by Steve Laug
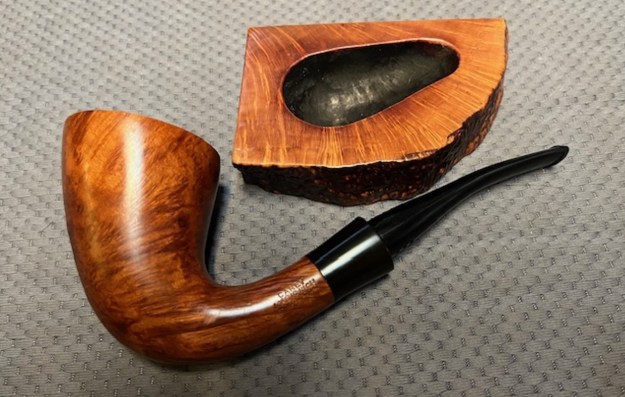
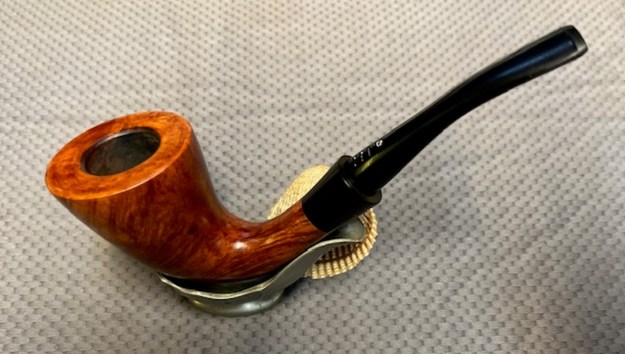
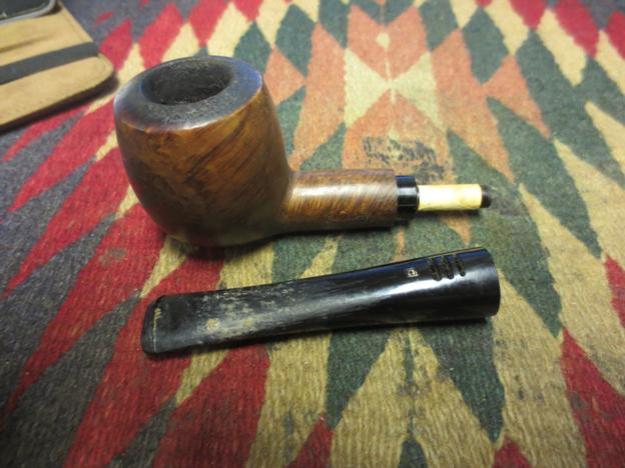
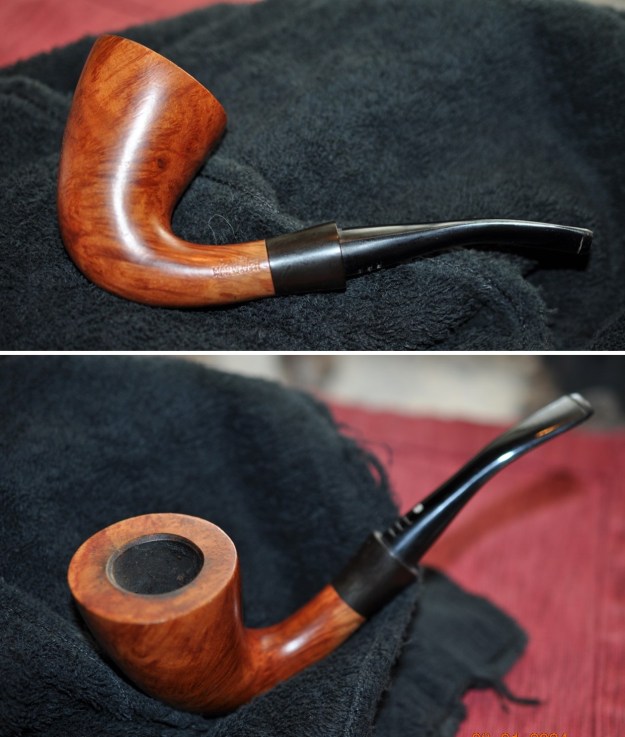
The next pipe on the table is an interesting looking Carey Magic Inch Calabash pipe. It is unique for several reasons. The first is that it comes with a flat piece of briar that is shaped to the base of the pipe. It has some great grain on the base and plateau on the edges. The second is that the left side and back of the bowl and shank are smooth and the right side and part of the front of the bowl is sandblast. The pipe is stamped on the left side and reads Carey [over] Magic Inch [over] Pat. No. 3267941. The stamping on the right side reads Mediterranean [over] Briar Israel. The stem has the Carey Logo “C” in a box on the topside. We purchased the Carey from an estate sale in Idaho Falls, Idaho, USA on 08/05/2018. The finish on the pipe was dirty with grime and oils ground into the briar. There was a thick cake in the bowl that overflowed on to the rim top and inner beveled edge. They both have a coat of lava on them. There is a vulcanite shank extension on the shank end that is quite polished. The stem is a Carey Magic Inch stem that tells me that the pipe has the Carey filtration system in the shank. A slim tube or Papyrite slips over the tube and filters out the oils. The stem has three slots in the top to aid airflow. The stem is the typical Carey special mix of vulcanite and plastic of some sort and in this case, I am thankful that it is not chewed. Jeff took photos of the pipe before he started his work on it.
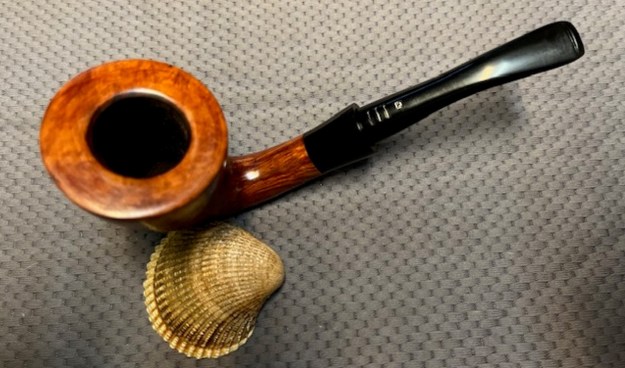
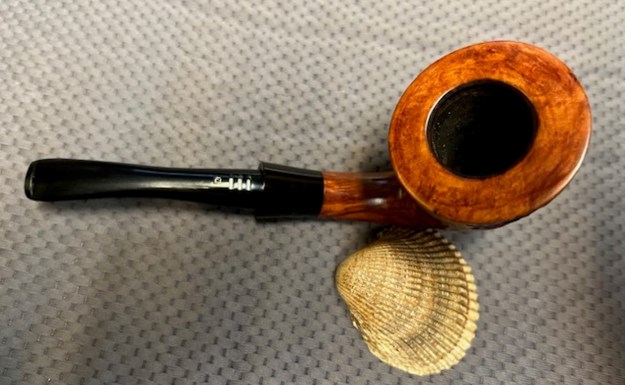
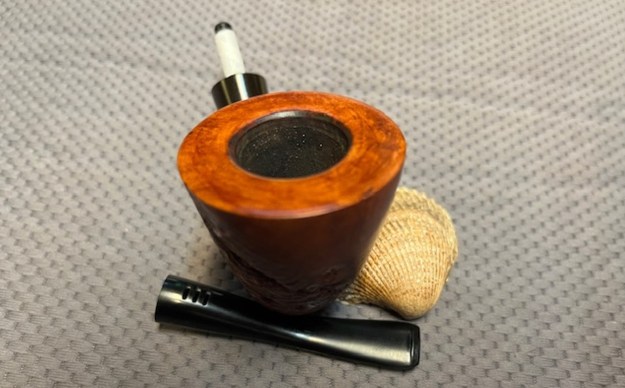
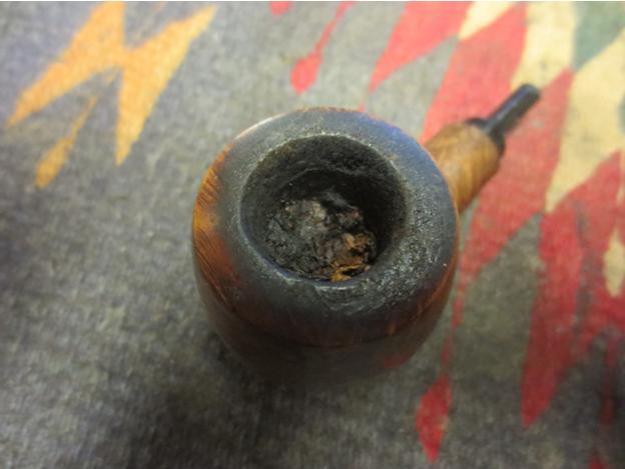
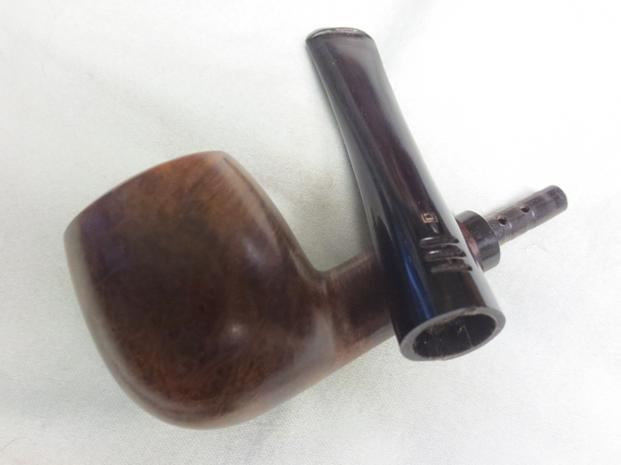
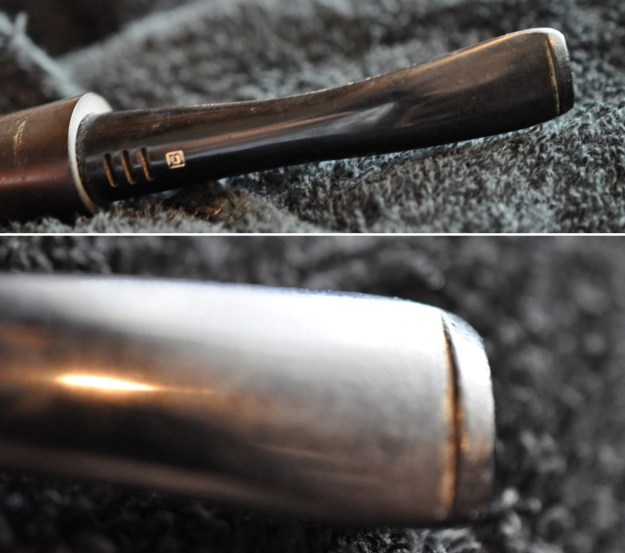
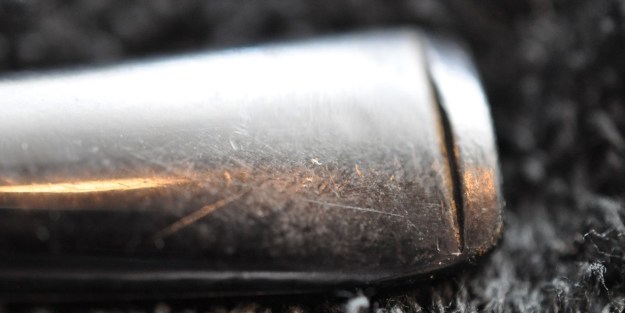
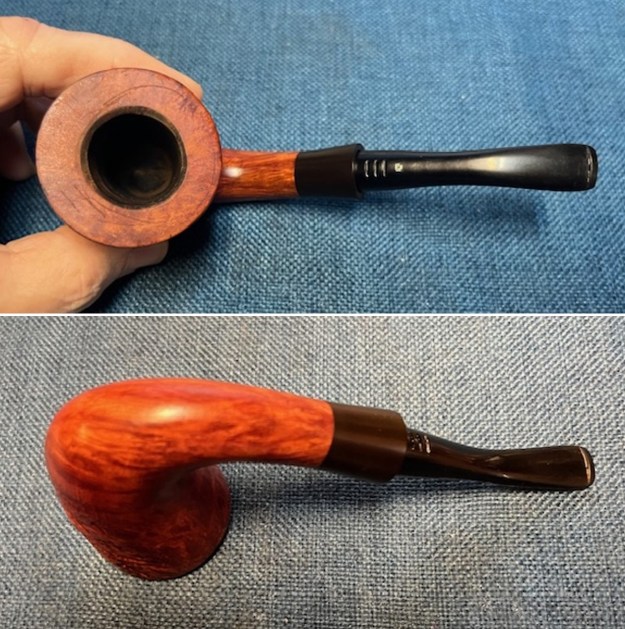
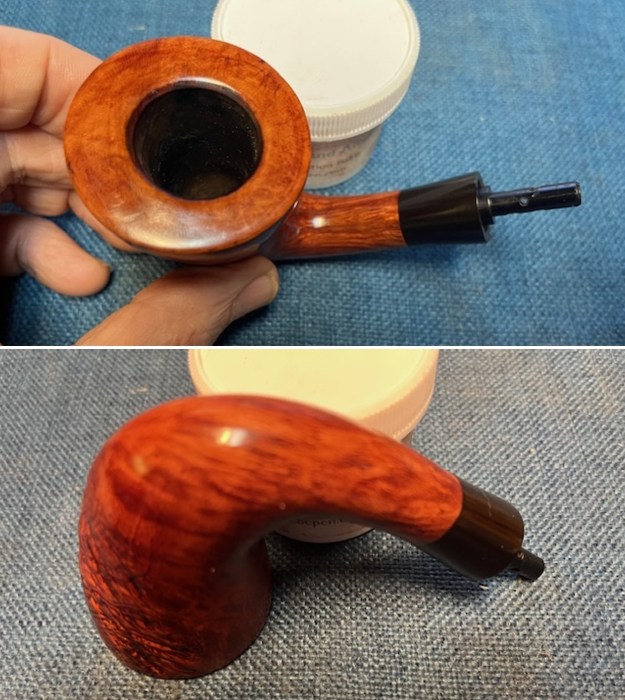
 He took photos of the rim top to show the moderate cake in the bowl and the thick lava coat and debris on the rim top and inner edge. He took photos of the stem to show the tooth chatter and marks on the surface. None are too deep and I am thankful for that.
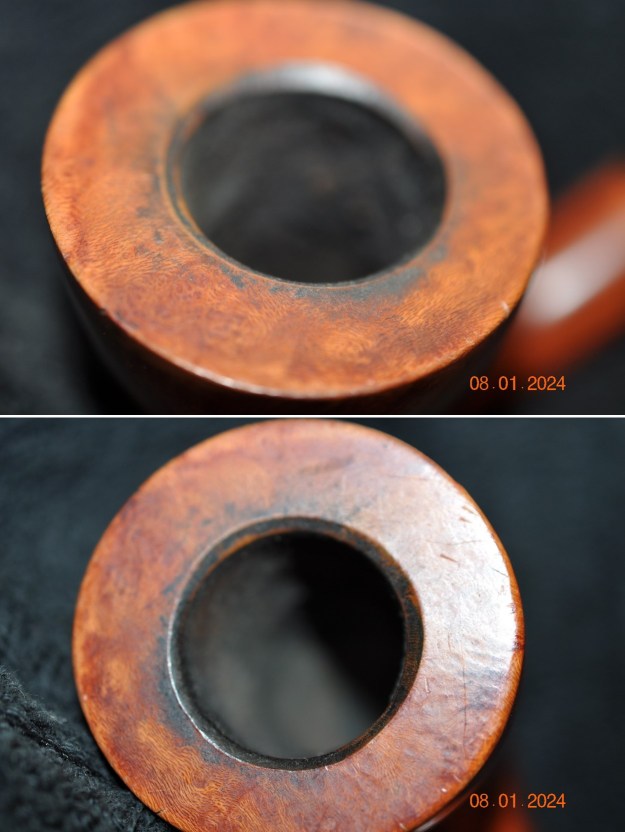
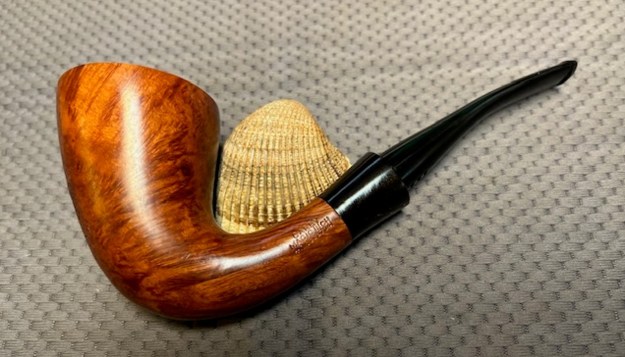
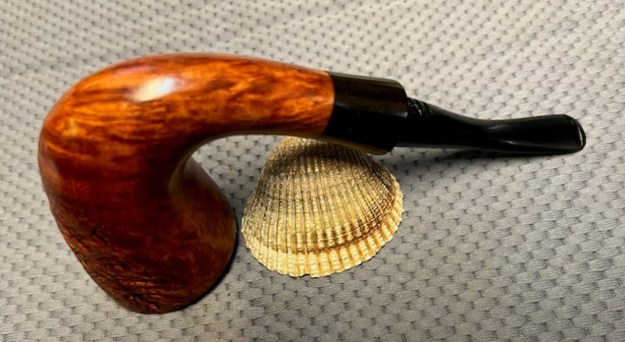
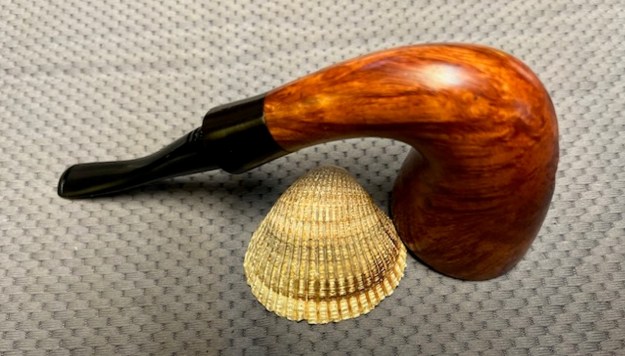
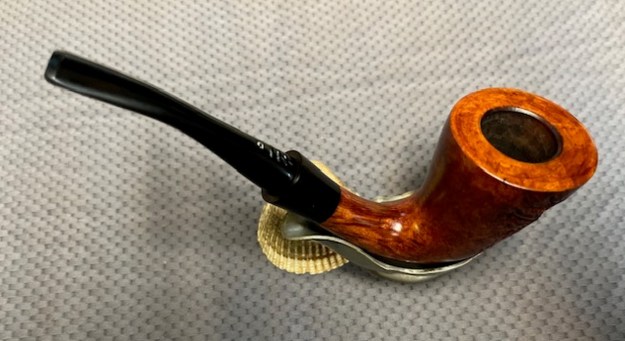
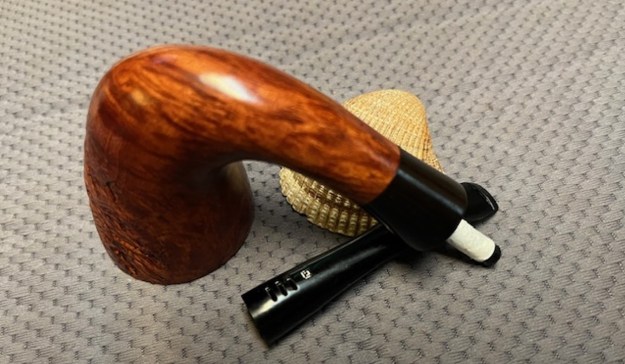
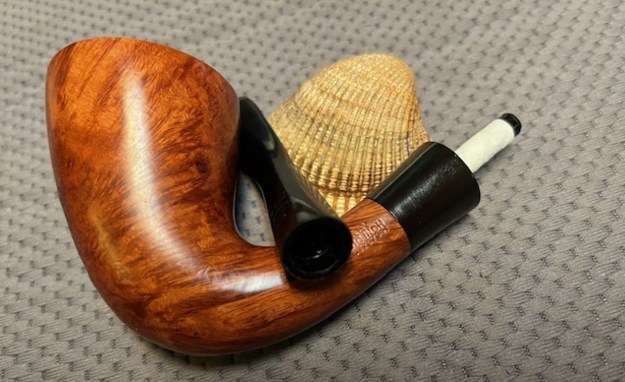
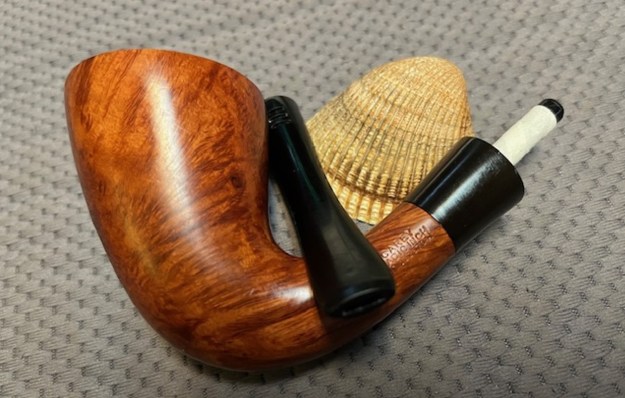
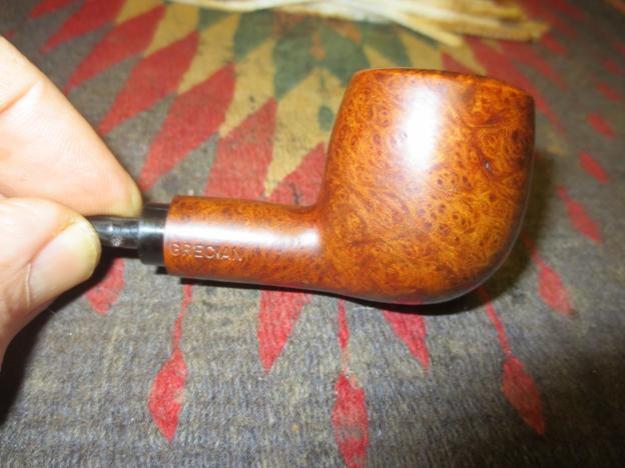
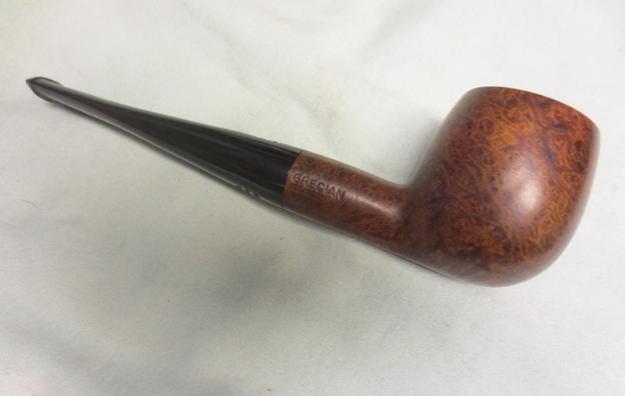
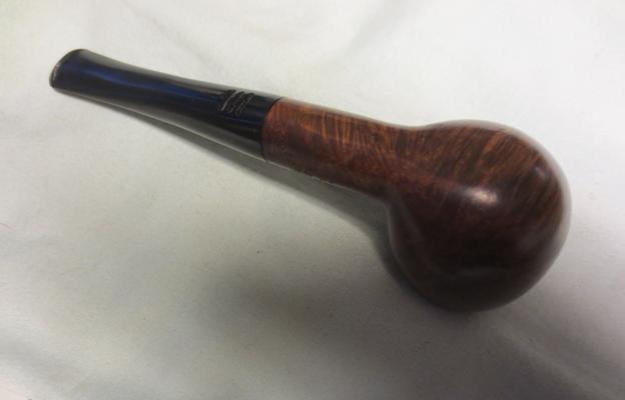
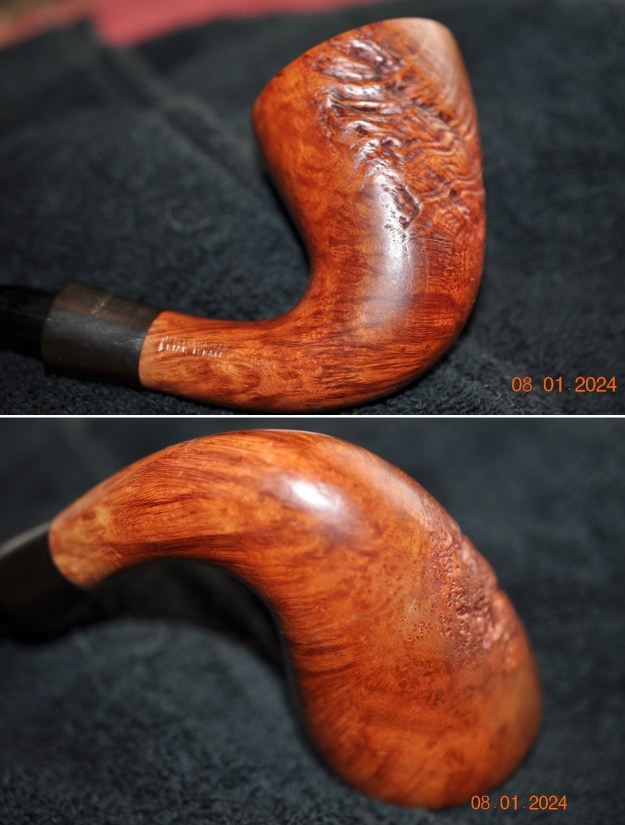
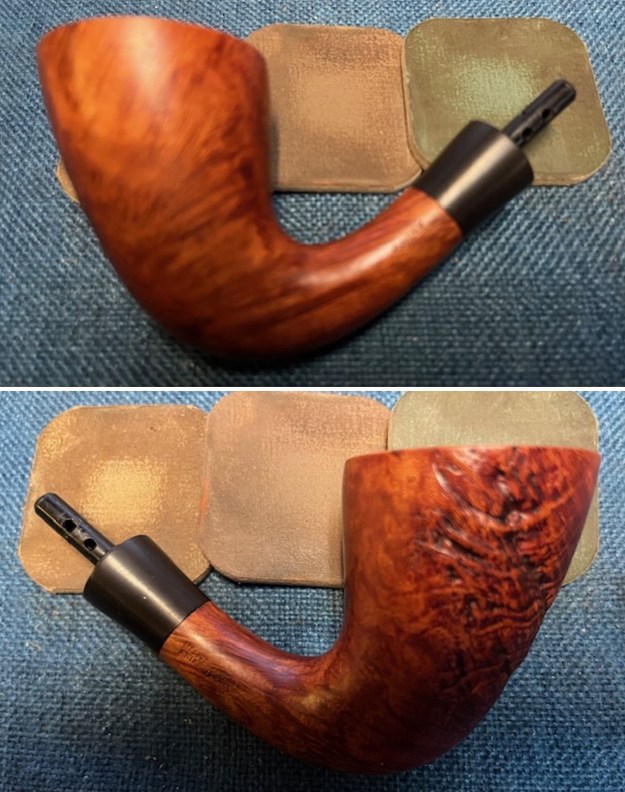
 He captured the finish and grain on the sides of the bowl. The left side shows the sandblast and the others show the smooth nicely grained finish. It is a beauty.
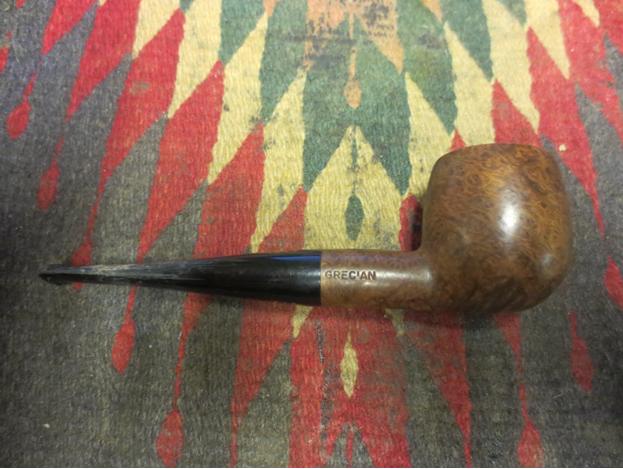
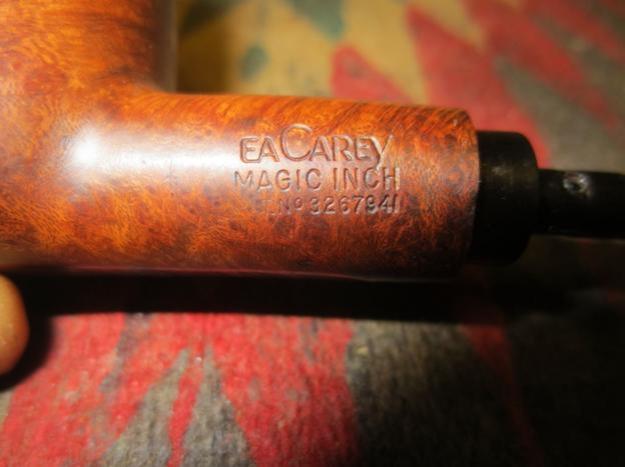
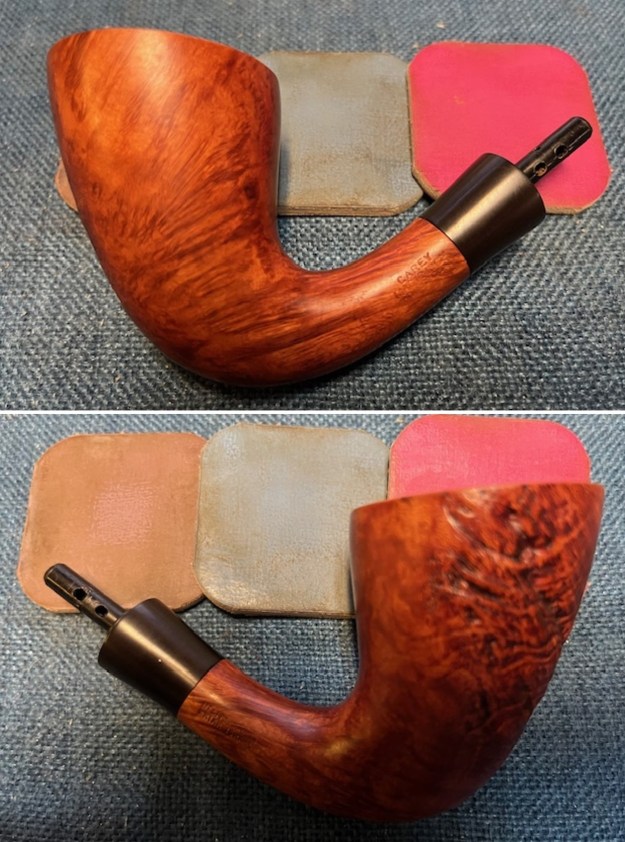
 He captured the stamping on the sides of the shank and it is clear and readable. The stamping reads as noted above. The Patent Number is interesting.
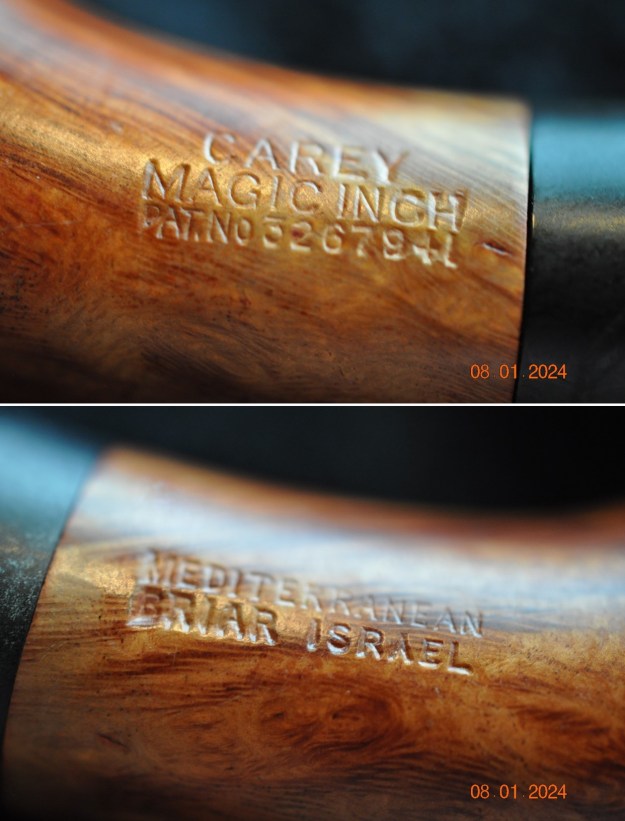 The stamping gives me pause. I know that Carey Magic Inch pipes were typically made in the USA and for a short time in Great Britain. This one is stamped Mediterranean Briar Israel which I had not seen before. I am also pretty sure it is made by the Shalom Pipe Factory for Carey. But now to do a bit of study on the brand.
I first did a quick Google search of the brand and Israel to see what I could learn of the connection. There I found a discussion on Pipesmagazine forum. In the last line of the section I am quoting from the poster, Briar Lee I found what I was looking for. I have highlighted it in red in the text below for ease. I quote the entire section and have attached the link as well (https://pipesmagazine.com/forums/threads/e-a-carey-pipes-for-new-pipe-smokers.102325/).
A Carey Magic Inch pipe uses a paper sleeve on a ventilated tube in the stem. When smoking a tiny bit of air is metered into the smoke stream.
This air doesn’t materially change the flavor but it significantly cuts back on mouth burn and tongue bite and somehow prevents prevent gurgling and soggy pipes, how I’ve not ever been able to quite figure out. But the system works.
After you become an old leather tongued pipe addict and want the full blast of the smoke stream, use a piece of plastic drinking straw to replace the paper tube.
Carey pipes have been made all over the world through the years, and I have them from the USA, London, Italy, Greece, and Israel.
From there I turned to Pipephil’s site (http://pipephil.eu/logos/en/logo-c2.html). And found a listing for Carey. It gave me a pipe with the same patent information but it was made in England so that did not help much. I have included a screen capture below. I turned next to Pipedia (https://pipedia.org/wiki/Carey_Magic_Inch). The site had a short article that gave a basic description of the Magic Inch system. It also provided a link to the EA Carey Website which I would look at next. I quote from the Pipedia article below as it is a simple description of the system and the pipe.
The “Magic Inch” System has been a Carey’s tradition for over 50 years, with over 1,000,000 sold. The “Magic Inch” is an air chamber inserted between the imported briar bowl and the vented mouthpiece which allows cool outside air to enter and mix with the warm tobacco smoke inside the “Magic Inch” chamber. Tobacco tars, oils and moisture, are squeezed out of the smoke. The residue drops to the bottom of the chamber and is absorbed by the Papyrate sleeve. From its rich tradition and thousands of satisfied customers, this pipe is sure to be your smoking favorite for life. Carey Magic Inch pipes can be readily identified by a boxed letter C on the stem, along with a distinctive series of three vent slits and the Carey Magic Inch name stamped into the side of the bowl.
That lead me to the Carey Site as noted above (https://www.eacarey.com/magicinchinfo.html). I did a screen capture of the page defining the Magic Inch system. The diagram is helpful to capture the mechanics of the pipe.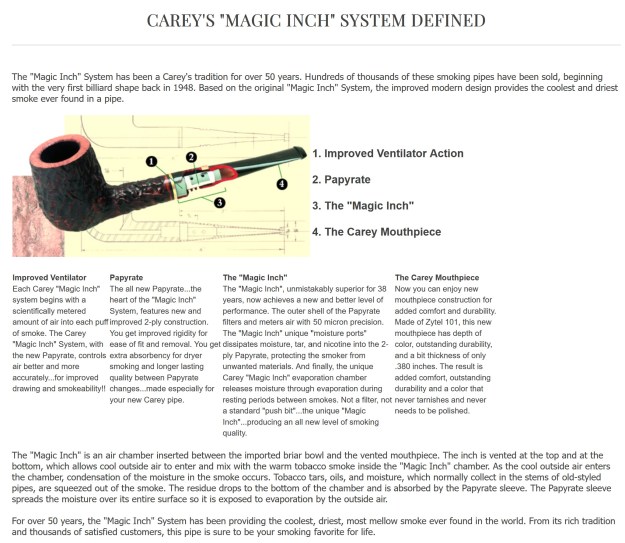 The site also had testimonials from satisfied customers about the system and hidden in the bottom of one of the sidebars was the Patent info. I have included that screen capture below as it is very interesting (https://www.eacarey.com/careyclassics.html).
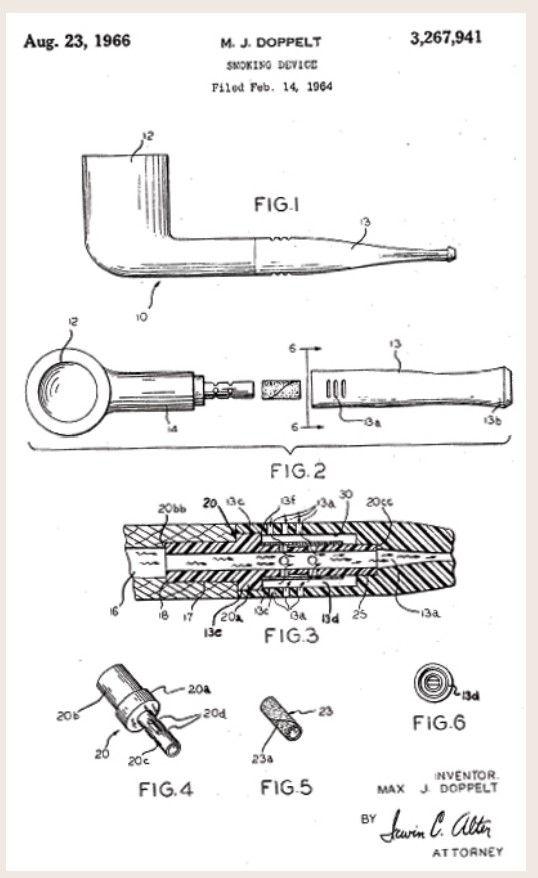 Now I knew that the pipes were made in many countries and that Israel was on the list. There was no direct link to the Shalom Pipe Company but I am still confident they made this pipe and Carey added the plumbing.
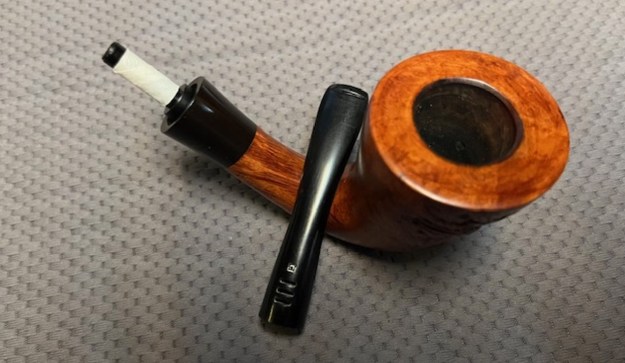
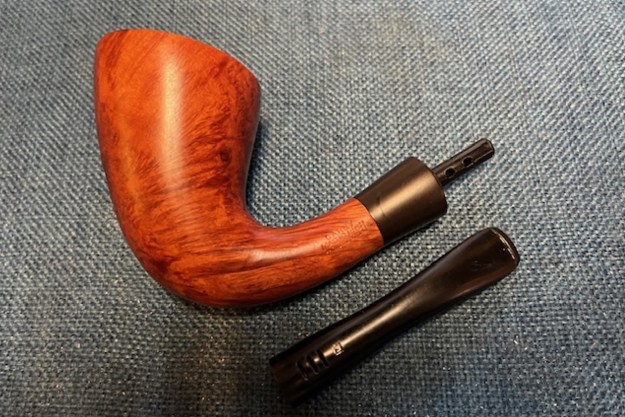
I was ready to start working on this pipe. As usual, Jeff had thoroughly cleaned up the pipe. I probably don’t say enough about how much I appreciate him doing the hard clean up work before I even get the pipes. He does an amazing job. He had reamed the pipe with a PipNet pipe reamer back to bare briar and removed the remnants of the cake with a Savinelli Fitsall Pipe Knife. He used a small blade to pick out the thick lava on the rim top. He scrubbed the bowl with undiluted Murphy’s Oil Soap and a tooth brush. He rinsed it under running warm water to remove the soap and grime. He cleaned out the inside of the shank and the airway in the stem with alcohol, cotton swabs, pipe cleaners and shank brushes. He soaked the stem in Briarville’s Pipe Stem Deoxidizer and rinsed it off with warm water. I took photos of the pipe and the stem that came with it before I started my part of the restoration work. 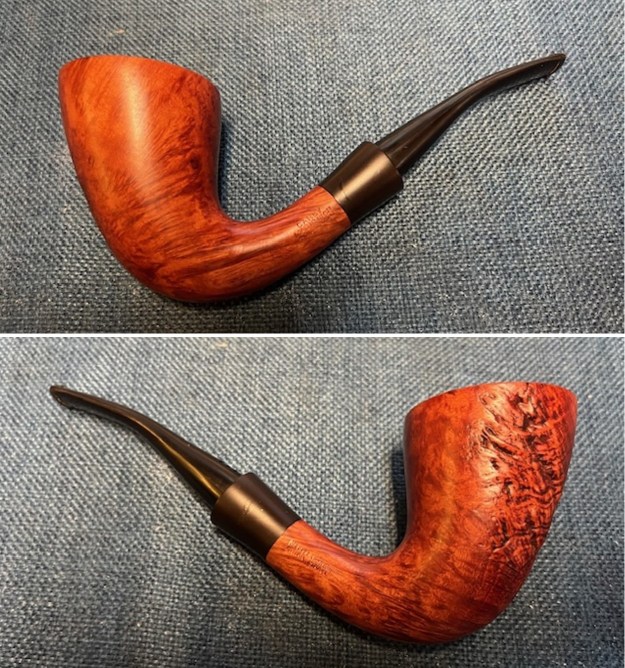
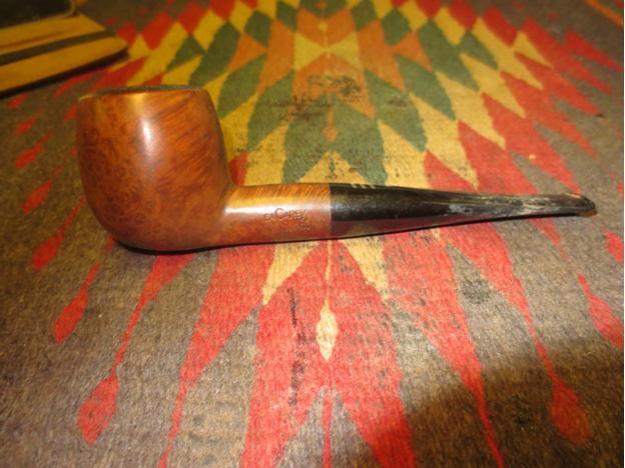
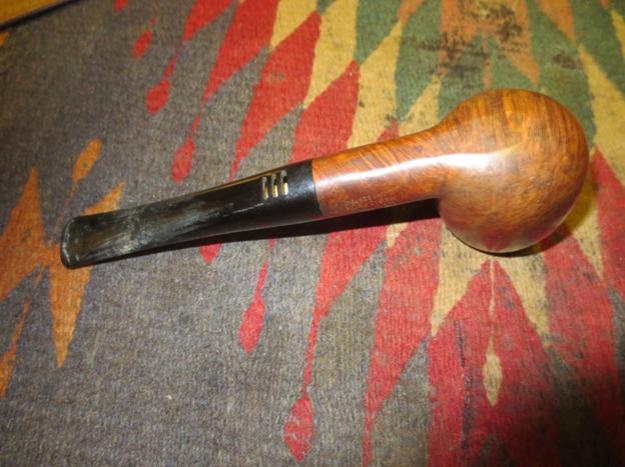
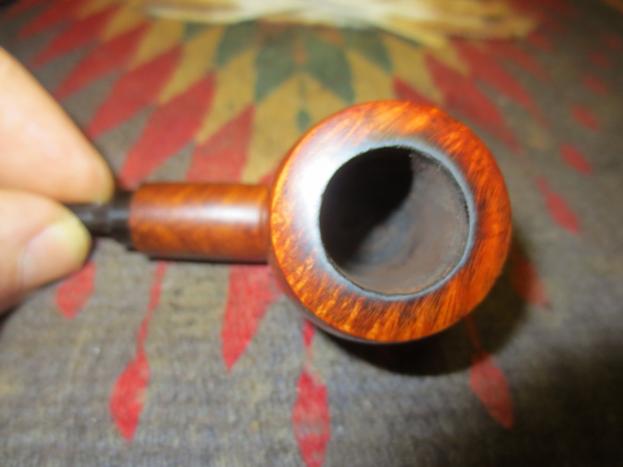
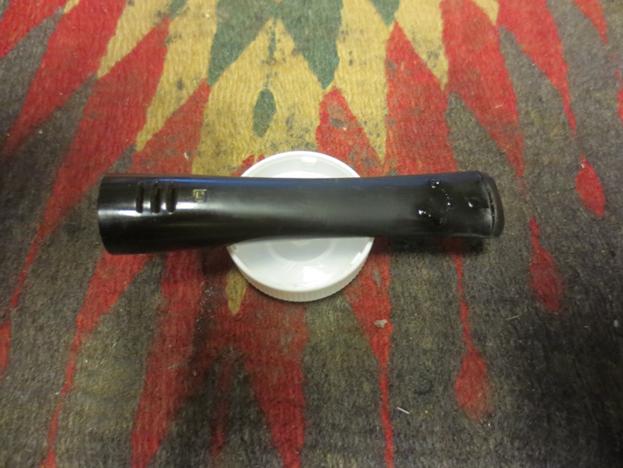
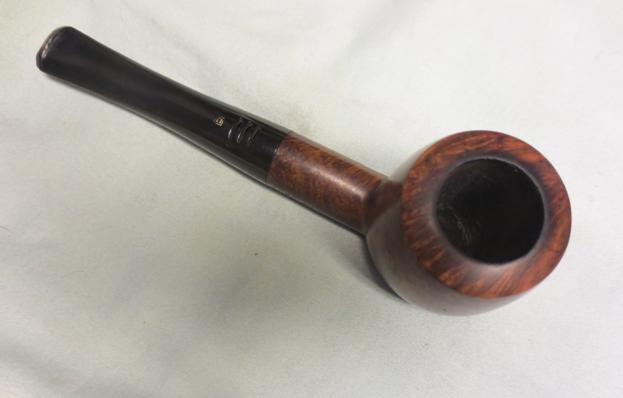
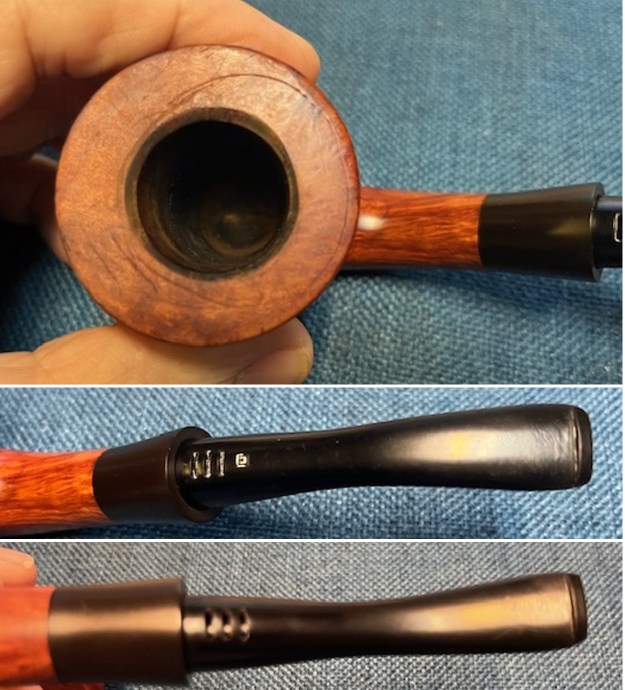
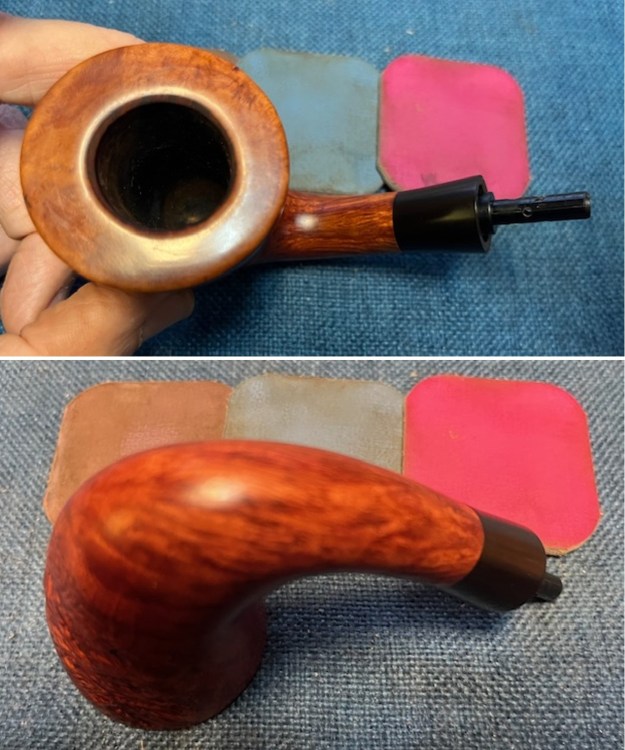
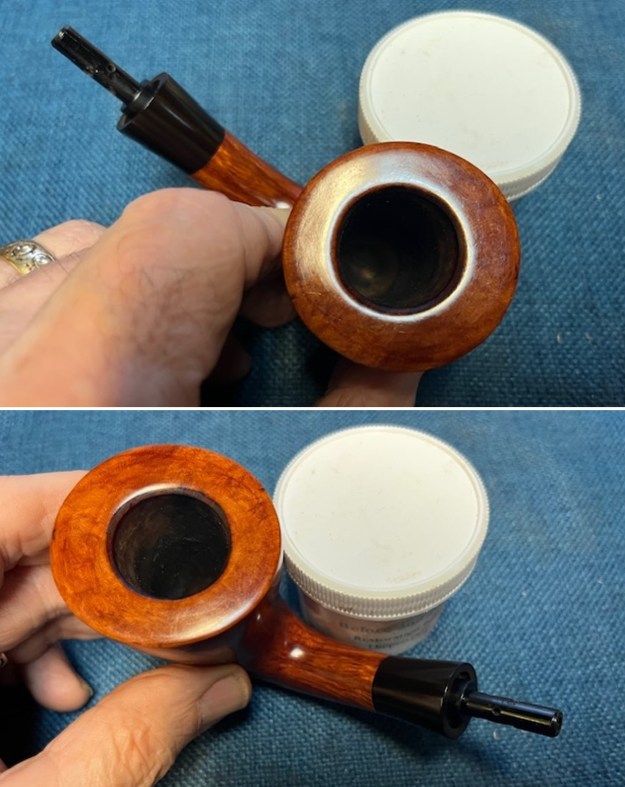
 I took photos of the bowl and rim top to show the clean condition. The bowl walls look very good. The rim top had some remnants of what looked like varnish – almost rings or swirls on the top. The stem looks very clean and when I run my fingers along the edges it still has the casting marks on it.
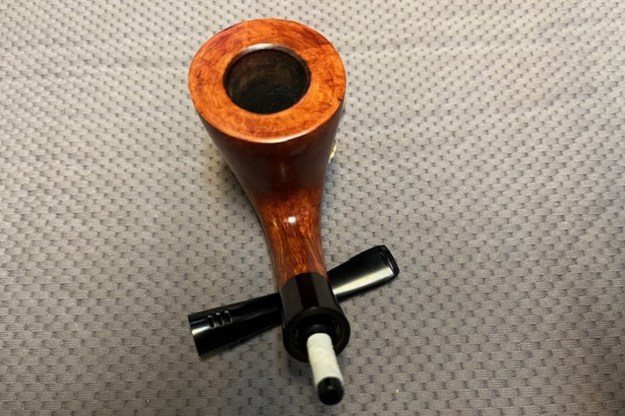
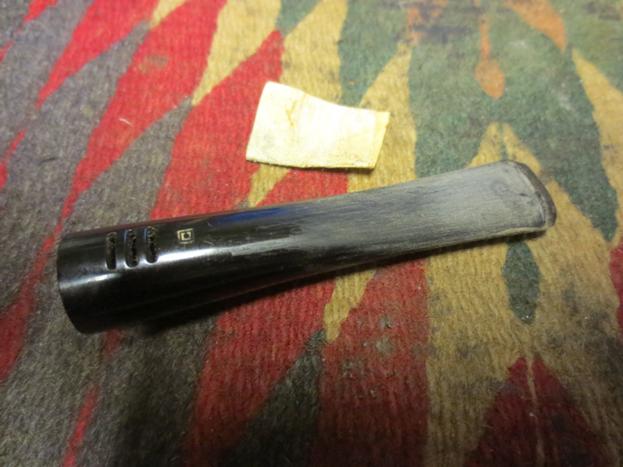
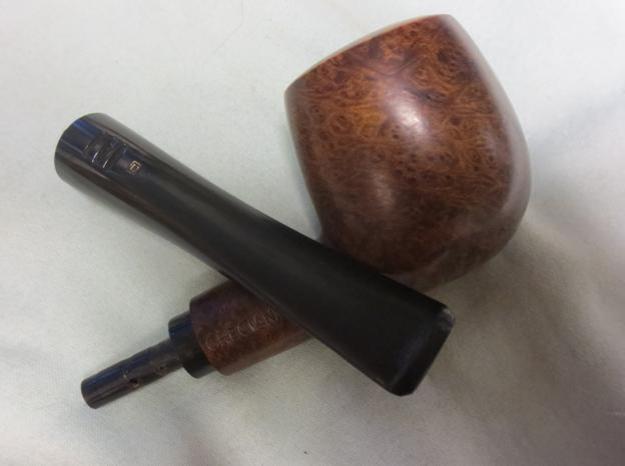
 I tried to capture the stamping on the shank underside. It is readable and clear as noted above. I took a photo of the pipe with the stem removed.
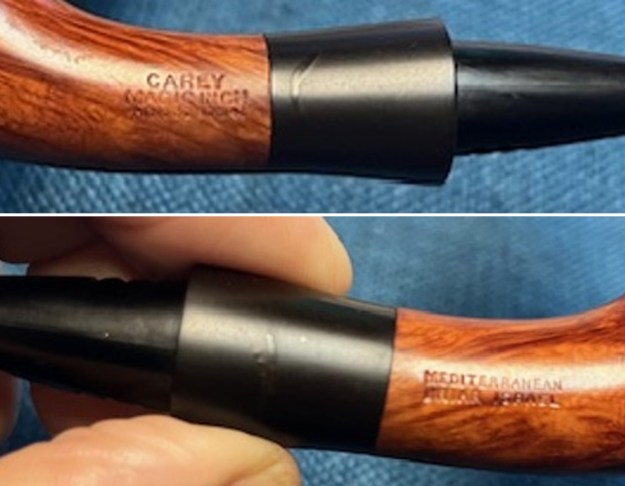
 I started by working on the rim top. I wiped the bow and rim top down with acetone to remove the varnish run marks on the rim top. Once it was wiped down the marks still remained on the top and turned out to be marks from when the bowl was finished (poorly finished on the top).
 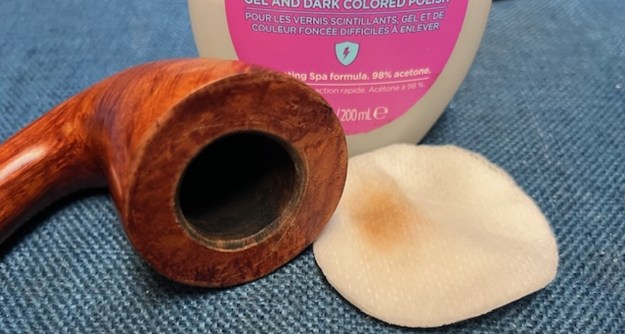 I sanded the rim top with 320-3500 grit sanding pads and wiped it down between pads with a damp cloth to check the progress. It looked much better and was smooth. The scratches were sanded out and feel the way it should feel.
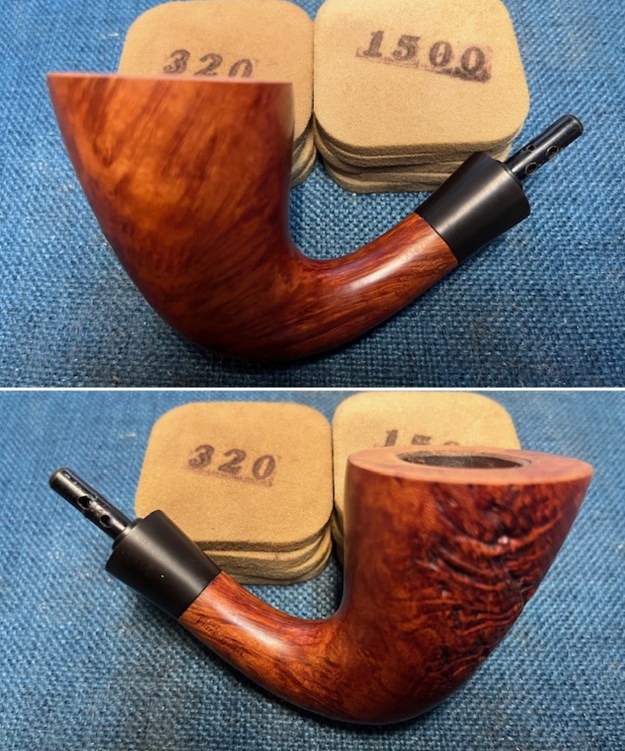
 I restained the sanded rim top and edges with an Oak stain pen to blend it into the surround colour of the briar. The match was perfect and once the pipe was polished more it would be a great match.
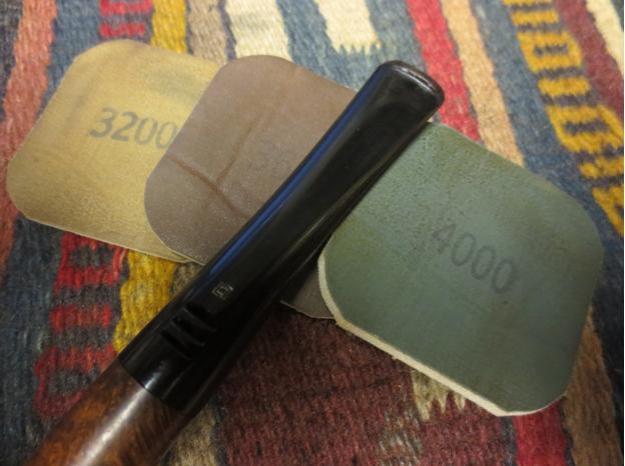
 I polished the smooth portions of the briar and the vulcanite shank extension with micromesh sanding pads – dry sanding with 1500-12000 grit sanding pads. I wiped the bowl down with a damp cloth after each pad. I wiped the shank extension down with Obsidian Oil. I take photos of the three groups of pads for my own viewing primarily as I am looking for progress in polishing. Once again, by the end of the process it looked quite good.
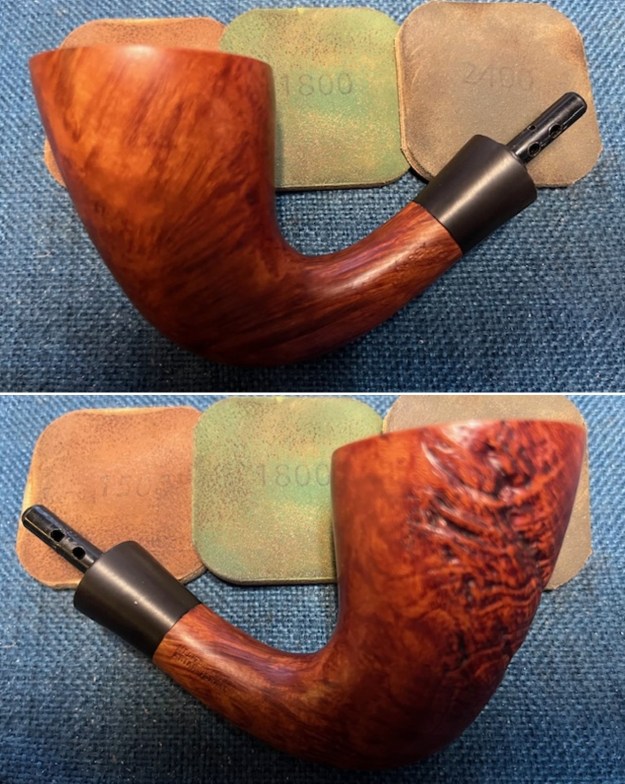


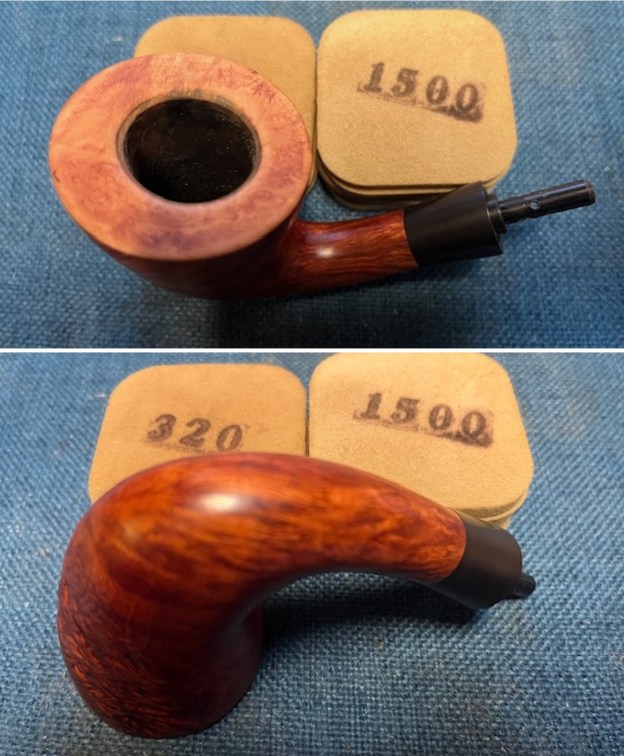
 I rubbed the bowl and shank down with Before & After Restoration Balm. I worked it into the surface of the bowl sides and shank with my fingertips. I worked it into the sandblast portions of the finish with a shoe brush. It works to clean, enliven and protect the briar. I let the balm sit for 15 minutes and buffed with a cotton cloth to raise the shine. The grain came alive.
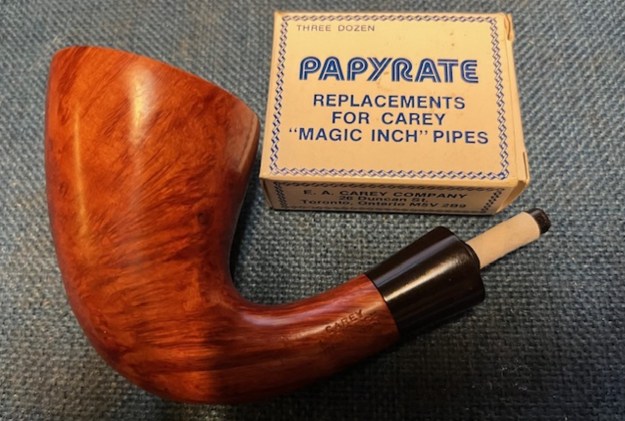
 With the bowl finished I decided to put a Papyrate filter on the apparatus at the end of the shank. I took one from the box and carefully slid it in place. The fit is snug and the look is perfect.
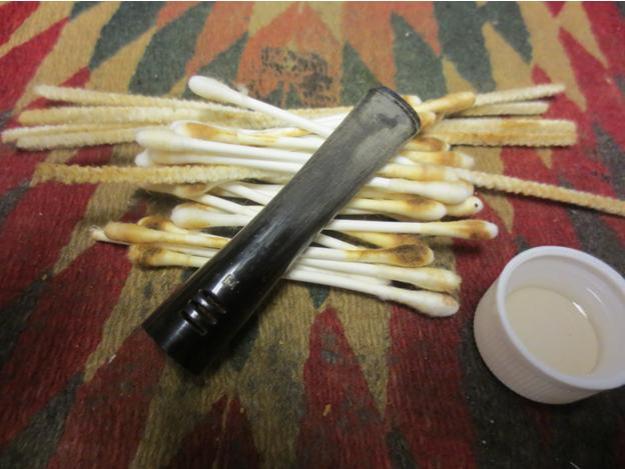
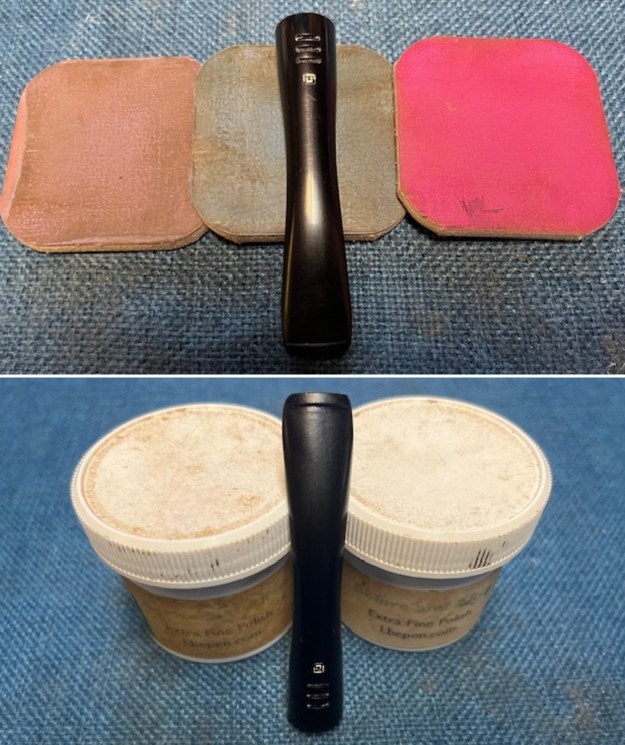
 Now I turned to the stem. I love watching the shine develop on the mixed Carey vulcanite as I polish it with micromesh sanding pads – dry sanding with 1500-12000 grit pads. I wiped it down after each pad with Obsidian Oil. I finished this part of the polishing by using Marks Hoover’s Before & After Pipe Stem Polish – both Fine and Extra Fine. I wiped it off with a soft cloth and gave the stem another coat of Obsidian Oil.
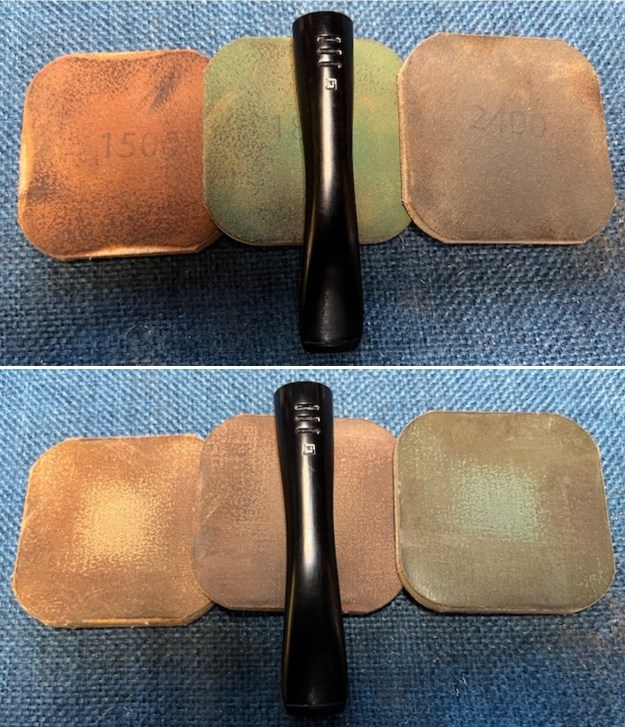
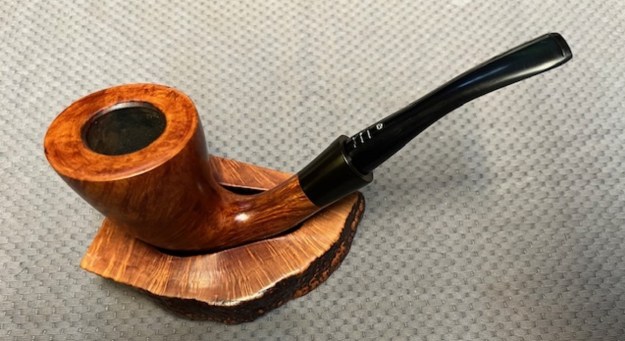
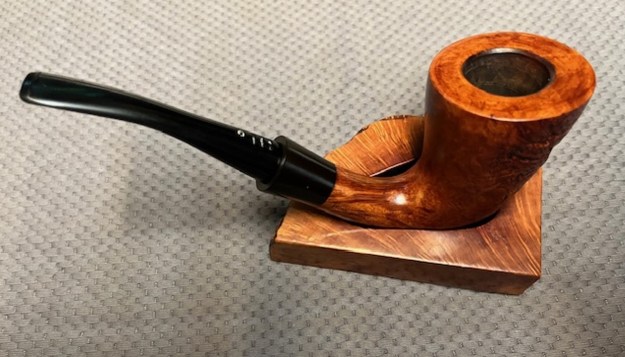
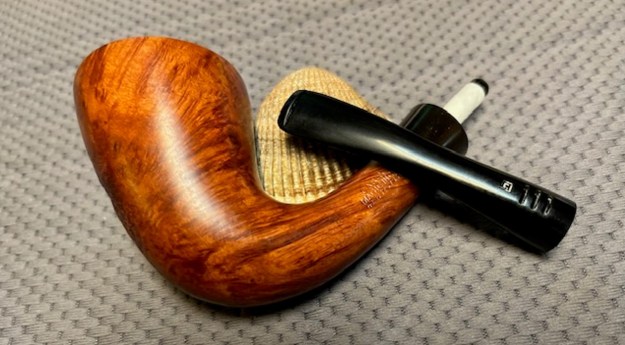
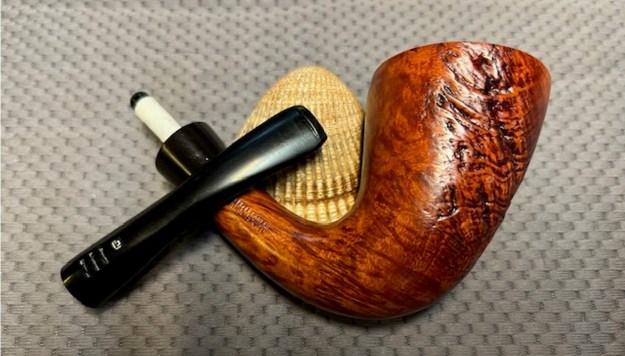
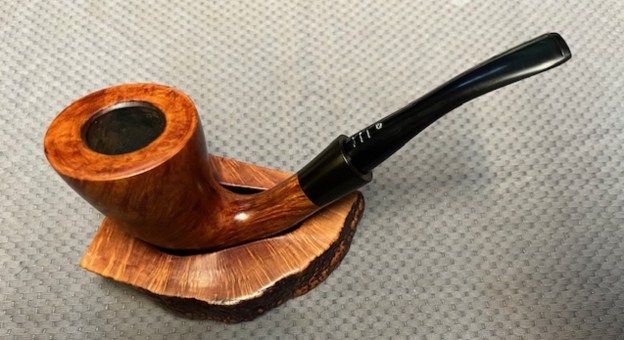
 This Carey Magic Inch Pat. No. 3267941 Bent Calabash is a great looking pipe with some interesting sand blast on the front and right side of the bowl and vulcanite shank extension. The fact that it is stamped Israel fits as I have worked on Alpha Pipes of similar shape and style. The beautiful grain around the smooth portions and sandblast on the other portions of the bowl is quite stunning and works well with both the shape and the polished vulcanite shank extension and the polished Carey Magic Inch style stem. I put the stem back on the bowl and carefully buffed the pipe with Blue Diamond on the buffing wheel using a light touch on the briar. I gave the bowl and the stem multiple coats of carnauba wax on the wheel and followed by buffing the pipe with a clean buffing pad. I hand buffed the pipe with a microfiber cloth to deepen the shine. The finished Carey Magic Inch Calabash fits nicely in the hand and feels great. Give the finished pipe a look in the photos below. The dimensions of the pipe are Length: 6 ½ inches, Height: 2 ½ inches, Outside diameter of the bowl: 1 ¾ inches, Chamber diameter: 1 inch. The weight of the pipe is 63 grams/2.22 ounces. I will be putting the pipe and the briar pipe rest on the rebornpipes store in the Pipes From Various Makers Section shortly. If you wish to add this interesting pipe to your rack it is a great addition. Send me a message or an email. Thanks for reading this blog and my reflections on the pipe while I worked on it. I appreciate your support and time!