Blog by Steve Laug
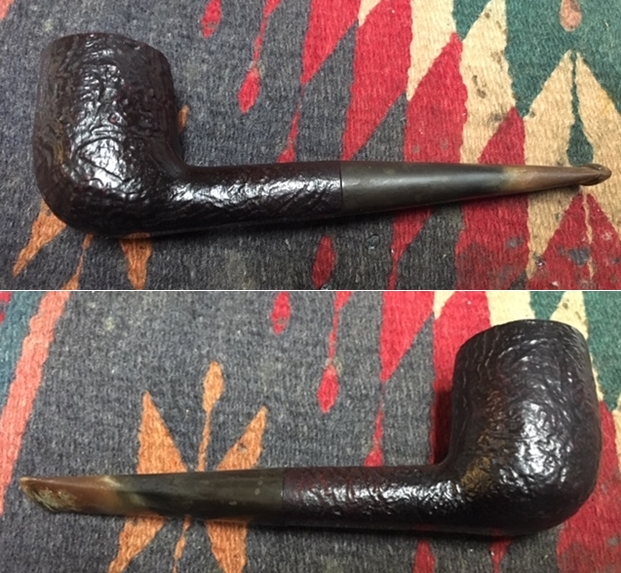
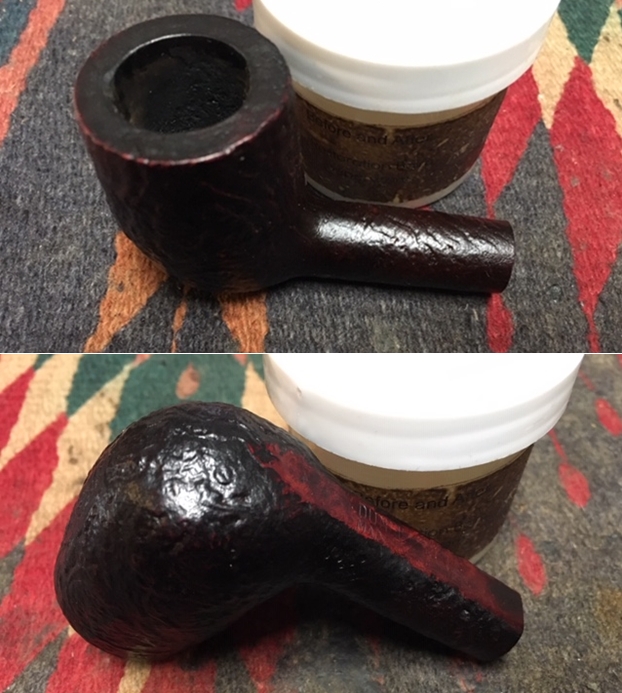
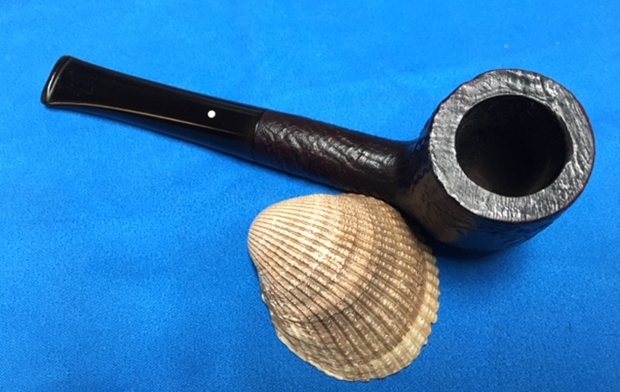
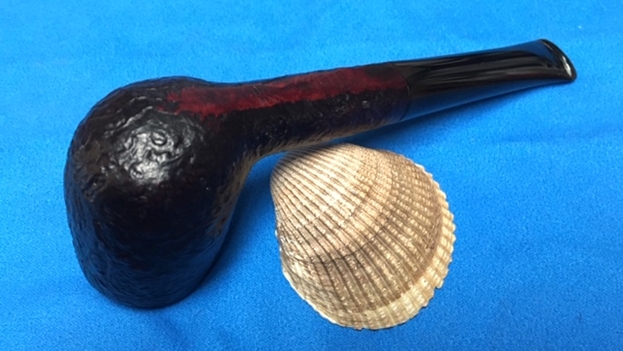
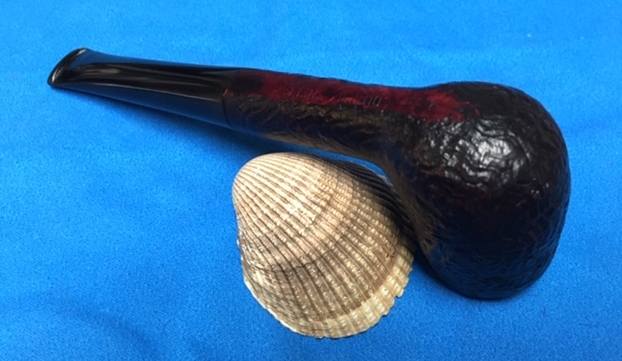
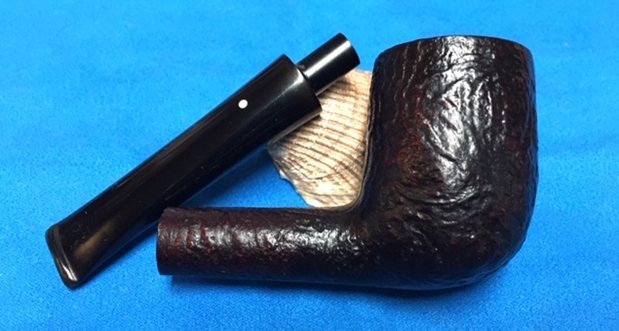
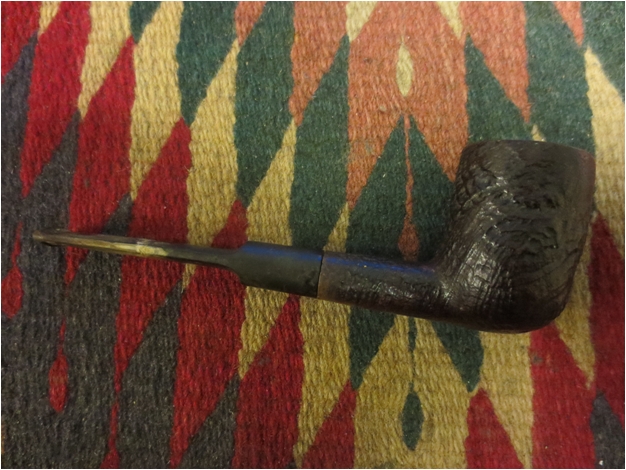
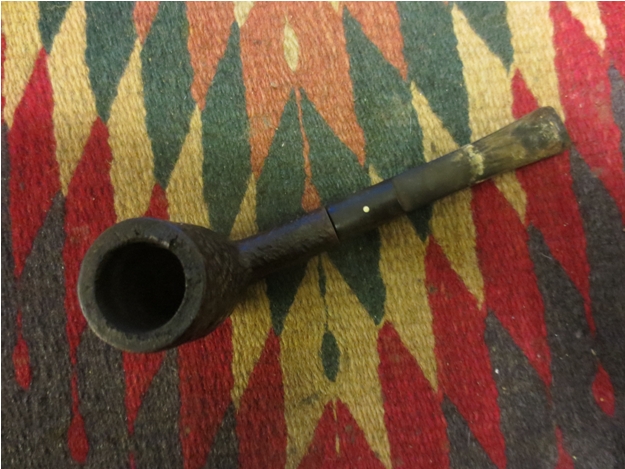
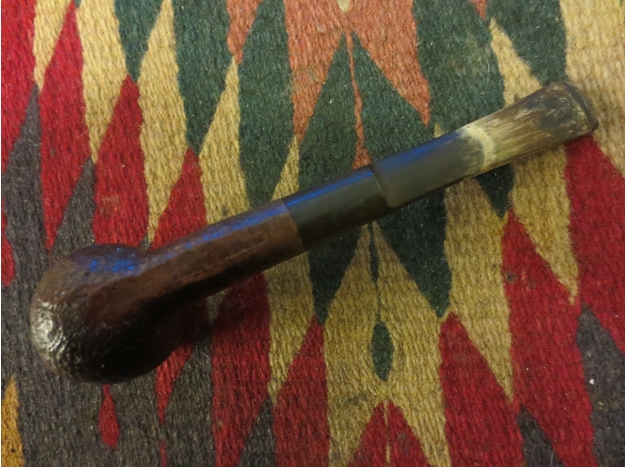
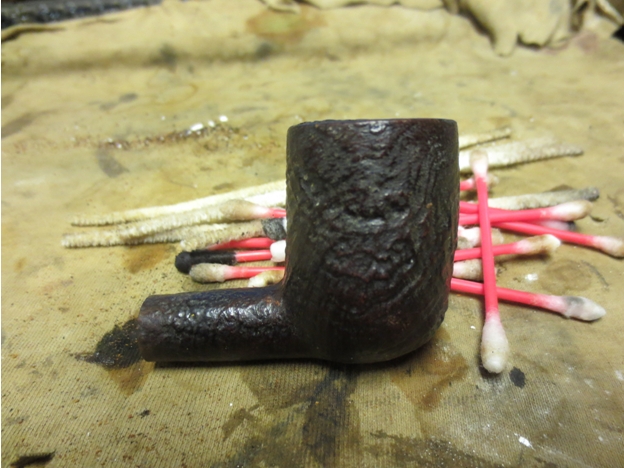
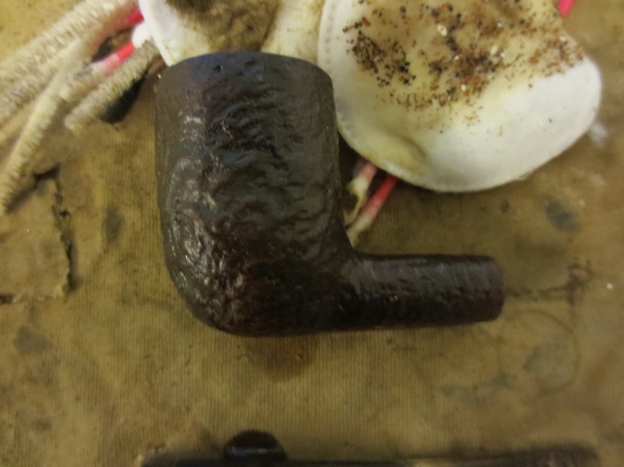
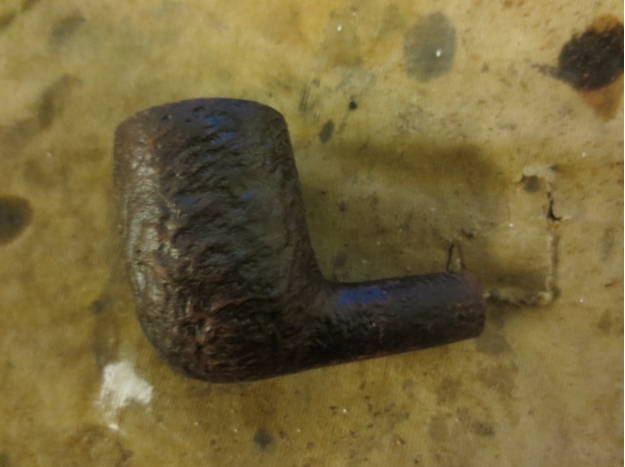
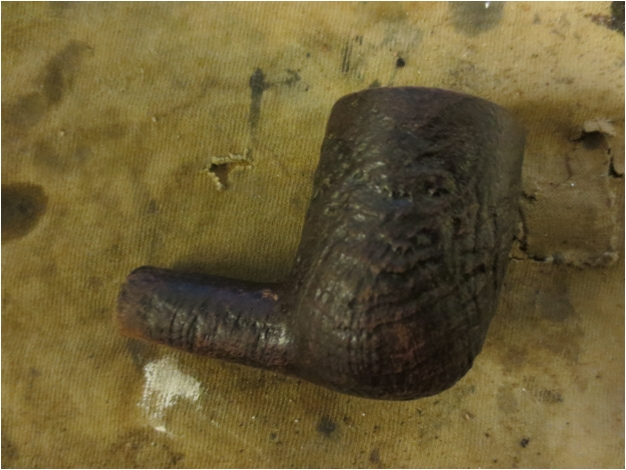
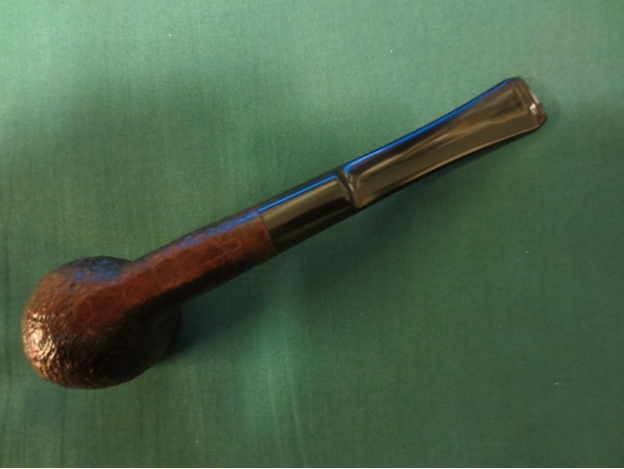
The next pipe on the table is one that showed up in the mail this week from a friend, Eric in Ontario. I sent him a message and got some background on the pipe. He purchased it from a small shop in his town and wanted me to restore it or as he said “Work my magic on it”. I have worked on quite a few of his pipes so I was not surprised. The pipe is a Dunhill Shell with a rugged sandblast finish. The pipe is stamped on the heel of the bowl and the underside of the shank on a smooth panel. On the heel it is stamped with the shape number E 250 F/T followed by Dunhill Shell followed by Made in England with no date stamp. Underneath the full stamp above it is stamped Patent No 417574/34. The pipe had been smoked and there was a moderate cake in the bowl with a light lava overflow in the sandblast on the rim top. There was a chip at the back of the bowl near the rim edge. The stem is oxidized and had light tooth marks on both the top and underside of the stem just ahead of the button. I took photos of the pipe before I started his clean up work. I have included them below.
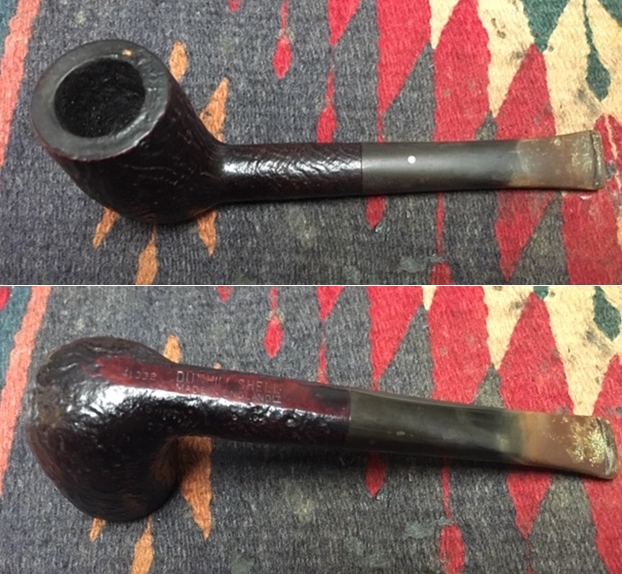
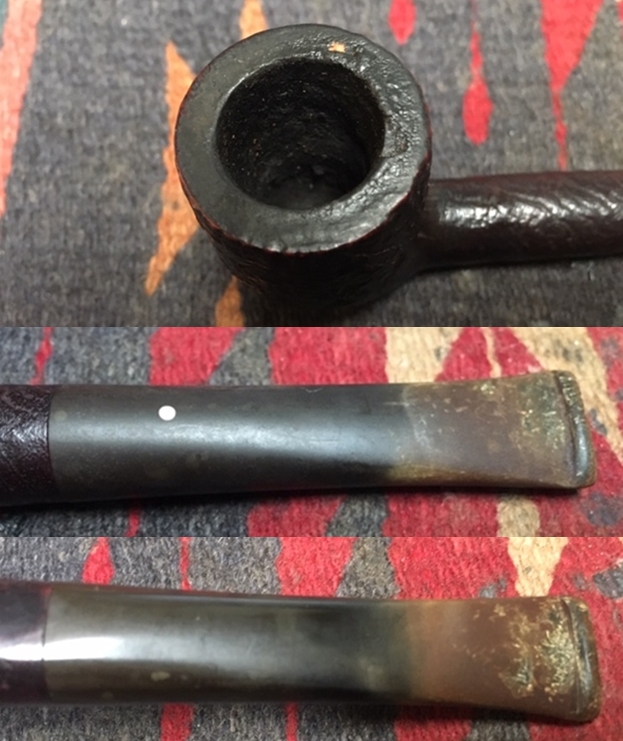
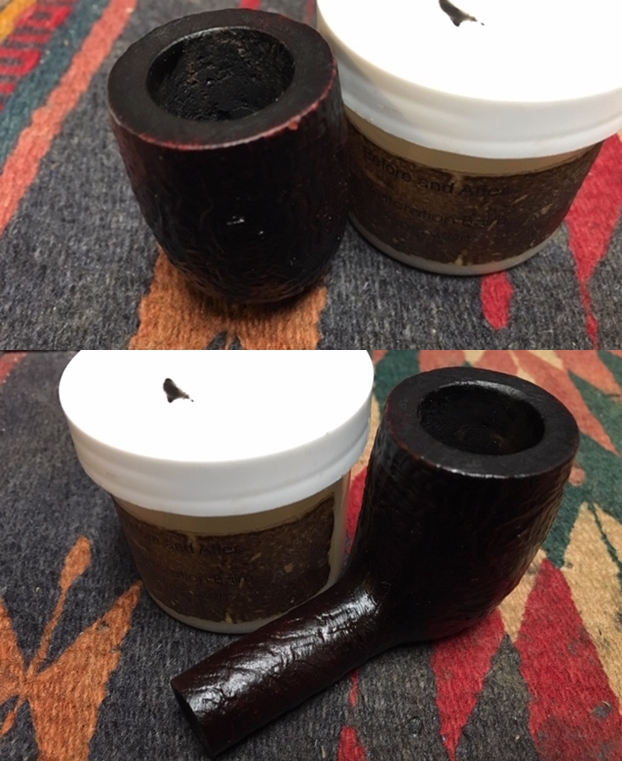
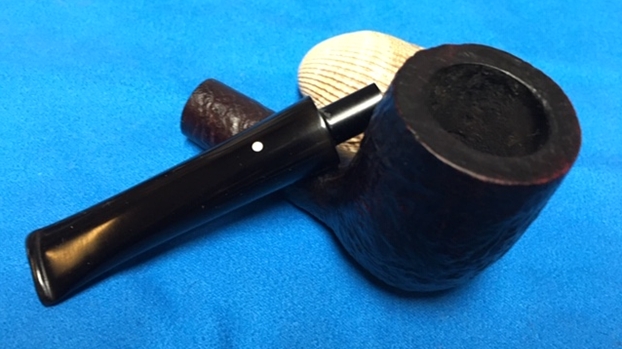
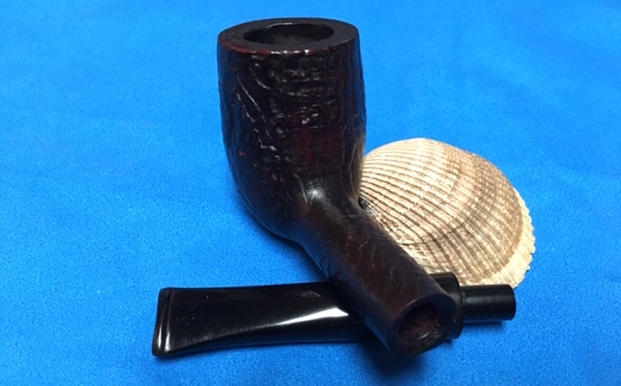
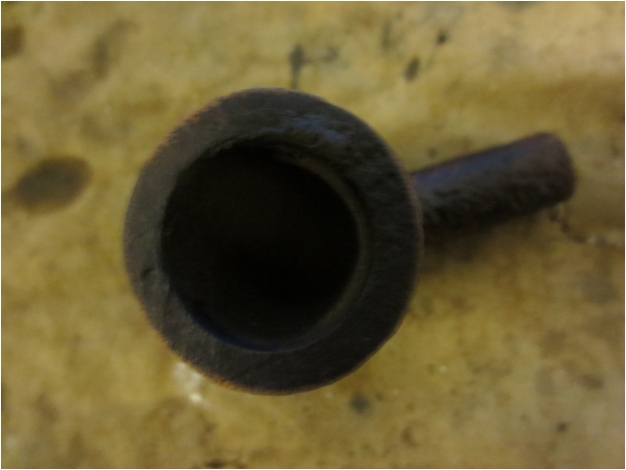
 I took photos of the rim top, bowl and the surfaces of the stem to give a sense of the condition of the pipe. The rim top has some lava in the surface filling in the sandblast. The walls of the bowl had a moderate cake on them. The stem is oxidized and has light tooth marks on both sides ahead of the button.
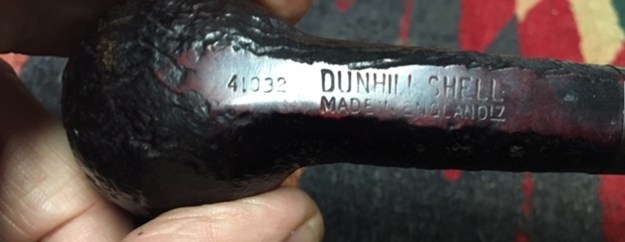
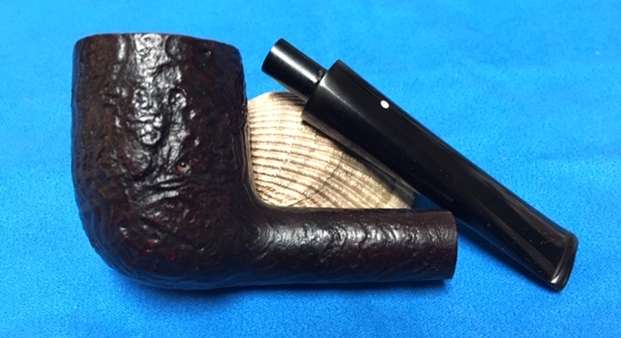
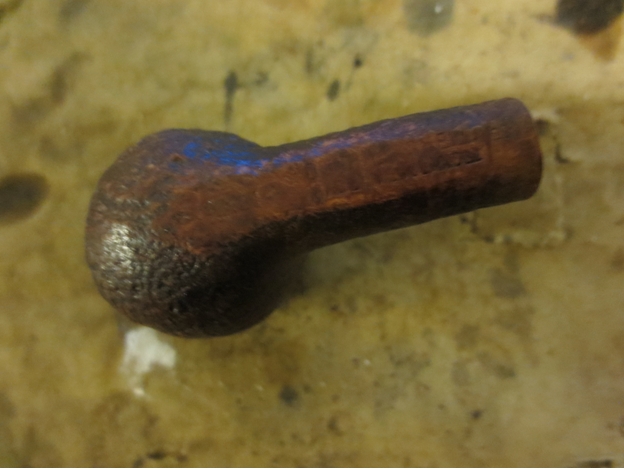
 I took photos of the stamping on the underside of the bowl and the shank. It is clear and readable and read as noted above. I took the pipe apart and took a photo of the parts to give a sense of what the pipe looked like.
 I turned to the dating key on Pipephil’s site (http://www.pipephil.eu/logos/en/dunhill/cledat-en1a.html) to establish a date for the pipe. I drew a red box around the pertinent information below. It fits the criteria of a Sandblast Dunhill stamping aligned with Shell. There was no suffix which puts it under 1950 which makes the pipe a 1950.
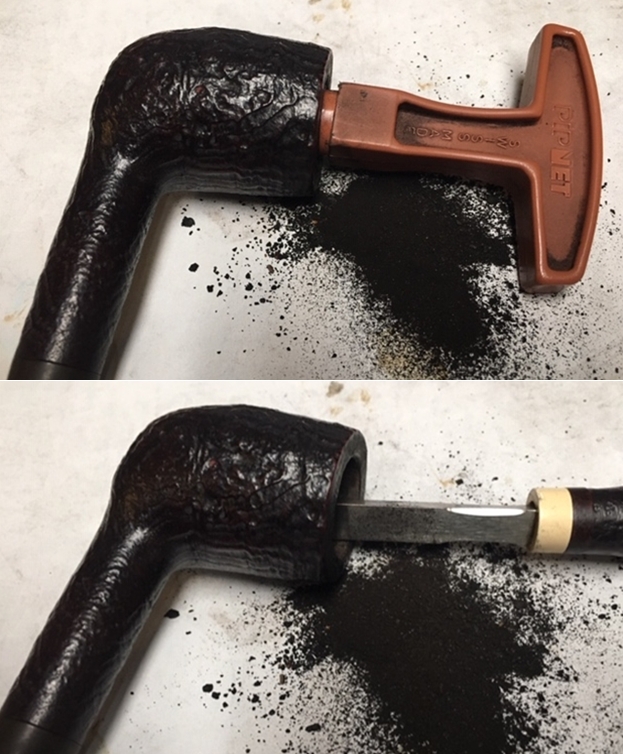
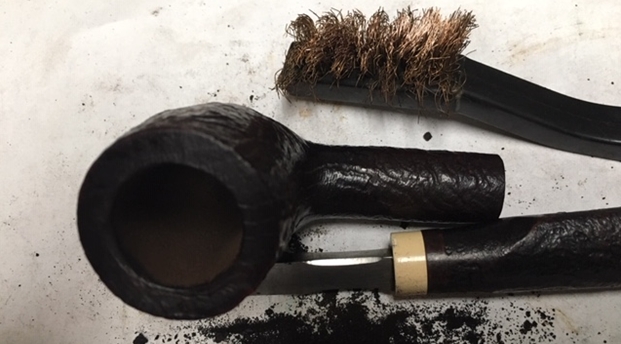
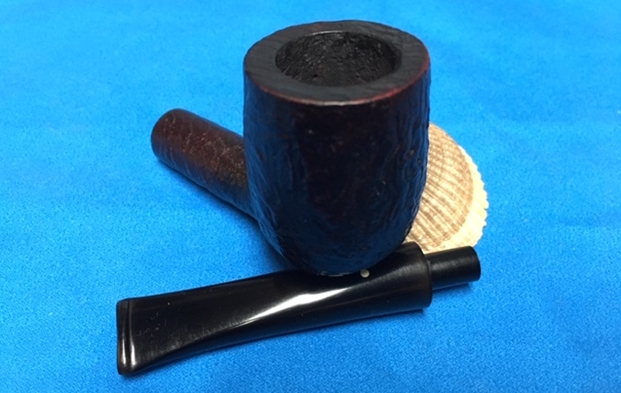
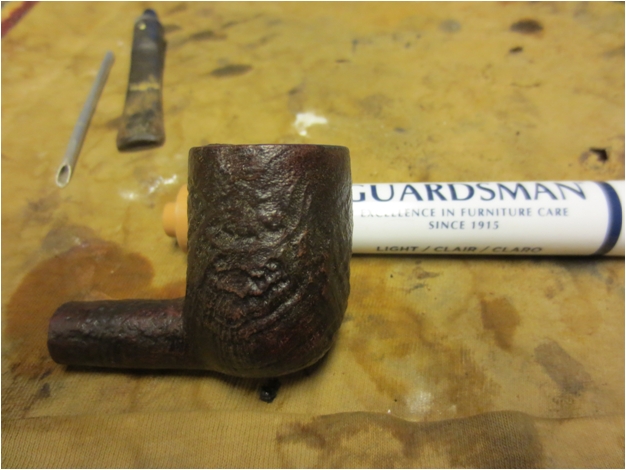
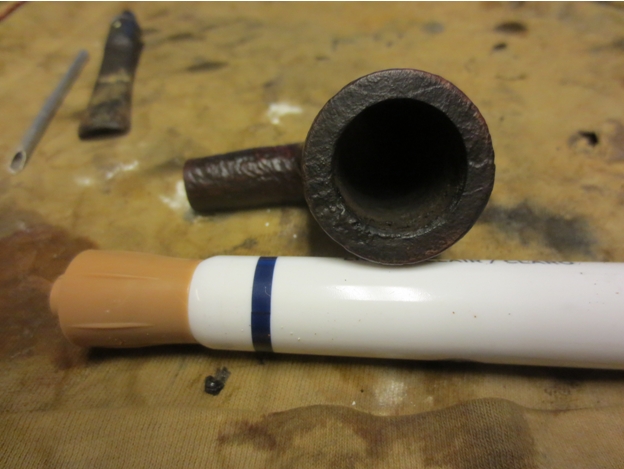
 Now it was my turn to work on the pipe. Armed with the facts that I am dealing with a 1950 Dunhill Shell pipe. I started my work on the pipe by reaming the bowl with a PipNet pipe reamer to take the cake back to bare walls. I followed that by using a Savinelli Fitsall Pipe Knife to scrape back the remnants of the cake back to briar. I finished my cleanup of the walls by sanding it with 220 grit sandpaper wrapped around a piece of dowel. I used a brass bristle brush to clean up the rim top. I took photos of the bowl and the rim top as well as both sides of the stem to show the condition of the pipe before I started my work. It really looked remarkably good.
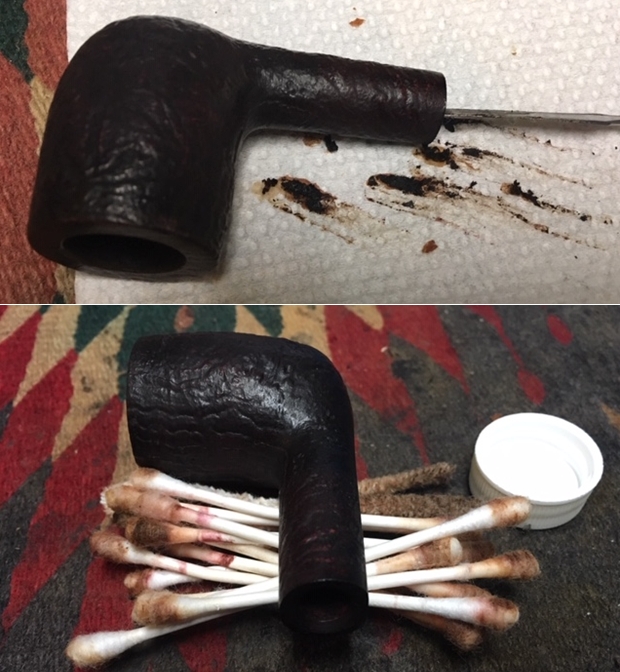
 I used pipe cleaners, cotton swabs and isopropyl alcohol to clean out the tars and oils in the airway in the shank and the stem. I also cleaned the outside and inside of the aluminum inner tube in the shank and tenon. The internals were quite dirty but cleaned up very well.
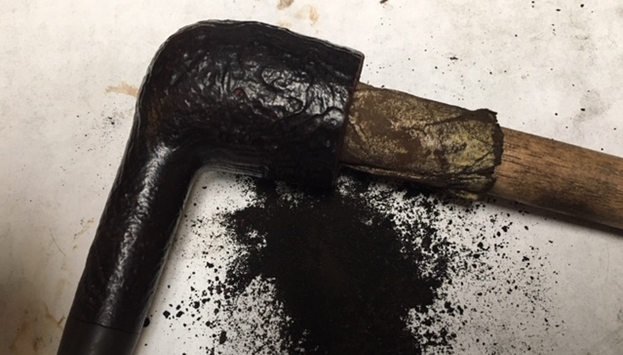
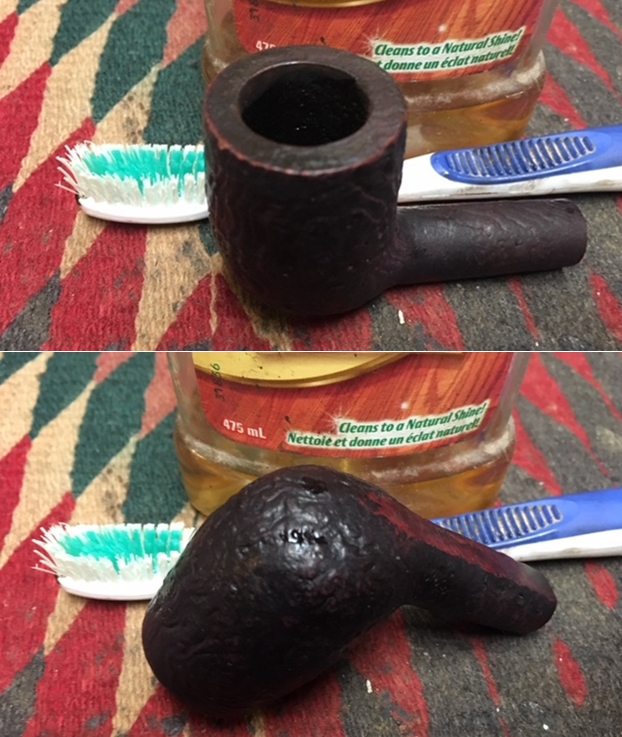
 I scrubbed the grime and oils off the briar on the sandblasted briar with undiluted Murphy’s Oil Soap and a tooth brush. The briar looked much cleaner. I worked over the grime and tars on the rim top at the same time and was able to remove much of the build up. The bowl is beginning to take on a fresh look.
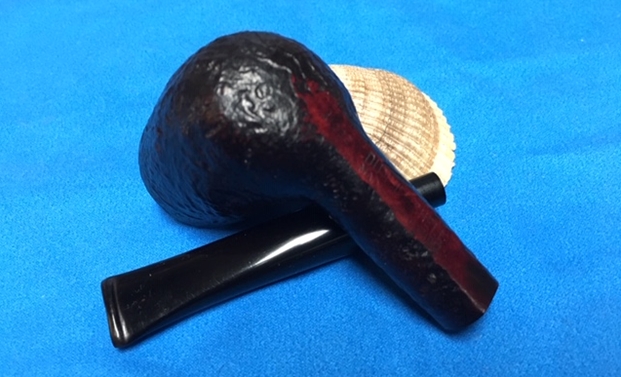
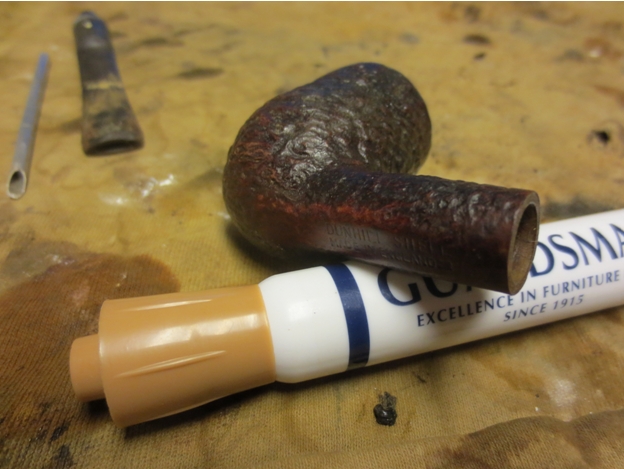
 I used some briar dust and clear CA glue to repair the chipped area on the back of the bowl edge. I built it up and once cured I used a brass bristle wire brush to knock of the high spots on the repair and blend it into the surrounding sandblast surface.
 I touched up the rim top, edges and the repaired area with a Walnut stain pen. The colour blends in very well with the colour of the surrounding briar.
 I rubbed the bowl down with Before & After Restoration Balm. I worked it into the surface of the smooth briar with my fingertips and into the sandblast with a shoe brush. The product works to clean, enliven and protect the briar. I let the balm sit for 15 minutes and then buffed with a cotton cloth to raise the shine. Mark Hoover’s Balm is a product that I have come to appreciate and one I use on every pipe I have been working on.

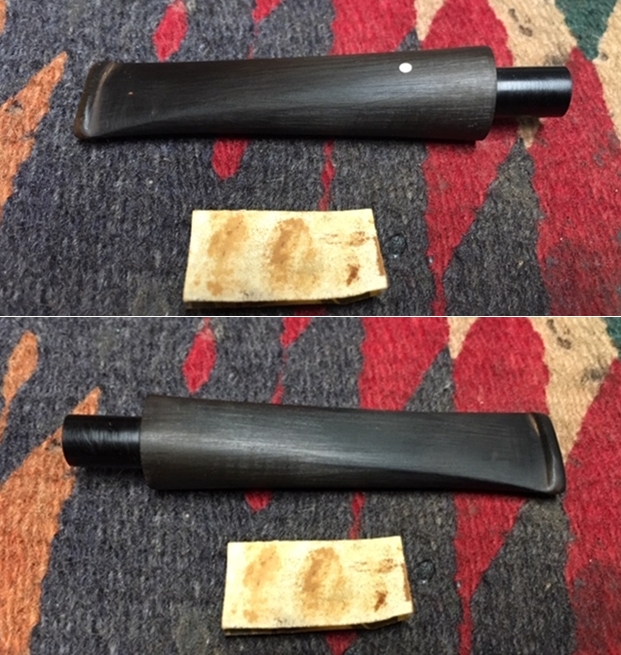
 I set the bowl aside and turned my attention to the stem. Once I had it open I turned to work on the outside of the stem and remove the oxidation on the stem surface. I used some Soft Scrub cleanser to scrub of the oxidation on the stem surface. Once finished it looked much better.
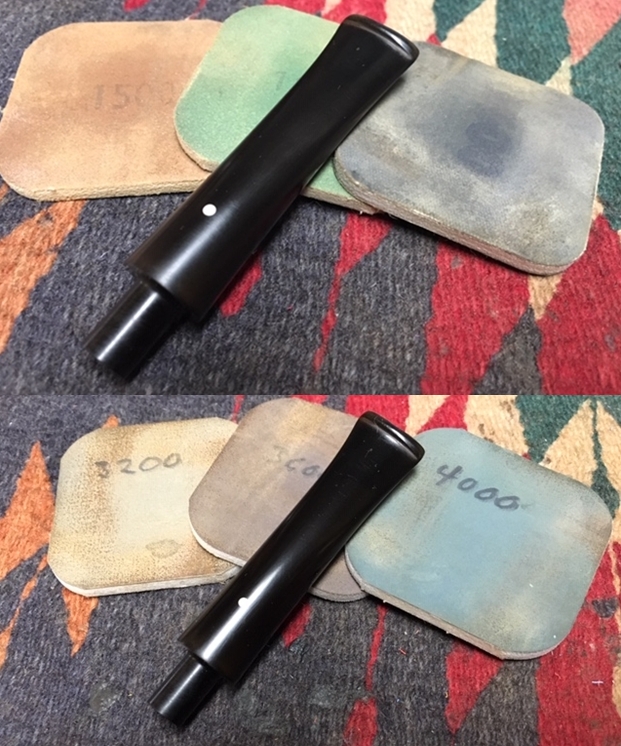
 I started polishing the stem with 320-3500 grit sanding pads. It was great to see the shine really deepen on the vulcanite.
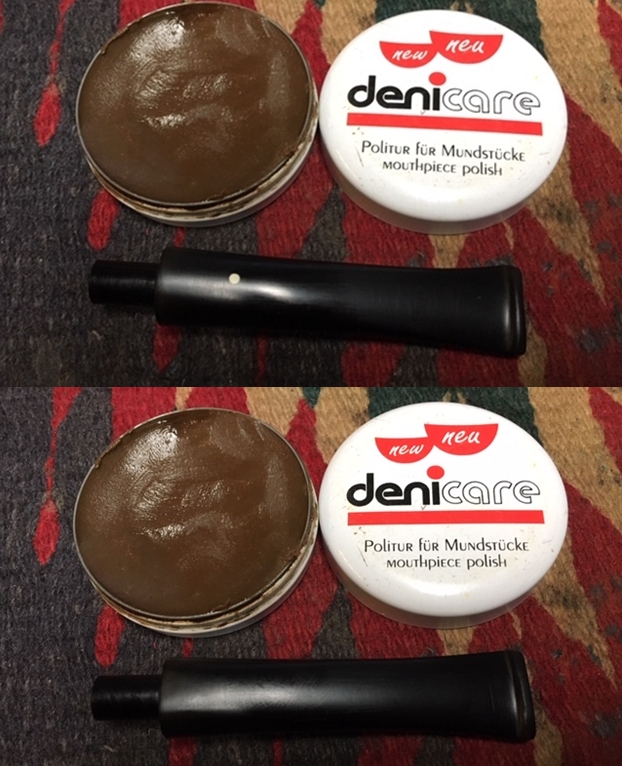
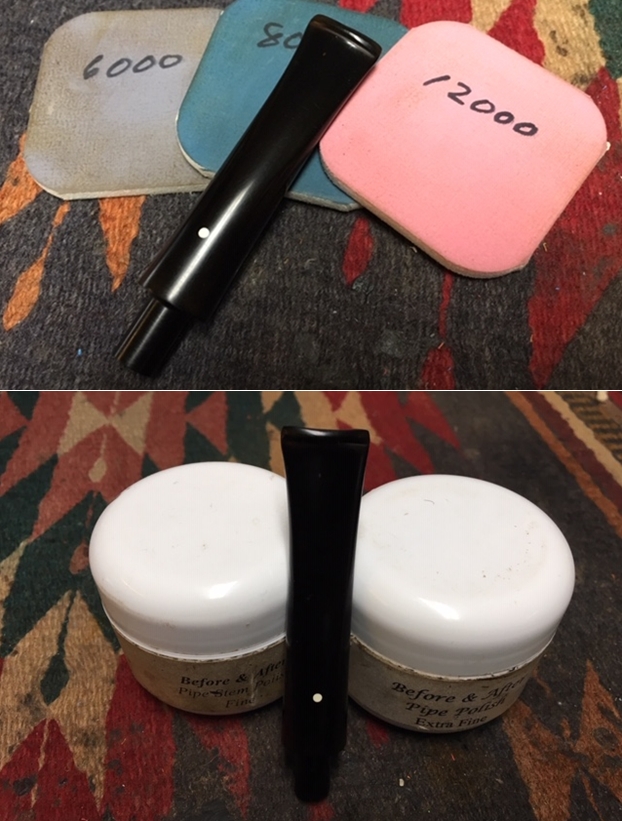
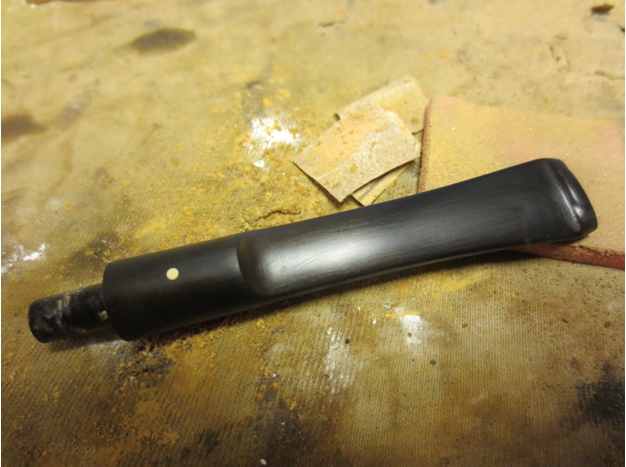
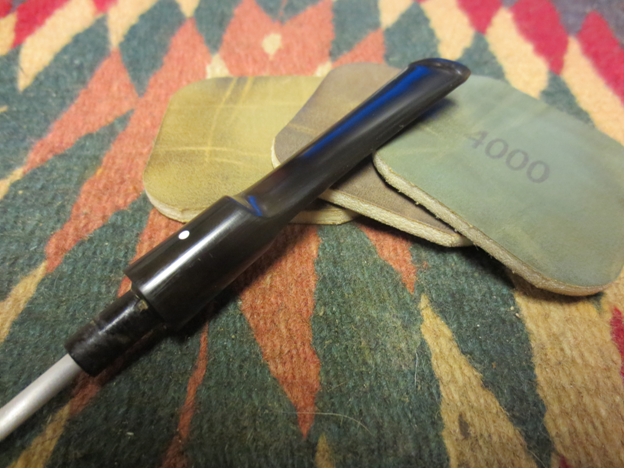
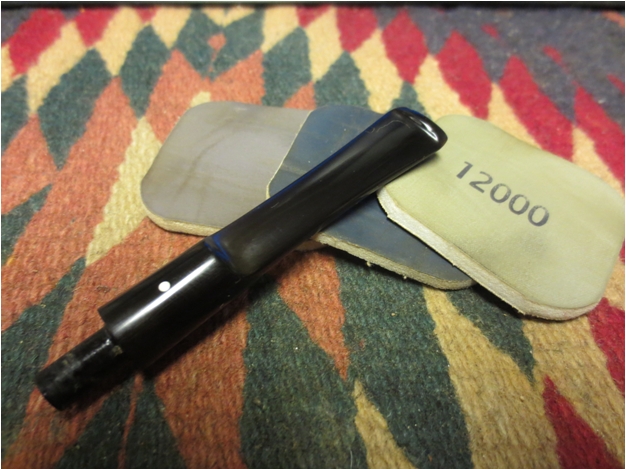
 I polished the vulcanite with micromesh sanding pads – 1500-12000 grit pads. I wiped it down with Obsidian Oil after each sanding pad. I used Before & After Pipe Polish – both Fine and Extra Fine to further polish the stem.
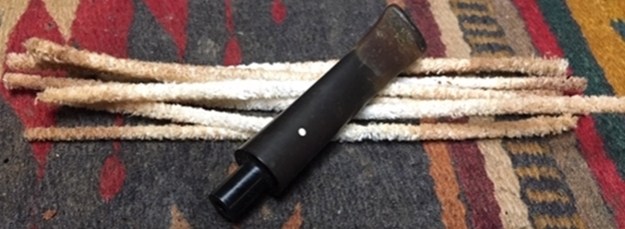
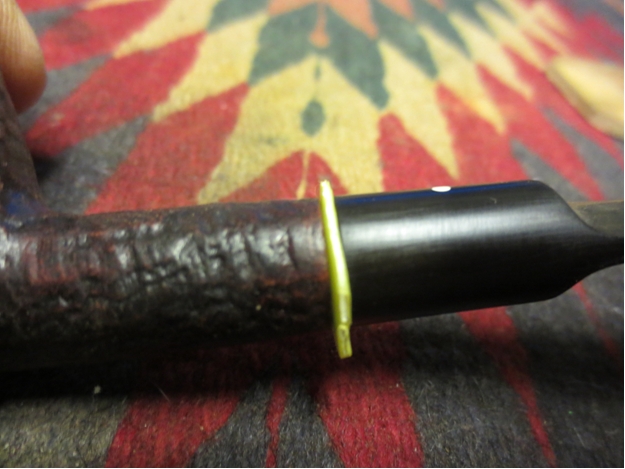
 I had cleaned up the inner tube and with the stem polished and ready I reinserted the tube in the tenon.
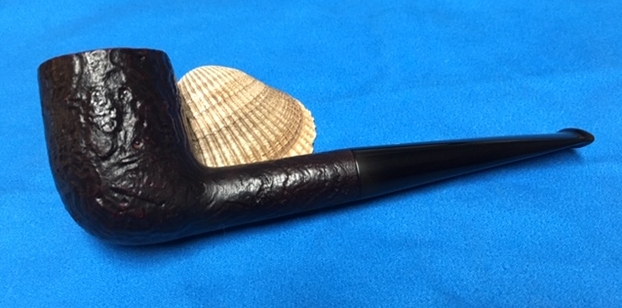
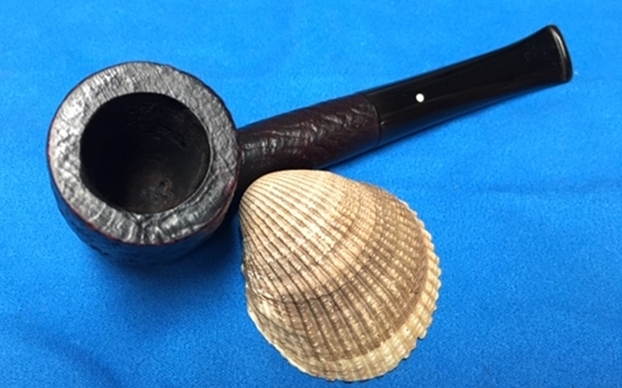
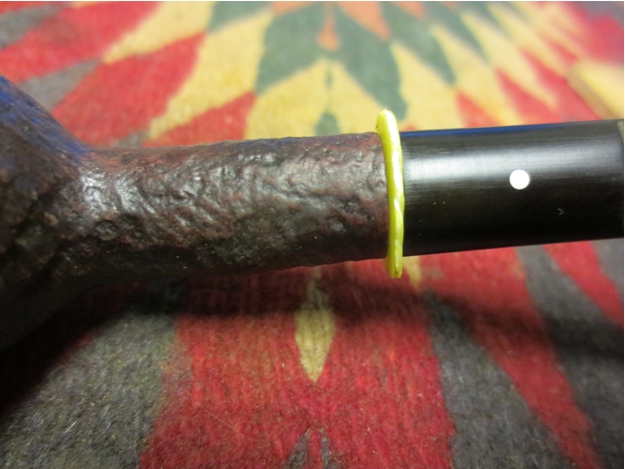
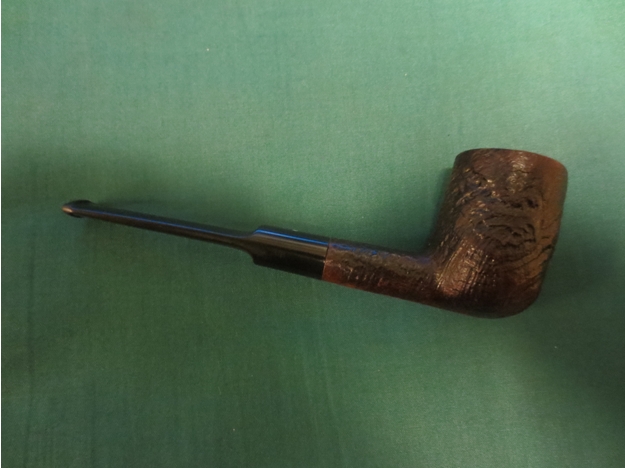
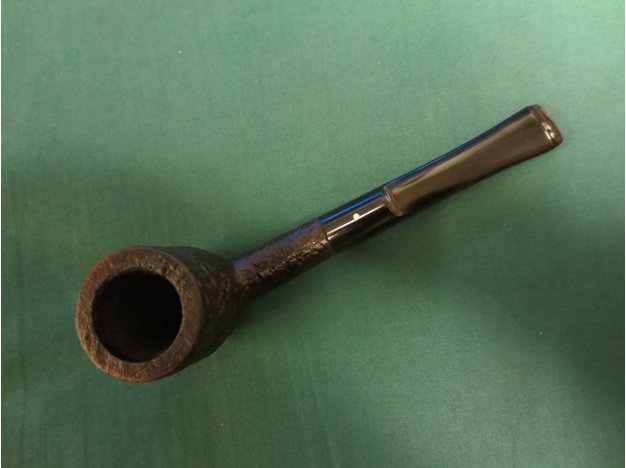
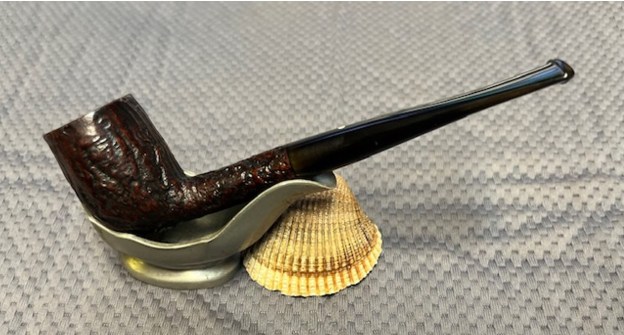
 This 1950 Dunhill Shell E 250F F/T Billiard has a beautiful, unique Dunhill Sandblast finish that is very deep and craggy. The rich brown/black finish highlights some great grain around the bowl and shank. It has some great rugged sandblast that Dunhill developed and specialized in making. The polished vulcanite taper stem adds to the mix. I put the stem back on the bowl and carefully buffed the pipe with Blue Diamond on the buffing wheel. It is critical to avoid buffing the stamping and to have a lighter touch on the sandblast briar. I gave the bowl multiple coats of Conservator’s Wax and the stem multiple coats of carnauba wax on the buffing wheel and followed that by buffing it with a clean buffing pad. I hand buffed the pipe with a microfiber cloth to deepen the shine. The finished Dunhill Shell E 250 F/T Billiard is quite stunning and feels great in my hand. Give the finished pipe a look in the photos below. The dimensions of the pipe are Length: 5 ½ inches, Height: 1 ½ inches, Outside diameter of the bowl: 1 inch, Chamber diameter: ¾ of an inch. The weight of the pipe is .95 ounces/27 grams. Thanks for walking through the restoration with me as I worked over another beautiful pipe. I am going to be sending it back to Eric in Ontario later this week. I look forward to hearing what he thinks of it. Thanks for your time.