
Blog by Steve Laug
The next pipe on the table is a sandblast Dunhill Squat ¼ Bent Bulldog. It had a taper, vulcanite diamond stem with a white spot. We purchased it off eBay from a seller in Jordan, Minnesota, USA on 03/21/2024. The pipe is stamped on the left side of the shank and reads PO F/T followed by Dunhill [over] Root Briar. On the right side of the shank it reads Made in [over] England5. The is followed by 4 in circle followed by an R. The rim top has some lava on the top and thickly caked on the inner edge of the bowl. It is hard to assess the condition of the inner edge of the rim due to the cake and lava overflow. There were oils and grime ground into the smooth finish on the bowl sides gives the finish a flat look. There is some great grain showing through the grime. There is some damage to the twin rings around the bowl cap on the right side. The vulcanite stem is oxidized, calcified, and dirty with grime and grit on the surface. There were light tooth marks on both the top and underside of the stem just ahead of the button. The white spot on the on the left side of the stem was odd – it looked sunken and there was some glue over the top of it. Jeff took photos of the pipe before he started his clean up work. I have included them below.
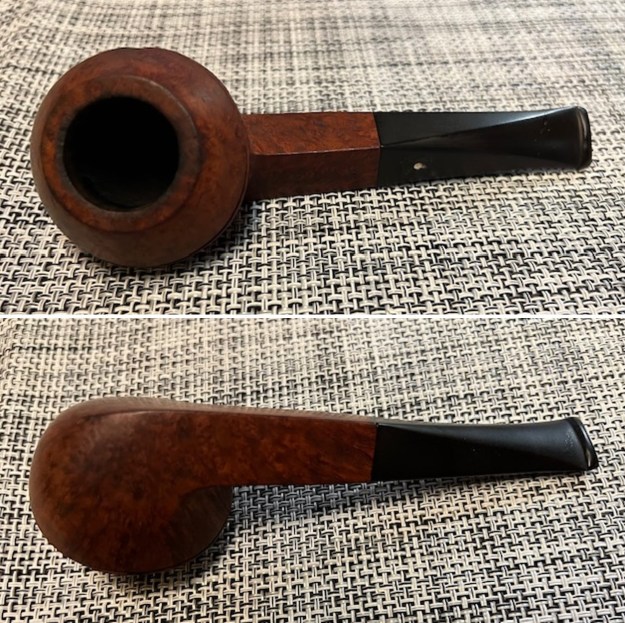
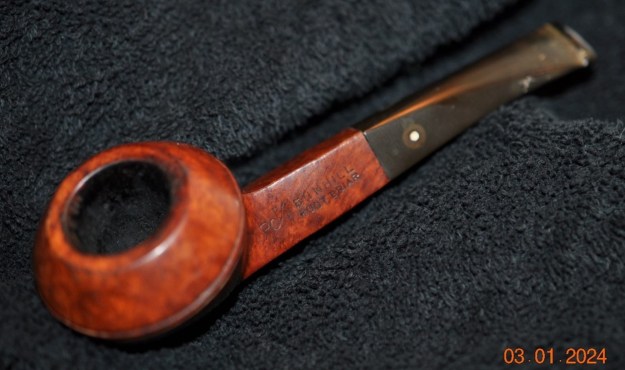 He took photos of the pipe’s bowl and rim top to show the cake in the bowl and the spotty lava coat on the rim top. It is another dirty pipe. He also took photos to capture the condition of the stem and the light tooth marks on the top and underside of the stem near the button.

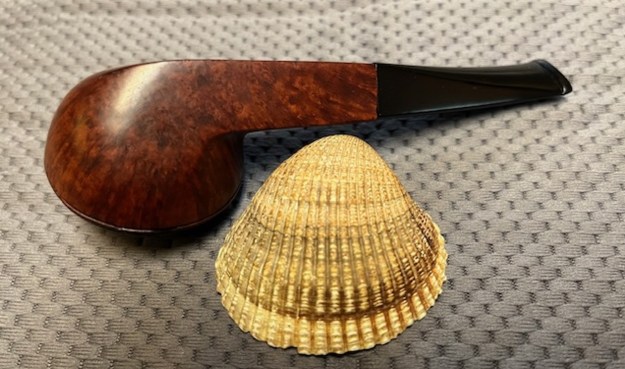
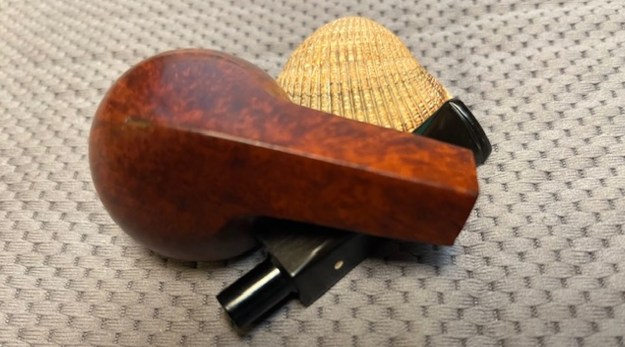
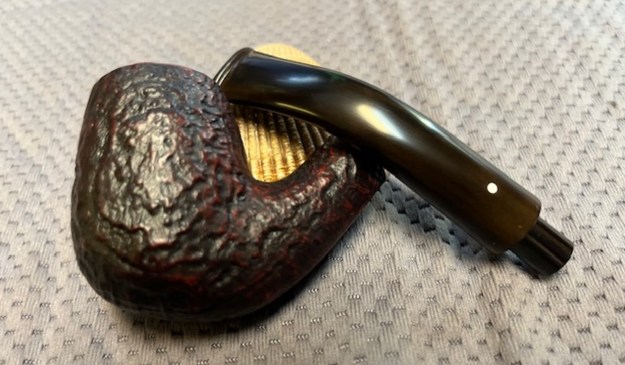
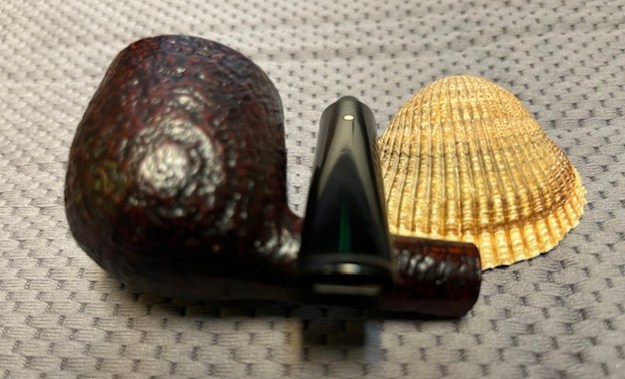
 He took photos of the sides and heel of the bowl to show the beautiful grain around the bowl and the amount of grime ground into the surface of the briar.
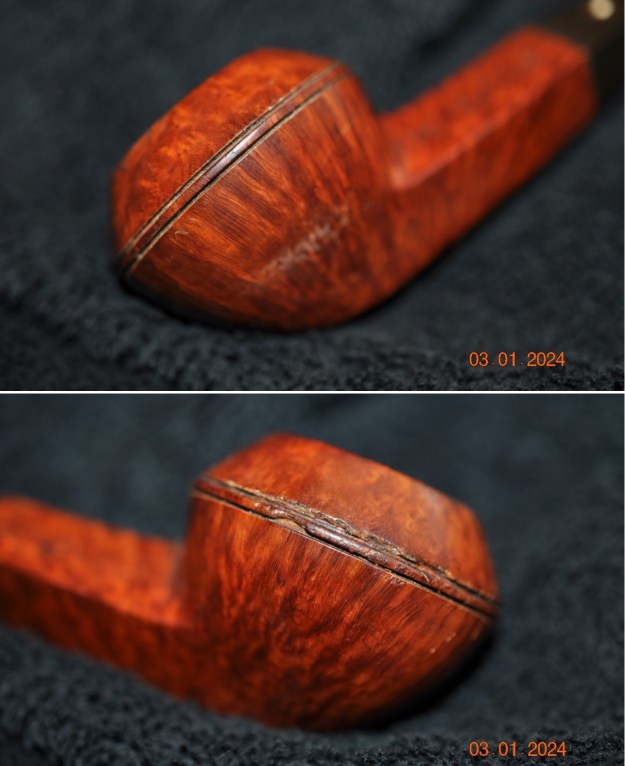
 Jeff also took a photo of the damage on the two rings and center ring around the cap on the bowl. It is heavy damage but I will see what I can do with it.
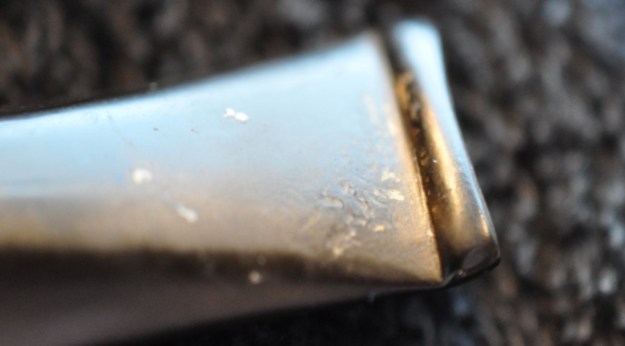
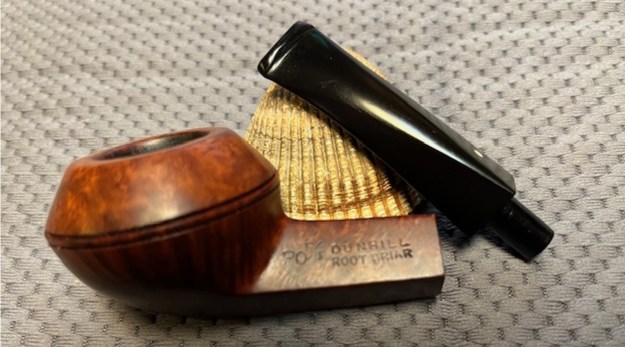
 He took photos of the stamping on the underside of the shank. It is faint in spots but still readable as noted above. He took a photo of the strange, almost soft white spot on the side of the stem.
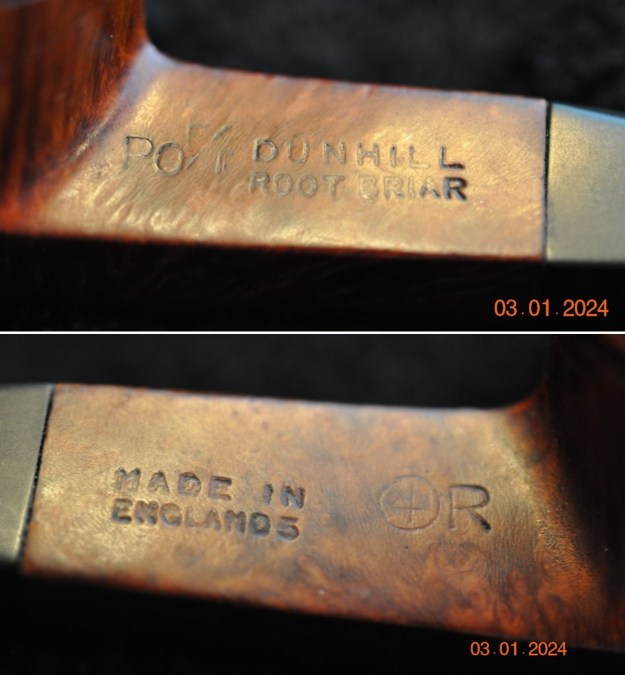
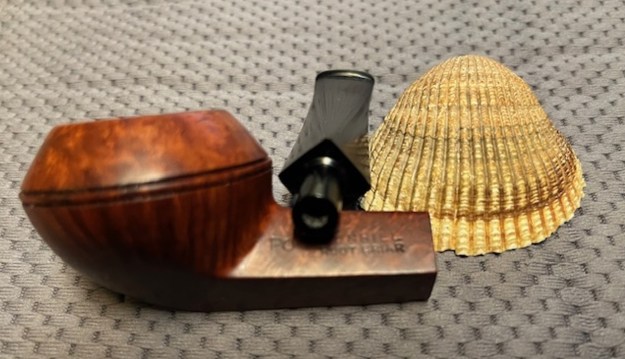
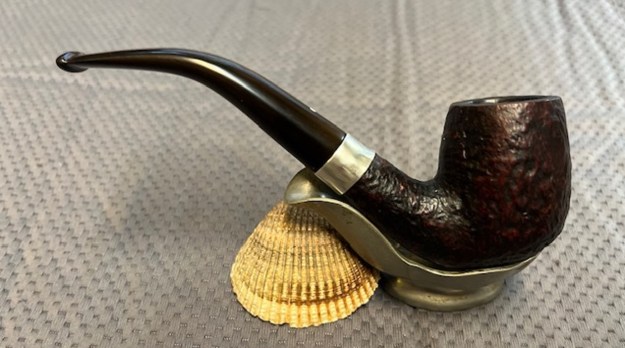
 I wanted to unpack the Dunhill stamping on the shank and work to understand each element of the stamp. I generally use the Pipephil site to gather as much initial information as possible (http://pipephil.eu/logos/en/dunhill/root-briar1.html). The stamping is interpreted as follows: The number PO the shape number for a ¼ Bent Bulldog. The F/T stamp is used to designate Fish Tail stem. The Root Briar stamp refers to the smooth finish. The number 5 following the D of England would give the date the pipe. The Circle 4R shows it is a Group 4 sized pipe and the R is the designation for a Root Briar. The photo below shows a pipe that is stamped similarly to the one that I am working on.
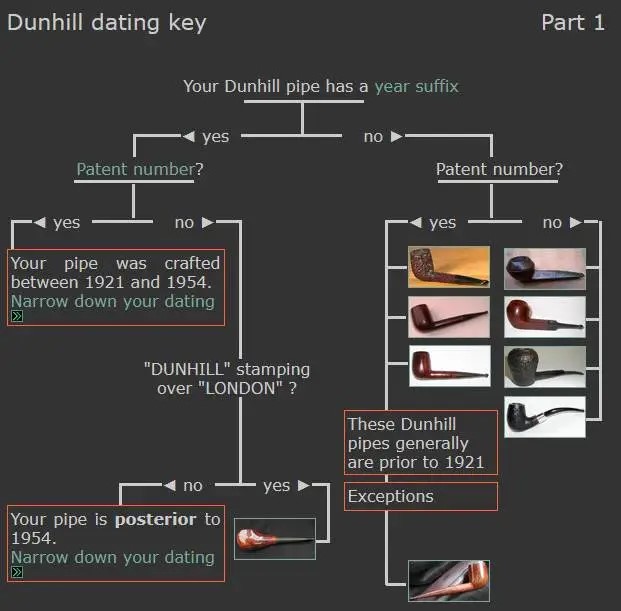
 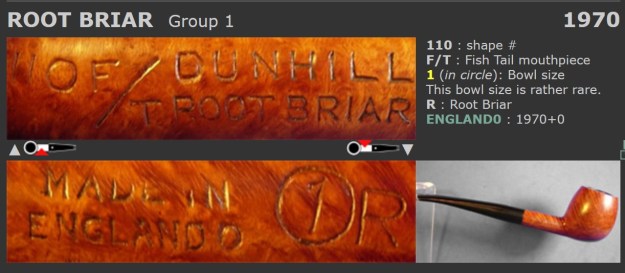 Pipephil also has some helpful dating keys on the site that are basically flow charts that you can walk through to date your pipe (http://pipephil.eu/logos/en/dunhill/cledat-en1.html). I turned to Part 1 of the Dating Key and followed the chart. This pipe has a 5 following the D in England. There was no patent number so that took me to the section on the chart below (column one) which instructed me that the pipe could be dated as being made “posterior to 1954”.
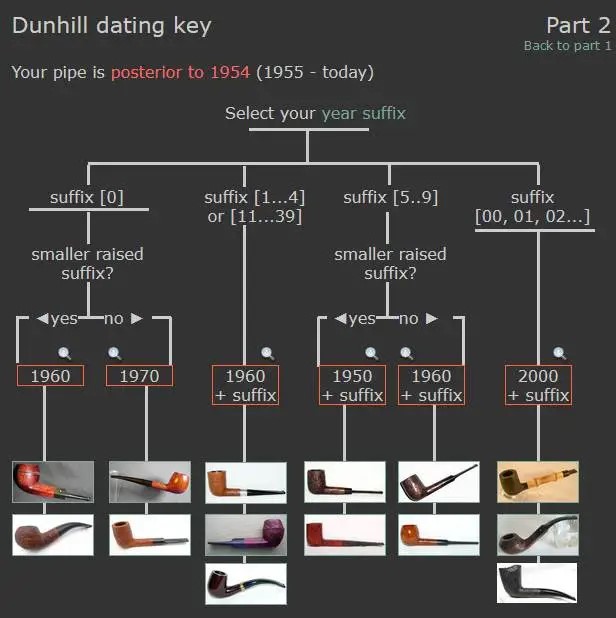
 I followed the link under “Your pipe is posterior to 1954. Narrow down your dating”. That took me to Page 2 of the dating key (http://pipephil.eu/logos/en/dunhill/cledat-en1a.html). The third column (suffix 5…9) led me to the section with a 5 after the D in England. There was a directive for dating the pipe spelled out as follows: 1960 + suffix 5 which gives the pipe a date of 1965.
 I then turned to Pipedia’s section on Dunhill Root Briar to get a bit of background on the Dunhill finishes (https://pipedia.org/wiki/Dunhill#Root_Briar). I quote:
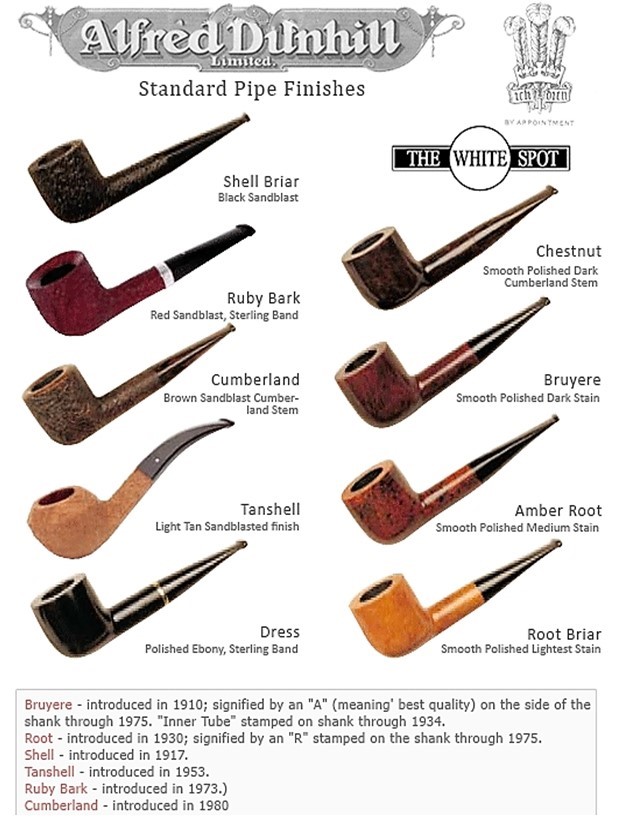
Root Briar
Introduced in 1931 and highly prized because the grain is more pronounced in this finish (usually made using Corsican briar – was made exclusively from that briar into the 60s). The Root Briar finish requires a perfectly clean bowl with excellent graining. Therefore, it is the most expensive of the Dunhill pipes. Corsican briar was most often used for the Root finish since it was generally more finely grained. This is a rare finish, due to the scarcity of briar suitable to achieve it. These pipes are normally only available at Company stores, or at Principle Pipe Dealers. Straight grained pipes were formerly graded A through H, but are now only “Dr’s” and graded with one to six stars, with the letters G and H still used for the very finest pieces.
Dunhill introduced its third major finish, the Root finish, in 1931. Corsican mountain briar is characteristically beautifully grained and the Root was made exclusively from that briar into the 1960s. The pipe was finished with a light natural stain to allow the beauty of the graining to show through. Although always available with a traditional black vulcanite bit, the Root was introduced in either 1930 or more likely 1931 and fitted with a marble brown dark and light grained vulcanite bit that has since become known as the ‘bowling ball’ bit because of the similarity in appearance between the bit’s finish and that of some bowling balls of the time. With the war, however, the bowling ball bit was dropped from production. Through 1954 (and after) the Root pipe nomenclature (including shape numbers) was identical to that of the Bruyere except that instead of the “A” of the Bruyere, the Root was stamped with an “R”. In 1952 when the finish rather then LONDON was placed under DUNHILL, ROOT BRIAR rather then BRUYERE was used for the Root. Loring, J. C., The Dunhill Briar Pipe, The Patent Years and After (self-published, Chicago, 1998).
I turned to work on the pipe itself. Jeff had done an amazing cleanup of the pipe. He reamed the cake with a PipNet reamer and cleaned up that with a Savinelli Fitsall Pipe Knife. He scrubbed the internals of the bowl and stem with alcohol, cotton swabs,pipe cleaners and shank brushes. He scrubbed the externals with undiluted Murphy’s Oil Soap and rinsed the bowl off with running water. He soaked the stem in Briarville’s Pipe stem Deoxidizer and once it had soaked rinsed it off with warm water to remove the residual solution. He dried it off and rubbed it down to remove any oxidation that was still on the stem. Whoever had repaired the stem had used a soft substance and wood glue to fill in the white spot. With the cleaning it fell out and when it arrived here was missing. I was in a hurry to get started with that so I filled in the spot with white acrylic and used some clear CA glue to seal it. I forgot to take photos of the stem without the white spot so use your imagination. Other than that the pipe looked very good when I received it.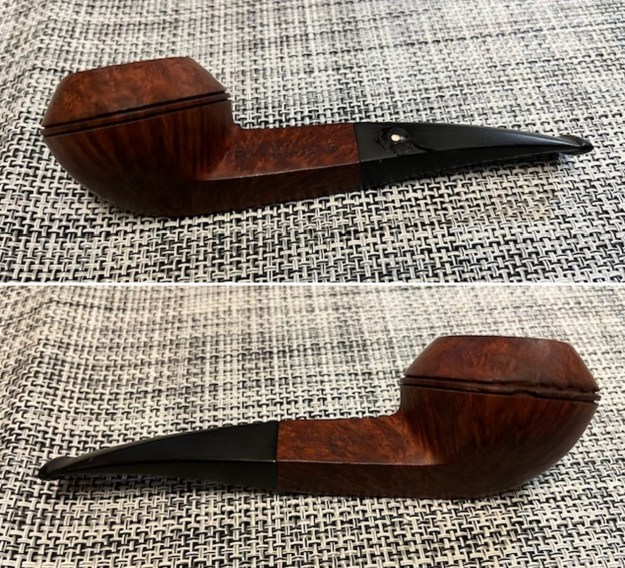
 I took a photo of the rim top to show the condition. It looks pretty good with the tars and oils removed from the rim top. The inner edge of the bowl was slightly damaged and there was some darkening on the top. The bowl itself was very clean. The stem came out looking quite good with light tooth marks and chatter on both sides ahead of the button. I would need to fix the white spot on the stem.
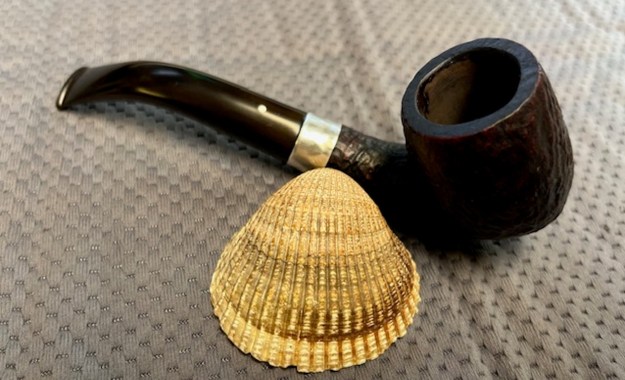
 I took a photo of the sides of the shank to show the stamping. The photo shows the stamping and it is clear and readable as noted above. I removed the stem from the shank and took a photo of the pipe parts to show what I was working with. It is a nice looking pipe.
 I decided to start my restoration work on the pipe by addressing the missing white spot on the stem side. I filled in the hole with some white acrylic nail polish. It dries hard and cures. I filled it in and worked it into the hole. Once it had hardened I scraped off the excess and sanded it with a worn 320 grit sanding pad to remove the excess.
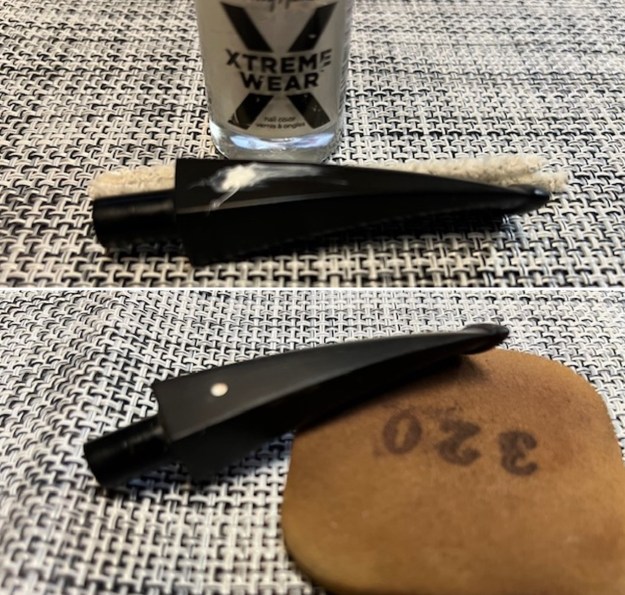 Once I smoothed it out I put a drop of clear CA glue on the dot to seal it. When the glue hardened I flattened it out with the 320 sanding pad. It was smooth and hard and looked perfect. I still needed to polish the stem but the base was good.
 I set the stem aside to cure. I turned my attention to the bowl. I addressed the darkening on the inner edge of the rim and the damaged spots on the rim top by lightly topping the bowl on a topping board with 220 grit sandpaper. I used an oak stain pen to stain the newly sanded top to match the rest of the bowl.
 I sanded the bowl and rim top with 3203500 grit sanding pads. I wiped the bowl down after each pad with a damp cloth. The briar really took on a shine. The rim top matched the rest of the bowl very well.
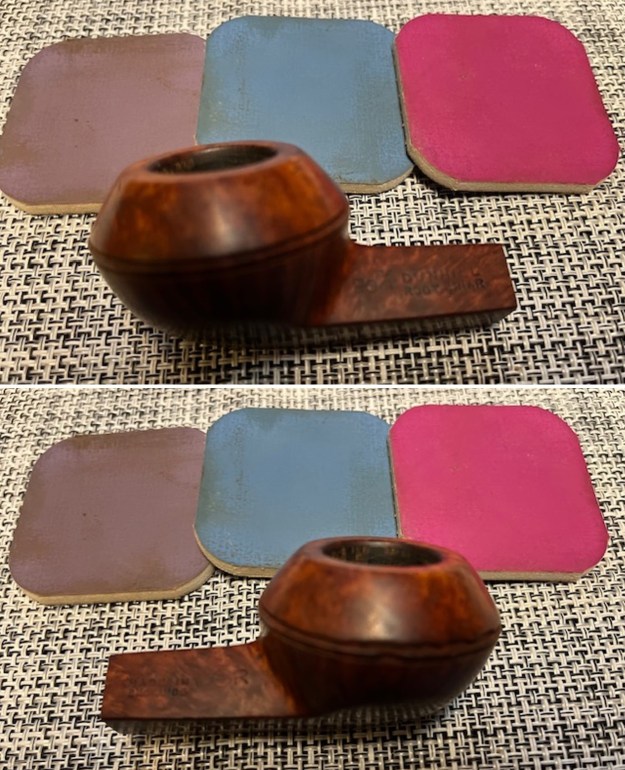
 I polished the briar with micromesh sanding pads – dry sanding with 1500-12000 grit pads. I wiped it down after each sanding pad with a damp cloth to remove the sanding debris on the surface.
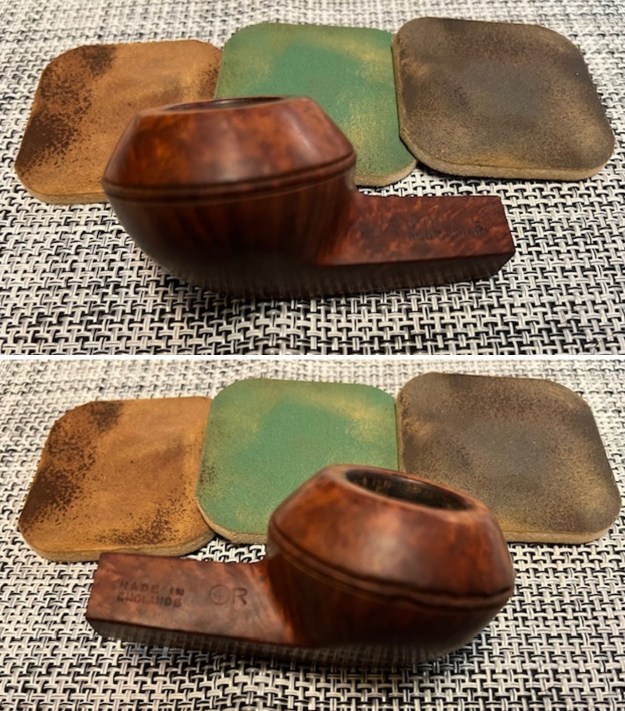


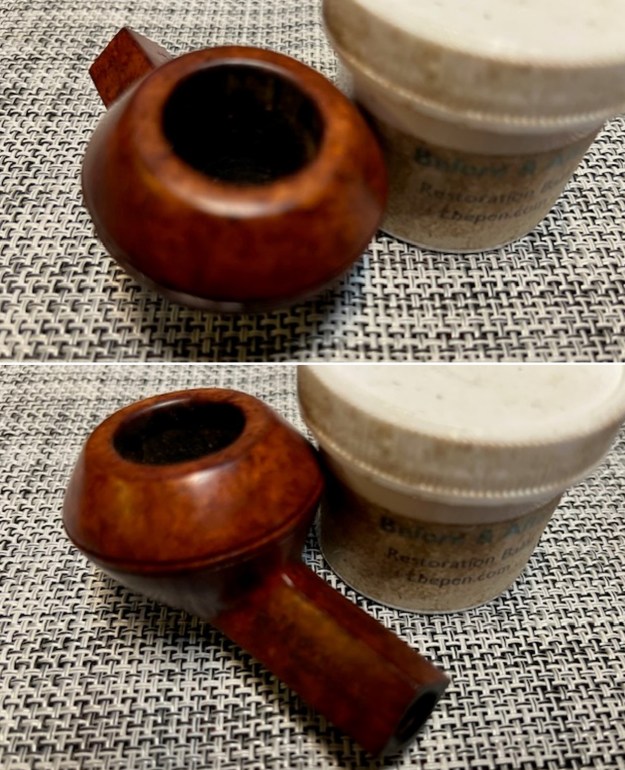
 I rubbed the bowl down with Before & After Restoration Balm. I worked it into the surface of the briar with my fingertips to clean, enliven and protect it. I let the balm sit for a little while and then buffed with a cotton cloth and shoe brush to raise the shine.

 I turned back to the stem and I polished the vulcanite with micromesh sanding pads – 1500-12000 grit pads. I wiped it down with Obsidian Oil after each sanding pad. I used Before & After Pipe Polish – both Fine and Extra Fine to further polish the stem. I gave it a final coat of Obsidian Oil and set it aside to dry.
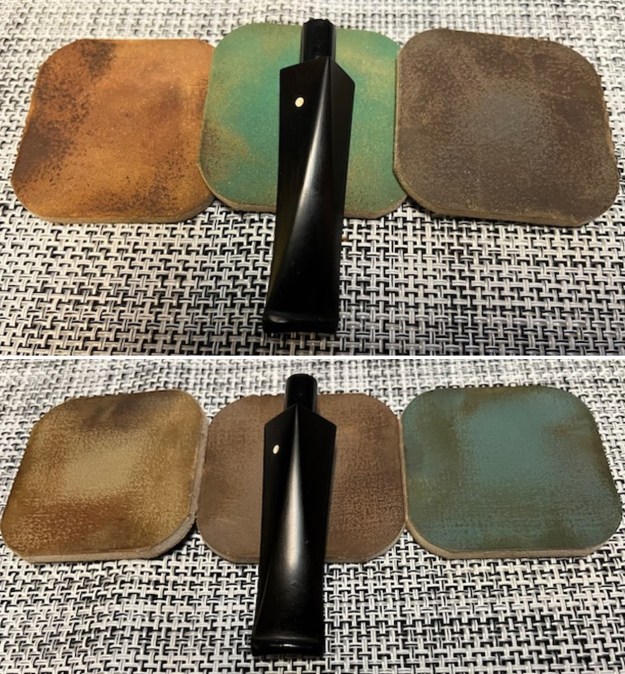
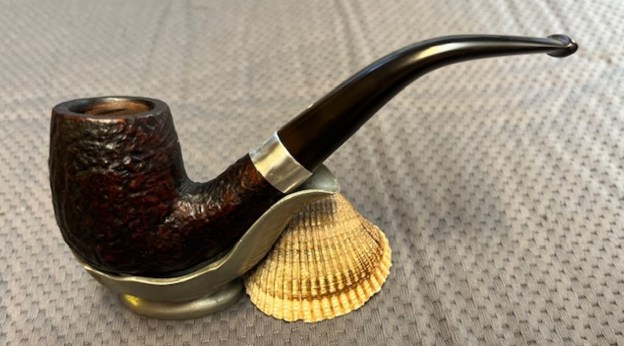
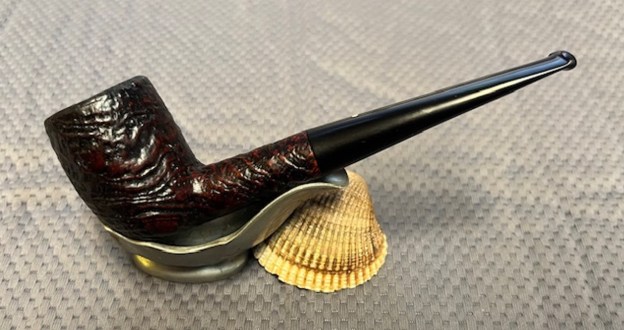
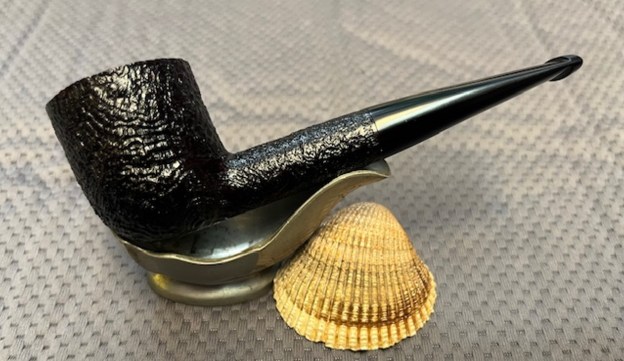
 This 1965 Dunhill Root Briar PO F/T ¼ Bent Bulldog with Vulcanite taper stem has a beautifully grained Dunhill Root Briar. It has a classic Dunhill Bulldog Shape that is perfect in the hand. The nicks in the twin rings around the bowl cap on the right side are present but not to obvious. The Root Briar mixed brown finish highlights some great grain around the bowl and shank. The polished vulcanite diamond taper stem adds to the mix. I put the stem back on the bowl and buffed the pipe with Blue Diamond on the buffing wheel being careful to not buff the stamping. I gave the bowl and the stem multiple coats of carnauba wax on the buffing wheel and followed that by buffing it with a clean buffing pad. I hand buffed the pipe with a microfiber cloth to deepen the shine. The finished Dunhill Root Briar PO F/T ¼ Bent Bulldog is quite nice and feels great in the hand. Give the finished pipe a look in the photos below. The dimensions of the pipe are Length: 5 inches, Height: 1 ½ inches, Outside diameter of the bowl: 1 ¾ inches, Chamber diameter: ¾ of an inch. The weight of the pipe is 1.27 ounces/3.6 grams. Thanks for walking through the restoration with me as I worked over another beautiful pipe. This one will be going on the rebornpipes store in the English Pipe Makers Section. Thanks for your time.


