Blog by Steve Laug
I am not much of a figural pipe guy – whether meerschaum or briar. So I have left a lot of figurals behind on my hunts – bull pipes, horses, elk etc. So when I saw this one sitting in the display case, if you knew my predilection you would have expected me to leave it and walk away. But why didn’t I walk away? Well the answer is kind of complex. It truly has nothing to do with aesthetics because my dislike of figurals has not changed. But when I saw the stamping on the shank – Customobilt over Imported Briar and I saw the carved front of the bowl I knew I was dealing with a pipe that I had not seen before. In all the years that I have been hunting for pipes and restoring them I have never run across one of these. The “rarity” for me was the first thing that caught my eye. I knew nothing about the carver and to be honest I was not sure of the era of the pipe. I just thought, “Hmmm not seen that before” and grabbed it.
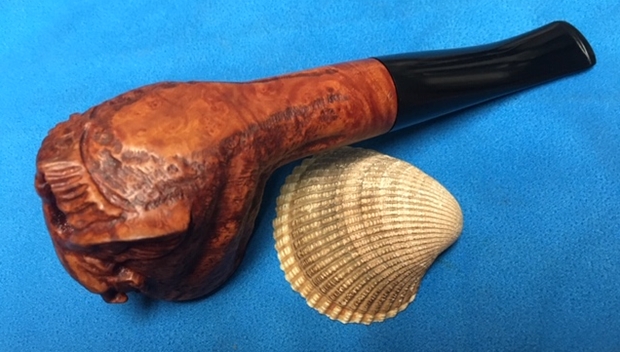
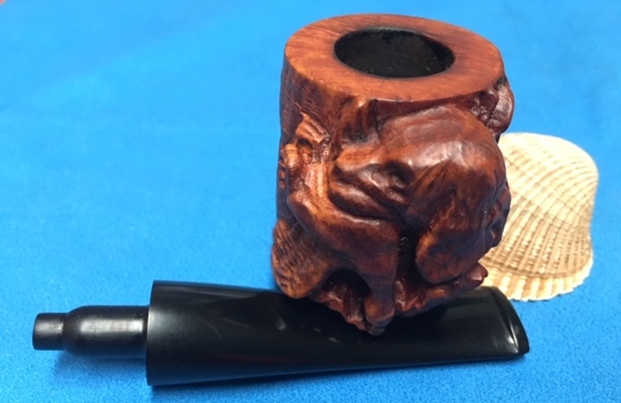
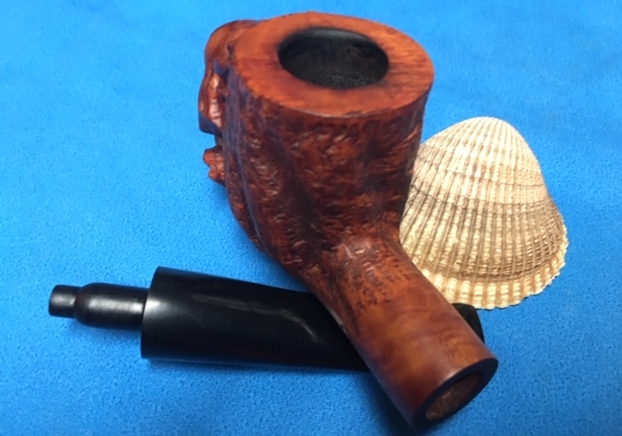
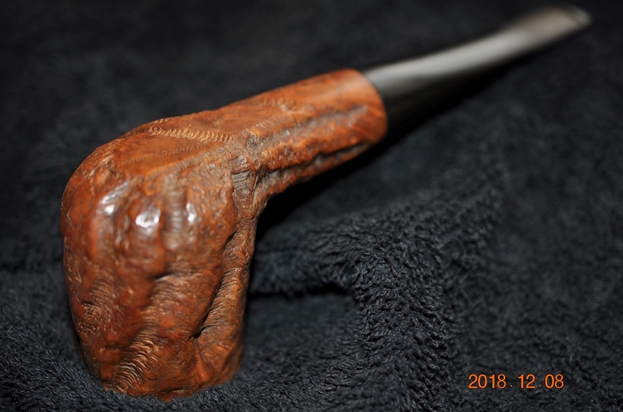
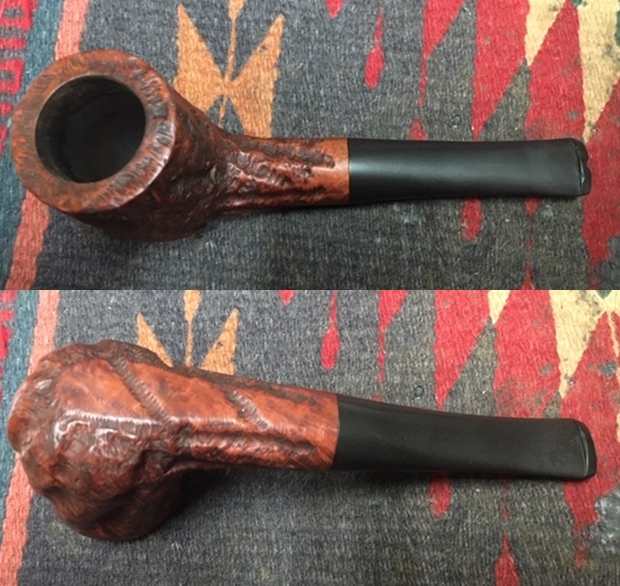
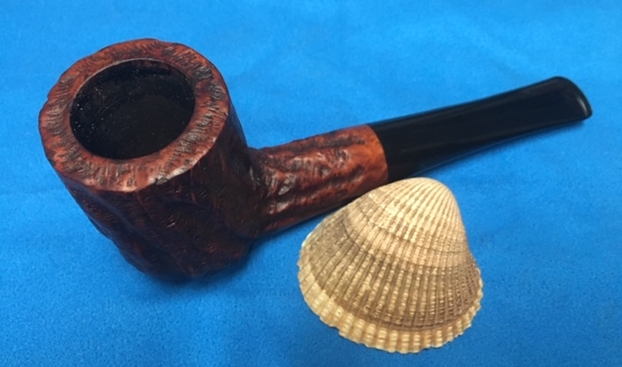
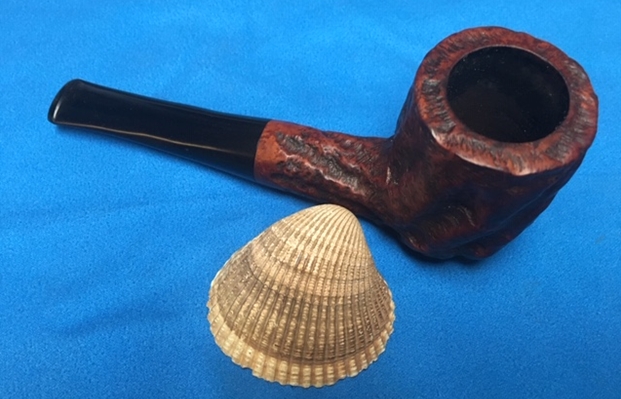
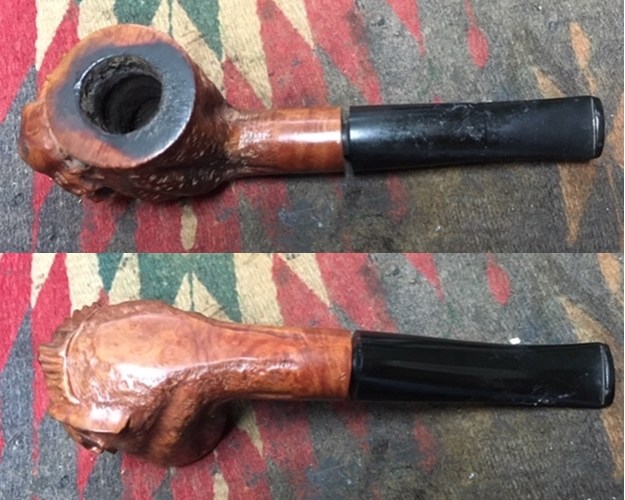
Here is what I saw with the pipe. The finish was dirty and oils and grime were deep in the rustication around the bowl. The carving on the front was dirty with dust in the crevices. The bowl had a thick cake and there was lava overflow on the back side of the rim top. There were some nicks and lava on the front portion as well. The finish had a bit of shine left to it, particularly on the shank – almost like a shellac or varnish coat. The stem did not fit all the way into the shank due to the tars and oils built up on the walls of the mortise. The stem was in good condition with just a few small tooth marks on the top and underside. It was dirty but not oxidized.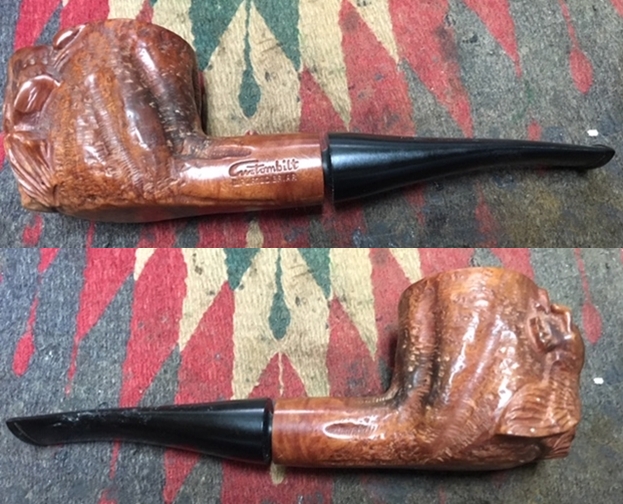
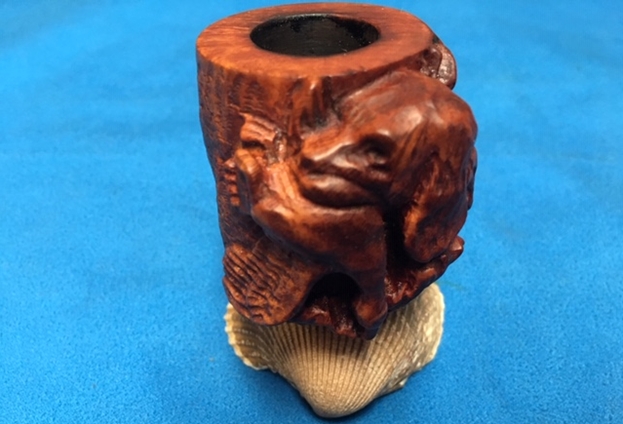
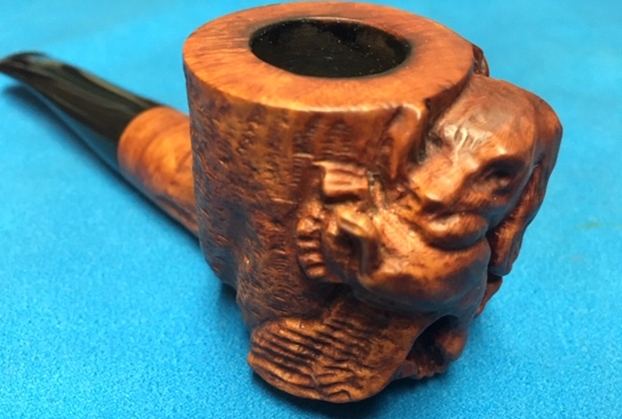
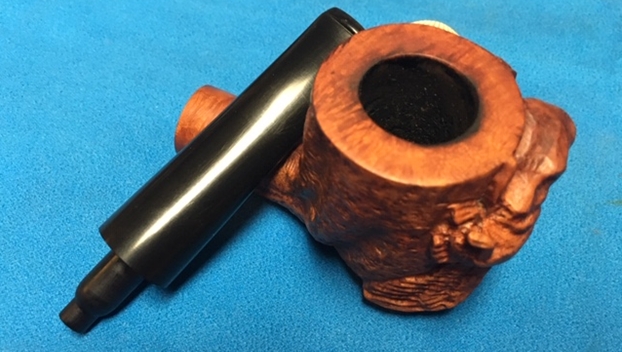
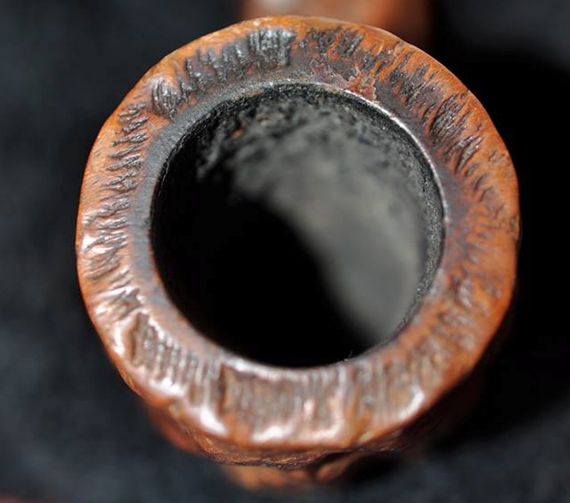
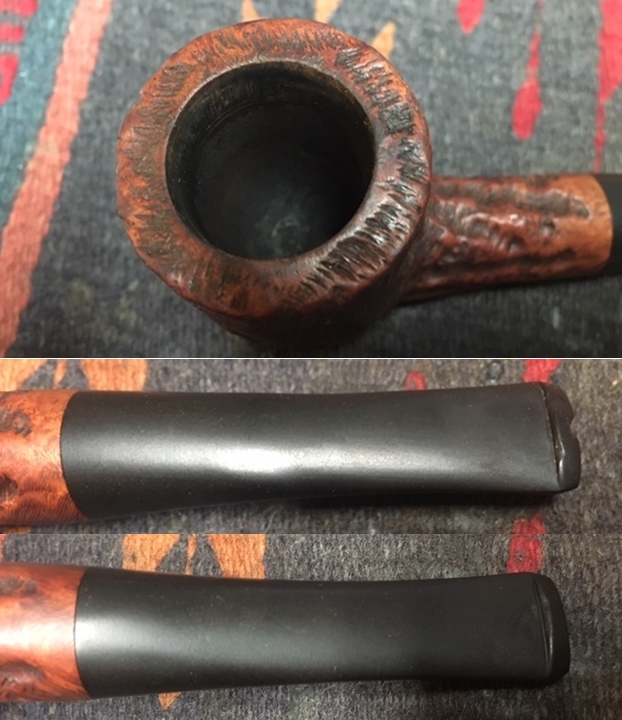
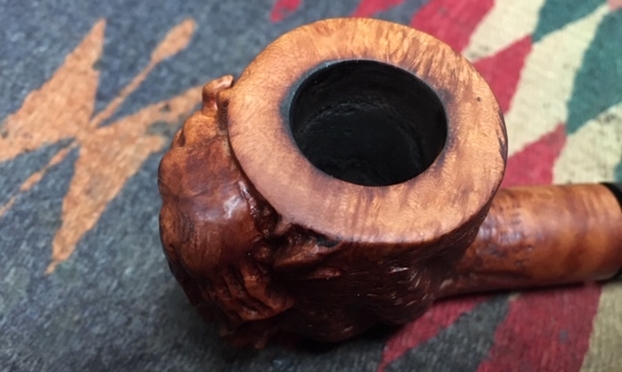
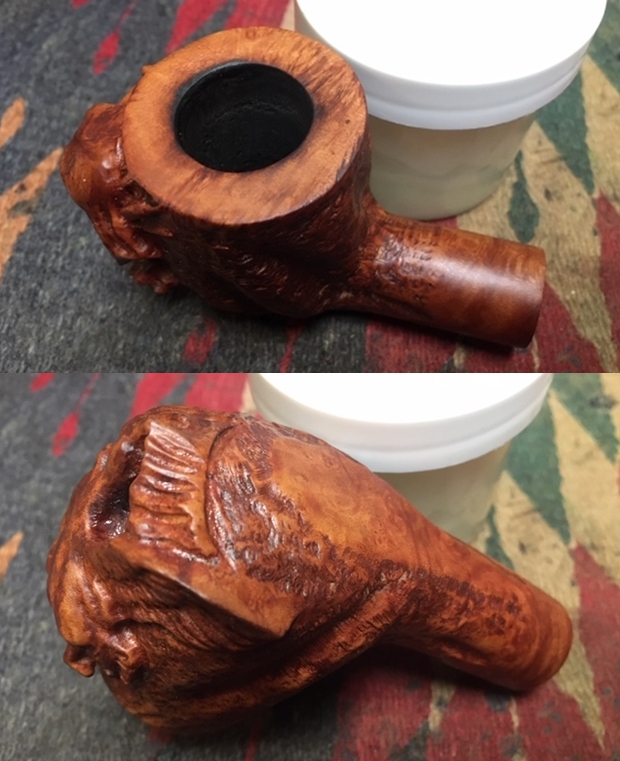
 I took some close up photos of the rim top, bowl and stem to show the condition of the pipe before I started the cleanup work. The bowl has a thick crumbly cake in it and the lava overflow is very thick. You can also see damage on the front inner edge of the bowl. The stem is not oxidized but is dirty and has some tooth marking on the top and underside near and on the button surface.
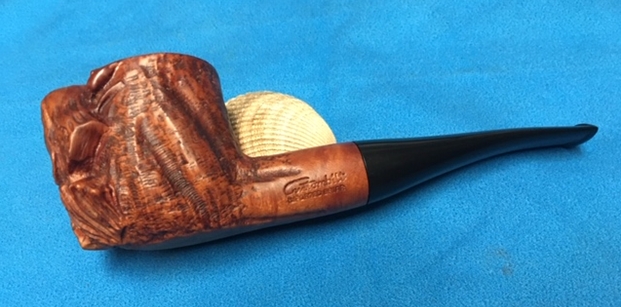
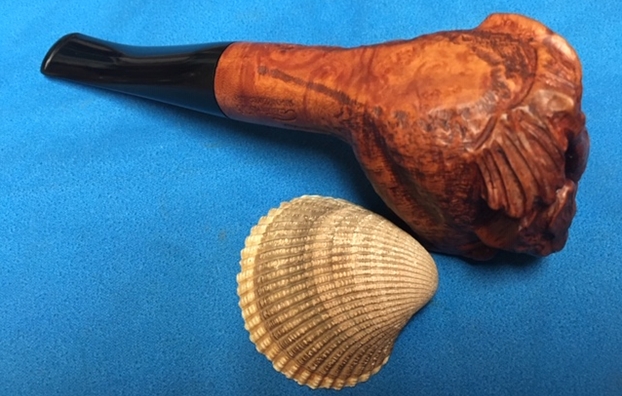
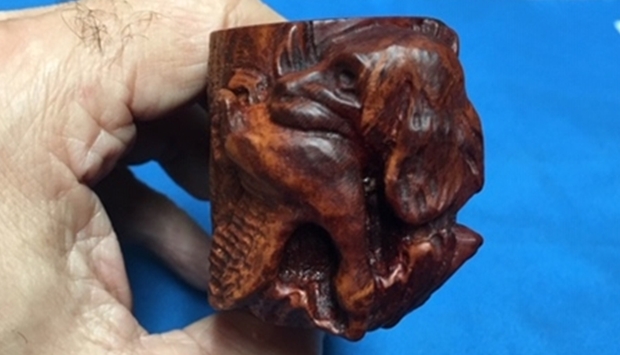
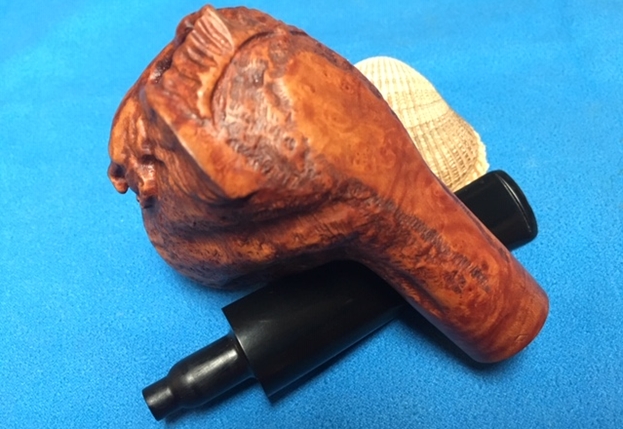
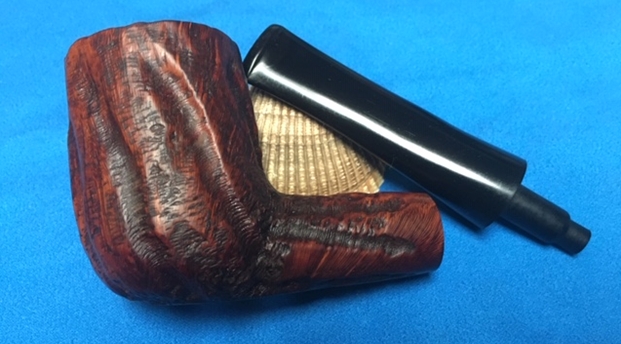
 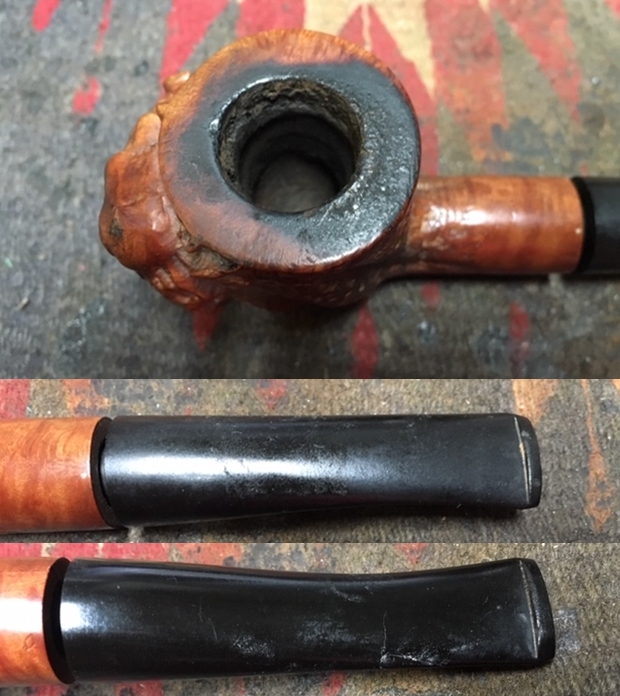 The carving on the front of the bowl is very nicely done. It is a hunting dog with a duck in its mouth. The carving has enough detail to be interesting but is not over done.
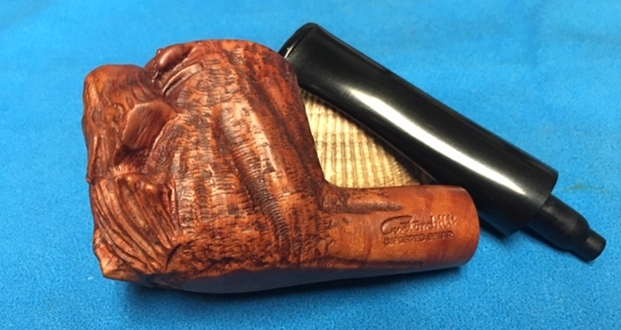
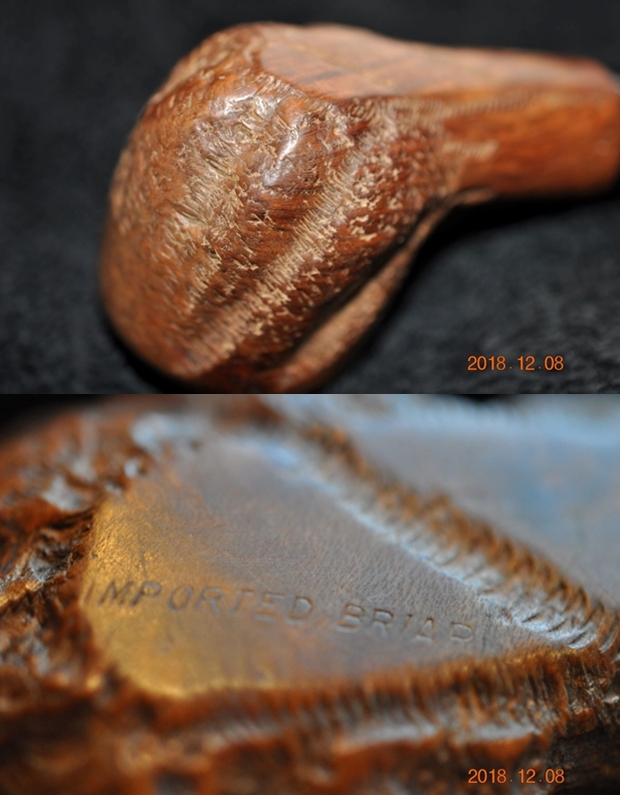
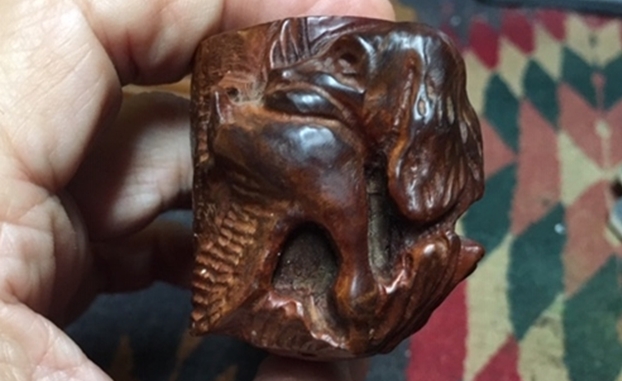 I also took a photo of left side of the shank to show the stamping. The stamping is readable in the photo below and is as noted above – Custombilt over Imported Briar. On the underside there is a small diamond at the shank/stem junction.
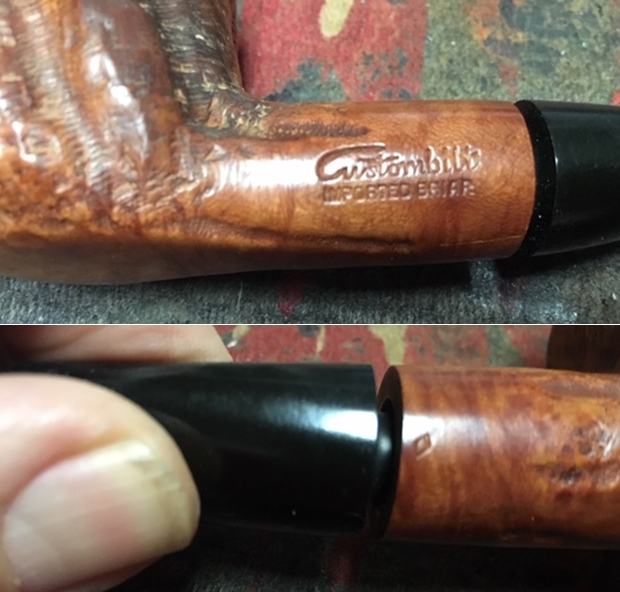 I decided to pause and do a bit of research on the pipe to figure out when the figurals were carved and what era of Custombilt pipe making this one was made. It was a pretty simple project really as I have worked on quite a few over the years. I went first to a friend of mine from Holysmoke pipes from New York. He is a great resource on these 20th Century pipes. Here is what he said about the pipe:
During the Rich era, CB had a carved animal line. The diamond as well as other figures is one of the CB mysteries. Presumably, they were earlier pieces. Actually, the carved animal line was a bit cheaper in price than the regular CB line, costing in those days $7.50, while the regular ones were $10 or more. Most of these carvings were done by Hetzer Hartsock, who also did the super expensive special order carved ones. He was a famous carver in those days.
There was the lead I needed. A potential date and a name to check out. I turned to Pipedia to check out the stamping and confirm the era of manufacture (https://pipedia.org/wiki/Custom-Bilt). I quote from the pertinent section of the article.
In 1946, the name was changed to Custombilt after Mincer began an association with Eugene J. Rich, Inc. There were some big changes in advertising and distribution. The slogan “AS INDIVIDUAL AS A THUMBPRINT” began at this time as well.
This confirmed the information from Holysmokes Pipes and also gave me a starting date for the making of this pipe. It was made after 1946. Now it was time to get a read on the figural carvings. In the same article there was a great paragraph giving more information on Hetzer Hartsock.
A most interesting discussion in this chapter is the discussion of Hetzer Hartsock’s carved pipes, which included a special ‘Stalin/Roosevelt’ pipe. Hartsock also did carved heads and other figures. Carved head and other such pipes were very popular at the time. One 5 pipe set of Hartsock special carvings was “valued” at $5,000. Also during the Rich era, Custombilt had a carved animal line which were relatively inexpensive at $7.50 as compared to the regular line. There were also special orders available that cost up to $500.00. One wonders what difference could have caused such a radical change in price.
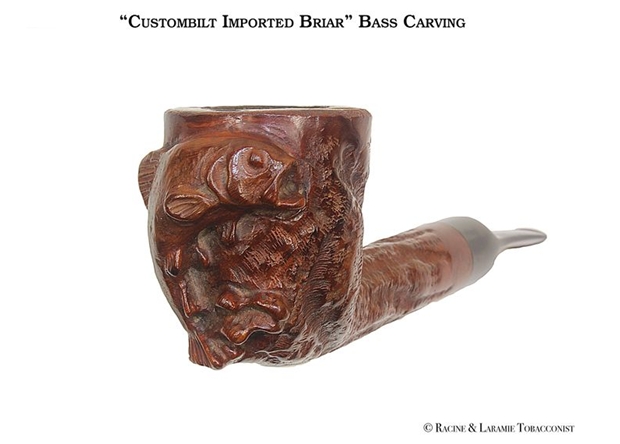
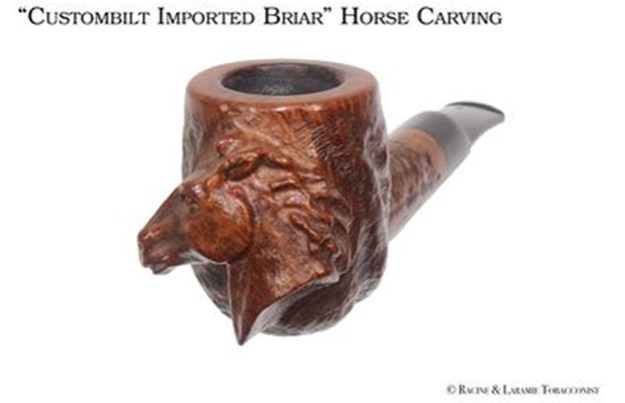
I am also including a few of the pipes that were shown as carved by Hartsock. They are unique and well carved.
 With that information in hand I was ready to start on this Hetzer Hartsock carved Custombilt Billiard. It is a hefty pipe and interesting to work on. I reamed the bowl with a PipNet pipe reamer to take the cake back to bare briar. I sanded it smooth with a piece of 220 grit sandpaper wrapped around a dowel.
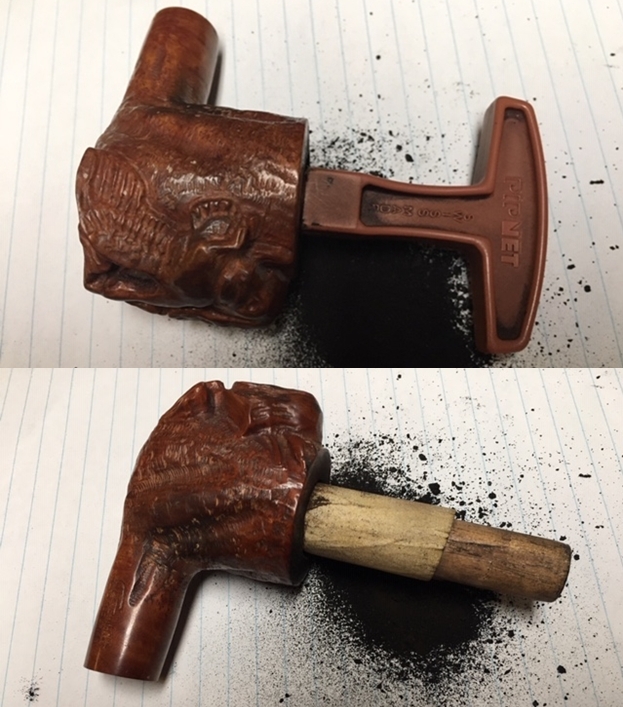 I used the Savinelli Fitsall Knife and a sharp pen knife to scrape the thick lava coat off of the rim and try to assess the damage.
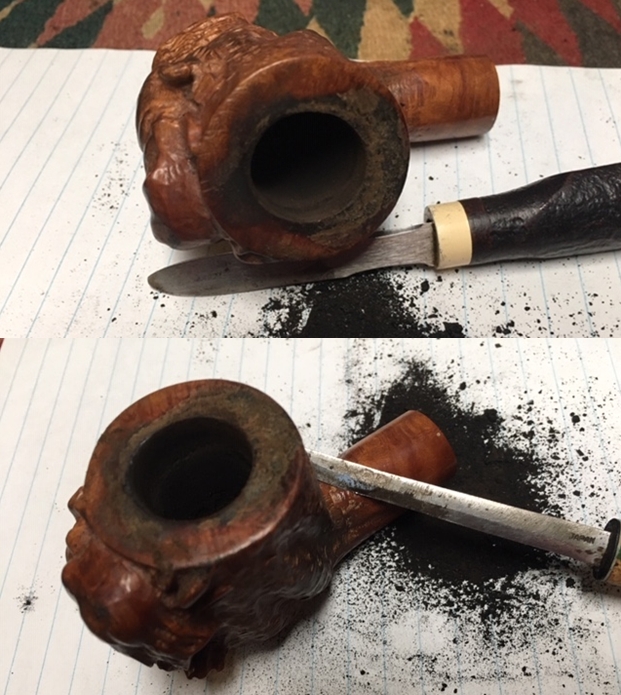 I used a small folded piece of 220 grit sandpaper to smooth out the inner edge of the rim and work on the remnant of lava on the rim top. Finally to remove the remaining lava I topped the bowl very gently on a topping board and 220 grit sandpaper then polished it with some 400 grit wet dry sandpaper.
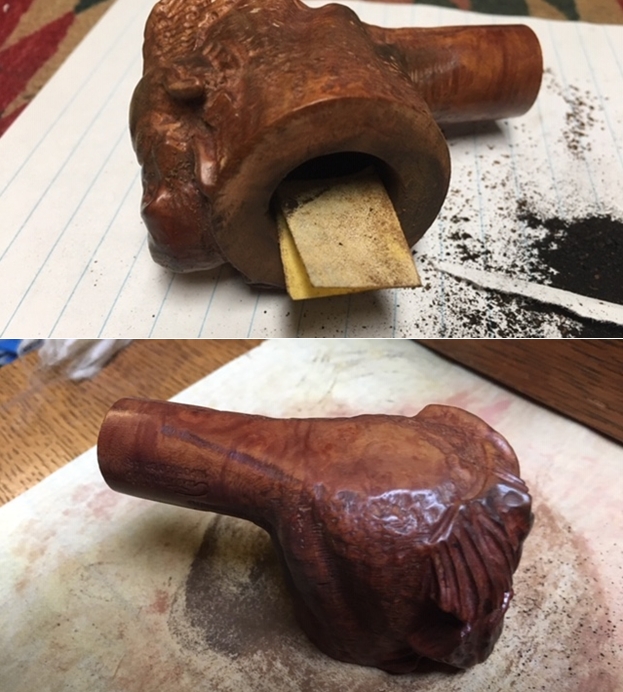
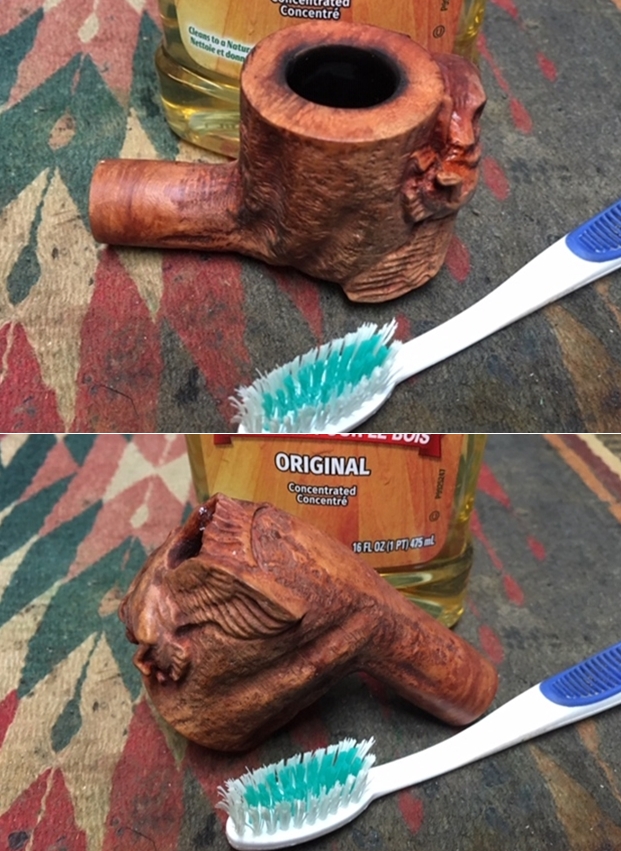
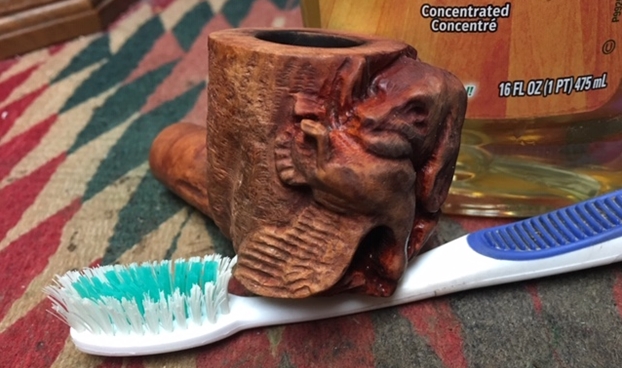
 I scrubbed the rough briar with a tooth brush and undiluted Murphy’s Oil Soap. I worked it into the nooks and crannies – the crevices of the carving on the front of the bowl until the entire pipe had been scrubbed. I rinsed it under warm water and scrubbed as I removed the soap and the grime with it.
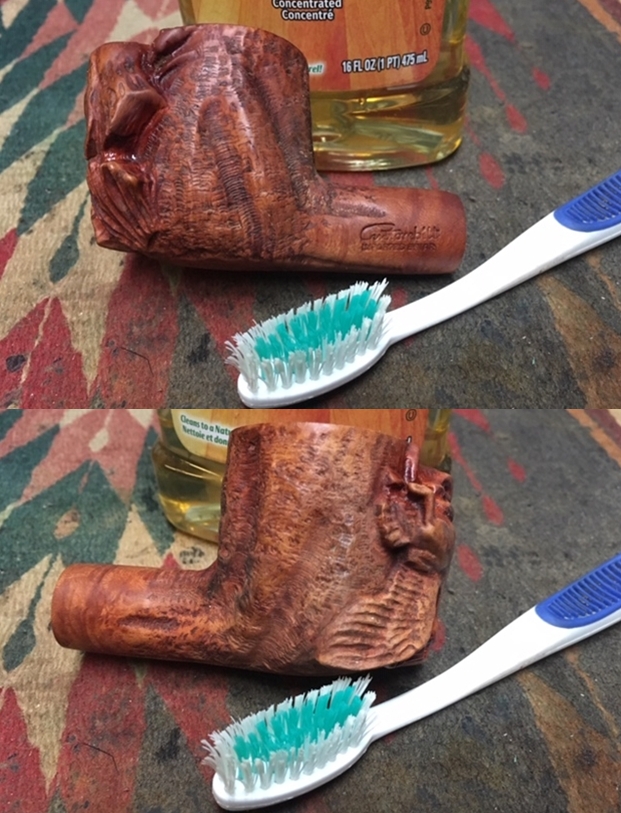
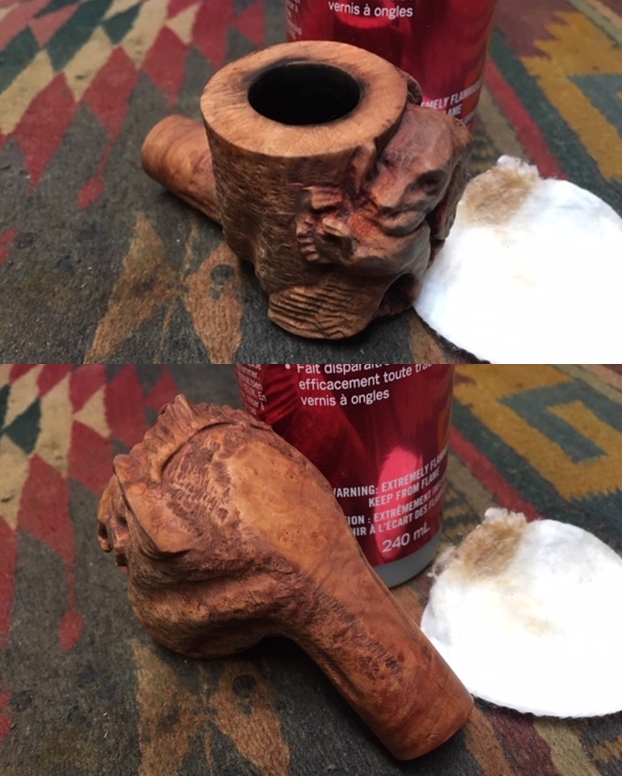
 I wiped down the spots of shiny varnish and white paint flecks on the briar with acetone on a cotton pad. At this point the bowl was looking pretty clean on the outside.
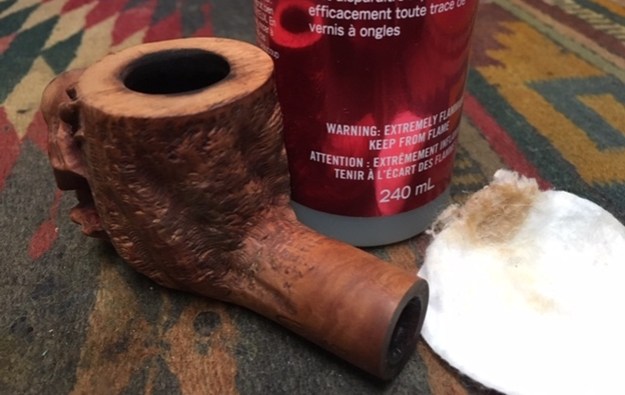
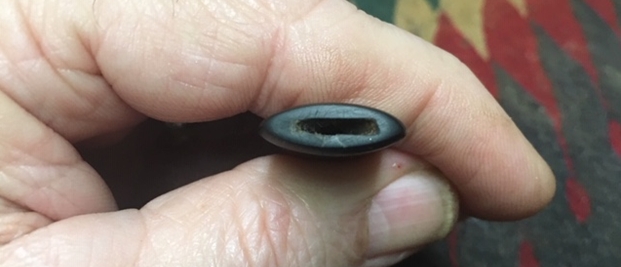
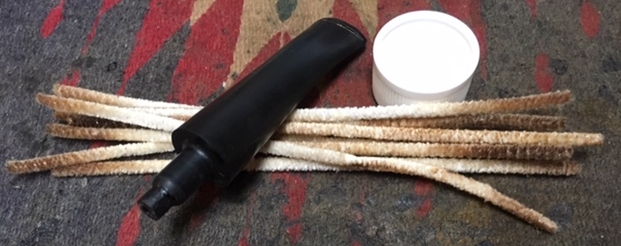
 With the externals cleaned and ready to work on further I took a break and cleaned out the interior. I scraped the inside of the mortise with a dental spatula to remove the tarry buildup on the walls. I scrubbed the mortise and the airway in the shank and stem with alcohol, cotton swabs and pipe cleaners.
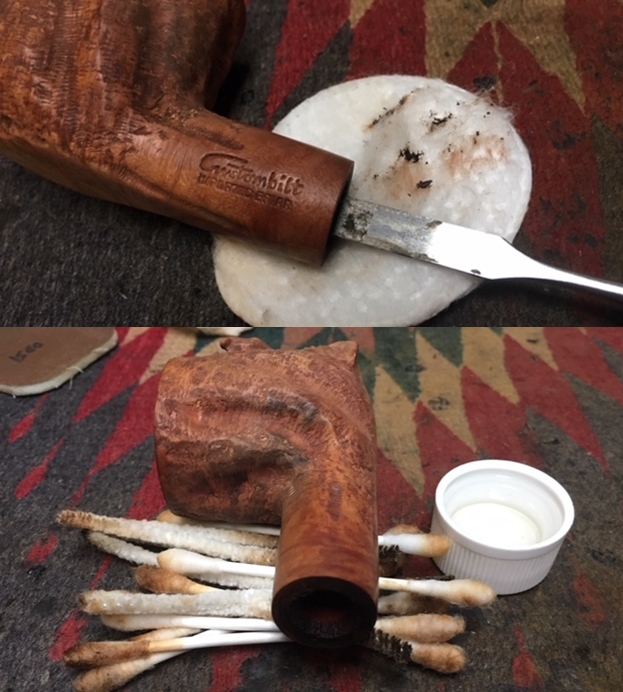
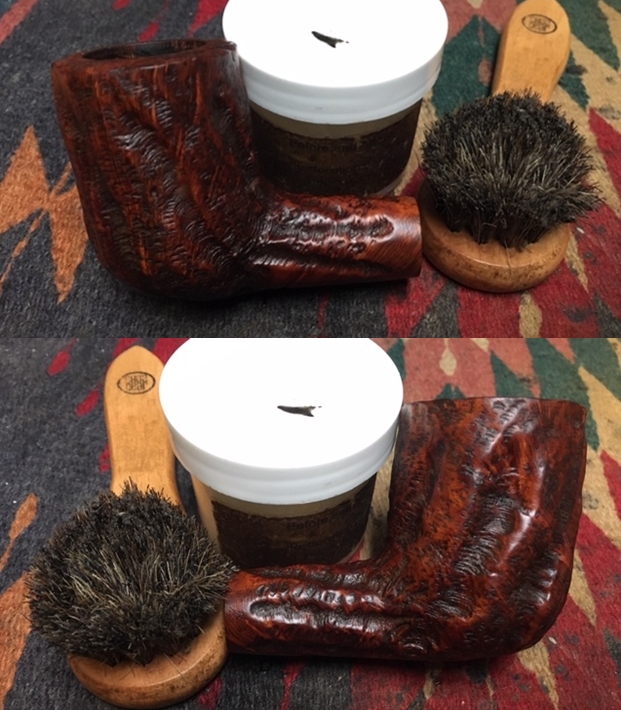
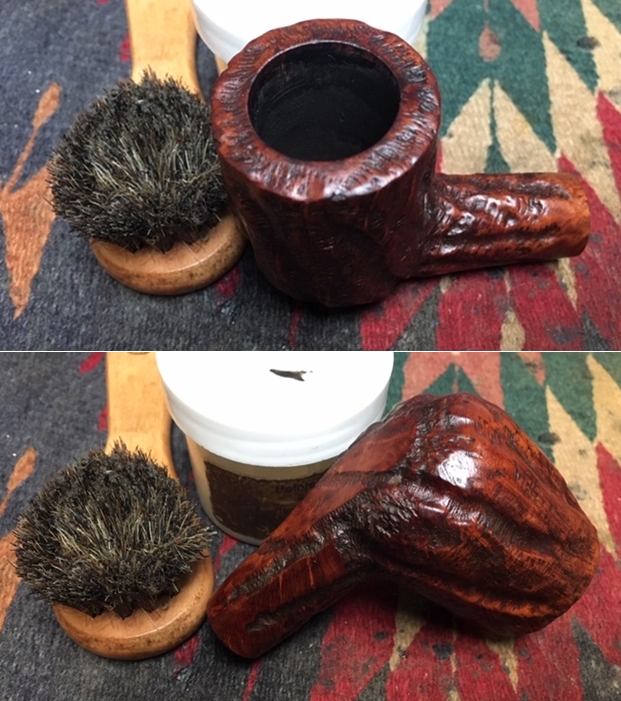
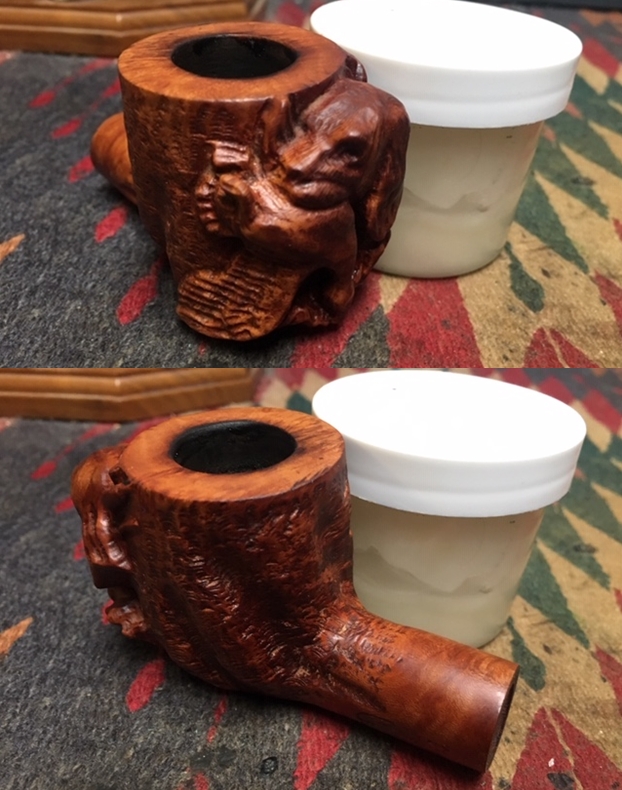
 With both the inside and outside clean it was time to move on to rubbing the bowl down with Before & After Restoration Balm. I worked it into the surface of the briar with my fingertips and a horsehair shoe brush to clean, enliven and protect it. I let the balm sit for a little while and then buffed with a cotton cloth and shoe brush to raise the shine. Mark Hoover’s Balm is a product that I have come to appreciate and one I use on every pipe I have been working on.
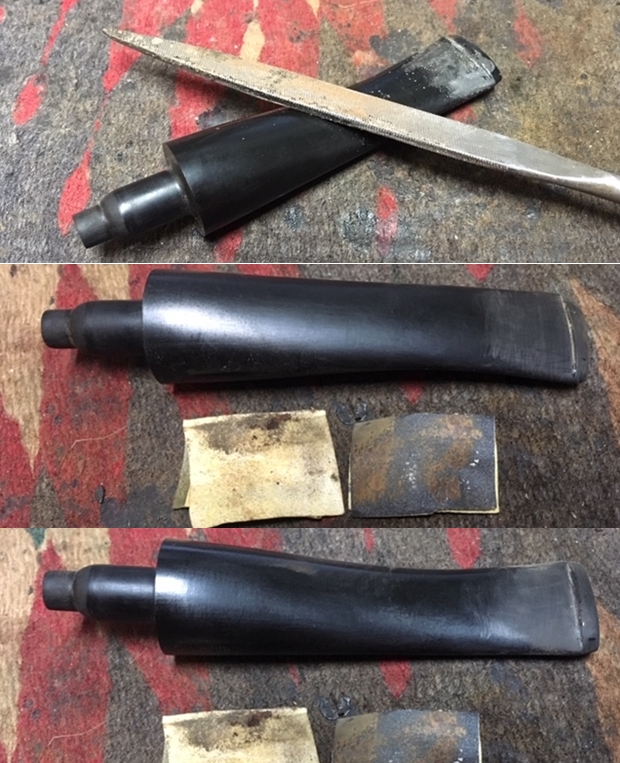
 I set the bowl aside and turned my attention to the stem. The stem still did not fit correctly against the shank. In examining the mortise it appeared that it had a slightly different taper than the nozzle end on the tenon. I had to sand the tenon down at the step down to make it fit tight against the end of the mortise.
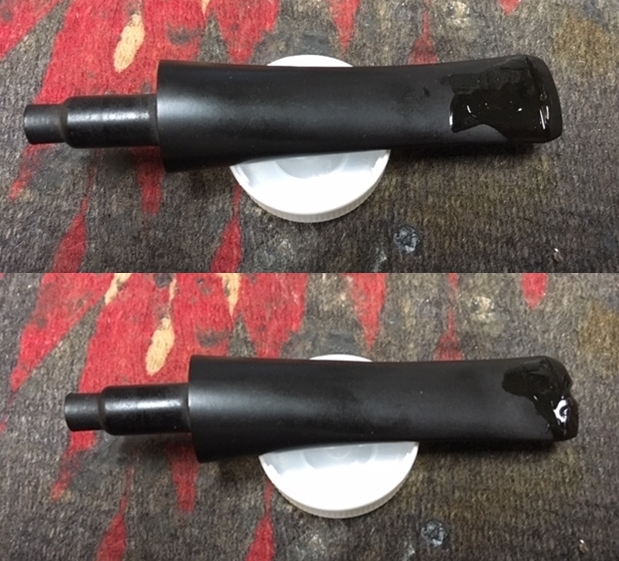
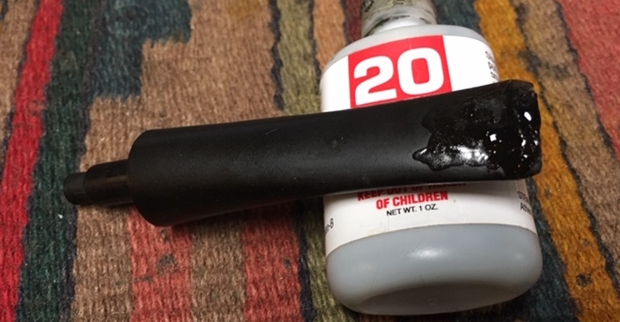
 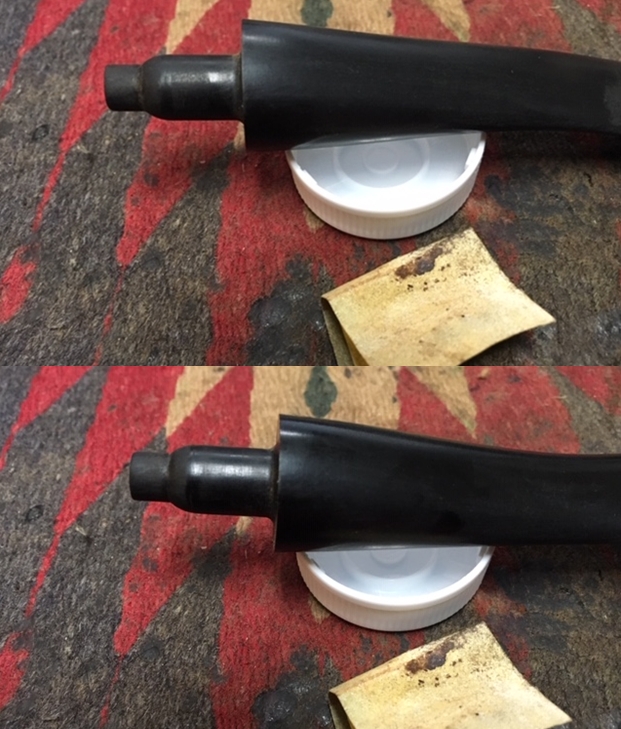 I filled in the tooth marks on the top side of the button and the tooth mark on the underside near the button with clear super glue. When the repairs had cured I recut the edge of the button with a needle file. I sanded the repaired areas with 220 grit sandpaper to blend them into the surface. I started polishing using 400 grit sandpaper.
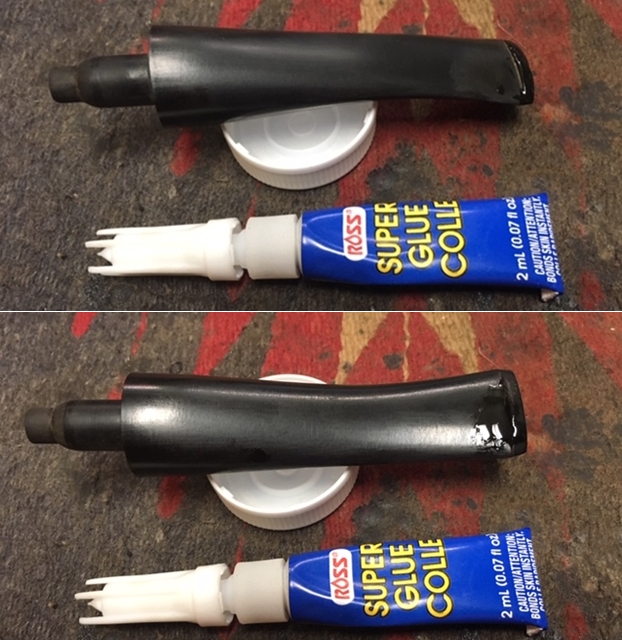
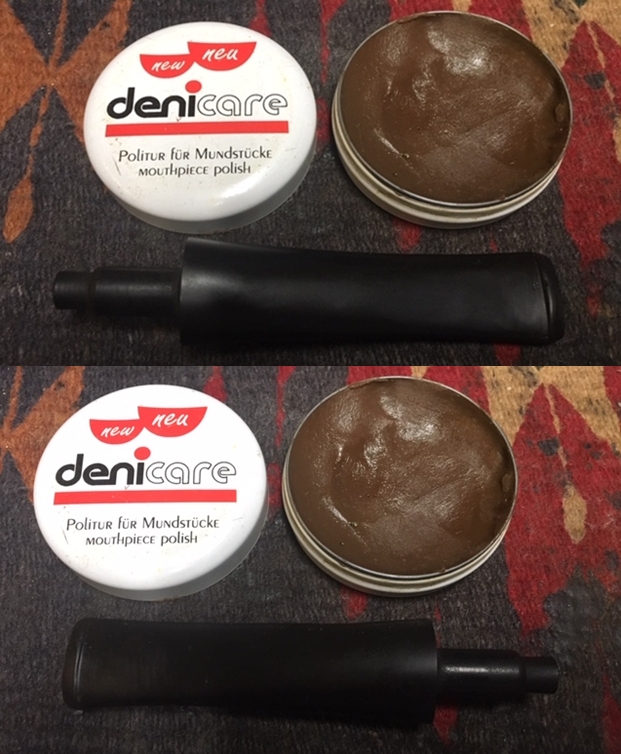
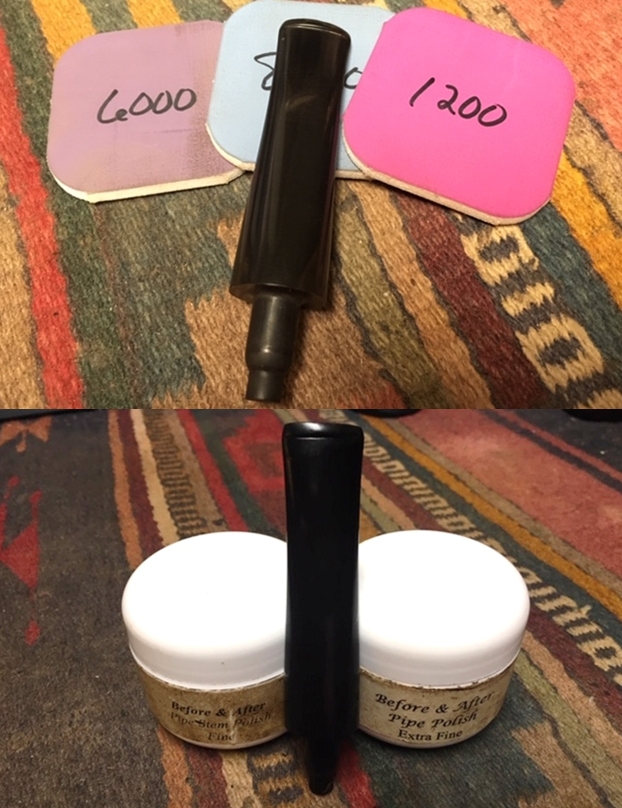
 I polished the stem with micromesh sanding pads – wet sanding it with 1500-12000 grit pads. I wiped the stem down with a damp cloth after each pad. I further polished it with Before & After Pipe Polish – both Fine and Extra Fine. I wiped it down with a coat of Obsidian Oil and set it aside to dry.
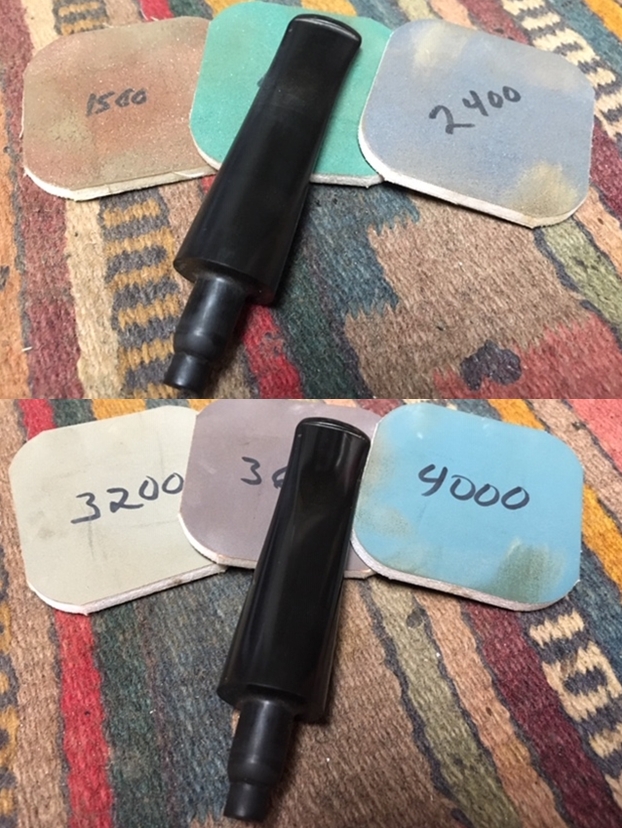
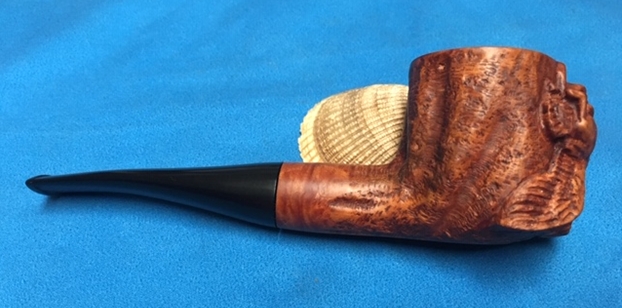
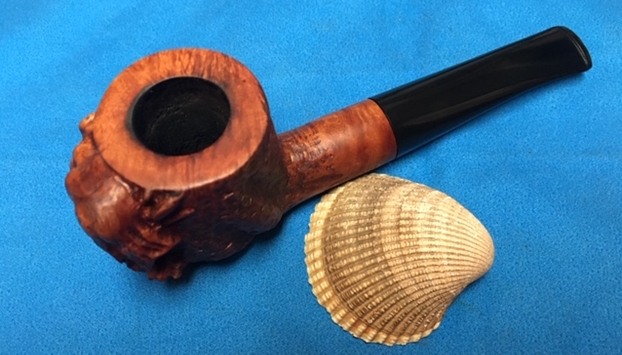
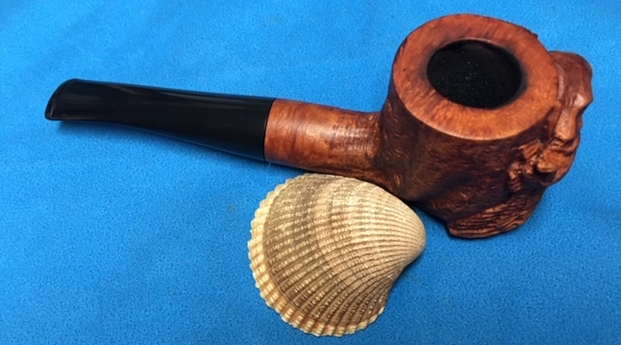
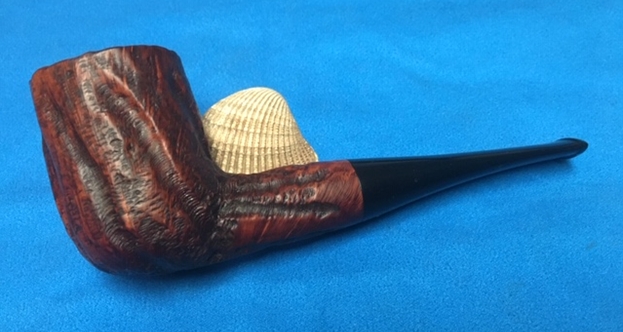
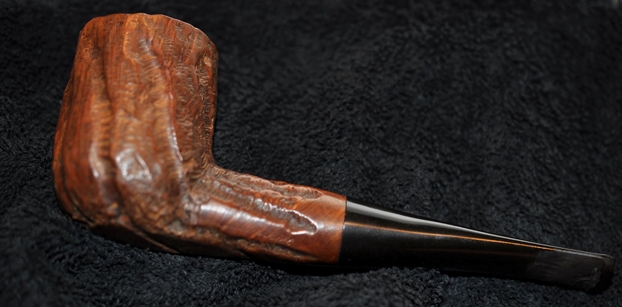
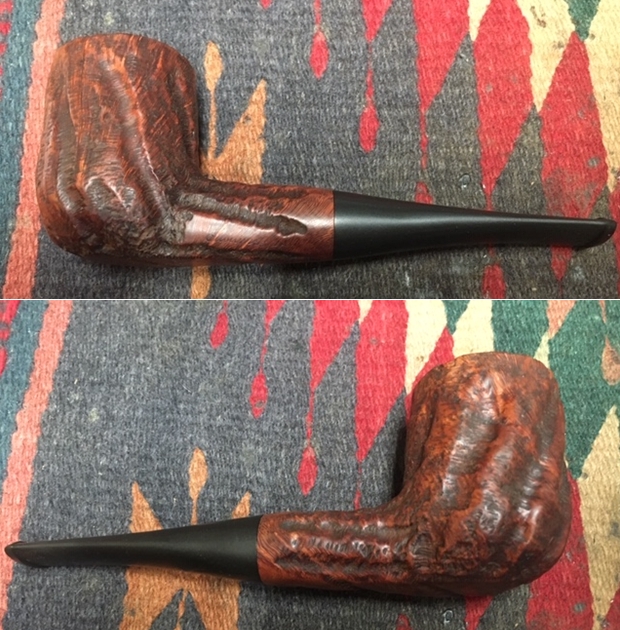
 With both parts of the pipe finished I put the pipe back together. It really is an interesting old pipe carved around 1949 by Hetzer Hartsock. He did an amazing job capturing the dog holding the downed duck in its mouth ready to deliver it to the hunter. Very nicely done! I polished the stem and the majority of the briar (minus the carving) with Blue Diamond polish on the buffing wheel. I carefully gave the bowl multiple coats of Conservator’s Wax and the stem multiple coats of carnauba wax. I buffed the pipe with a clean buffing pad to raise the shine. I hand buffed the carved area with a shoe brush and the rest of the pipe with a microfiber cloth to deepen the shine. The pipe polished up pretty nicely. The rich finish and the grain came alive with the buffing. The finish on the briar works well with the polished black vulcanite stem. The finished pipe is a well-proportioned, large billiard with the unique carving on the front. Have a look at it with the photos below. The dimensions are Length: 6 inches, Height: 2 inches, Outside diameter of the bowl: 1 1/2 inches, Chamber diameter: 3/4 of an inch. This Custombilt carved figural is staying with me for a little while so I can take in and enjoy the carving. Thanks for walking through the restoration with me on this piece of Custombilt history.