Blog by Steve Laug
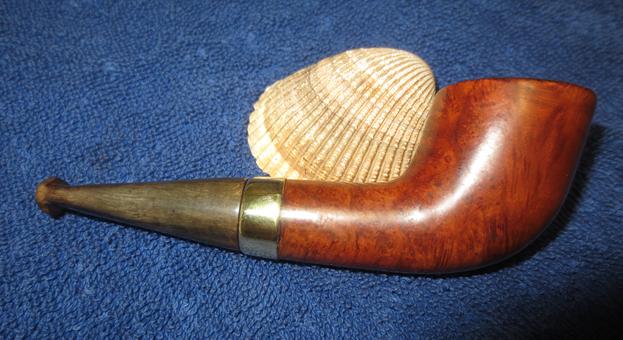
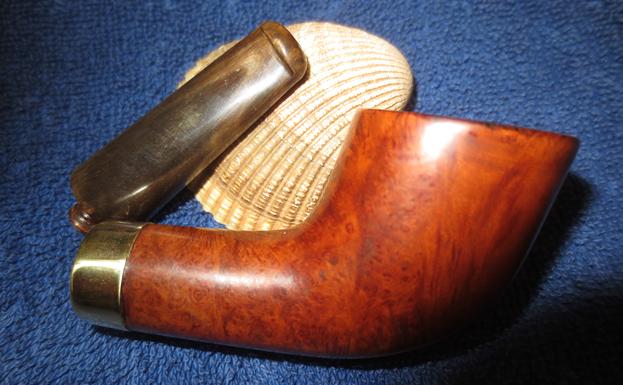
The next pipe I chose to work on from the lot of pipes my brother and I picked up on our virtual pipe hunt in Montana is another C.P.F. French Briar. This one is a classic horn shape with a chubby shank and a horn stem. It is delicate in terms of size (4 inches long and 1 ½ inches tall) but chunky feeling at the same time. Like the other banded pipes in this lot the band on the shank is loose and has turned so that the faux hall marks are on the other side. The finish is very dirty and the rim is damaged around the inner and outer edges. The horn stem is worn and there is tooth chatter on the top and underside of the stem near the button. The stem is overturned in the shank. The photos below show what it looked like before my brother did his clean up on it. If you would like to read about some of the others I have restored I have written about them in individual blogs. They include a CPF horn stem bulldog, a CPF French Briar bent billiard, a CPF Remington French Briar military mount billiard and a CPF French Briar Rhodesian. Just a reminder – CPF stands for Colossus Pipe Factory. The brand was made in the late 1880s and 1890s.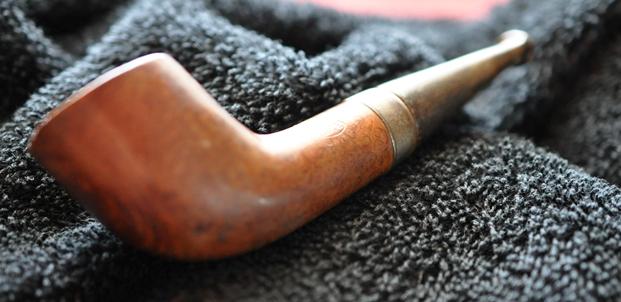 Jeff took the above photos as well as the photos that follow to show the condition of the pipe before he cleaned it up. This sad little Horn comes from the same era as the other pipes in this find – the late 1880s – early 1890s. The finish was worn dirty but the grain underneath showed promise. There one large sandpit on the bottom left side of the bowl toward the front. The rim of the bowl and top edge of the pipe were in rough shape. The outer edge had been beat up pretty good by someone knocking their pipe out against something hard (if you are tempted to knock out your pipe on a railing or a garden rock please think twice before you do so). The inner edge of the rim appeared to be out of round and carved up by the same person who had used a knife to ream the others in this lot. There was a thick, crumbling cake buildup in the bowl and the lava from the bowl overflowed onto the damaged top of the rim. The band on the shank end was oxidized and the stamping on it was almost illegible. The horn stem had tooth marks on the top and underside near the button.
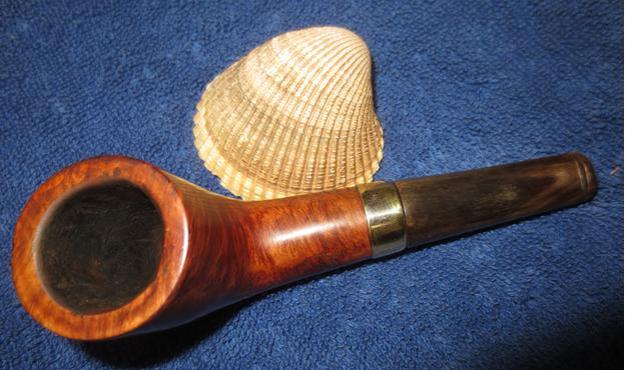
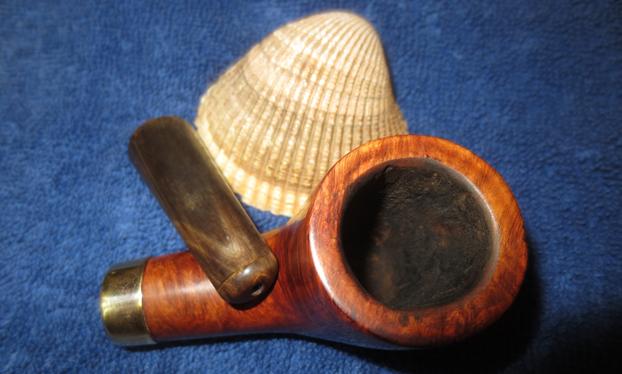
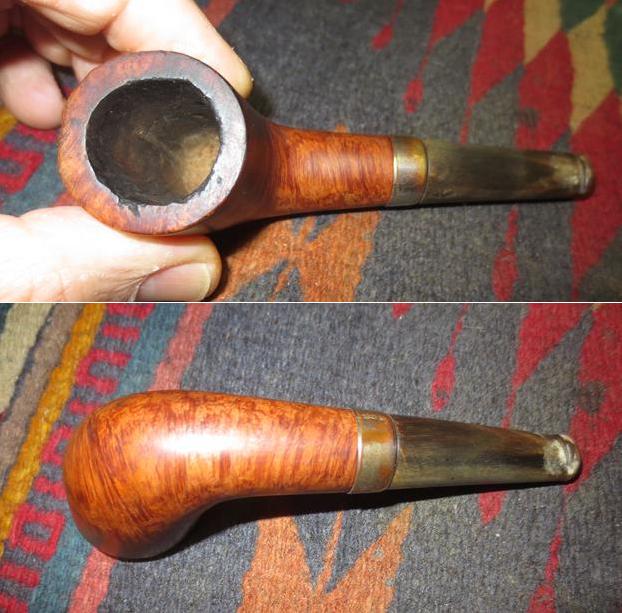
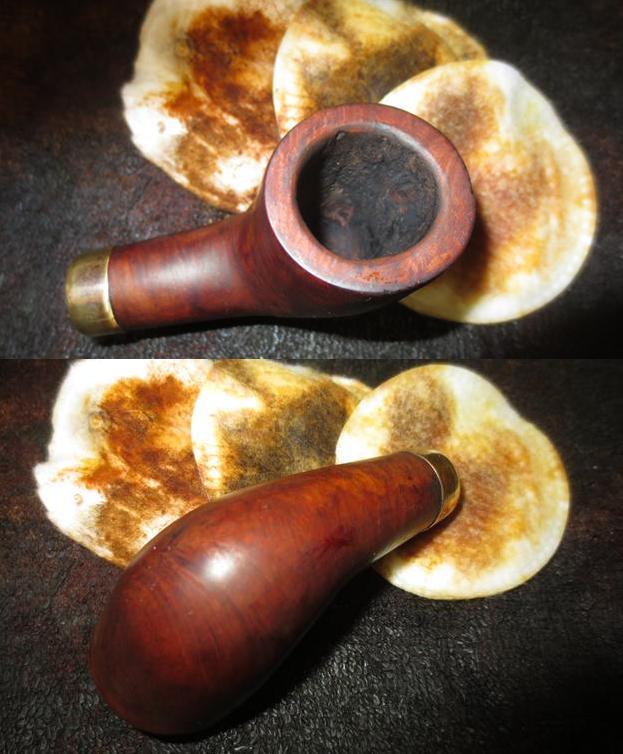
 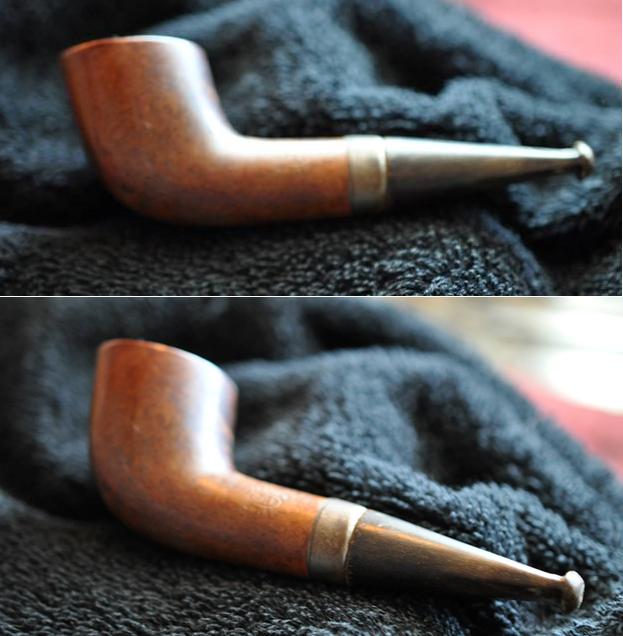 Jeff took close up photos of the rim top to show how bad it looked before he started the cleanup. The thick cake and lava overflow on the rim filled in a lot of the damage. The full extent of the damage would be revealed once the cake was removed and the lava was cleaned.
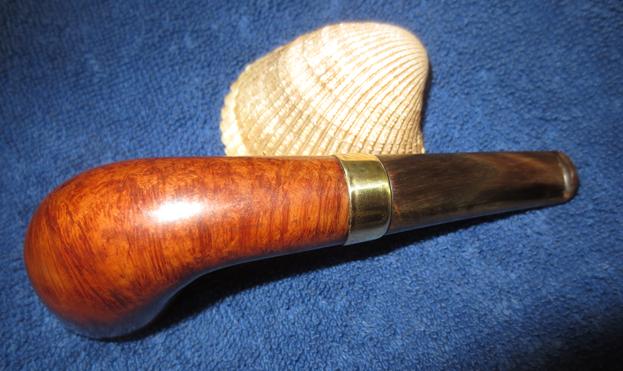
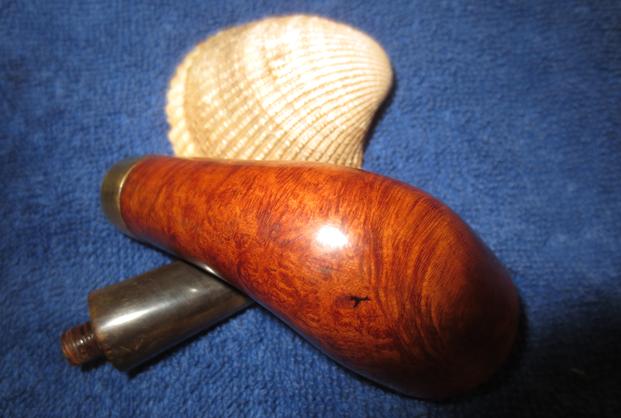
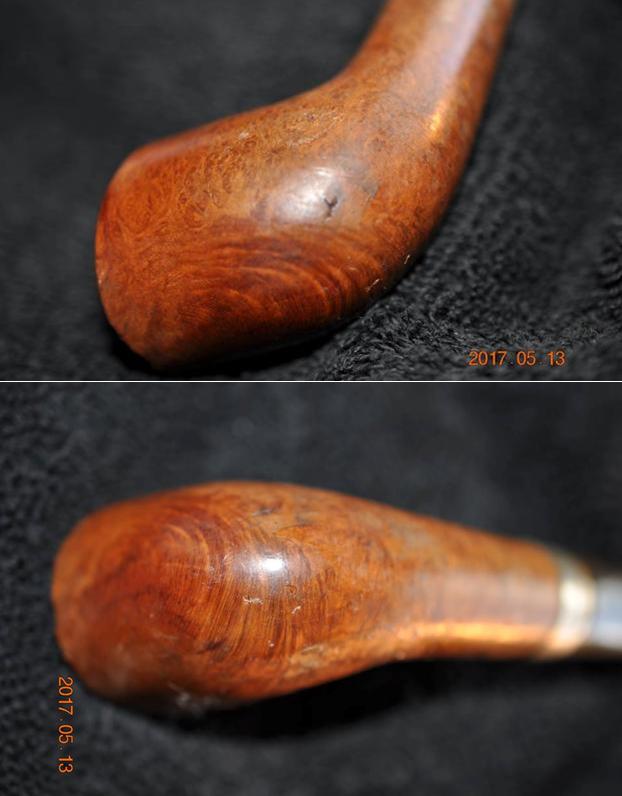
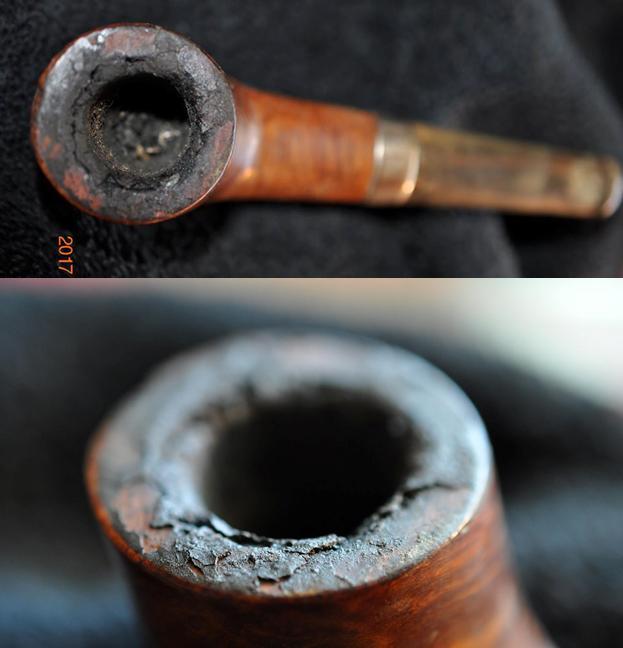 The next photos show the condition of the bowl sides and the flaking finish. The damage on the rim edge also can be seen in the pictures. The third picture shows the sandpit on the bottom left side of the bowl. You can also see the potential in the lovely grain that is peeking through the grime and flakes of old finish peeling off.
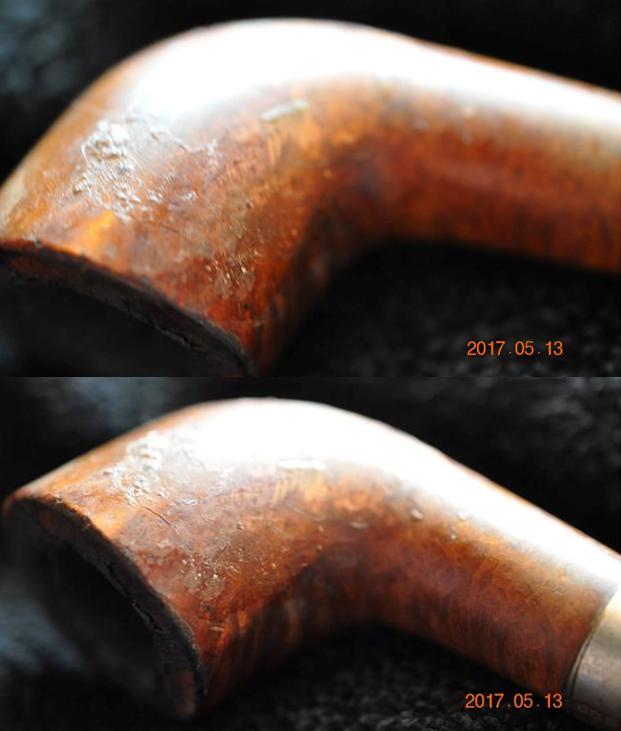
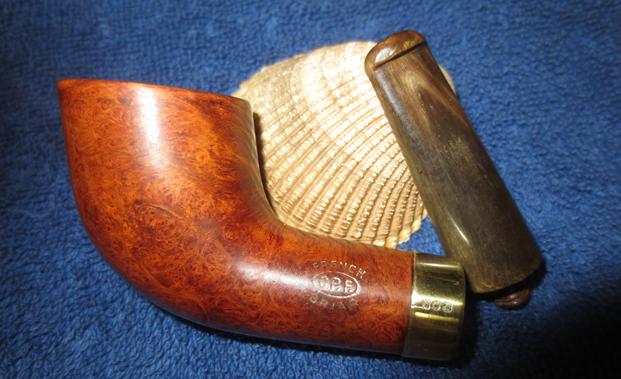
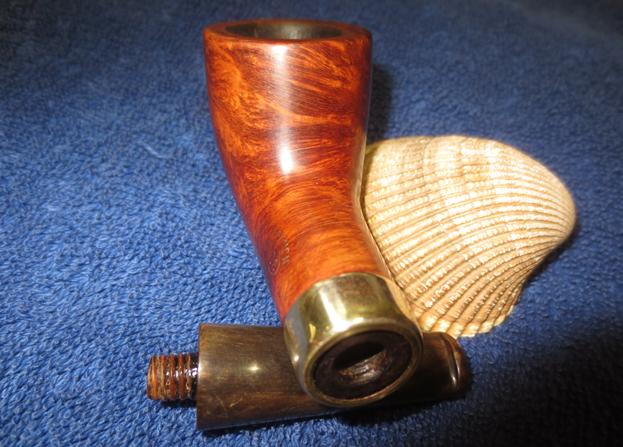
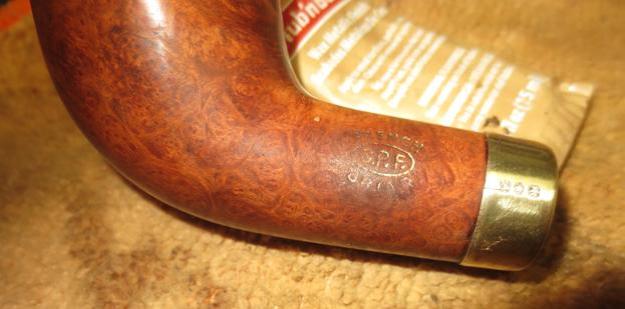
 The stamping on the left side of the shank is readable – it has the C.P.F. logo in an oval with the words French Briar above and below the oval. The stamping on Briar is fainter than the rest of the stamping. The silver band on the shank has the faux hallmark stamps that I have come to associate with C.P.F. pipes.
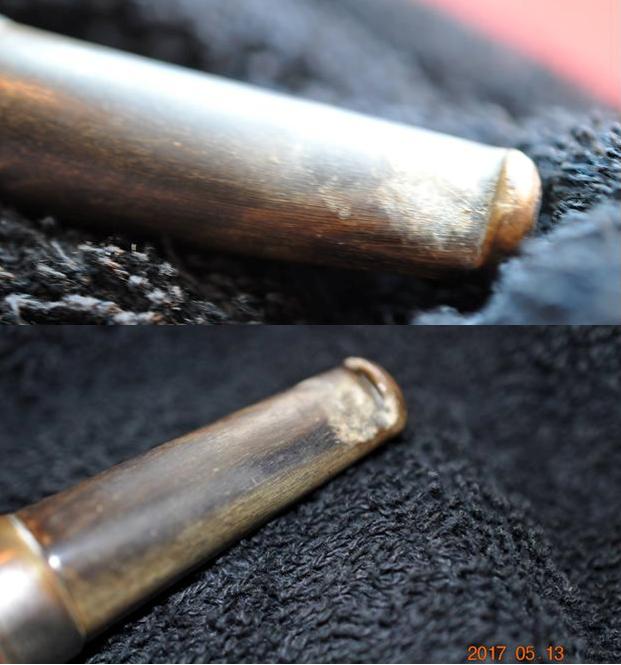
 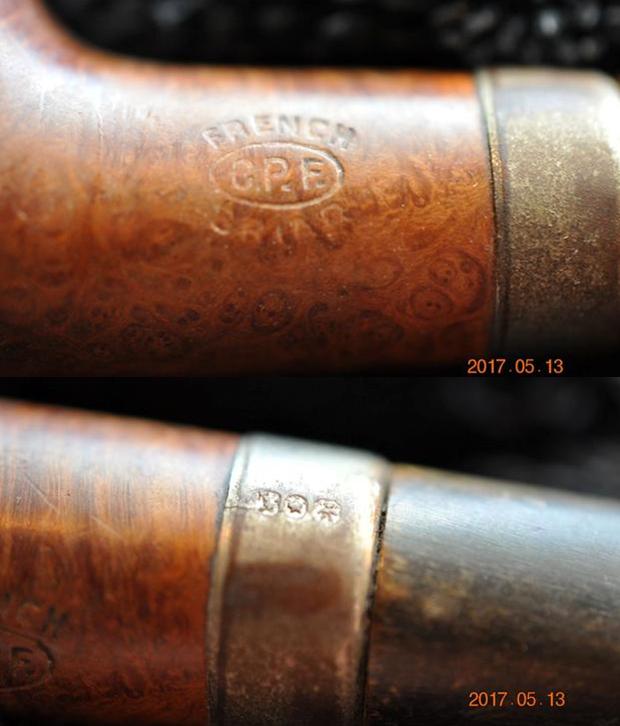 The horn stem had some great looking striations and colour underneath the wear and tear. There was some tooth chatter and bite marks on both the top and underside at the button.
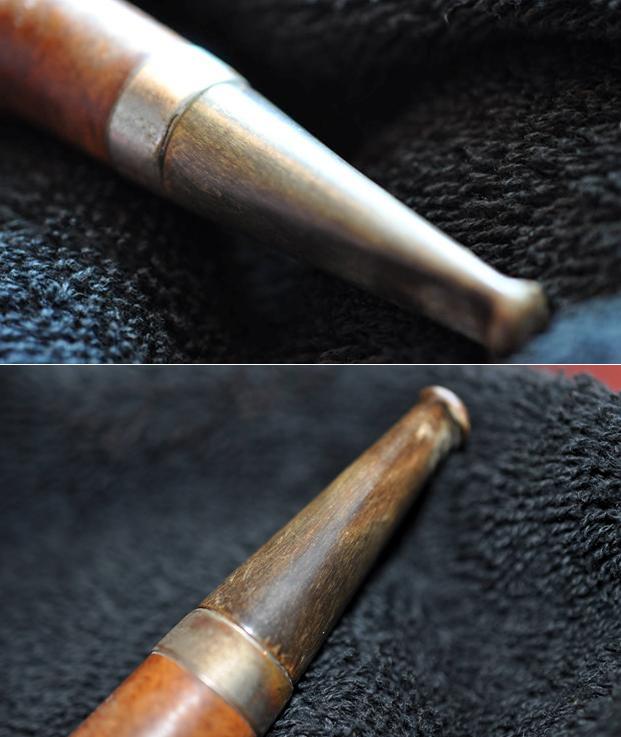
 I am very spoiled due to the excellent cleanup work that my brother Jeff does on these old pipes before I ever get them here in Vancouver. He has a pattern to his work and it rarely varies. Jeff thoroughly cleaned the pipe reaming the bowl with a PipNet reamer and tidying up with a Savinelli Fitsall Pipe Knife. He scrubbed out the mortise and the airway in the shank and the stem with pipe cleaners, cotton swabs and alcohol. He scrubbed the exterior of the pipe with Murphy’s Oil Soap to remove the grime and grit on the bowl. He scrubbed the rim top with a tooth brush and the oil soap. He scrubbed the band and stem at the same time to clean it. I took photos of the pipe to show the condition it was in when it arrived in Vancouver.
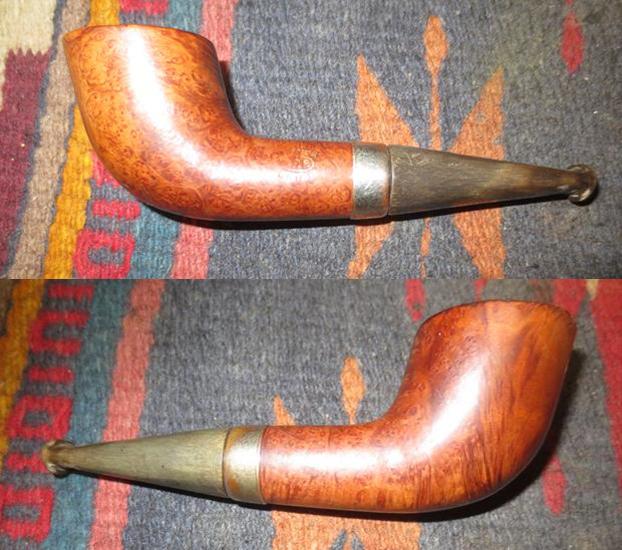
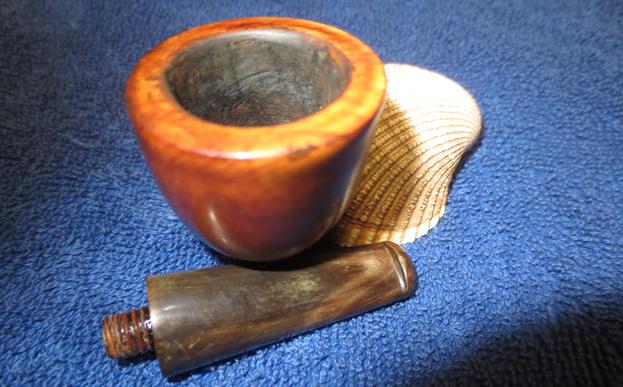
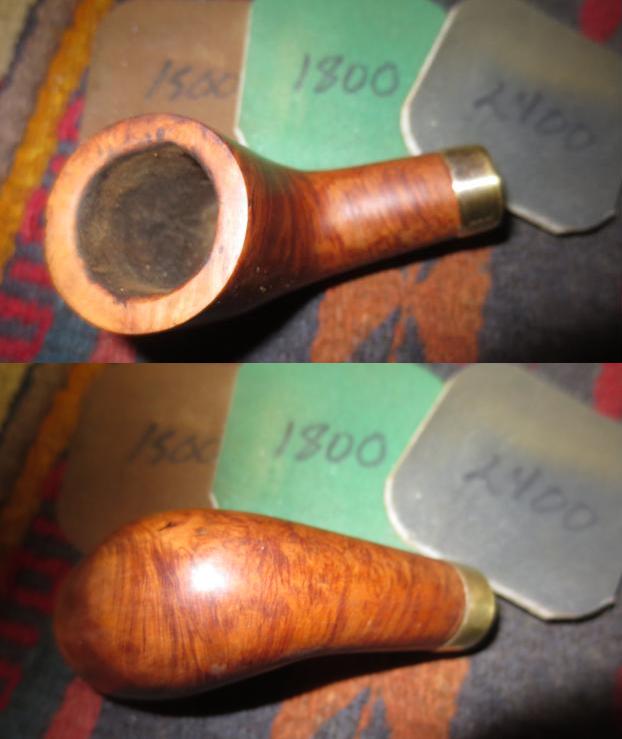
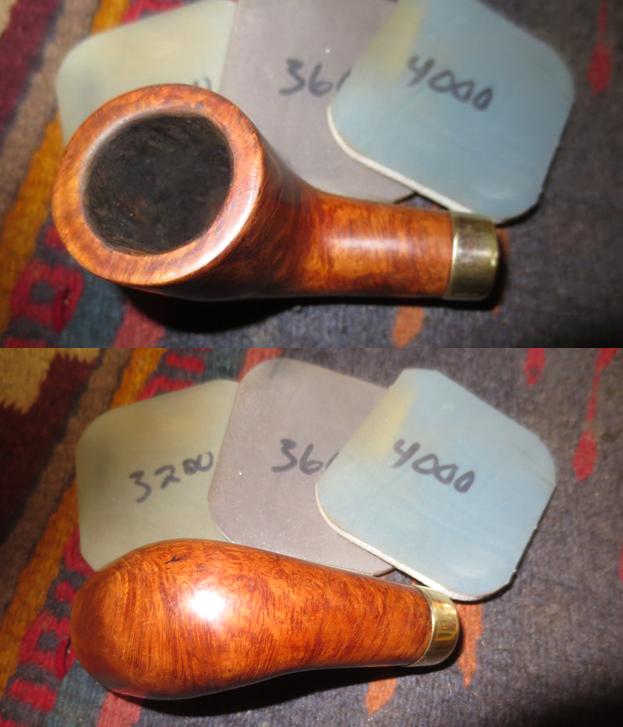
 I took a close up photo of the rim top and the sandpit on the lower left side. You can see the damage along the inner and out edges of the rim and the size and location of the sandpit in the photos. The general condition of the briar is rough though the grain patterns are promising.
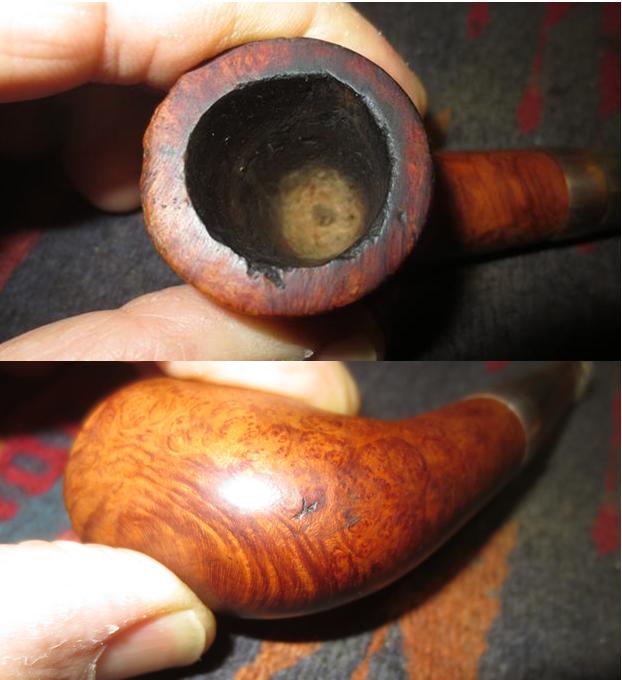 The horn stem is dry and lacklustre but it seems to be solid. There was no delamination happening along the sides or length of the stem and the tooth marks and chatter at the button were relatively minor. This horn stem was in the best condition of all of the horn stems I have worked on in this lot from Montana. The stem was overturned to the right due to wear on the mortise and the threaded bone tenon.
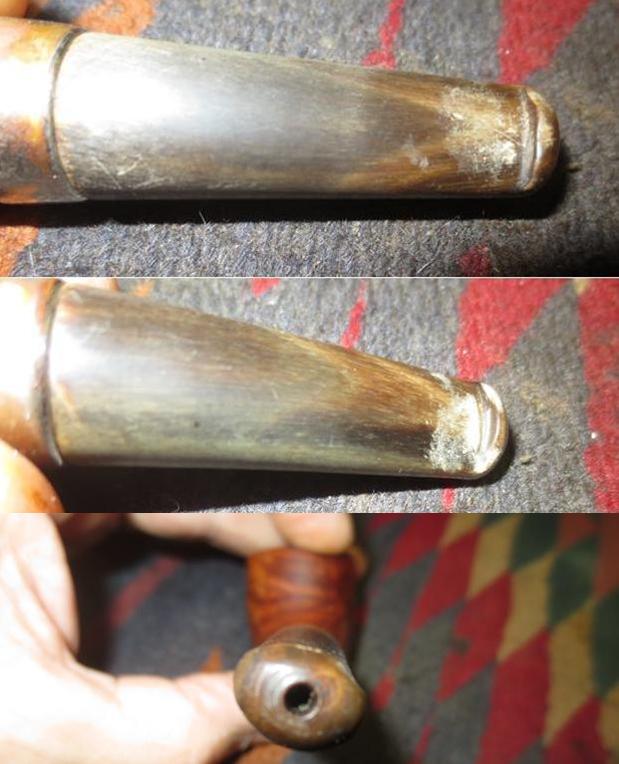 I repaired the sandpit with a few drops of super glue and let it dry. Once the glue had dried I sanded the repair with 220 grit sandpaper to blend it into the surface of the briar.
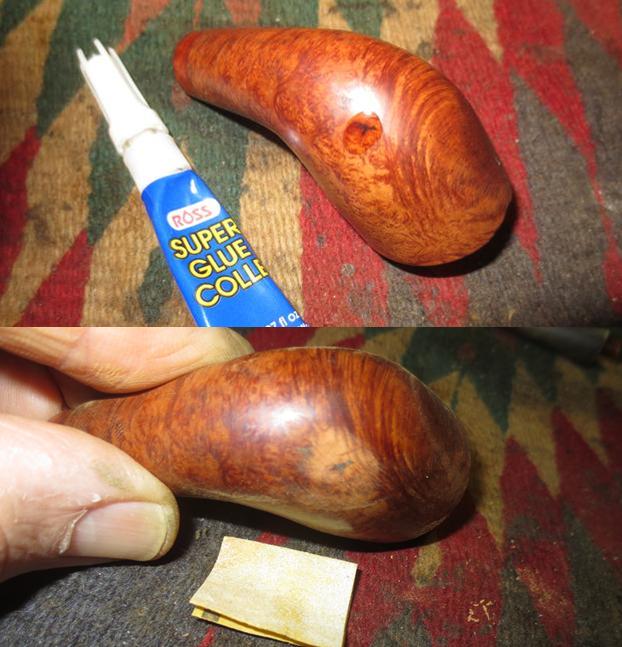 I topped the bowl on a topping board with 220 grit sandpaper to remove the damage and minimize the damage to inside and outside edges of the rim. I did not have to take off too much so I checked as I worked over the rim. Once I had the rim smooth I stopped sanding and wiped the bowl down with alcohol on cotton pads to clean off the dust from the surface.
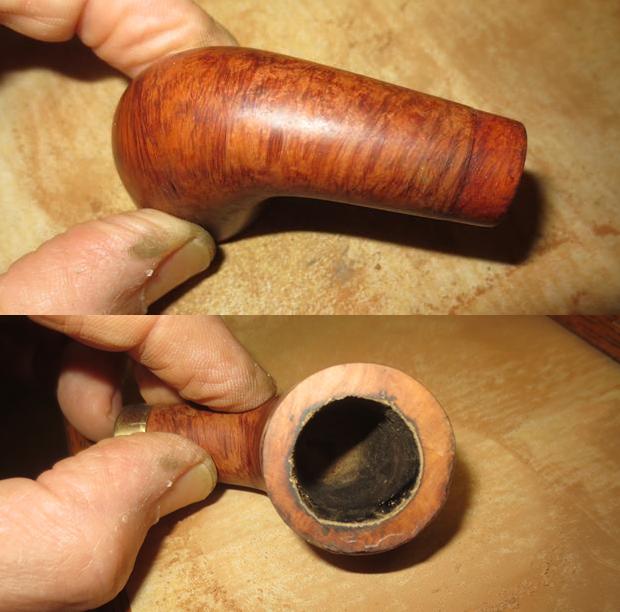
 I filled in the nicks around the outer edges of the bowl with clear super glue. I carefully over filled the spots around the rim so that I could sand it smooth and leave a smooth flow to the rim. I sprayed the repairs with an accelerator so that I could sand it sooner. The next photos show the repair process and the end results.
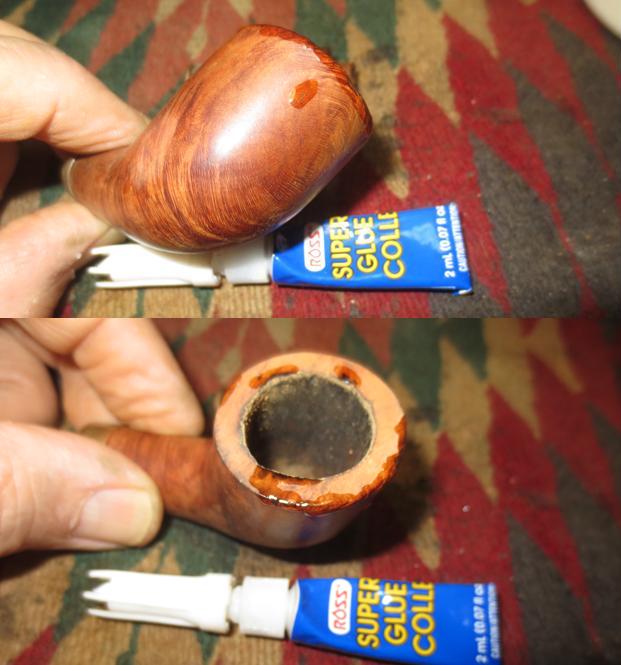 I gently topped the rim again on the topping board to smooth out the repairs on the rim top and sanded the outer edge of the bowl and inner edge of the bowl with 180 and 220 grit sandpaper. I was able to remove the excess repair material and smooth out the rim edges on both the inside and outside. The overall look was far better than when I started the restoration and it was minimally intrusive.
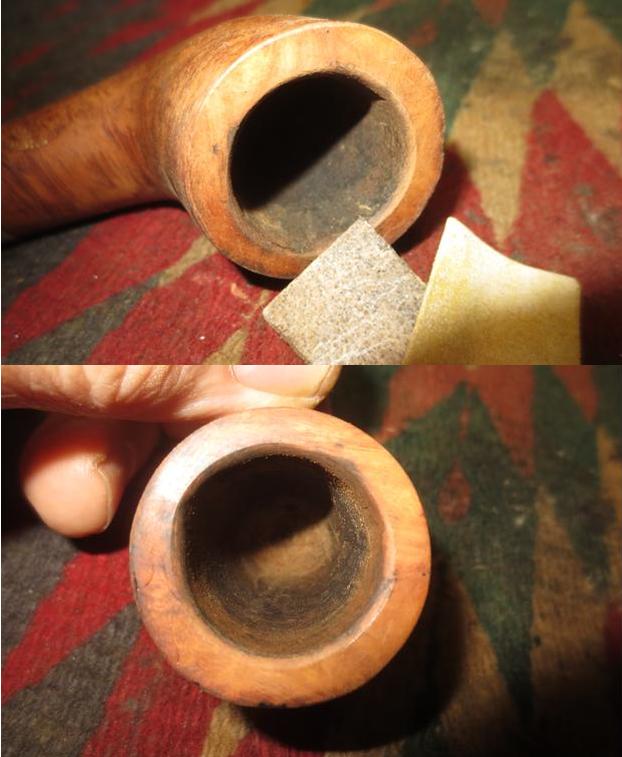 I polished the band with a 1500 grit micromesh sanding pad to remove the tarnish and corrosion (I would use the other grits of micromesh pads later in the process to polish the band). Underneath the film and corrosion the band was gold in tint just like the other C.P.F. pipes that I have been restoring. I coated the shank end with white all-purpose glue and pressed the band in place. I aligned the faux hallmarks with the stamping on the shank. I wiped down the glue that squeezed out around the edge of the band before it dried so that it would not hamper staining the shank end when I was ready.
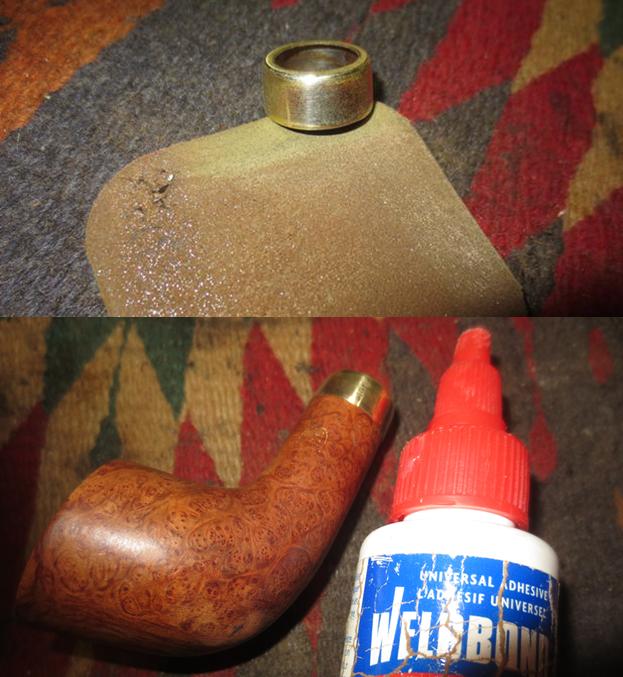 I carefully heated the bone tenon with a Bic lighter, moving the flame constantly and not letting it get to hot. My purpose was to loosen the tenon and turn the stem straight once again. I repeated it several times and was able to get quite a bit of turn on the stem but not enough. I backed it off and let the glue in the stem harden again. I would need to come up with another method to address the worn threads in the mortise and on the tenon.
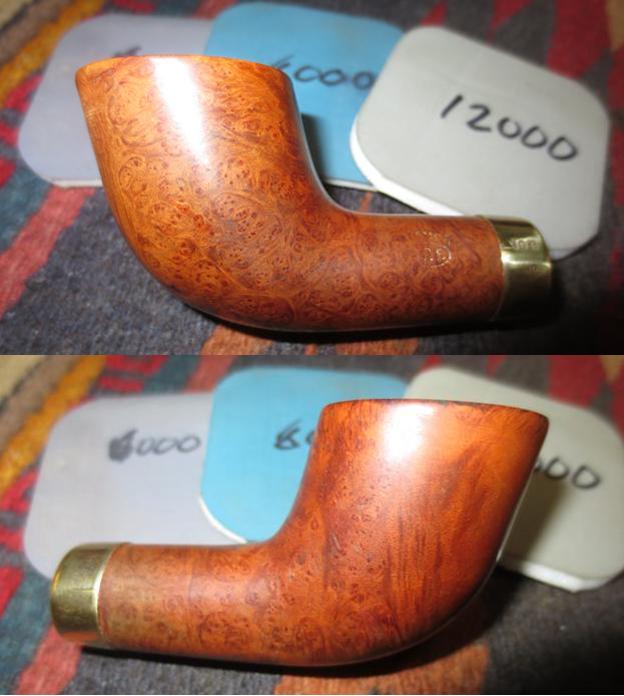
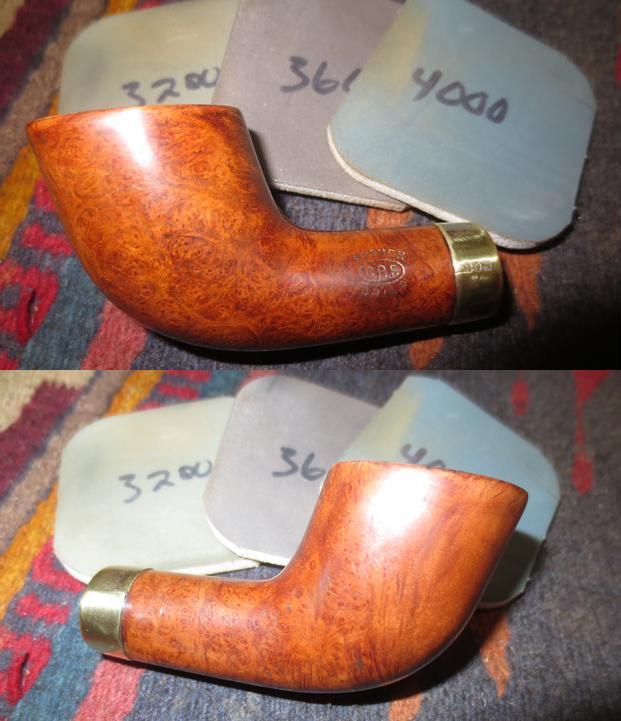
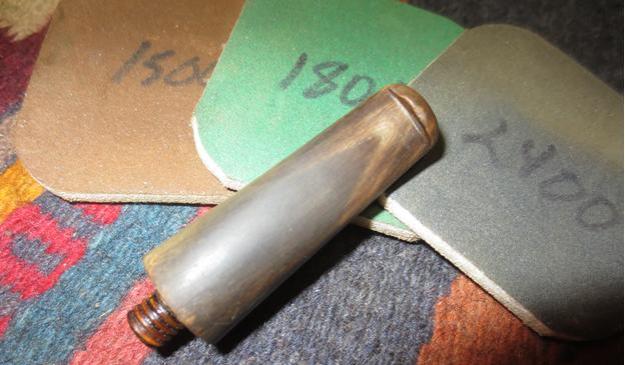
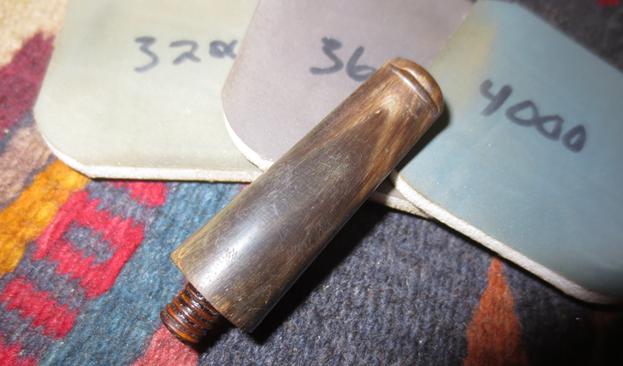
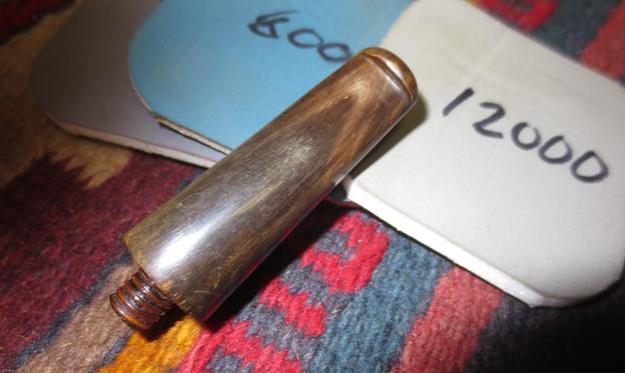
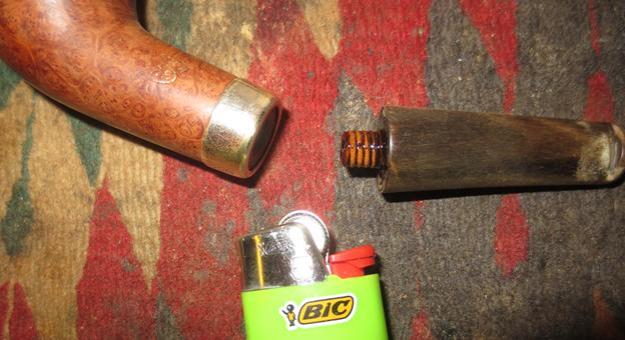 I set the stem aside for a bit and turned my attention to polishing the briar in anticipation of staining it. I went through the full range of micromesh sanding pads – wet sanding with 1500-2400 grit pads and dry sanding with 3200-12000 grit pads. I wiped the bowl down with a damp cotton pad between pads. The pictures show the way the polishing brings the grain out on the bowl. I needed to stain it to blend the repairs into the rest of the bowl surface. The trick would be to stain it with light enough colour to highlight the grain and not mute it.
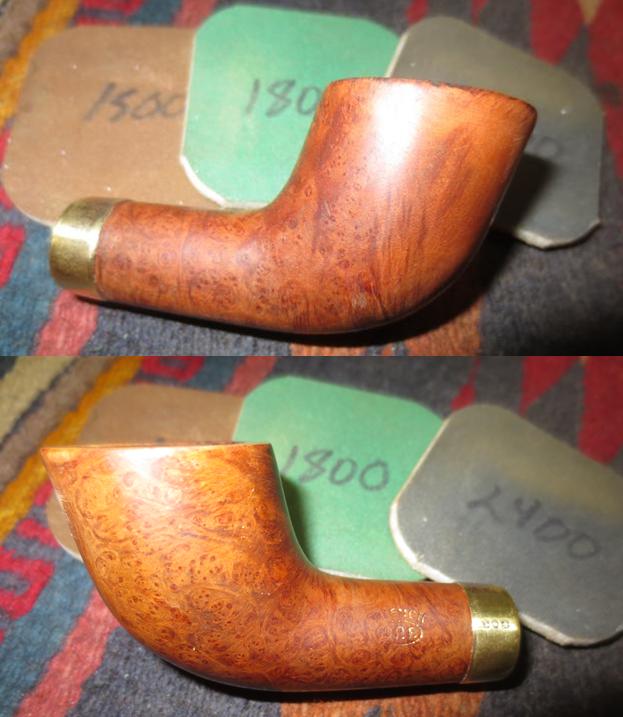


 I mixed 1 part of dark brown aniline stain with about 3 parts of isopropyl alcohol to make a medium brown wash for the bowl. I stirred it to get a good mix. I heated the briar and applied the mixture to the bowl. I flamed it and repeated the process until I was happy with the coverage on the bowl.
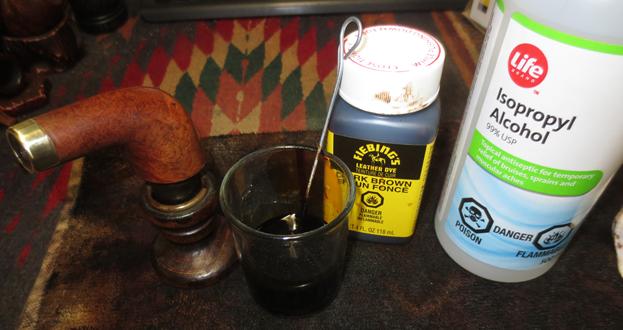 Once the stain dried I wiped it down with alcohol and cotton pads to remove the excess and make it more transparent.
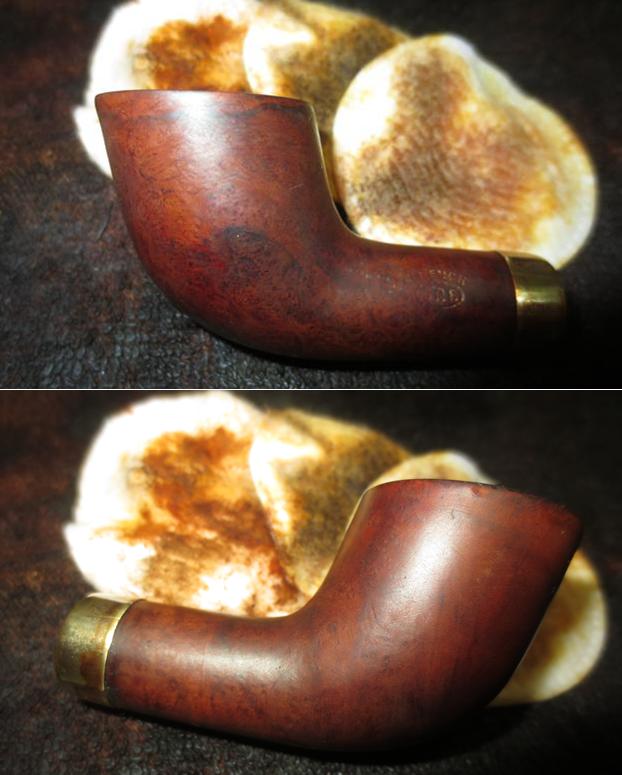
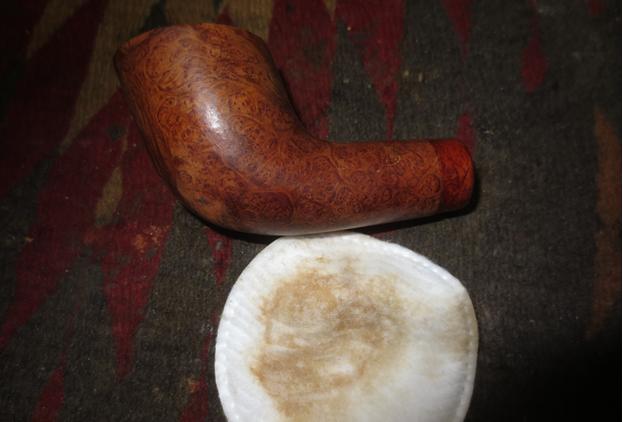
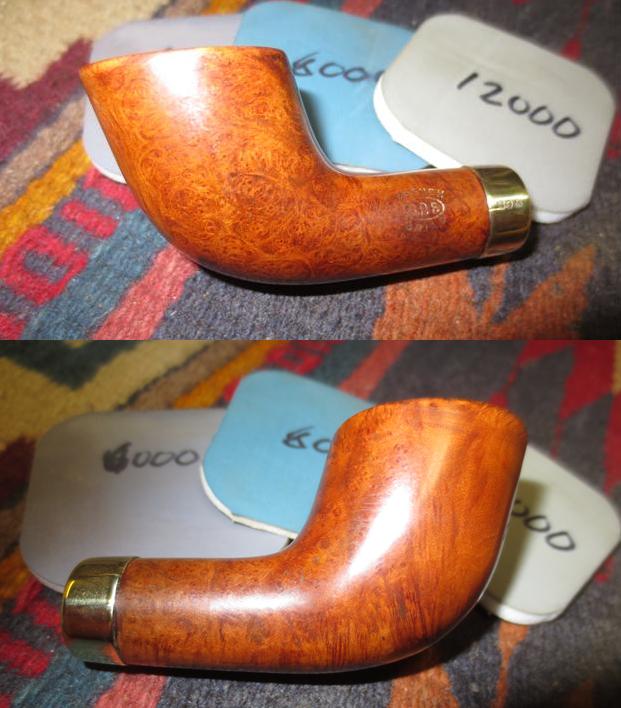
 I still found that the colour was too dark so I decided to polish it with micromesh sanding pads. I wet sanded with 1500-2400 grit pads and wiped it down with alcohol on cotton pads to remove the finish I had sanded free. I touched up the shallow gold stamping with Rub’n Buff European Gold using a cotton swab. I rubbed of the excess with a cotton pad. I finished polishing the bowl by dry sanding it with 3200-12000 grit pads. I wiped it down with alcohol after each pad to clean it. The pictures tell the story of the process and the end.
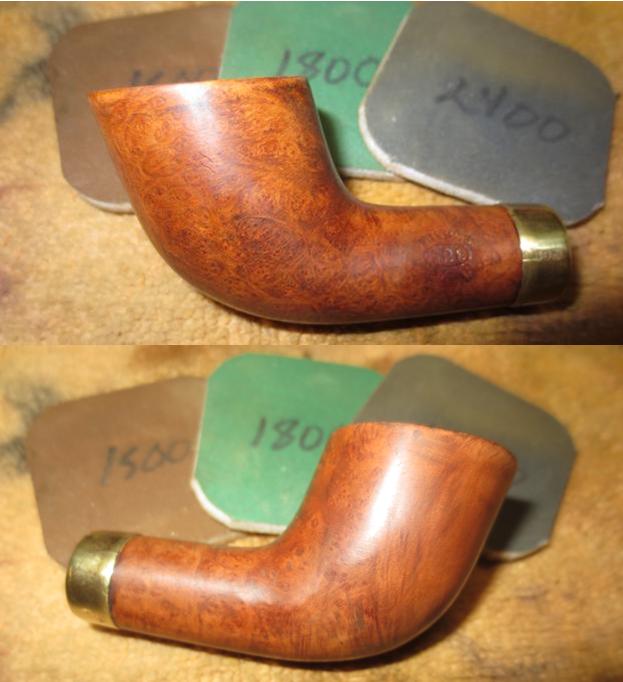

 With the bowl finished it was time to work on the stem. I sanded the tooth marks out and smoothed the flow of the stem with 220 grit sandpaper. I polished it with micromesh sanding pads – wetsanding with 1500-2400 grit pads and dry sanding with 3200-12000 grit pads. I rubbed the stem down with Obsidian Oil after each pad. After the last pad I gave it a final coat of oil and set it aside to dry.
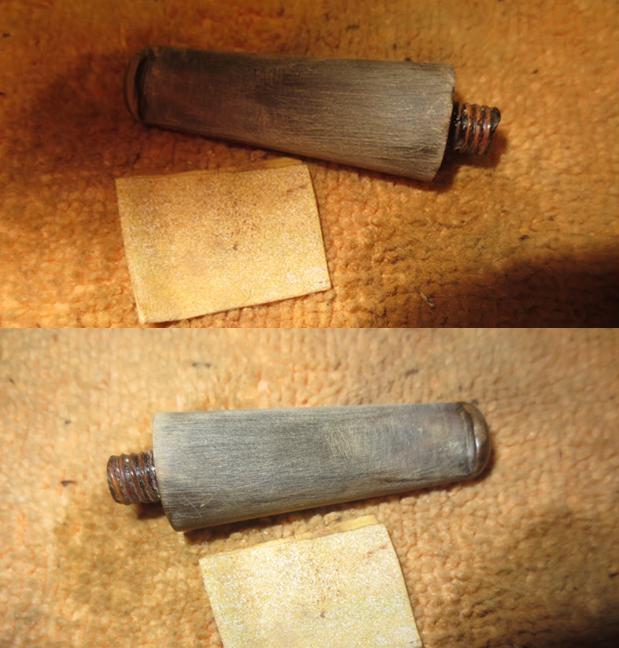
 I painted the tenon with clear fingernail polish to build up the threads. I layered it on until the threads sat well in the mortise. I put the stem on the shank and it lined properly. I buffed the bowl and stem with Blue Diamond on the buffing wheel to polish out the scratches in those surfaces. I buffed the brass coloured band with Blue Diamond as well. I gave the pipe multiple coats of carnauba wax to protect the aged briar and the horn. The finished pipe is shown in the photos below. It is a beautiful piece of pipe history and I only wish it could tell its story so I could know a bit of its travels. Until such a time that pipes can talk I am left to my own imagination. Thanks for walking with me through the process of the restoration.