Tag Archives: CPF Briar pipes

An Old Kaufman Brothers & Bondy CPF Catalogue


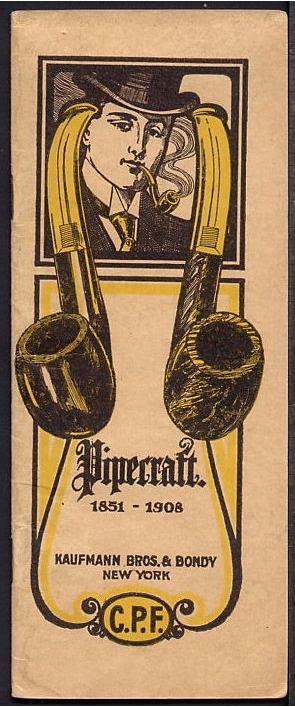
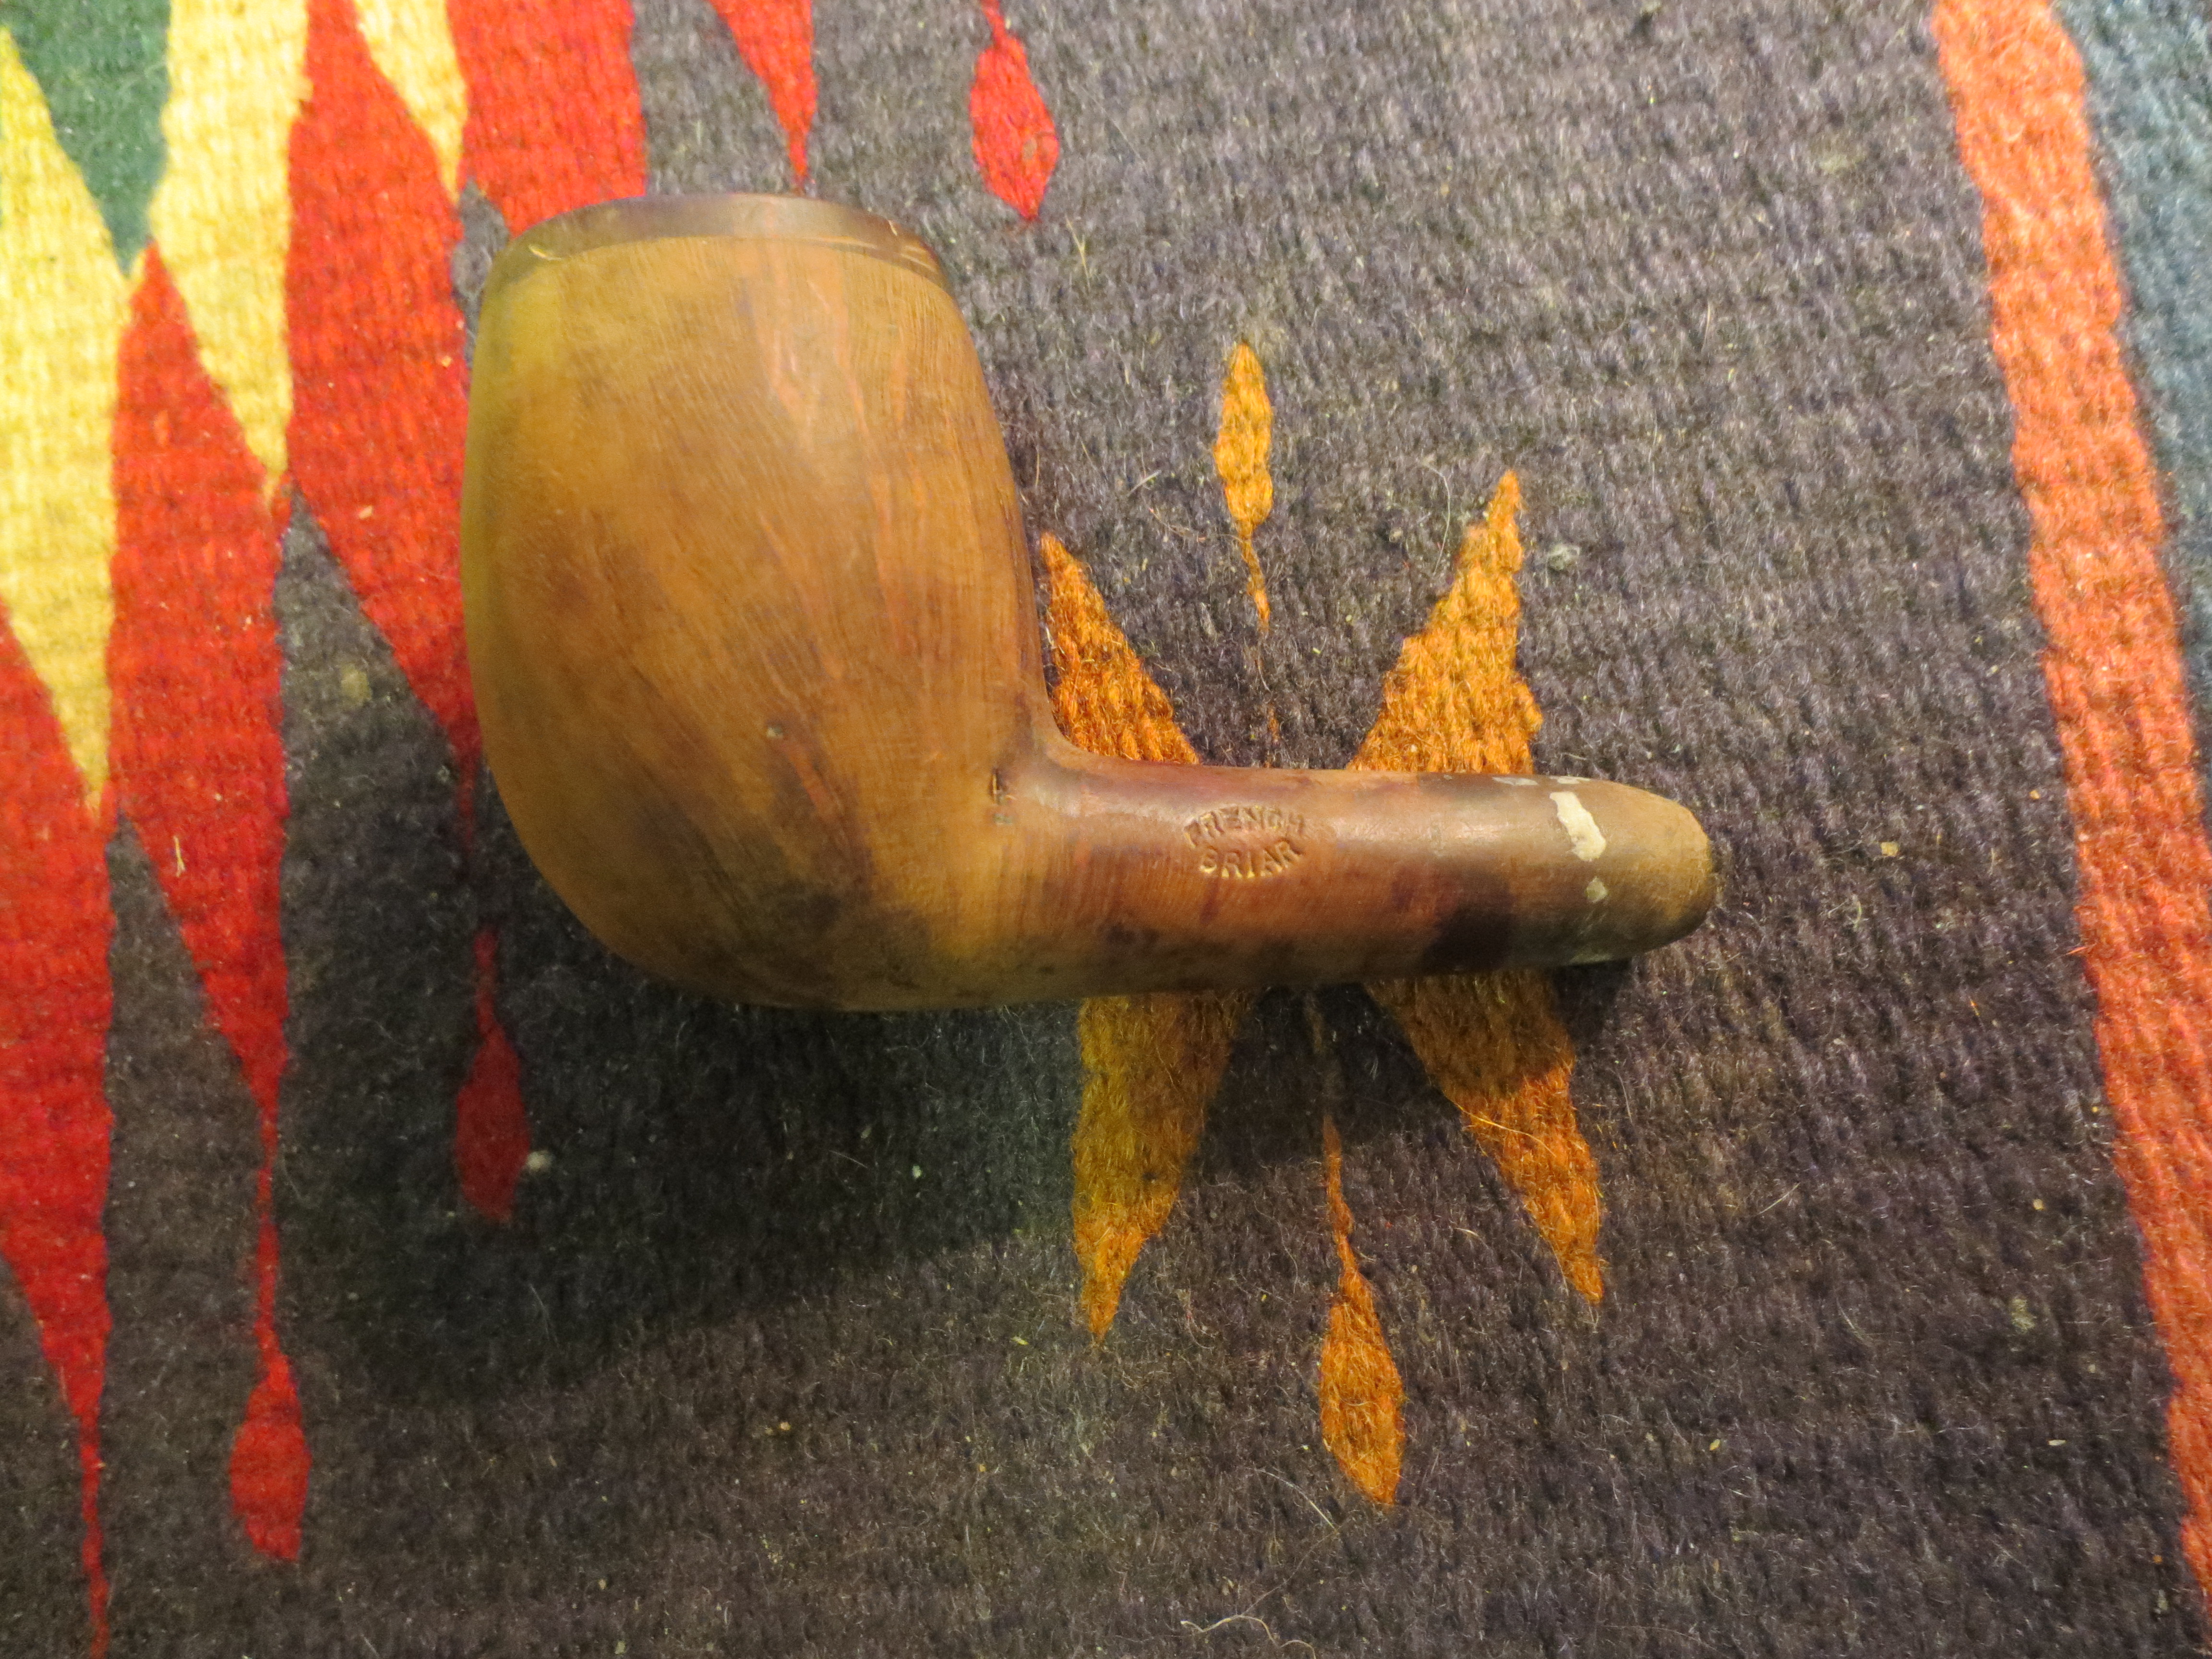
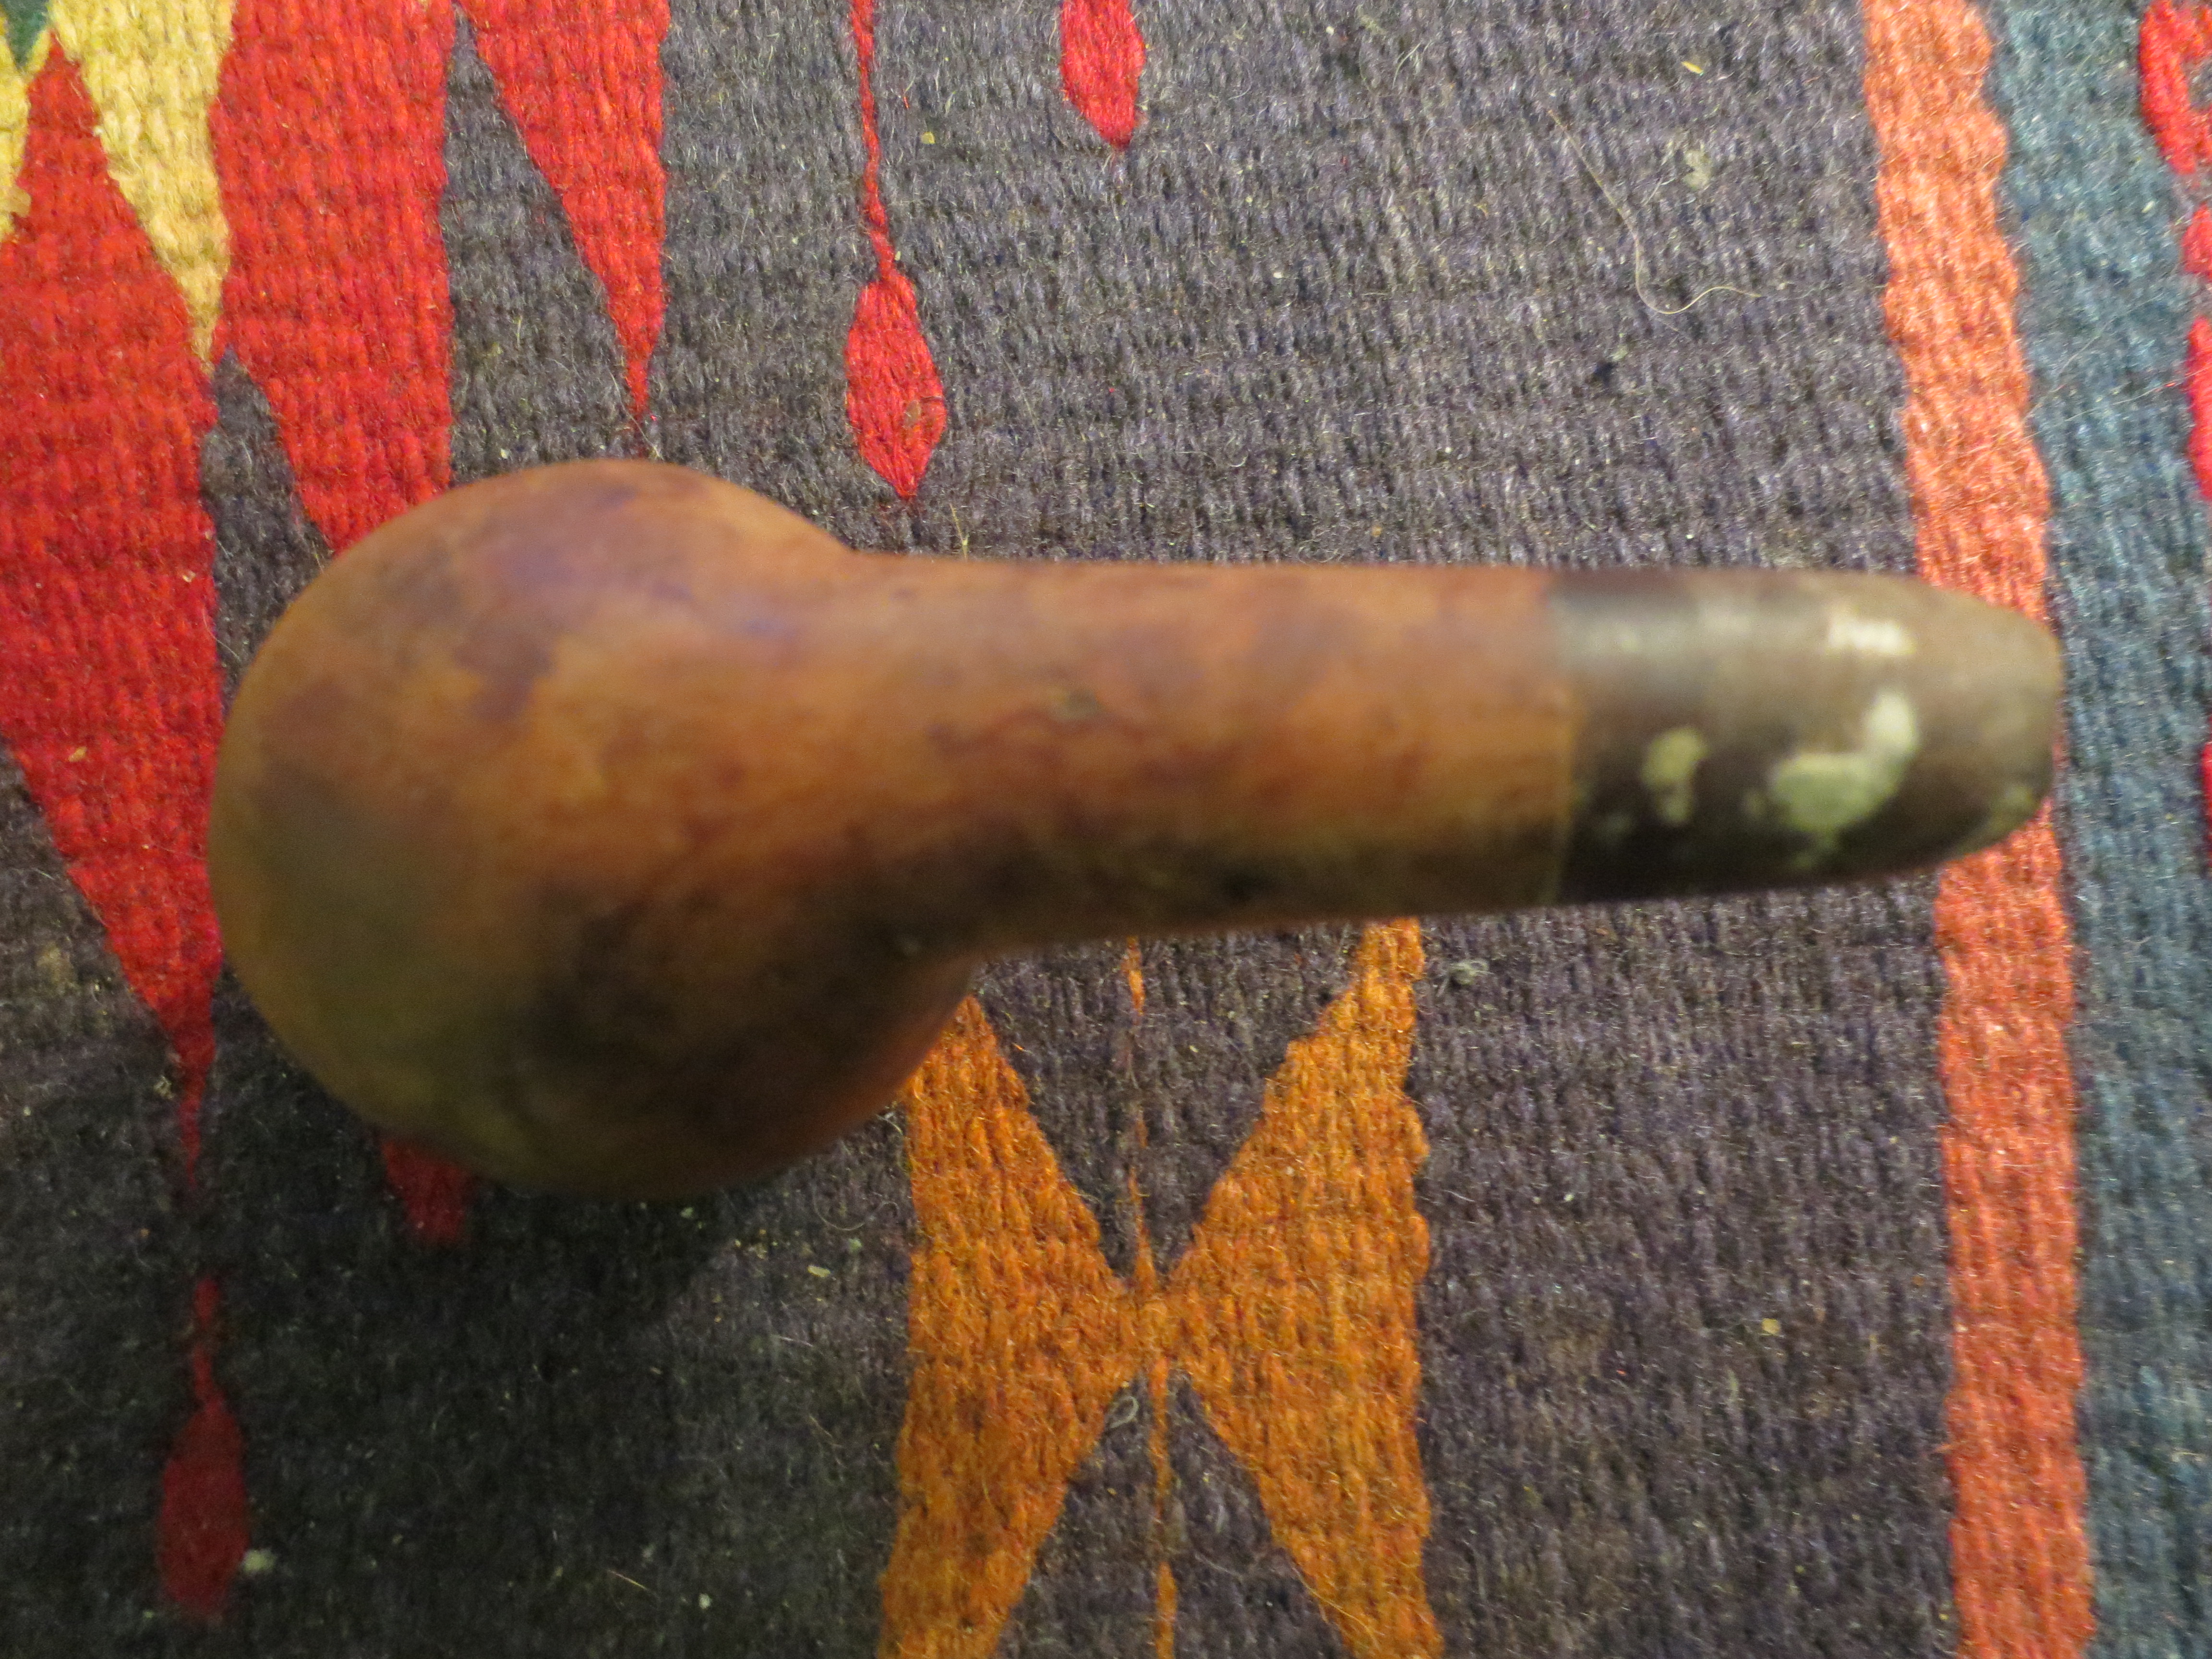
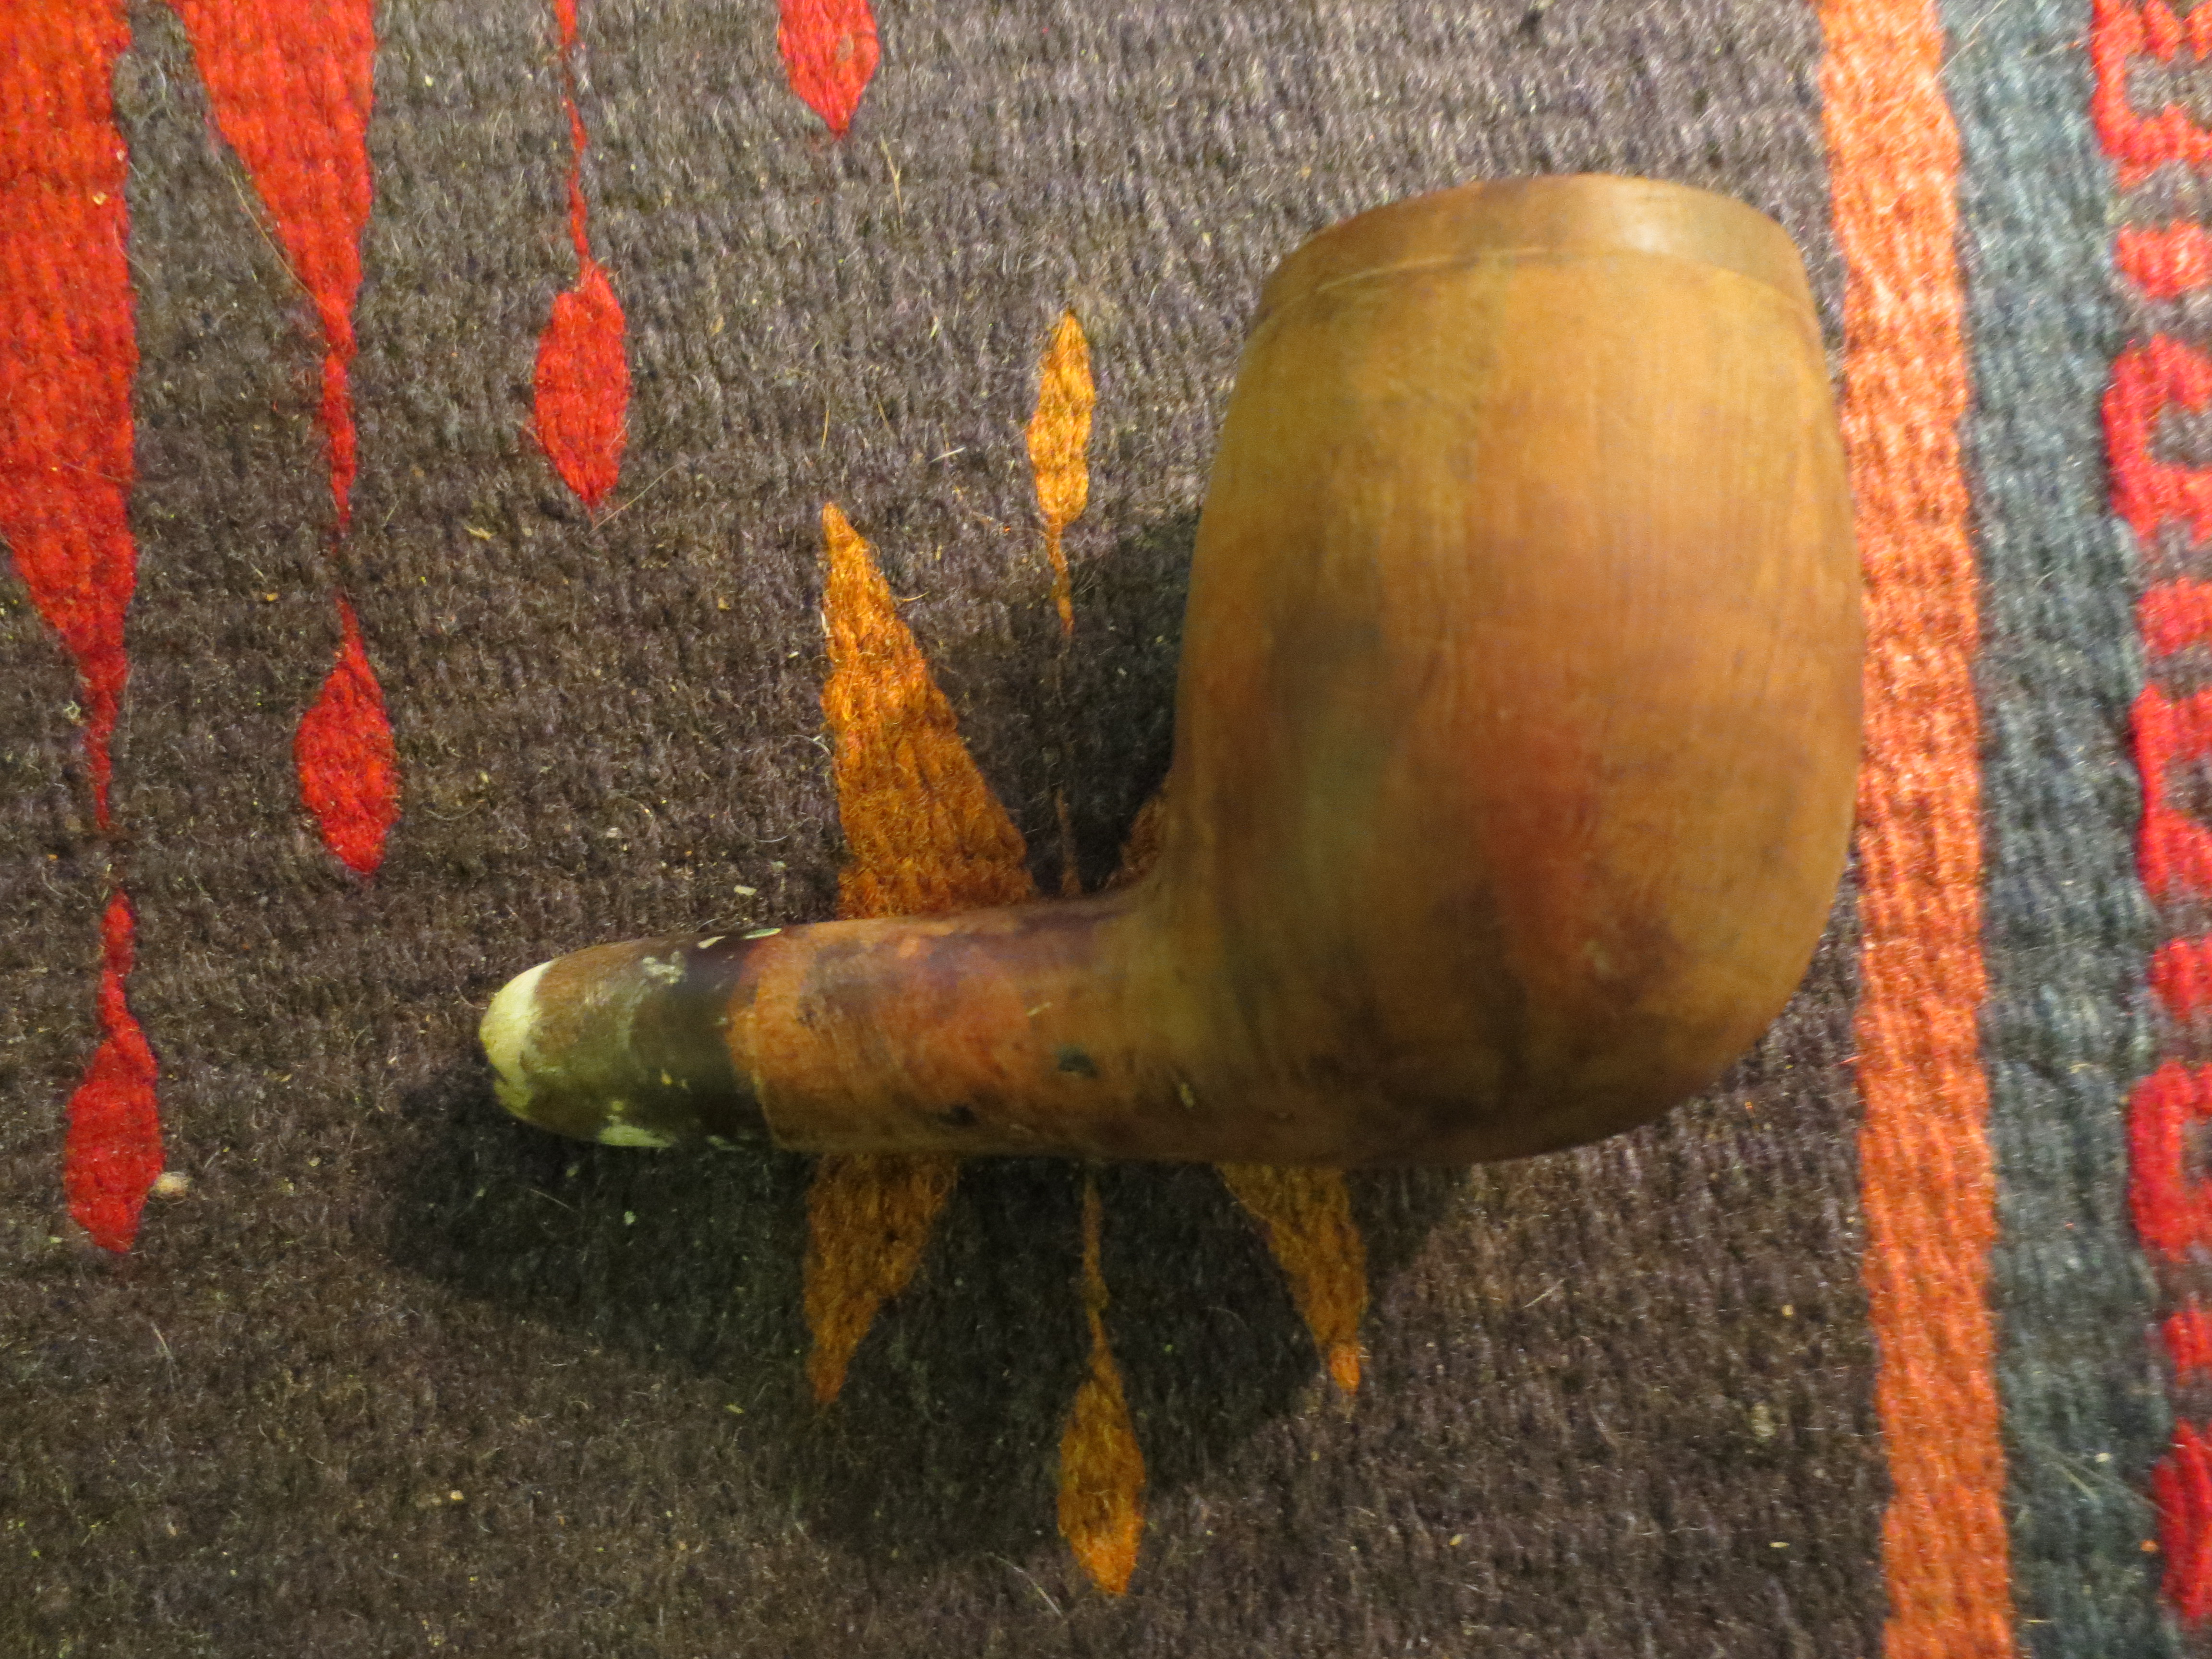
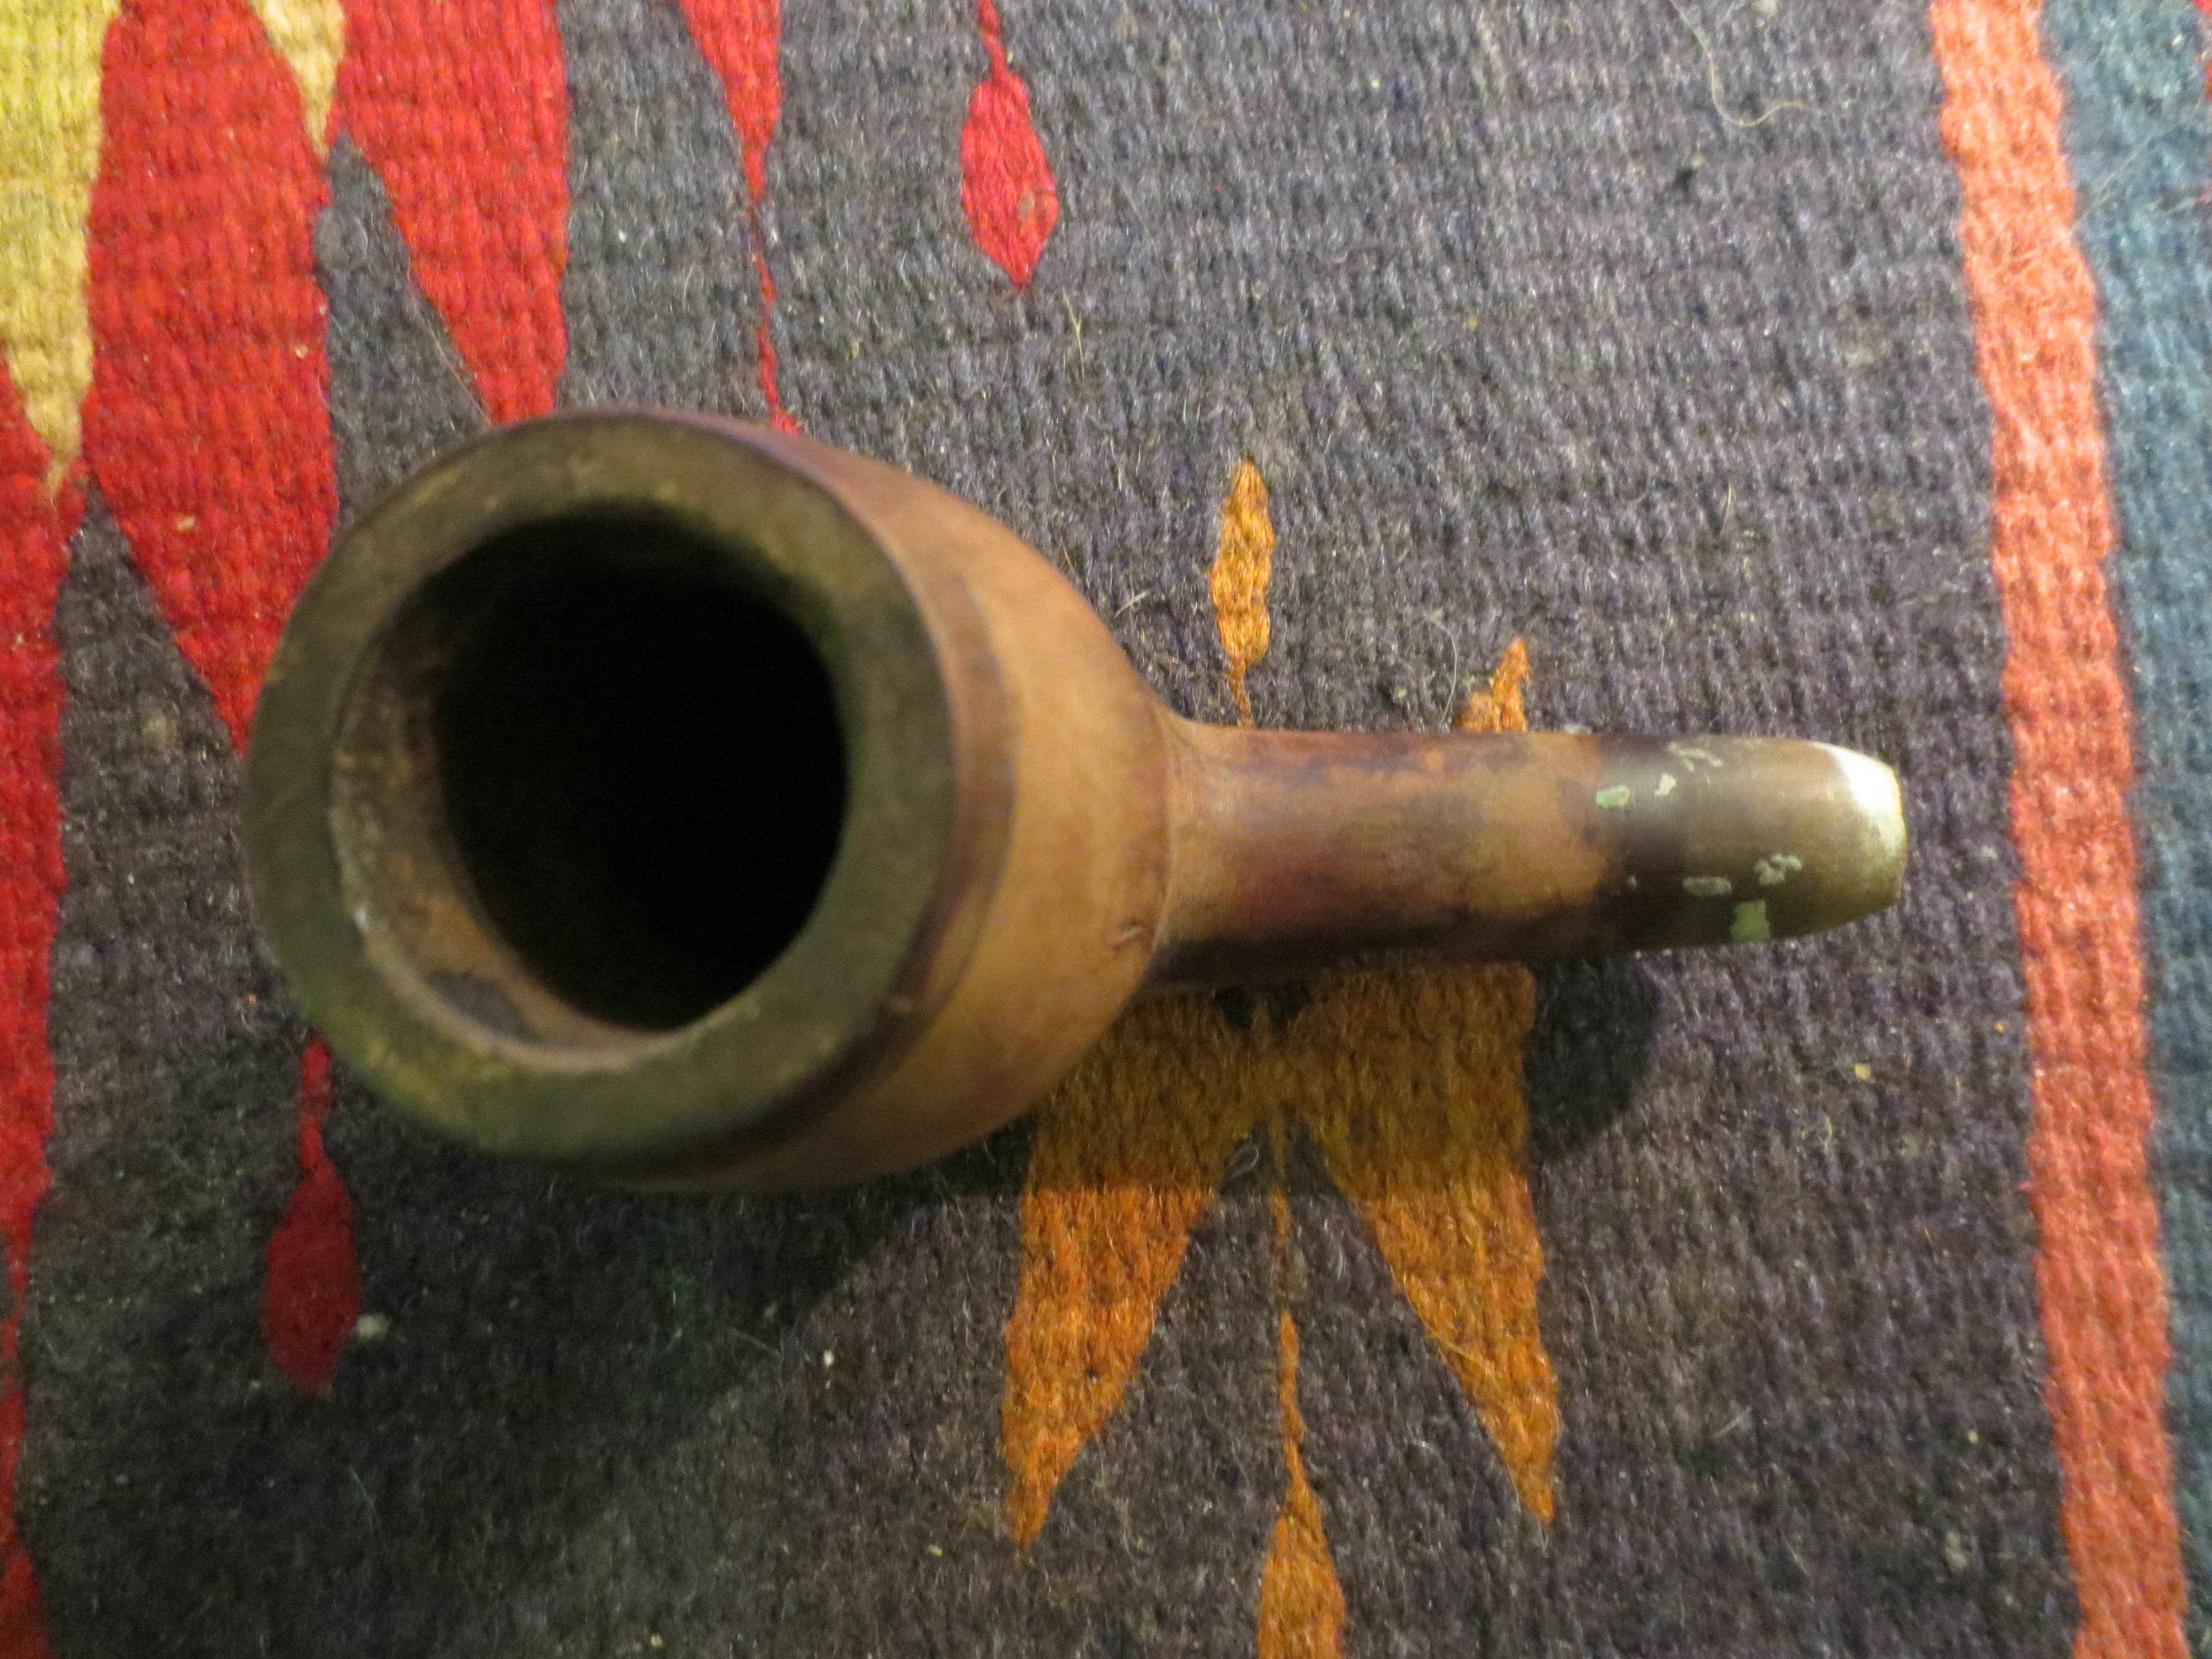
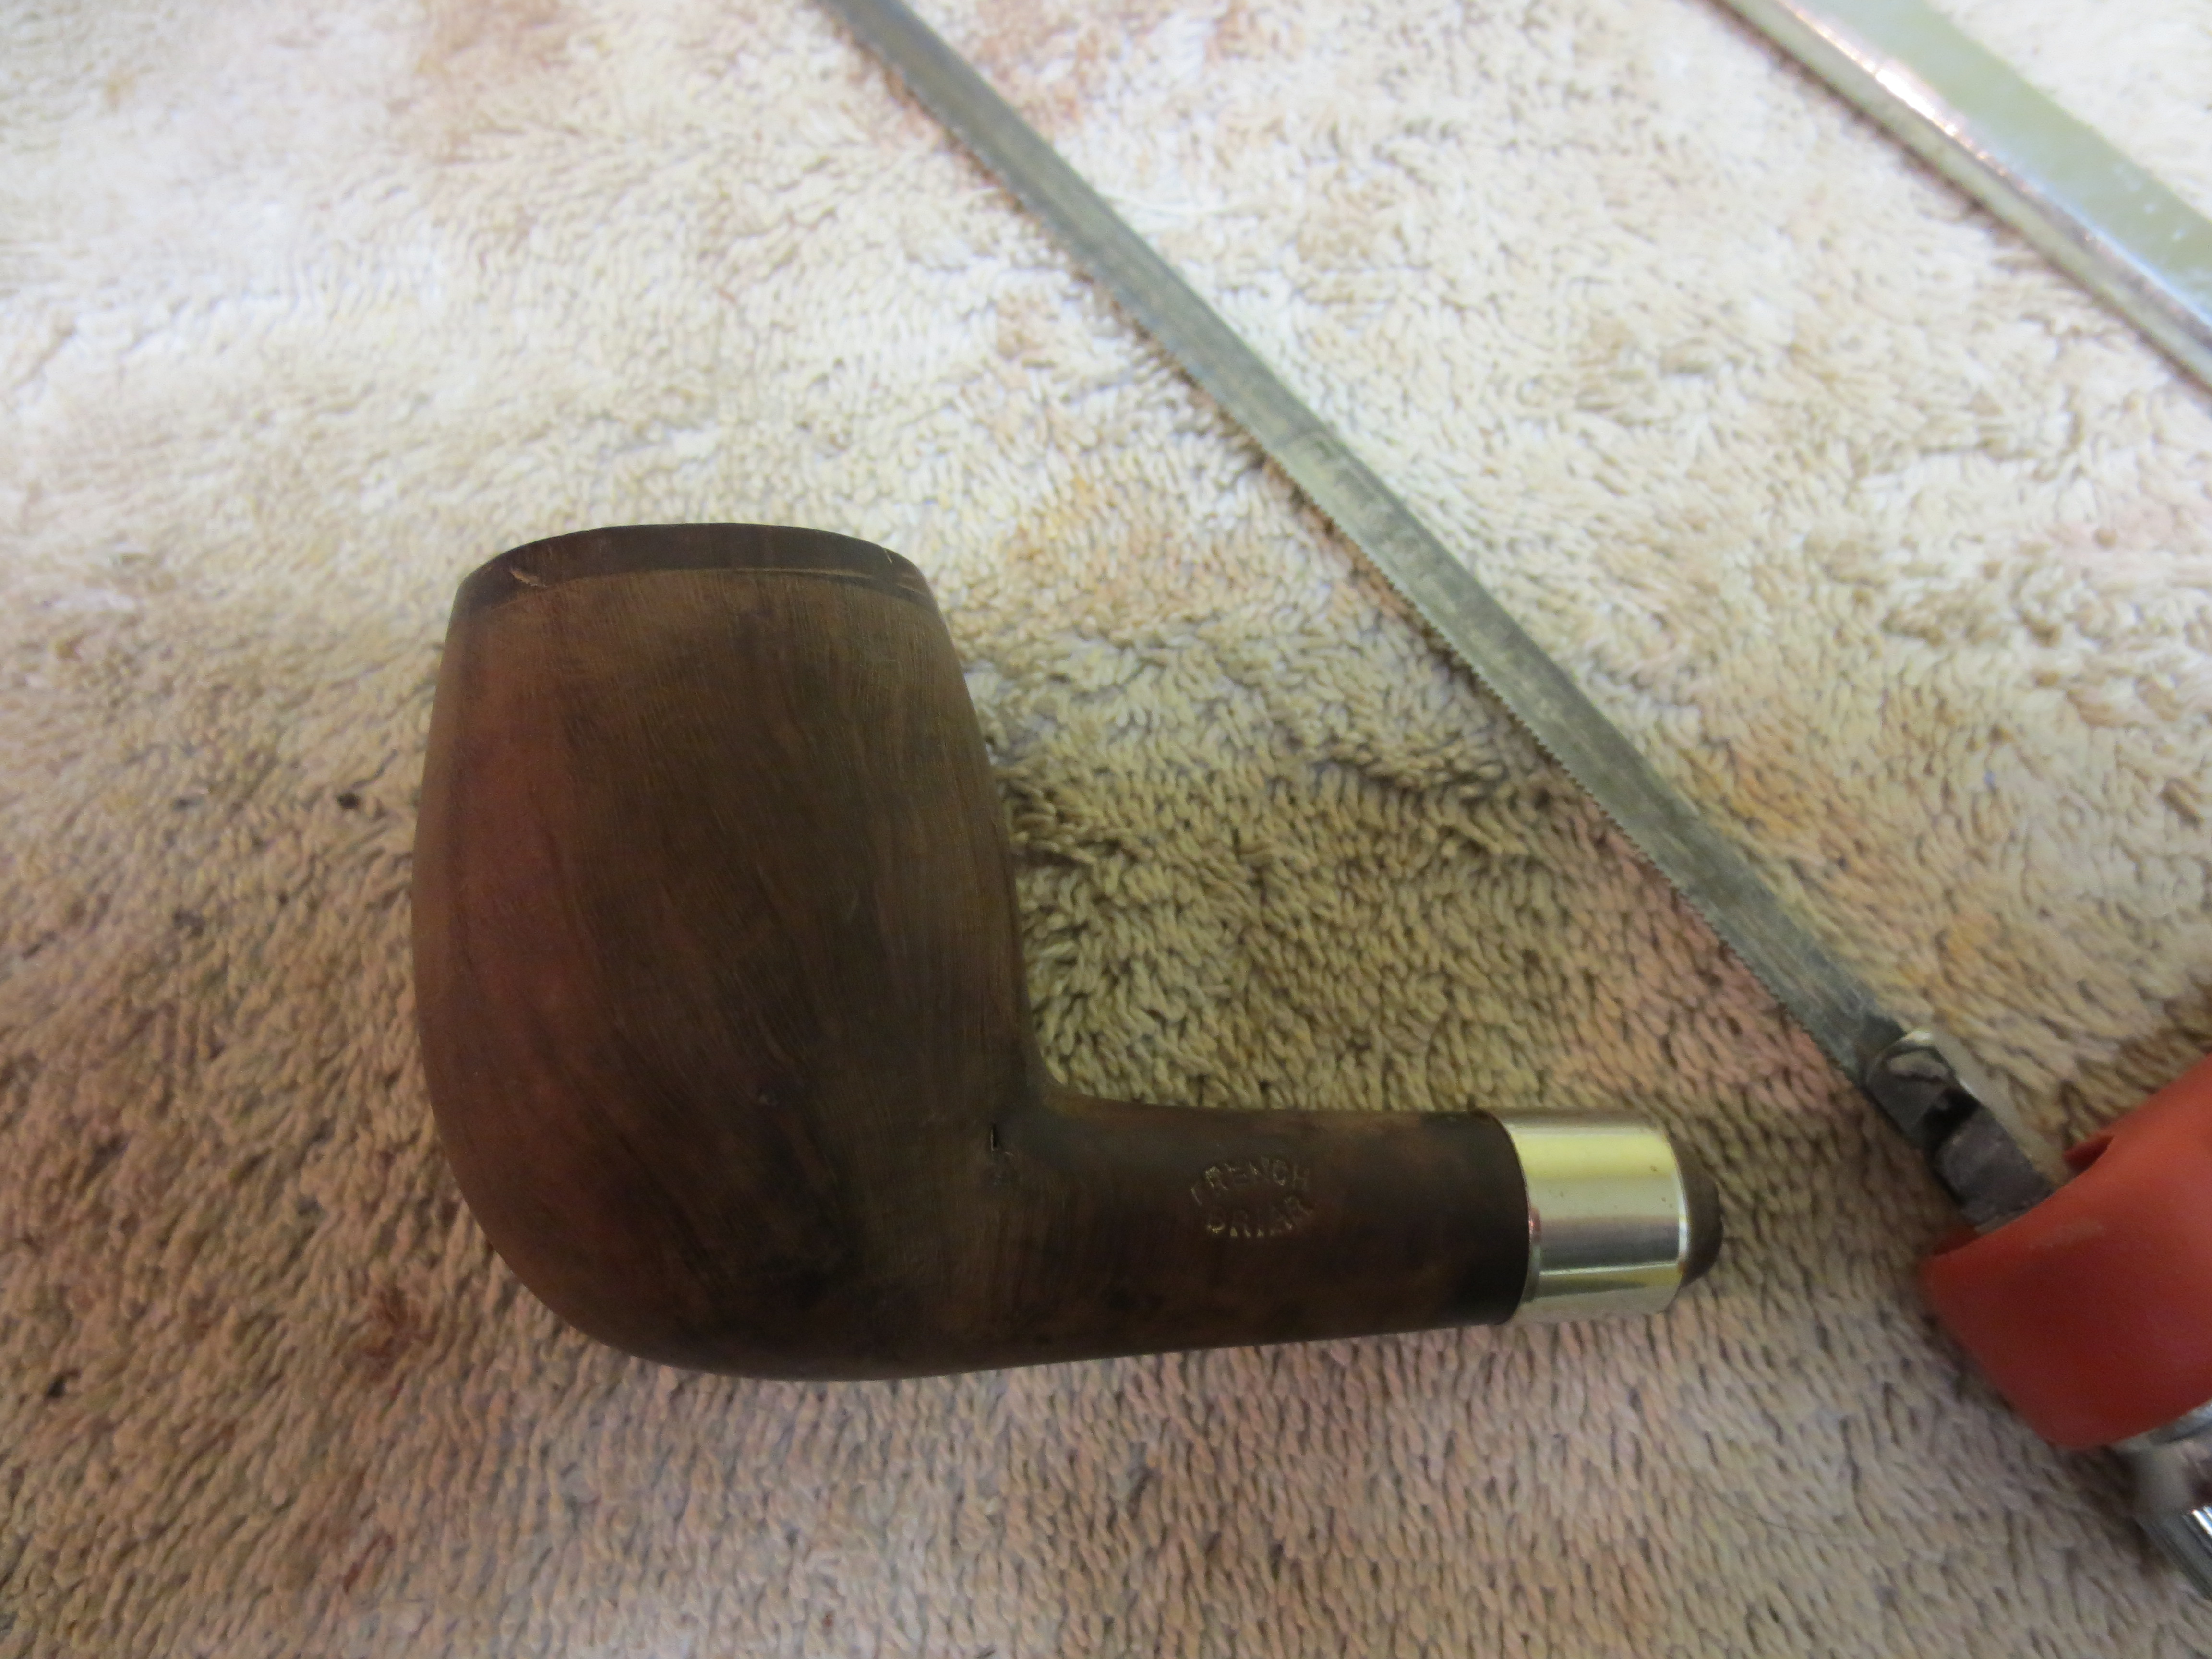
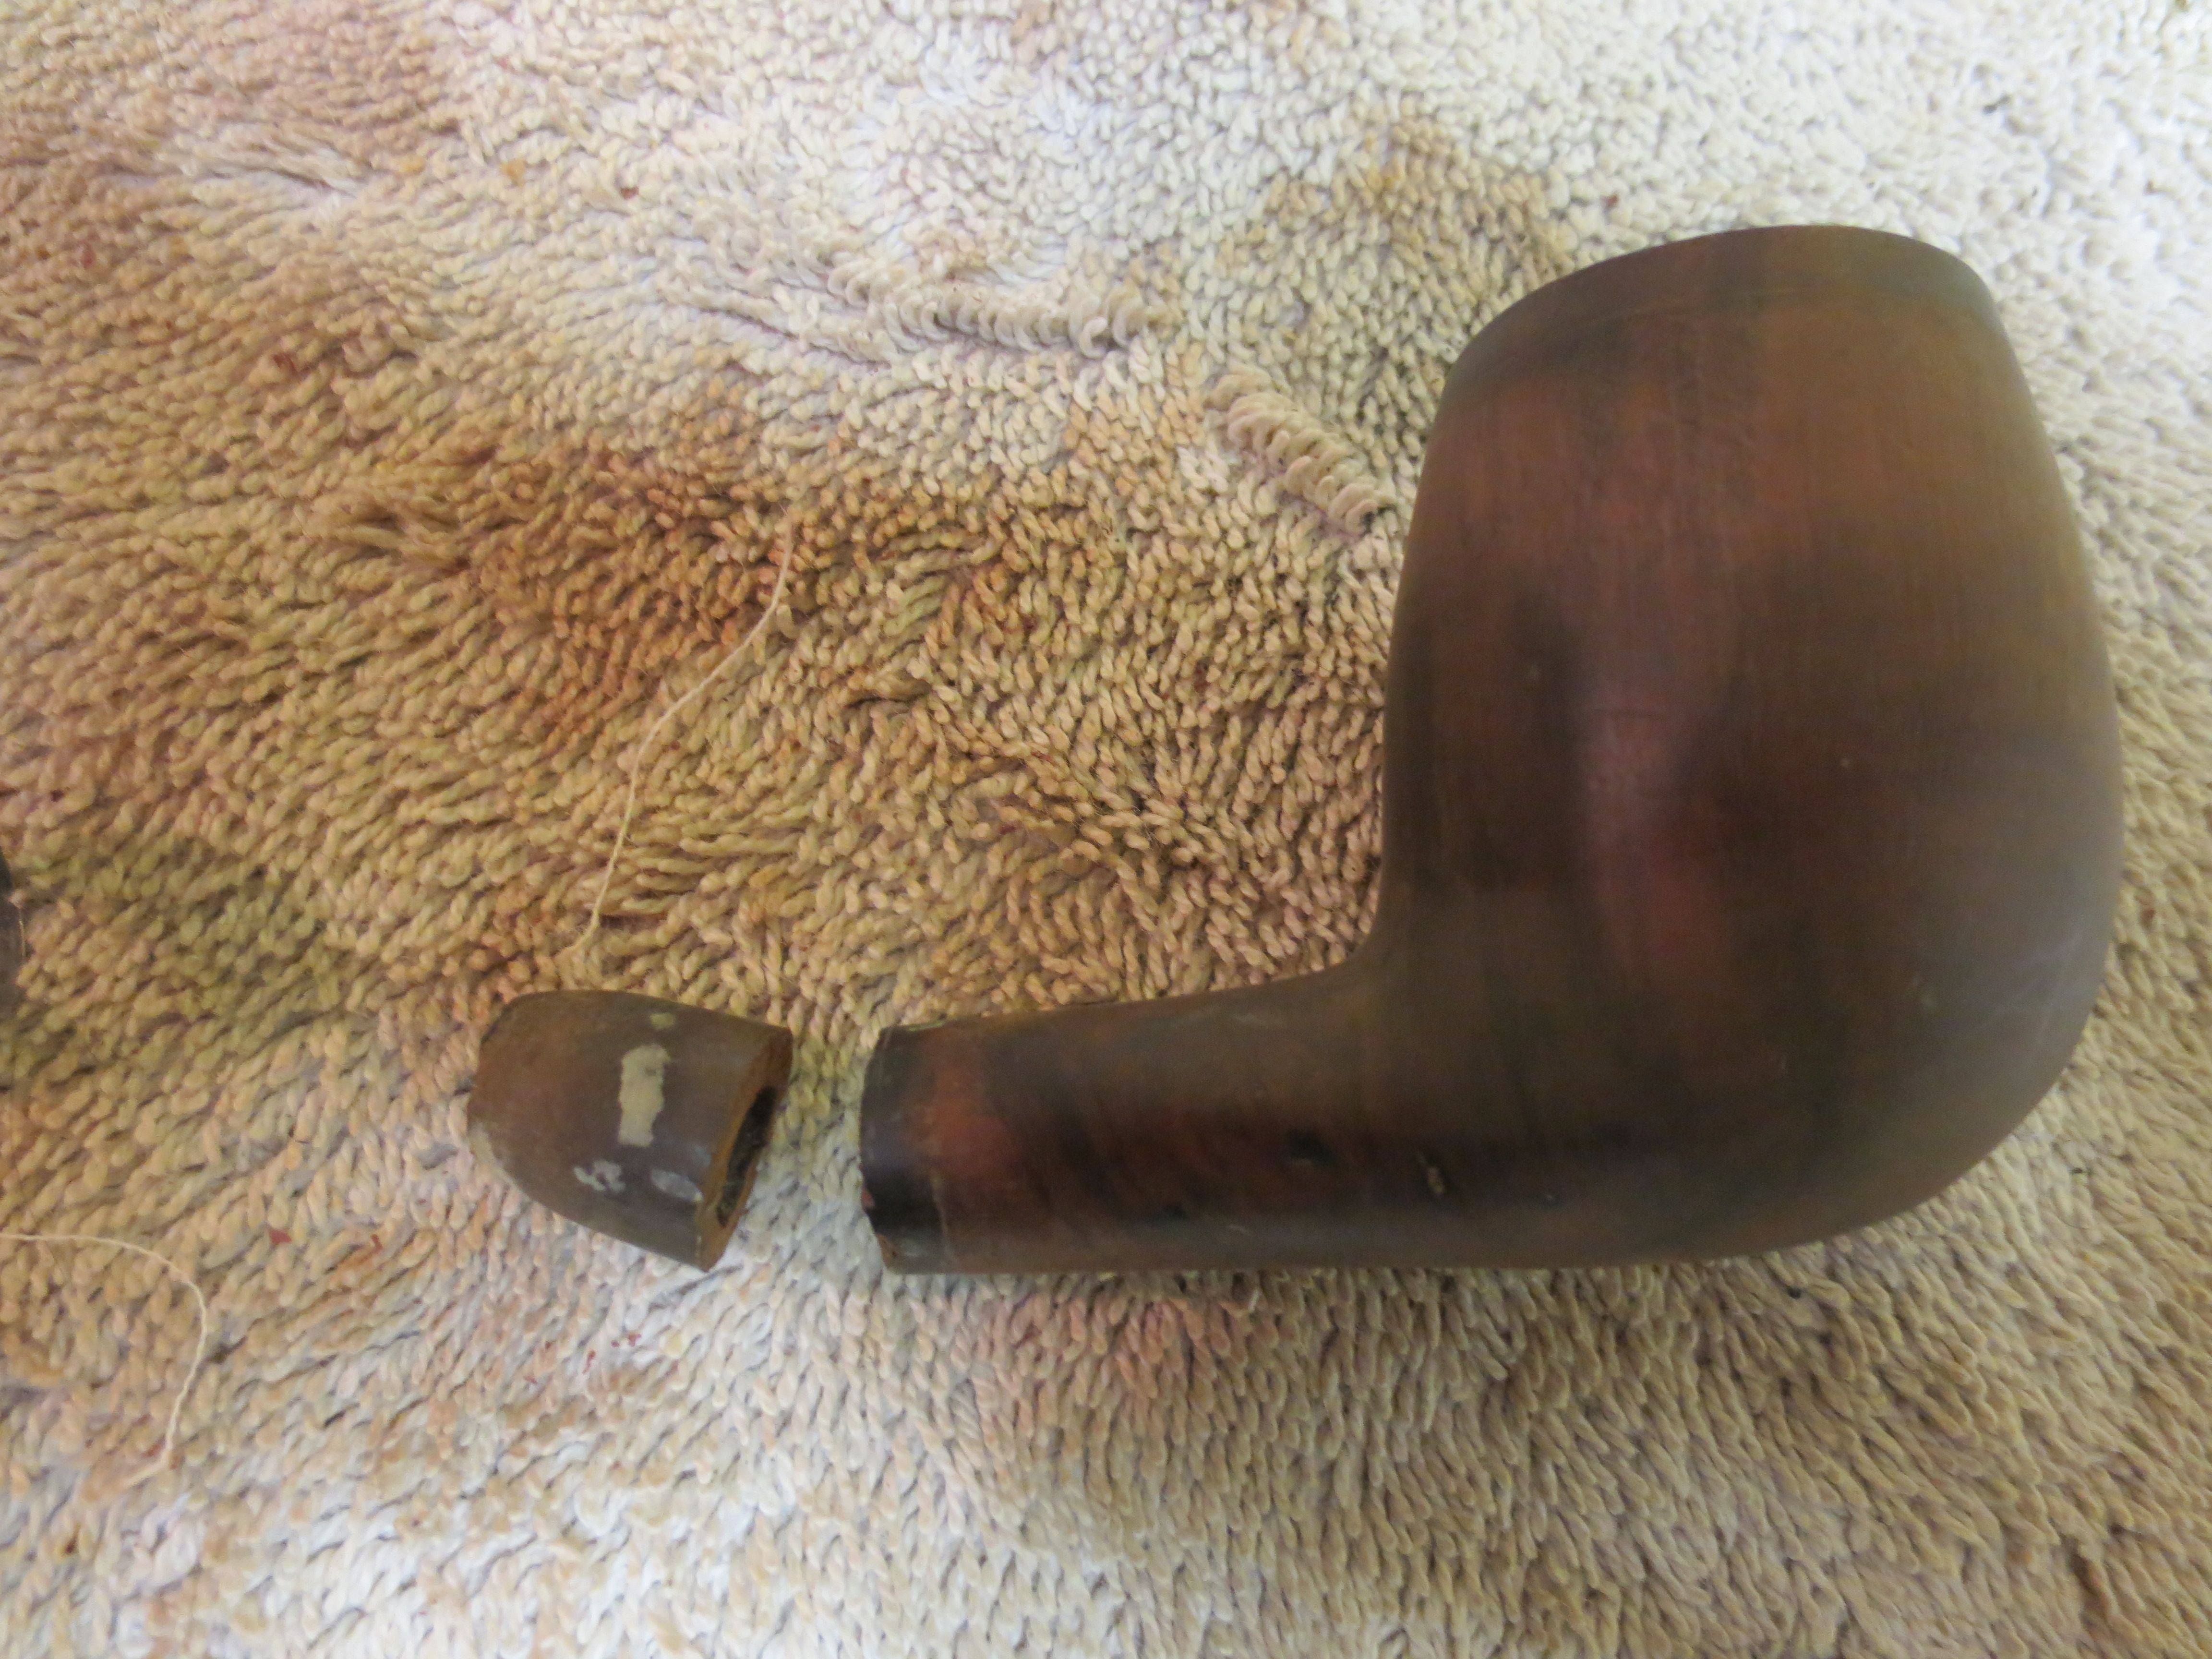
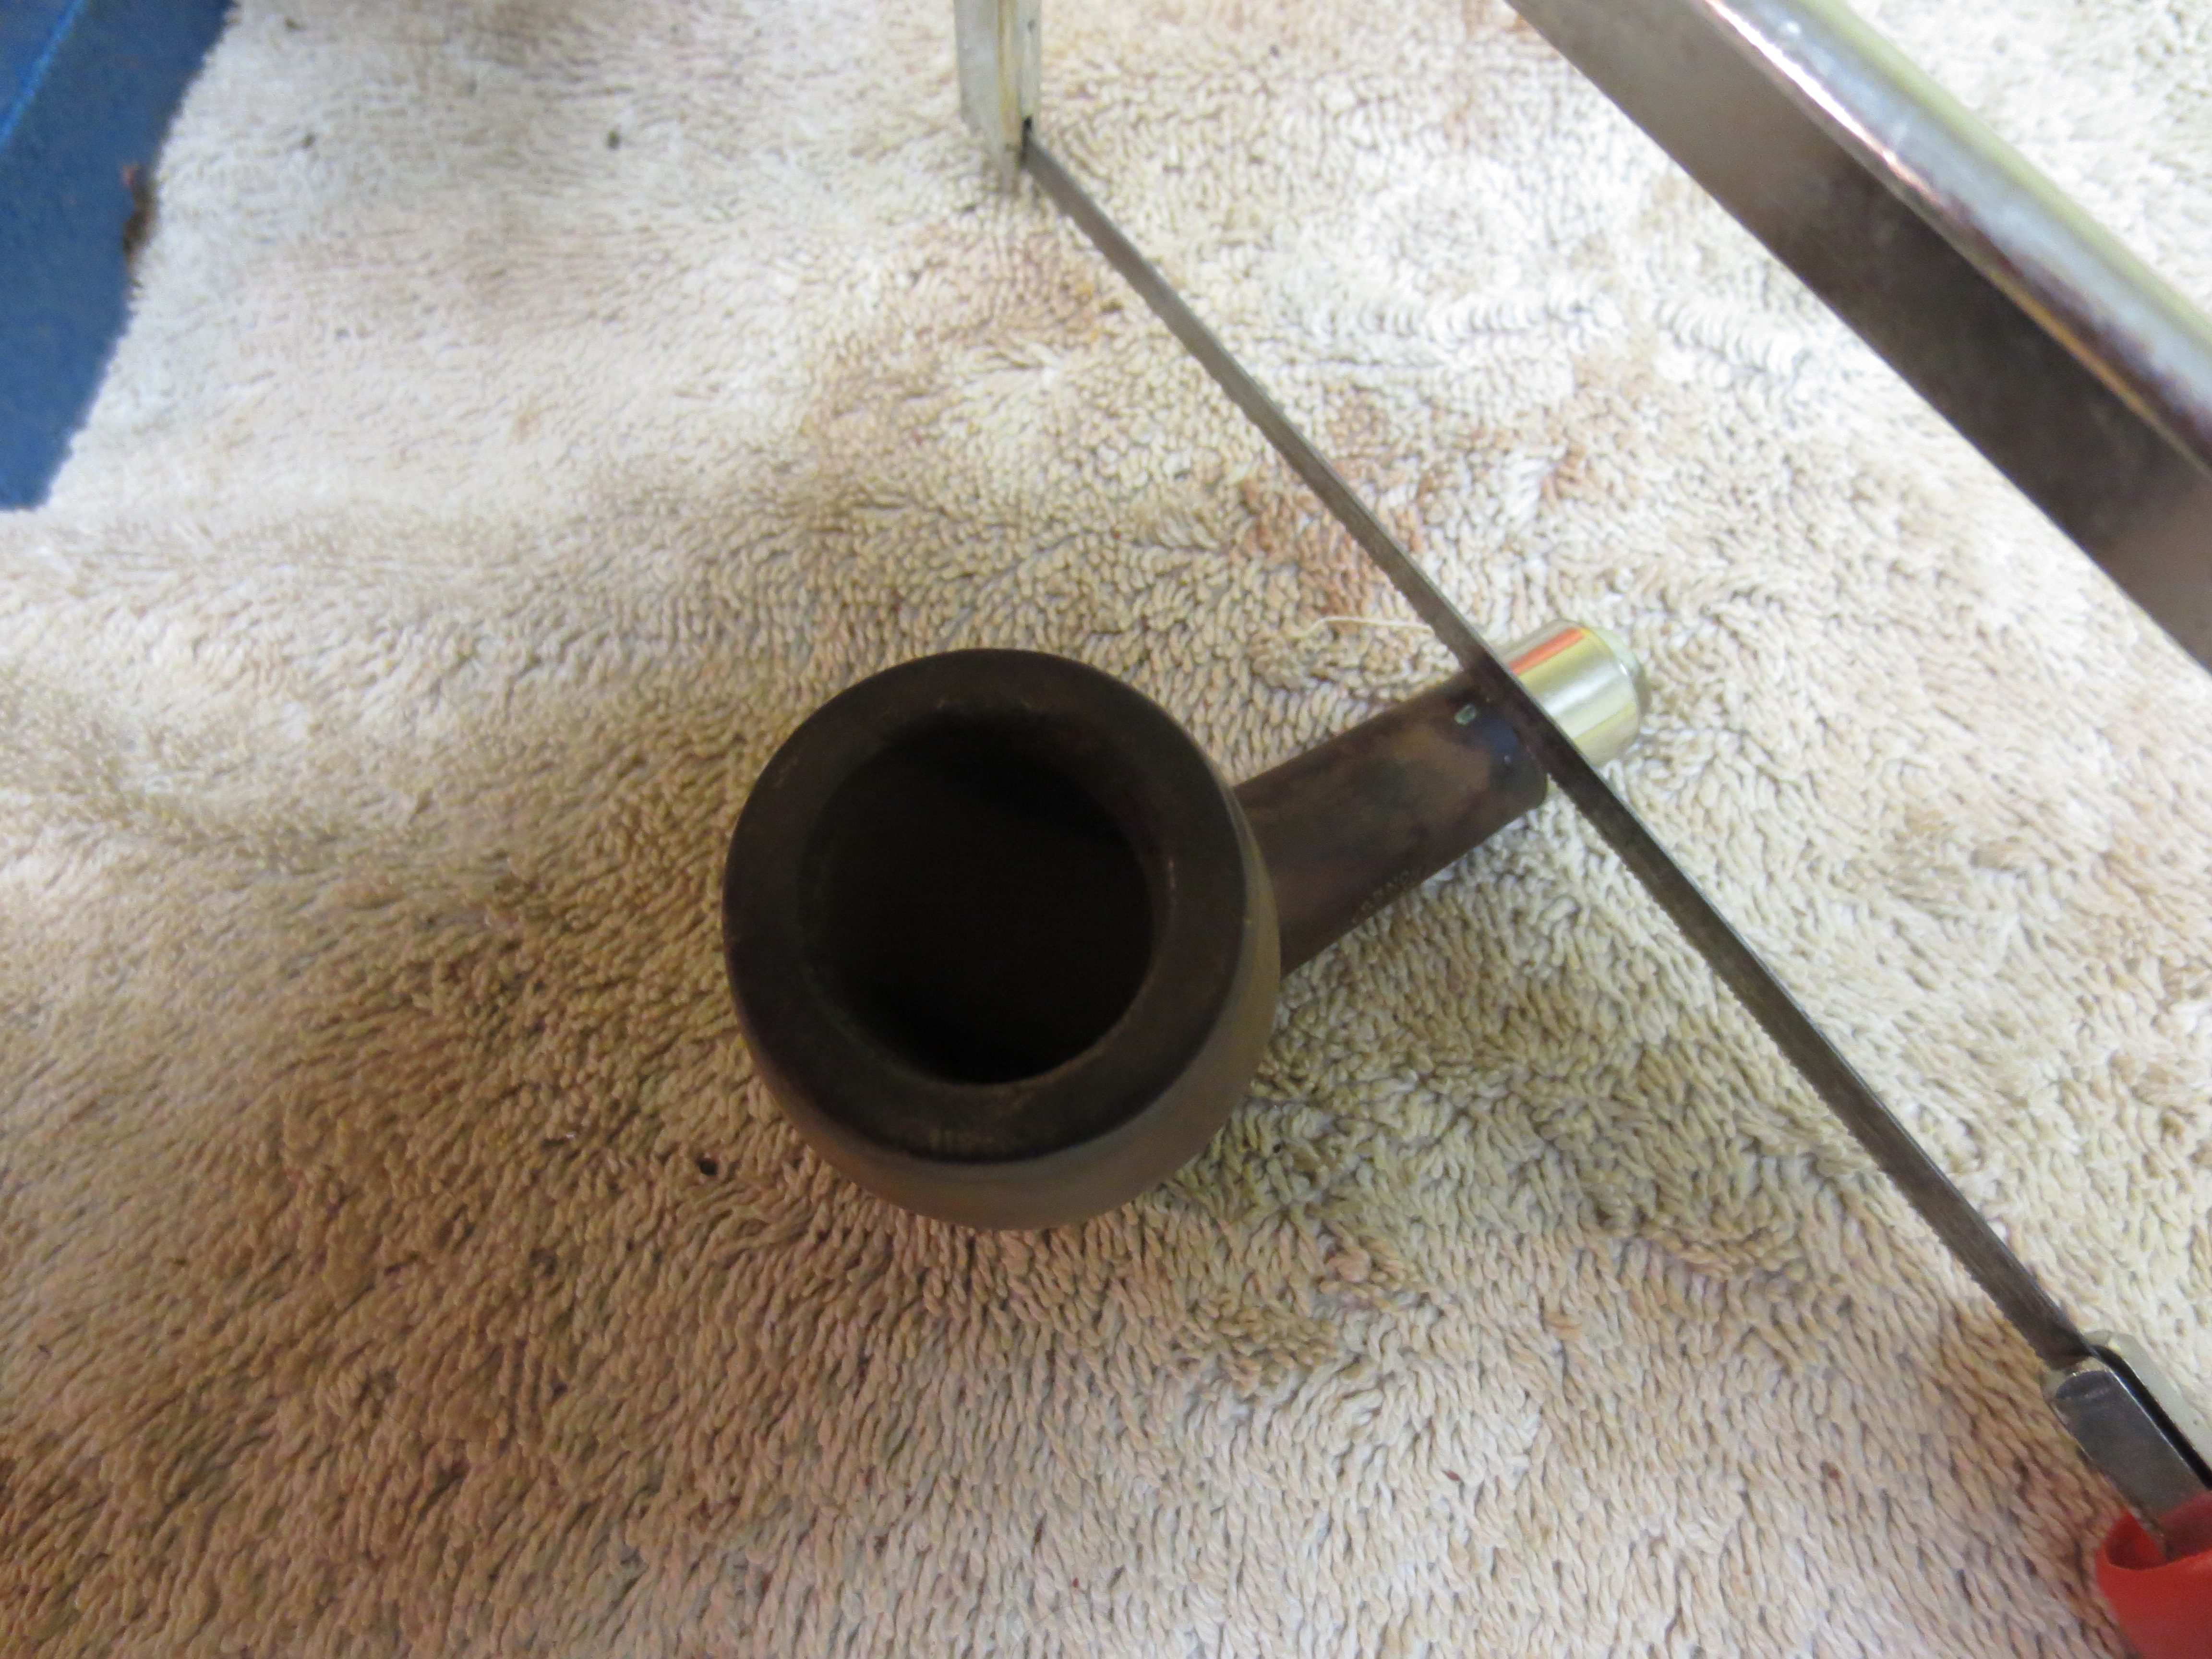
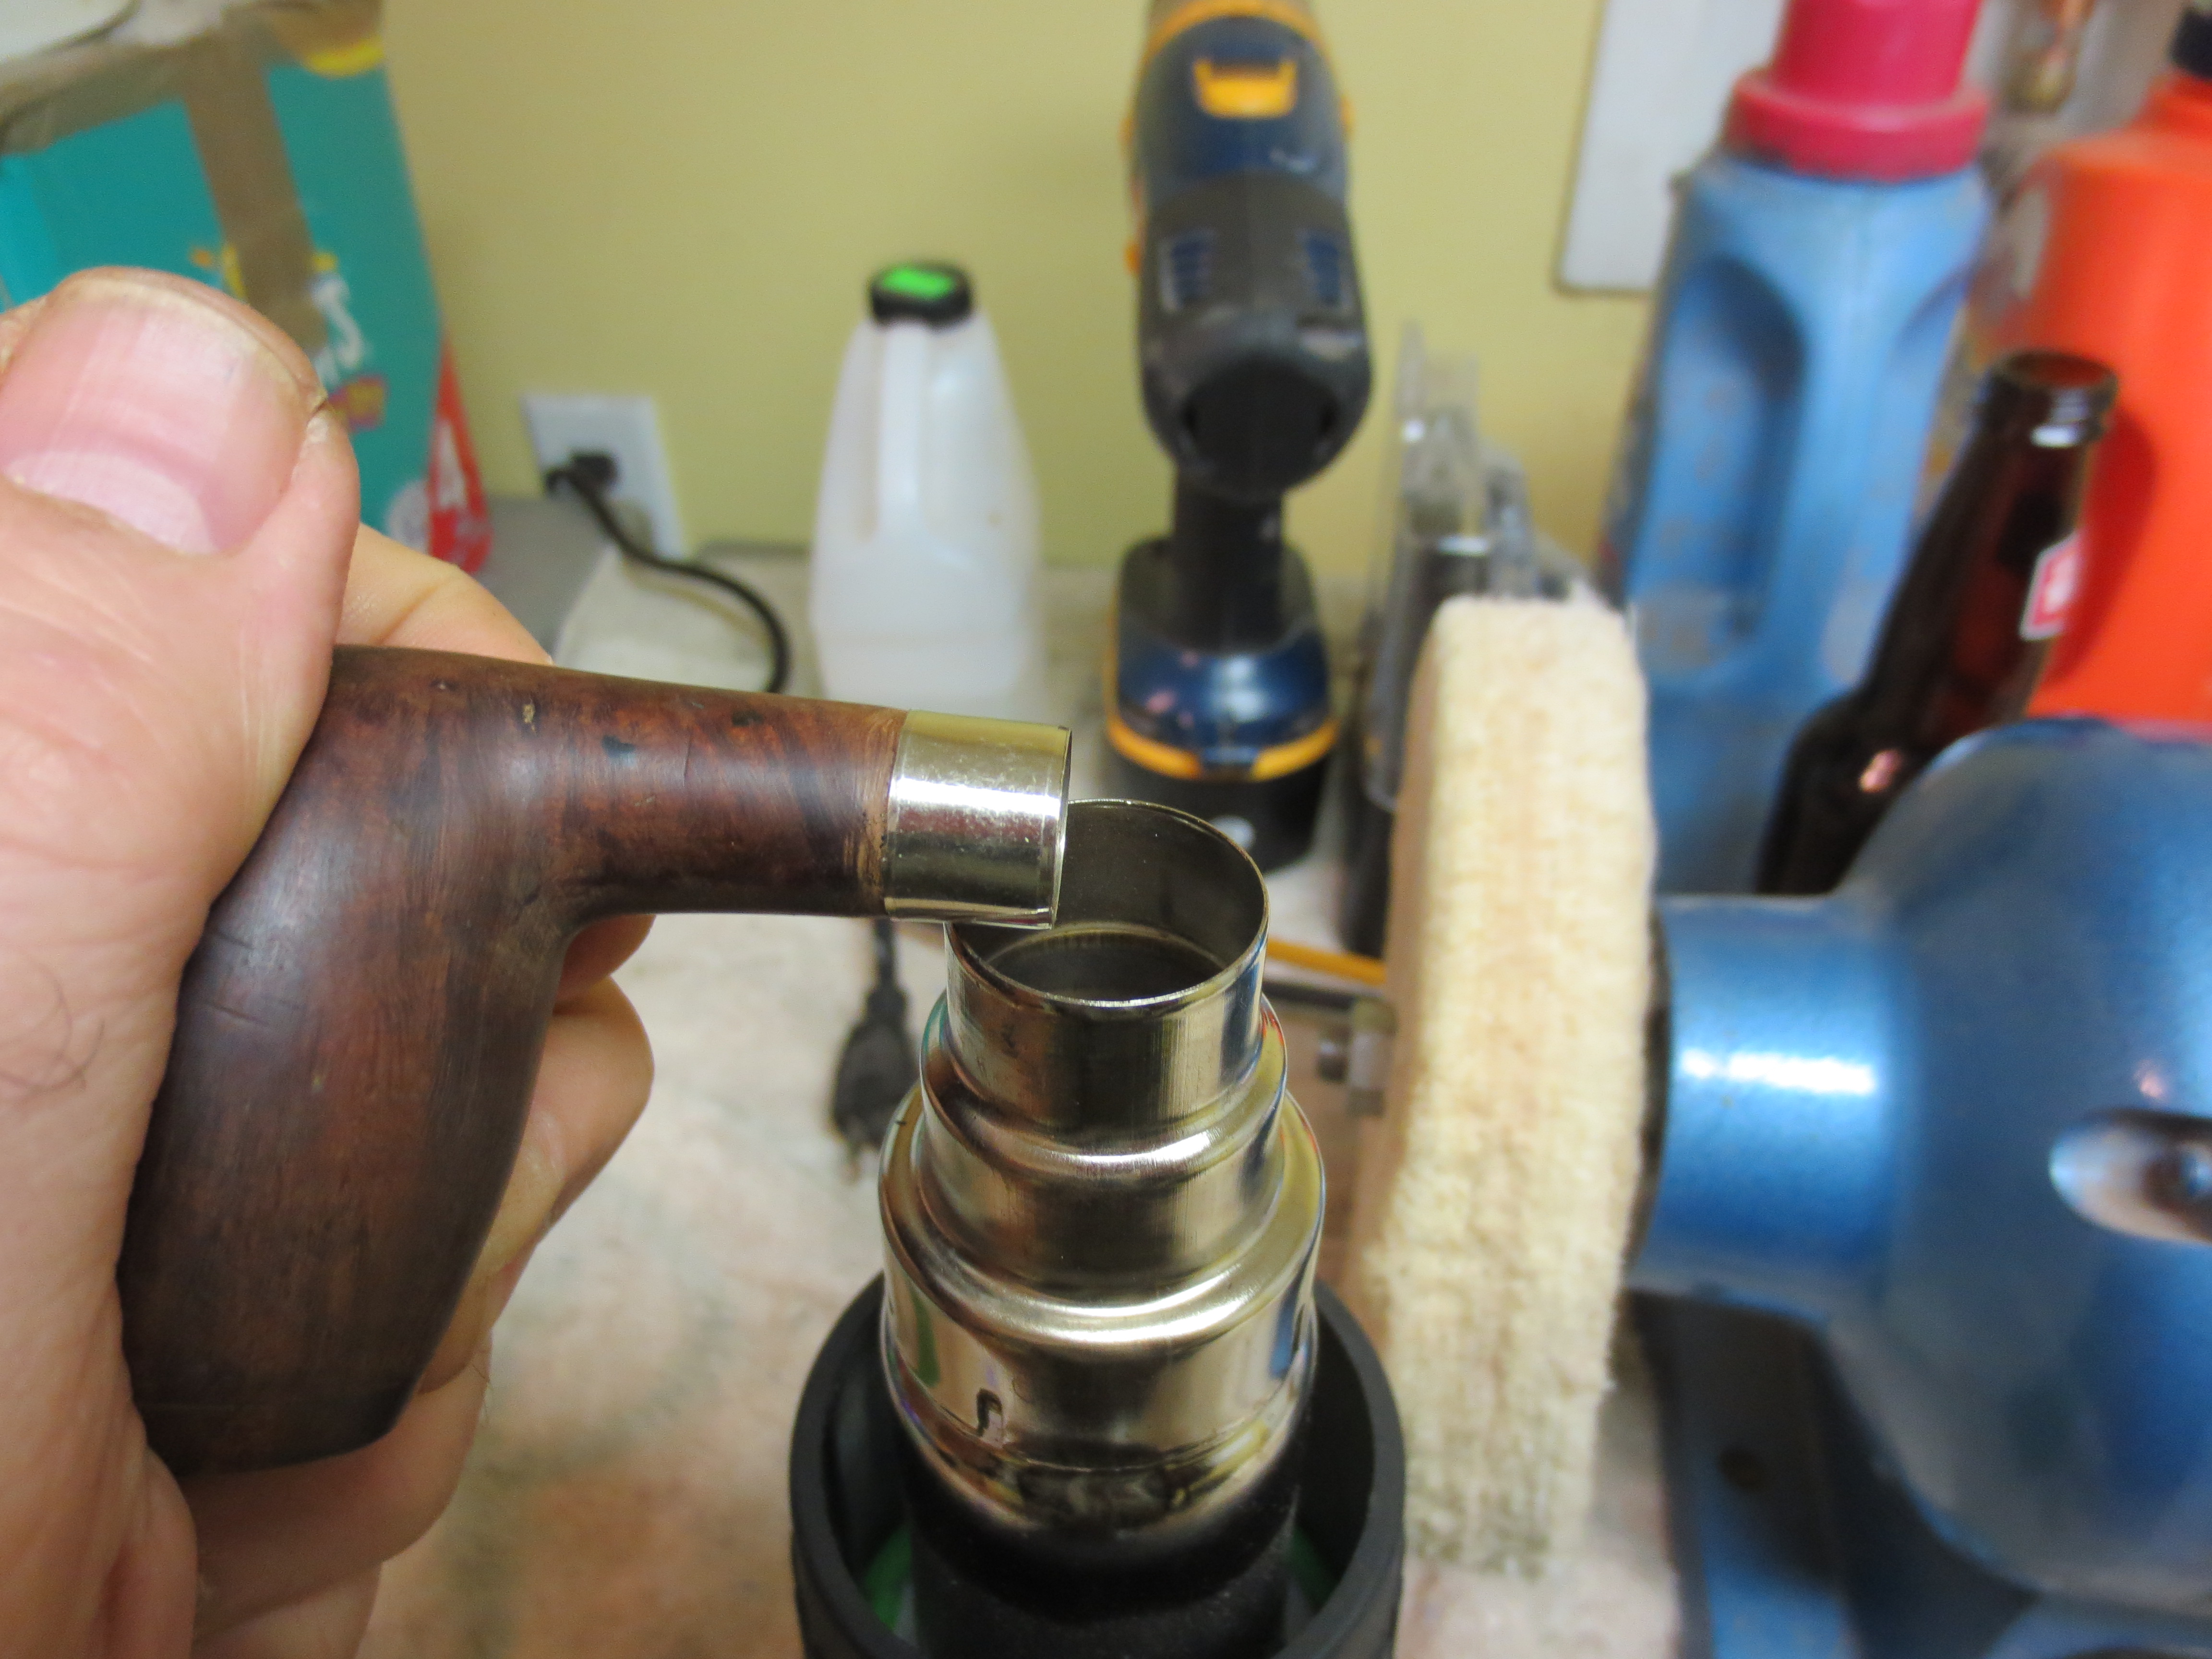
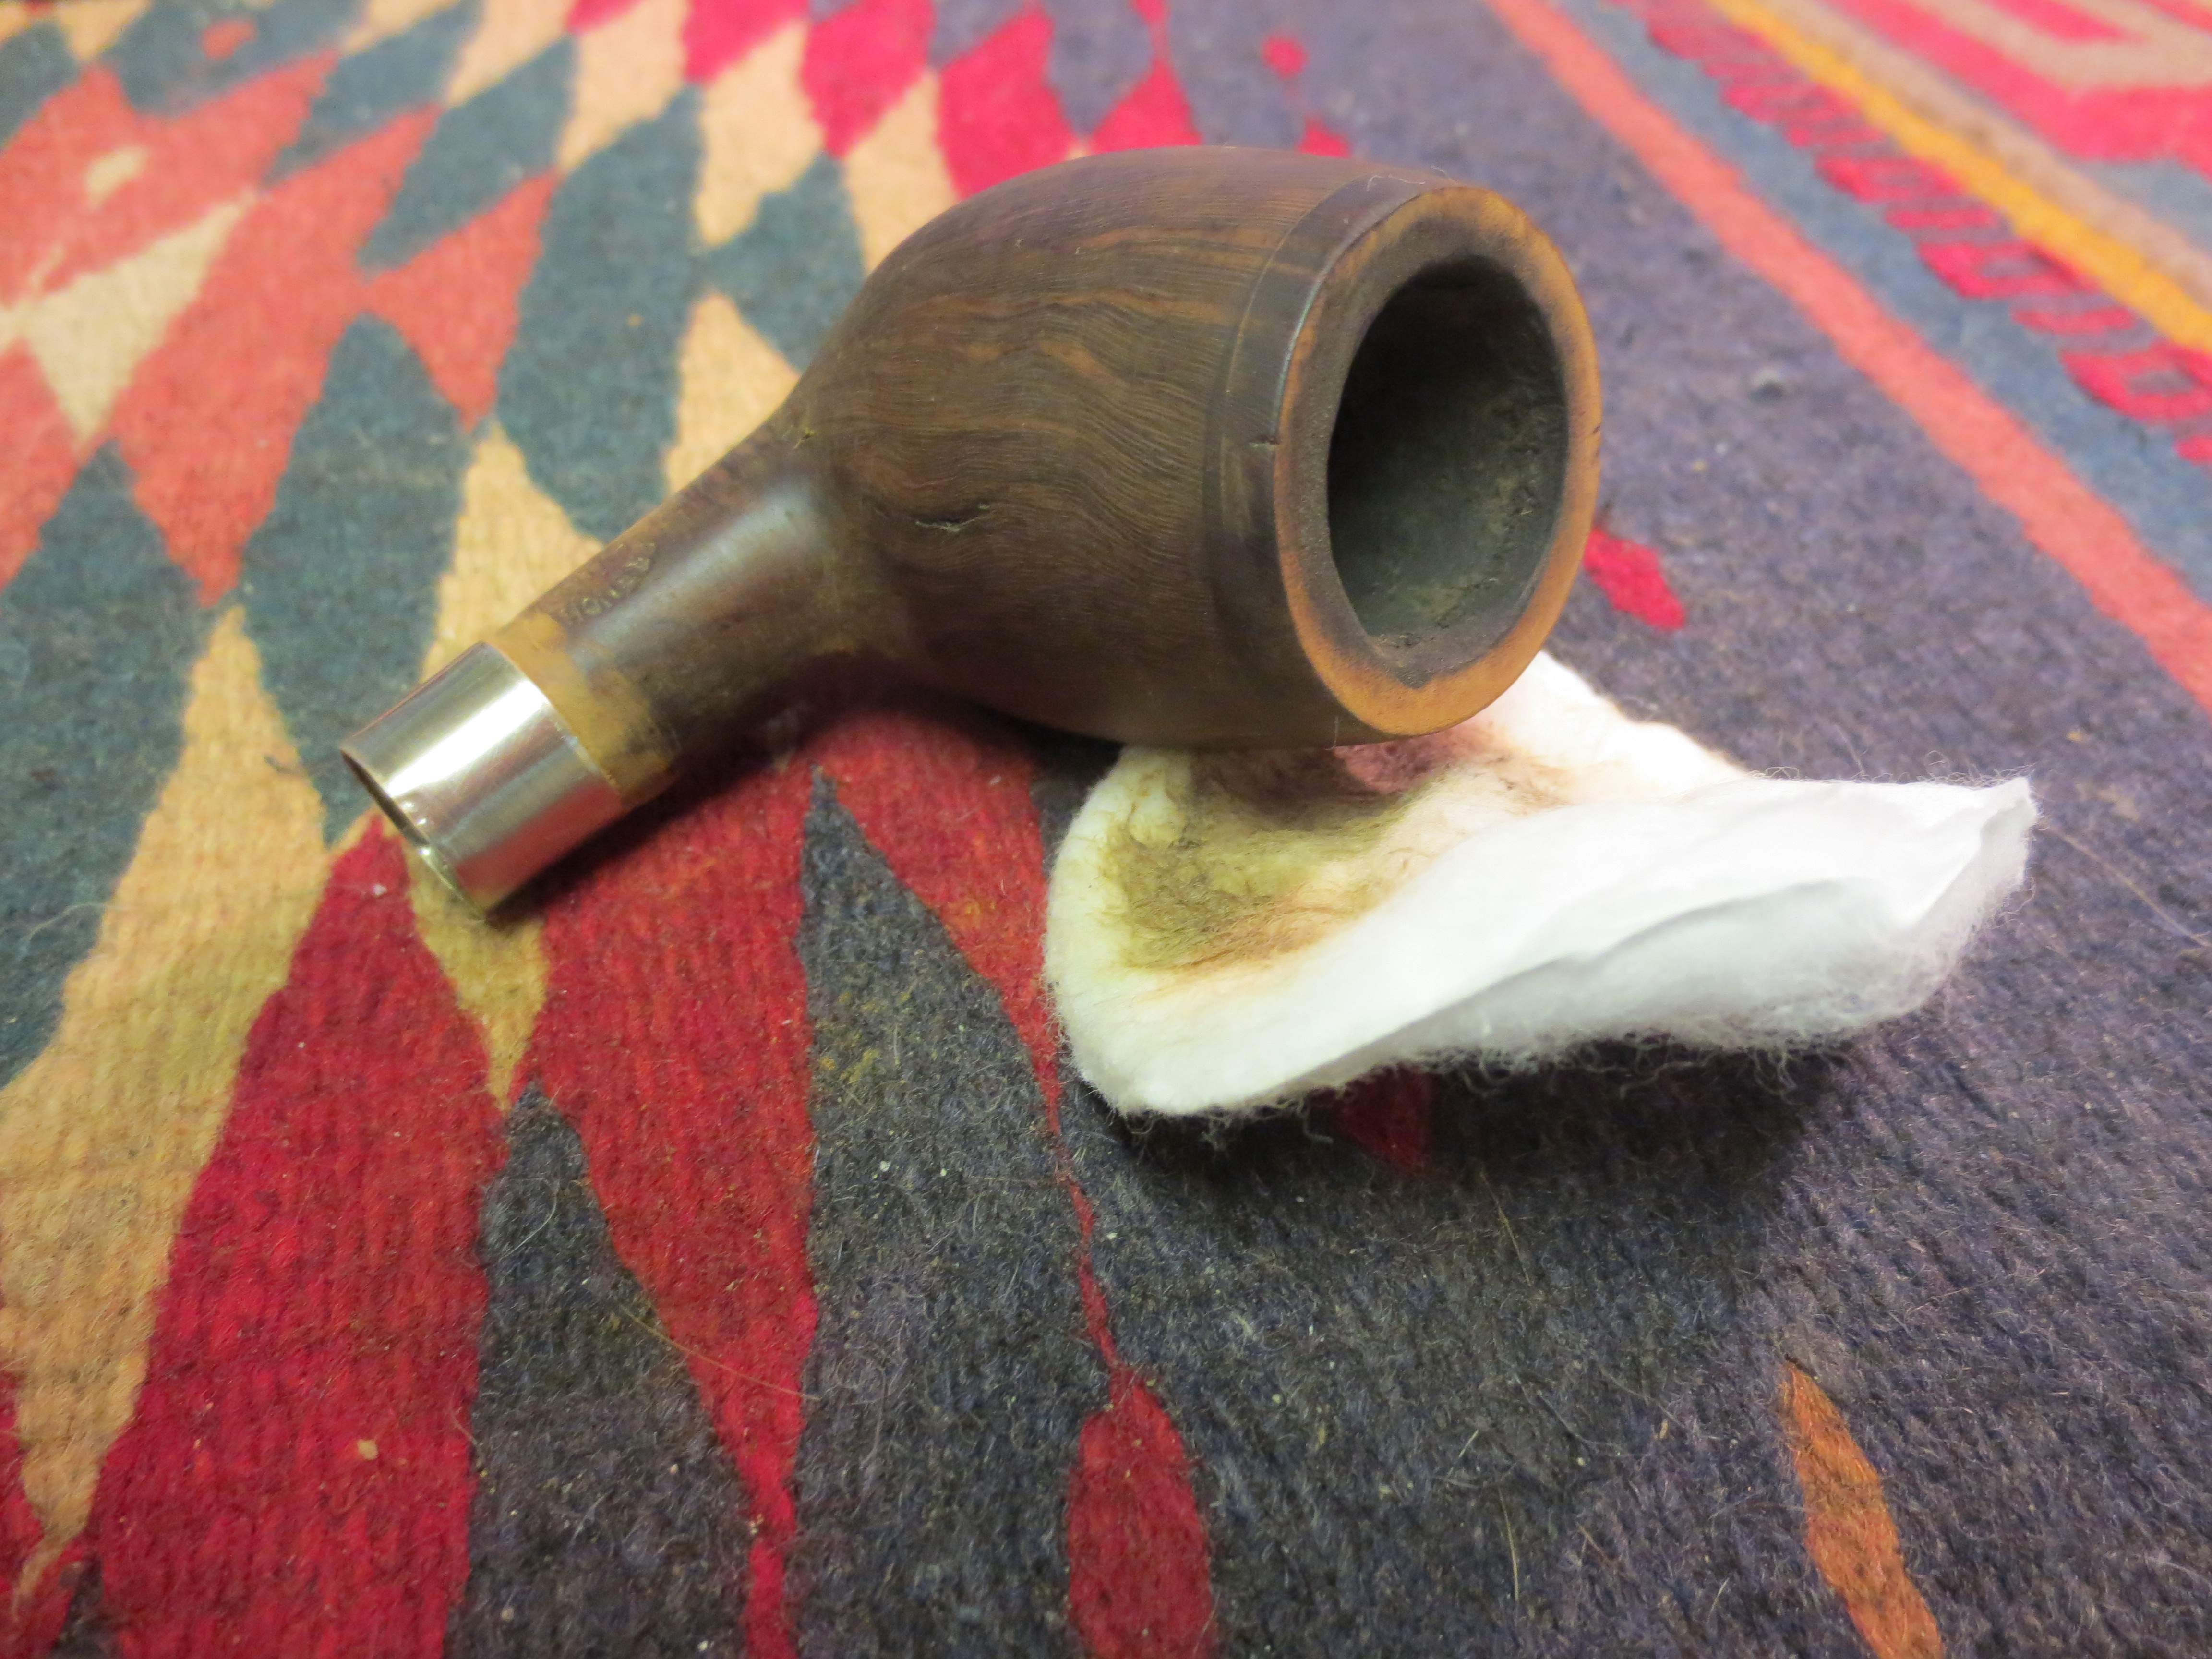
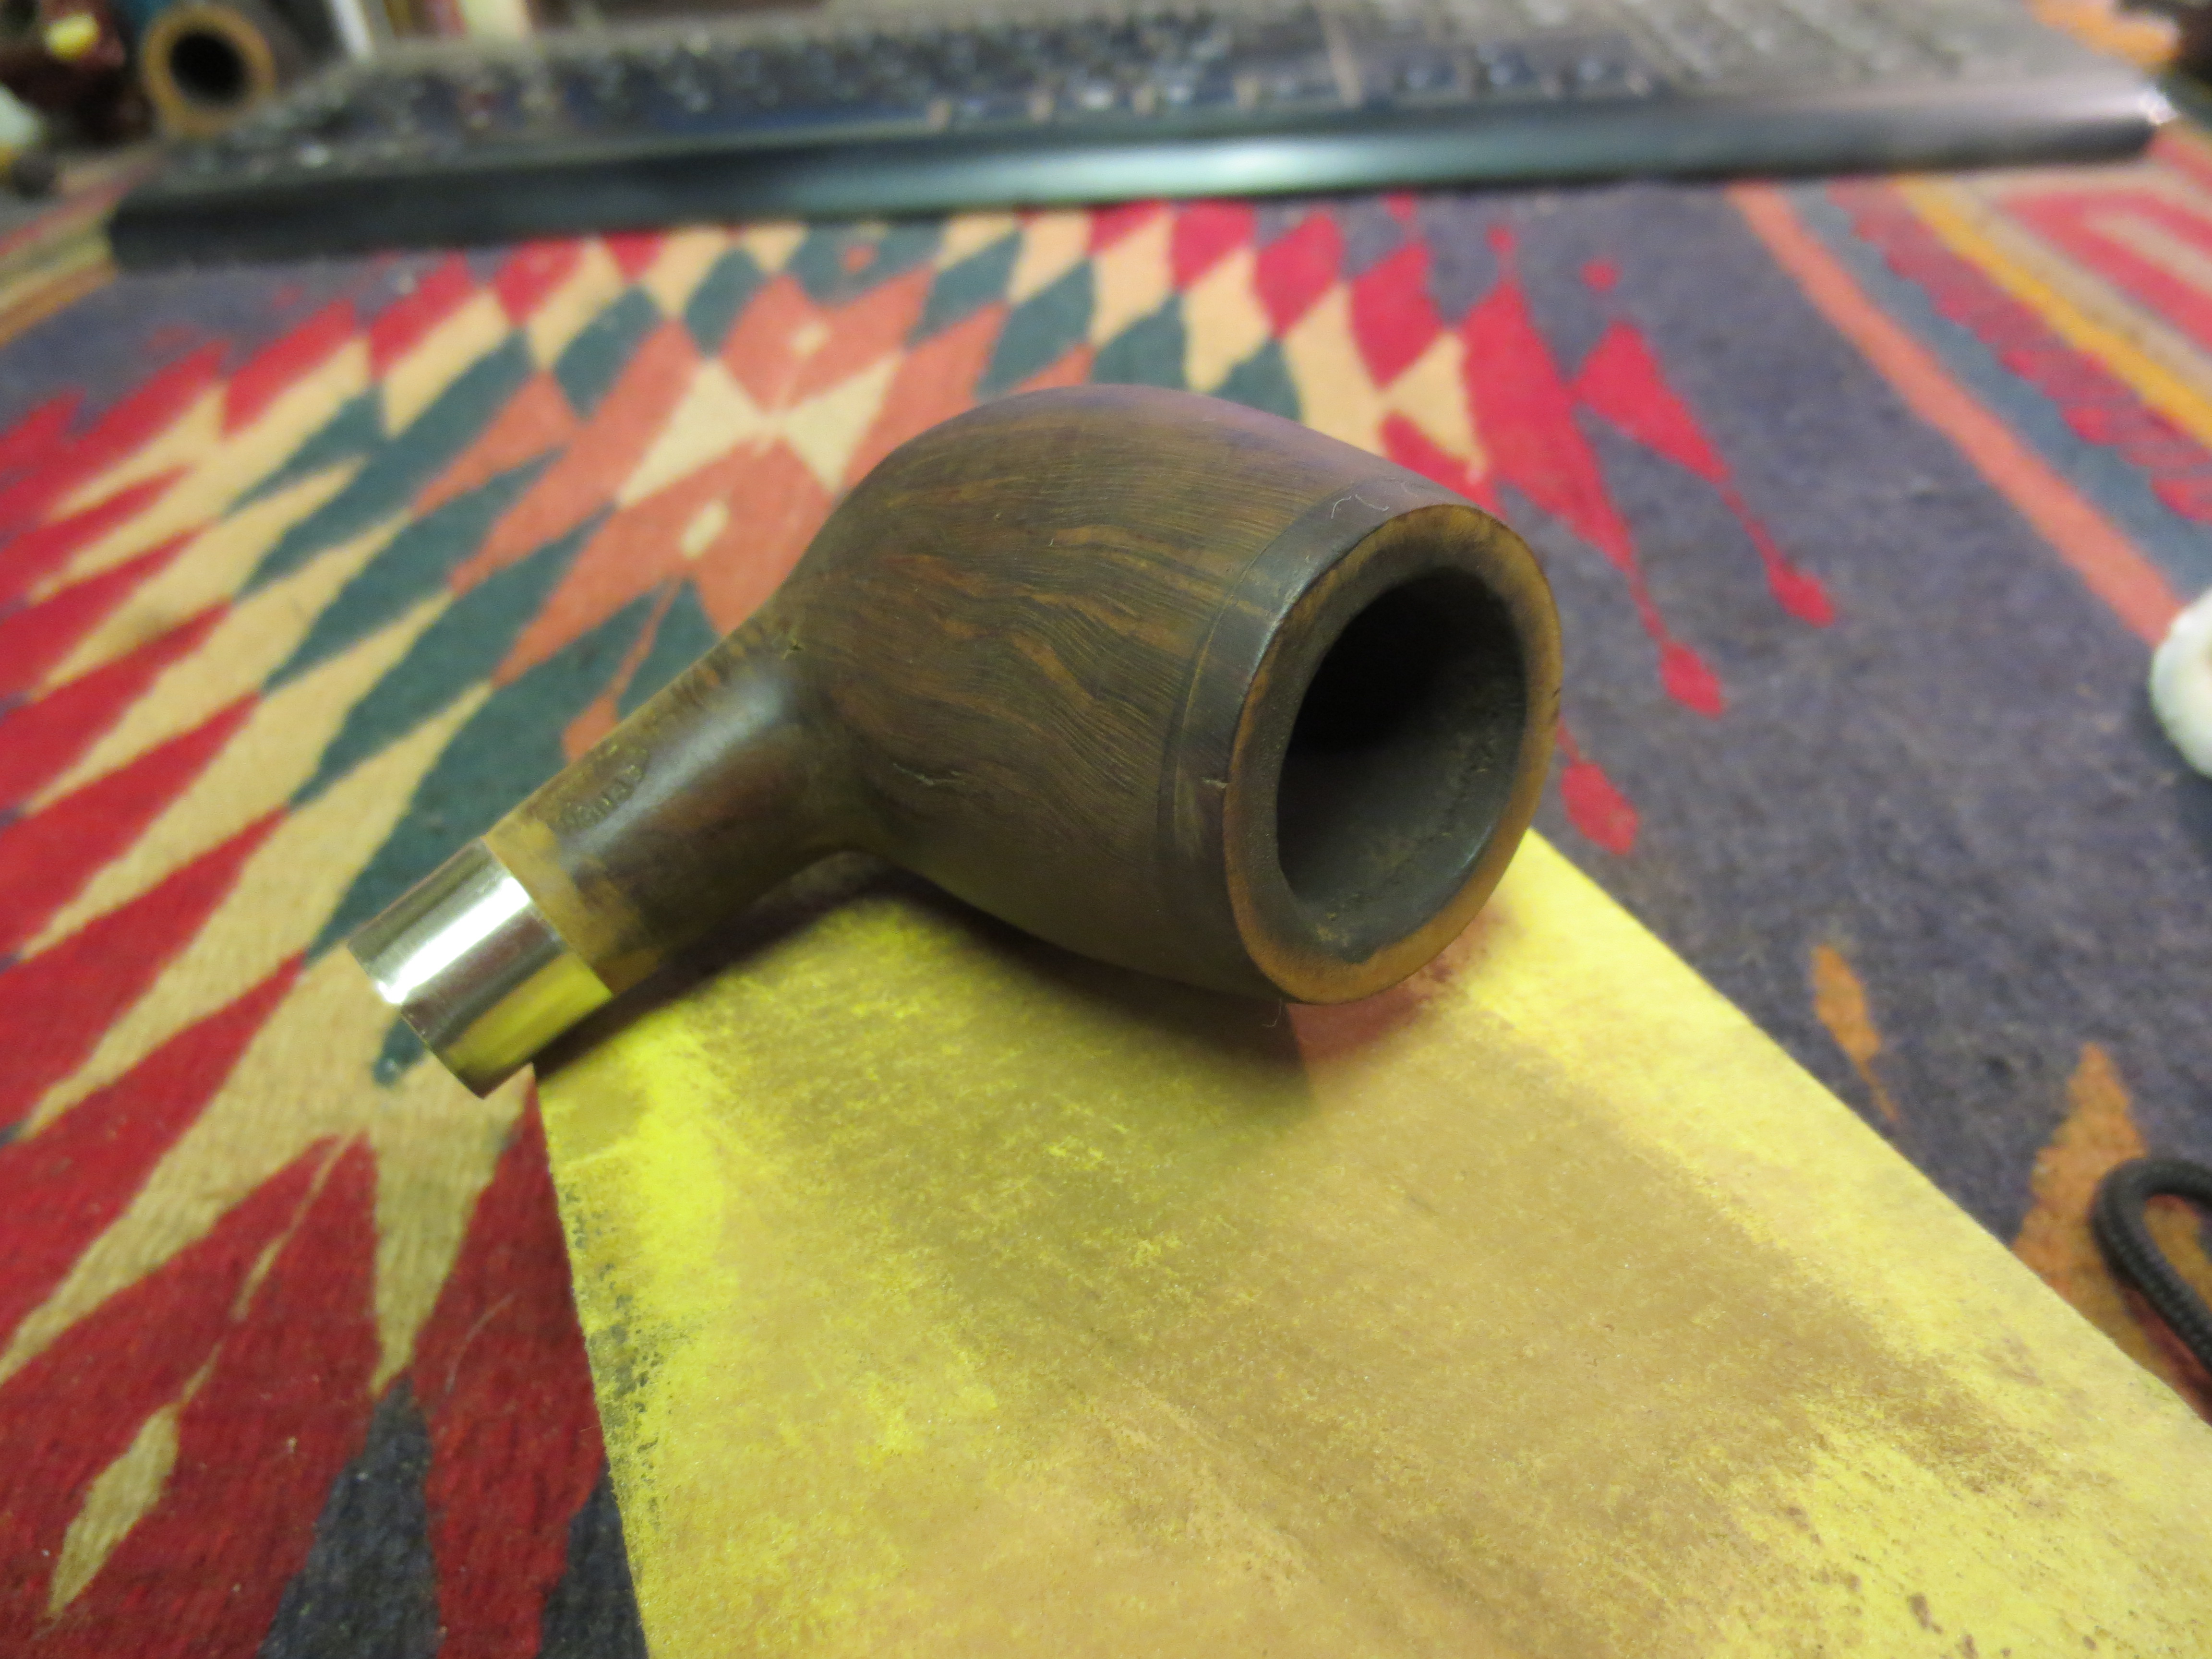
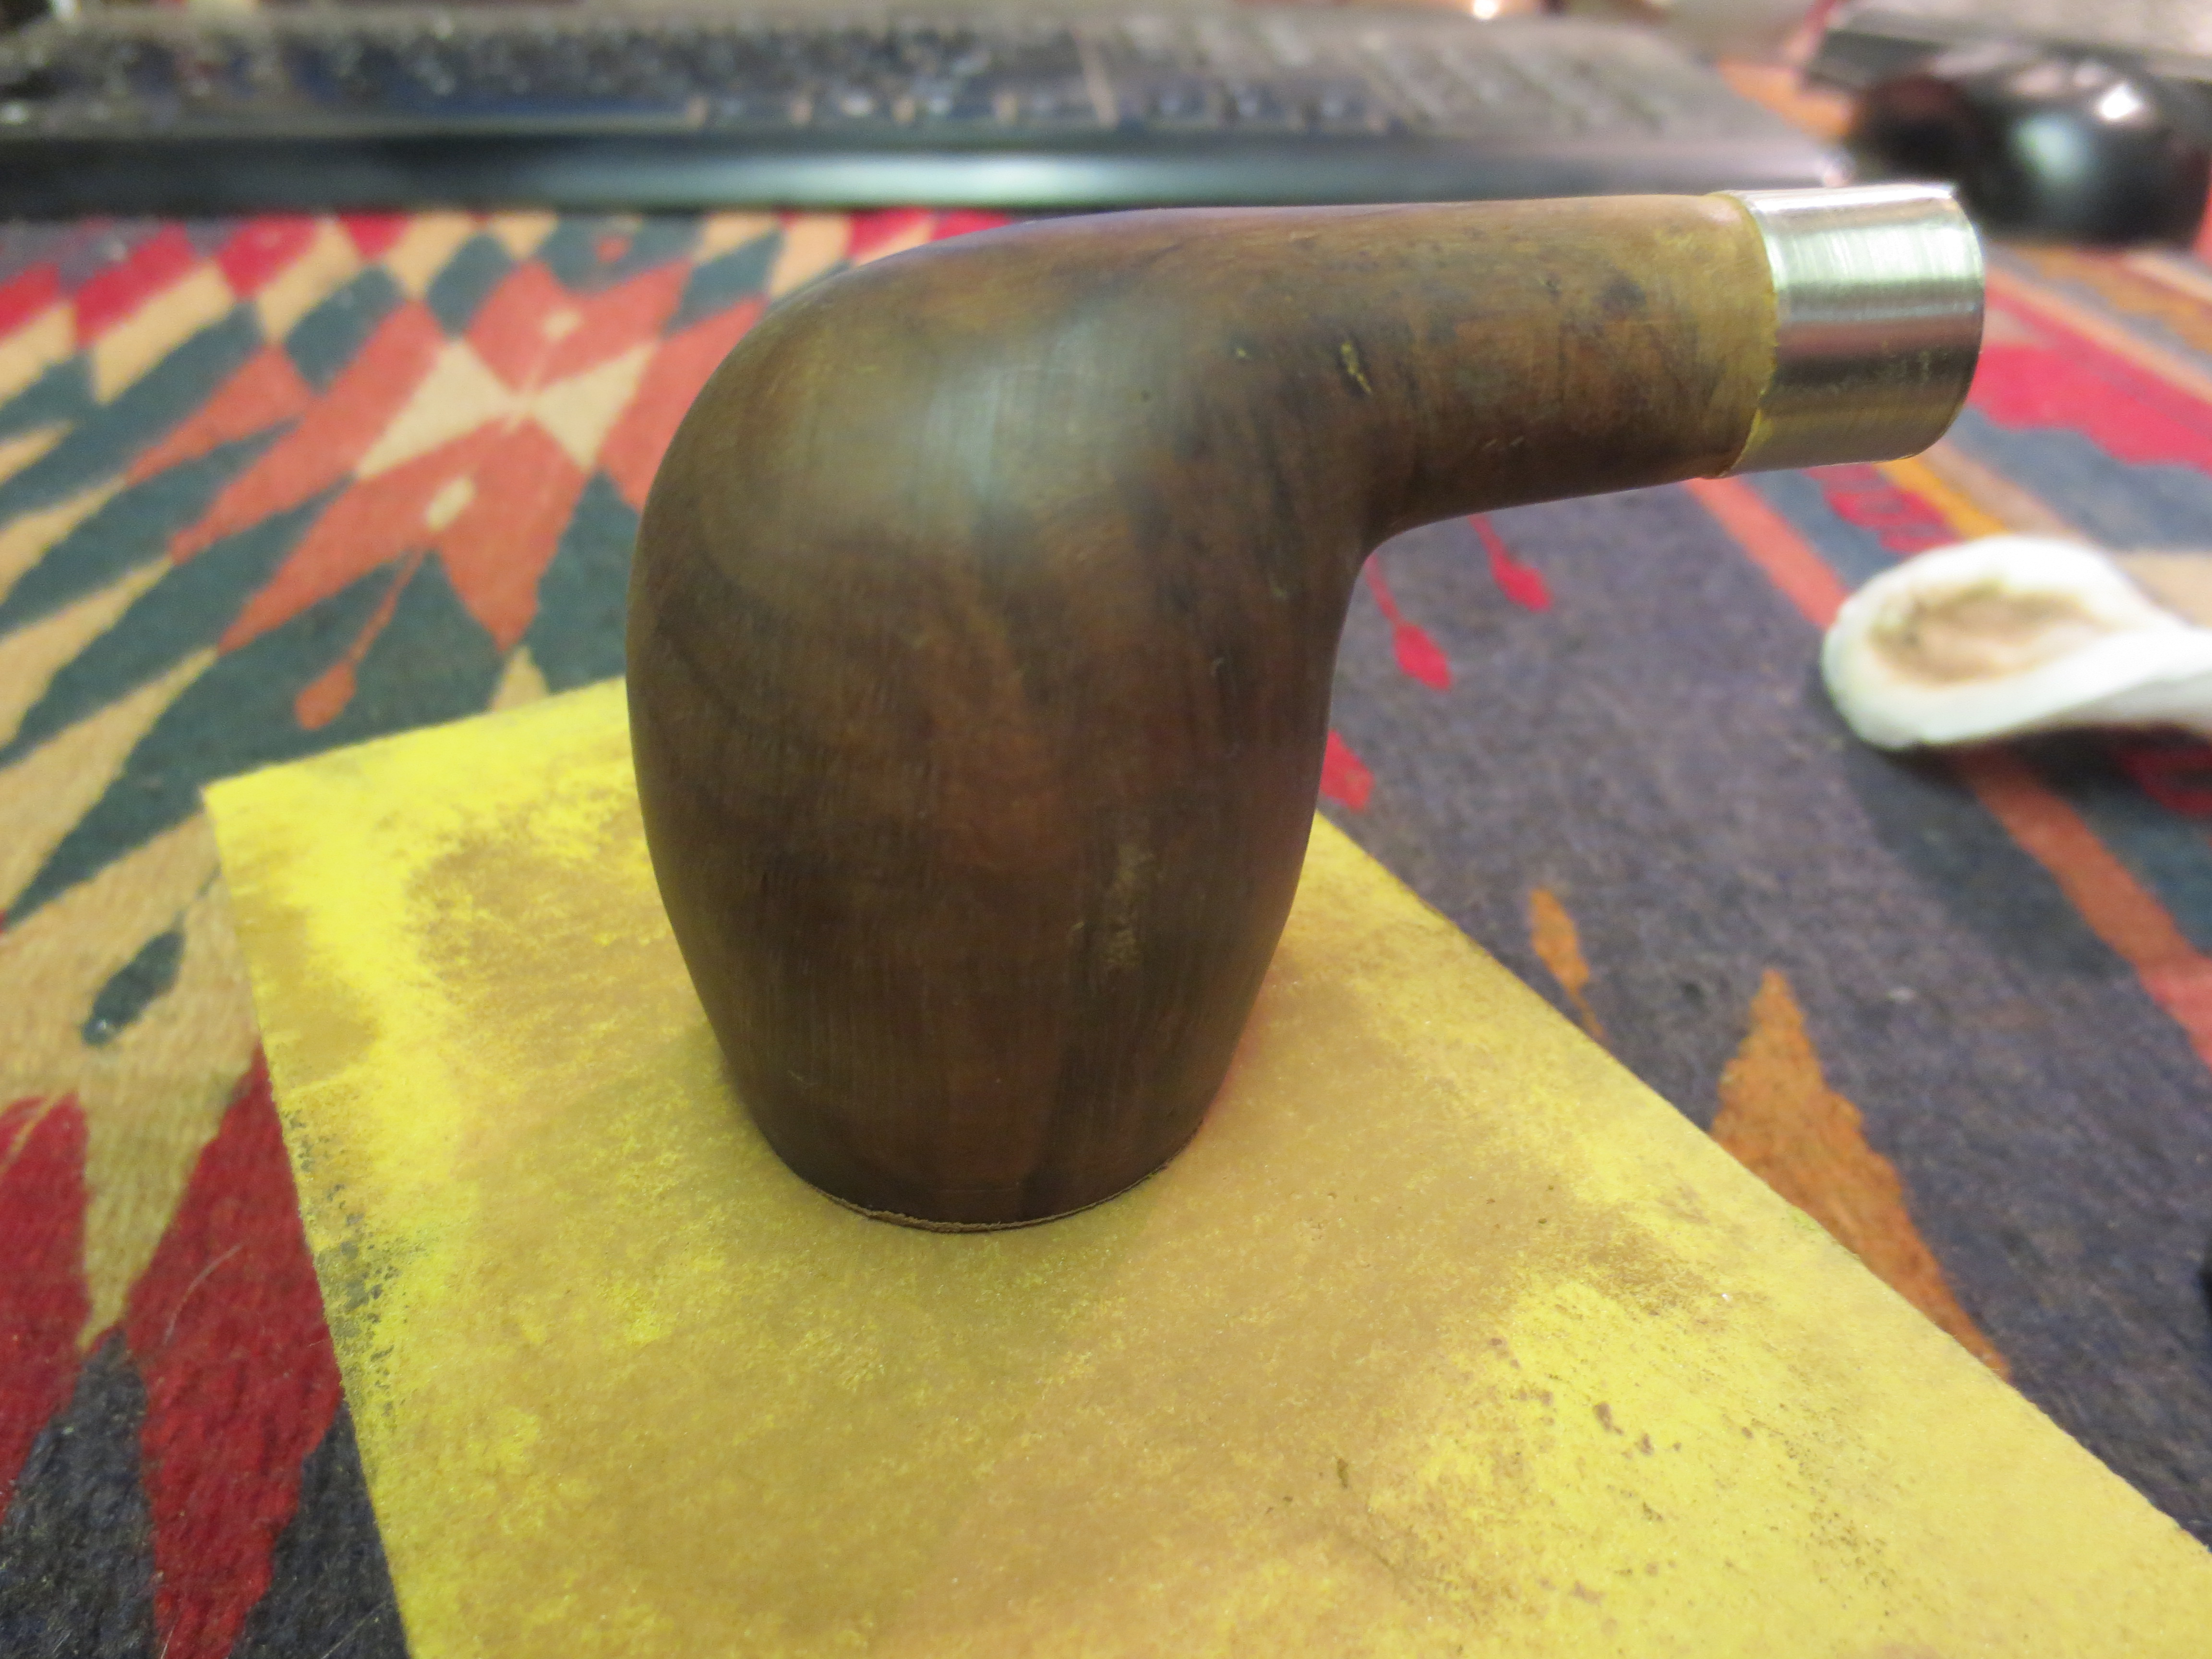
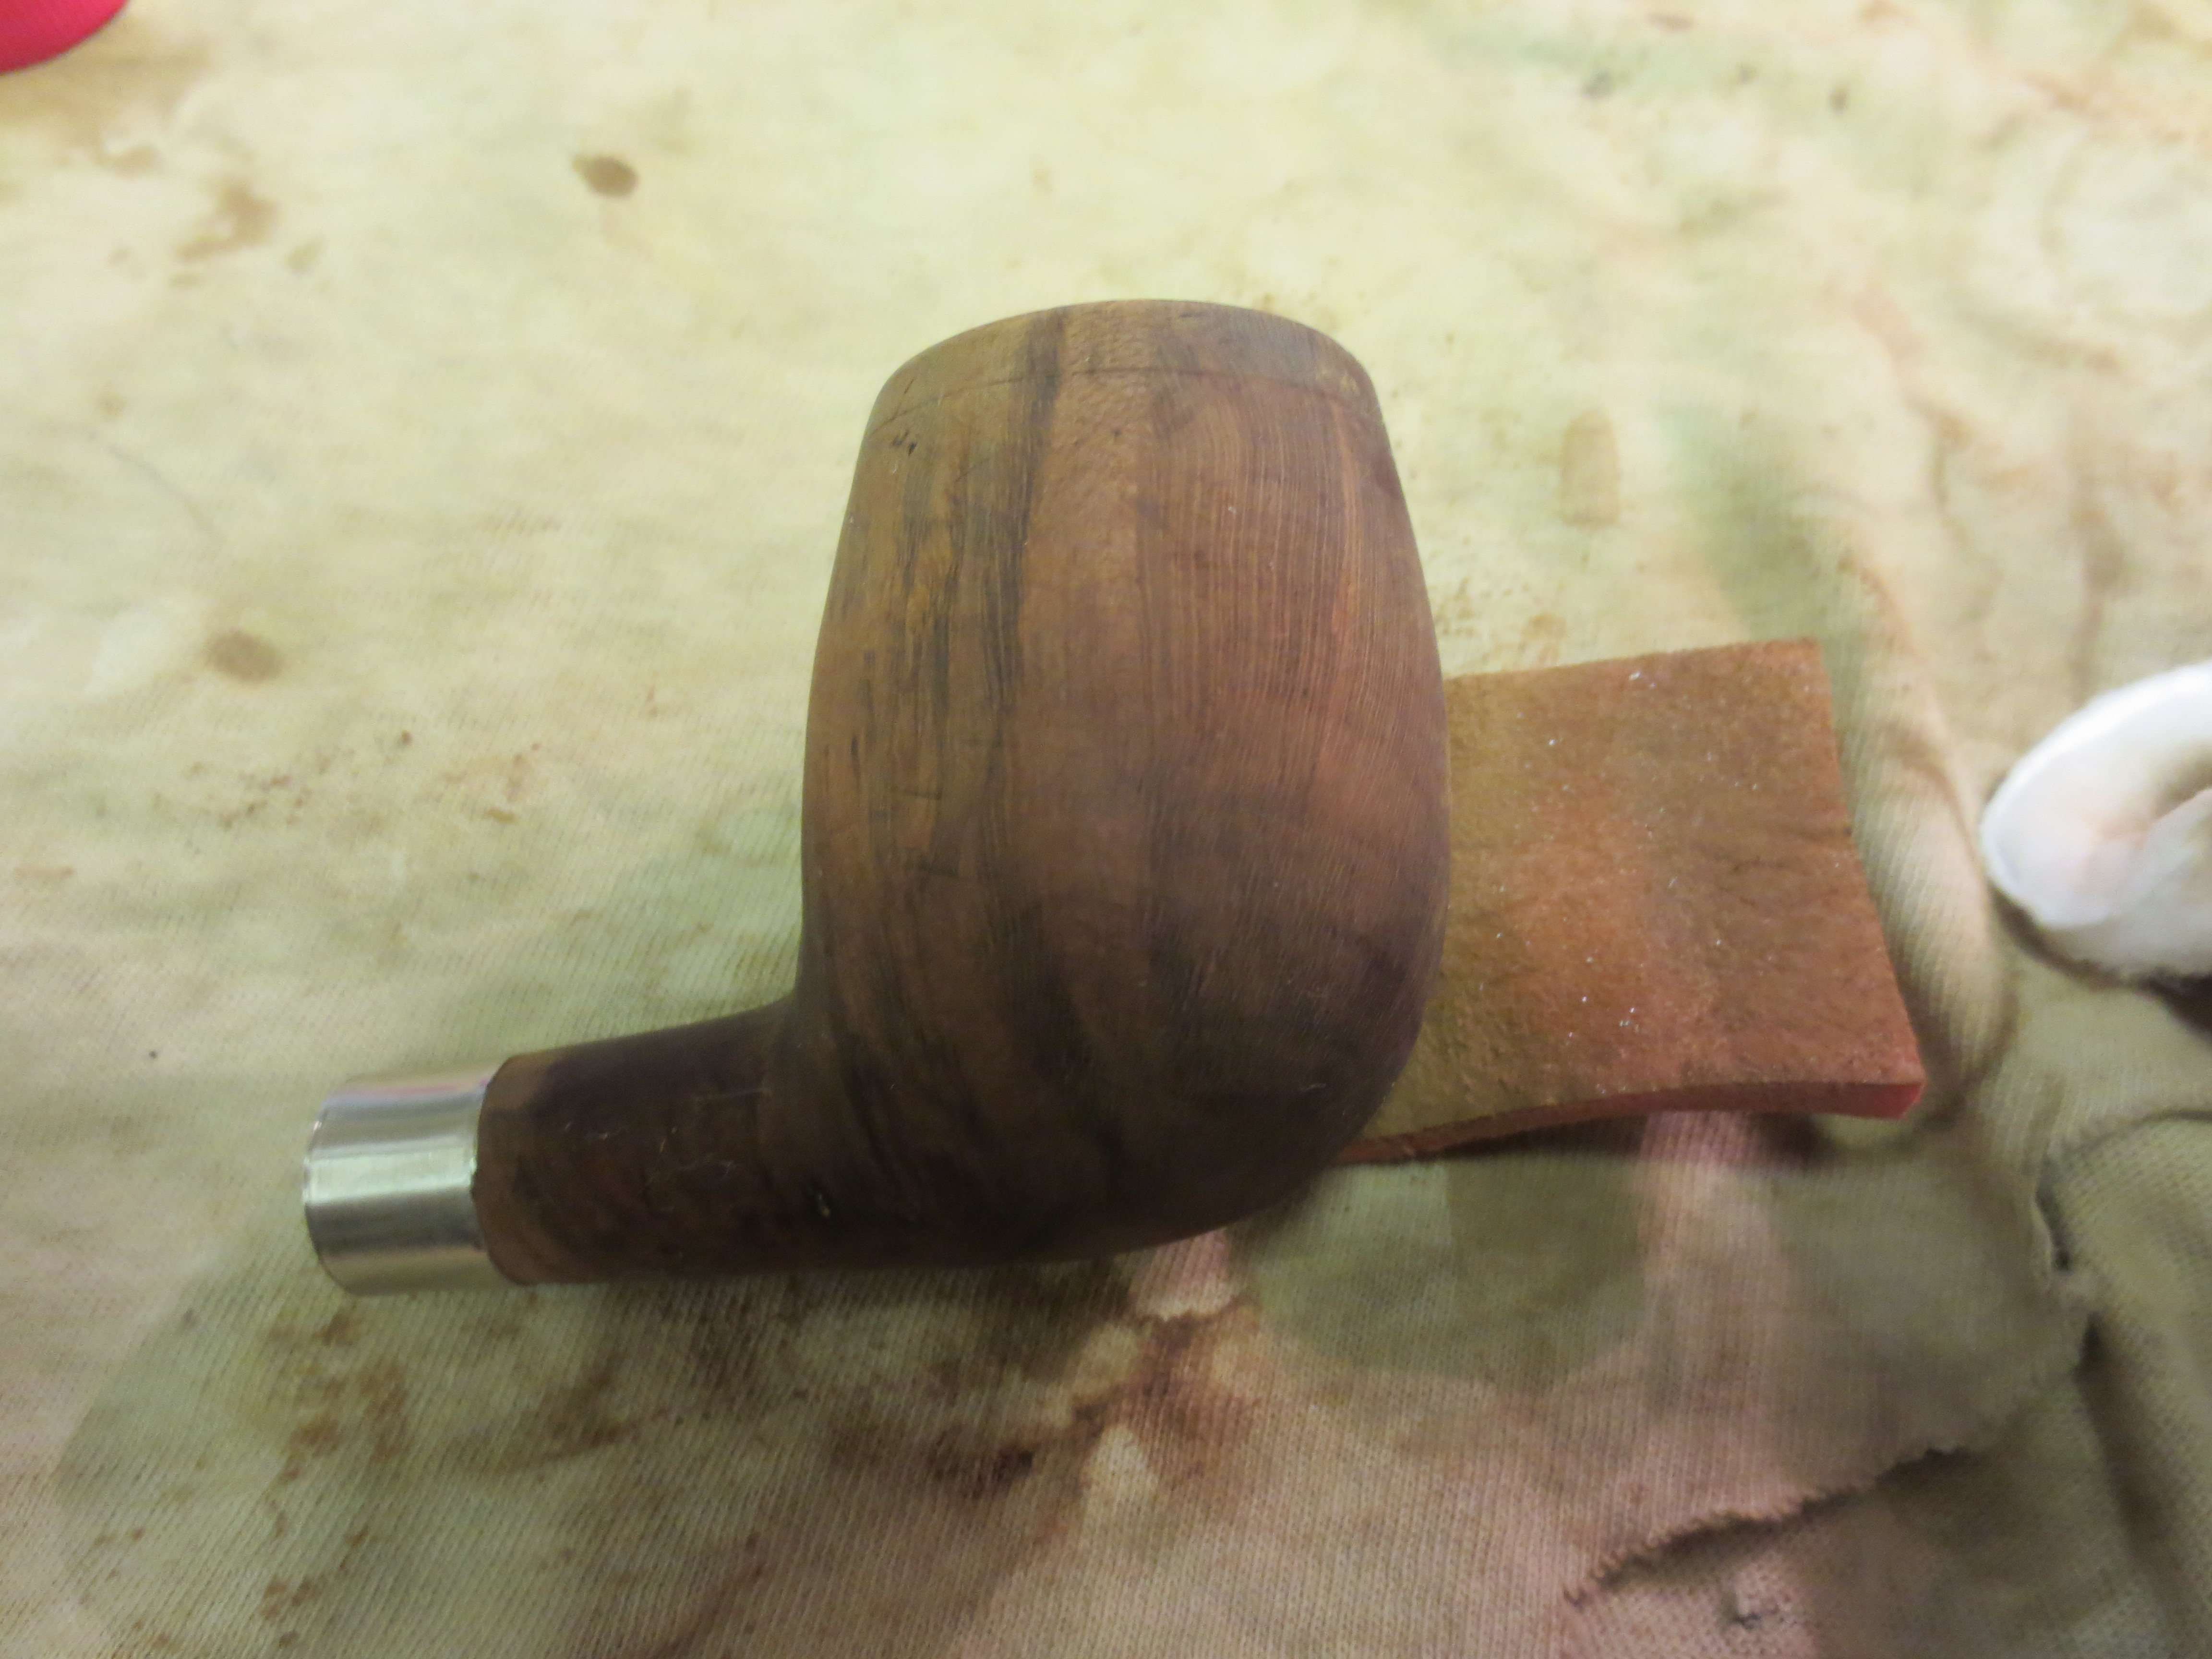
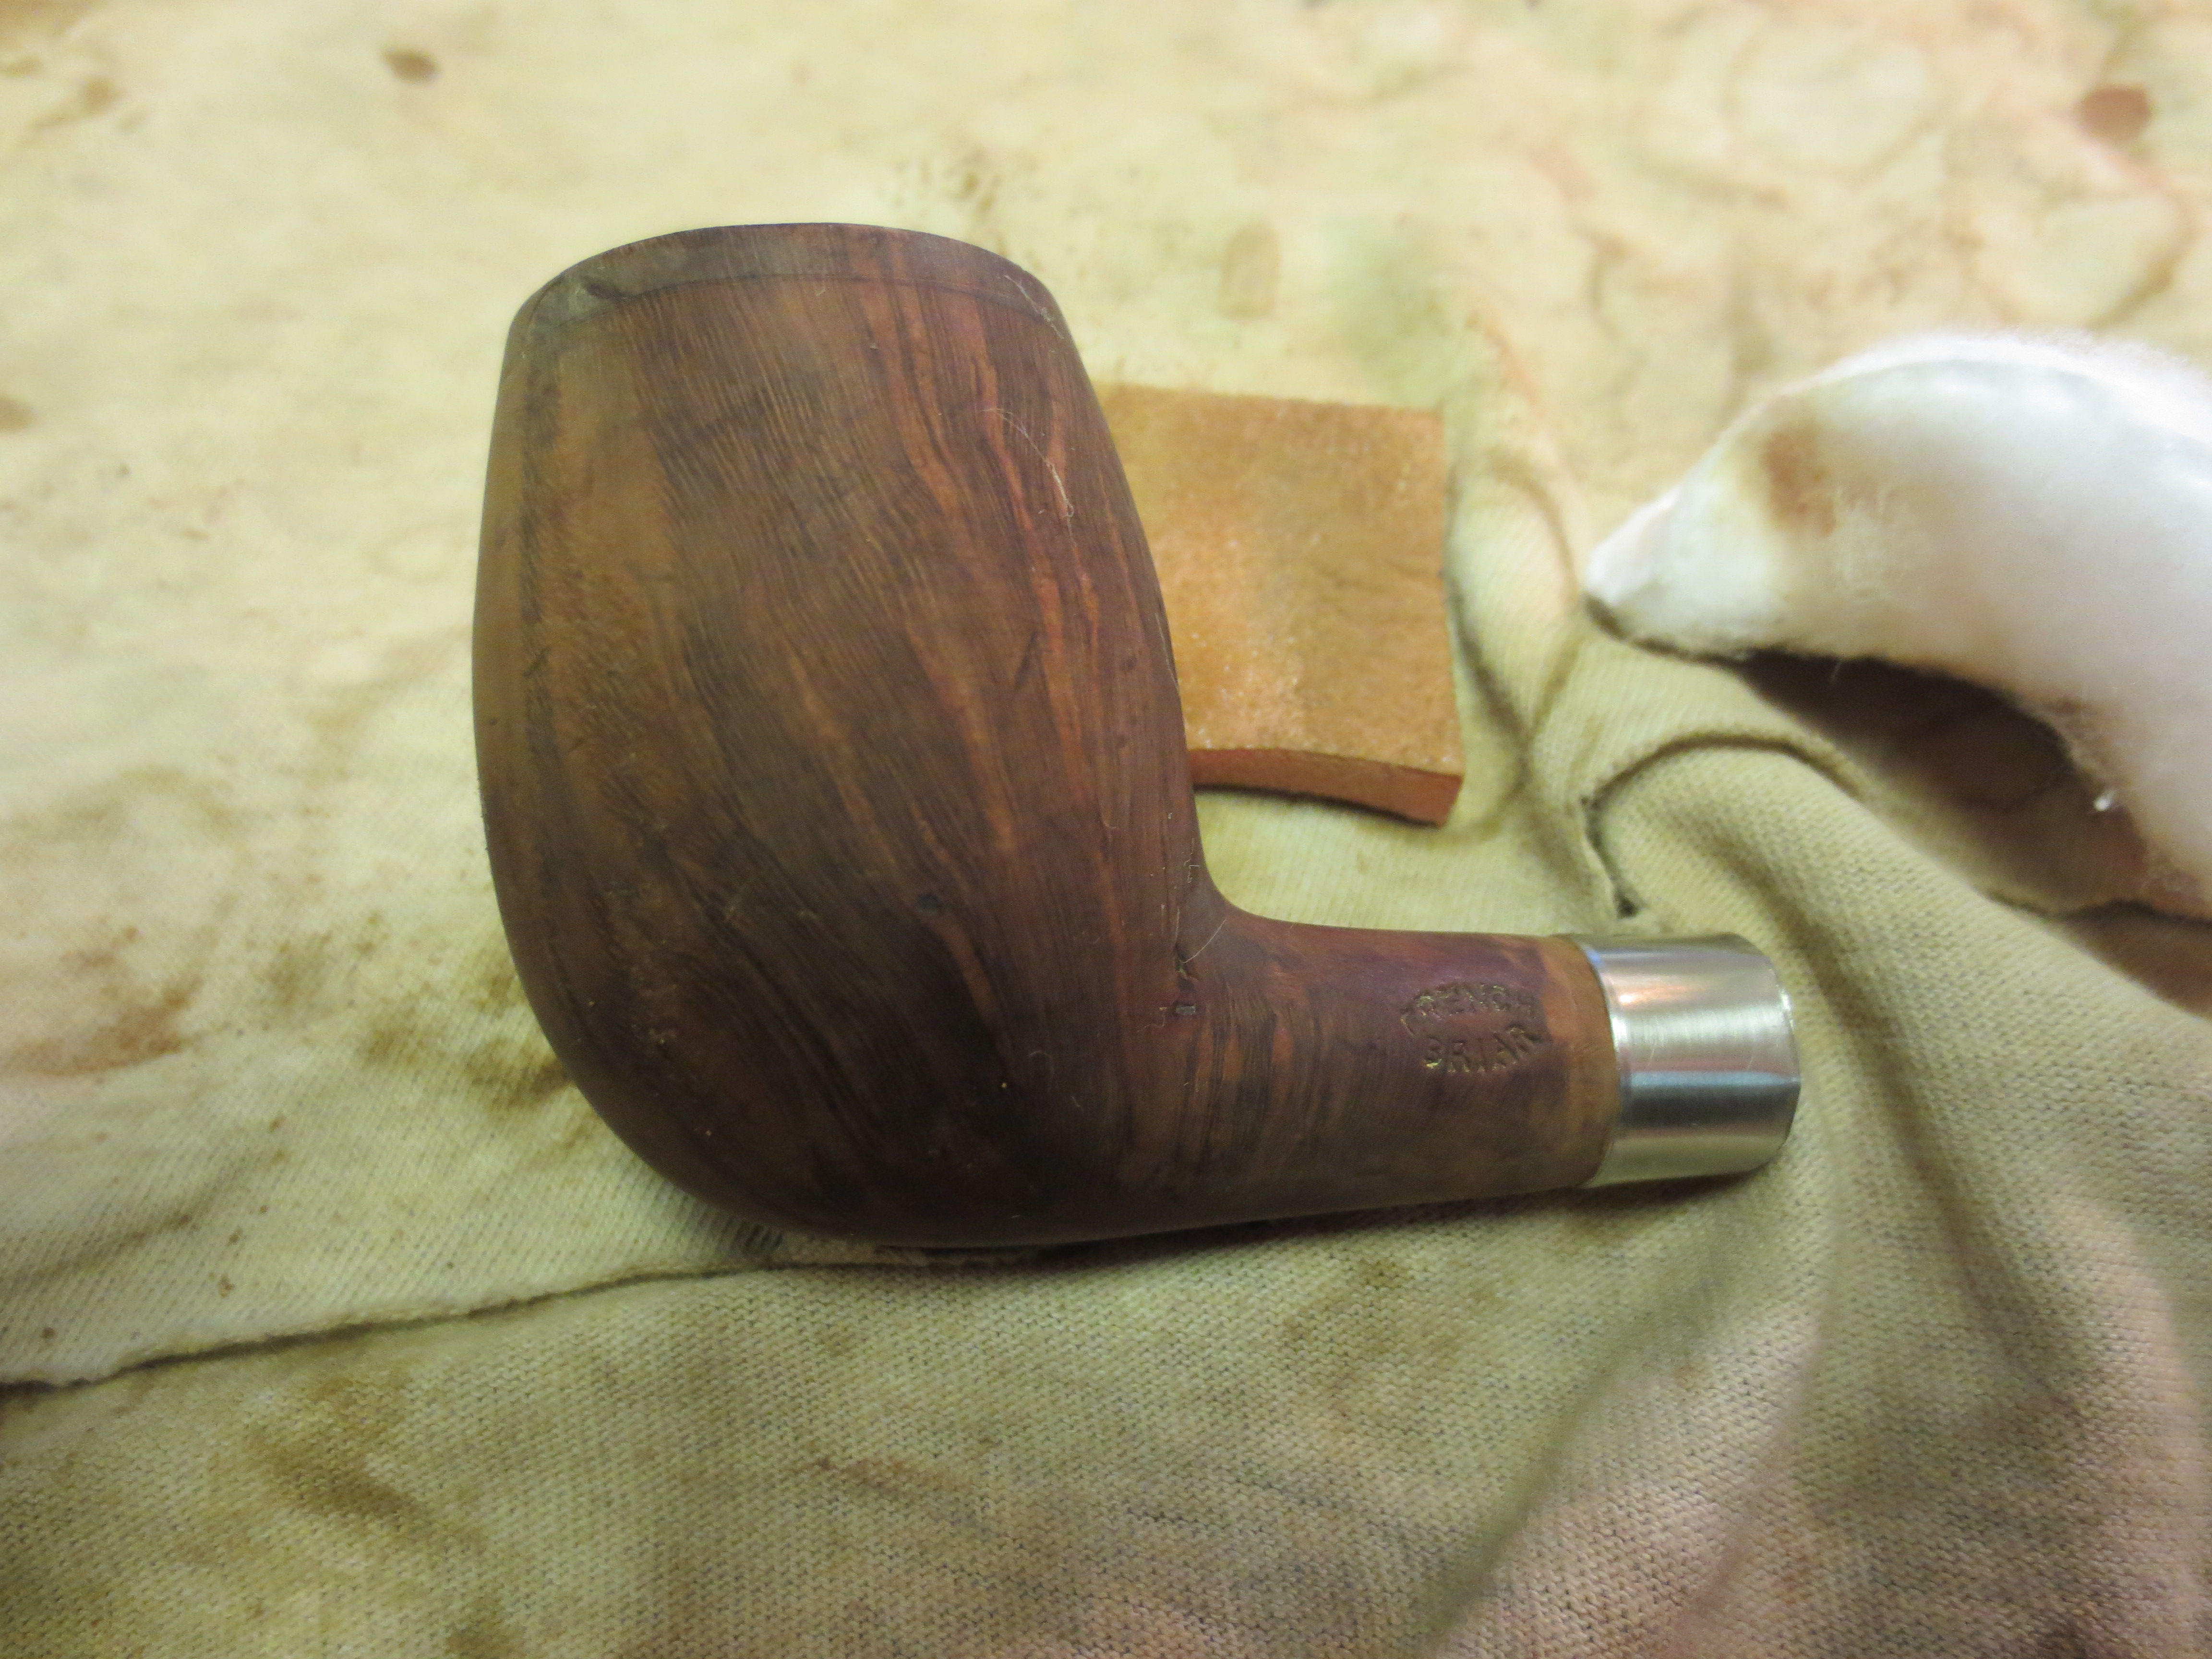
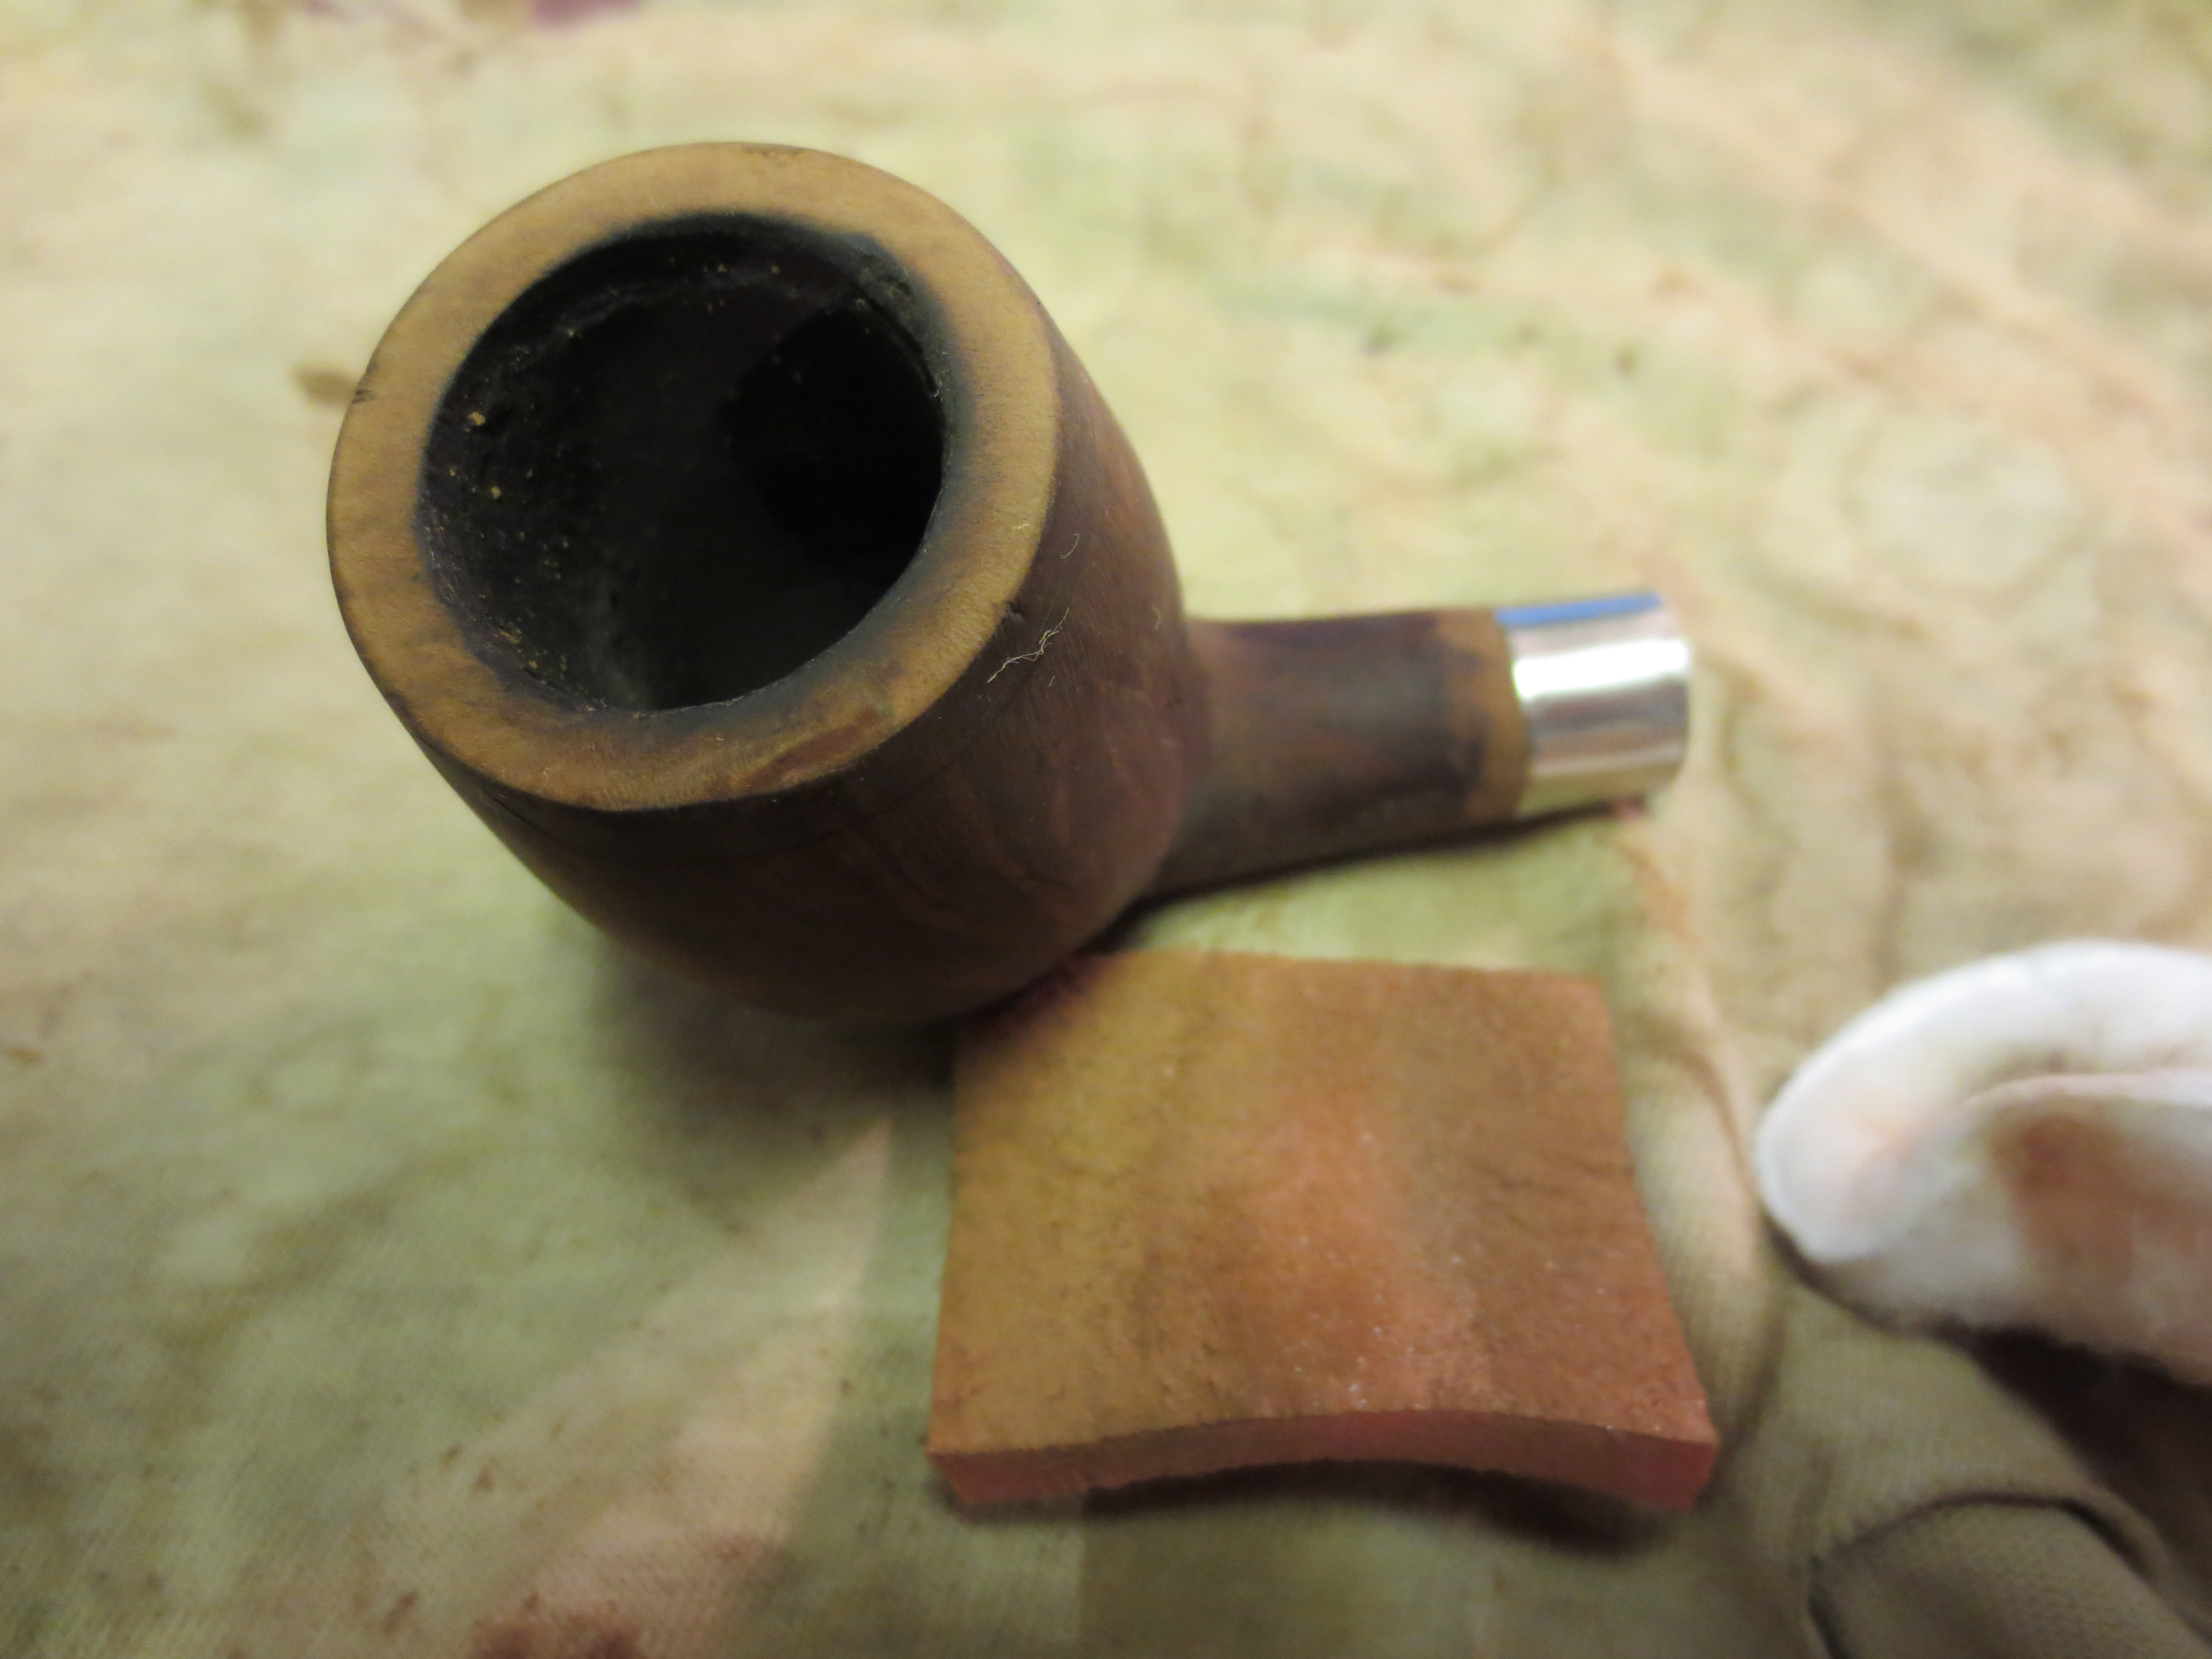
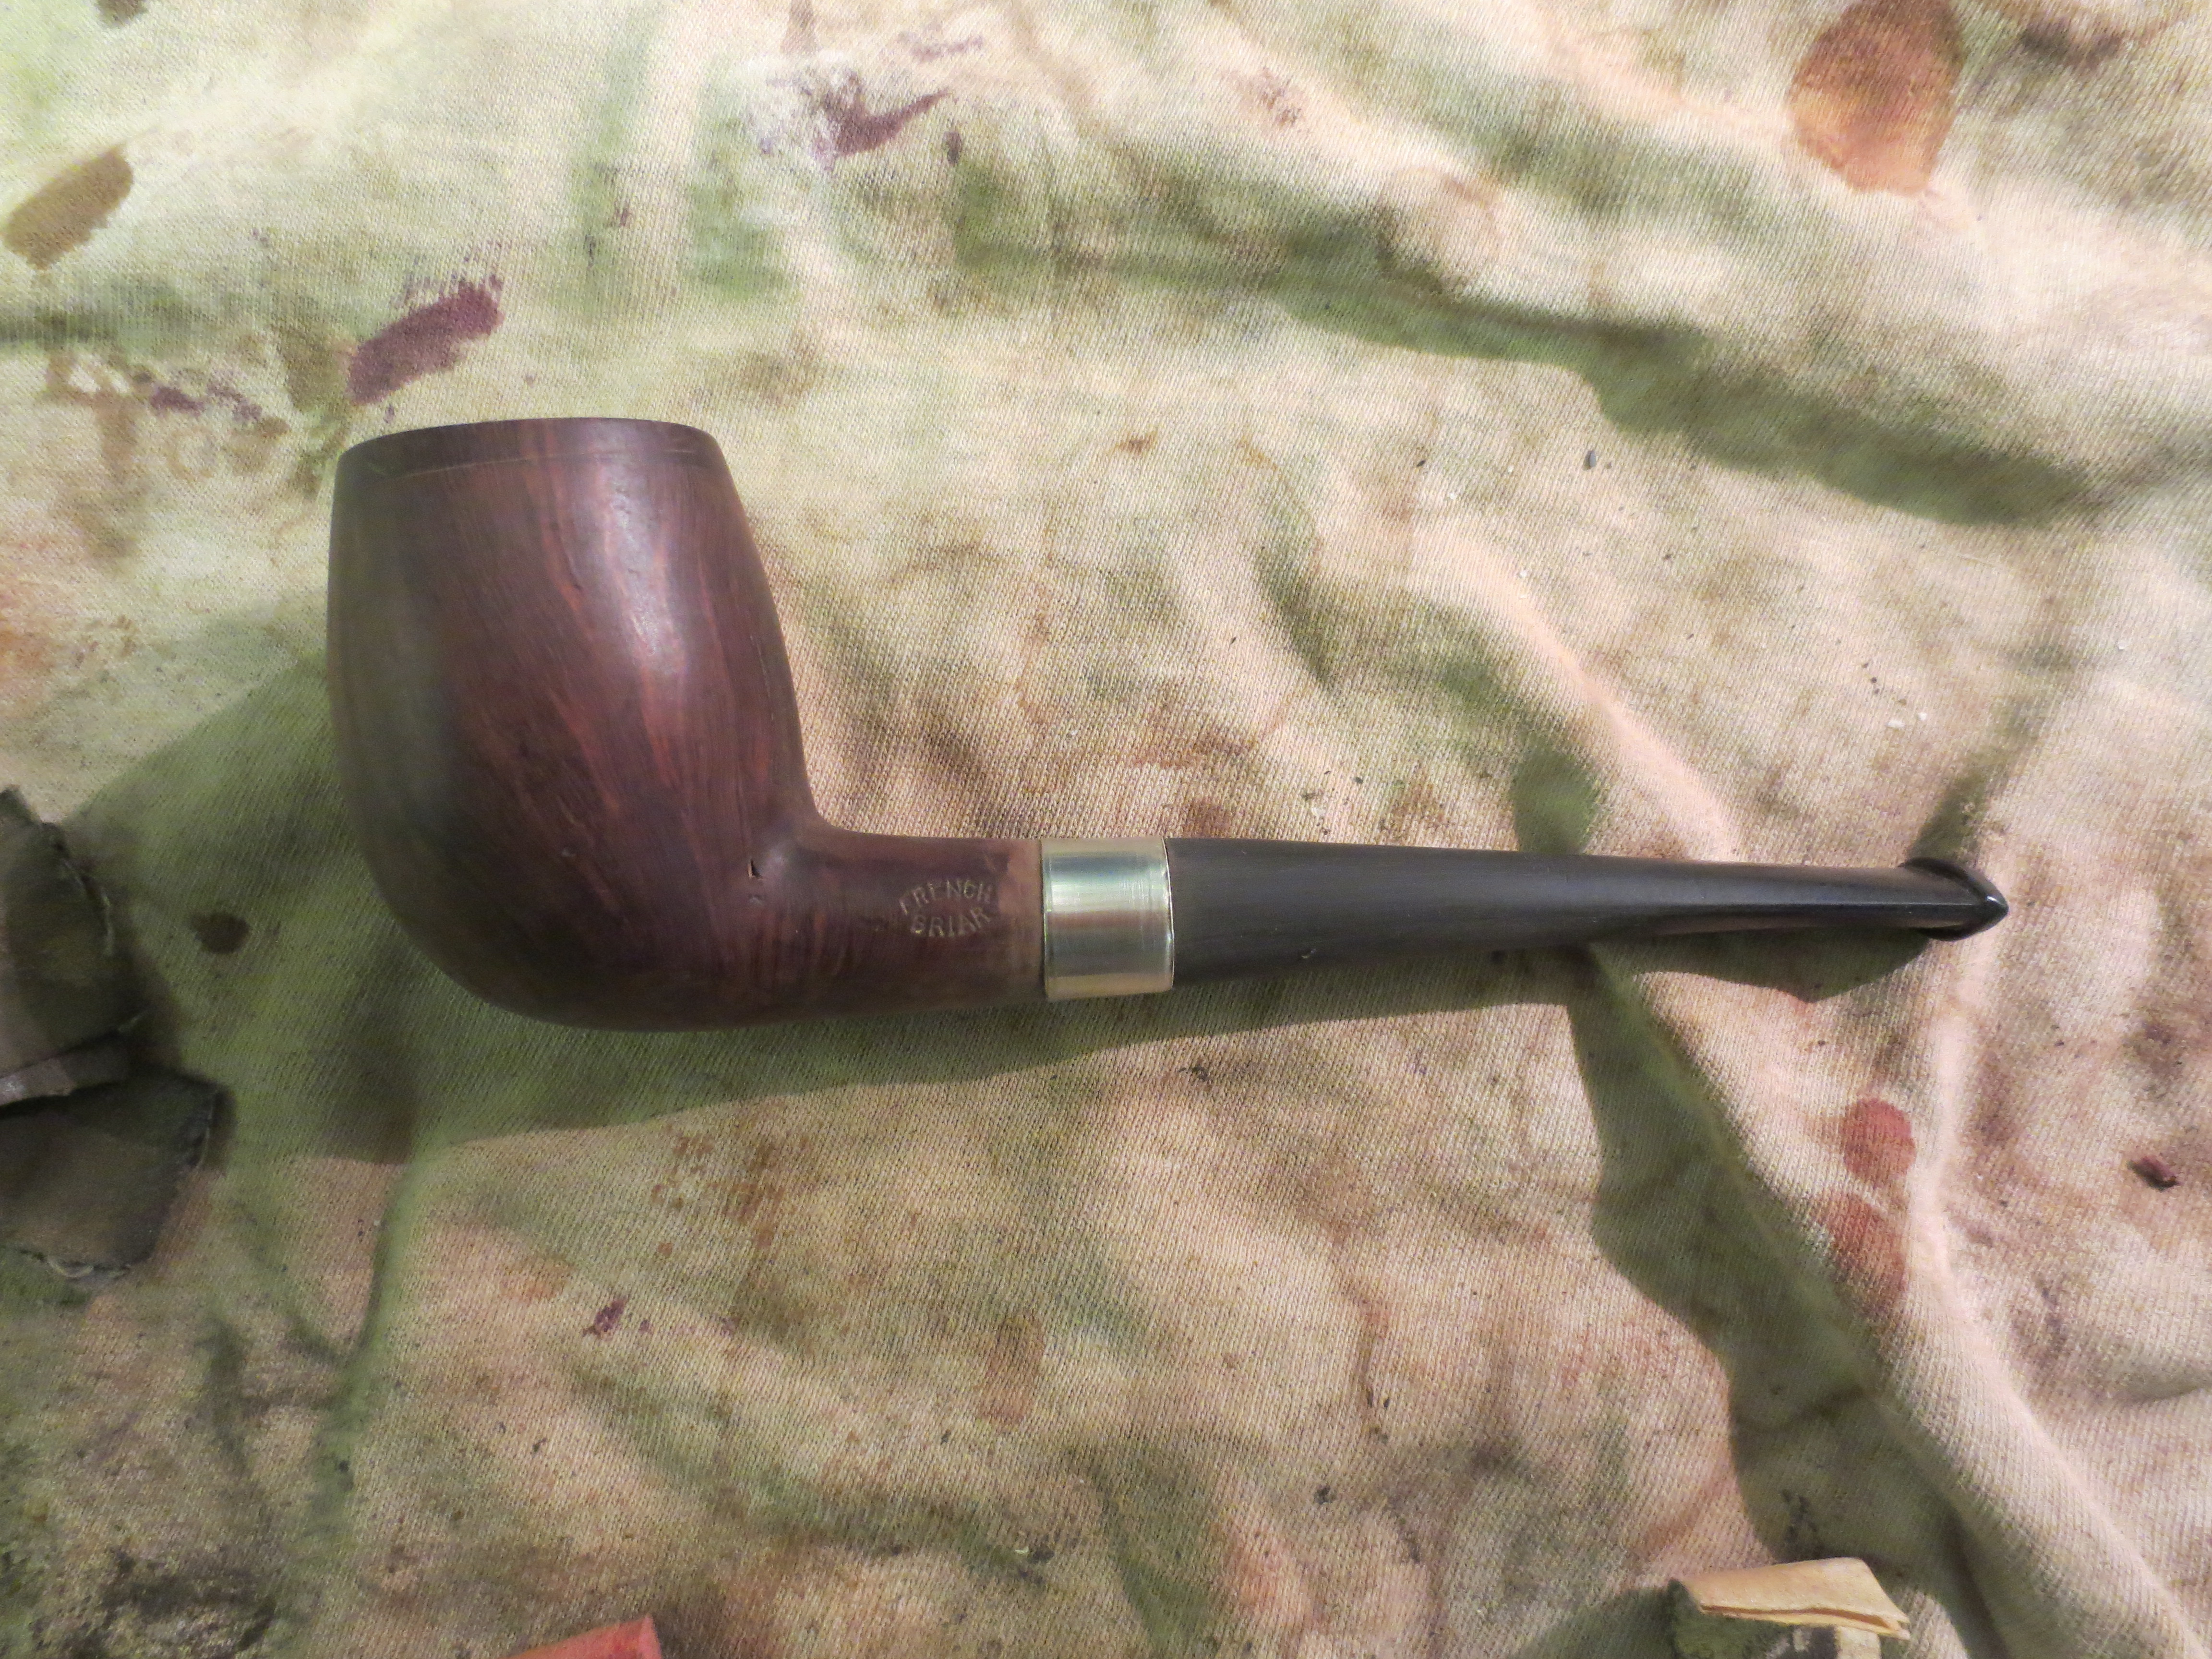
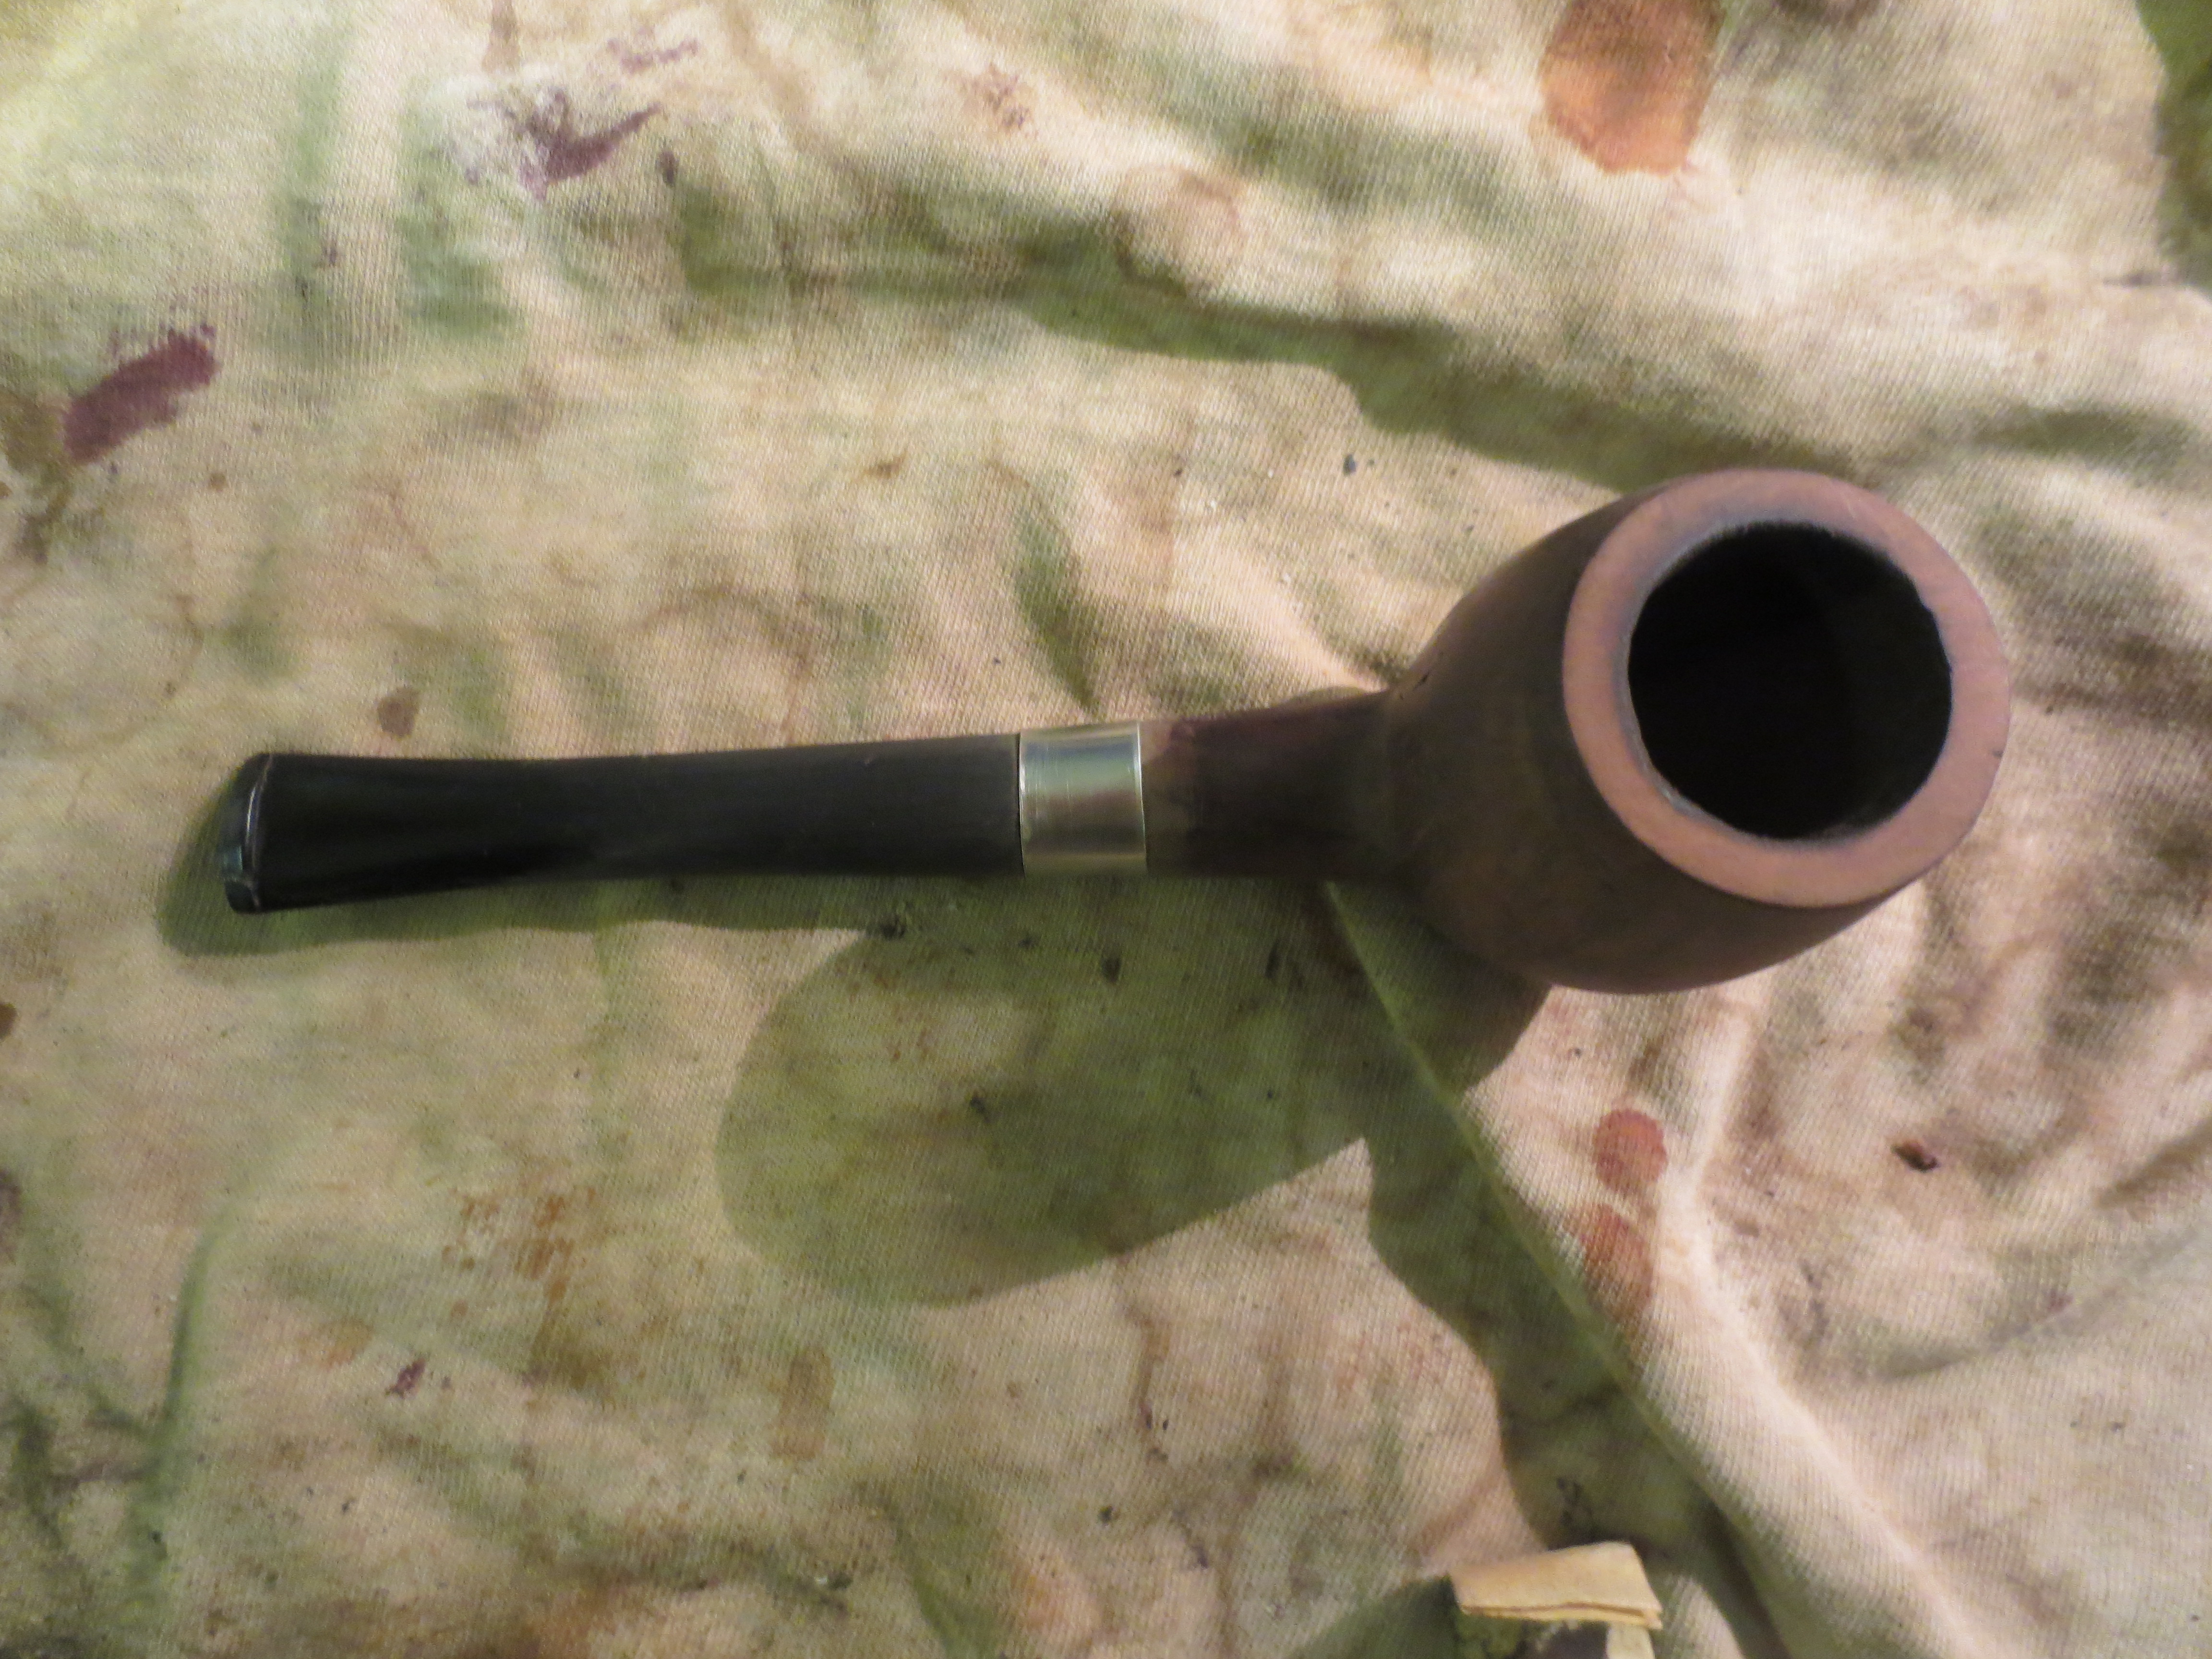
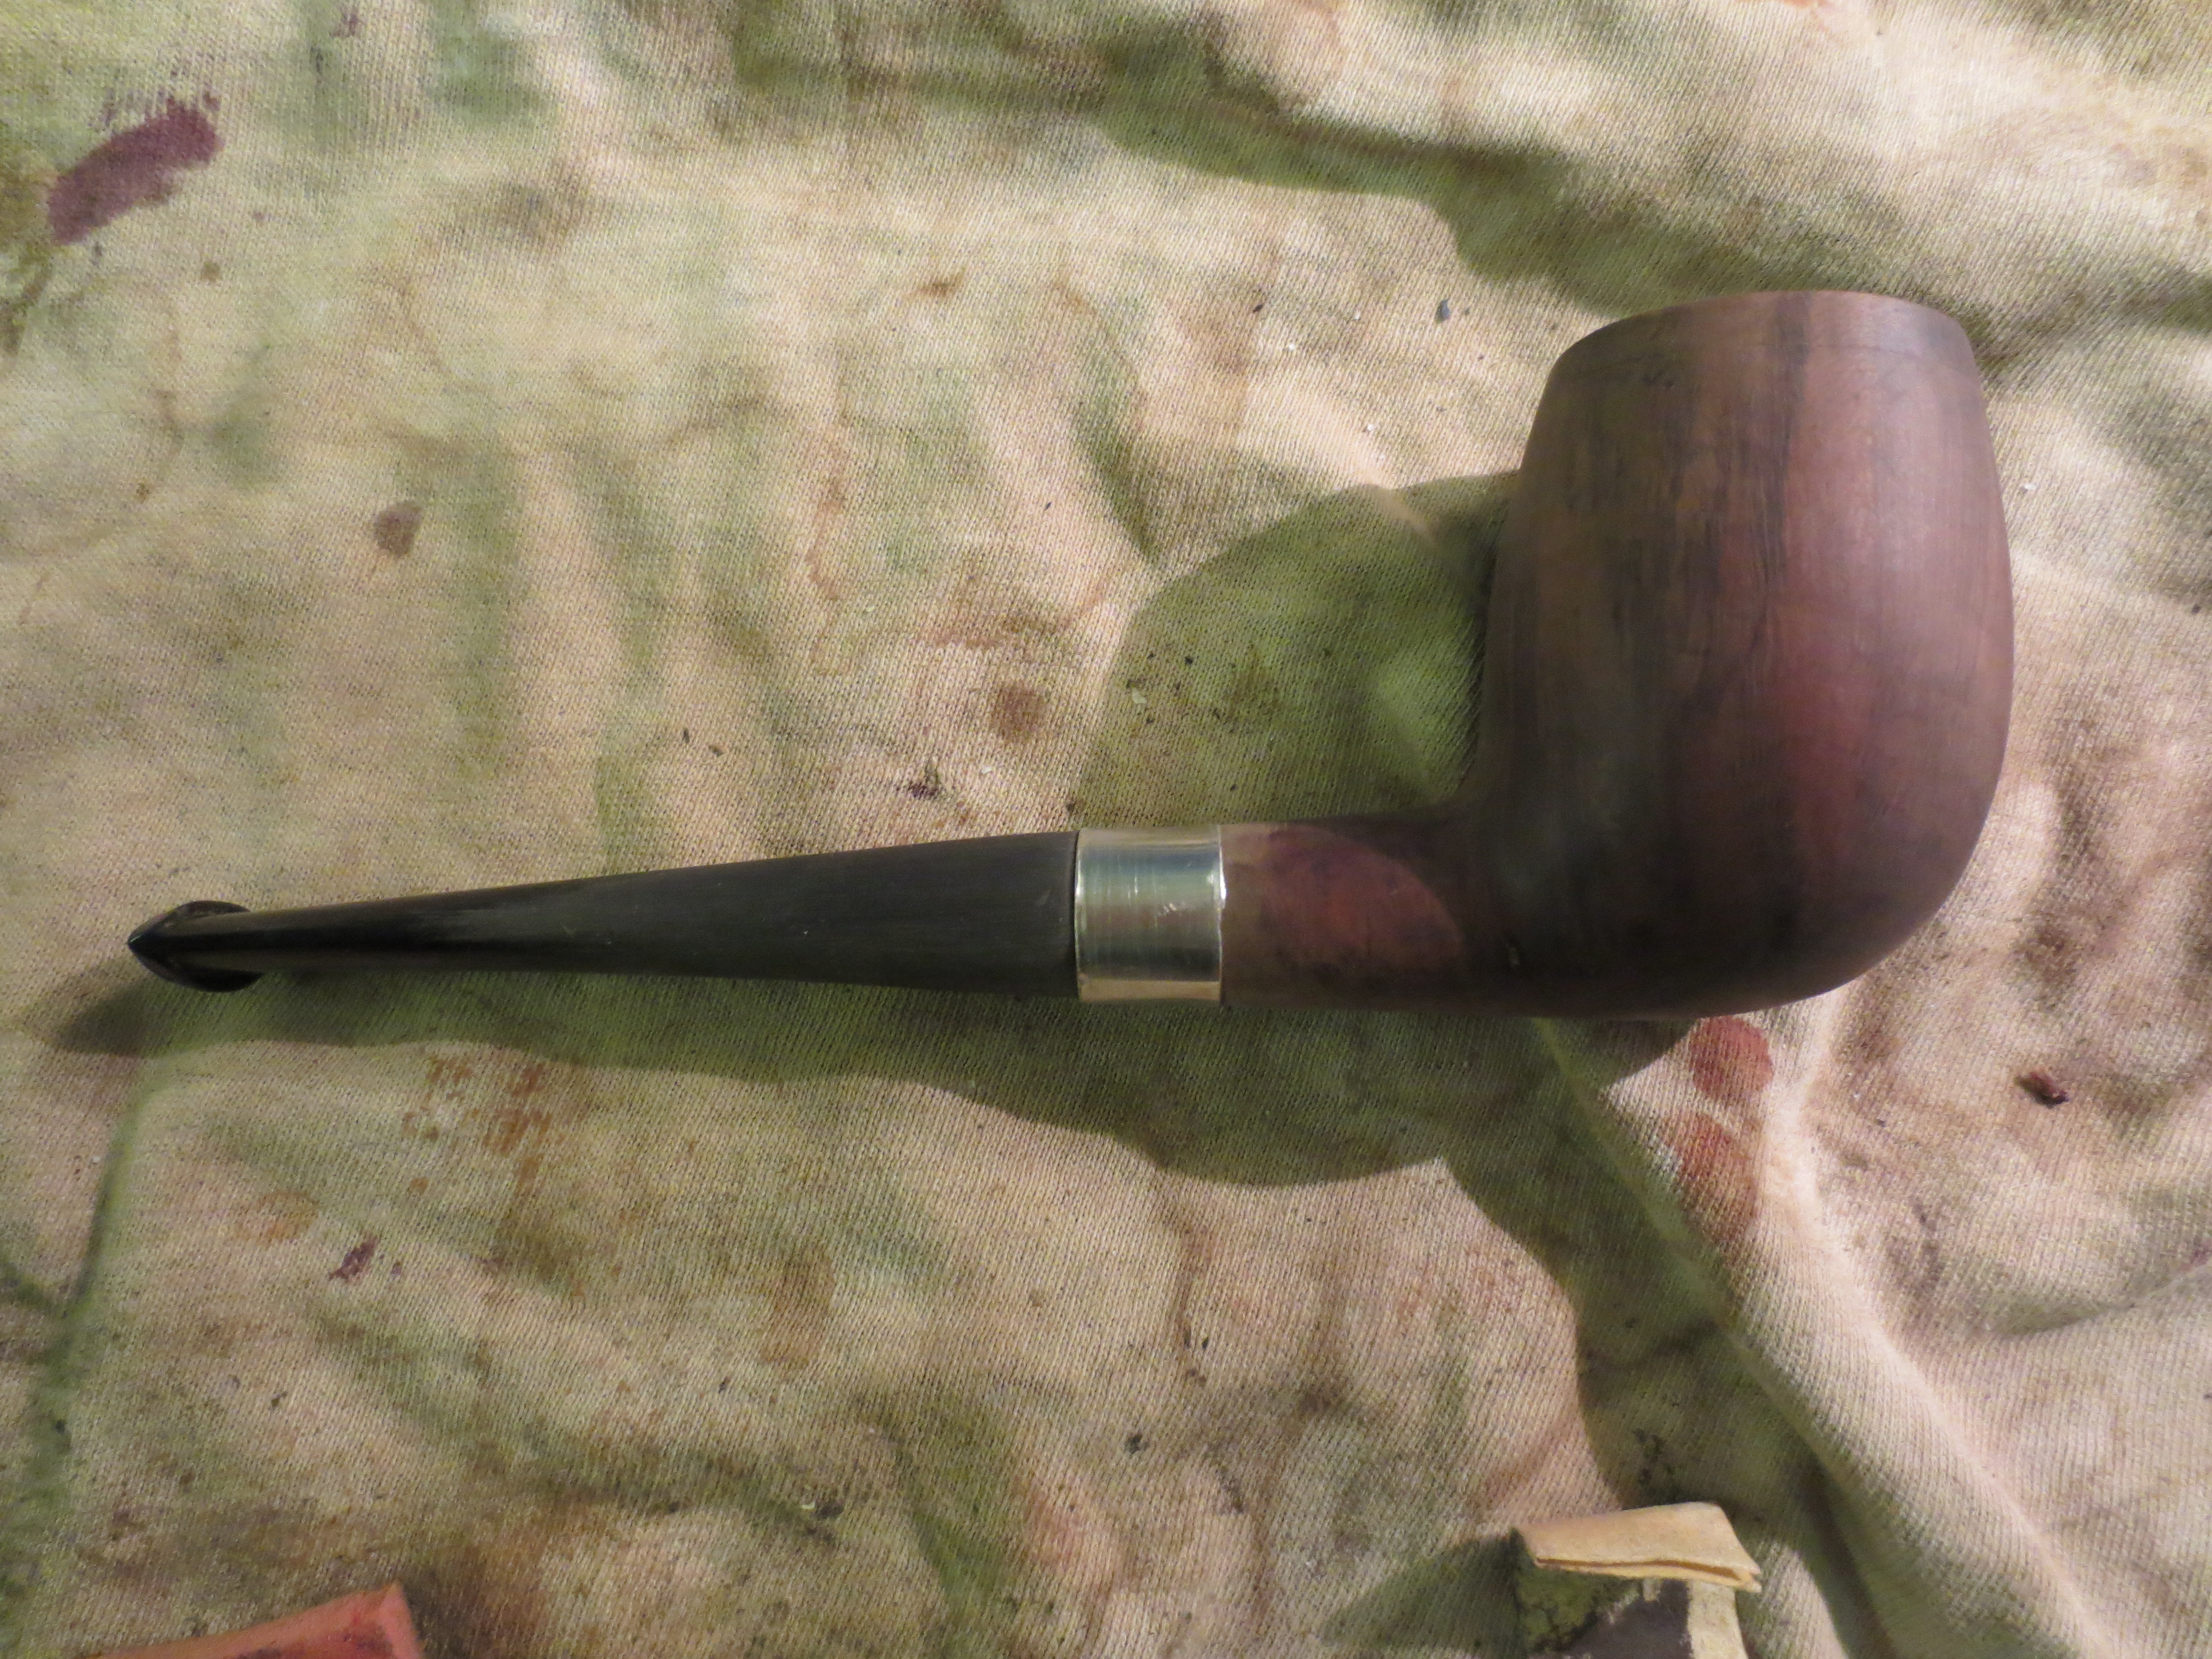
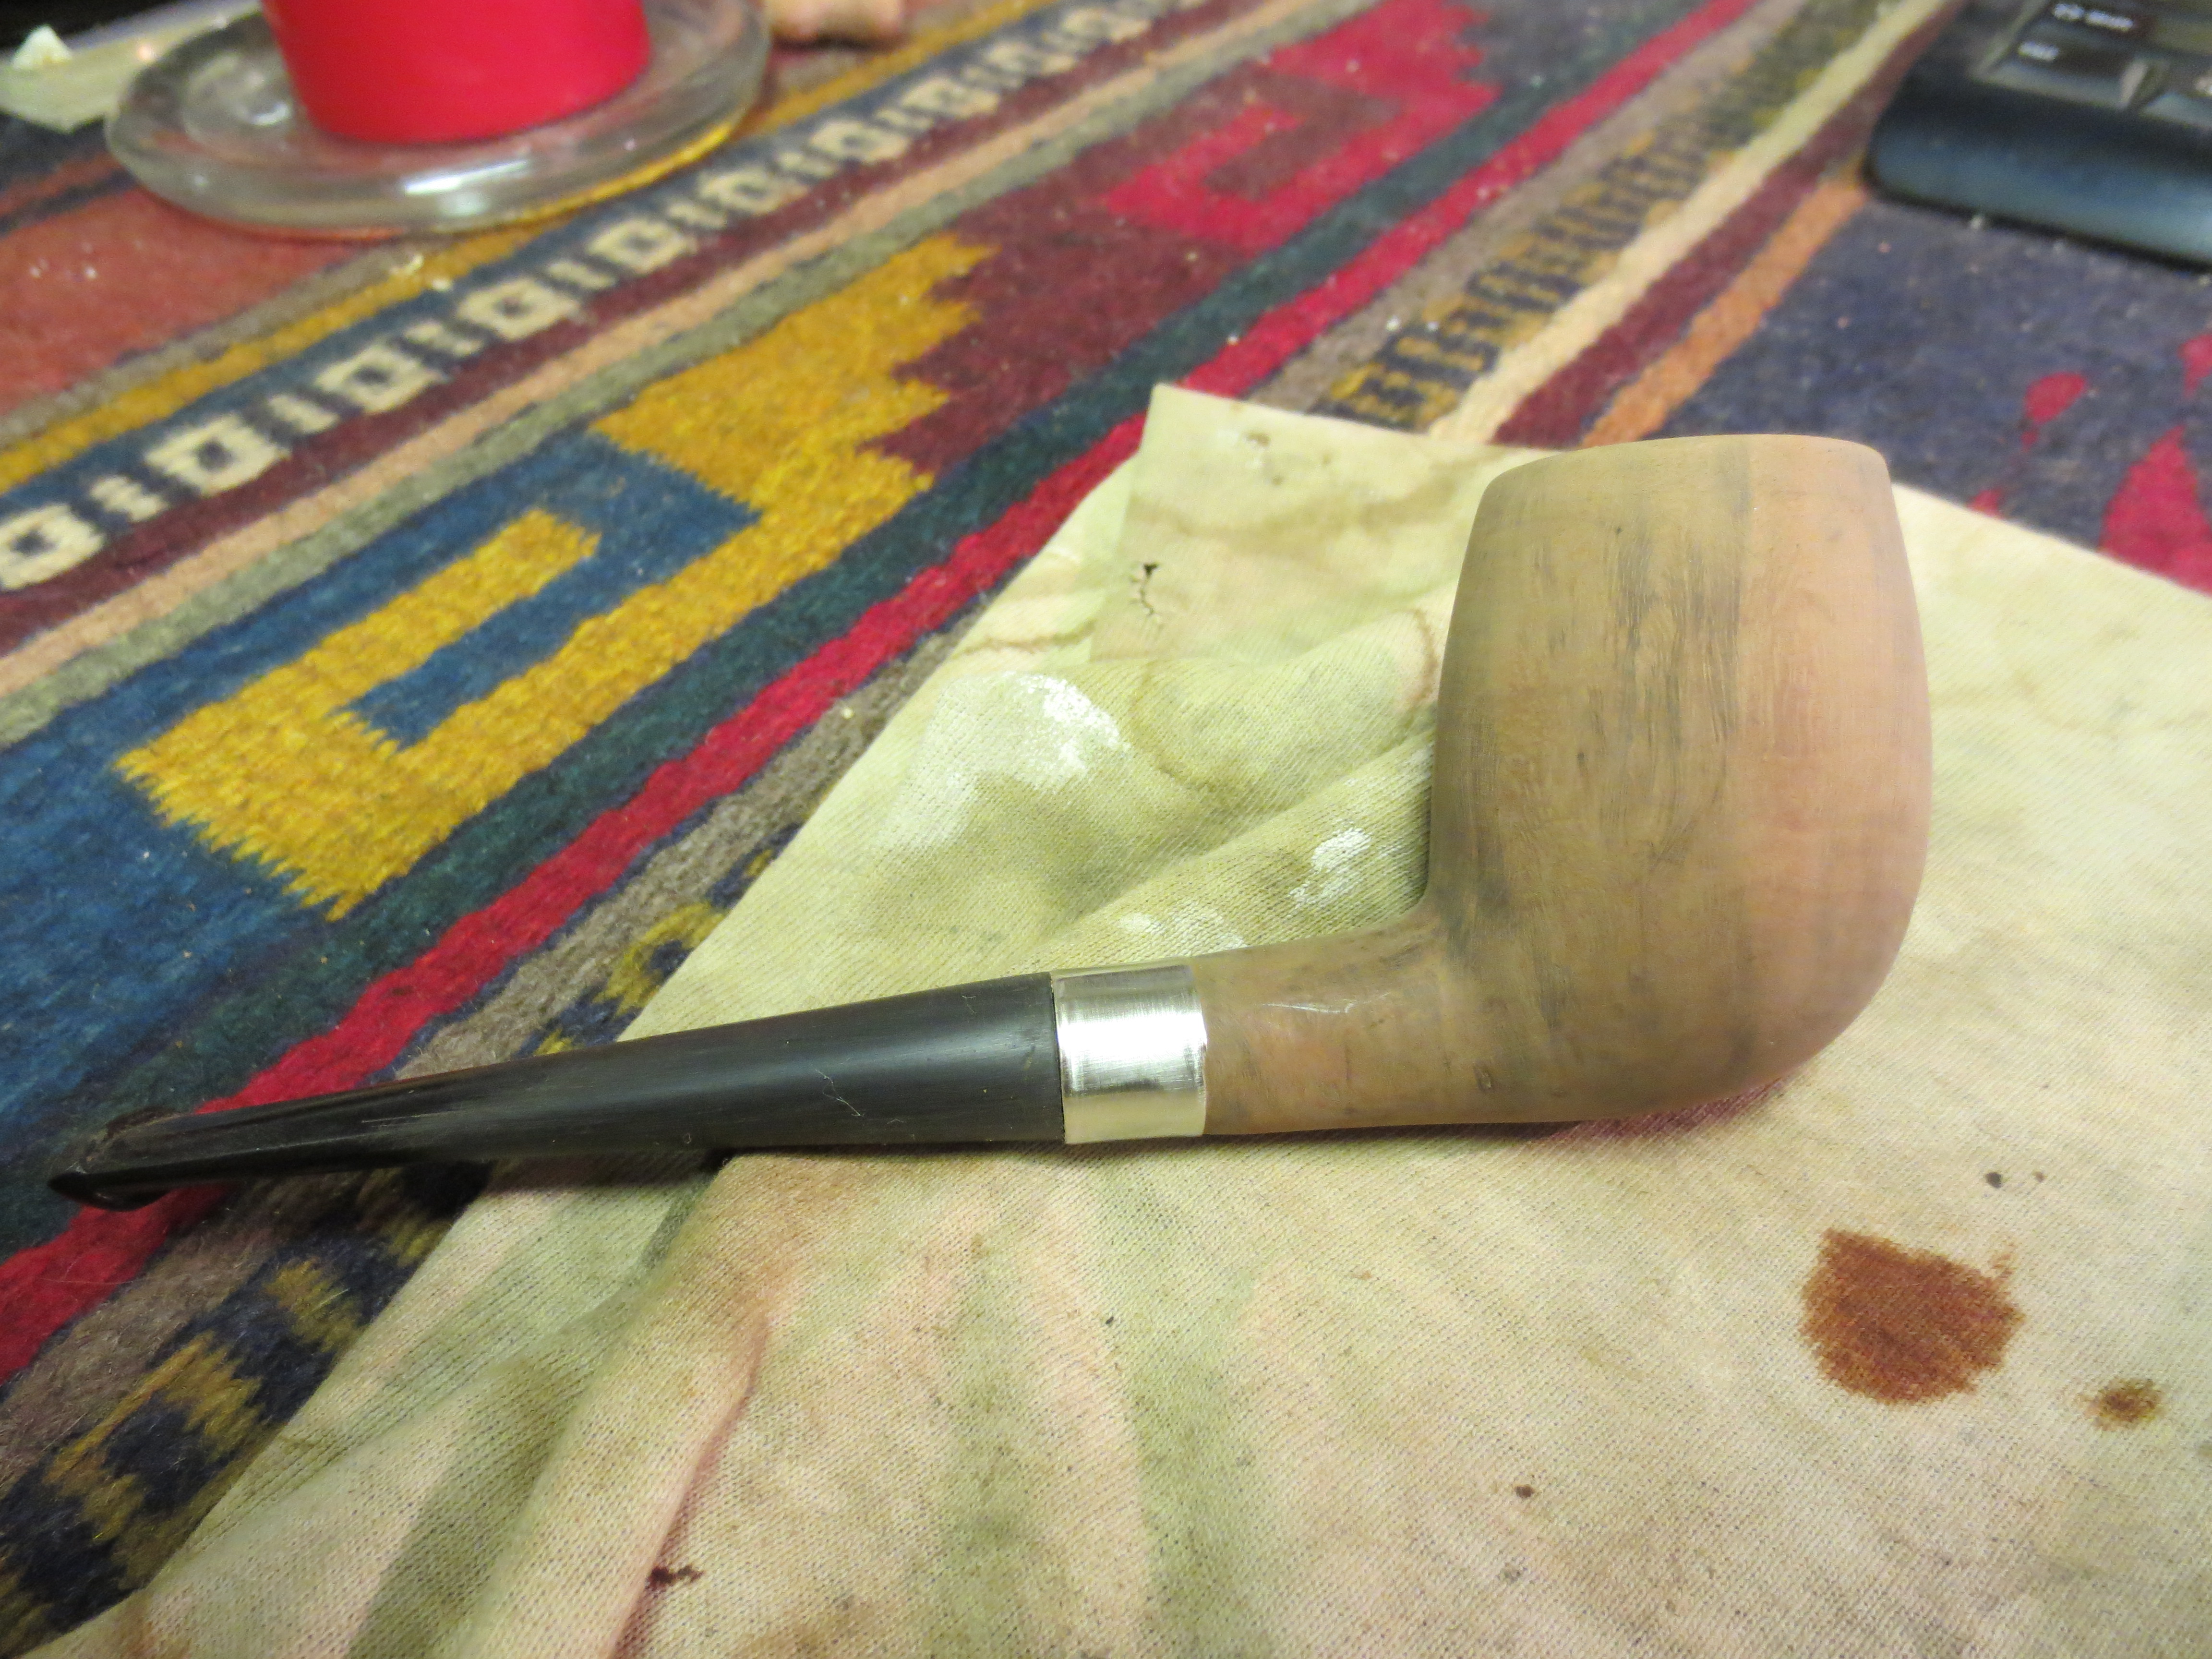
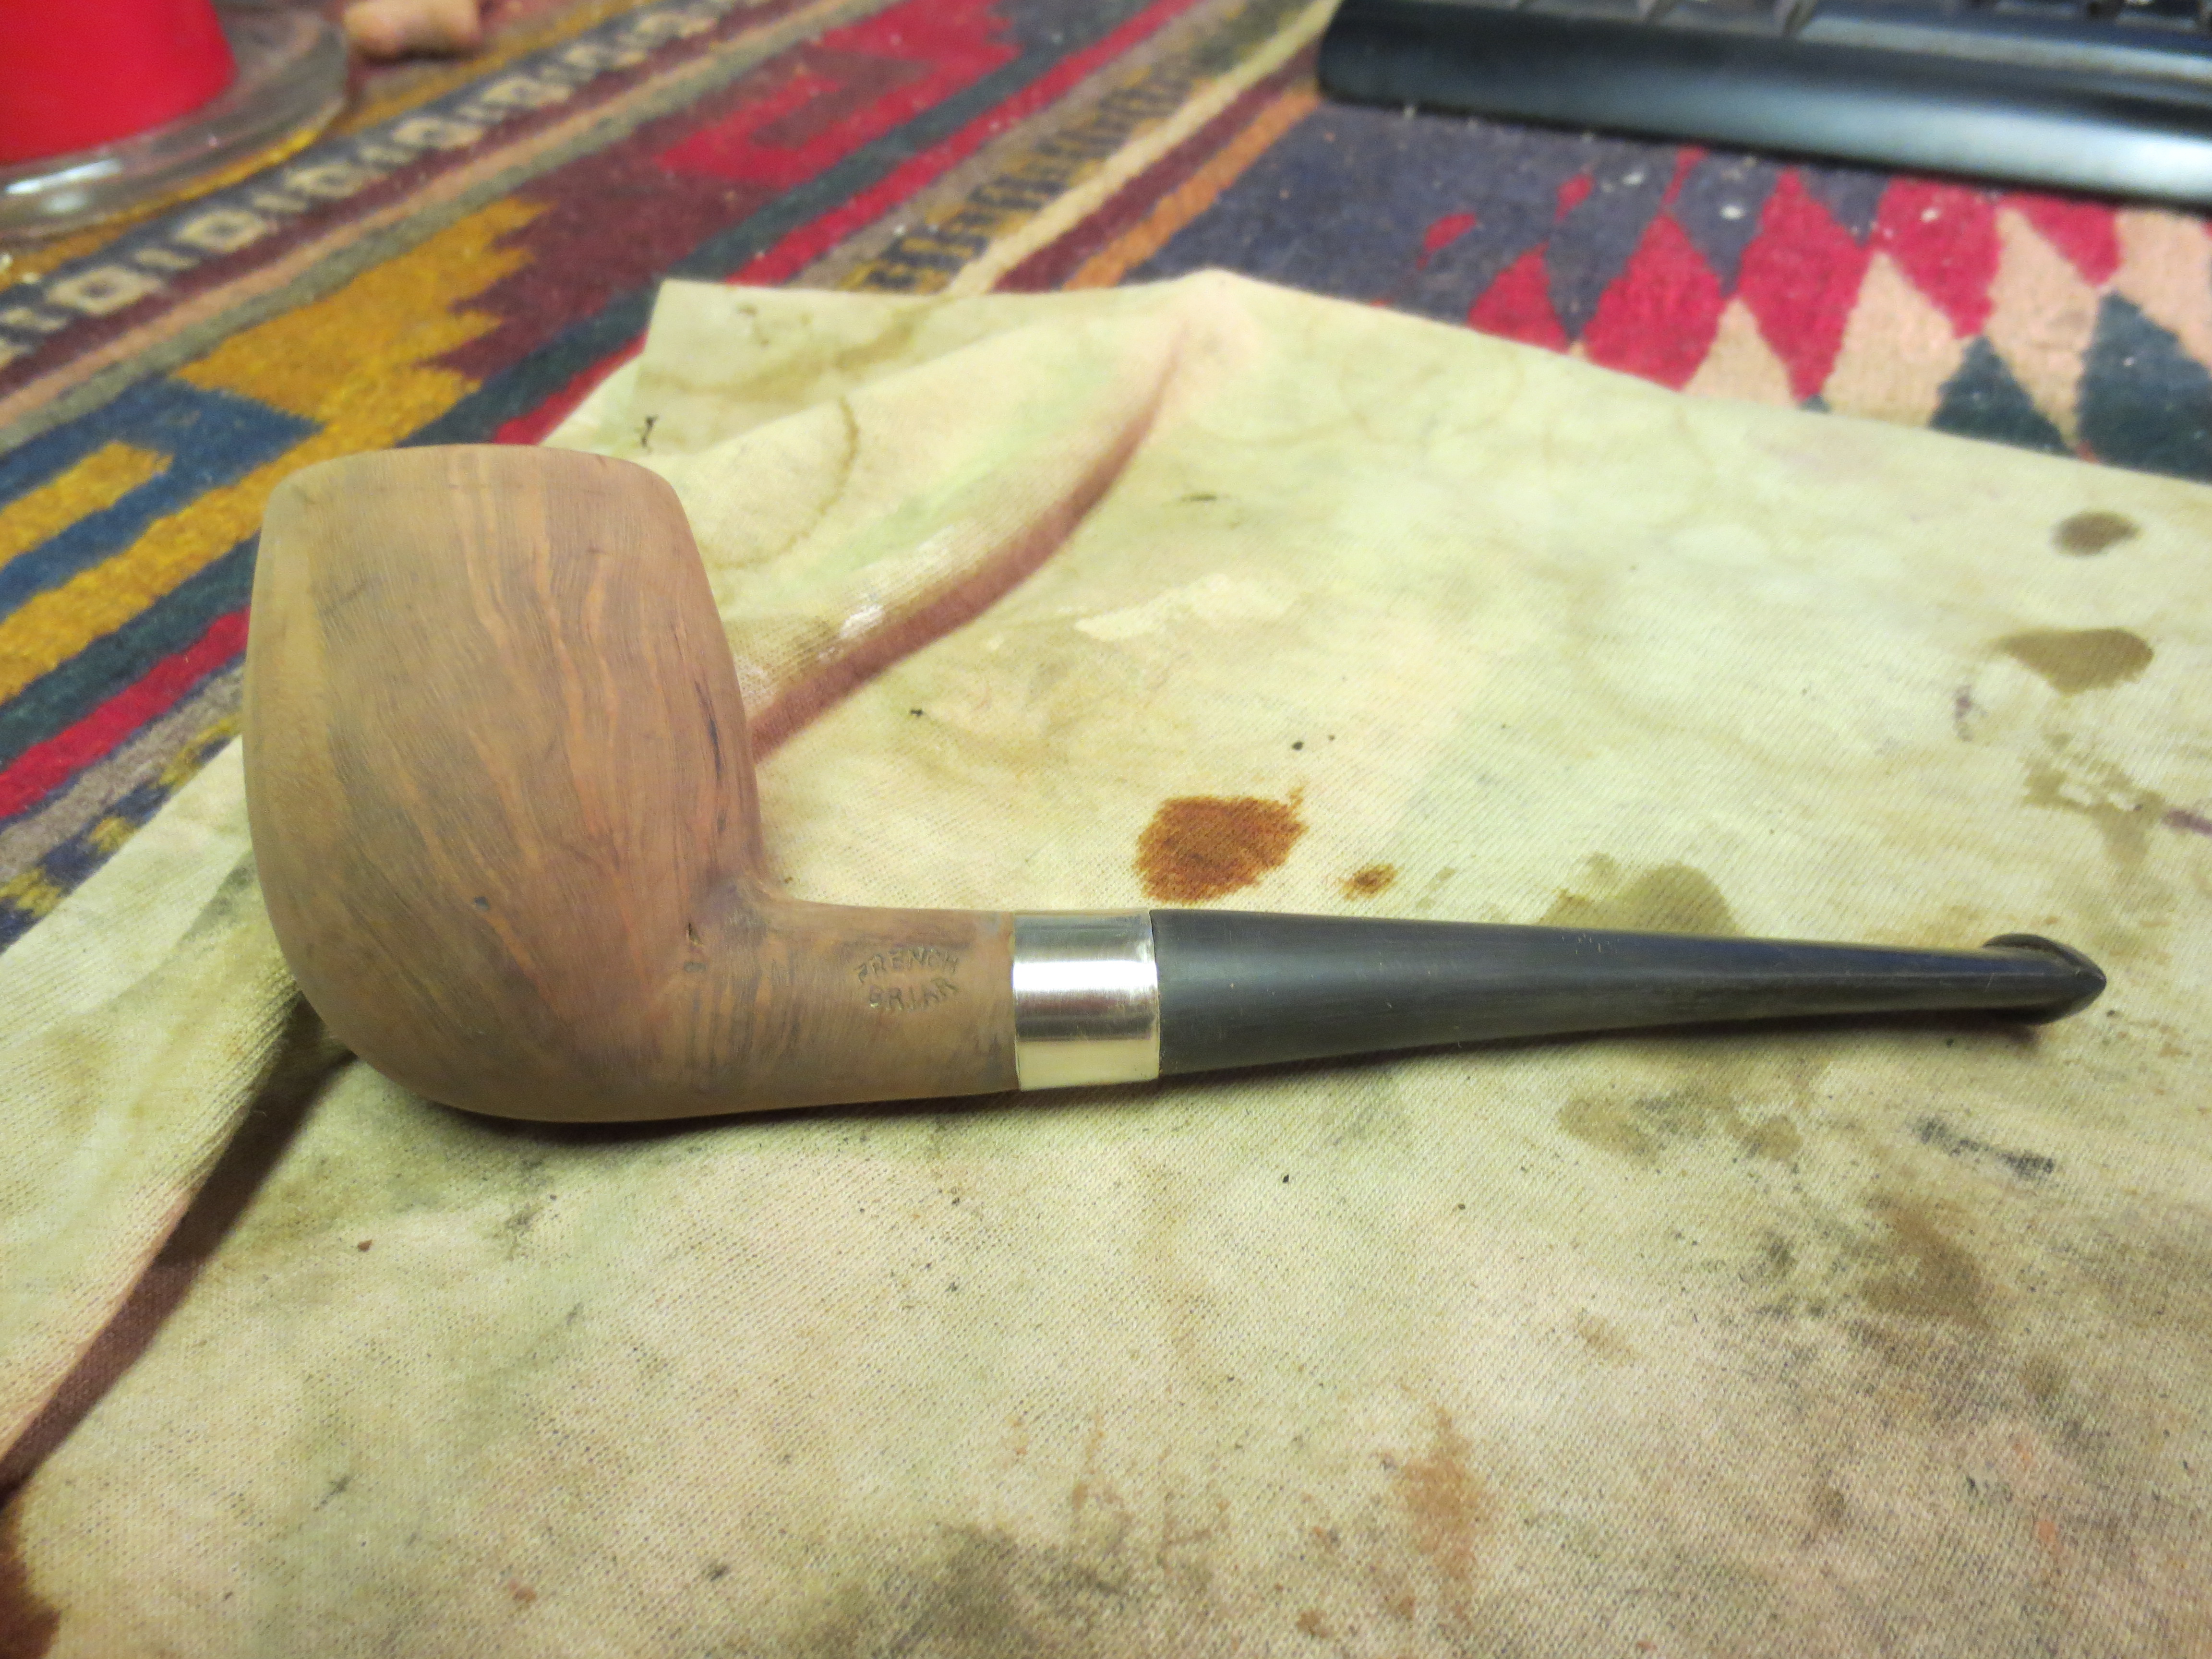
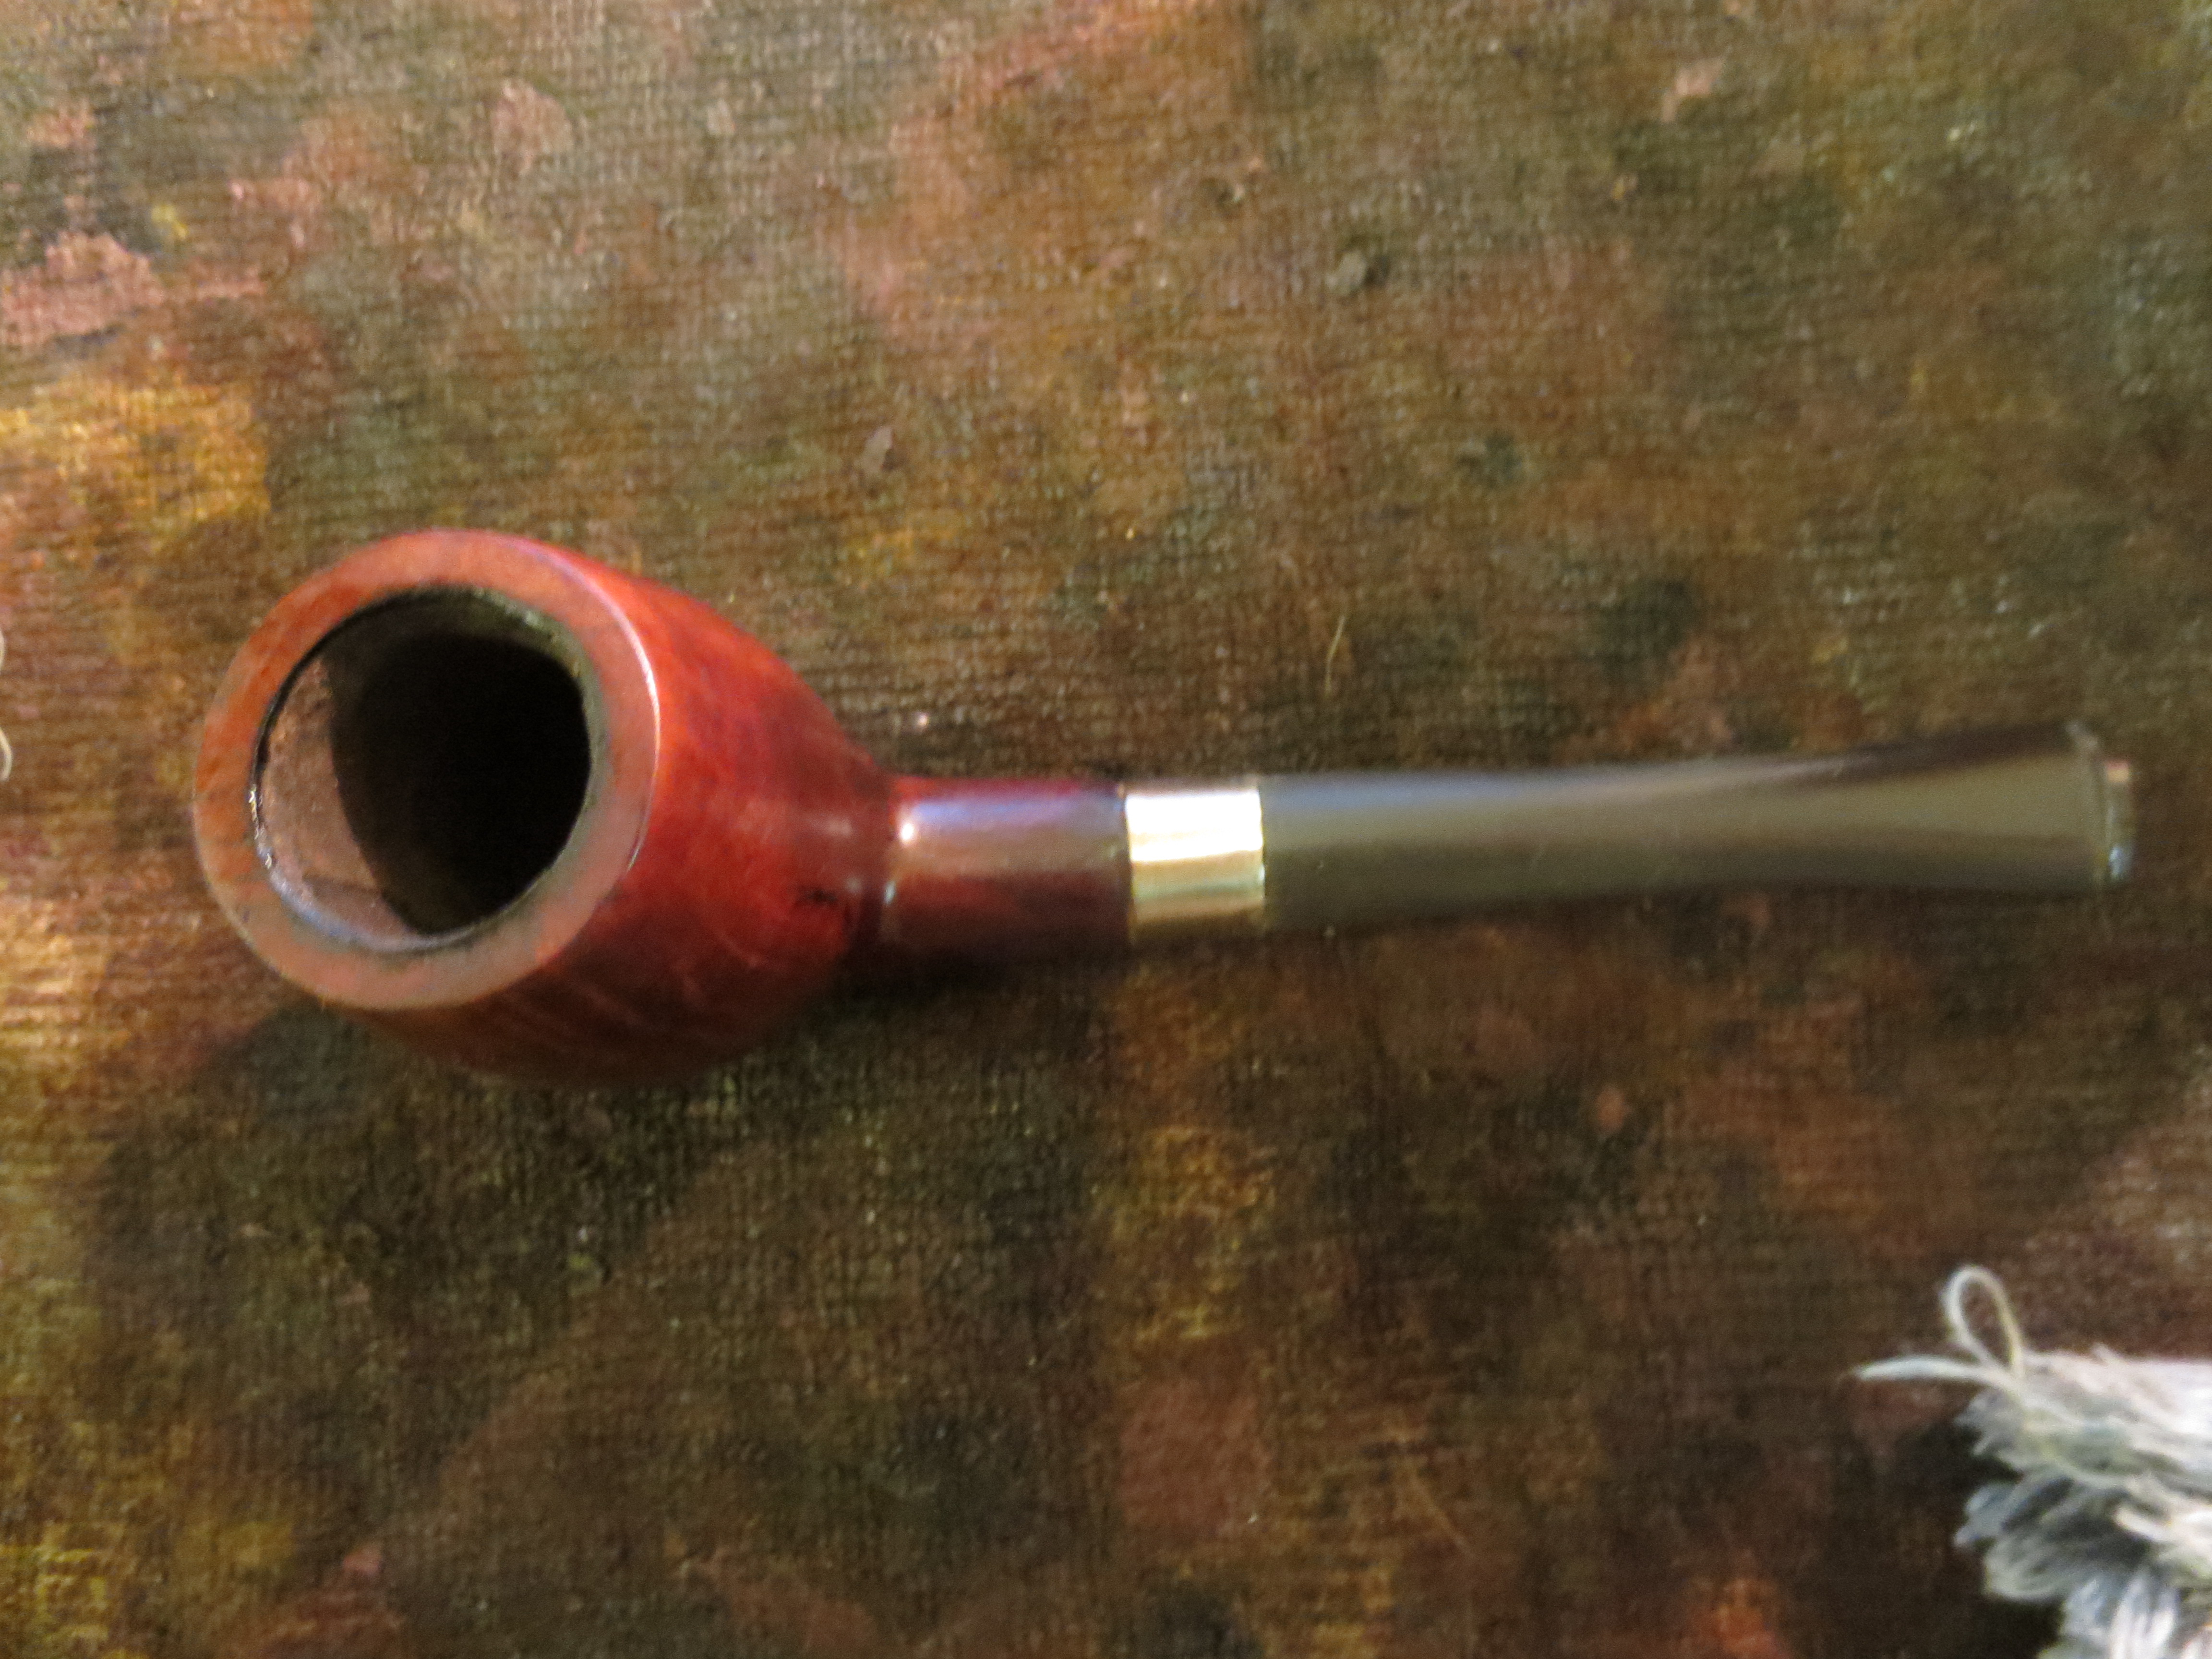
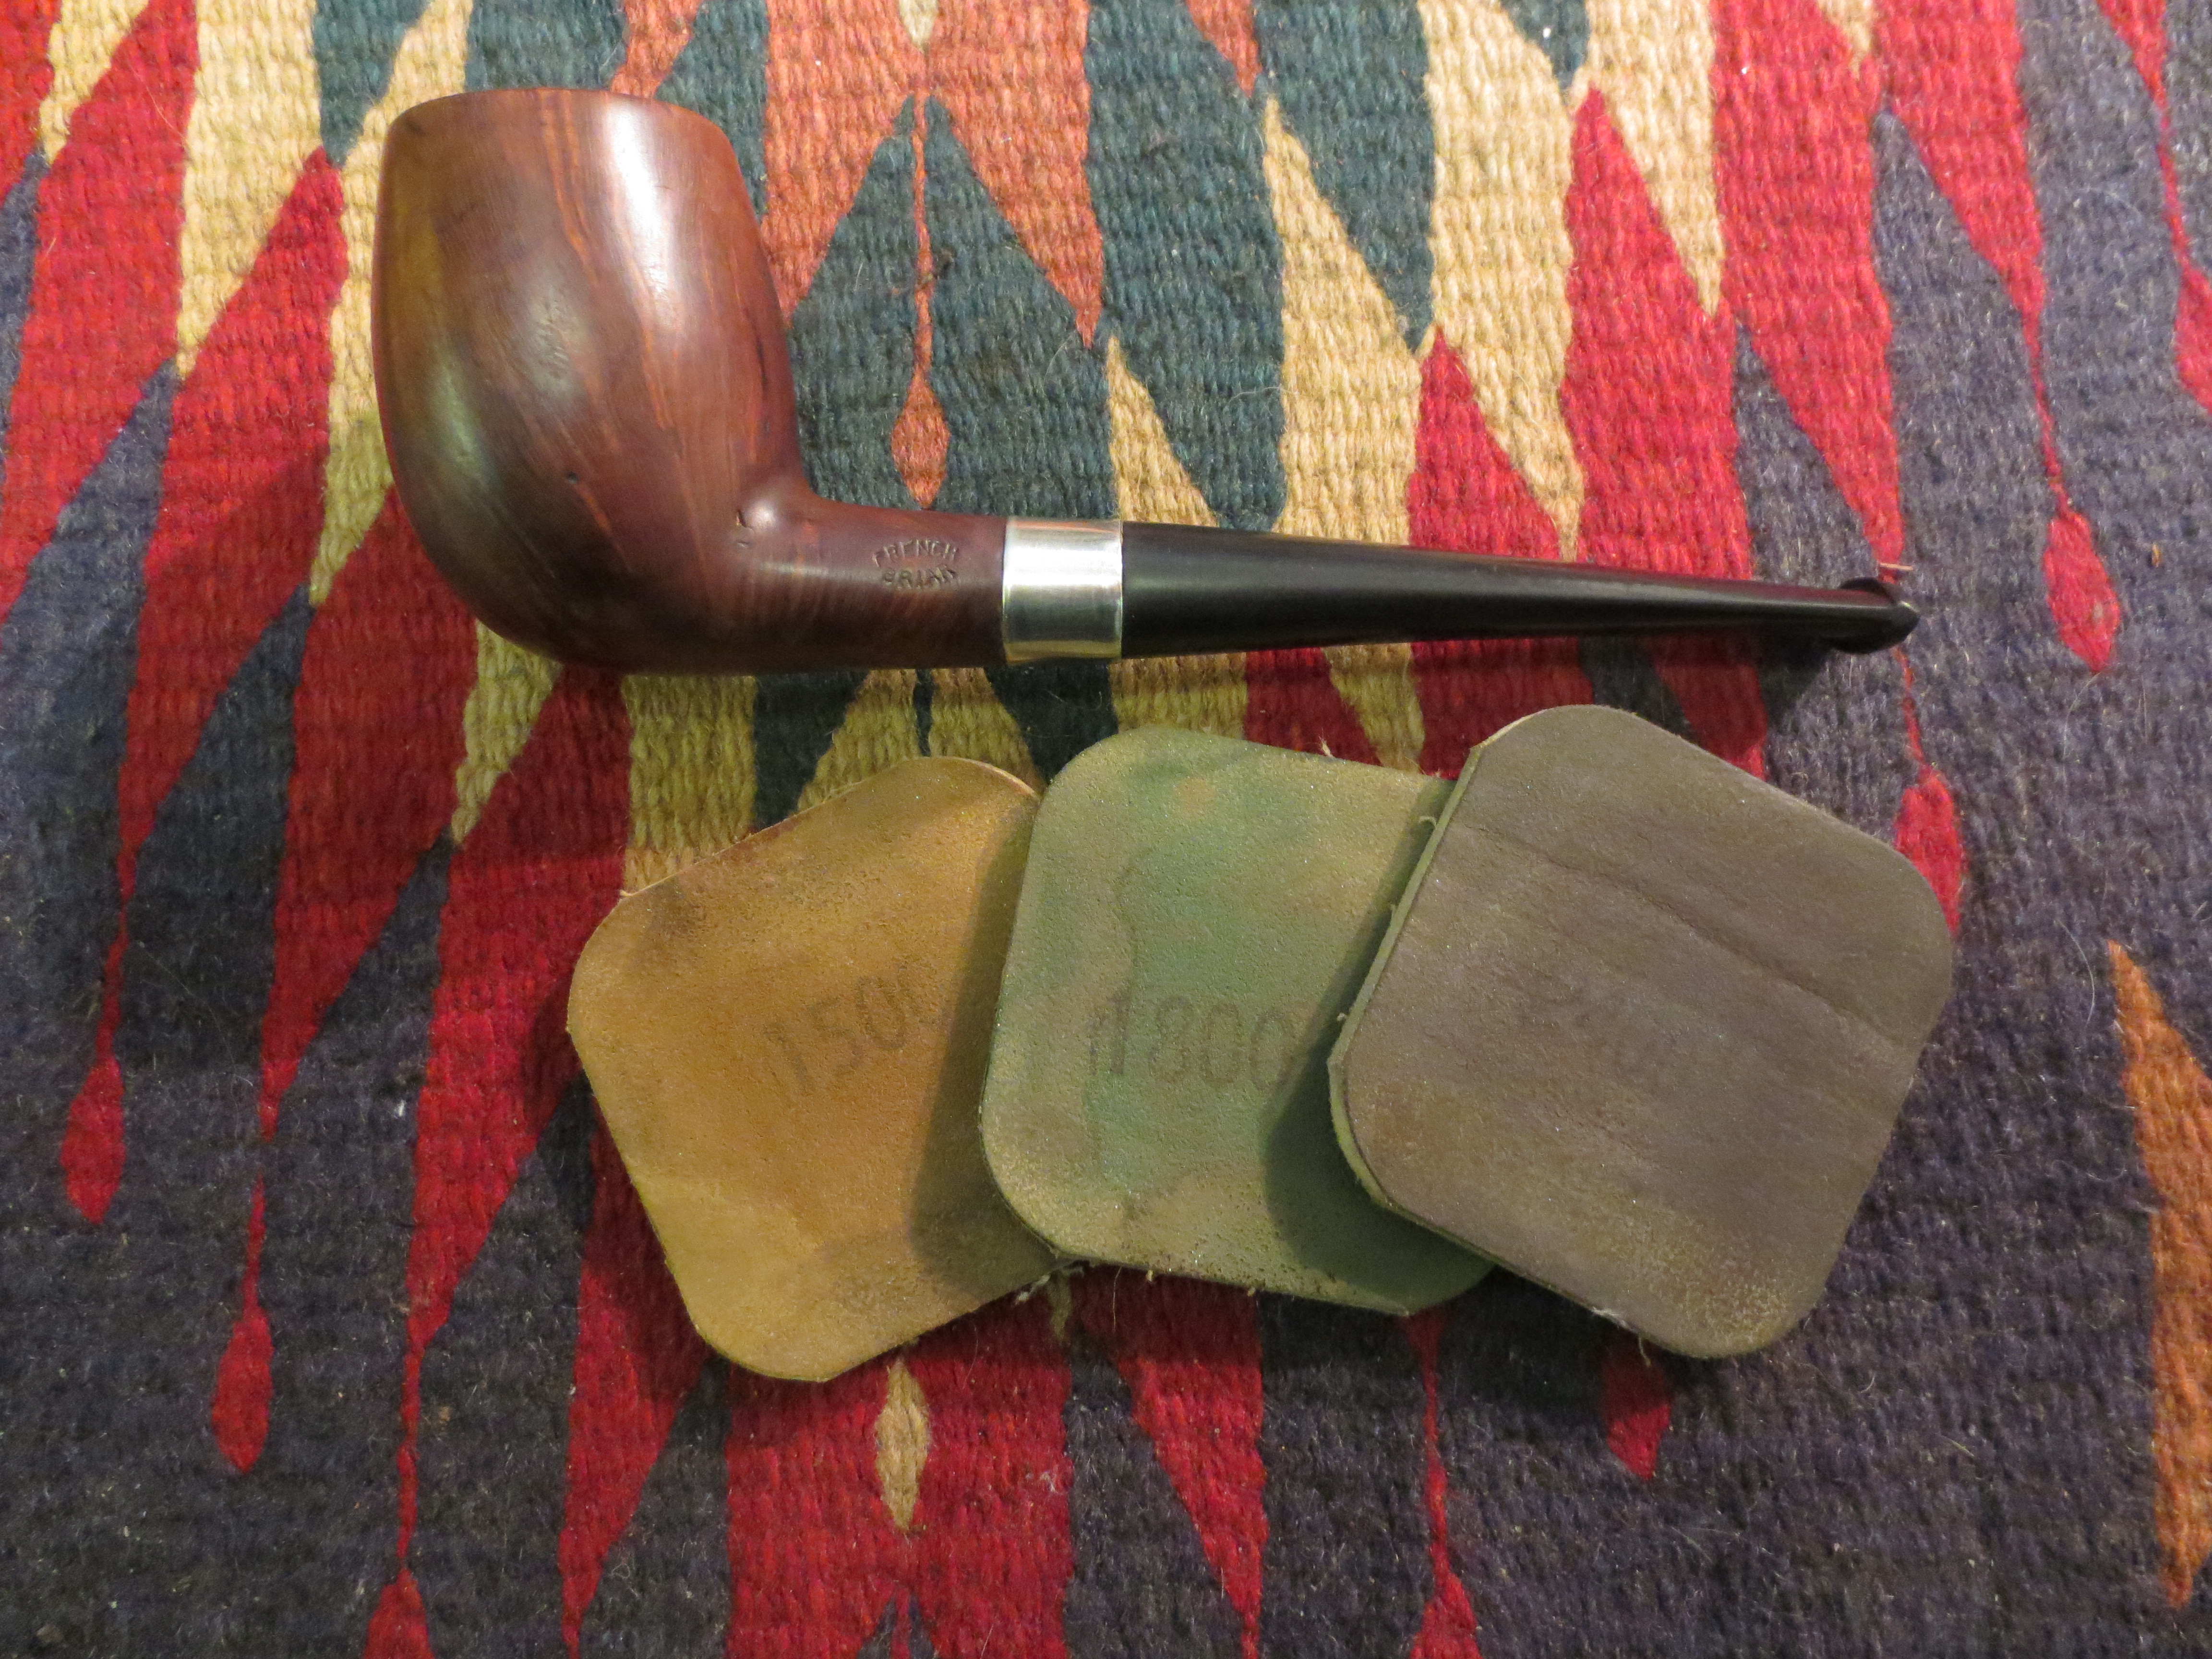
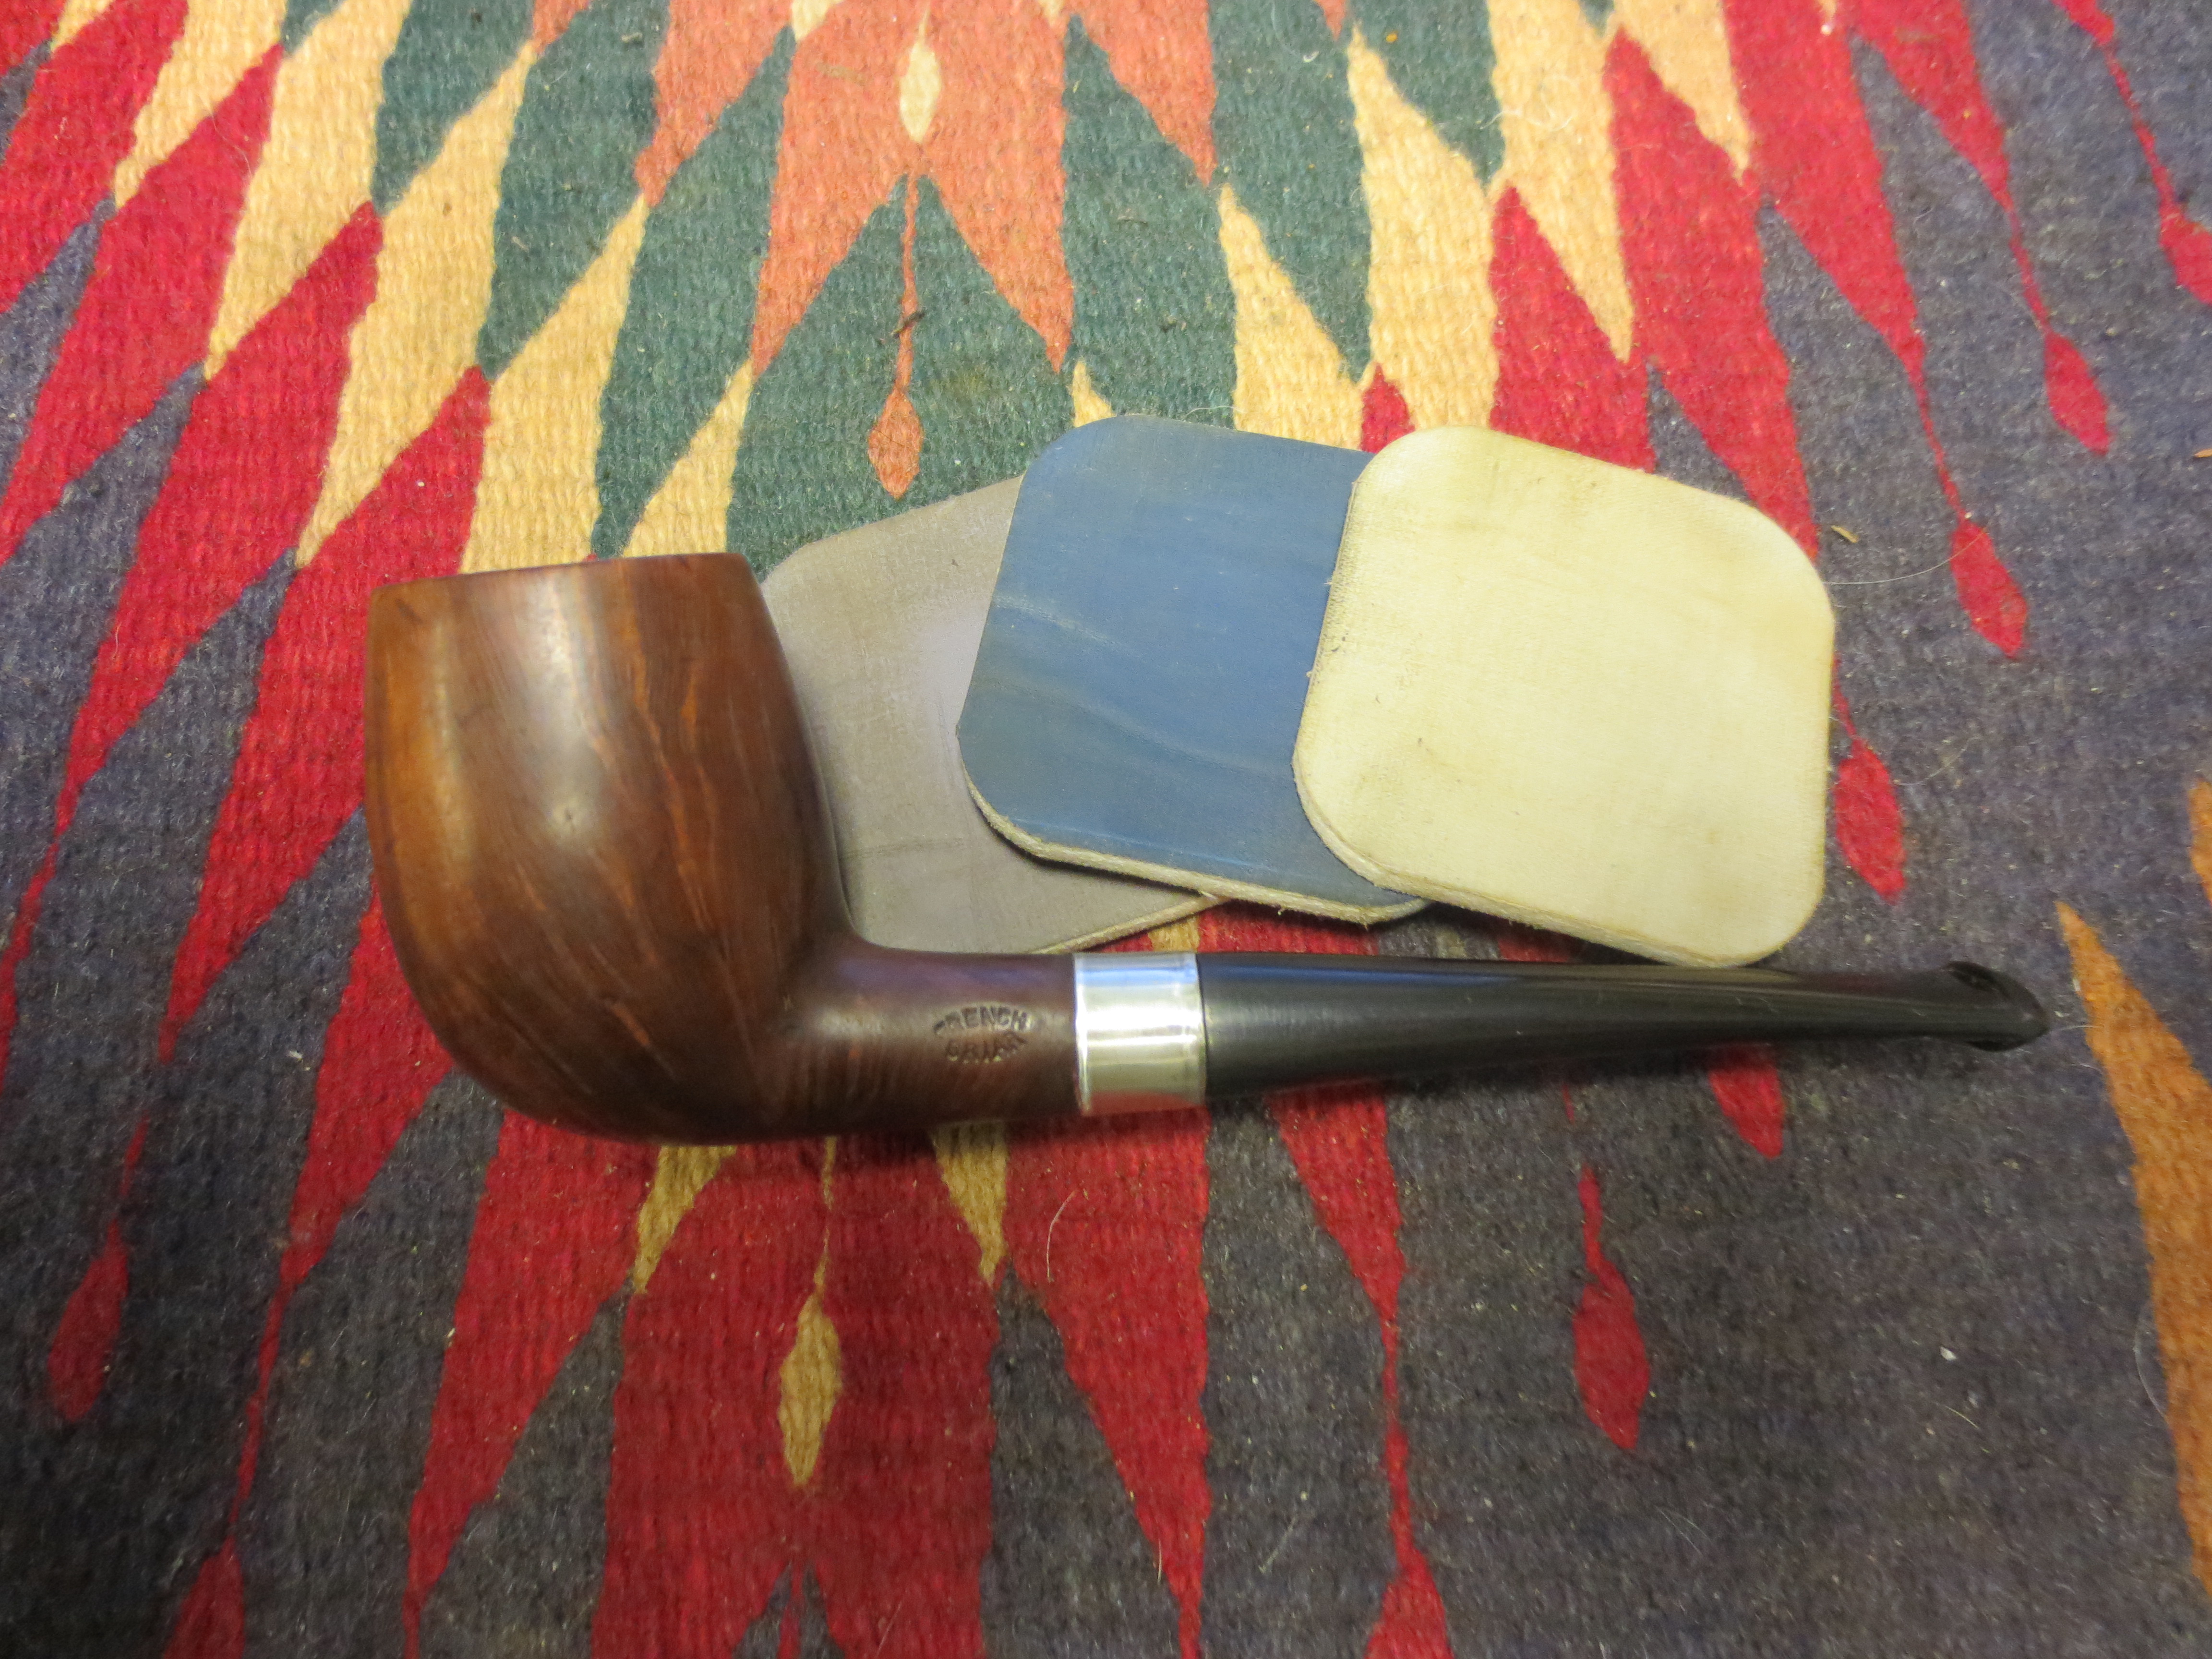
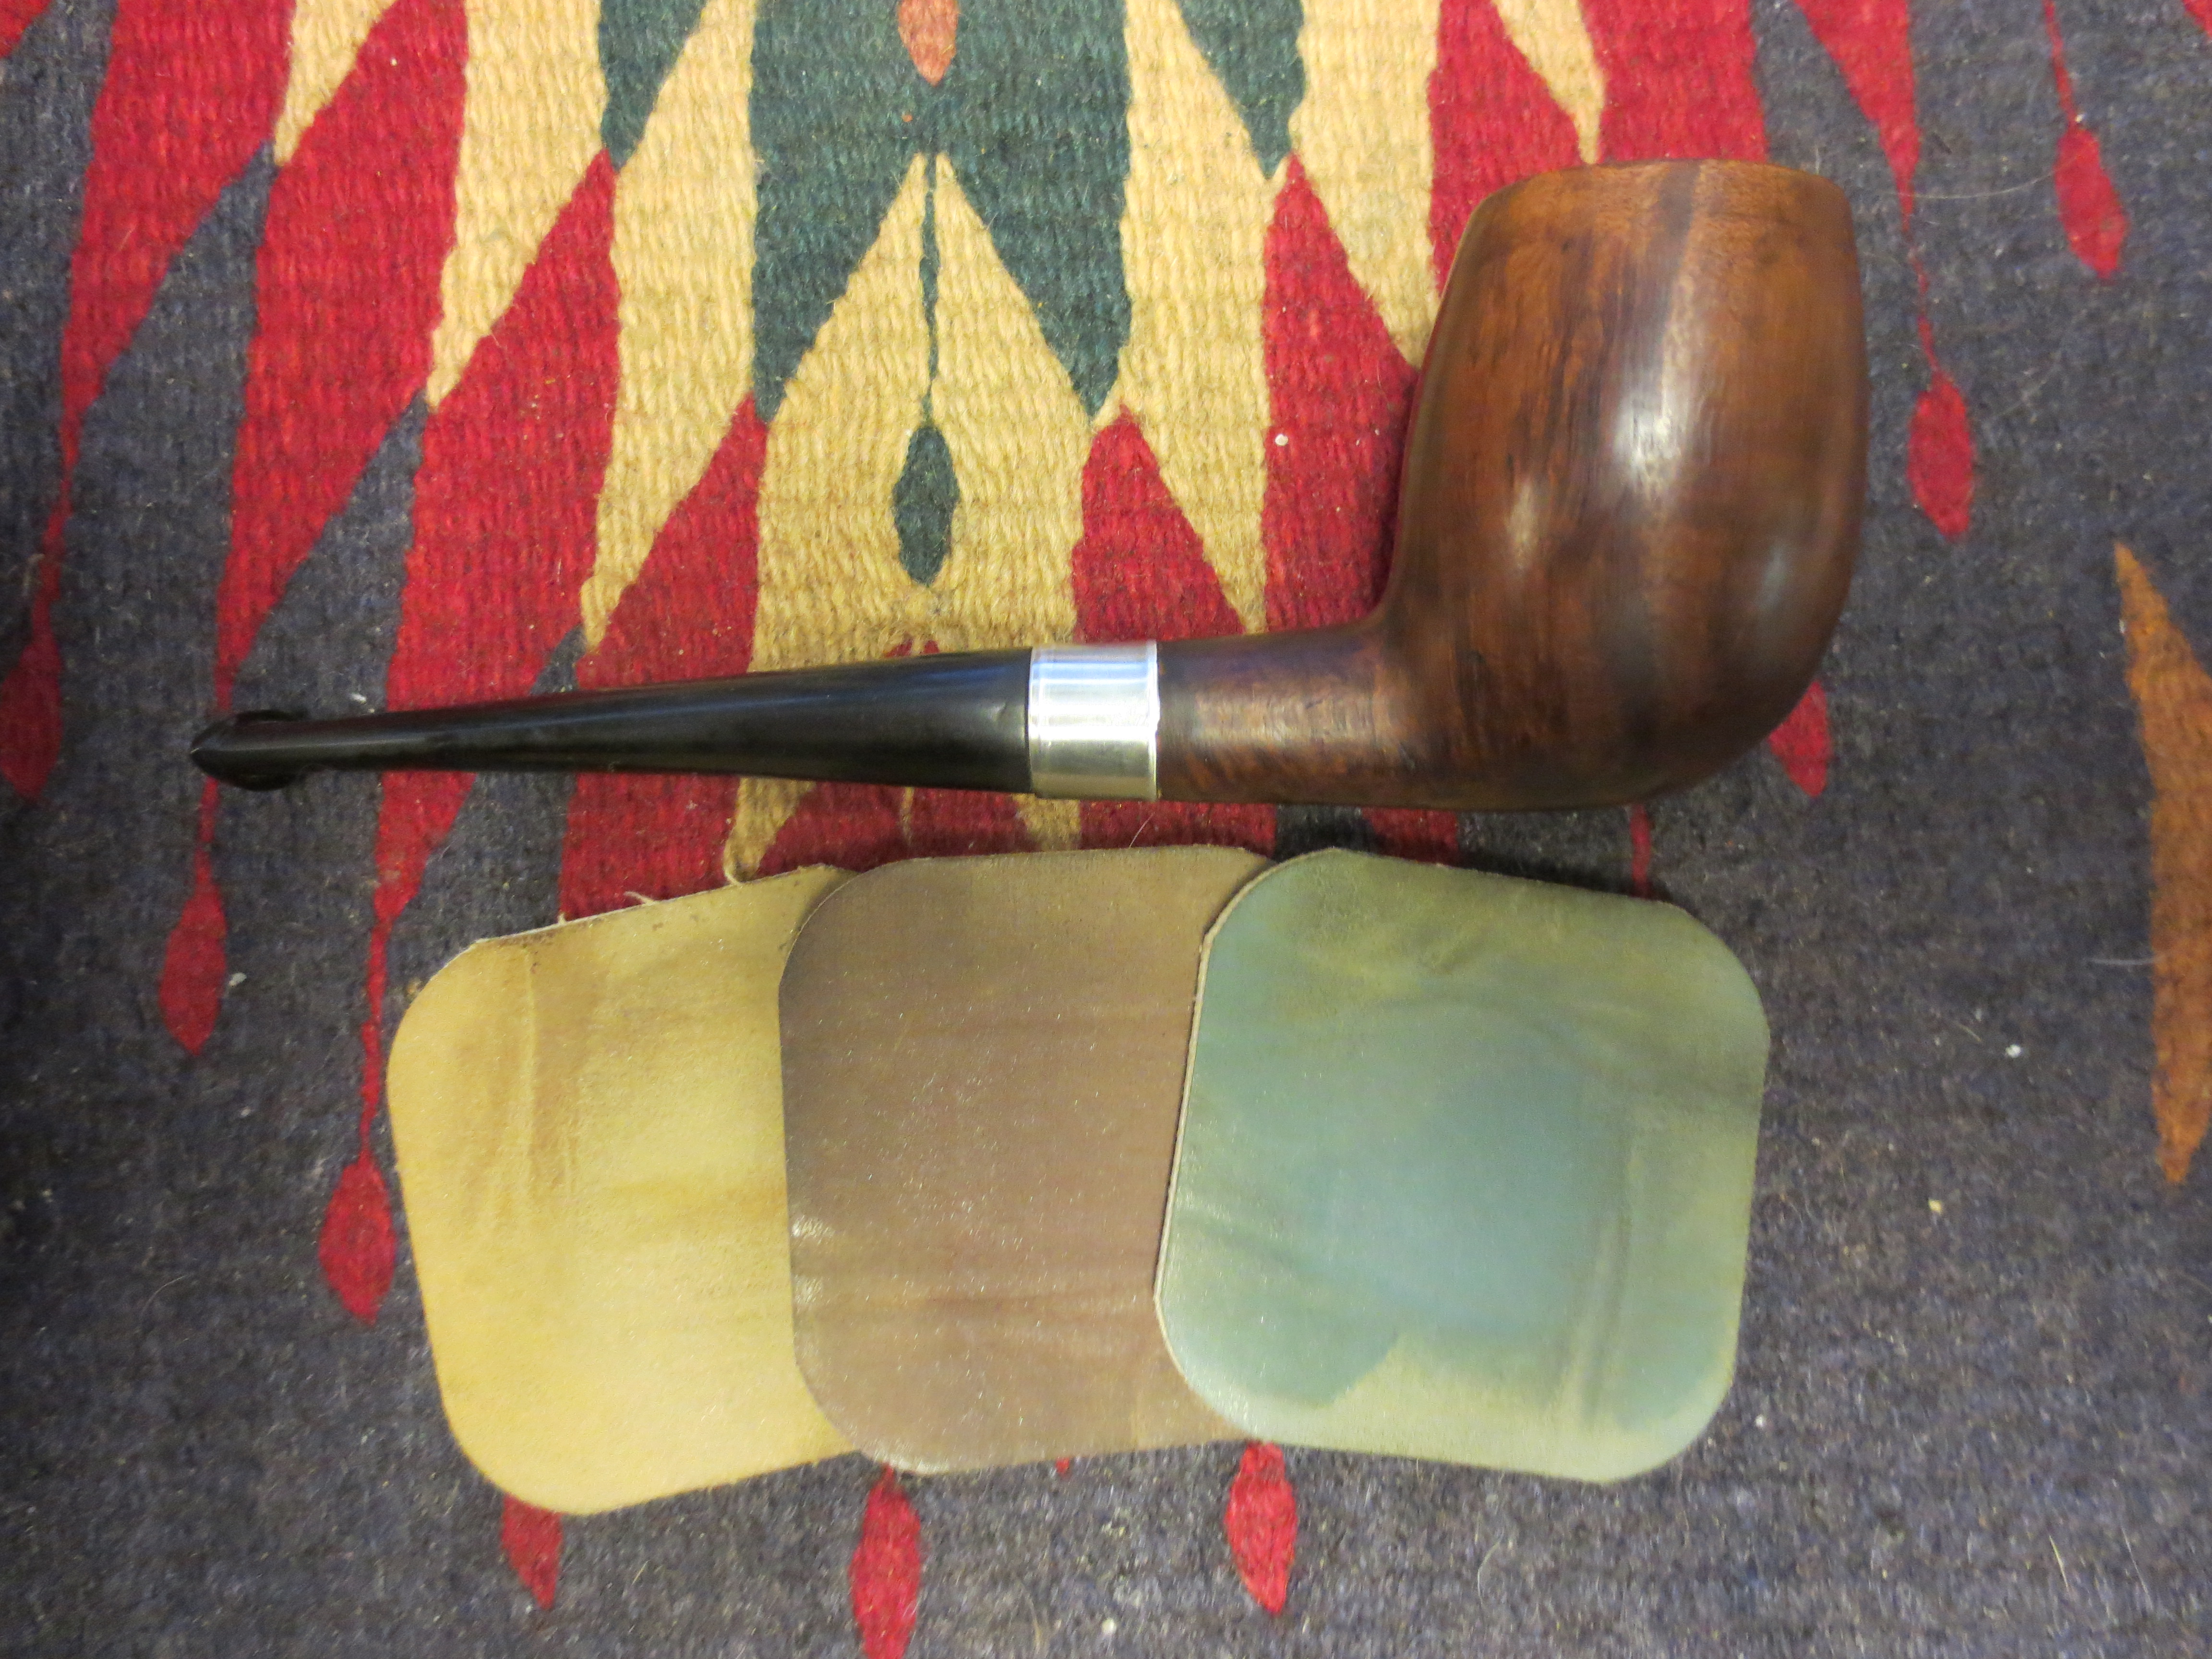
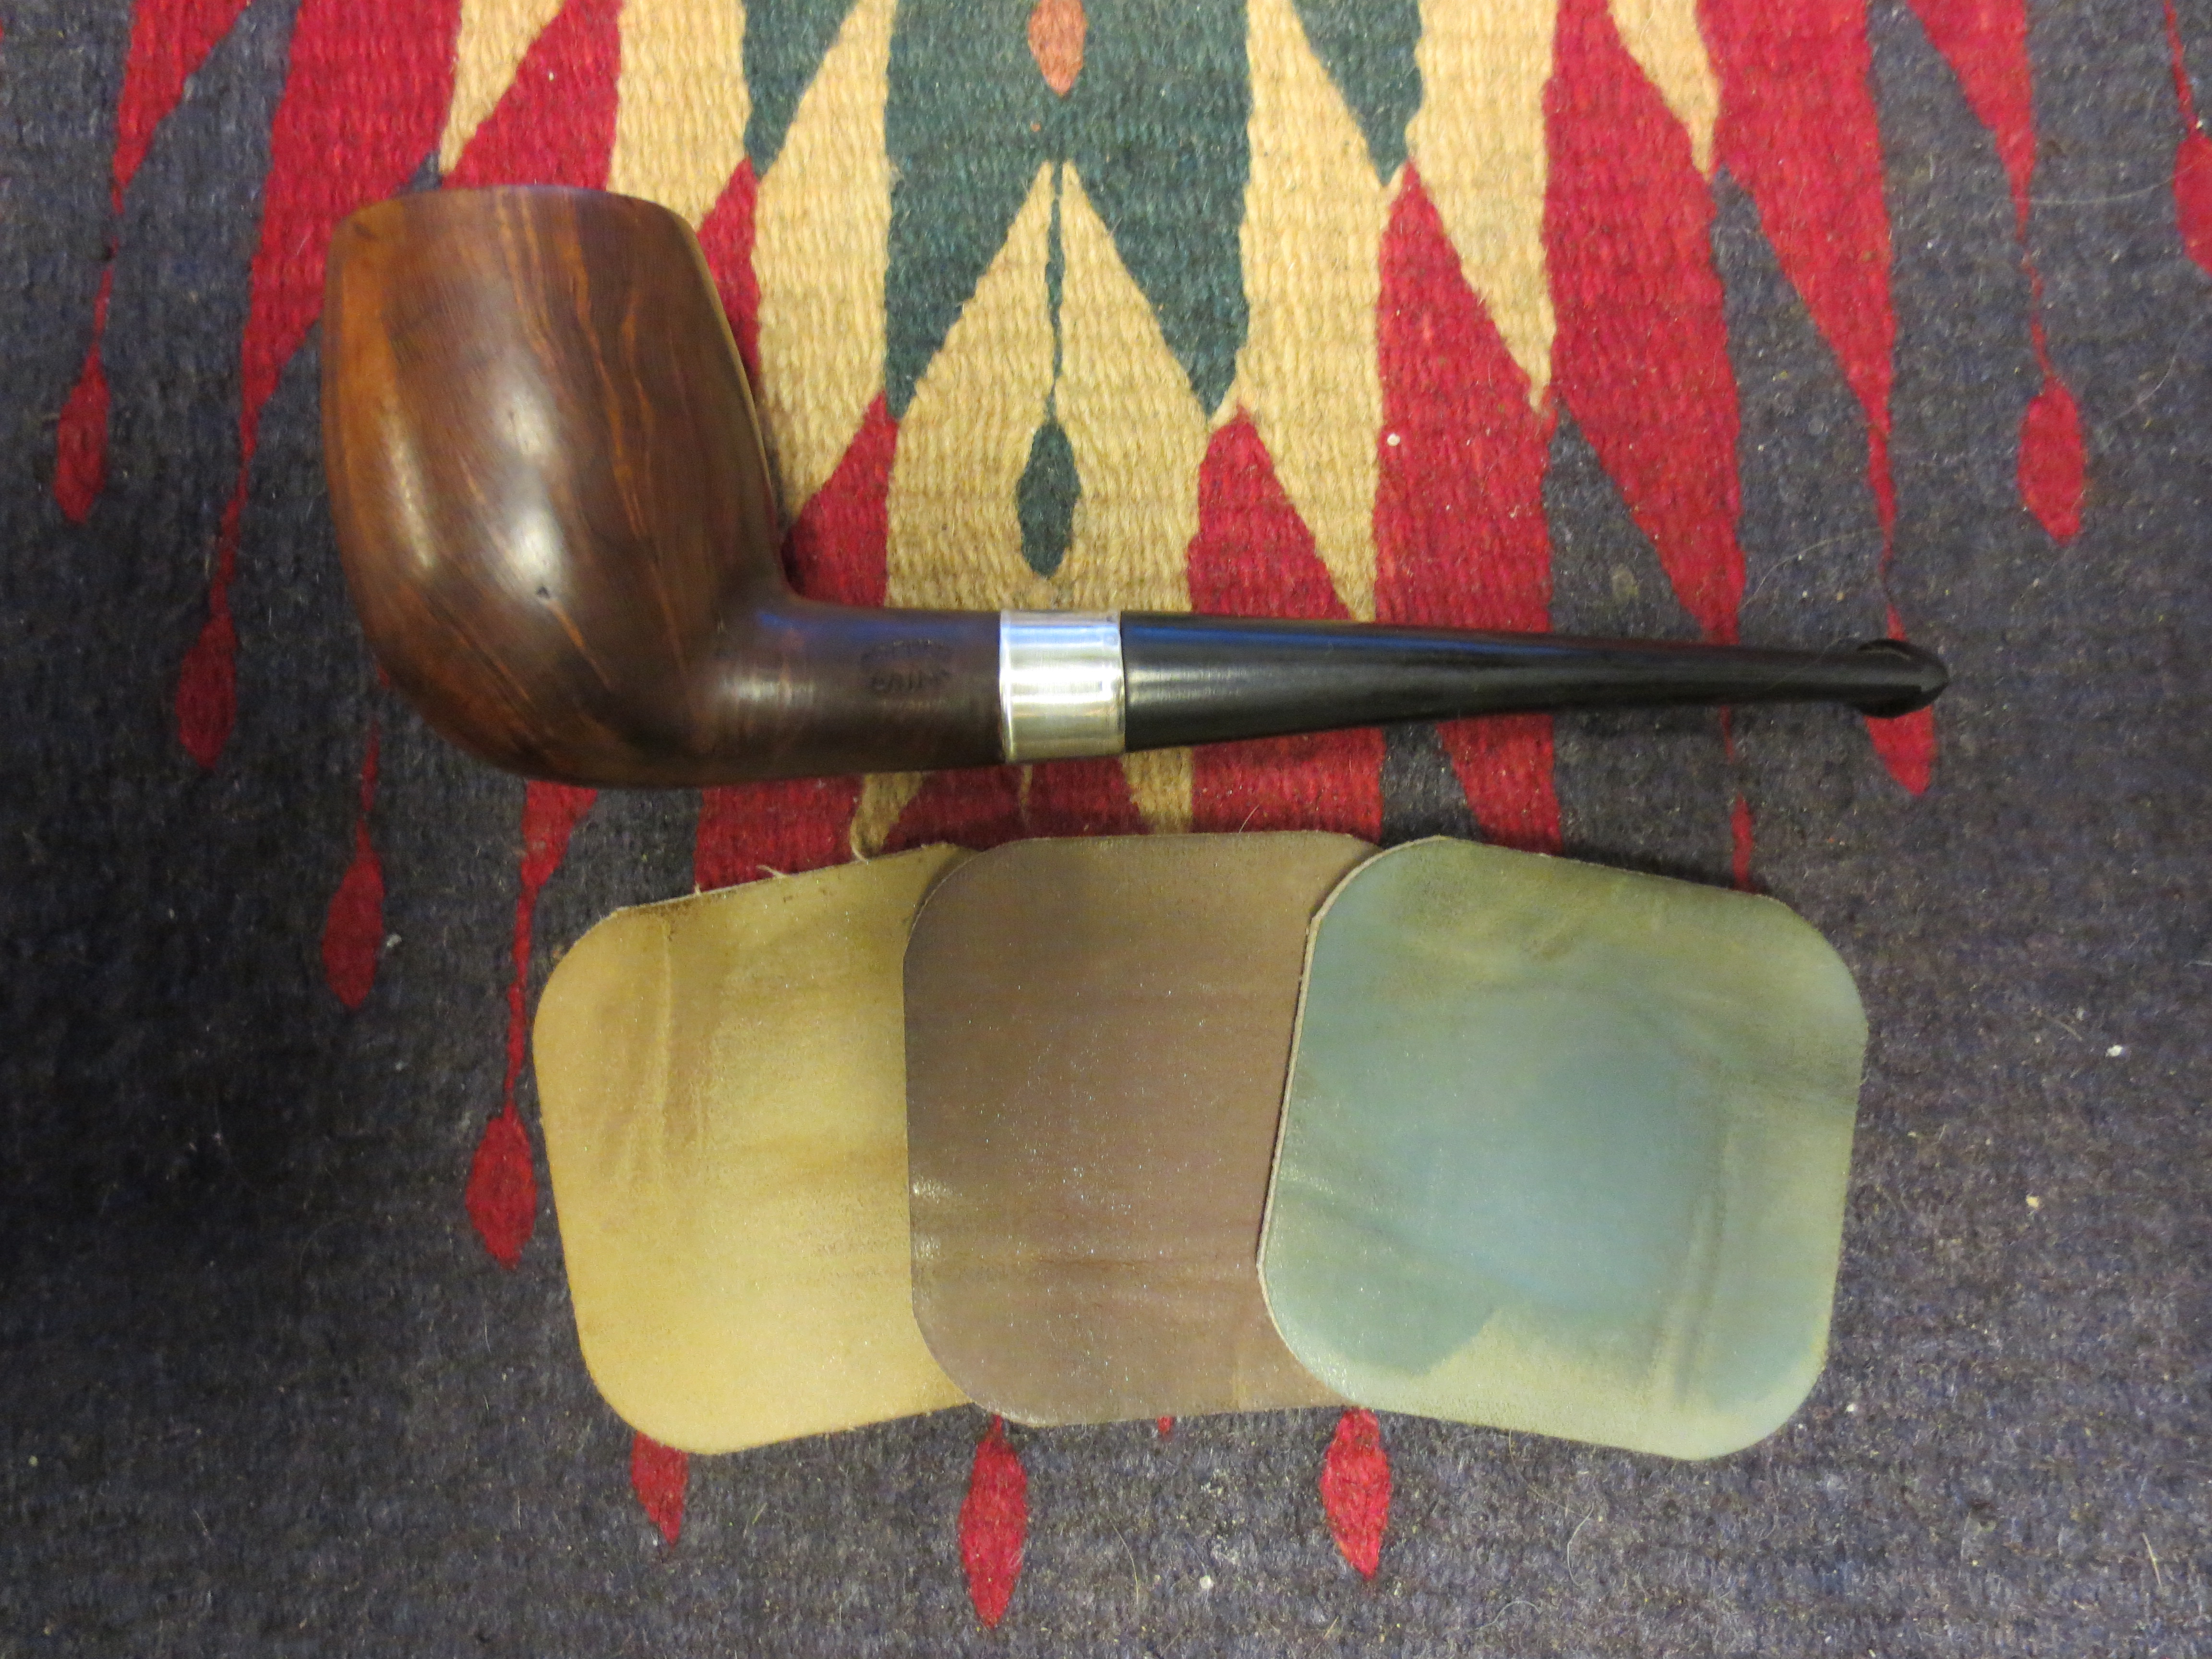
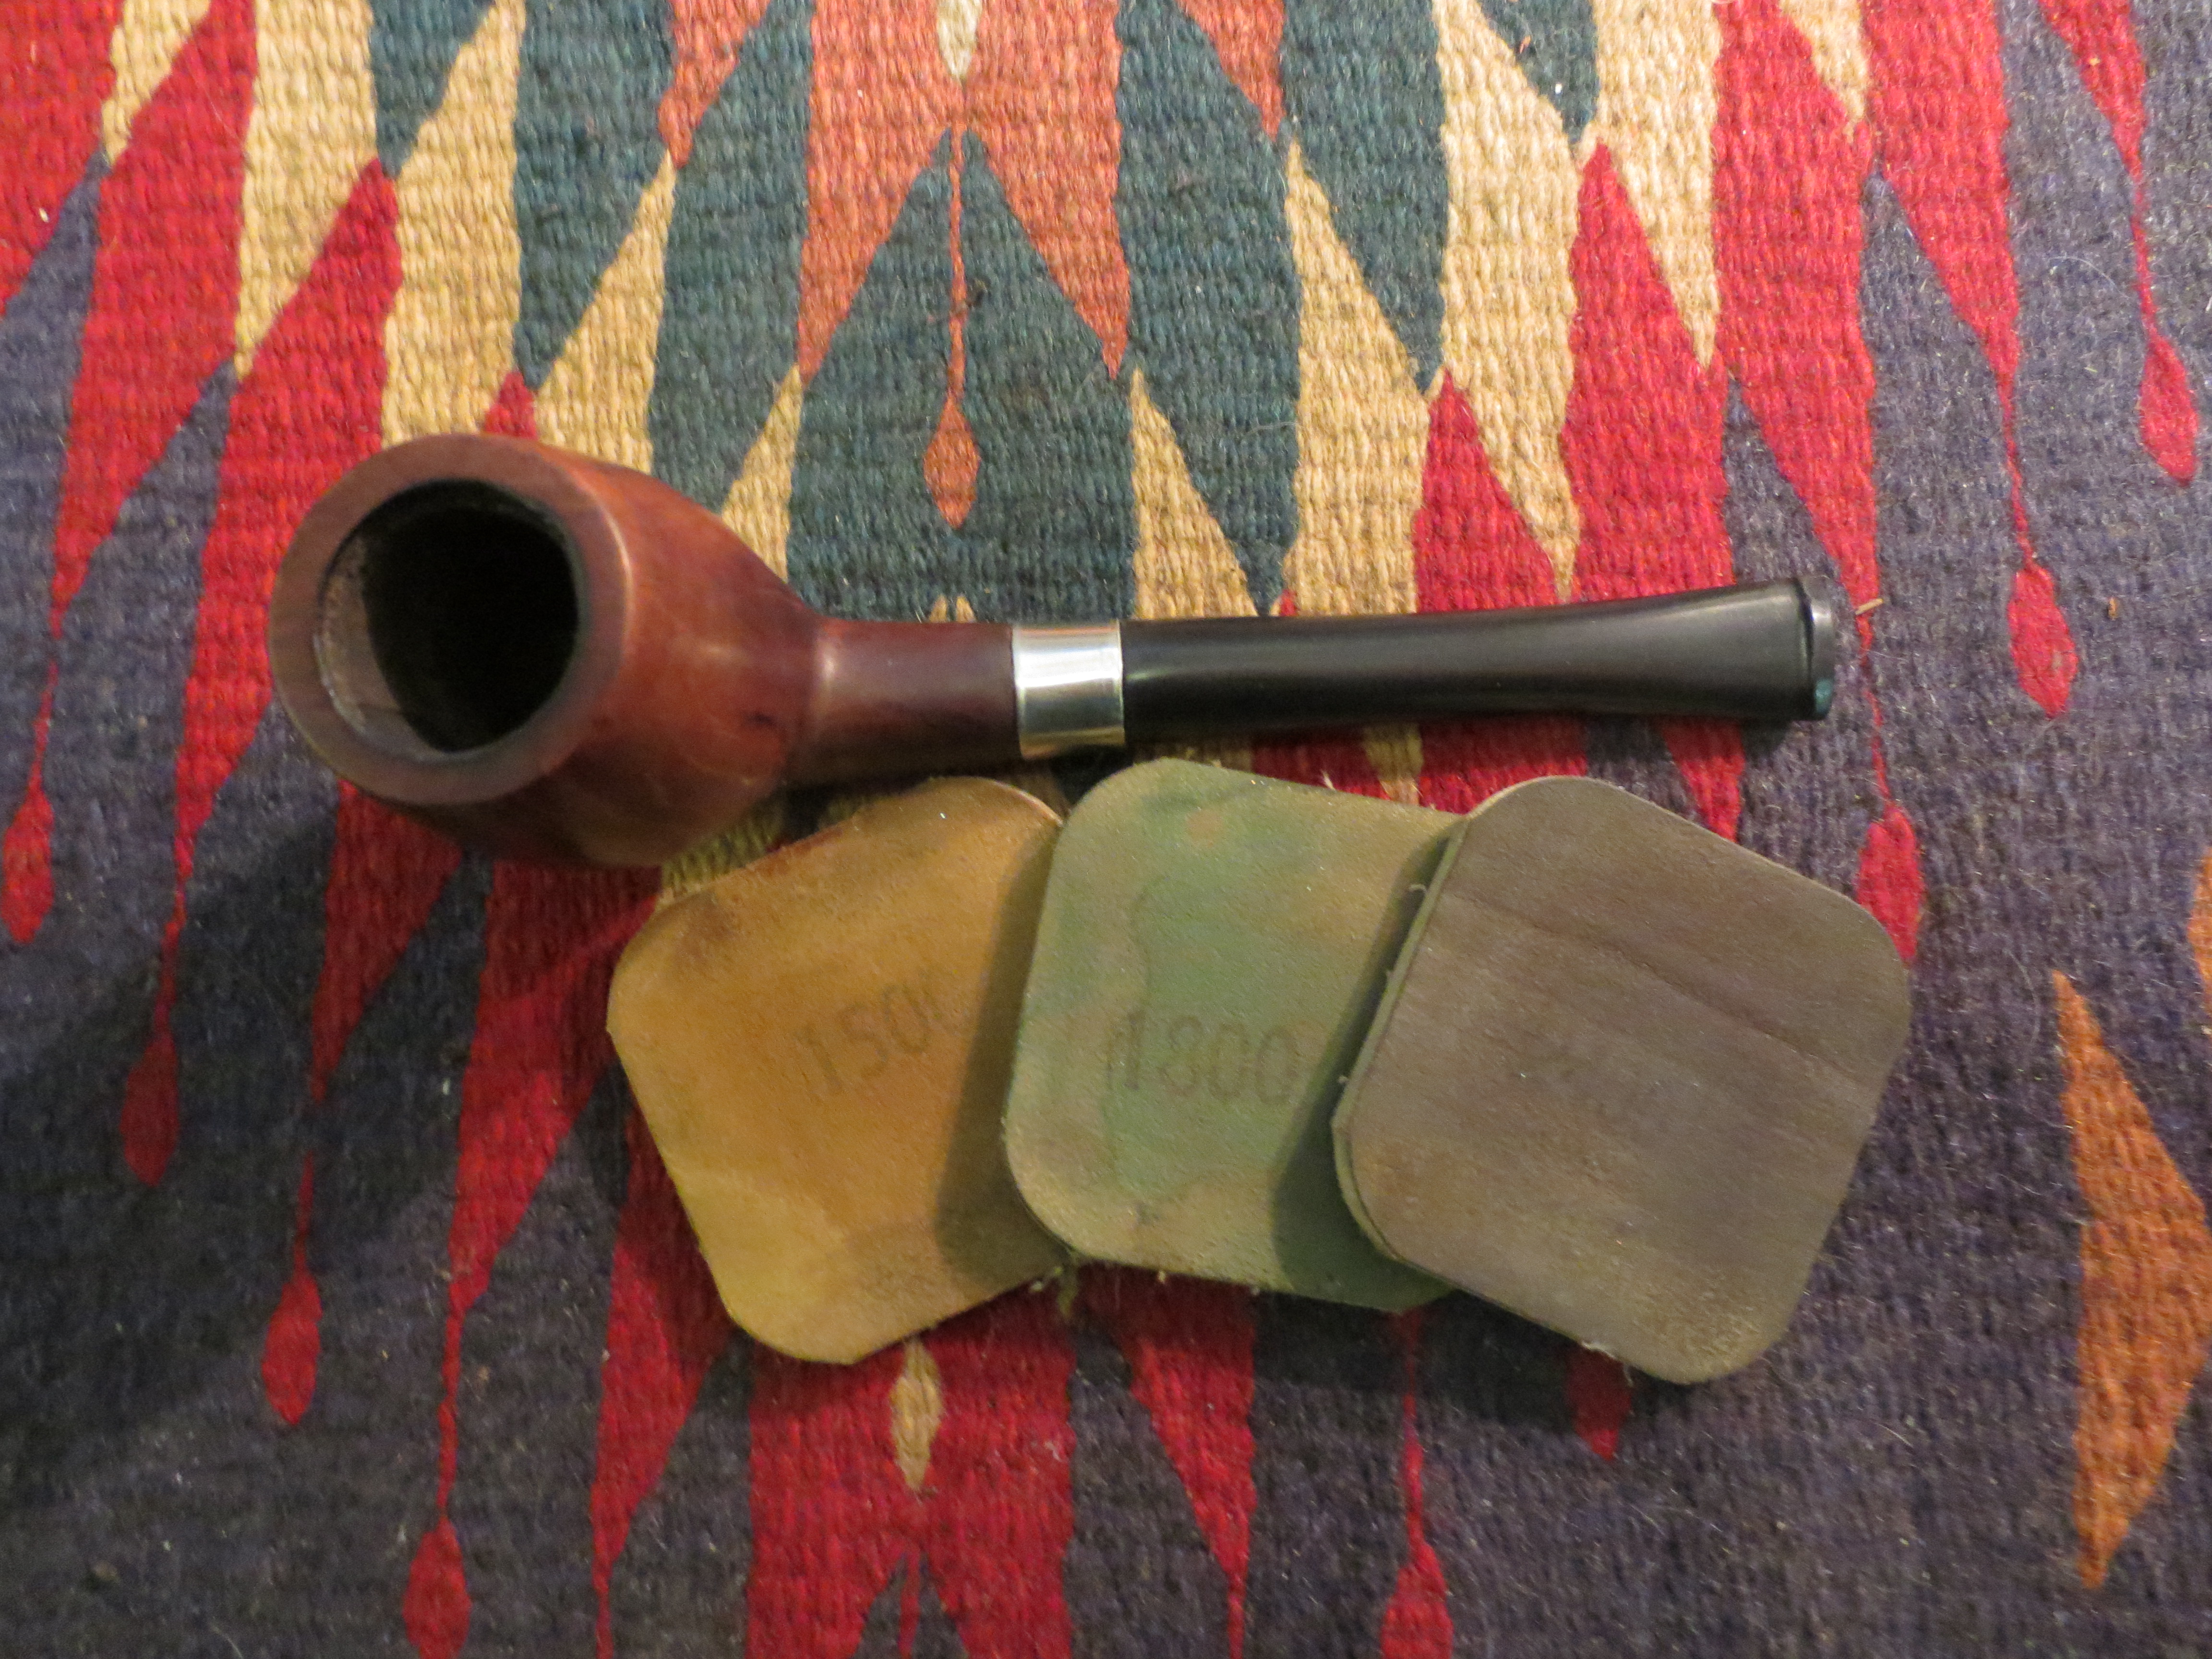
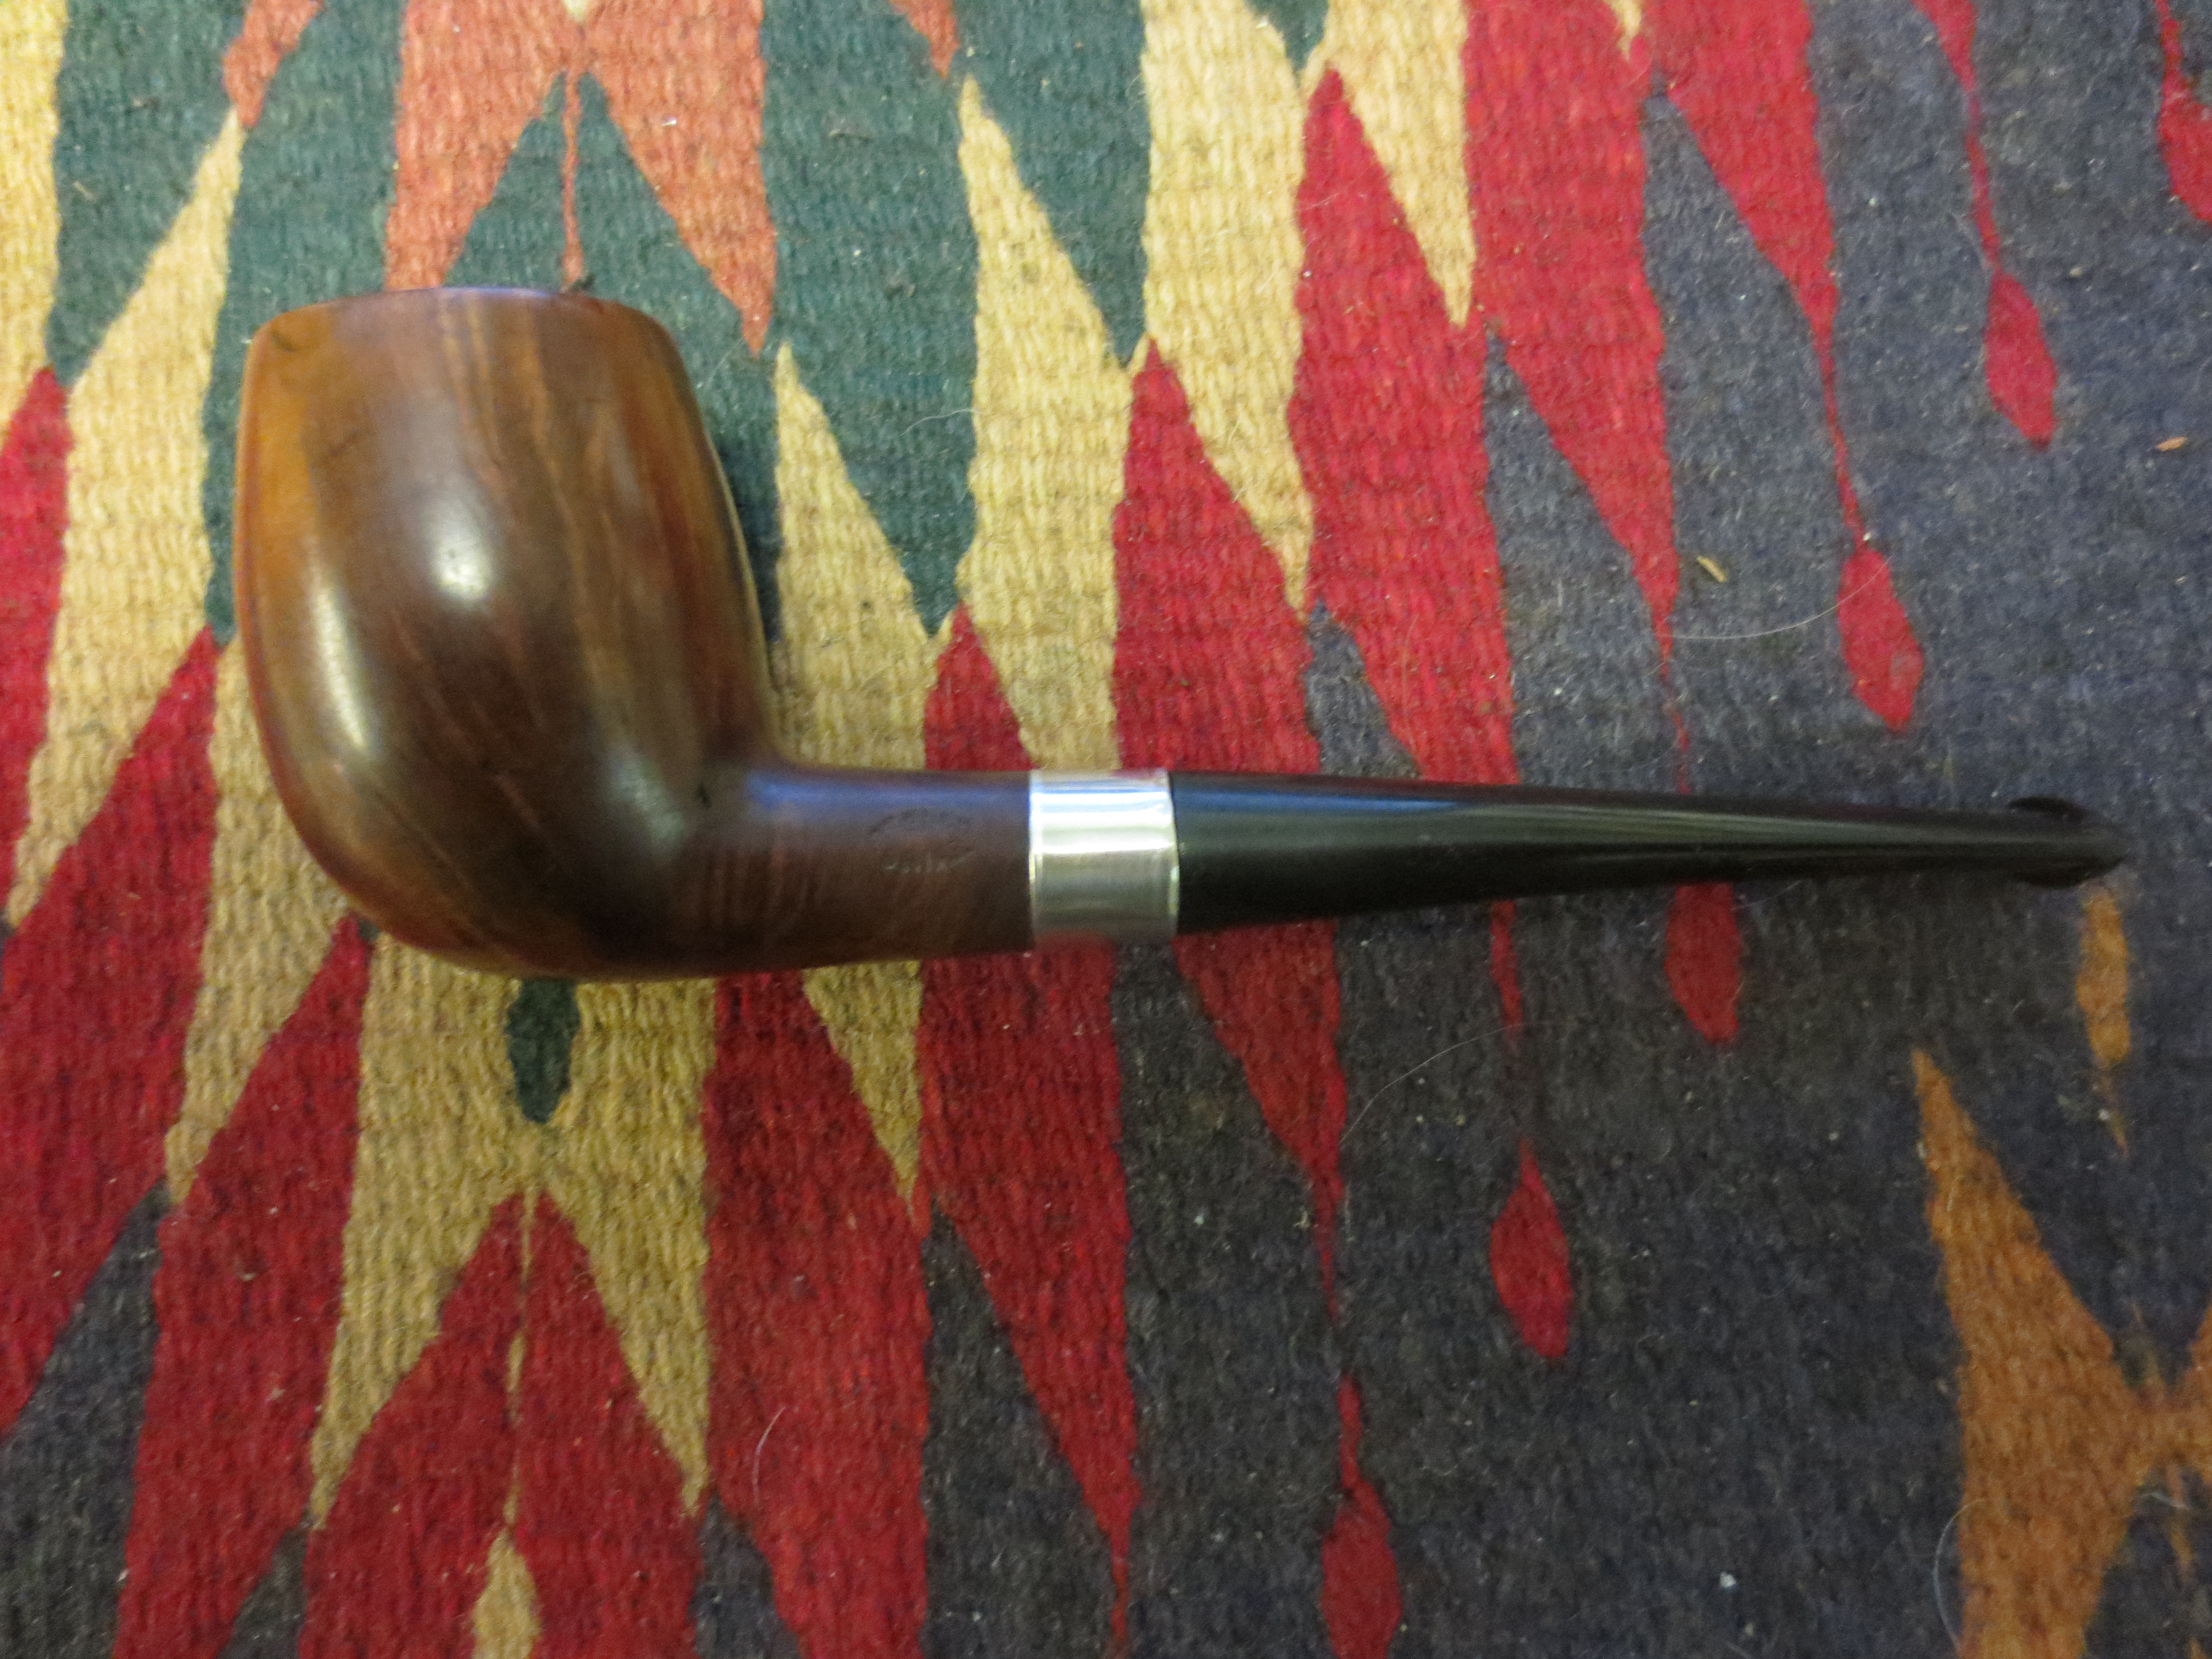
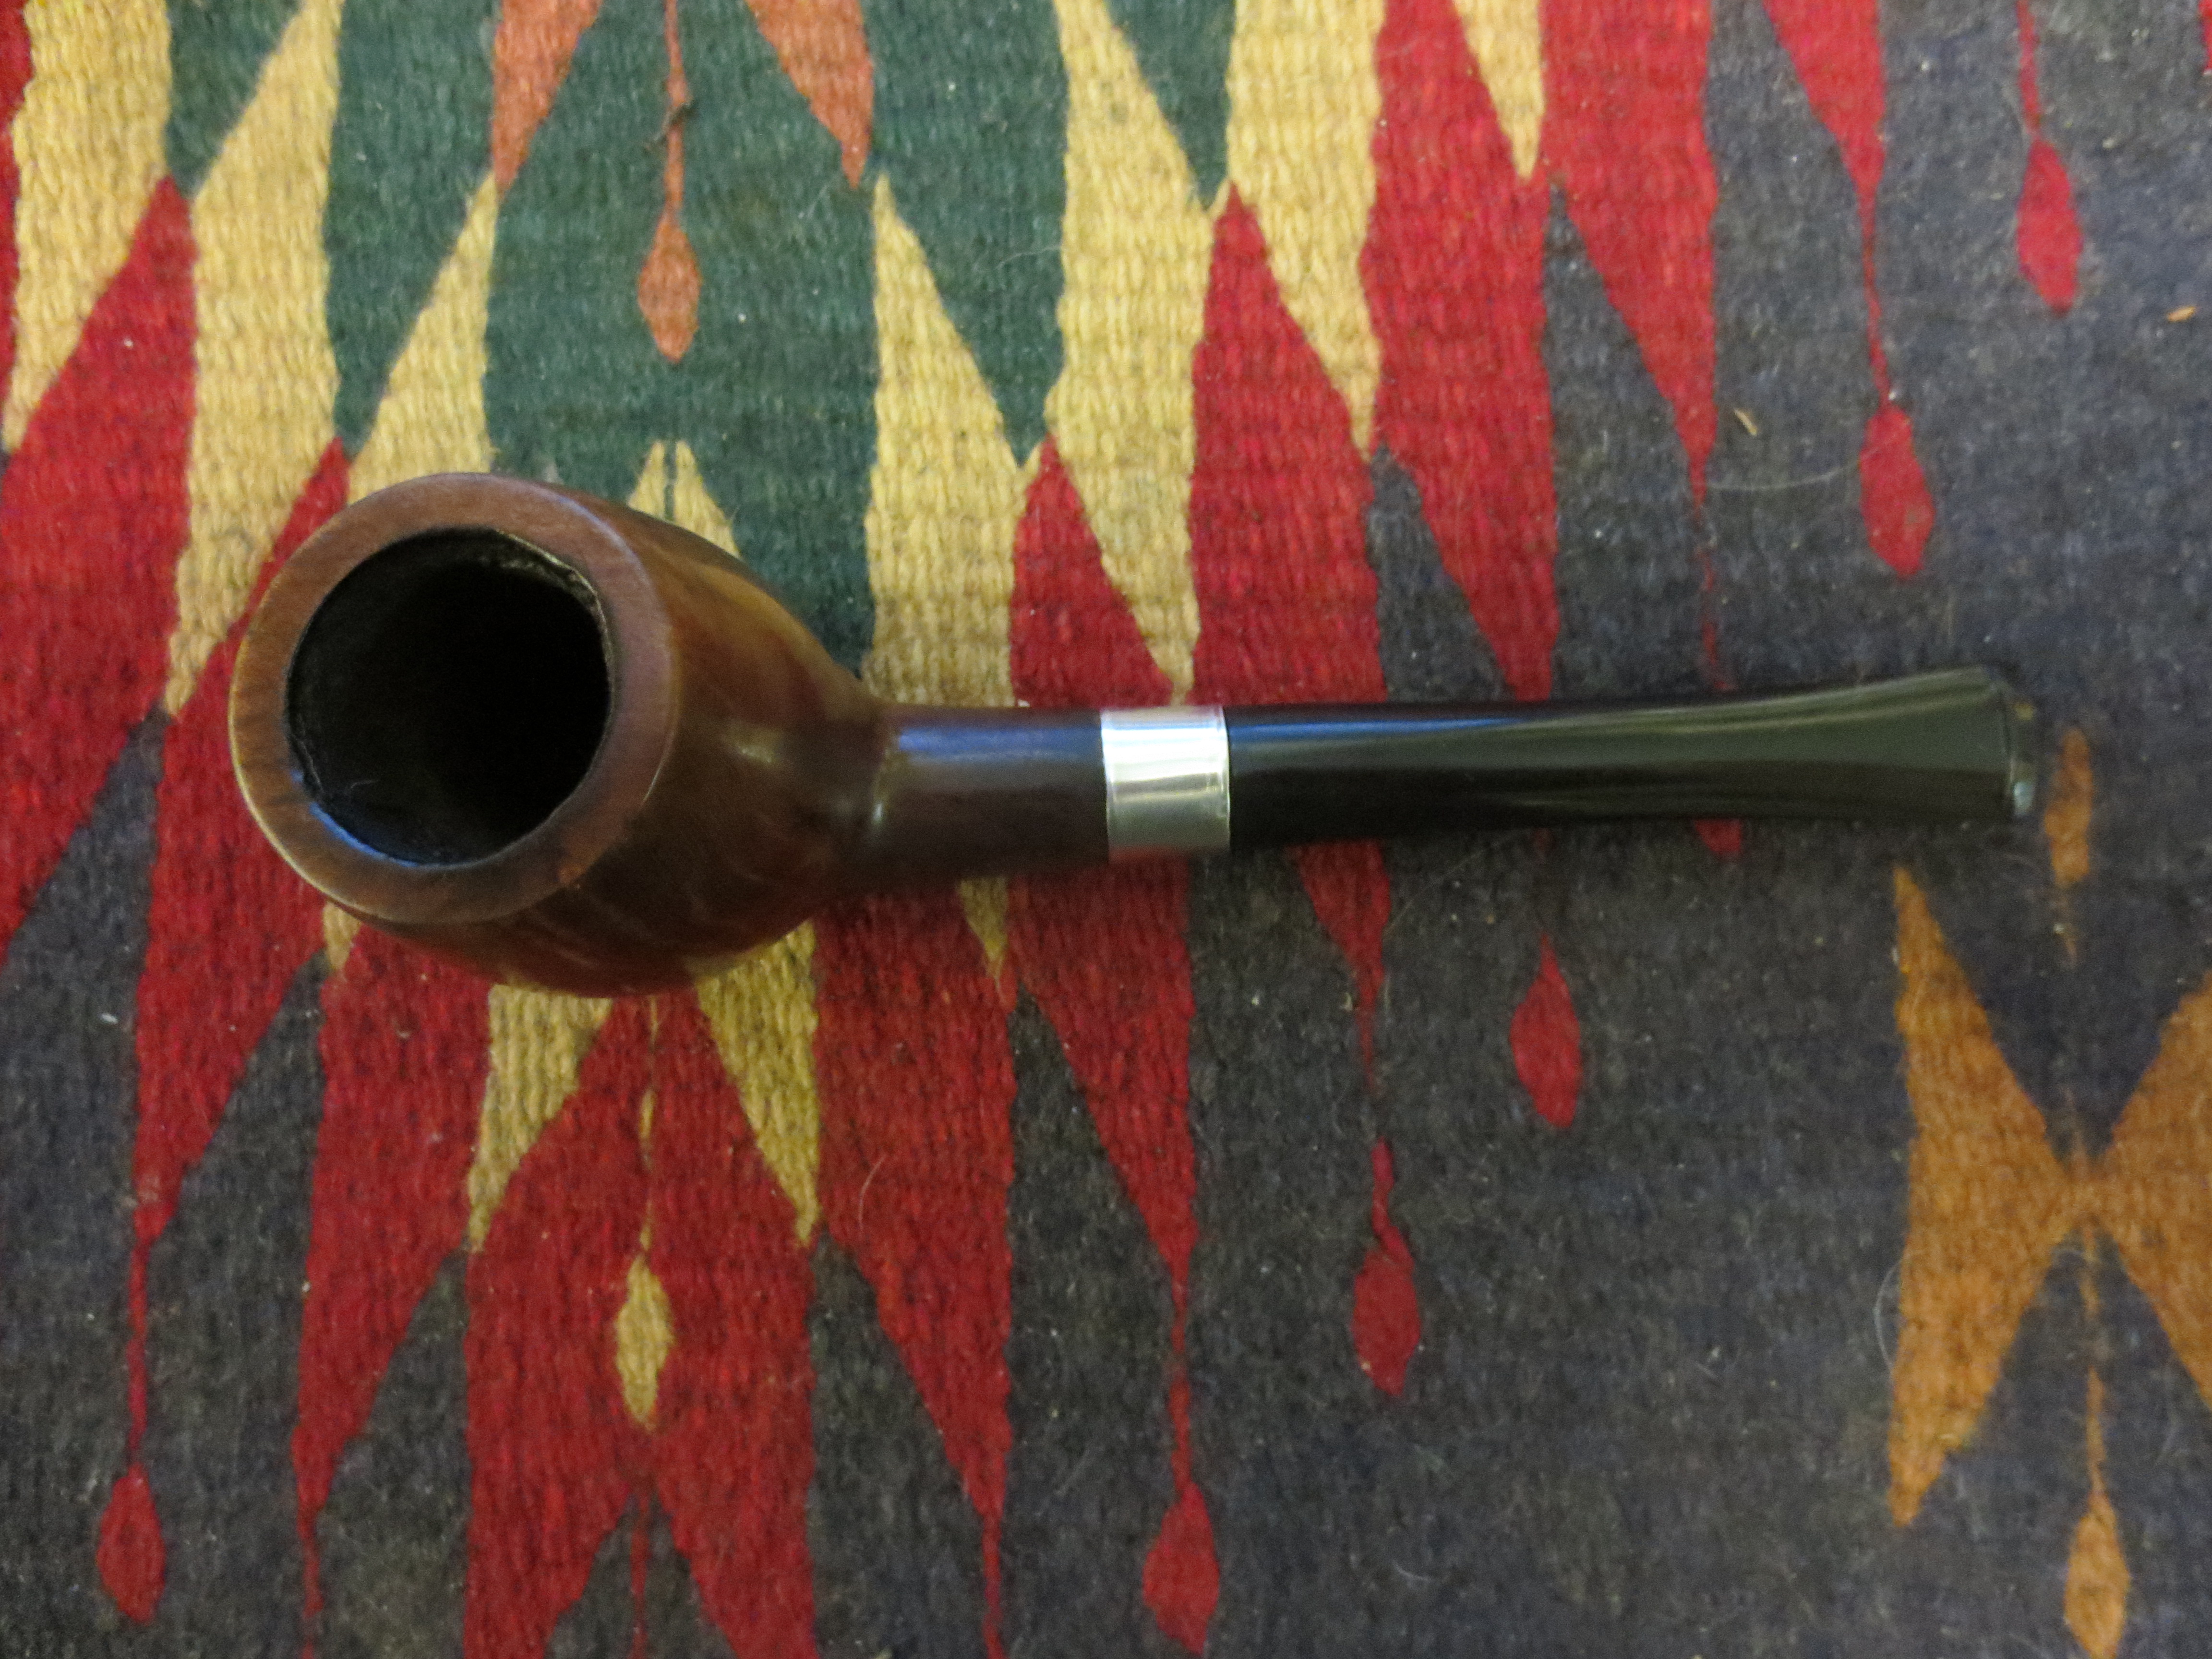
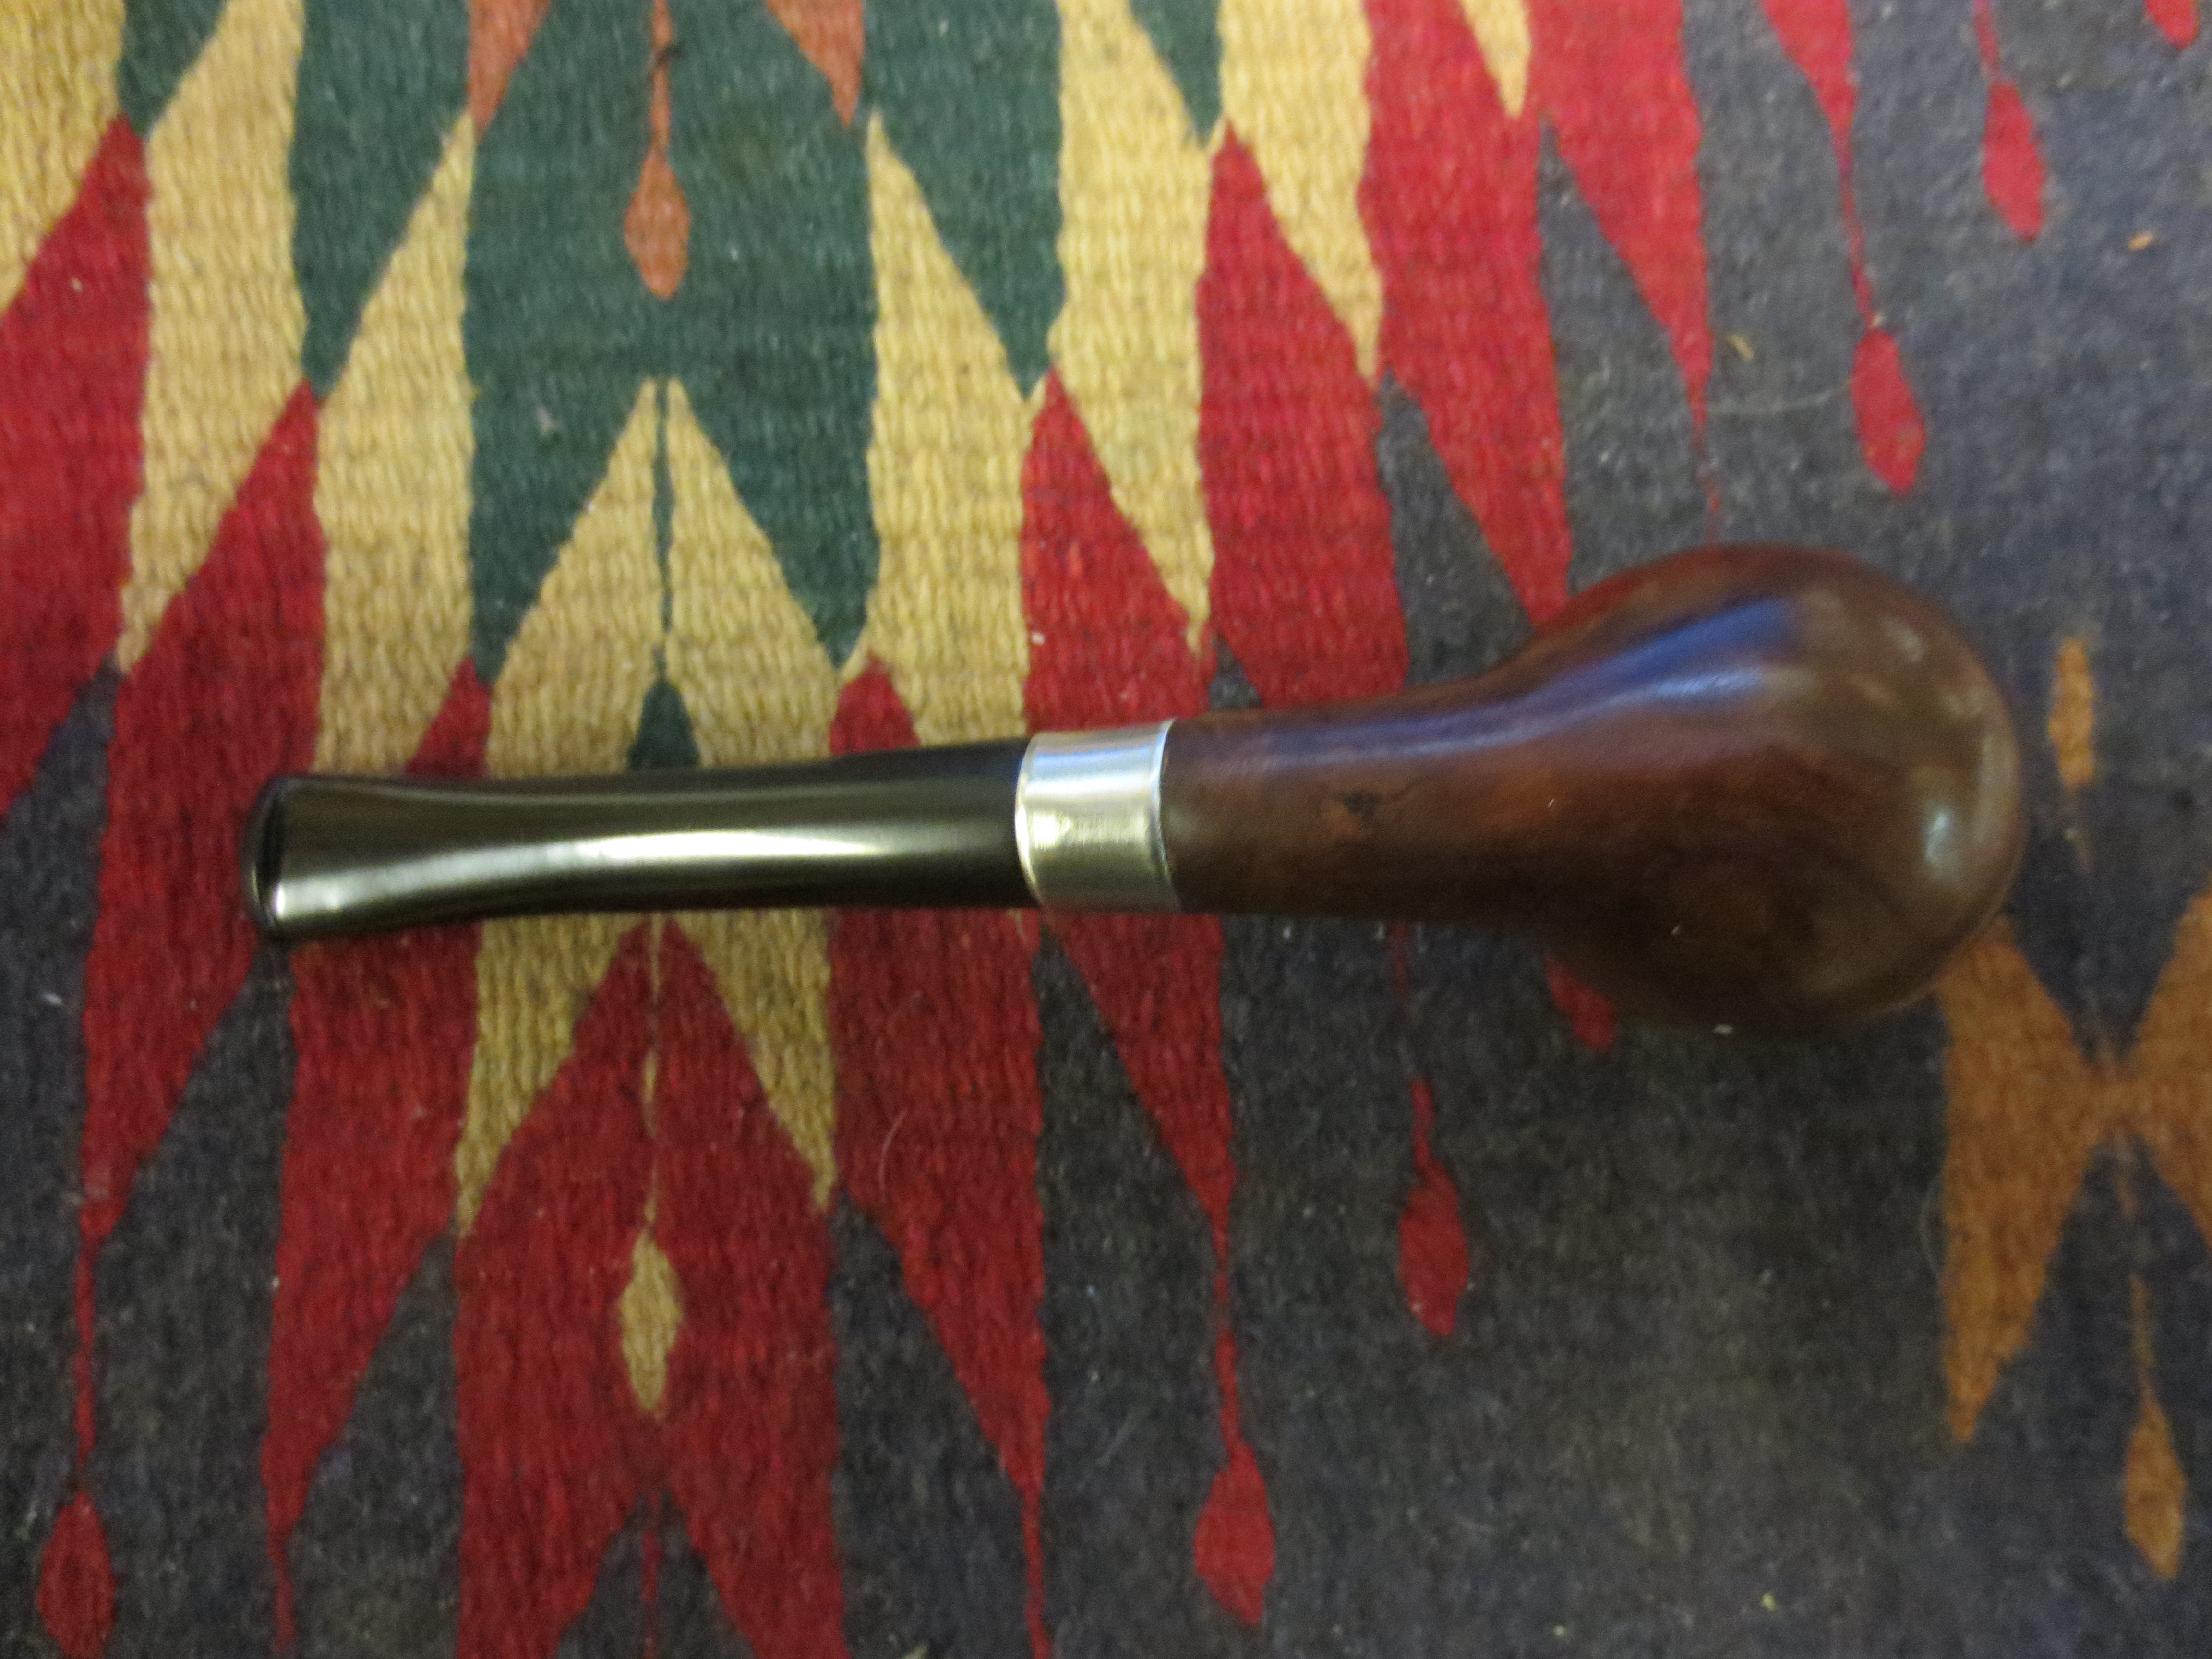
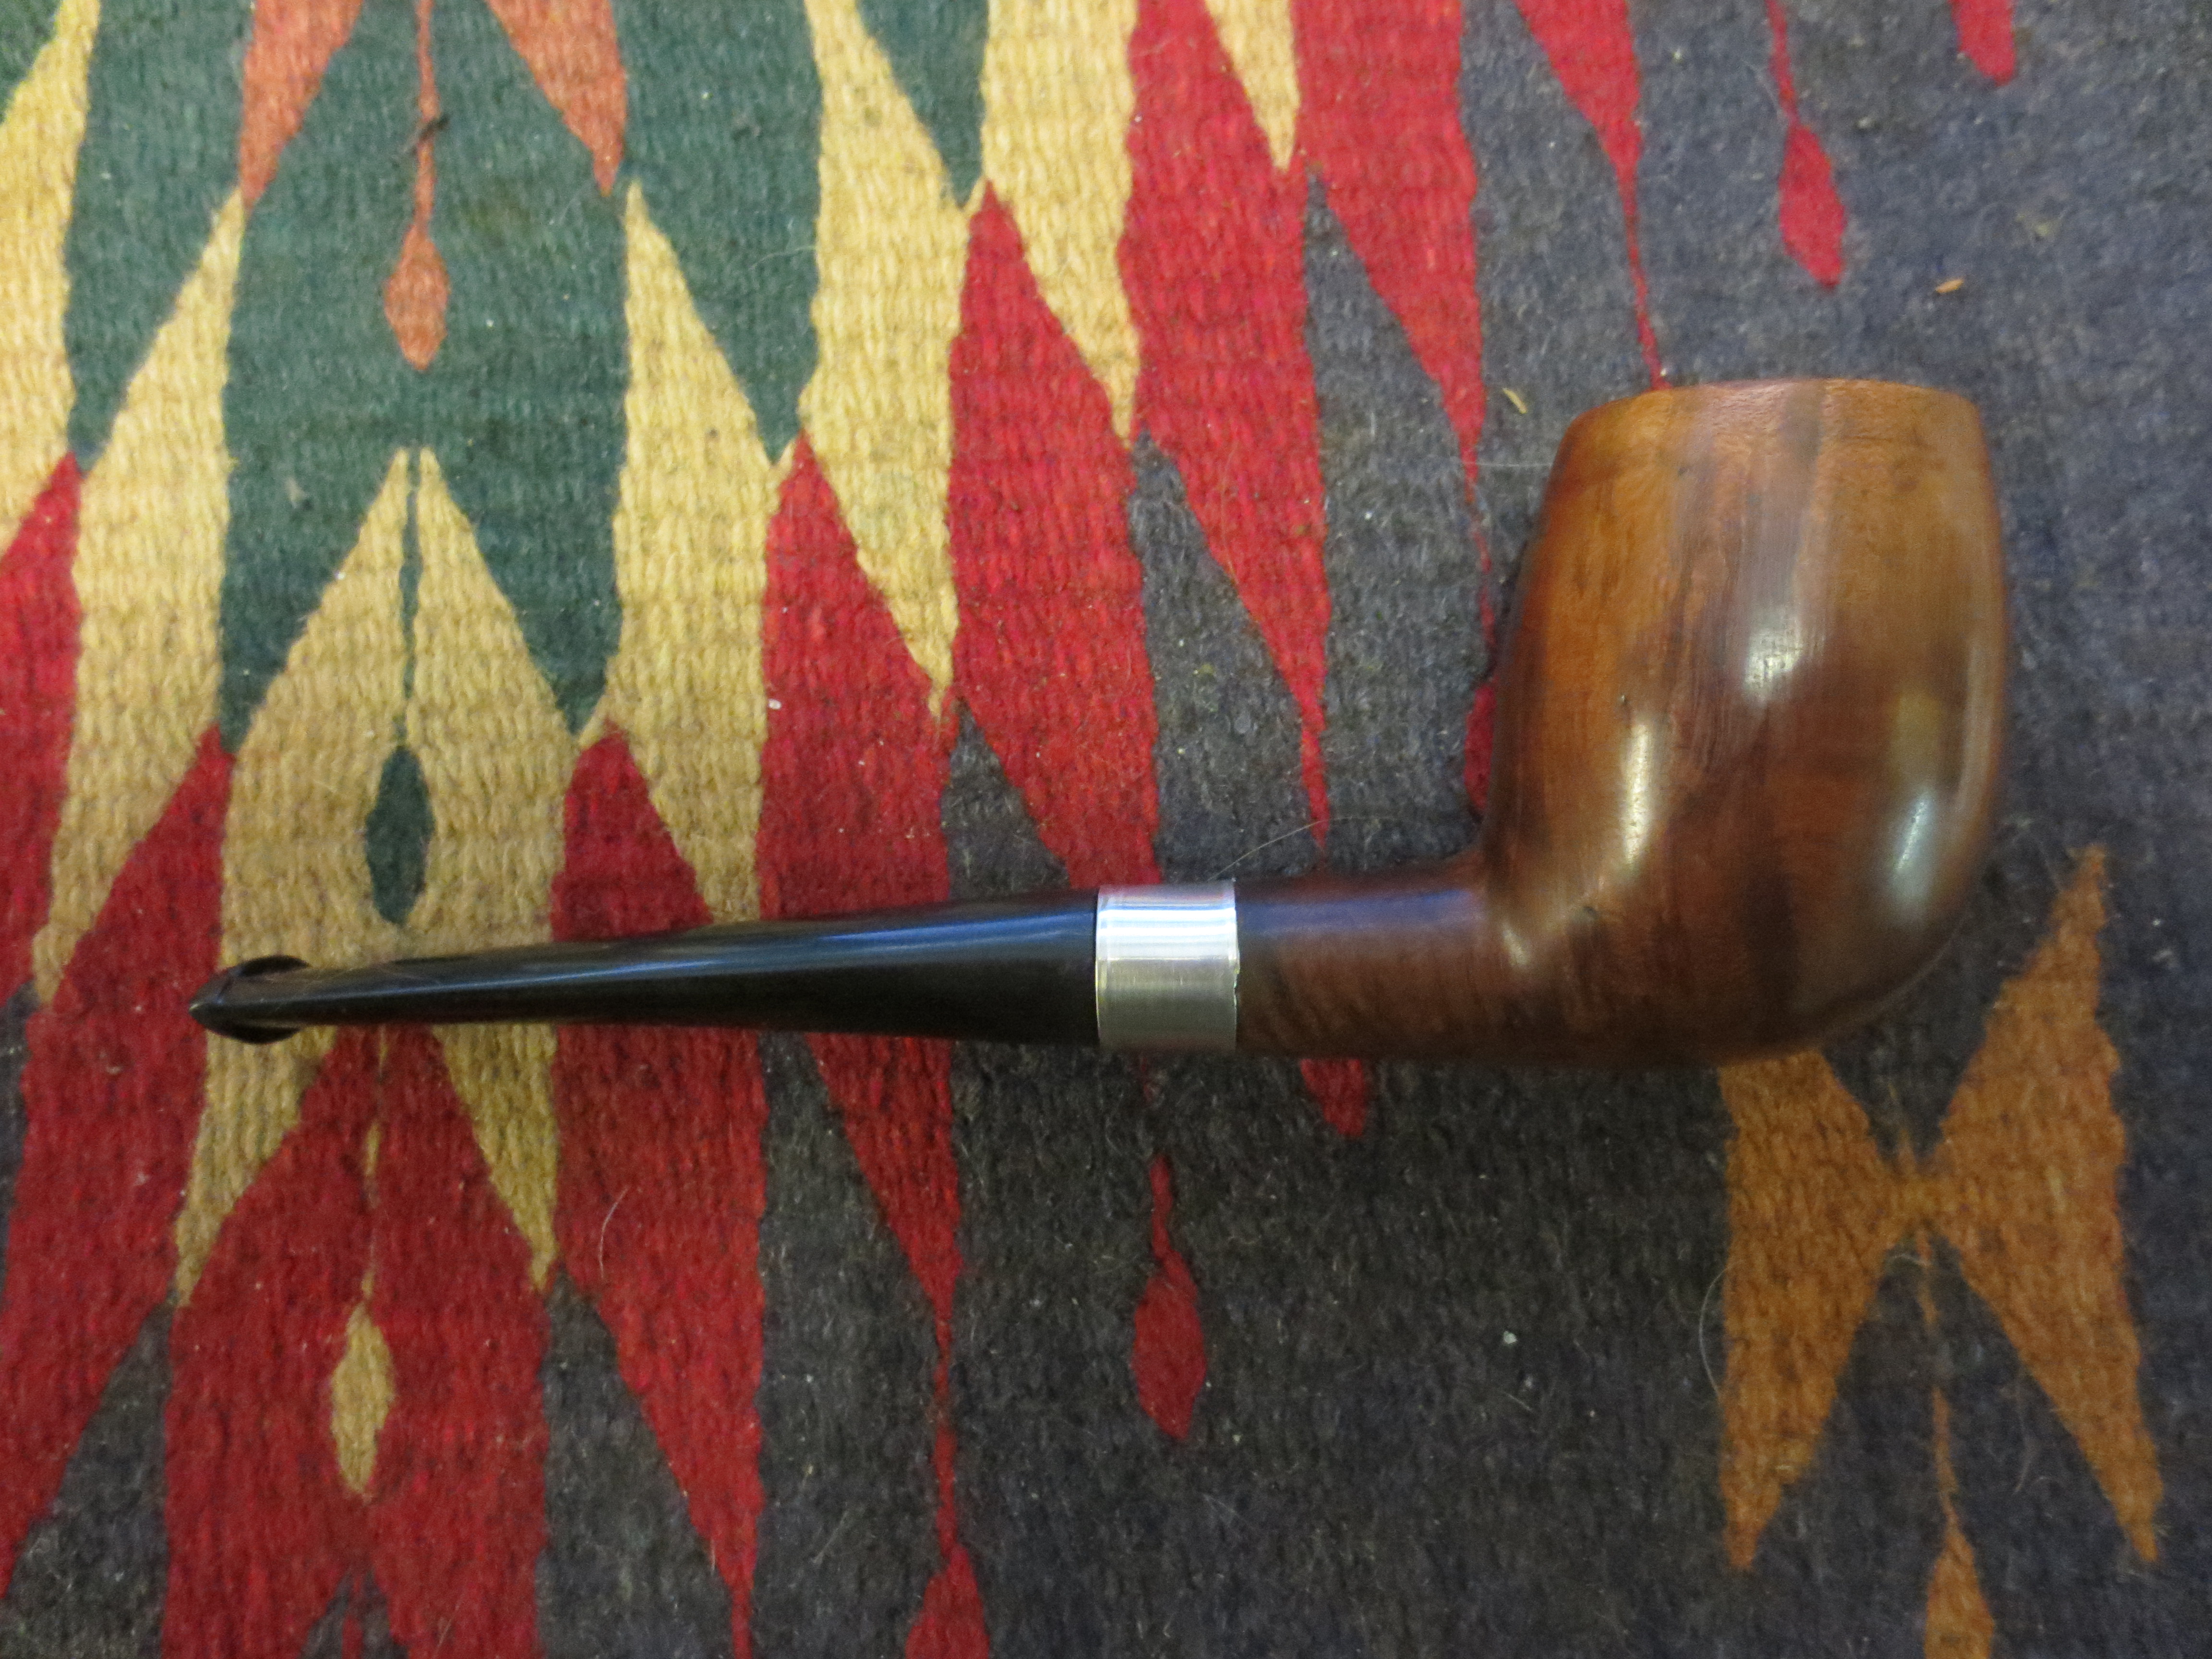
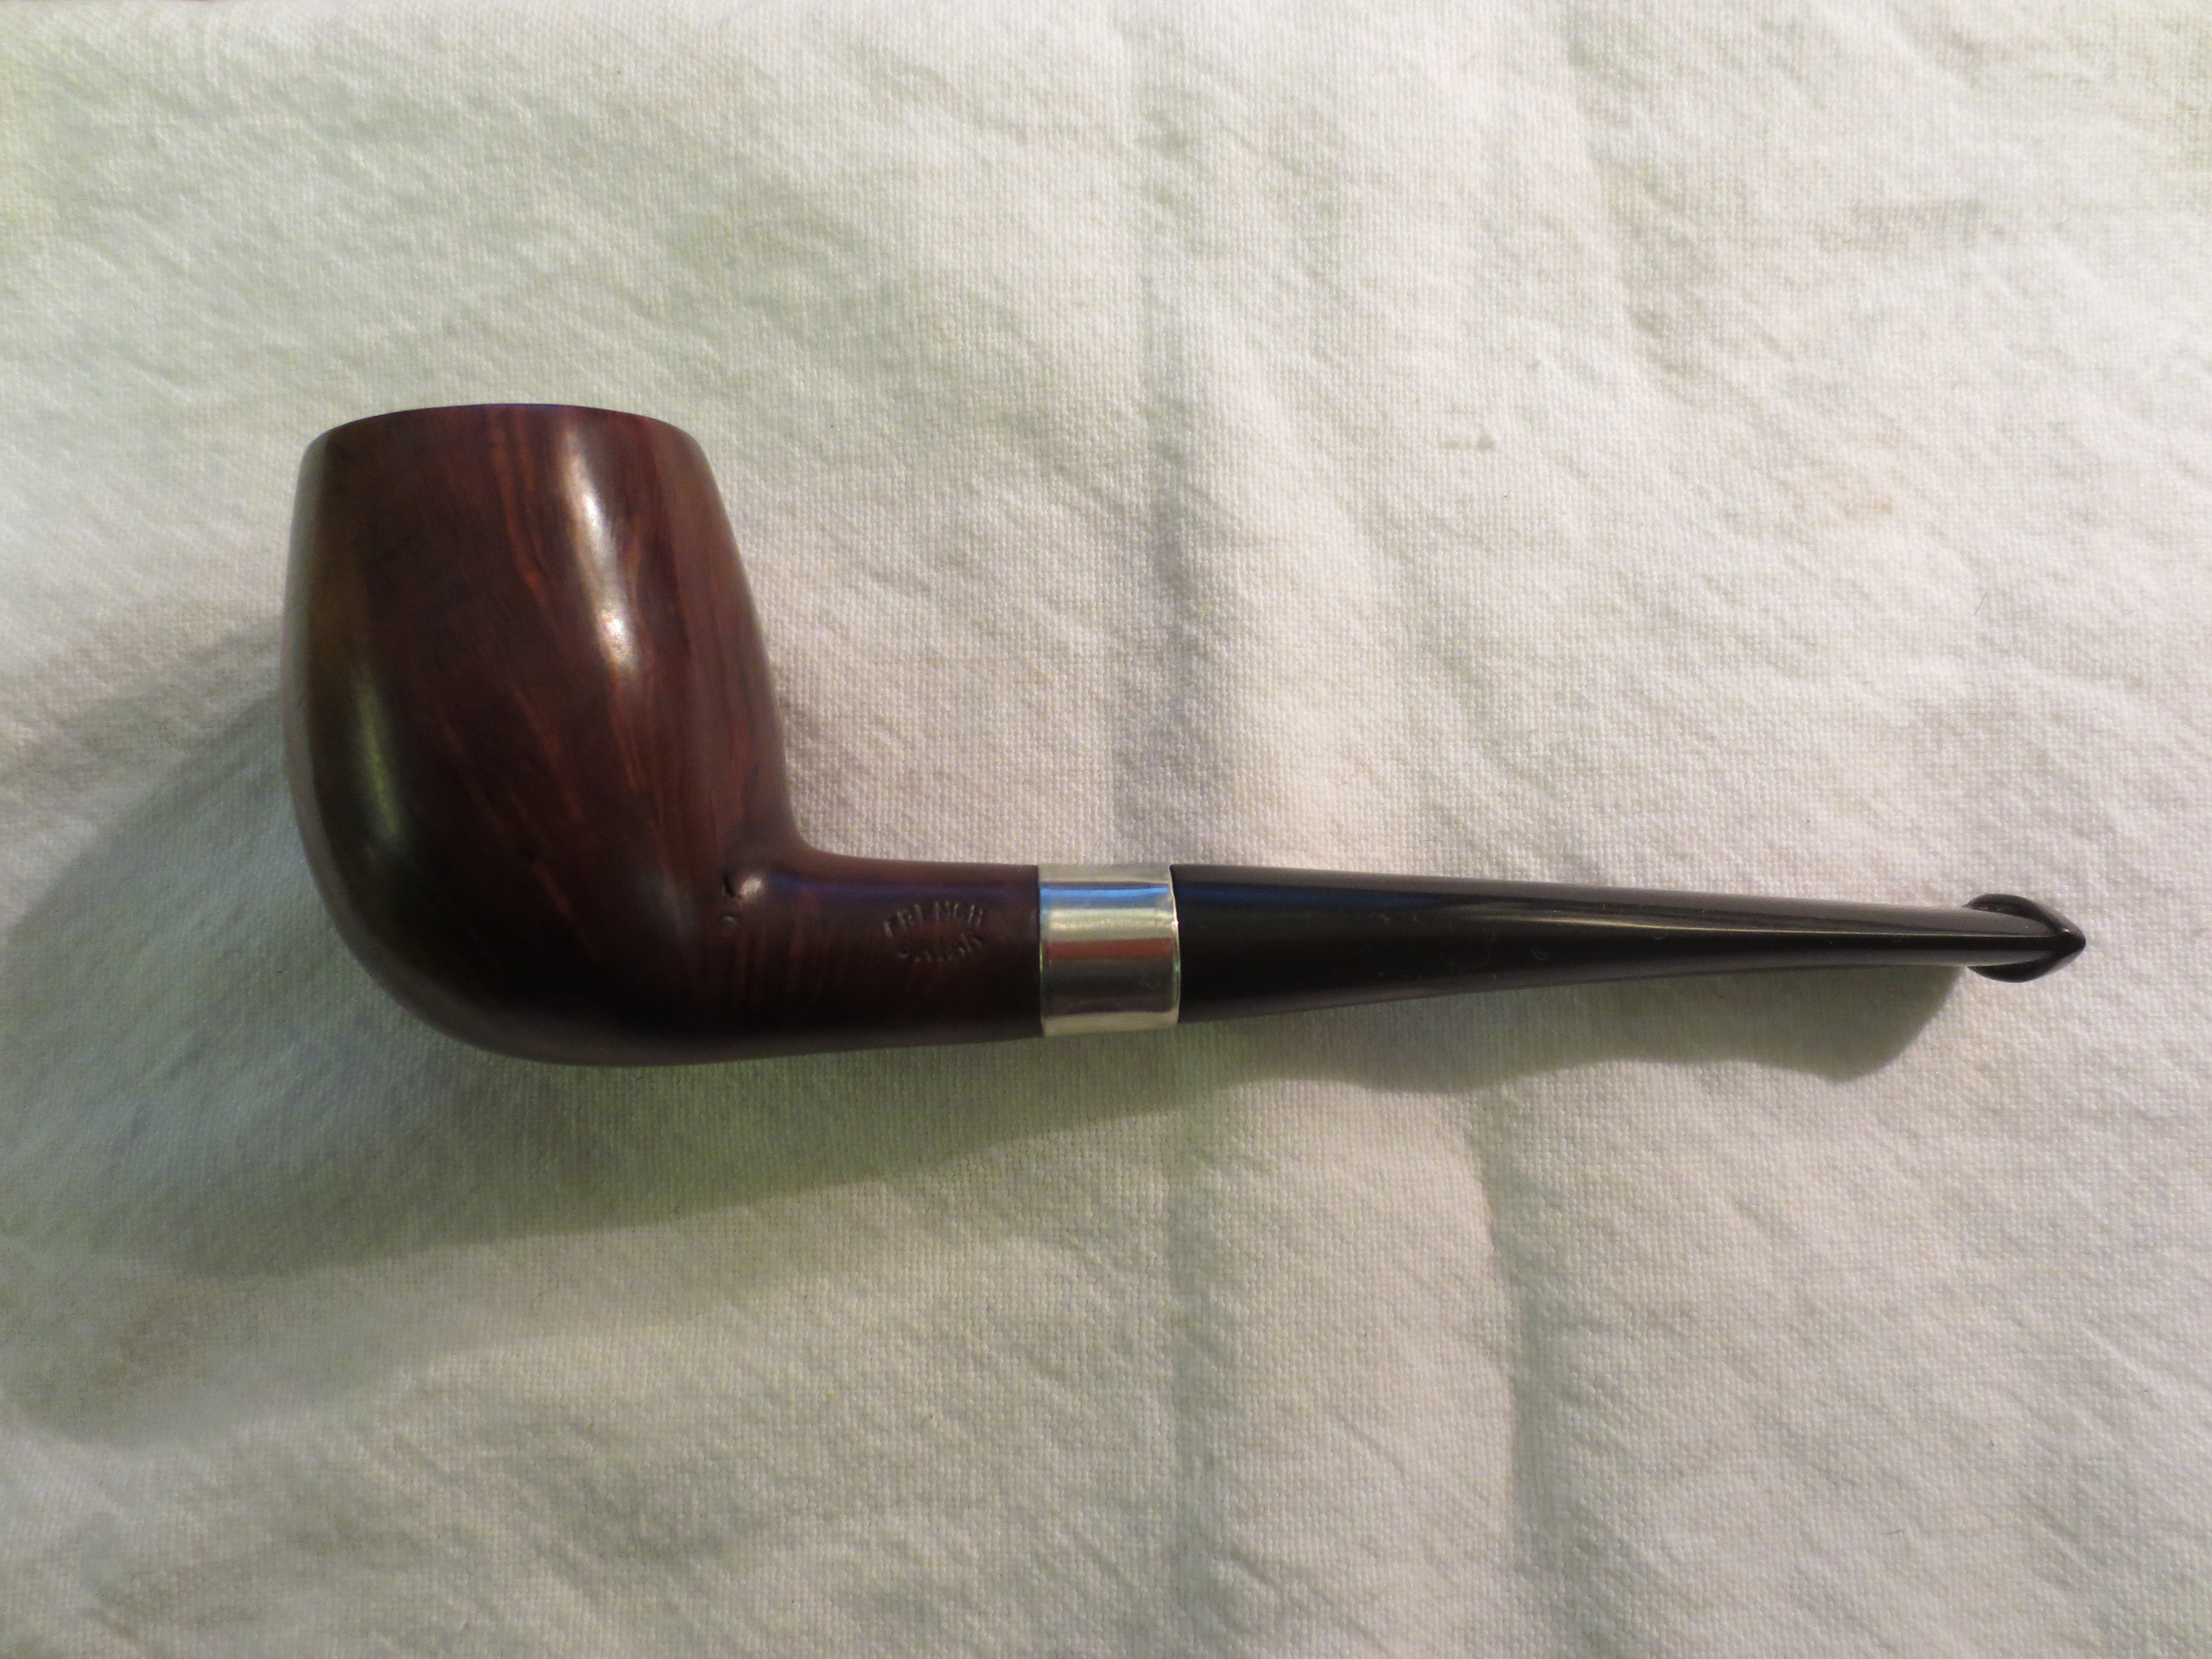
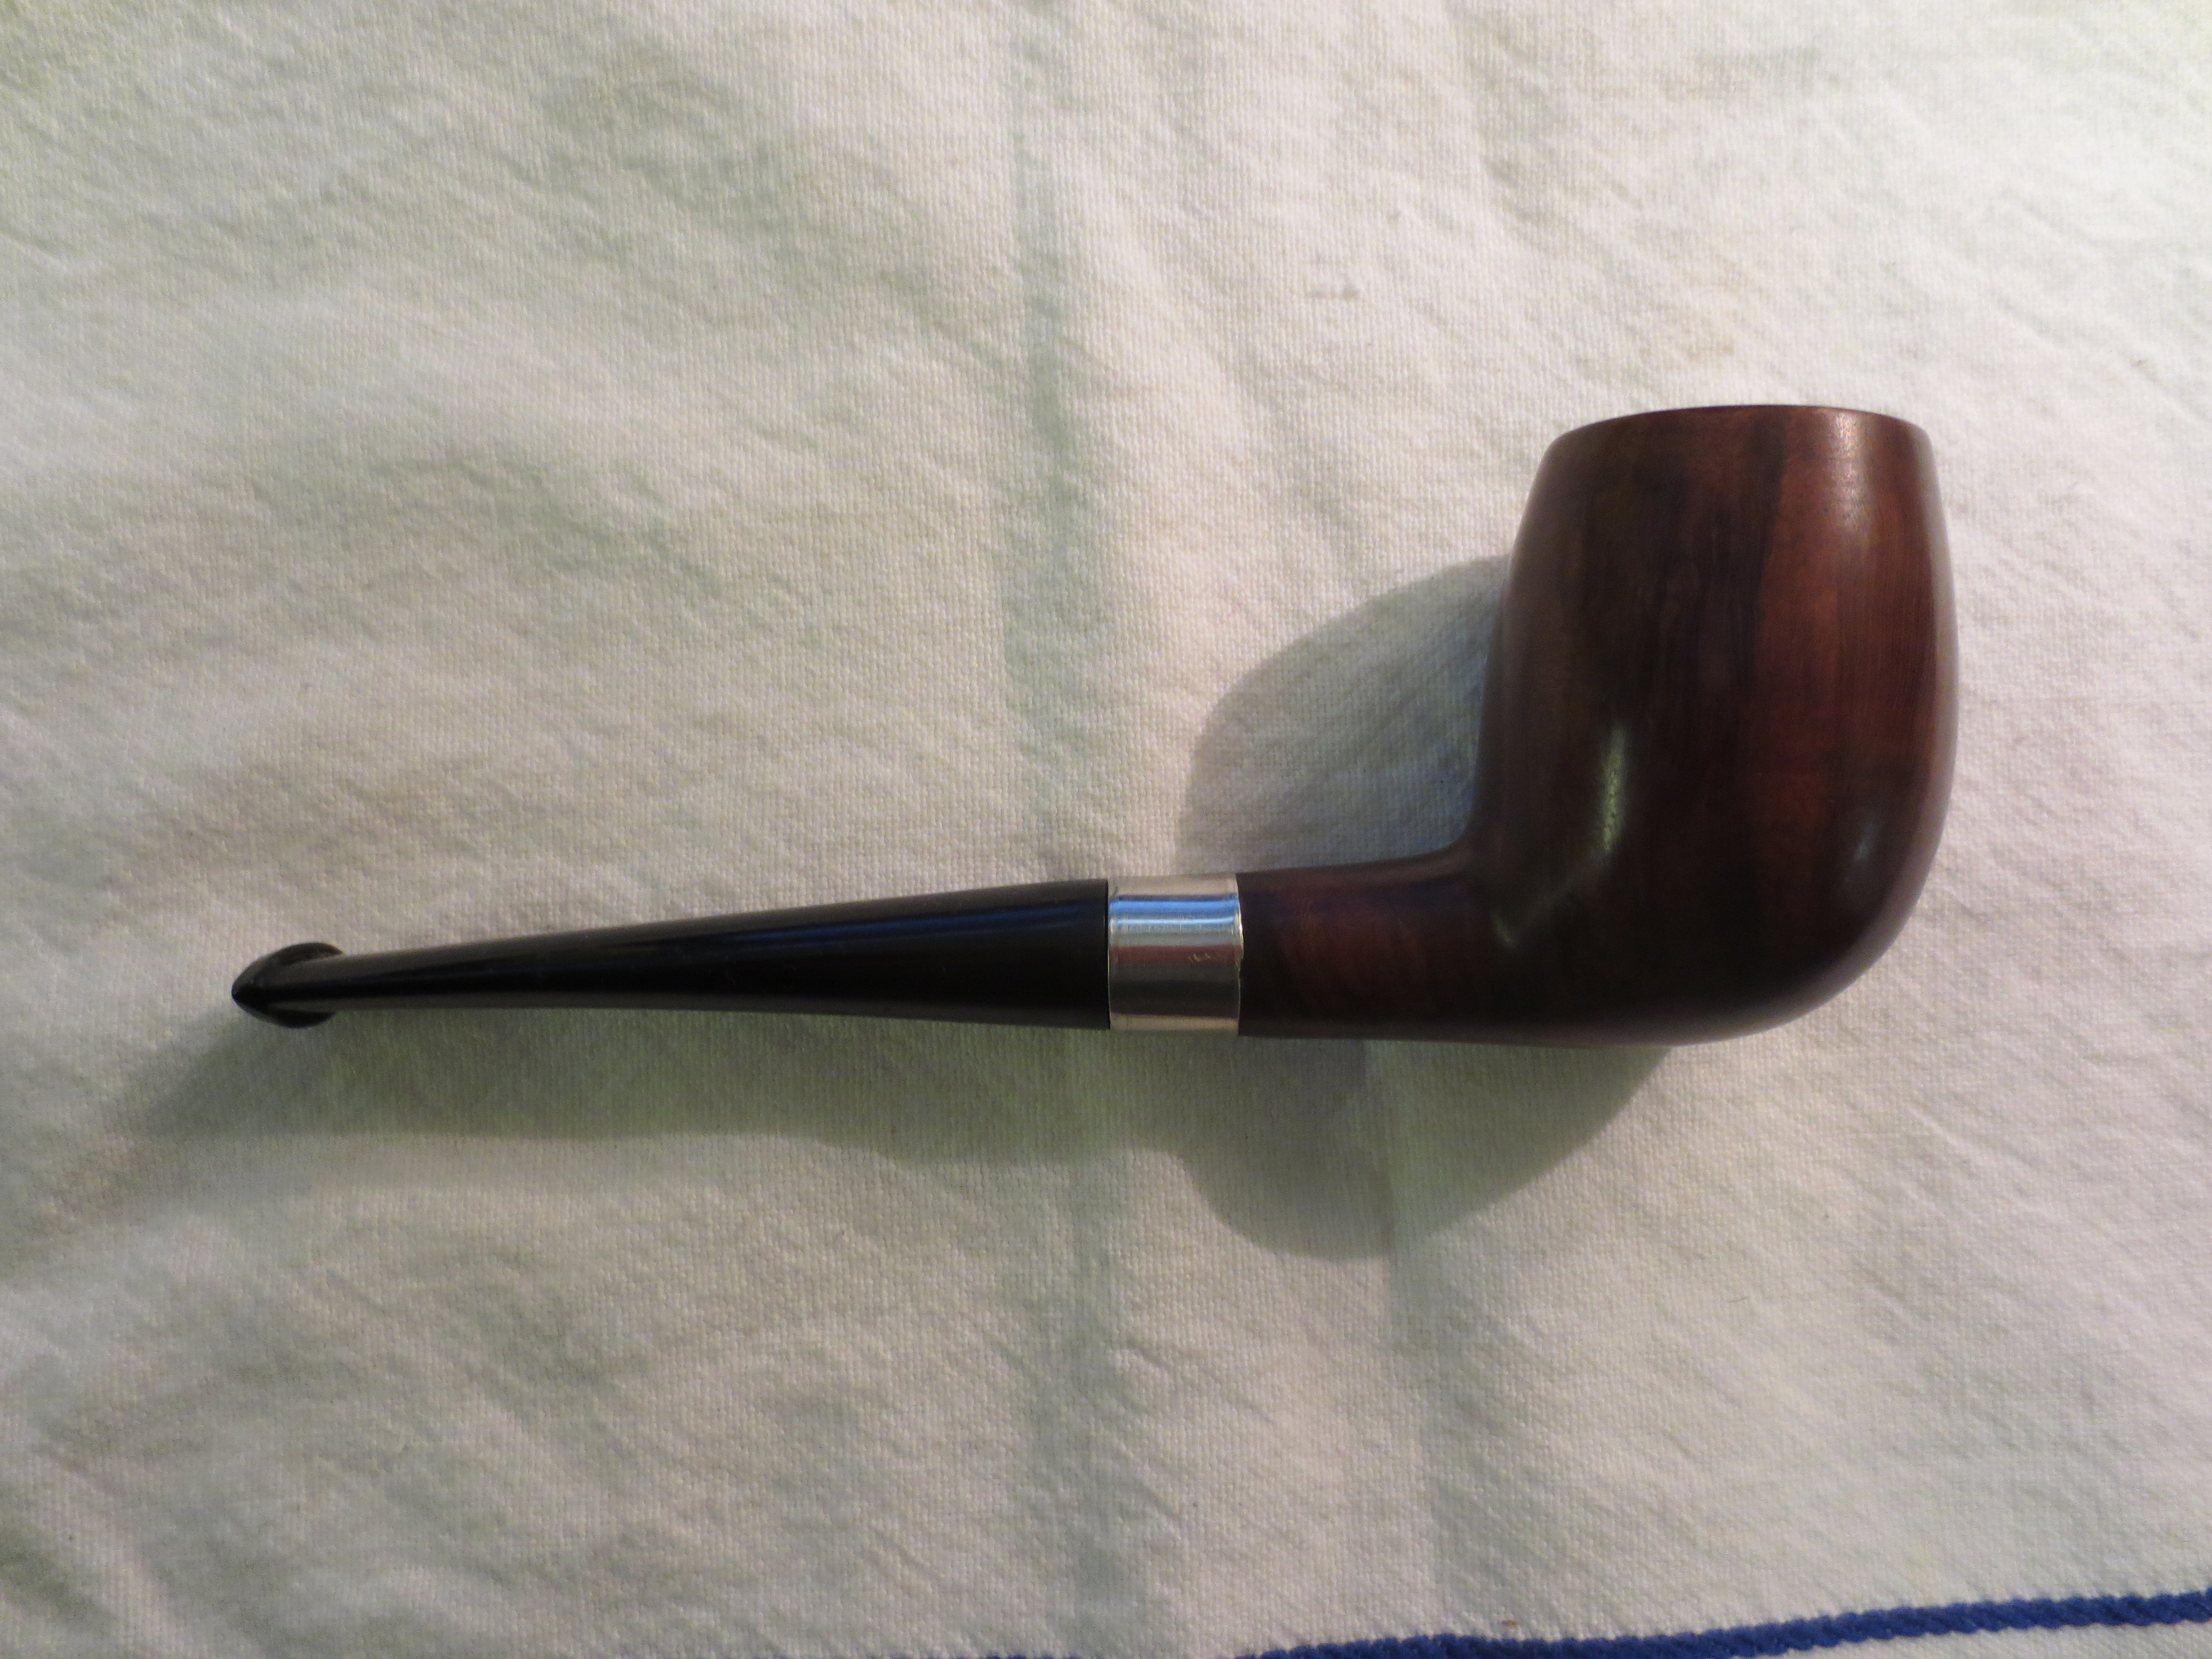
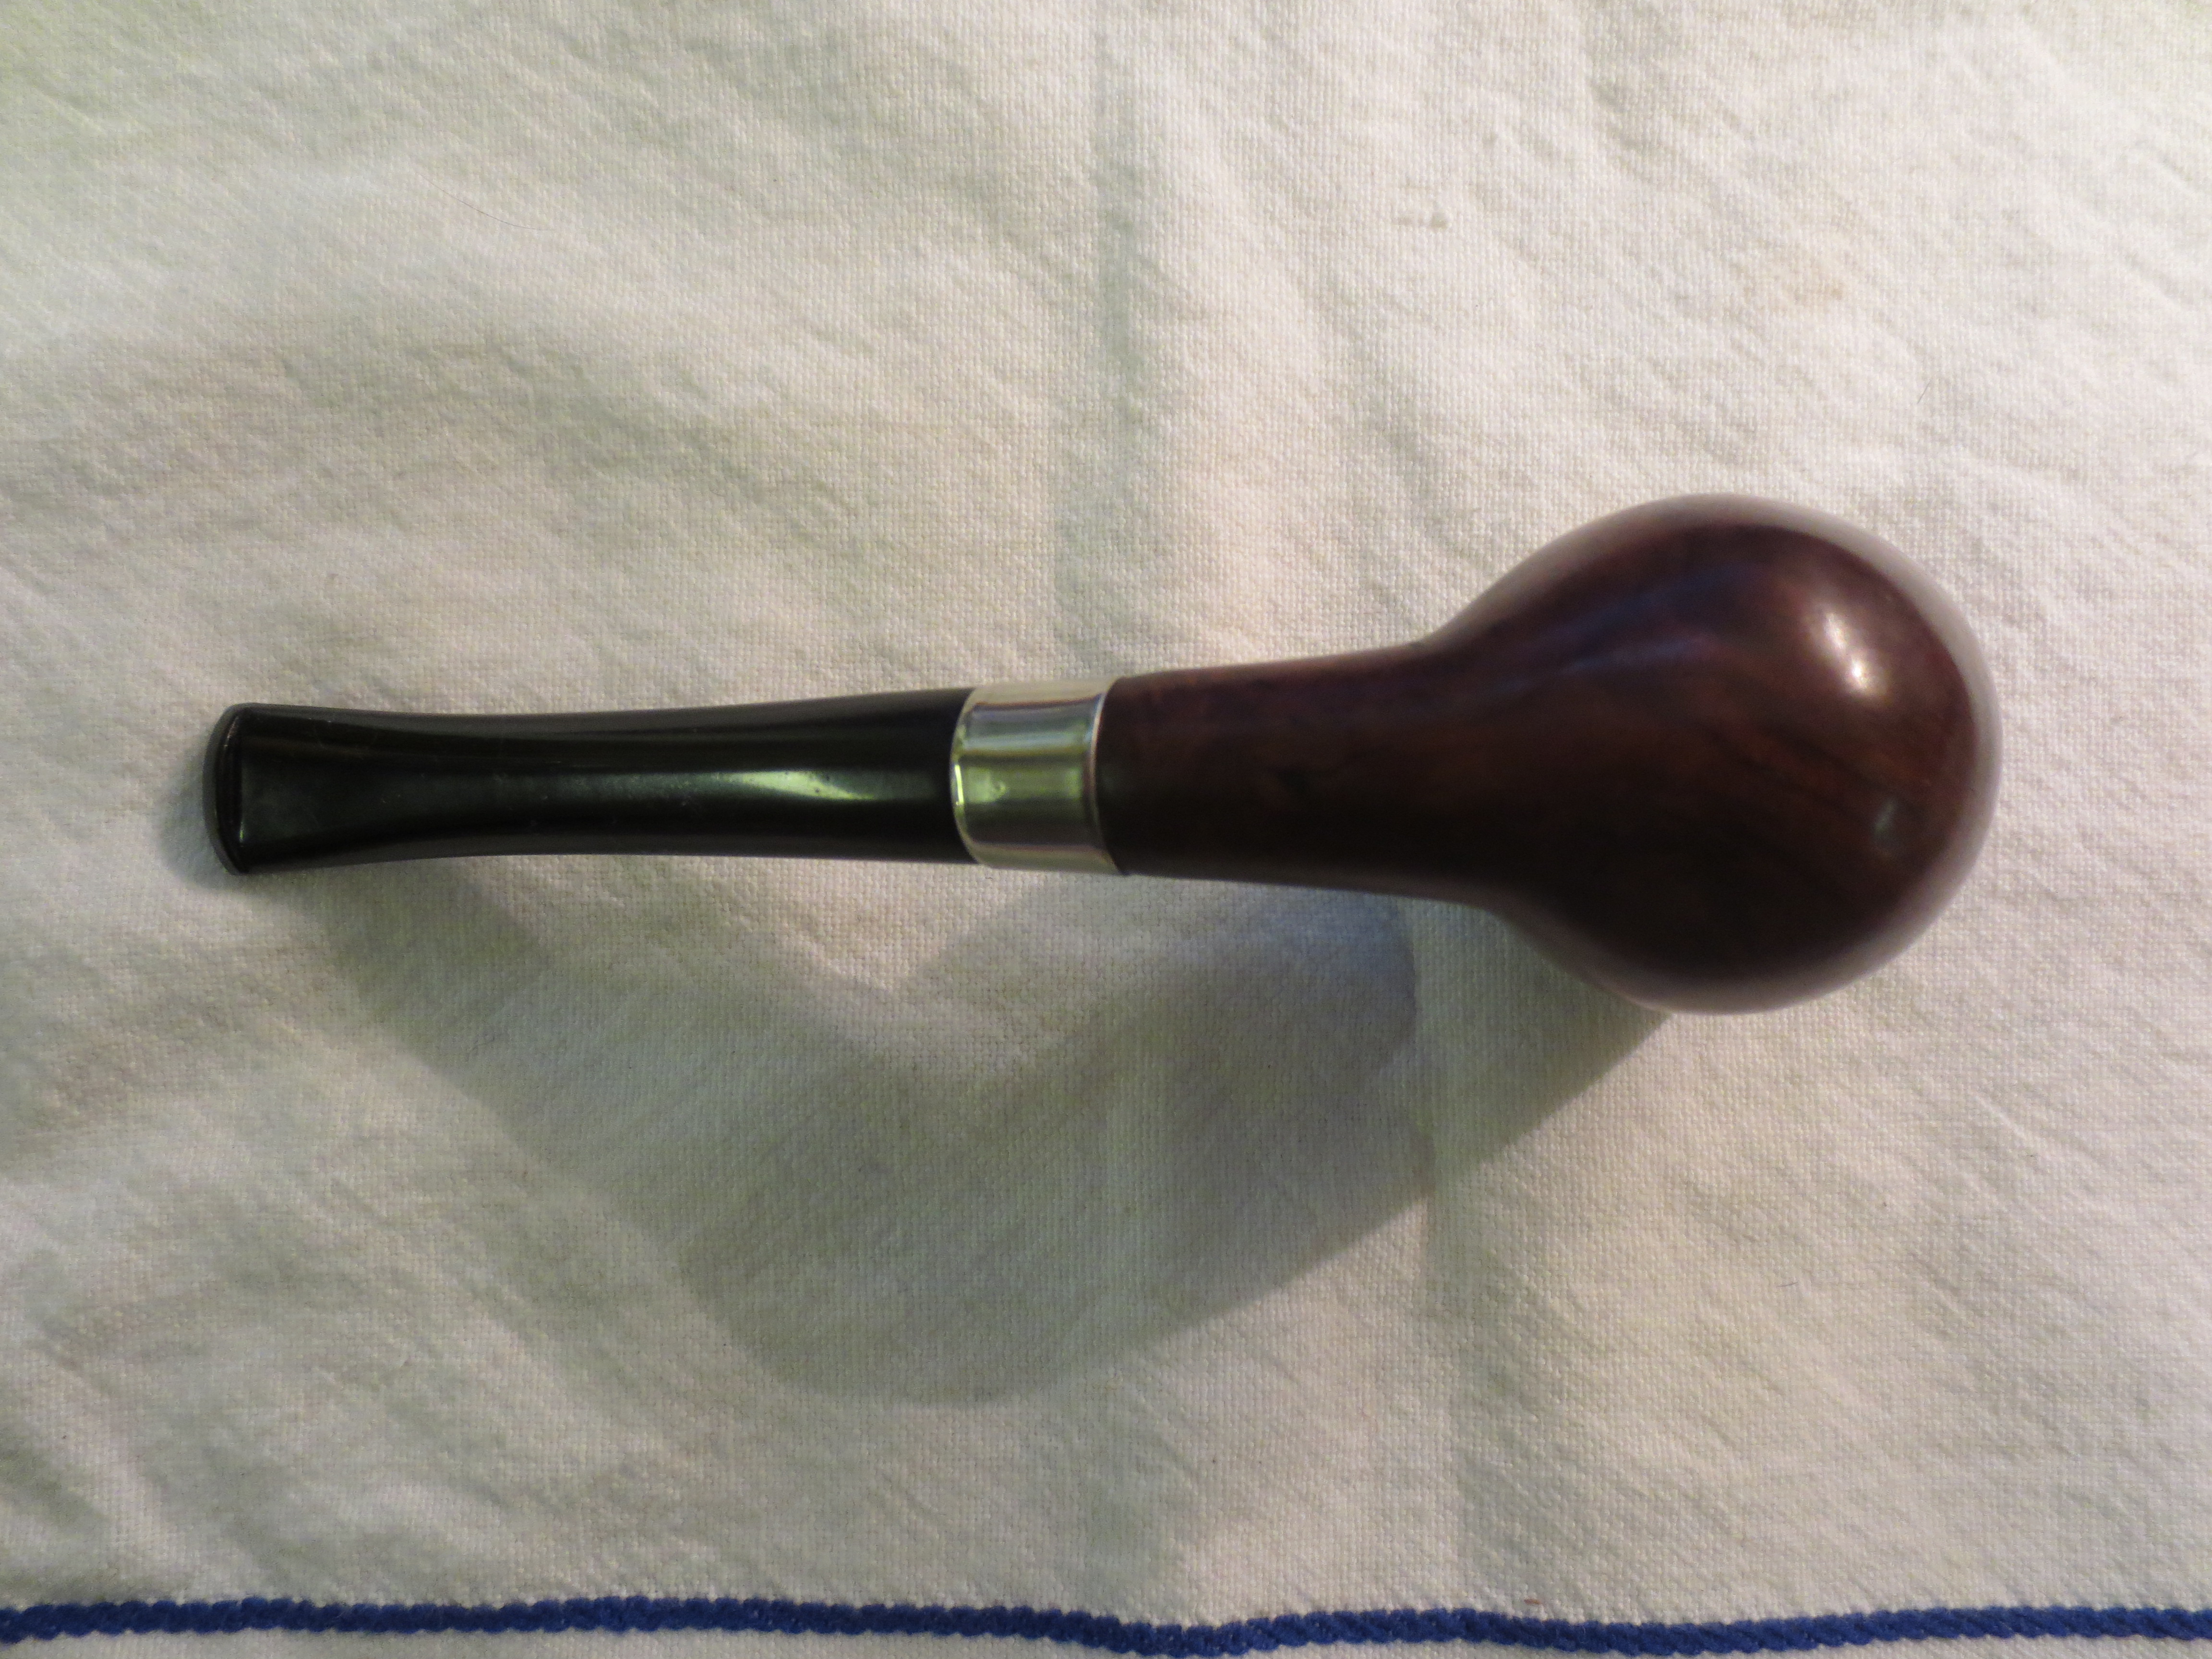
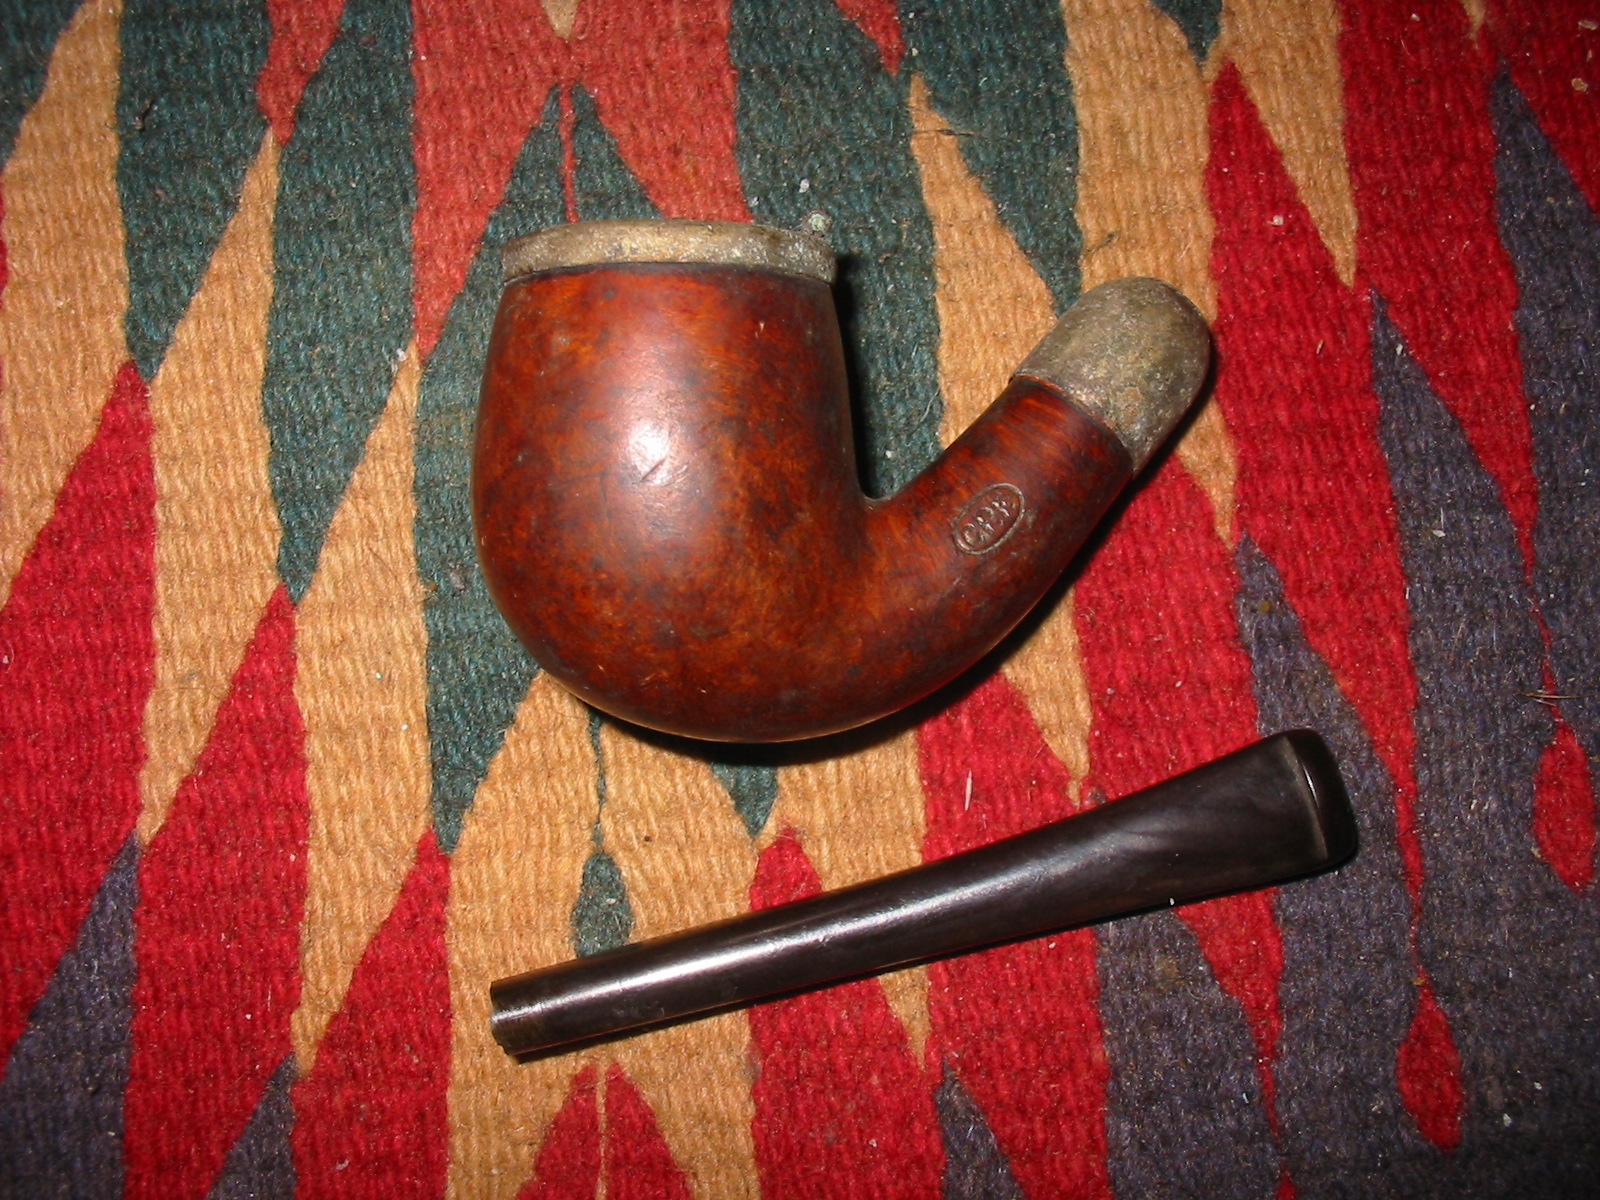
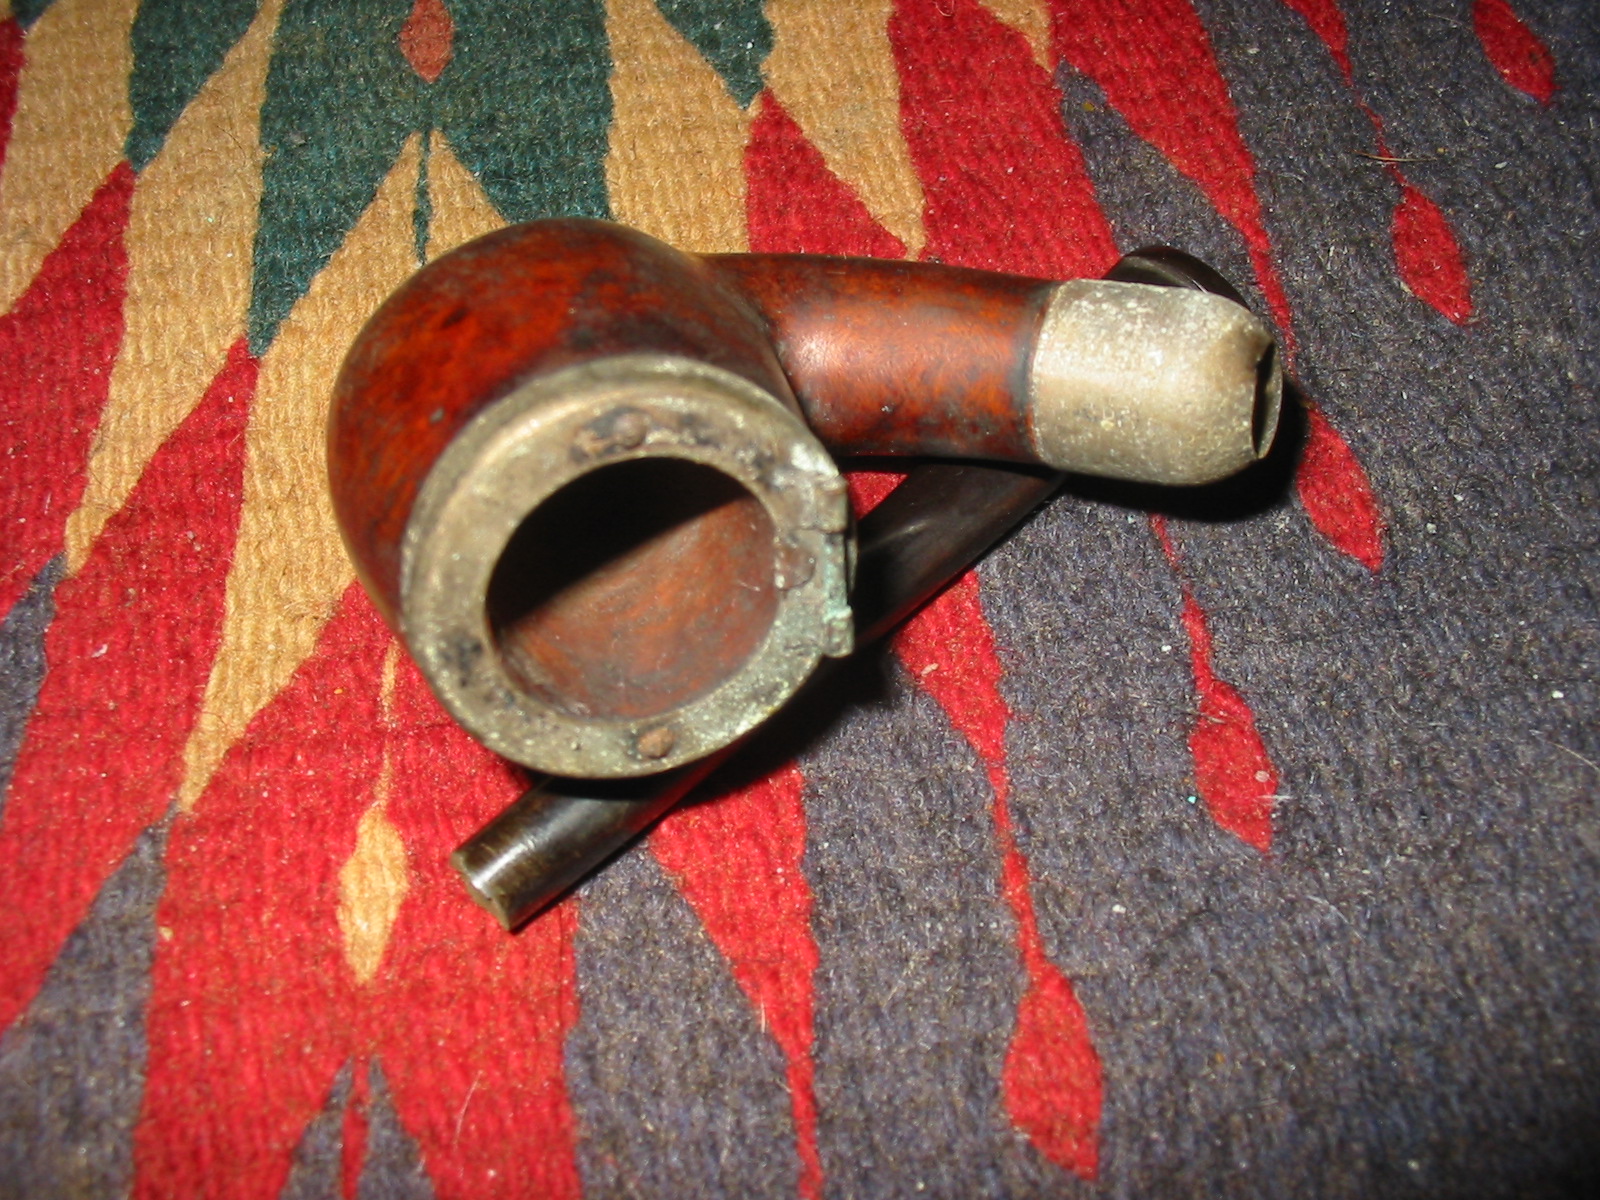
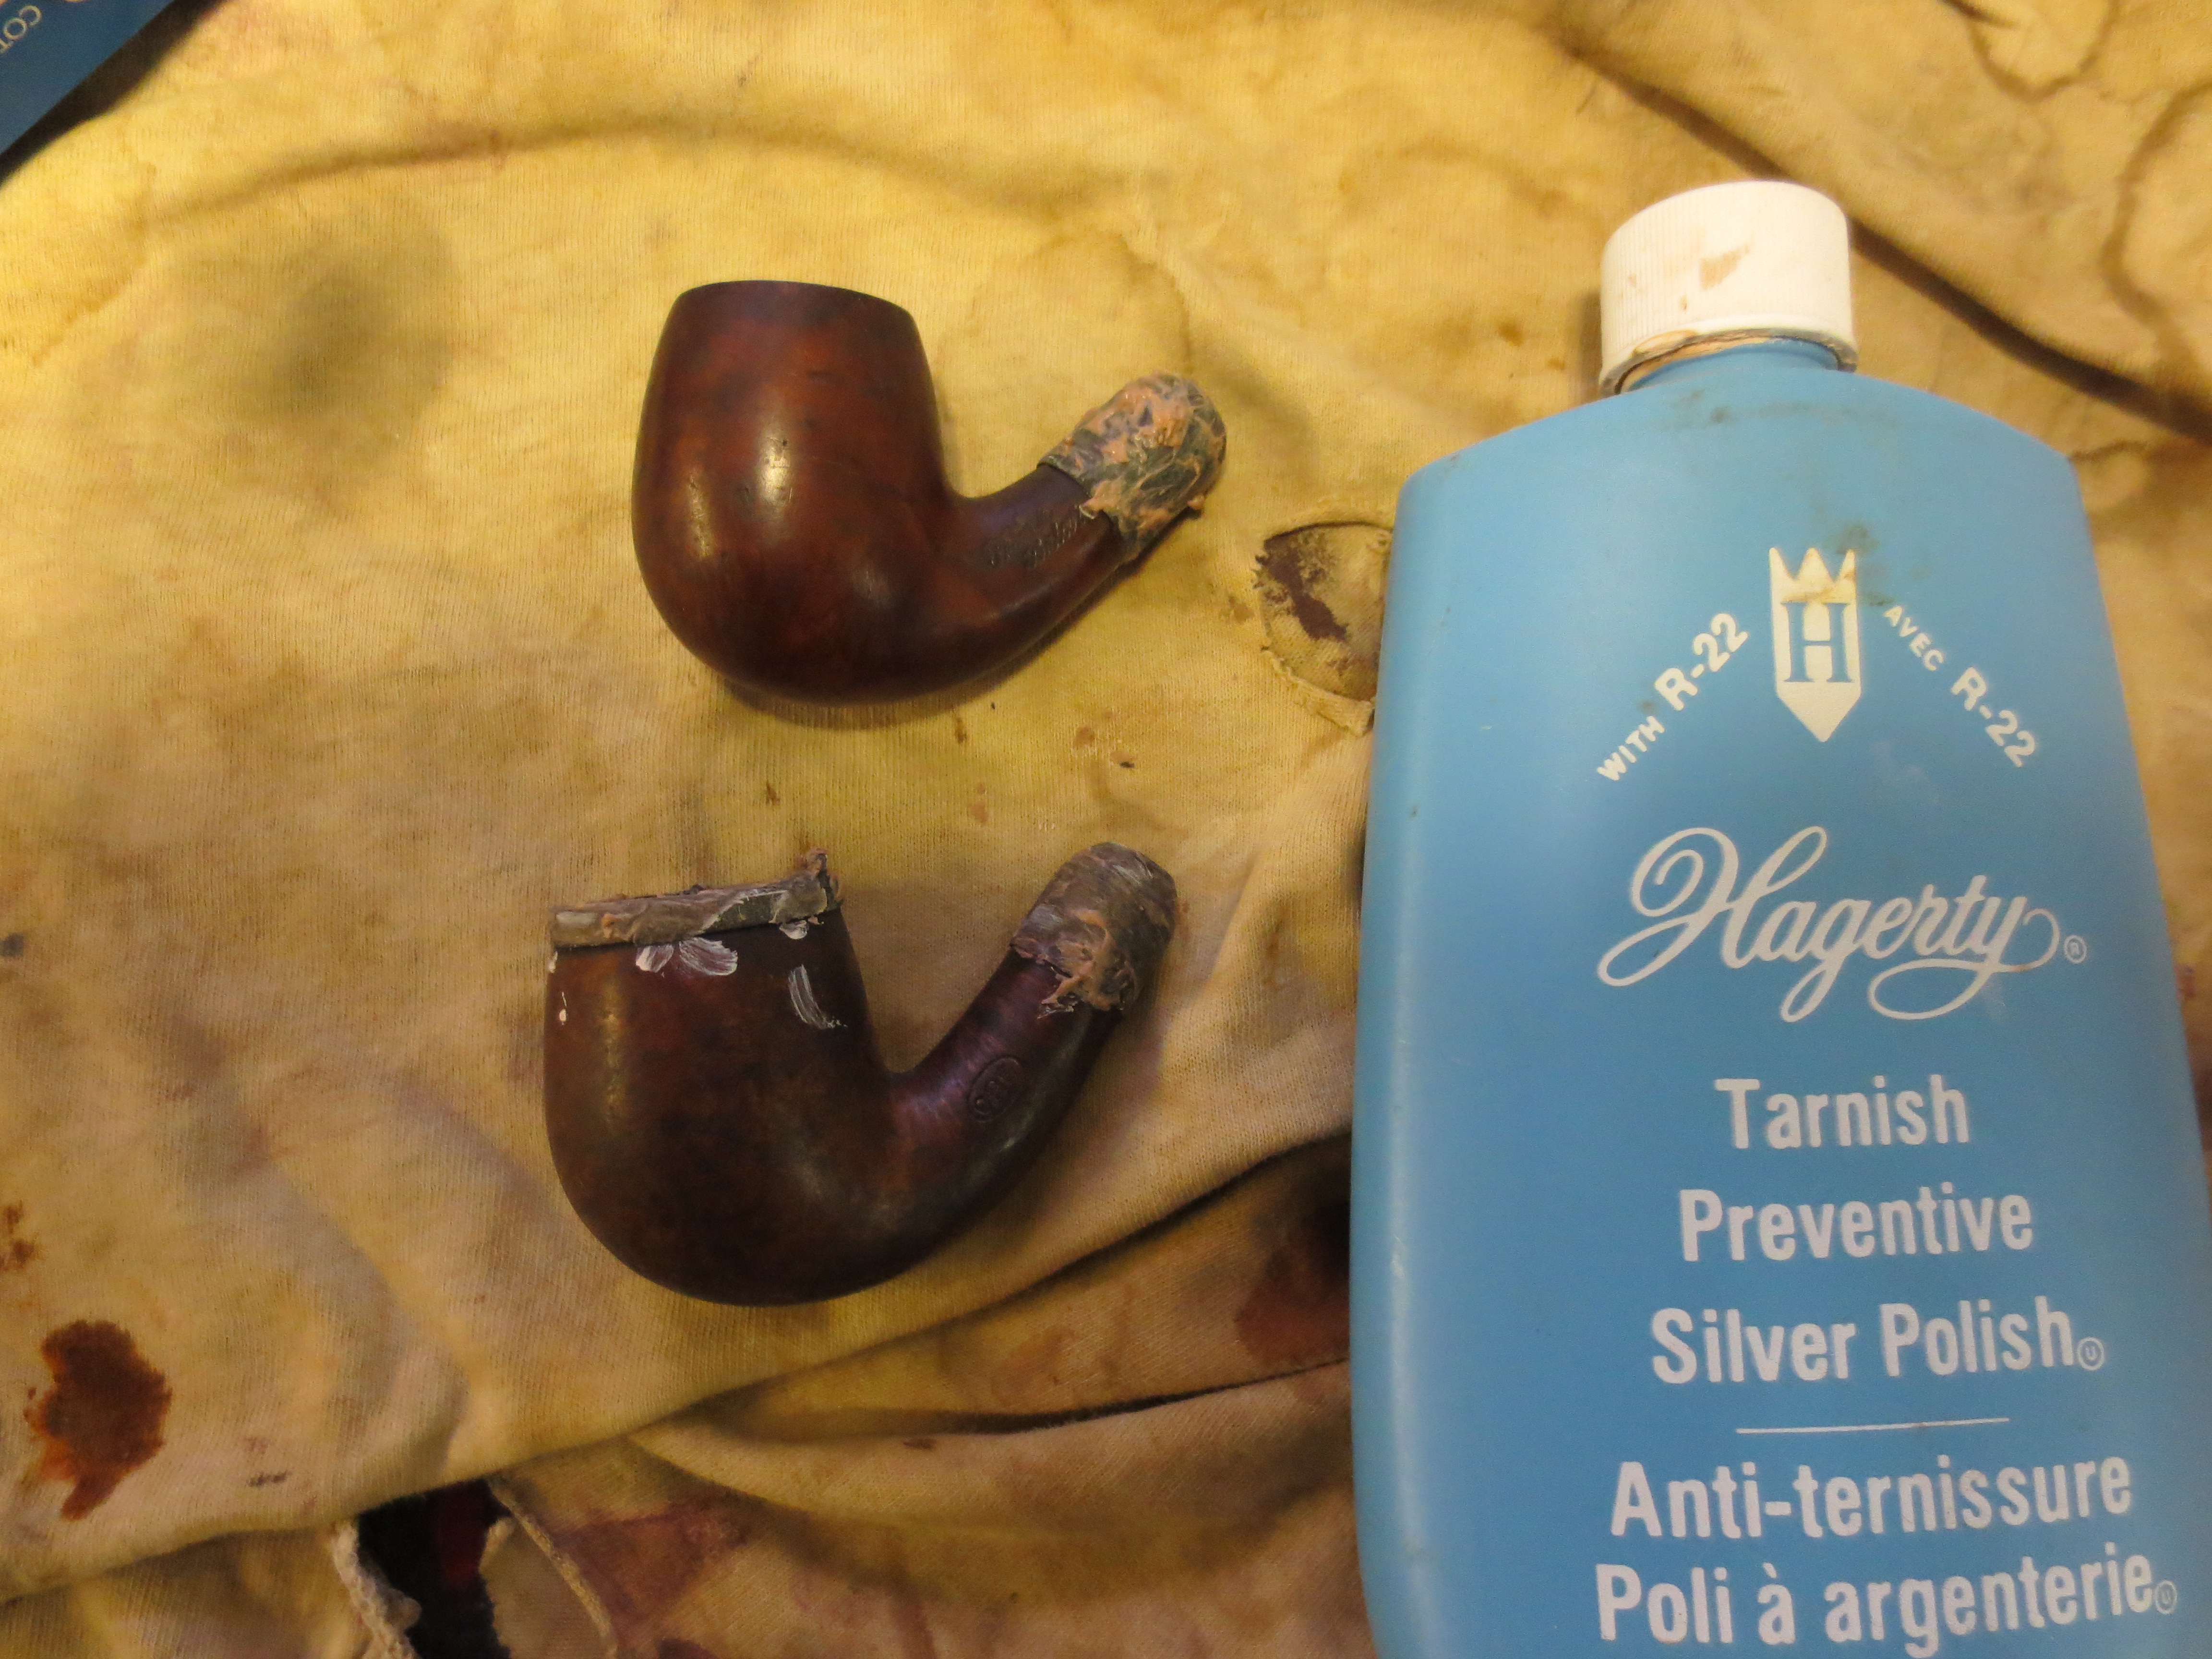
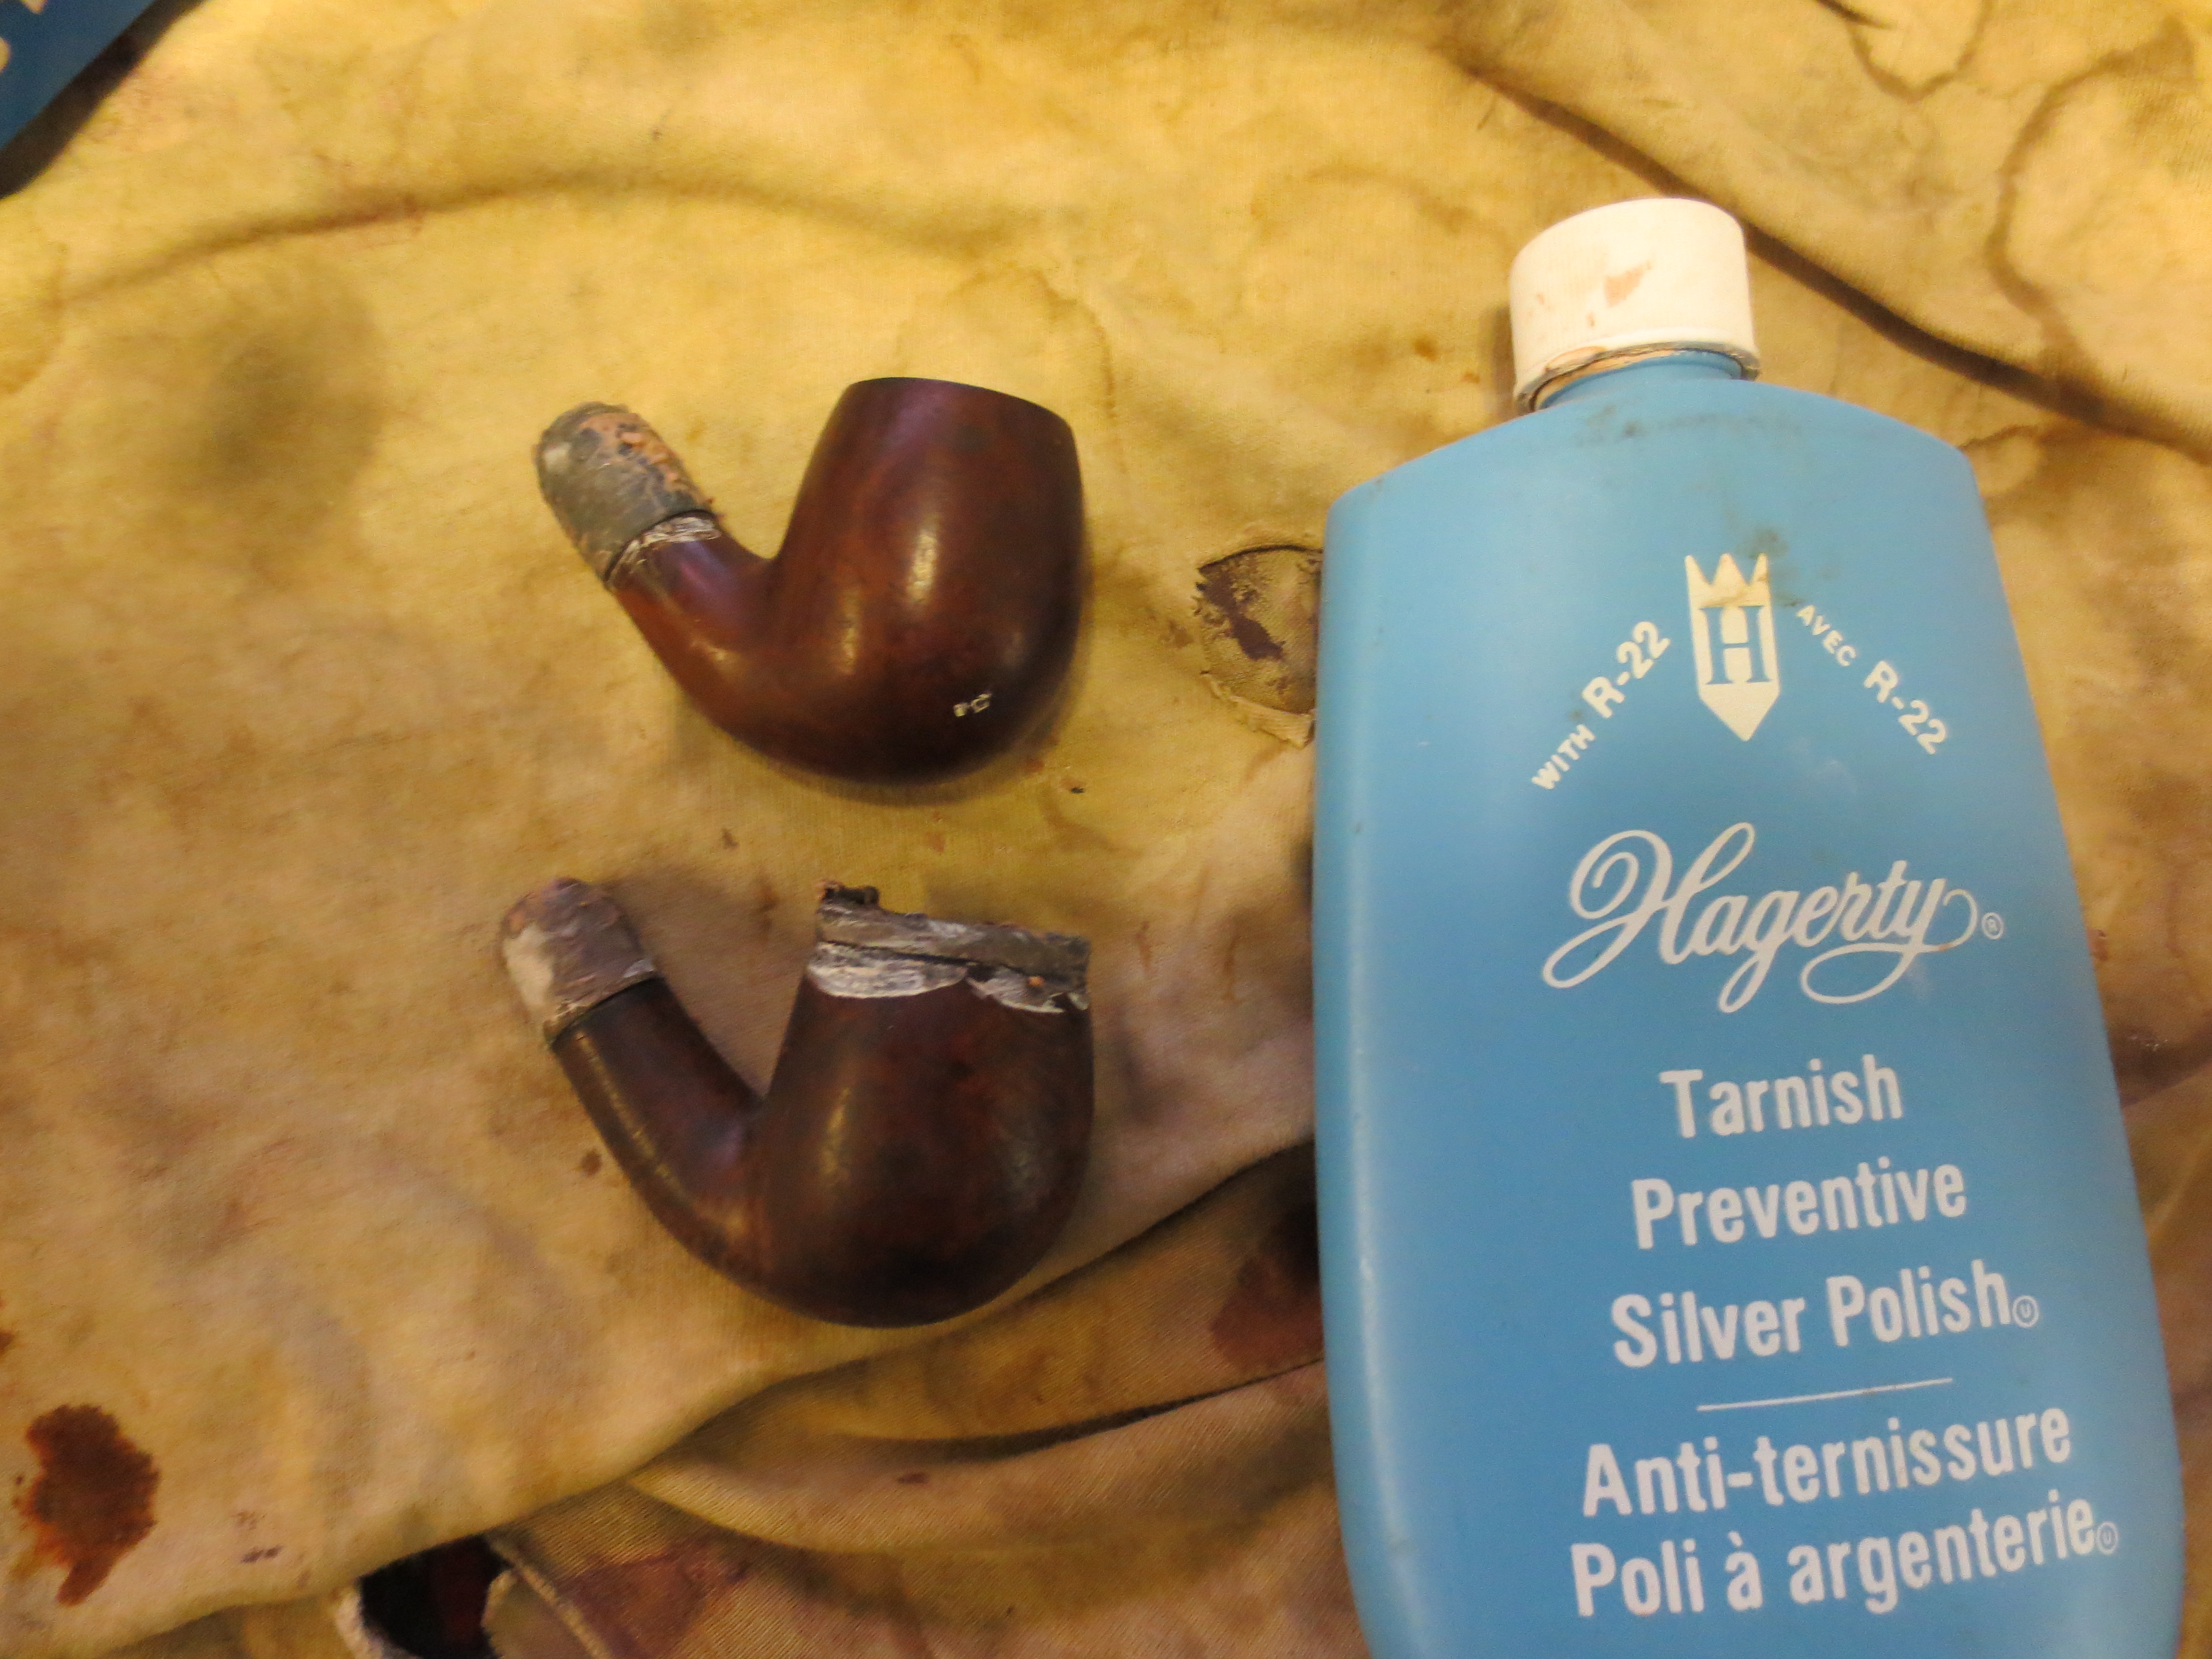
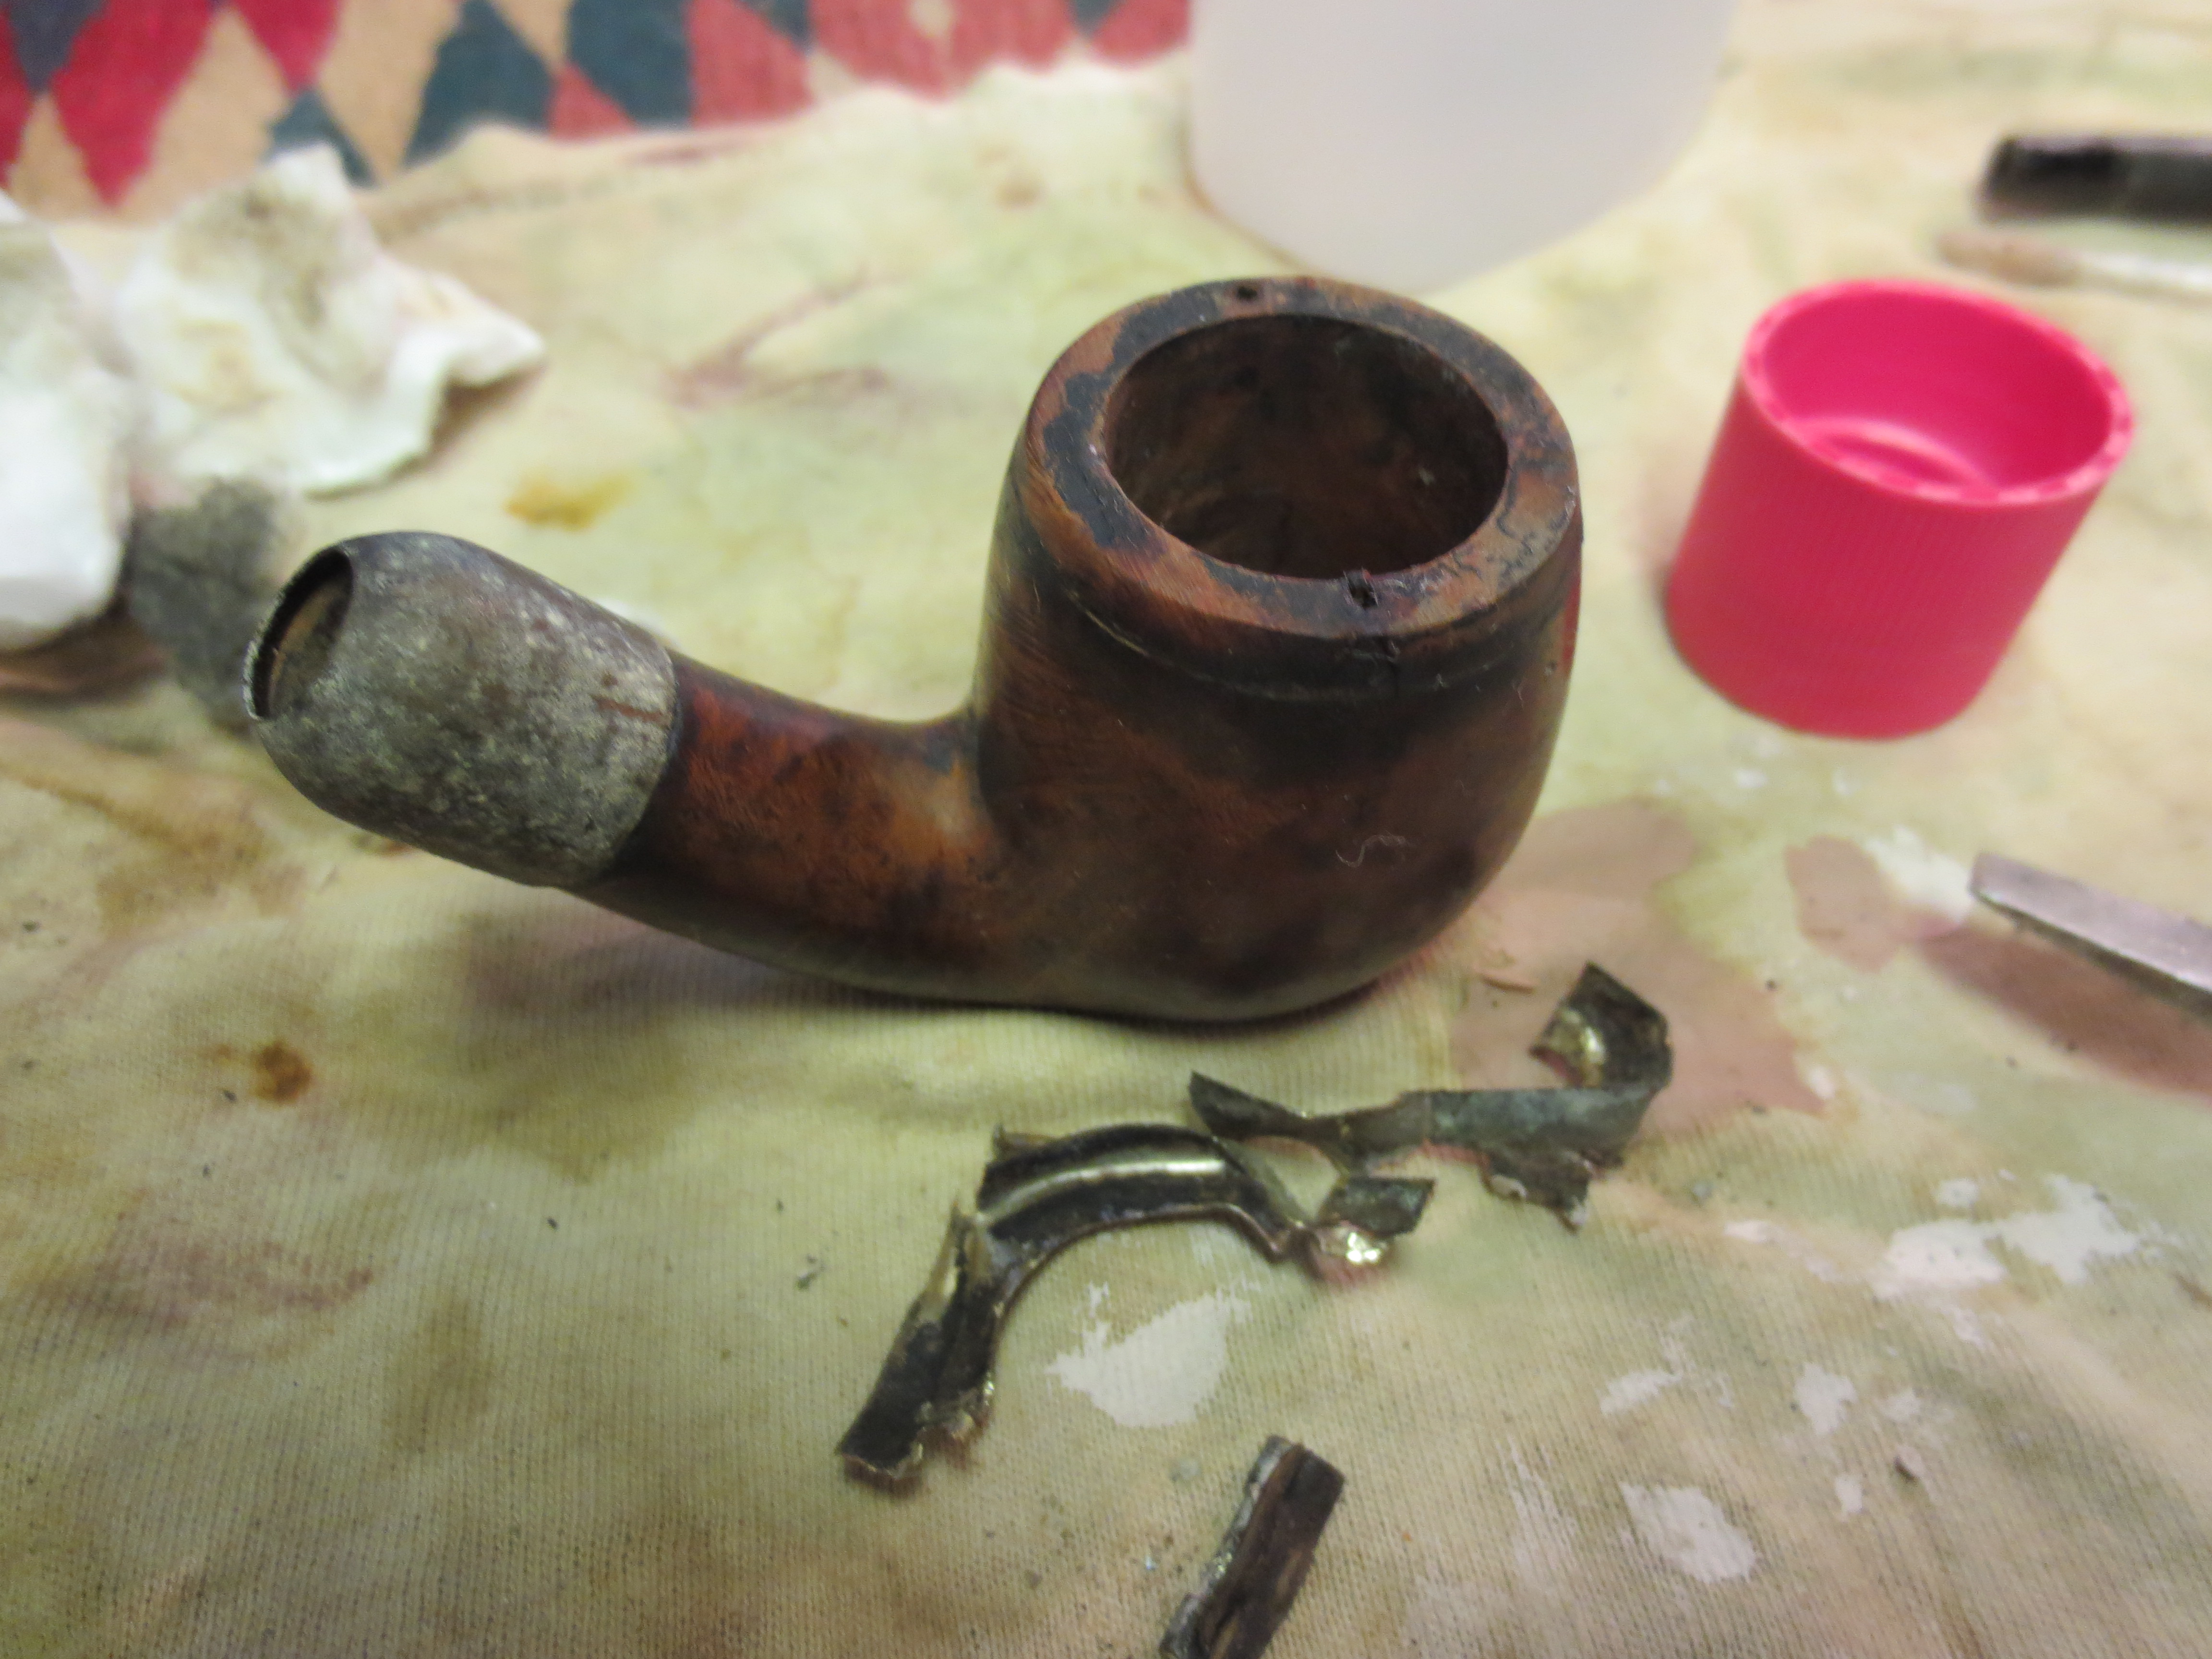
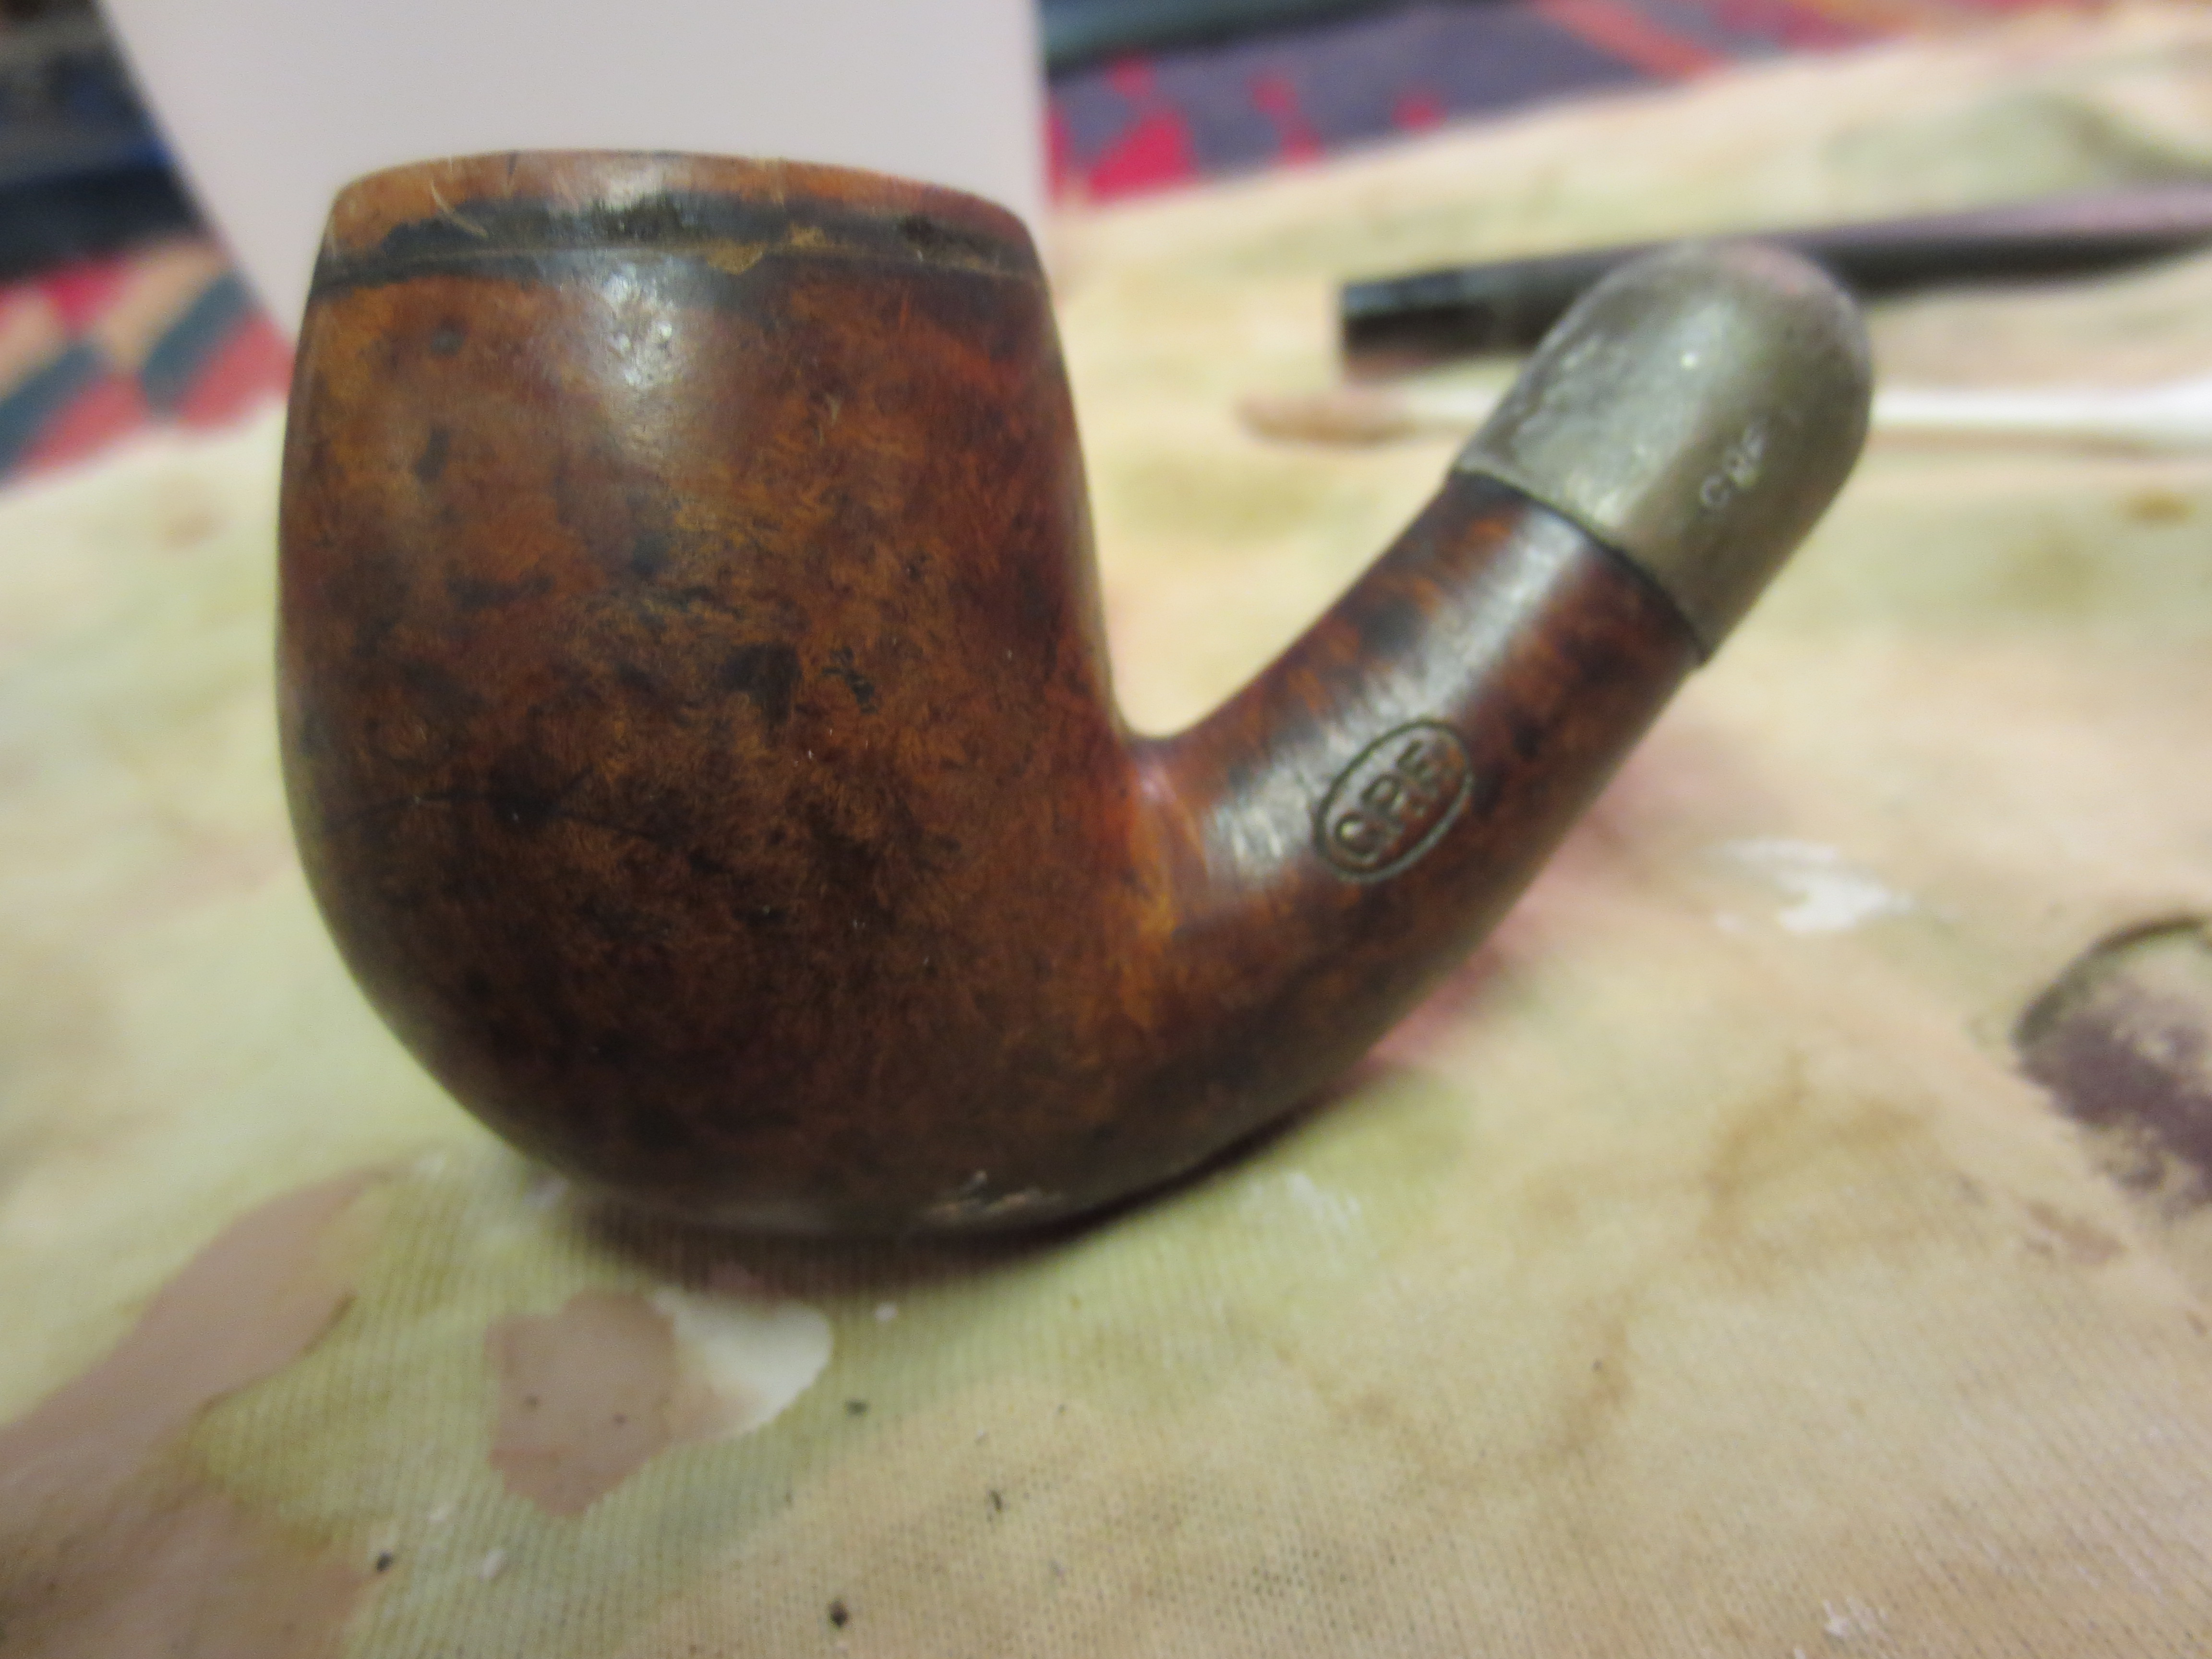
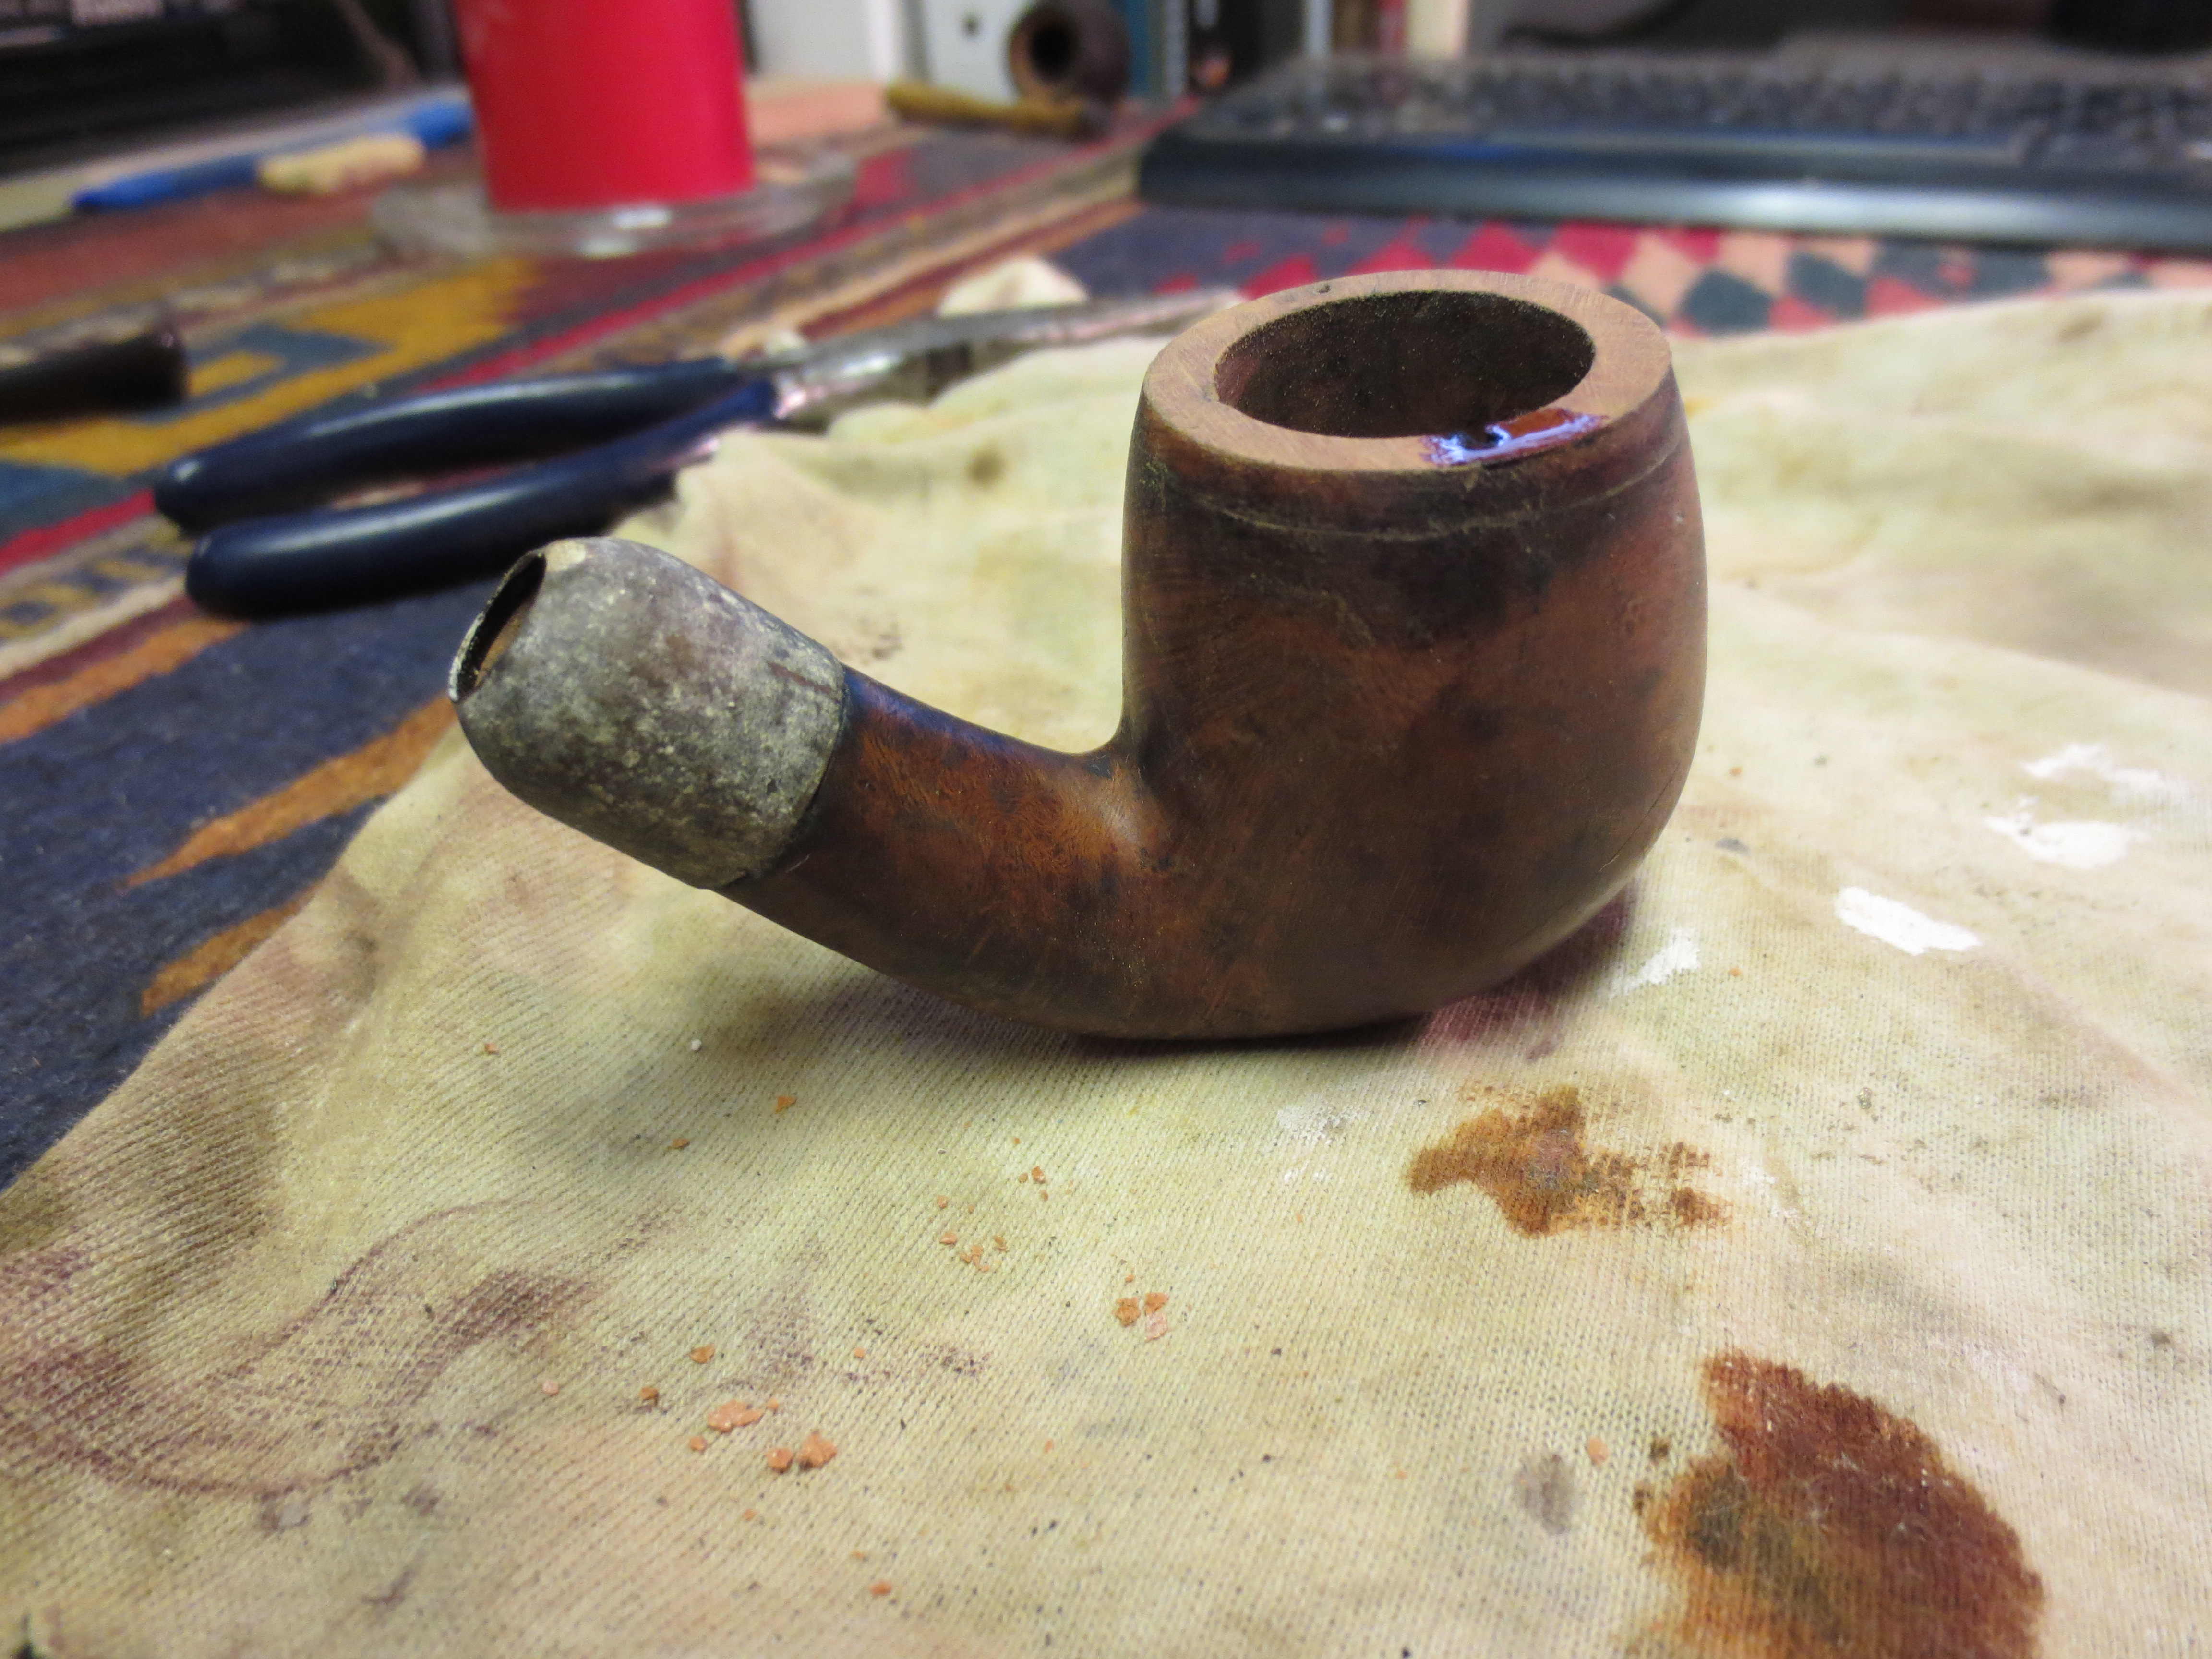
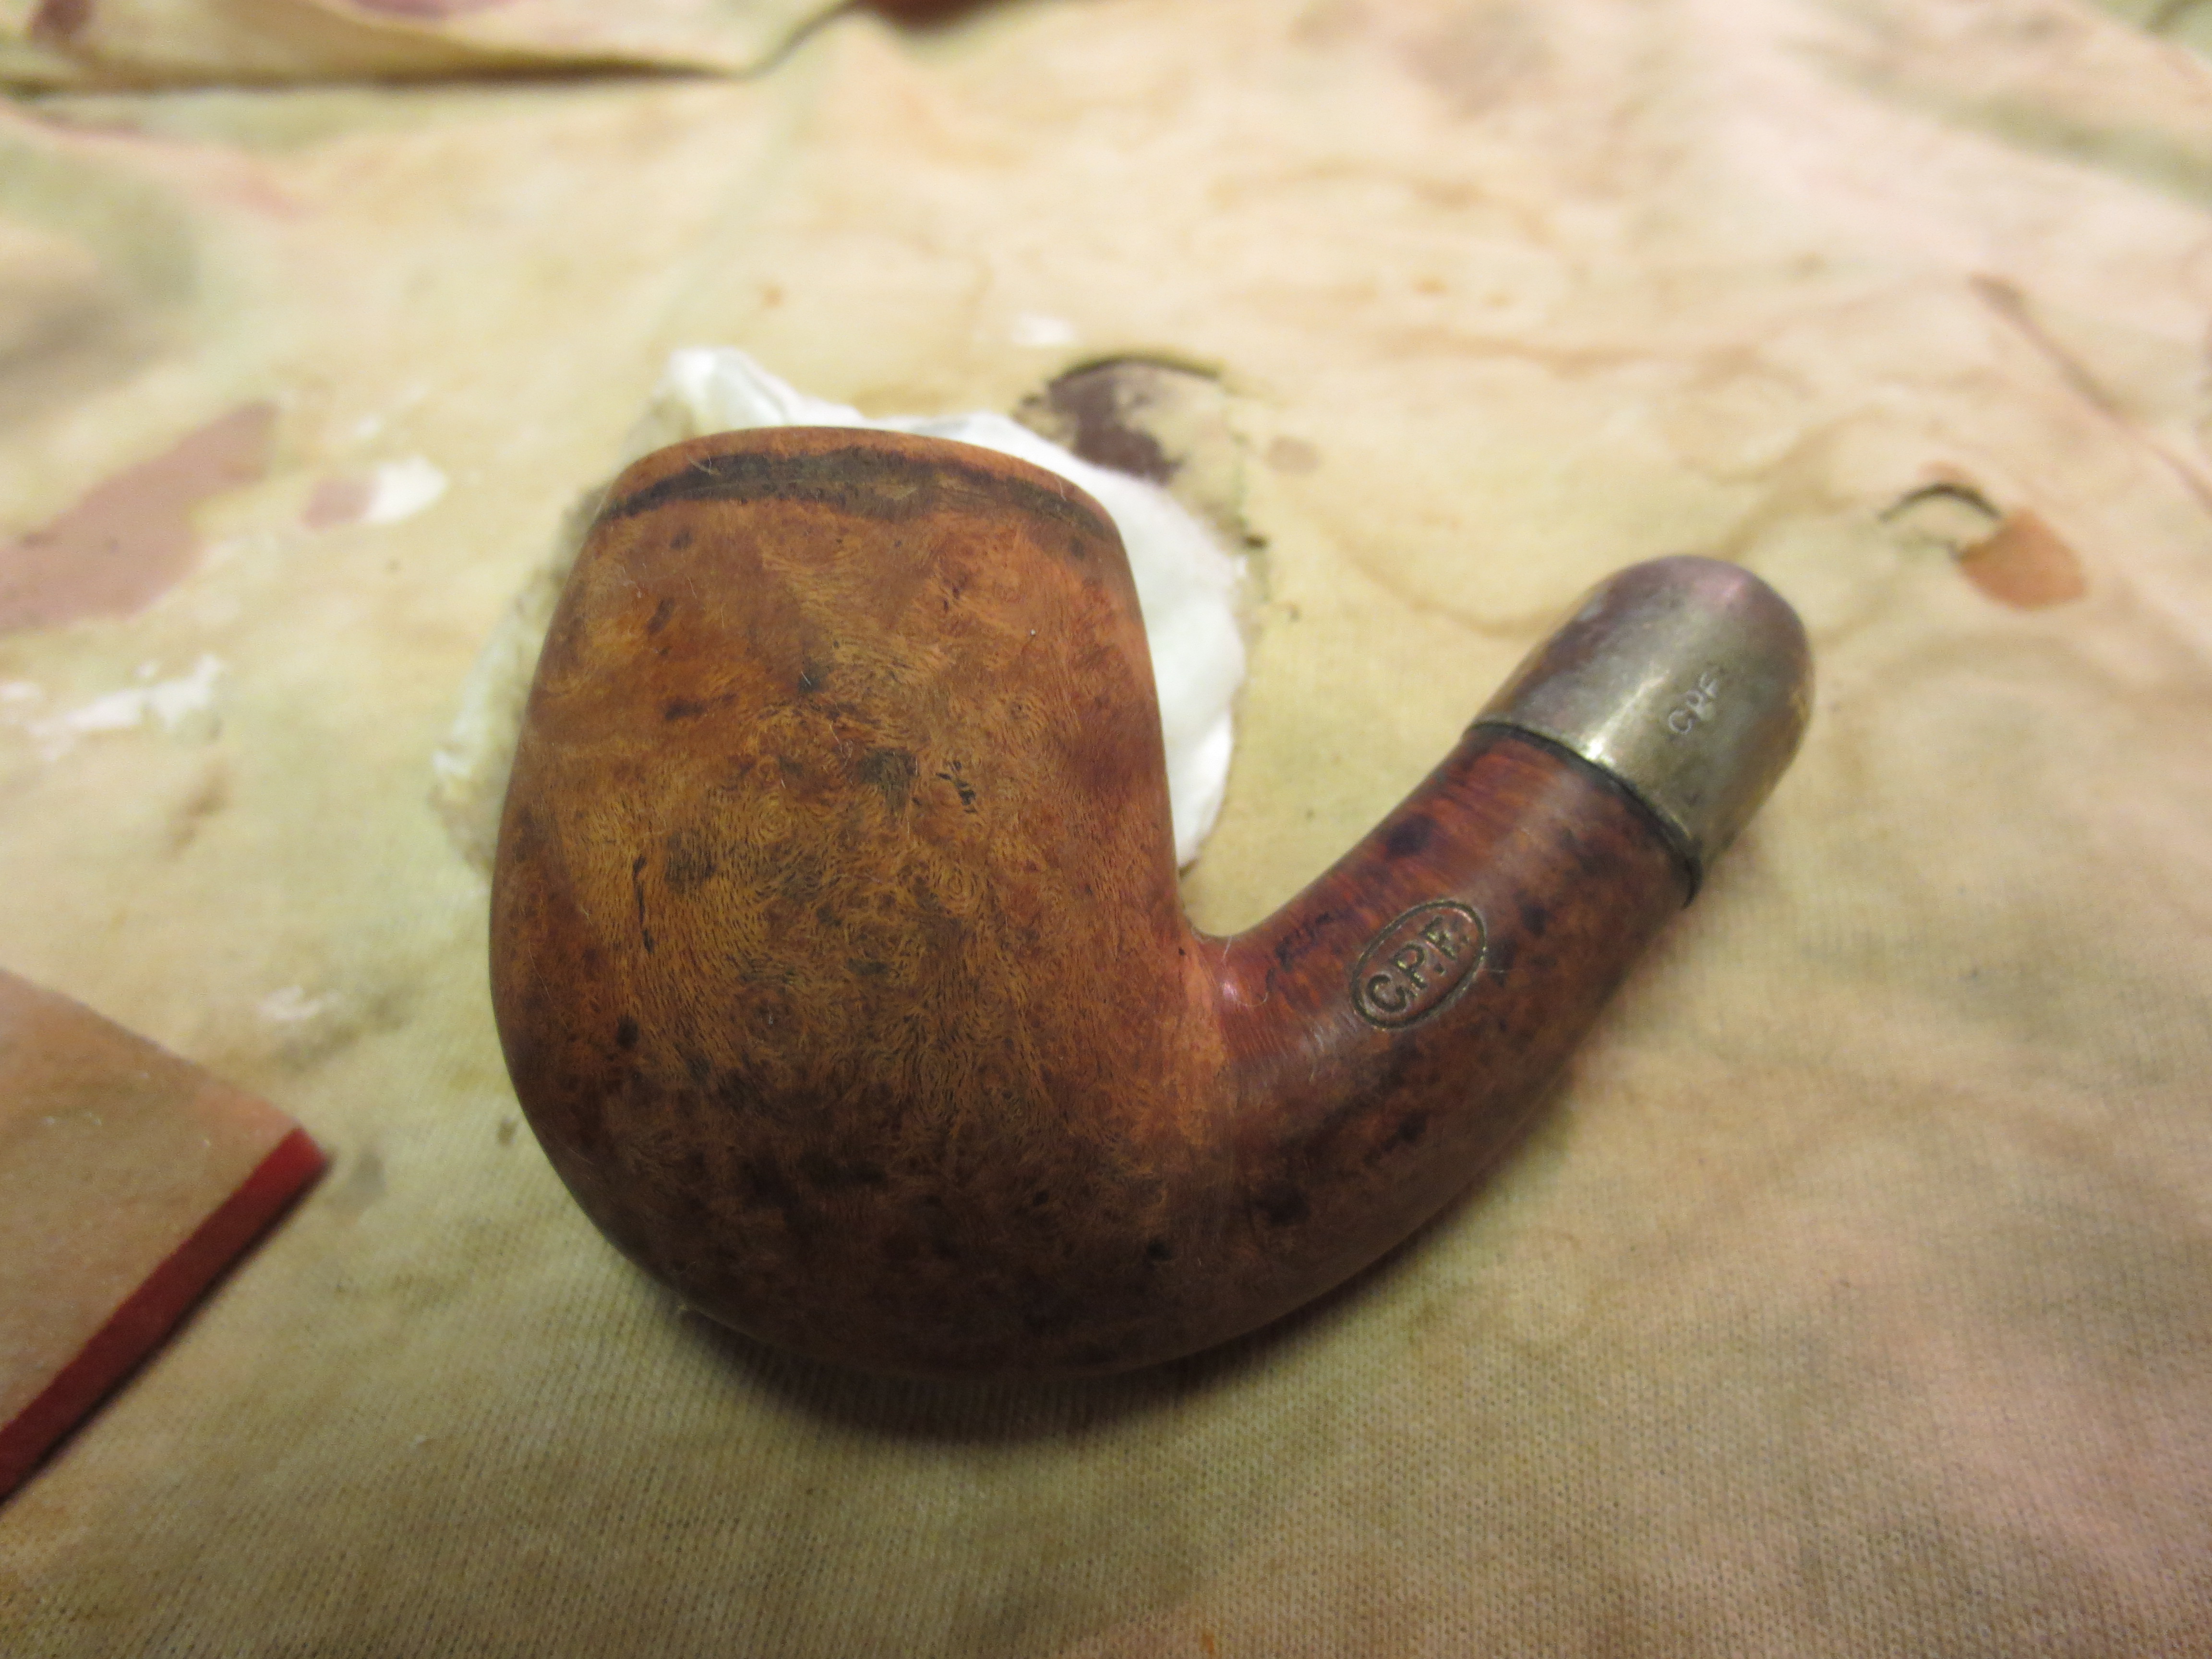
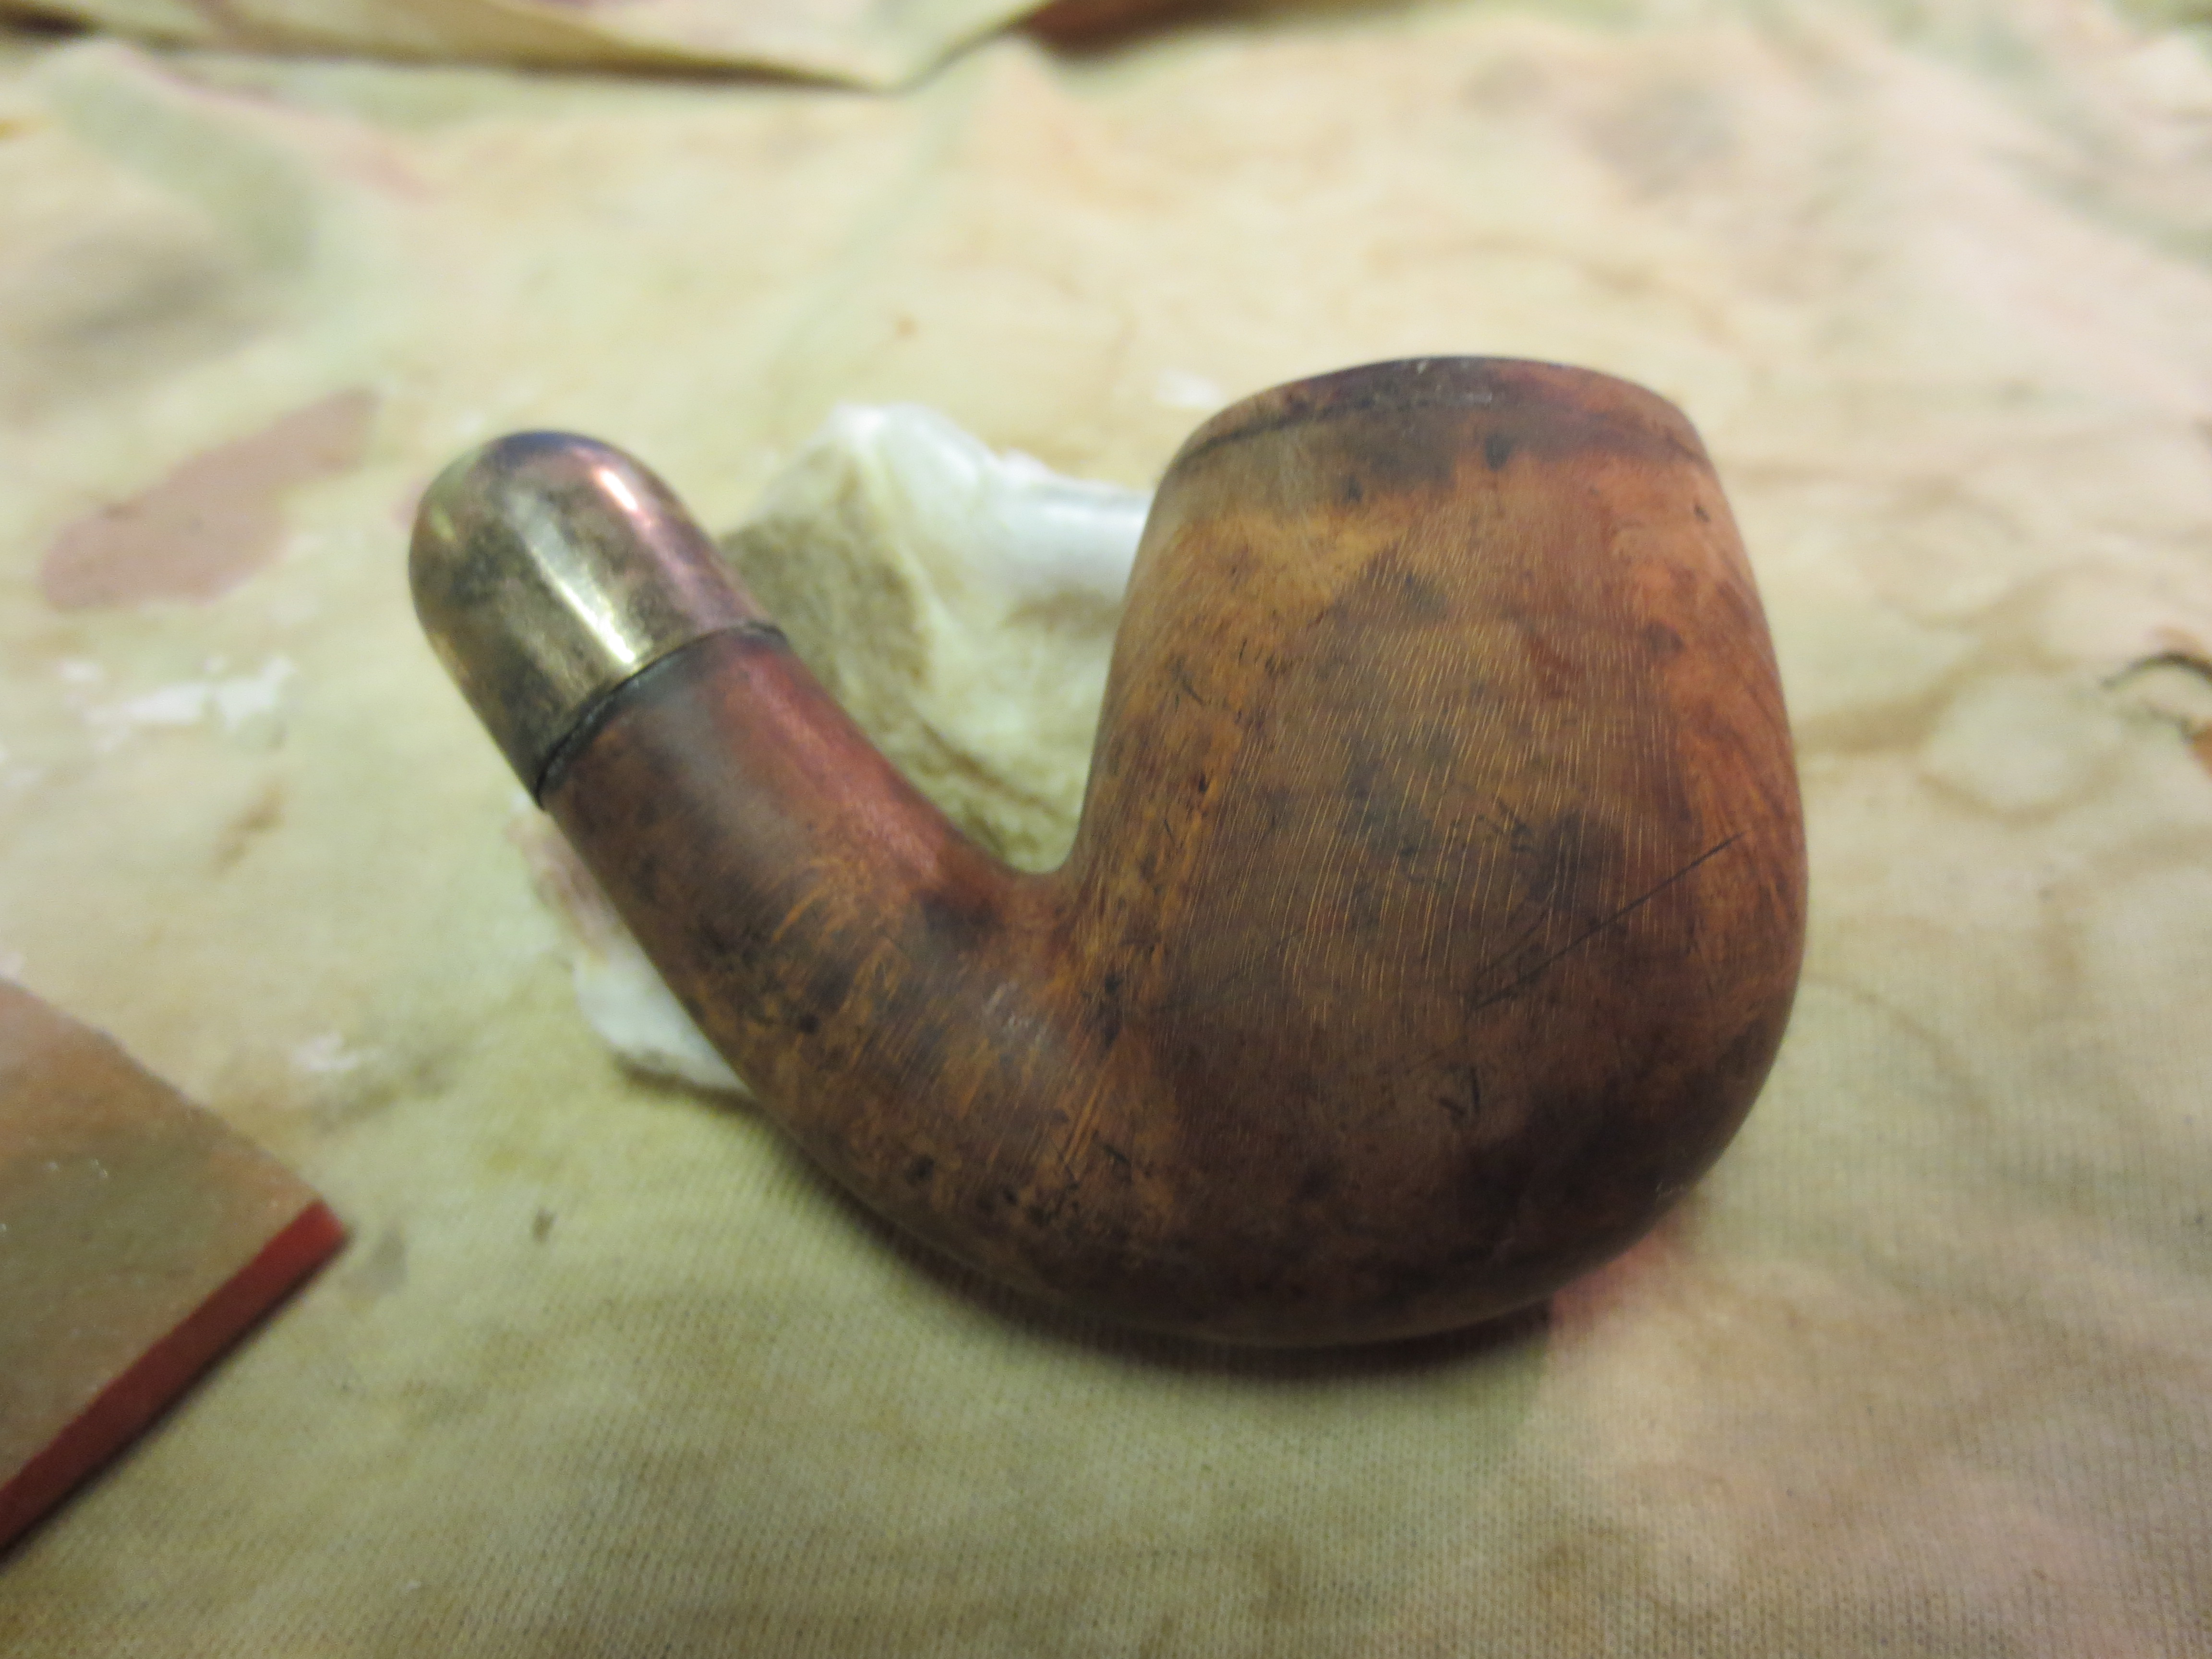
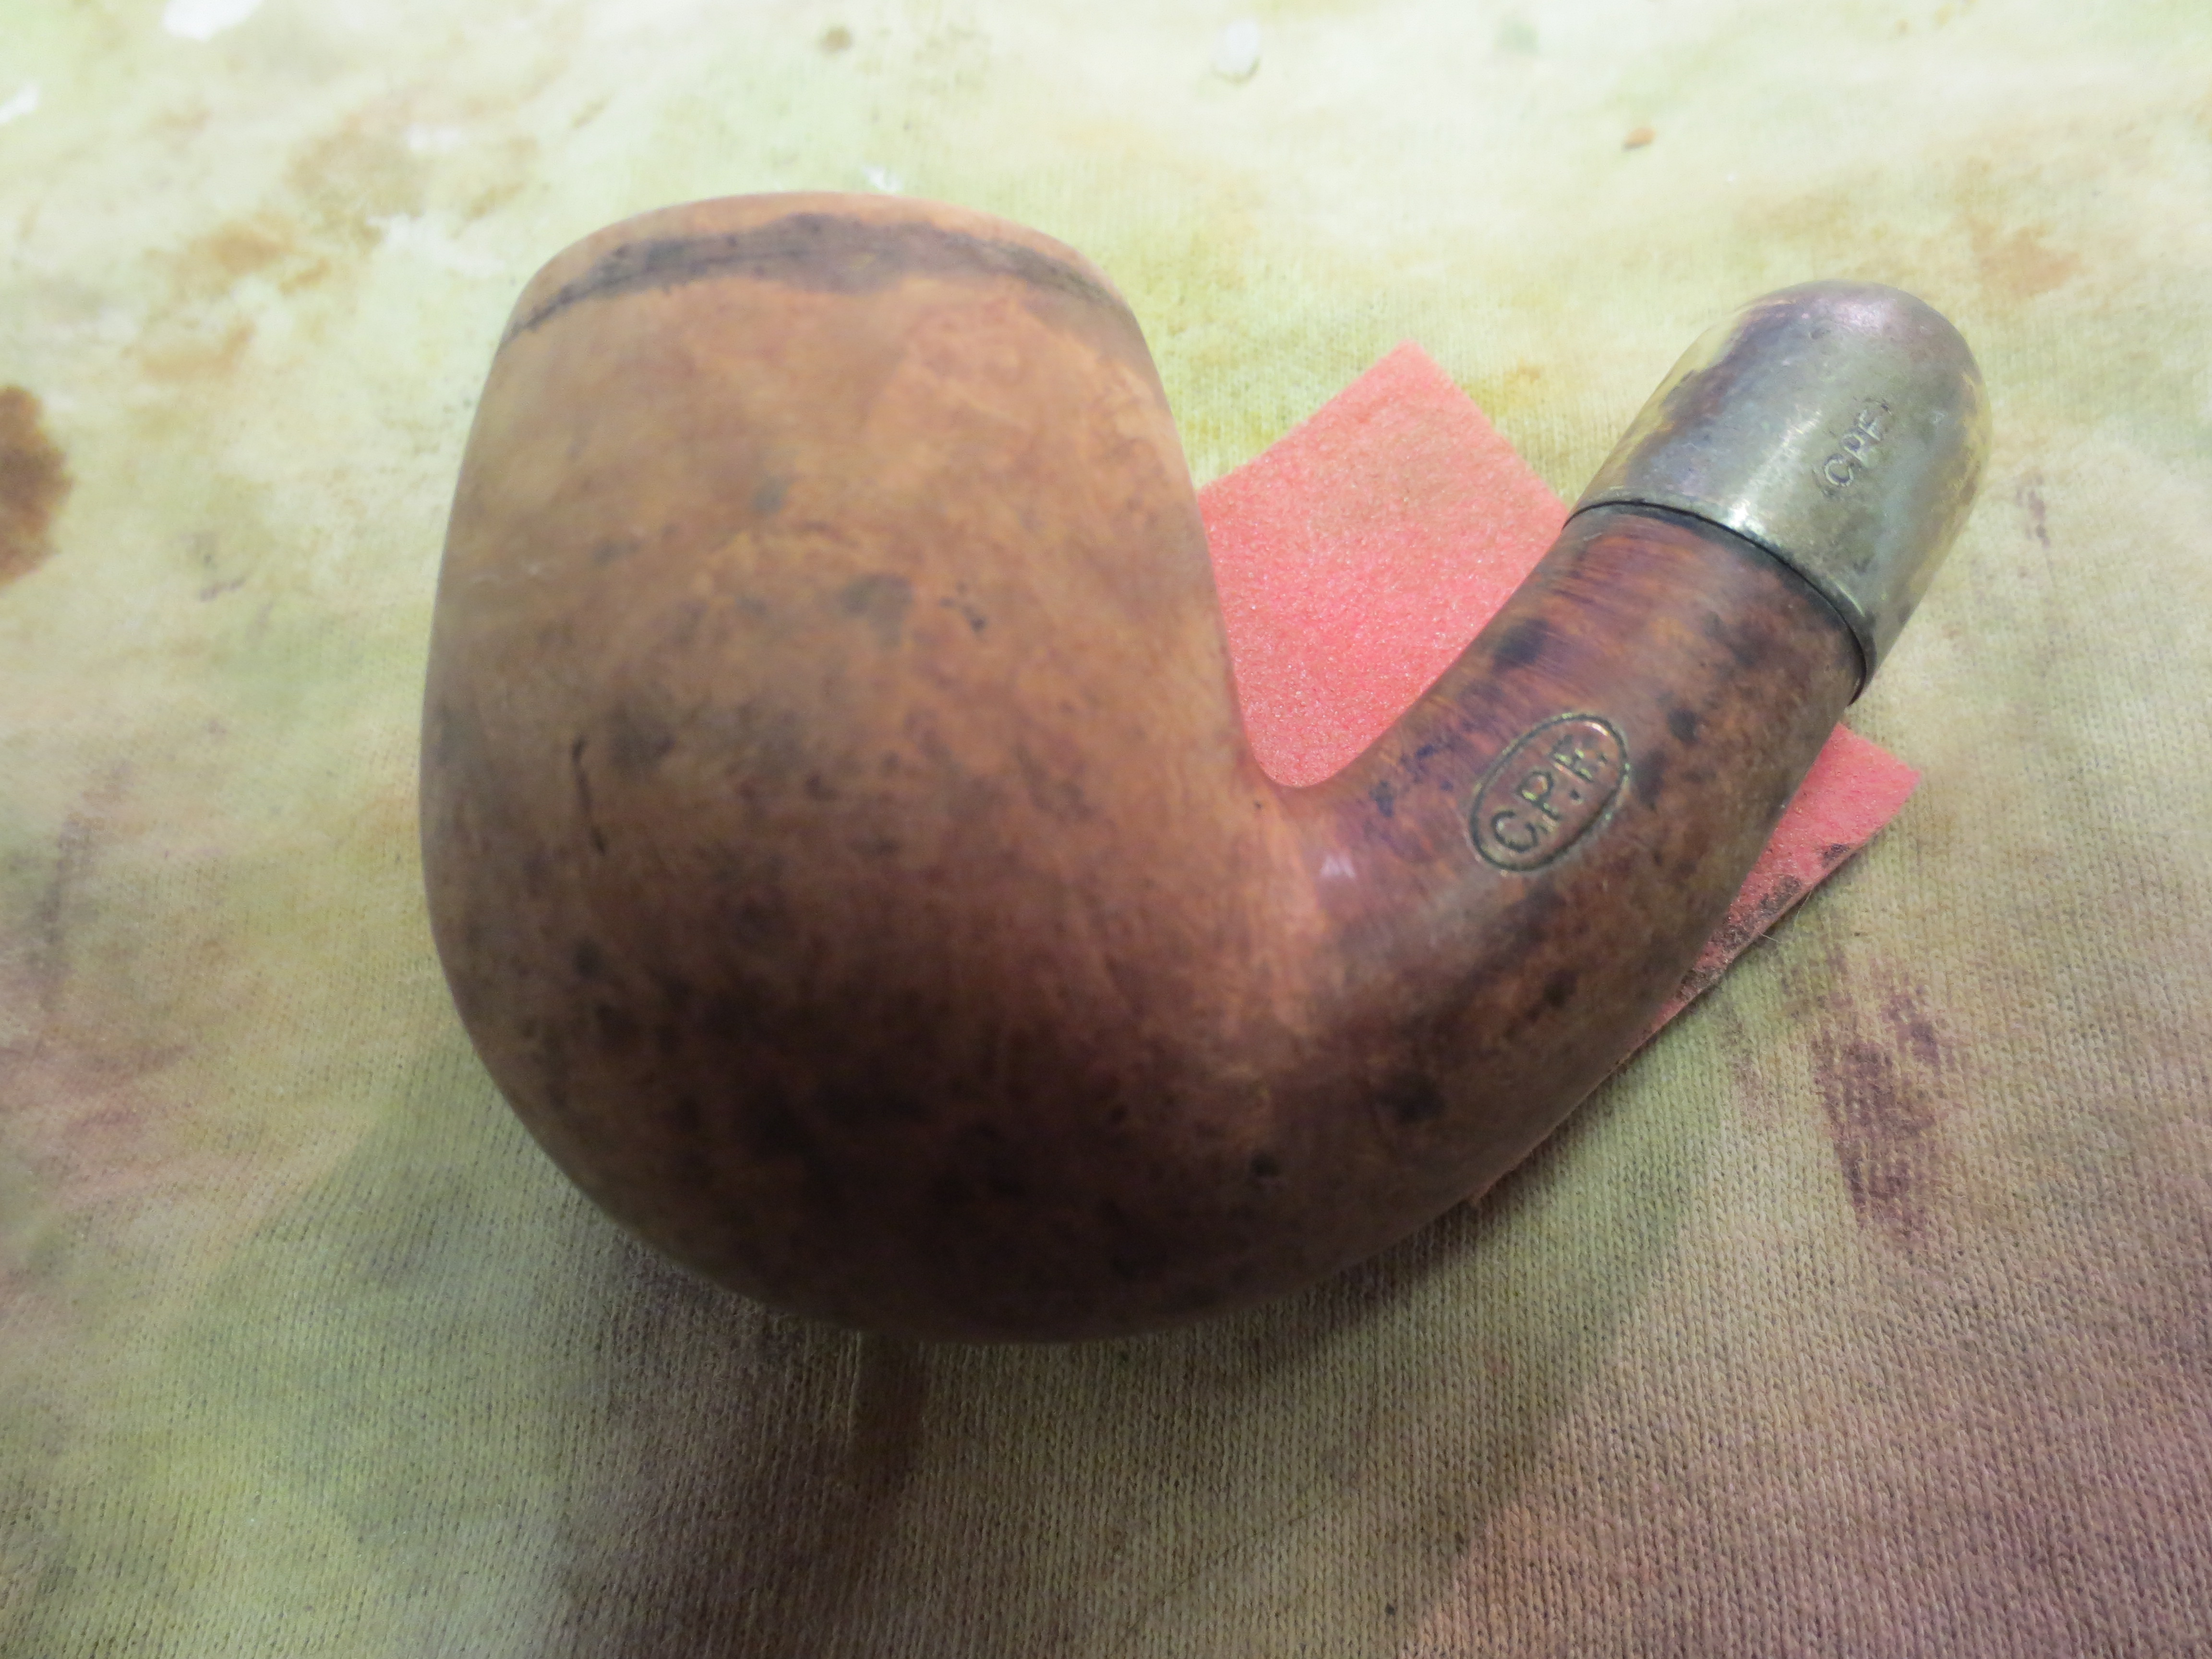
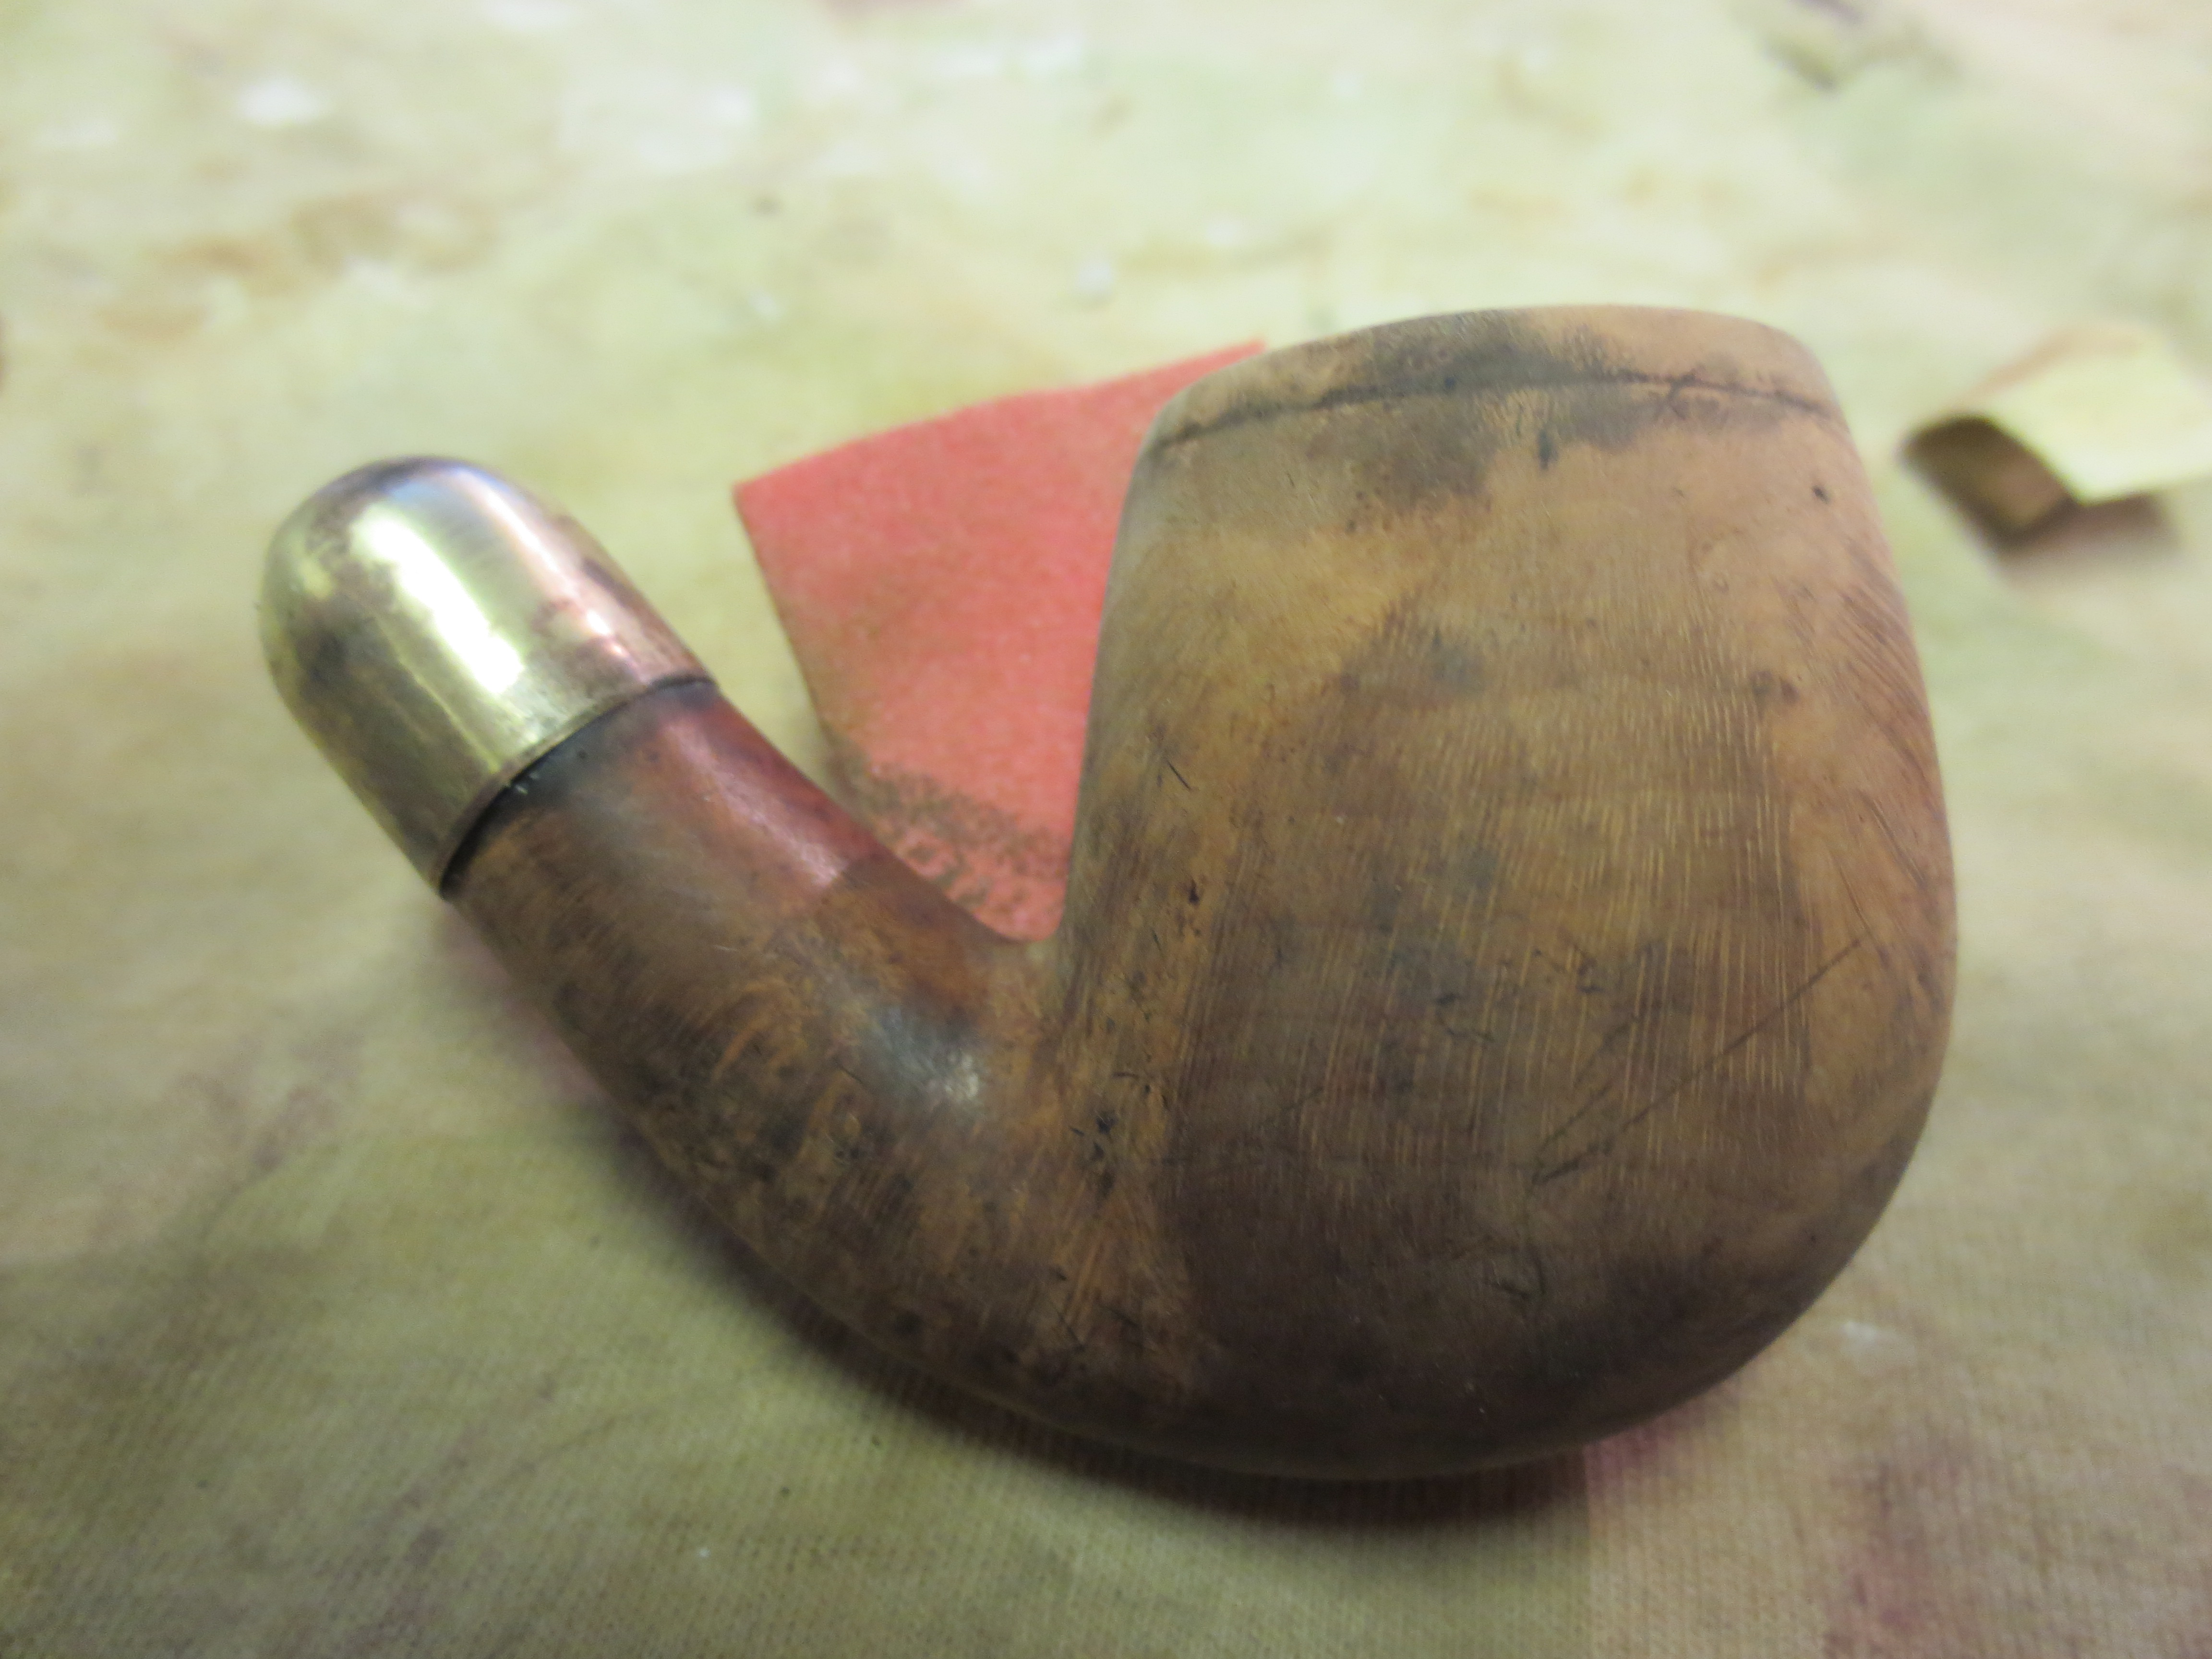
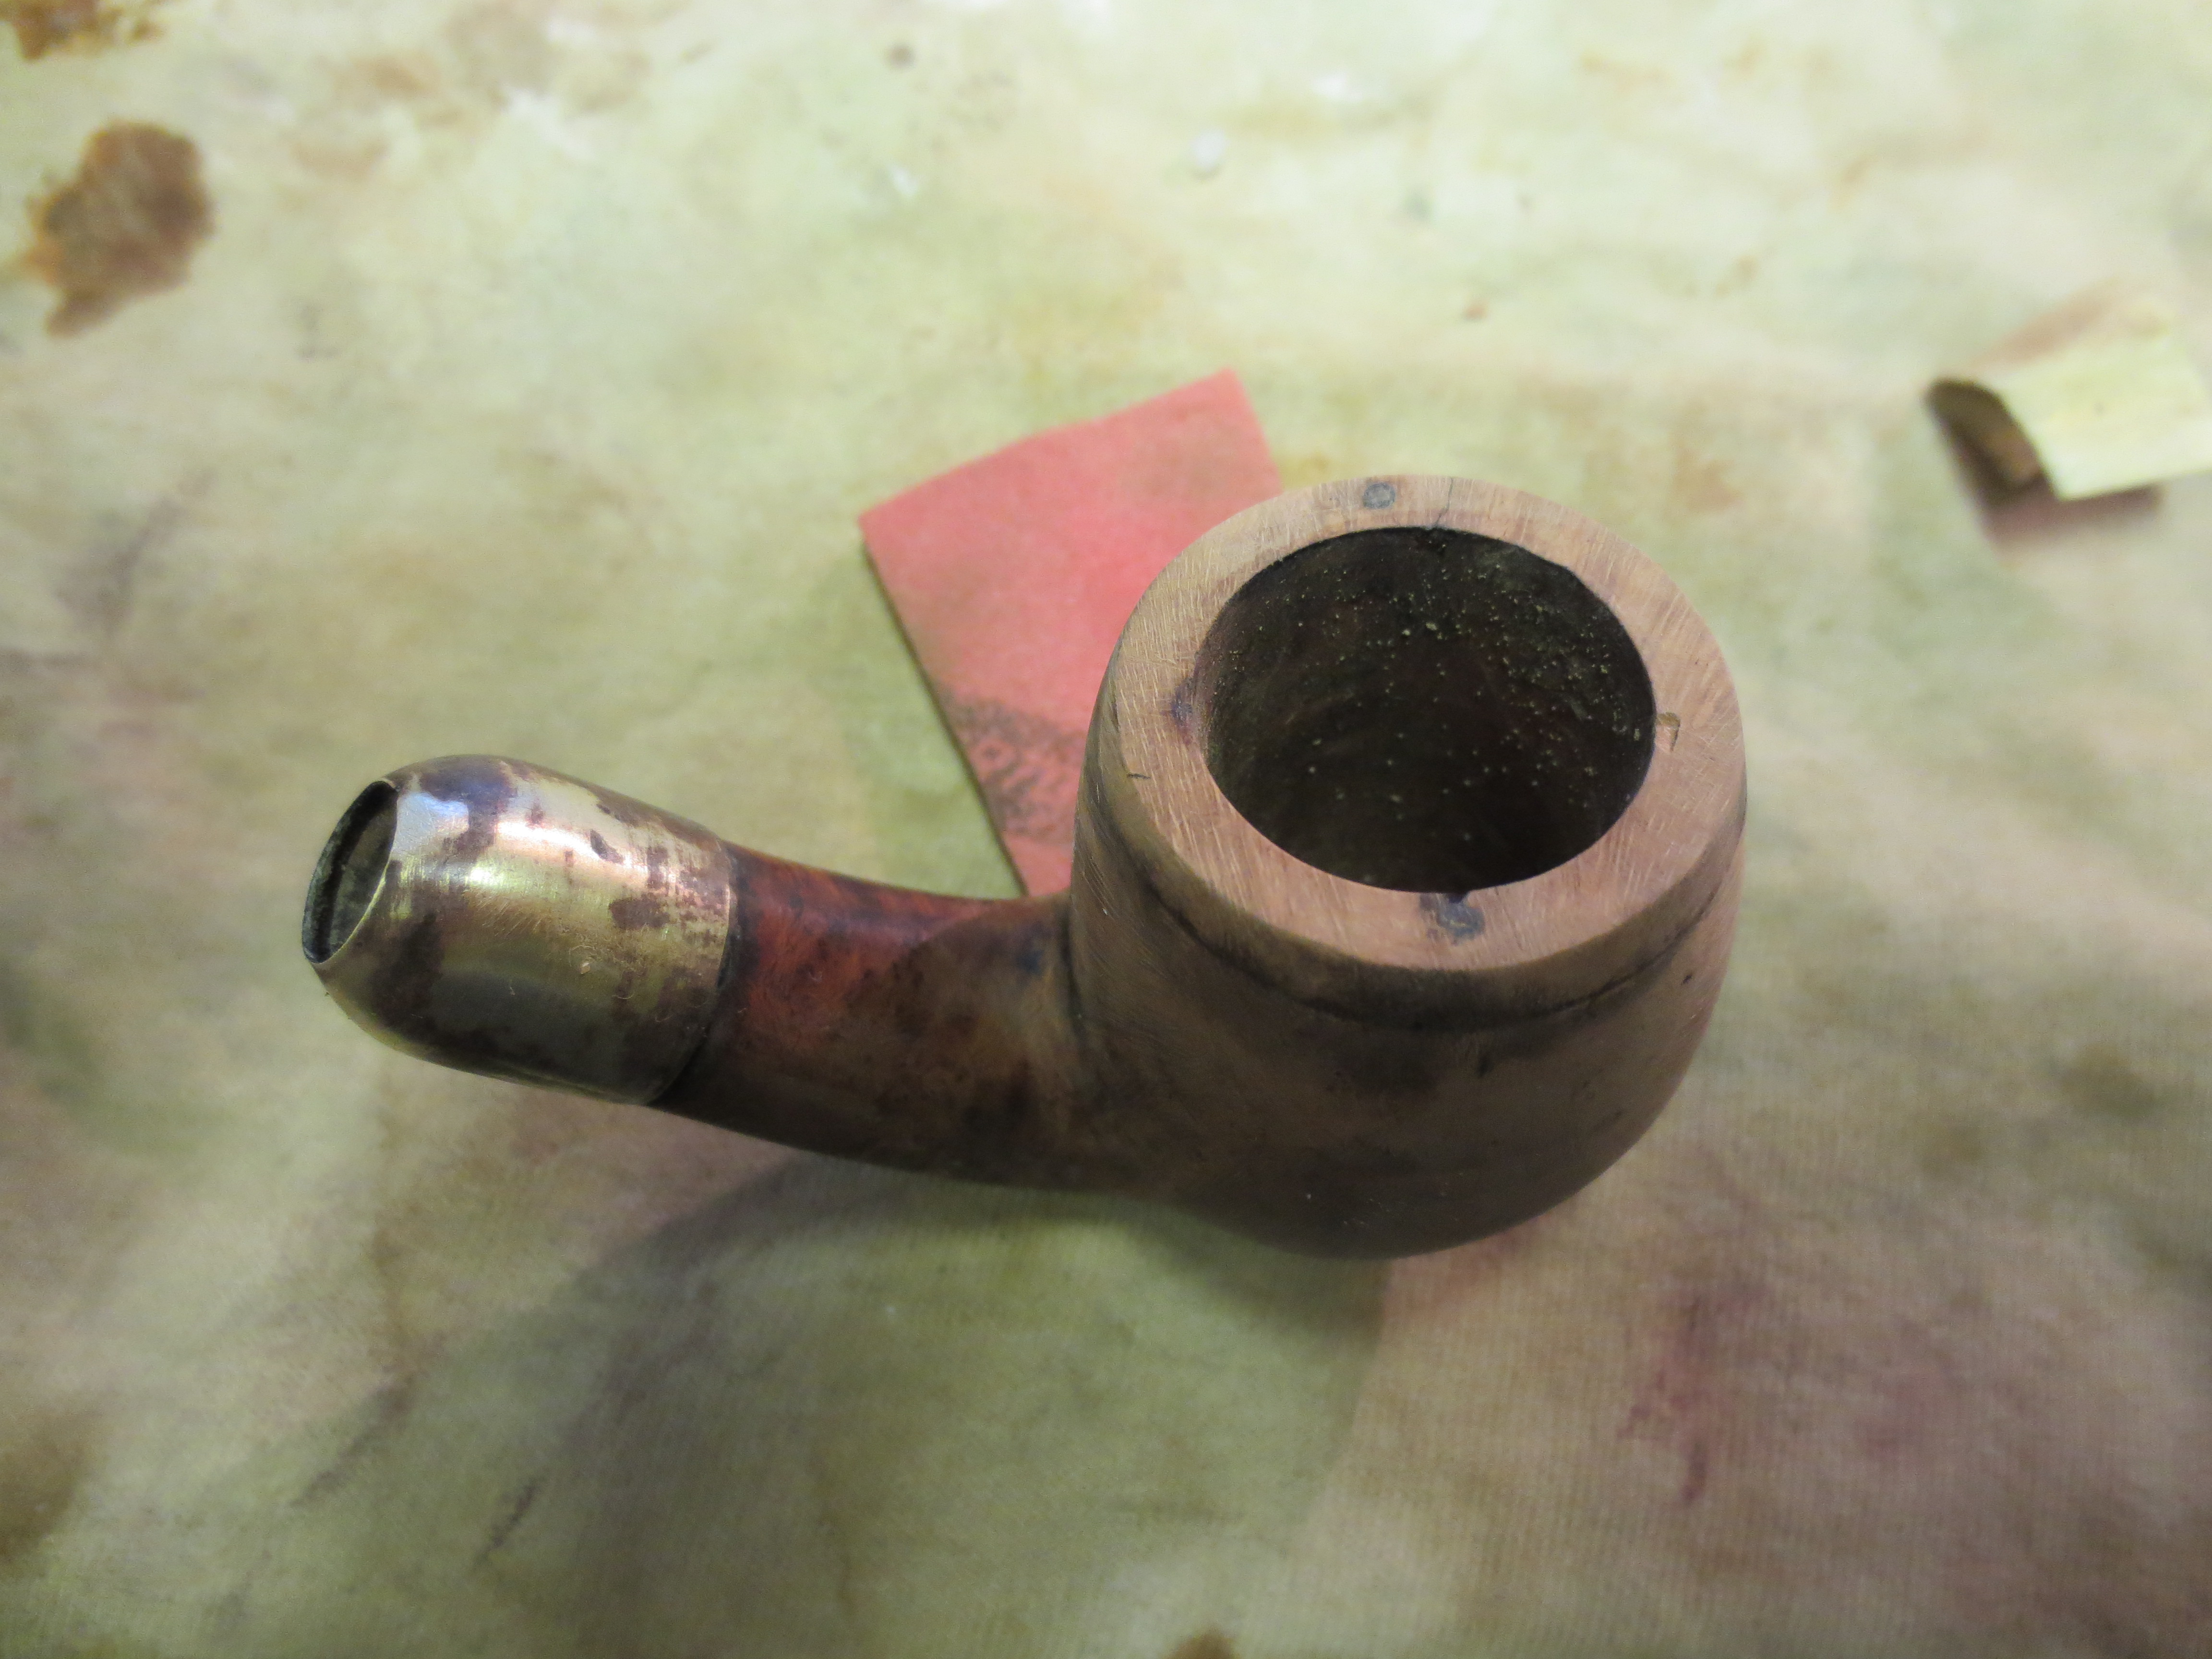
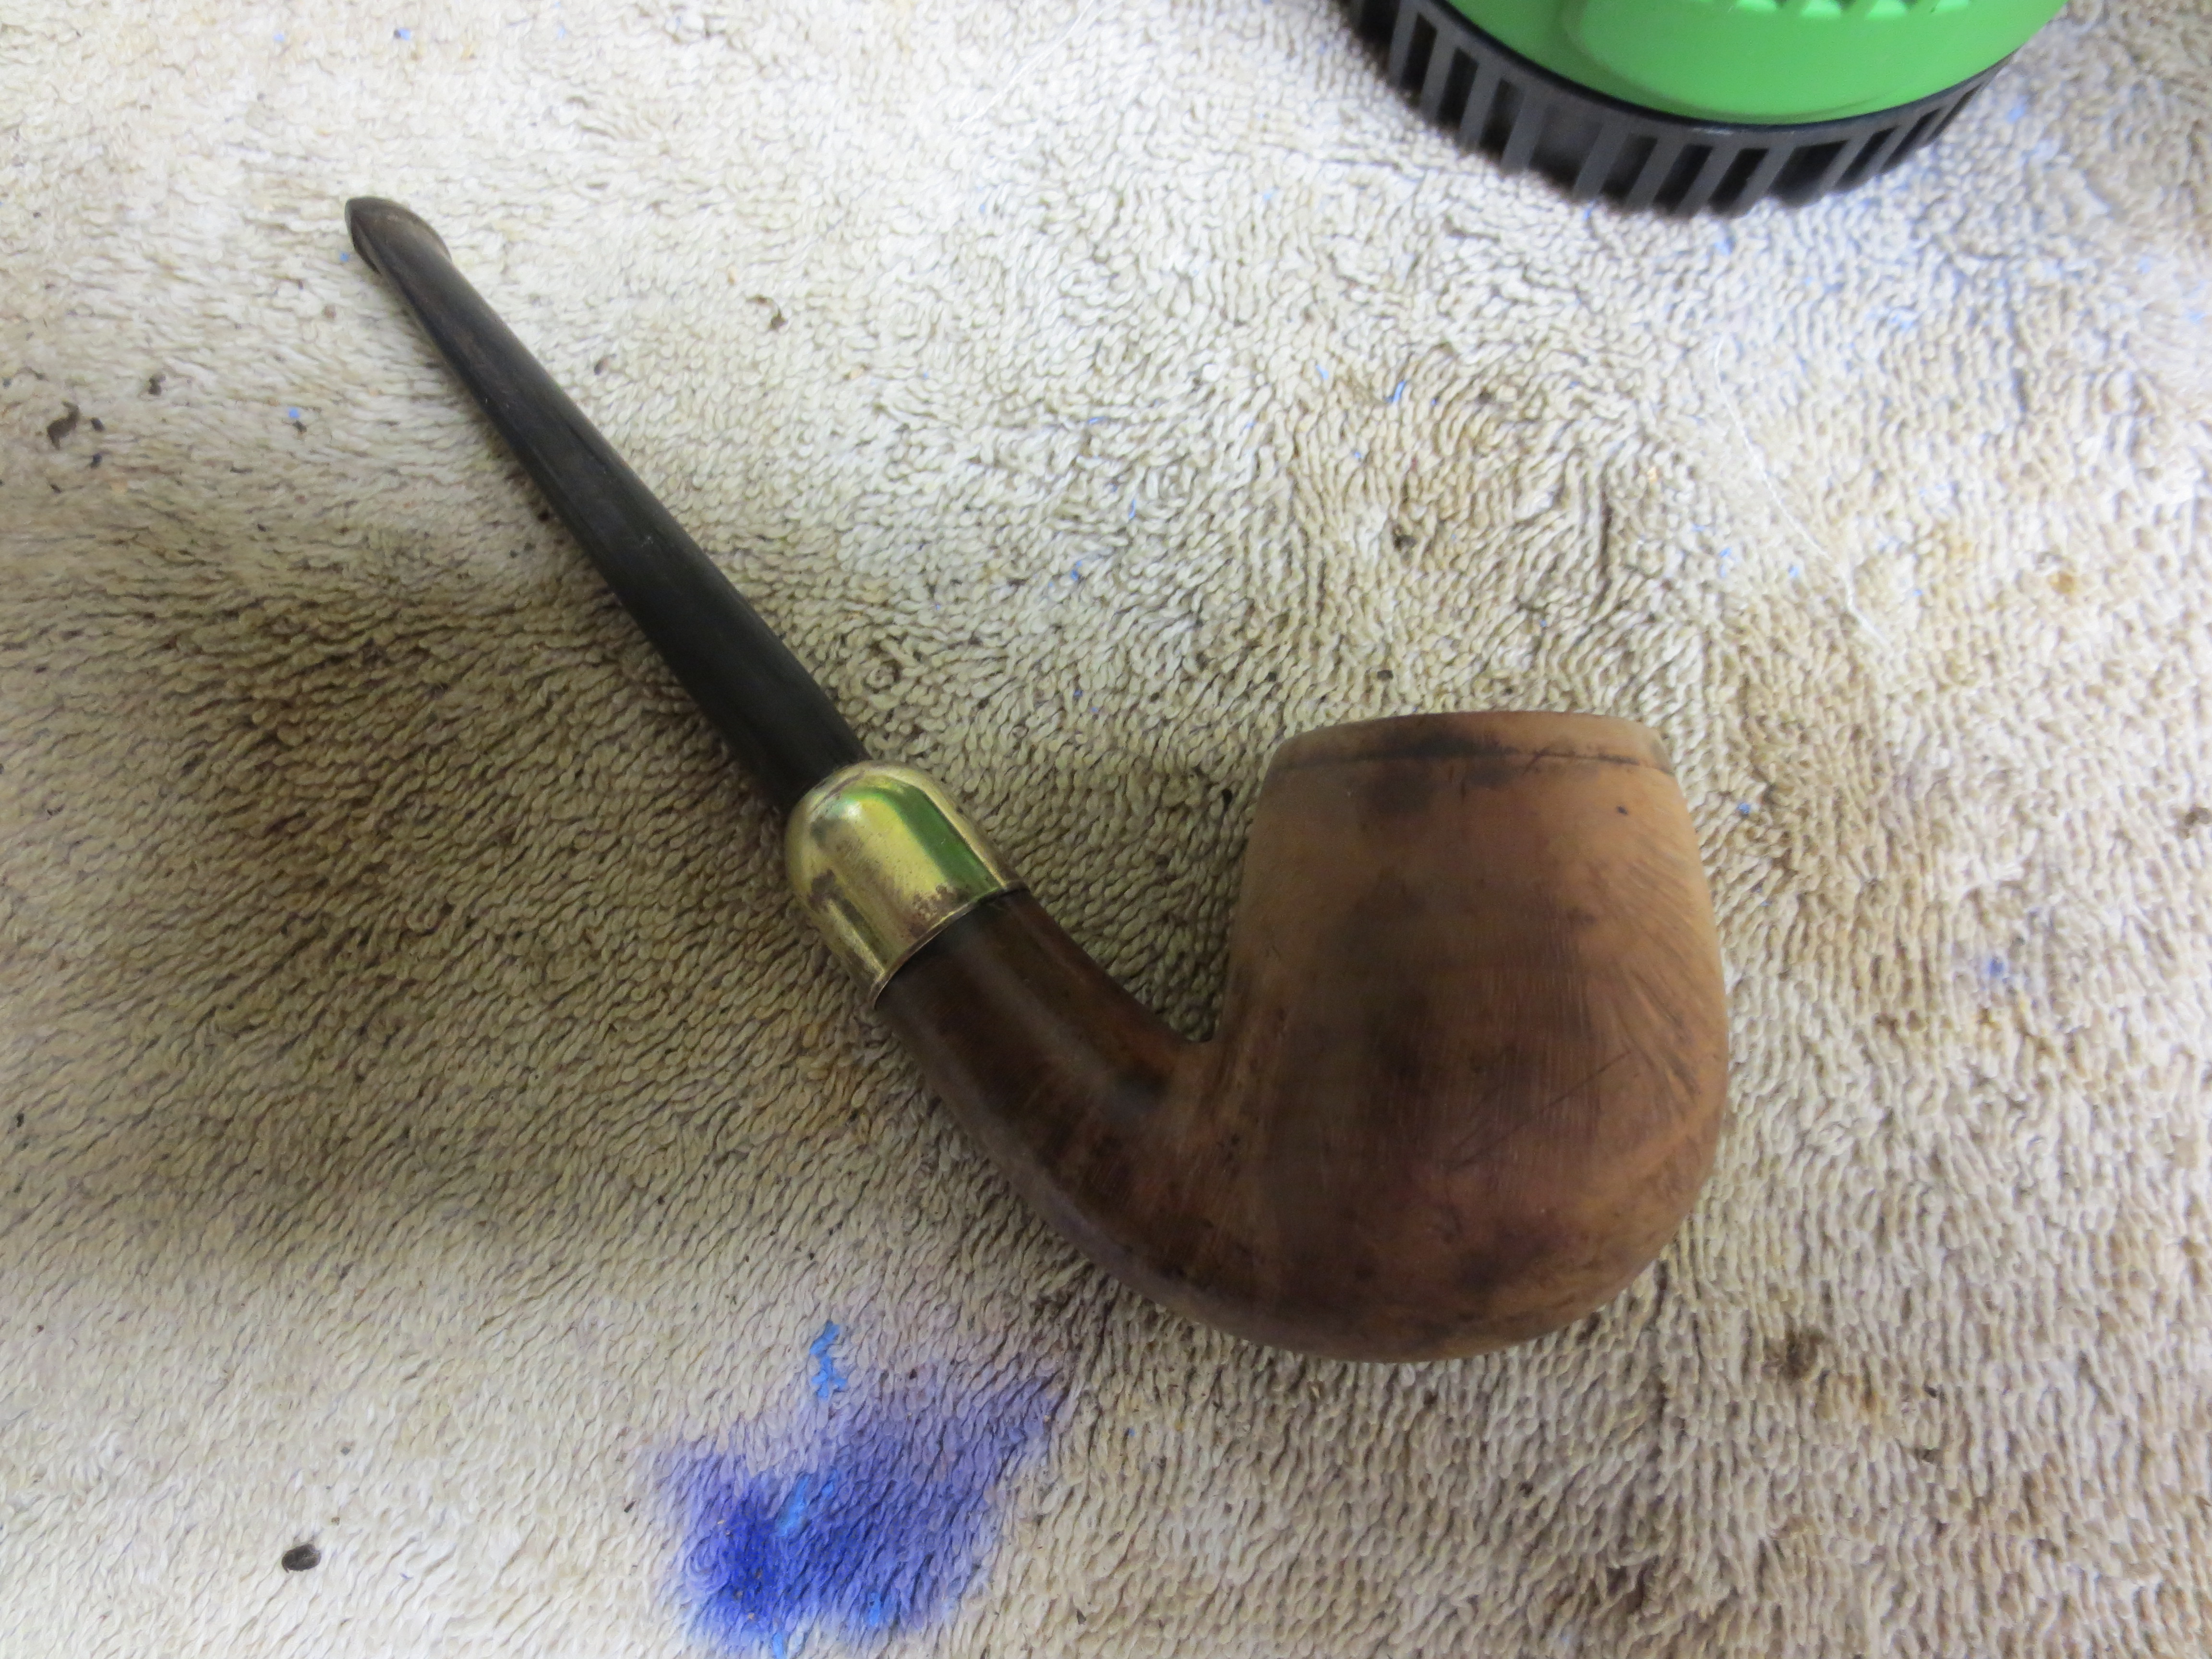
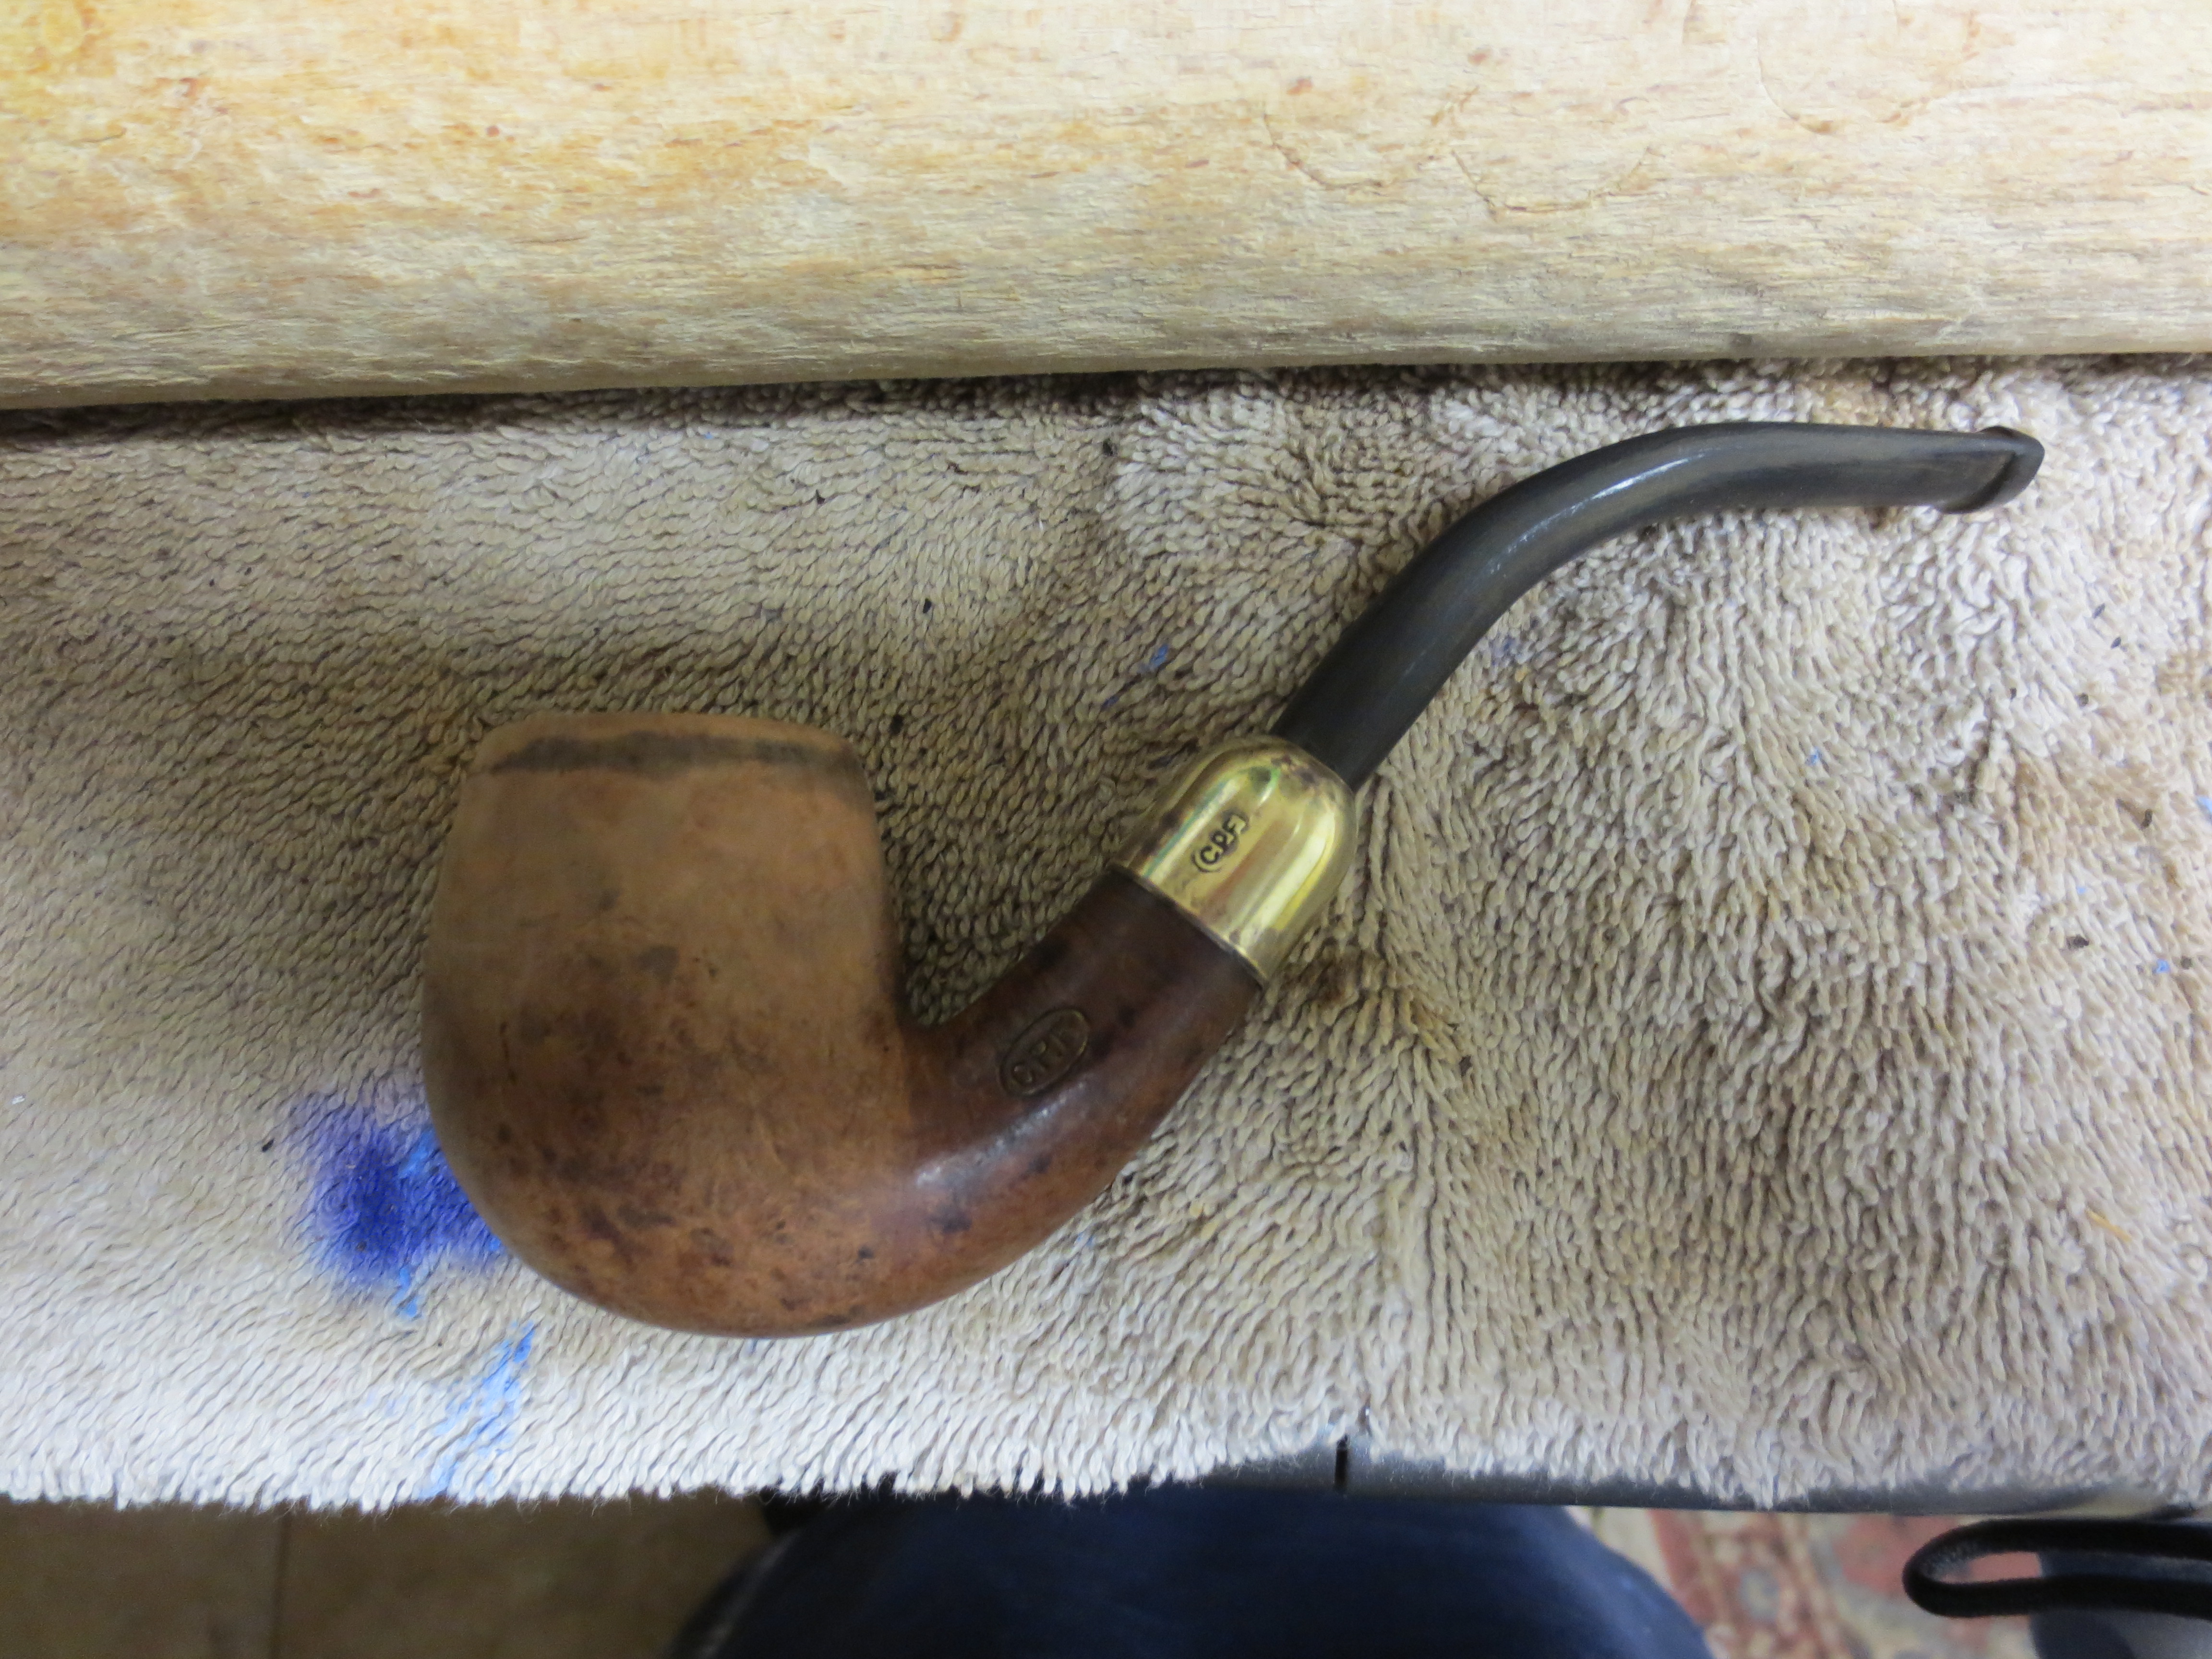
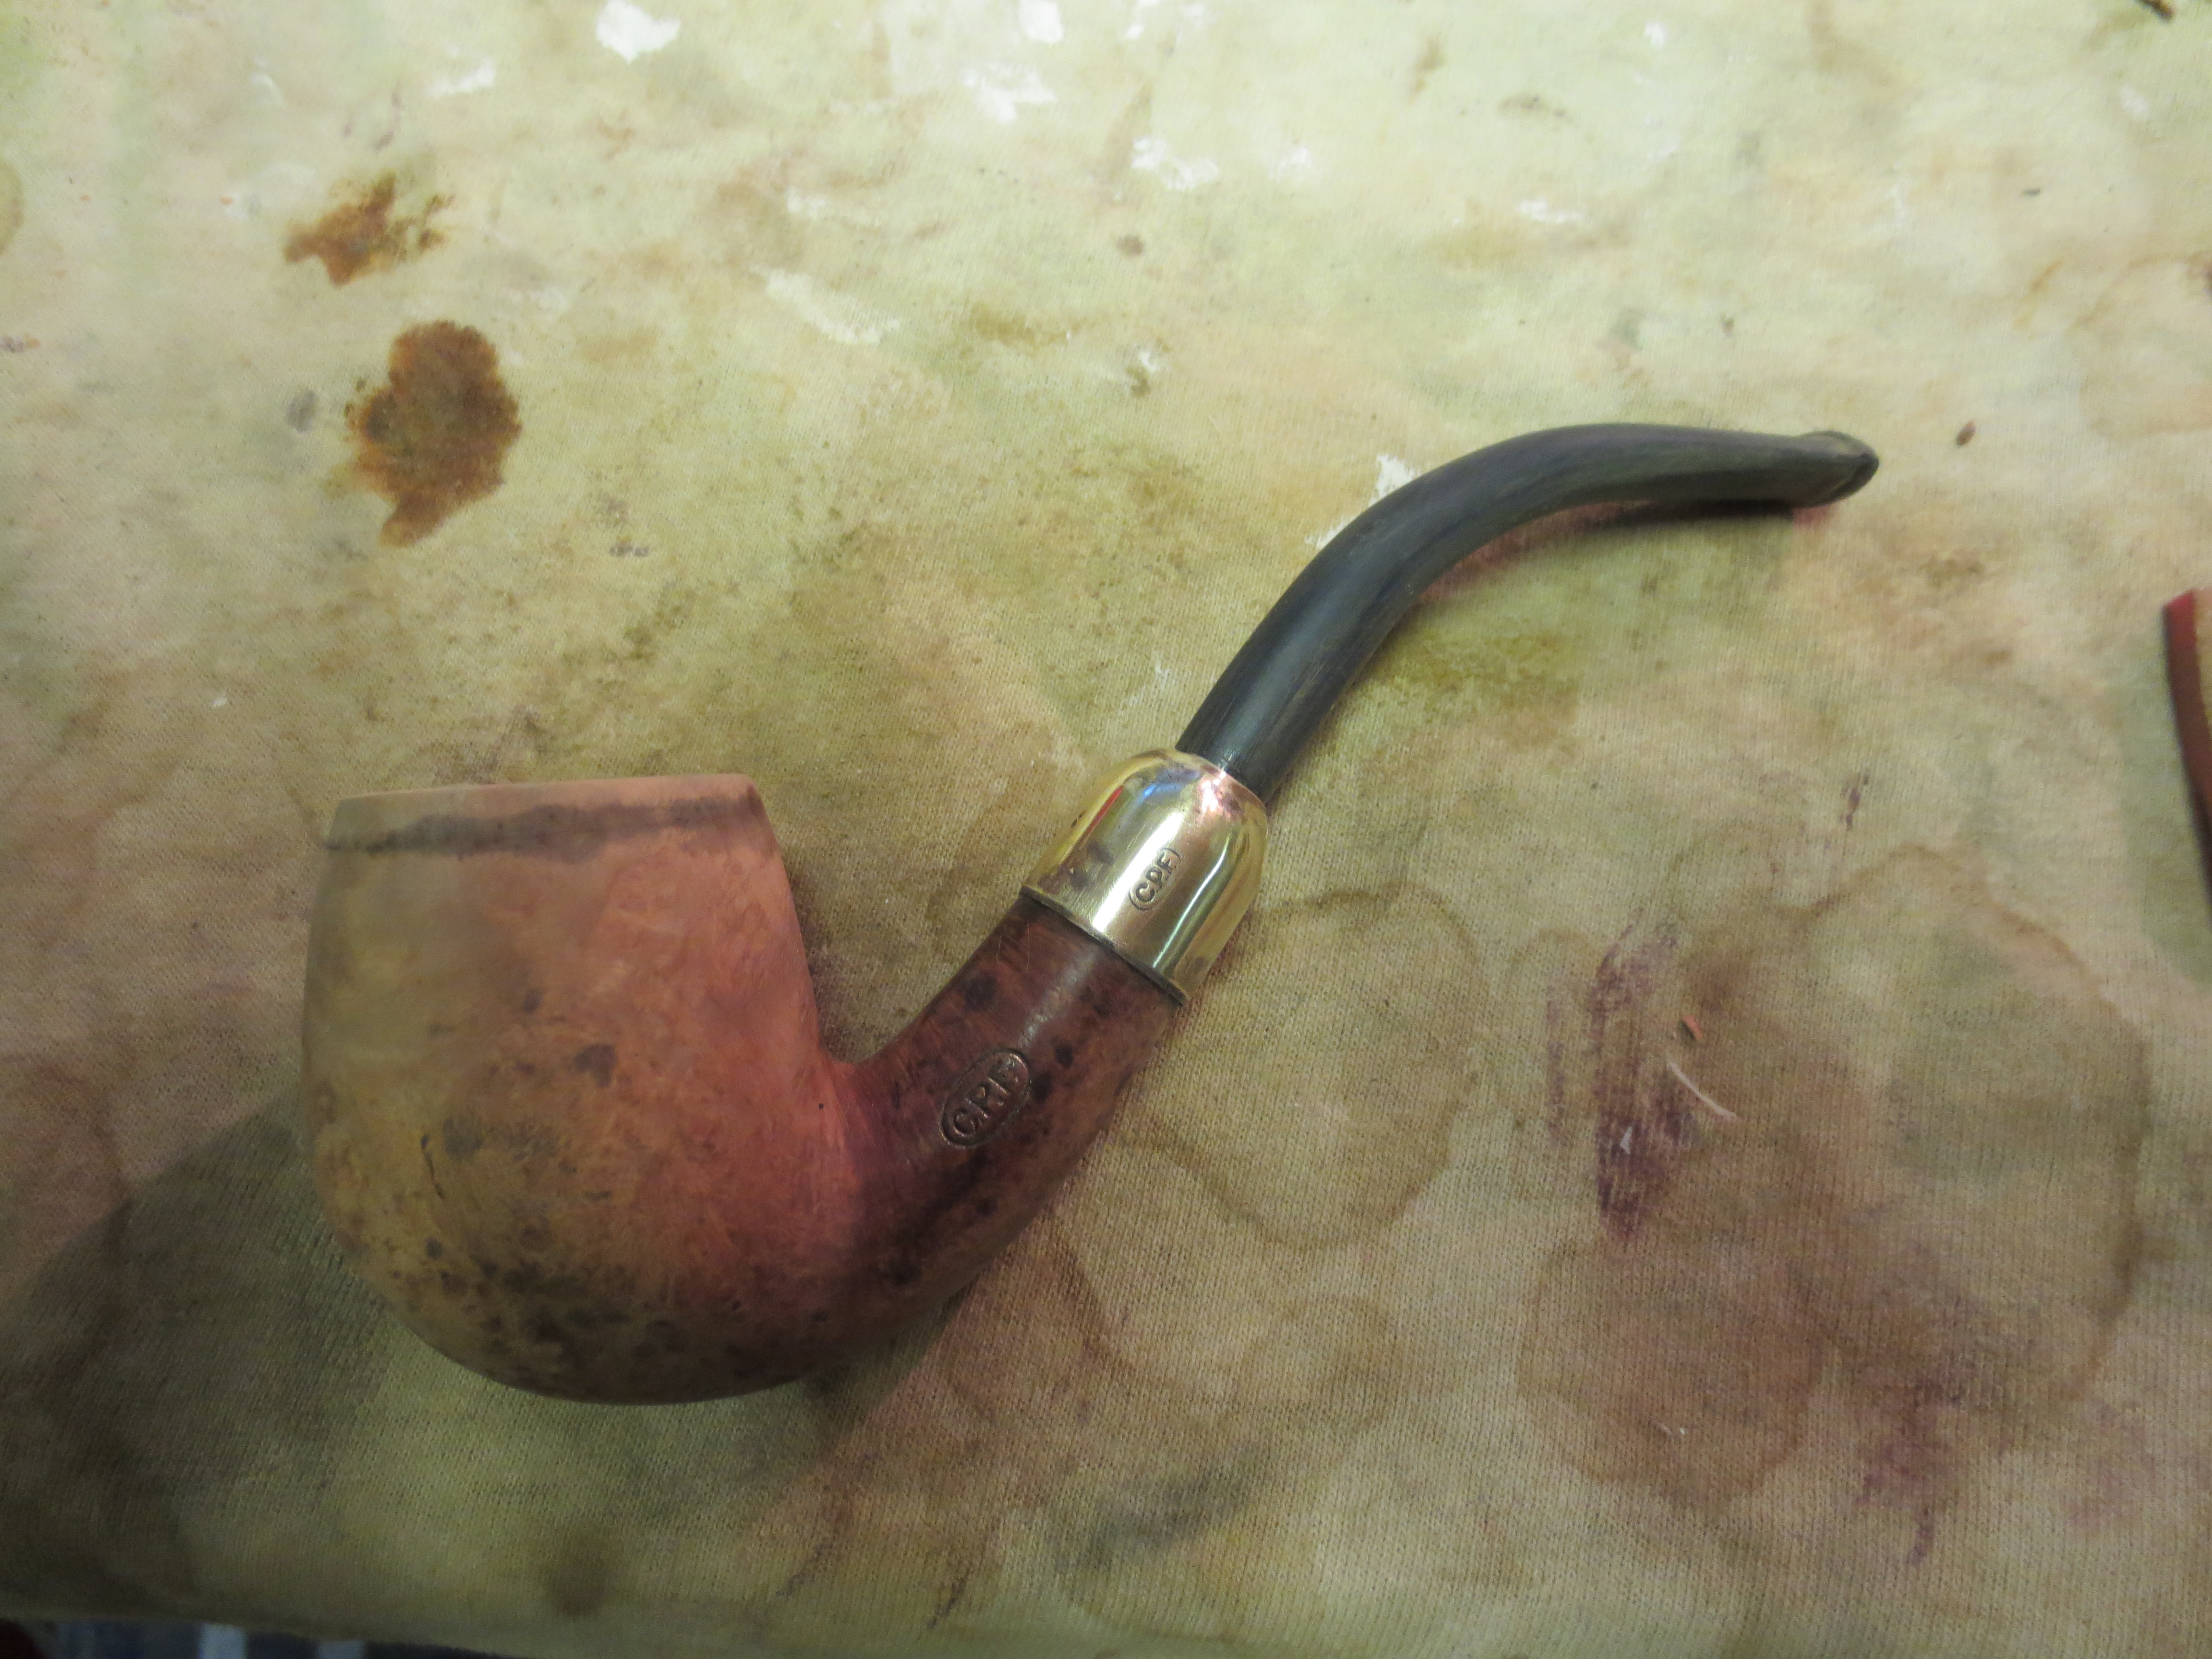
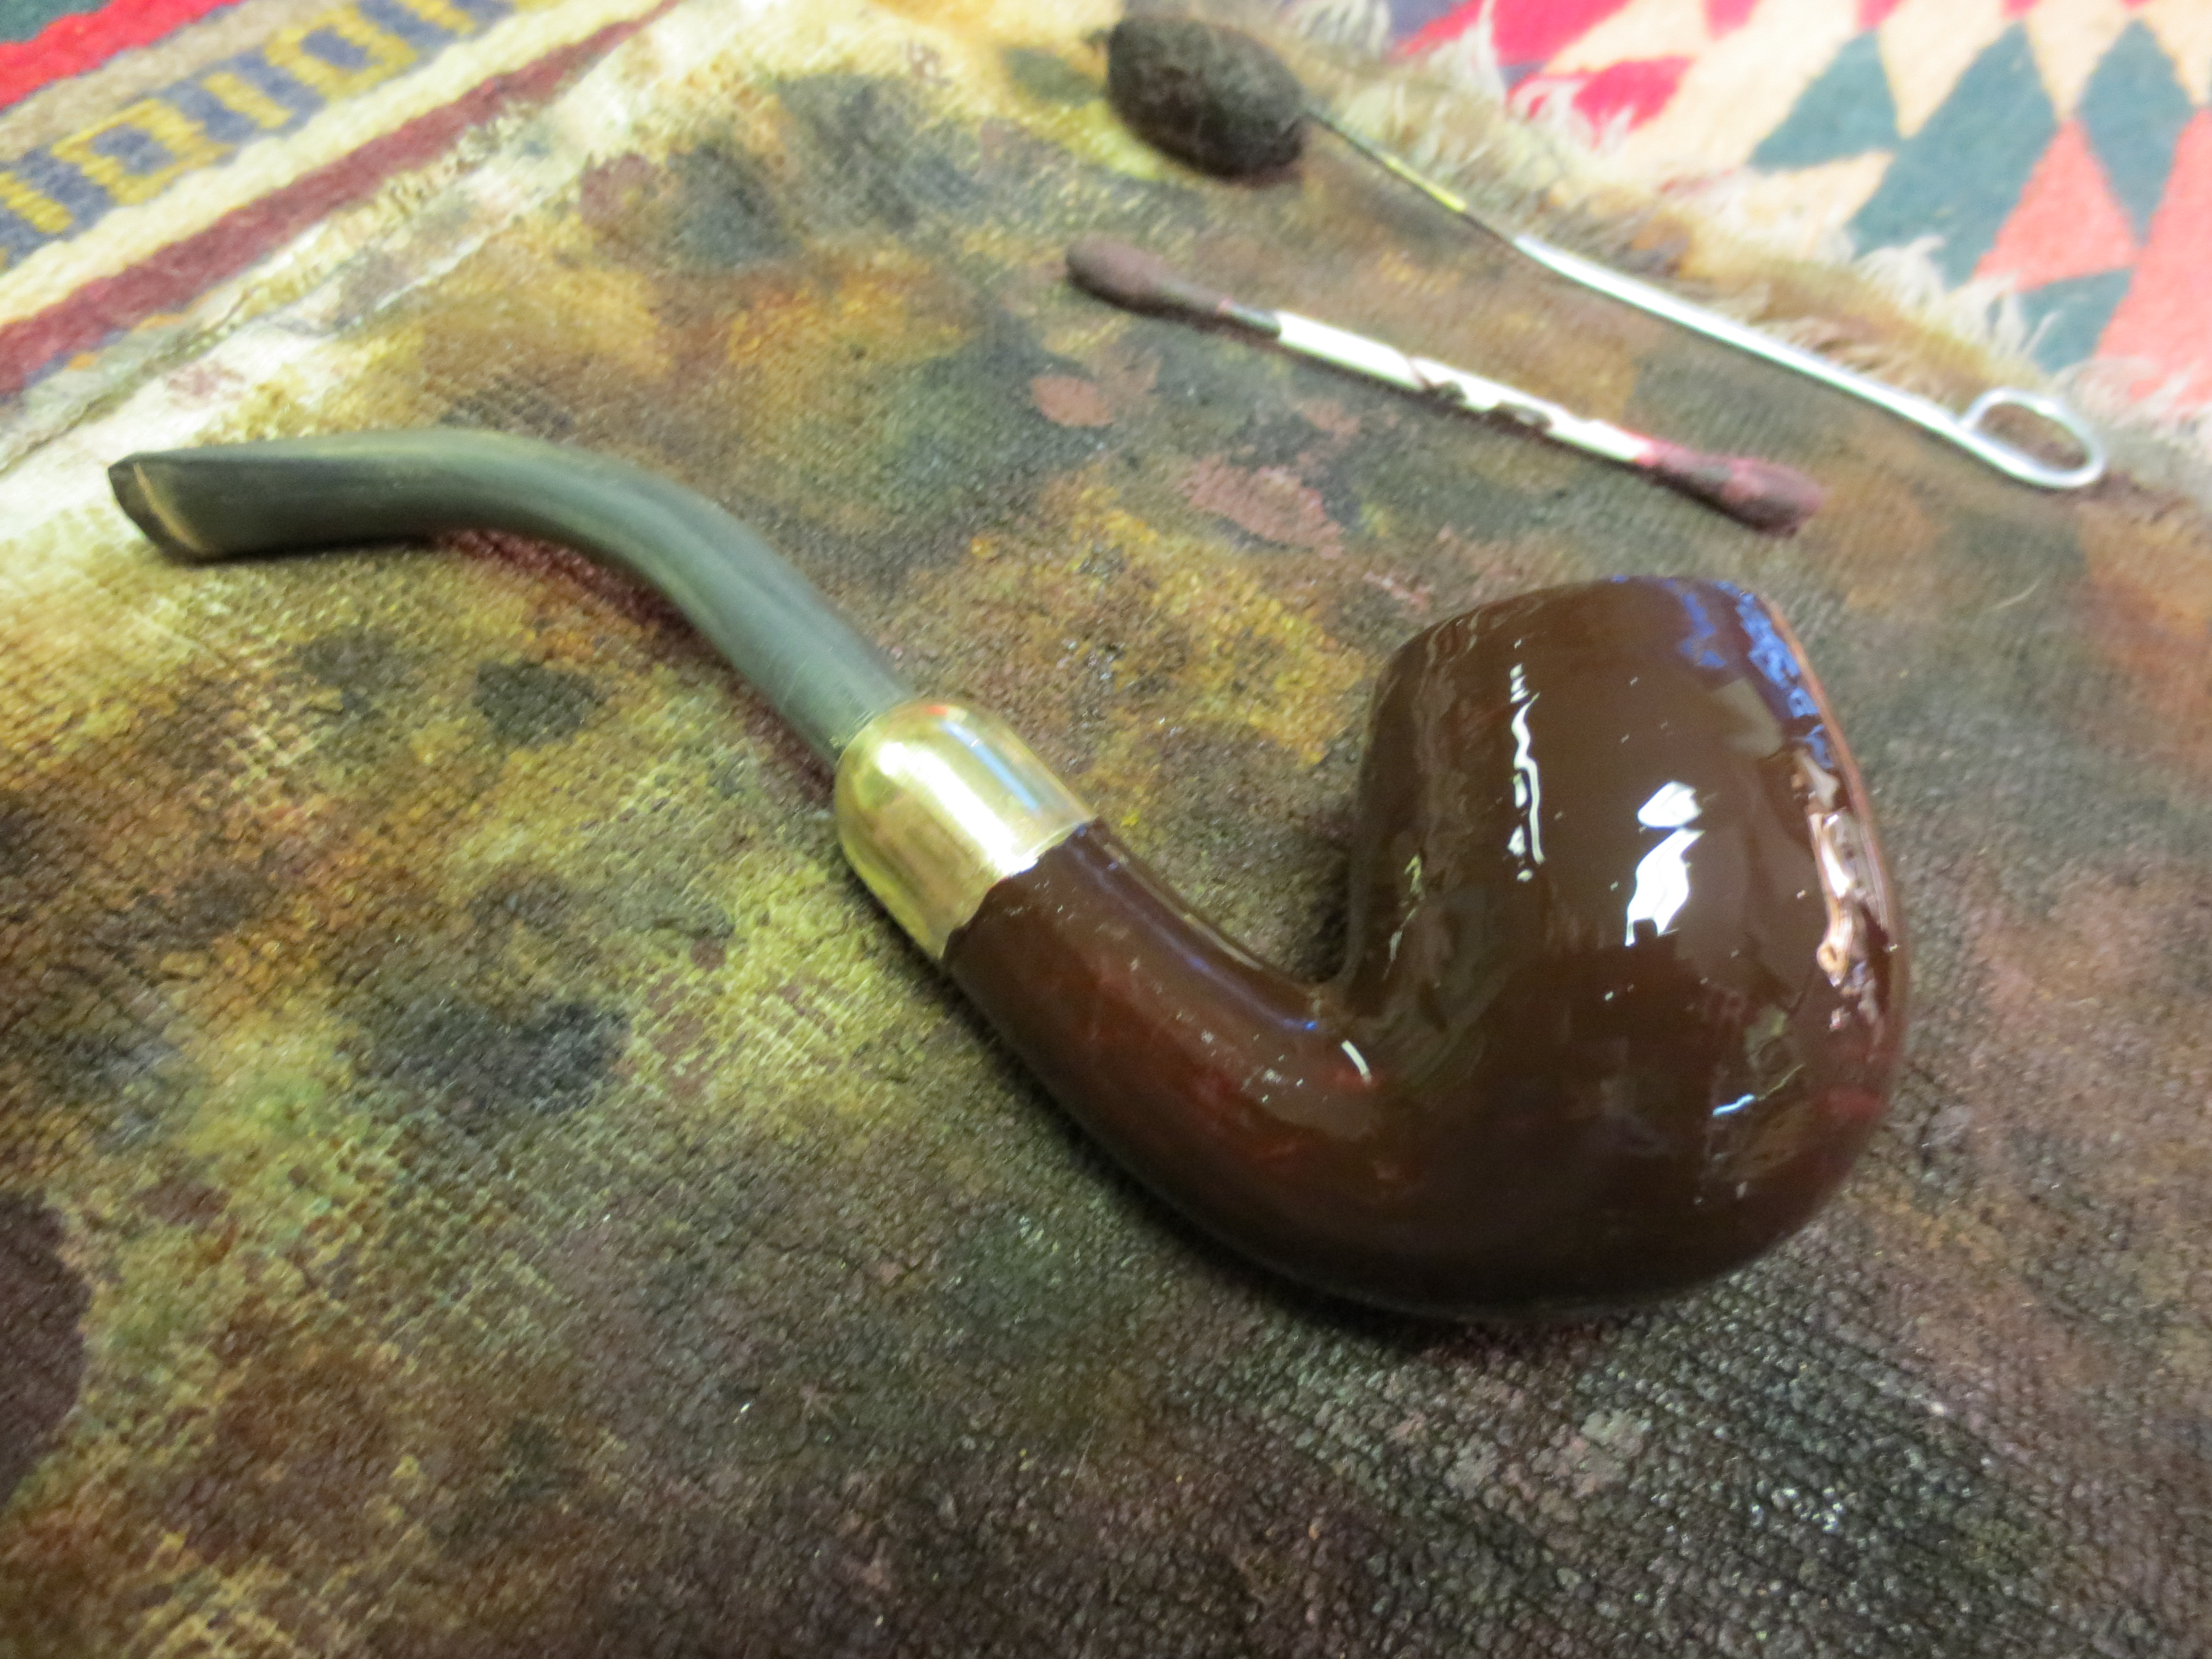
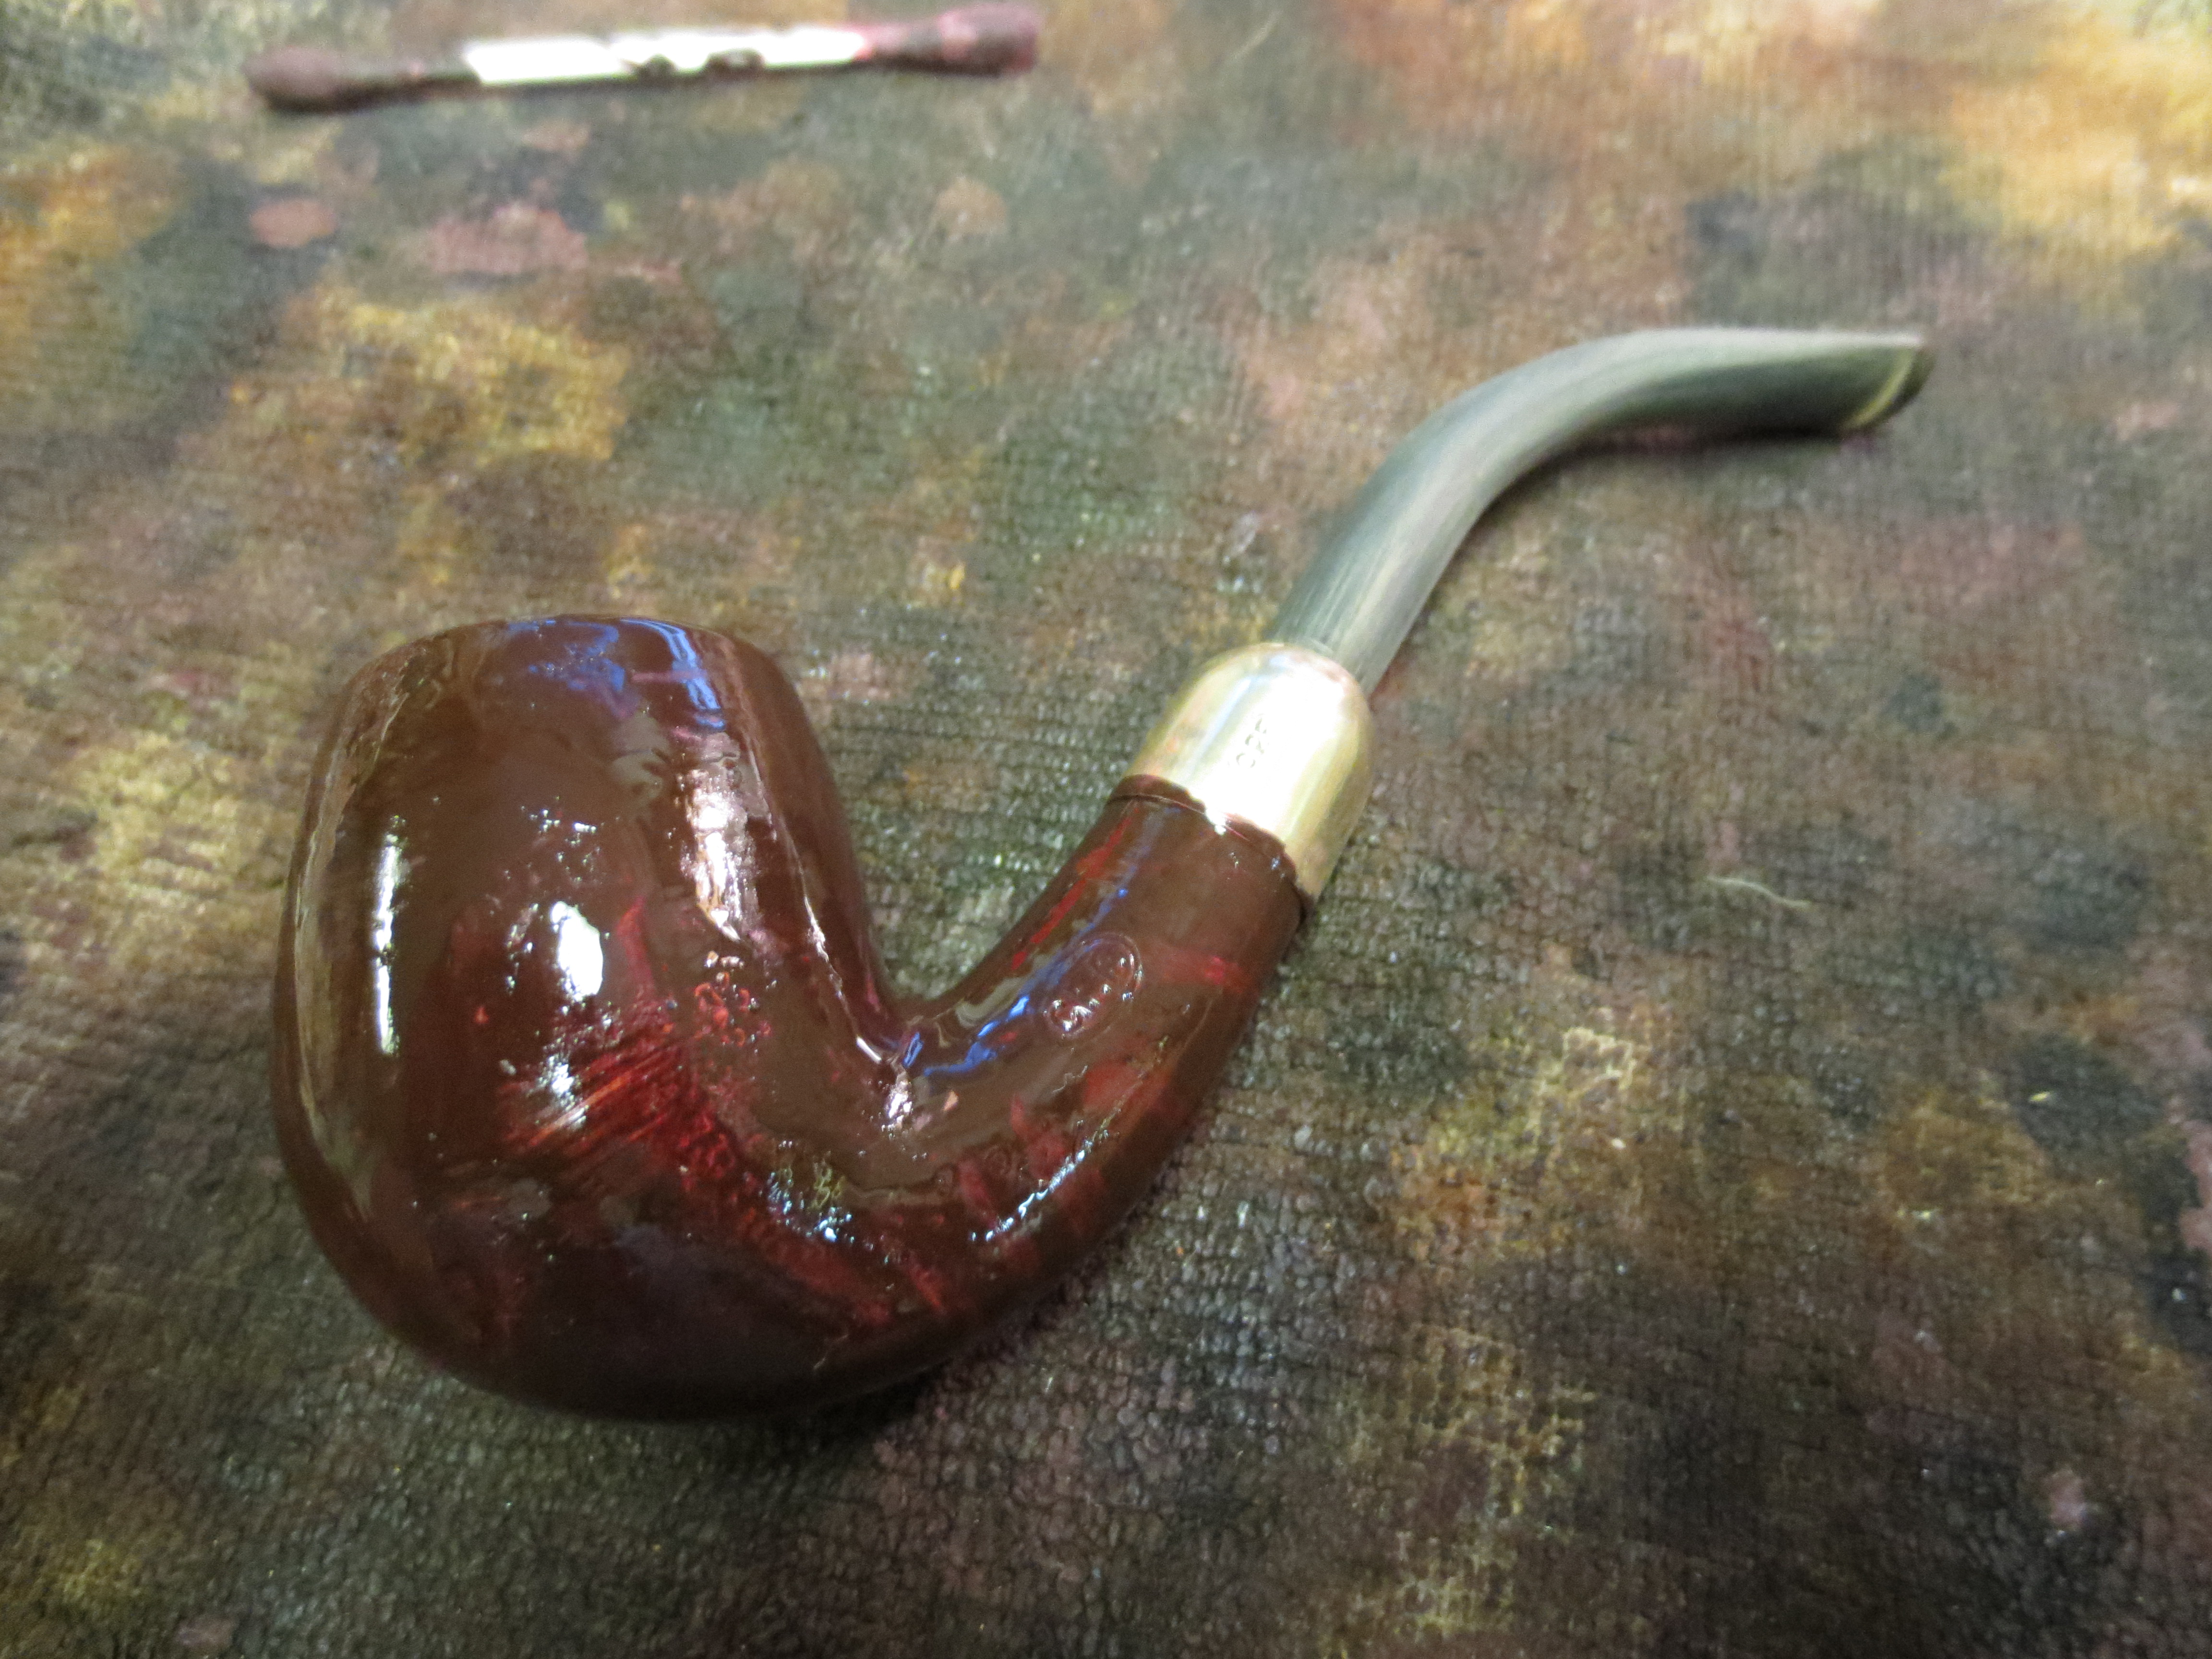
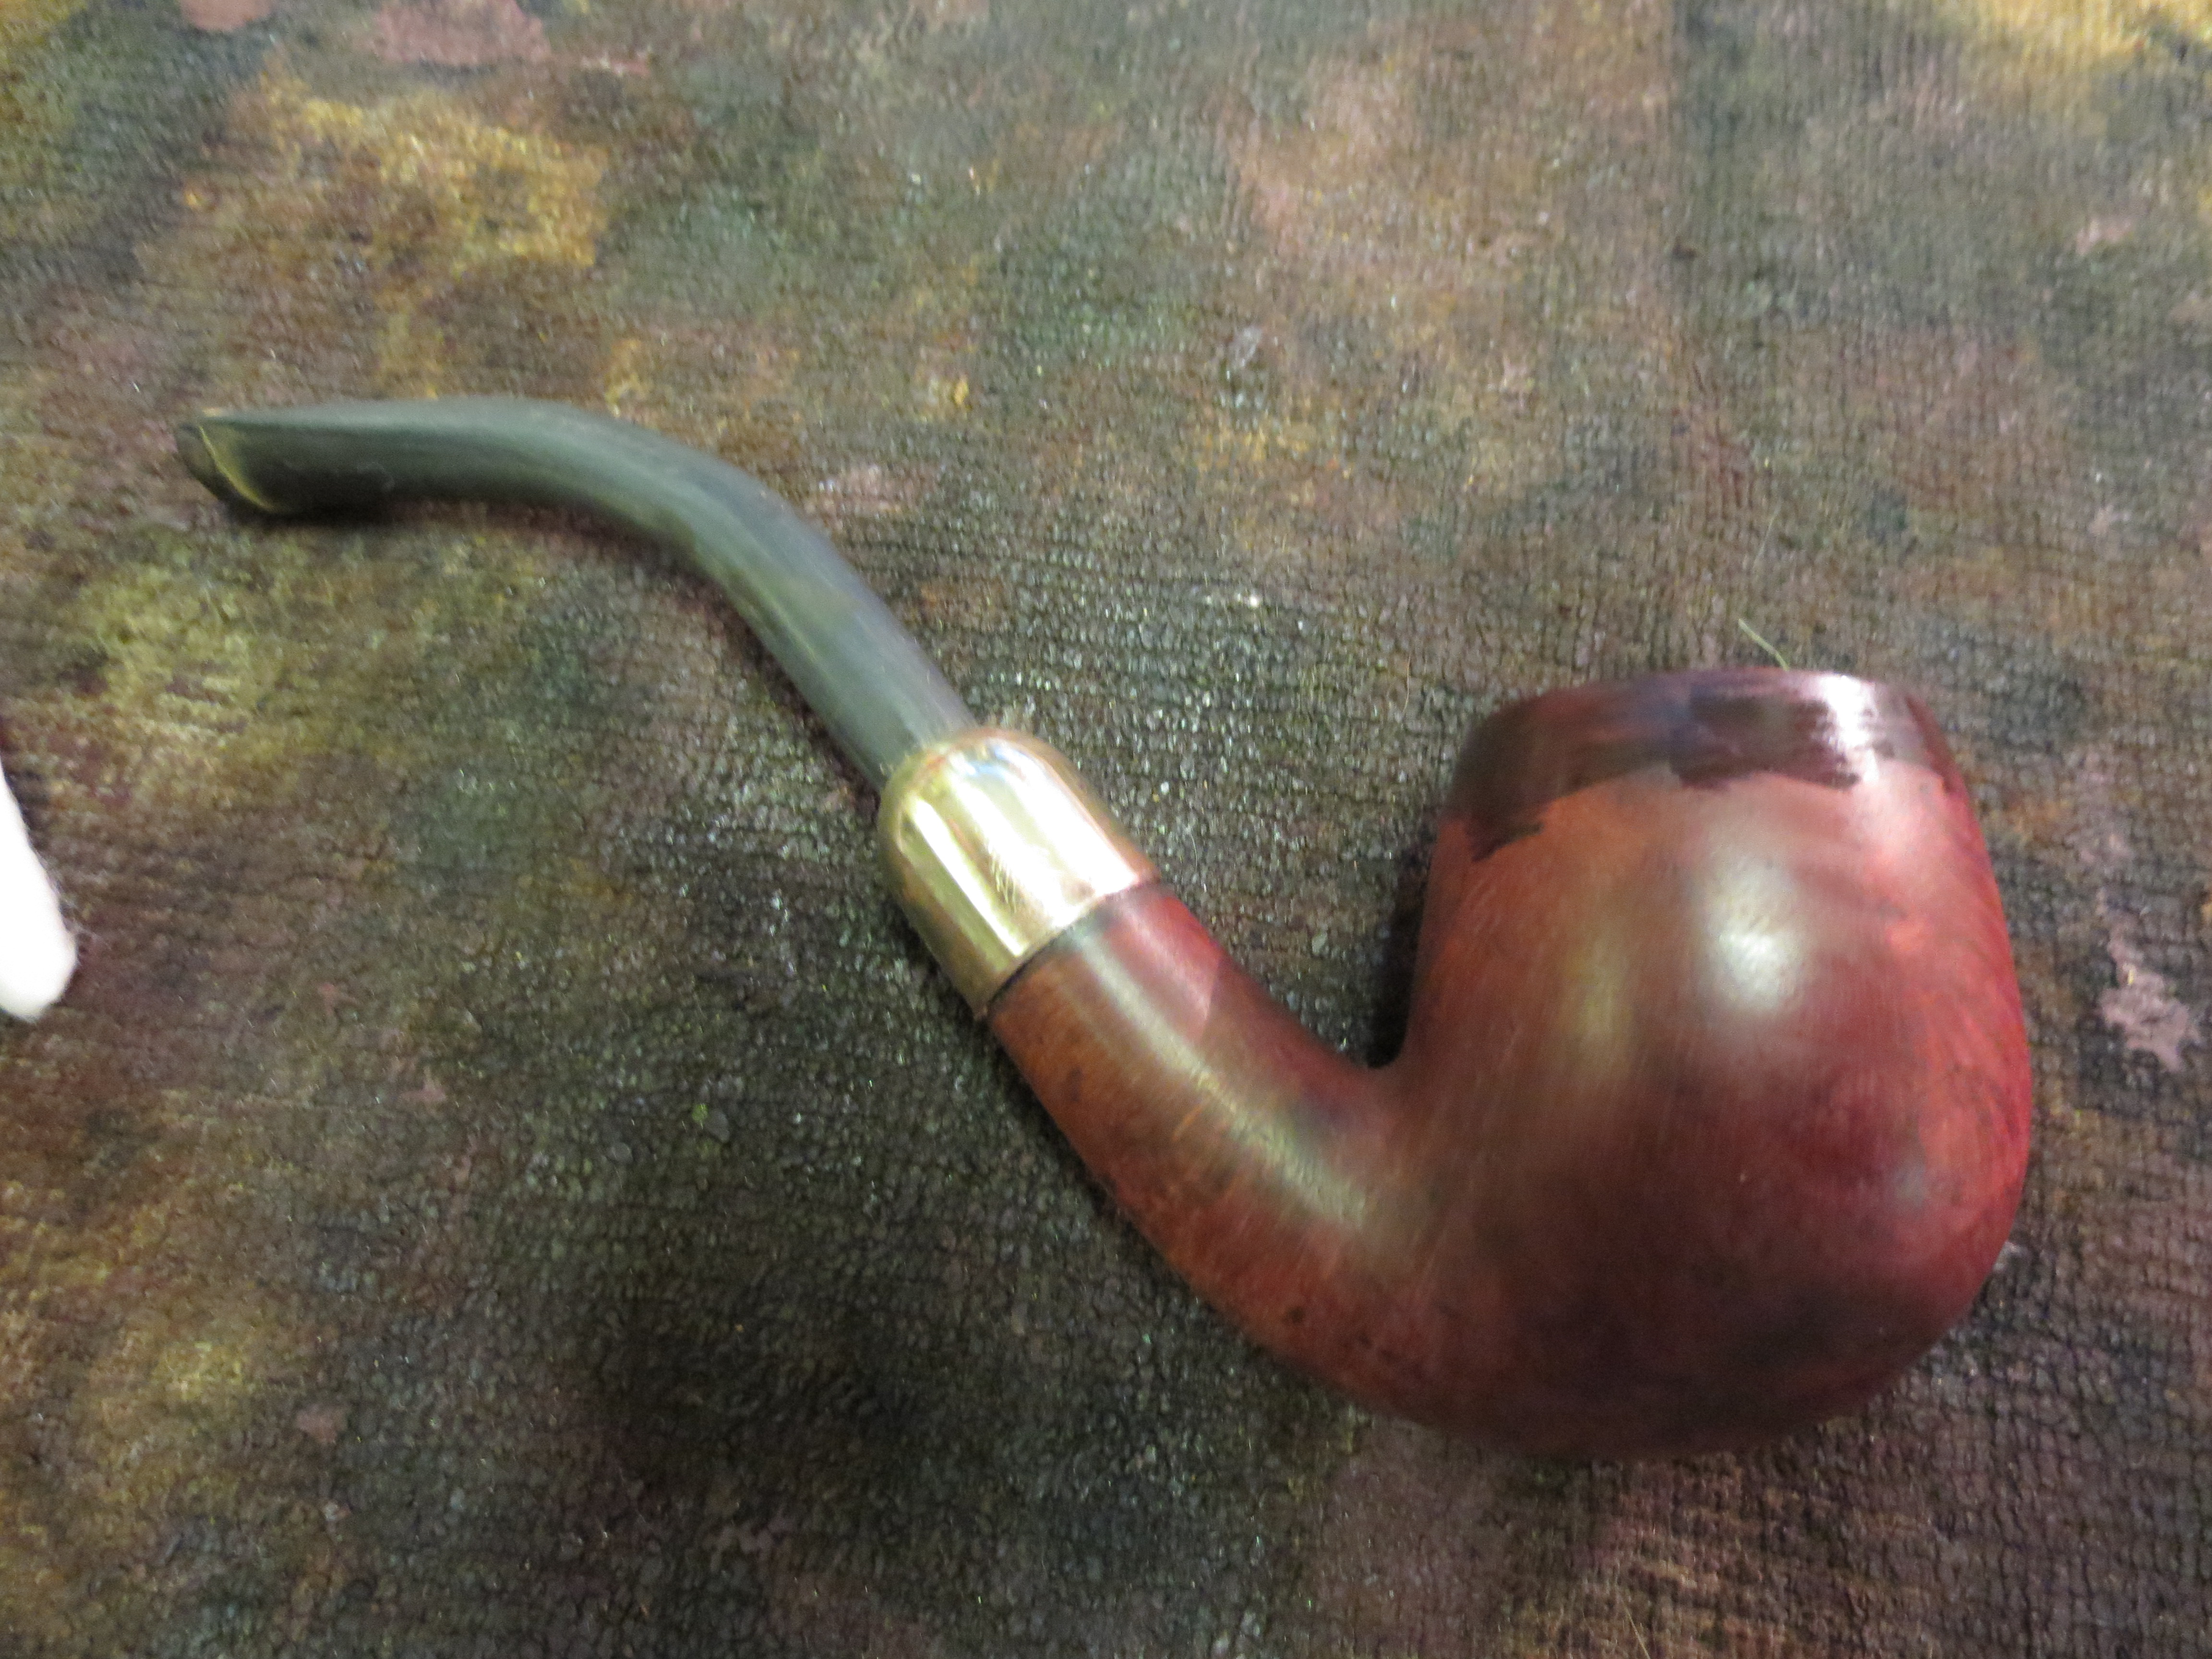
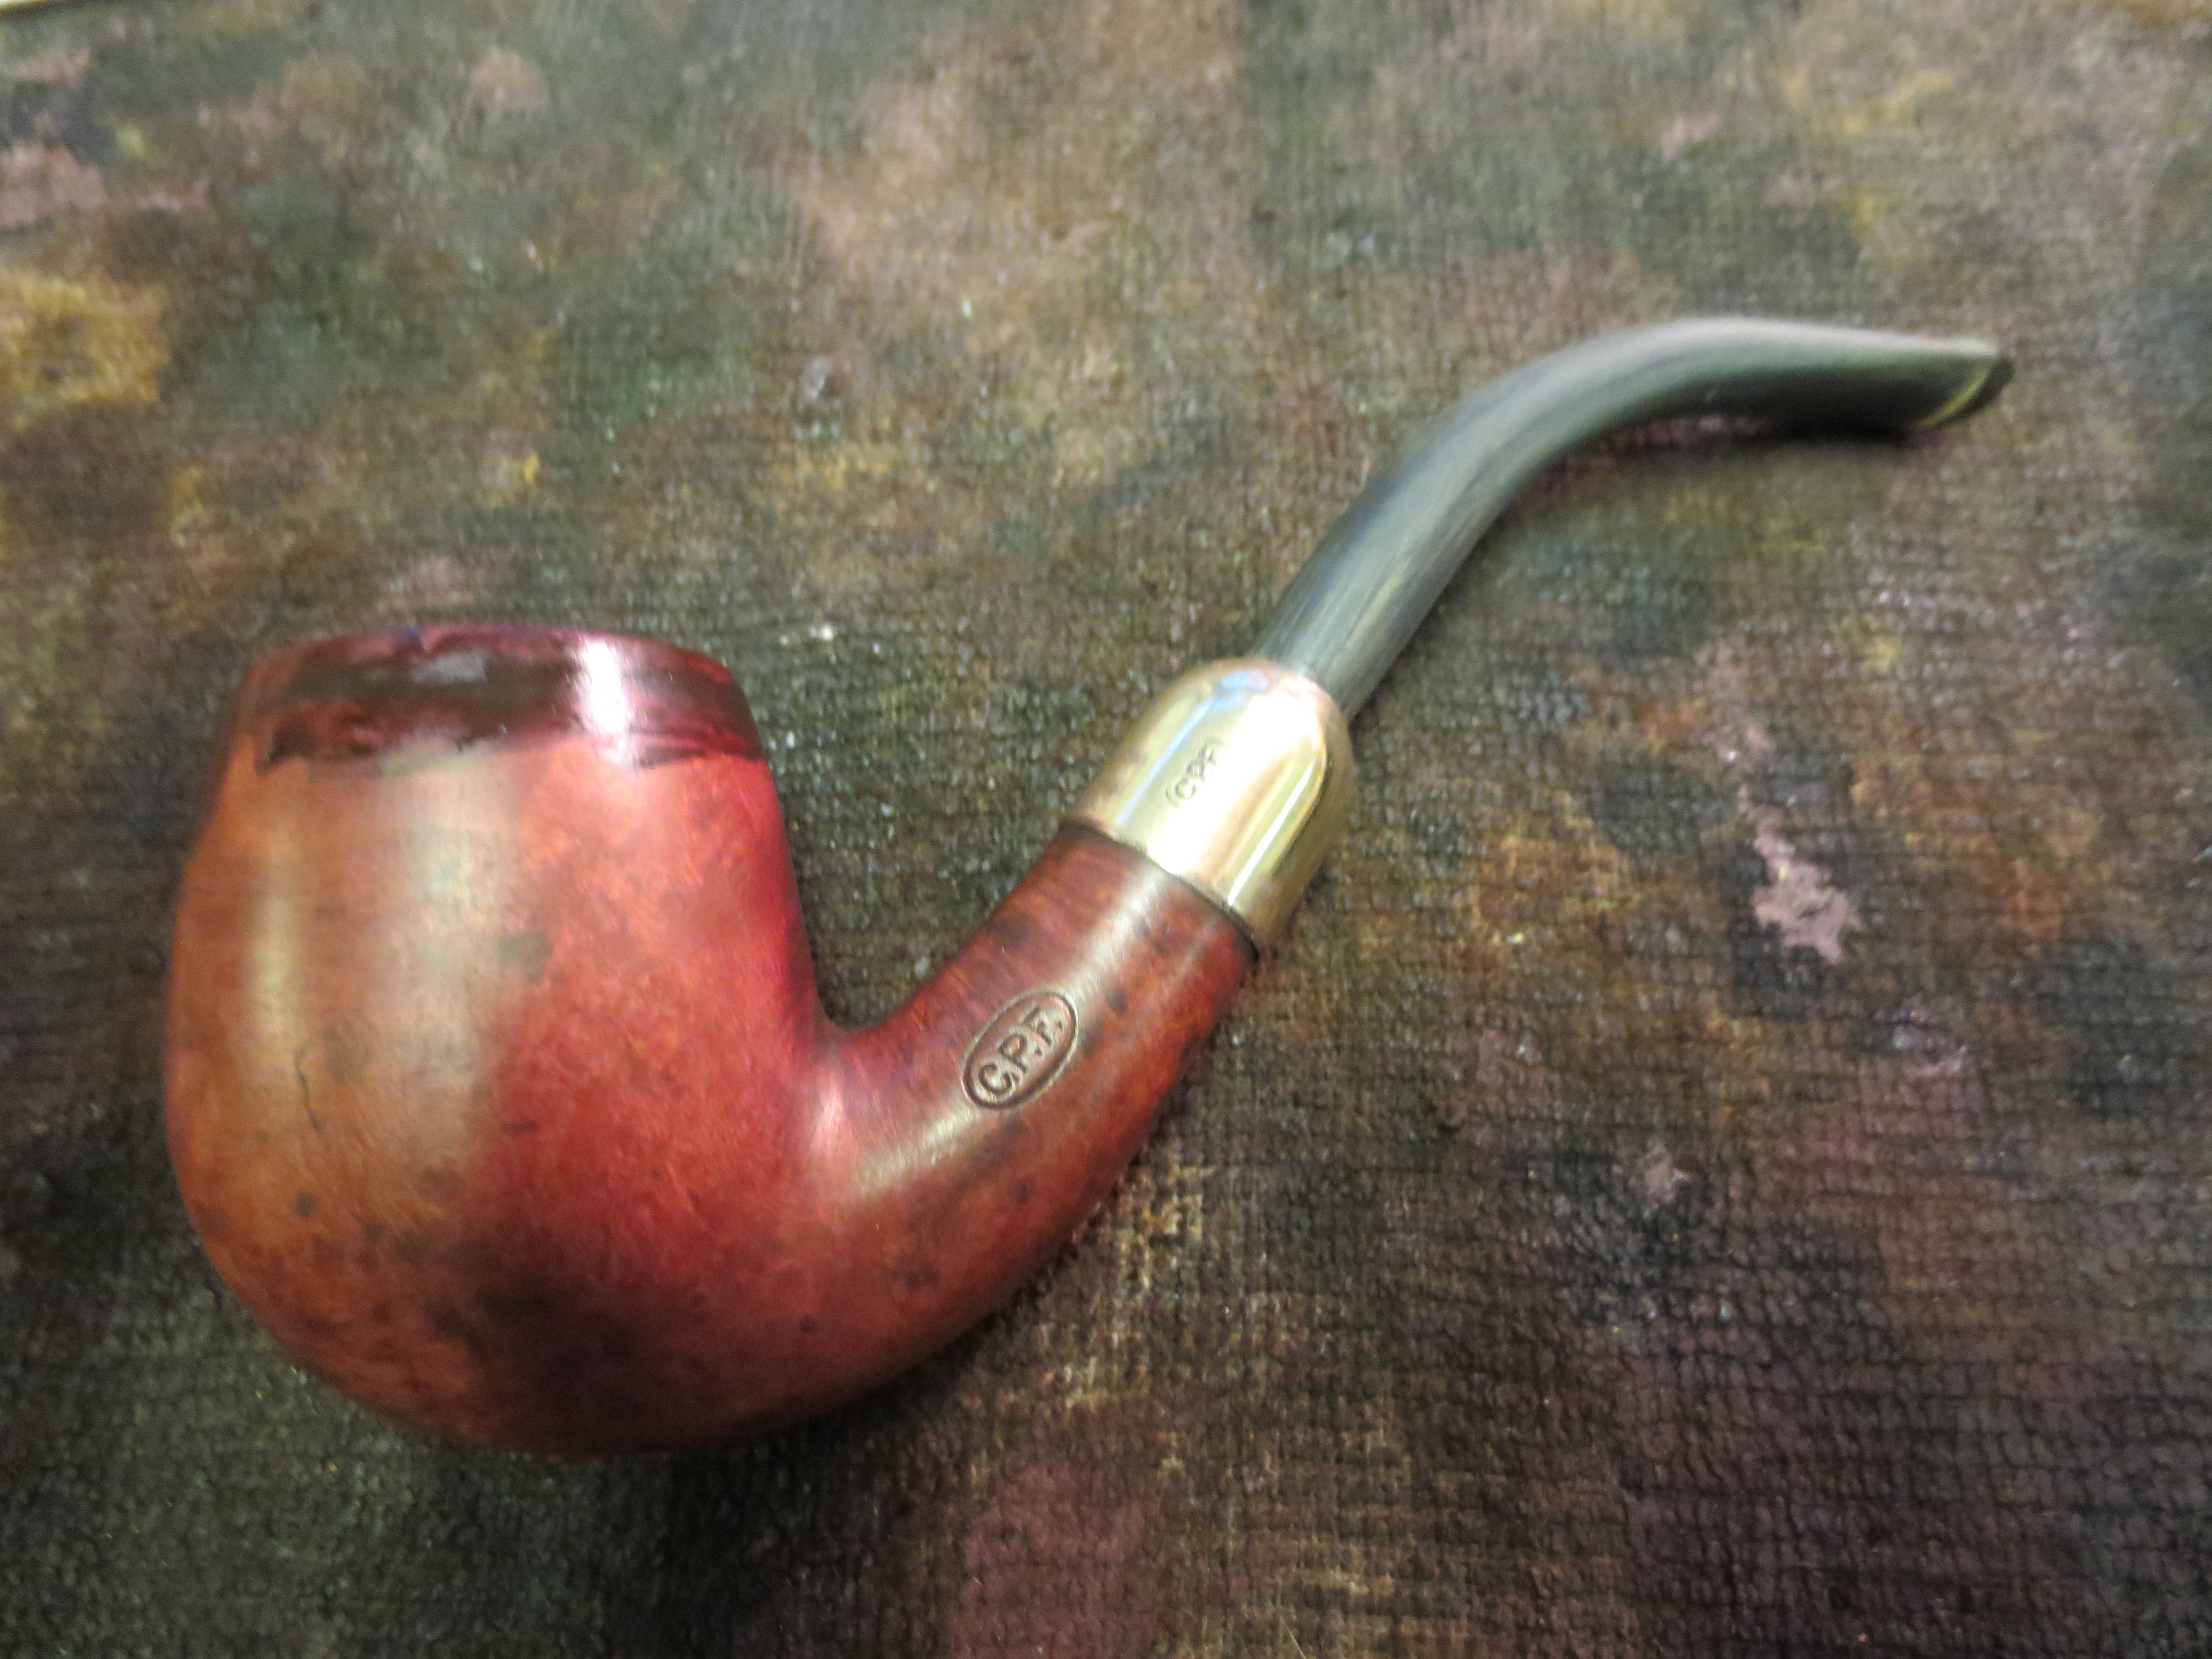
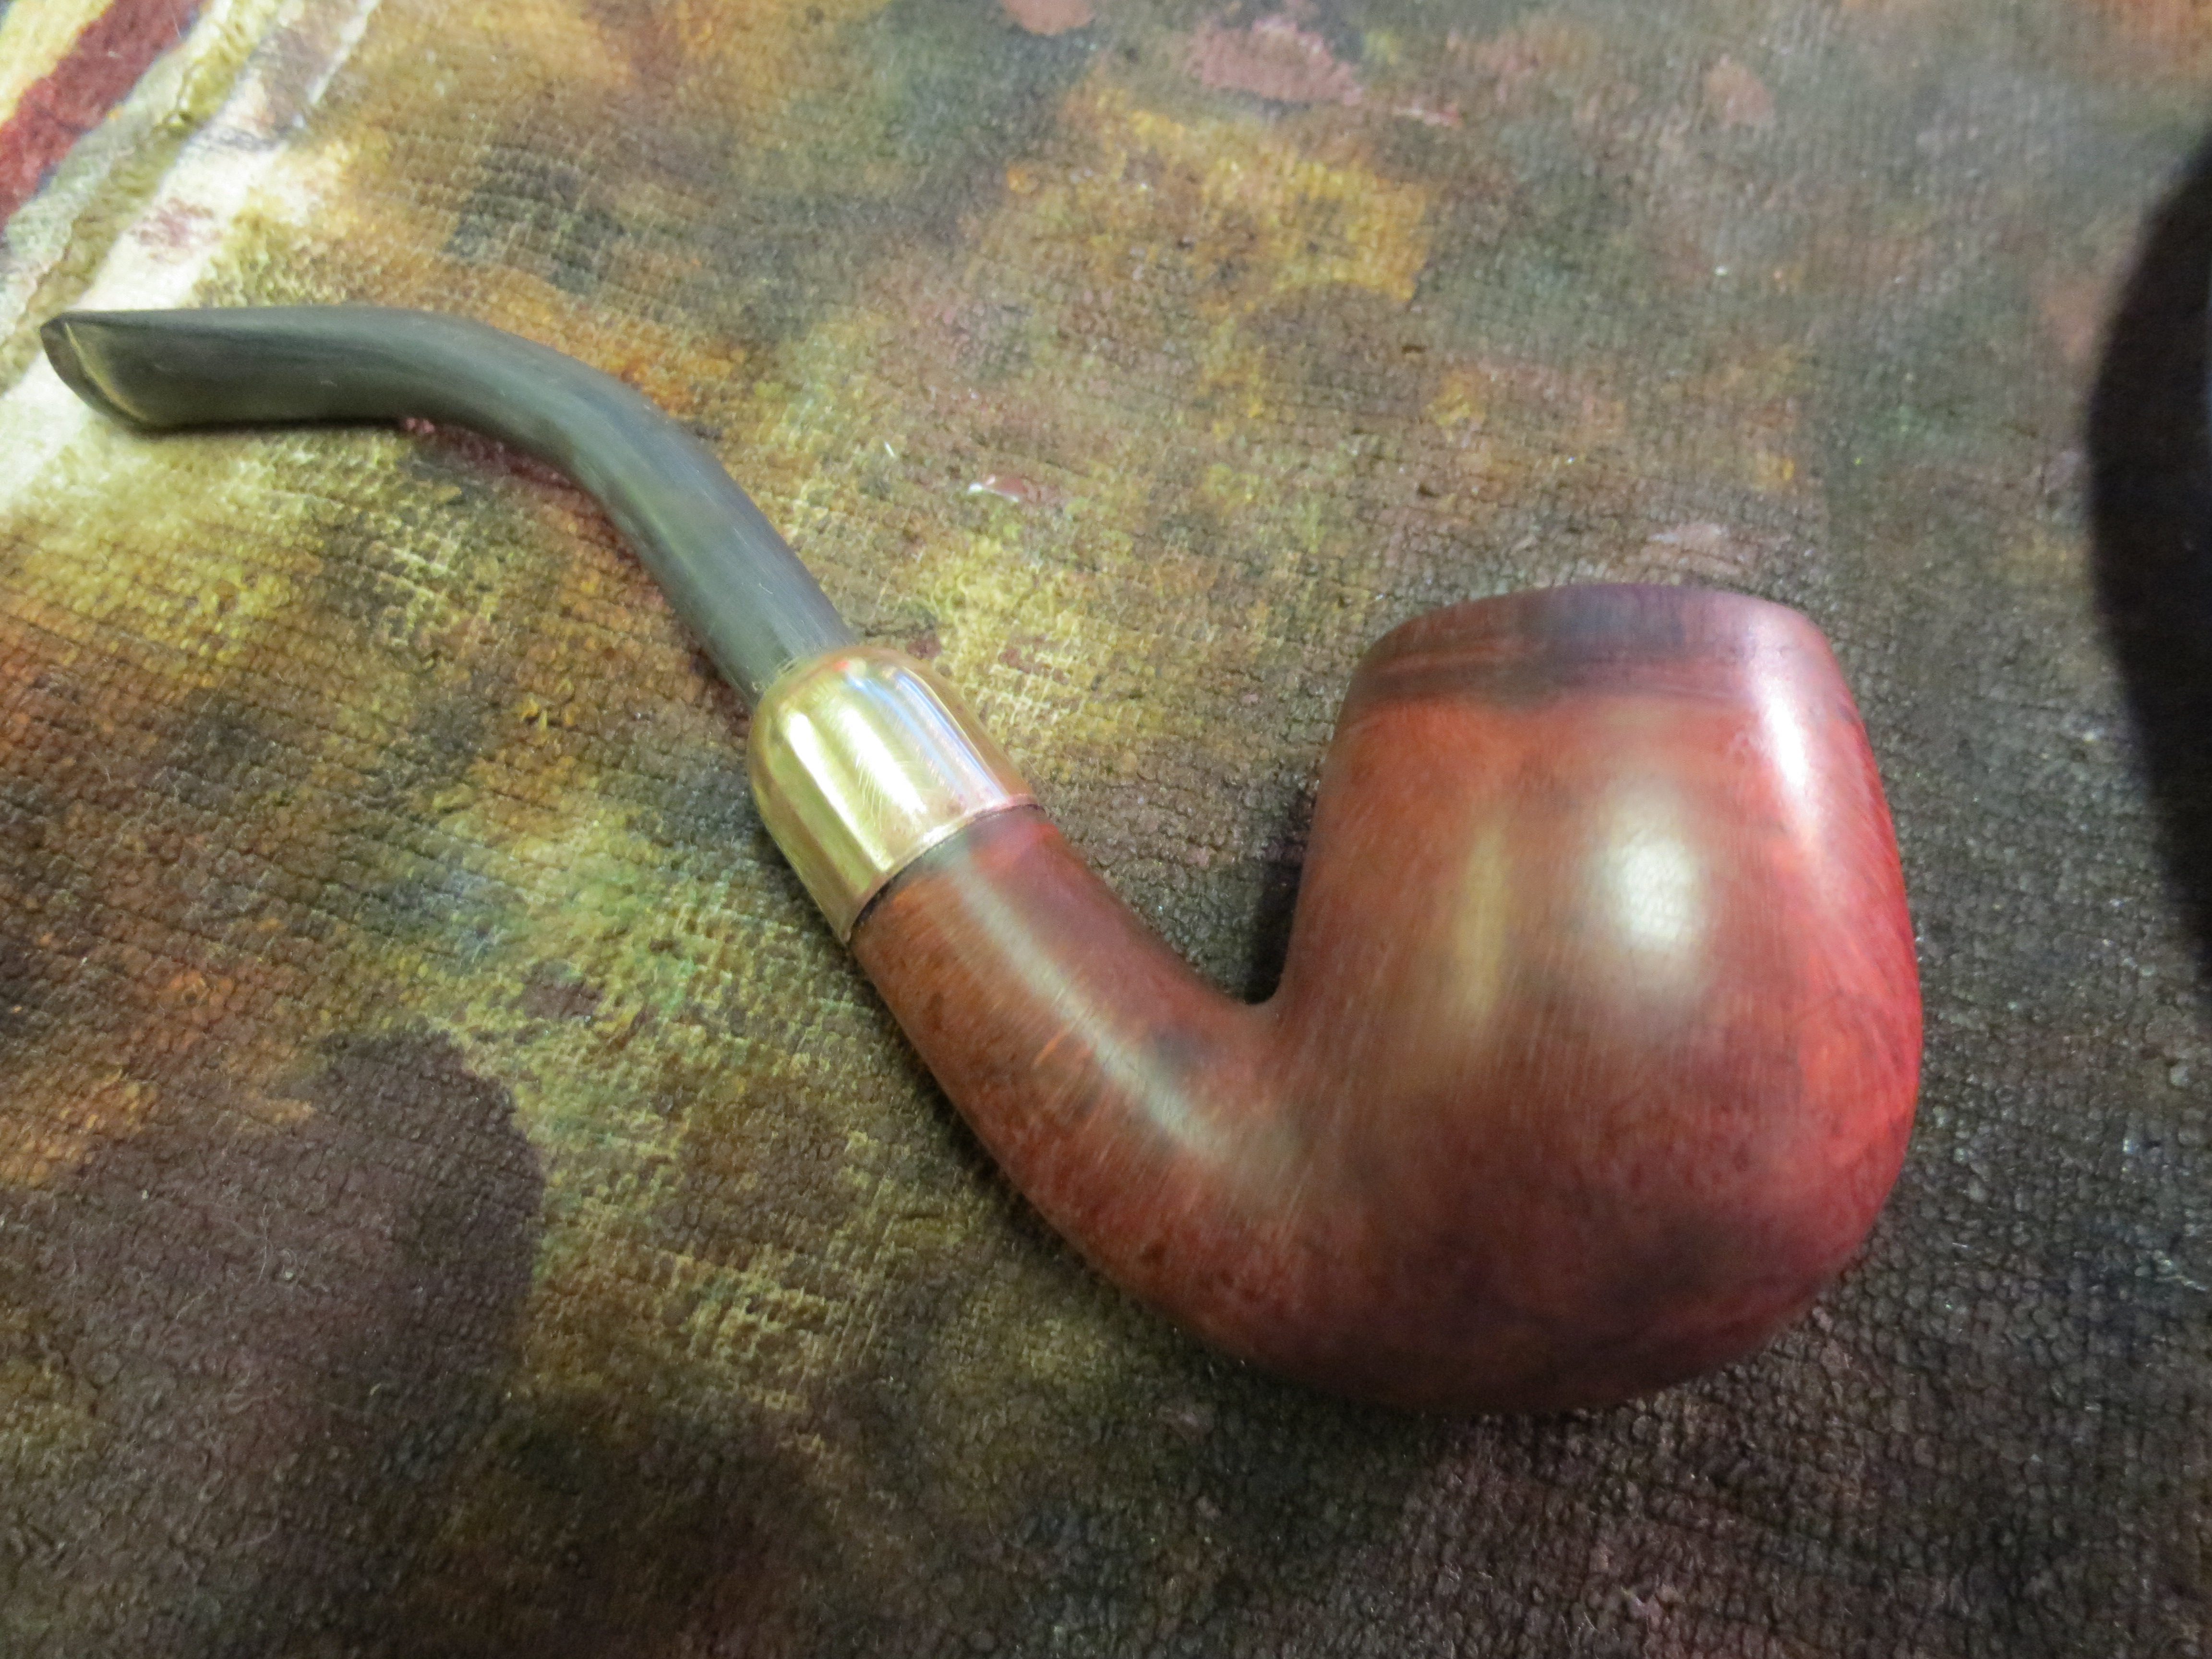
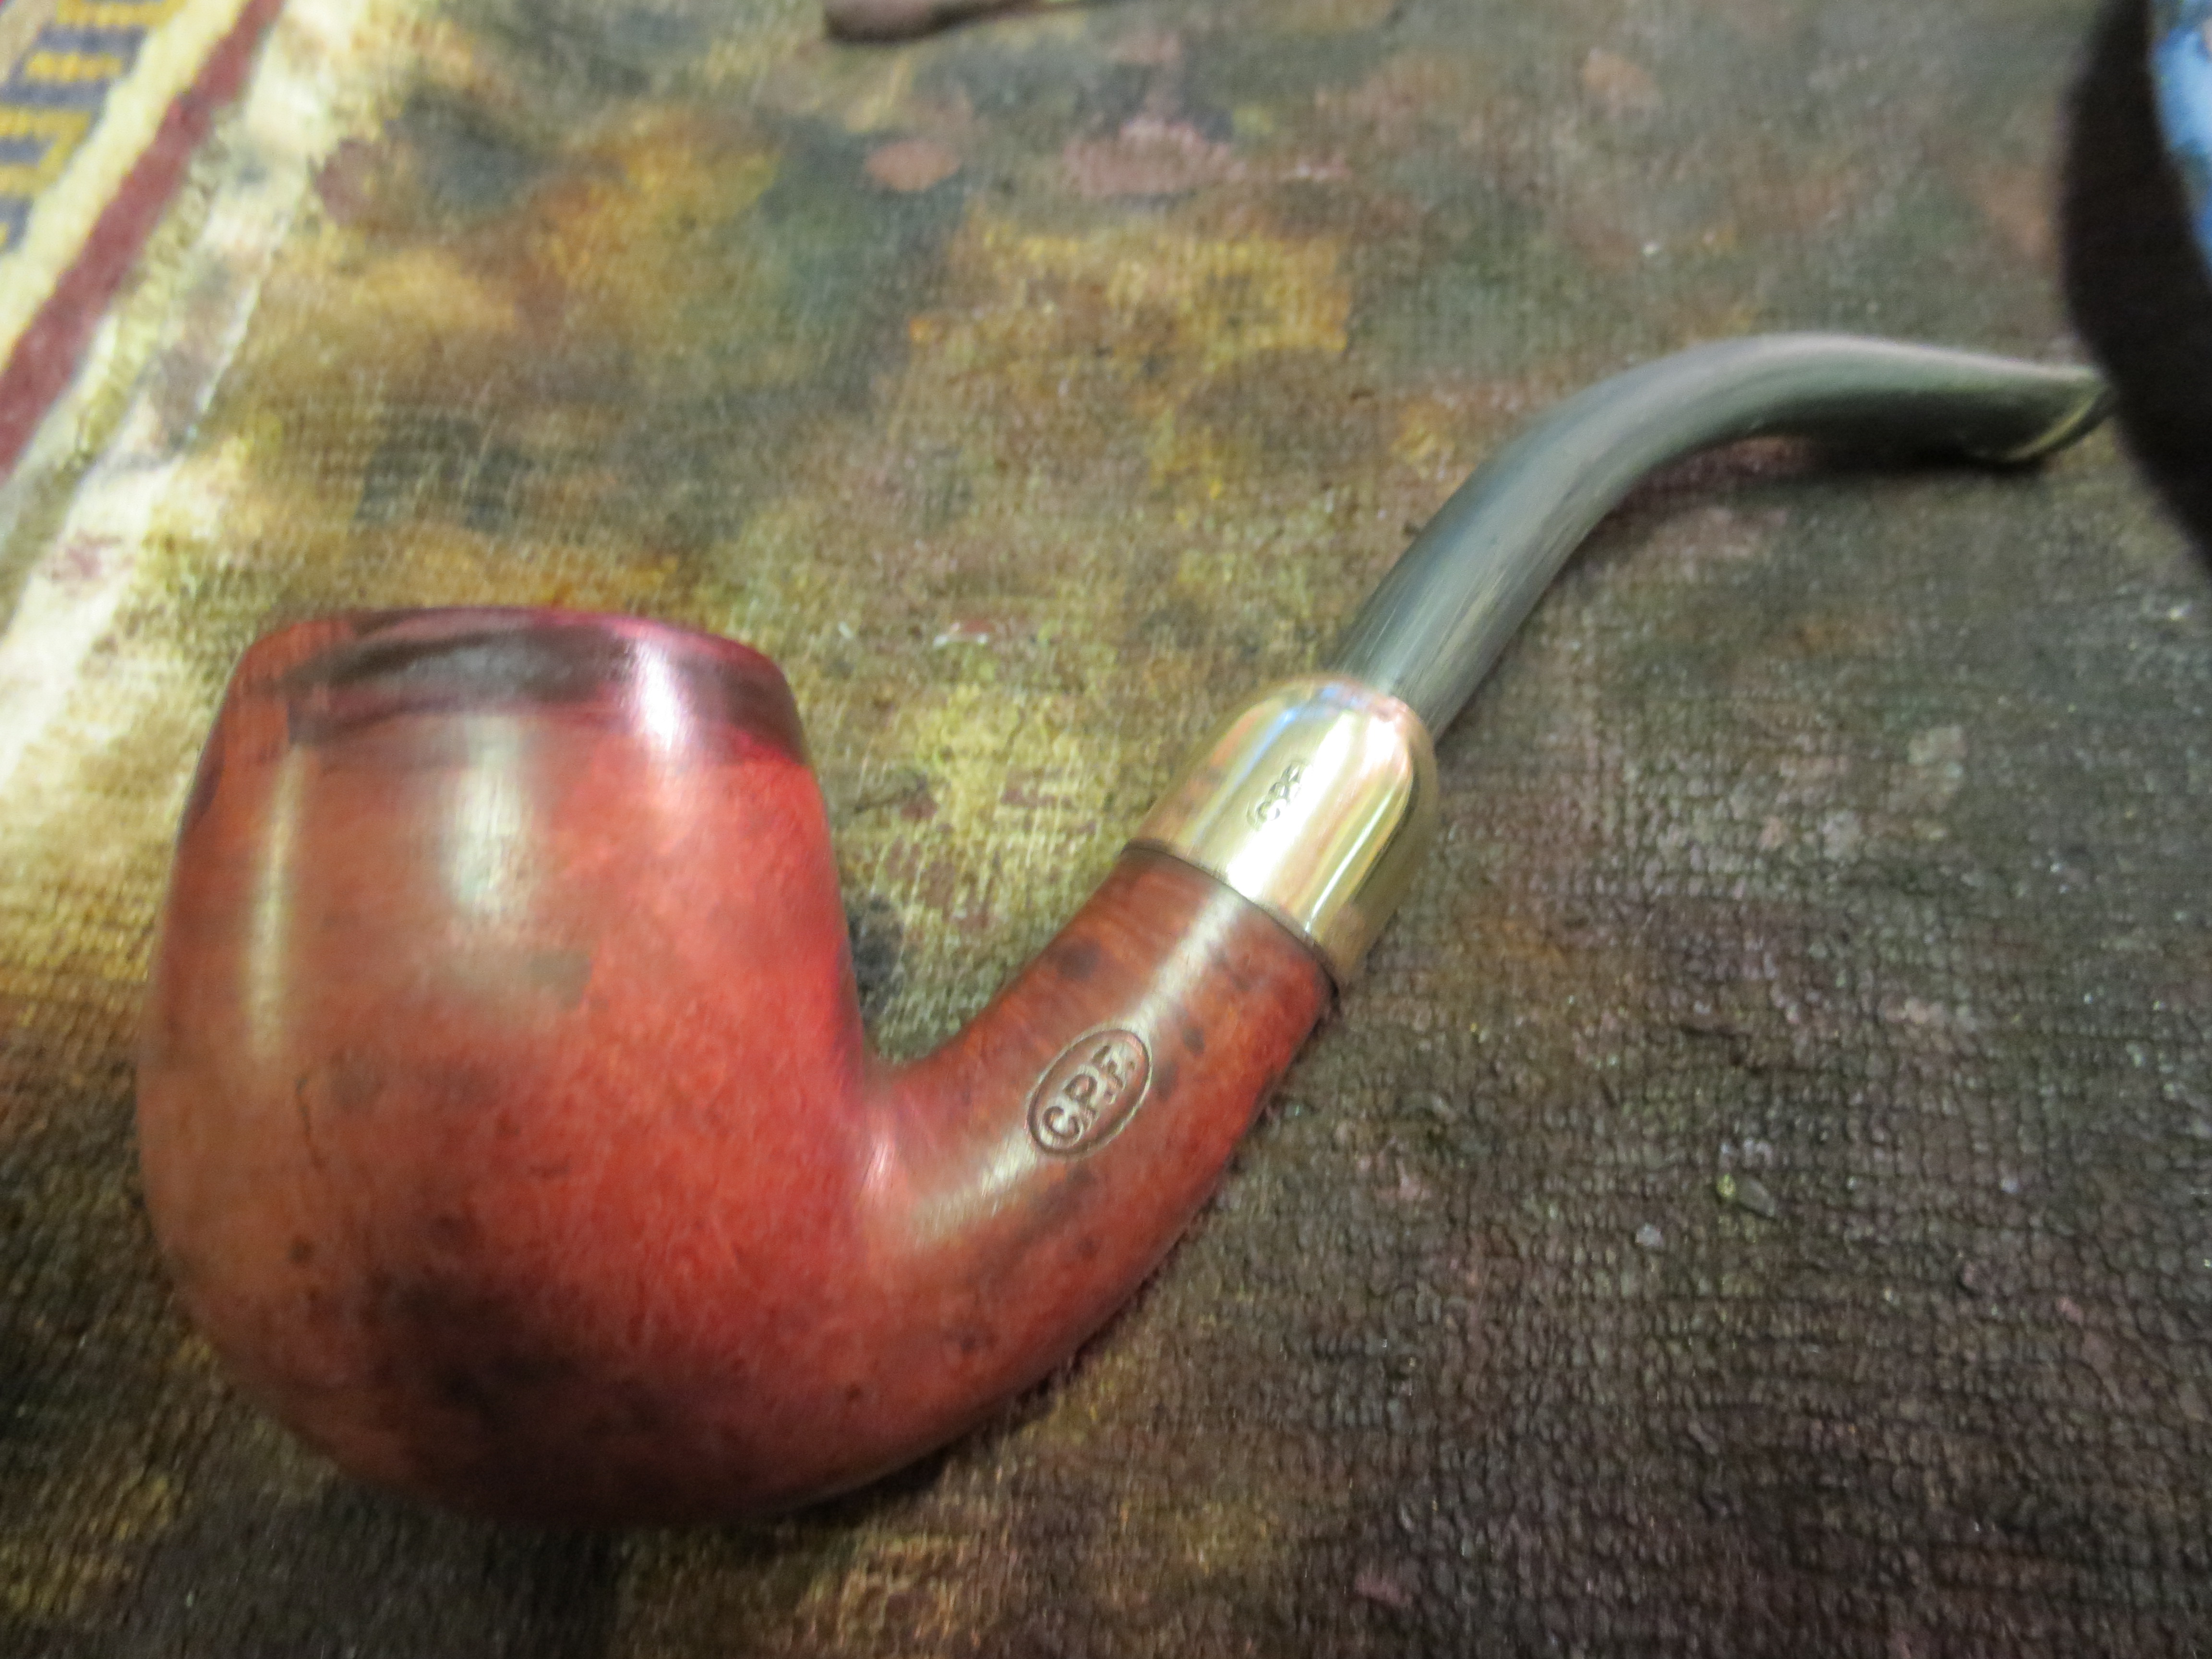
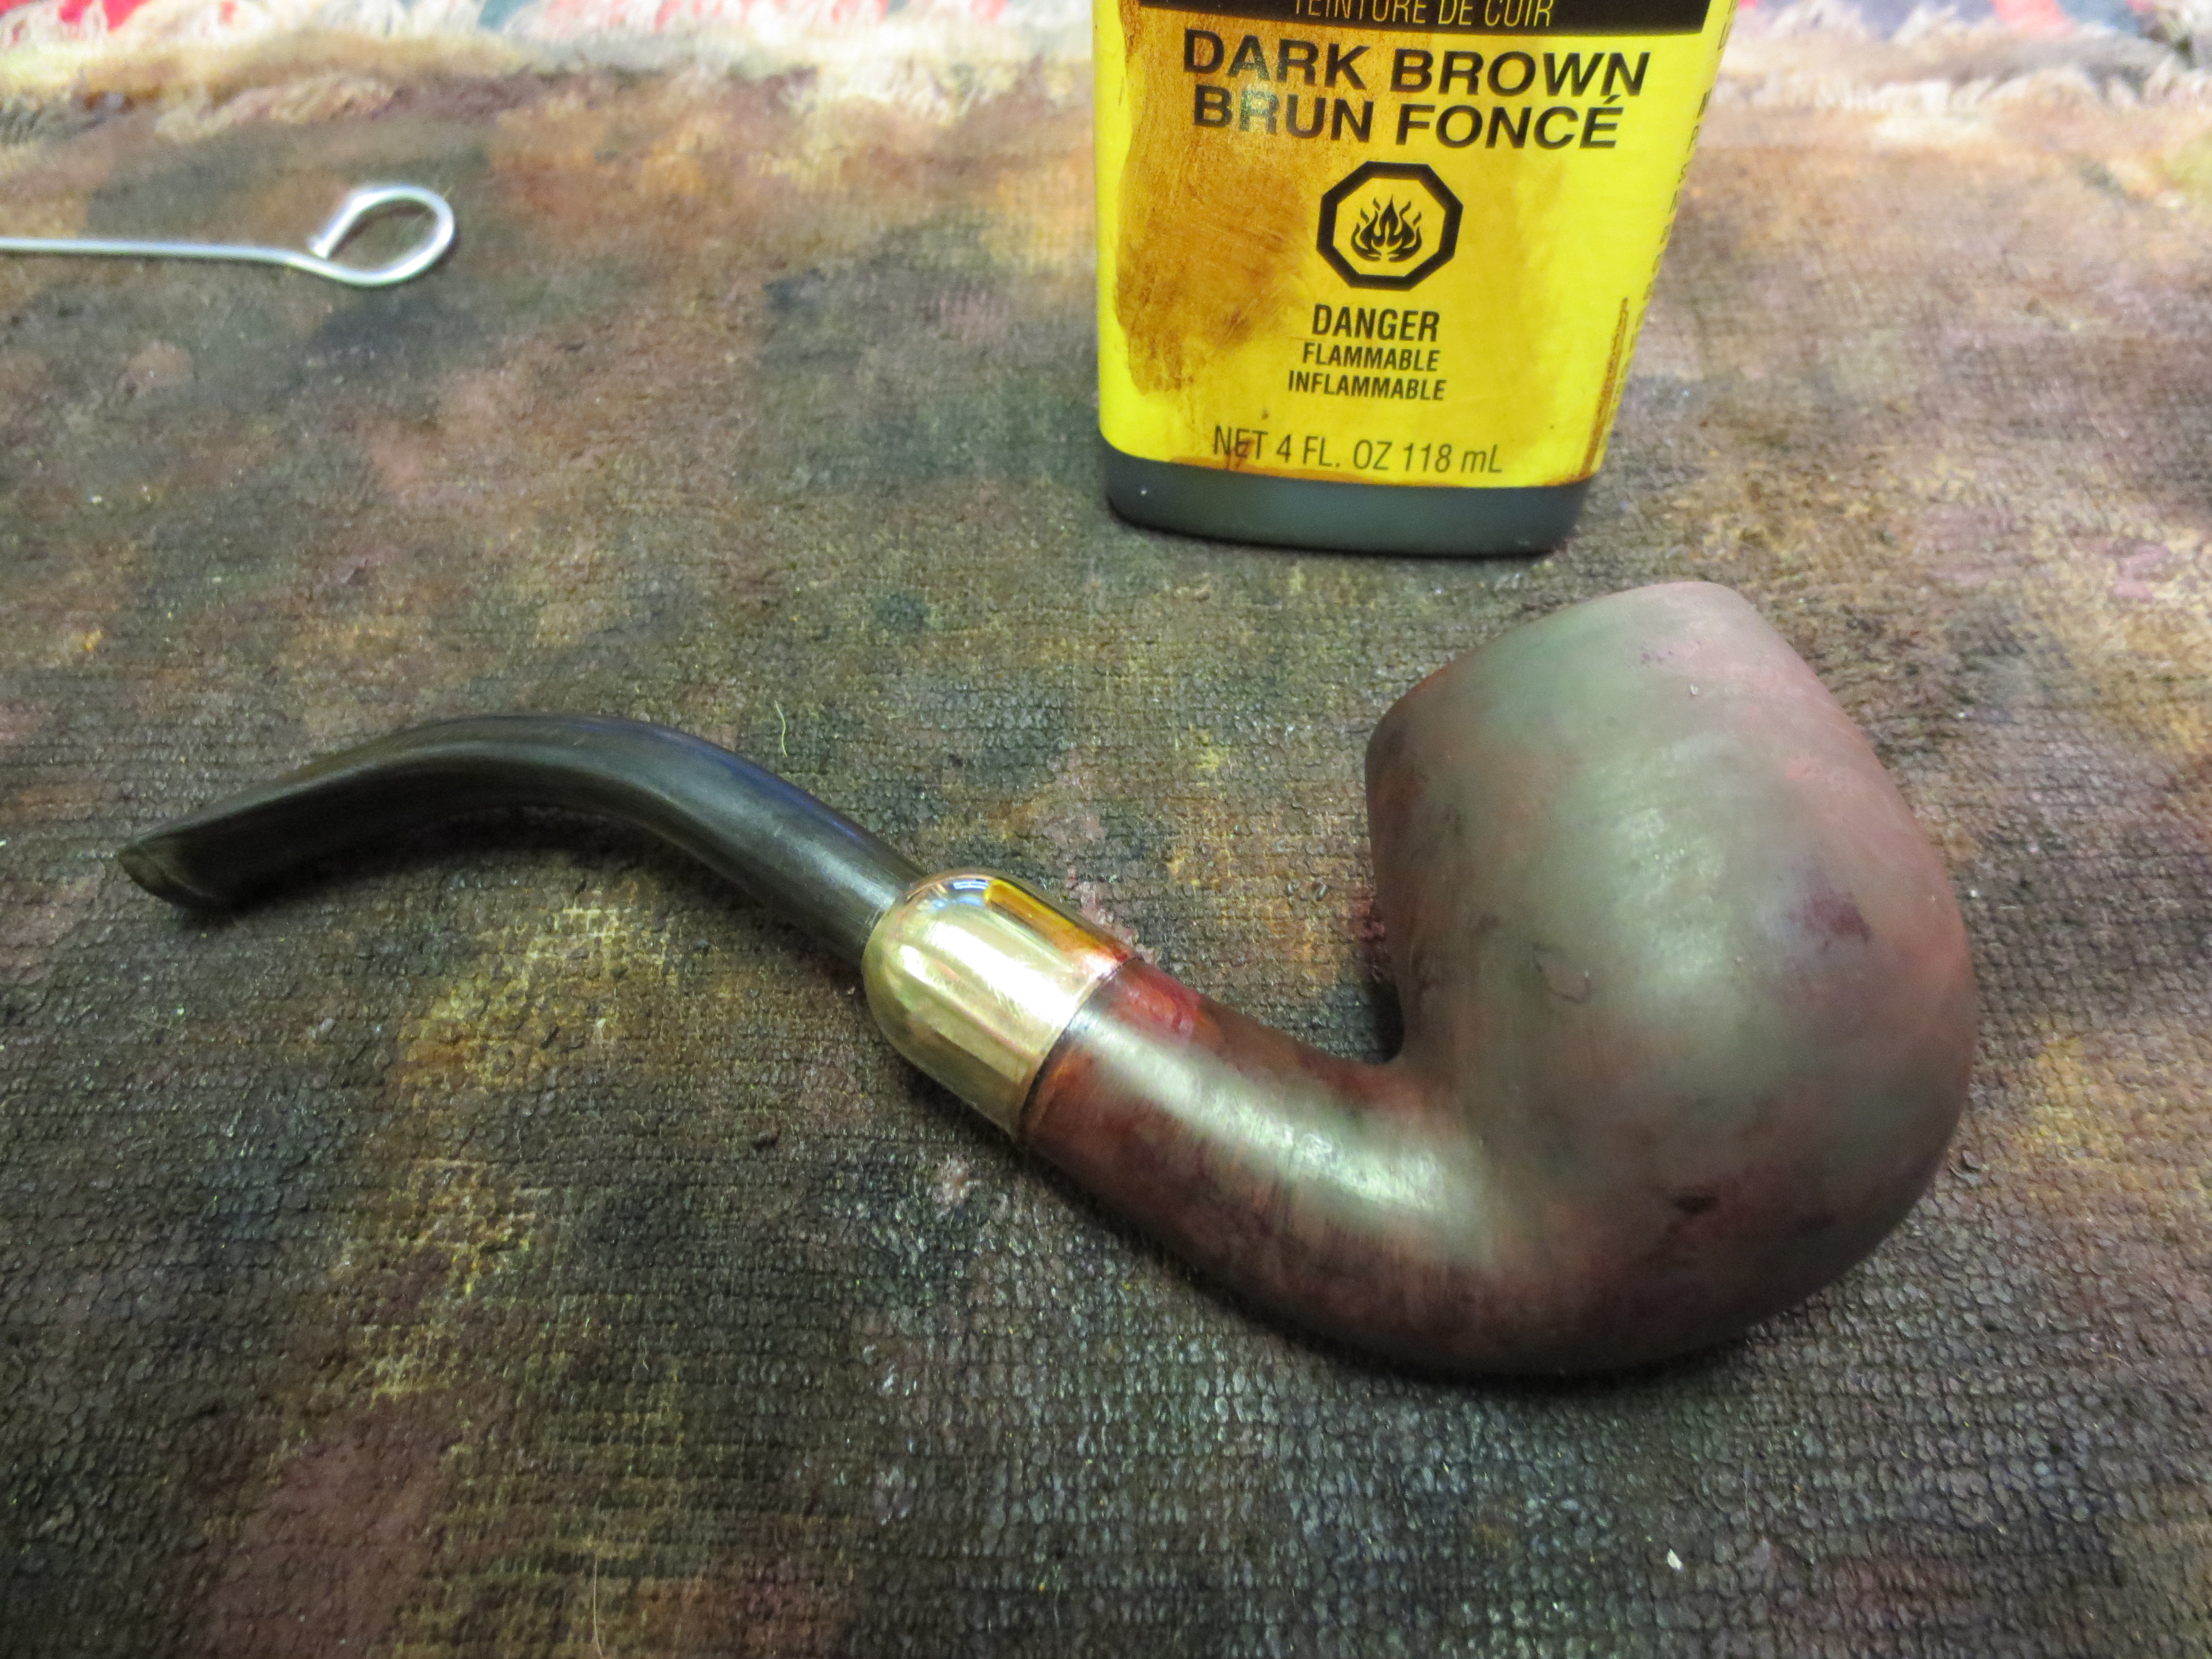
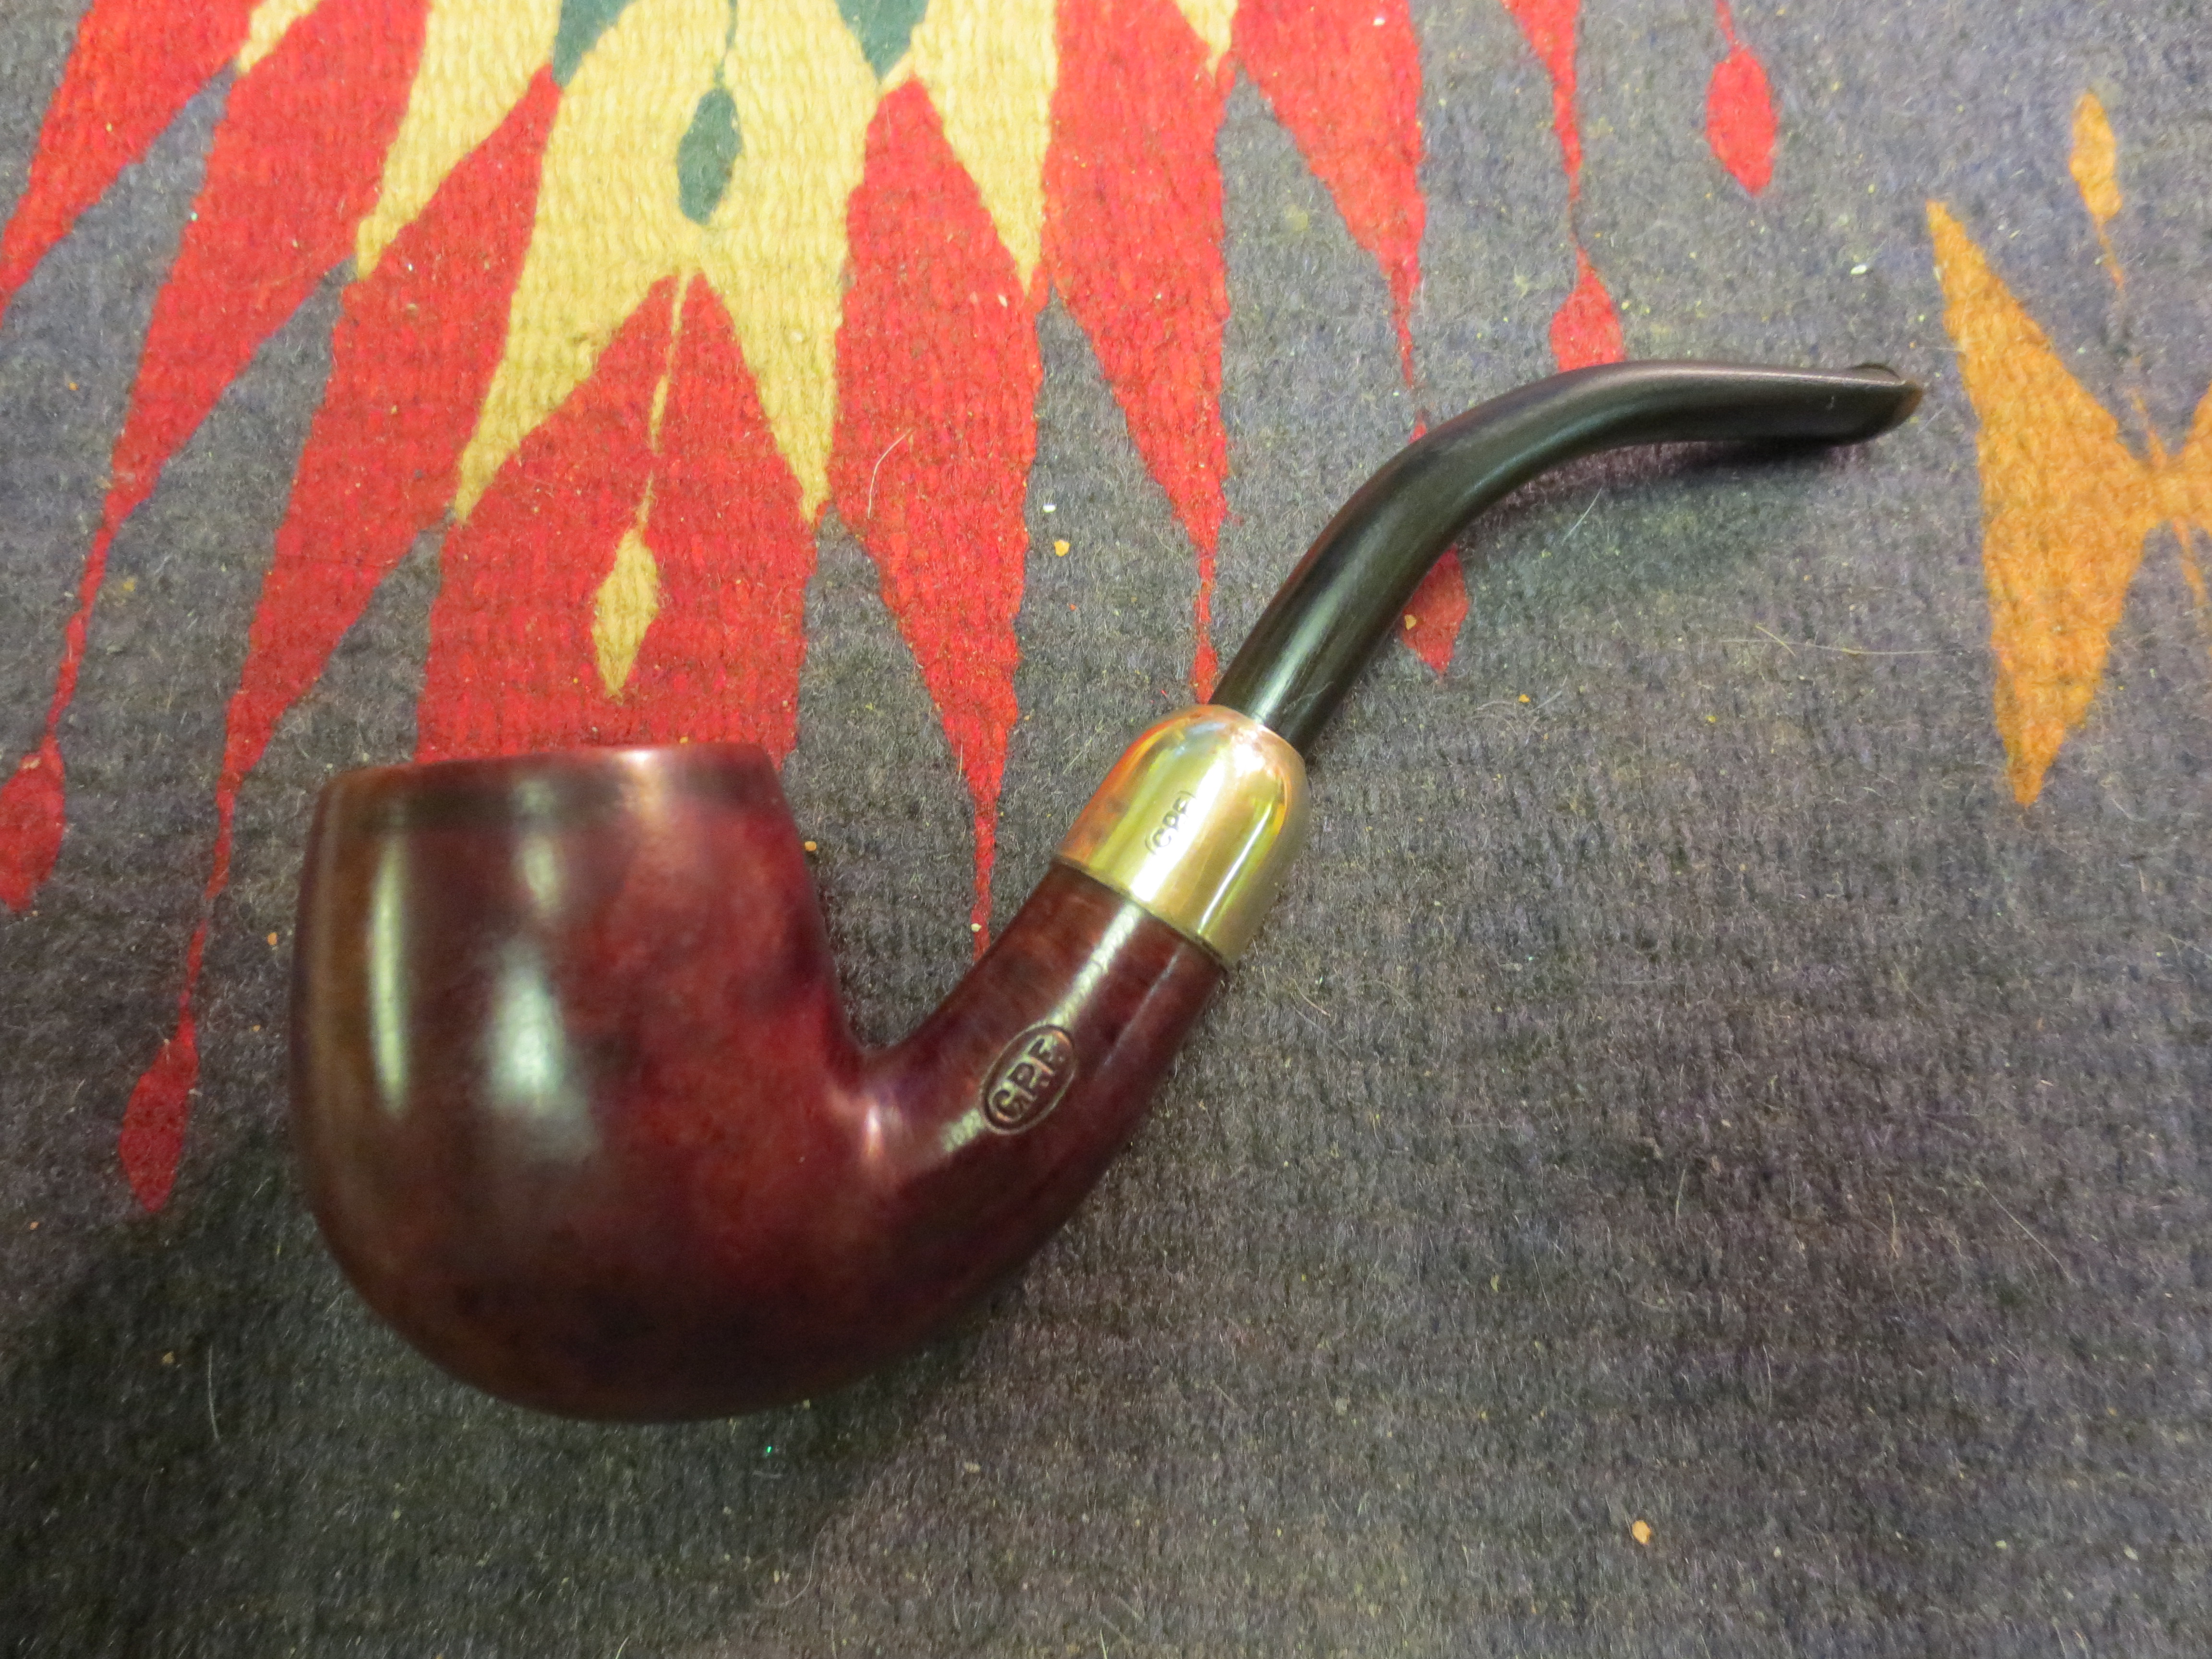
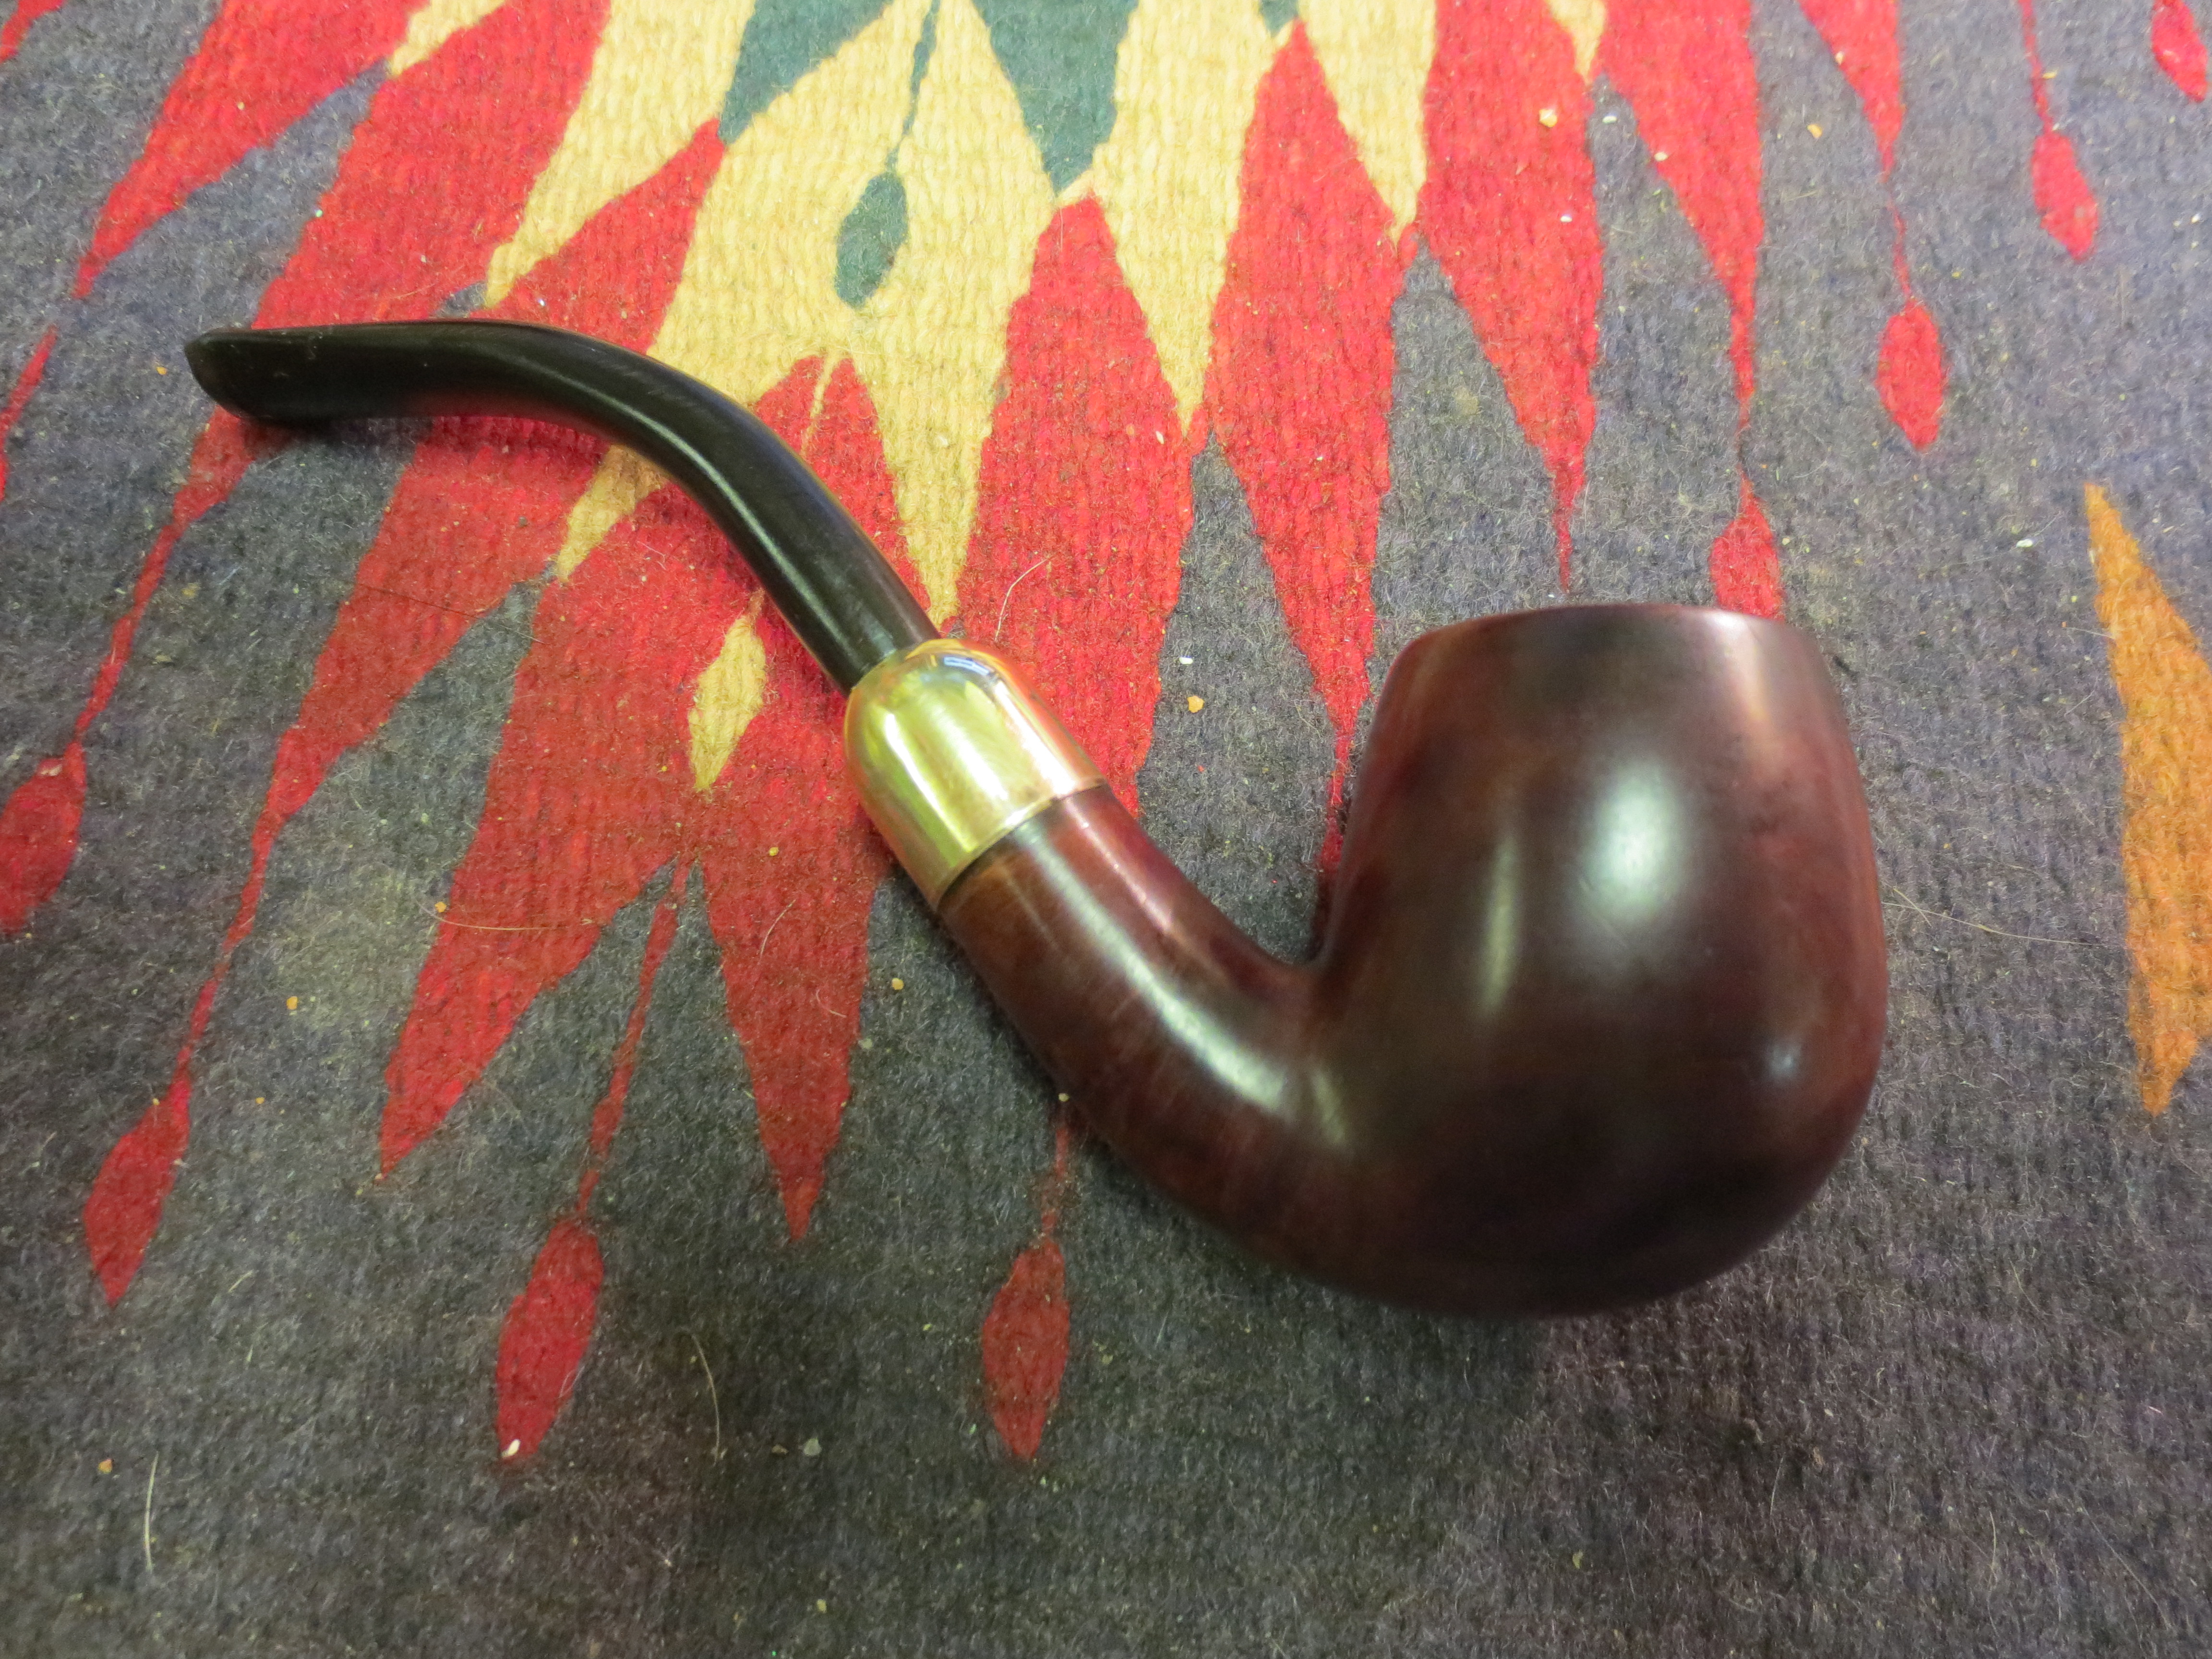
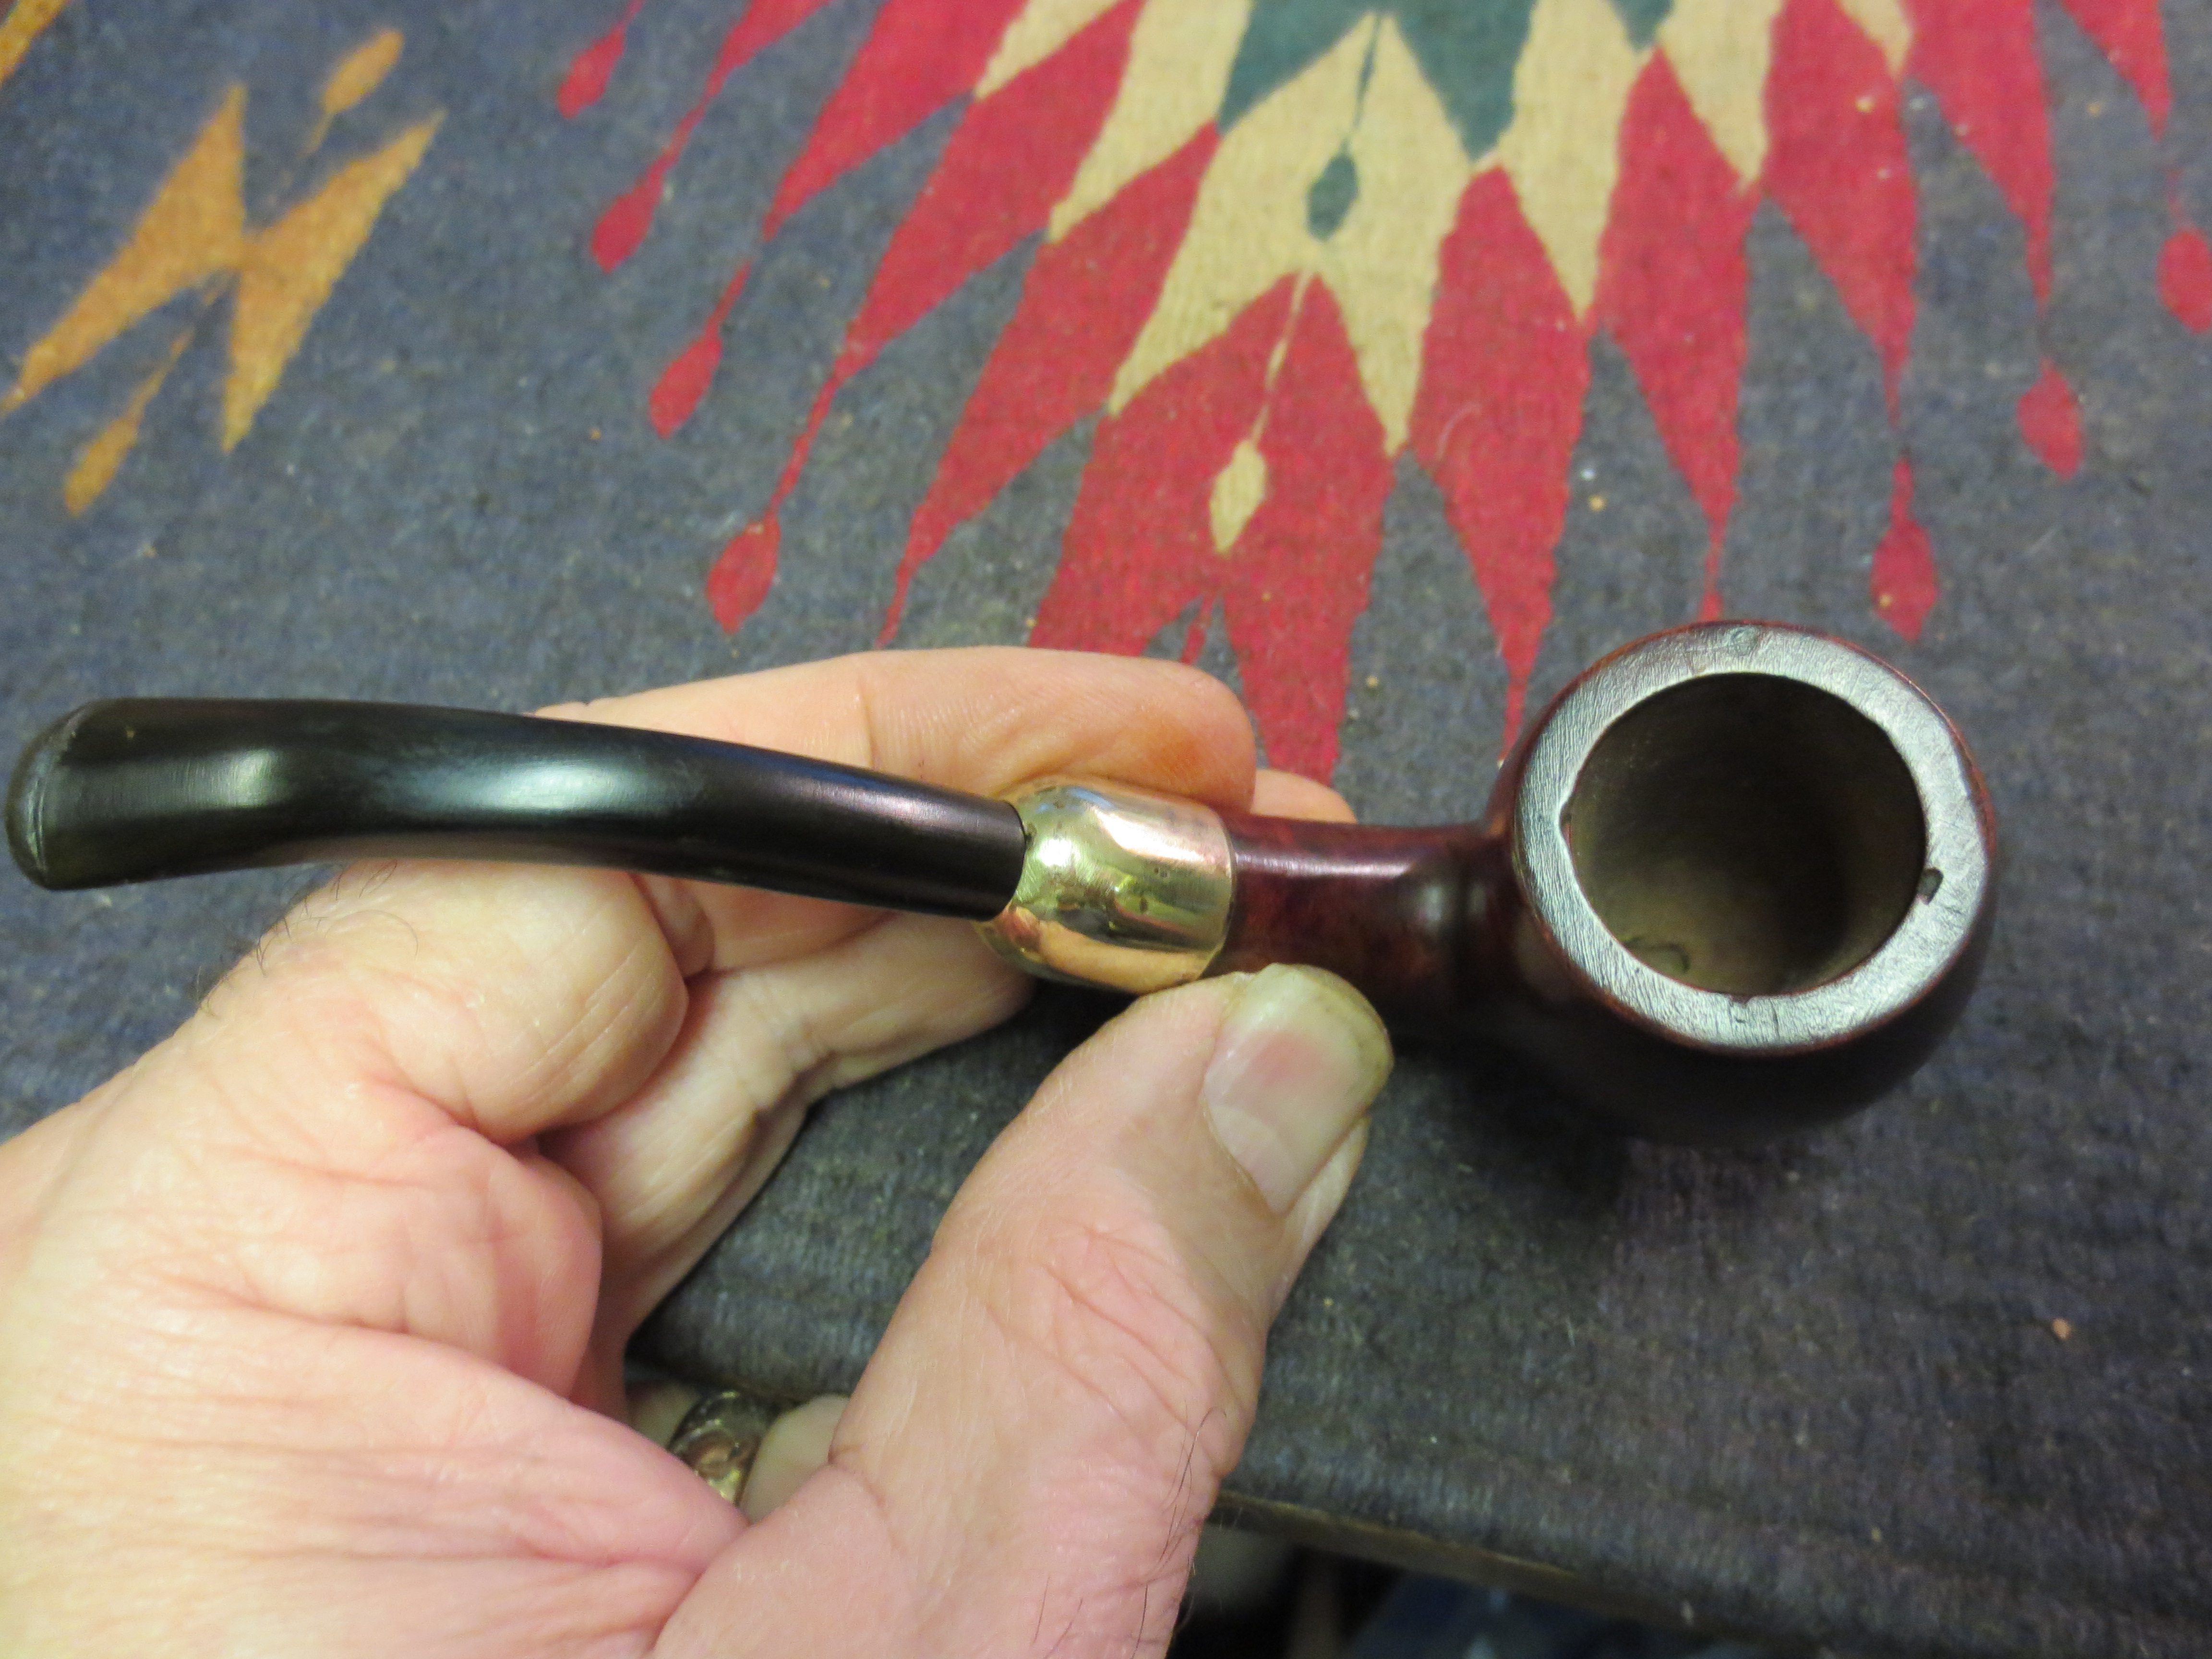
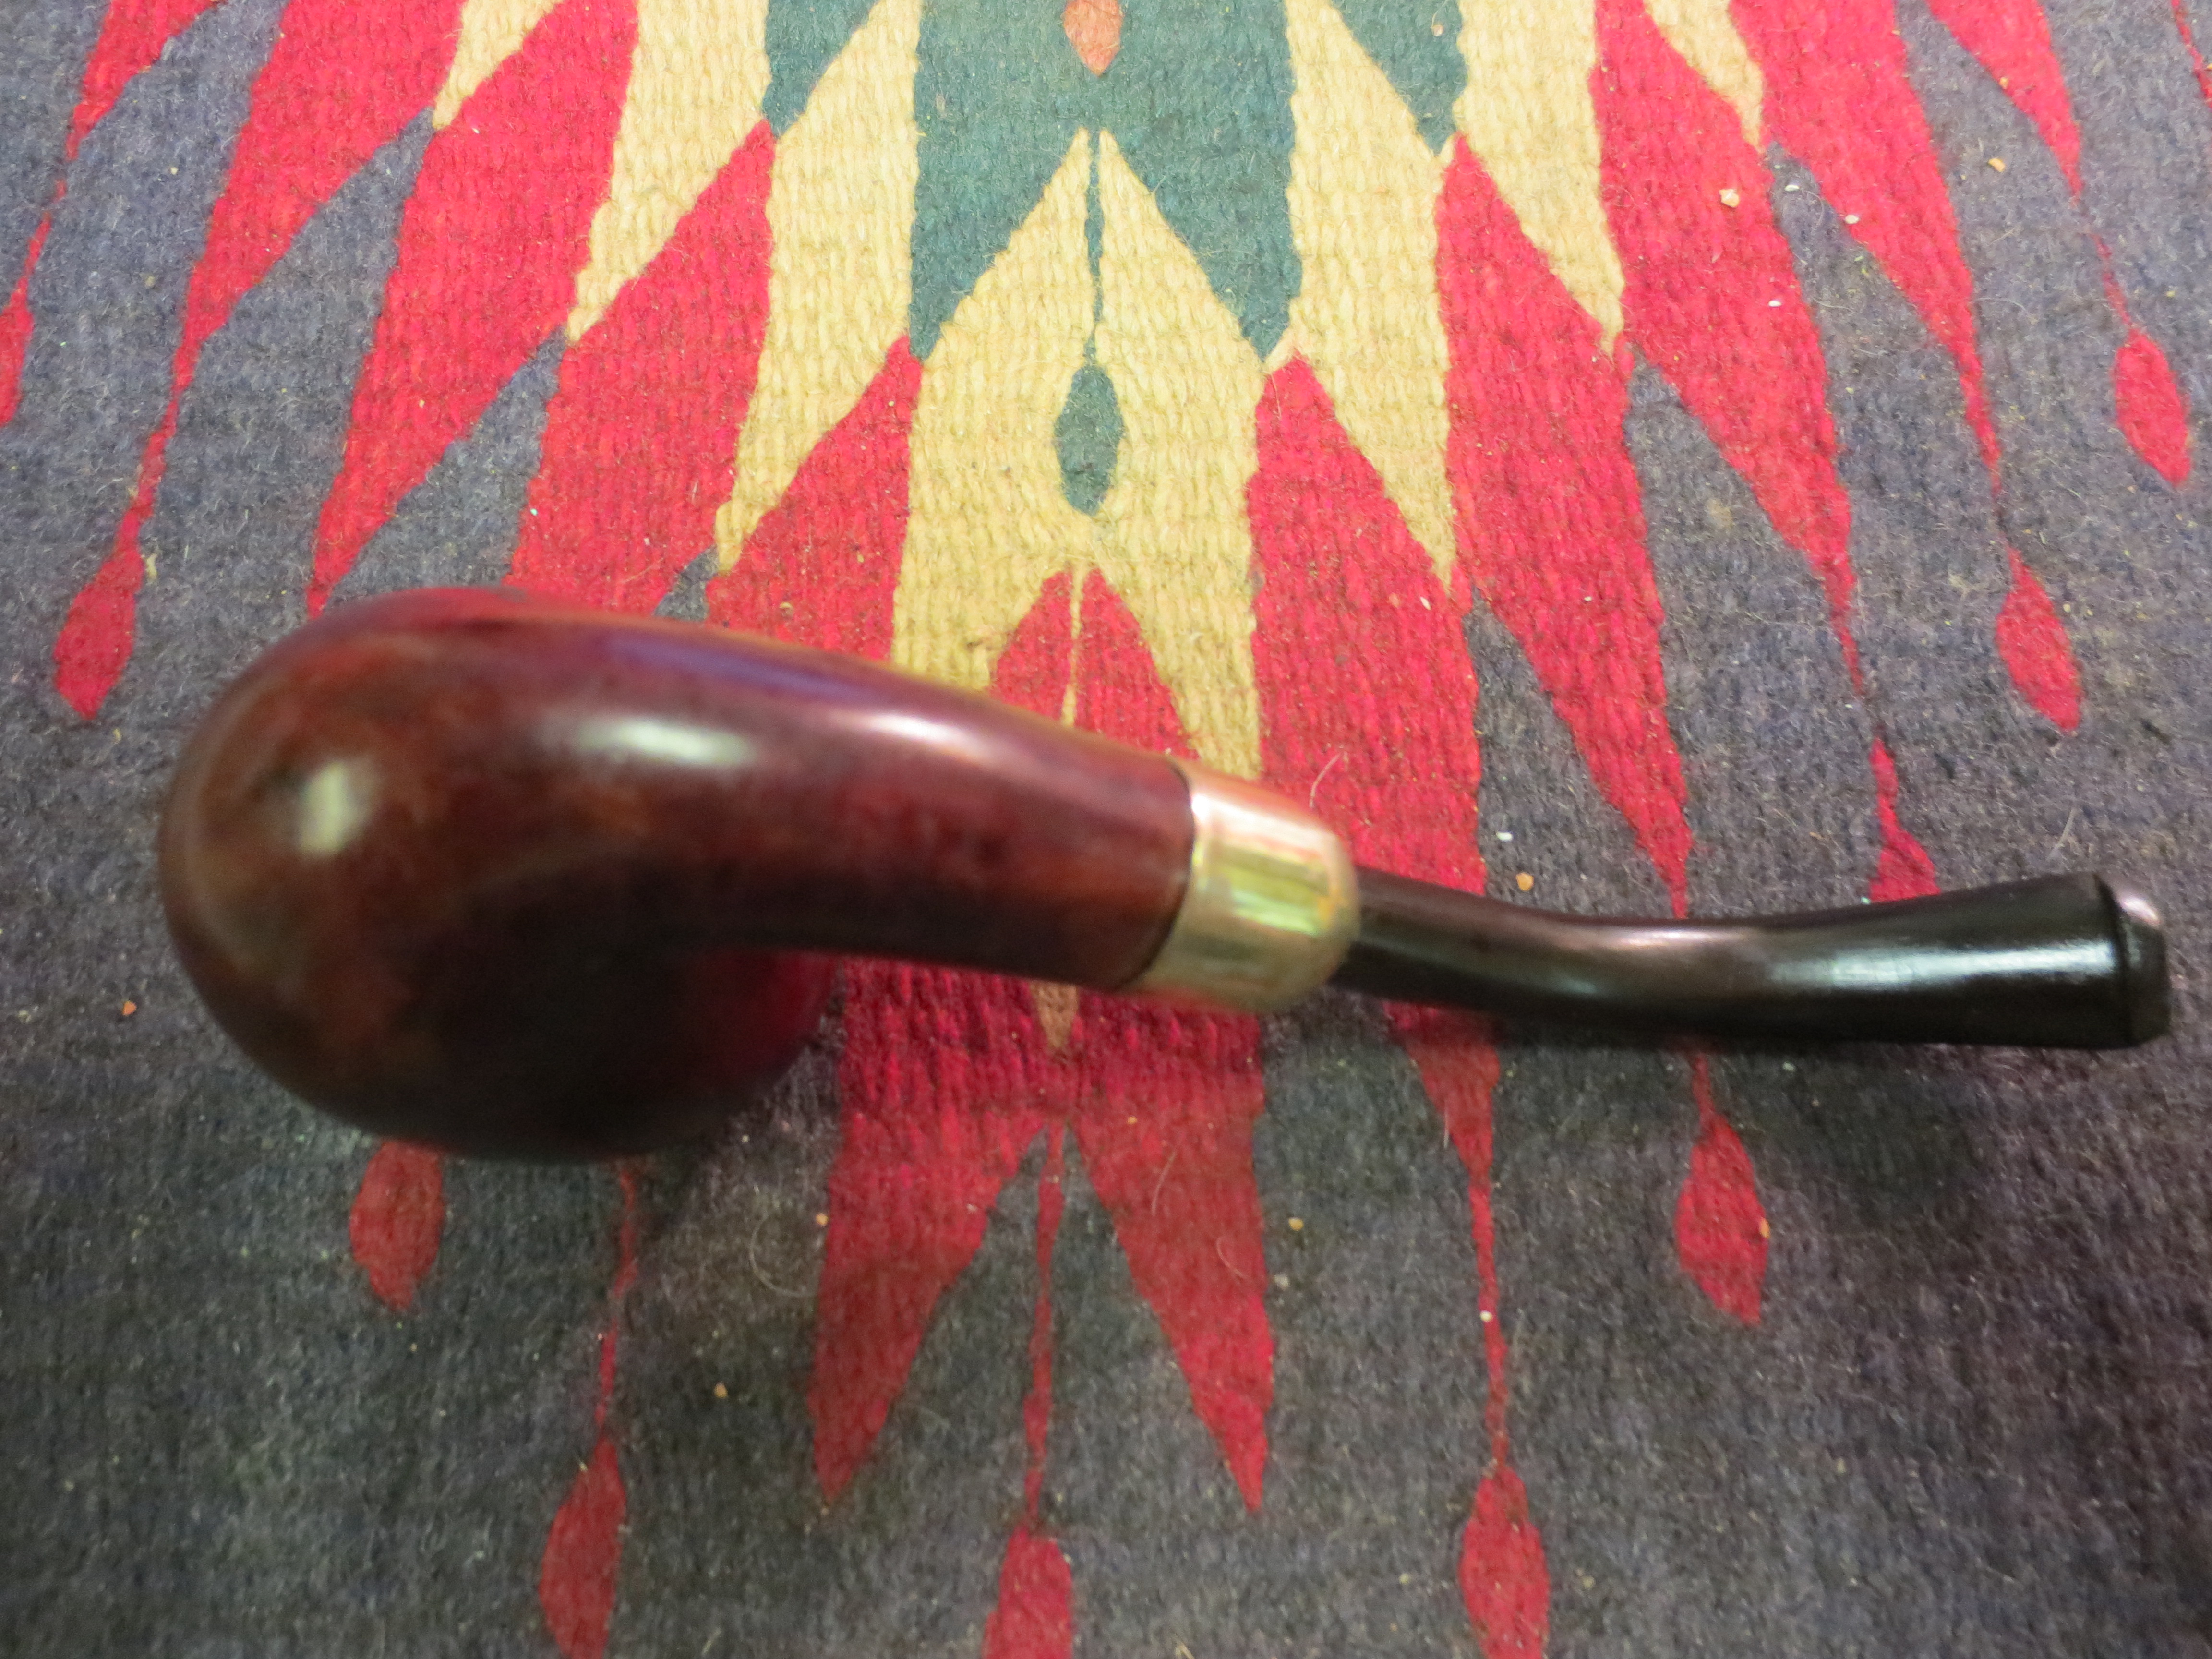
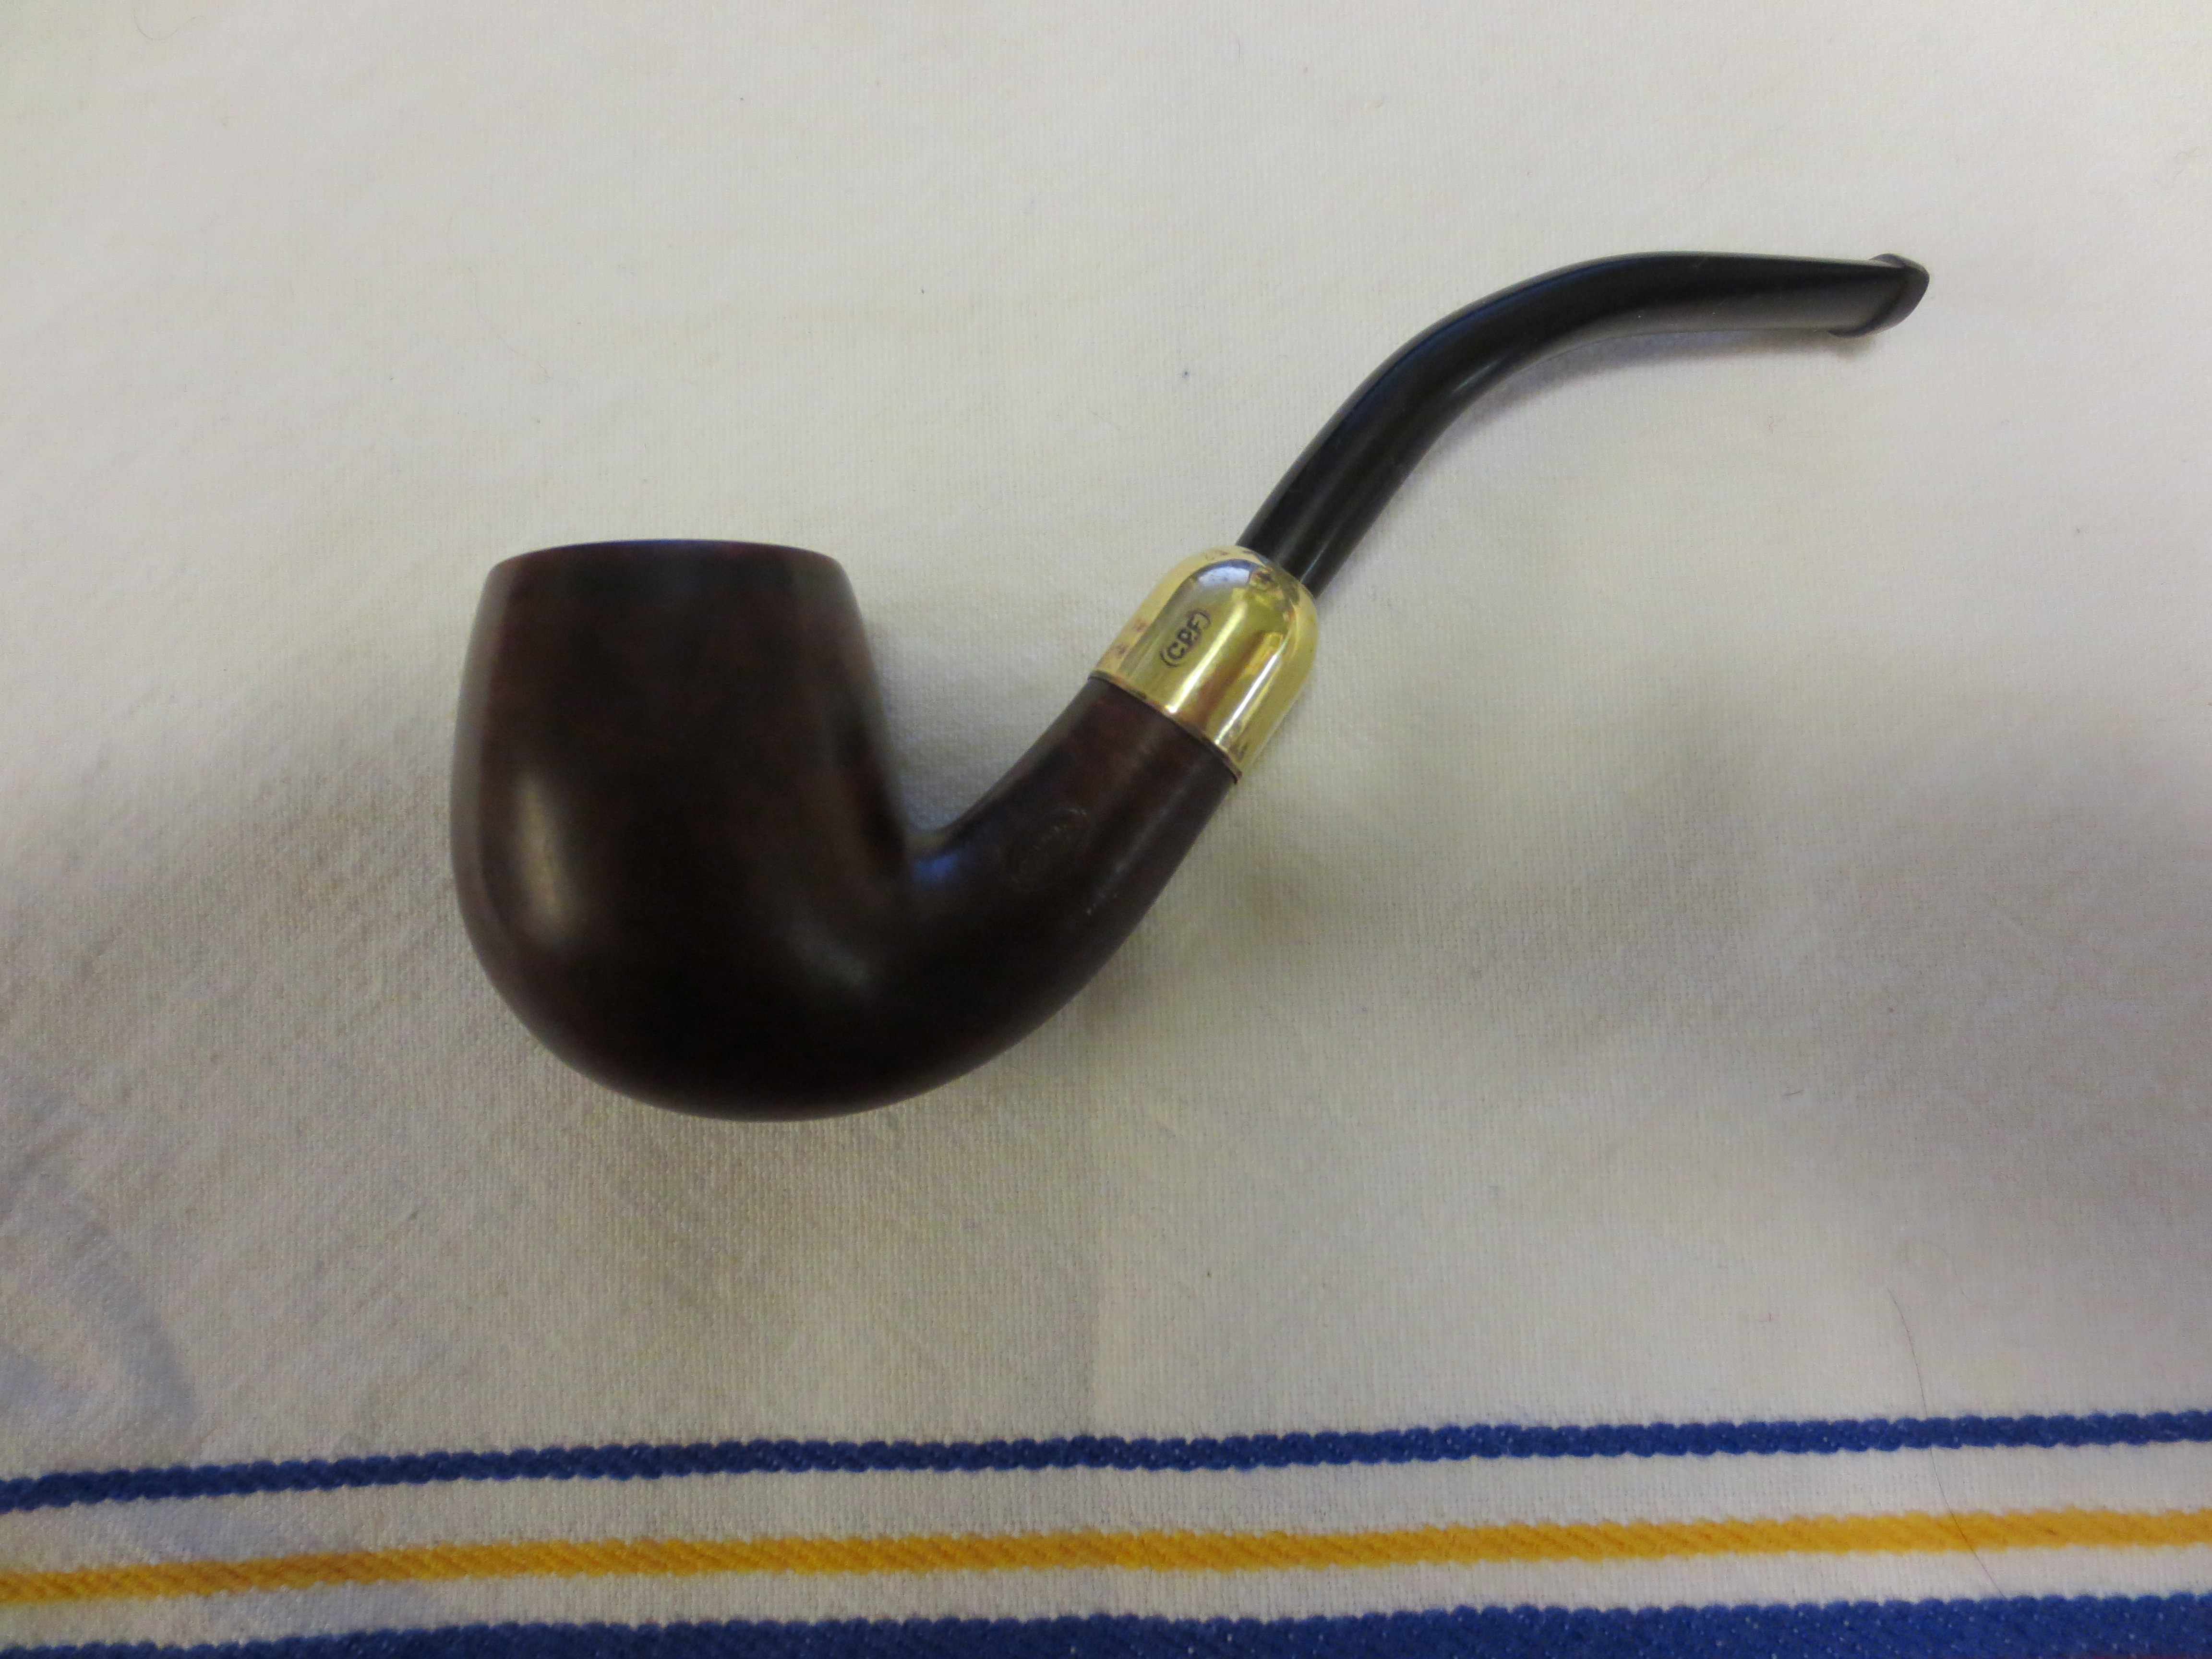
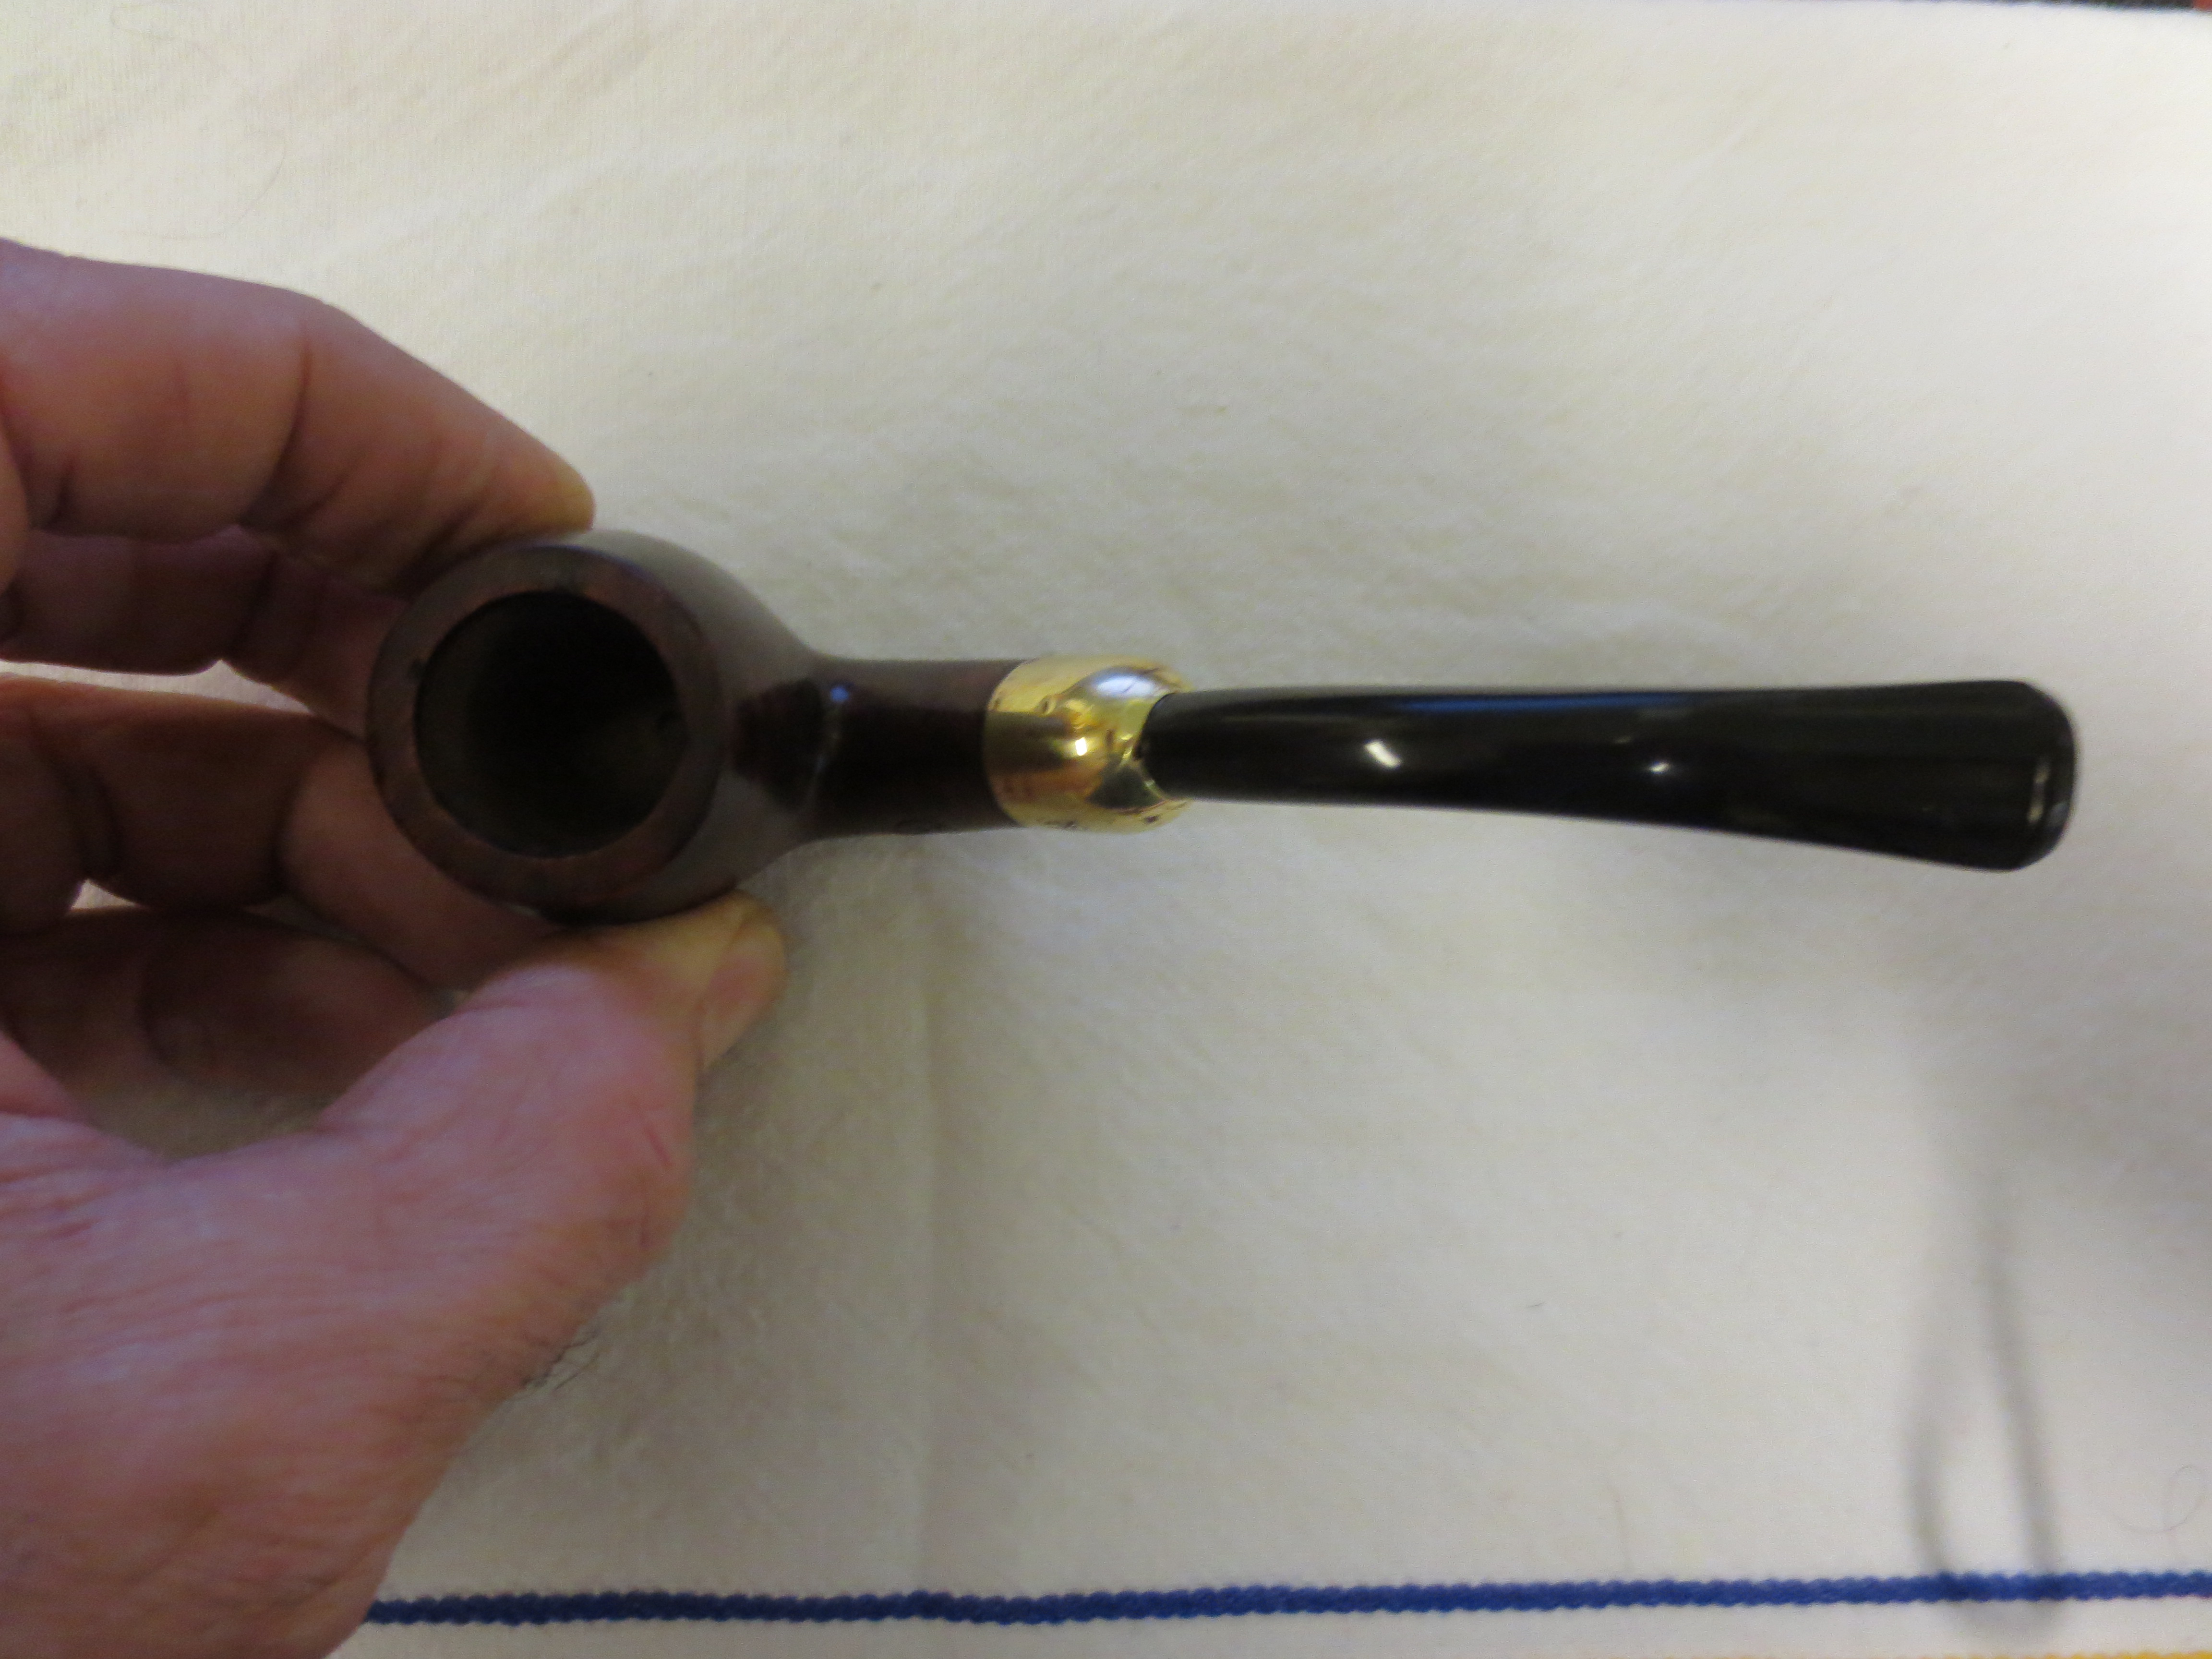
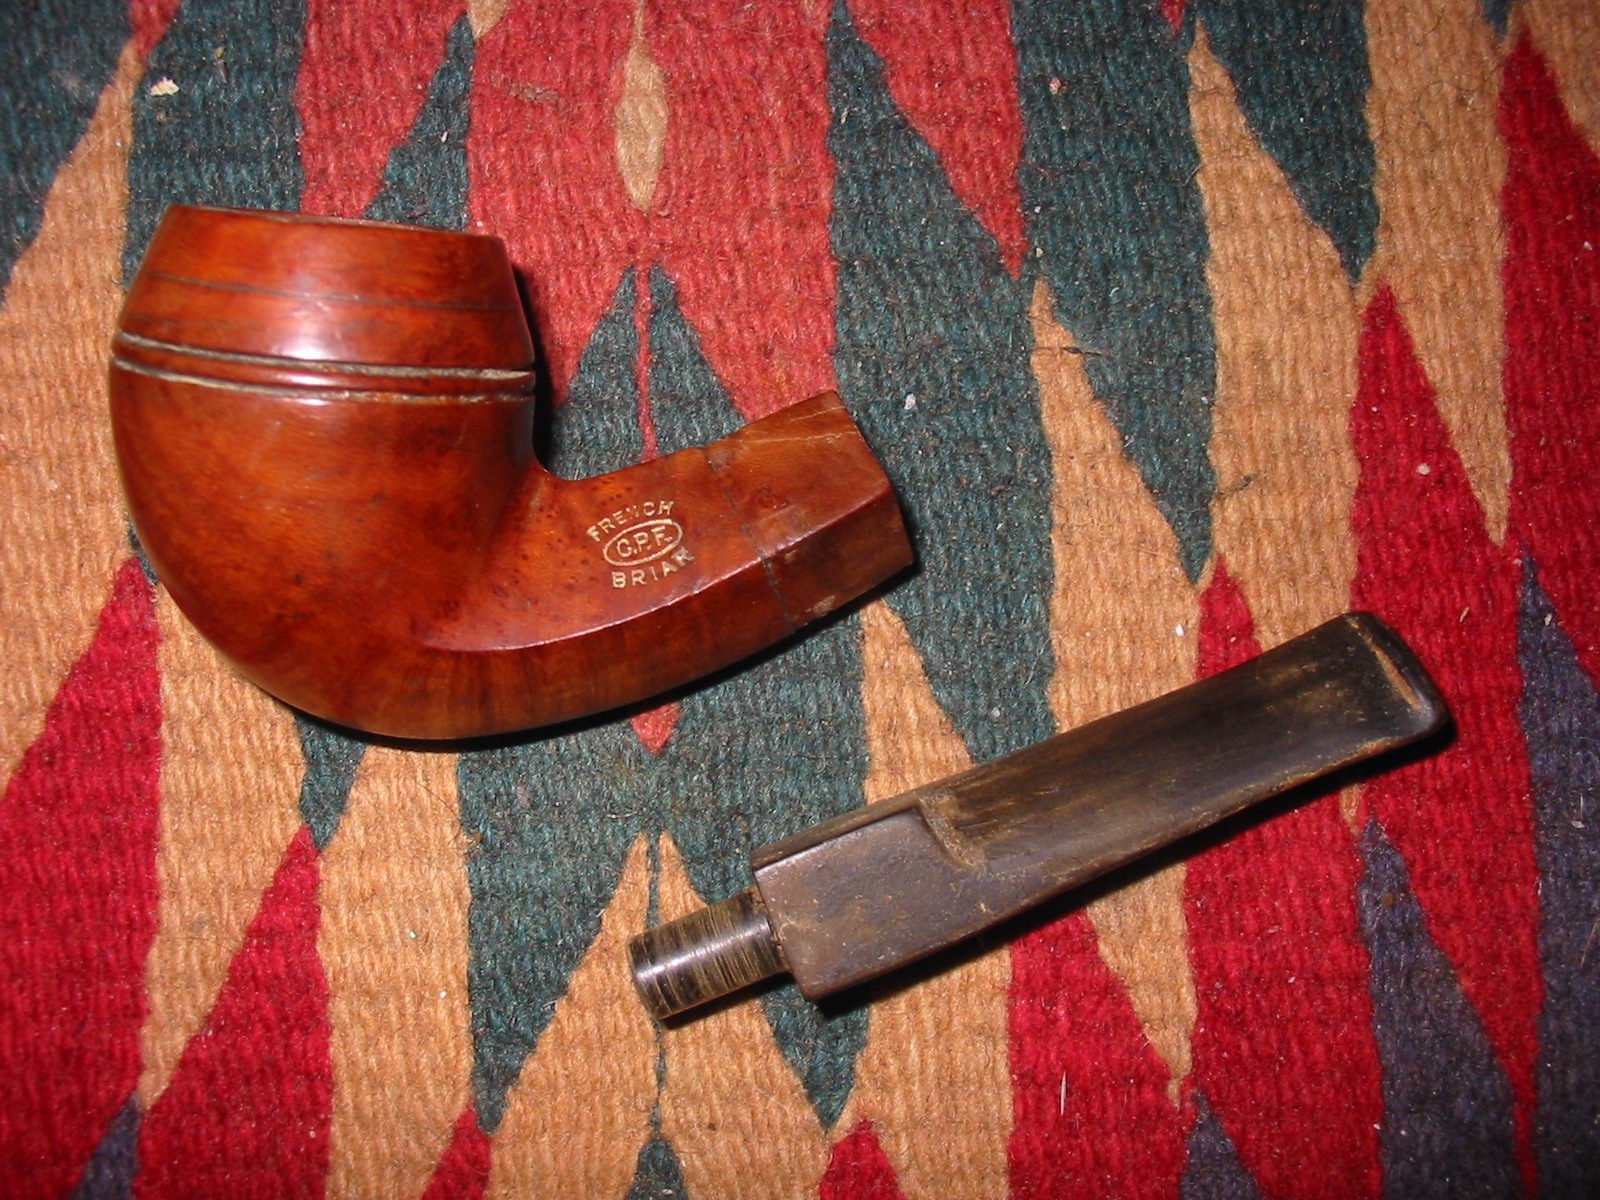
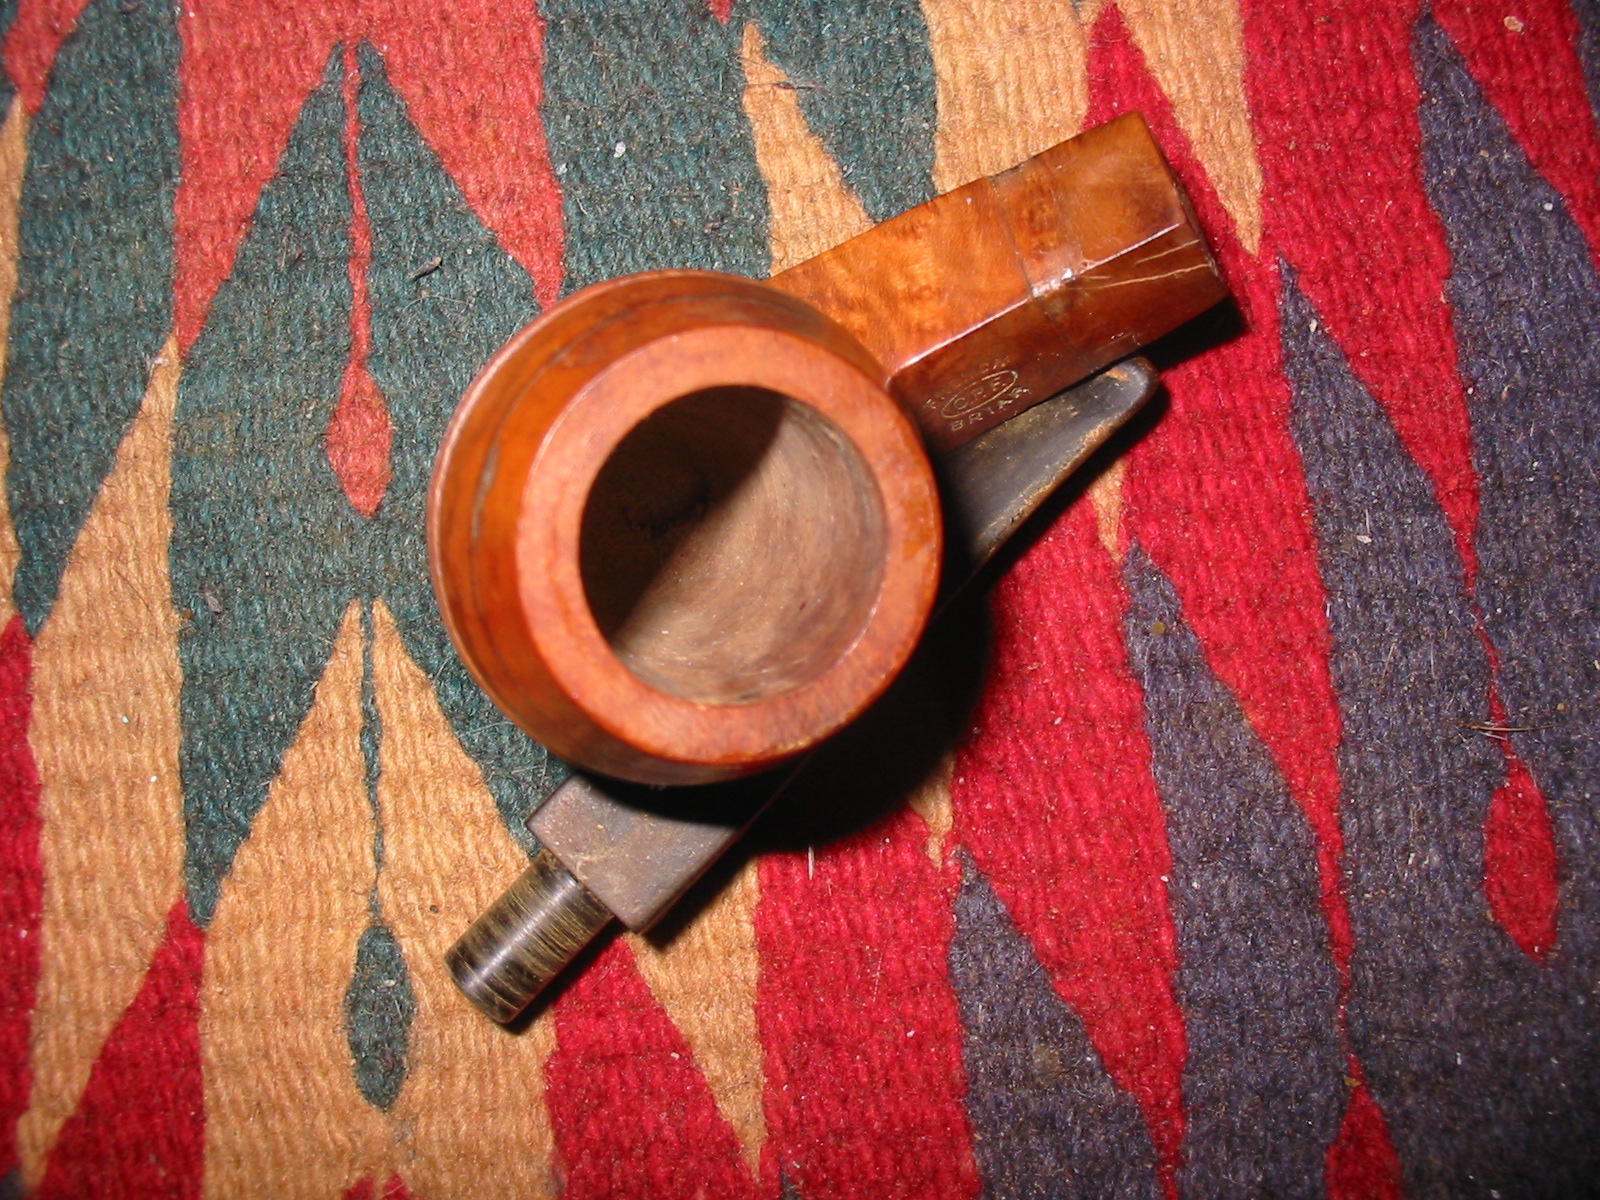
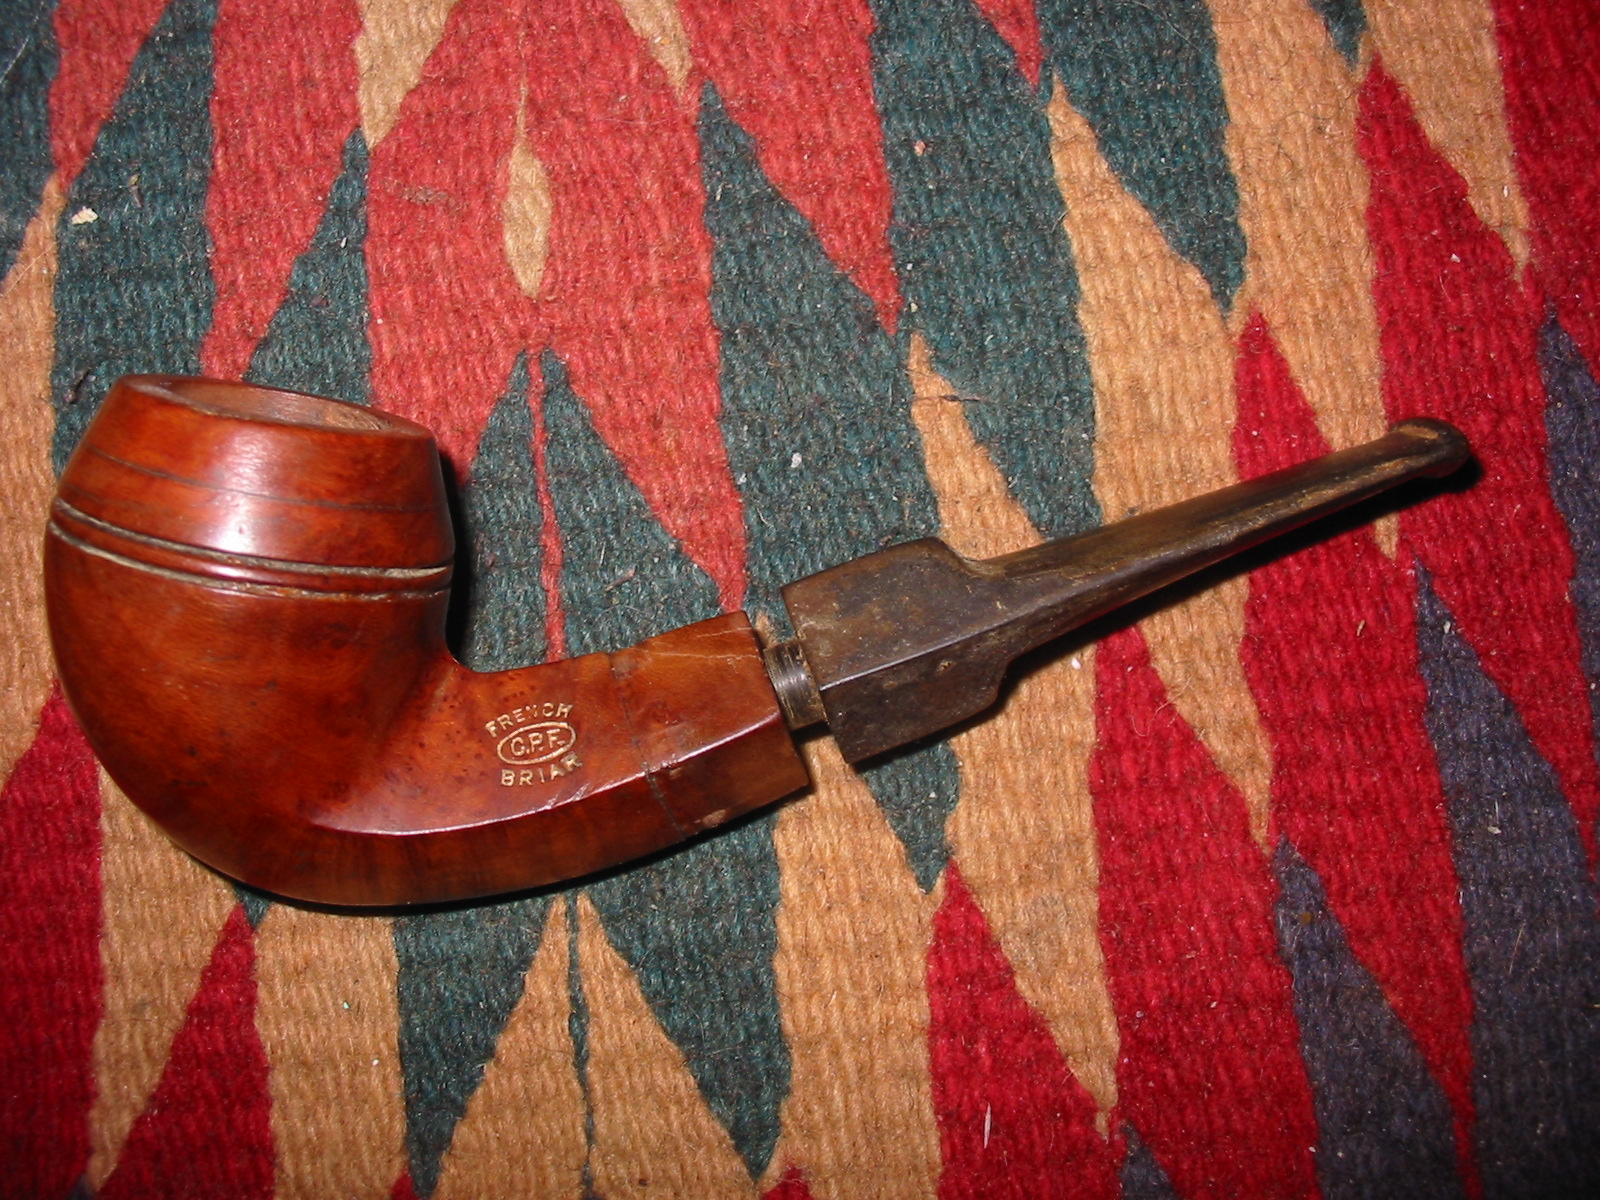
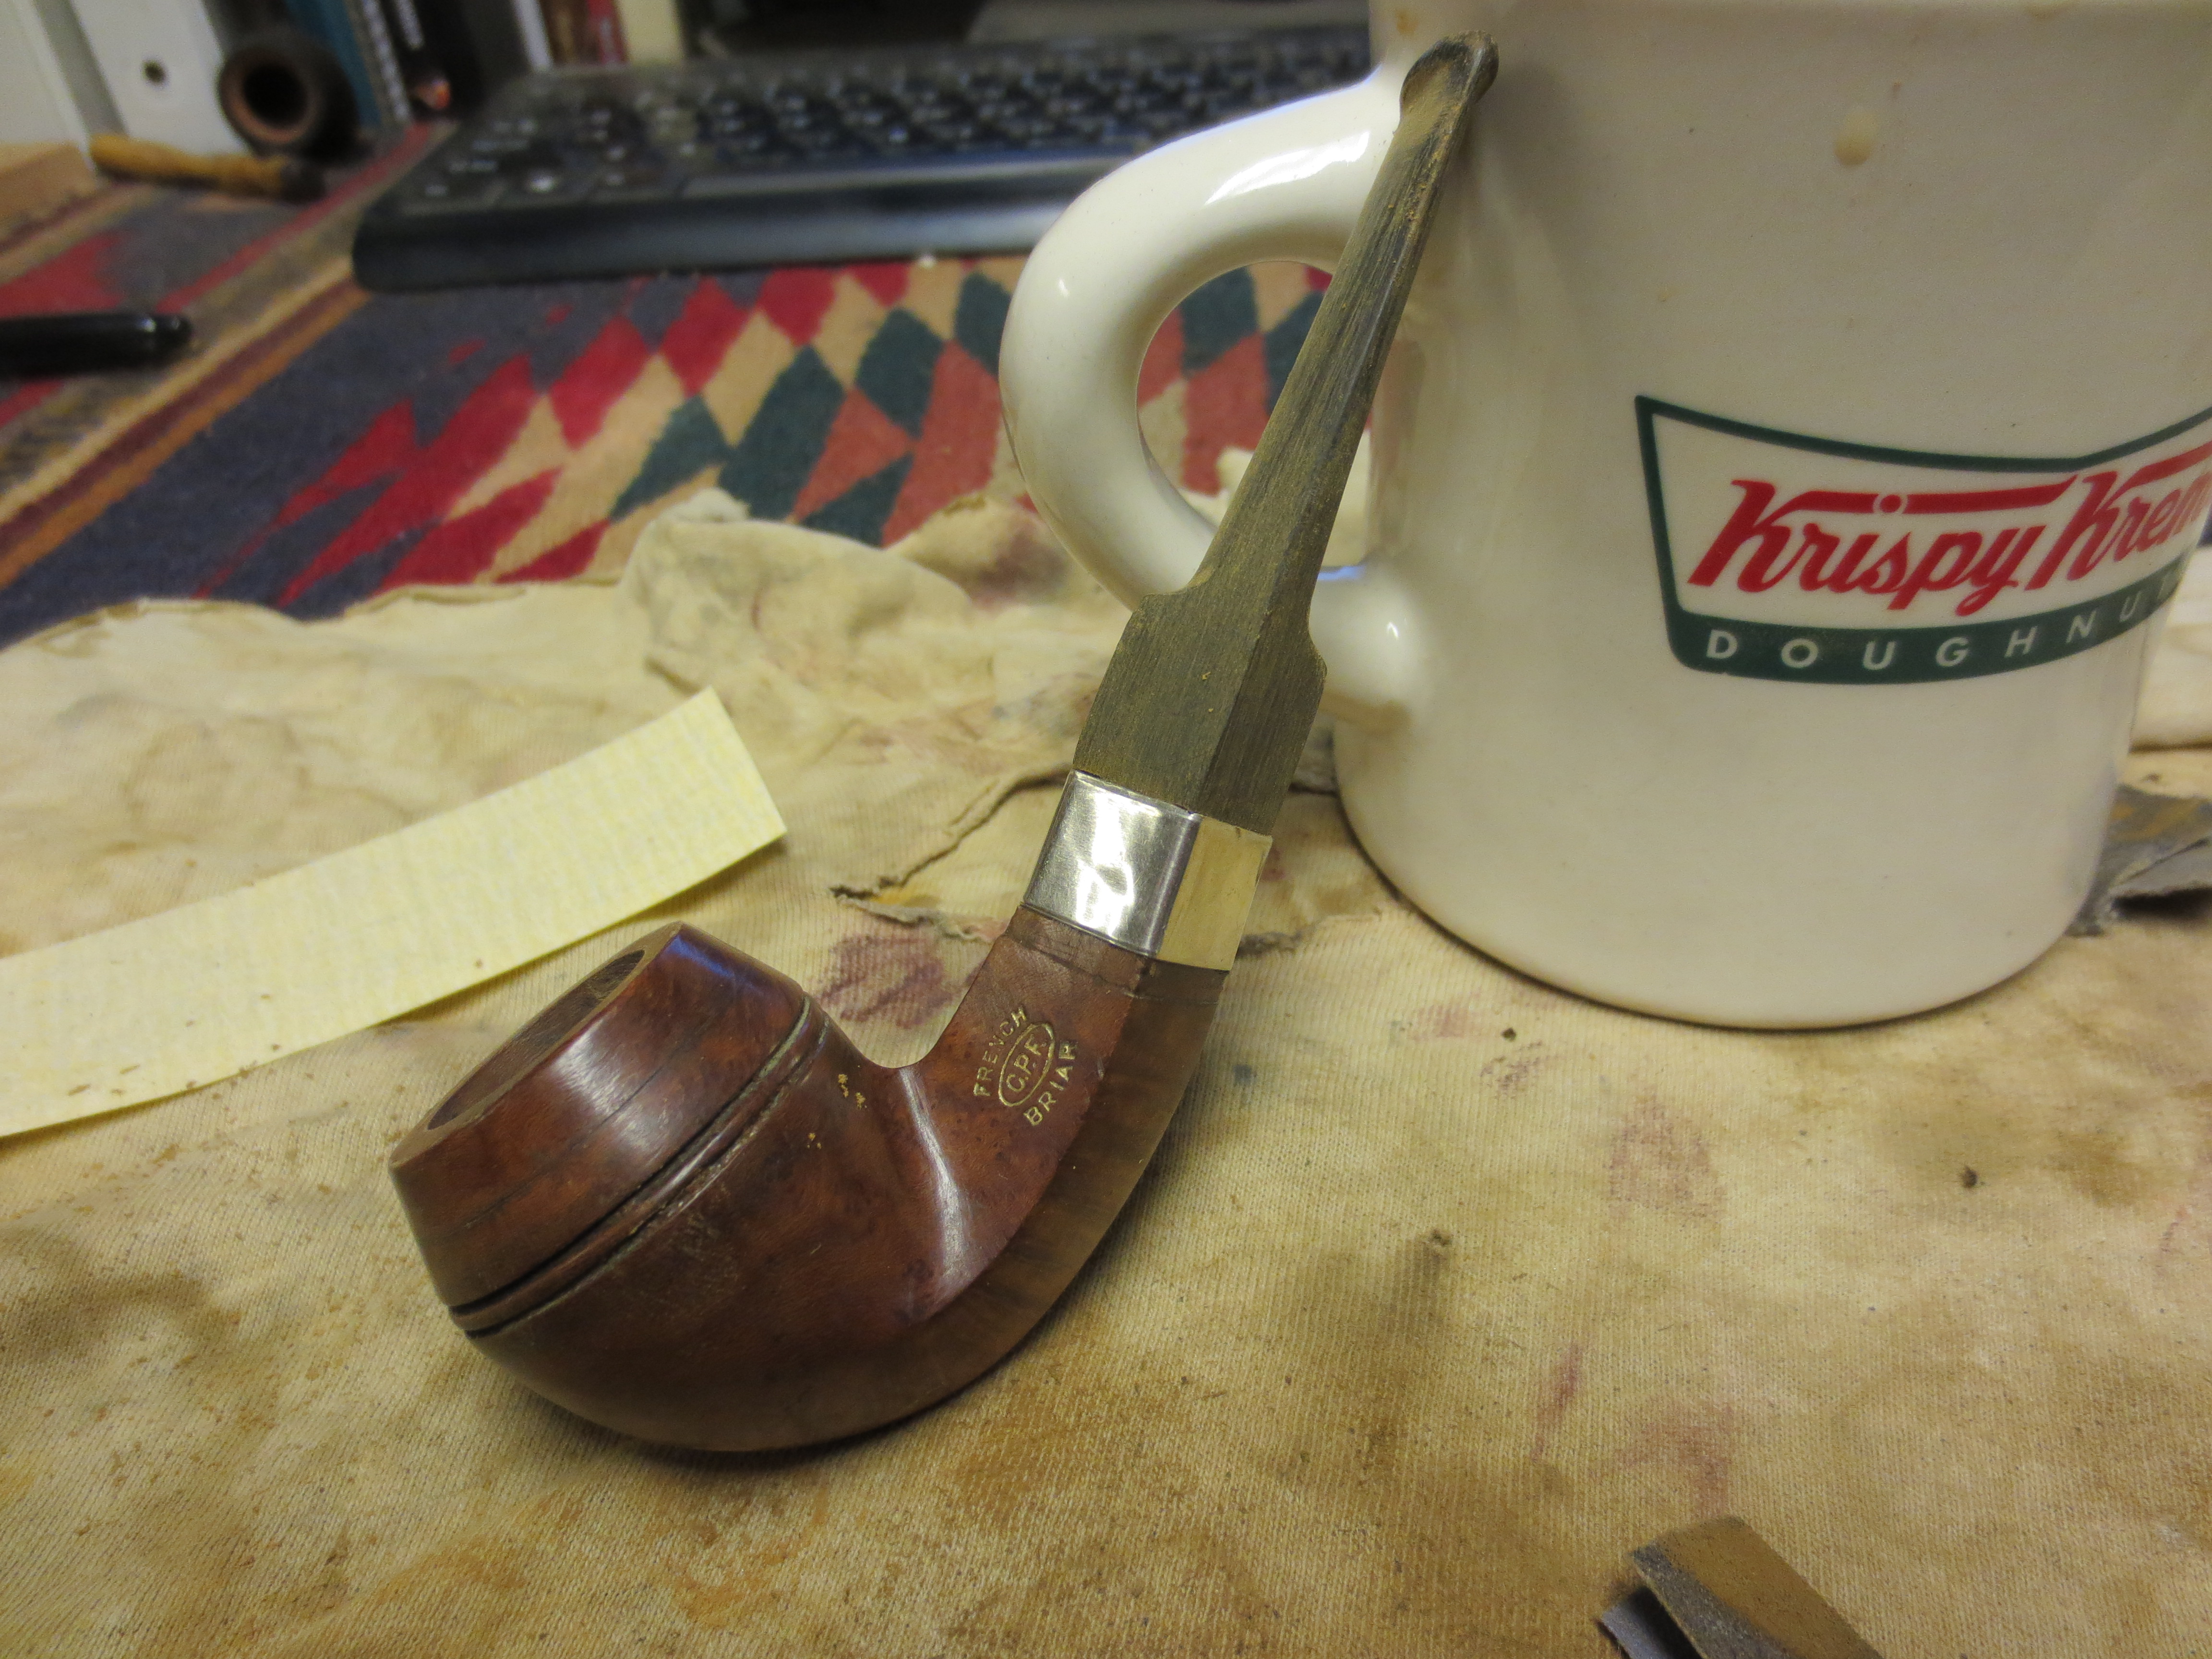
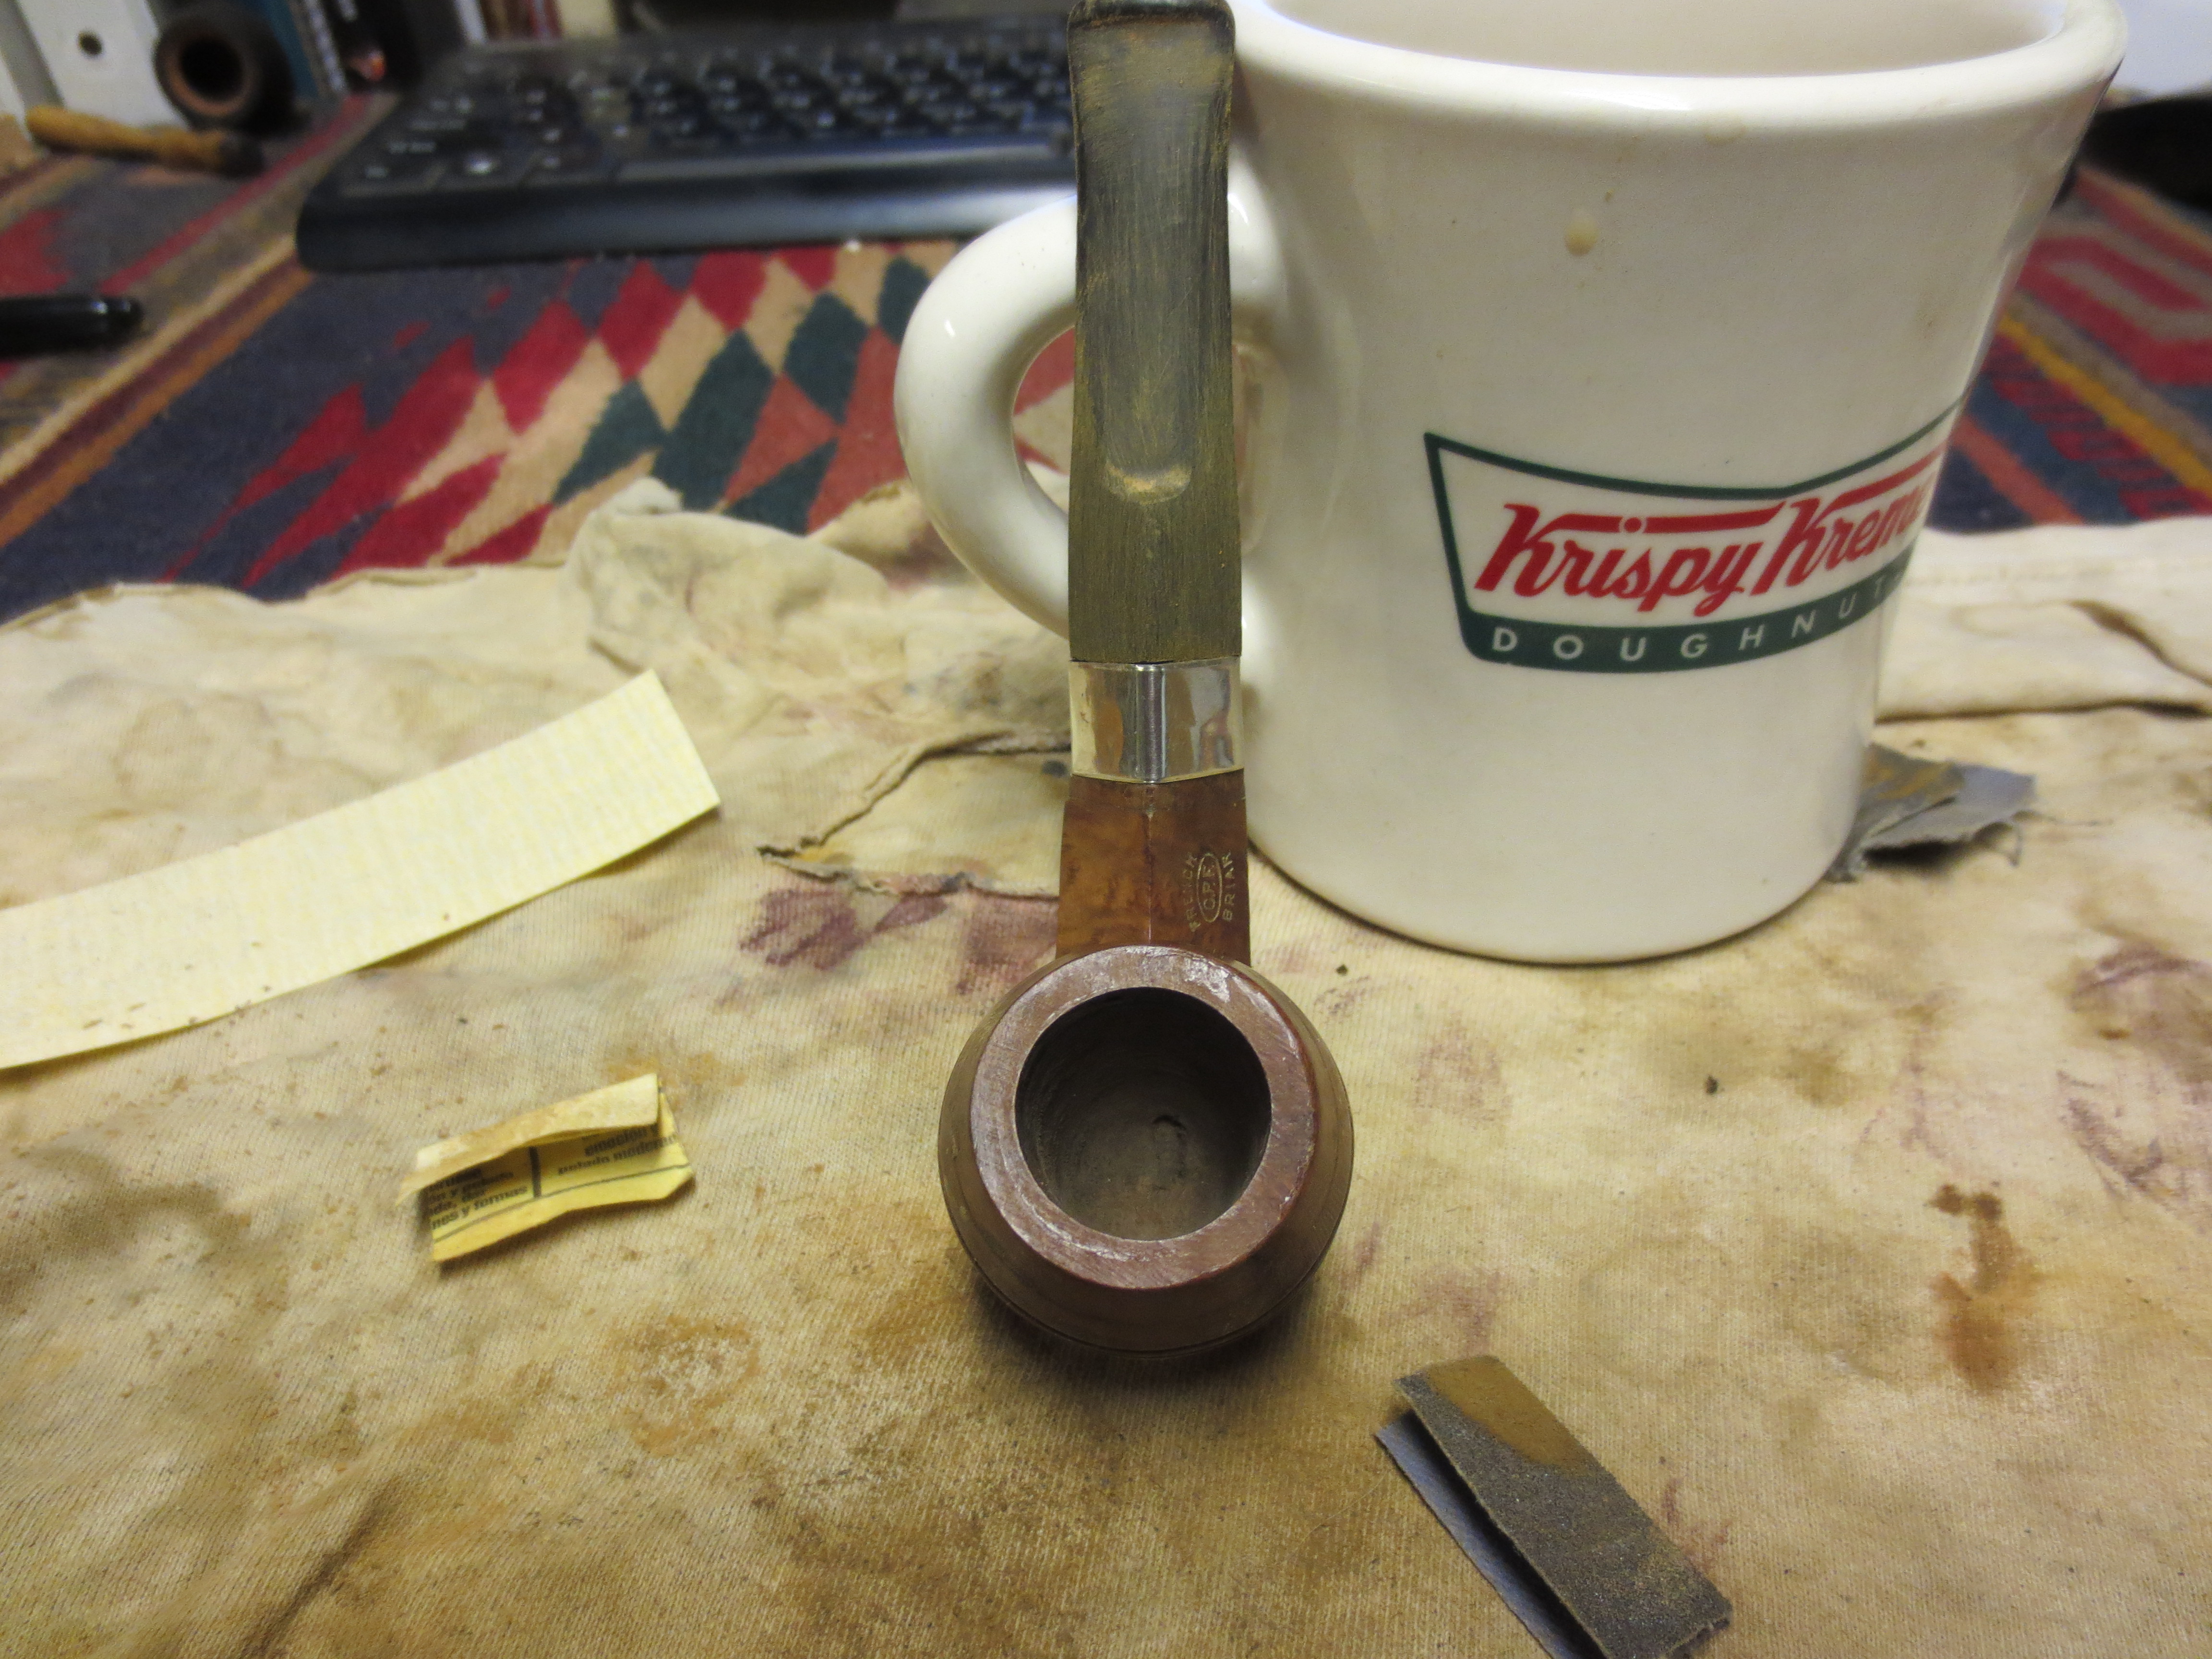
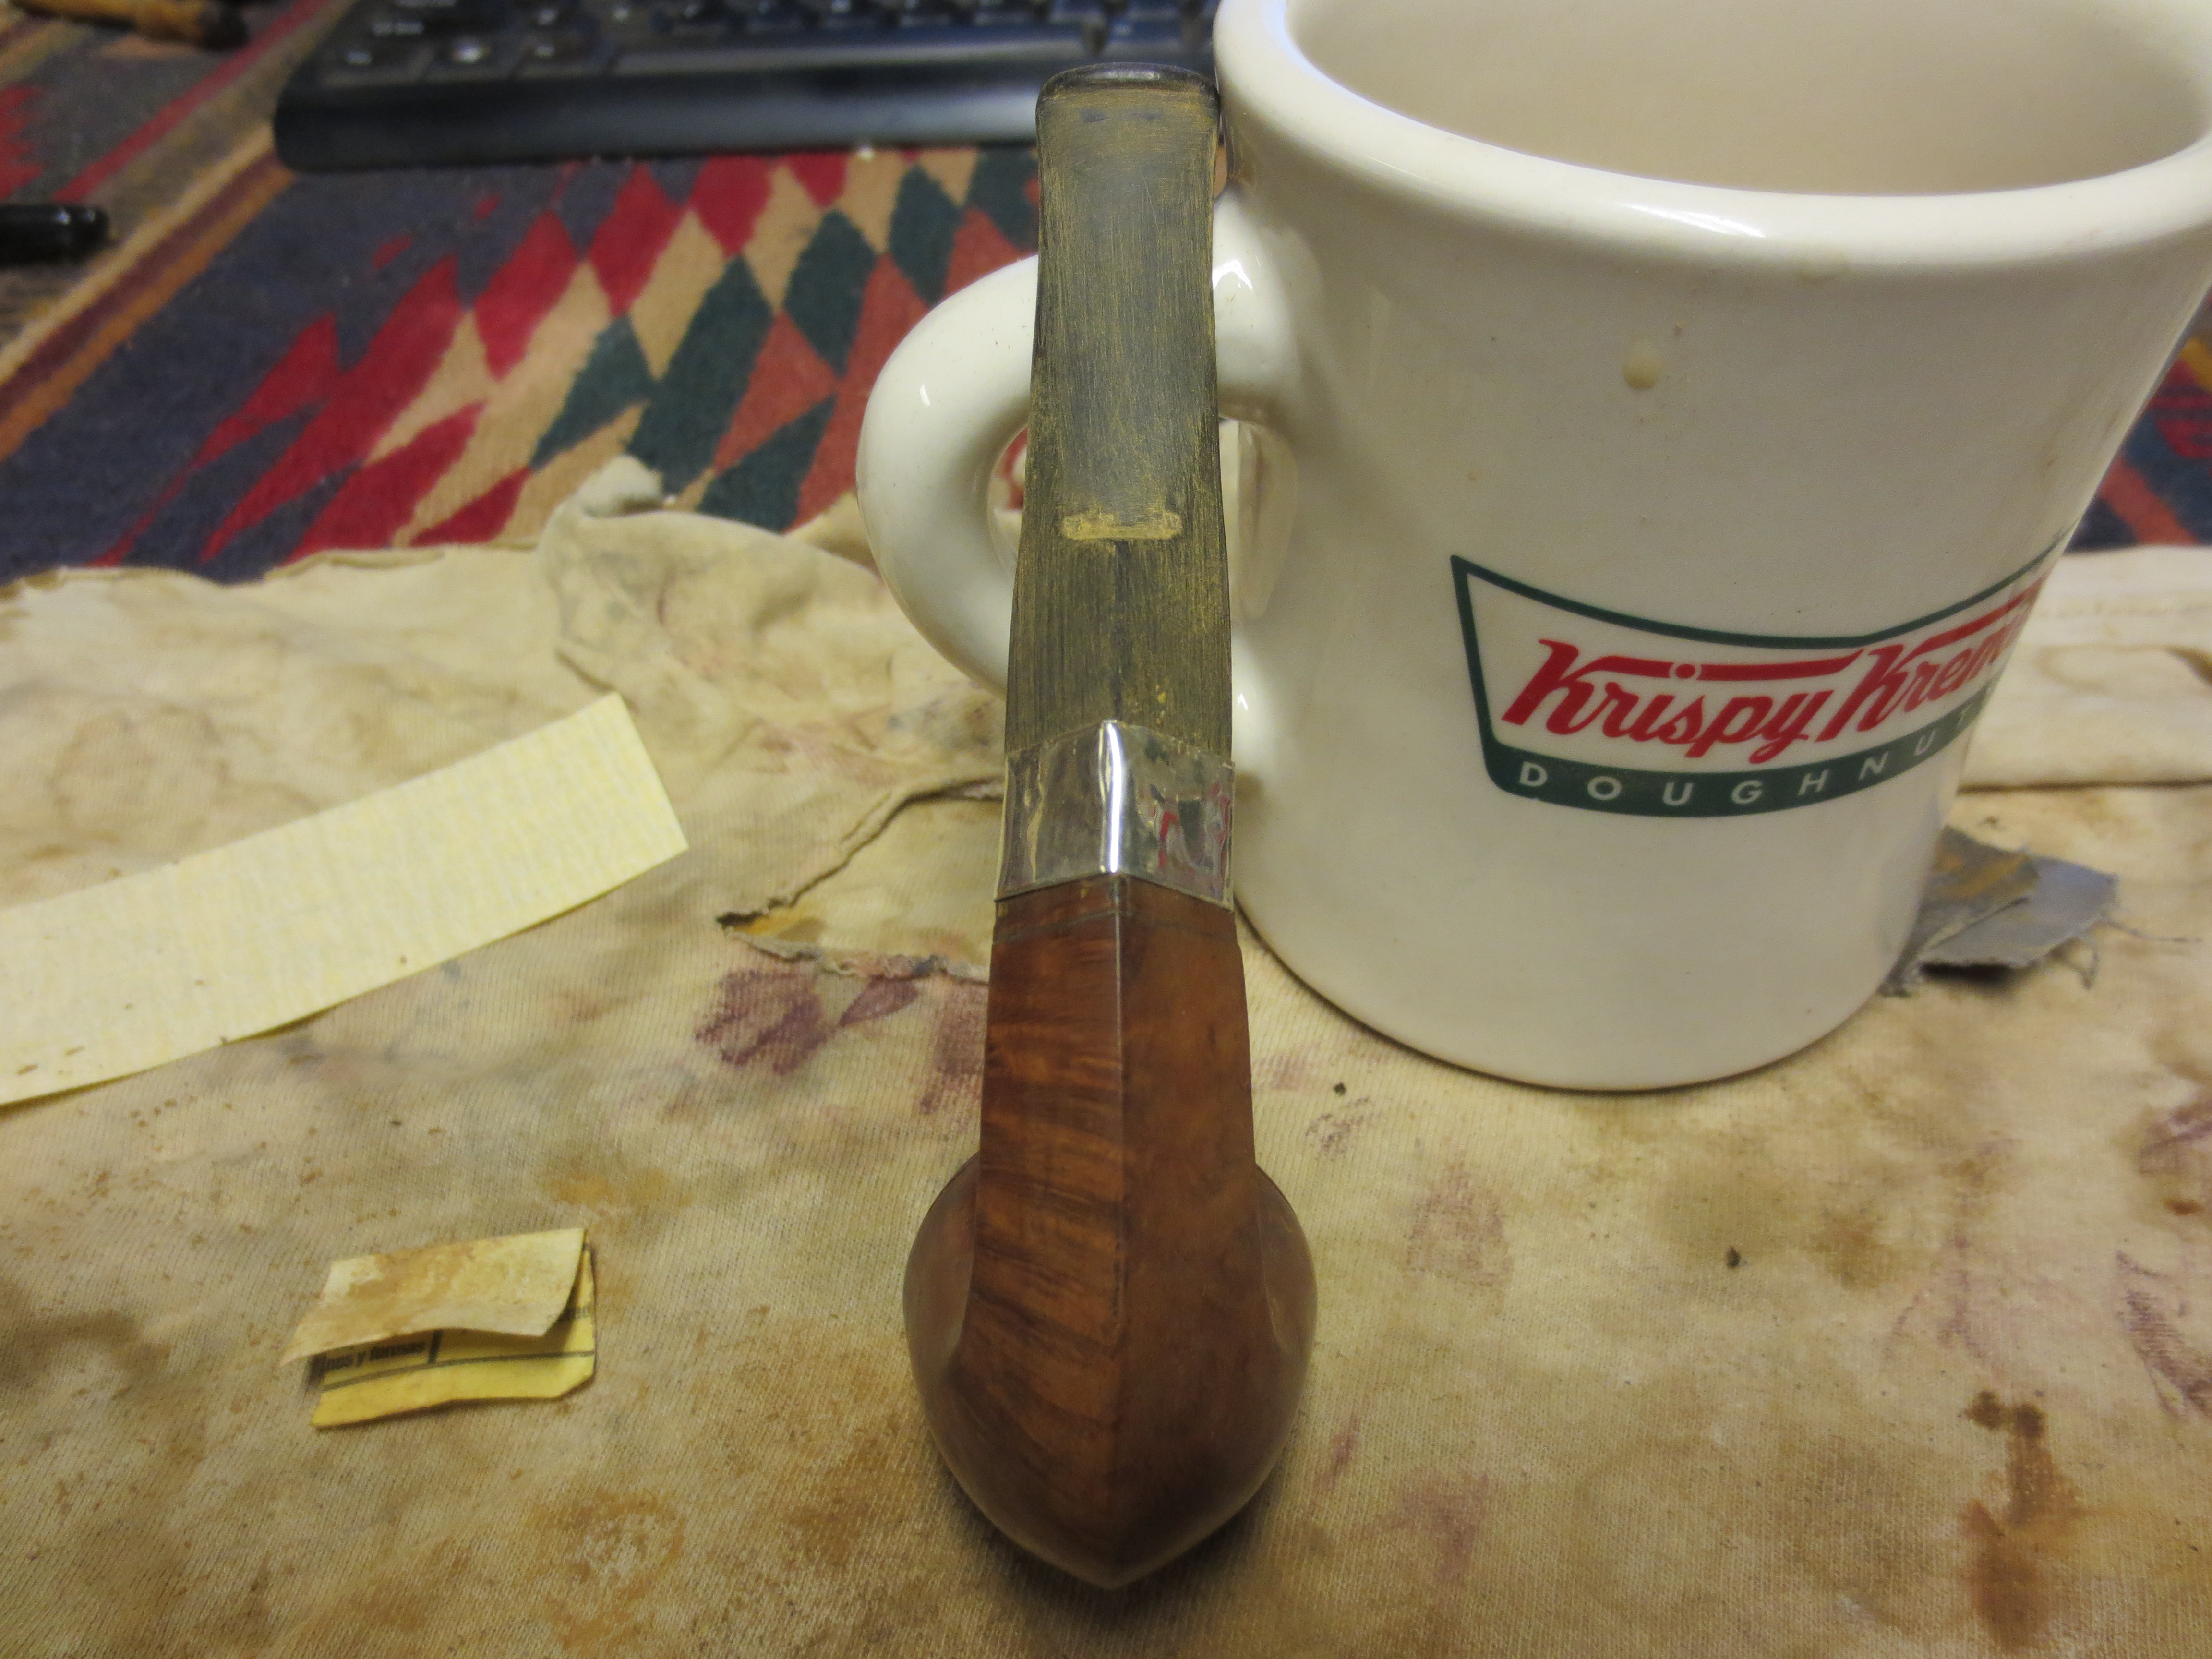
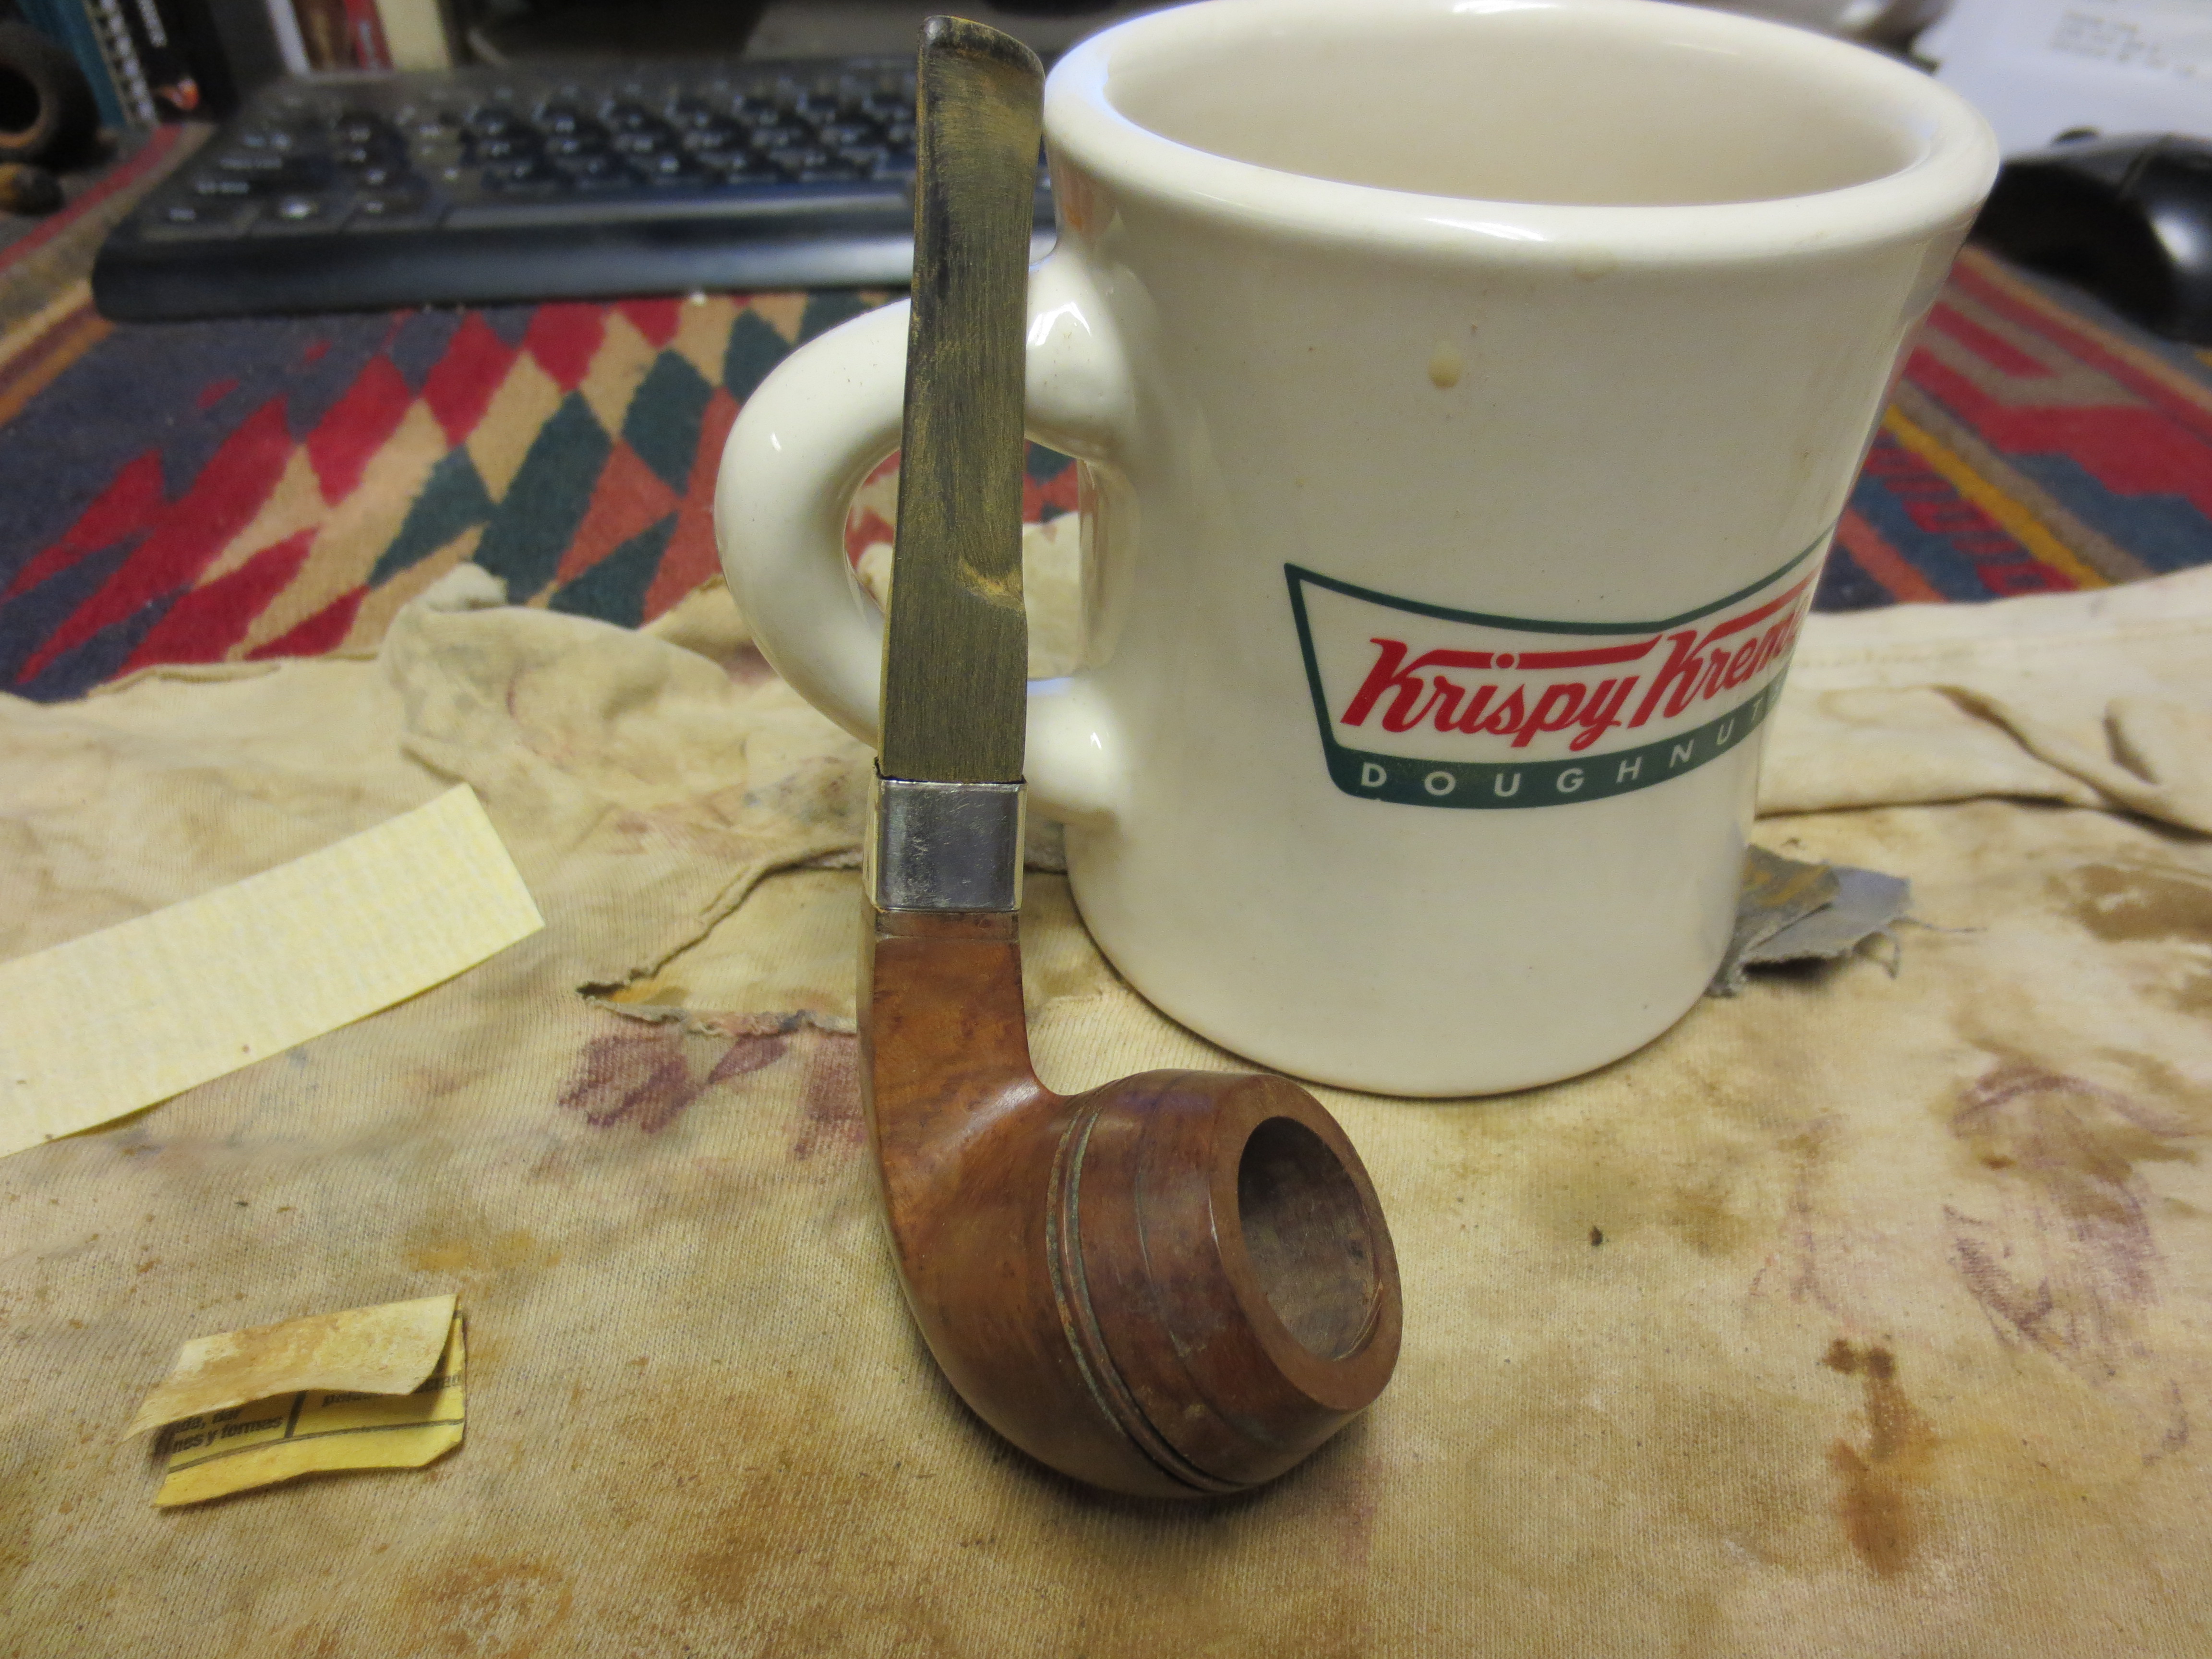
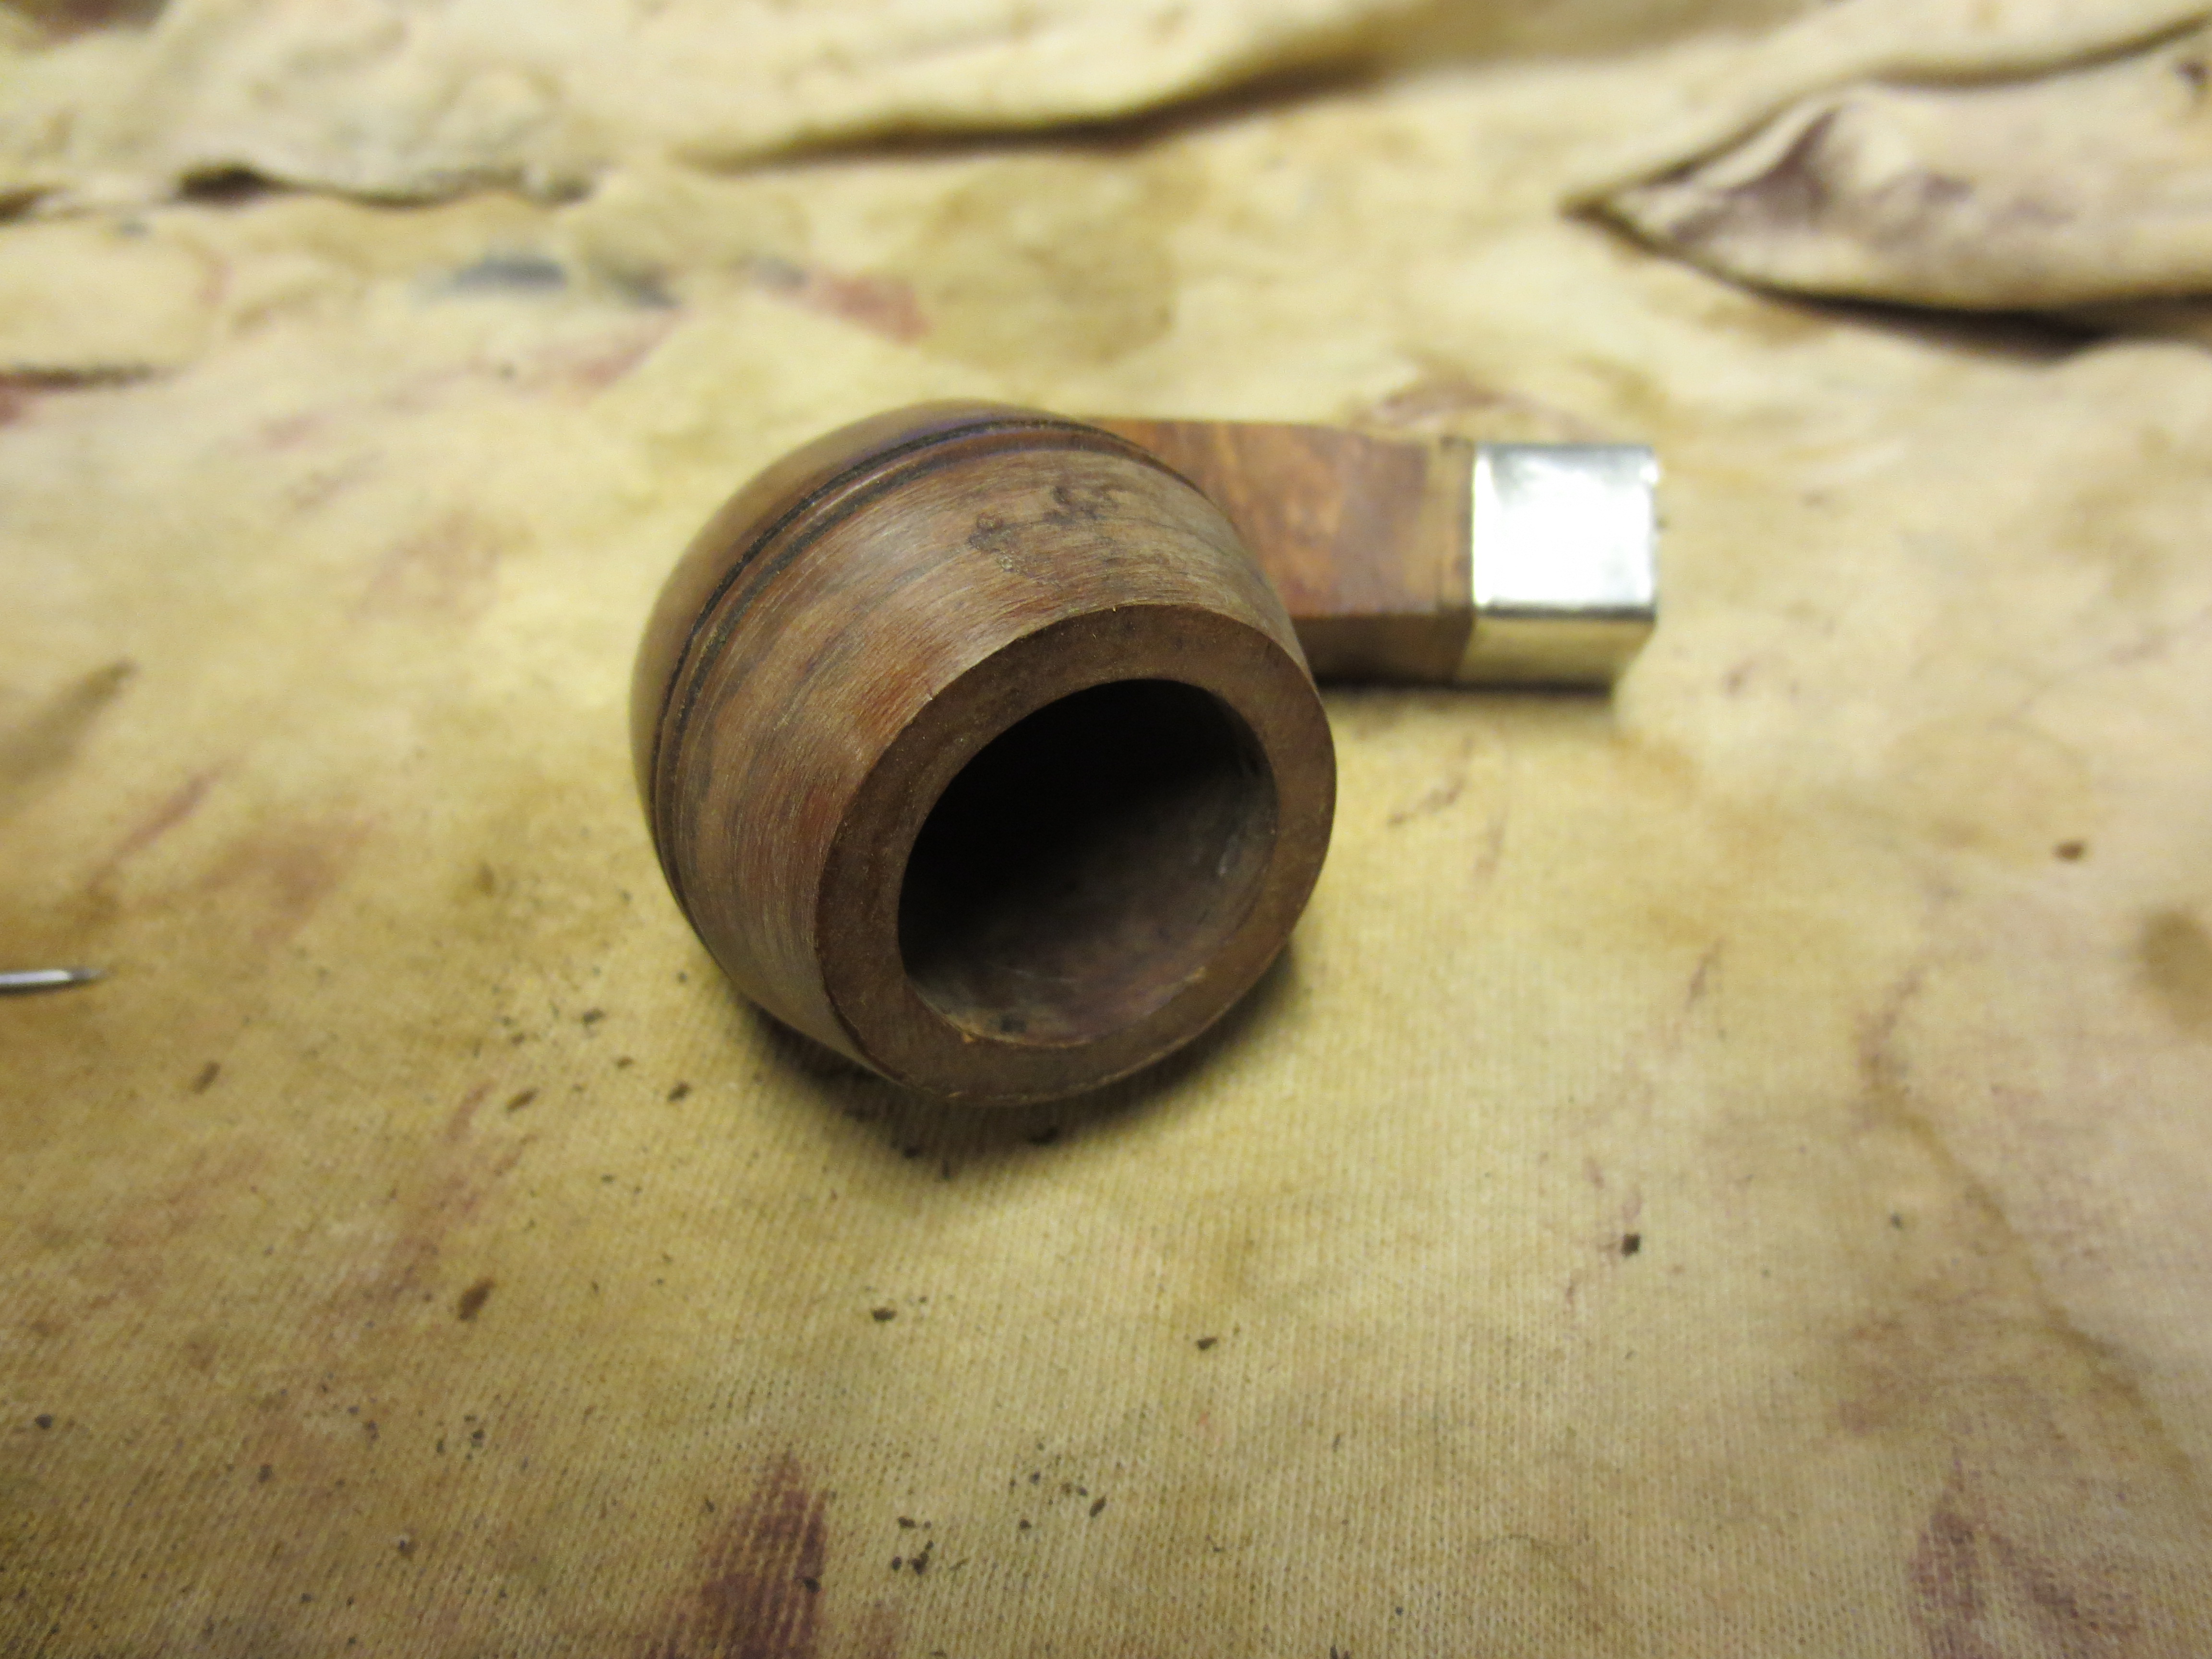
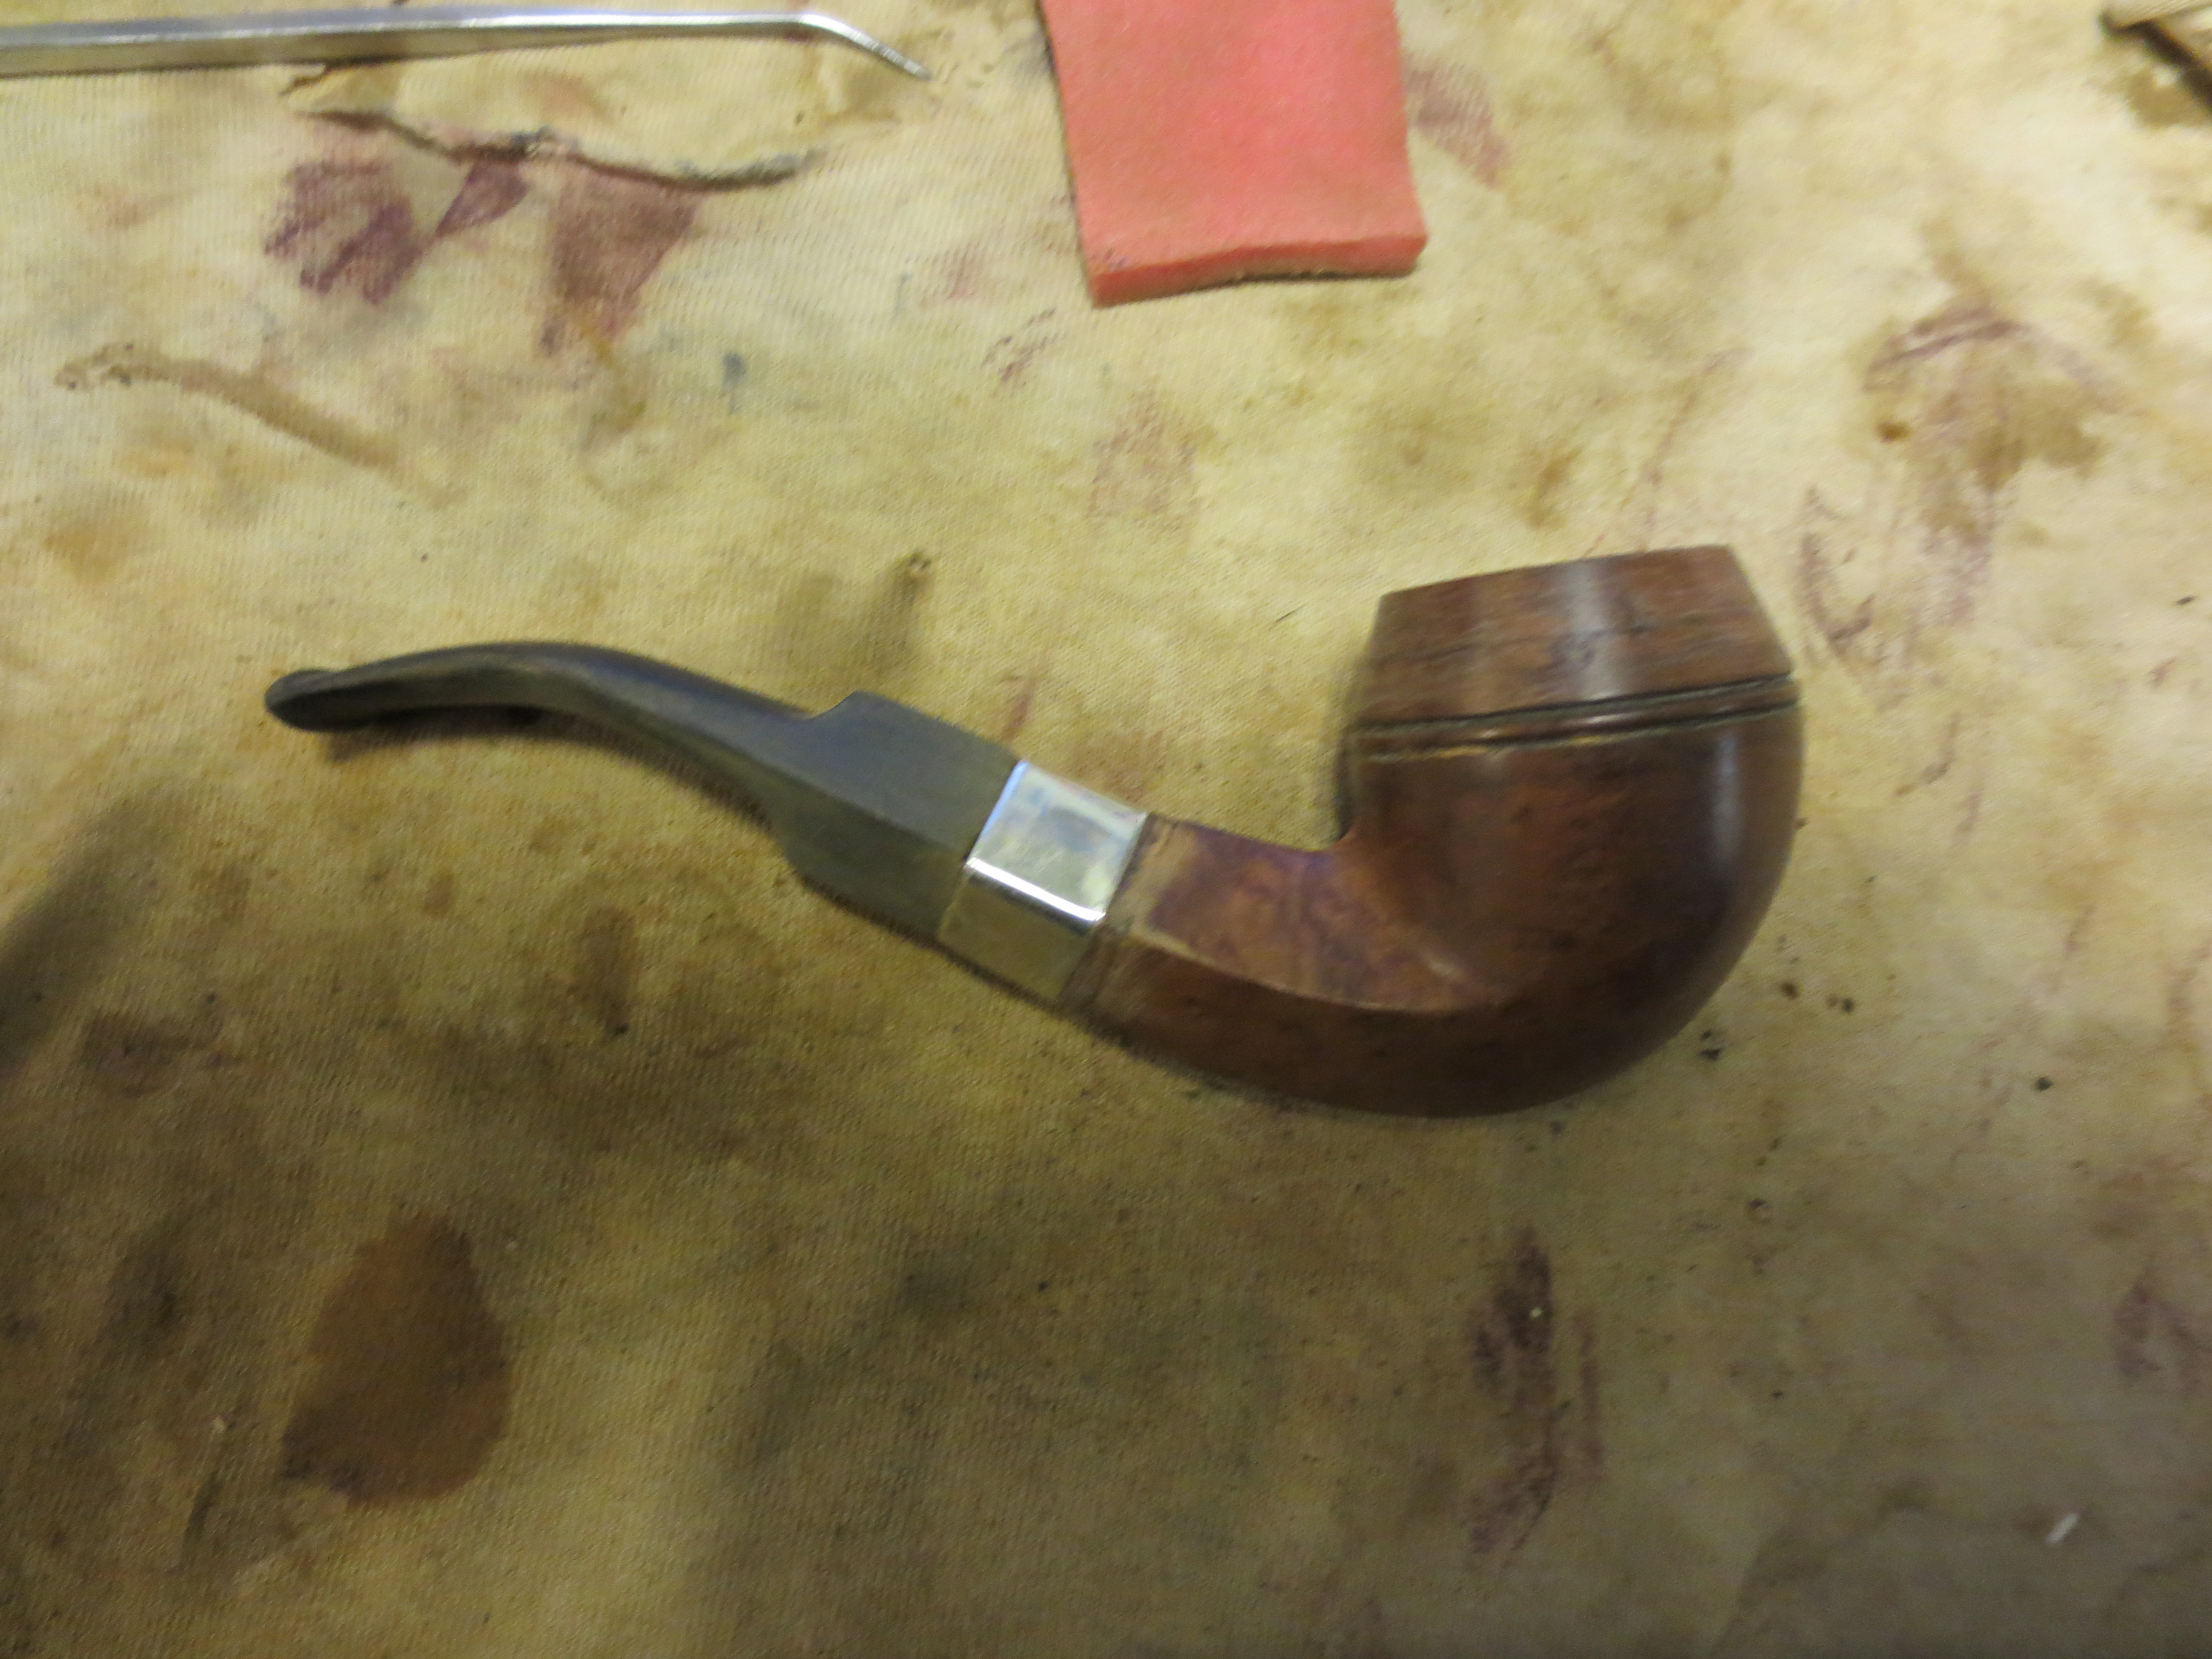
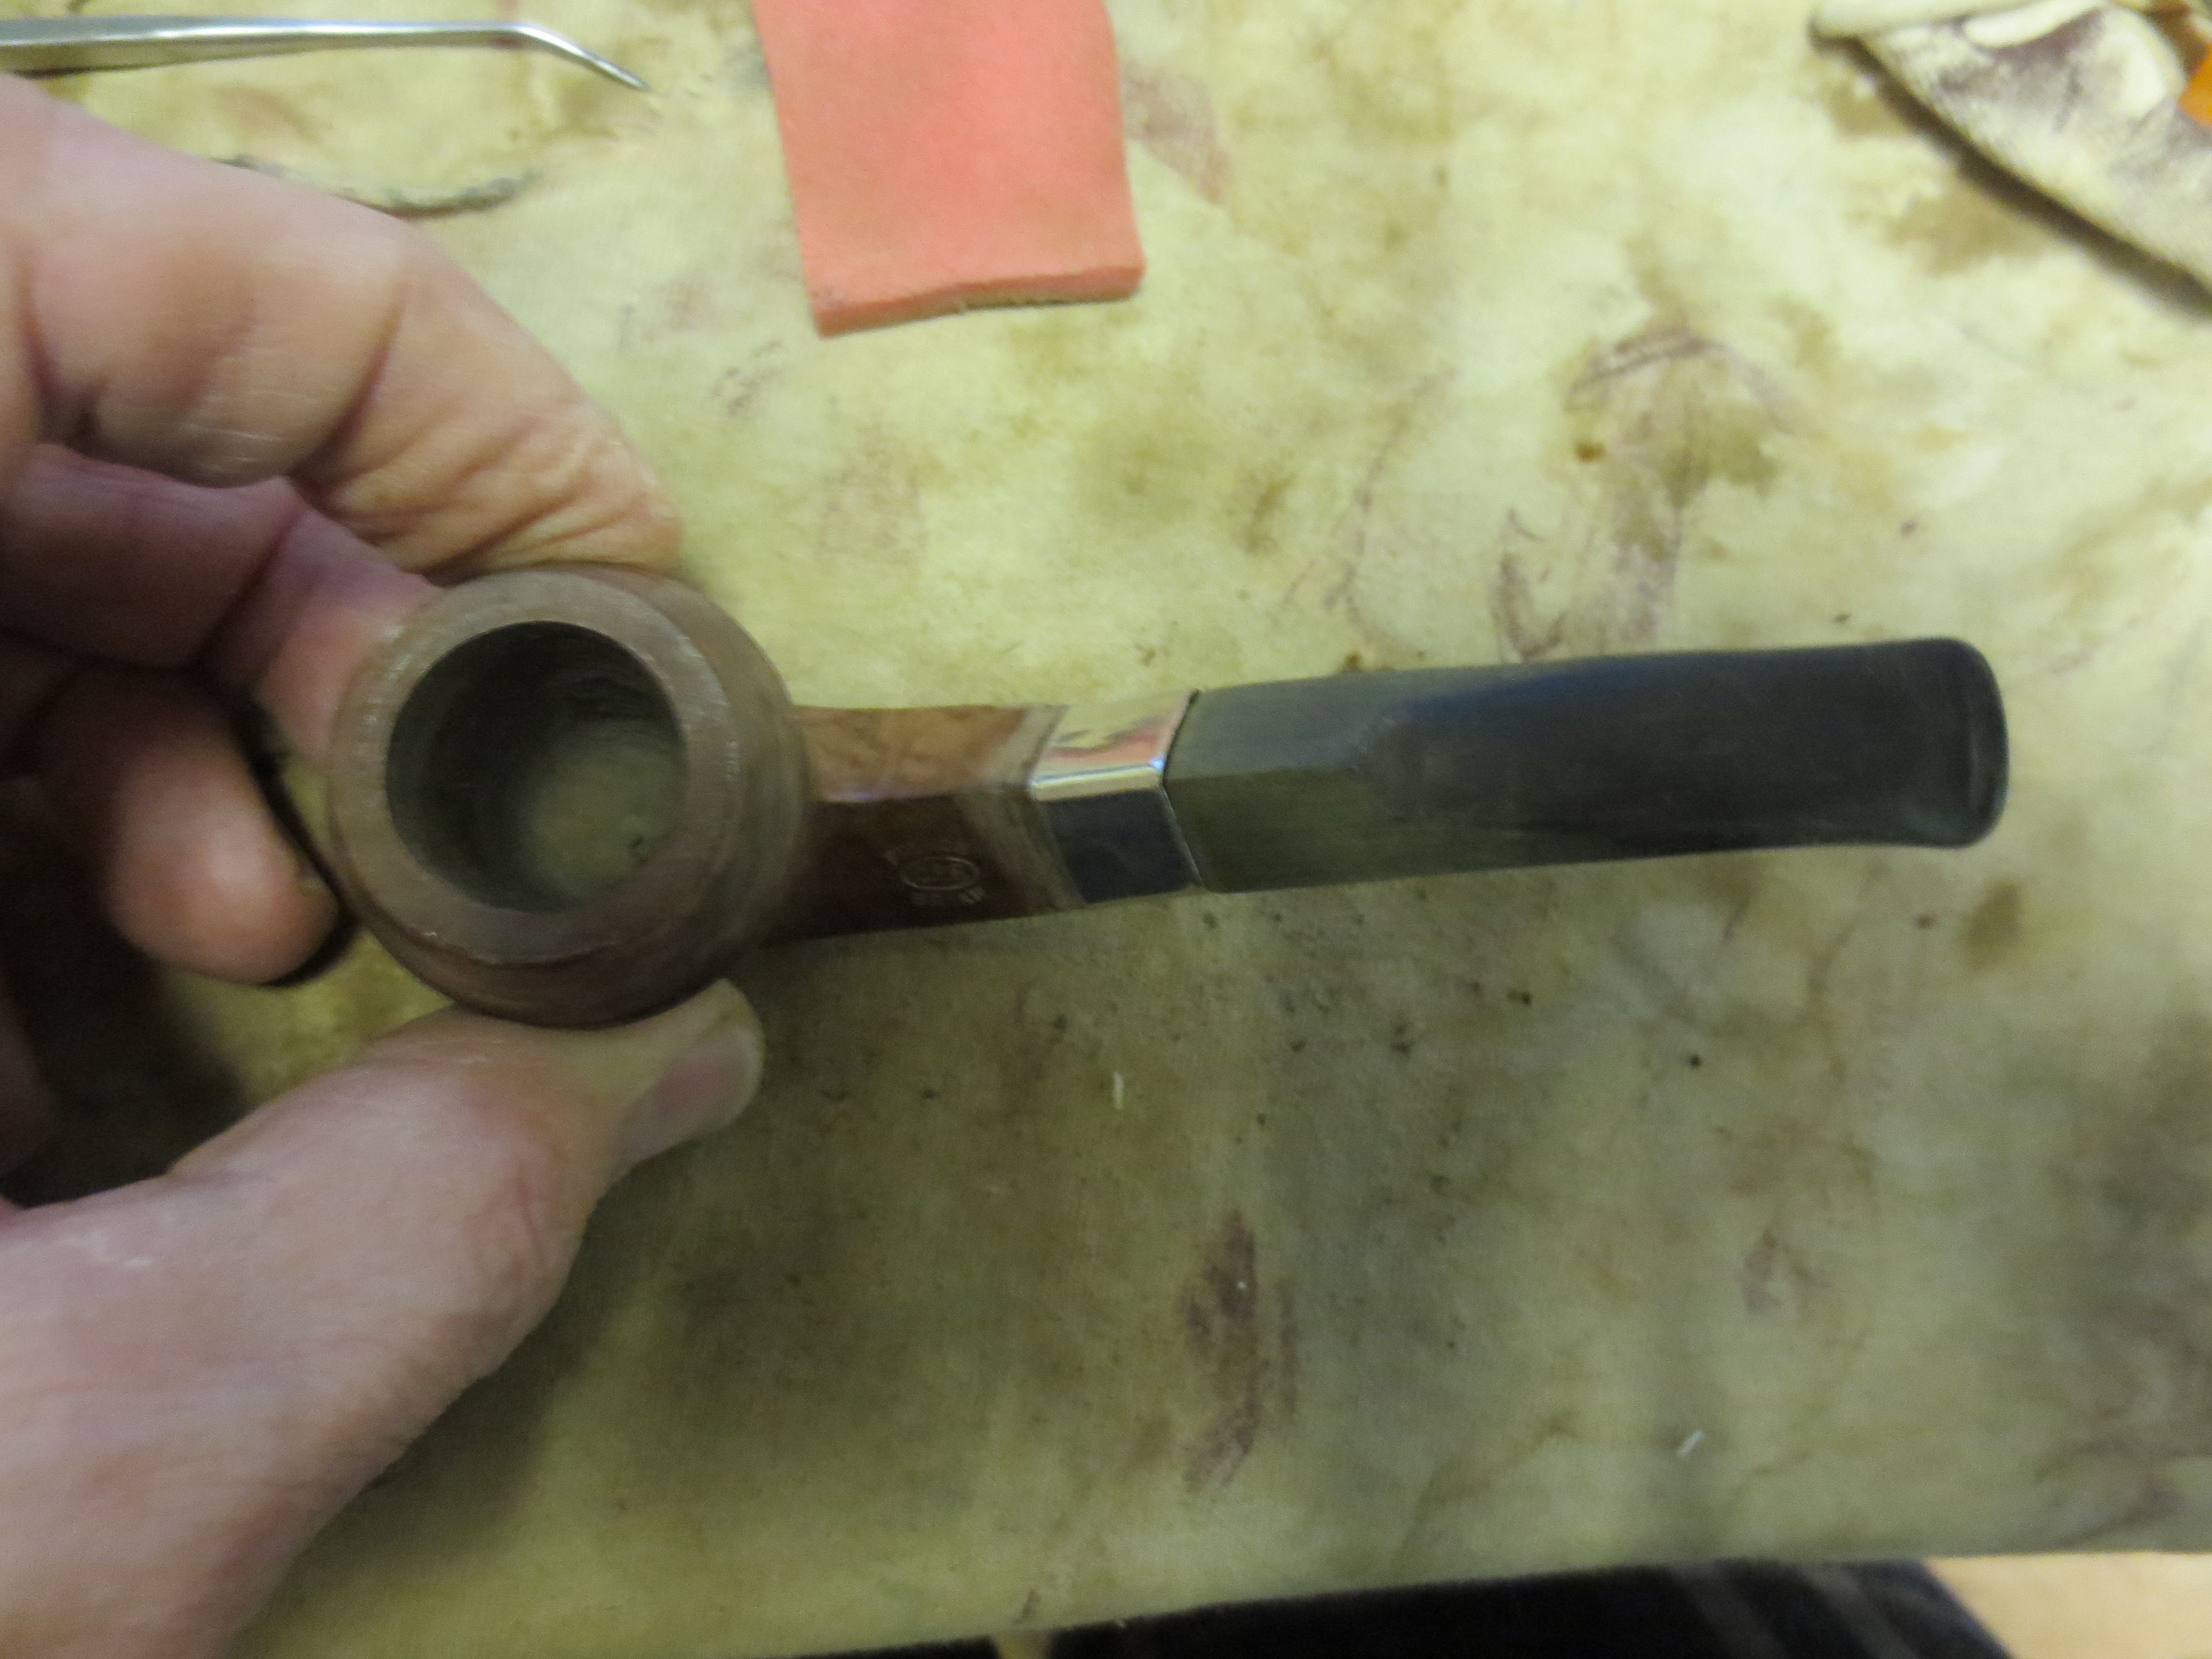
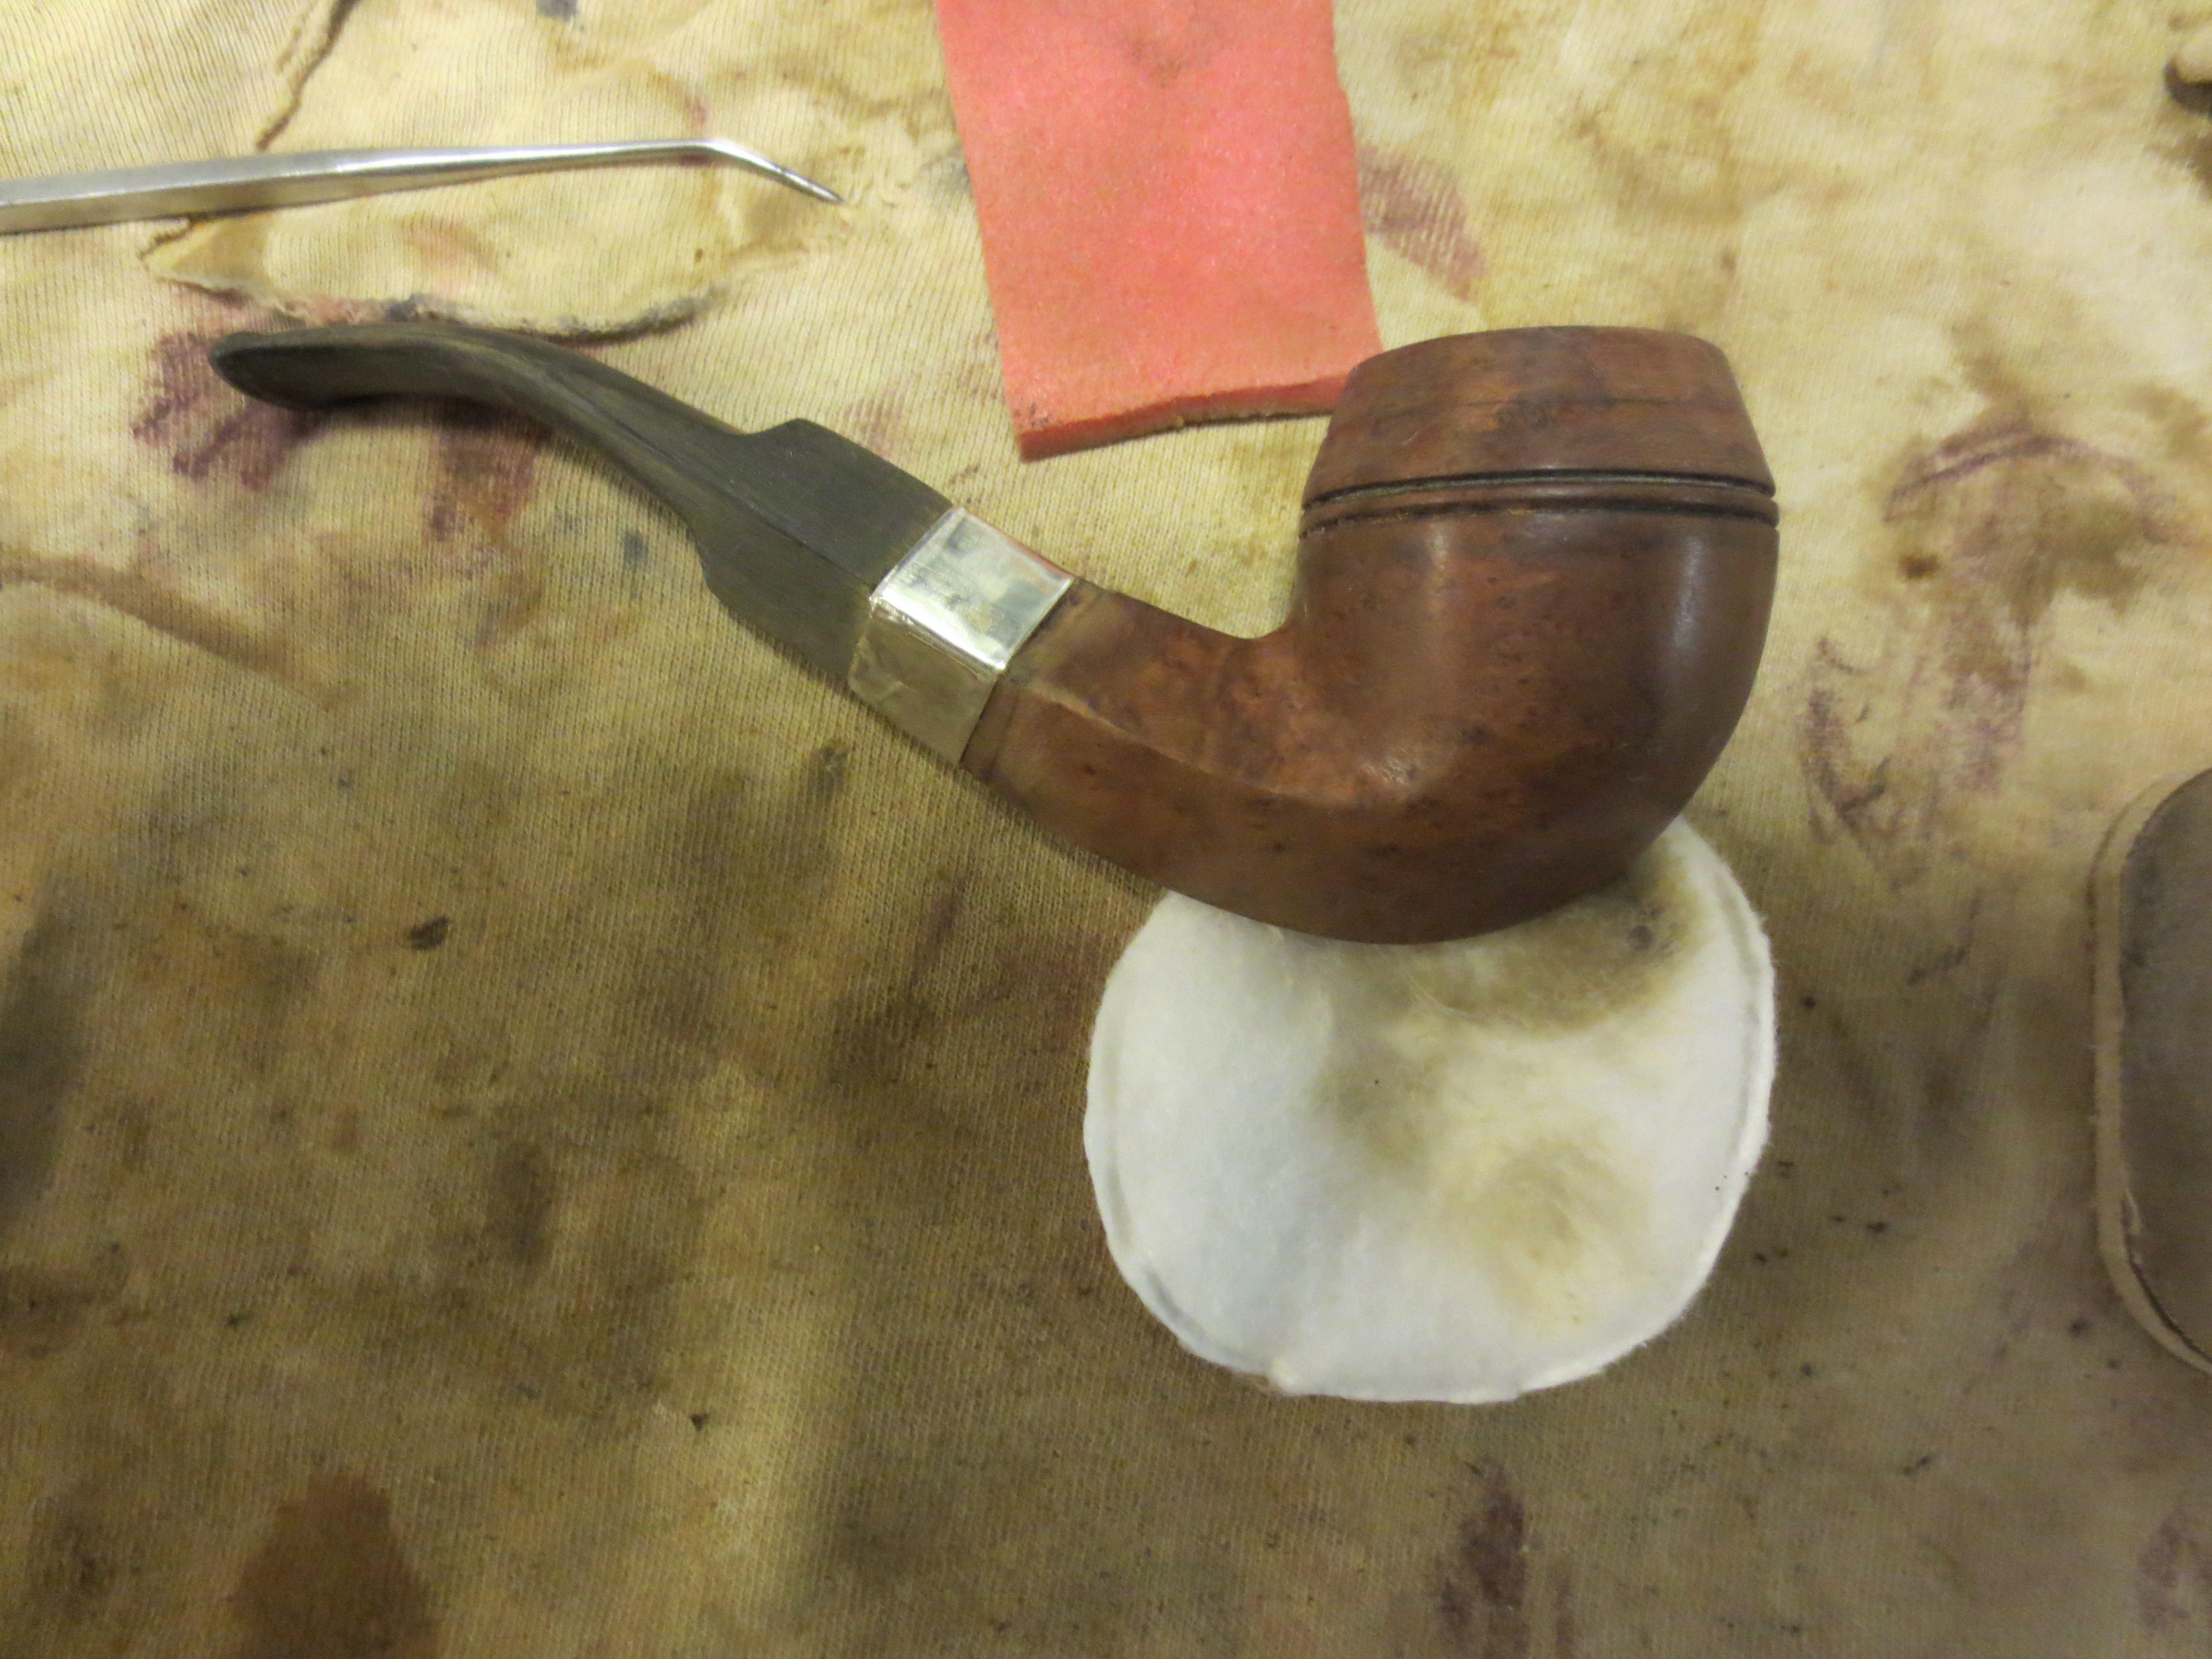
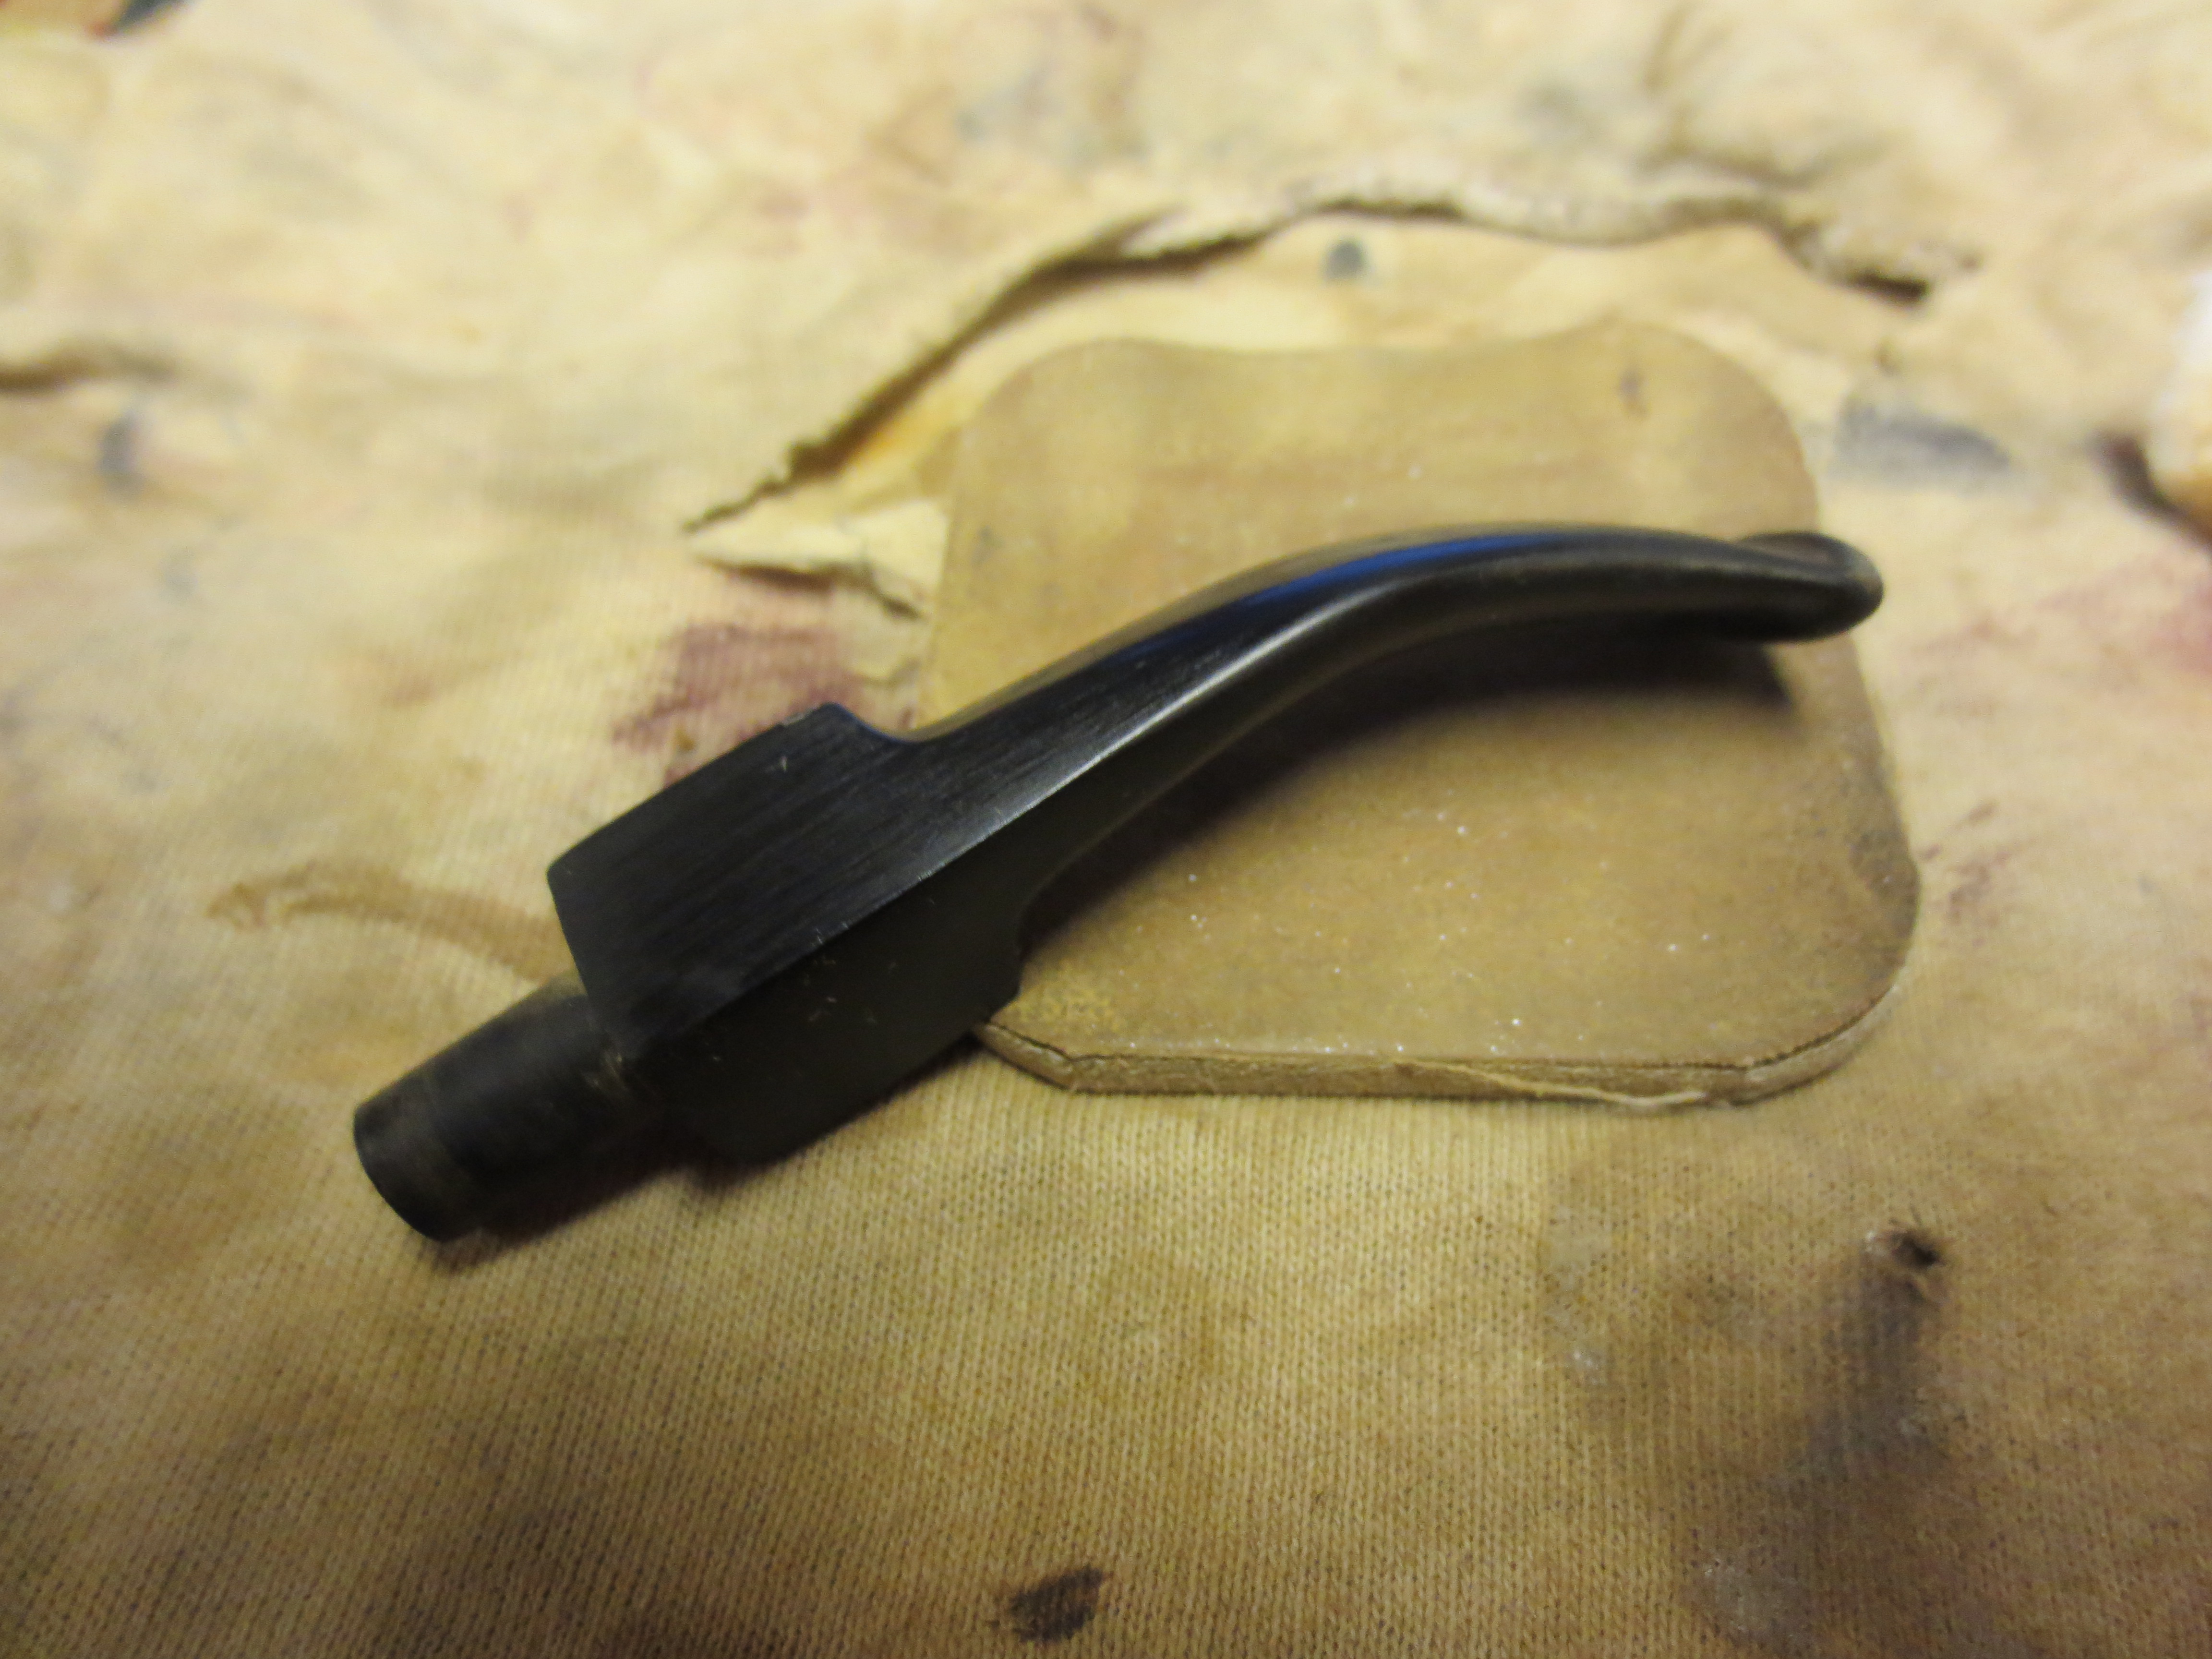
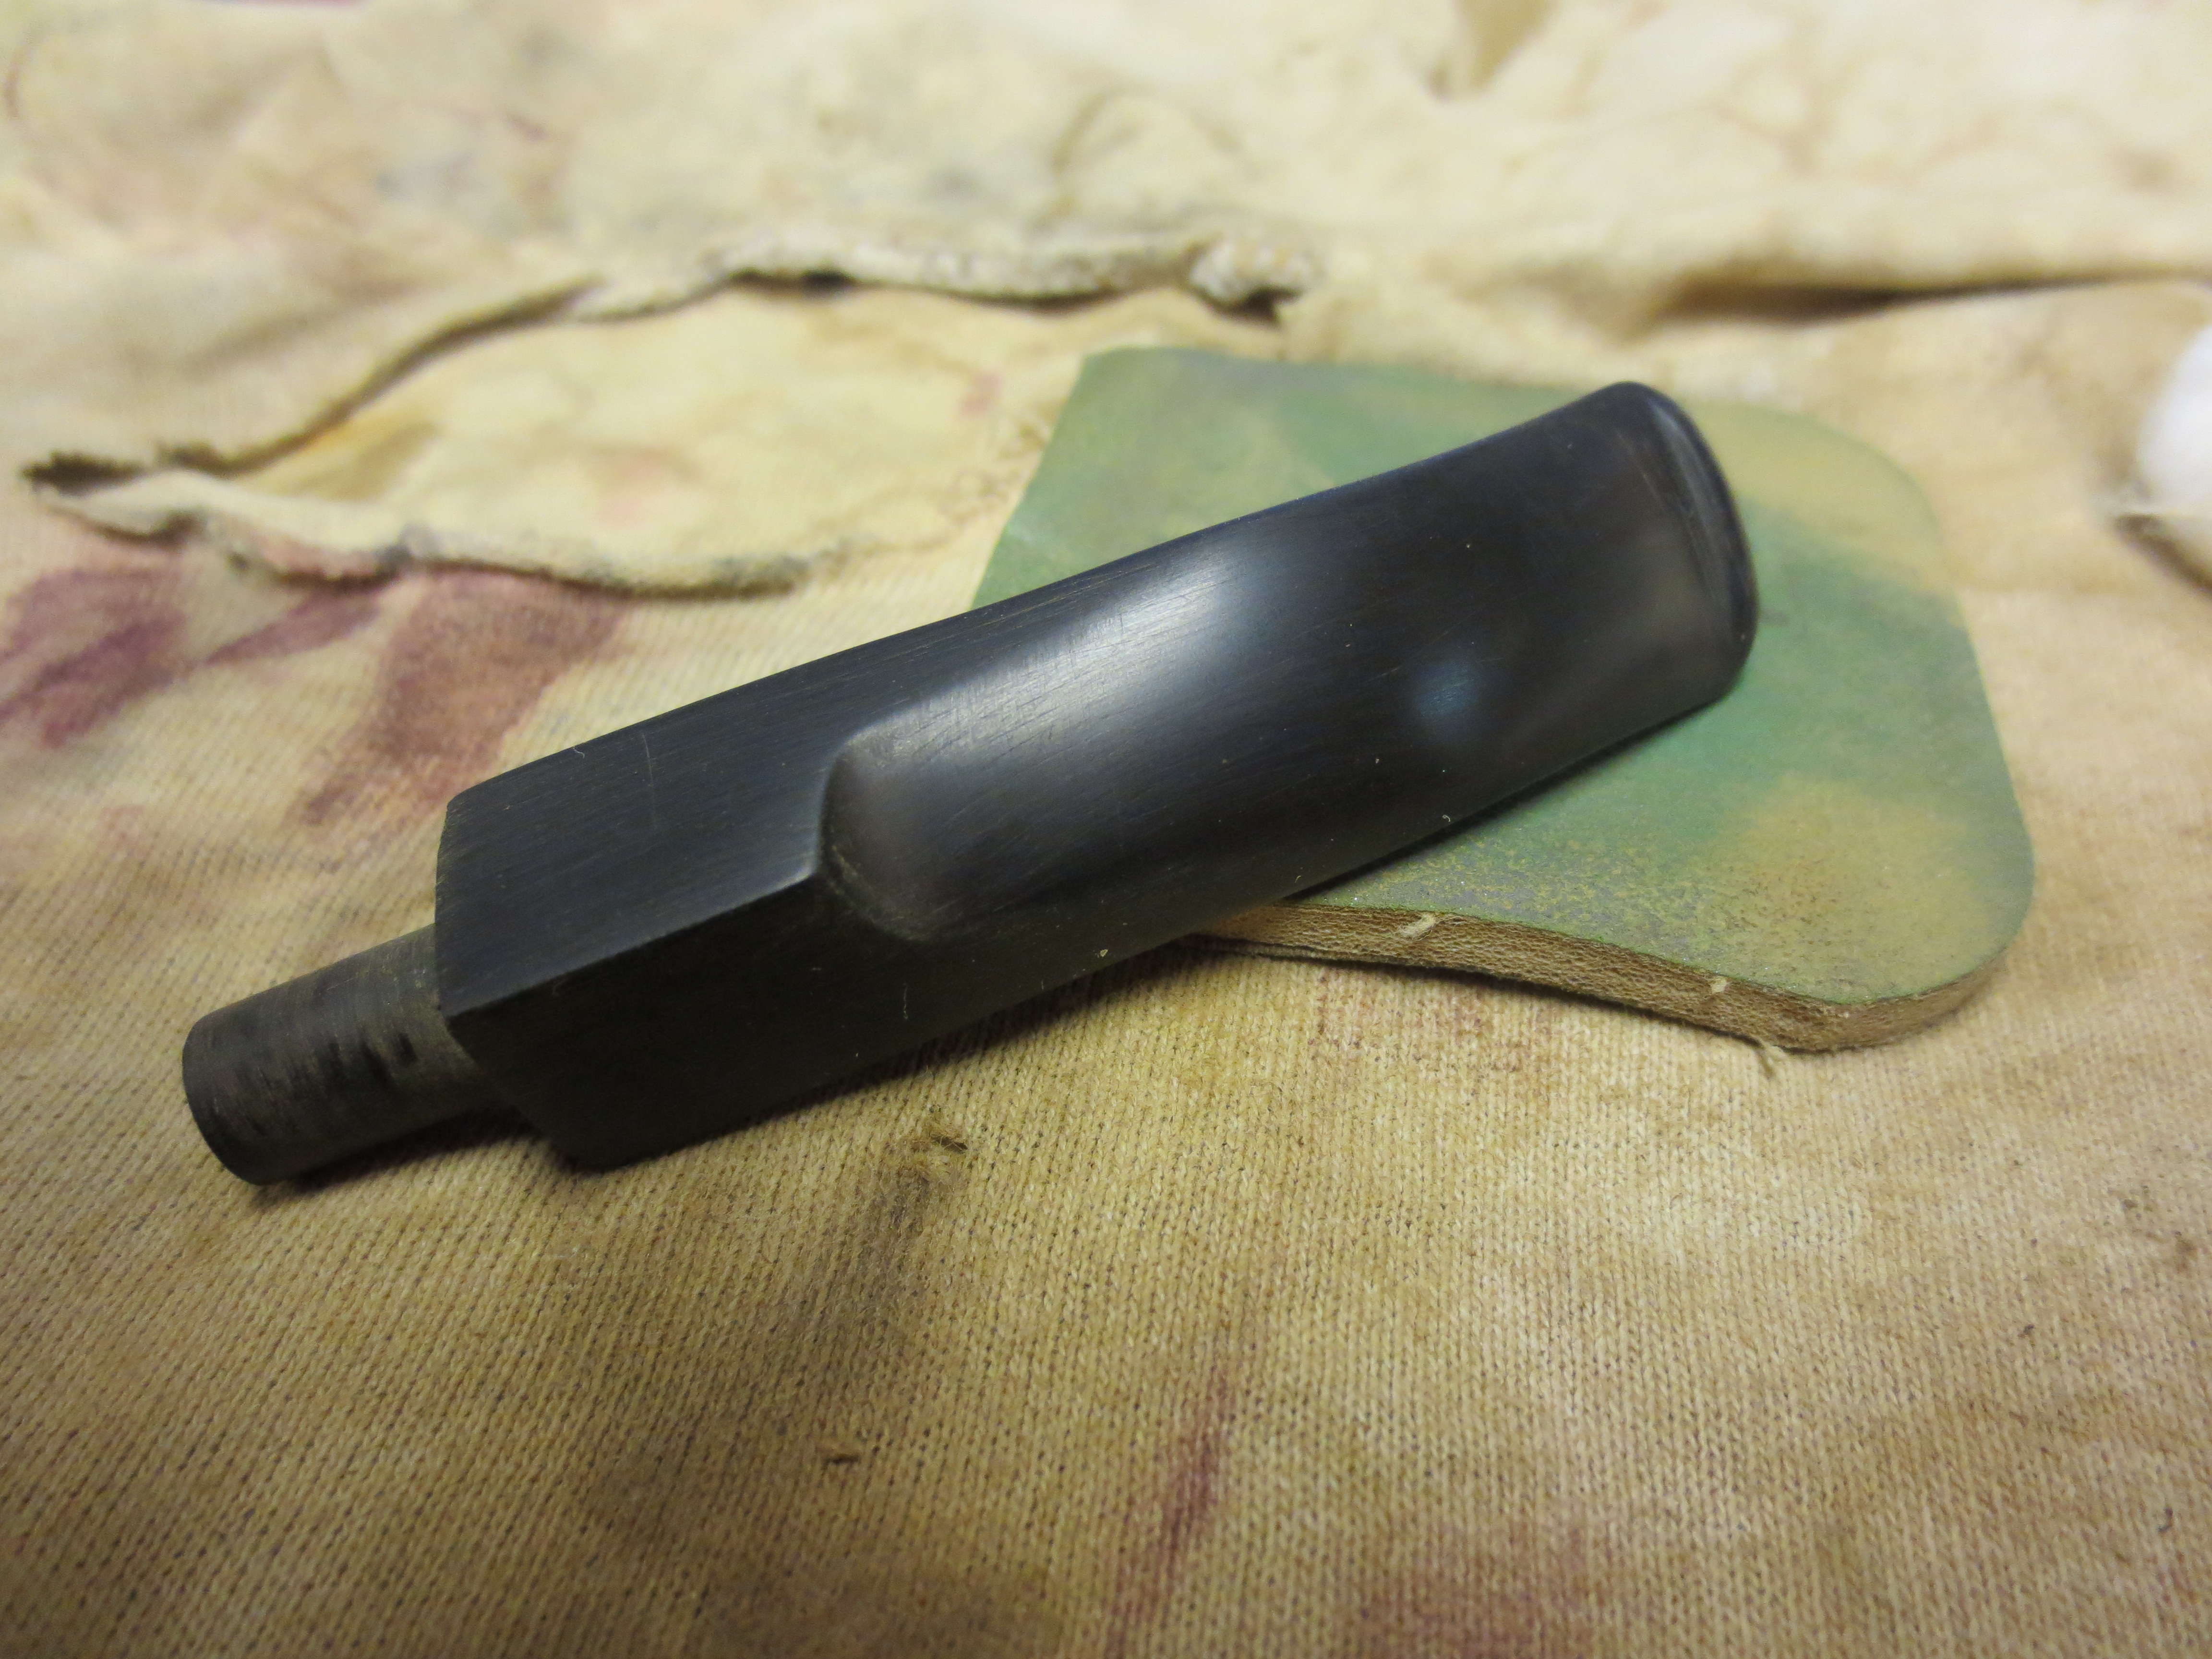
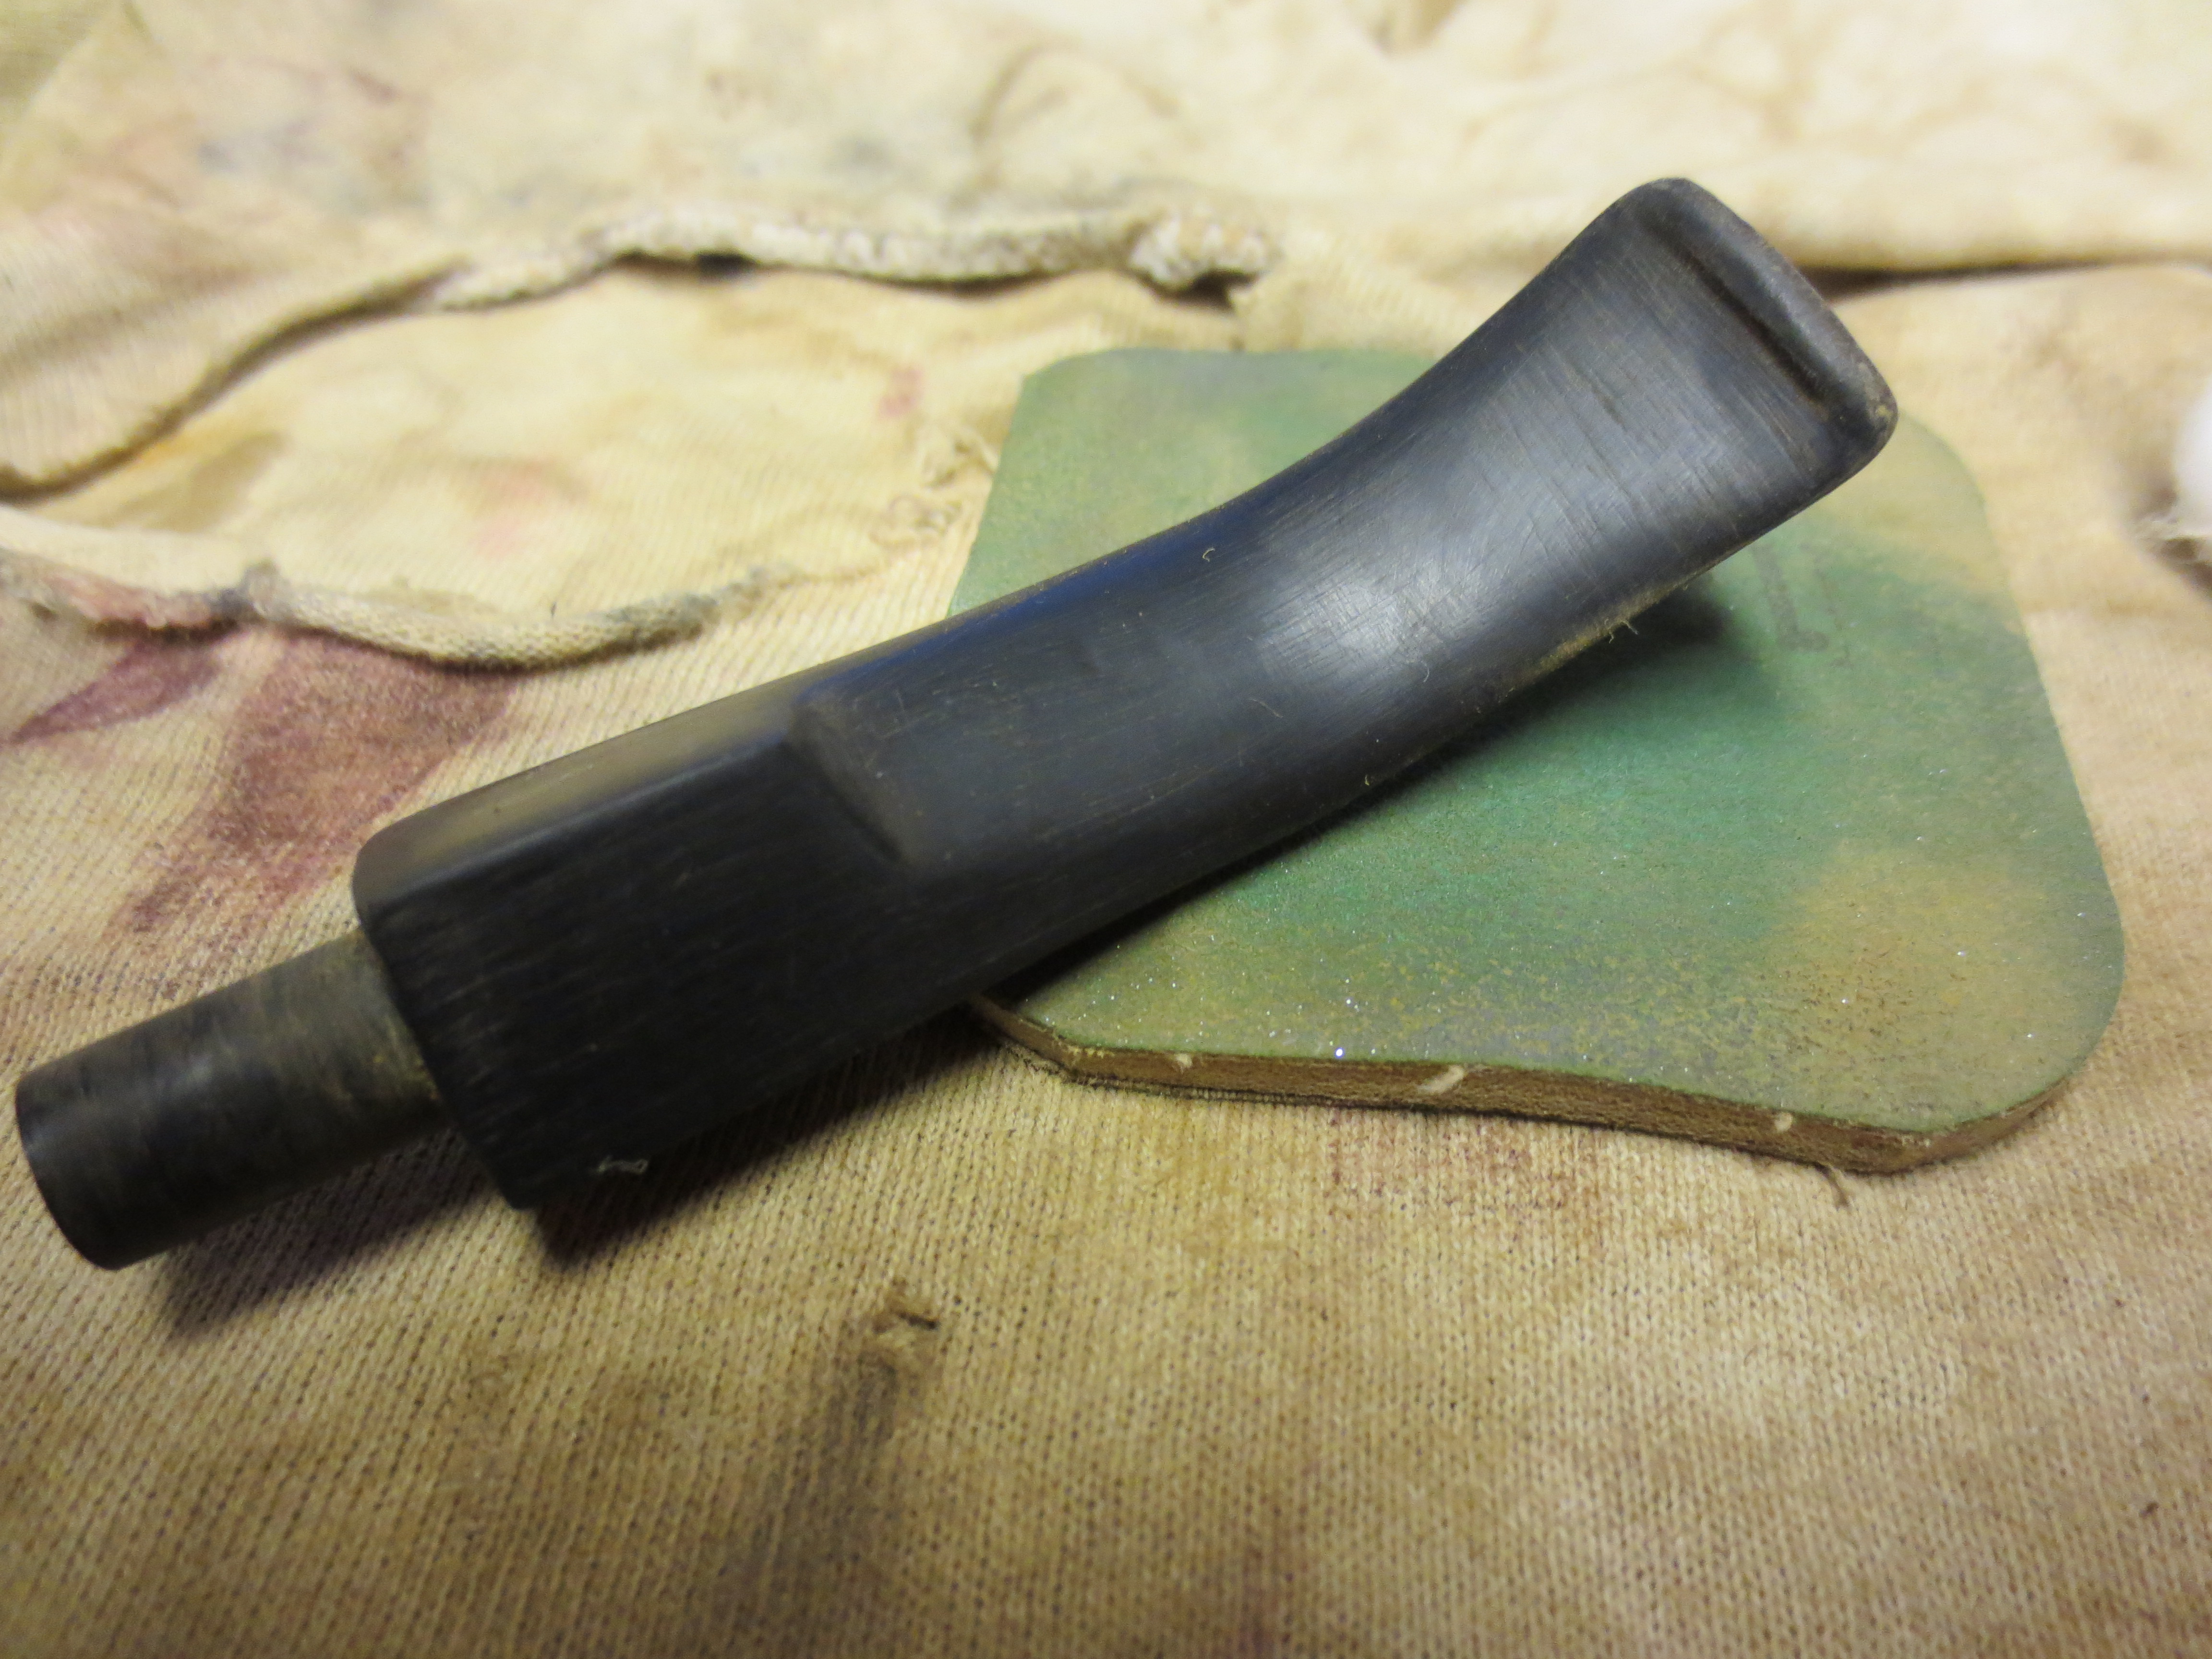
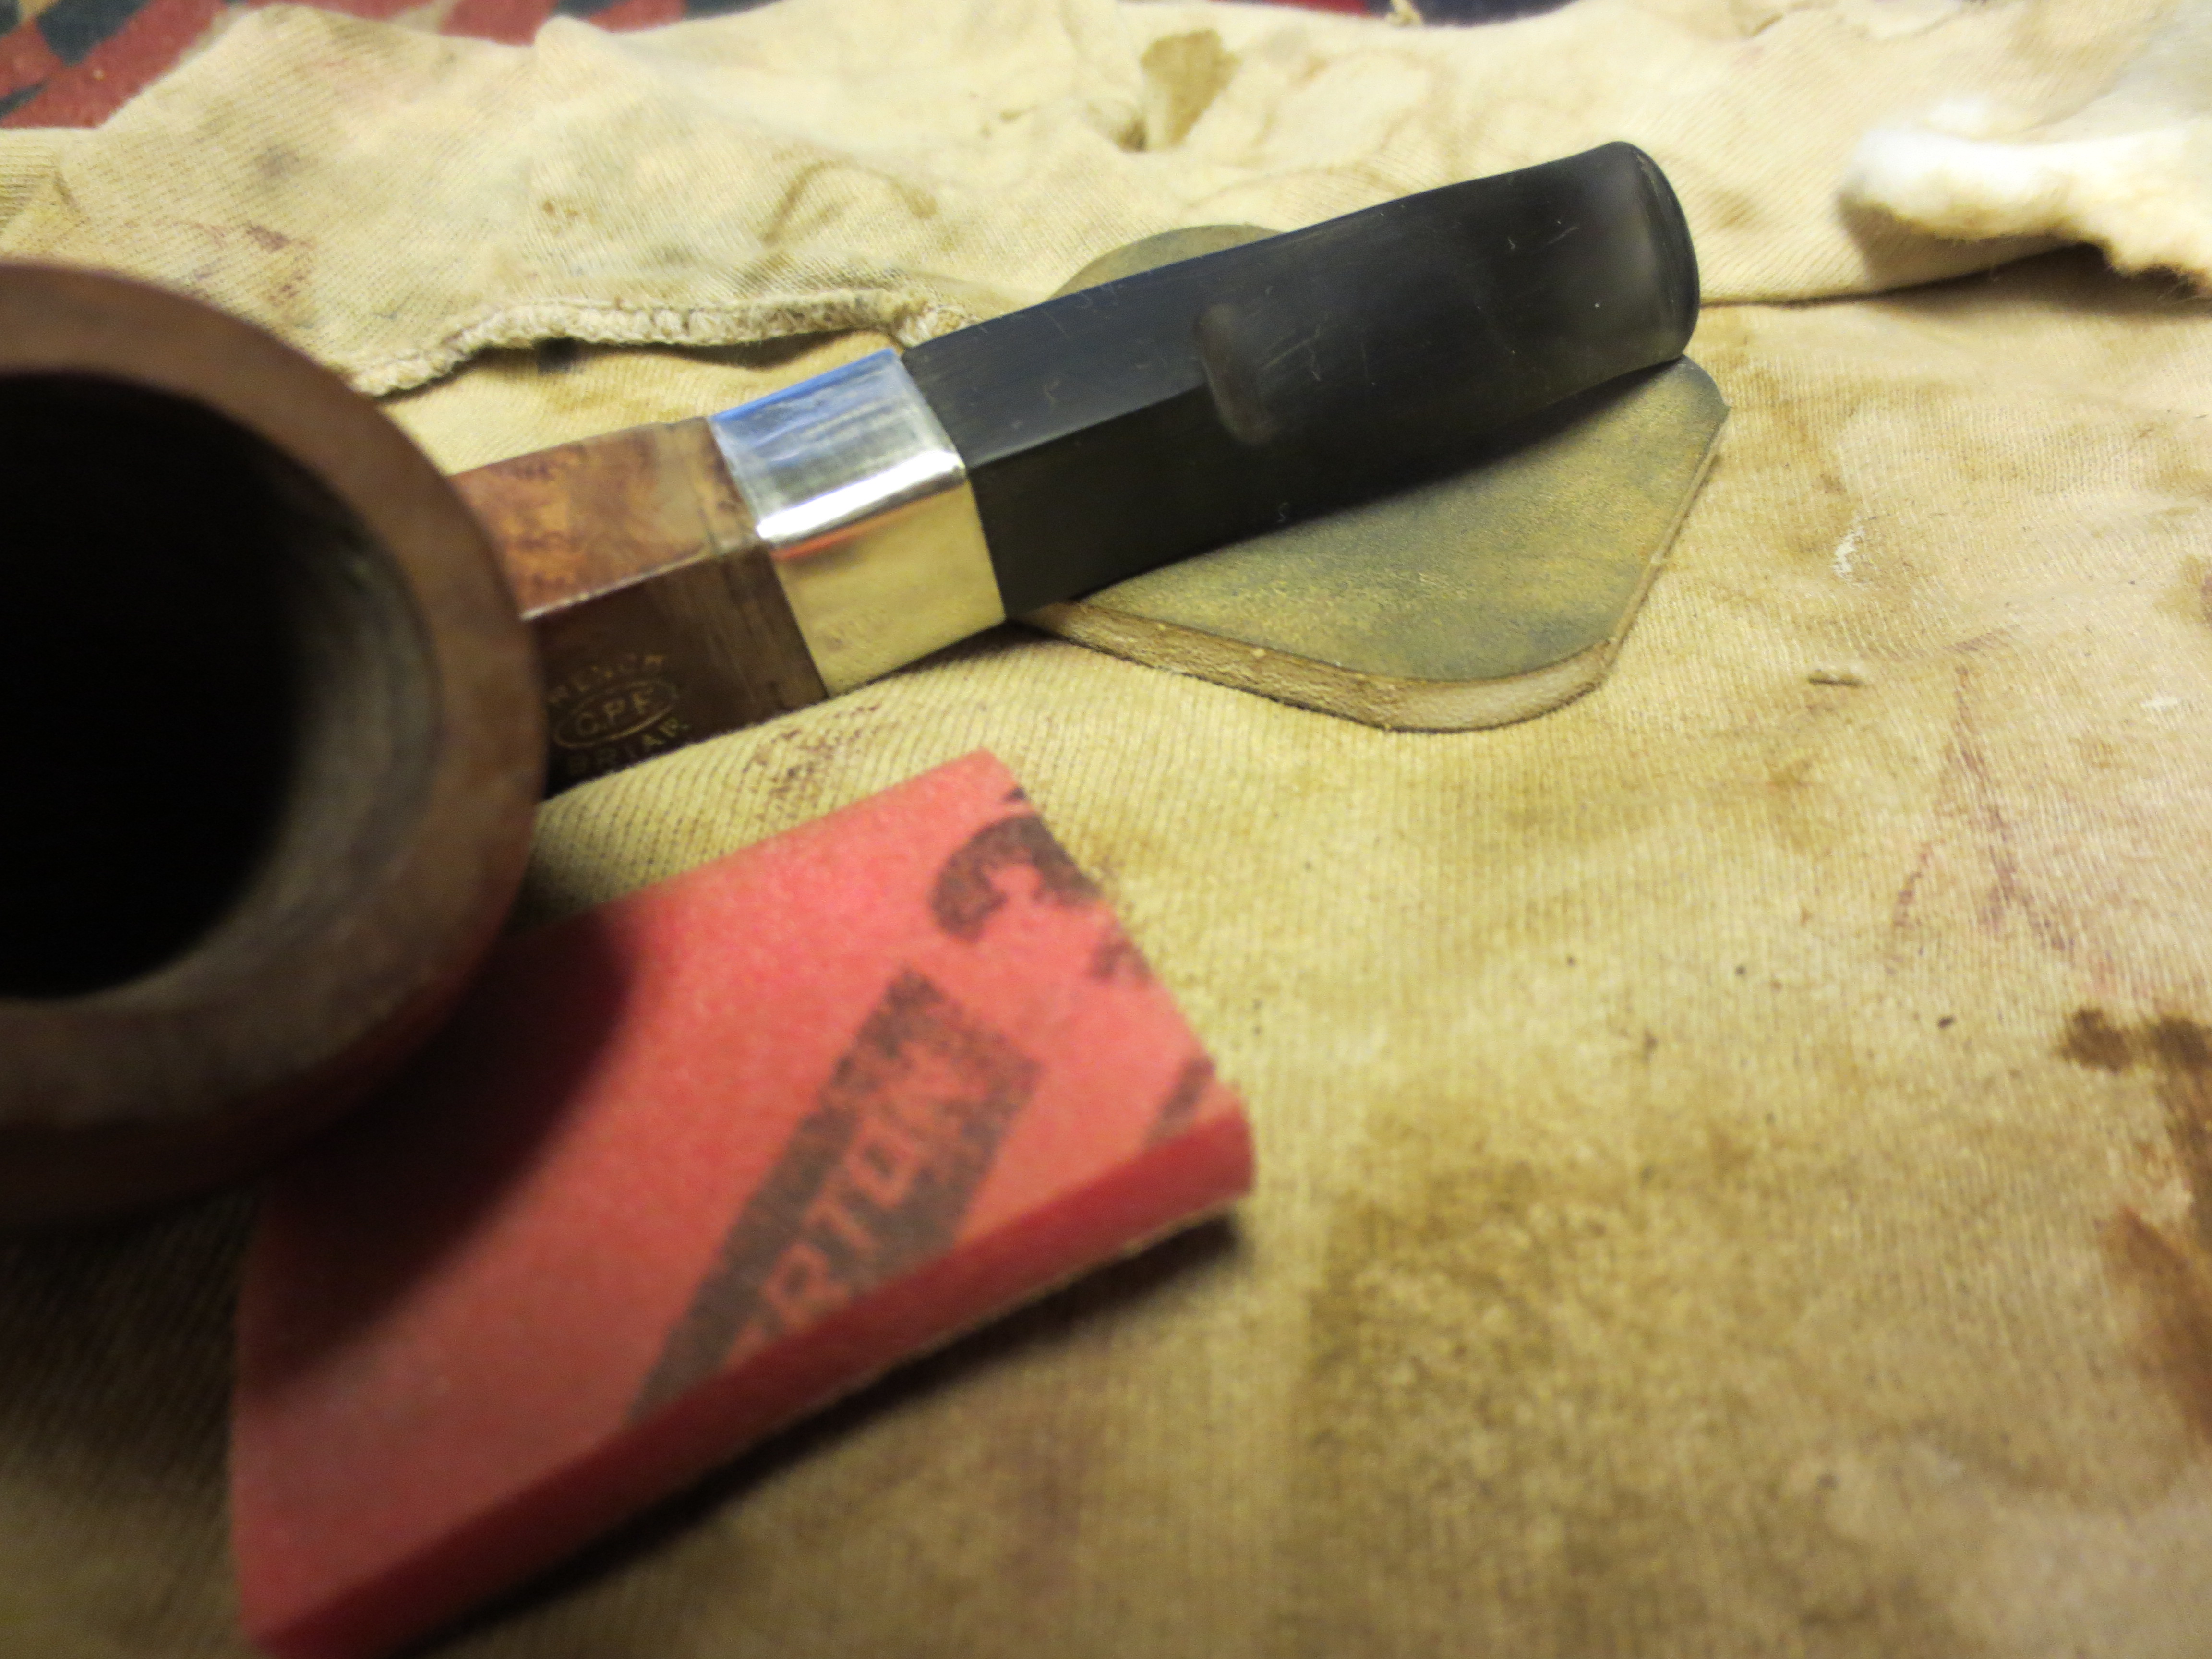
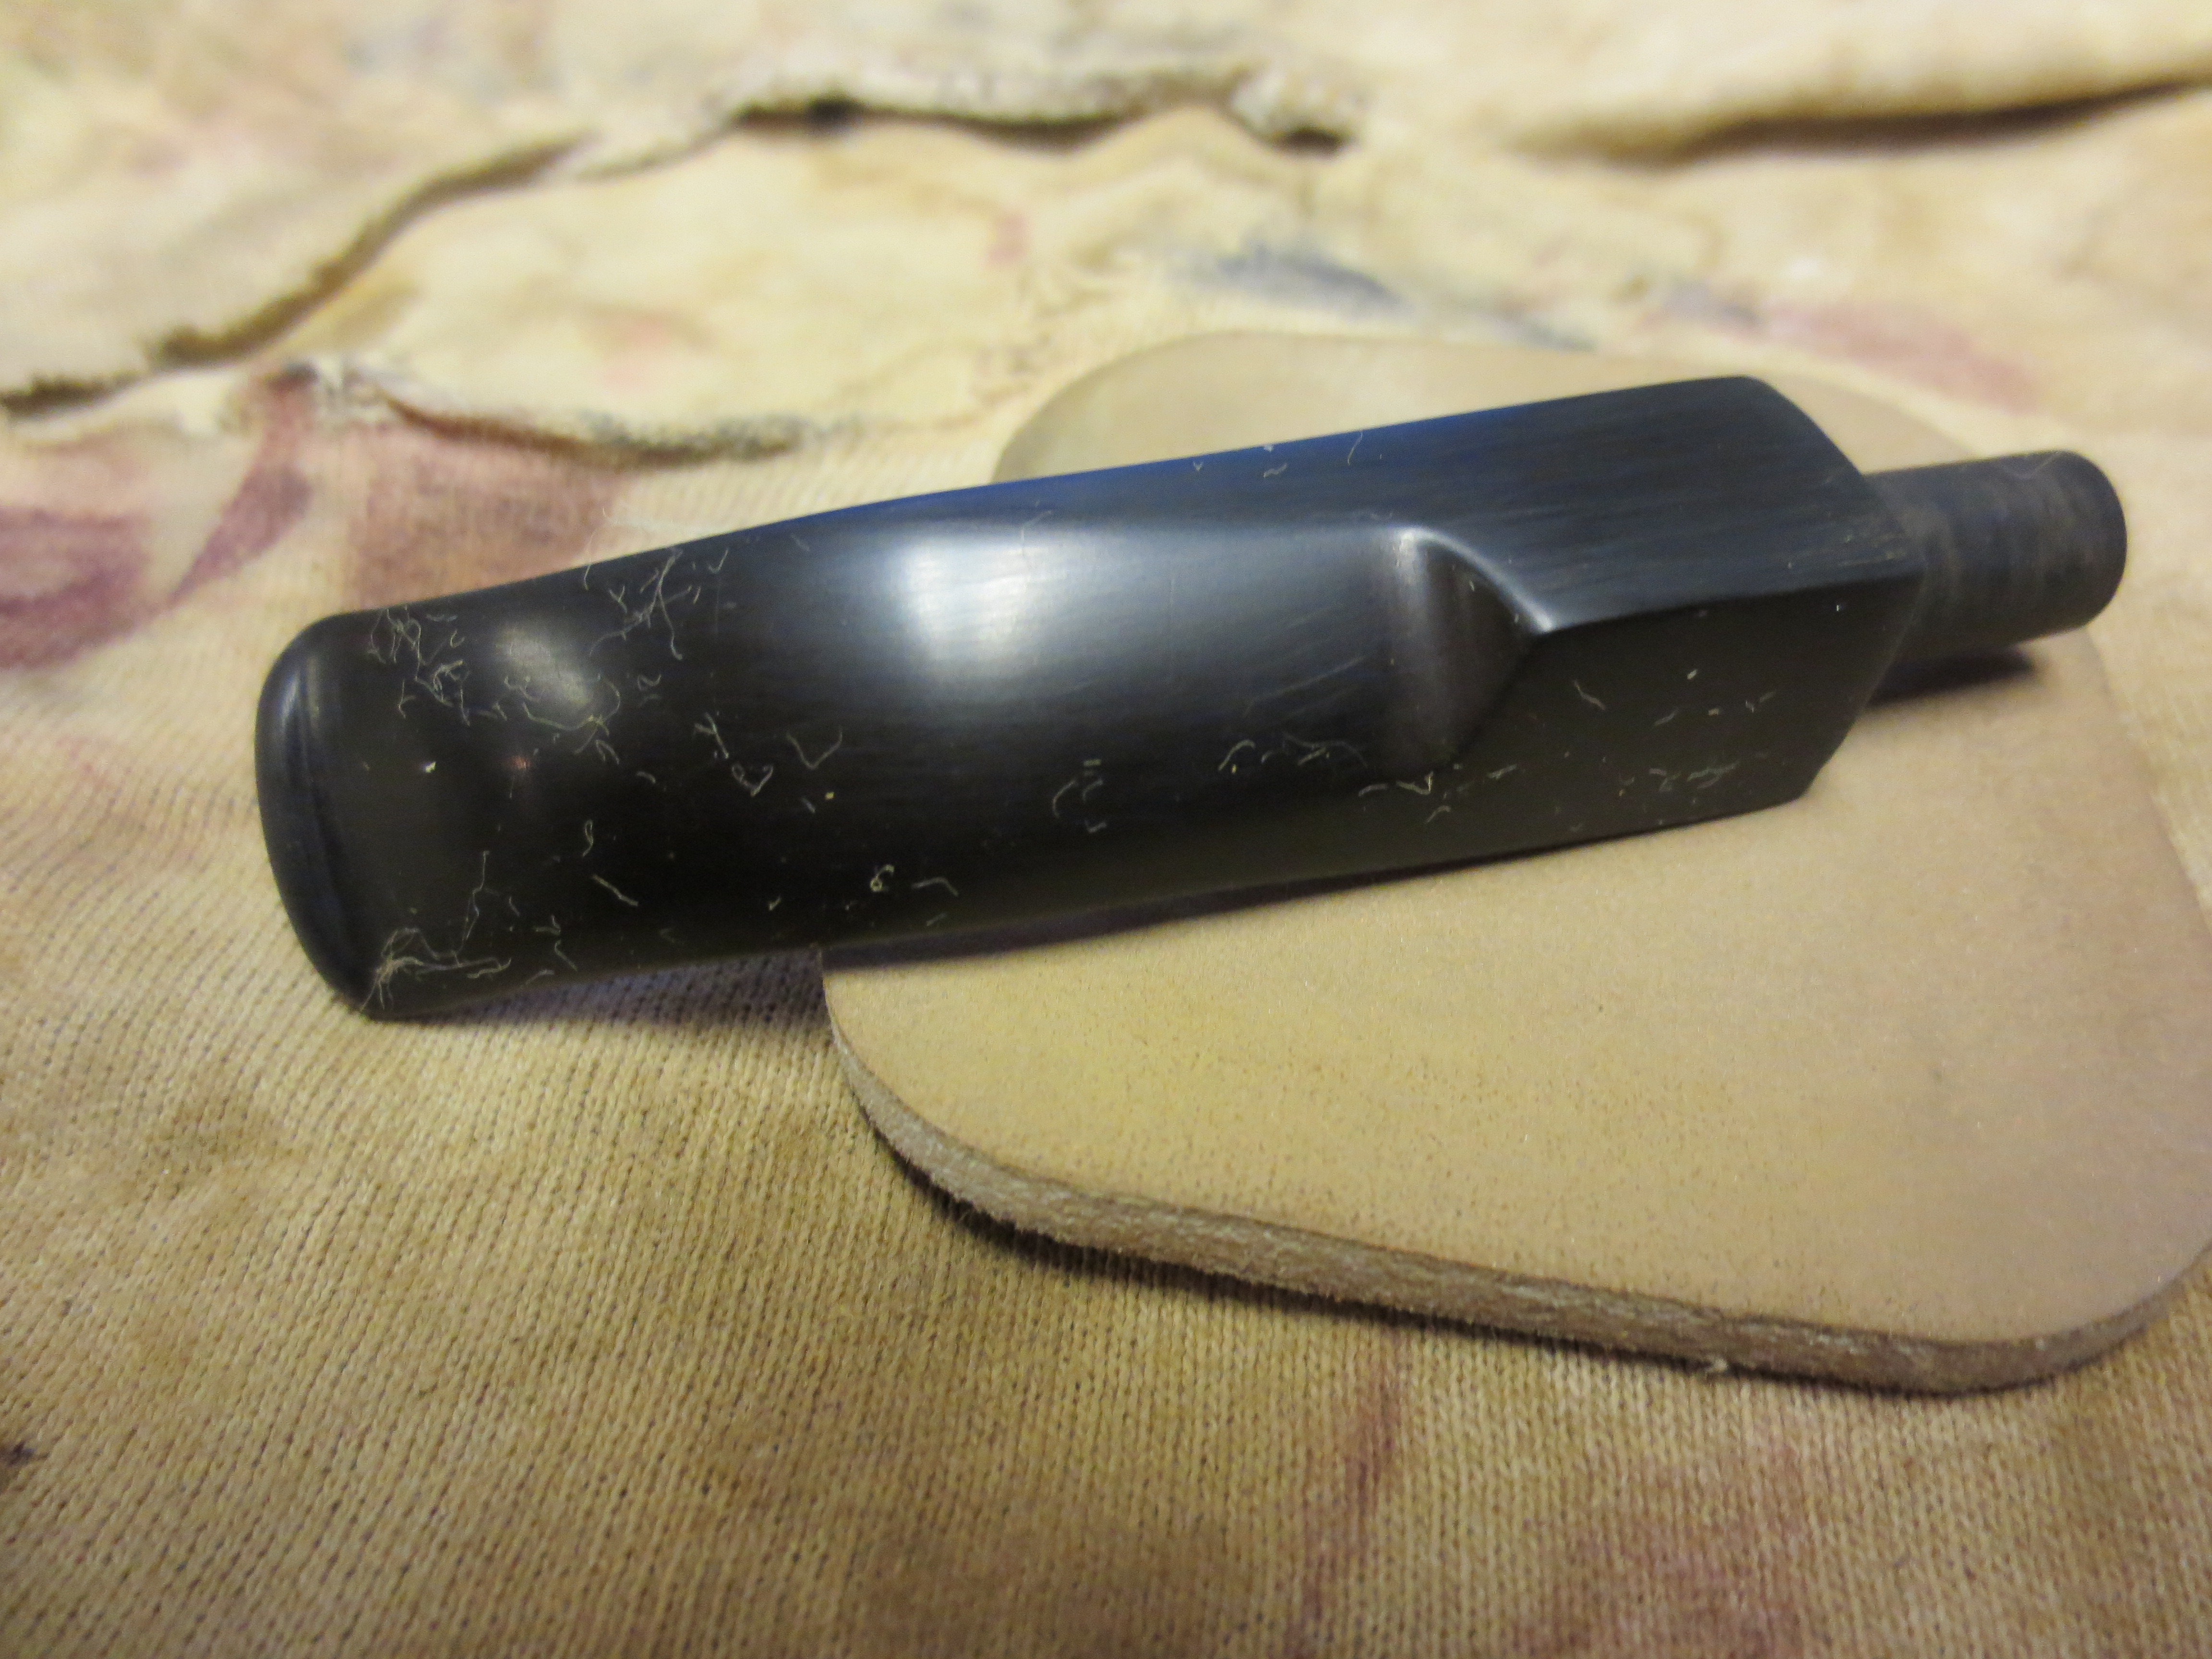
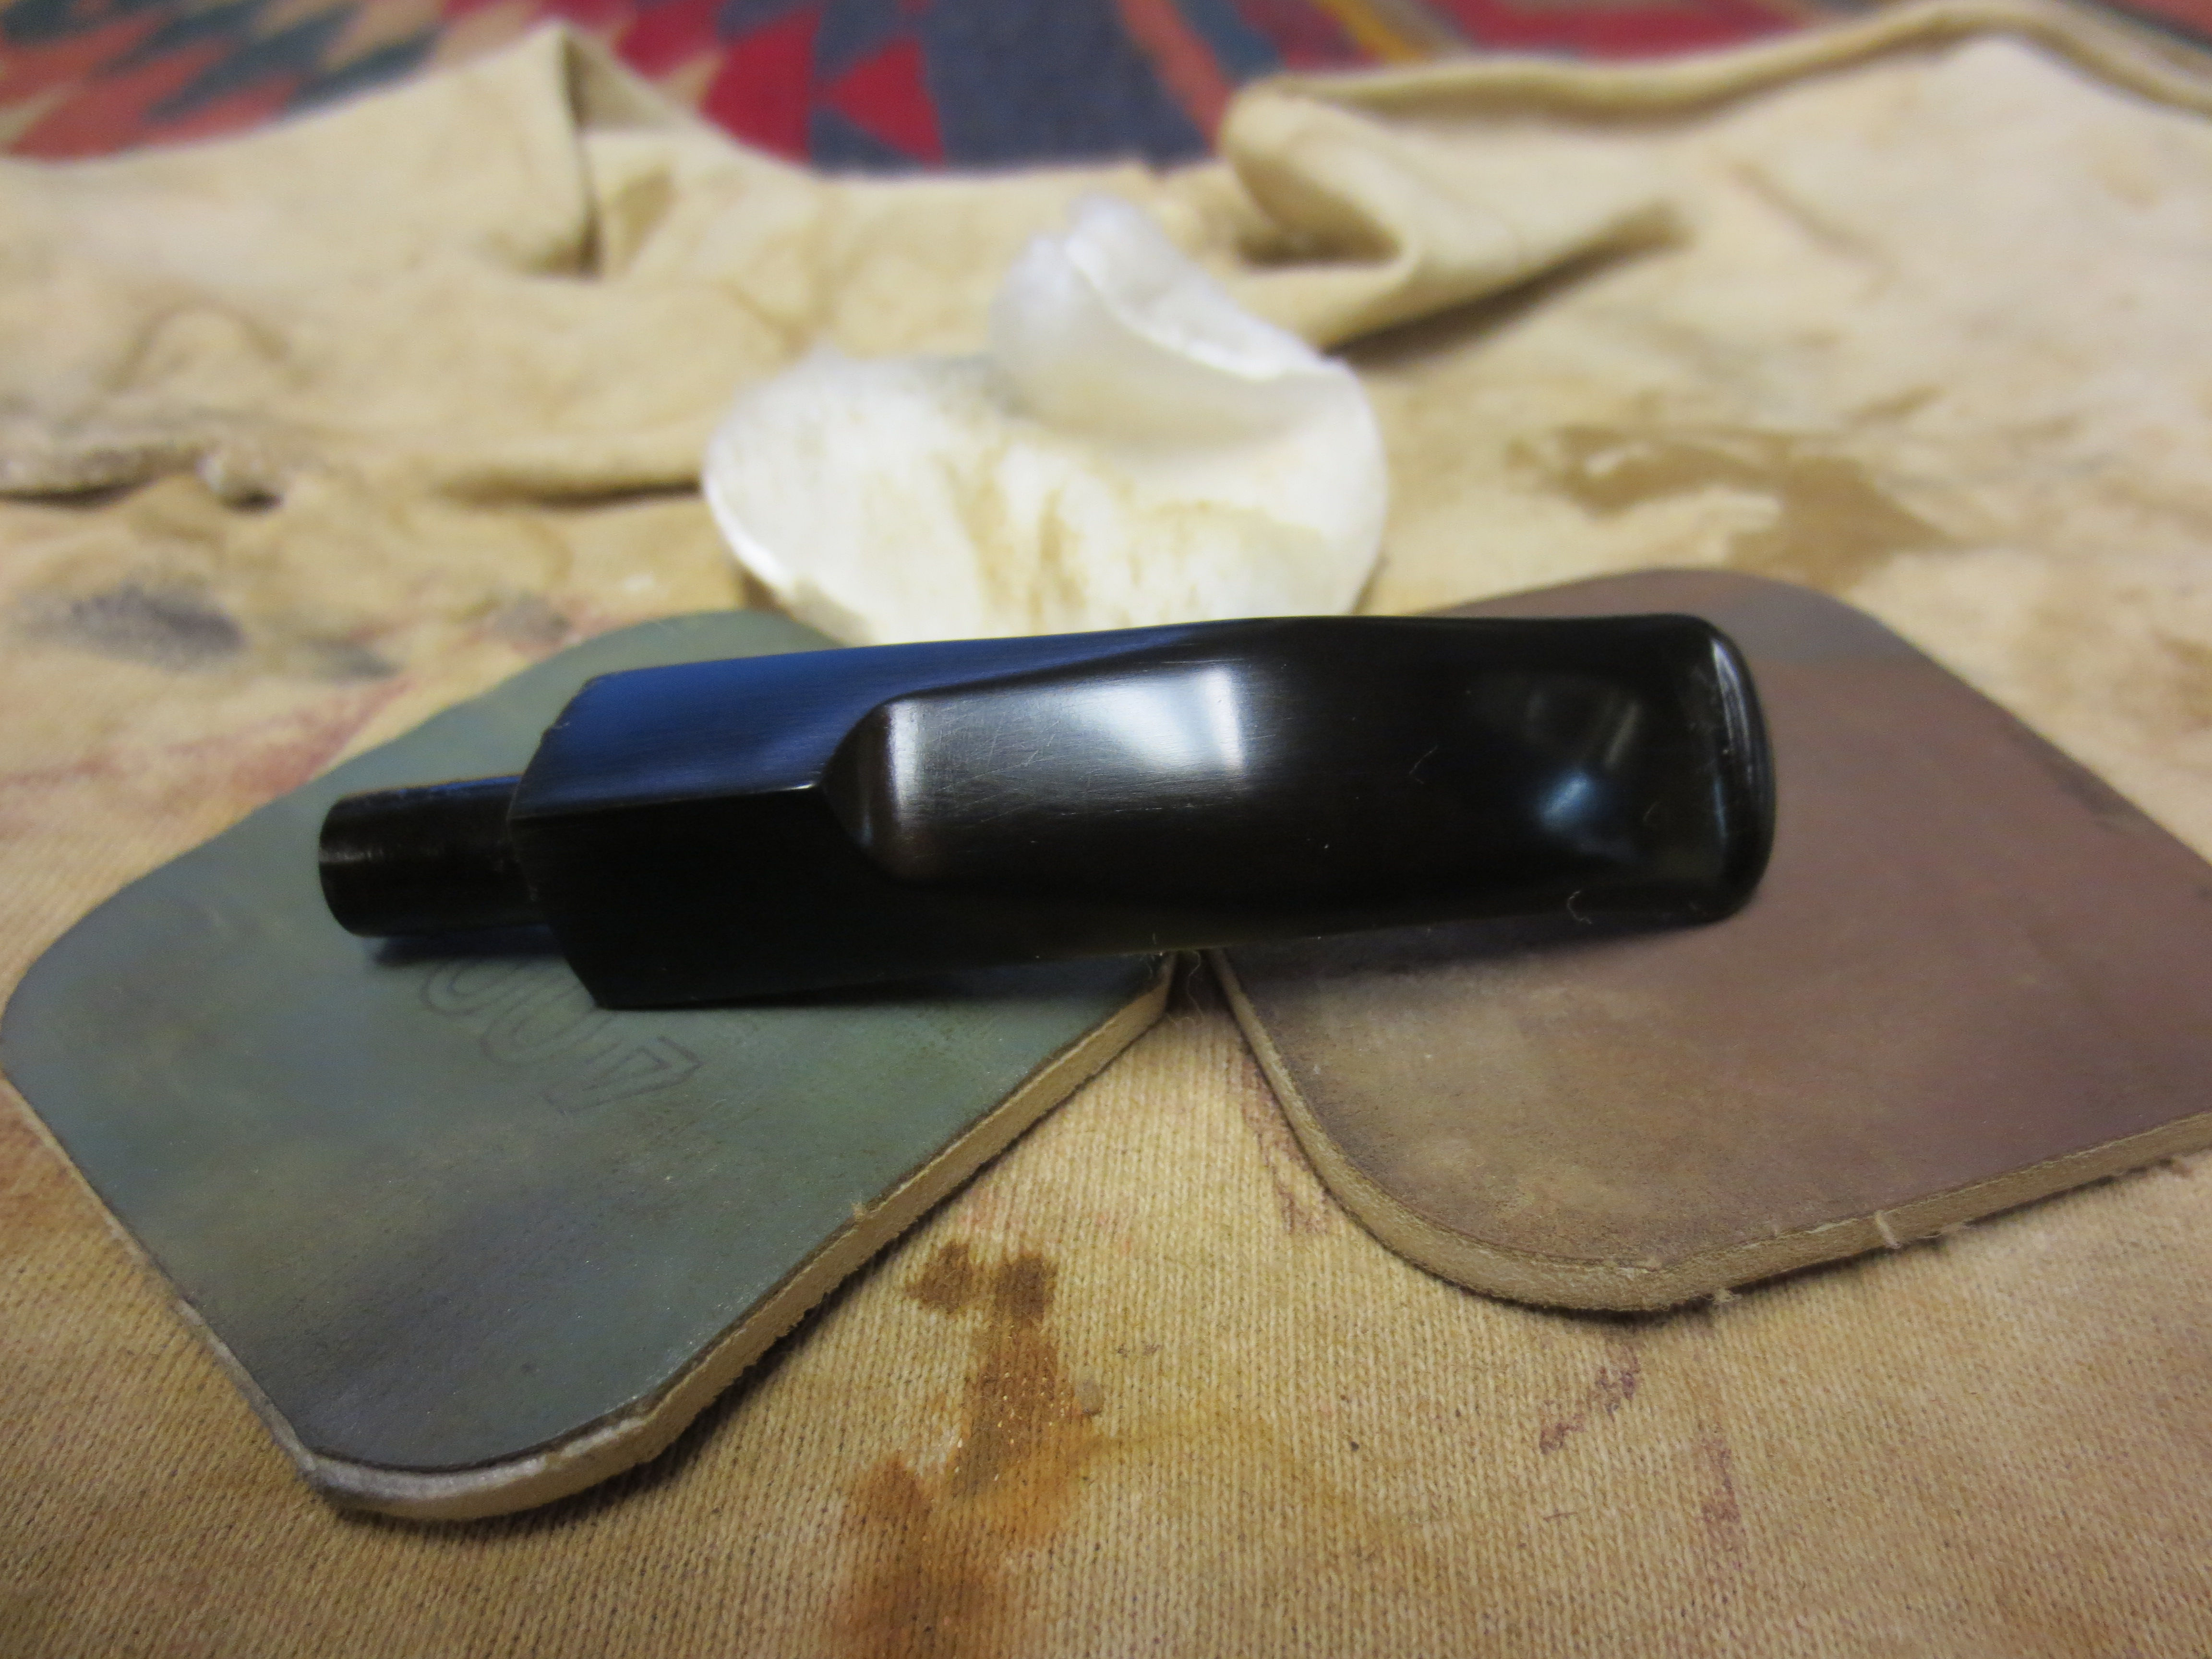
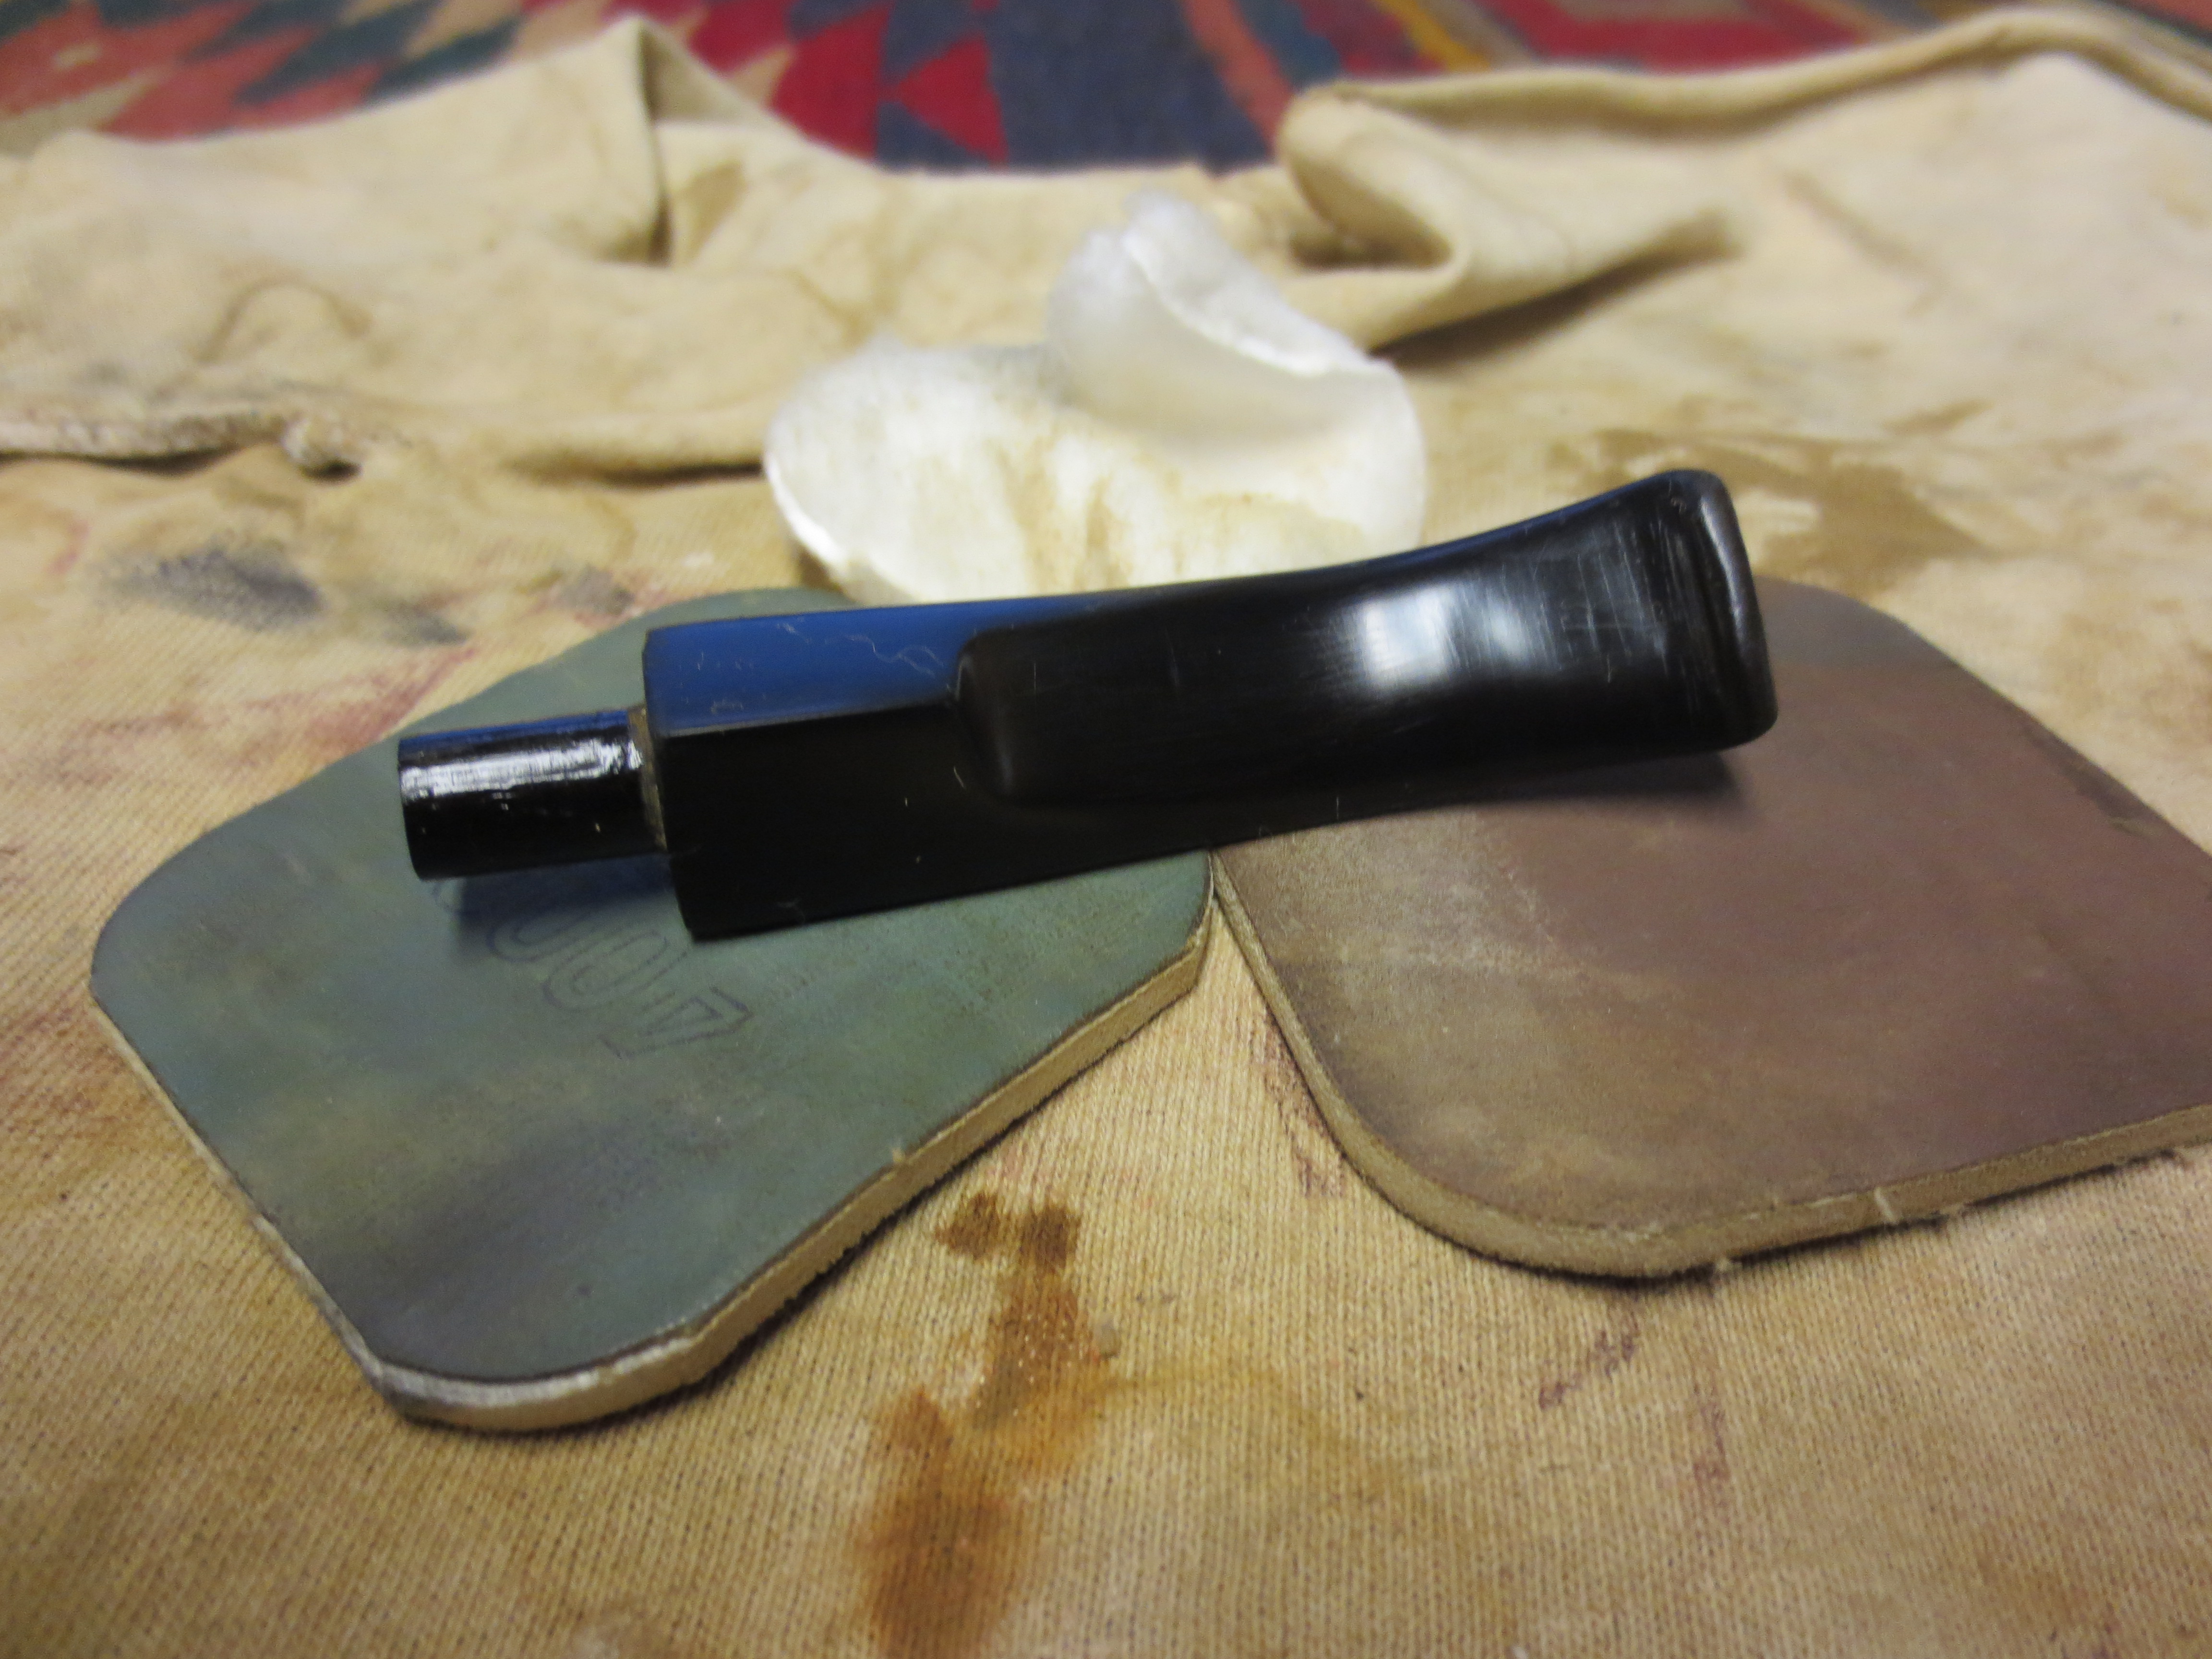
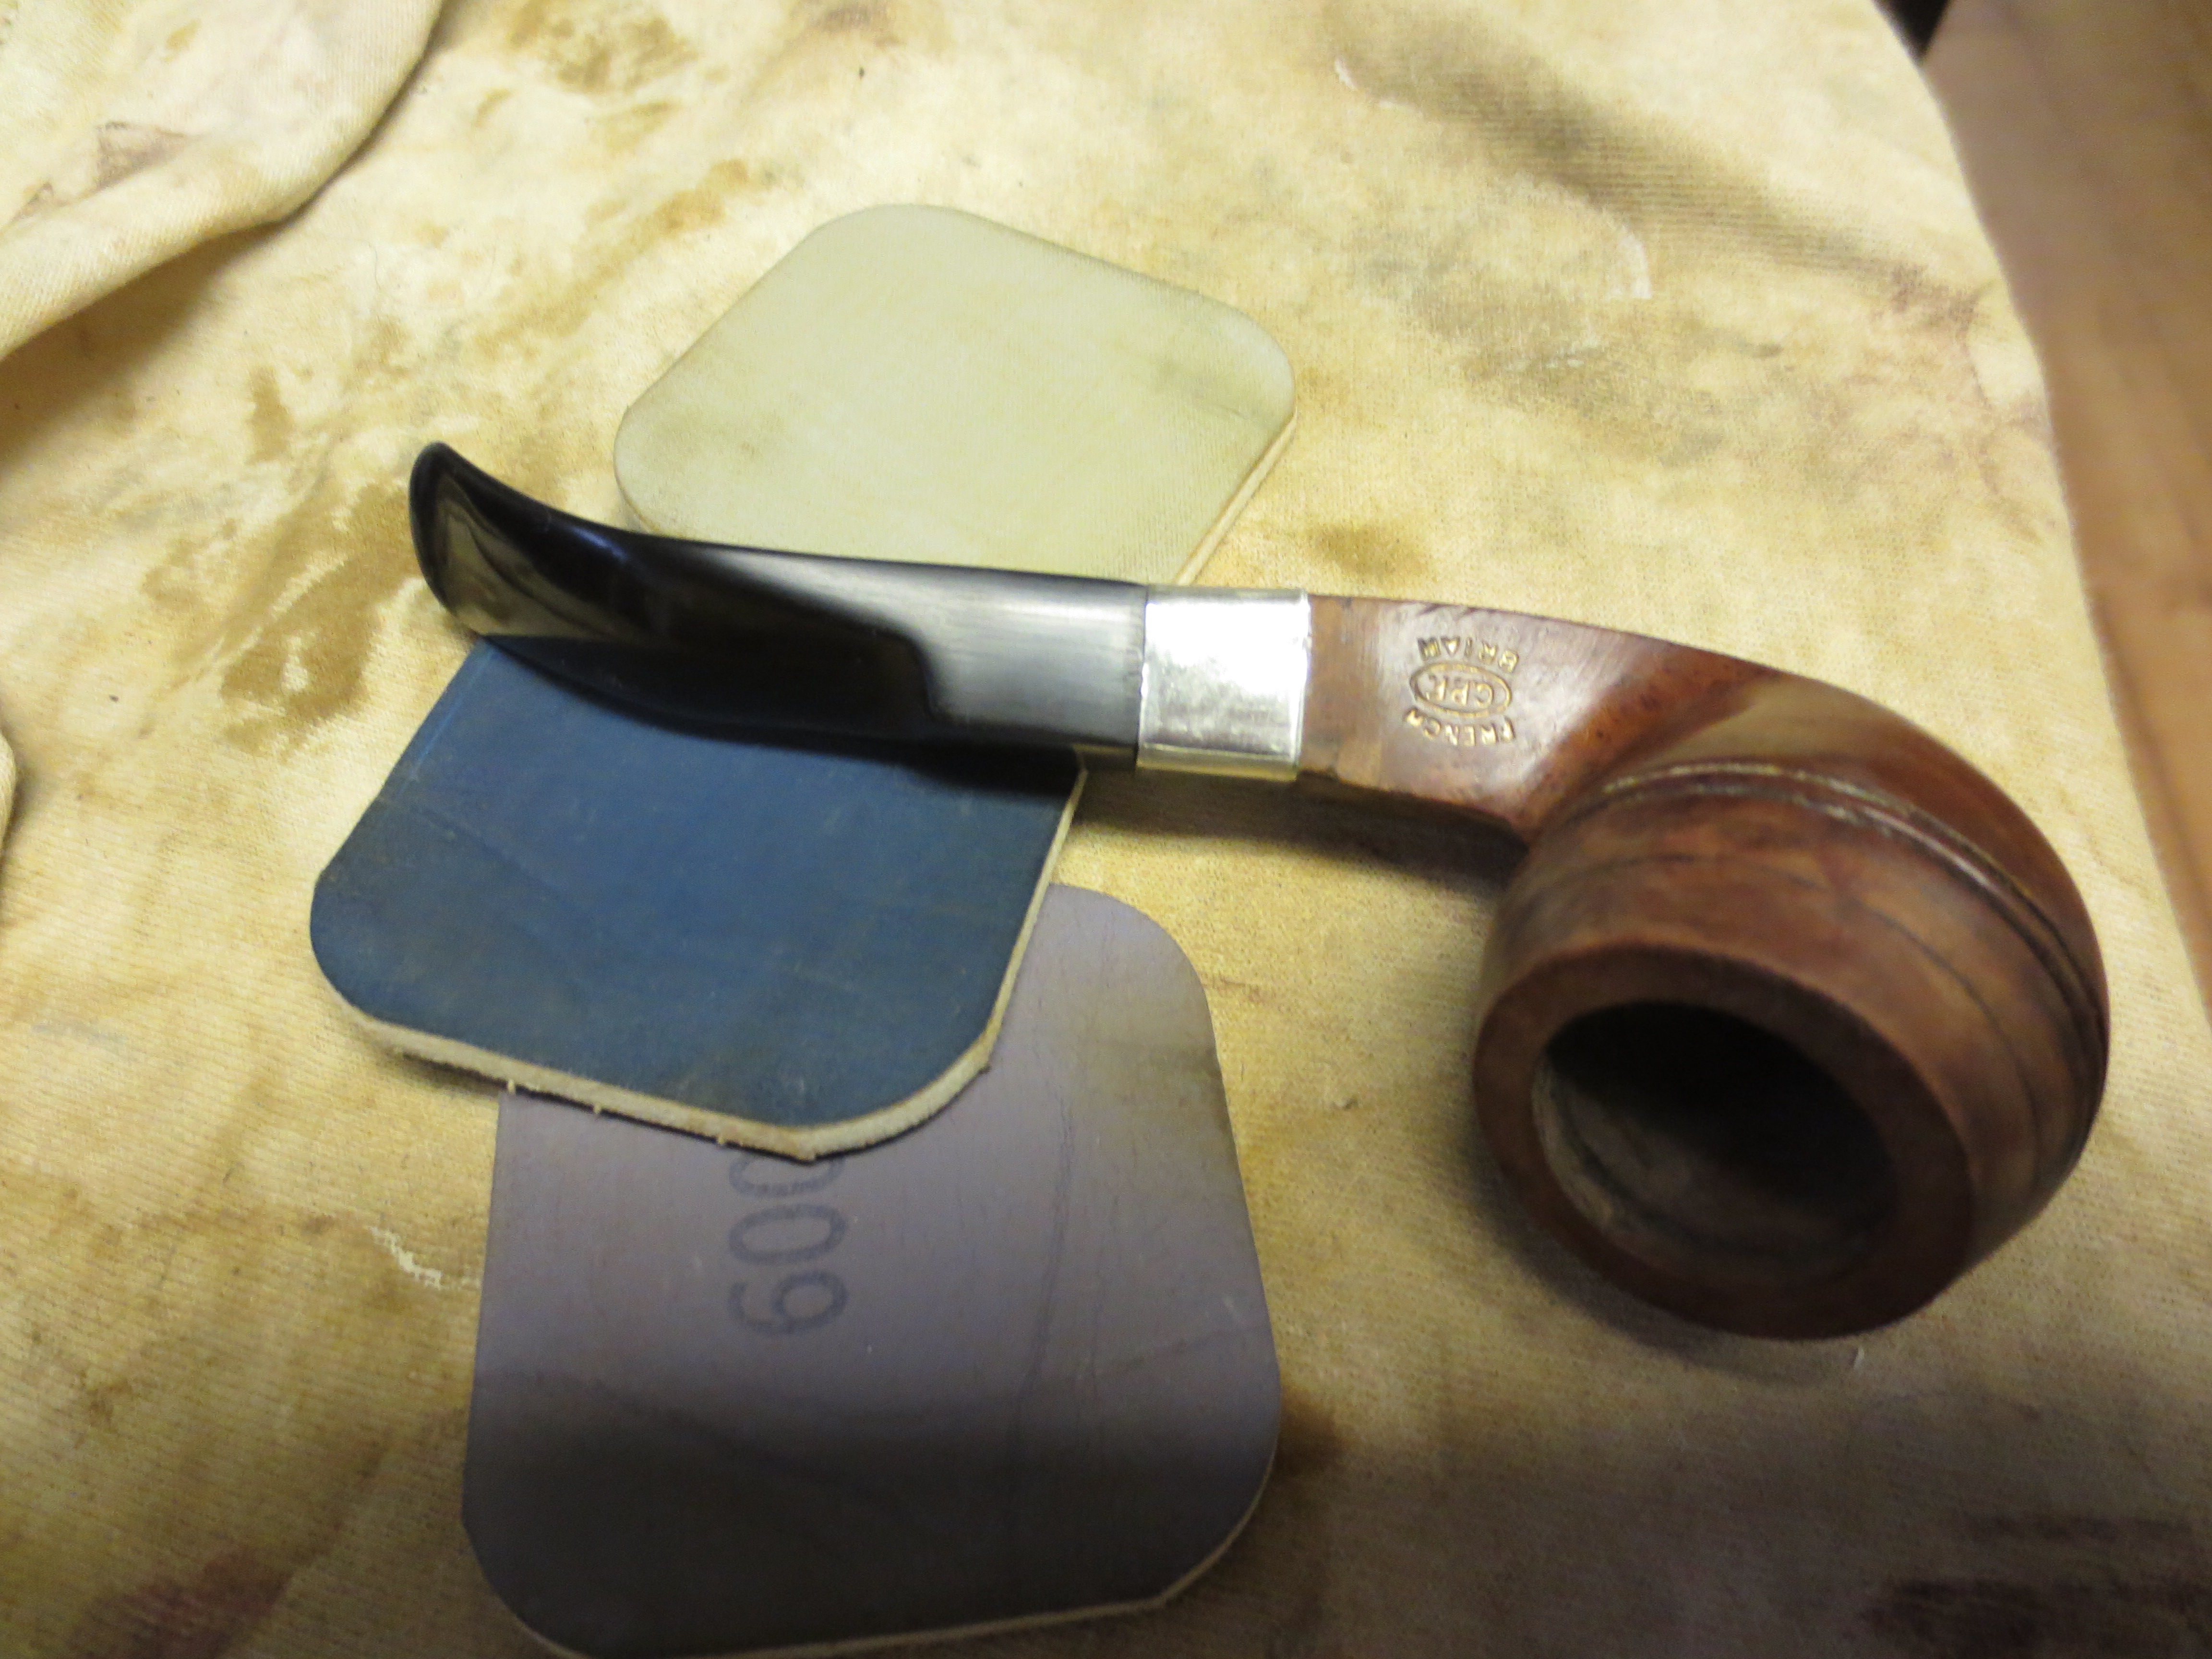
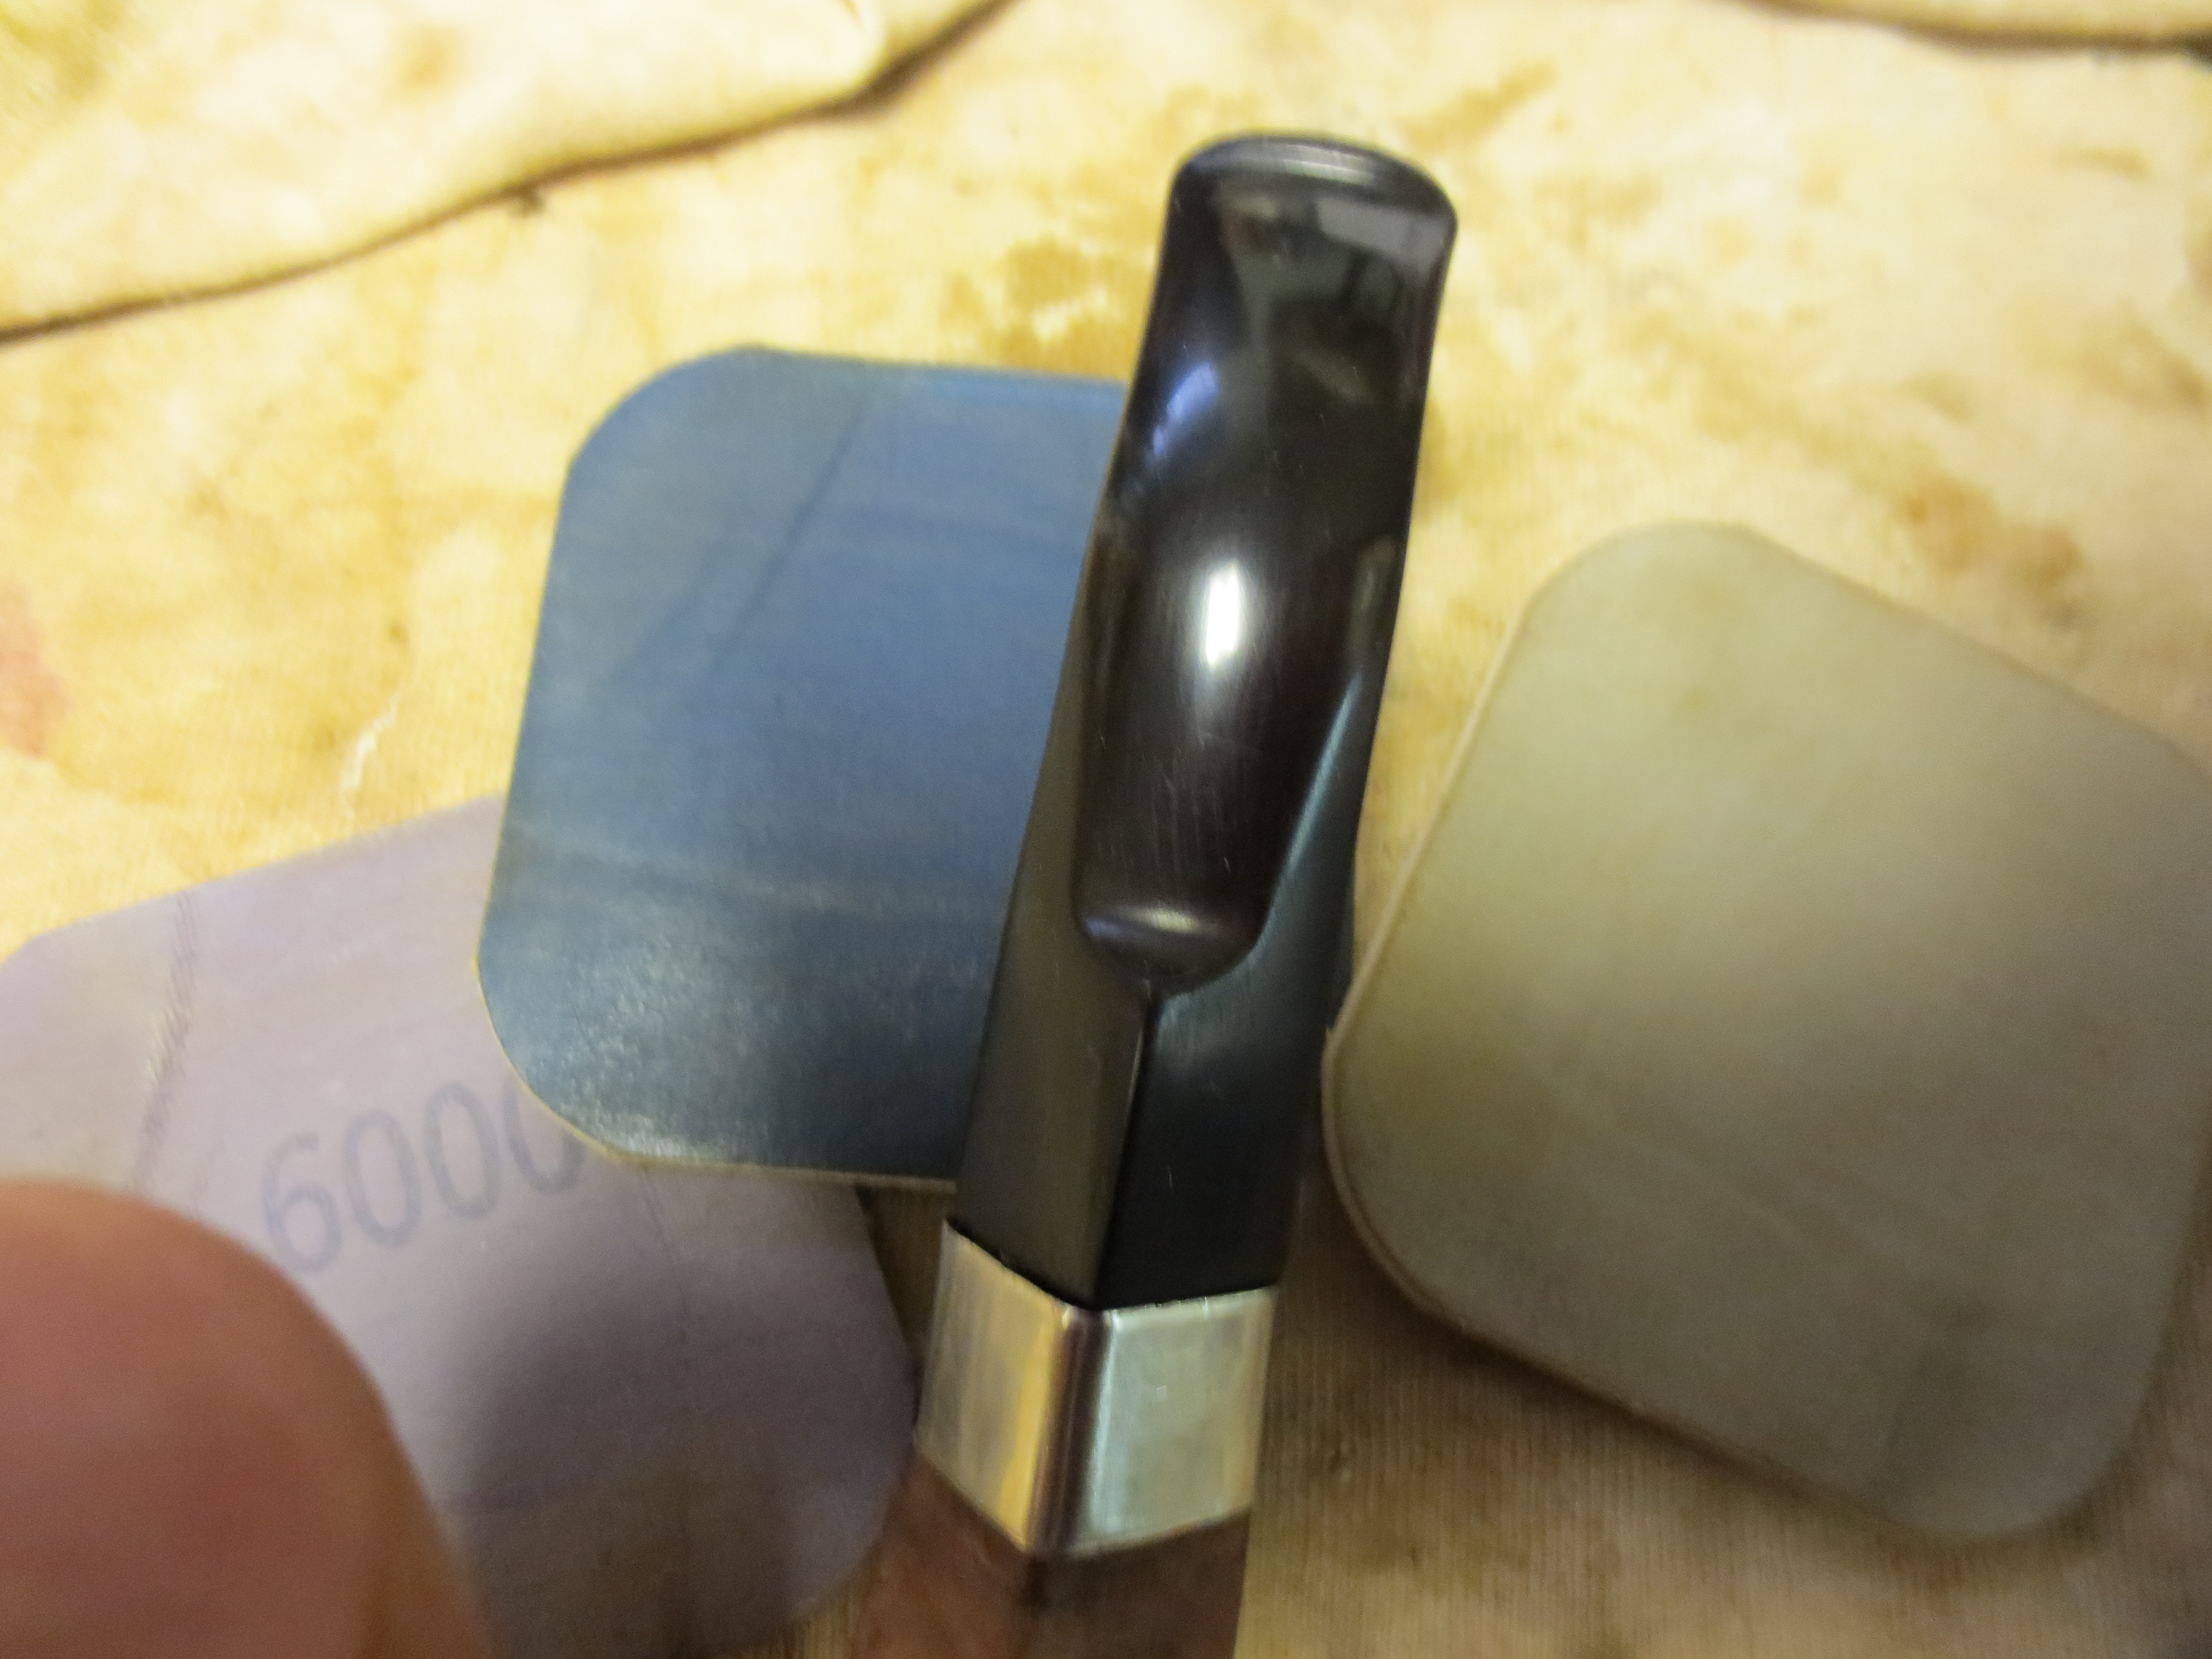
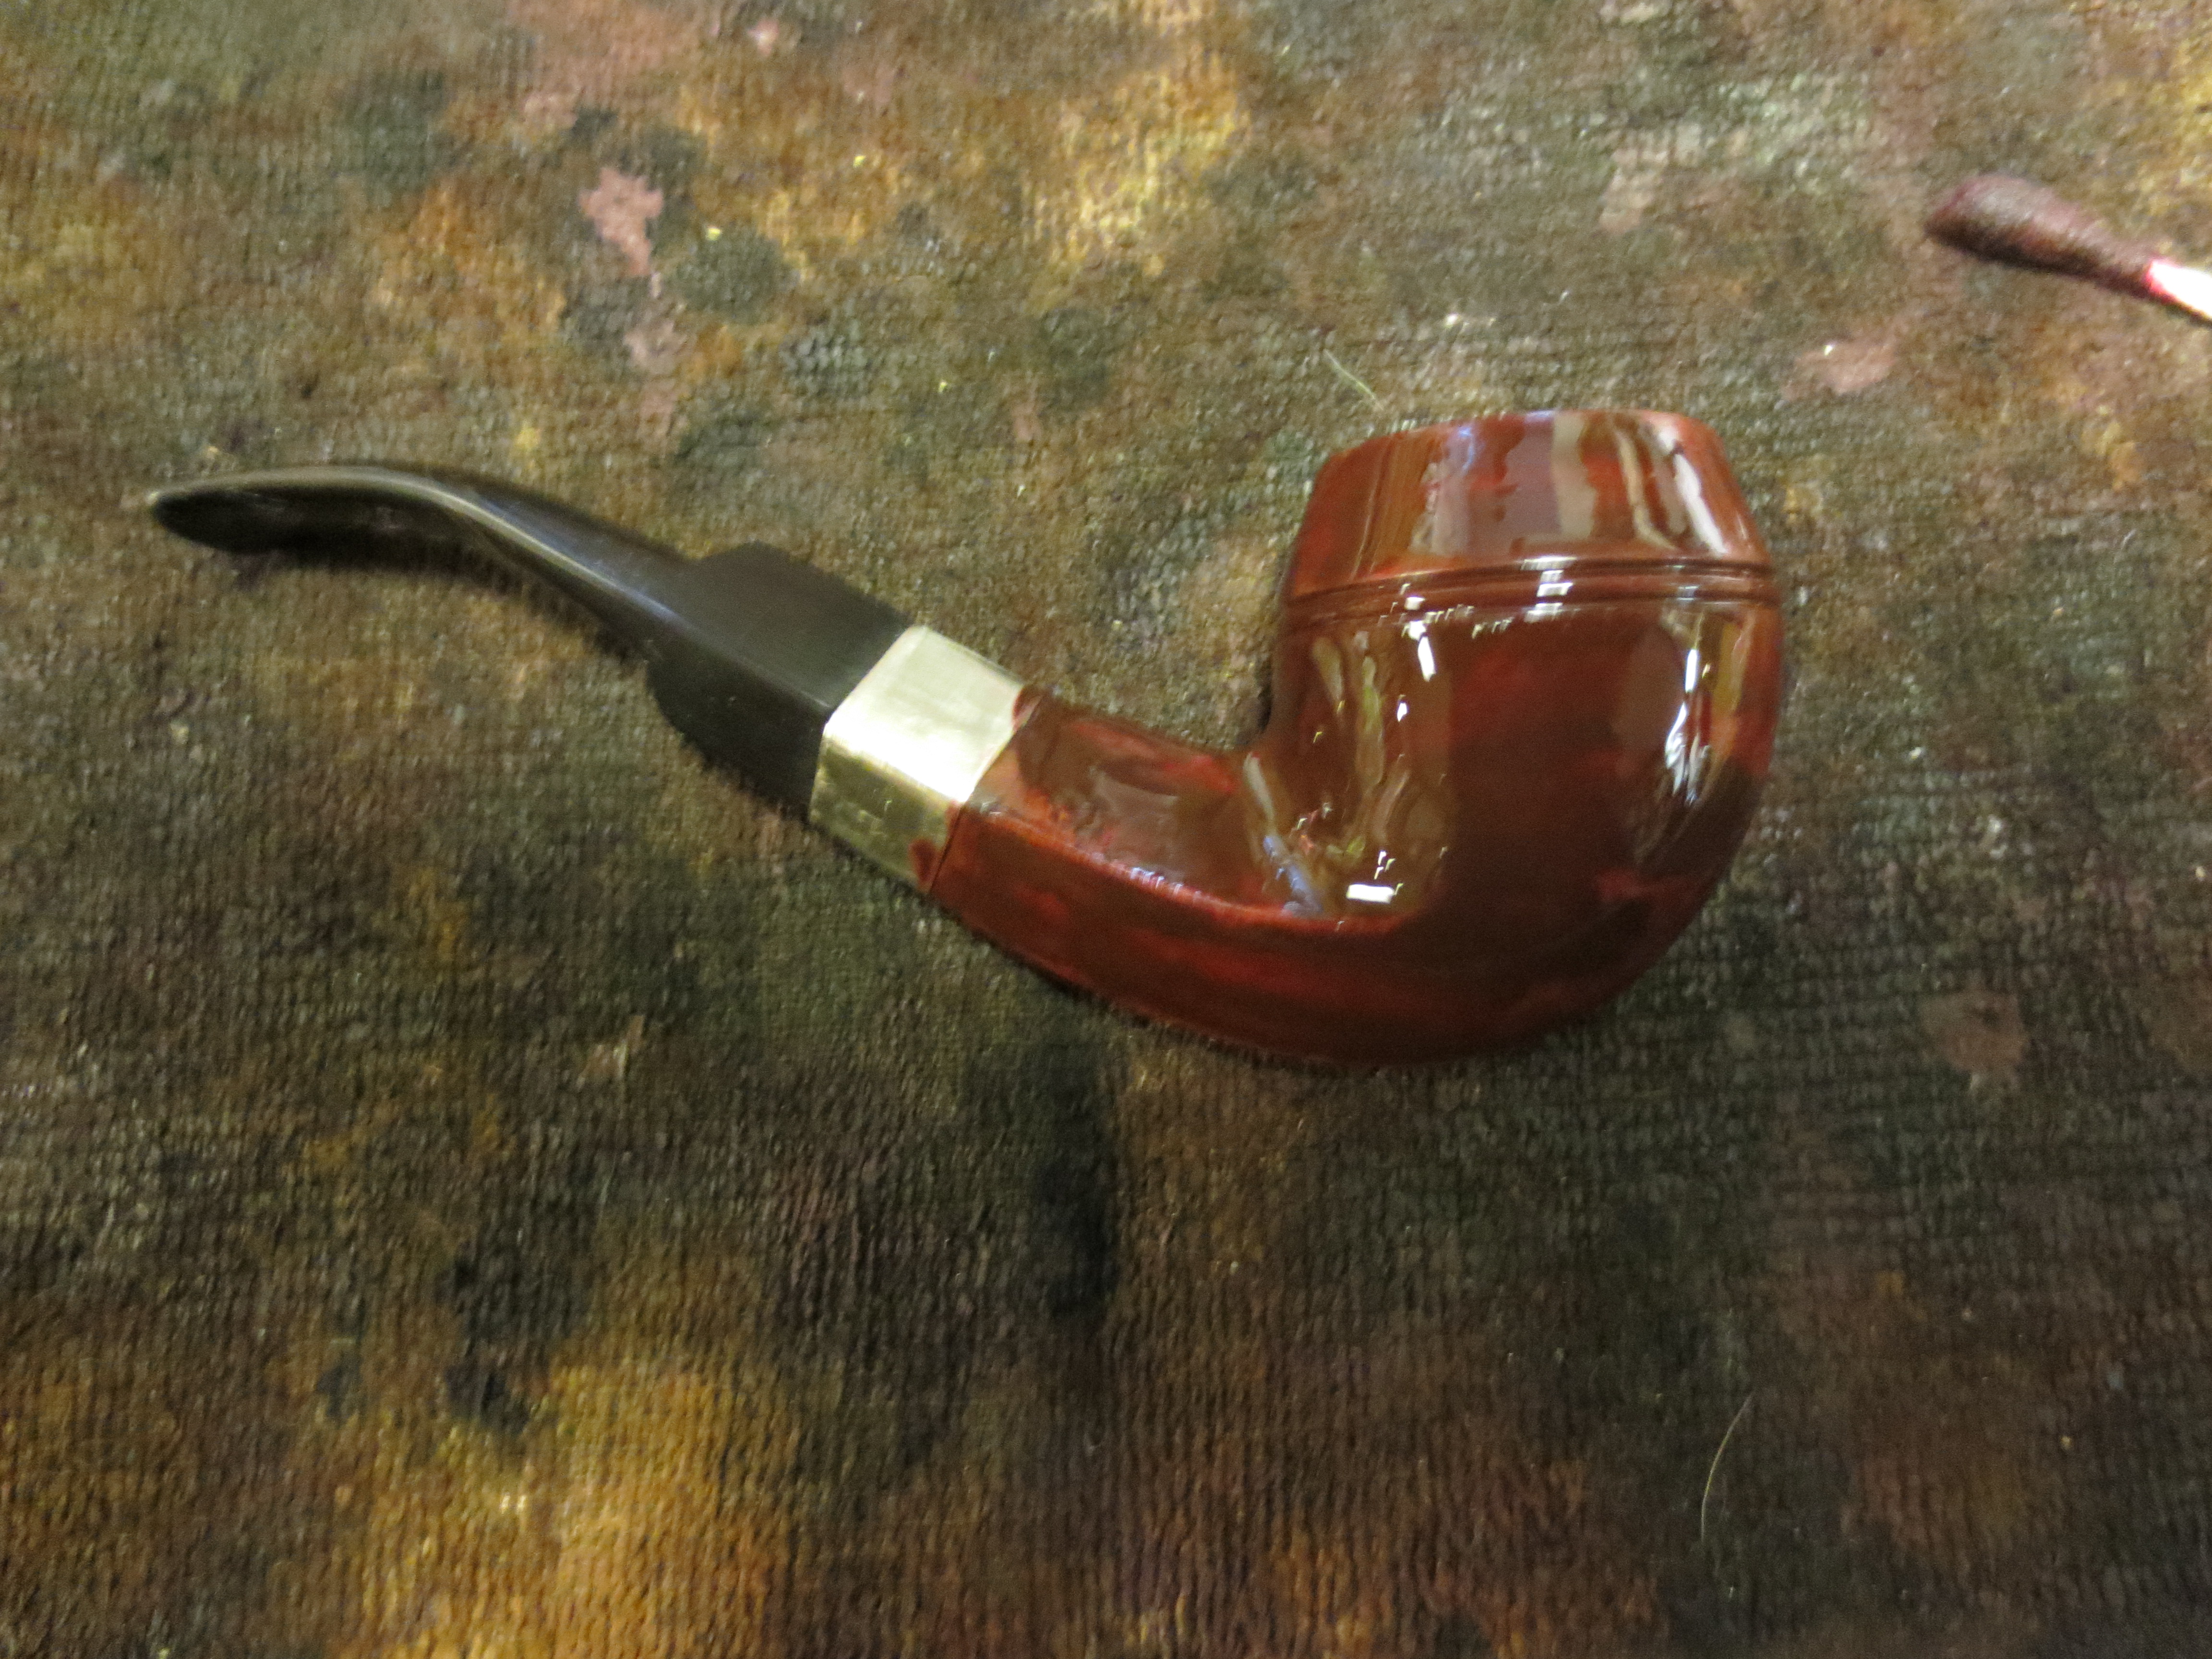
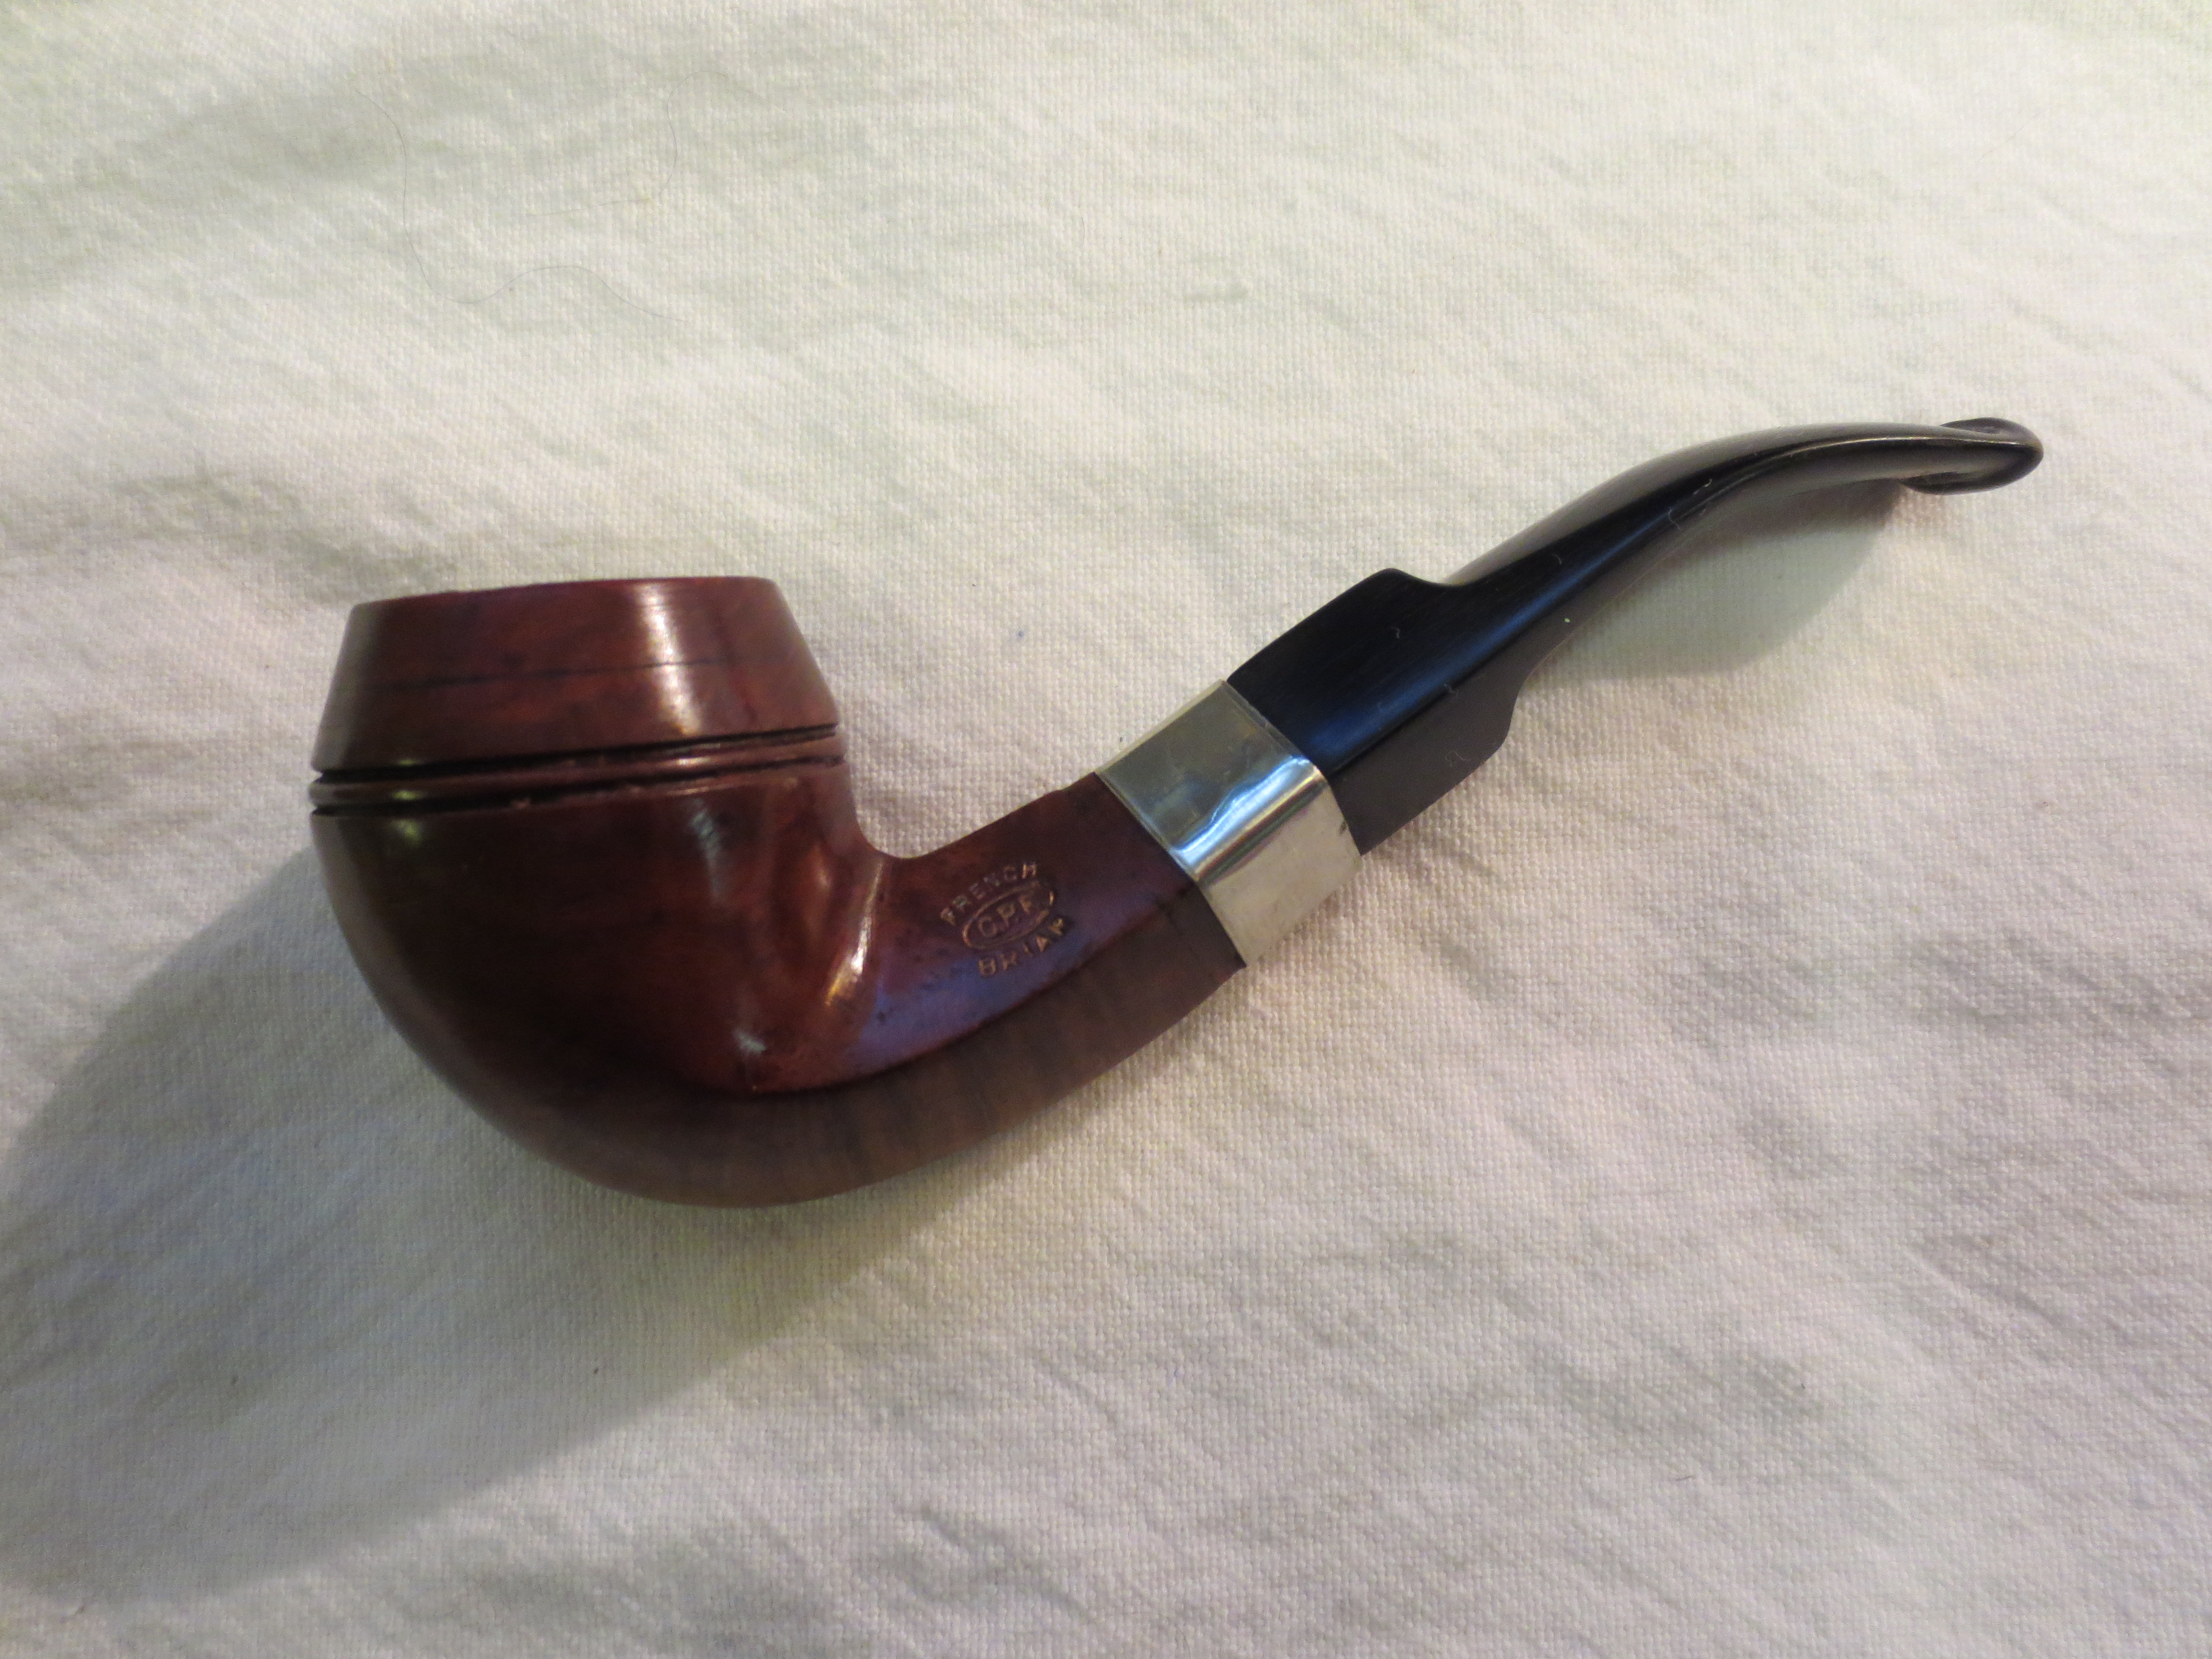
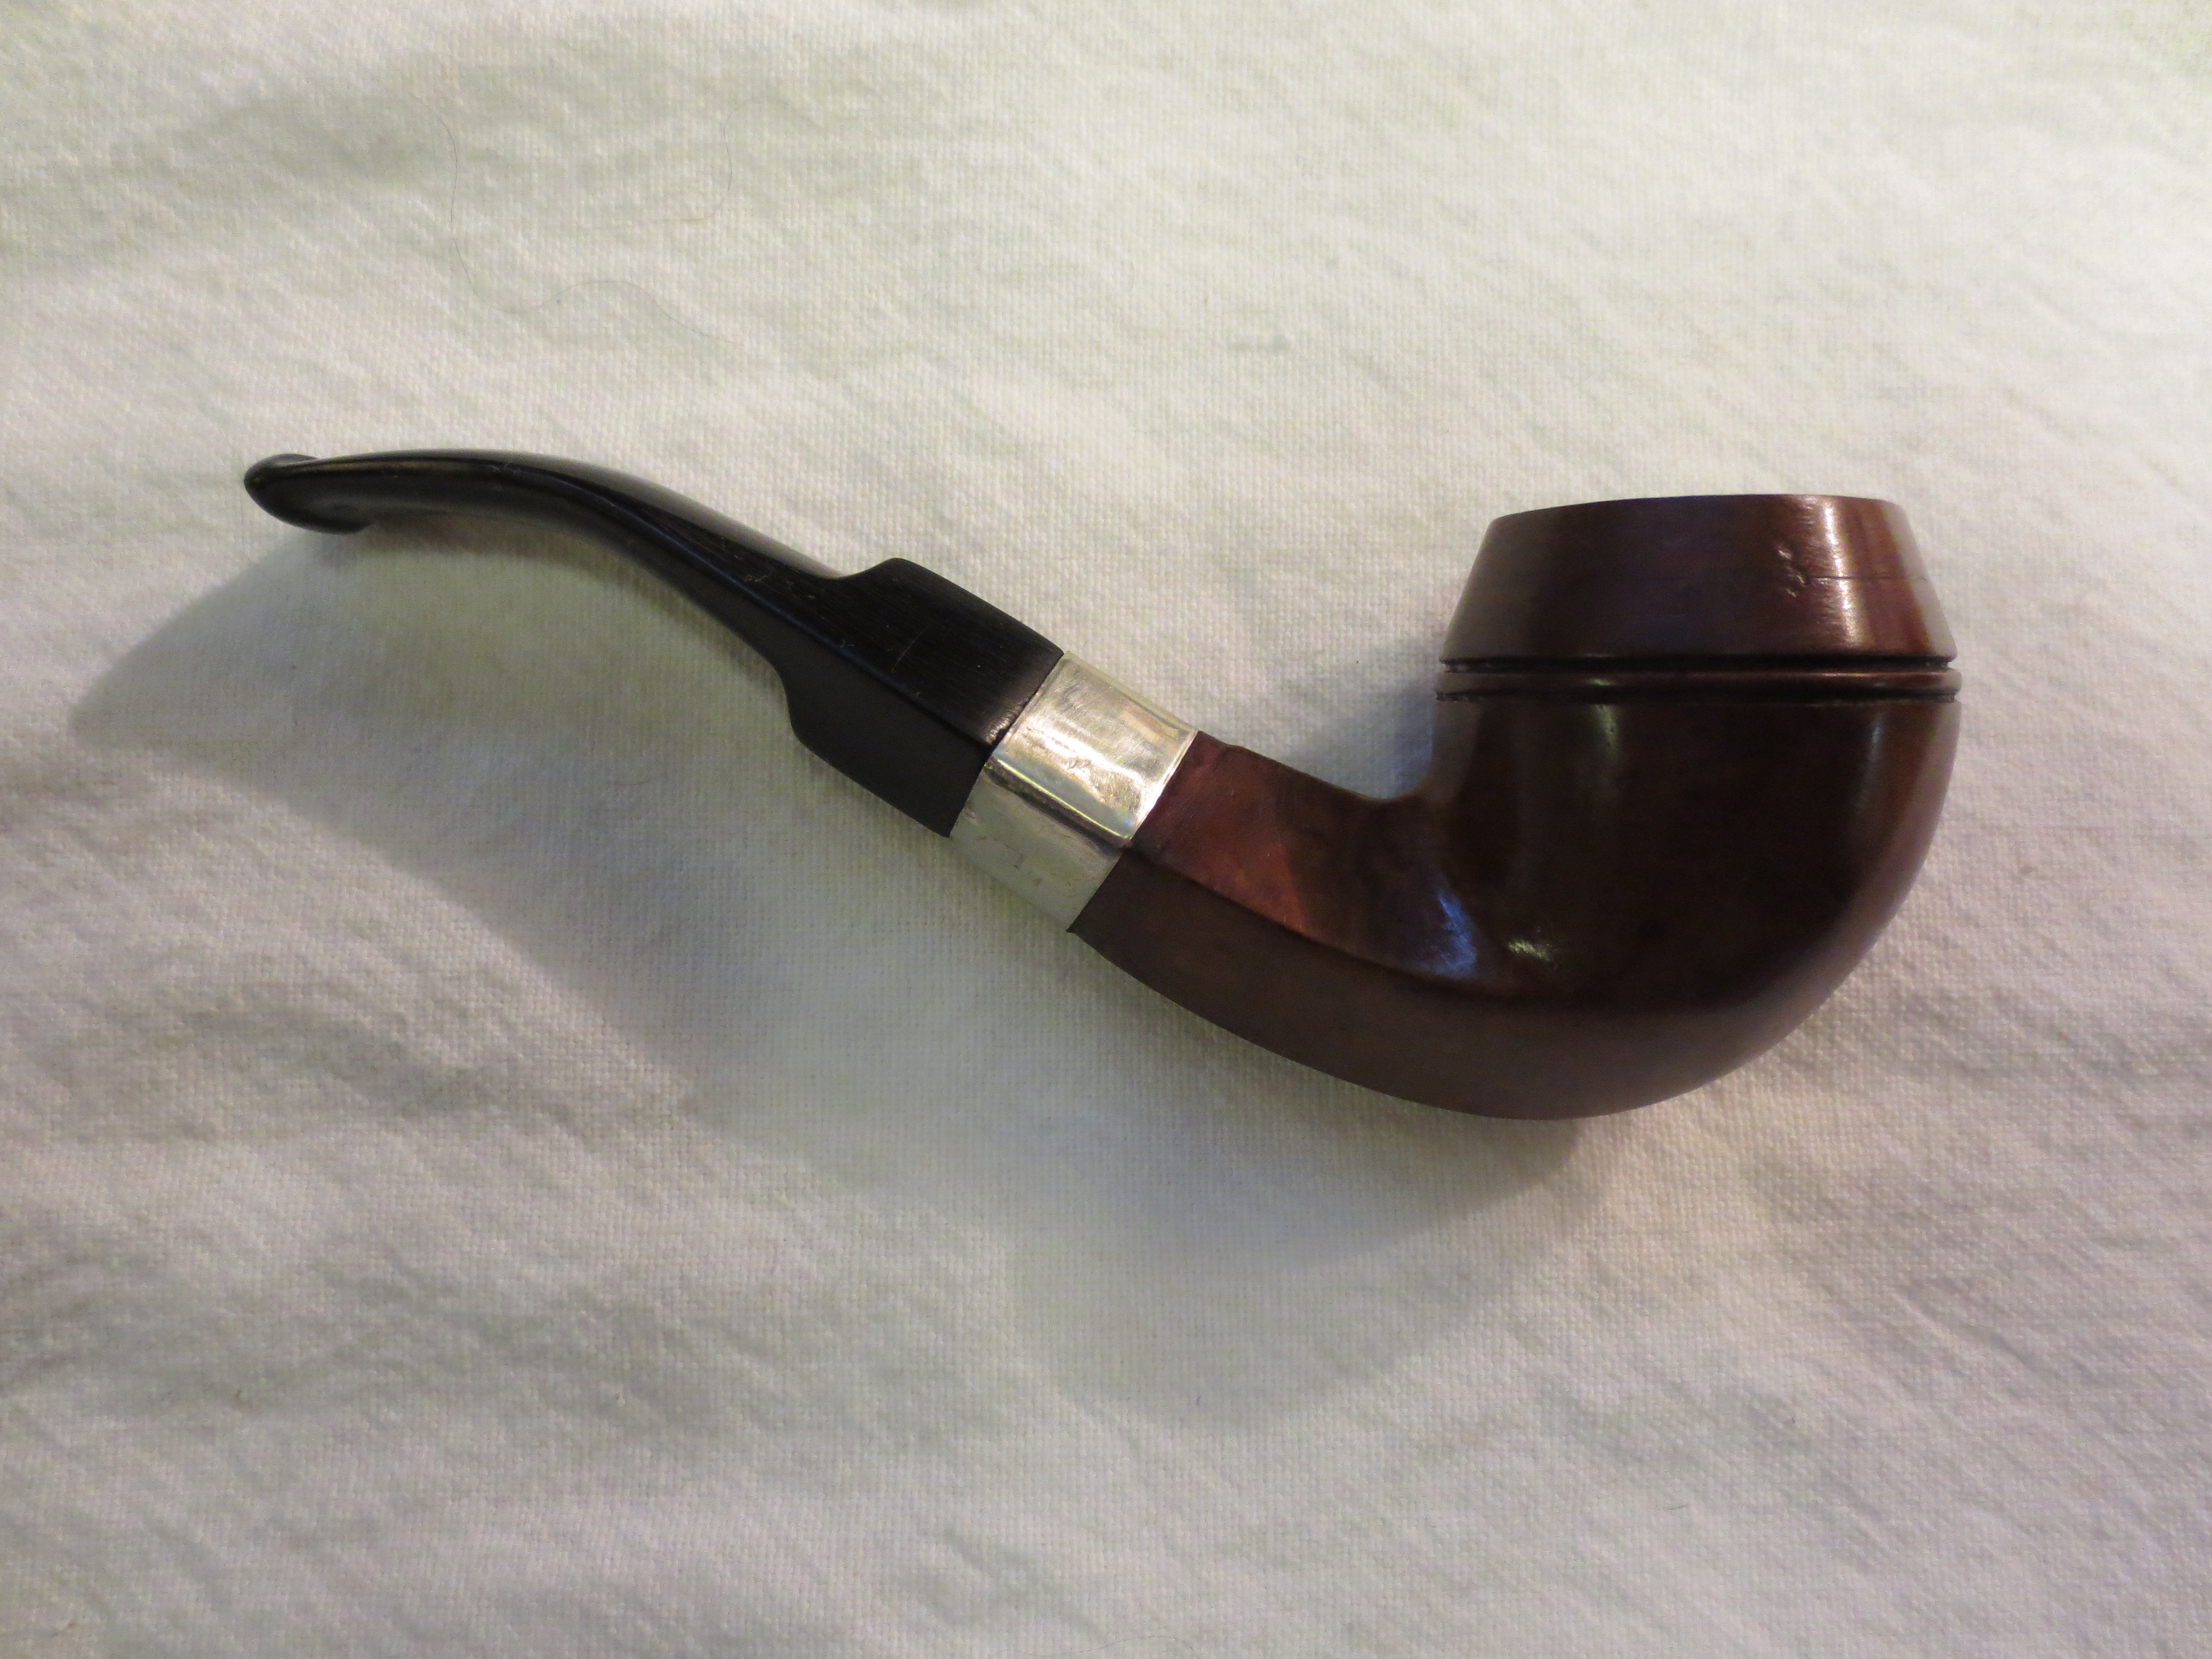
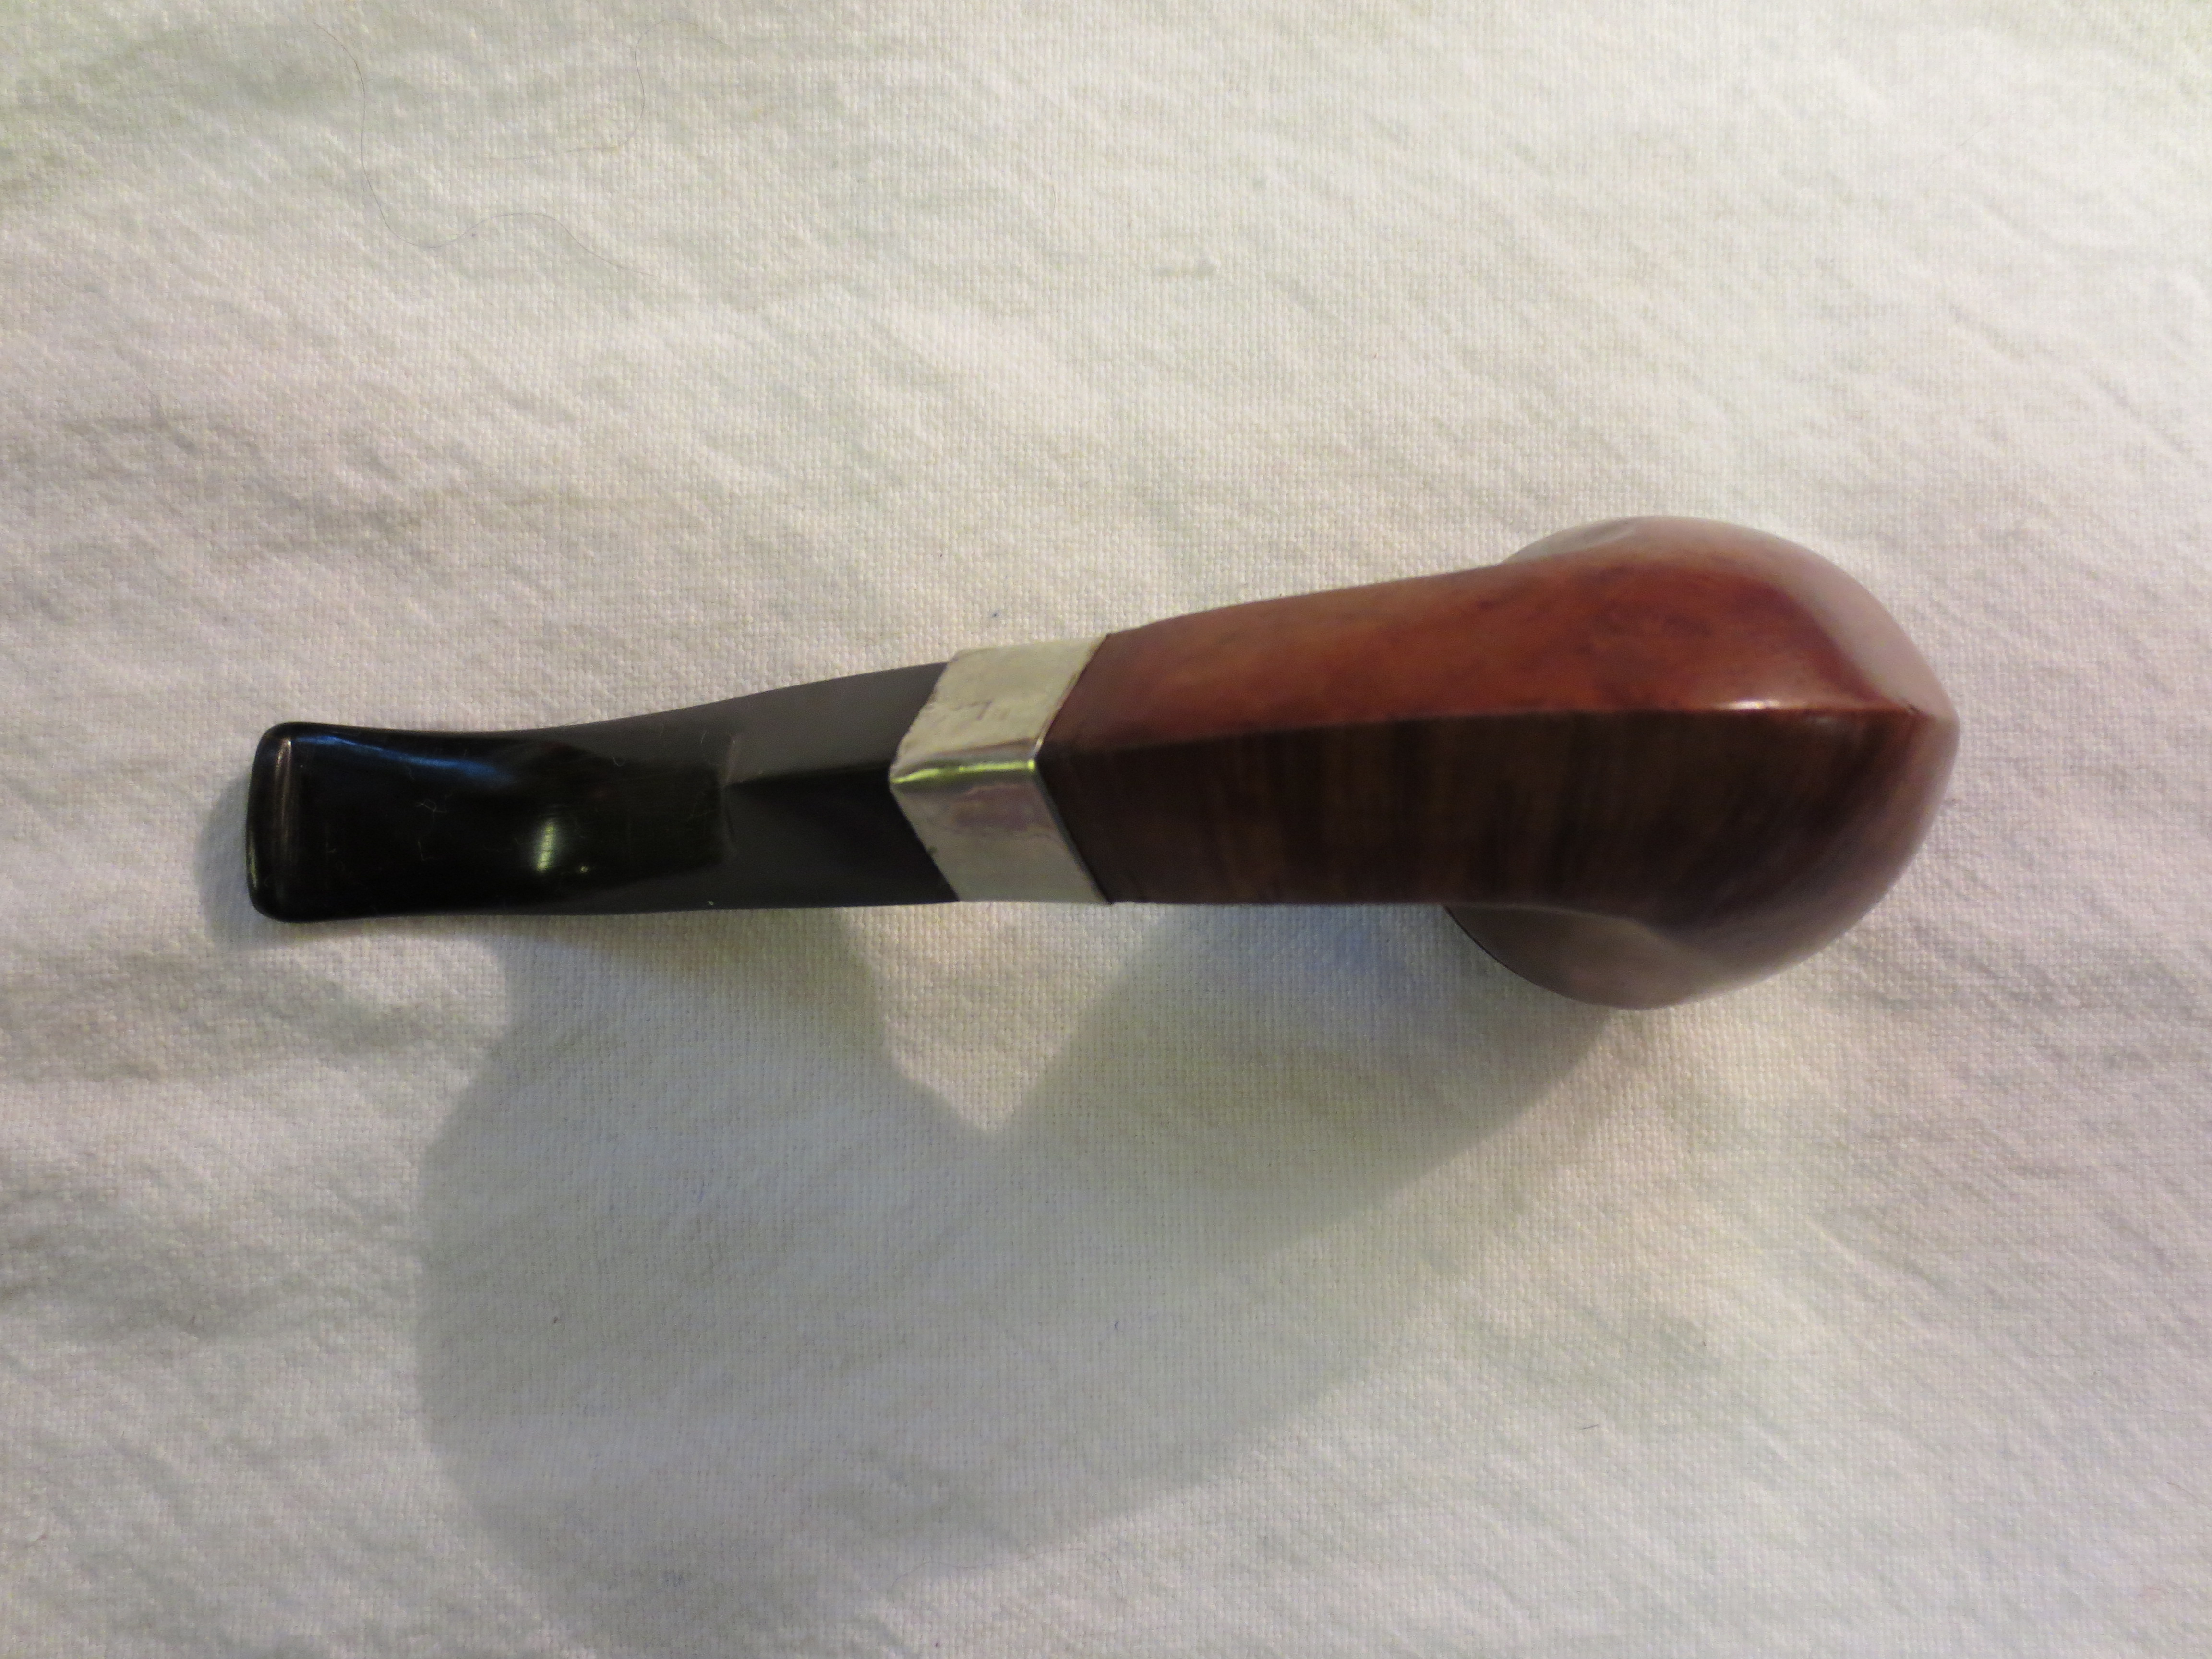
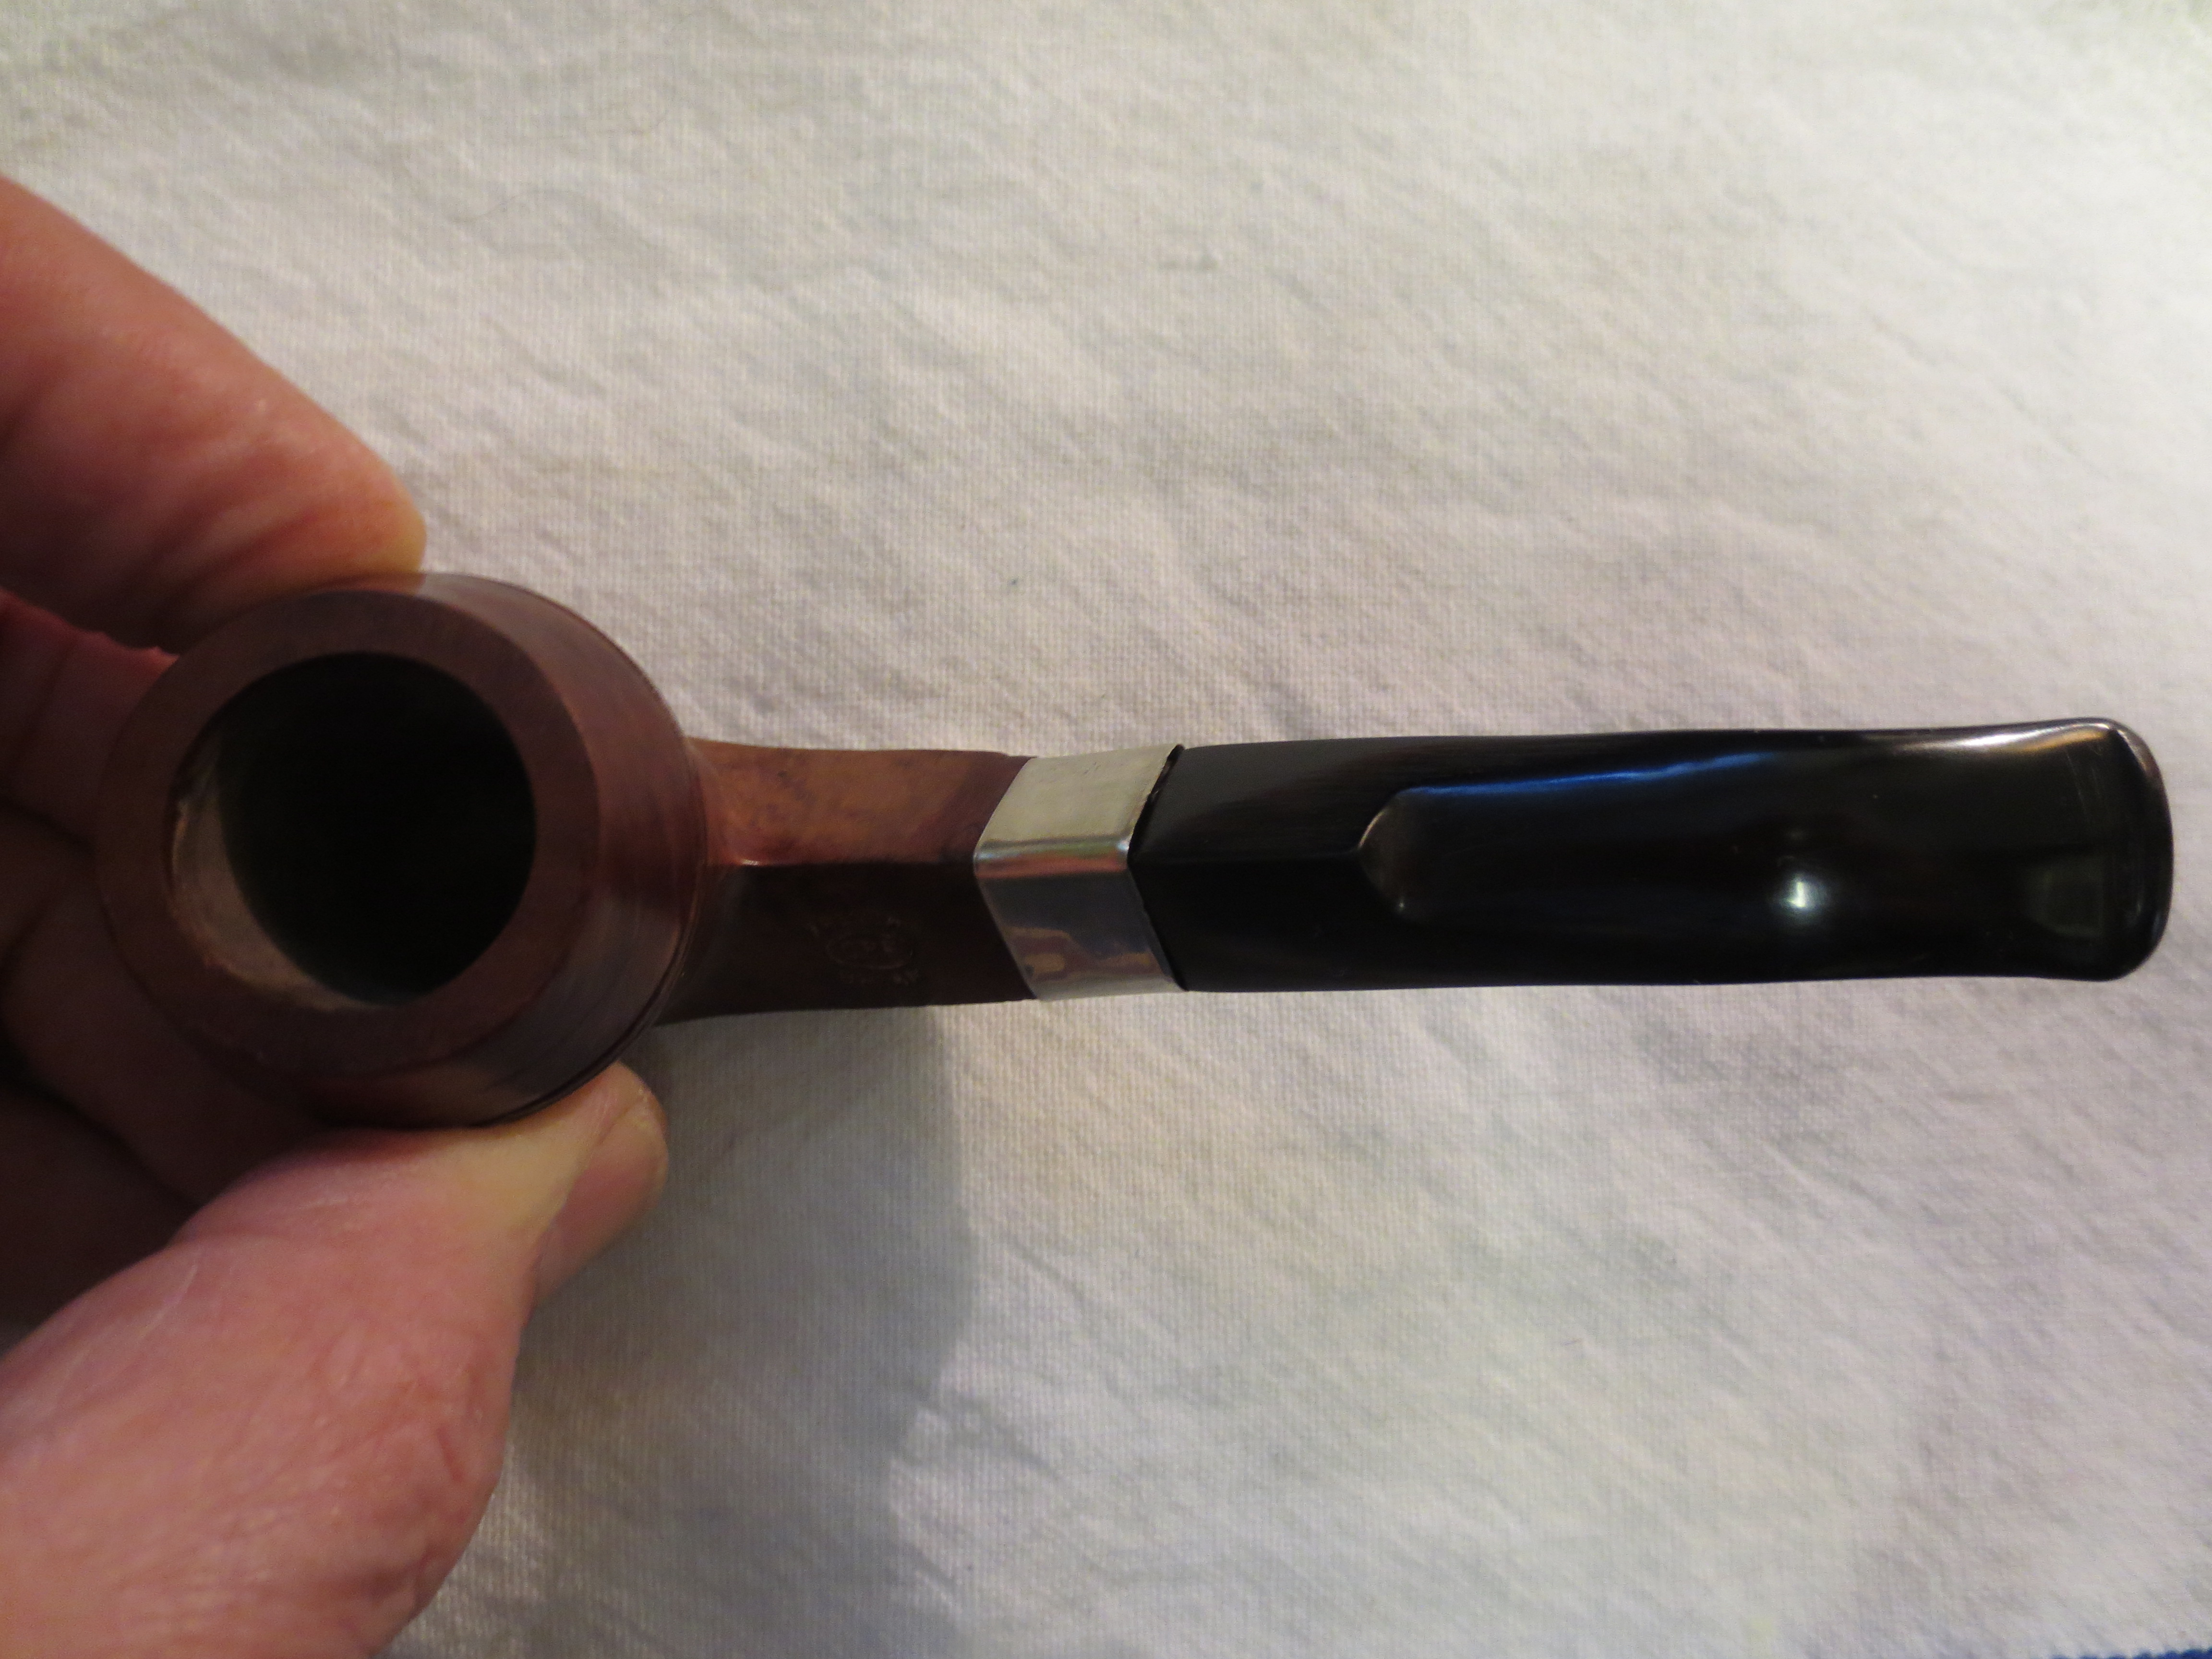
I am not sure where I came across this old Kaufmann-CPF (Colossus Pipe Factory) Catalogue but it is a great old piece of pipe history. It links the CPF brand to Kaufmann Brothers and Bondy, perhaps better recognized by the stamping on their pipes: KB&B. In an earlier piece on the blog I wrote that I had learned through my online research that by the mid 1890’s CPF was owned by Kaufman Brother & Bondy (KB&B). This catalogue further confirms the connection and adds information to the history and background of one of my favourite old brands. I love the old photos of the CPF pipes as many of them reflect shapes of some of the pipes in my own collection. The ornate bling that is added to the pipes not only dates them to an era that is far more refined than our own in many ways but also gives the CPF pipes a distinctive and recognizable look. The photos also provide a great hunt list for me as I am on the lookout for various CPF pipes.
Kaufmann CPF Catalogue

Kaufmann CPF Catalogue2

Kaufmann CPF Catalogue3

Kaufmann CPF Catalogue4

Kaufmann CPF Catalogue5

Kaufmann CPF Catalogue6

Reworking and Reshaping an Old French Briar (CPF?) Billiard


Blog by Steve Laug

This old timer was one of the pipe bowls that I picked up in that EBay lot that had others with the French Briar stamping. The others had the same stamping but also had been stamped CPF on the shank or on the end cap. This one was missing the end cap so it remains a bit of a mystery as to its maker. It was also stemless. From the photos below you can see that at one point in its life it also had a rim cap that was also missing. What was left was the line around the top of the bowl and a darkened rim where the silver cap had covered it. The end of the shank was in pretty good shape but the likelihood of finding another end cap that fit or in making one was pretty low for me. The four photos below show the general state of the pipe when it came to my desk top. The finish was gone. There were several visible fills that stood out. It was one that I had to give a little thought about how I was going to tackle it. I knew that I would have to modify the shank and rework the bowl. I would also have to redrill the mortise way and fit a stem for the newly formed pipe. Ah well… let’s begin the work.
IMG_0789

IMG_0792

IMG_0791

IMG_0790
After many failed attempts over the years to get a good straight cut on the shank and end up with a smooth and even mortise I finally figured out a way with my limited tools to accomplish that. I slip a nickel band on the shank to the place that I want to cut it off. I use the band as a guide for my hacksaw to follow. So far this method has worked for me and left me with some nice evenly cut shanks. The next three photos show the process from start to finish.
IMG_0793

IMG_0795

IMG_0794
After cutting off the shank I sanded the area where the new band would be fitted. I used my Dremel with a sanding drum to begin the process of cutting back the shank to receive the band and finished by hand sanding it with medium grit emery cloth. I set up my heat gun on it end stand, slipped the band in place and set the heat on low to warm the band so that I could press it into place. The next two photos show that process.
IMG_0796

IMG_0797
With the band in place I wiped down the bowl with acetone on a cotton pad to clean off the grit and the remnants of the finish on the pipe. After I had cleaned the bowl I topped the rim with a medium and fine grit sanding pad to remove the damage to the rim edges. The next four photos show that process. During that time I also used superglue and briar dust to fill the obvious sand pits on the bowl (at the back of the bowl near the shank and on the underside). I sanded them once they were dry and was able to blend them into the bowl quite well. In the first photo below you can see the first large sand pit clearly. It was quite long and fortunately flowed with the grain so that it was easy to blend in with the briar dust and superglue. The one on the bowl bottom was a bit more difficult to blend in. In either case both are now smooth surfaces that the finish sanding would blend in as much as possible.
IMG_0798

IMG_0799

IMG_0800

IMG_0801
I sanded the bowl with a medium grit sanding sponge to remove the damage caused by the rim cap and to remove the darkened line around the top of the bowl. The next series of three photos show how the bowl is shaping up after initial sanding. The wood is stamped French Briar but as I work it I am wondering. It is very hard, dense wood with interesting grain. It is very light weight and the feel of the sanding dust and the wood itself calls this into question for me. Maybe it is only a question of age on the pipe as it is probably from the late 1800’s or early 1900’s.
IMG_0802

IMG_0803

IMG_0804
I inserted the stem and took it to the buffer to see what it looked like at this point after buffing. I buffed it with Tripoli. The next four photos show the pipe after buffing. There was a natural reddish colour to the wood that came out more and more as I sanded it.
IMG_0805

IMG_0808

IMG_0807

IMG_0806
After buffing the pipe I reamed it with my PipNet reamer to clean out the crumbling and broken cake that was on the surface of the bowl (Photo 1). I sanded it some more and then wiped it down with an alcohol dampened cotton pad and prepared tit for restaining (Photos 2 & 3).
IMG_0809

IMG_0811

IMG_0810
I receive regular tweets from Grant Batson, pipemaker. In one of the latest he wrote of experimenting with Danish Oil in finish the bowl of a pipe. I have several cans of that around from my refinishing furniture days so I decided to use some medium walnut coloured Danish Oil on this bowl. The next four photos show the stained pipe. I had yet to buff it or polish it at this point in the process. I just rubbed on the Danish Oil and then rubbed it off.
IMG_0812

IMG_0815

IMG_0814

IMG_0813
I set the pipe aside for the evening so that the finish had a chance to dry well. This morning I worked on the stem and the bowl with the micromesh sanding pads. I used all grits that I have available from 1500 – 12,000 grit to sand both the bowl and the stem. The next series of six photos shows the progressively developing shine on both the stem and the bowl.
IMG_0816

IMG_0821

IMG_0820

IMG_0819

IMG_0818

IMG_0817
After finishing with the micromesh sanding pads I took it to my buffer and buffed it with White Diamond. I find that this buffing with a light touch really sets the shine to a glossy finish. The next four photos show the pipe after buffing. I still had to put on the wax but the shine is very evident.
IMG_0822

IMG_0825

IMG_0824

IMG_0823
The final series of four photos show the finished pipe. I gave it multiple coats of carnauba wax and buffed it with a soft flannel buffing pad. I am pleased with the way it turned out. The pipe is ready for smoking and should provide service for many years to come.
IMG_0826

IMG_0827

IMG_0828

IMG_0829

Restored CPF Bent Billiard – A Reclamation Project


This is the second CPF pipe bowl that was in the lot from EBay. It is a billiard and it was in very rough shape at first glance. It is an old timer. The rim cover and the band were badly oxidized to the point of being crusty with oxidation and a greenish hue. They were also rough to the touch which led me to believe that they were pitted underneath all of the oxidation. It came stemless but I found a stem of the proper age in my can of stems. The finish was rough but there were no deep dings or dents. There was a deep, almost black darkening around the bowl just under the rim cap. The darkening was such that made me think that the oxidation had oozed into the briar and would be interesting to remove from the finish. The same was true of the area around the shank cap. The rim cap originally had a hinged lid on it but that was gone. The shank cap was also loose and when I touched it, it came off. The briar underneath was thick with a reddish coloured glue but was also free of cracks or fissures. It was intact. After the initial examination I came to see that underneath the grime there was a pretty nice piece of briar. The first series of three photos shows the state of the pipe when I took it to my work bench to begin working late yesterday afternoon.

ImageImageImage

I decided to work on the oxidation on the shank cap and the rim cap. I wanted to see if either one was redeemable. I used a jeweler’s tarnish remover called Hagerty to work on the finish of both. I applied it with a cotton swab and scrubbed it with that until it was dry. Then I wiped it off with a cotton pad. In doing this I saw that the rim cap and the shank cap were both brass. The rim cap had two tears or cracks in it around the hinge that showed up once it was clean. The next two photos show the tarnish remover on the rim and shank caps.

ImageImage

After the initial cleaning of the two I decided to remove the cracked rim cap. This was not as easy as it appears in the photos as it was nailed to the rim and also was pretty tightly bonded with the tars and oils of the tobacco. I used a pair of needle nose pliers and a flat blade screw driver to lift the edge of the cap. I began at the hinge and lifted it from there. It came off with a bit of work and broke at the two nails that held it to the rim mid bowl on each side. The back half of the cap came off in one piece. I was able to lift the front edge carefully using the flat blade of the screw driver to pry the edge and work my way to the front. The nail on the right side came out with the cap while the one on the left side was stuck. I used the flat blade of the screwdriver to lift it from the surface of the rim without scarring the rim and pulled it out with the pliers. Underneath the rim surface was actually smooth and had a slight caking of oils that would come off easily. The two nail holes would need to be filled. The one on the right side of the bowl had been put in at an angle and would take a little more work to repair. The first picture below shows the torn rim cap on the work table next to the pipe bowl. The holes and the state of the rim are also clearly visible. The second picture shows the darkening that seeped down the edges of the bowl from underneath the rim cap.

ImageImage

I used briar dust and superglue to fill the two nail holes. It took several applications to get a smooth and even surface. I packed some briar dust into the nail hole with my dental pick and my finger. I wanted the briar dust to fill the holes so I tamped them down with the dental pick. Then I dripped in the superglue to bind the briar dust to the surrounding area. The first photo below shows the top of the rim after briar dust superglue patch has been done.

Image

After patching the nail holes I worked on the stain line around the bowl. I removed the finish from the bowl with a cotton pad soaked with acetone. I continued to wipe it down until the finish was gone. After that I sanded it with a medium grit sanding sponge. The next six photos show the sanding process with the sponge. I also sanded the end cap with the sponge being careful around the CPF stamping that I had found under the oxidation.

ImageImageImageImageImageImage

The dark lines were better after the sanding but still very present. I was able to remove the indentation in the briar from the metal cap to a large degree but the black was stubborn. I decided to soak the bowl in an alcohol bath to see what would come out. I took the shank cap off to work on it while I left the bowl in the bath for about an hour. I was able to remove much of the oxidation on the shank cap. I scrubbed it with the tarnish remover and then sanded it with the micromesh sanding pads using 1500-2400 grit pads.

Image

Once I remove it from the bath I dried it off and the lines were lighter than before. I sanded the bowl some more with the sanding sponge and glued the shank cap on with white glue. I wait to glue it on until I am done with the alcohol and acetone as I found out the hard way the glue is dissolved and has to be redone. After that I reinserted the stem and set up my heat gun to bend the stem to the correct angles. The next four photos show the bending of the stem from its beginning to the final look after bending.

ImageImageImageImage

I took it back to the work table and did some more sanding on the bowl especially working on the surface around the top sides near the rim. The black line was stubborn. I wiped it down with white vinegar to see if it would lift any of the stain as I remembered reading about that in an old book on furniture repair on how to remove dark rings from the wood. I also wet a cotton pad with bleach and wiped down the area as well. The result of all that work is evident in the two photos below. It was not going to come out so I sanded it with 1800-3600 grit micromesh sanding pads and then wiped it down with an alcohol dampened cotton pad to remove the surface dust and prepared to stain it. The two photos below show the bowl ready to stain. (Incidentally note the shine on the shank cap. It cleaned up amazingly well.)

ImageImage

I applied an oxblood thick aniline stain for the first coat. I flamed it and reapplied it and flamed it a second time (the first two photos below show the staining of the bowl with the oxblood stain). I then buffed it off to see what I had to work with. The black lines still showed so I restained the bowl around the top edge to see if I could darken that area and mask the black (photos three and four show this process).

ImageImageImageImage

I buffed it a second time to see where I was at with the staining. You can see from the next two photos the effect of that restaining around the top of the bowl. It did indeed darken the edge but the line was still visible and I did not like the look of the dark edge. So I buffed it yet again to see if I could smooth out that look a bit more.

ImageImage

I was not happy with the finished look after buffing. The darkening around the edge still showed both in the top edge of the bowl and around the end cap. I decided to restain the bowl with a dark brown aniline stain. So I applied the stain, flamed it and restained and flamed it a second time. The next two photos show the pipe after the stain had been flamed and had dried.

ImageImage

I buffed it to see how the second stain had covered the darkening around the top edge and near the shank cap. I was pleased by the overall look now. It was still there for sure but it certainly was less visible and blended in well with the finish. The next four photos show the pipe after restaining and buffing.

ImageImageImageImage

I set the bowl aside and worked on the stem. I sanded it with micromesh sanding pads 1500 – 12,000 grit to polish the stem. I put the stem back in the bowl and then took the pipe to the buffer and gave the entire pipe a buff with White Diamond and then gave both the stem and bowl multiple coats of carnauba. The finished pipe is picture below. It came out very well and the black line around the top edge seems to be less visible. The pipe is restored to a bit of its former glory!

ImageImageImageImage

CPF French Briar Bulldog Restemmed and Refurbished


This morning I decided to start working on one of the pipes that came in the lot of bowls I picked up off of EBay. I chose one of the CPF Bulldogs. It looks to be an old timer. It also looked like it had quite a different look in times past as there were signs of a band on the shank and something around the rim as well. It could well have been the gold/brass filigree that is often seen on these old timers but there is no way of telling for sure. The bowl rim was clean as if once the decoration was removed the briar underneath was raw stain. The bowl itself was also absolutely clean on the inside – taken back to bare briar. Around the inside of the rim there were several small nail holes that looked like they held the rim cap in place. These holes were also on the outside as well though they had all been patched. The shank was cracked and repaired. The repair looks to be old and may well have been under the band that had disappeared. The mortise was originally threaded but that had been drilled almost smooth. I had a stem in my box of stem that would fit with a little work. It was the right size and the angles on the diamond matched those on the stem – a rare feat to be sure. I would not have to do much sanding to bring it fit well. The finish was clean but there were lines on the bowl and the shank from the cap and band. The stamping was clear – CPF in an oval with French above and Briar below. It had a gold paint that had been applied to the stamping and it was very clean. The series of three photos below show the condition of the pipe and the new stem when I began this morning.

ImageImageImage

I asked Robert Boughton about the CPF brand stamp as he is currently refurbishing an old CPF Meerschaum and had done work on the brand. He sent me the following information:
“Chuck (Richards) assigned to me the challenge of finding out what CPF stood for and anything else I could learn… I found conclusive evidence that despite several other names associated with CPF, it indeed stands for Colossus Pipe Factory…Below are the links I sent to Chuck at the time and a few more. But again, it’s nothing Chuck didn’t already know. He also knew it would be good experience for me and that I would enjoy the task! Indeed, I was proud of my findings!”

http://pipedia.org/index.php?title=C…s_Pipe_Factory Bottom of center row of newspaper clip
http://www.google.com/search?q=colos…w=1600&bih=658
http://pipephil.eu/logos/en/logo-c1.html See CPF — includes briars
http://pipesmokersforum.com/communit…ing-one.10858/
http://www.worthpoint.com/worthopedi…pipe-287735110
http://www.smokingpipes.com/pipes/es…oduct_id=74274

With that information in hand, thanks to Robert, I went to work on this older American bulldog to bring it back to life. I had an old nickel band that fit pretty well to the shank. It was shorter than the original band but it covered the repair in the shank. I heated it and pressure fit it to the shank. It was a bit dented and would need to be straightened once it was in place. I then worked on the stem to get it fit the shank and band connection. I used medium grit emery paper to remove some of the vulcanite to get the sides and angles of the stem to match the shank. This had to be done carefully so as not to change the angles. Each side had to have the same amount of material removed to keep the diamond angles even. The next series of four photos show the stem after it has been shaped and sanded to match the shank and the band.

ImageImageImageImage

I cleaned out the inside of the stem as it was very dirty. I had sanded down most of the oxidation and the calcification on the stem earlier but needed to work on that some more. I also used a dental pick to clean out the slot as it was packed tightly on both sides of a small centre hole what was left. I finished sanding with medium grit emery cloth and move on to 320 grit sandpaper to begin to work on the scratches in the stem. The next three photos show the stem after sanding with the emery paper (photo 1) and then the 320 grit sandpaper (photo 2-3).

ImageImageImage

At this point in the process I decided to bend the stem to get the flow of the pipe correct. In retrospect I could have waited until I had polished the stem to do the bend. But I was curious to see the look of the bent stem on the pipe bowl so I set up my heat gun and carried the stem to the gun. I have been using a hardwood rolling pin that my wife discarded as the curves to bend the stem over. I find that using this keeps the bend straight and also gives me the degree of curve I wanted. I adjust the curve by where I put the stem on the pin to bend it. I use low heat on my heat gun and move the stem quickly over the heat about 3 inches above the tip. It does not take long to heat it to the point it is ready to bend and then I lay it over the pin and bend it. I hold it in place until it cools enough to set the bend. The next series of three photos show my set up for bending the stem.

ImageImageImage

I then decided to work on the bowl of the pipe. I wiped it down with acetone on a cotton pad being careful to avoid the gold stamping in the shank. I also sanded the line around the rim and the shank with 320 grit sandpaper and then with 1500-2400 grit micromesh sanding pads to try to minimize the line around both points. I used a flat tip screw driver blade as a smooth surface to hammer out the dents and rough spots on the band. I also laid the shank flat on a board and used the screw driver tip to smooth the inside edge of the band and square up the corners of the diamond. The next series of six photos show that process. I finished by inserting the stem and continuing to smooth out the band.

ImageImageImageImageImageImage

I wiped the bowl down with another acetone wetted cotton pad to remove the sanding dust from the bowl and the rings around the bowl. I used a dental pick and retraced the rings to clean them out as well of previous wax and dirt that catches in those spots. The photo below shows the pipe bowl ready to restain.

Image

Before staining I worked on the stem some more to smooth out the remaining scratches and bring it to a shine. I used micromesh sanding pads from 1500-12,000 grit to bring the stem to a glossy finish. The next twelve photos show the progress shine developing after each successive grit of micromesh sanding pad was used.

ImageImageImageImageImageImageImageImageImageImageImageImage

Once the stem was done I was ready to stain the pipe. I used an oxblood aniline stain to restain the pipe. I applied it with a cotton swab, flamed it, restained and flamed it a second time. The next two photos show the bowl with the oxblood stain applied just before I flamed it. Once I had flamed it I took it to the buffer and buffed it with White Diamond.

ImageImage

After I buffed it with White Diamond I gave it repeated buffing with carnauba wax to protect the stem and the bowl. The next four photos show the finished pipe.

ImageImageImageImage