Blog by Steve Laug
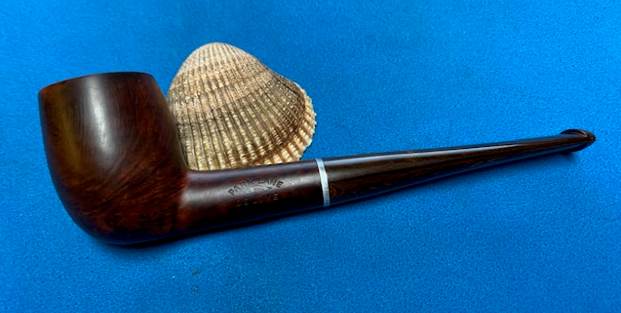
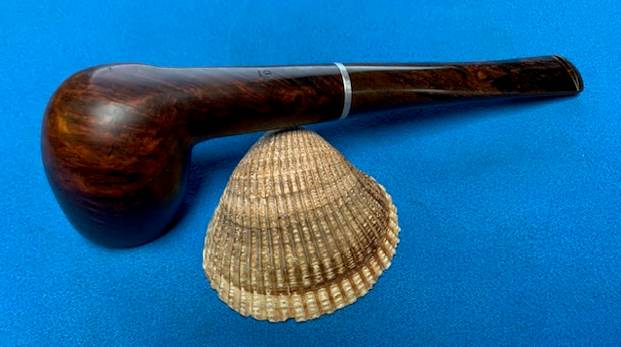
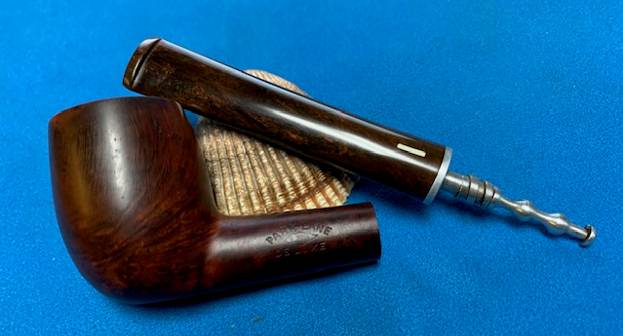
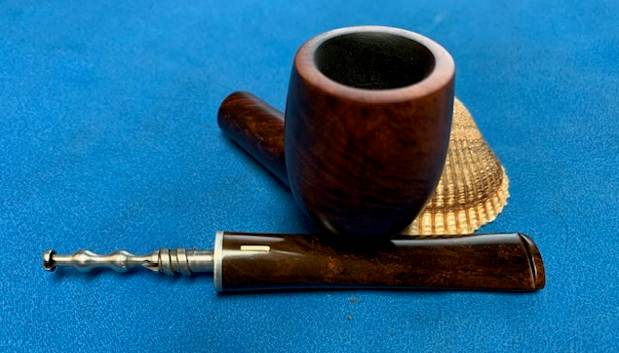
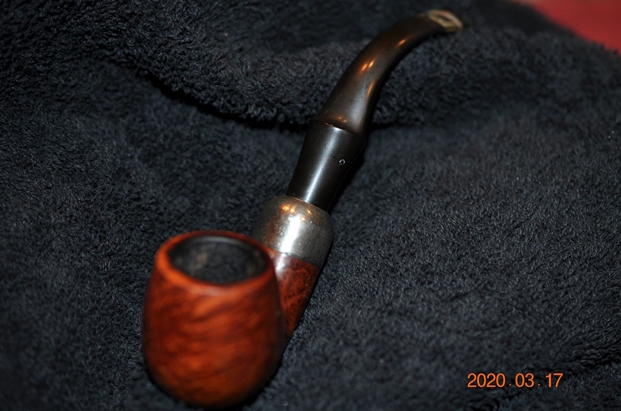
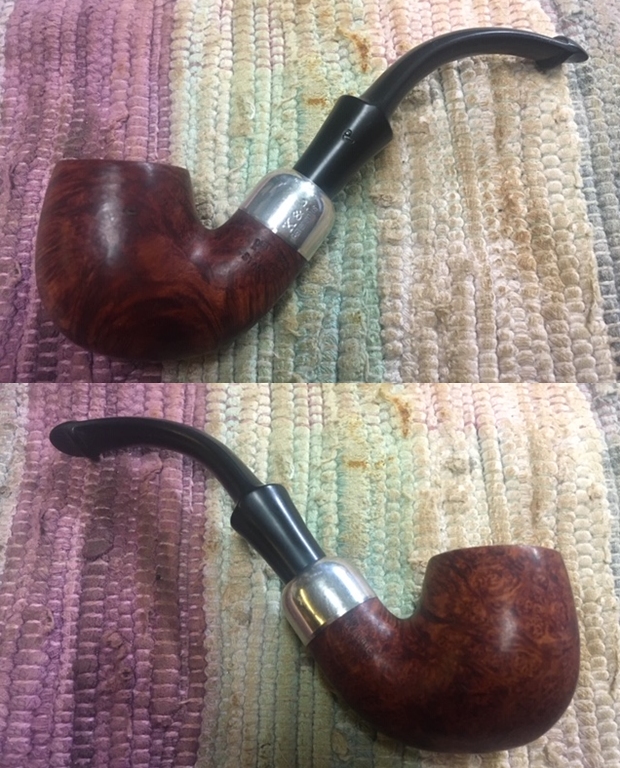
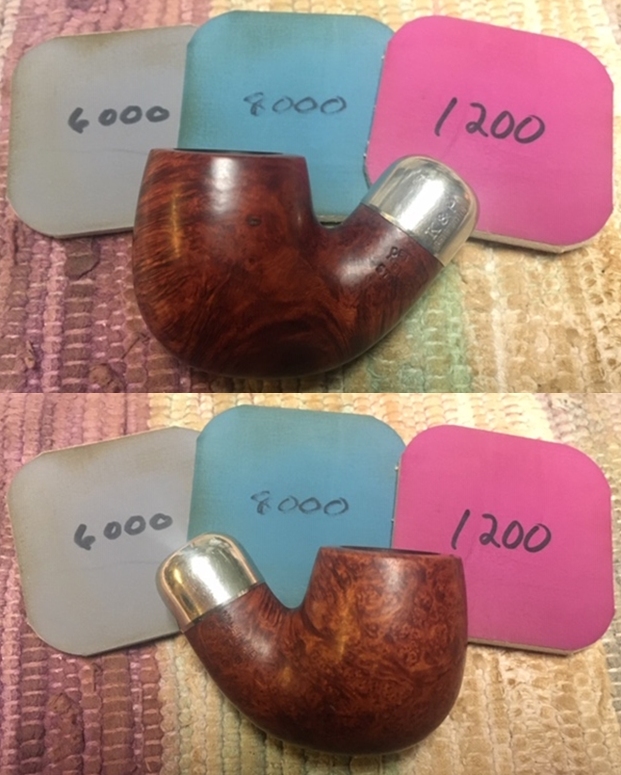
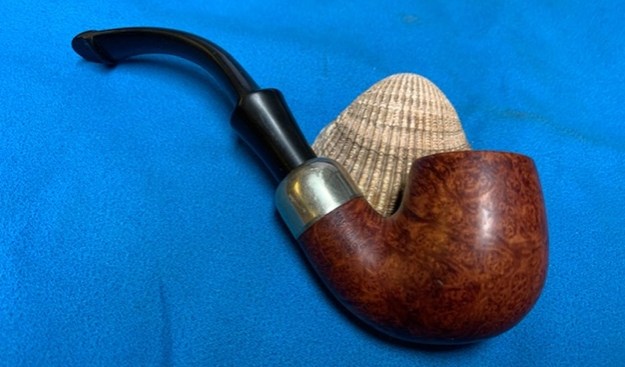
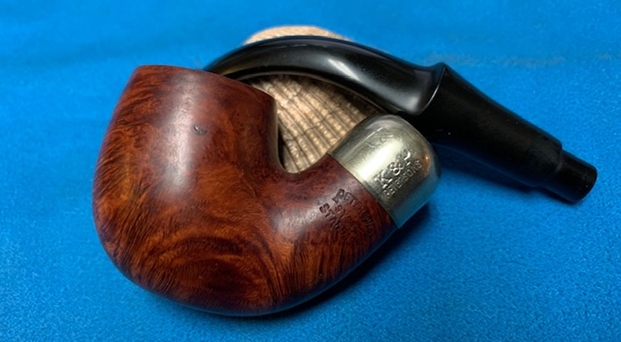
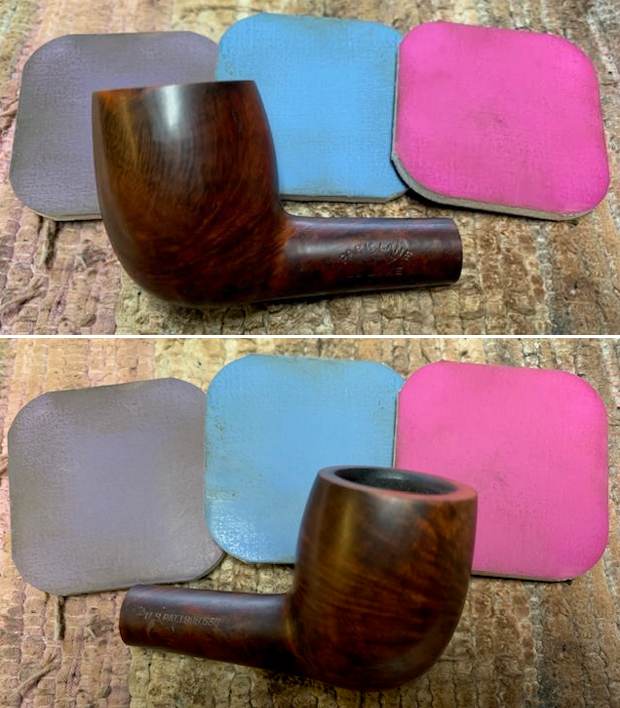
 This is another pipe that I have taken out of my personal collection as I just do not use enough to warrant keeping it. This pipe was one that I purchased long ago but have no memory where it came from. I don’t think I ever smoked it to be honest. It is a pipe I should have smoked as it is attractive enough but did not. It is time to move it on to someone who will enjoy it. The airway in the shank and the mortise are very clean. The smooth finish and rim top were in good condition but it is dull and lifeless looking. The inner edge of the rim has a bit of damage on the backside. The stamping on the pipe on the left side of the shank reads Parklane [over] LHS in a diamond [over] De Luxe. On the right side it is stamped US PAT. 1,908,630. The shape number 19 or 61 is on the underside of the shank. The finish is a medium brown. Once it is polished the grain will show clearly. The colour of the stain goes well with the Cumberland or Bowling Ball stem. There is a white bar inset logo on the top of the stem. There is a threaded metal tenon and stinger apparatus on the stem. The stem is in excellent condition with no tooth chatter or marks on it. It is dirty from sitting in my cupboard but otherwise looks goo. I took photos of the pipe before I did my clean up work on it to prepare it for you.
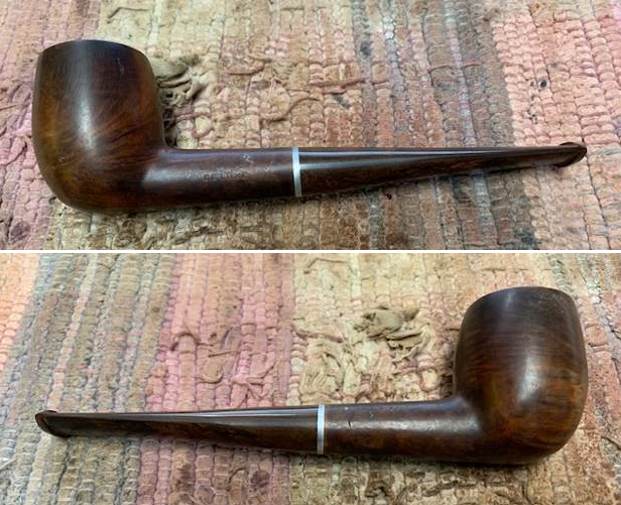
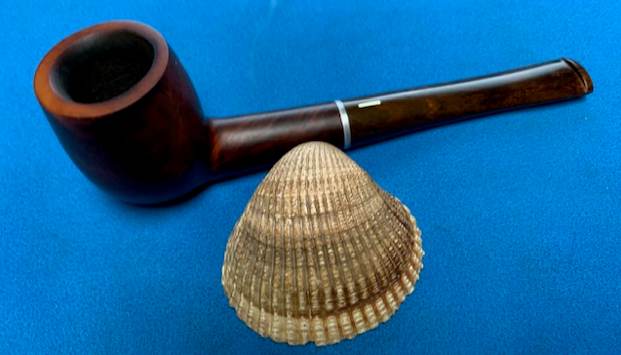
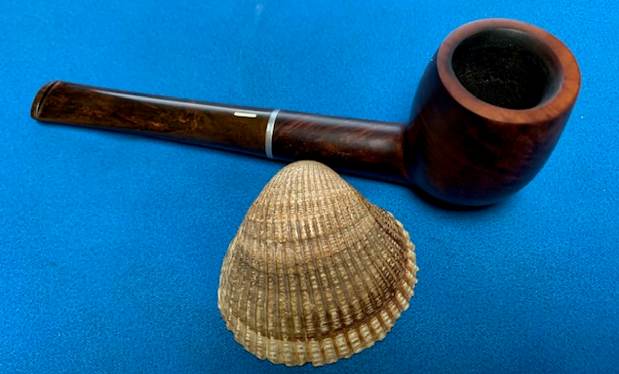
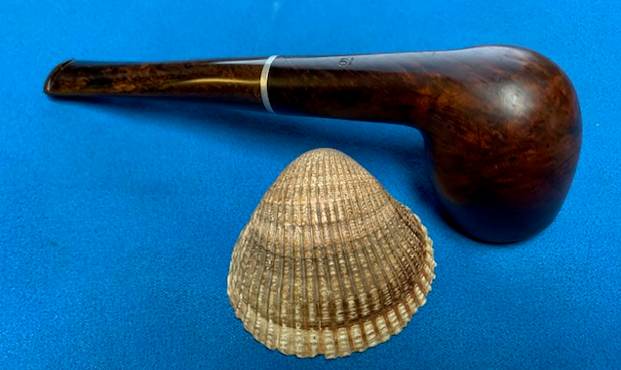
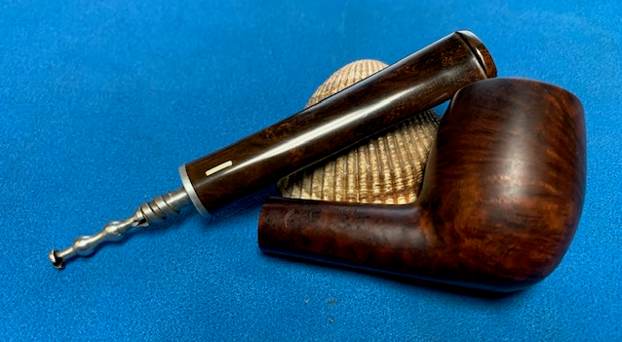
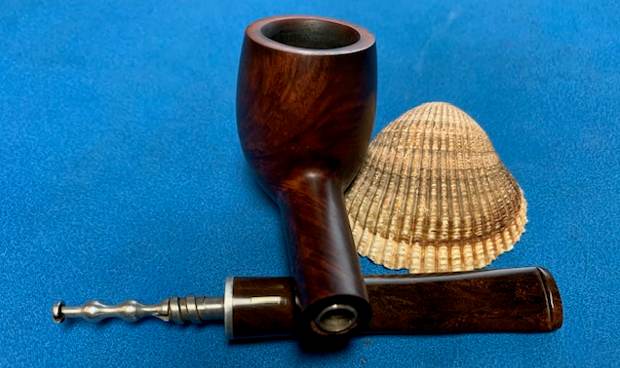
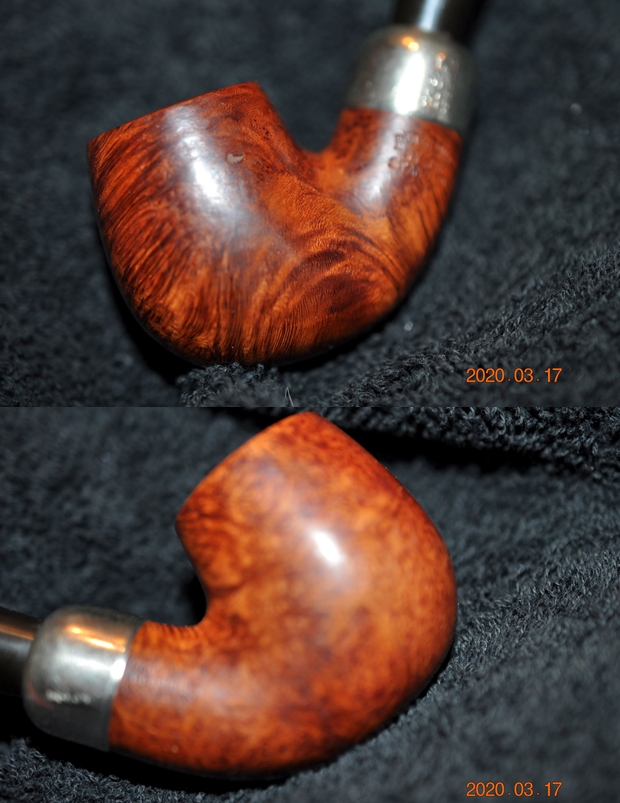
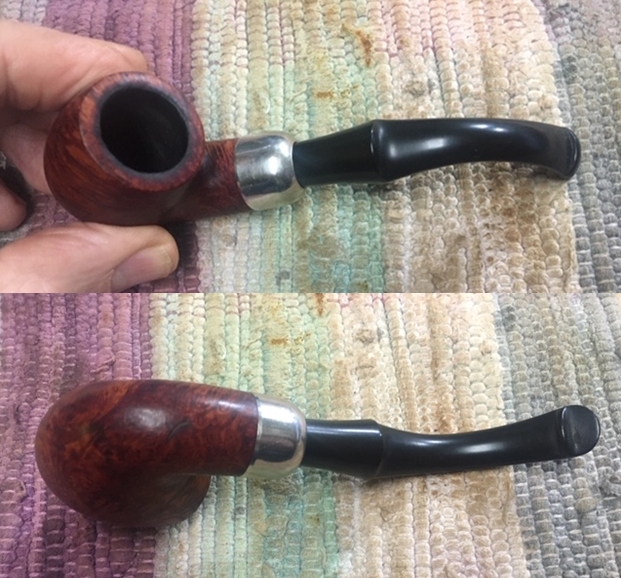
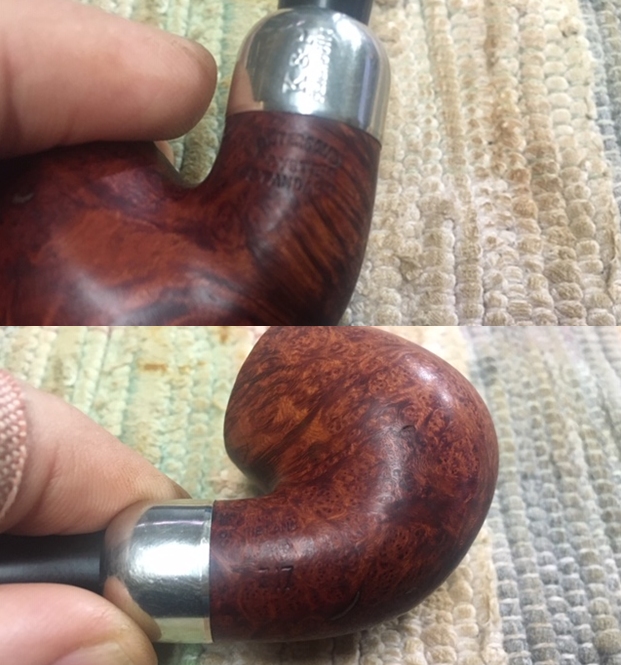
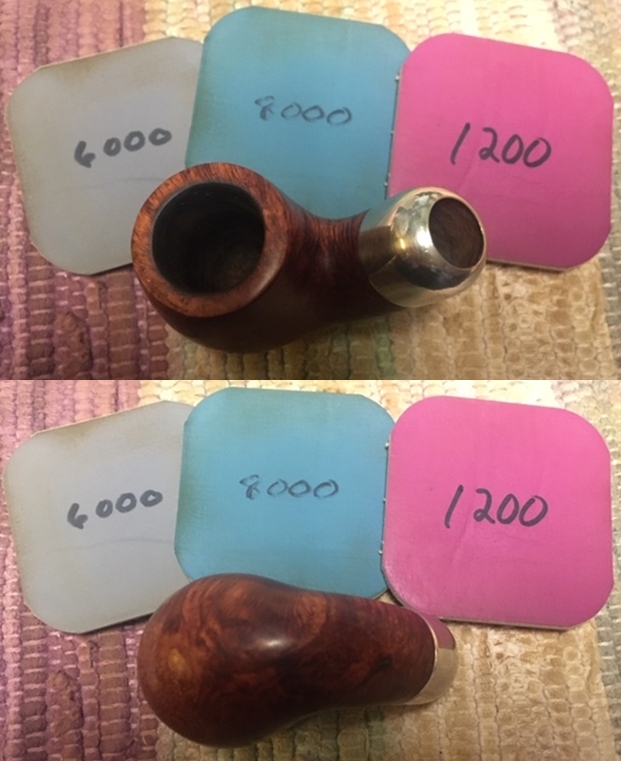
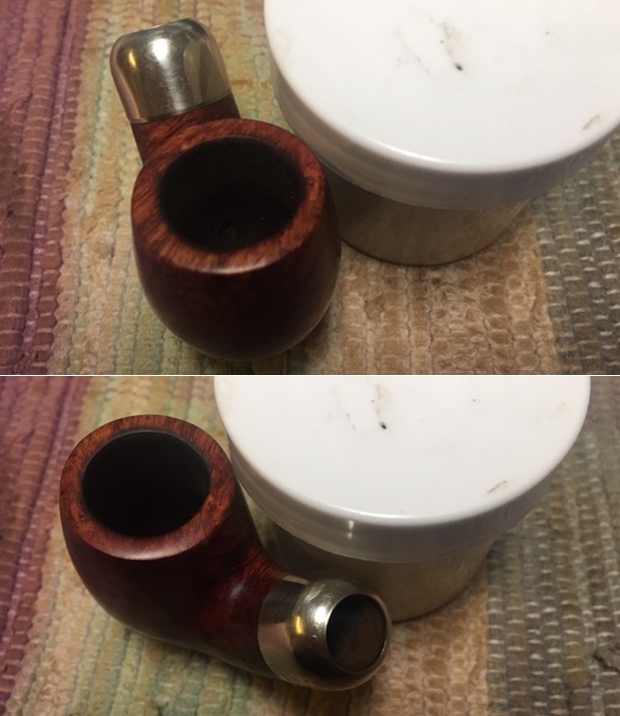
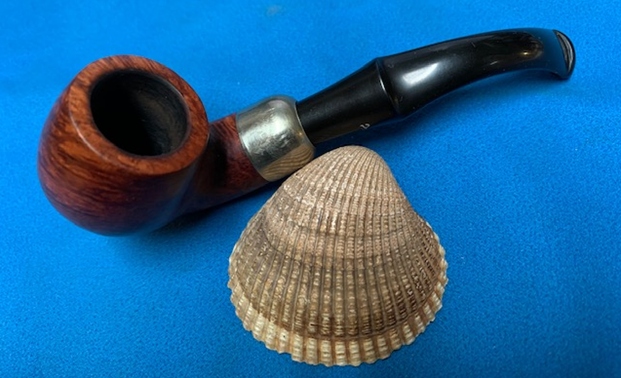
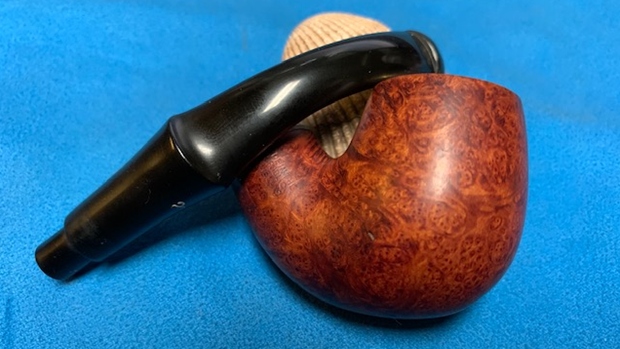
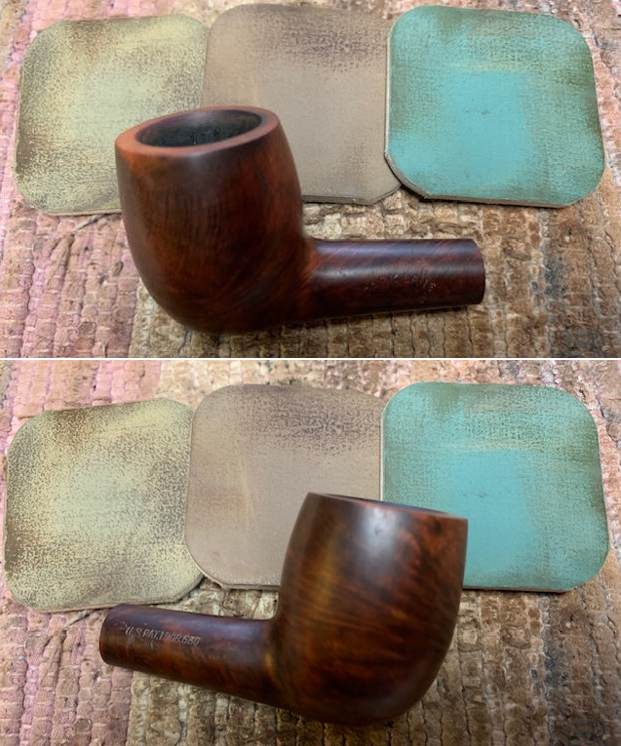
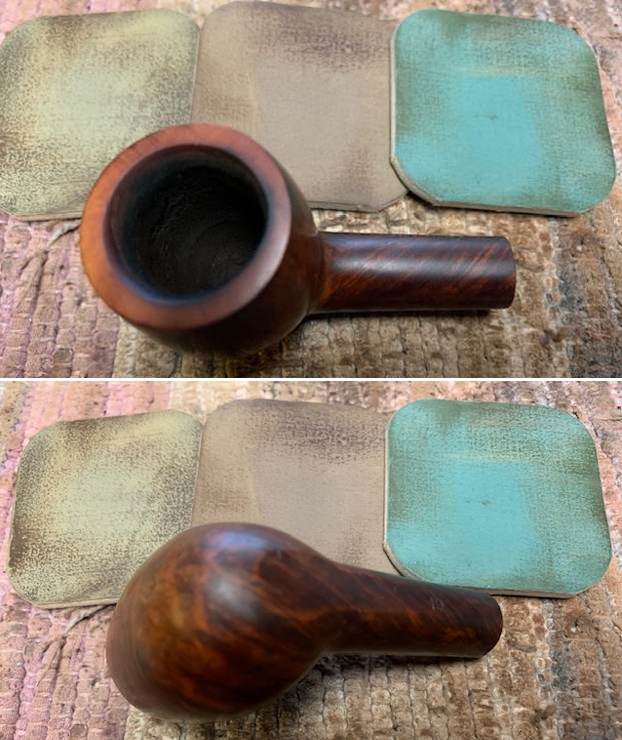
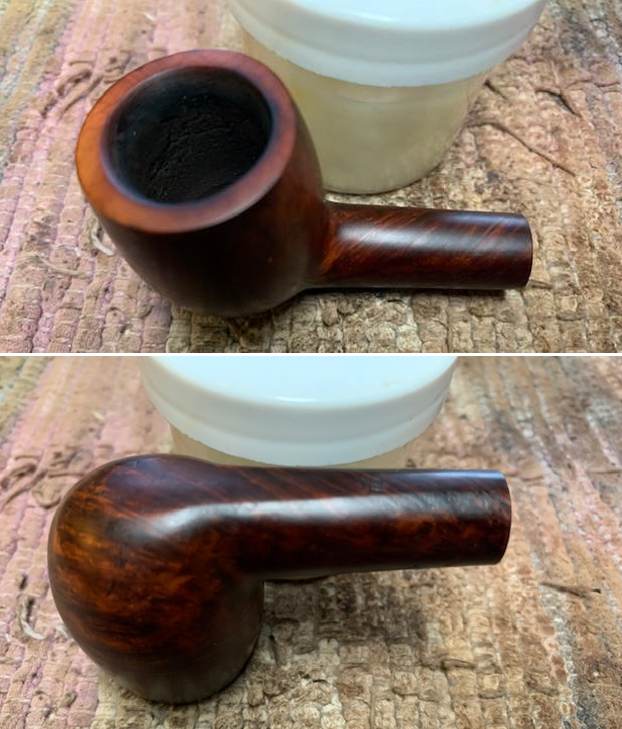
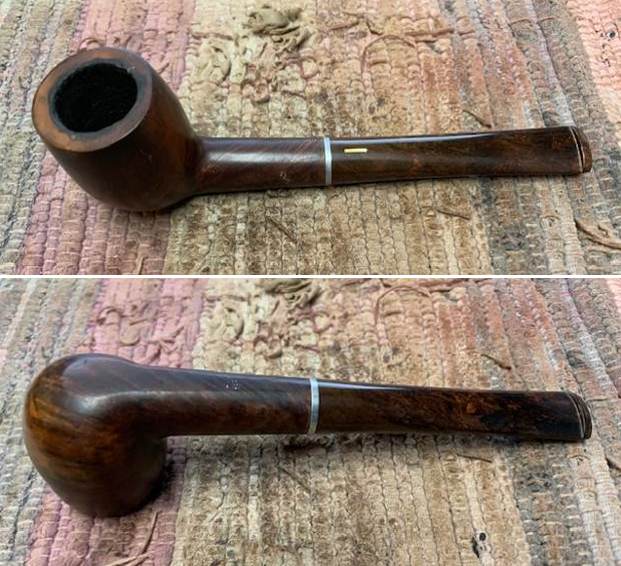 I took a photo of the bowl and rim top to verify the description above. The rim top is a bit of a mess with darkening and burn marks around the edges and heavier at the back of the bowl. The Cumberland style stem looks quite good on both sides.
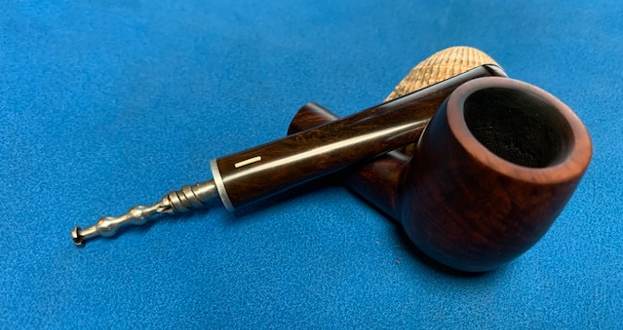
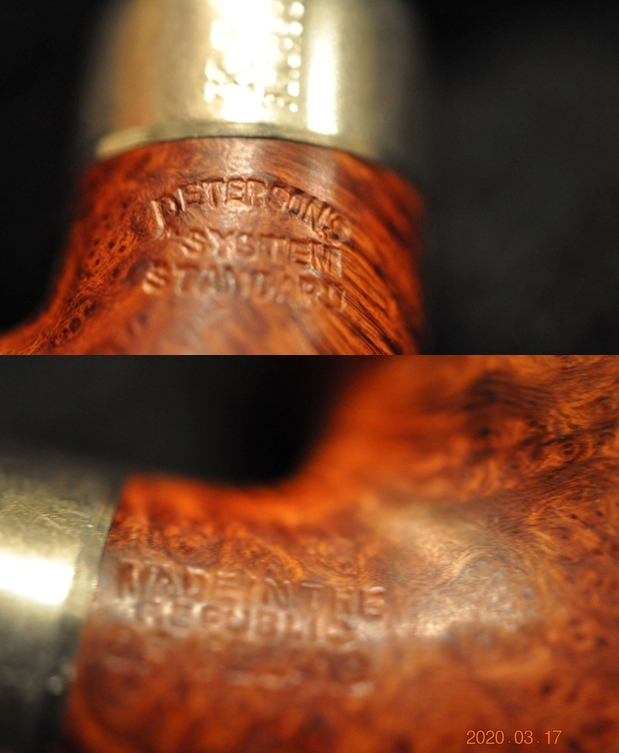
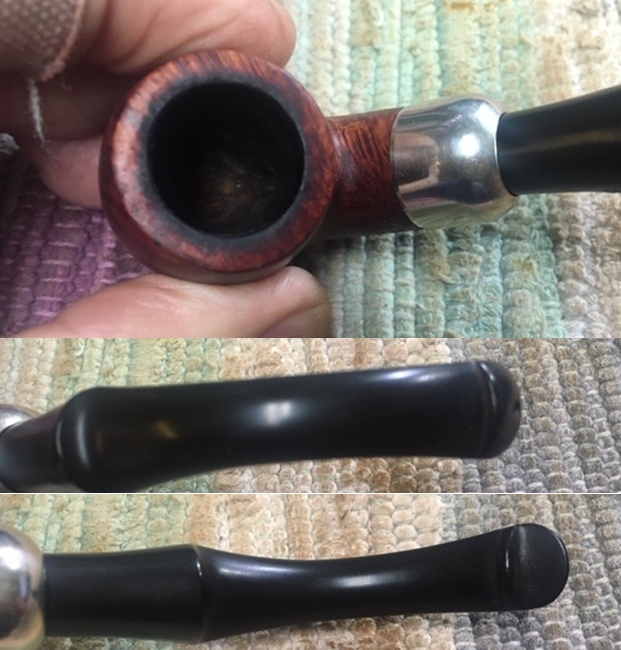
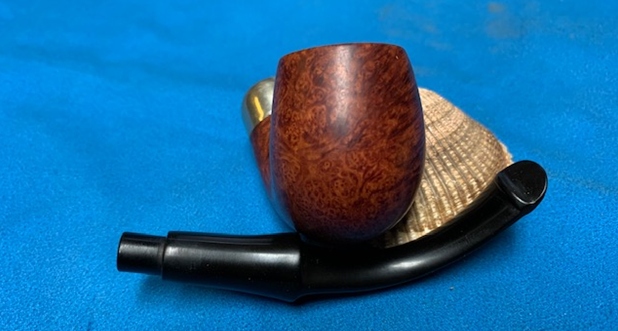
 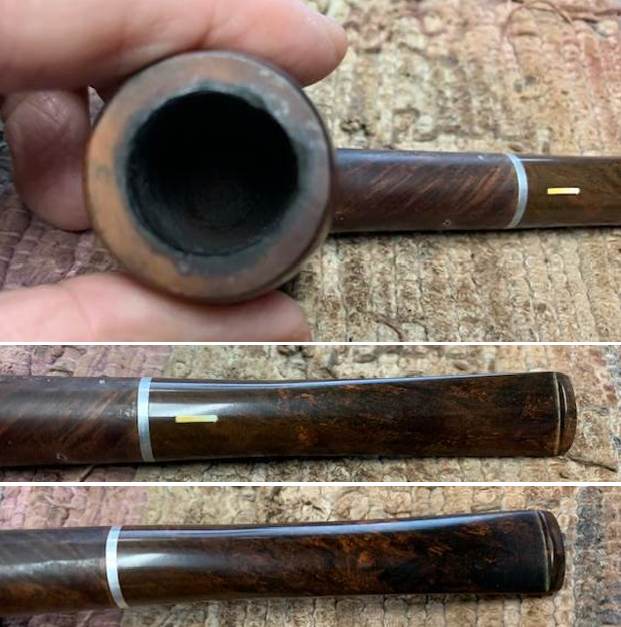 I took photos of the stamping on the sides of the shank. It is clear and readable as noted above. The white bar on the top of the stem also is clean and looks good.
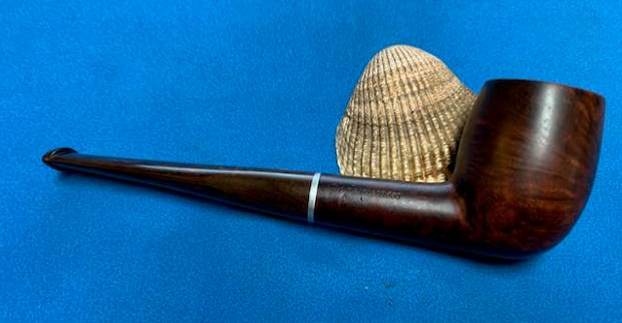
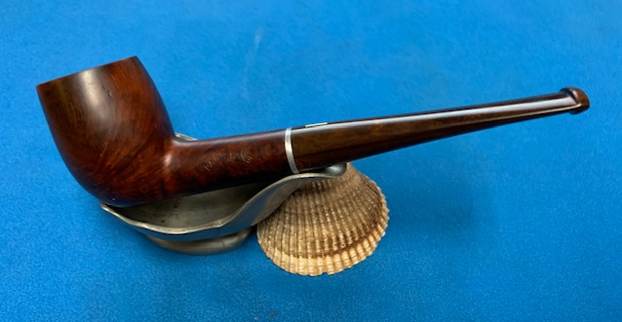
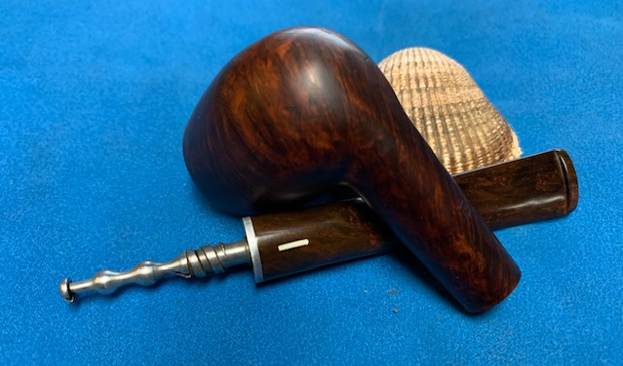
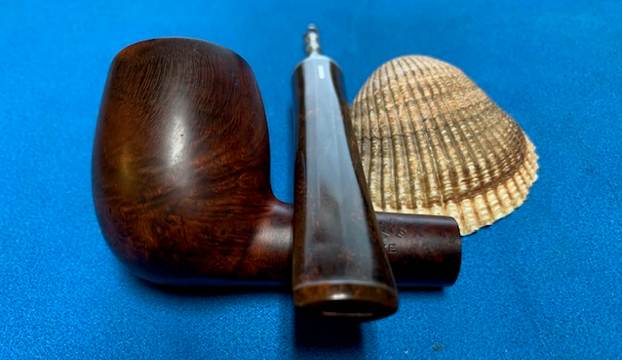
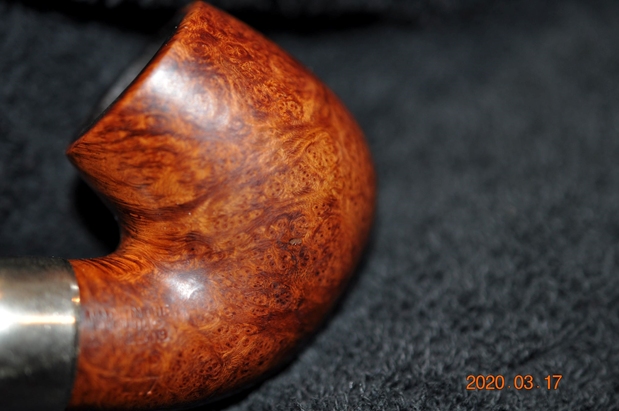
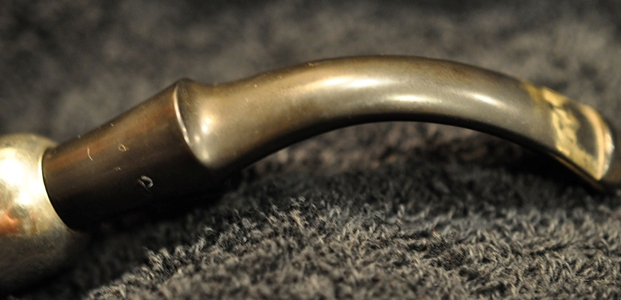
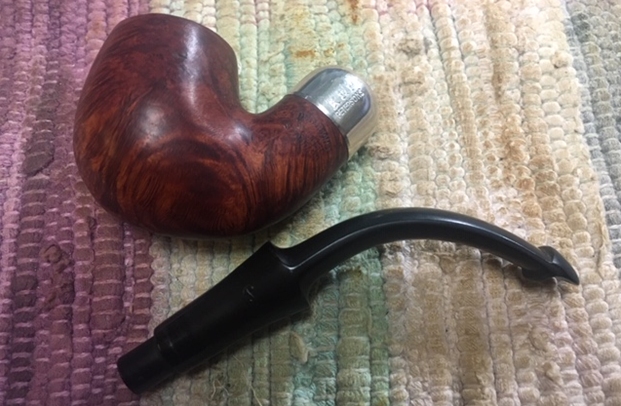
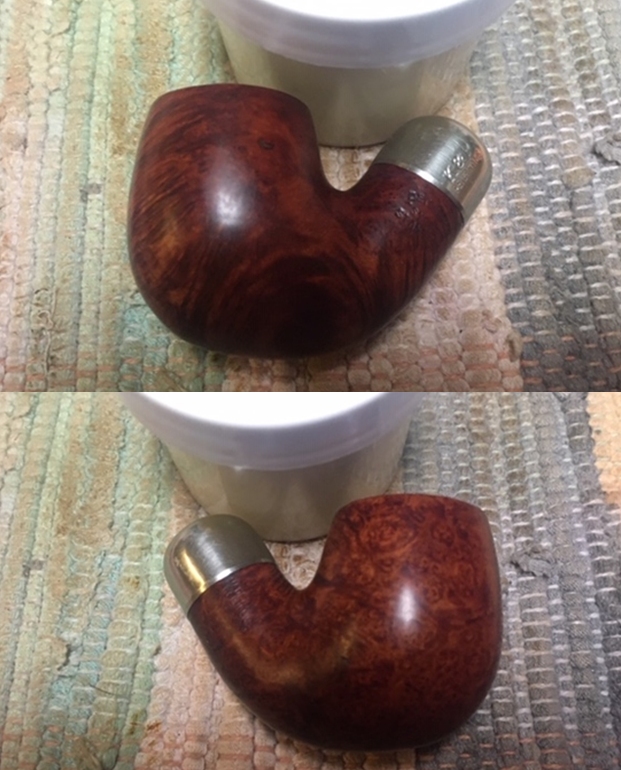
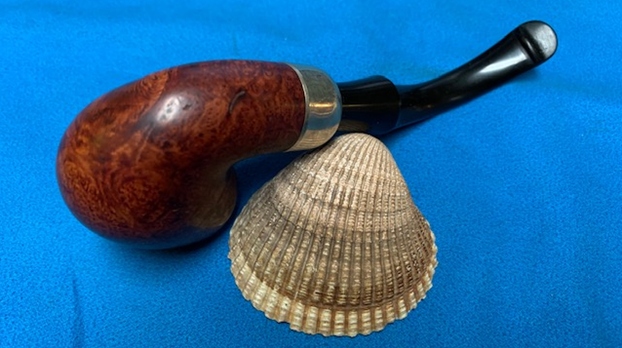
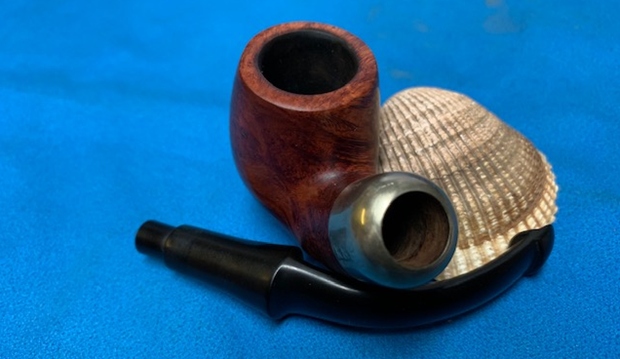
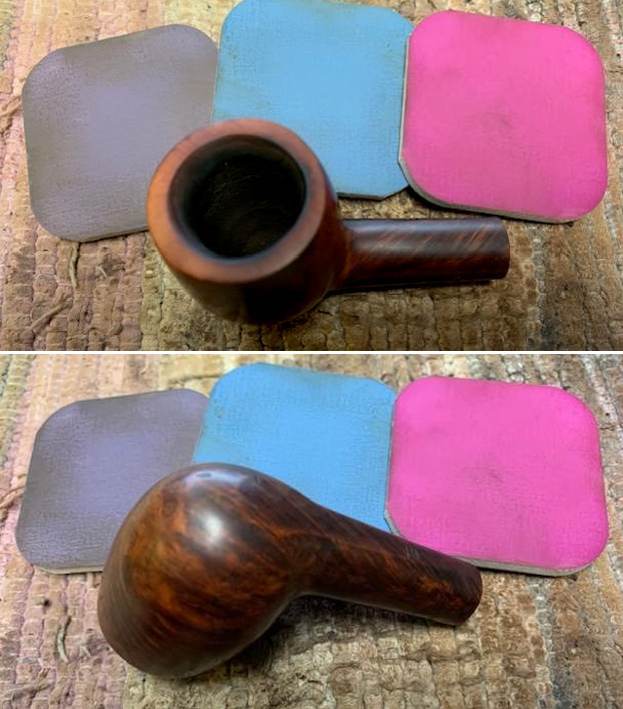
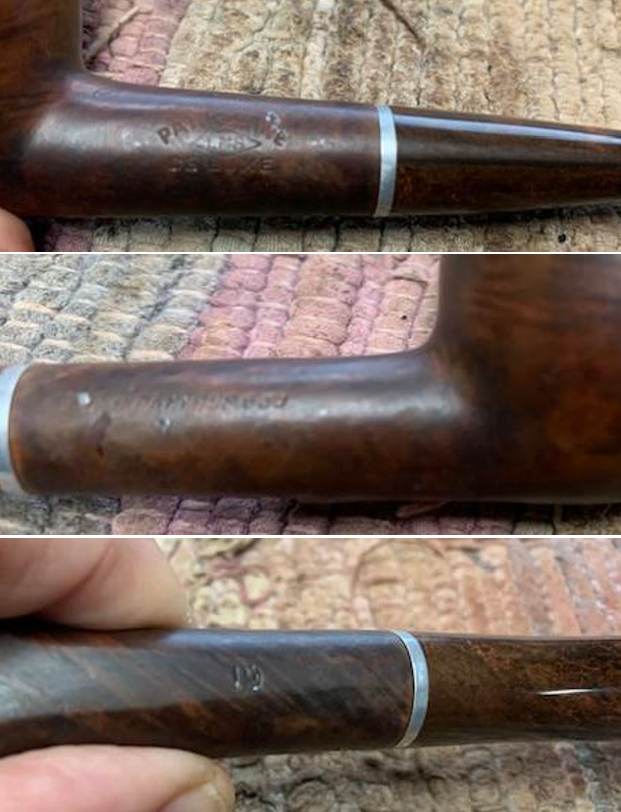 I took the stem off the bowl and took a photo of the pipe to give a sense of proportion of the pipe. You can also see shape of the pipe and some interesting grain on the briar.
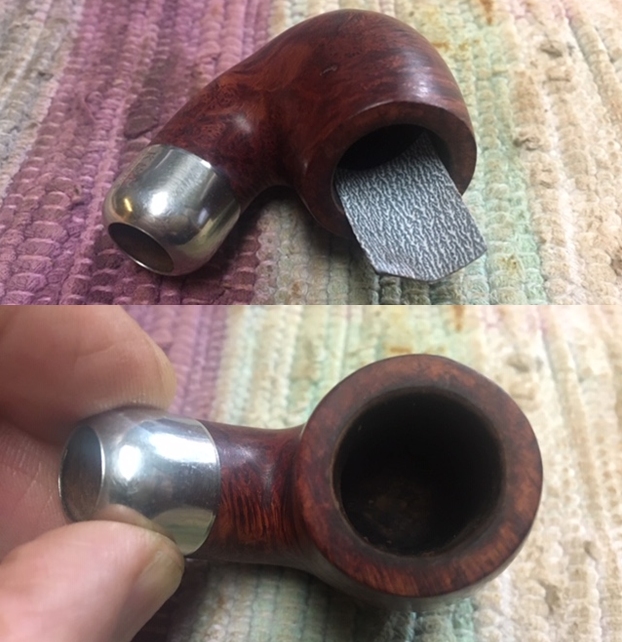
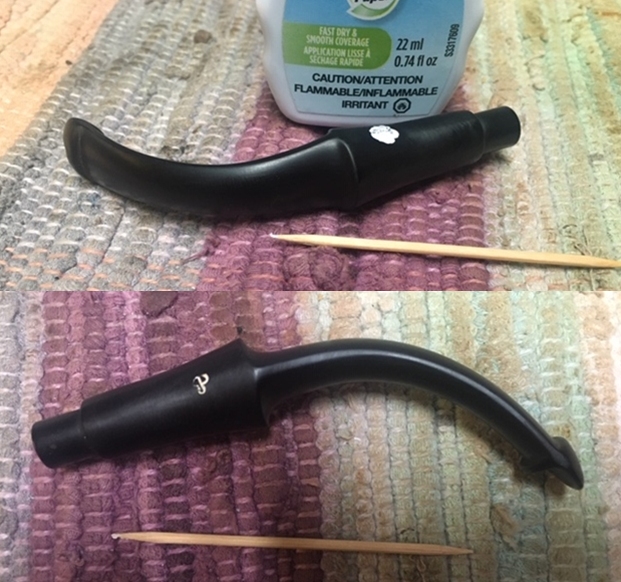
 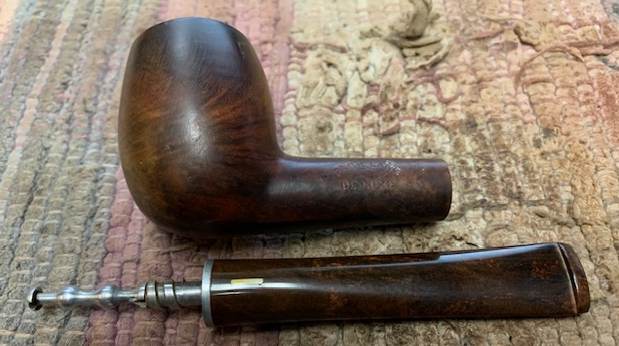 I decided to start my work on the bowl by dealing with the burn damage on the back inner edge of the bowl. I used a piece of folded 220 grit sandpaper to give the edge a slight bevel all the way around the bowl to blend in the damage. The top also had some damage so I gently topped it on a topping board with 220 grit sandpaper to remove the damaged portion of the rim top and give the backside some more thickness. Once finished, it looked quite good.
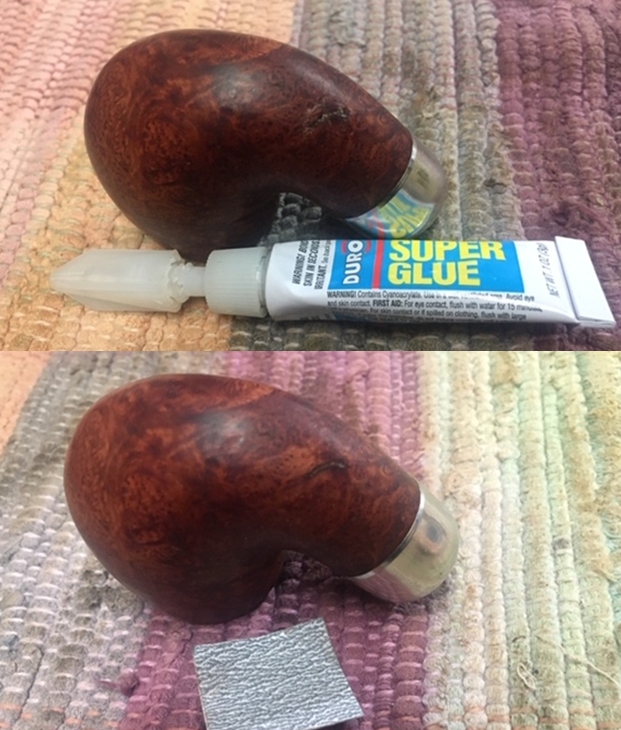
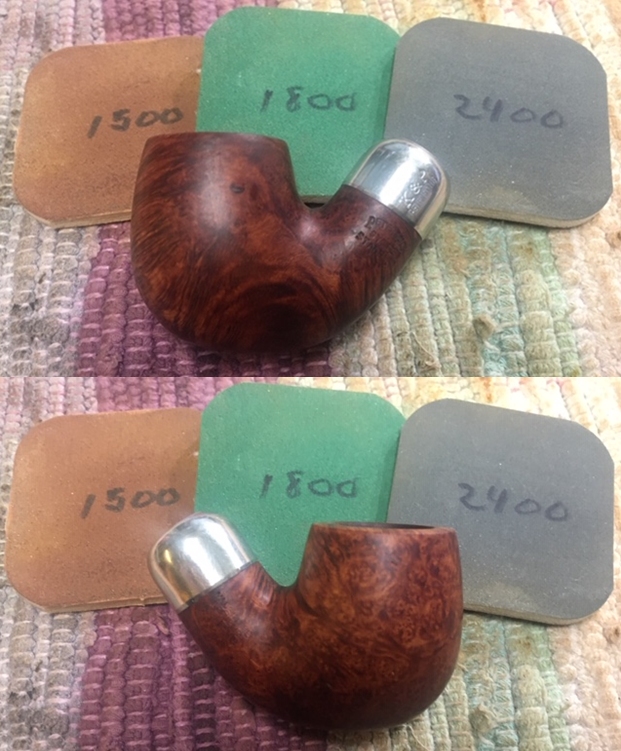
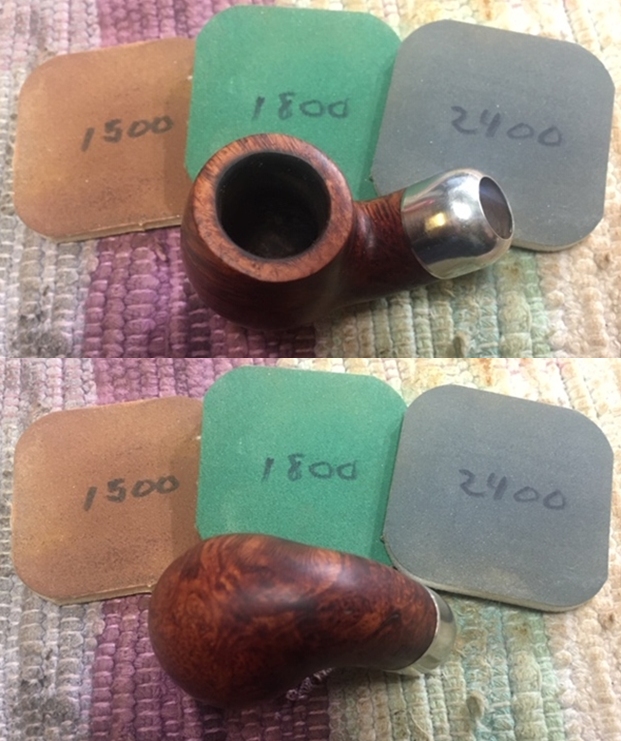
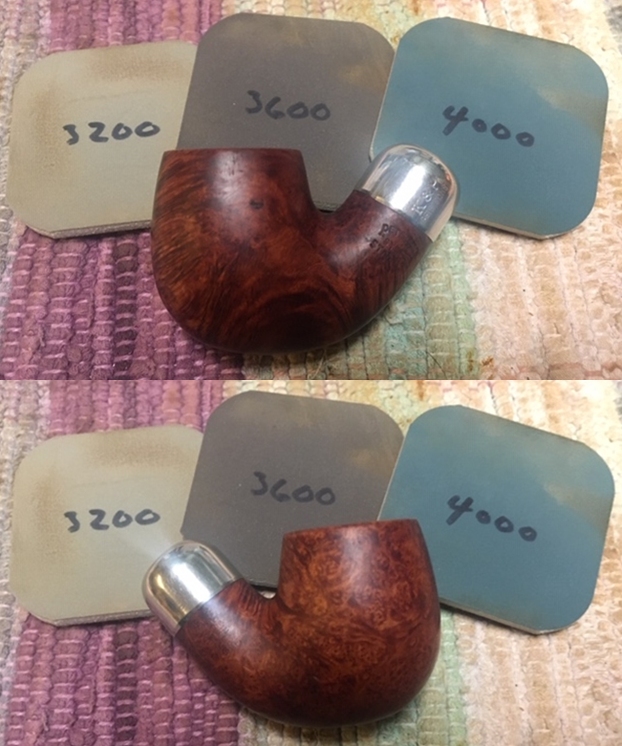
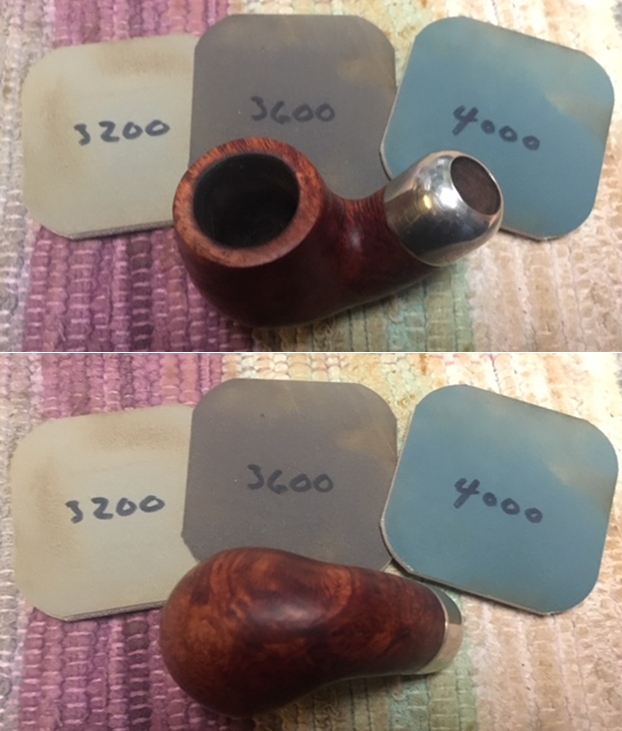
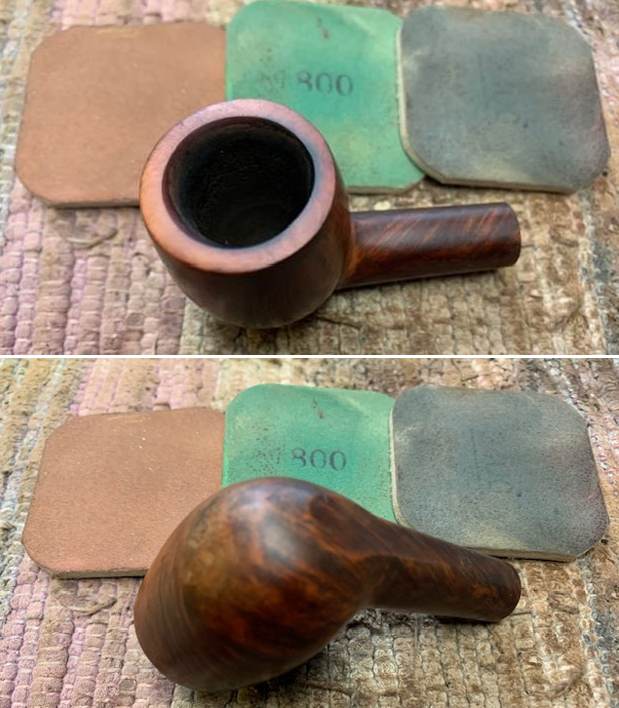
 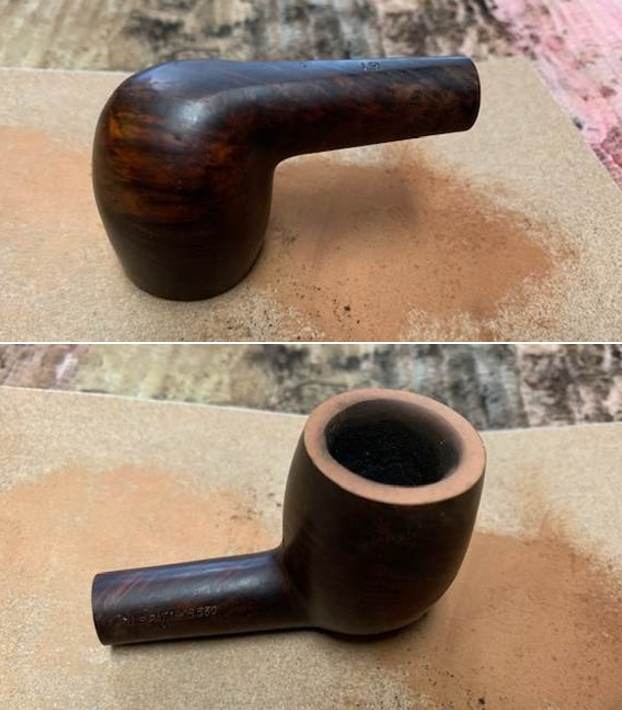 The shank and mortise were very clean and a quick run through with a pipe cleaner proved all that was necessary. I polished the rim top and the briar with micromesh sanding pads – dry sanding with 1500-12000 grit pads. There was a small sandpit on the front of the bowl about mid-bowl. I wiped the bowl down with a damp cloth after each sanding pad to remove the dust and debris.
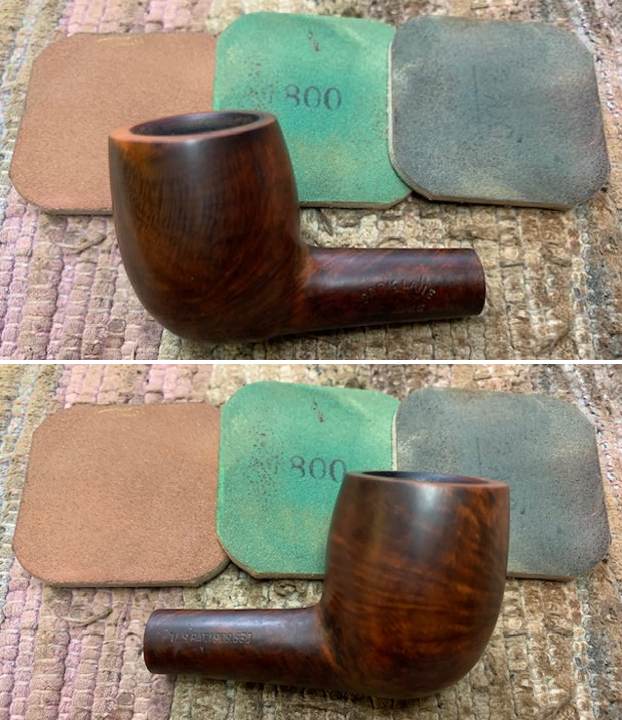
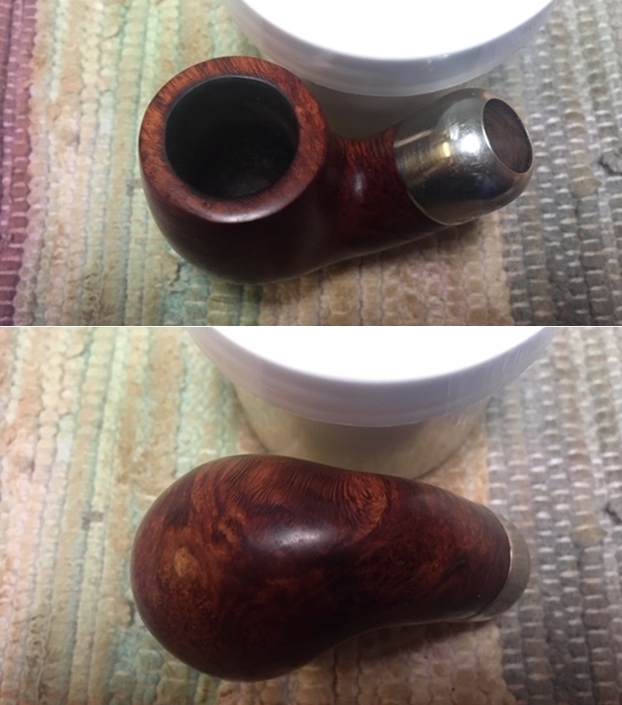
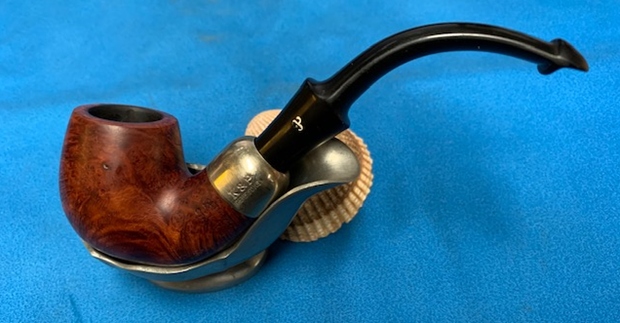
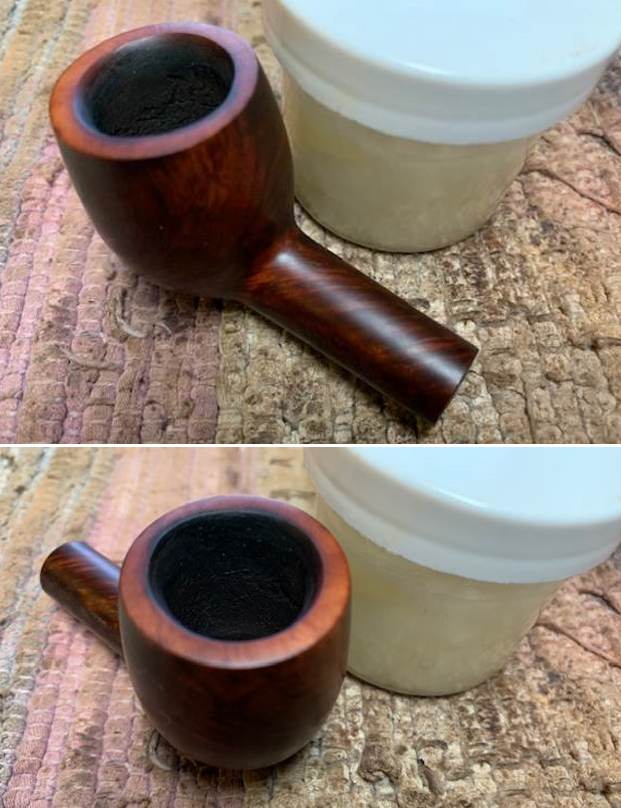
 I gave the bowl and shank a coating of Before & After Restoration Balm. I worked it into the surface of the briar with my fingertips to clean, enliven and protect the briar. I let the balm sit for 15 minutes and then buffed with a cotton cloth to raise the shine. The photos show the bowl at this point in the restoration process.
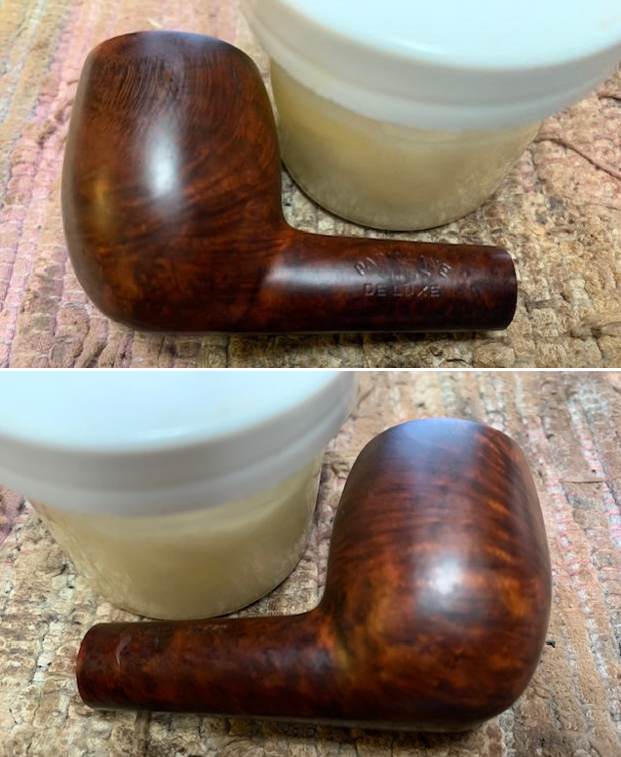
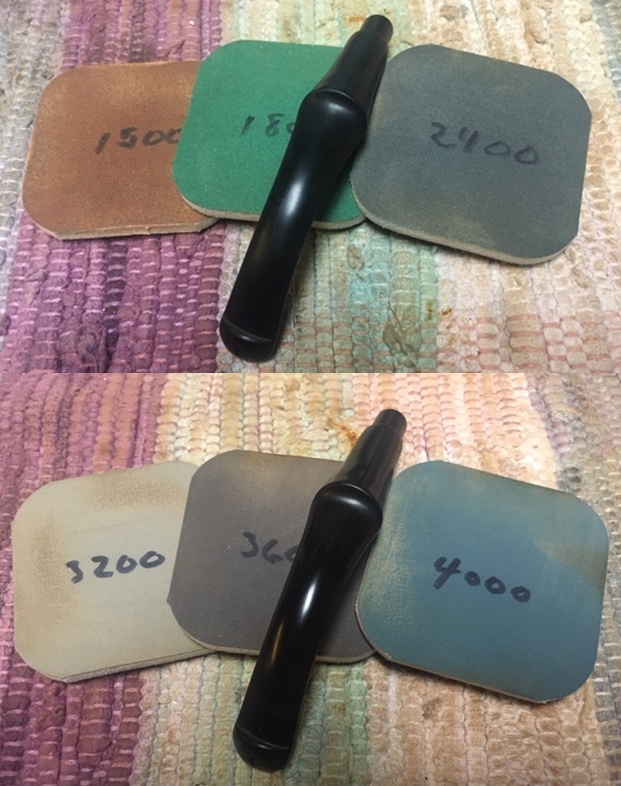
 I set the bowl aside and turned my attention to the stem. I polished it with micromesh sanding pads – 1500-12000 grit sanding pads and water to wet sand the stem. I wiped it down after each sanding pad with Obsidian Oil on a cotton rag after each sanding pads. But I find it does two things – first it gives some protection to the stem from oxidation and second it give the sanding pads bite in the polishing process.
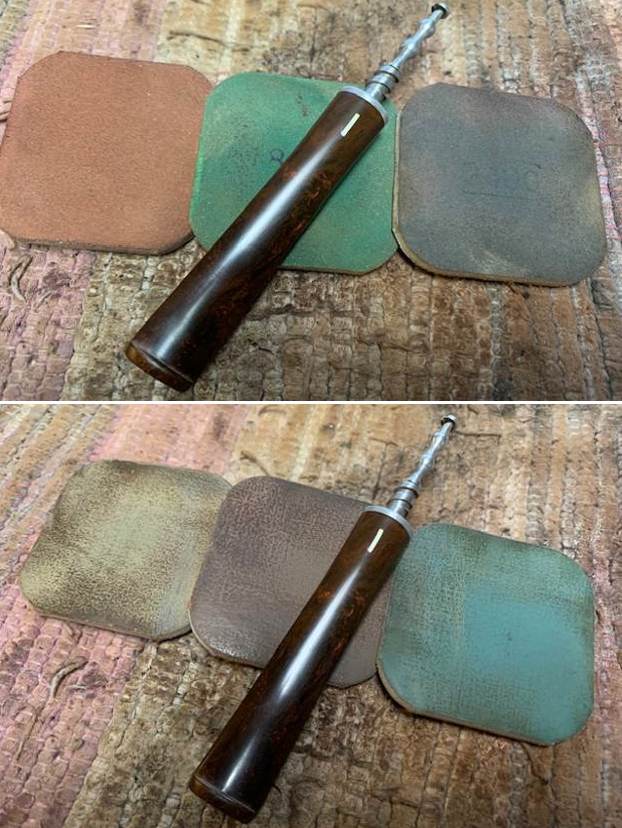
 After finishing with the micromesh pads I rub the stem down with Before & After Fine and Extra Fine stem polish as it seems to really remove the fine scratches in the vulcanite. I rub the Fine Polish on the stem and wipe it off with a paper towel and then repeat the process with the Extra Fine polish. I finished polishing the stem with a final coat of Obsidian Oil and set the stem aside to let the oil absorb. This process gives the stem a shine and also a bit of protection.
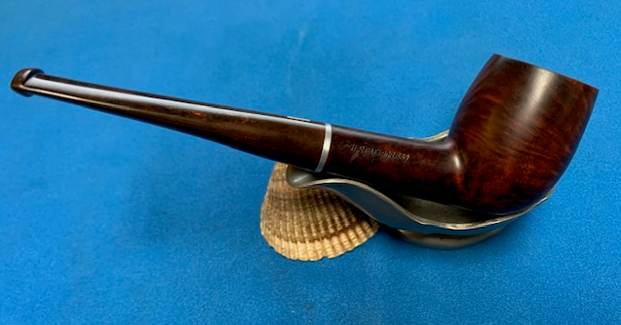
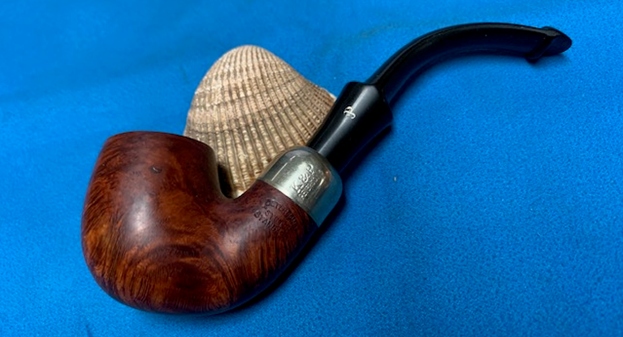
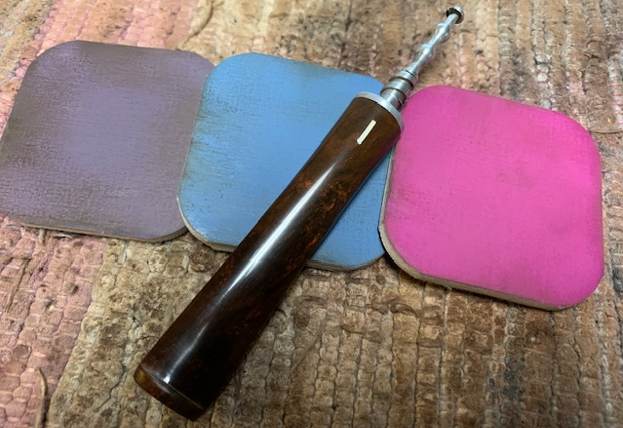
  This LHS Parklane De Luxe Billiard 19 turned out to be a great looking pipe. With polishing, the grain shines through clearly. The Cumberland style taper stem is in excellent condition and works great with the polished briar. I put the stem back on the bowl and carefully buffed the pipe with Blue Diamond on the buffing wheel using a light touch on the briar. I gave the bowl and stem multiple coats of carnauba wax on the buffing wheel and followed that by buffing the entire pipe with a clean buffing pad. I hand buffed the pipe with a microfiber cloth to deepen the shine. The finished LHS Parklane De Luxe fits nicely in the hand and feels great. Give the finished pipe a look in the photos below. The dimensions of the pipe are Length: 5 ½ inches, Height: 1 ½ inches, Outside diameter of the bowl: 1 ¼ inches, Chamber diameter: ¾ of an inch. The weight of the pipe is 32 grams/1.13 ounces. It is a great looking pipe that I will soon be adding it to the rebornpipes store in the American (US) Pipemakers Section. If you are interested in adding it to your collection let me know Thanks for reading this blog and my reflections on the pipe while I worked on it.