Blog by Steve Laug
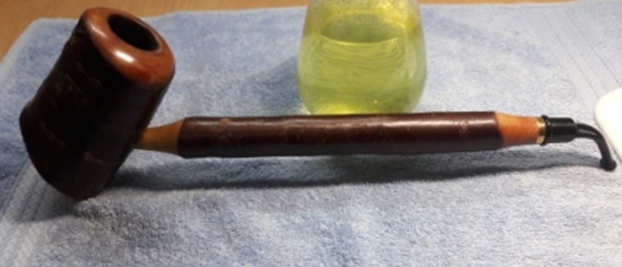
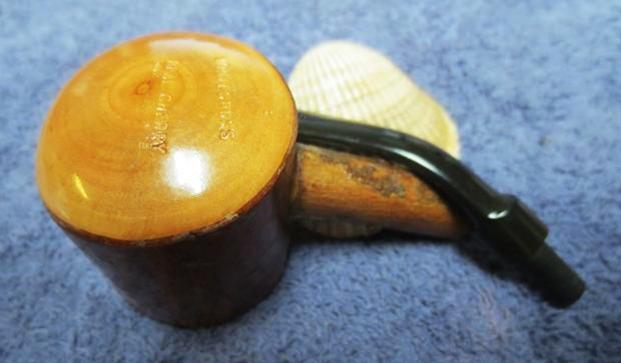
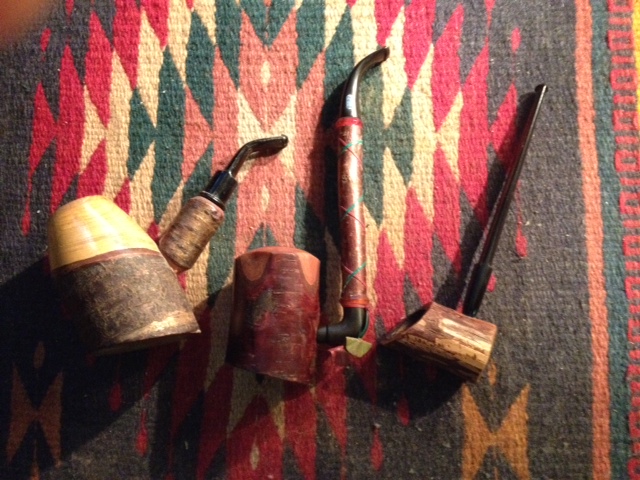
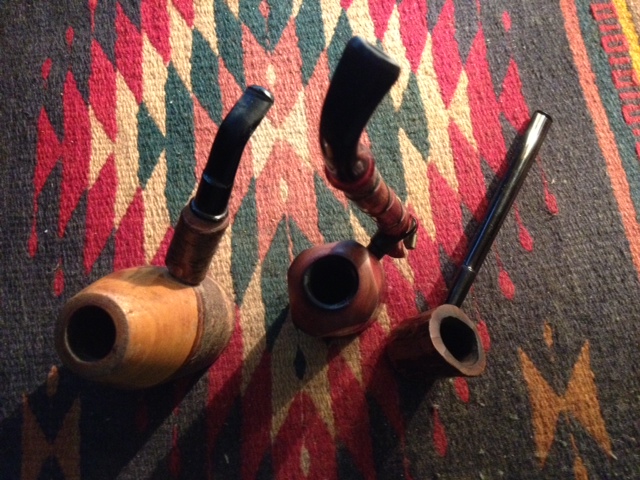
Two of my daughters and I enjoy visiting our local Flea Market. They look for a lot of different things and I keep an eye out for pipes. Not long ago we were there and the girls found their things and I found these two Cherrywood Pipes – one is marked Royal Cherry [over] Made in France (top pipe in the photo below) and the other is marked Ropp in an oval [over] Deluxe [over] France [over] 804. Both are in good condition and both are without their stems. Here is what the pipes looked like when I brought them home.
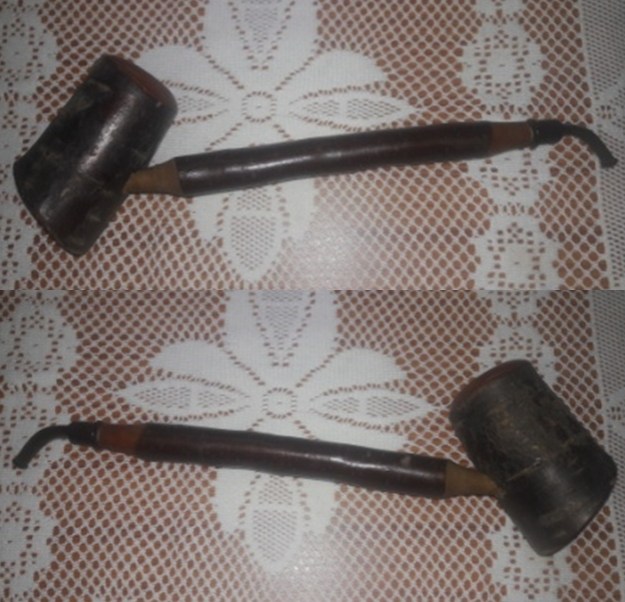
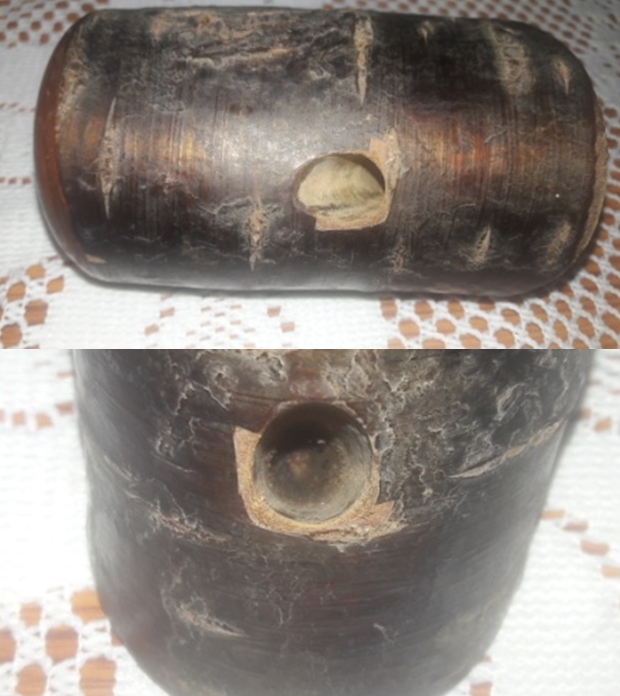
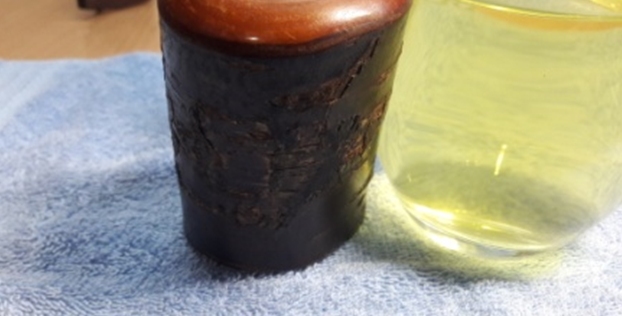
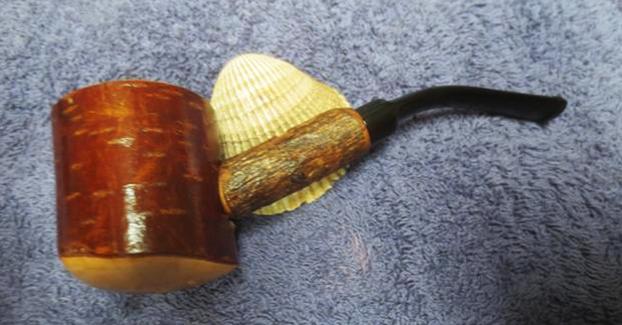
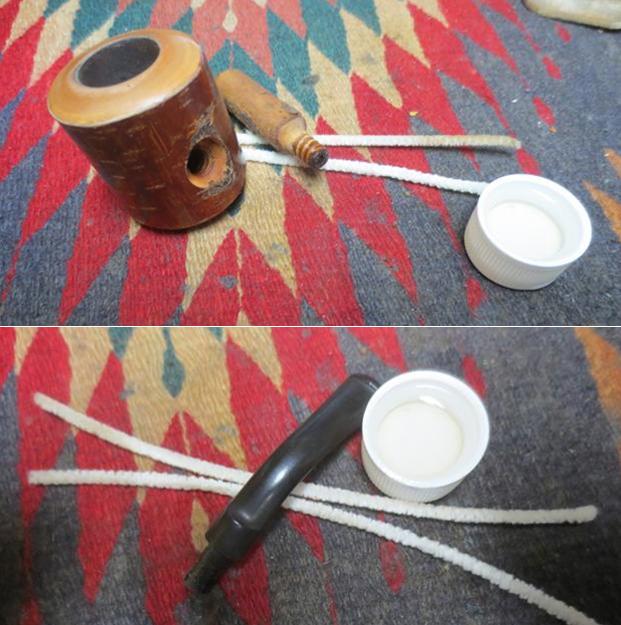
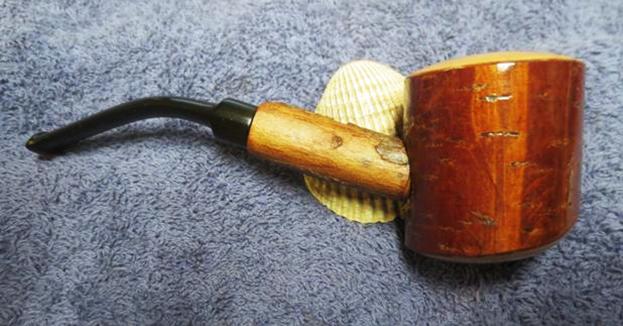
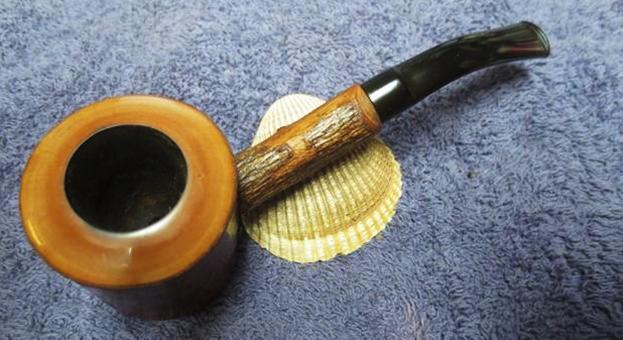
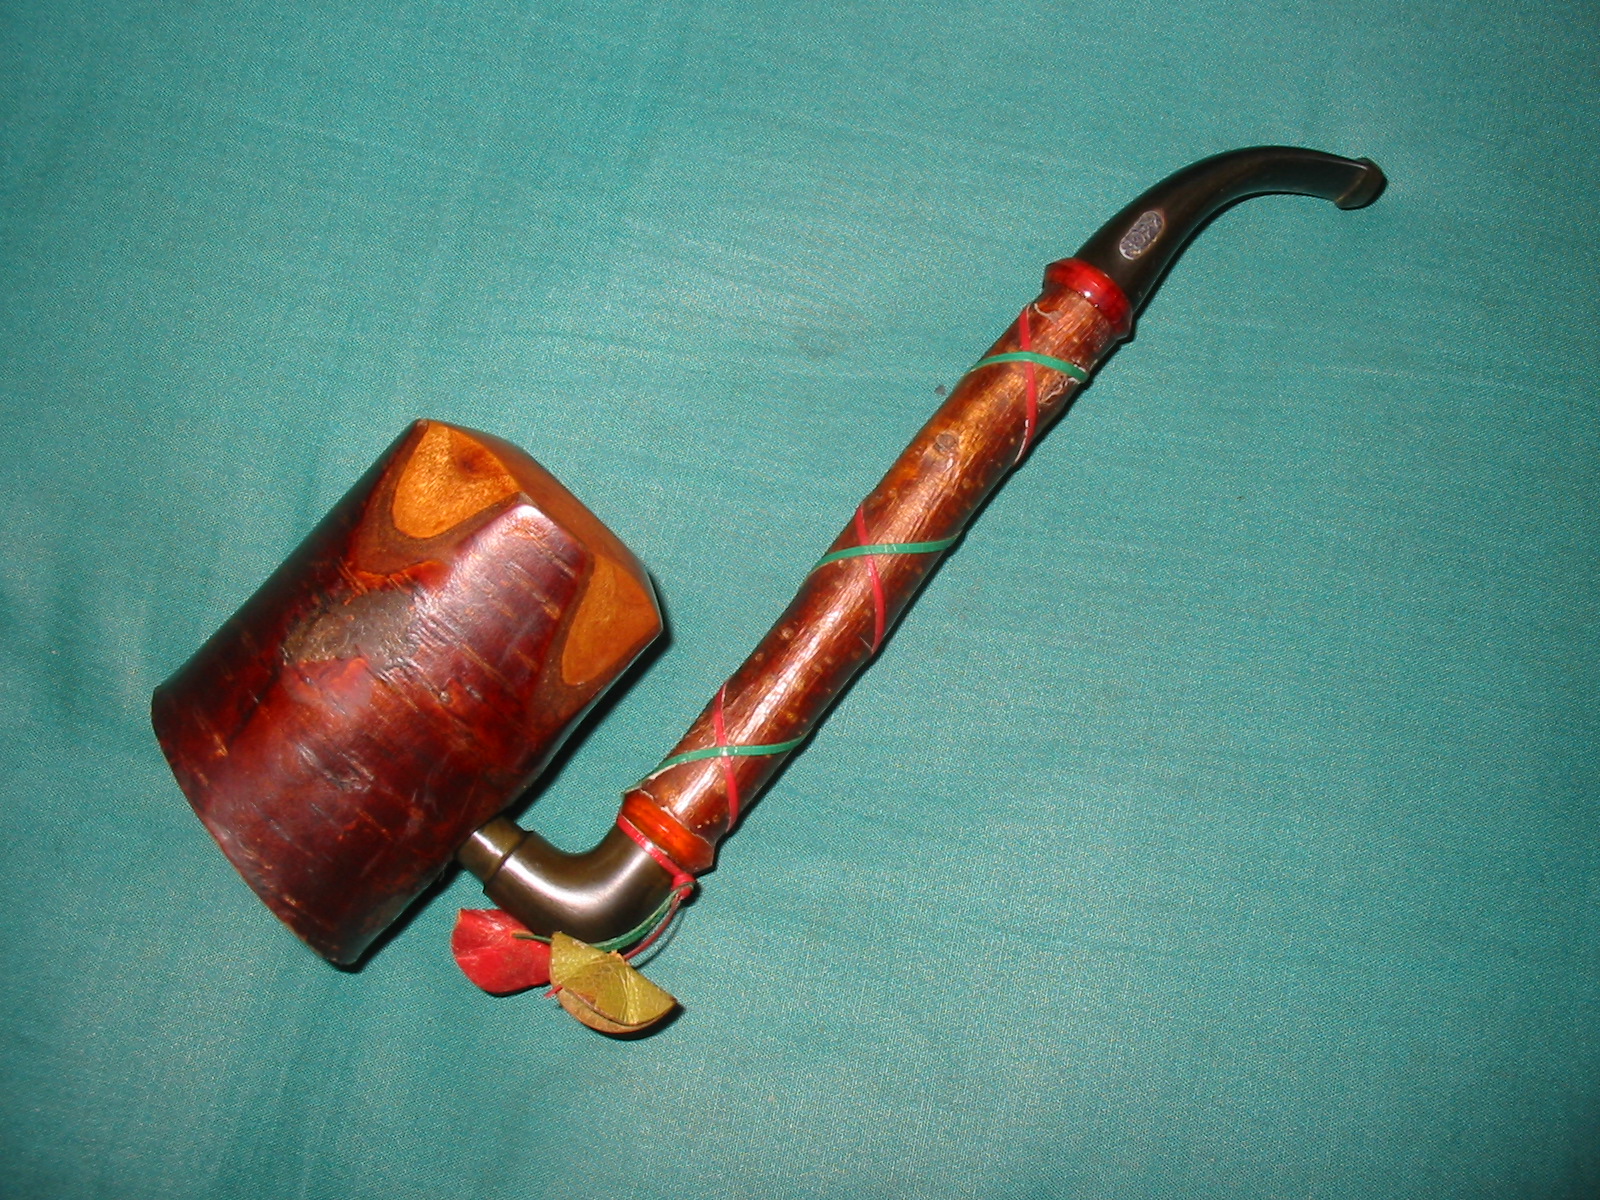
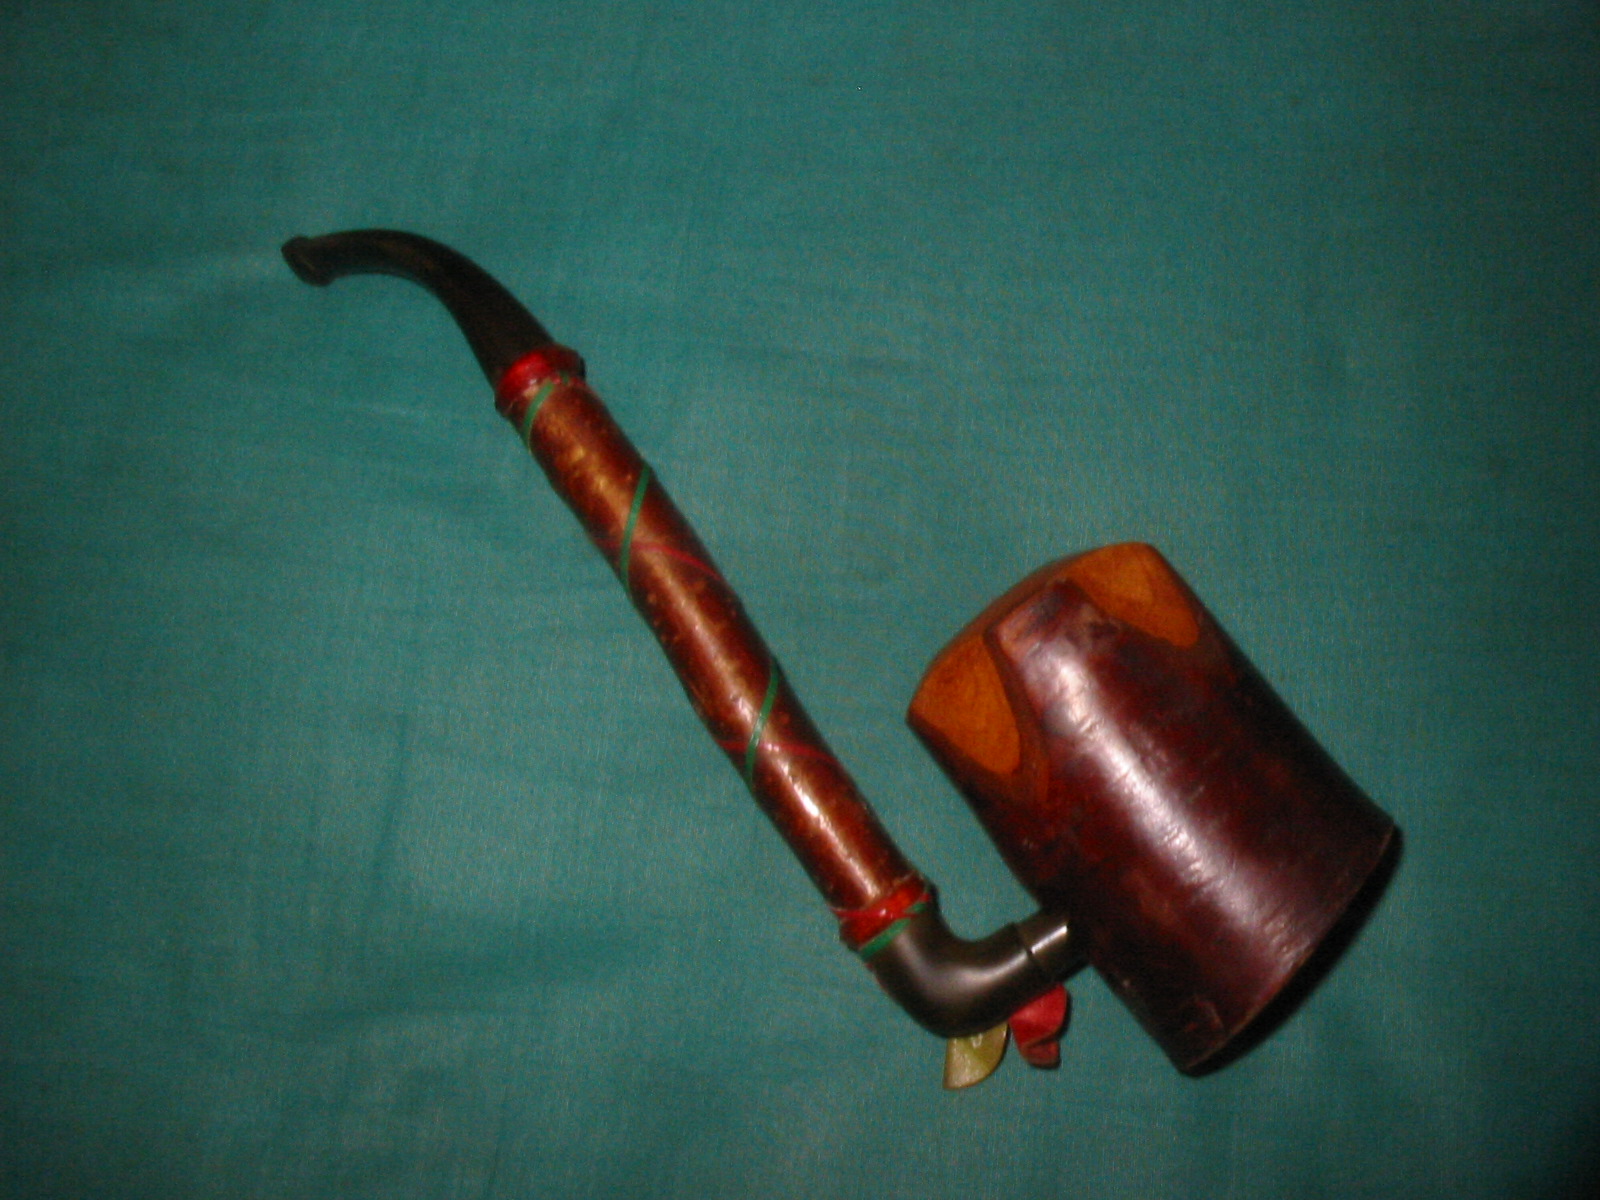
 After finishing the Royal Cherry Cherrywood I turned my attention to the Ropp bowl. The octagonal bowl had strips of bark on four of the panels and smooth cherry stripped of the bark on the other four panels. The rim top and the heel of the bowl were stripped of bark and were smooth cherry wood. The shank is a cherry wood branch that has been threaded and screwed into the back side of the bowl. The bark on the shank is undamaged and looks good. The bowl and shank have been given a coat of varnish or shellac as it is smooth and shiny. The bowl has been smoked and there is a light cake in the bowl with some darkening and light lava on the bevelled inner edge of the bowl. The heel of the bowl is also smooth. It is stamped Ropp in an oval [over] De Luxe [over] France [over] 804. There was no stem that came with the pipe so one would need to be fit to the shank.
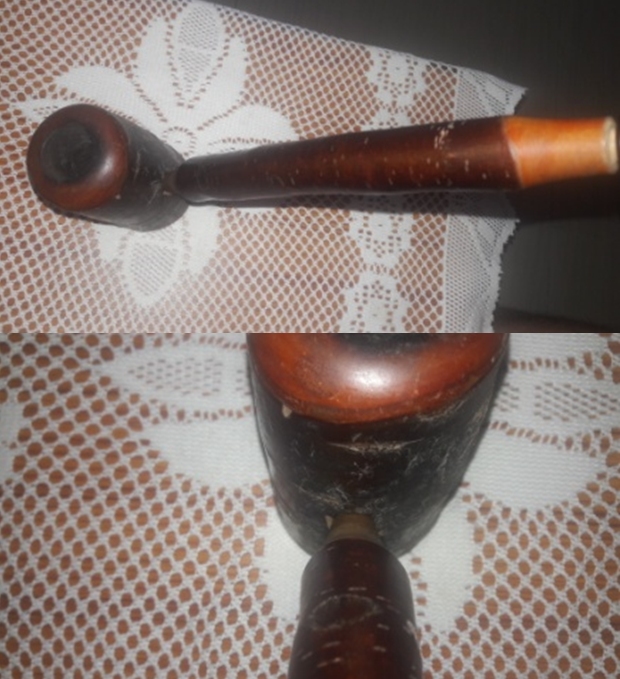
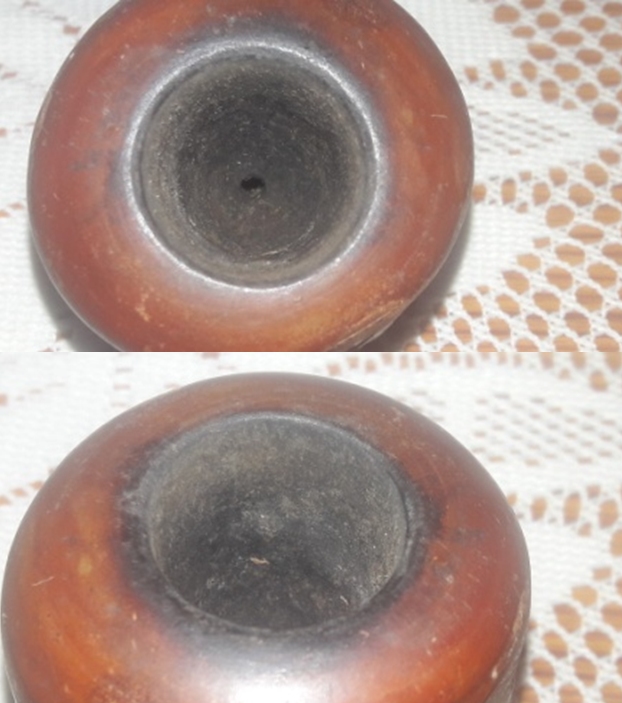
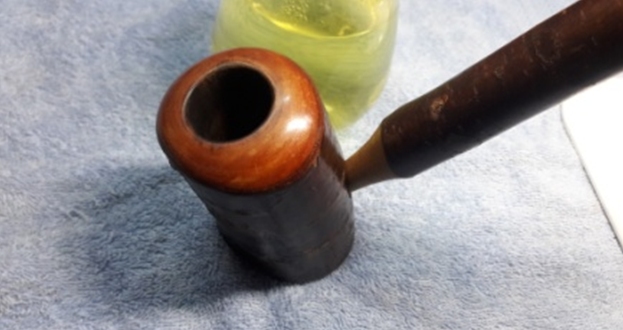
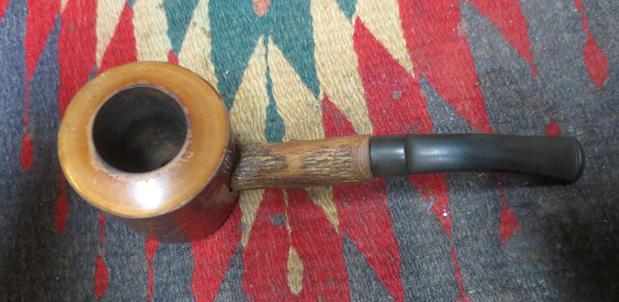
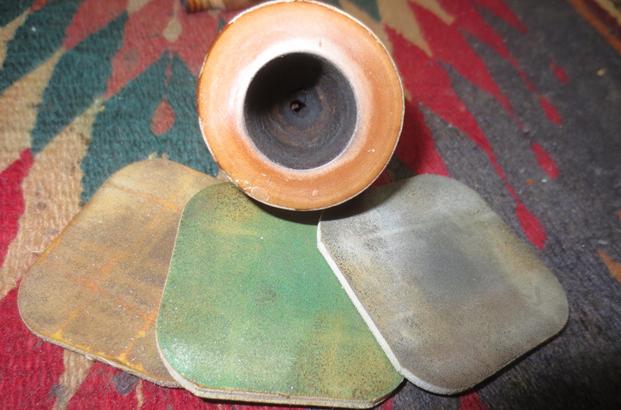
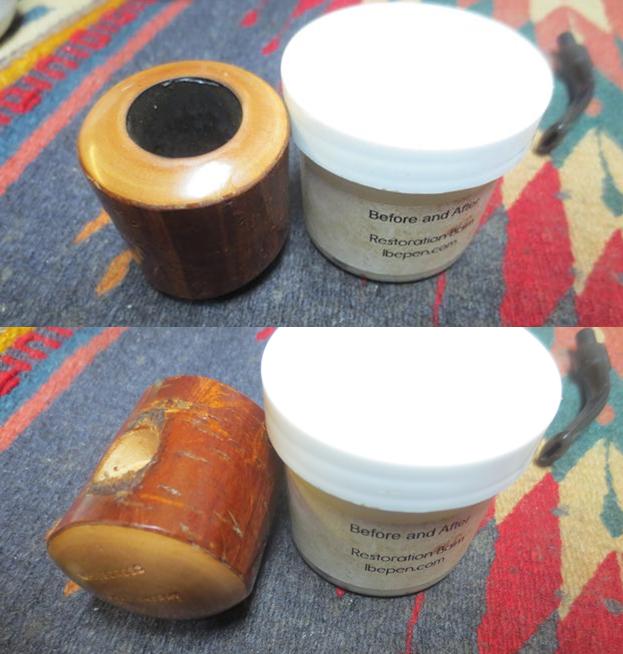
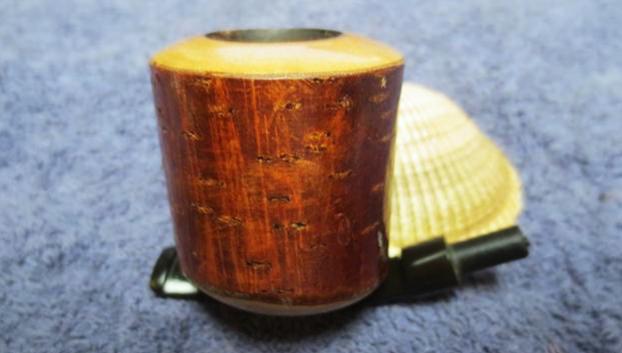
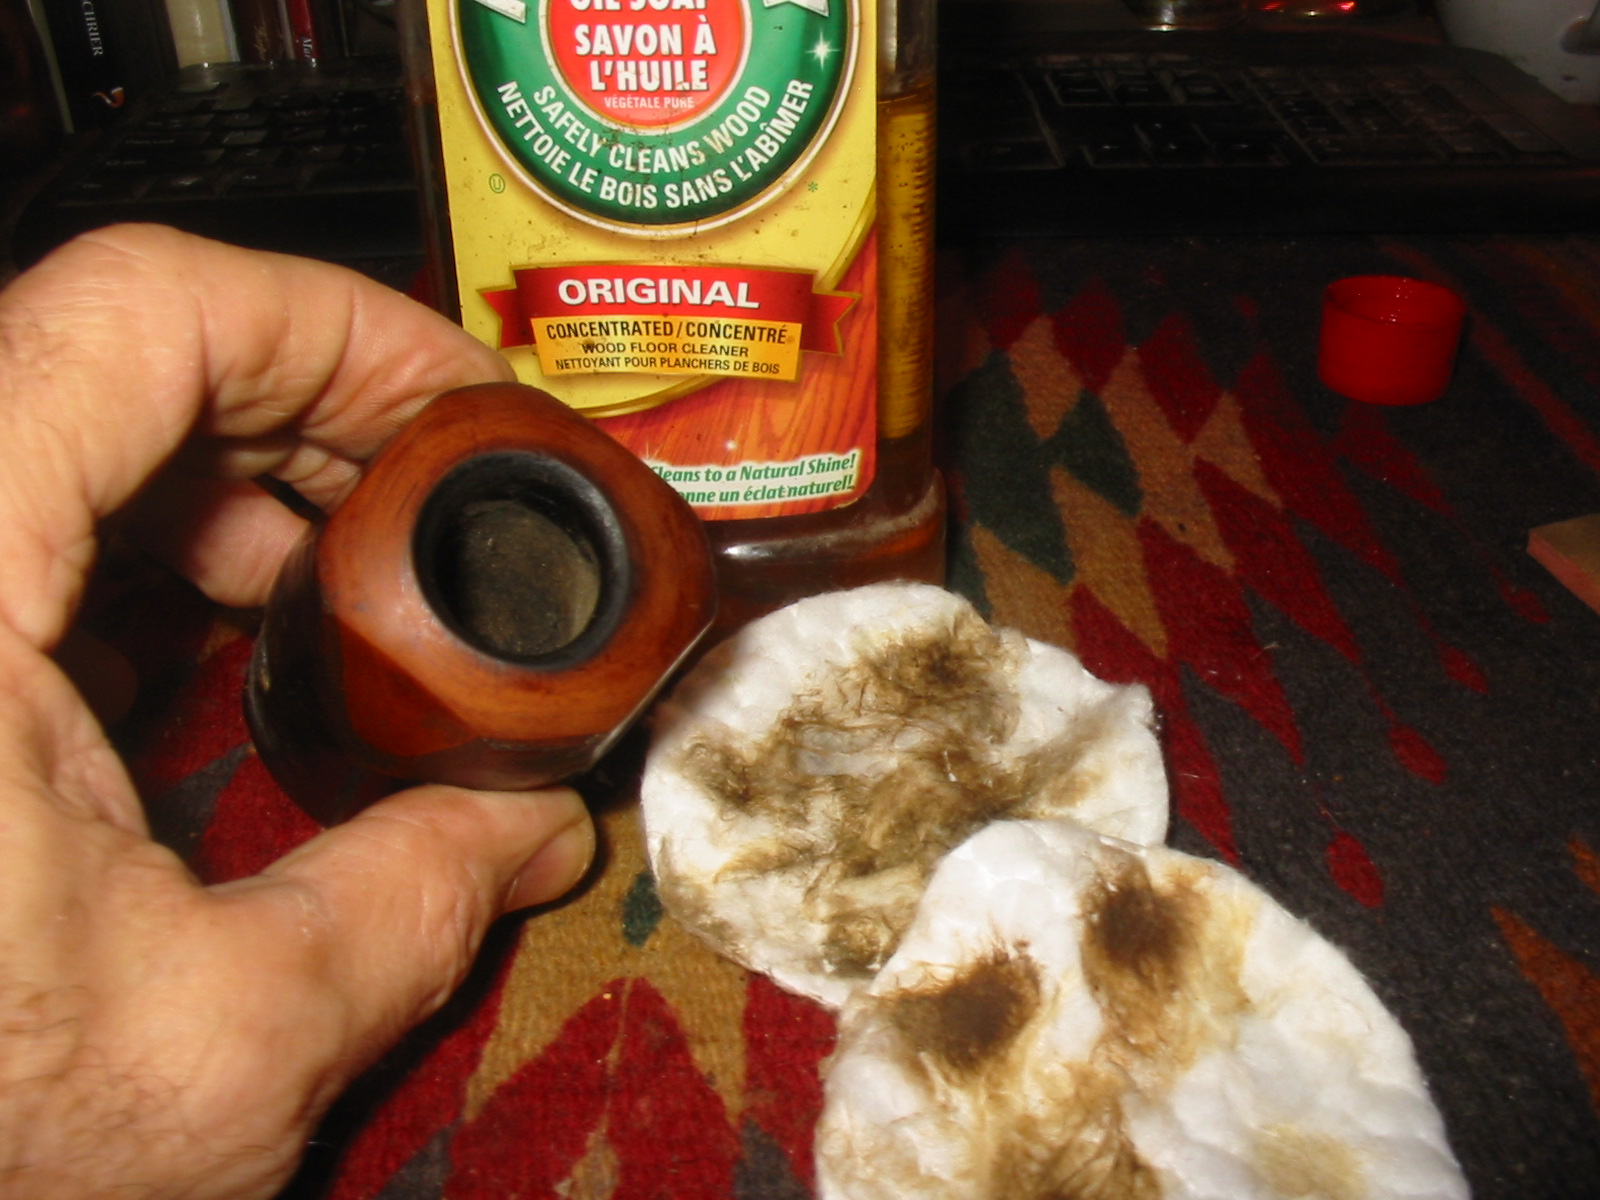
 I took a photo of the rim top to show the darkening and lava on the bevel and the light cake in the bowl. The shape of the bowl is well done and looks very good.
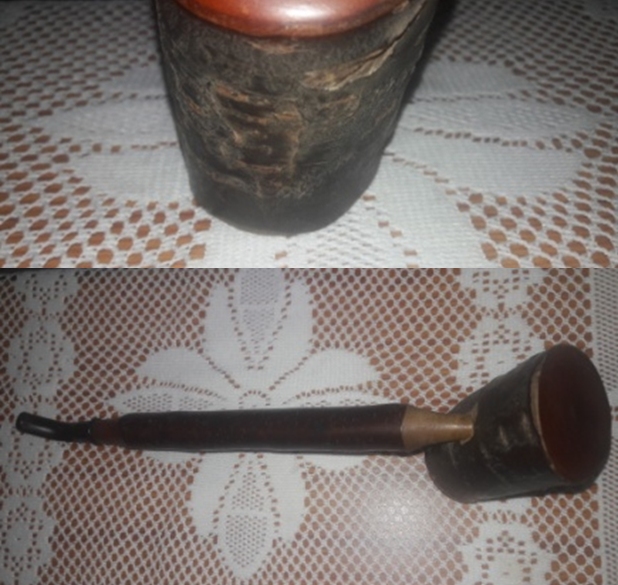
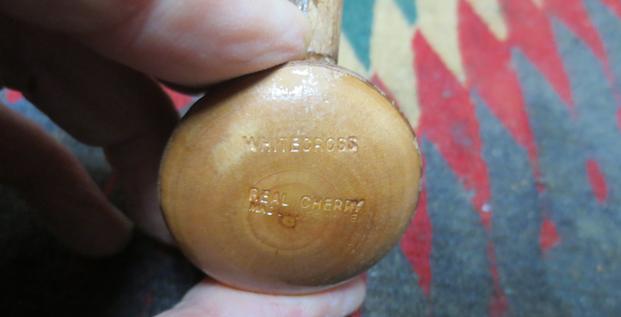
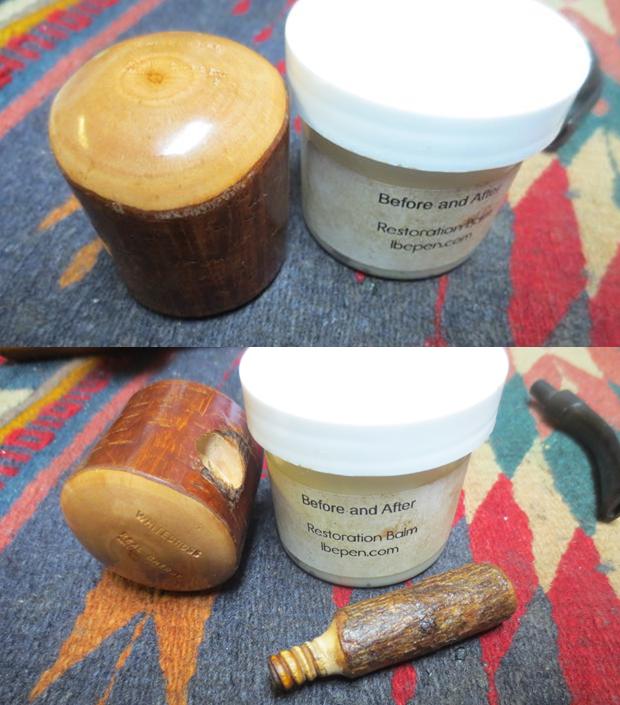
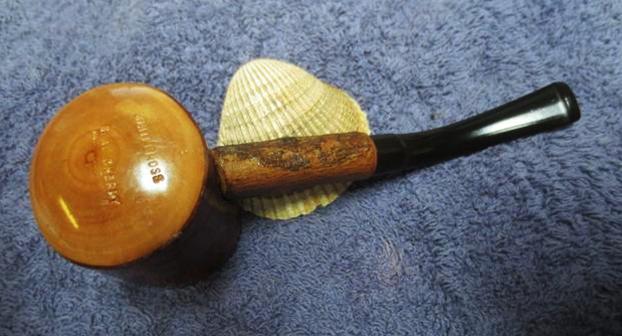
 I took a photo of the stamping on the heel of the bowl. It is clear and readable as noted above.
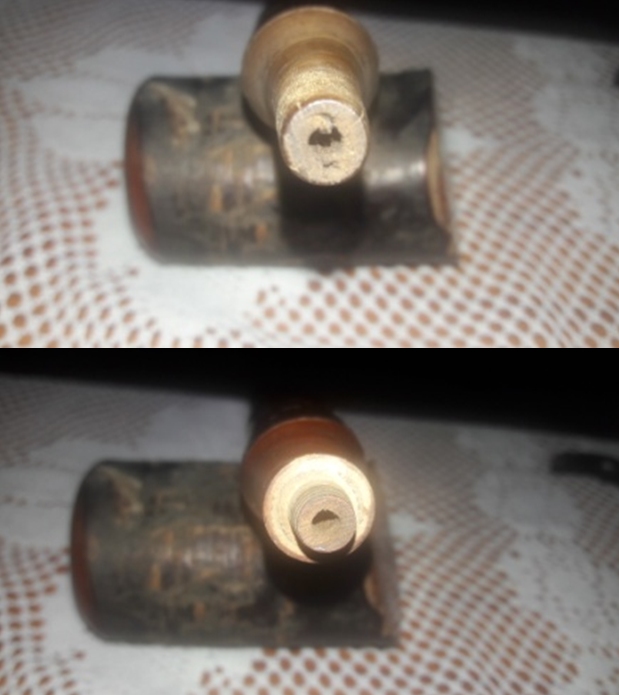
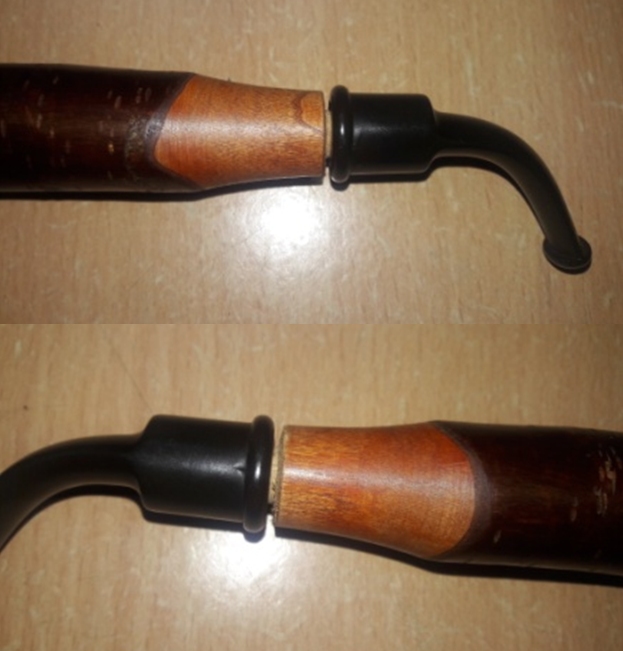
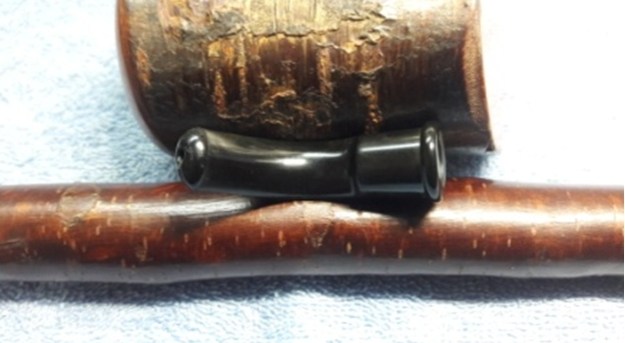
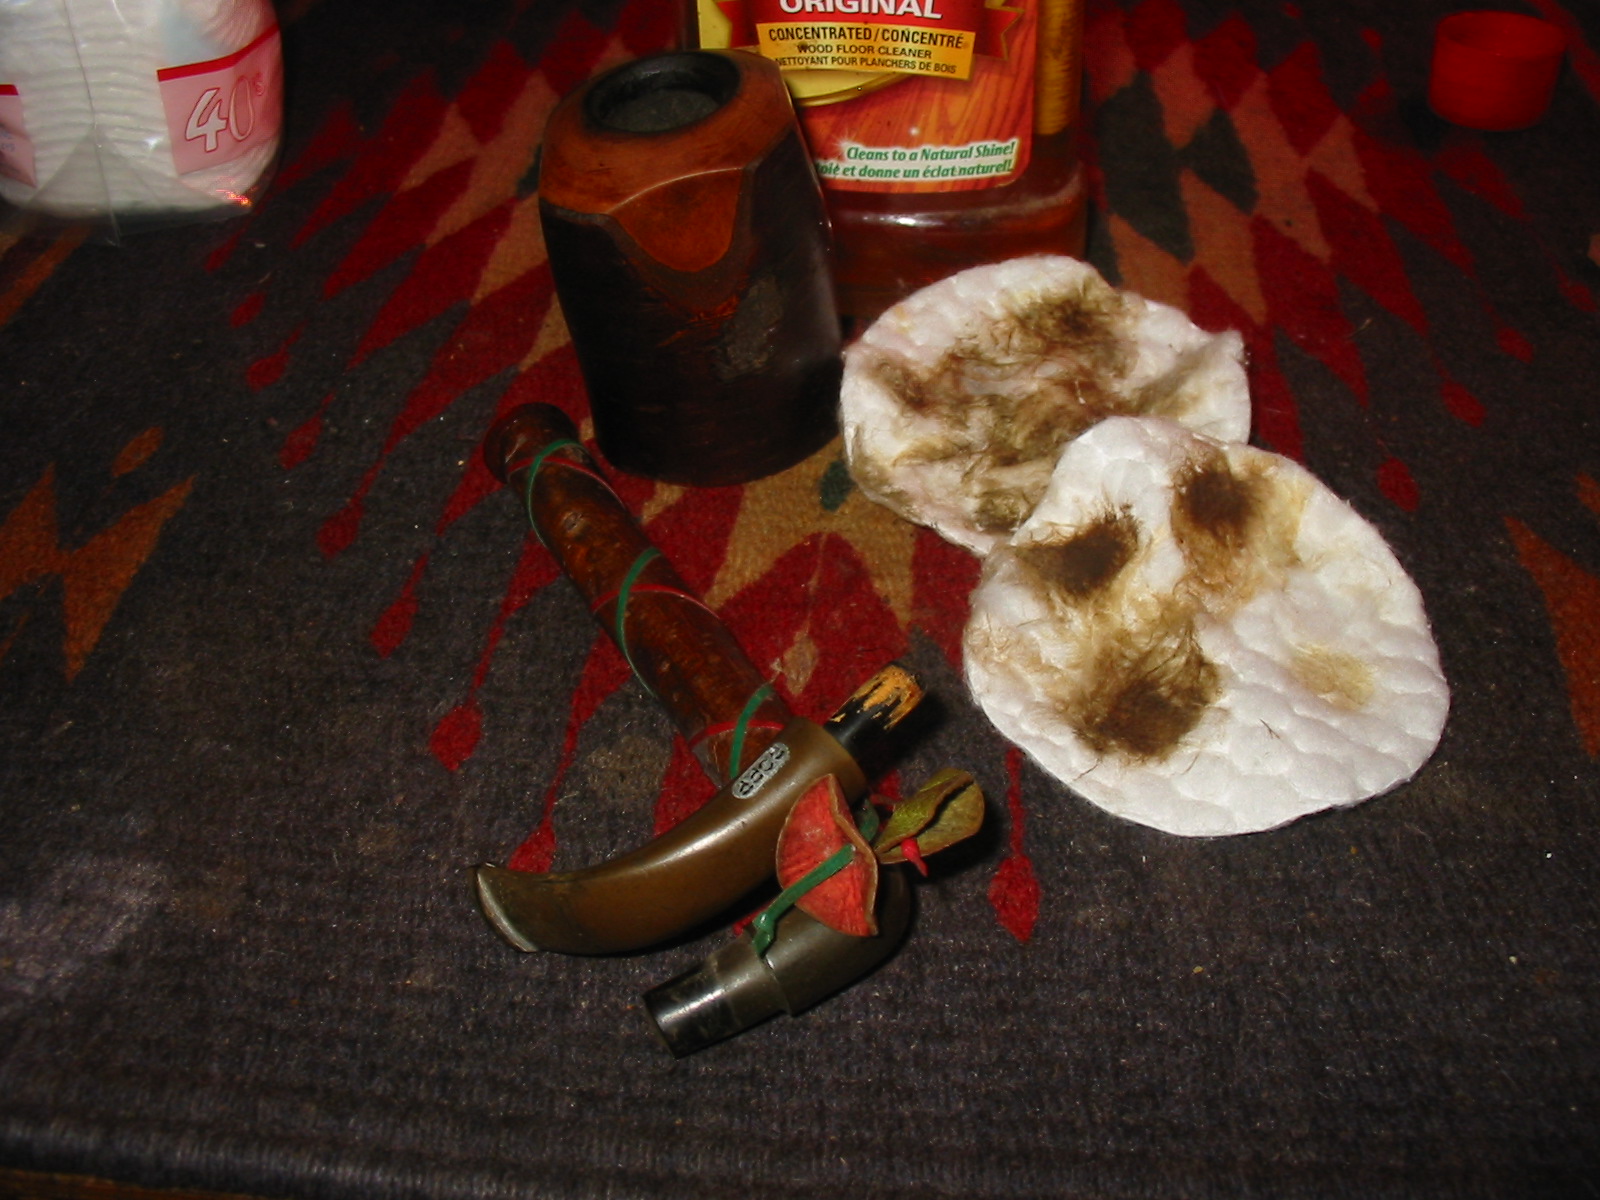
 I found a stem in my collection that would fit the shank but it would need to be bent to follow the flow of the shank and bowl. It was used and had some tooth marks in both sides of the stem ahead of the button.
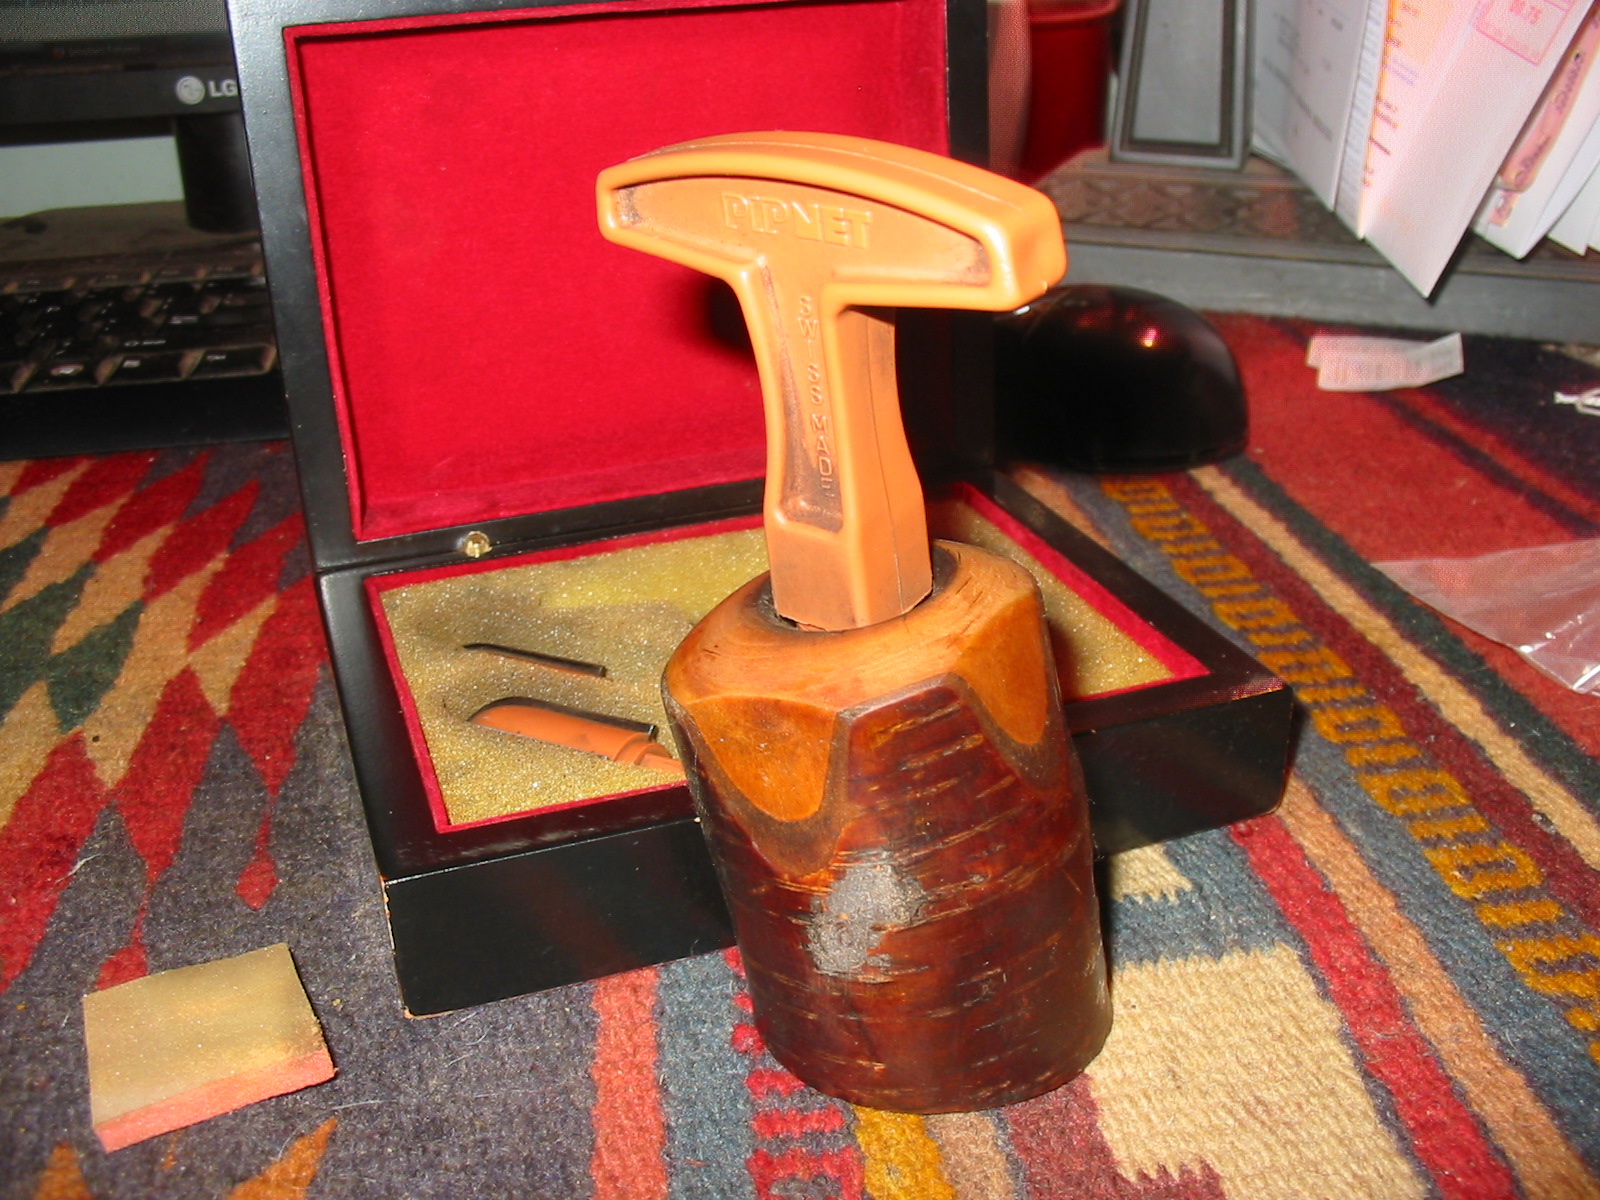
 I reamed the bowl to take the cake back to bare walls. I used a Savinelli Fitsall Pipe Knife and scraped it clean. I sanded the walls of the bowl smooth with 220 grit sandpaper wrapped around a piece of dowel. The walls of the bowl were smooth and undamaged.
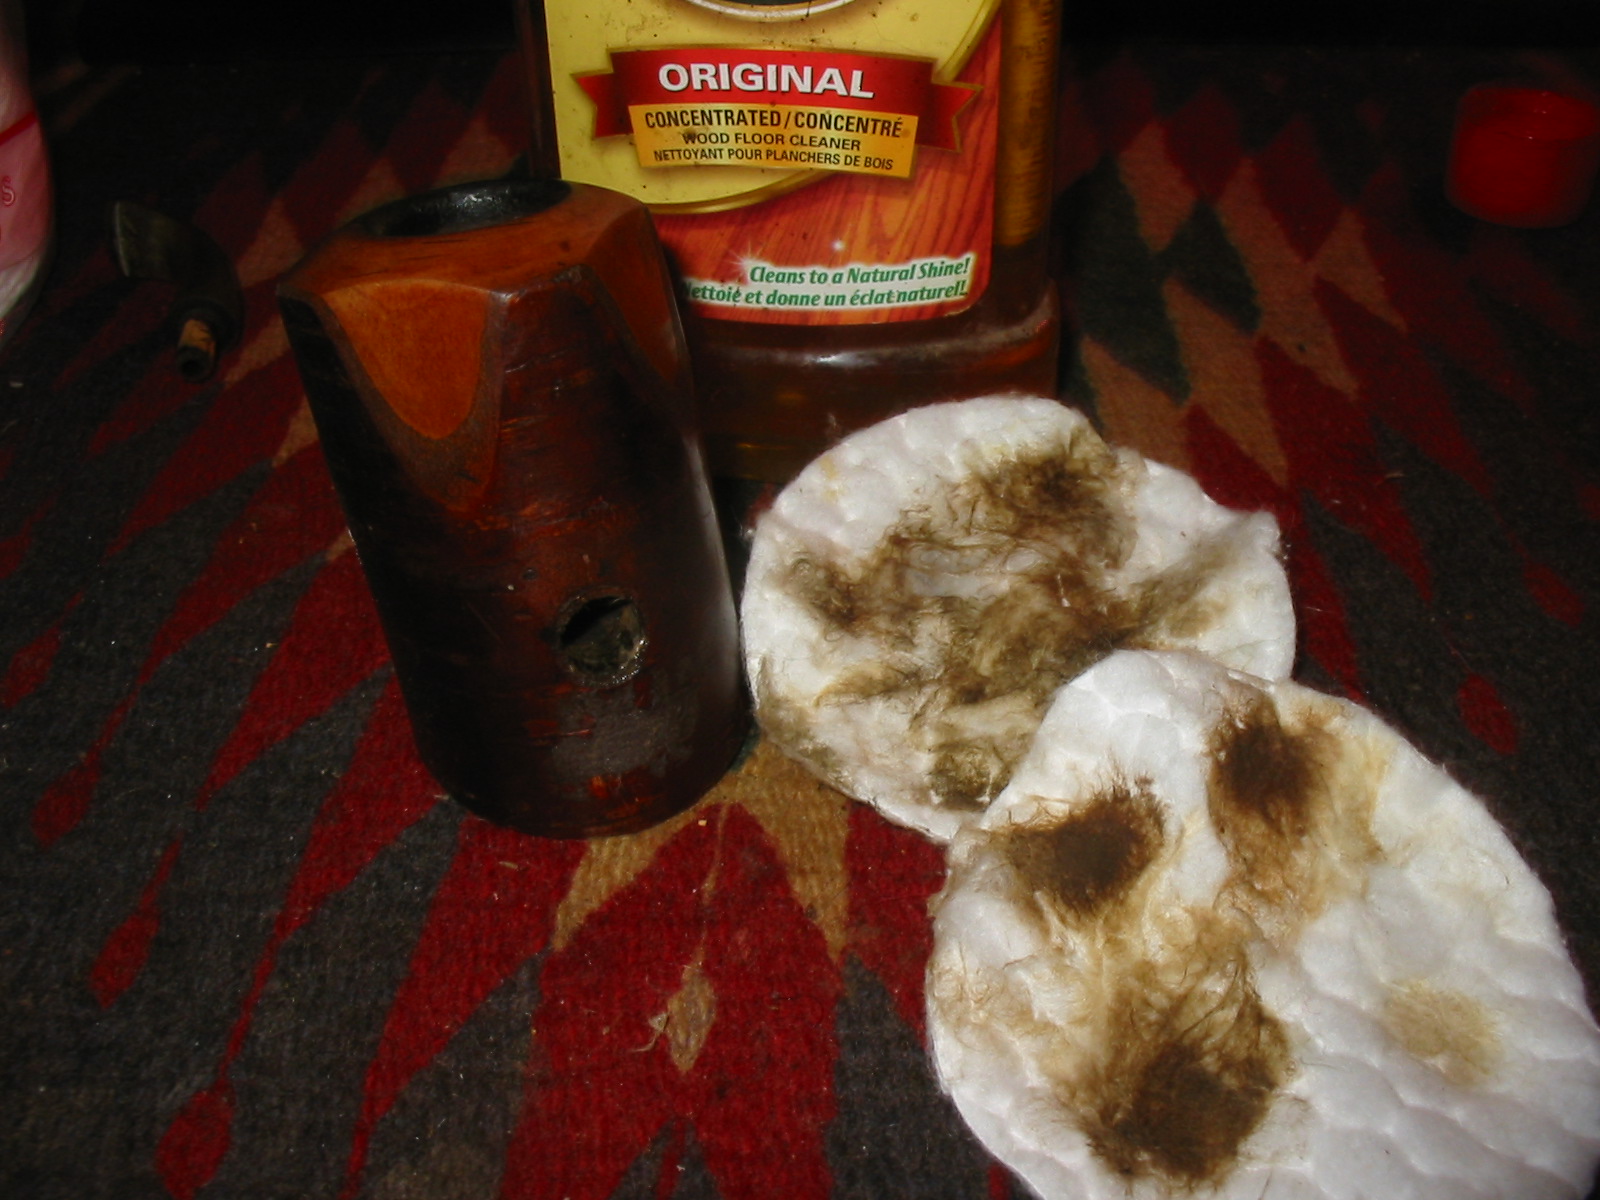
 I cleaned out the shank airway and mortise with alcohol, cotton swabs and pipe cleaners. I did the same with the airway in the new stem. The pipe was clean when I was finished.
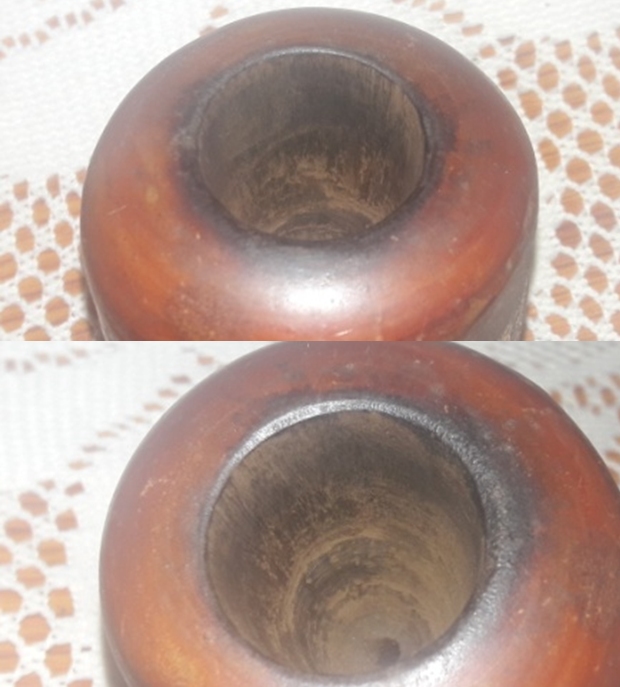
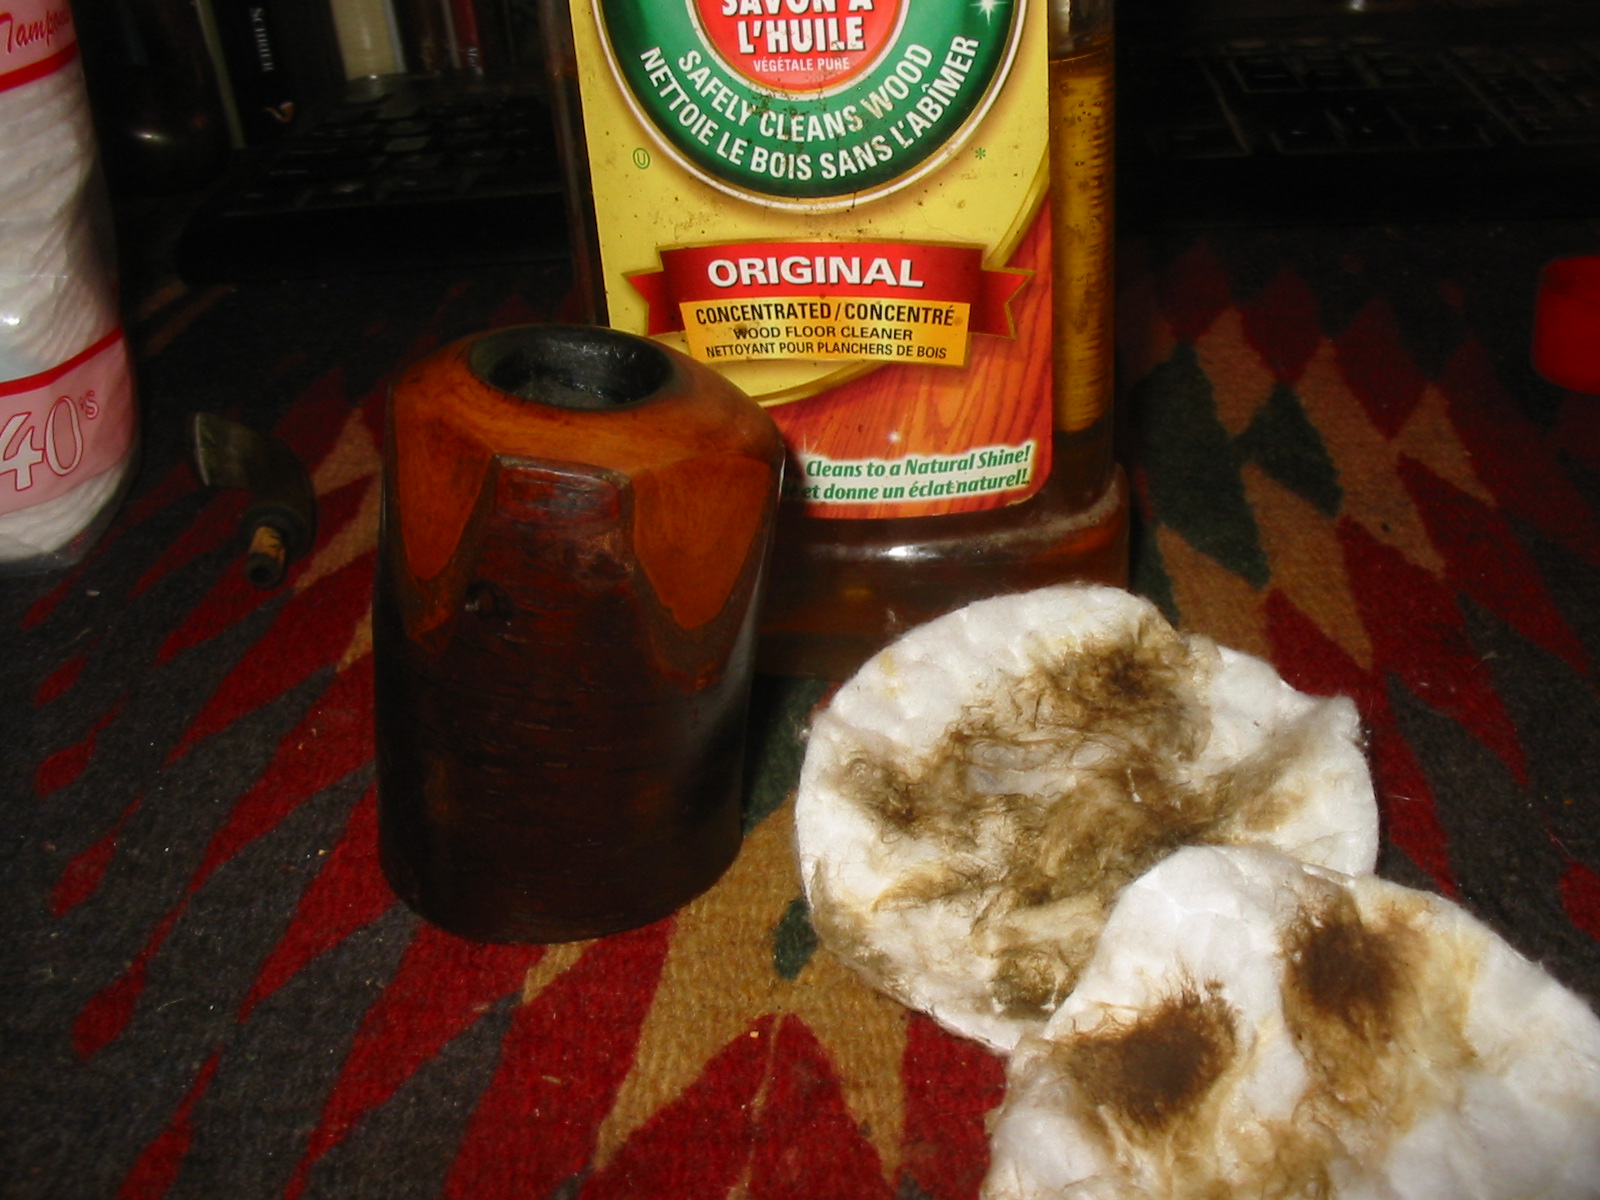
 I cleaned up the bevelled rim top with a folded piece of 220 grit sandpaper to remove the light lava and the darkening. It came off very well and looked much better.
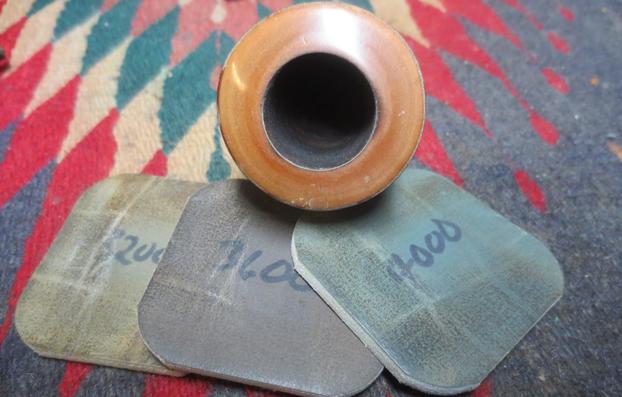
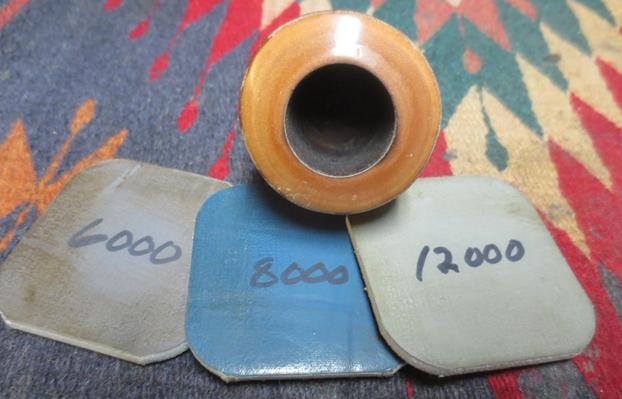
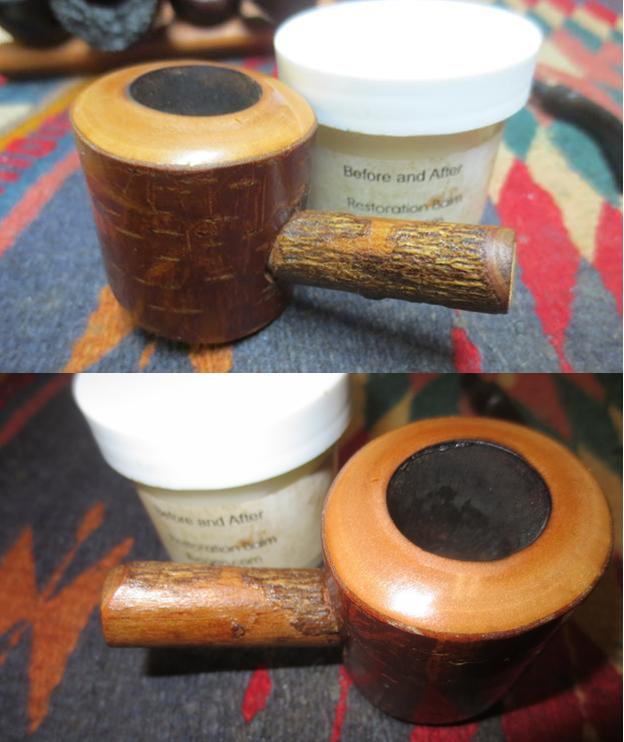
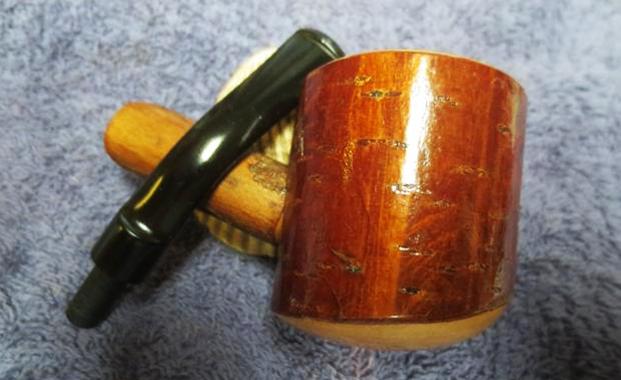
 I polished the smooth portions of the cherry with micromesh sanding pads – 1500-12000 grit pads. I dry sanded the wood and then wiped it down with a damp cloth. The polishing work progressively brought a shine to the pipe. It looked really amazing – the combination of bark and smooth portions of the cherrywood. It is a beauty!


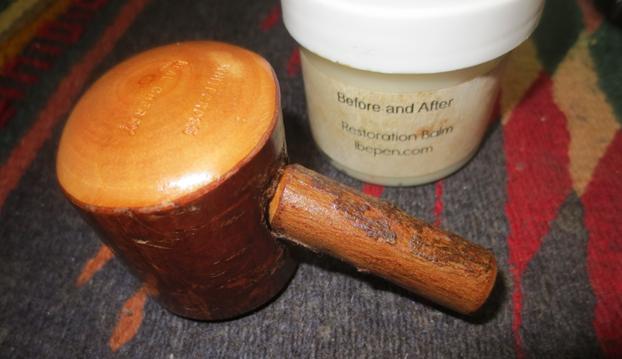
 I rubbed the bowl down with Before & After Restoration Balm. I worked it into the finish with my fingertips. The product works to clean, preserve and protect the wood. I let it sit and absorb for 10 minutes. I buffed it off with a soft cloth and then gave it a rigorous buff to raise the shine. It looks good at this point.

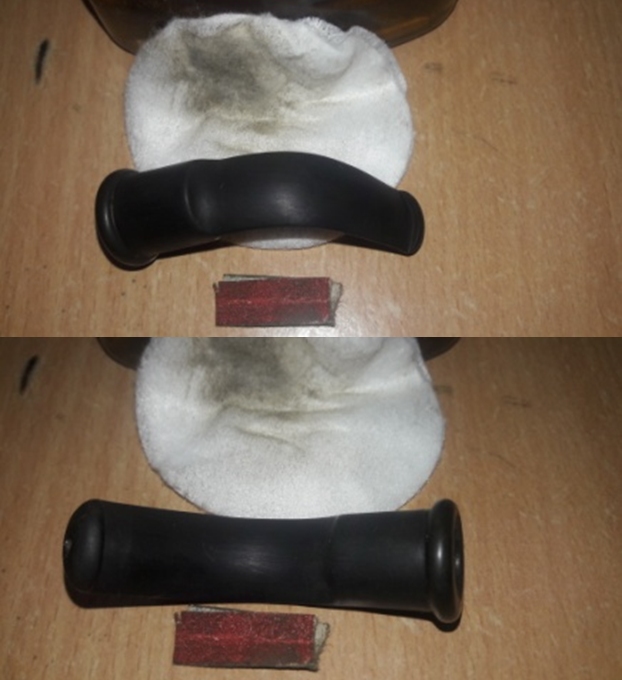
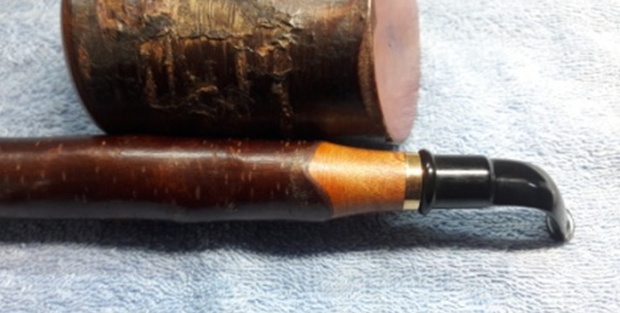
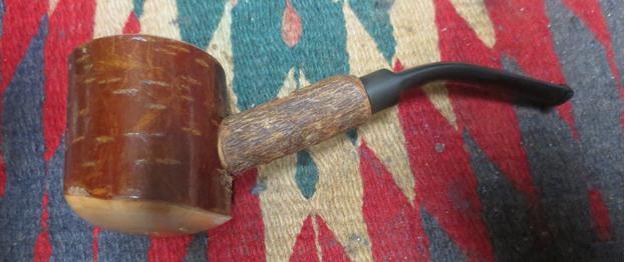
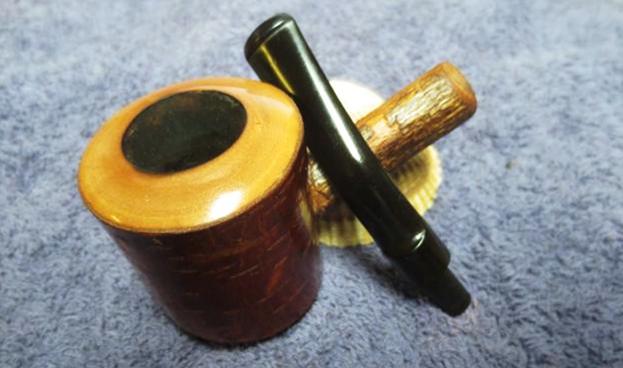
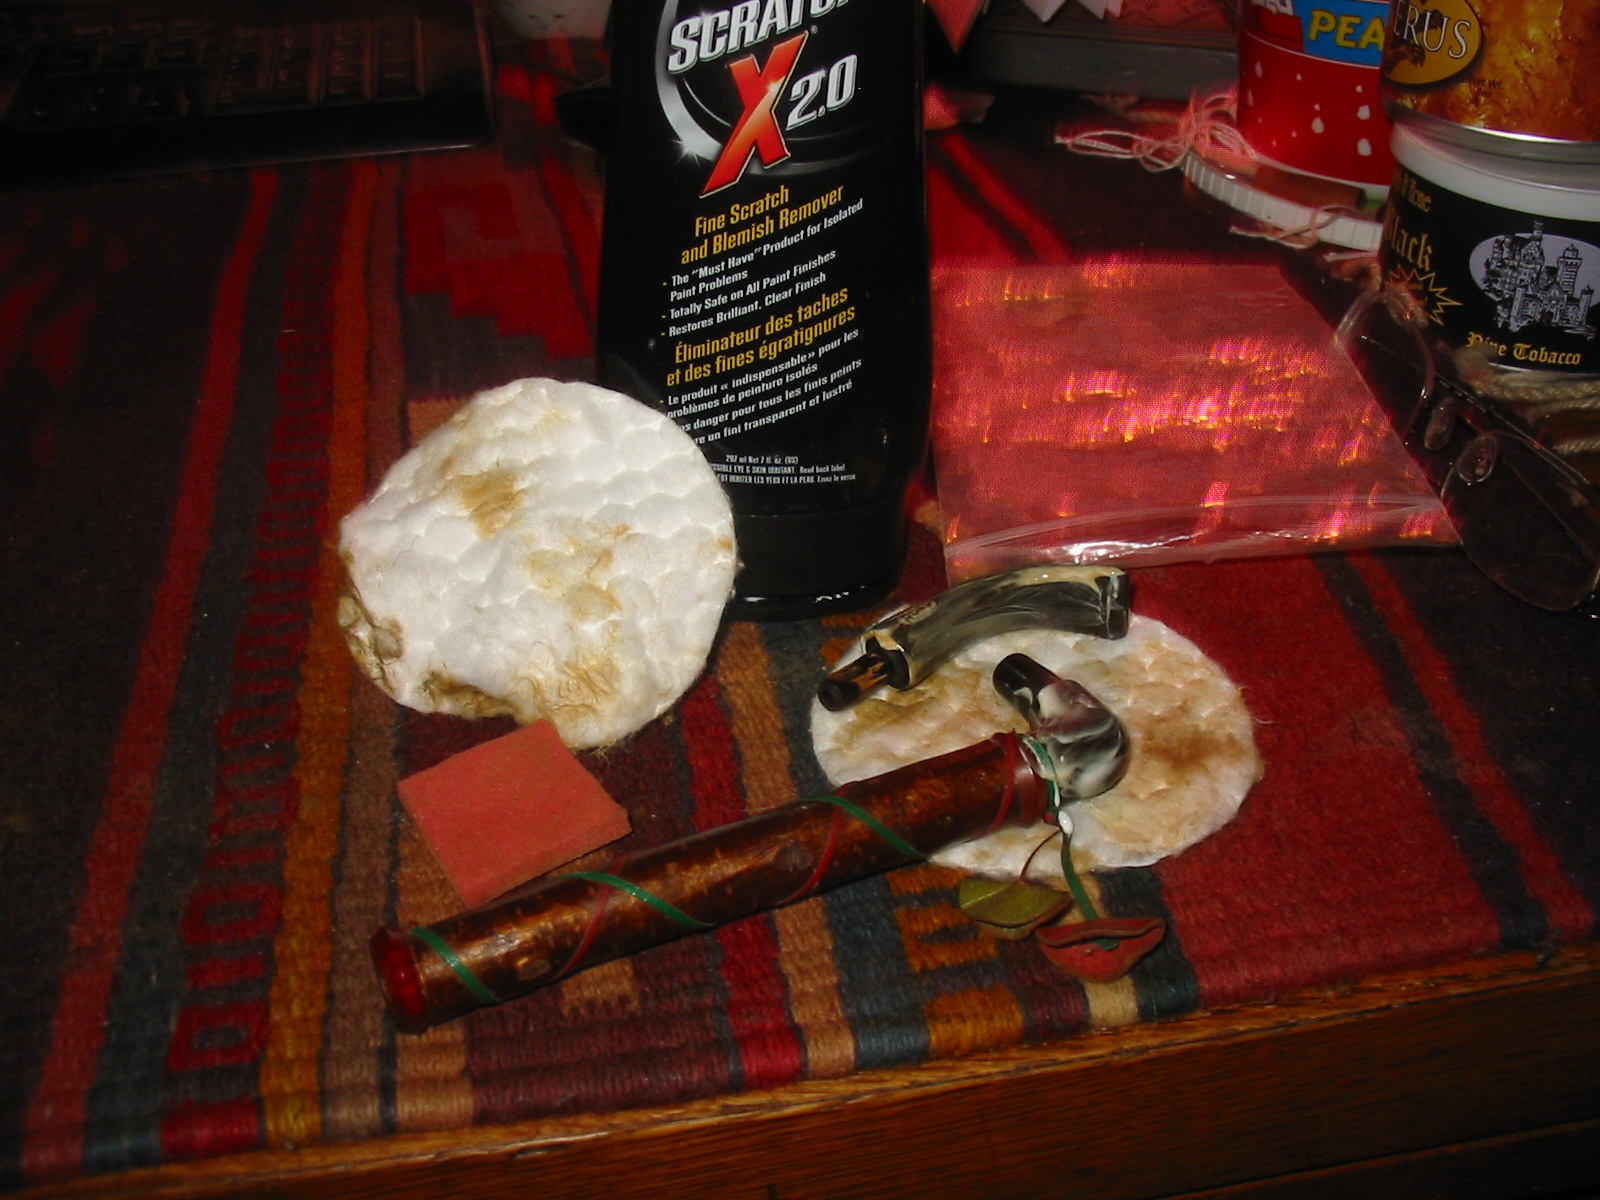
 I set the bowl aside and turned to address the stem. I heated the stem with the flame of a Bic lighter to soften the vulcanite and bend it to match the curves of the bowl and shank. Once it was soft I bent it and it looks much better.
  I took photos of the stem surface to show the deep tooth marks on the surface of the stem. I painted the surface of the tooth marks with a lighter flame. I was able to lift them considerably. I filled in what remained with black CA glue. I set it aside to allow them to cure.

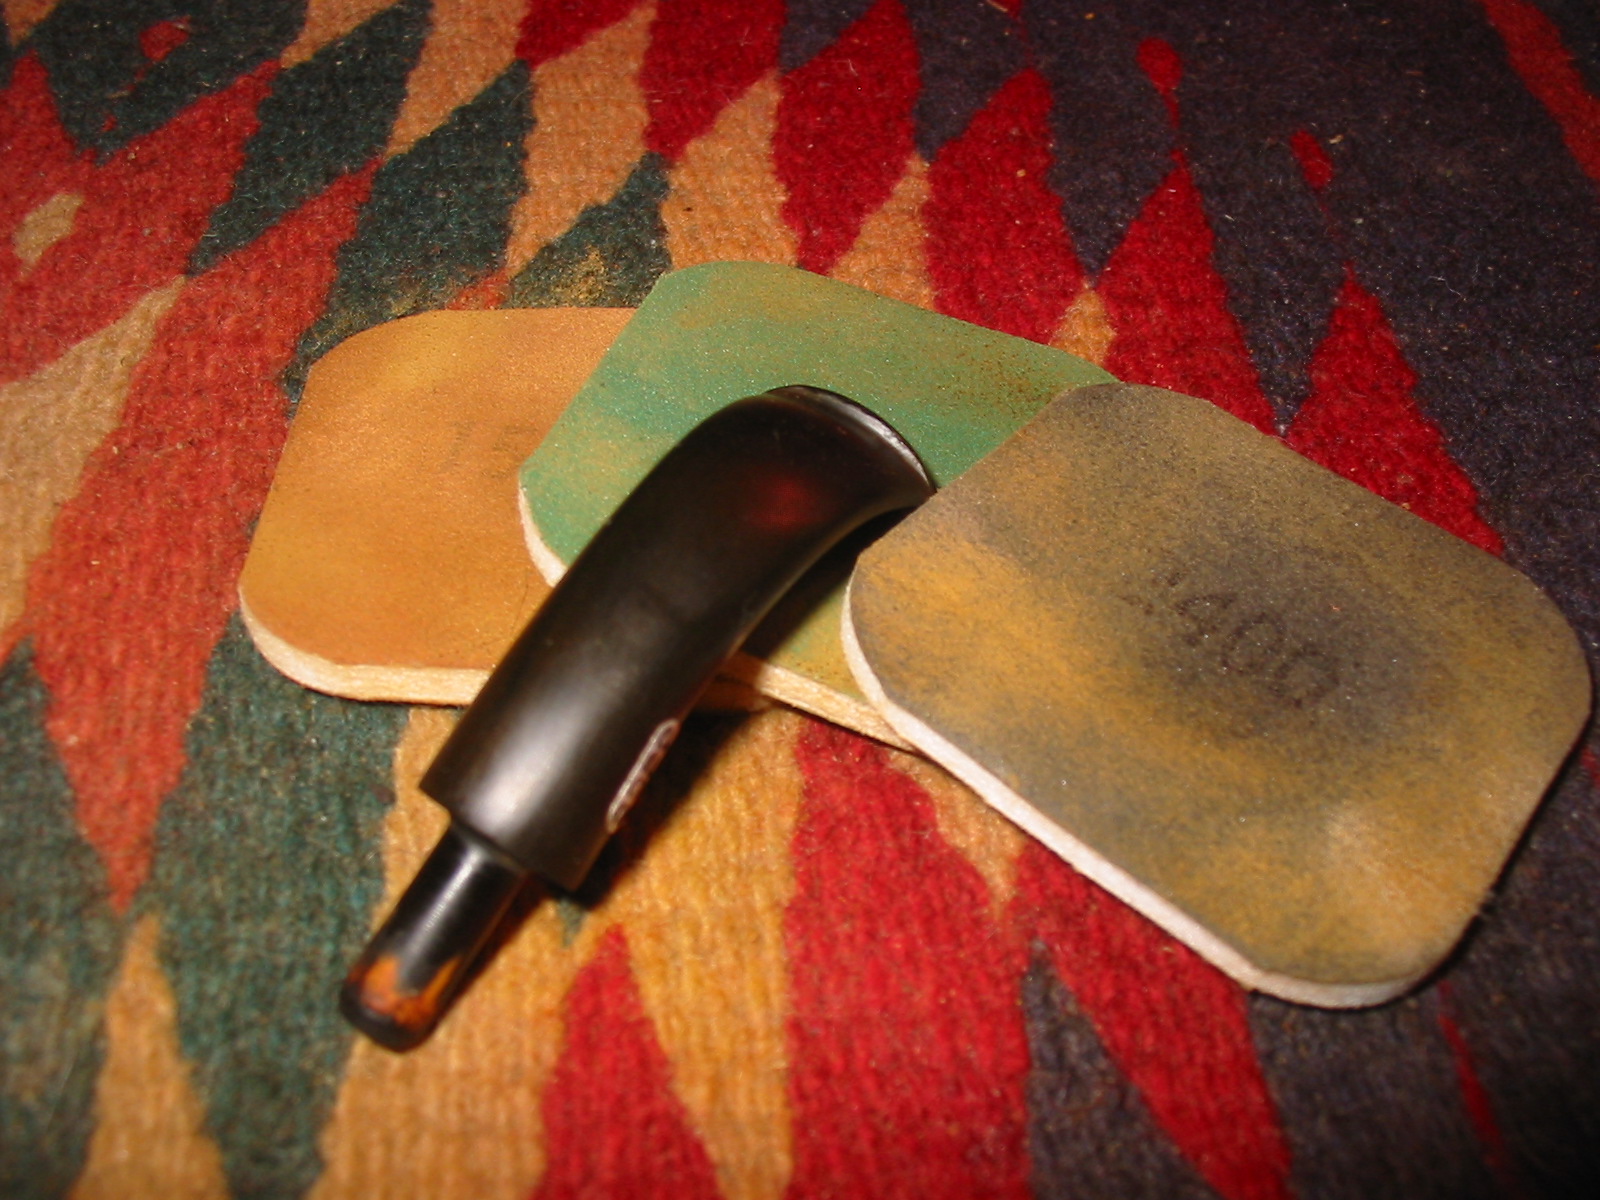
 Once the repair had cured I flattened out the repair with small file to blend it into the stem surface. I sanded it smooth with a folded piece of 220 grit sandpaper. I started the polishing on the stem with a piece of 600 grit sandpaper. I wiped it down with Obsidian Oil and set it aside.
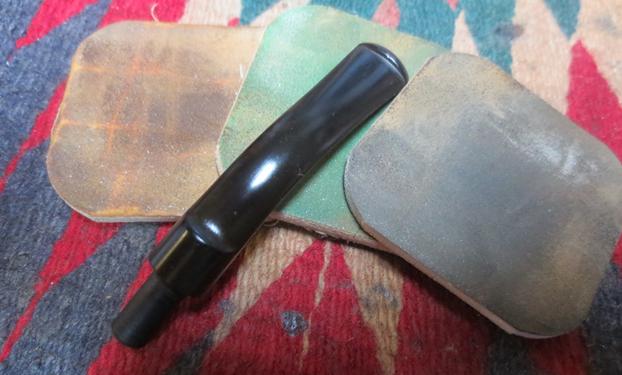
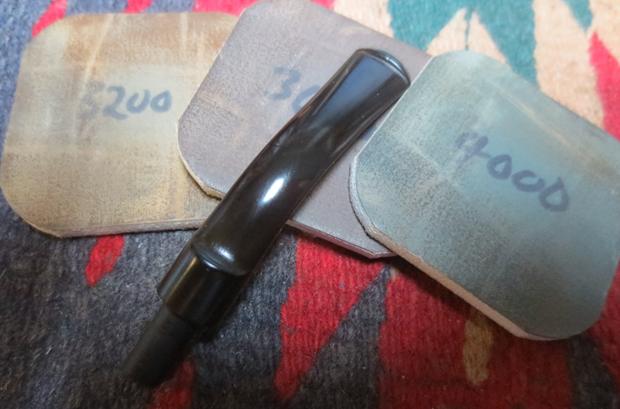
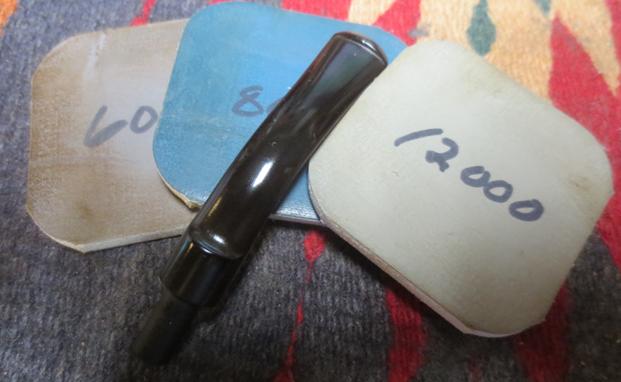
 I polished the stem with 1500-12000 grit micromesh sanding pads – I dry sanded the chatter on the stem surfaces on both sides and the diameter of the saddle portion of the stem. I wiped it down with Obsidian Oil on a cloth after the sanding pads. Once finished it looked very good.
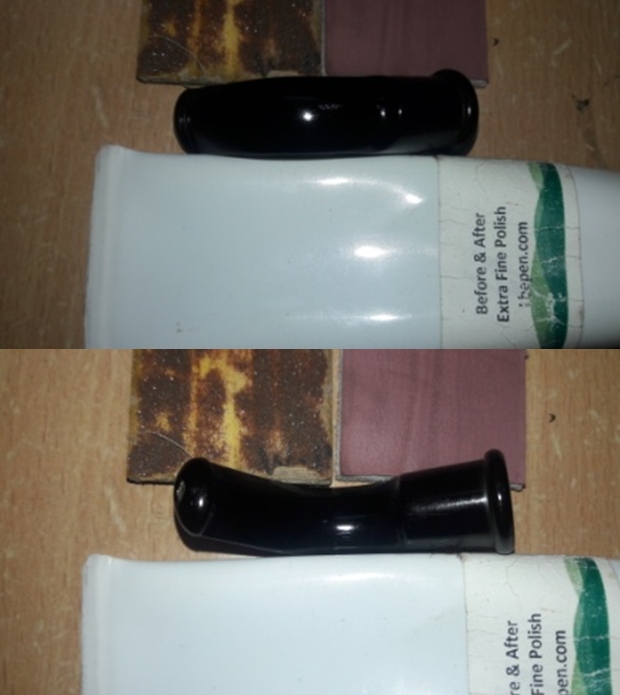
 I finished the hand polishing of the stem with Before & After Pipe Polish – both the Fine and Extra Fine polishes. I gave it a final coat of Obsidian oil and set it aside to dry.
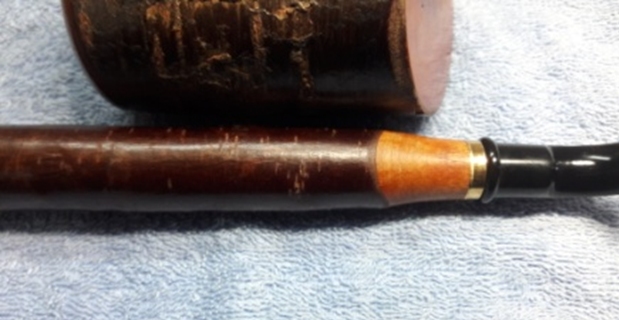
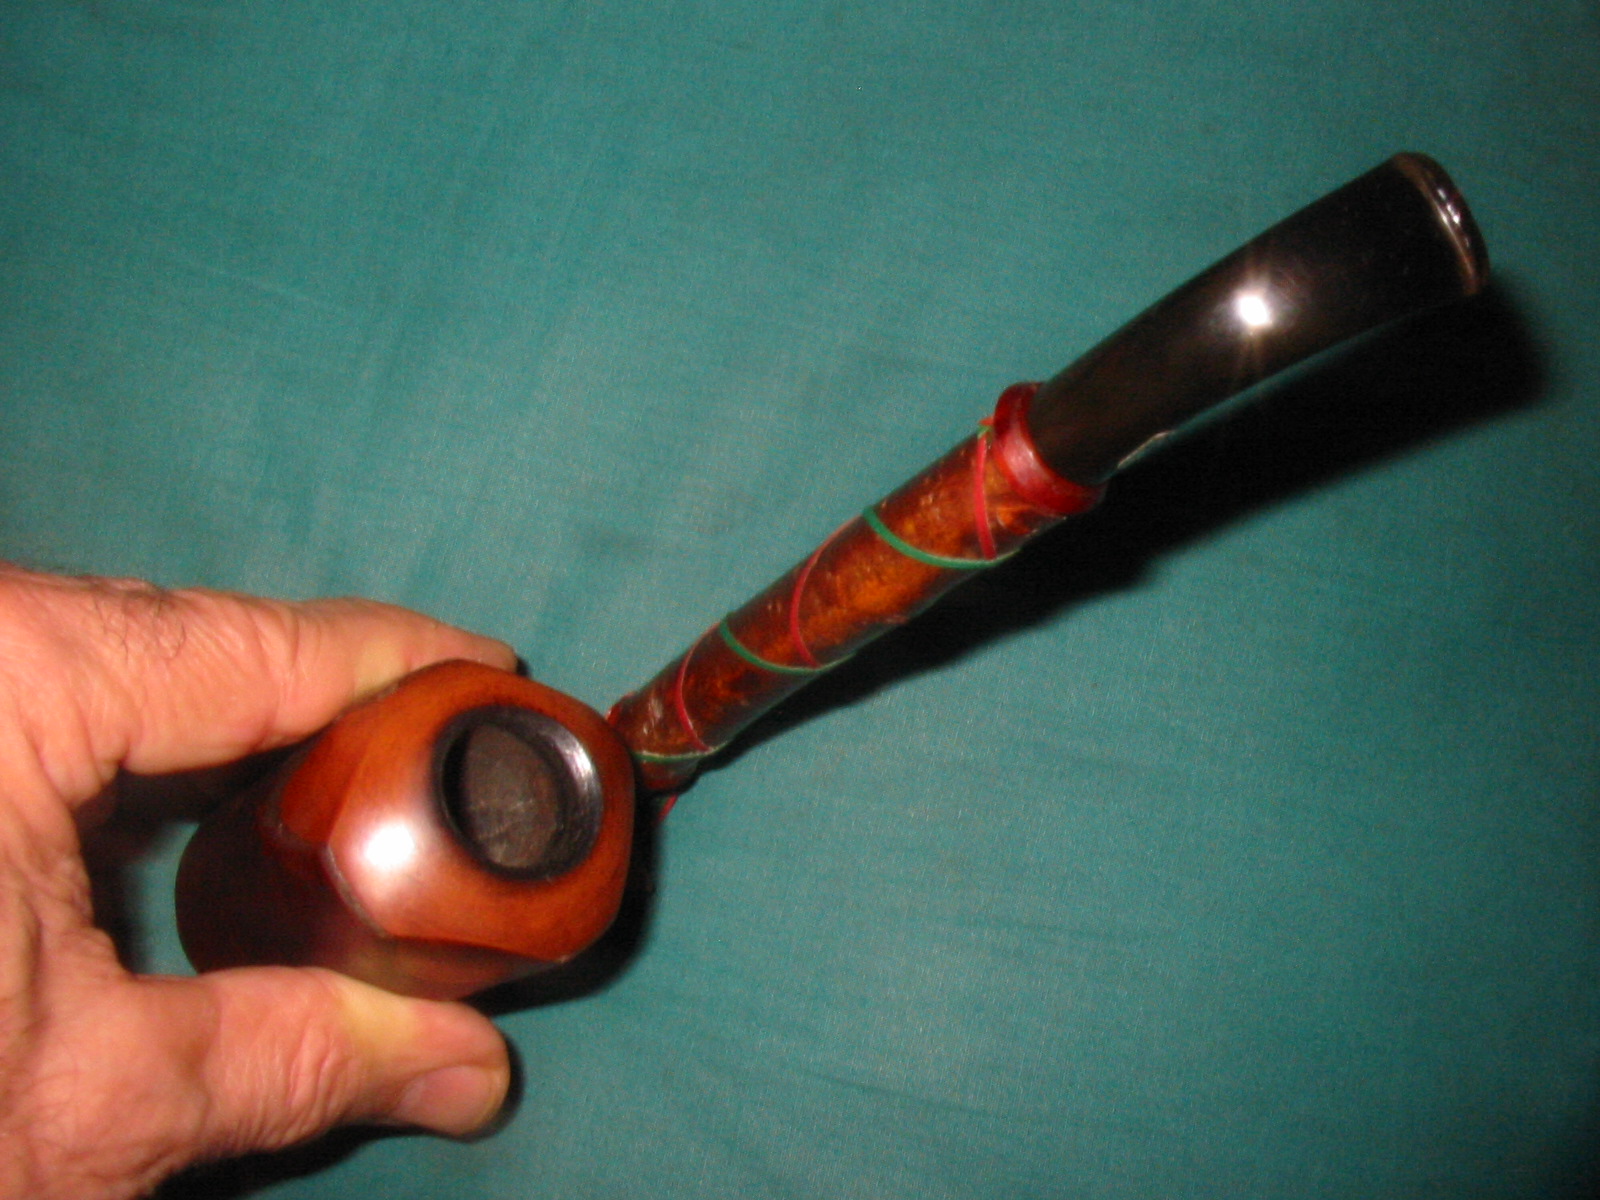
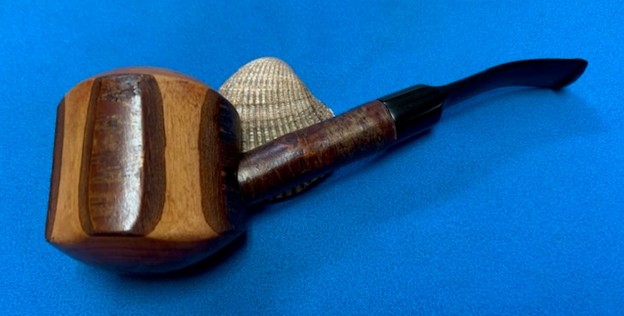
  I am really happy with the way that this restemmed Ropp De Luxe 804 Cherrywood Pipe turned out. It is a nice looking pipe with a great shape and finished with bark on the bowl sides and shank and the rim top and heel of the bowl are smooth. The vulcanite saddle stem turned out very nice. The polished stem works well with the Cherrywood finish. The wood really came alive with the buffing. The bark finish gave the pipe a sense of depth with the polishing and waxing. I put the stem back on the bowl and carefully buffed the pipe with Blue Diamond on the buffing wheel using a light touch on the wood. I gave the bowl multiple coats of Conservator’s Wax and the stem multiple coats of carnauba wax on the buffing wheel. I buffed the pipe with a clean buffing pad to raise the shine. I hand buffed the pipe with a microfiber cloth to deepen the shine. The finished Ropp De Luxe 804 Bent Cherrywood really is a beauty and feels great in the hand and looks very good. Give the finished pipe a look in the photos below. The dimensions of the pipe are Length: 6 ½ inches, Height: 2 inches, Outside diameter of the bowl: 1 ¾ inches, Chamber diameter: ¾ of an inch. The weight of the pipe is 64 grams/ 2.26 ounces. I will be putting the pipe on the rebornpipes store in the French Pipemakers Section. If you would like to add it to your collection let me know. Thanks for reading this blog and my reflections on the pipe while I worked on it. It was a fun one to work on!
As always, I encourage your questions and comments as you read the blog. Thanks to each of you who are reading this blog. Remember we are not pipe owners; we are pipe men and women who hold our pipes in trust until they pass on into the trust of those who follow us.