Blog by Troy Wilburn
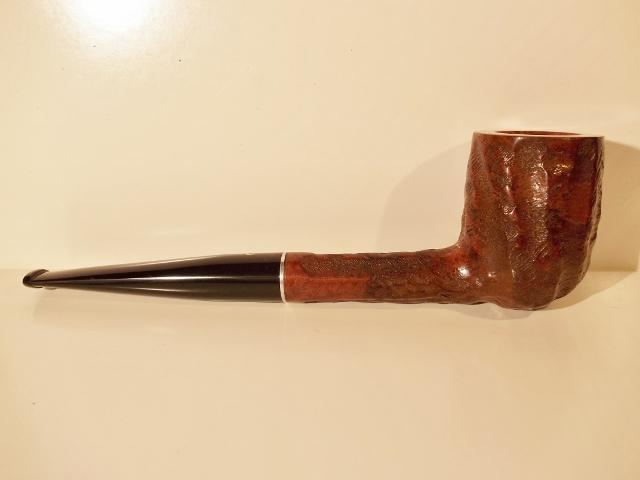
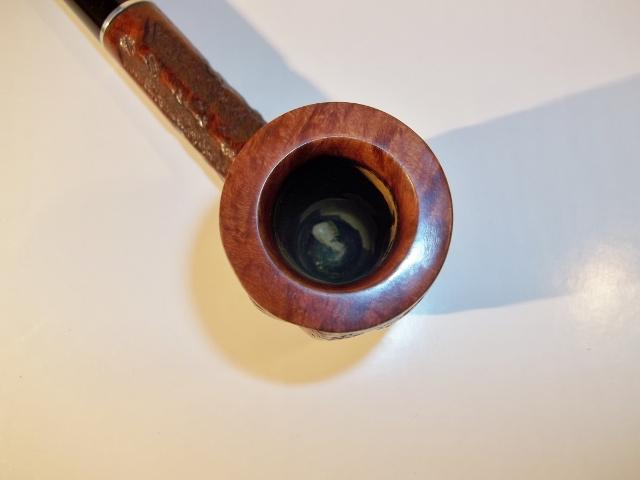
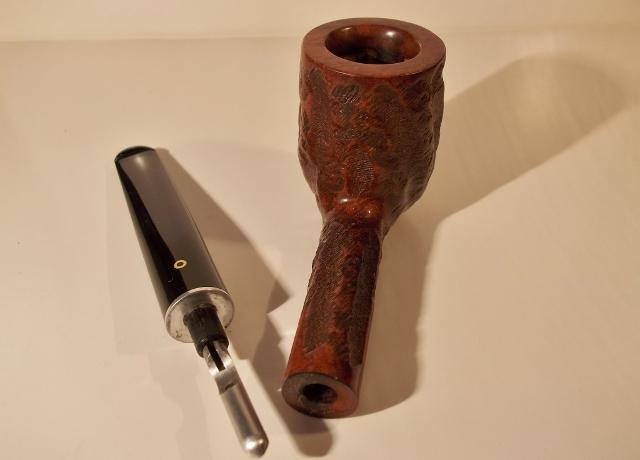
I picked up this huge pipe from a friend of mine on the Dr. Grabow Collectors Forum. This pipe isn’t a magnum it’s a howitzer! It is 7 ½ inches long and has an almost 2 ½ inch tall bowl. The pipe was nice but had some issues. The top of the rim and the inner edge had been hacked up. The stem also has some heavy nicks and dings in it. It was really clean though and I had very little to do as far as getting the inside clean.
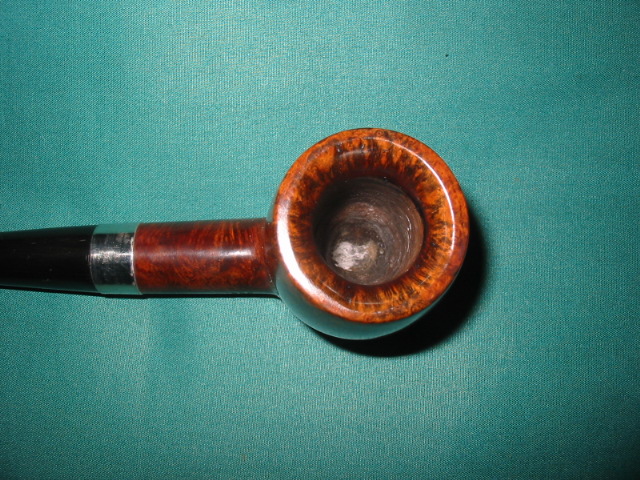
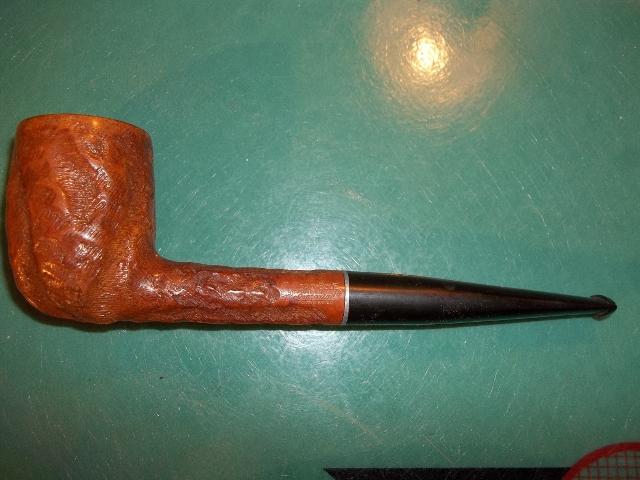
Here are some photos of the pipe before I worked on it.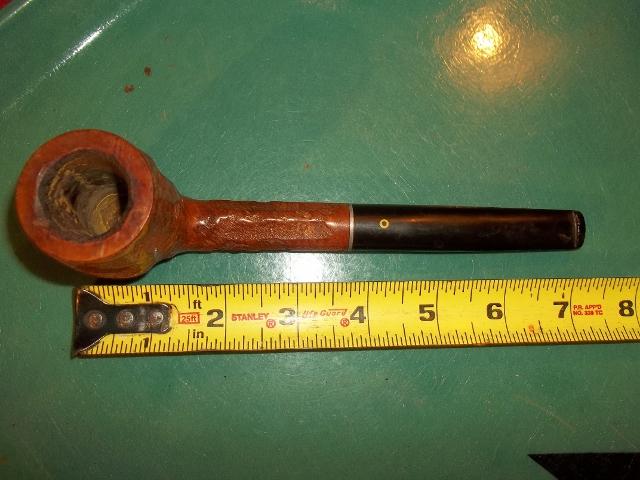

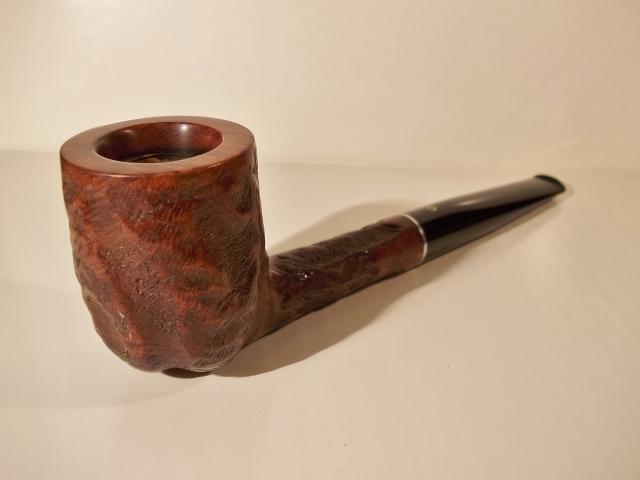
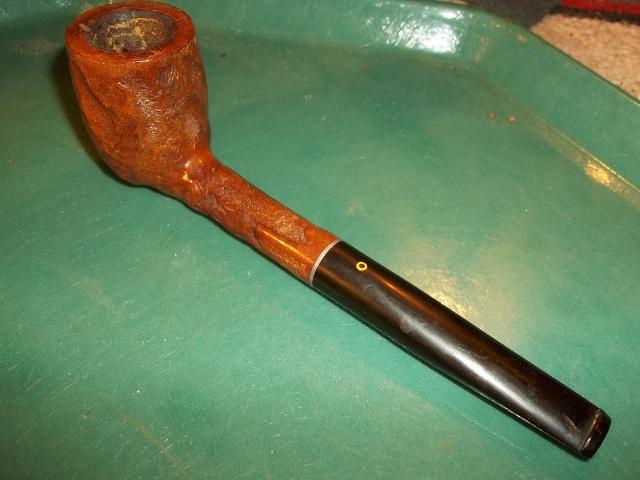 As I stated above the top of the rim and the inner edge were badly hacked.
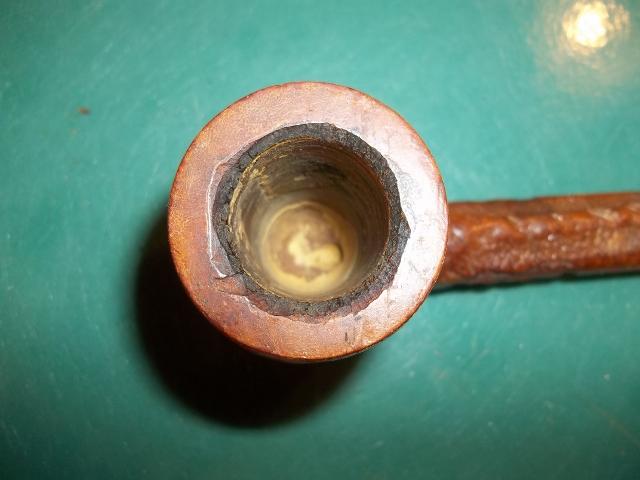 I began by working on the rim. I topped it and made a large concave inner rim. I don’t know if it came like this from the factory or not but it has one now. I took it down with 80 grit sandpaper and then a lot of sanding with 120 grit sandpaper.
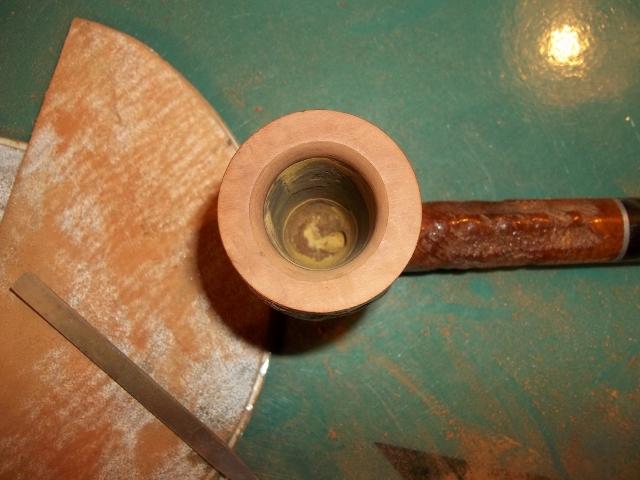
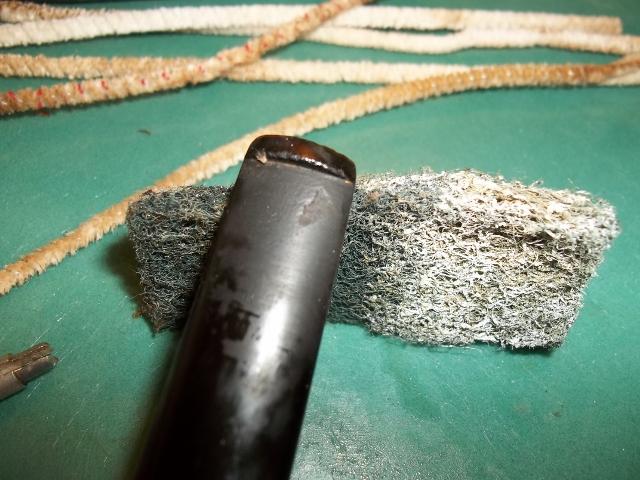
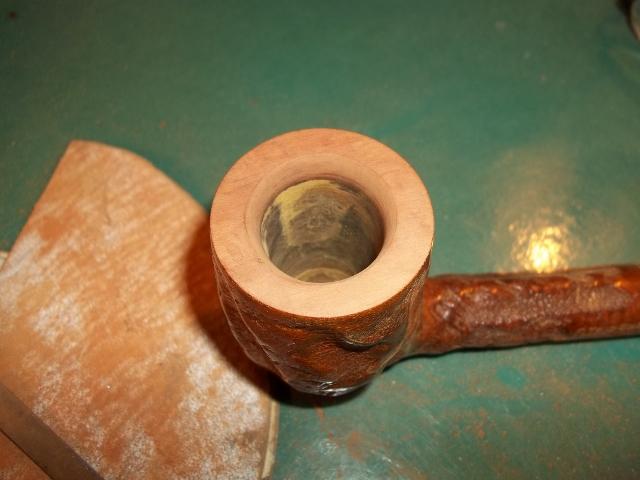 After I had finished rough shaping the rim I did LOTS and LOTS more sanding from 400 grit sandpaper all the way up to 2000 grit sandpaper. I used mineral oil as a lubricant for the sandpaper and also to bring out the colour of the natural wood.
 I soaked the stem in alcohol and then scrubbed it with a green scouring pad. I cleaned it out with pipe cleaners.
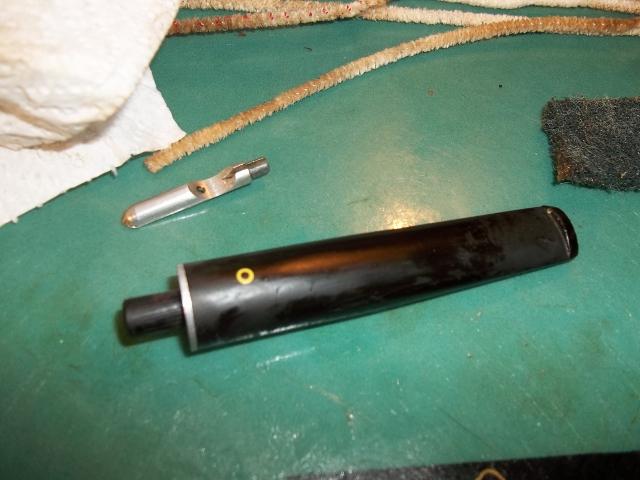 The stem had several tooth marks and gouges on the top and the bottom side next to the button.
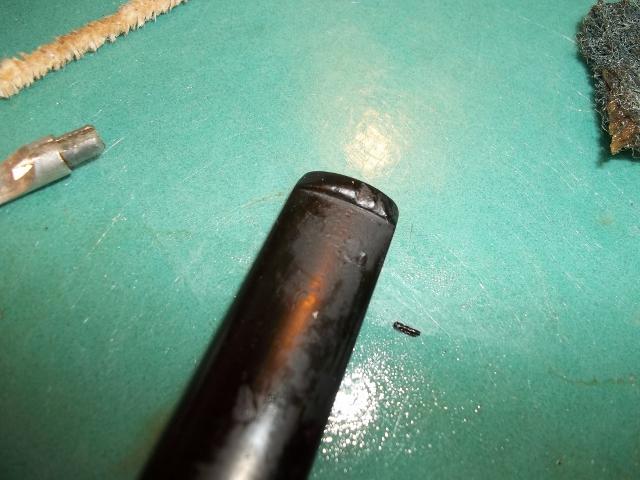
 I filed out the tooth marks and reshaped the button.
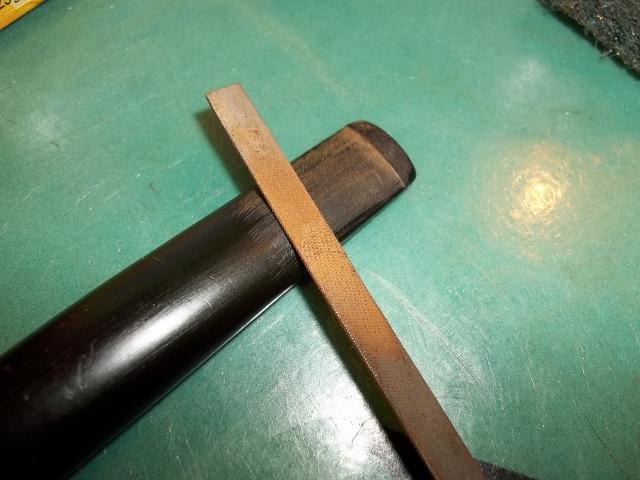 Here is a little trick that some of you may know, but I came up with it in working on the last few pipes. I thought I would share it here. After filing the stem I take a lighter and work the flame back and forth across the file marks. The heat from the lighter helps to blend in the file marks and makes it easier to sand them out.
Here is a photo of the stem before I used the lighter. Here is a photo of the stem after using the lighter.
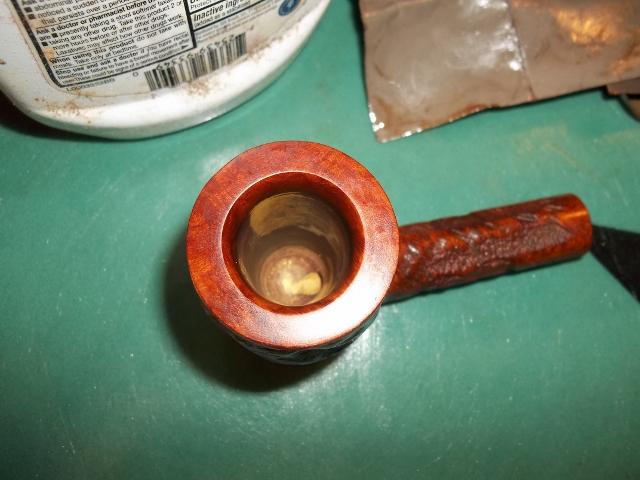
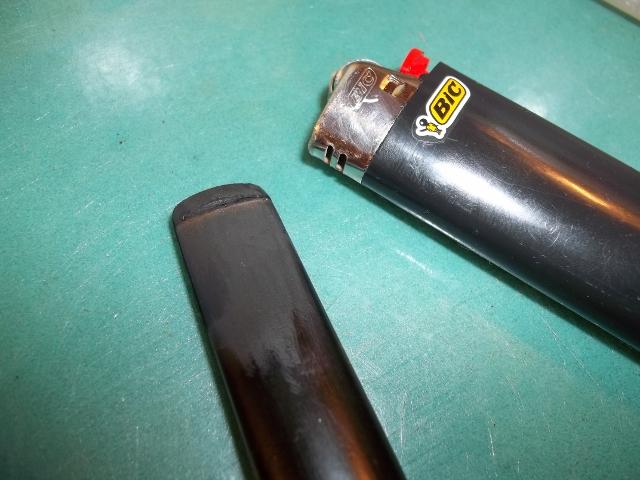 I buffed the rim with Brown Tripoli a few times to get rid of the fine sanding marks. I could not get the pads into the concave inner rim so I waxed it by hand with paste wax several times.
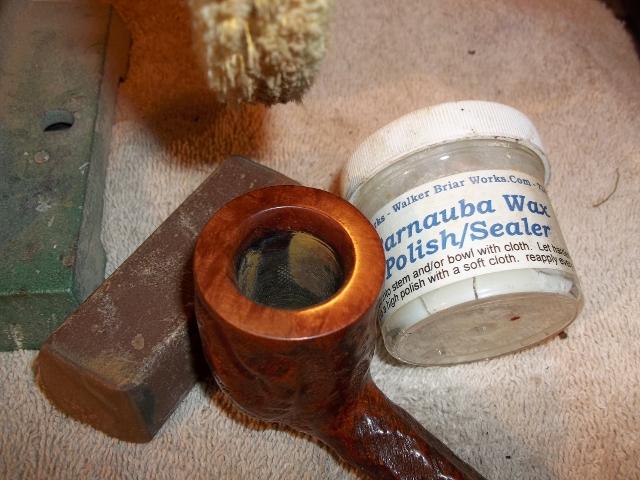 With the initial sanding and cleaning of the stem done, I still had a lot more sanding to do. There were lots of scratches and dings in it. I began sanding with 400 grit sandpaper and worked my way up to 2500 grit sandpaper.
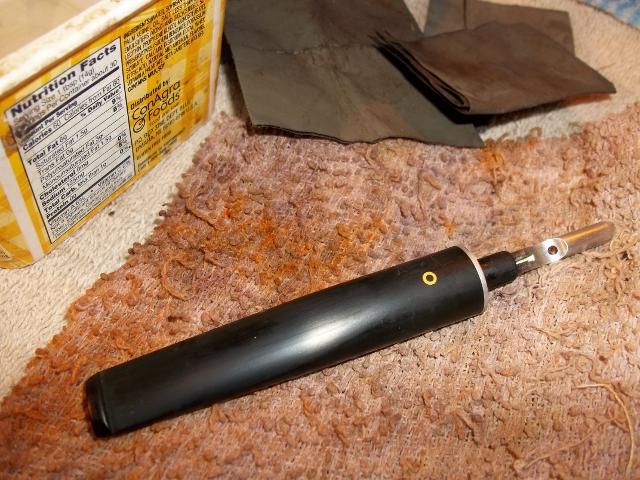 I put the stem back on the bowl and got it ready for the final buffing and waxing.
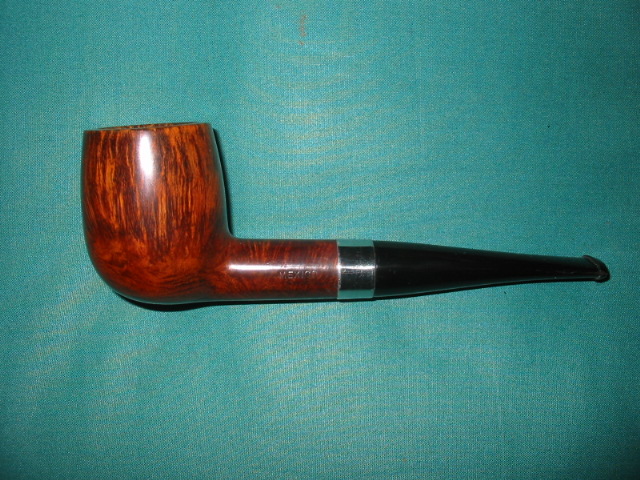
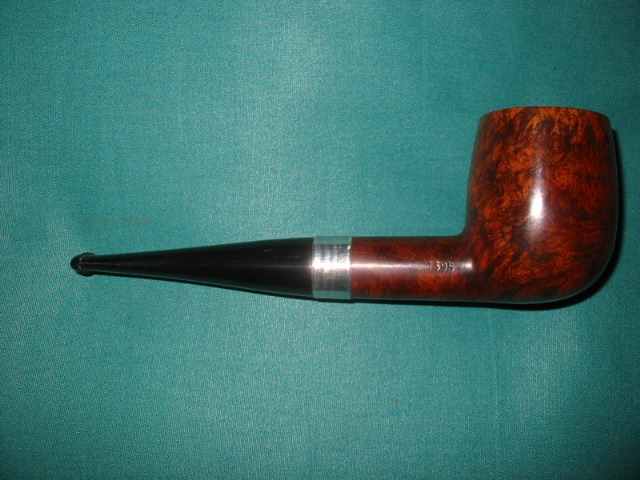
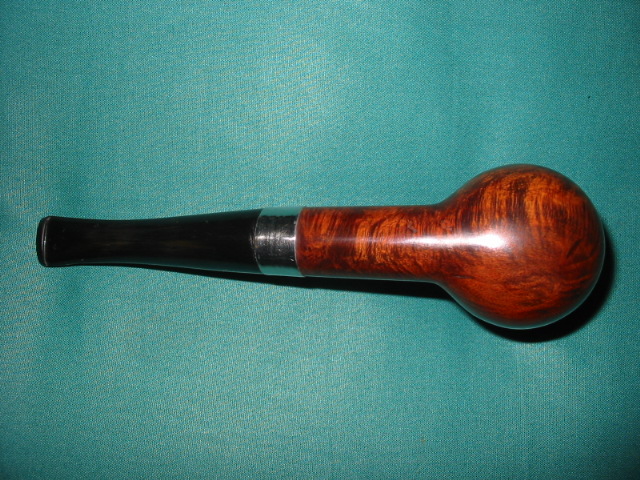
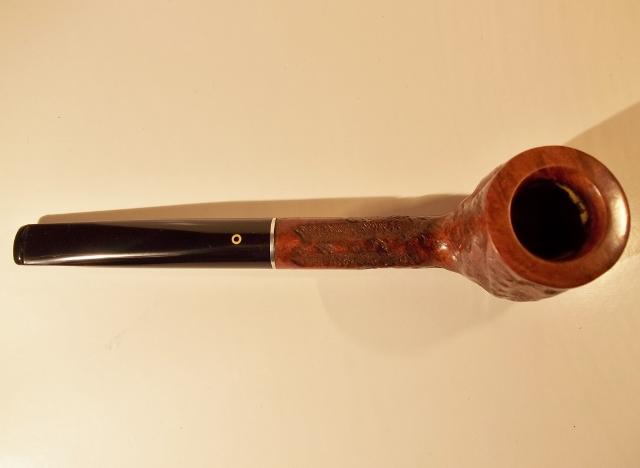
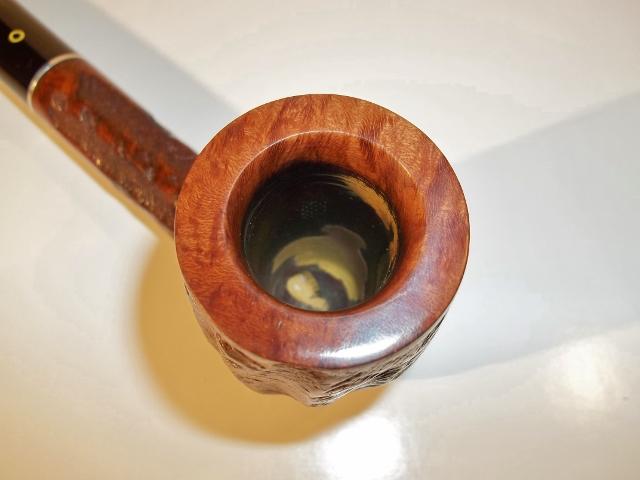
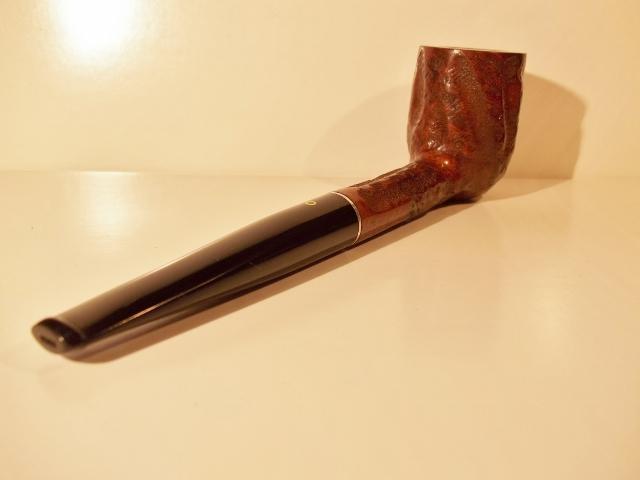
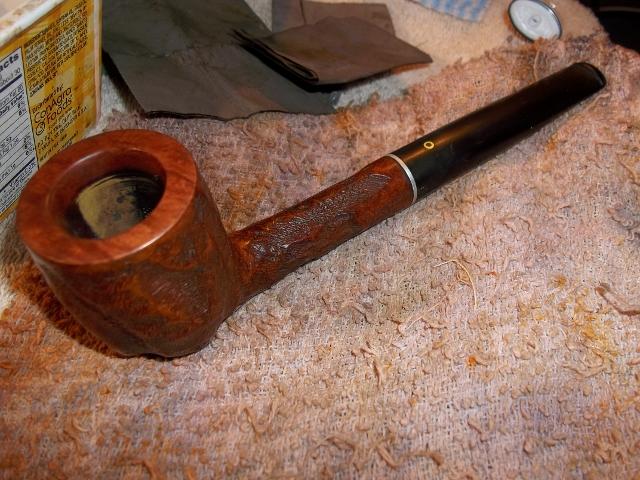 Here are photos of the pipe after it had been buffed and polished.
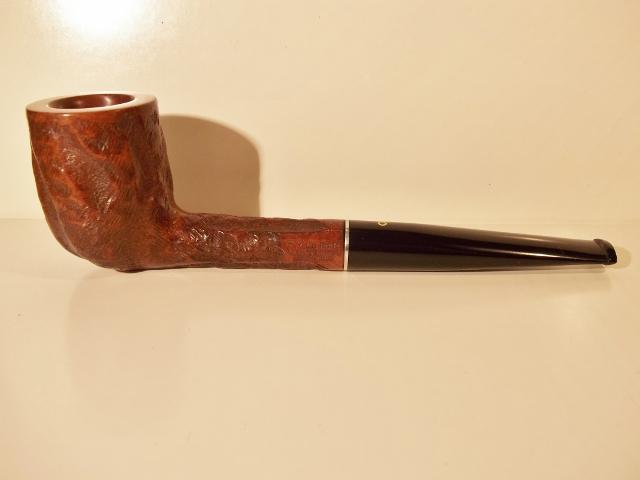

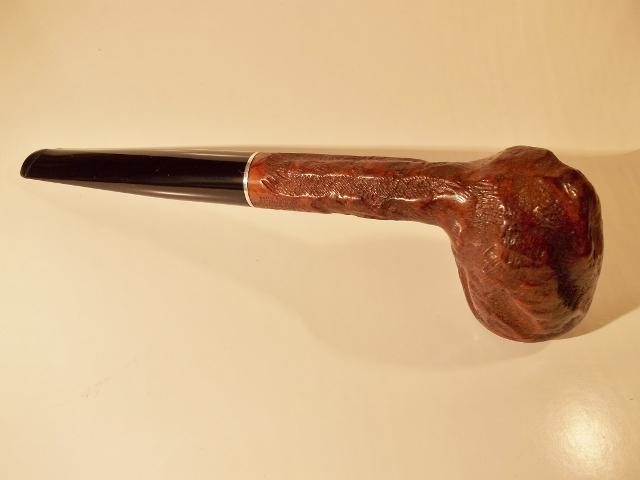

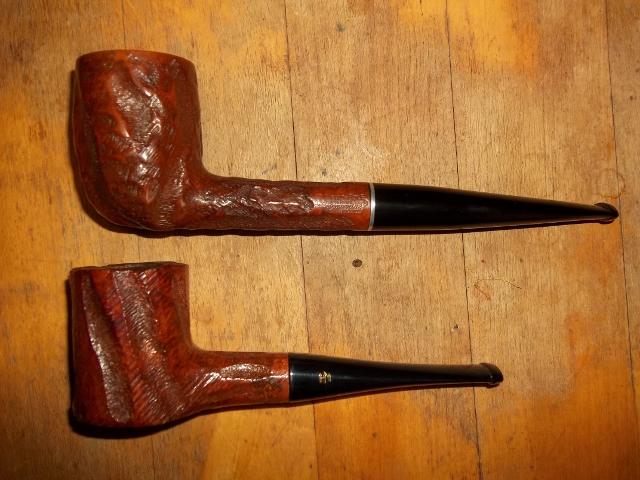
 To give an idea of the size of this pipe and put it in perspective here is a photo of it next to a Yello Bole Hand Made Poker I have. As most of you would know, a Hand Made is not a small pipe by any means. This billiard almost dwarfs it.