by Steve Laug
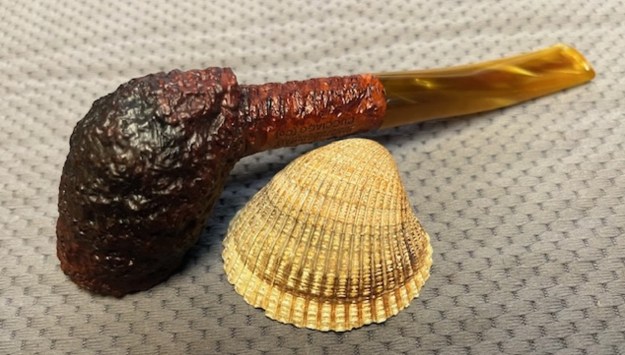
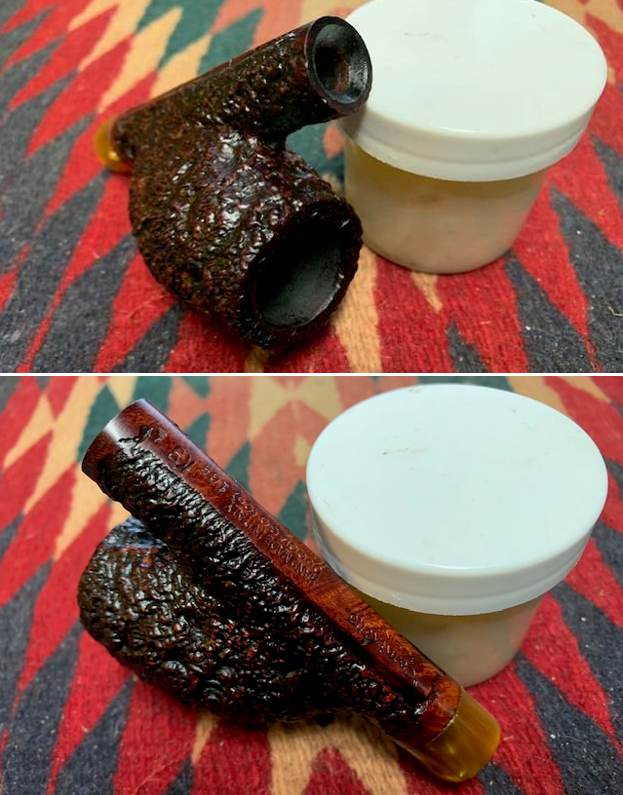
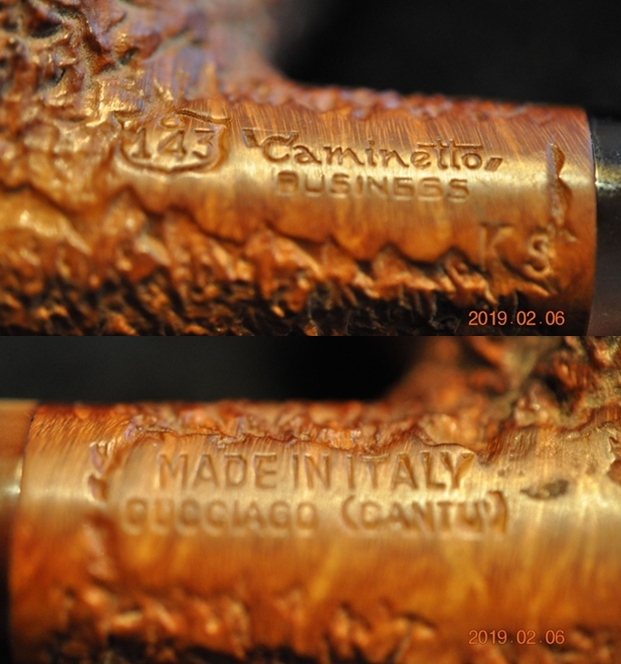
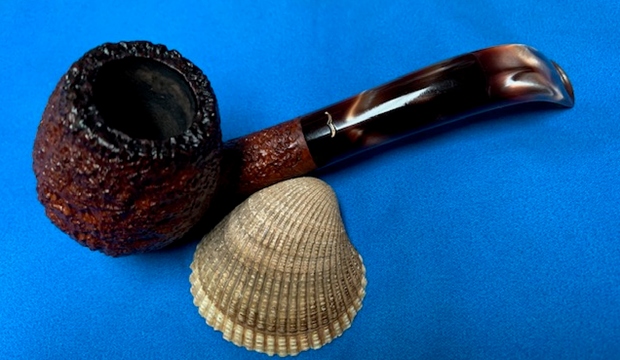
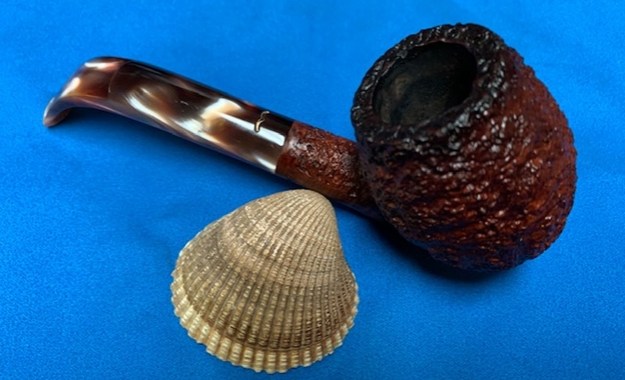
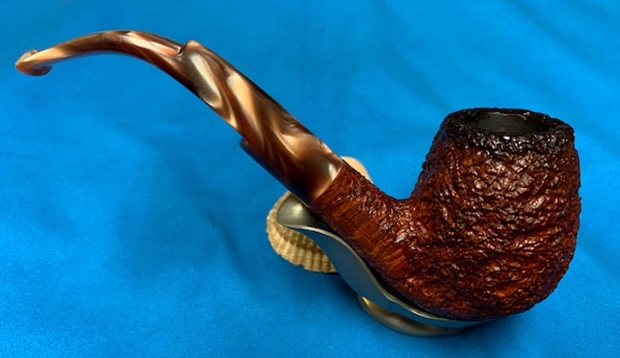
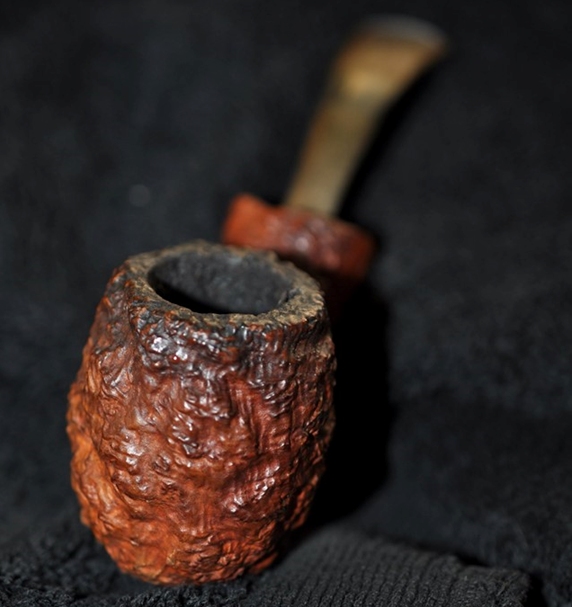
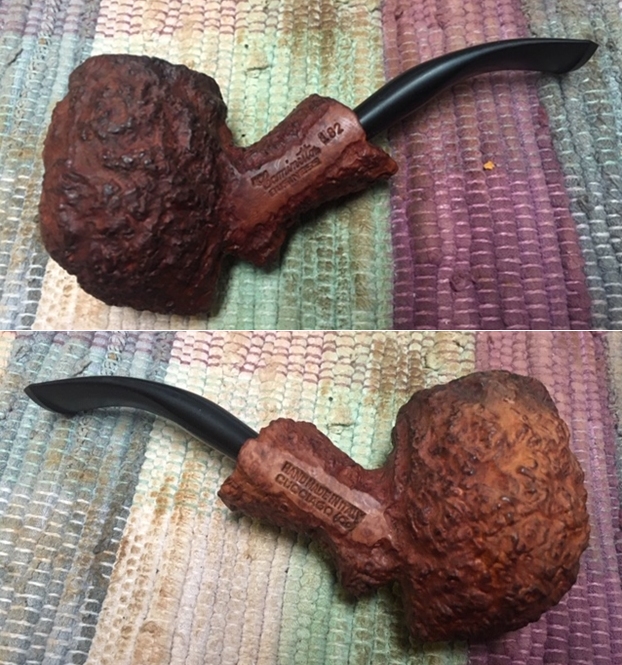
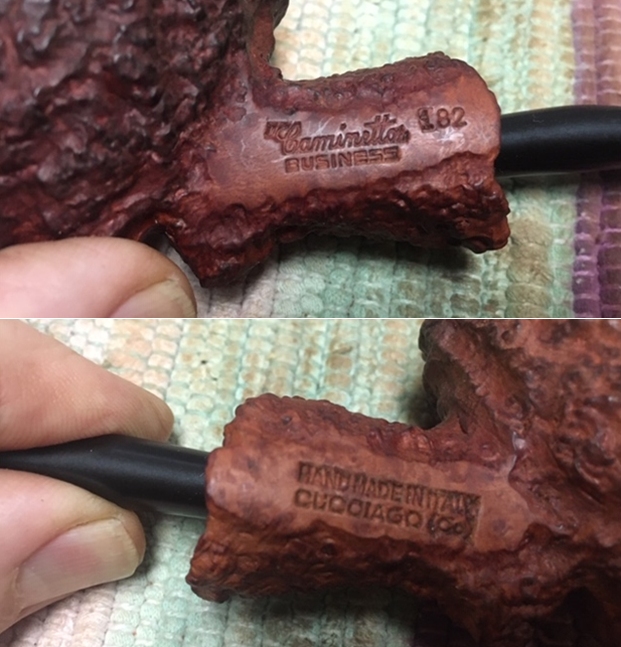
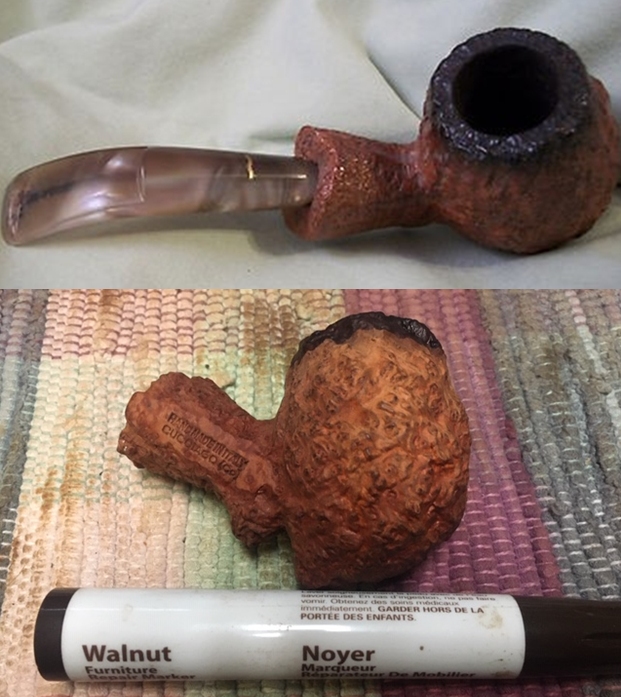
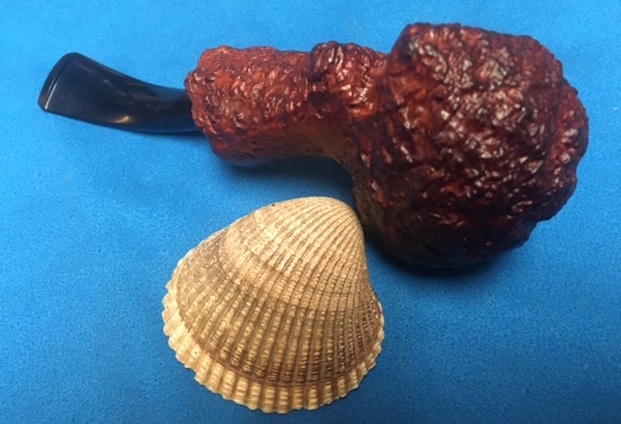
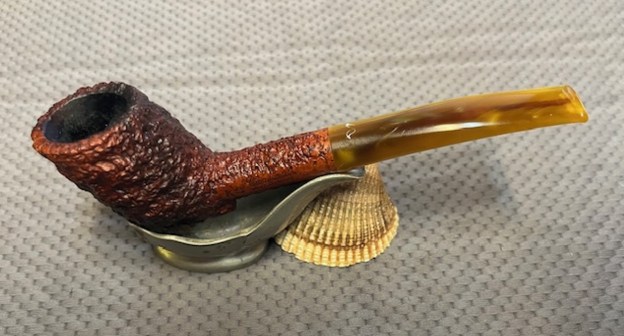
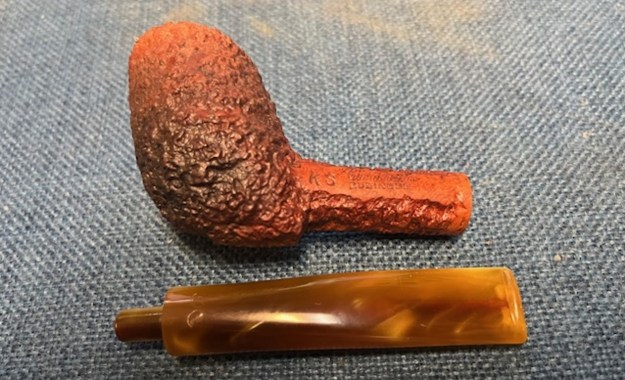
The next pipe on the table is one that we picked up in the lot from an Antique Mall in Hillsboro, Oregon, USA on 08/31/2024. The heavily rusticated finish on this Italian made pipe and the Caminetto stamping are what caught our eye. It is stamped on the left side of the shank and reads KS followed by Caminetto [over] Business. On the right side it is stamped Hand Made In Italy [over] Cucciago (CO). It has a classic Walnut Brown stain on the very rustic finish that is a stark contrast to the golden variegated acrylic stem. The bowl was heavily caked with a thick overflow of lava on the rusticated inner edge and the top. The finish is dirty and there is some oil darkening on the heel of the bowl and up the first third of the bowl. The stem looks very good and has light tooth marks and light chatter on the top and underside ahead of the button. The Caminetto moustache logo was stamped on the topside of the stem and looks to be in good condition. Jeff took some photos of the pipe to show the general condition of the pipe before he started his clean up.
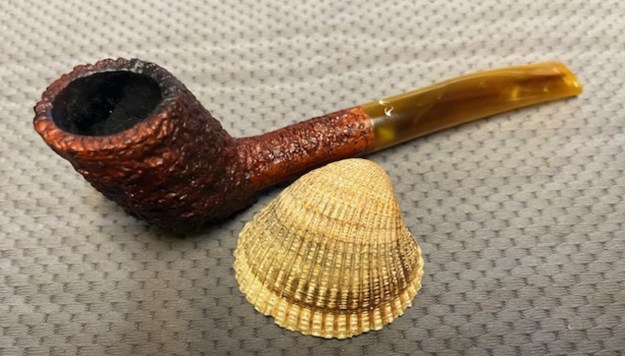
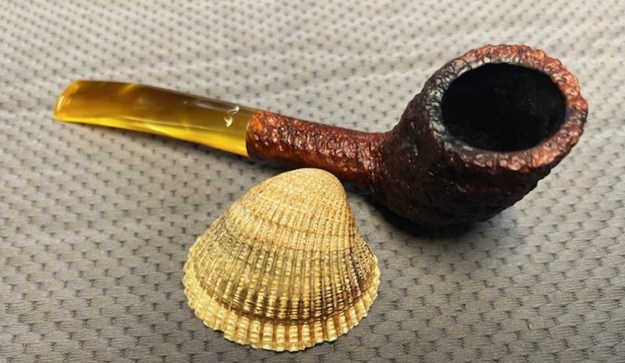
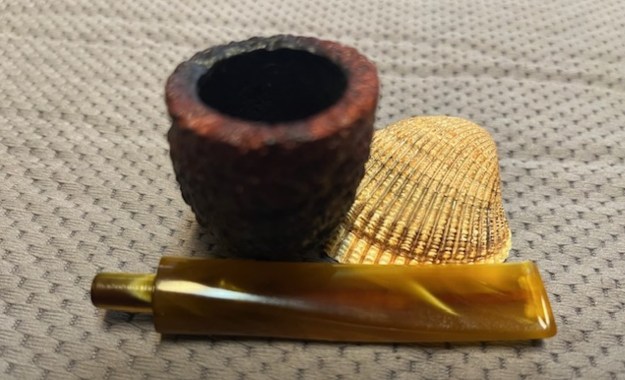
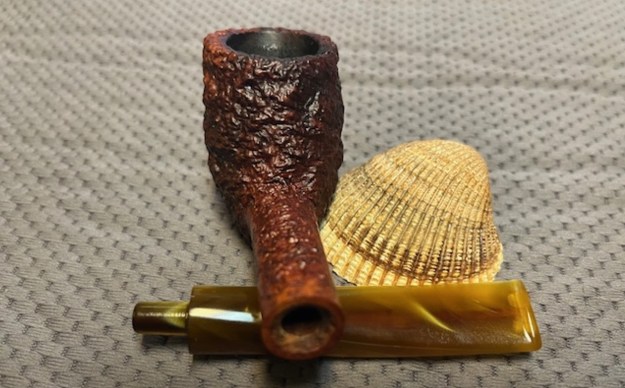
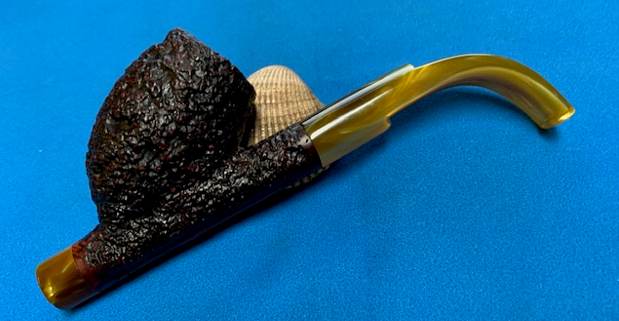
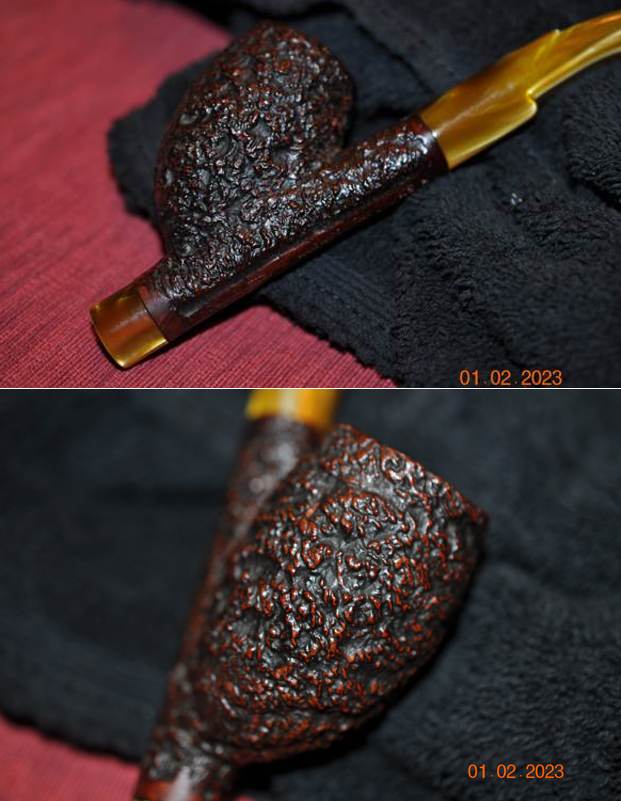
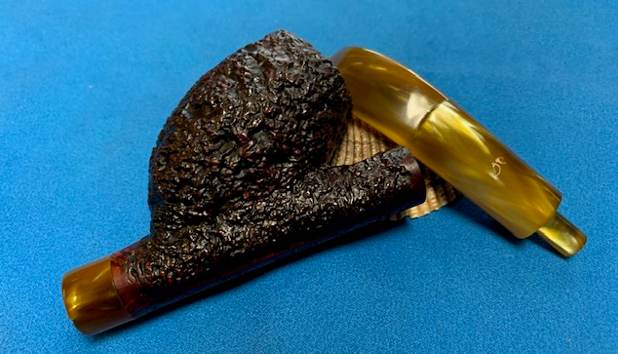
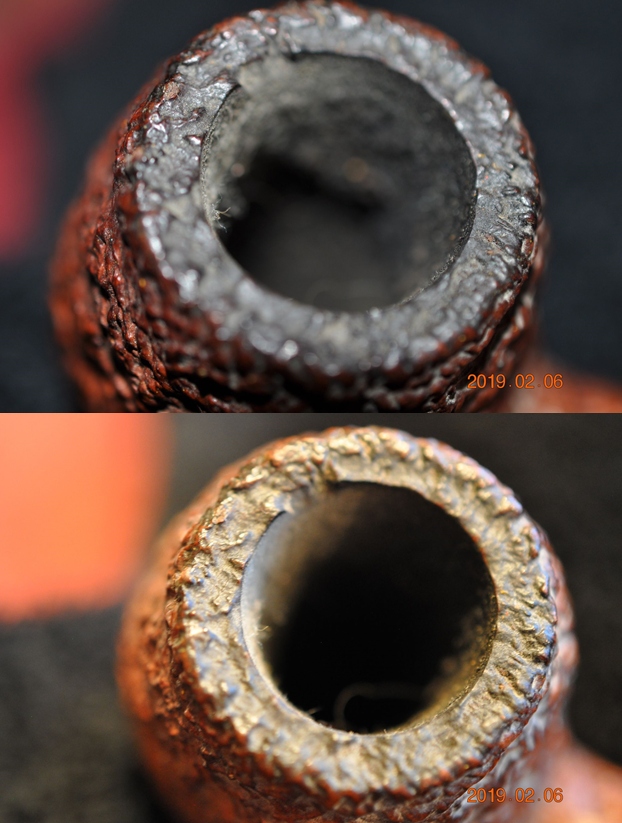
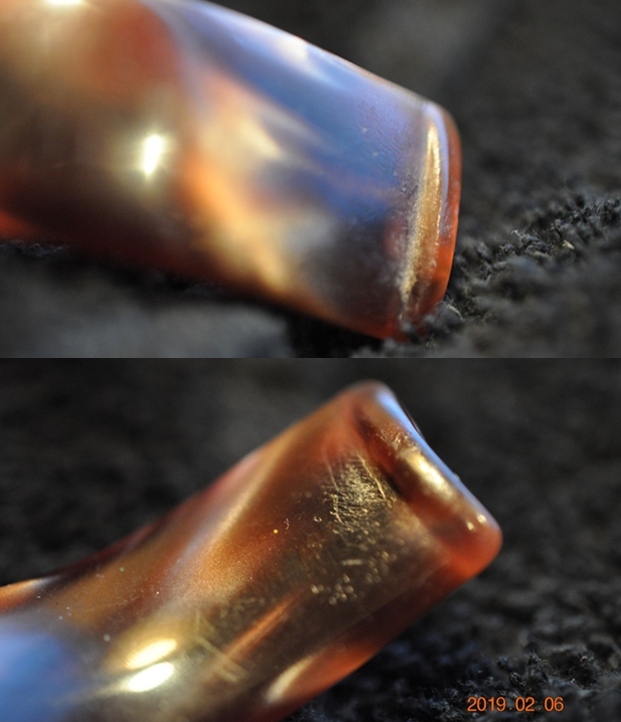
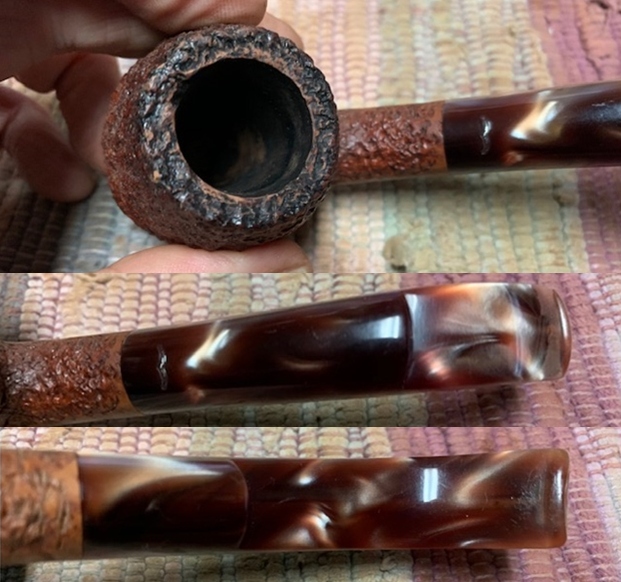
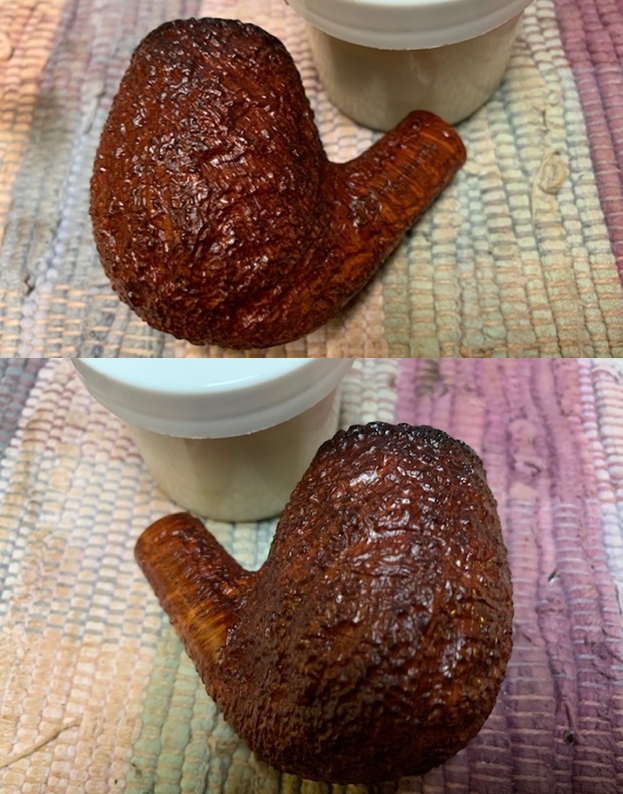
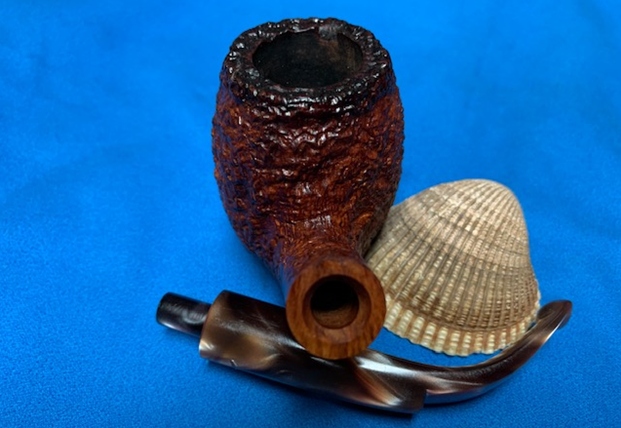
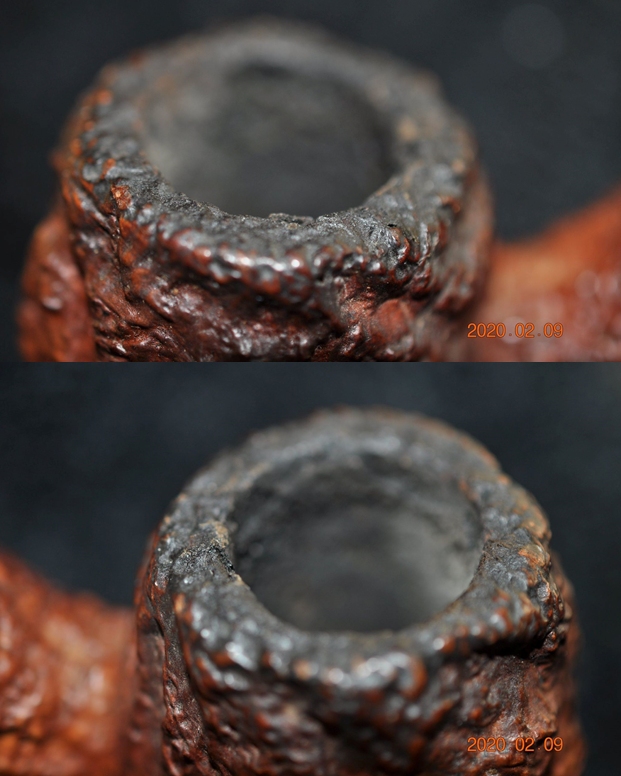
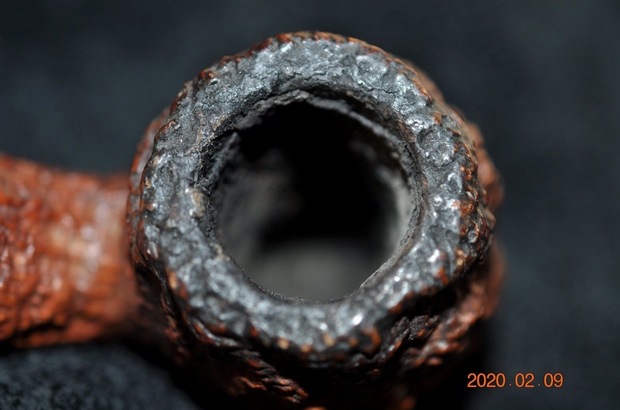
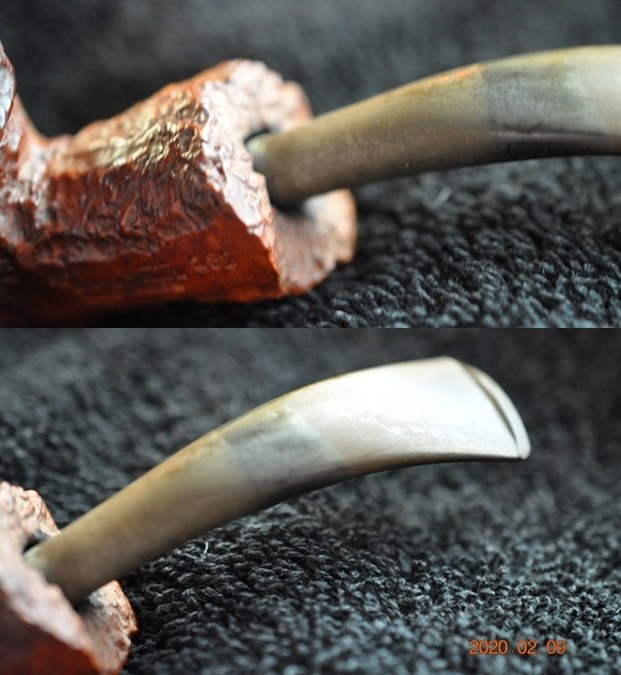
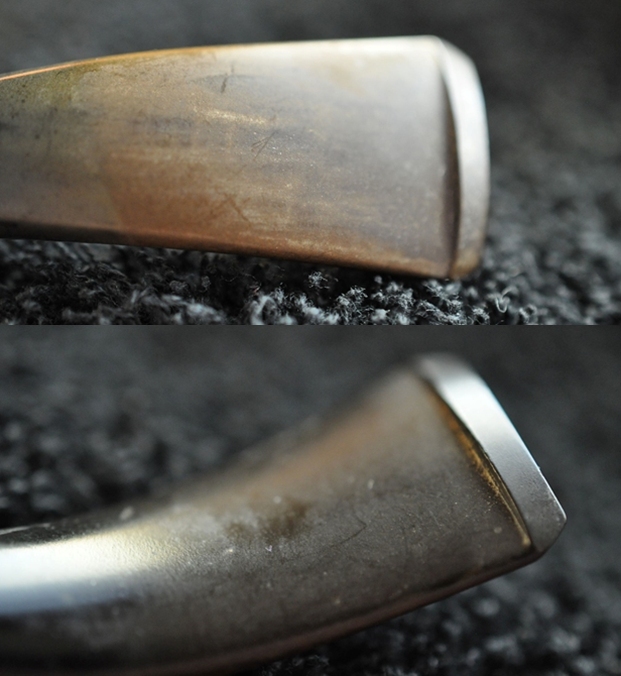
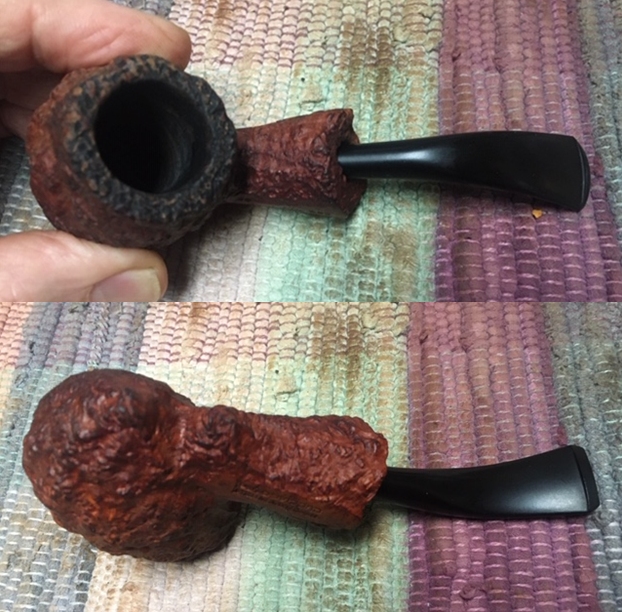
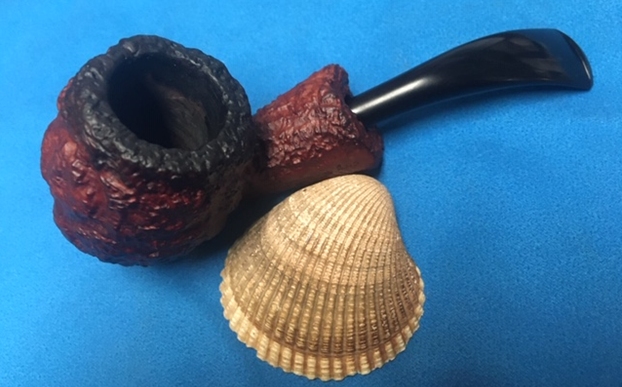
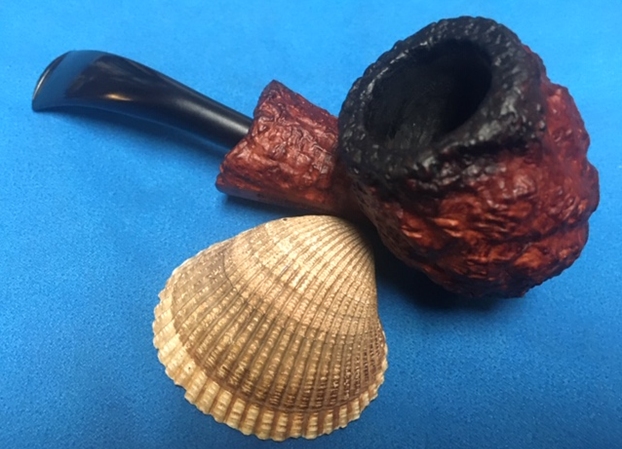
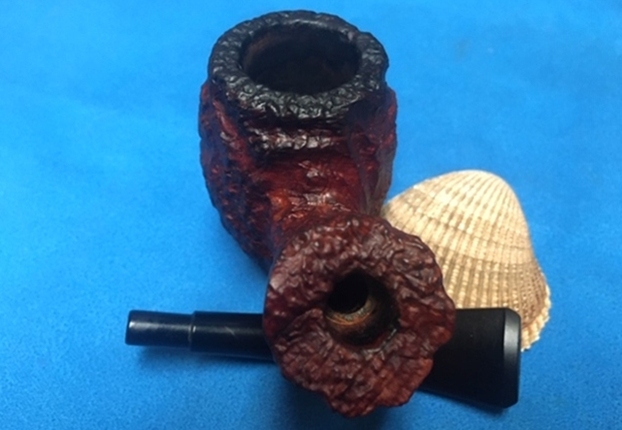
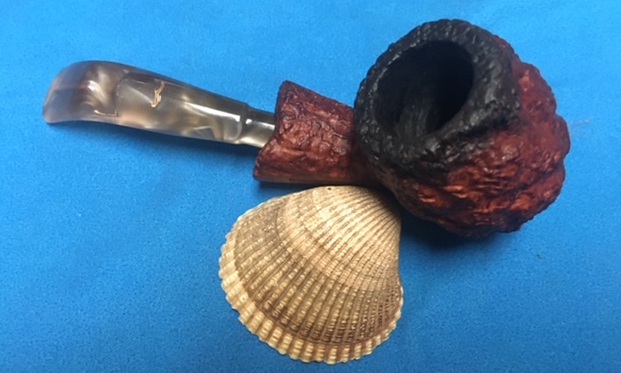
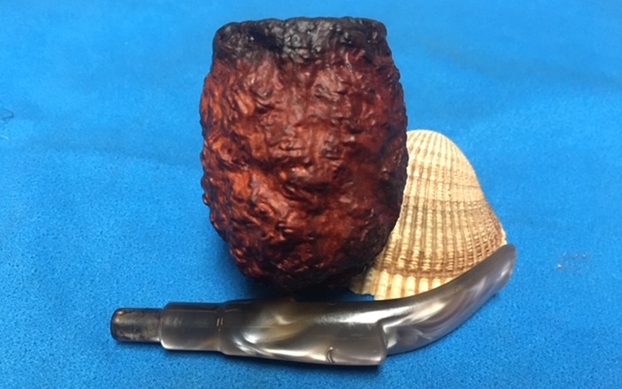
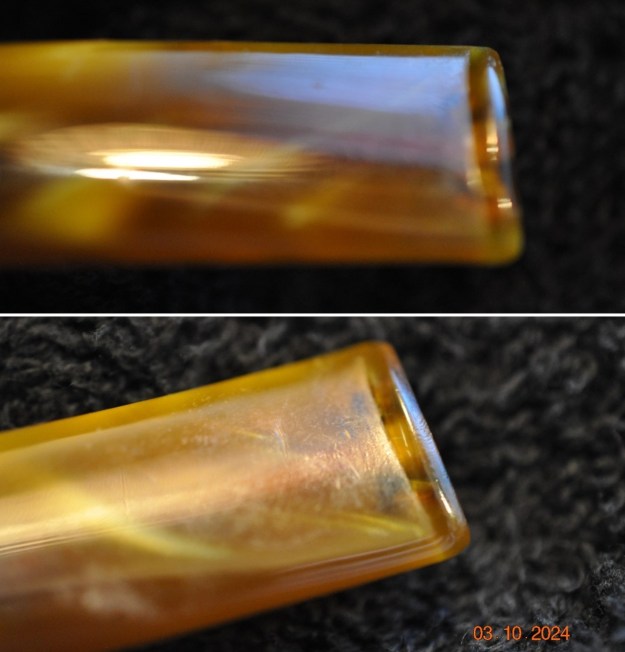
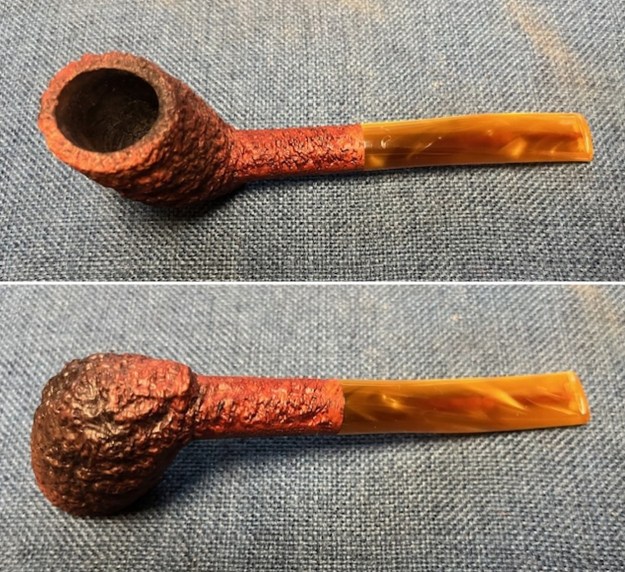
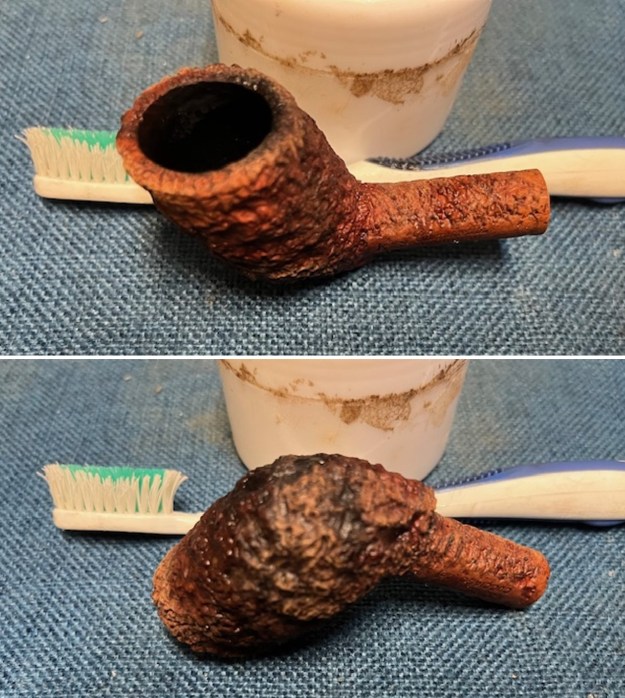
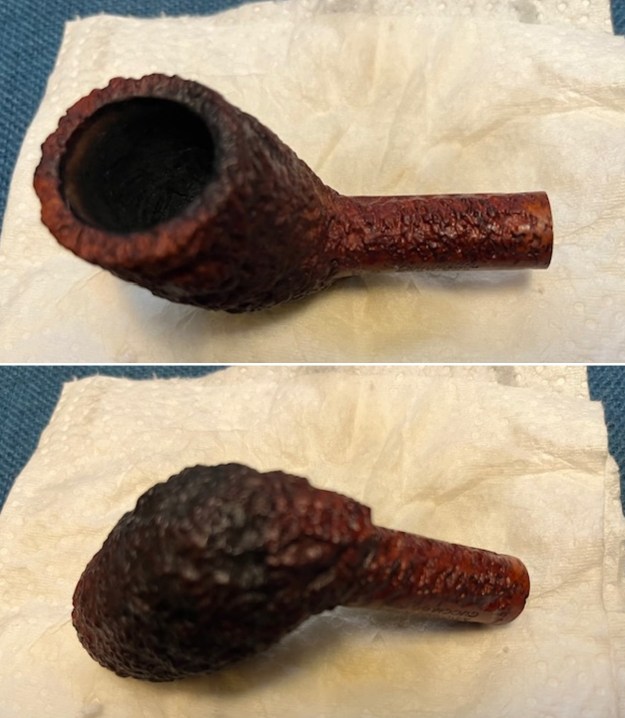
 He took some photos of the rim top and bowl from various angles to give me a clear picture of the condition of the rim top and bowl. You can see that the pipe has been heavily smoked and that the cake and lava were very heavy. He included photos that show the top and underside of the stem. It is as described above.
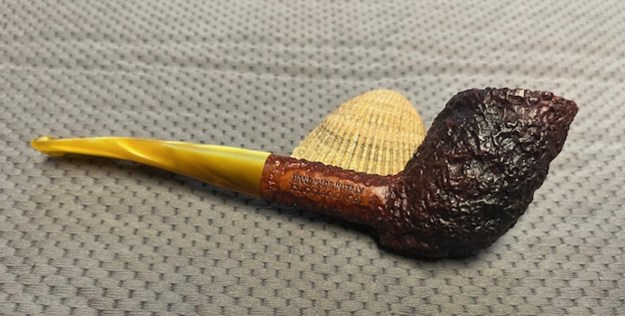
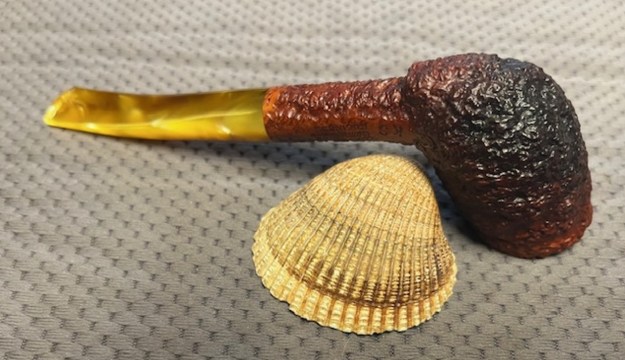
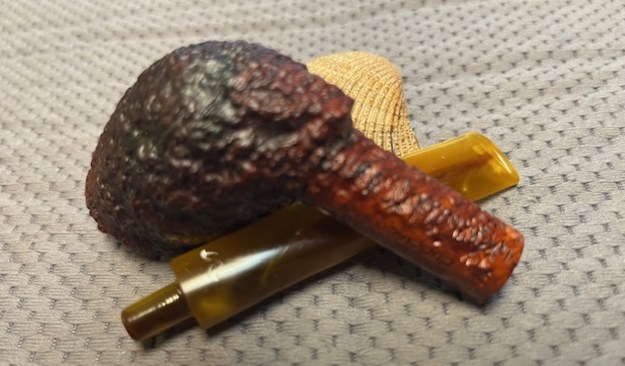
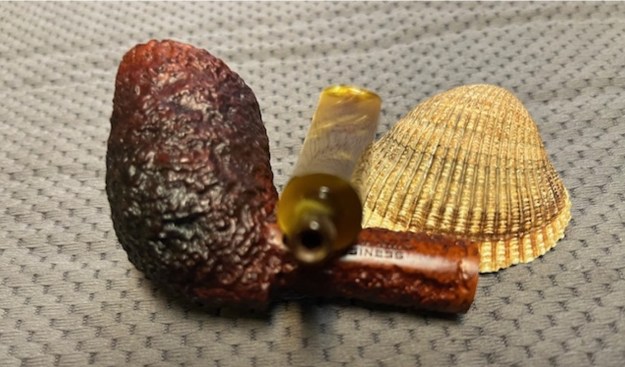
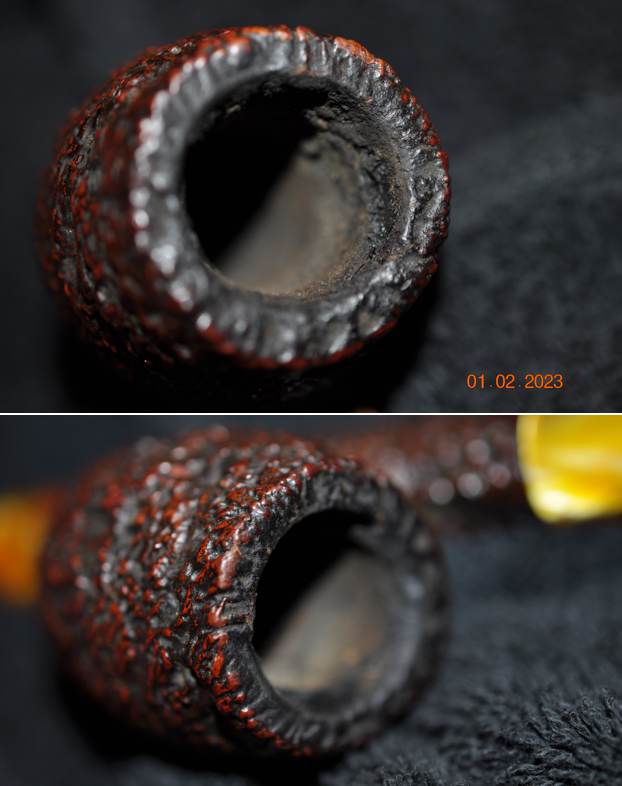
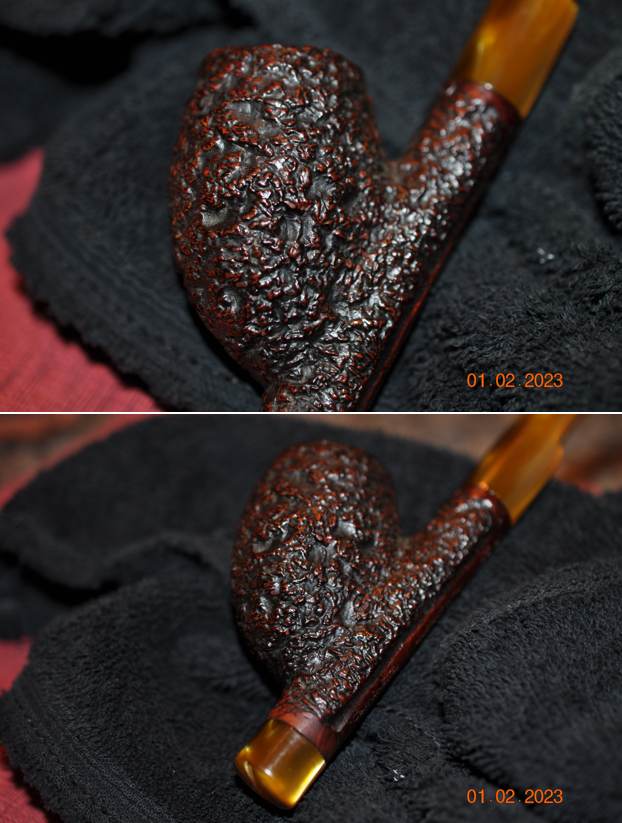
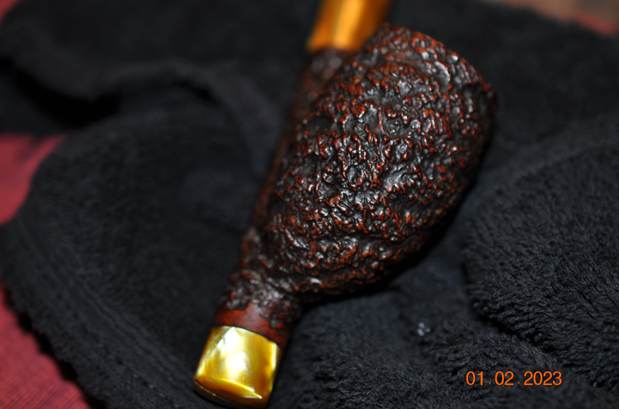
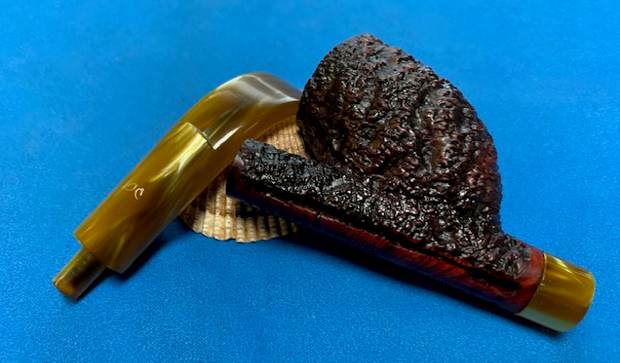
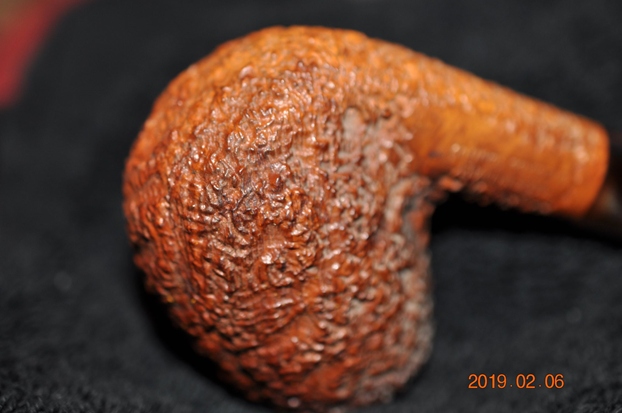
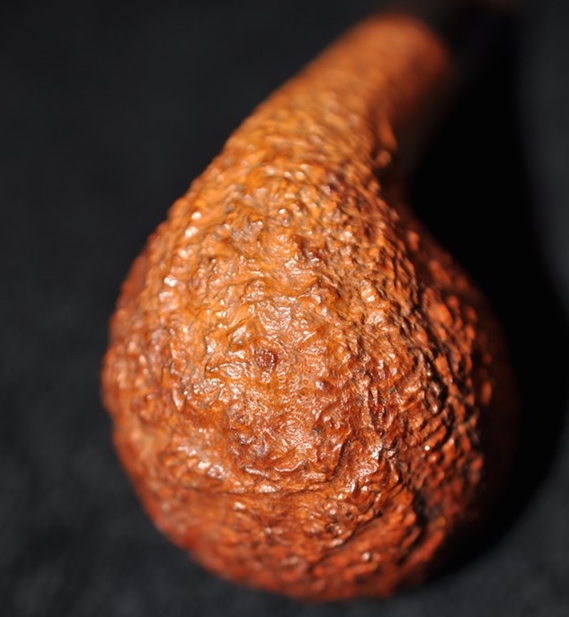
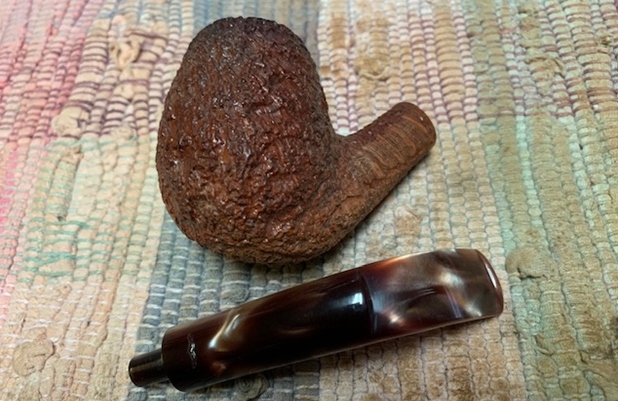
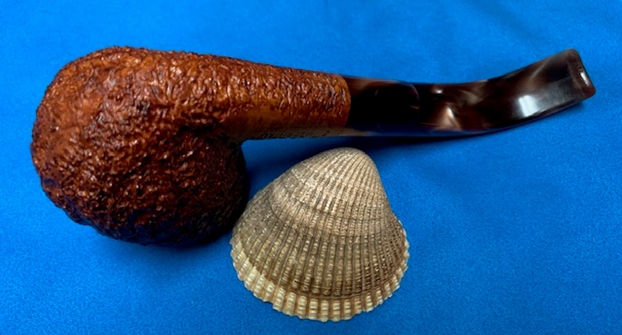
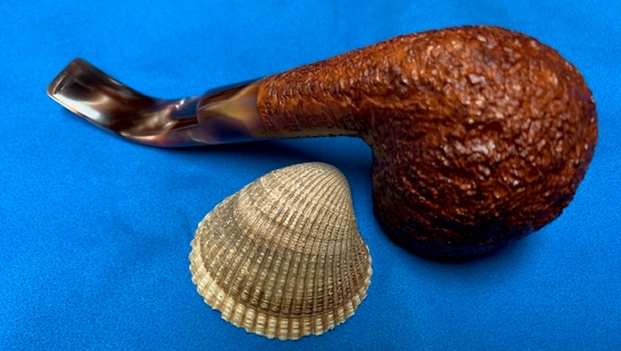
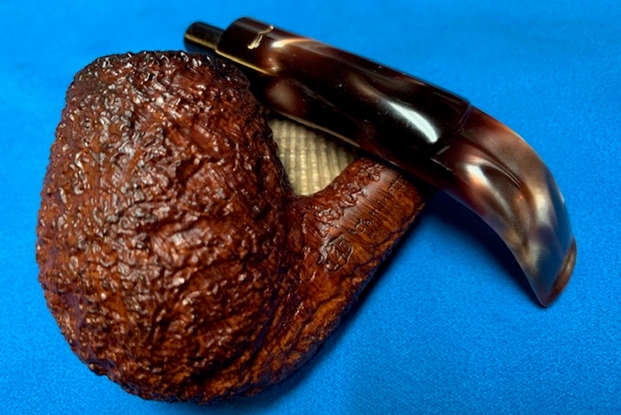
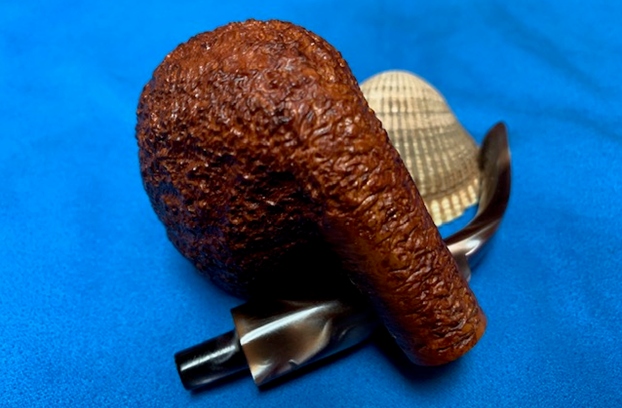
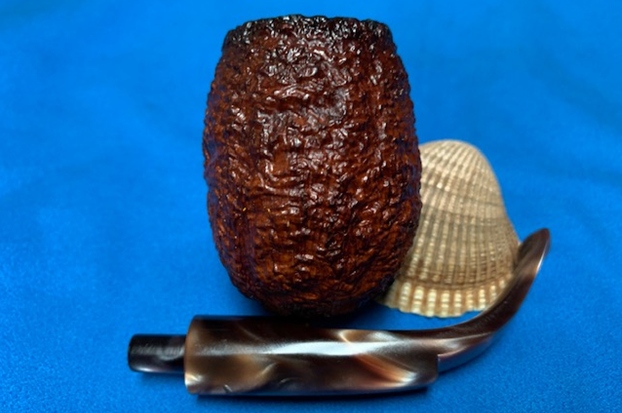
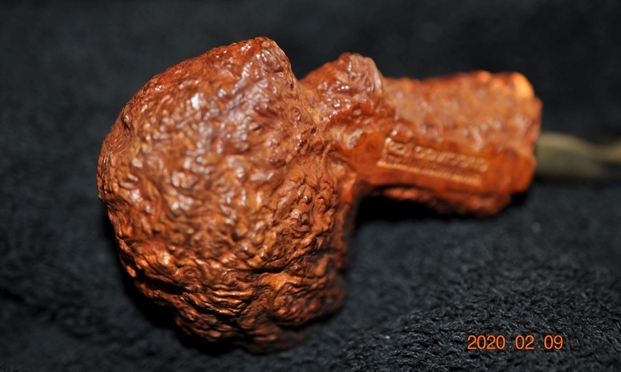
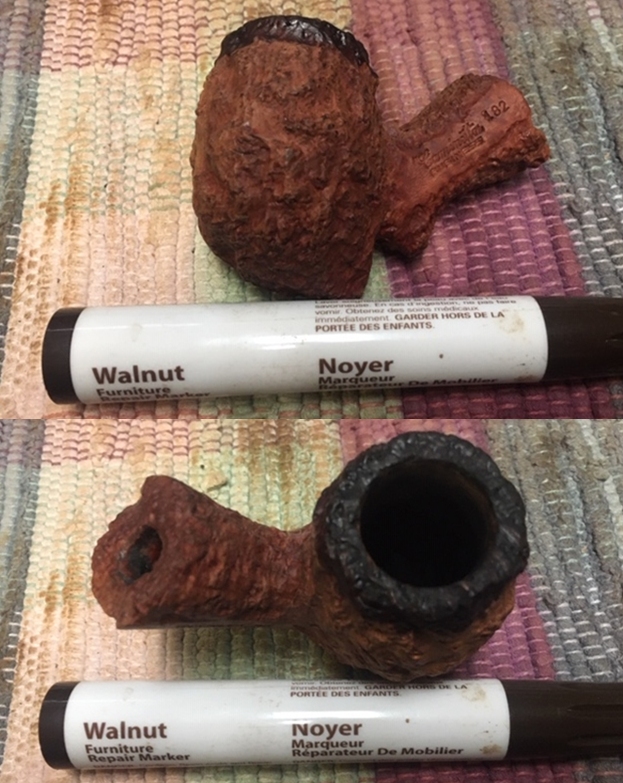
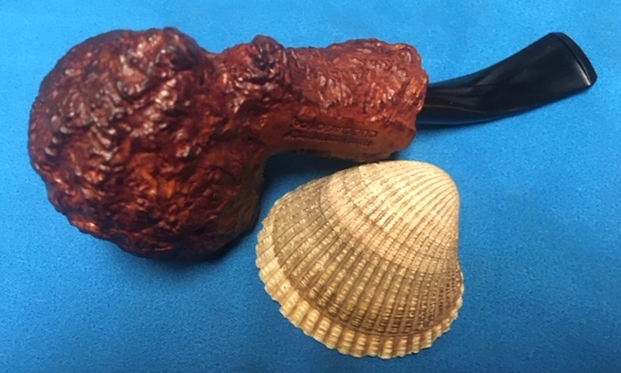
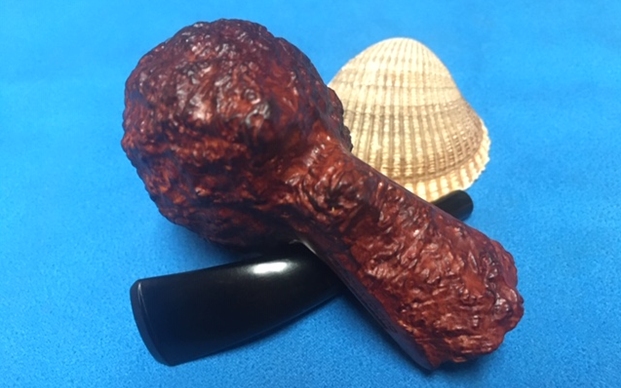
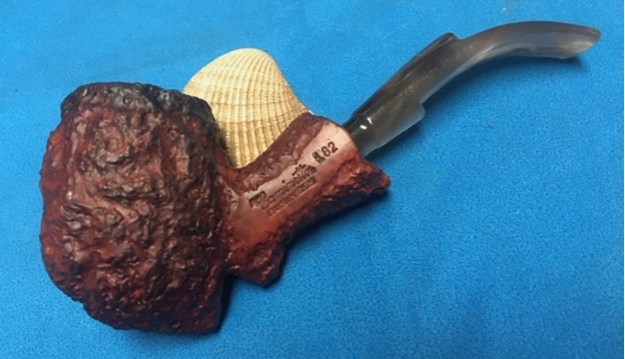
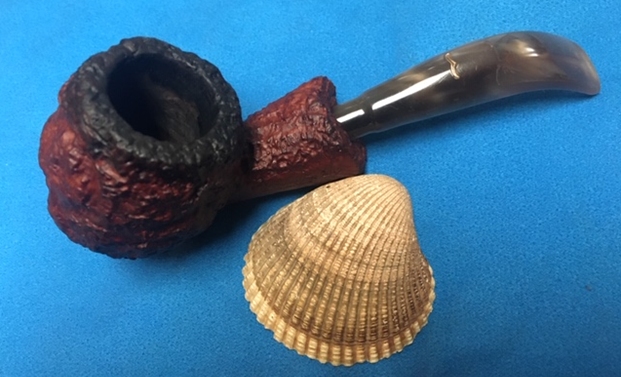
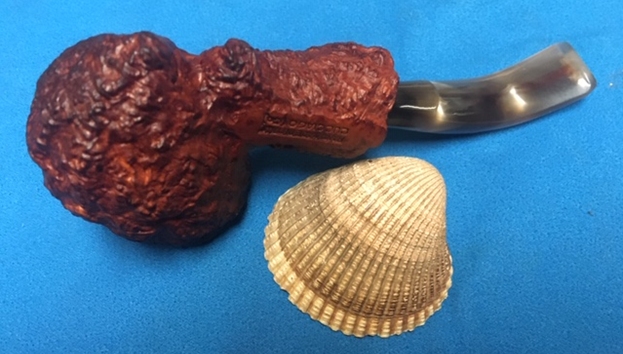
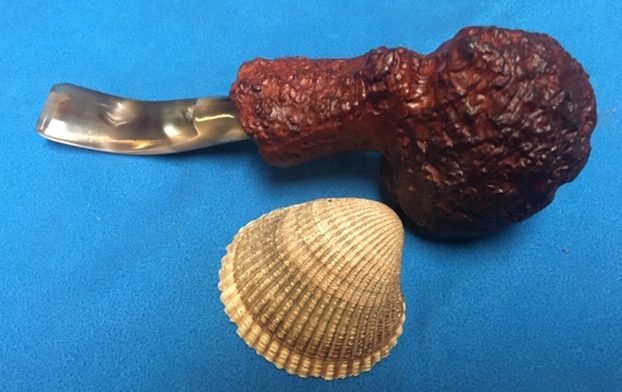
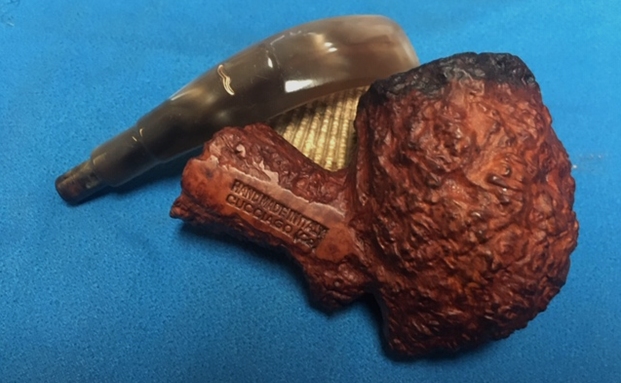
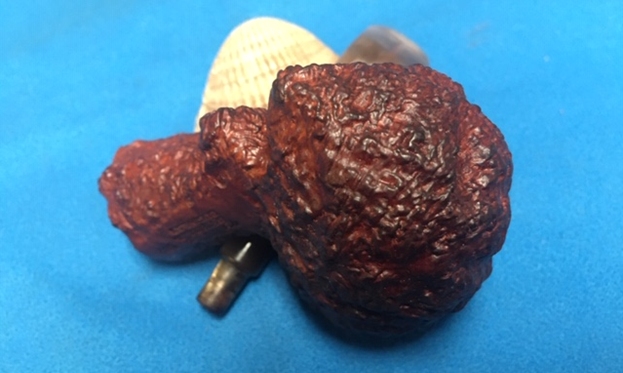
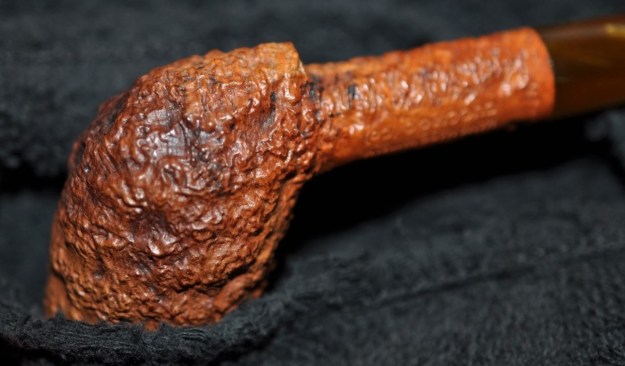
 Jeff took some photos of the sides and heel of the bowl to show the condition of the finish on the pipe. The photos showed some great rustication around the bowl and shank even with the grime in the finish. You can see the darkening in the heel of the bowl. It is a great looking pipe.
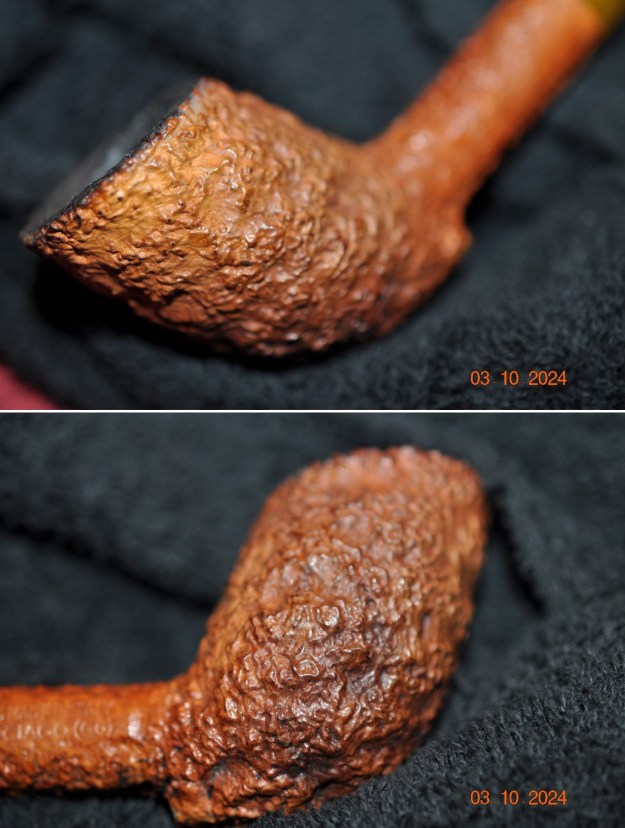
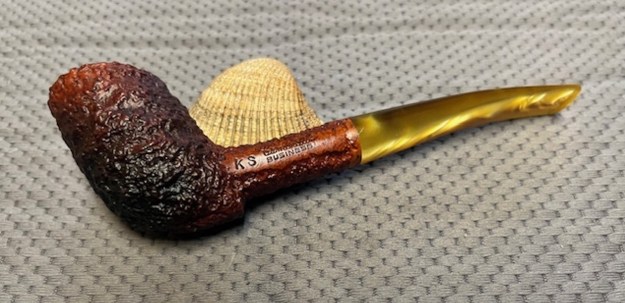
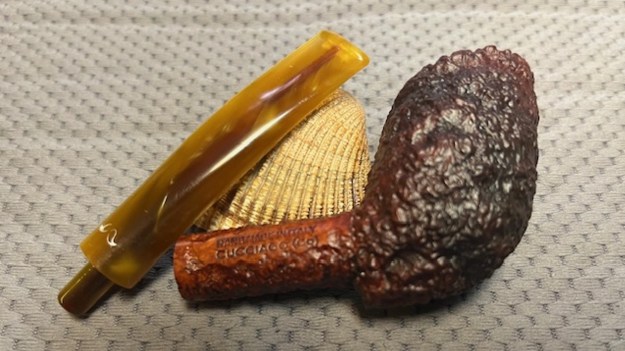
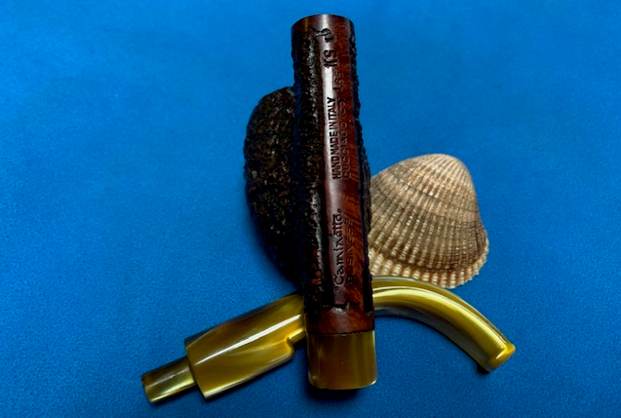
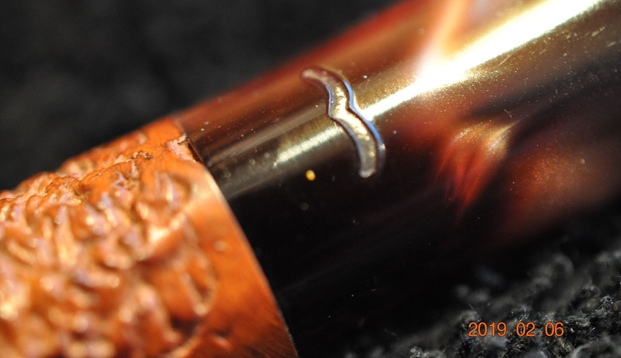
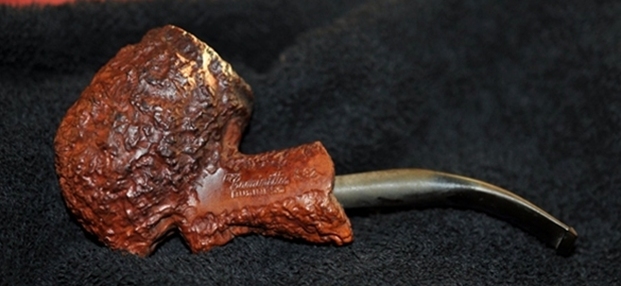
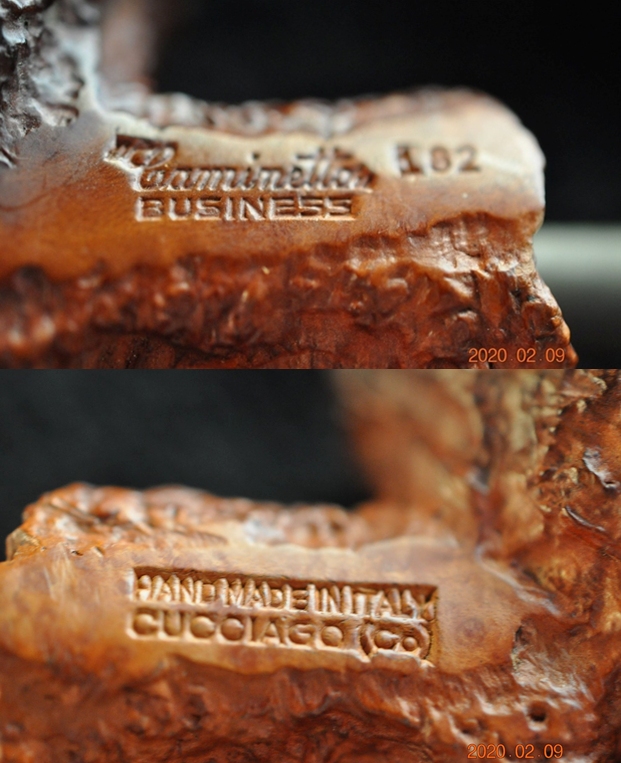
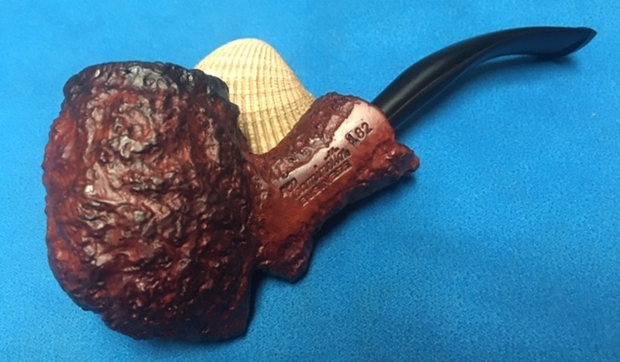
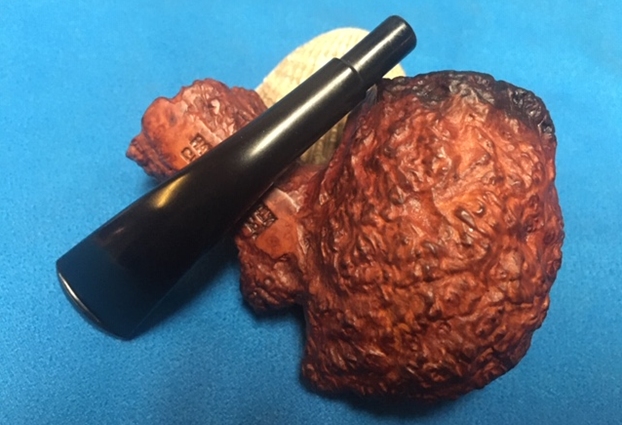
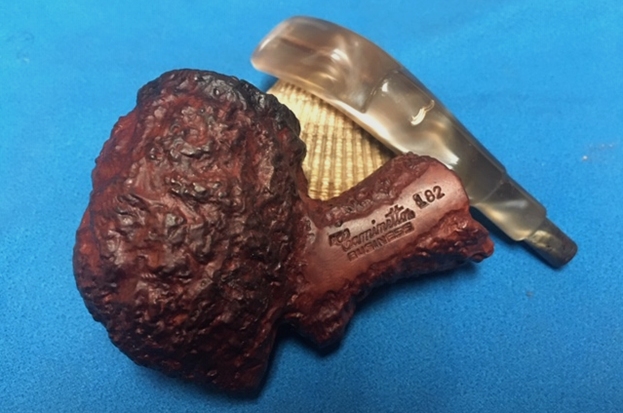
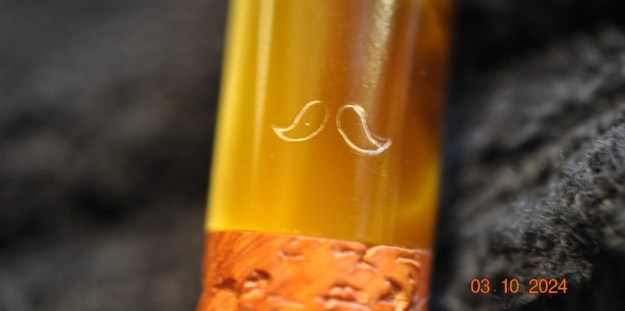
 He took photos of the stamping on the sides of the shank. It was clear and readable as noted above. He also took a photo of the moustache stamp on the top of the stem.
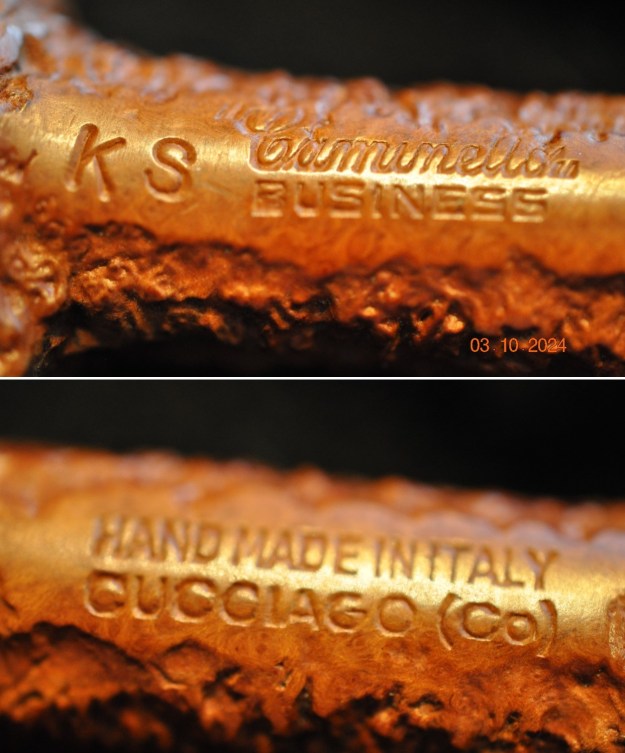
 I have worked on several Caminetto in the past so I turned to one of the restorations on the rebornpipes blog and reread the background information on the brand. I am including that info here with this restoration (https://rebornpipes.com/2020/04/19/pretty-tired-and-dirty-messy-restoration-of-a-caminetto-business-tomahawk-182/).
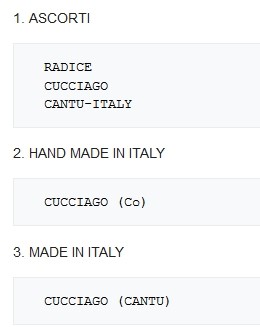
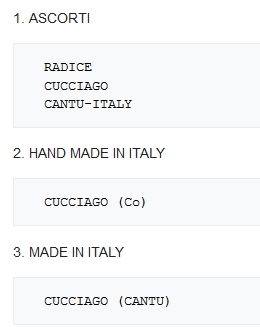
When the pipe arrived I turned to Pipephil (http://www.pipephil.eu/logos/en/logo-c1.html) to see if he included not only information on this Caminetto Business 182. He gave some interesting information about the brand. It was created in 1986 by Guiseppe Ascorti, Luigi Radice and Gianni Davoli as the distributor. It states that in 1979 the first Caminetto period ended with Luigi Radice leaving the company. Guiseppe Ascorti continued making the pipe with his son Roberto. In 1986 the New Caminetto period began by Roberto Ascorti. I turned to Pipedia for more information on the Caminetto and how to date the pipe I had in hand (https://pipedia.org/wiki/The_History_of_Caminetto_(shapes,_stamping,_articles,_etc.). I quote a pertinent paragraph:
 Stampings and dating: First off, dating earlier Caminetto’s is nearly impossible. Nevertheless, there were three phases, some in which were much earlier, of development that occurred in the stamping process of Caminetto. Before that though, every pipe had the stamp of Caminetto in one of two ways: Caminetto in script or Caminetto within quotation marks in block letters (I do not know how it was decided which pipe got which stamp, as I have had EARLY Caminetto’s with both)…
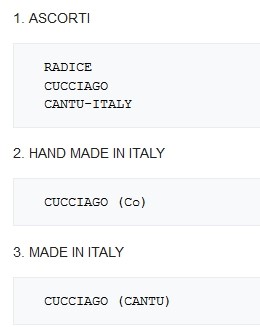
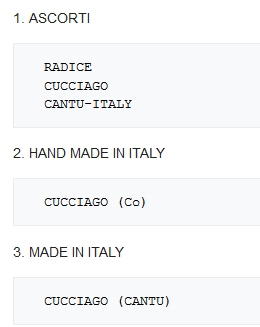
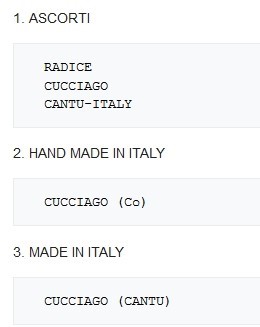
…Now, the question is which stamps are earlier and more likely to have been made by Ascorti and/or Radice. The answer is #1. The differences in #2 and #3 seem to be minute, as Cucciago is simply a suburb of Cantu. Pipes stamped like #1 are the most valuable Caminetto’s as they are the earliest production of the brand, as well as what some would claim the most perfect of Ascorti and Radice’s work. The last tidbit is, of course, debatable…
… There is also another factor in stamping, that is, which series the pipe falls in. The majority of Caminetto’s one sees are those of the “Business” series, which are stamped such with their collective shape (see photo of shapes below). Another stamp that sometimes follows the “Business” one is “KS,” which from what I know means “King-size” (this could be wrong, as there are pipes stamped with KS1, KS2, and KS3).
The pipe I am working on is stamped like #2 above. Hand Made in Italy [over] Cucciago (Co). It is also stamped KS which means King-size.
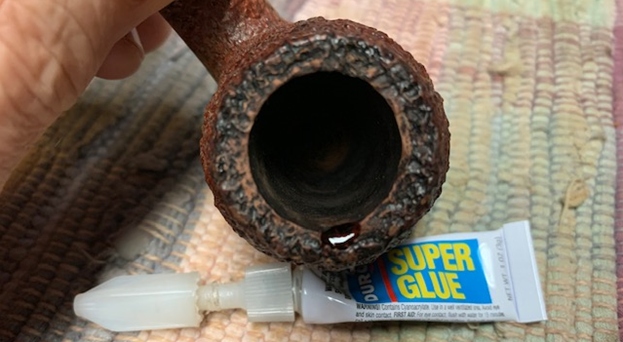
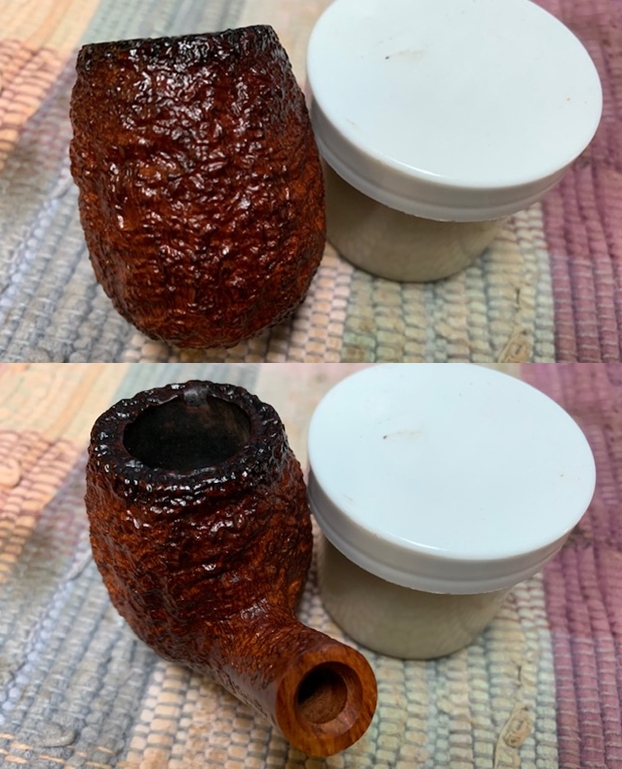
Now it was time to look at it up close and personal. Jeff had done an amazing job in removing all of the cake and the lava on the rim top. He had reamed the bowl with a PipNet Pipe Reamer and cleaned up the remnants with a Savinelli Fitsall Pipe Knife. He took the cake back to bare briar so we could check the walls for damage. He scrubbed the exterior of the bowl with Murphy’s Oil Soap and a tooth brush to remove the grime on the bowl and rim and was able to remove the lava and dirt. He cleaned out the interior of the bowl and shank with pipe cleaners, cotton swabs and alcohol until they came out clean. He cleaned the stem with Soft Scrub to remove the grime on the exterior and cleaned out the airway with alcohol, cotton swabs and pipe cleaners. I took photos of the pipe before I started my part of the restoration.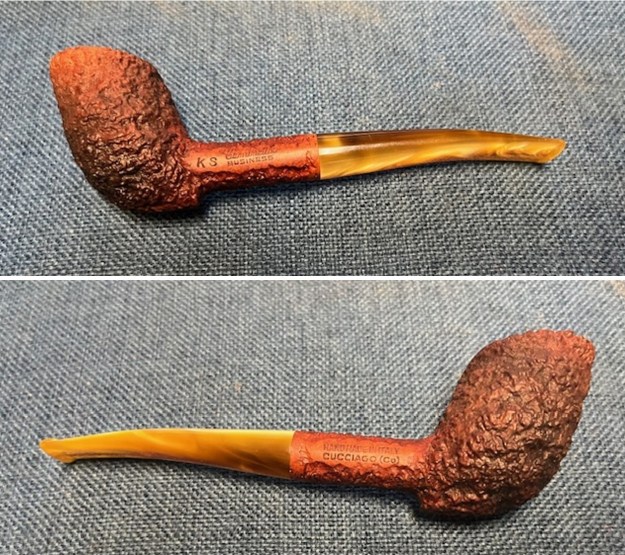
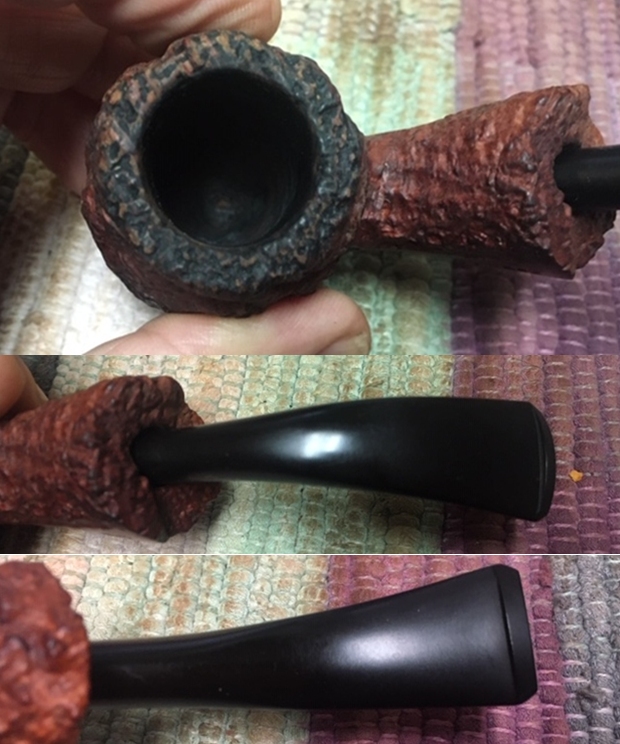
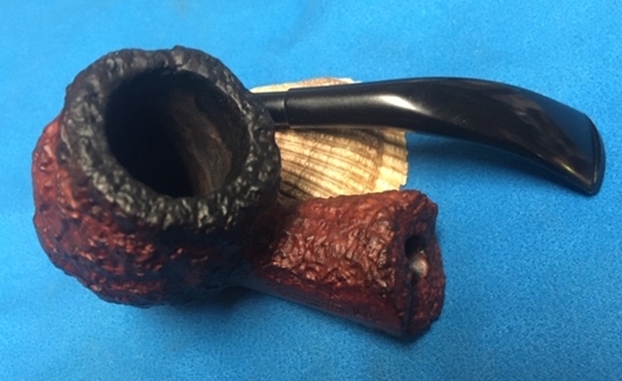
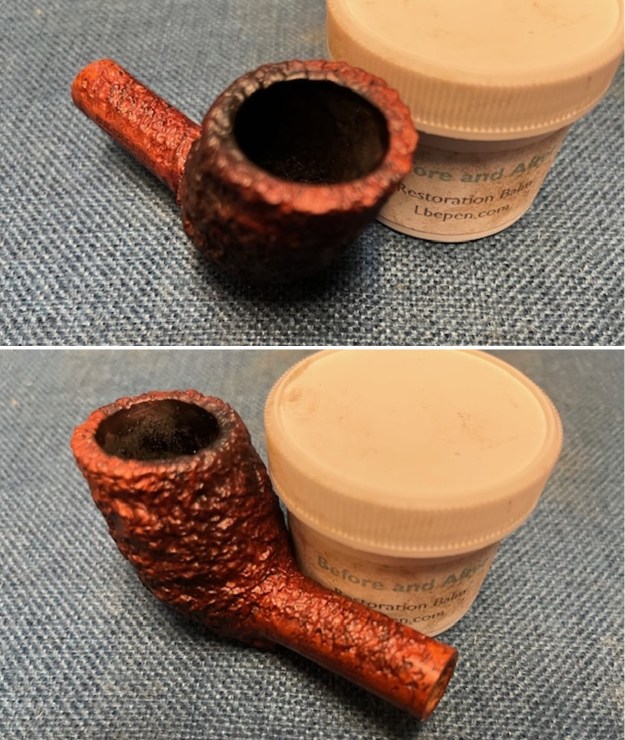
 I took close up photos of both the rim top and the stem. Jeff had been able to get the grime and lava off of the rim top and it looked pretty incredible. Even the darkening and marks on the rim top on the right side look much better. The stem looked very clean. The tooth marks and chatter were minimal and predominantly on the underside near the button. They should be easy to remove.
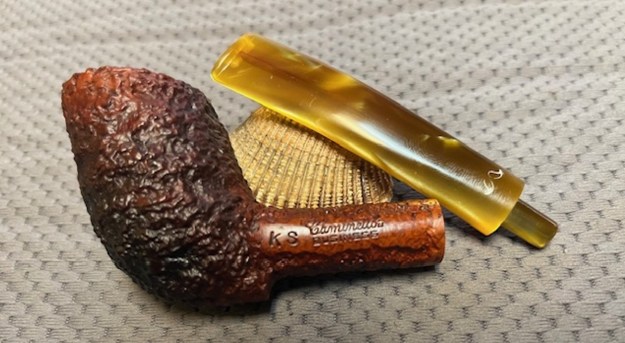
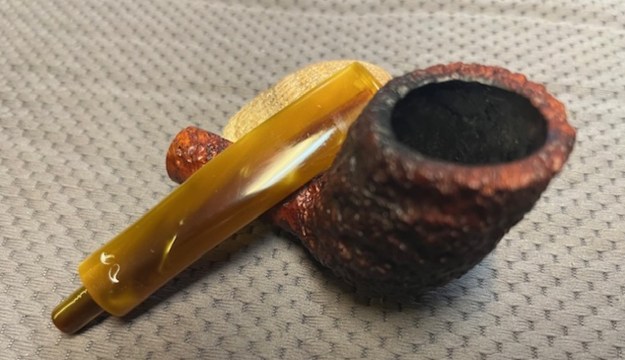
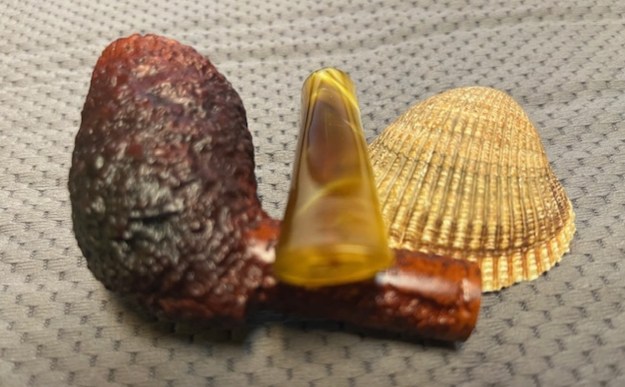
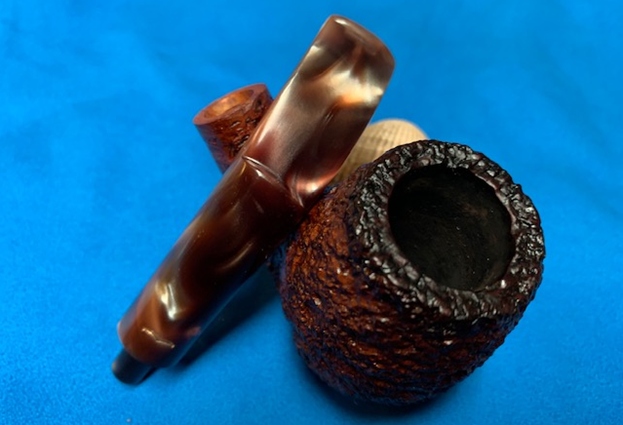
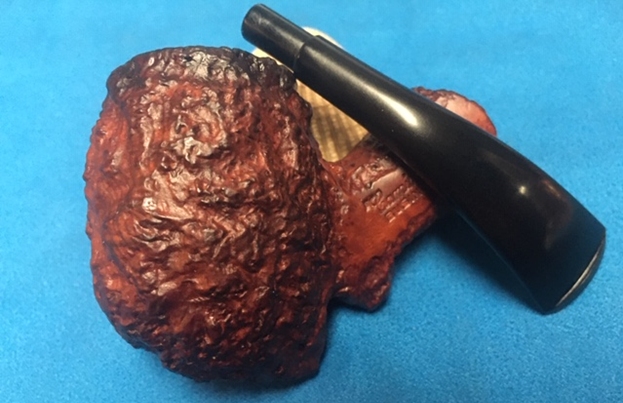
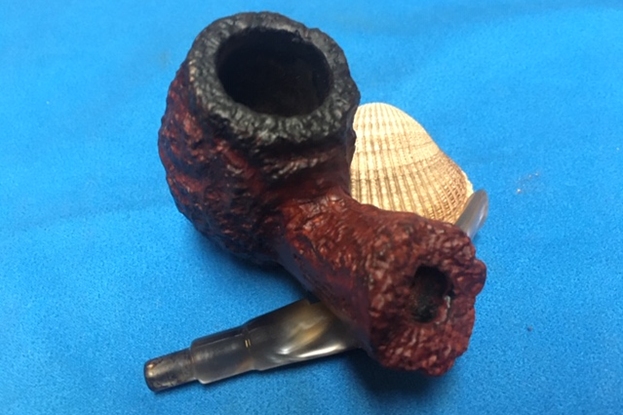
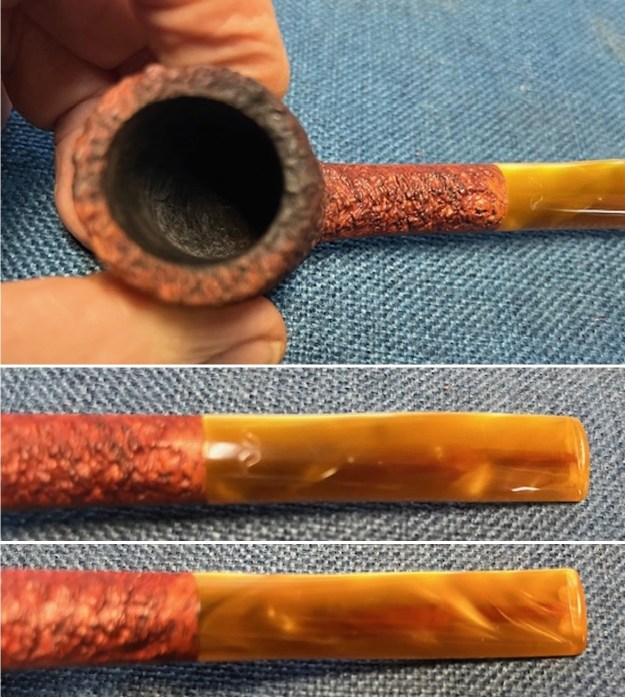 The stamping on the sides of the shank were readable as noted above. I took a picture of the moustache stamp on the top of the acrylic stem. I also took a photo with the stem removed to give an idea of the perspective and design of the pipe.
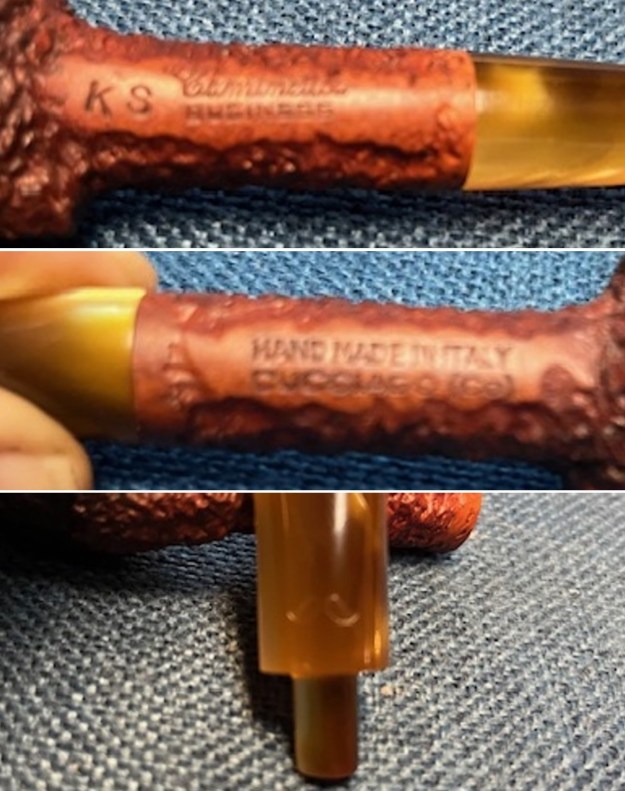
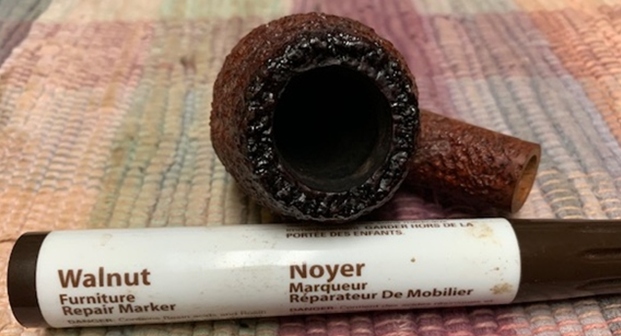
 I started my work on the pipe by addressing the slight darkening on the top and the edge of the bowl with a brass bristle wire brush. I worked over the darkening in the rustication around the bowl heel with a tooth brush and Before & After Briar Cleaner to remove the darkening on the heel of the bowl and the rim top. I rinsed it with warm water and dried it off with a dry cloth.
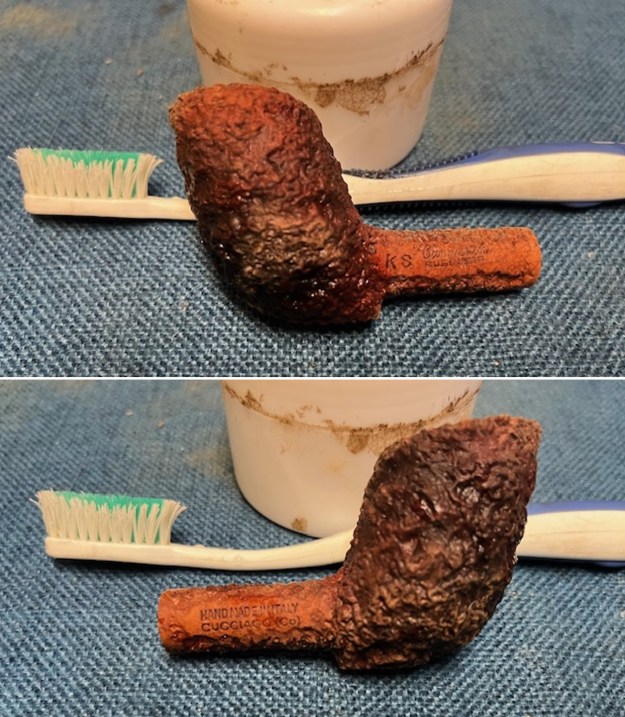
 I rubbed the bowl down with some Extra Virgin Olive Oil (EVO) to enliven the dry rusticated briar. I put it on a paper towel and worked it into the deep rustication. The pipe looks far better.
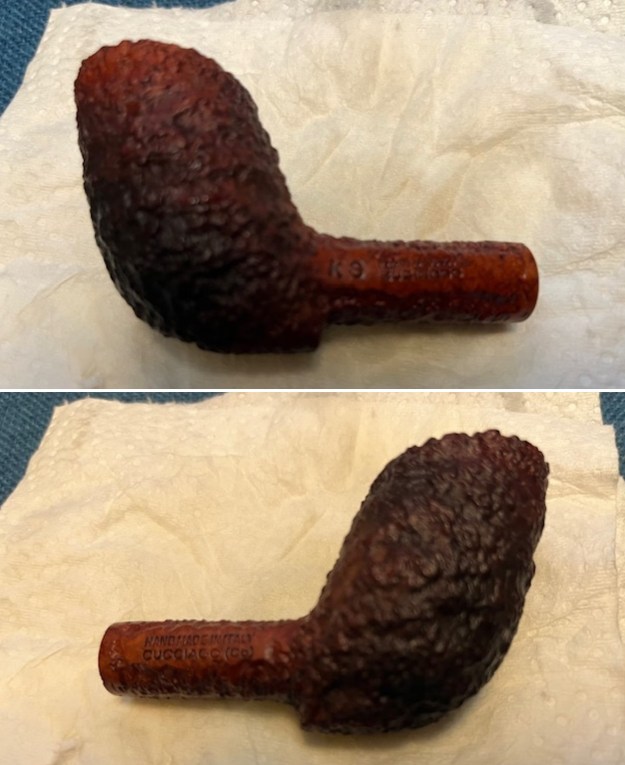
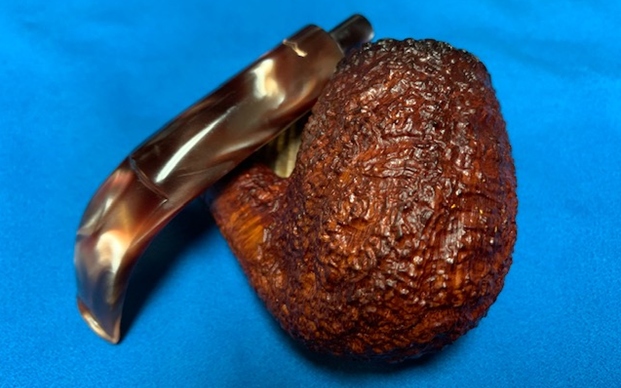
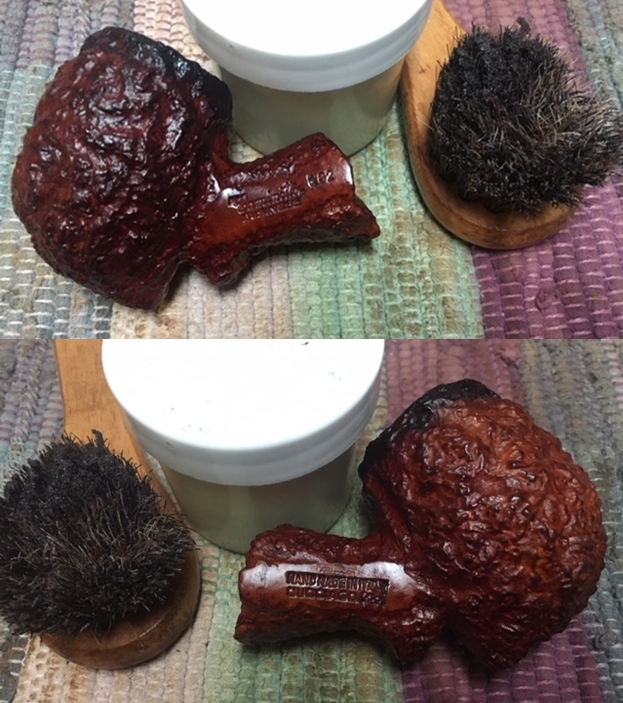
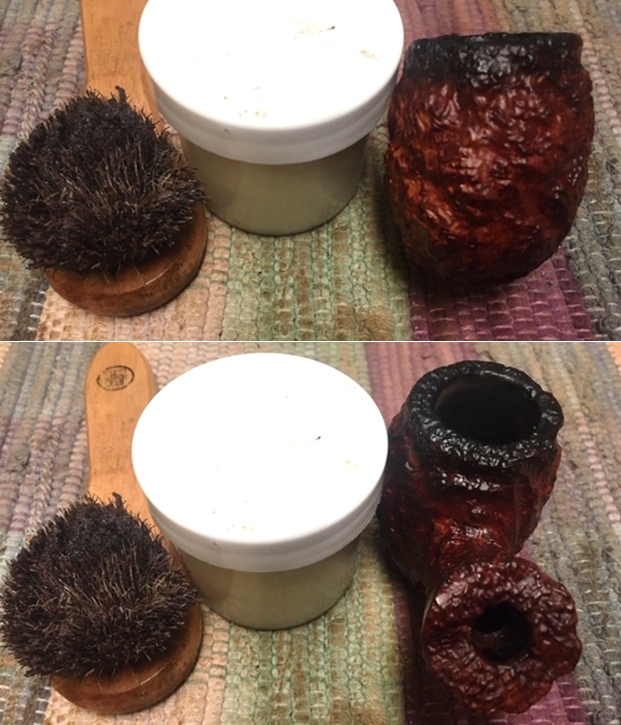
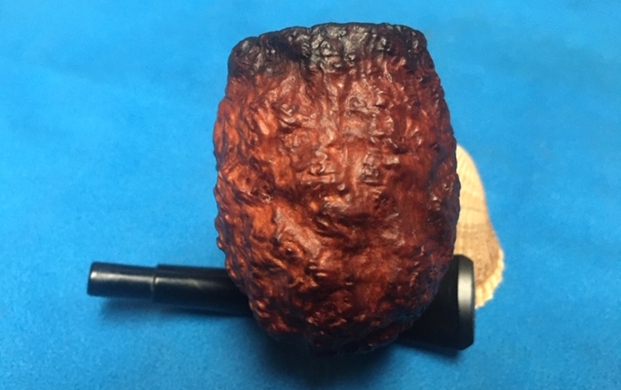
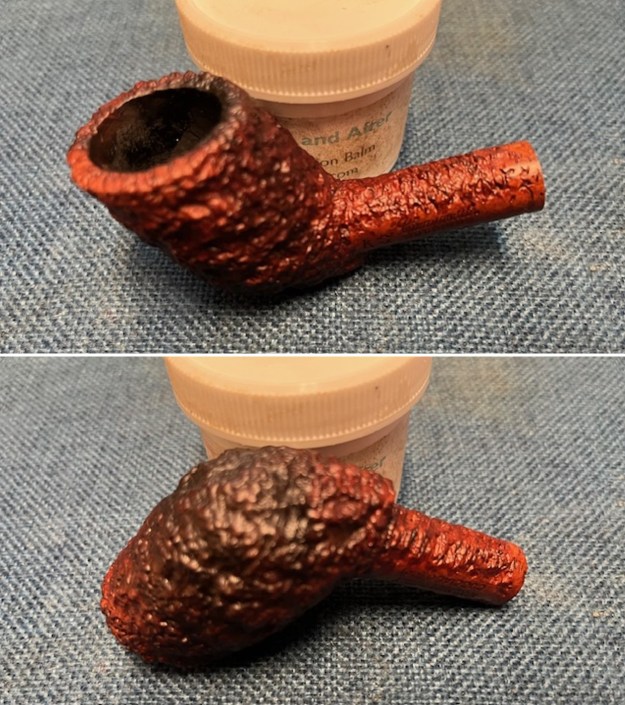
 To further enliven the briar I worked some Before & After Restoration Balm into the finish of the bowl and shank with my fingers and a horsehair shoe brush. I want the product to go deep into the finish because it works to clean, enliven and protect the briar. Once I was confident that it was deeply worked into the finish I wiped it off and buffed it with a soft cloth to polish it. The pipe really began to have a rich shine. I took some photos of the bowl at this point to mark the progress in the restoration. The finish on the pipe is beautiful in the photos below.
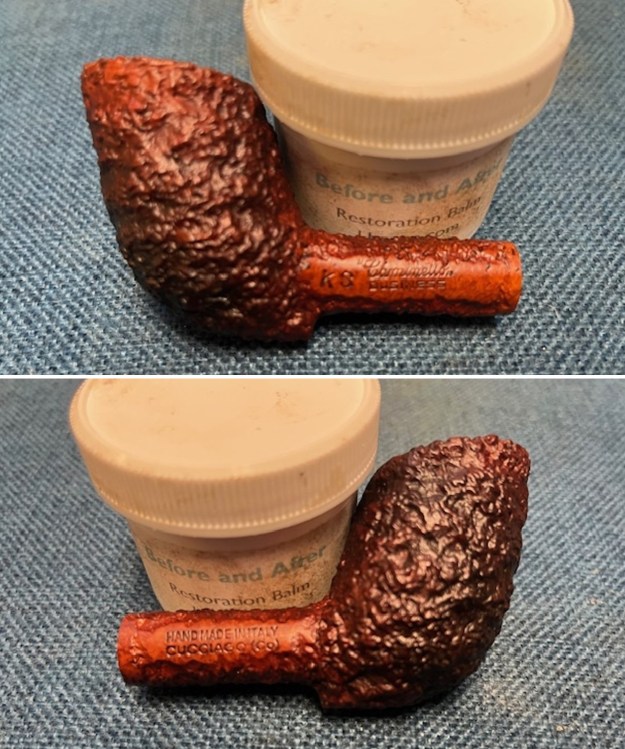
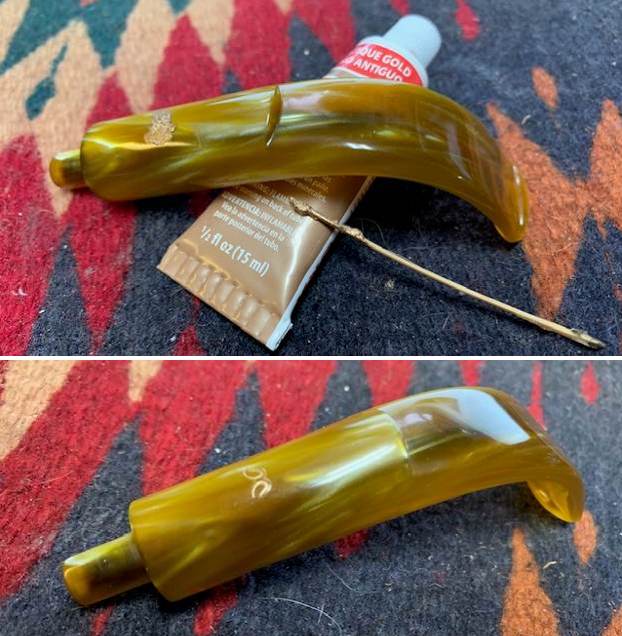
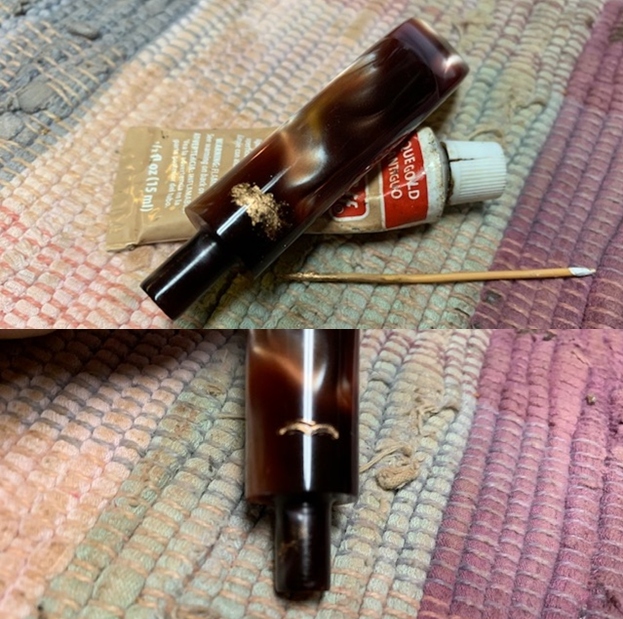
 I set the bowl aside and turned to work on the stem. I touched up the moustache stem logo on the top of the stem with white acrylic fingernail polish. It looks much better but it is shallow on the outside edges of the stamp.
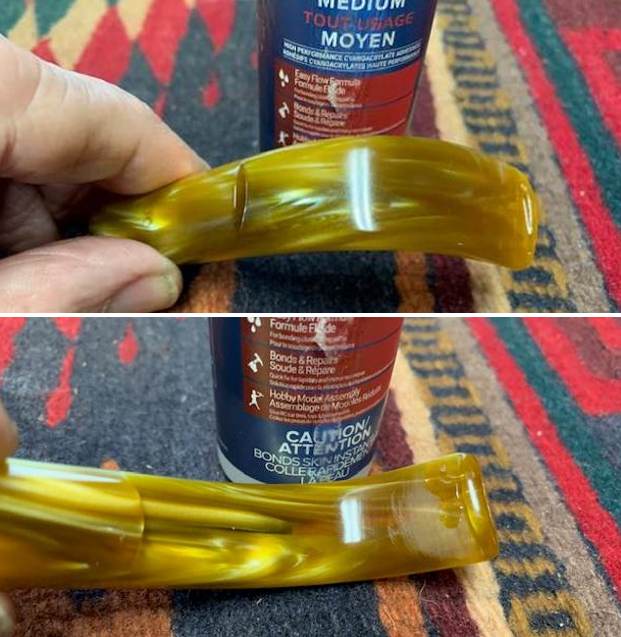
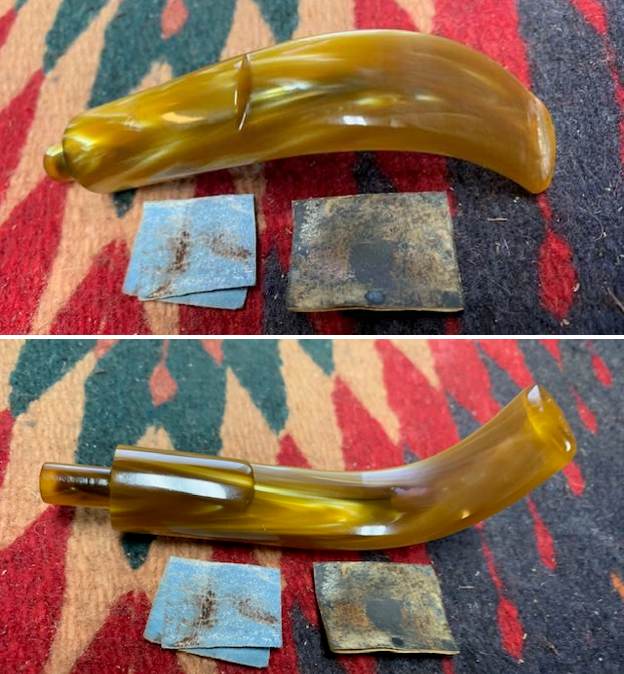
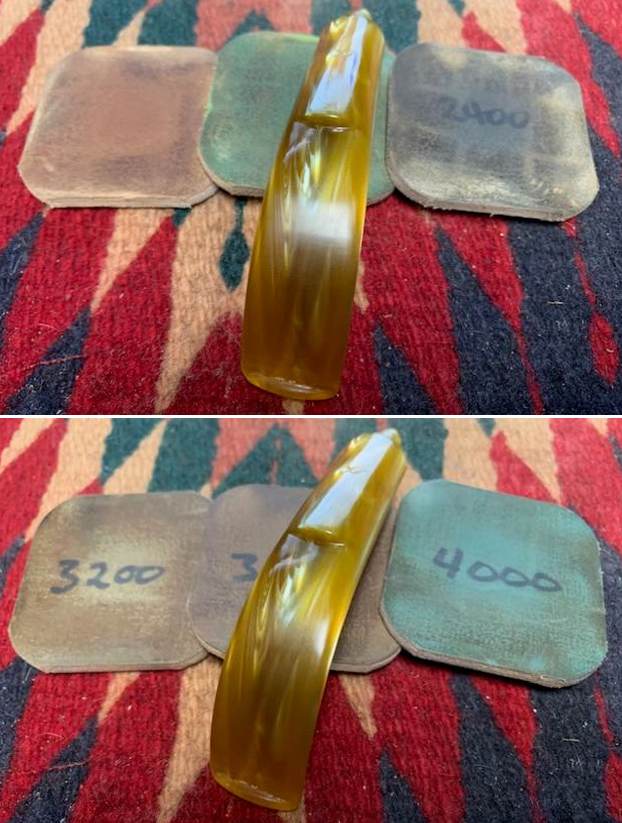
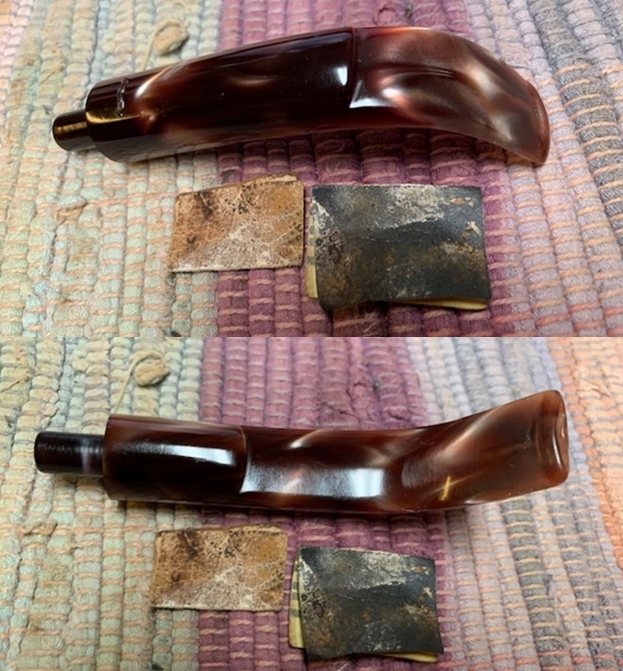
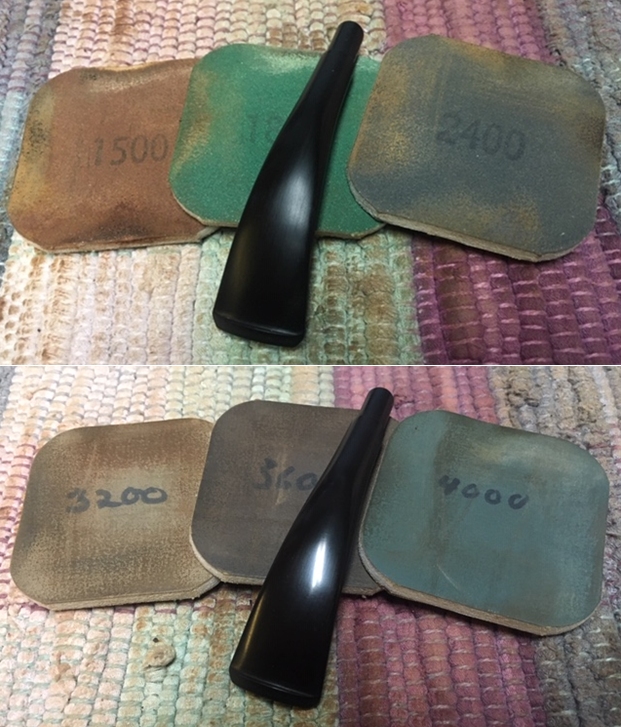
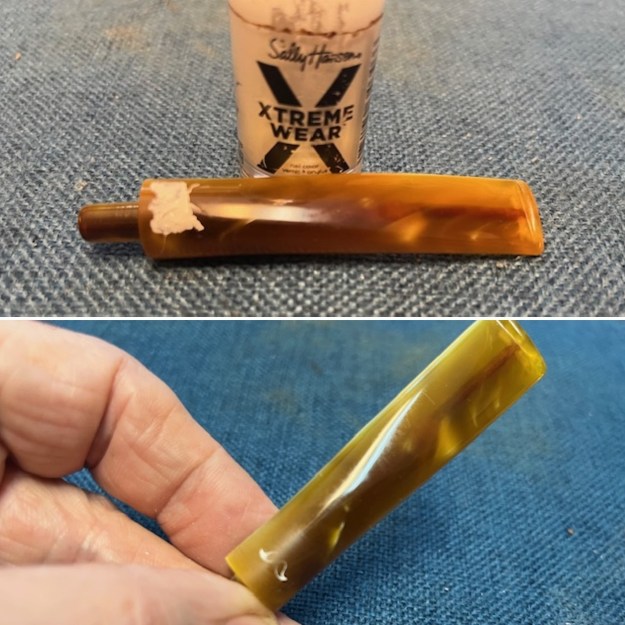 I sanded the stem with 320-3500 grit sanding pads to remove all of the tooth marks and chatter on the surface ahead of the button on the top and underside. It was looking very good.
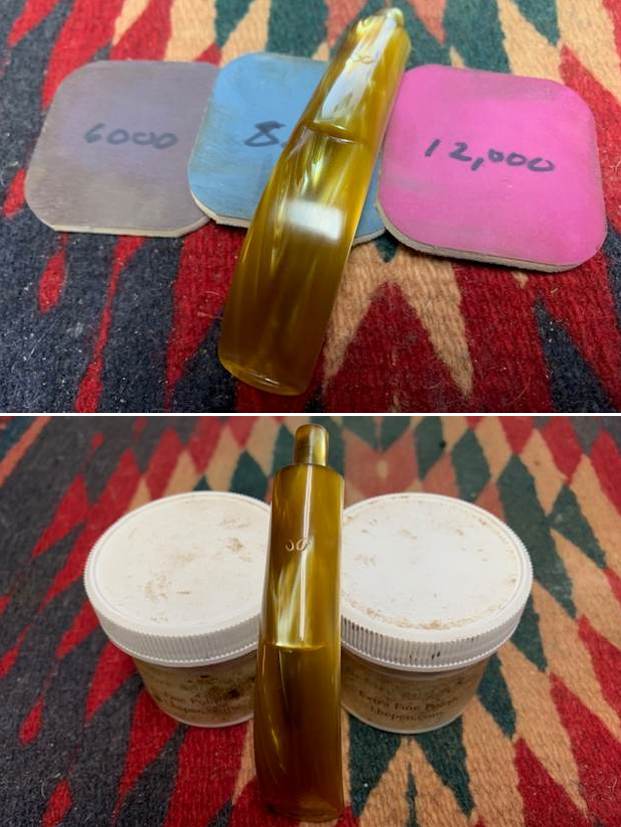
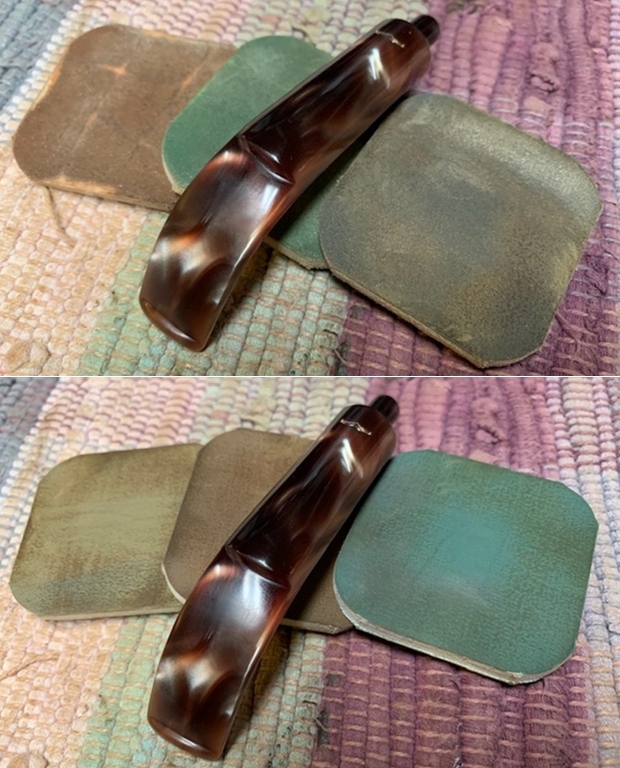
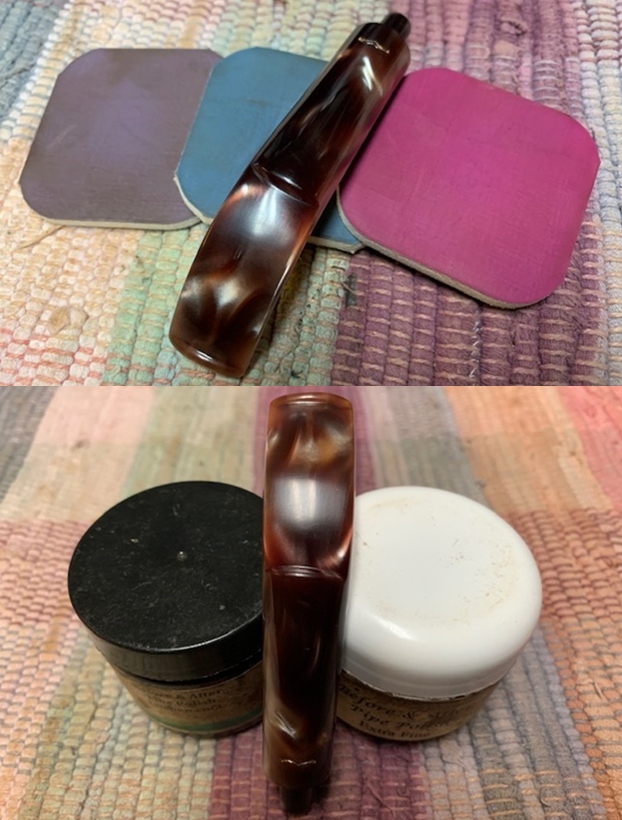
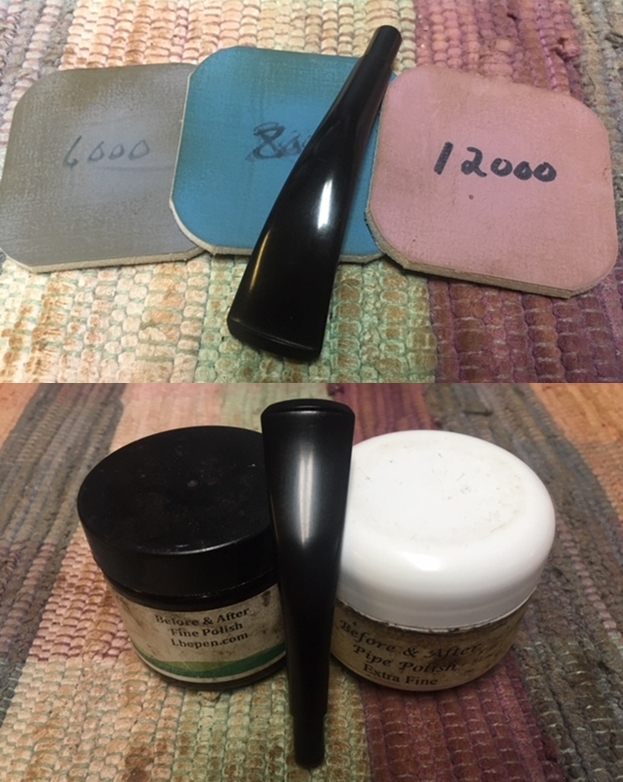
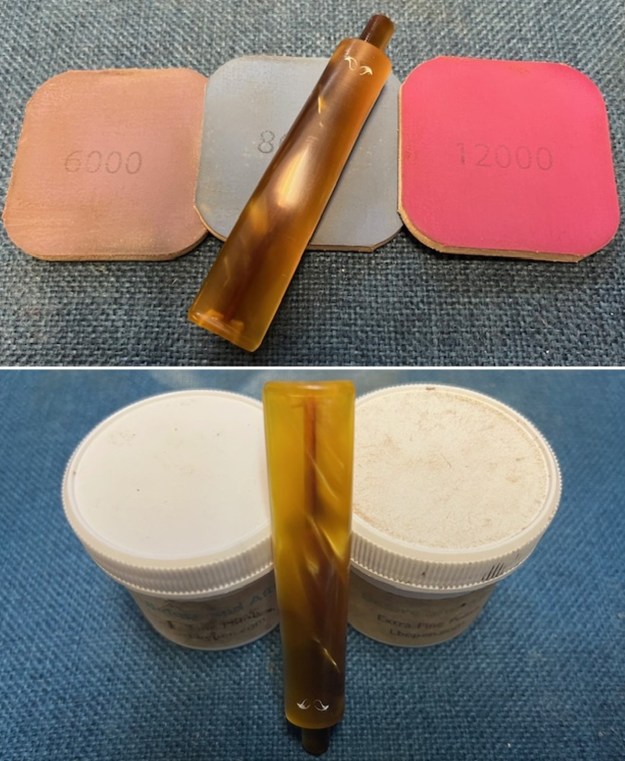
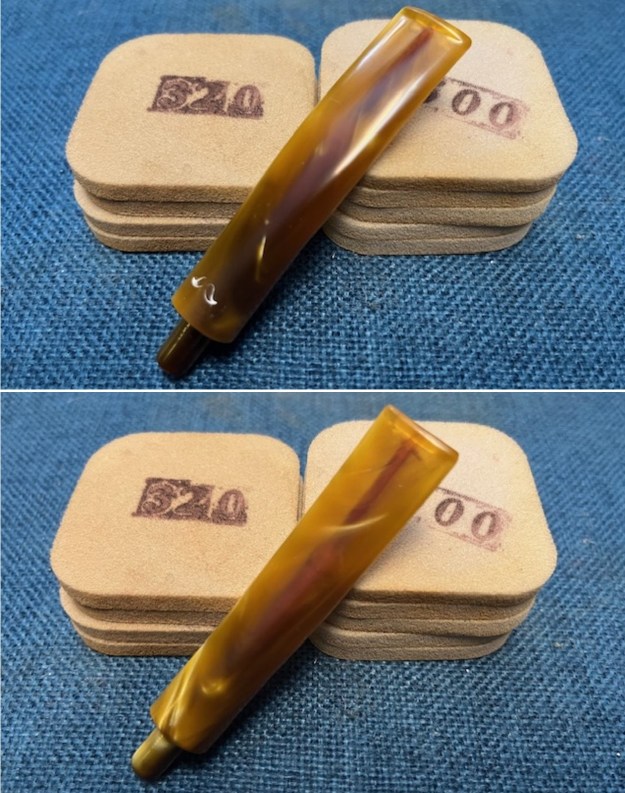 I polished the acrylic stem with micromesh sanding pads – wet sanding it with 1500-12000 grit pads. I wiped it down with Obsidian Oil after each sanding pad because I find that the oil provides a great surface for polishing with the micromesh pads. I finished polishing it with Before & After Pipe Polish – both the Fine and Extra Fine polishes. I gave it a final coat of oil and set it aside to dry.
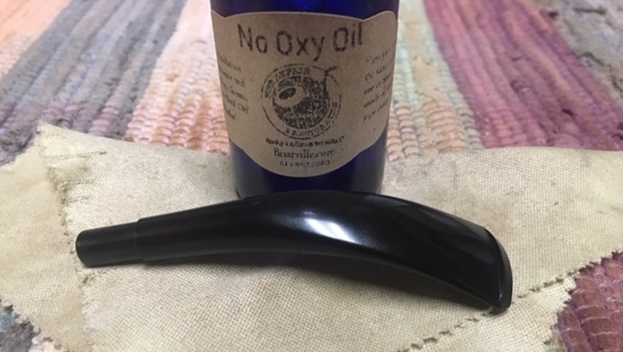
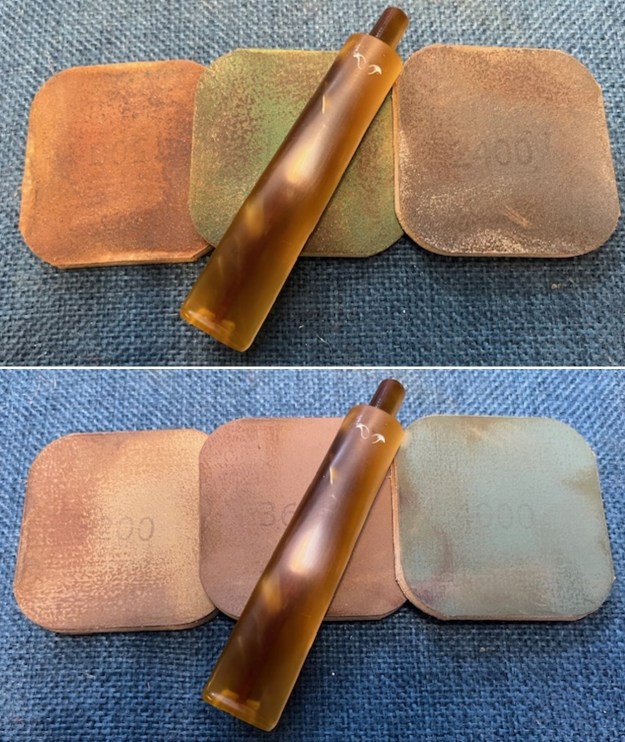
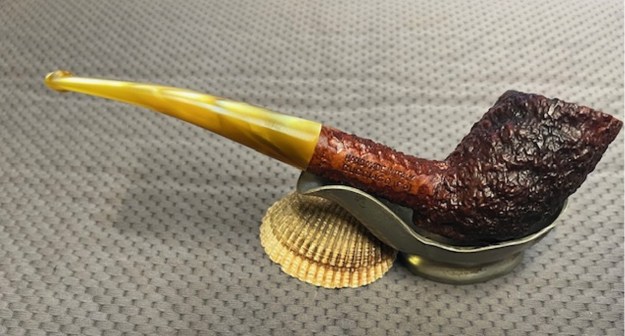
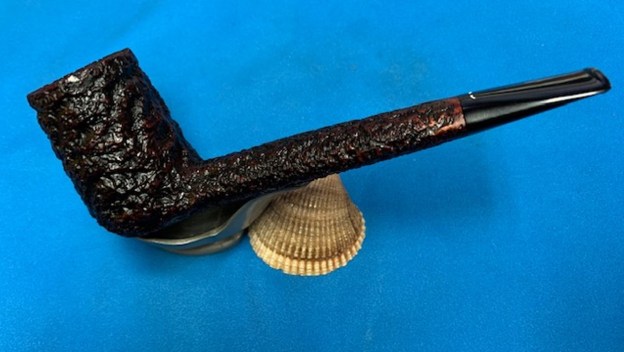
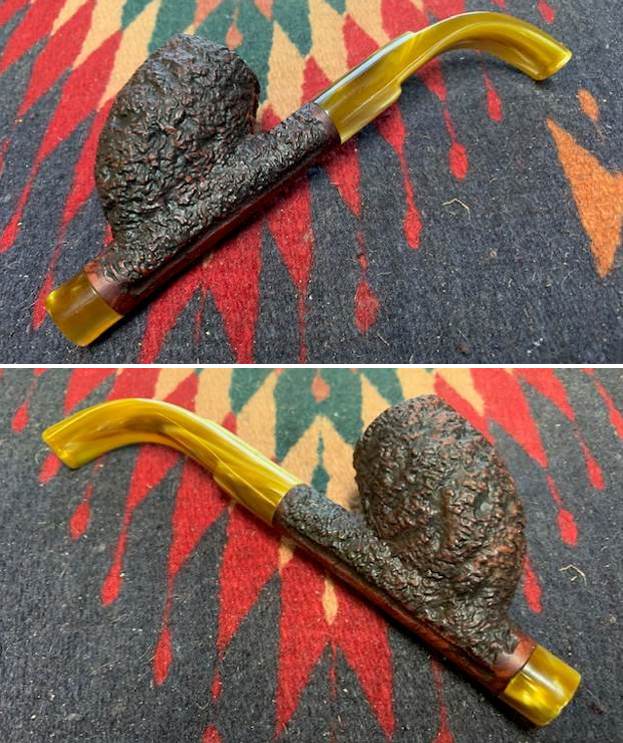
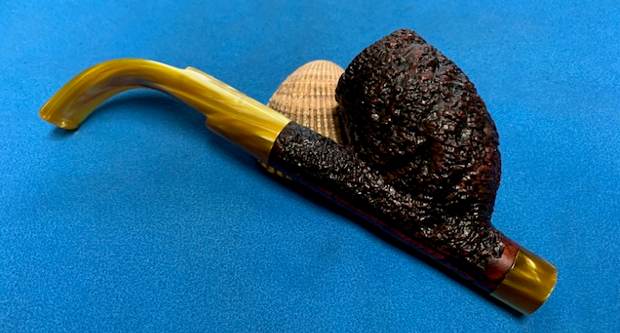
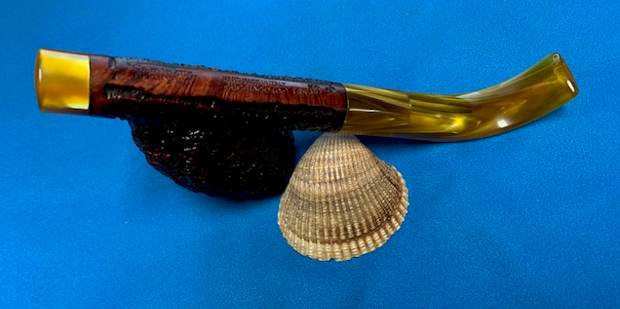
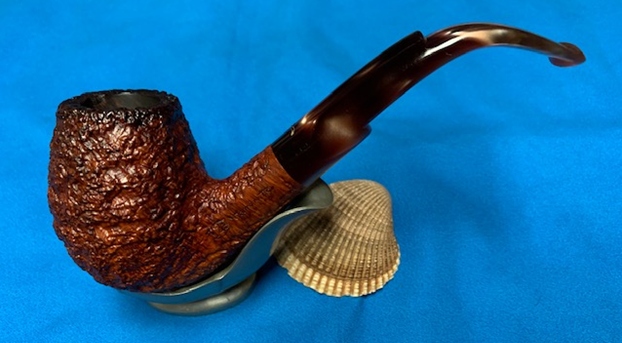
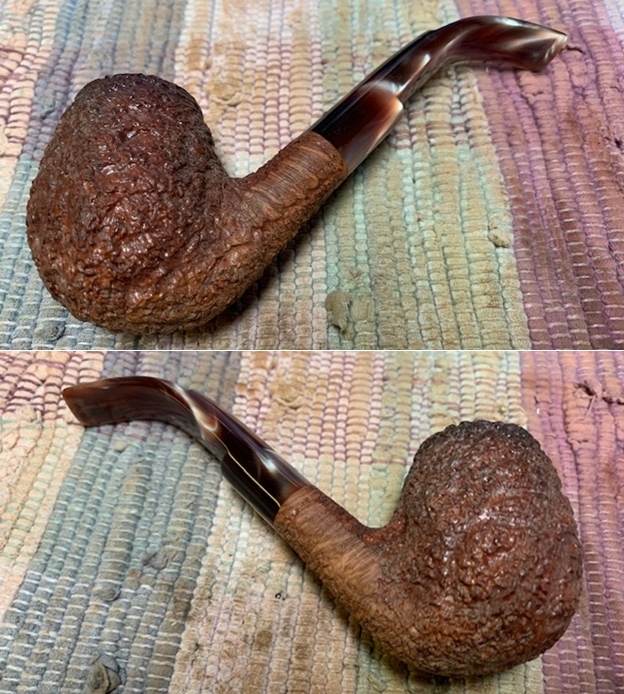
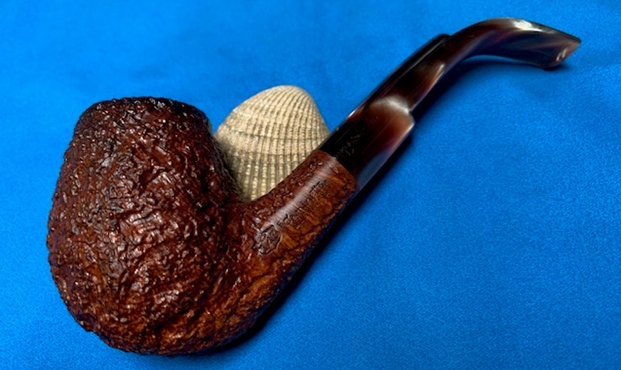
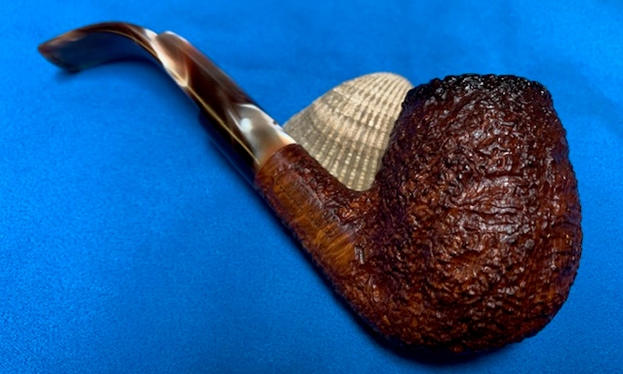
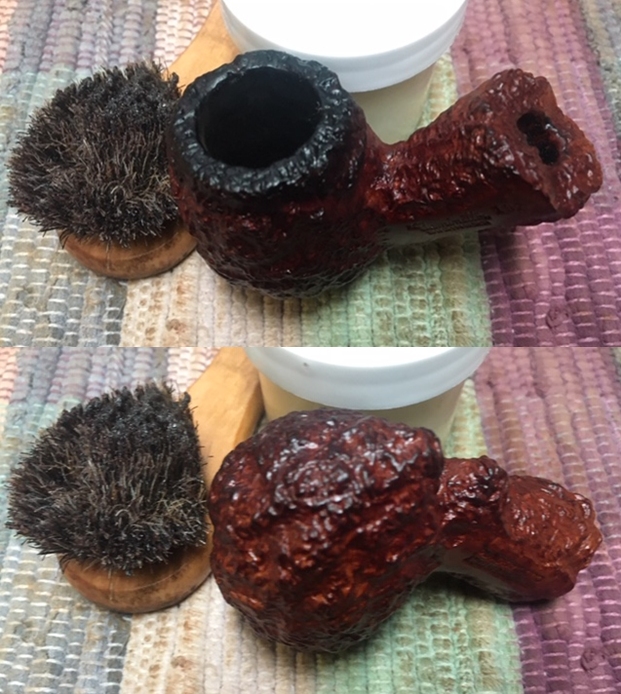
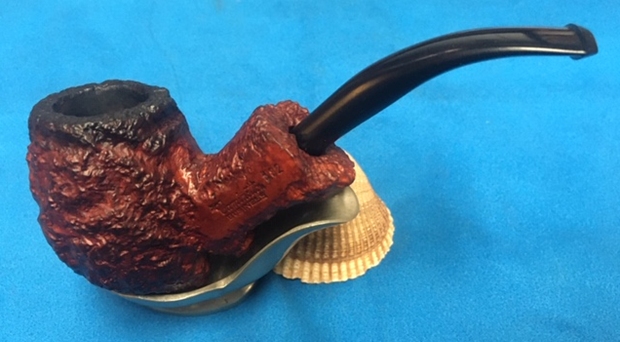
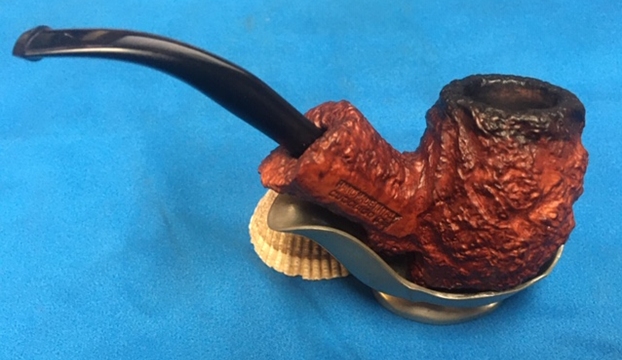
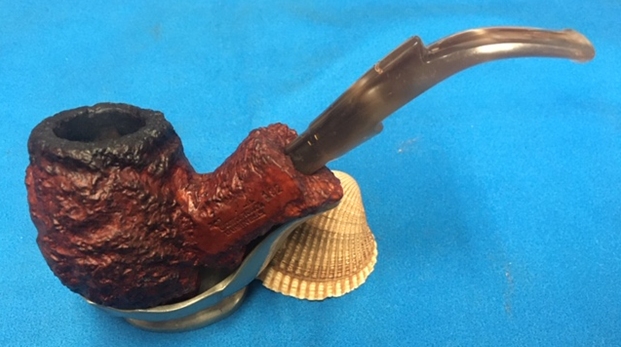
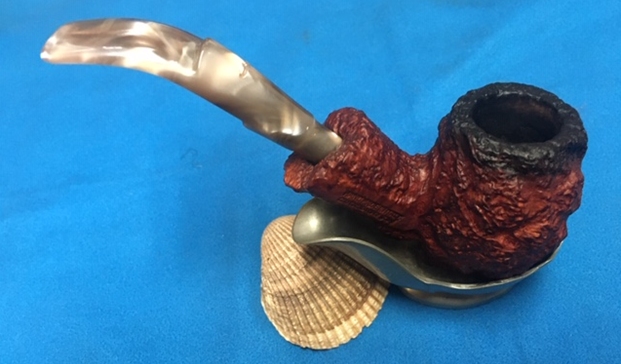
 This Caminetto Business KS Cutty is a real beauty and has a lot of life left. I put the bowl and stem back together again and buffed the bowl and the stem with Blue Diamond on the buffing wheel. I used a soft touch on the rusticated bowl so as not to fill it in with the polishing product. I gave the bowl several coats of Conservator’s Wax and the stem several coats of carnauba wax. I carefully buffed the entire pipe with a clean buffing pad to raise the shine. I finished buffing with a microfiber cloth to deepen the shine. The finished pipe looks very good. The rustication is very tactile and feels great in the hand. It is comfortable and light weight. The finished Caminetto Business Cutty KS is shown in the photos below. The dimensions of the pipe are Length: 6 inches, Height: 2 inches, Outside diameter of the bowl: 1 ¼ inches, Chamber diameter: ¾ of an inch. The weight of the pipe is 31 grams/1.09 ounces. This great looking rusticated Caminetto turned out very well. It should be a great pipe. It will be going on the rebornpipes store in the Italian Pipemakers Section shortly if you are interested in adding it to your collection.
As always, I encourage your questions and comments as you read the blog. Thanks to each of you who are reading this blog. Remember we are not pipe owners; we are pipe men and women who hold our pipes in trust until they pass on into the trust of those who follow us.