Blog by Steve Laug
Not too long ago I received an email from a fellow in Kitchener, Ontario regarding some pipes he needed cleaned up. He had been referred to me by my local pipe and cigar shop. While I am not currently adding more pipes to my queue of repairs I have made a commitment to the shop to work on pipes for their customers. Generally they have one or two pipes that need a bit of work. This fellow sent me the following email:
I just came across my smoking pipes that I’ve had in storage for about 40 years. I’m wondering what you’d charge to have them refurbished. There are 17 in total (11 are Brighams and 6 are various).
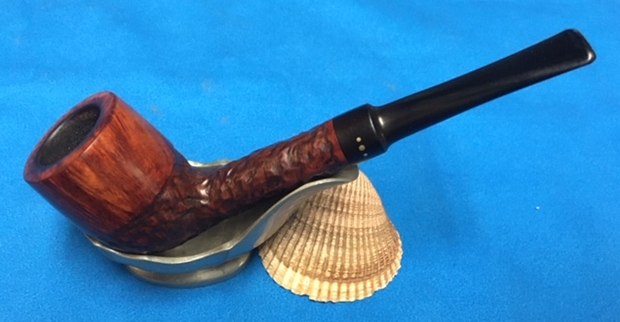
It turns out he said he had 17 pipes. That was certainly more than I expected but I communicated that there was a large queue ahead of him and I would have to fit them in as I could. He was fine with whatever time it took. He sent me the following photos of his collection that he wanted restored. The first photo shows his eleven Brigham pipes – all very interesting shapes. The second photo shows the six various pipes in the collection – A Republic Era Peterson’s System 1312 (Canadian Import), A Bjarne Hand Carved Freehand, a Comoy’s Everyman London smooth billiard, a GBD Popular Dublin 12, an English made Kaywoodie Rustica 72B, a Kriswill Bernadotte 60 with a broken tenon. When the box arrived there were two additional pipes included for a total of 19 – a Ropp 803 Deluxe Cherrywood Poker and a Comoy’s Sandblast Everyman Canadian 296. It was a lot of pipes! I have been randomly choosing the next pipe to work on and chose the Brigham that I have drawn a red box around in the first photo below.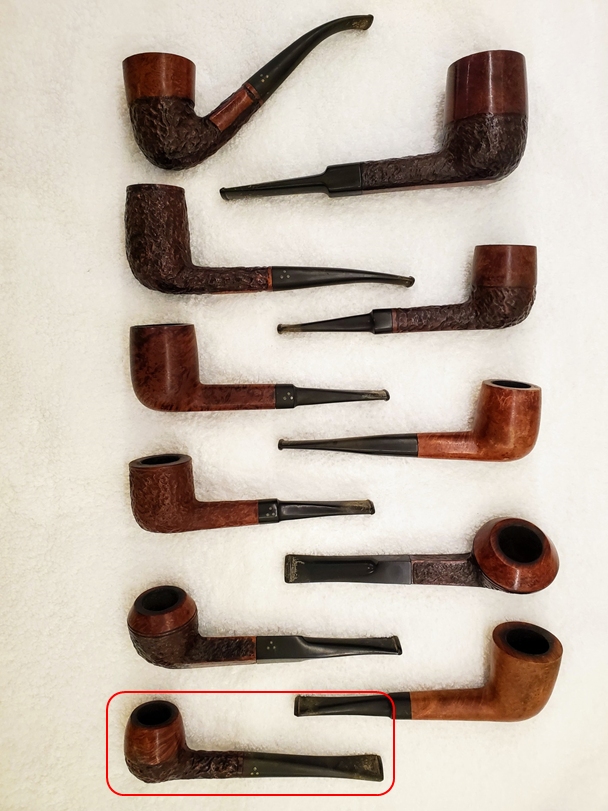
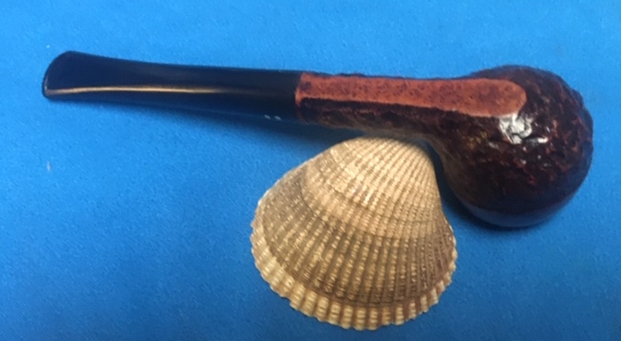
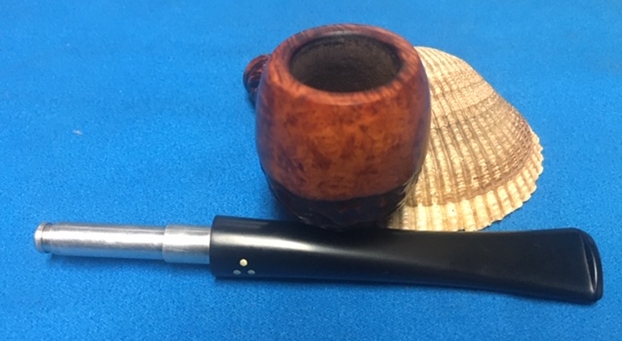
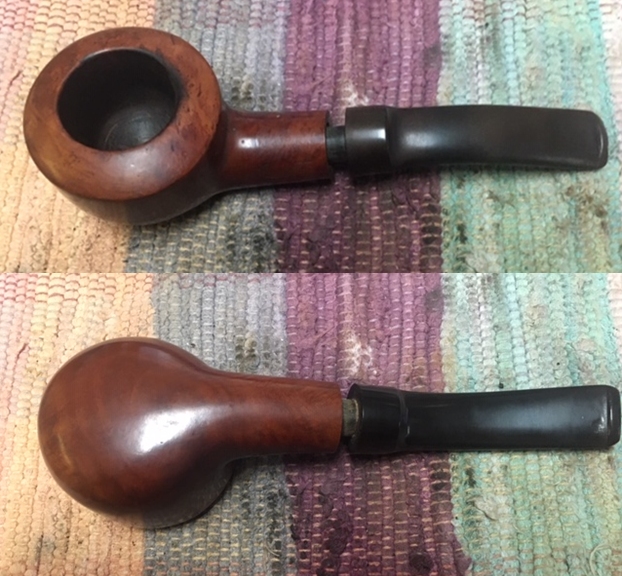
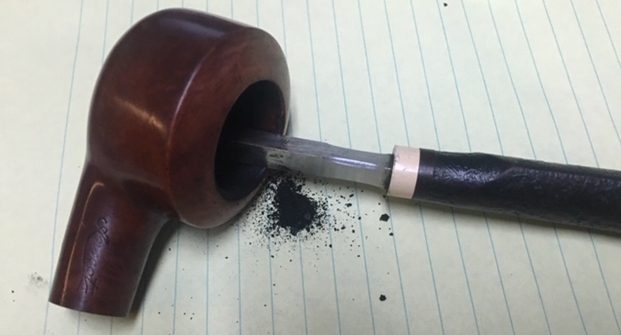
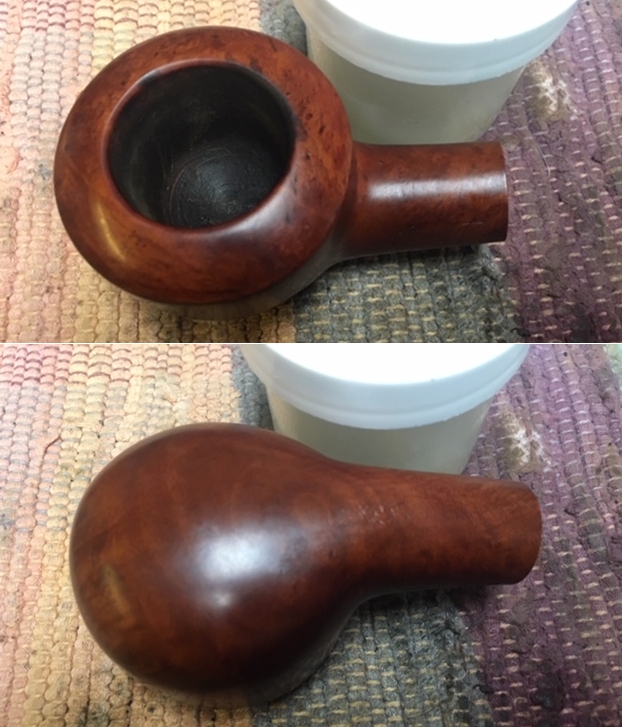
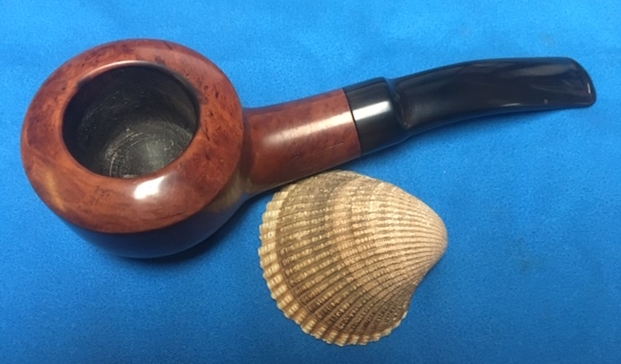
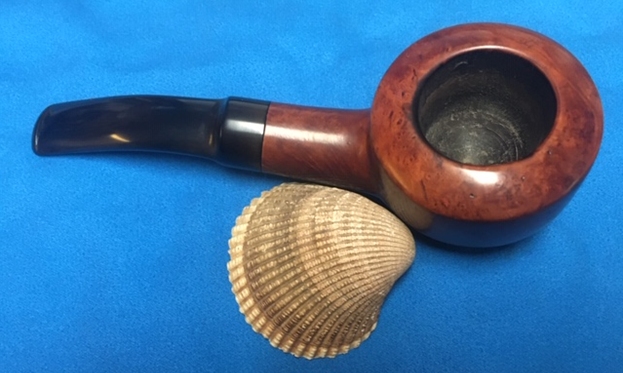
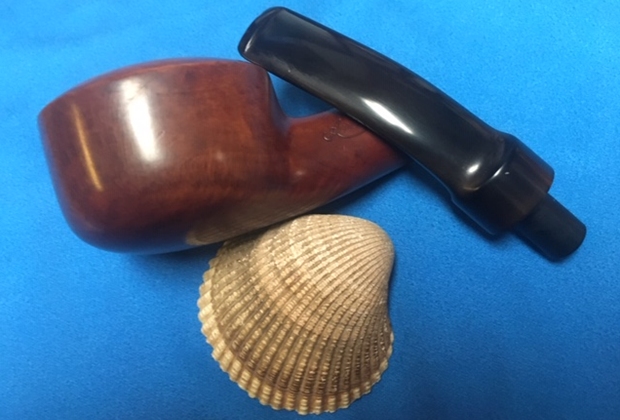
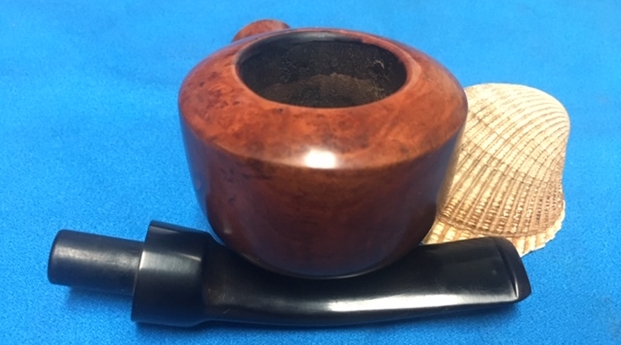
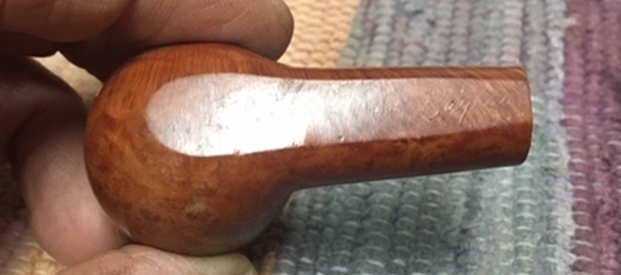
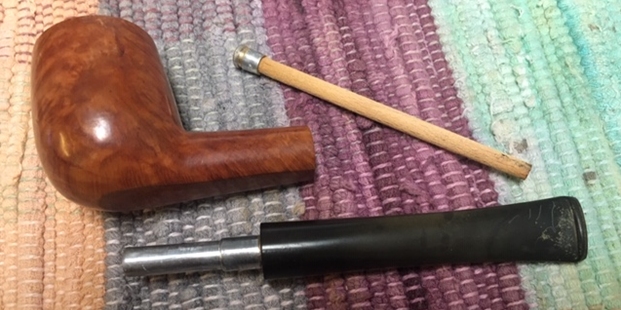
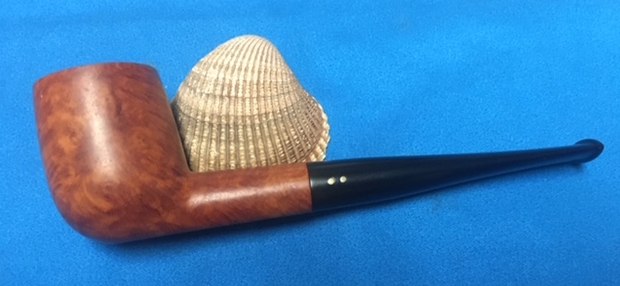
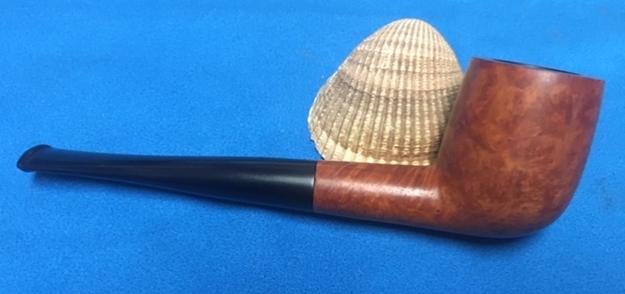
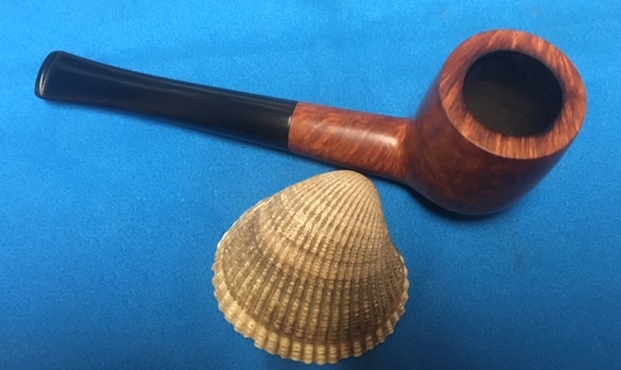
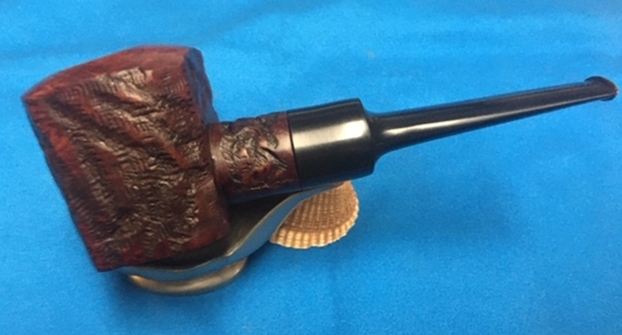
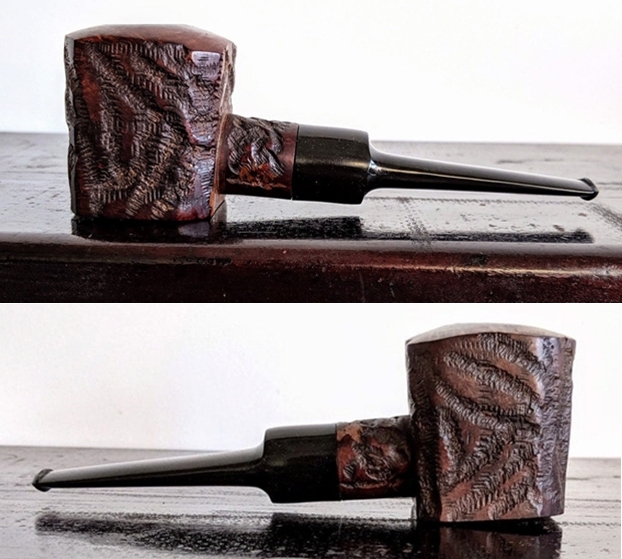
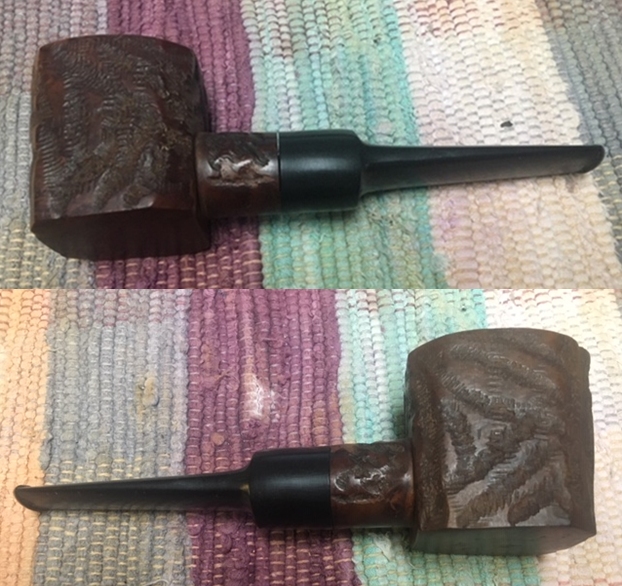
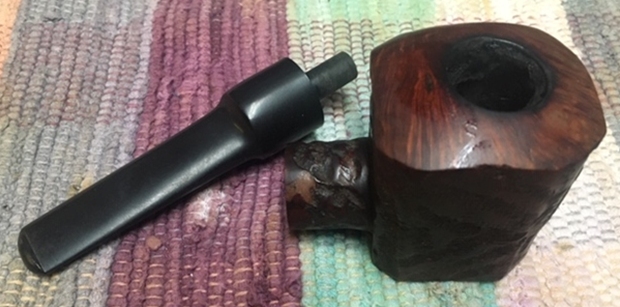
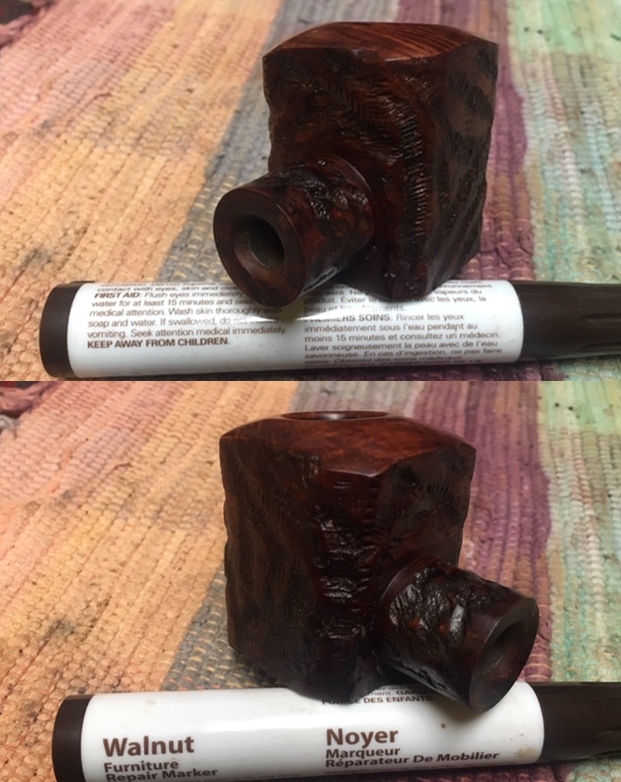
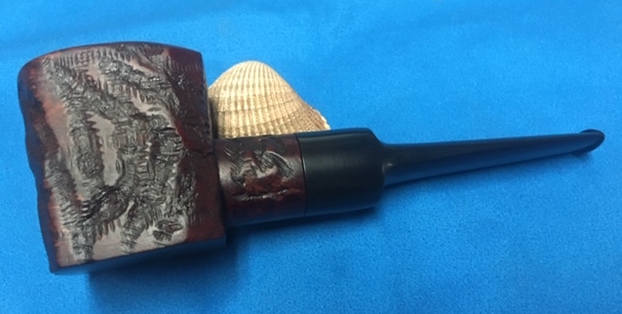
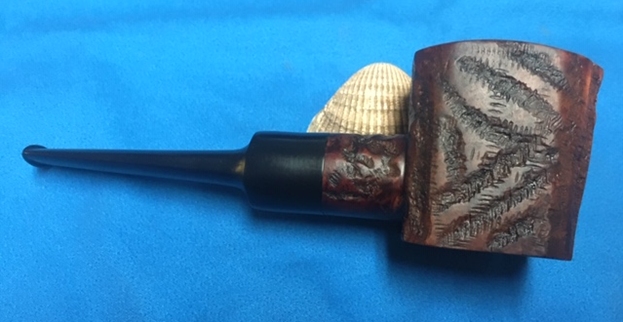
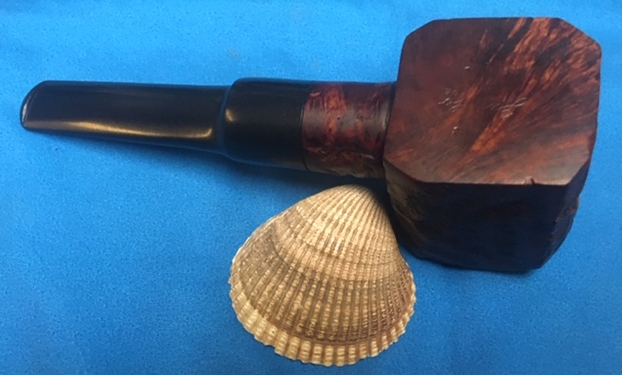
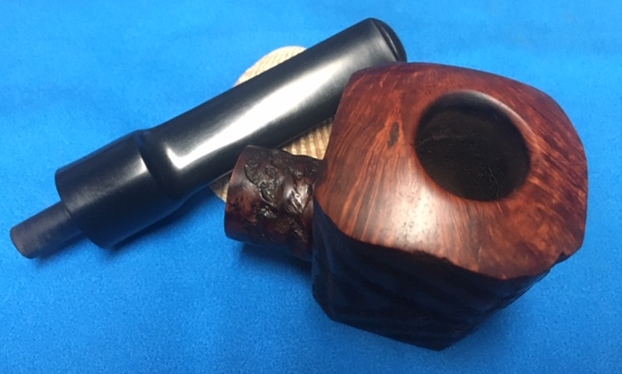
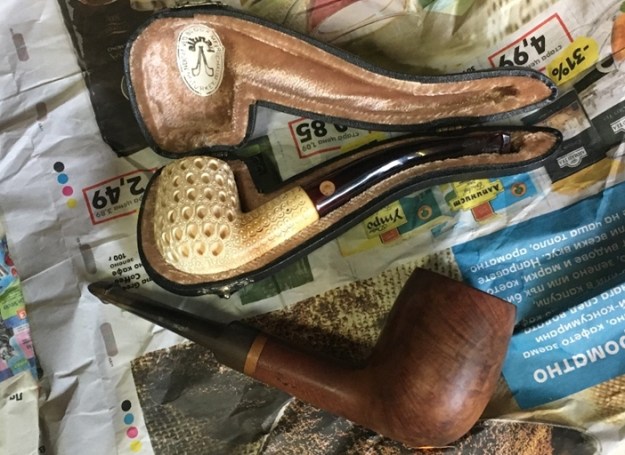
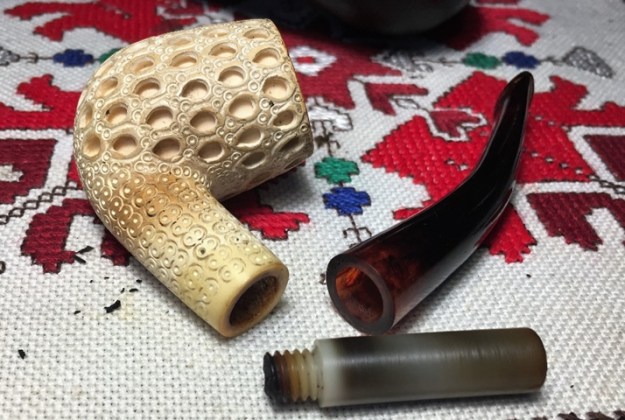
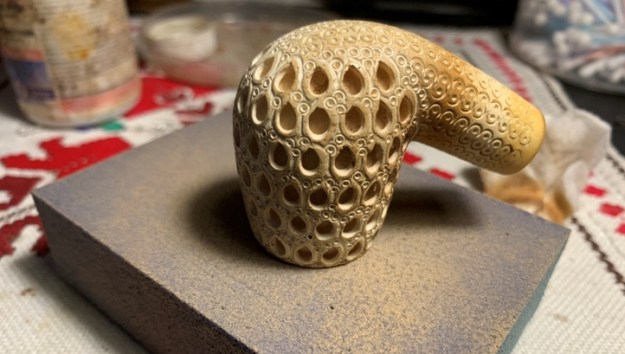
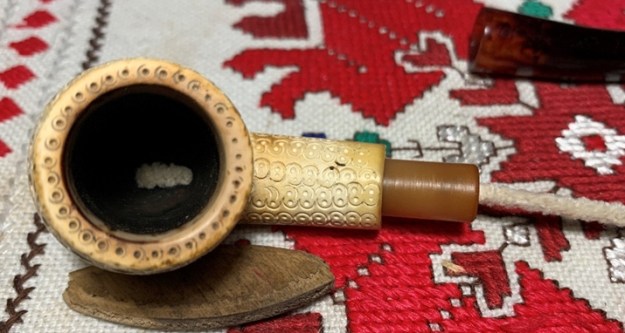
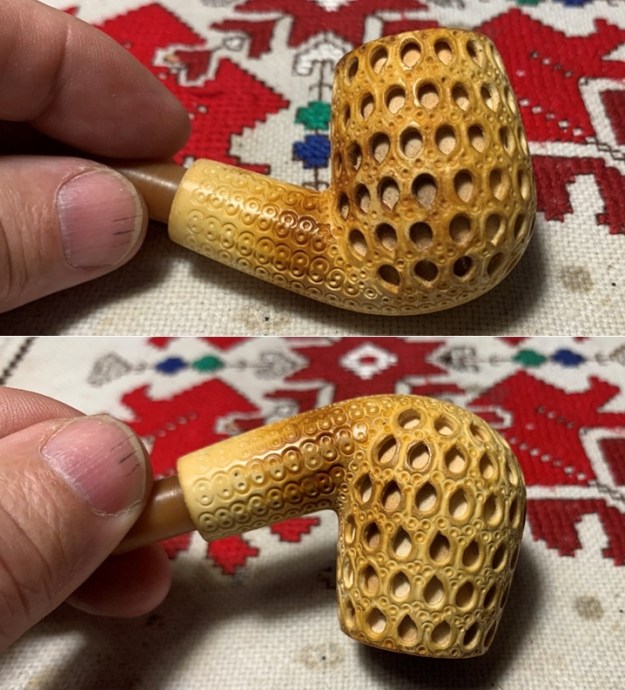
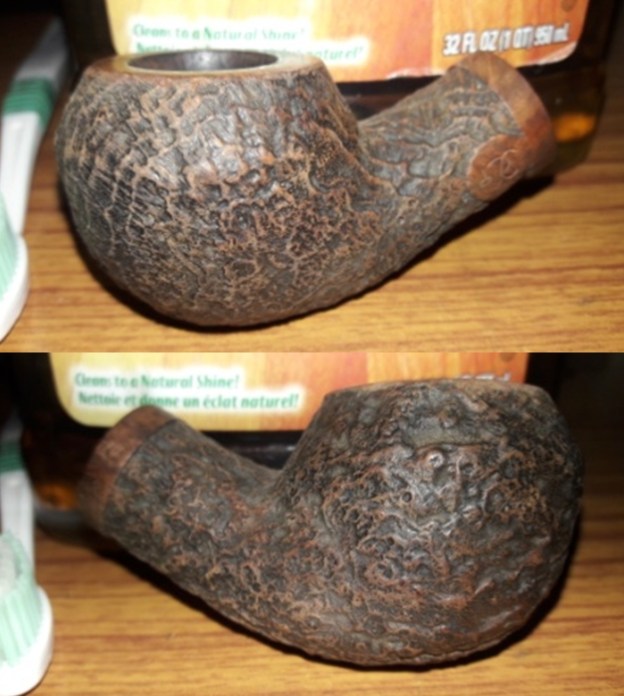
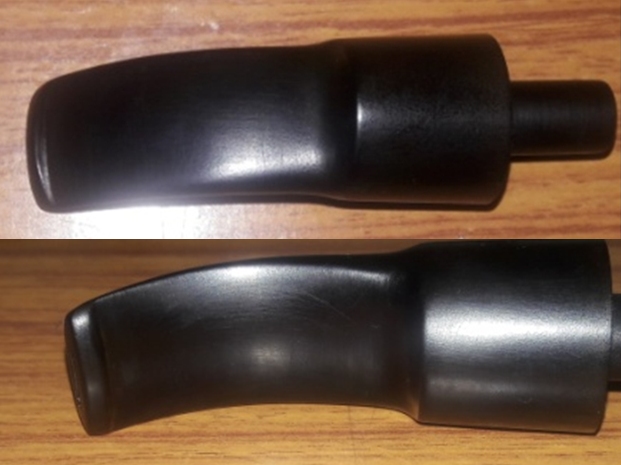
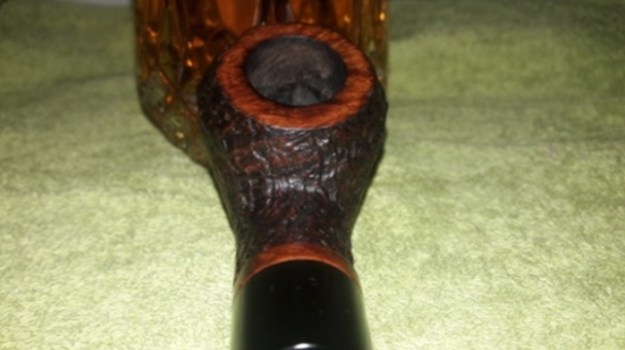
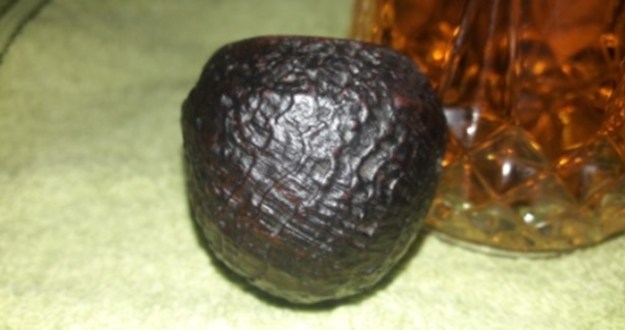
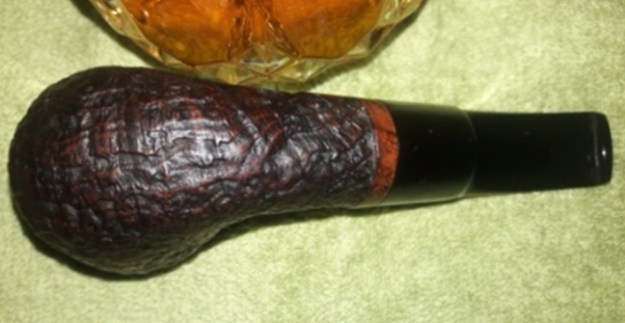
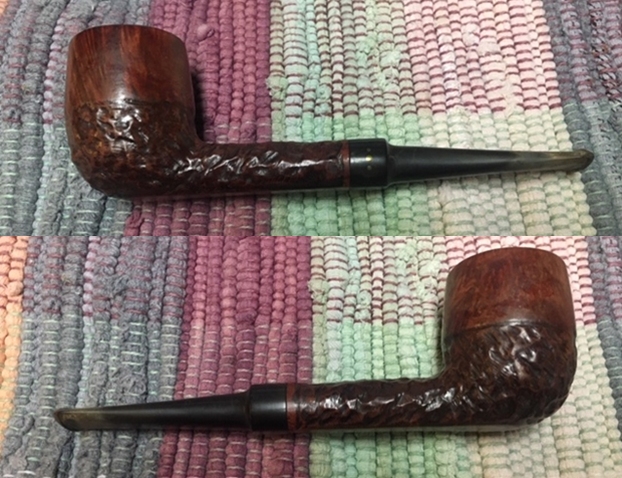
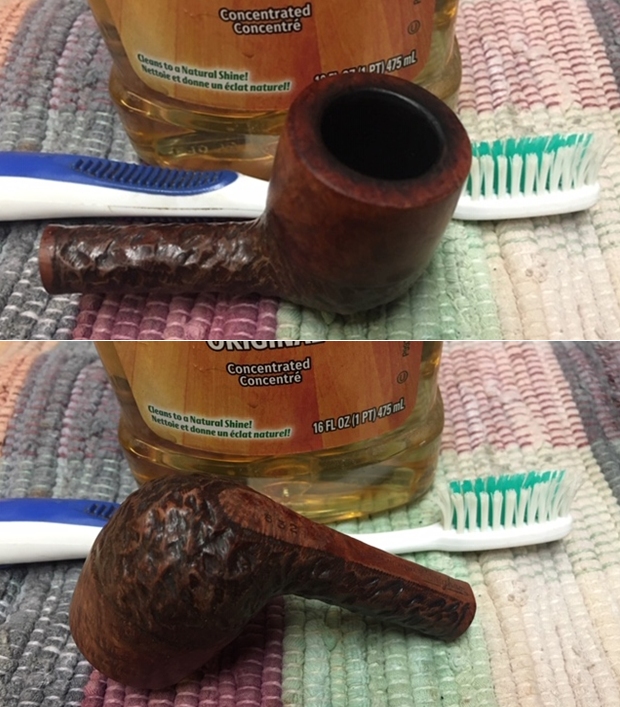
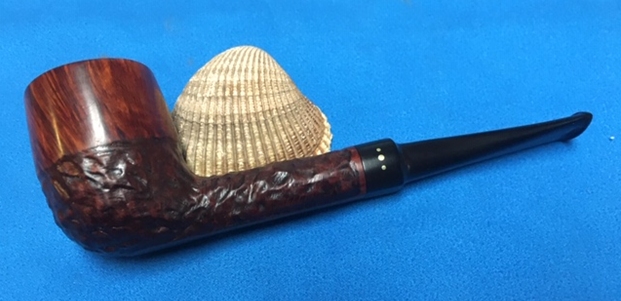
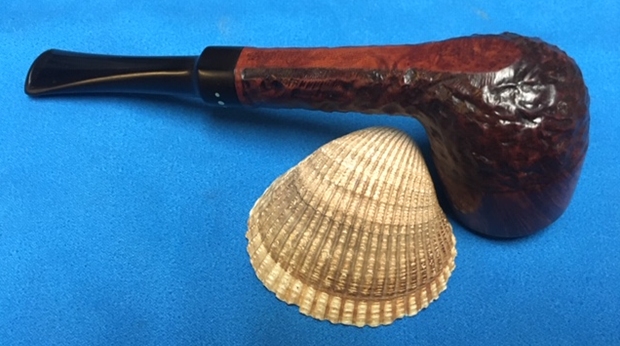
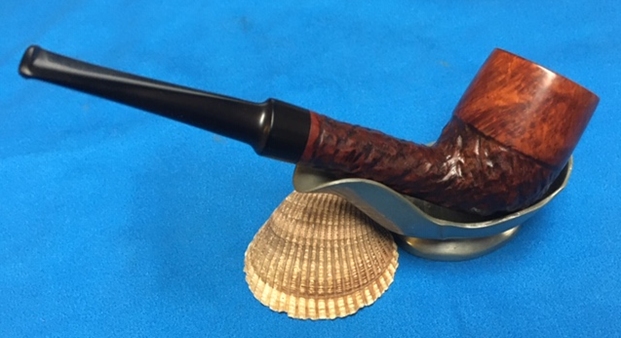
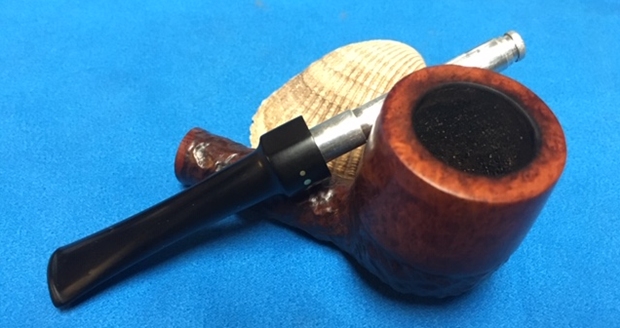
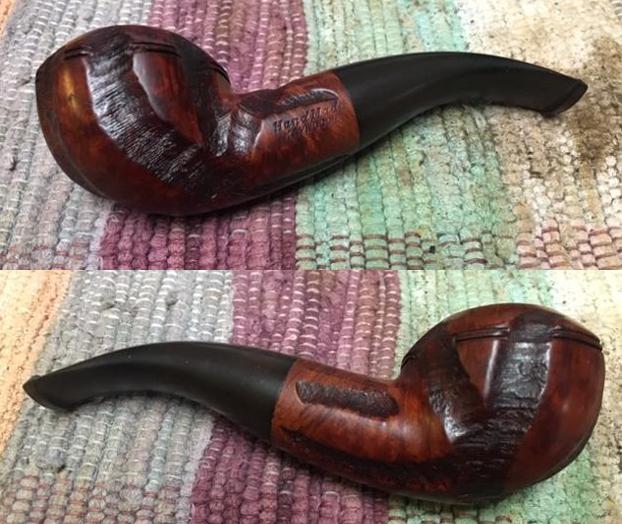
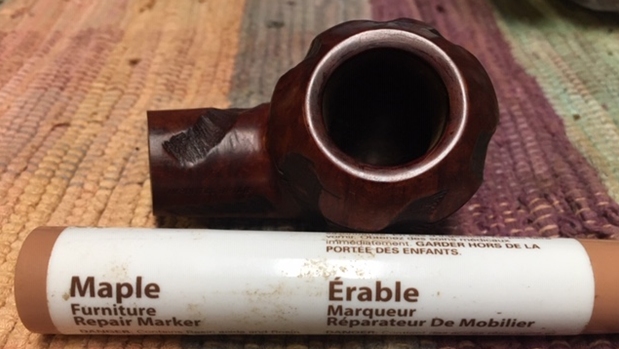
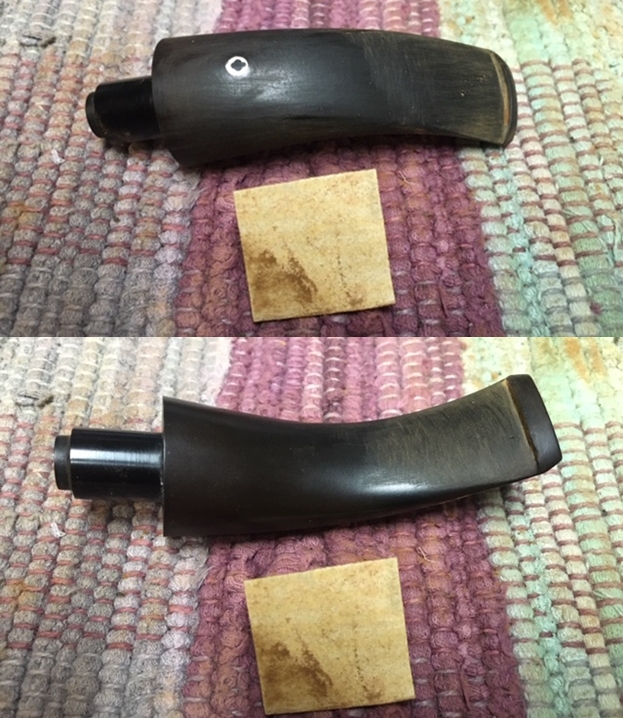
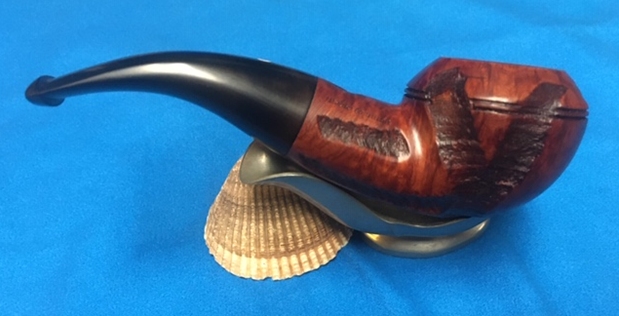
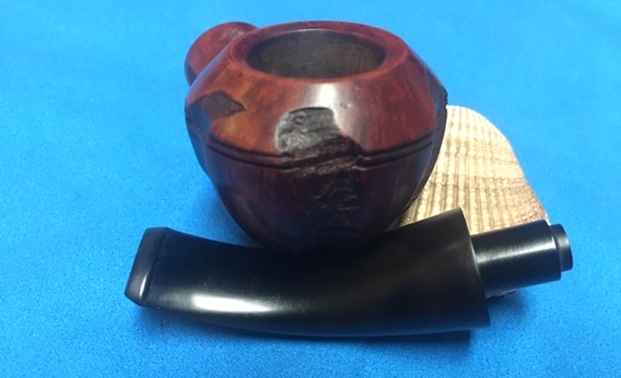
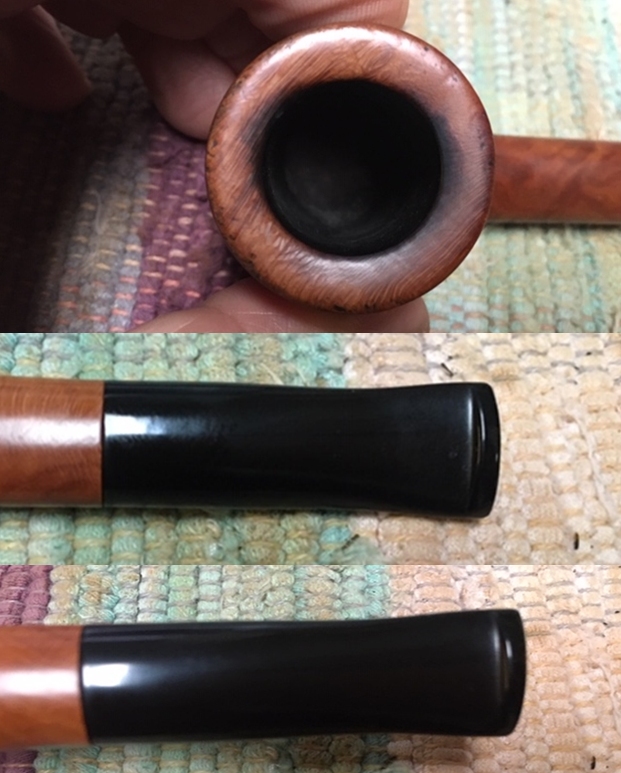
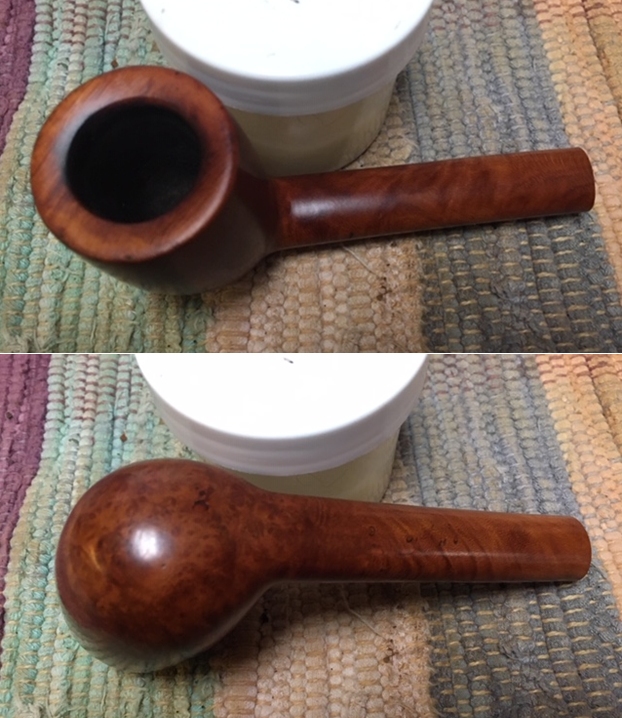
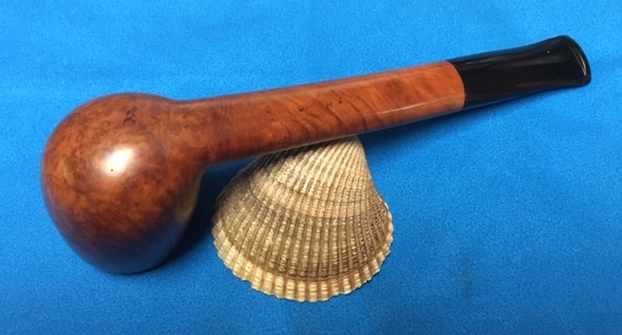
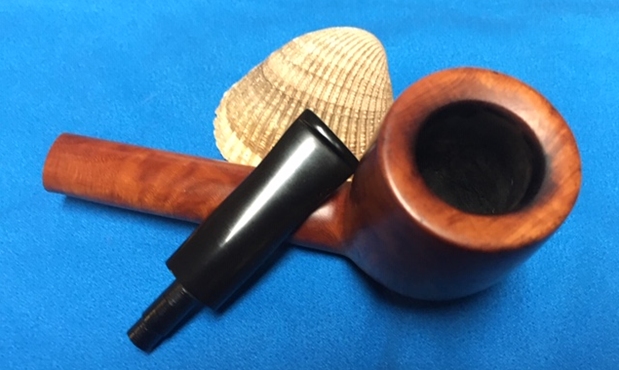
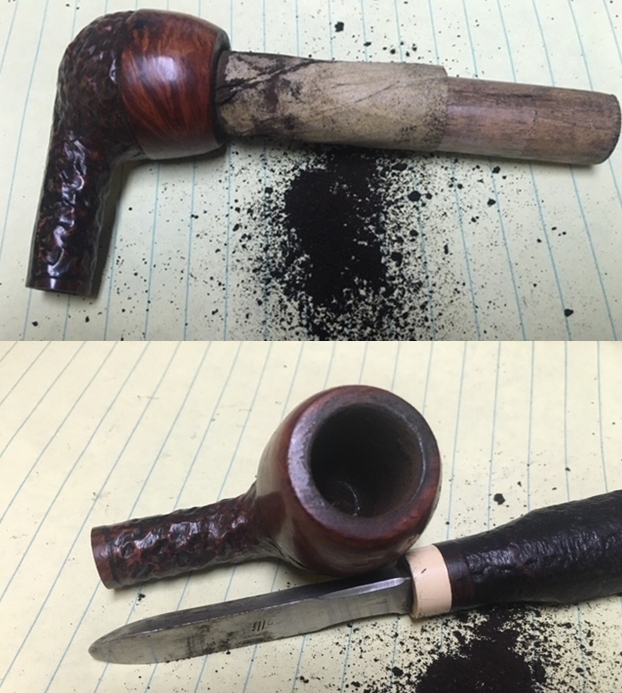
 When I unwrapped it the pipe it was a Petite Brigham Apple. It was stamped on the flat shank/heel 306 which is the shape number. That is followed by Can Pat. 372982 then Brigham in a script. It had a rusticated lower half of the bowl and shank with a smooth top half. The rim top had a lava overflow from the thick cake in the bowl and some darkening around the top and edges of the bowl. The inner edge of the bowl was out of round. It was a dirty pipe but appeared to be in okay condition under the grime. The 3 Dot tapered stem was oxidized and had tooth marks and chatter near the button on both sides. There was also some calcification for about an inch up the stem.
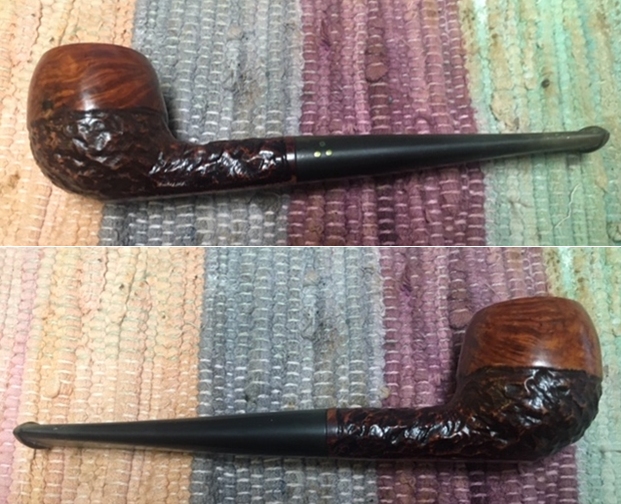
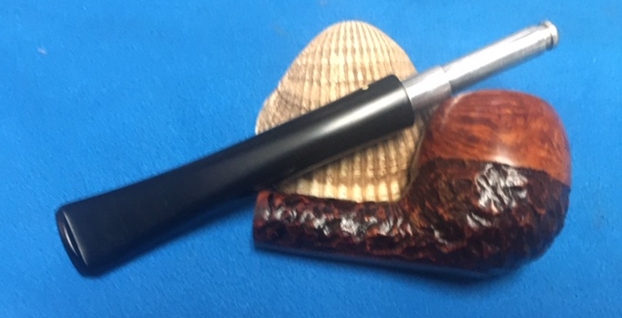
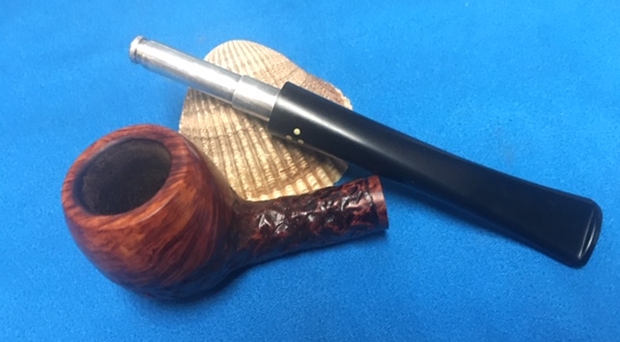
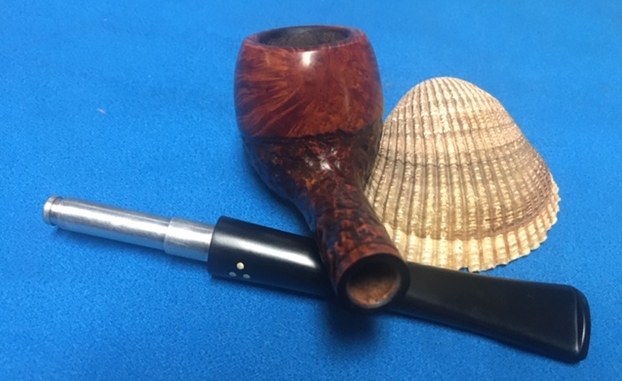
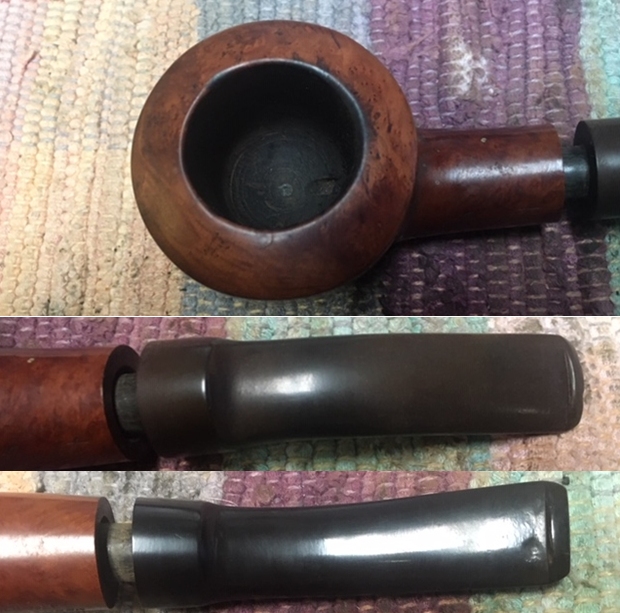
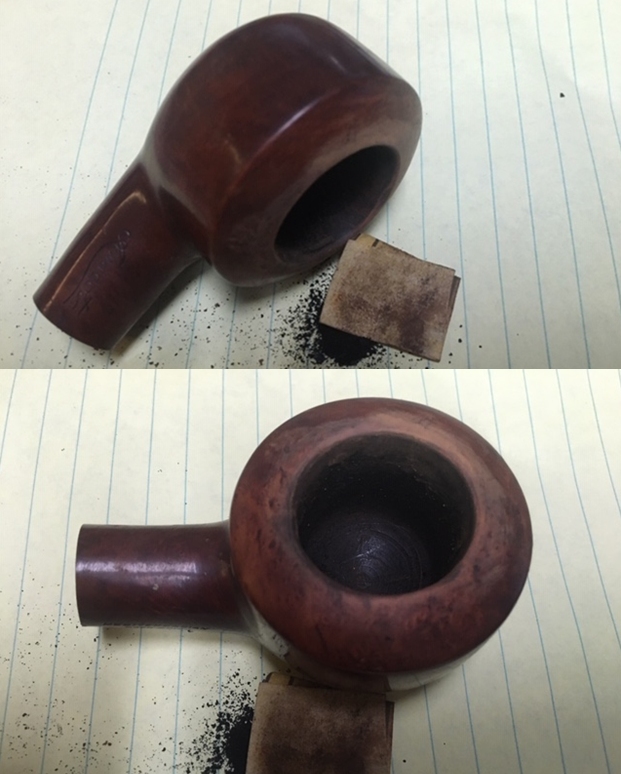
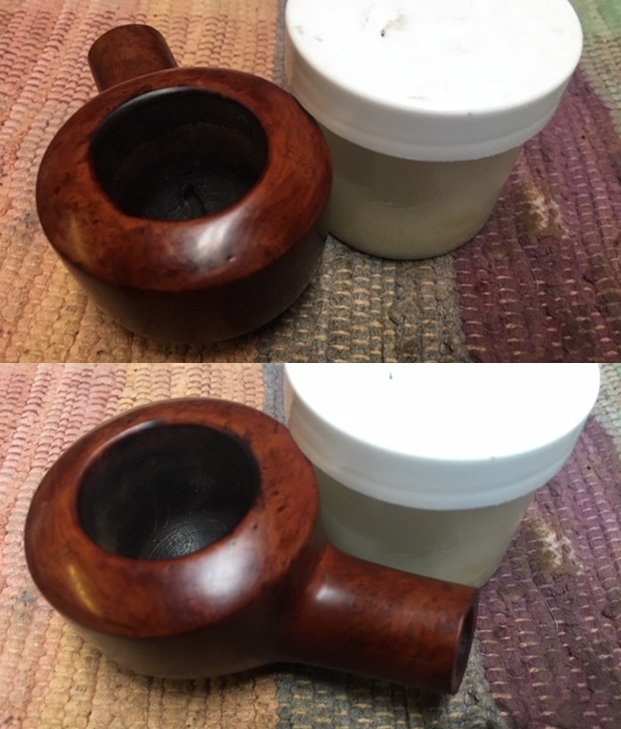
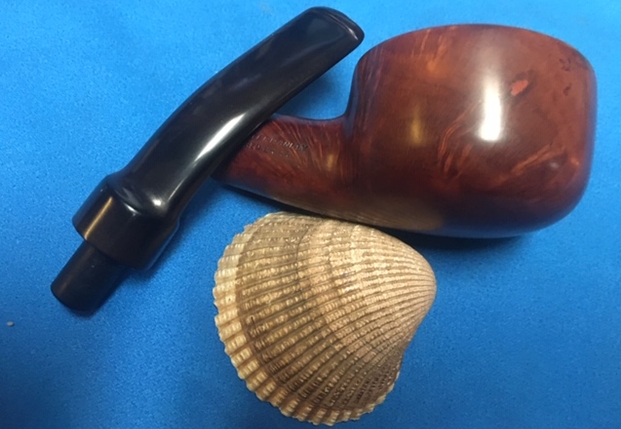
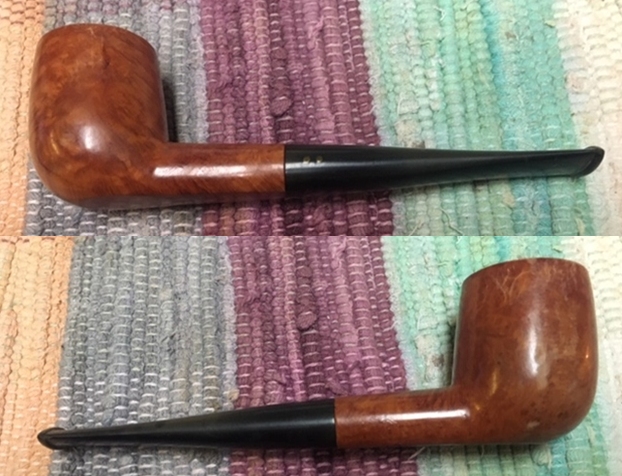
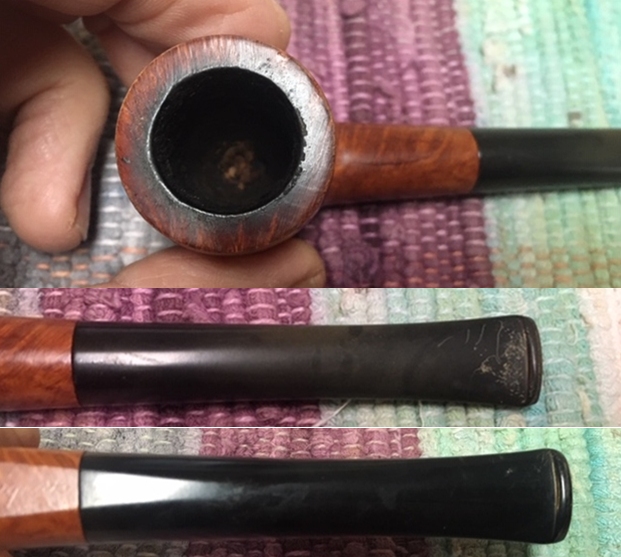
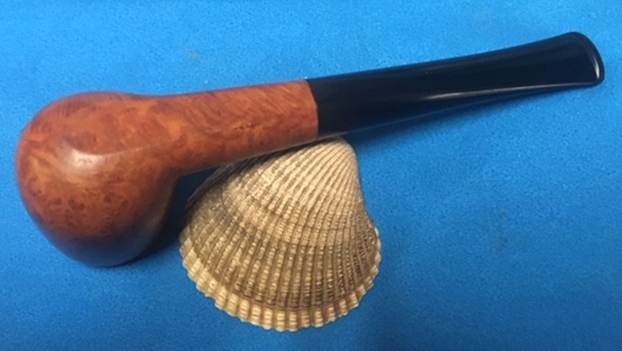
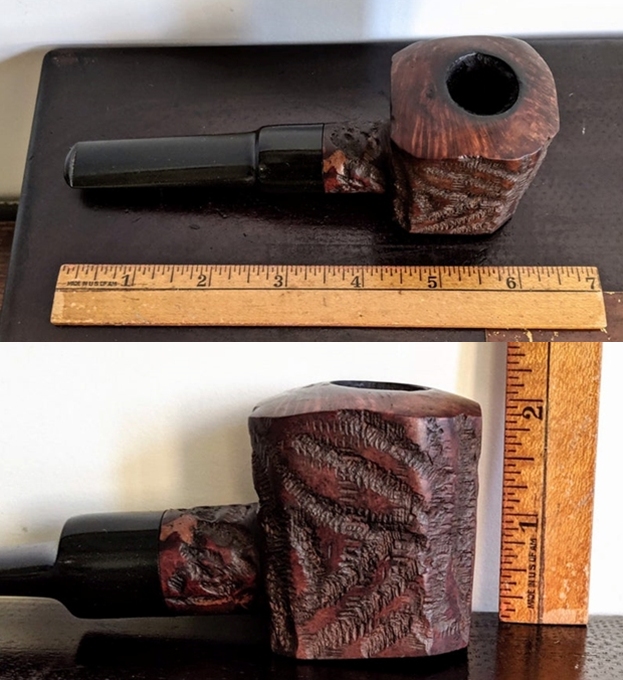
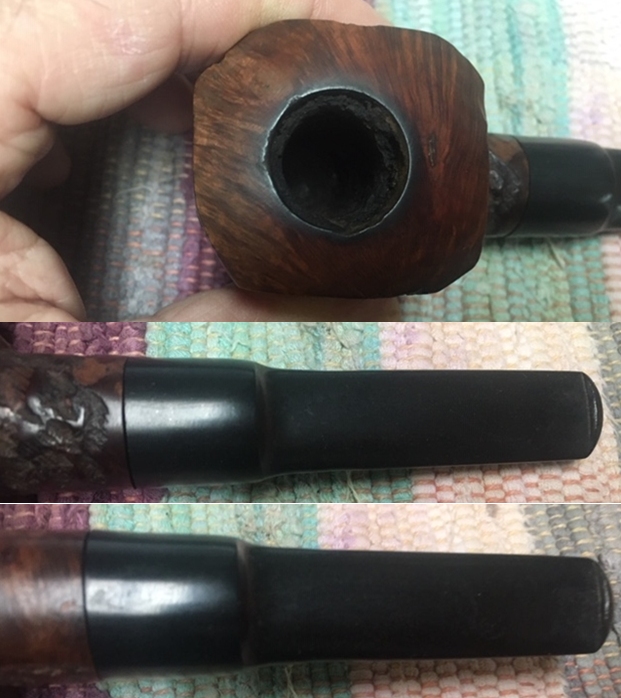
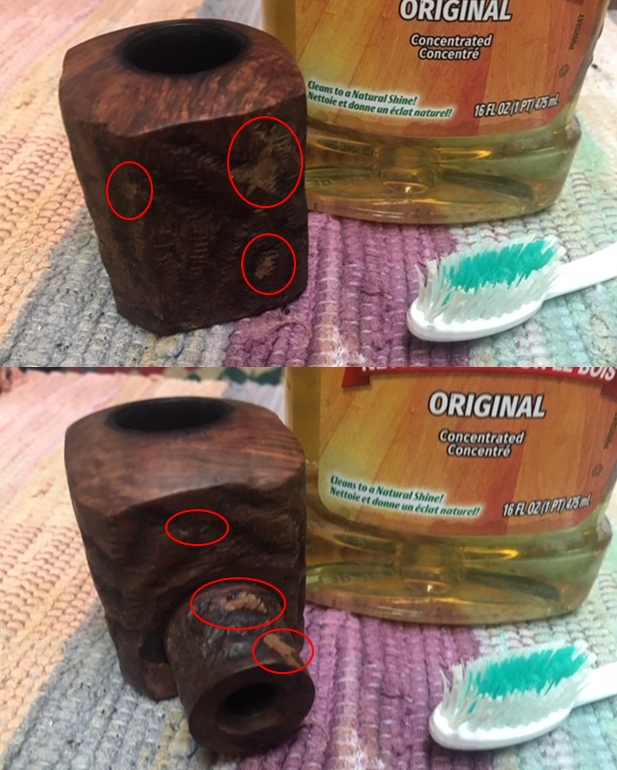
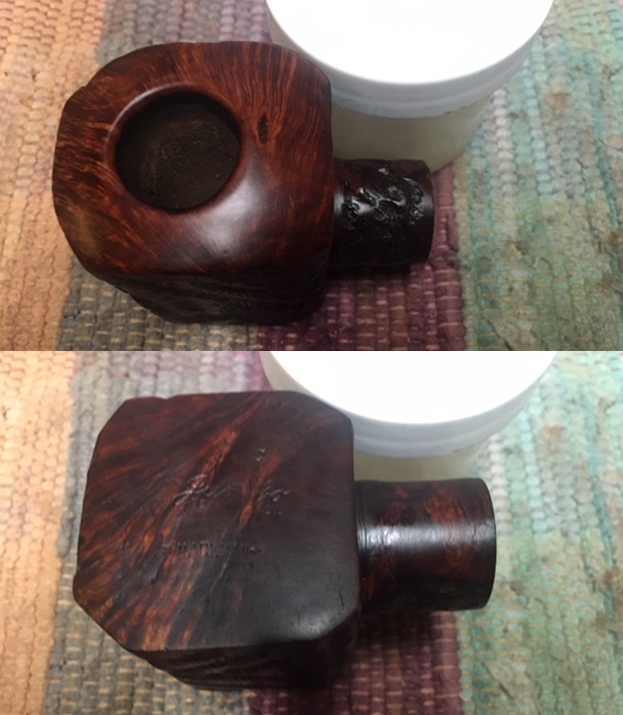
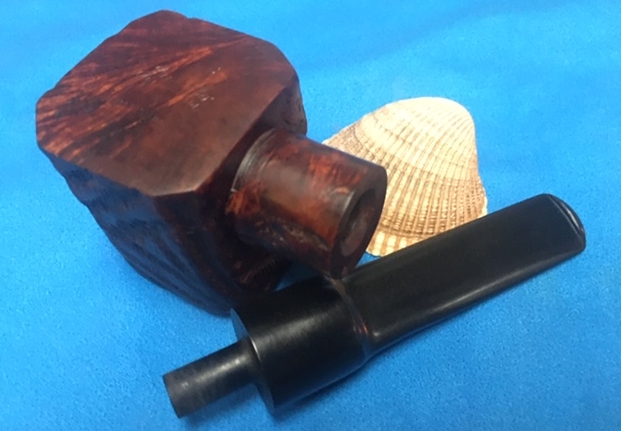
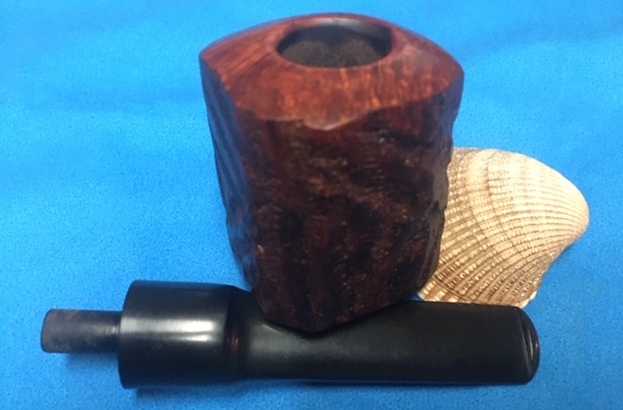
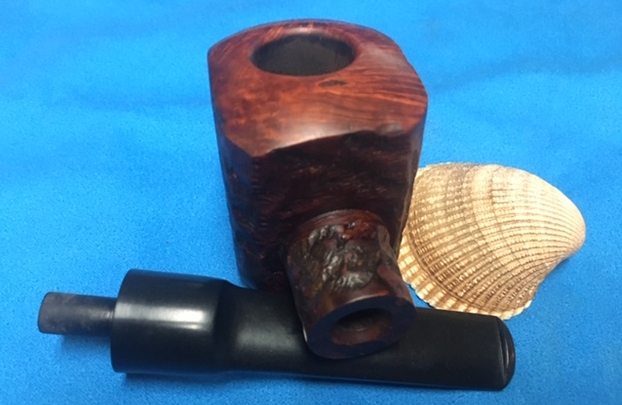
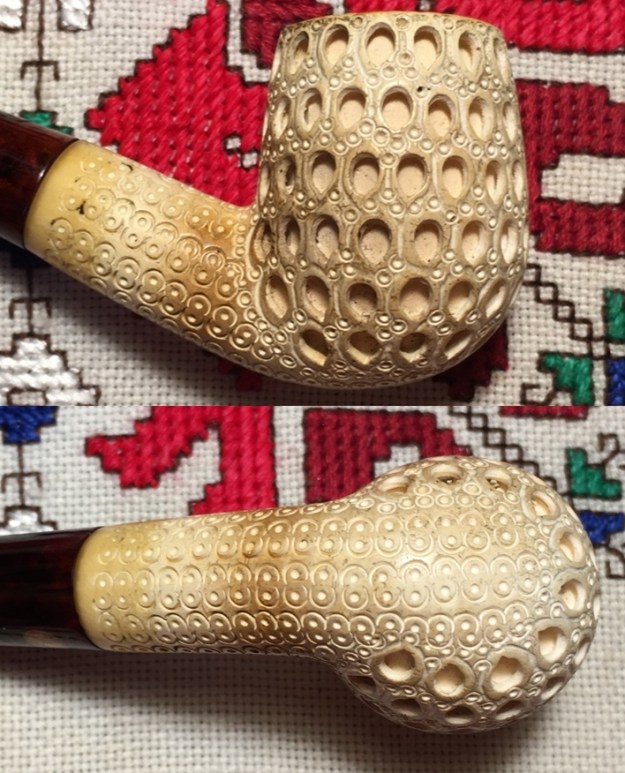
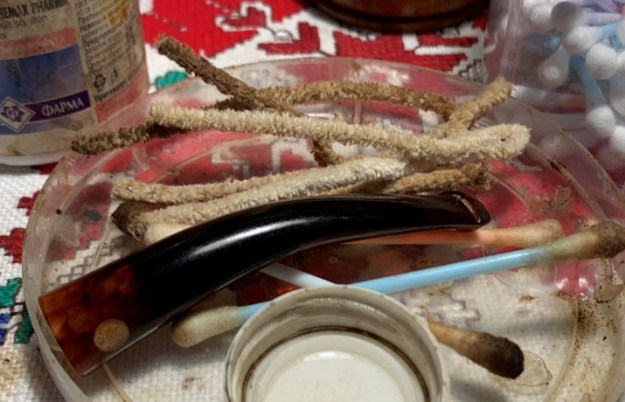
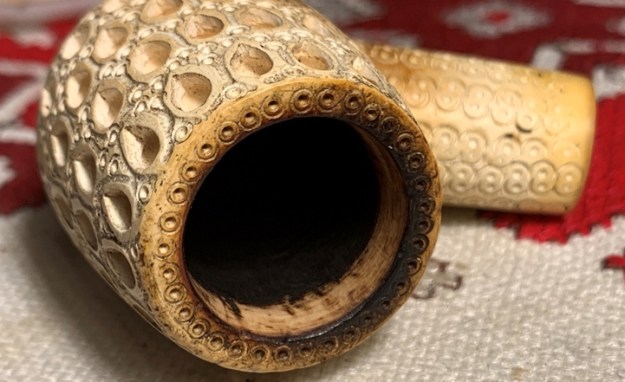
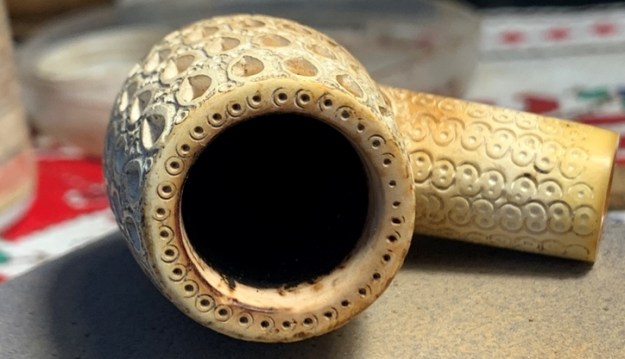
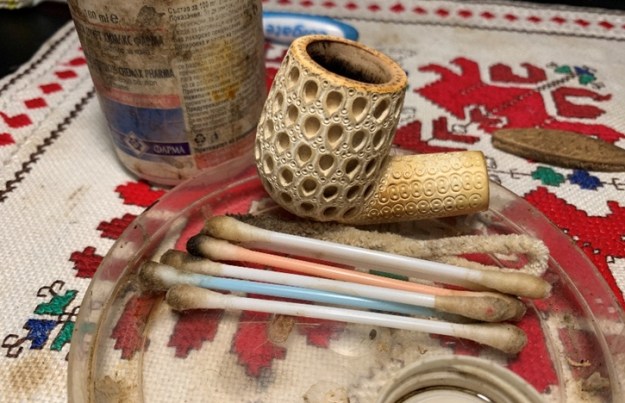
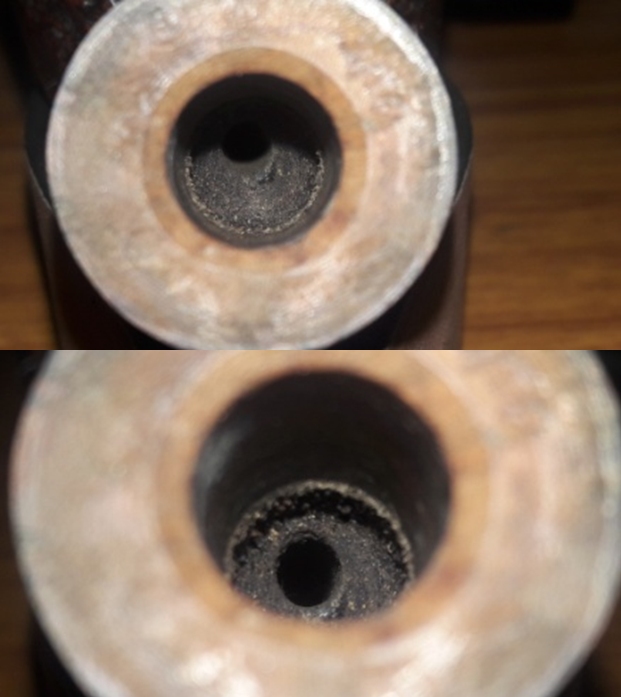
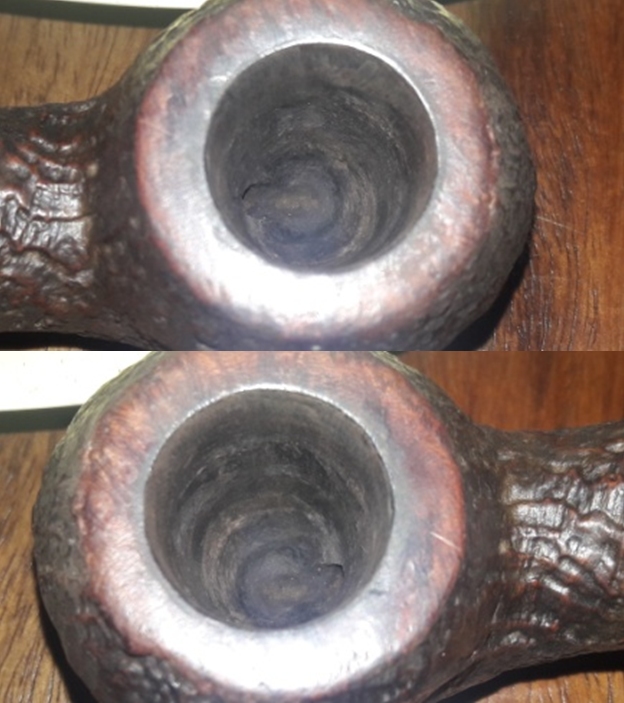
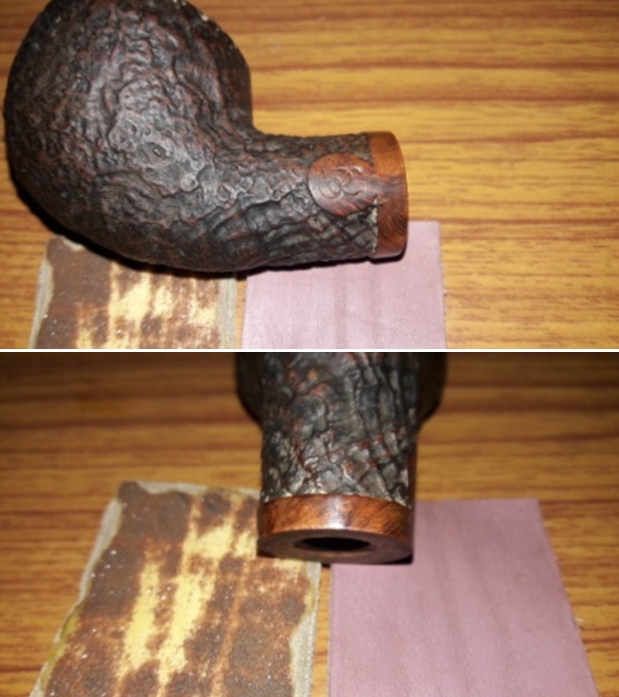
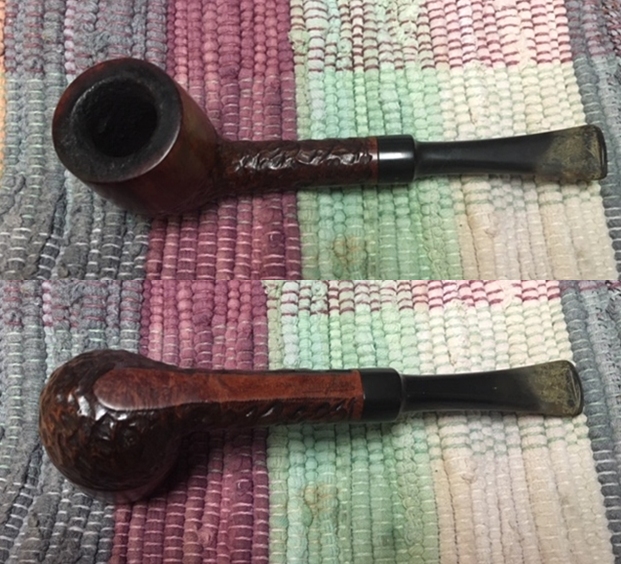
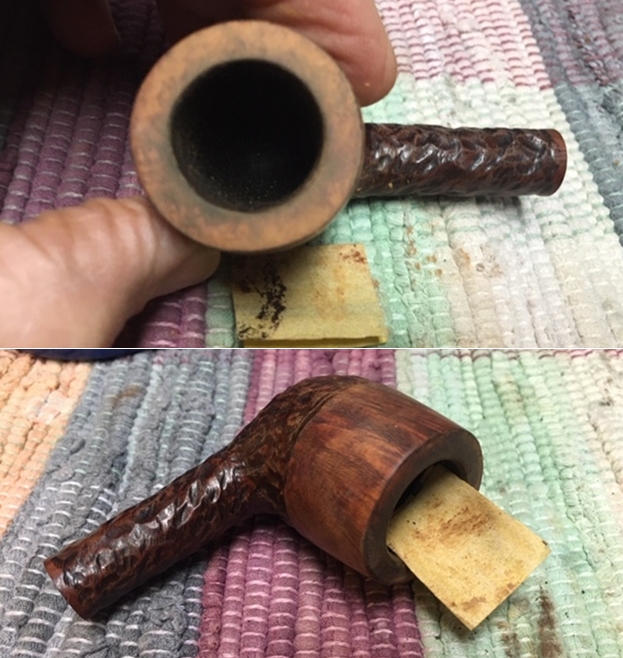
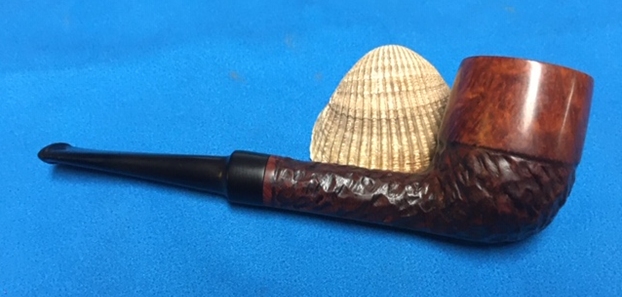
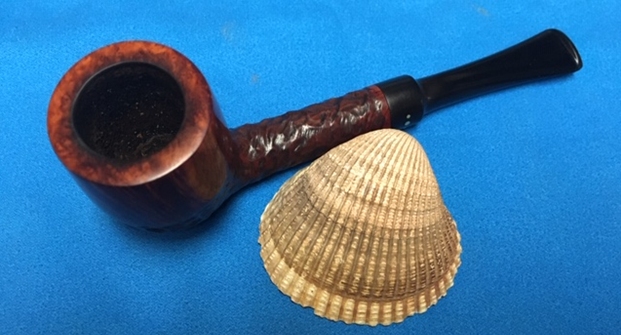
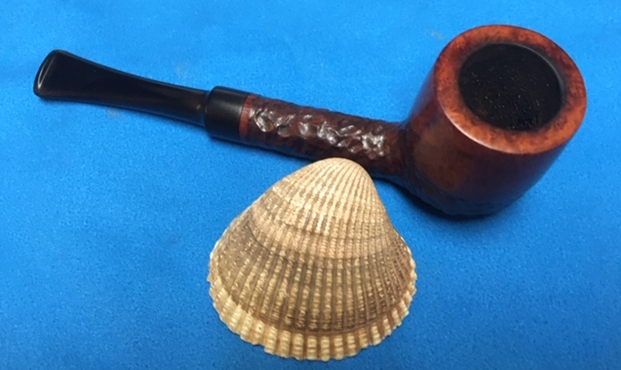
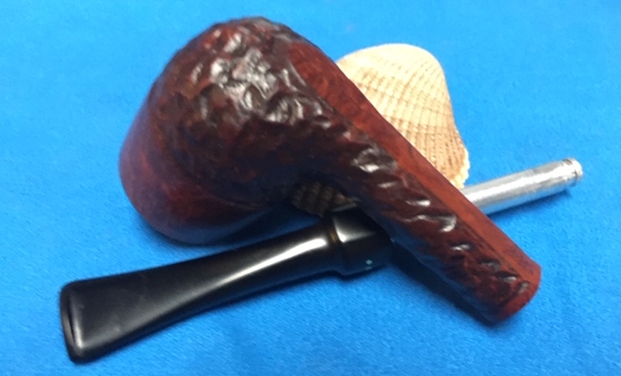
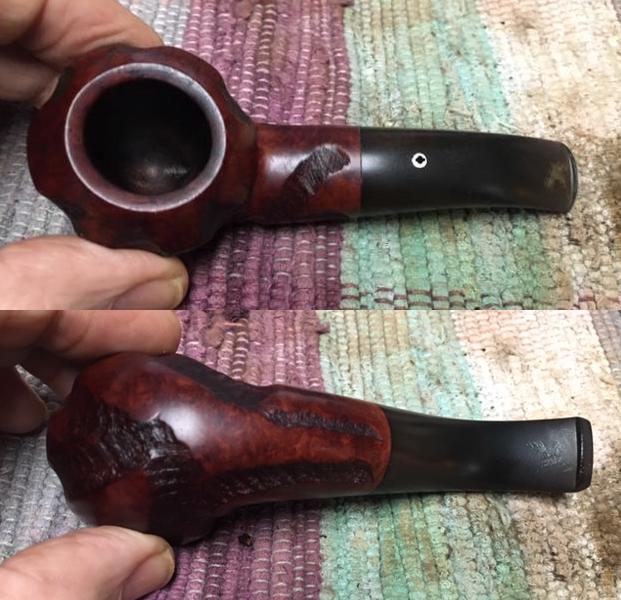
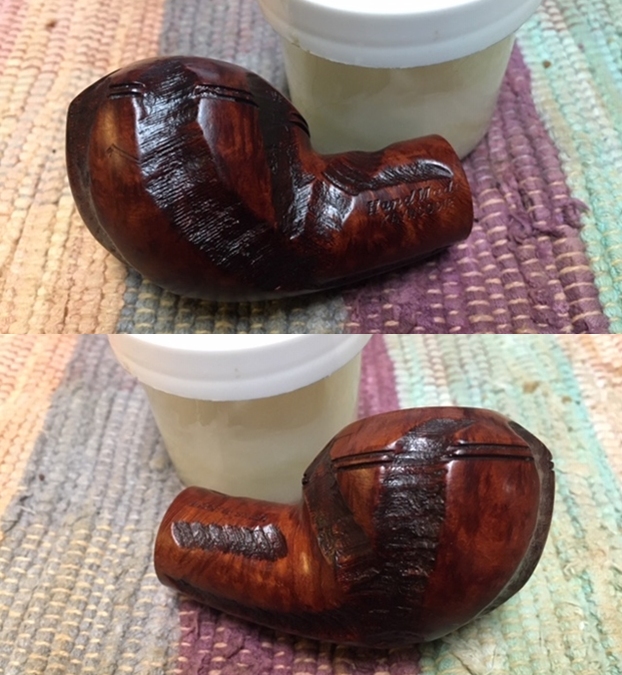
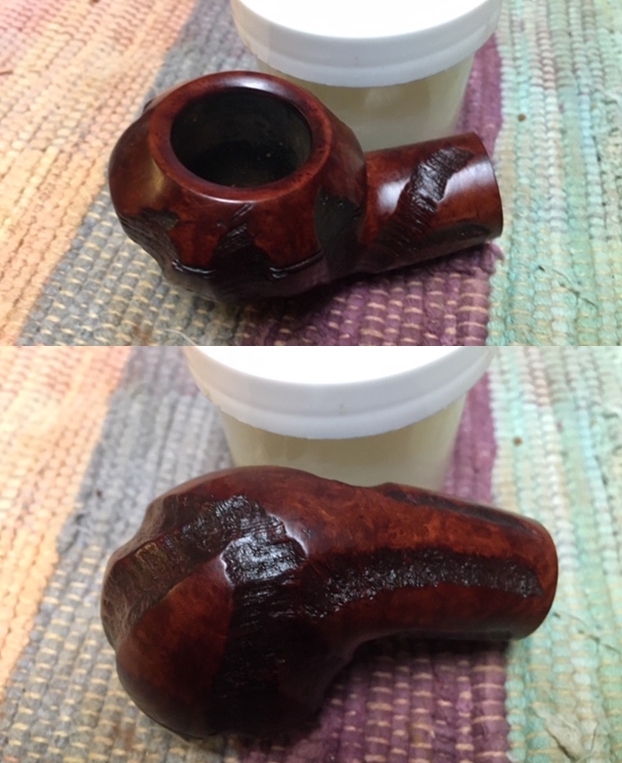
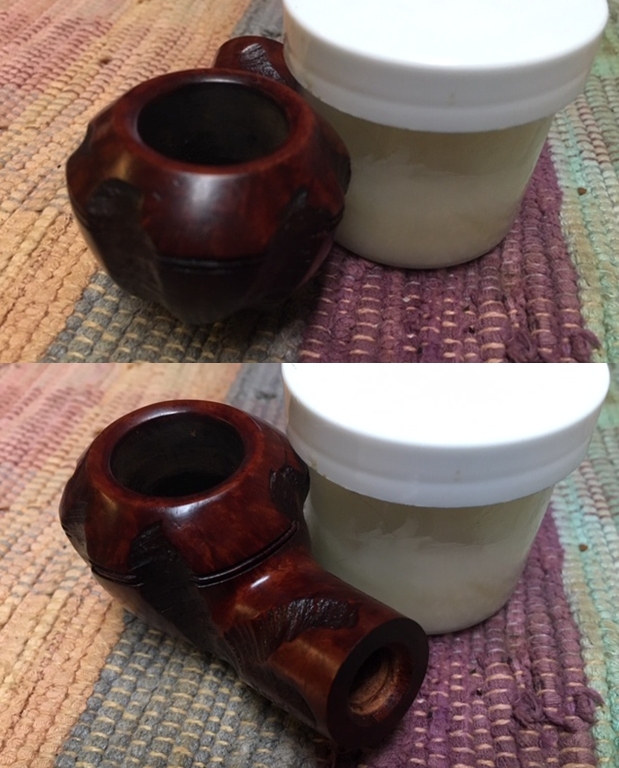
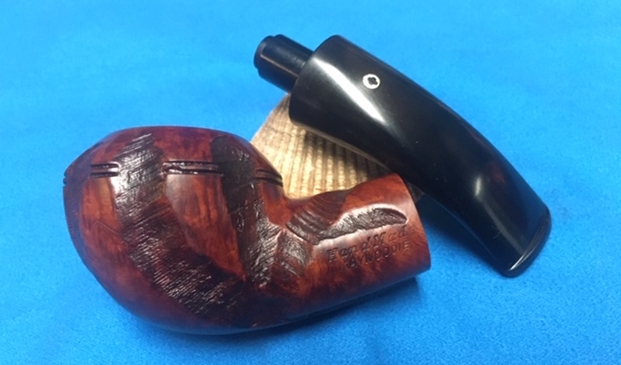
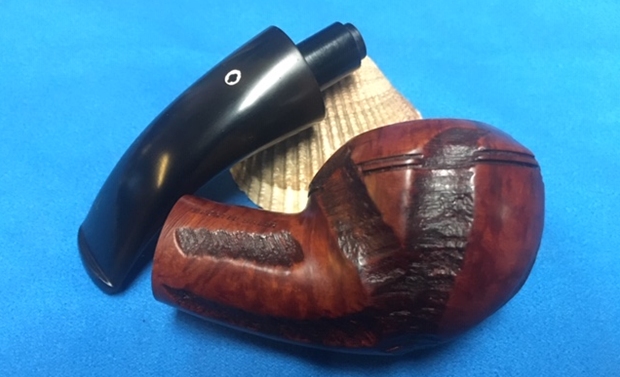
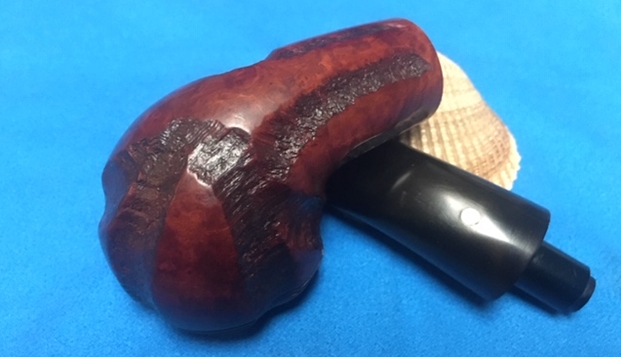
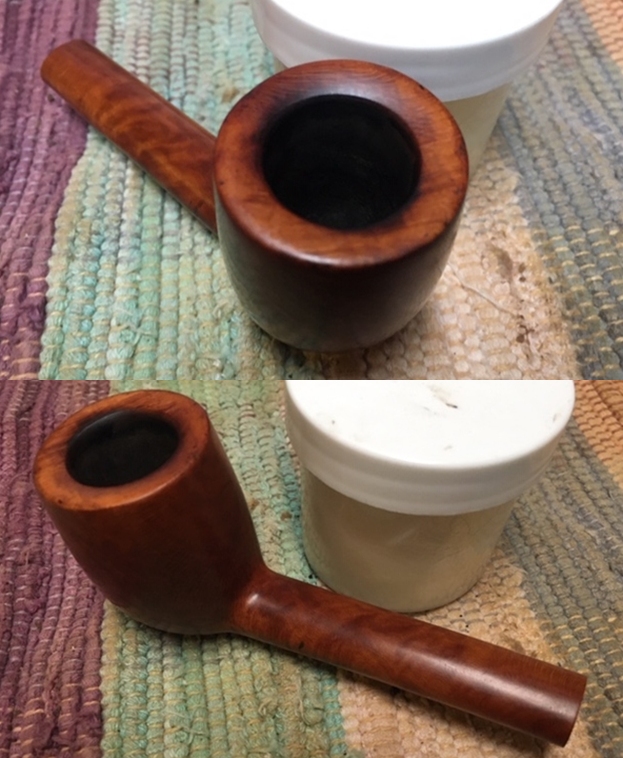
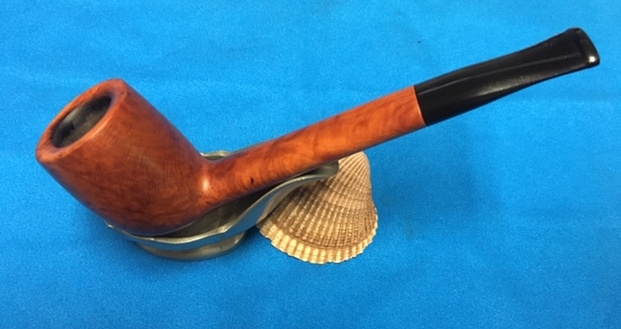
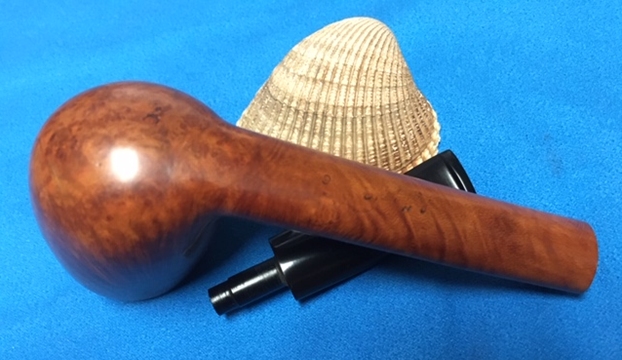
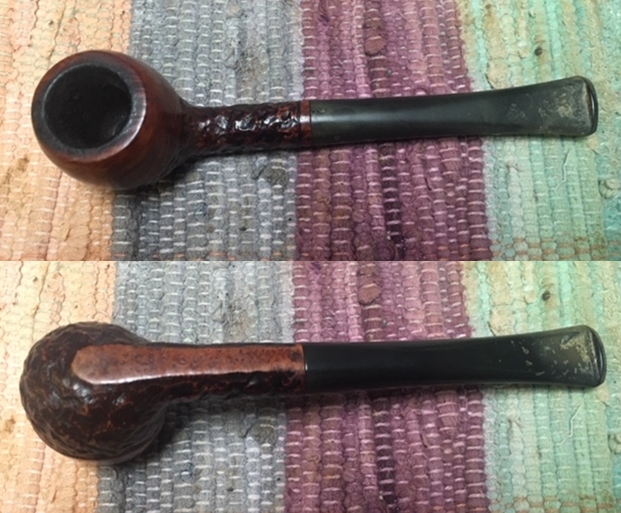 I took close up photos of the bowl and rim top to show the condition of the bowl and rim as well as the cake and lava overflowing onto the rim top. I also took close up photos of the stem to show its condition as mentioned above.
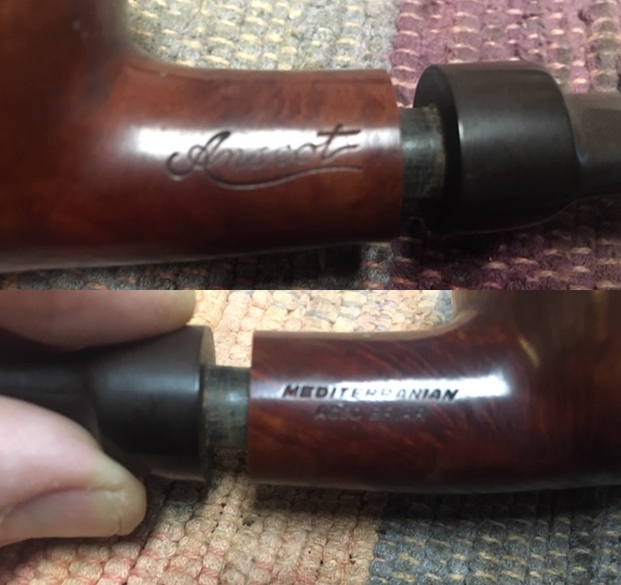
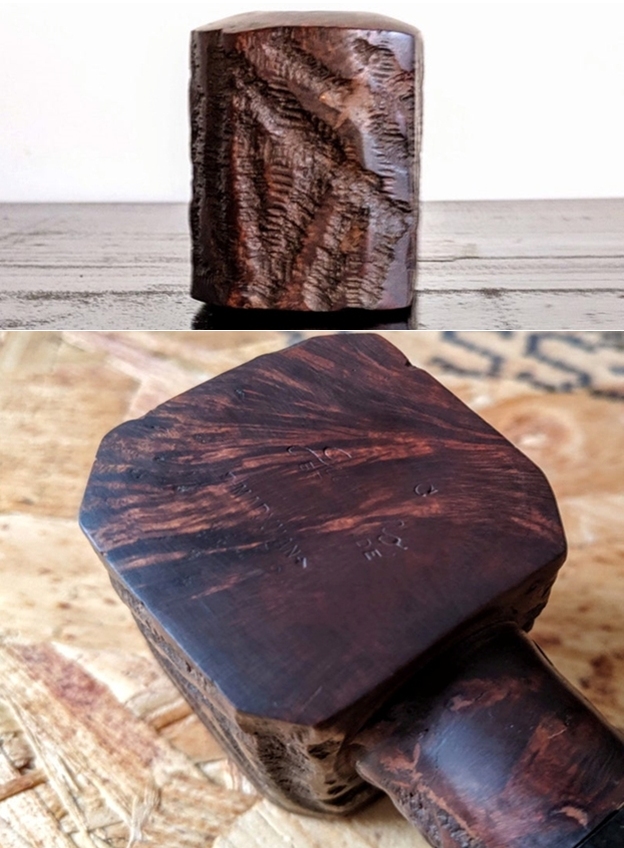
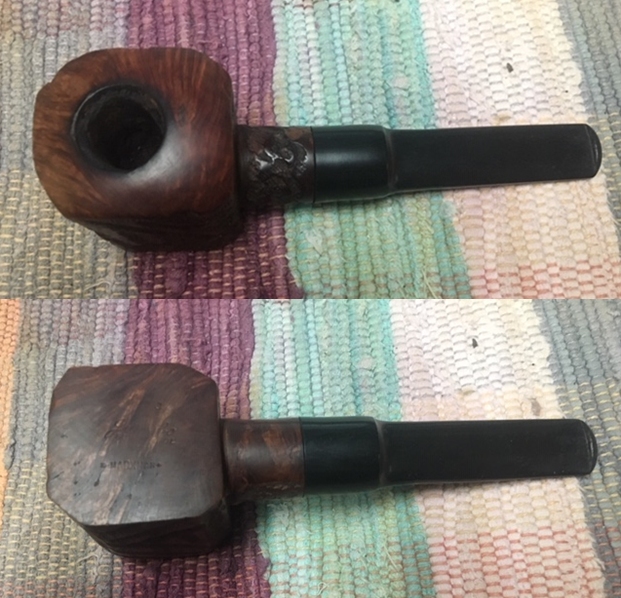
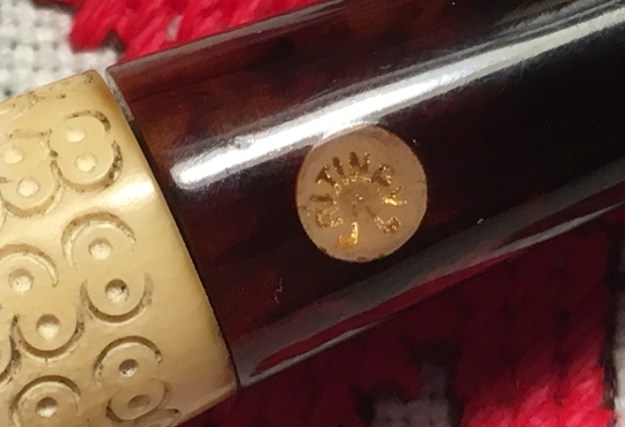
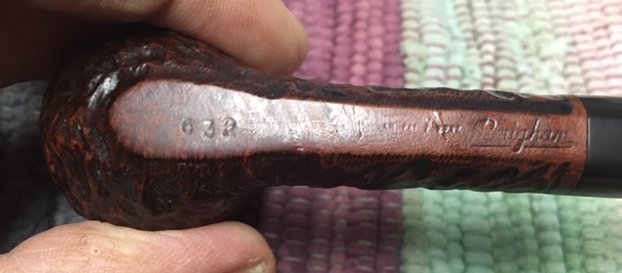
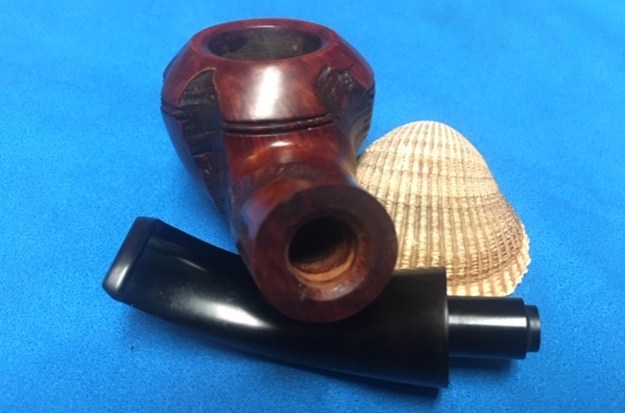
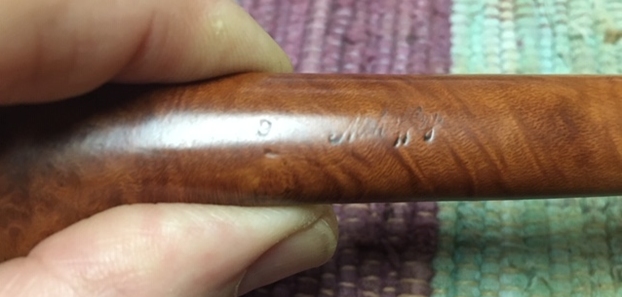
 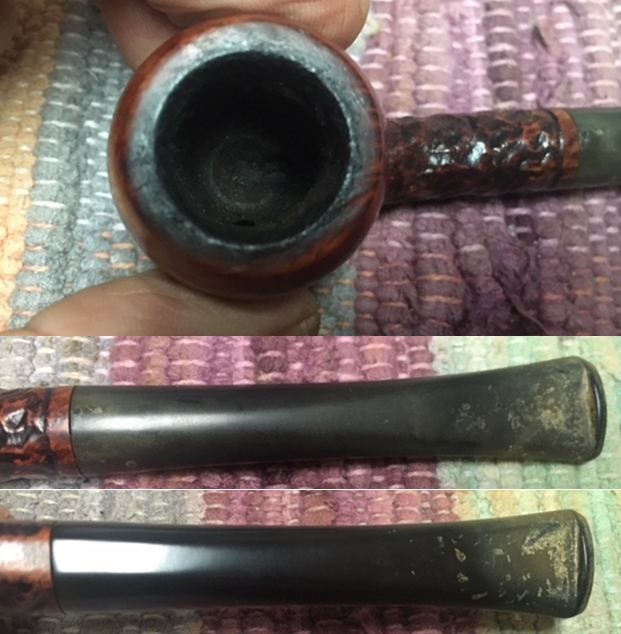 I took a photo of the stamping on the underside of the shank to show what I was speaking about above. It is very clear and readable. It reads 308 followed by Can. Pat. stamp 372982 then Brigham in script.
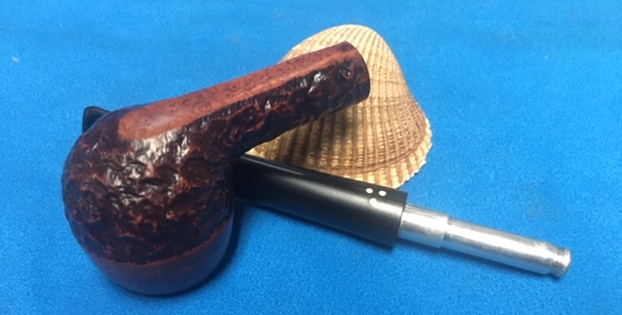
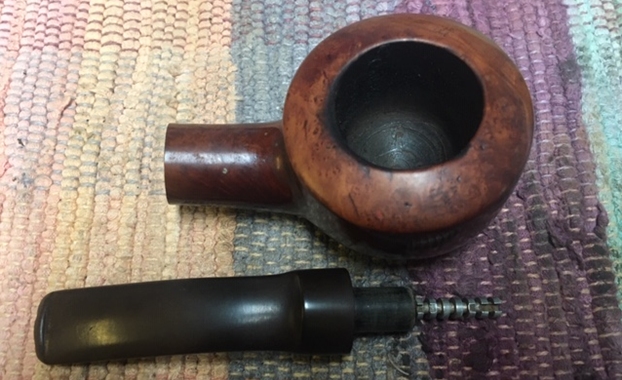
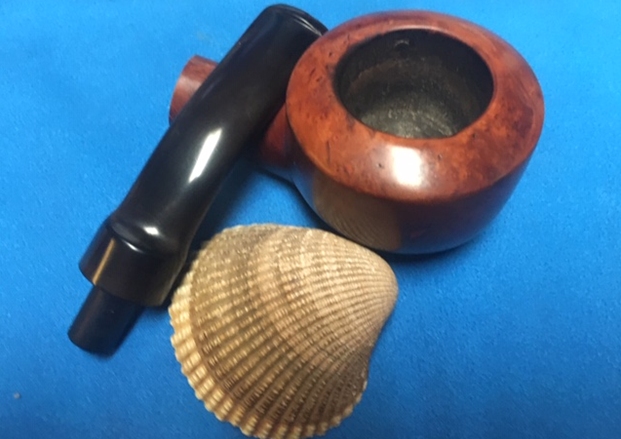
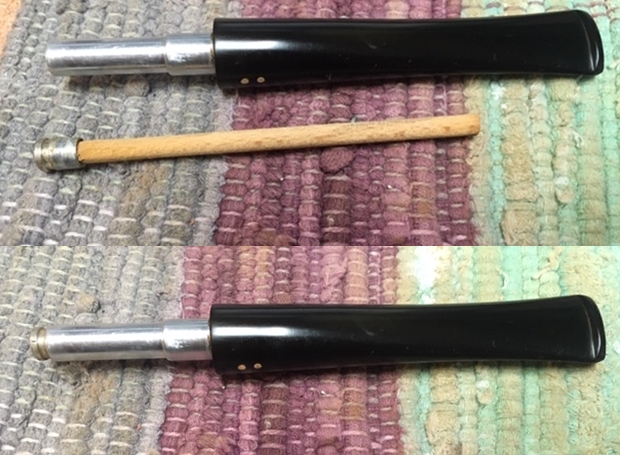
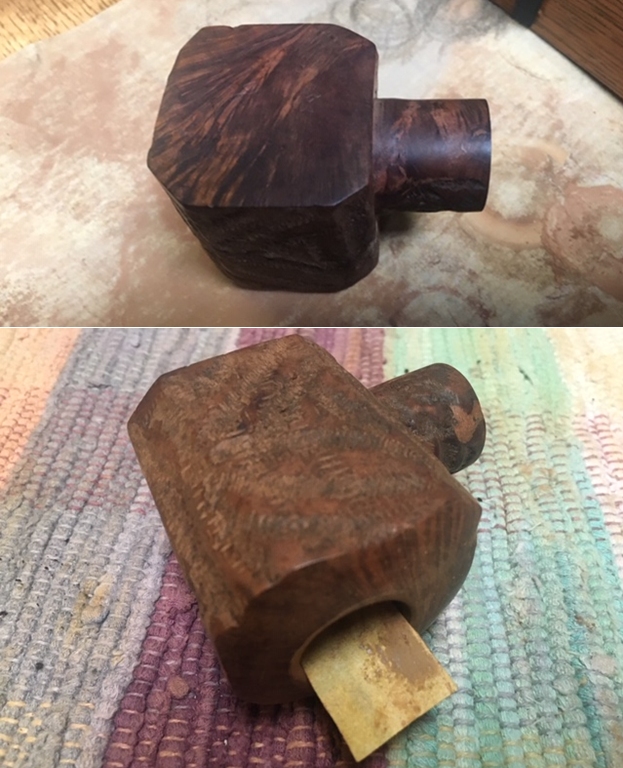
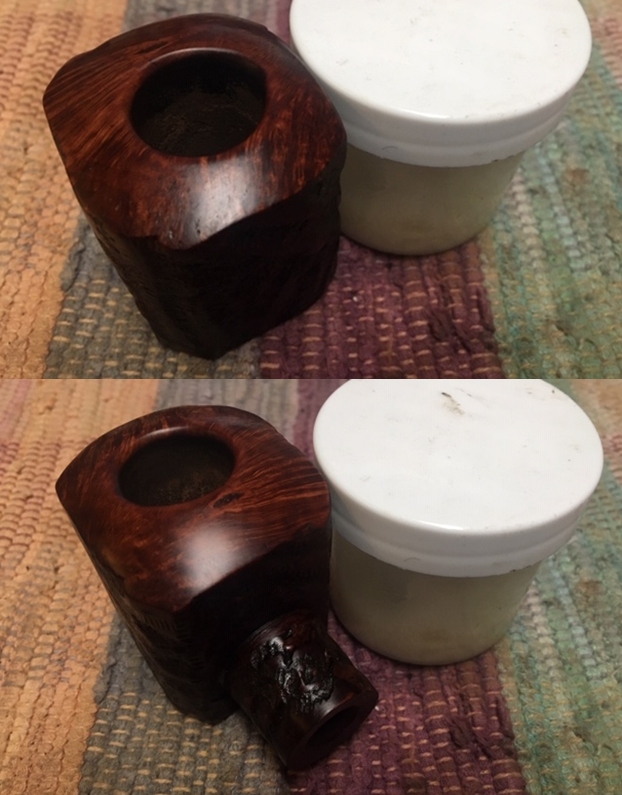
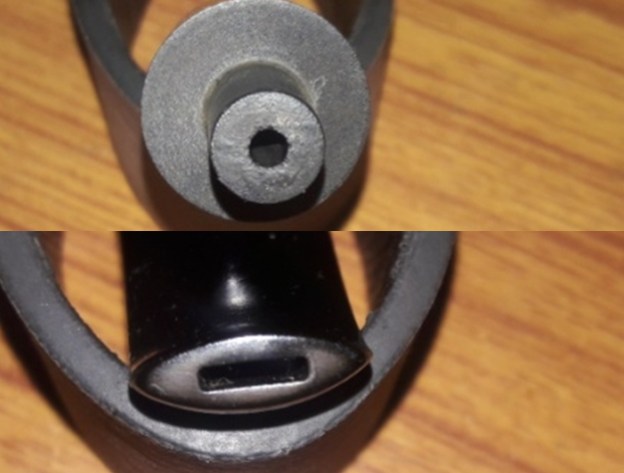
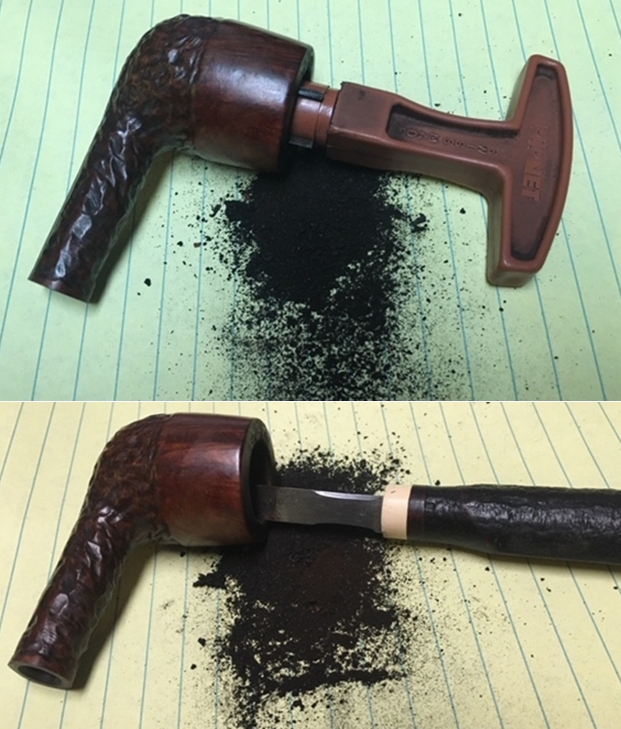
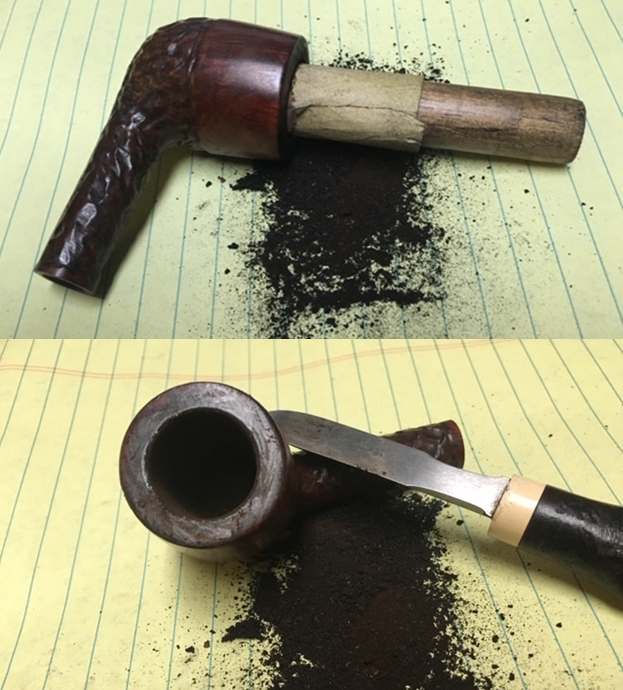
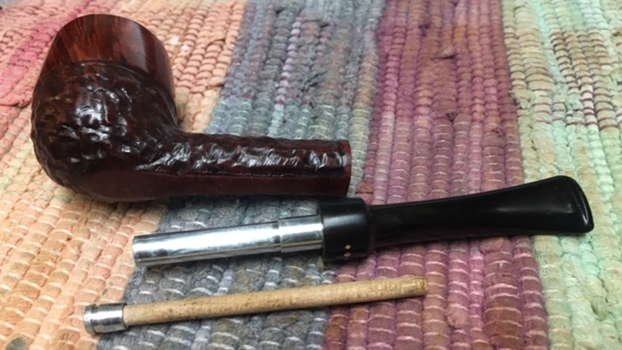
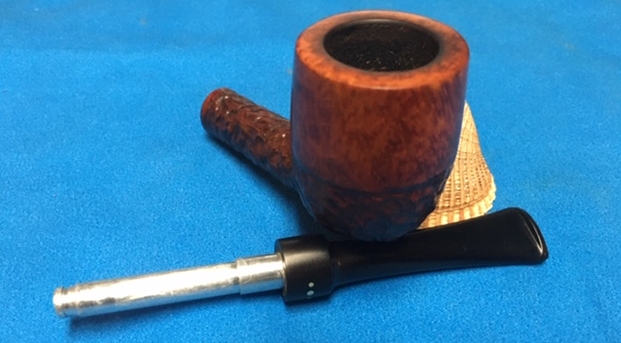
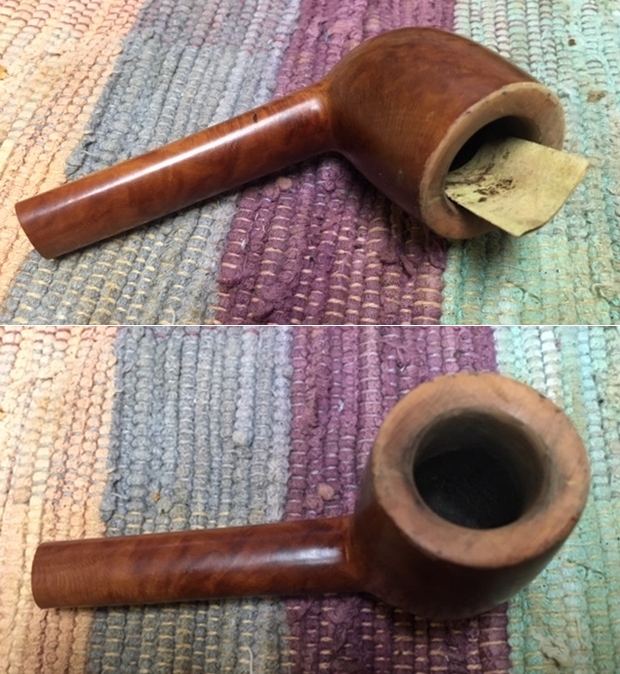
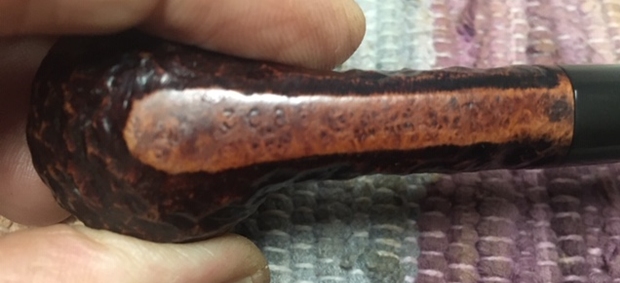 I removed the stem from the shank to reveal the aluminum tube/tenon that held the Rock Maple Distillator. The distillator was was missing in this pipe so I would need to replace it with a new one once I had cleaned it.
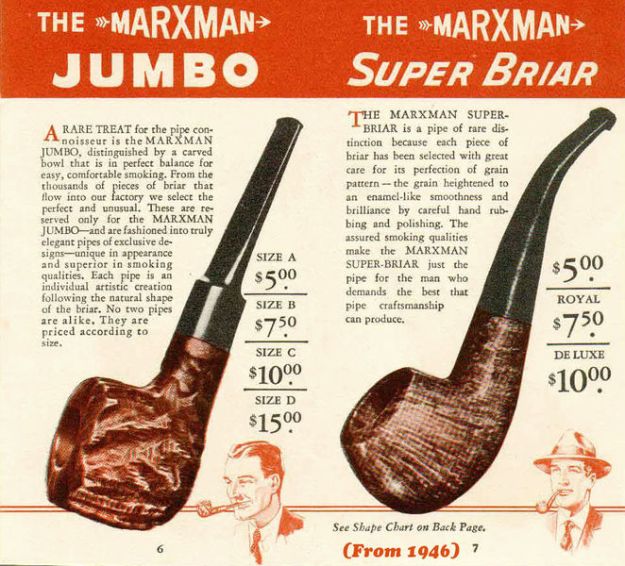
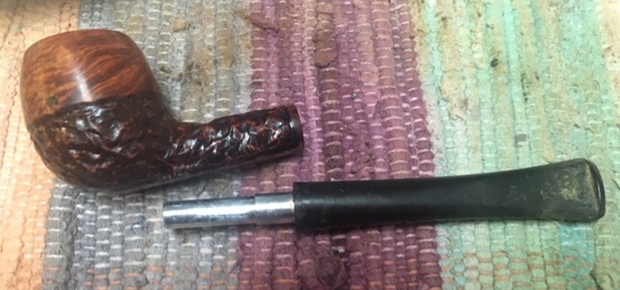 Before starting my clean up work on the pipe I turned to a chart that Charles Lemon of Dad’s Pipes sent to me on the patent era Brighams. There were made from 1938-1980. As the pipe I am working on is a Patent pipes, it’s more accurate to refer to its grade by name (the post 1980 grading scheme refers to Dots). Here is the chart that Charles sent me. The pipe I am working on is thus a Brigham Exclusive with the 3 brass pins arranged in a triangle. The pipe I am working on has a 3XX shape number.
 It is helpful having this chart and getting a quick picture of where the pipe fits in the Brigham line. Now it was time to work on the pipe.
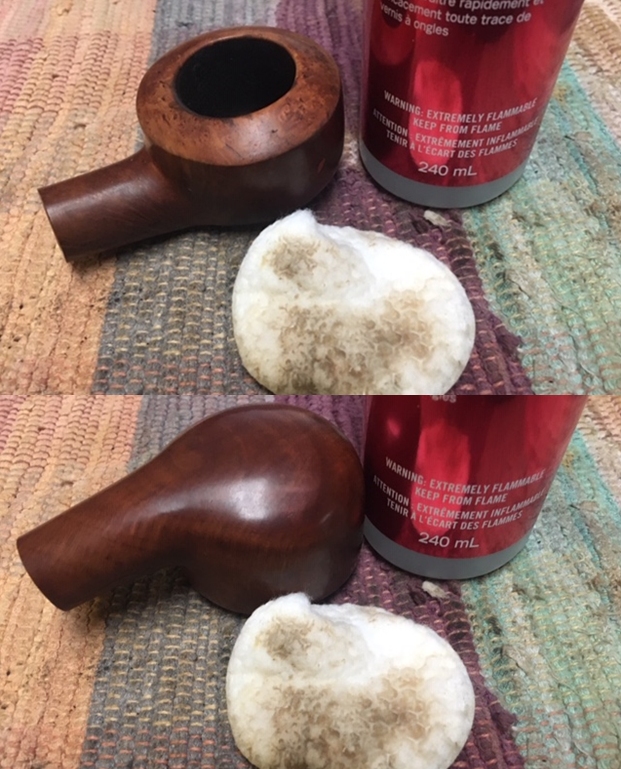
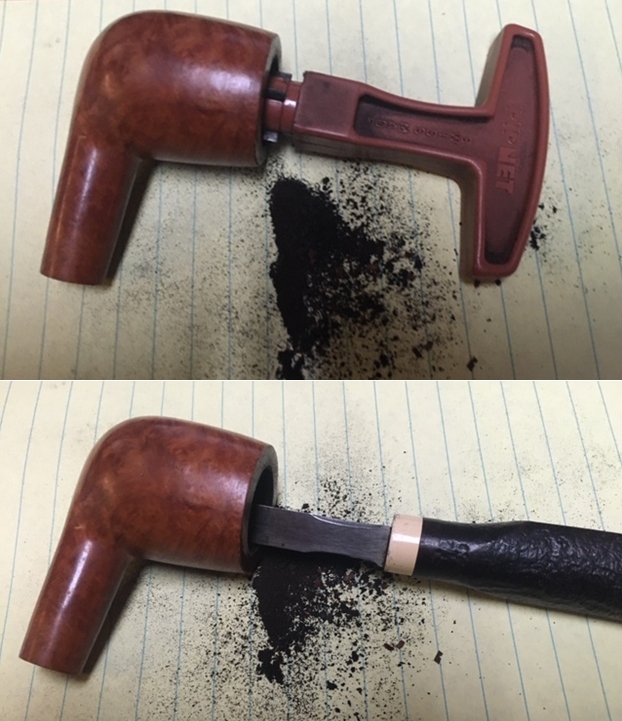
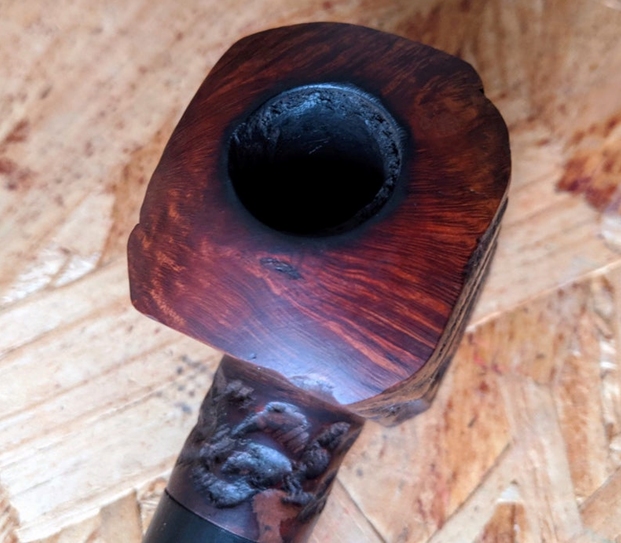
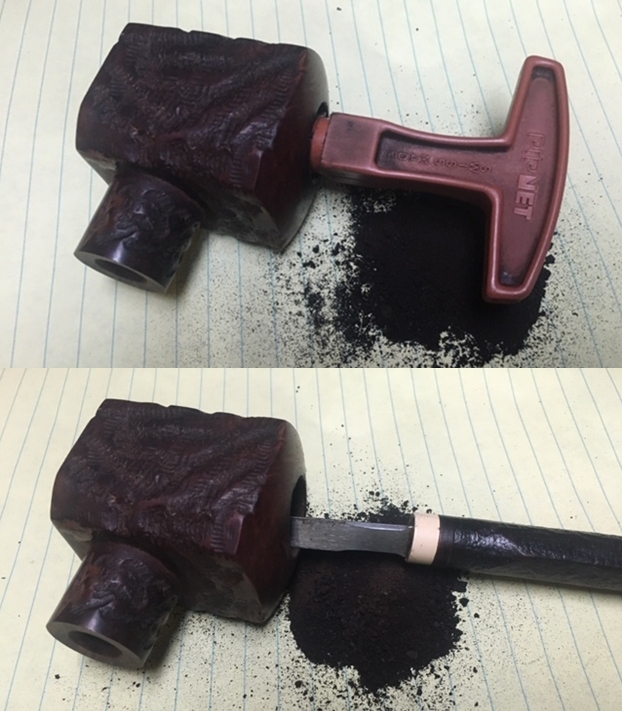
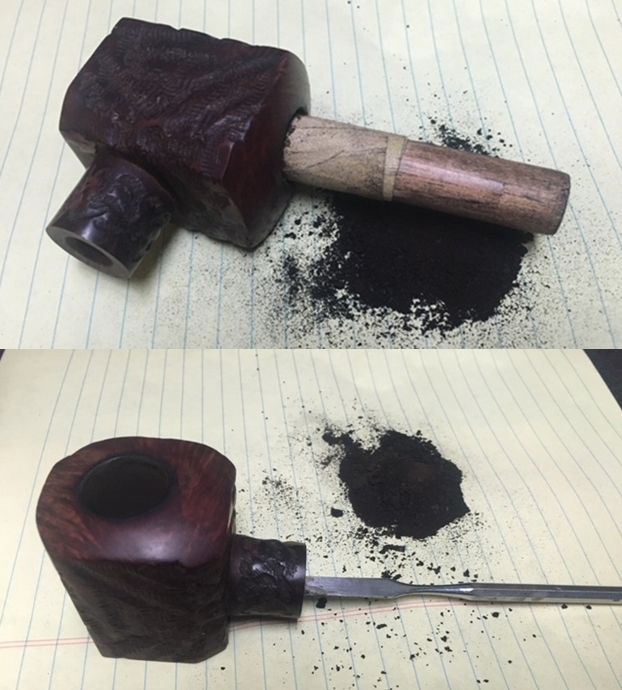
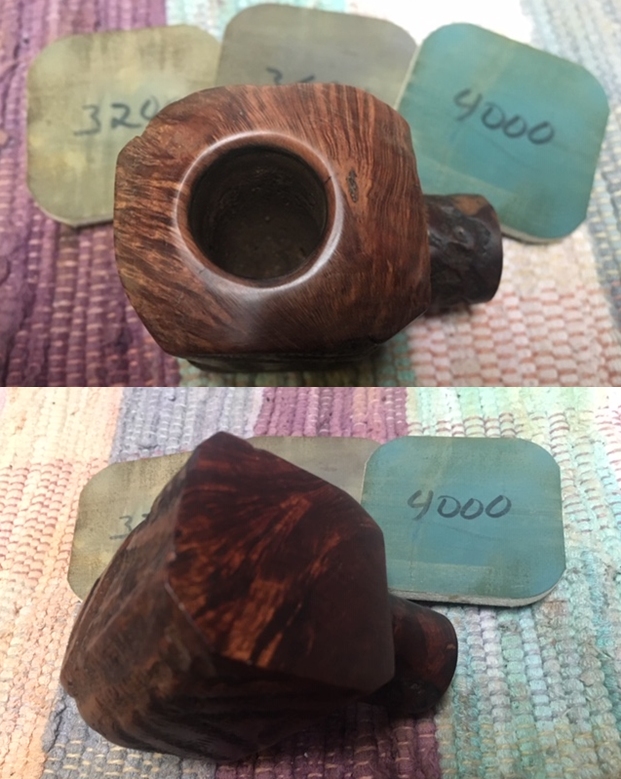
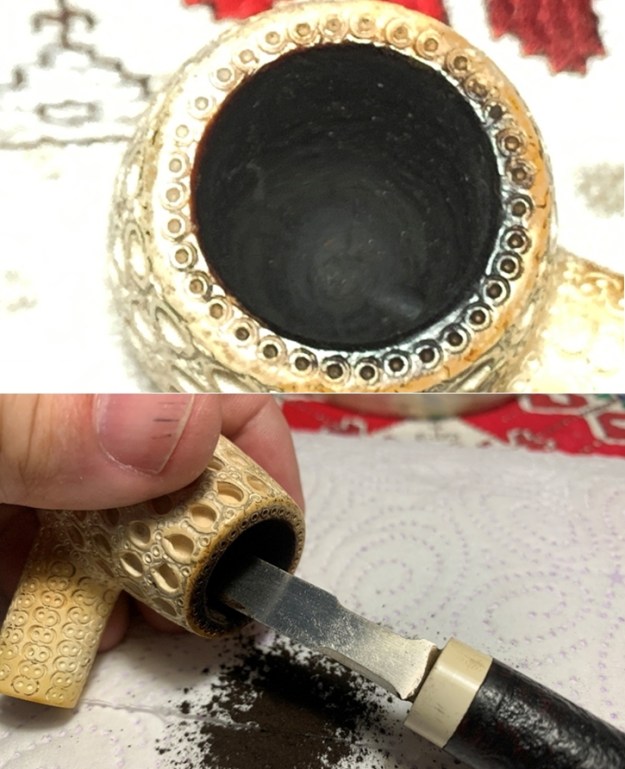
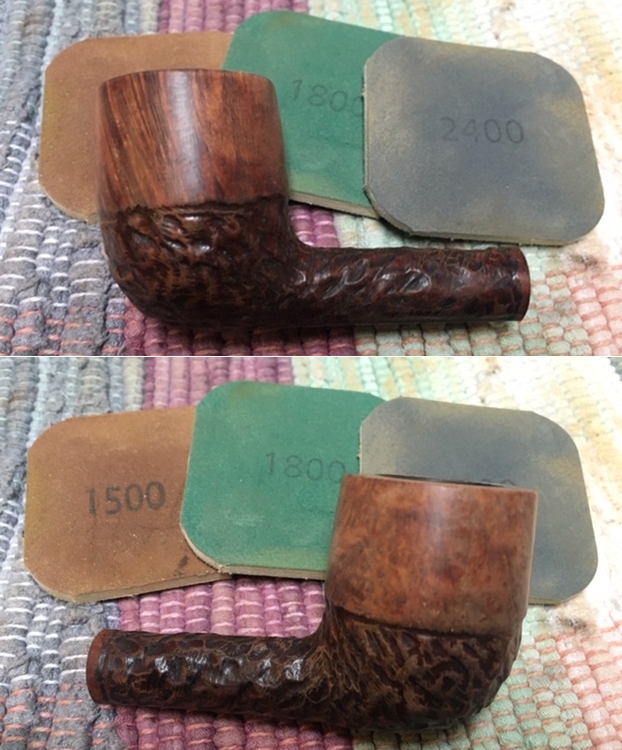
I reamed the bowl with a PipNet pipe reamer using the second and third cutting head to take the cake back to bare briar so I could inspect the walls. I cleaned up the remnants with a Savinelli Fitsall Pipe Knife. I sanded the bowl walls with 220 grit sandpaper on a piece of dowel to smooth them out and further examine them. I was happy that the walls looked very good. I used the Savinelli Fitsall knife to scrape off the lava coat on the rim top.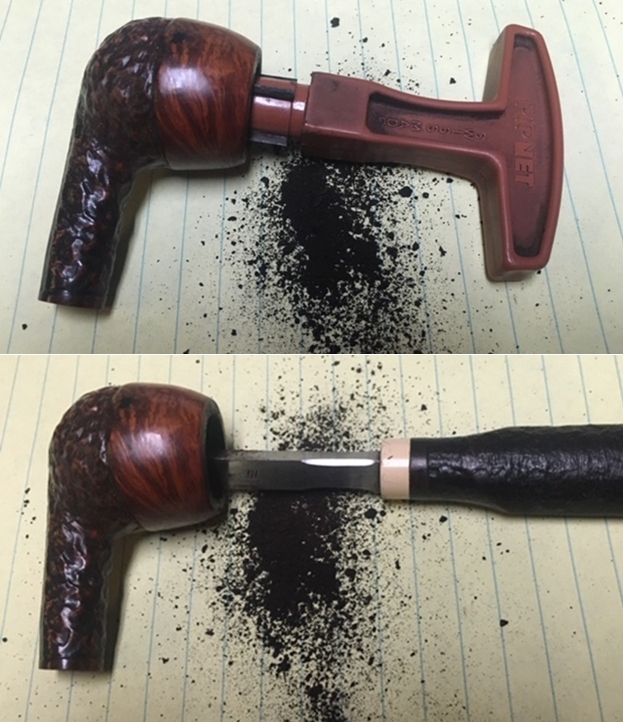
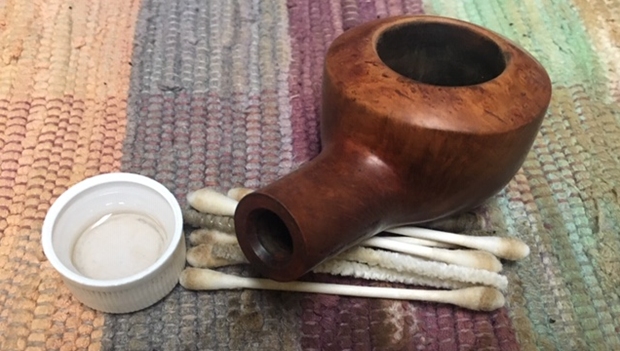
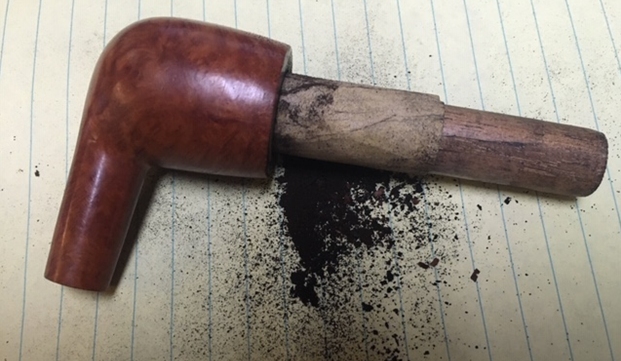
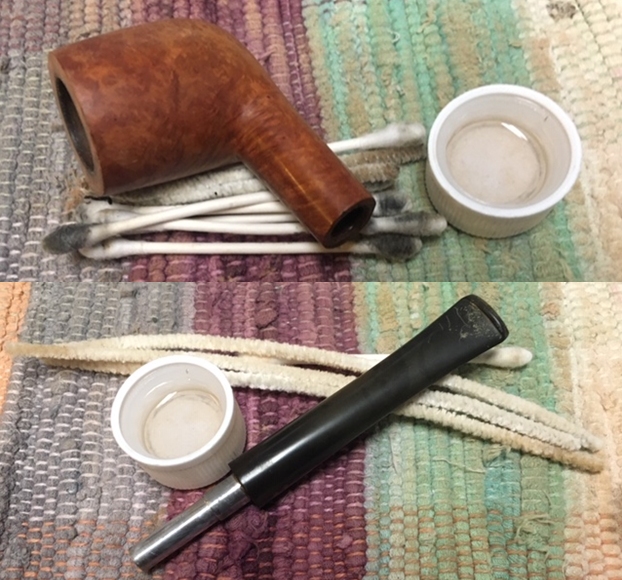
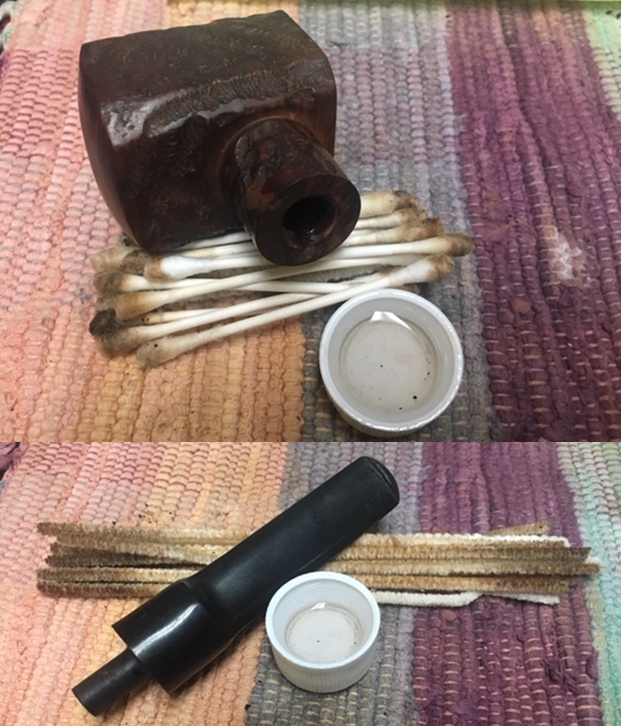
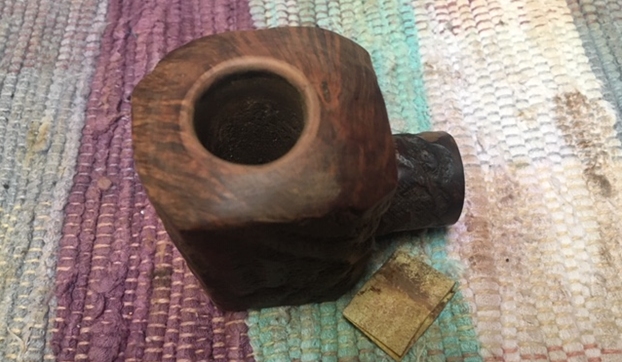
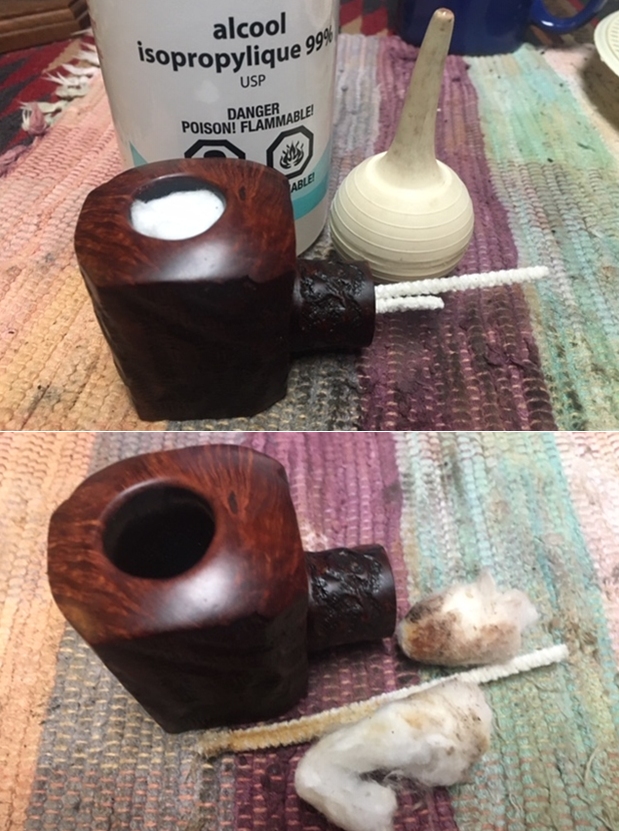
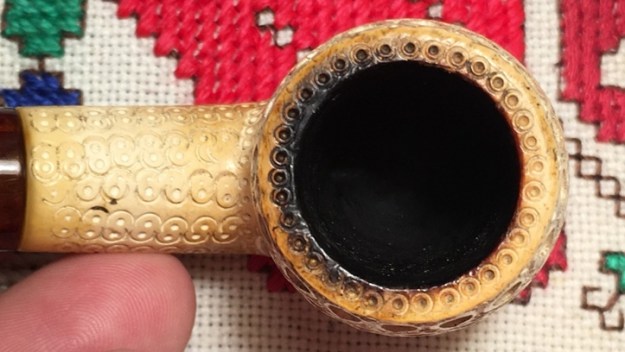
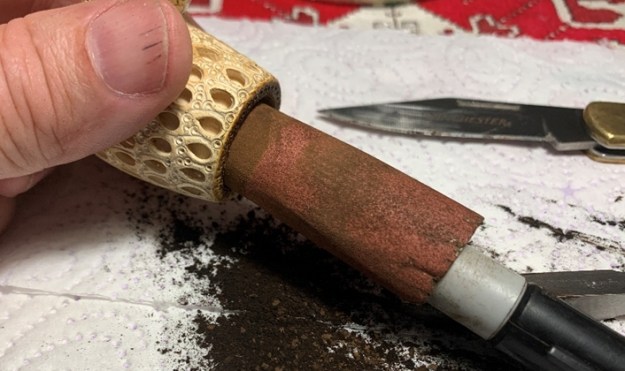
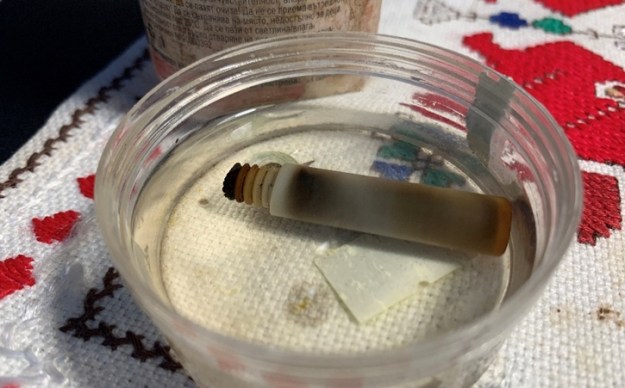
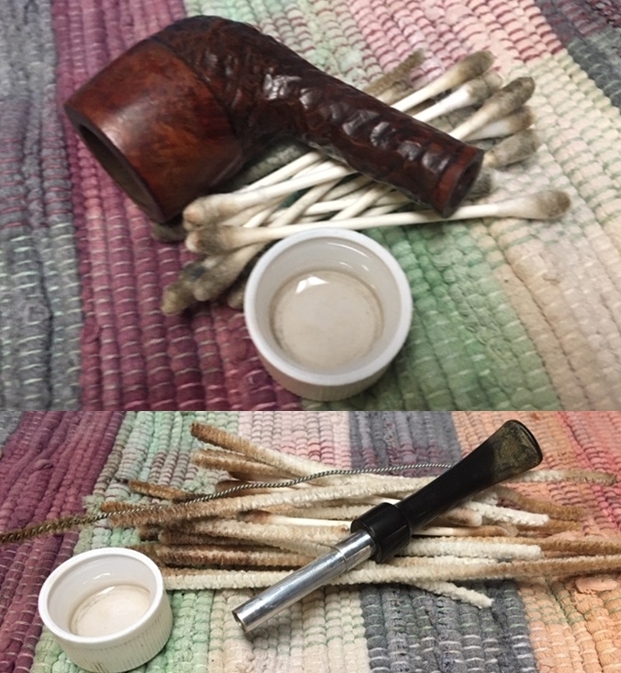
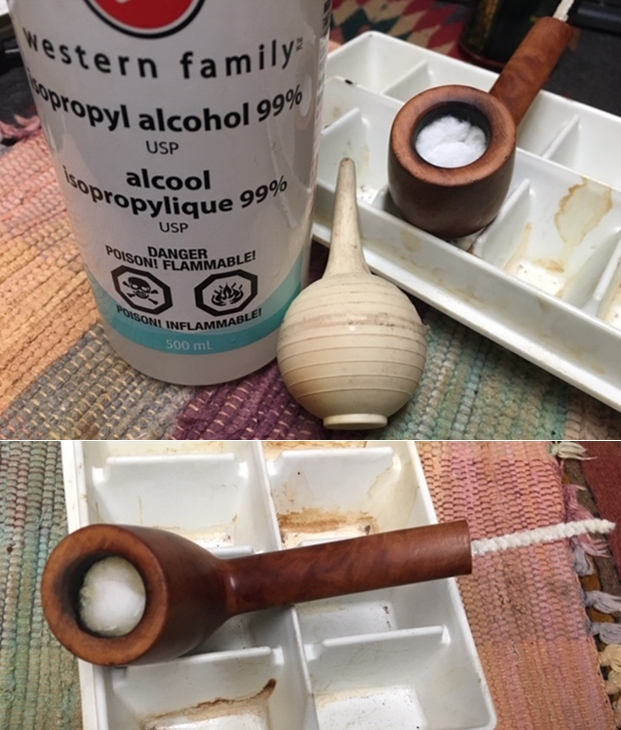
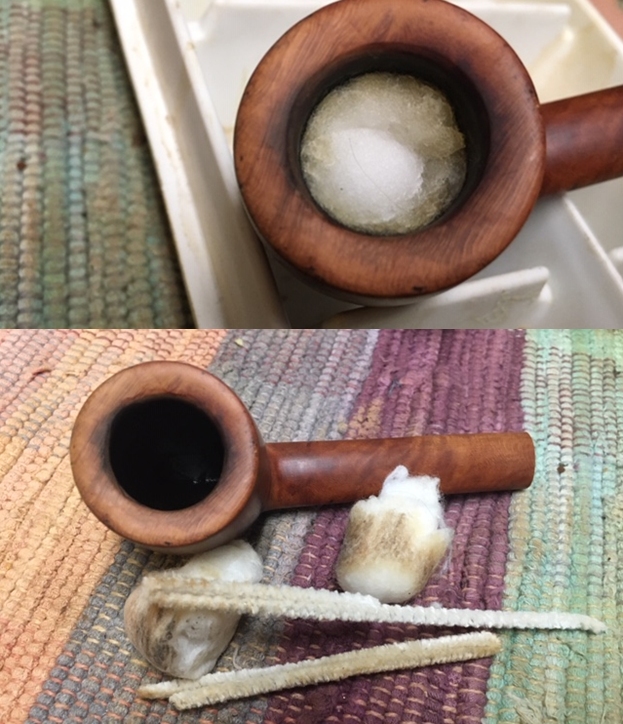
 I cleaned out the mortise area and airway to the bowl and the interior of the metal tube and airway in the stem with pipe cleaners, cotton swabs and alcohol. The aluminum tube was really dirty since it had been smoked frequently without the distillator in place. It took a lot of work to clean out all of the grit and tars.
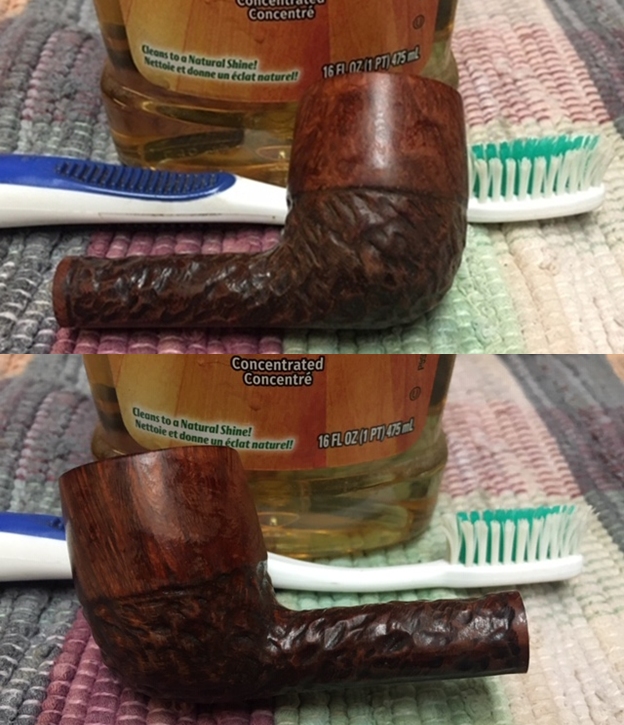
  I scrubbed the surface of the bowl with undiluted Murphy’s Oil Soap and a tooth brush to remove the grime and grit as well as the remnants of the shiny finish on the smooth portions of the bowl.
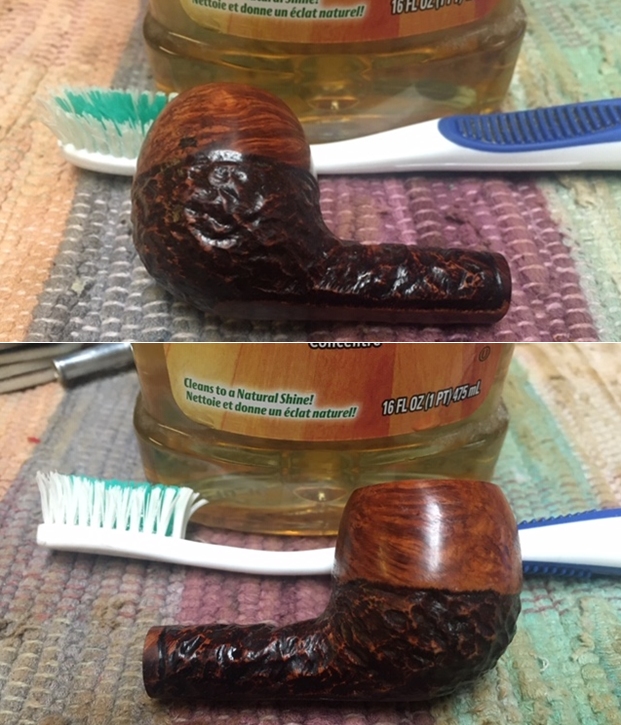
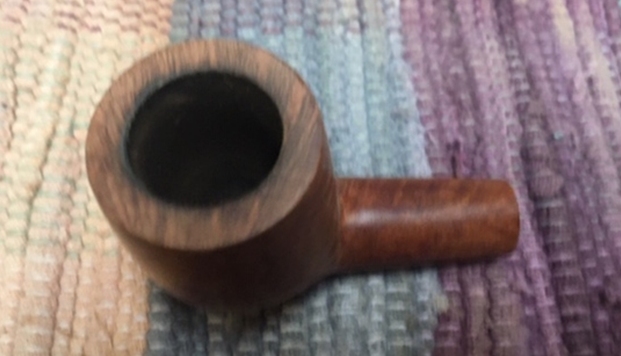
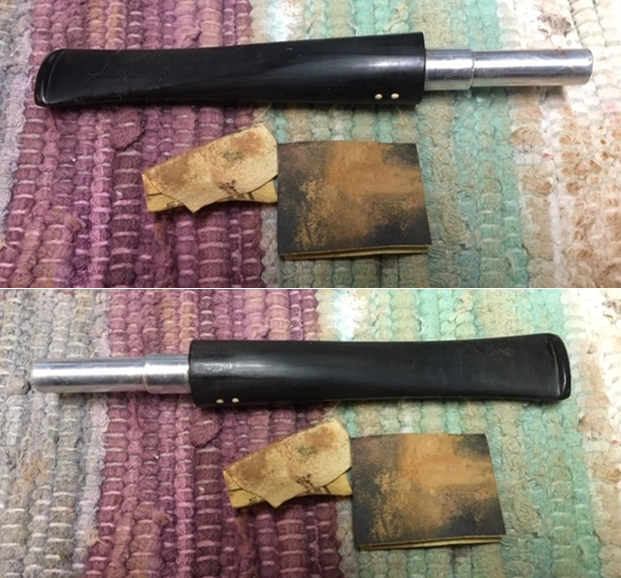
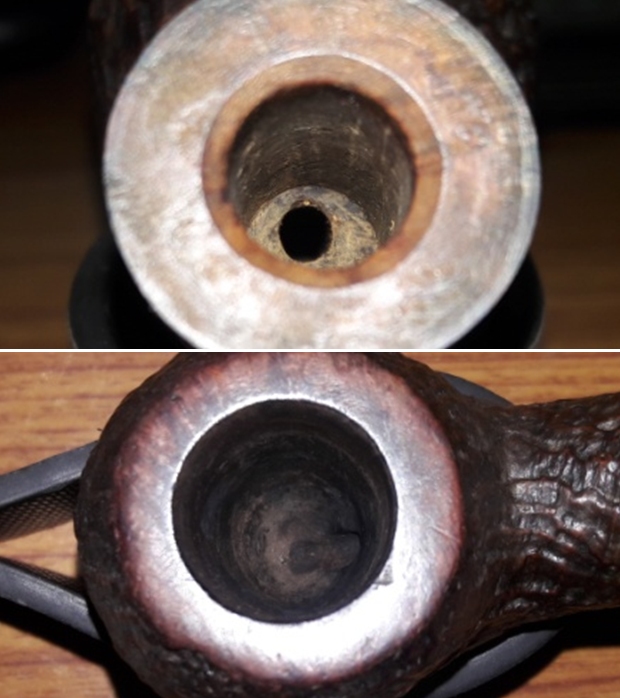
 I worked on the darkening on the rim top and the rough inner edge of the bowl with a folded piece of 220 grit sandpaper to remove the darkening and smooth out the inner edge of the bowl.
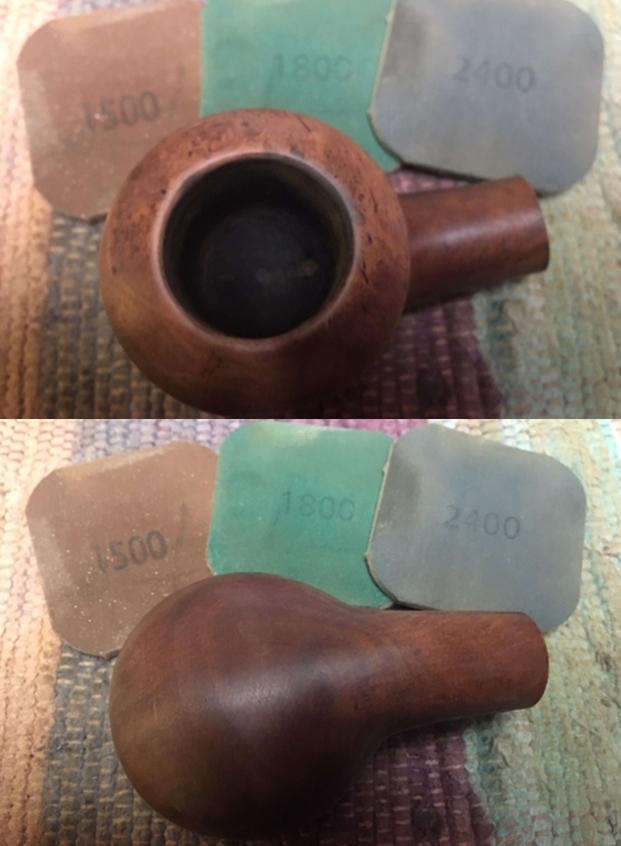
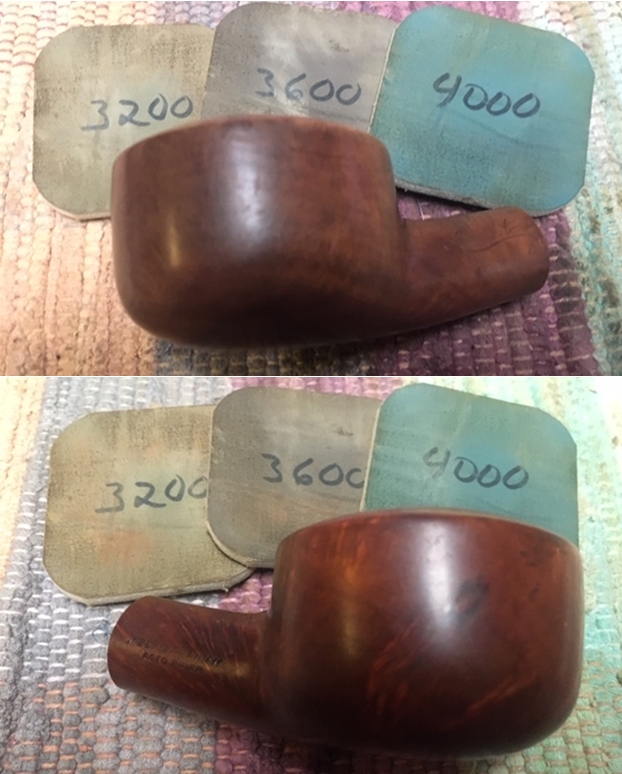
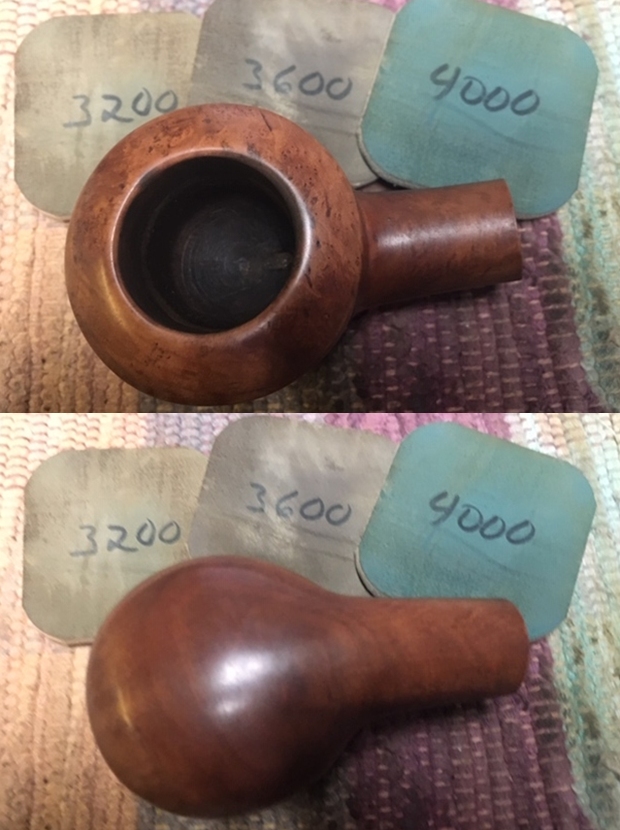
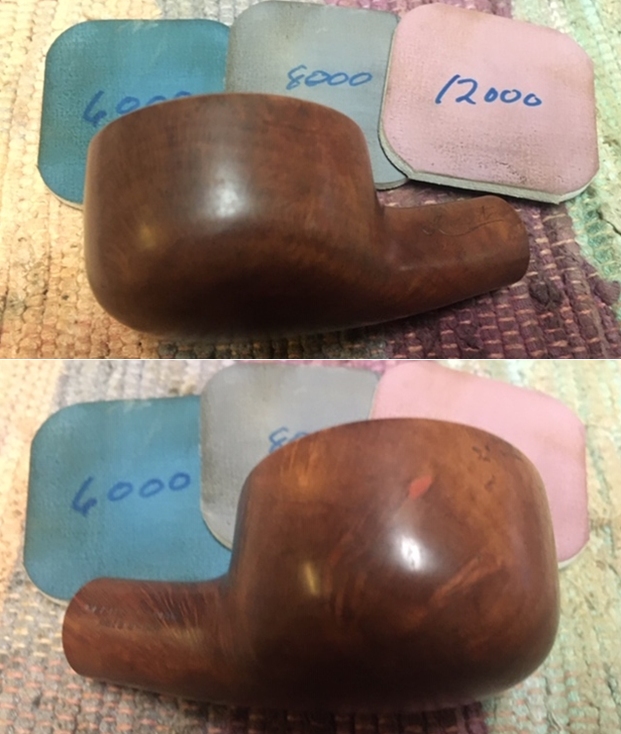
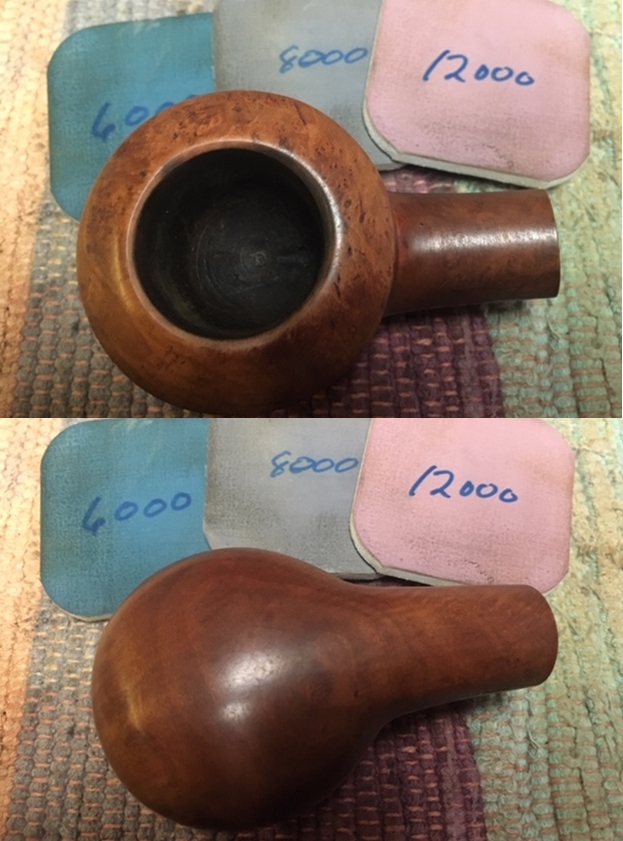
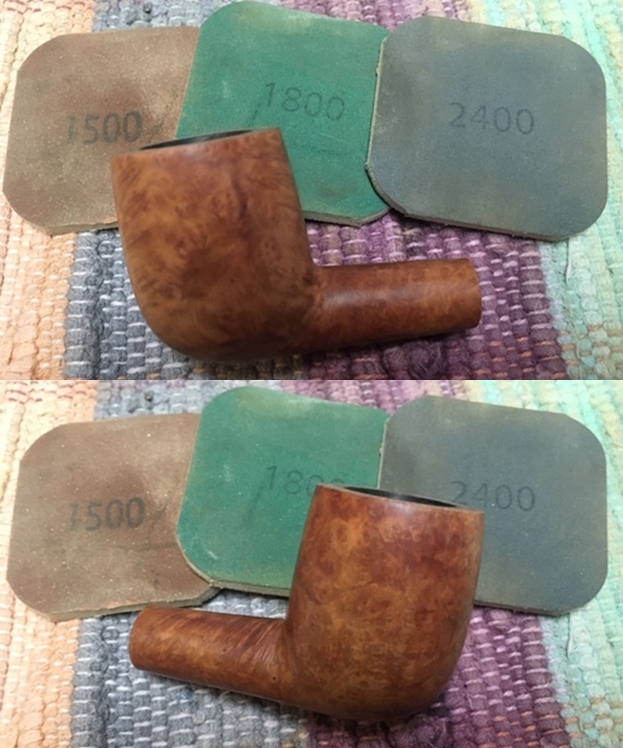
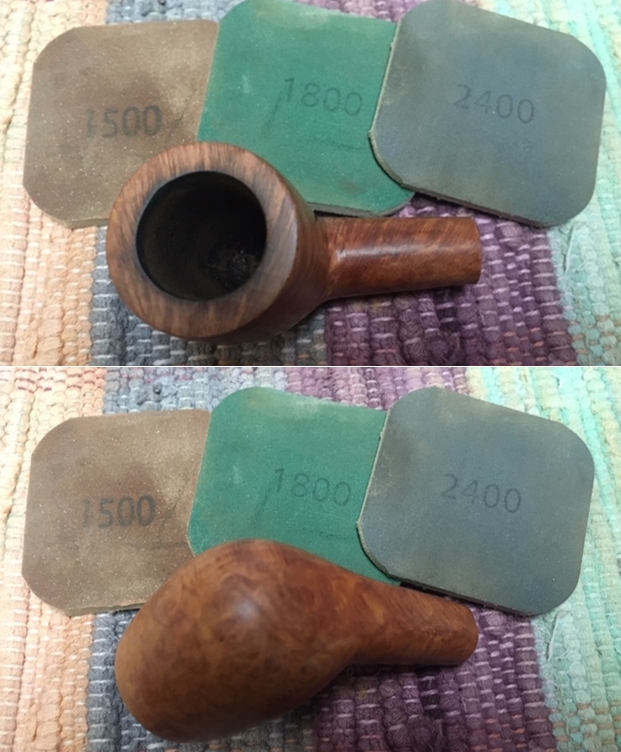
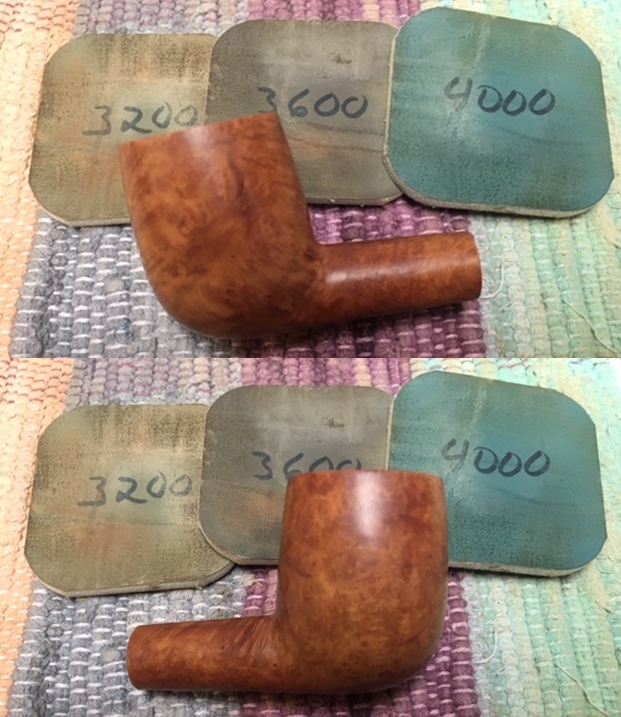
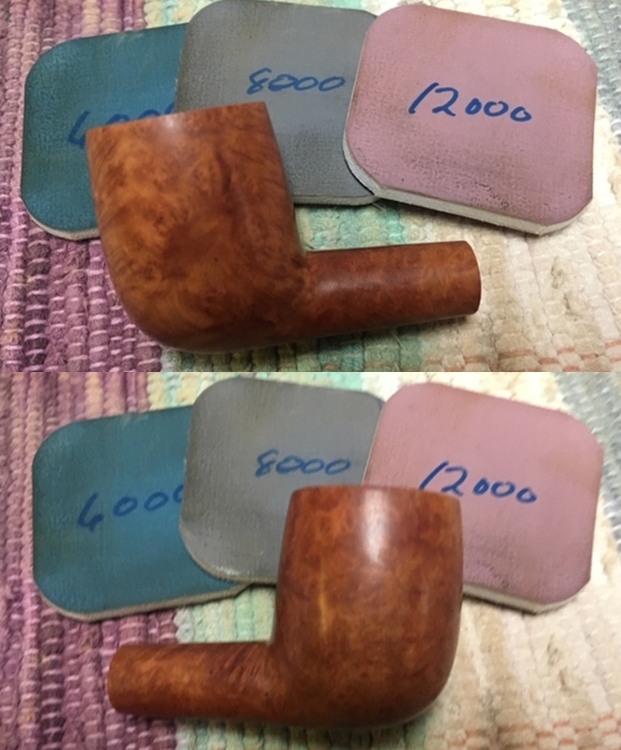
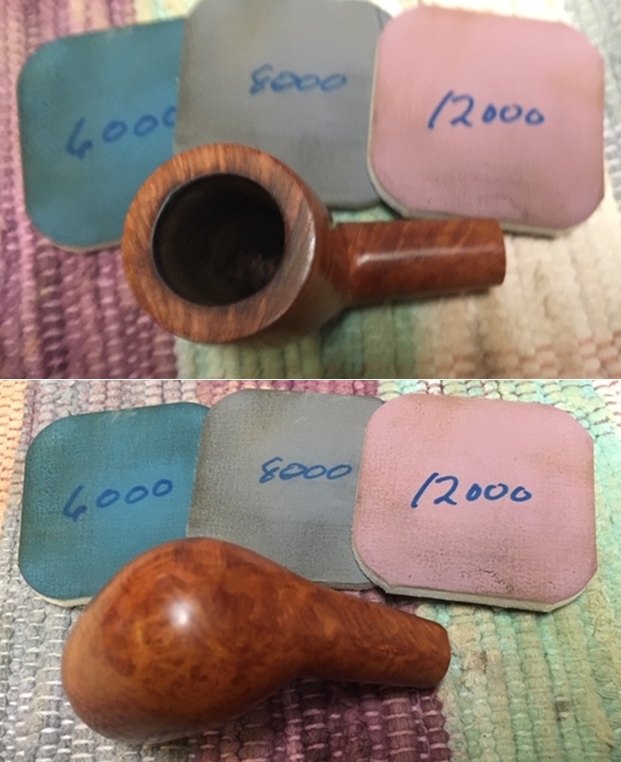
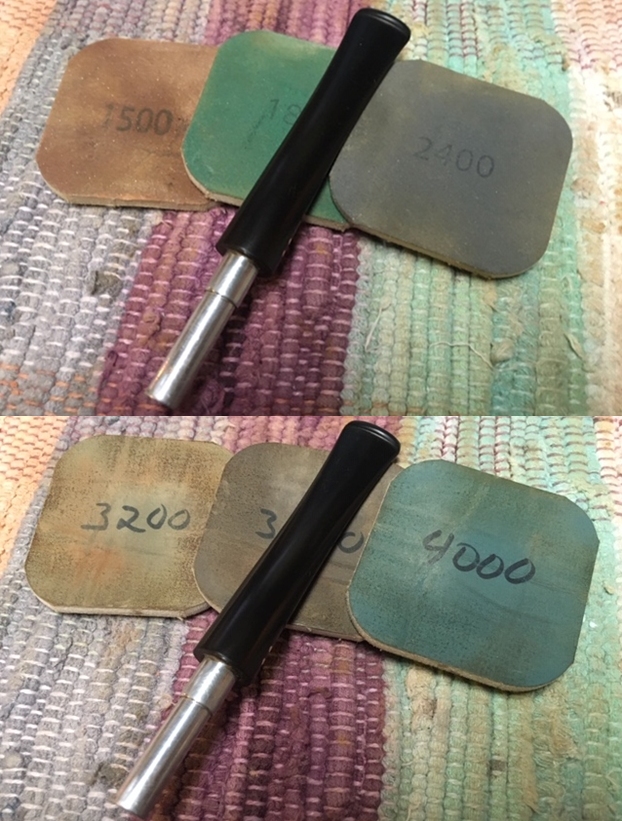
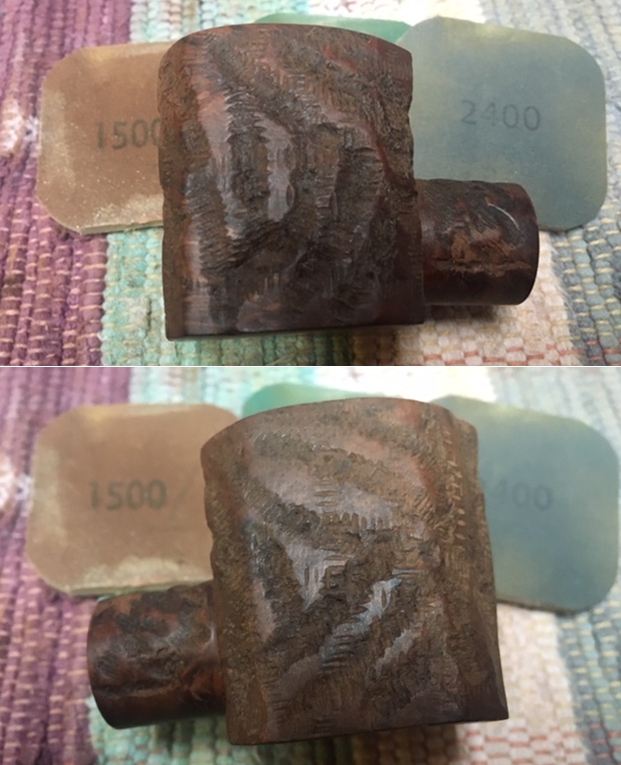
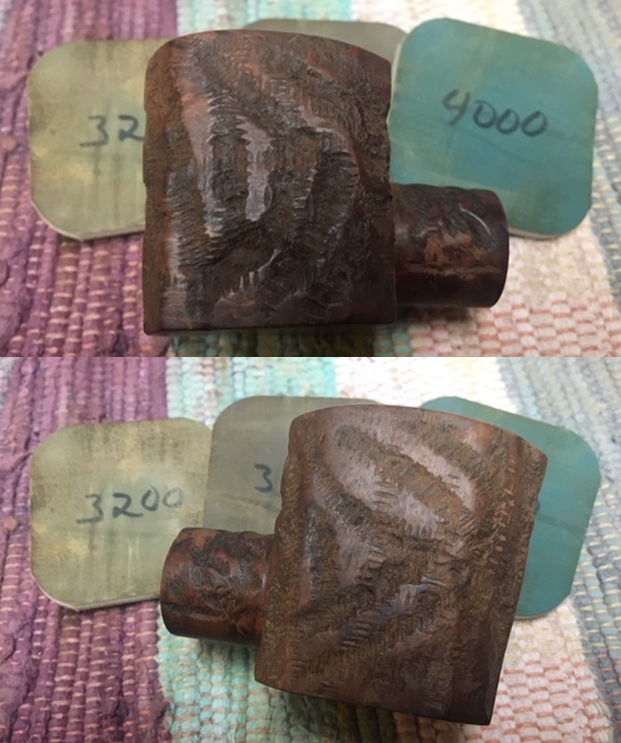
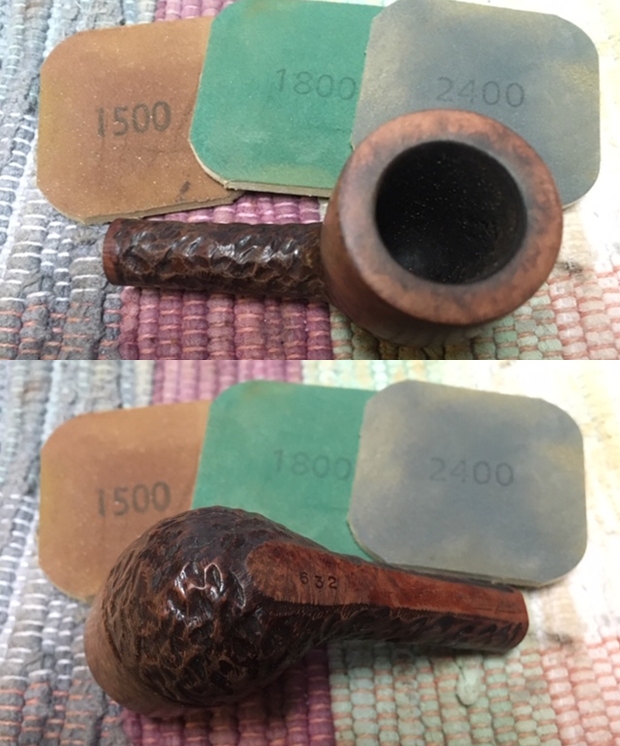
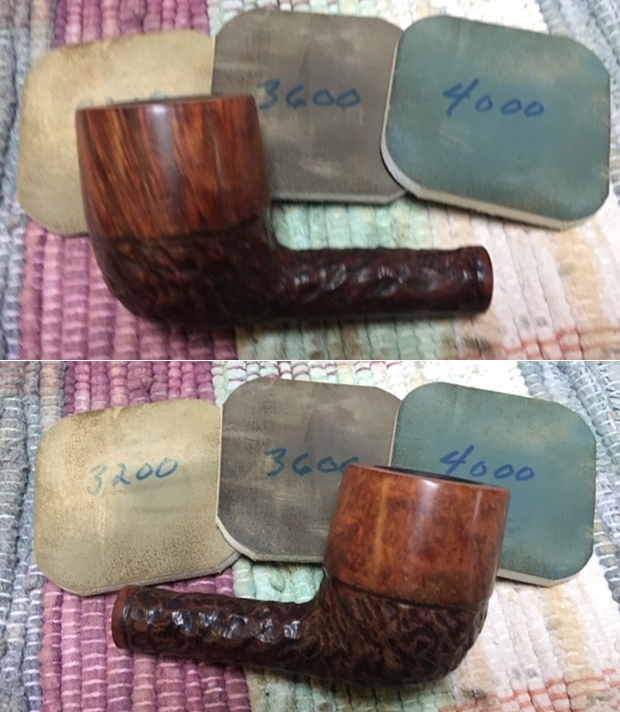
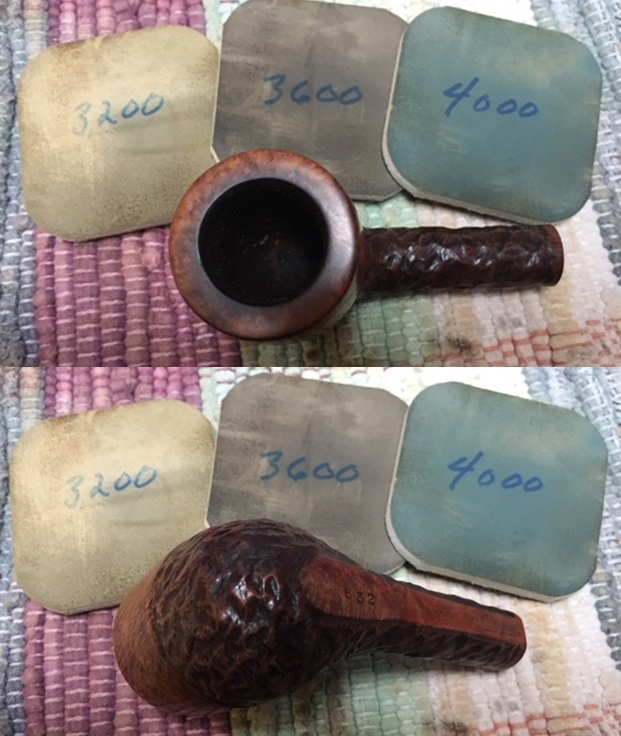
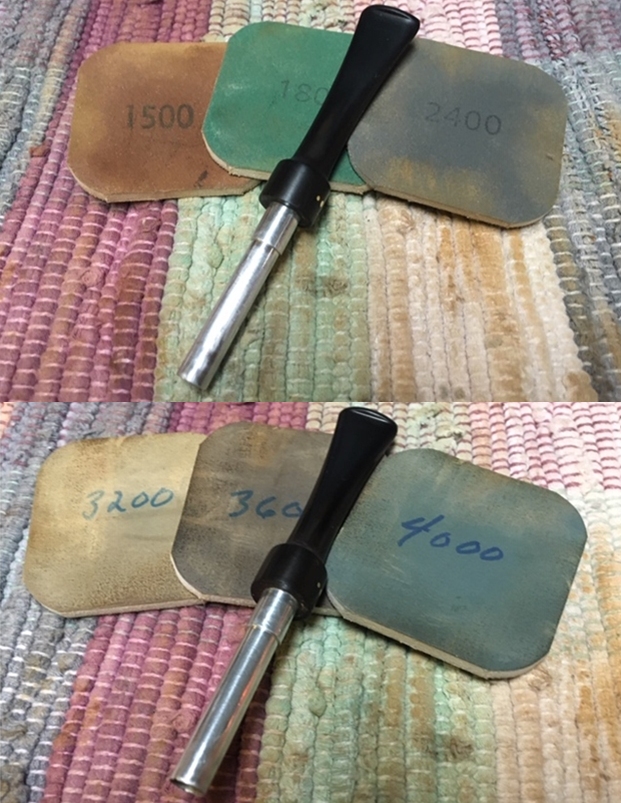
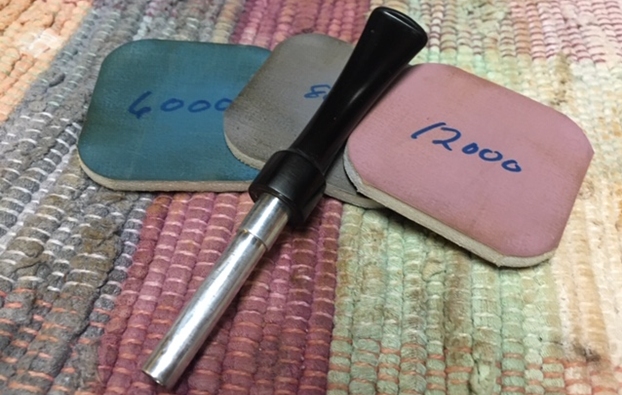
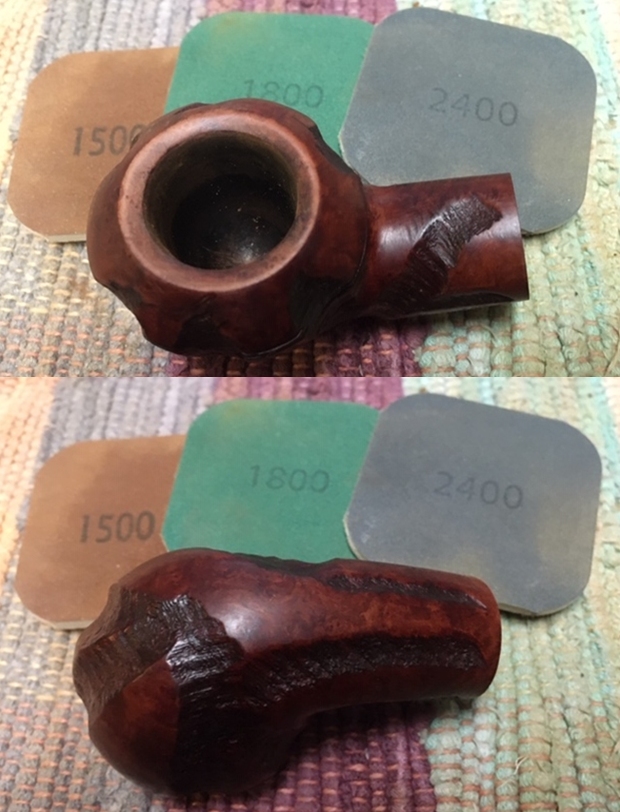
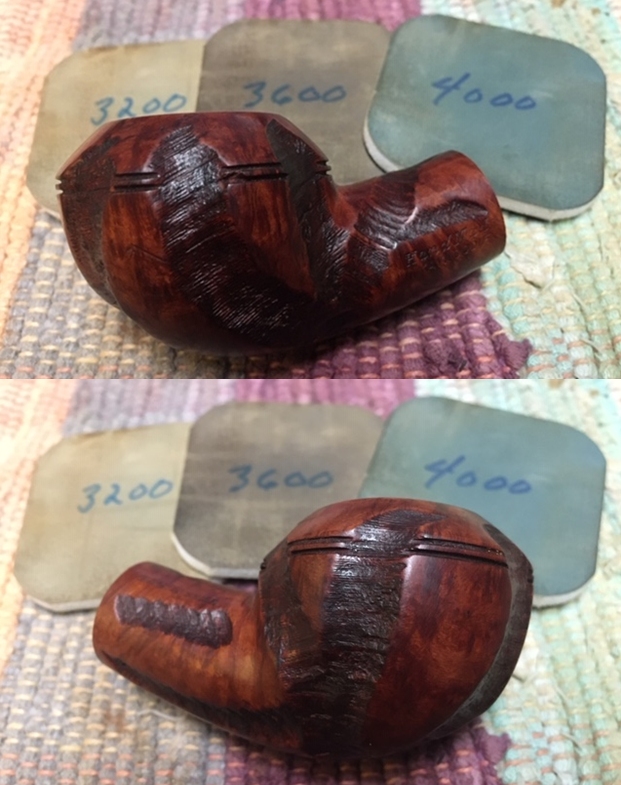
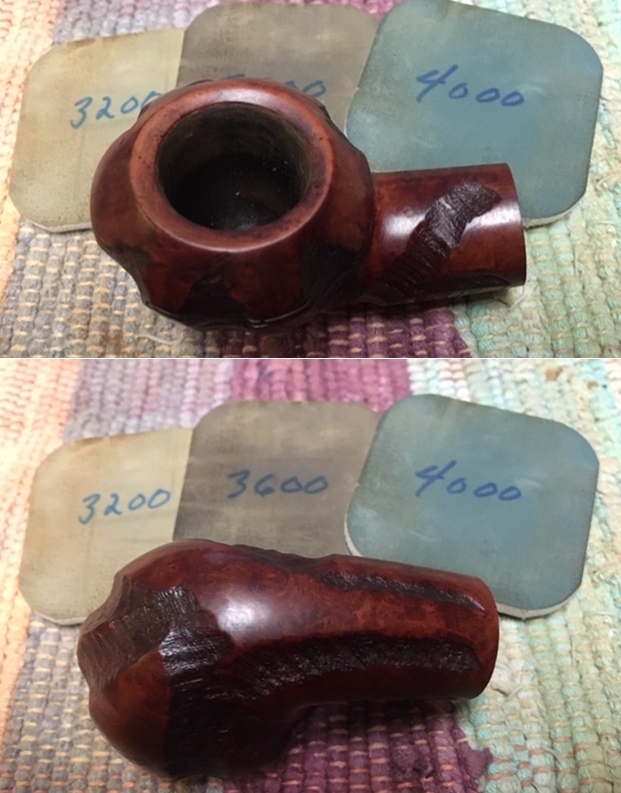
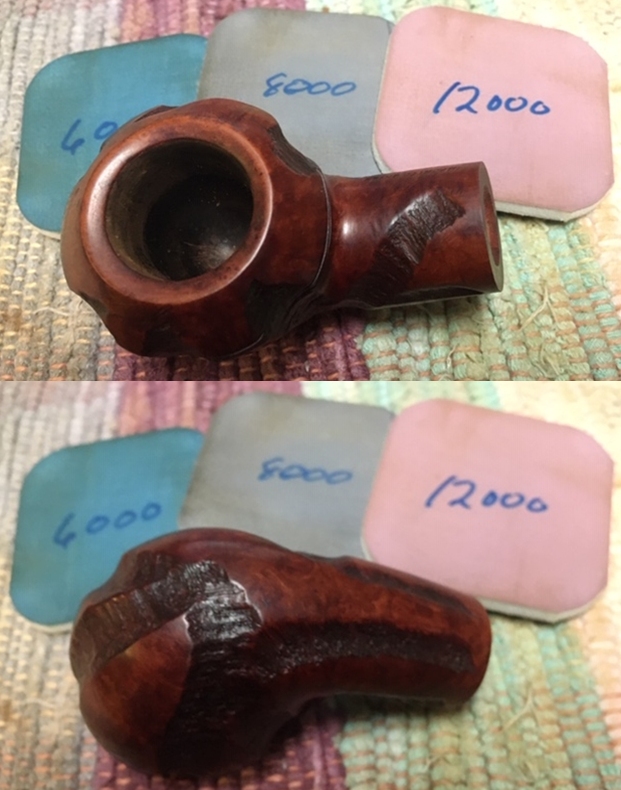
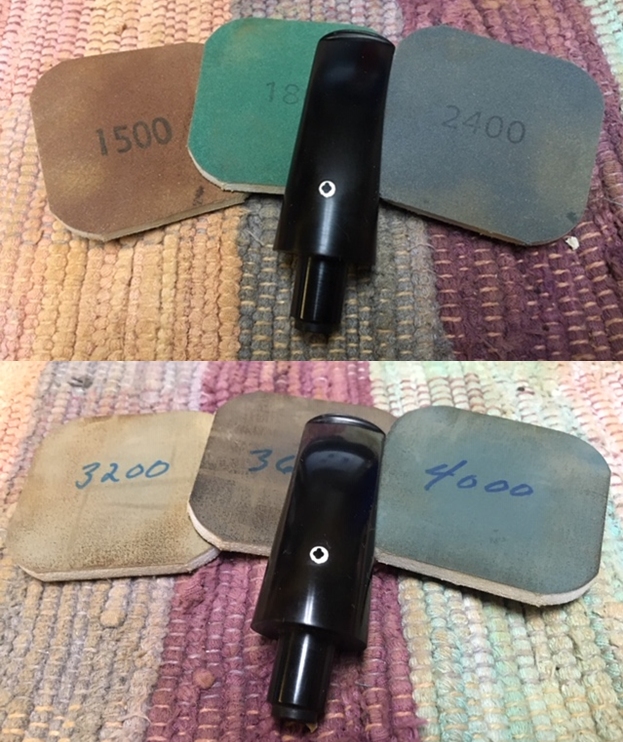
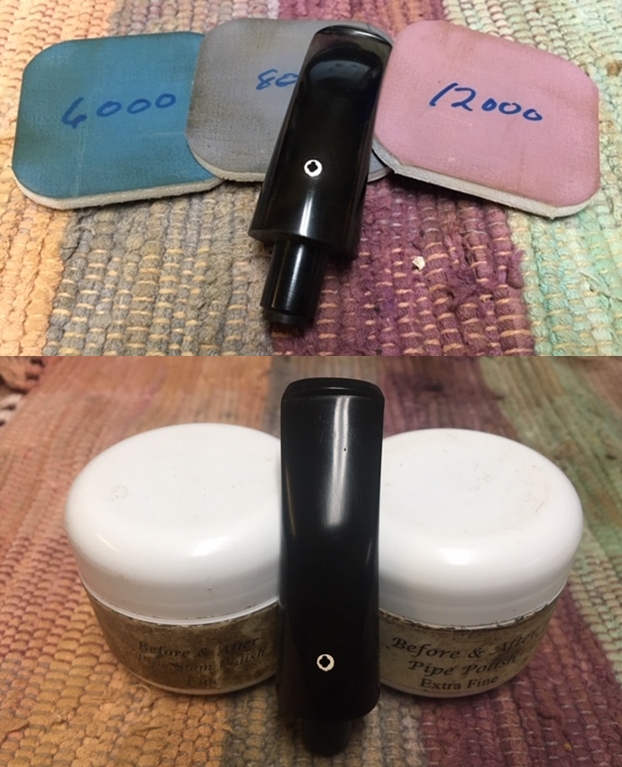
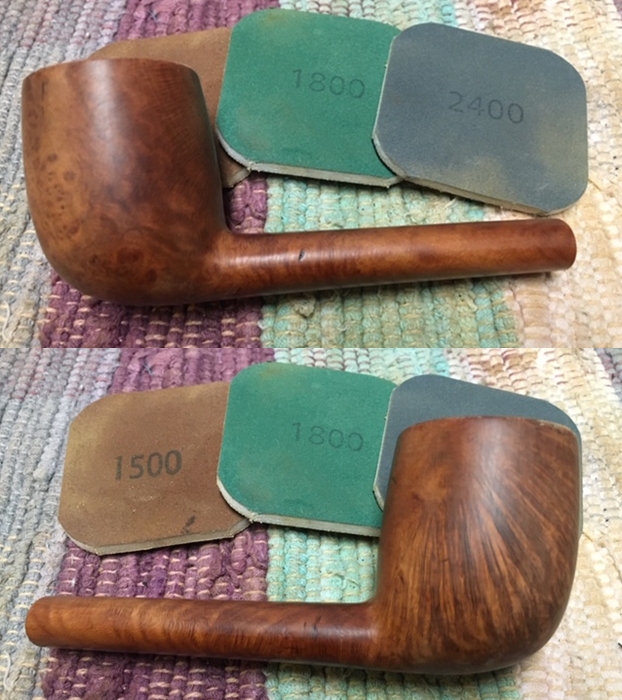
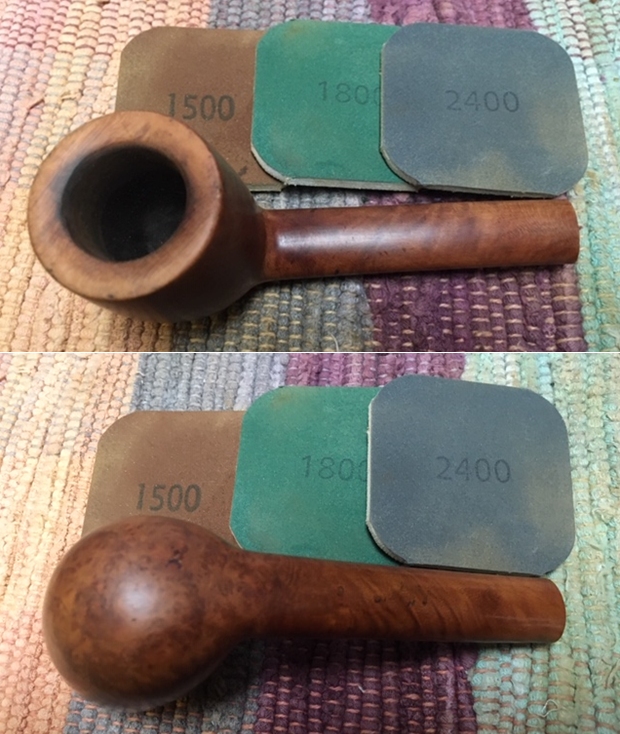
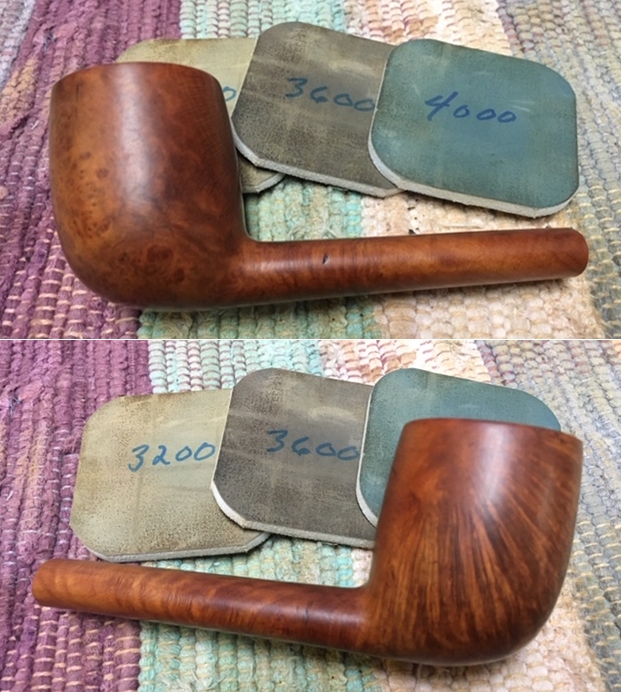
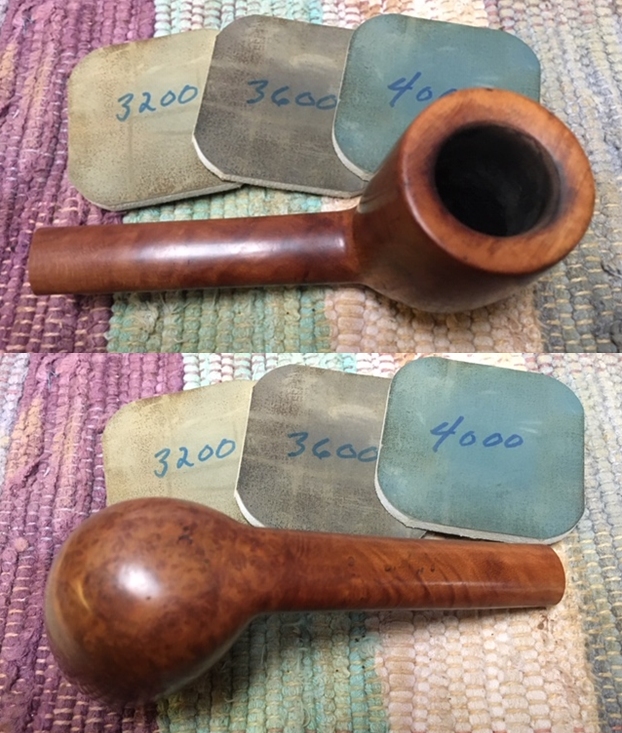
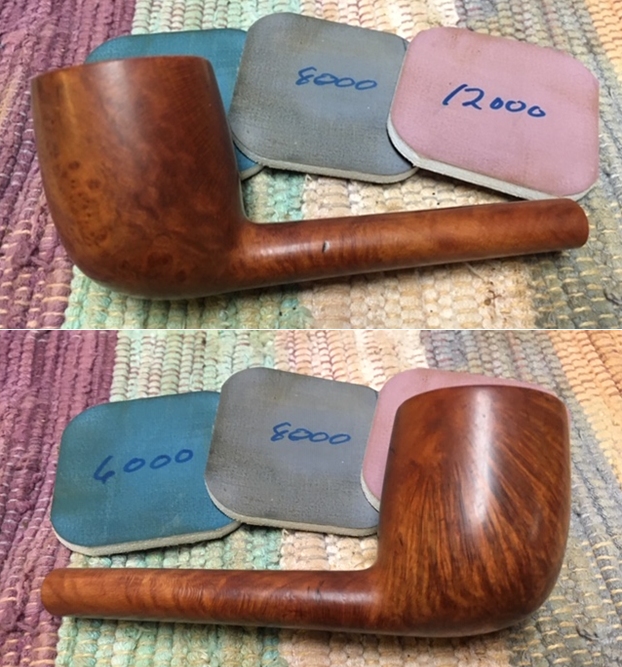
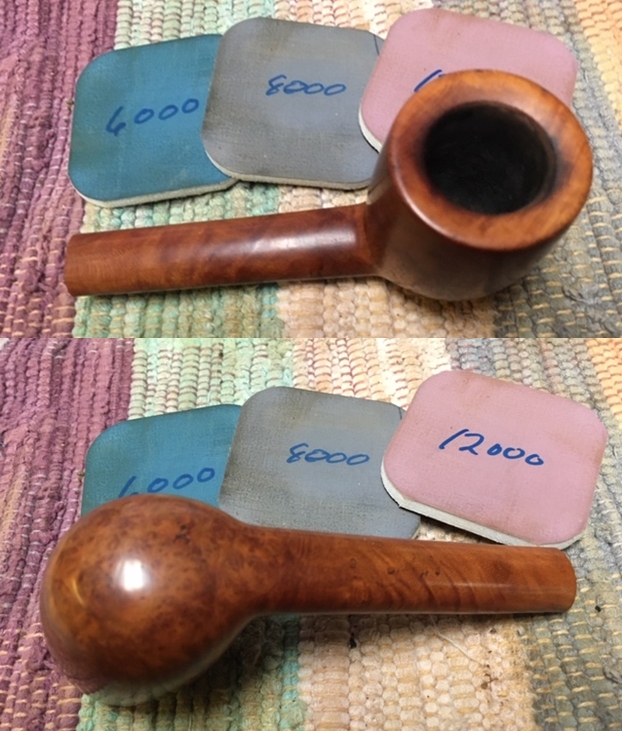
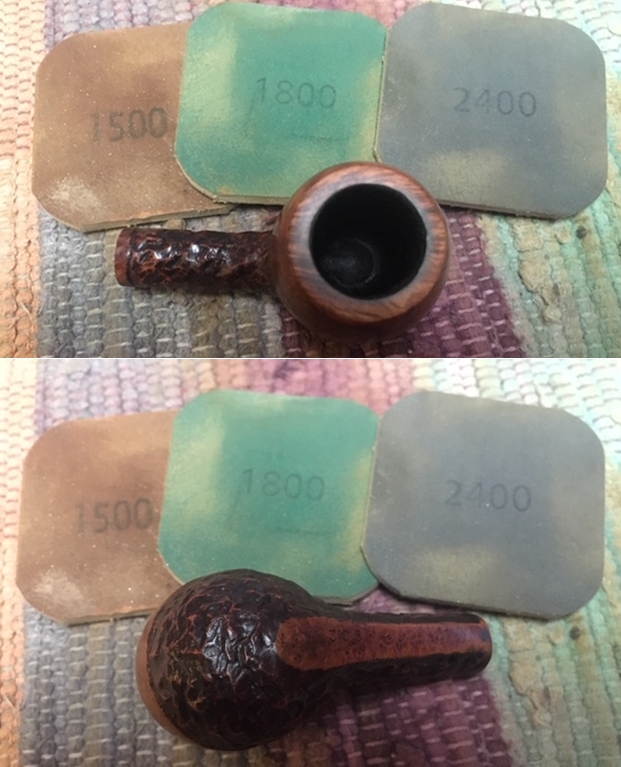
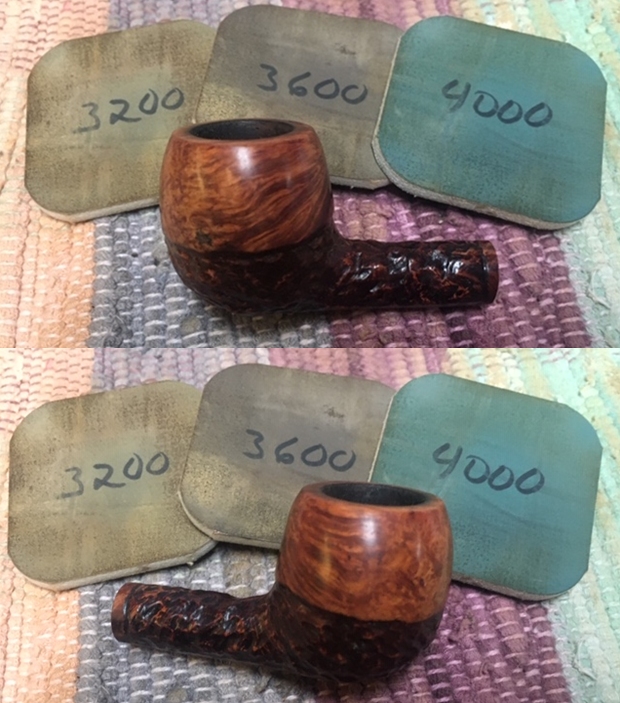
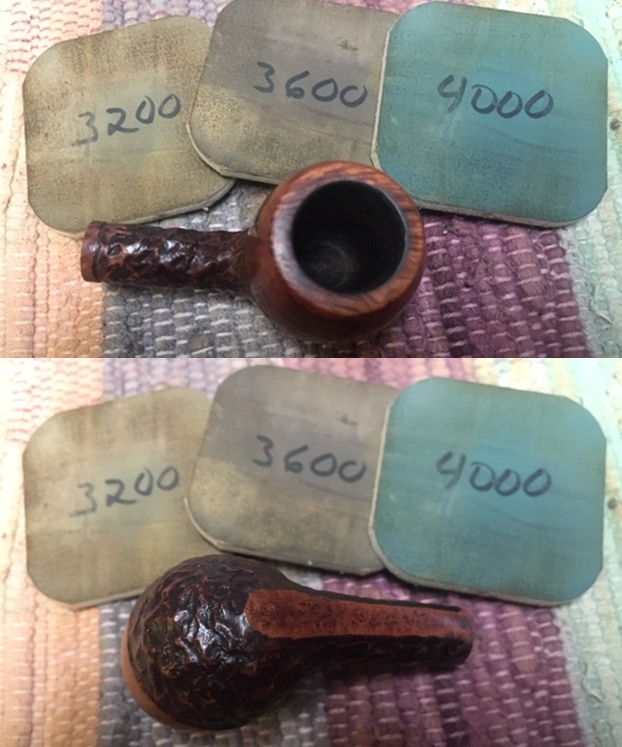
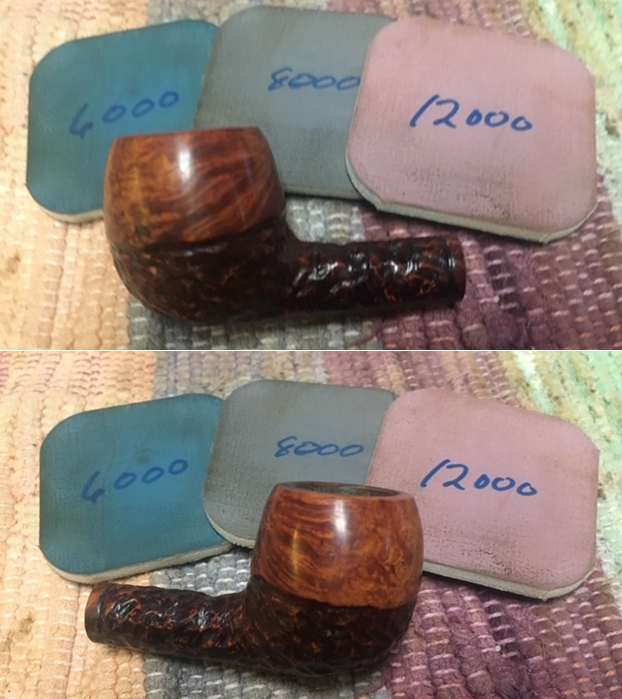
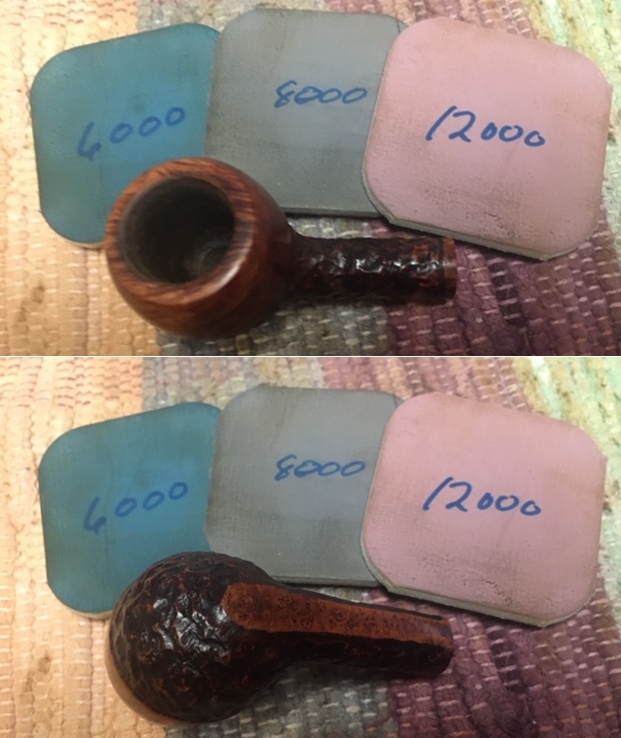
 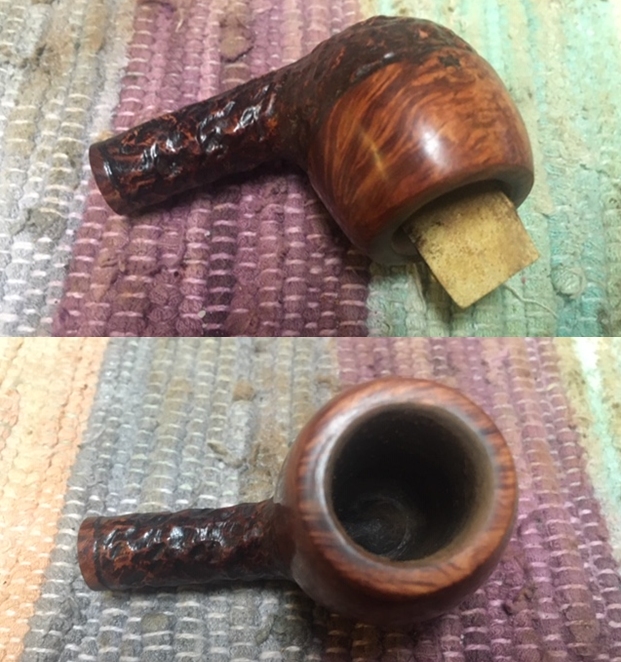 I wet sanded the rim top and the smooth portions on the bowl sides with micromesh sanding pads – 1500-12000 grit sanding pads. I wiped the bowl surface down with a damp cloth after each sanding pad to remove the sanding dust. Once I finished the bowl looked good.
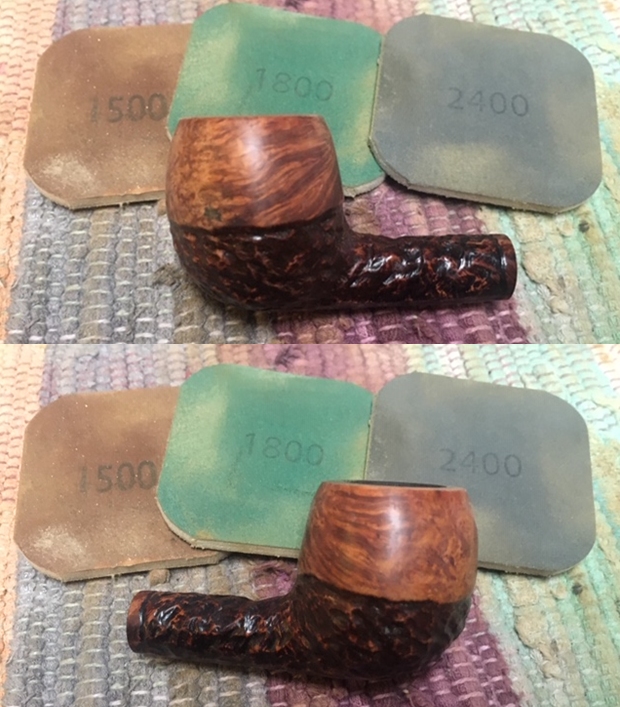
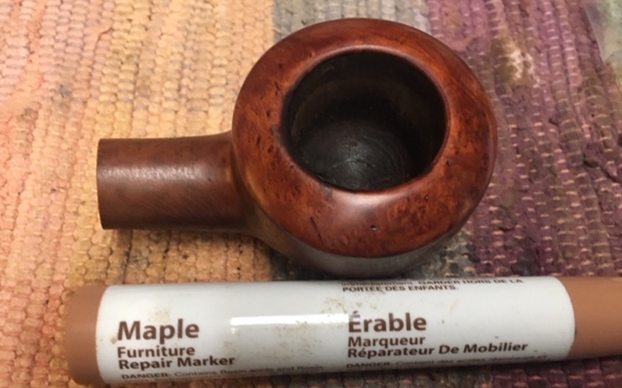
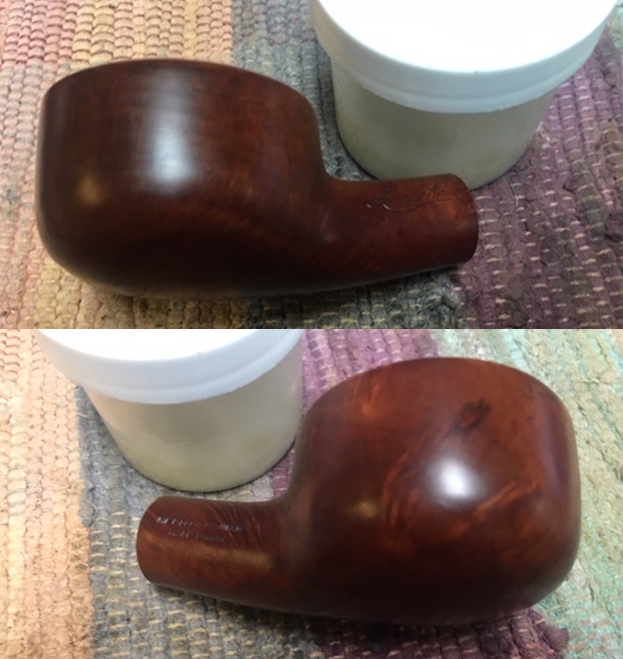
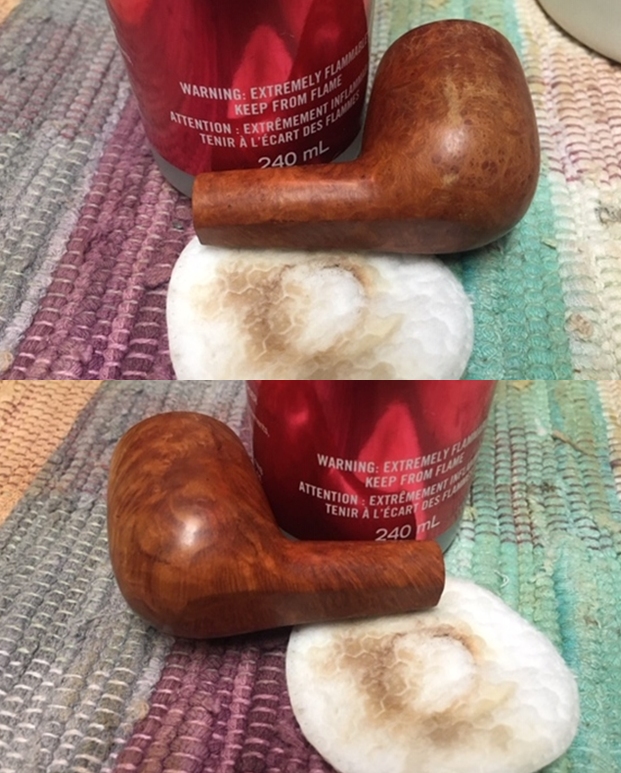
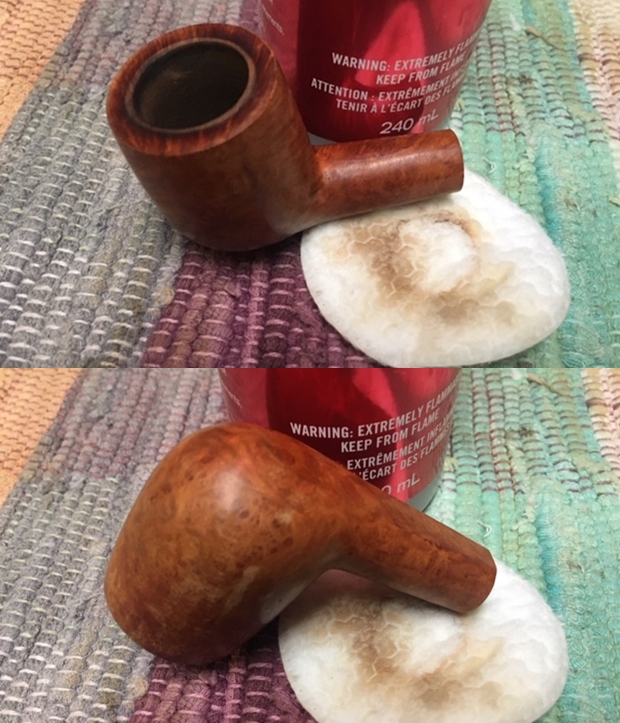
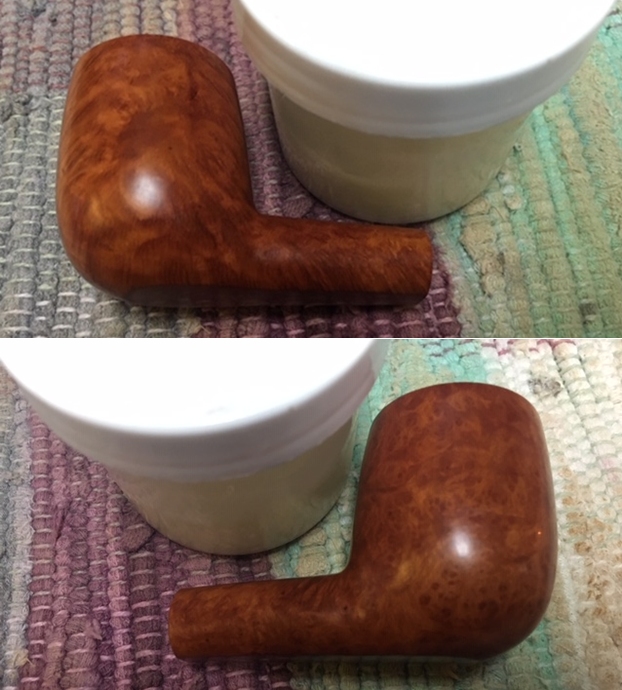
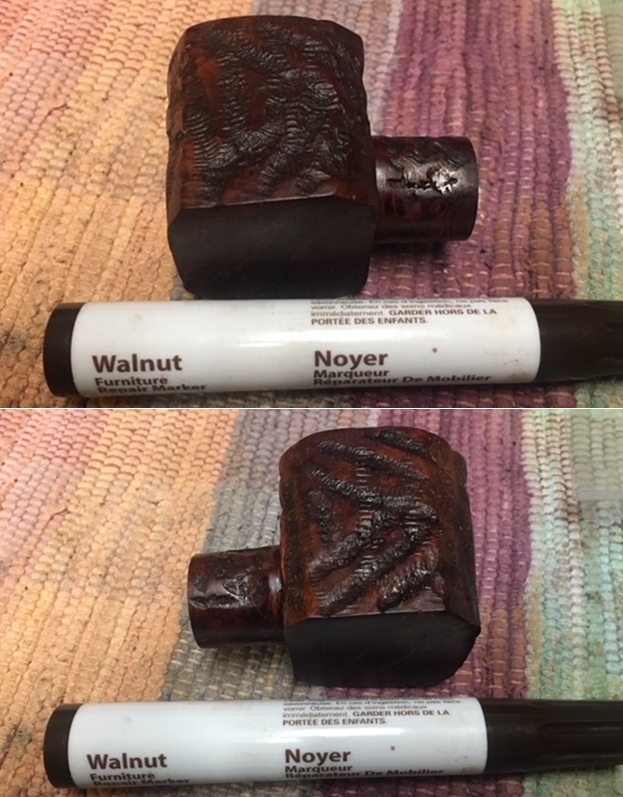
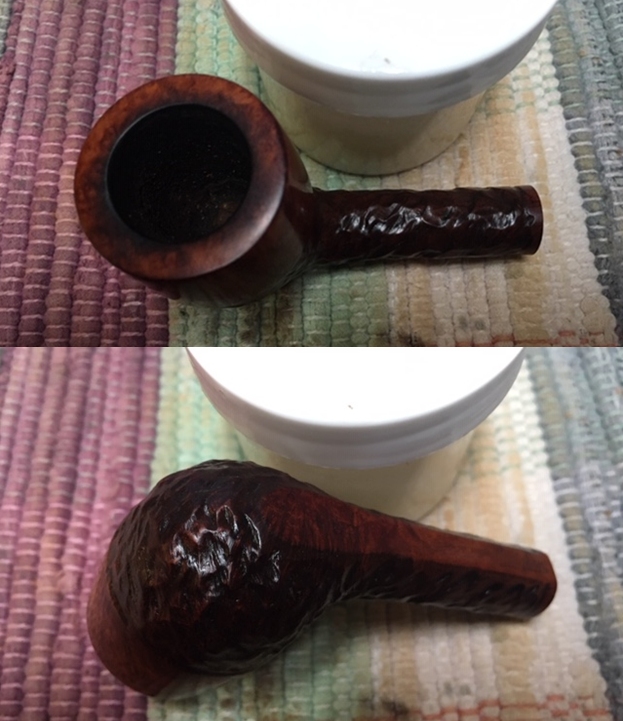
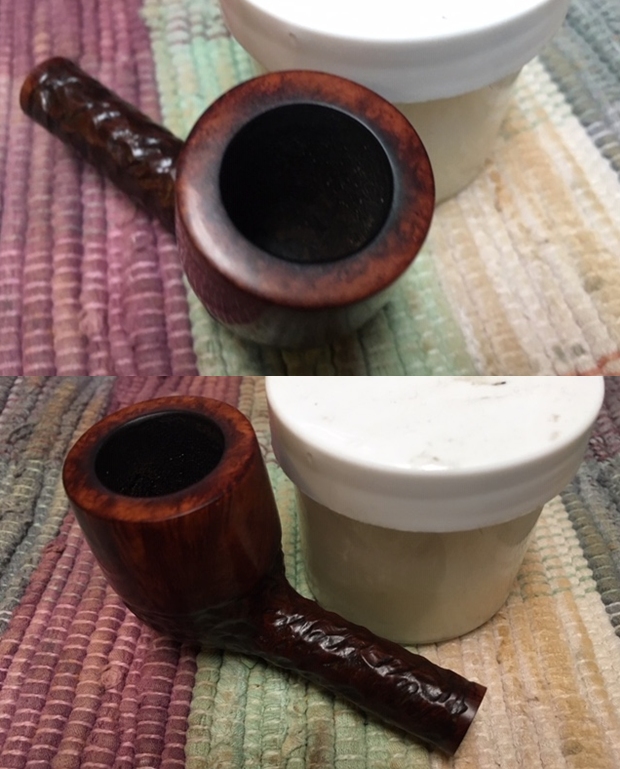
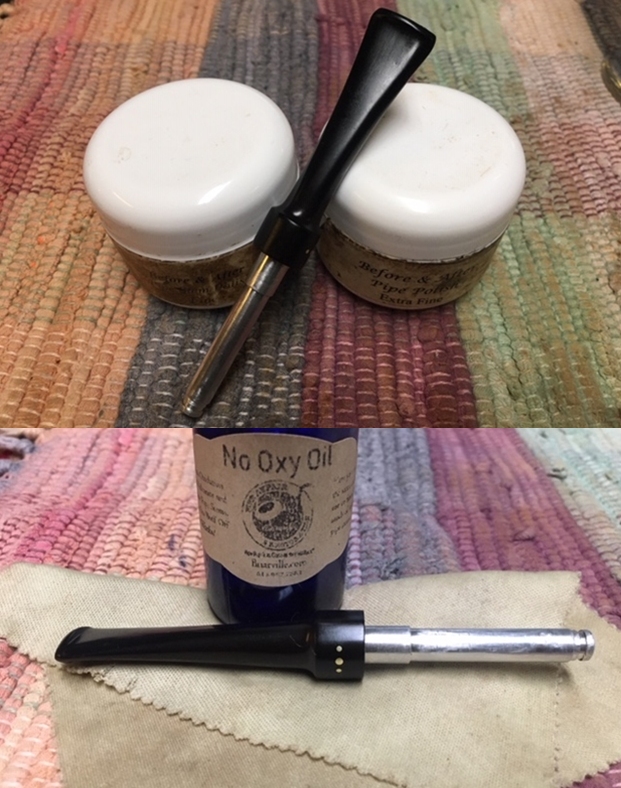
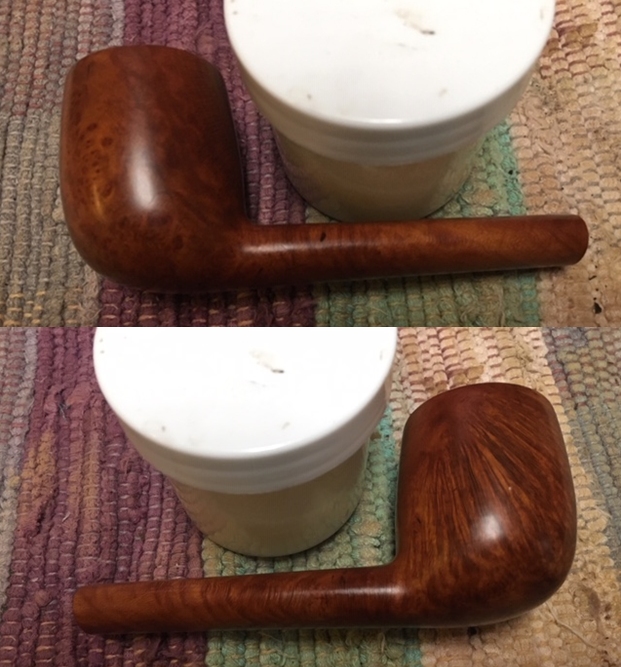
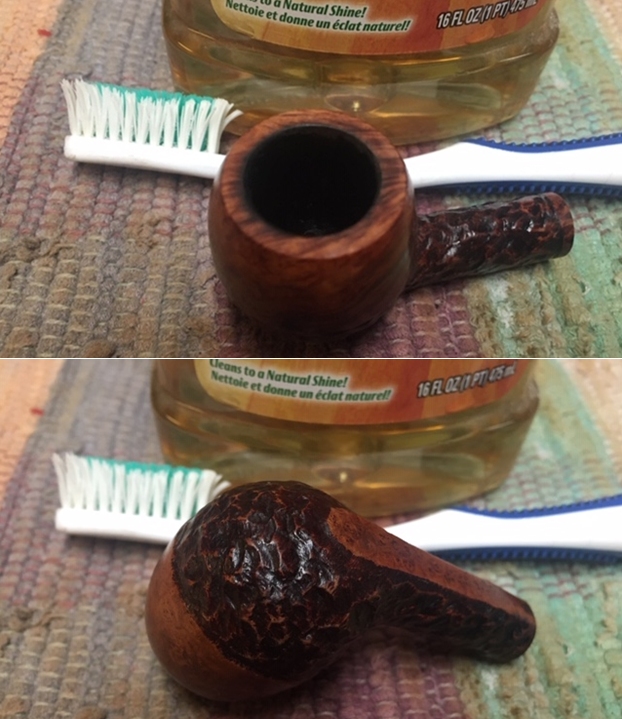
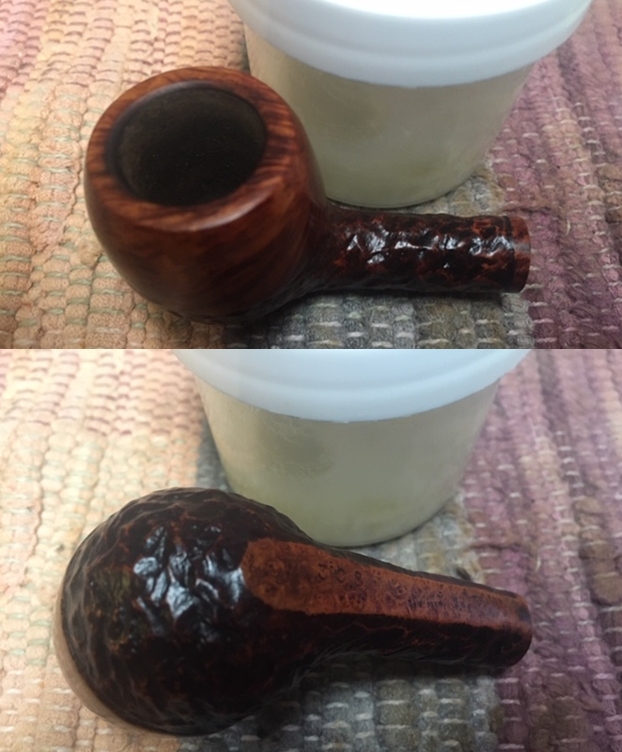
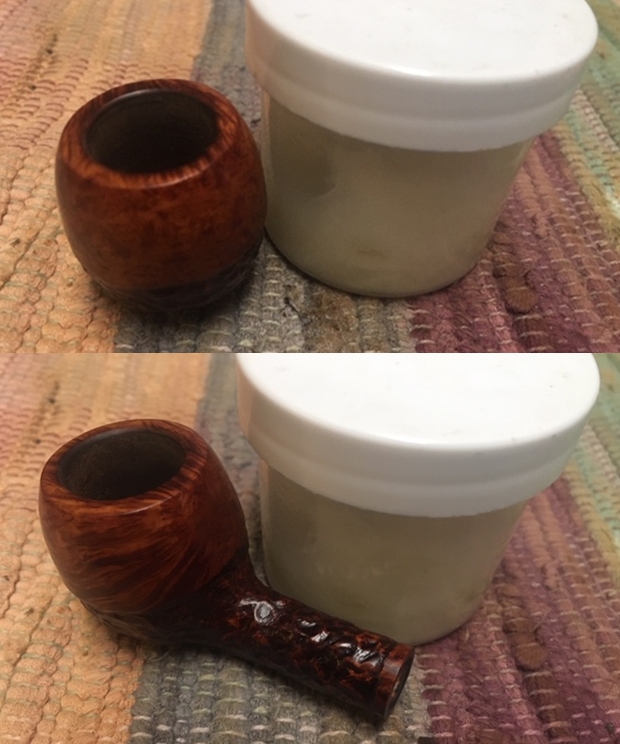
 I rubbed the bowl and shank down with Before & After Restoration Balm. I worked it into the surface of the briar with my fingertips and a horsehair shoe brush to clean, enliven and protect it. I let the balm sit for a little while and then buffed with a cotton cloth to raise the shine. Mark Hoover’s Balm is a product that I have come to appreciate and one I use on every pipe I have been working on. It really makes the grain stand out on this pipe.
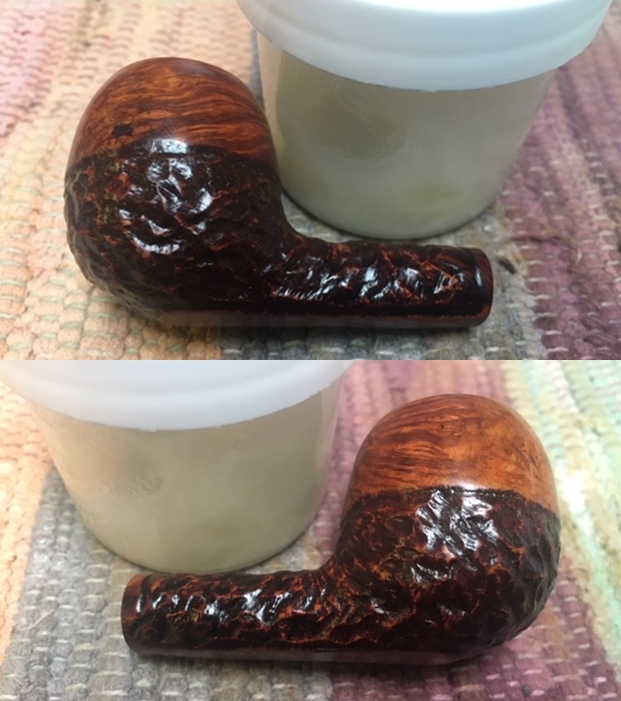
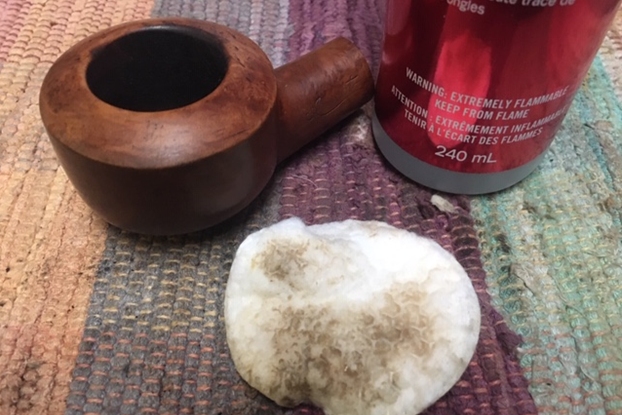
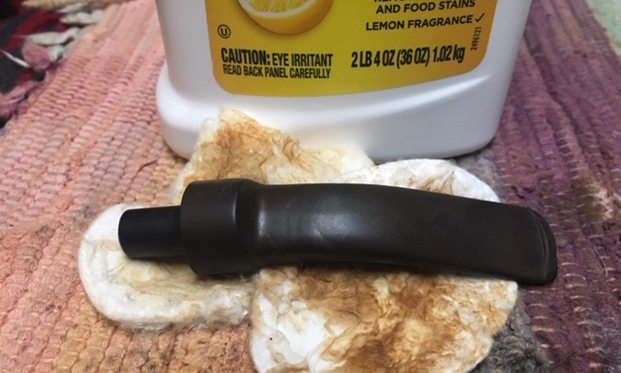
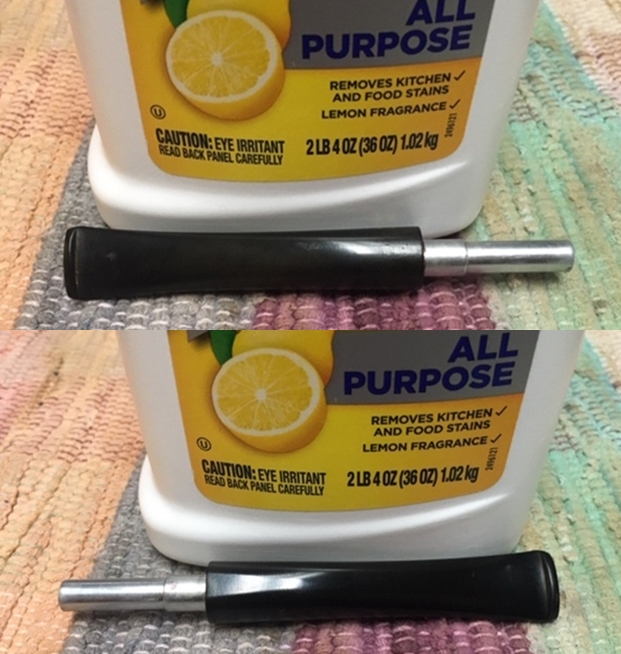
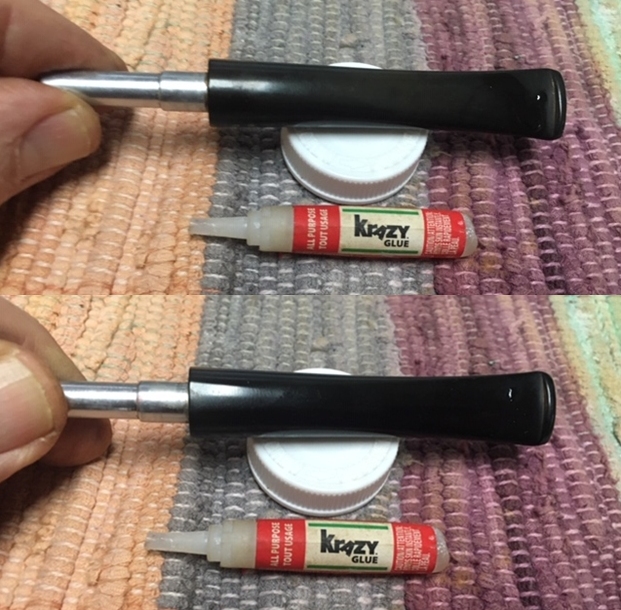
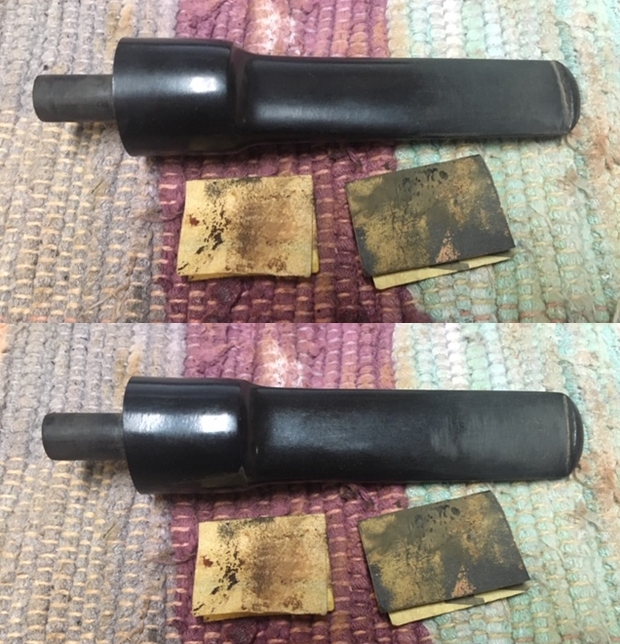
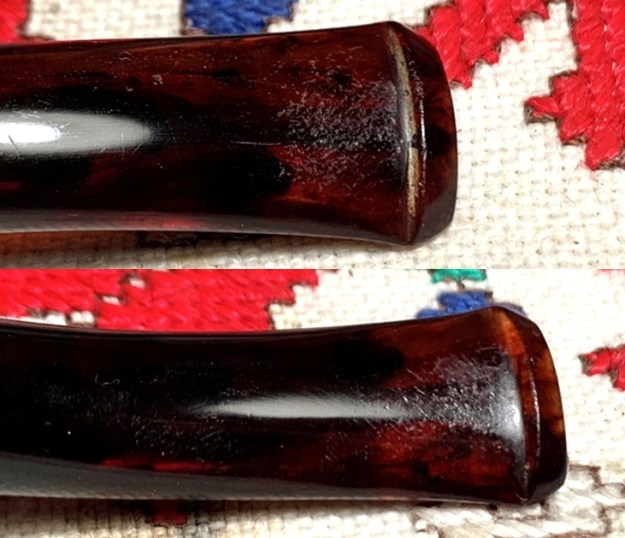
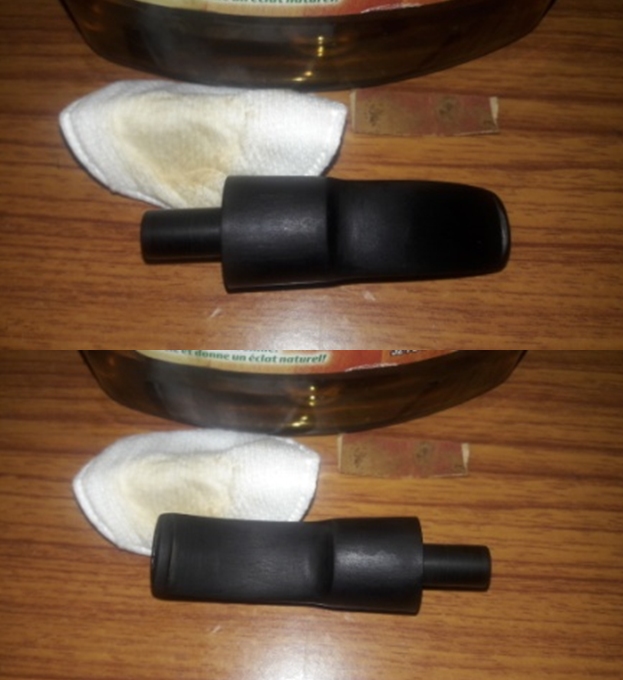
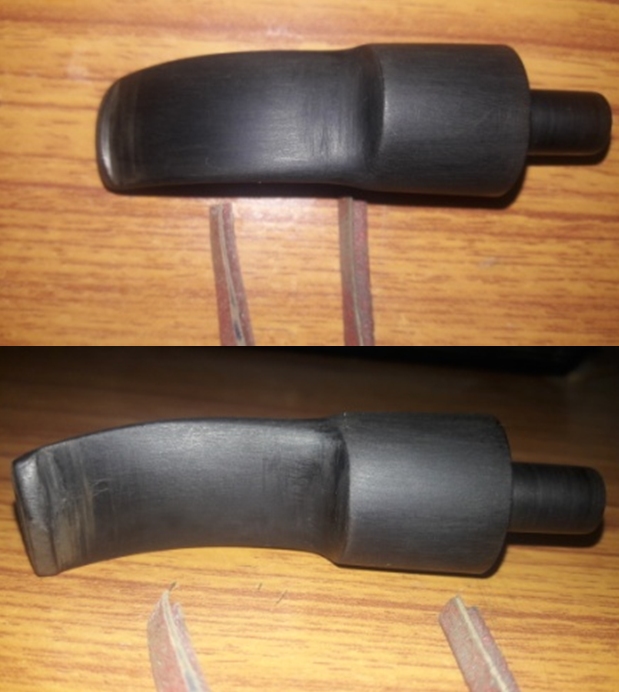
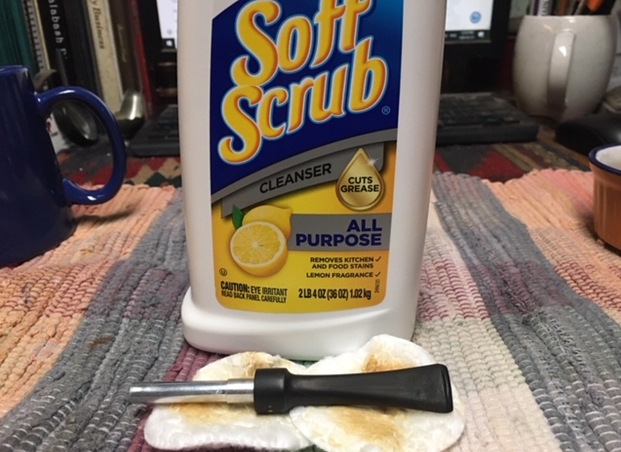
 I set the bowl aside and turned my attention to the stem. I rubbed the stem down with Soft Scrub on with a cotton pad and it removed the oxidation and the calcification build up. It looked a lot better.
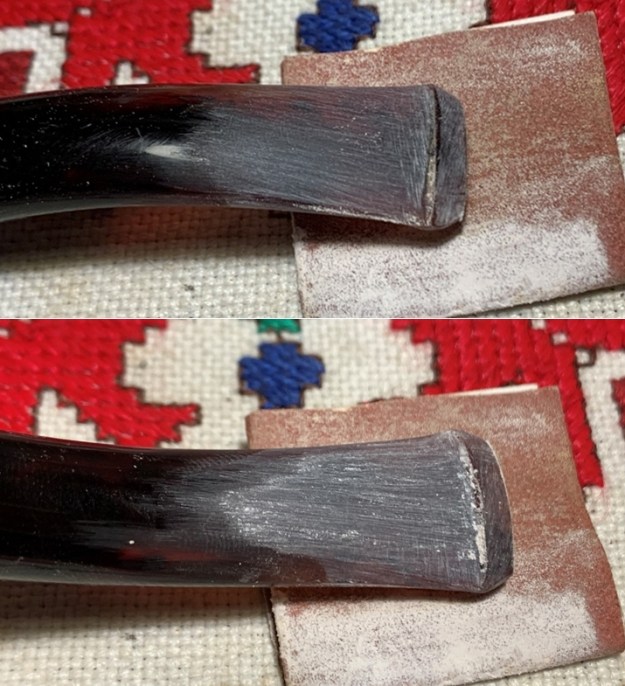
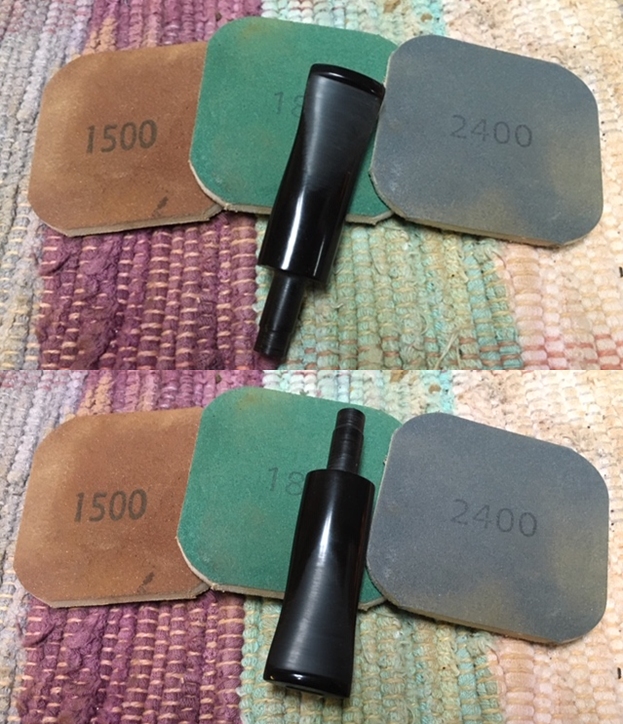
 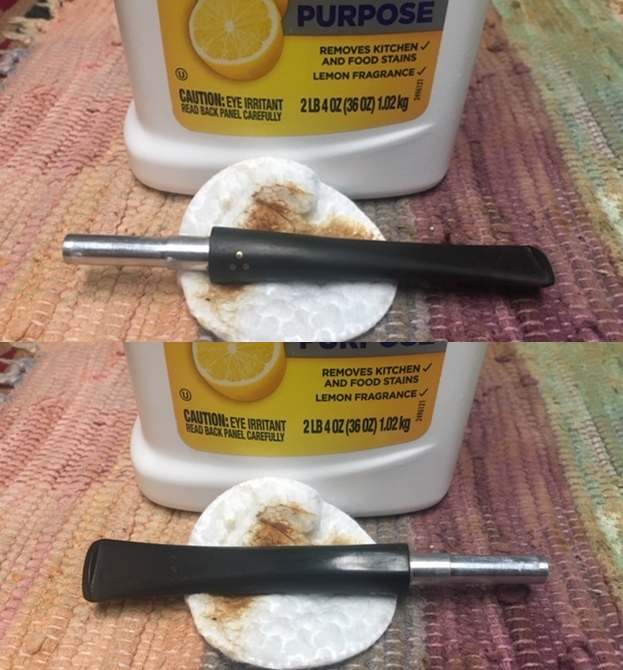 I sanded out the tooth chatter and the remaining oxidation with 220 grit sandpaper and started the polishing with 400 grit wet dry sandpaper.
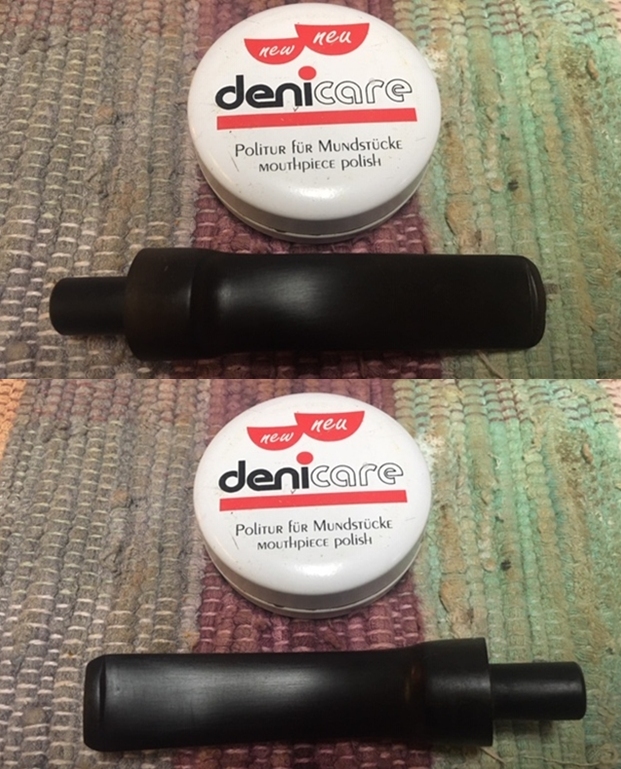
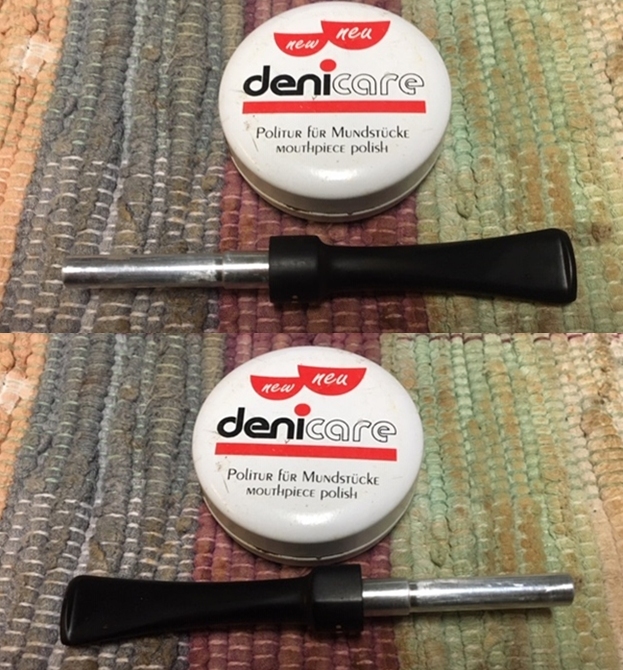
 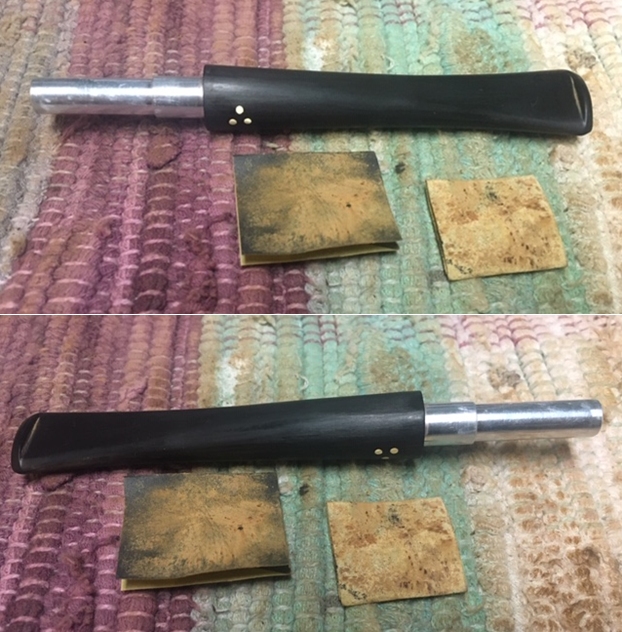 I rubbed down the stem with Denicare Mouthpiece Polish and a cotton pad to remove the remnants of oxidation and to blend in the sanding. The polish is a red gritty paste that works wonders on removing stubborn remnants of oxidation in the crease. The stem is starting to show promise at this point in the process.
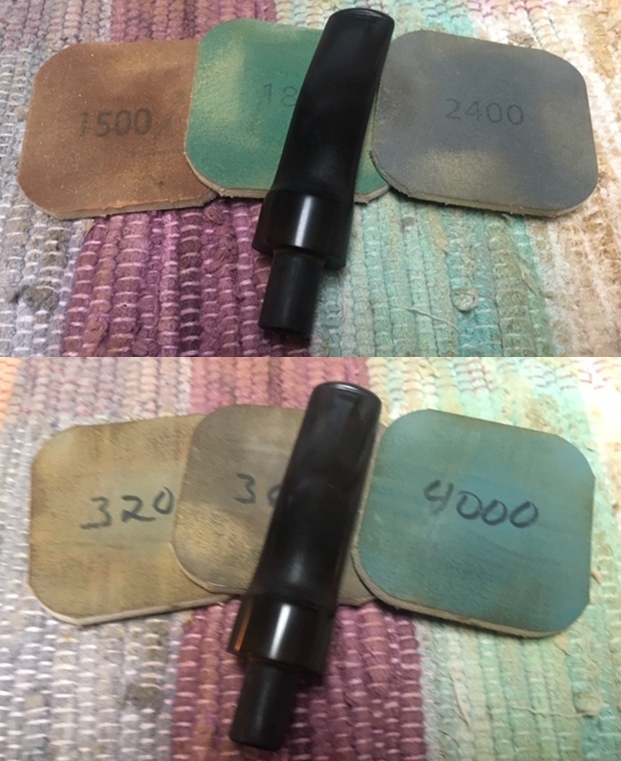
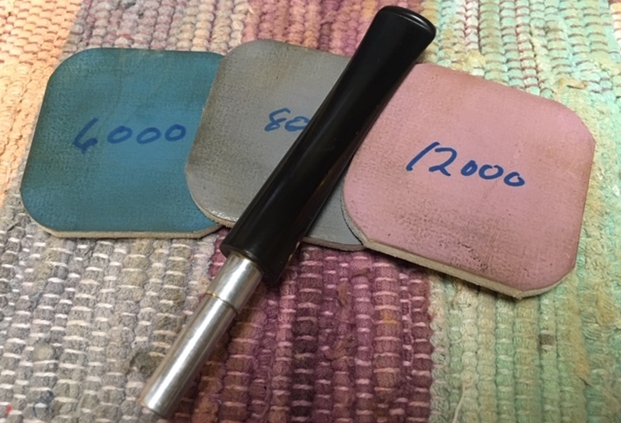
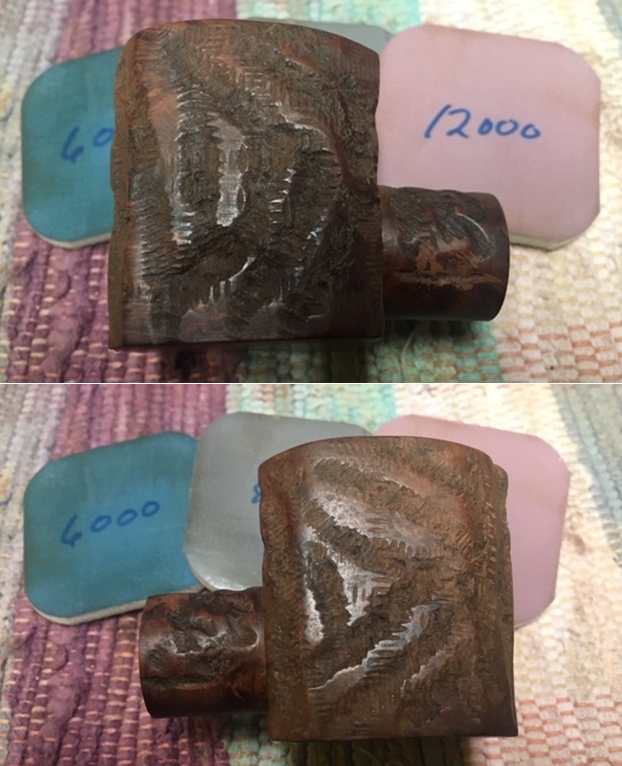
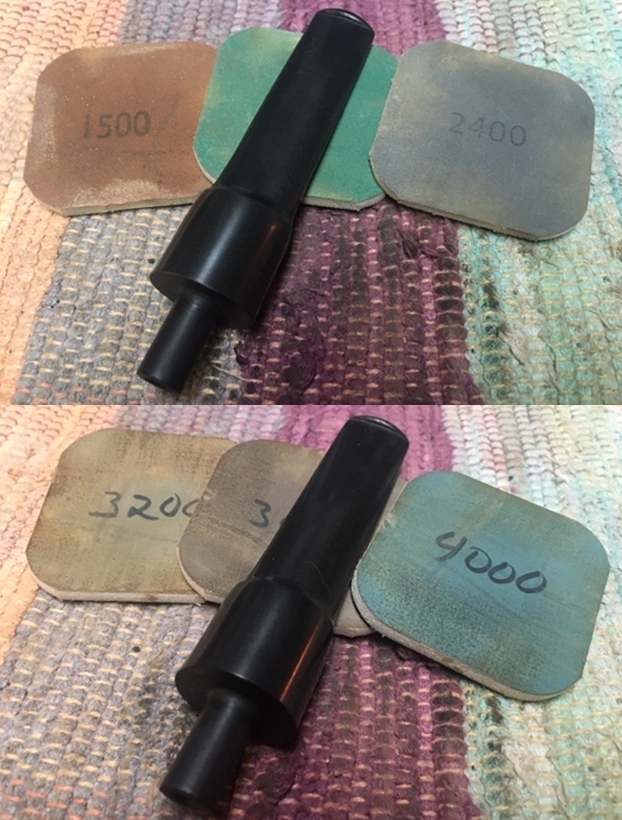
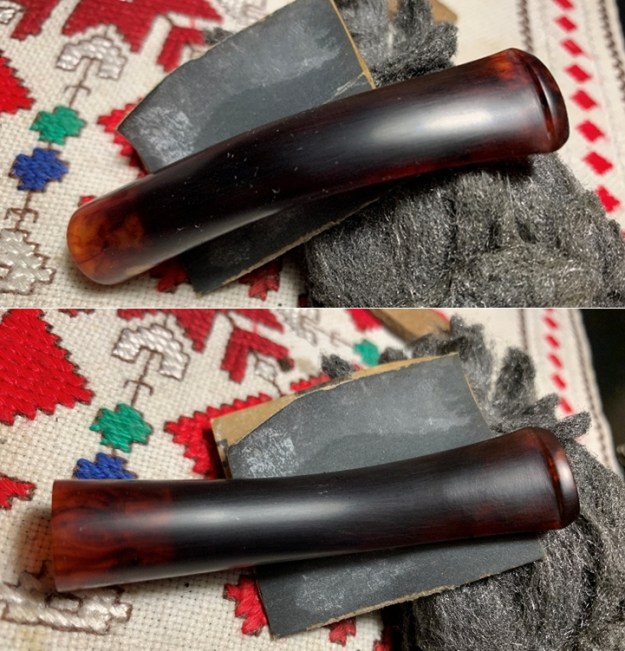
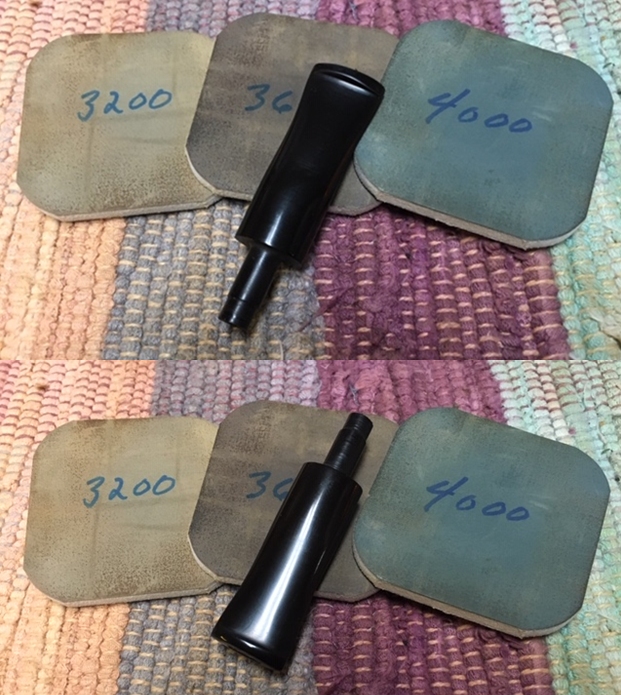
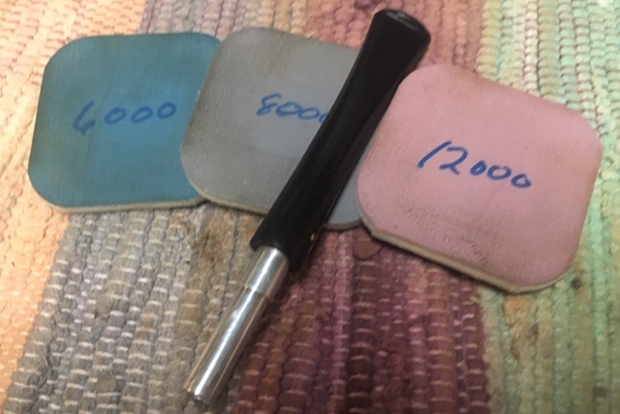
 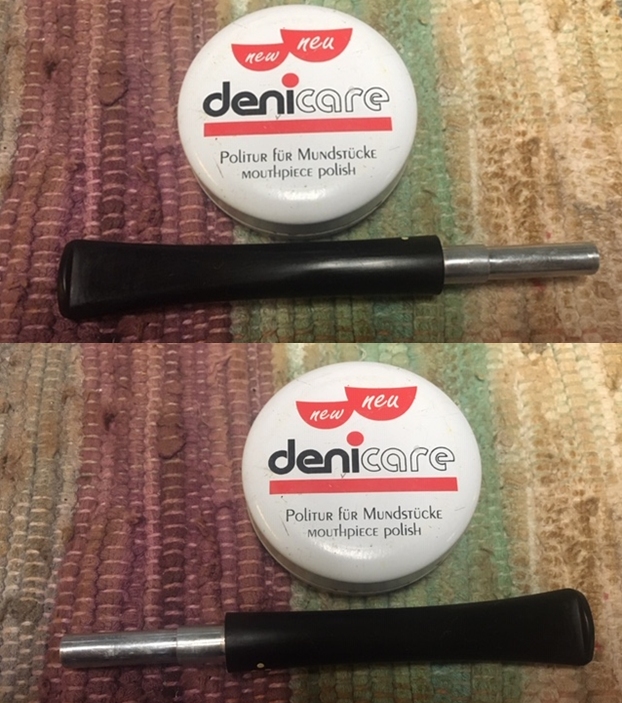 I polished the stem with micromesh sanding pads – wet sanding it with 1500-12000 grit pads. I wiped the stem down after each sanding pad with a cotton pad to remove the sanding debris.
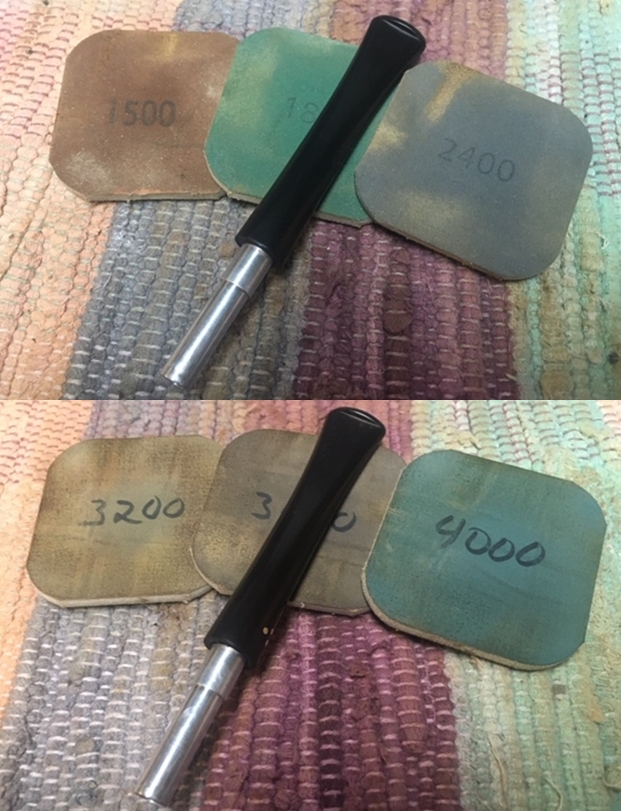
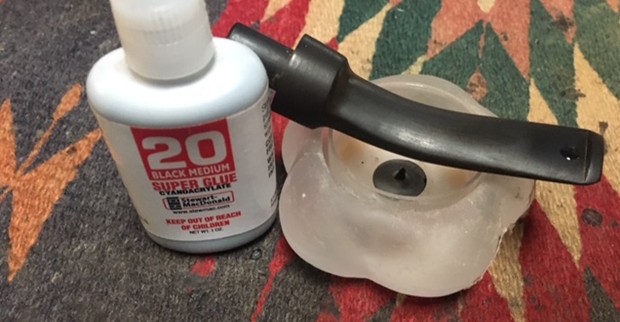
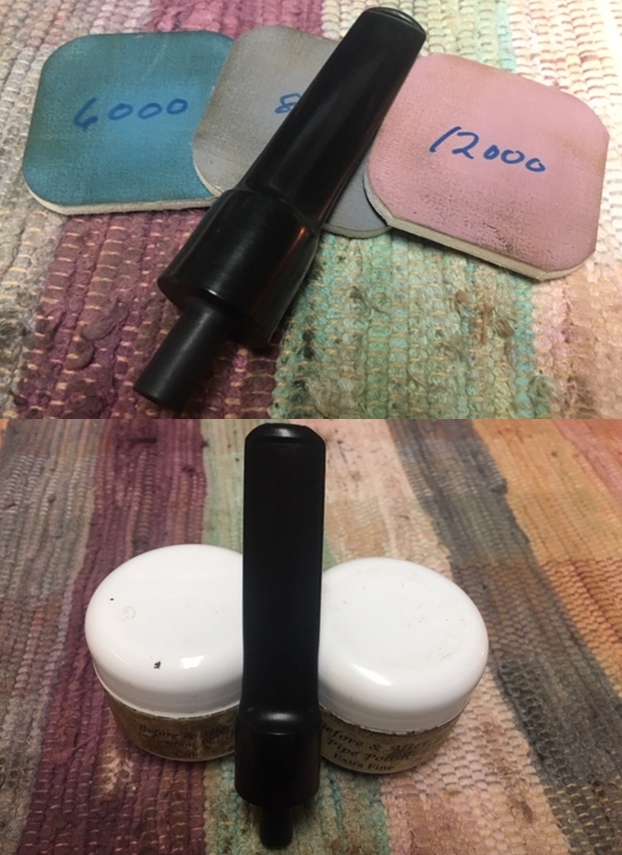
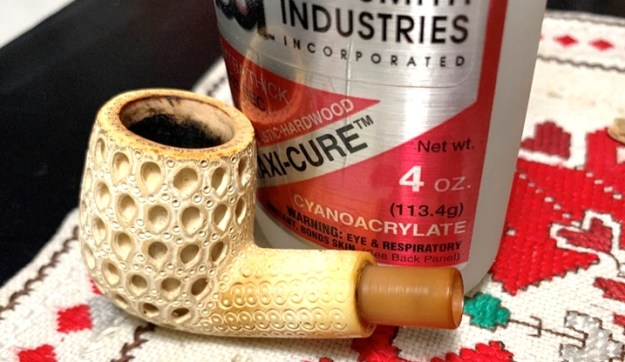
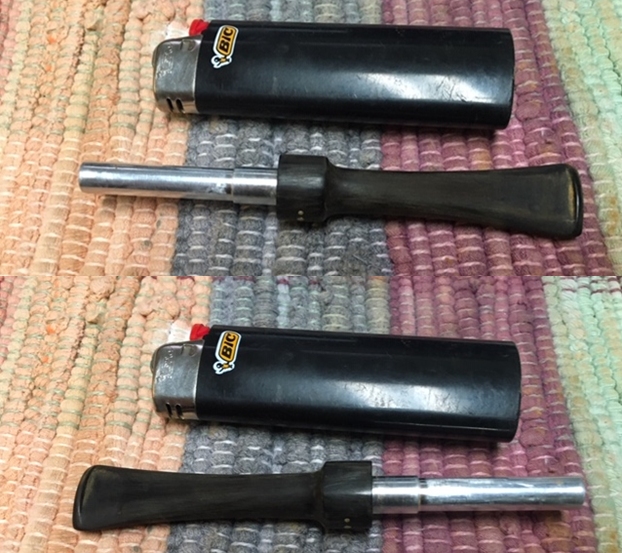
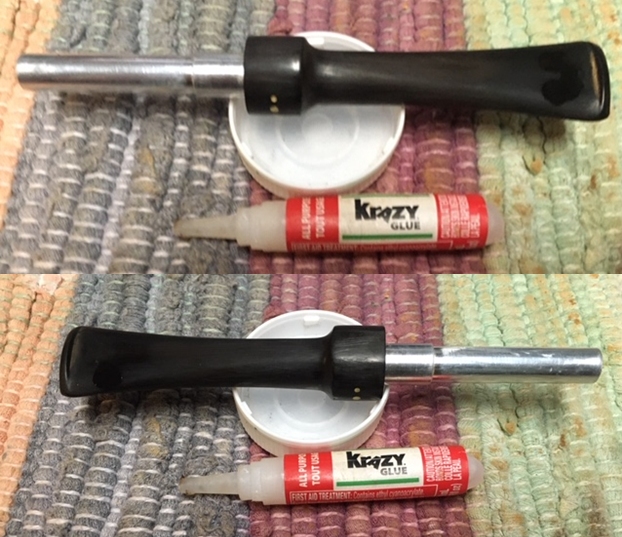
 Before I finished the last polishing touches on the stem I decided to fit it with a new Rock Maple Distillator.
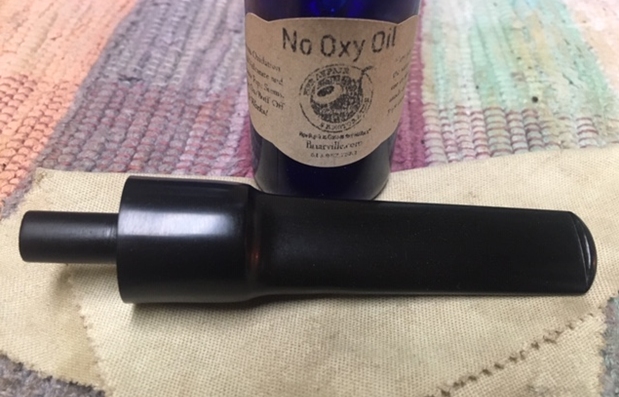
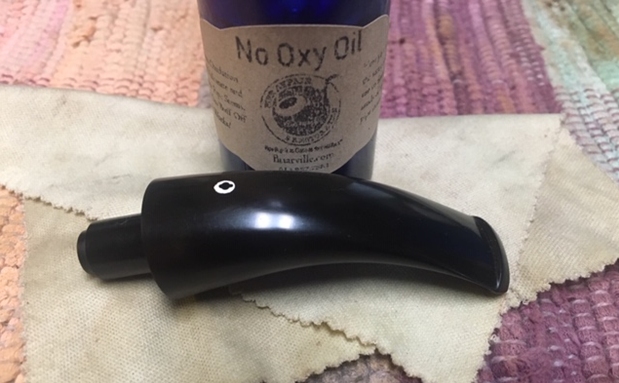
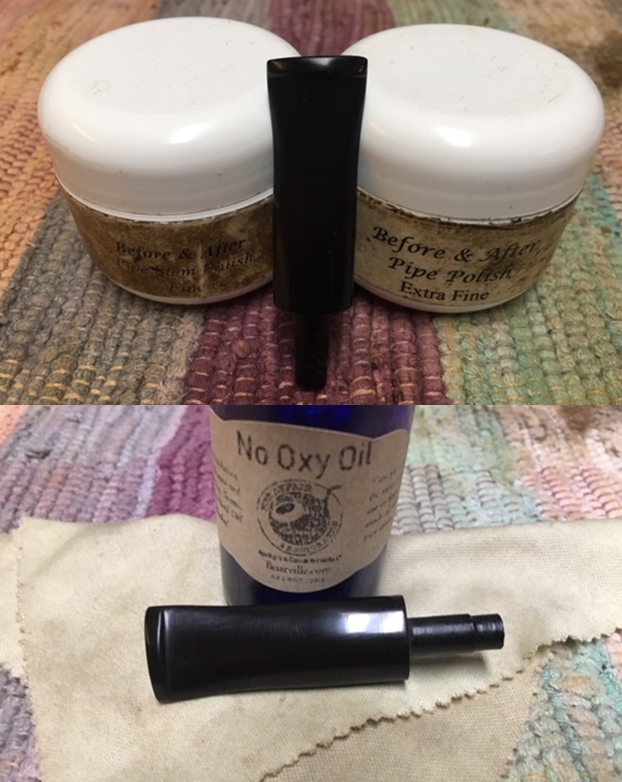
 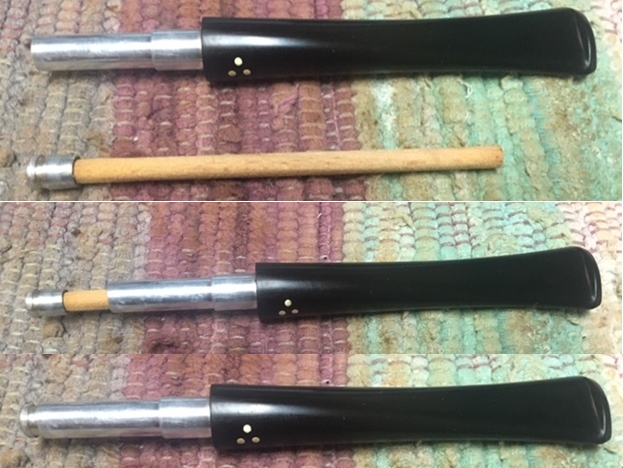 I finished polishing the stem with Before & After Pipe Stem Polish – both fine and extra fine. I finished by wiping it down with Briarville’s No Oxy Oil and buffing it to a shine.
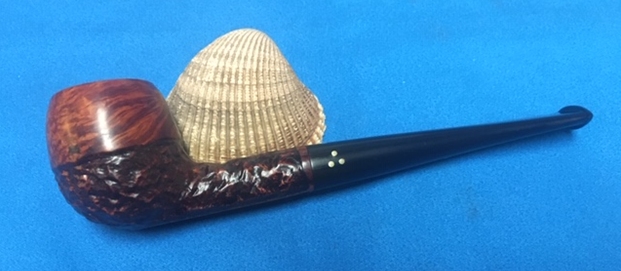
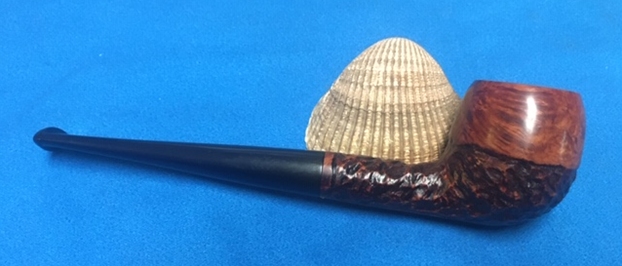
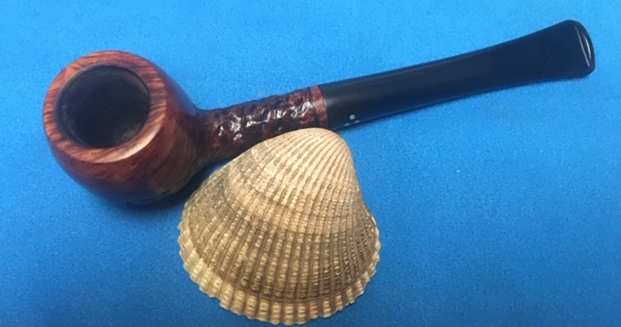
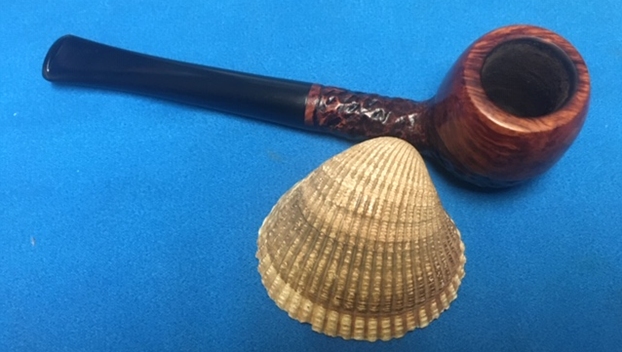
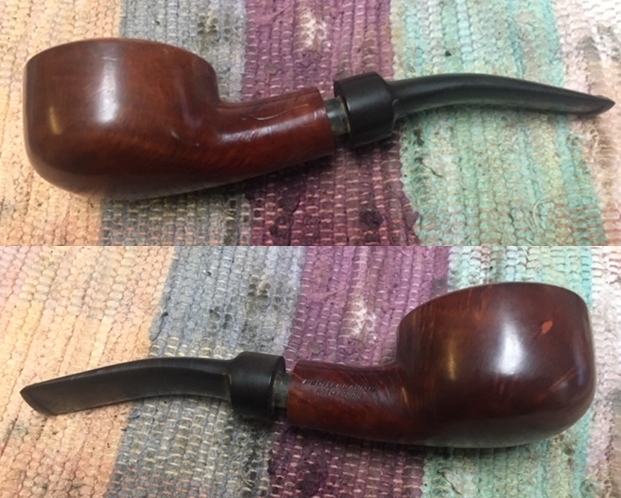
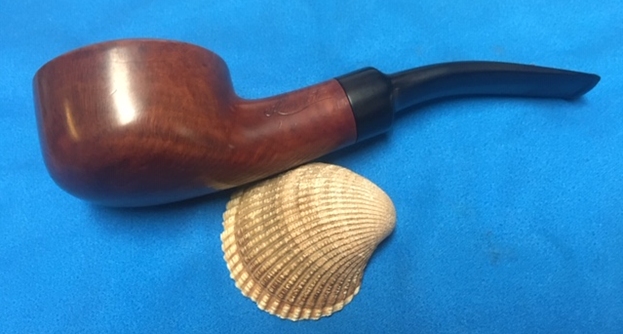
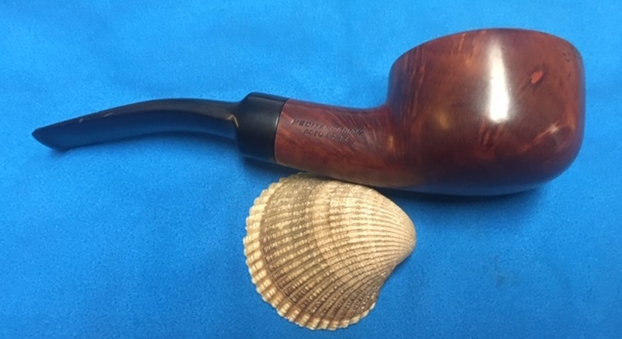
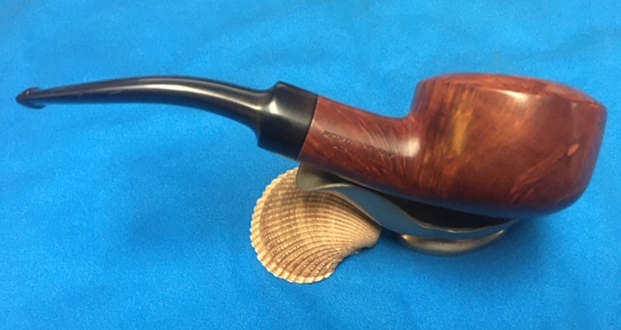
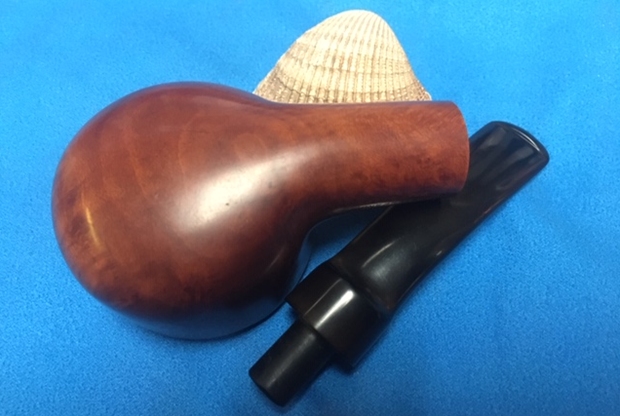
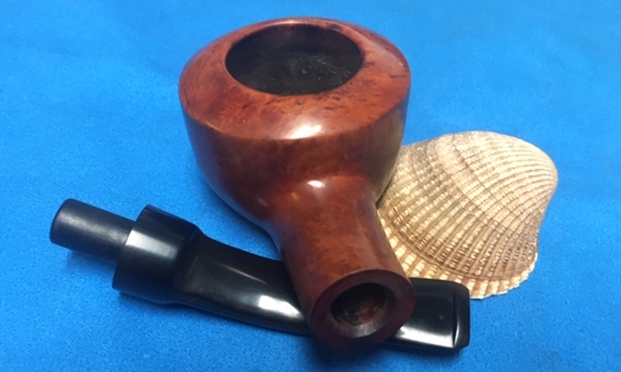
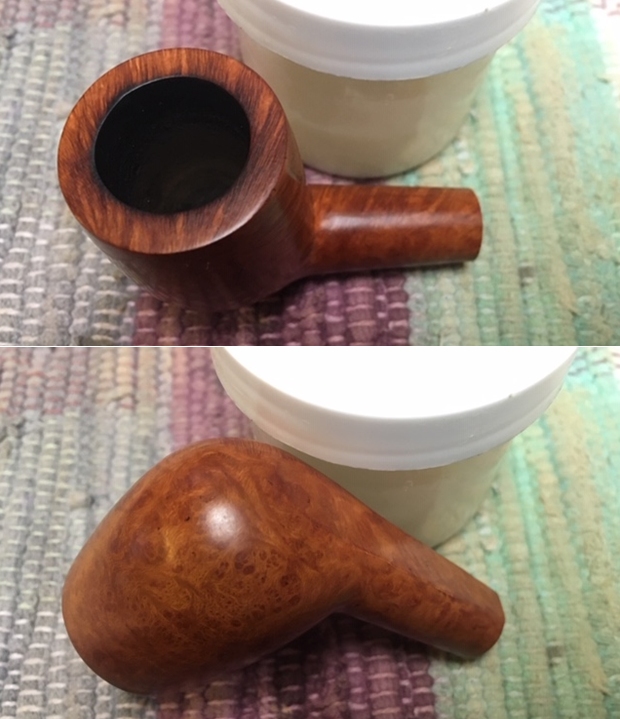
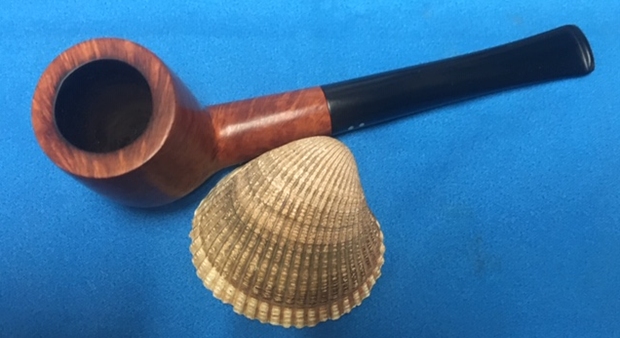
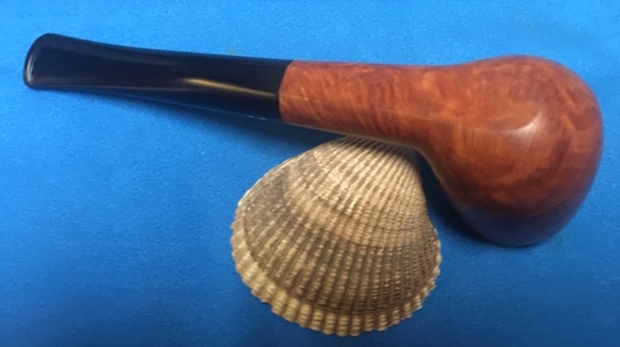
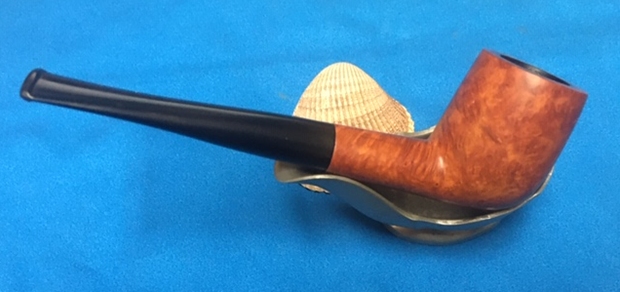
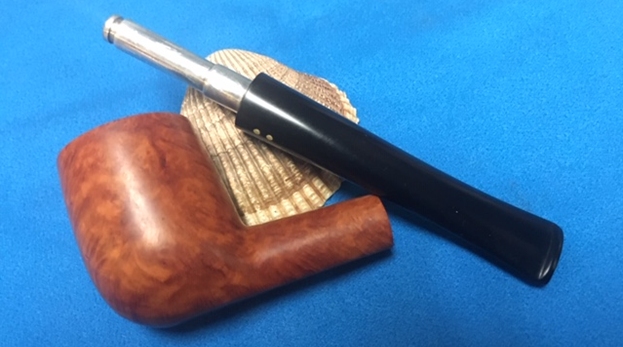
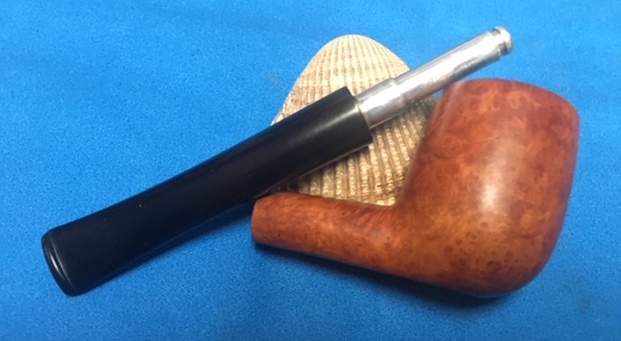
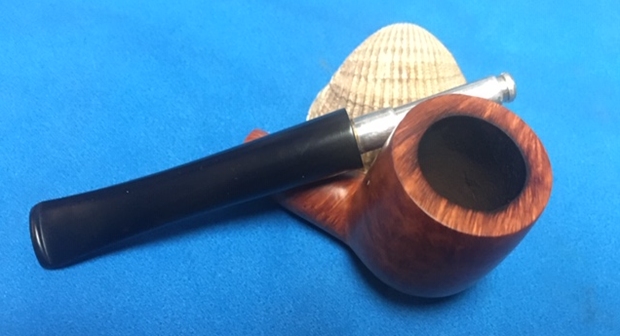
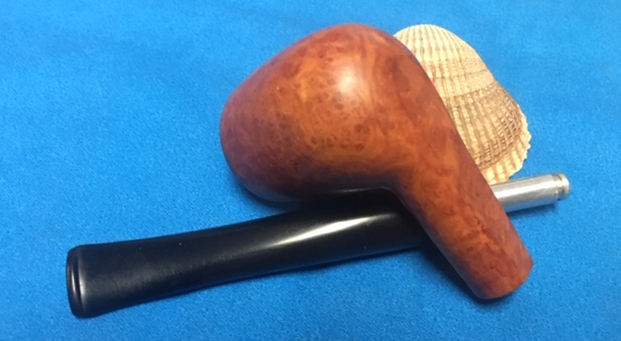
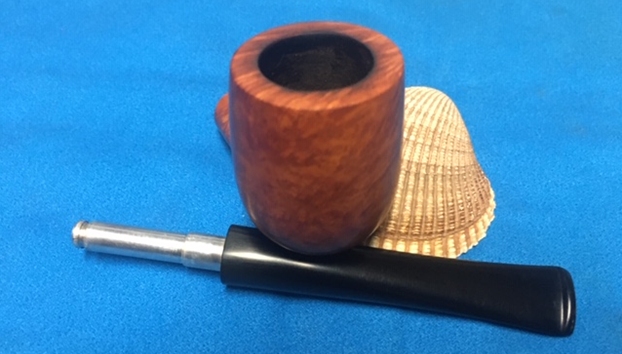
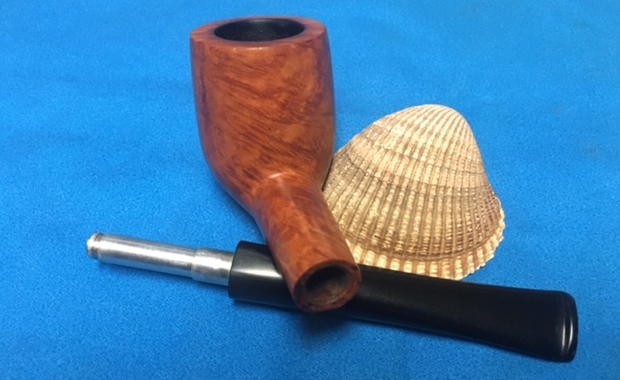
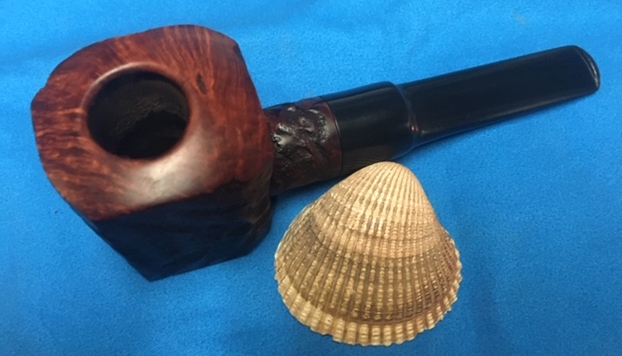
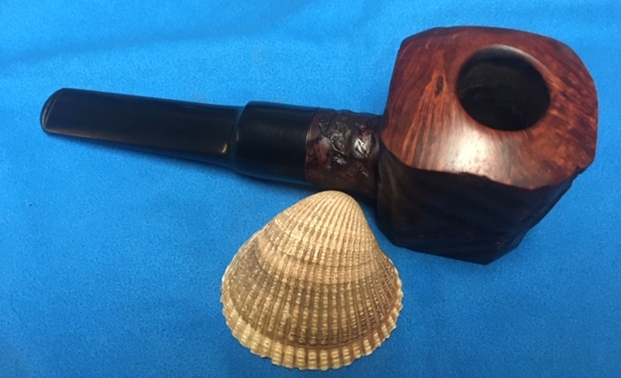
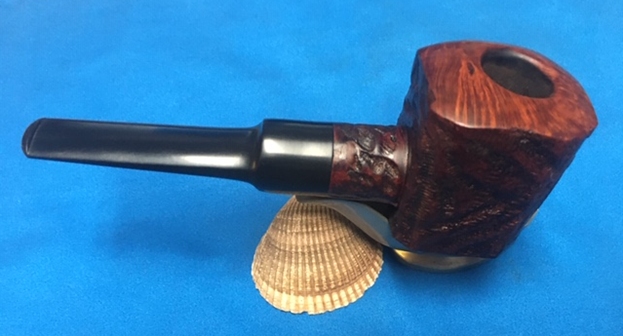
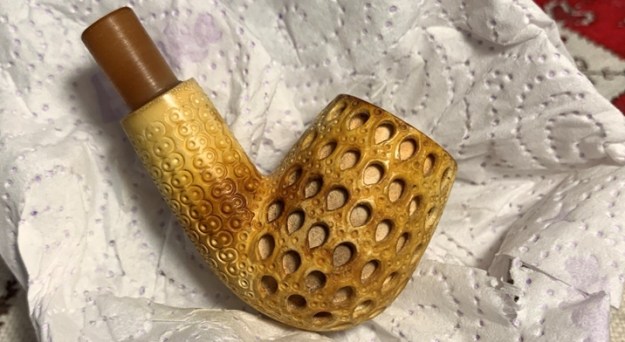
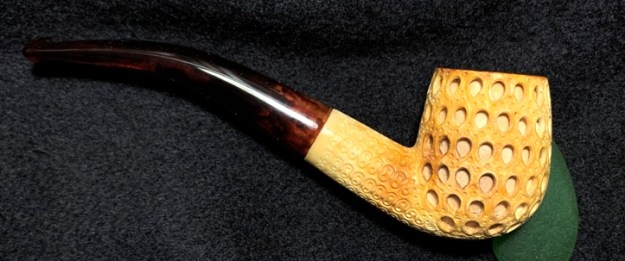
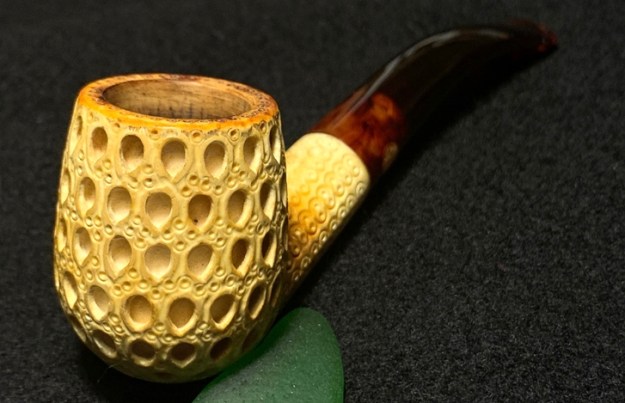
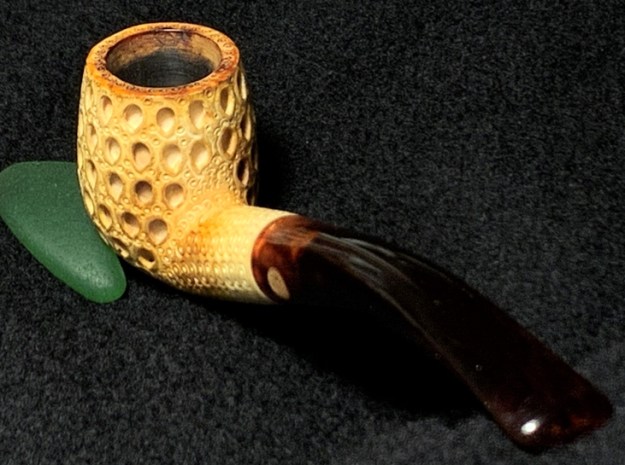
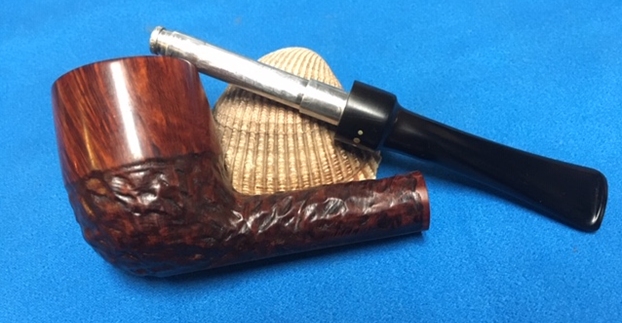
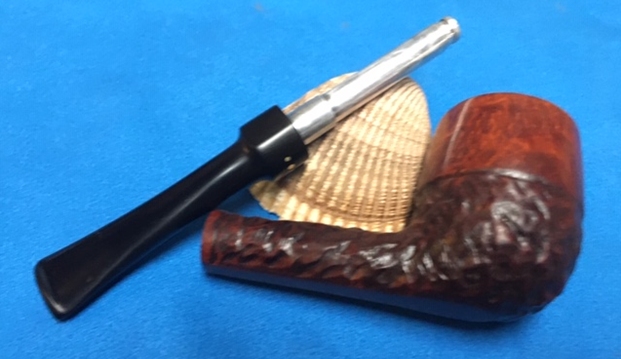
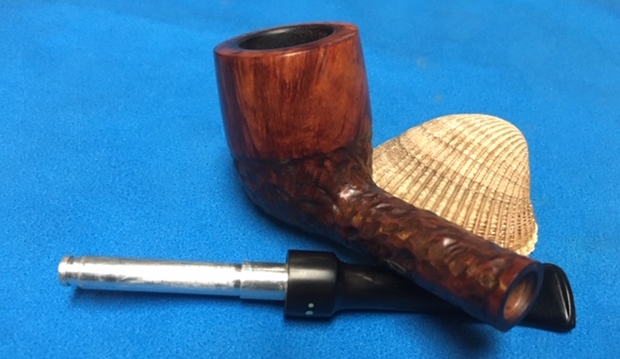
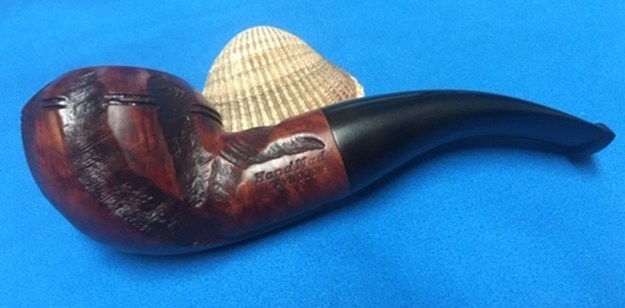
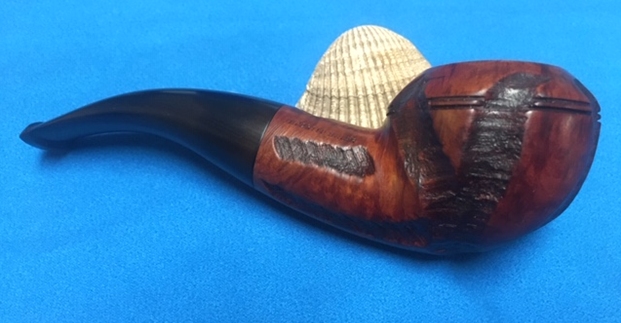
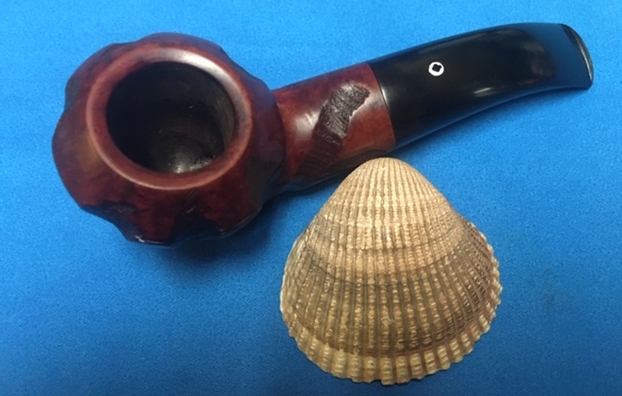
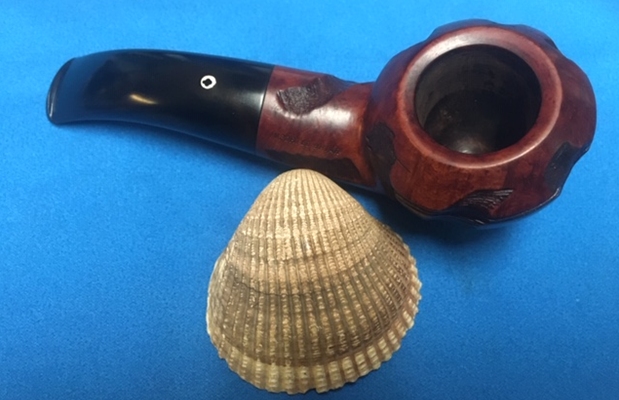
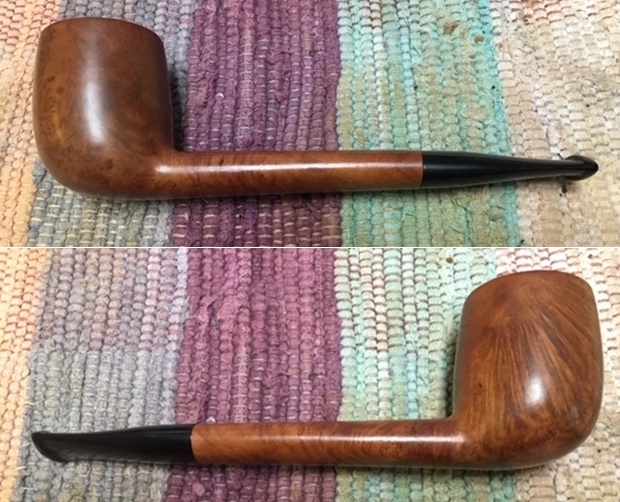
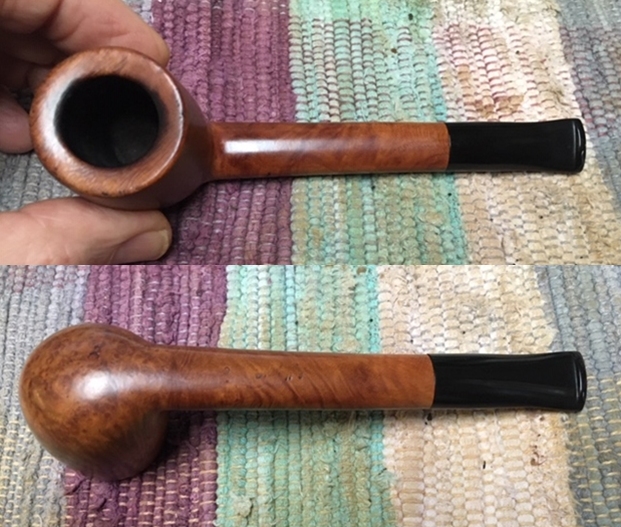
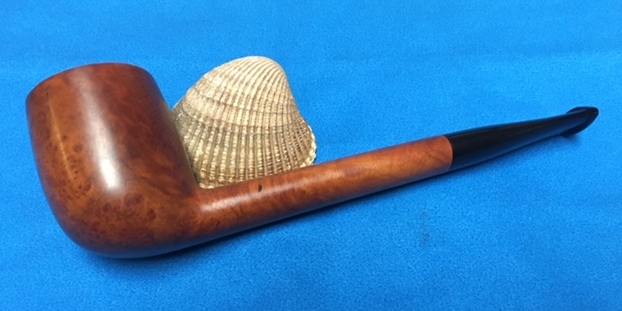
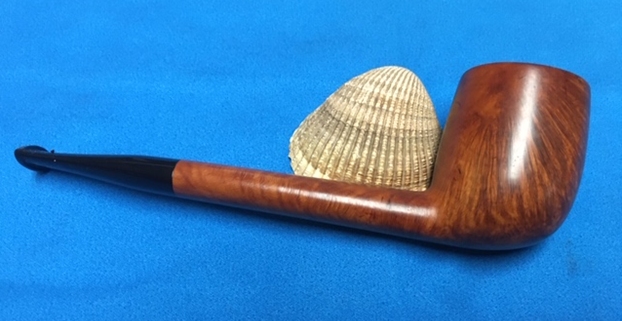
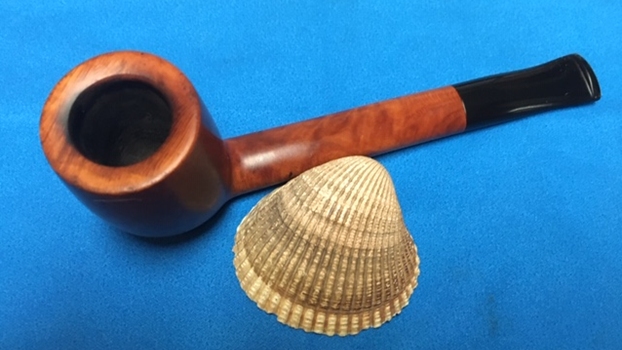
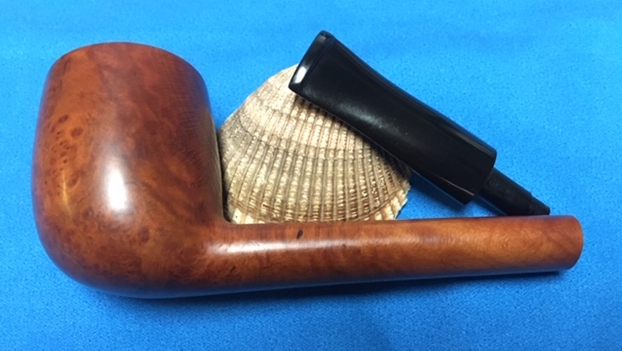
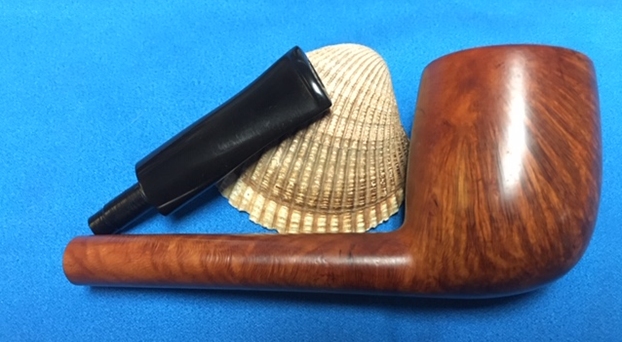
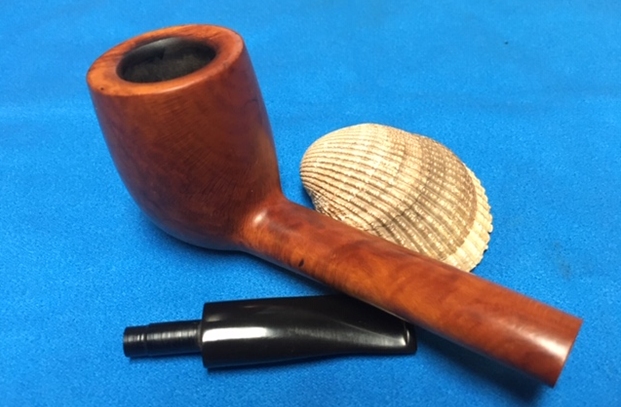
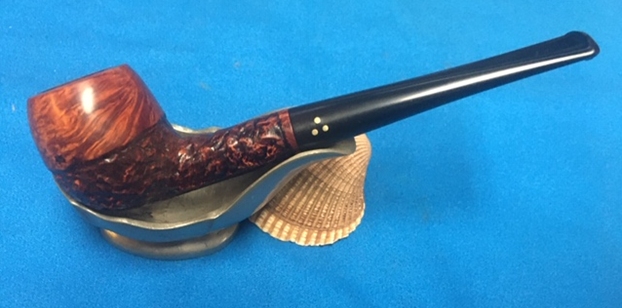
 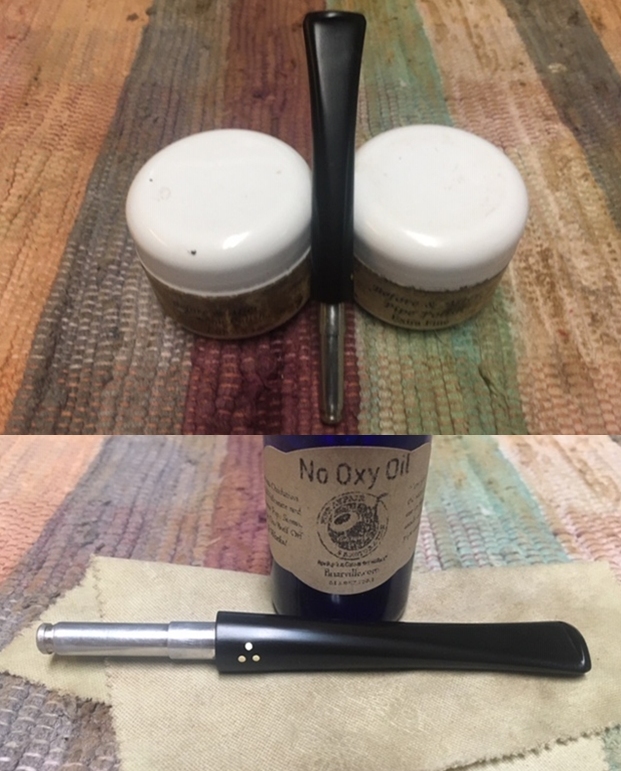 I always look forward to this part of the restoration when all the pieces are put back together. I put the pipe back together and buffed it with Blue Diamond on the buffing wheel. I gave the bowl and the stem multiple coats of carnauba wax. I hand buffed the pipe with a clean buffing pad to raise the shine. It is fun to see what the polished bowl looks like with the smooth portion and the rusticated portion contrasting well and added to that the polished black vulcanite stem with the shining brass pins. This Brigham Exclusive 308 Apple is nice looking and feels great in my hand. The pipe is one that is light enough that it could be clenched and smoked while doing other things as it is very light weight and well balanced. Have a look at it with the photos below. The dimensions are Length: 5 ½ inches, Height: 1 ½ inches, Outside diameter of the bowl: 1 1/8 inches, Chamber diameter: ¾ of an inch. This is the seventh of the pipes sent to me from Eastern Canada for restoration. Once again I am looking forward to what the pipeman who sent it thinks of this restoration. Lots more to do in this lot! Thanks to each of you who are reading this blog. Remember we are not pipe owners; we are pipemen and women who hold our pipes in trust until they pass on into the trust of the next pipeman or woman.