
Blog by Steve Laug
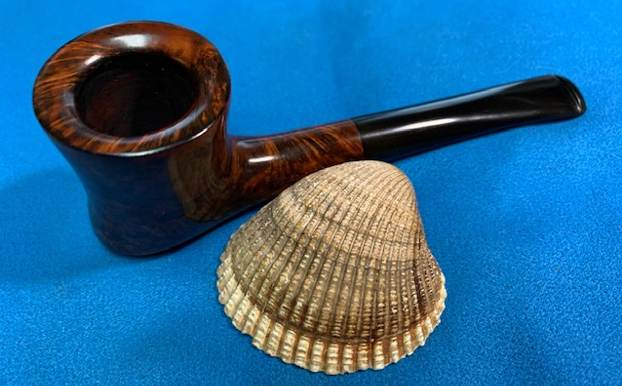
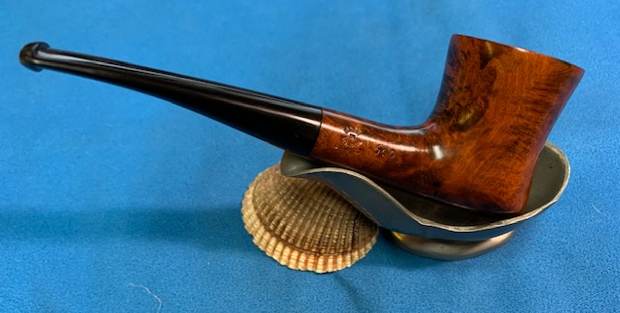
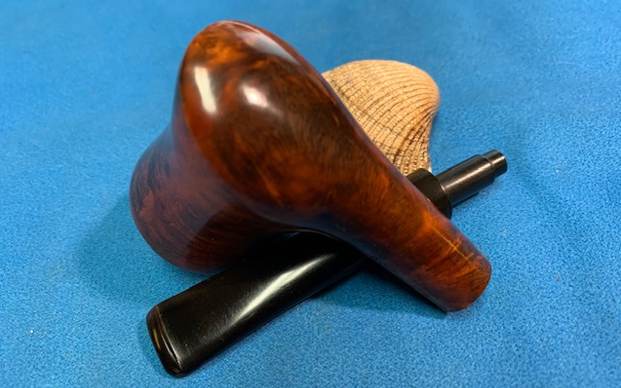
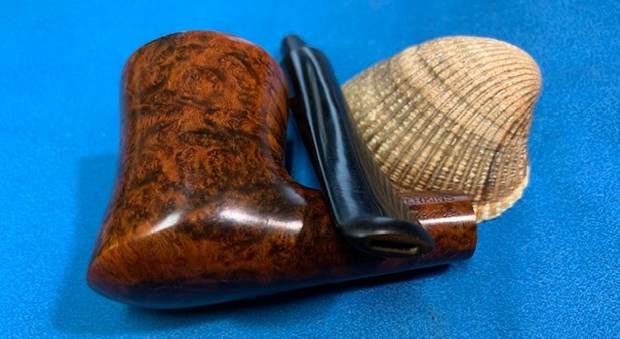
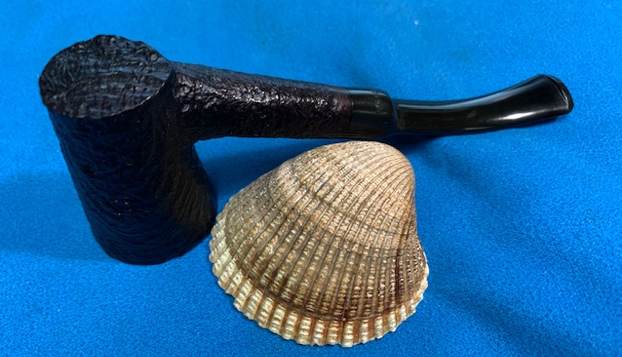
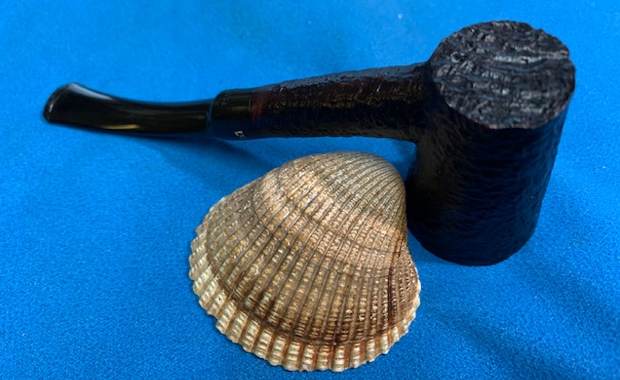
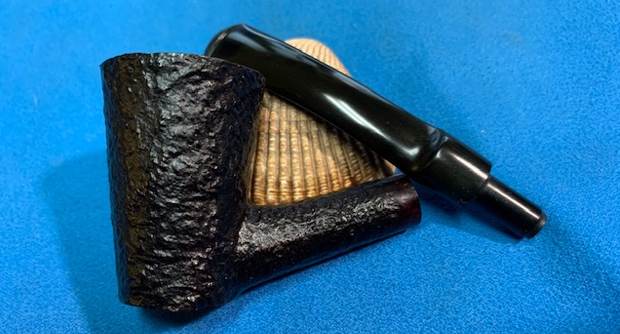
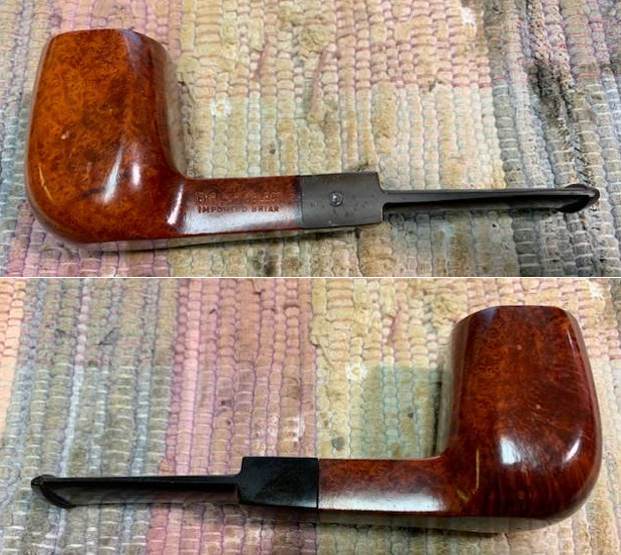
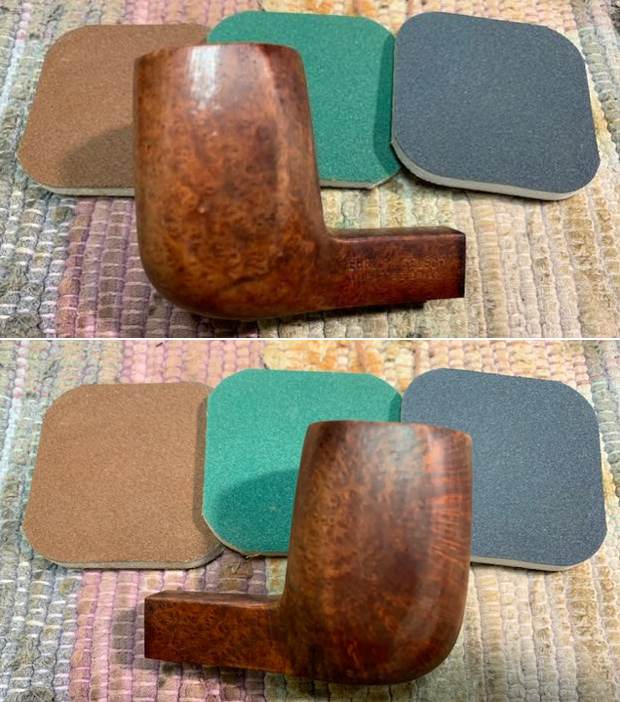
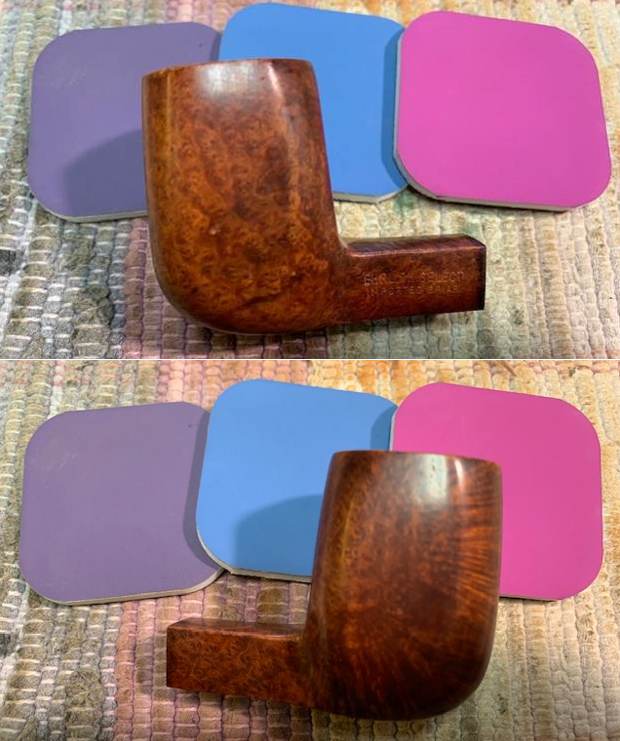
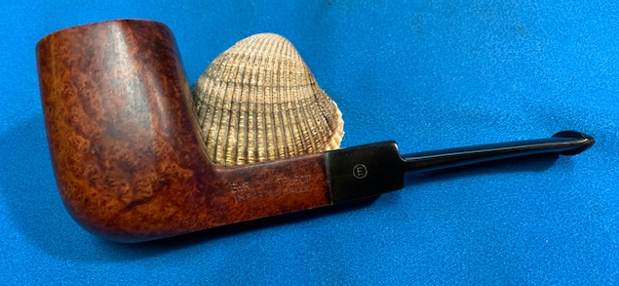
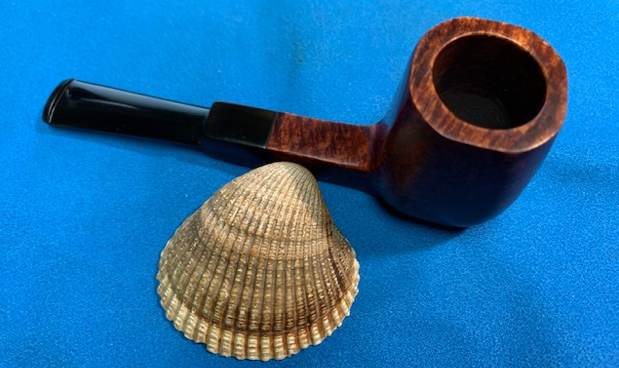
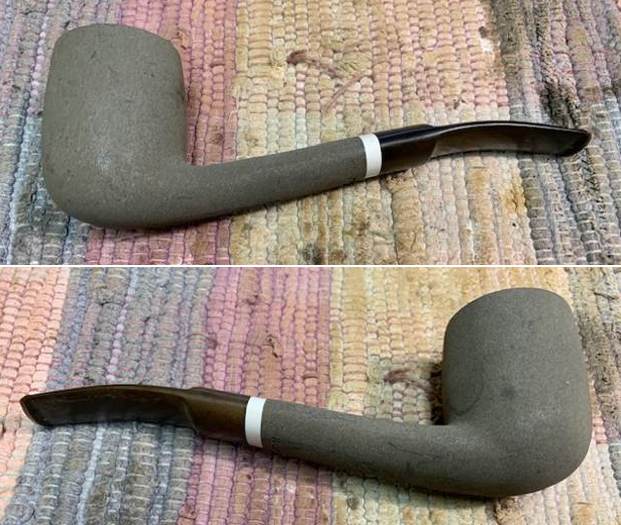
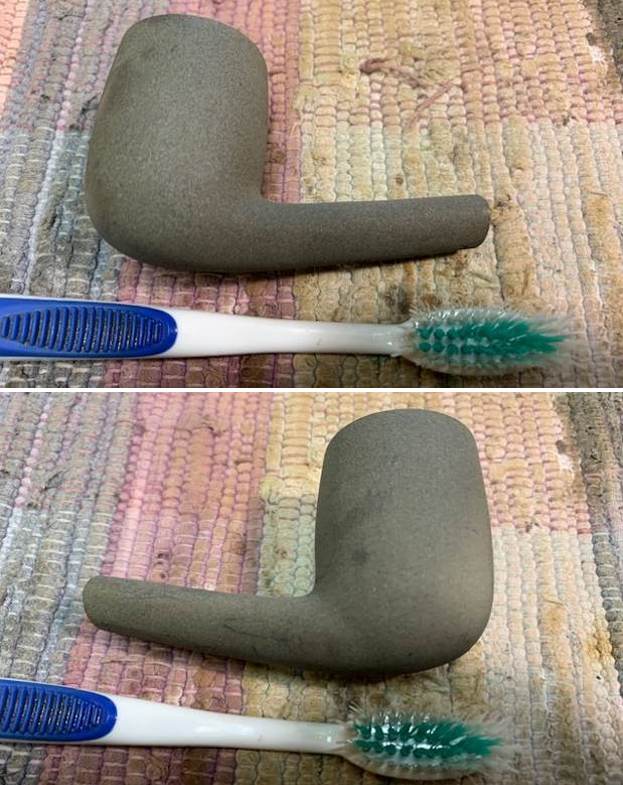
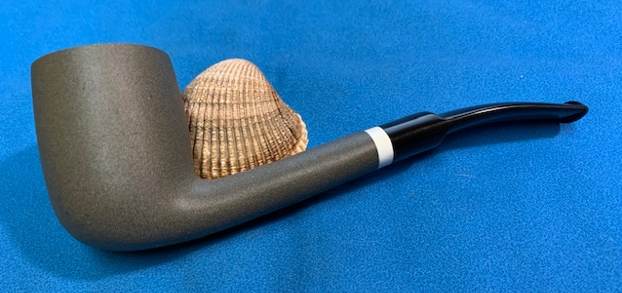
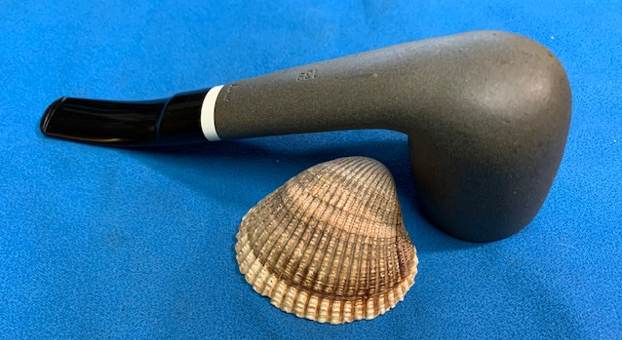
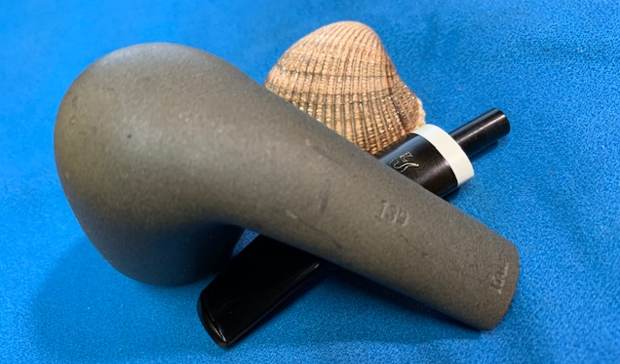
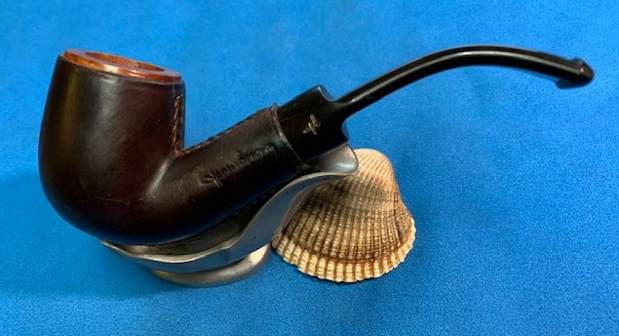
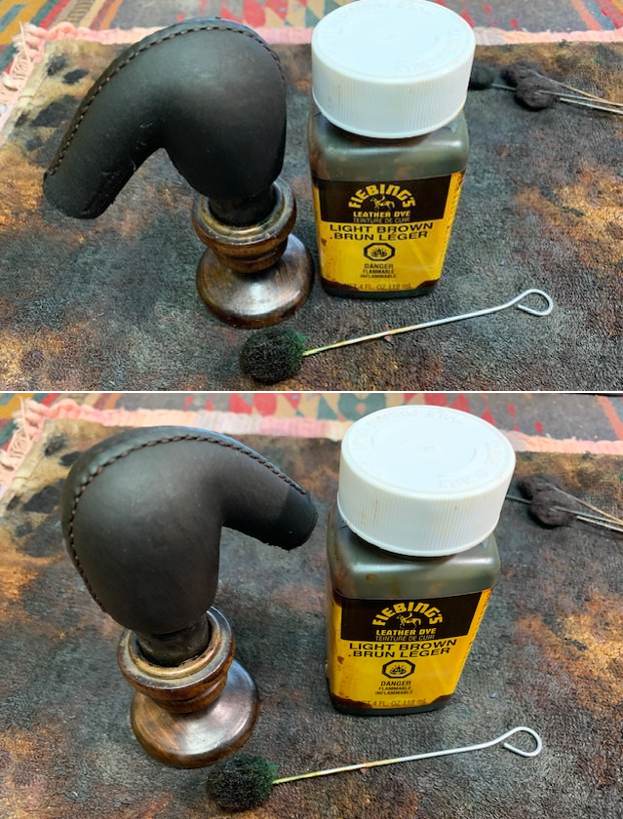
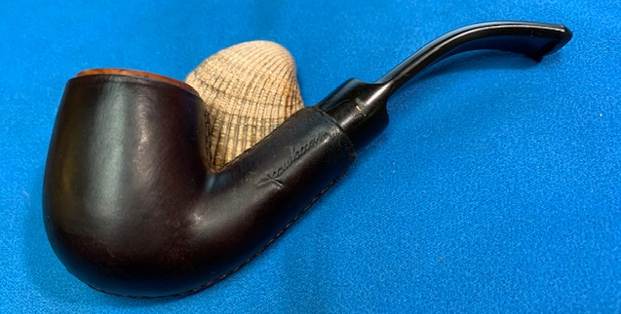
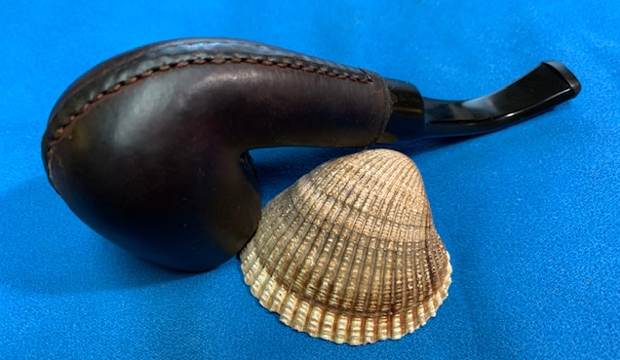
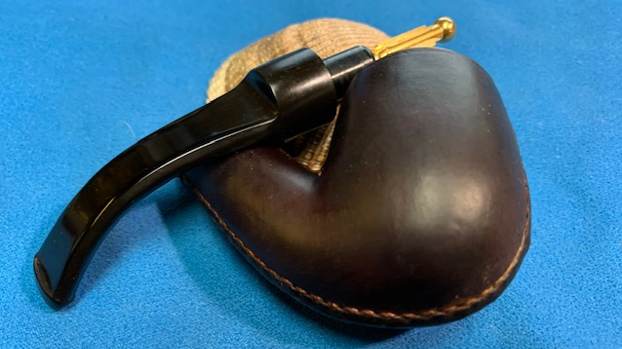
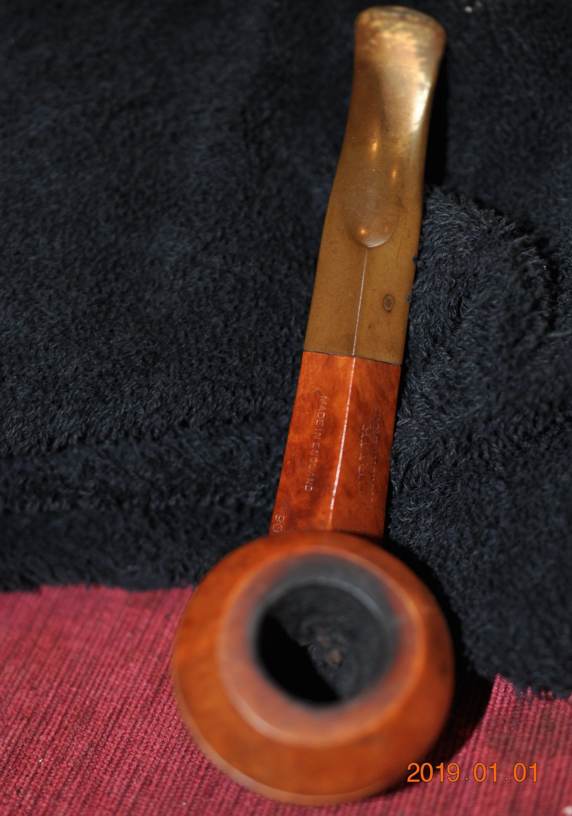
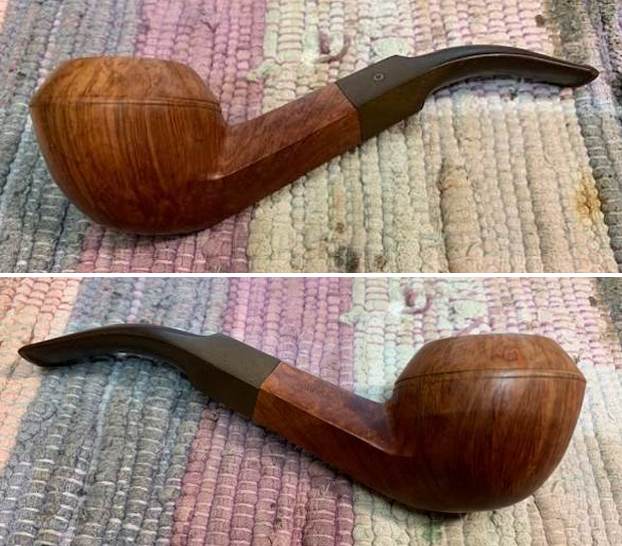
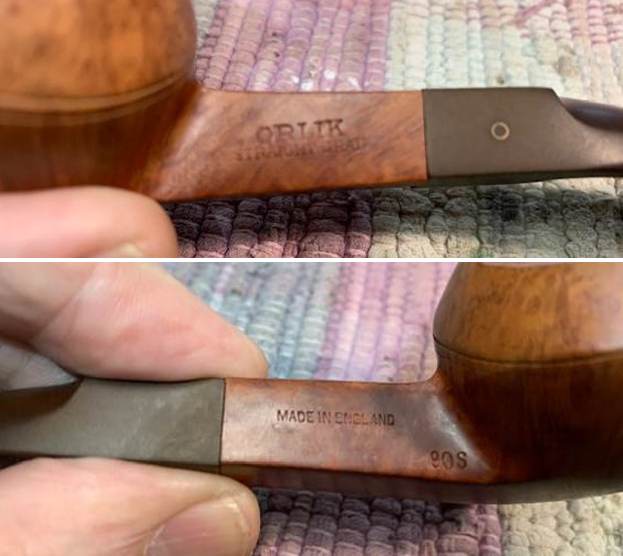
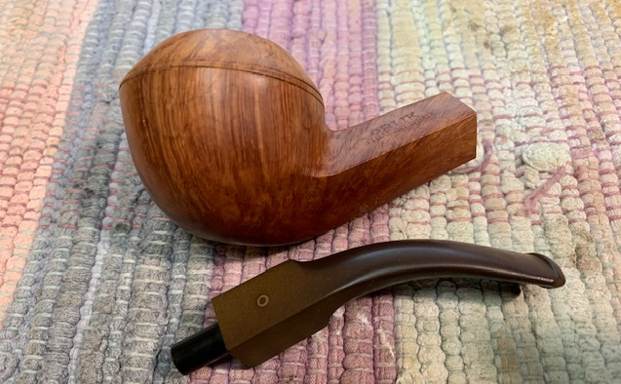
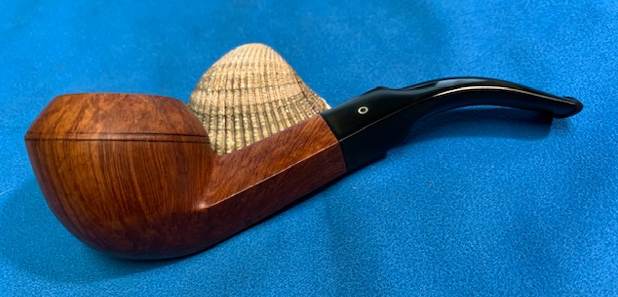
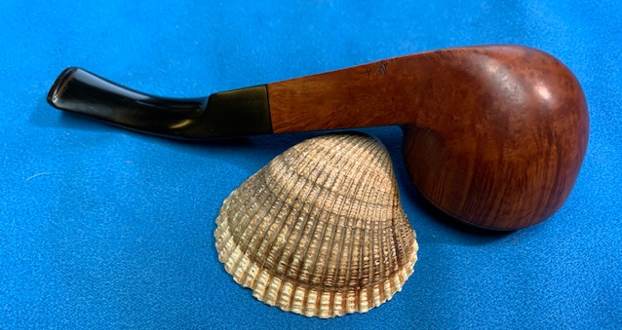
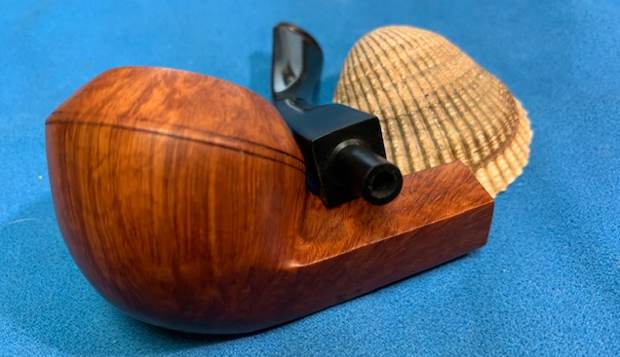
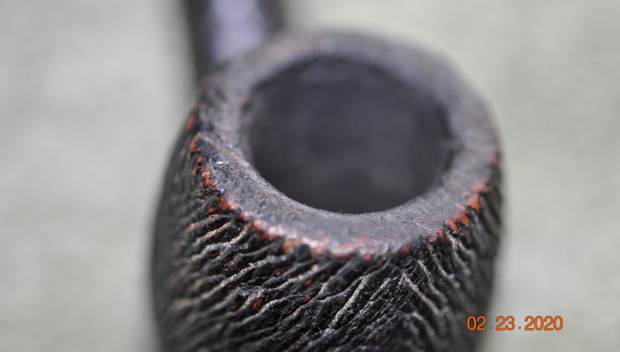
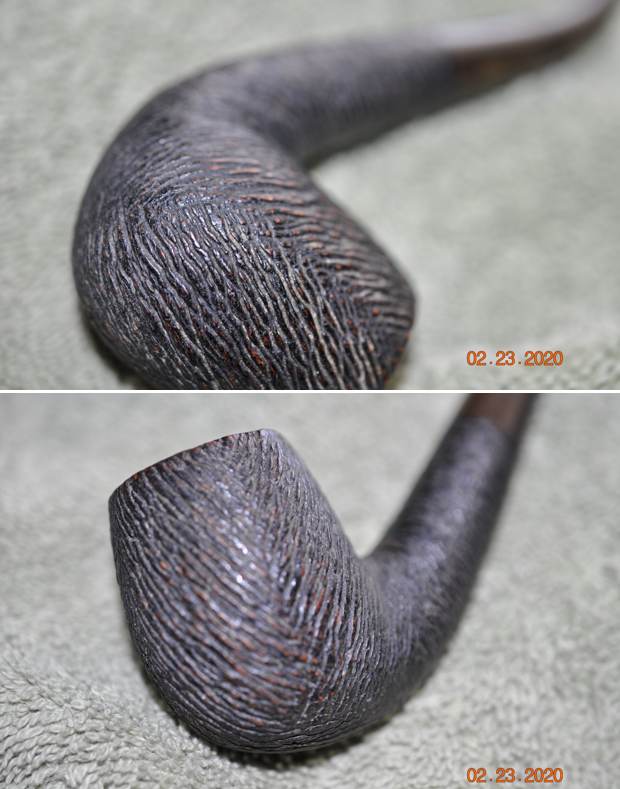
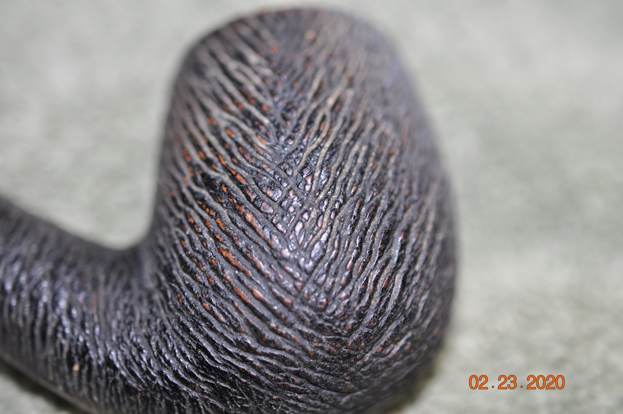
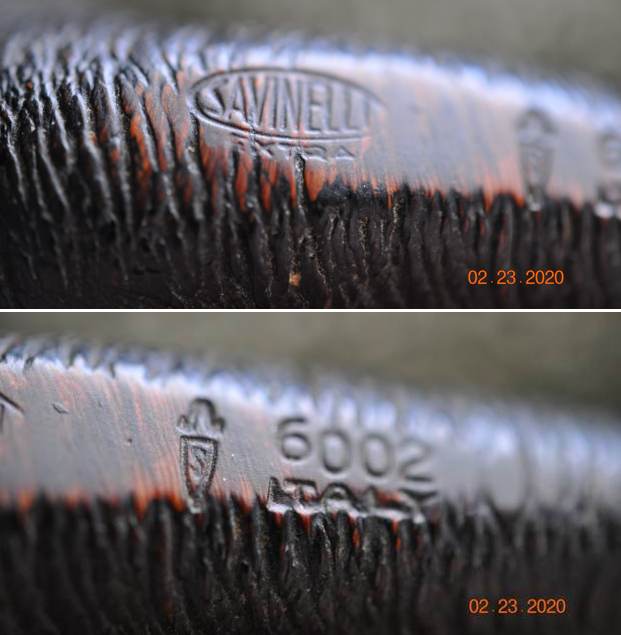
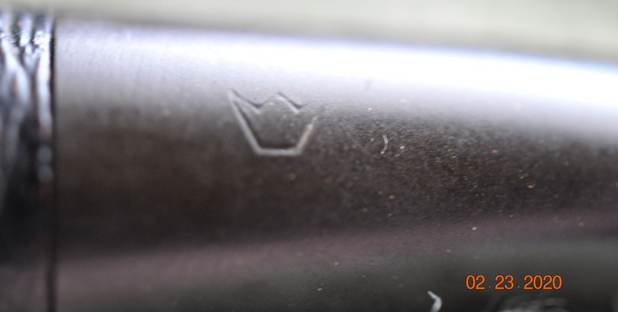
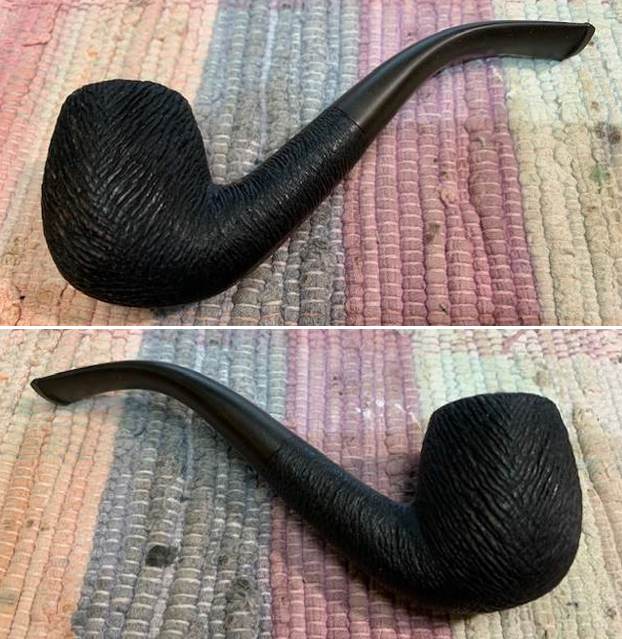
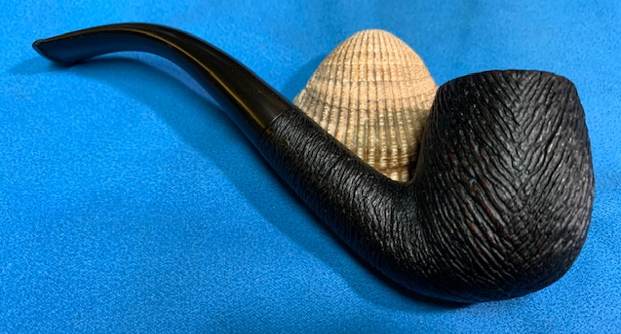
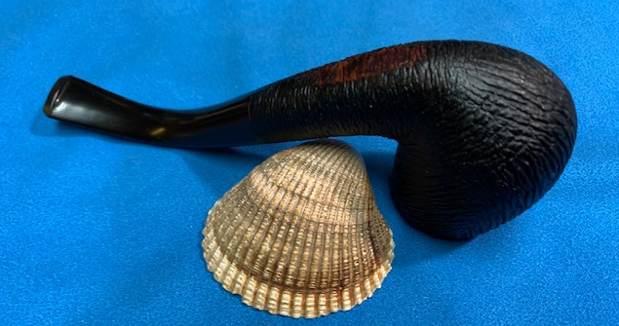
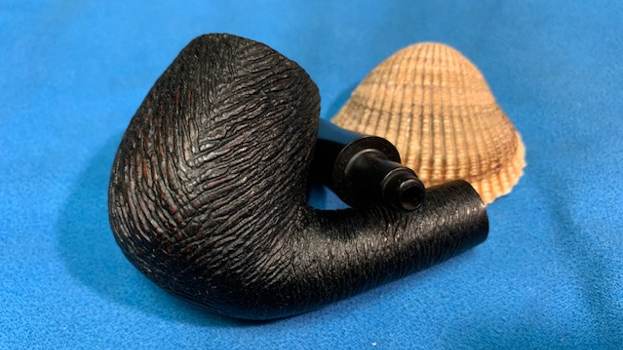
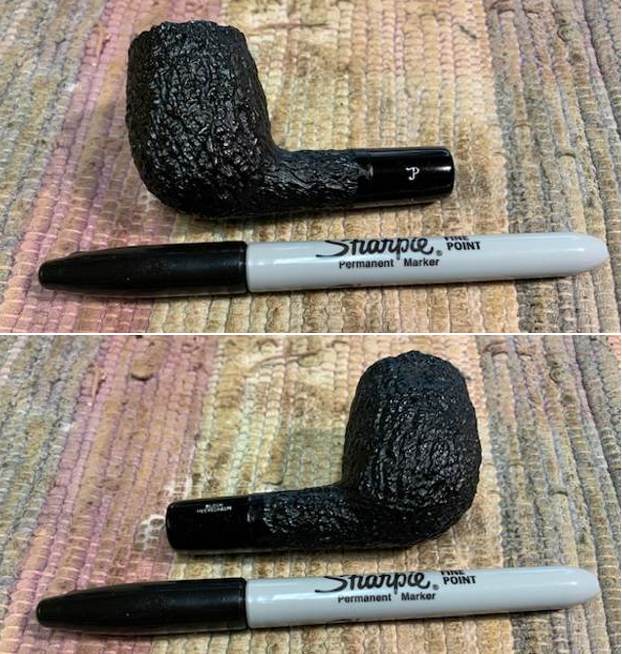
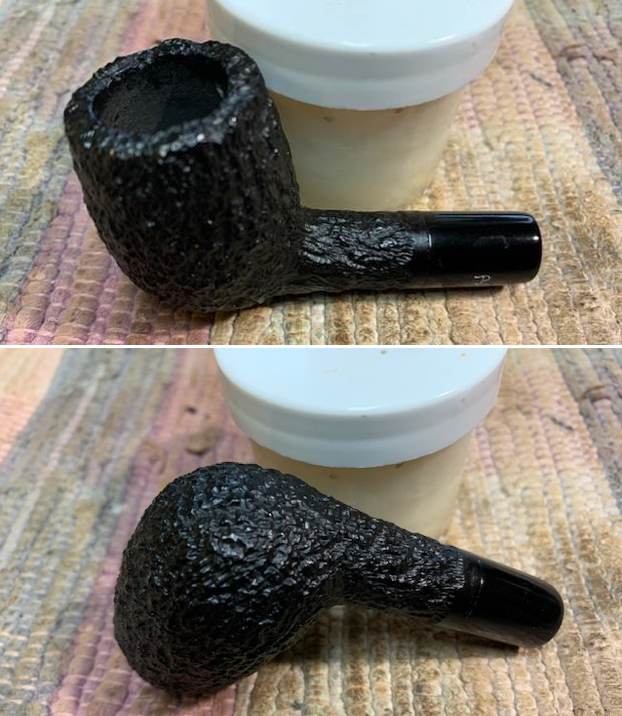
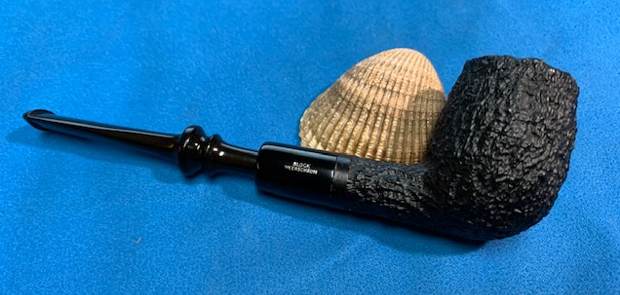
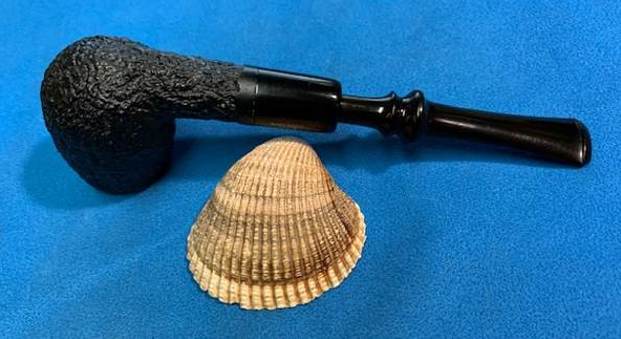
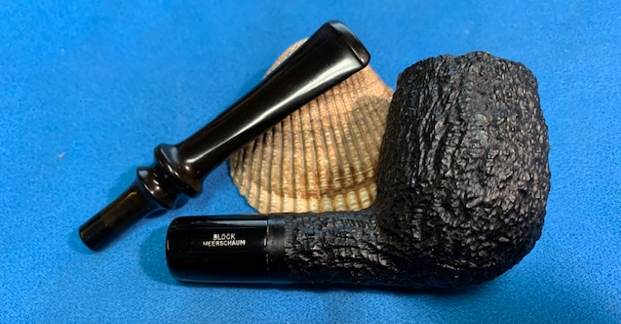
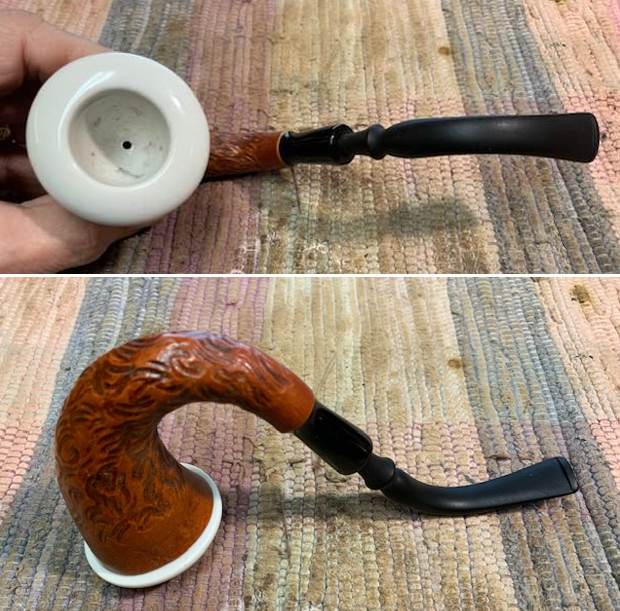
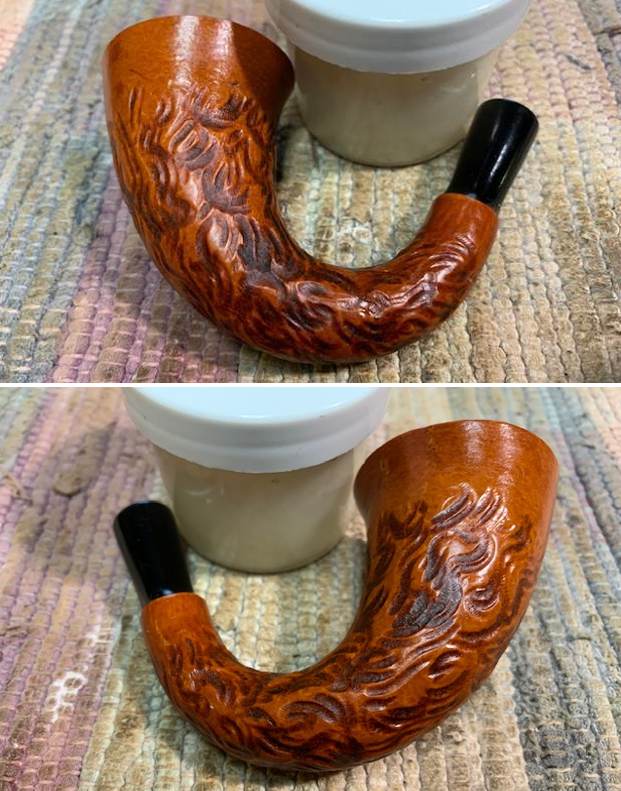
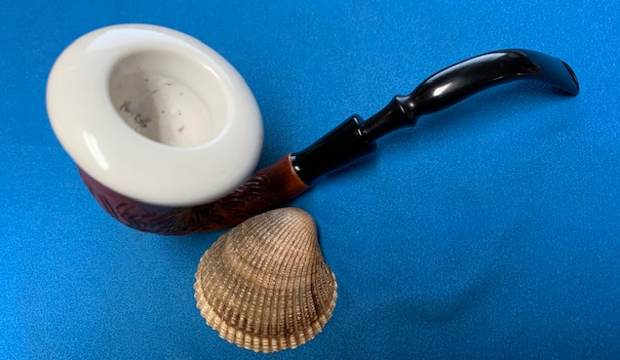
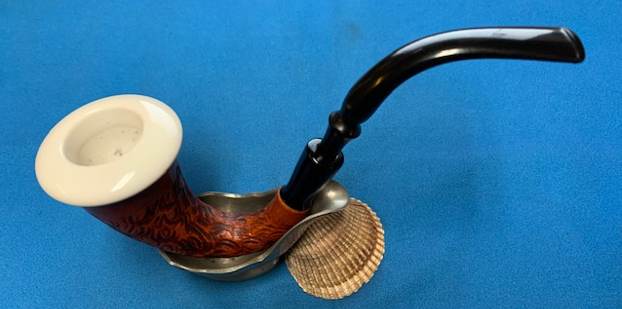
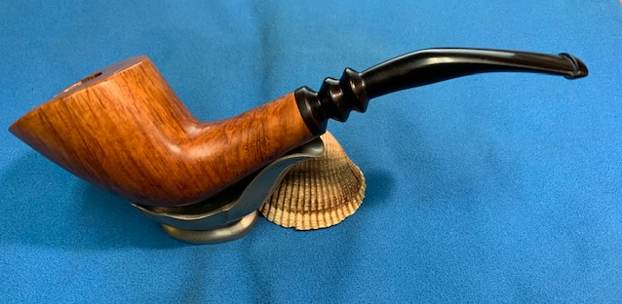
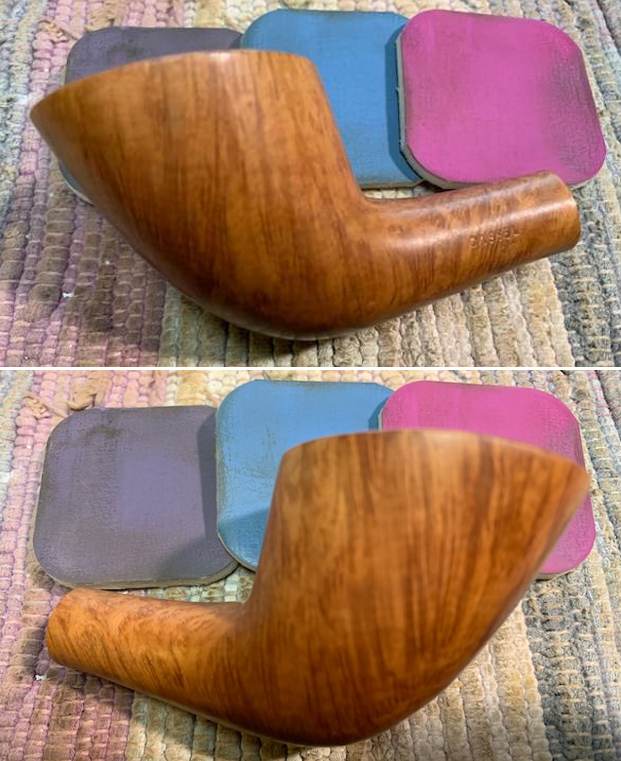
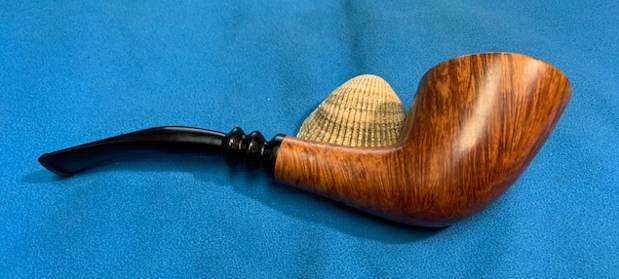
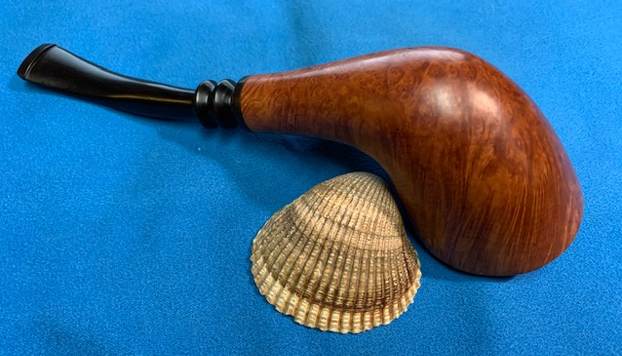
The next pipe I chose to work on is another UNSMOKED/NEW OLD STOCK pipe. This one was an interesting shape that I tend to call a skater with a taper vulcanite stem. I remembered working on a Comoy’s pipe with this shape in the past so I wondered if it was not somehow connected. It came in the original box that is in great condition. It had a perfectly clean and debris free bowl and rim top that showed that it had never been smoked. The finish very good and the pipe had some nice grain around the bowl and shank. There were no visible flaws or fills on the bowl sides or shank. It was stamped on the left side of the shank and read C.B.P. [over] Supreme. The right side is stamped a circular COM stamp MADE IN LONDON in a circle over ENGLAND followed by the shape number 600. The COM stamp is like the one on Comoy’s pipes from the 1950s onward. This is another lead that the pipe may well be made by Comoy’s but research will tell. It has a vulcanite taper stem with a Perkins logo decal on the left side. The stem is heavily oxidized on the top and right side with light oxidation on the remaining sides. I took photos of the pipe when I brought it to the work table. 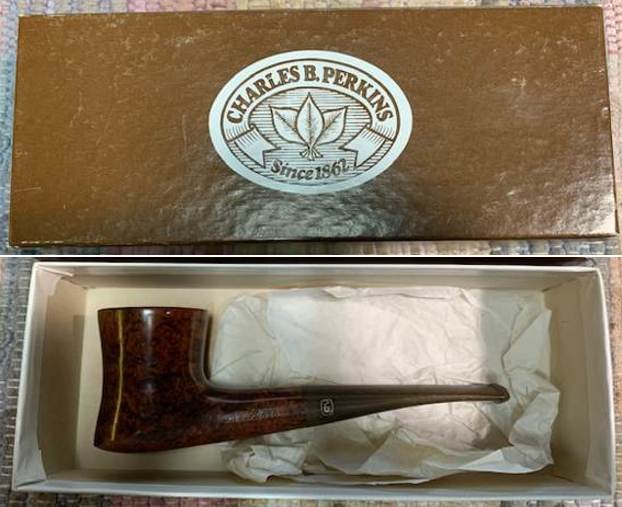
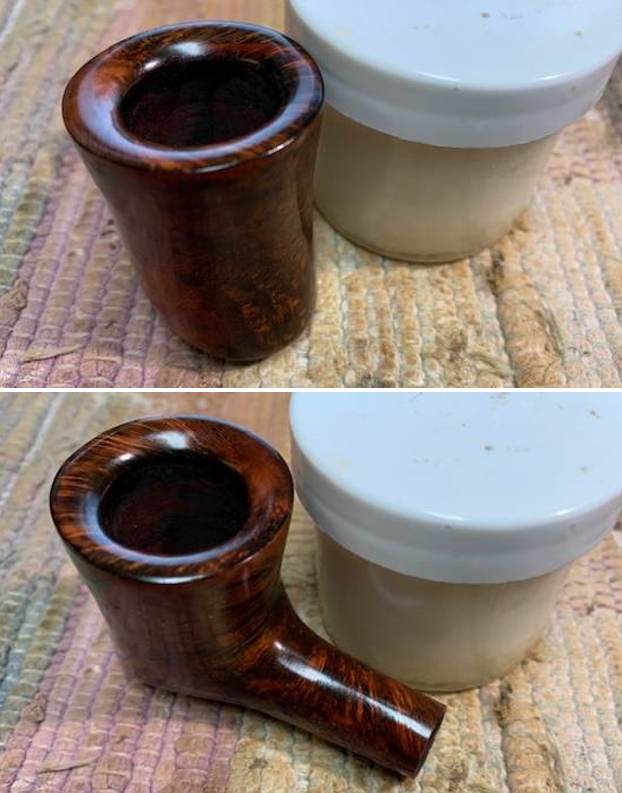
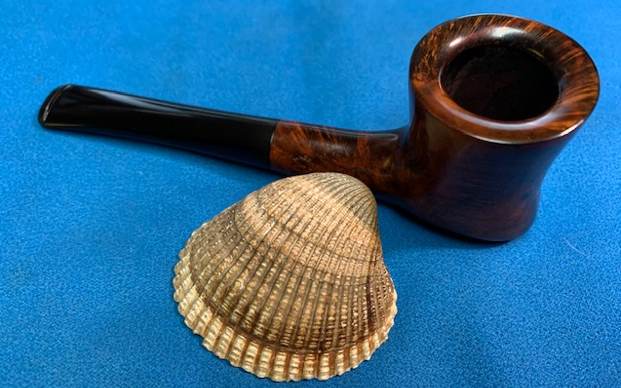
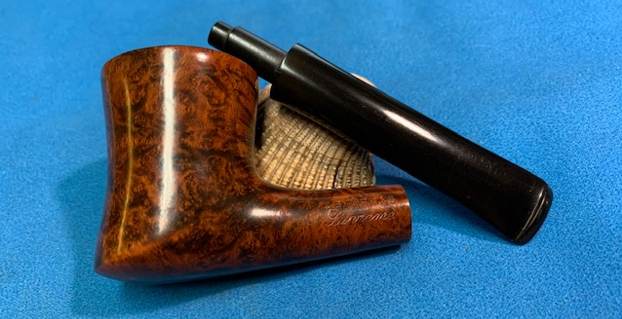
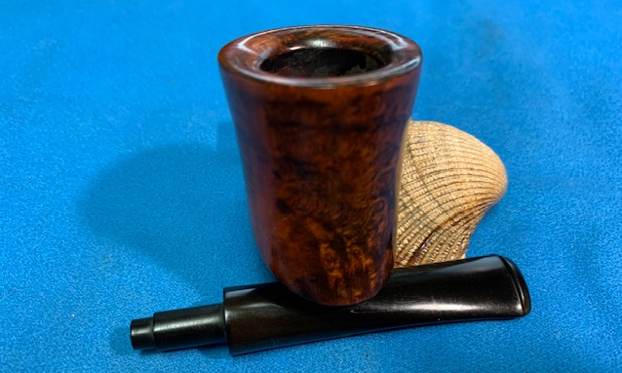
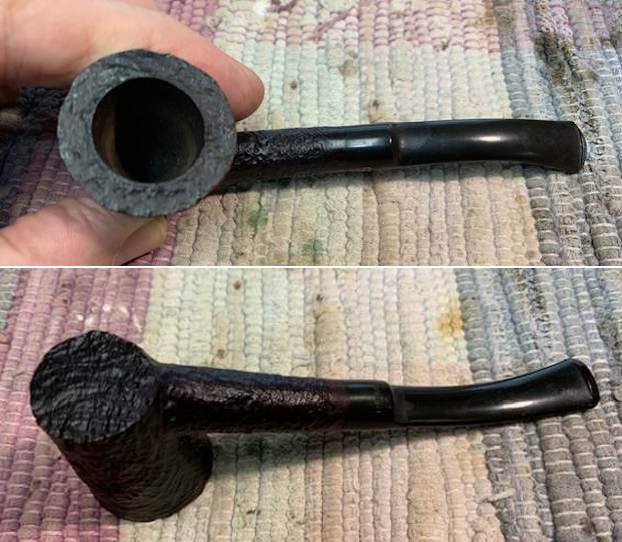
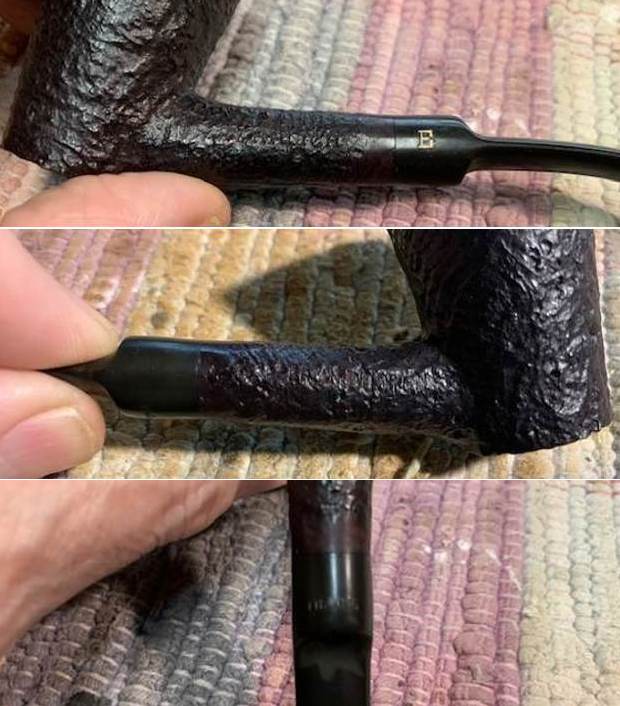
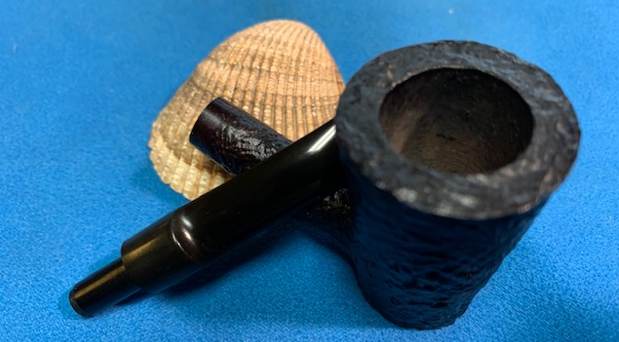
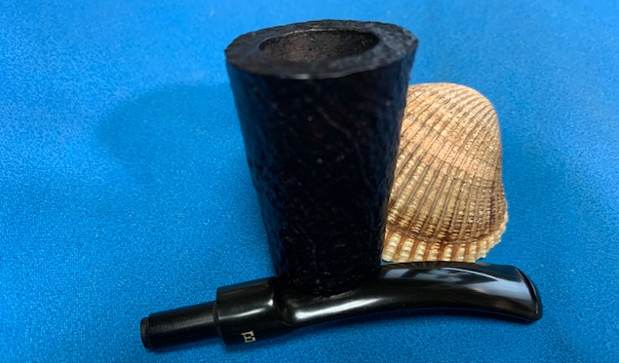
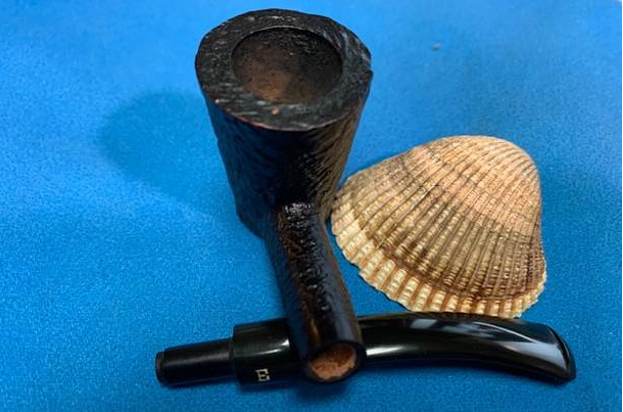
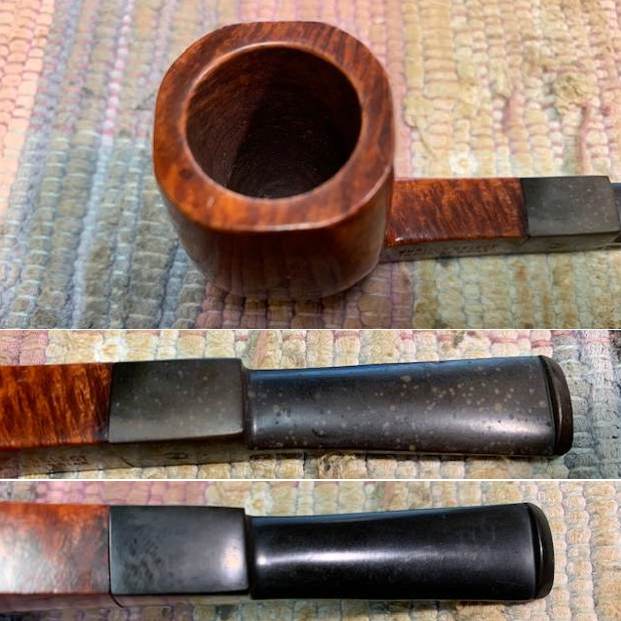
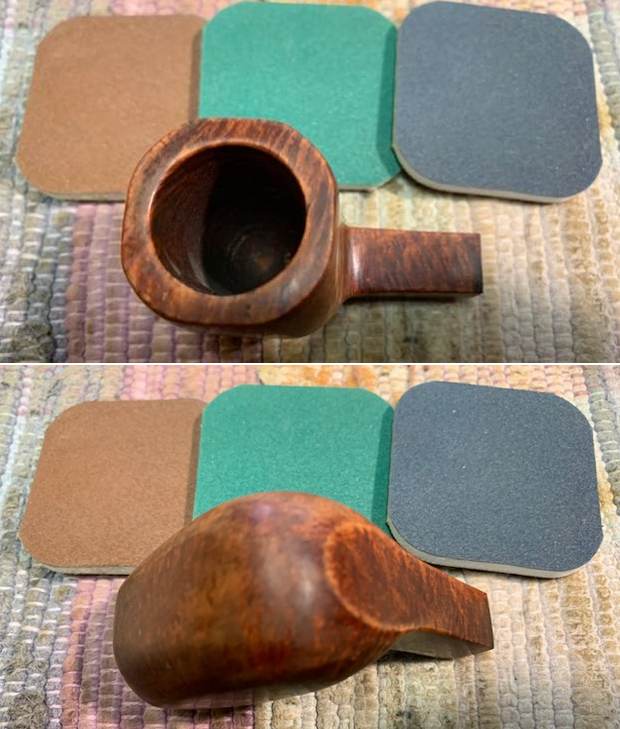
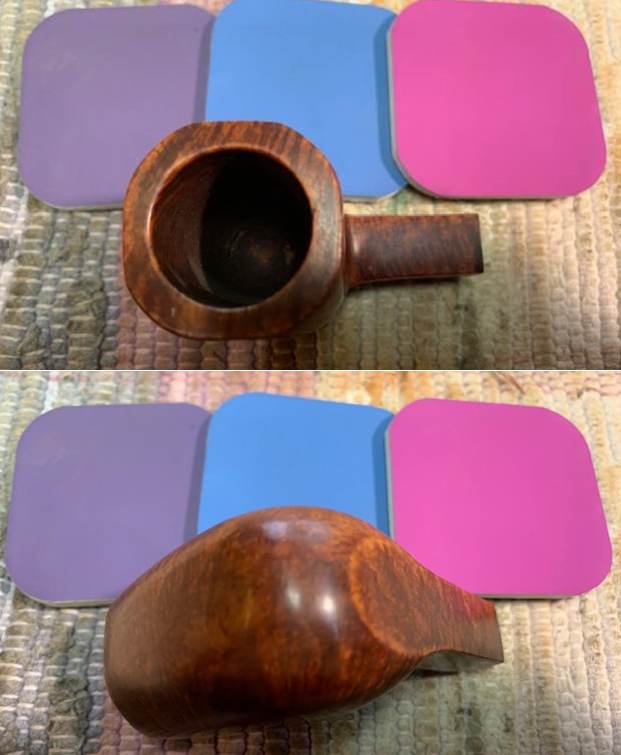
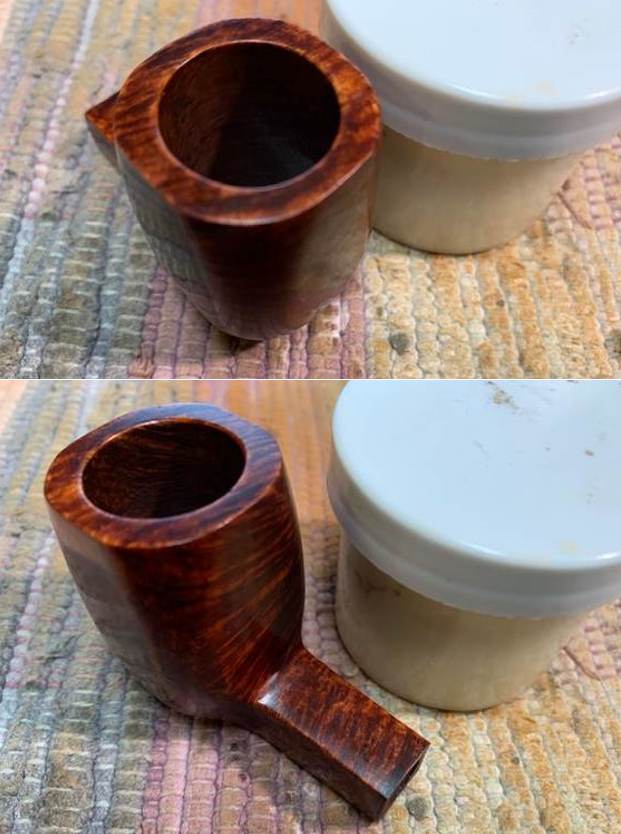
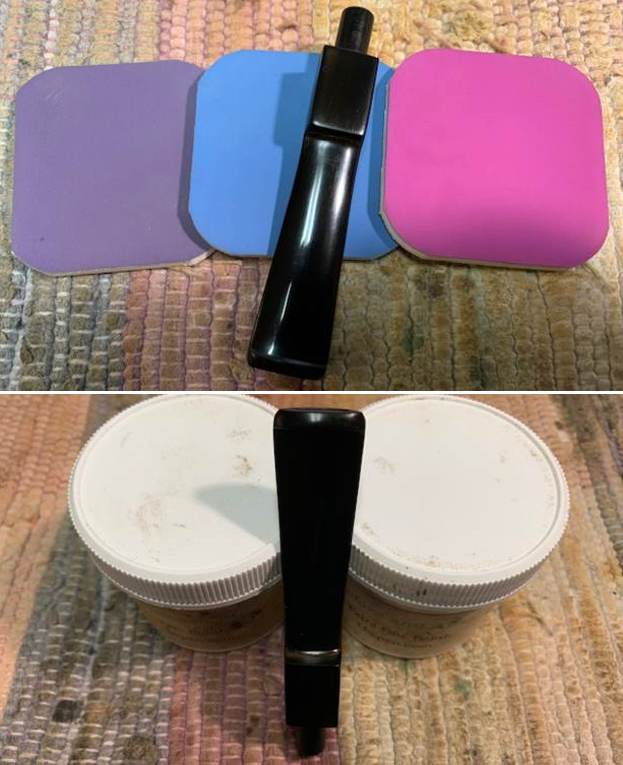
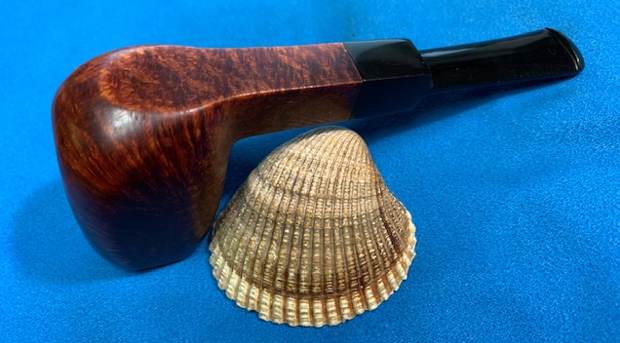
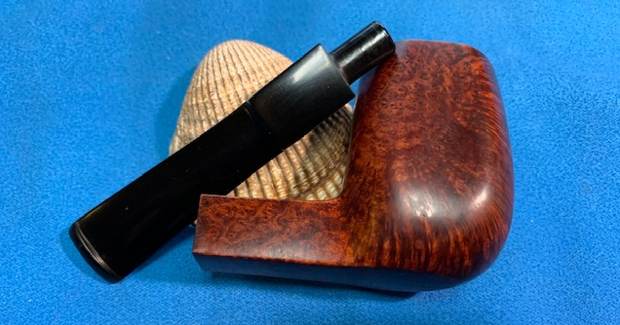
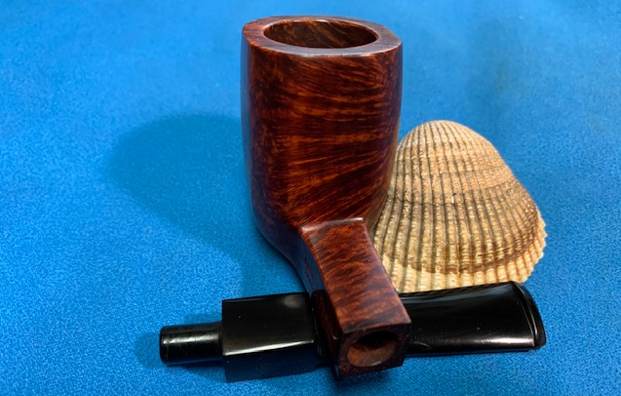
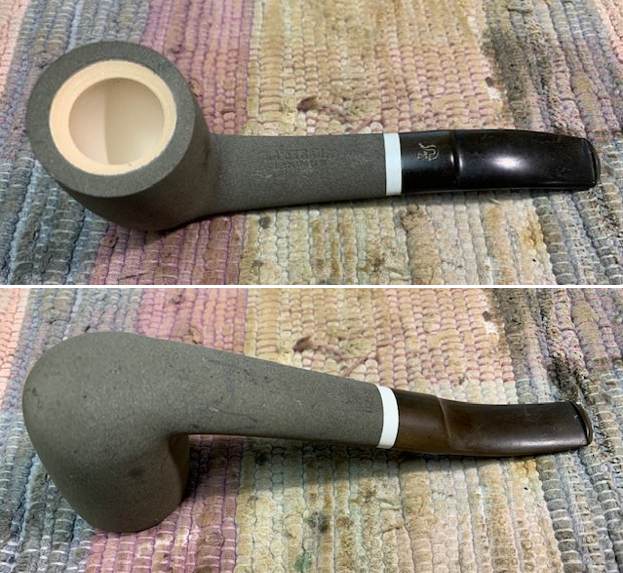
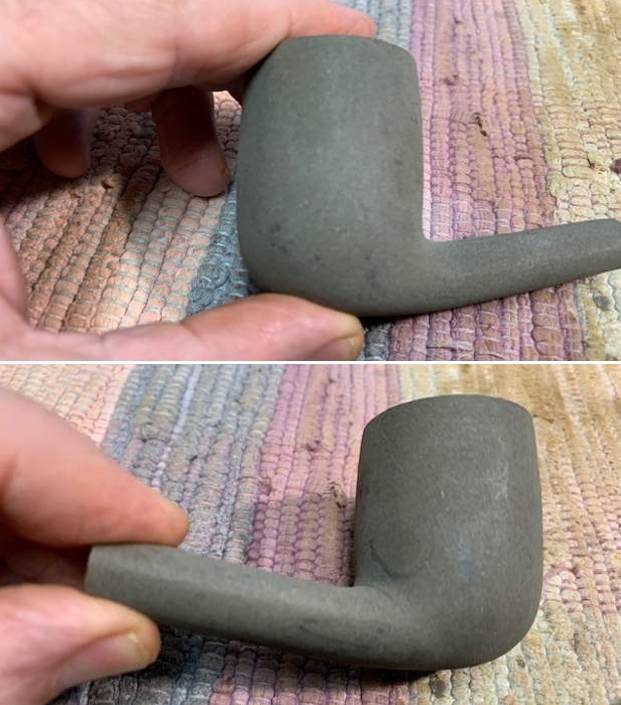
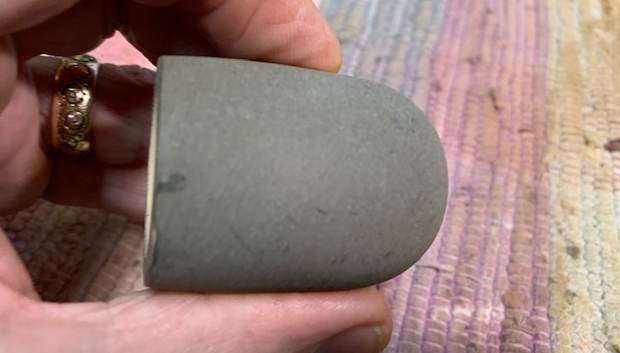
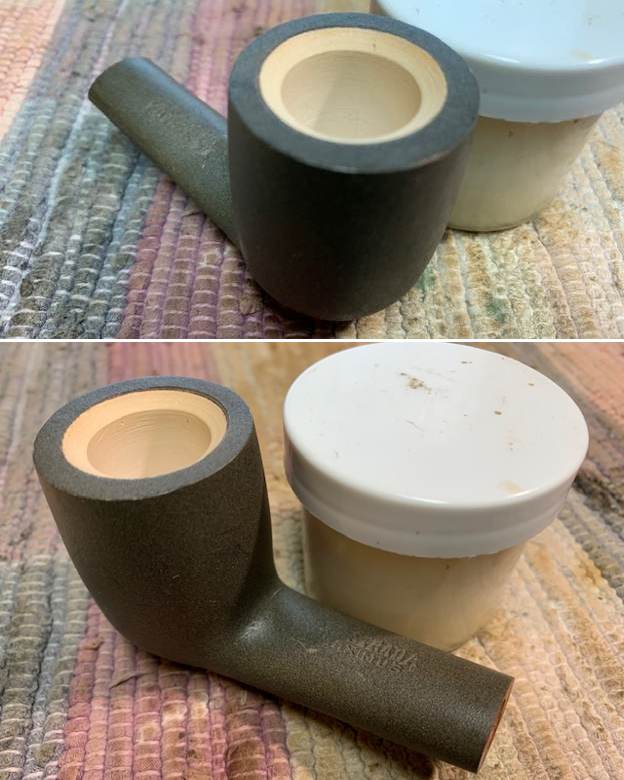
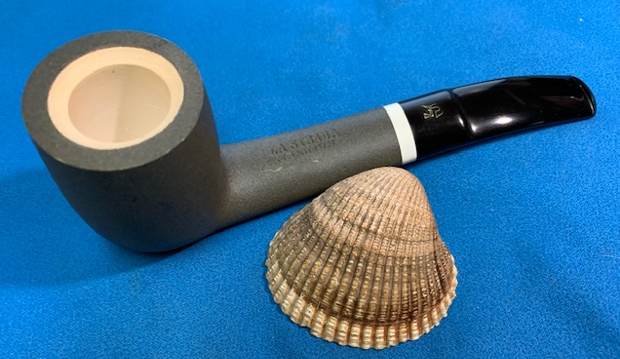
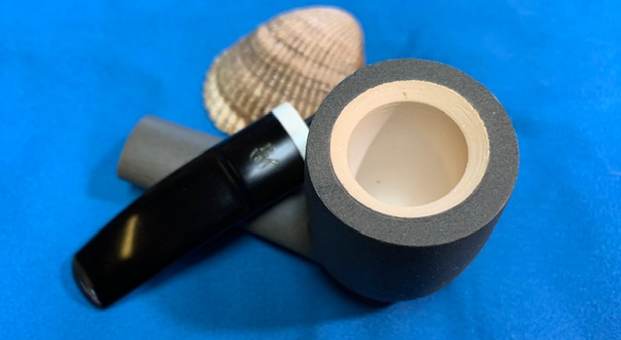
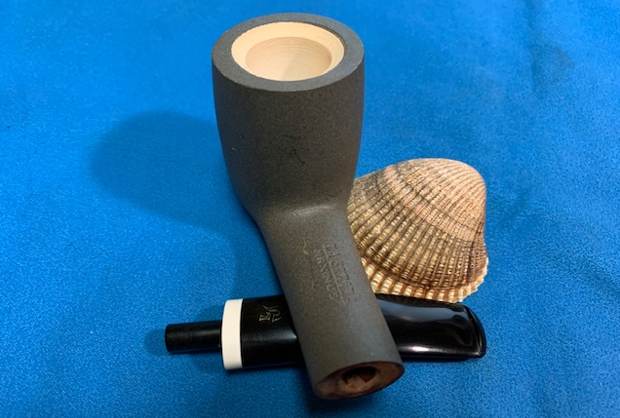
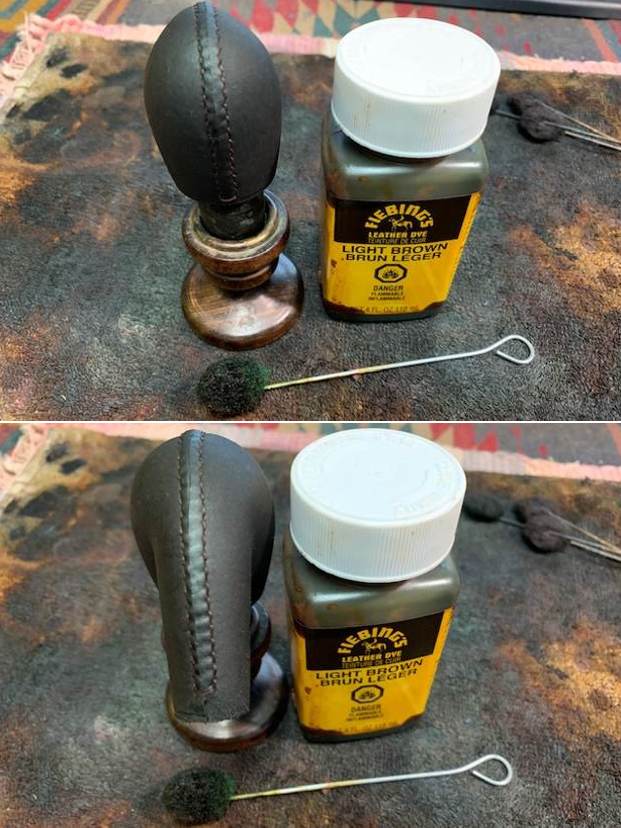
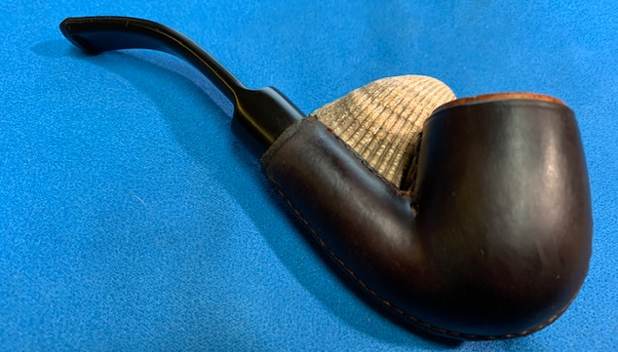
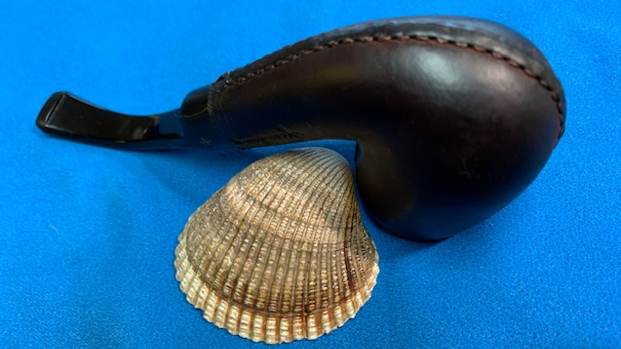
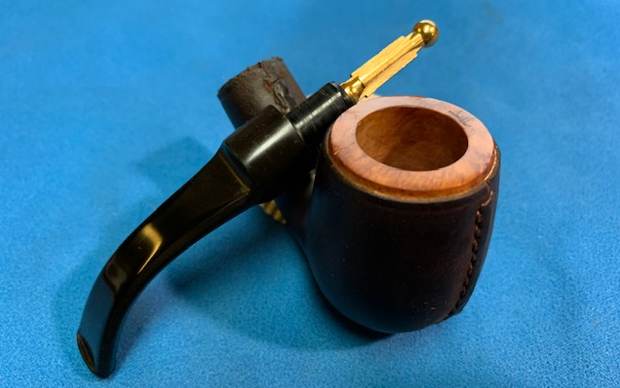
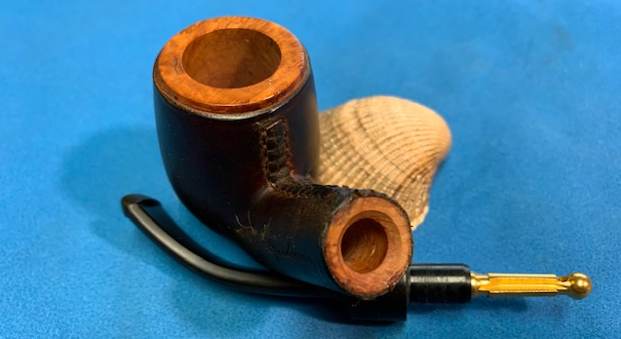
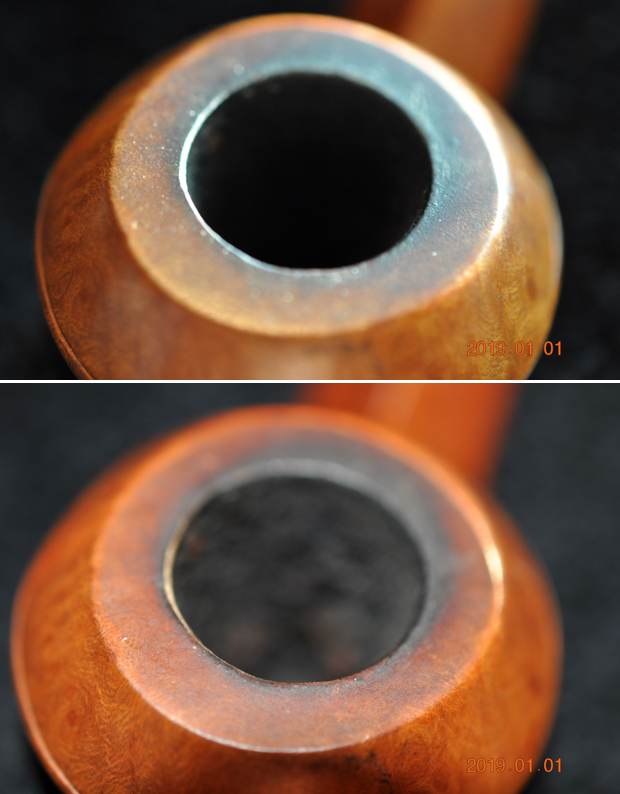
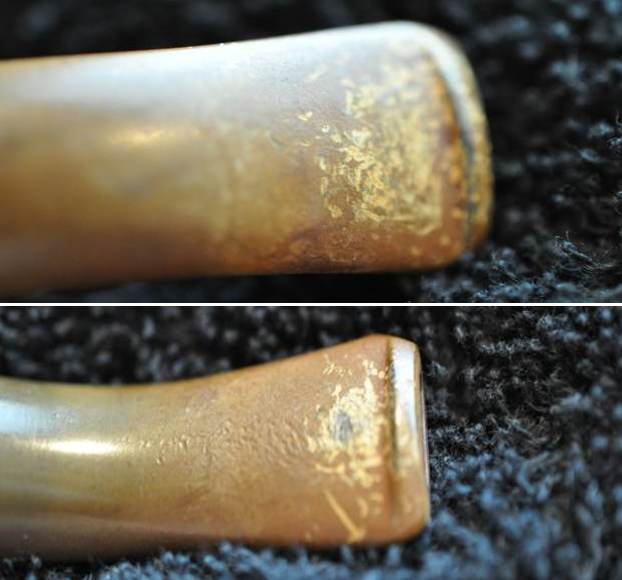
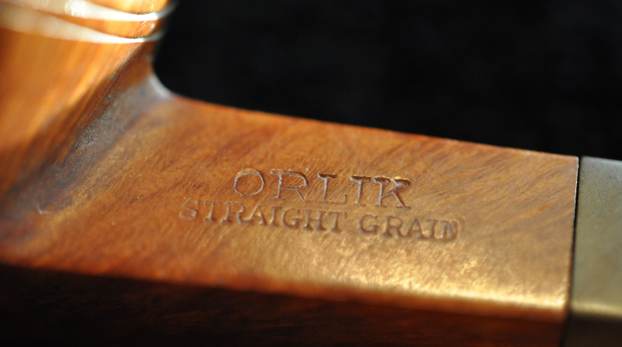
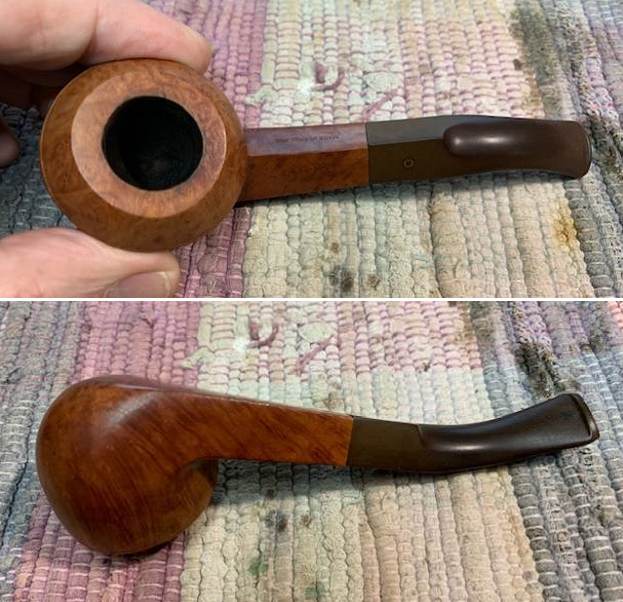
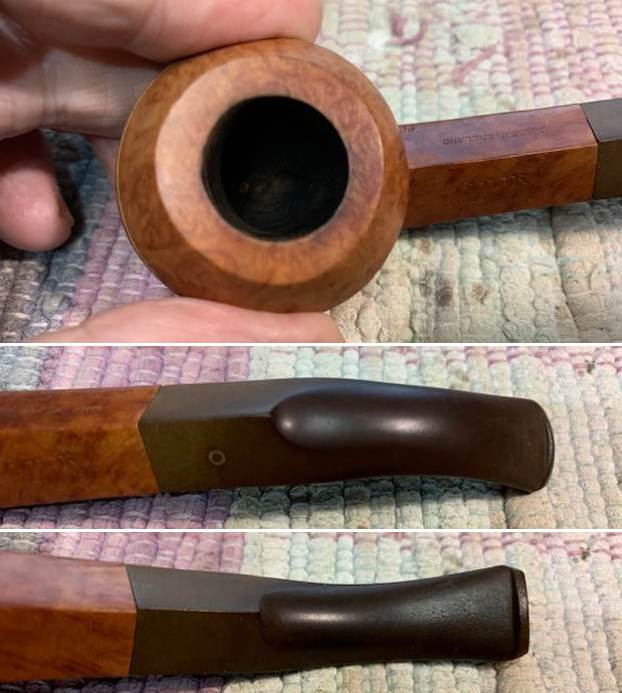
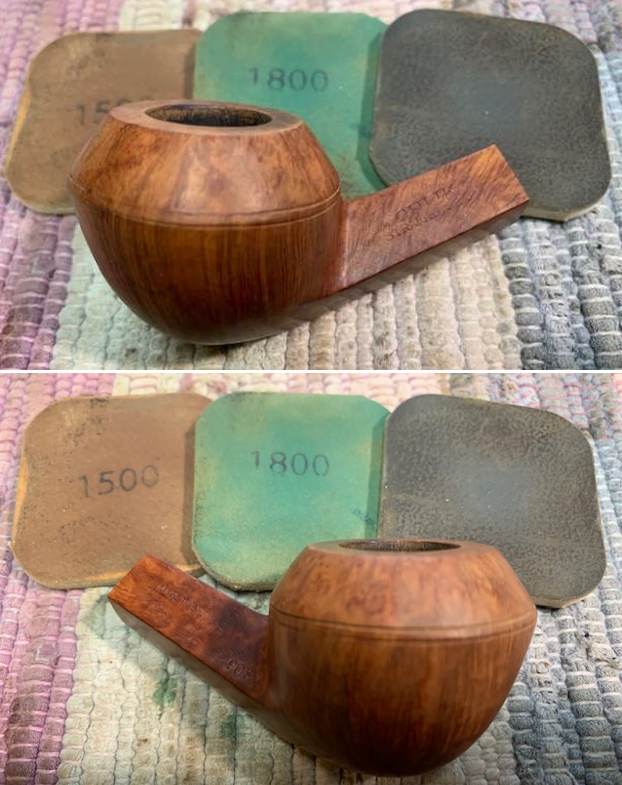
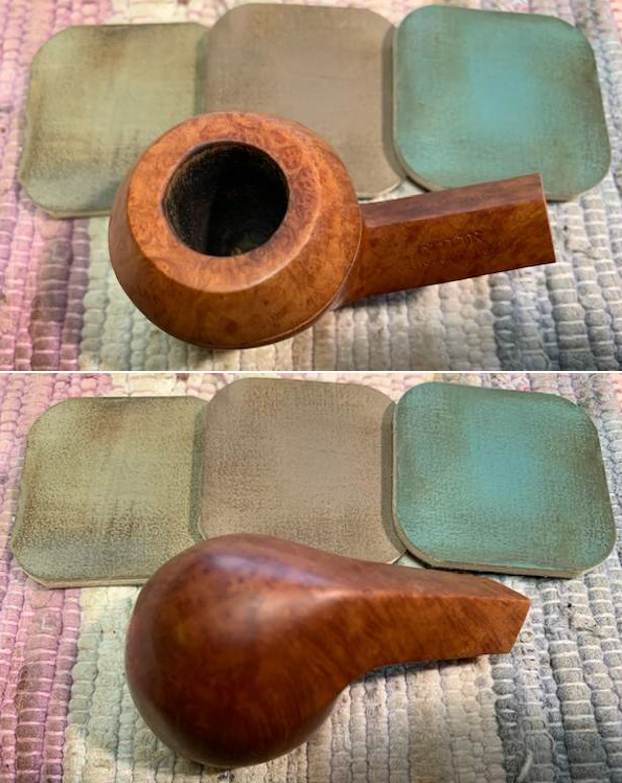
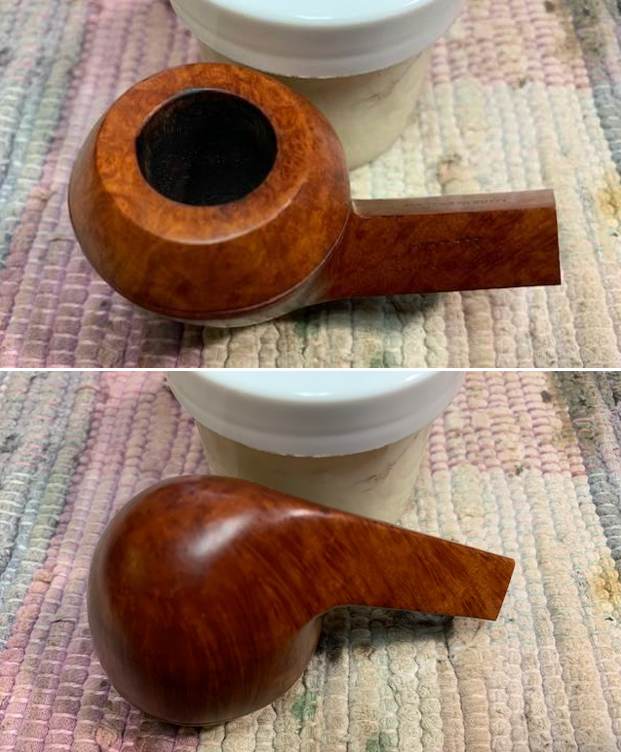
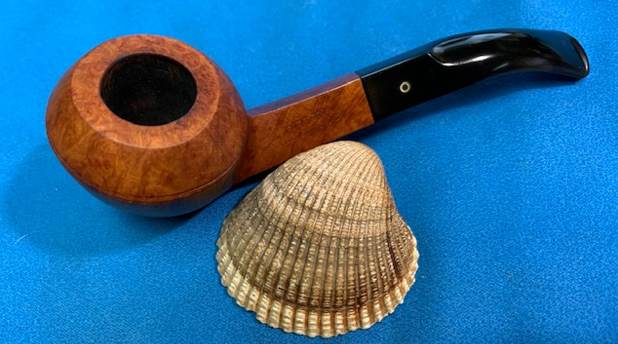
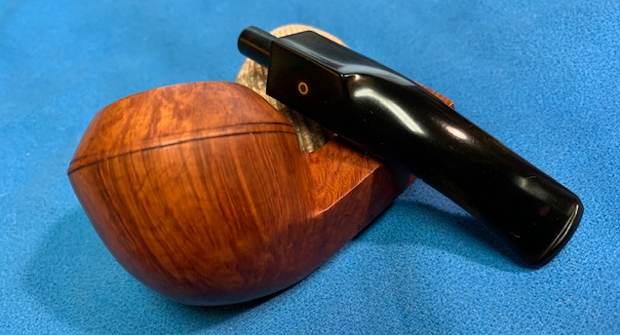
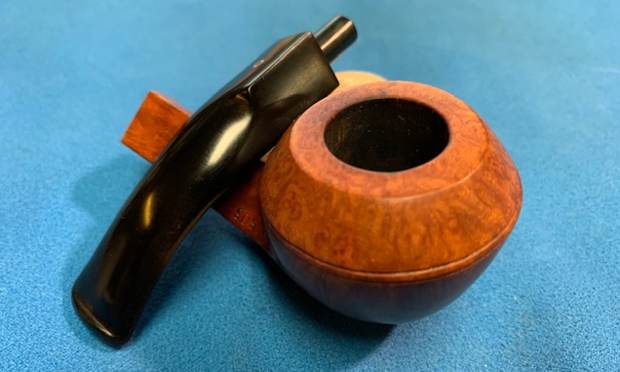
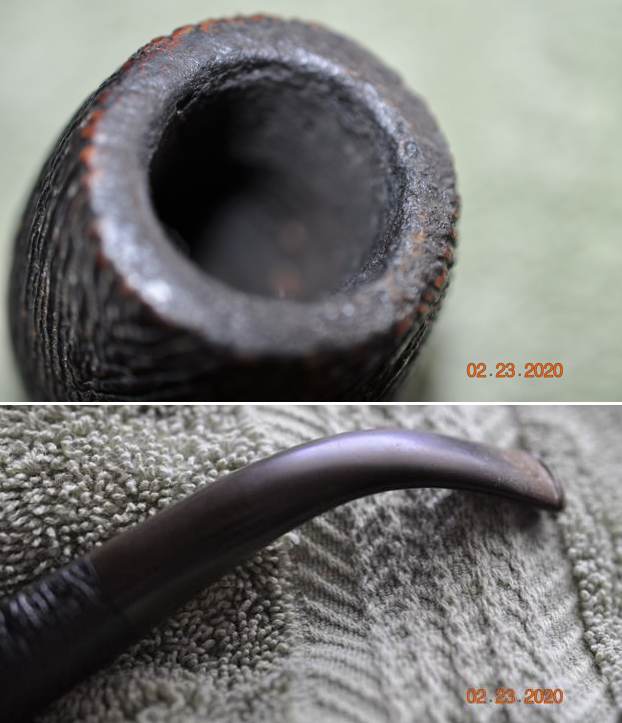
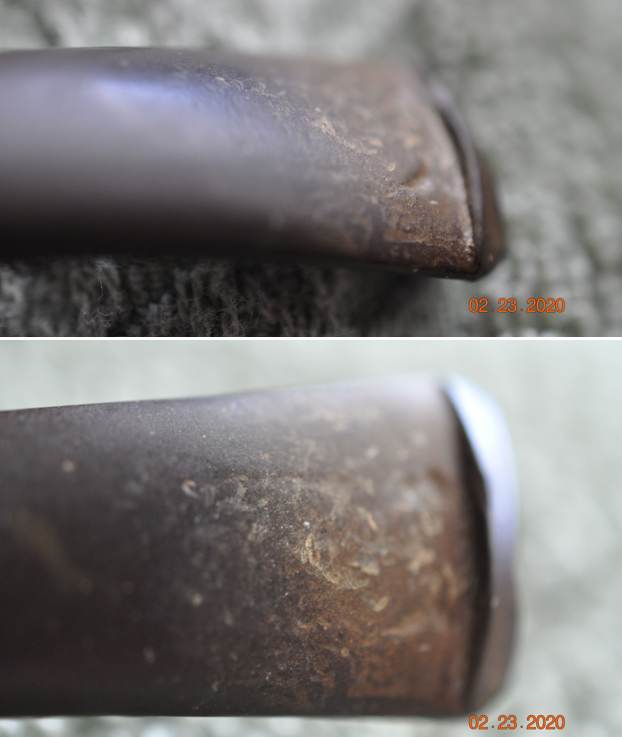
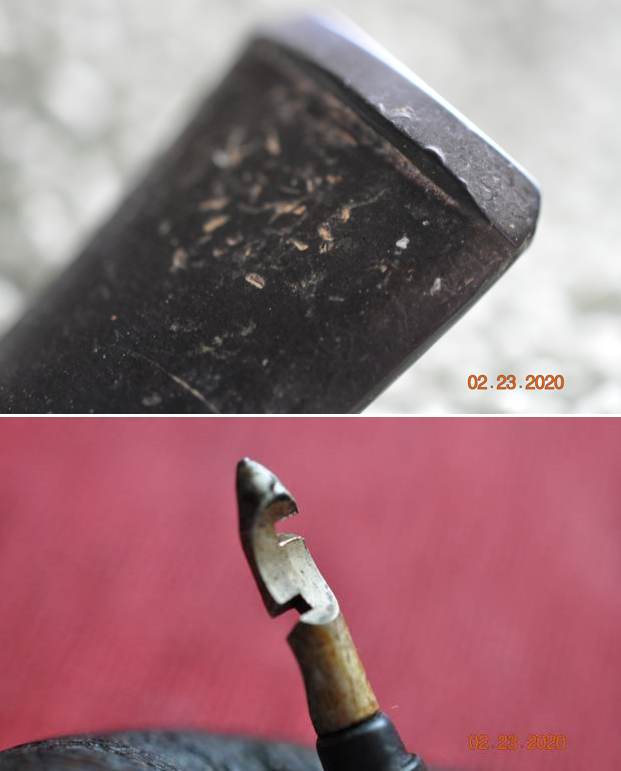
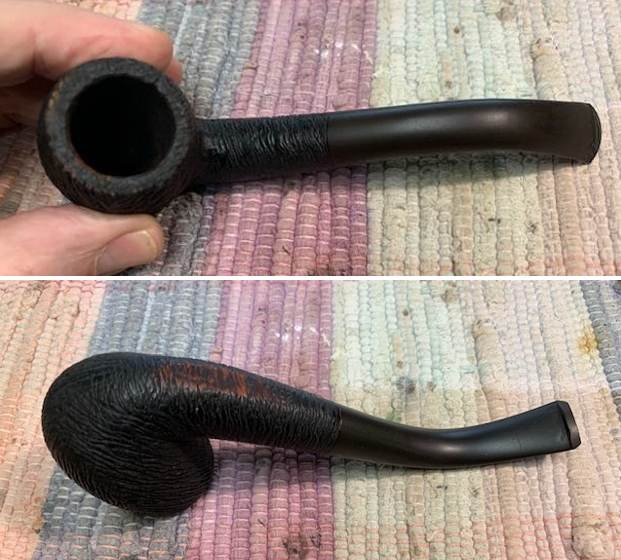
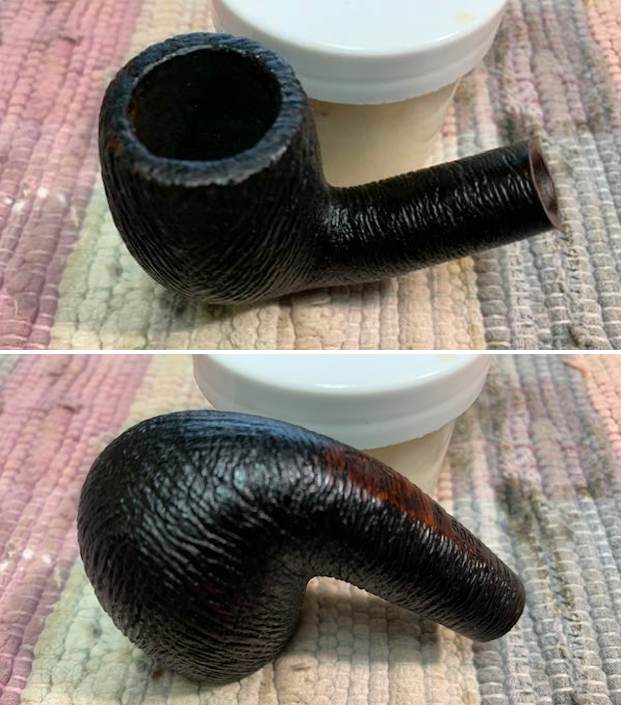
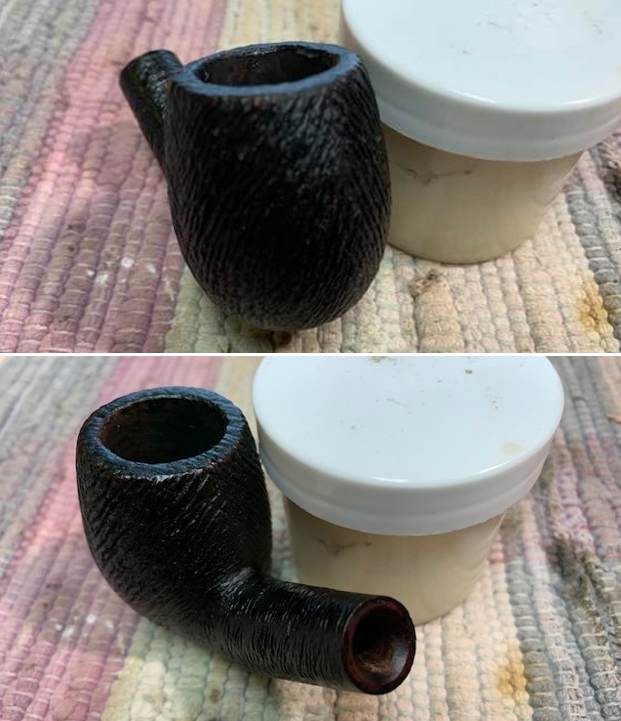
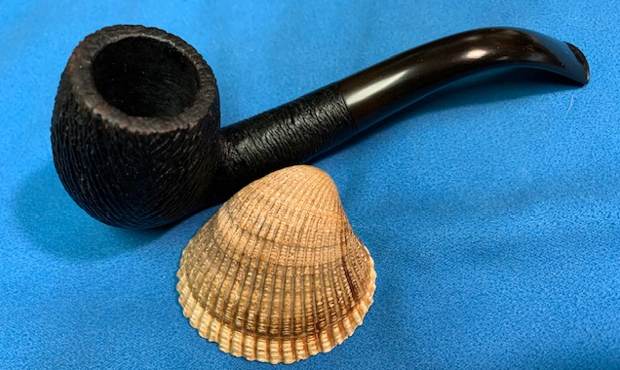
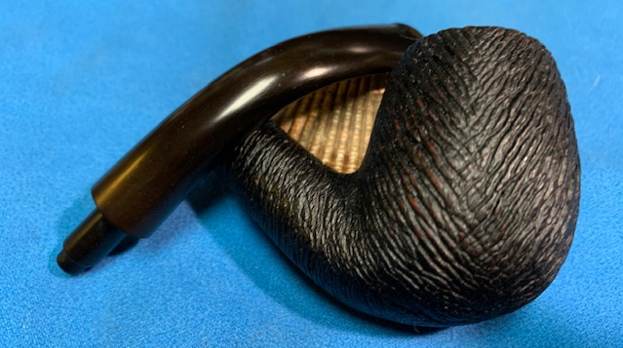
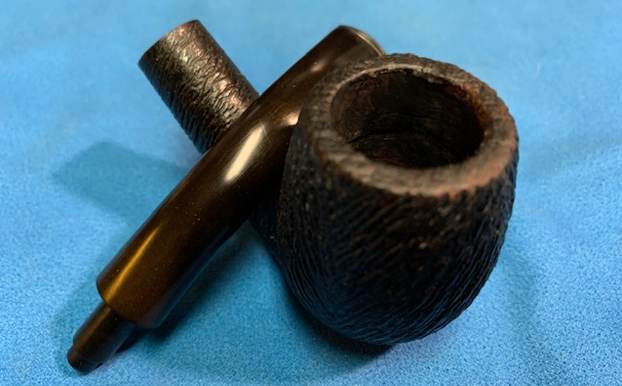
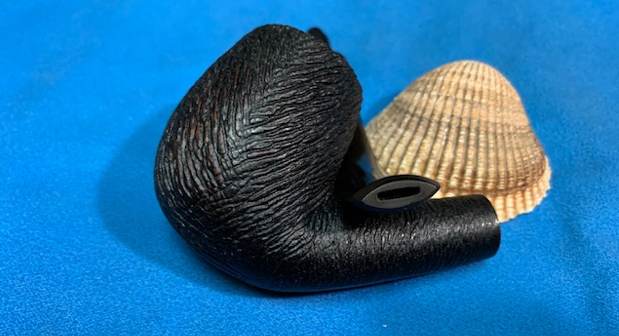
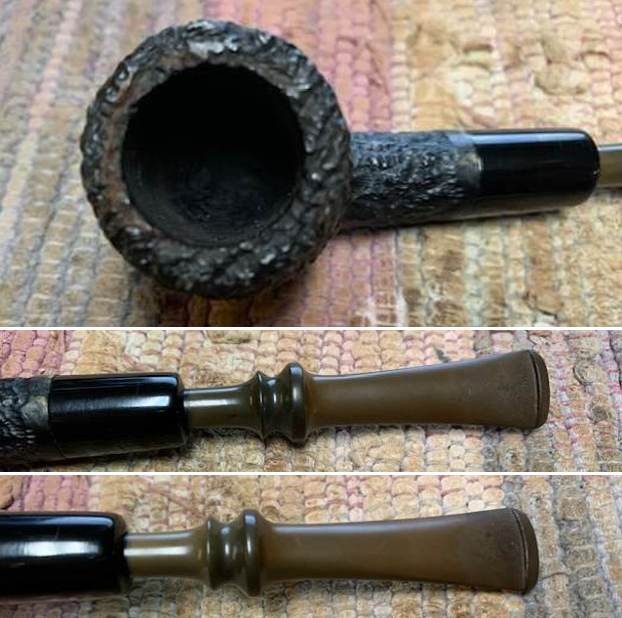
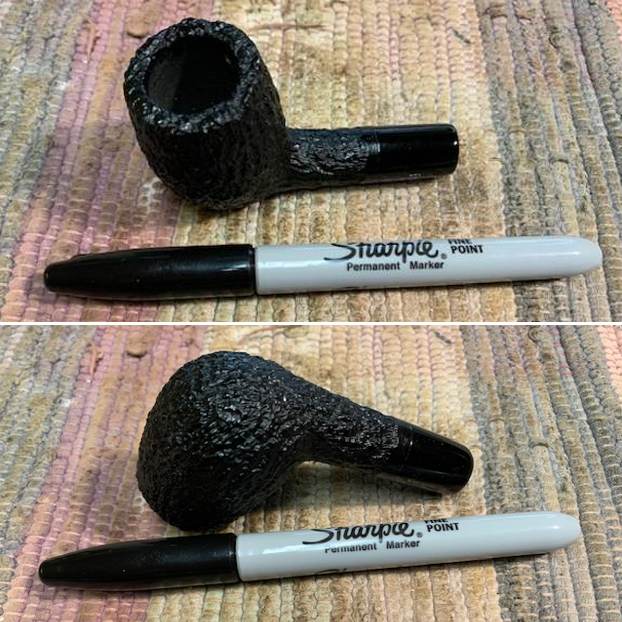
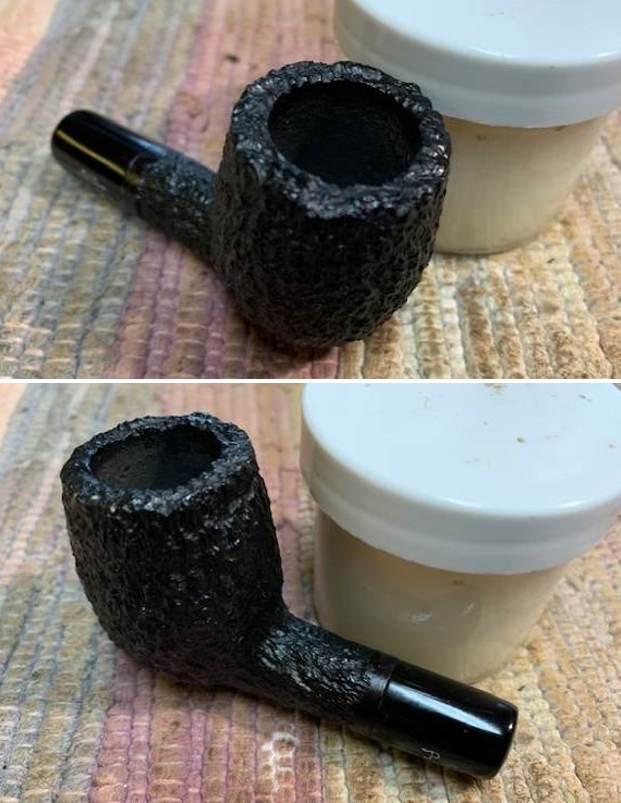
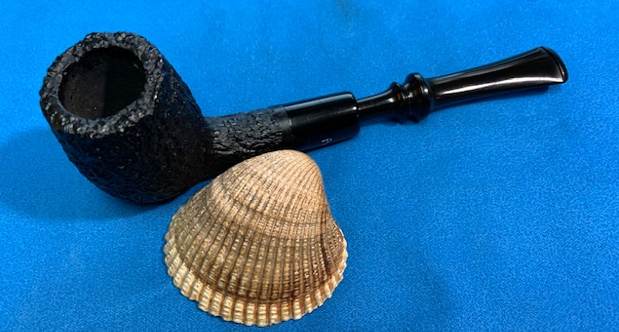
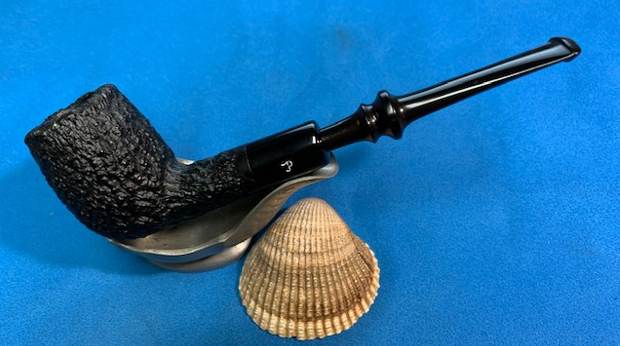
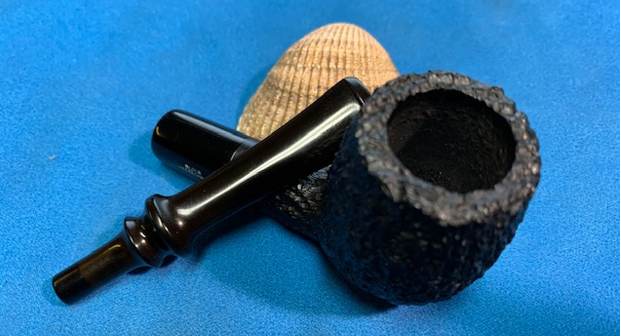
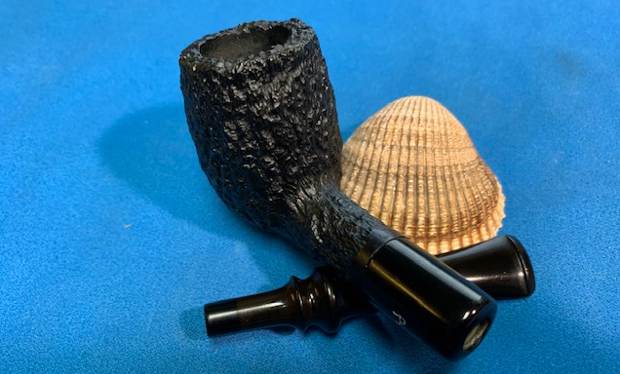
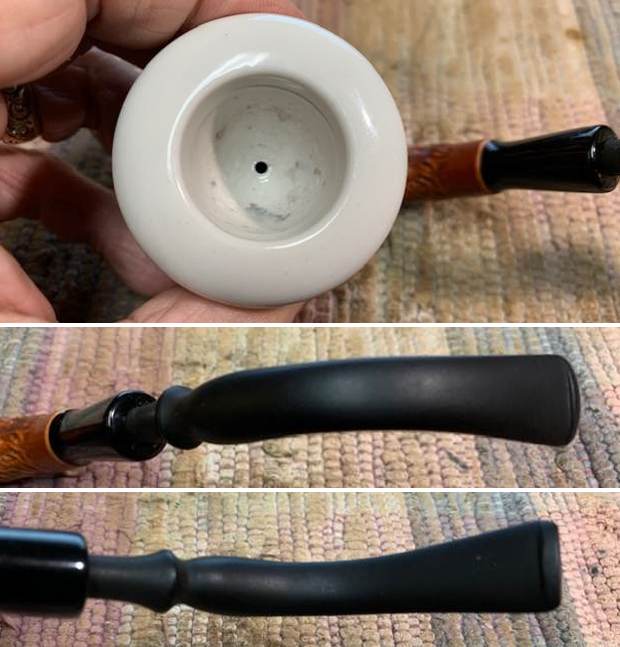
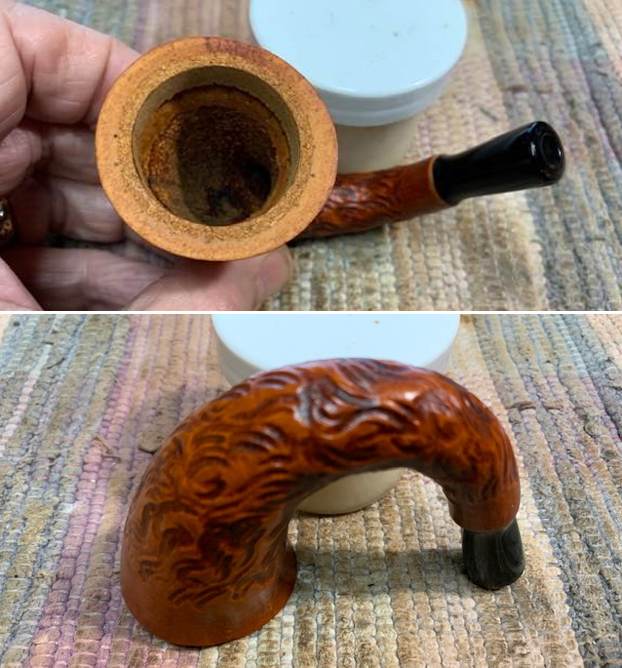
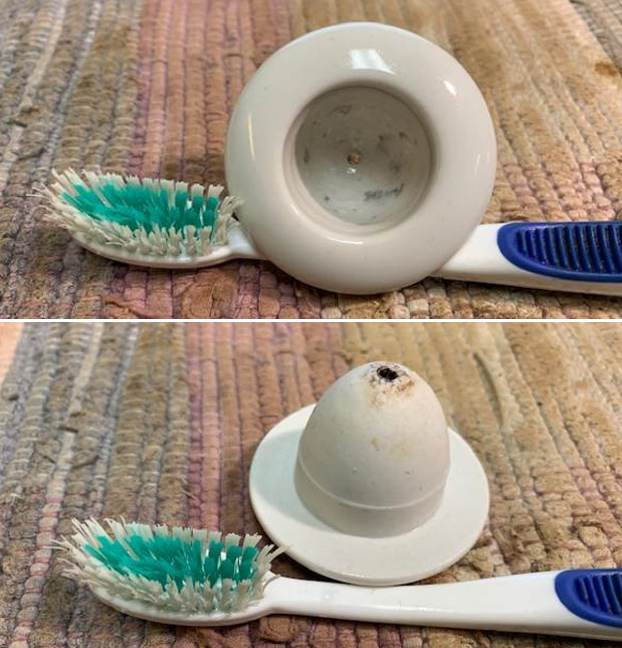
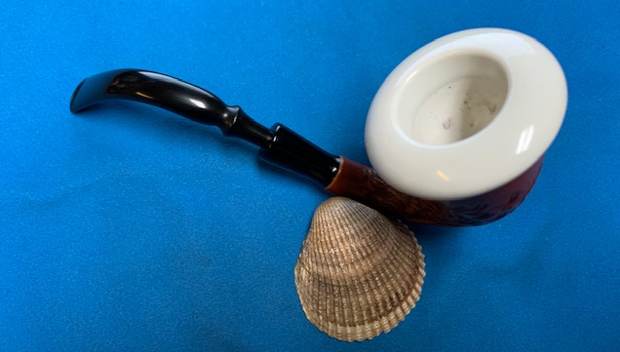
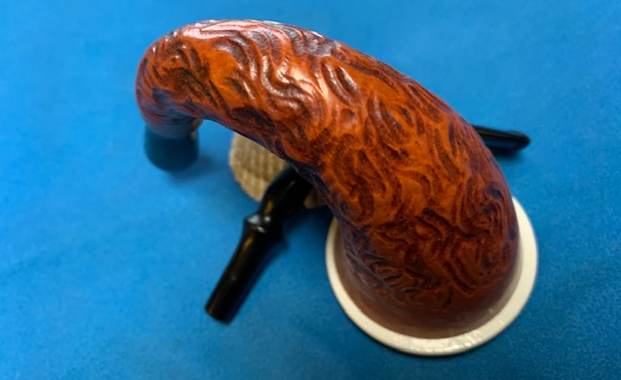
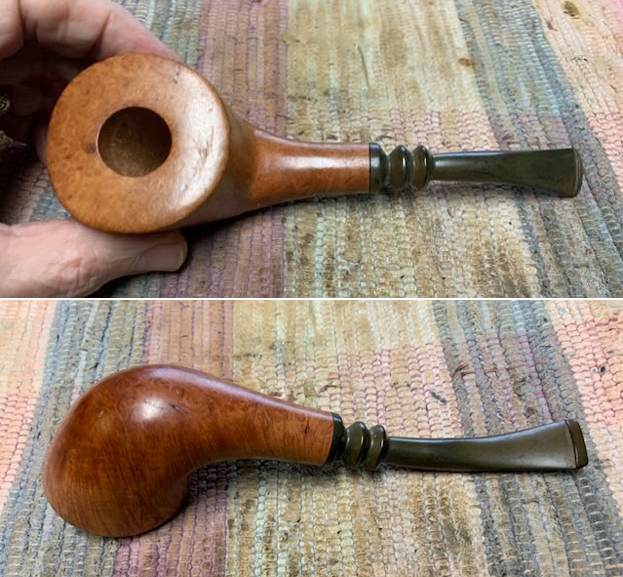
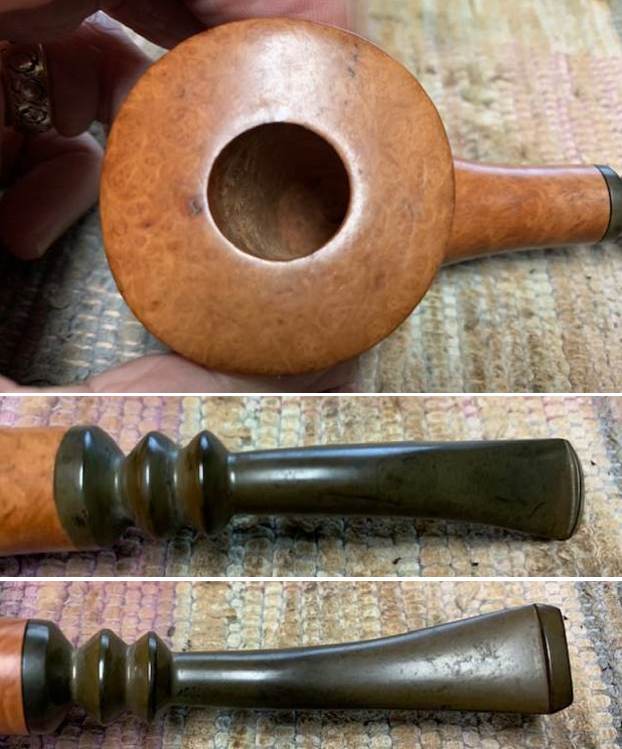
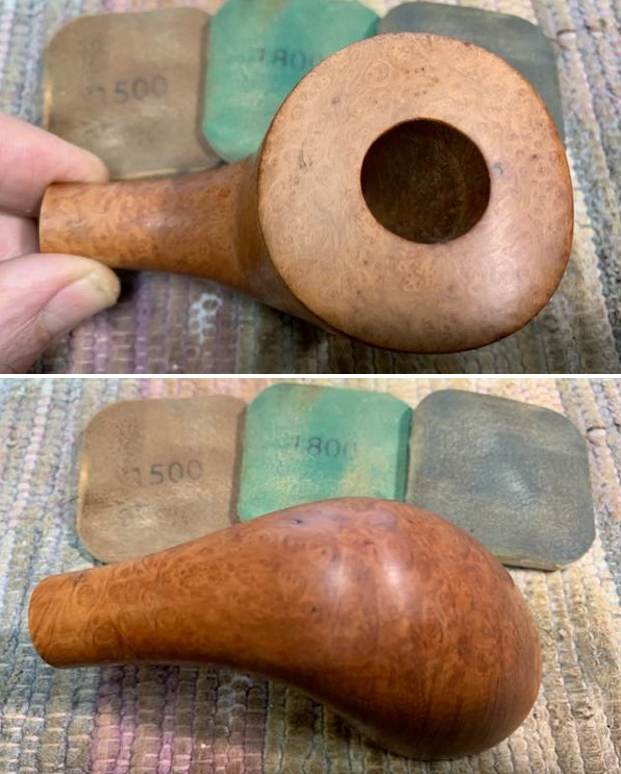
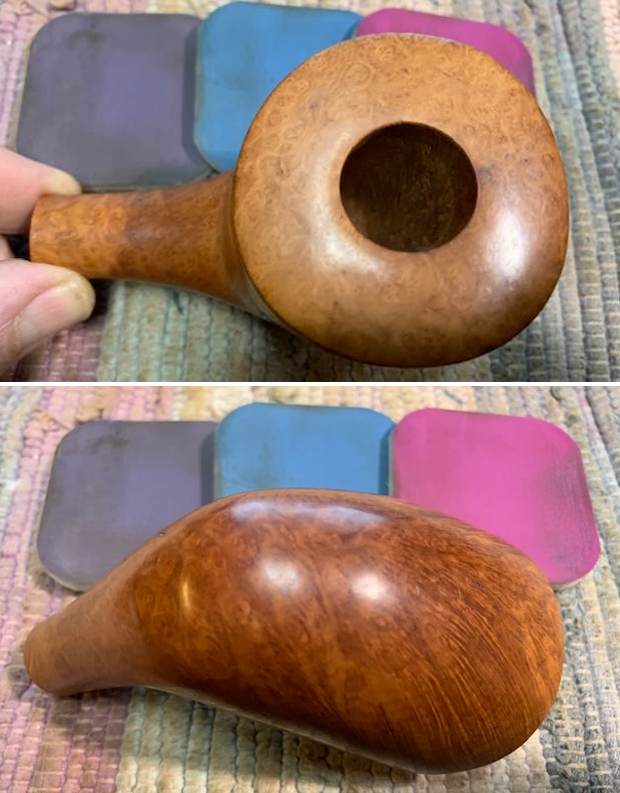
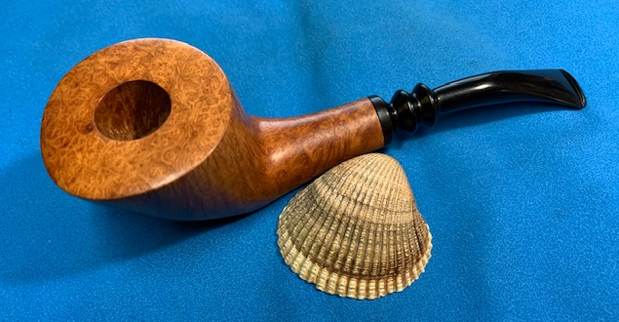
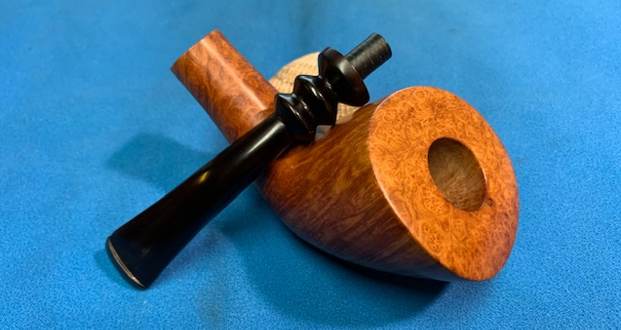
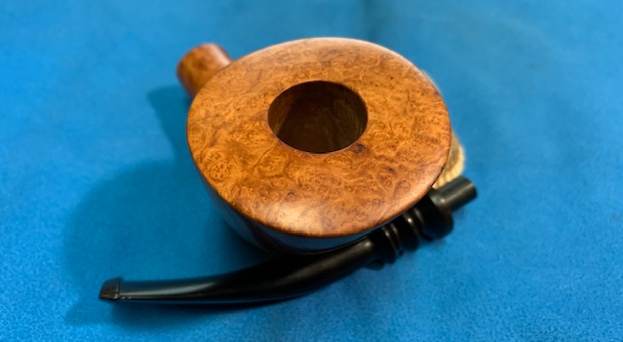
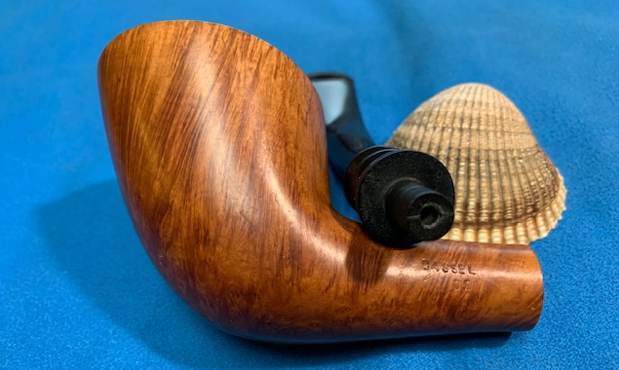
 I took photos of the bowl and rim top and the stem surfaces to show the condition of both. The bowl, crowned rim top and edges look very good. The stem is also in great condition other than the oxidation on the surface ahead of the button. The stamp on the left side of the stem appeared to be a decal and was peeling.
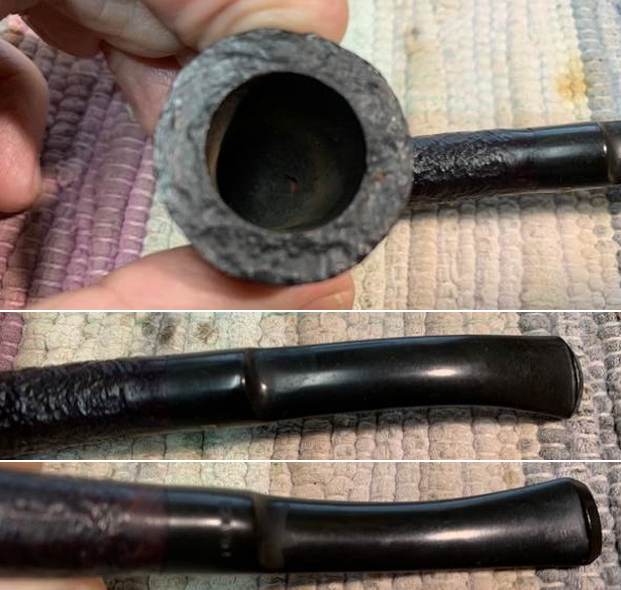
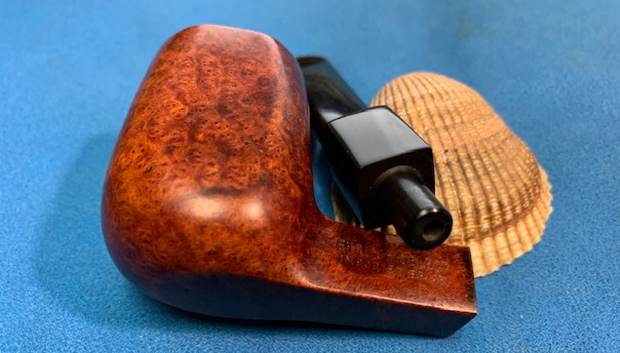
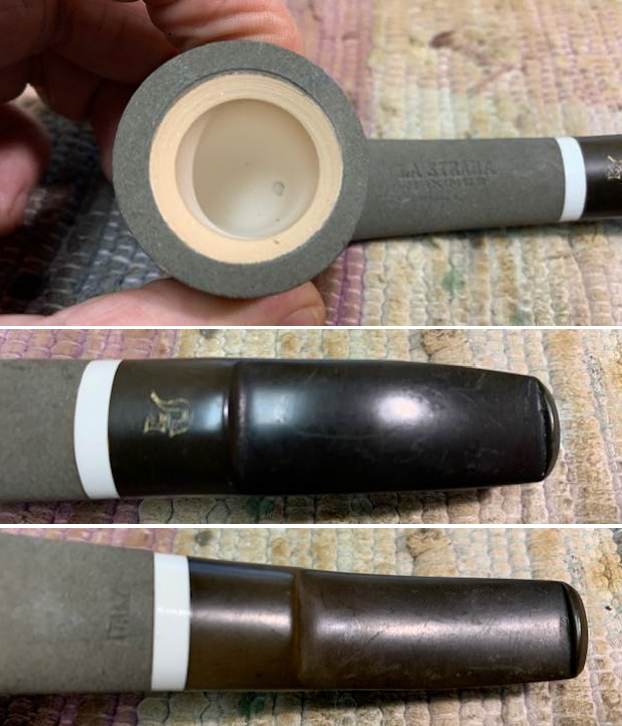
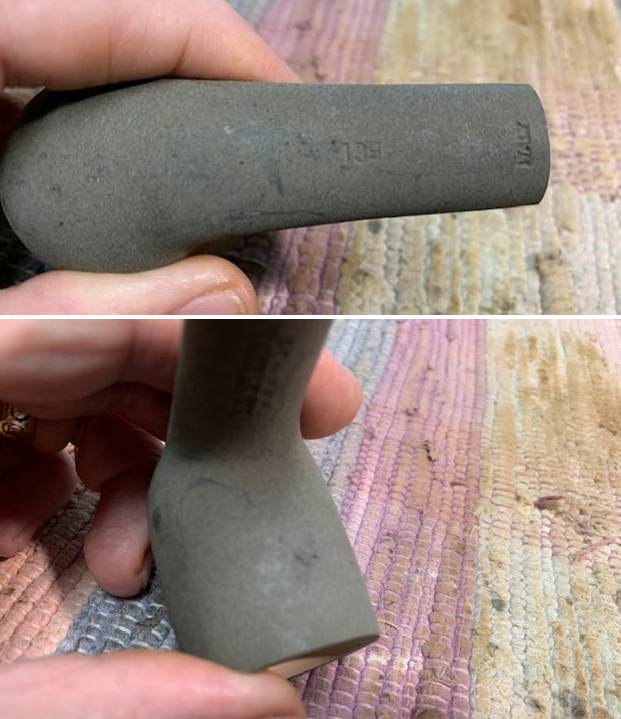
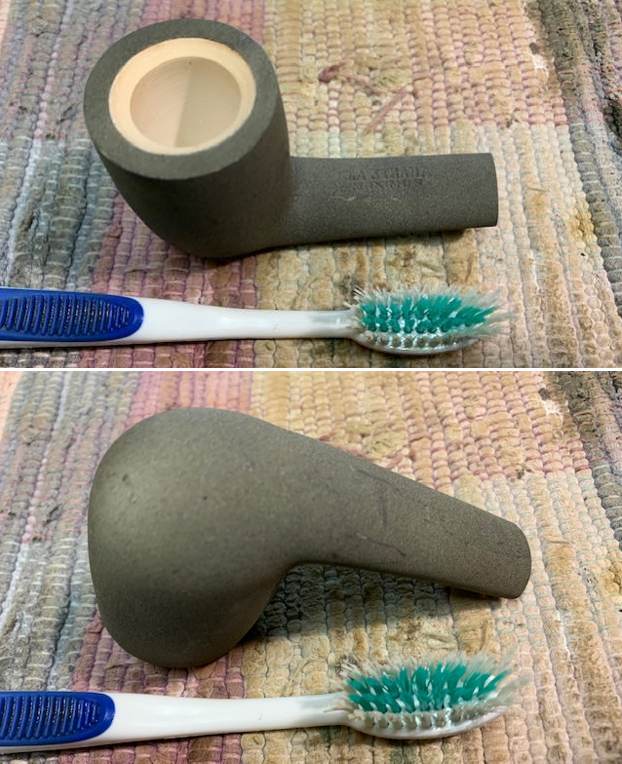
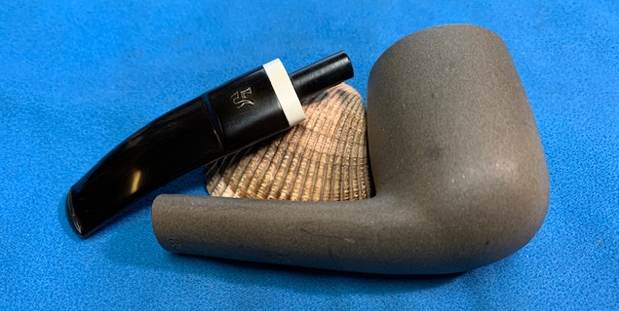
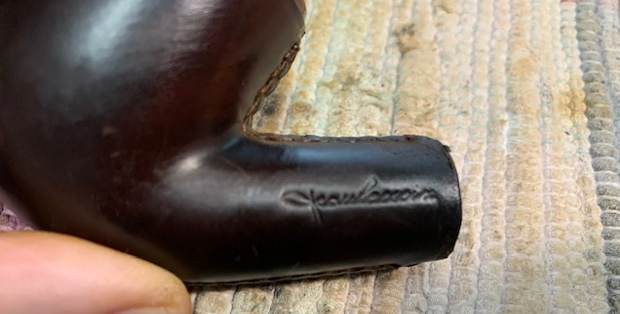
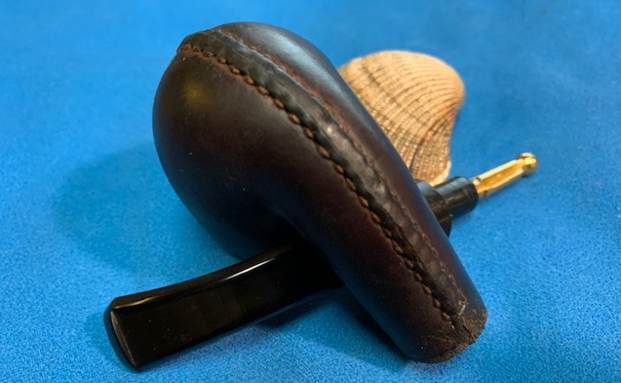
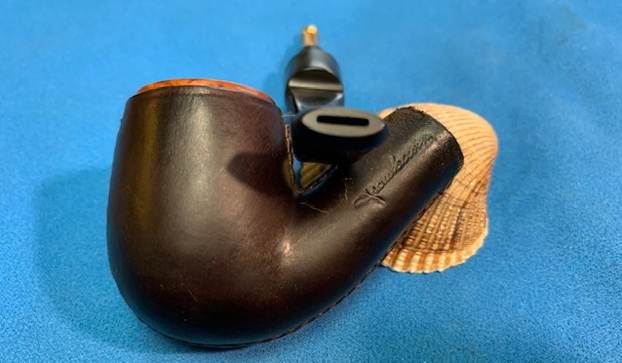
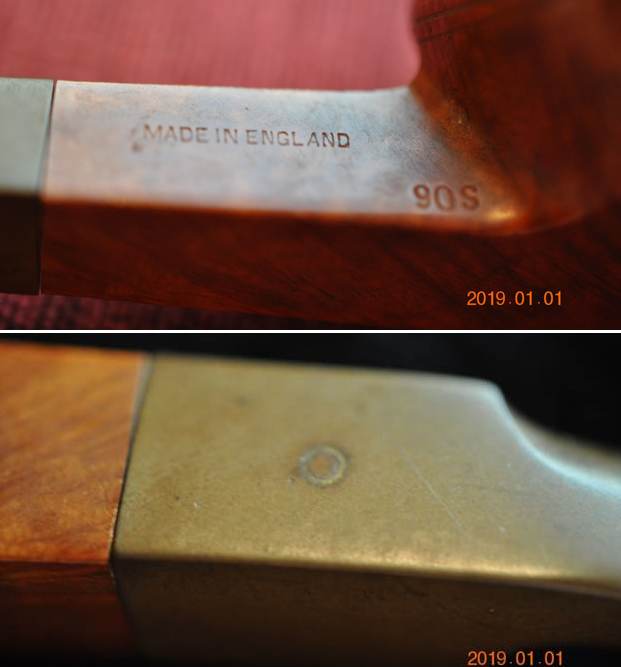
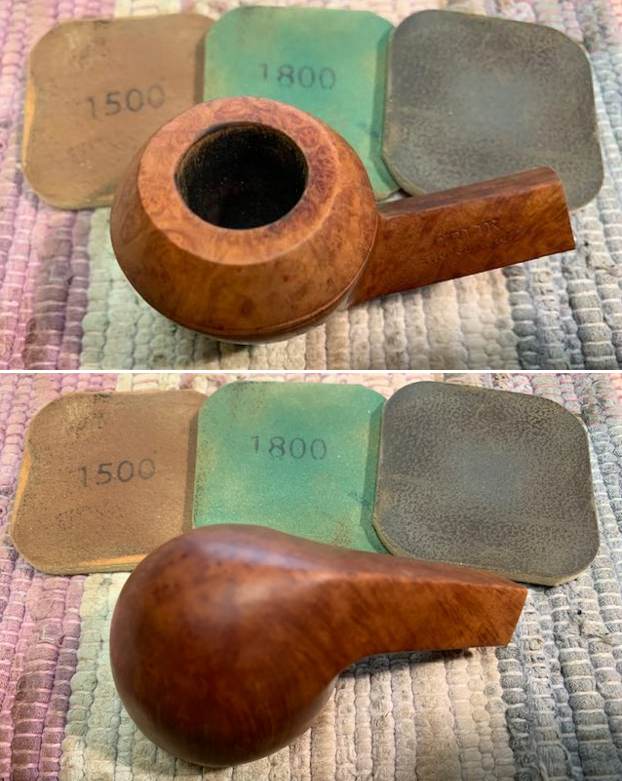
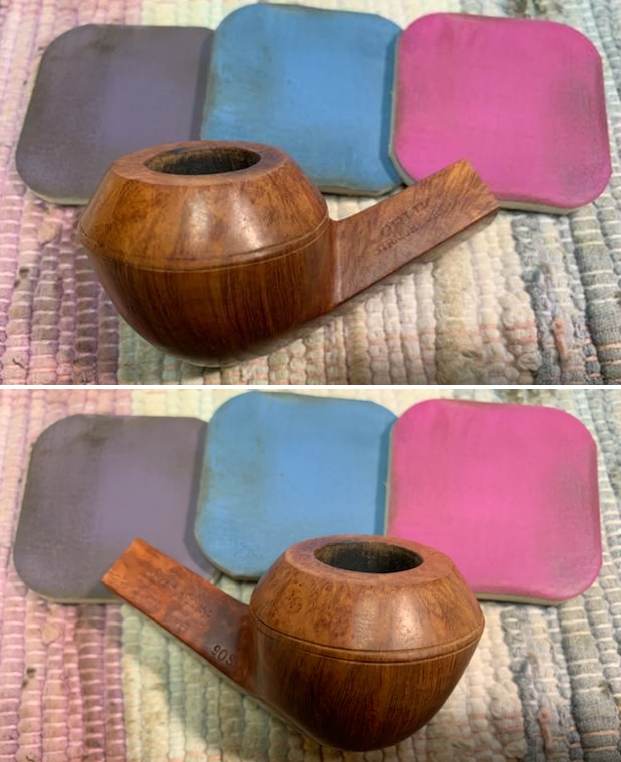
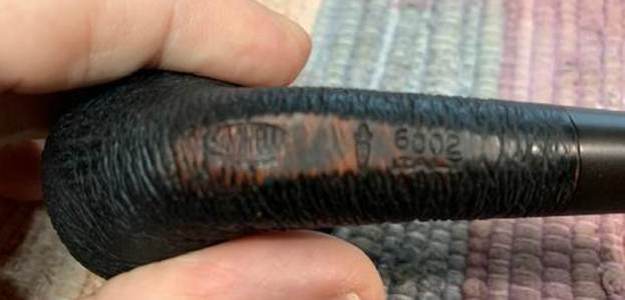
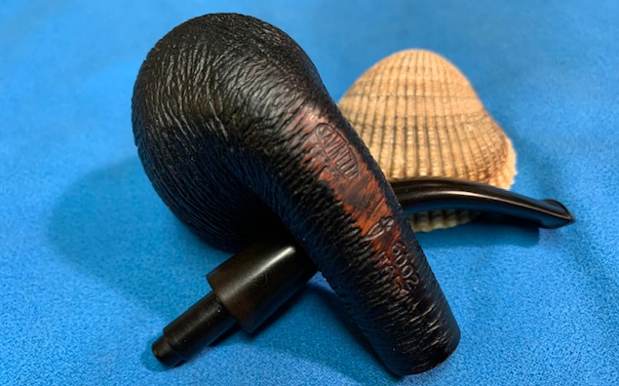
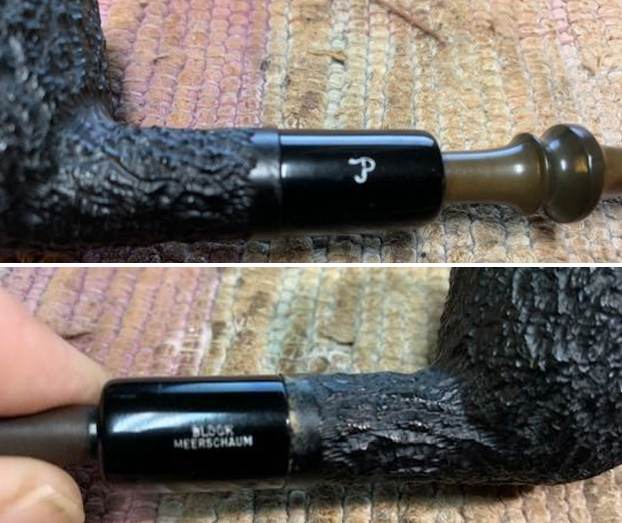
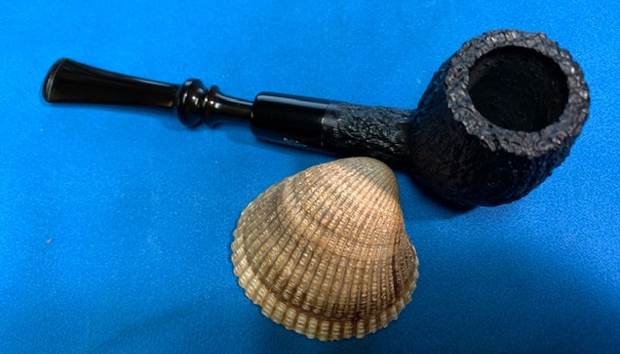
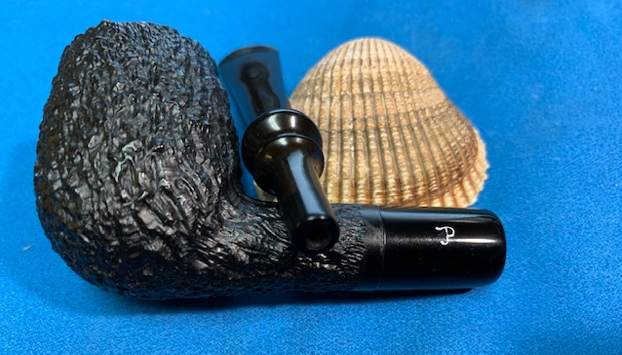
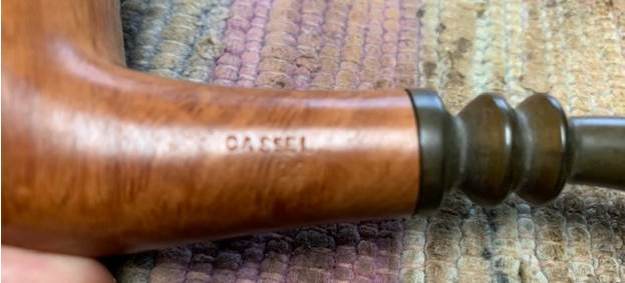
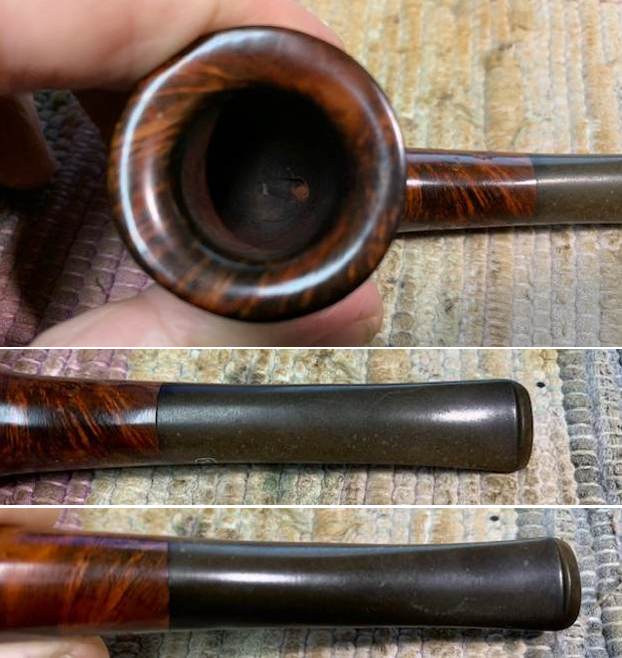 I took photos of the stamping on the sides of the shank. It is clear and readable as noted above. The C.B. Perkins smoking pipe decal is on the left side of the stem is slightly peeling and I am not sure it will survive the cleanup.
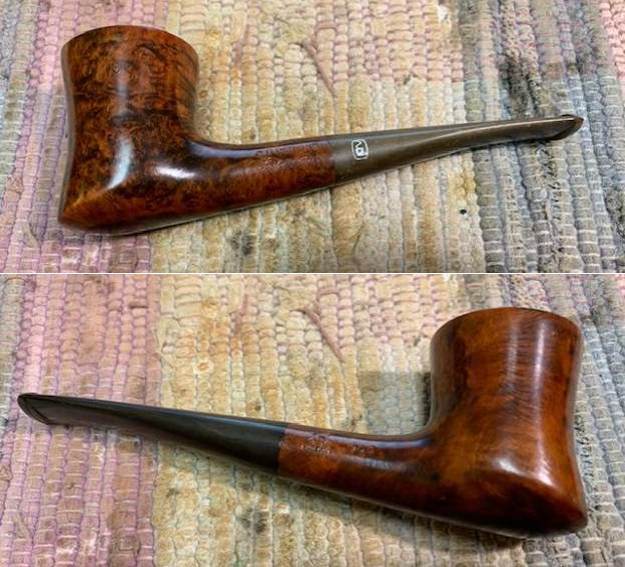
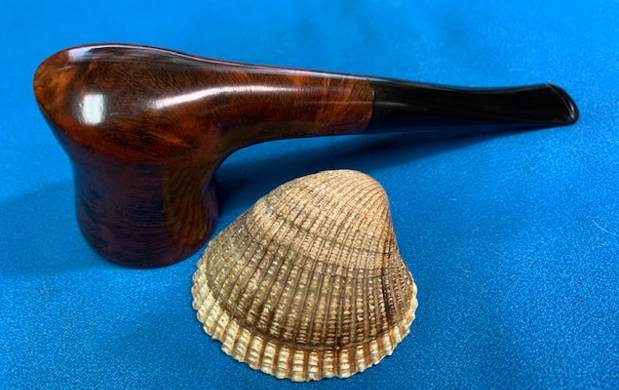
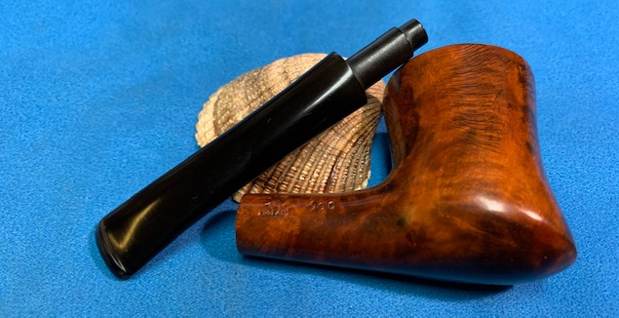
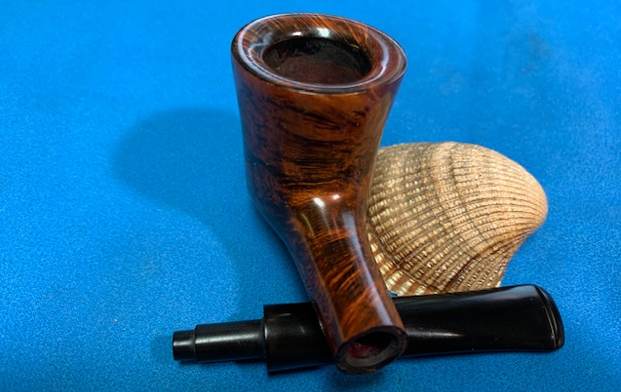
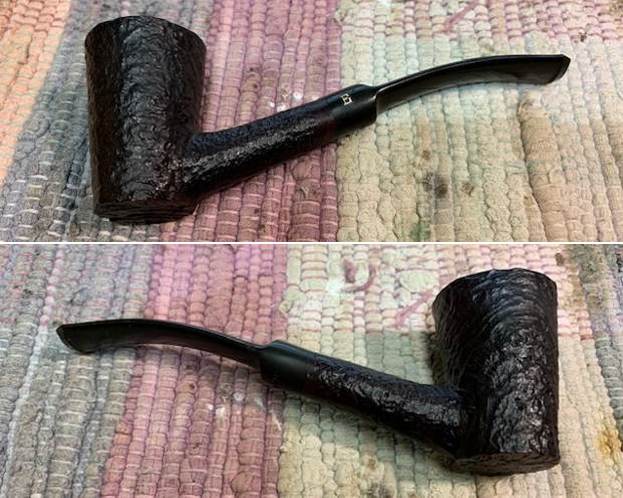
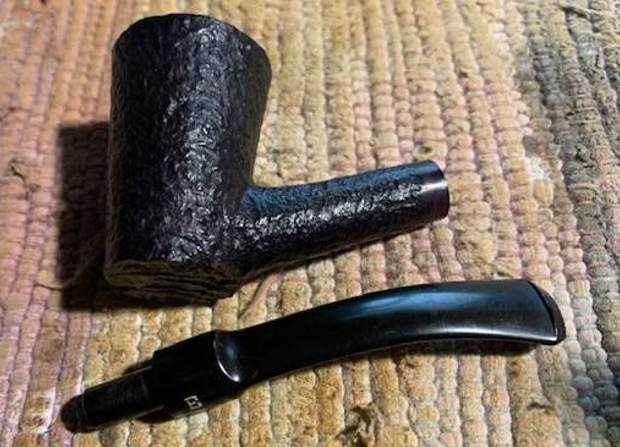
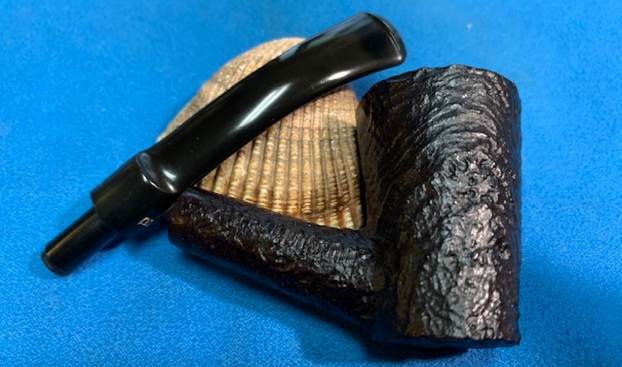
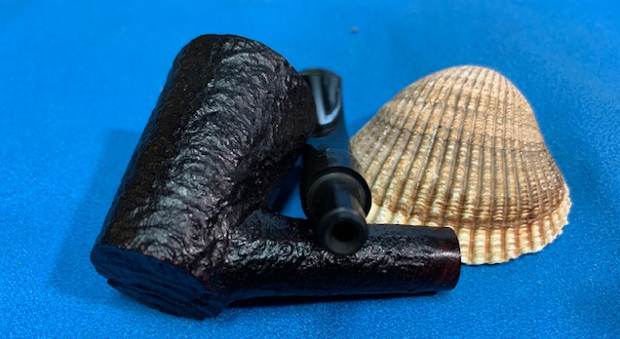
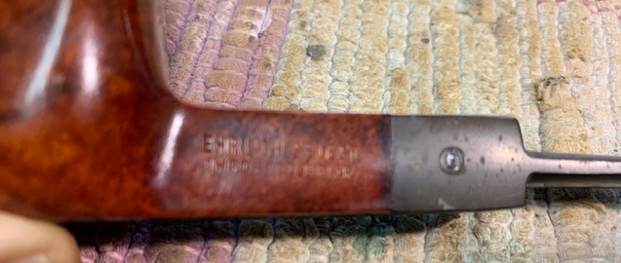
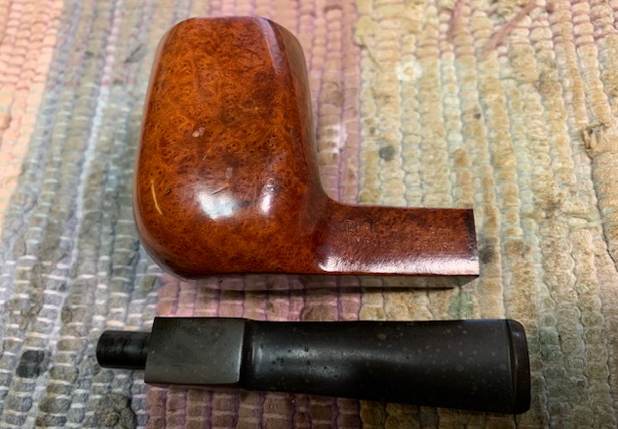
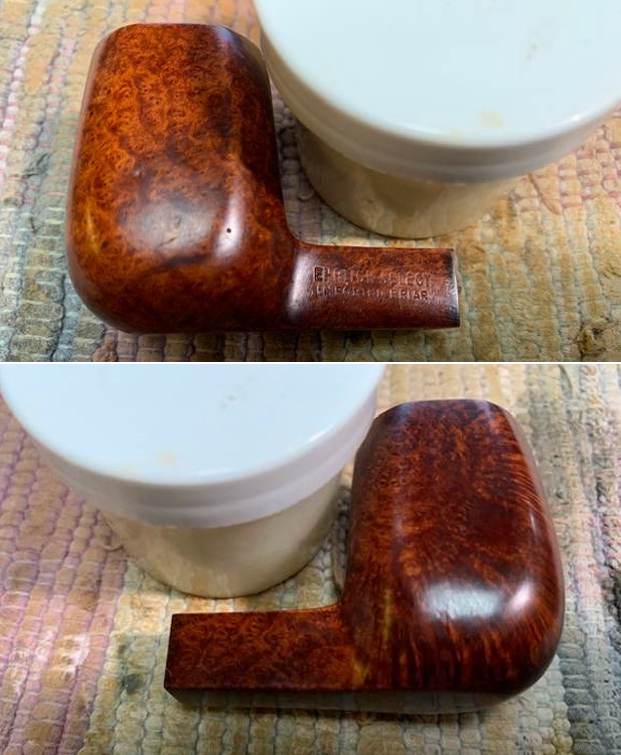
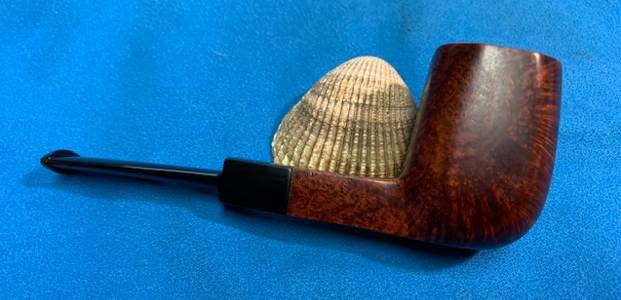
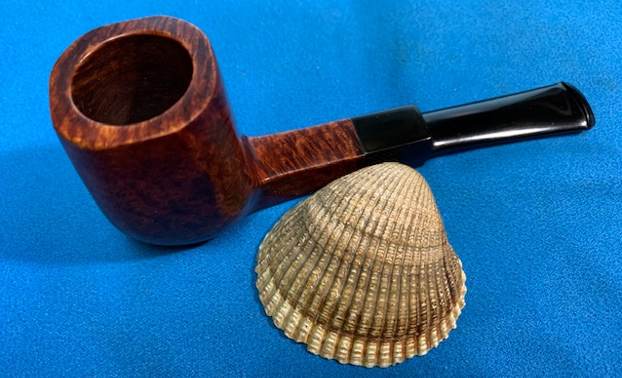
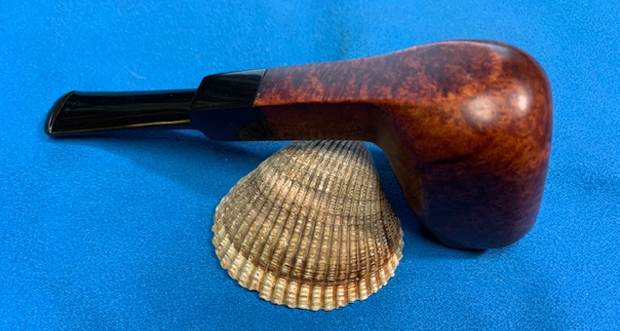
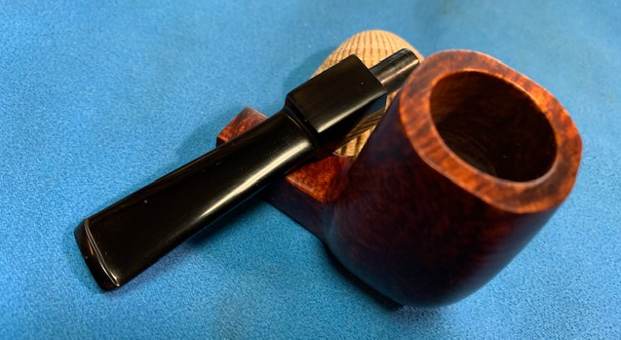
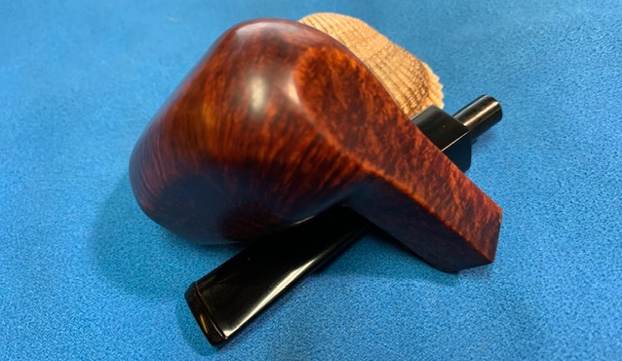
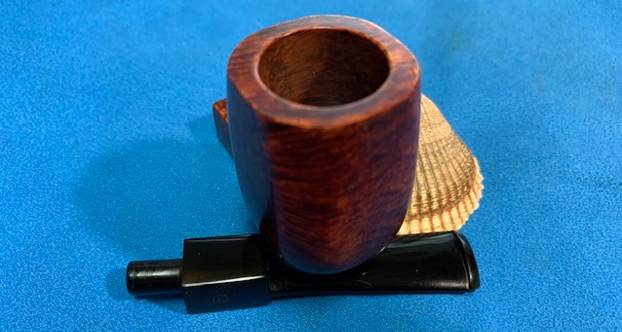
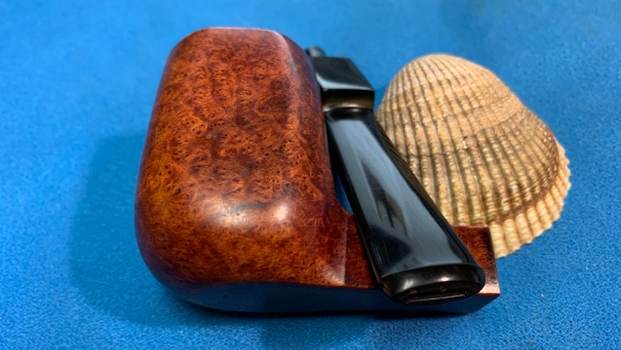
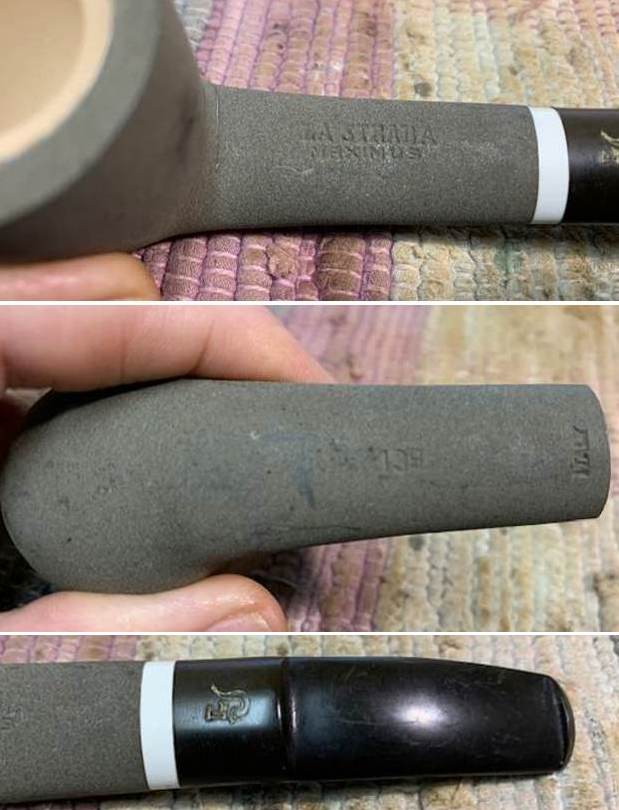
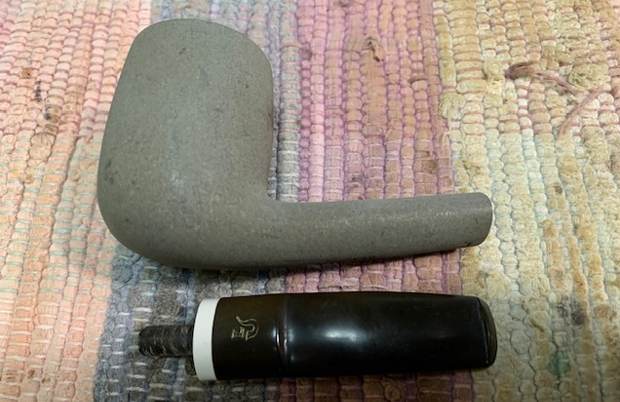
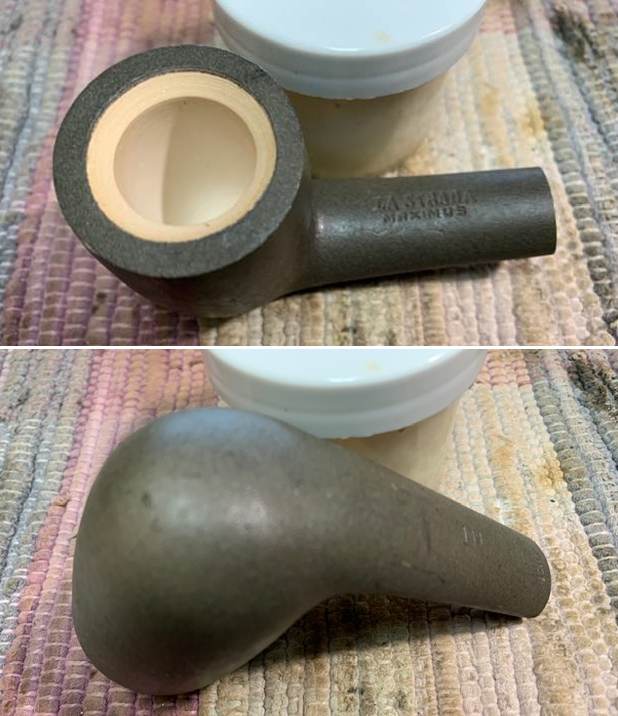
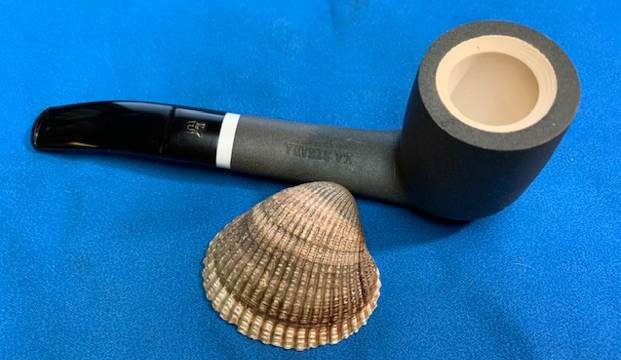
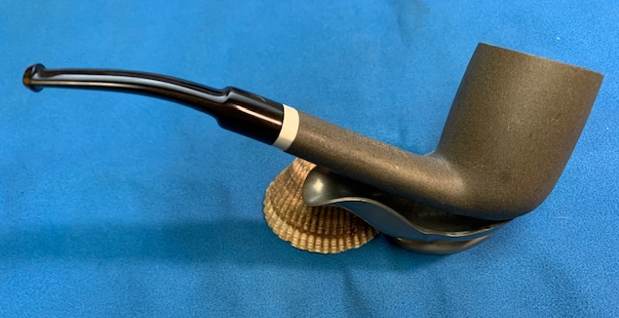
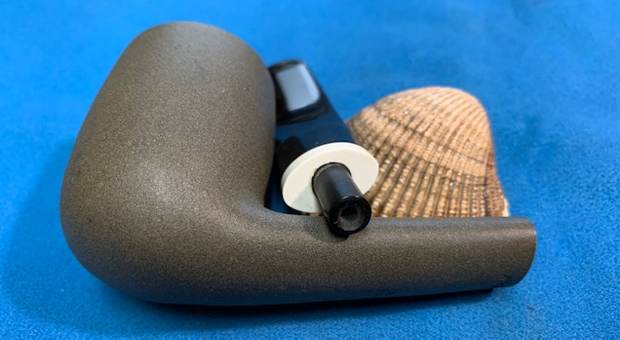
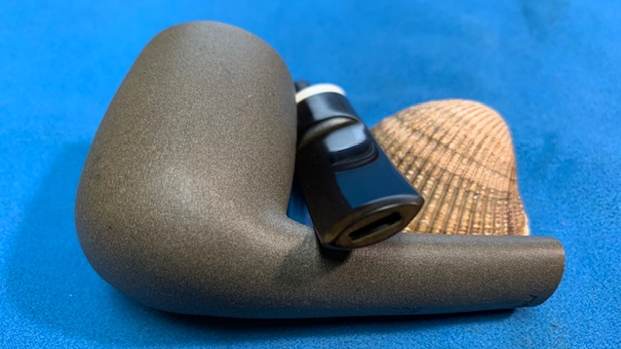
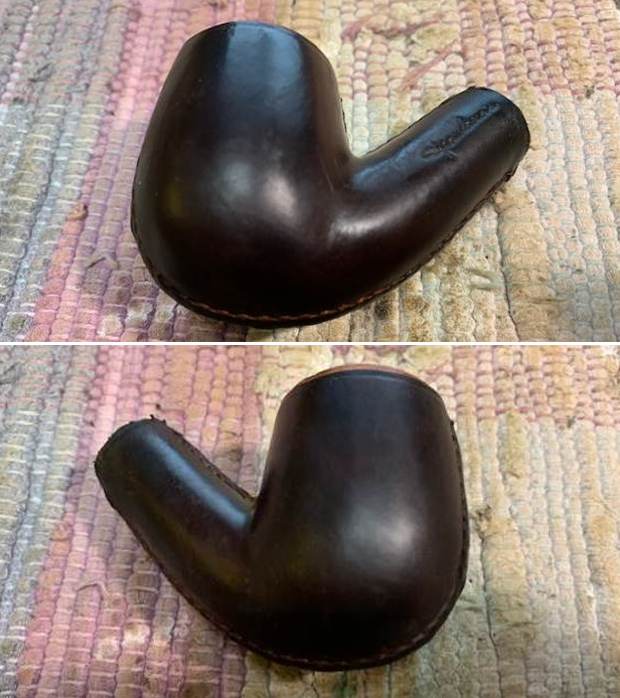
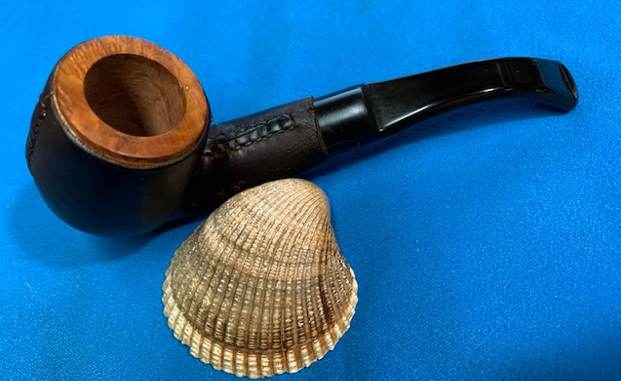
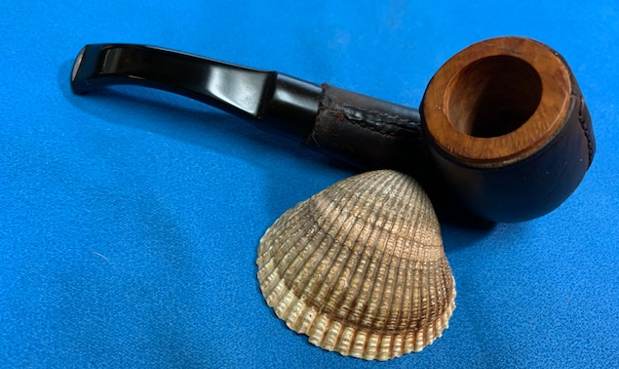
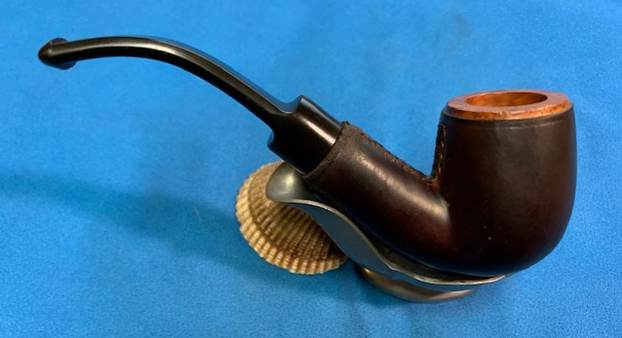
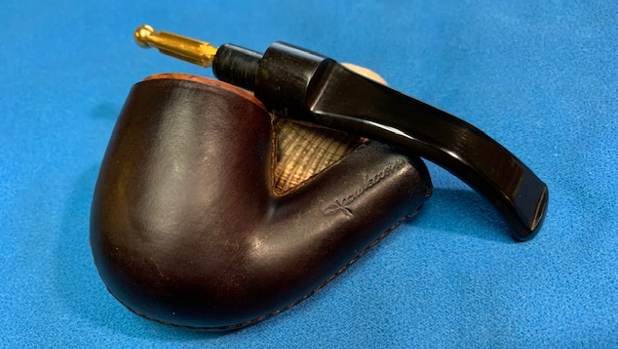
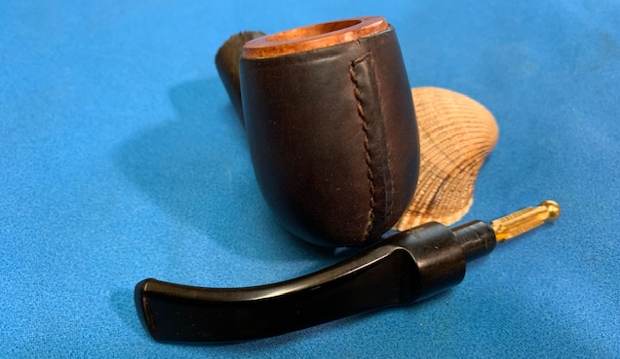
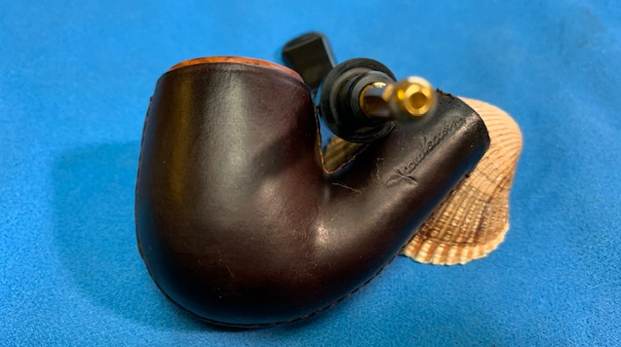
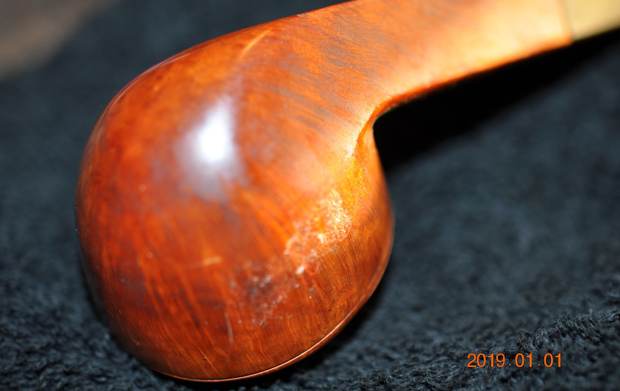
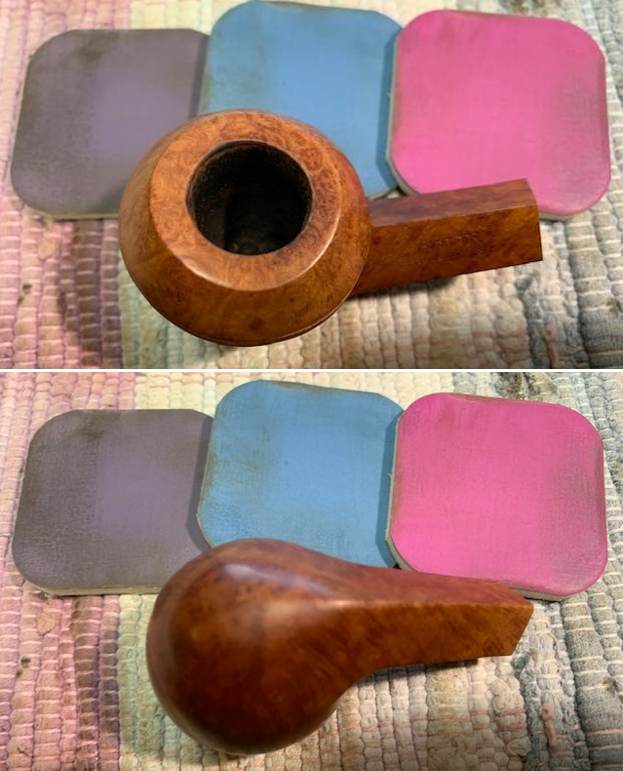
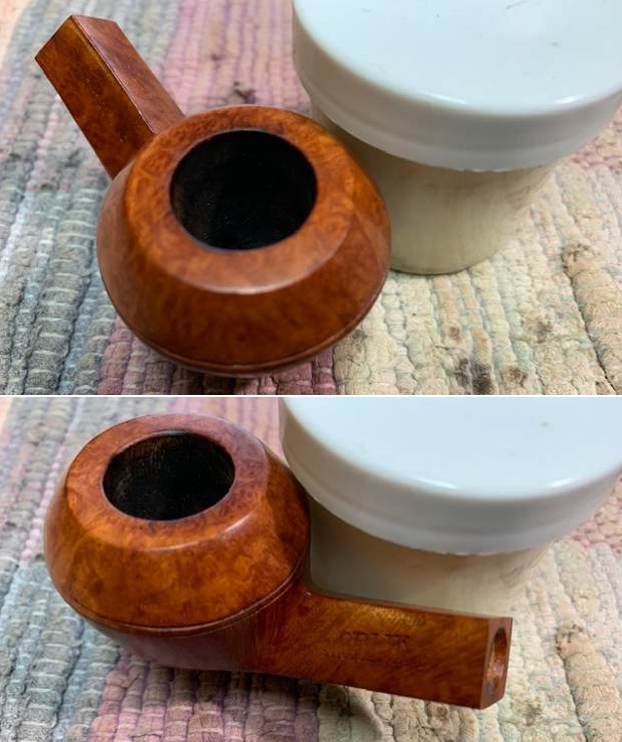
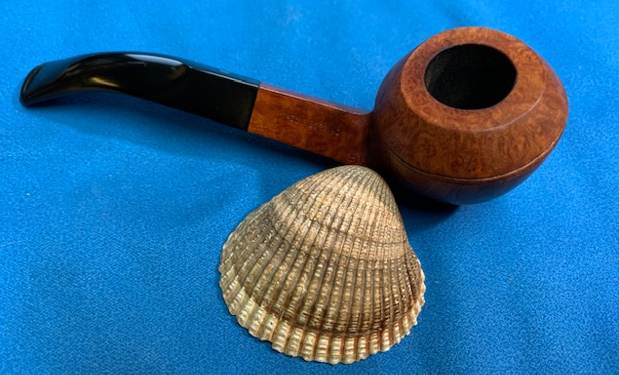
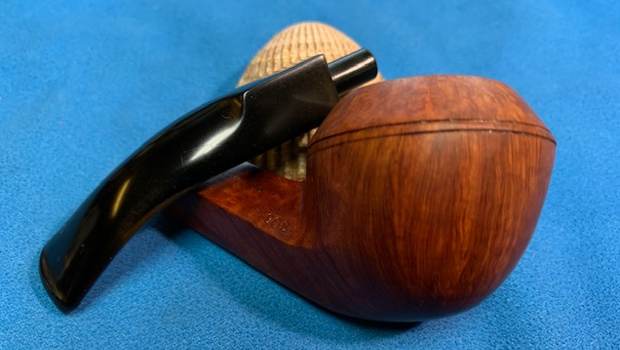
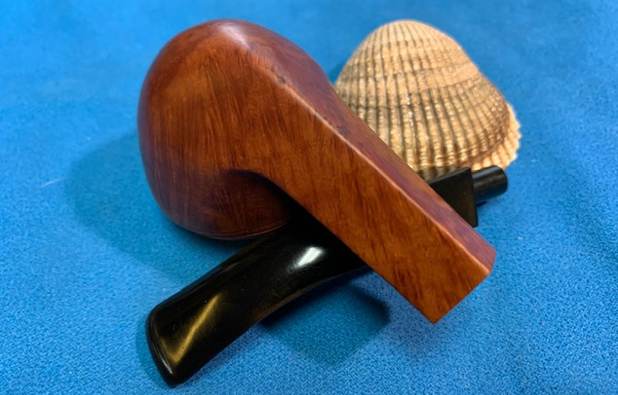
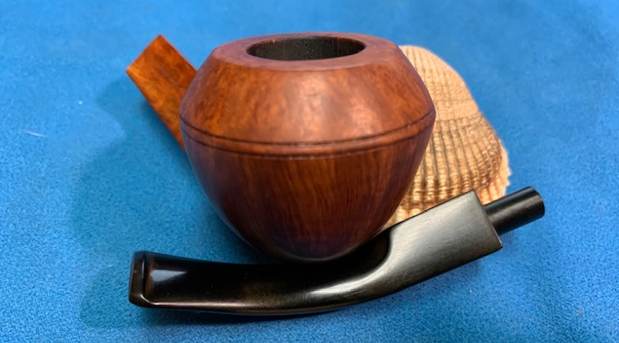
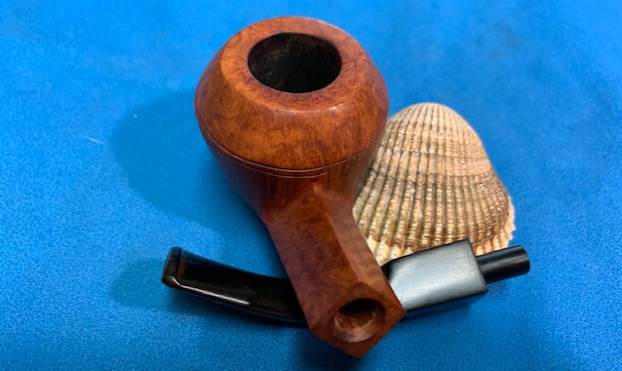
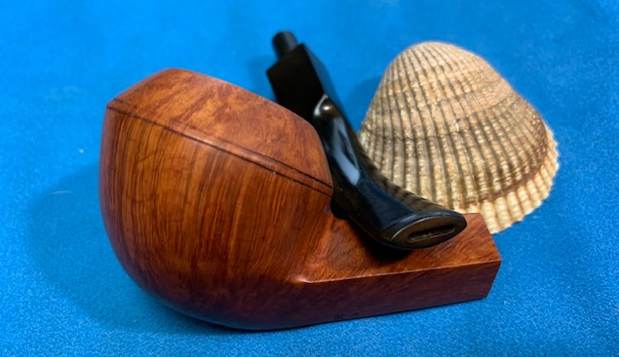
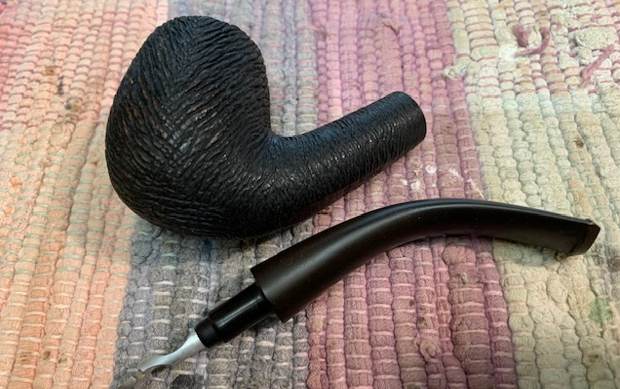
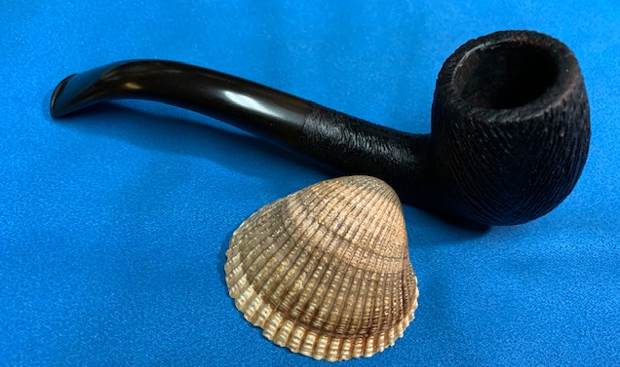
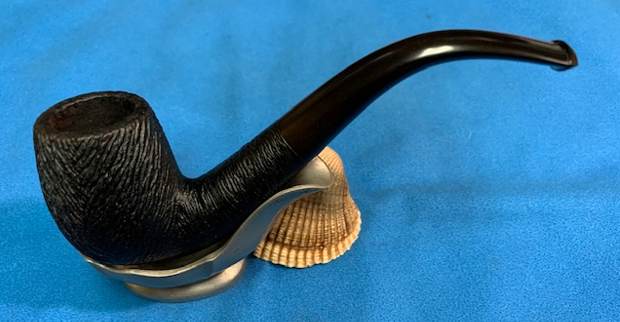
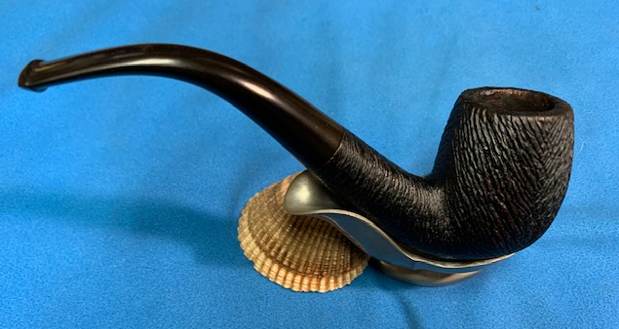
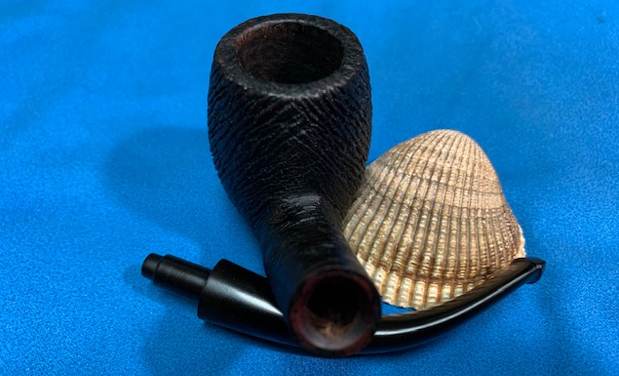
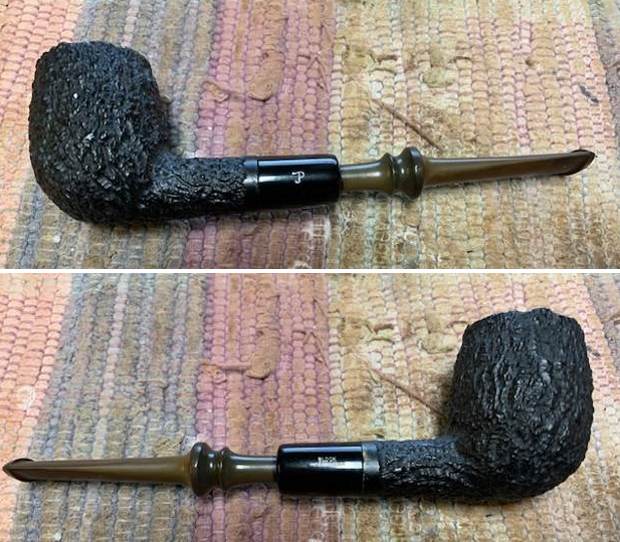
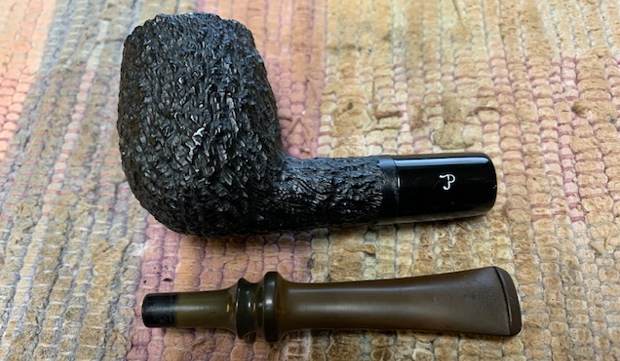
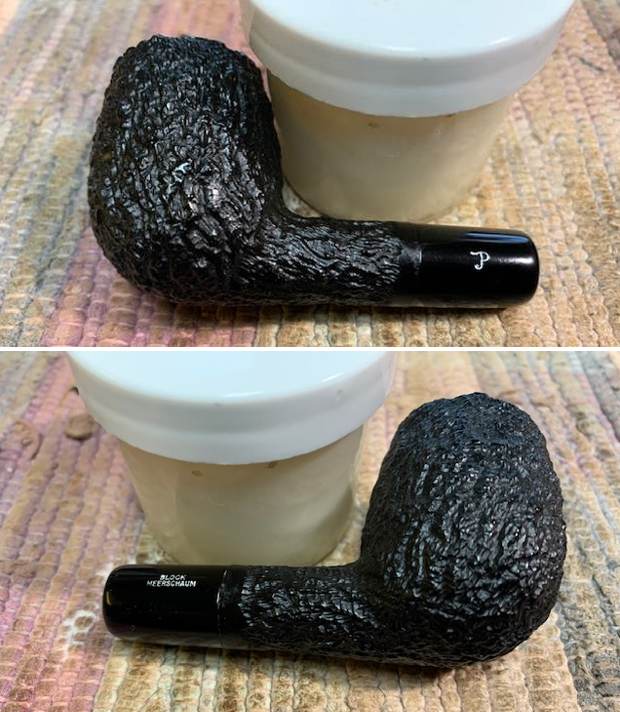
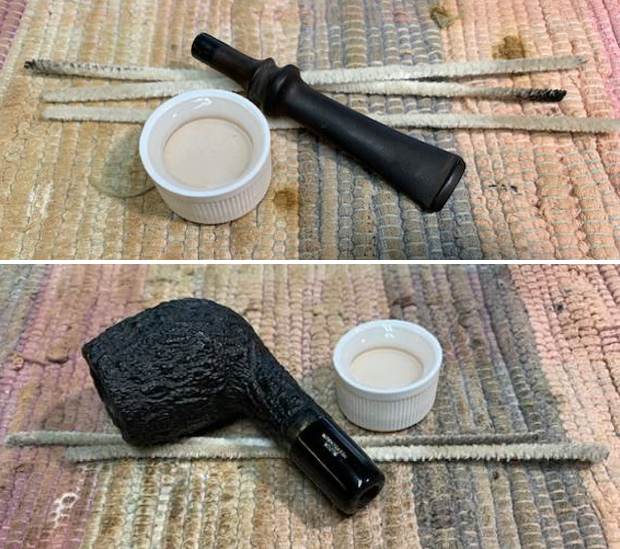
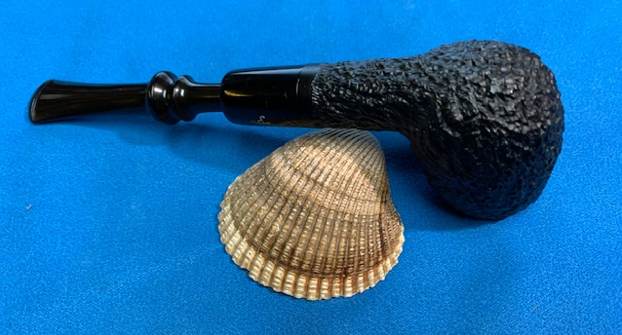
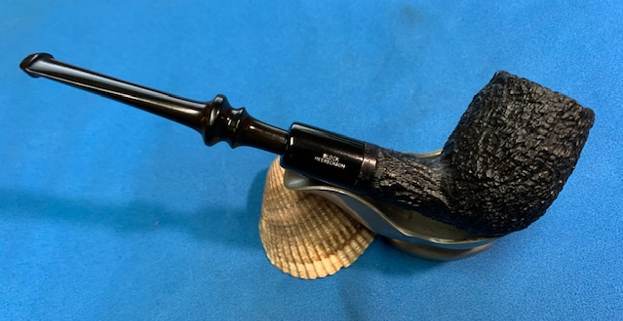
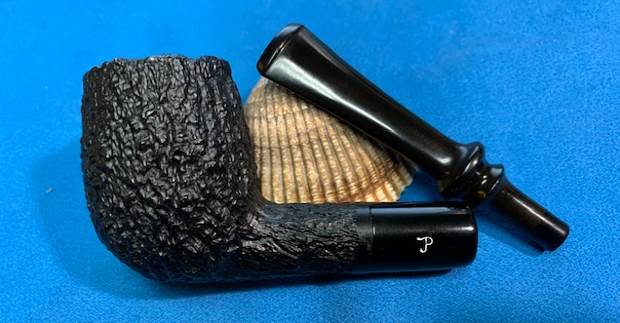
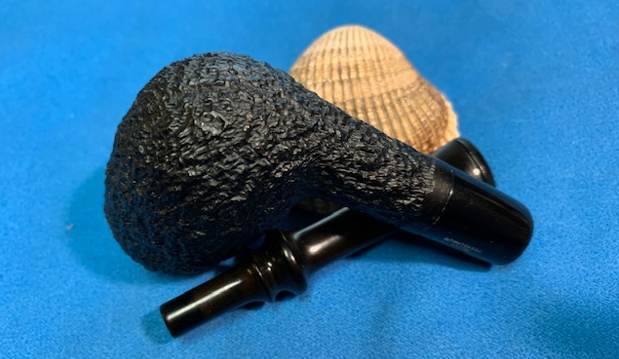
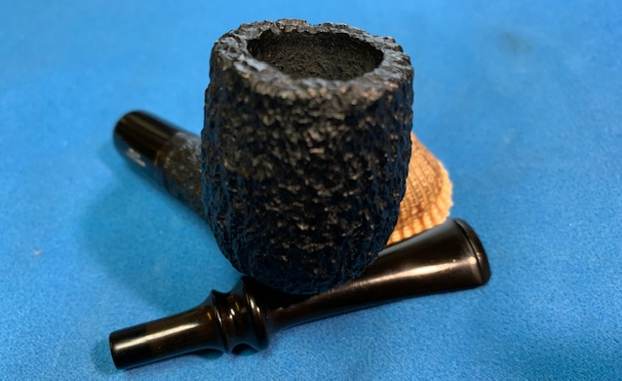
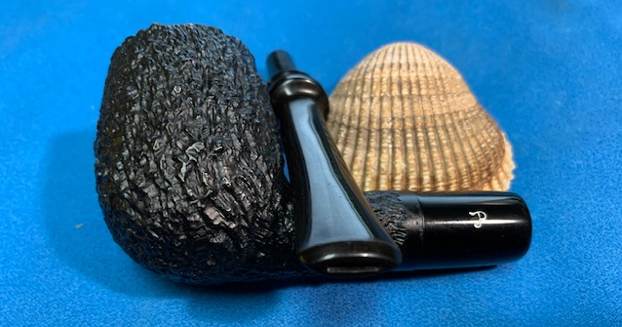
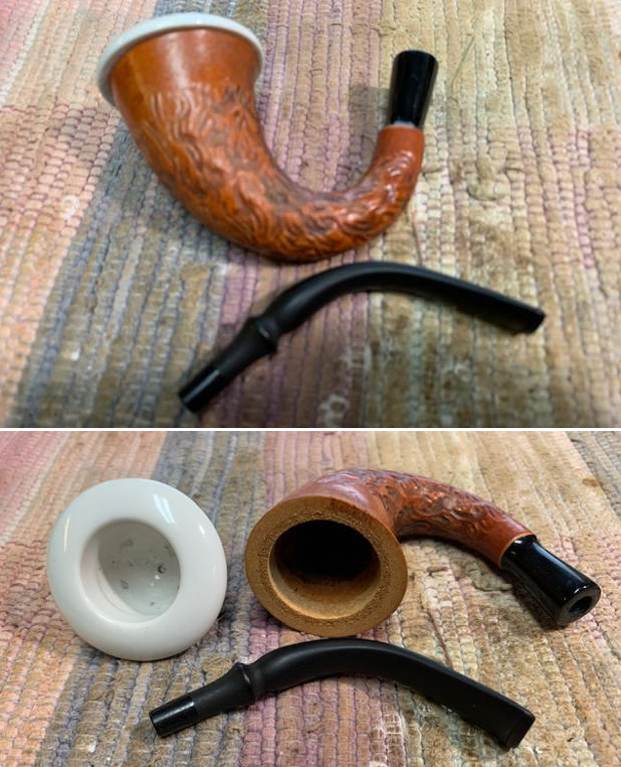
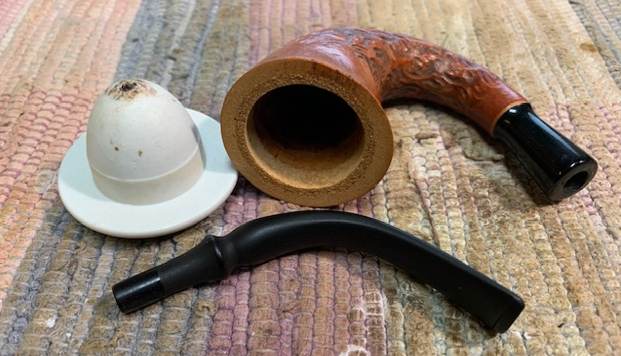
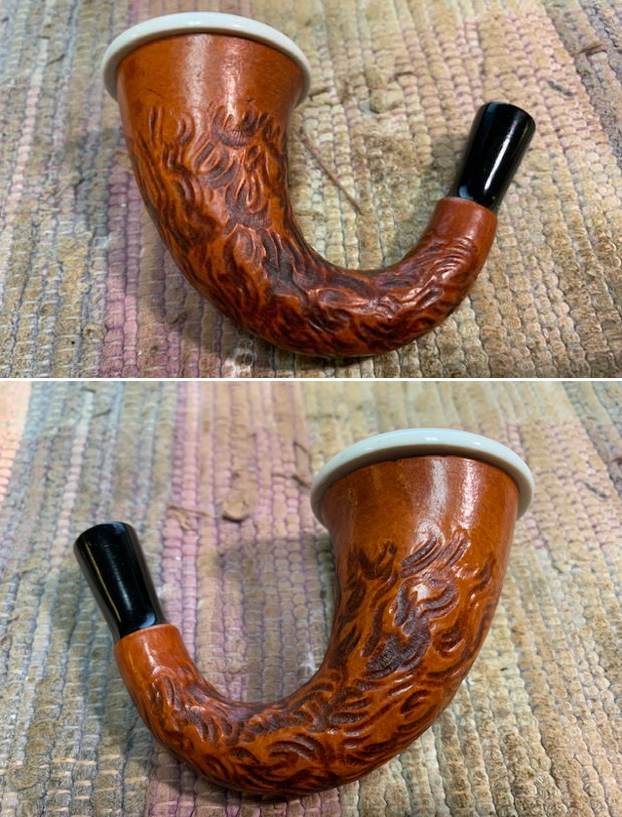
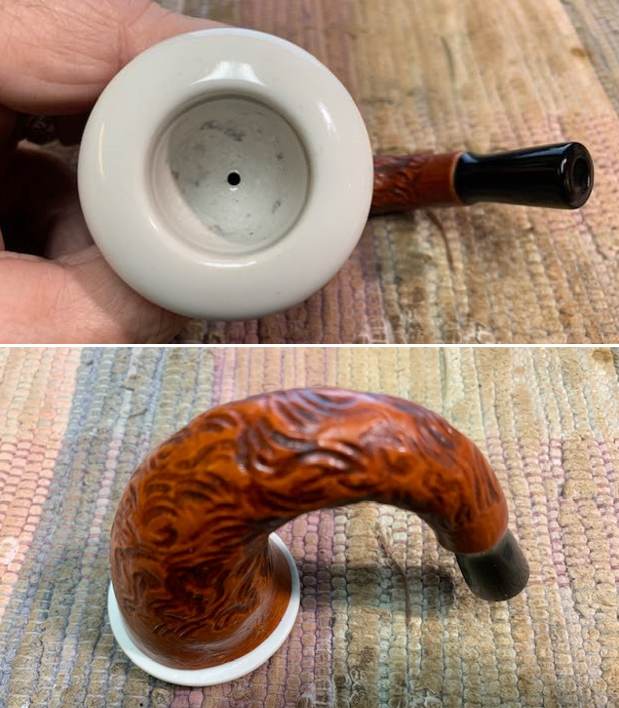
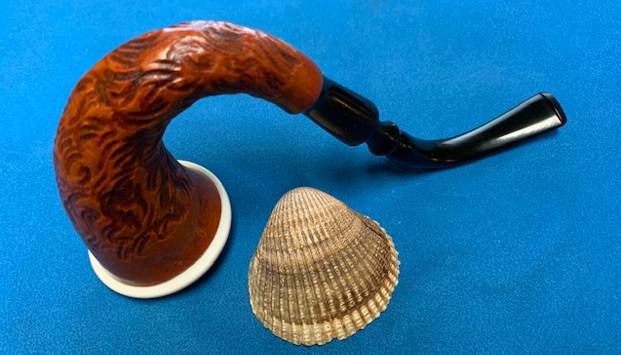
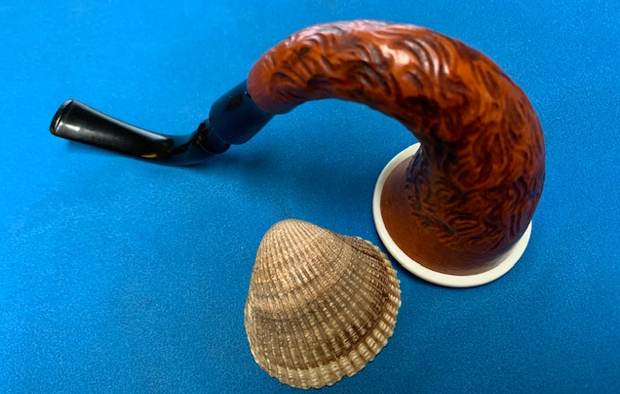
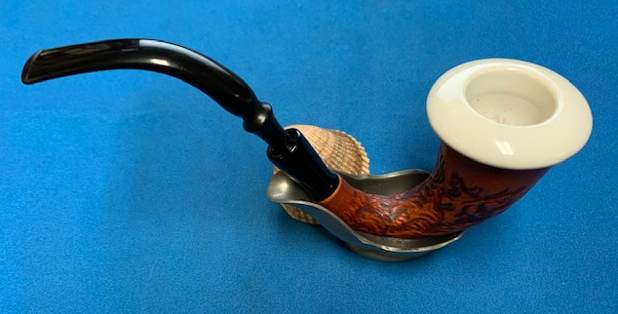
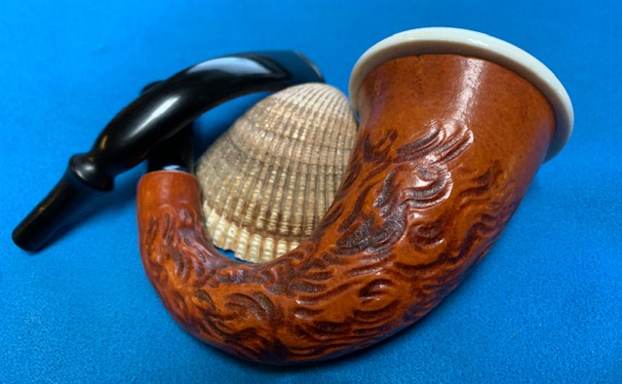
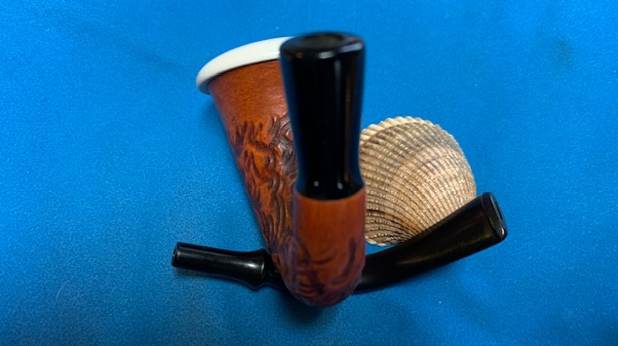
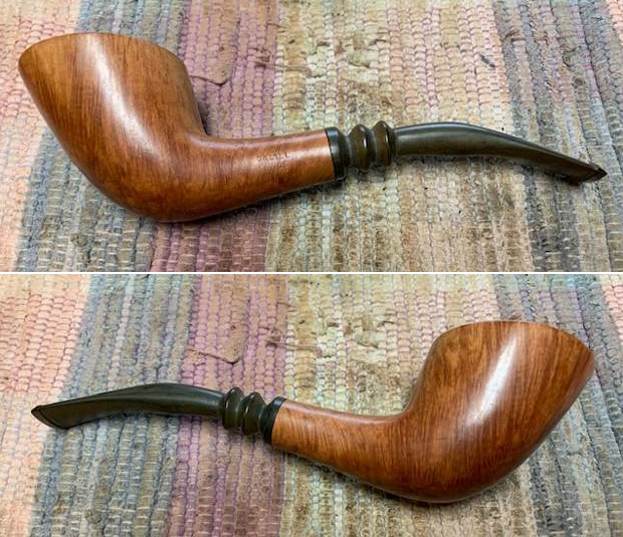
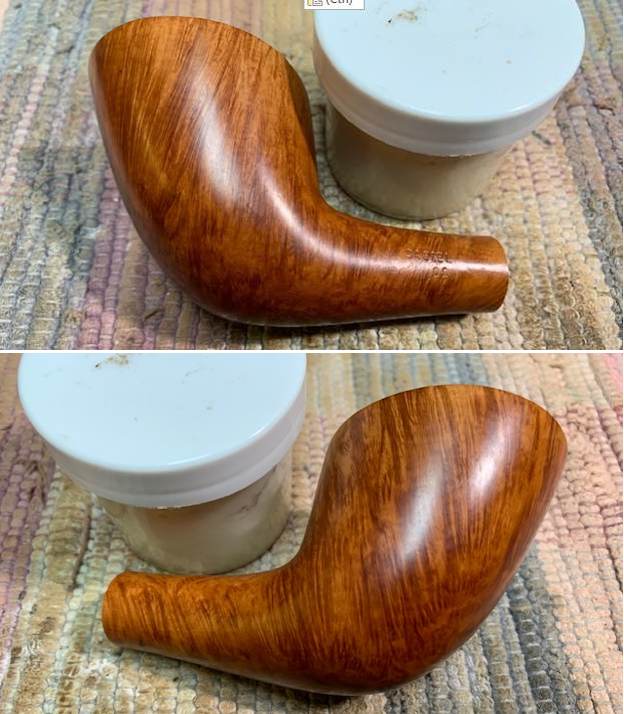
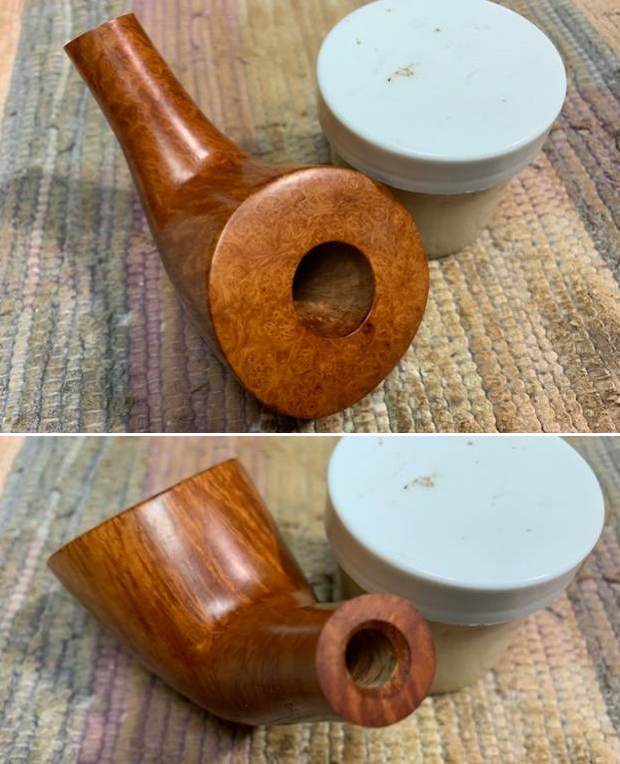
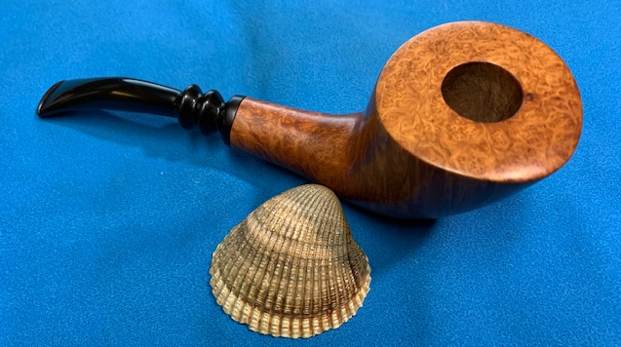
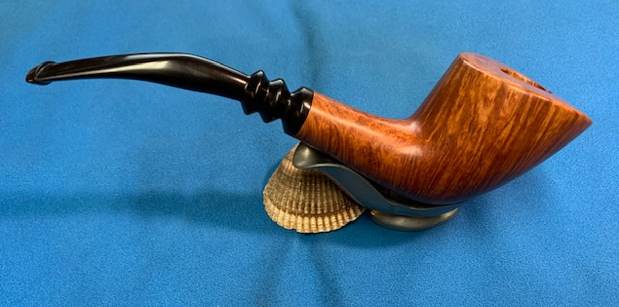
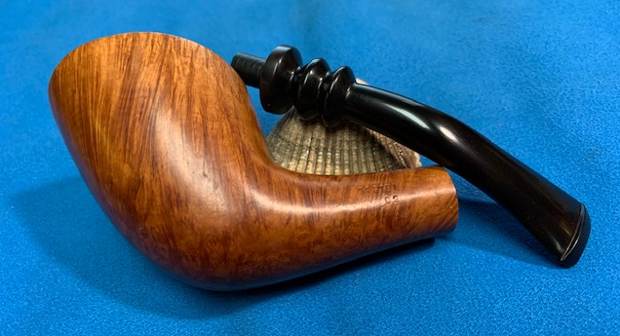
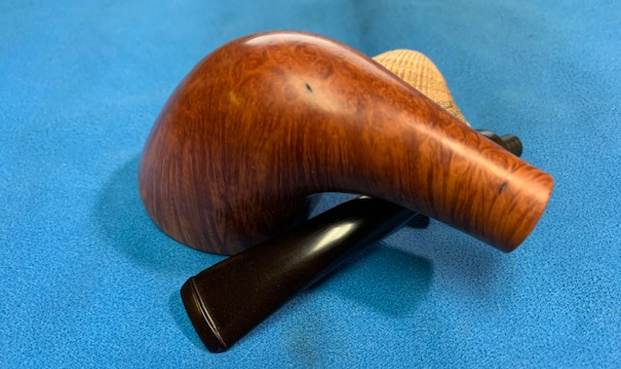
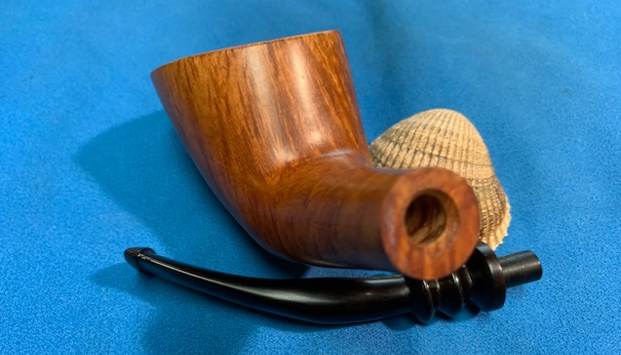
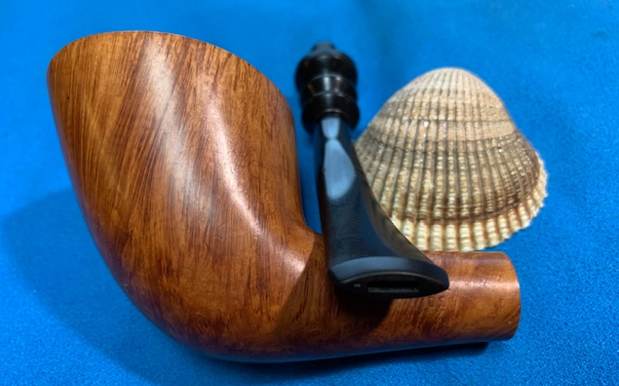
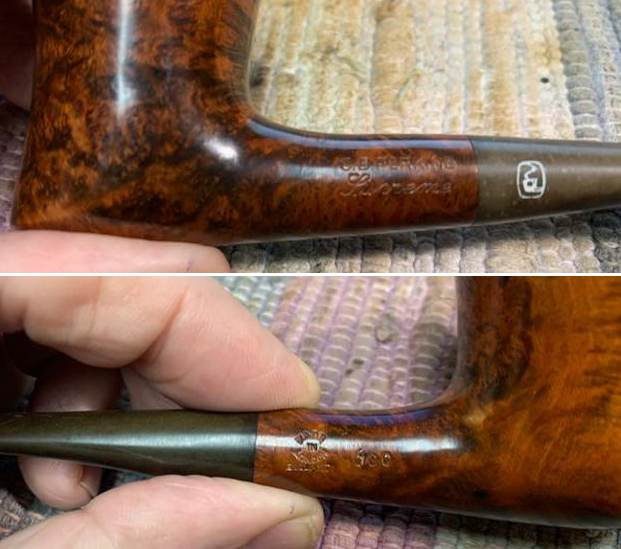 I took the stem off the shank to show the overall look of this interesting pipe.
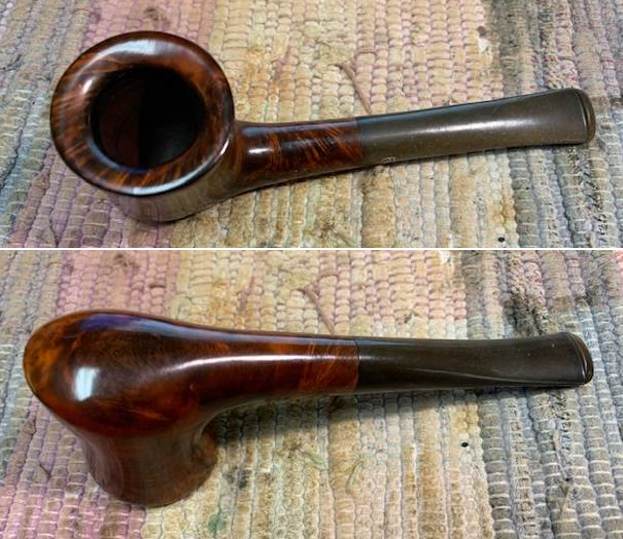
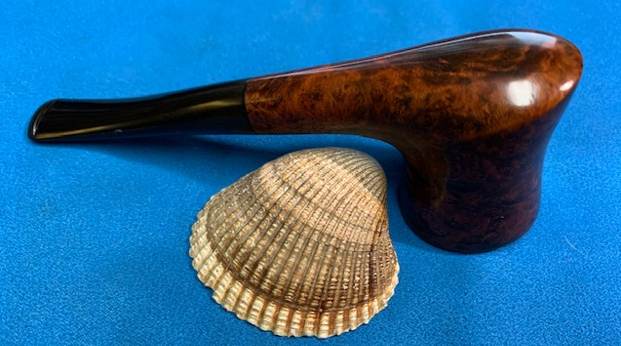
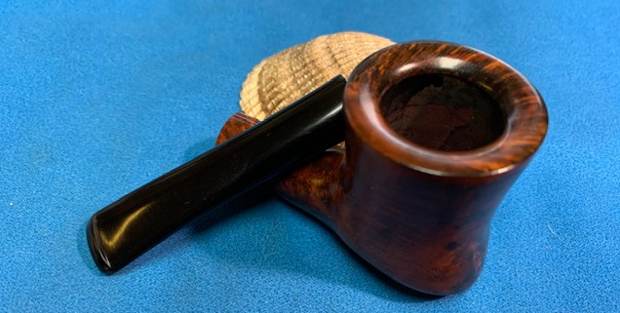
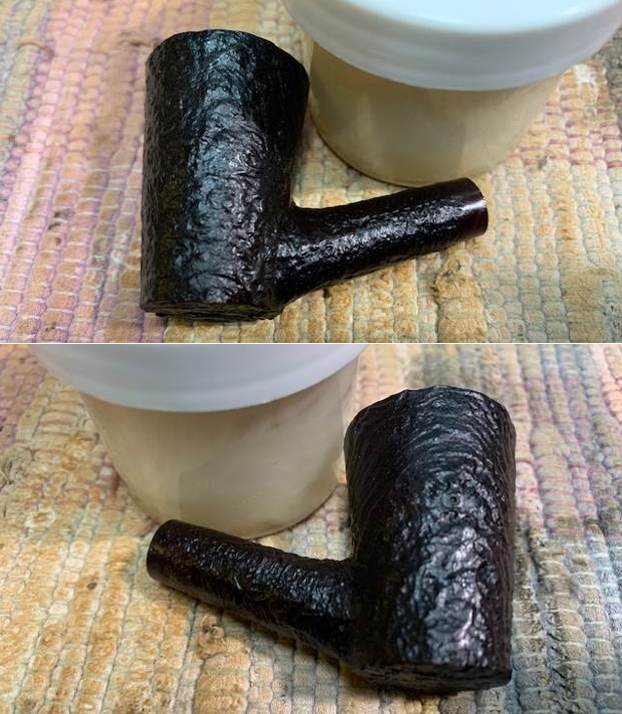
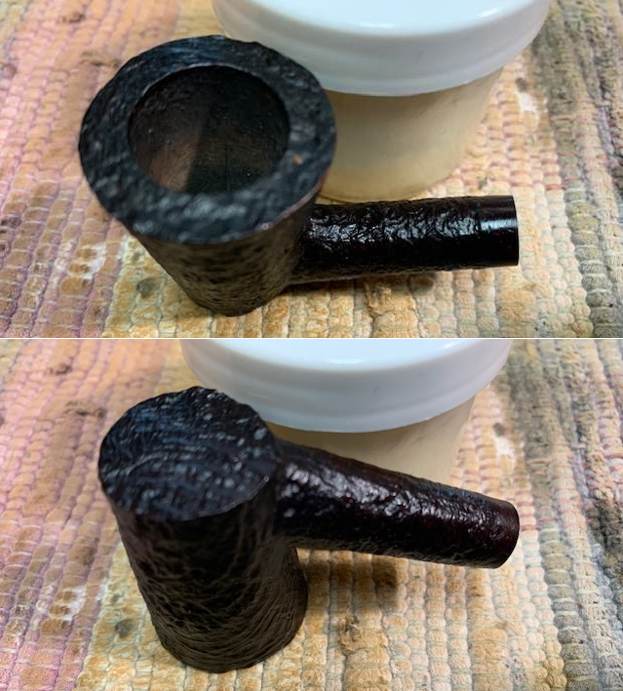
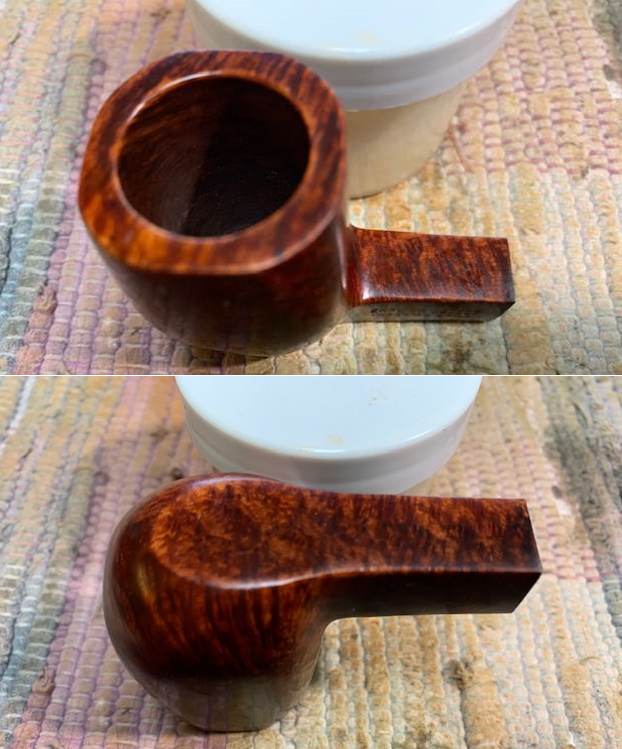
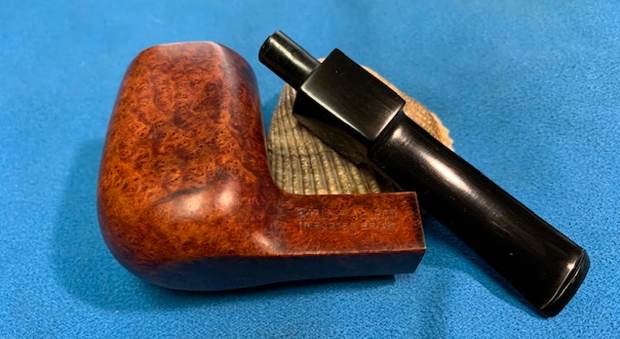
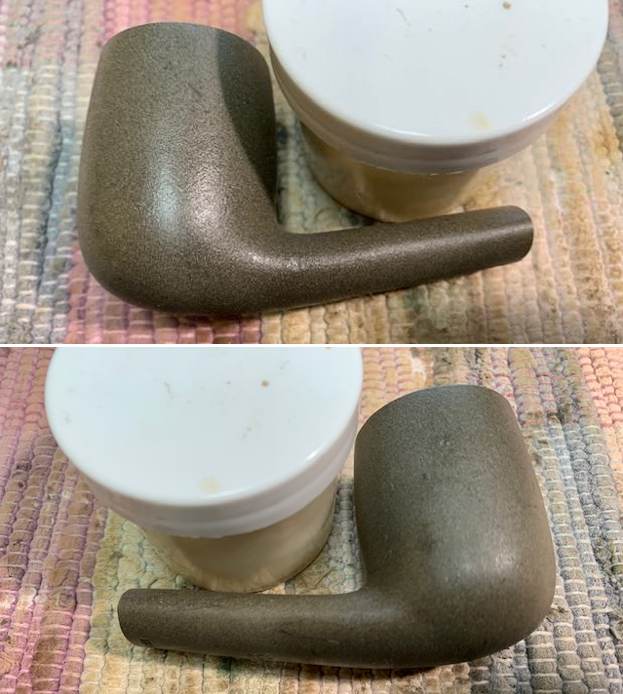
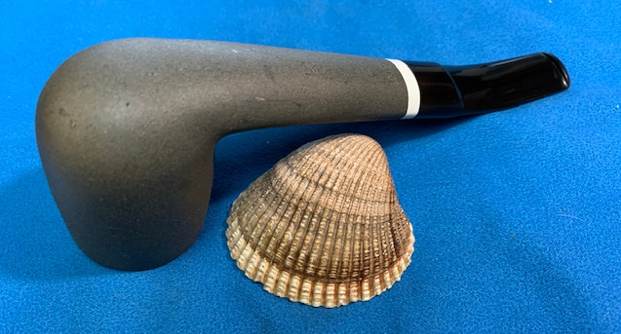
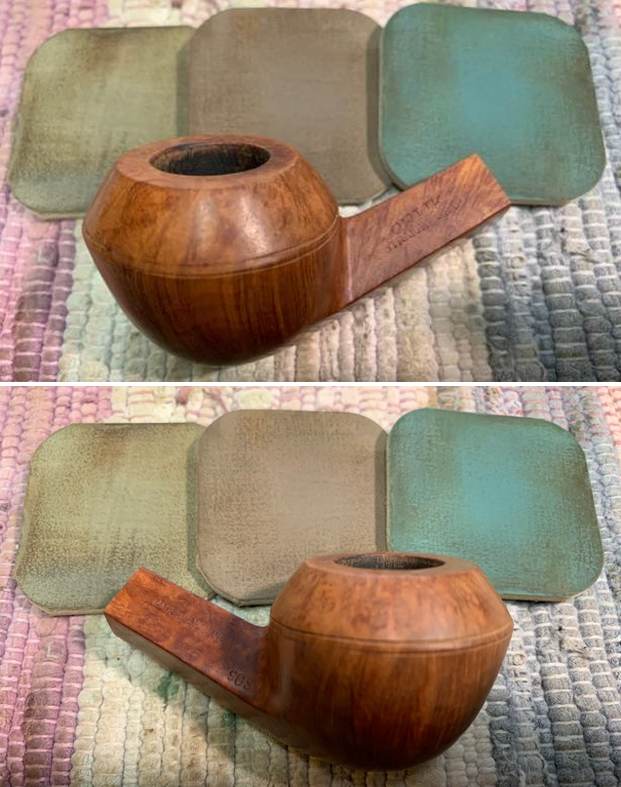
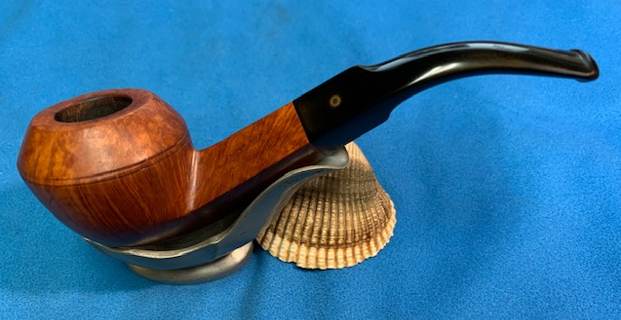
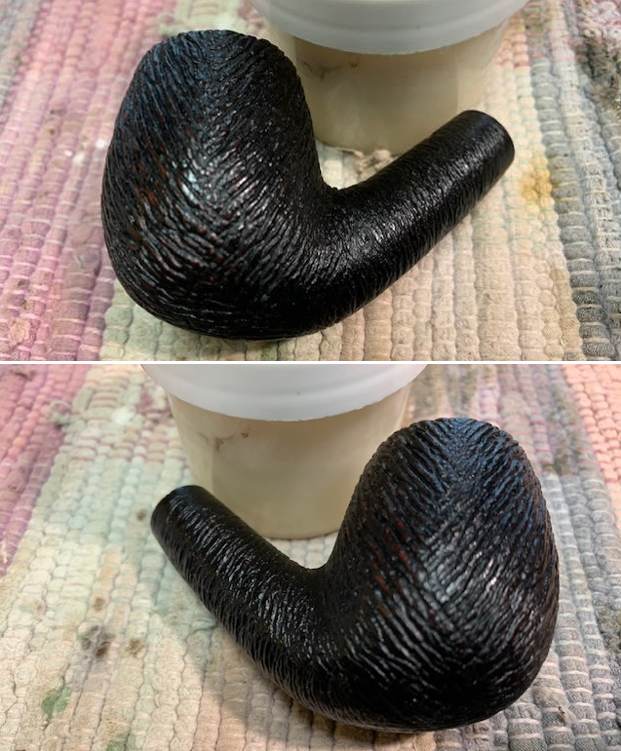
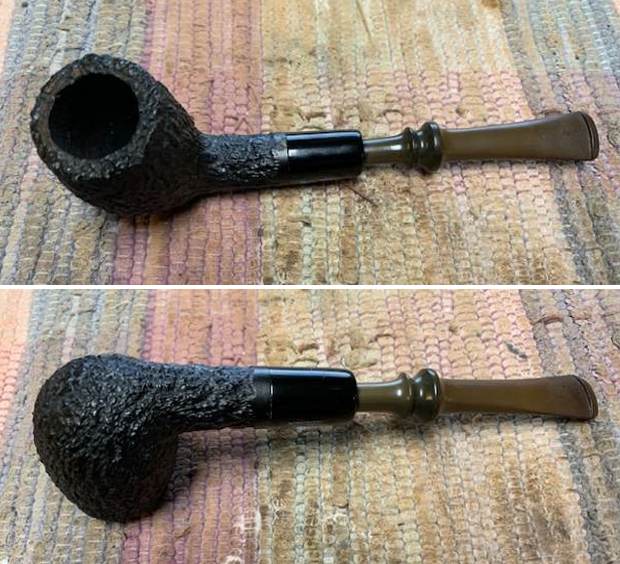
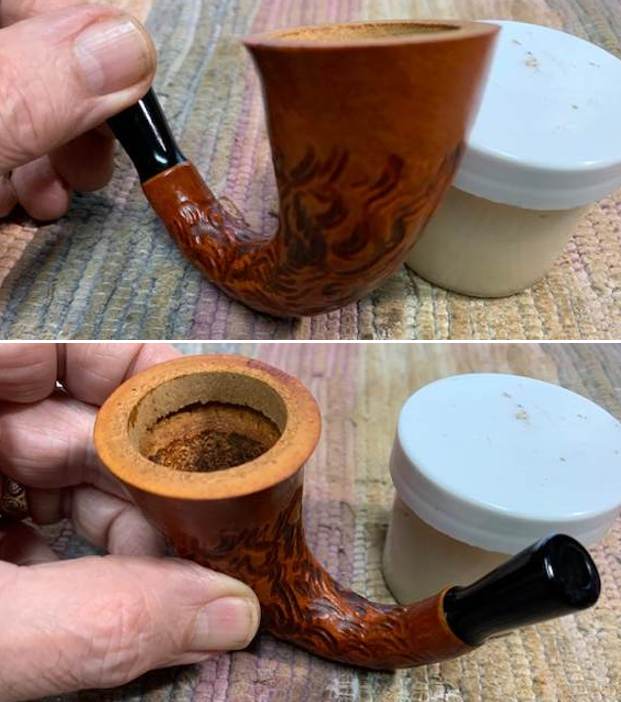
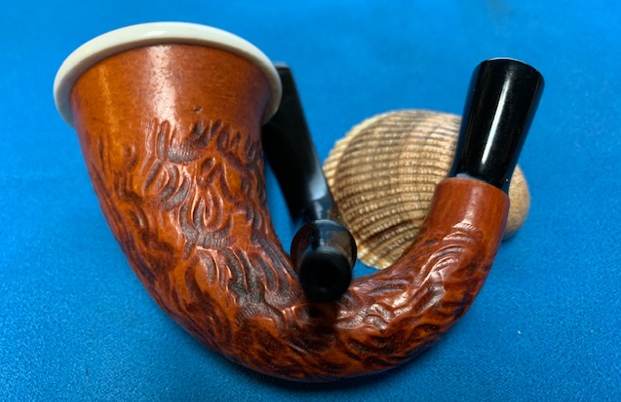
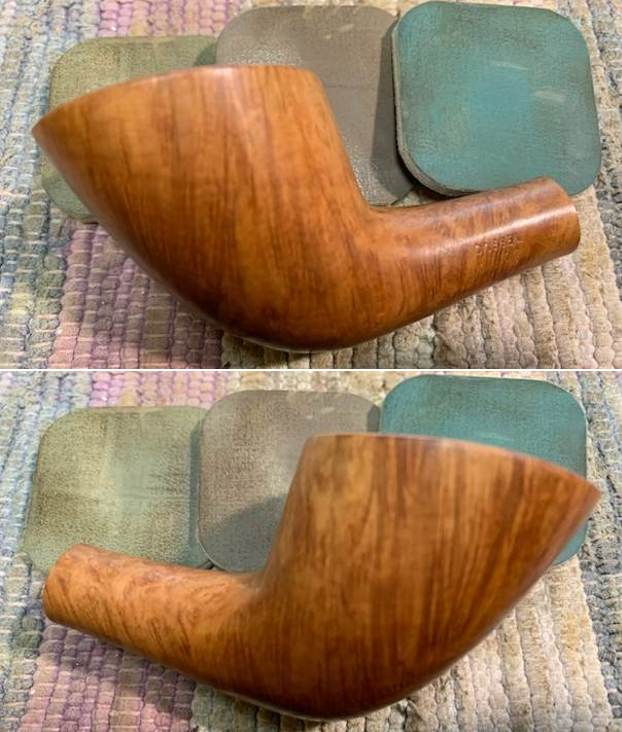
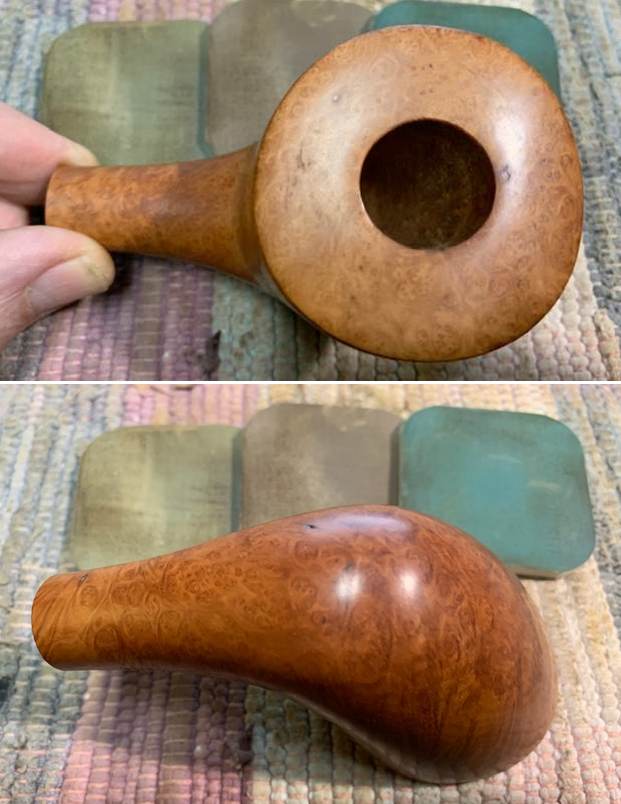
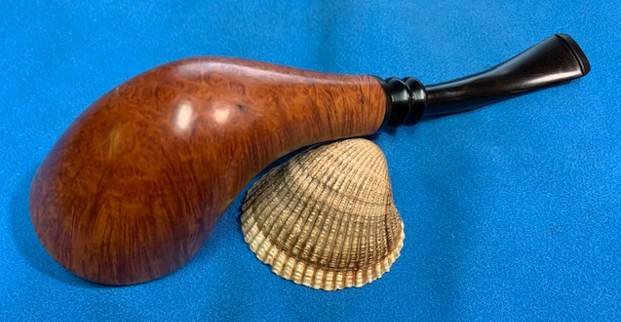
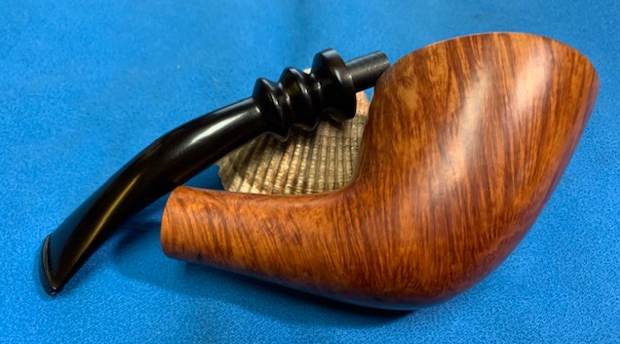
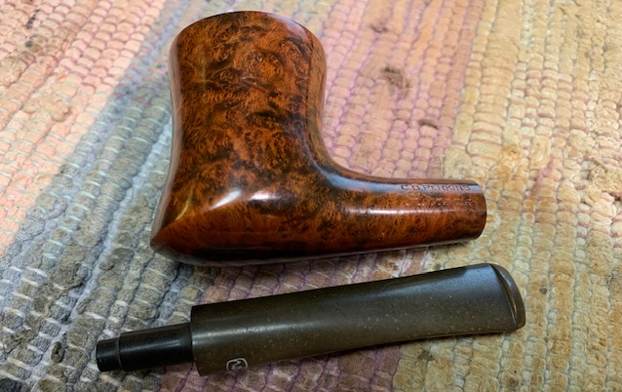 I rubbed some Before & After Restoration Balm into the finish of the pipe. I worked it into the briar because the product cleans, enlivens and protects the briar. I let the pipe sit with the Balm for 10 minutes then buffed it off with a soft towel. The Balm did its magic and the pipe looked really good. I set the bowl aside to do a bit more work on the Comoy’s connection on this pipe.
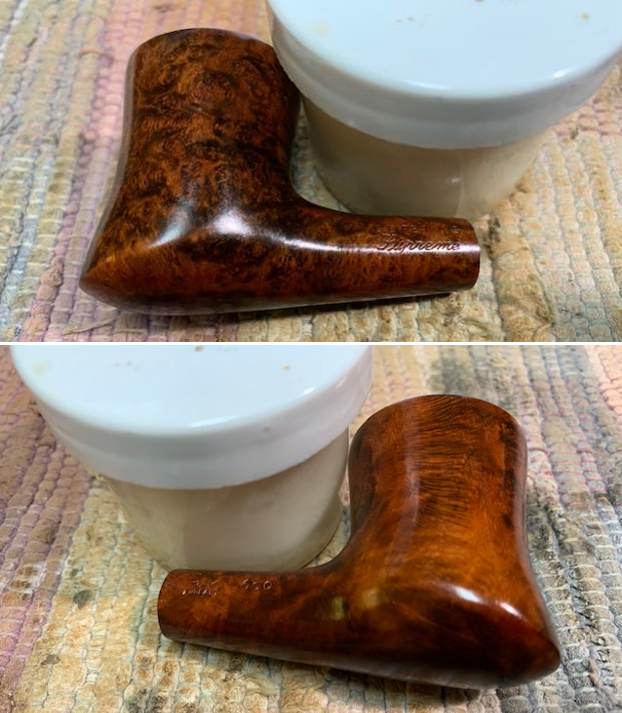
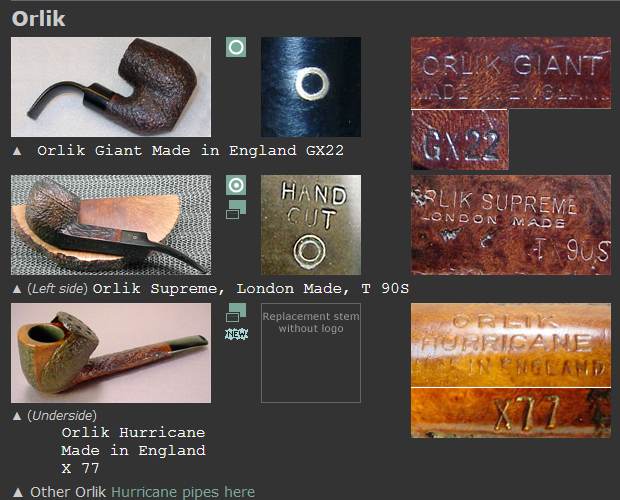
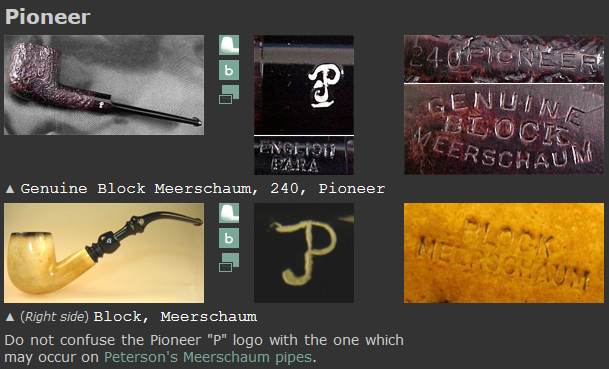
 I started by reading on the history of the brand as it has been a while since I have worked on C.B. Perkins pipes. I wanted to refresh my memory of the back story of the brand. I checked first on Pipephil site (http://pipephil.eu/logos/en/logo-c1.html#c_bperkins) and found photos of various pipes. The picture of the first pipe is stamped similarly on the stem to the one I am working on but not the bowl. The third pipe has the same COM stamp as the one I am dealing with. There are no photos of the Supreme. I am including a screen capture of the pertinent information. There was no other information in the sidebars.
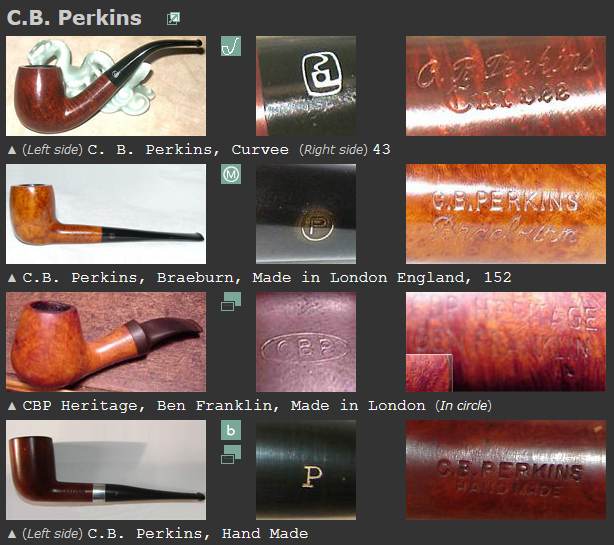 Then I turned to Pipedia and was more successful with background information on the company (https://pipedia.org/wiki/C.B._Perkins). I quote a portion of that article below that gives a bit of history and more importantly cleared up where the pipes came from for me.
The first C.B. Perkins store opened in Boston in the early 1900’s. Perkins quickly became the leading retail tobacconist in New England, a position it held for over 75 years. In 1986 Perkins management sold their Pennsylvania and New Jersey stores to DES Tobacco Corporation.
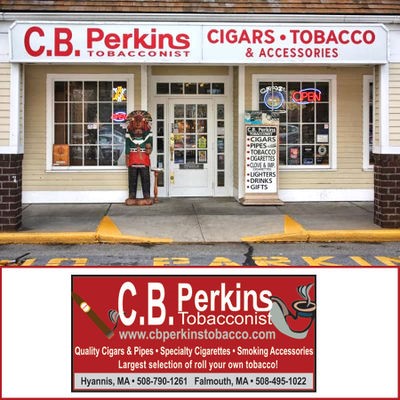
Store Front and Contact Info Courtesy of Doug Valitchka
DES is a wholly owned subsidiary of the S. Frieder and Sons Company. S. Frieder and Sons had been a cigar manufacturer since 1920. In 1978 S. Frieder sold its manufacturing business to United States Tobacco so it could focus all its assets and energy on the retail tobacco business under the name of DES Tobacco. Thus, the merger of C.B. Perkins and DES represented four generations of tobacco experience.
So far there was no connection to Comoy’s as the maker. The Made in London England circular COM stamp was the same in the Pipephil photos but there as no mention of a connection with Comoy’s so now I moved on to work another angle.
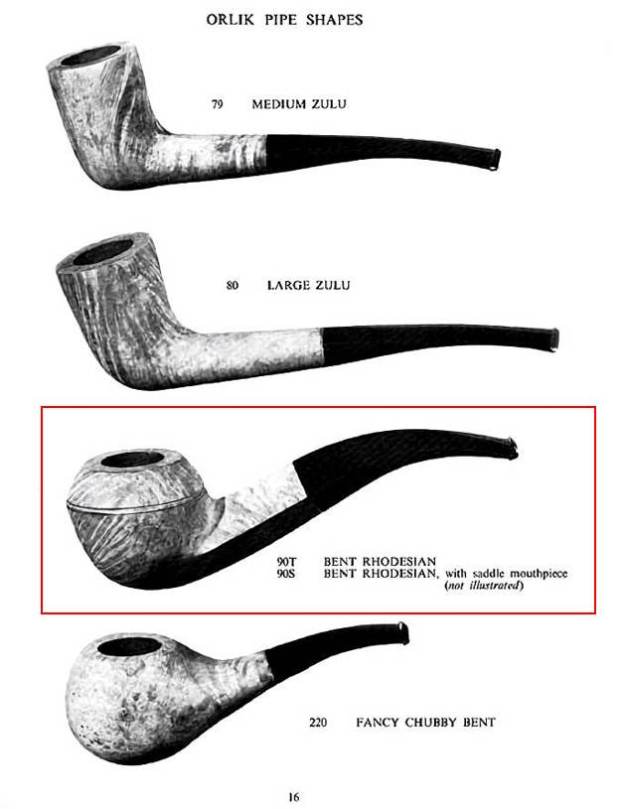
I decided to see where the combination of the shape number and COM stamp took me. Both of them made a connection for me to Comoy’s pipes. I did a quick search for a Comoy’s shape 600 (https://pipedia.org/wiki/Comoy%27s_Shape_Number_Char). I have copied the section of the chart that lists the 600 shape and calls it a SKATER – the very shape that I thought of when I saw it. It notes that it has a ¼ bent stem and is a Modern design (whatever that designation means). ![]() The COM stamp was definitely COMOY’S so now I knew. I knew that I was working on a pipe made for C.B. Perkins by Comoy’s of London. The read on the background history of C.B. Perkins was interesting.
The COM stamp was definitely COMOY’S so now I knew. I knew that I was working on a pipe made for C.B. Perkins by Comoy’s of London. The read on the background history of C.B. Perkins was interesting.
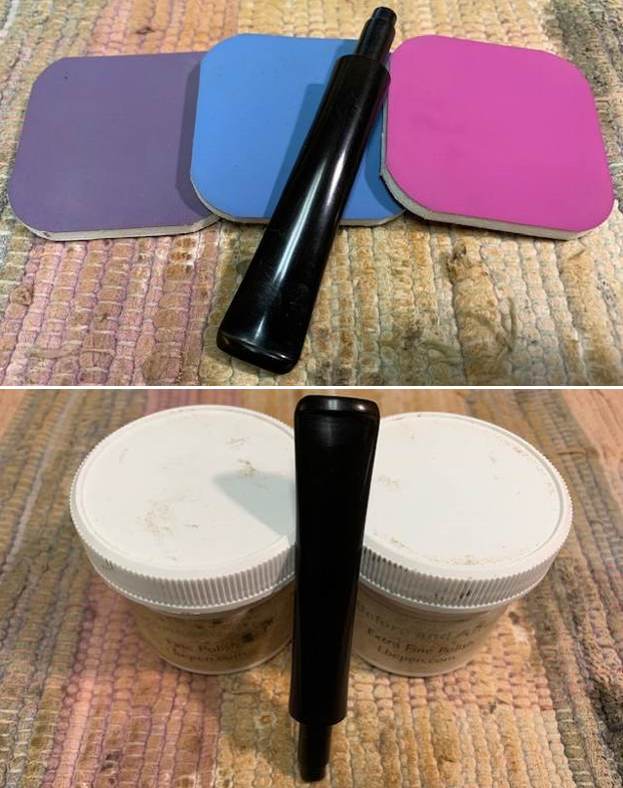
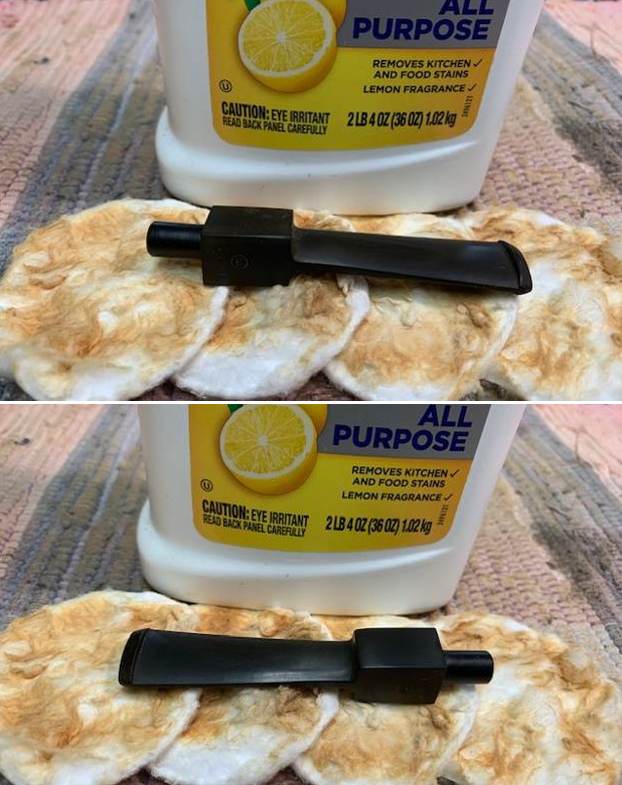
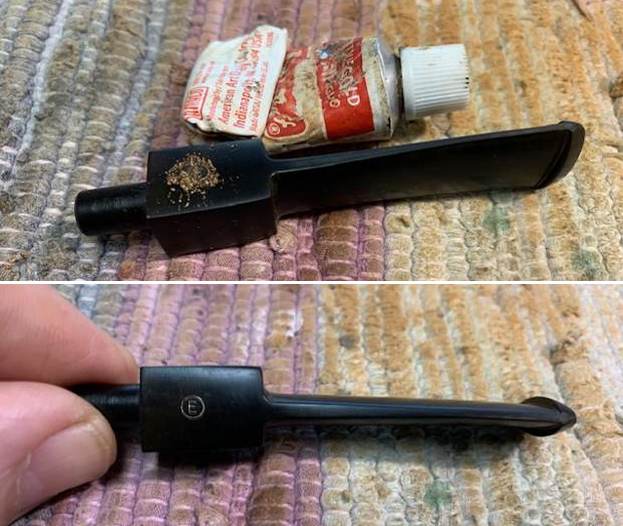
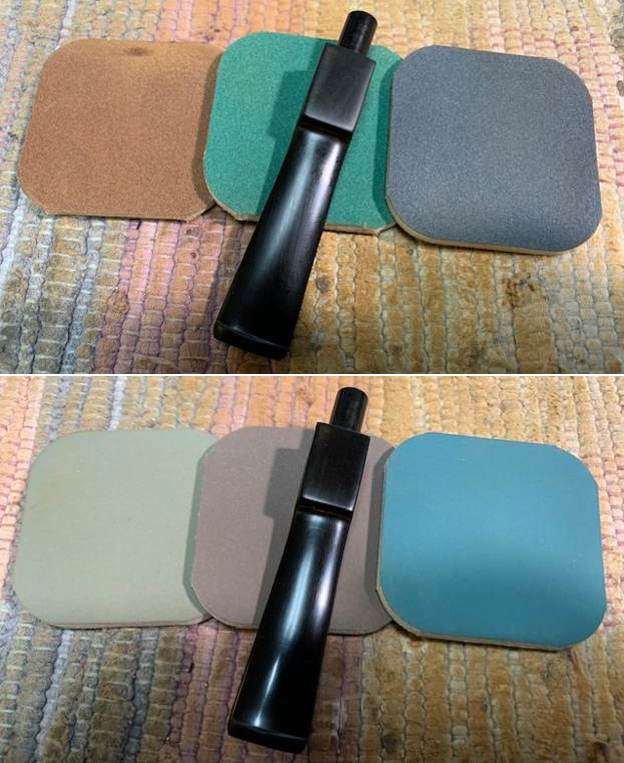
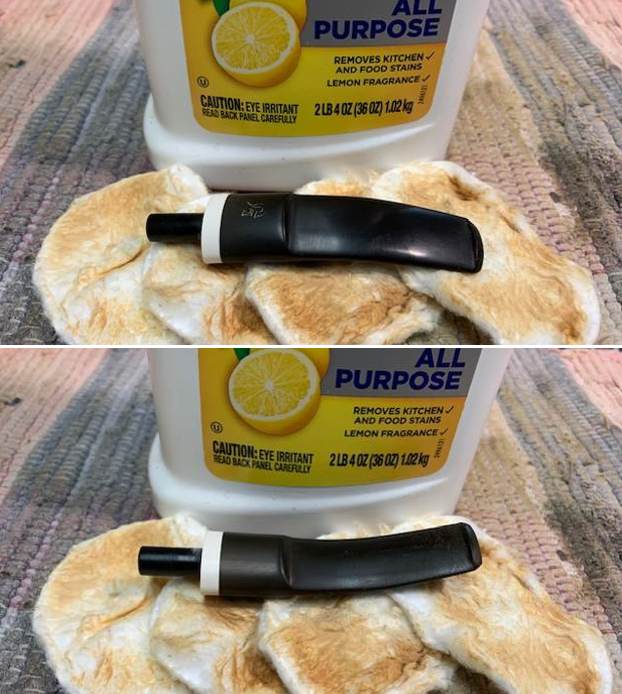
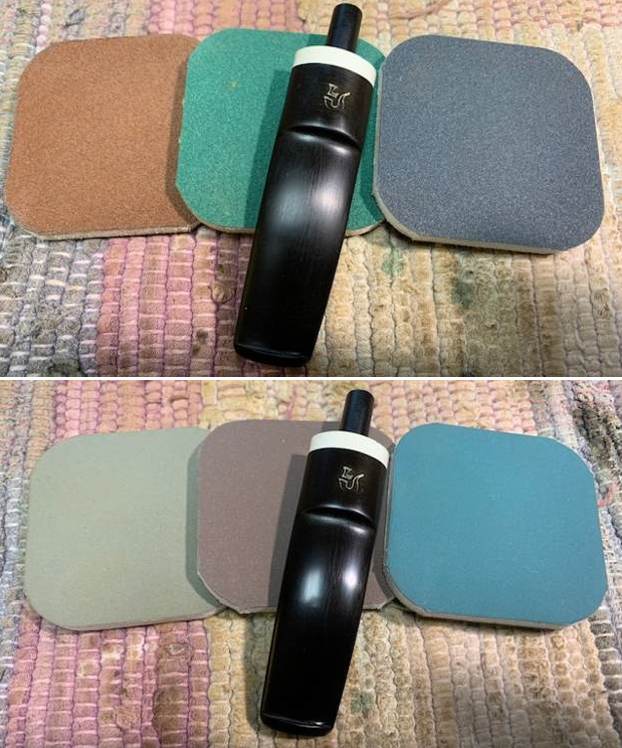
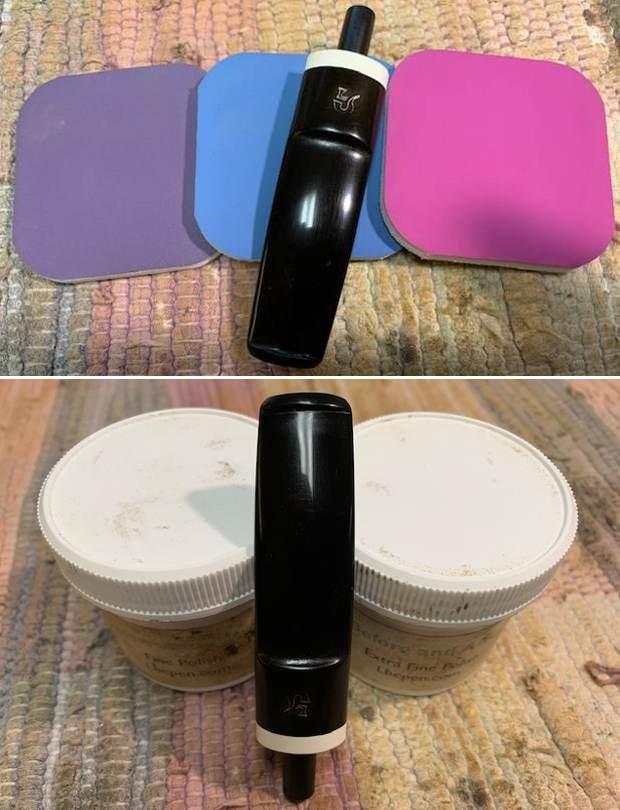
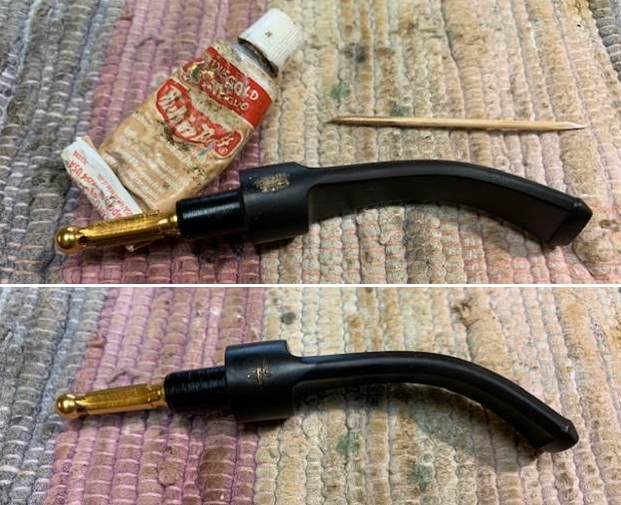
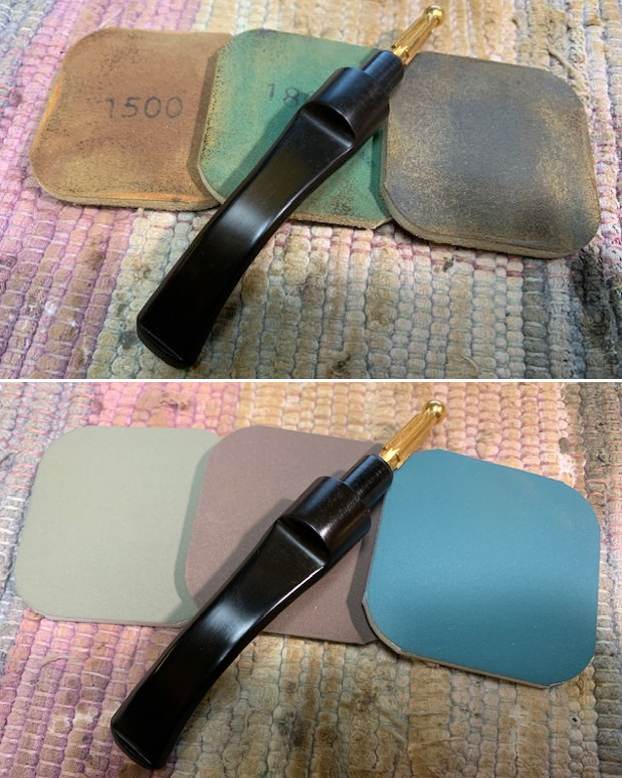
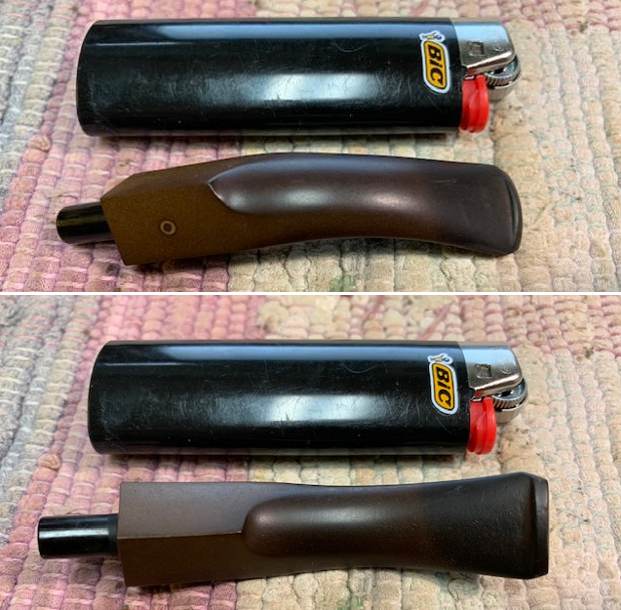
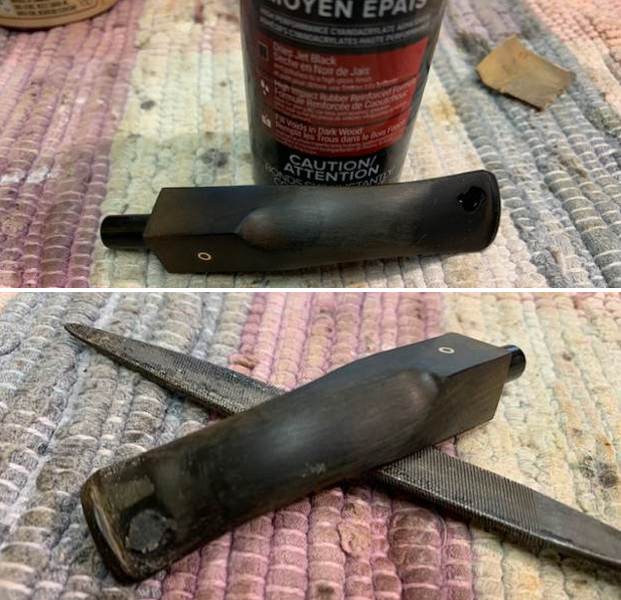
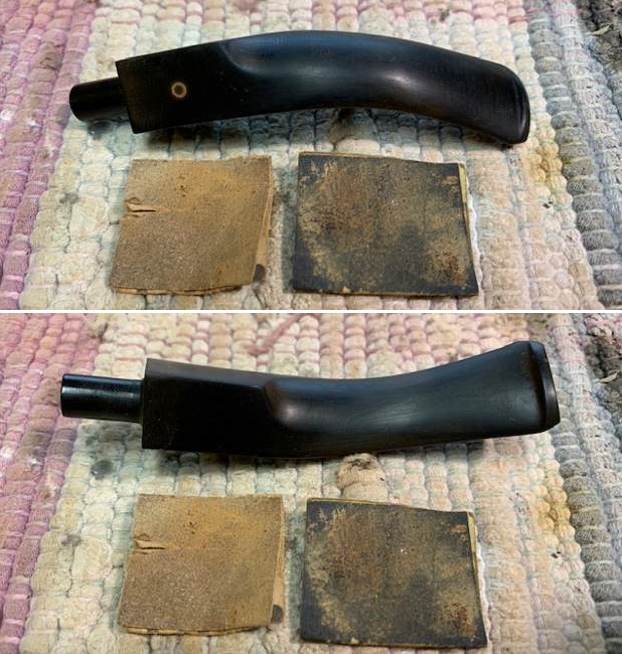
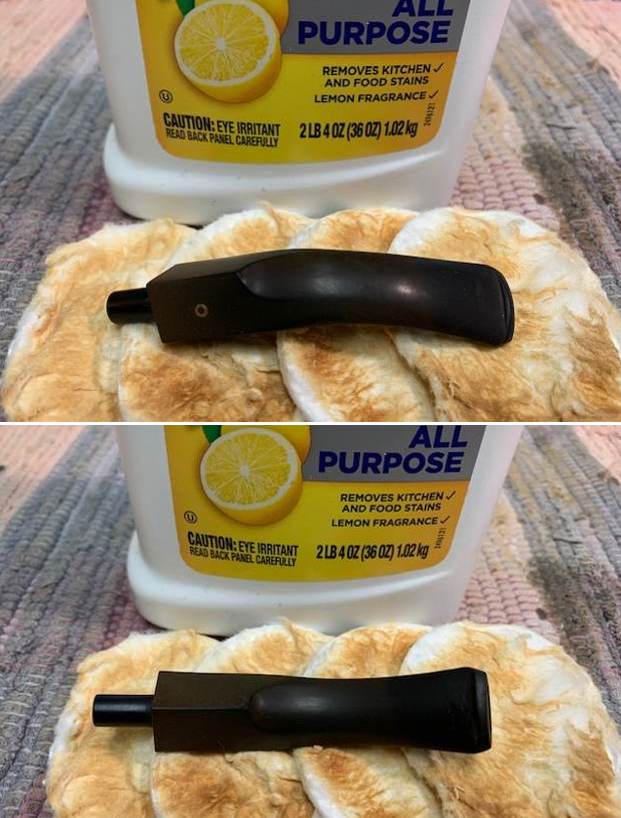
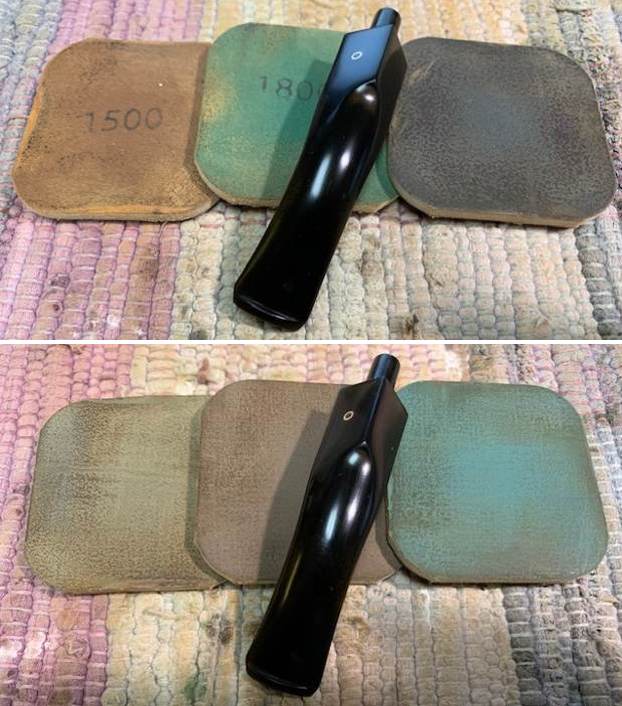
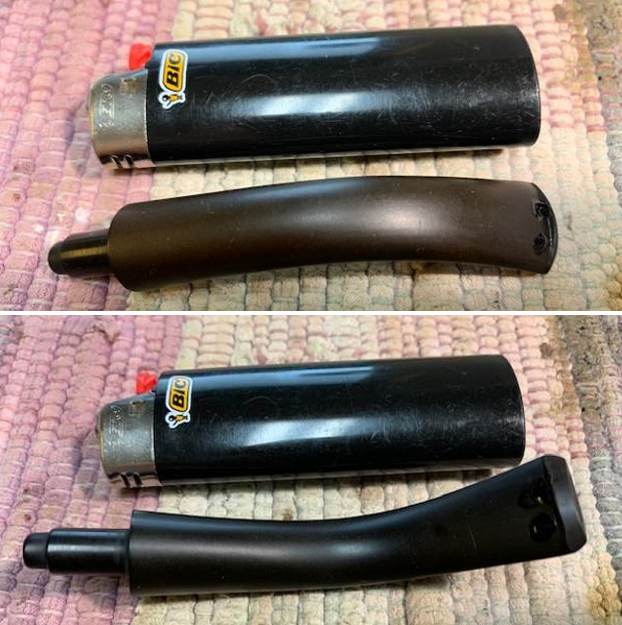
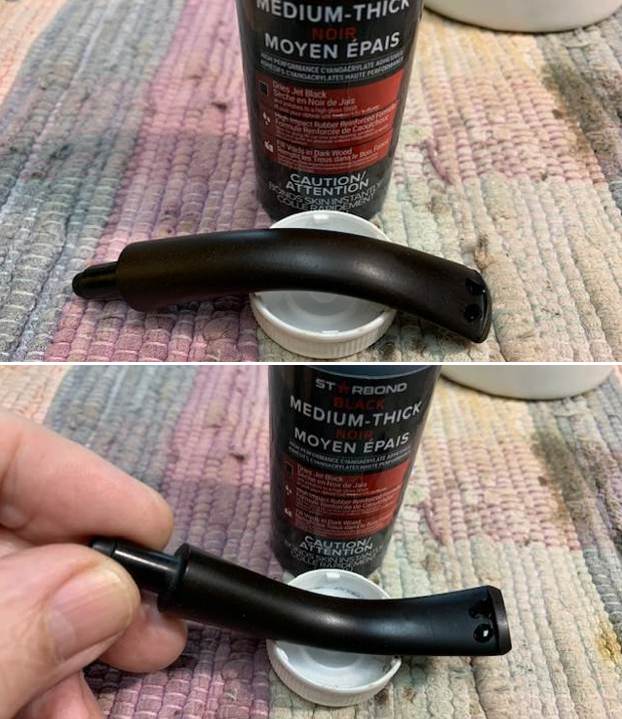
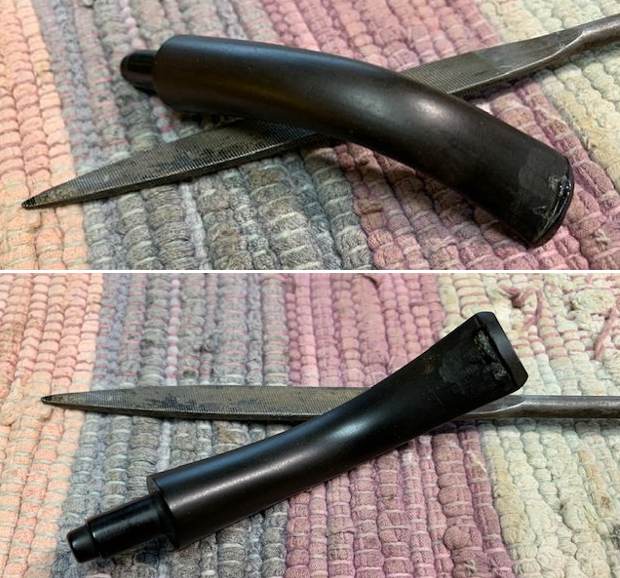
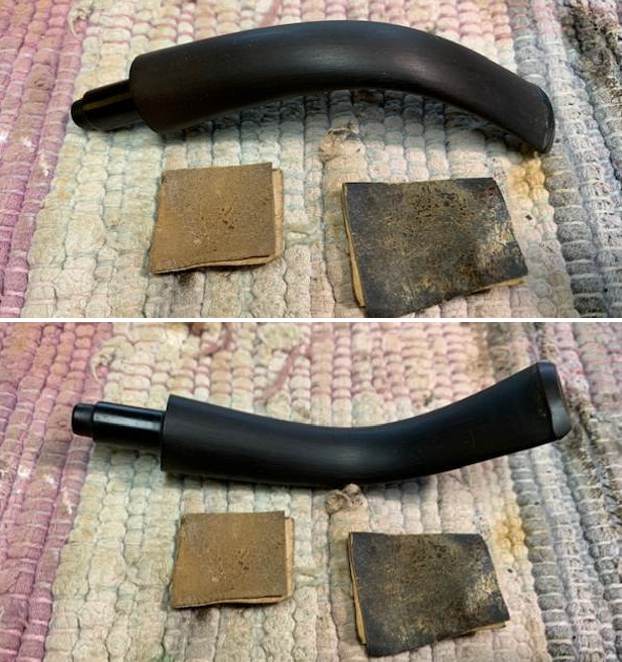
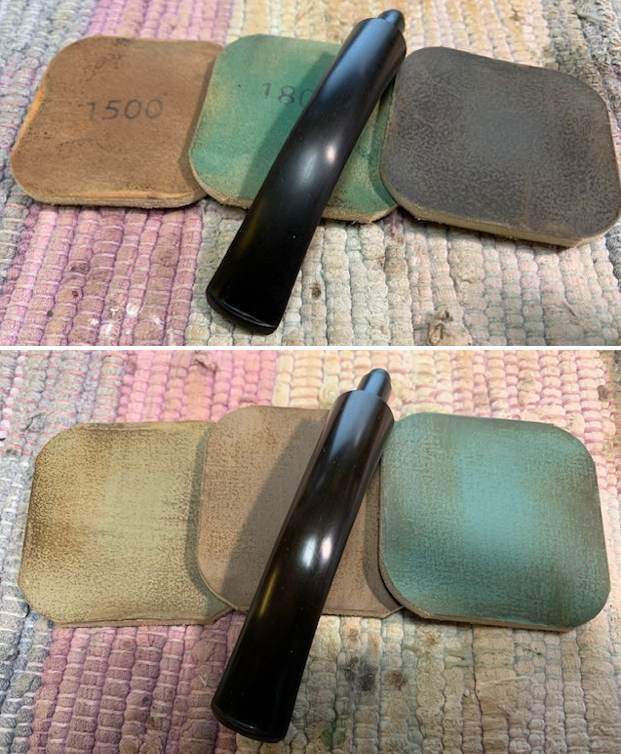
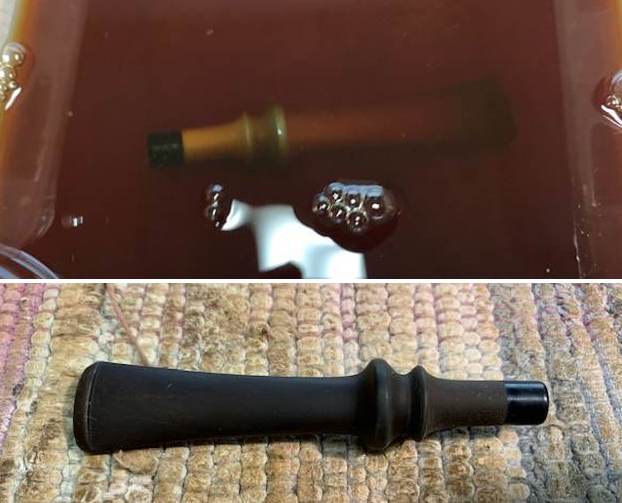
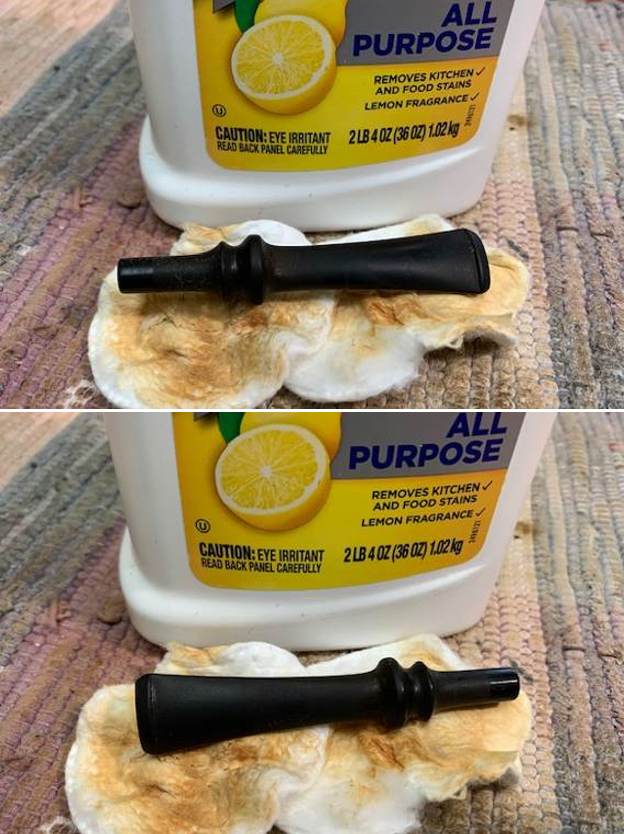
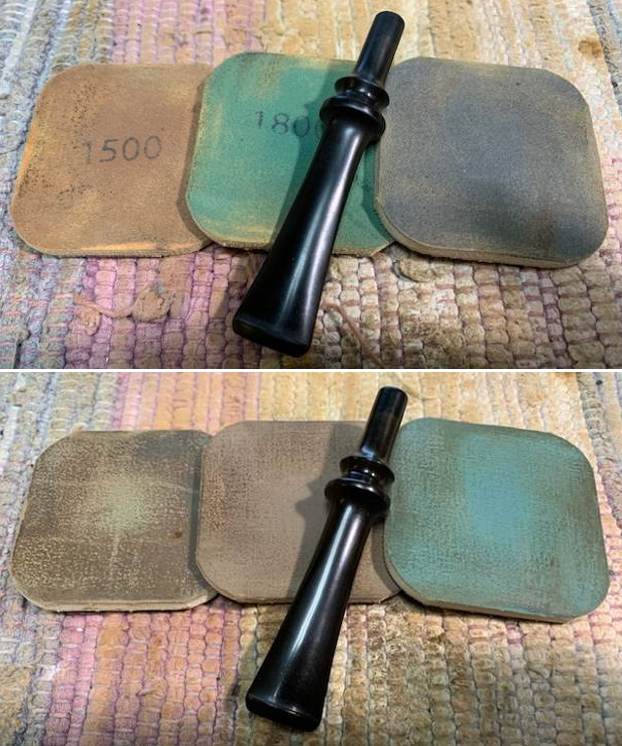
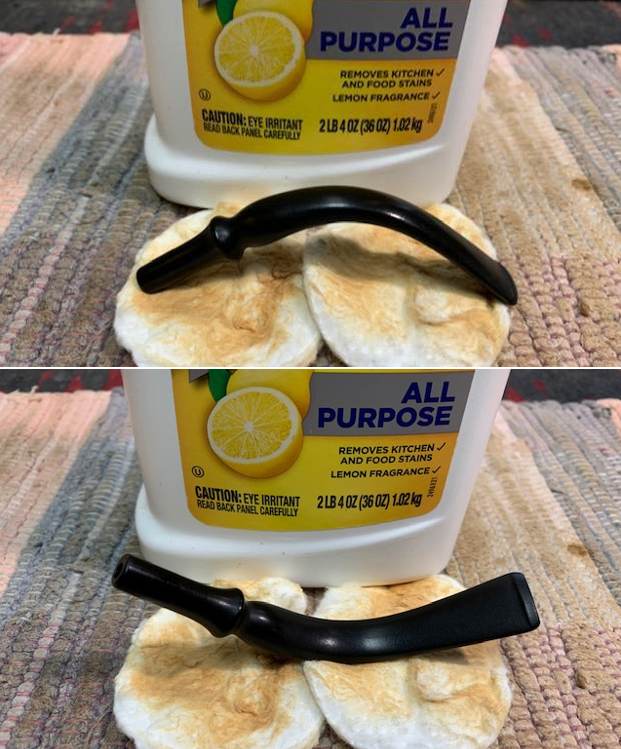
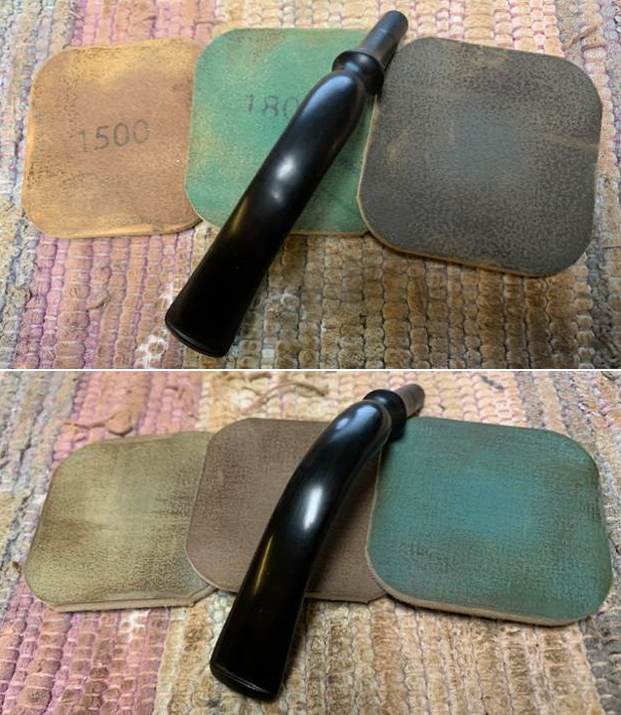
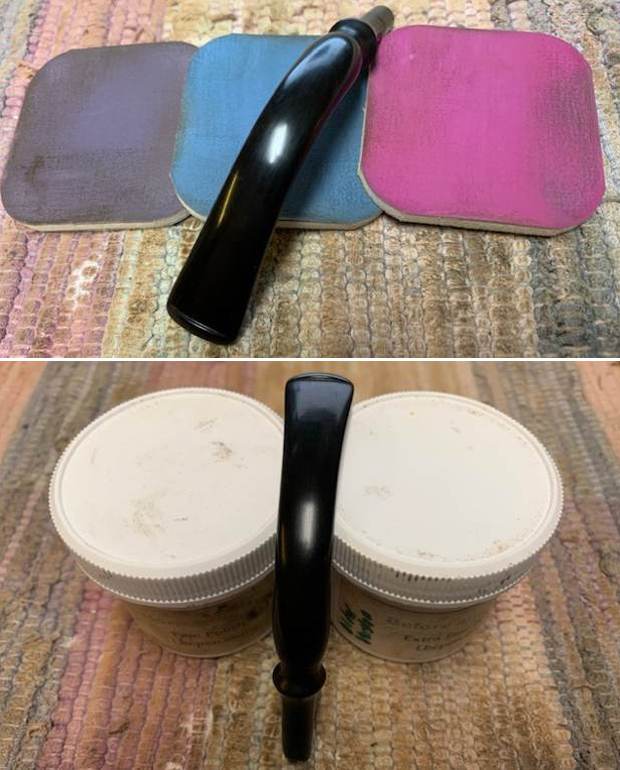
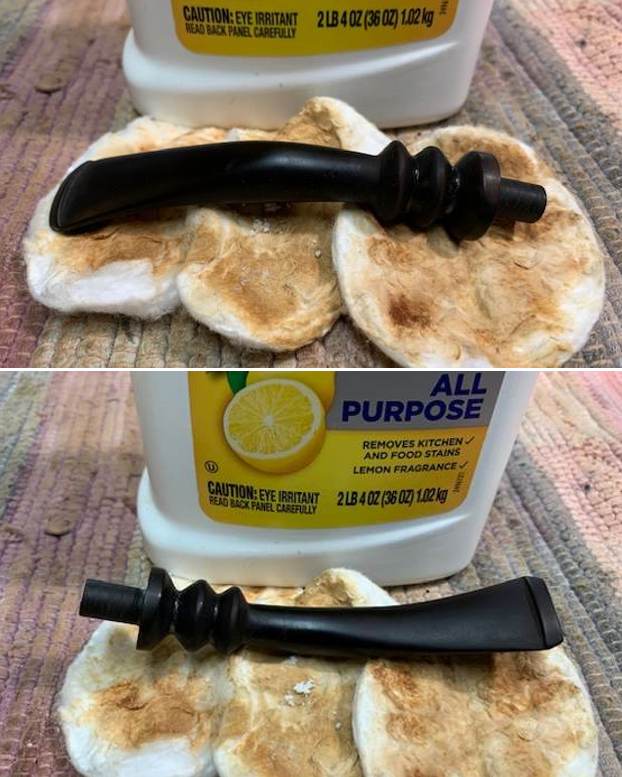
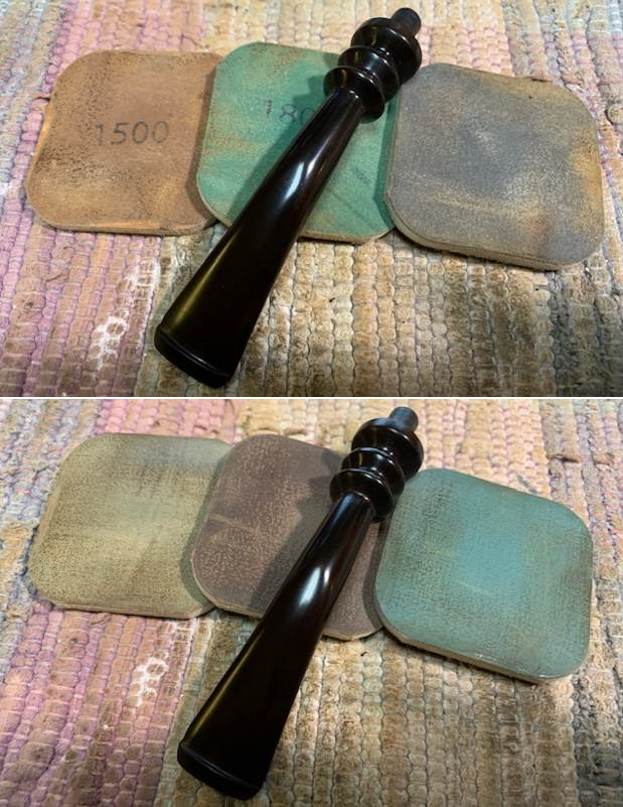
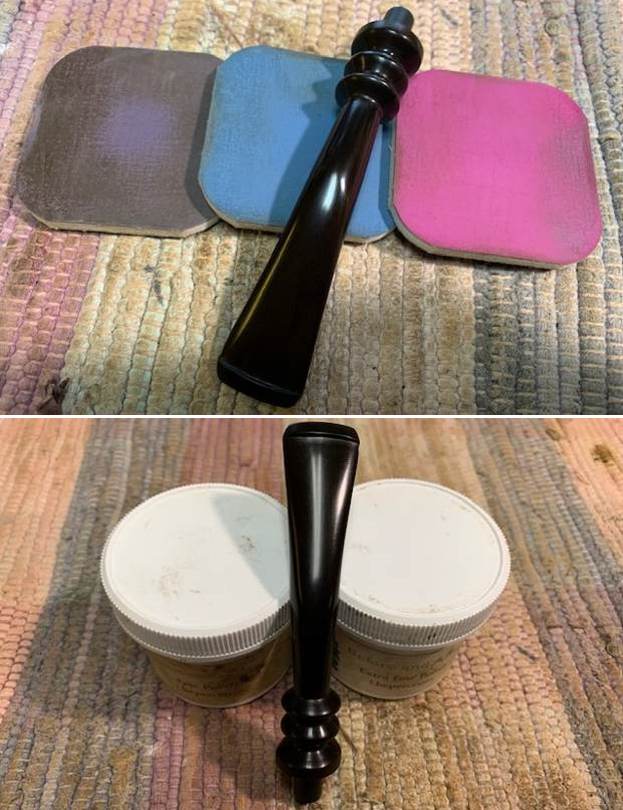
I turned my attention to the stem. It was oxidized from sitting around in the store who had stocked it. The one side more oxidized than the other pointed to a display case that exposed the top and right side to the sunlight. I scrubbed it with cotton pads and Soft Scrub all purpose cleanser. I worked on it until the stem surface was clean and ready polish. I had worried about the decal coming off in the cleaning process and it did leaving nothing behind.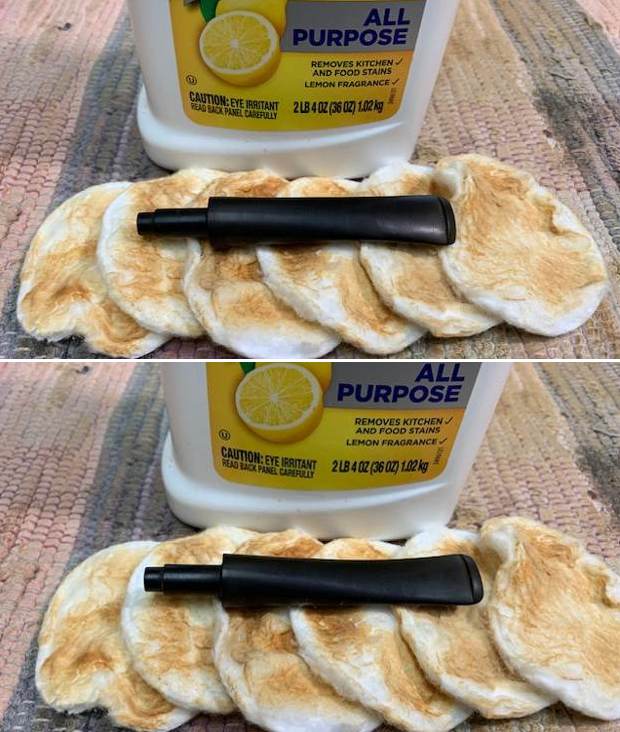 I polished the stem with micromesh sanding pads – dry sanding with 1500-12000 grit pads. I wiped the stem down after each pad with a cloth impregnated with Obsidian Oil. I polished it with Before & After Stem Polish – both Fine and Extra Fine then gave it a final coat of Obsidian Oil and set it aside to dry.
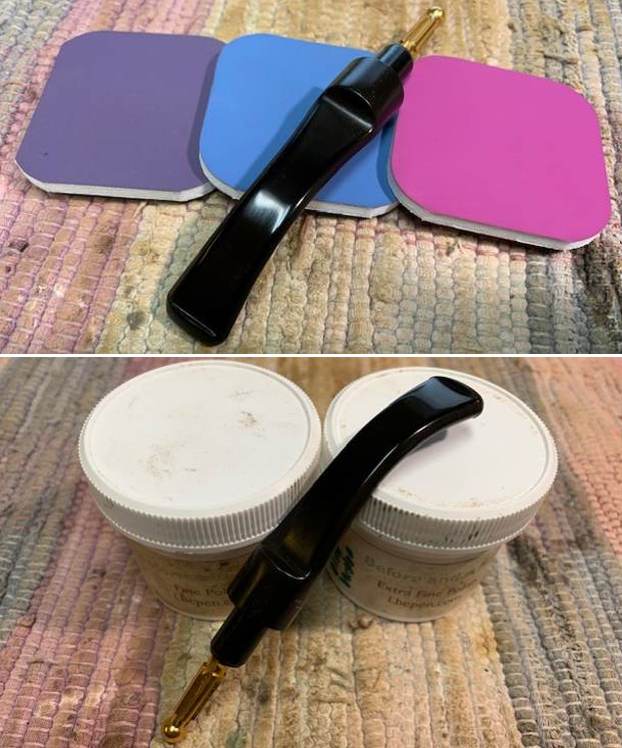
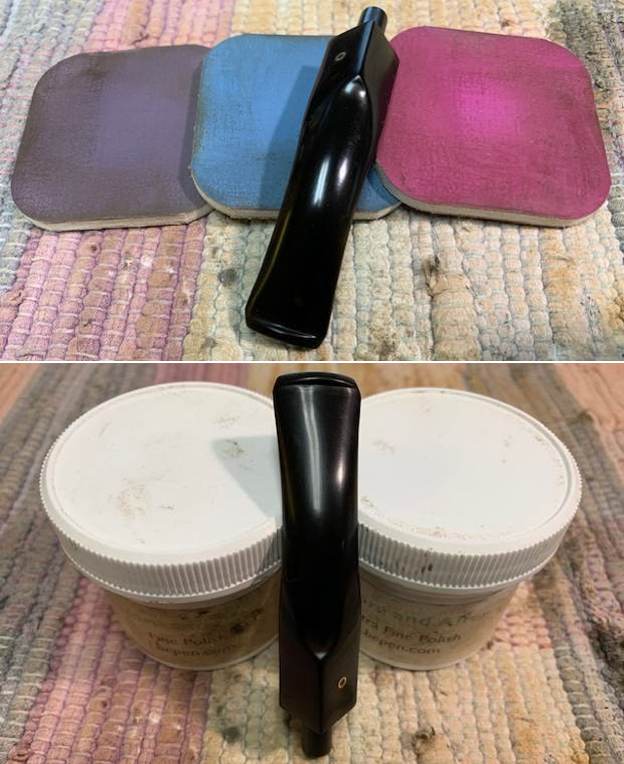
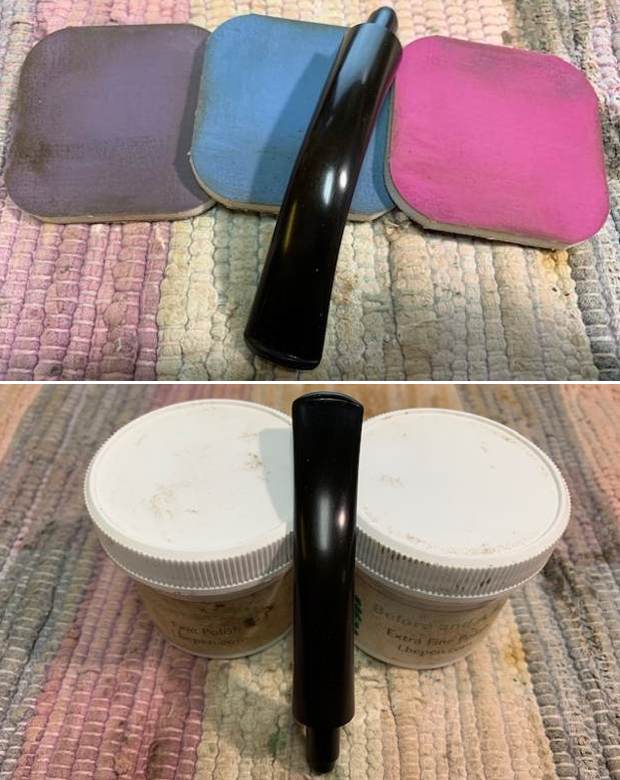
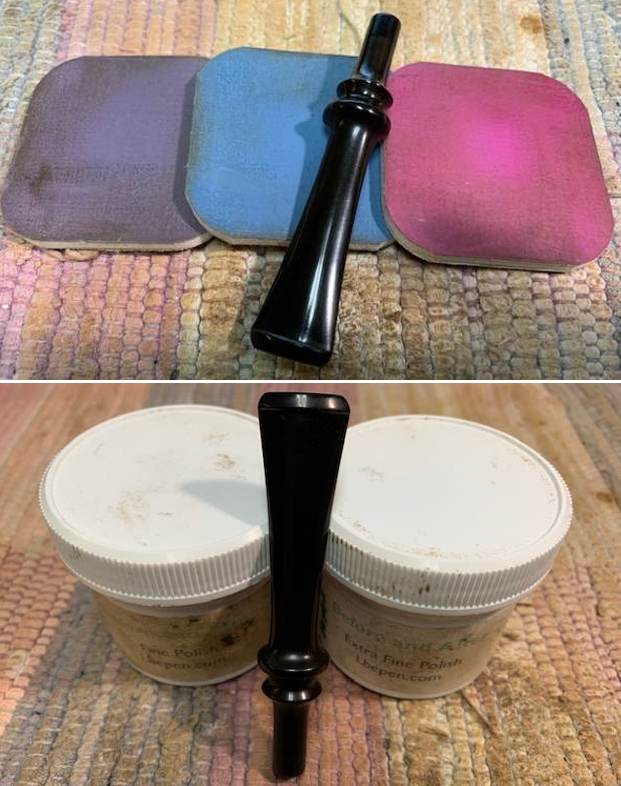
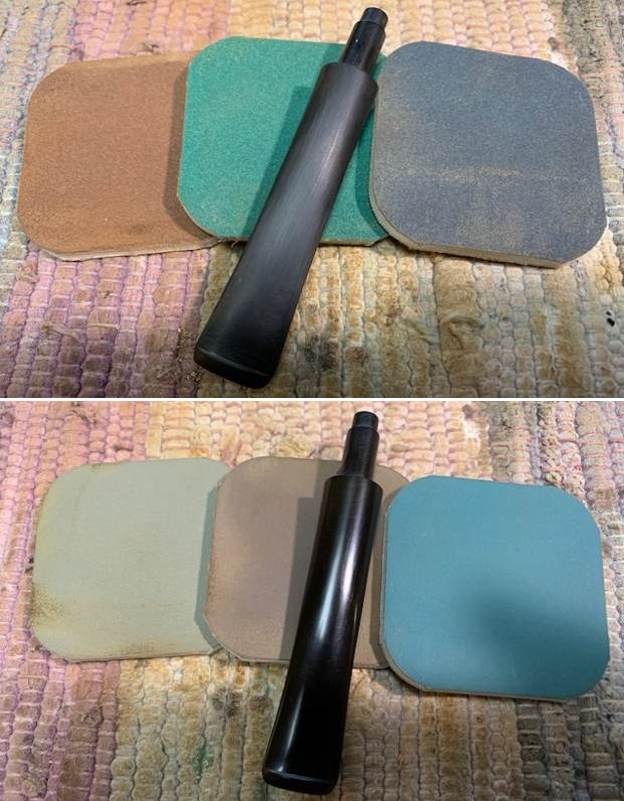
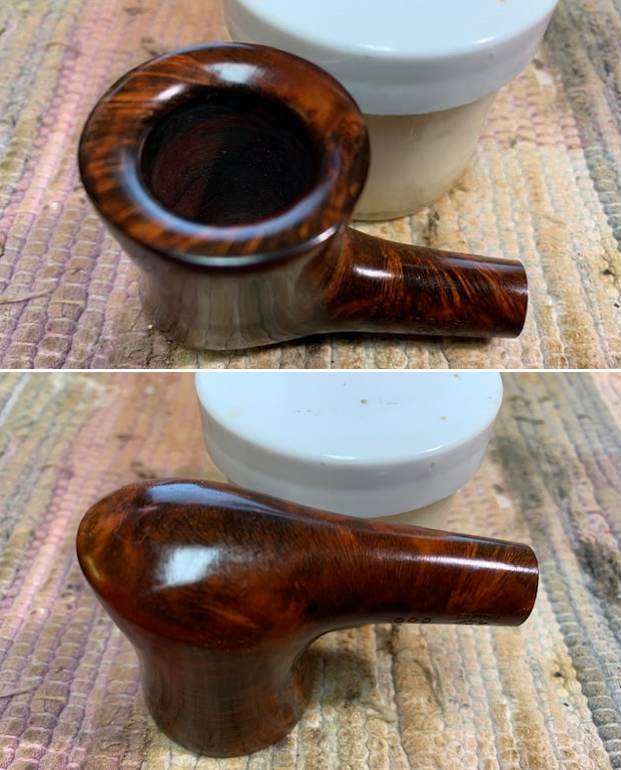
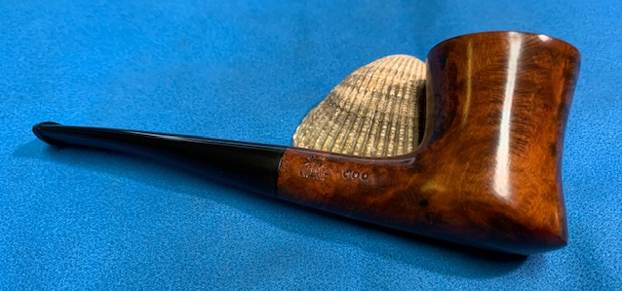
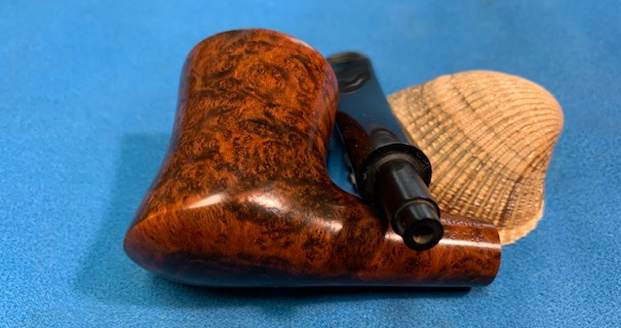
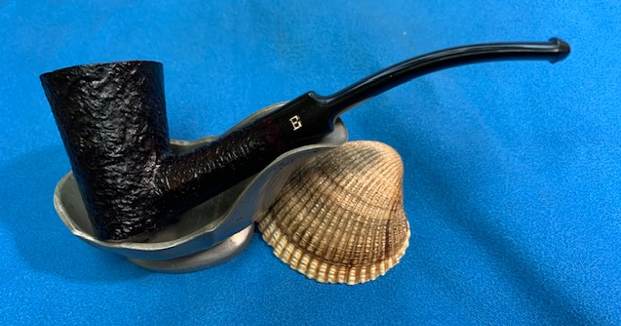
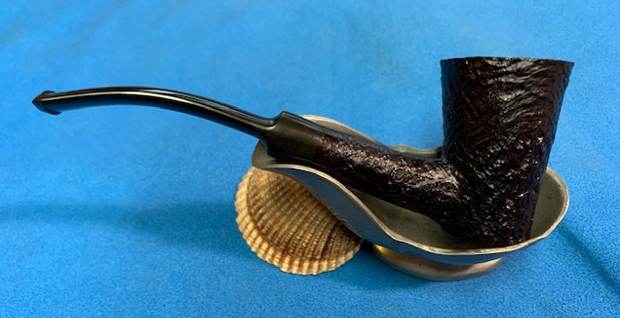
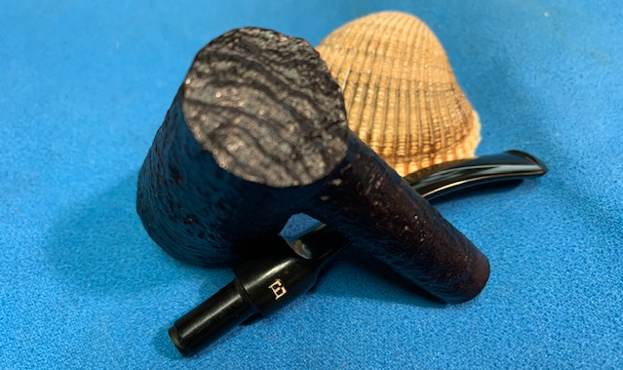
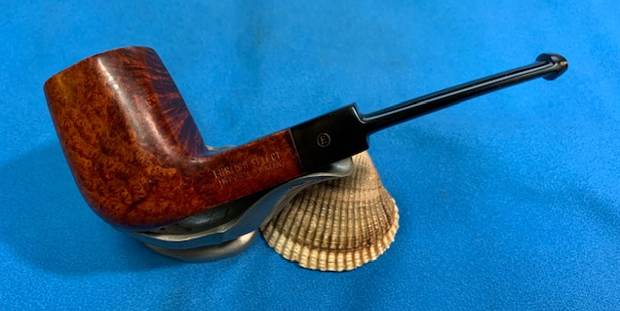
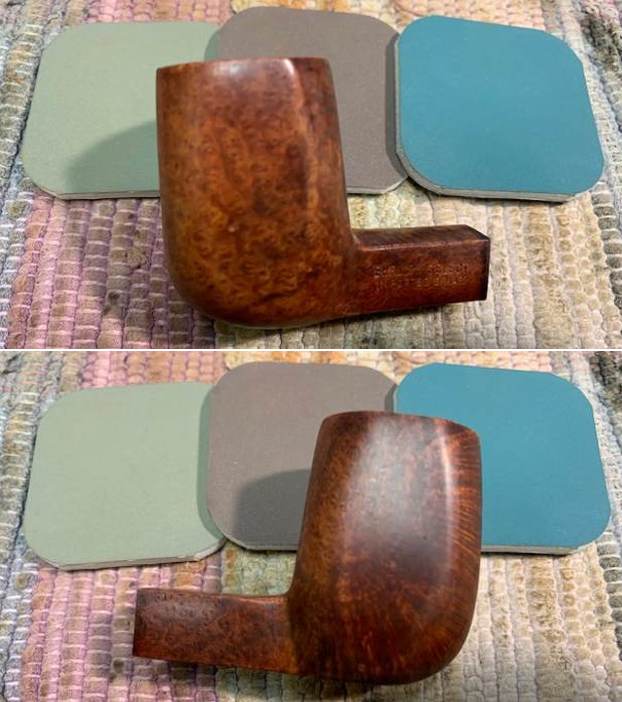
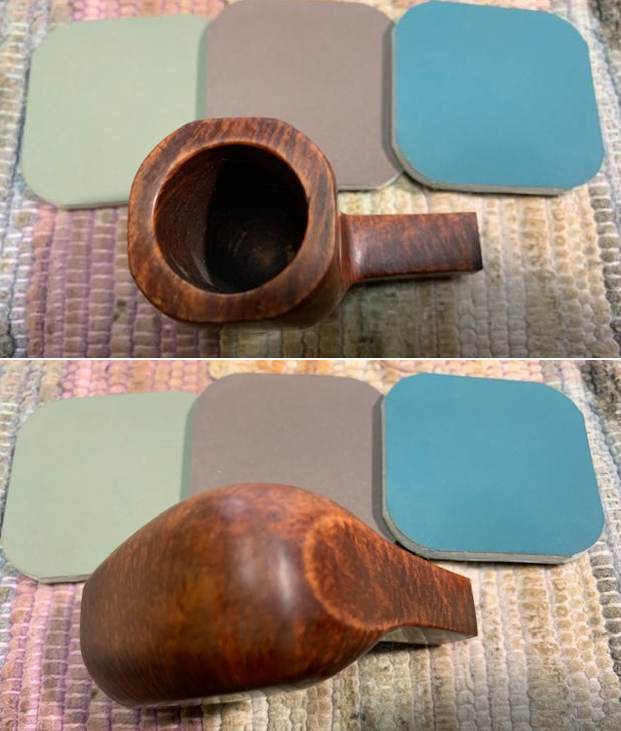
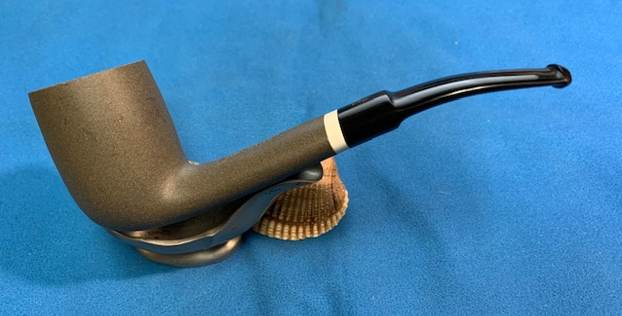
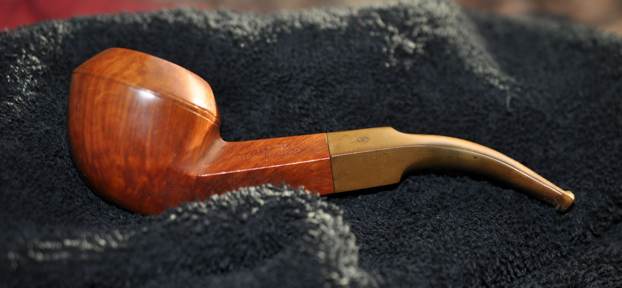
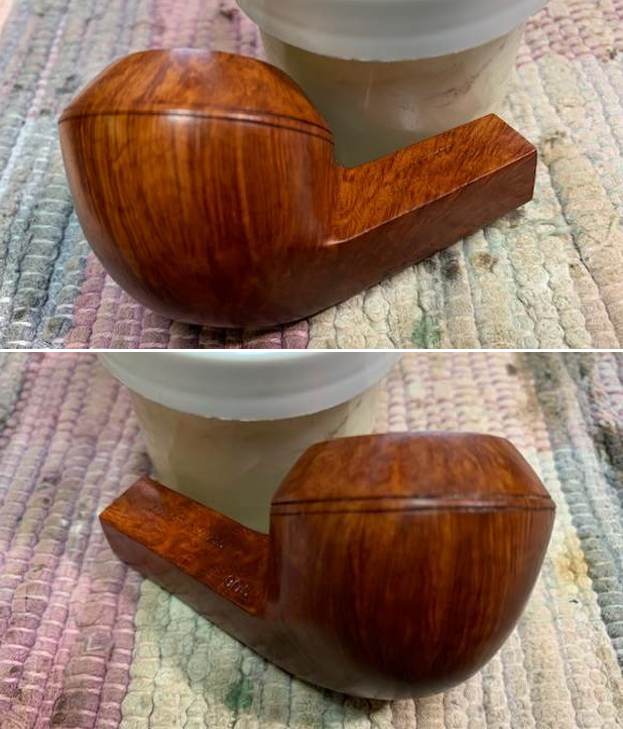
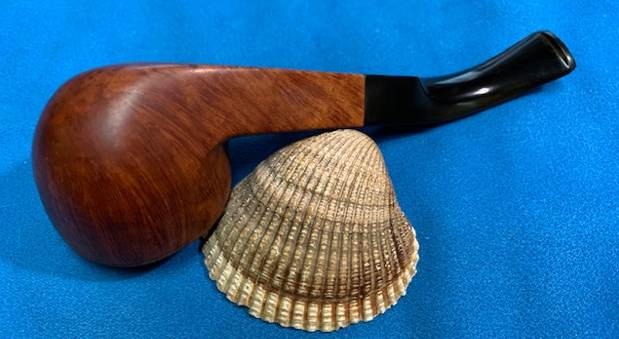
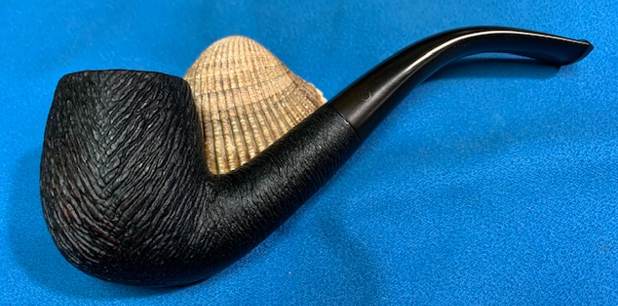
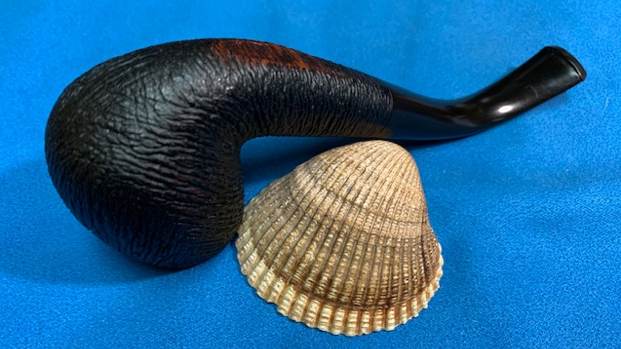
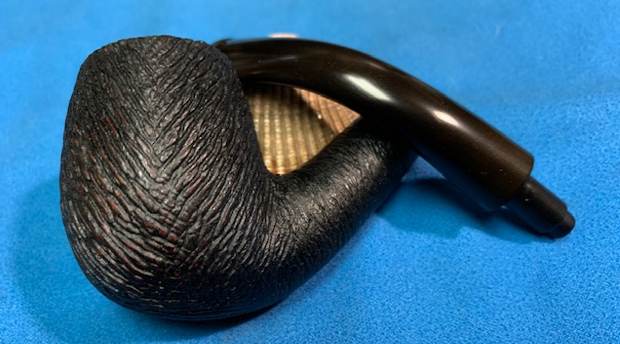
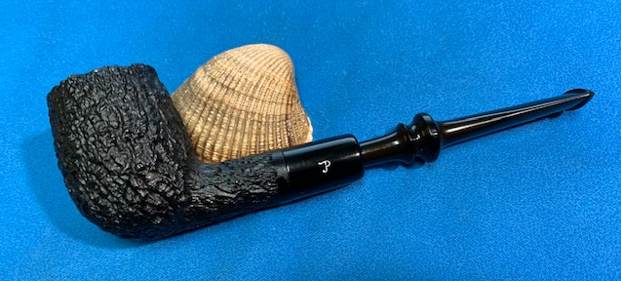
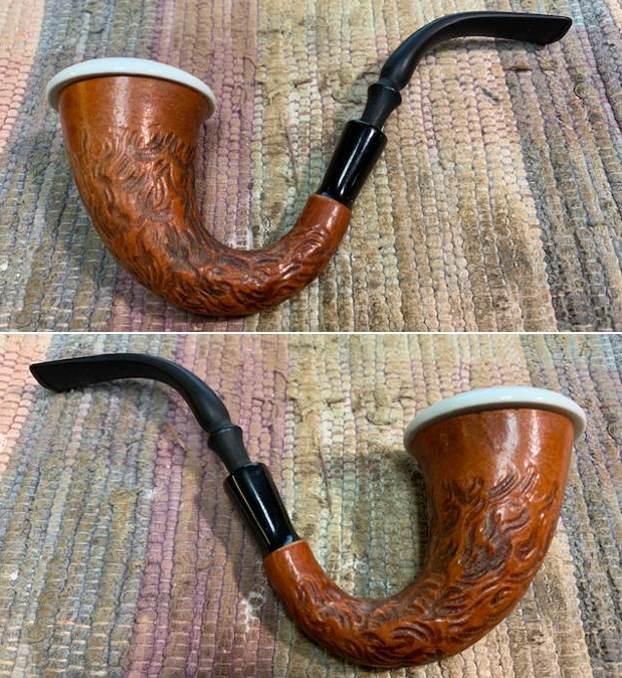
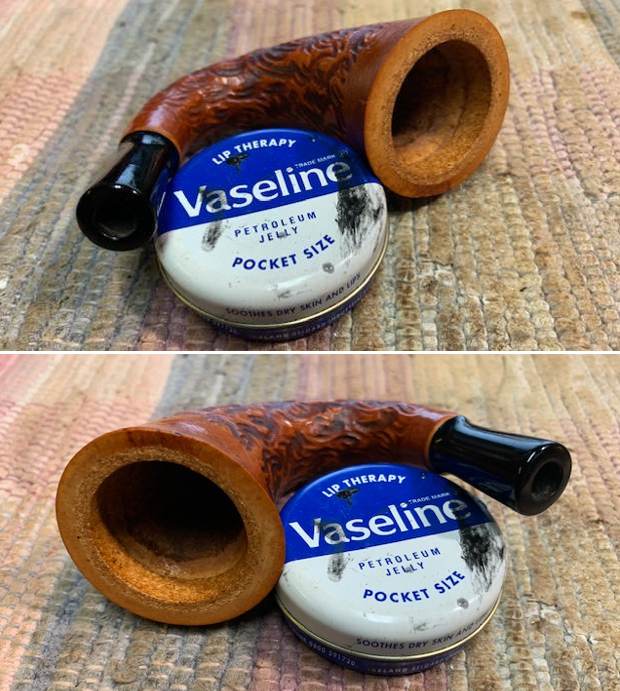
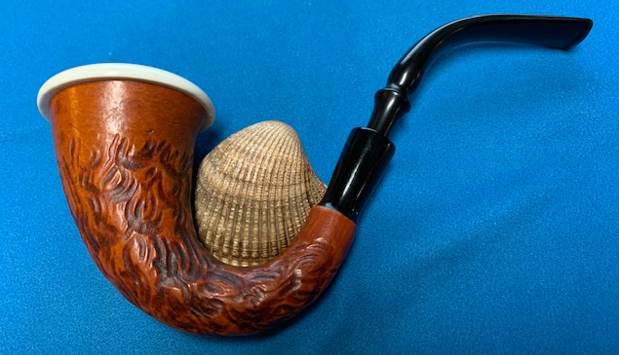
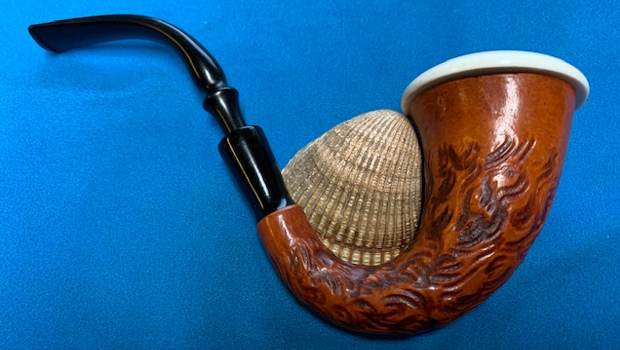
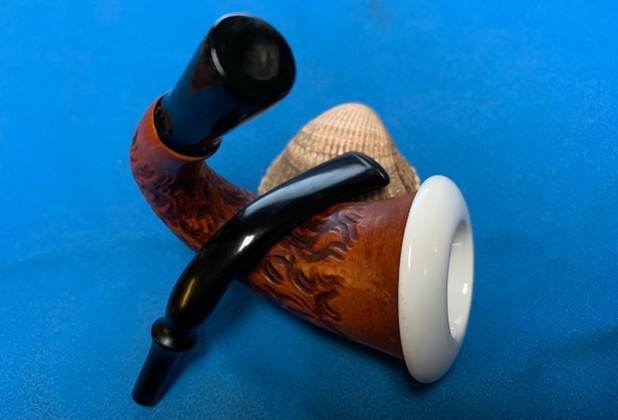
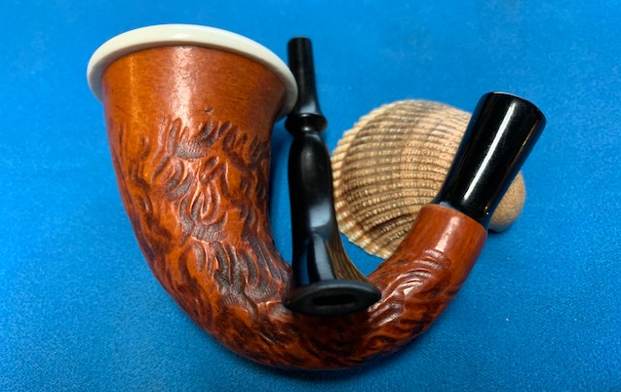
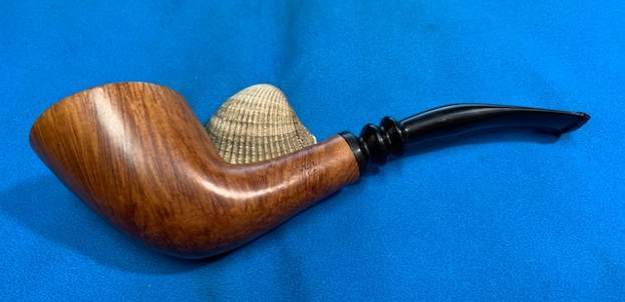
 This UNSMOKED/NEW OLD STOCK Comoy’s Made C.B. Perkins Supreme 600 Skater with a vulcanite taper stem looks really good. The grain around the bowl and shank stands out with the contrasting brown stains. I put the pipe back together and buffed the pipe with Blue Diamond on the wheel (being careful of the stamping on the stem so as not to damage that). I gave the bowl and stem multiple coats of carnauba wax and buffed the pipe with a clean buffing pad to raise the shine. I hand buffed it with a microfiber cloth to deepen the shine. The dimensions of this pipe are – Length: 5 ¼ inches, Height: 1 ¾ inches, Outside diameter of the bowl: 1 ¼ inches, Chamber diameter: ¾ of an inch. The weight of the pipe is 1.13 ounces/32 grams. It is a great looking pipe and one that will be going on the rebornpipes store in the American Pipe Makers section. If you want to add it to your collection let me know via email to slaug@uniserve.com or by message. Thanks for walking through the cleanup with me.
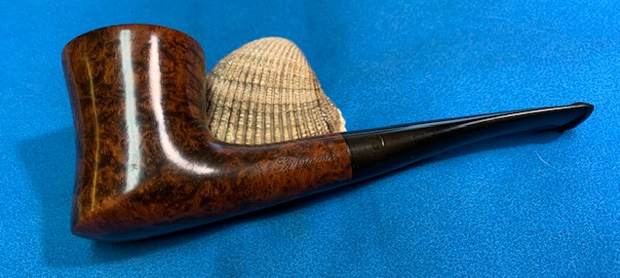


