Blog by Steve Laug
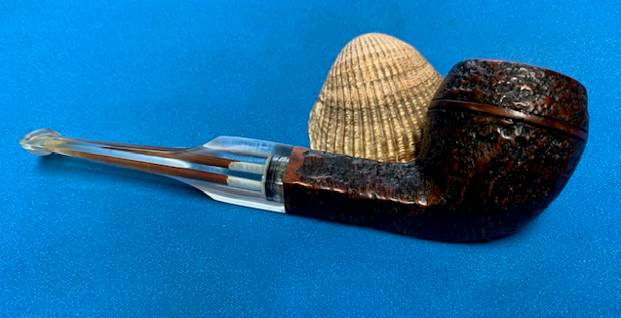
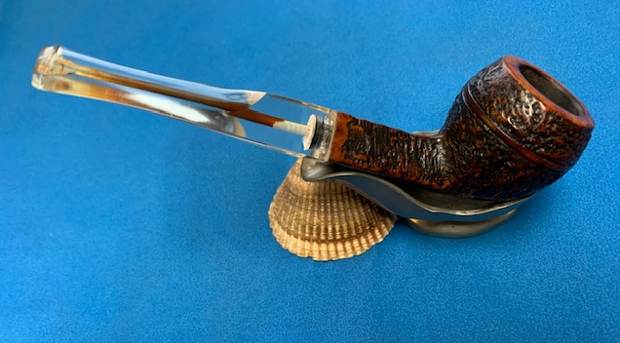
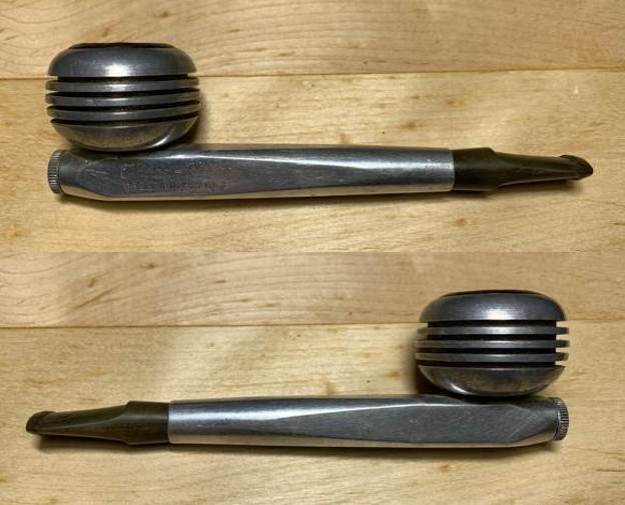
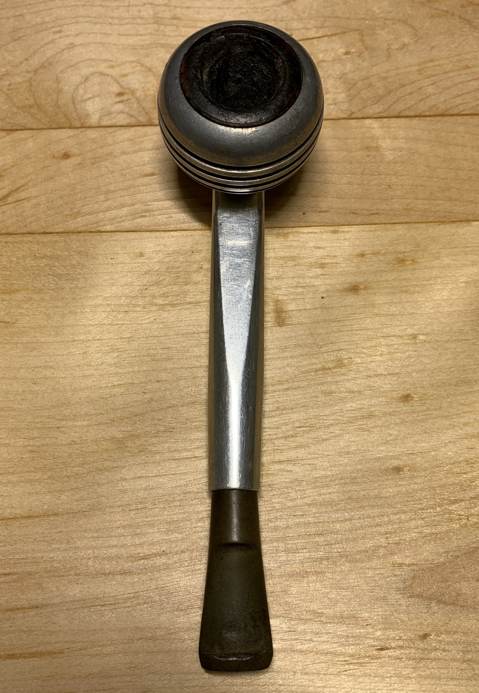
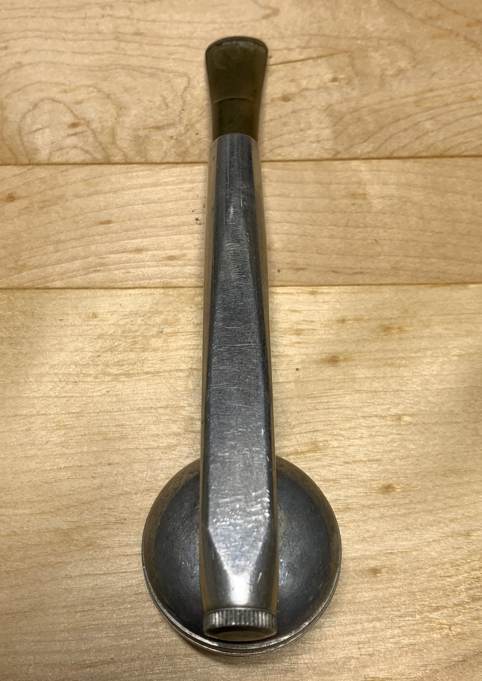
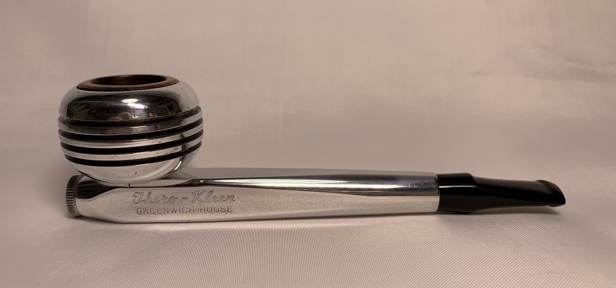
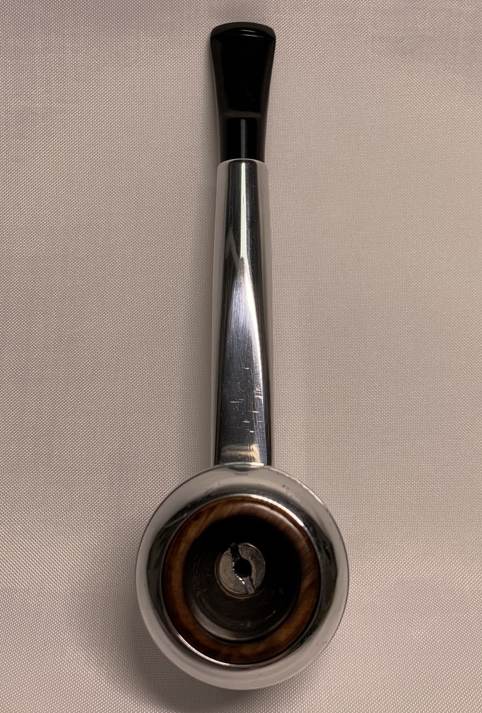
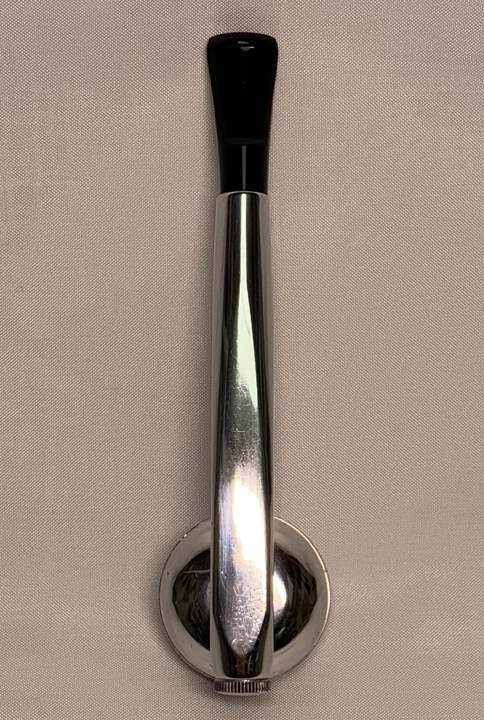
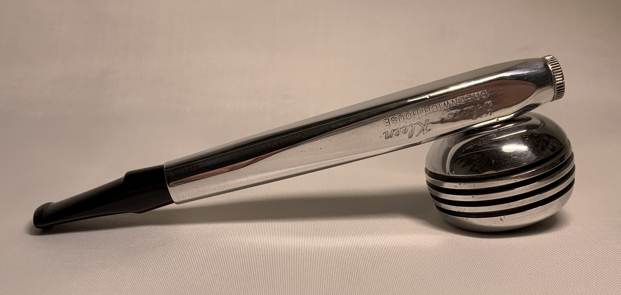
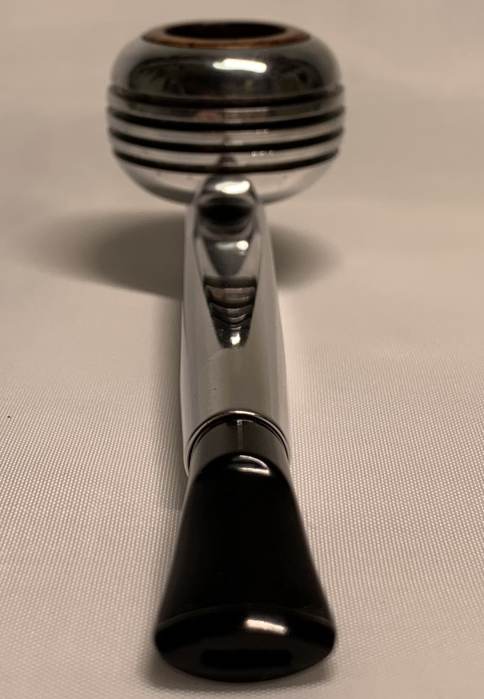
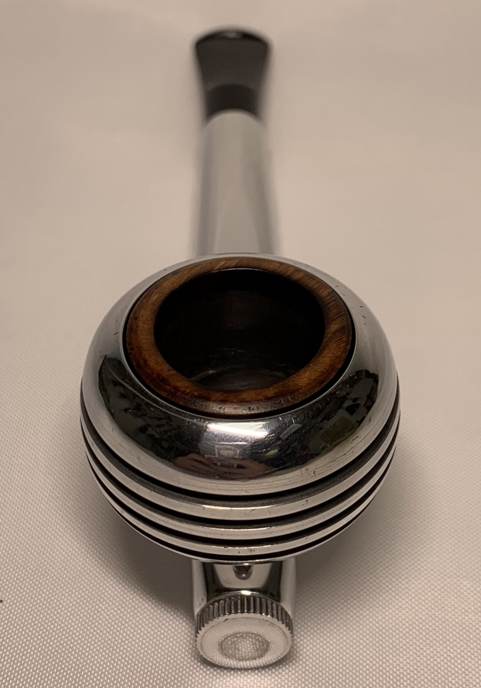
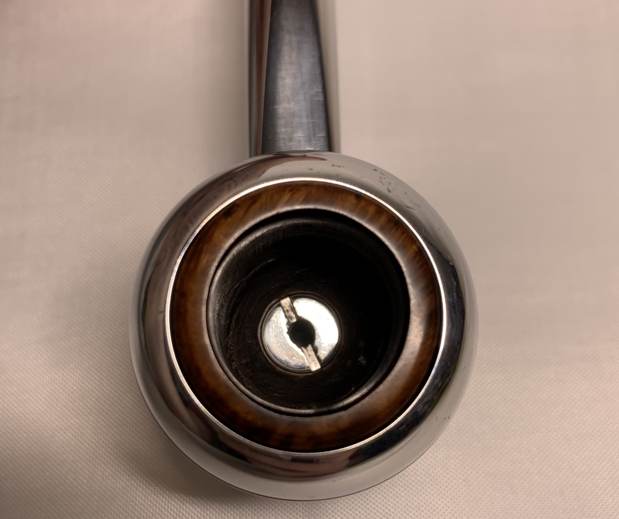
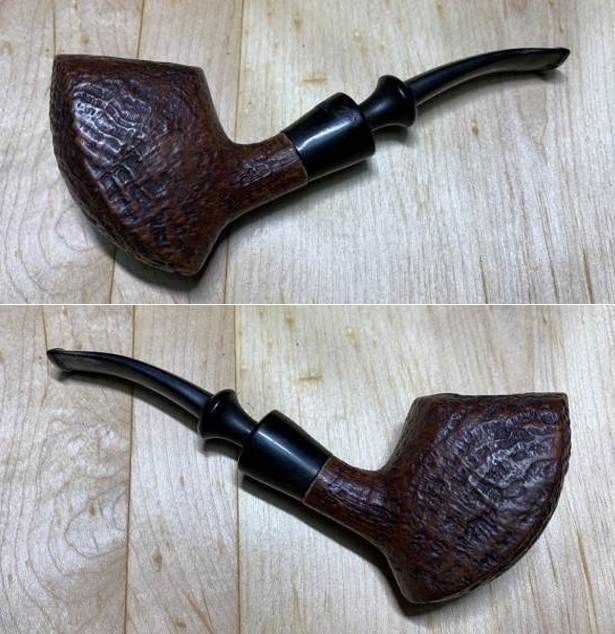
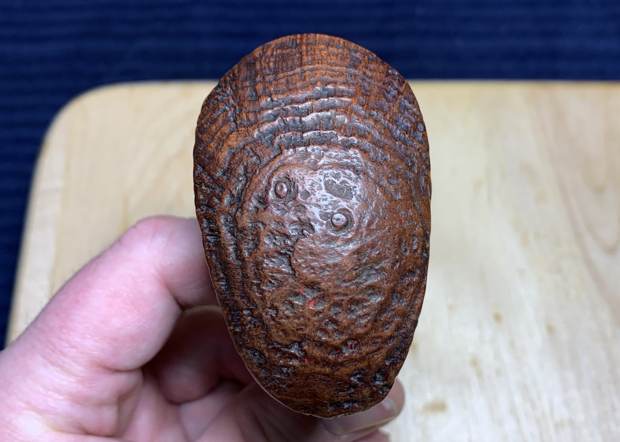
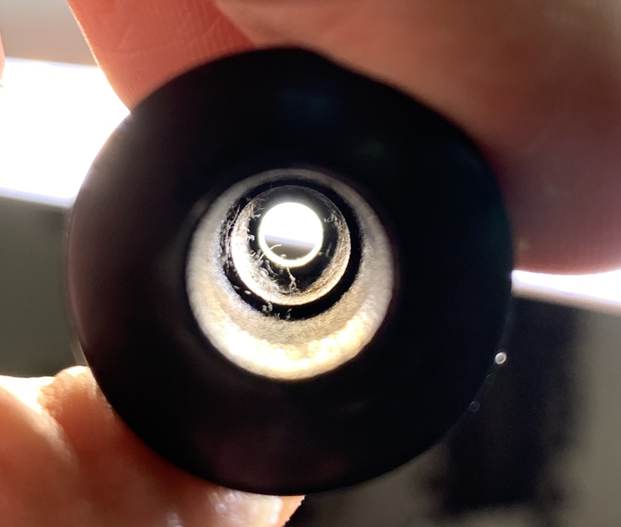
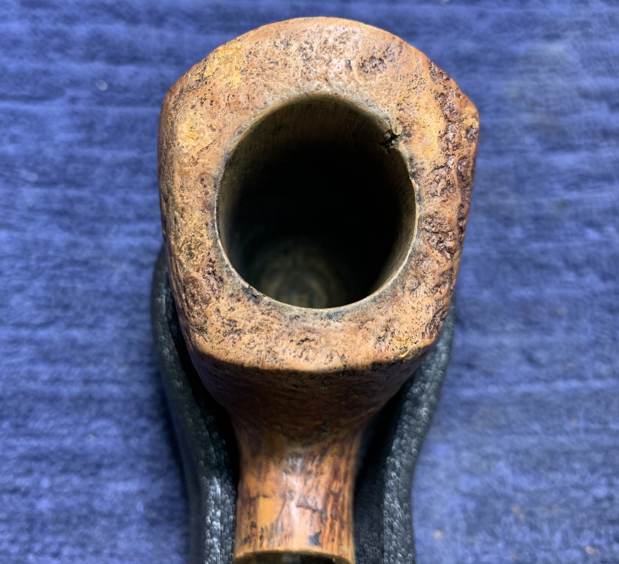
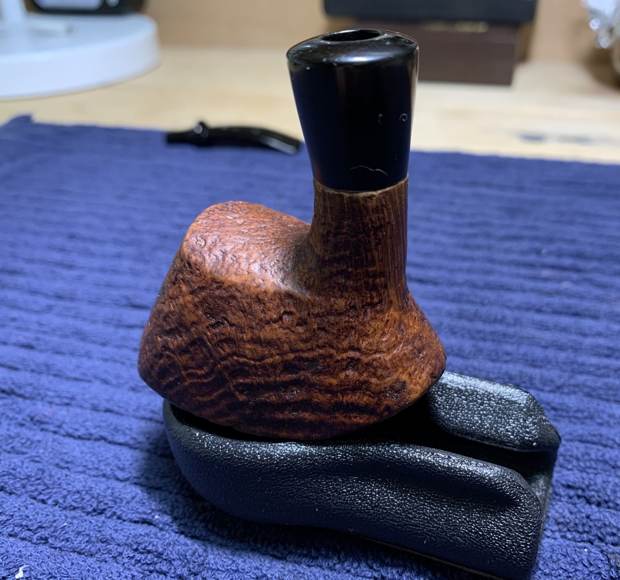
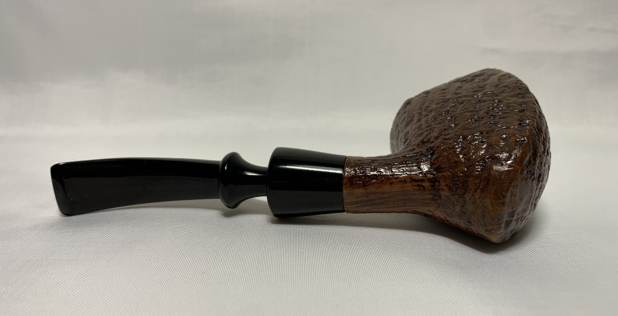
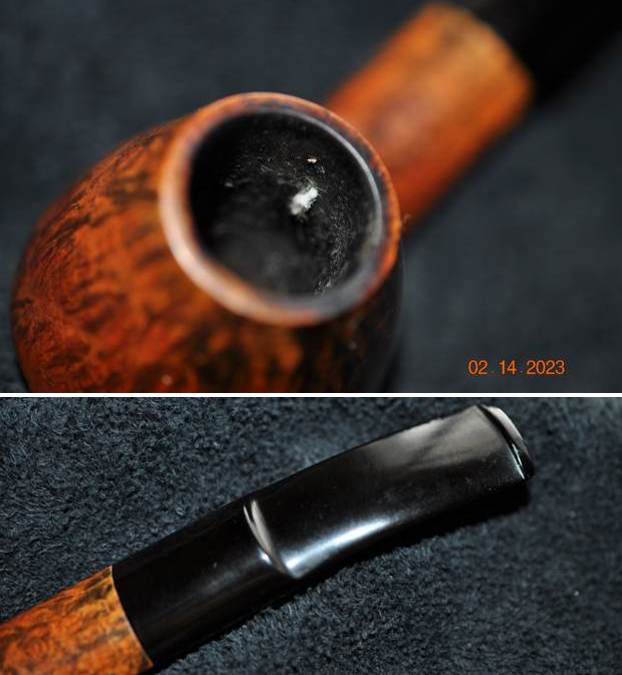
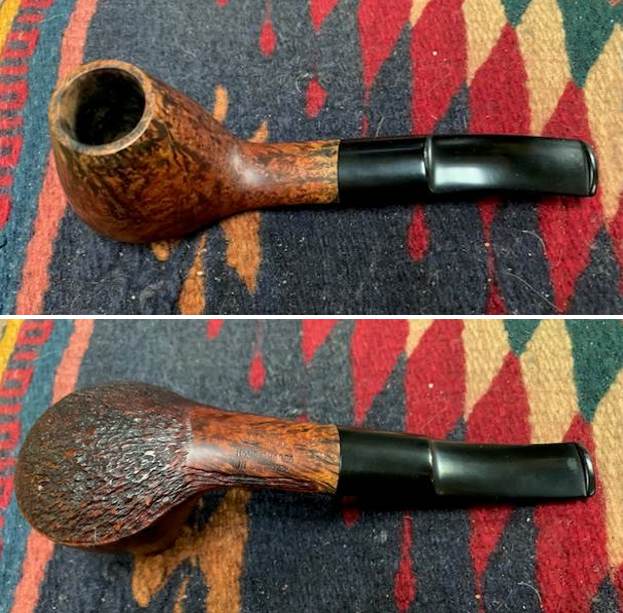
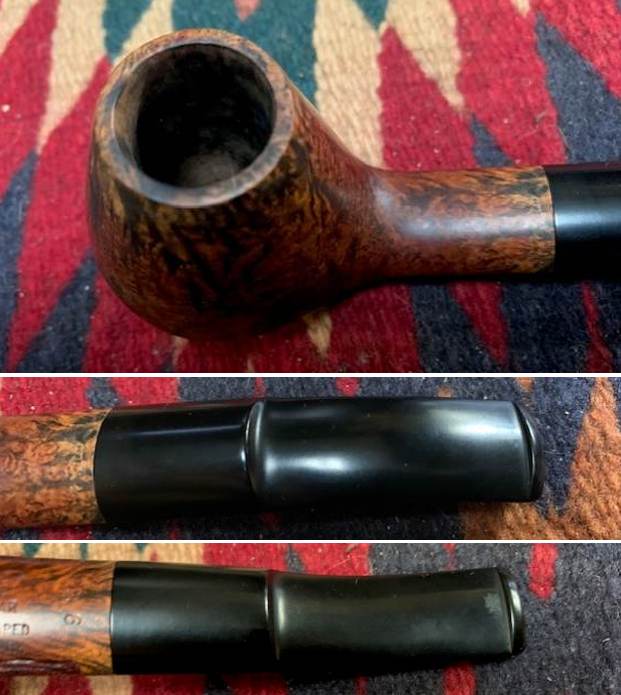
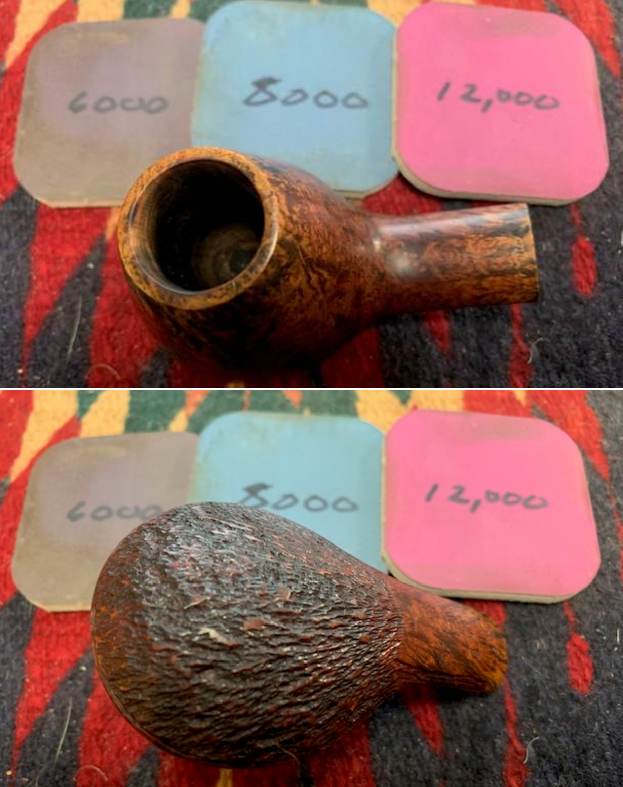
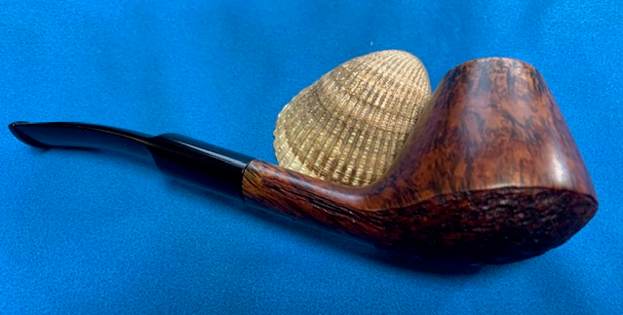
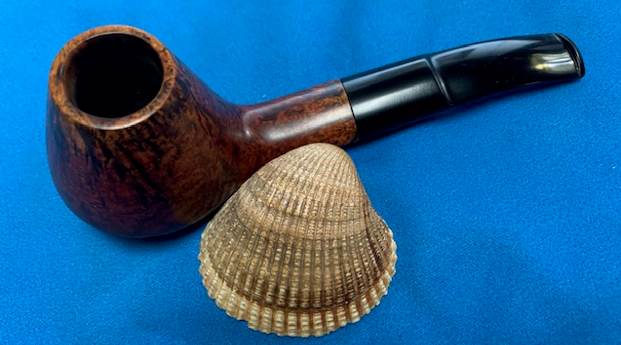
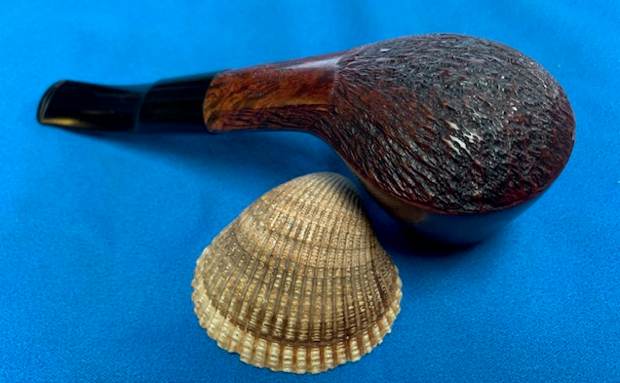
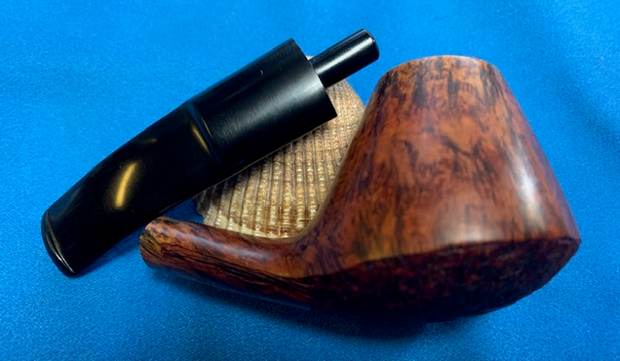
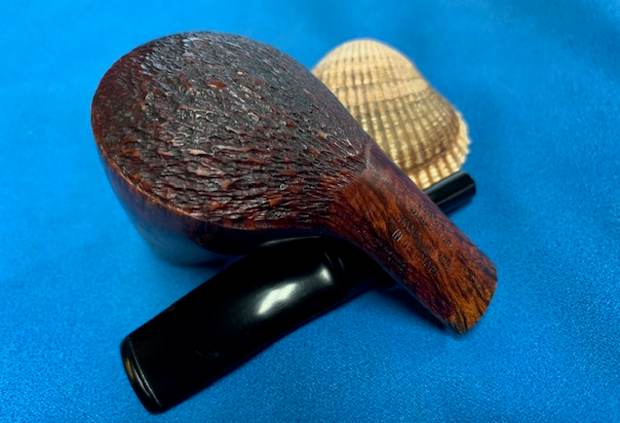
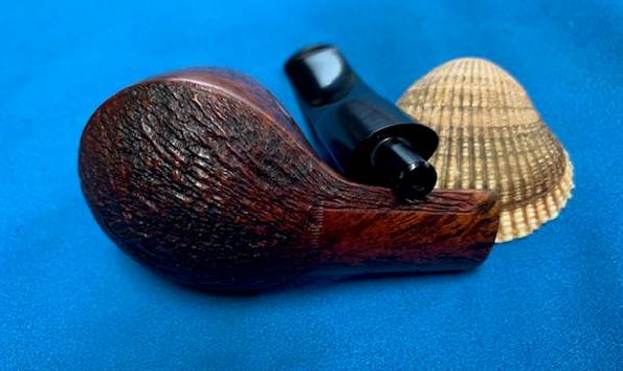
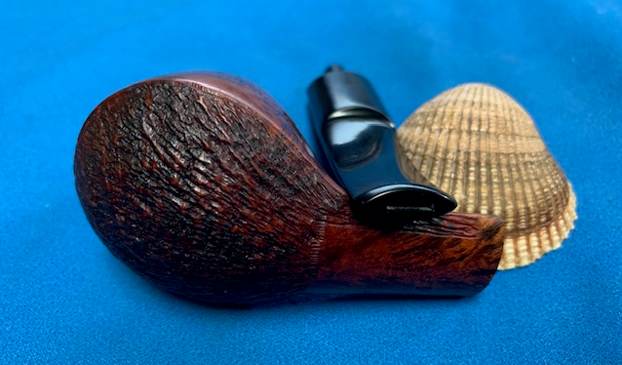
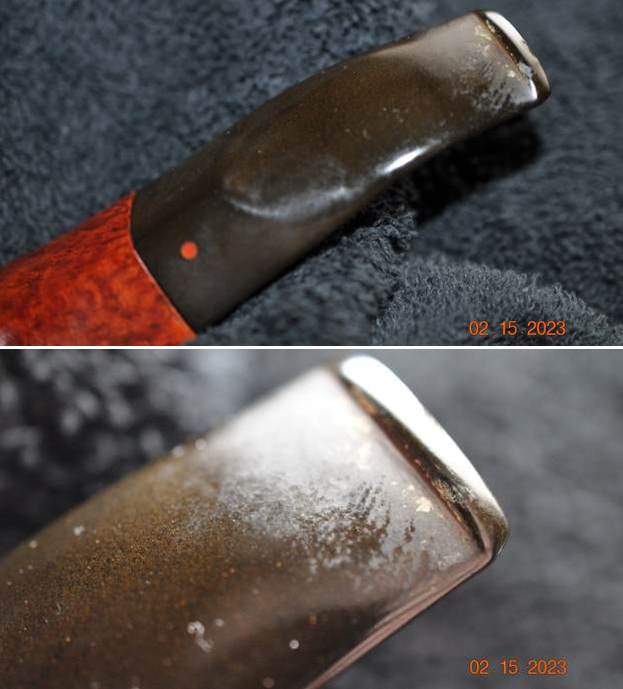
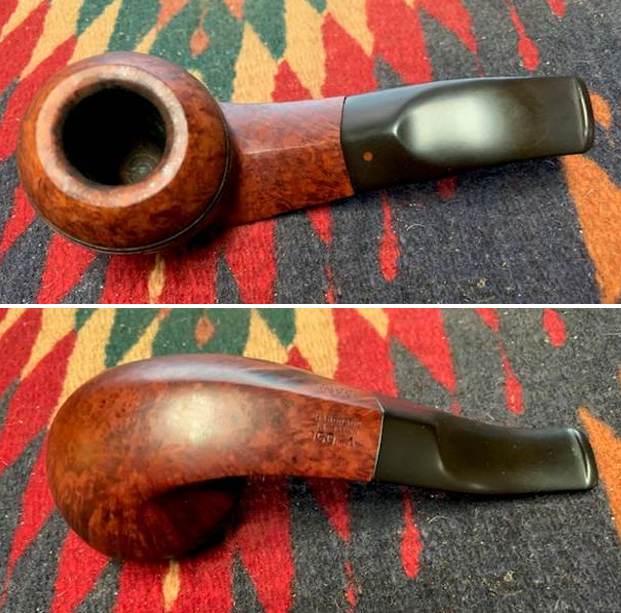
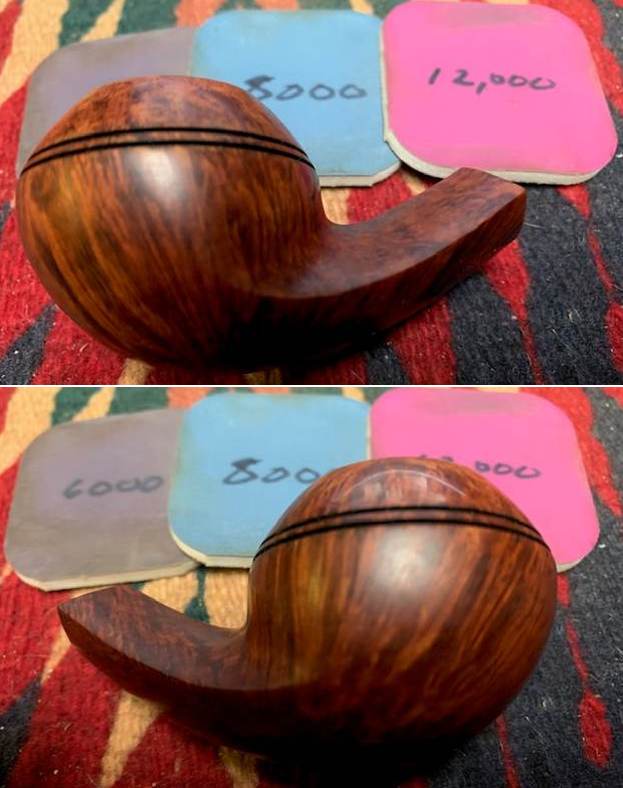
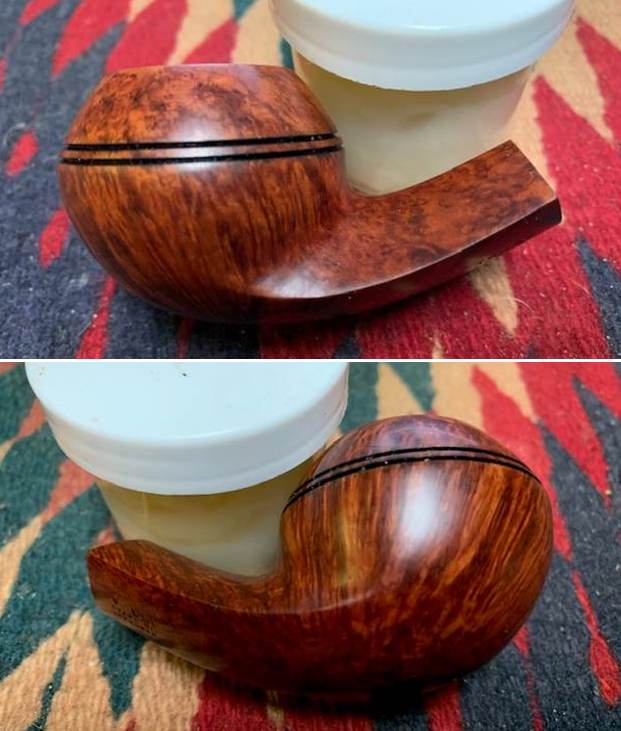
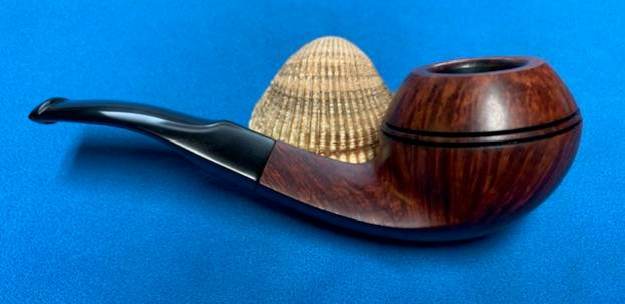
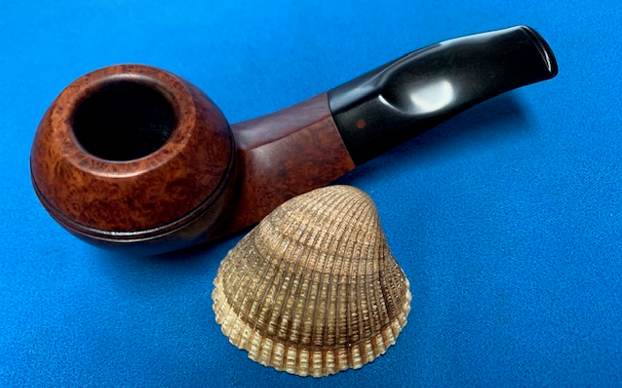
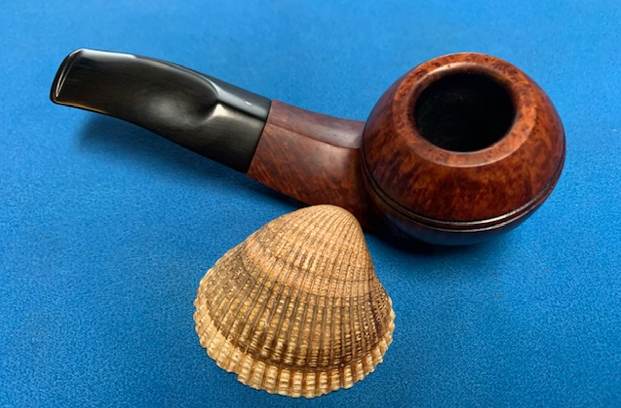
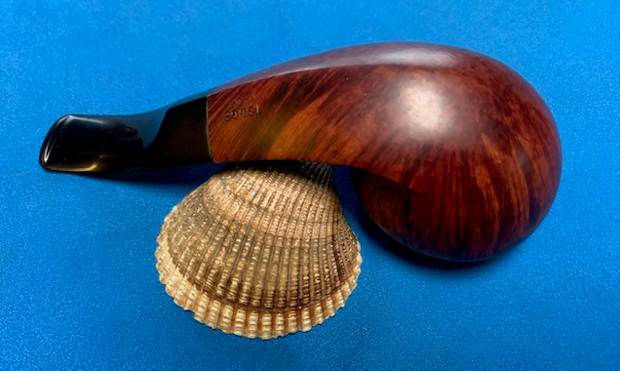
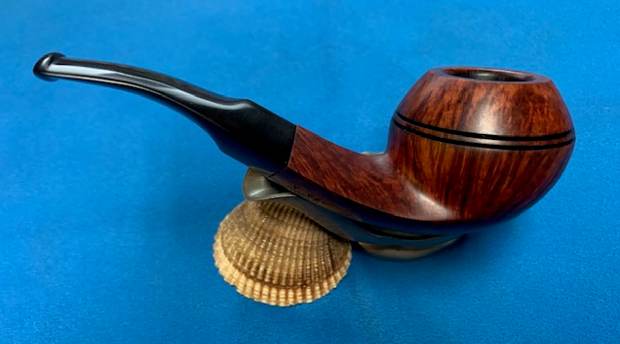
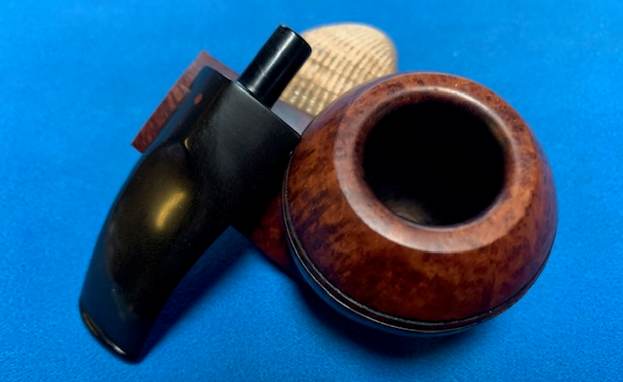
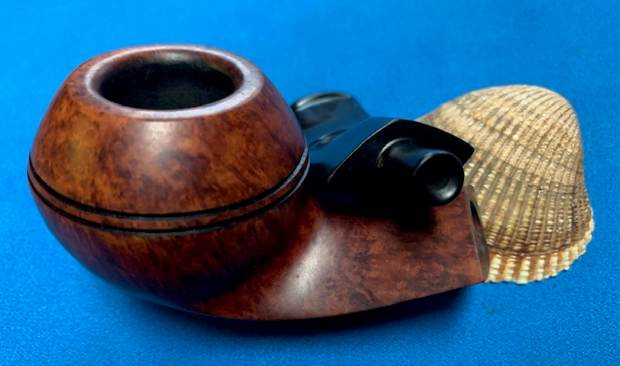
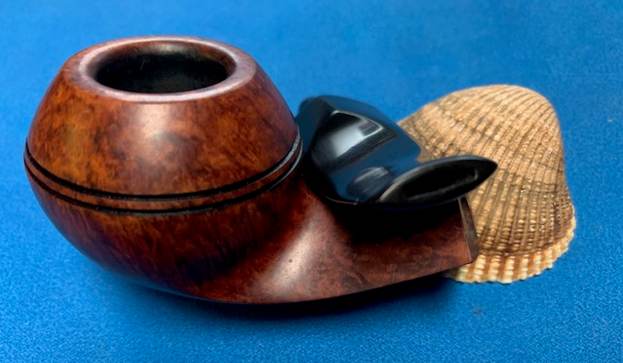
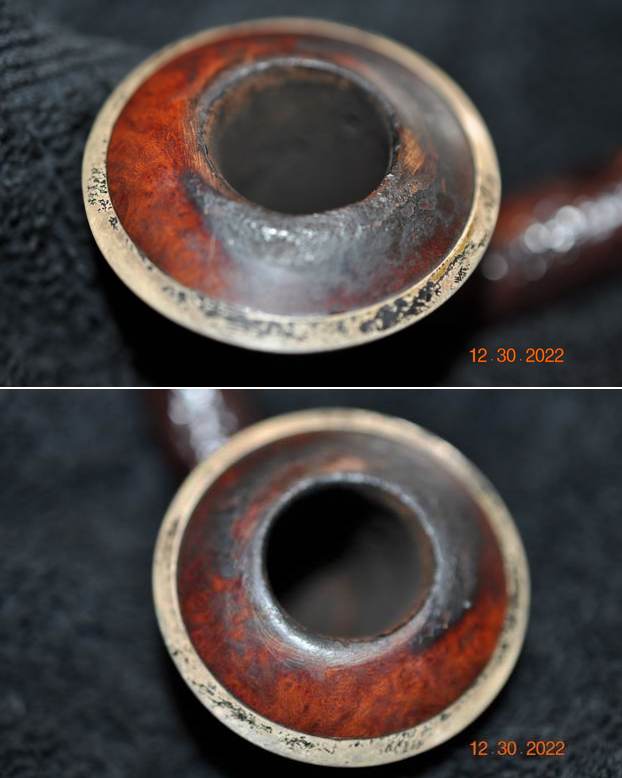
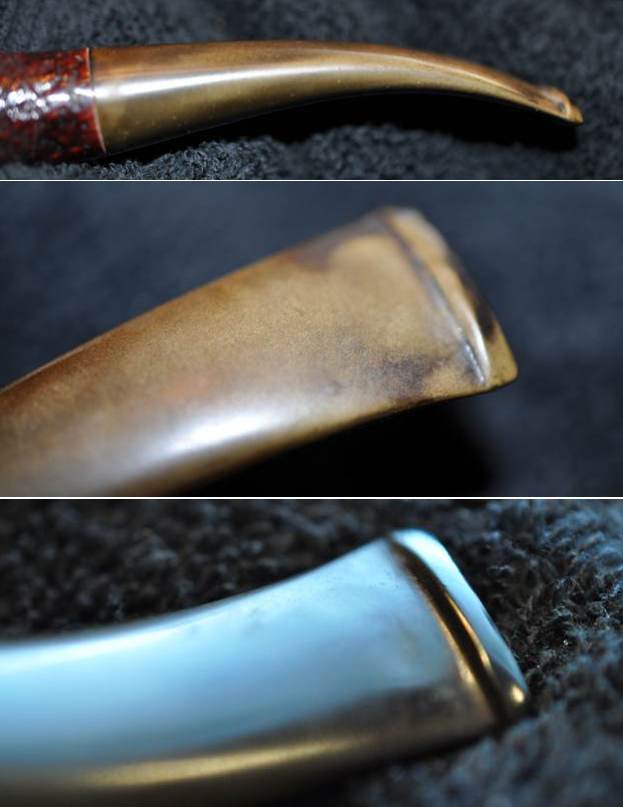
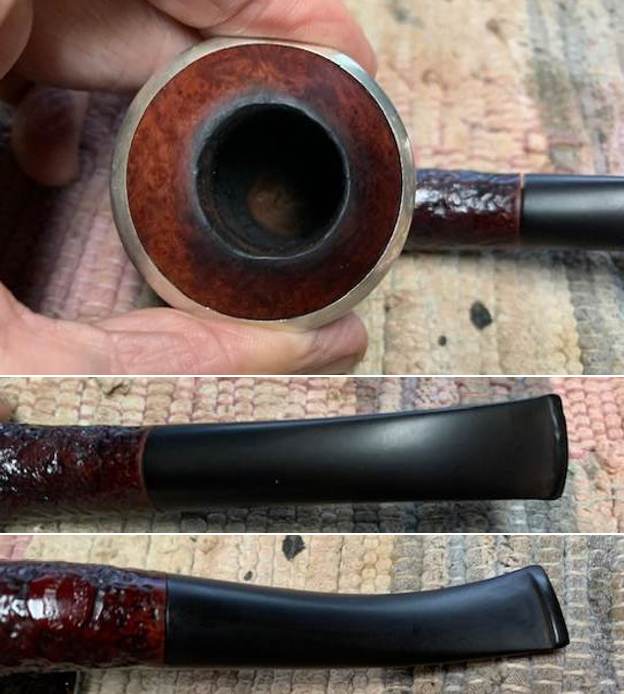
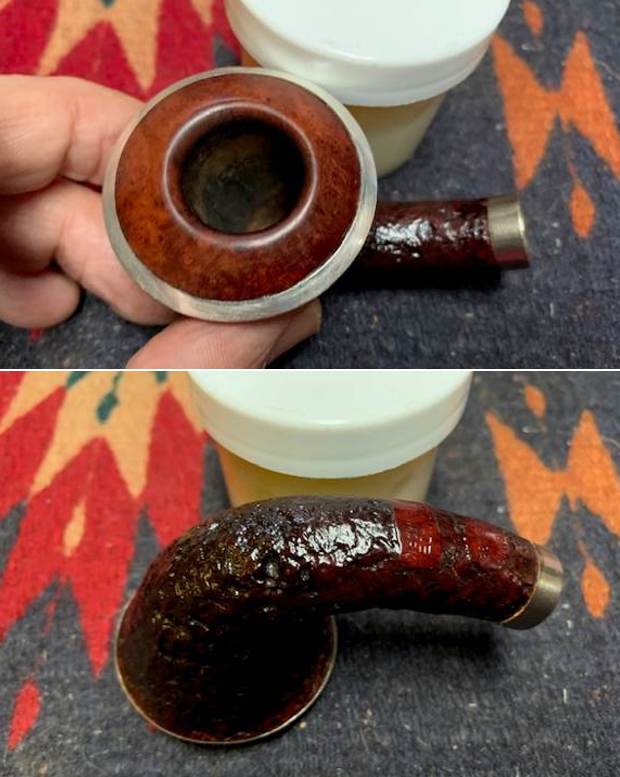
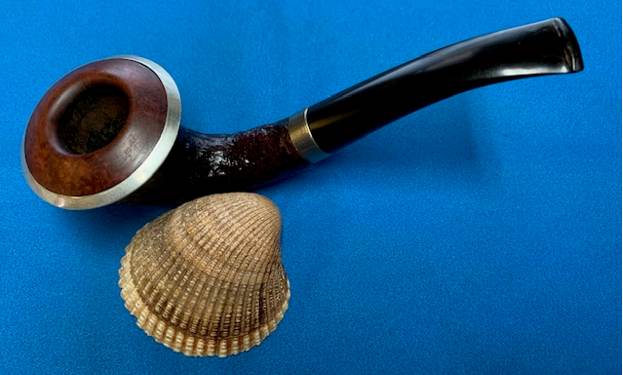
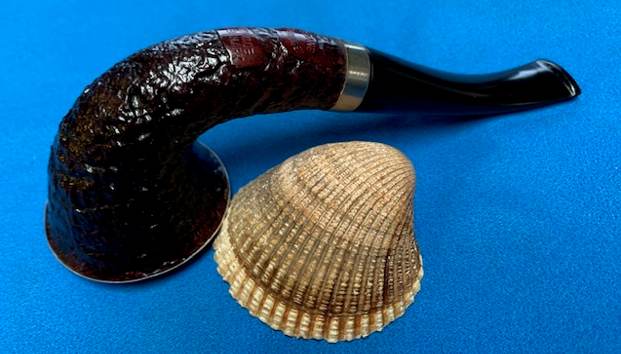
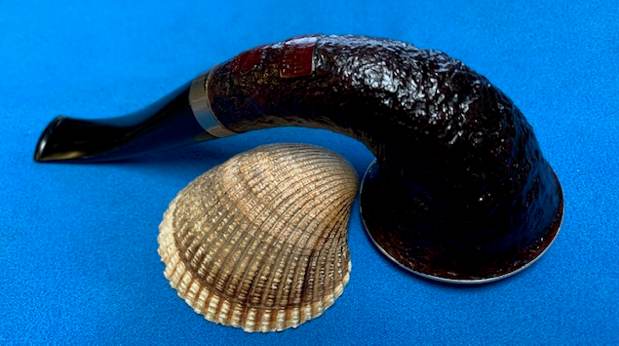
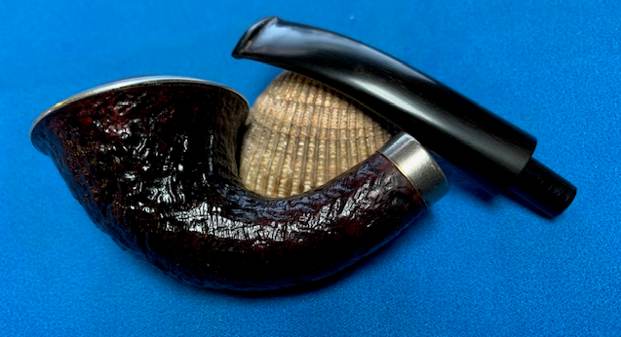
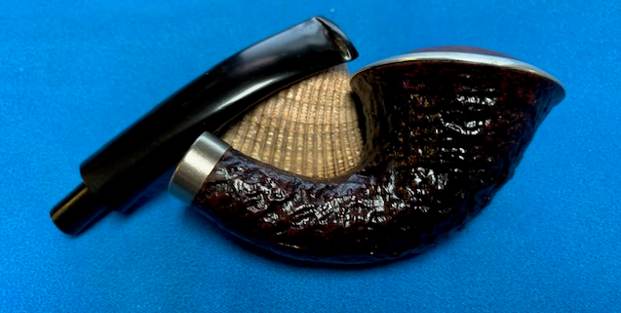
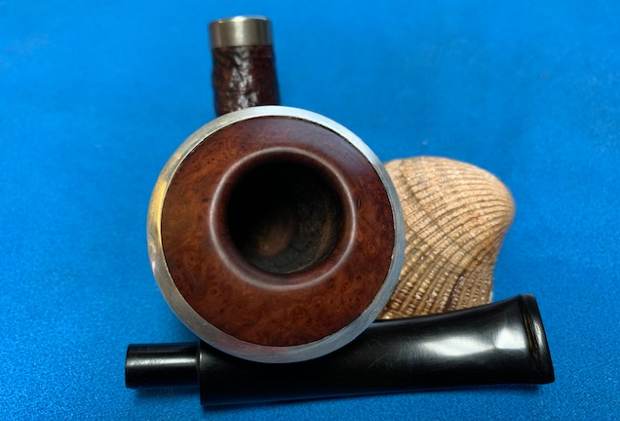
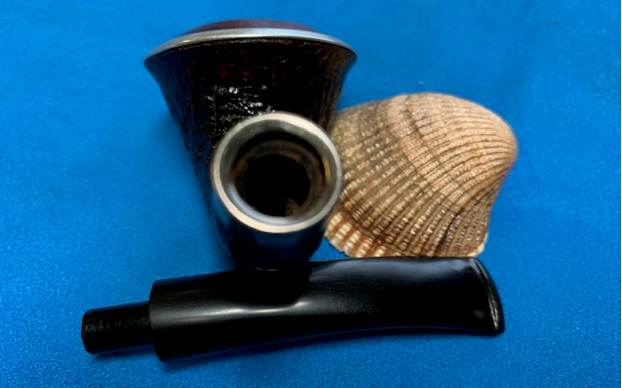
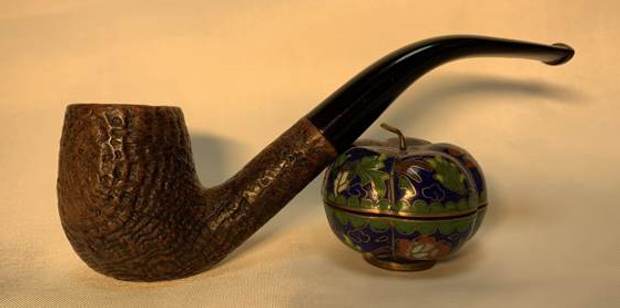
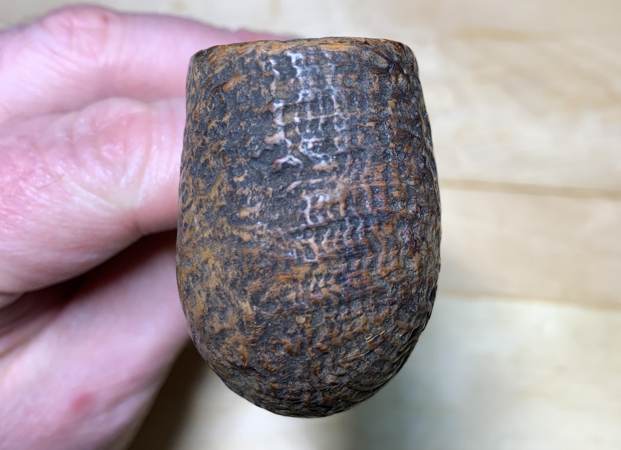
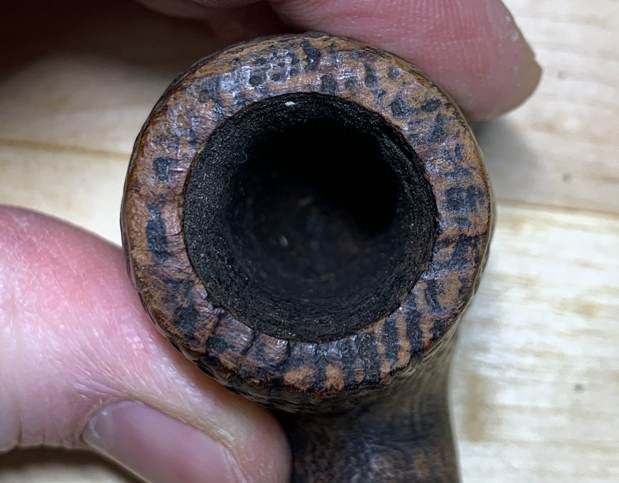
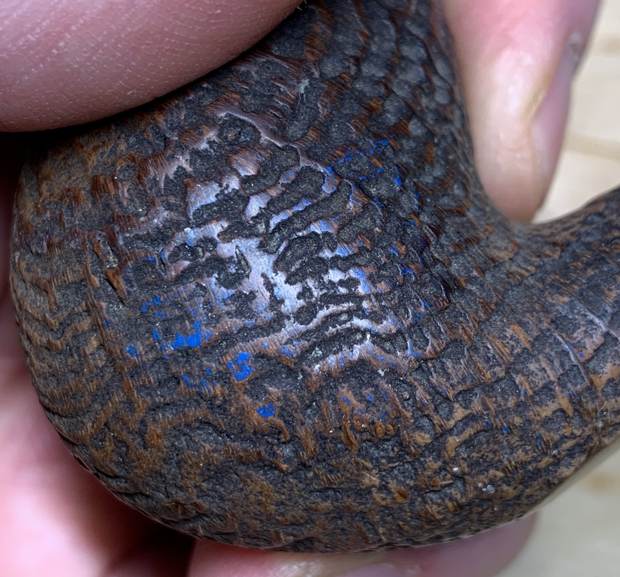
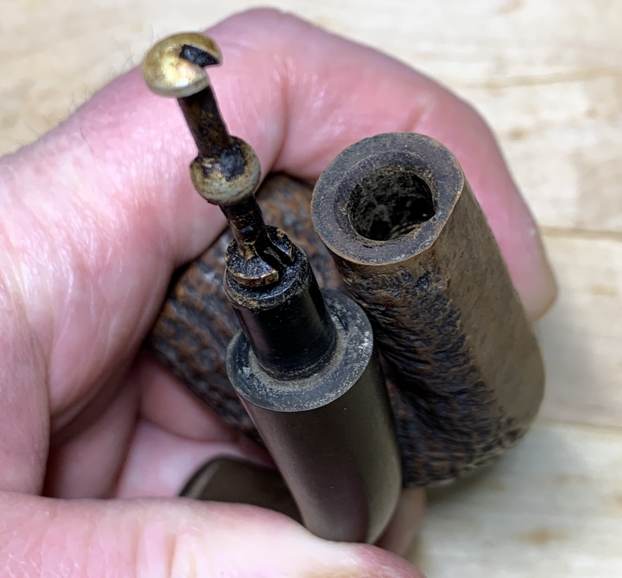
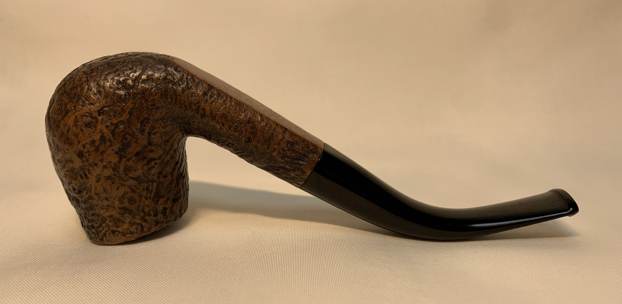
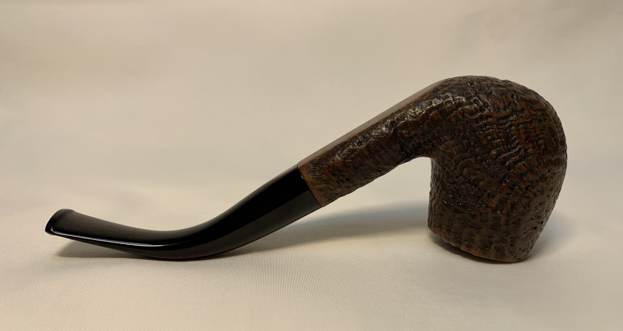
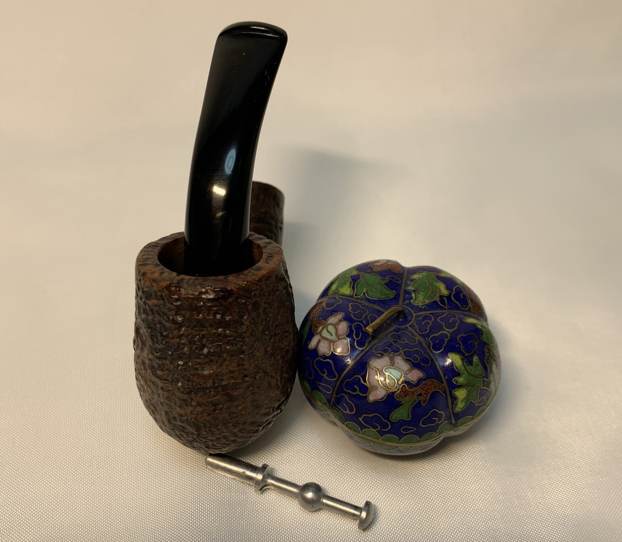
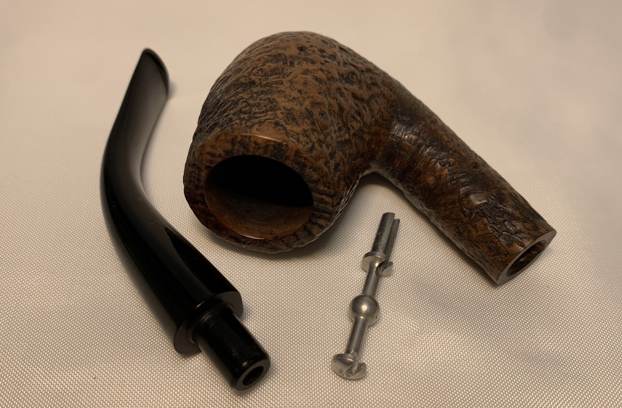
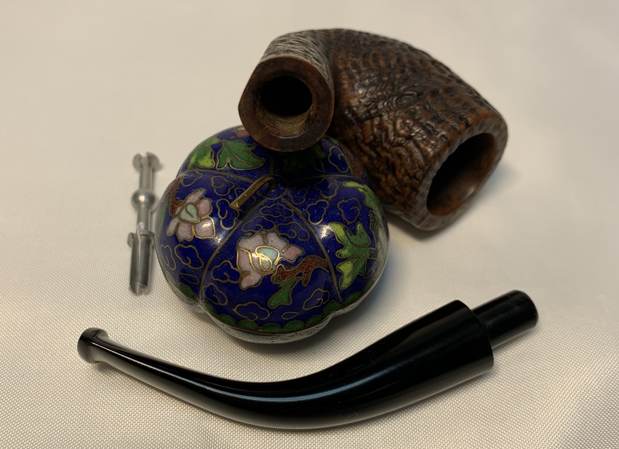
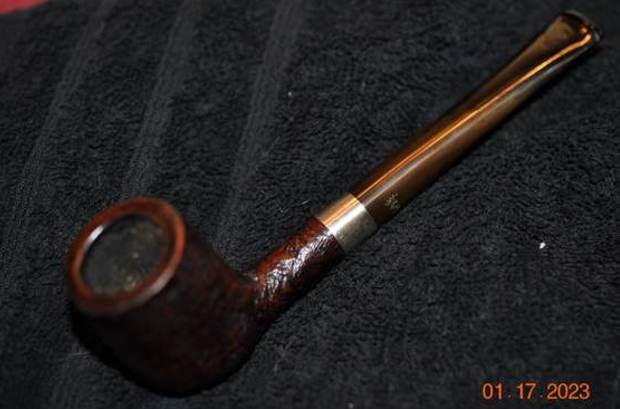
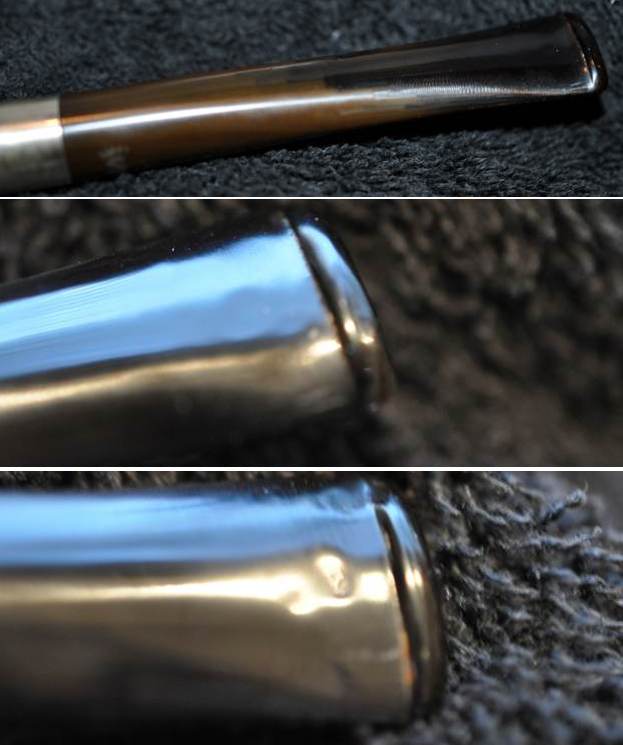
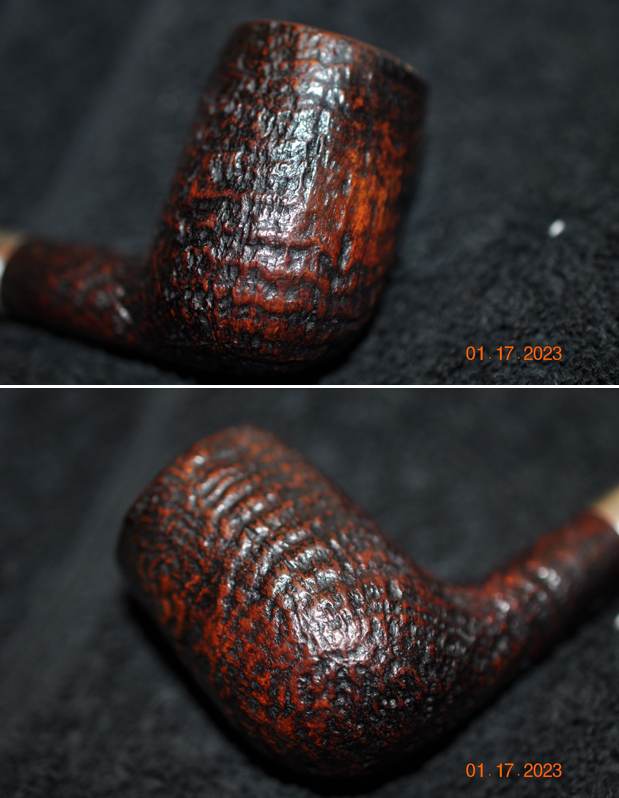
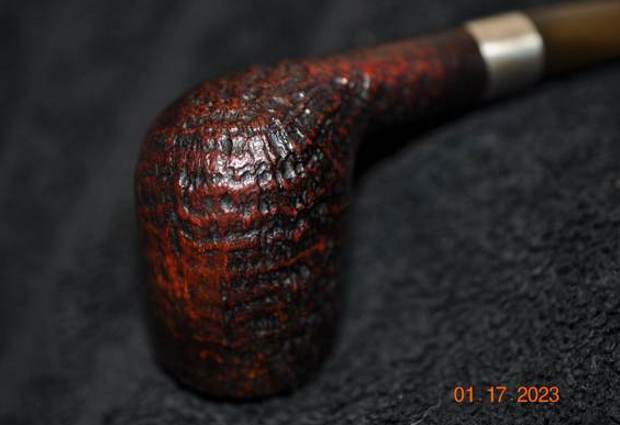
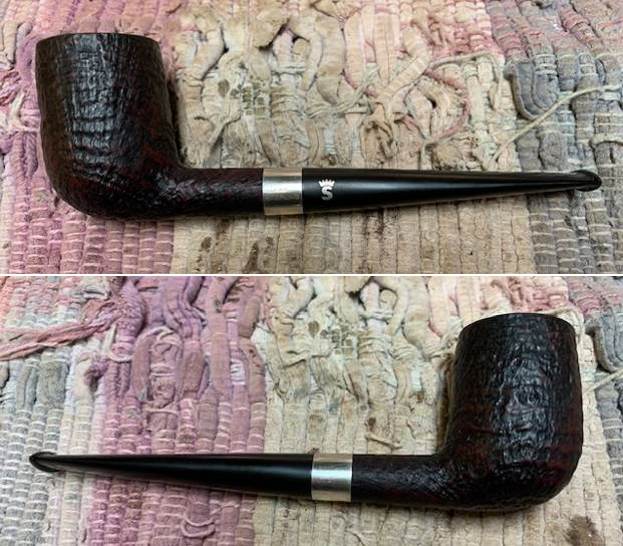
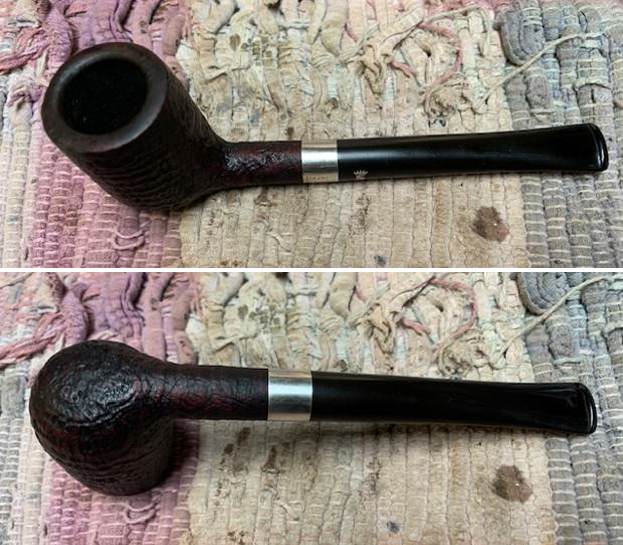
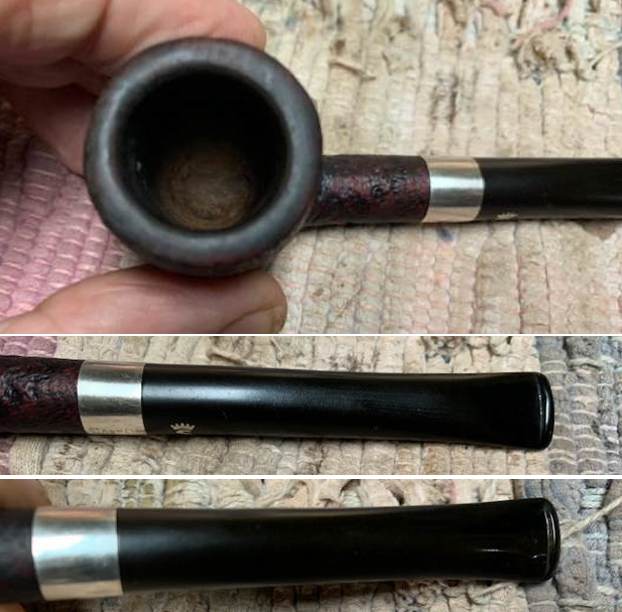
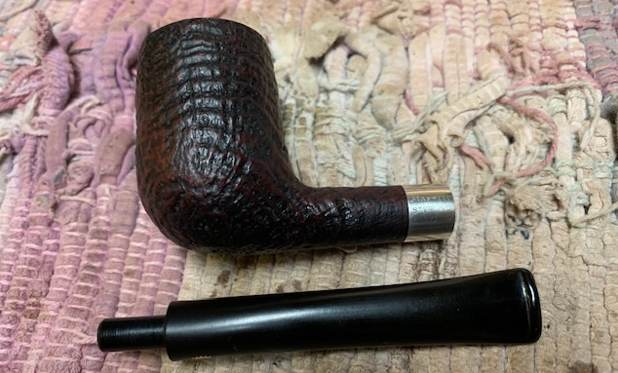
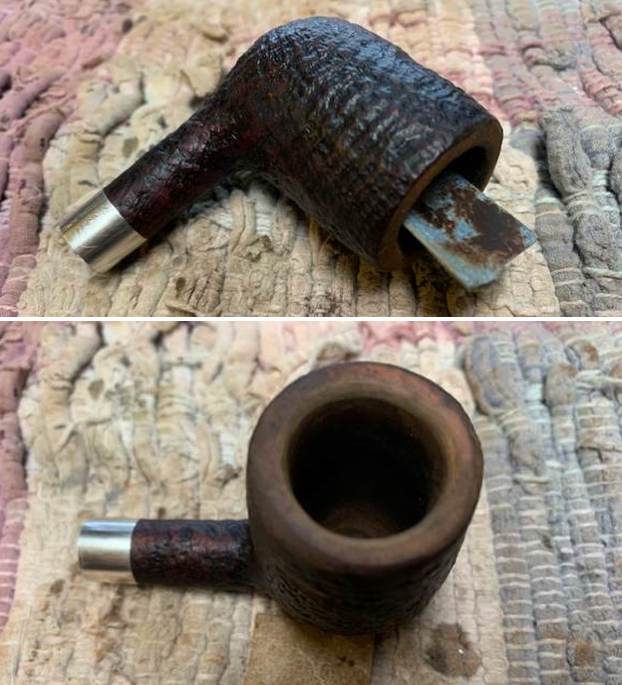
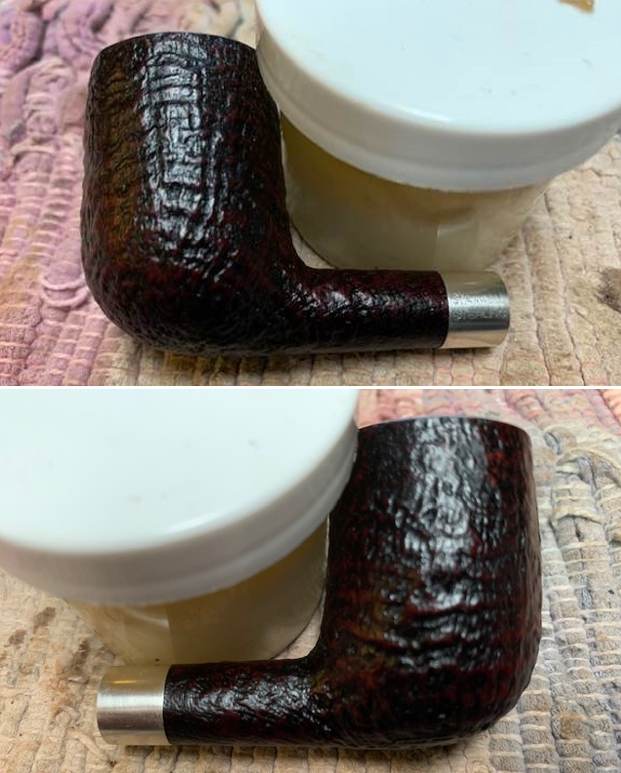
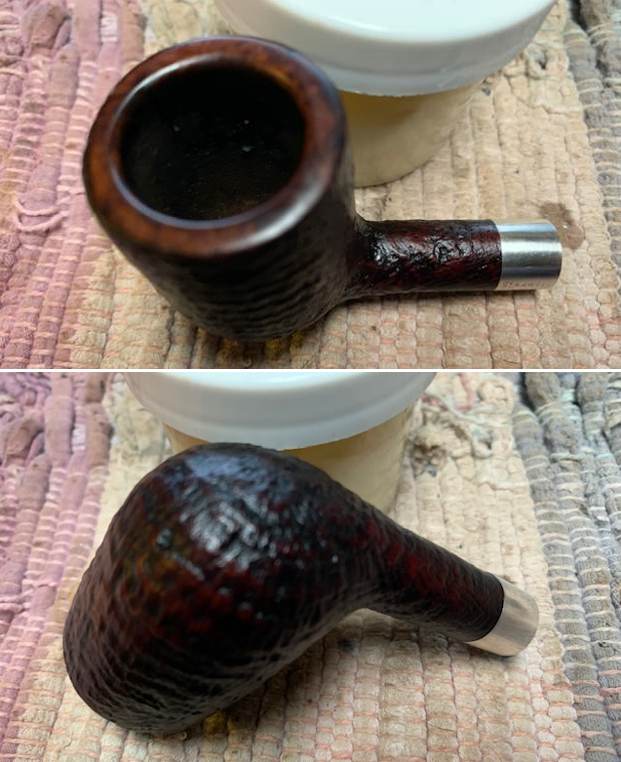
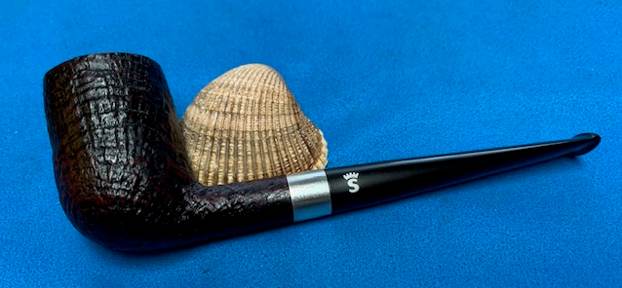
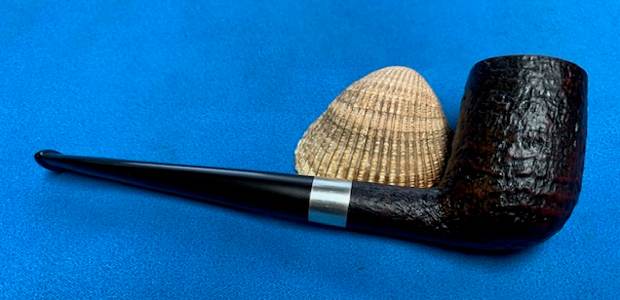
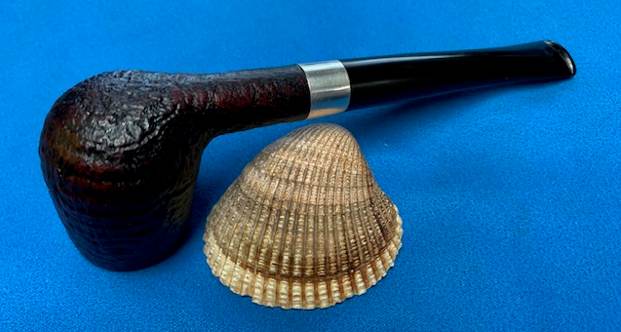
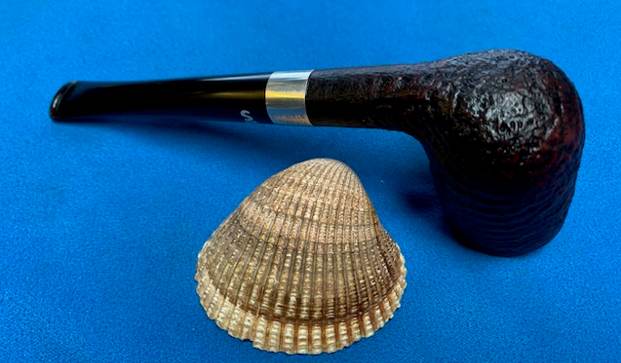
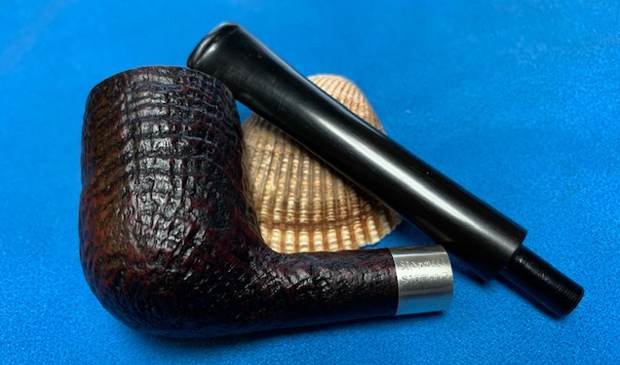
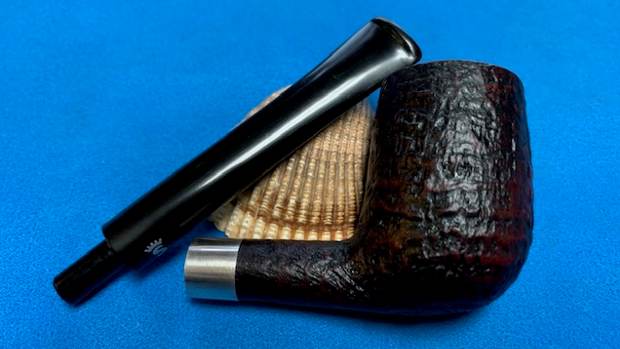
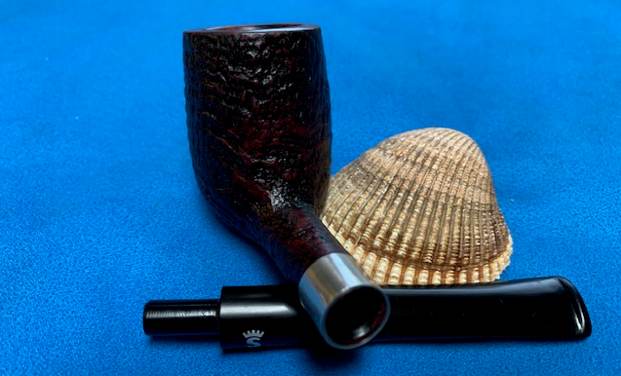
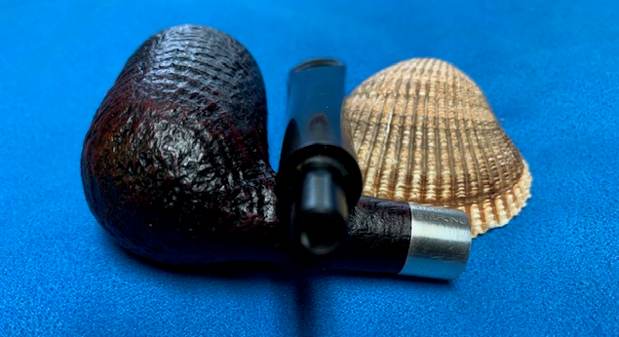
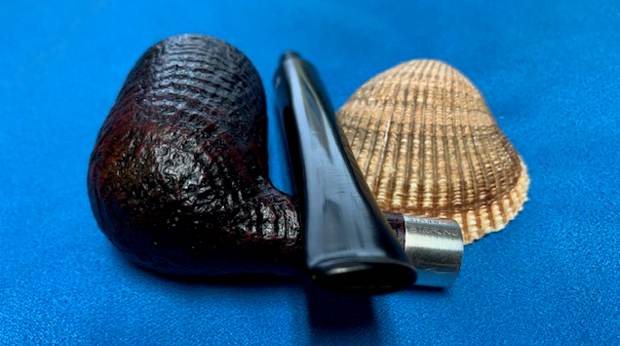
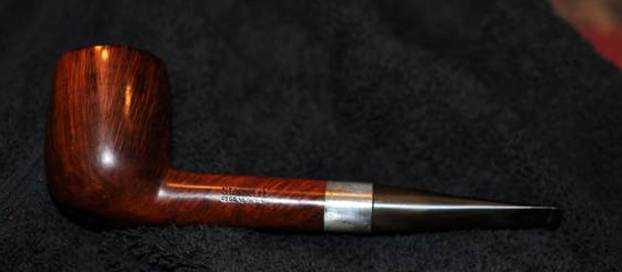
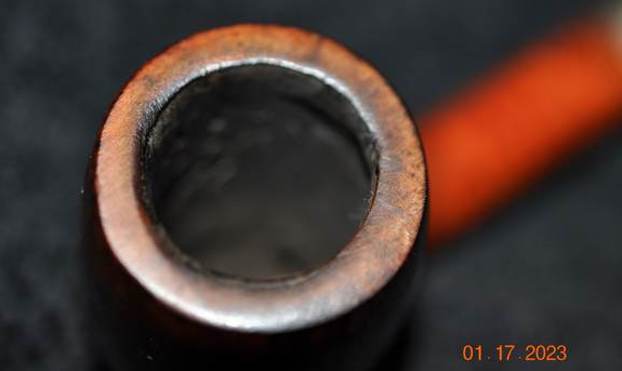
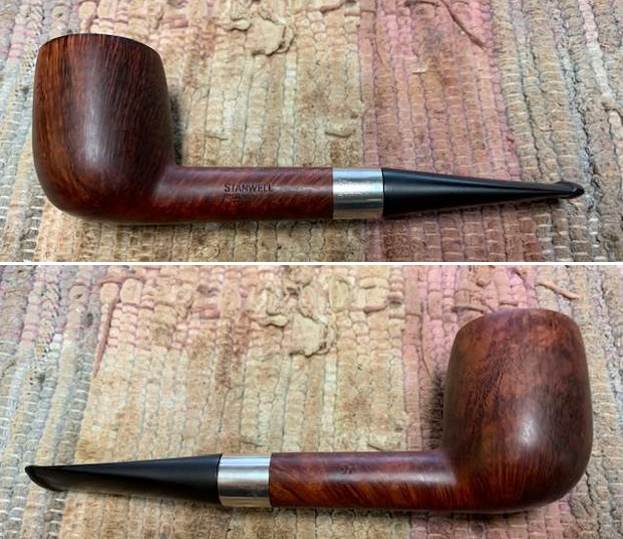
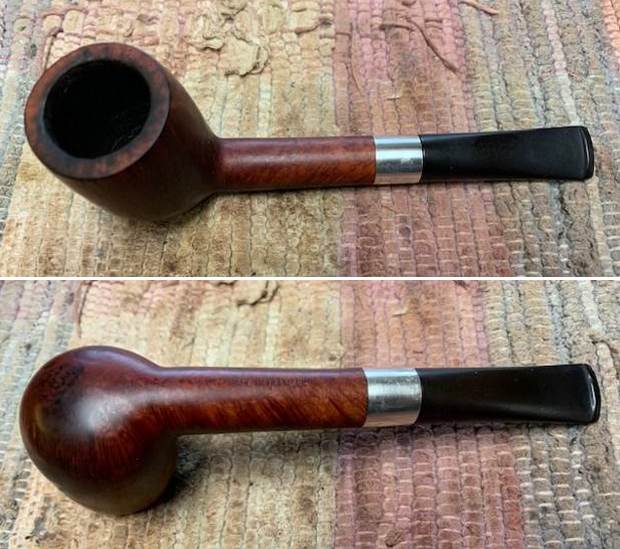
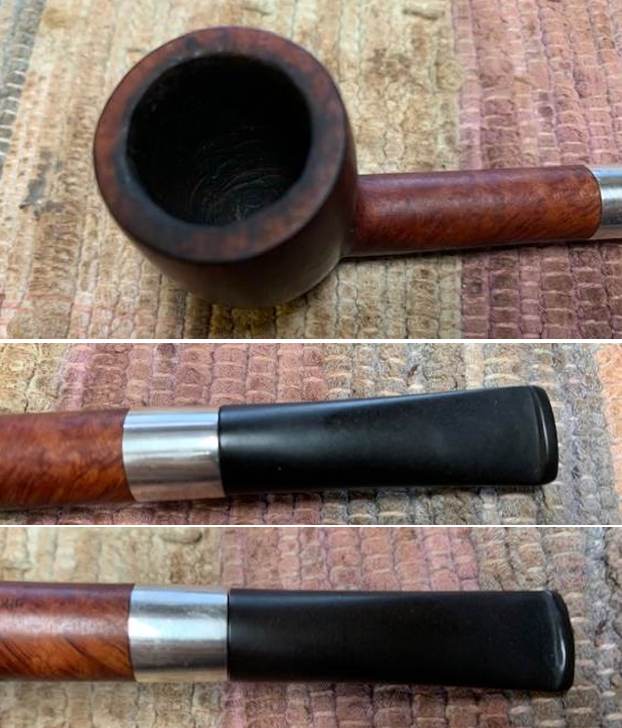
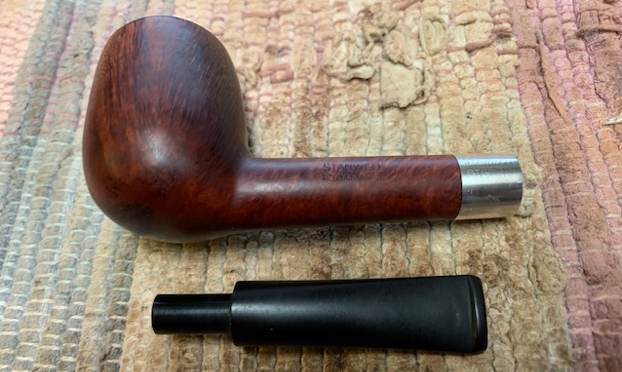
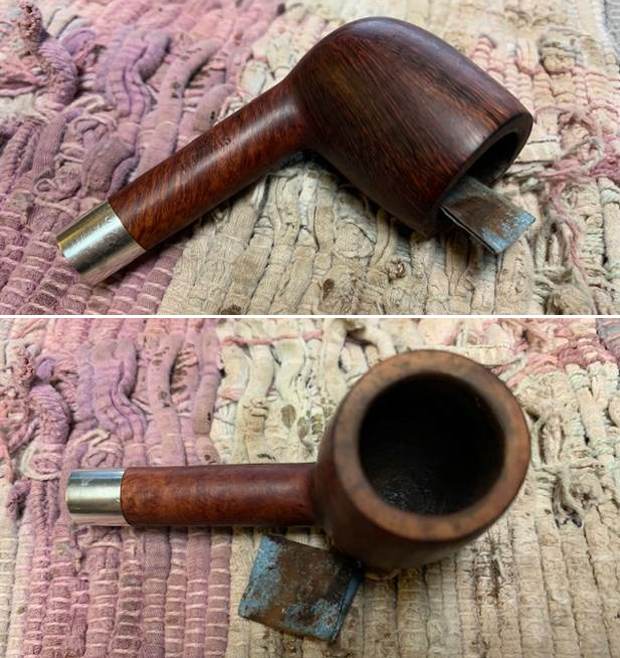
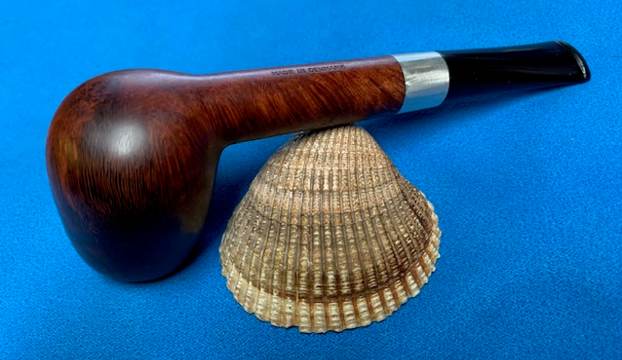
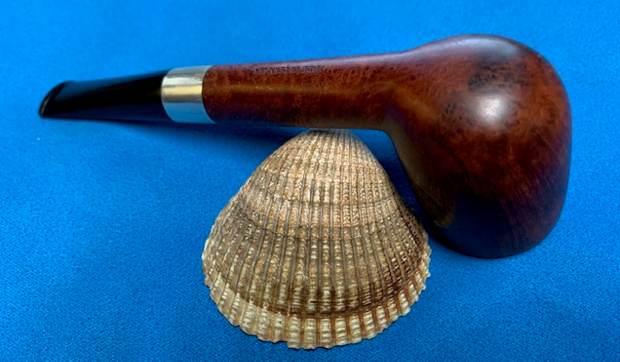
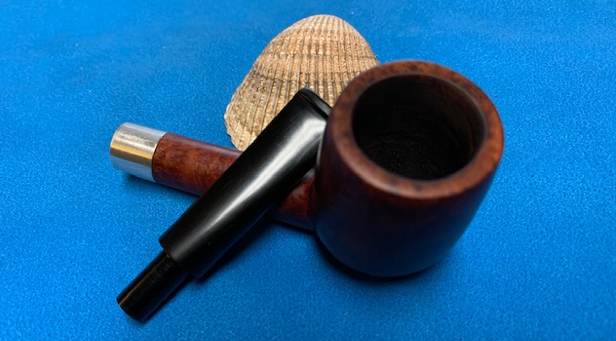
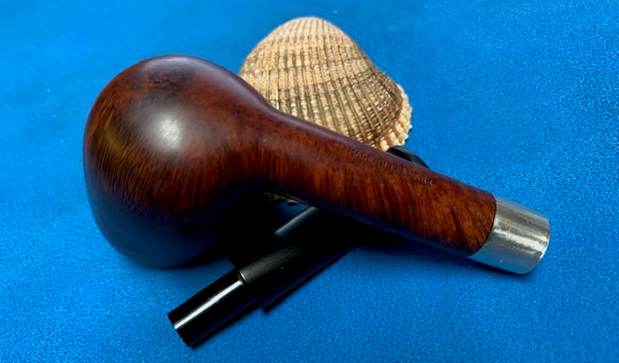
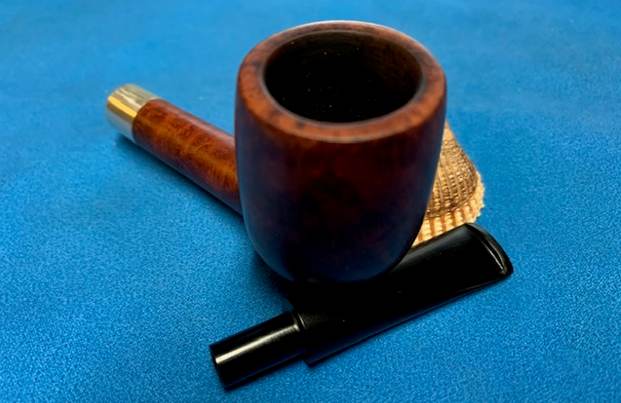
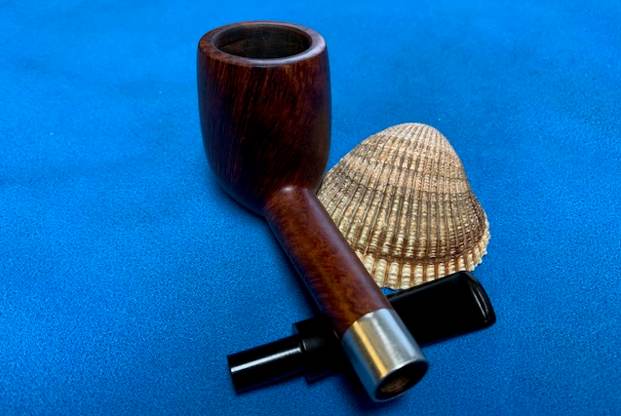
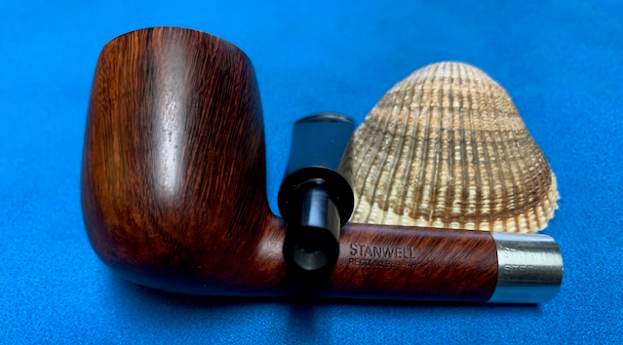
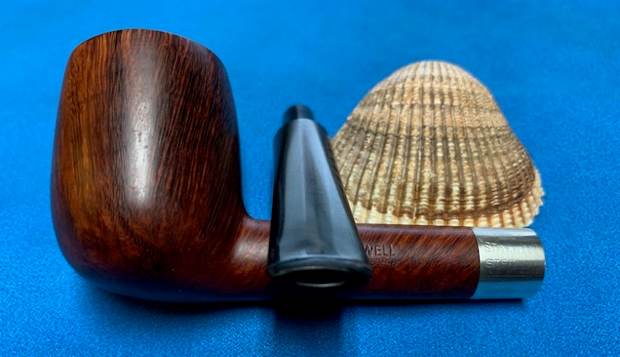
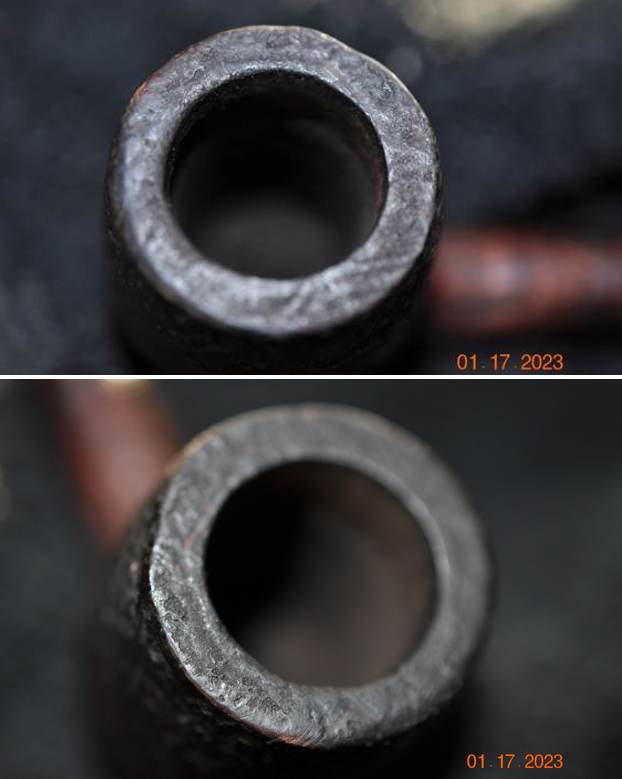
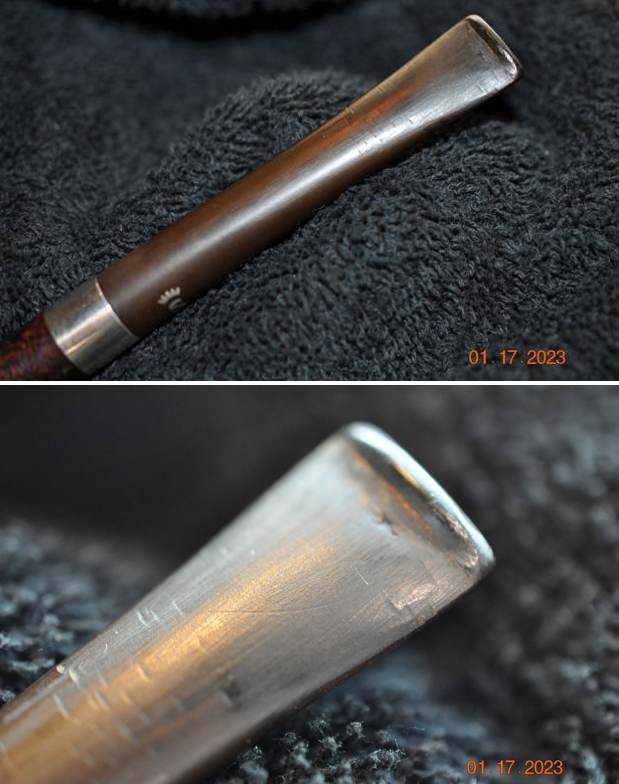
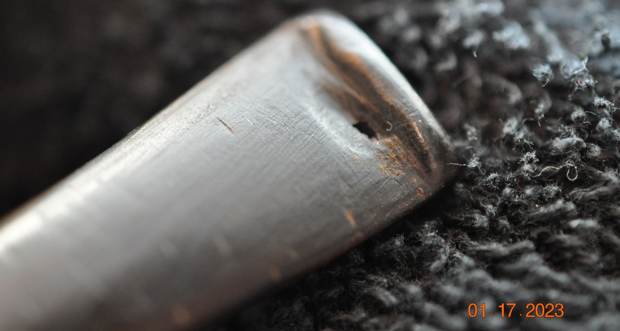
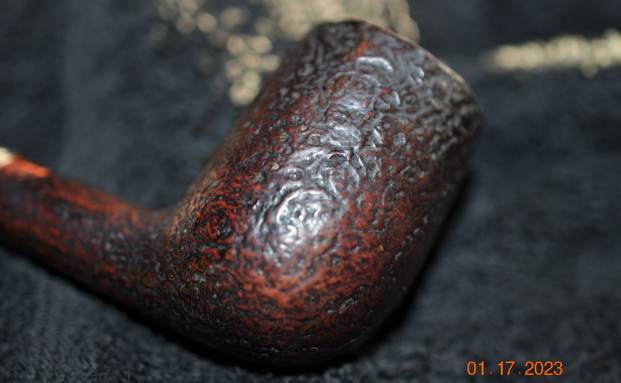
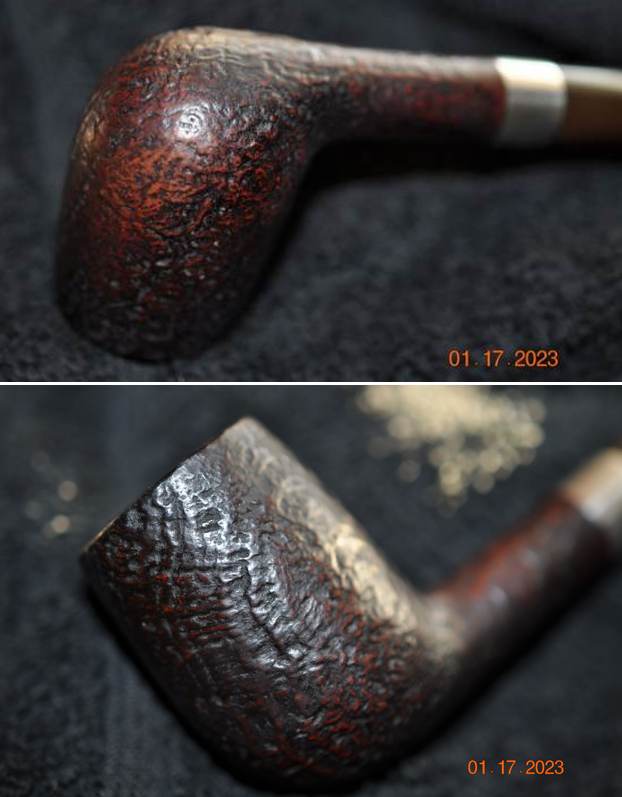
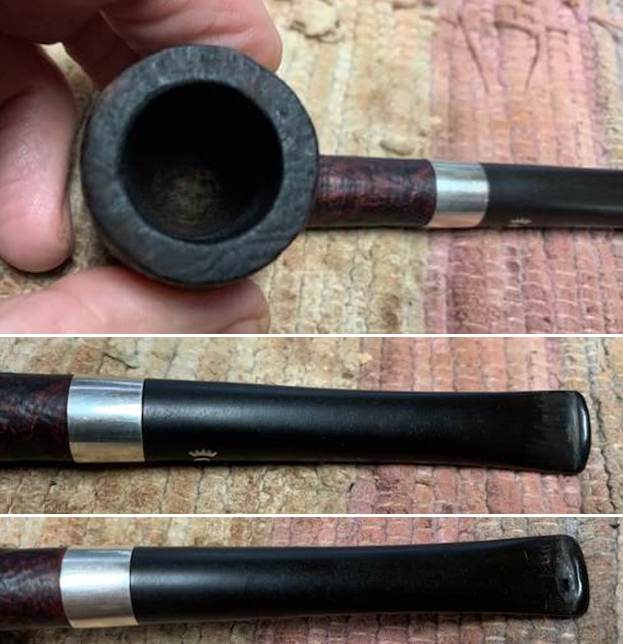
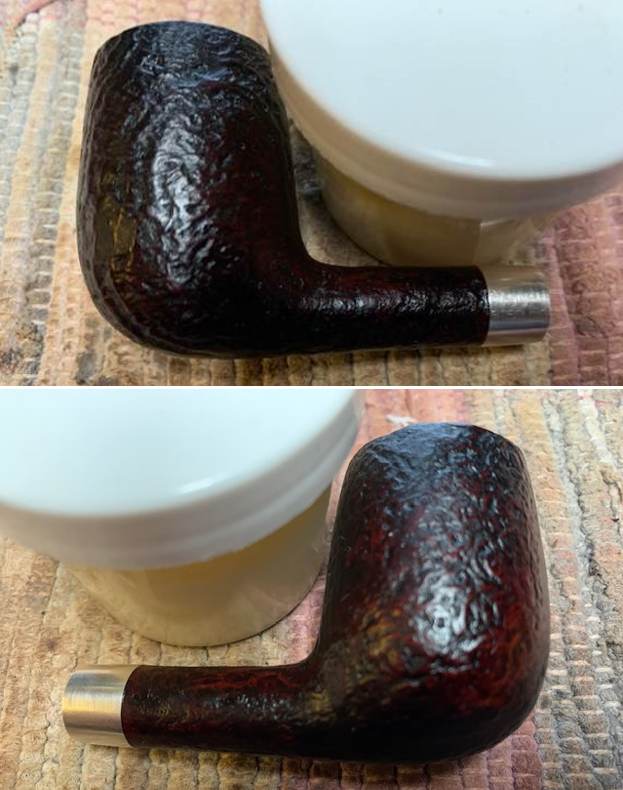
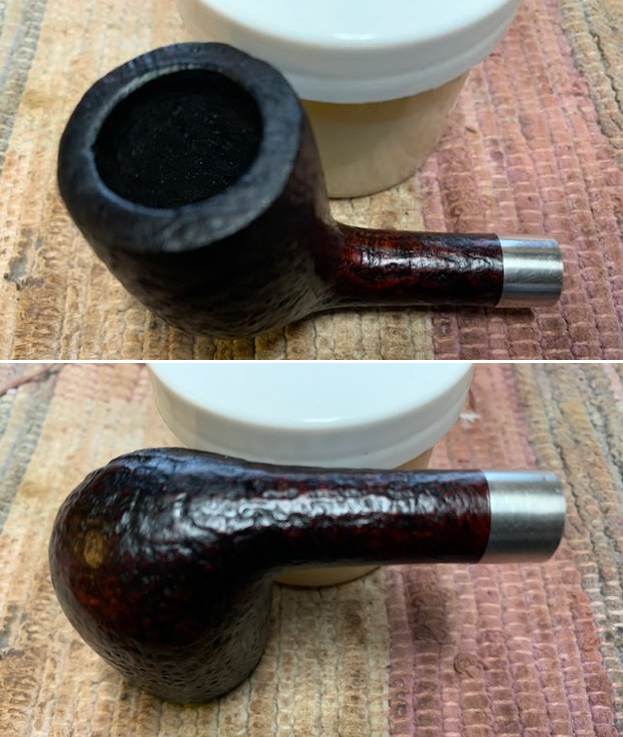
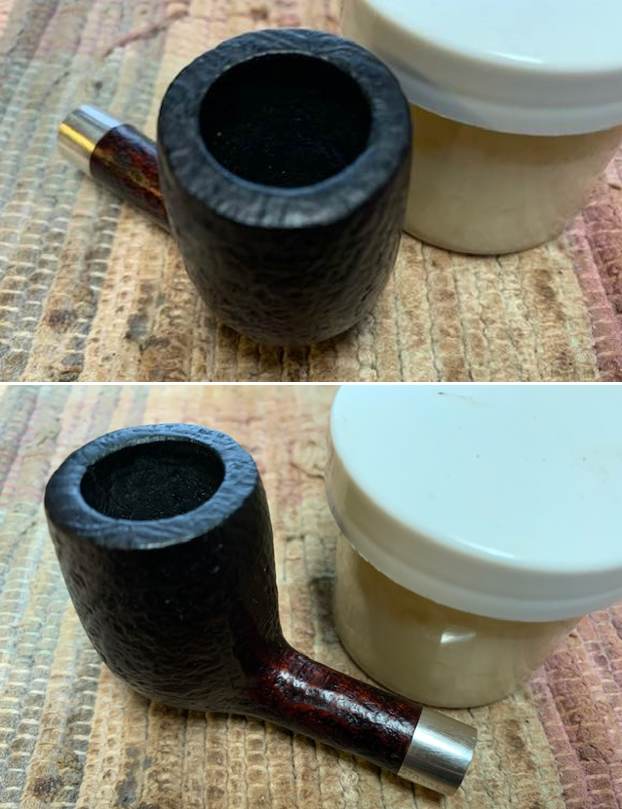
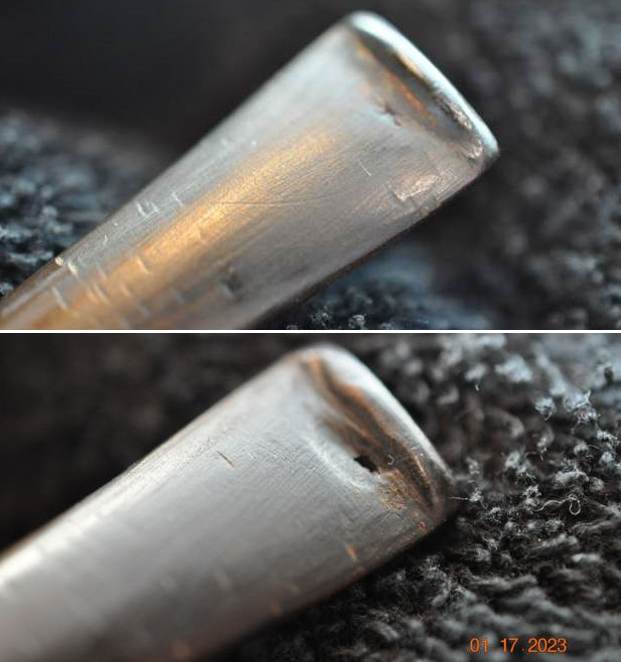
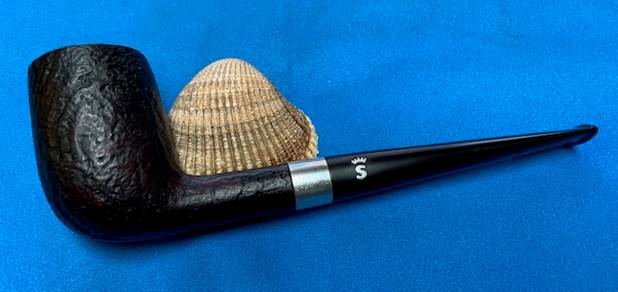
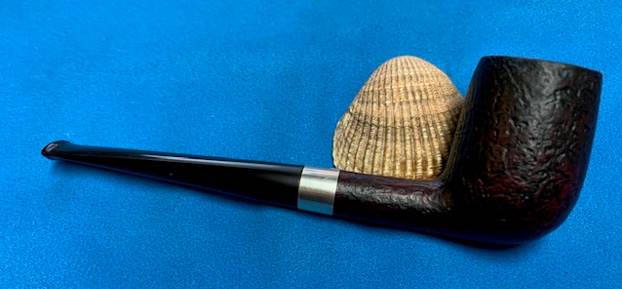
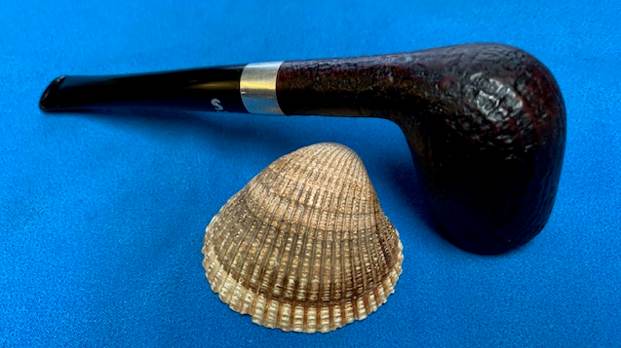
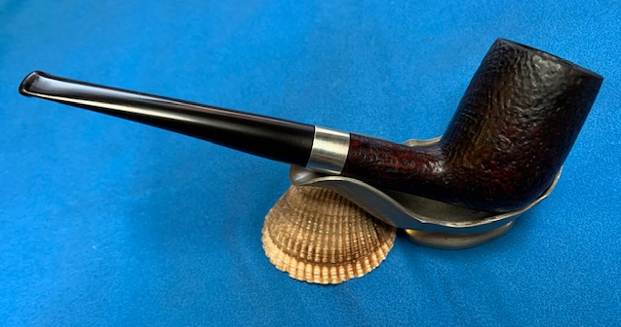
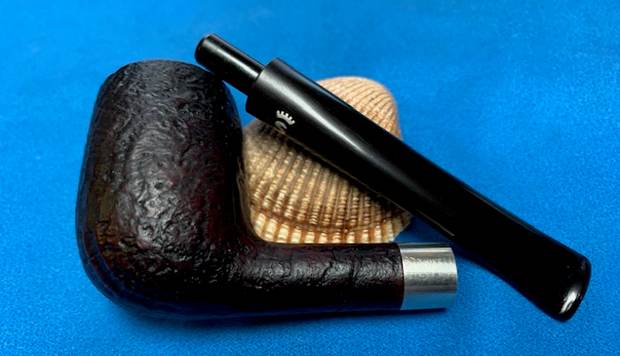
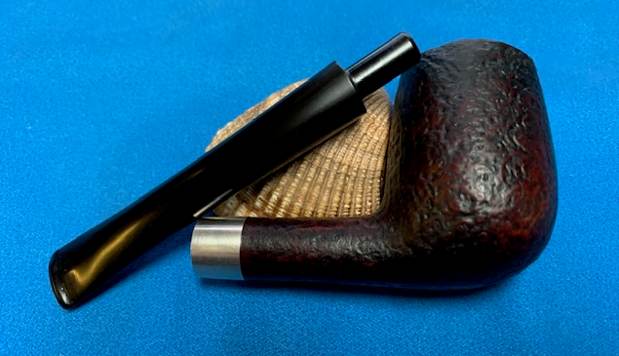
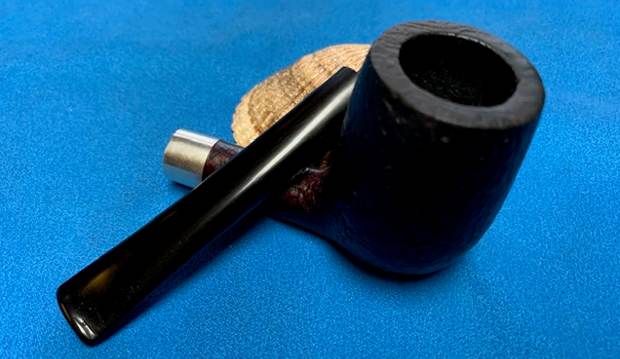
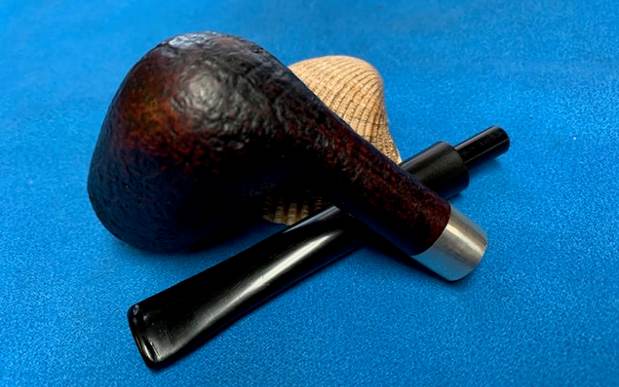
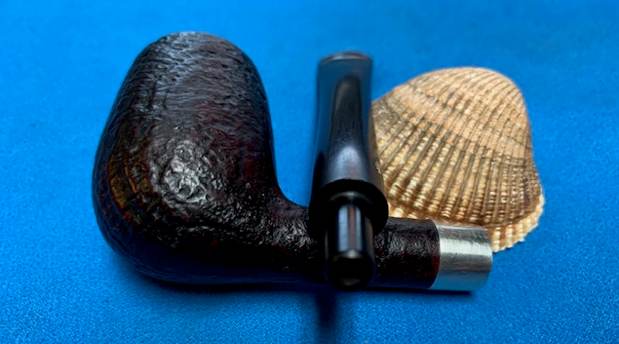
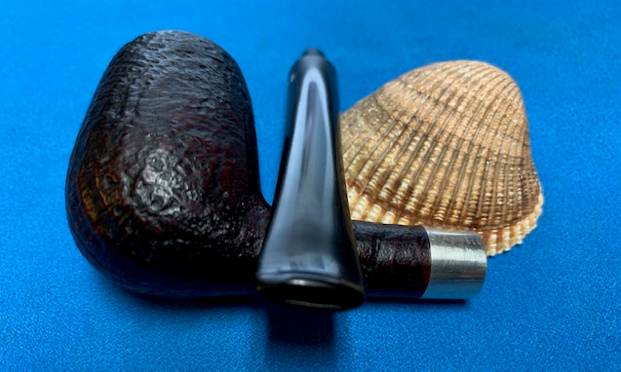
My brother Jeff and I visited an older gentleman near Vancouver, Washington recently and enjoyed a few bowls with him and views many of his pipes. After some viewing and conversation he showed me this House of Robertson Bulldog with a clear acrylic stem and gave it to me as a gift. It is a great looking pipe with a smooth rim top and shank end band. When Jeff and I returned to his home I took photos of it to capture what it looked like when I received it. The finish on the pipe was quite clean and had a great rustication around the bowl and shank. The smooth rim top and edges of the bowl had some wear and tear but was redeemable. There were scratches and nicks around the top and edges on the bowl. The pipe had been topped somewhere in its journey and the front of the cap was lower than the back side of the cap. There was a thin cake in the bowl and the inside was dirty with tobacco debris. The pipe had the House of Robertson etching on the left underside of the diamond shank. The clear acrylic stem fit to the shank very well. The tenon fit well in the mortise. There was some tobacco staining in the airway that would need to be dealt with. There were tooth marks and chatter on both sides of the stem ahead of the button. I took the following photos of the pipe to show its condition before I started my clean up. 

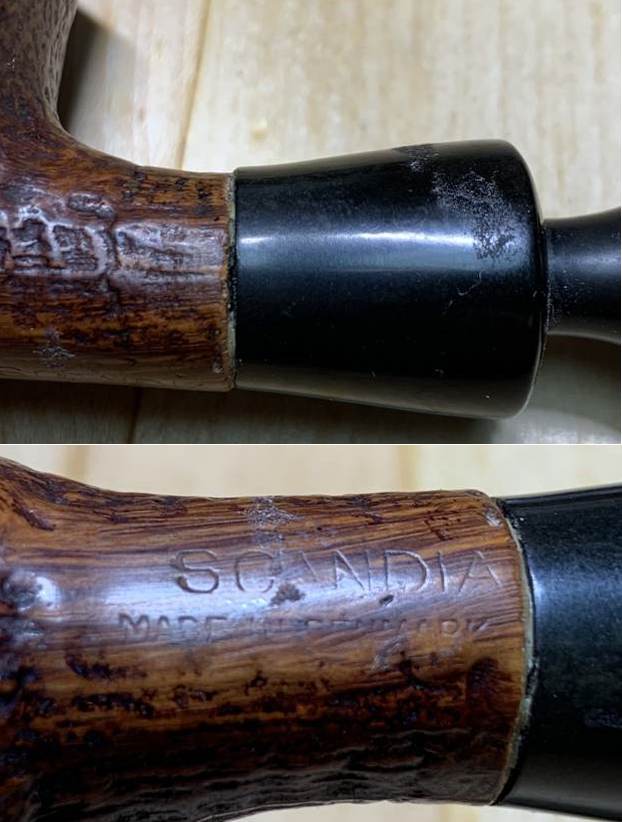
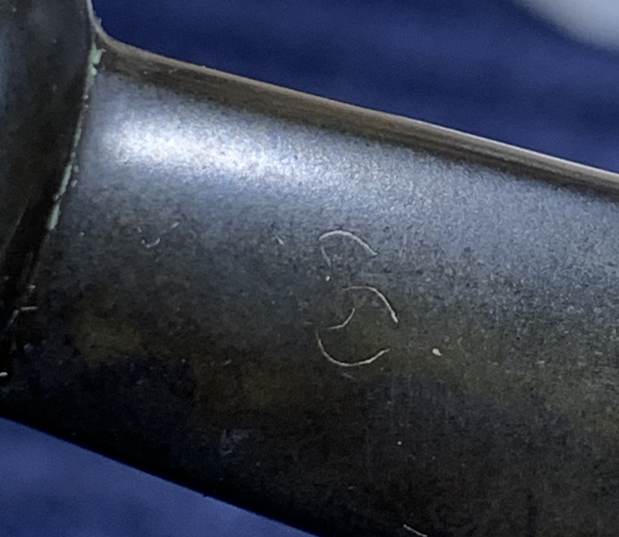
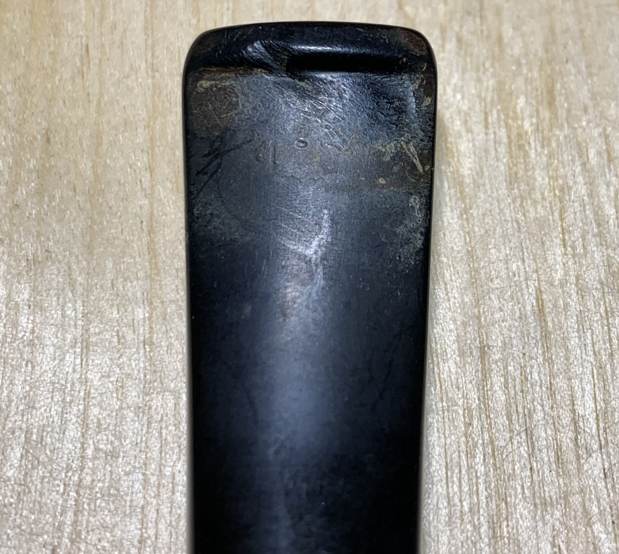
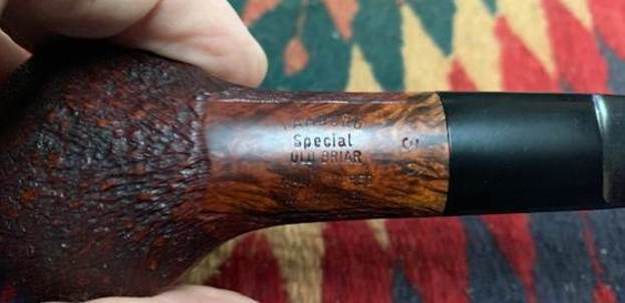
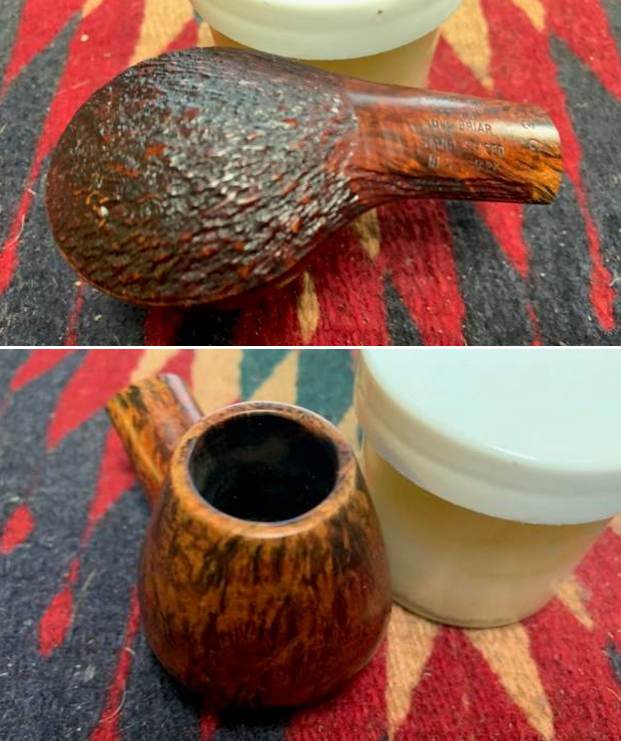
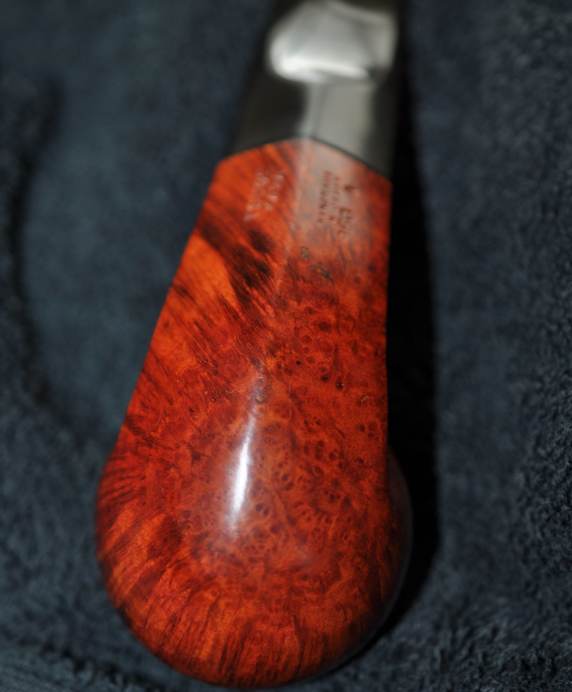
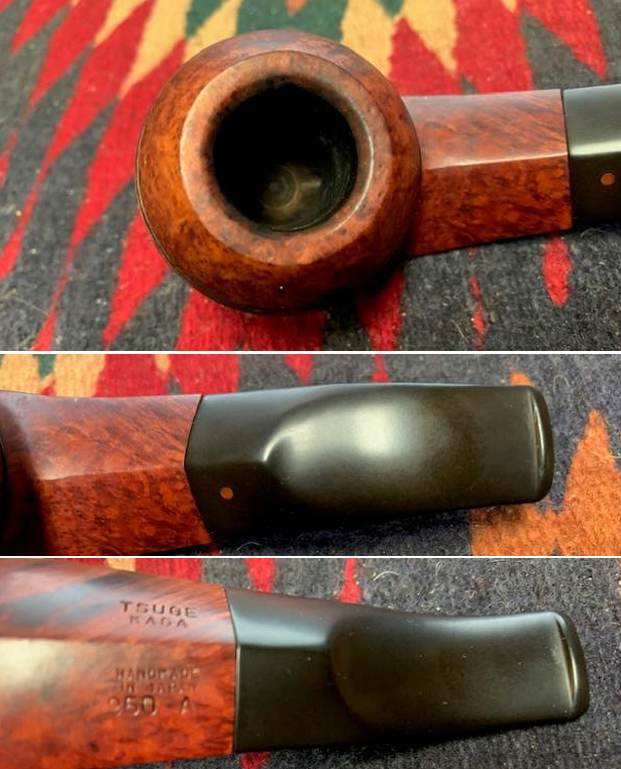
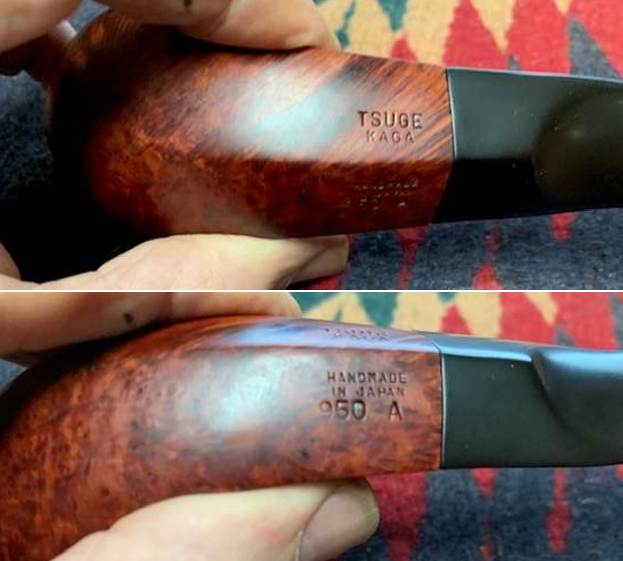
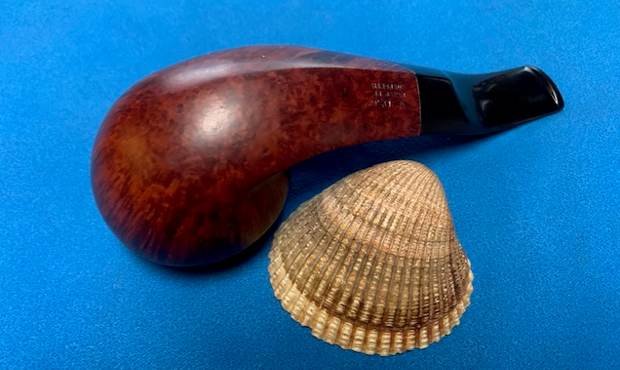
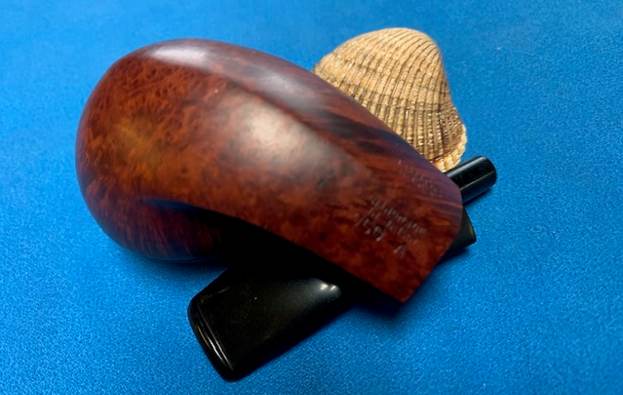
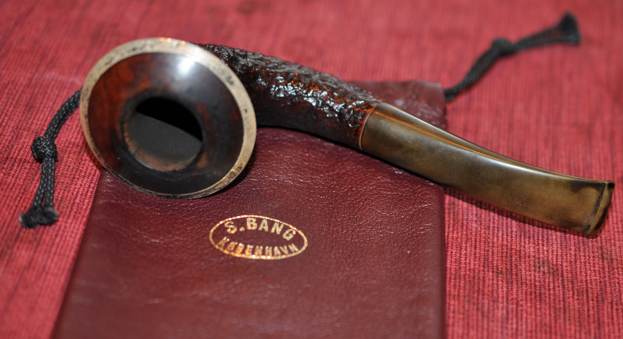
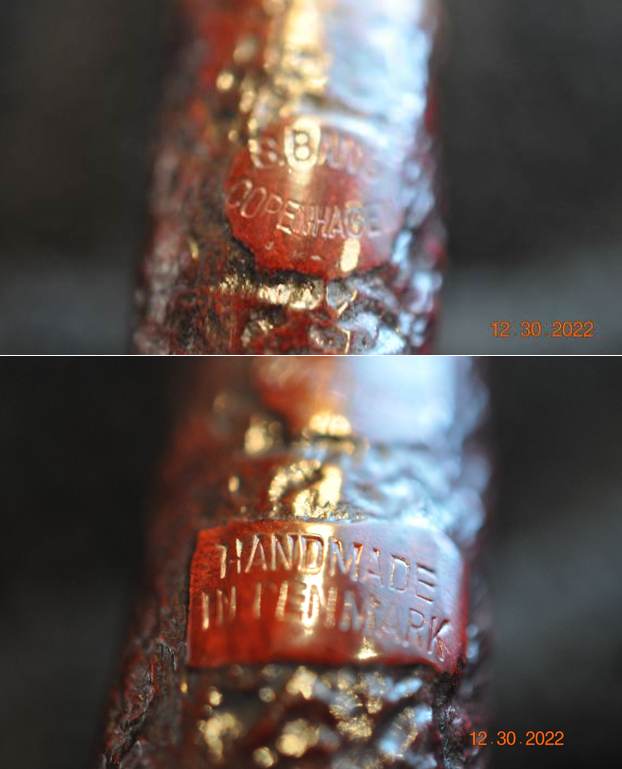
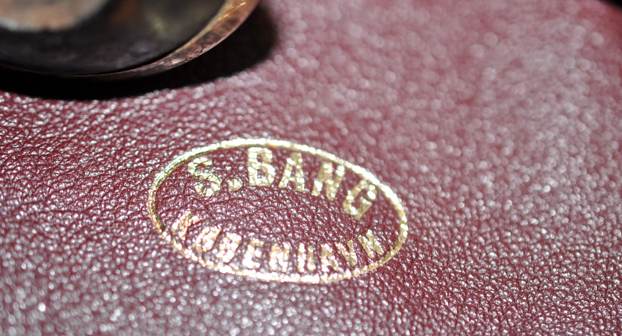
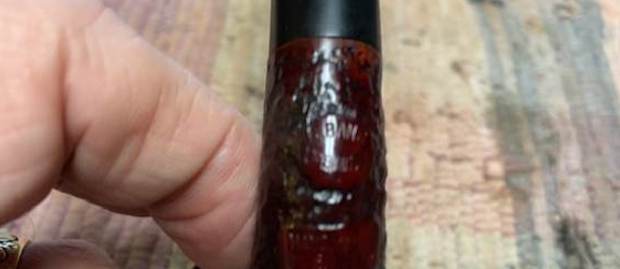
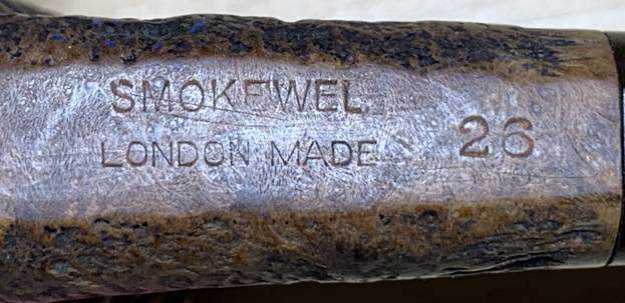
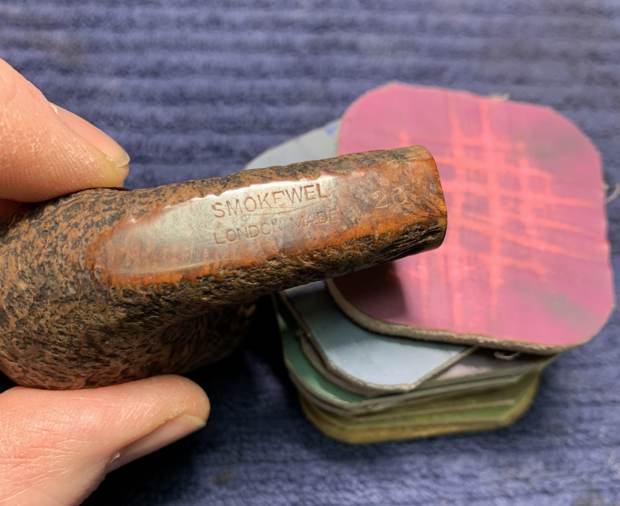
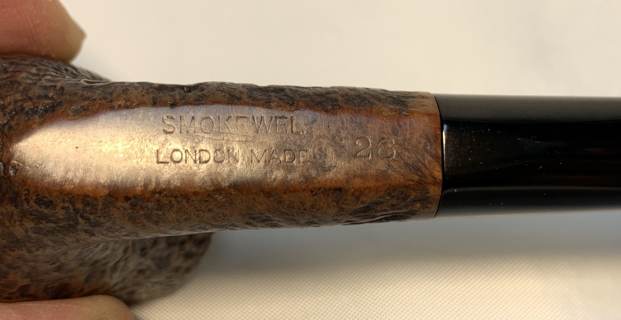
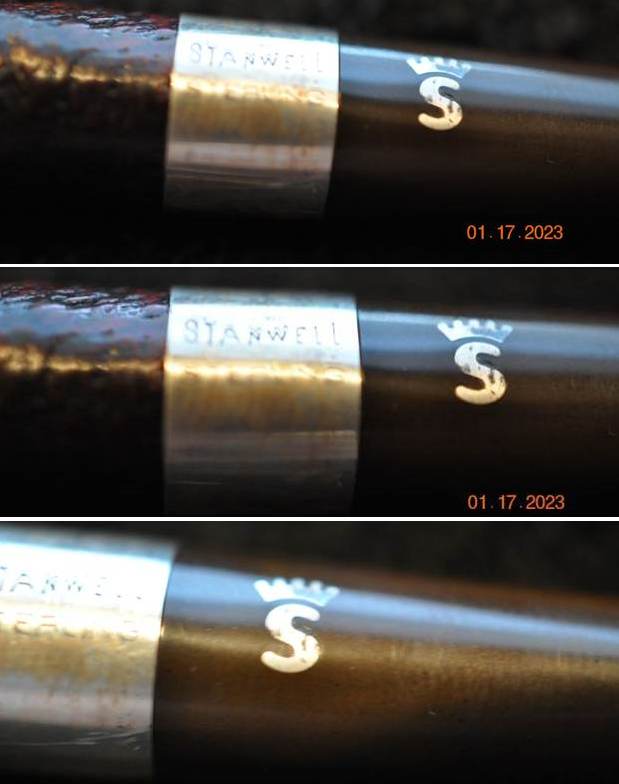
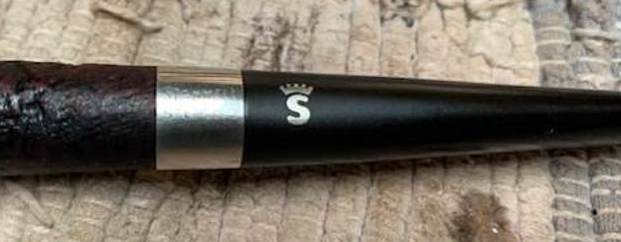
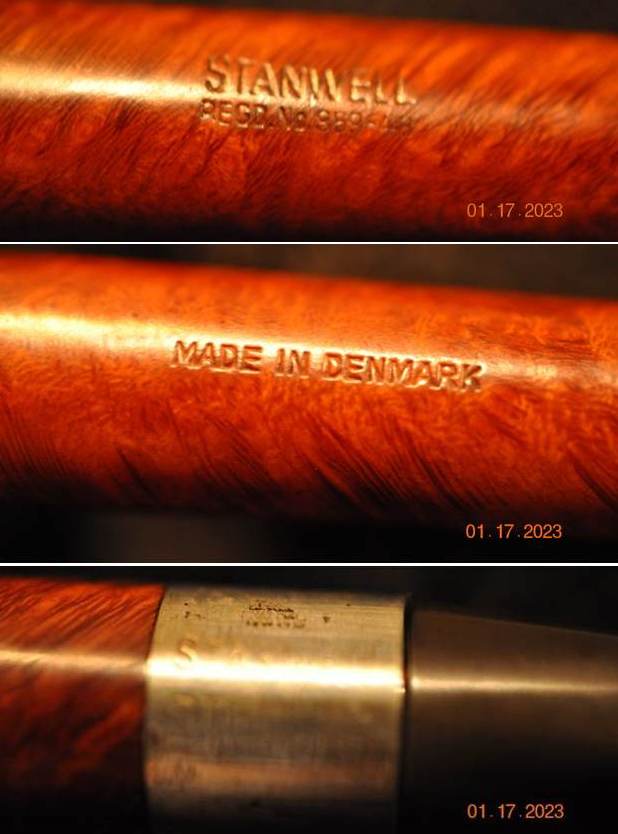
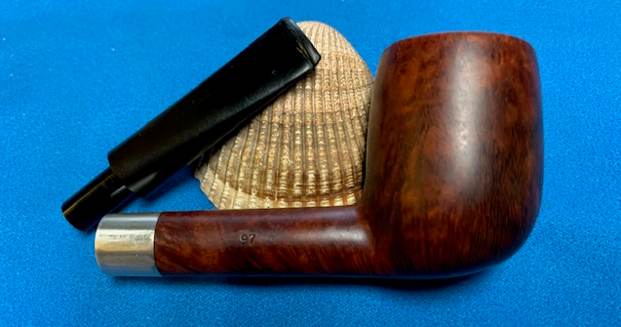
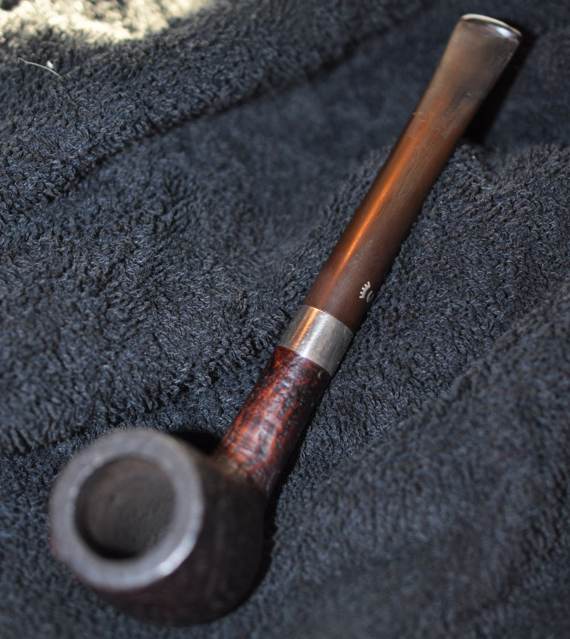
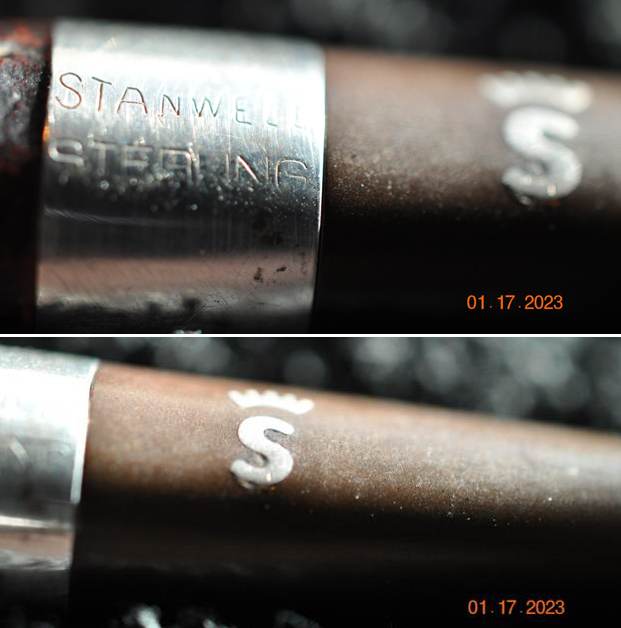
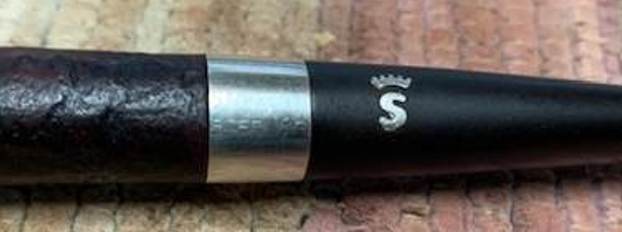
 I took a photo of the House of Robertson etched on the left underside of the diamond shank. It is clear and readable.
 The pipe has the name House of Robertson roughly hand-etched on the left underside of the diamond shank with an engraving tool. I am including the information that I found when I received my first House of Robertson Pipes a few years ago now. I found a link on Pipedia (https://pipedia.org/wiki/Robertson) that gave me the only information I could find on the brand. I include that in total as it is interesting to read.
“House of Robertson” was in business for many years, but alas, closed their doors in 1999. They were located in Boise, Idaho. They are noted for making rather large and interesting pipes. Thayne Robertson was a Master Mason, AF & AM, and started the shop about 1947 and his son Jon started working there in 1970 when he finished college, along with Thayne’s daughter. Thayne and his son started making the big pipes at that time, and made them together until 1987 when Thayne passed away. Jon kept the store and his sister moved on to other things. The House of Robertson appears to have closed around 1999.
If you would like to read more about the carver, Thayne Robertson I am including a link to a blog I have included on the site. It is fascinating to read and gives some information on the brand.
https://rebornpipes.com/2021/10/31/house-of-robertson-pipes-boise-pipe-carver-thayne-robertson/
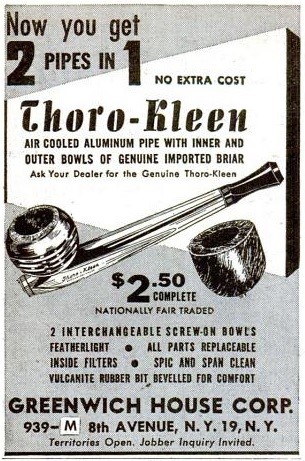
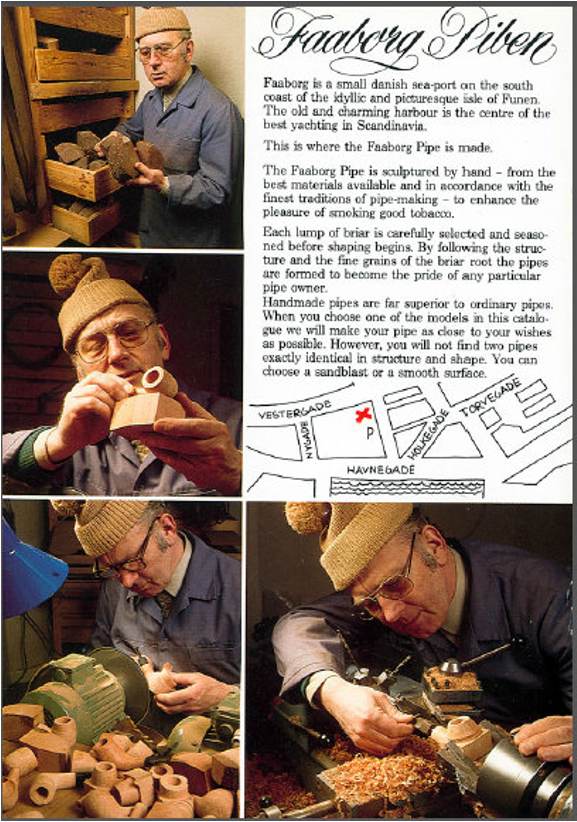
I am also including a scanned version of a House of Robertson catalogue that I have in my collection. Give it a read for more information.
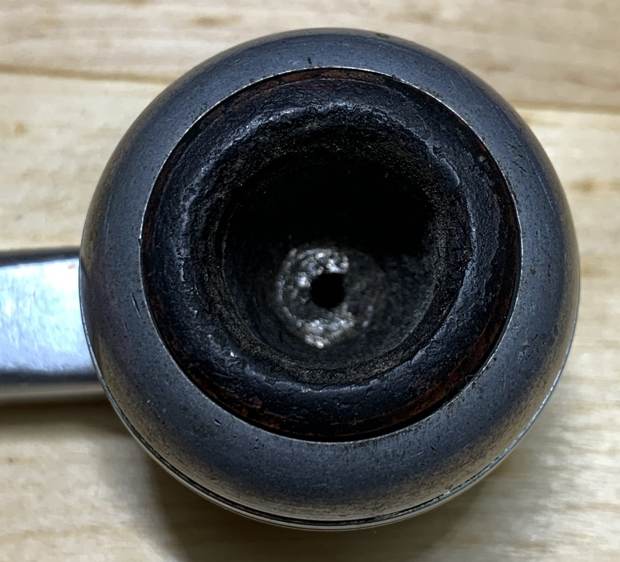
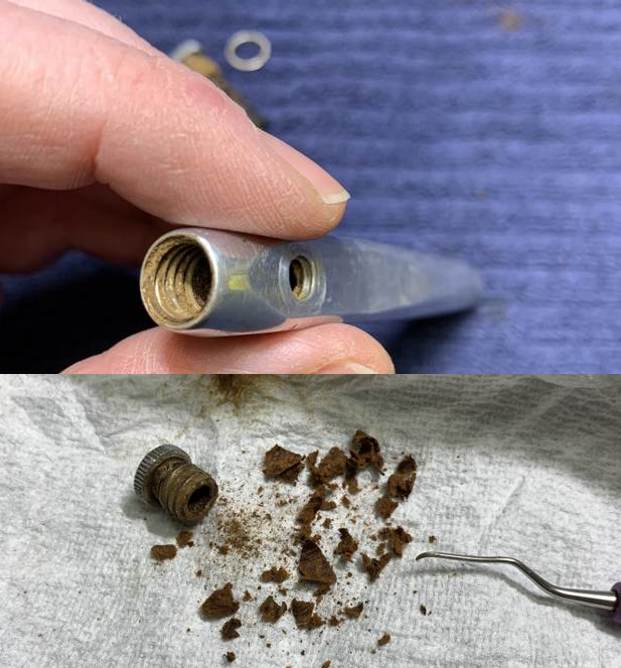
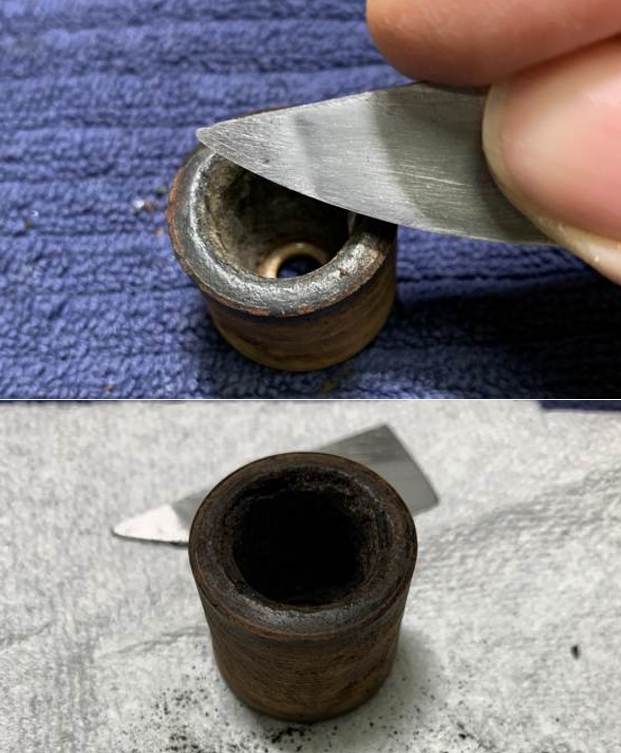
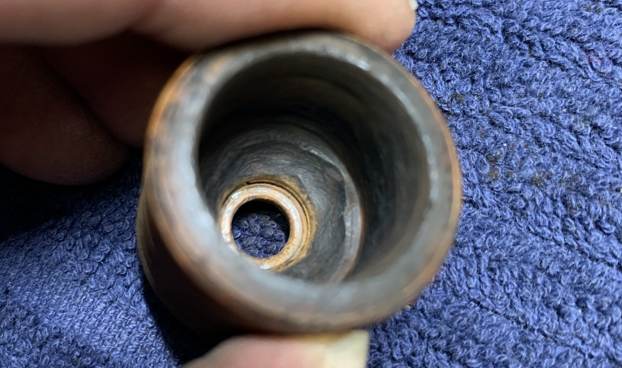
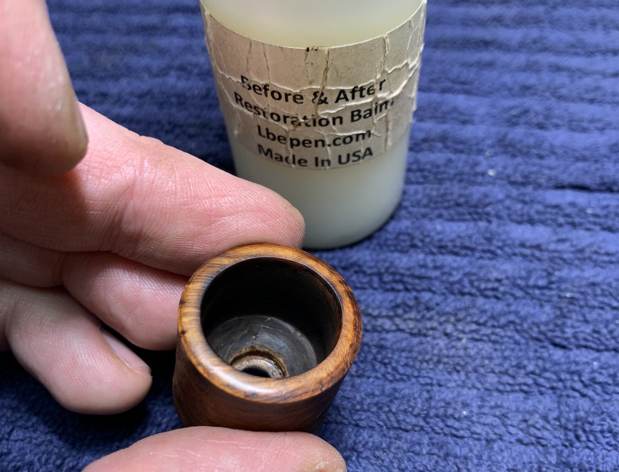
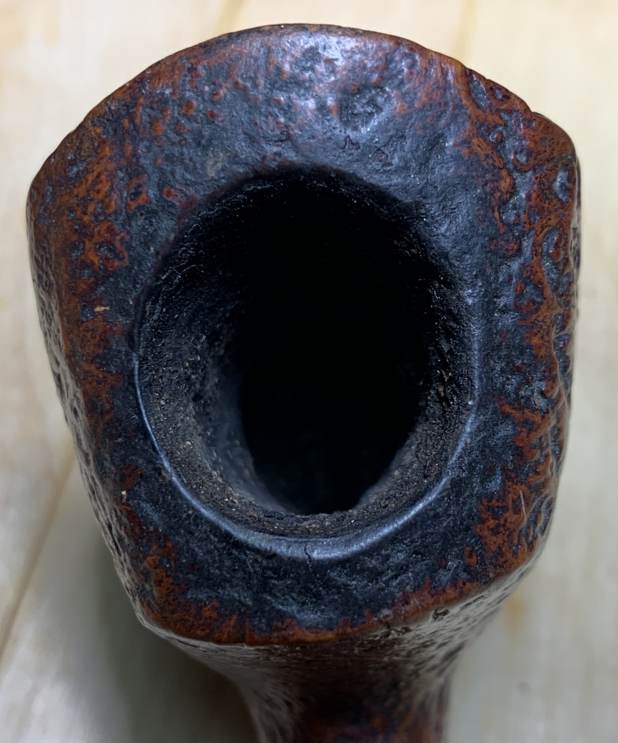
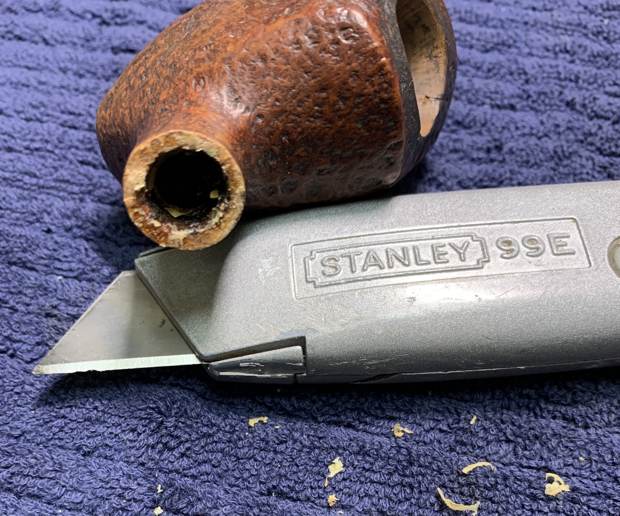
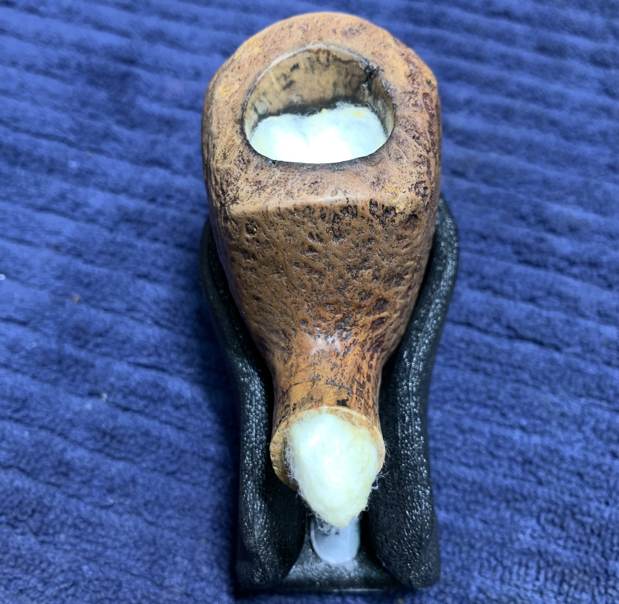
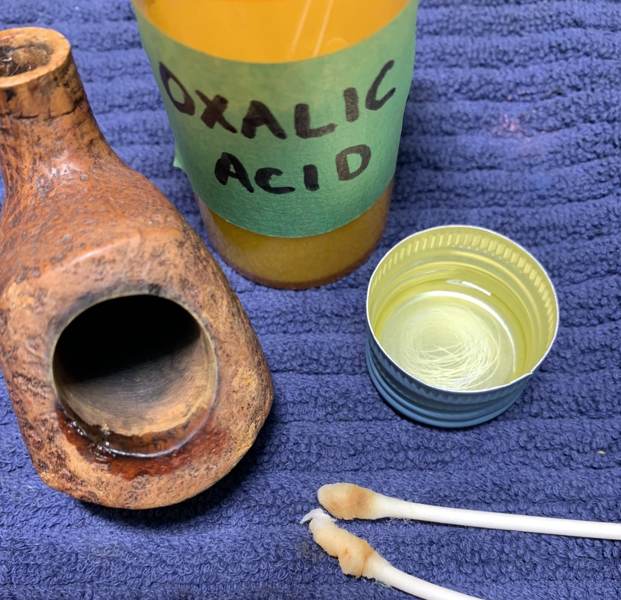
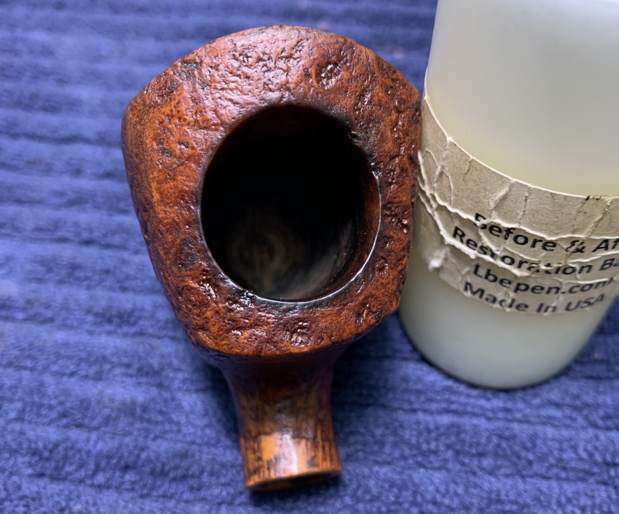
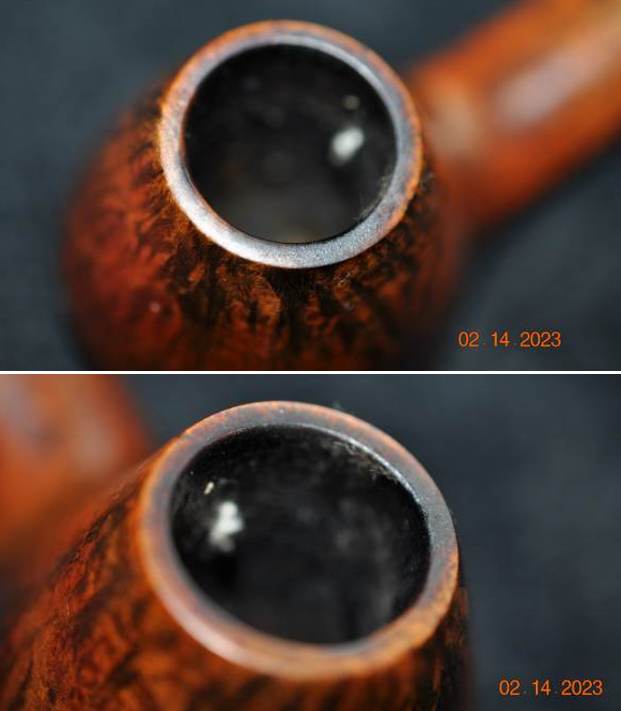
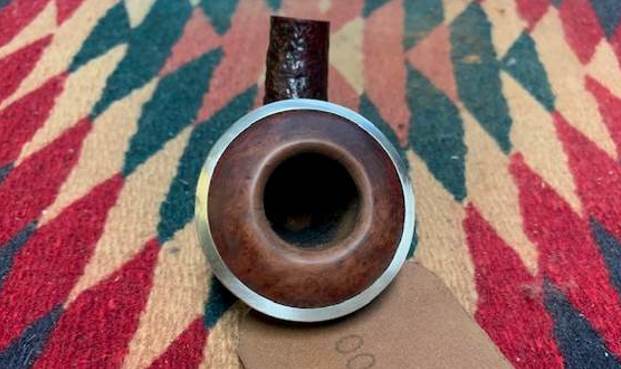
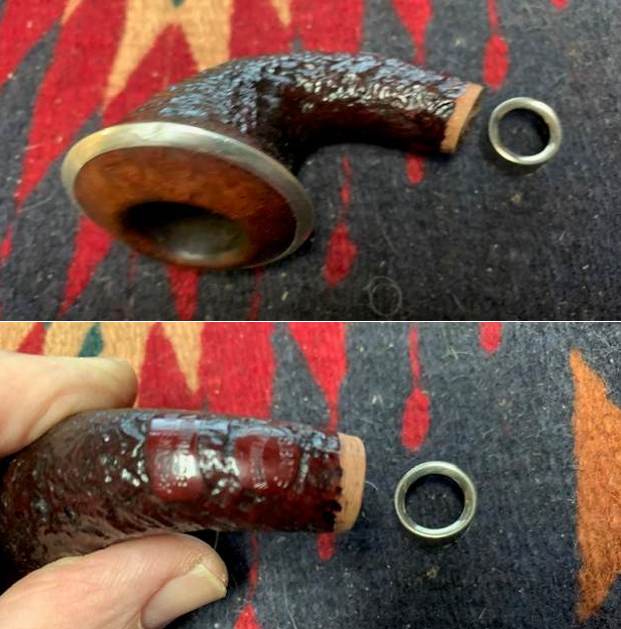
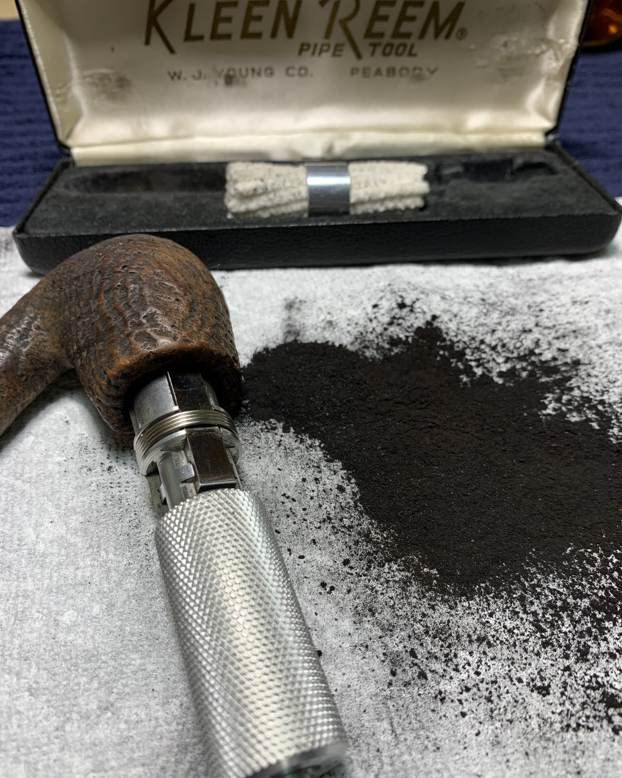
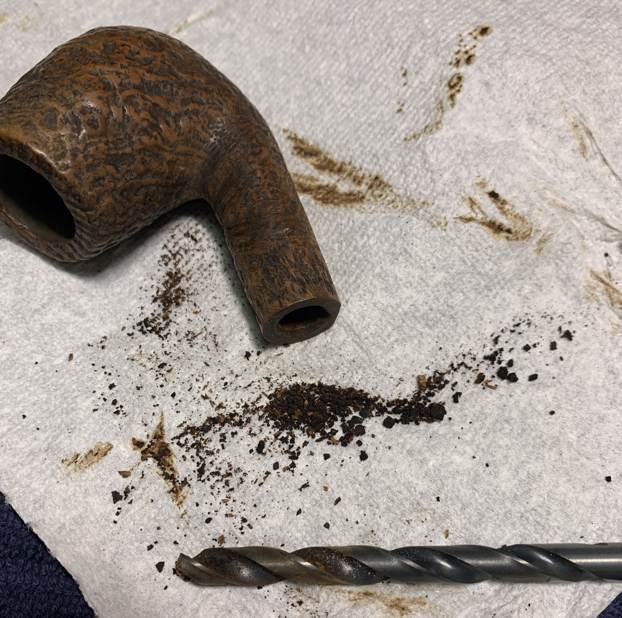
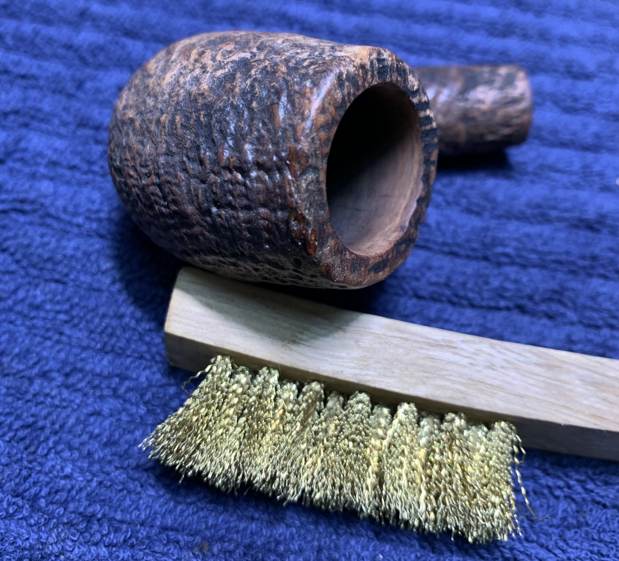
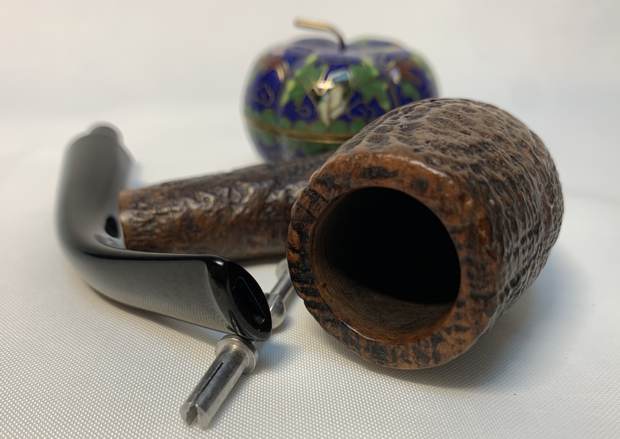
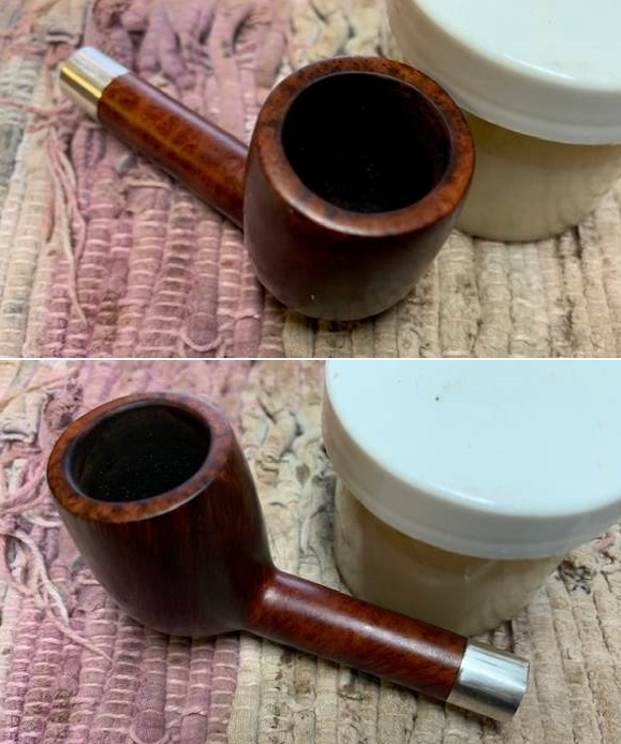
I thoroughly cleaned up the pipe. I reamed it with a PipNet Pipe Reamer and cleaned up the remnants with a Savinelli Fitsall Pipe Knife. I sanded the inside of the bowl with 220 grit sandpaper wrapped around a dowel. The bowl was clean.
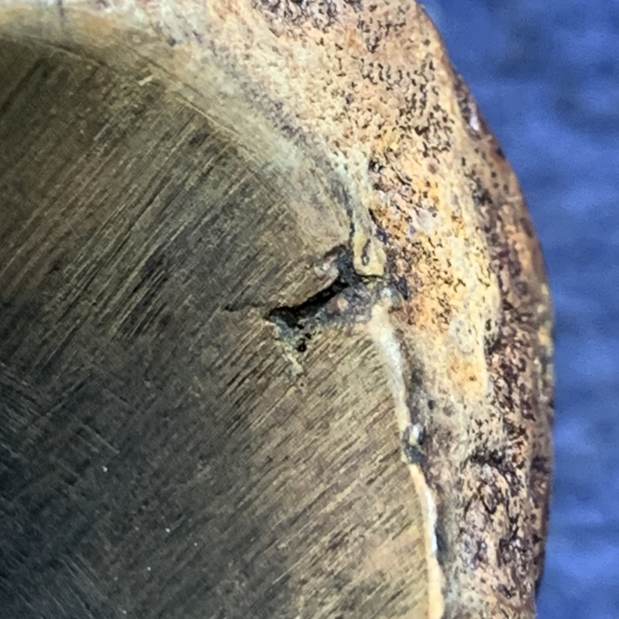
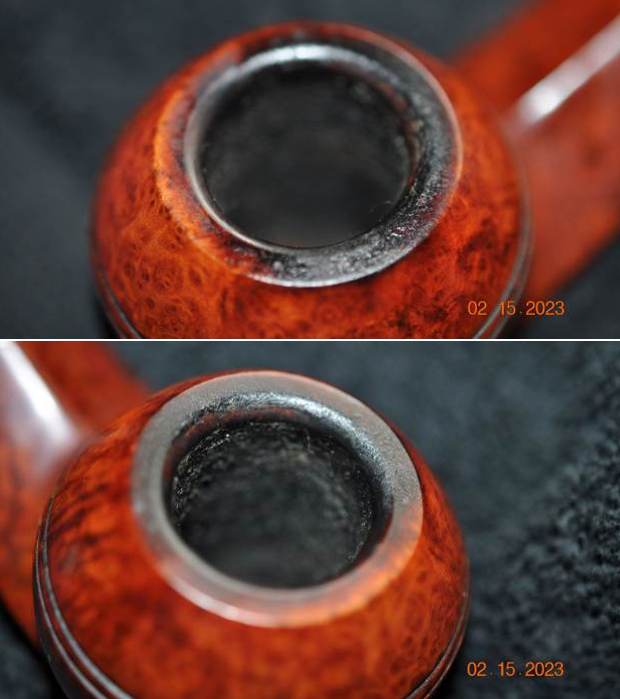
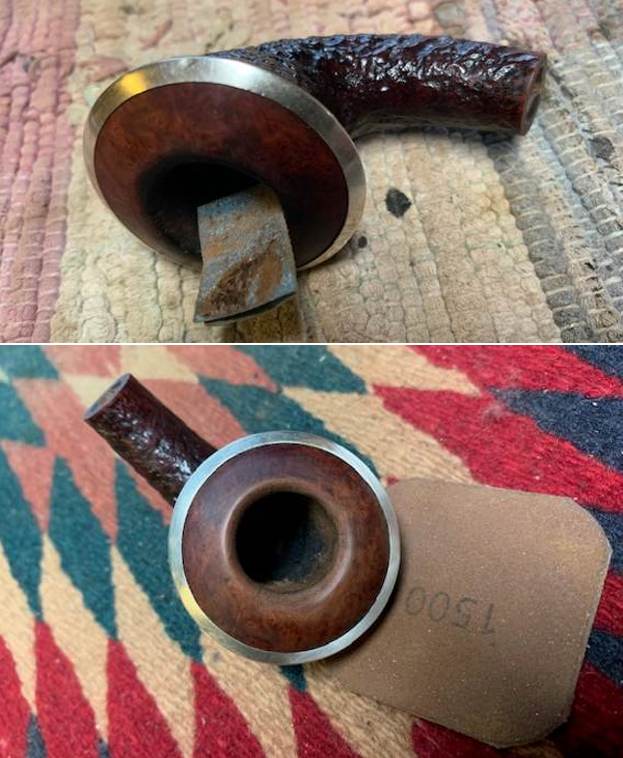
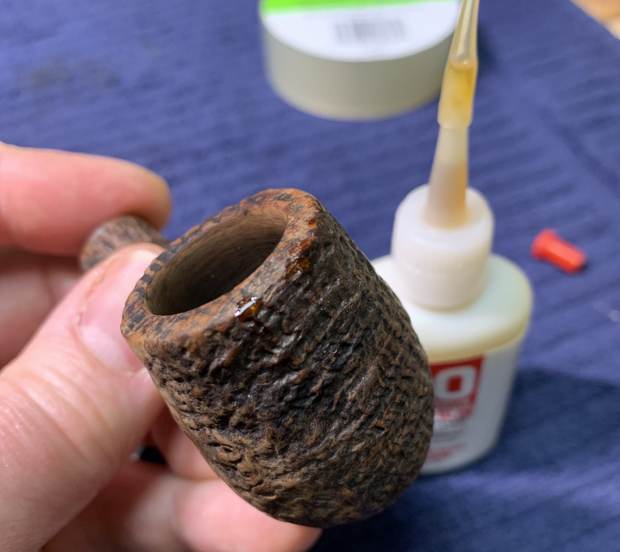
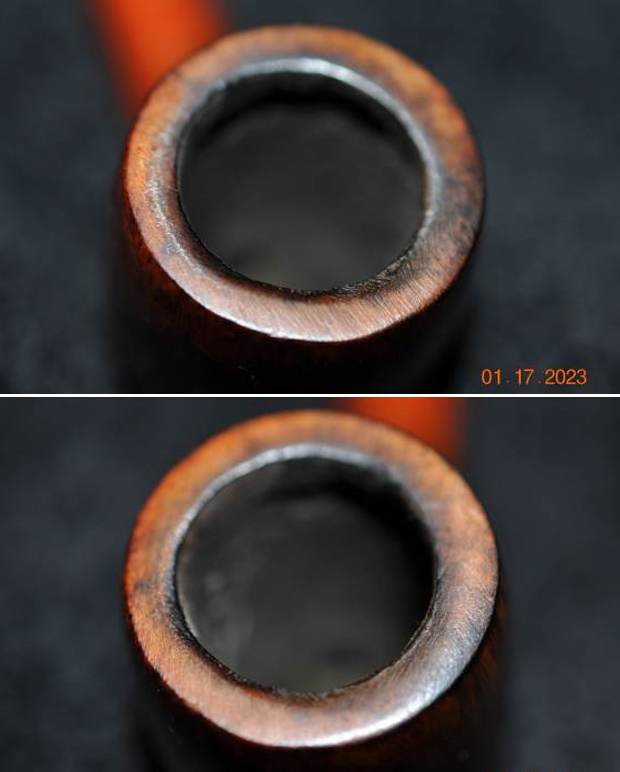
 I cleaned up the damage to the inner edge of the bowl with a folded piece of 220 grit sandpaper. Once finished it was better.
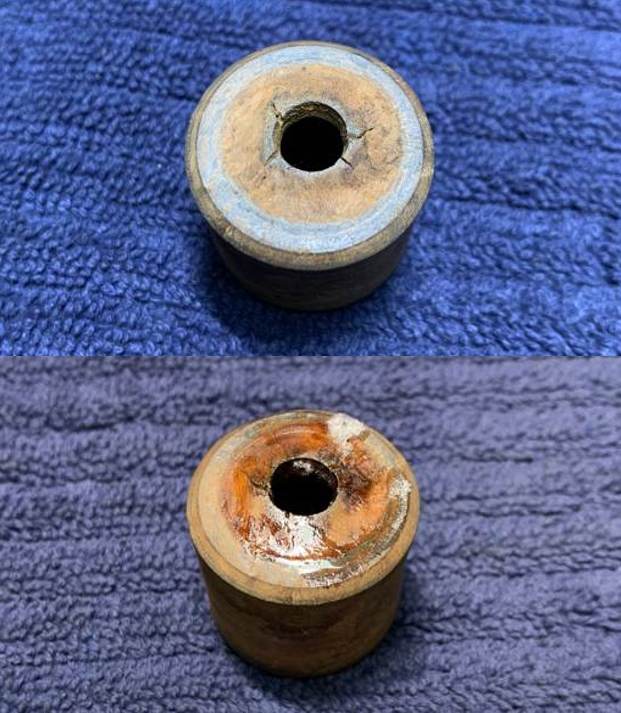
  I worked on the back side of the rim top with 220 grit sandpaper followed by a medium and fine grit sanding sponge. I wanted to bring the back of the rim cap down to the same thickness as the front of the rim cap to level out the top. Once it was even it looked much better.
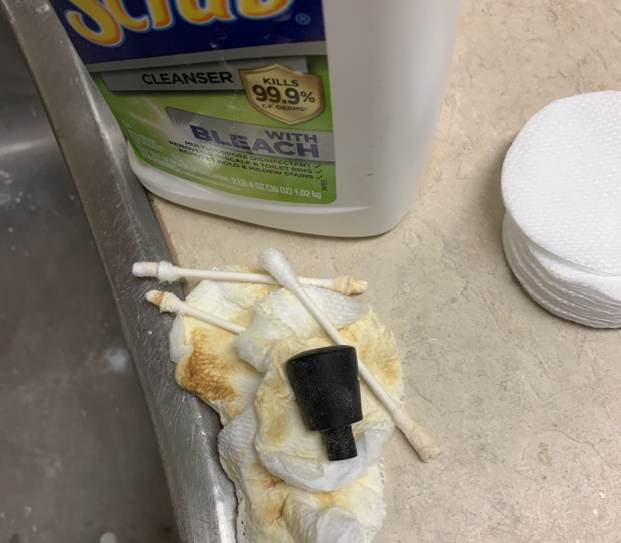
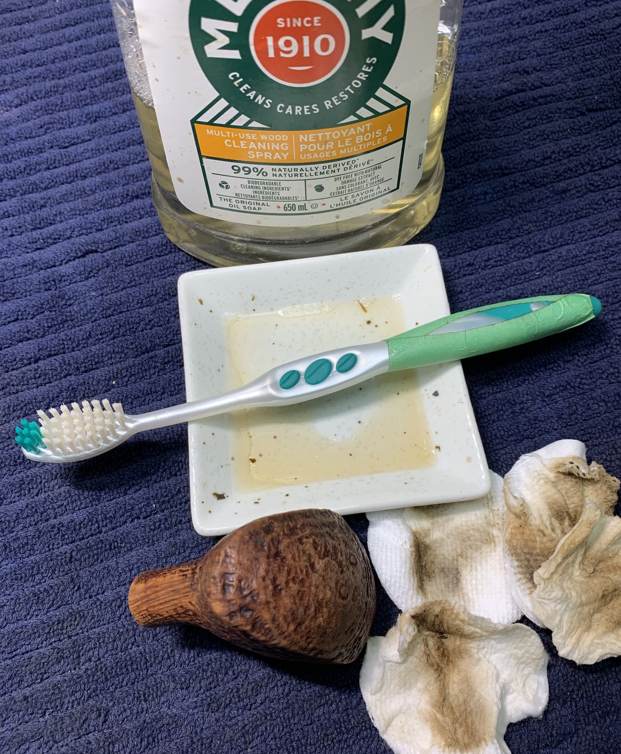
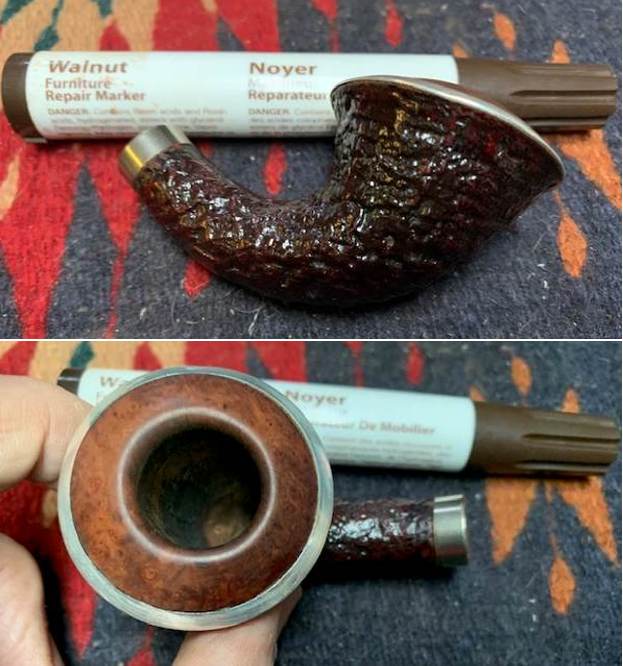
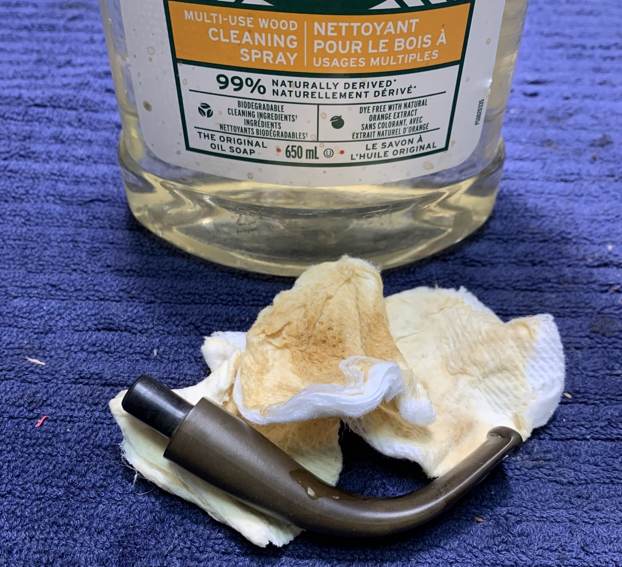
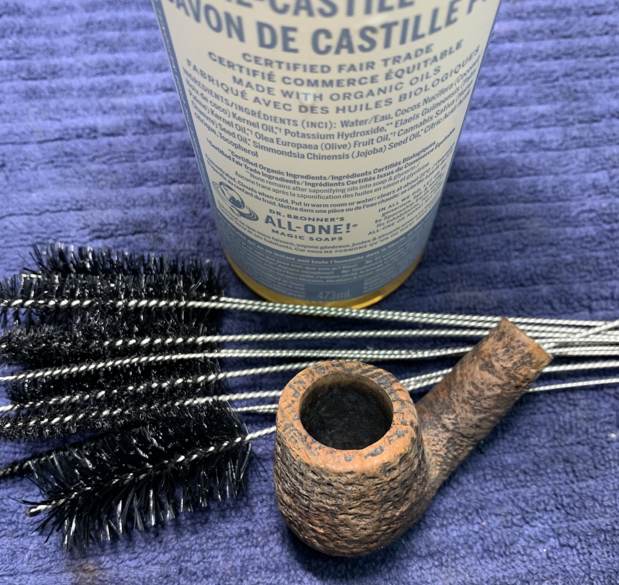
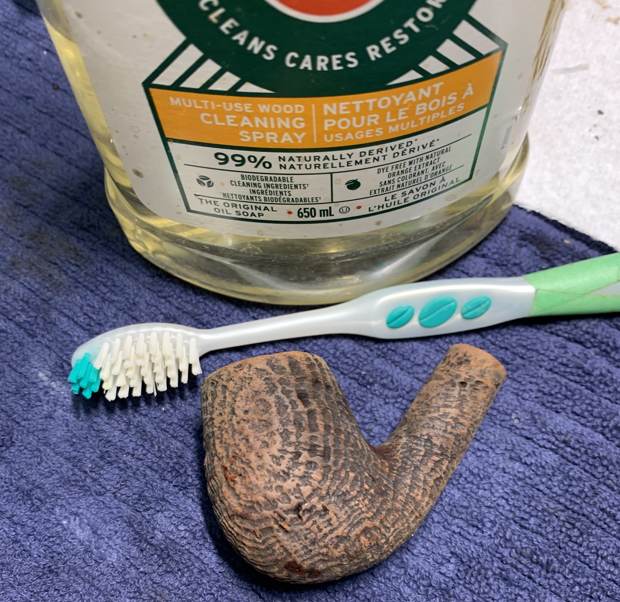
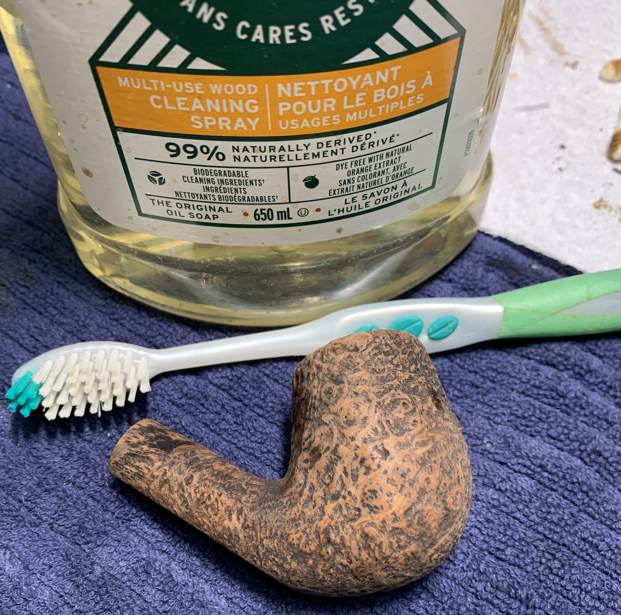
 I scrubbed the exterior of the bowl with undiluted Murphy’s Oil Soap with a tooth brush. He rinsed it under running warm water to remove the soap and grime.
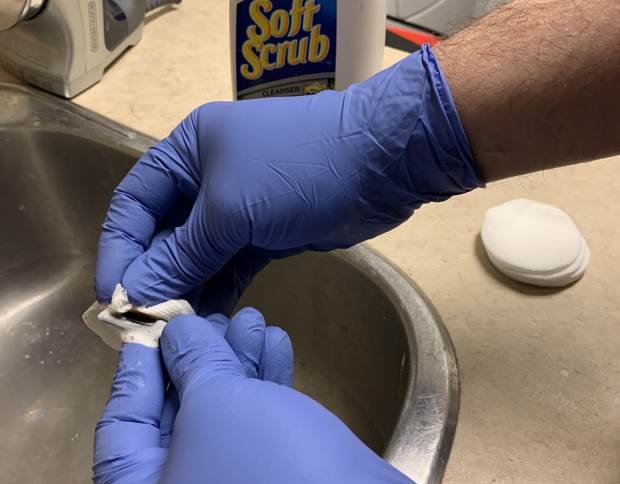
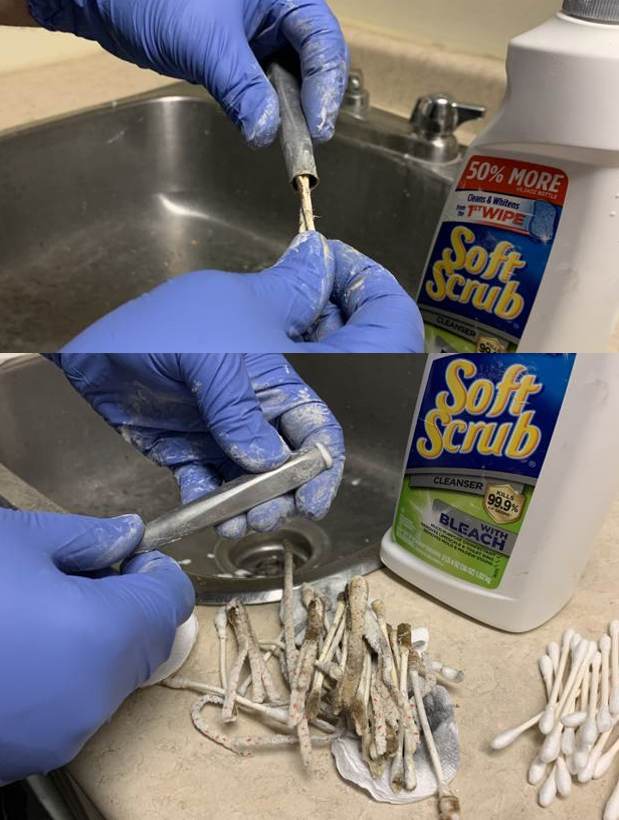
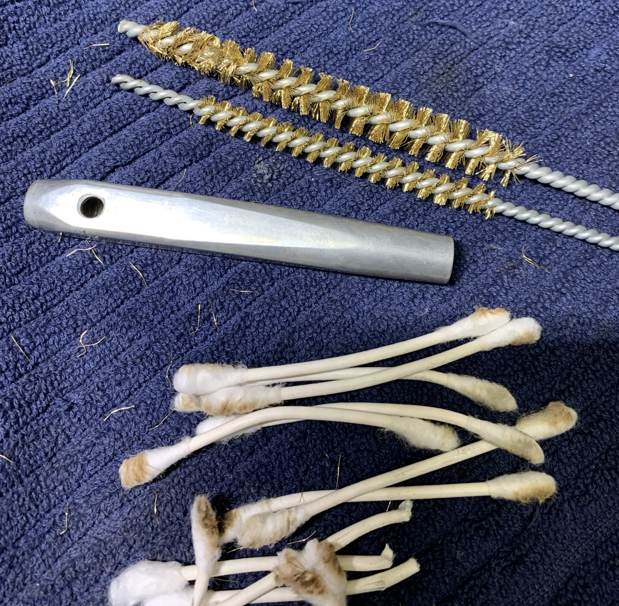
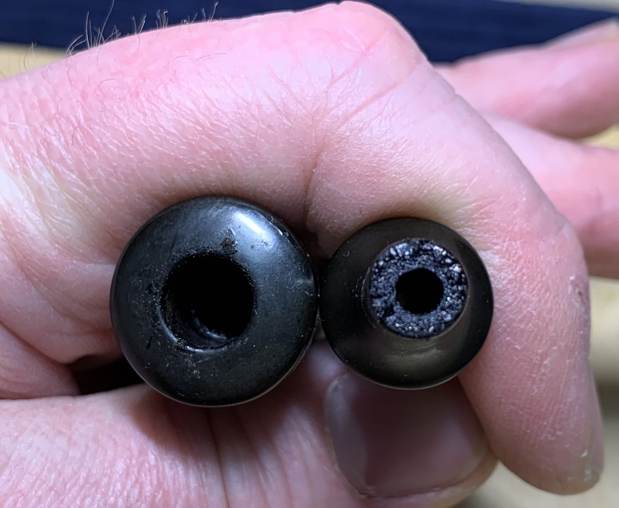
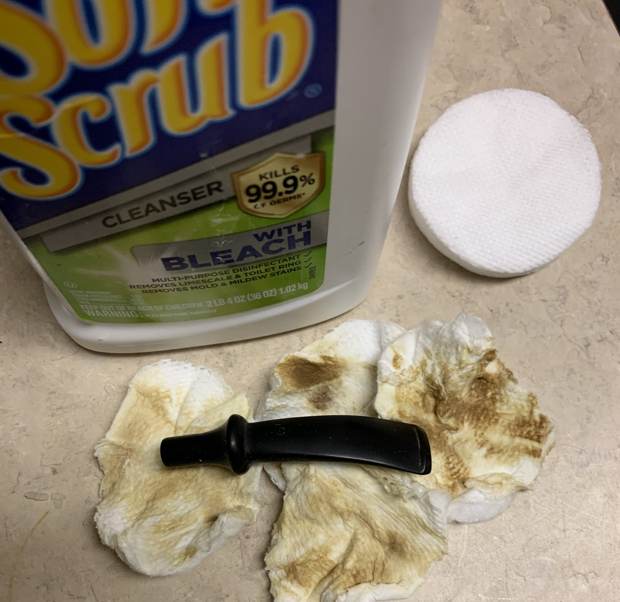
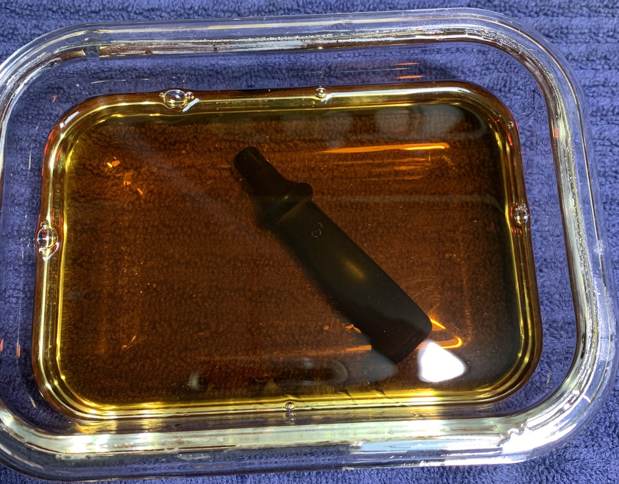
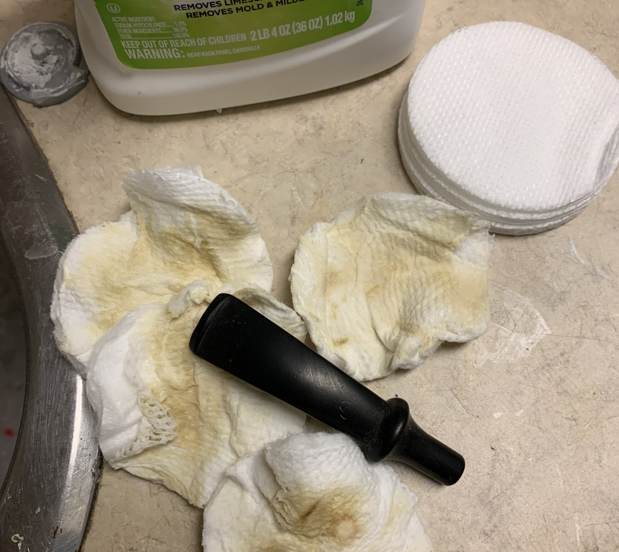
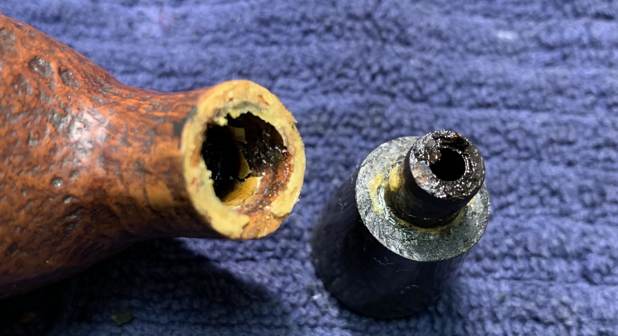
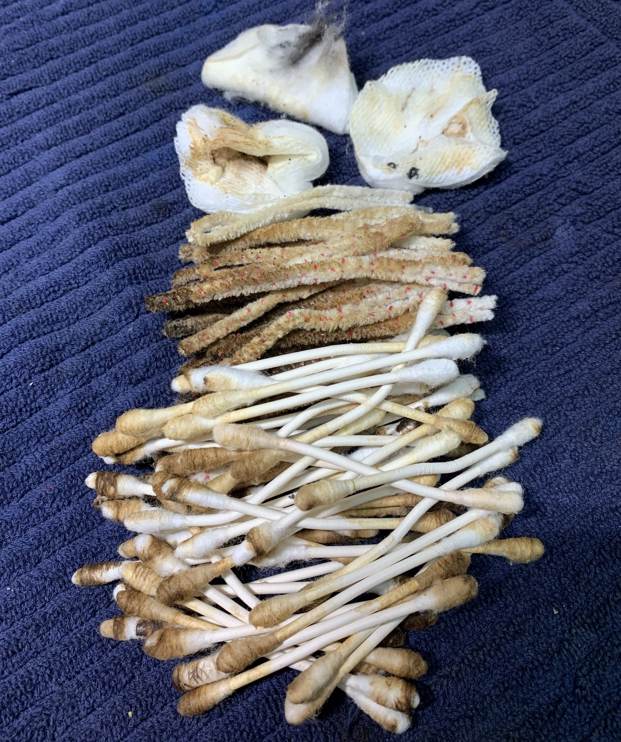
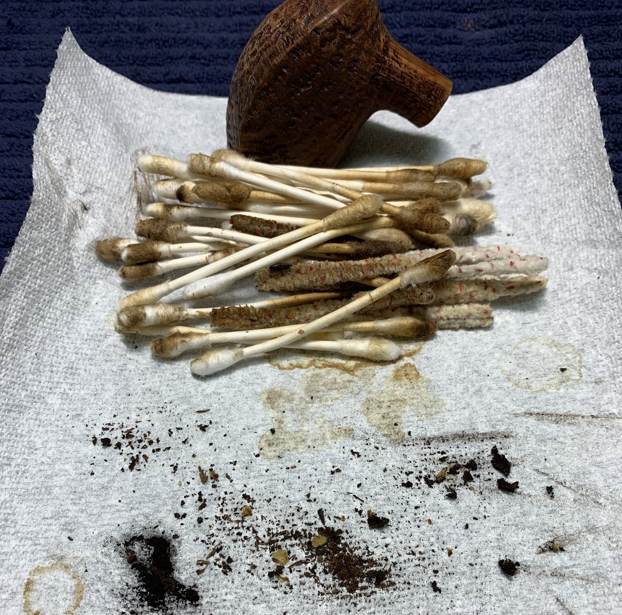
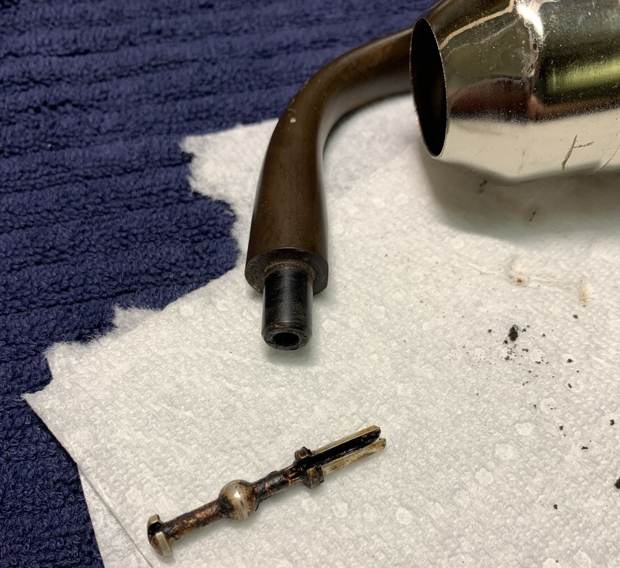
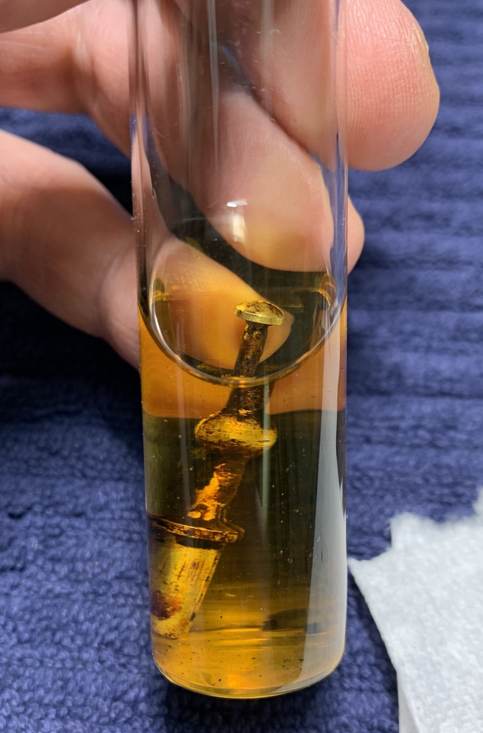
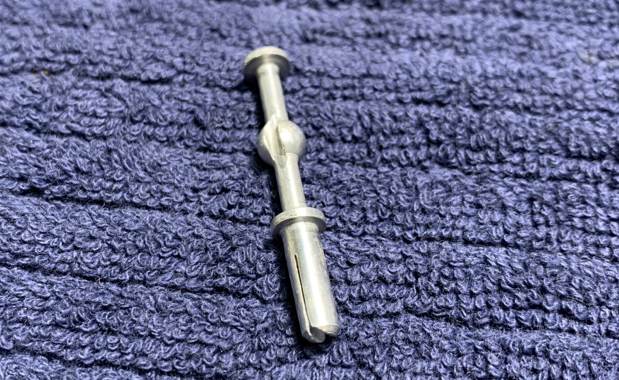
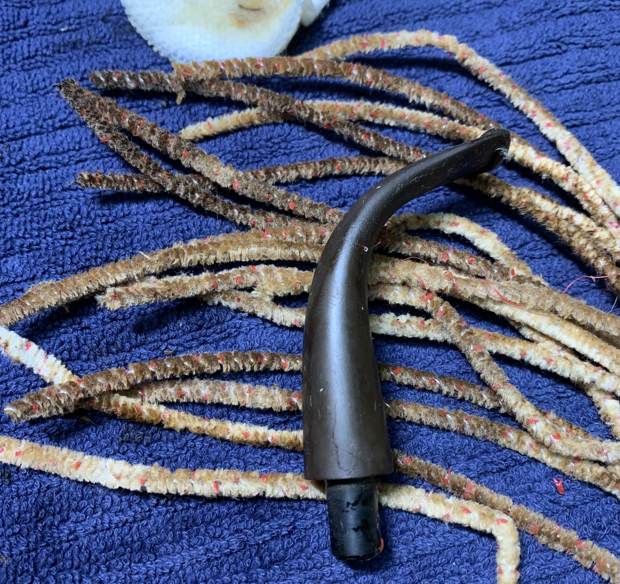
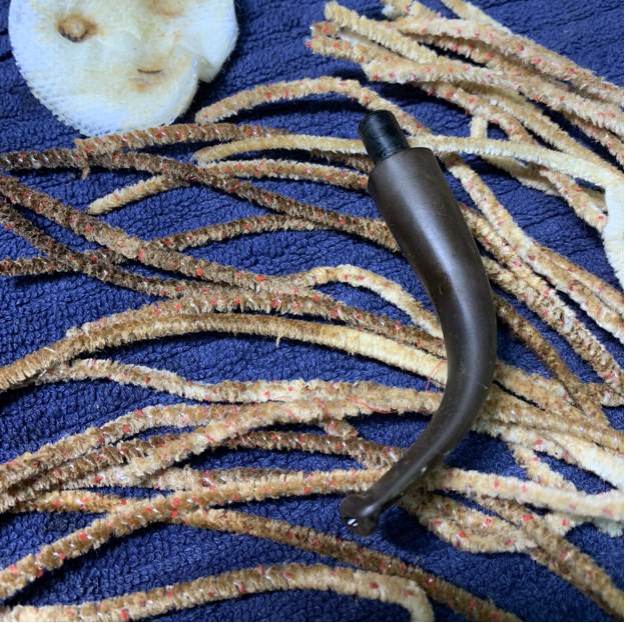
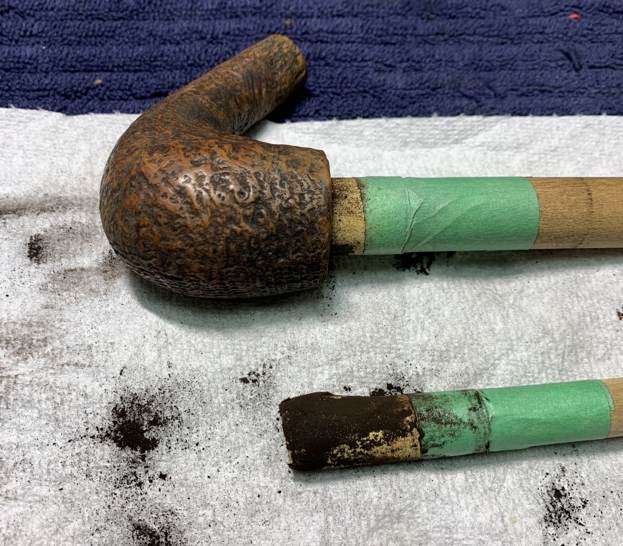
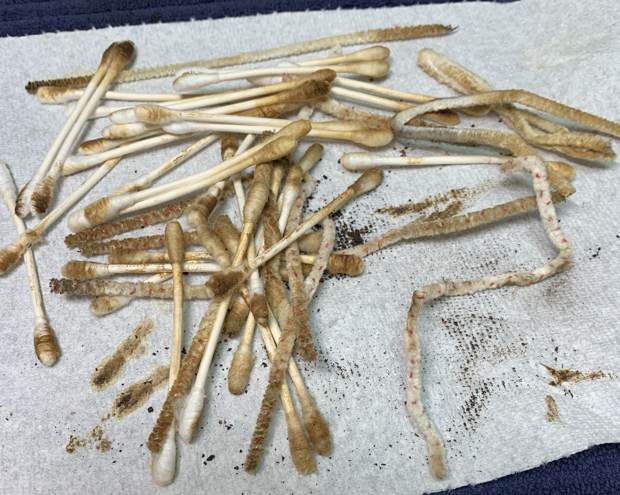
 I cleaned out the inside of the shank and the airway in the stem with alcohol, cotton swabs and pipe cleaners. I was able to remove a lot of tars and oils from the shank and some of the darkening in the stem and slot.
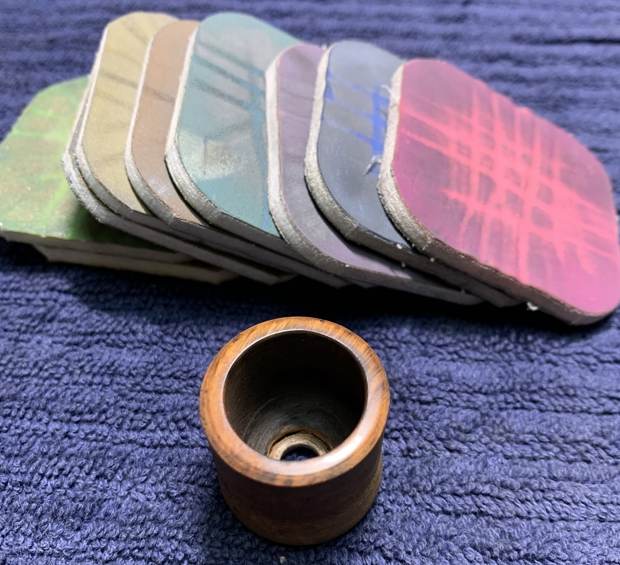
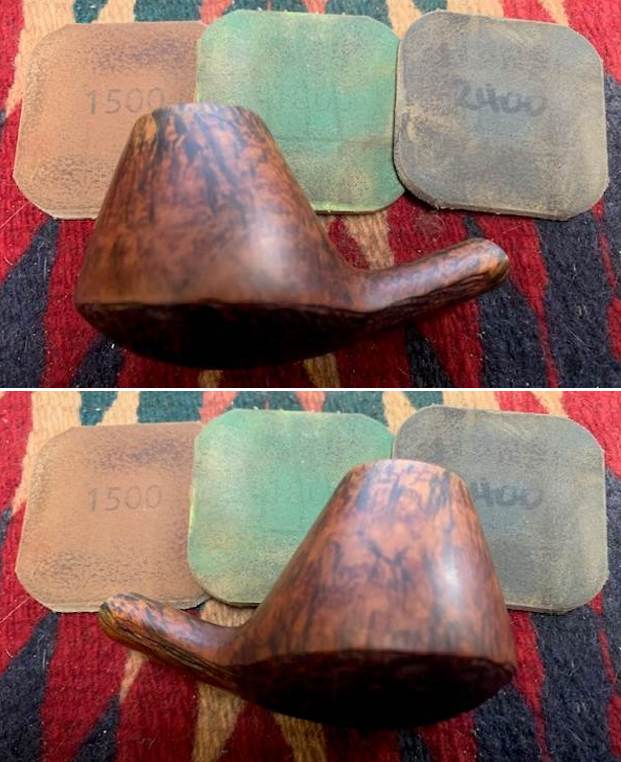
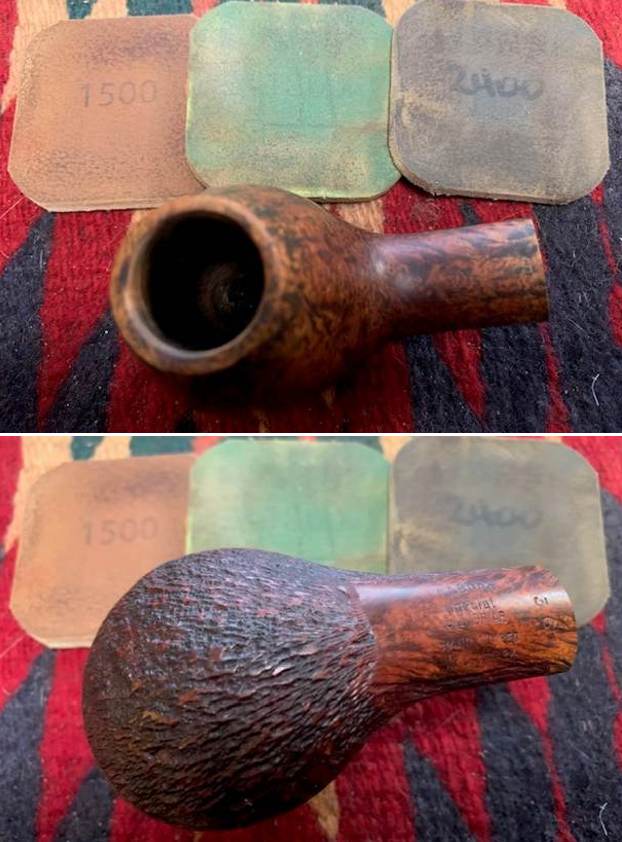
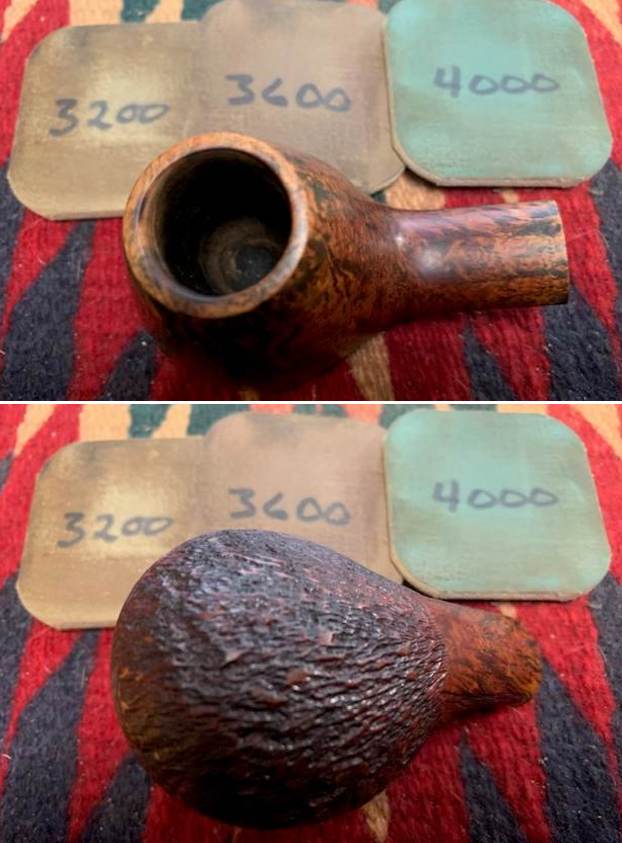
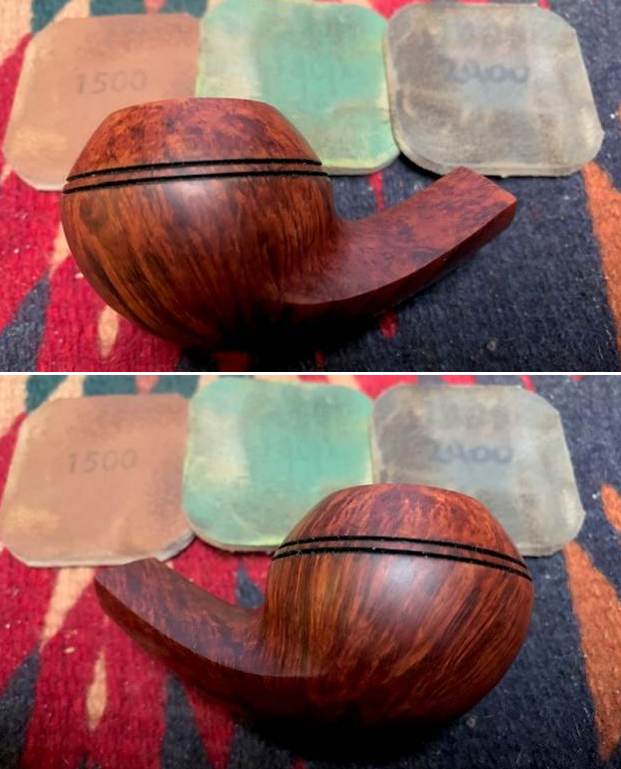
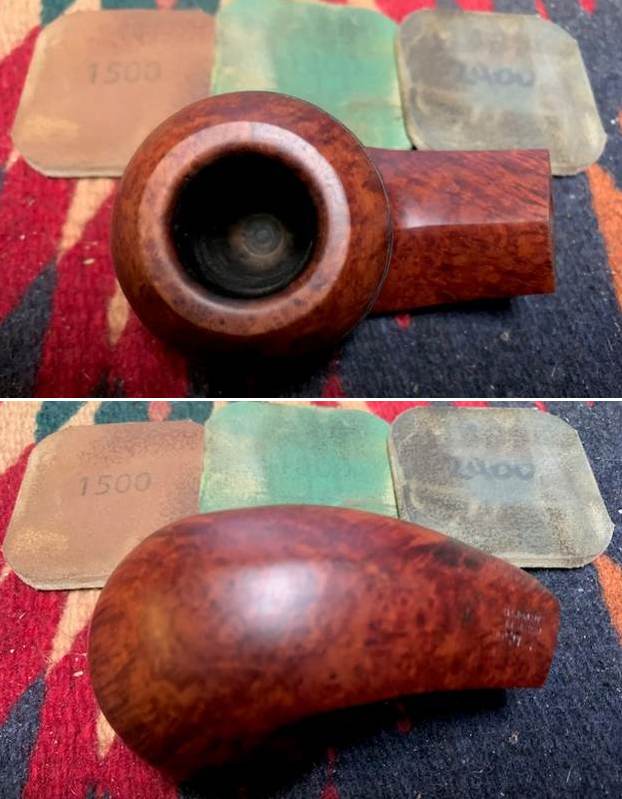
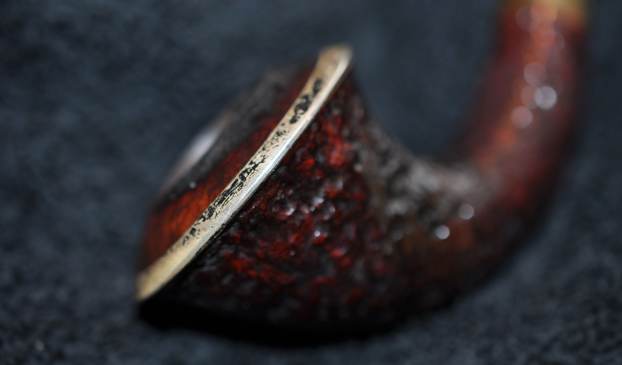
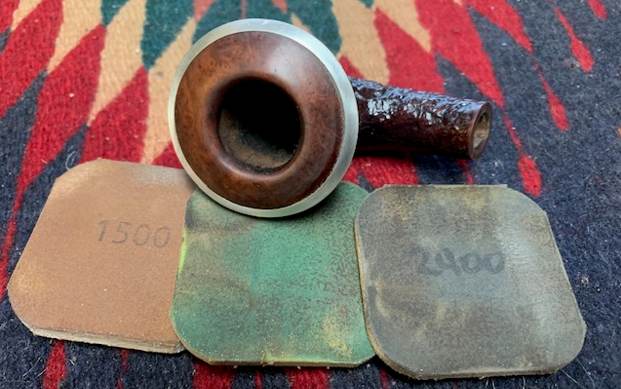
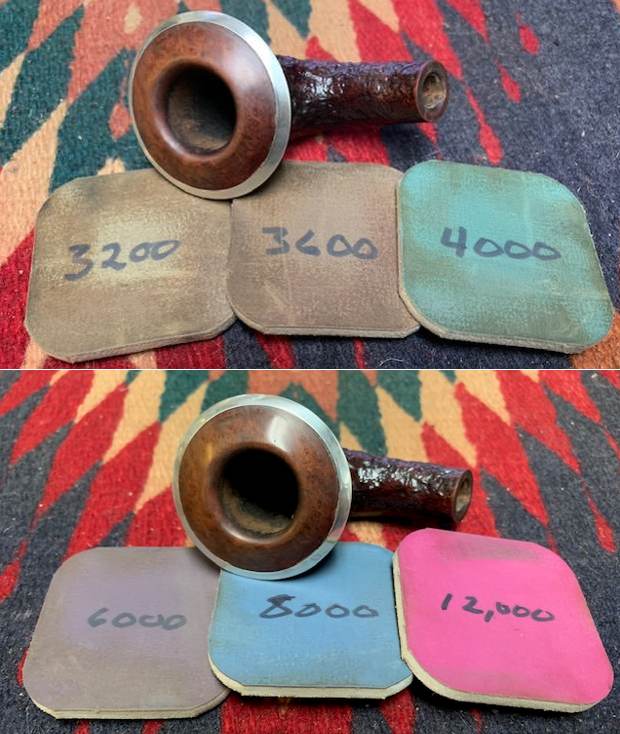
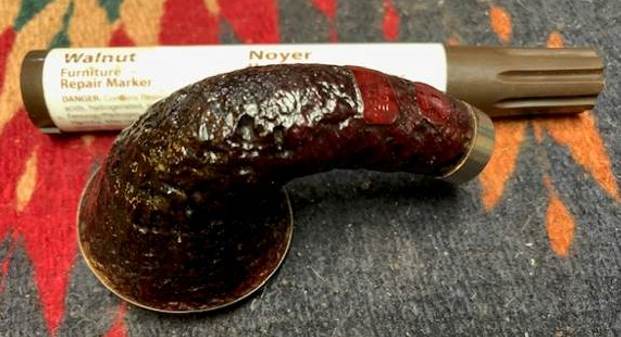
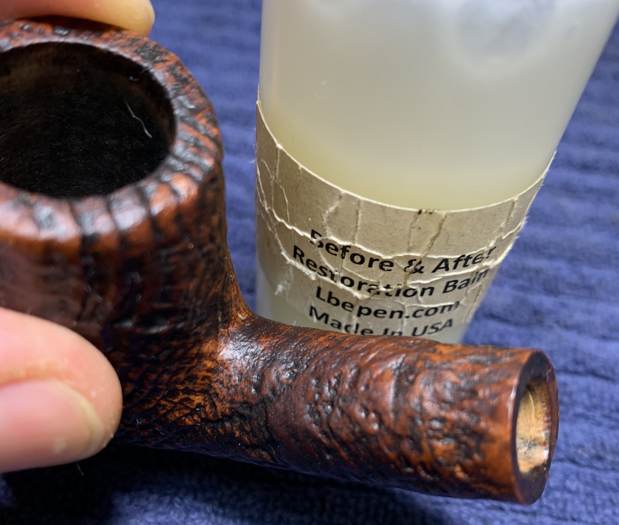
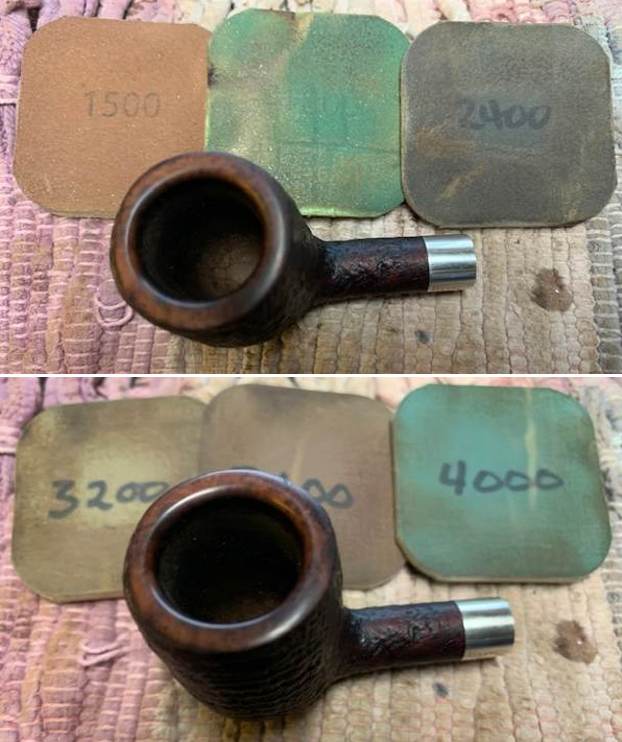
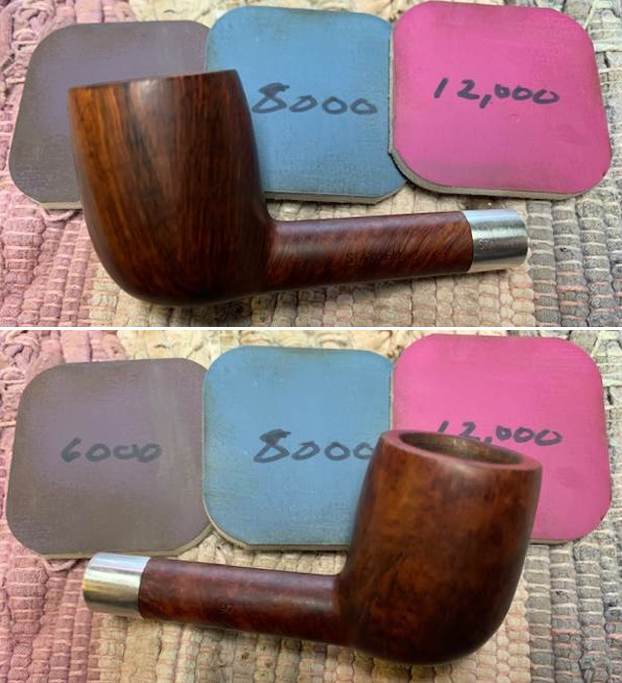
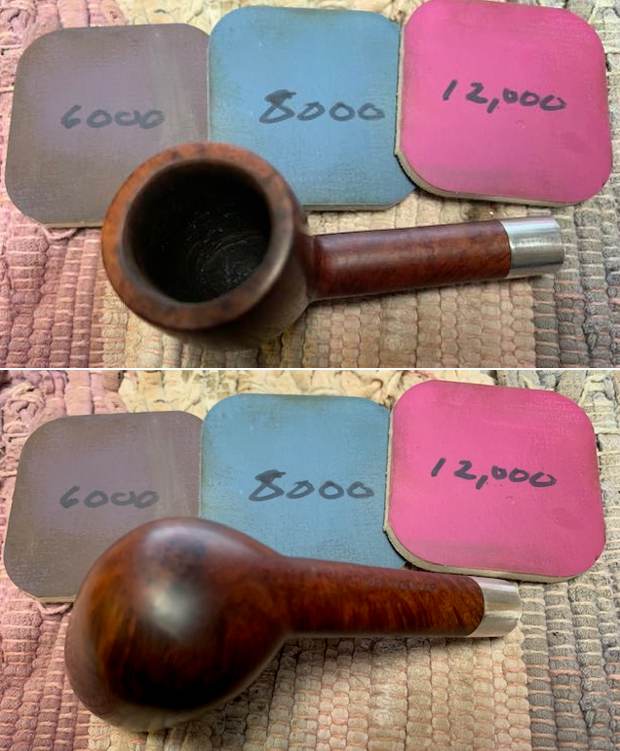
 I polished the smooth rim top with micromesh sanding pads – dry sanding with 1500-12000 grit pads. I wiped the top down with a damp cloth after each sanding pad. It had a rich shine once I had finished.
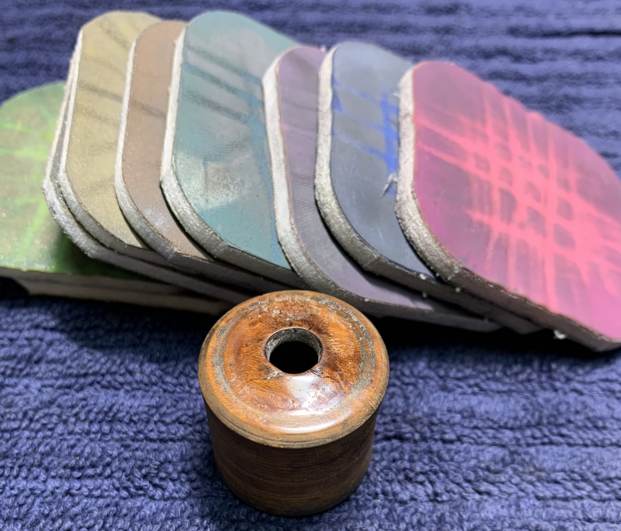
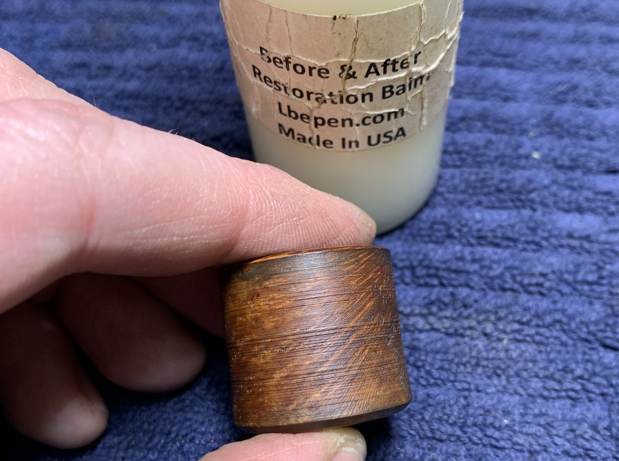
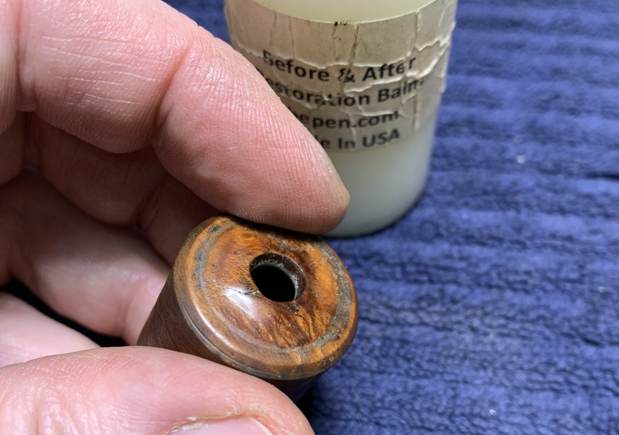
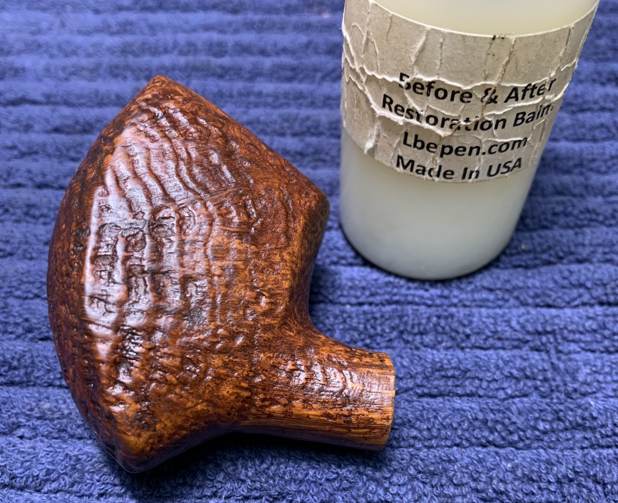
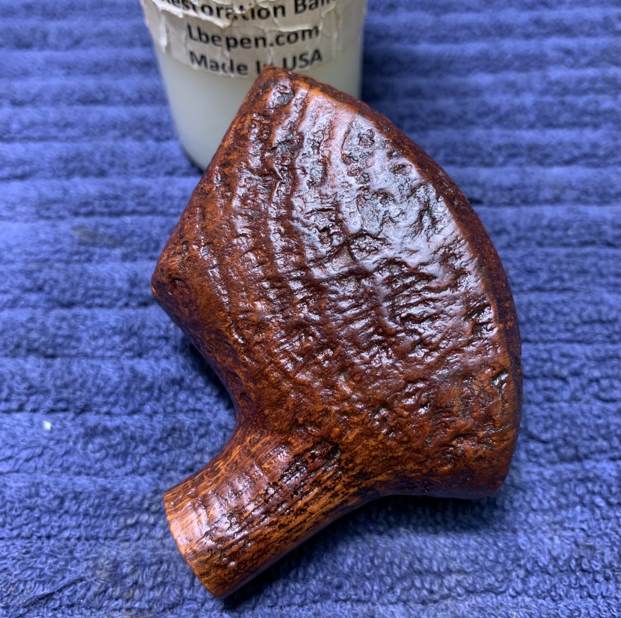
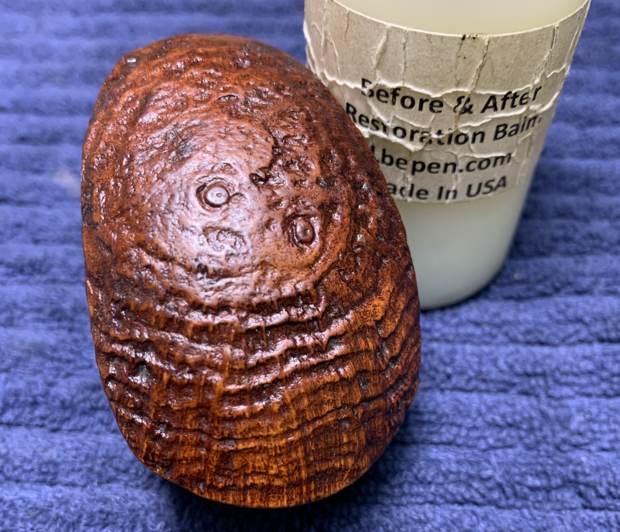
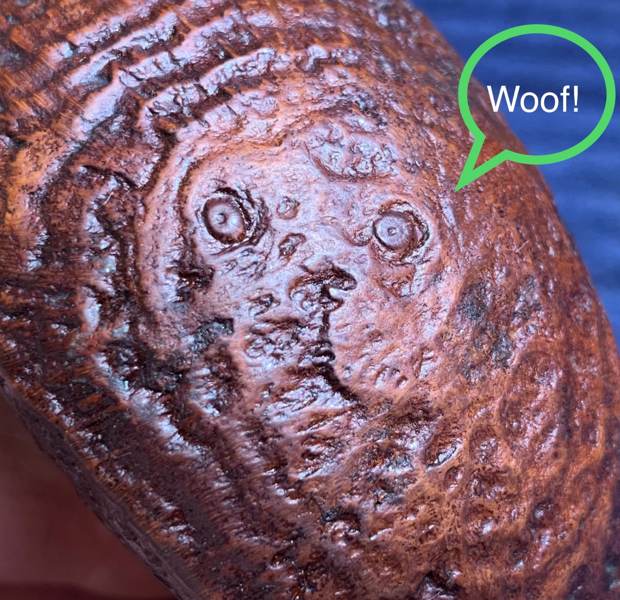
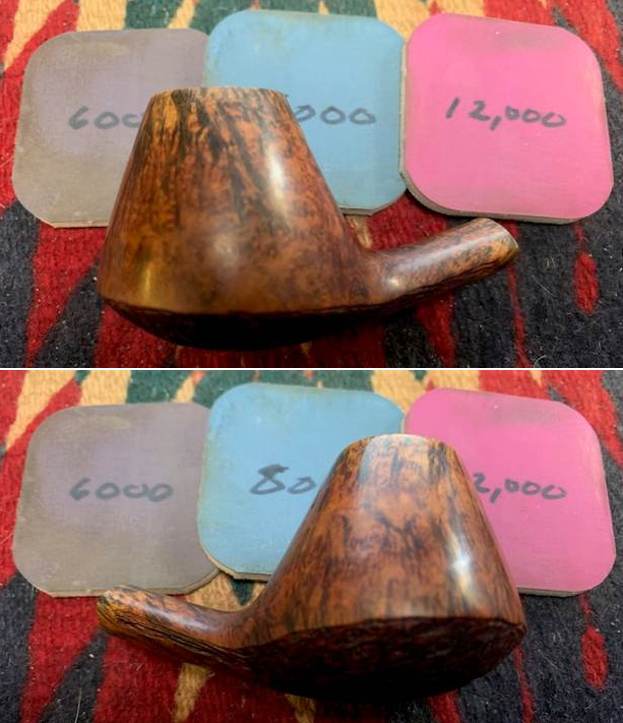
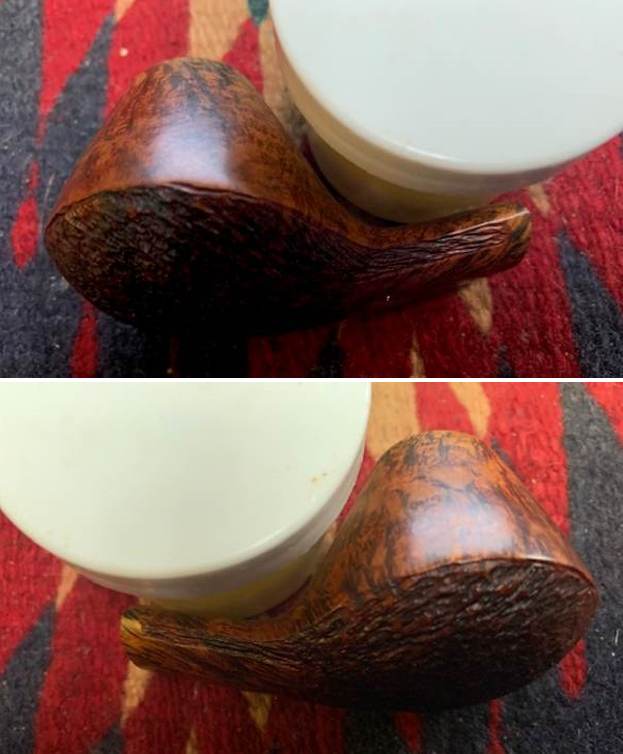
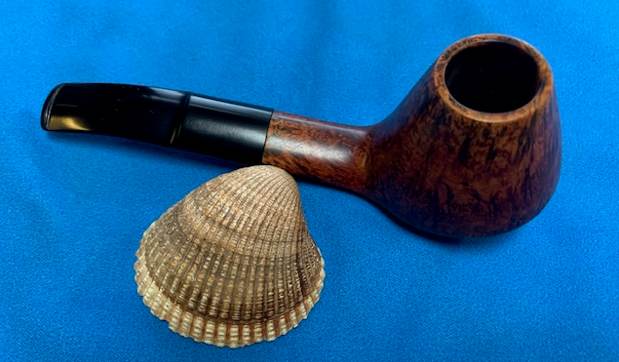
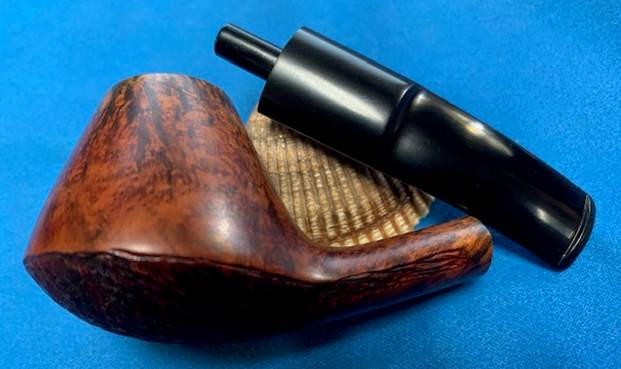
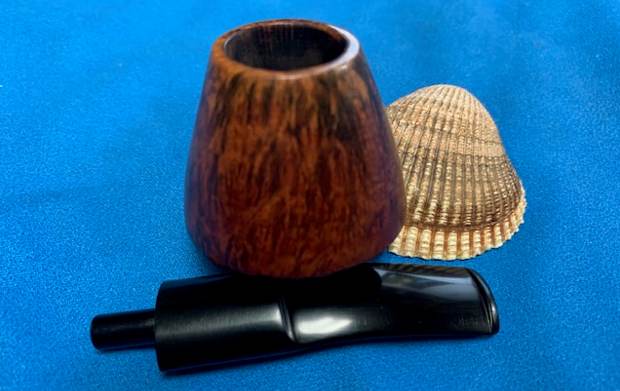
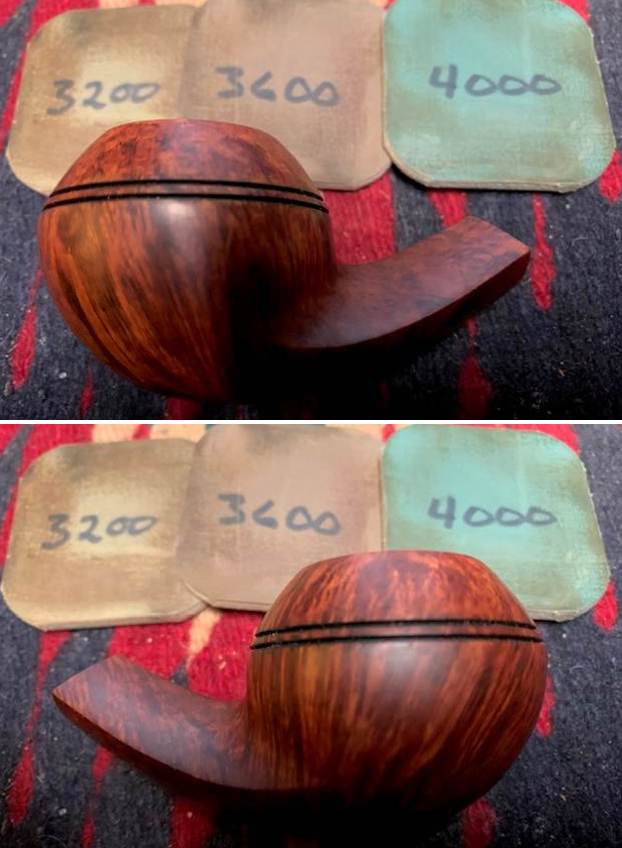
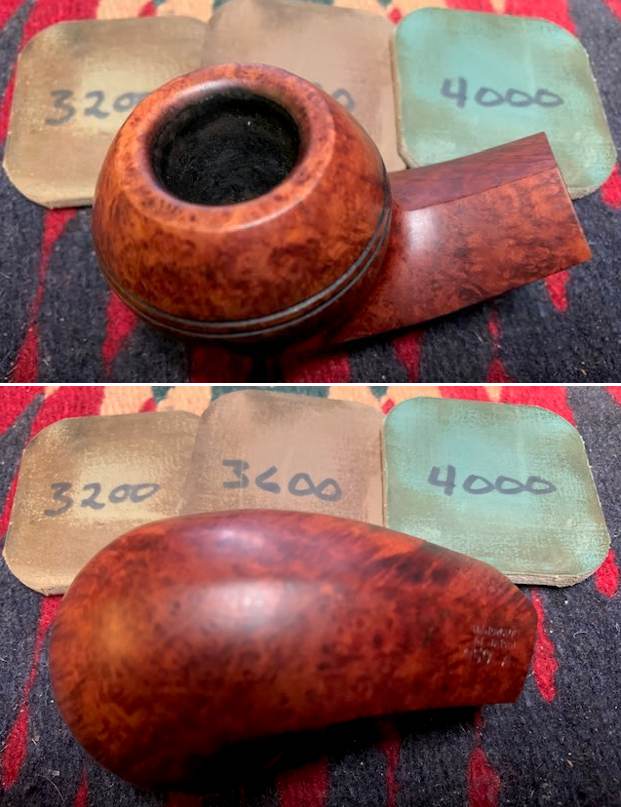
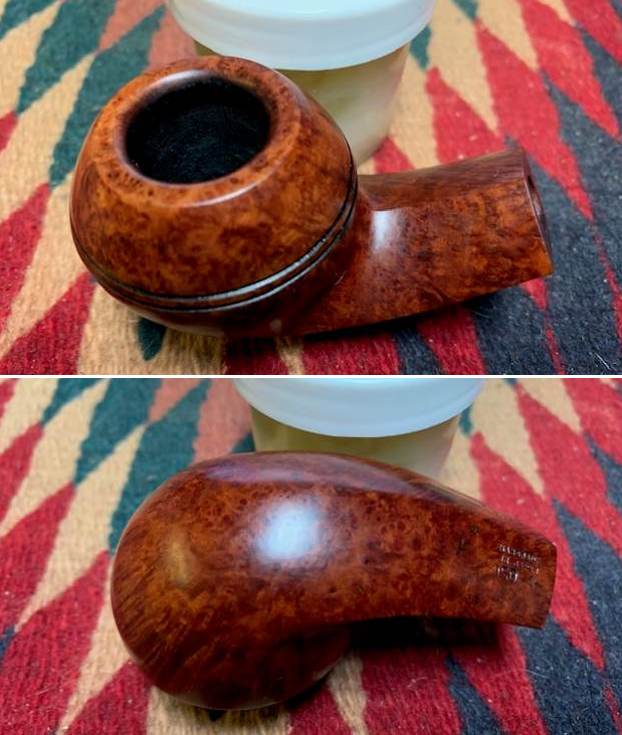
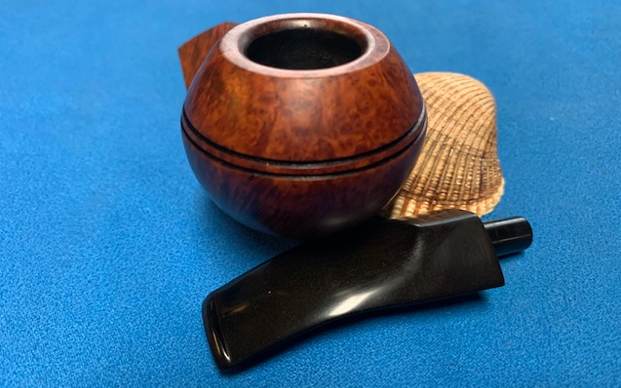
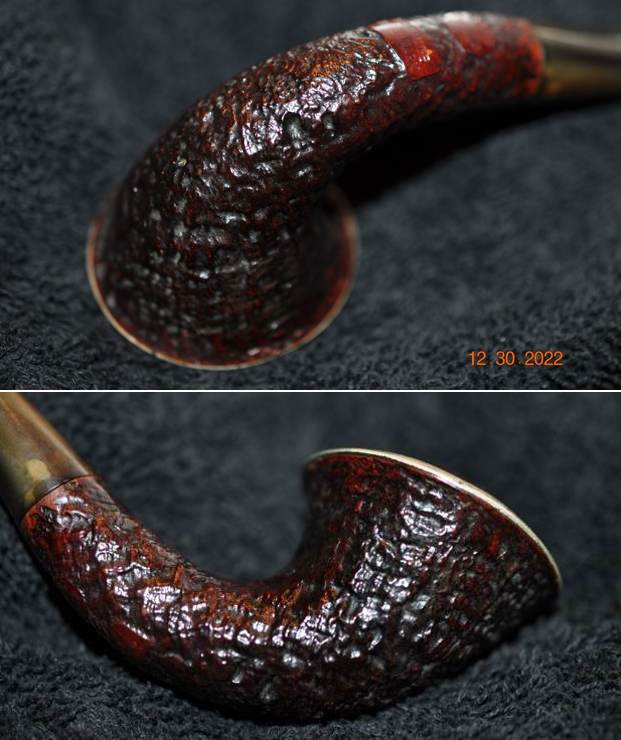
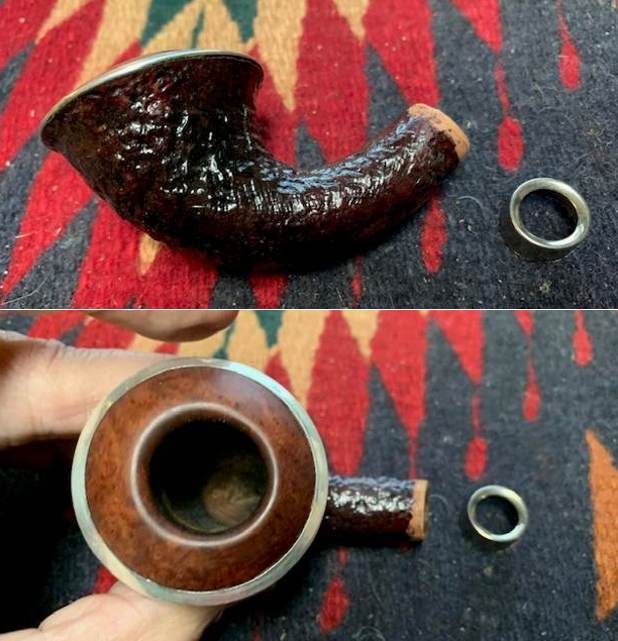
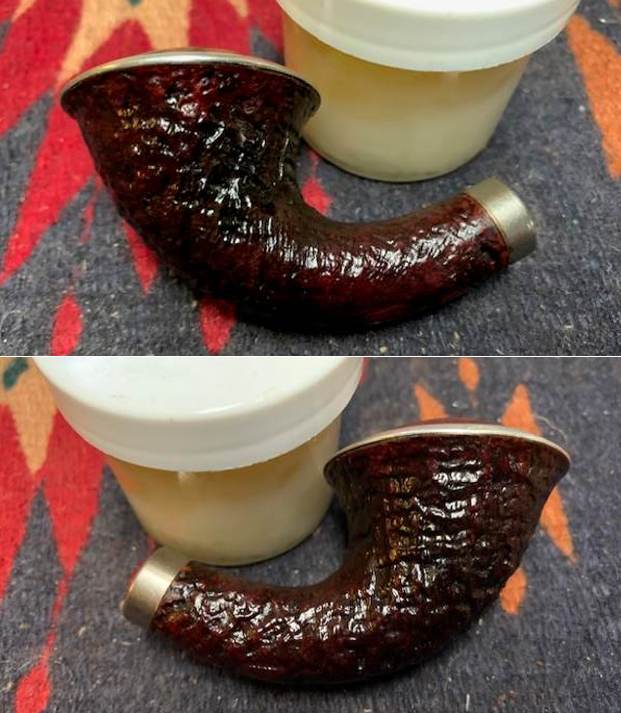
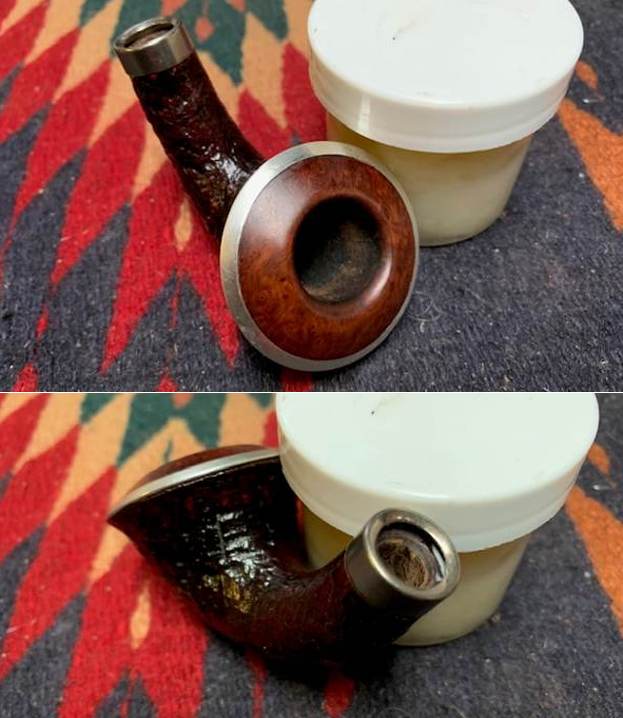
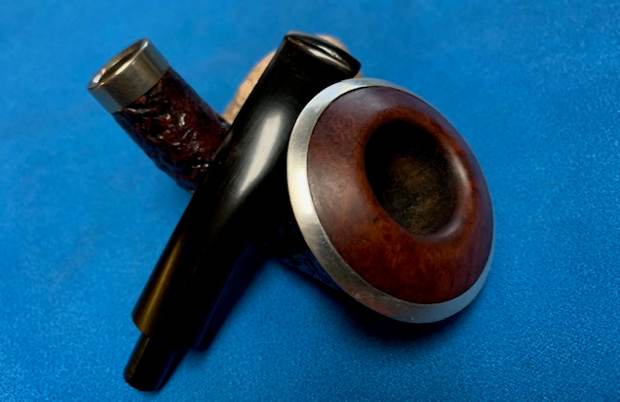
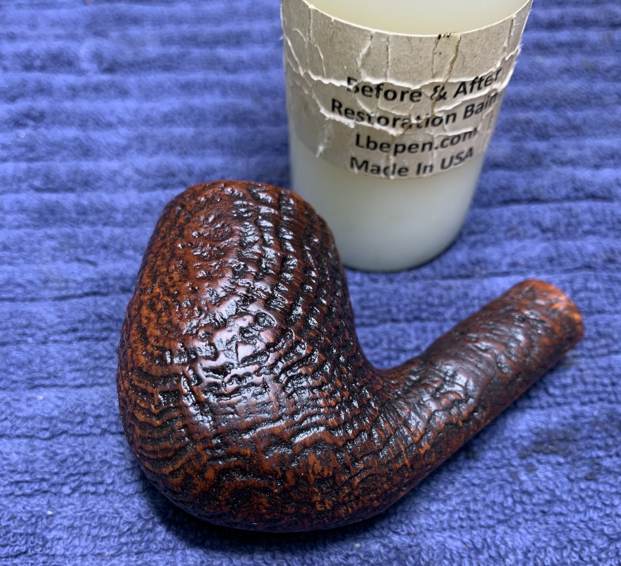
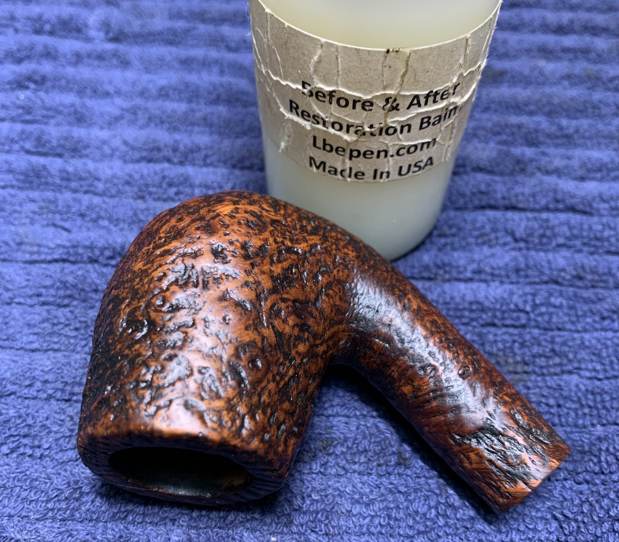
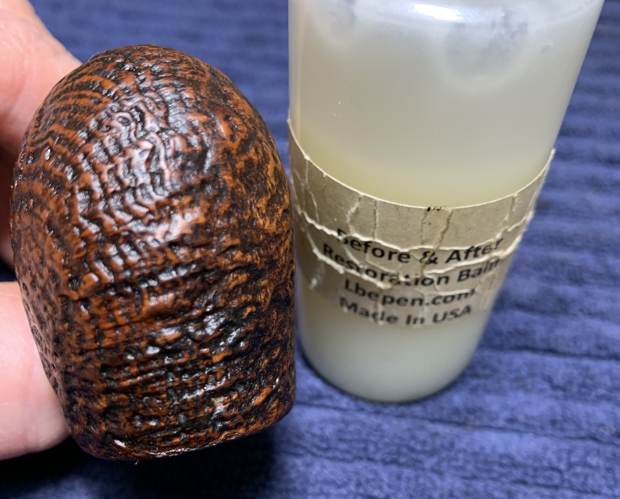
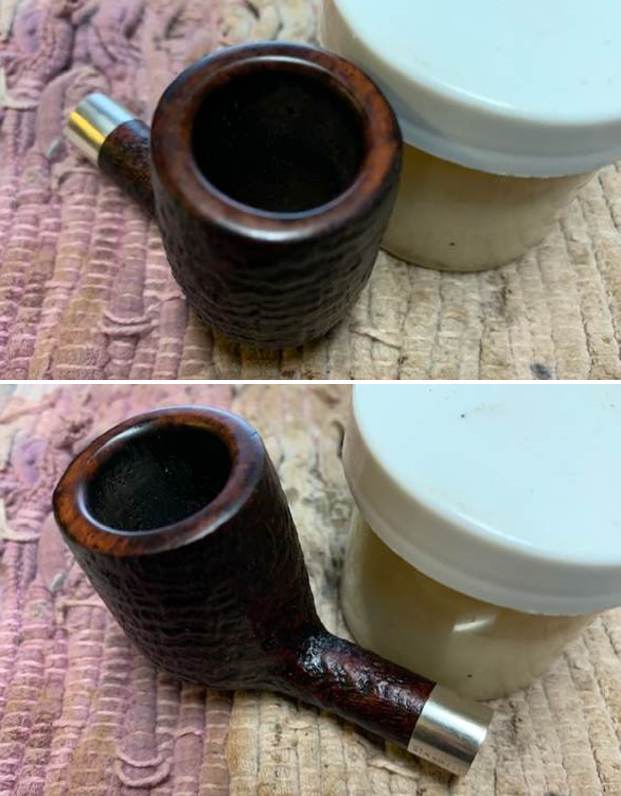
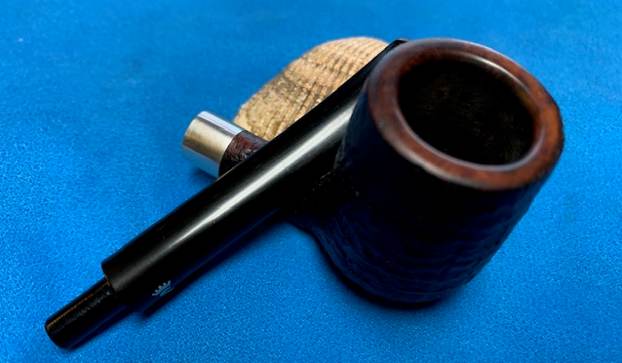
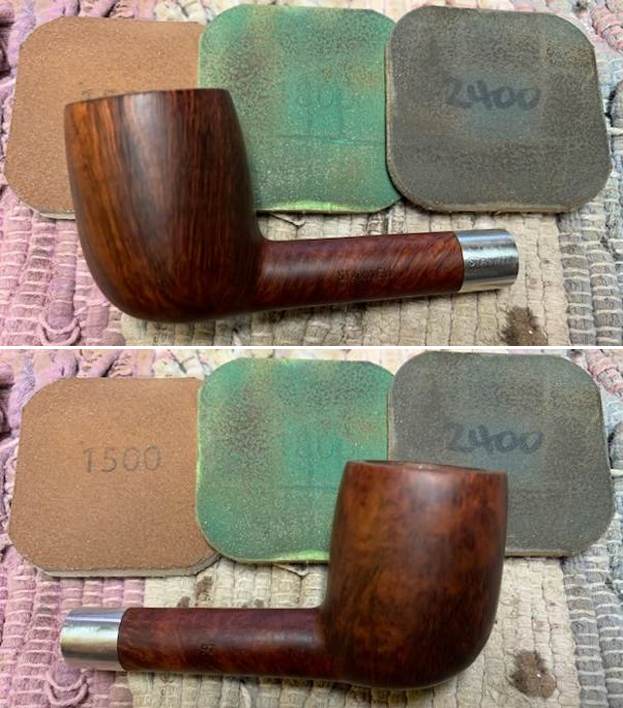
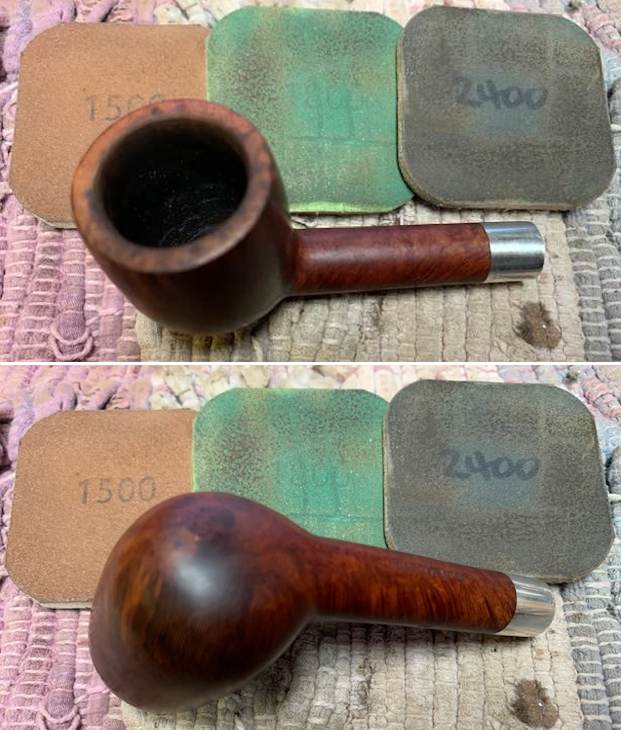
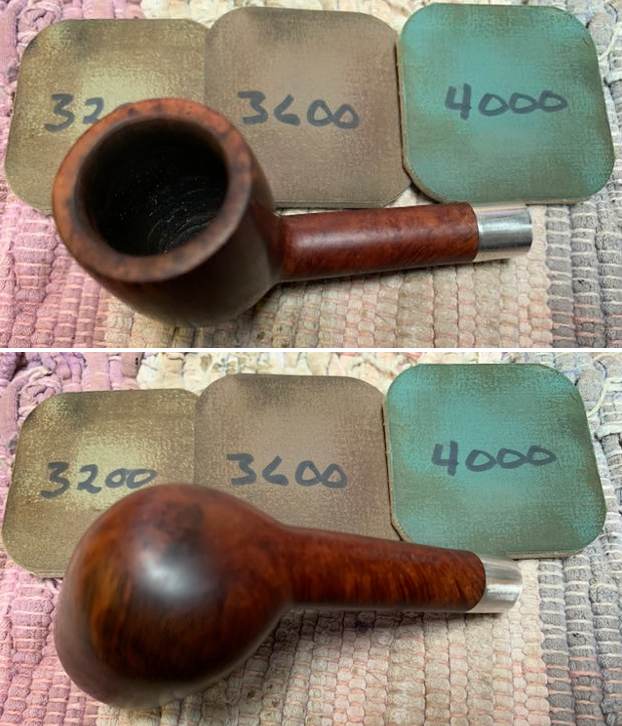
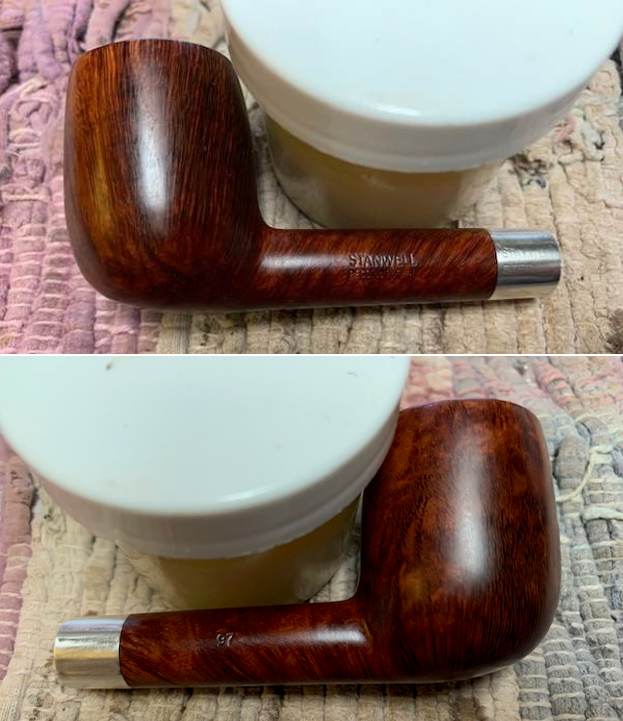
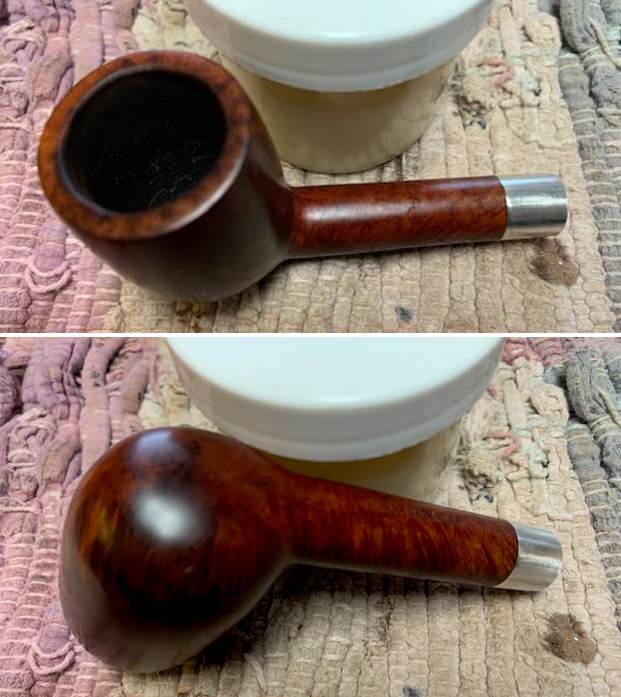
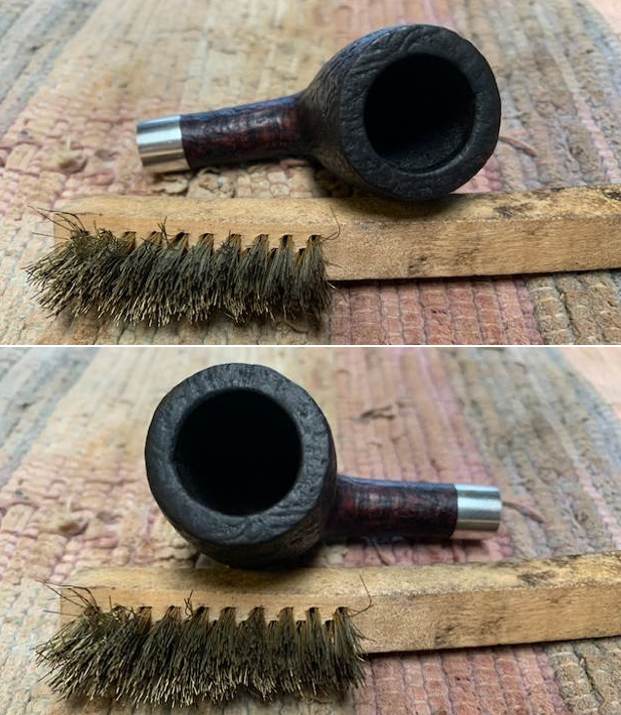
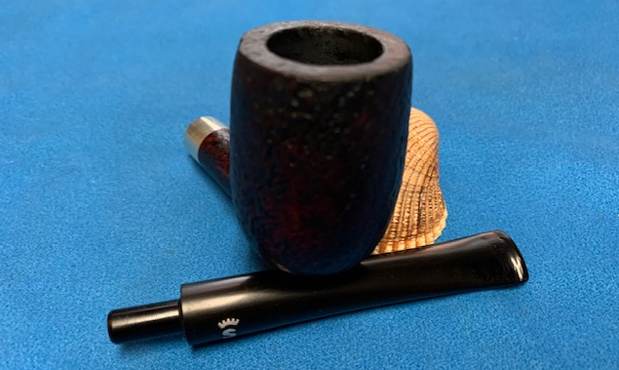
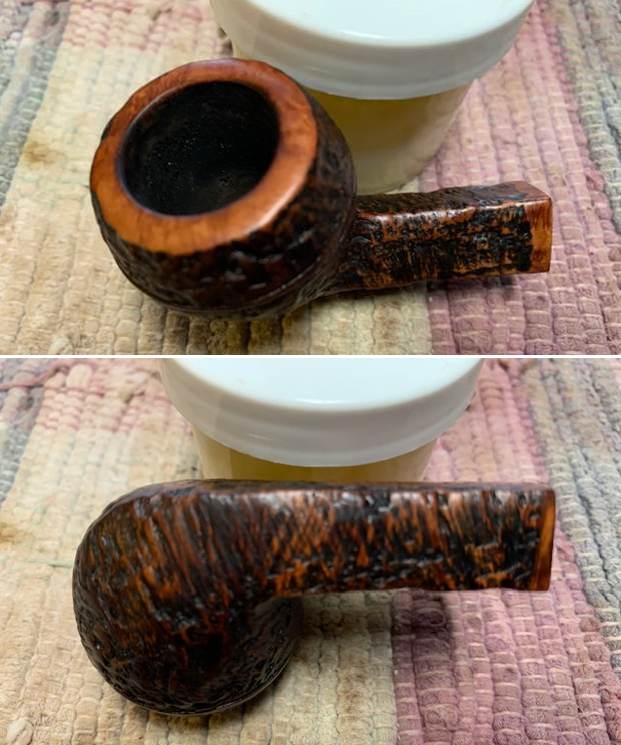
 I rubbed the bowl down with Before & After Restoration Balm to deep clean the nooks and crannies of the rusticated finish, enliven and protect the briar. I hand rubbed it with my fingers, worked it into the rings with a cotton swab and into the finish with a horsehair shoe brush. I let it sit for 10 minutes to let it do its work. I wiped it off with a soft cloth. I buffed the bowl with a cotton cloth. It really began to have a deep shine in the briar. I took some photos of the bowl at this point to mark the progress in the restoration.
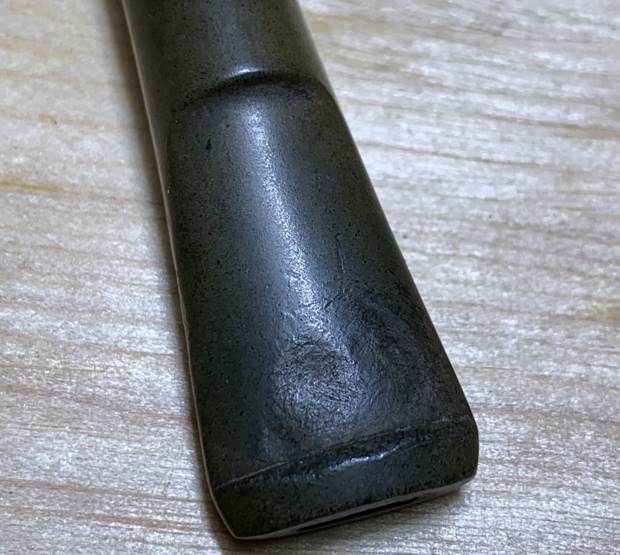
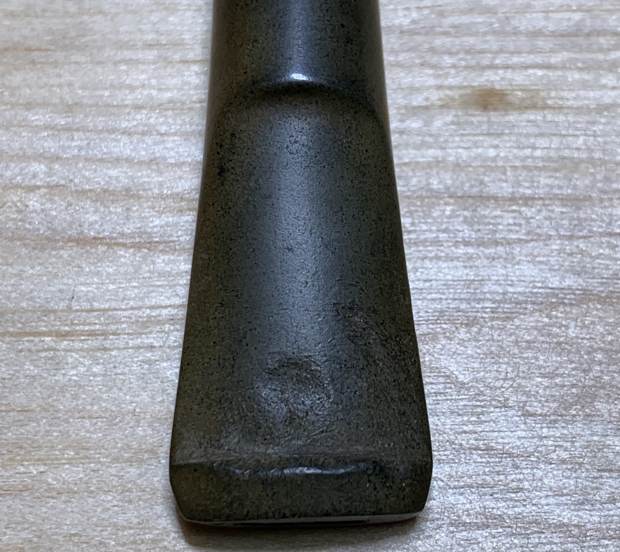
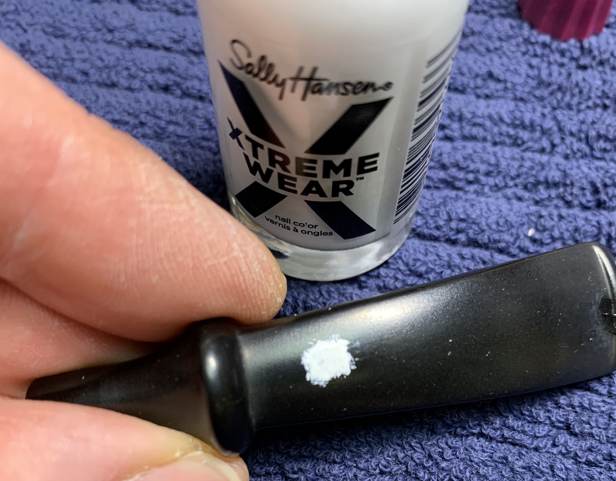
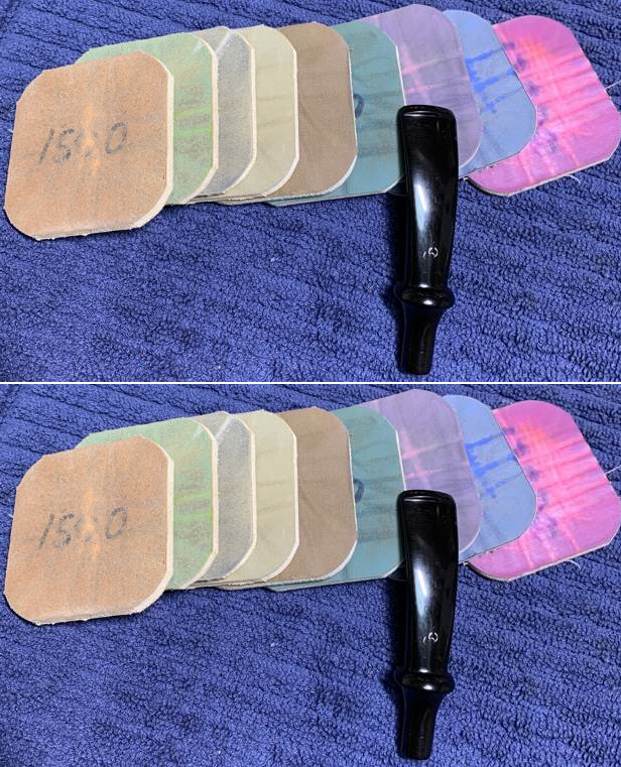
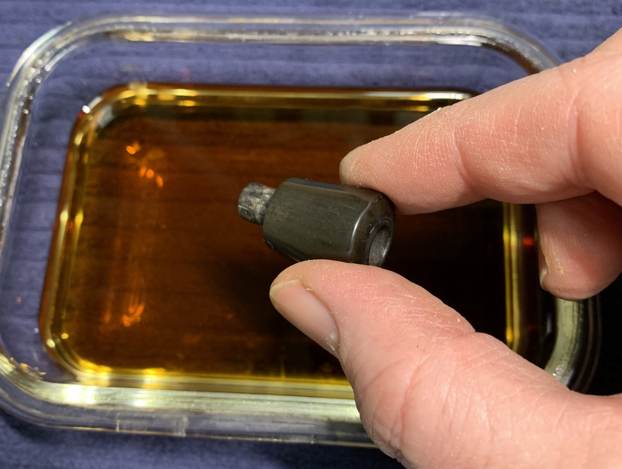
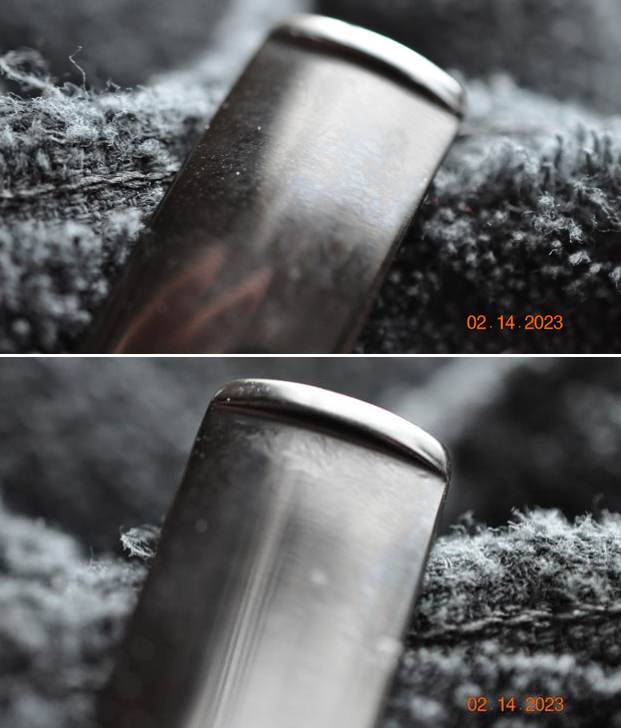
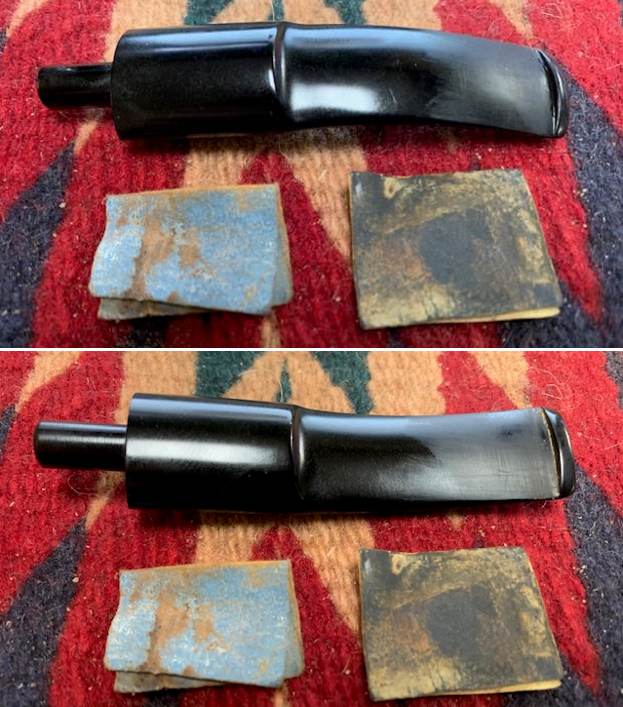
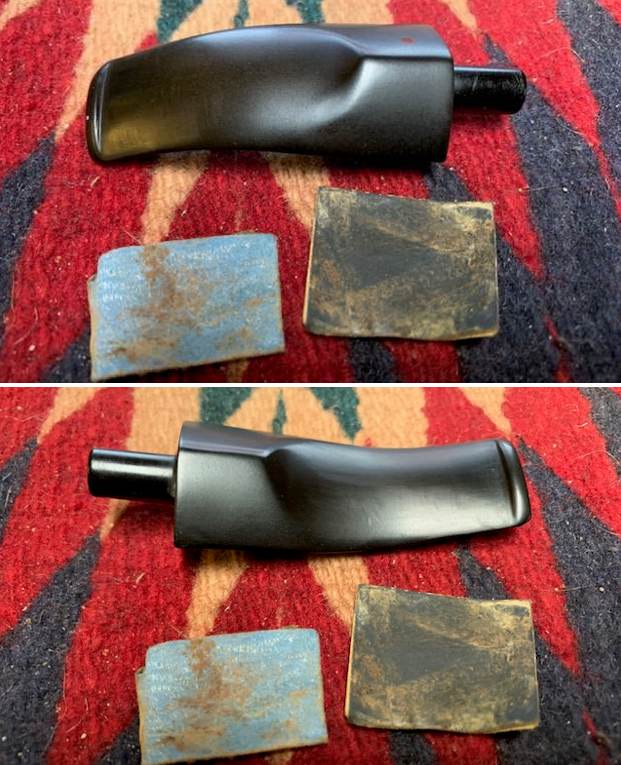
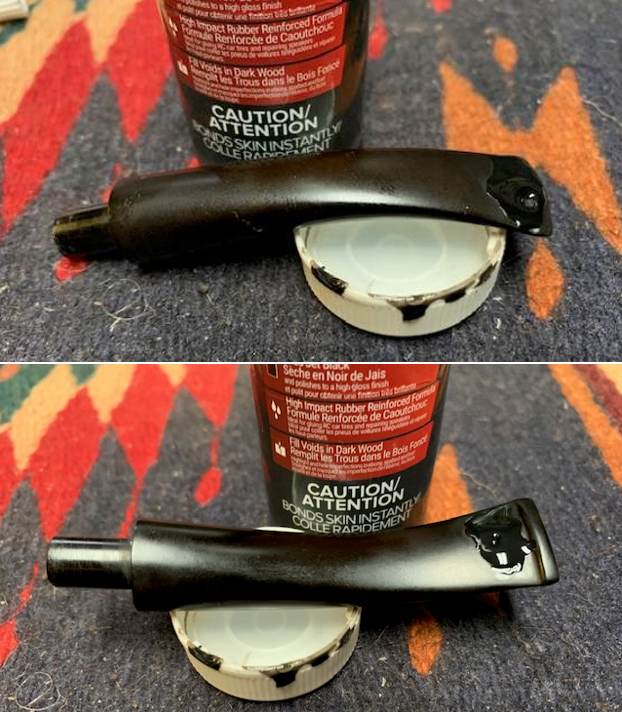
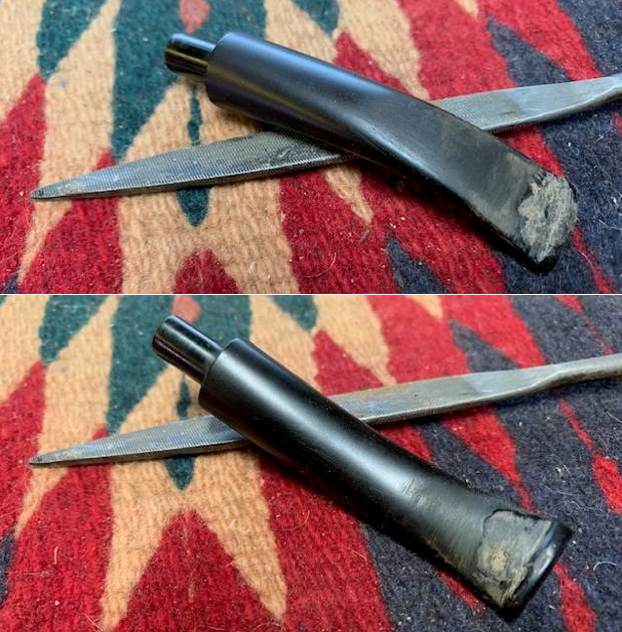
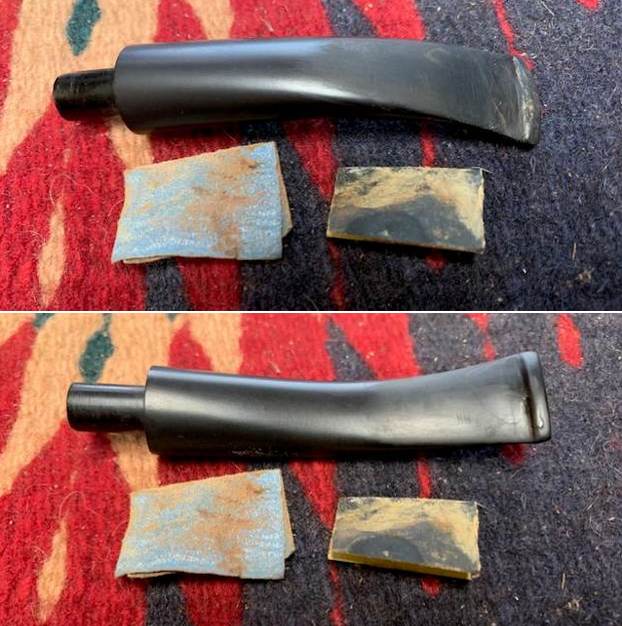
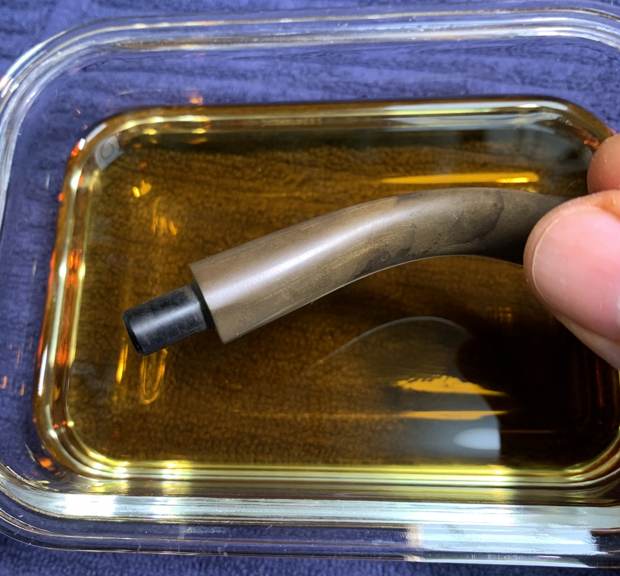
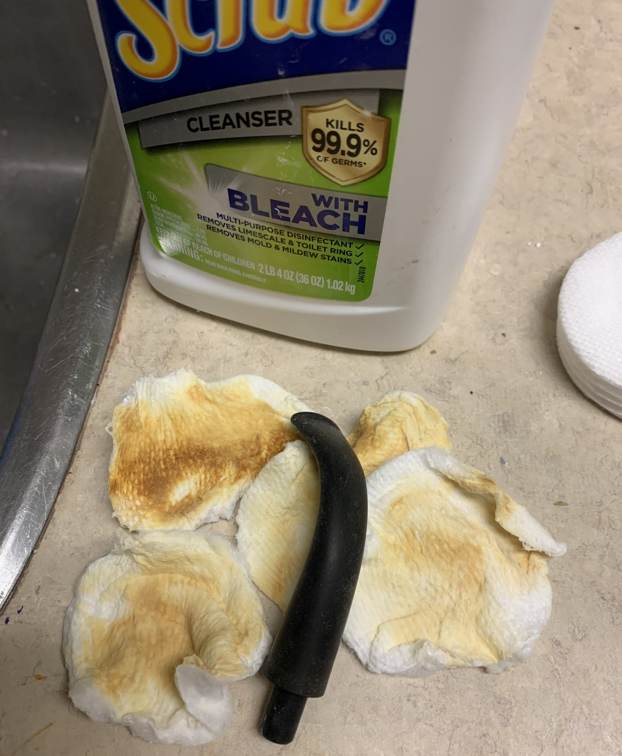
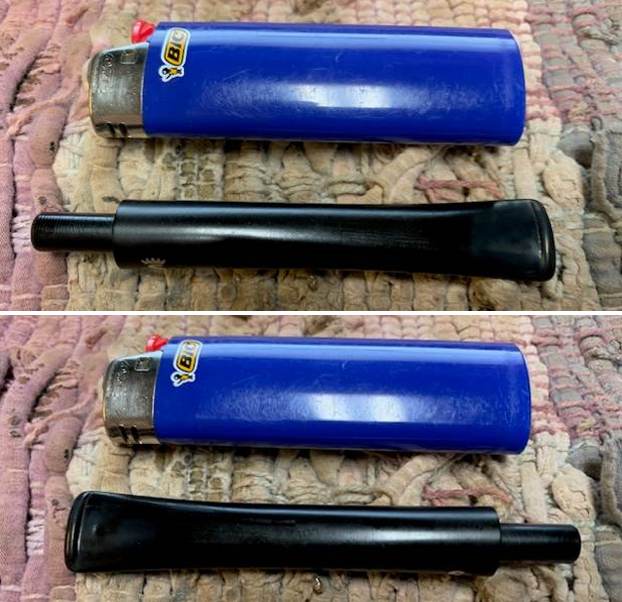
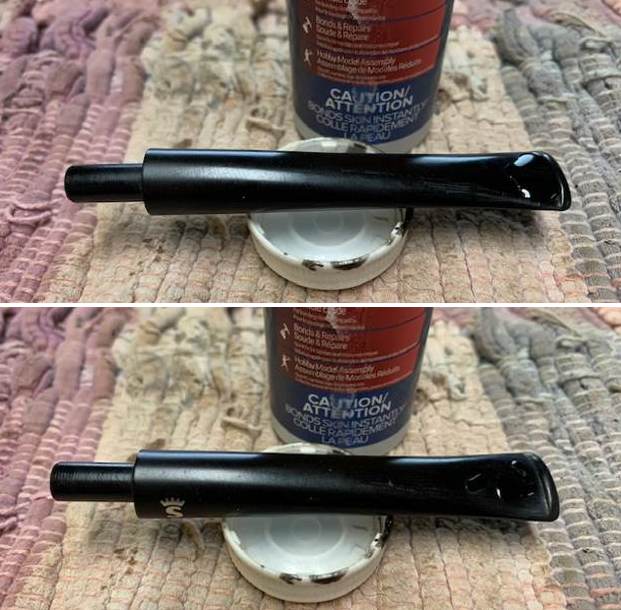
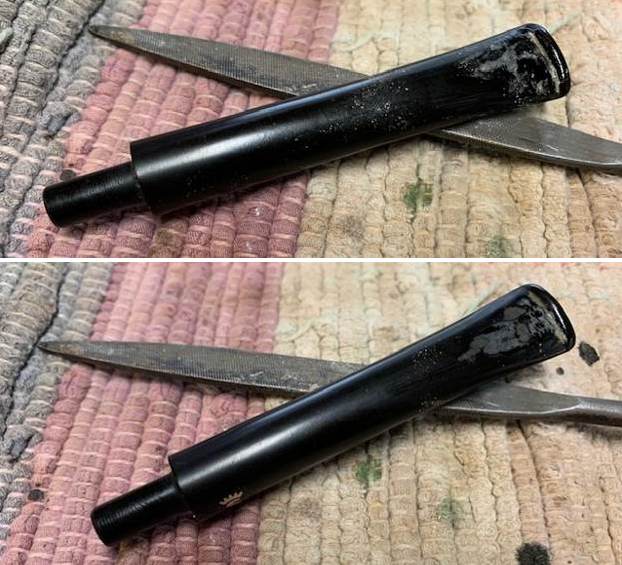
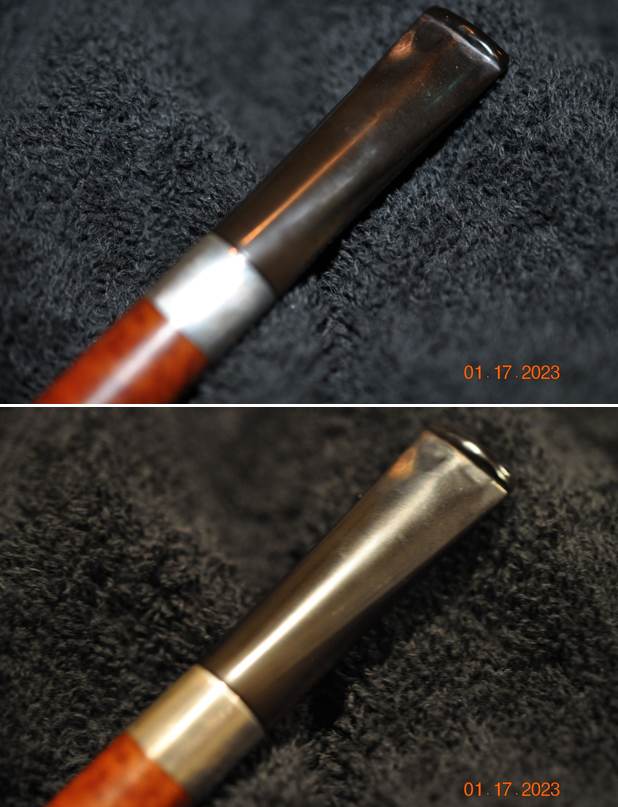
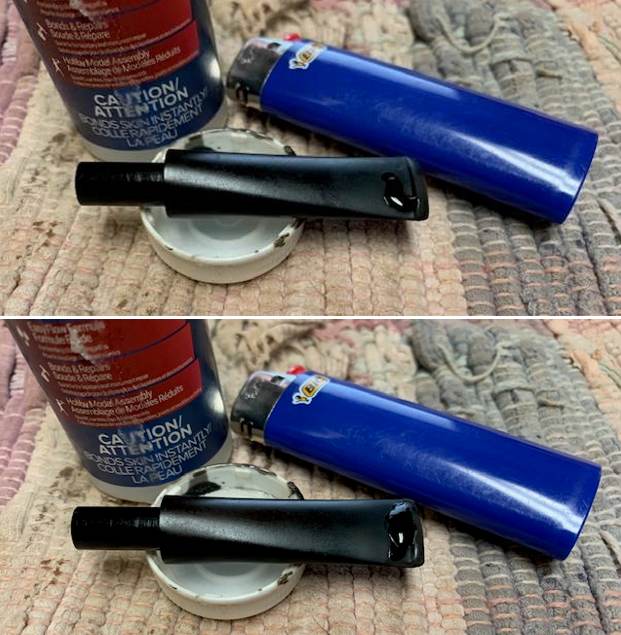
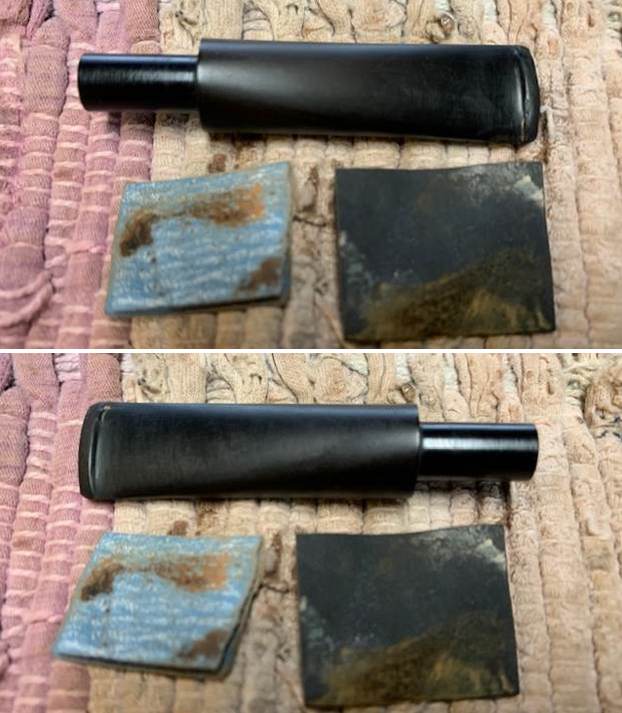
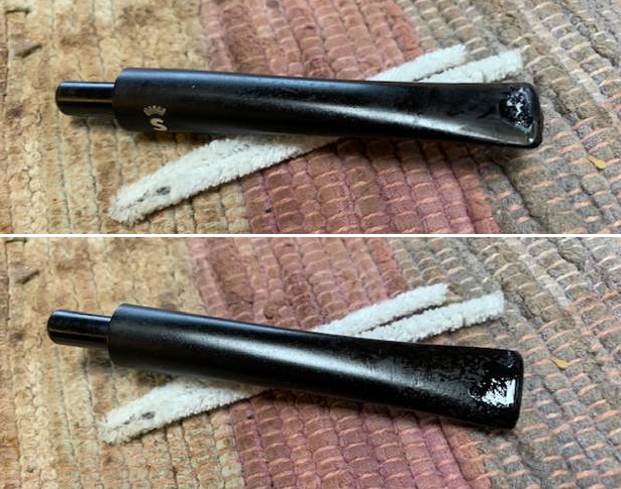
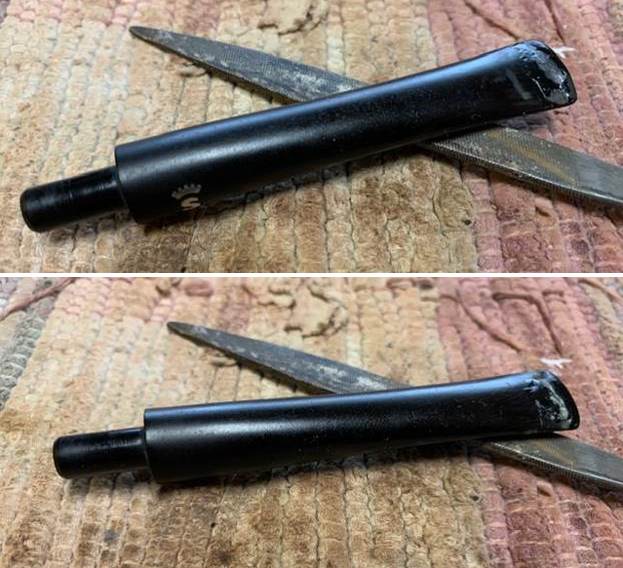
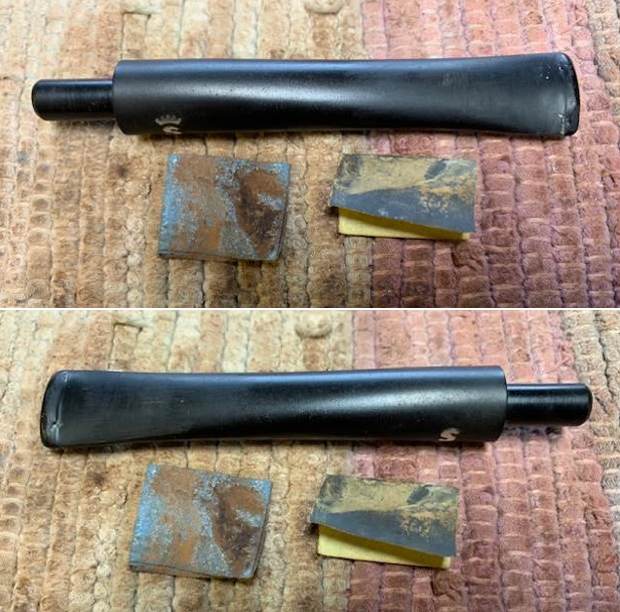
 I set the bowl aside and turned my attention to the stem. I sanded out the tooth marks with 220 grit sandpaper and started the polishing of the stem with 600 grit wet dry sandpaper.
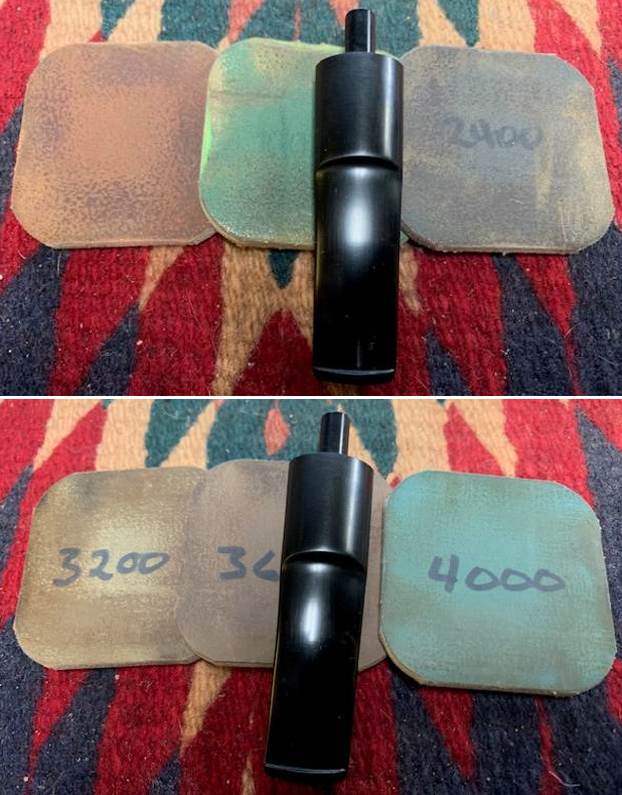
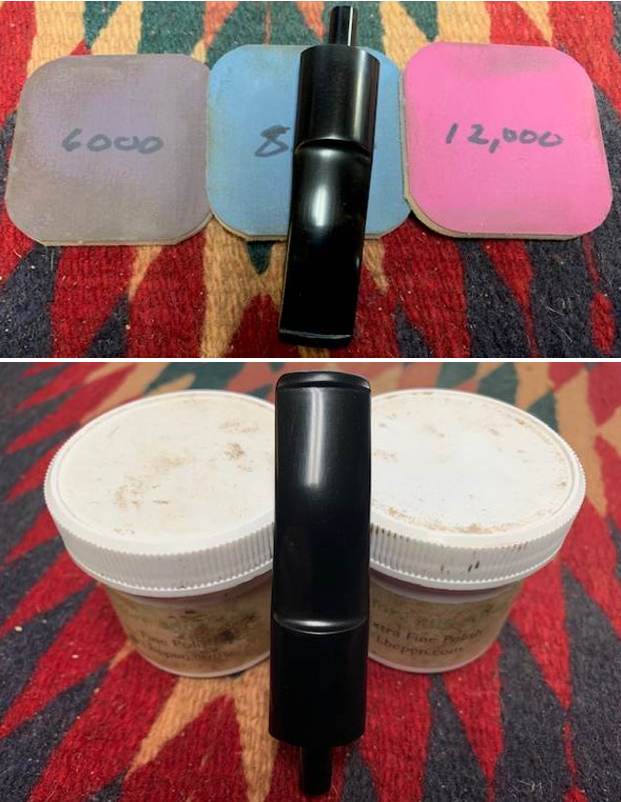
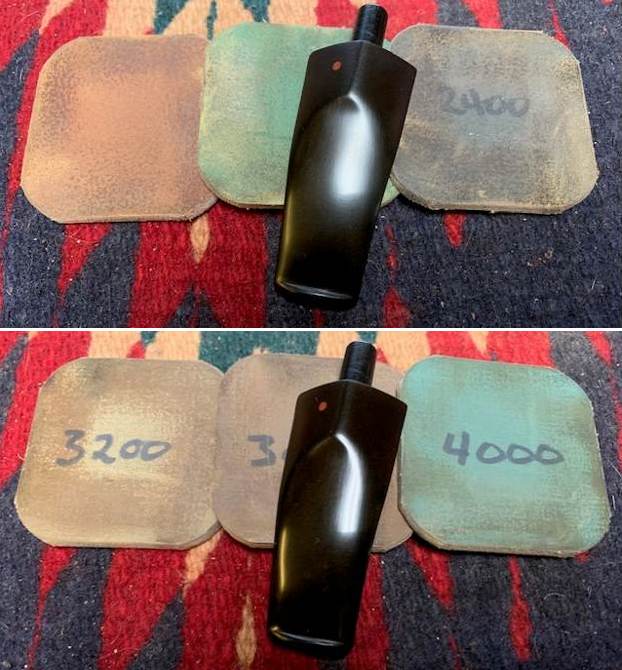
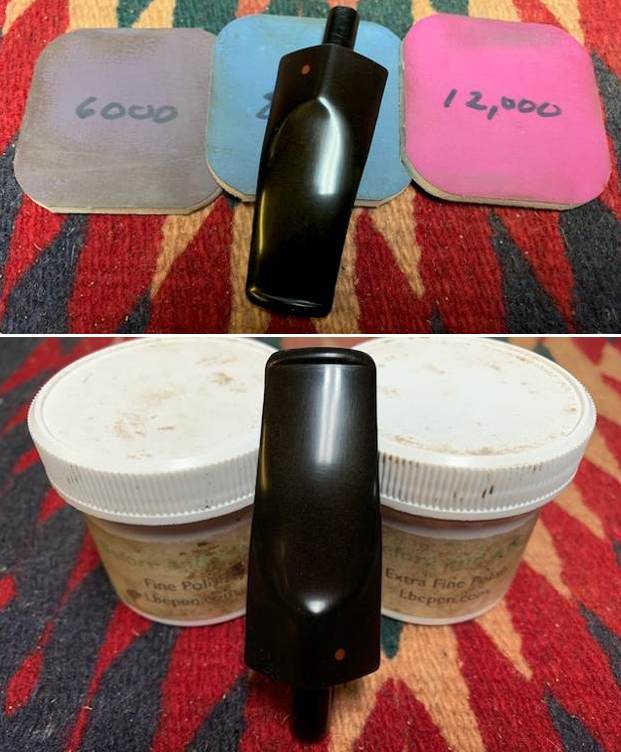
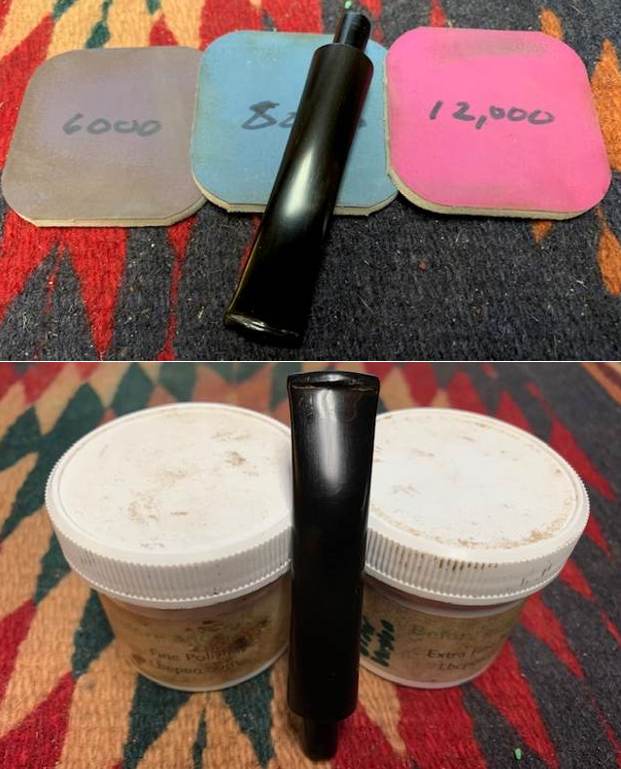
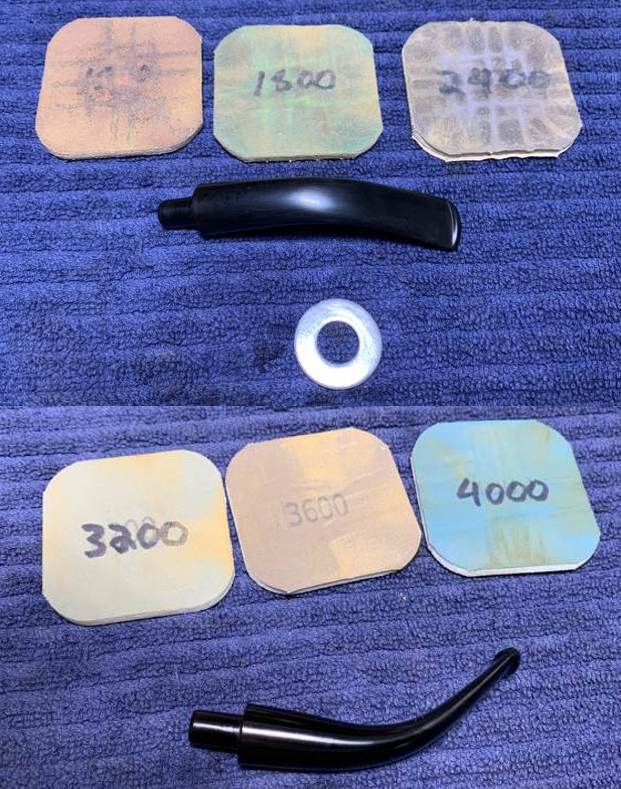
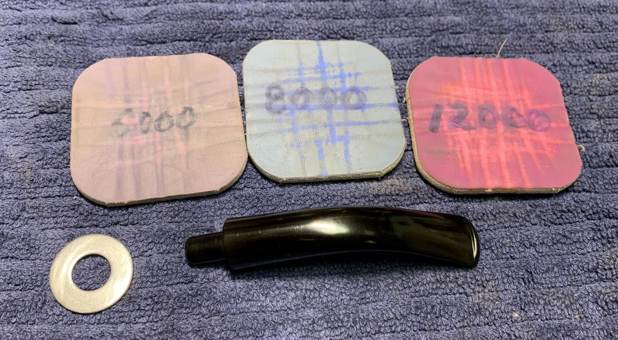
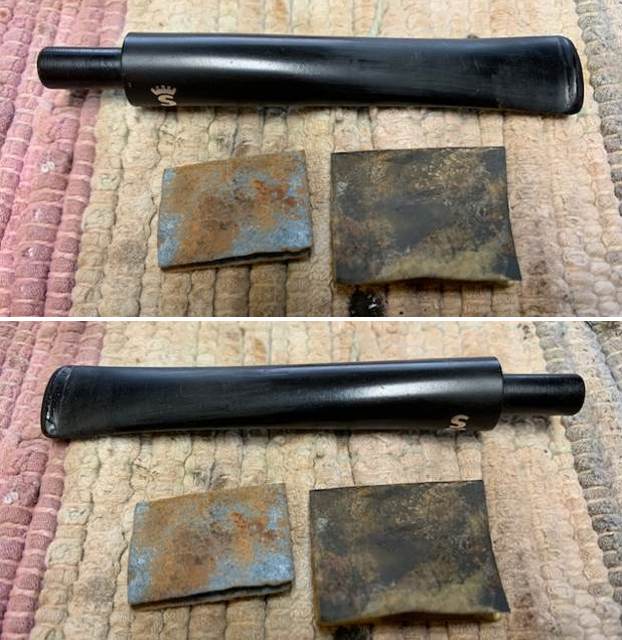
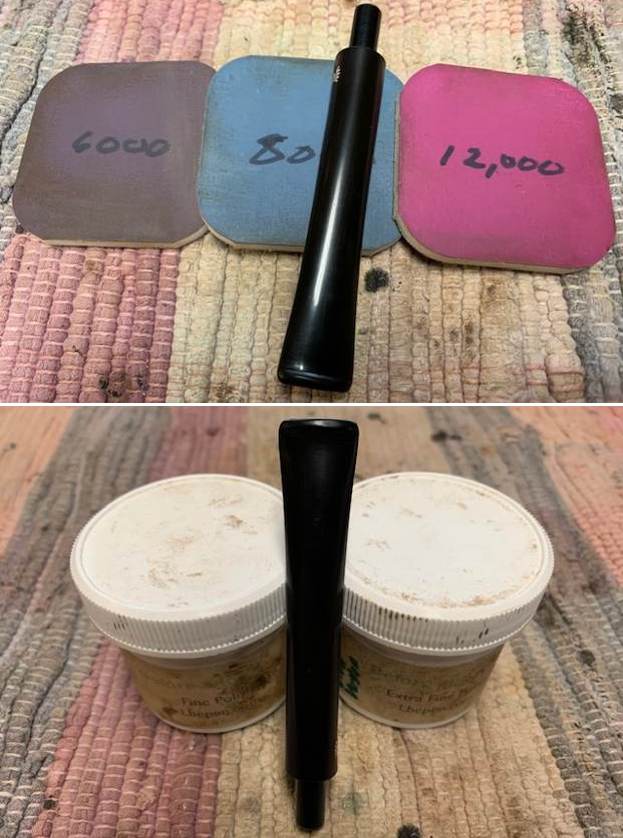
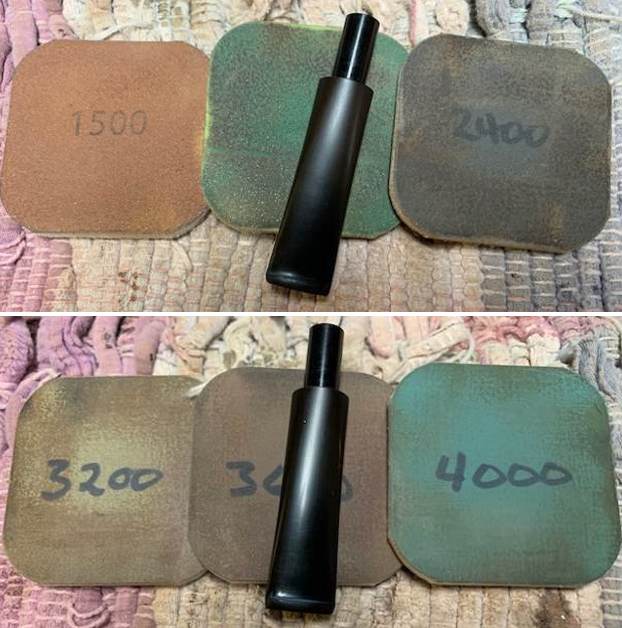
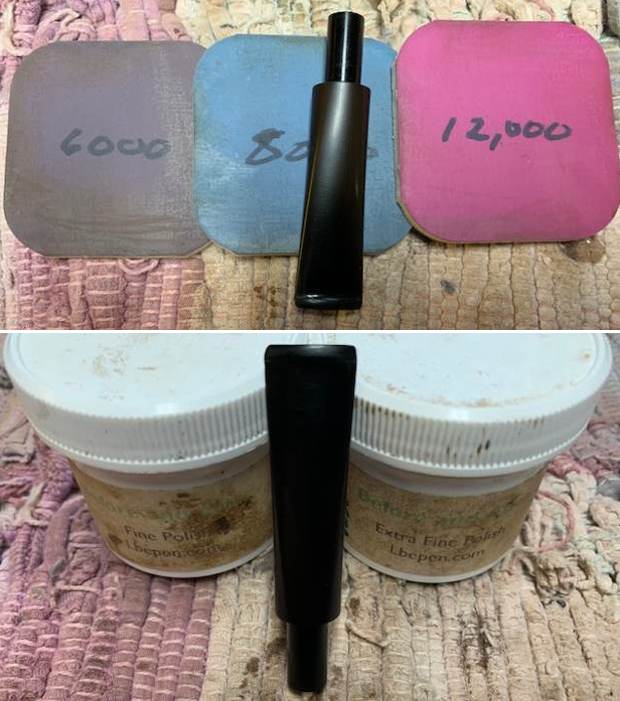
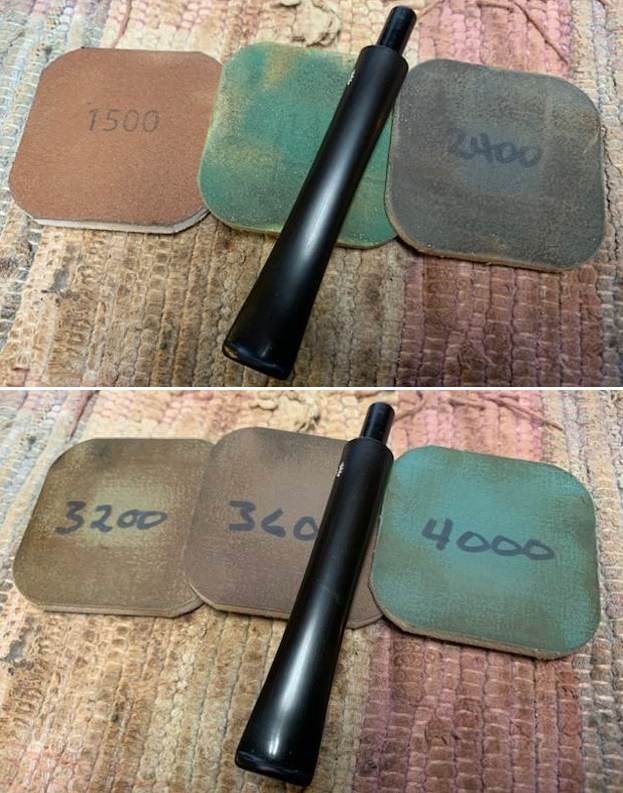
 I polished out the sanding scratches and marks in the clear acrylic with micromesh sanding pads – dry sanding it with 1500-12000 grit pads. I wiped the stem down with Obsidian Oil after each sanding pad. I polished it further with Before & After Pipe Polish – using both the Fine and Extra Fine Polishes. I gave it a rubdown with Obsidian Oil one last time and set it aside to dry.
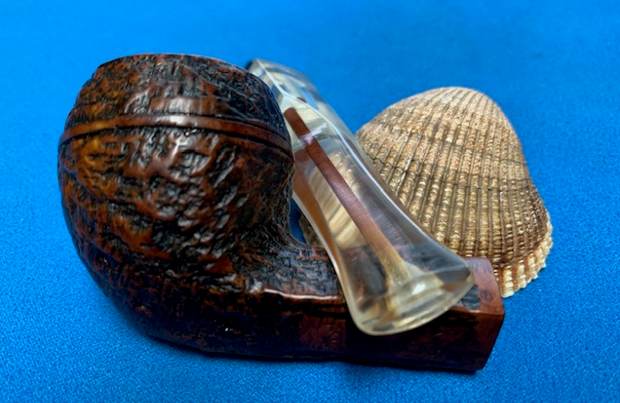
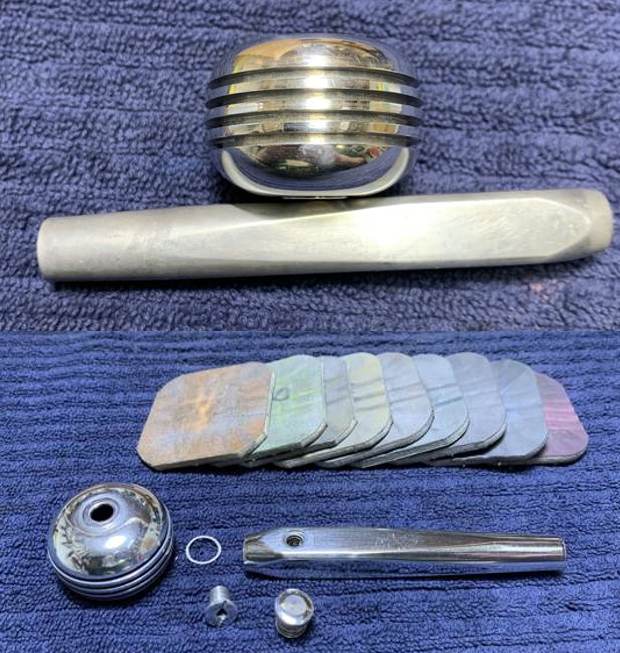
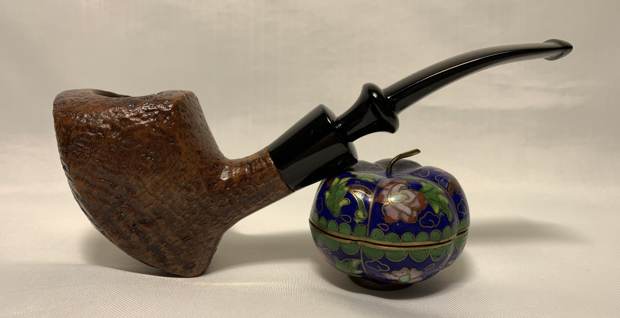
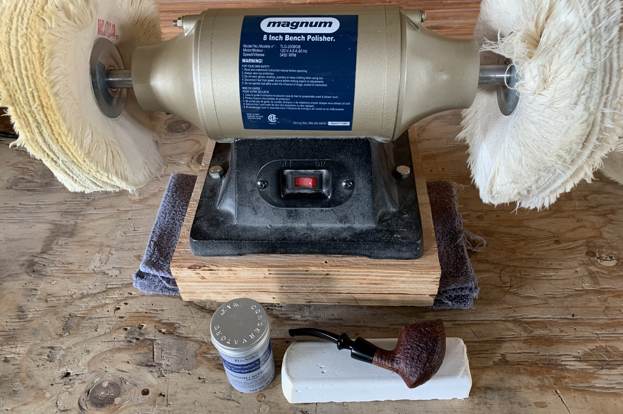
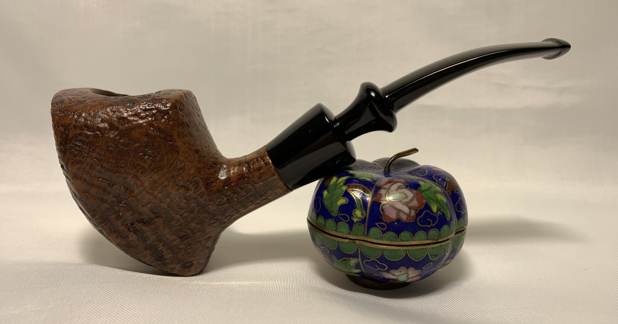
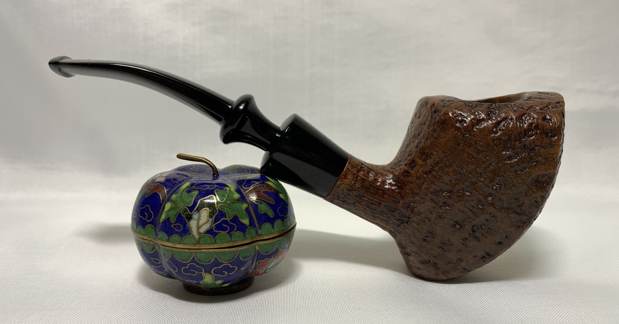
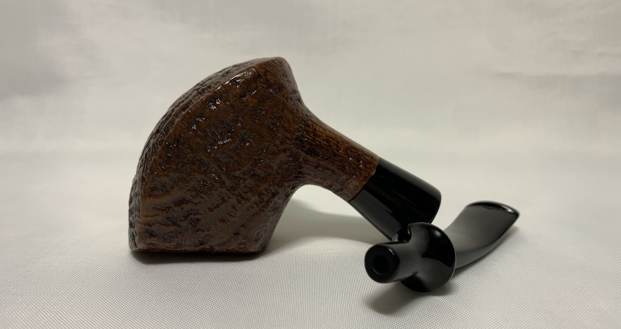
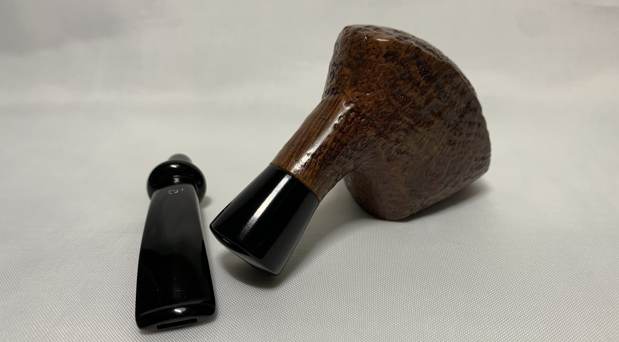
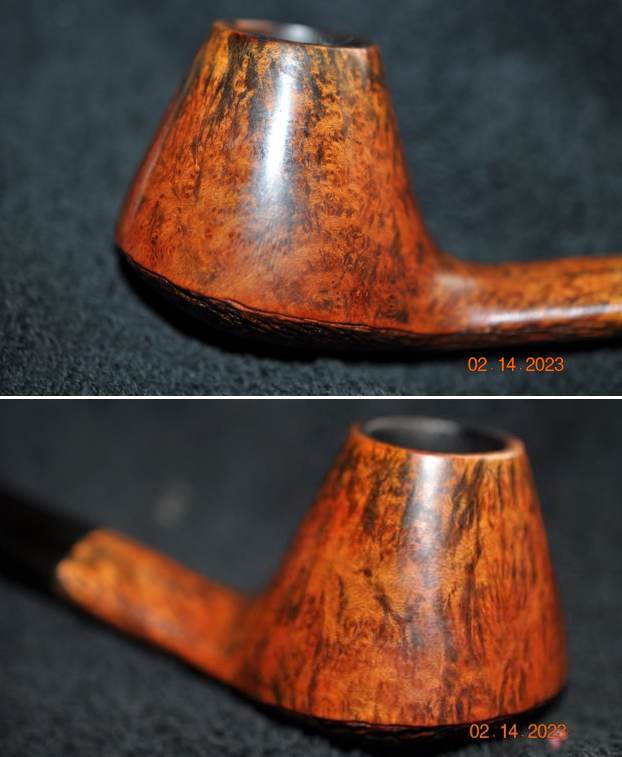
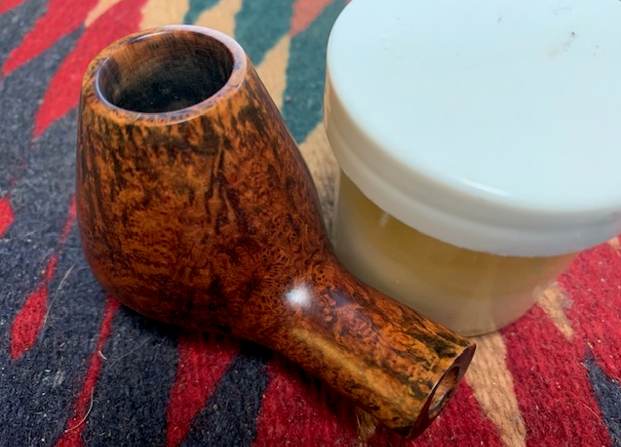
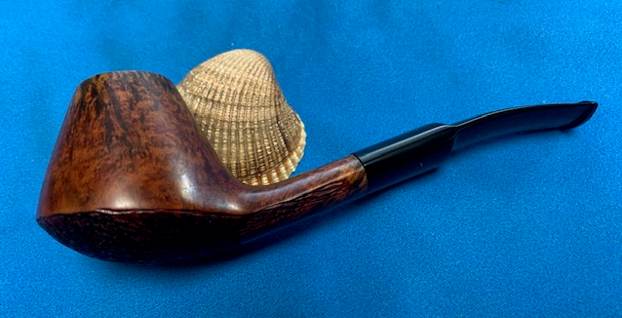
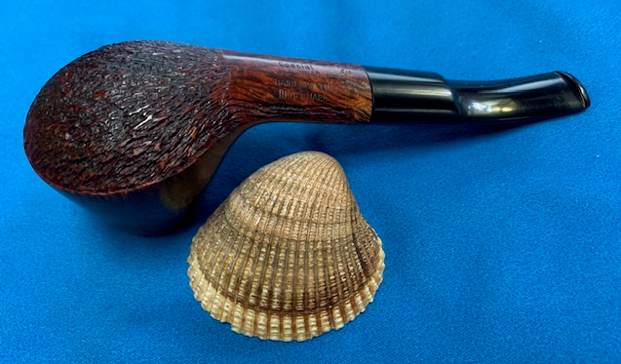
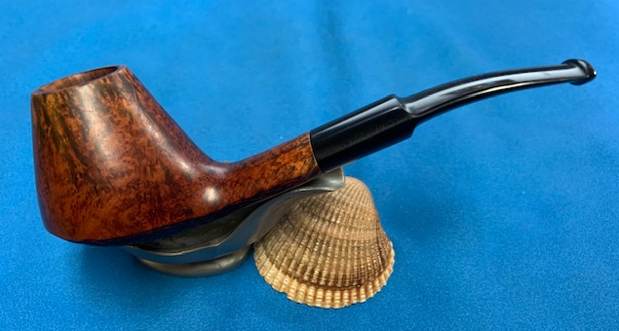
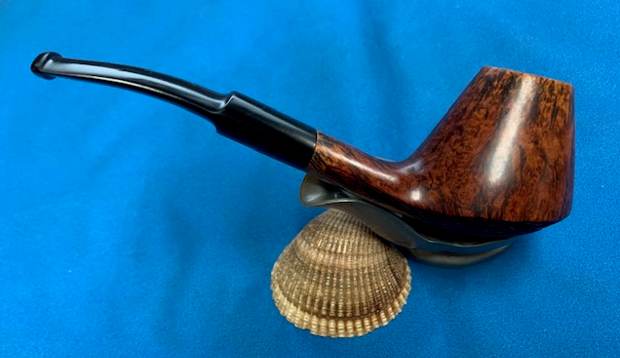
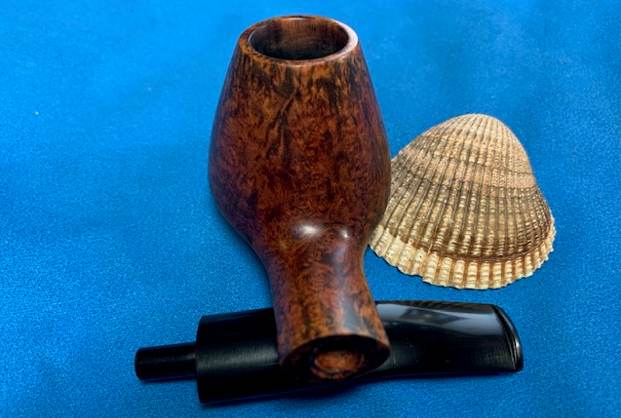
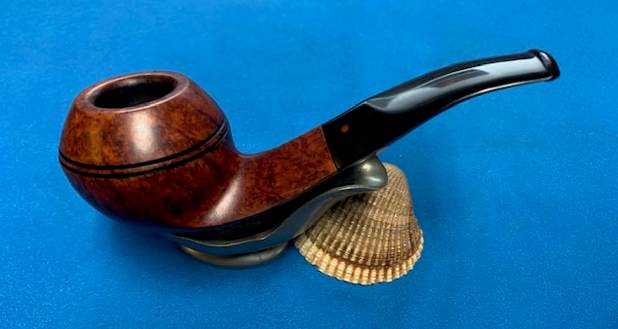
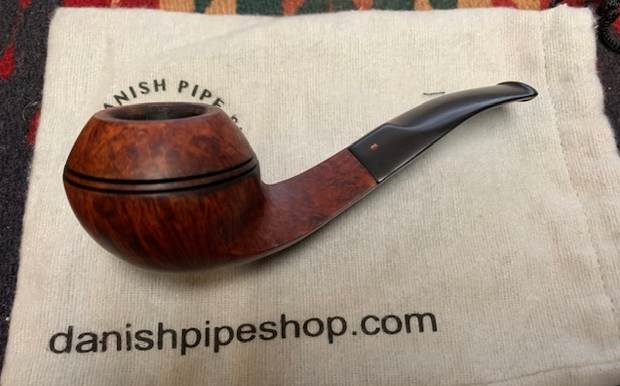
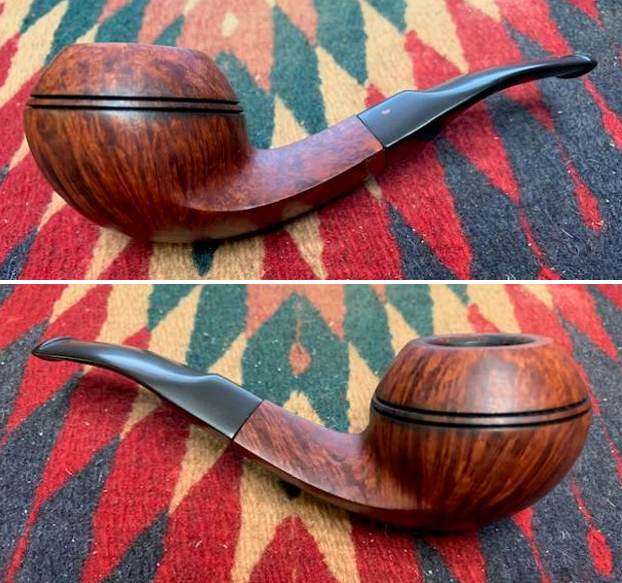
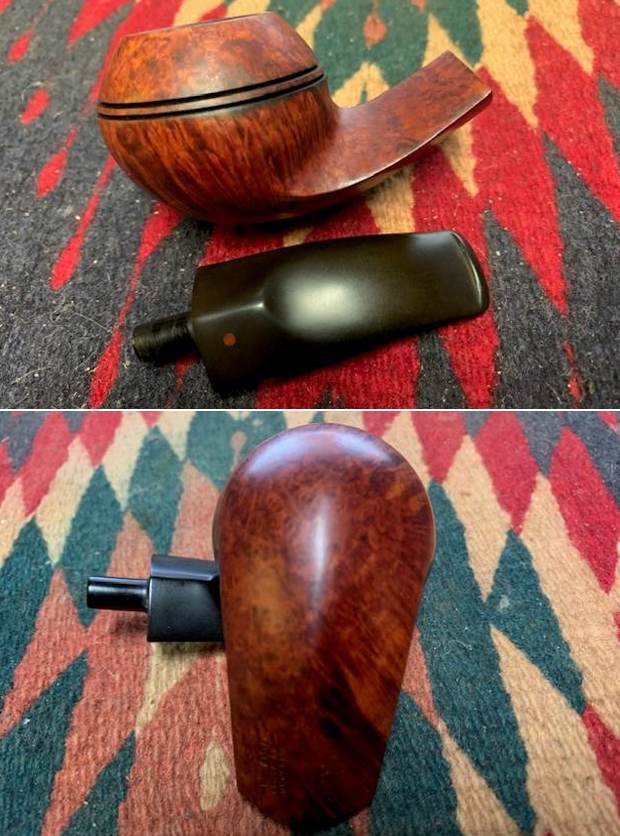
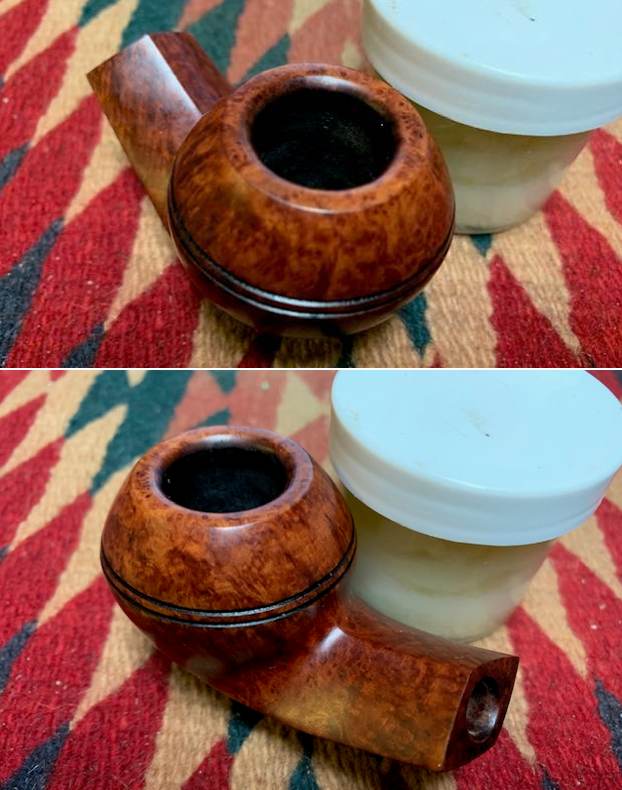
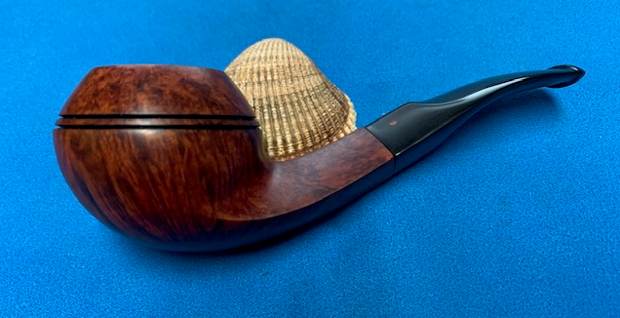
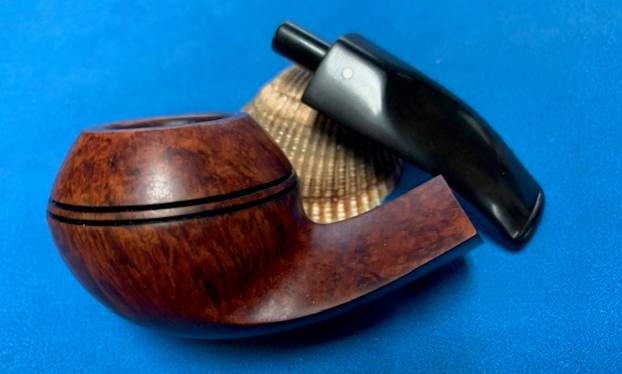
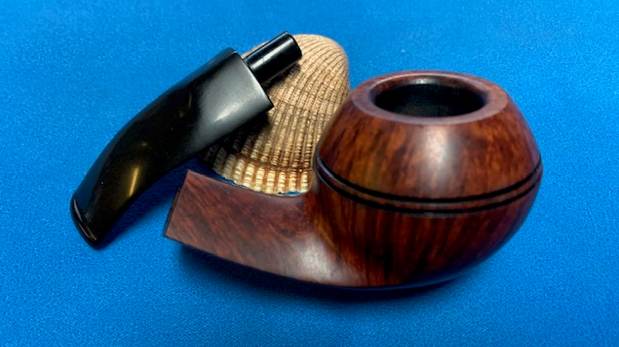
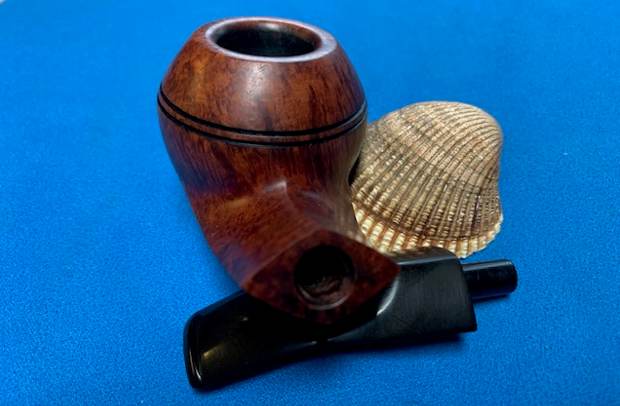
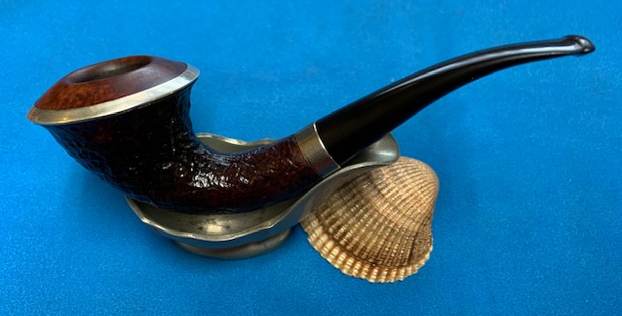
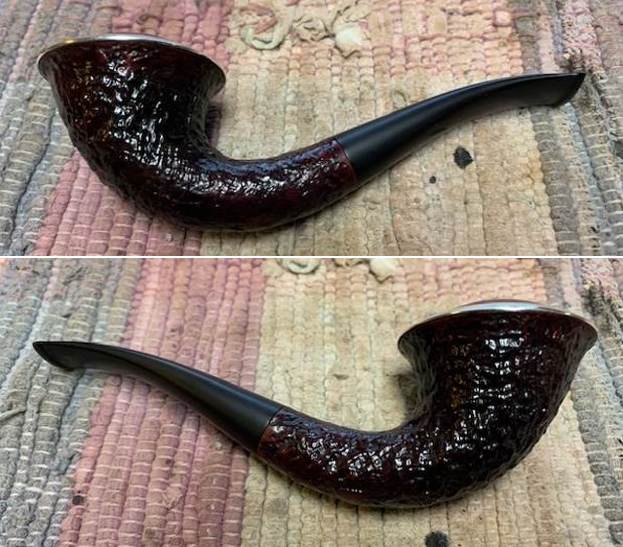
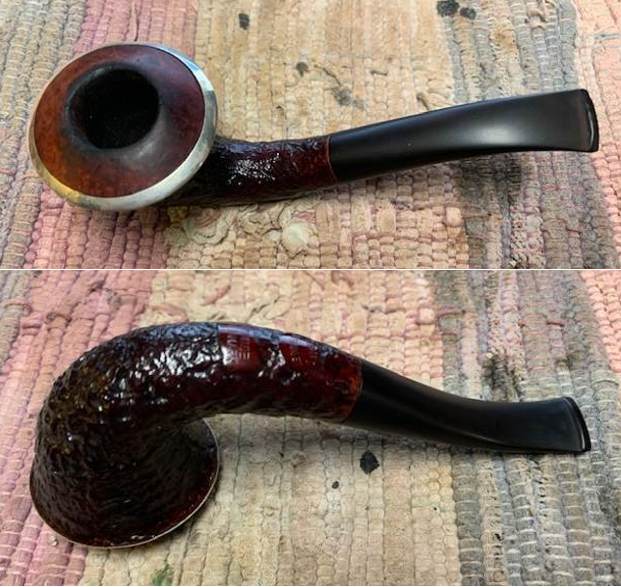
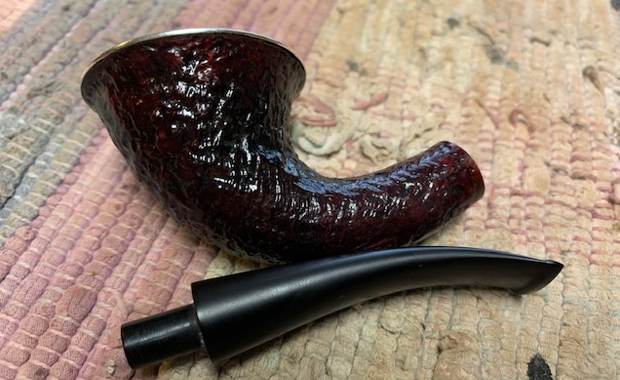
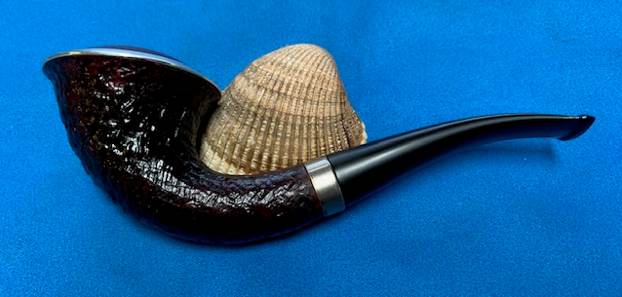
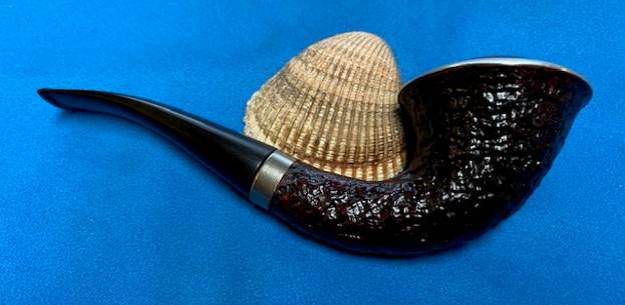
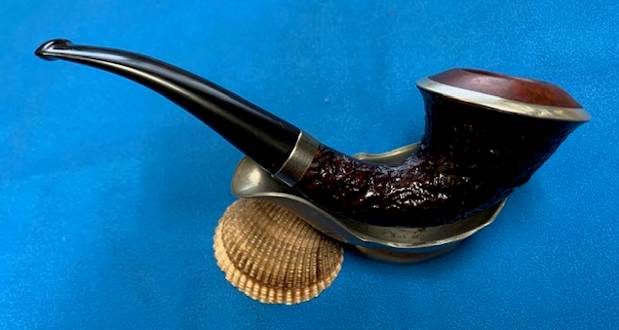
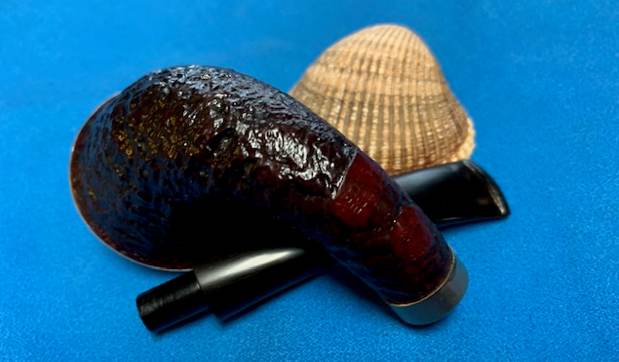
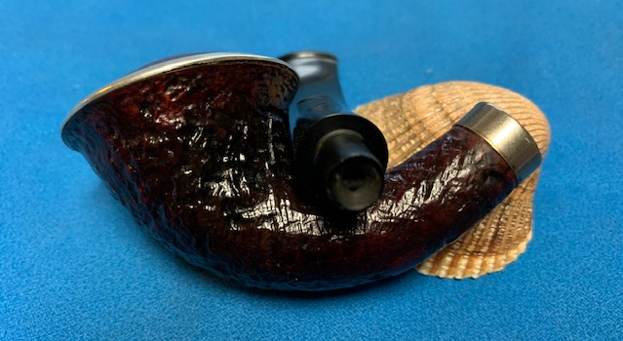
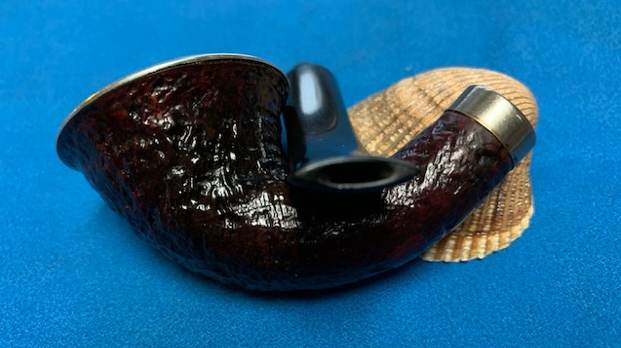
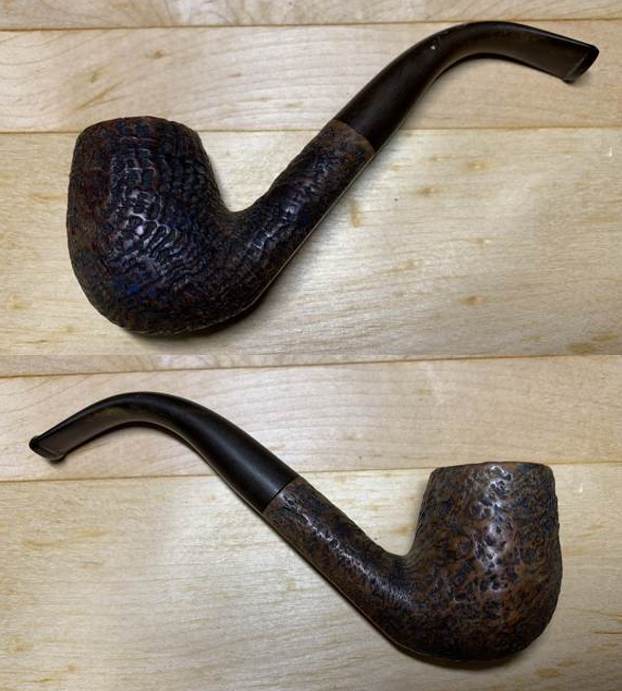
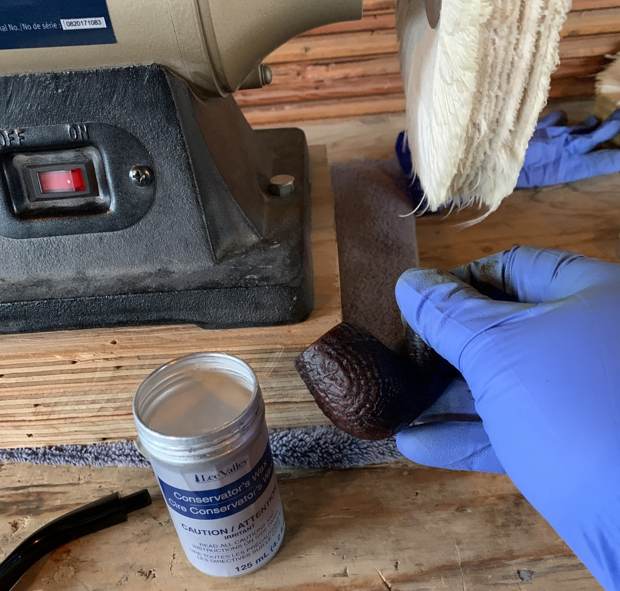
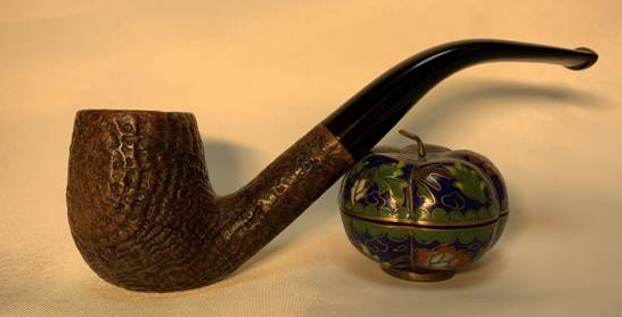
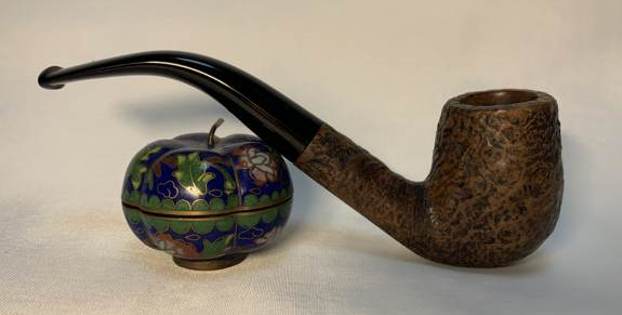
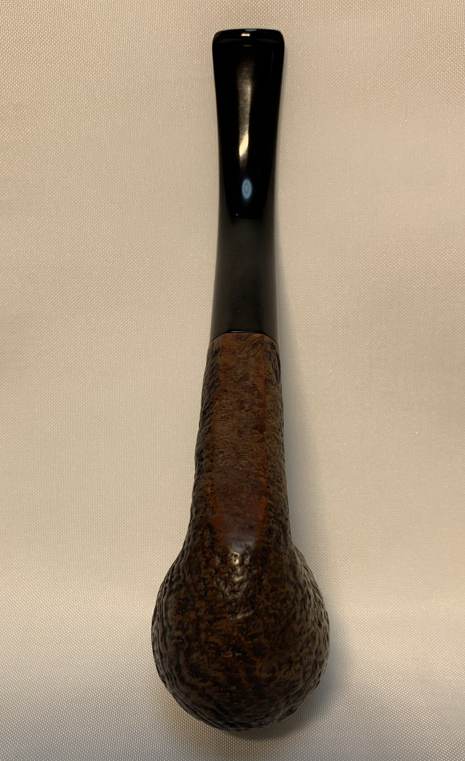
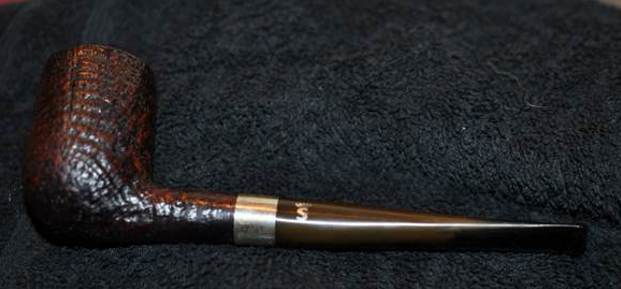
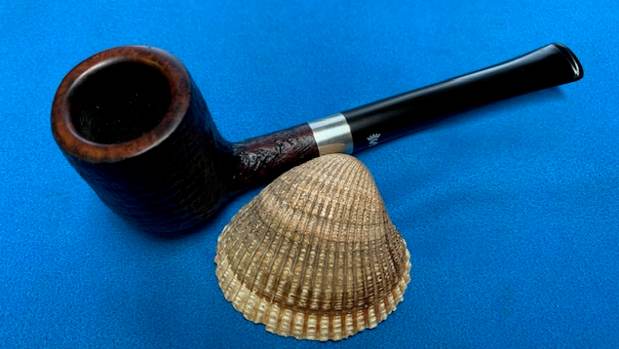
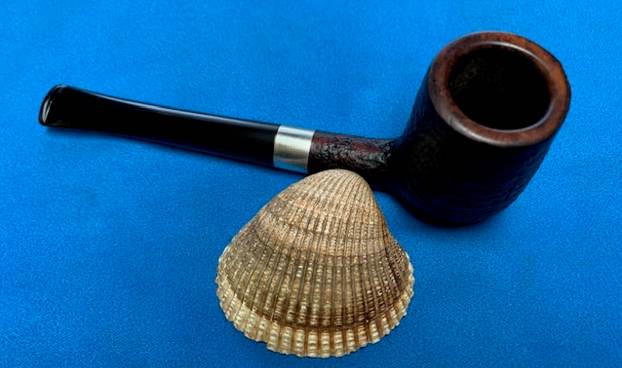
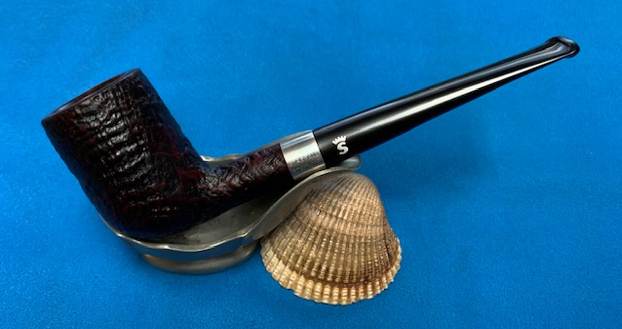
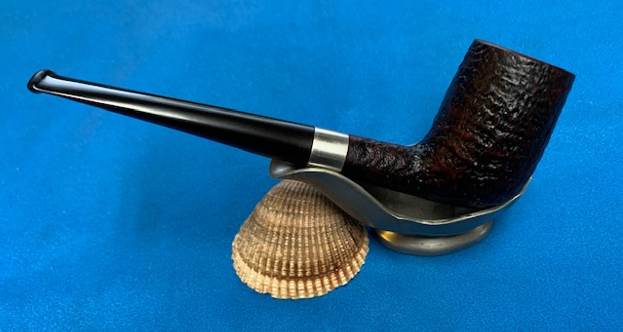
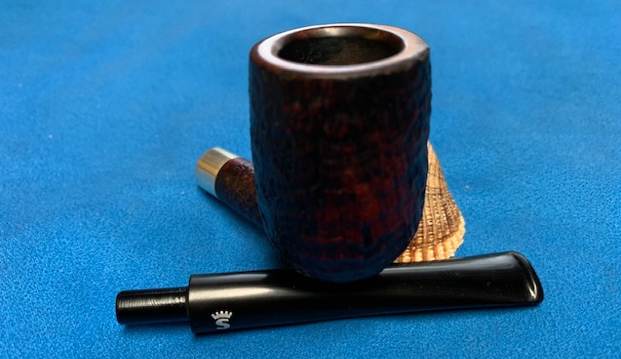
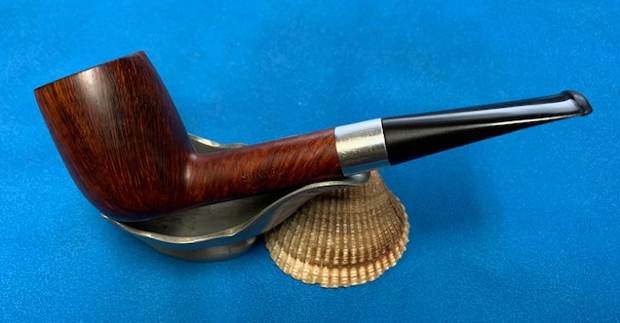
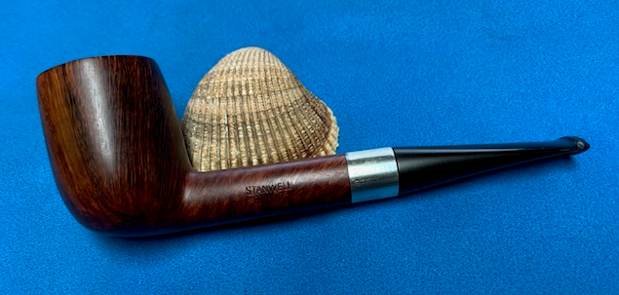
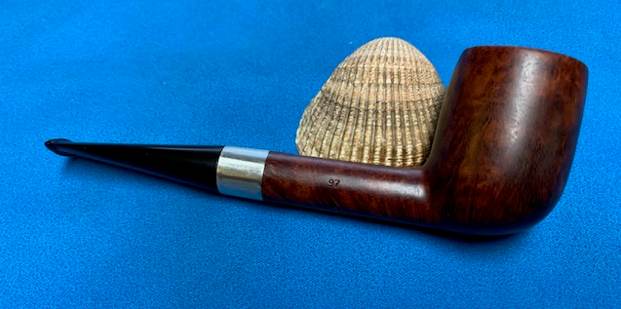
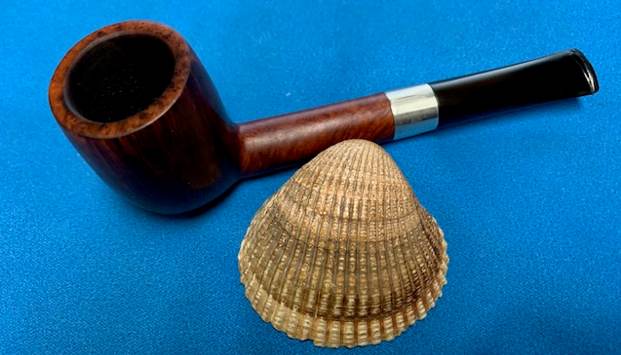
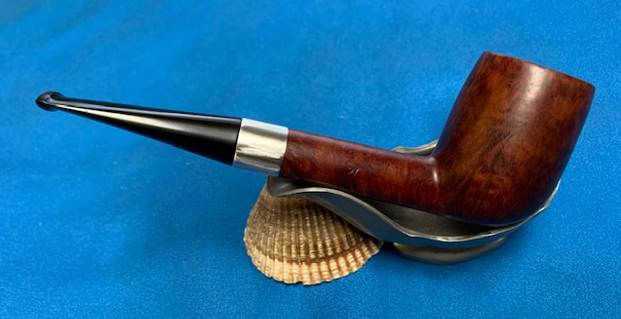
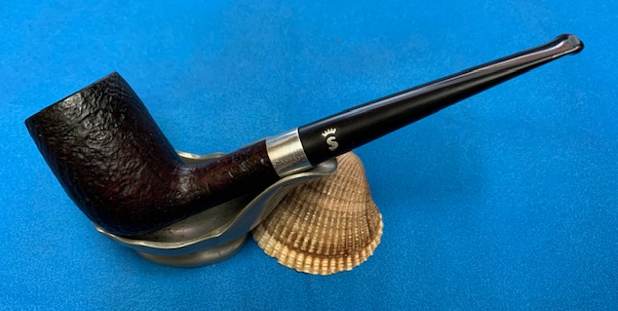
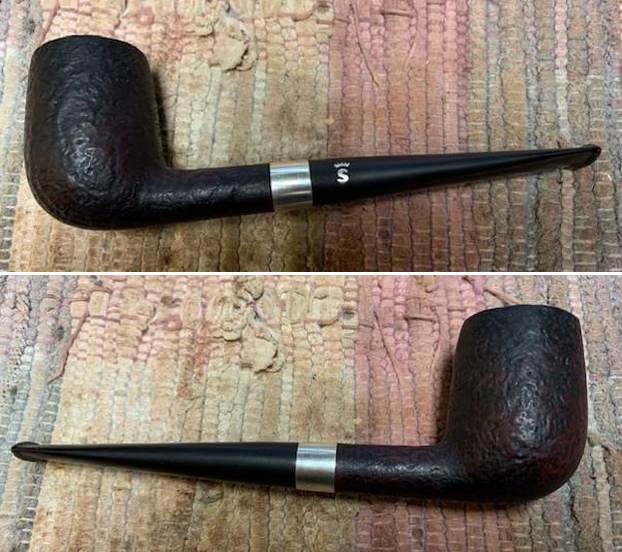
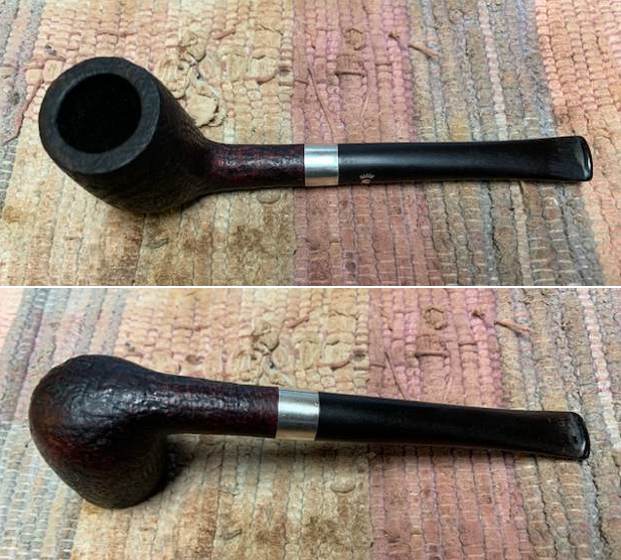
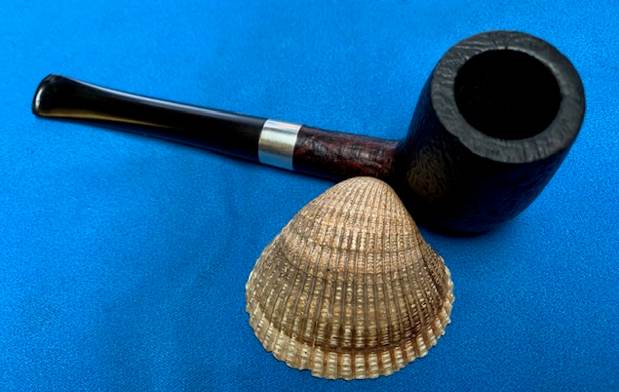
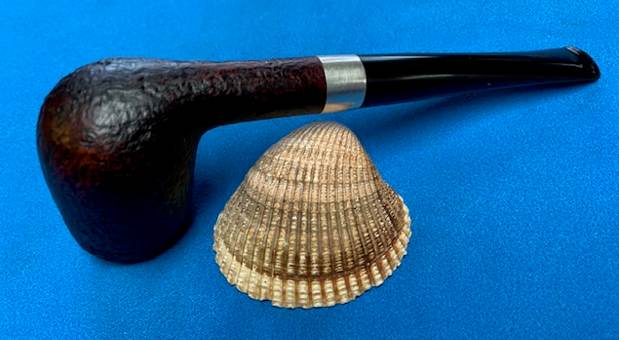
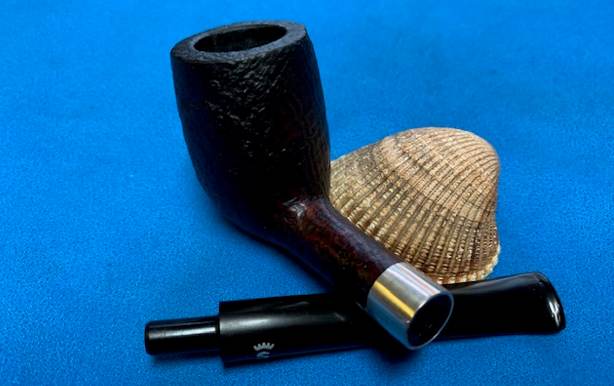
 I put the House of Robertson Bulldog back together and worked the pipe over on the buffing wheel using Blue Diamond to lightly polish the stem. I buffed the bowl with a light touch so as not to get any of the buffing compounds in the grooves of the rustication. I buffed the stem to raise the gloss on the vulcanite. I gave the bowl multiple coats of Conservator’s Wax and gave the stem multiple coats of carnauba wax. I buffed the entire pipe with a clean buffing pad to raise the shine. I hand buffed it with a microfiber cloth to deepen the shine. The finished HOR Bulldog pipe is shown in the photos below. The medium brown stains on the rusticated Straight Bulldog with a smooth rim top works well with the clear acrylic stem. The dimensions of the pipe are: Length: 5 ½ inches, Height: 1 ¾ inches, Outside Diameter: 1 ¼ inches, Diameter of the chamber: ¾ of an inch. The weight of the pipe is 36 grams/1.27 ounces. This one will be joining my pipe rack as yet another example of House of Robertson Pipes. I thank my friend in Vancouver, Washington for the gift and will certainly enjoy smoking it very soon. Thanks for following my work on this blog.