Blog by Steve Laug
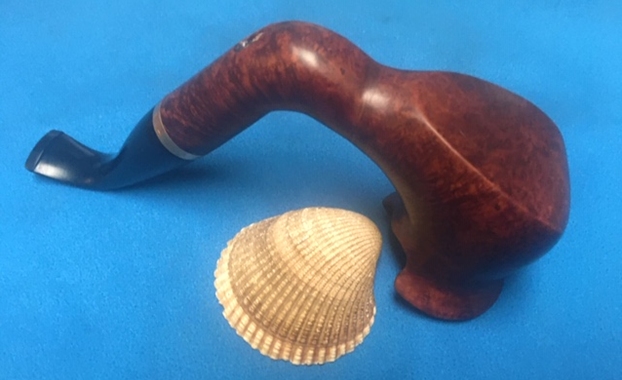
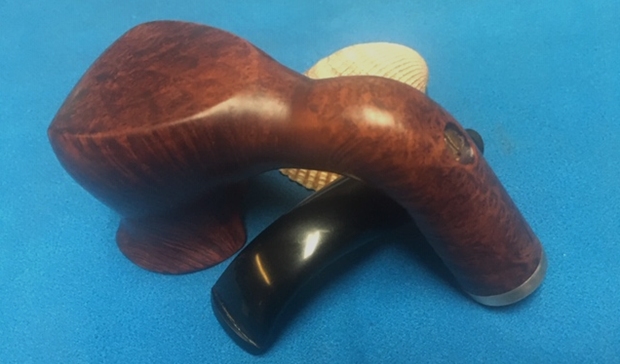
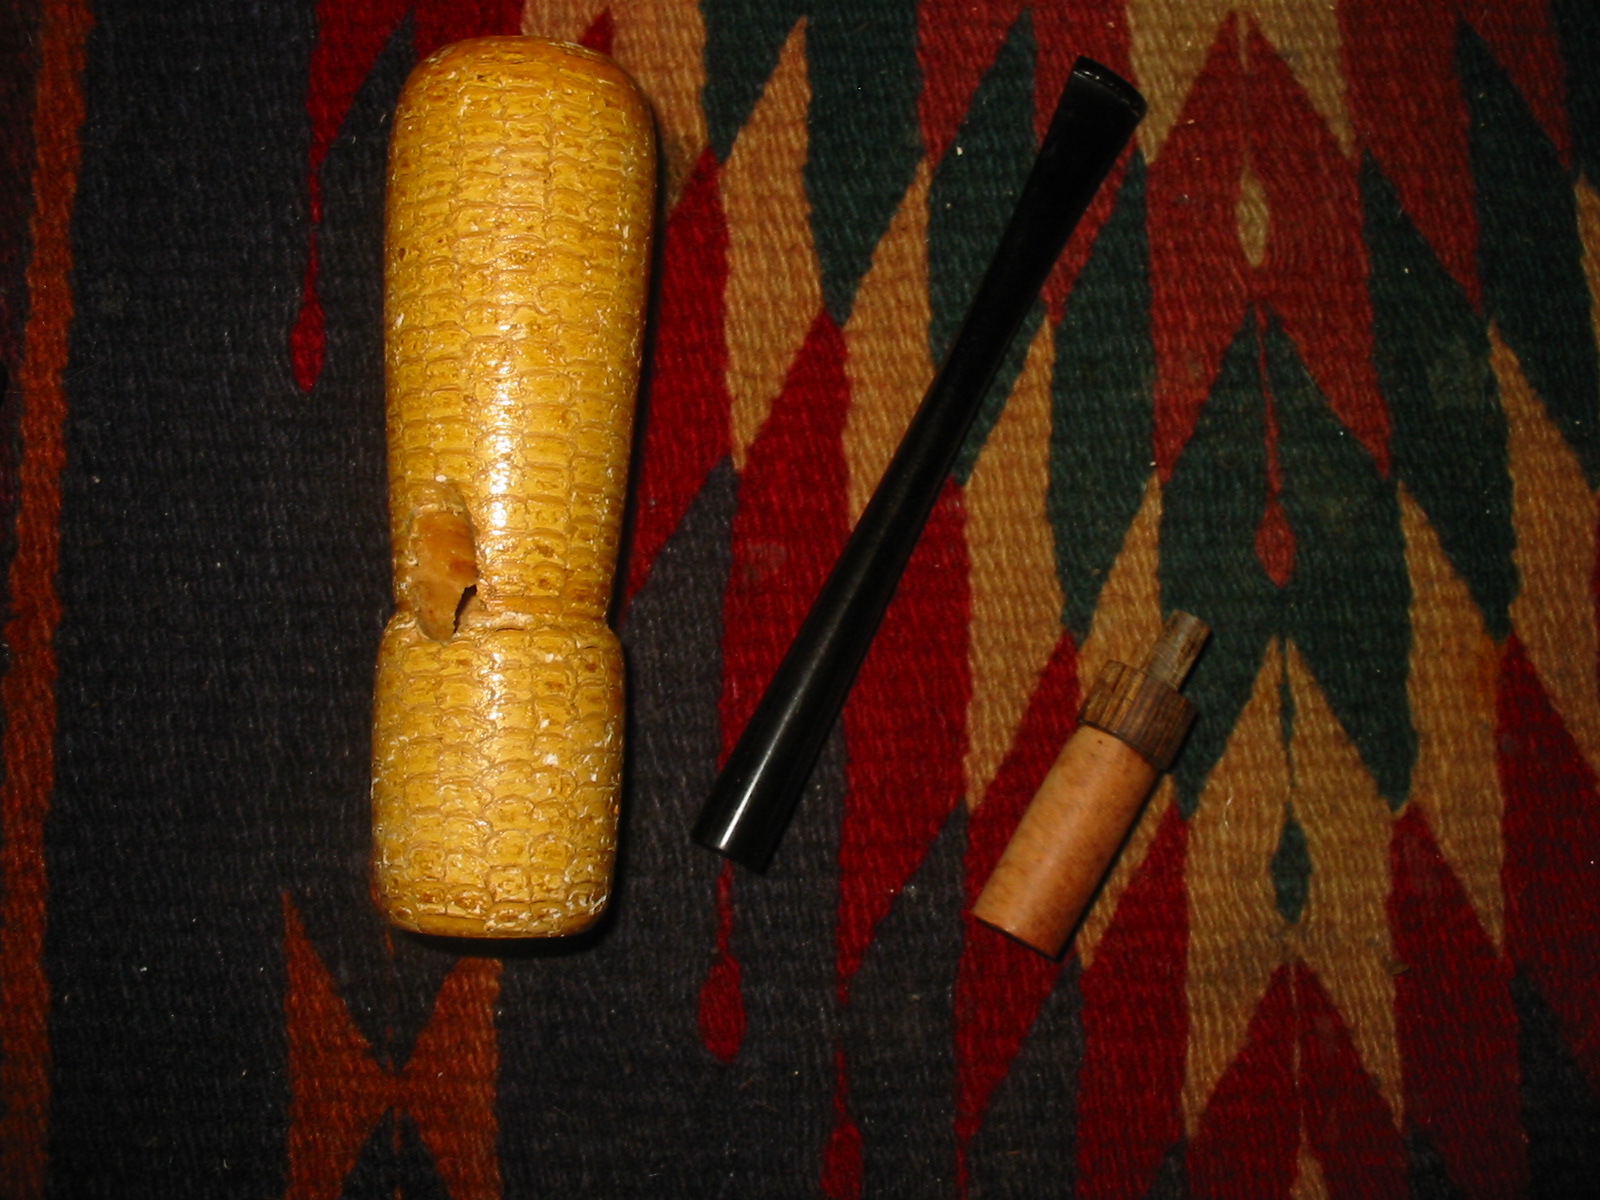
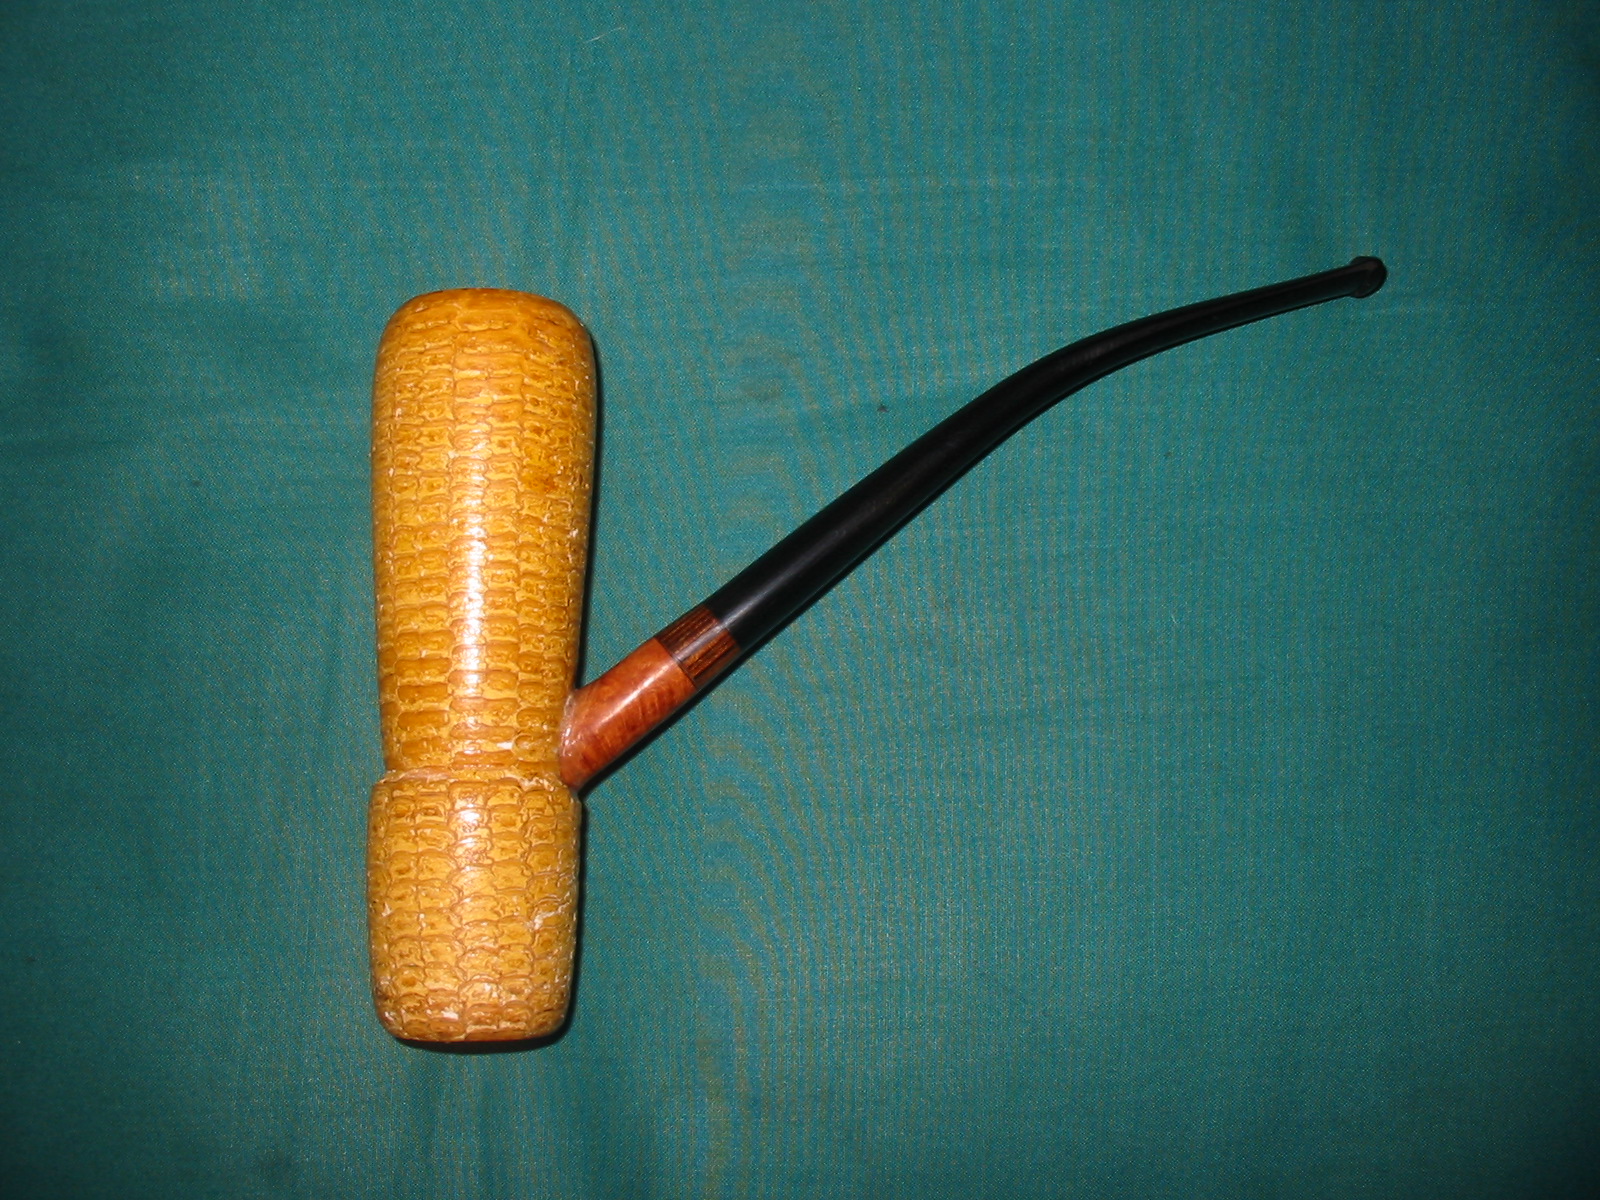
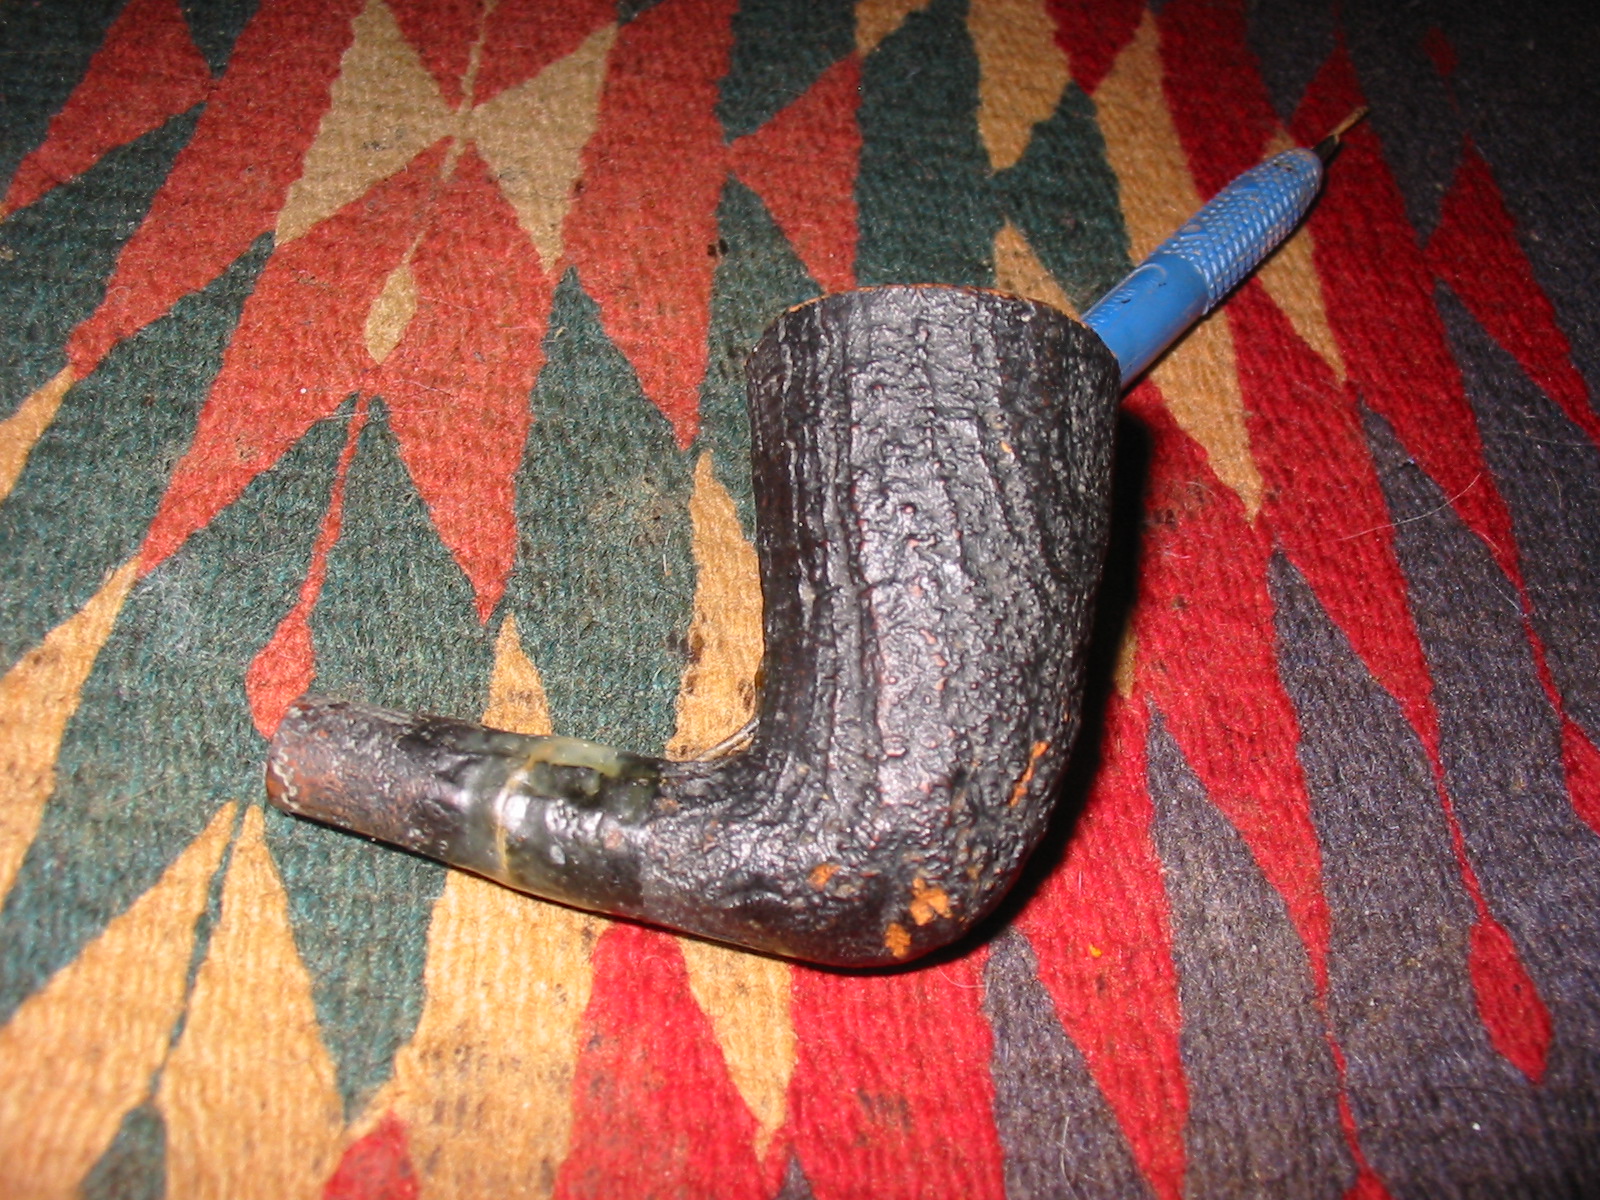
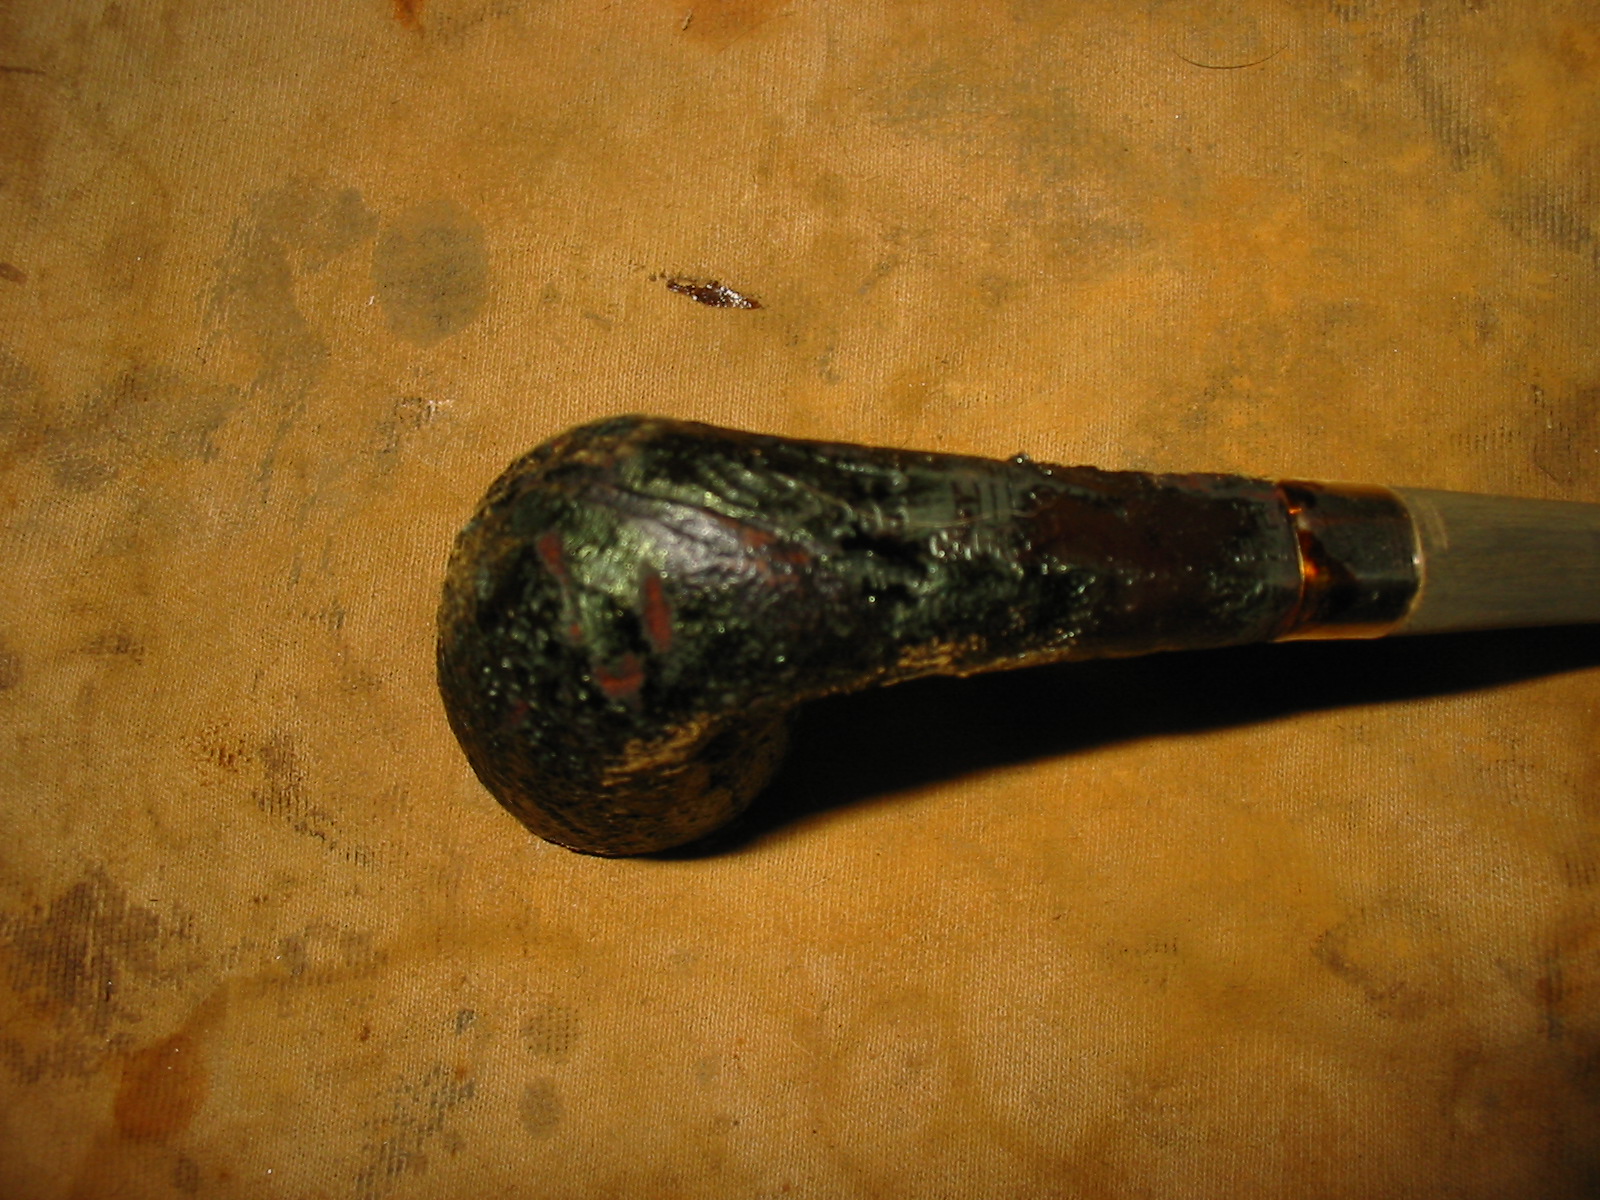
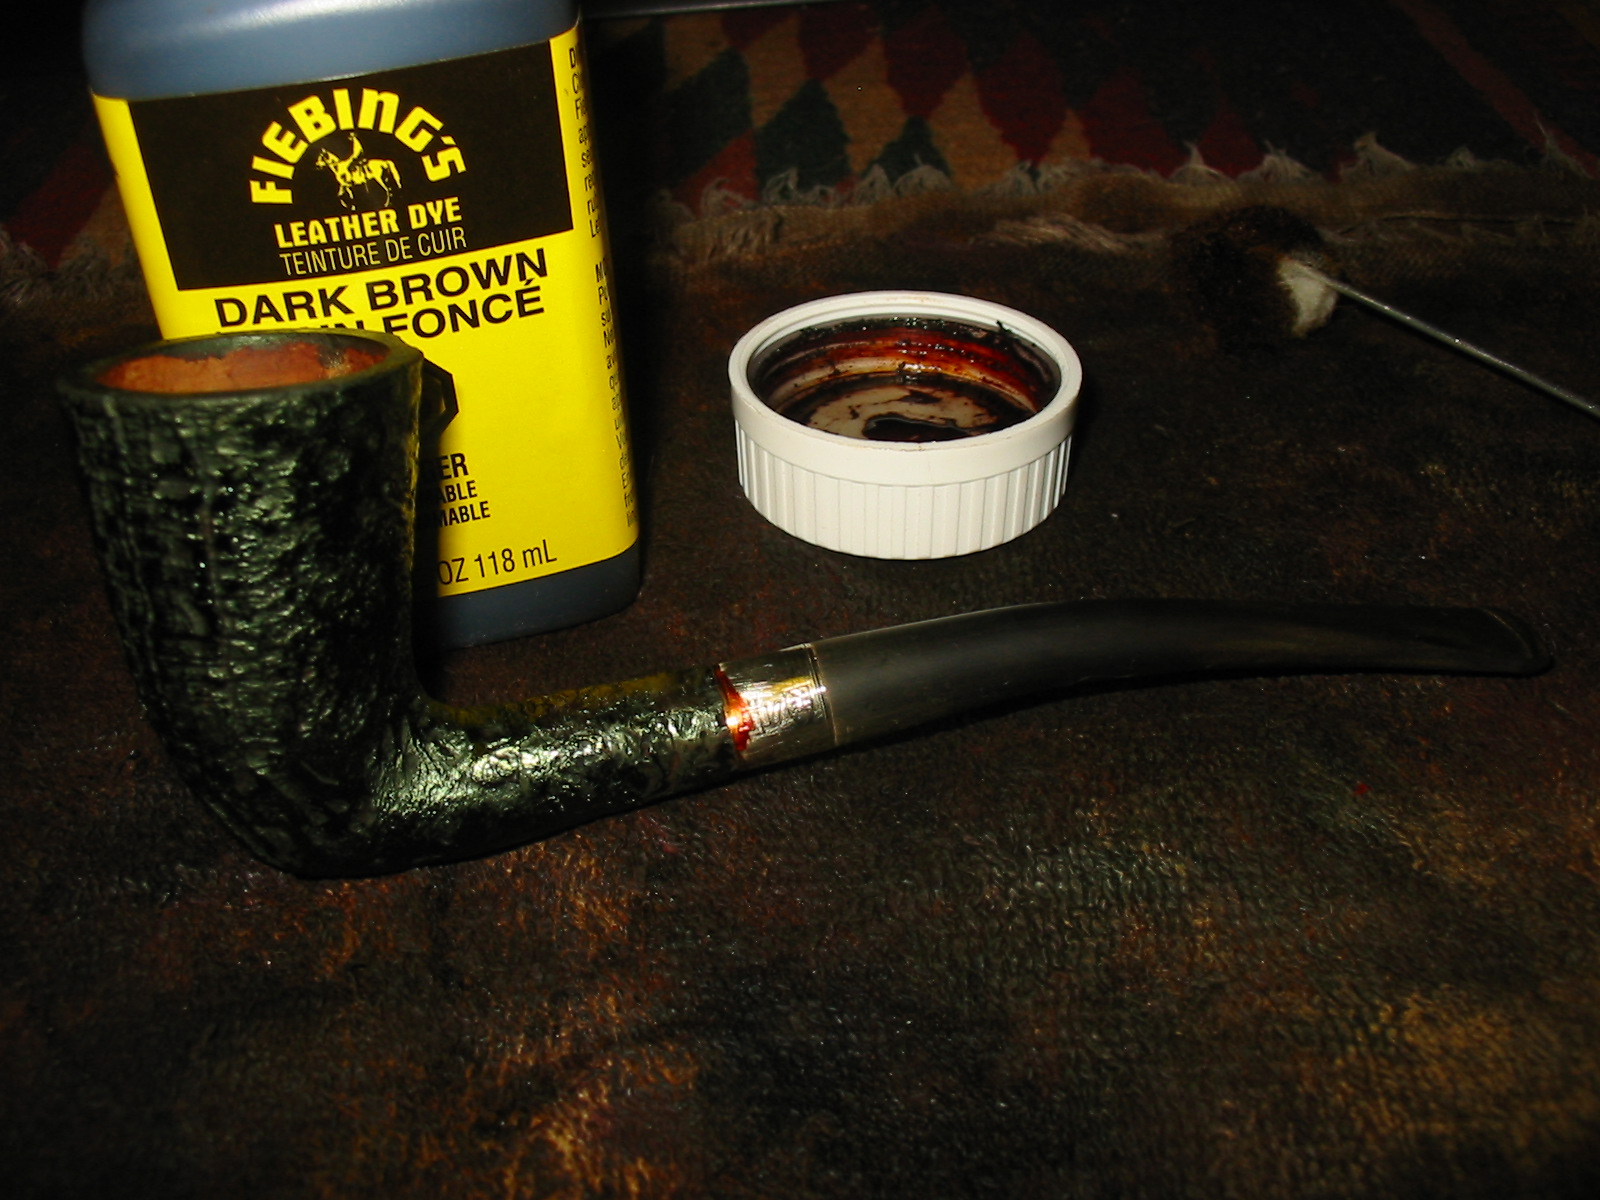
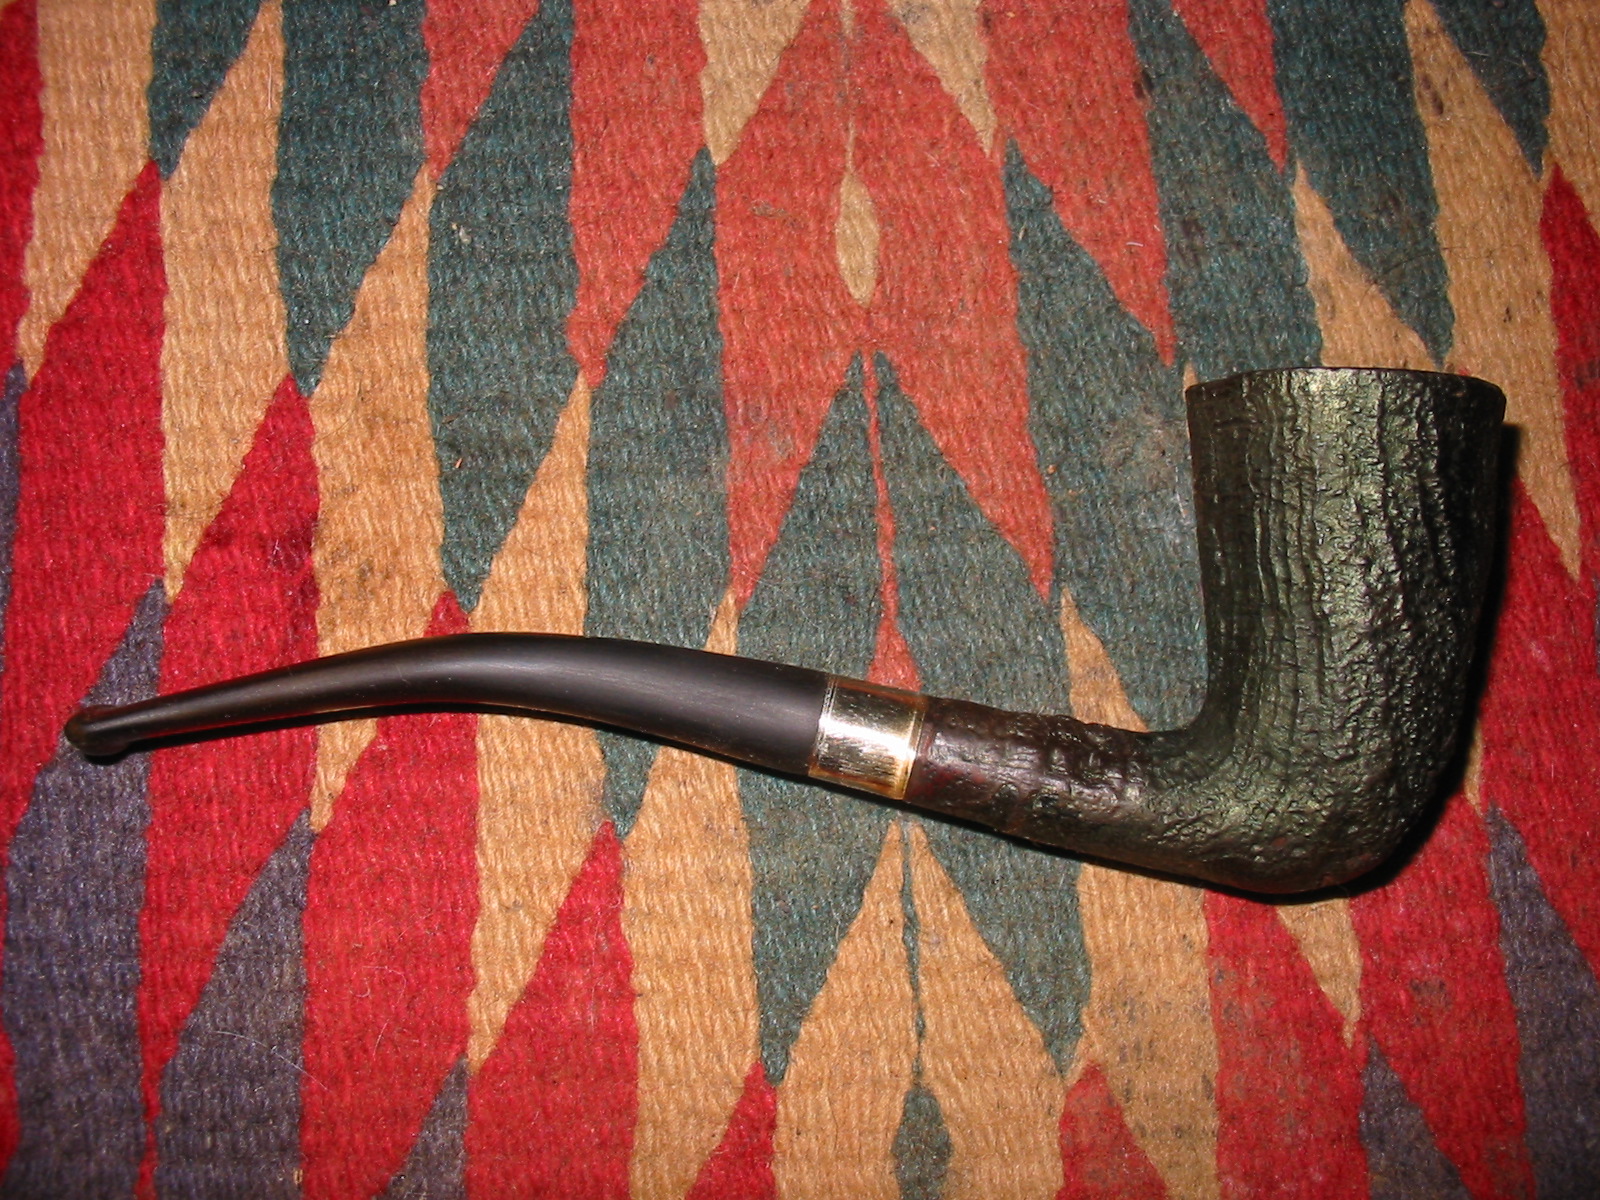
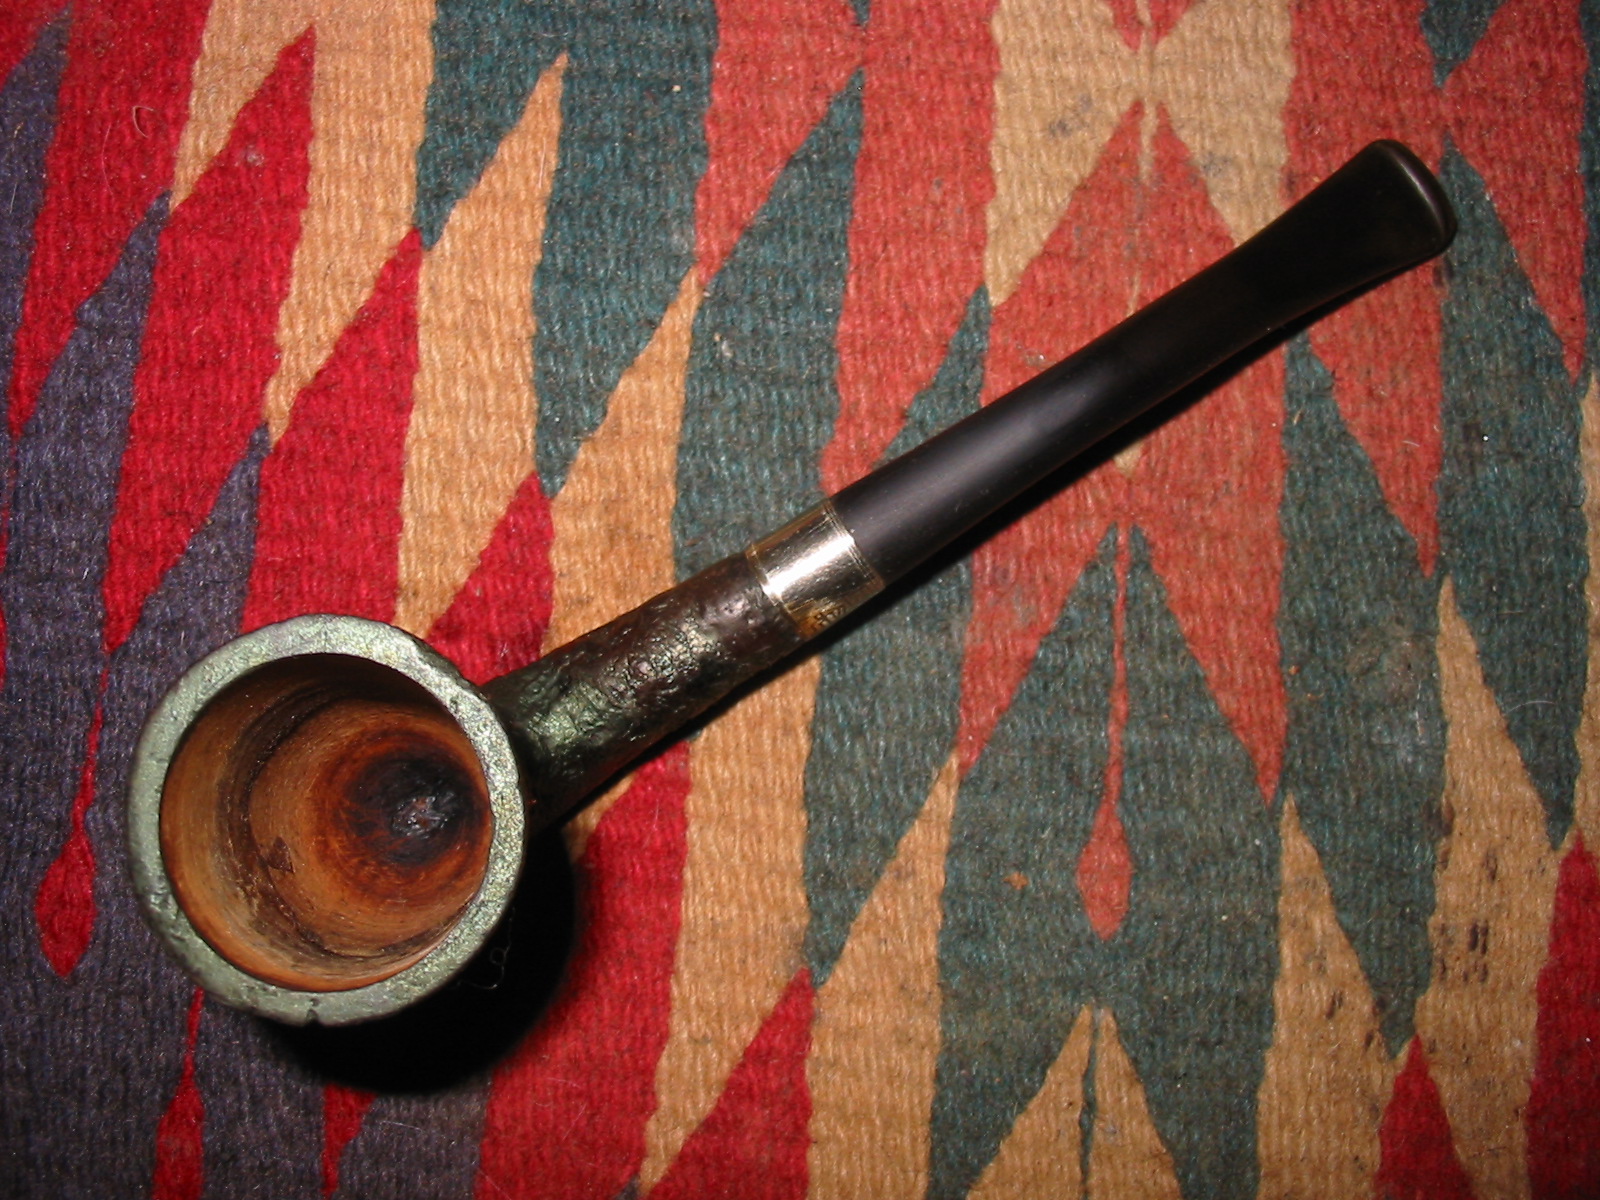
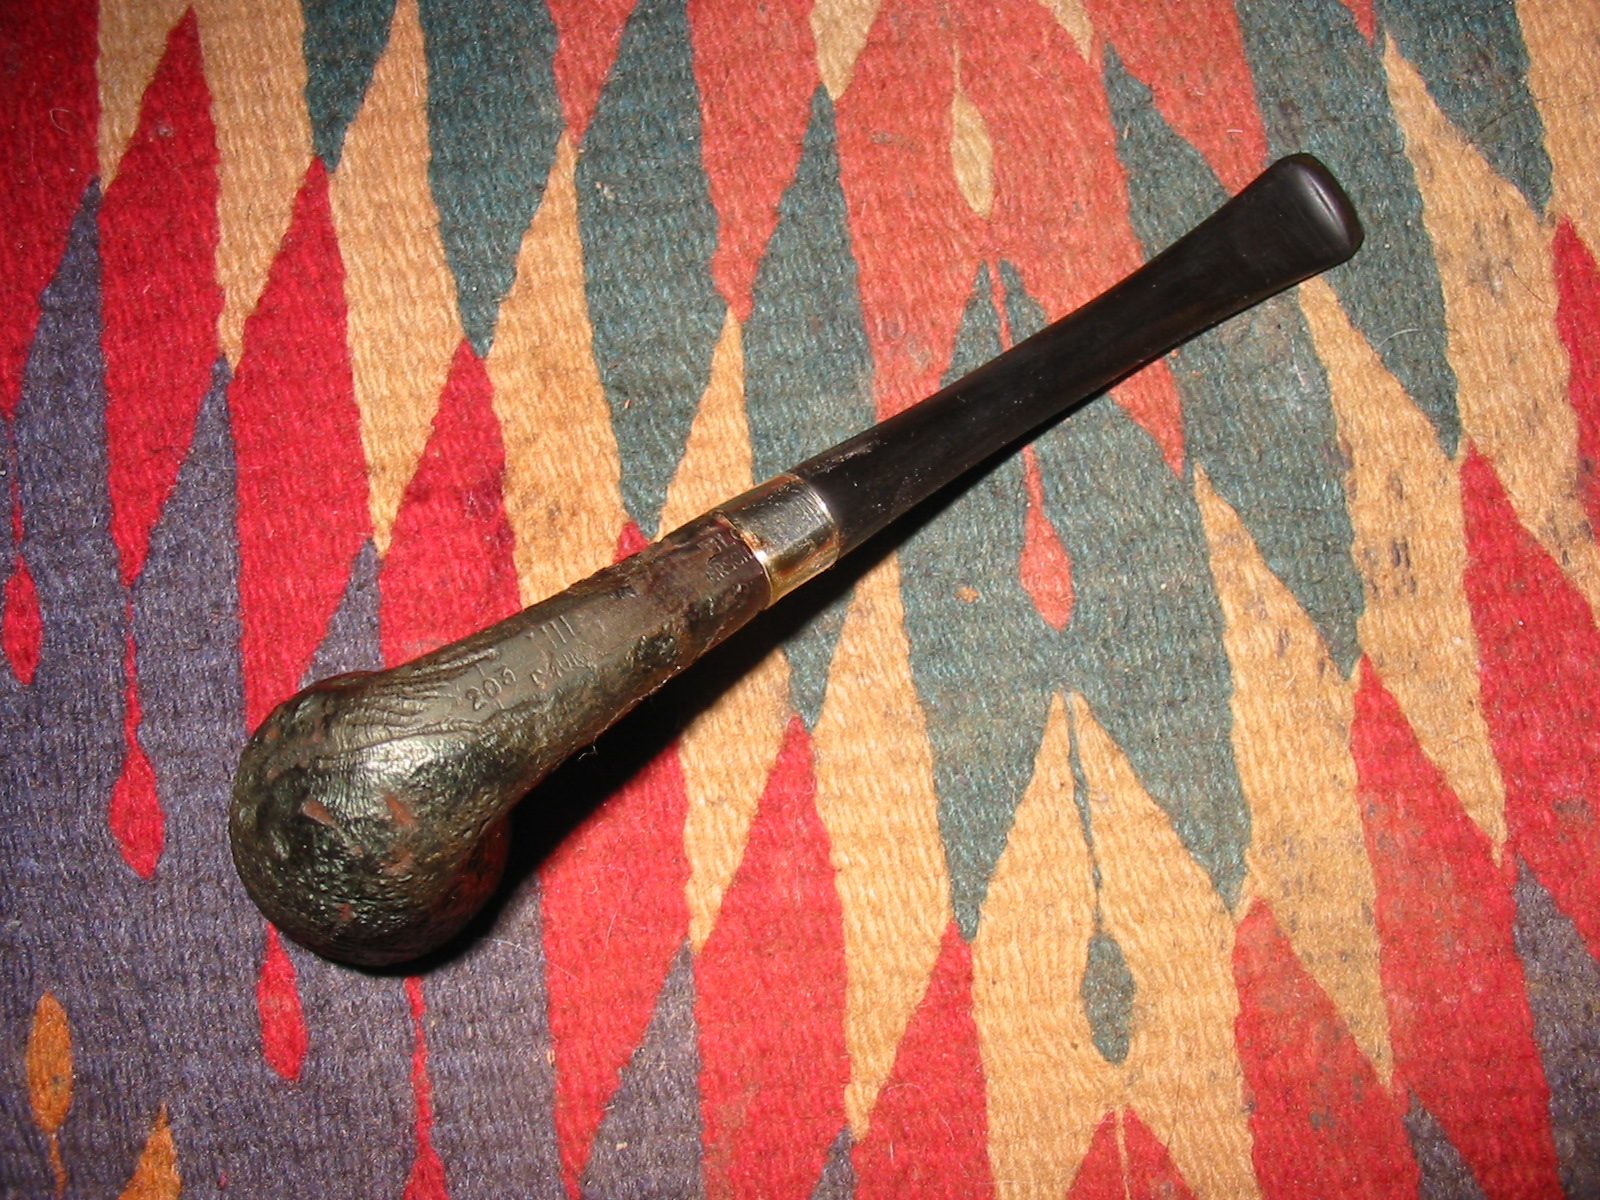
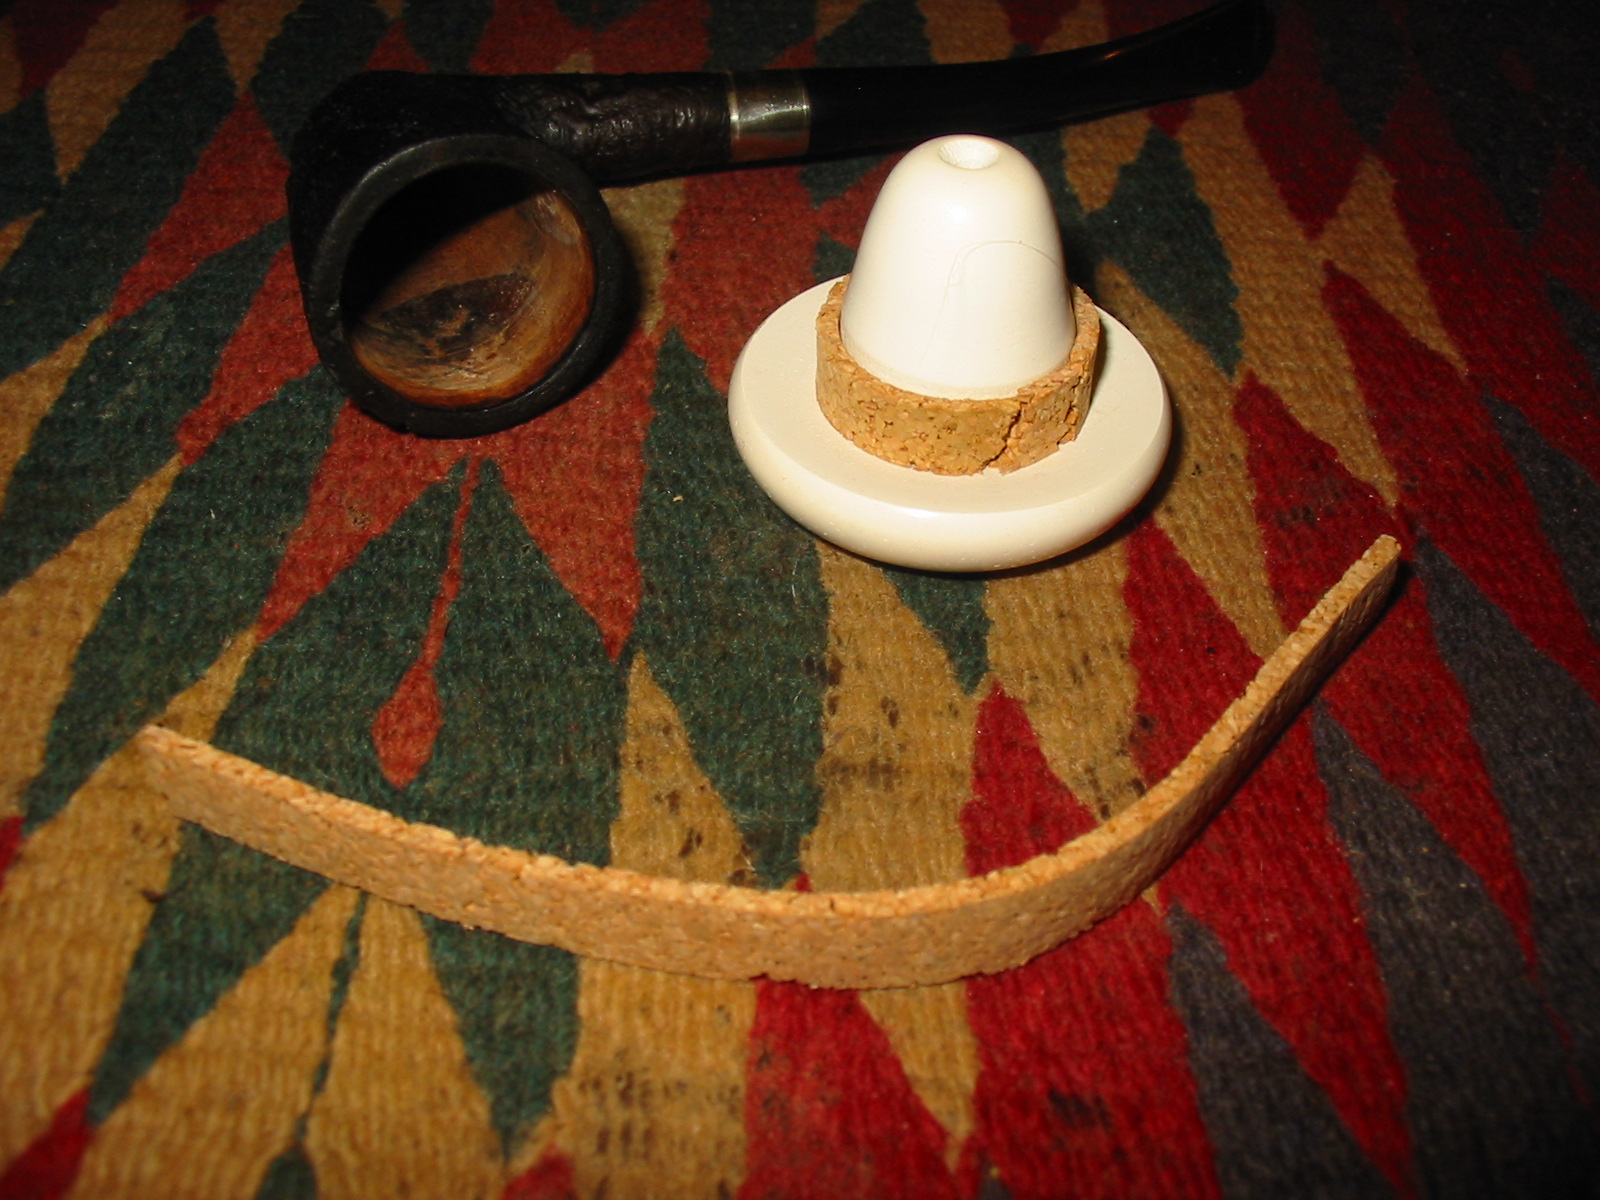
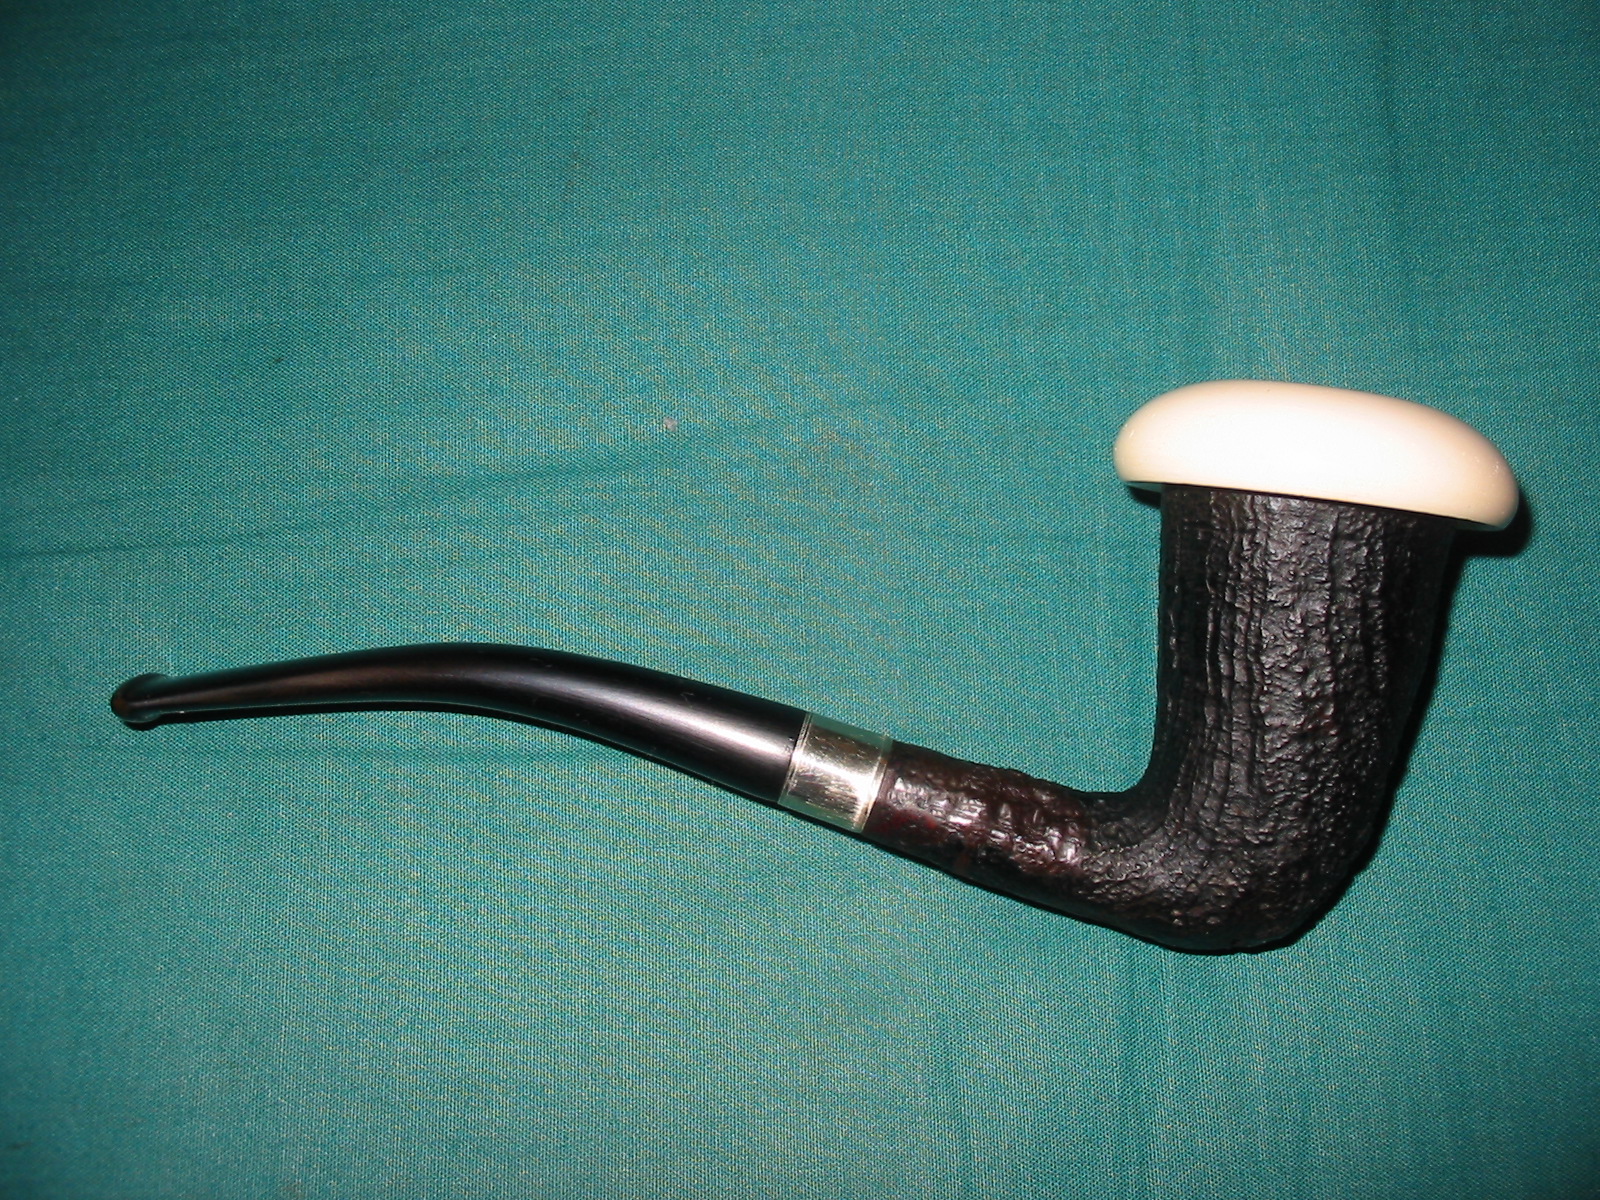
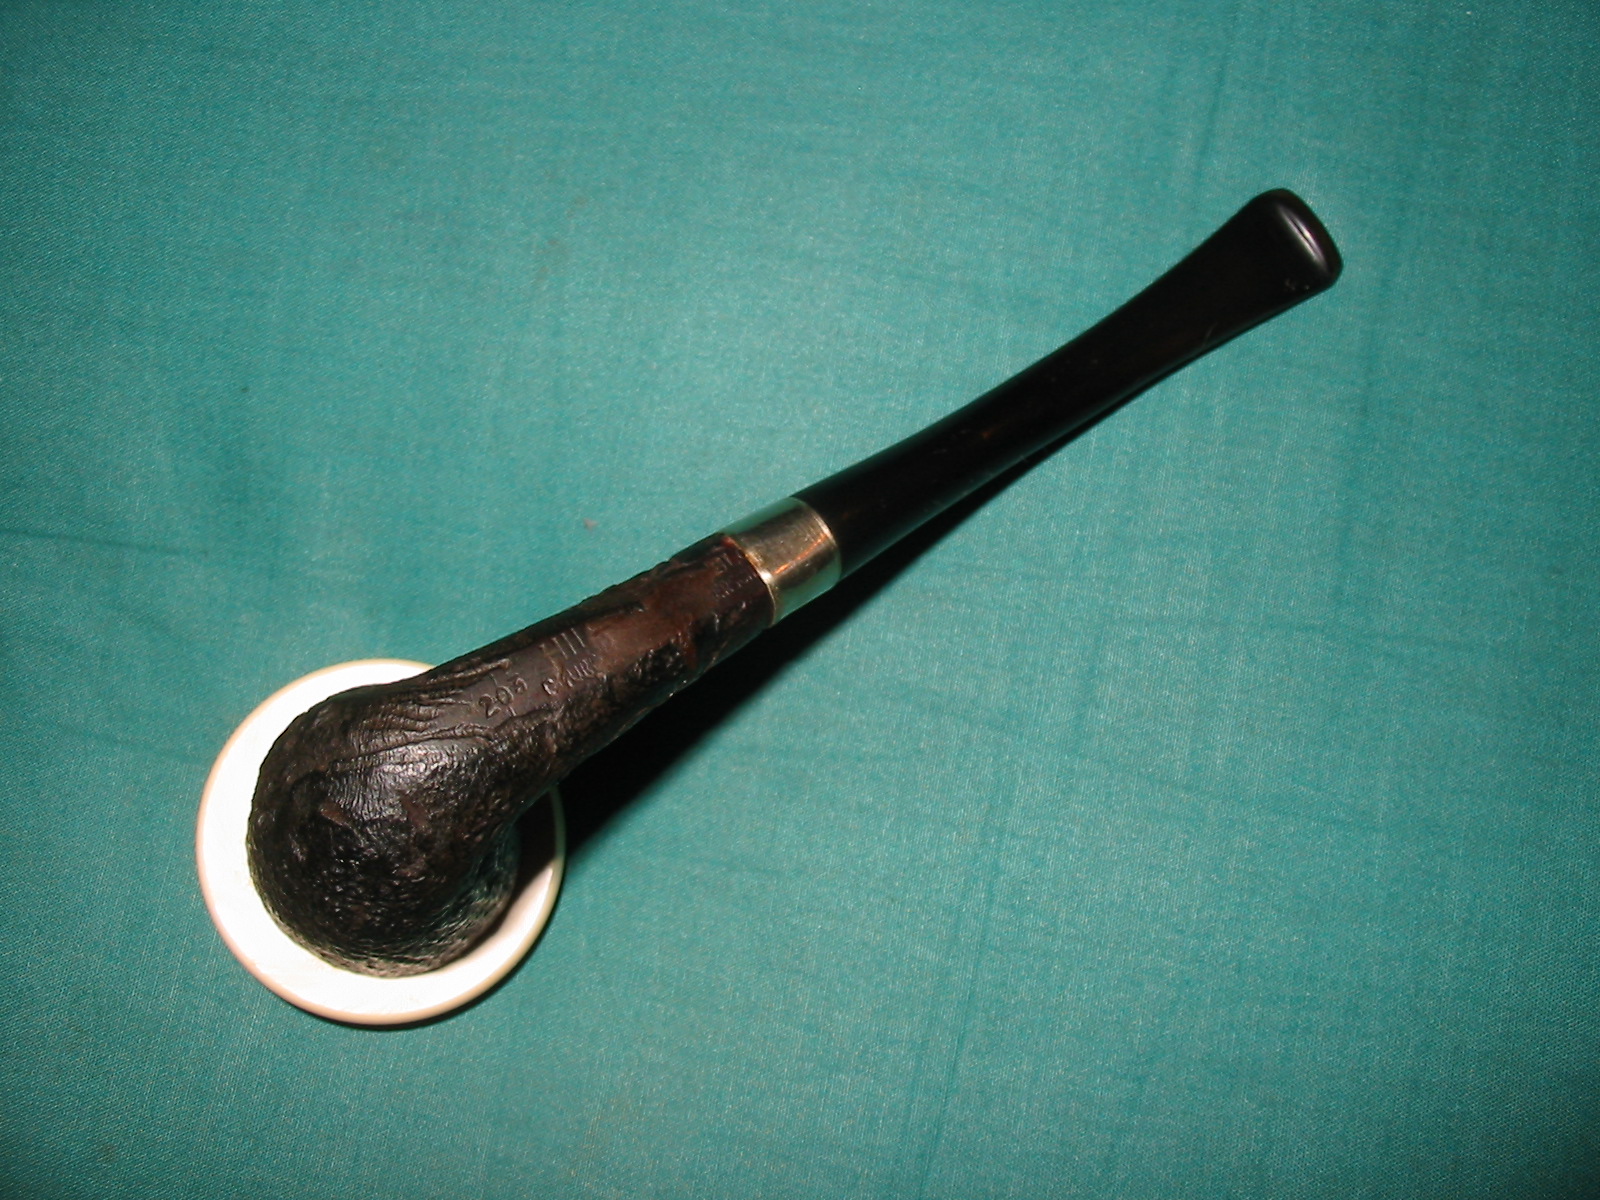
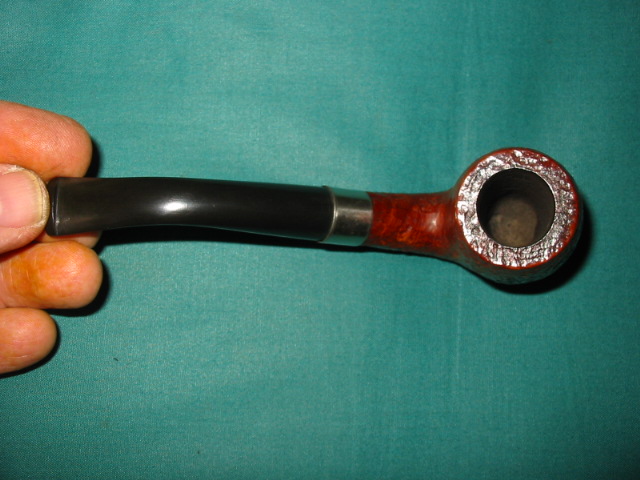
Jeff picked up this pipe sometime in 2016 and I have had it in a box of bowls since he sent it to me. I have looked at it several times but it never called my name. It is a strange pipe. The upwardly curved portion of the shank is joined to the bowl and straight shank about mid shank. The grain is quite nice though there is a large pit on the left side of the shank. The pipe is a sitter with a strange notched rim top. The notches have a faux plateau pattern in the groove on the front and back of the bowl. The top of the rim is almost calabash like with a wide flat top. The curve of the shank made the drilling of the bent portion a mystery until you turn the pipe over and see the screw that is inset in the back of the shank where it is parallel with the airway in the straight portion. It was lightly smoked and dirty. The shank is stamped AFG III on the left side of the upper portion. The stem was pirated from a WDC Wellington and made to fit in the shank. The shank end was out of round and the mortise was quite large. The end was not flat so fitting any stem would be a trick. Maybe that is why the Wellington stem was used. The stem had deep tooth marks in the surface and really did not work with the bowl to me. Jeff took the following photos before he did his clean up on the pipe.
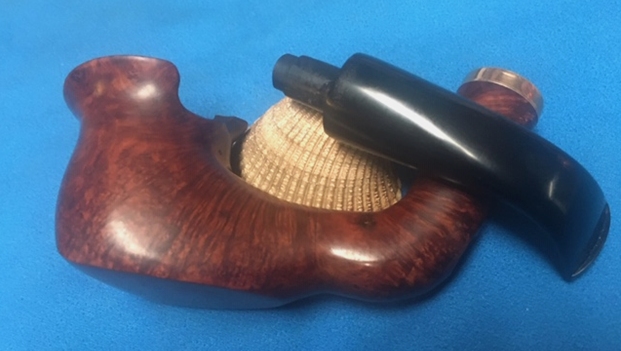
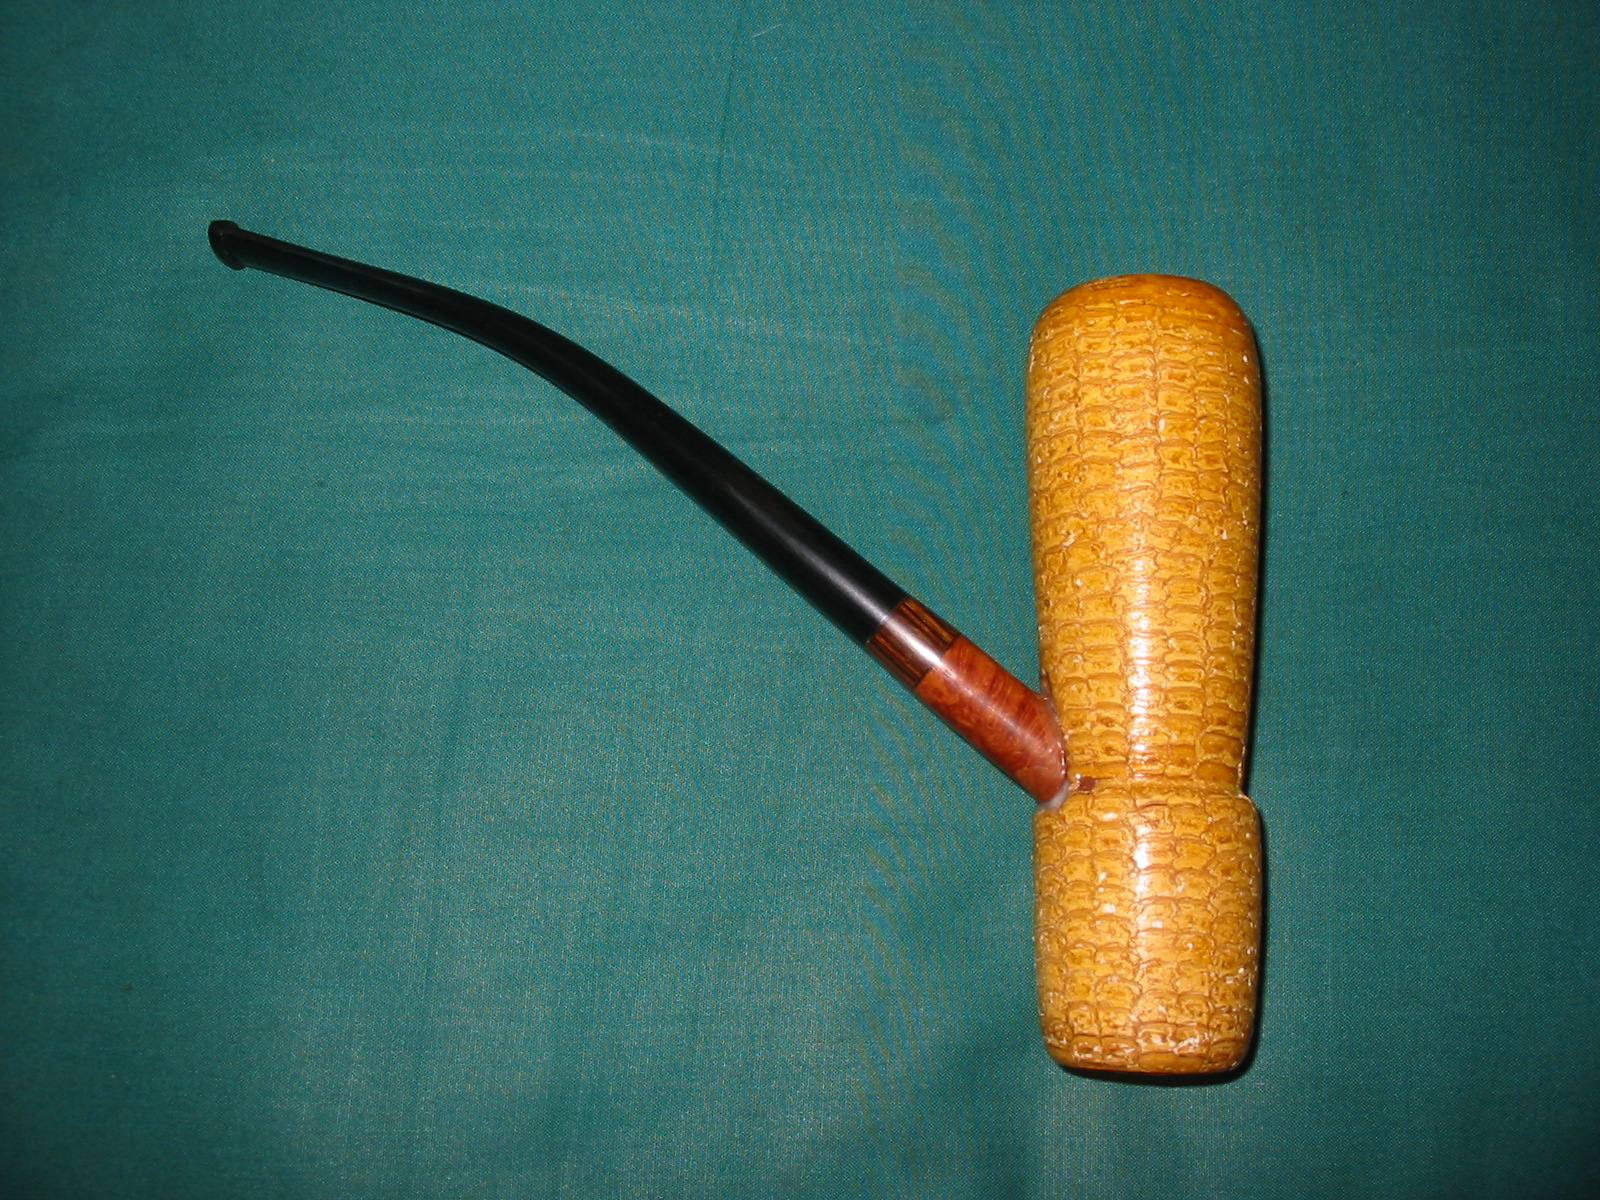
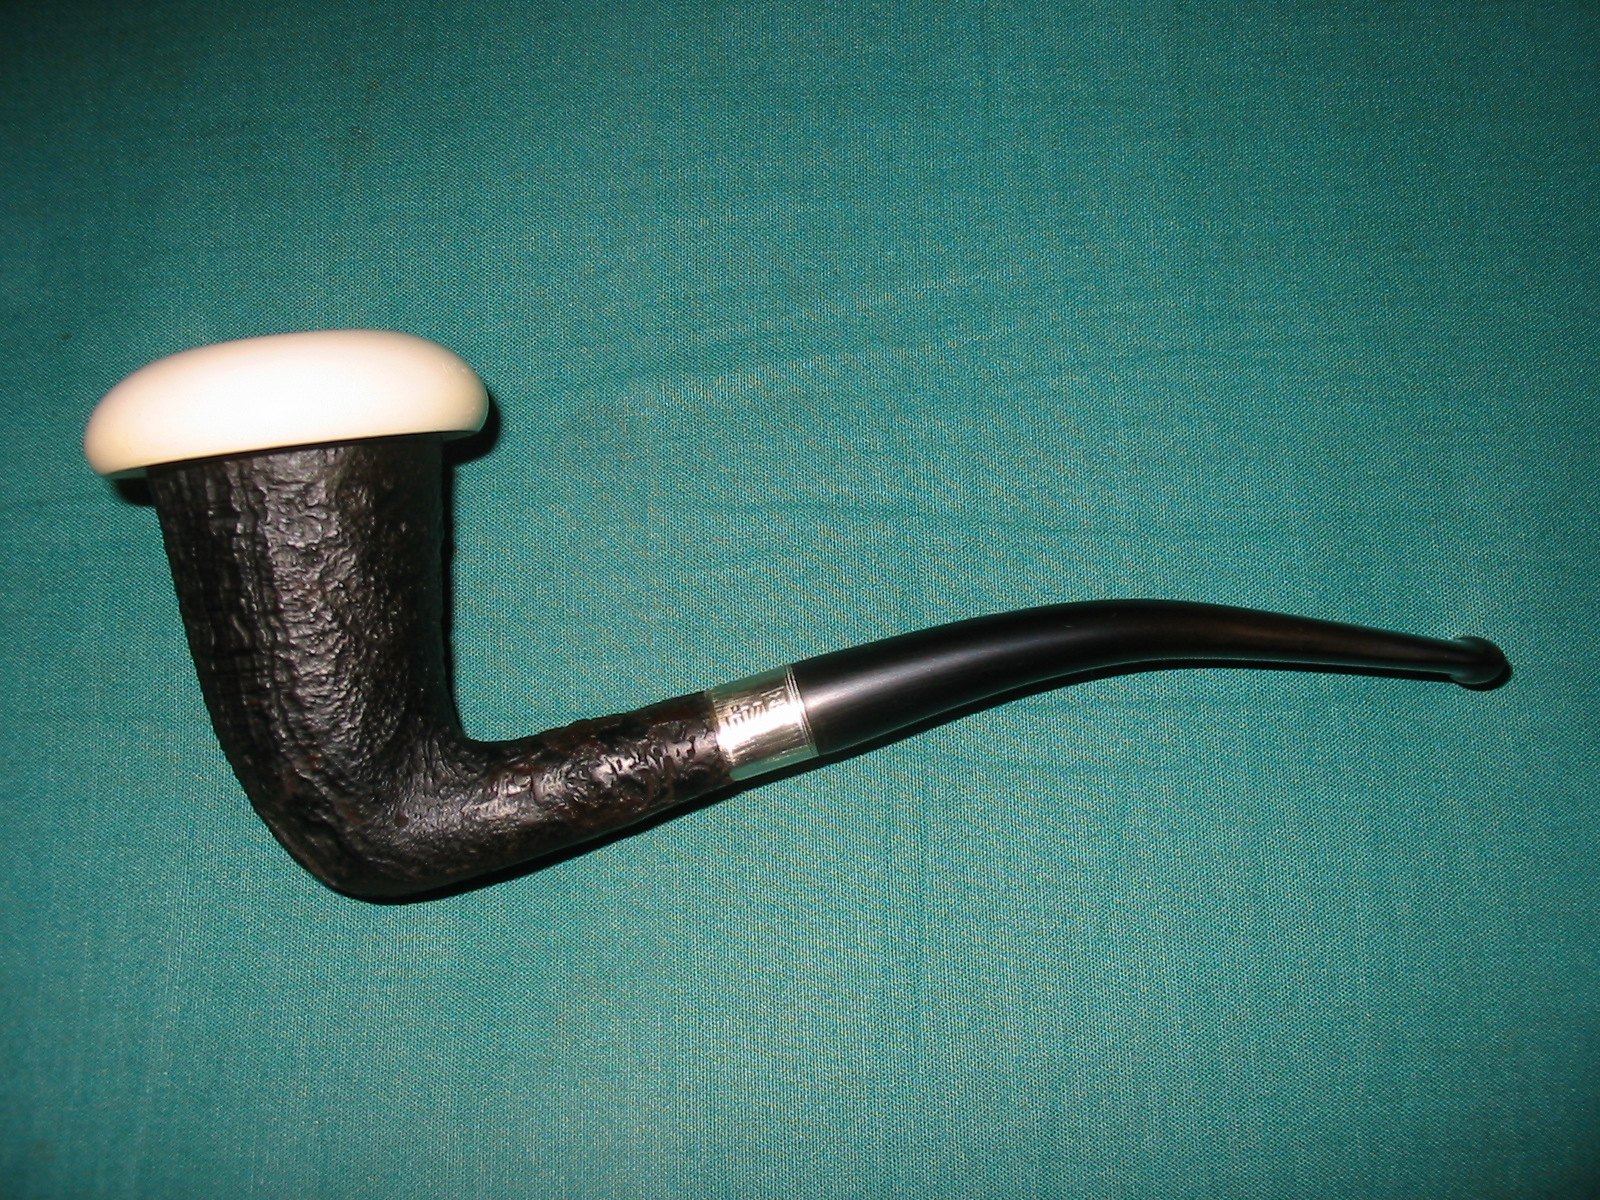
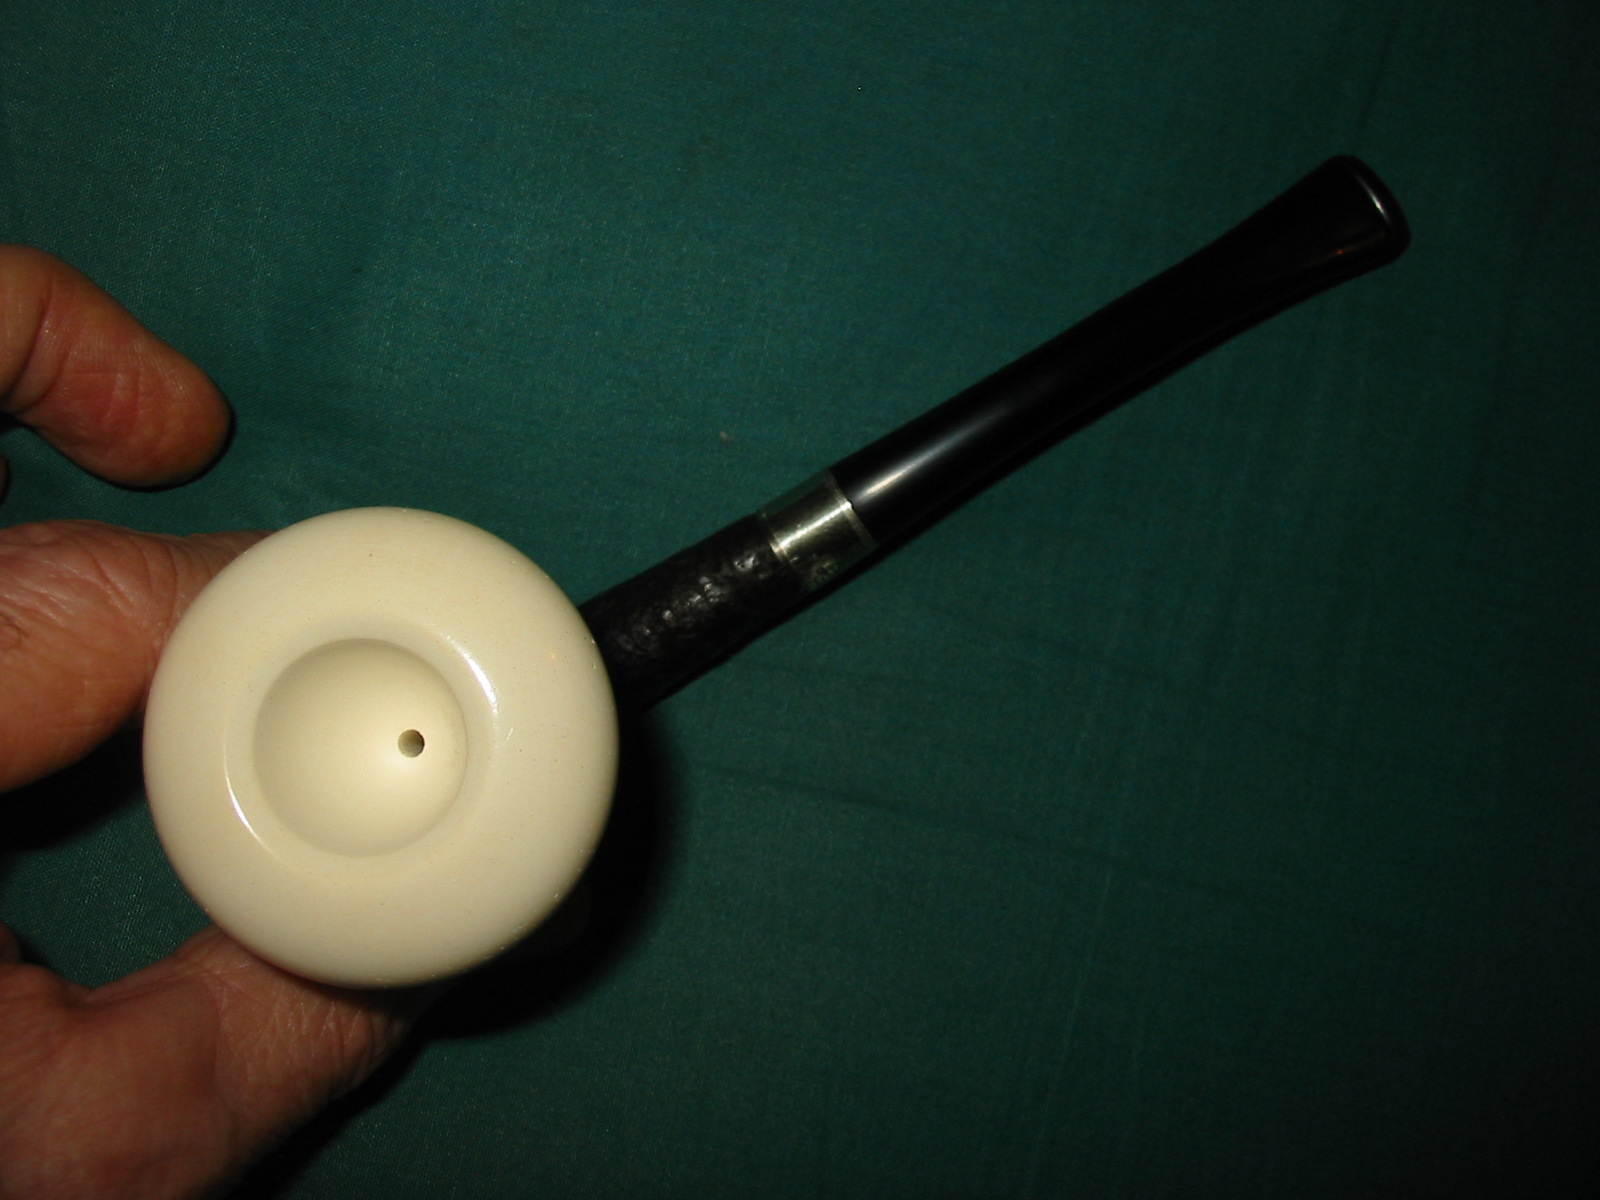
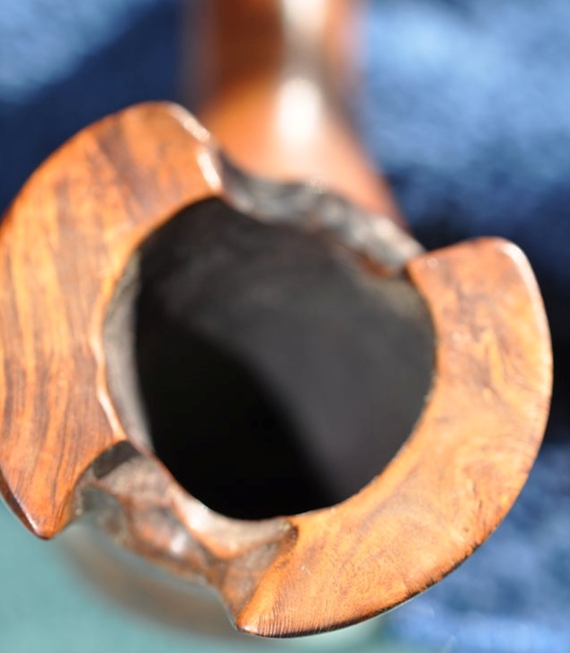
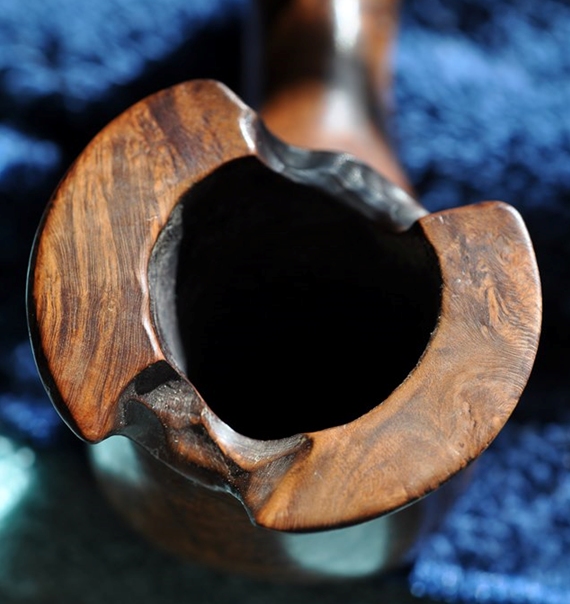
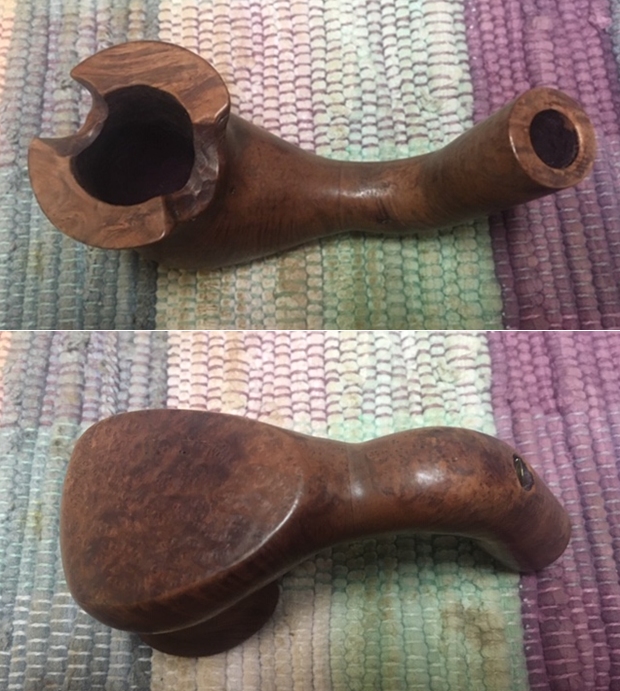
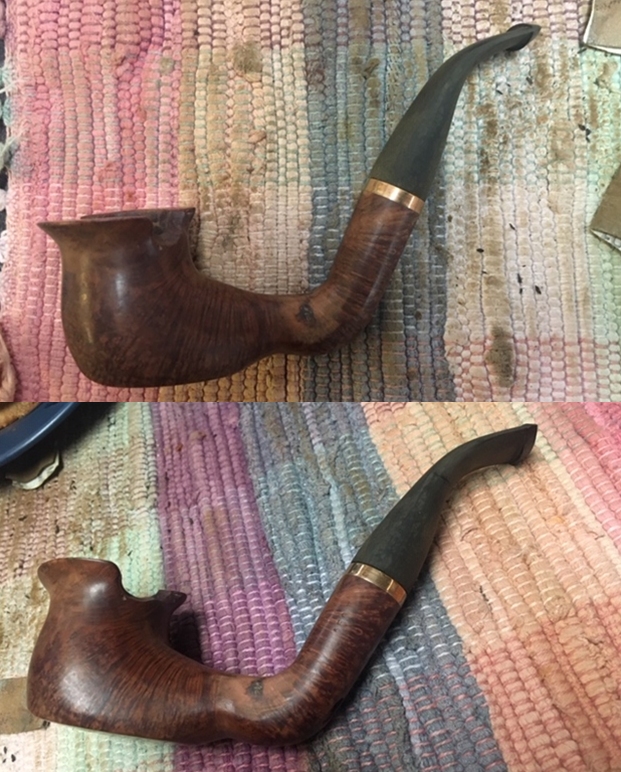
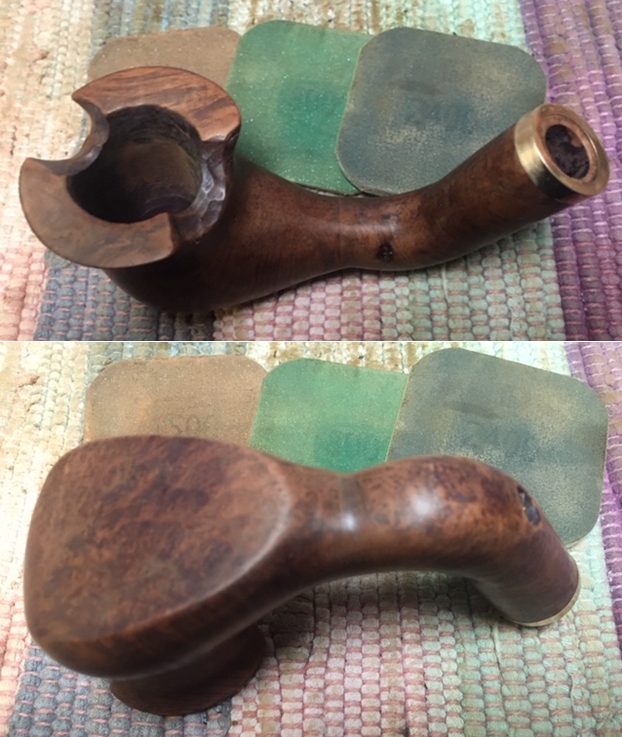
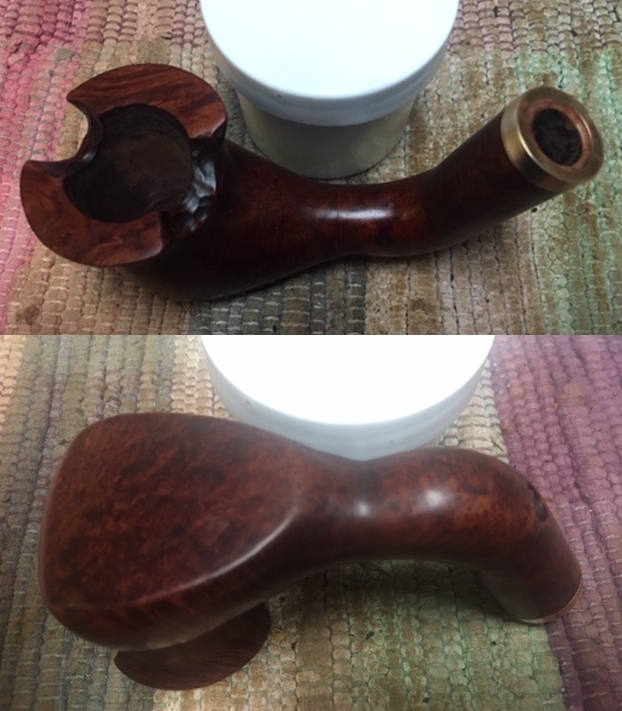
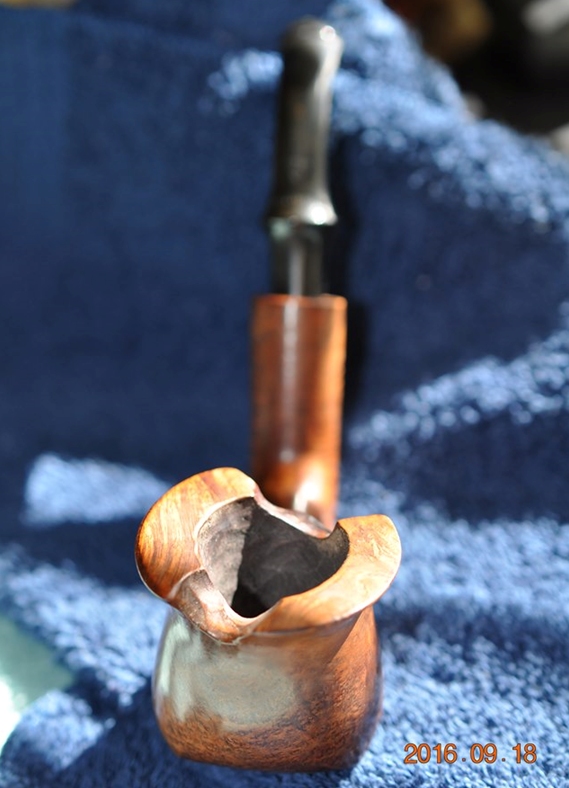 Jeff took photos of the bowl top to show the condition of the bowl and rim top and edges. The pipe has almost a floral look to it from this angle. It is a dirty pipe and the interior of the bowl has some roughness on the right side.
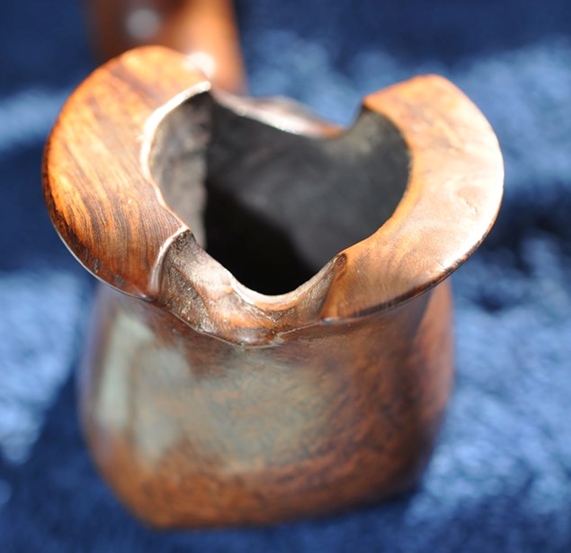
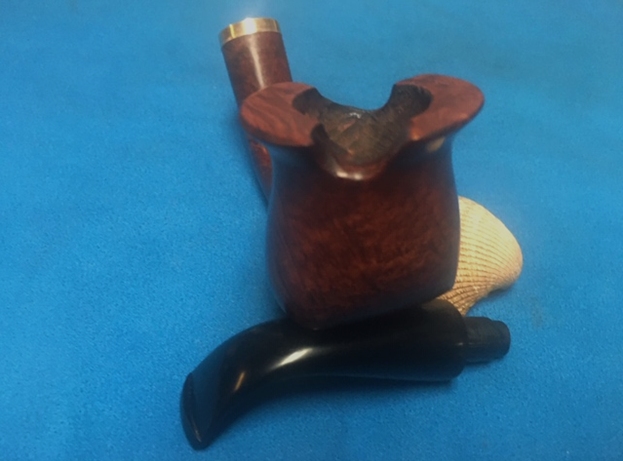
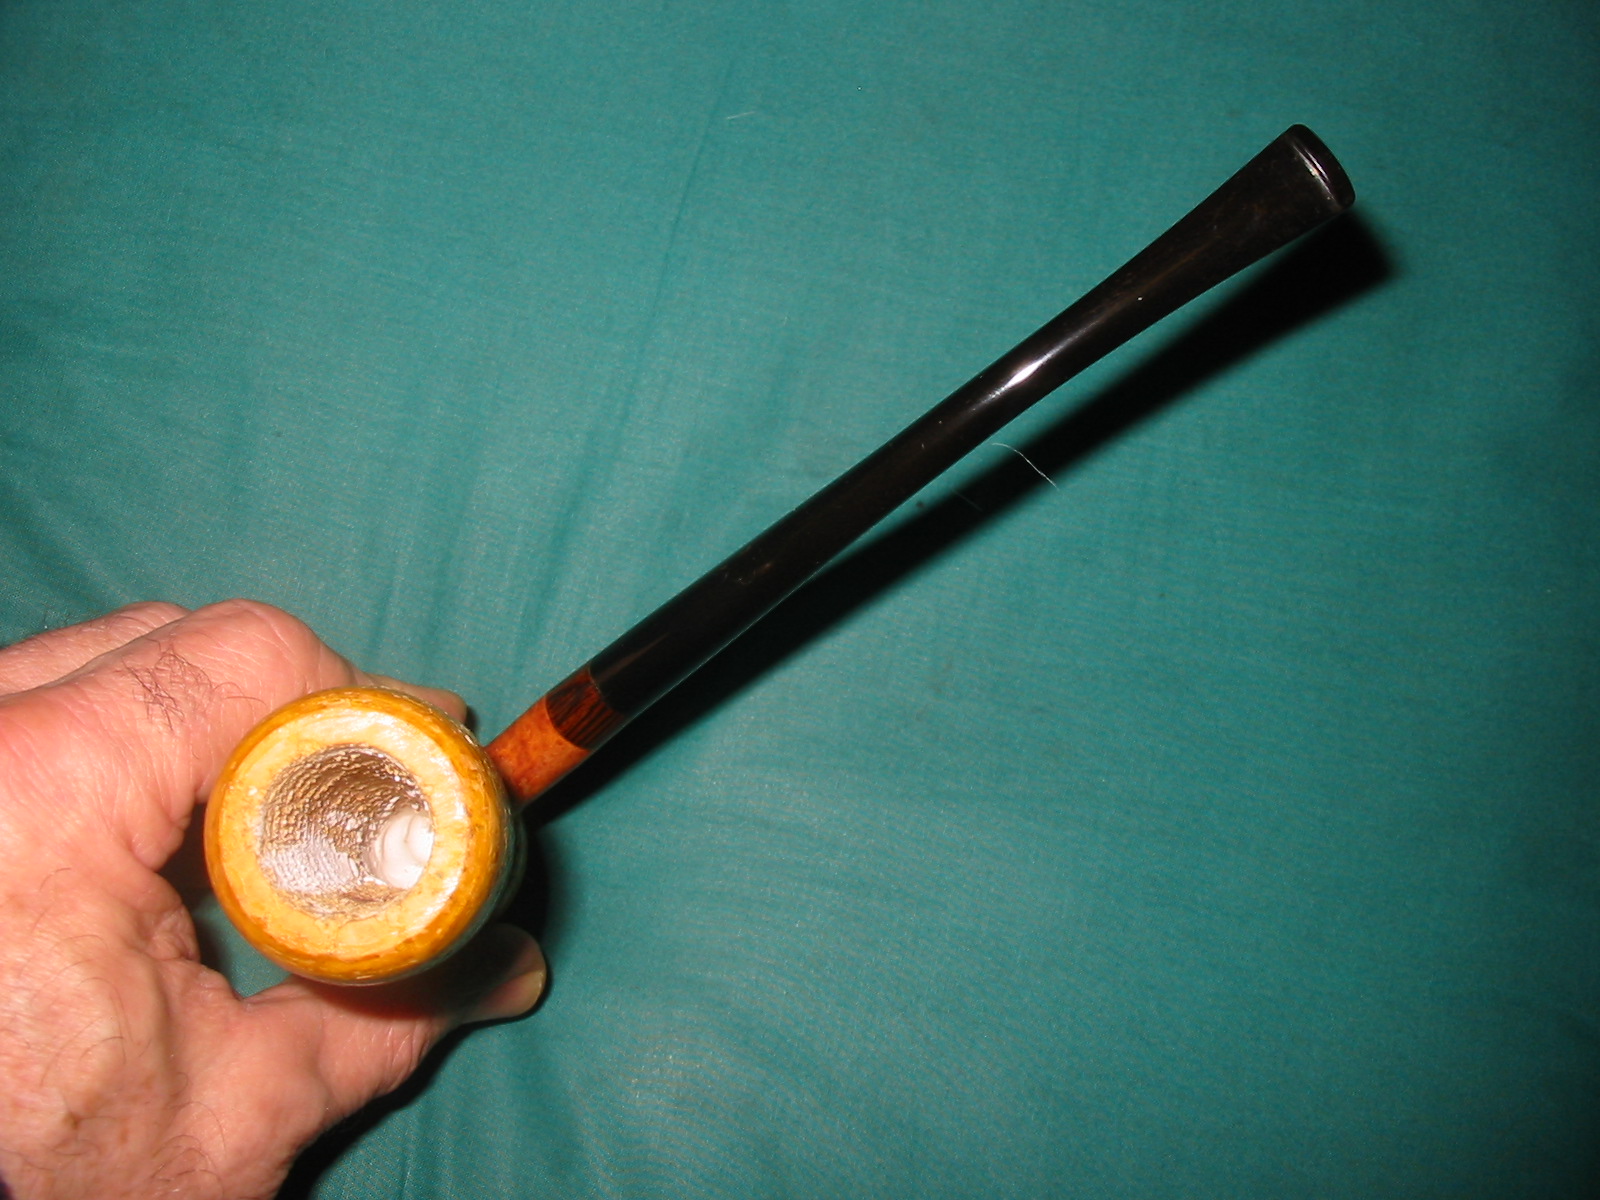
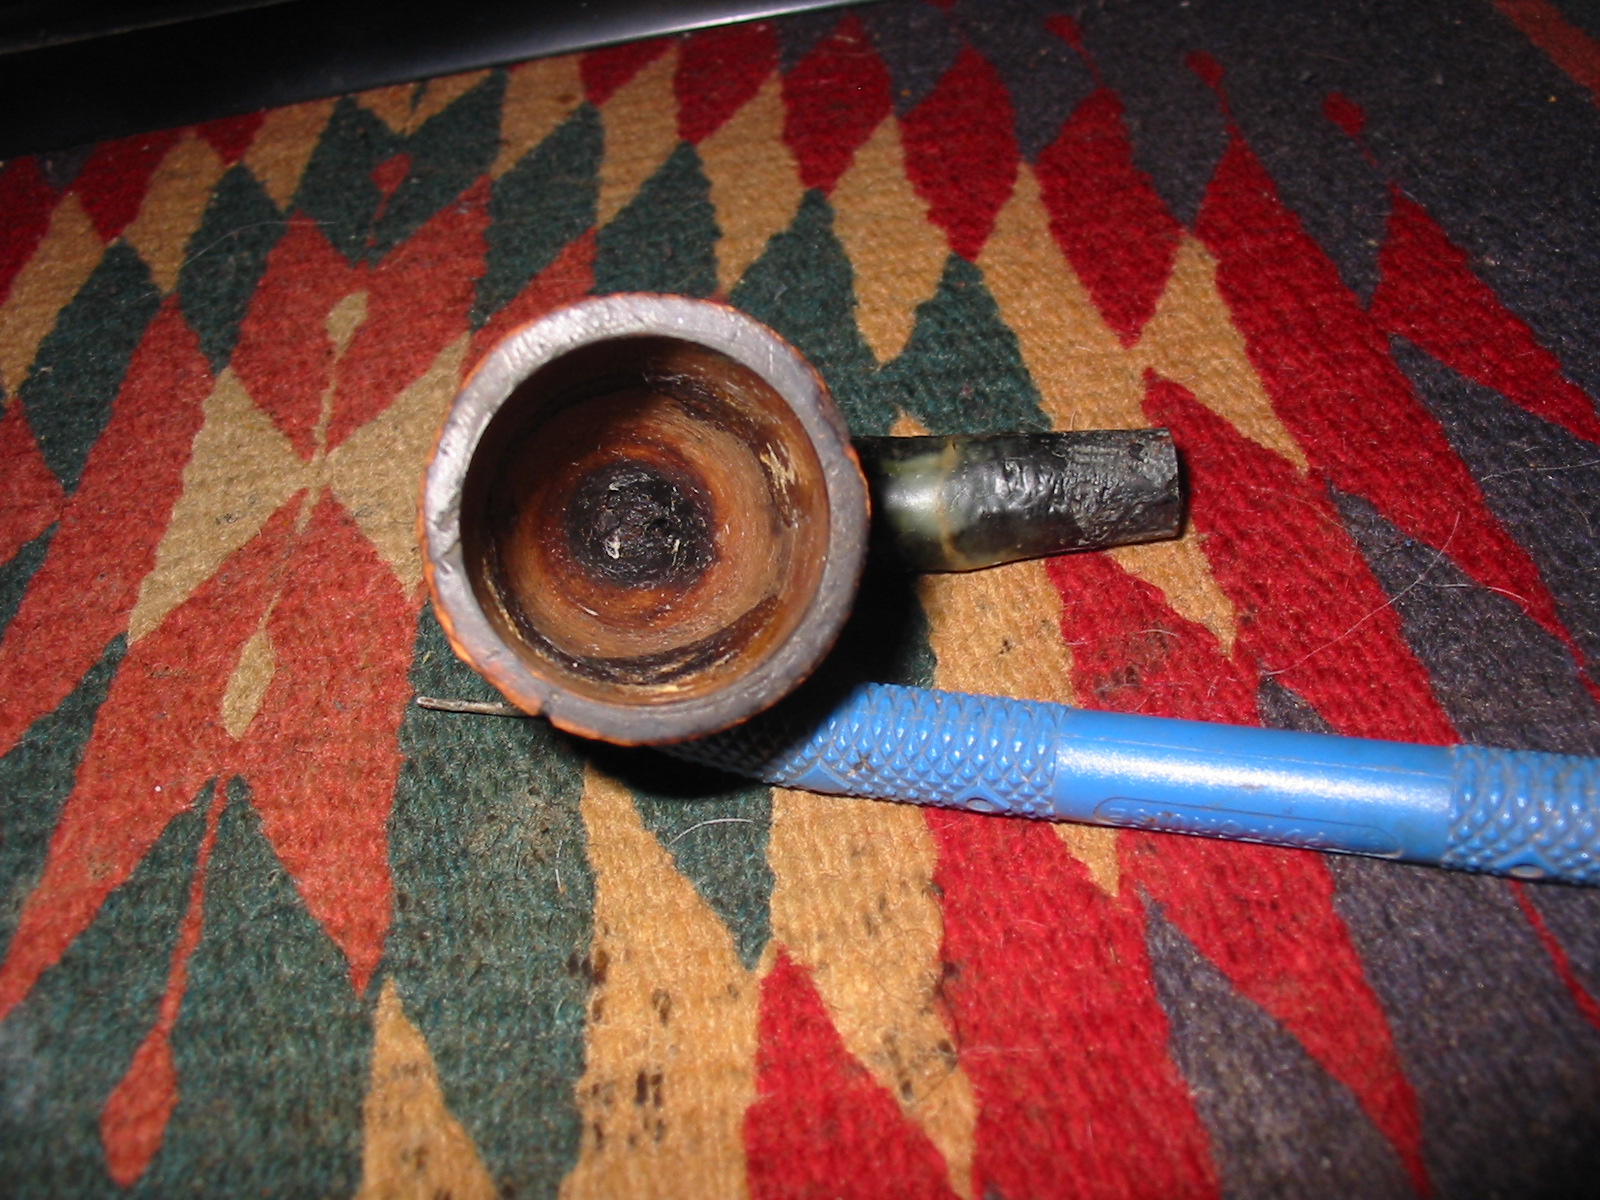
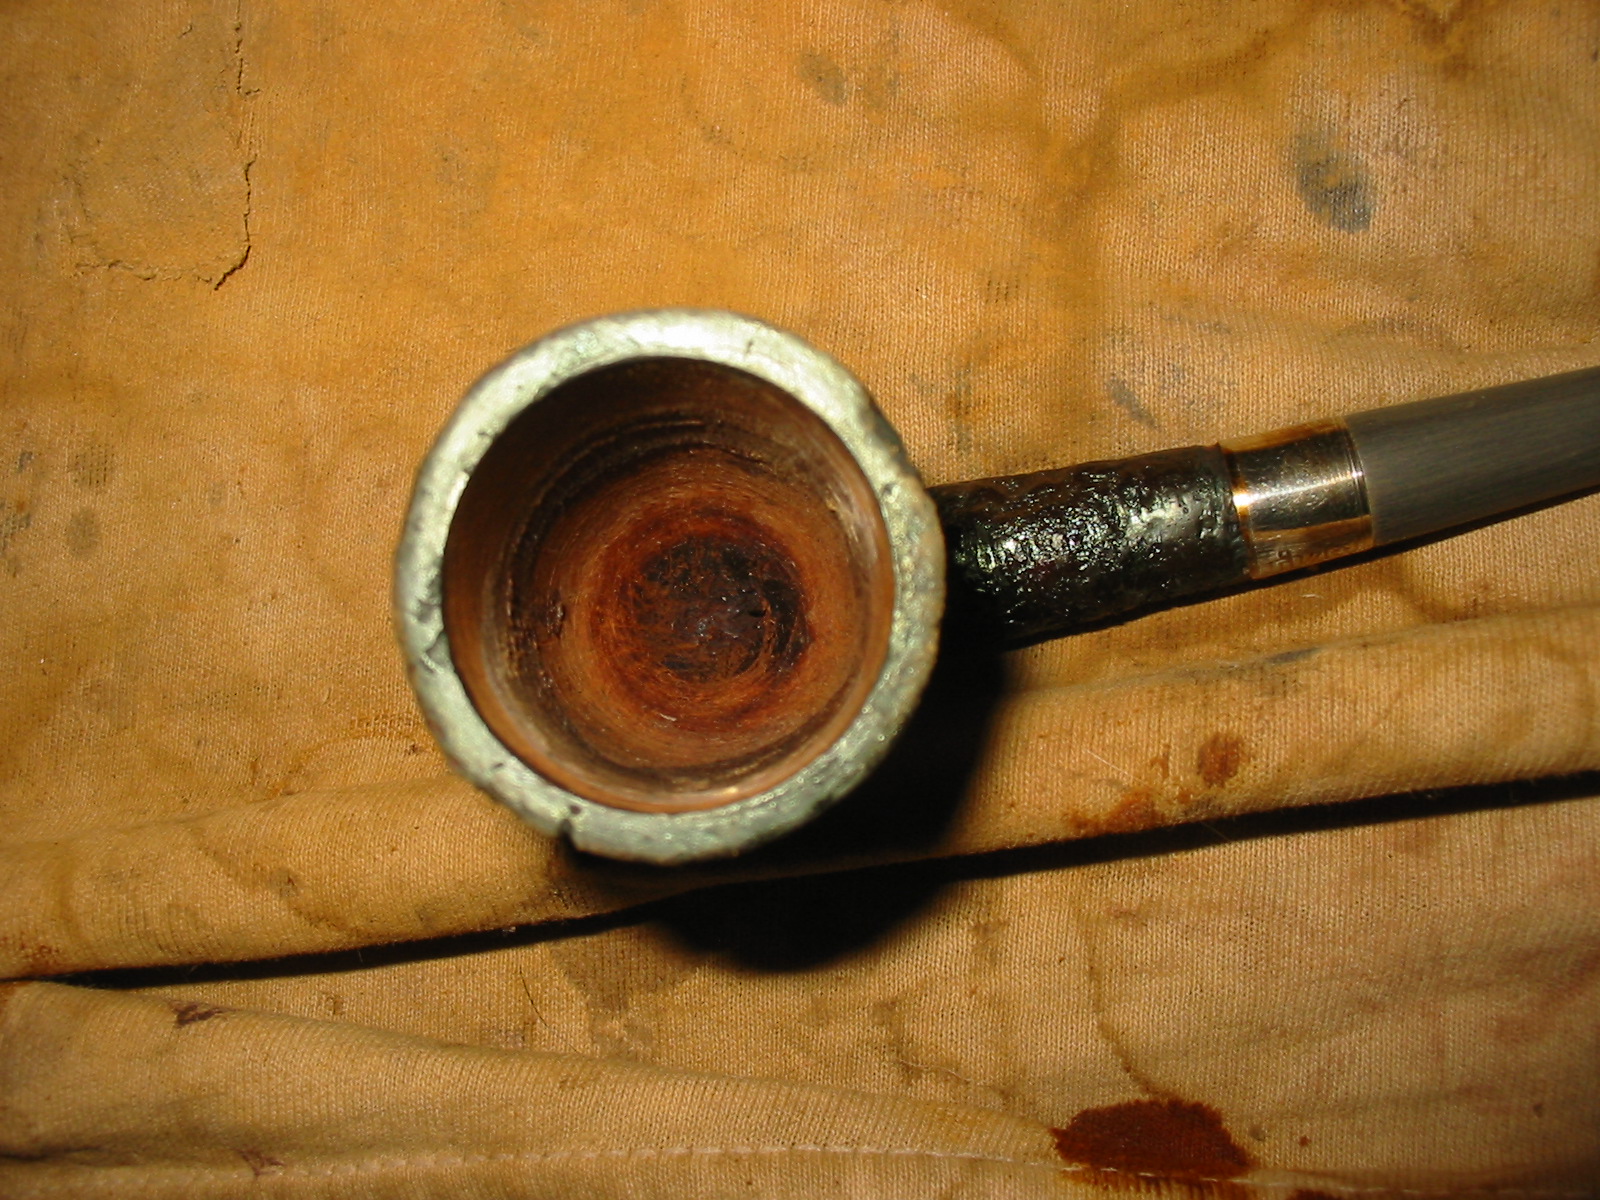
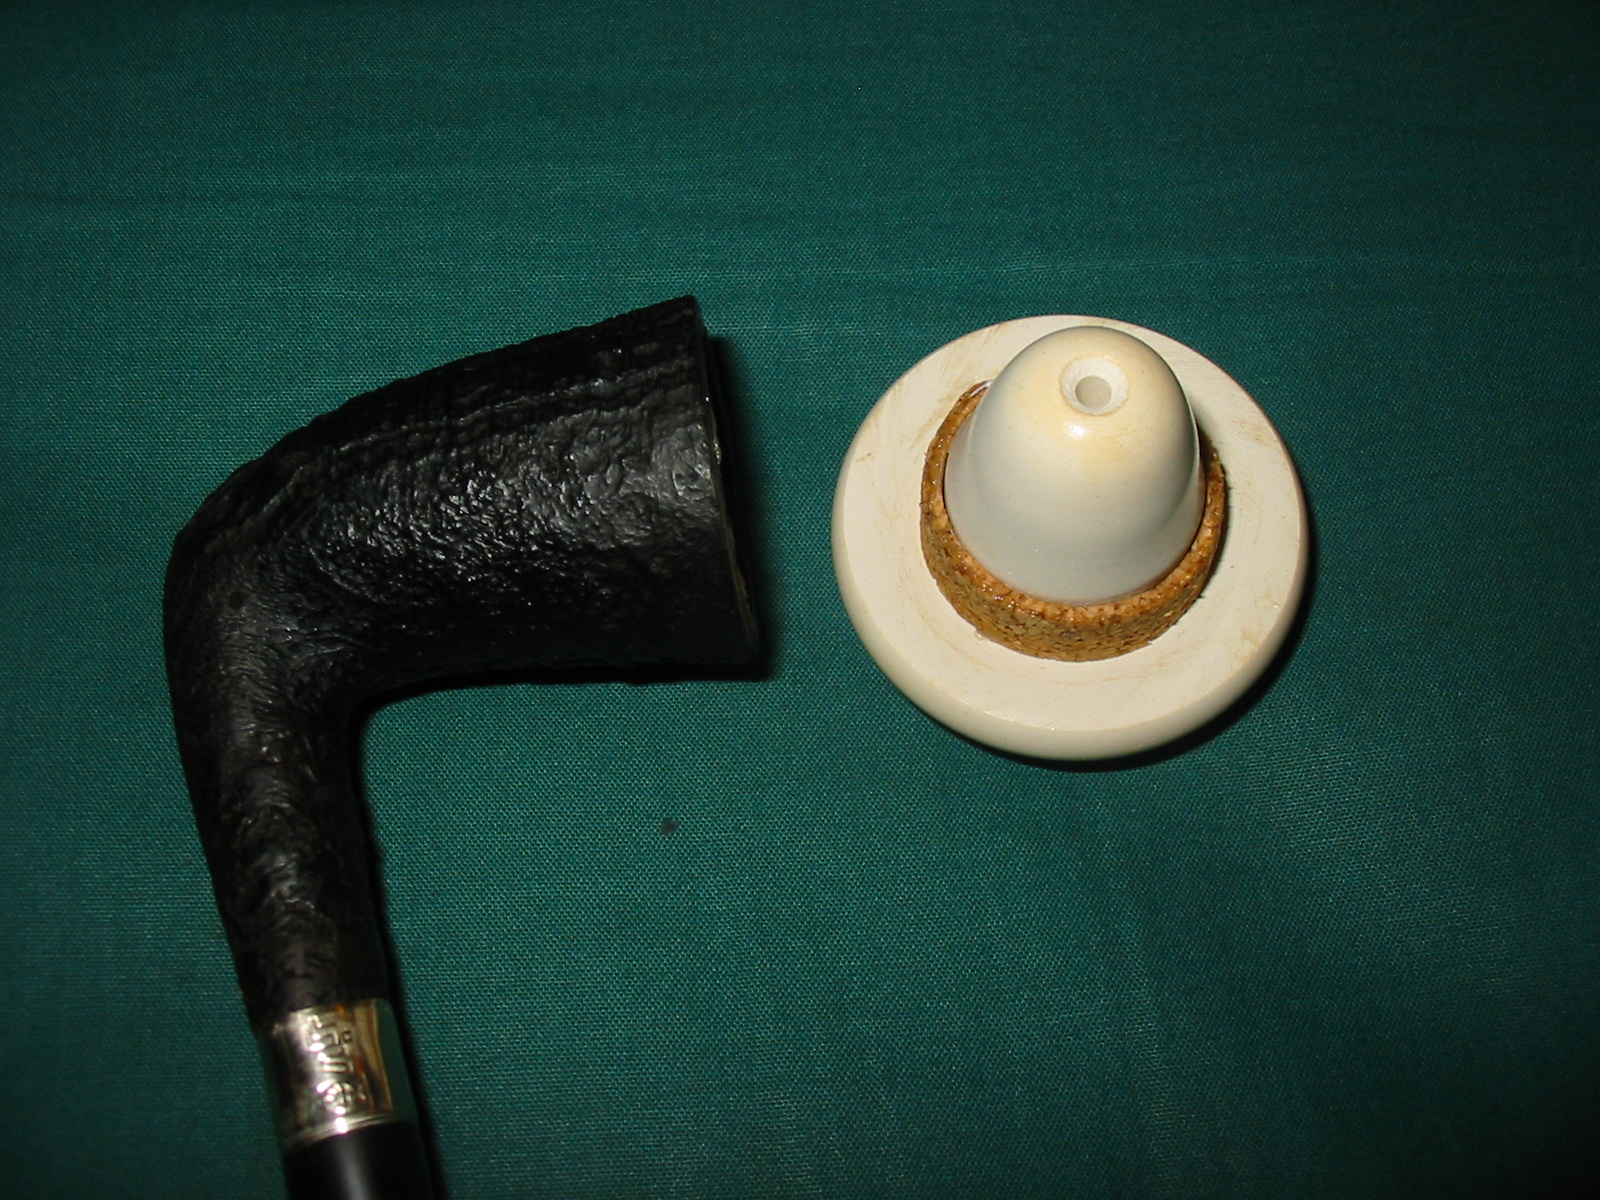
 He took a photo of the screw in the underside of the shank. It looks like a brass wood screw that has been inset in the shank.
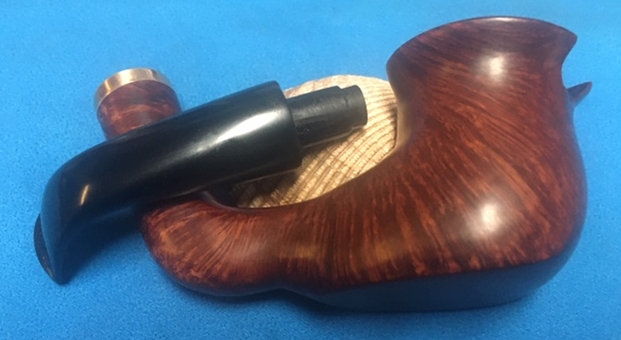
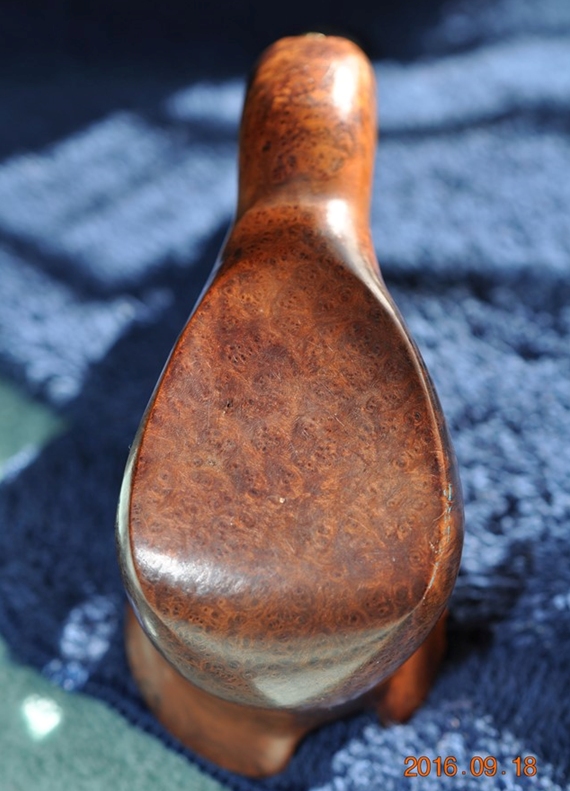
 He took photos of the sides of the bowl and the heel to give a clear look at the grain on the briar. It is actually a nice looking piece of briar that some how the shape follows in a strange way all its own.
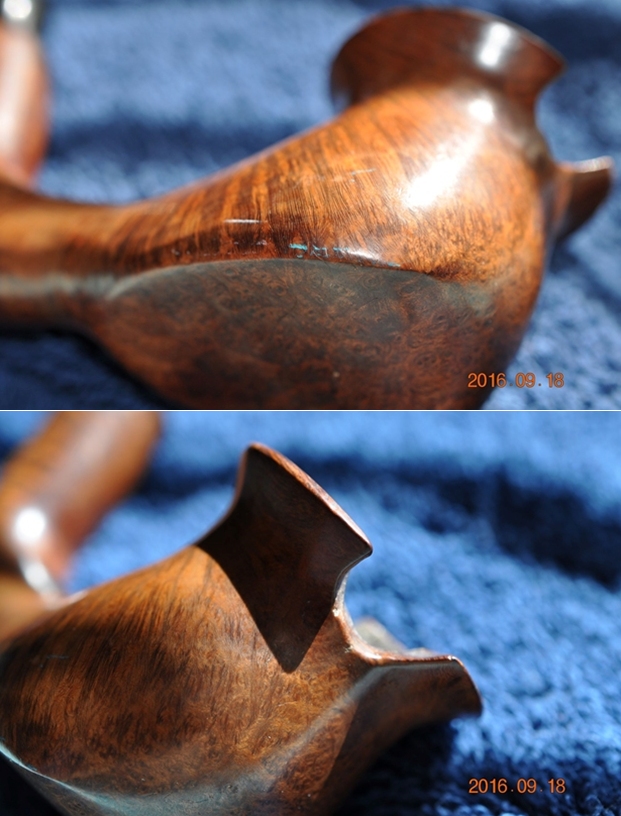
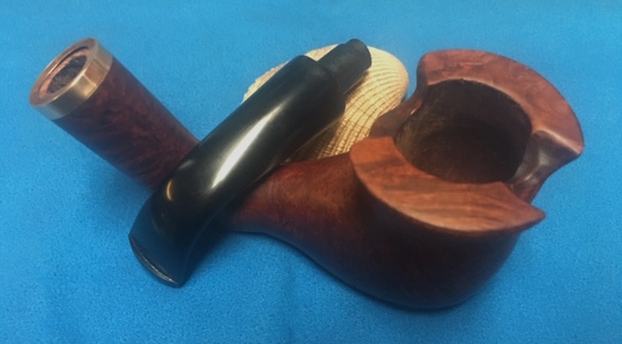
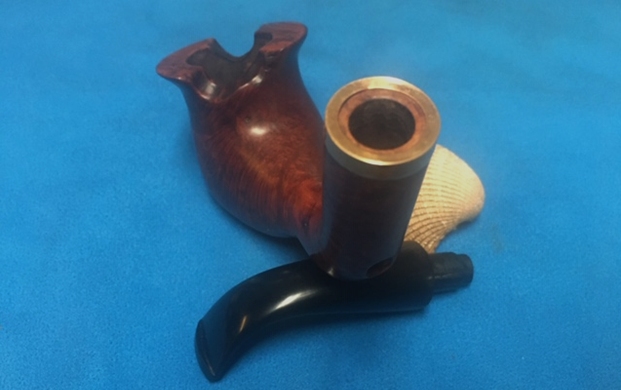
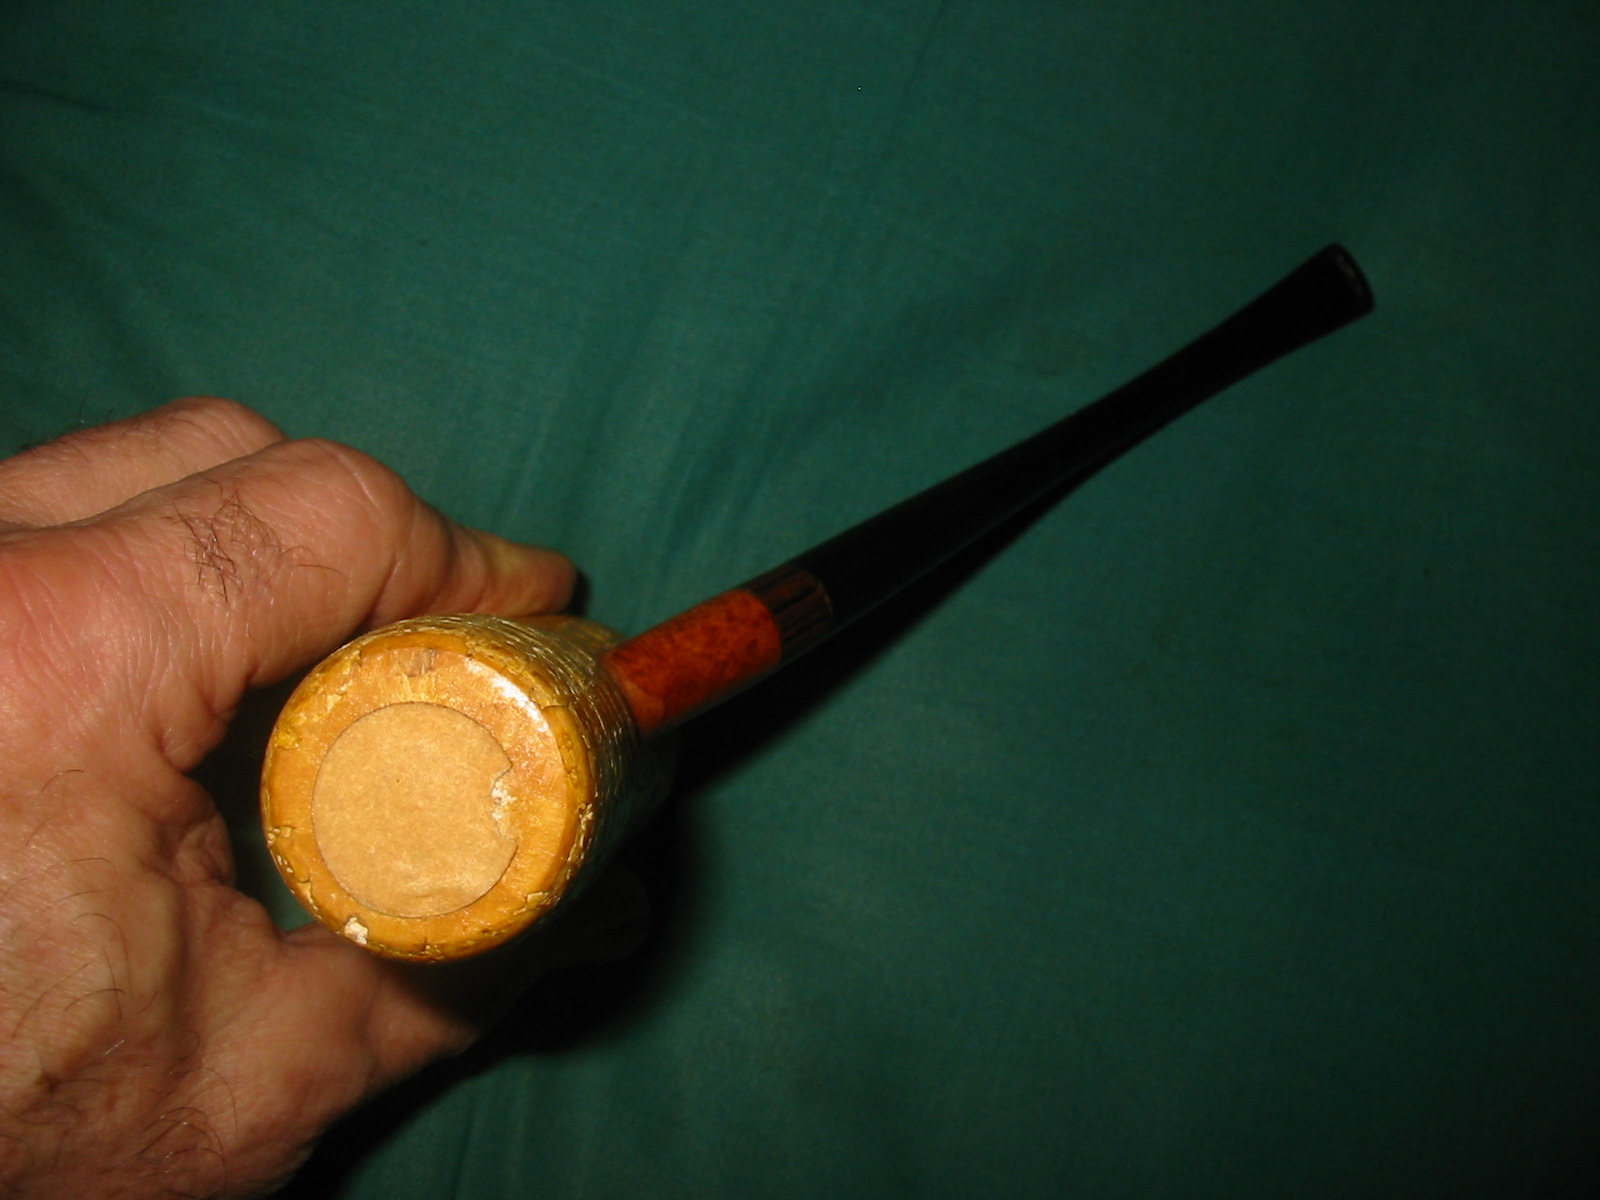
 The stamping on the left side of the shank reads AFG III which is not a brand I can find listed anywhere on the net so I have no information on the maker.
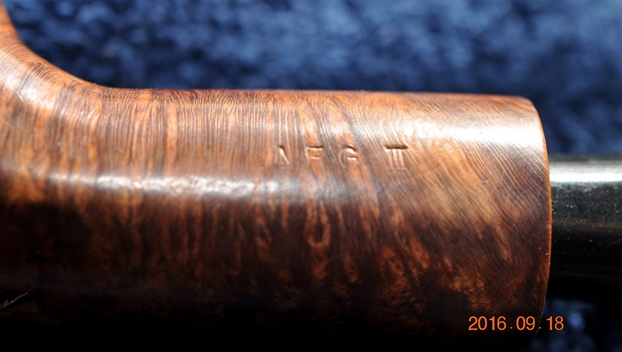 The stem that had been made to fit is a WDC Wellington P-lip knockoff. It really did not fit in the shank and it was pretty chewed up. I would need to replace it.
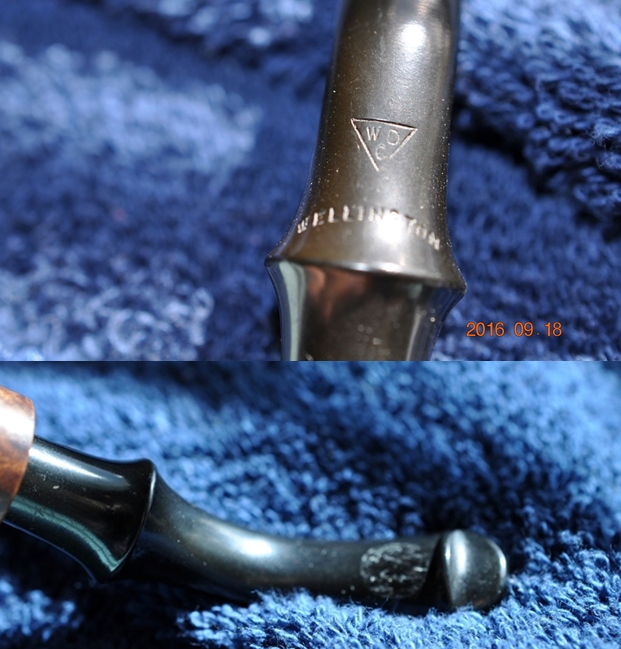 Today when I was sorting through my box of bowls without stems that I have and pitching out the worst of them I picked this bowl up and was drawn to seeing what I could do with it. I took it to my worktable and looked it over. Jeff had done a great job cleaning up the pipe as I have come to expect after 4 years of working on pipes. He reamed the pipe with a PipNet reamer and cut back the cake back to the bare briar. He cleaned up the walls with a Savinelli Fitsall Pipe Knife. He scrubbed the interior of the bowl and shank with pipe cleaners, cotton swabs and alcohol to remove the tars and oils. He scrubbed the exterior of the pipe with Murphy’s Oil Soap and a tooth brush to remove the grime from the finish. He scrubbed the inside of the stem with alcohol and pipe cleaners. Since the stem was not going to be used he did a quick clean up on it and sent it along. I had long since thrown it in the bottom of the box of bowls. The pipe was indeed an odd one. I took photos of the pipe when I received it before I started working on it.
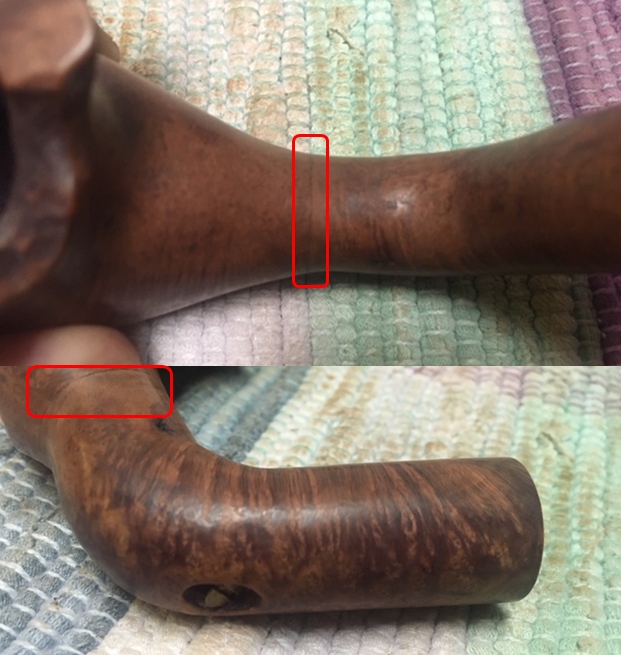
 I took a photo of the wood screw in the shank and the flaw in the briar on the topside of the shank. You can also see the joint of the bowl and shank with the upward turned shank extension in the photos below. I drew a red box around then in the photos below.
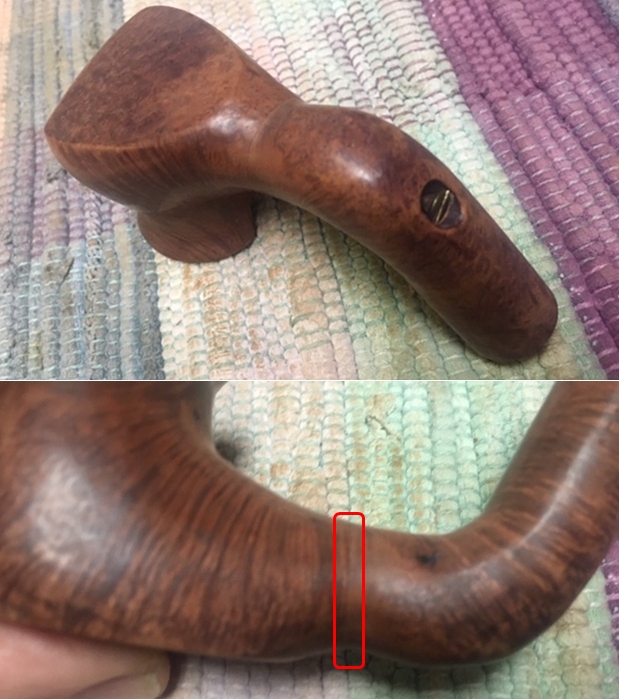
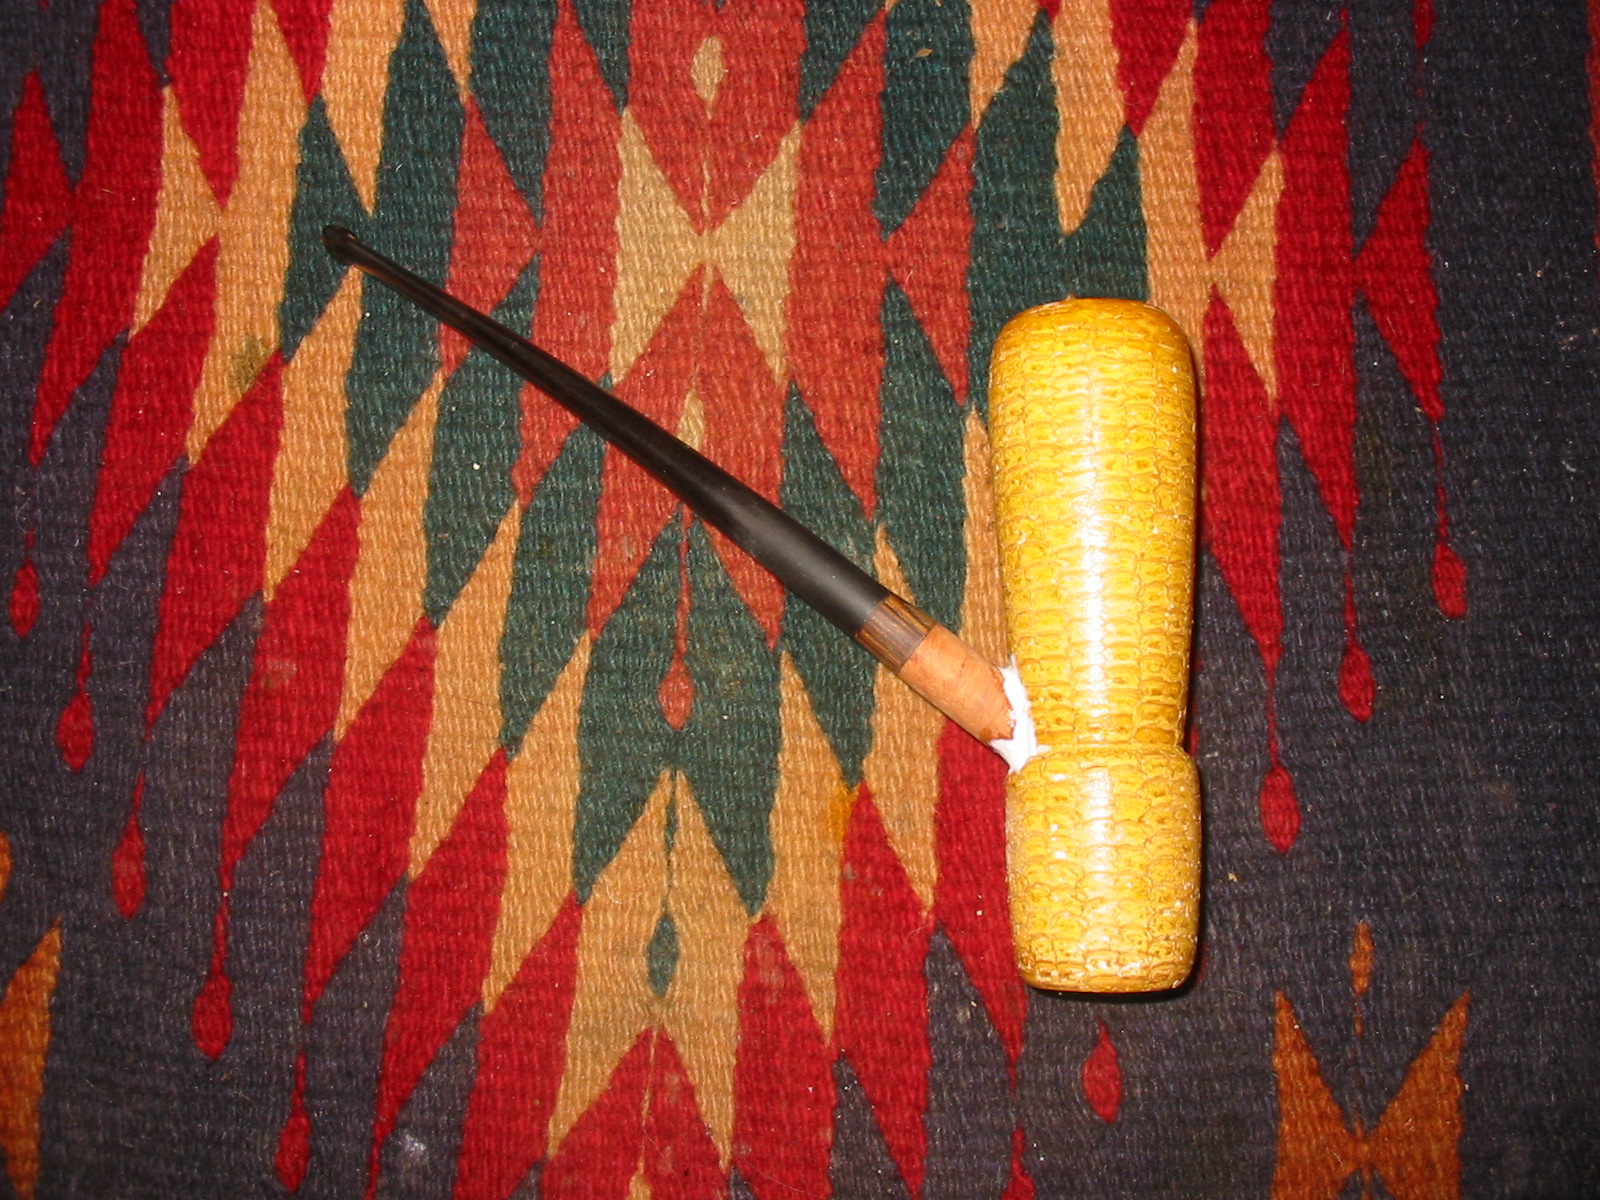
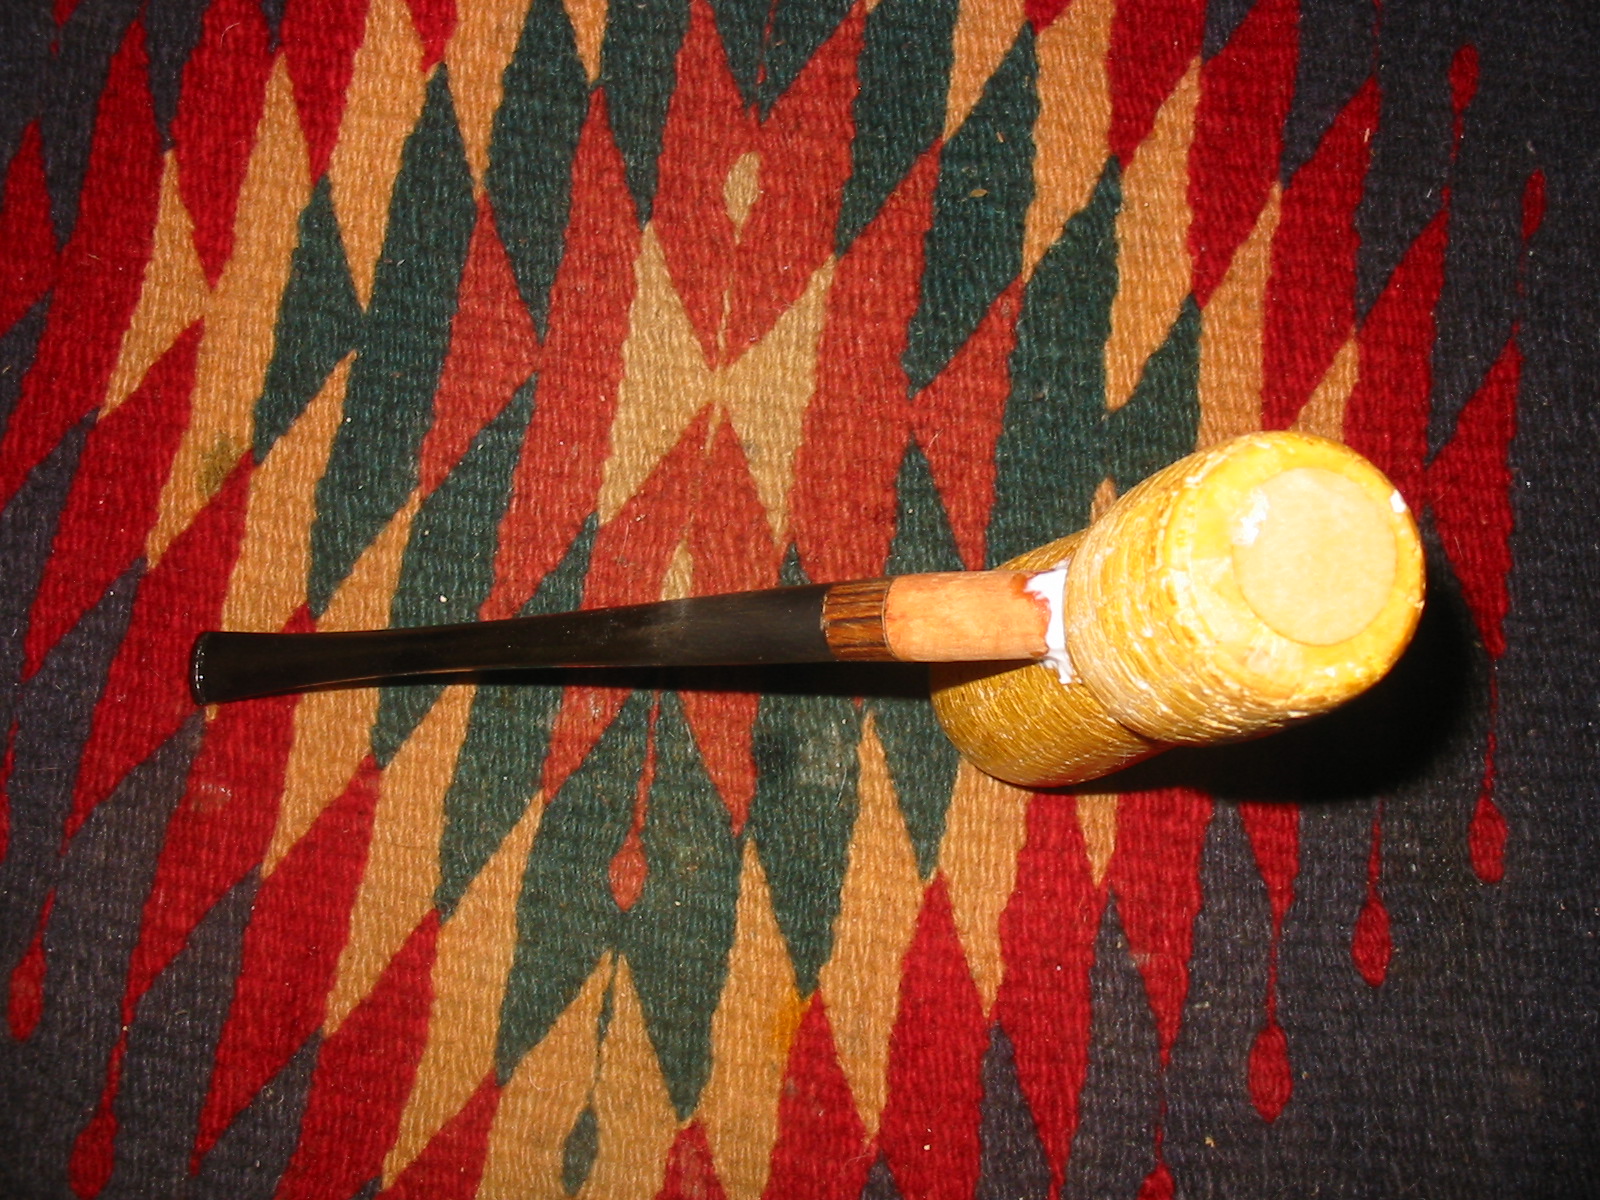
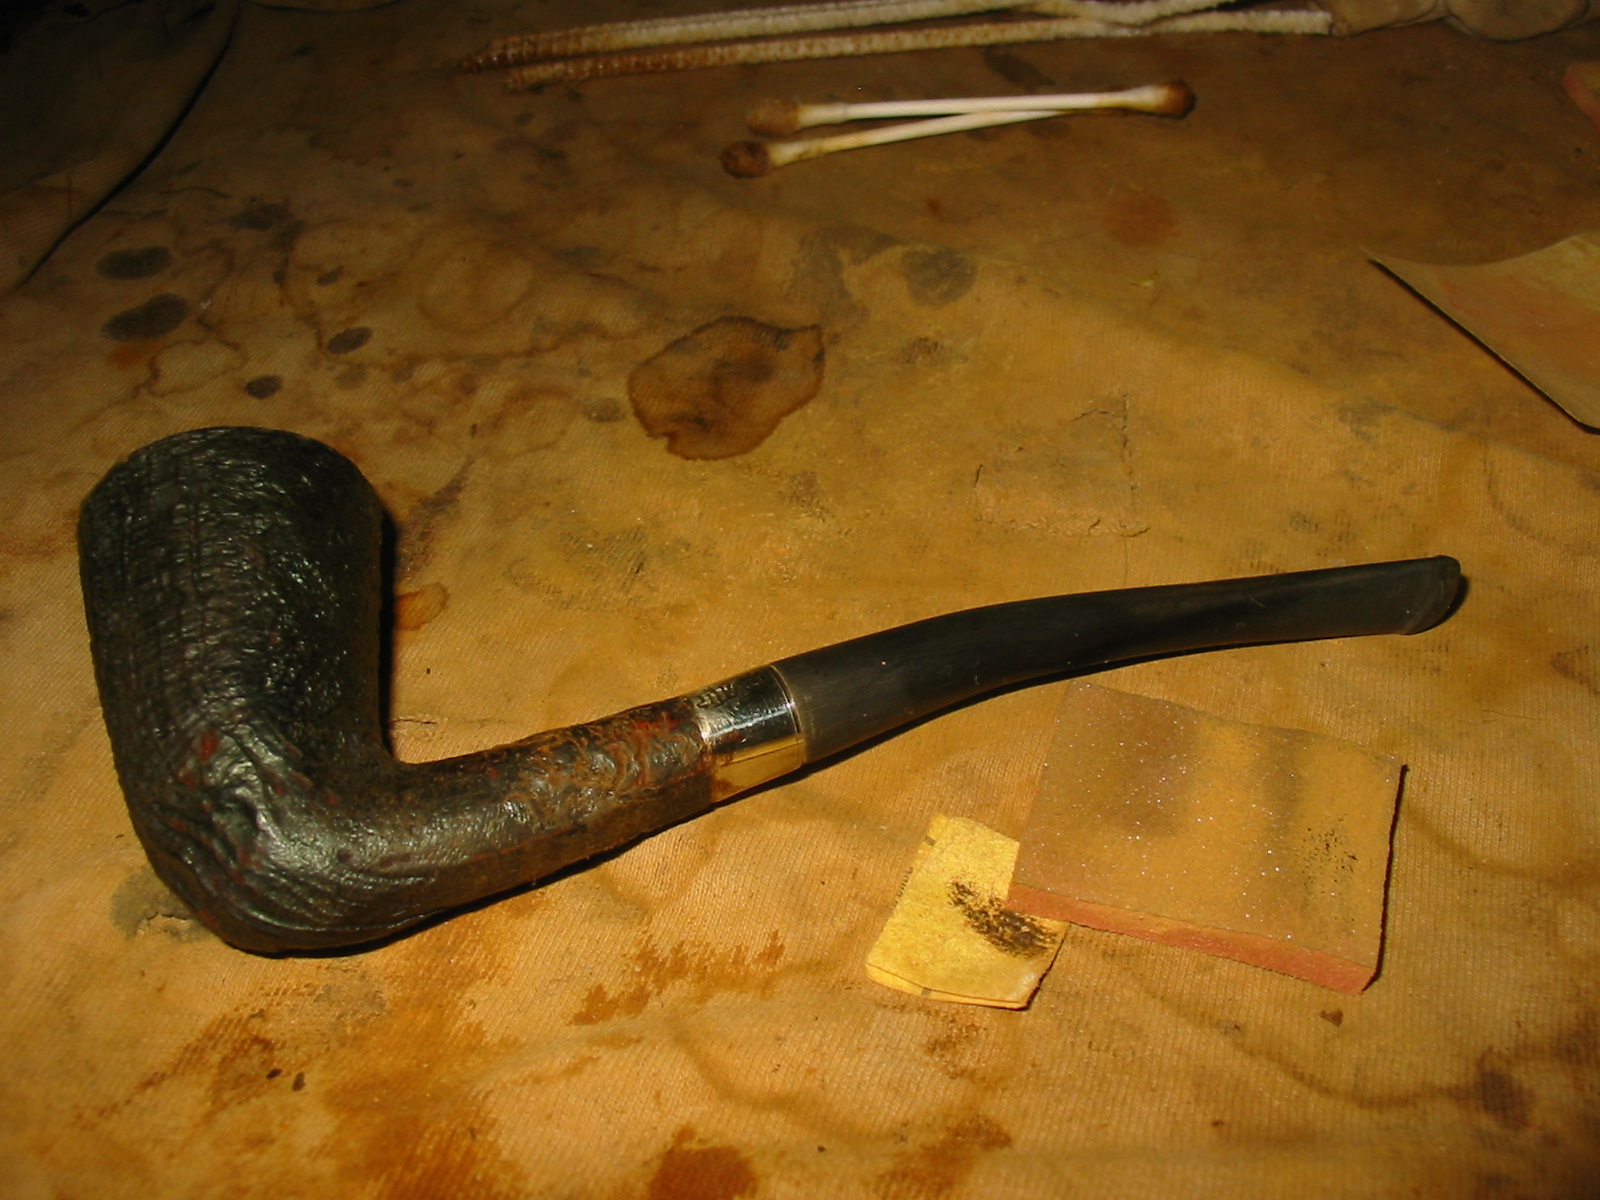
 I went through my cans of stems to find one that would work with the diameter of the shank. I would need to turn the tenon to make it fit and also adjust the shank end and face it to make the taper stem fit.
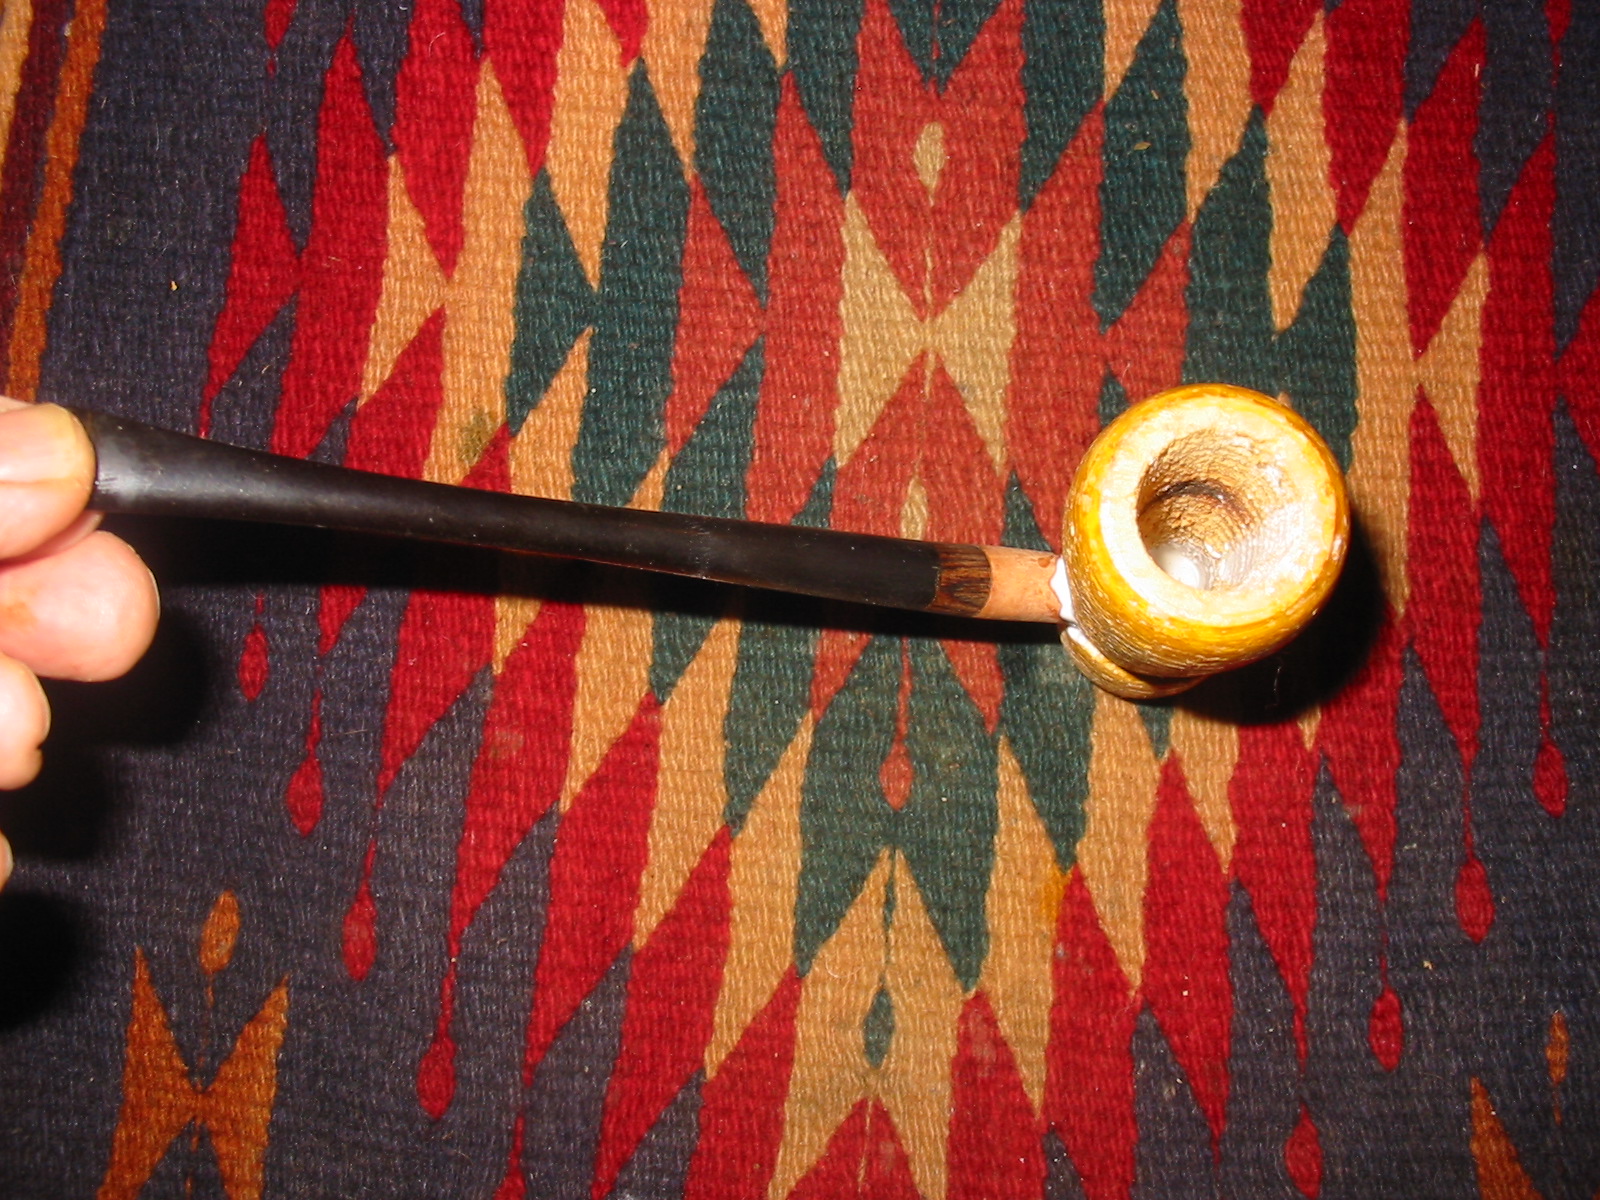
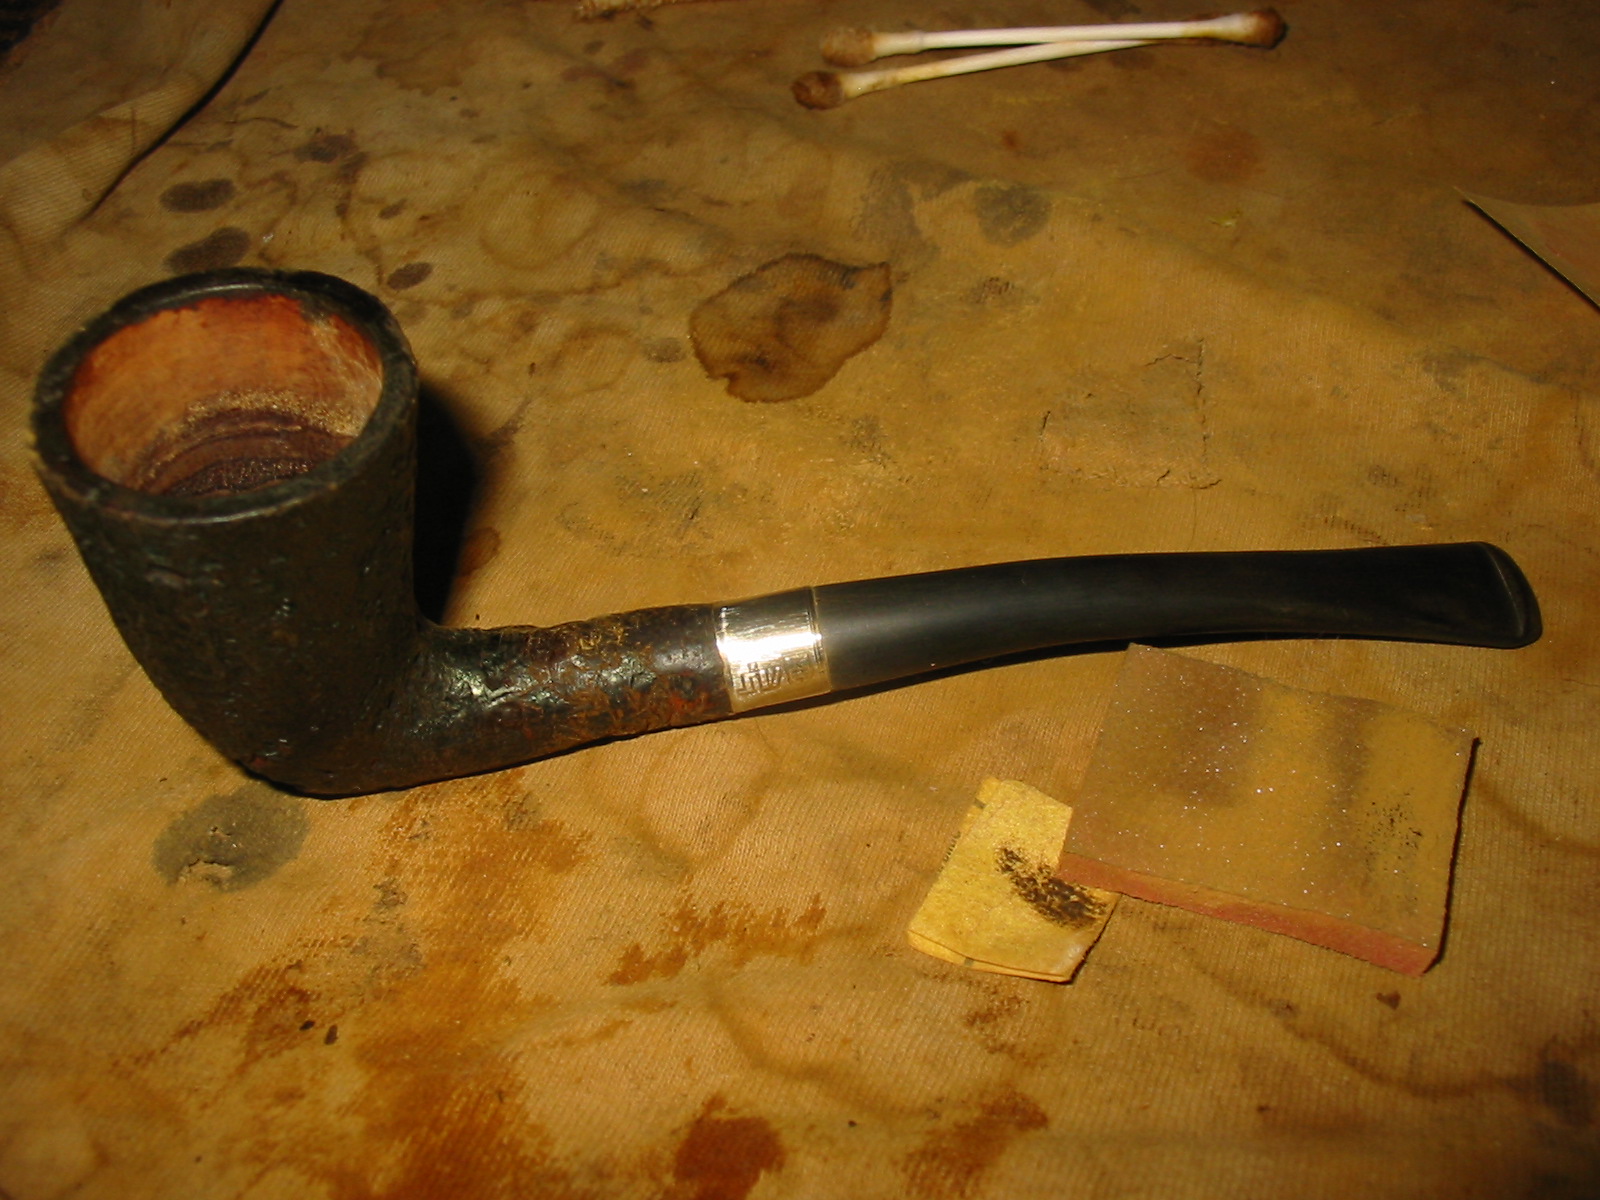
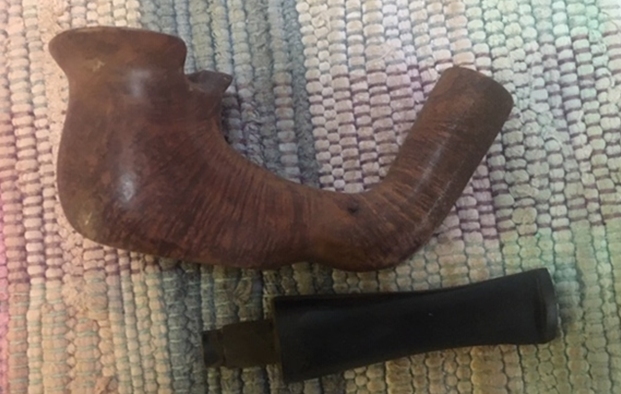 I took a photo of the shank end to show its condition. It was not flat and it was not round. The thickness of the shank around the mortise was also different on each side. The second photo below shows that angle of the shank end.
 I went through my brass bands to find one that would fit the end of the shank. I smoothed out rounded end on a topping board to smooth it. I also used my Dremel and sanding drum to bring the shank end back to round. I heated the band and pressed it onto the end of the shank. It looked good and it provided a straight flat edge on the shank end that would work well with the newly turned stem.
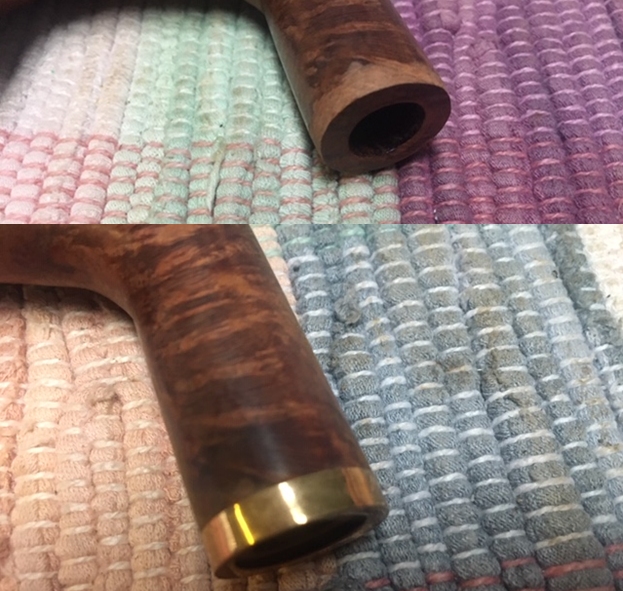
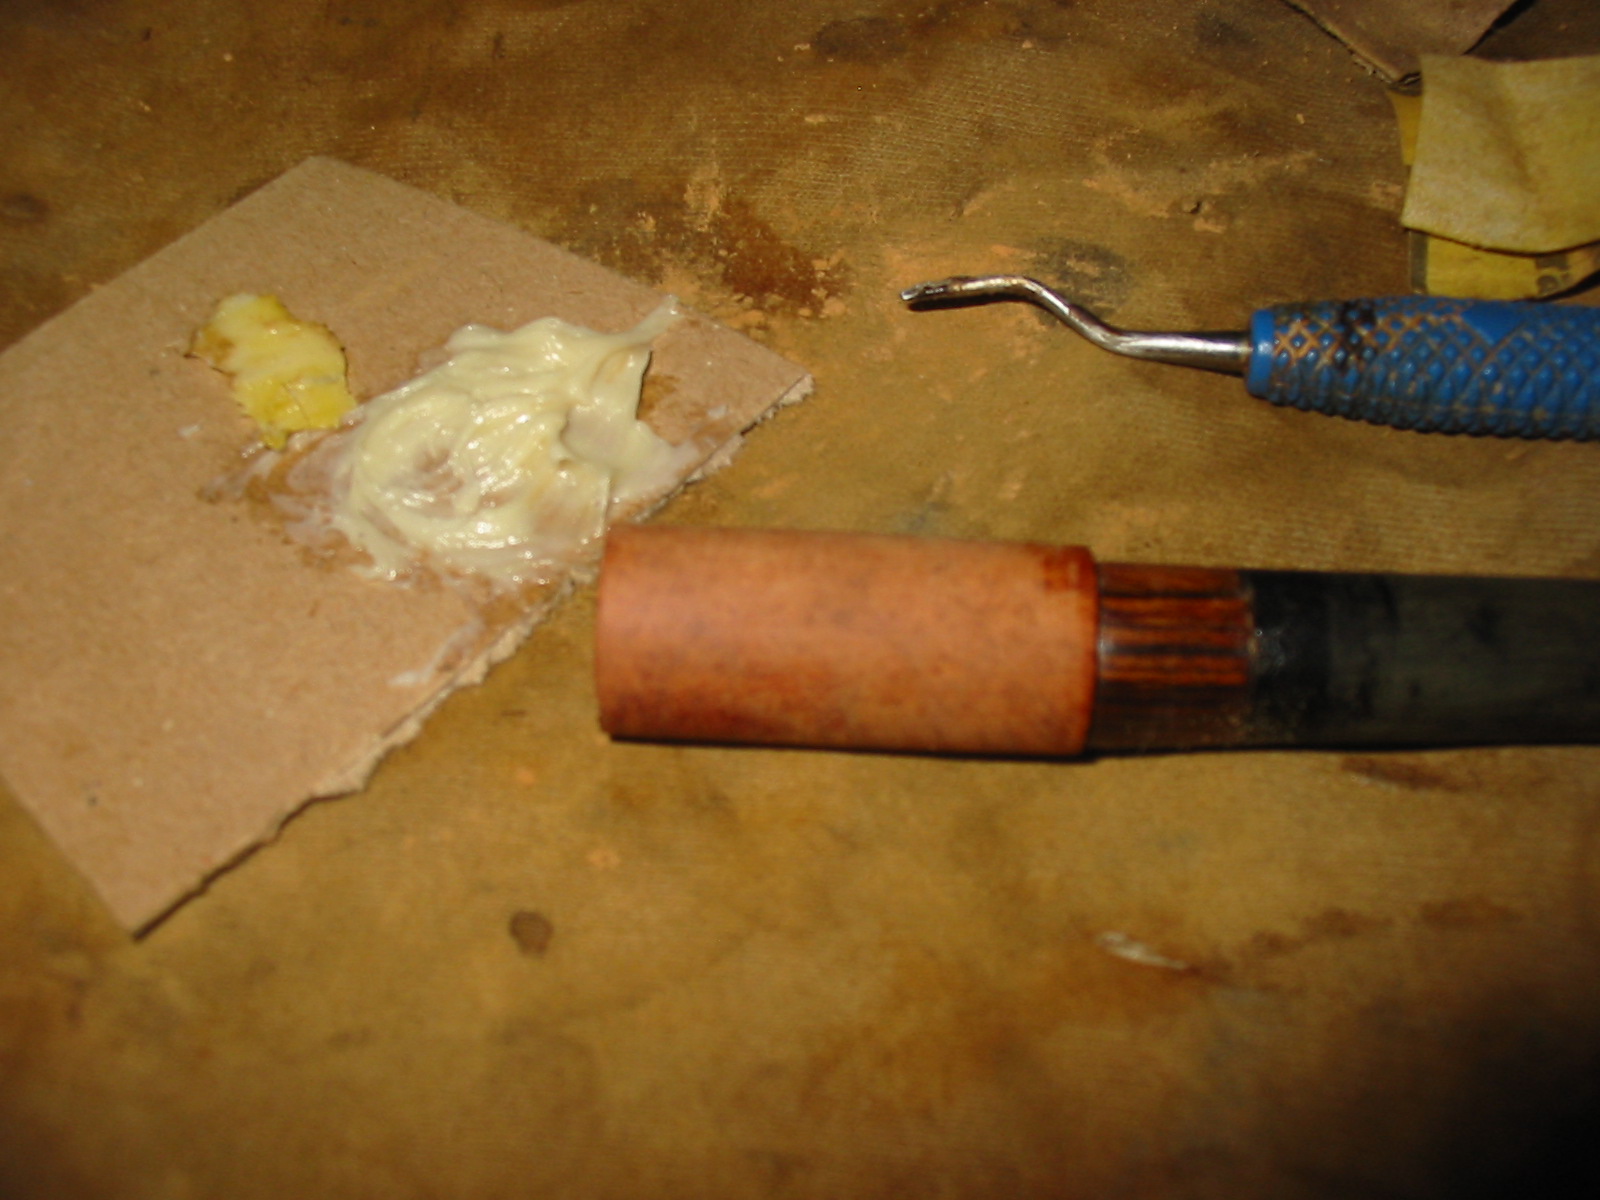
 I unscrewed the wood screw from the shank and found that it actually cut off the flow of air through the shank. When it was in place it extended into the airway. I used the Dremel and a grinding stone to take the screw down so that it would end at the wall of the airway. I used some all purpose glue to anchor the screw in the shank. It could be removed with a screw driver but it also was air tight.
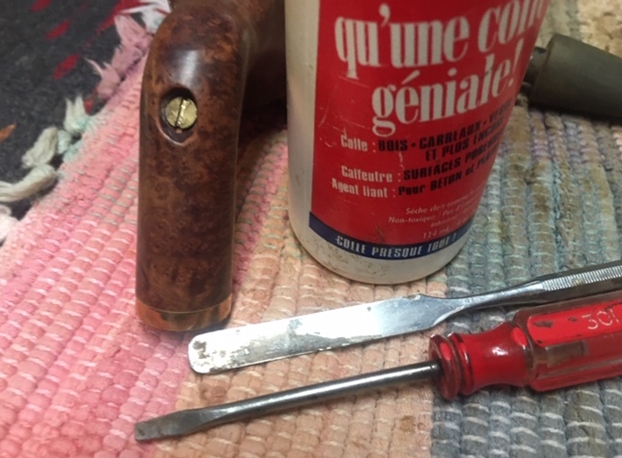 I filled in the flaw on the left side of the shank with briar dust and super glue. When the repair cured I sanded the repair smooth again with 220 grit sandpaper and started the polishing with 400 grit sandpaper.
 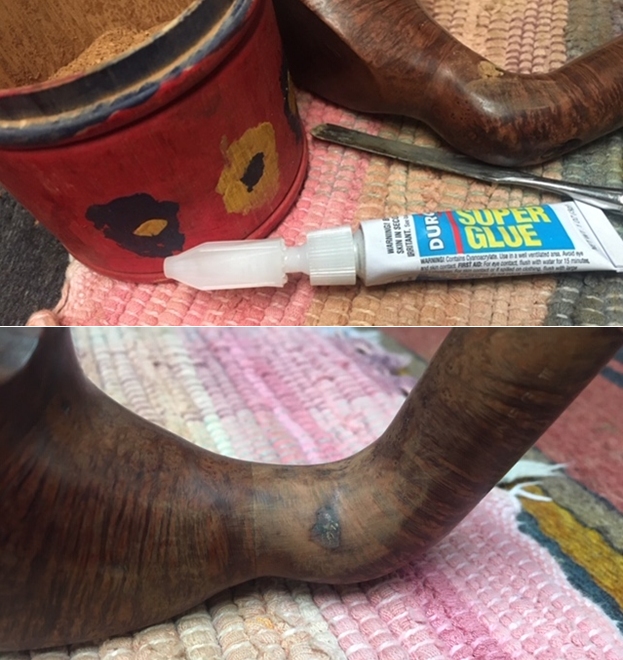 I used the PIMO tenon turning tool on my cordless drill to reduce the diameter of the tenon and face the stem surface for a good fit on the shank.
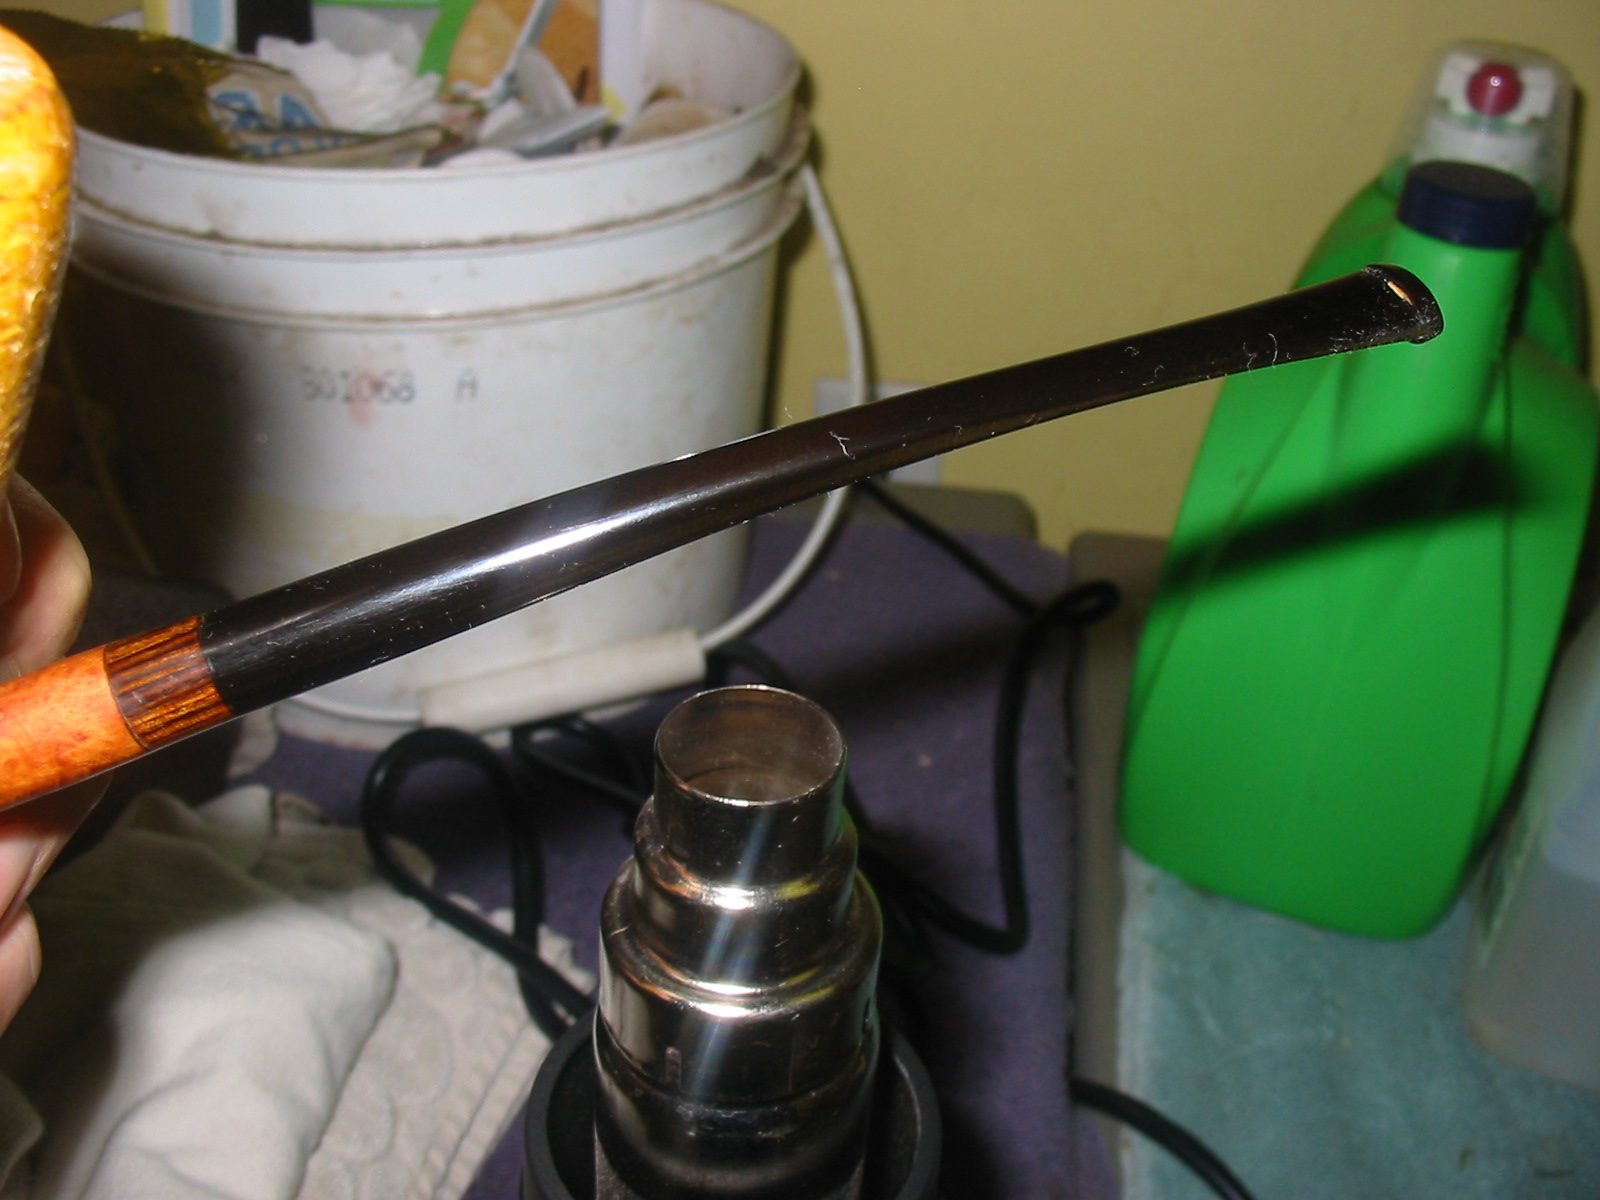
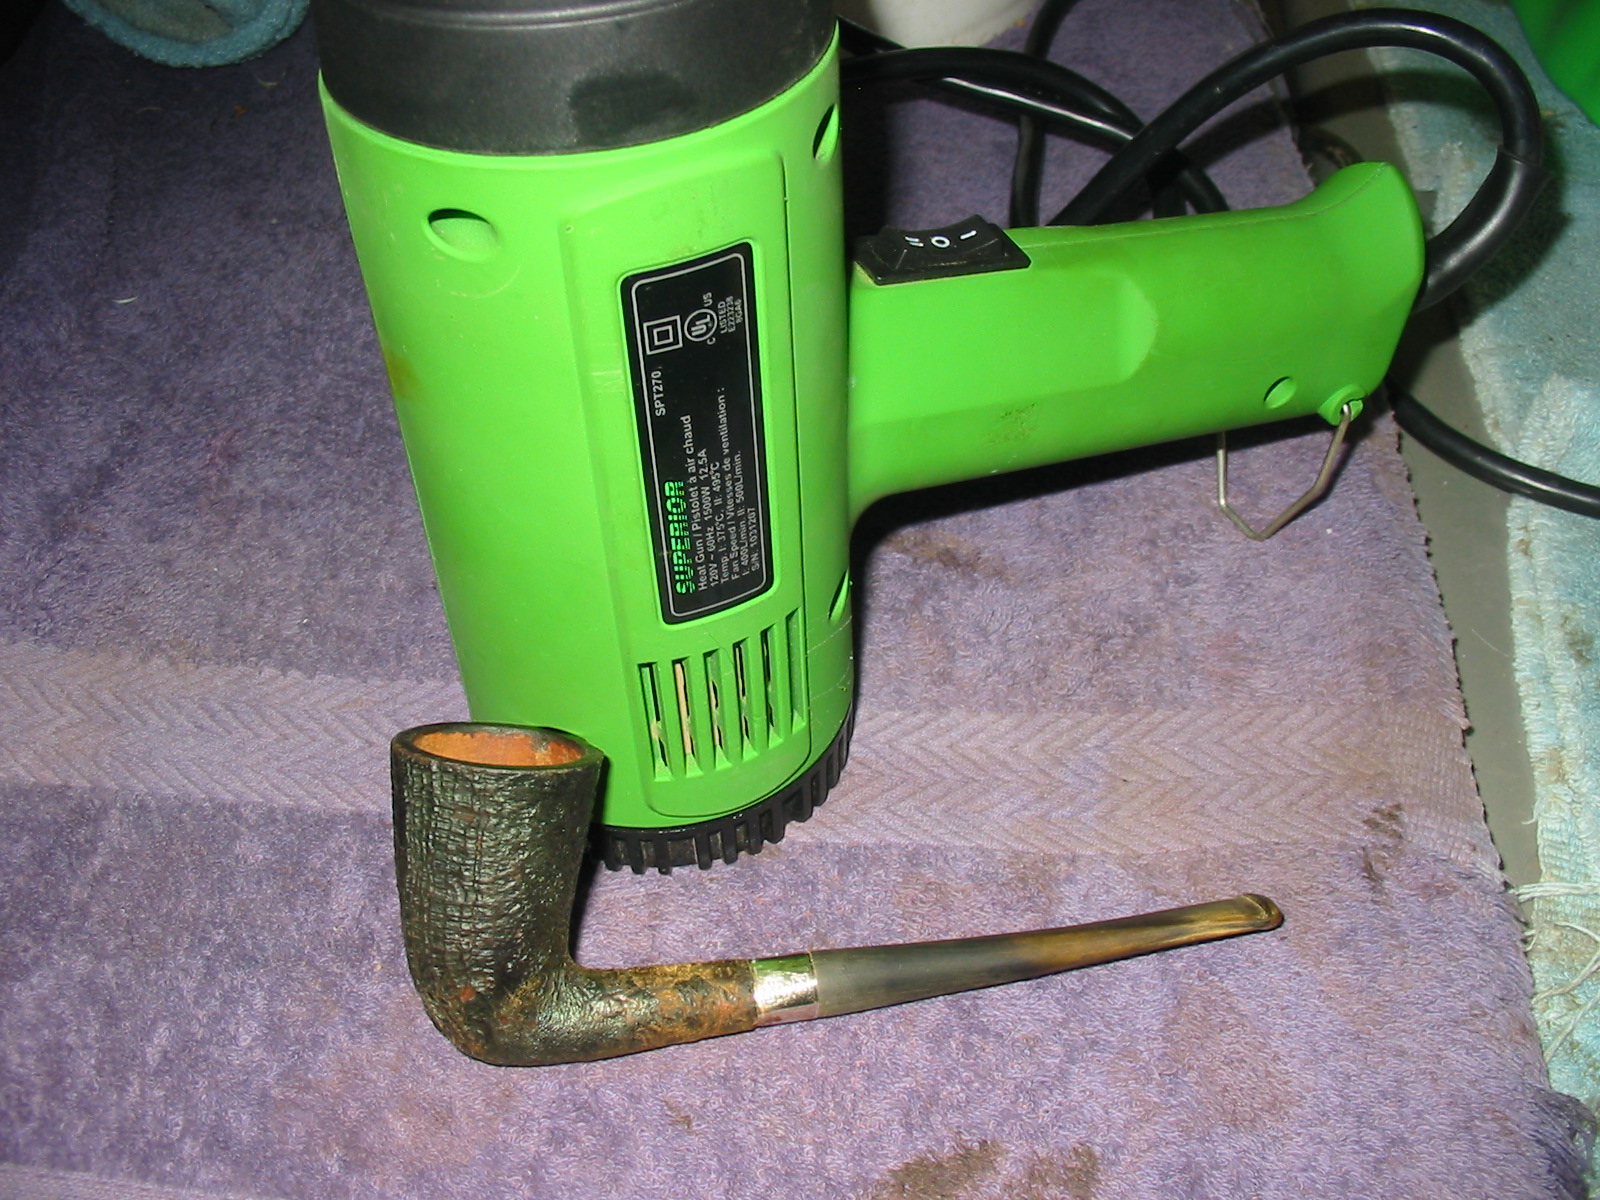
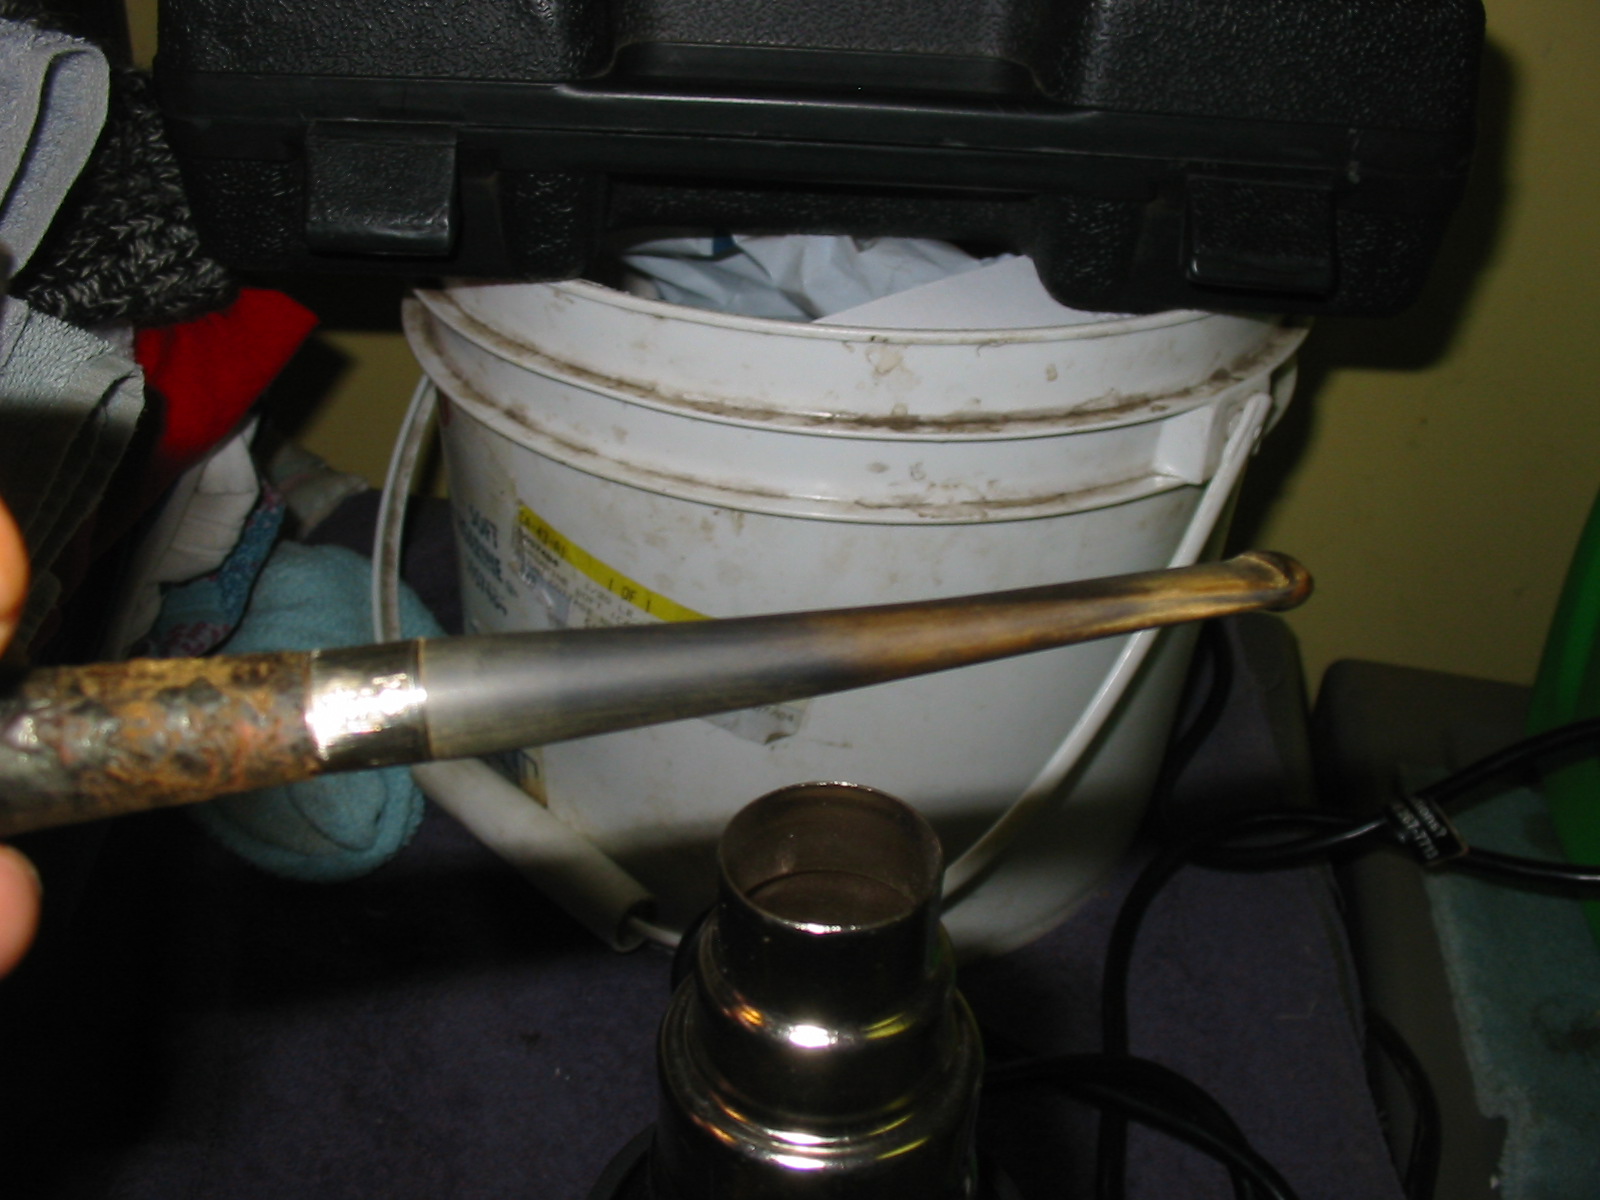
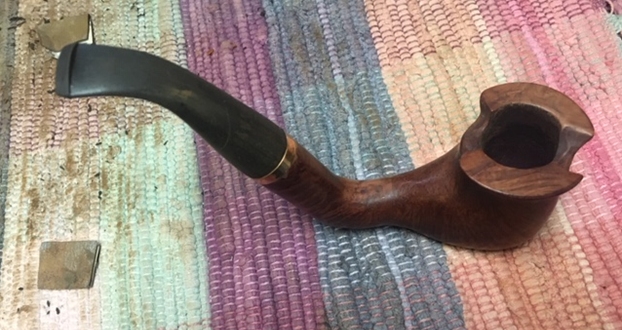
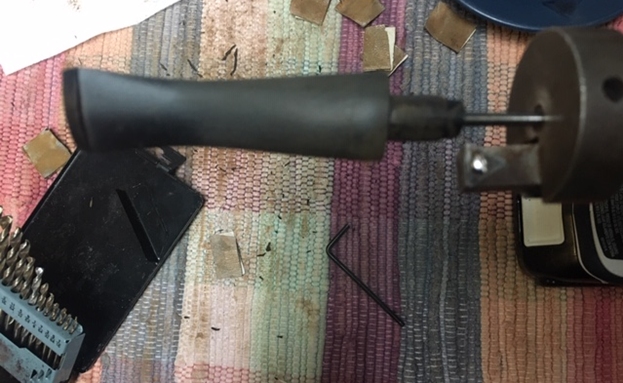 Once I had the fit right to the shank I used a heat gun to give the end a bend that matched the flow of the bowl. I may bend it a bit more but I like it at the moment.
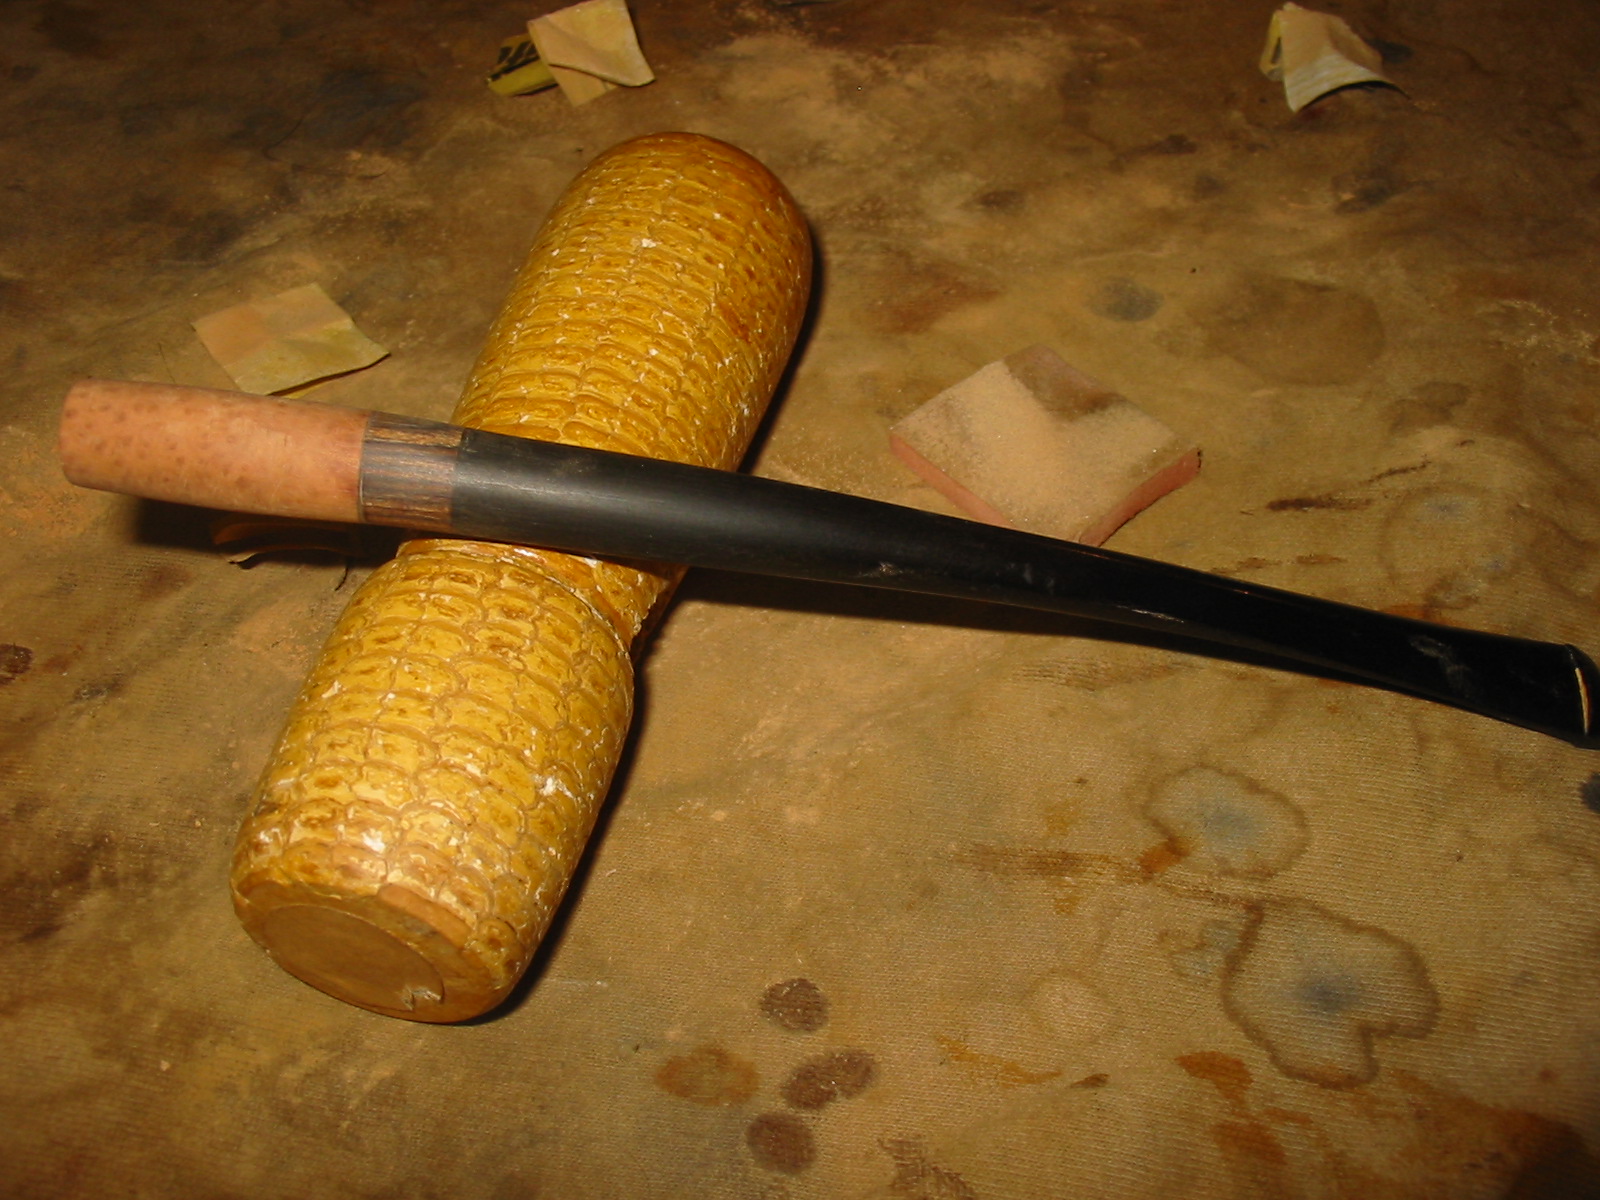
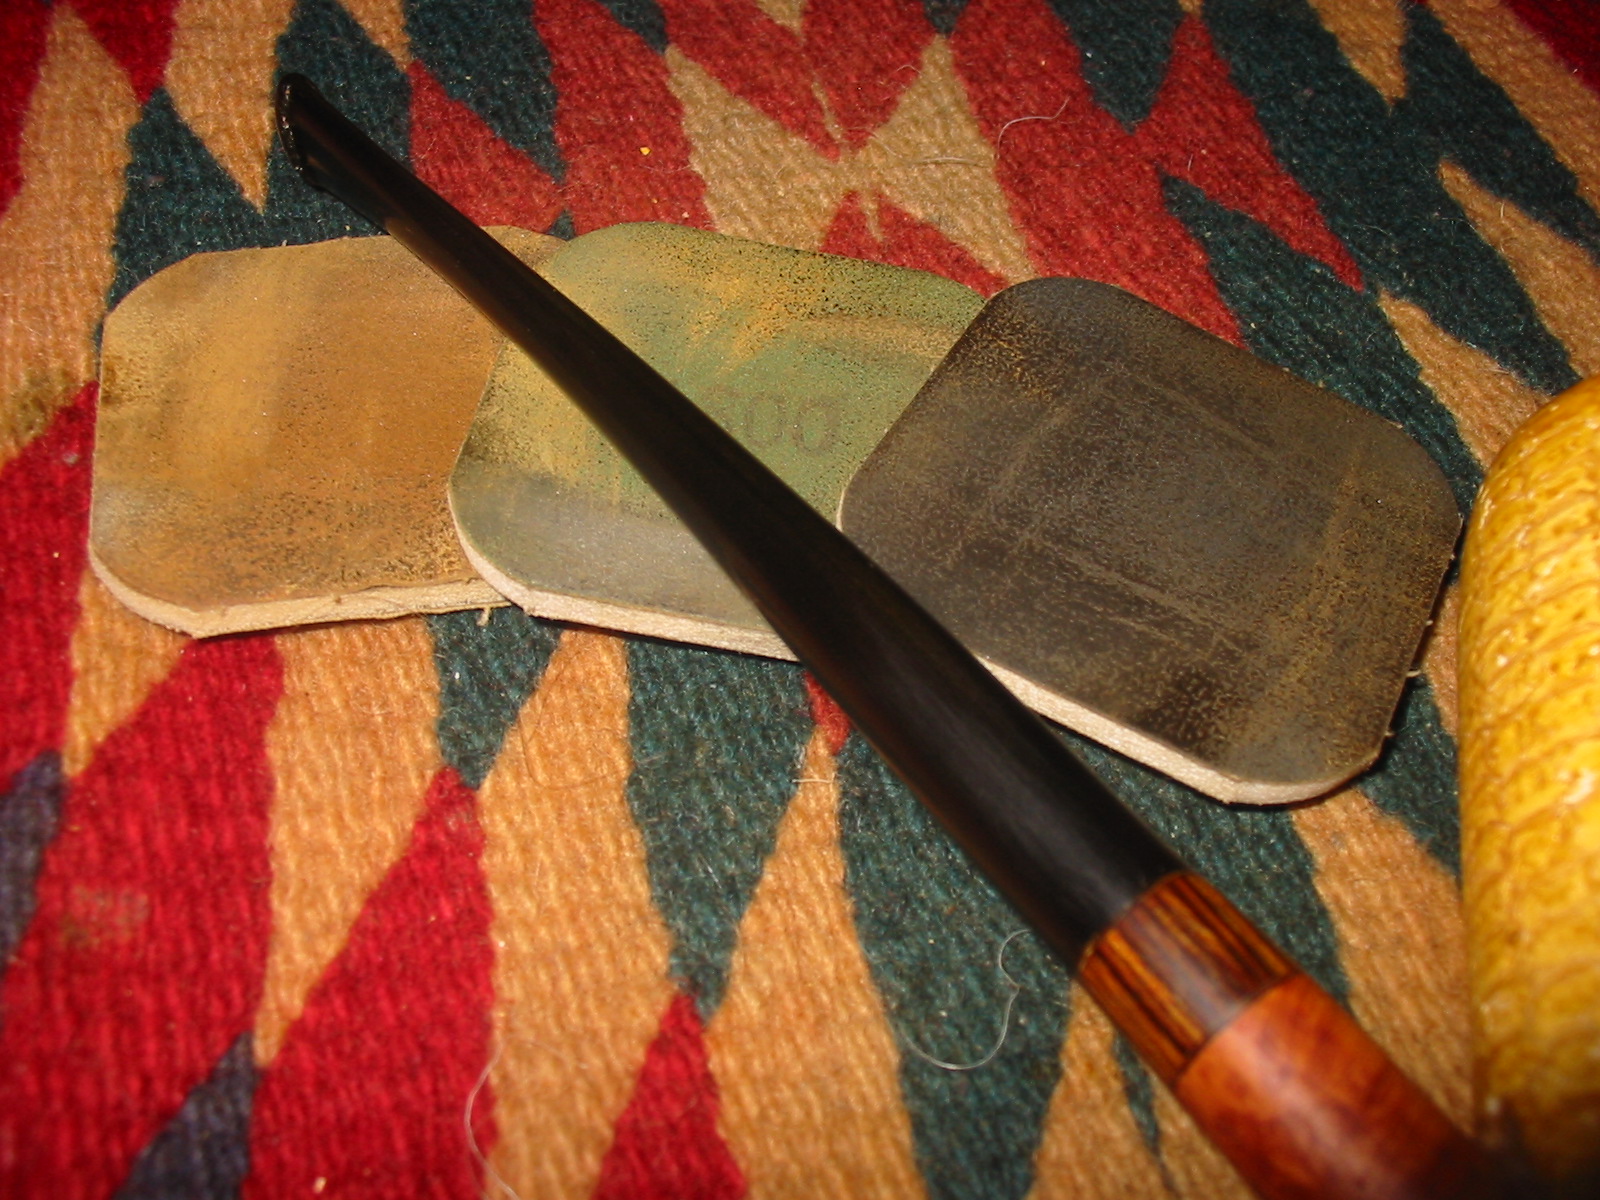
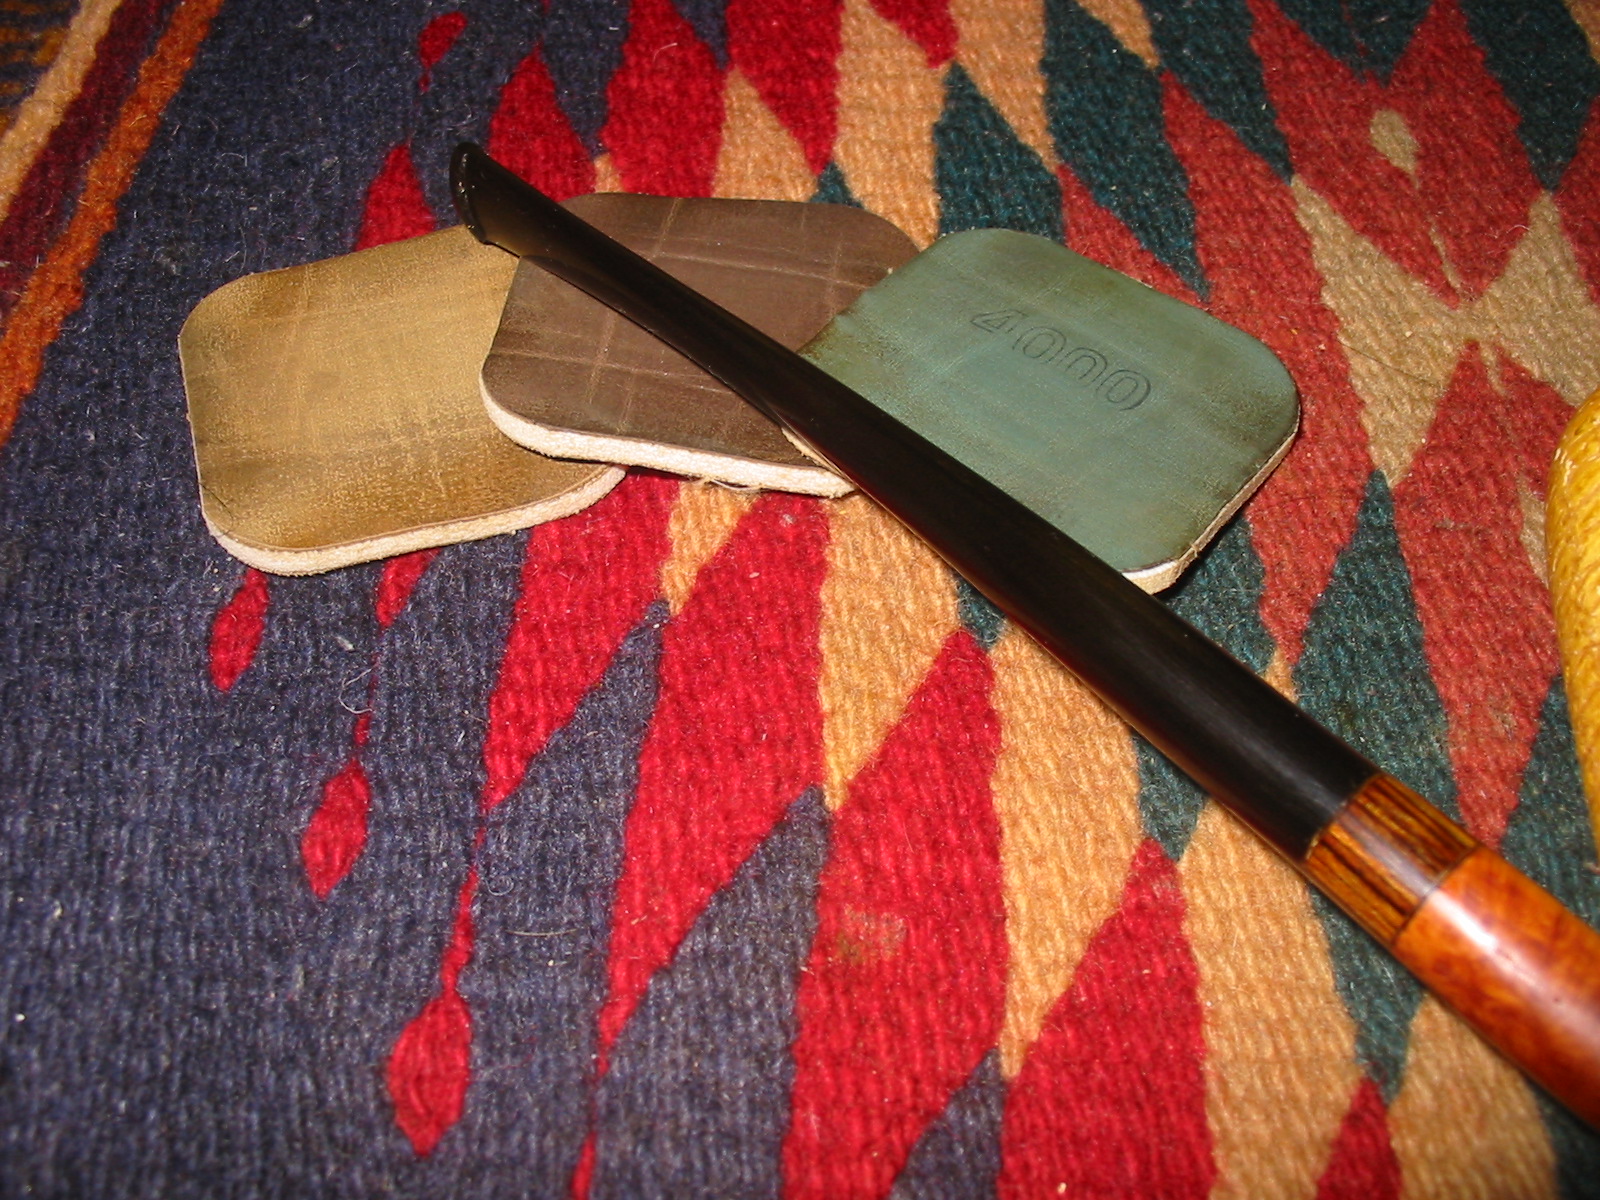
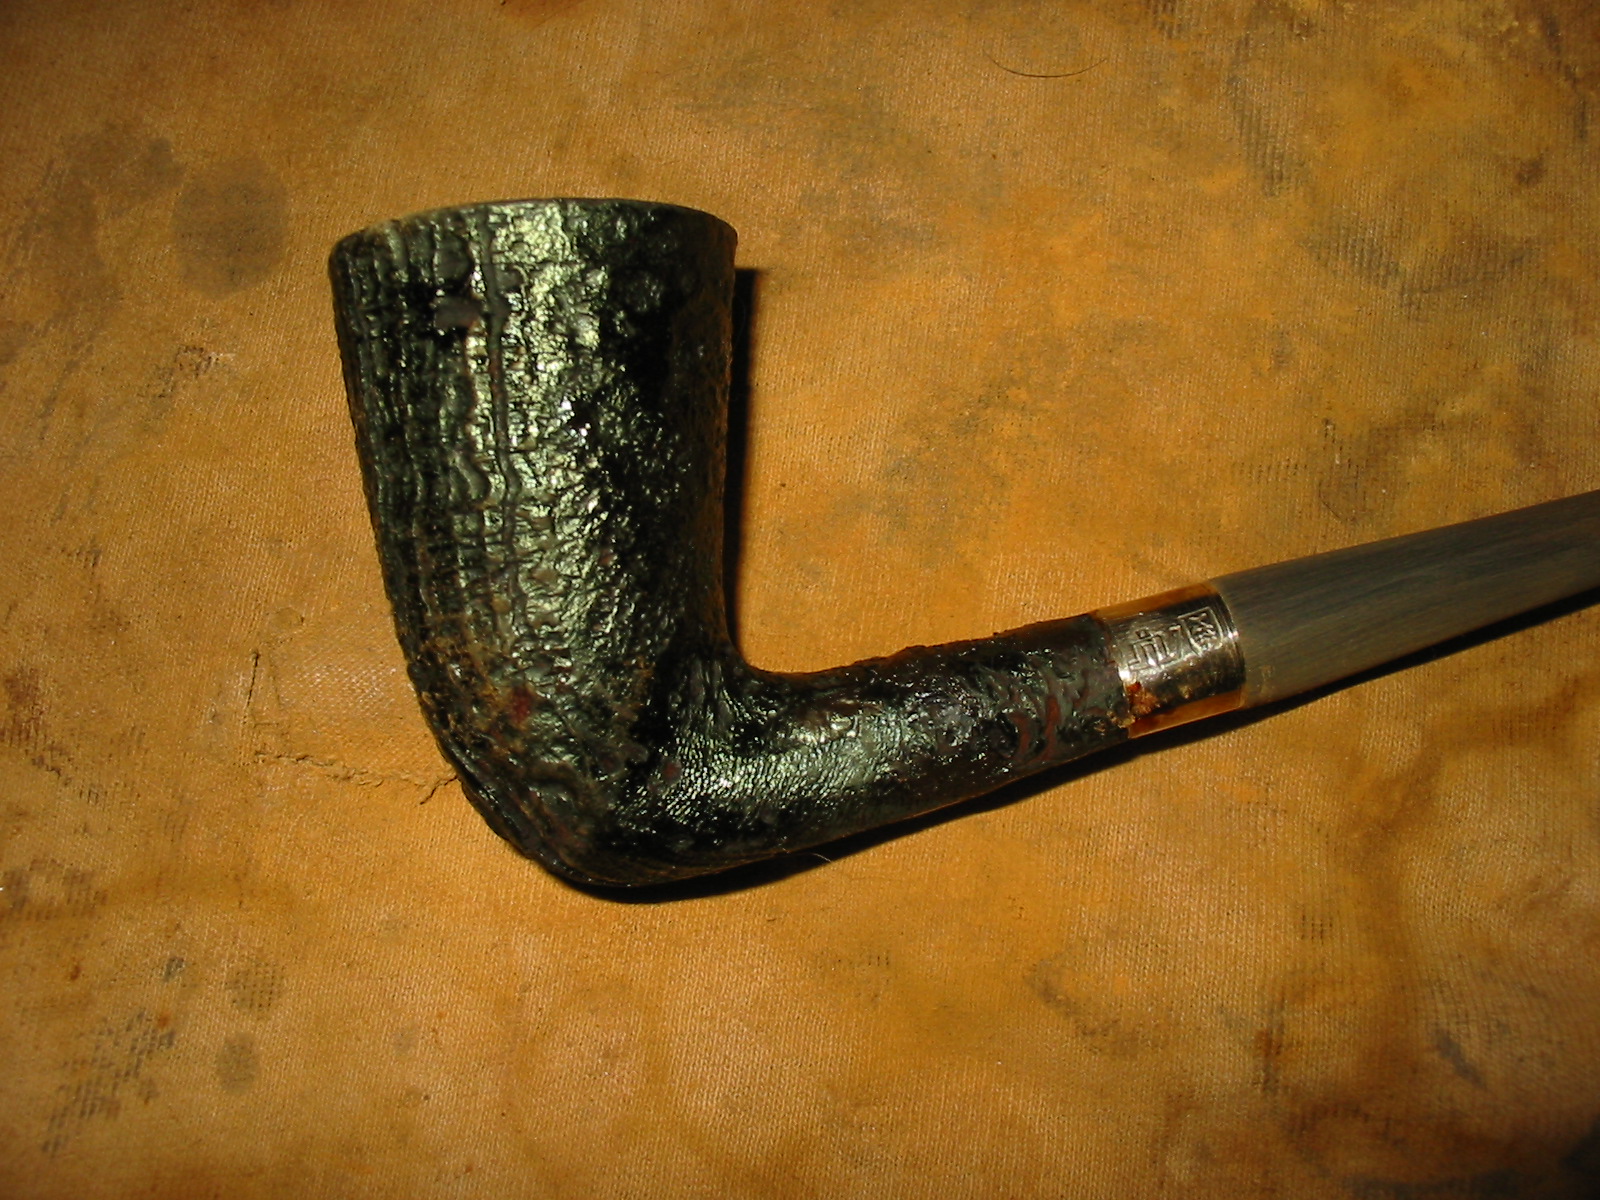
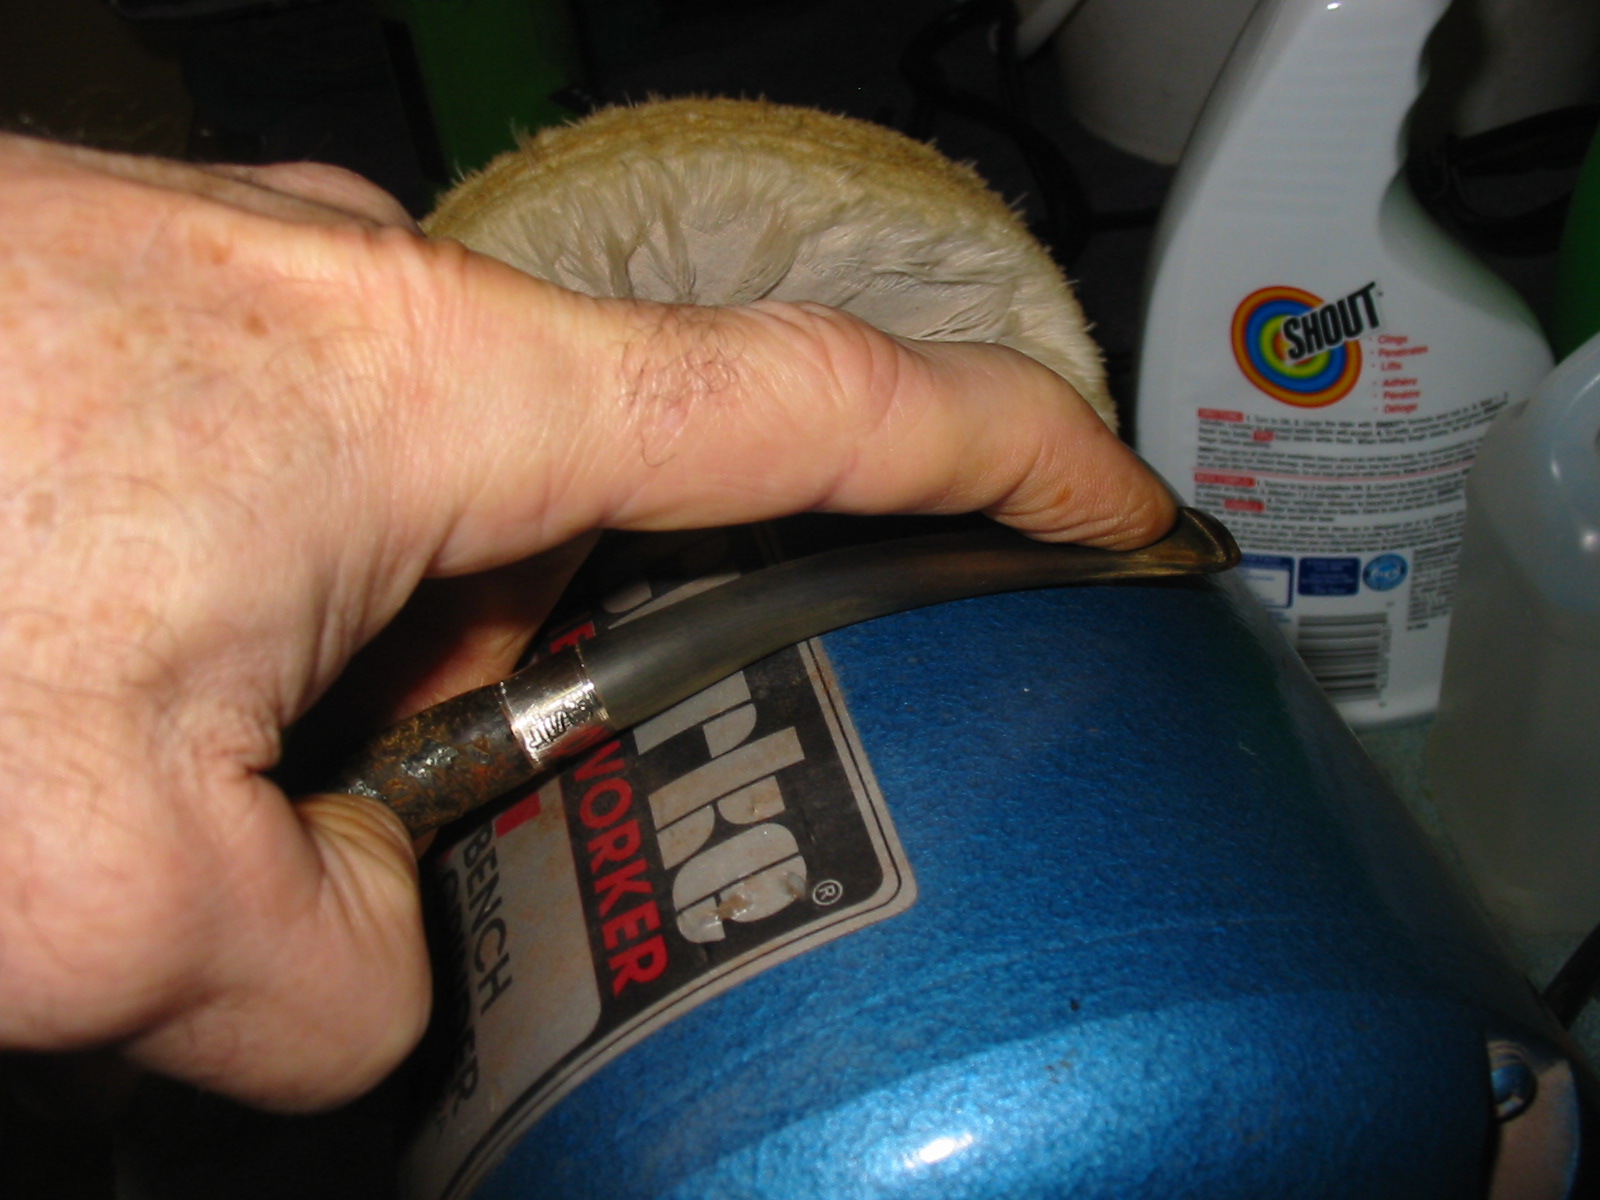
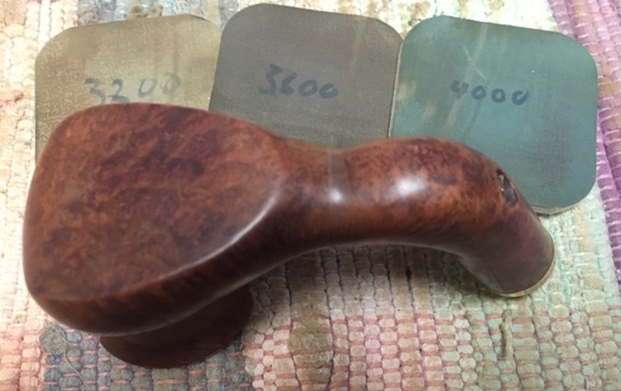
 I polished the briar with micromesh sanding pads – dry sanding with 1500-12000 grit pads and wiping the bowl down with a damp cloth after each pad. I worked over the repaired spot on the shank to blend it in more.
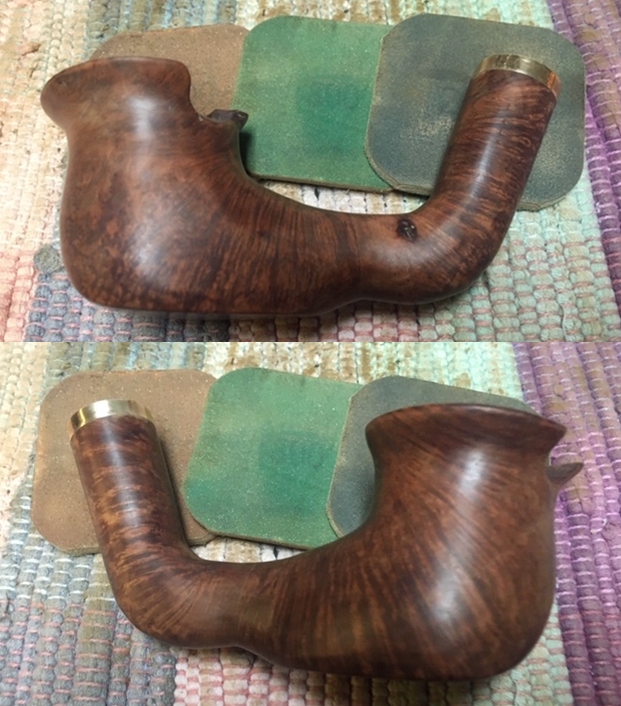
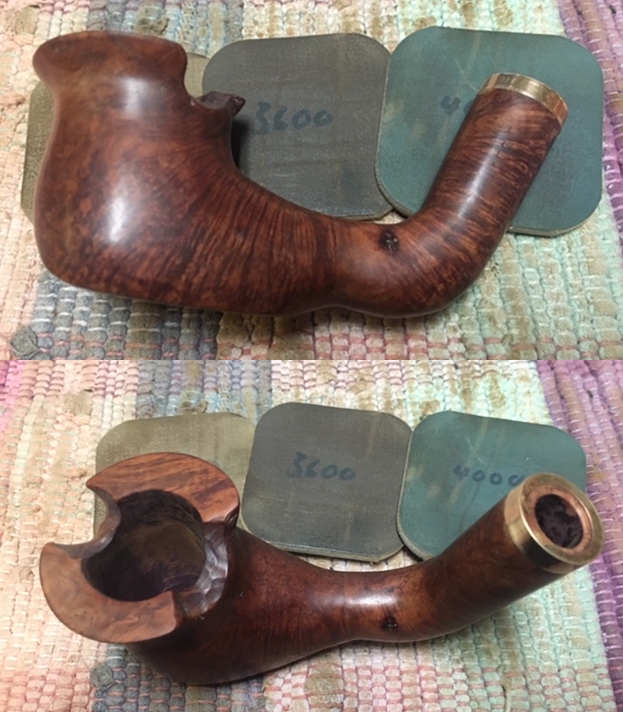
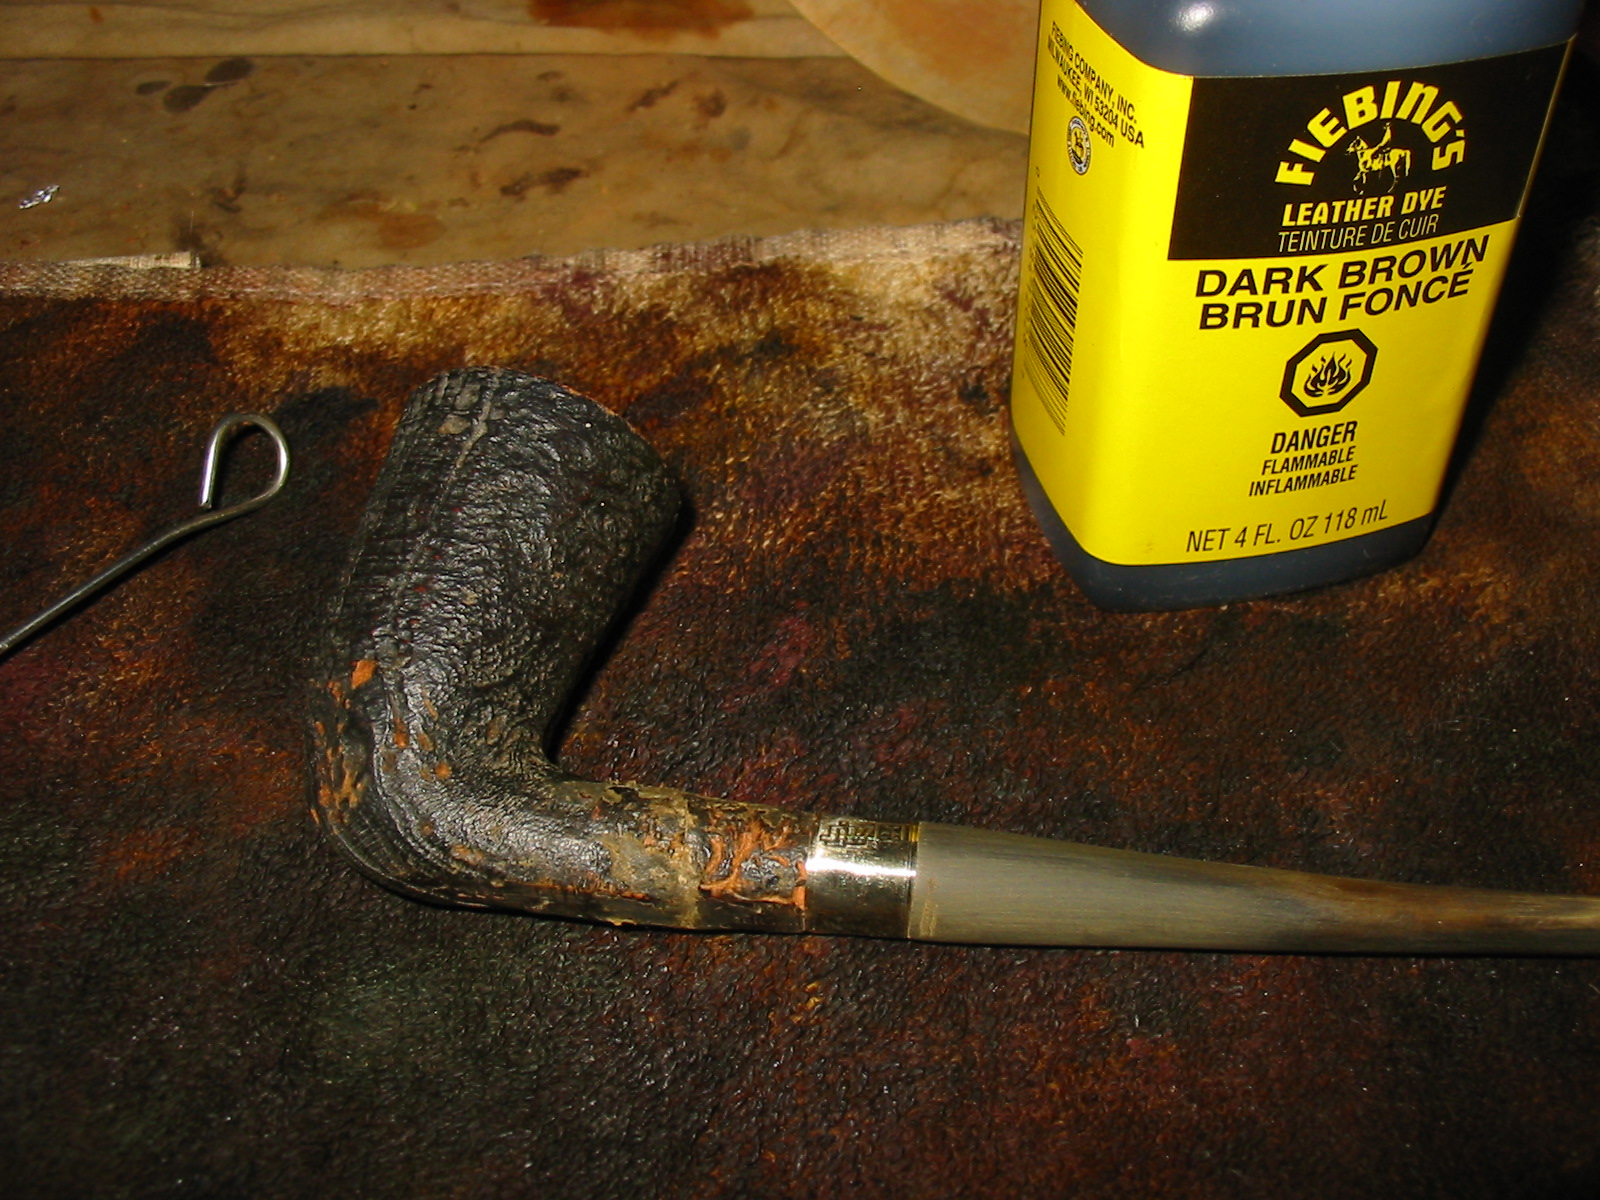
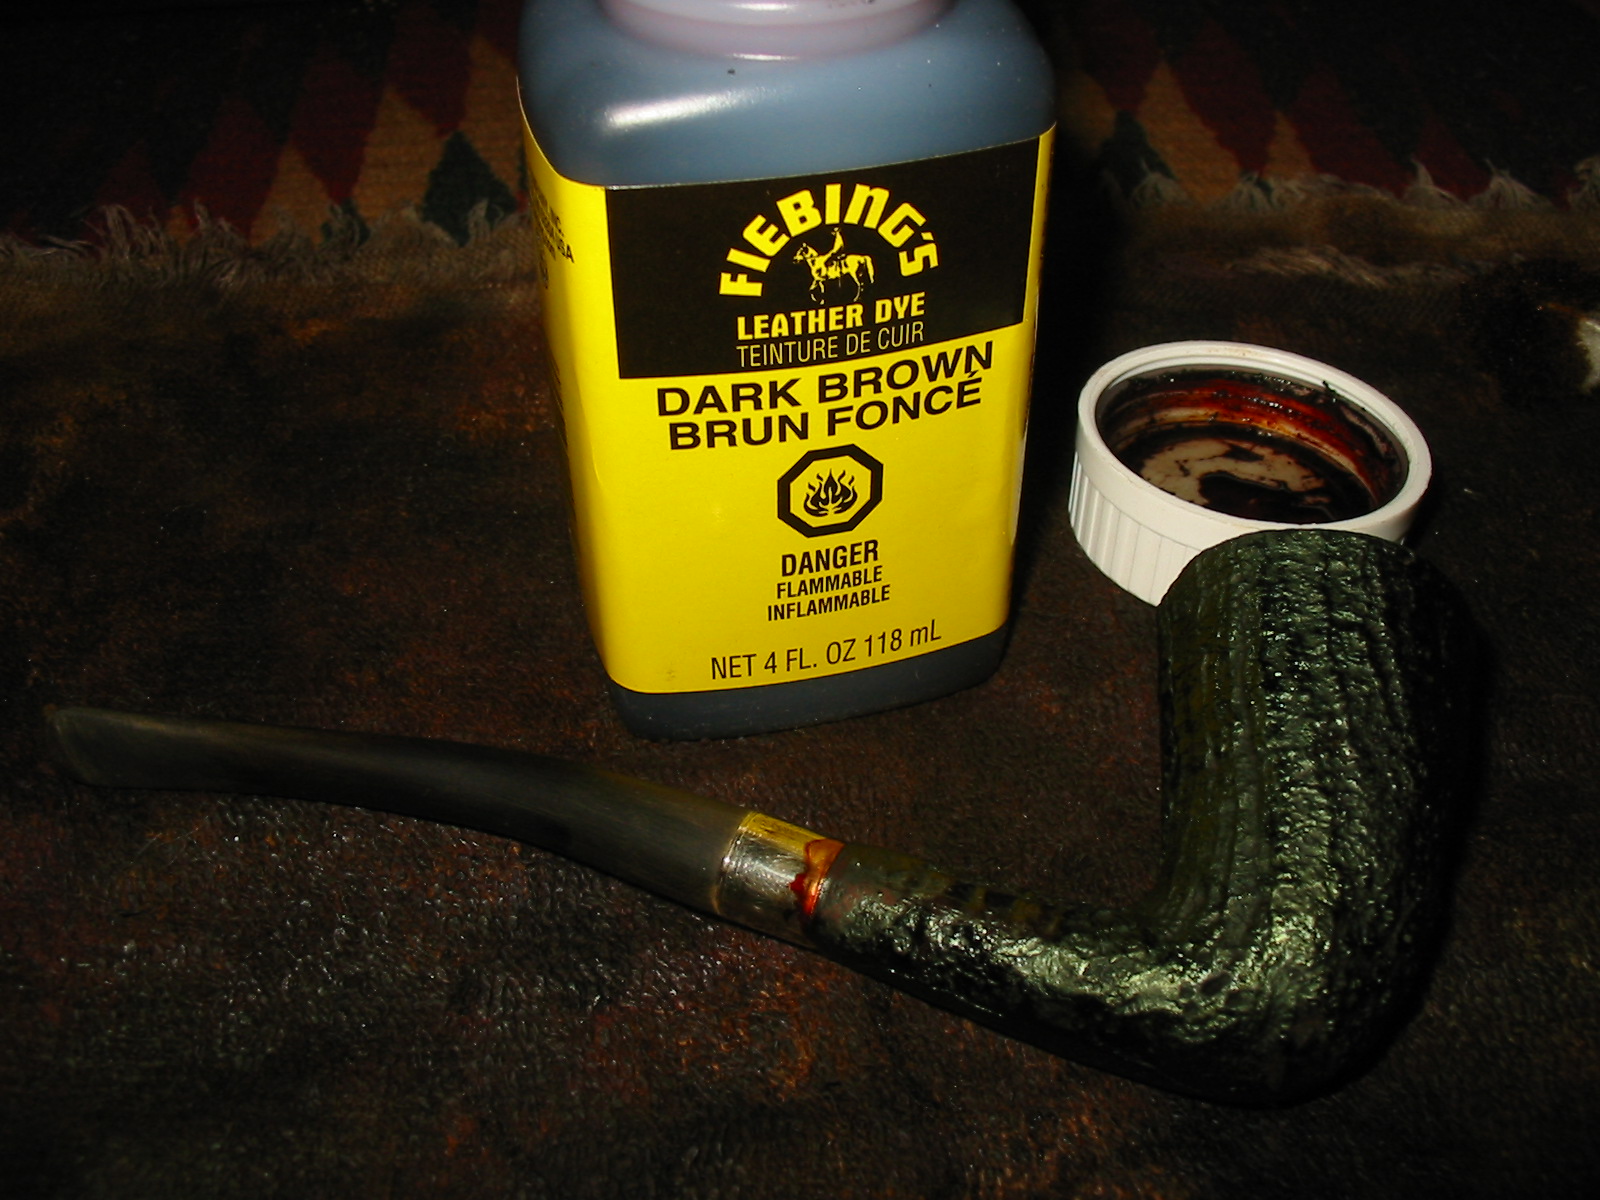
 I touched up the stain around the band edge and the repaired pit on the shank using a blend of Oak and Maple stain pens. The colour matched well and once it was buffed would be perfect.
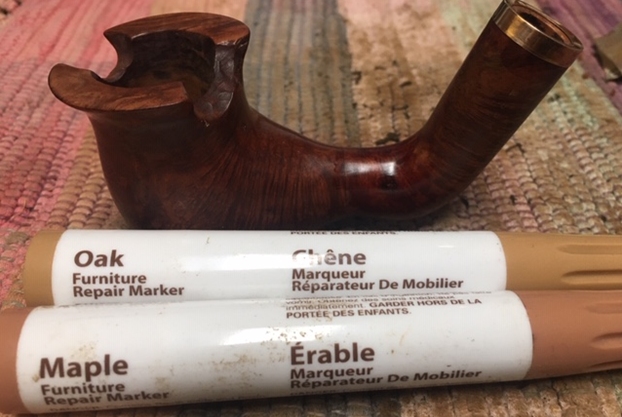 I rubbed the briar down with Before & After Restoration Balm. I worked it into the briar with my fingertips. The product works to clean, enliven and preserve the briar. I let it sit for 10 minutes while I worked on the stem. After the time passed I buffed it with a cotton cloth to deepen the shine. The briar really comes alive with the balm.
 I set the bowl aside and turned my attention to the newly fit stem. I did some fine tuning of the diameter of the stem at the shank/stem junction with 220 grit sandpaper and began the polishing with 400 grit wet dry sandpaper.
 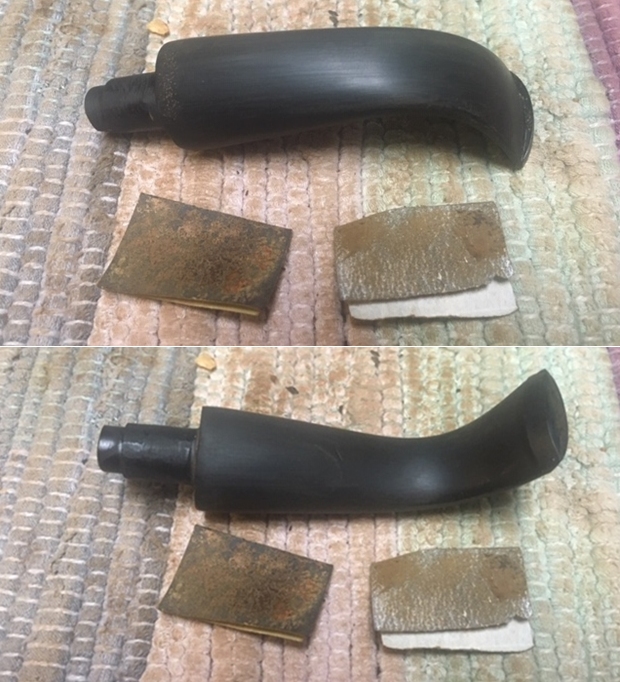 I rubbed the stem down with Denicare Mouthpiece Polish – a red, gritty Tripoli like substance that is a paste. I rubbed it into the surface of the stem and polished it off with a cotton pad. I have found that is a great intermediary step before polishing with micromesh pads. I am not sure what I will use once the final tin I have is gone!
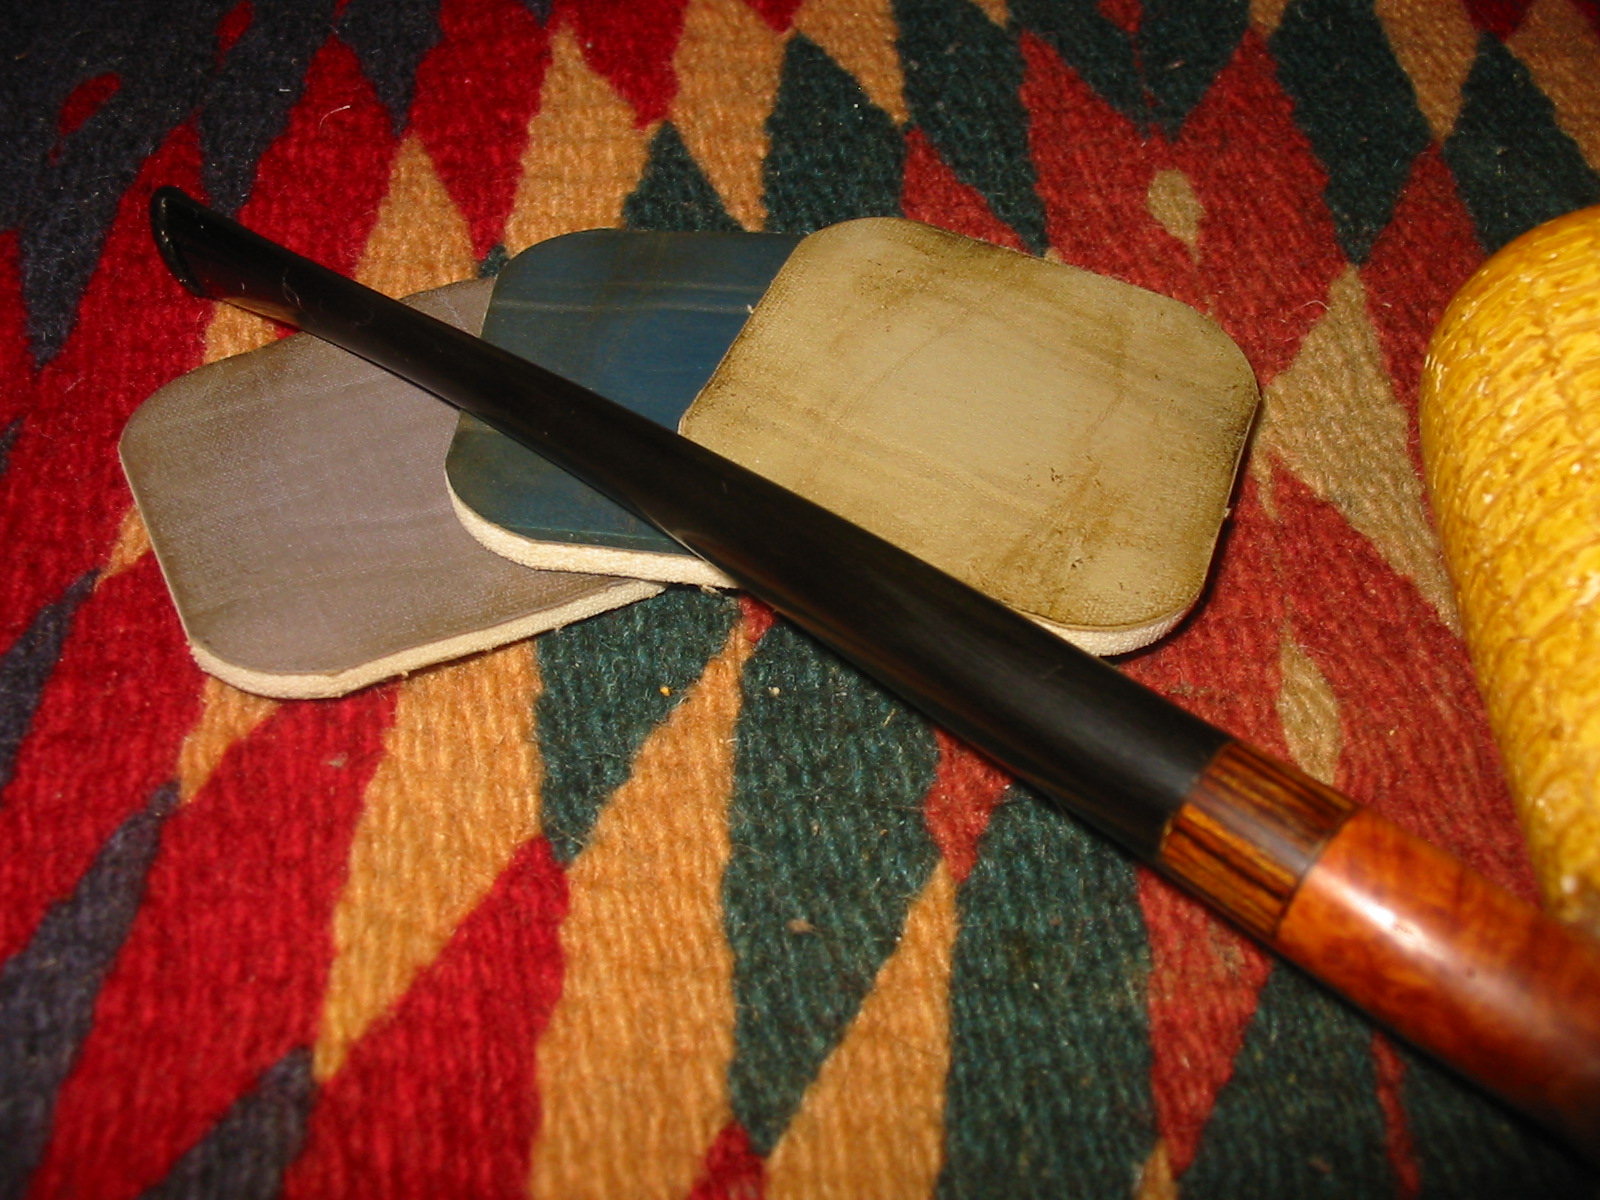
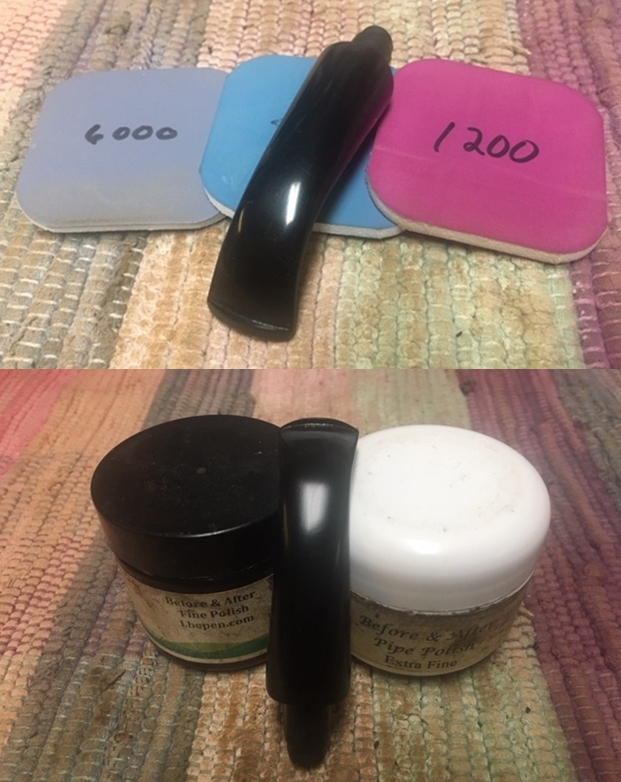
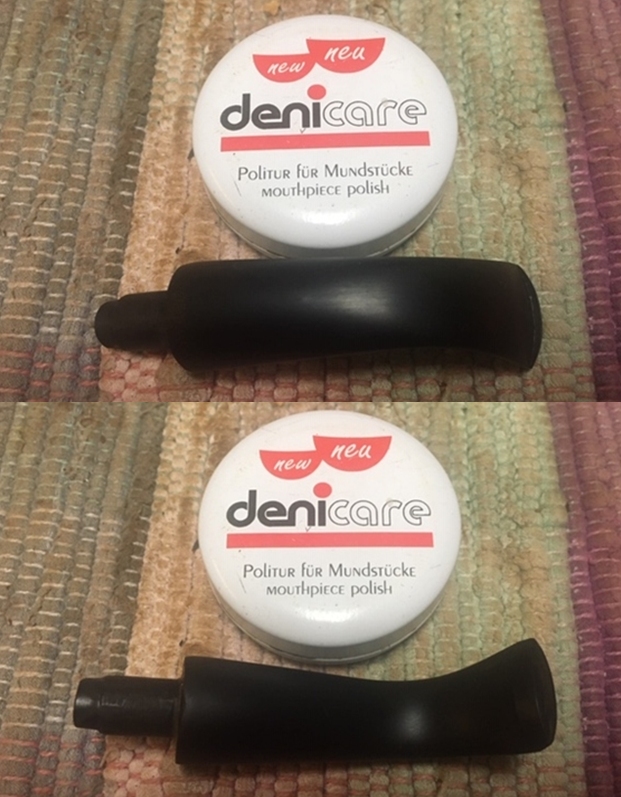 I polished the vulcanite with micromesh sanding pads – 1500-12000 grit pads. I wiped it down with Obsidian Oil after each sanding pad. I used Before & After Pipe Polish – both Fine and Extra Fine to further polish the stem.
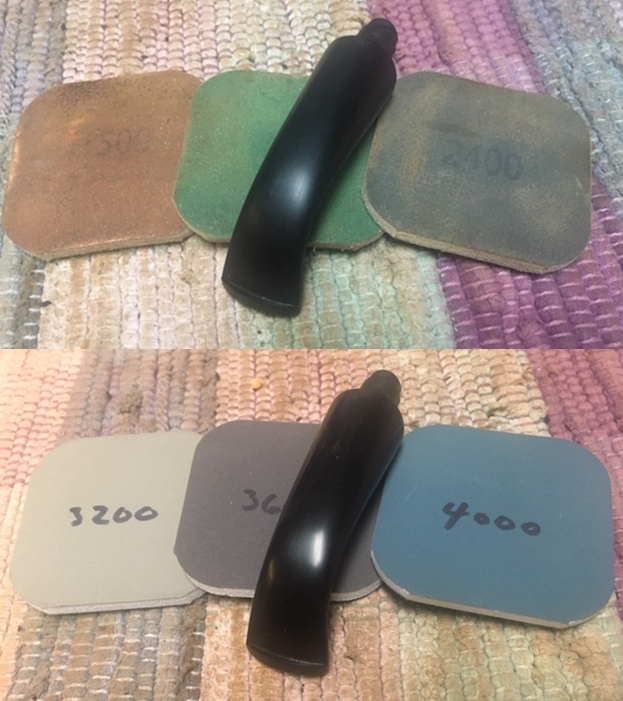
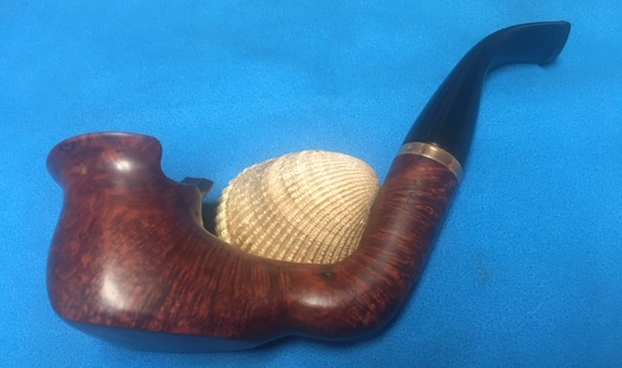
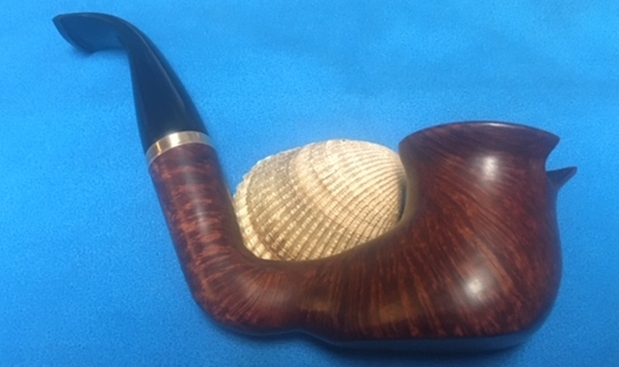
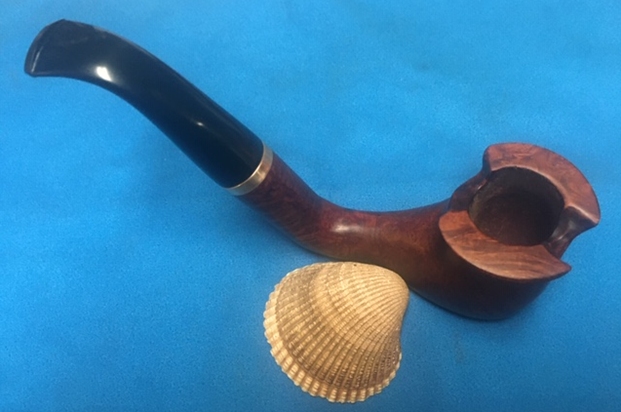
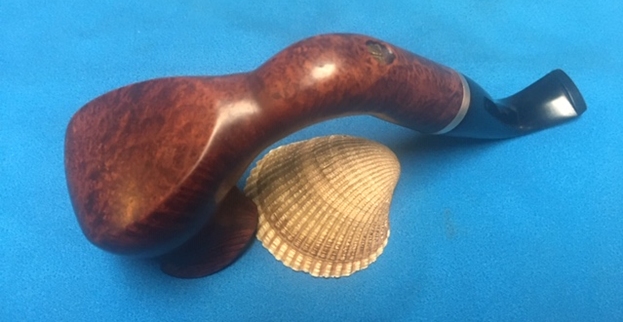
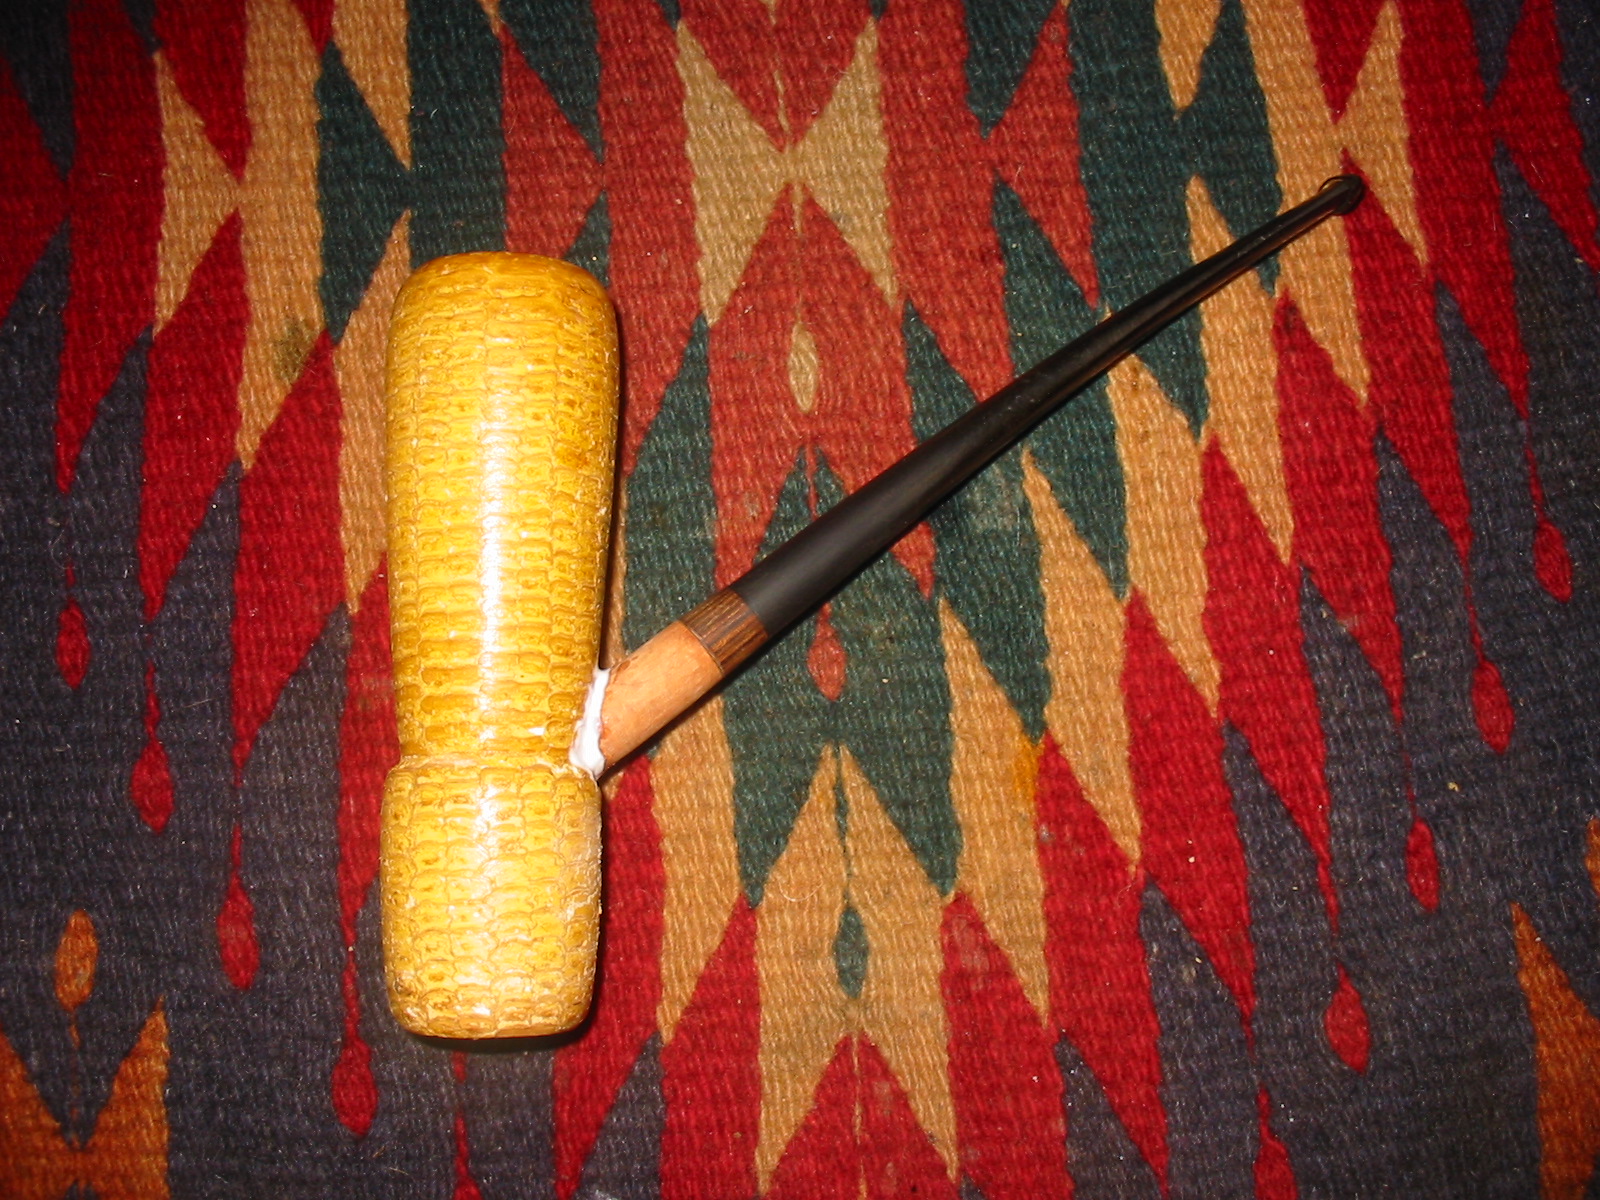
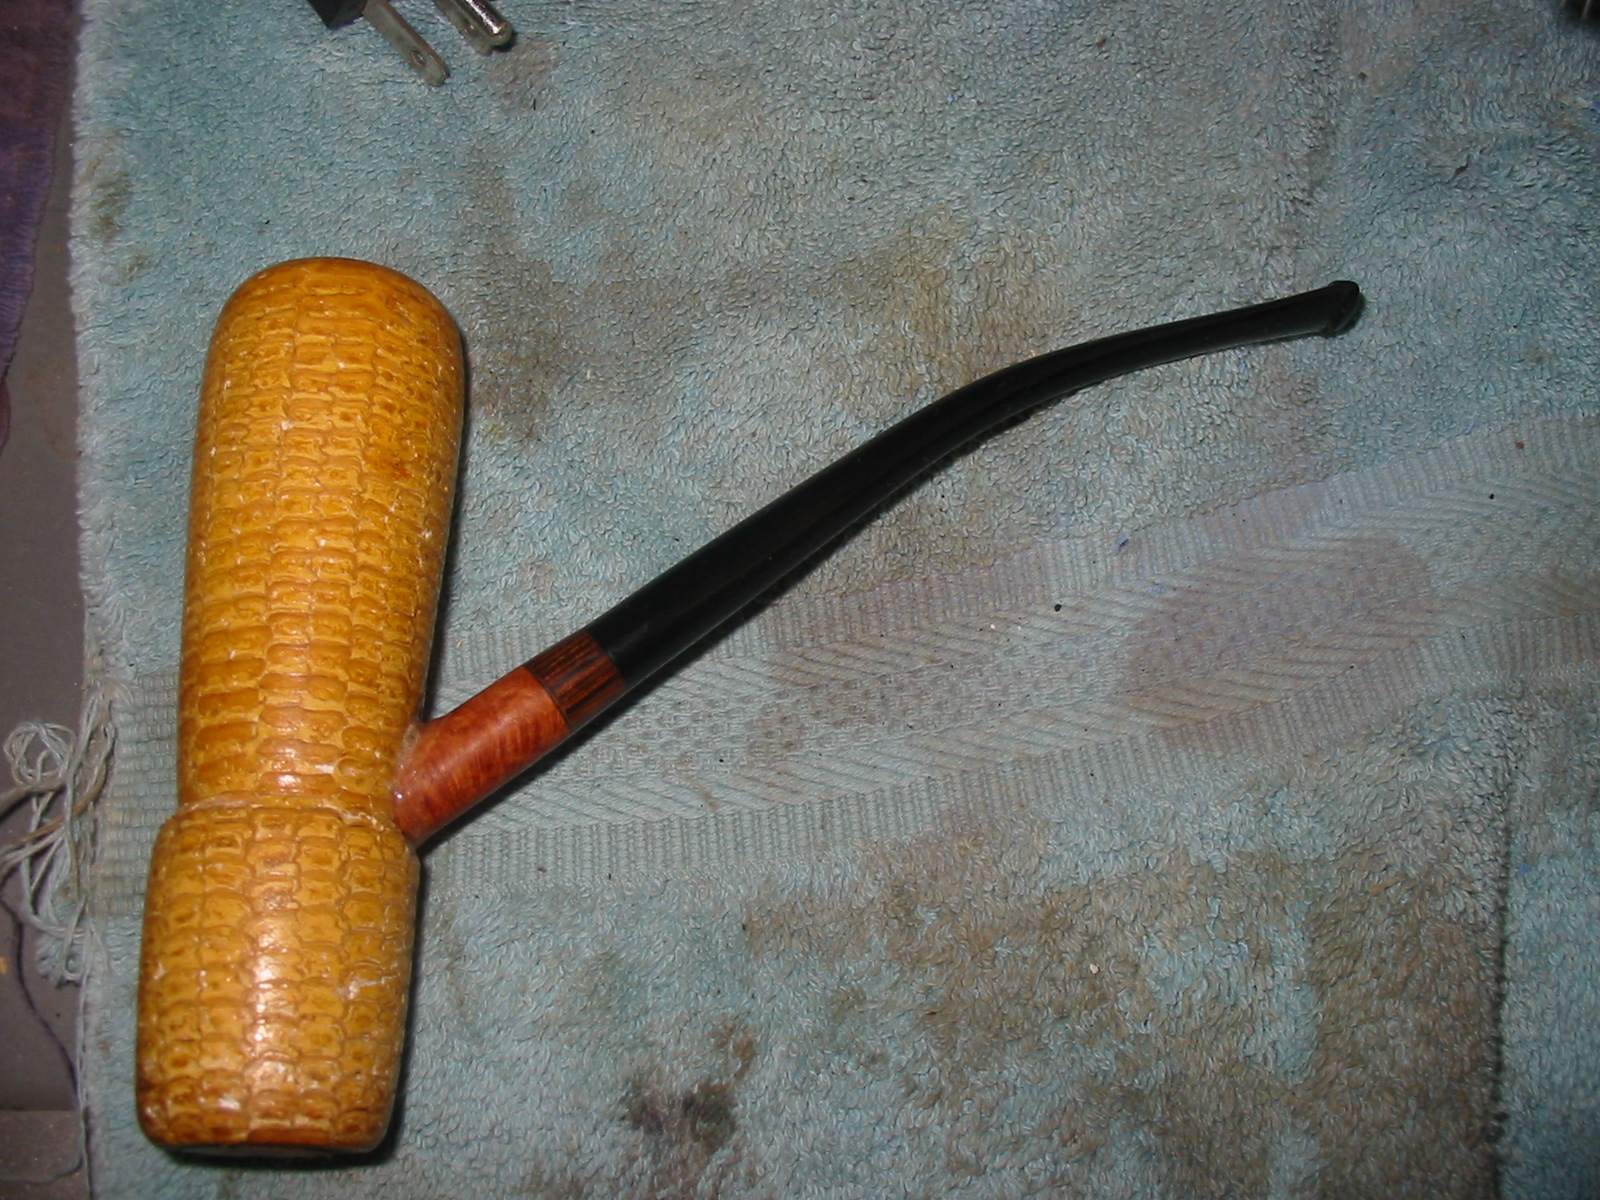
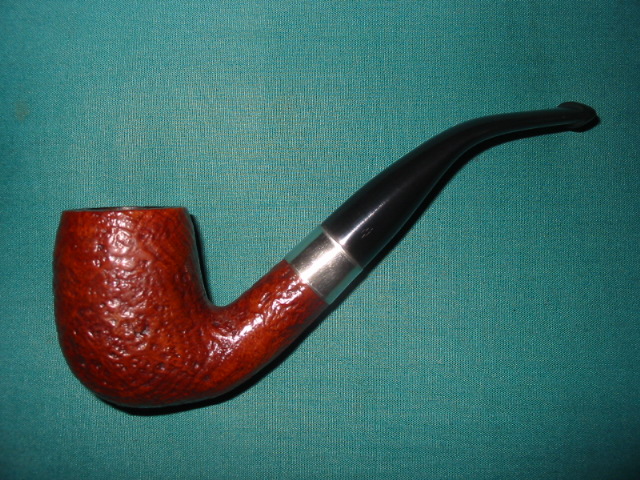
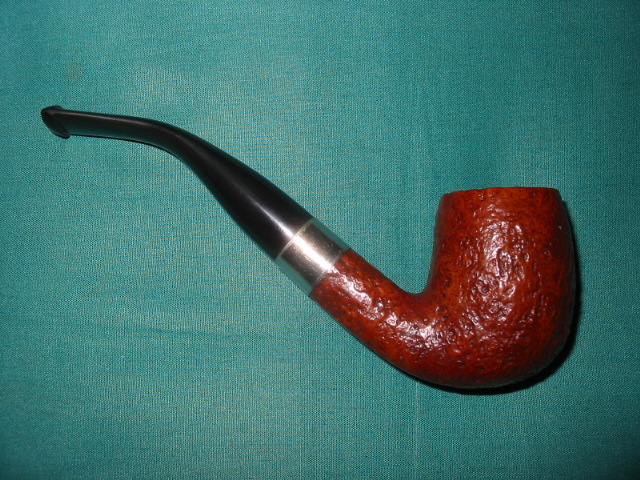
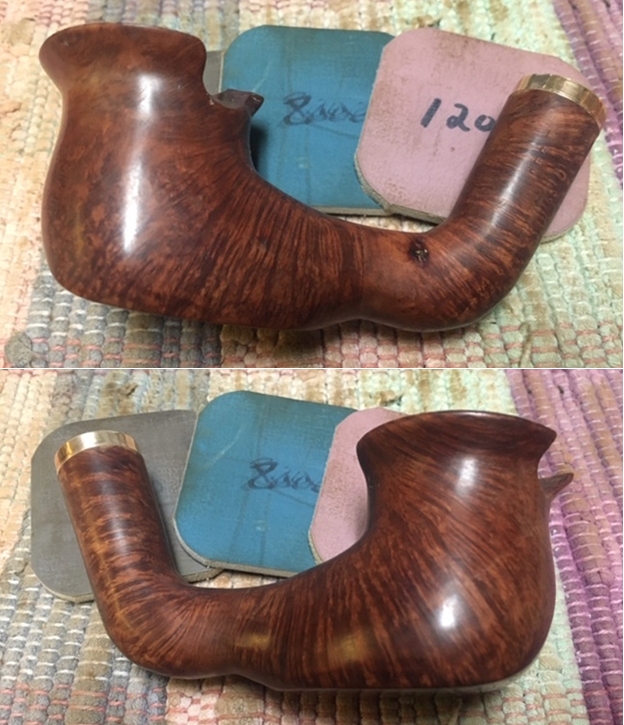
 This oddly shaped handmade briar pipe is strange enough to actually be quite interesting. From the shape of the extended shank to the flair of the bowl sides to the different looking top with the smooth top on the sides and the “dips” in the front and rear that are rusticated to look a bit like plateau. The mix of brown stains that the maker used really highlights some great grain around the bowl sides and the heel. The finish on the pipe is in excellent condition and the contrasting stains work well to highlight the grain on the pipe. The band and the newly shaped vulcanite stem seem to work well with the pipe. The pipe is a beauty and really eye-catching in its own way. I put the stem back on the bowl and buffed the pipe with Blue Diamond on the buffing wheel. I gave the bowl and the stem multiple coats of carnauba wax on the buffing wheel and followed that by buffing it with a clean buffing pad. I hand buffed the pipe with a microfiber cloth to deepen the shine. The finished Freehand is quite nice and feels great in the hand and is a sitter as well. Give the finished pipe a look in the photos below. This is not a pipe for everyone but someone is bound to love it. The dimensions of the pipe are Length: 6 inches, Height: 1 7/8 inches, Outside diameter of the bowl: 1 ¾ inches, Chamber diameter: ¾ of an inch. Thanks for walking through the restoration with me as I worked over another beautiful pipe. This pipe will be added to the American Pipe Makers section of the rebornpipes store soon. If you want to add it to your collection send me an email or a message! Thanks for your time.