Blog by Steve Laug
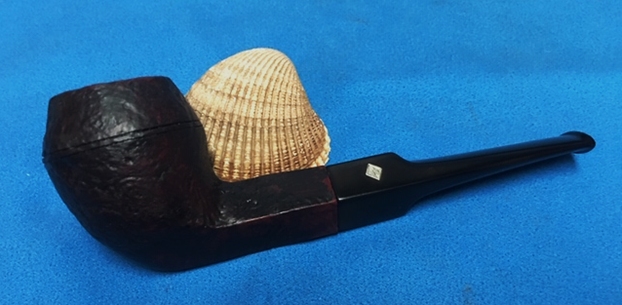
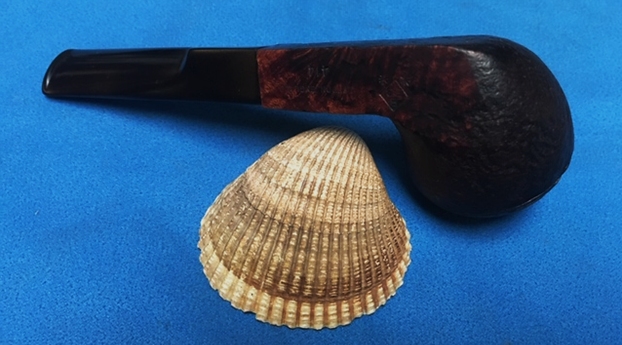
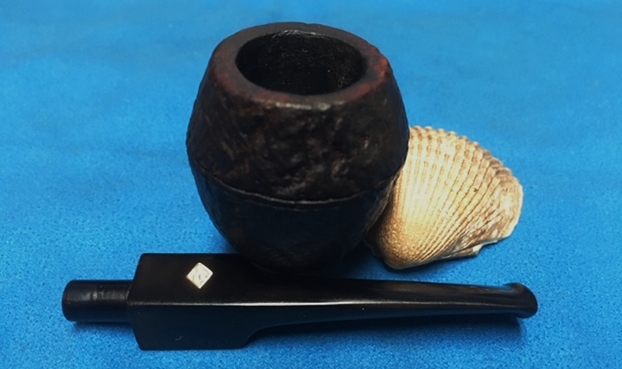
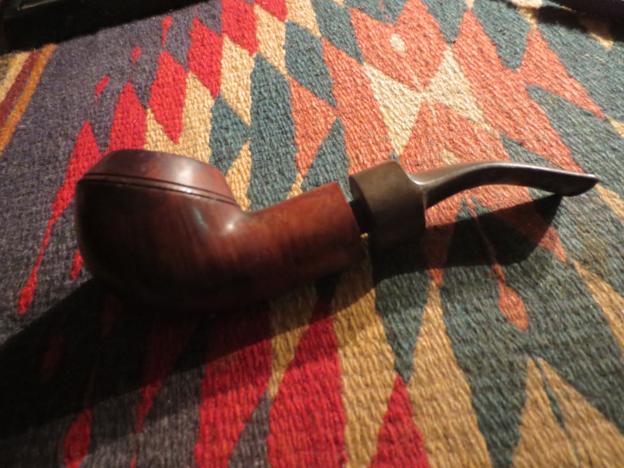
 I have only 13 more of Bob’s pipes to finish before I have completed the restoration of his estate so I am continuing to work on them. The next one from Bob Kerr’s Estate is one of two BBB pipes in his collection. It is a nice looking 2 Star sandblast Bulldog. (Bob’s photo is to the left). If you have not “met” the man and would like to read a bit of the history of the pipeman, his daughter has written a great tribute that is worth a read. Because I have included it in most of the restorations of the estate to date I thought that I would leave it out this time. Check out some of the recent Dunhill restoration blogs that include the biographical notes about Bob. Here is a link to one of them (https://rebornpipes.com/2020/01/01/restoring-the-last-of-bob-kerrs-dunhills-a-1962-dunhill-bruyere-656-f-t-bent-billiard/).
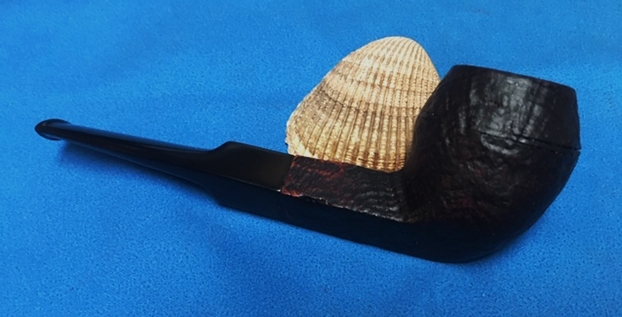
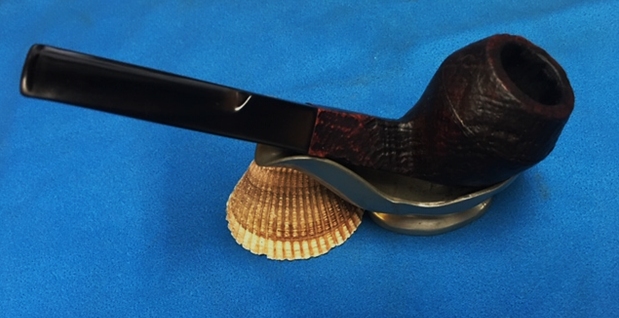
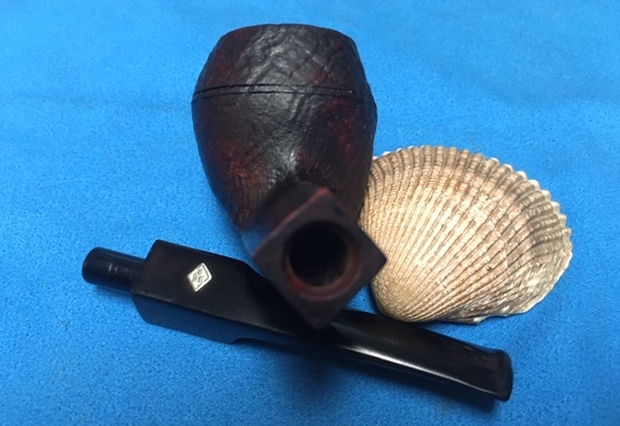
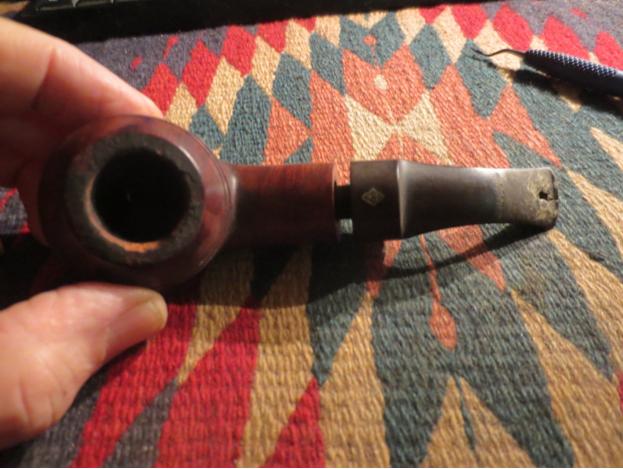
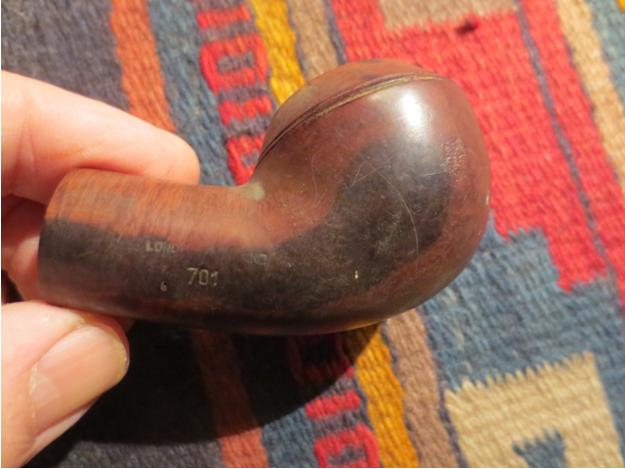
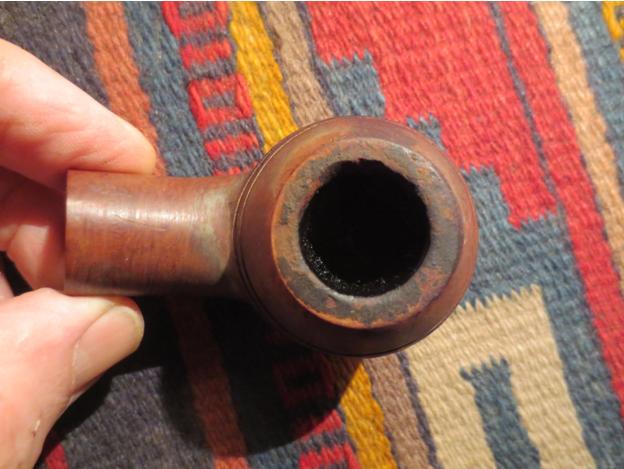
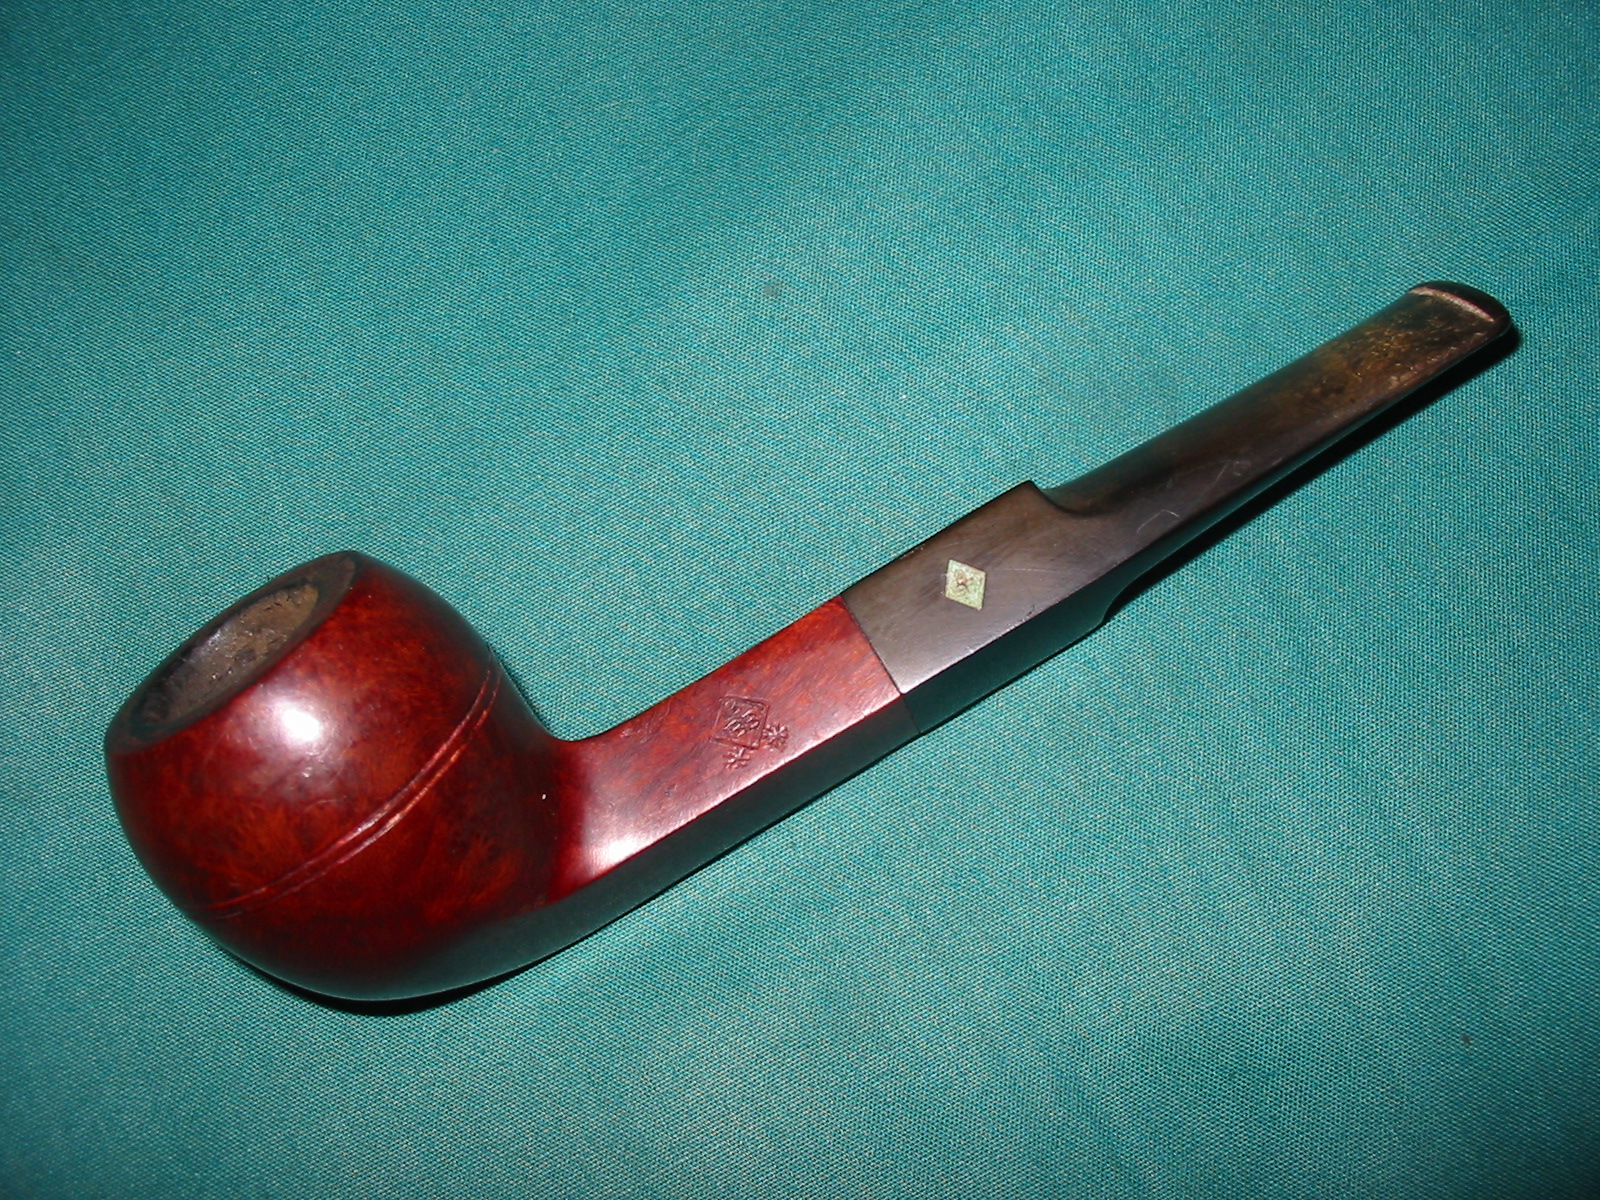
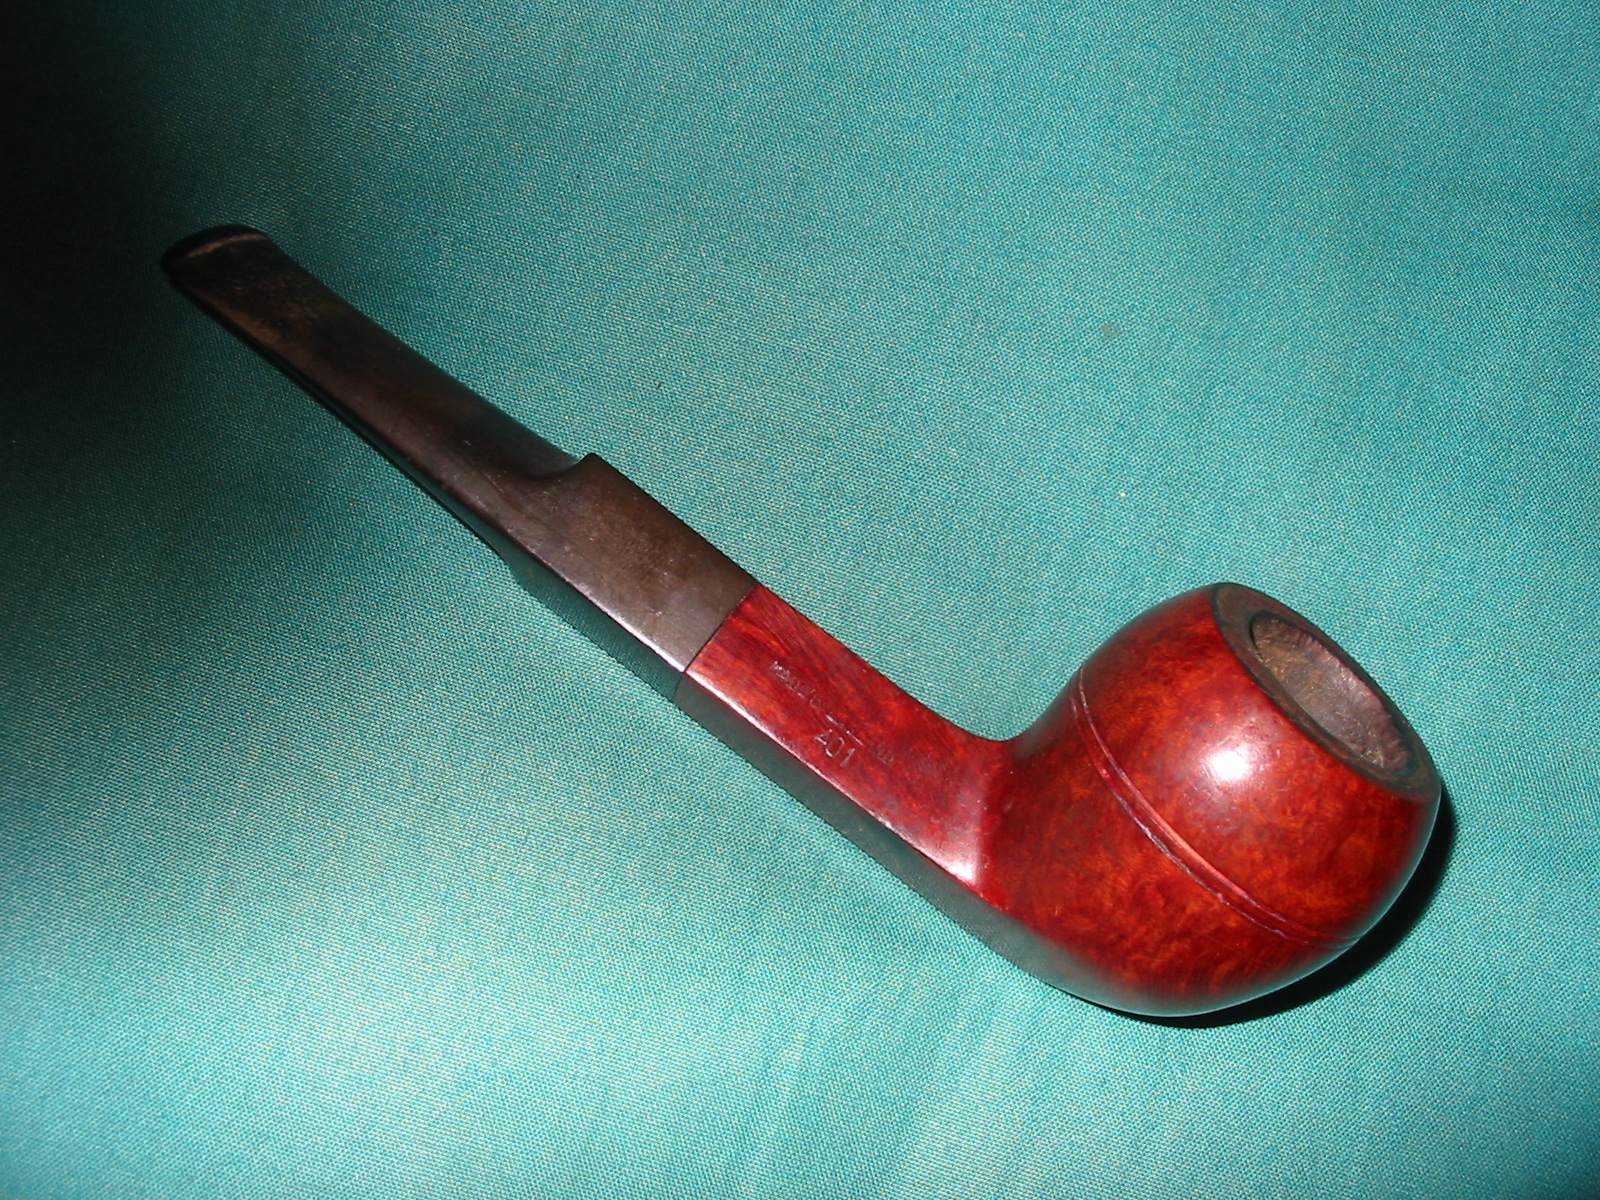
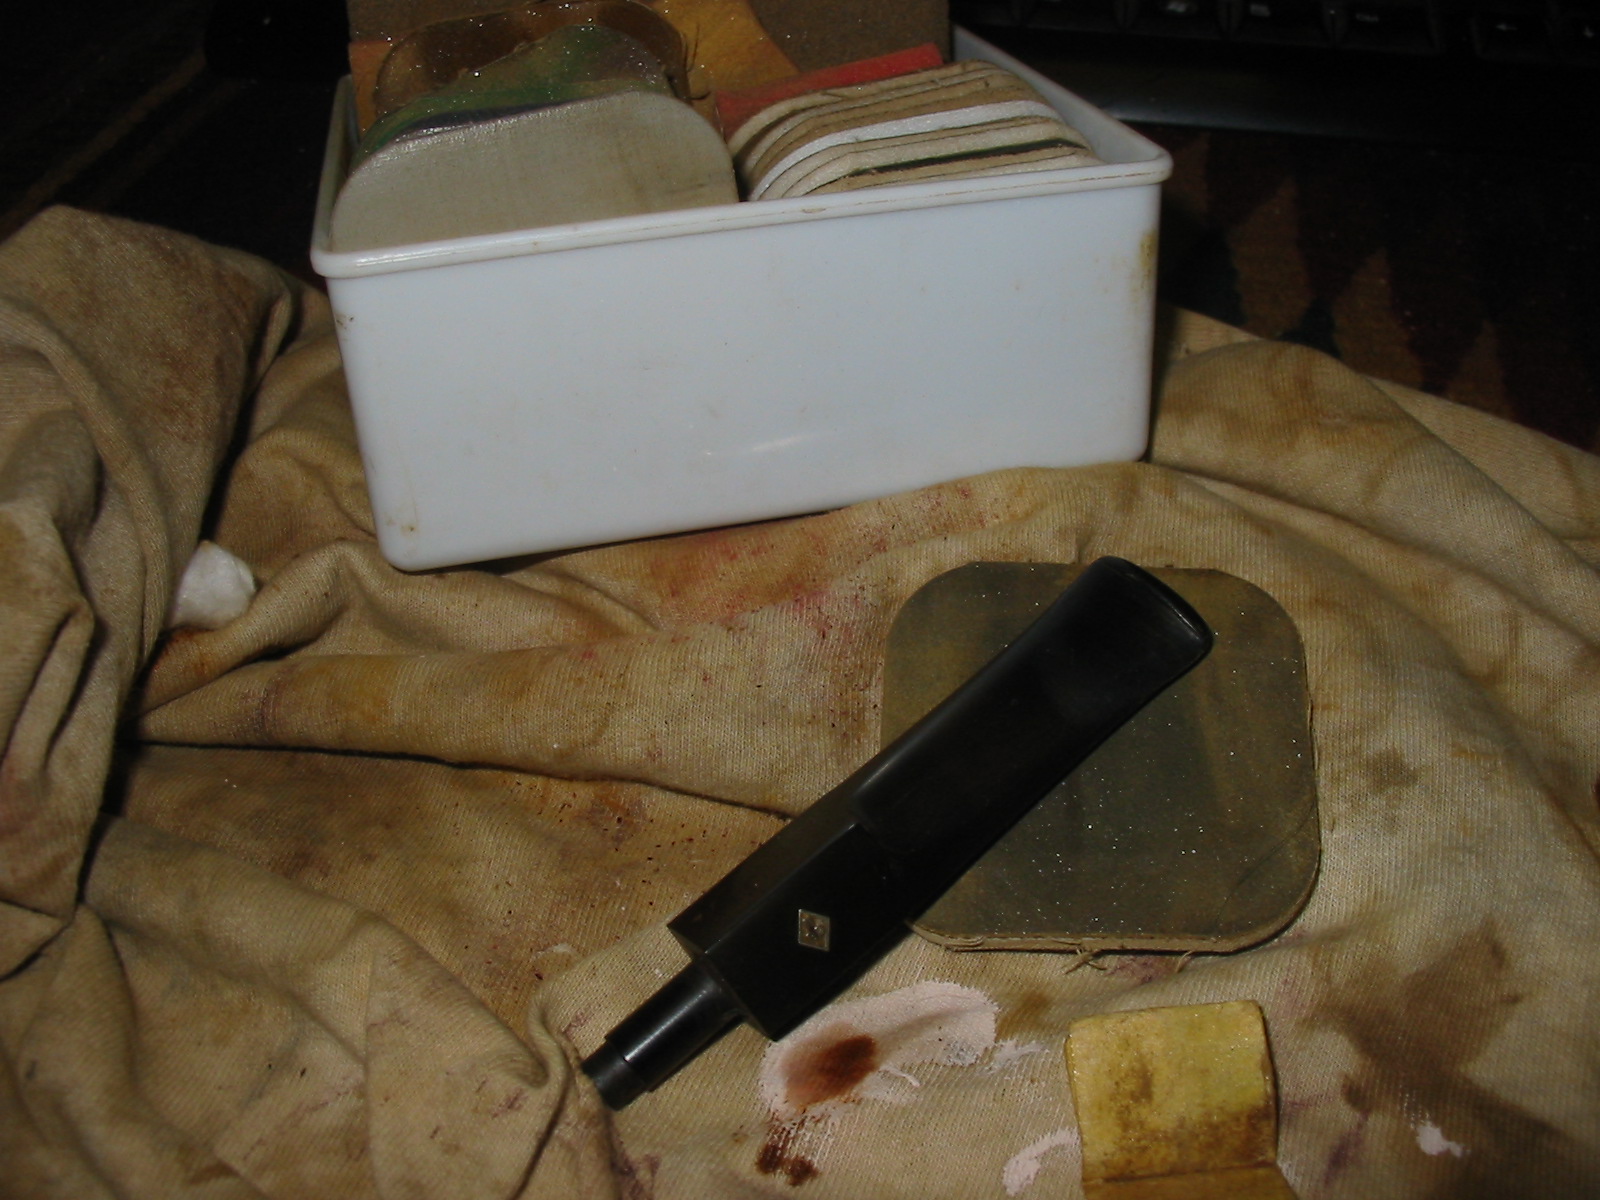
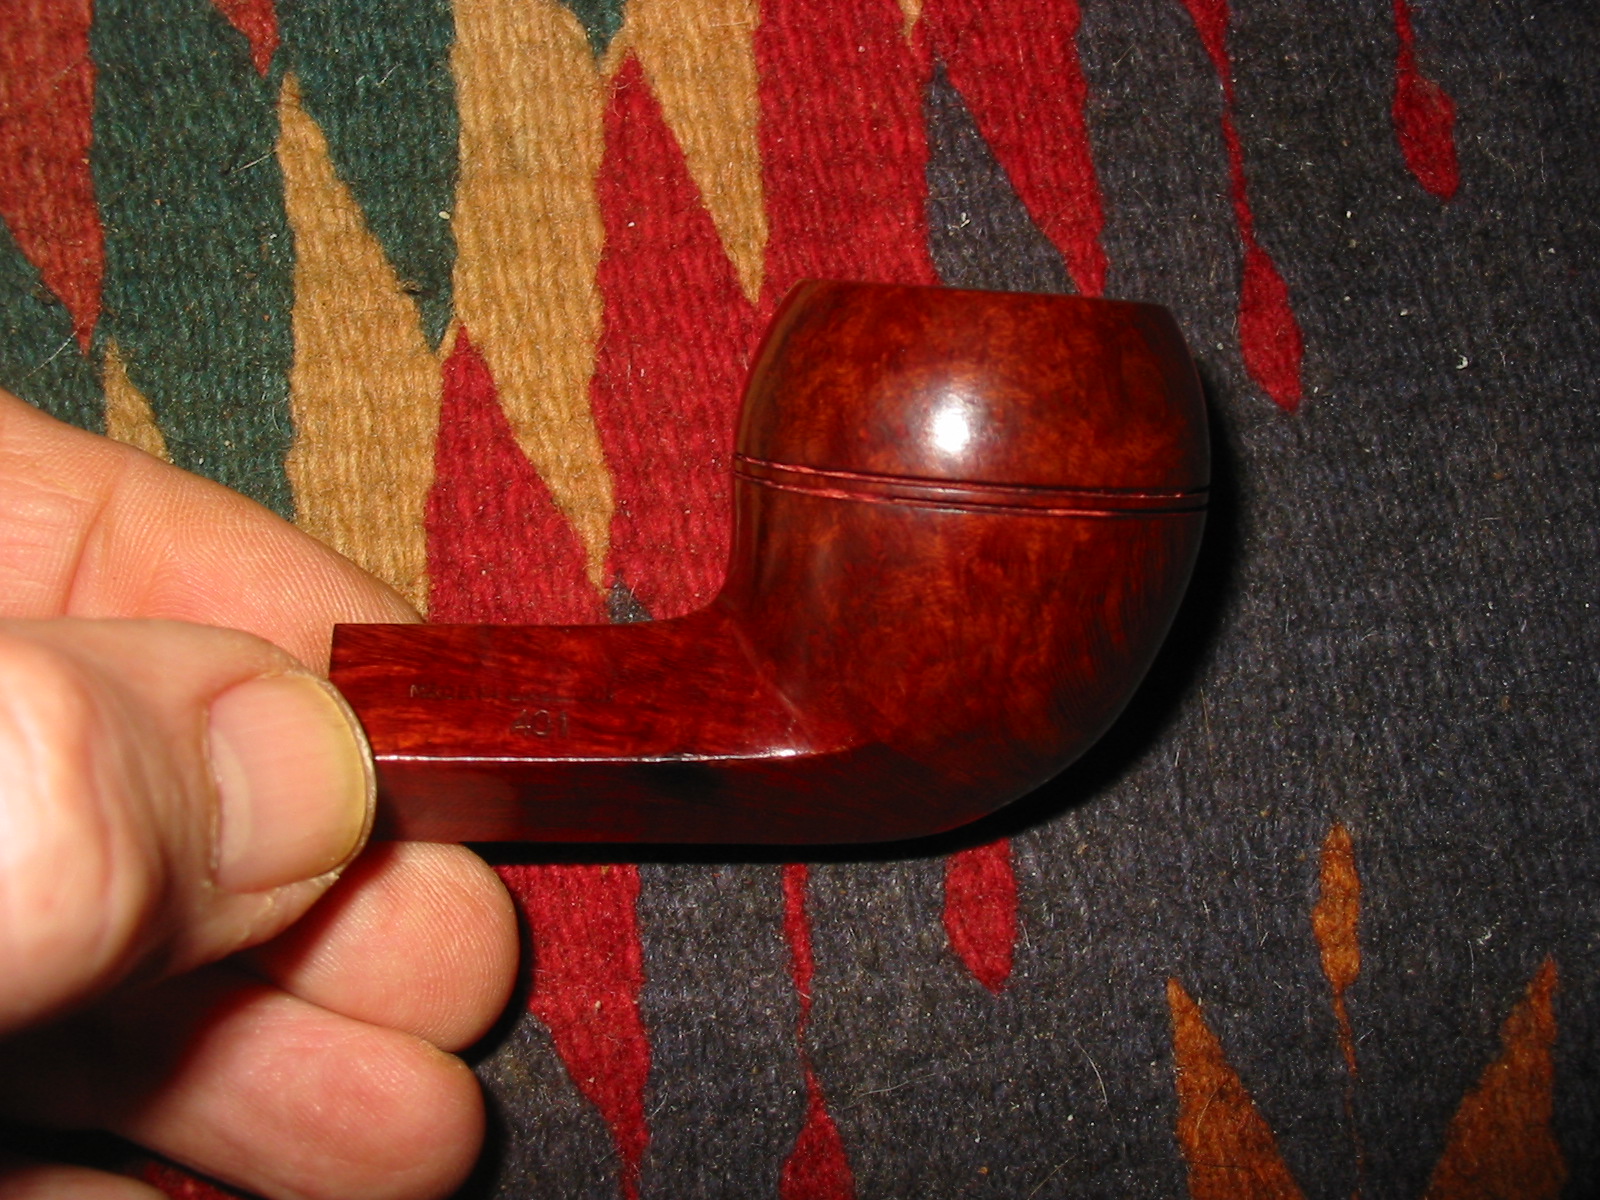
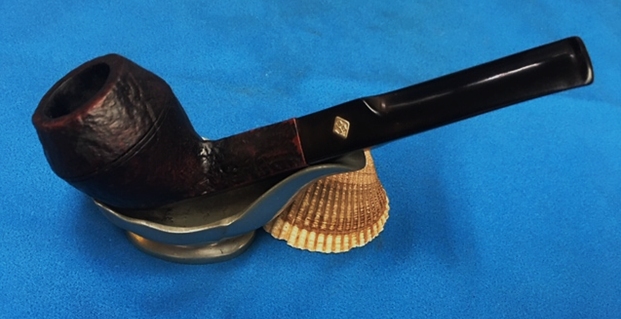
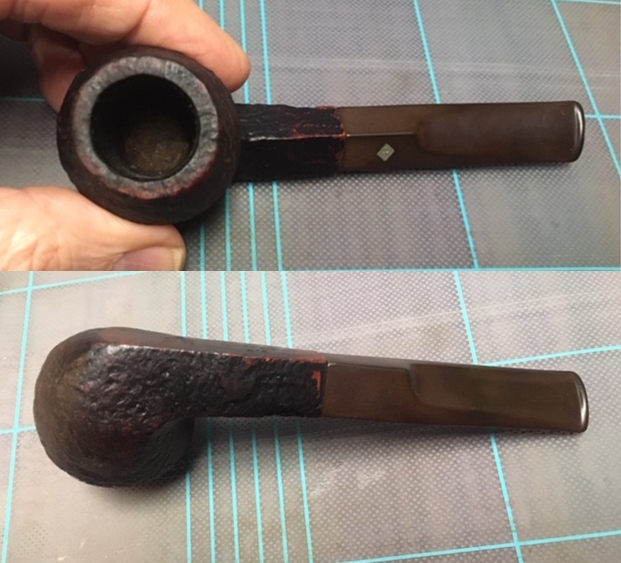
The BBB 2 Start Sandblast 414 Bulldog has a saddle vulcanite stem. It is a shallow sandblast finish around the bowl and shank that has a lot of dust and debris ground into the finish of the briar. It was stamped on left underside of the diamond shank. It is stamped BBB in a Diamond box (logo) [over] two stars **. Next to that it reads London, England [over] the shape number 414. There was a thick cake in the bowl and lava overflow on the rim top. There was tobacco debris stuck on the bottom and sides of the bowl. The vulcanite stem was calcified, oxidized and had tooth marks and chatter ahead of the button on both sides. Jeff took photos of the pipe to show its general condition before he did his cleanup. 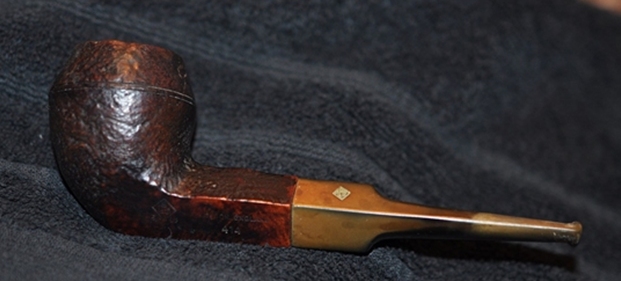
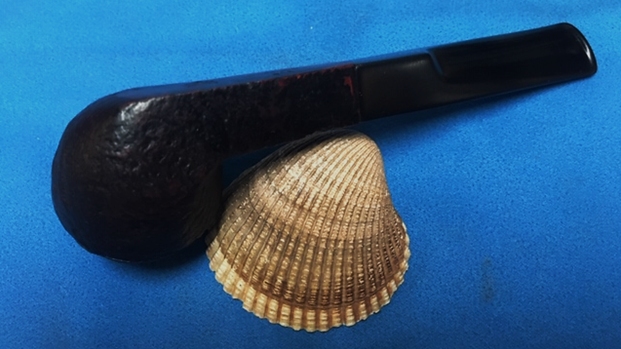
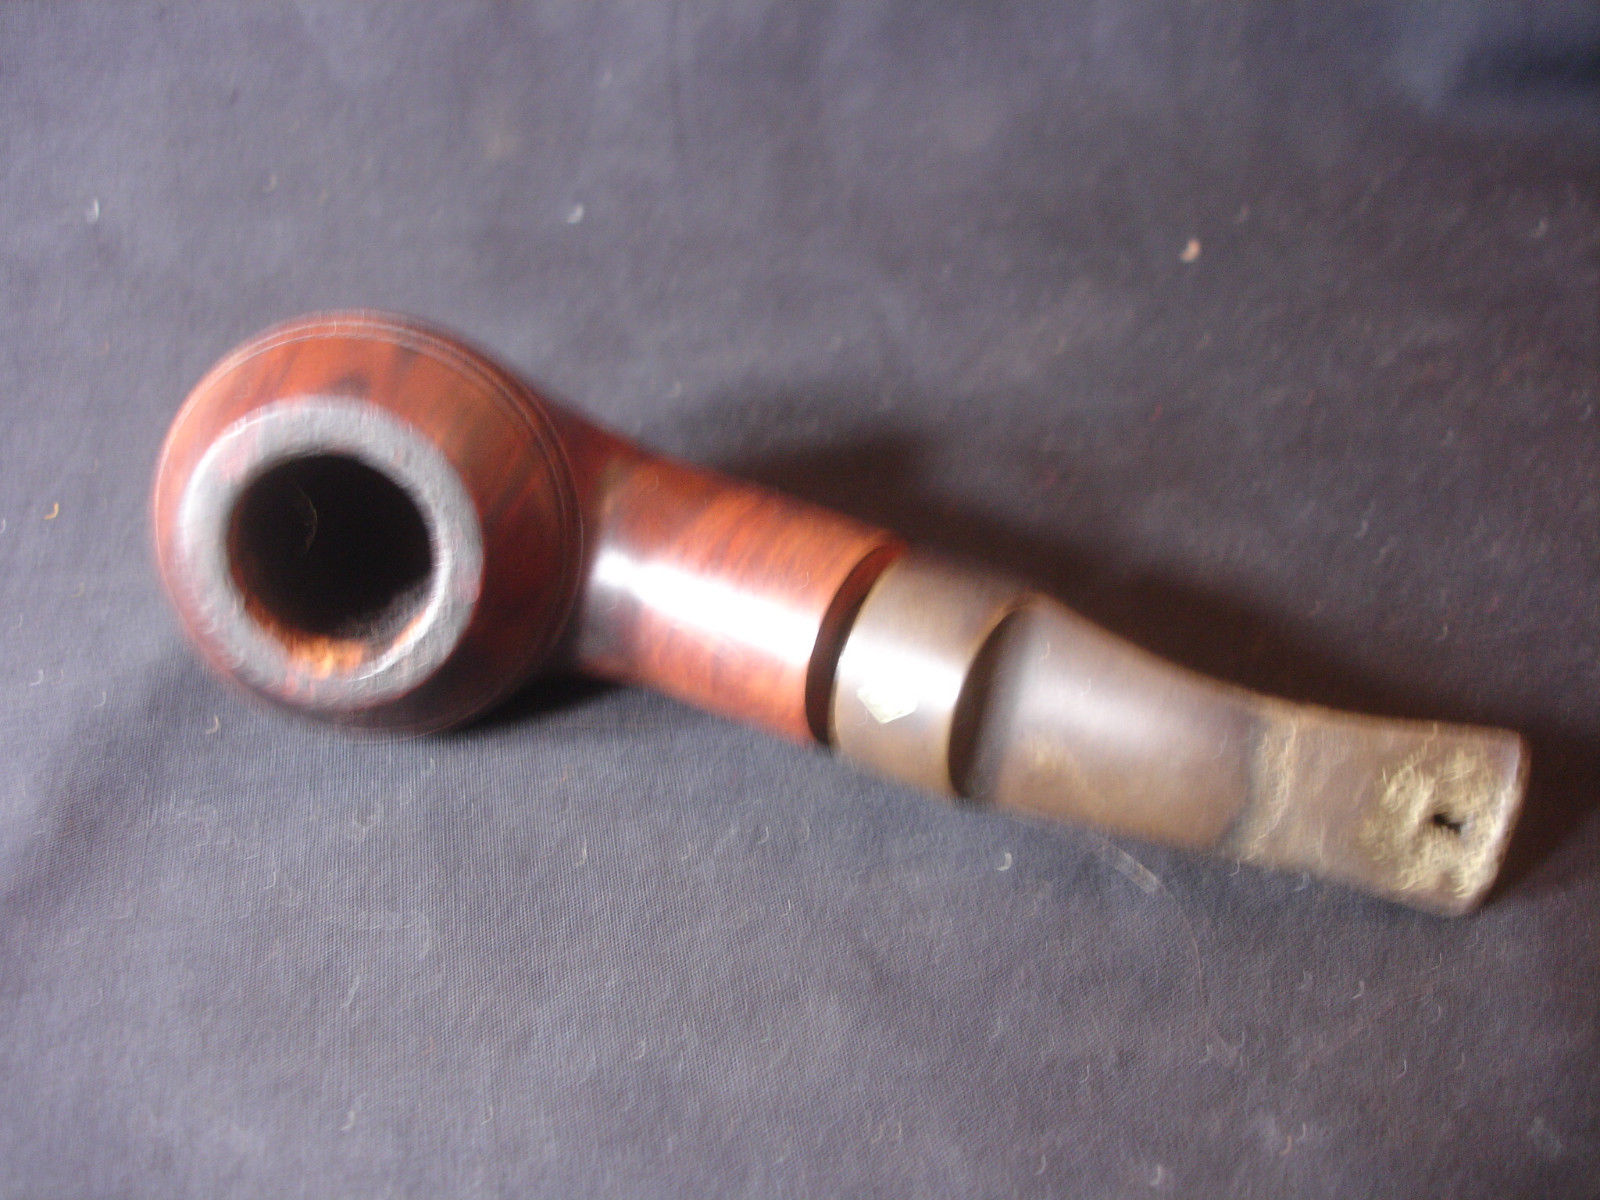
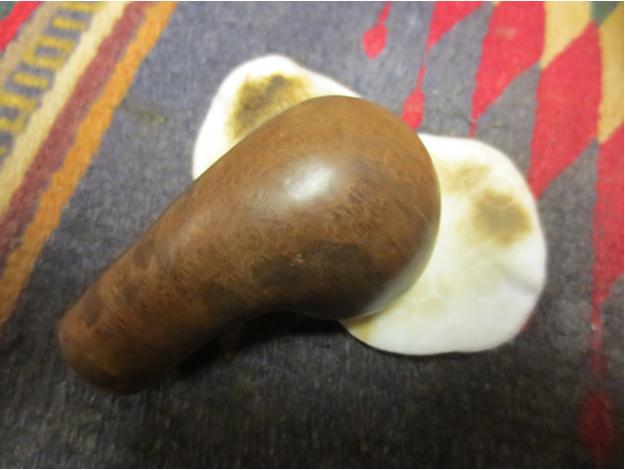
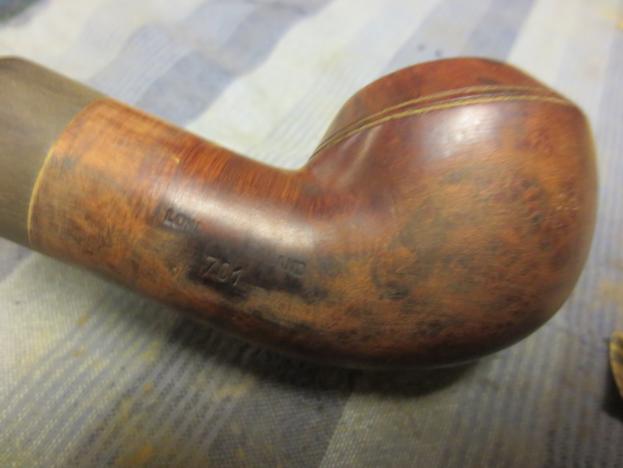
 As I mentioned above the exterior of the pipe was very dirty – grime and grit ground in from years of use and sitting. The rim top was covered with a coat of thick lava that overflowed from the thick cake in the bowl. It was hard to know what the rim edges looked like because of the lava.
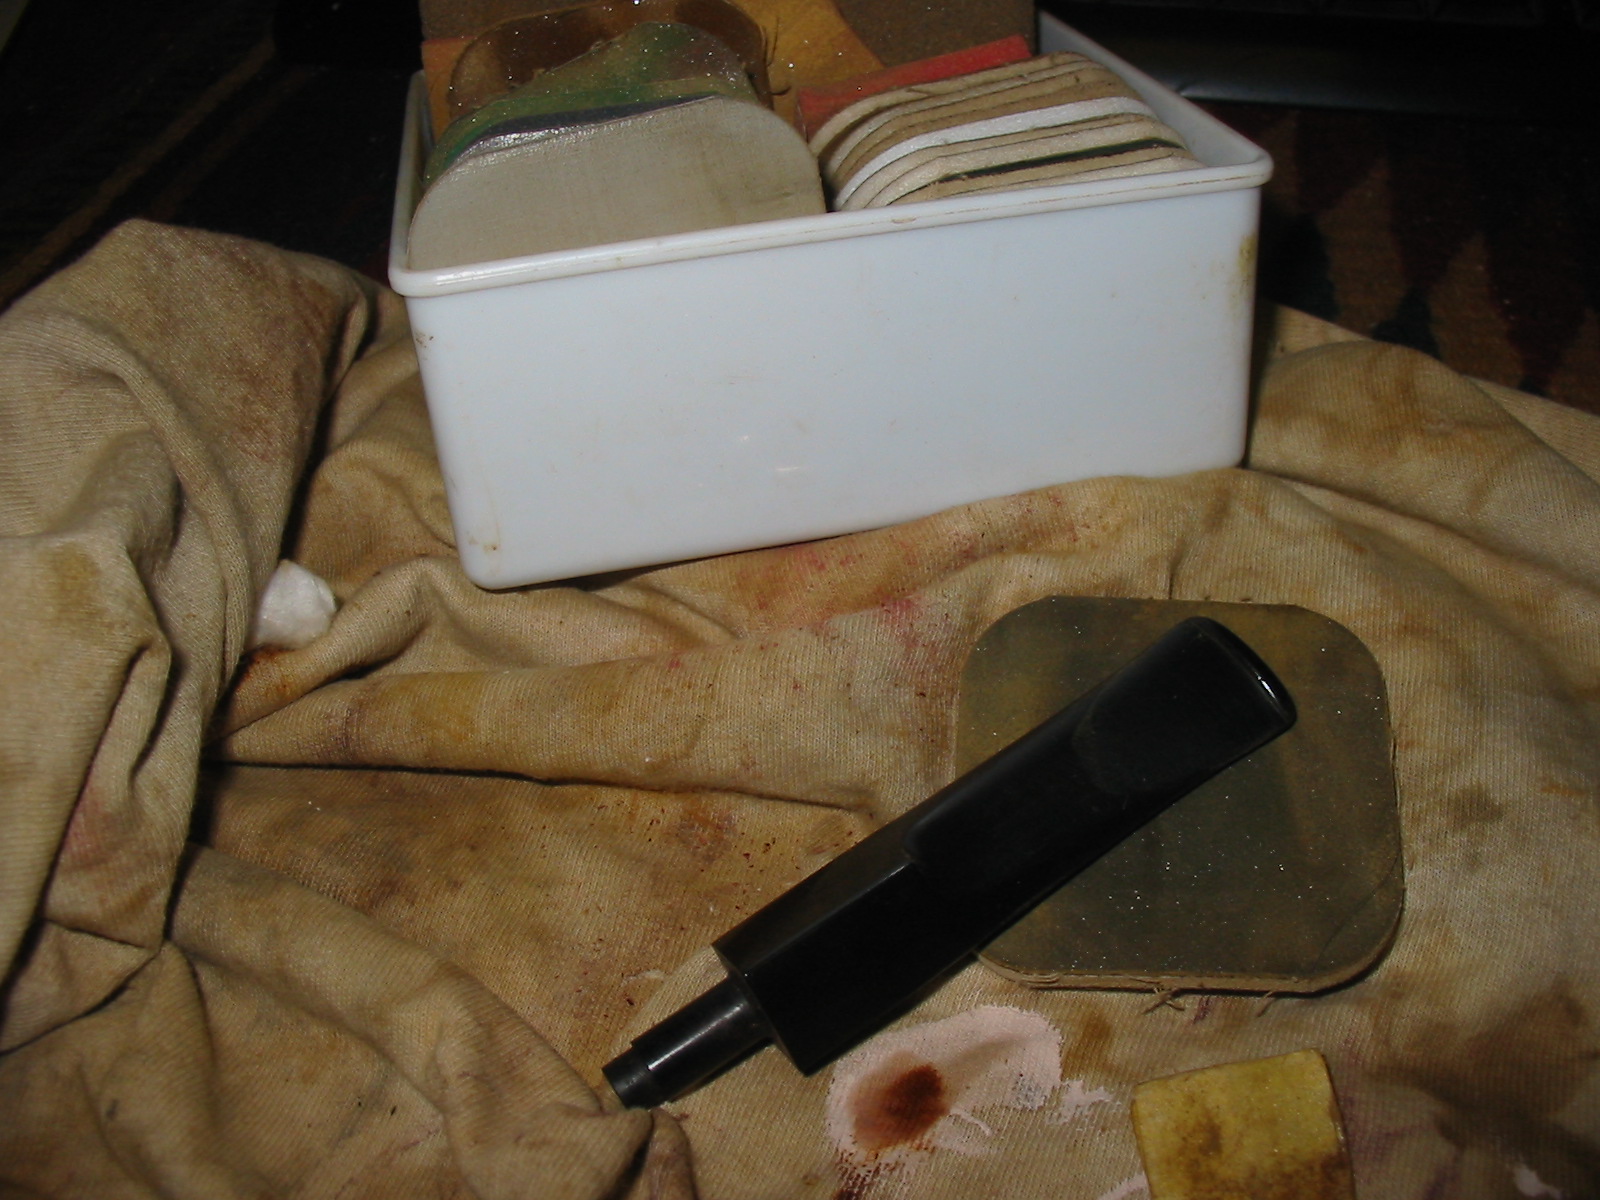
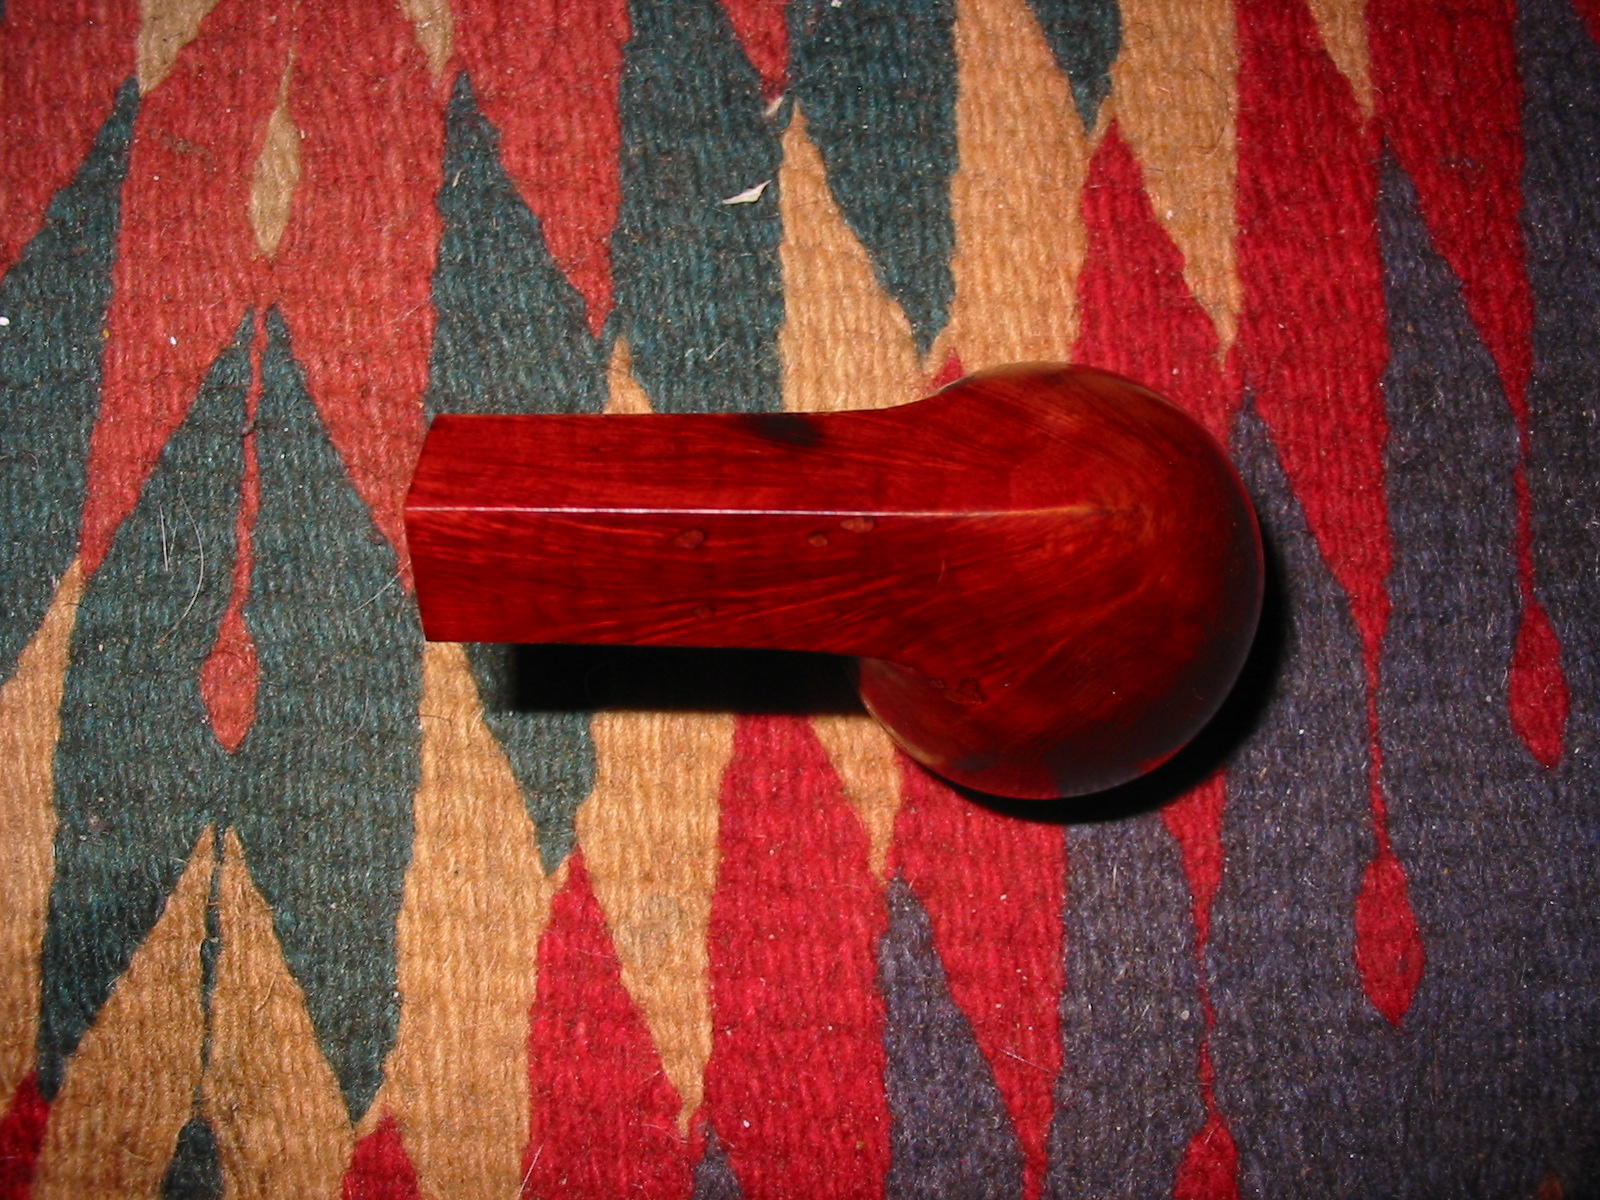
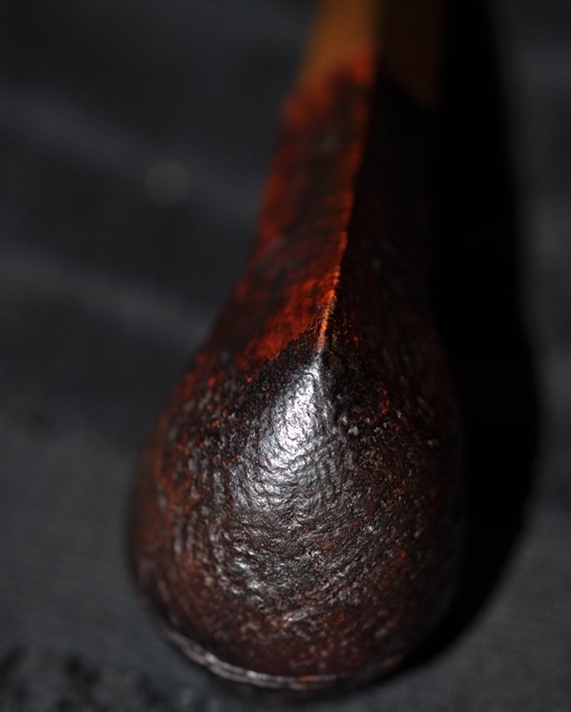
 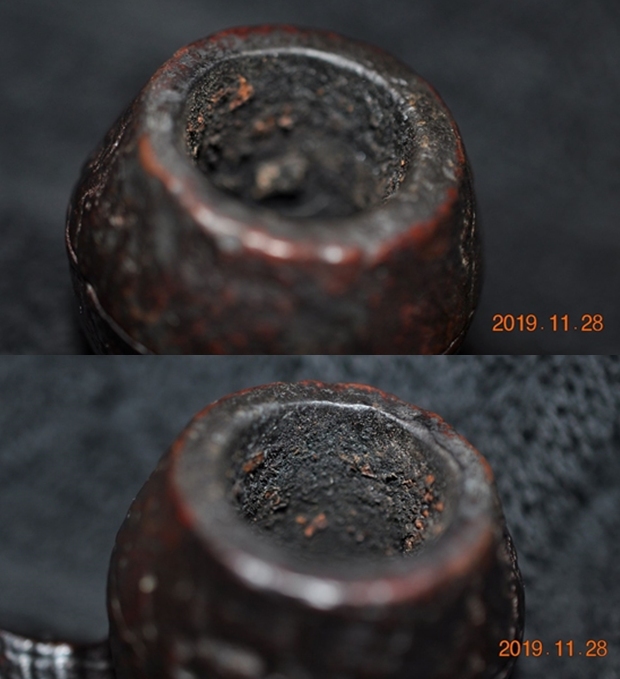 Jeff took photos of the sides and the heel of the bowl to give a better feel for the condition of the briar around the bowl.
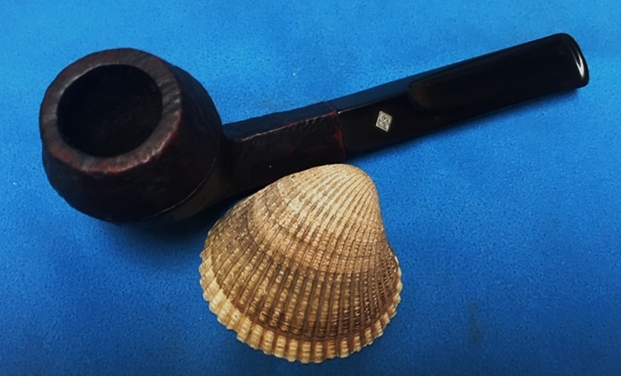
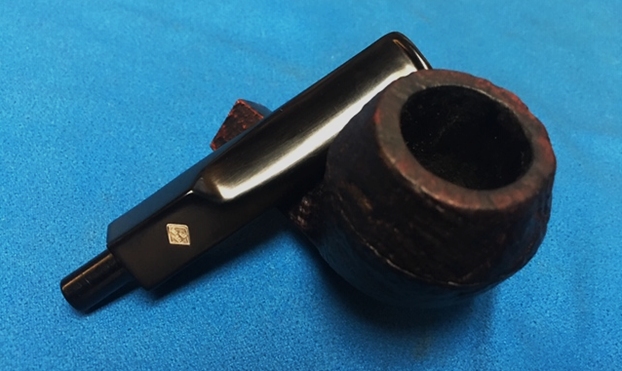
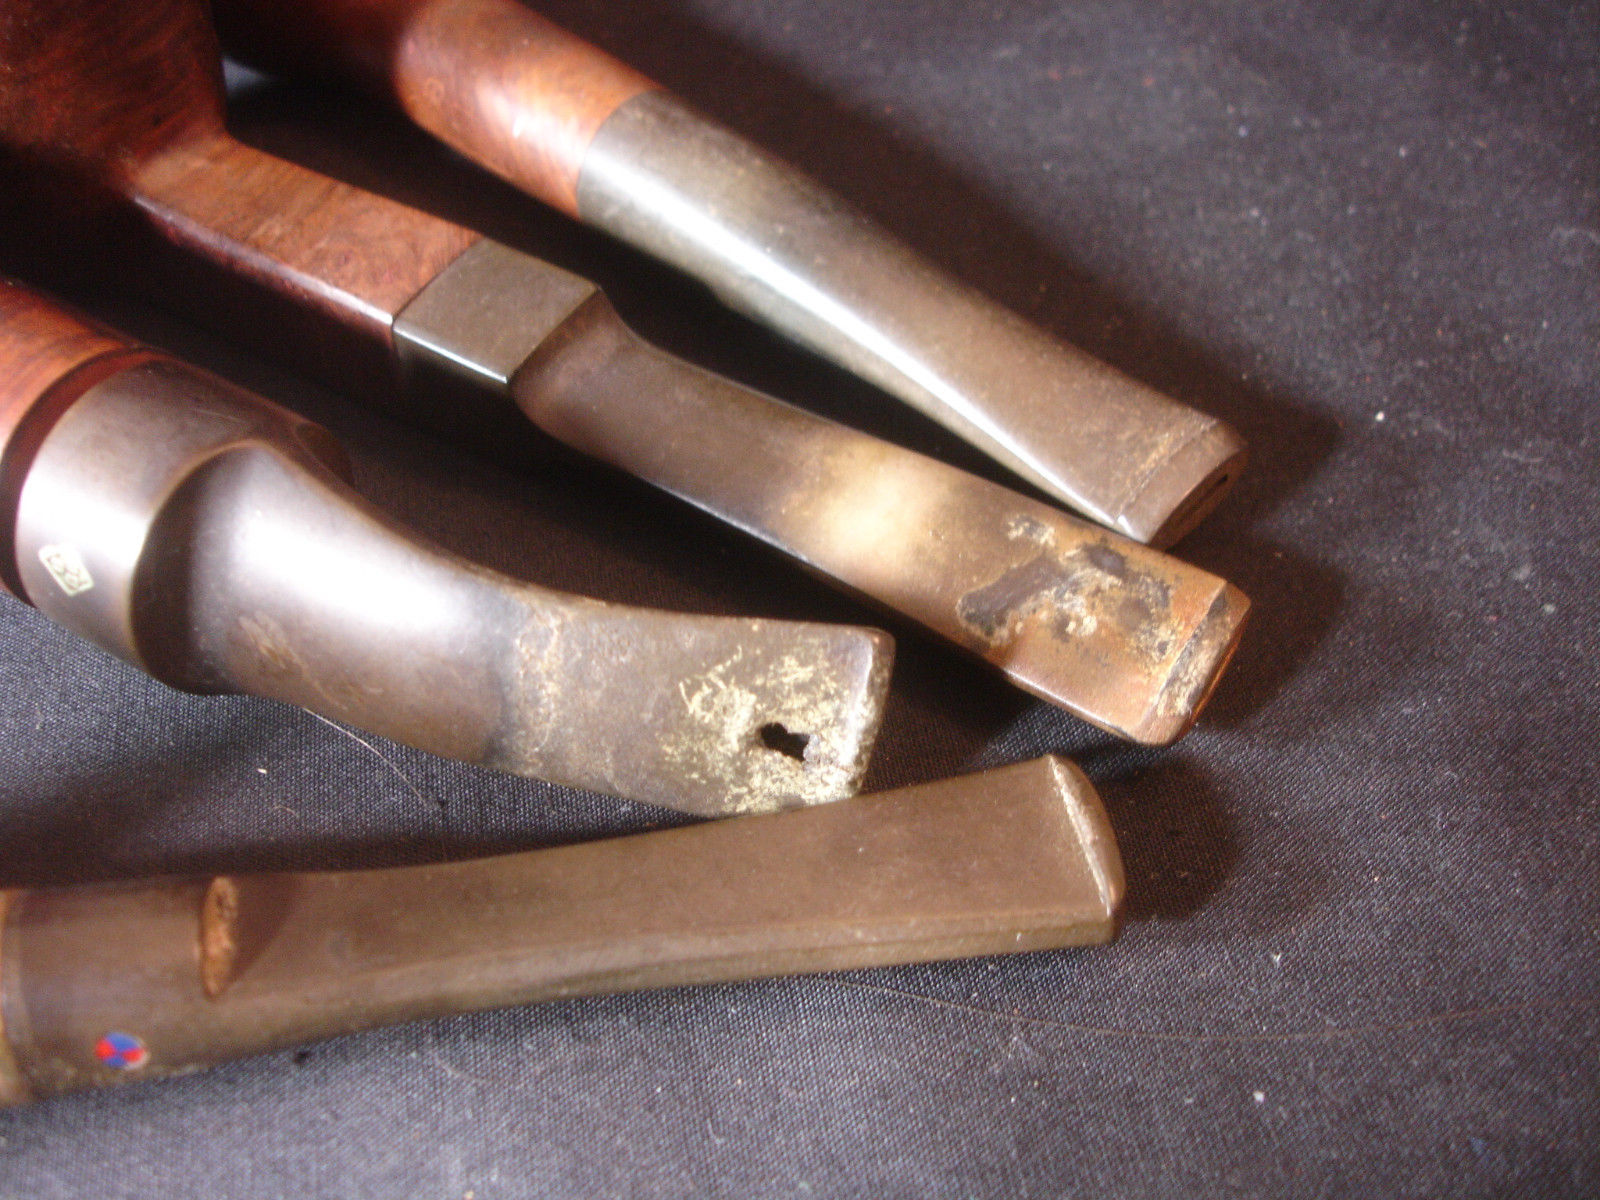
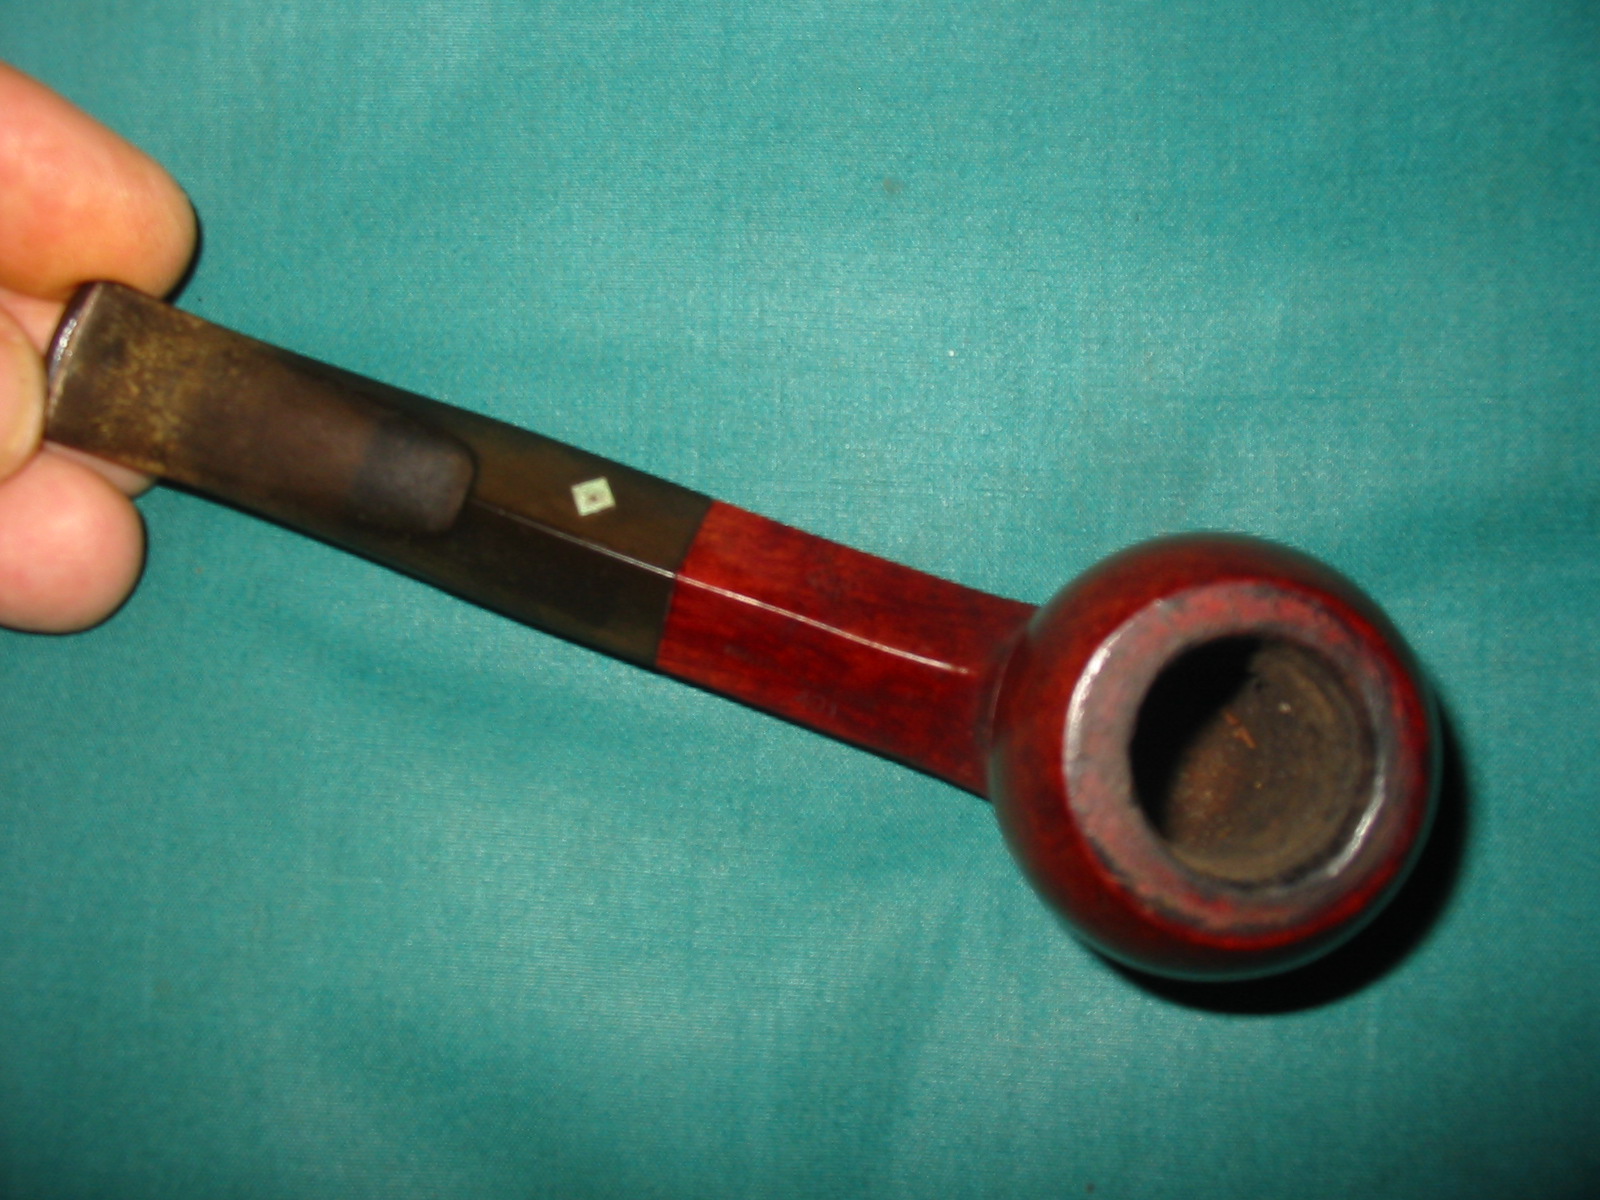
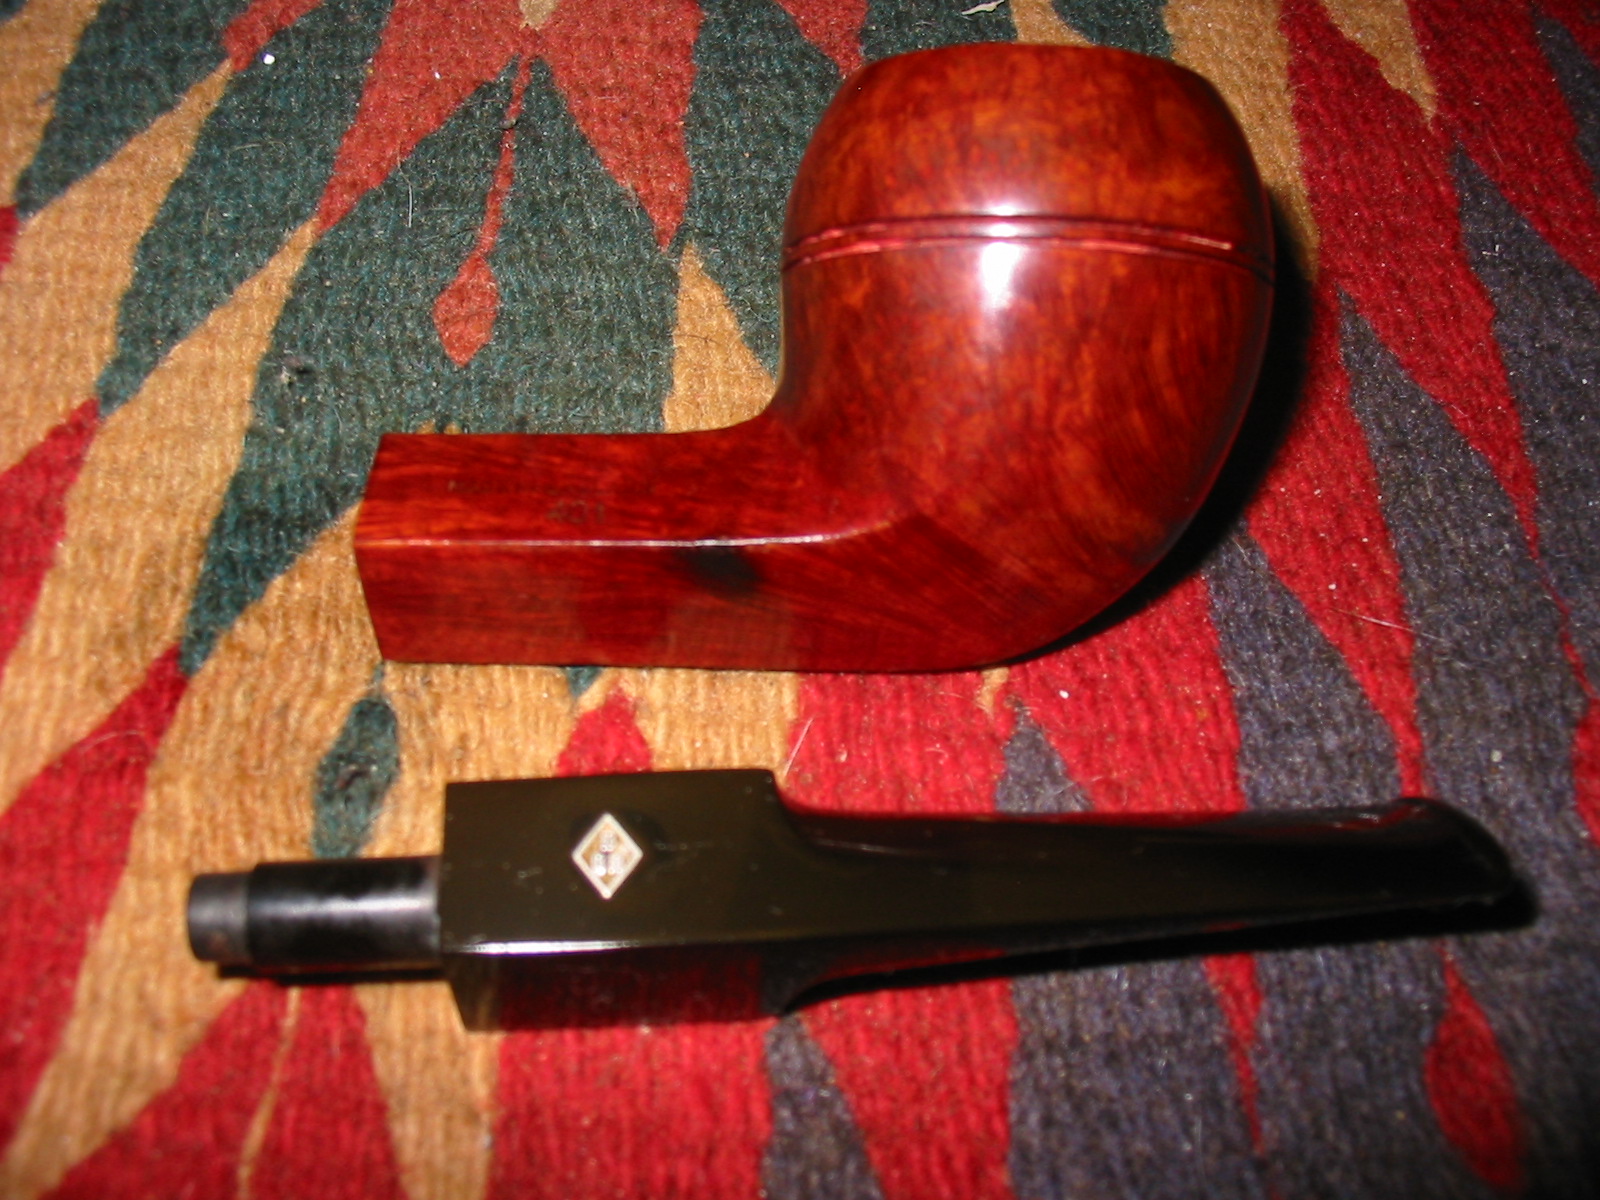
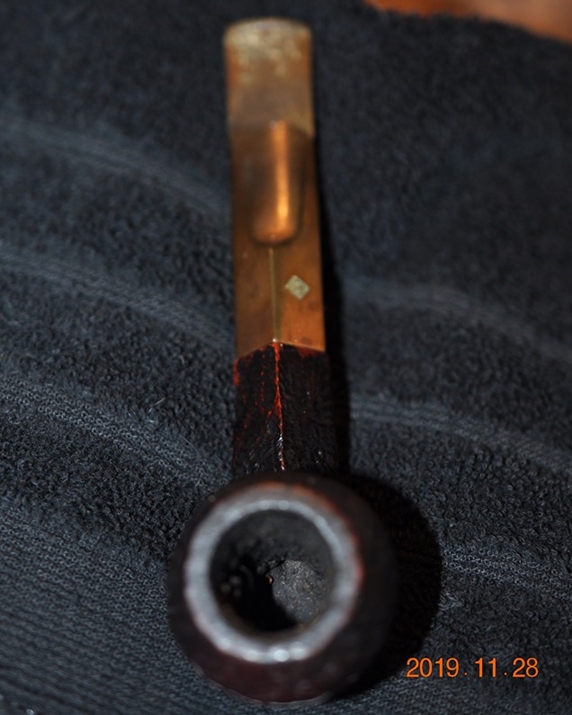
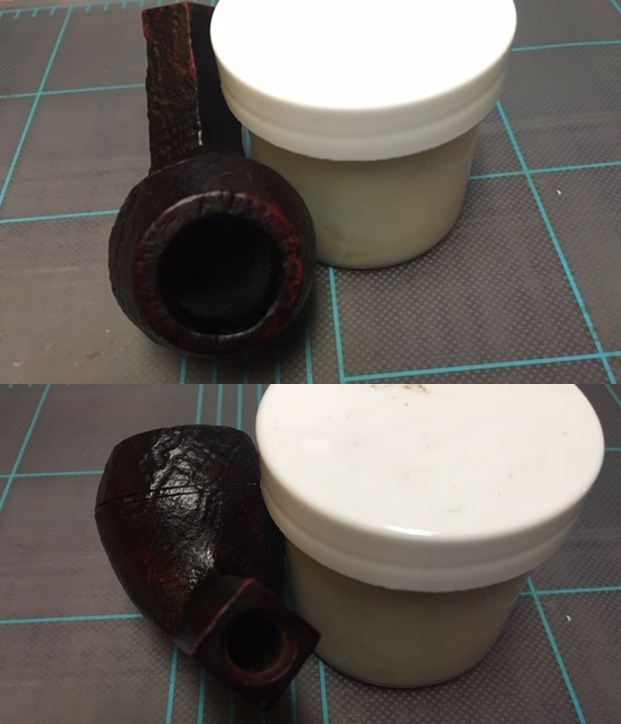
 The next photo show the stamping on the left underside of the diamond shank and it is very readable. It reads as noted above. The second photo shows the inlaid BBB Diamond logo on the upper left side of the diamond stem.
  The stem was dirty, calcified and oxidized with tooth chatter and marks on the top and underside of the stem at the button.
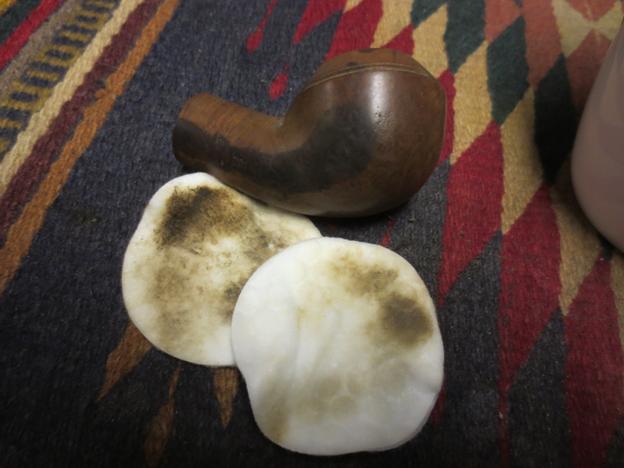
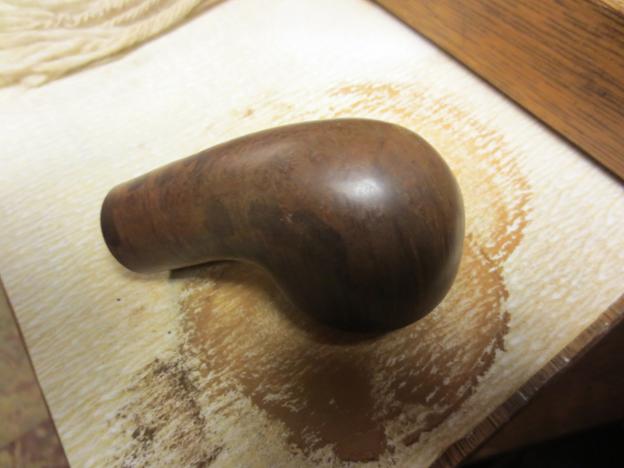
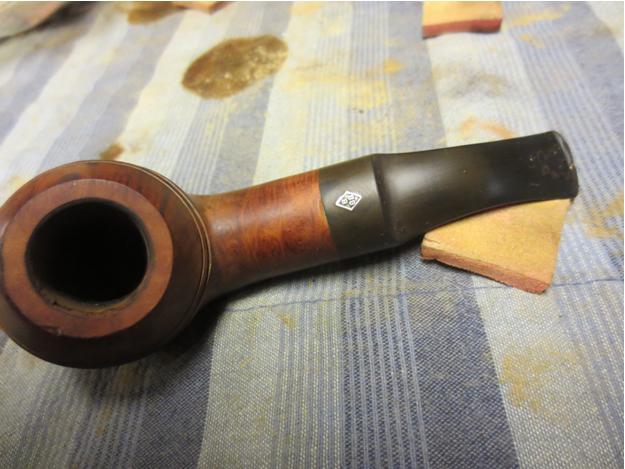
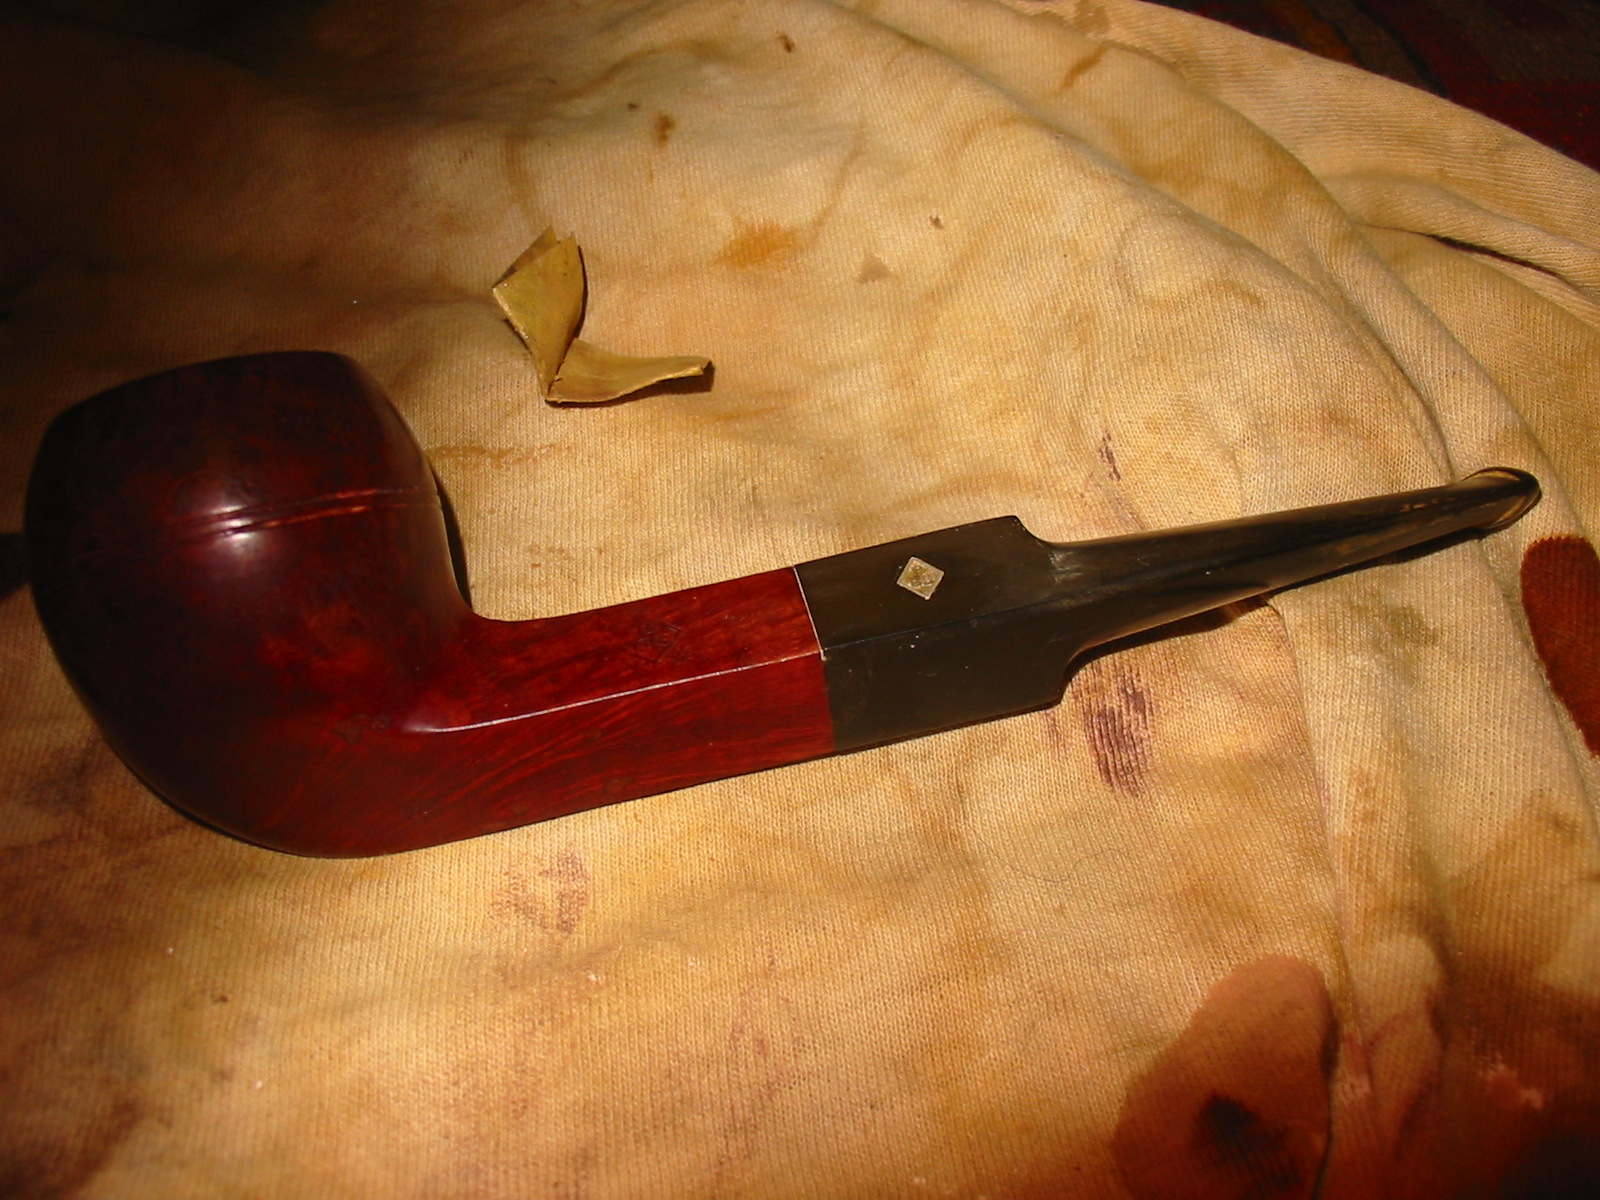
 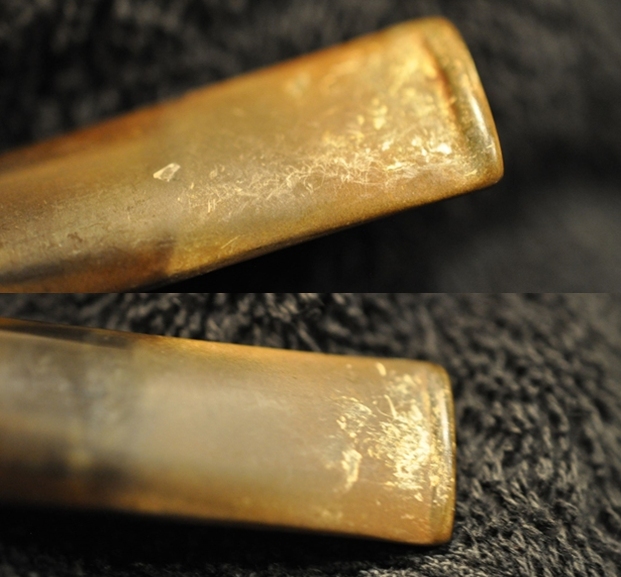 With over 125 pipes to clean from Bob’s estate I took a batch of them to the states with me when I visited and left them with Jeff so he could help me out. Jeff cleaned the pipes with his usual penchant for thoroughness that I really appreciate. Once he finished he shipped them back to me. Bob’s pipes were generally real mess and I did not know what to expect when I unwrapped it from his box. I was surprised to see how well it turned out. He reamed it with a PipNet pipe reamer and cleaned up the reaming with a Savinelli Fitsall Pipe Knife. He scrubbed out the internals with alcohol, pipe cleaners and cotton swabs until the pipe was clean. He scrubbed the exterior of the bowl with Murphy’s Oil Soap and a tooth brush to remove the grime and grit on the briar and the lava on the rim top. The finish looks very good with good looking grain around the bowl and shank. Jeff scrubbed it with Soft Scrub and soaked it in Before & After Deoxidizer to remove the oxidation on the rubber. When the pipe arrived here in Vancouver for the second stop of its restoration tour it looked a lot better. I took photos before I started my part of the work.
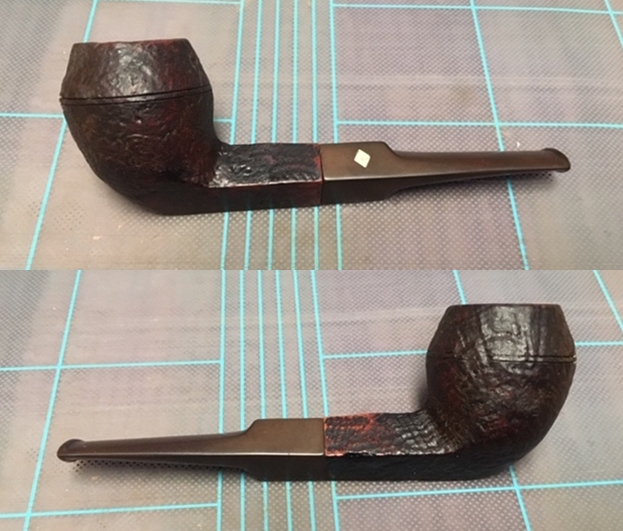
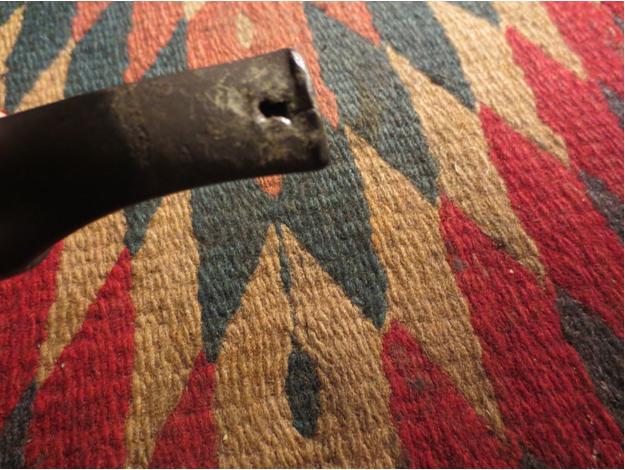
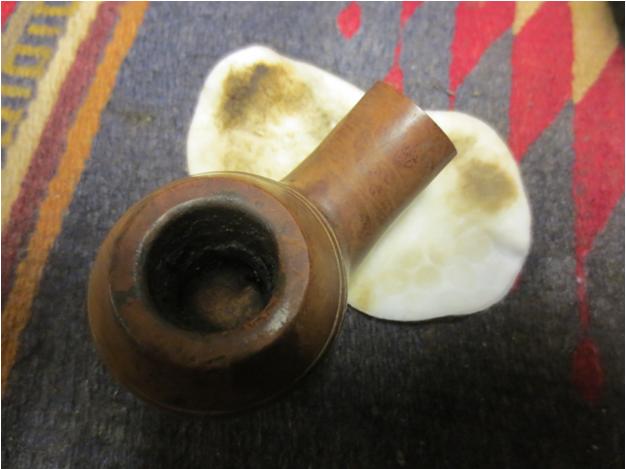
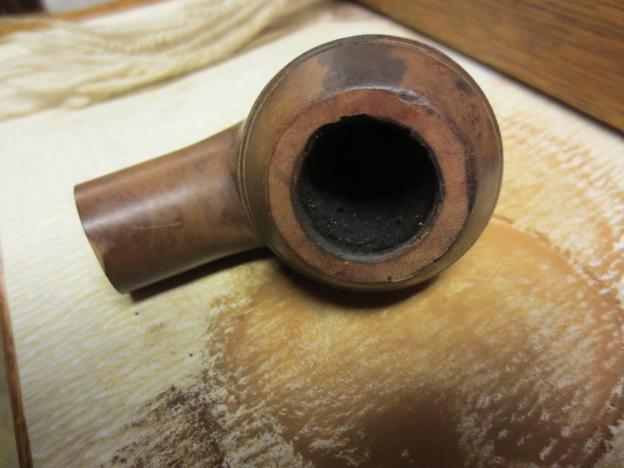
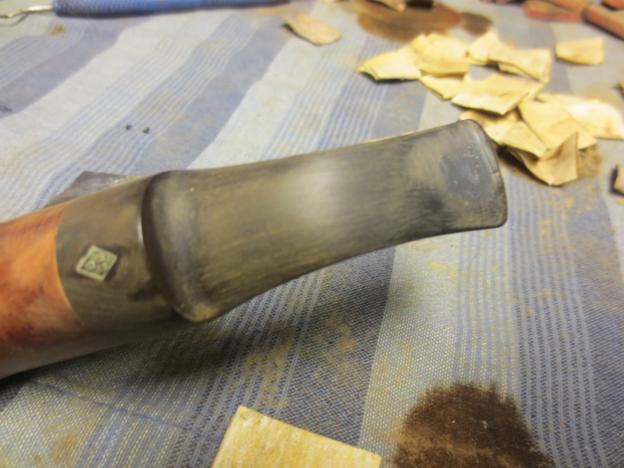
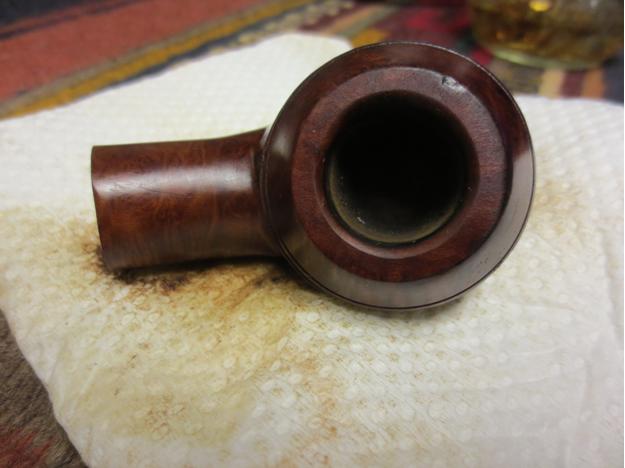
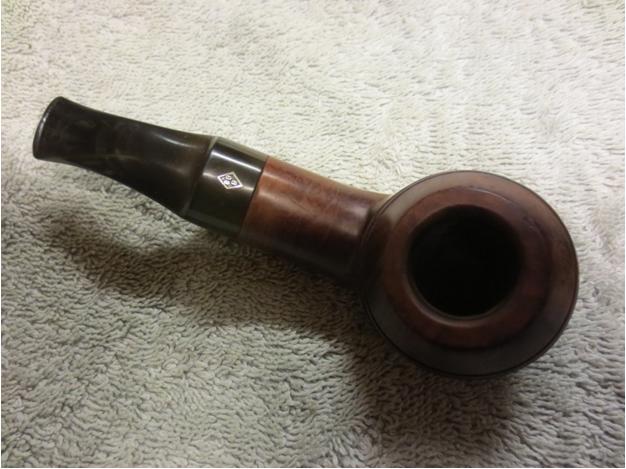
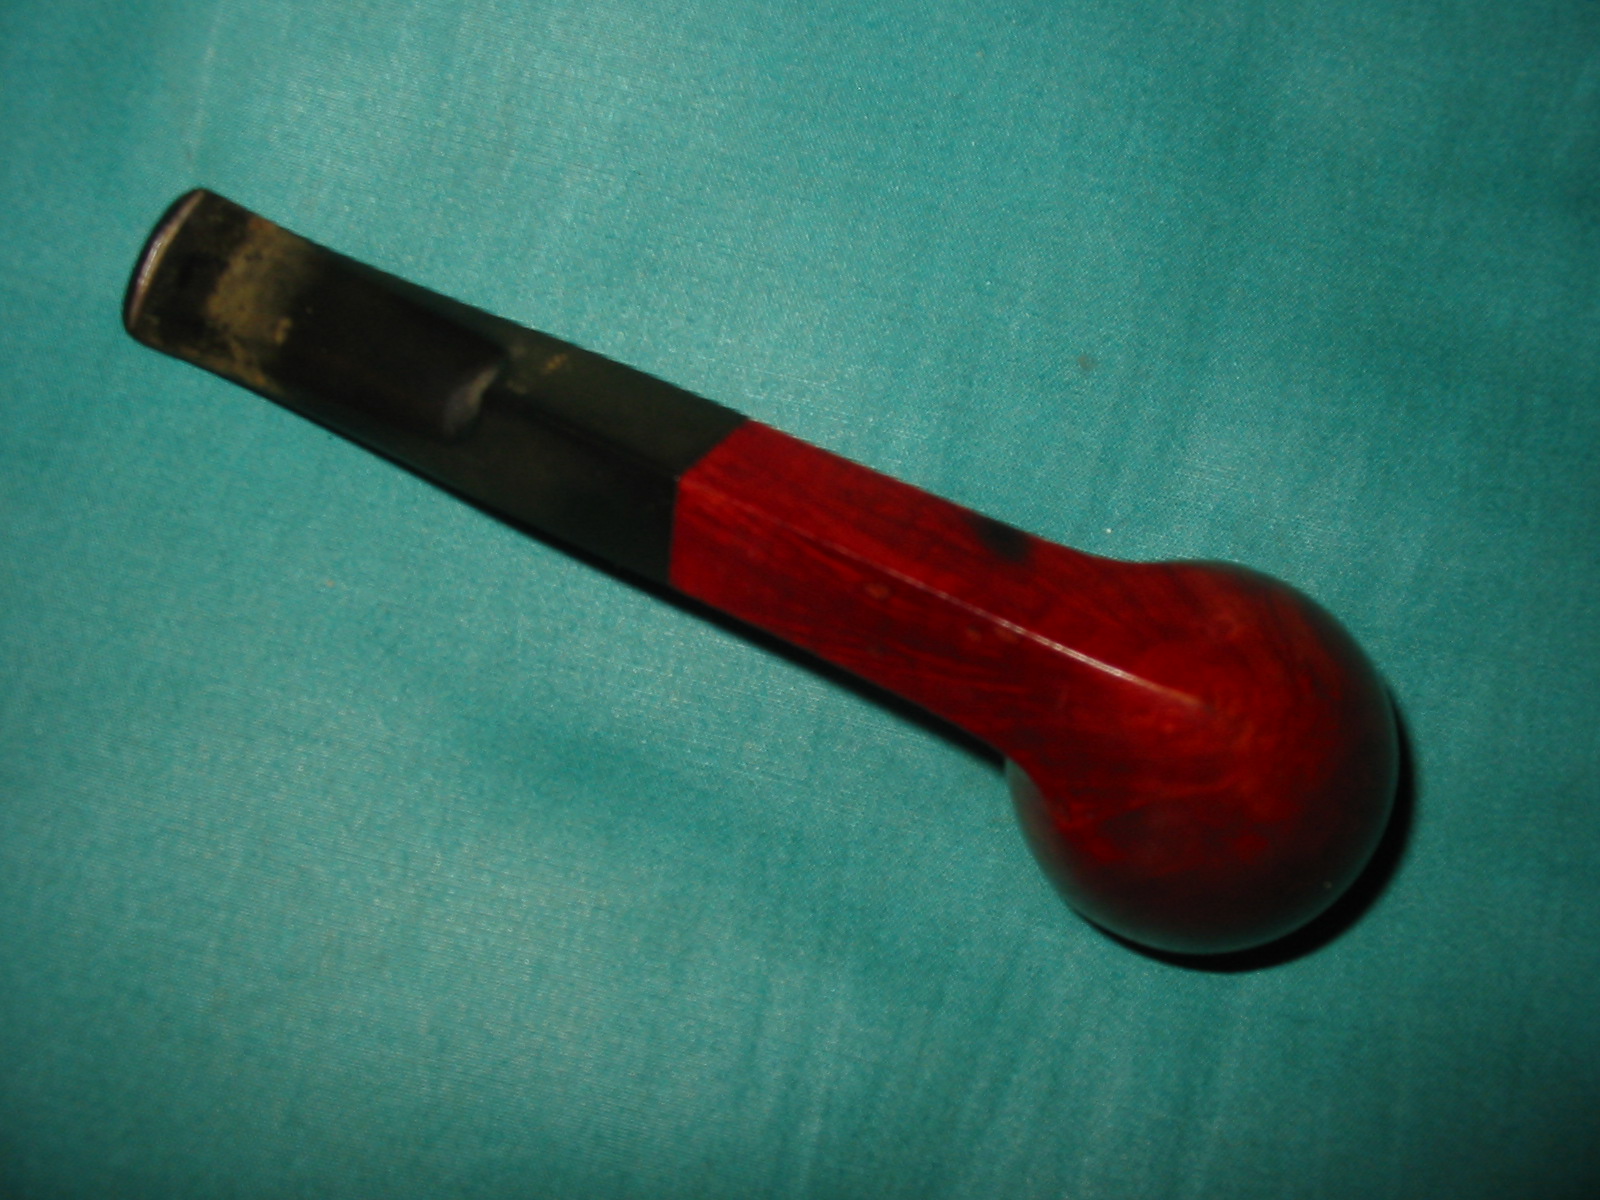
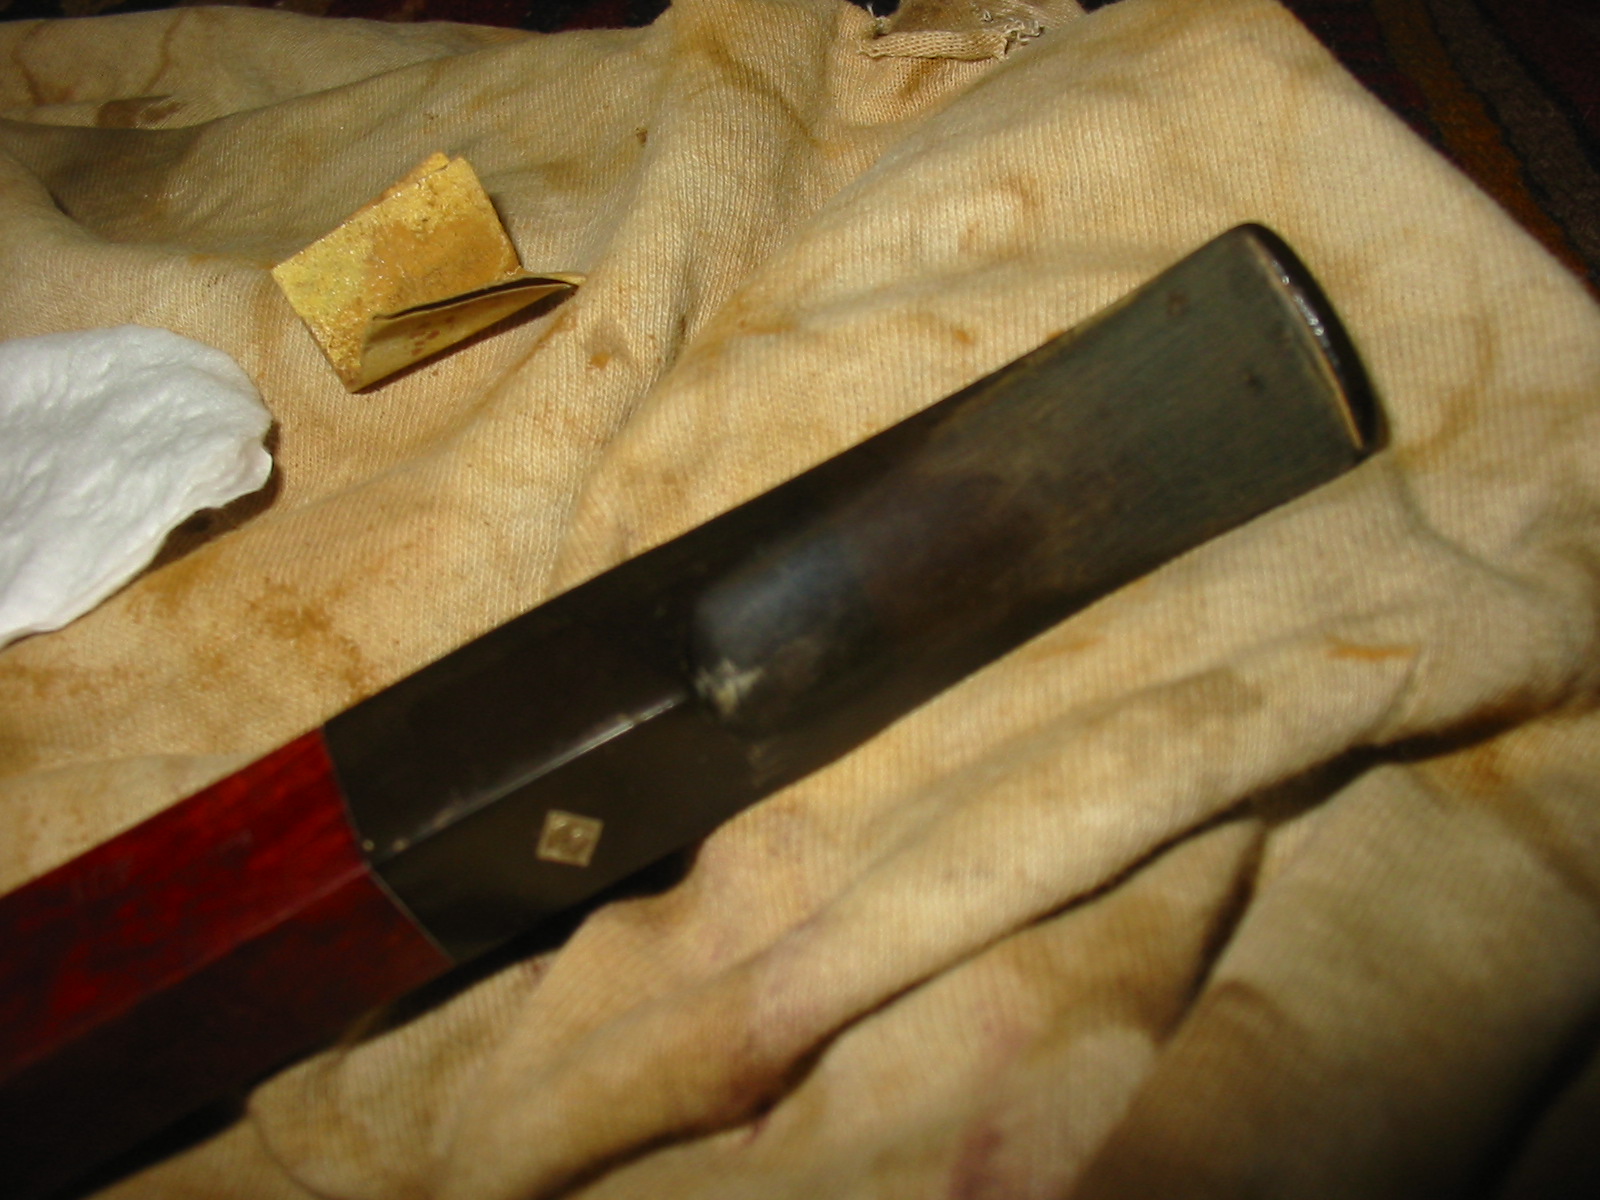
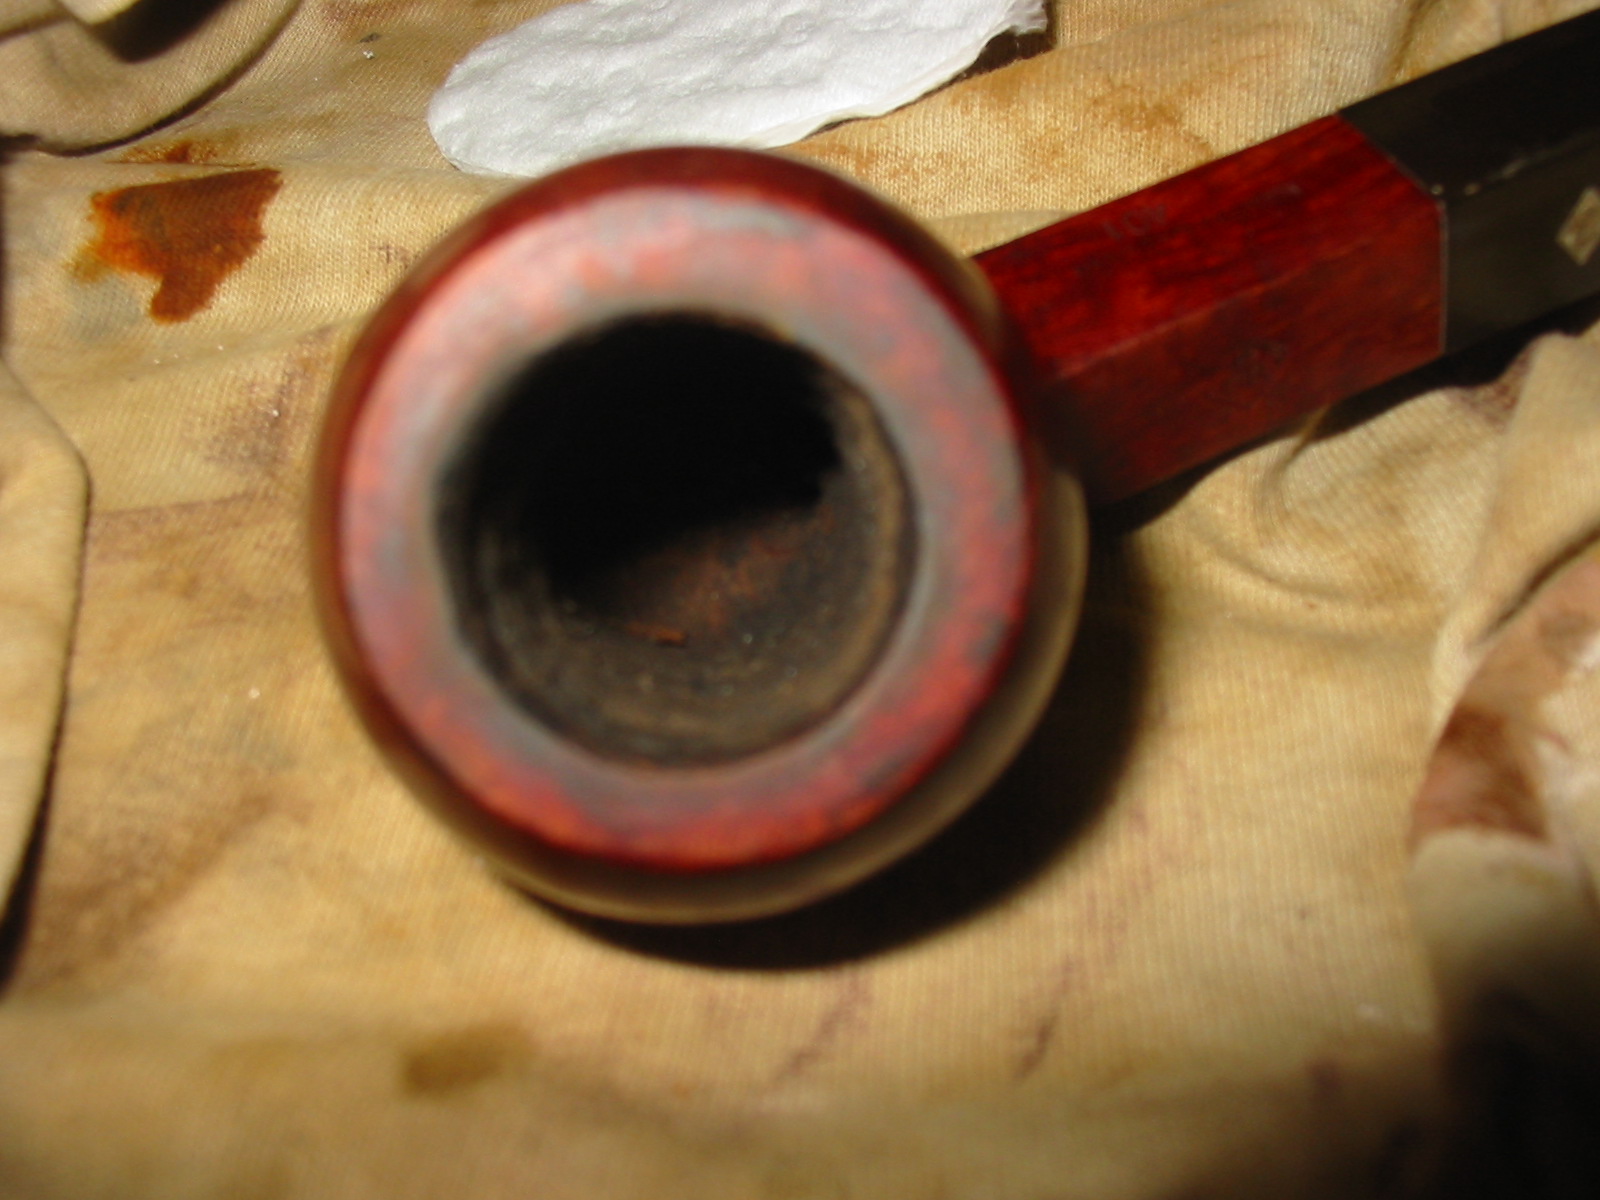
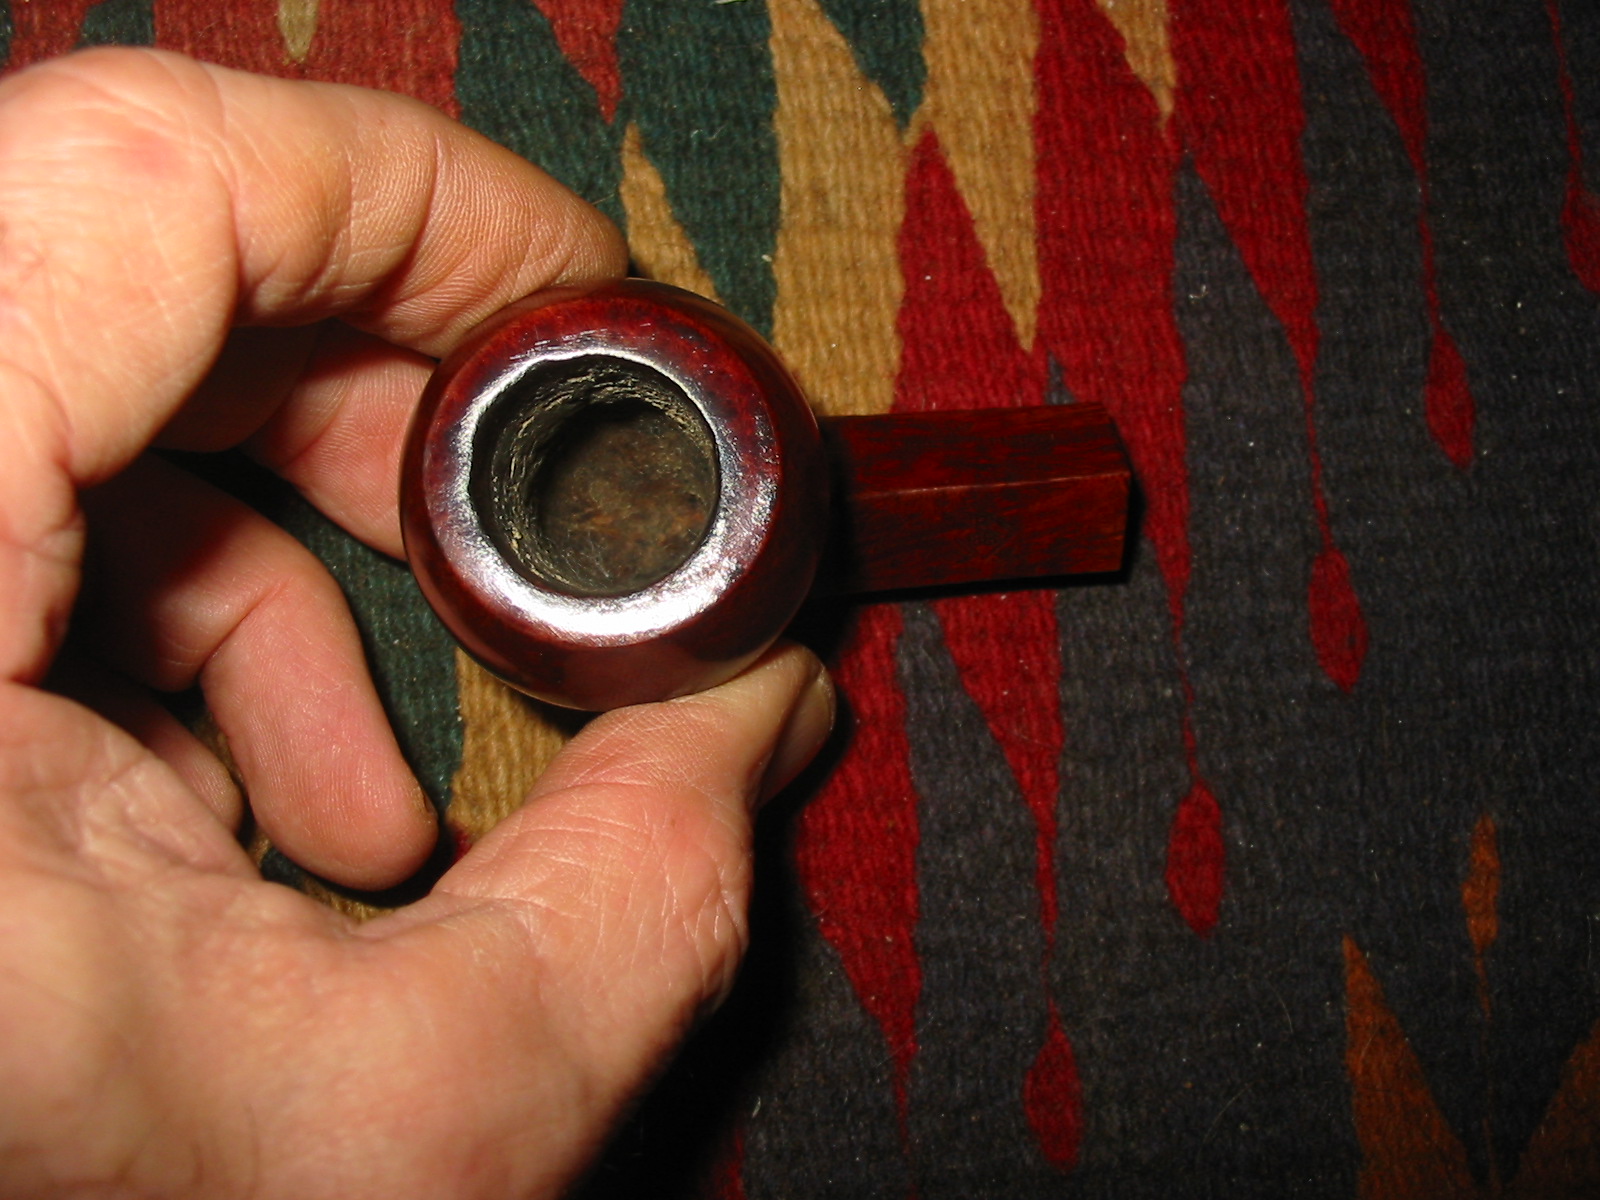
 I took some close up photos of the rim top and the stem surface. I wanted to show what cleaned bowl and rim top looked like. The rim top had some darkening but the inner and outer edges of the bowl were in excellent condition. I also took close up photos of the stem to show the tooth marks and the remaining oxidation on the stem surface.
 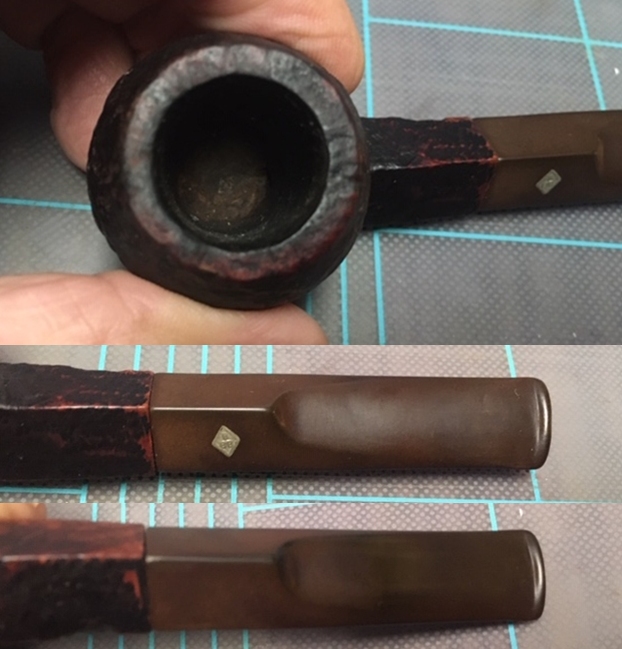 I took photos of the stamping on the left and underside of the shank and it is clear and readable. It is stamped as noted above.
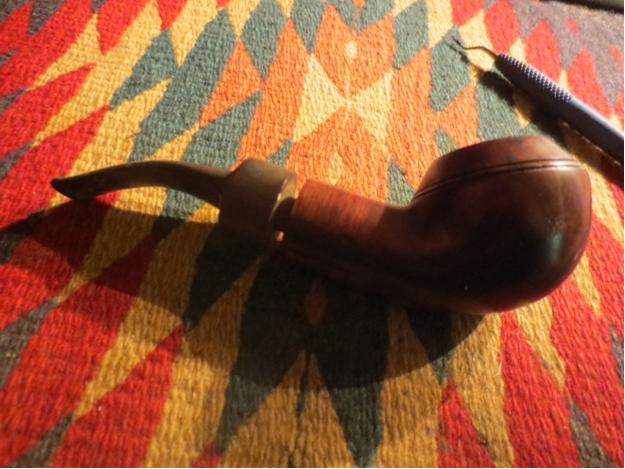
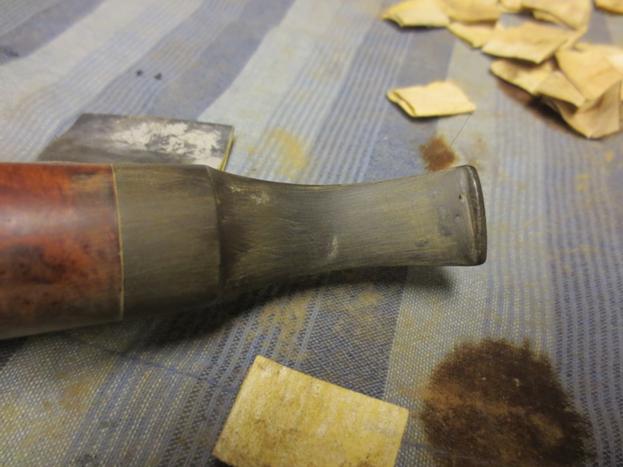
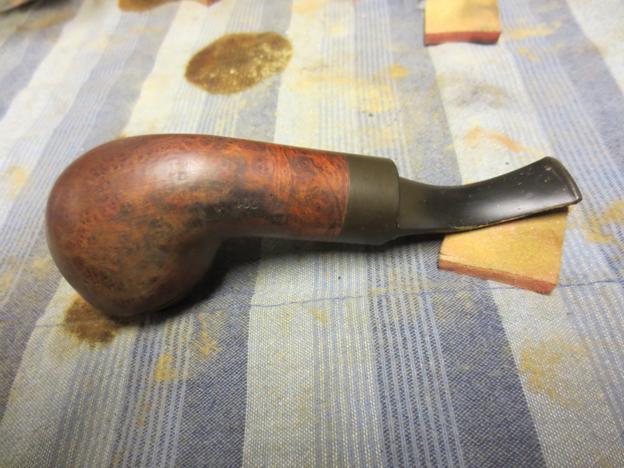
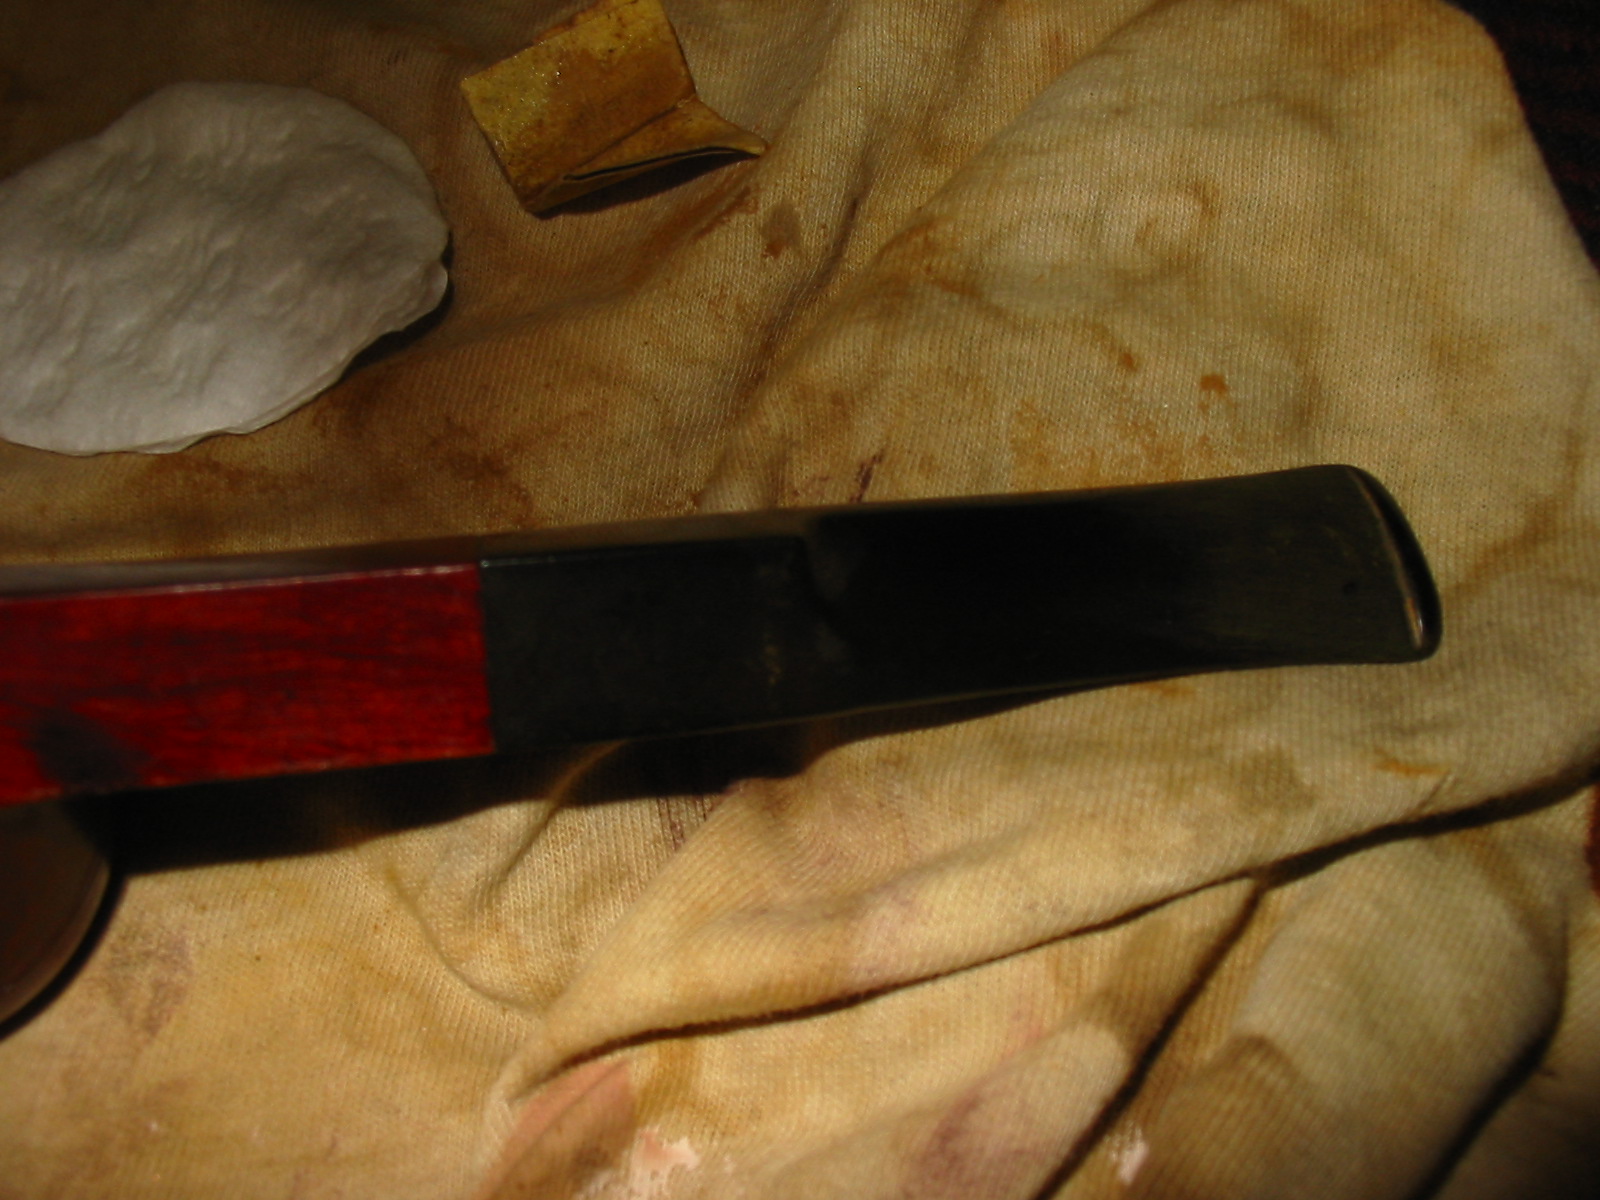
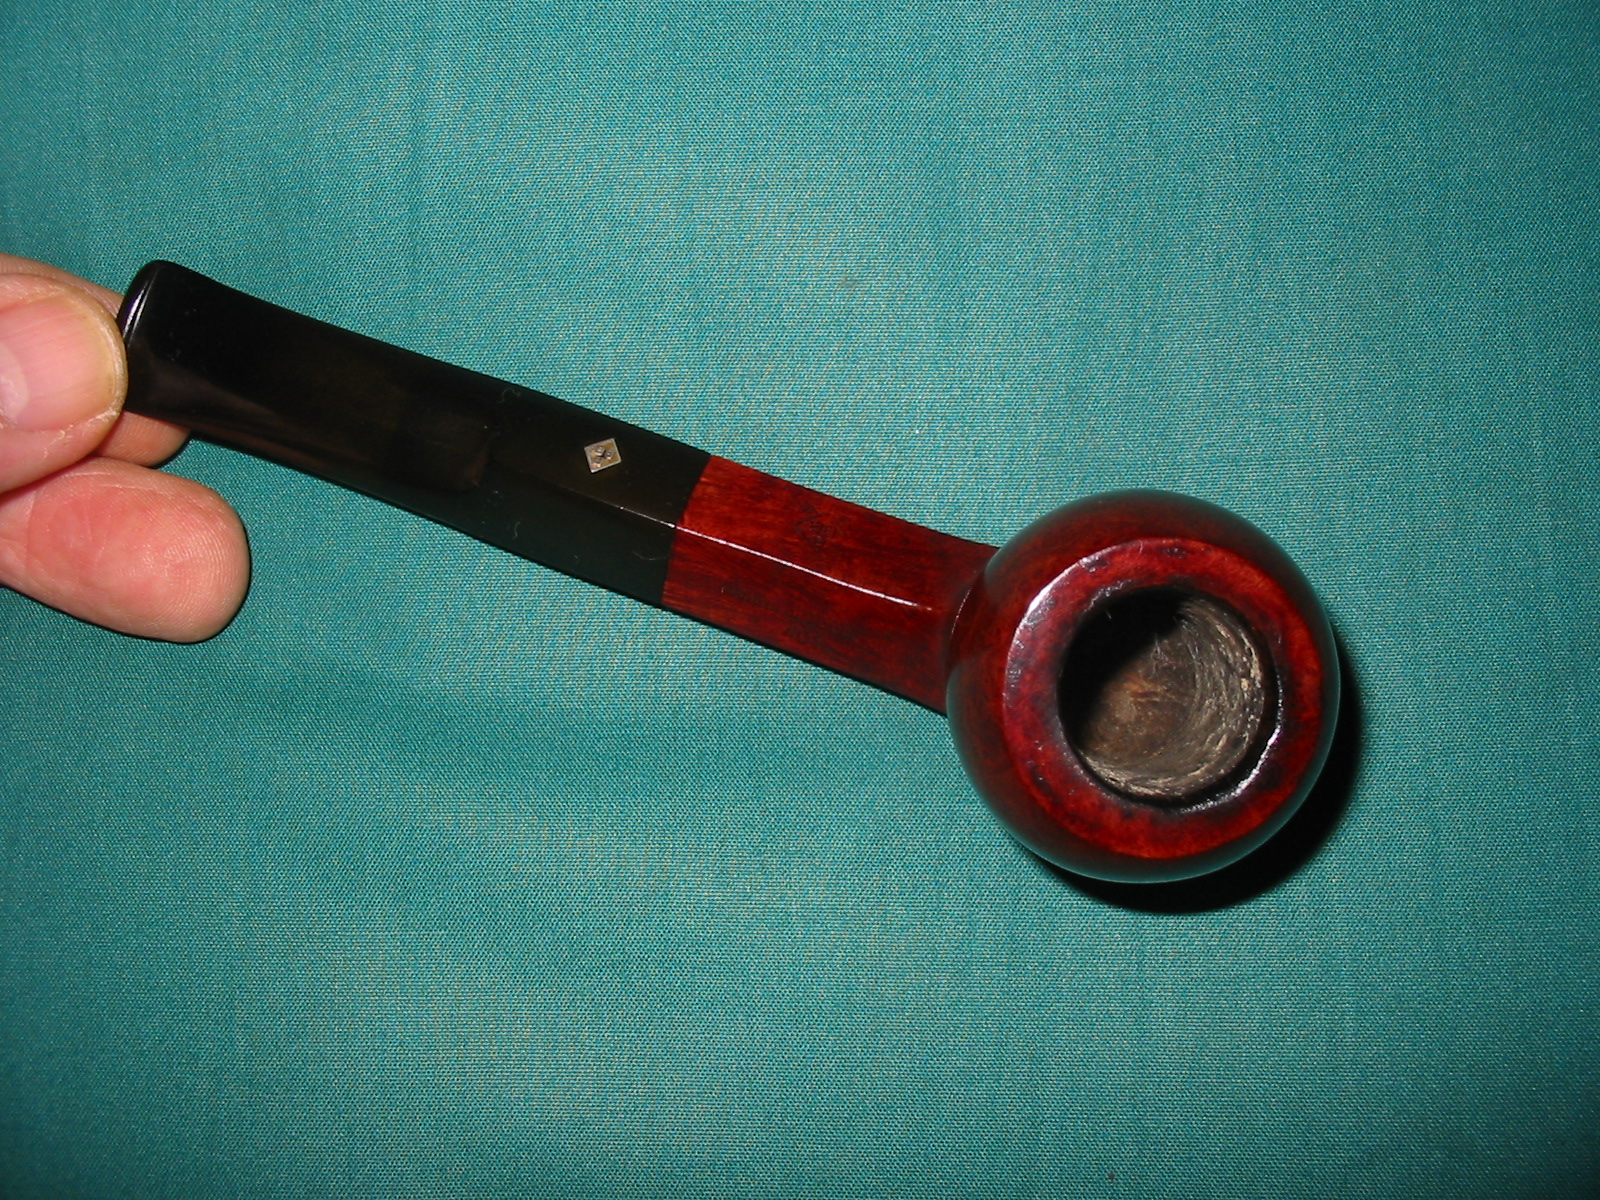
 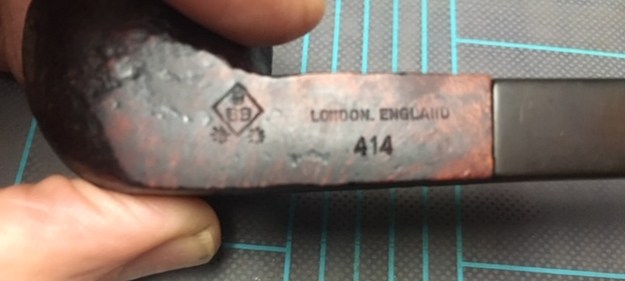 I removed the stem for the shank and took a photo of the bowl and stem to give a picture of what it looked like. The oxidation is very visible.
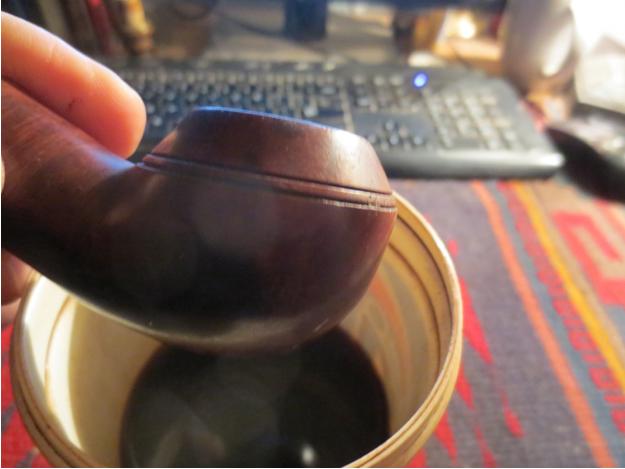
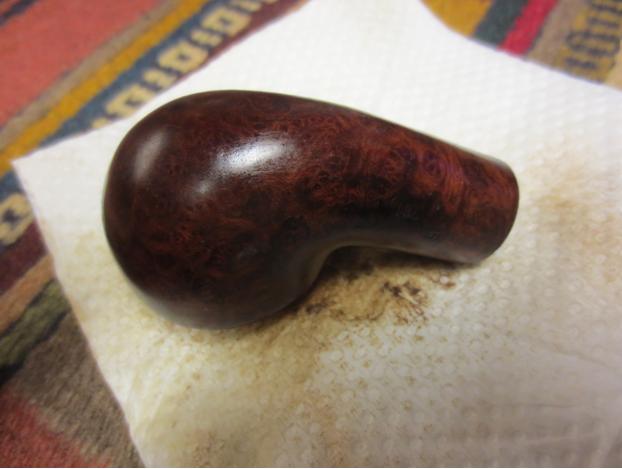
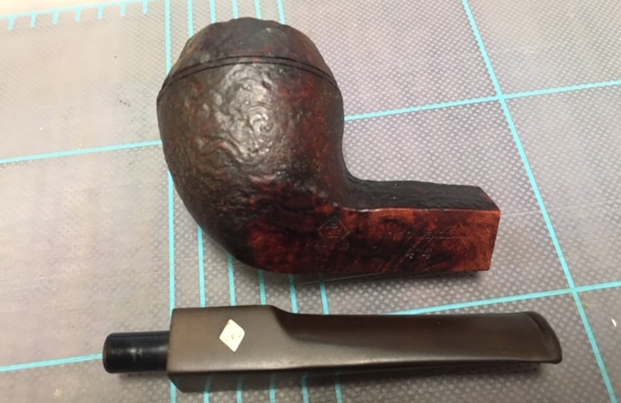 I rubbed the bowl down with Before & After Restoration Balm. I worked it into the surface of the briar with my fingertips and a horse hair shoe brush to clean, enliven and protect it. I let the balm sit for a little while and then buffed with a cotton cloth and shoe brush to raise the shine.
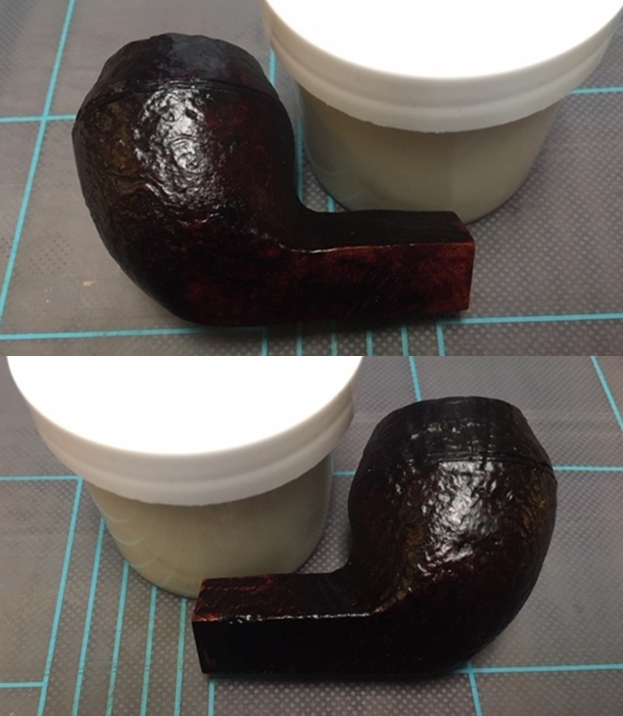

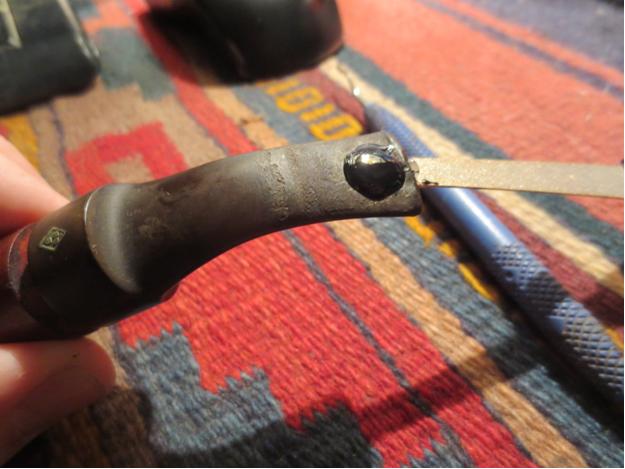
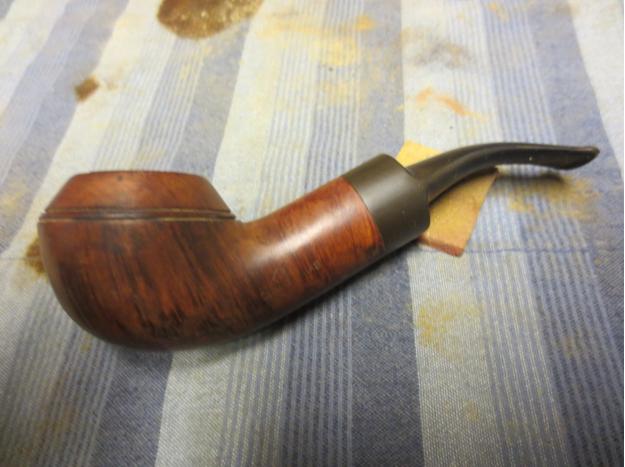
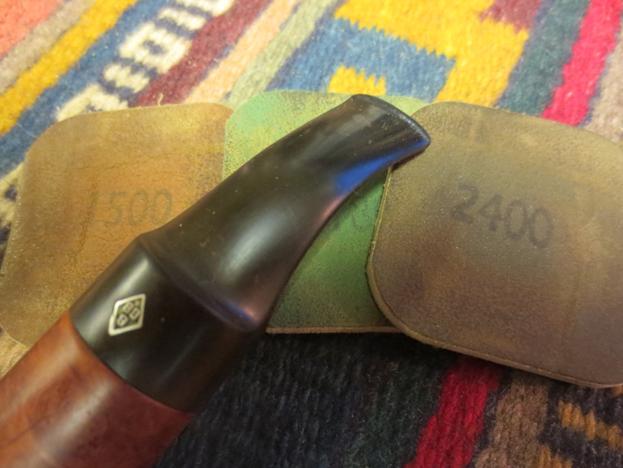
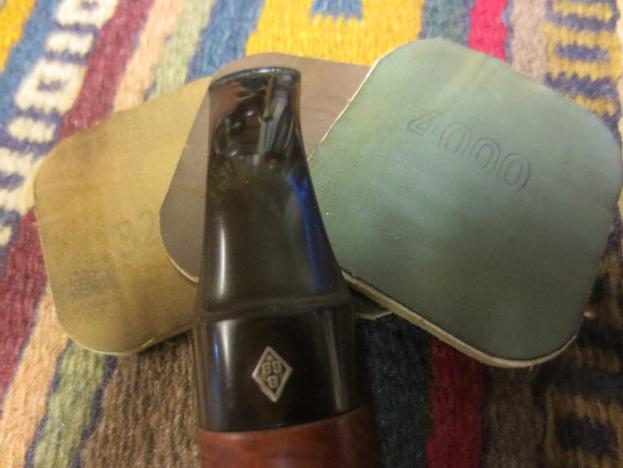
 I set the bowl aside and turned my attention to the stem. I scrubbed the deep oxidation with Soft Scrub. It took a lot of elbow grease but I finally broke through to the shiny surface beneath the brown oxidation.
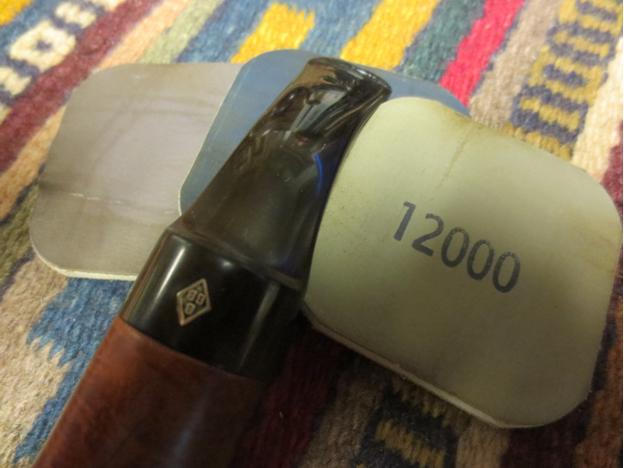
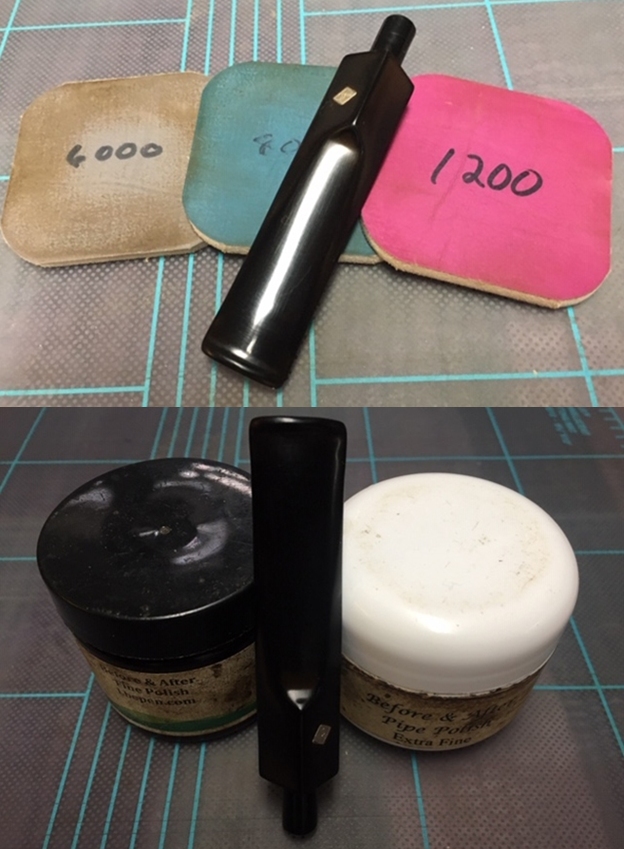
 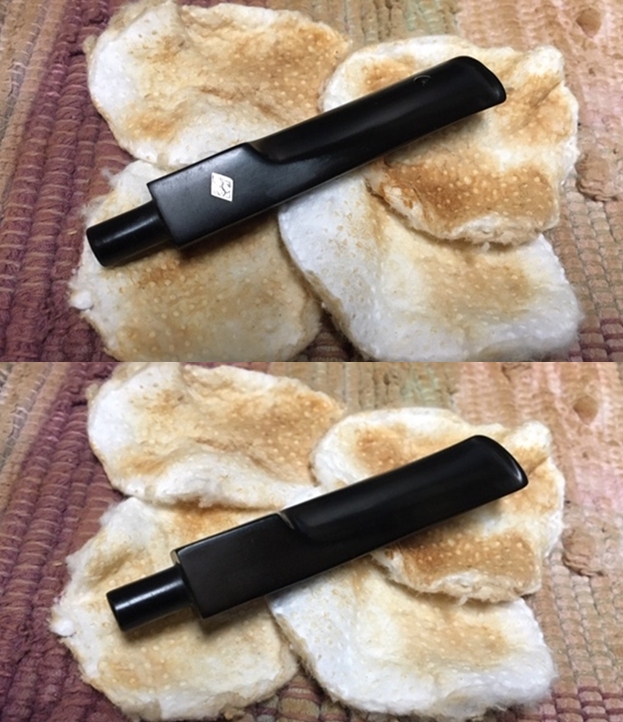 I polished the vulcanite with micromesh sanding pads – 1500-12000 grit pads. I wiped it down with a damp cloth after each sanding pad. I used Before & After Pipe Polish – both Fine and Extra Fine to further polish the stem.
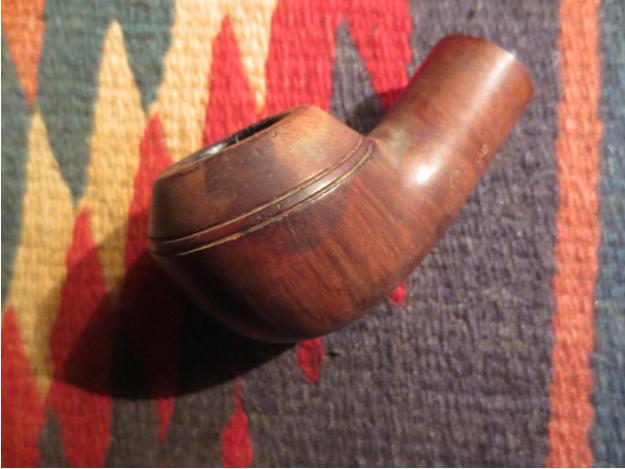
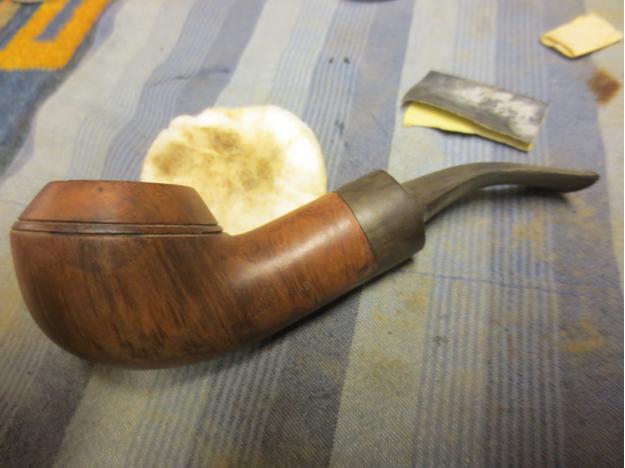
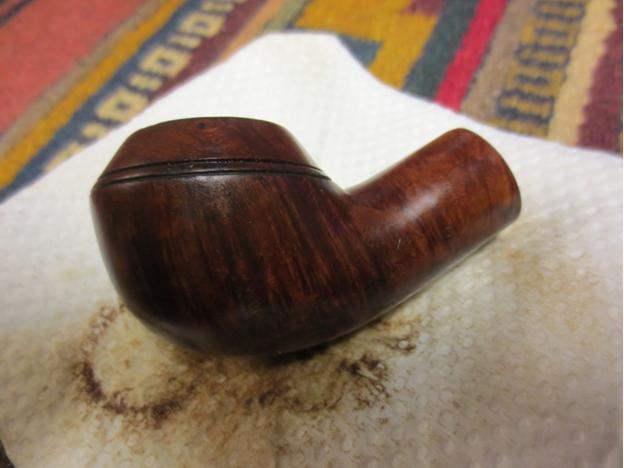
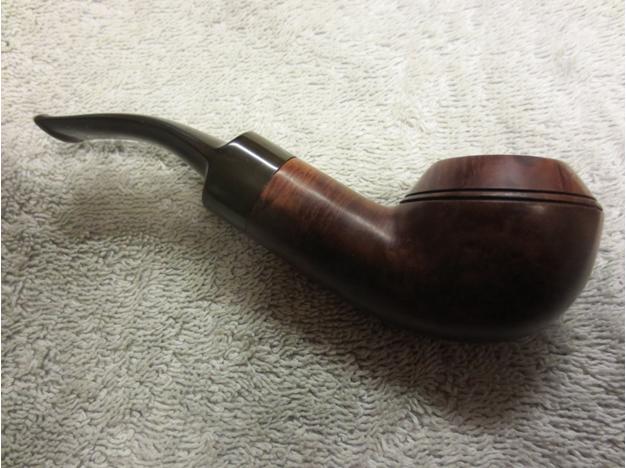
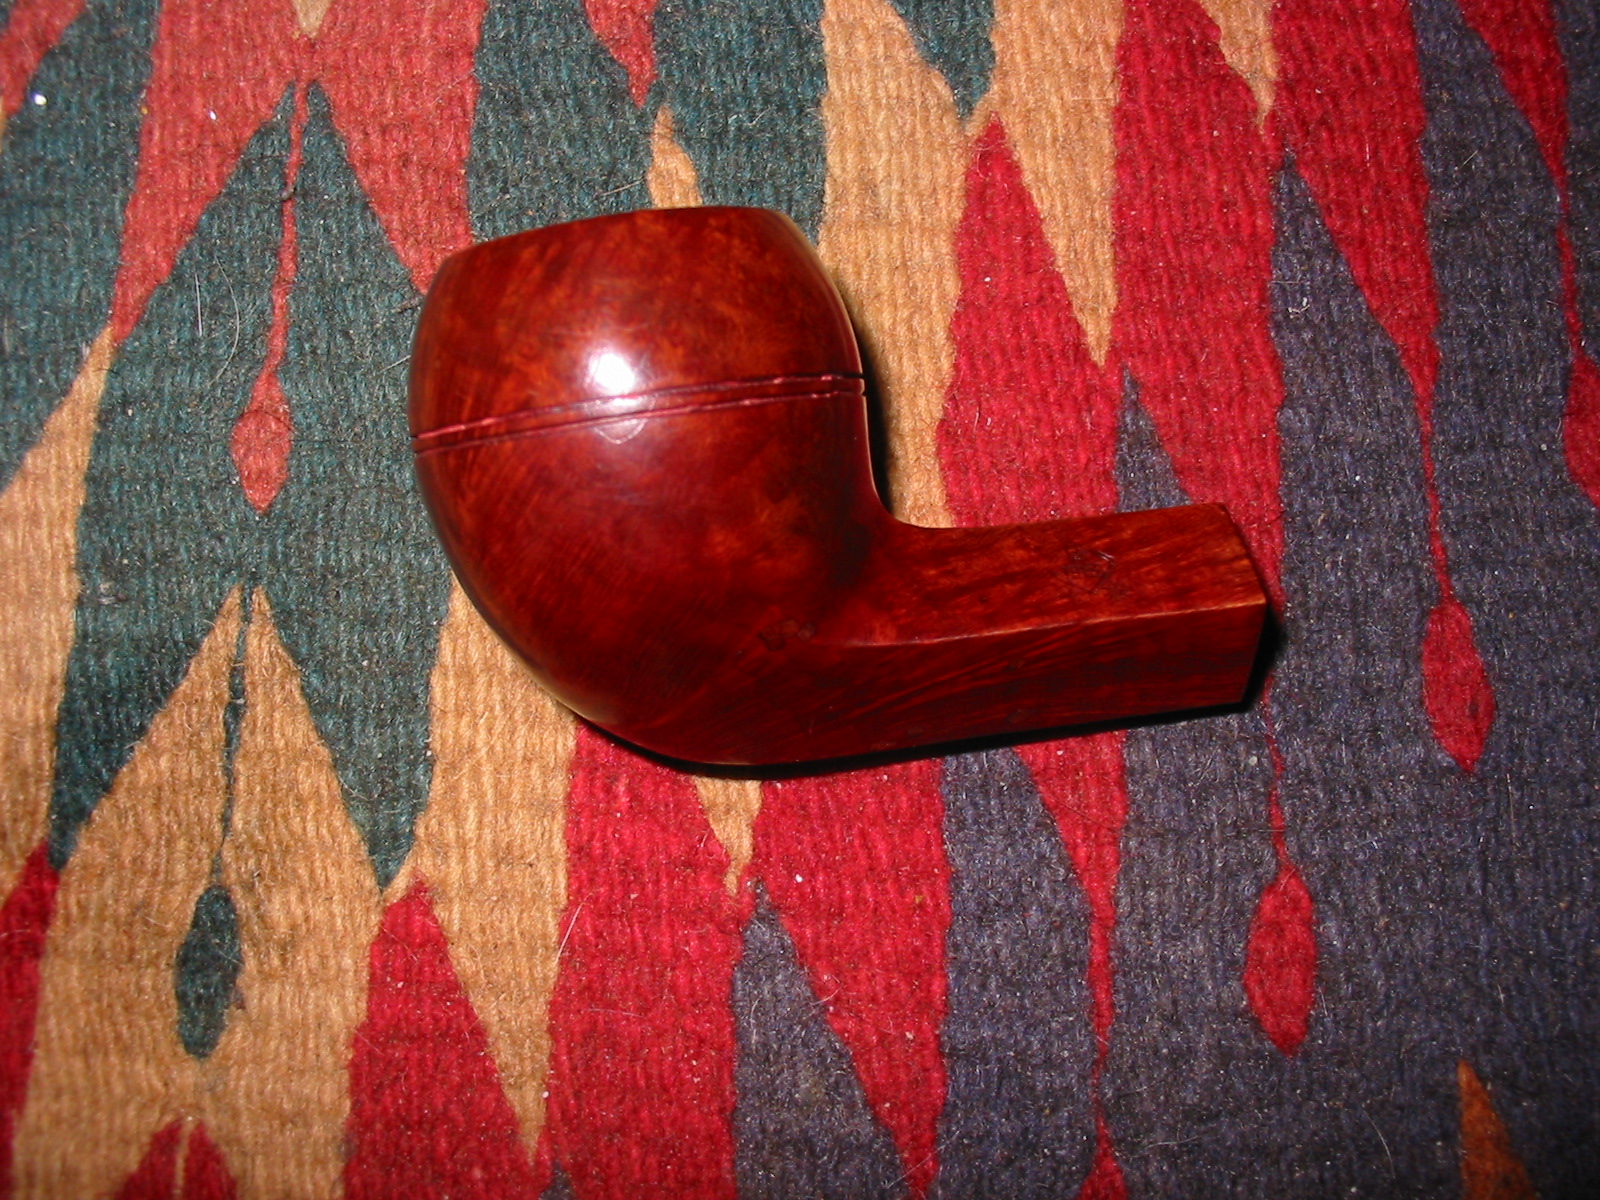
 This gorgeous BBB two star Sandblast Bulldog from Bob Kerr’s estate cleaned up really well and looks very good. The mixed stain brown finish on the pipe is in great condition and works well with the polished vulcanite taper stem. I put the stem back on the bowl and carefully buffed the pipe with Blue Diamond on the buffing wheel using a light touch on the briar. I gave the sandblast bowl multiple coats of Conservator’s Wax and the stem multiple coats of carnauba wax on the buffing wheel and followed that by buffing the entire pipe with a clean buffing pad. I hand buffed the pipe with a microfiber cloth to deepen the shine. The finished BBB Bulldog fits nicely in the hand and I think it will feel great as it heats up with a good tobacco. Give the finished pipe a look in the photos below. The dimensions of the pipe are Length: 5 ¼ inches, Height: 2 inches, Outside diameter of the bowl: 1 ¼ inches, Chamber diameter: ¾ of an inch. If you are interested in carrying on Bob’s legacy with this pipe send me a message or an email. I have more to work on of various brands. Perhaps one of those will catch your attention. Thanks for reading this blog and my reflections on the pipe while I worked on it. This is an interesting estate to bring back to life.