Blog by Steve Laug
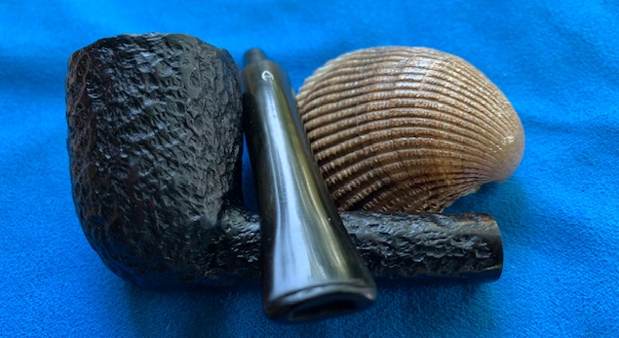
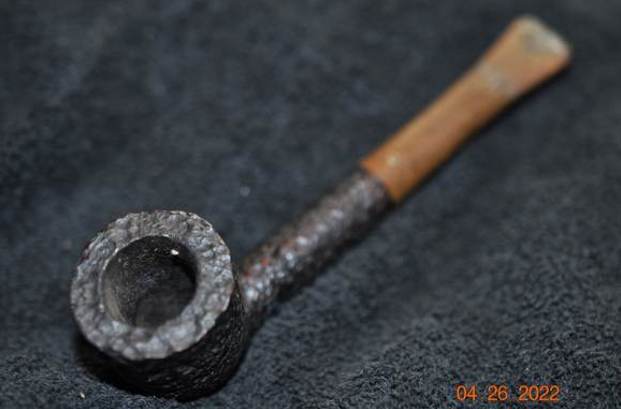
The next pipe on the work table was purchased in July 27, 2020 as part of a group of pipes we obtained from a woman in Australia. The pipe is a medium sized Dublin that is rusticated with a classic Astleys style rustication that was meant to increase the surface area of a bowl and thus provide a cooler smoke. This one is stamped on the underside of the shank and reads 52 (shape number) followed by Astleys [over] 109 Jermyn St. [over] London. The pipe was quite dirty and the bowl was thickly caked. The rim edges looked to be in good condition. The taper stem was vulcanite and had tooth marks and chatter on both sides near the button. The stem was oxidized and had some calcification on the end. The Astleys “A” stamp on the top of the stem was visible and readable. Jeff took some photos of the pipe to show the general condition of the pipe before he started his clean up. 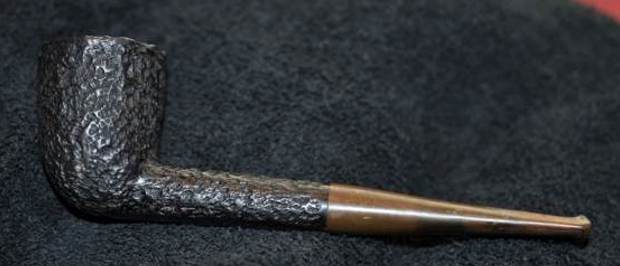
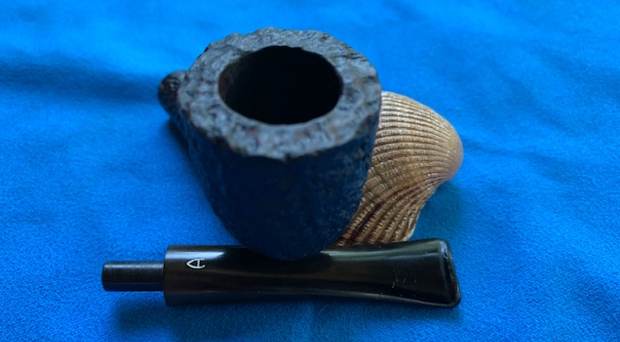
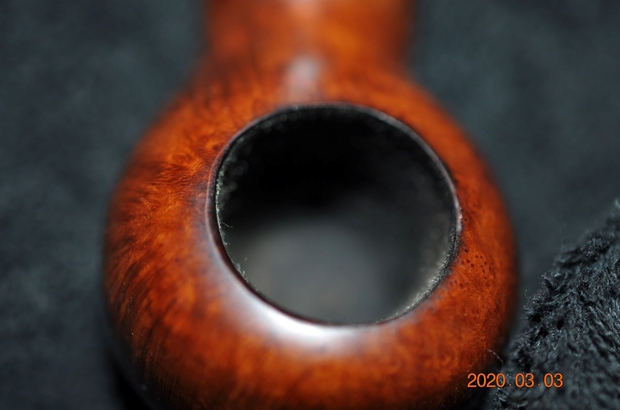
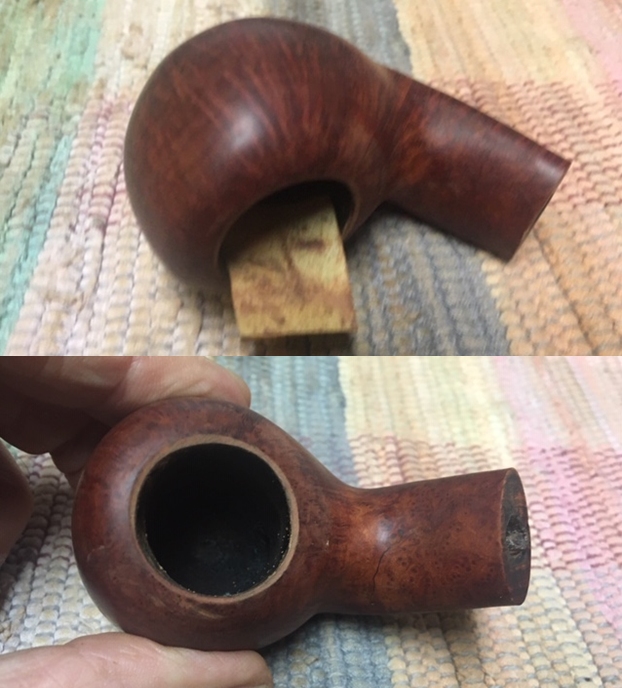
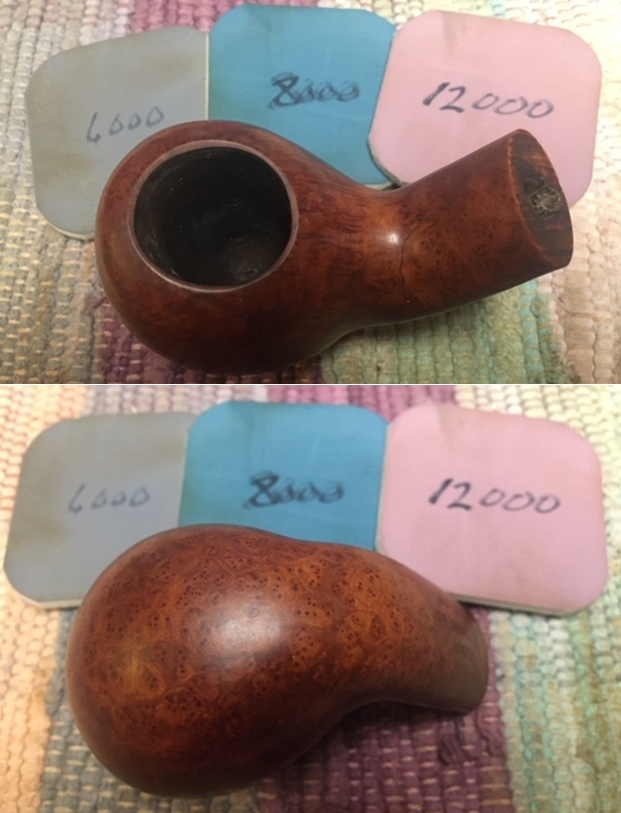
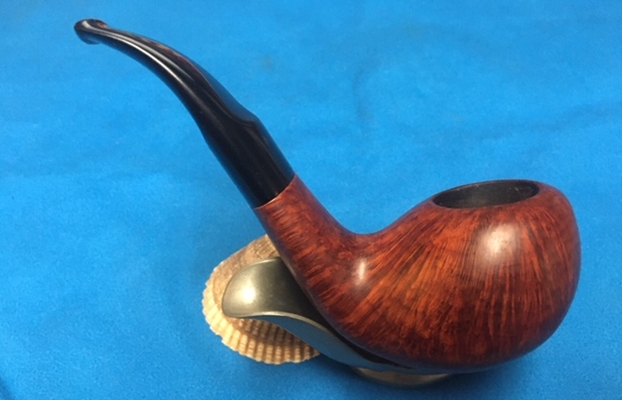
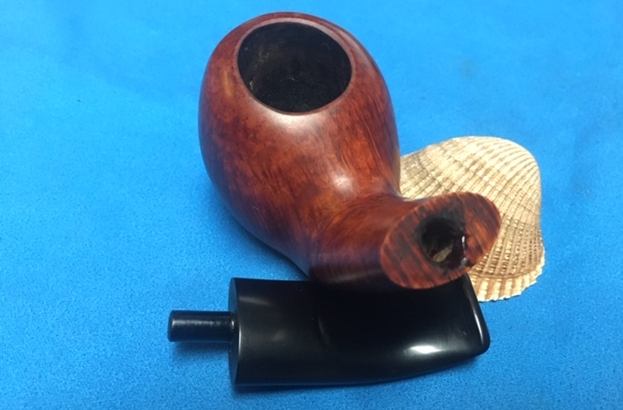
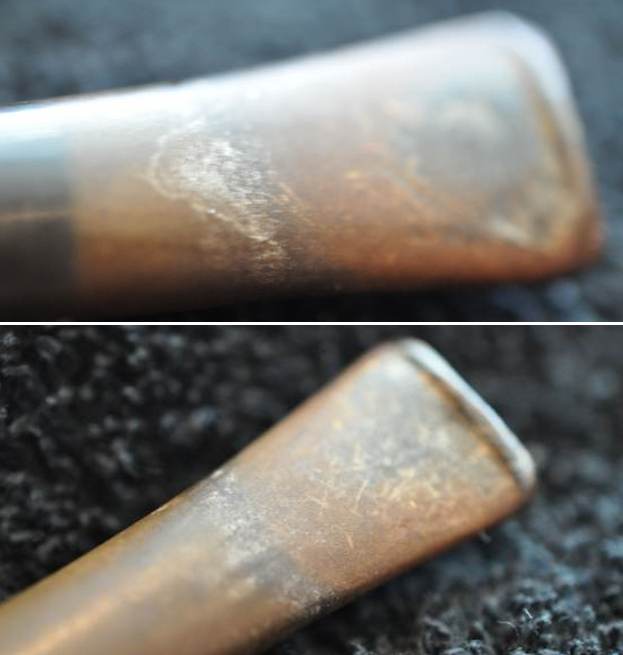
 He took some photos of the bowl and stem to give a sense of the condition of the pipe. You can see the cake and debris in the bowl and the lava in the rustication on the rim top. The stem was dirty and had calcification on both sides at the button. There is also some tooth chatter and some light tooth marks.
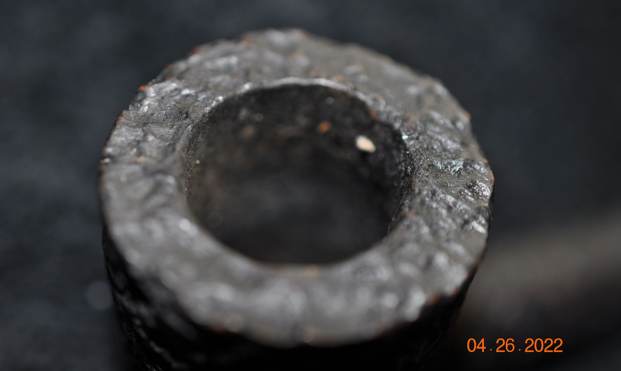
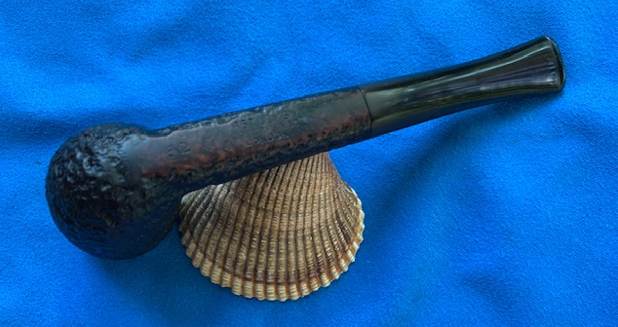
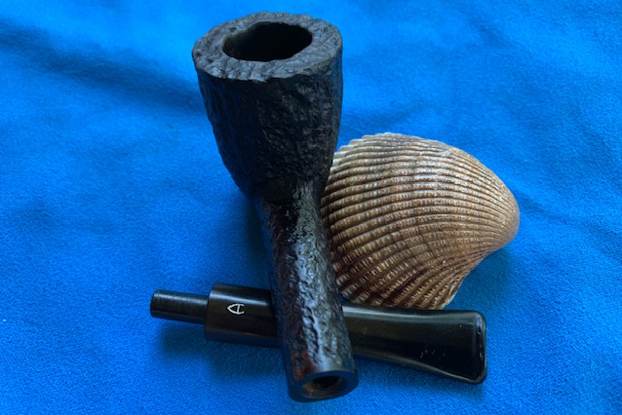
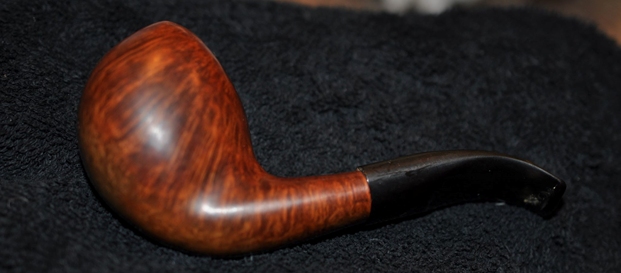
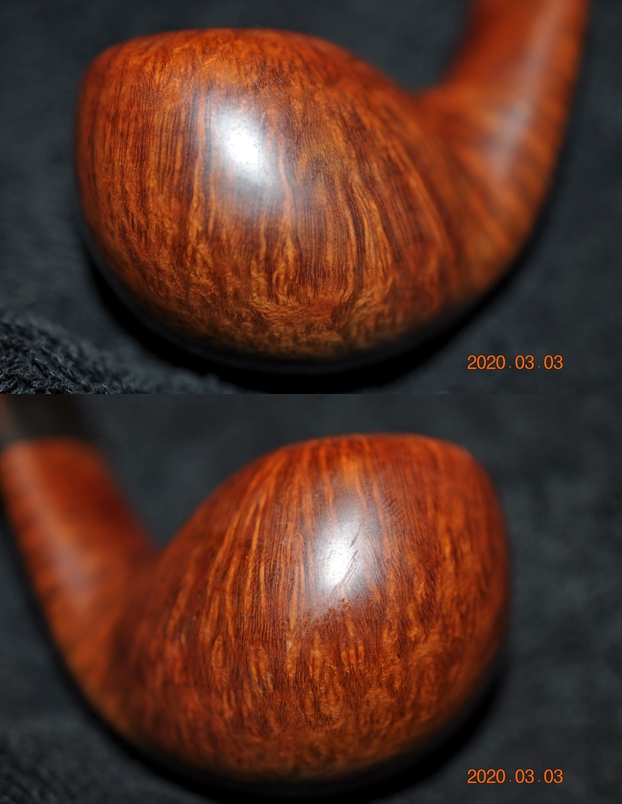
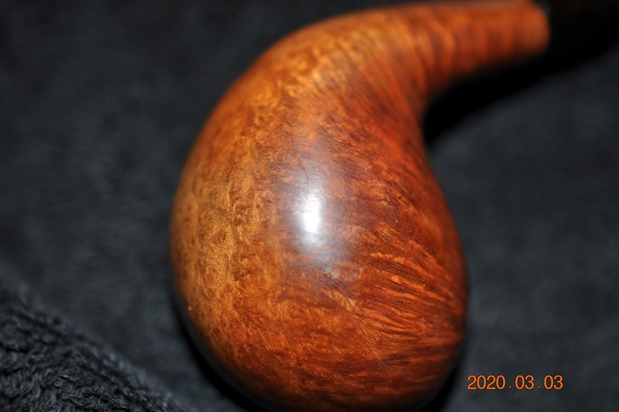
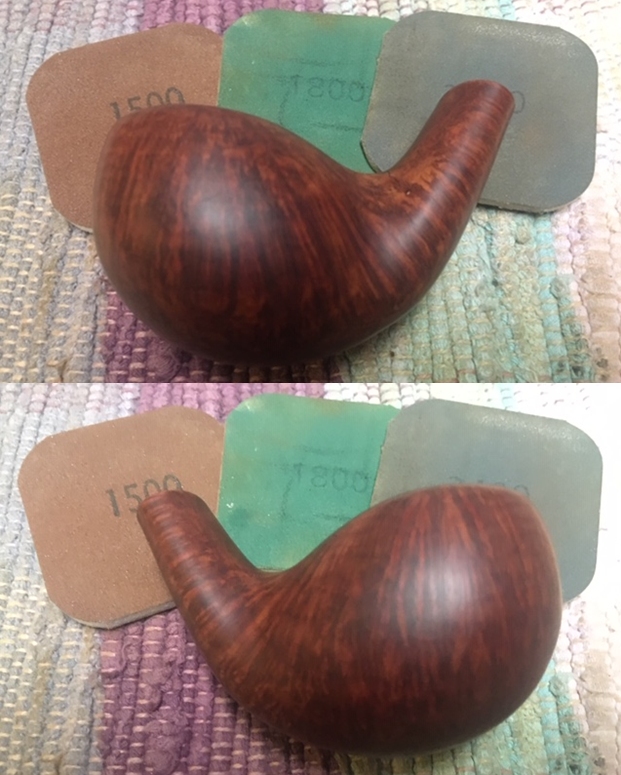
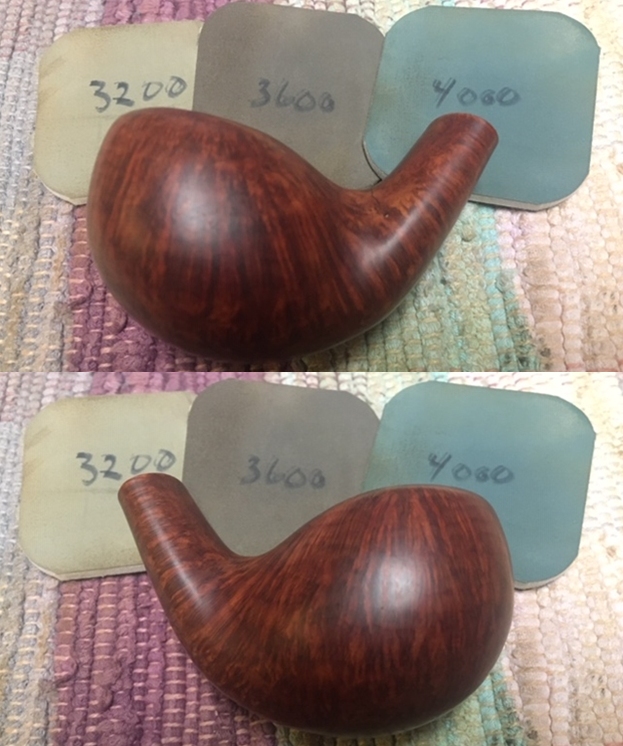
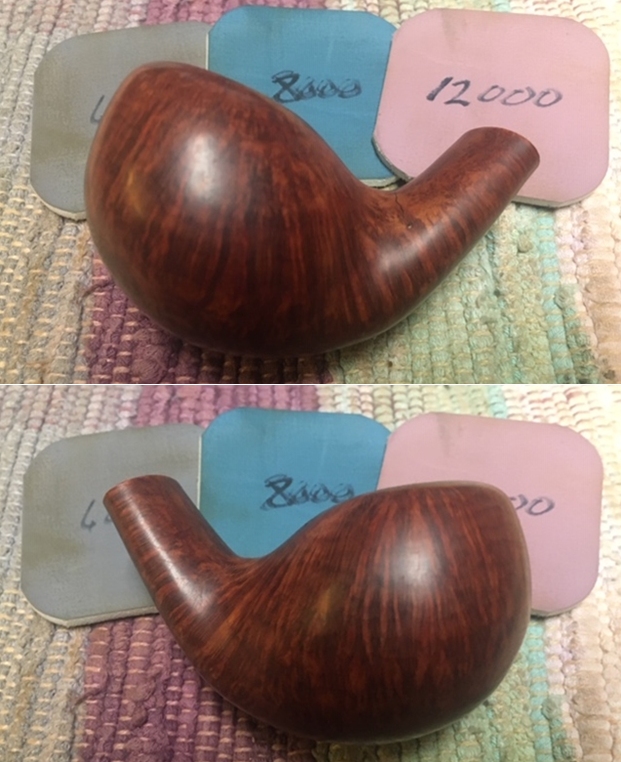
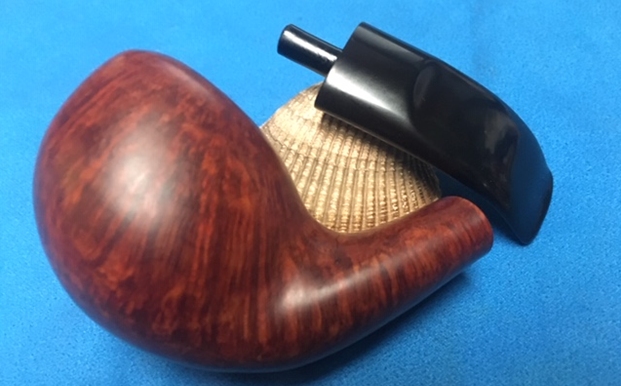
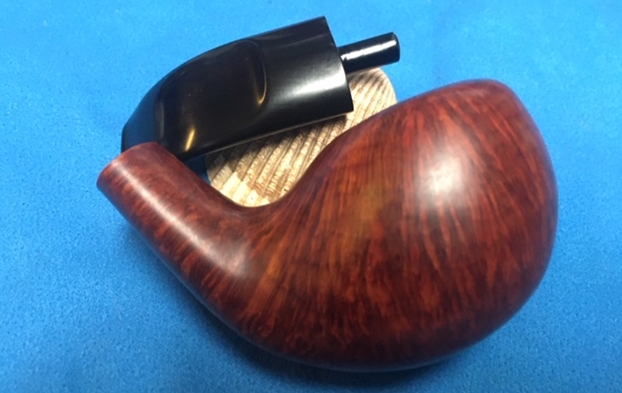
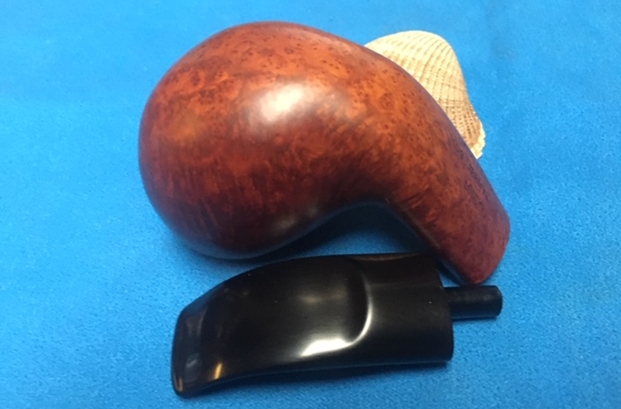
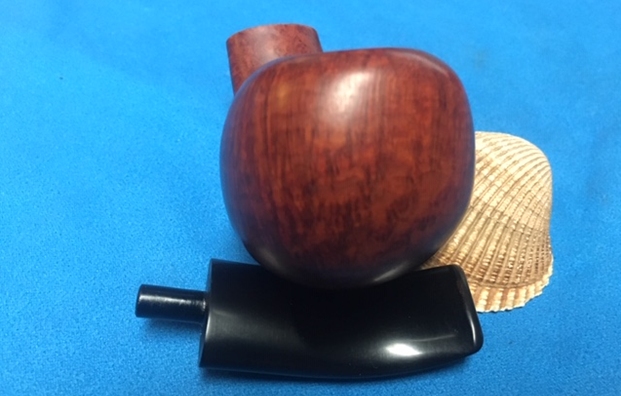
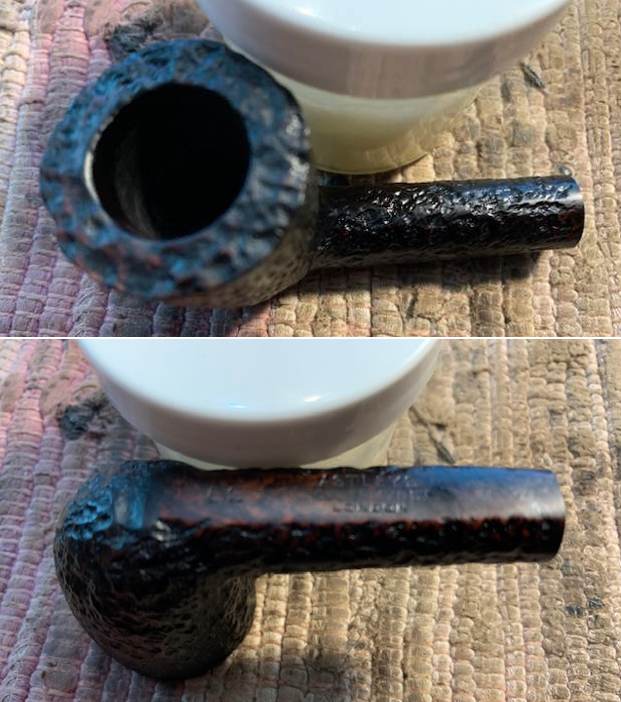
 Jeff took some photos of the sides and heel of the bowl to show the condition of the finish on the pipe. The photos show the rustication patterns around the bowl. Under the oils and grime it was a nice looking bowl. I think it will be a really nice looking pipe once it is restored.
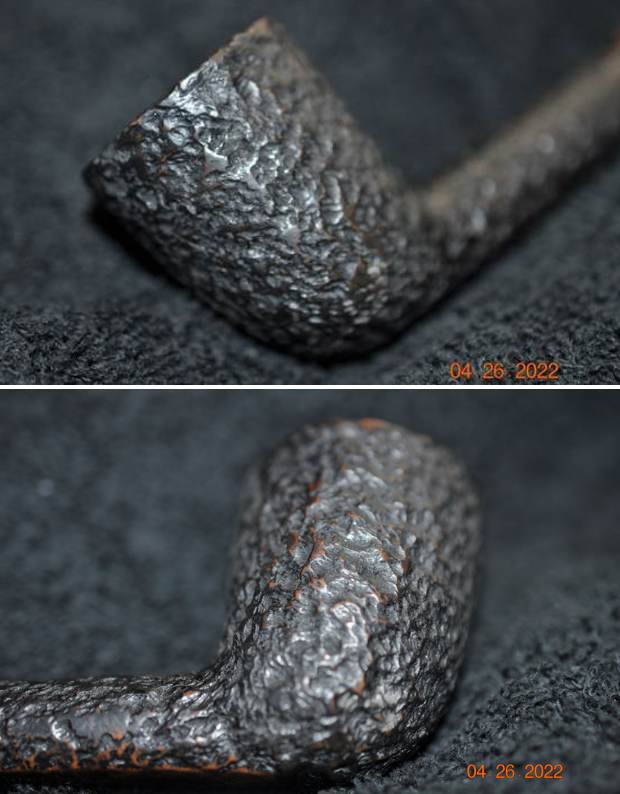
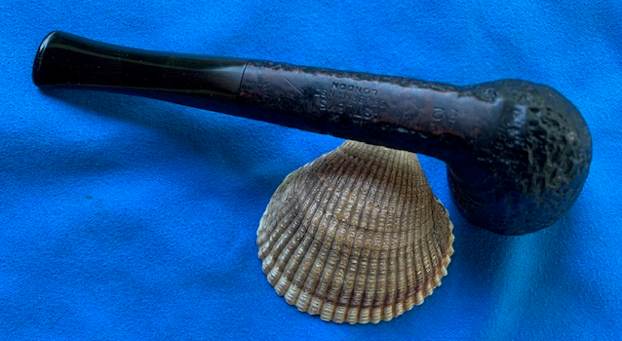
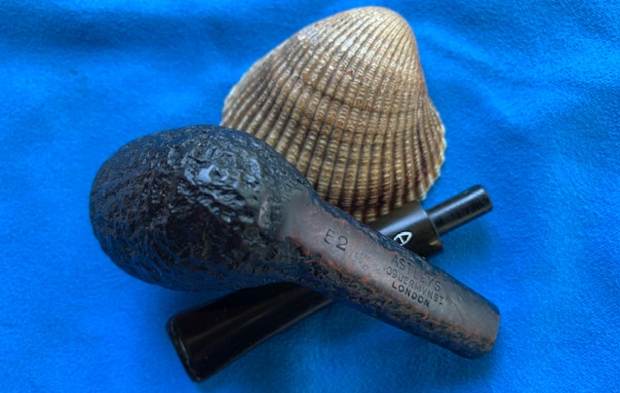
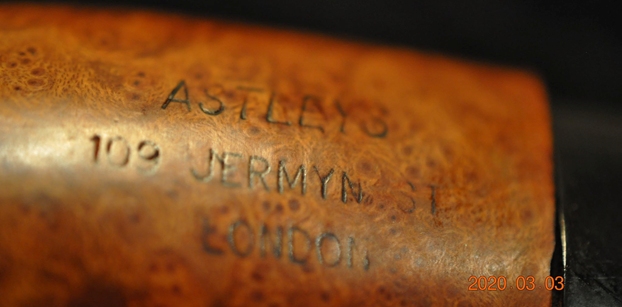
 He took photos of the stamping on the underside of the shank and the top of the stem. On the shank it was stamped as noted above. The stem bore the Astleys “A” logo on the topside.
 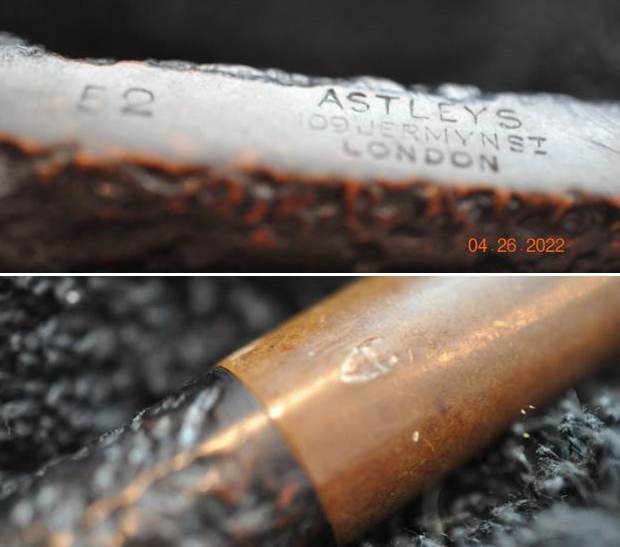 I turned to Pipephil’s site to get an overview on the brand (http://pipephil.eu/logos/en/logo-a8.html). I have included a screen capture below of several pipes that showed the stamping and the logo on the stem.
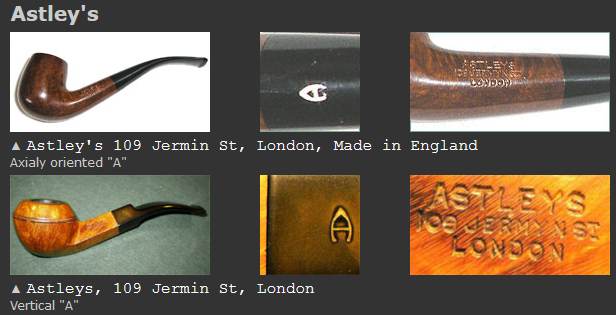 There was also a link on the site to a blog article in French on a Astleys Cavalier pipe that also included some helpful information (http://pipes.over-blog.com/article-4532650.html). I have included both the French article and the Google Translation below.
Il est à peu près inconcevable, dans une rubrique traitant des pipes Cavalier, de ne pas citer la marque anglaise Astley’s.
En fait de marque, il s’agit initialement d’une vénérable civette londonienne qui fêtait ses 100 ans en 1962. Le magasin, d’abord installé au 109 Jermyn Street (1) s’est déplacé à Piccadilly Arcade et a malheureusement fermé ses portes à la fin des années 90.
Comme le font souvent les civettes, les propriétaires avaient l’habitude de faire produire leurs pipes par les pipiers de leur choix et d’apposer ensuite leur propre label. Les pipes vendues chez Astley’s étaient produites, selon l’époque, par Charatan, Ashton ou James Upshall. Certains prétendent qu’avant la fermeture on commandait aussi à Comoy et GBD, ce qui n’est pas vraiment vérifié.
Quoiqu’il en soit la marque a été rachetée par Mordechai Ezrati, un collectionneur de pipe, qui a aussi acquis James Upshall.
Translation
It is almost inconceivable, in a section dealing with Cavalier pipes, not to mention the English brand Astley’s.
As a brand, it was initially a venerable London civet which celebrated its 100th anniversary in 1962. The store, first installed at 109 Jermyn Street (1) moved to Piccadilly Arcade and unfortunately closed its doors in the late 90s.
As civets often do, owners used to have their pipes produced by the pipe makers of their choice and then affix their own label. The pipes sold at Astley’s were produced, depending on the era, by Charatan, Ashton or James Upshall. Some claim that before the closure we also ordered from Comoy and GBD, which is not really verified.
Anyway the brand was bought by Mordechai Ezrati, a pipe collector, who also acquired James Upshall.
From this I found it interesting that various English pipe makers crafted pipes for Astleys. I have highlighted the pertinent section on that above.
From there I turned to the article on Pipedia (https://pipedia.org/wiki/Astley%27s). I quote:
Astley’s was both a brand and name of a famous London tobacconist. The first shop was founded in 1862 and was located at 109 Jermyn Street, just down the road from the Charatan’s shop. They sold meerschaum pipes and later classic pipe shaped briar pipes. The owner of this shop was Mr. Paul Bentley whose family owned and ran the shop since the 1930’s. The shop closed some time ago, and the name of the brand was bought by Mordechai (Moty) Ezrati, who also owns the James Upshall pipe brand.
Astley’s served as an extremely exclusive and renowned shopping outlet for outstanding pipes for the British royalty and London gentry alike. Visitors to London sought out this shop as a ‘must visit’ during their stay. Although they never made their own pipes, the Astley branded pipe was made on contract by Charatan (until the 1980’s), James Upshall, Dunhill, L&JS, and Bill Taylor of Ashton pipes. Some sources (The Piperack for instance) say that Comoy’s and GBD had also made pipes for Astley’s. The shop always commanded extremely high prices for their much sought after specimens.
After Charatan had changed hands and was sold to Herman Lane Limited in the United States, Astley’s continued with their high grade pipe sales by presenting some of the best examples of British pipe manufacturing to pipe connoisseurs around the world.
Stamping: Astley’s, 109 Jermyn St, London (before, Wm Astley & Company, 109 Jermyn St S.W. London). Symbol: Styled white ‘A’.
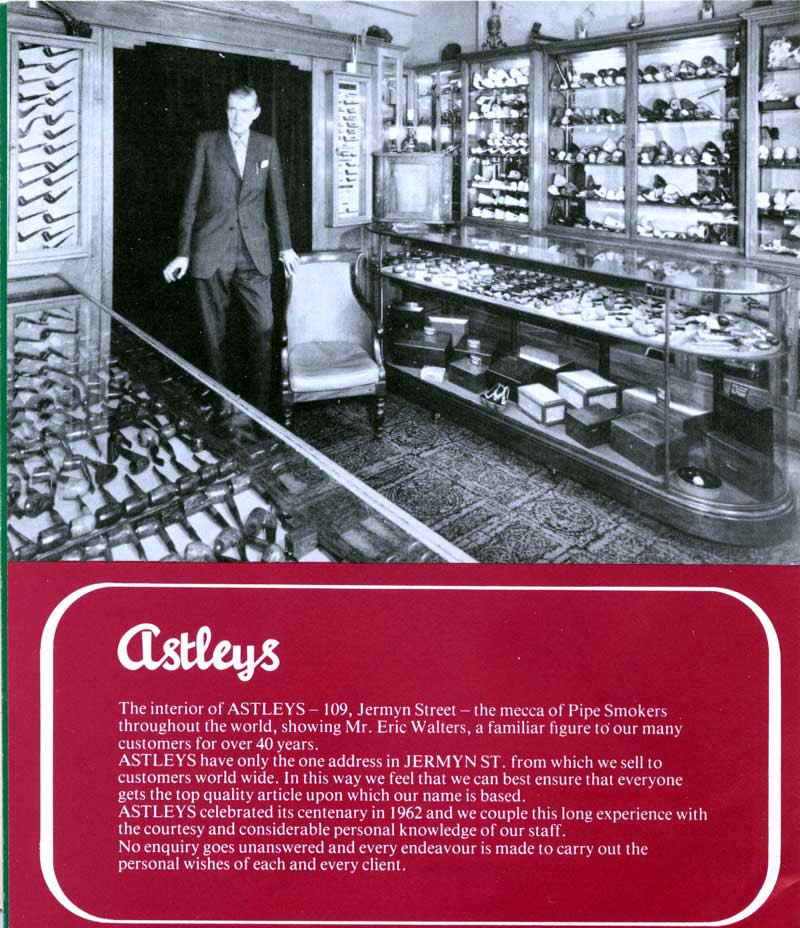
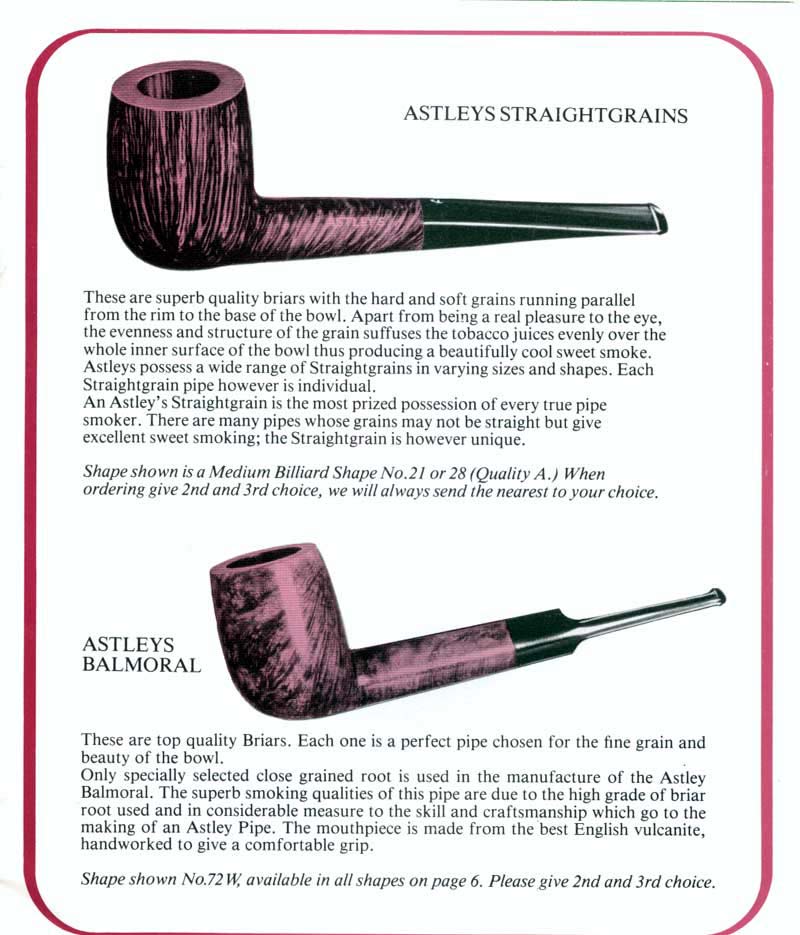
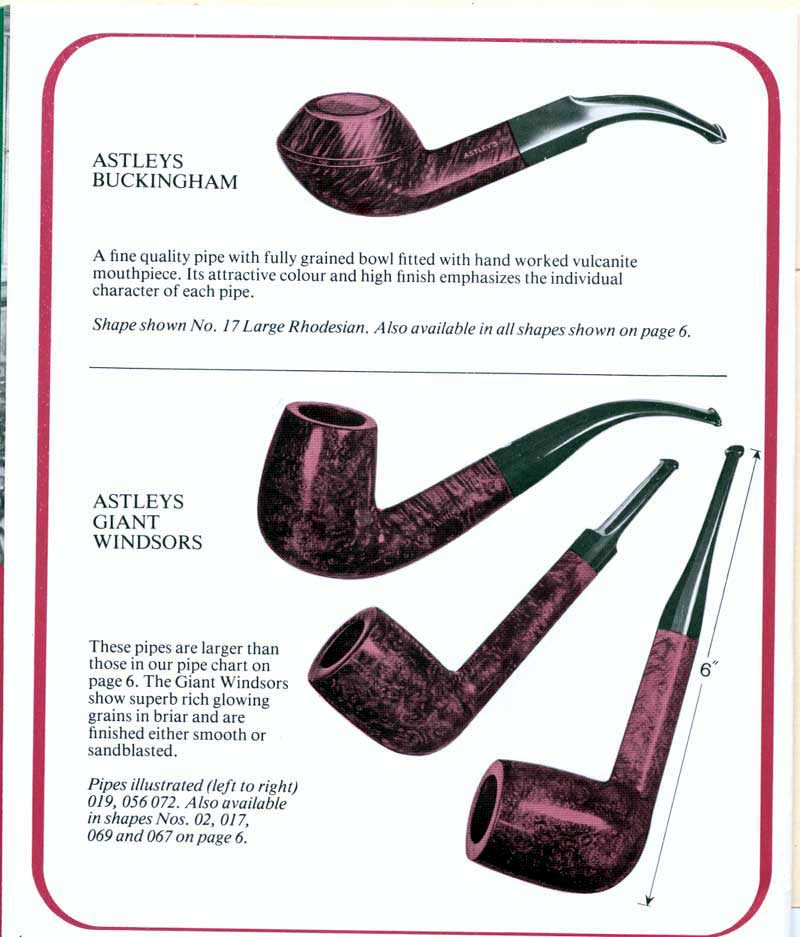
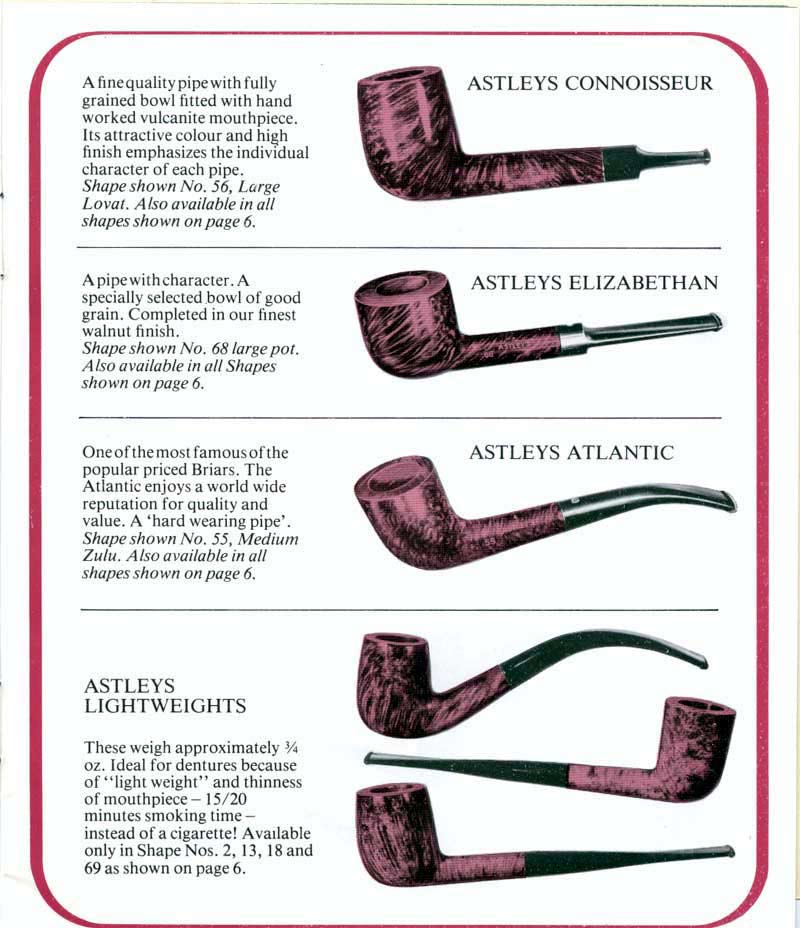
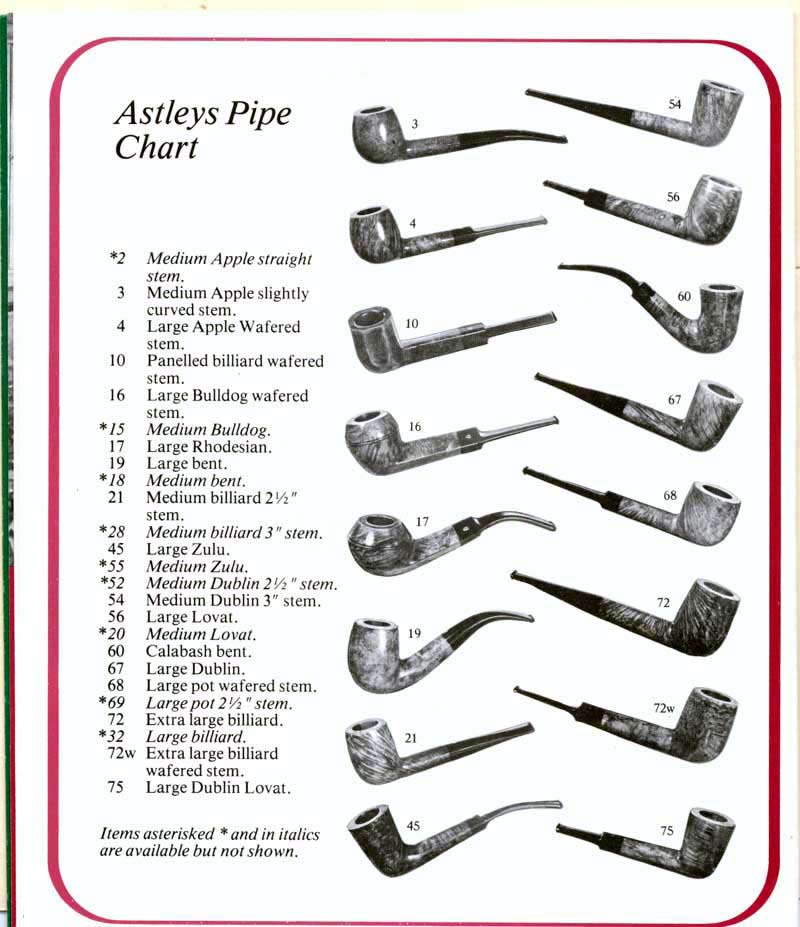
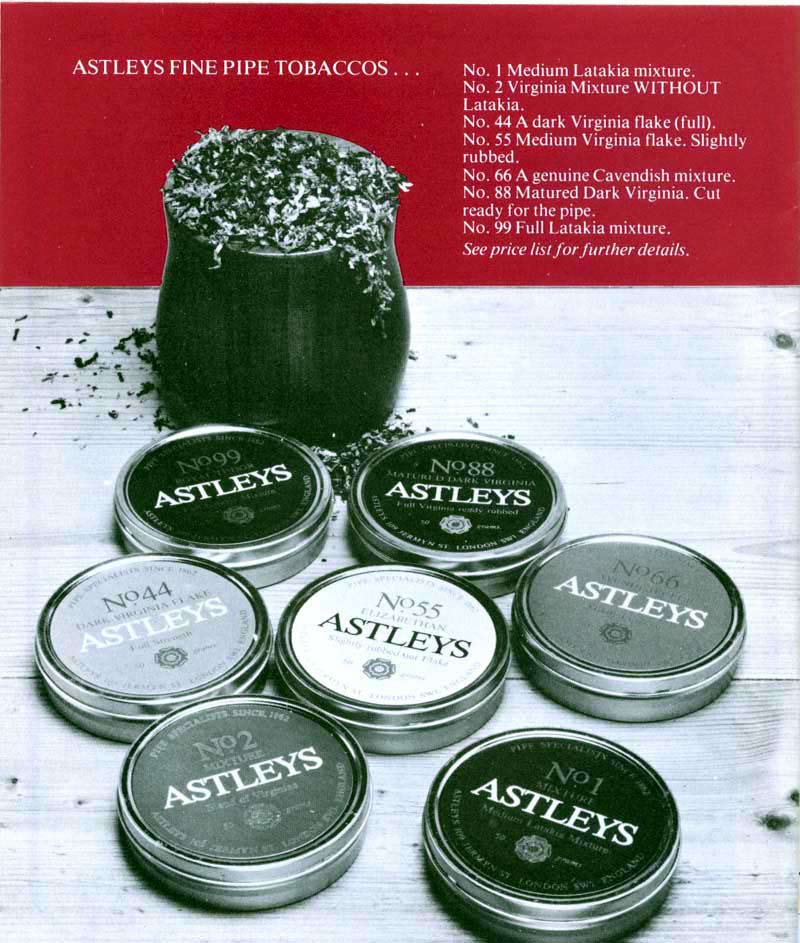
I have a copy of an Astleys Catalogue on rebornpipes so I have included a link to that below as well as some pages that show the shape and the finish of the pipe I am working on. I have drawn a red box around the shape number (https://rebornpipes.com/2012/08/10/astleys-pipe-catalogue/). I have also drawn a box around the style of finish on the pipe I working on. The photo seems to show a sandblast but does not say so. The pipe I am working on looks similar but it is rusticated in a typical Astleys fashion.
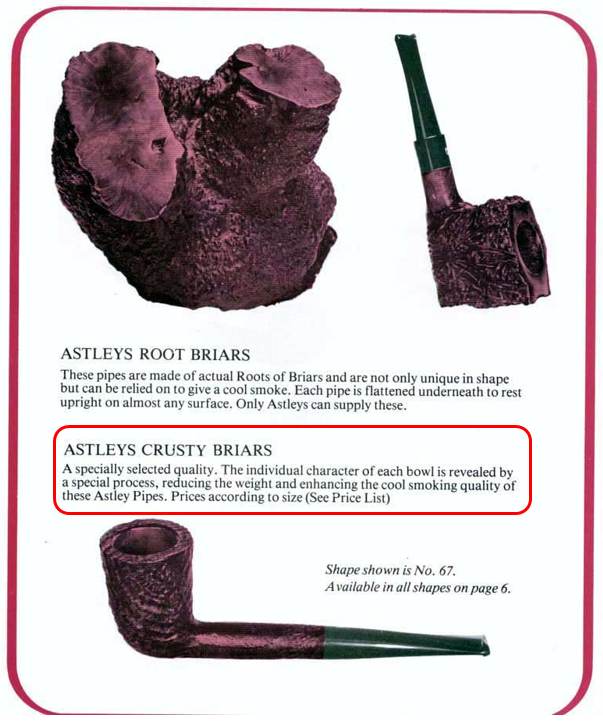 Jeff once again did an amazing job cleaning the pipe. He reamed it with a PipNet pipe reamer and got rid of the cake. He cleaned up the reaming with a Savinelli Fitsall Pipe Knife so that we could see the walls of the bowl and assess for damage. He cleaned the internals of the shank and stem with alcohol, pipe cleaners and alcohol. He scrubbed the exterior with undiluted Murphy’s Oil Soap and a tooth brush. He rinsed the pipe under warm water. He dried it off with a cloth and then let it air dry. The stem was scrubbed with Soft Scrub and soaked in Briarville’s Stem Deoxidizer. Once Jeff took it out of the bath and rinsed it the stem looked very good. The finish on the bowl and the rim top cleaned up nicely. I took pictures of the pipe to show how it looked when I brought it to the table.
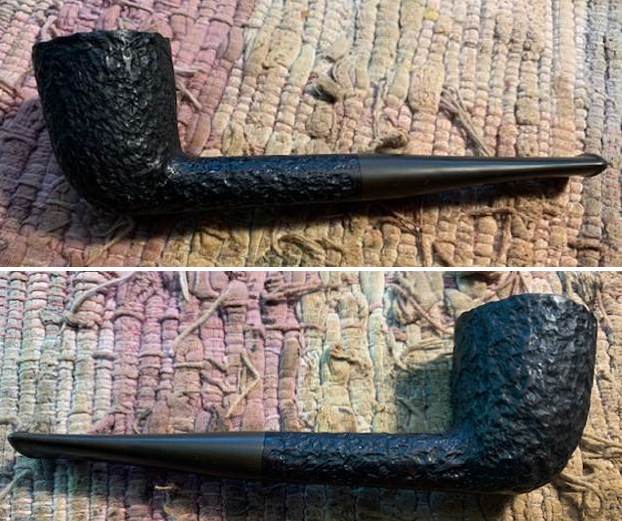
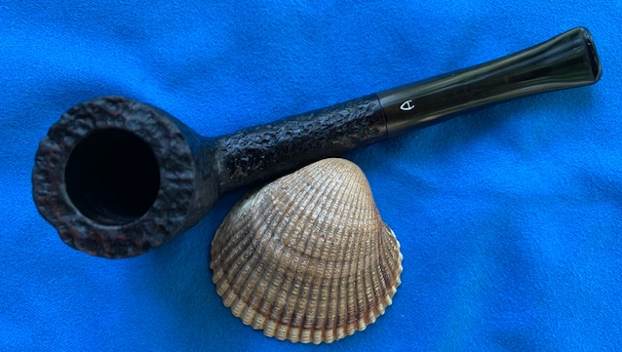
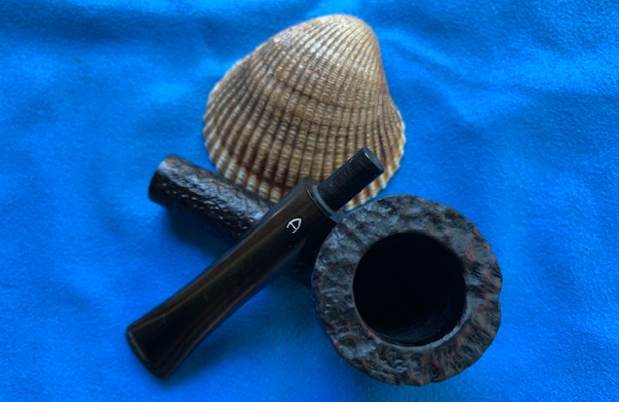
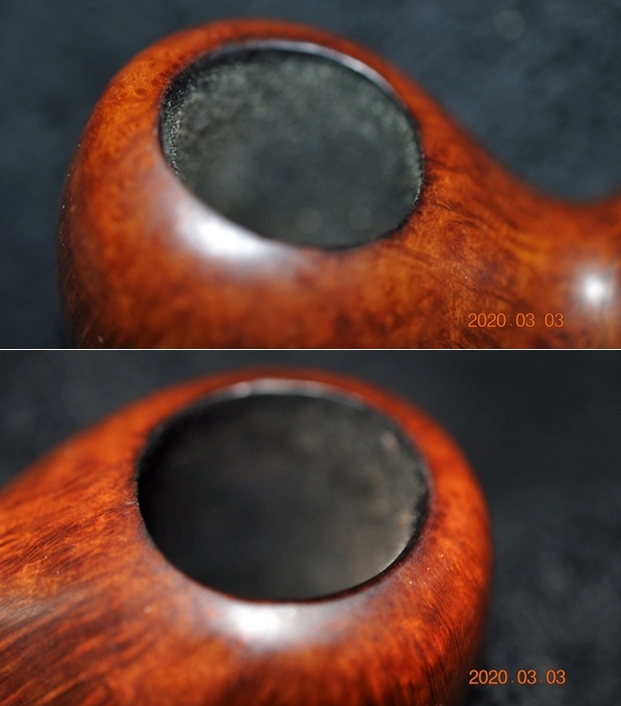
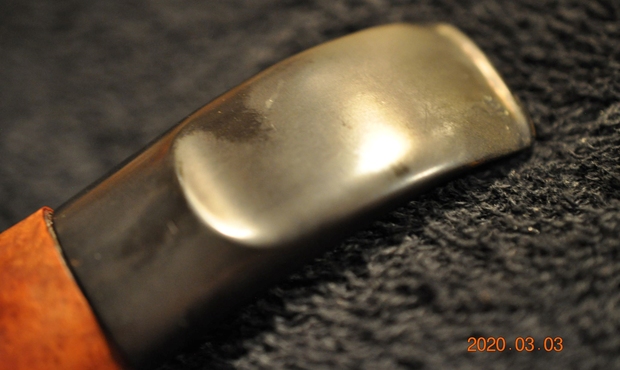
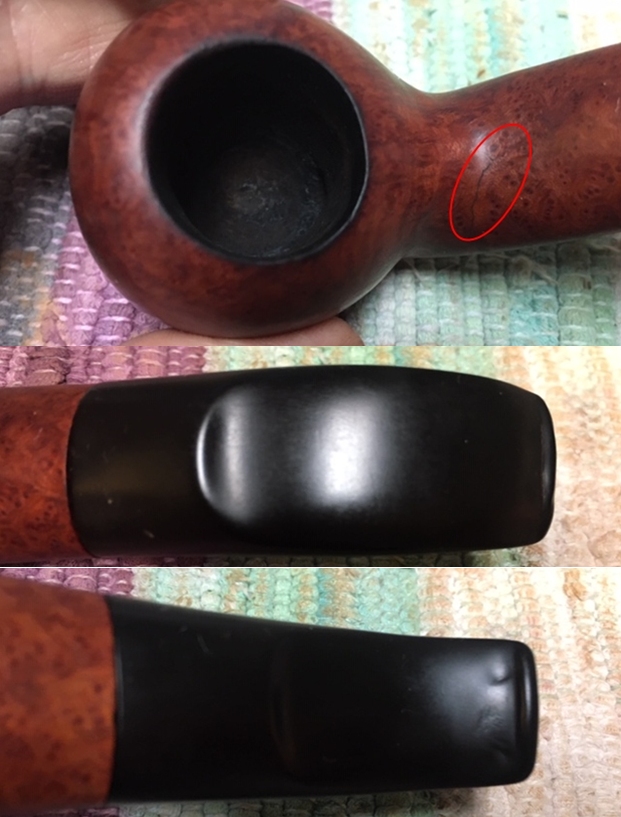
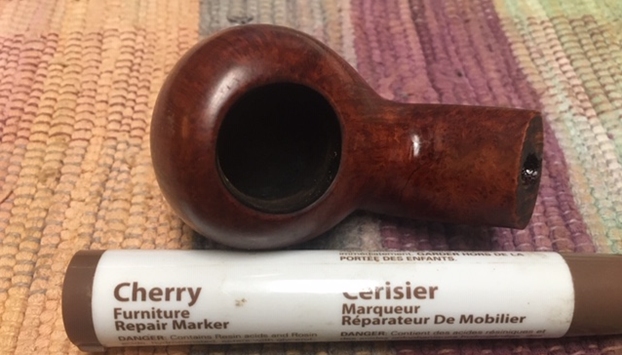
 I took a close up photo of the rim top to show how clean it was. The stem looked good just some light tooth chatter and several deeper tooth marks near the button.
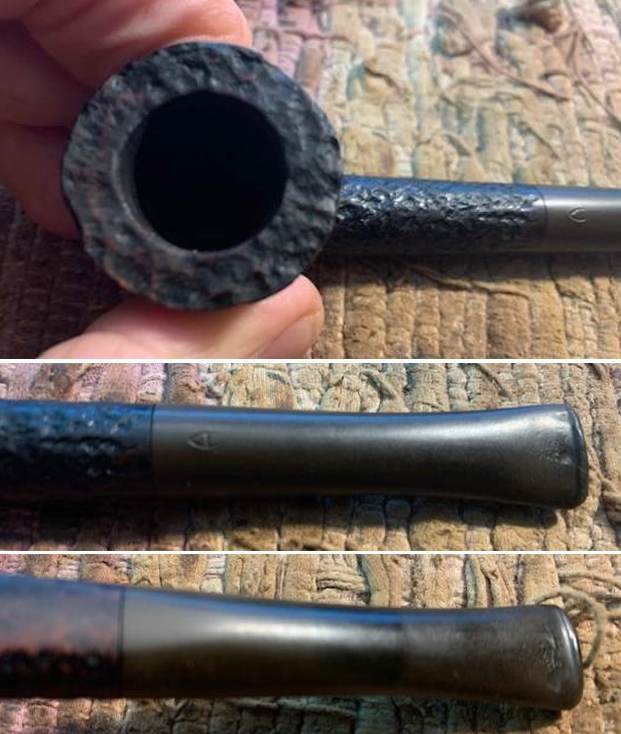 I took a photo of the stamping and it is clear and readable as noted above.
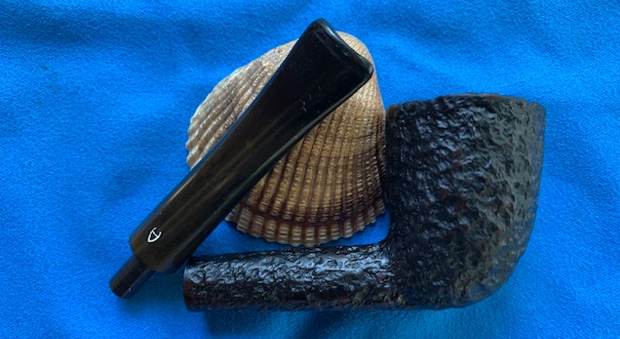
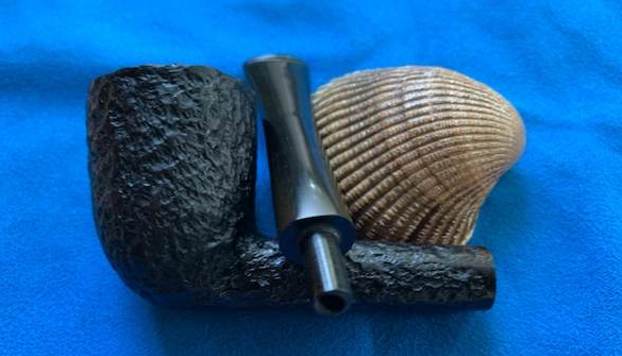
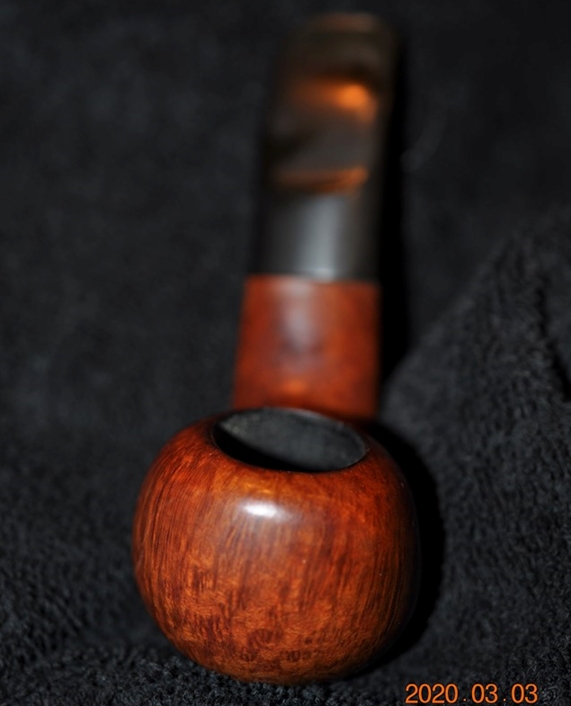
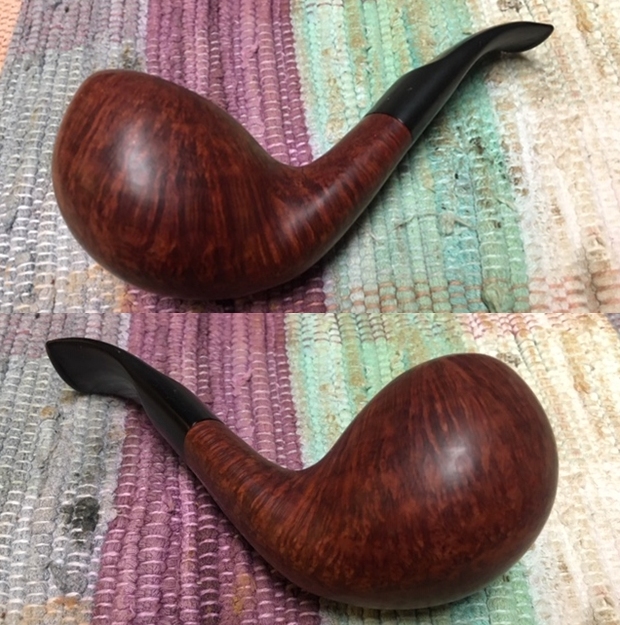
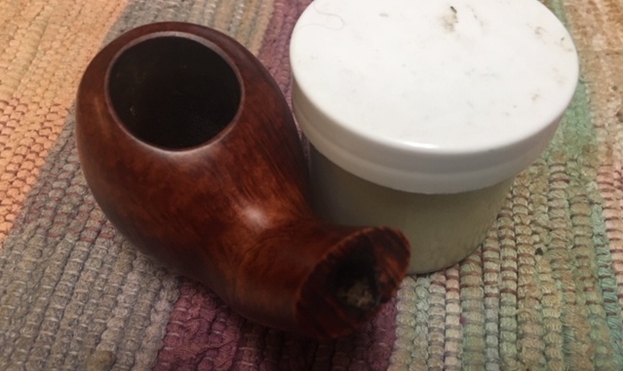
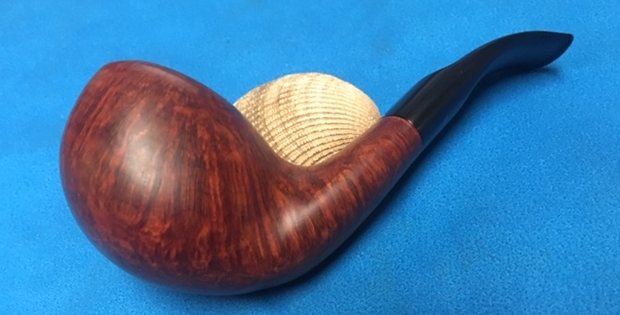
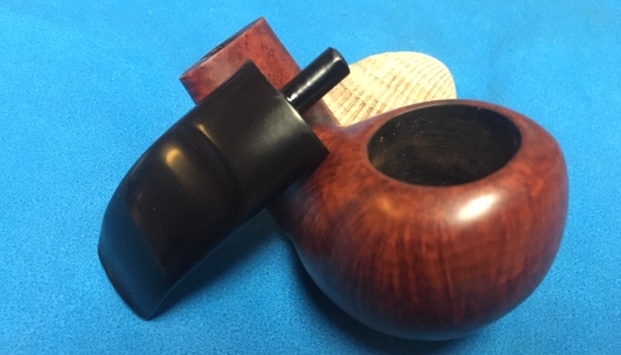
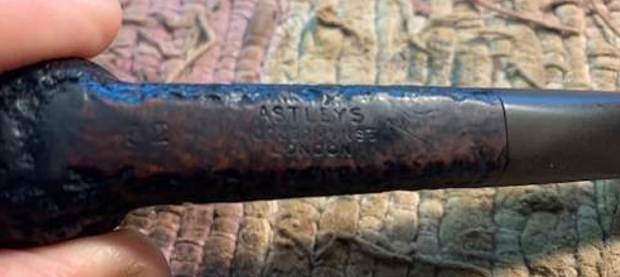 I took the stem off the pipe and took a picture to show the proportions of this nice little pipe.
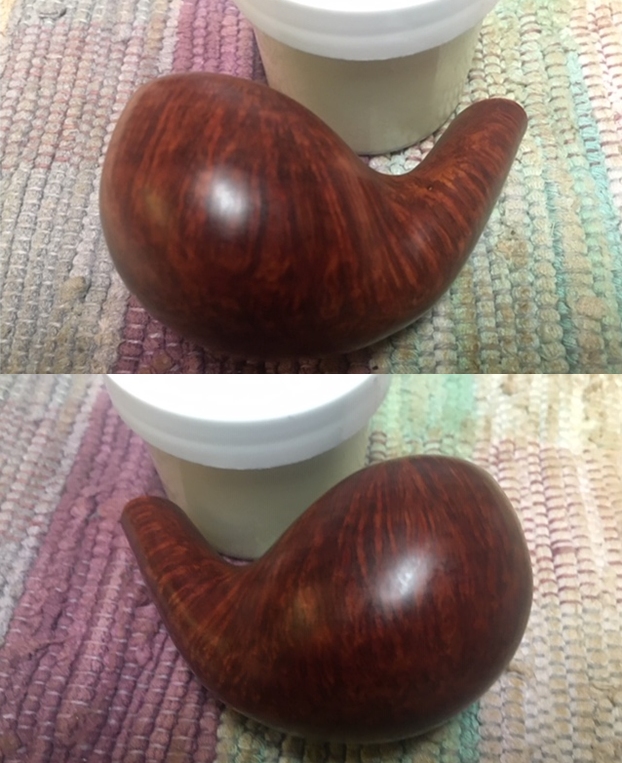
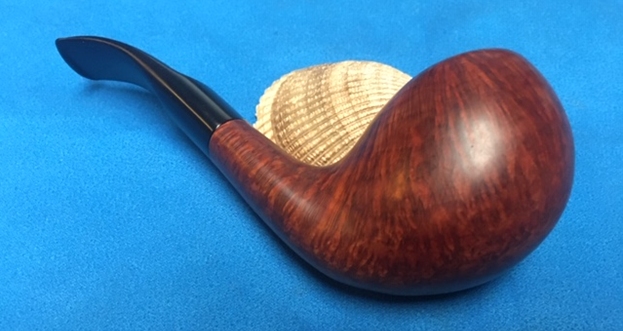
 I worked some Before & After Restoration Balm into the briar with my fingertips. The product is a great addition to the restoration work. It enlivens, enriches and protects the briar while giving it a deep glow. I appreciate Mark Hoover’s work in developing this product.
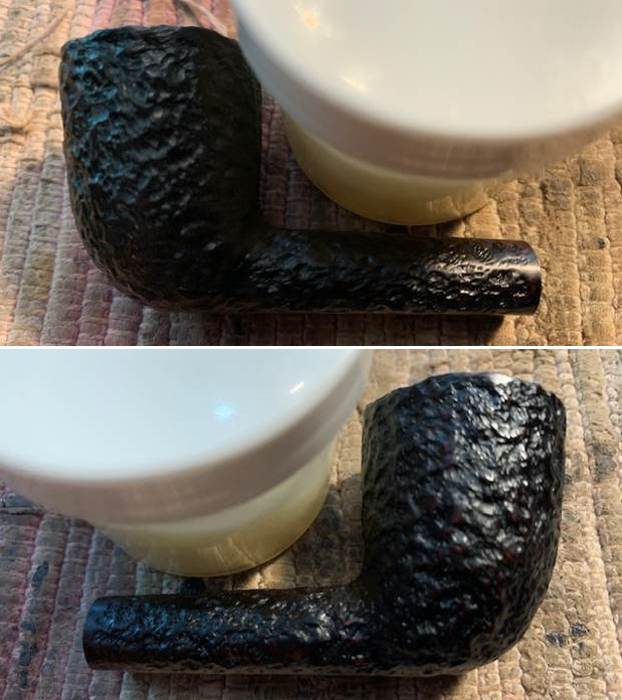
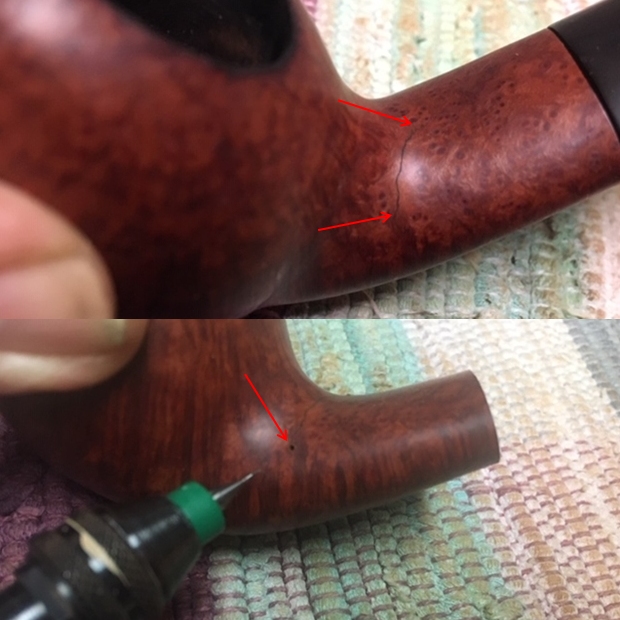
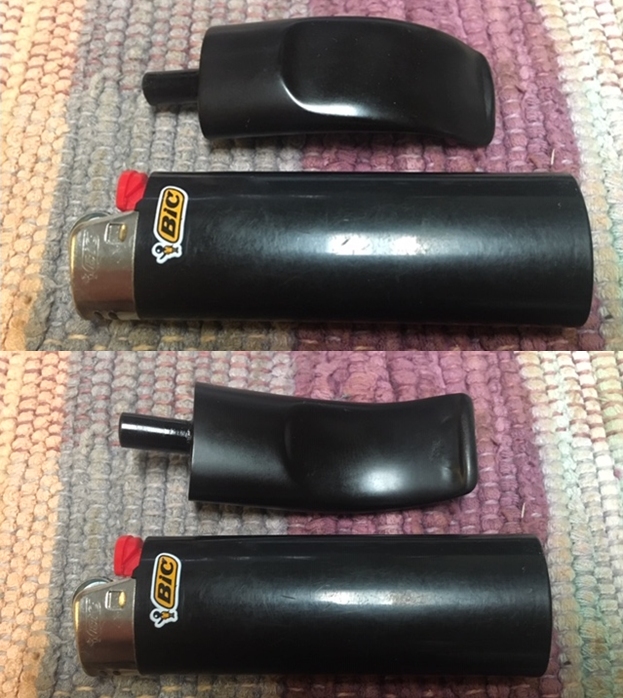
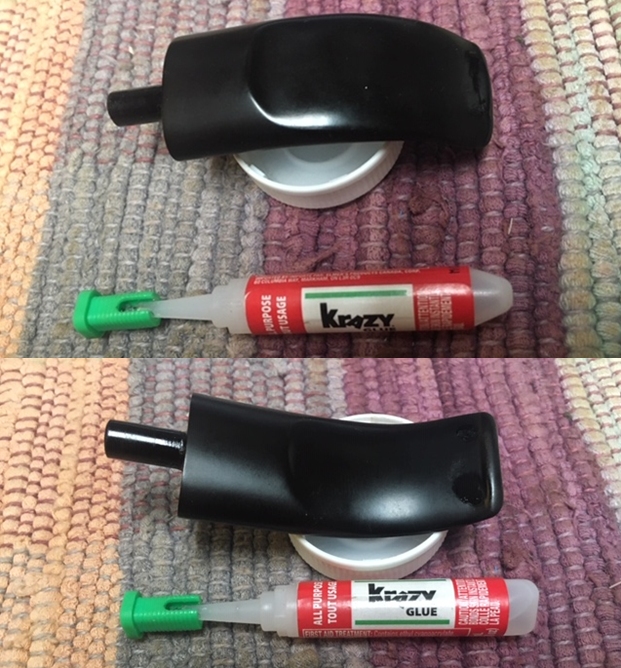
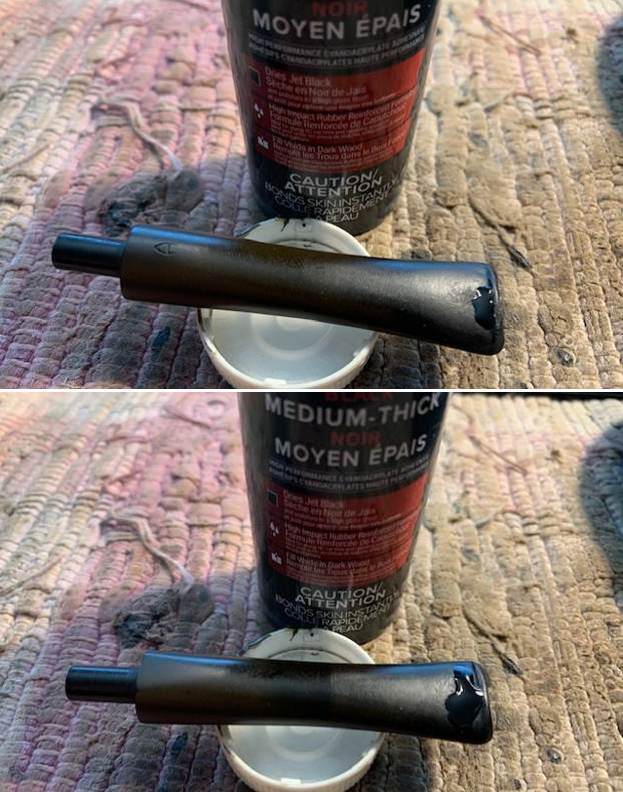
 I set the bowl aside and turned my attention to the stem. I “painted” the tooth marks with the flame of a Bic lighter to try and raise them a bit. Remember vulcanite has “memory” and if the marks are not sharp edge the heat well raise them. In this case while they came up some there was still significant damage. I filled in the remaining tooth marks with Black CA glue and set the stem aside to dry.
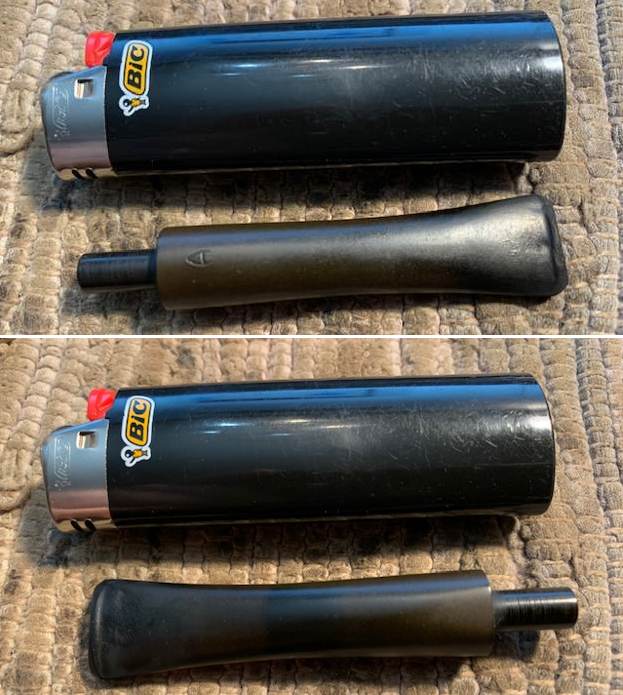
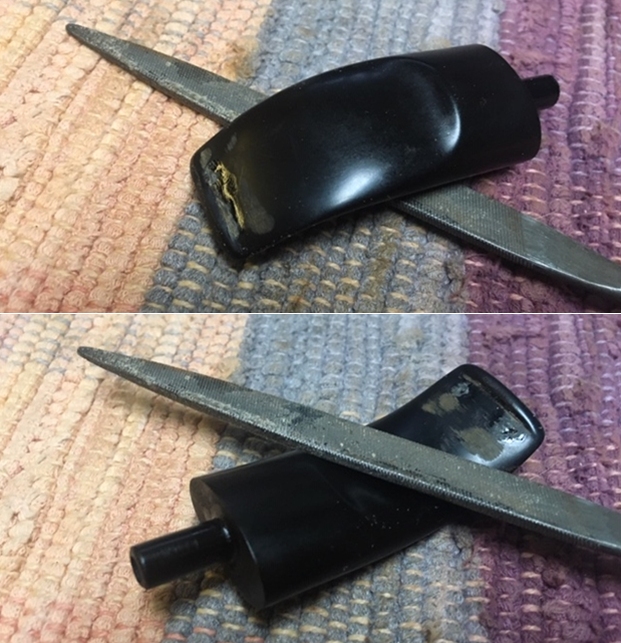
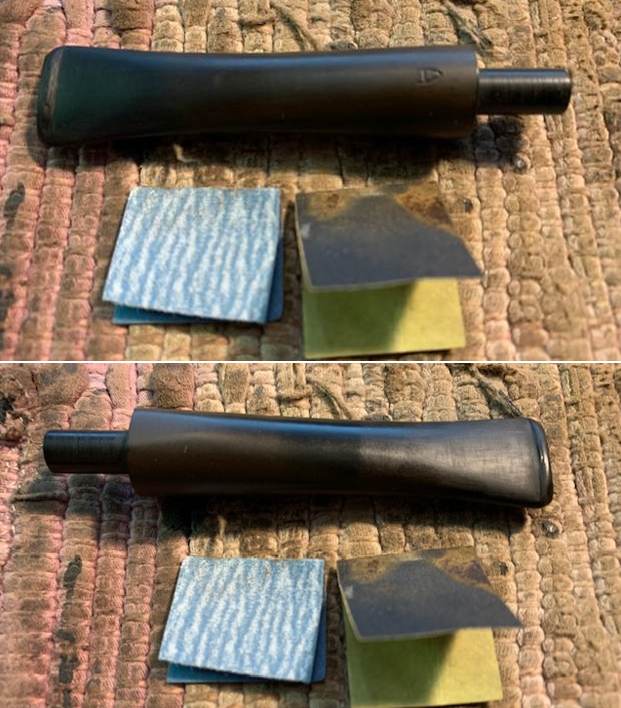
 Once the repairs cured I used a needle file to flatten them out and recut the sharp edge of the button. I sanded the surface of the stem with 220 grit sandpaper to further blend in the repairs. I started the polishing process with 400 grit wet dry sandpaper.
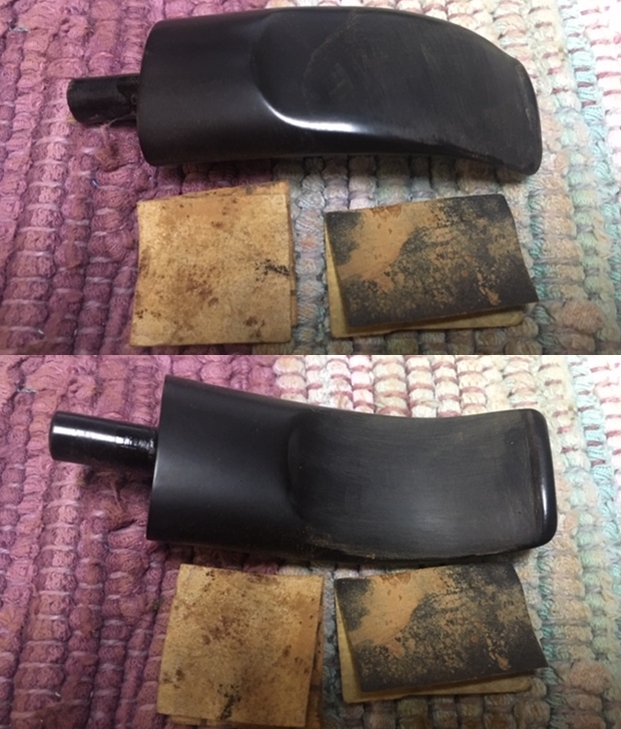
 There was still some oxidation on the stem at the shank end. I scrubbed it with Soft Scrub All Purpose Cleanser to remove it and was able to remove the majority of it on both sides of the shank end. It looked better.
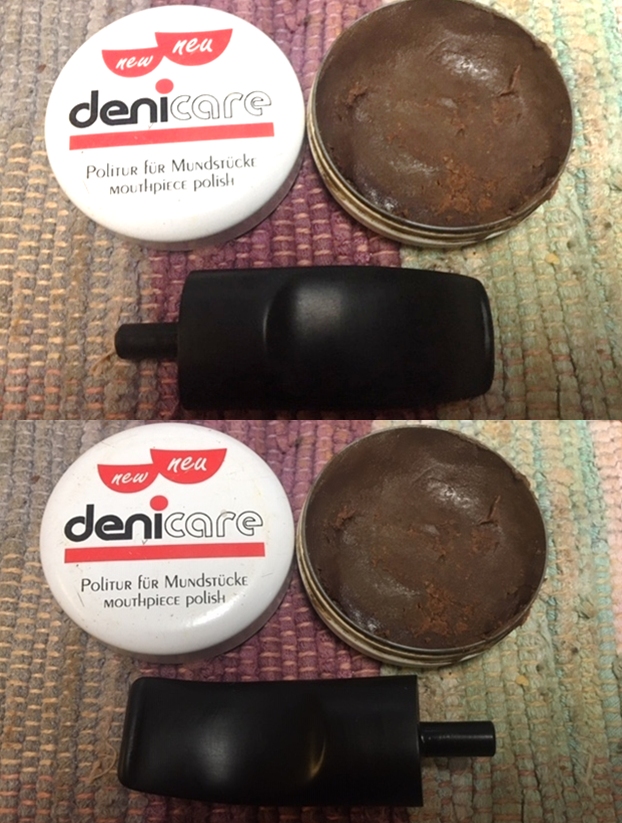
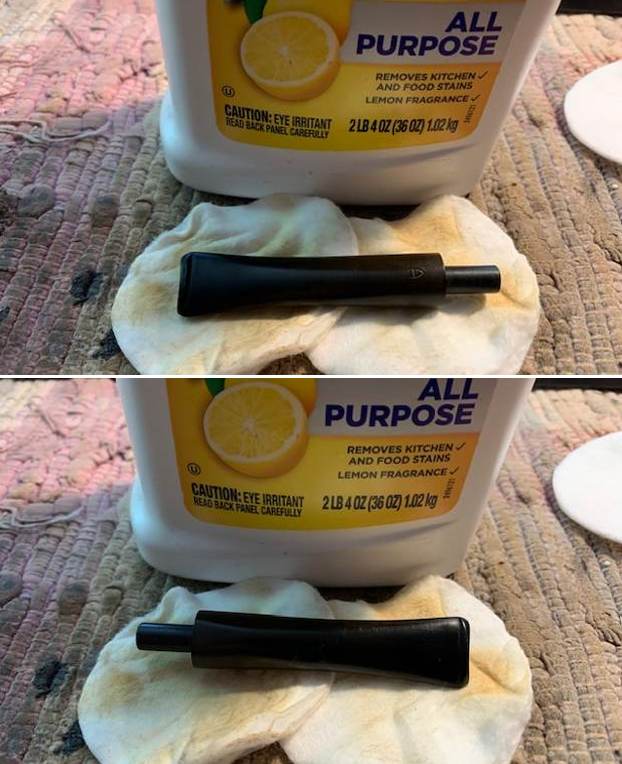 I used some white acrylic fingernail polish to touch up the “A” logo on the top of the stem surface. I rubbed it on with the brush and worked it into the stamp with a tooth pick. Once it was dry I scraped off the excess and lightly buffed it with a 1500 grit micromesh sanding pad. It came out looking very good.
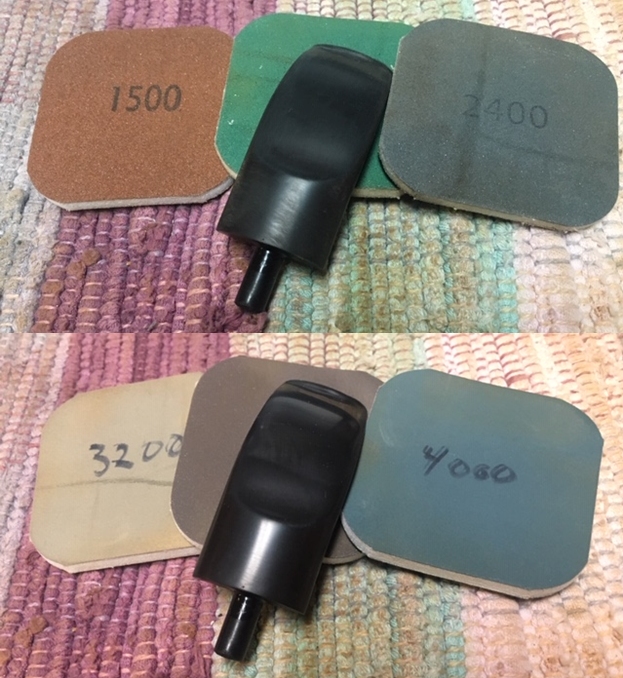
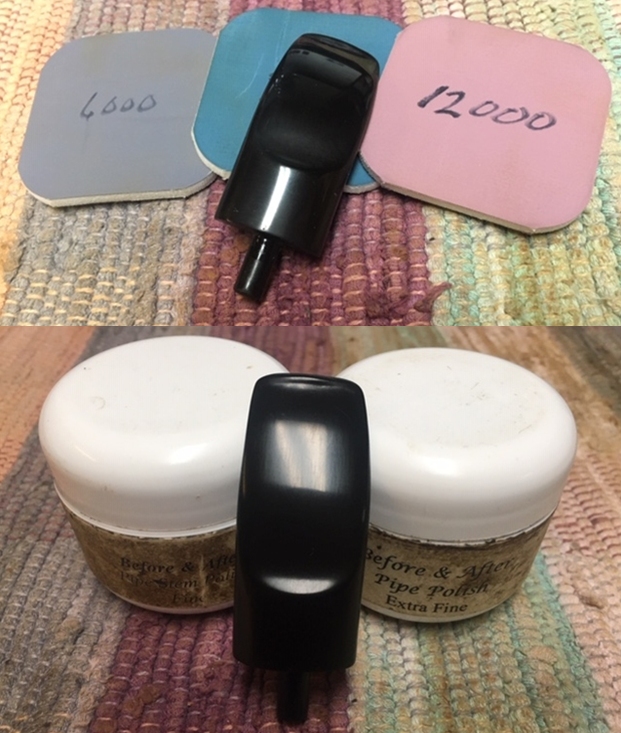
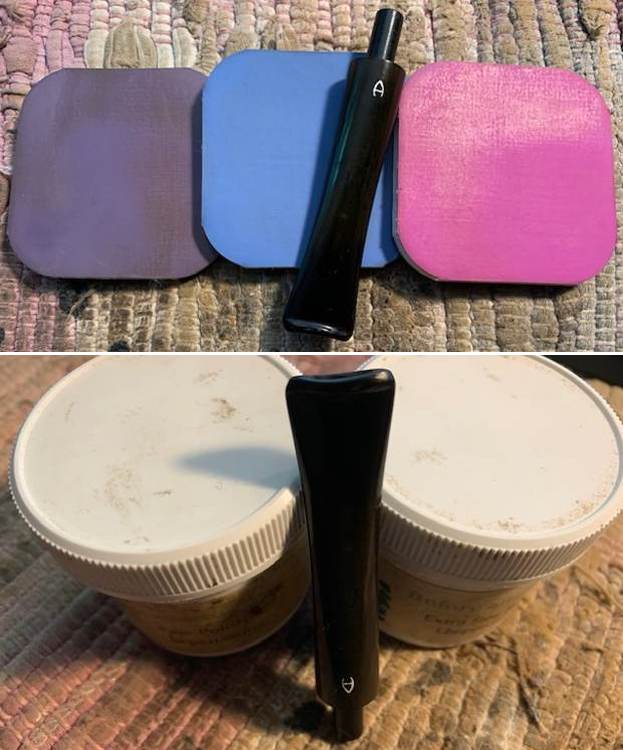
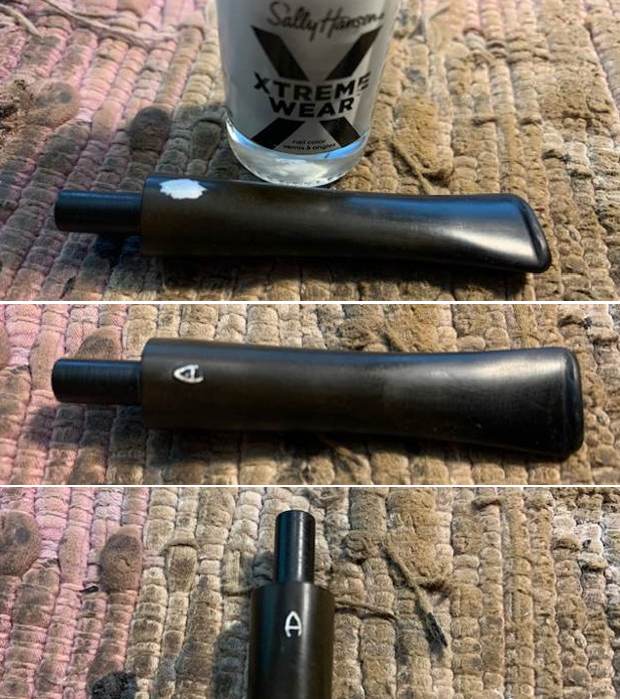 I polished the stem with micromesh sanding pads – wet sanding with 1500-12000 grit sanding pads. I wiped it down after each sanding pad with Obsidian Oil. I polished it with Before & After Pipe Stem Polish – both Fine and Extra Fine. I buffed the stem with a soft cloth to raise the shine. I wiped the stem down with Obsidian Oil to preserve and protect the stem surface.
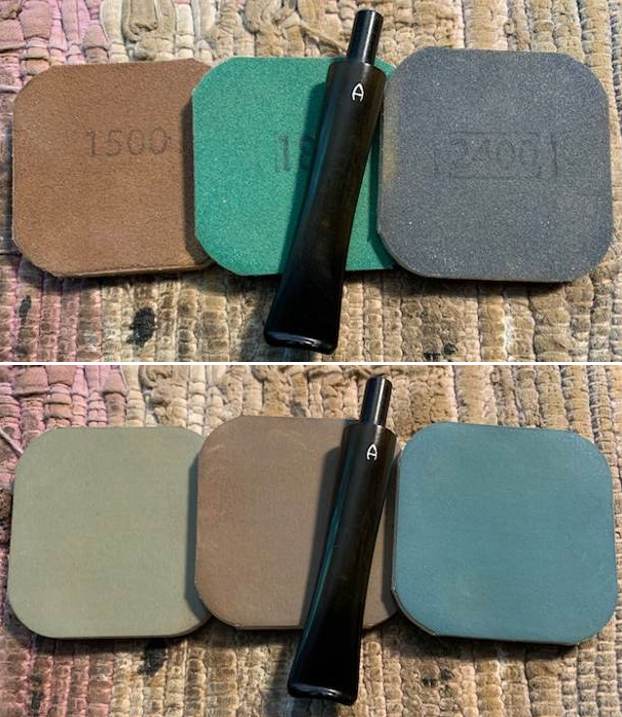
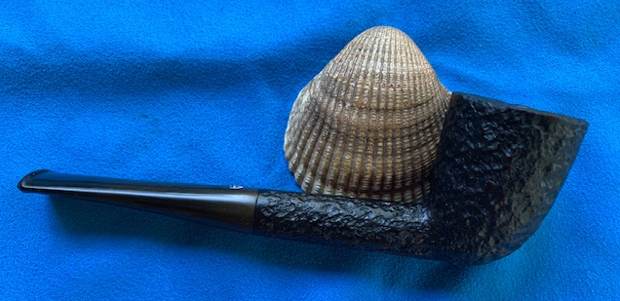
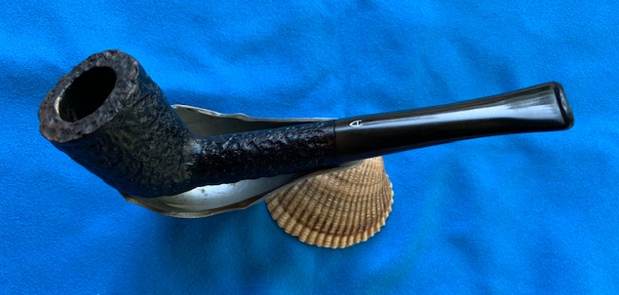
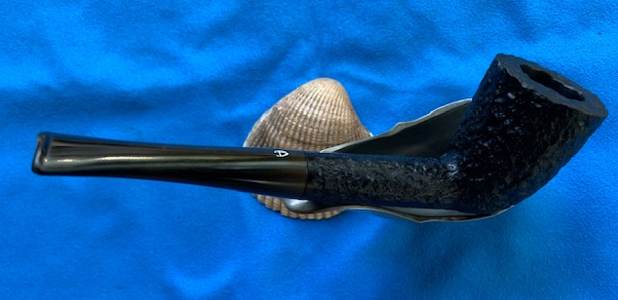
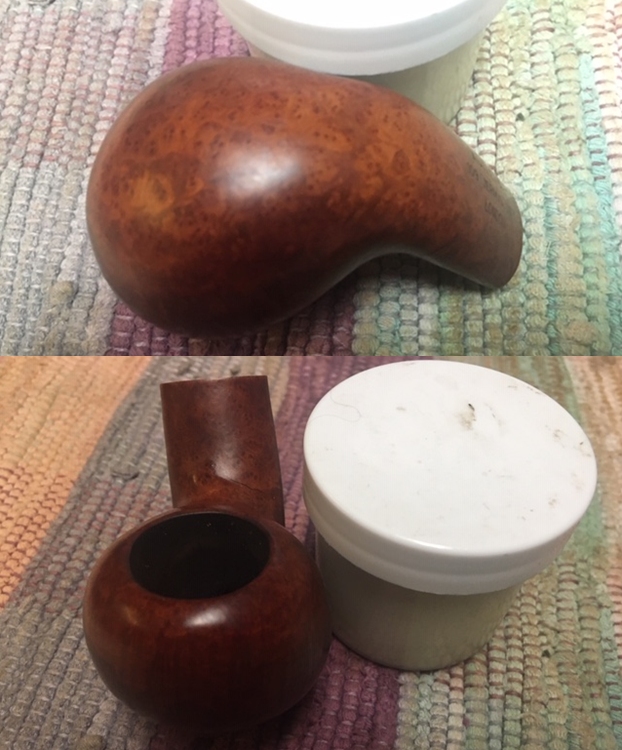
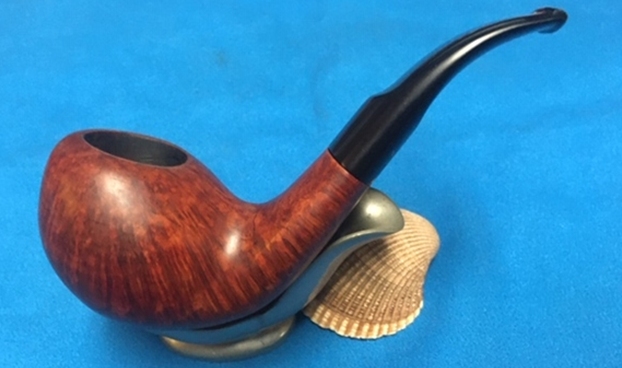
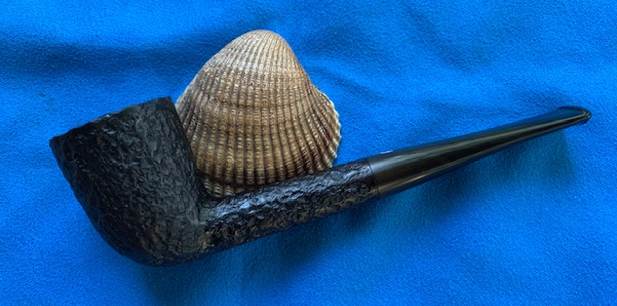
 As always I am excited to finish a pipe that I am working on. I put the Astleys 52 Rusticated Dublin back together and buffed it with Blue Diamond on the buffing wheel. I gave the bowl multiple coats of Conservator’s Wax and the stem multiple coats of carnauba wax. I buffed the pipe with a clean buffing pad and hand buffed it to raise the shine. It is fun to see what the polished bowl looks like along with the polished vulcanite stem. This is nice looking pipe and I am sure that it will be comfortable in hand when smoking as it is light and well balanced. Have a look at it with the photos below. The dimensions are Length: 5 ½ inches, Height: 1 ¾ inches, Outside diameter of the bowl: 1 ¼ inches, Chamber diameter: ¾ of an inch. The pipe weighs .92 ounces/26 grams. It is another beautiful pipe and one that will be on the rebornpipes store in the Pipes by English Pipe Makers Section. If you are interested in adding it to your collection let me know. Thanks for walking through the restoration with me as I worked over this pipe. Thanks to each of you who are reading this blog.