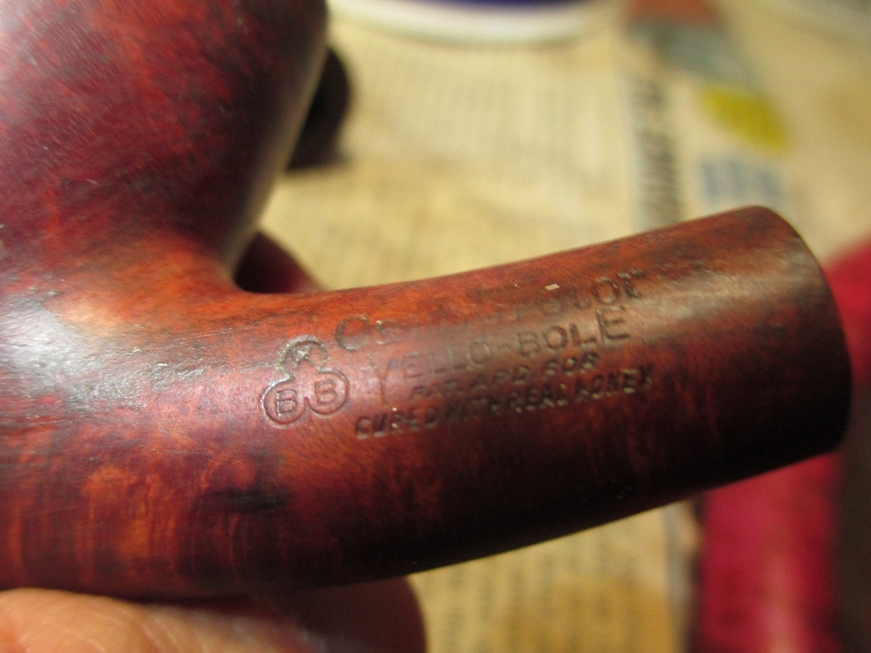
Blog by Andrew Selking
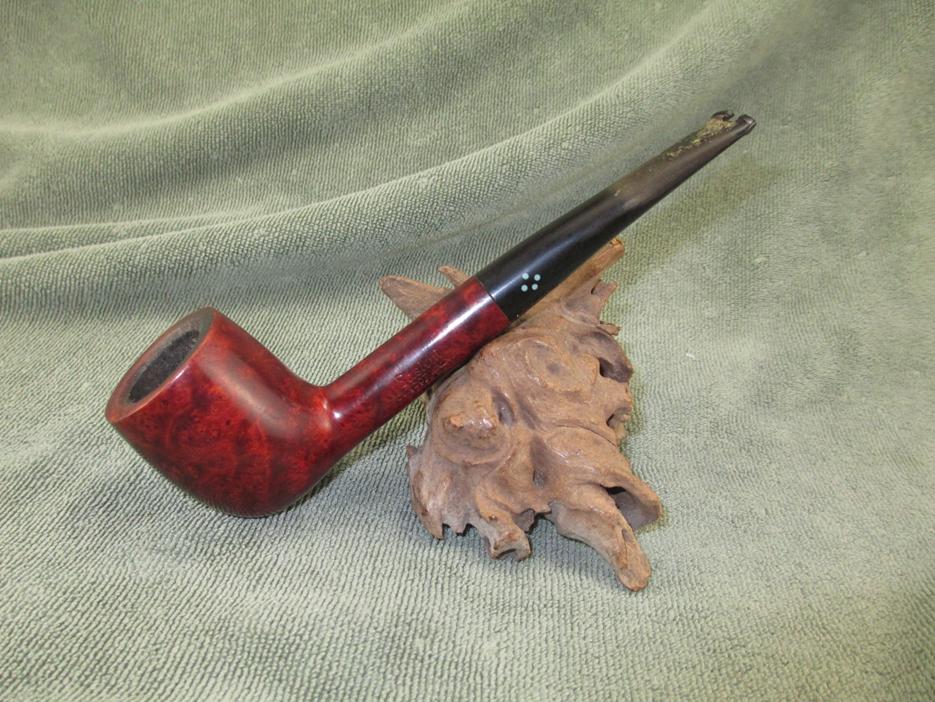
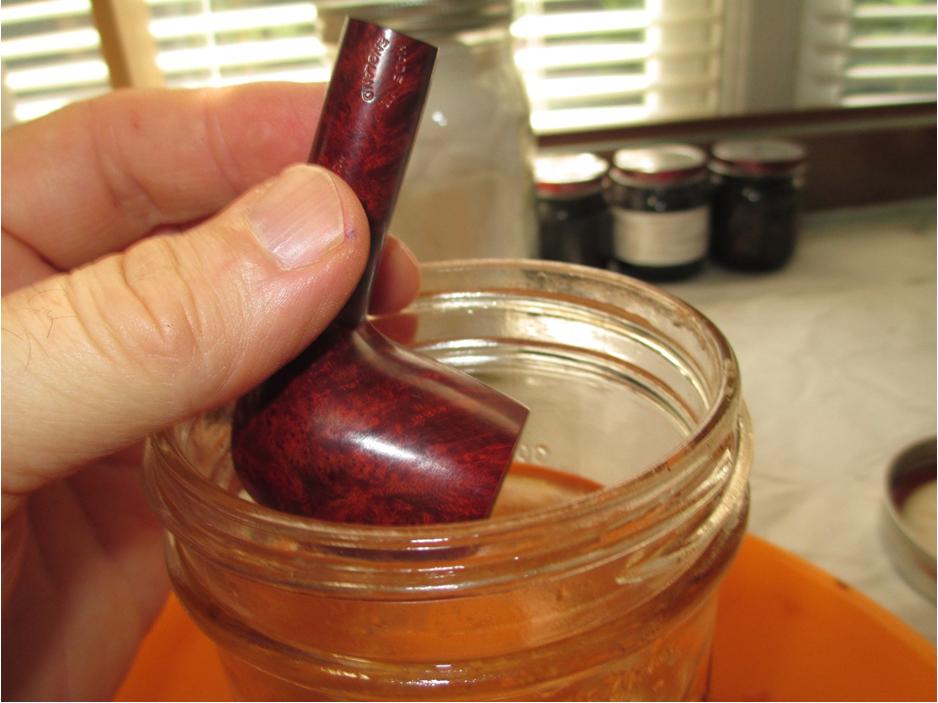
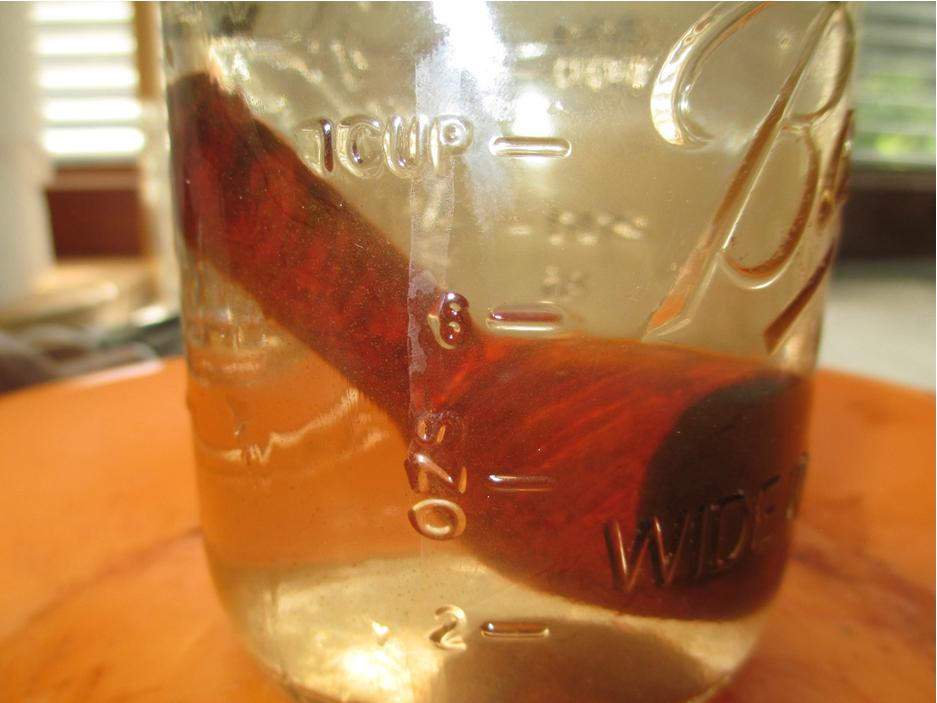
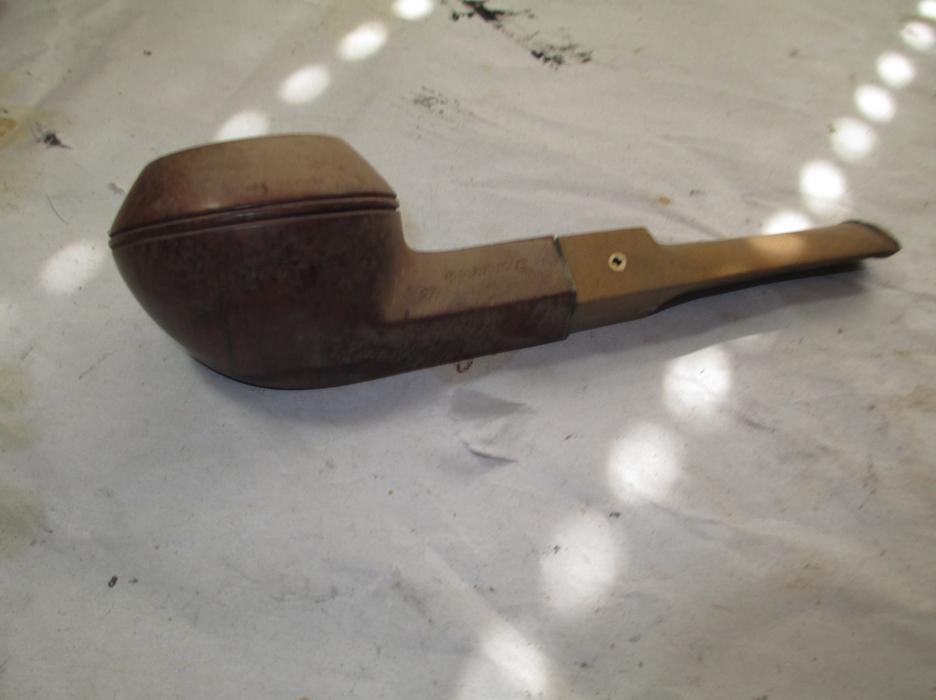
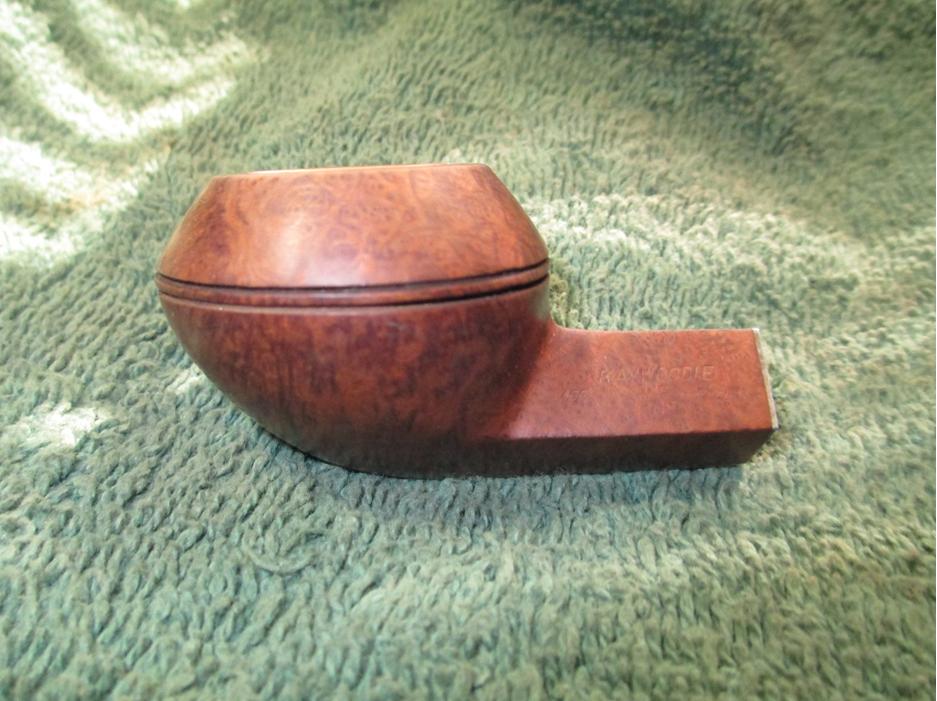
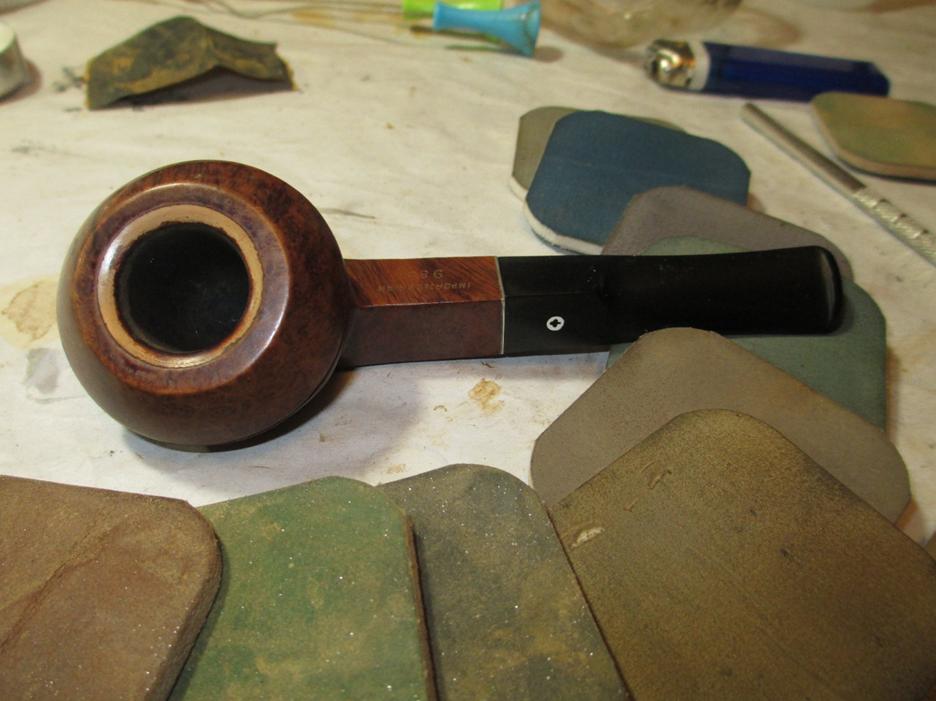
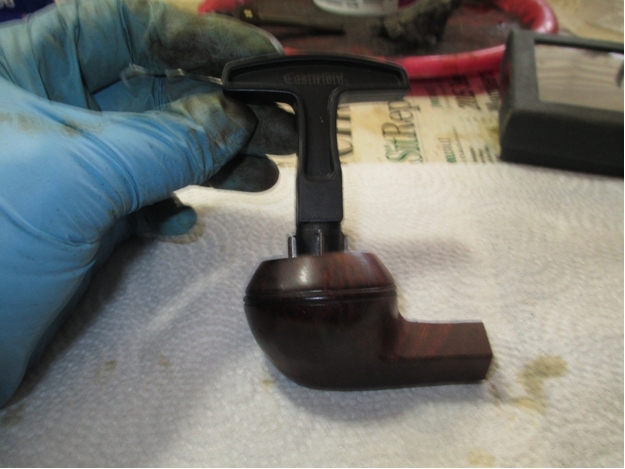
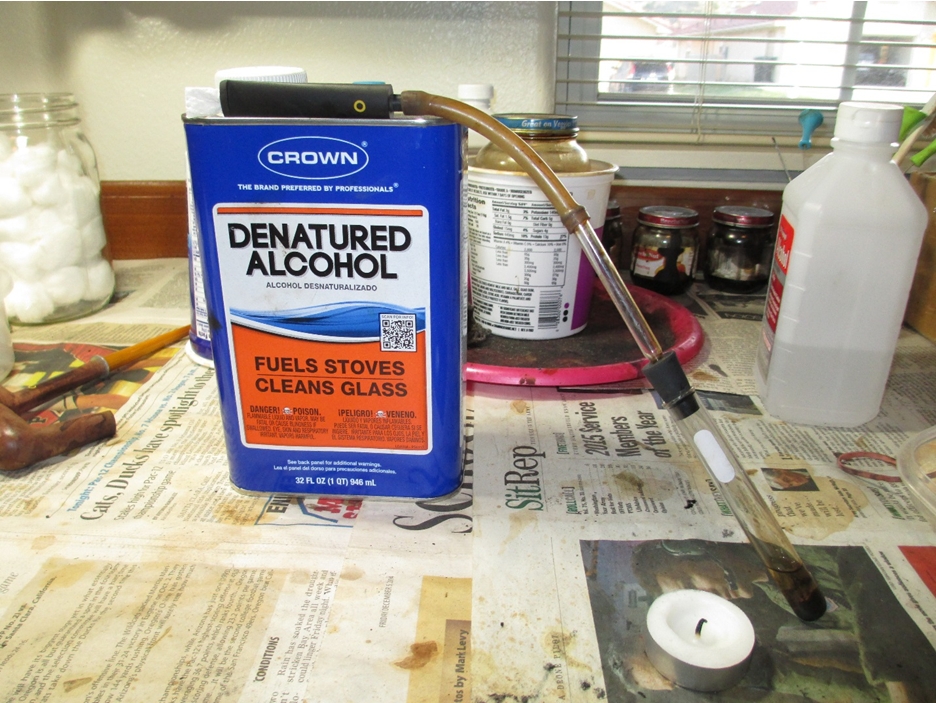
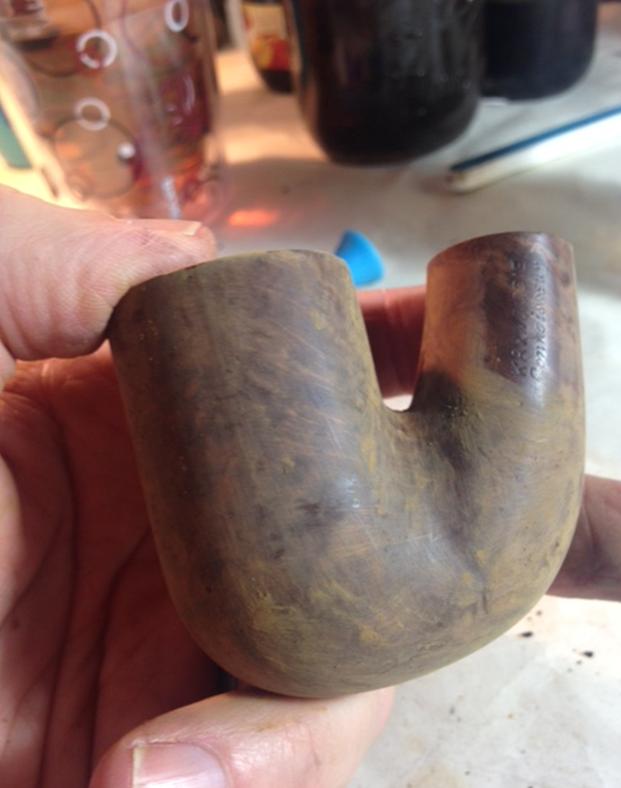
It is an honor to once again write an article for Steve’s blog. For those of you who don’t know me, my name is Andrew and a bit obsessive about Kaywoodie pipes and the entire Kaufman Brothers and Bondy’s (KB&B) family. Until recently my favorite pipe has been a four-digit Yello Bole 2062 small Oom Paul. I’ve had this large Oom Paul in the drawer, waiting for restoration, for over a year. (Sorry I forgot to take a before picture). I start this pipe as always by soaking the bowl in the alcohol bath. Here is the pipe right after it came out.
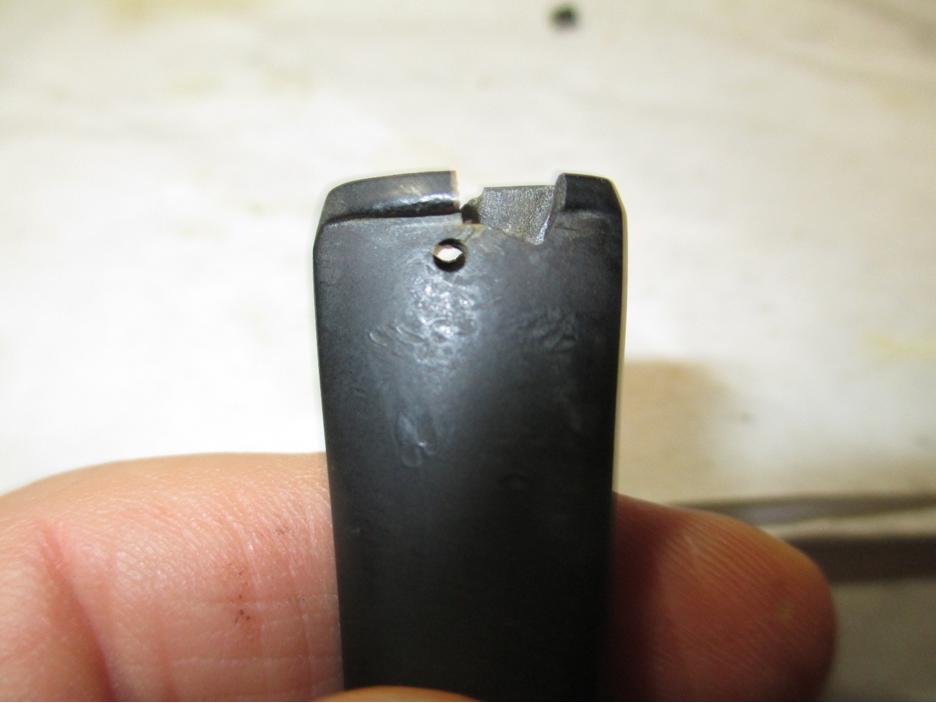
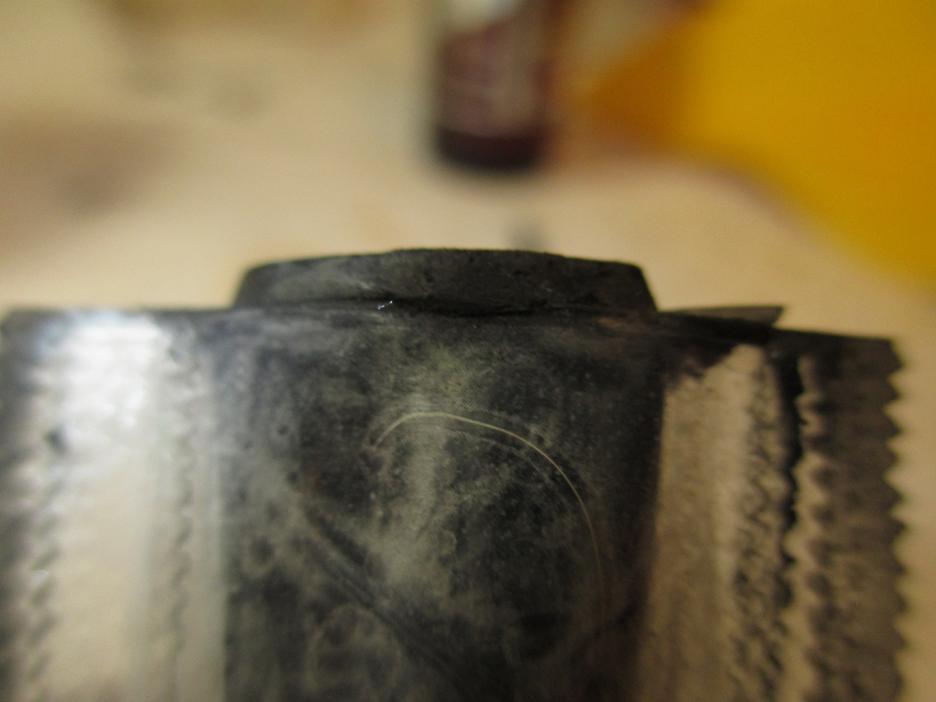
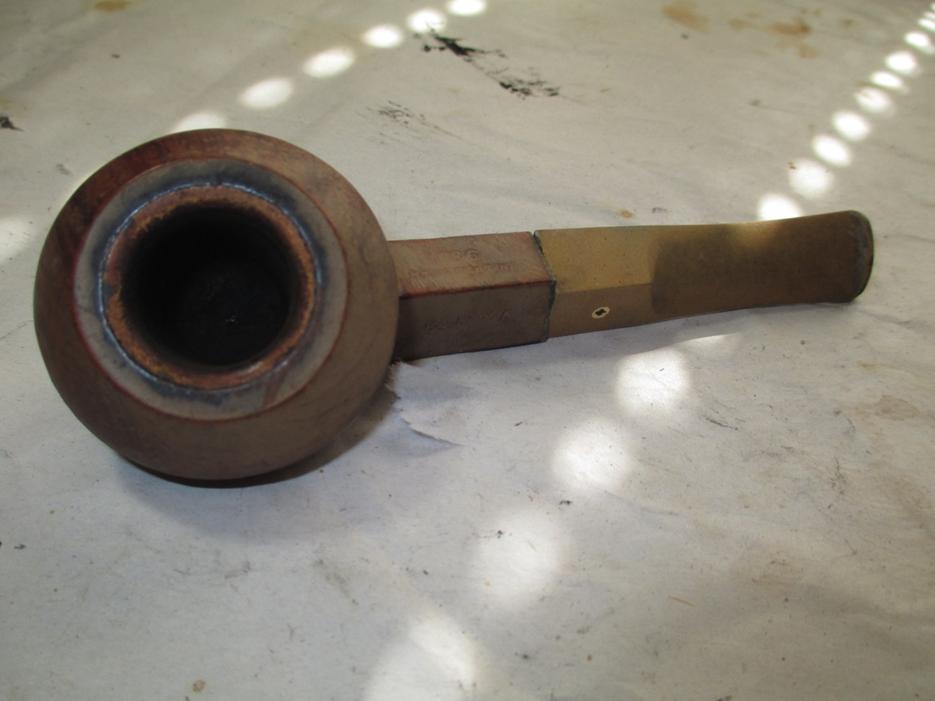
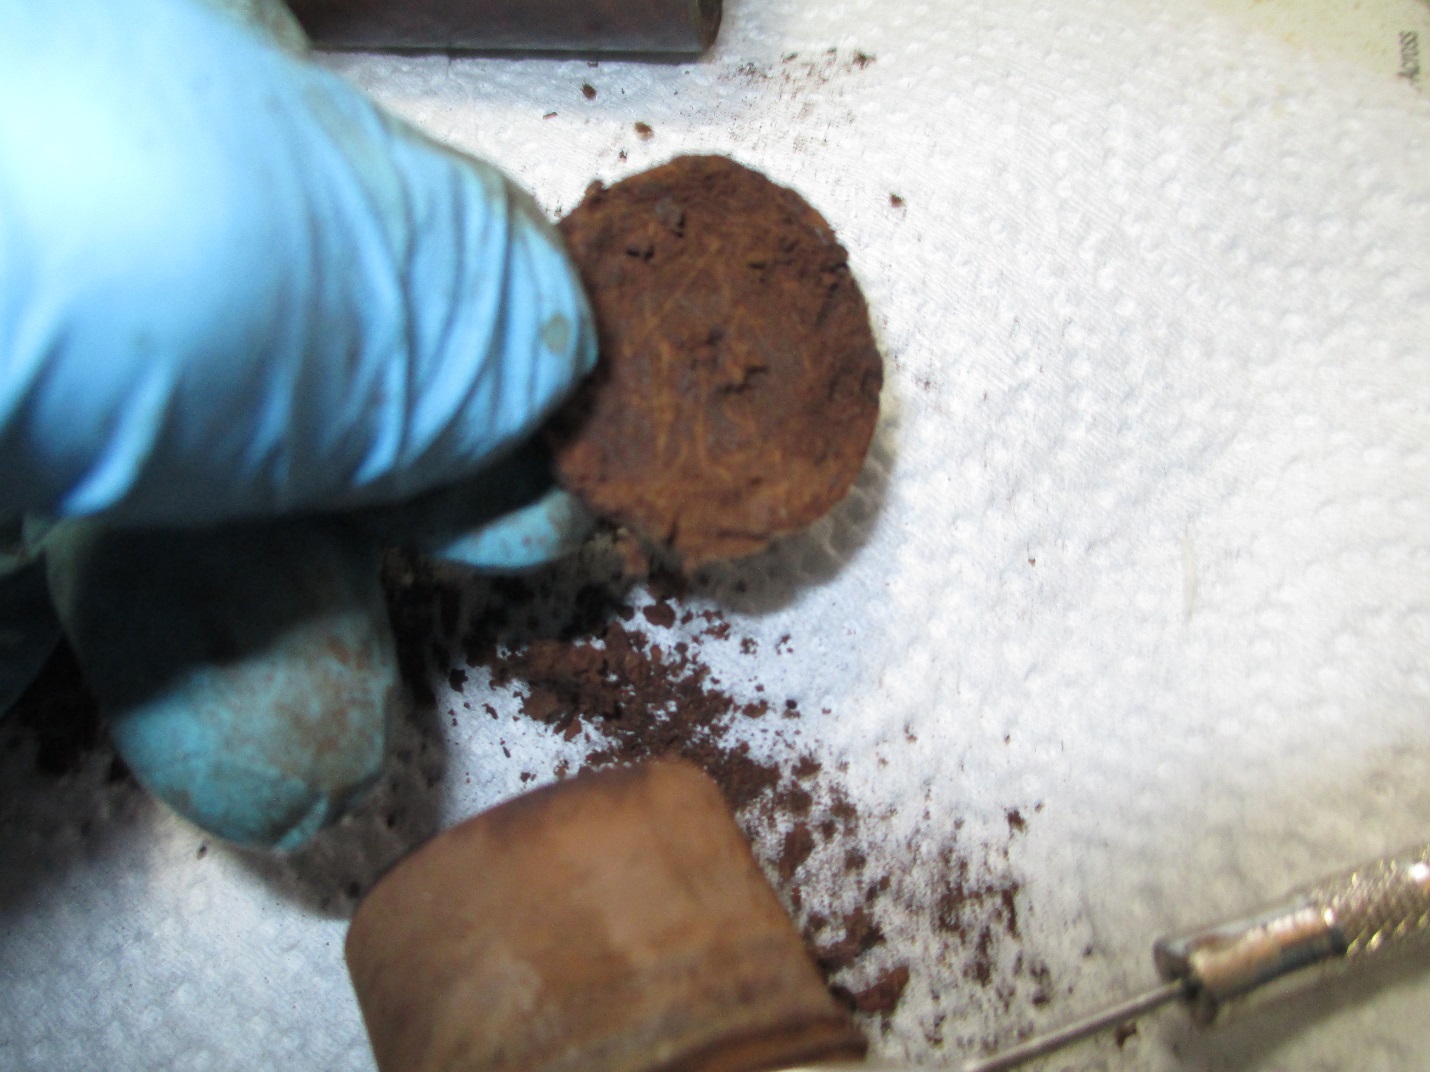
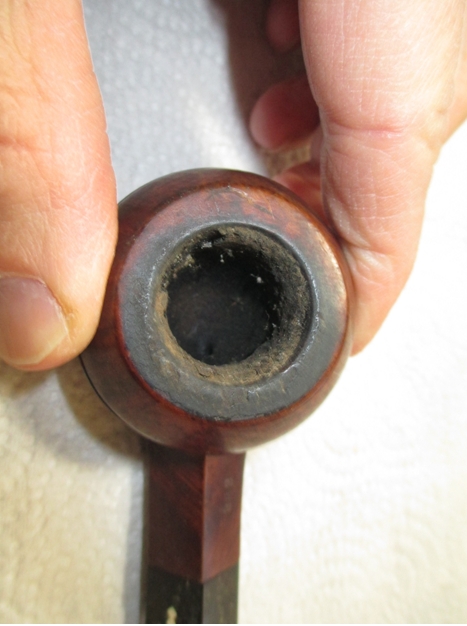
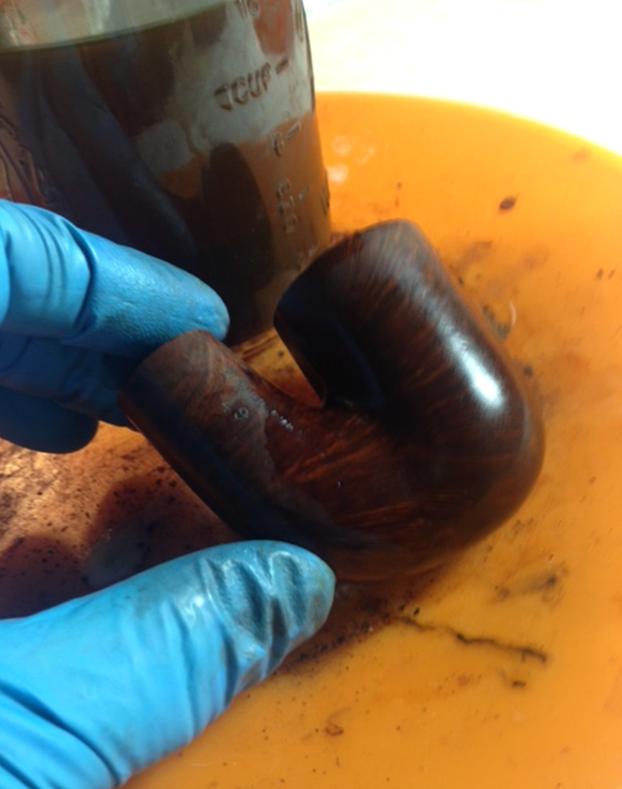 Next I reamed the bowl. As you may have noticed this is a rather large bowl, my reamer barely reached the bottom. This also accounts for the reaming damage done to the rim.
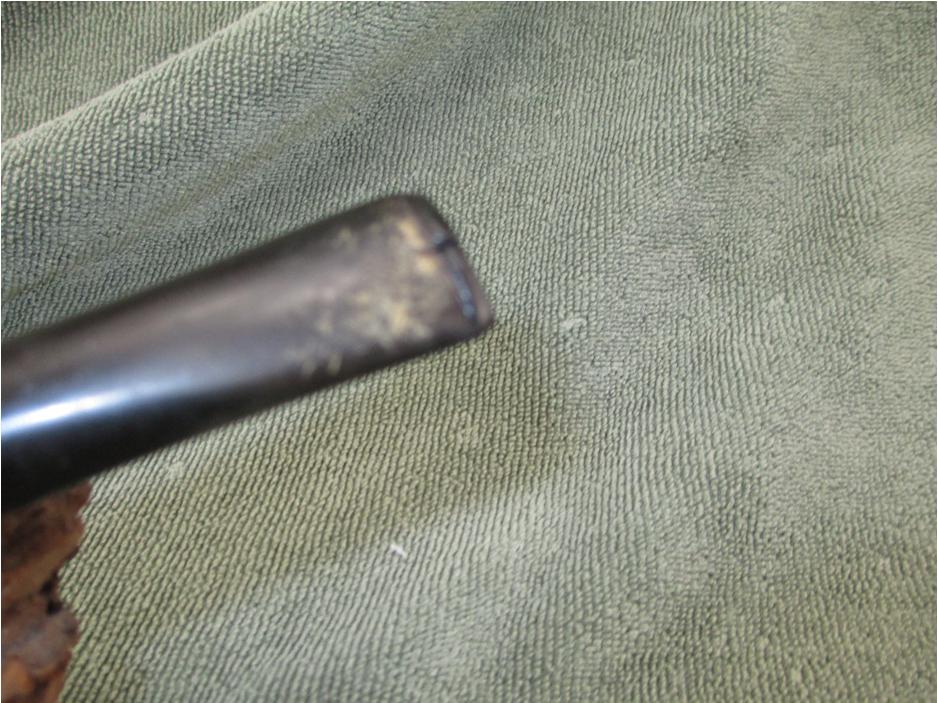
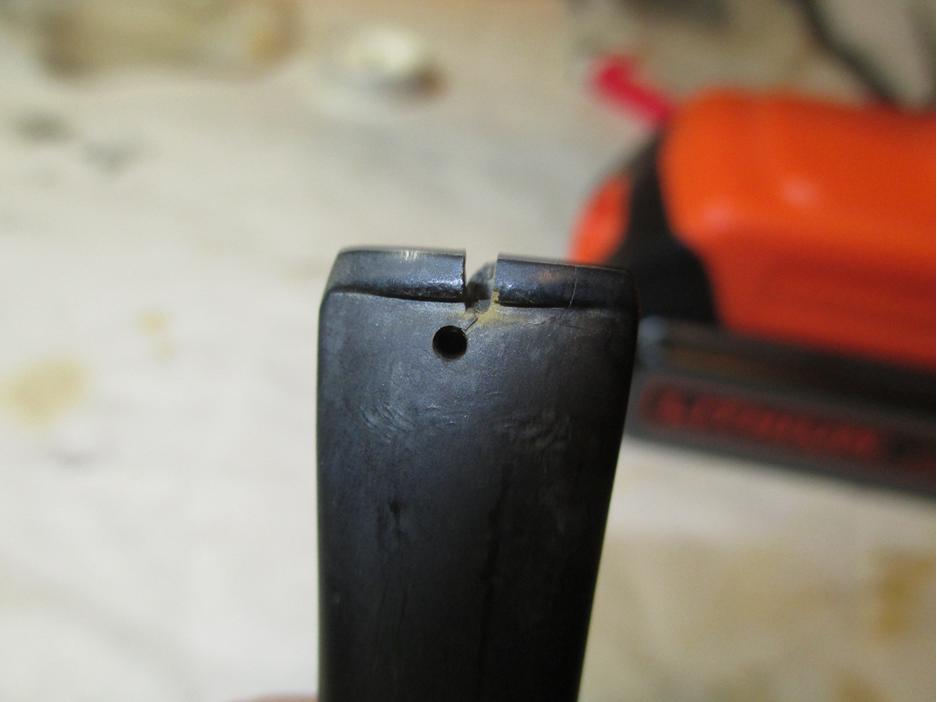
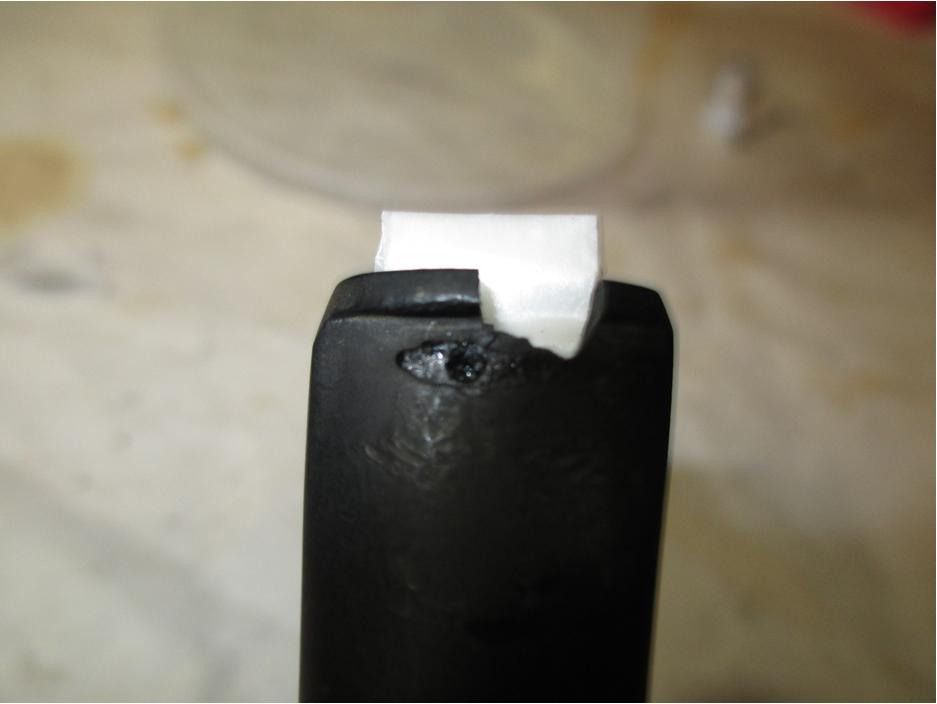
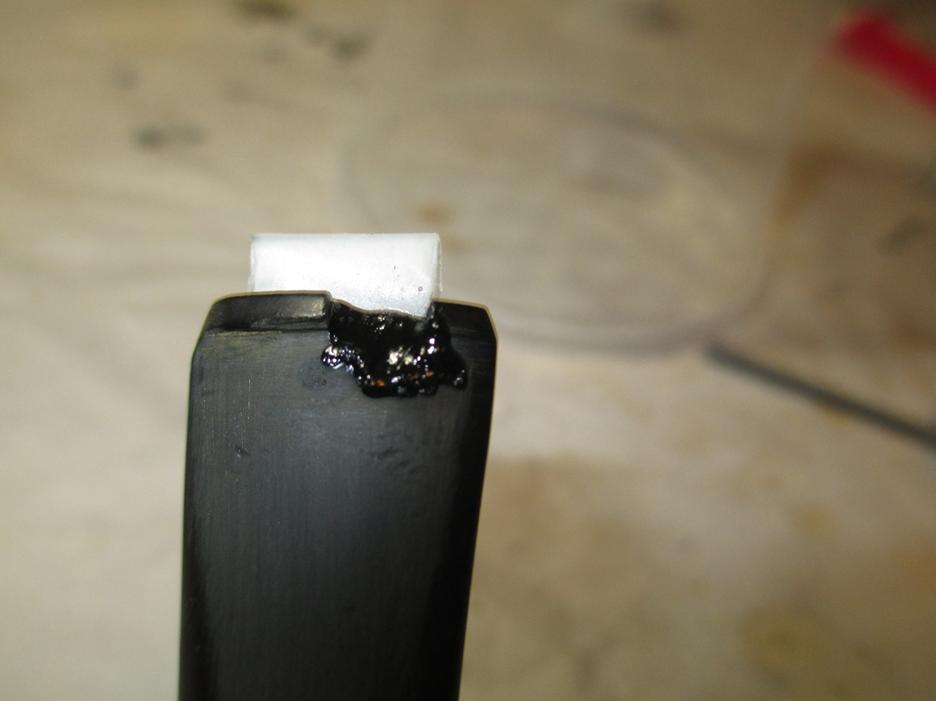
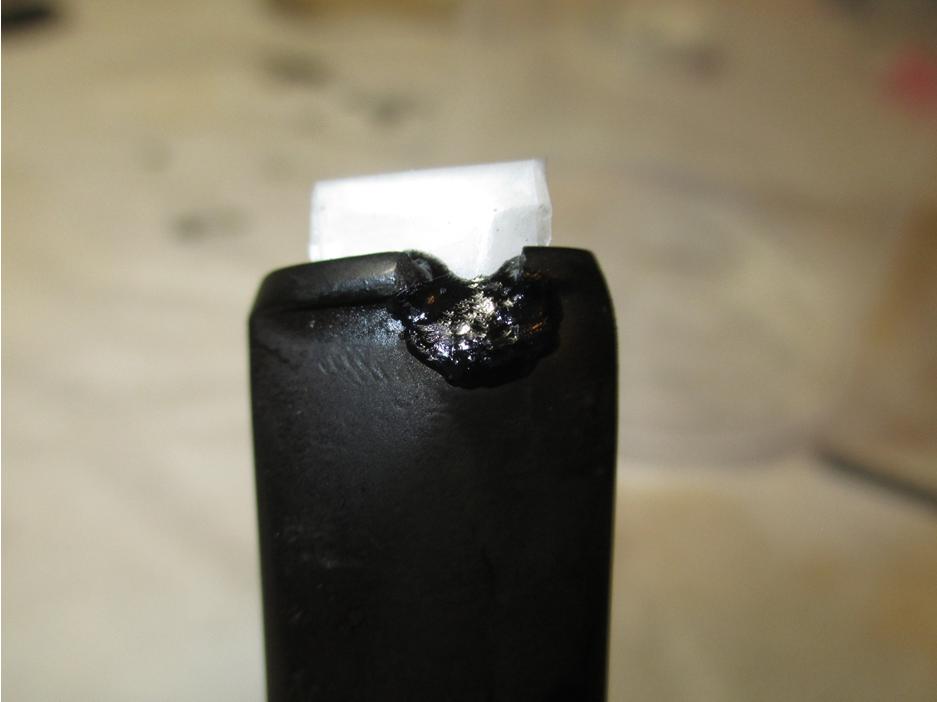
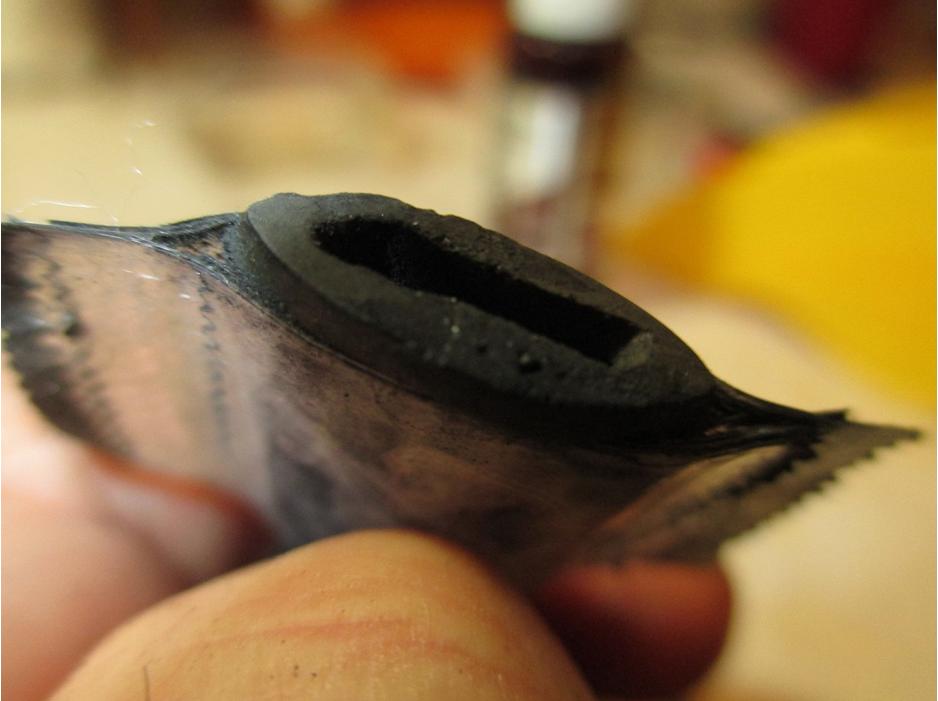
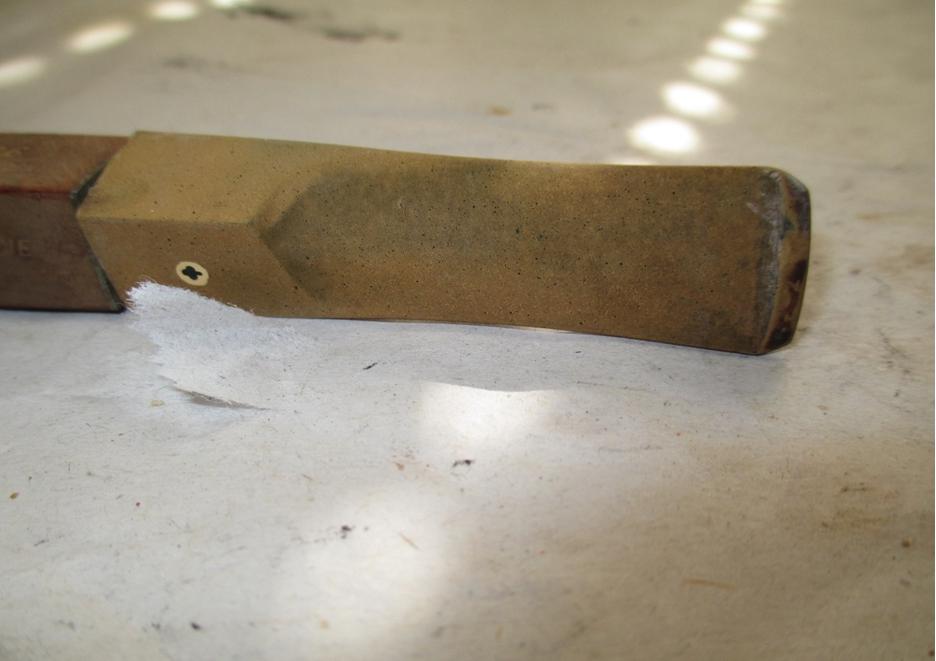
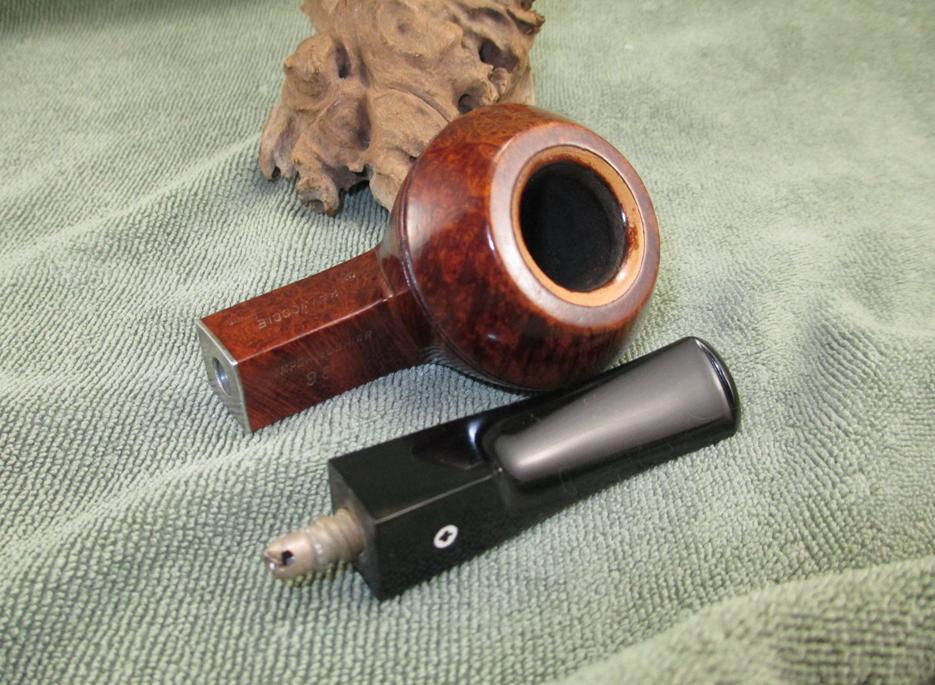
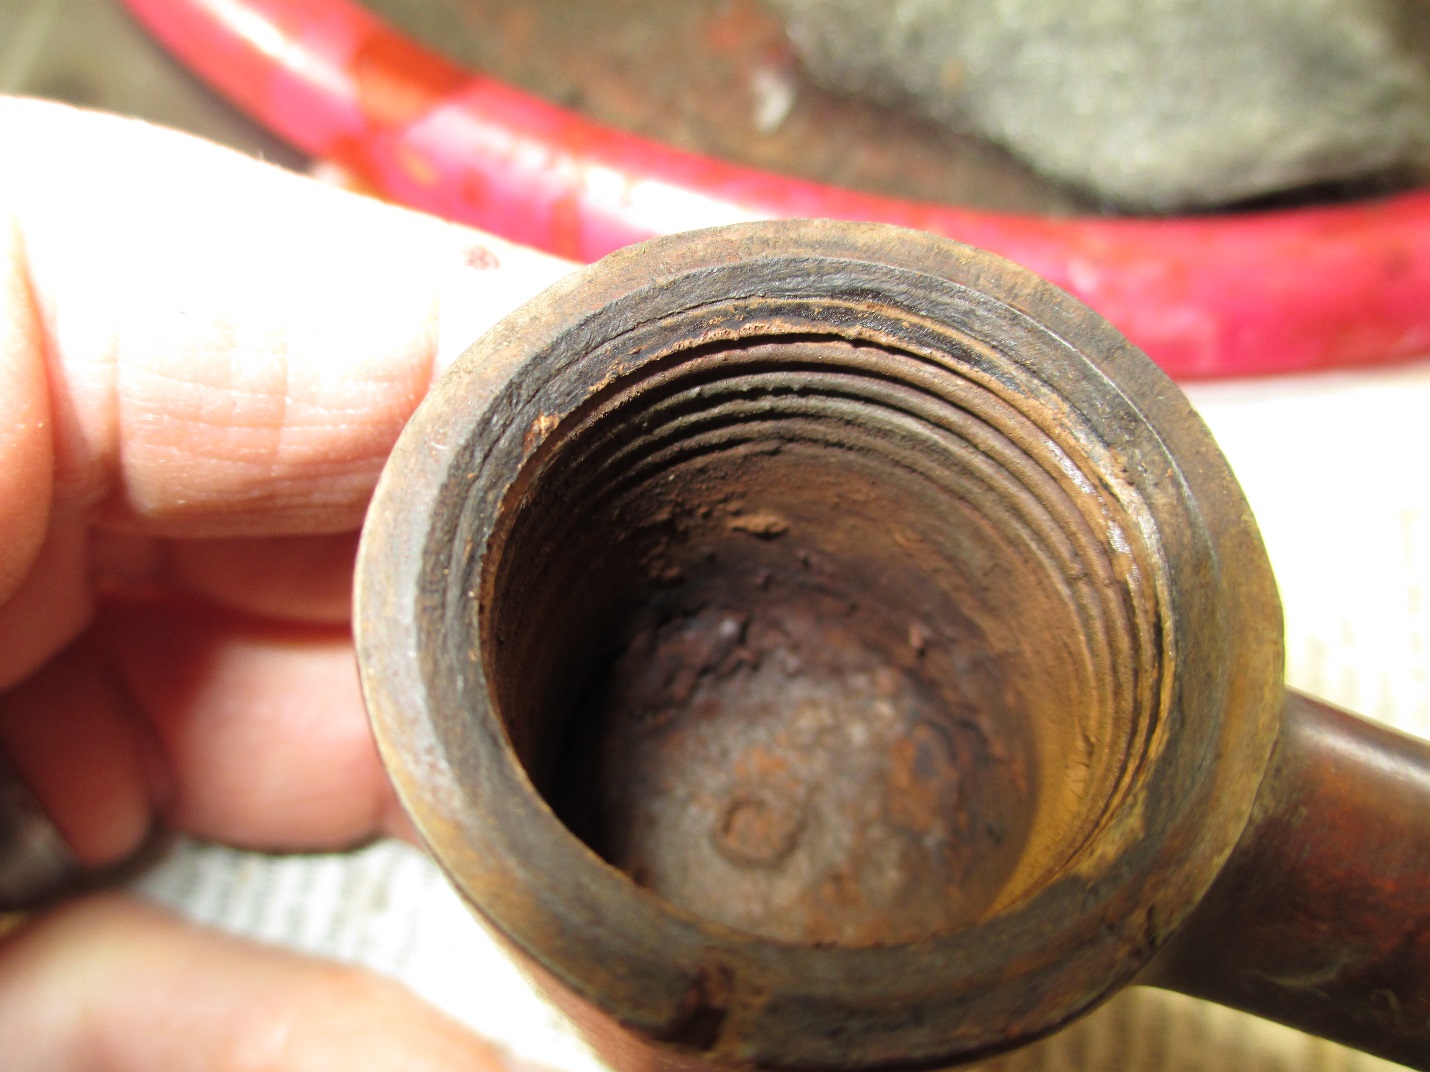
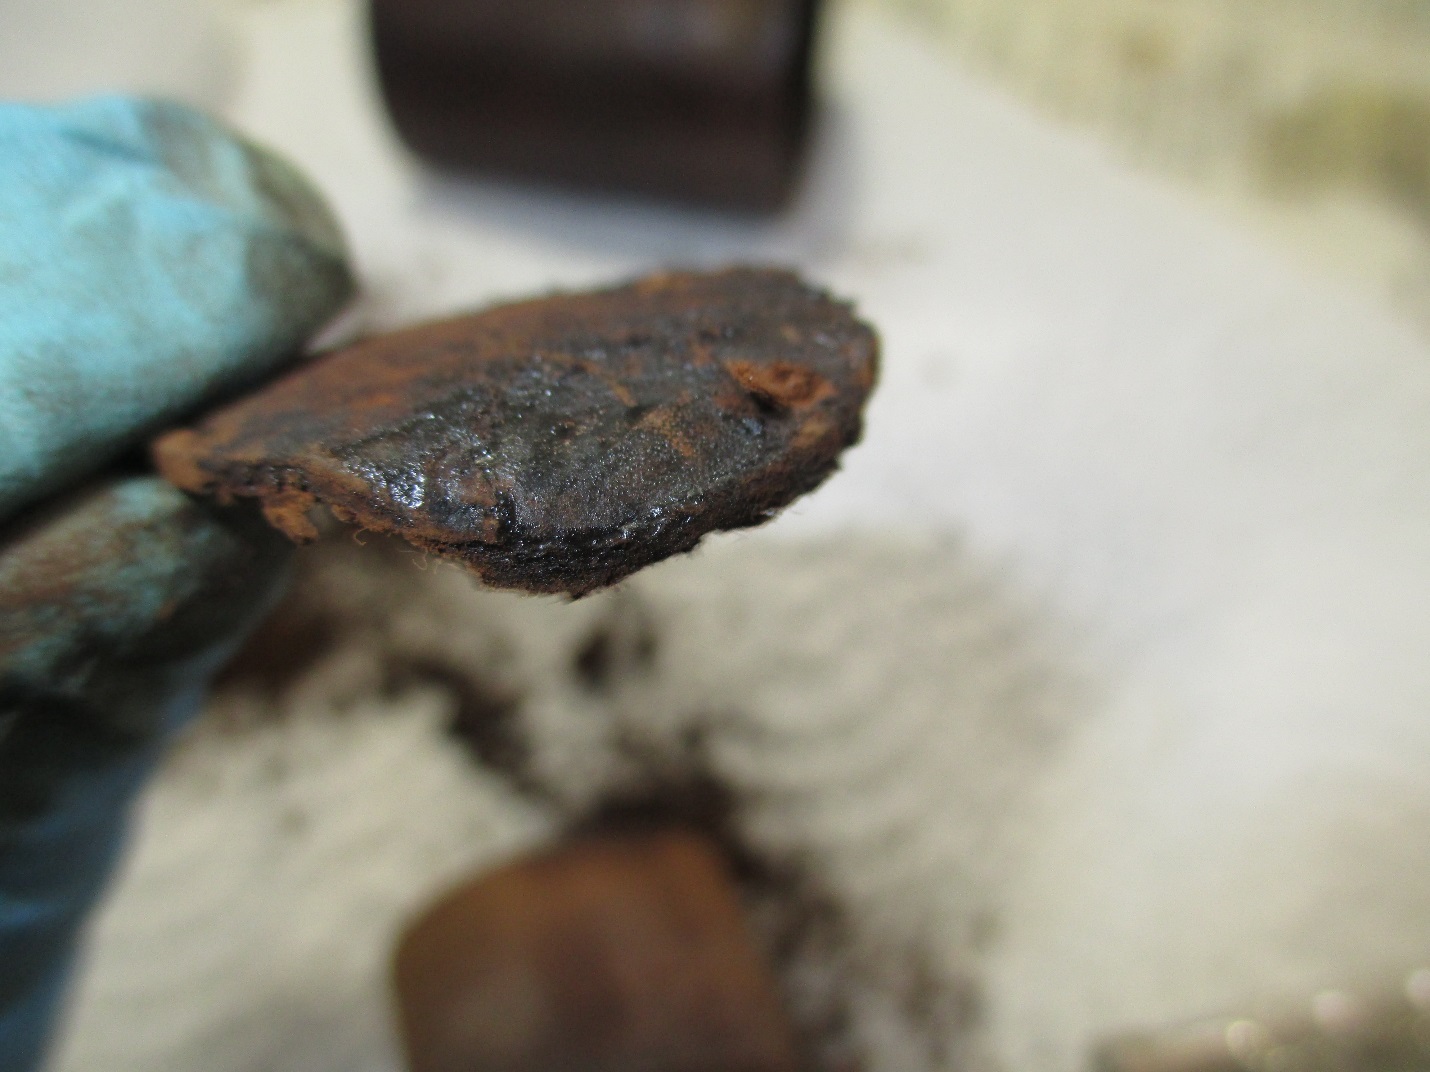
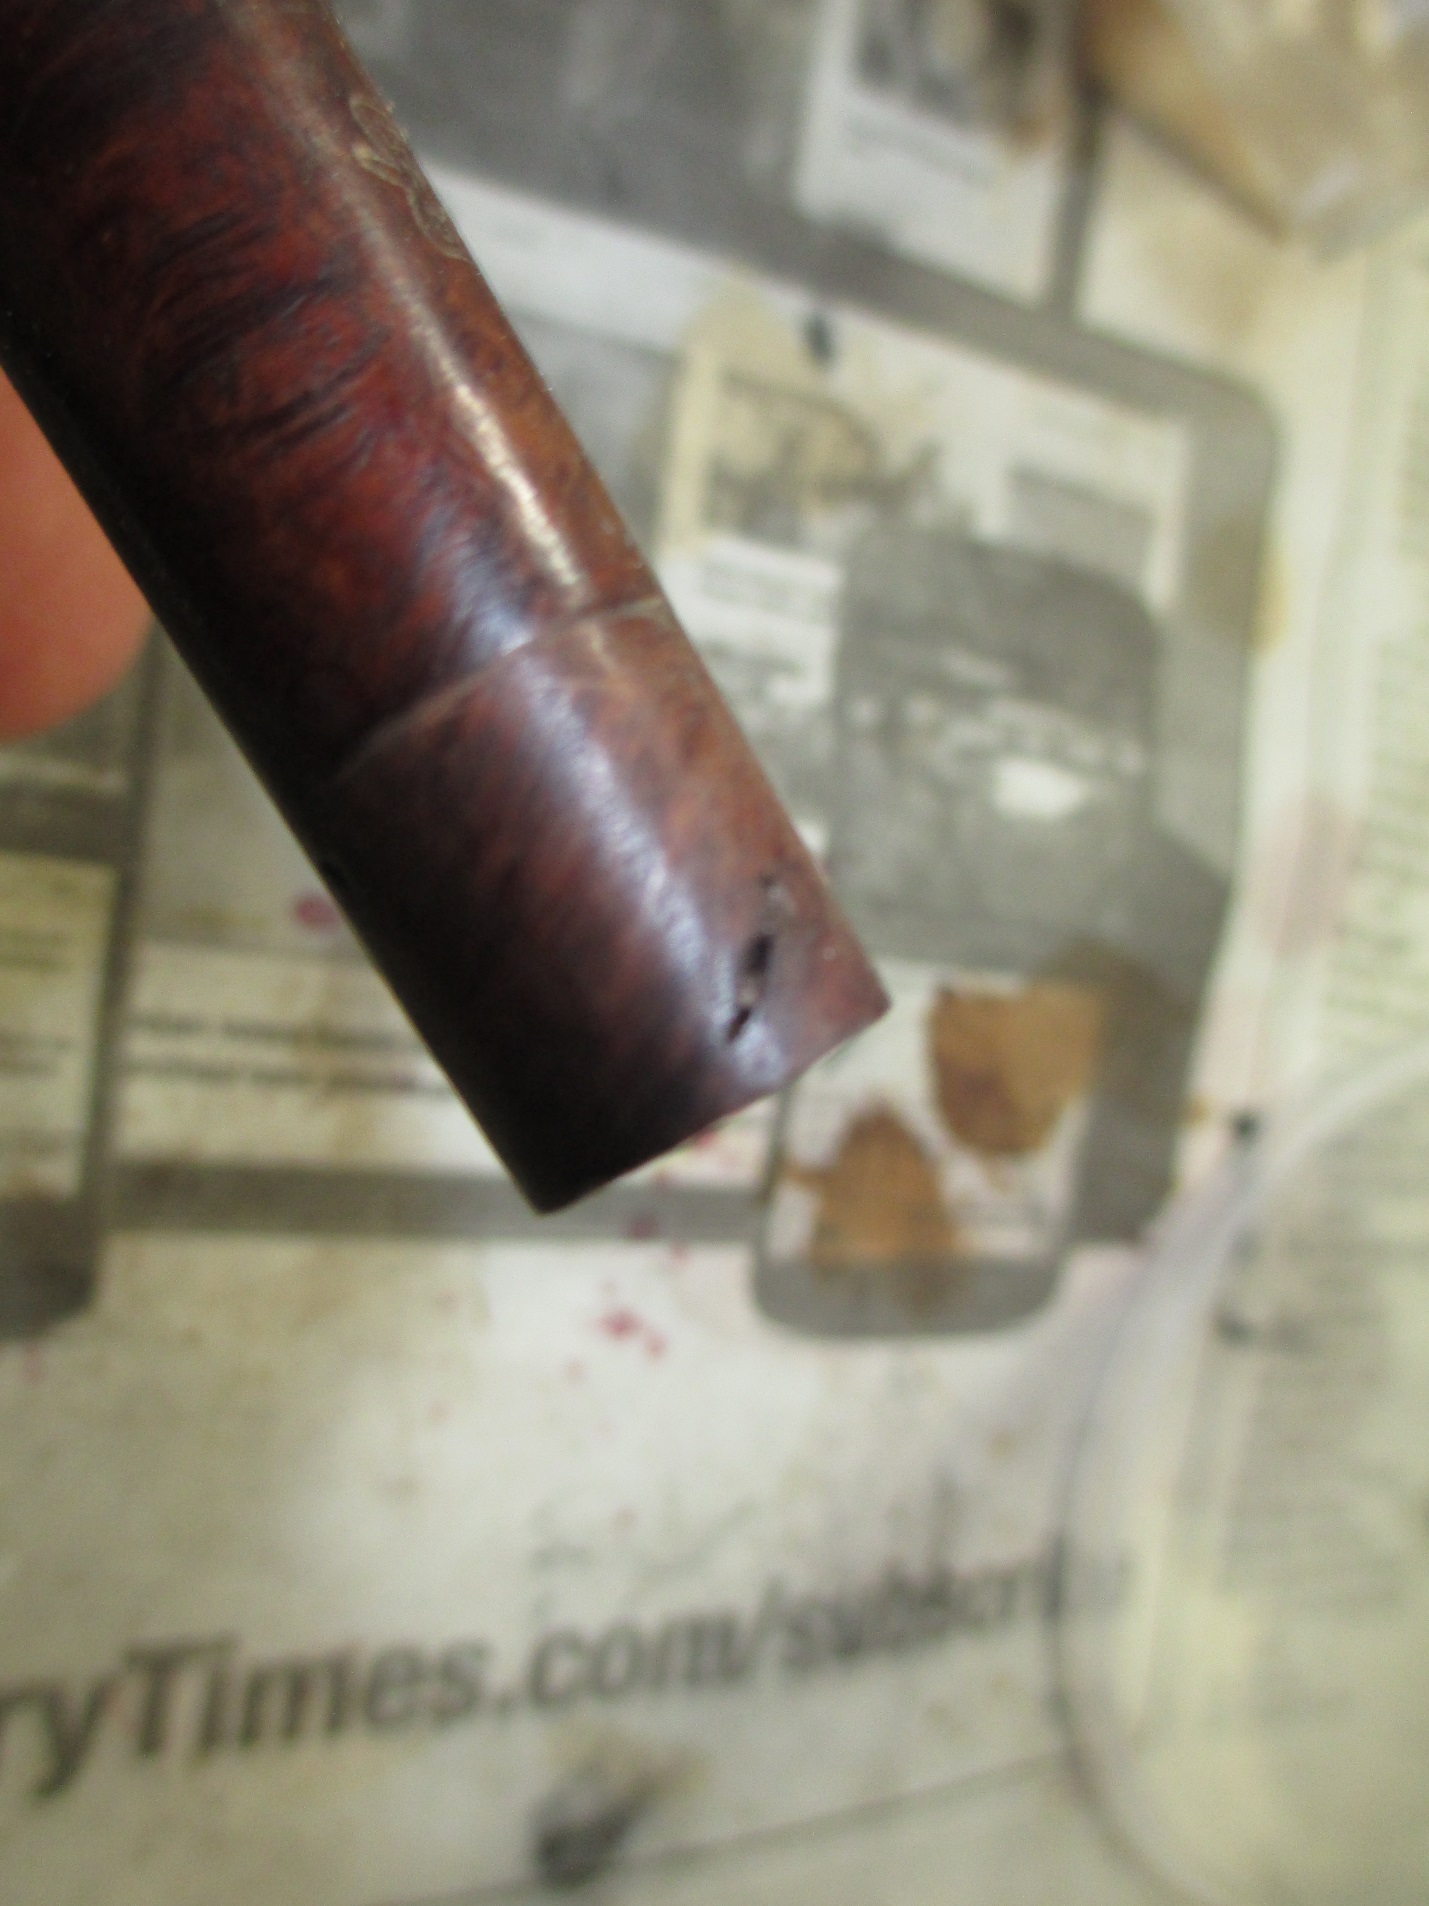
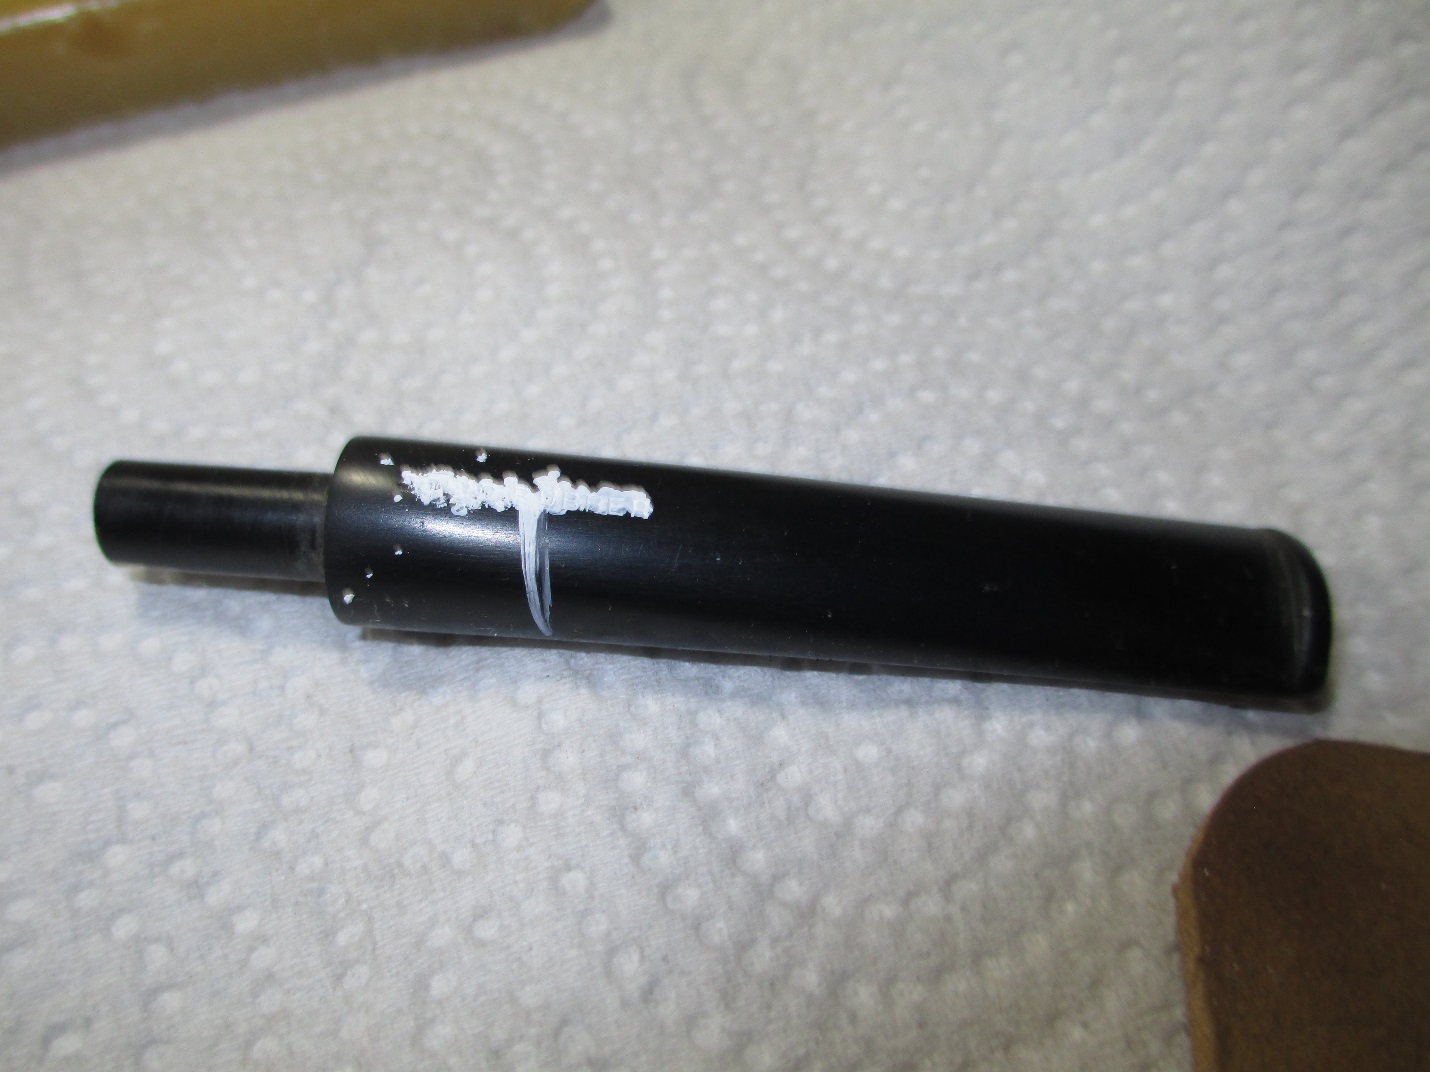
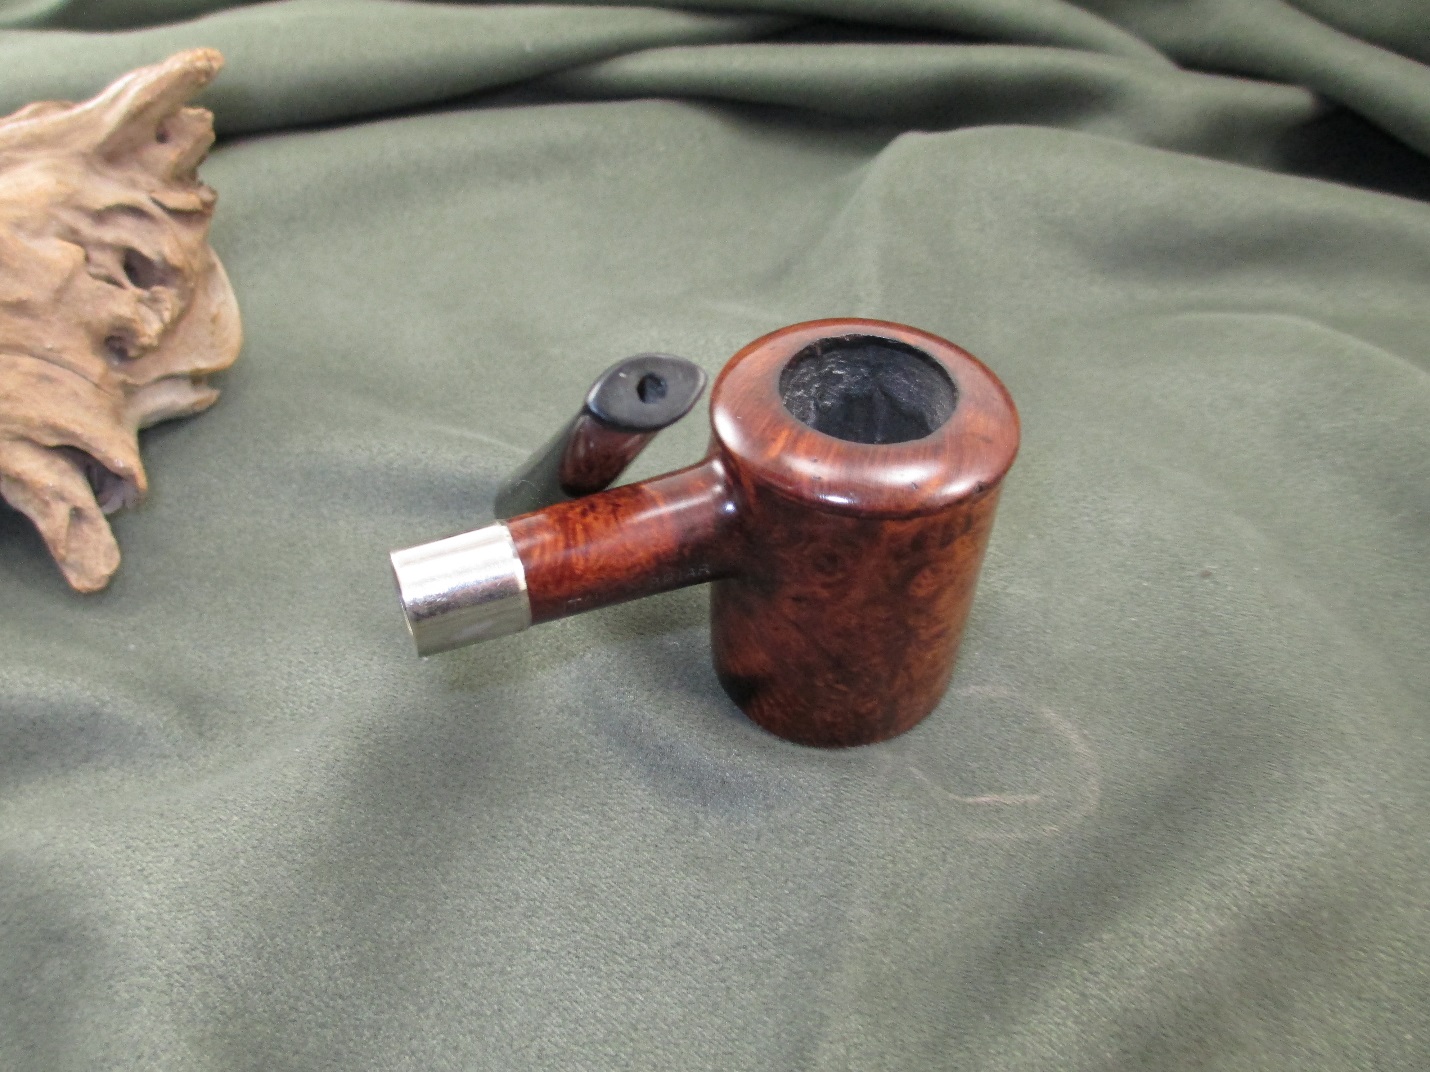
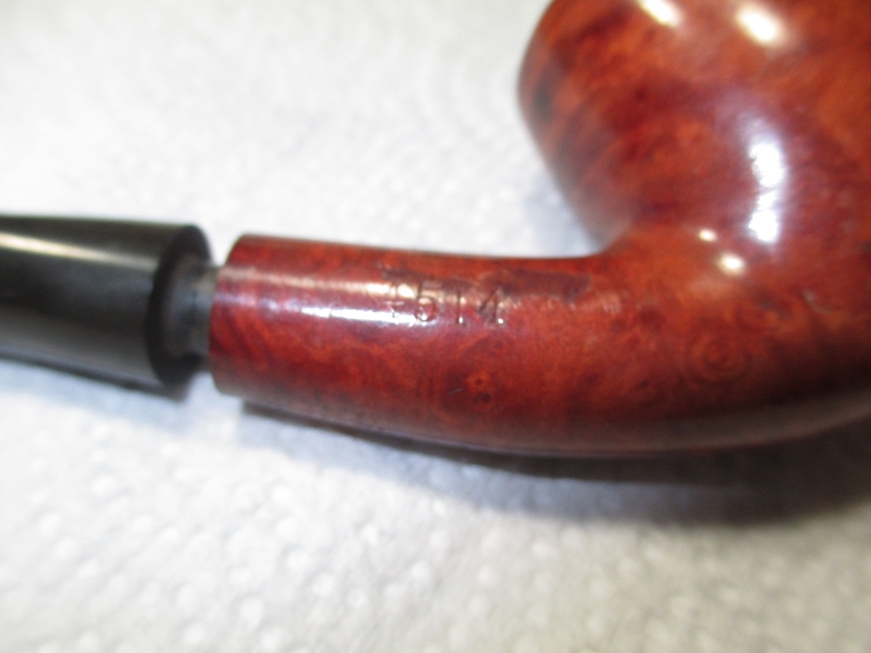
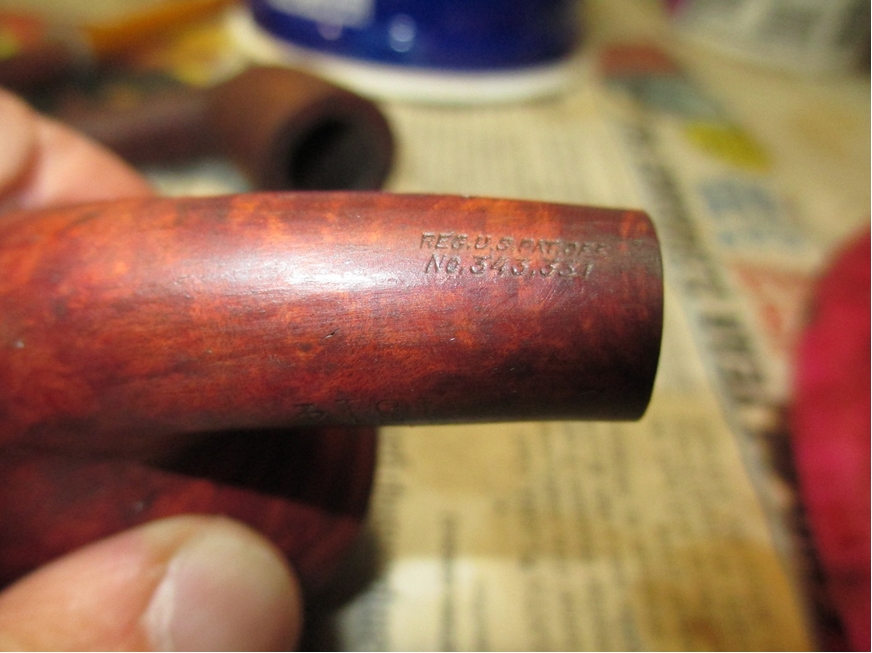
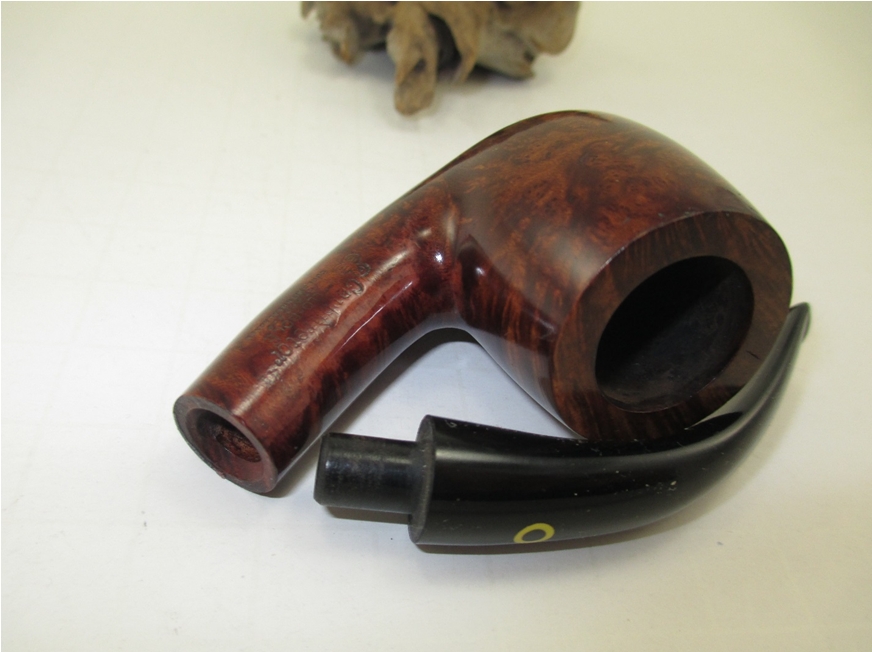
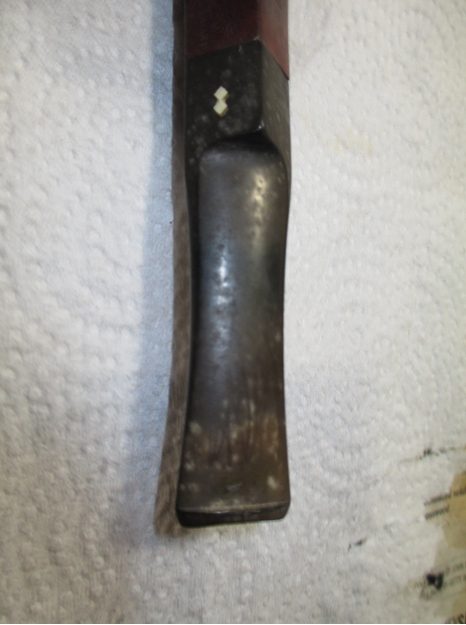
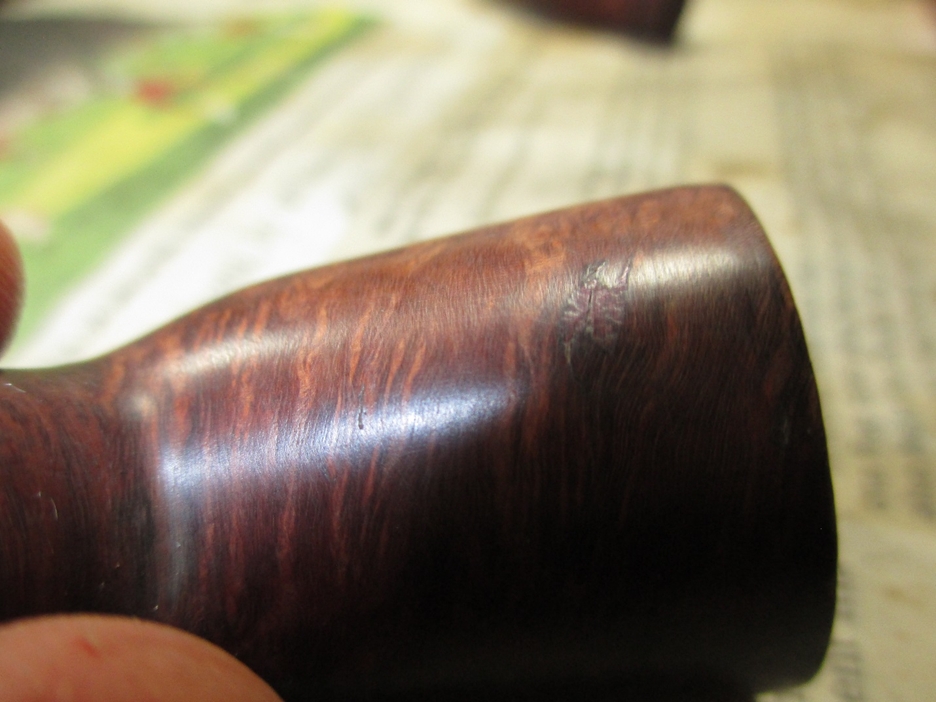
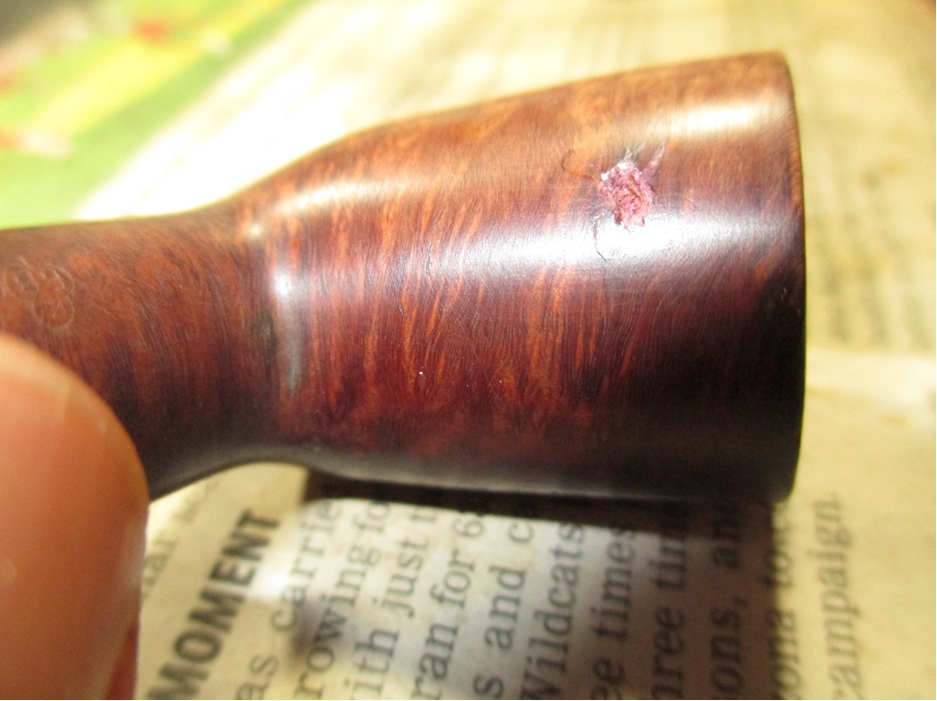
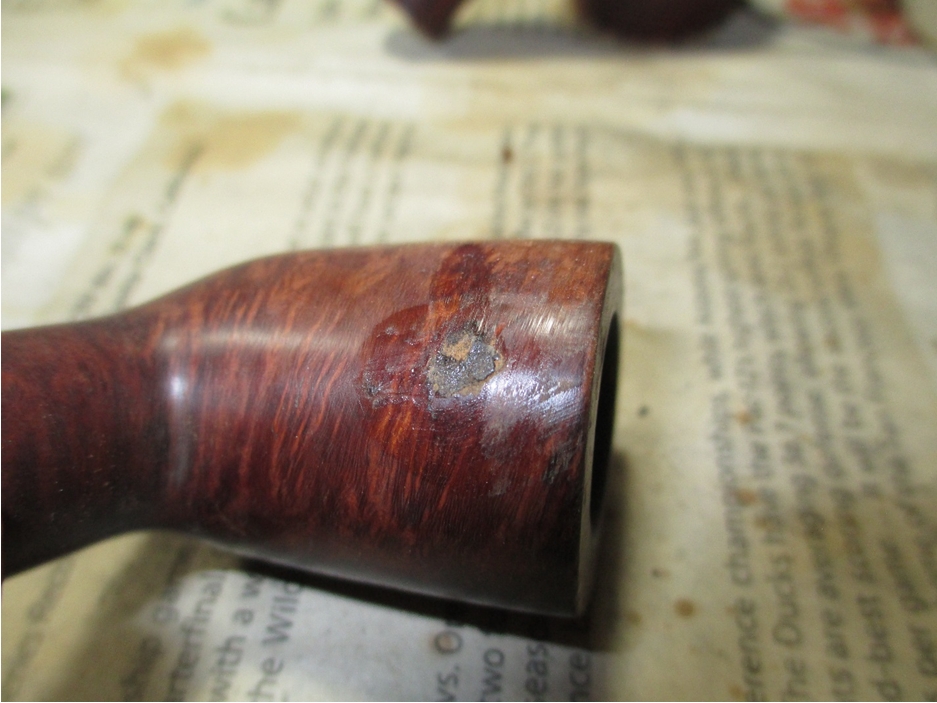
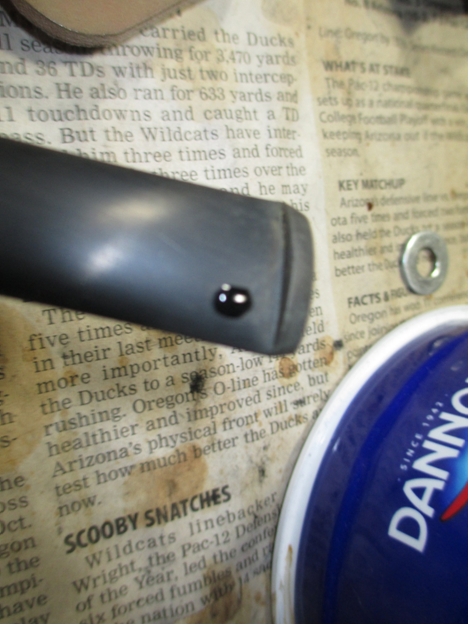
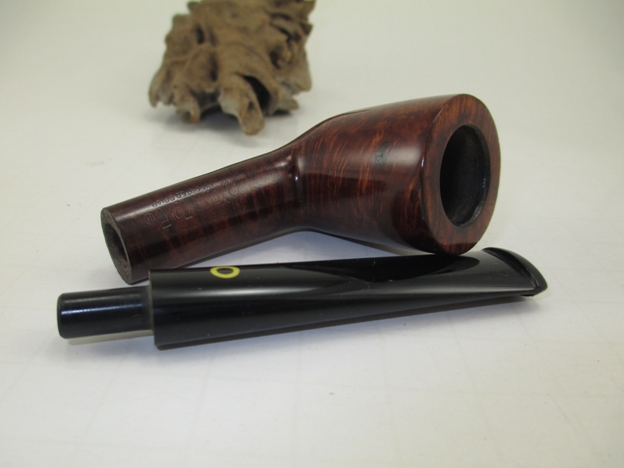
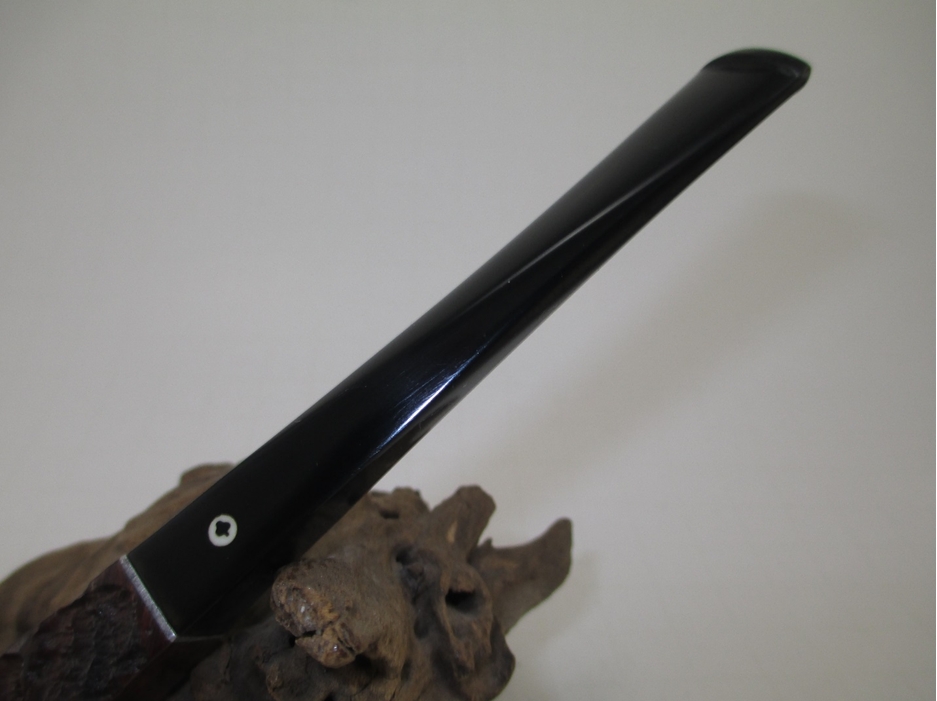
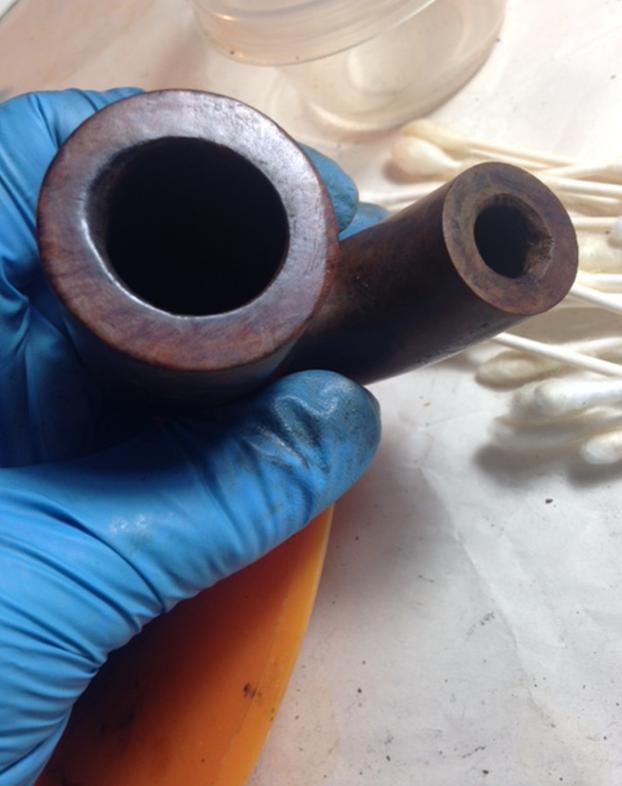 The pipe has a replacement push stem, which initially caused me to think it was an export model, but looking at the shank you can see the groves that the stinger originally screwed into.
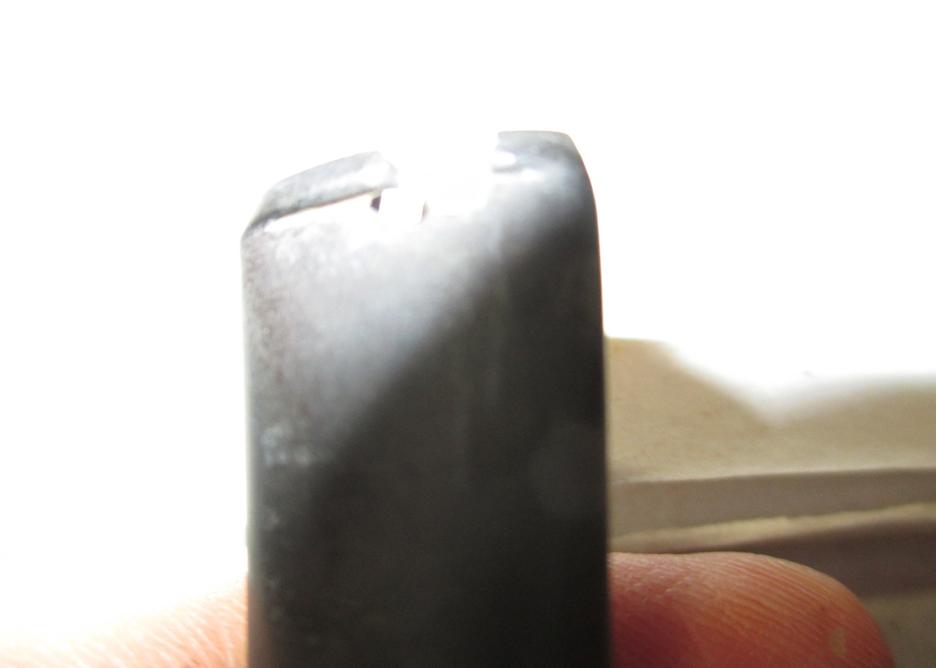
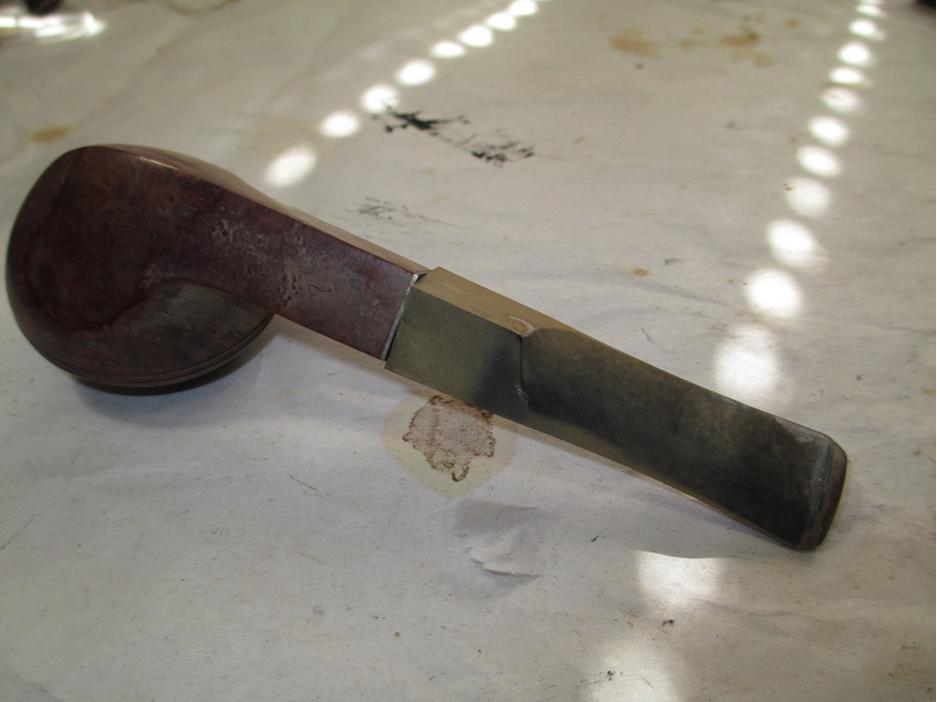
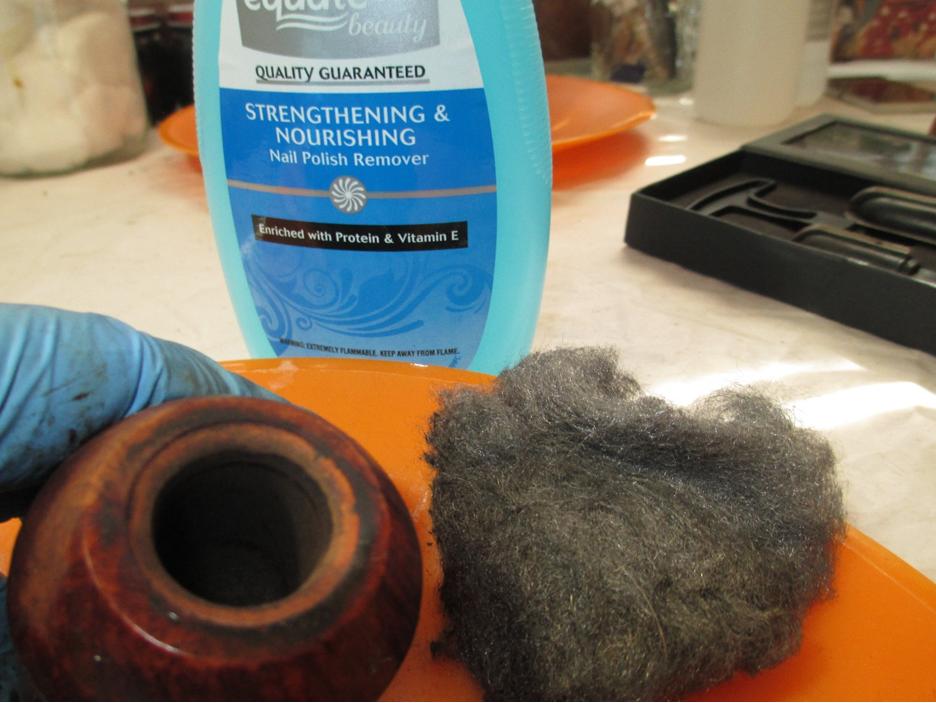
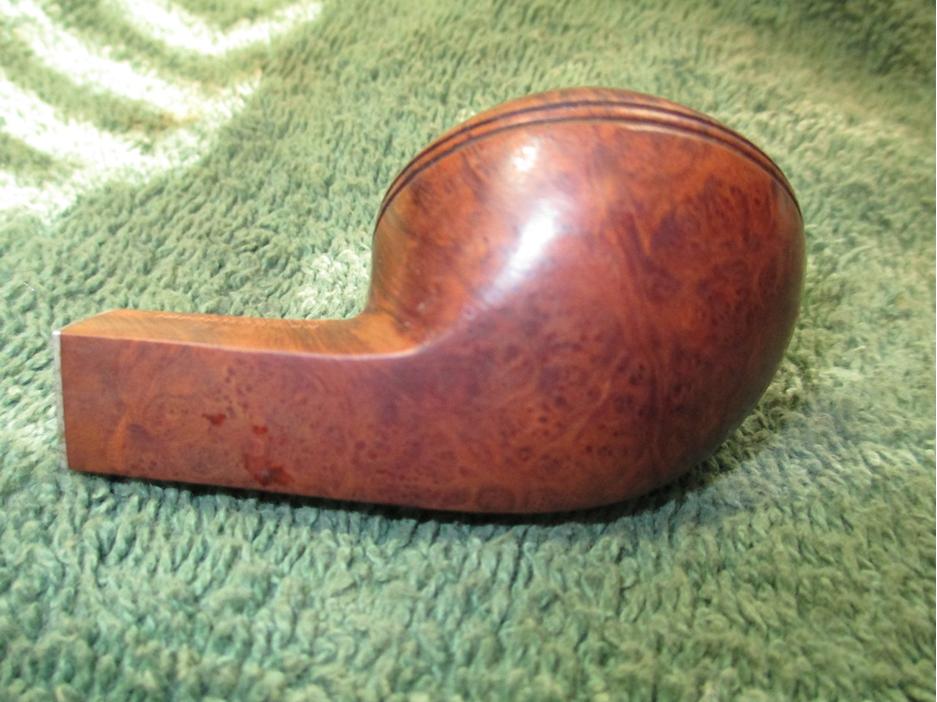
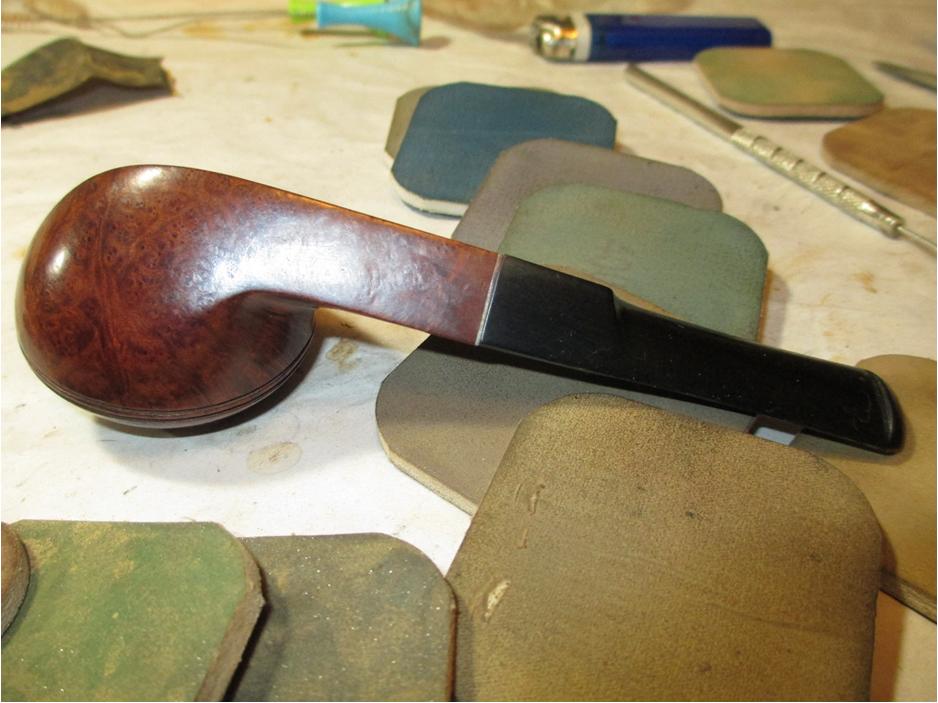
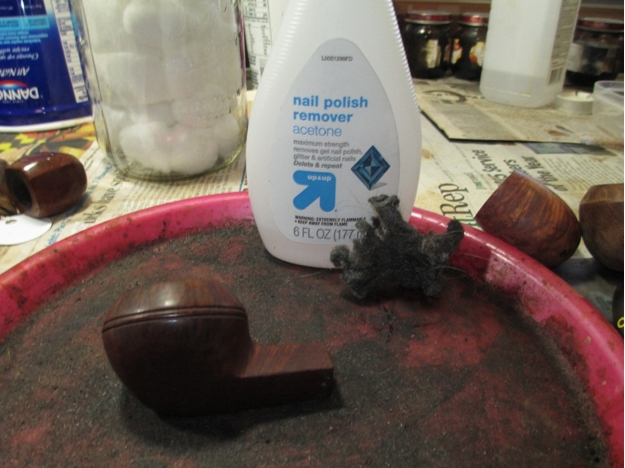
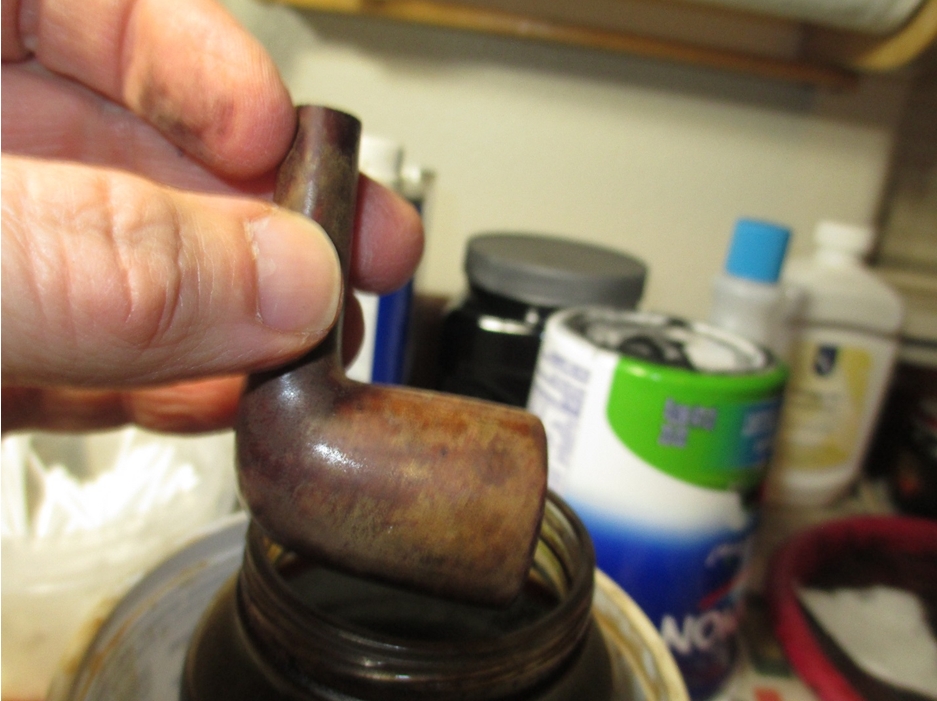
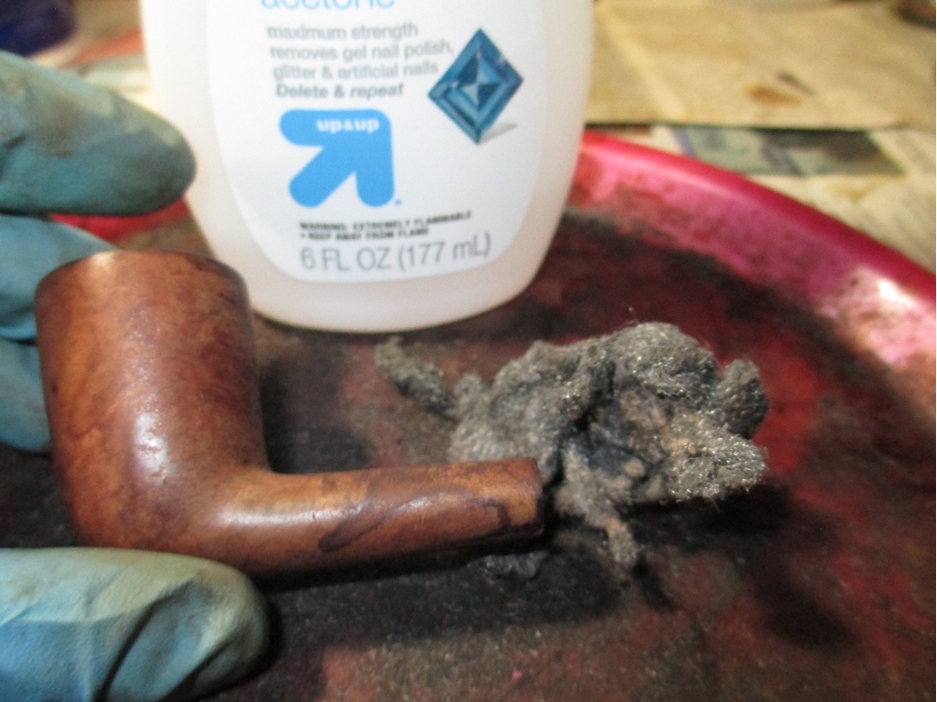
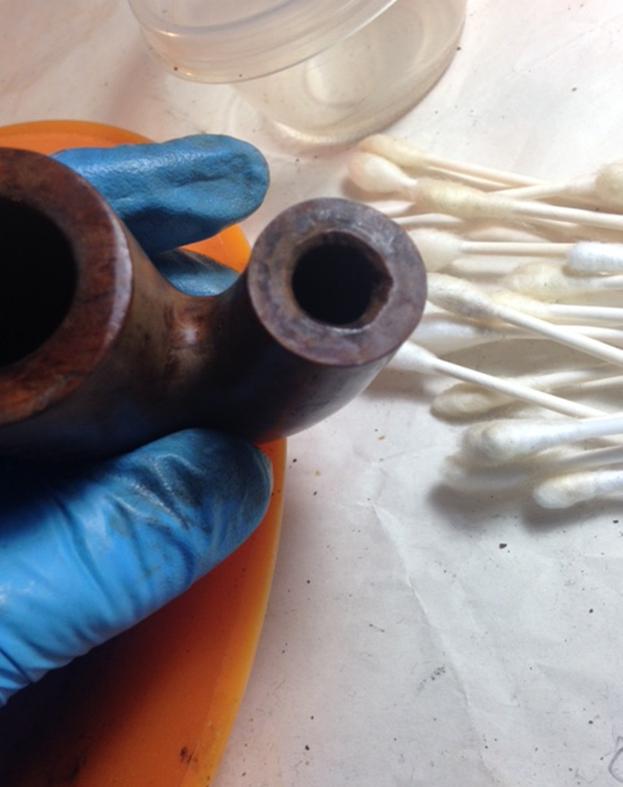 I find that the alcohol bath does a nice job of softening any protective coating or wax. In order to remove the rest, I used 0000 steel wool and acetone.
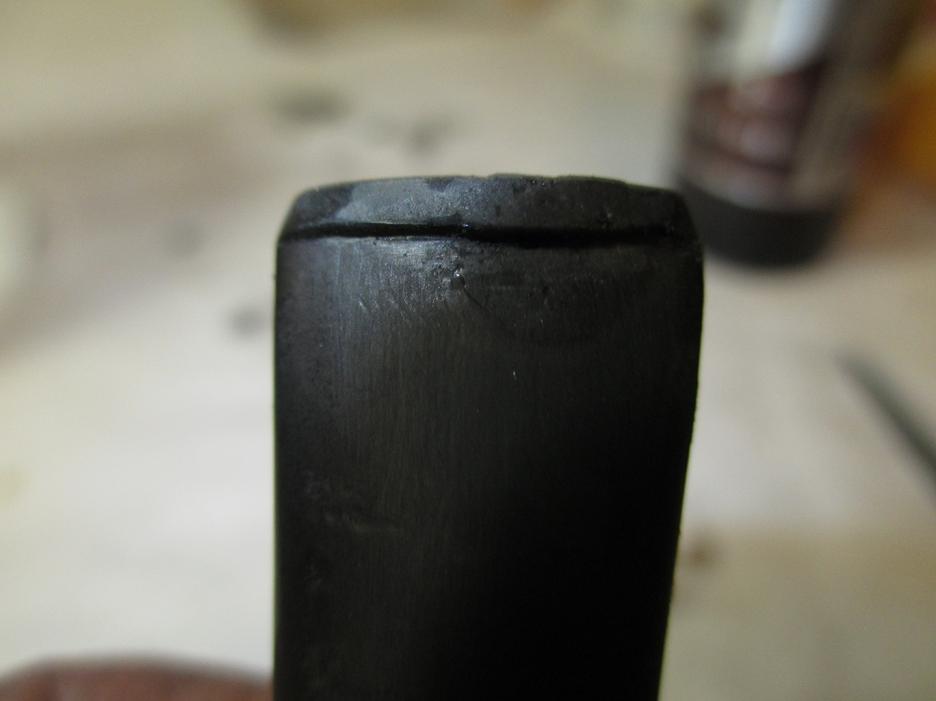
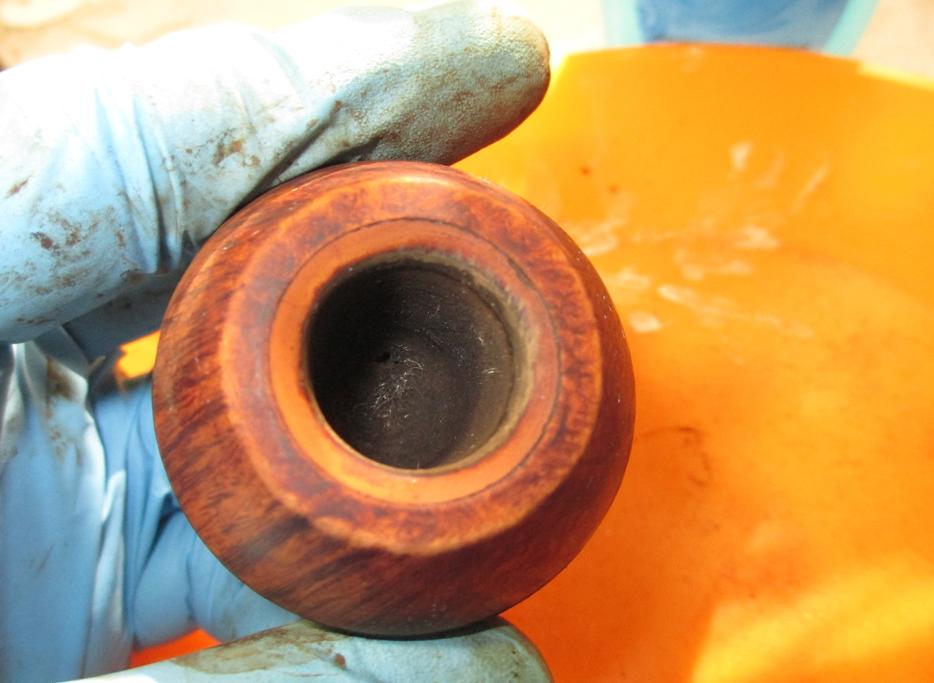
 Here is what the pipe looked like after removing the finish.
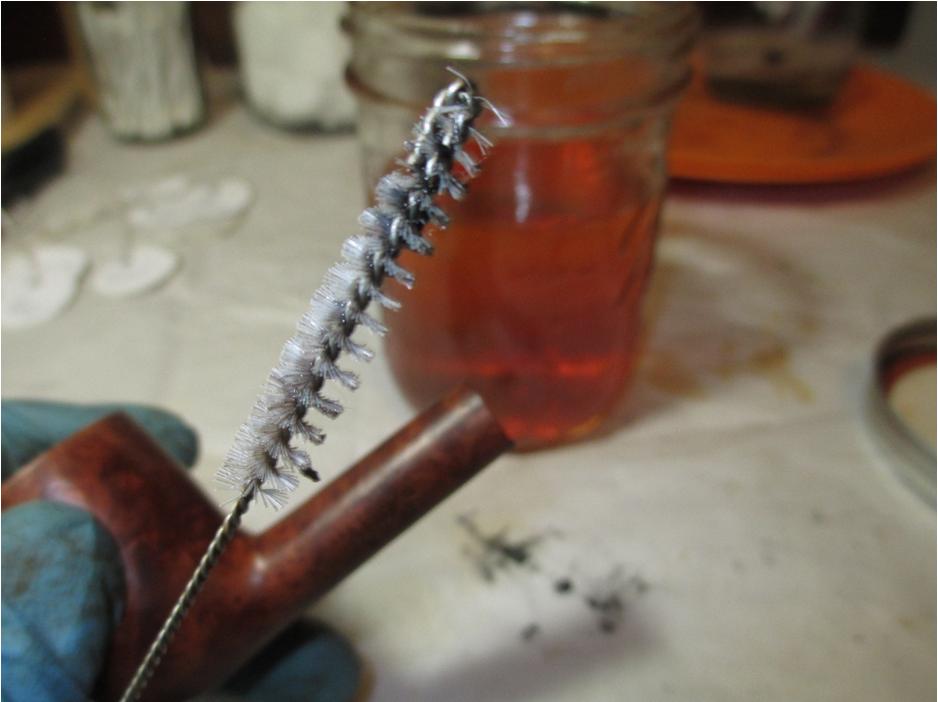
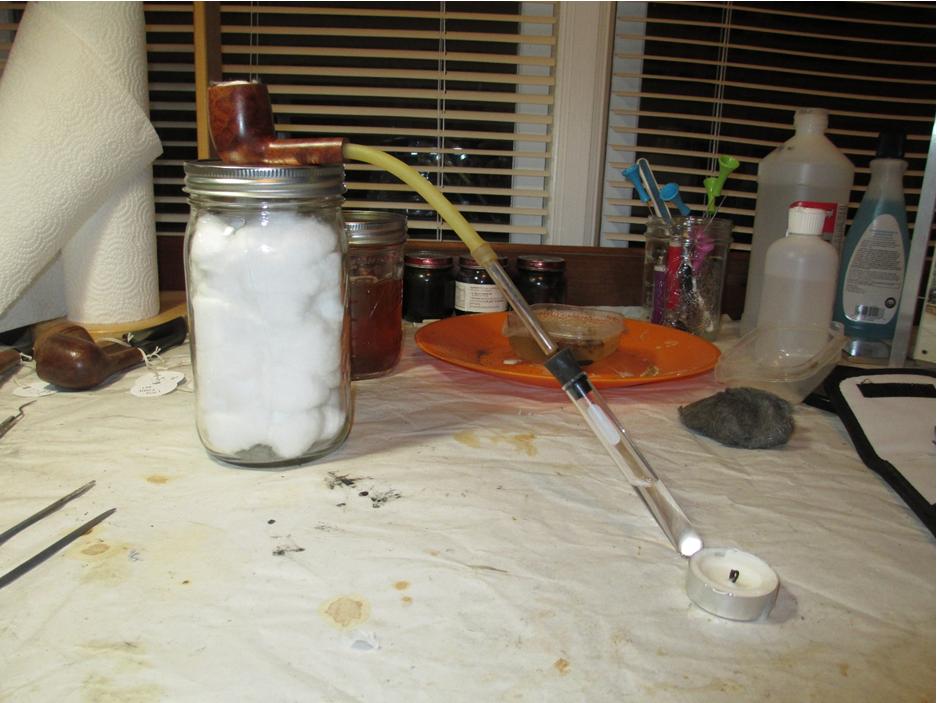
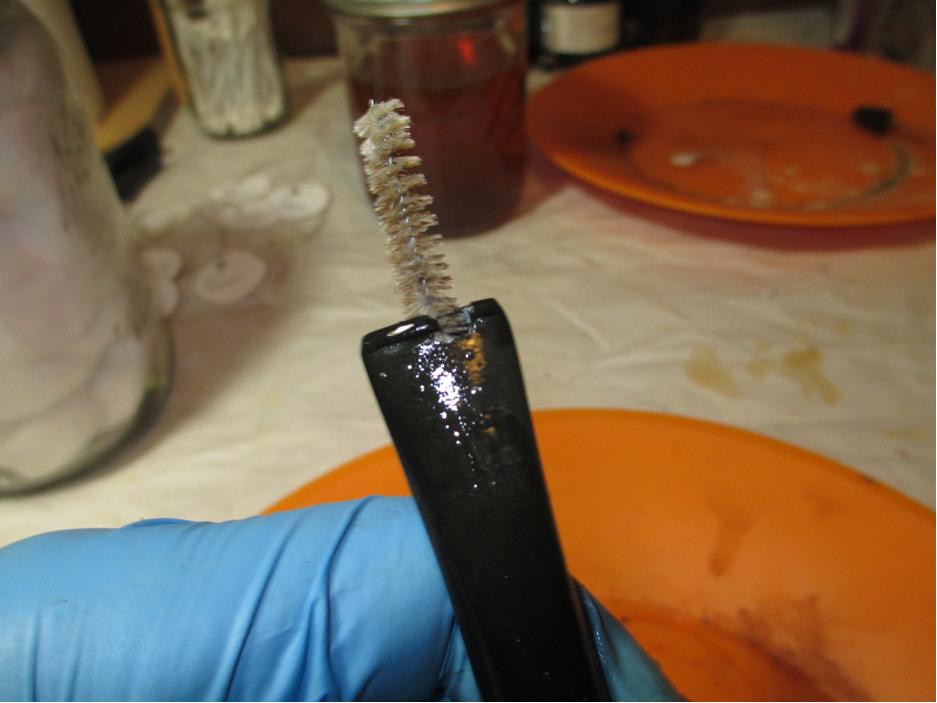
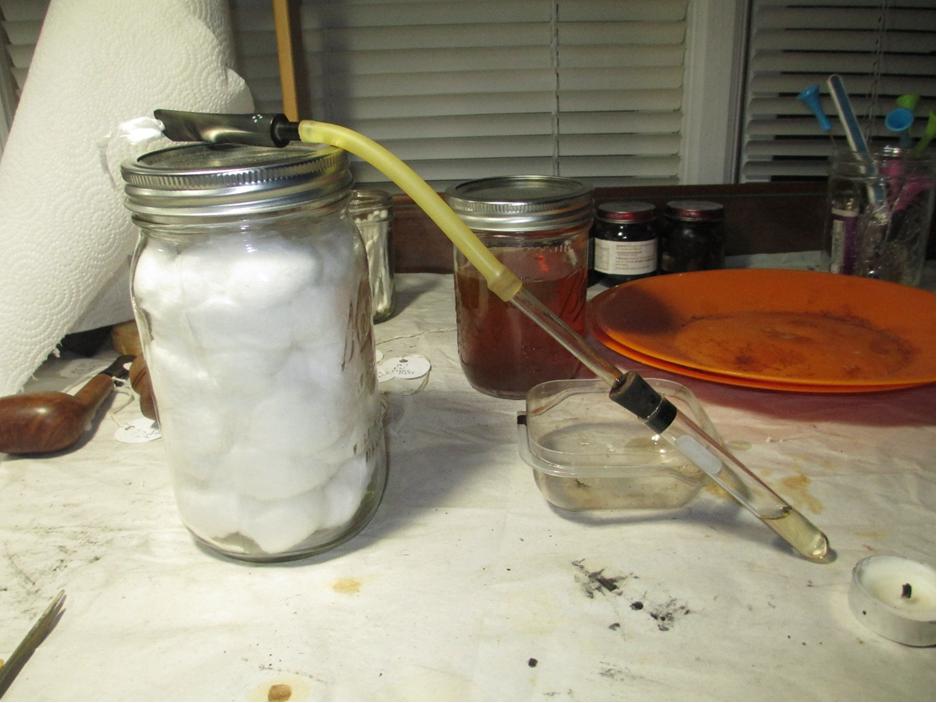
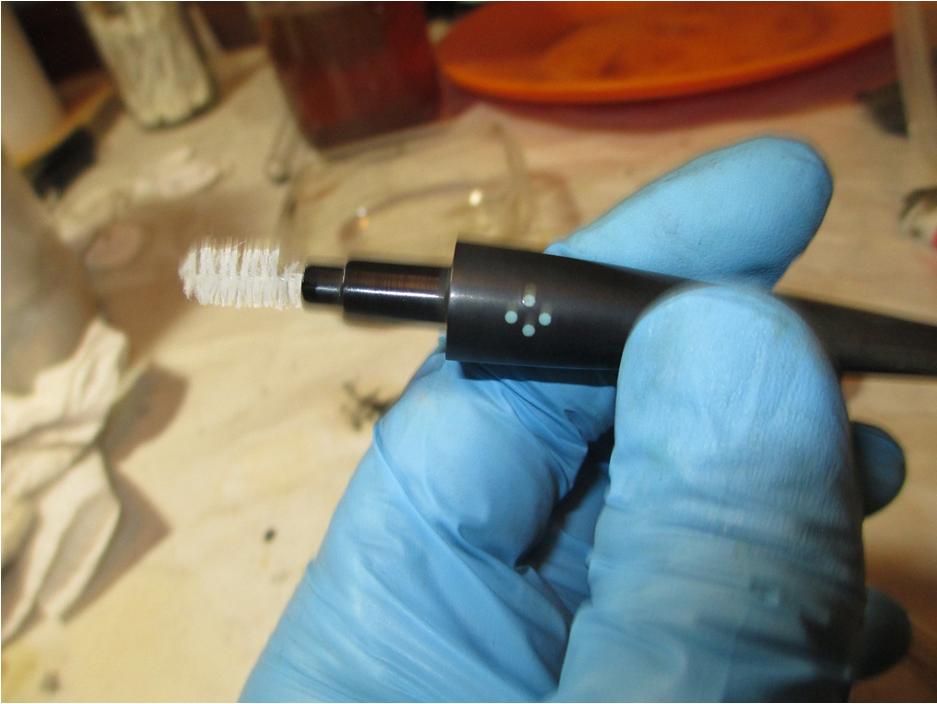
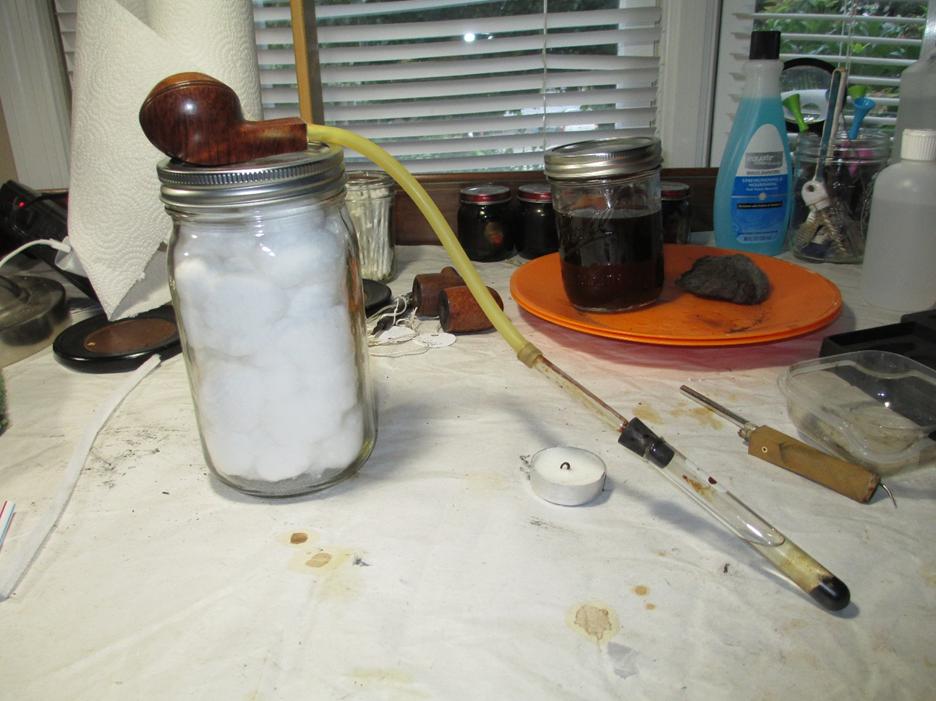
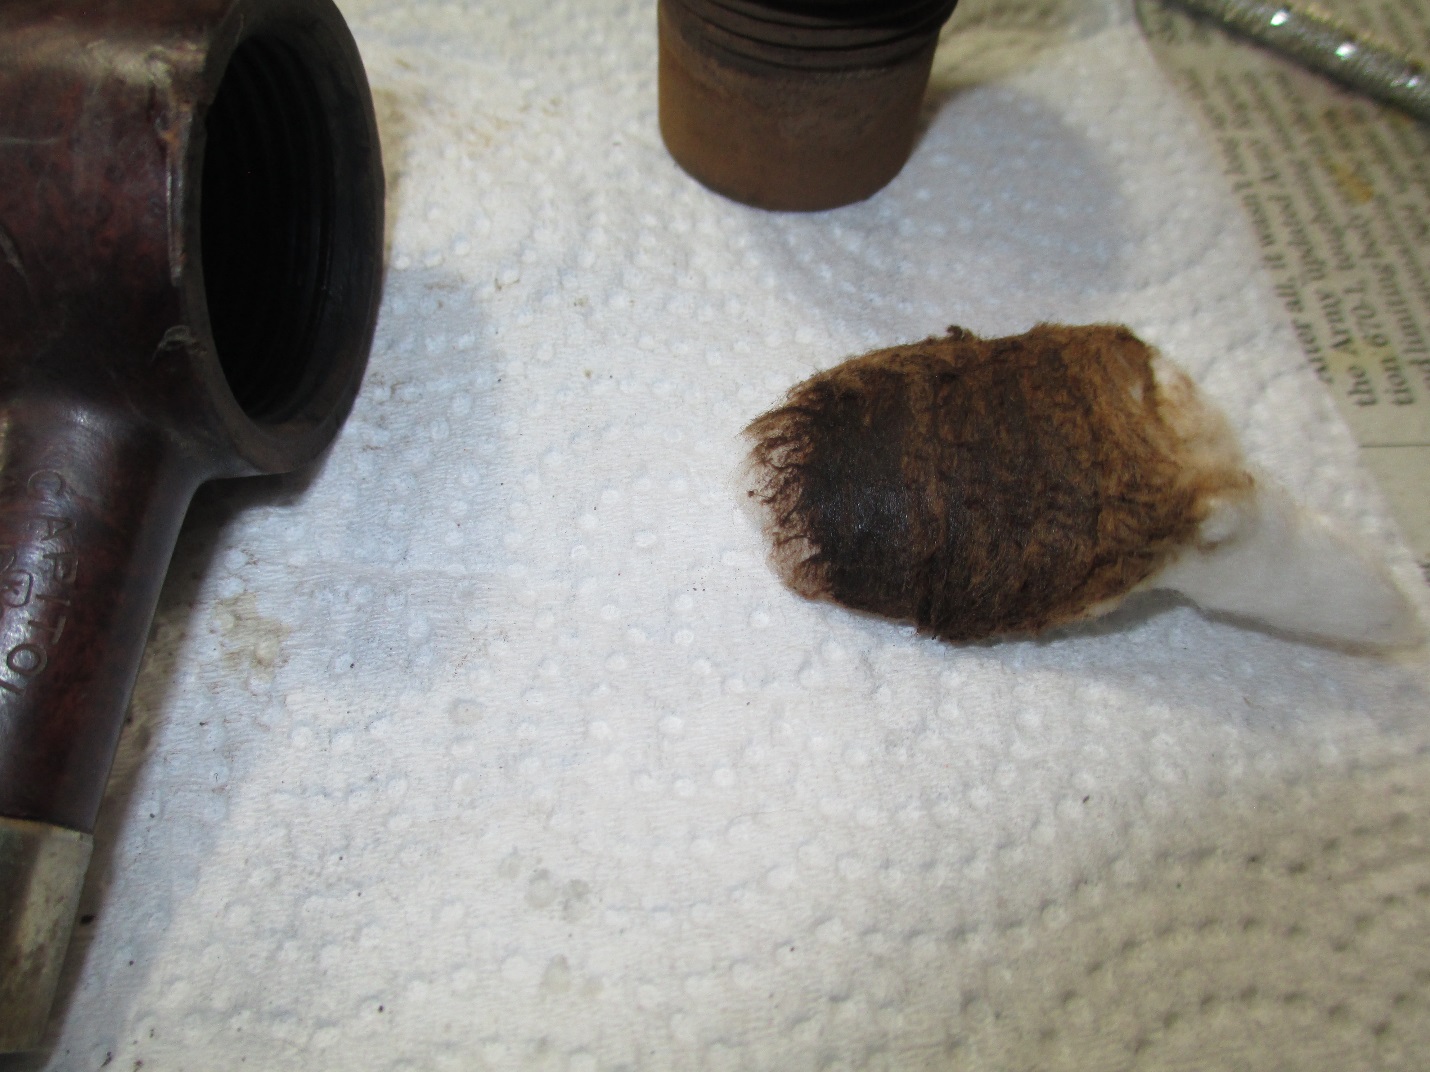
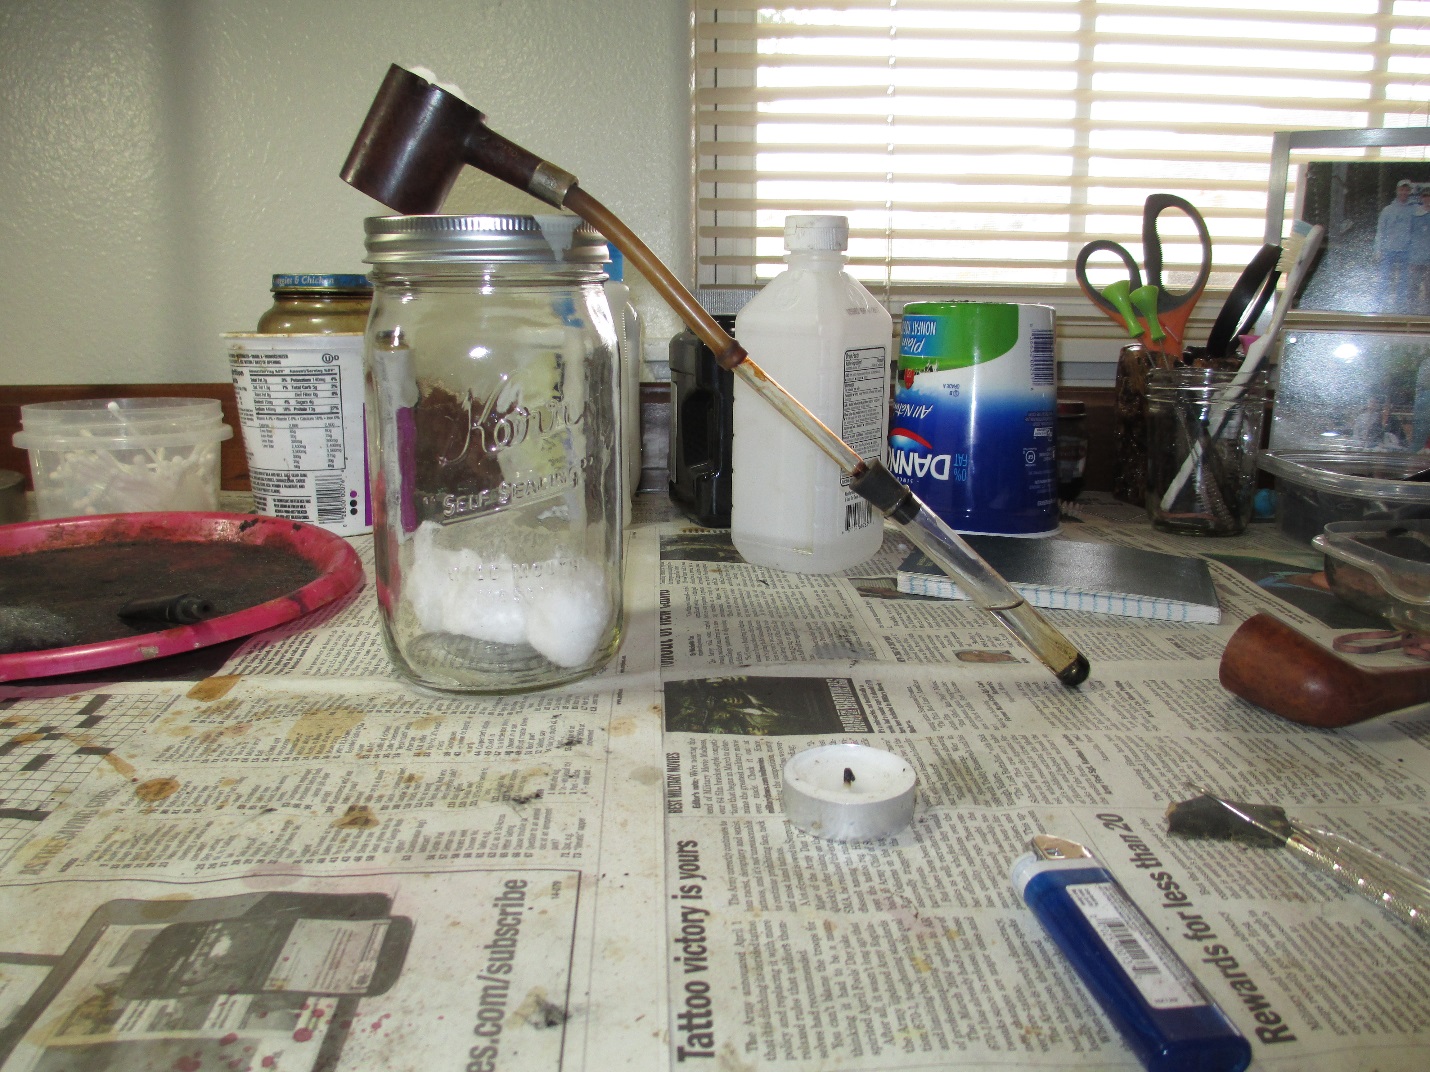
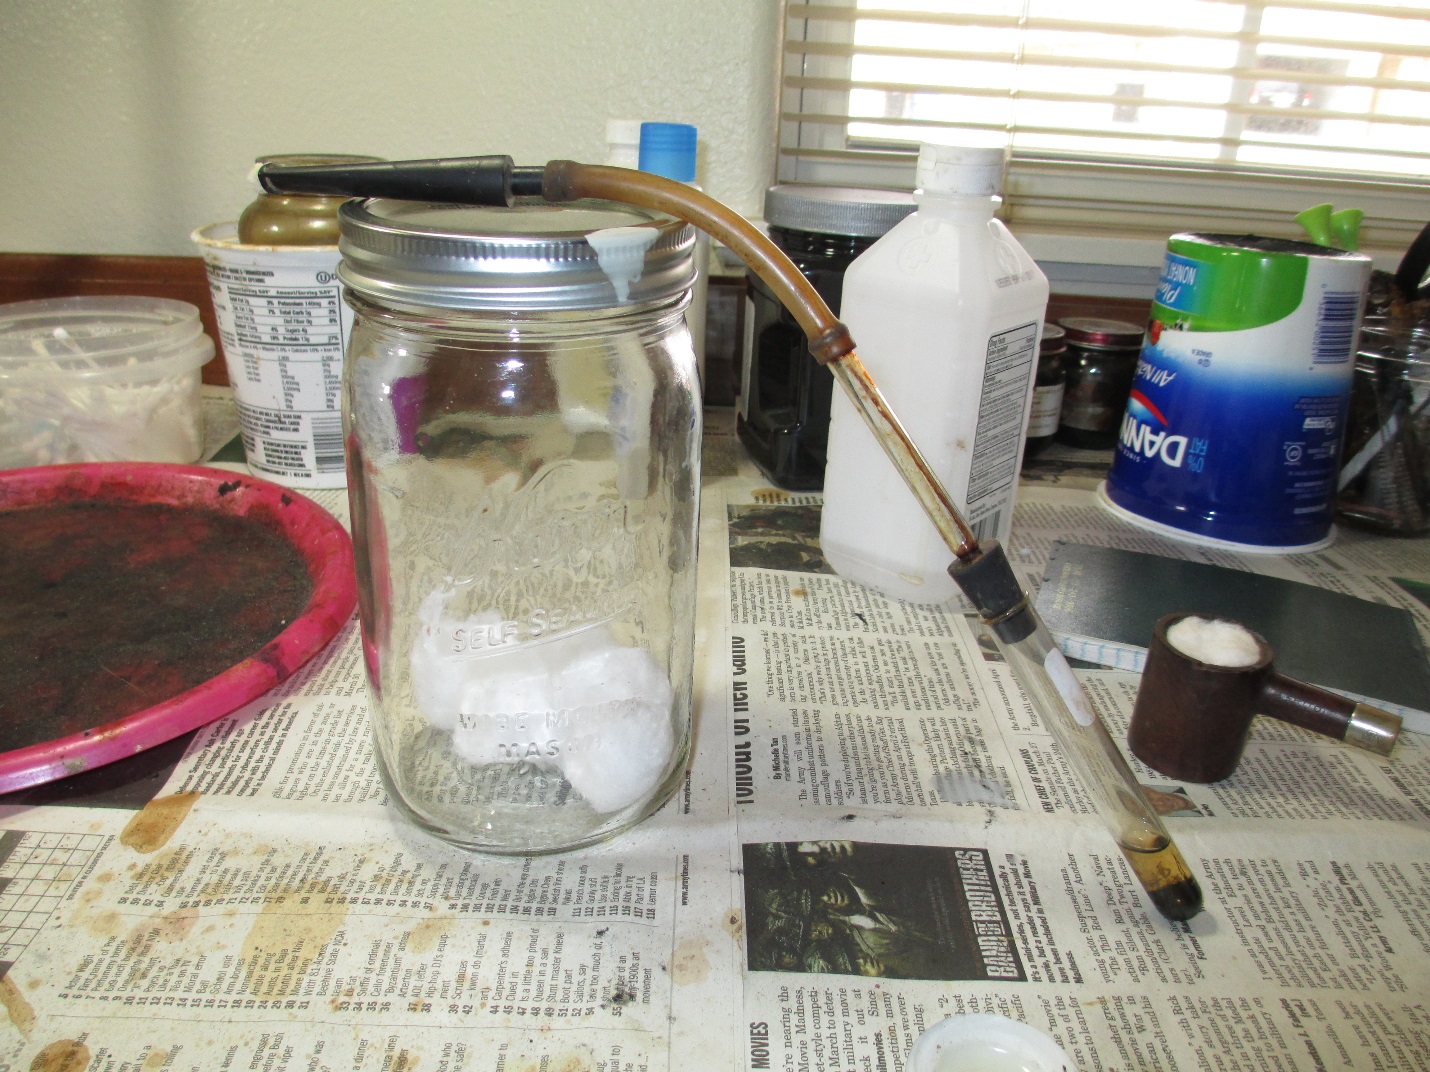
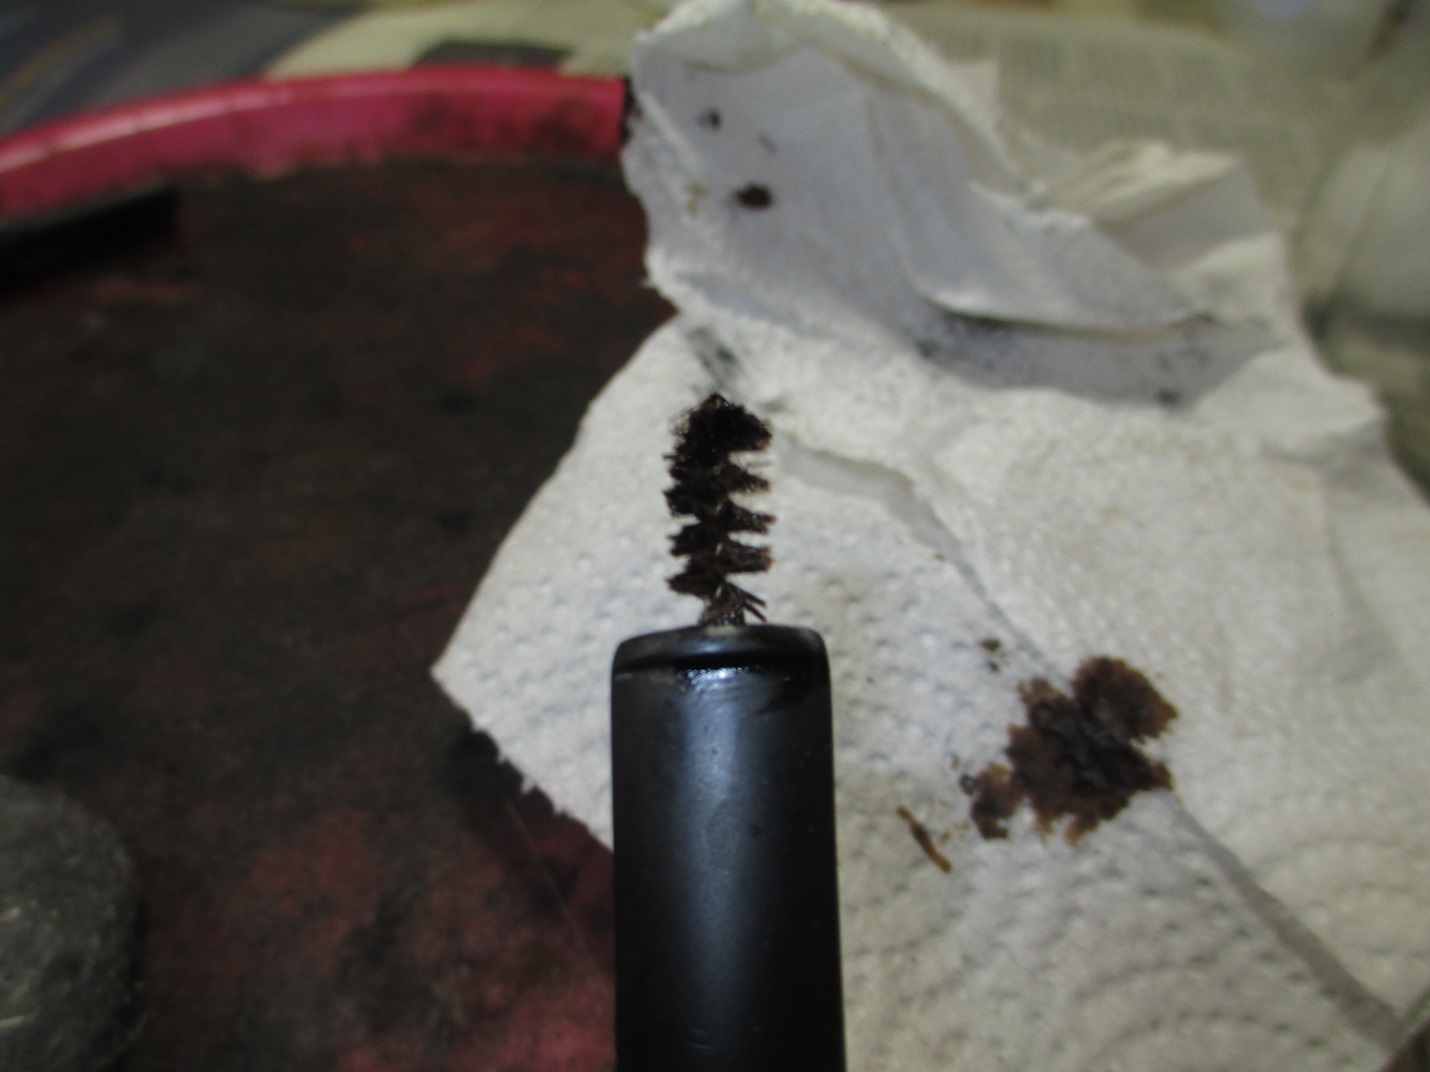
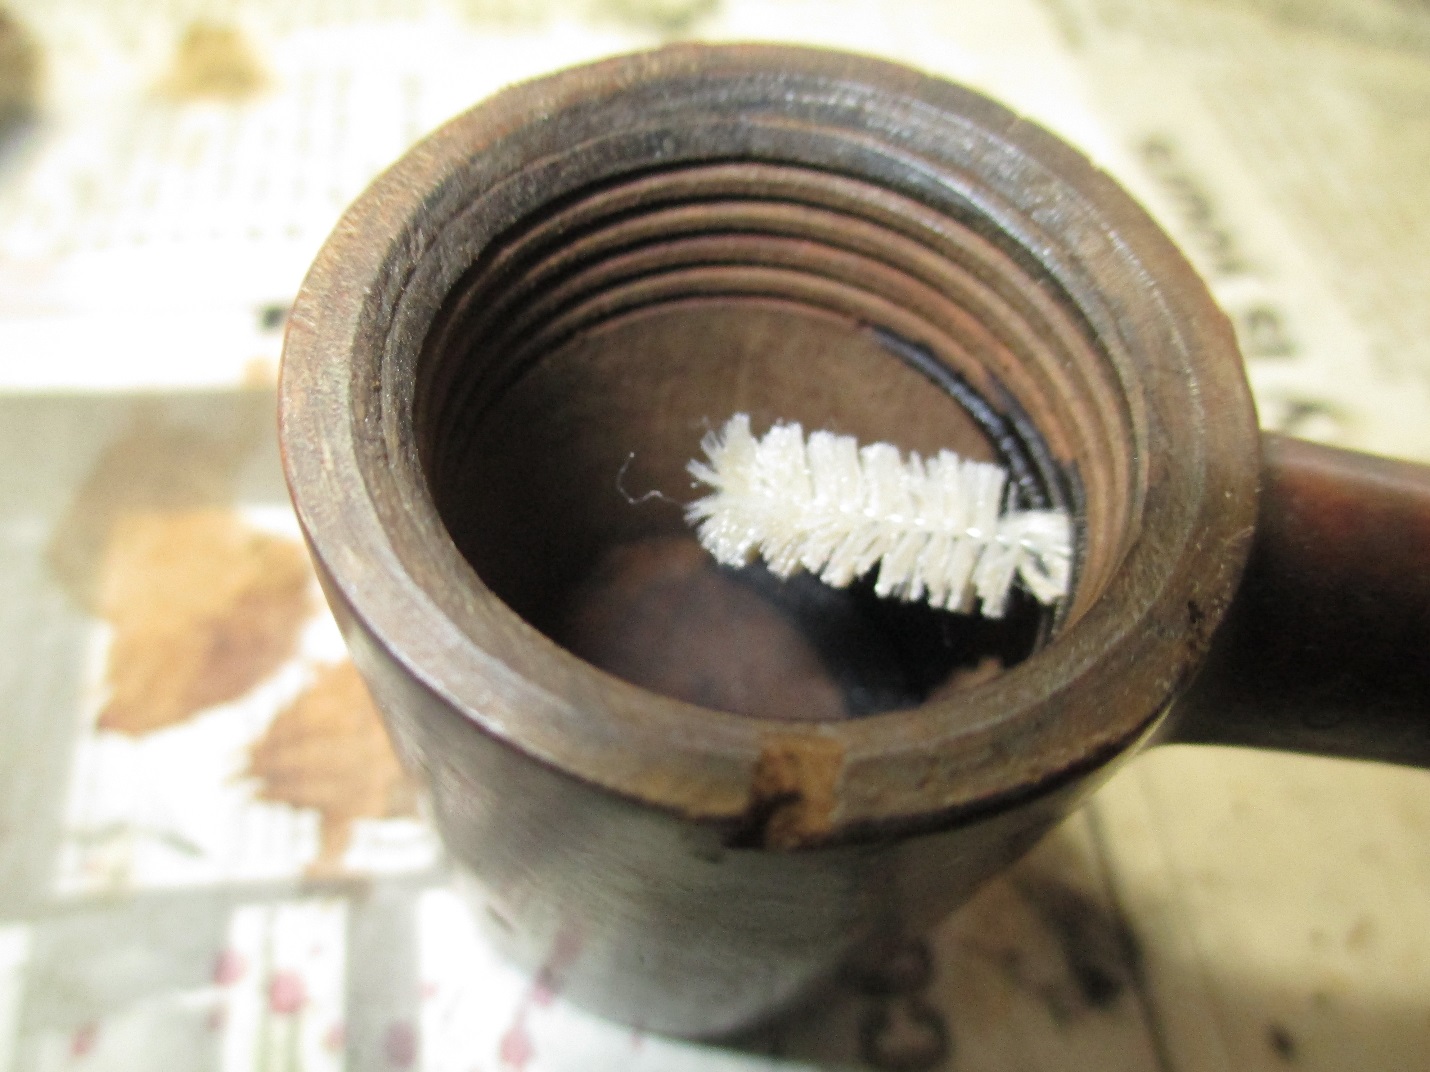
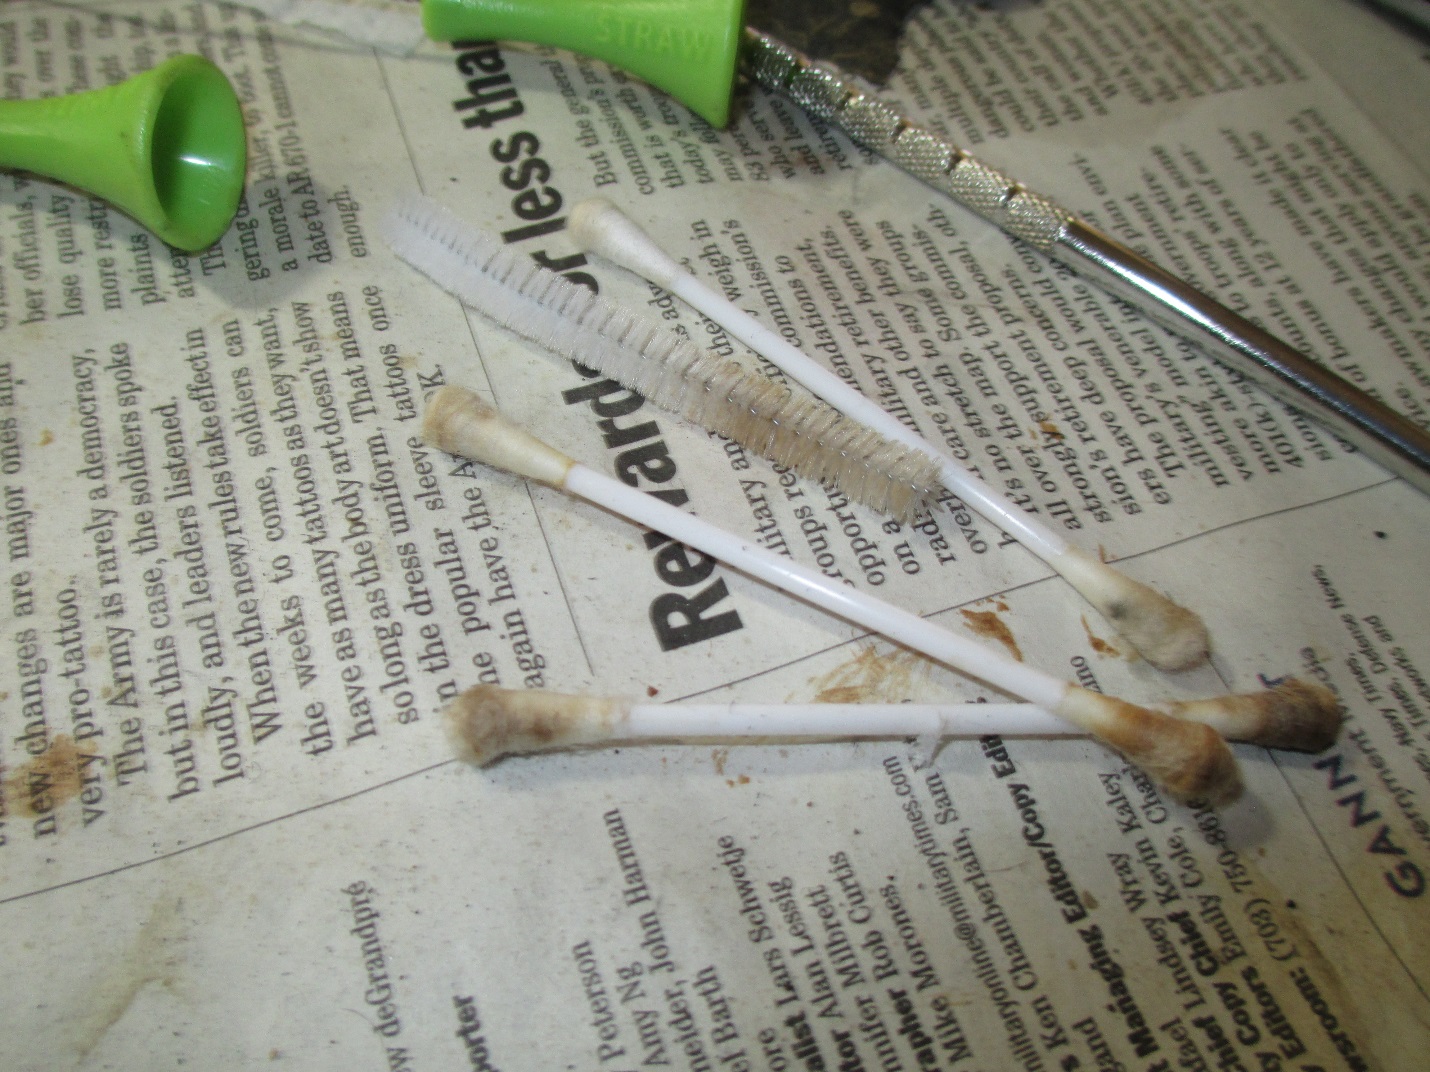
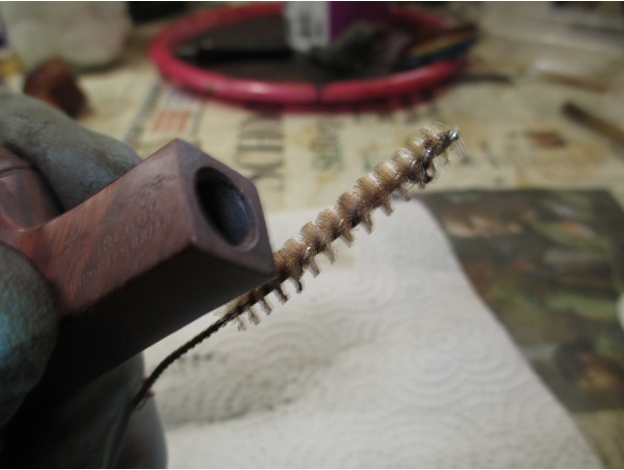
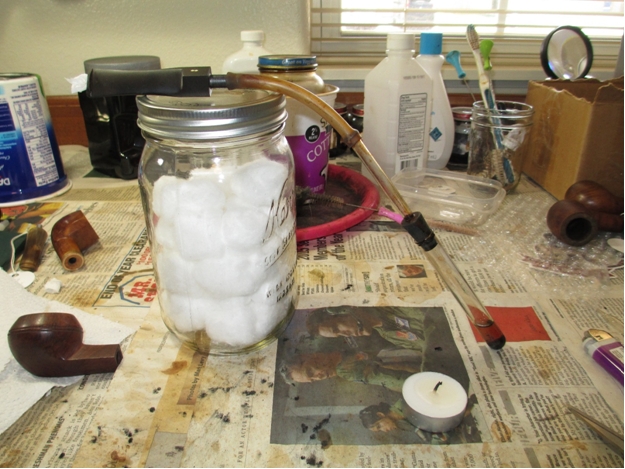
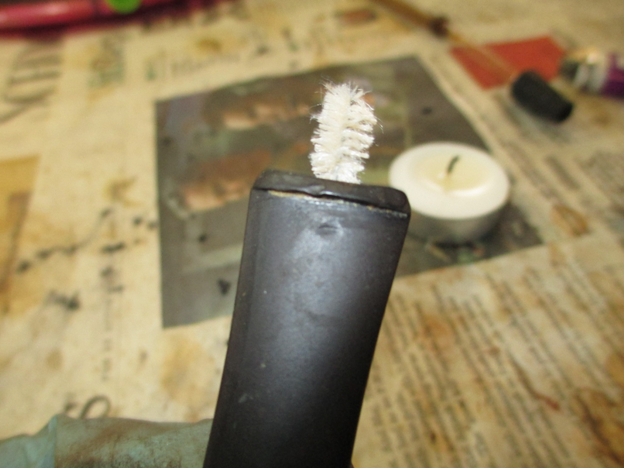
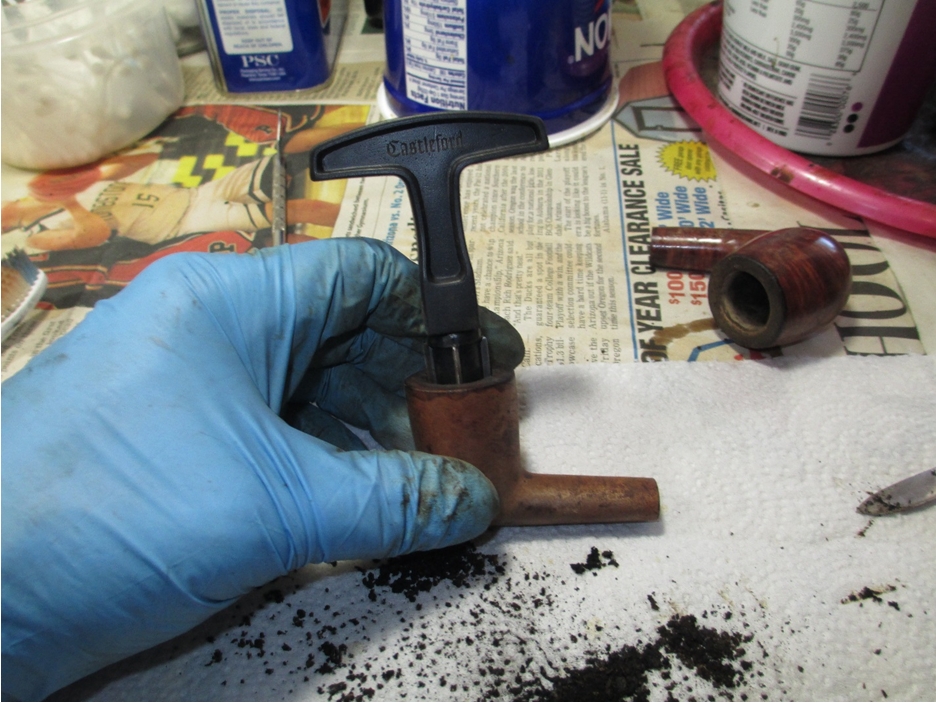
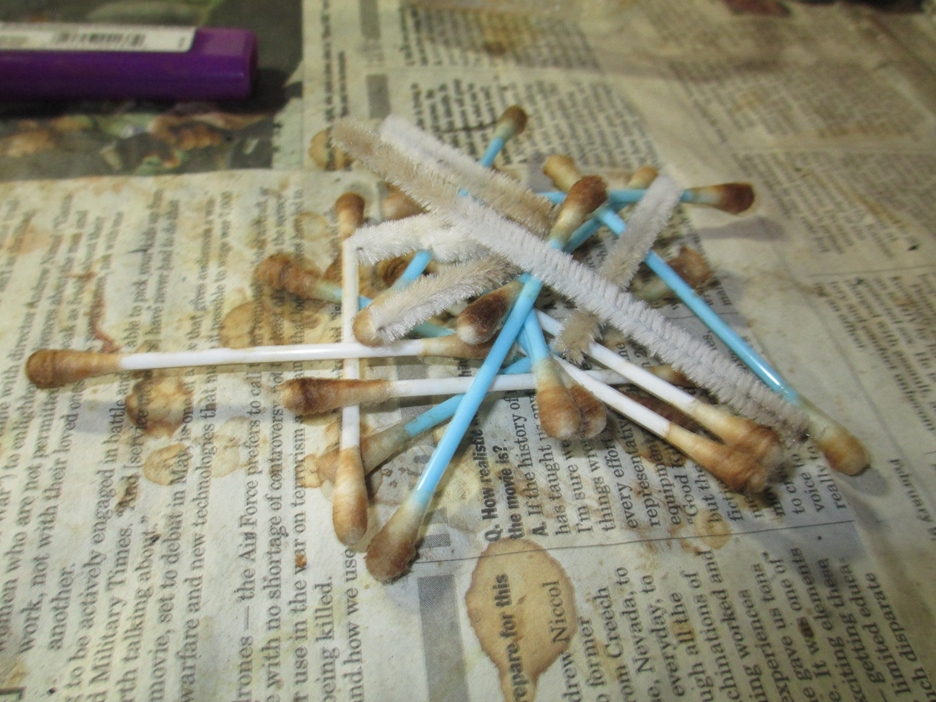
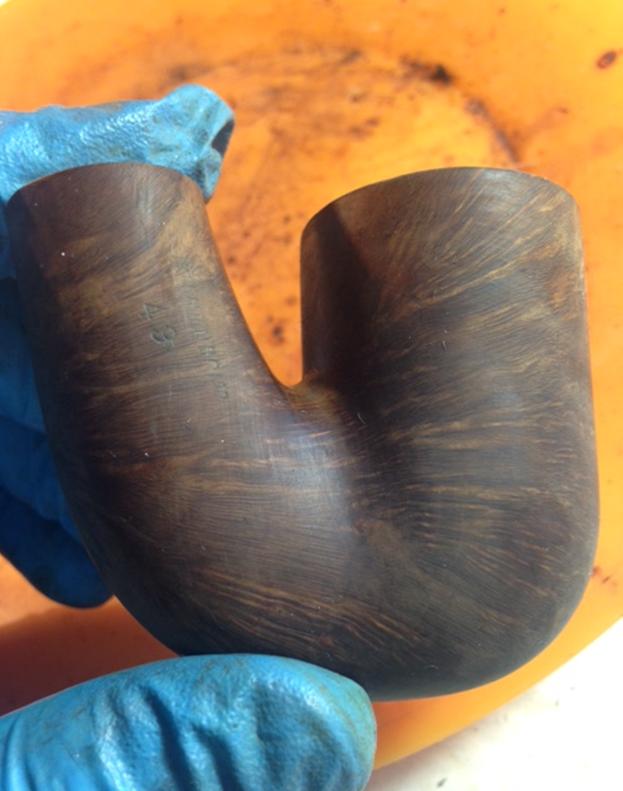 My next step was to further clean the insides of the pipe and stem using a retort.
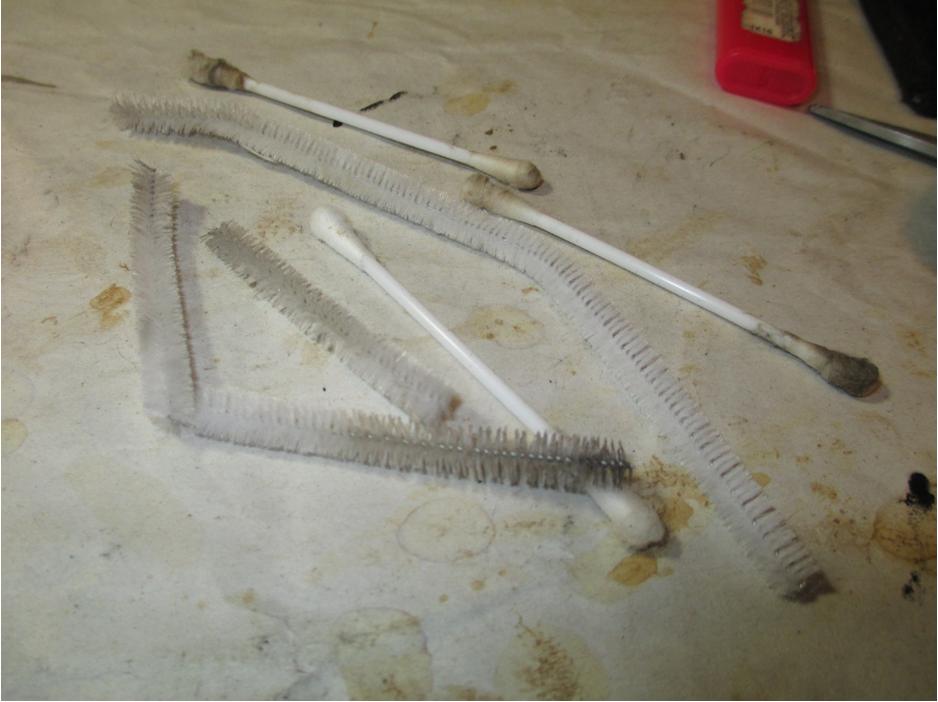
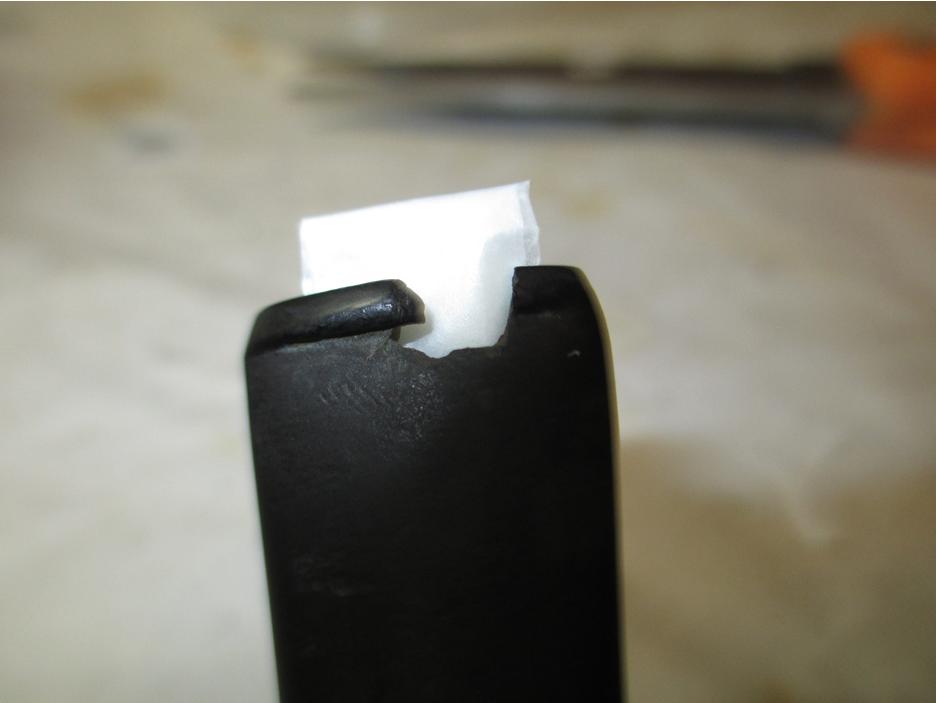
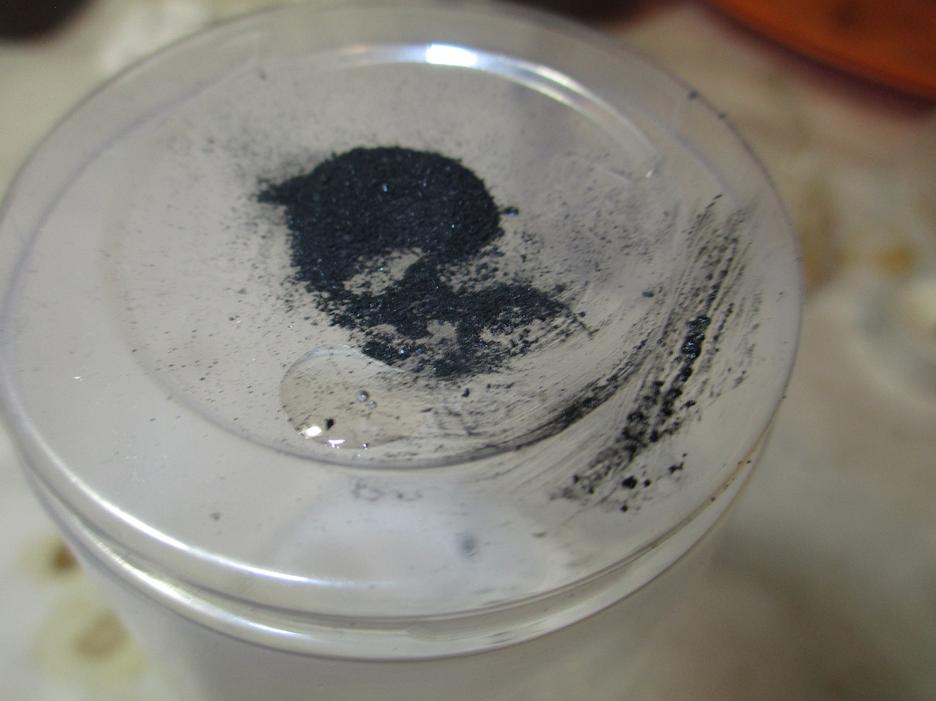
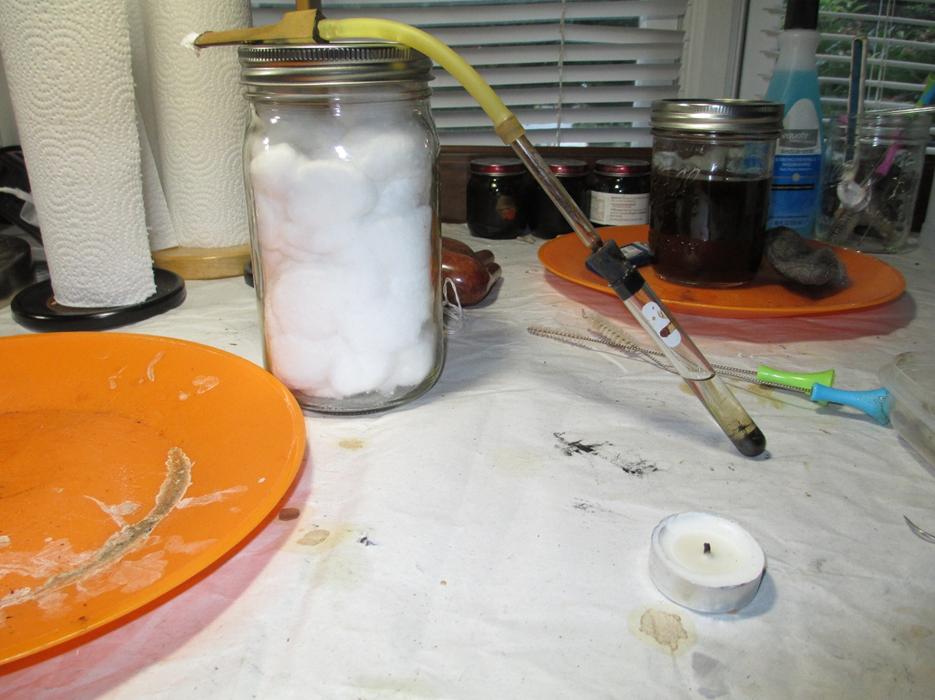
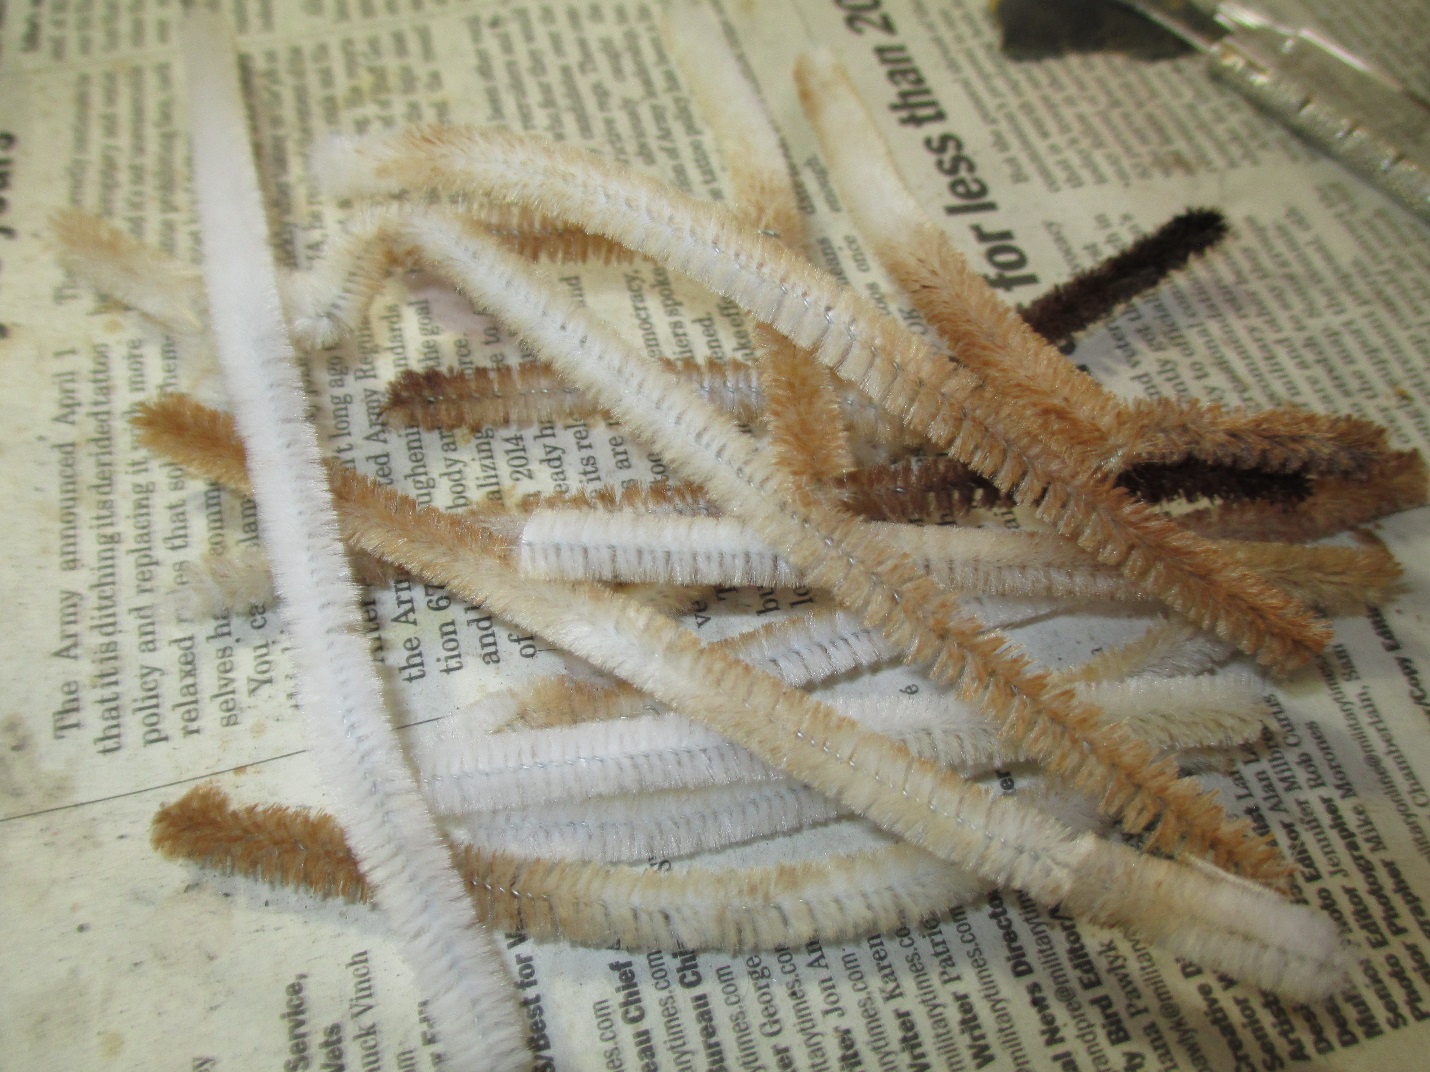
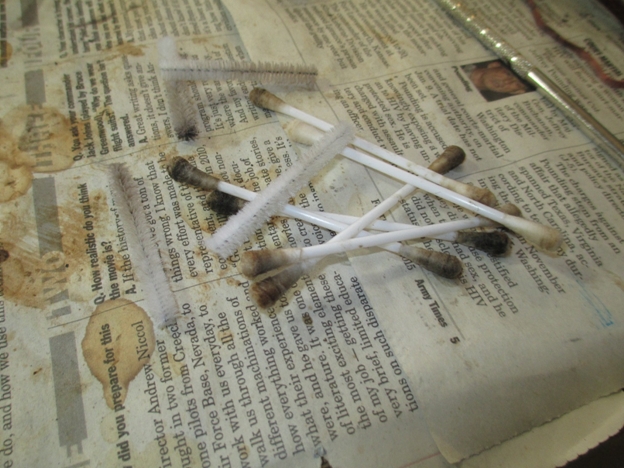
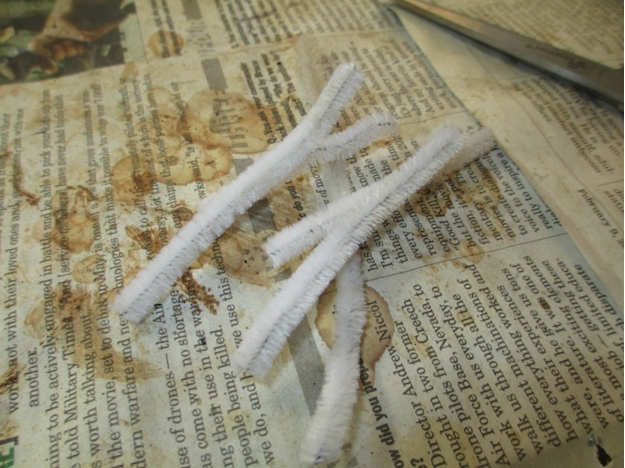
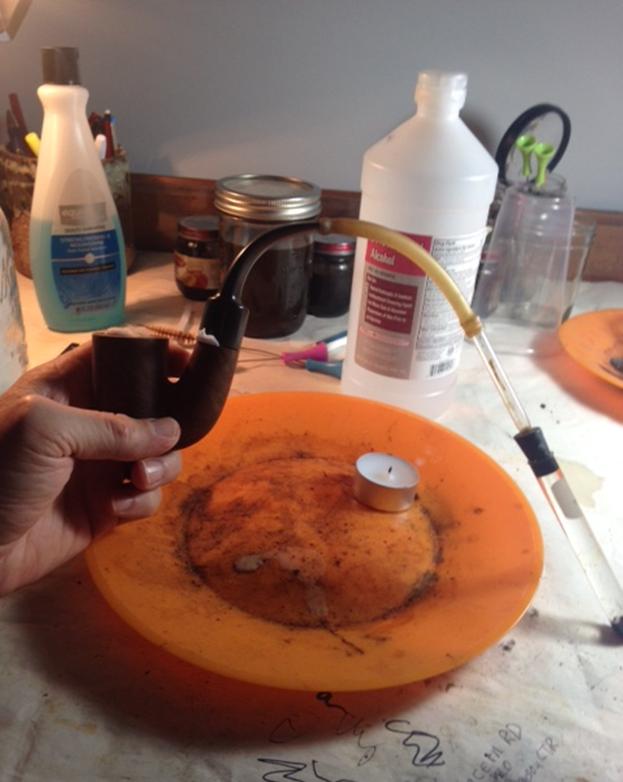 The average bowl takes two cotton balls to fill it, three if it’s kind of big. This bowl swallowed four cotton balls. Here is a picture of them after the retort (notice how the boiling alcohol pulled the tar out of the wood).
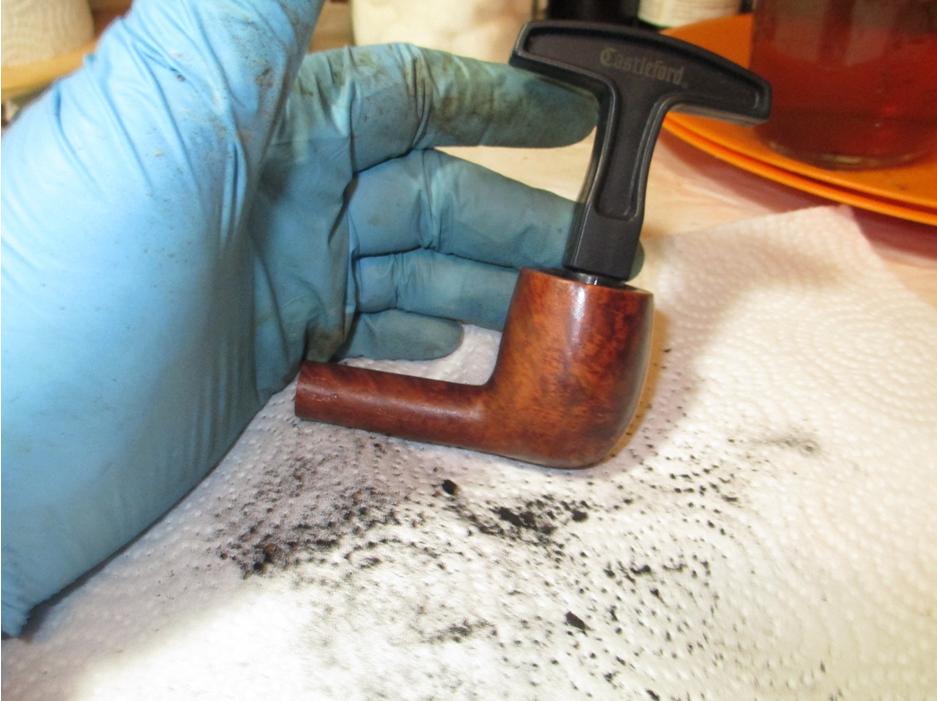
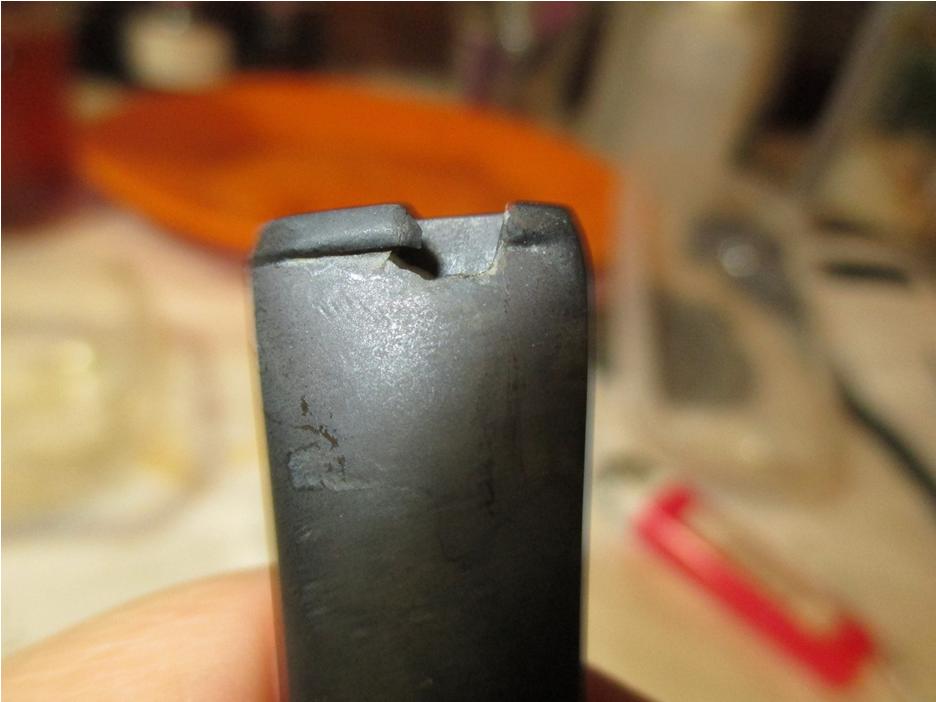
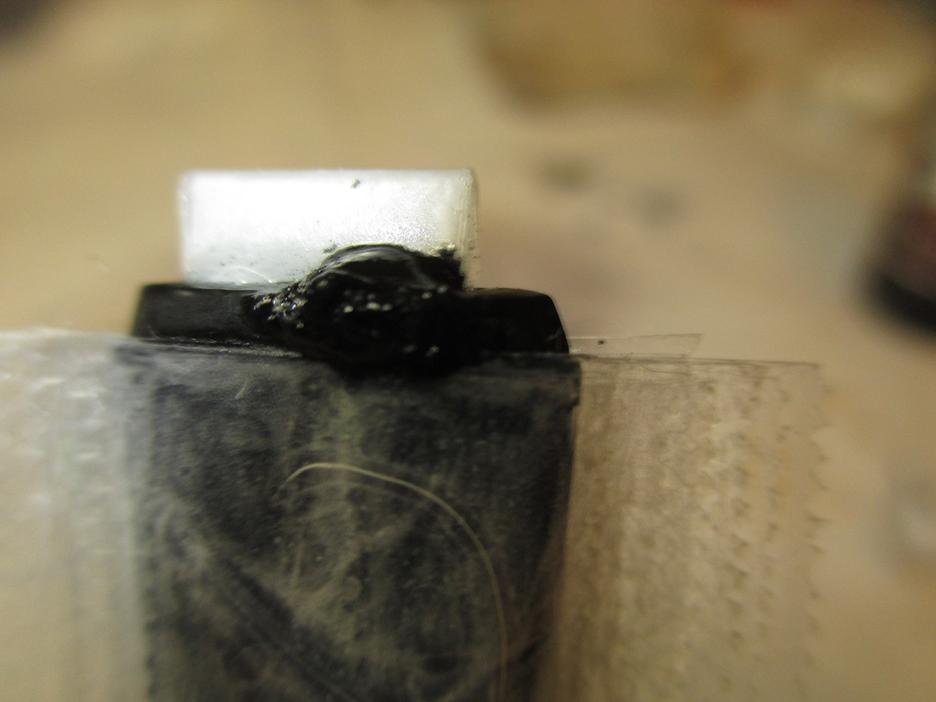
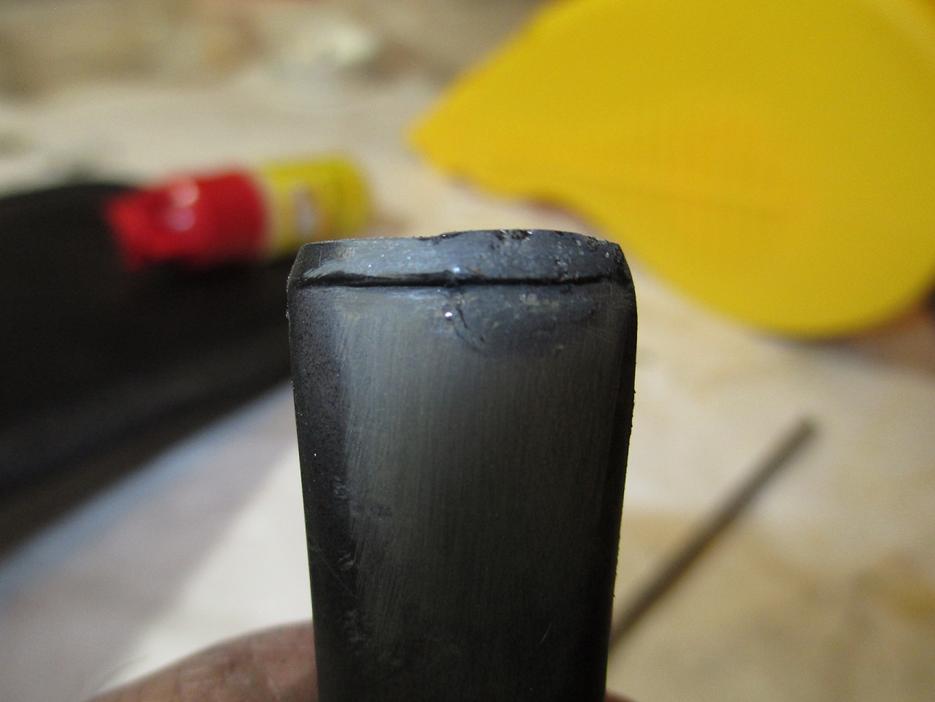
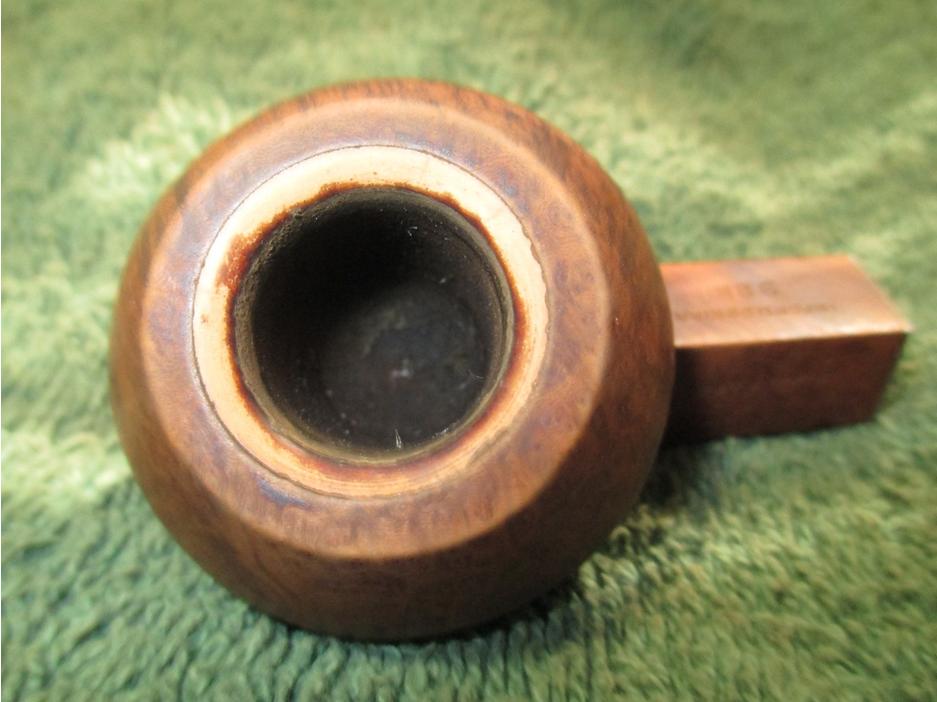
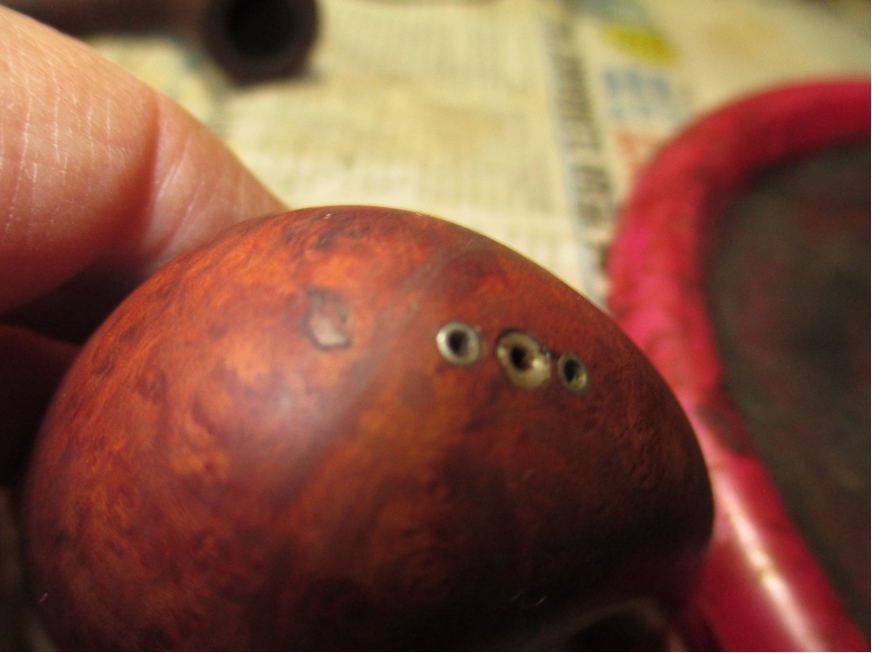
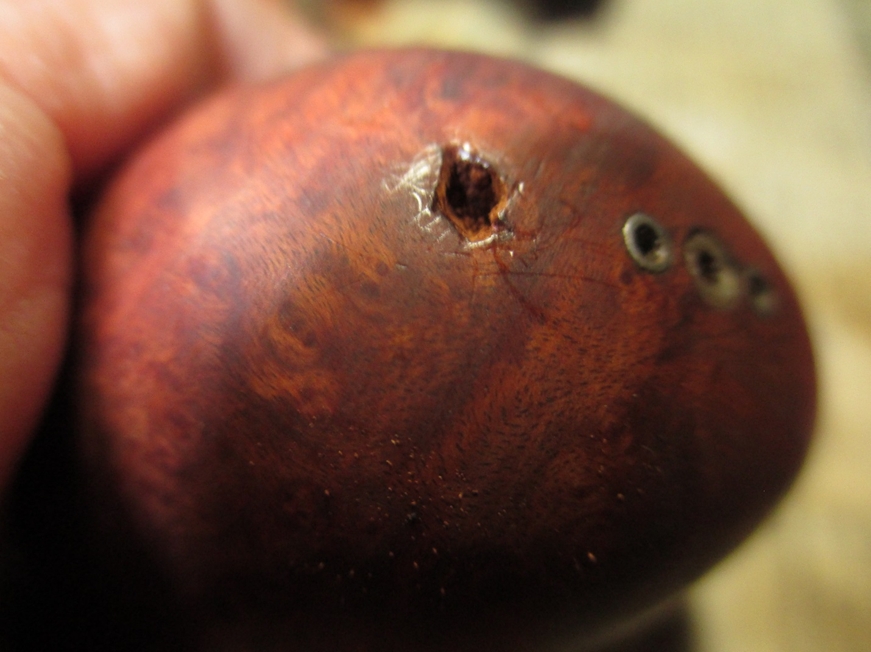
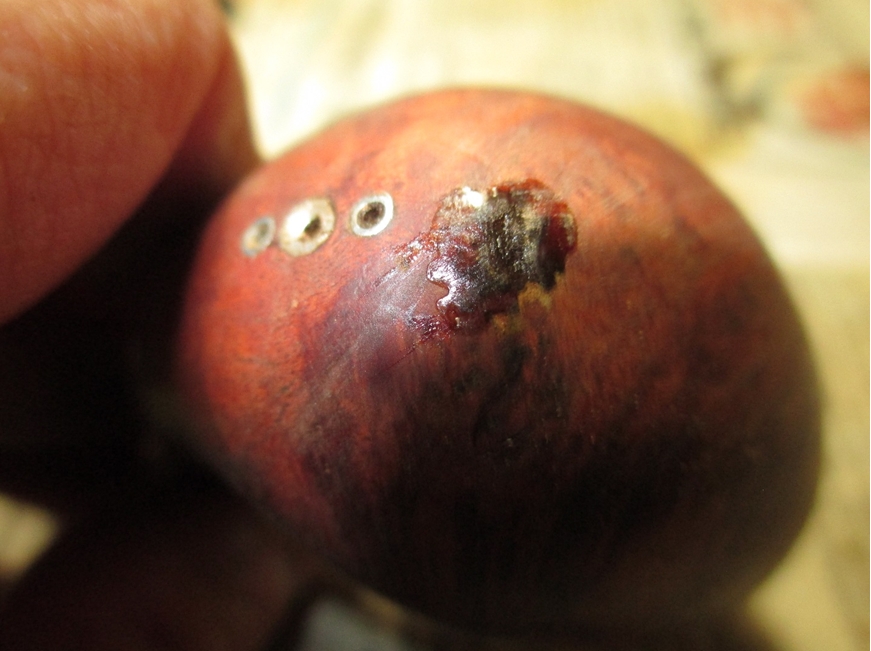
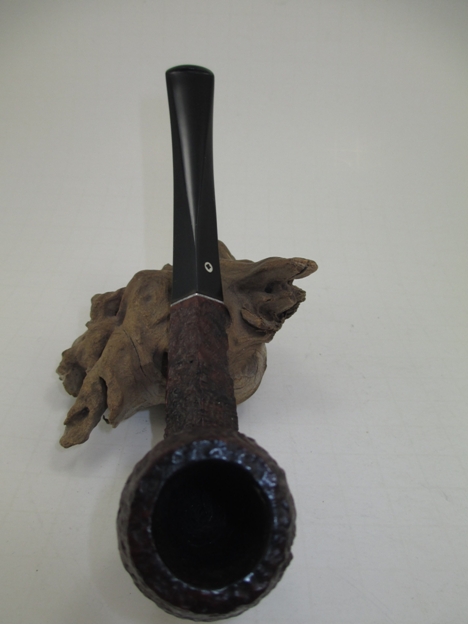
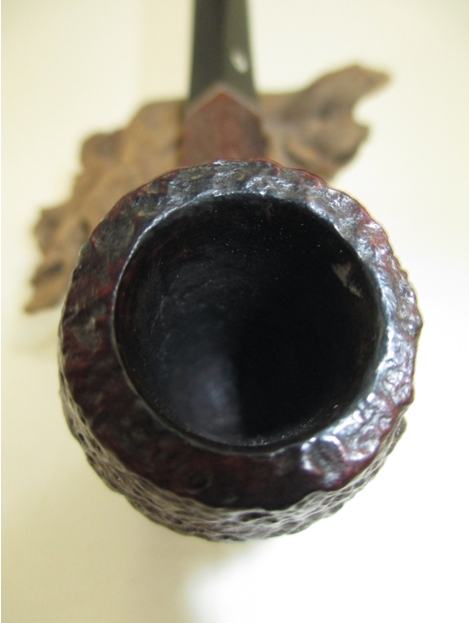
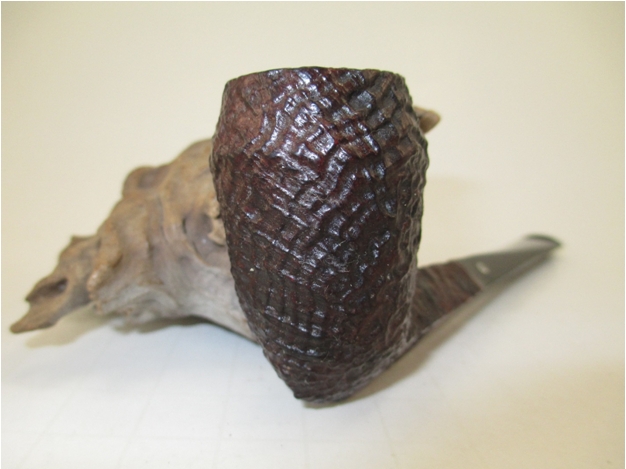
 As you may have noticed in previous pictures, the rim on the bowl was in rough shape; scorching, reaming damage, and deep dents. I planned to top the rim and the end of the shank to remove some of the worst damage, but I decided to leave the dimensions as close to original as possible; so I refrained from getting crazy with the sand paper.
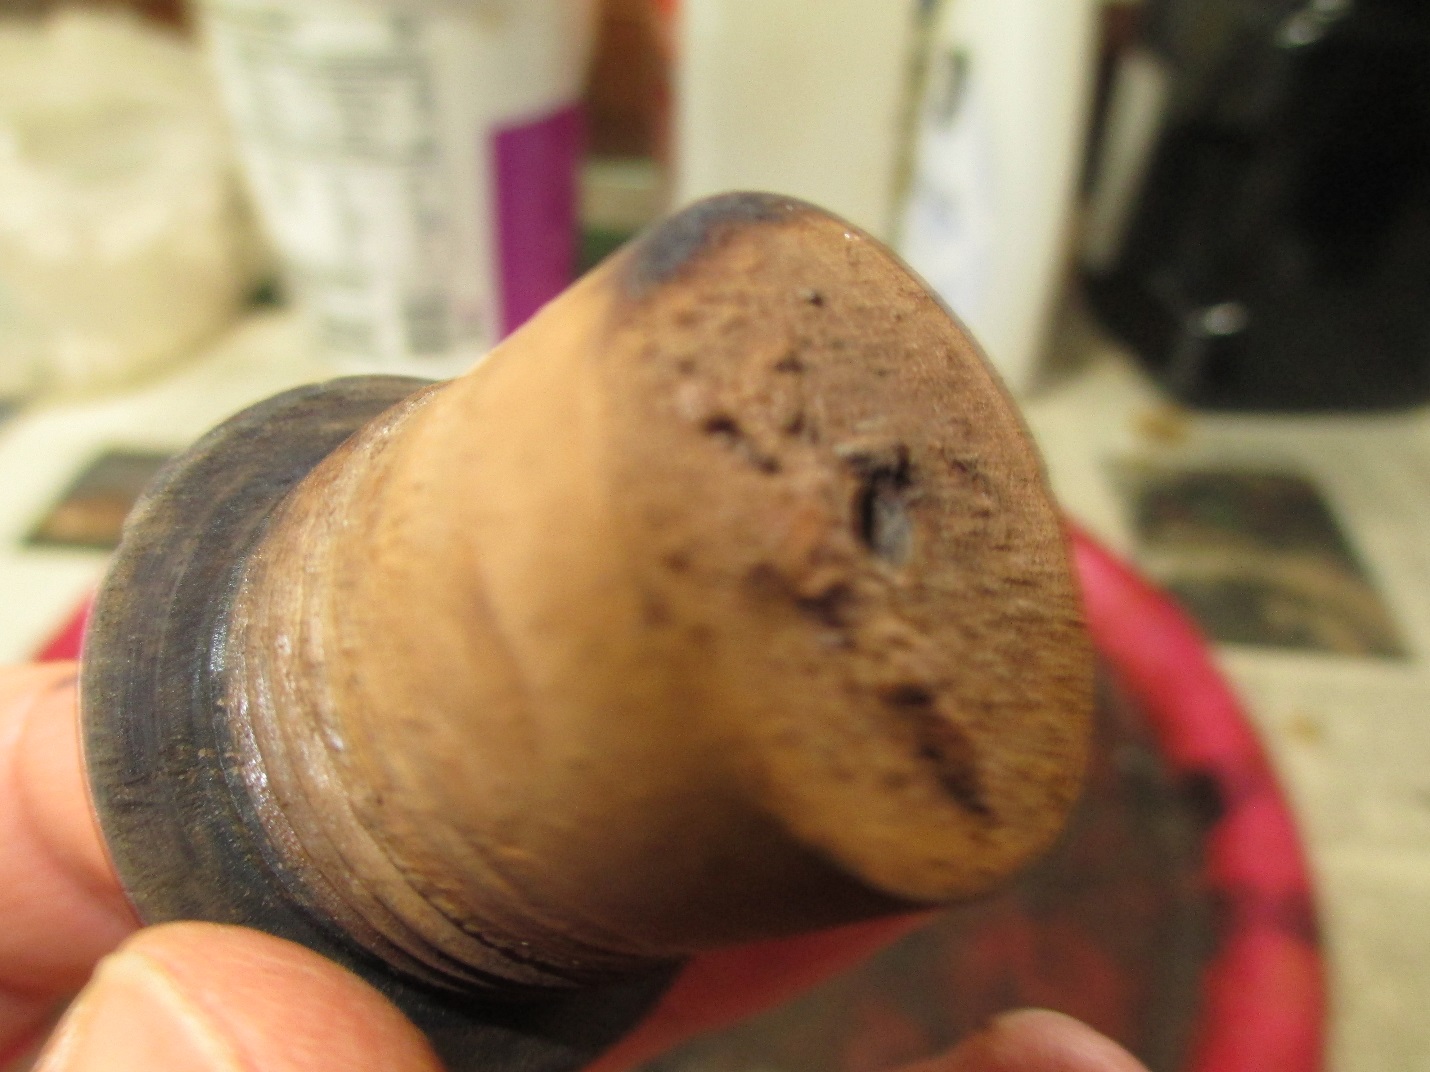
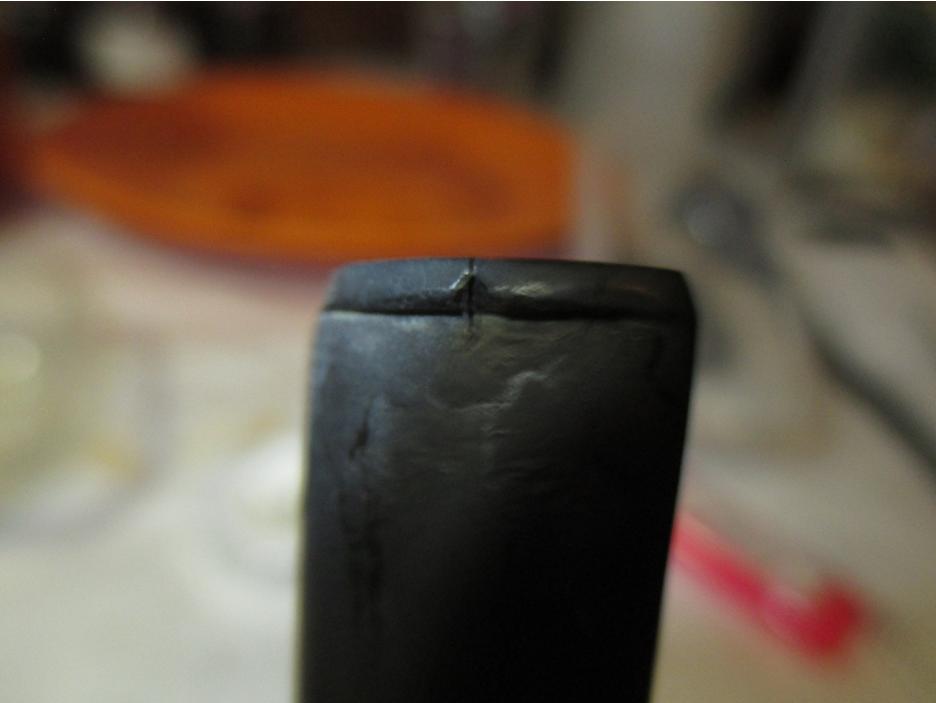
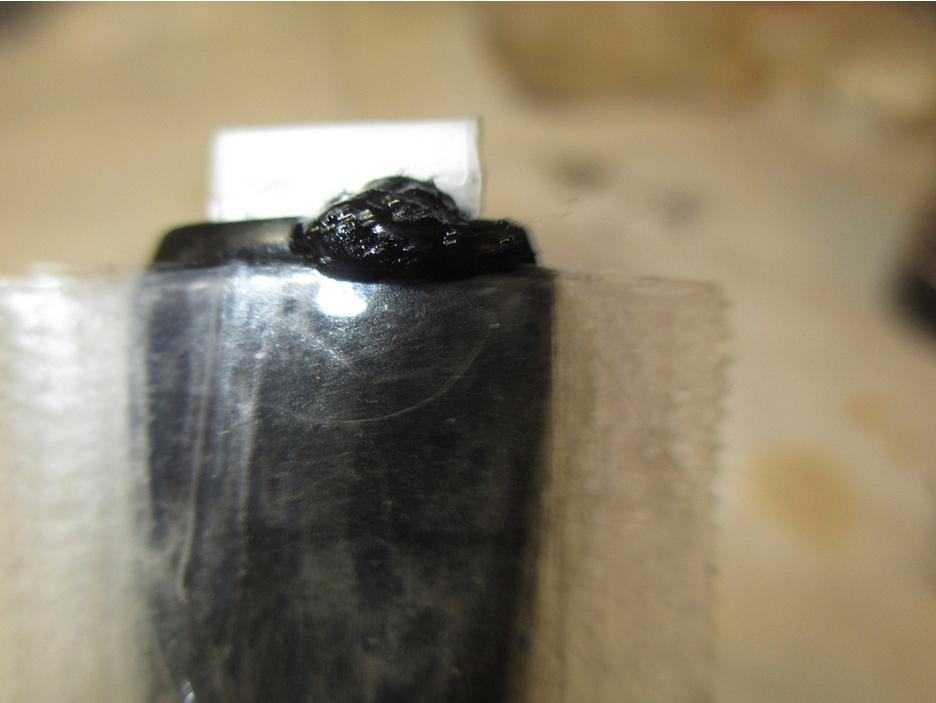
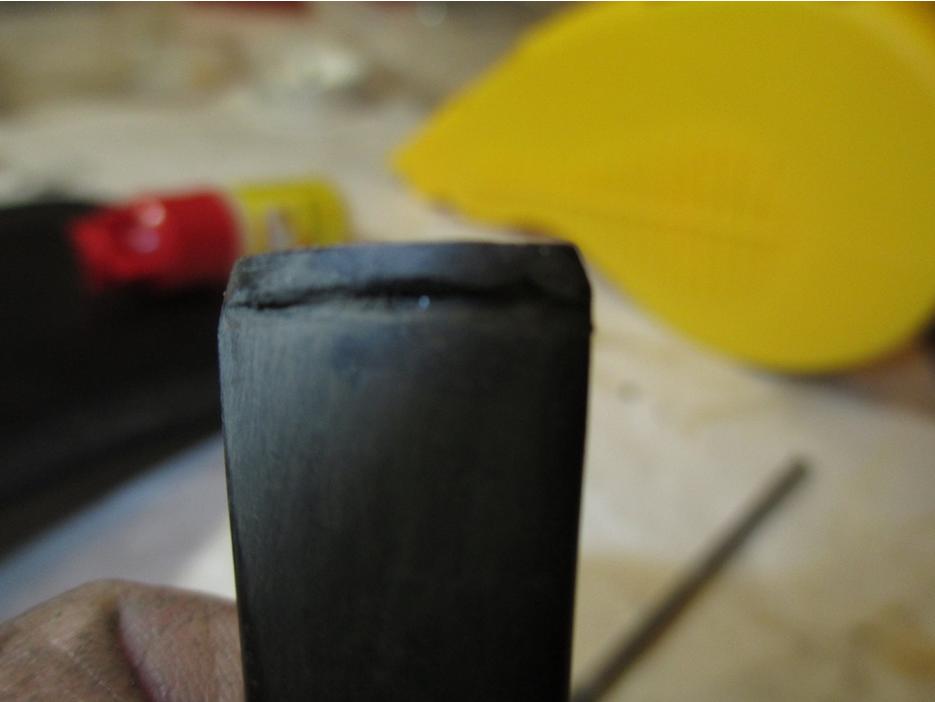
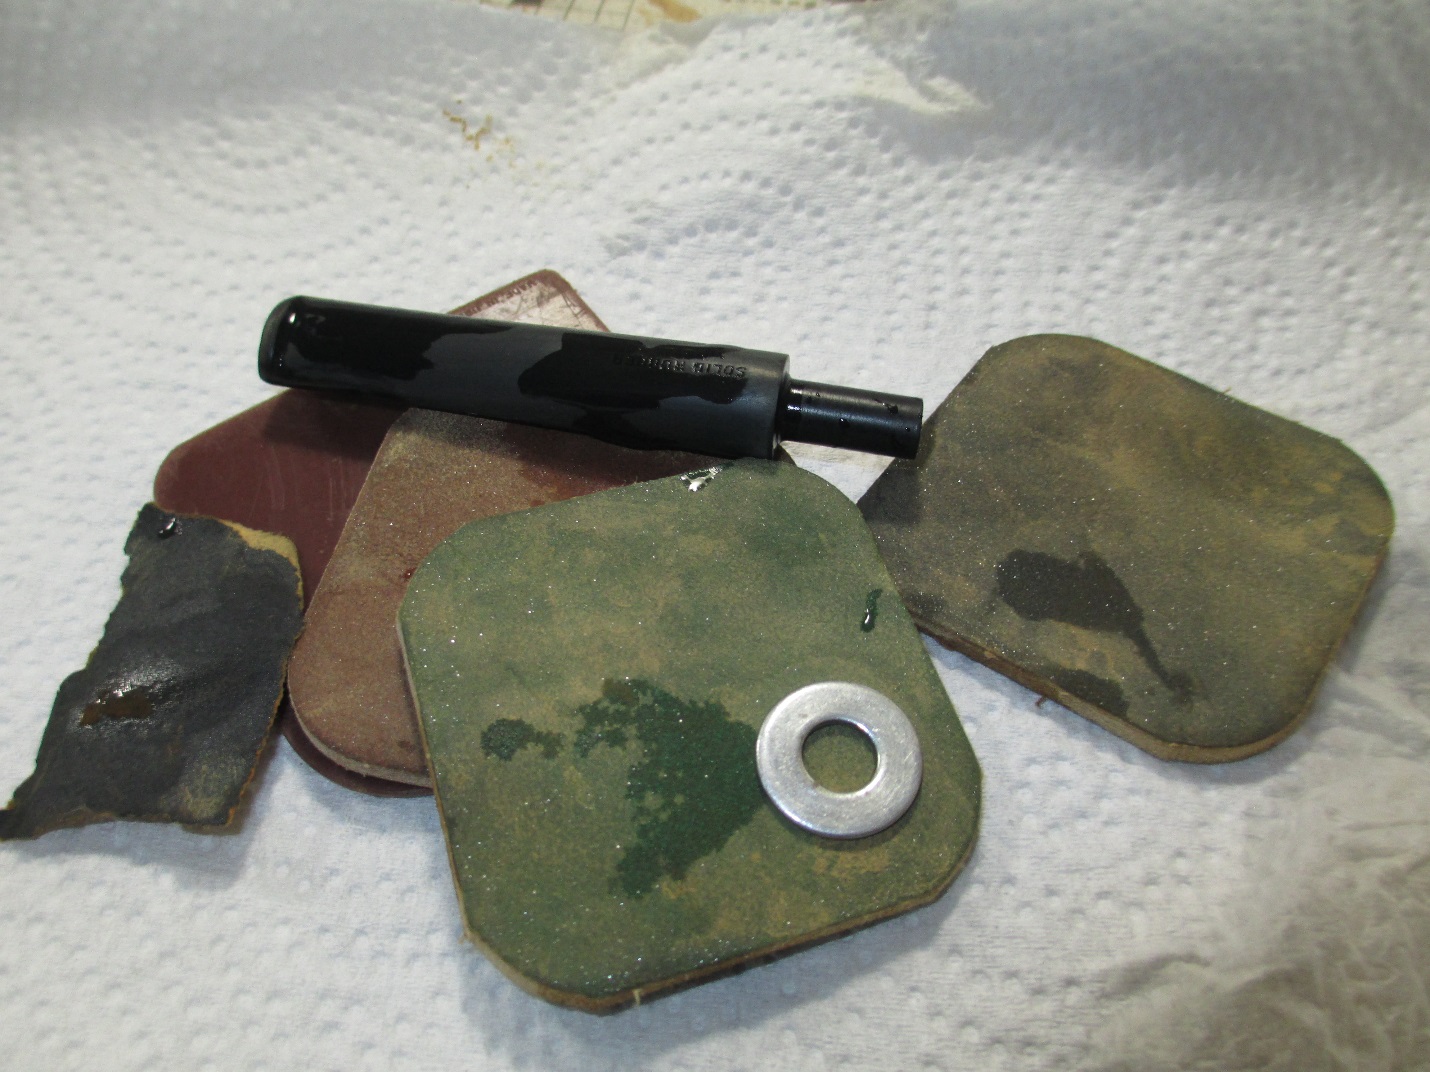
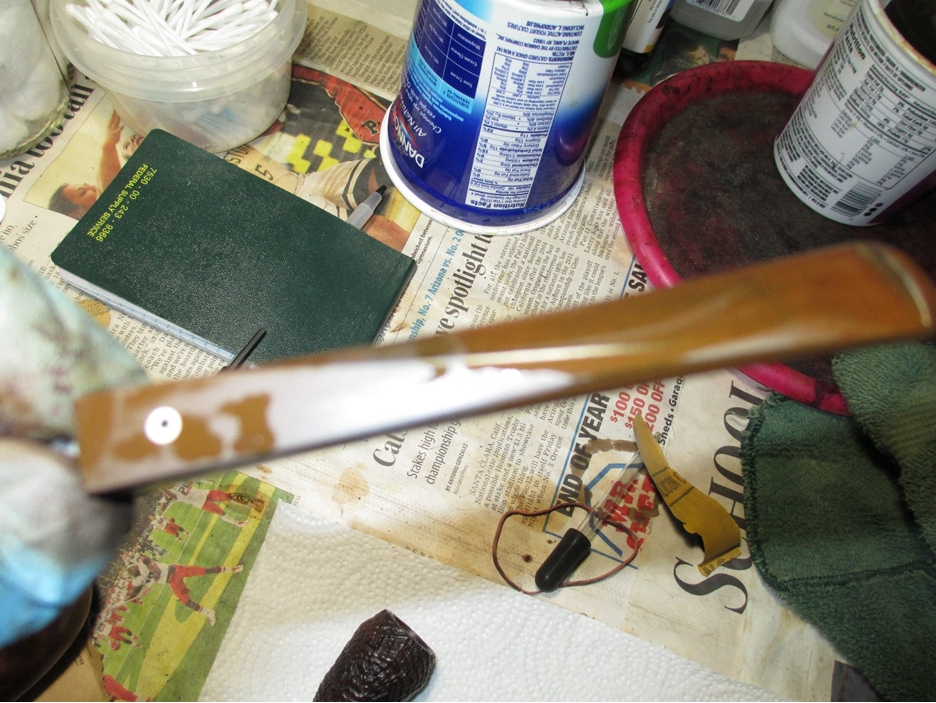
I used 150 grit sand paper on a piece of glass to top the rim and shank, followed by some 400 grit. A note of caution when topping an Oom Paul, the shank and the bowl are close to each other. Be sure not to take off wood where you don’t intend to.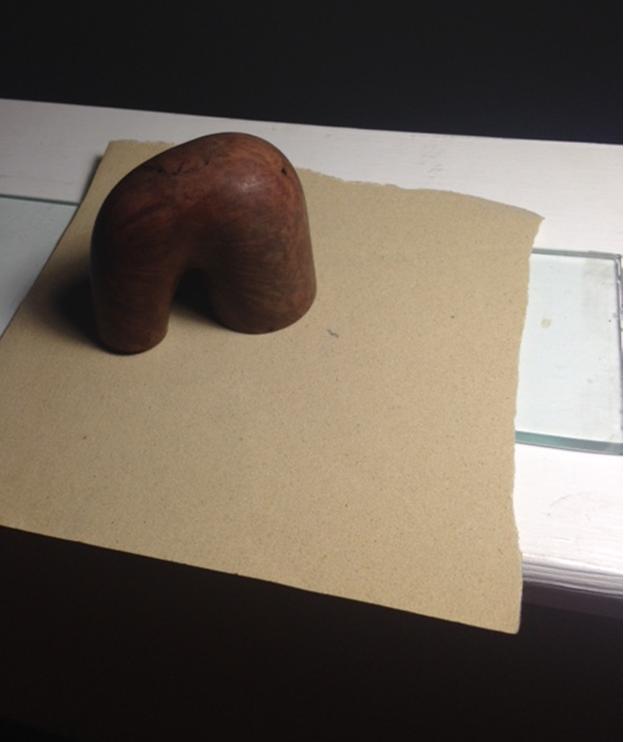 Once the rim was to my liking I started on the bowl with the 400 grit wet/dry. I sanded around the marking on the shank and kept the stem inserted while working on the end of the shank to prevent rounding.
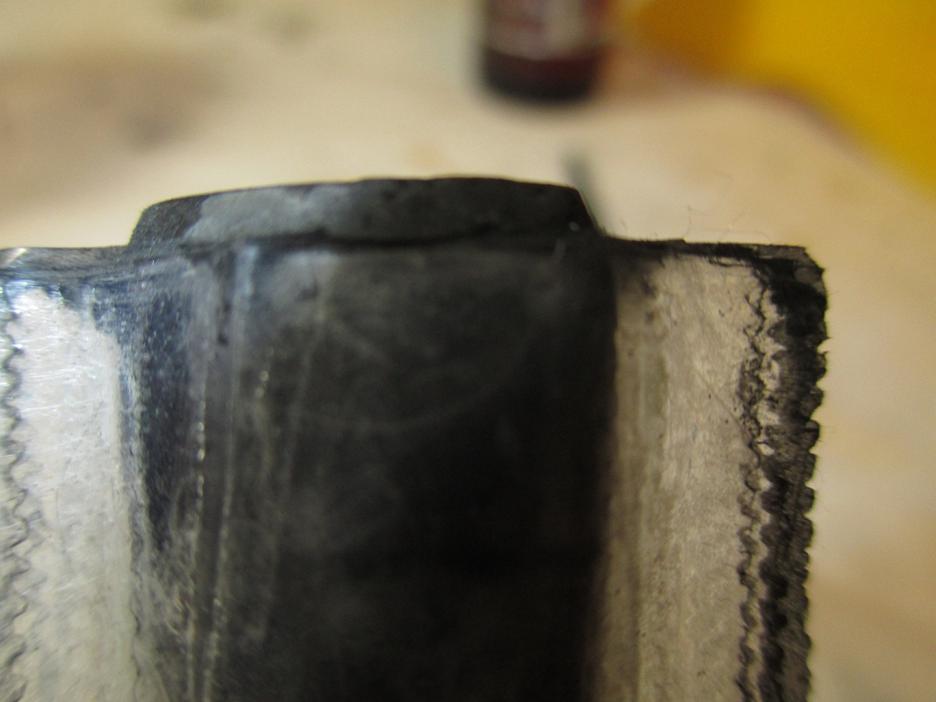
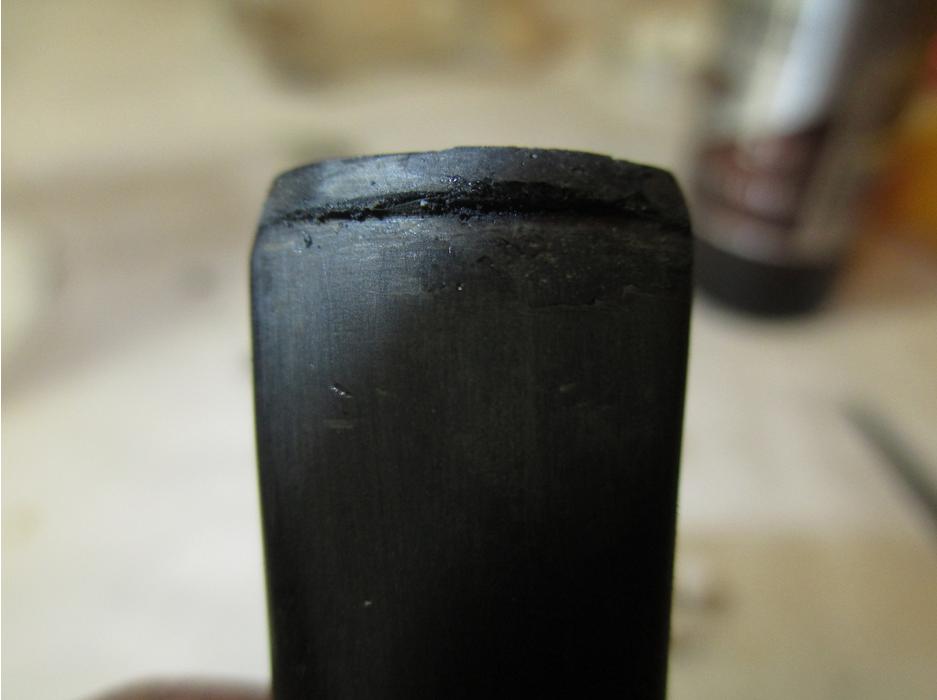
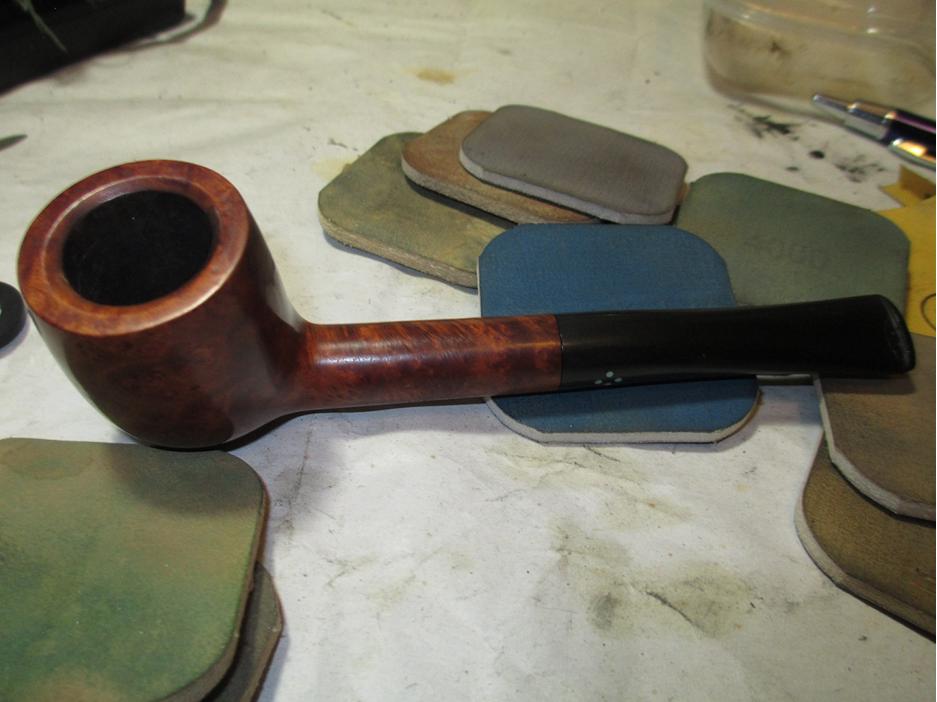
 Here is the bowl after the 400 grit.
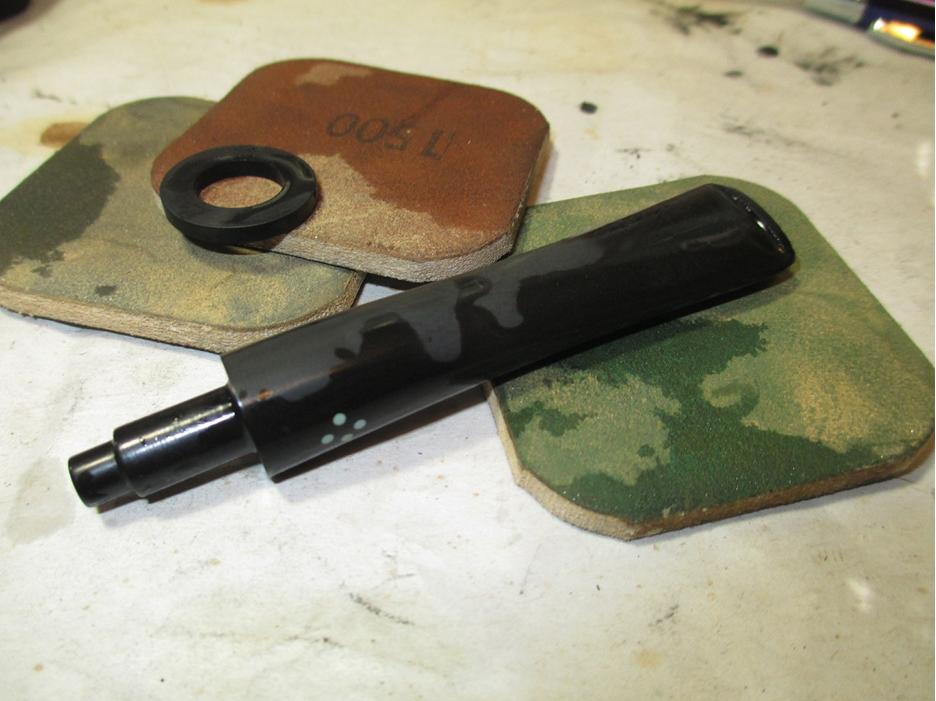
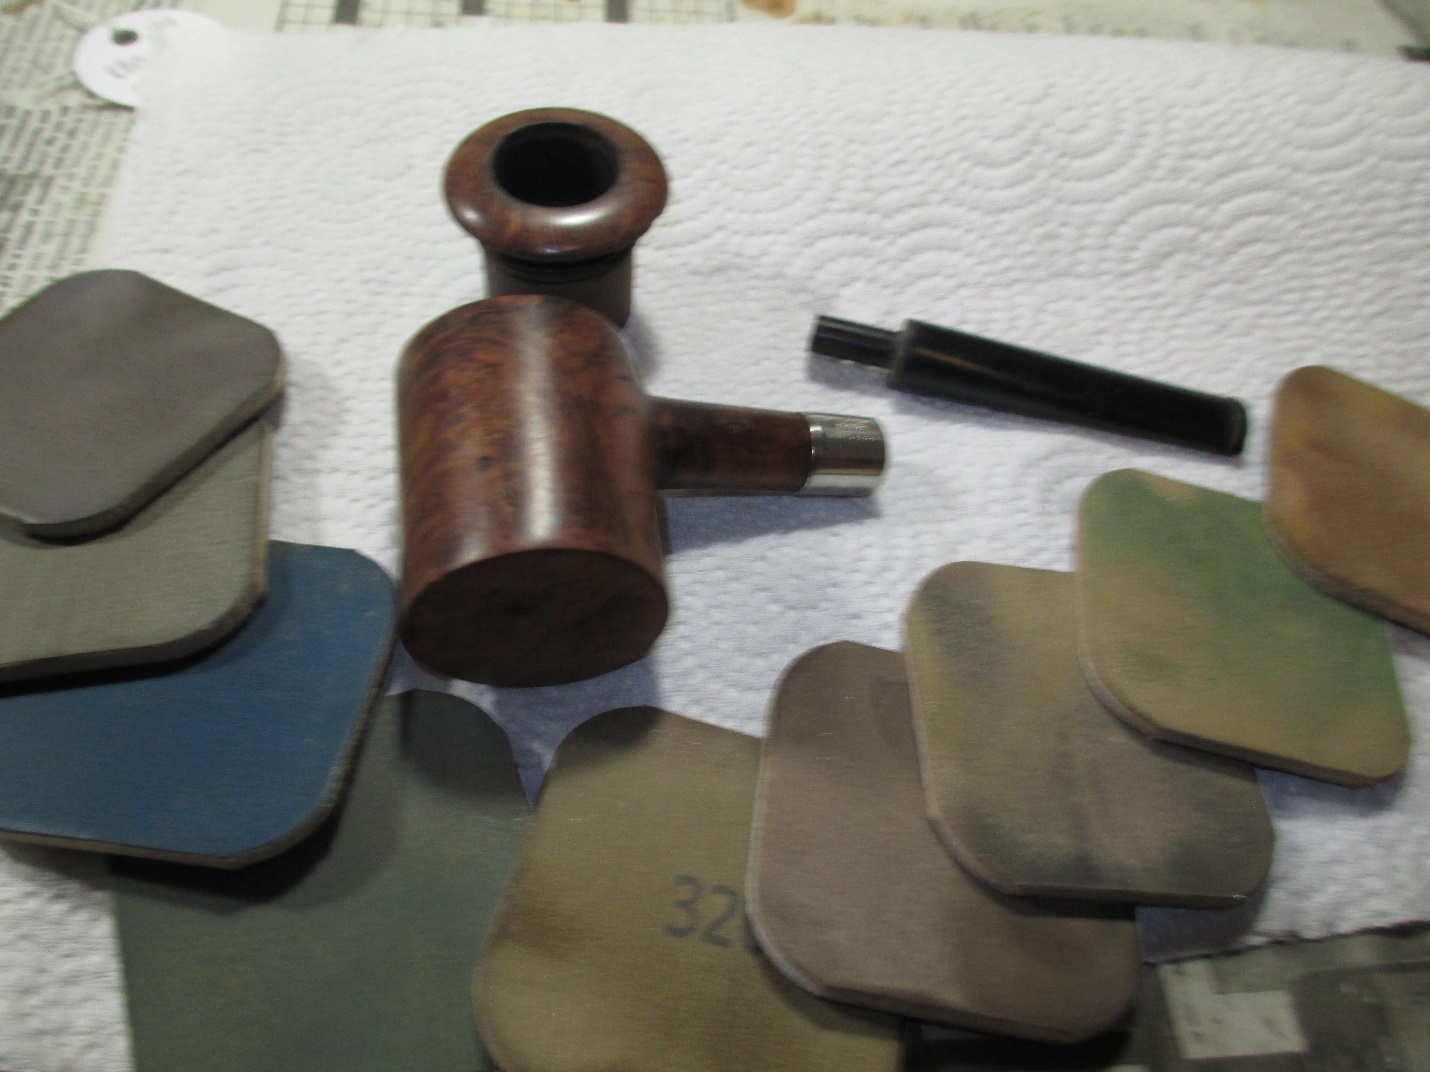
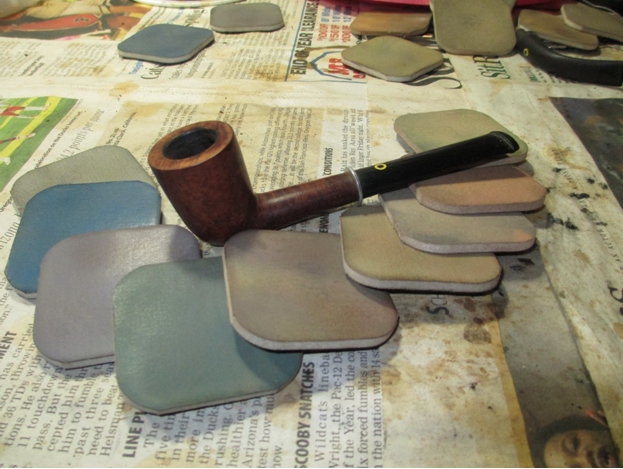
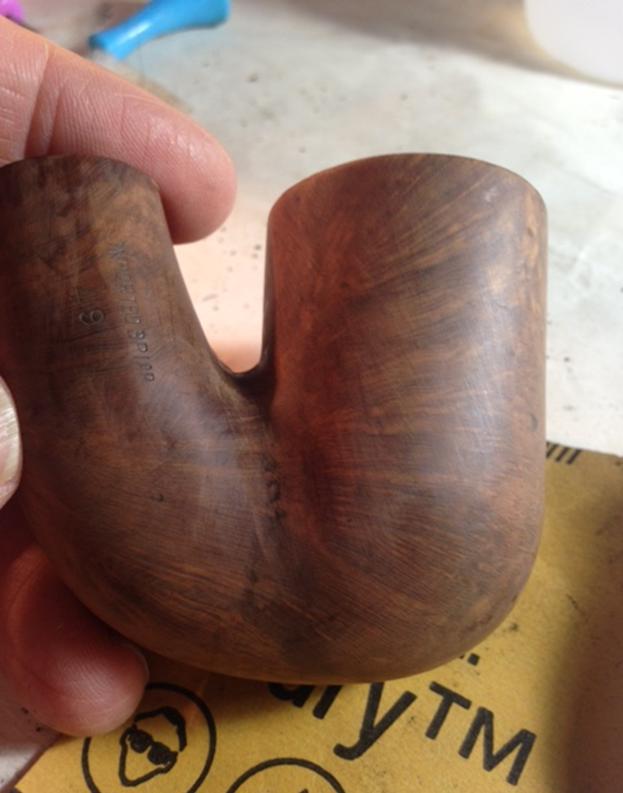 After the 400 grit I turned to a progression of micro-mesh pads (1500-12,000 grit) to polish the wood.
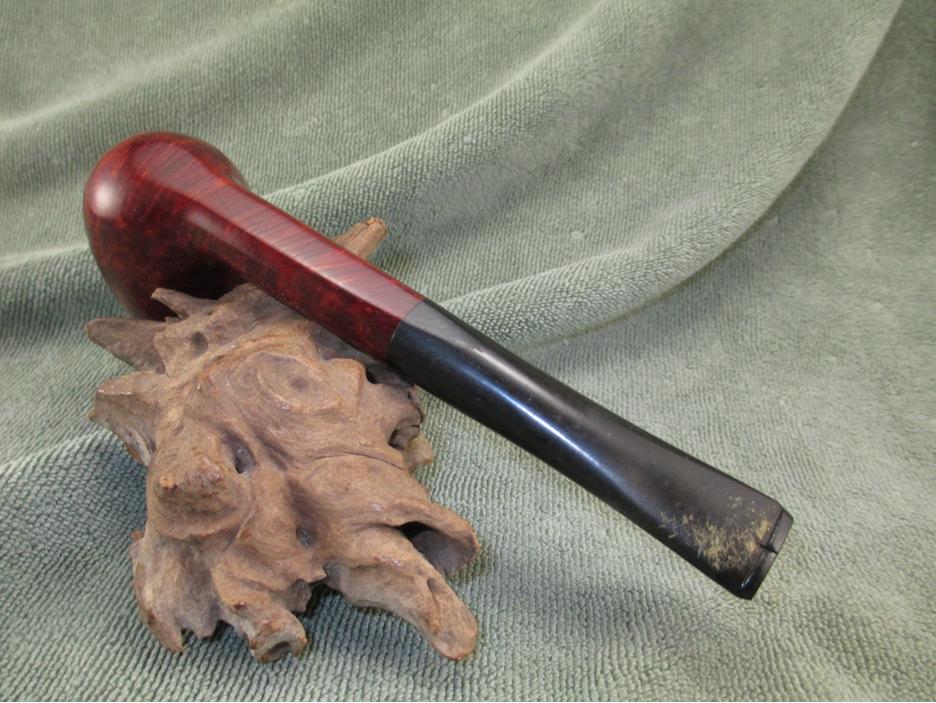
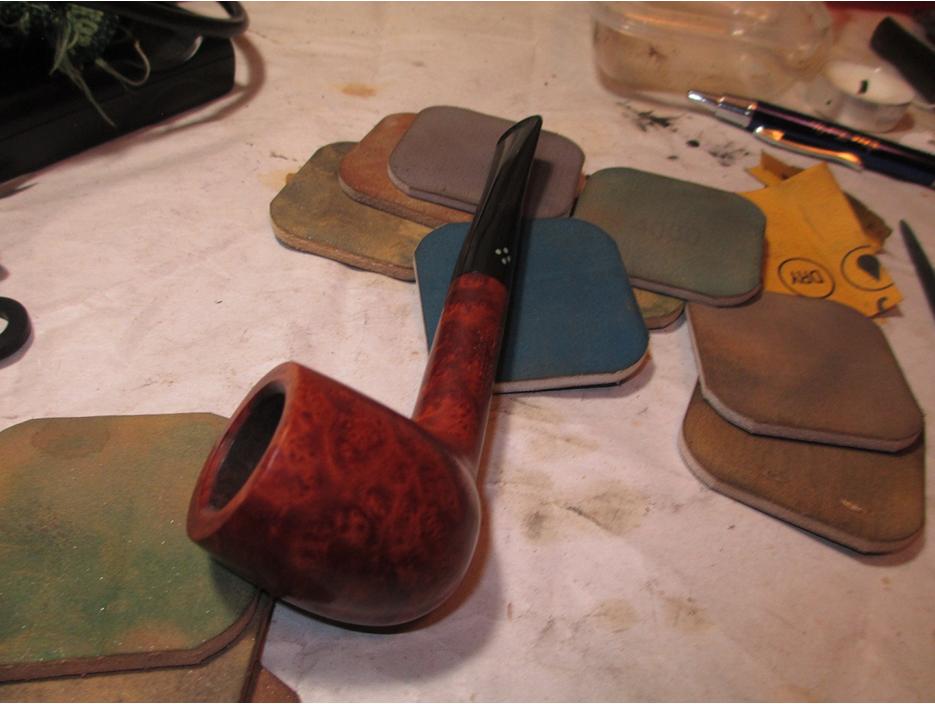
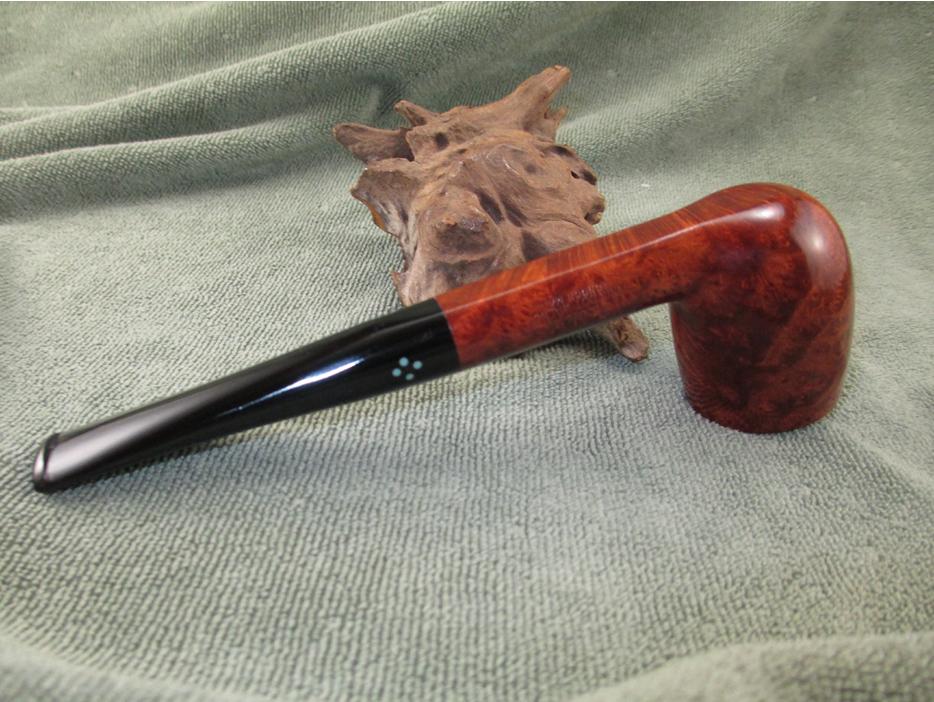
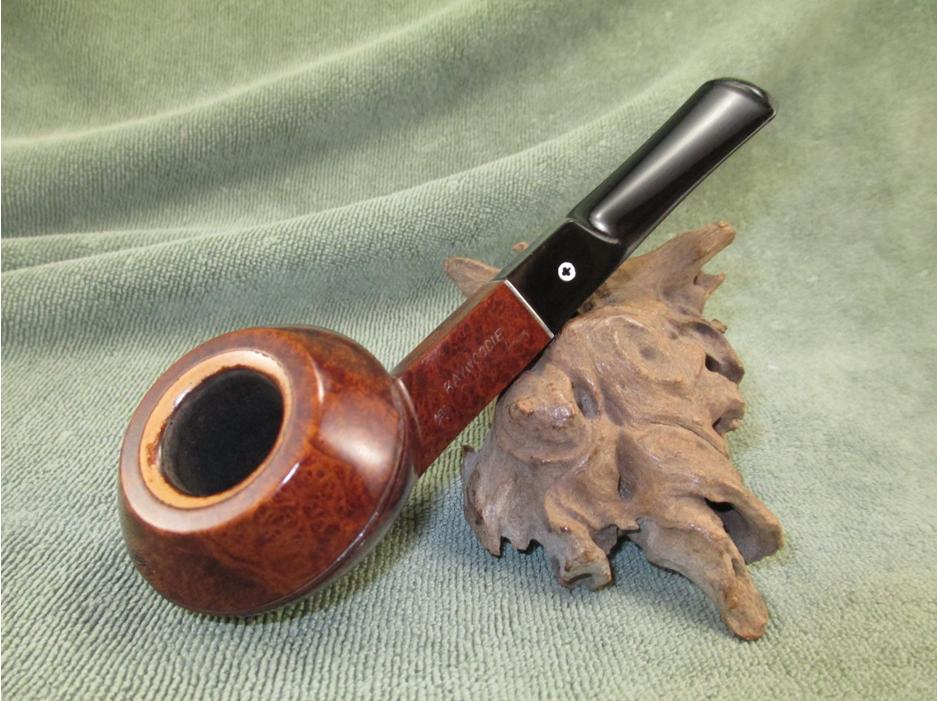
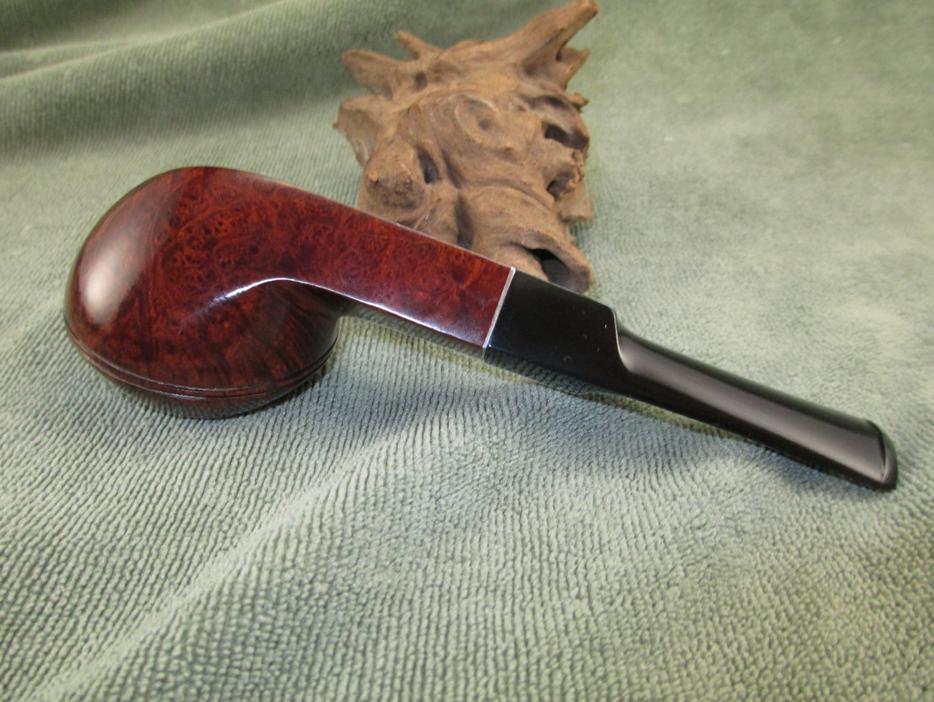
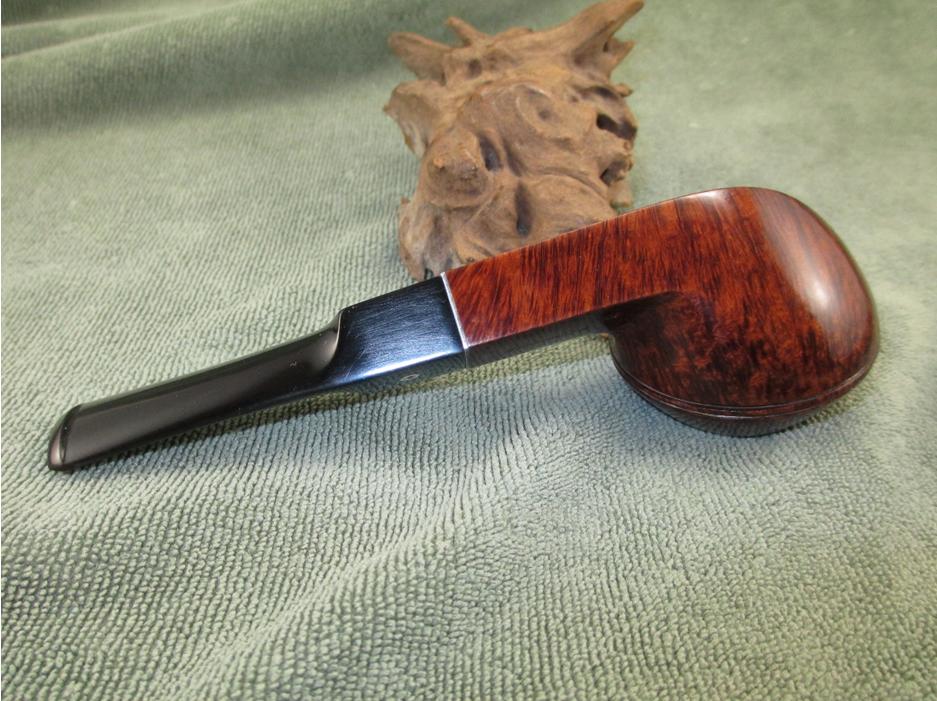
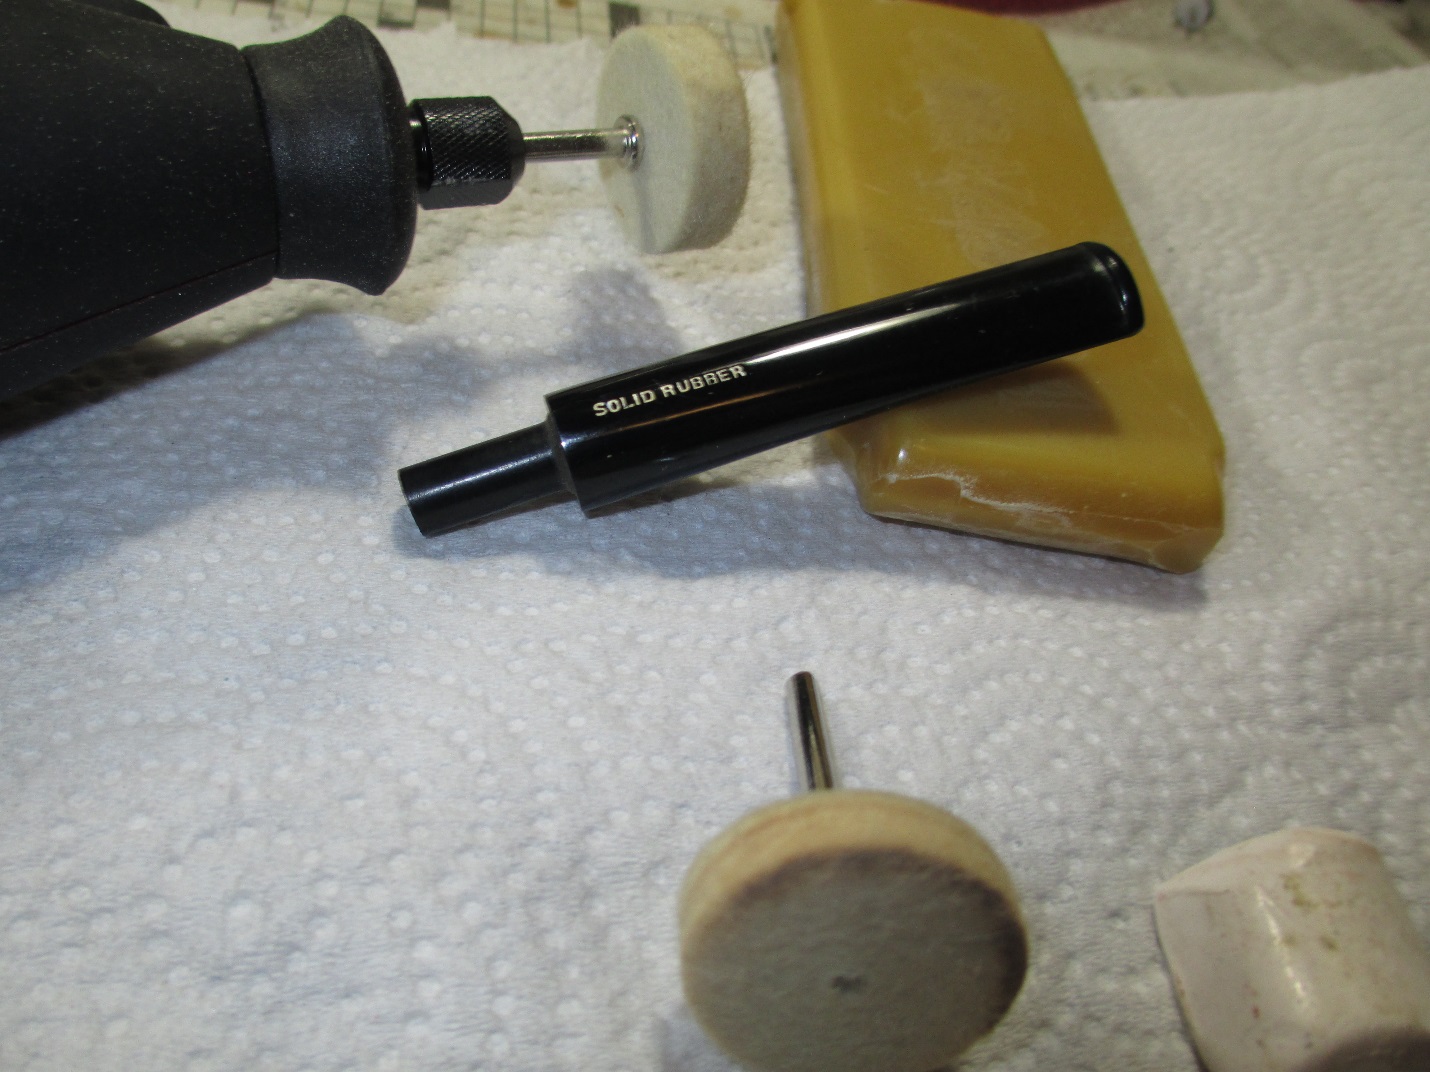
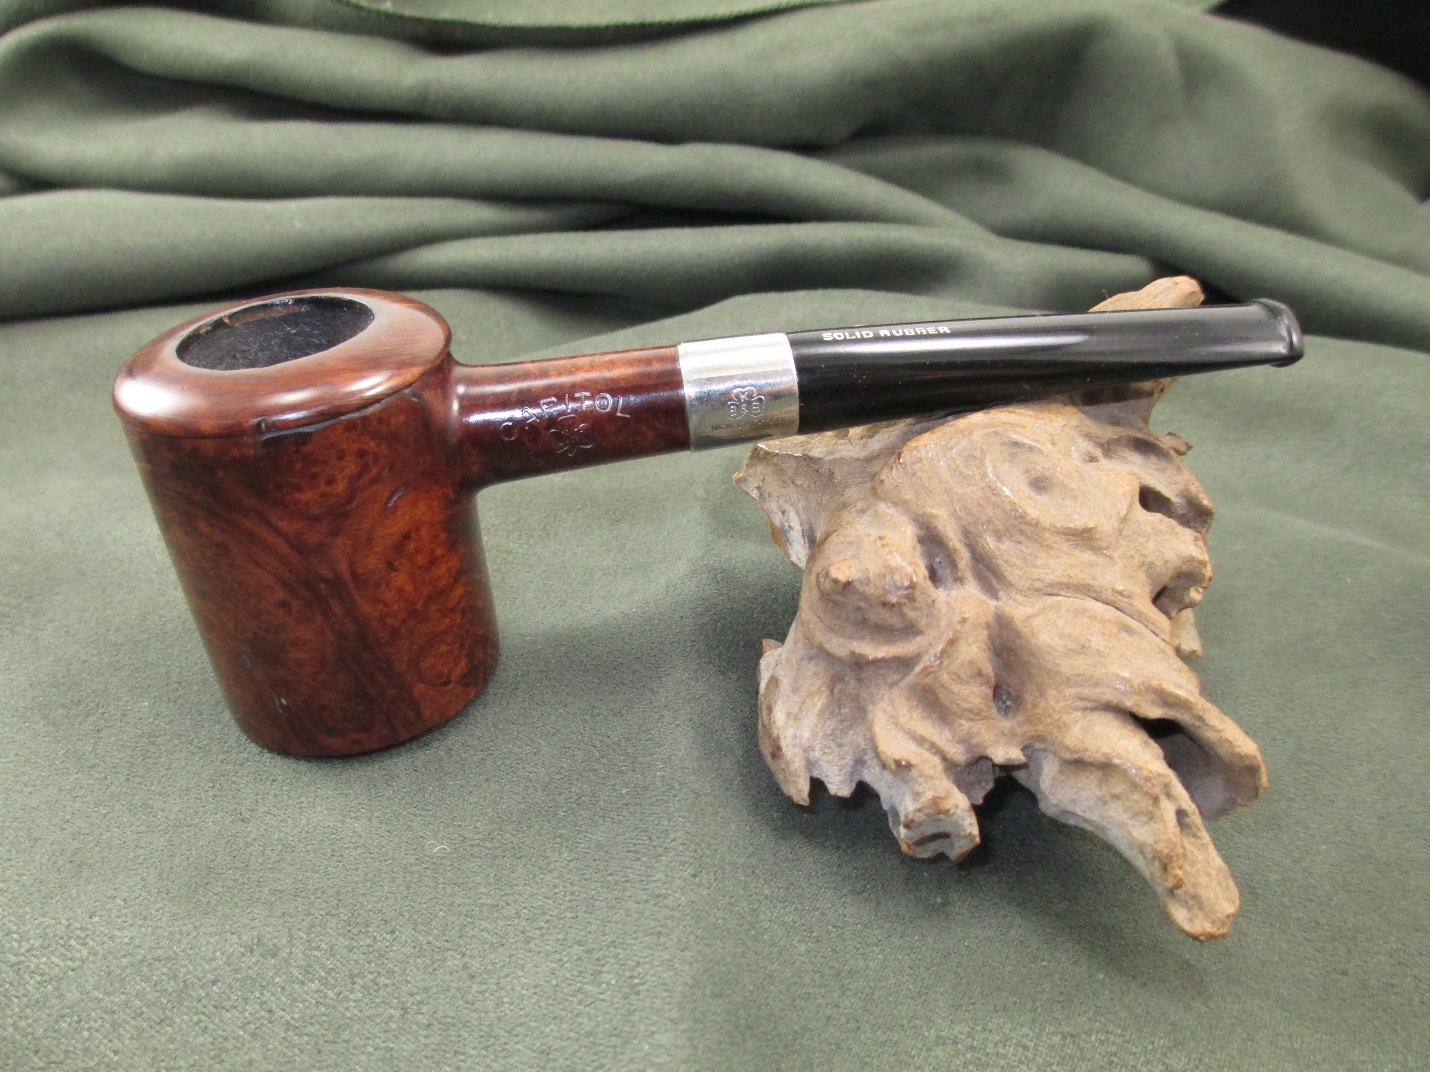
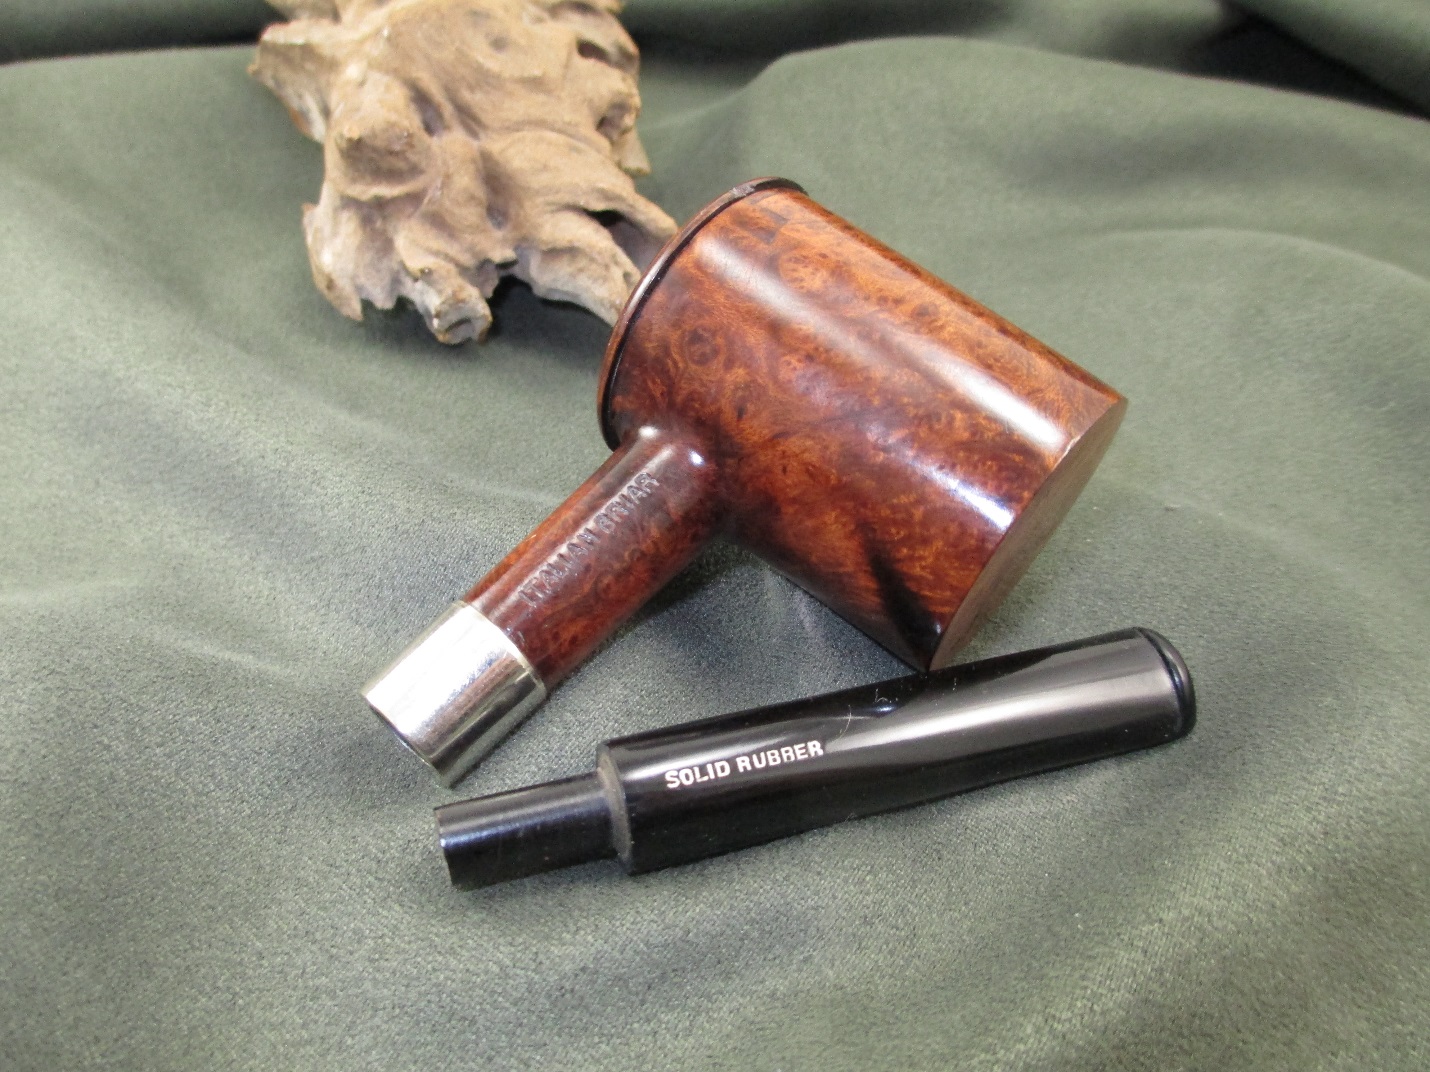
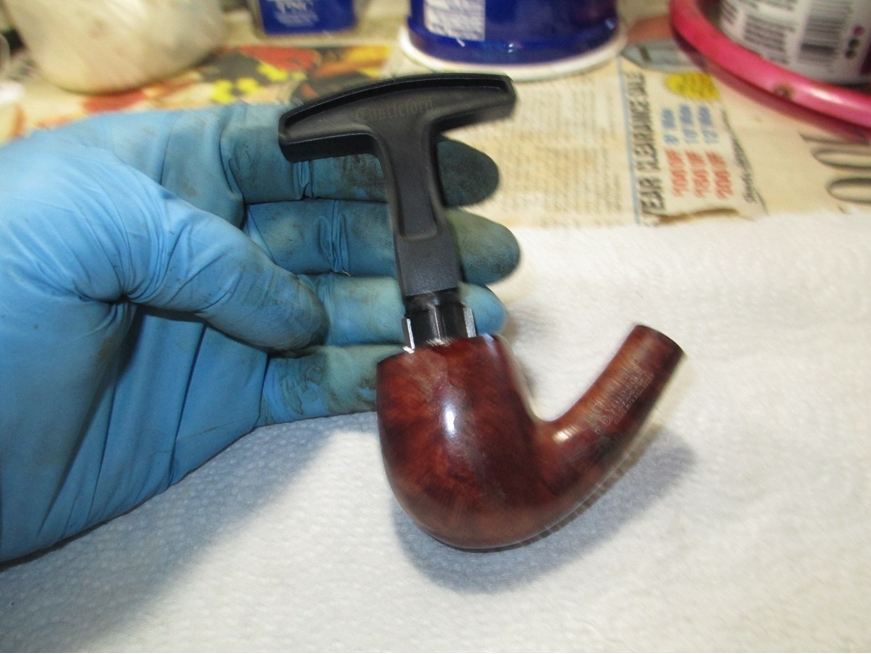
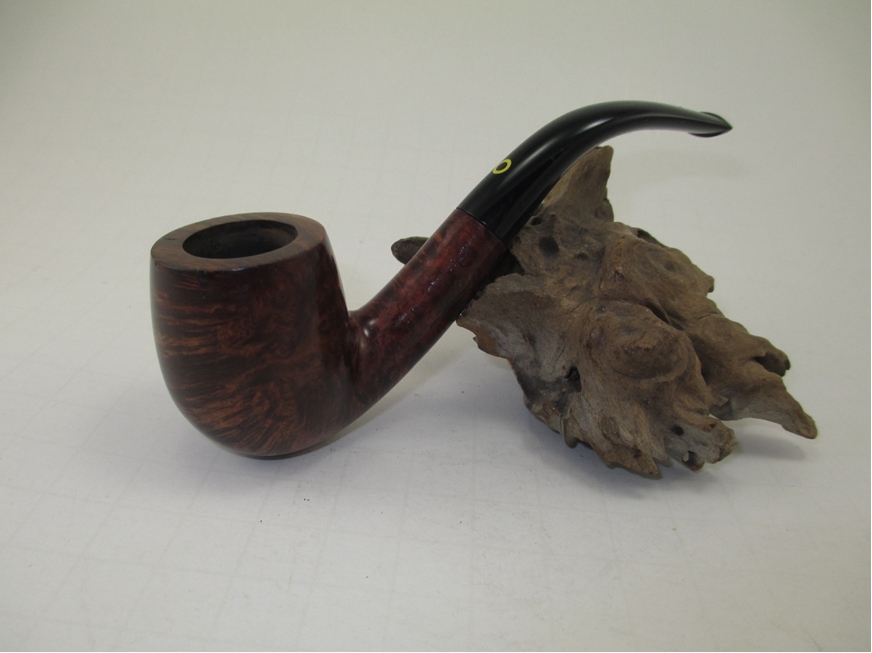
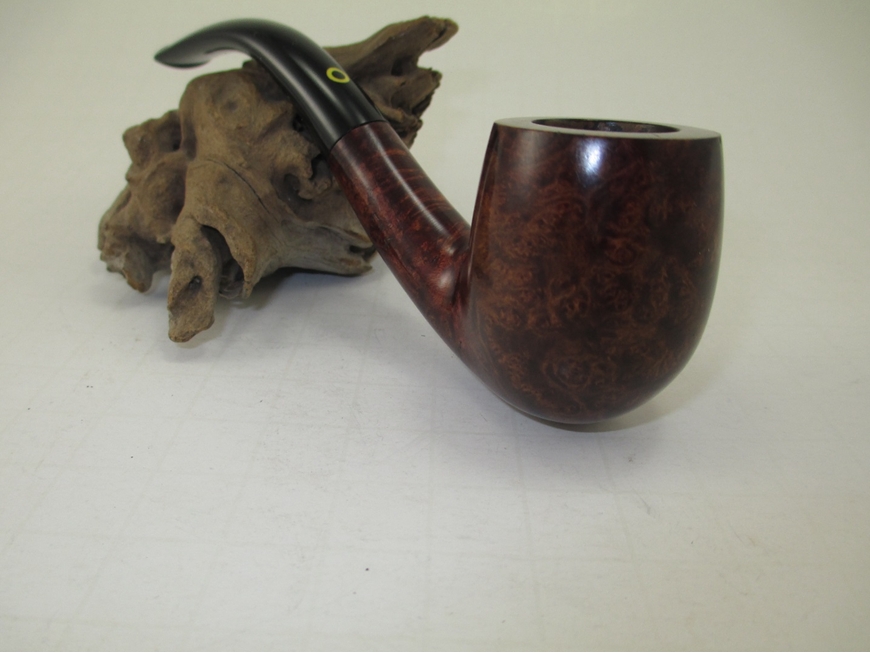
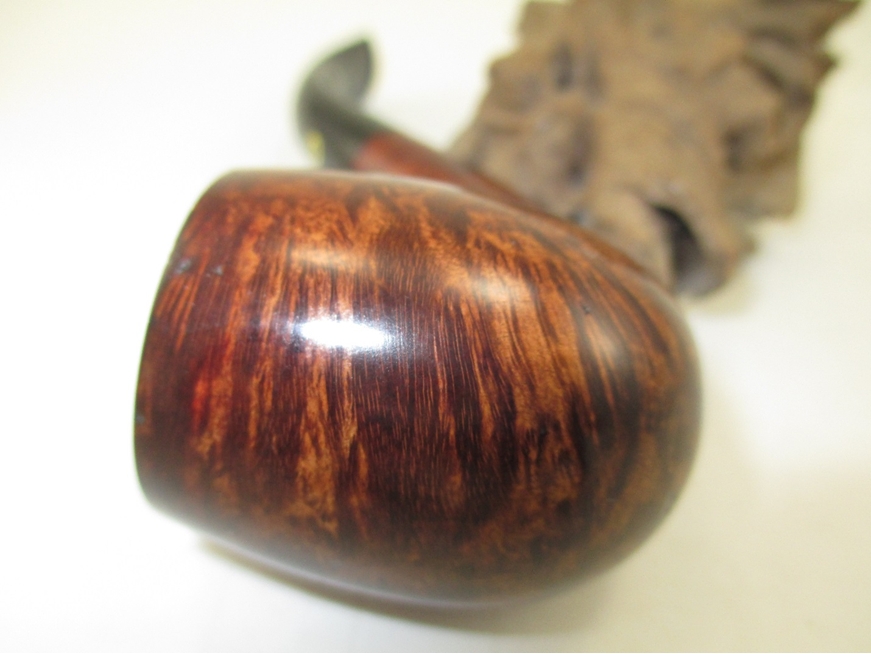
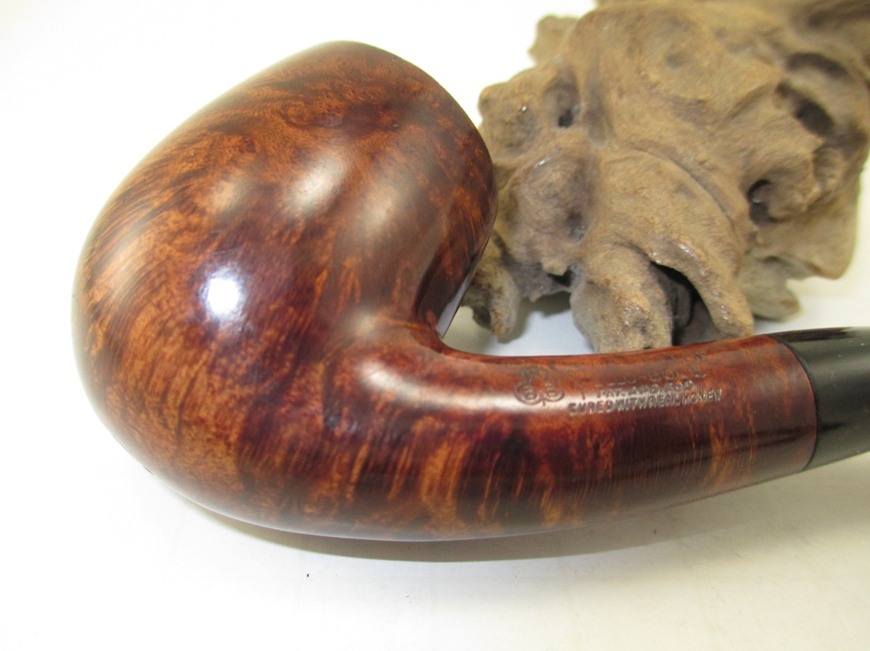
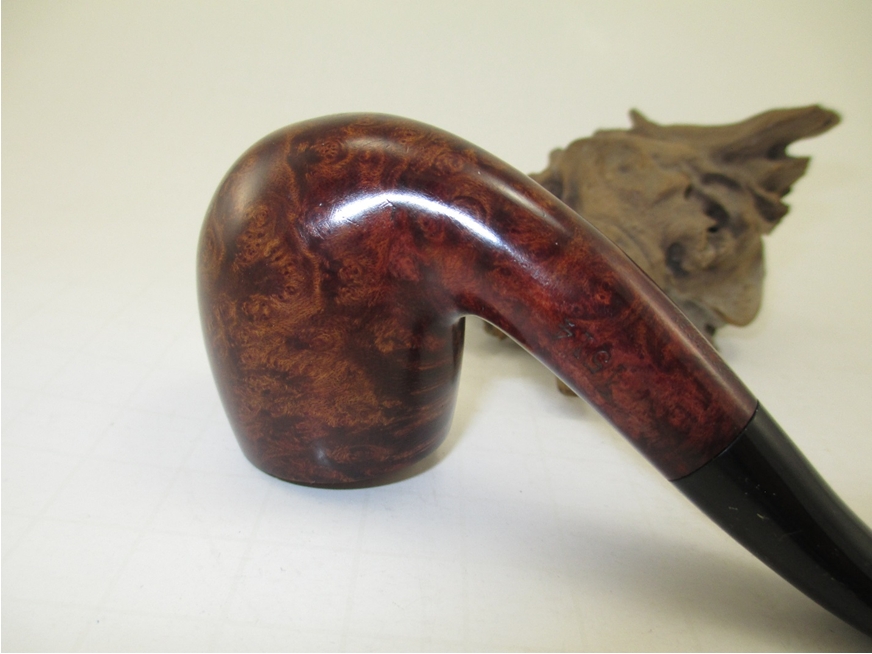
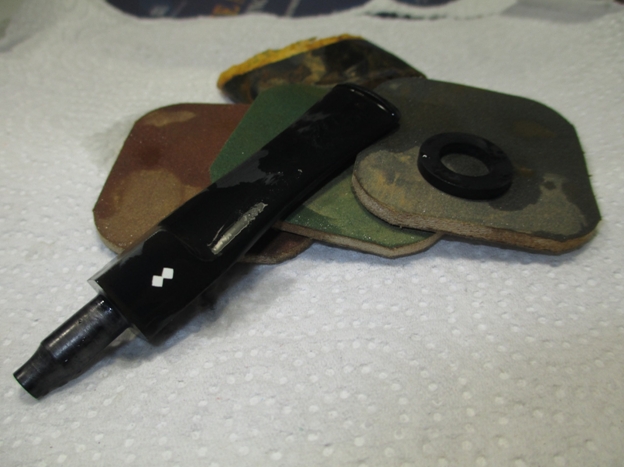
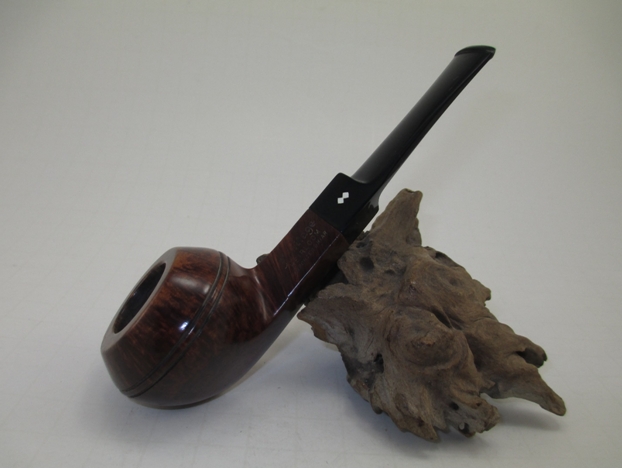
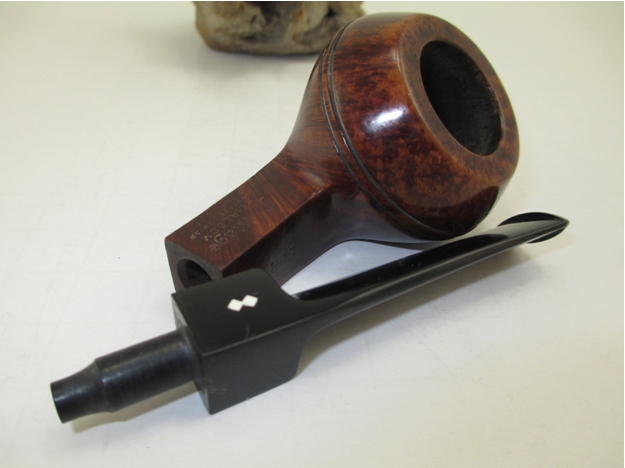
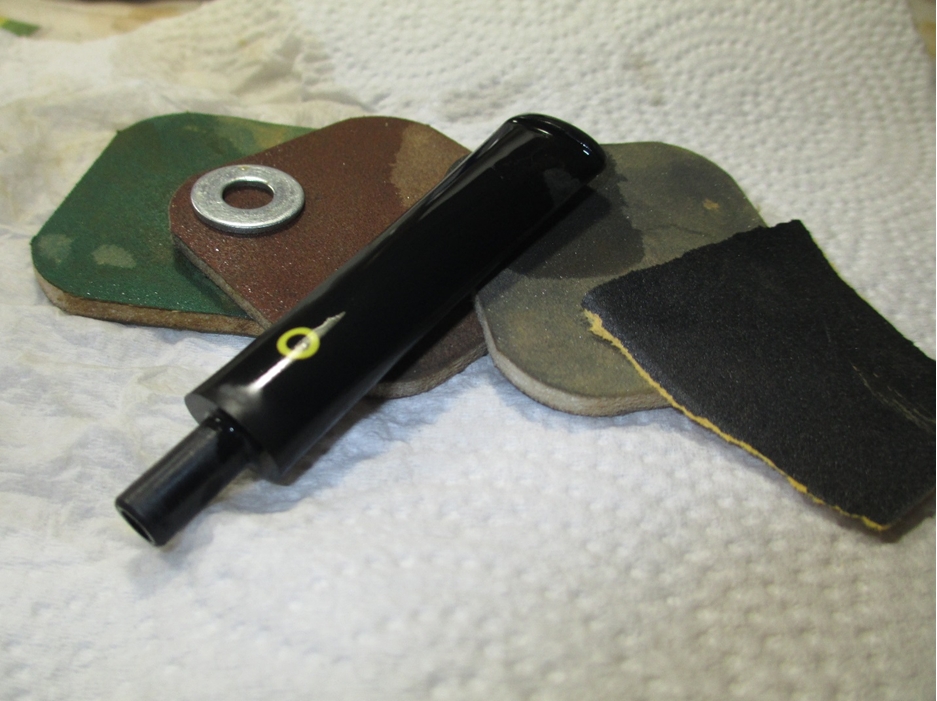
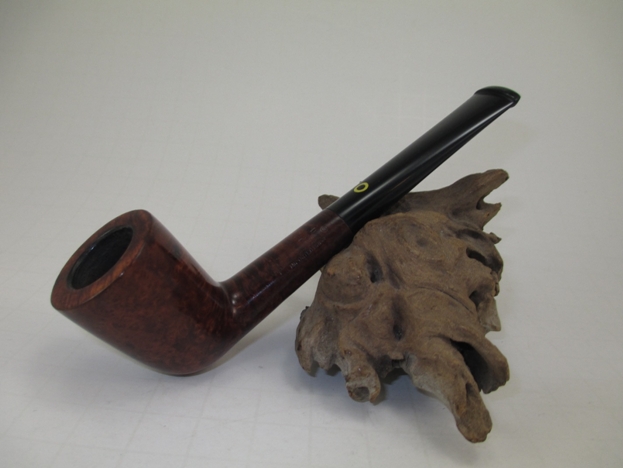
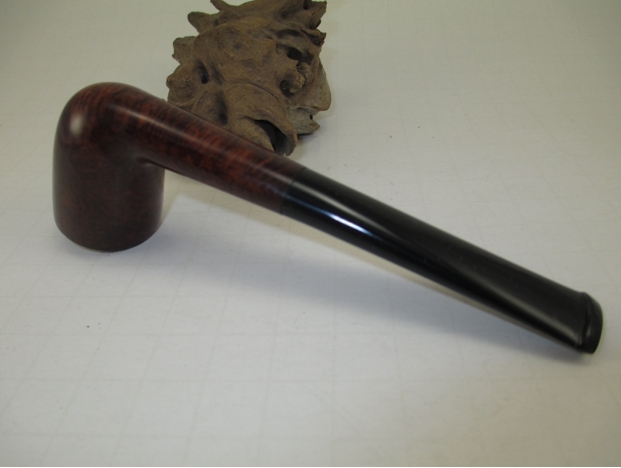
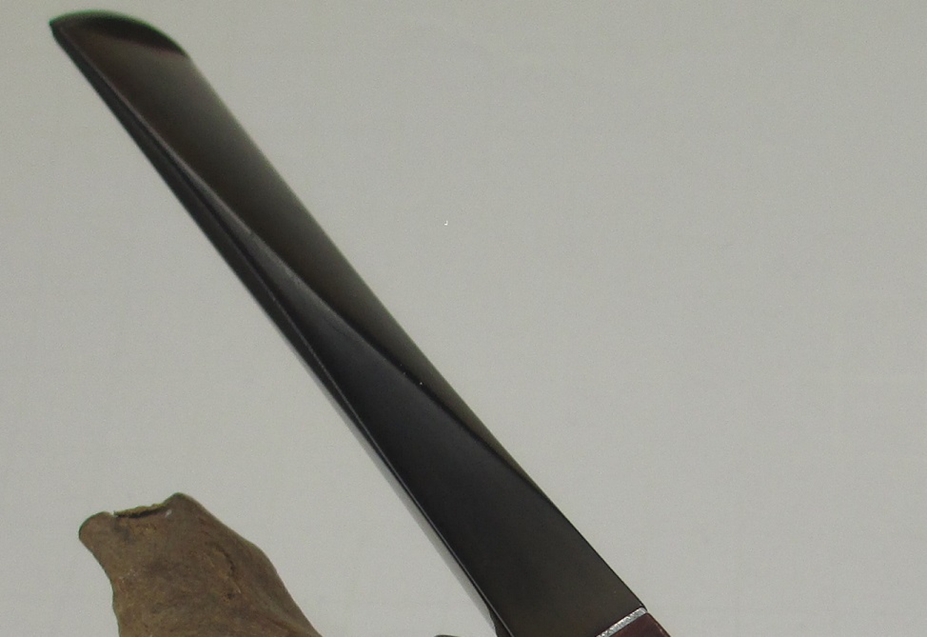
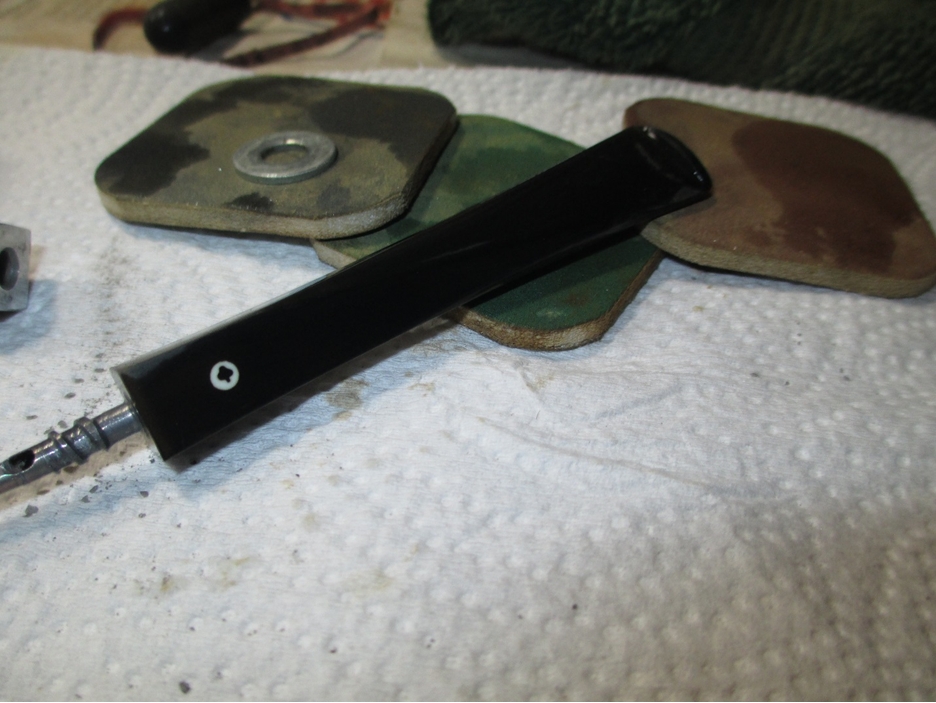
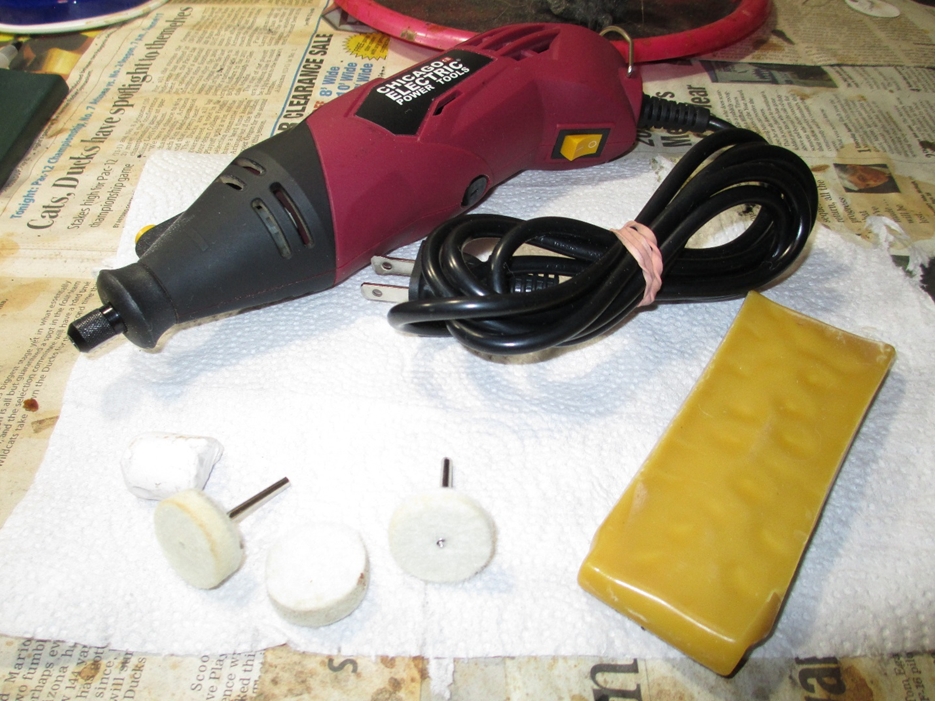
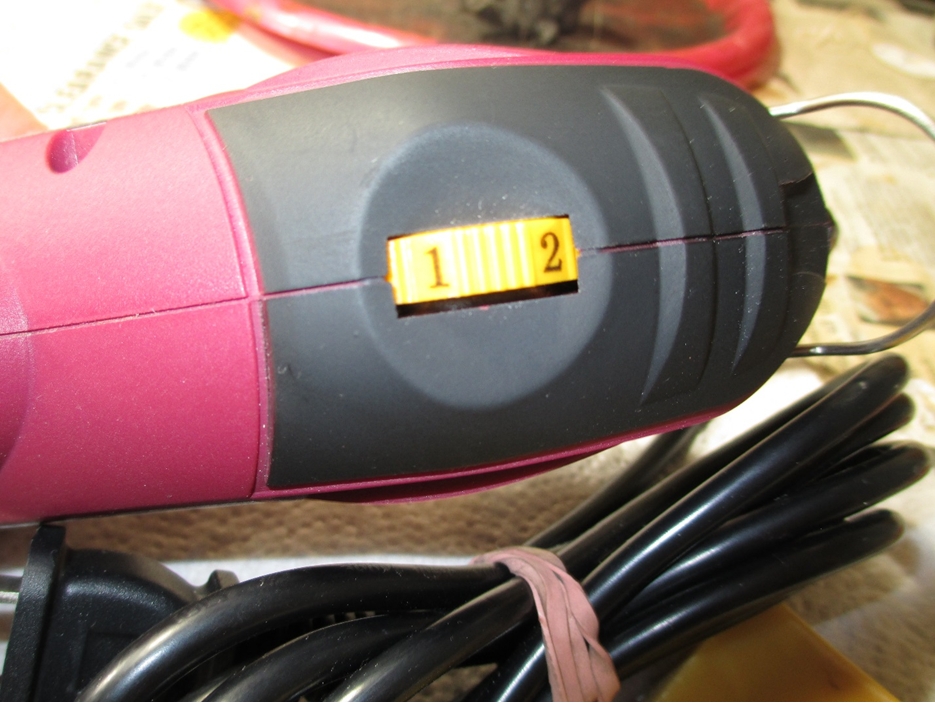
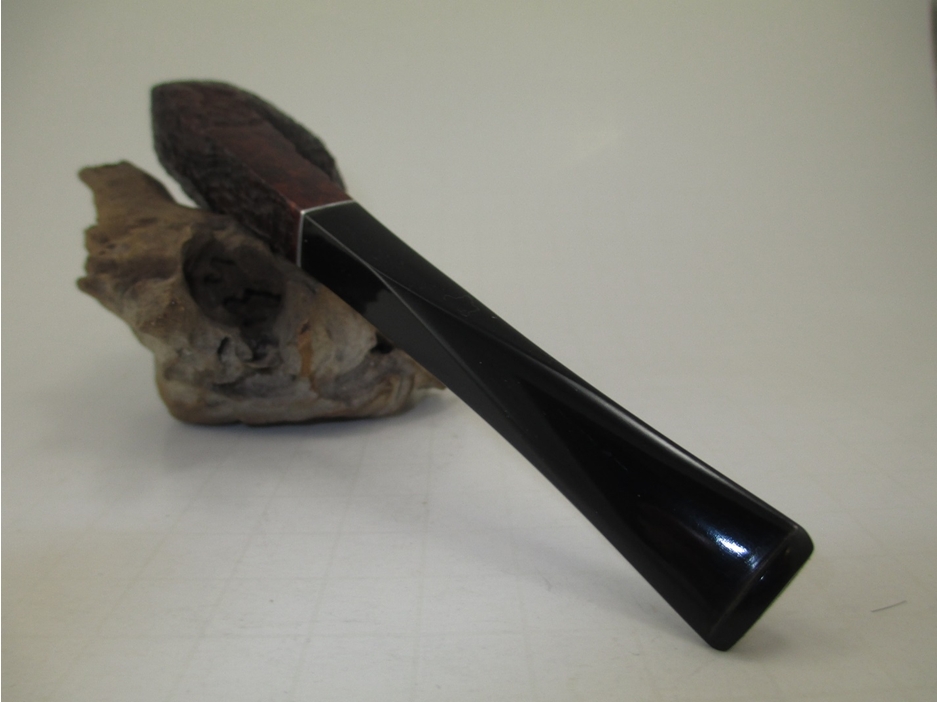
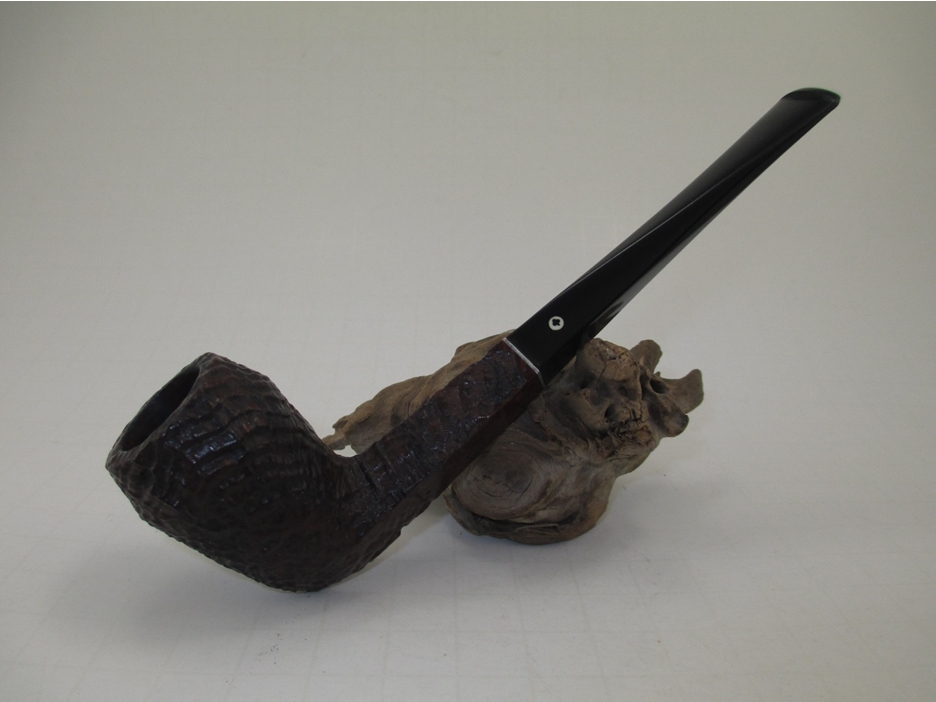
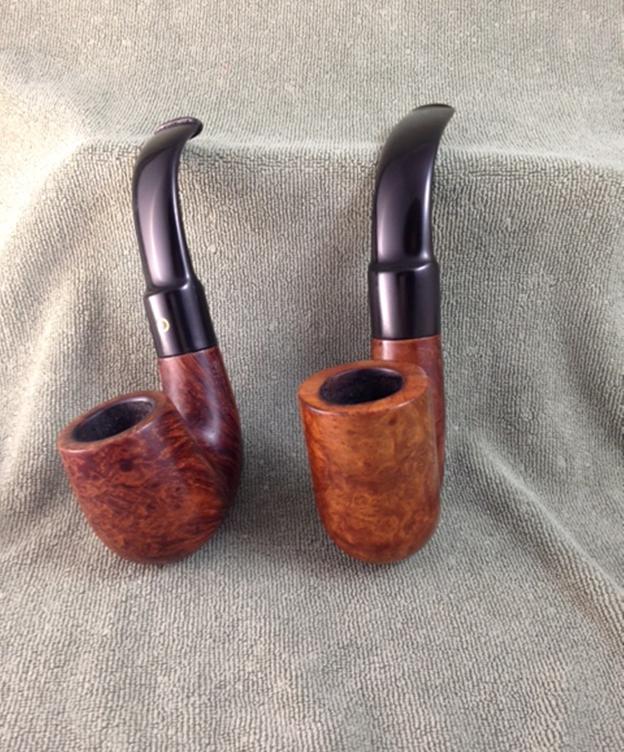
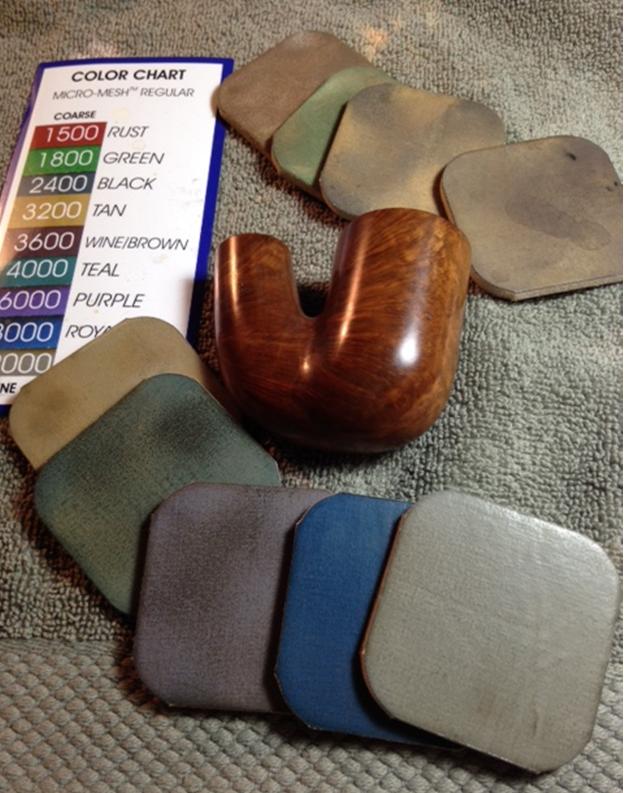 I used the same progression on the stem. I polished the stem using a rotary tool set on the lowest speed with white rouge and carnauba wax. I used my buffing wheel (aka heartbreaker) with white rouge and carnauba wax on the bowl. I reassembled the pipe and wiped on a couple of light coats of Halcyon II wax. Here is the finished result.


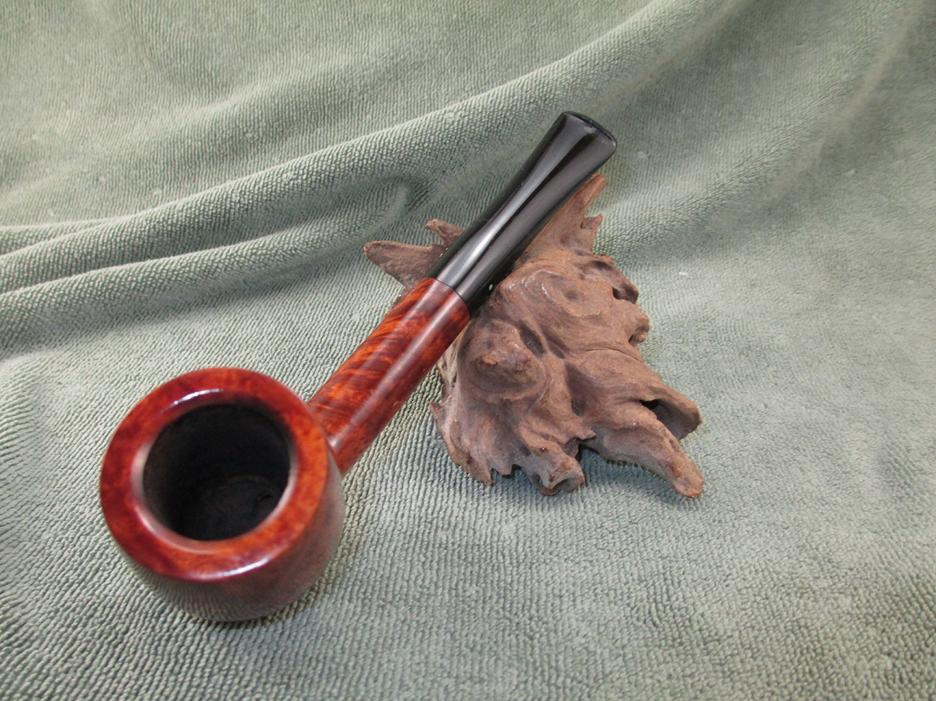
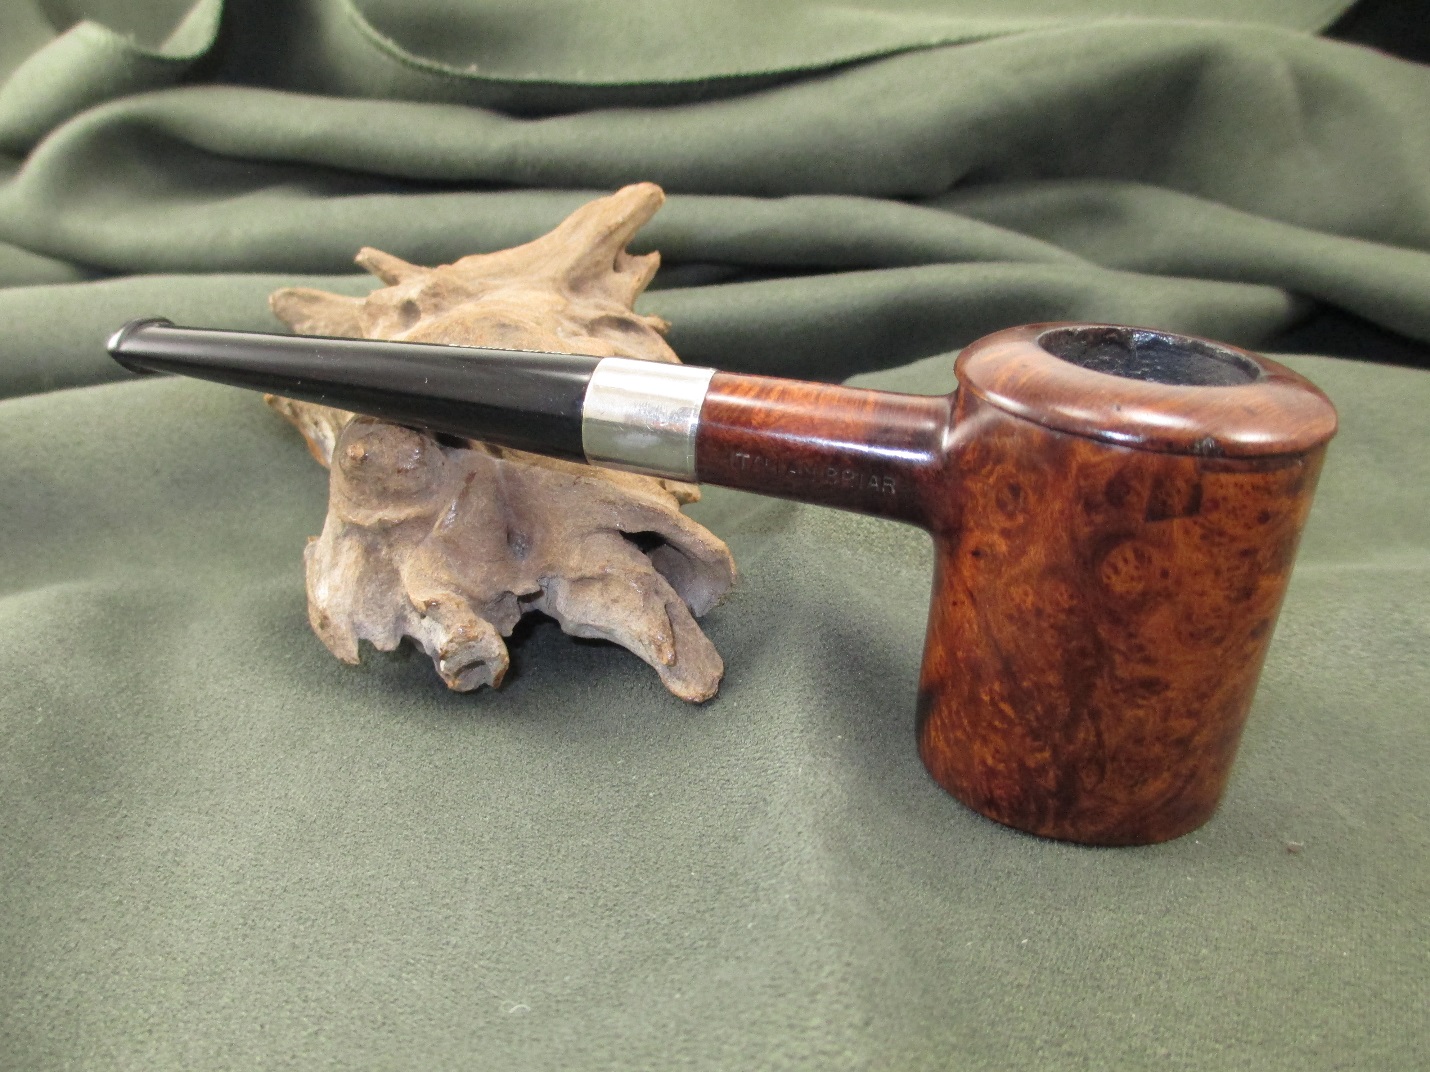
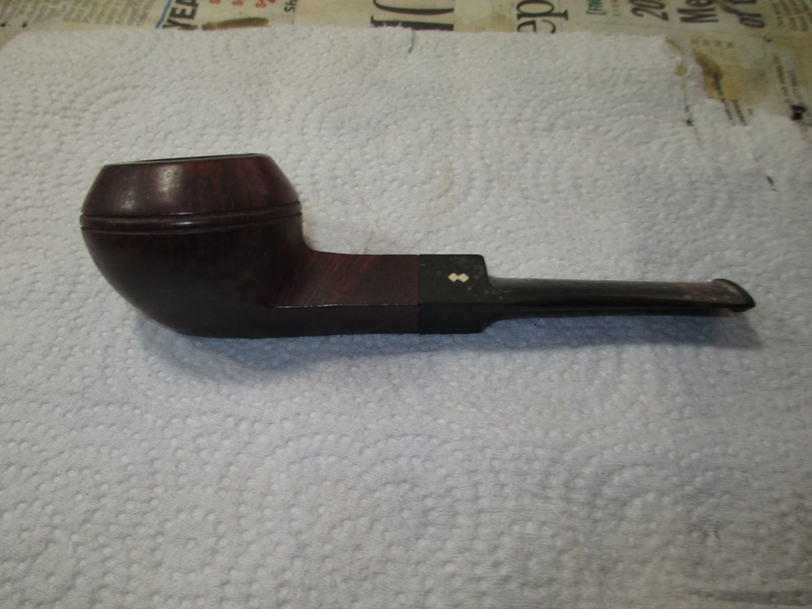
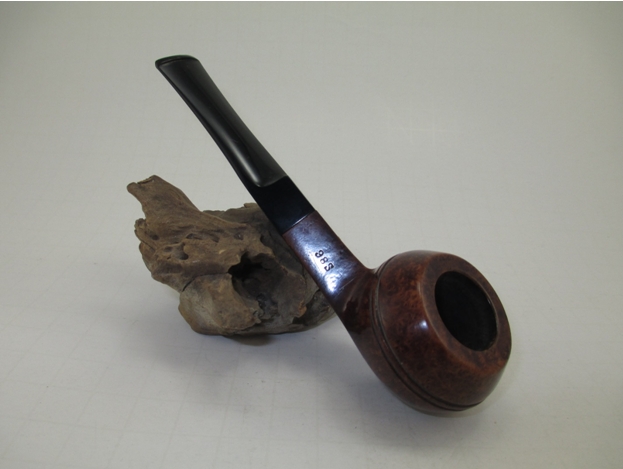
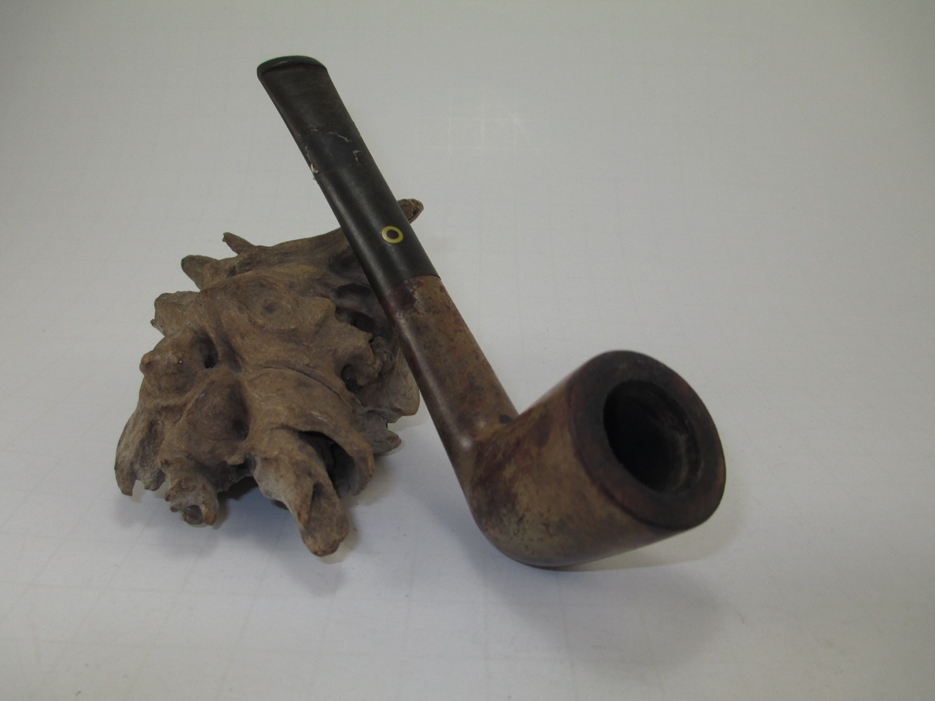
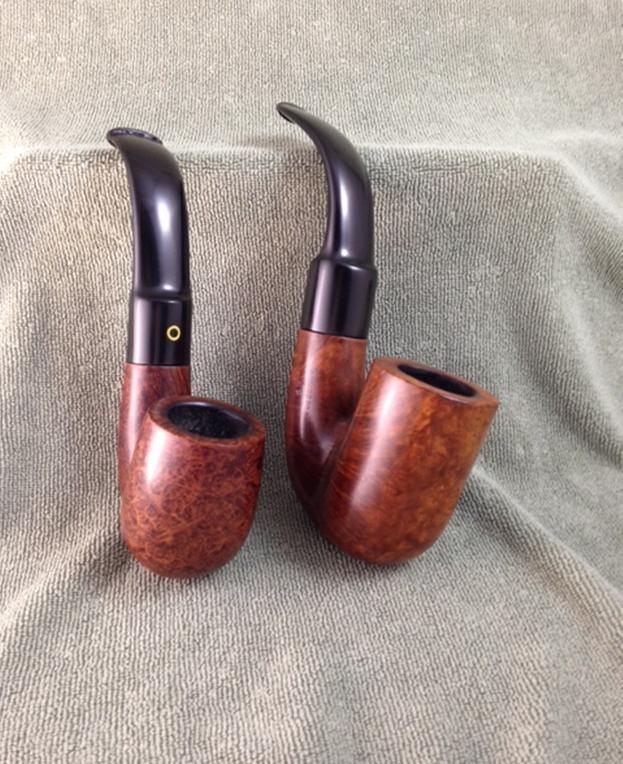
 Just to give some perspective on the size of this pipe, here is my four-digit yellow bowl for comparison.

 Normally I wait to smoke a restored pipe until after taking pictures, but we were without power this morning so I loaded the bowl with some Dunhill Early Morning Pipe and commenced to smoke. The draw is fantastic! After about an hour I thought I must be getting close to the bottom of the bowl so I got my pipe cleaning tool and started to clean the bowl. I had only smoked half the bowl! This the first pipe I’ve encountered that has a basement!
I now have two Oom Paul pipes in my collection. I imagine they will vie for my attention for a very long time.