Bye-Bye, B2!
Leave a reply

Blog by Greg Wolford
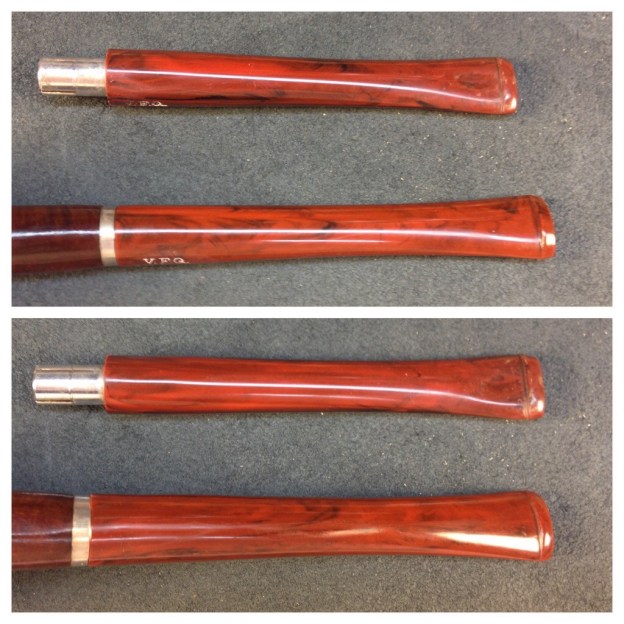
Last week I wrote about restoring an old Medico VFQ (if you missed it the article is here. I mentioned that Steve was sending me a better stem – and boy did he!
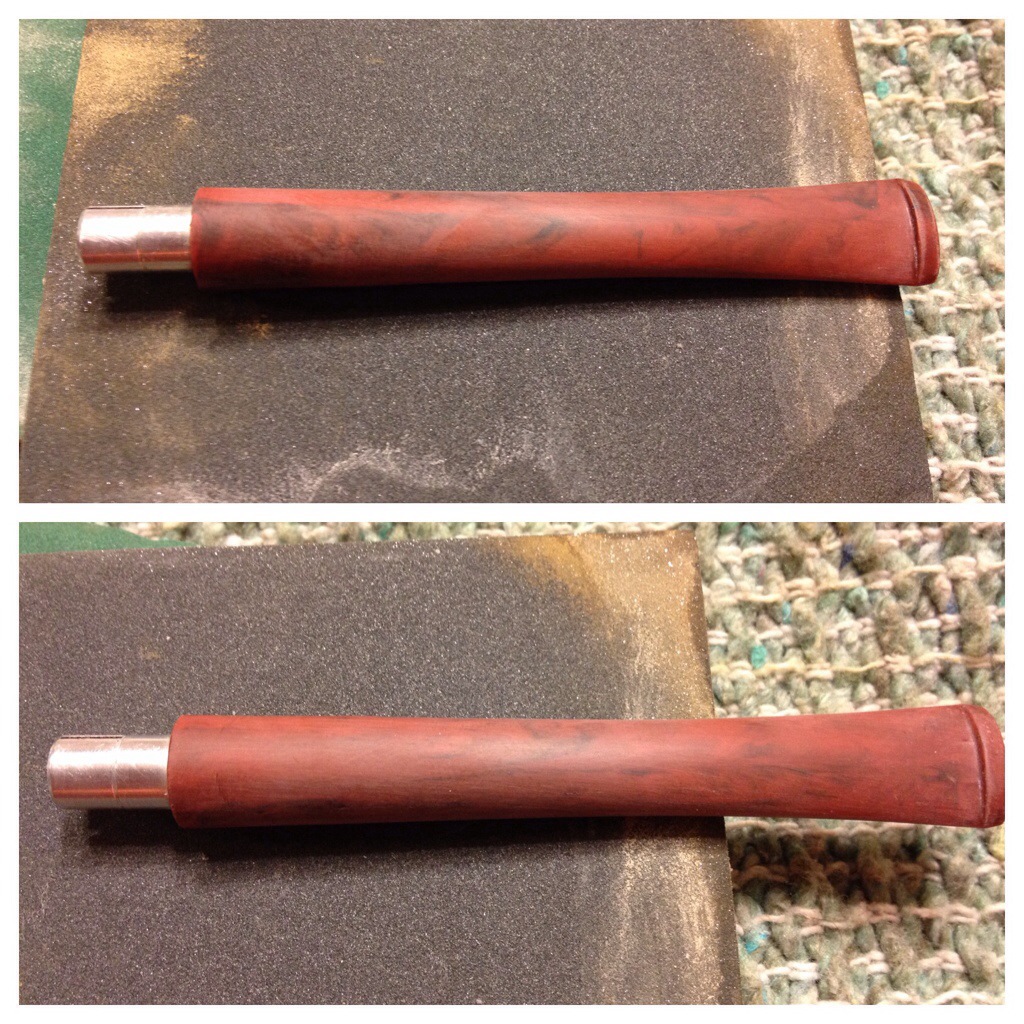
It arrived Saturday and I spent a little time polishing it with micromesh 1500-12000 over the weekend. As you can see, it was almost pristine when it arrived.
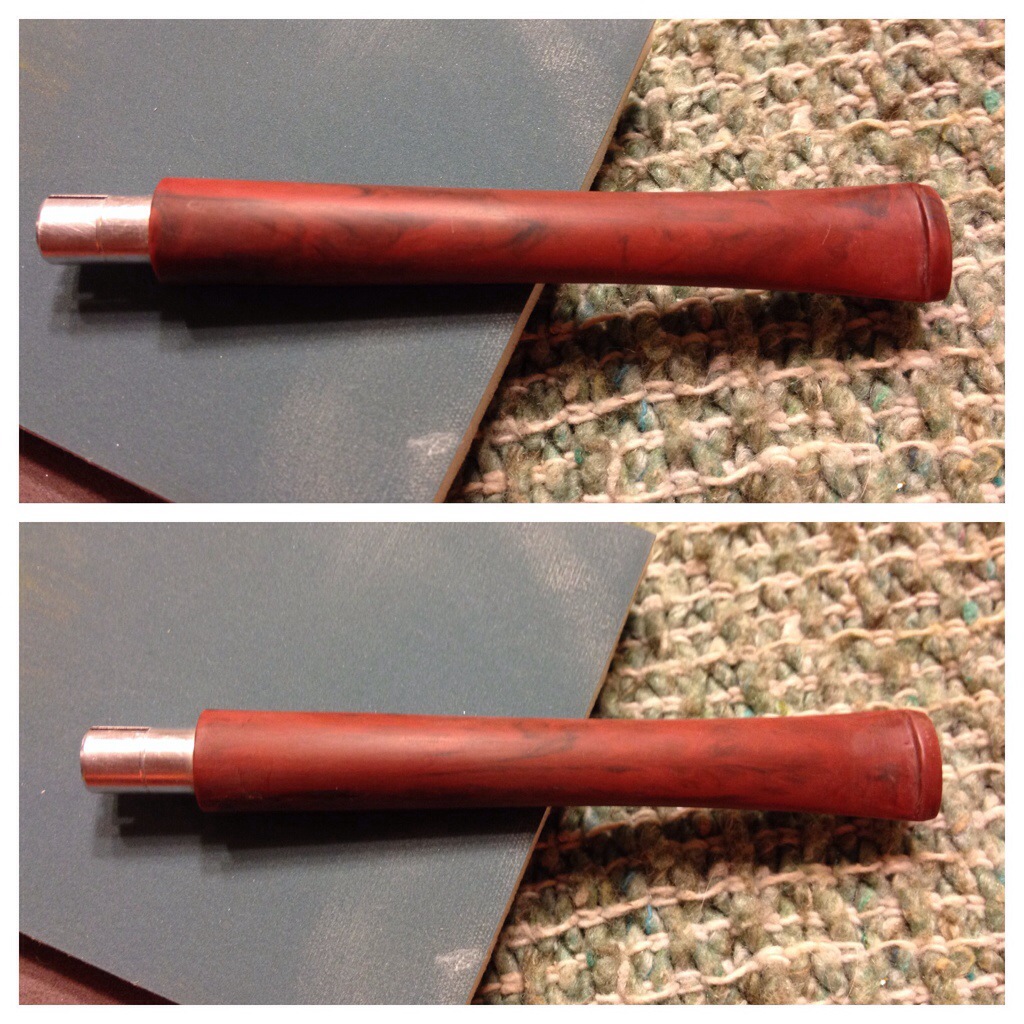
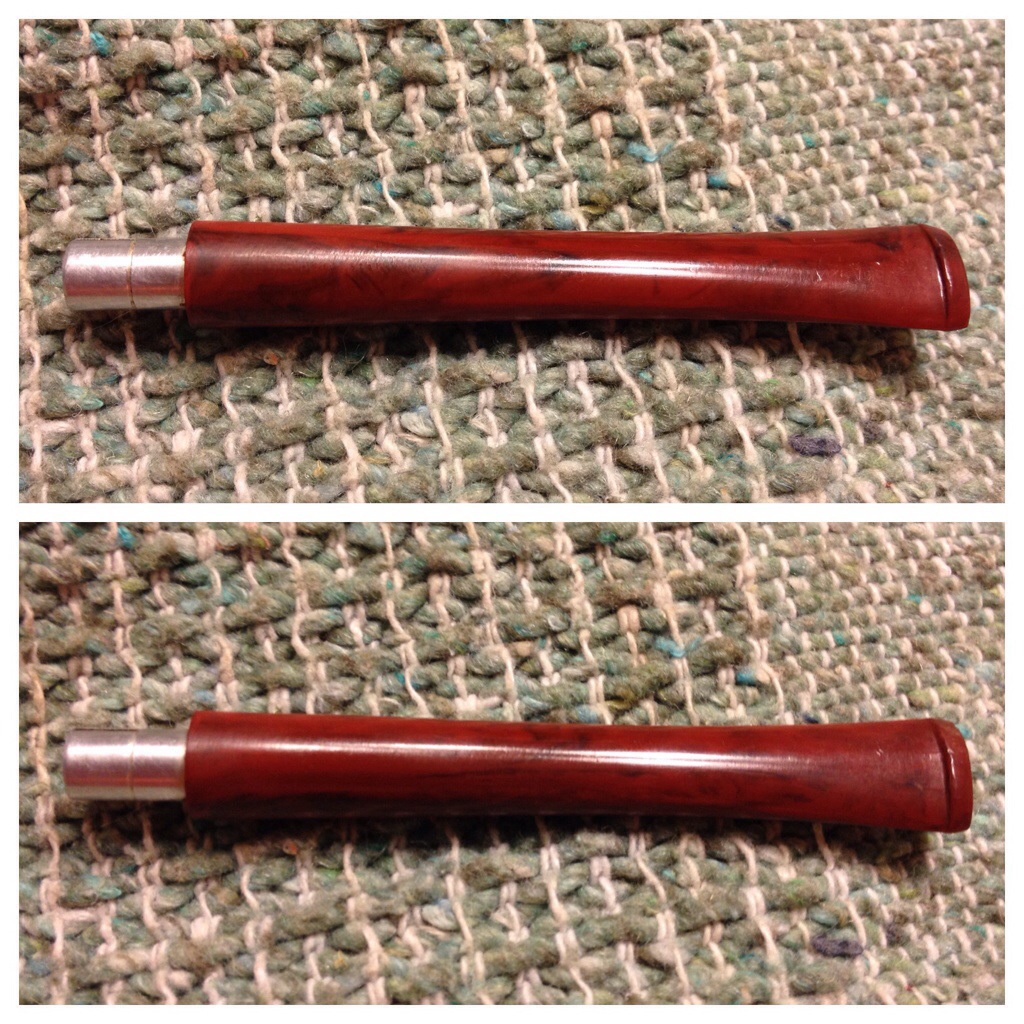
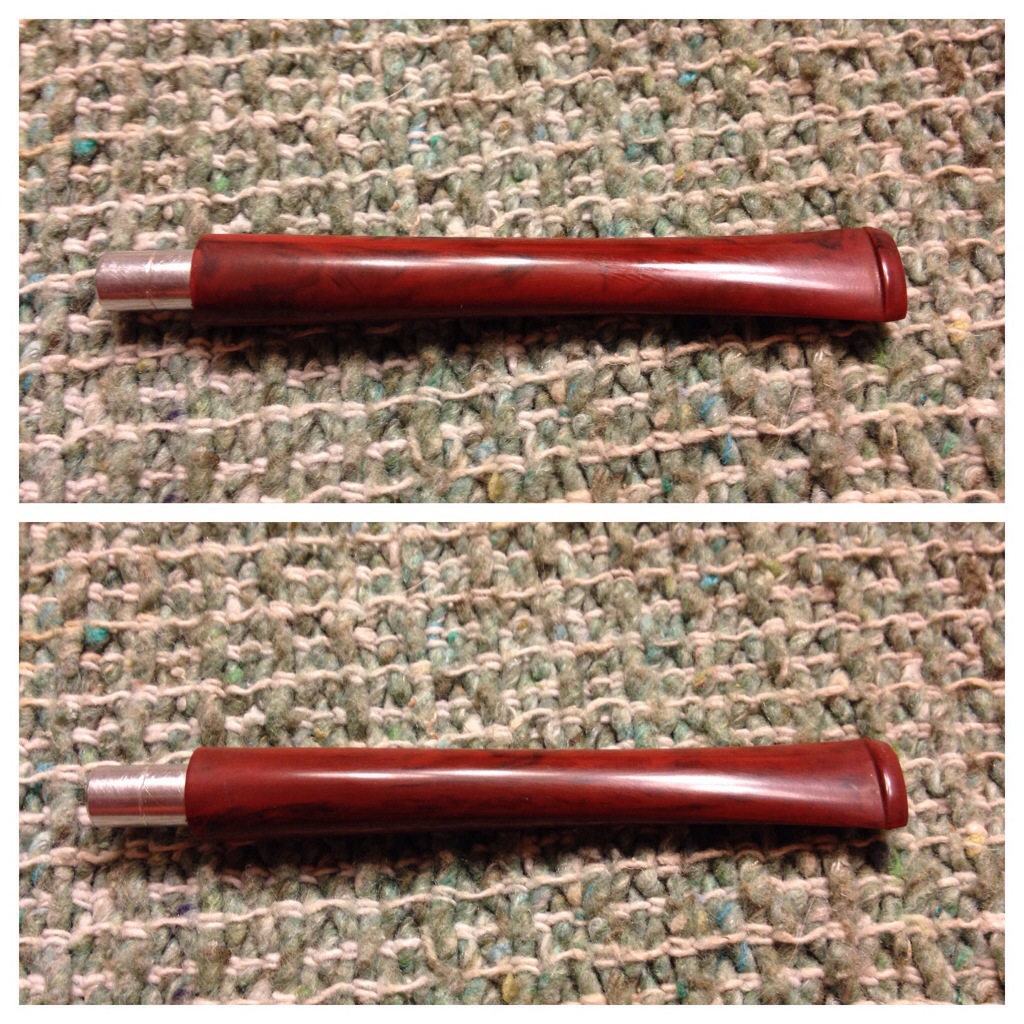
Today I touched up the stem’s stamping with white paint to make it pop and then, after the paint cured, I gave it a light buff with white diamond and then a few coats of wax to finish it off. And I must say it really does complete the project.

As you can see, there’s a big difference in the stems. I also found they seem to be made of some different material; the original left a black looking sanding dust and the new one a white-looking dust, more like acrylic. Anyway, here’s the real completed project.
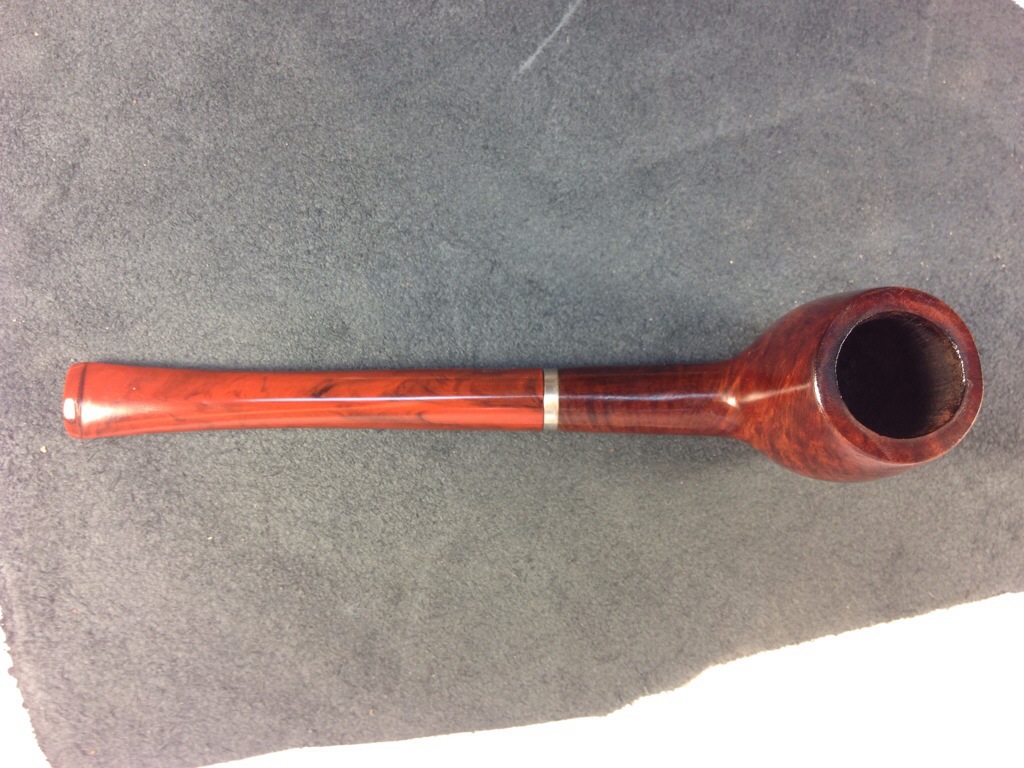
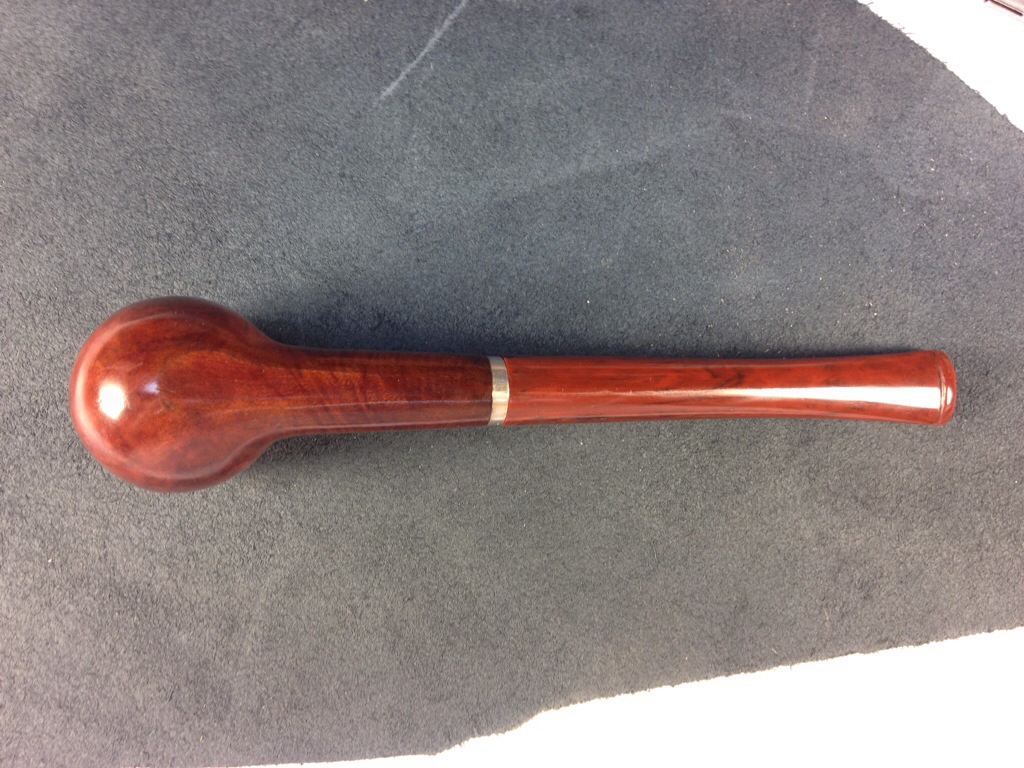
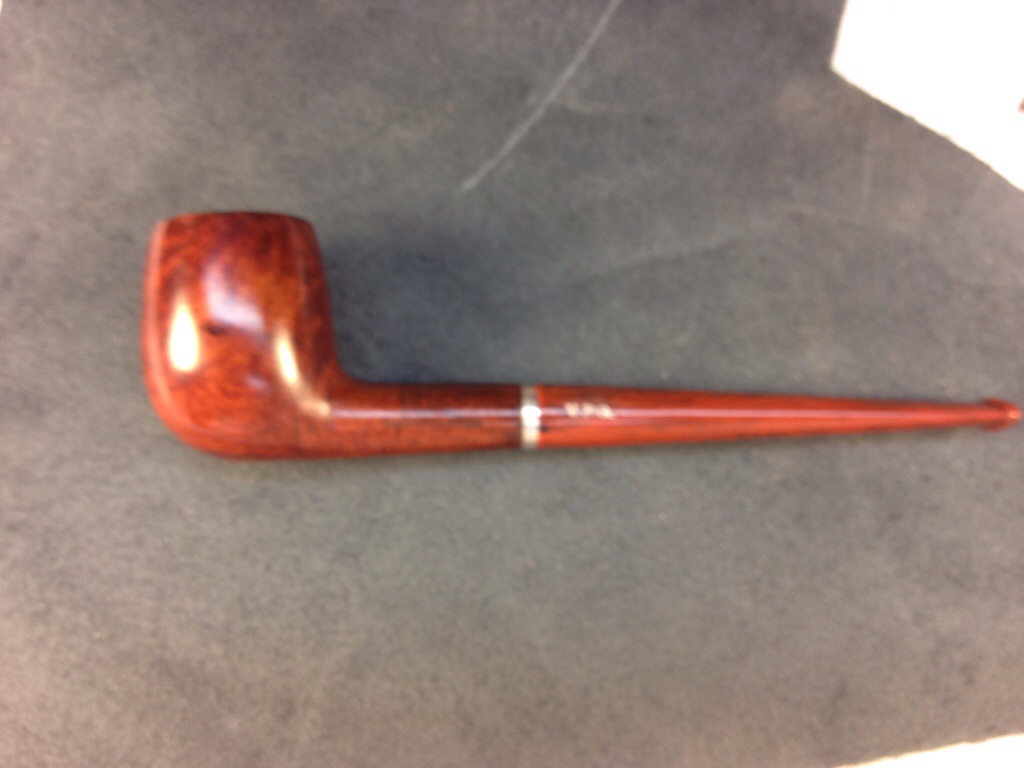
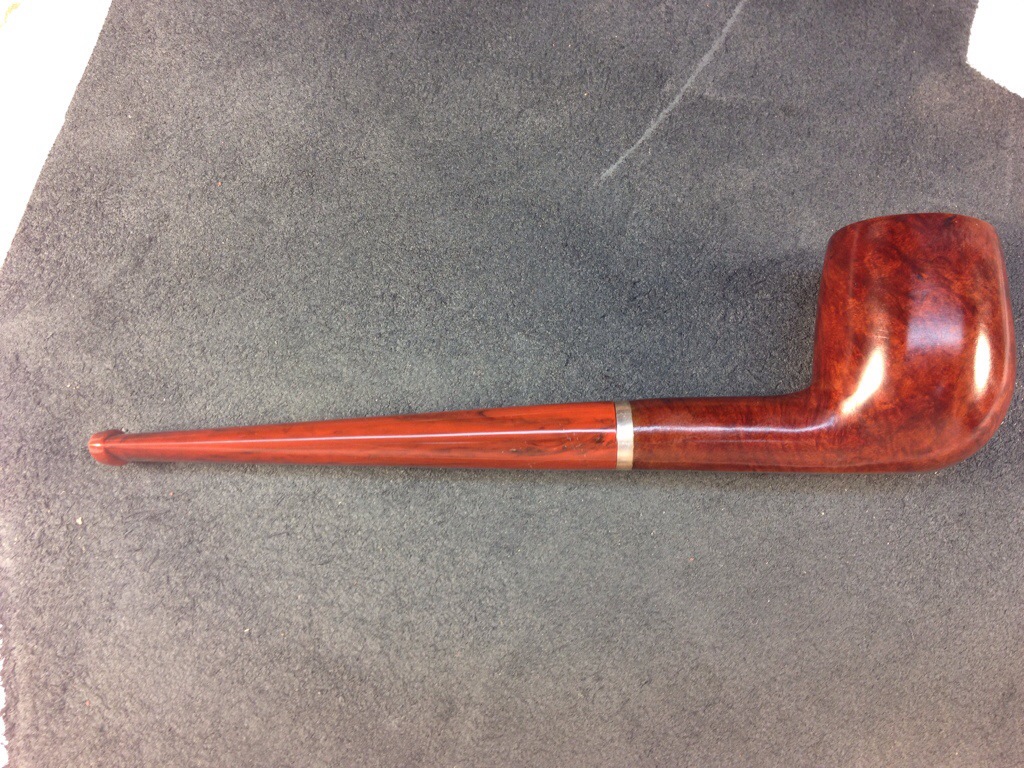
Again, thanks, Steve, for providing me with such a nice stem to top off saving this old pipe with. And, in case you’re wondering, I’ve had the chance to run a few bowls through her and she smokes great for me!
Blog by Greg Wolford
I have this German acorn basket pipe that I love; it was a gift from my son. I really like everything about it: the shape, the feel, everything except the gurgle. This morning I decided it was time to “open her up” a little and remembered to take a few photos of the process (finally) to share what I generally do and generally works really well for me.
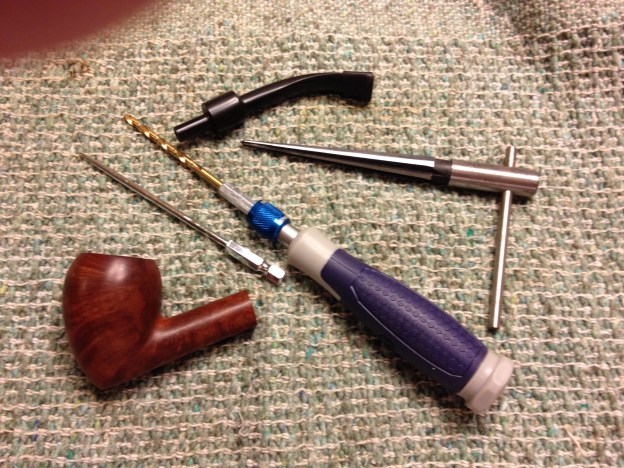
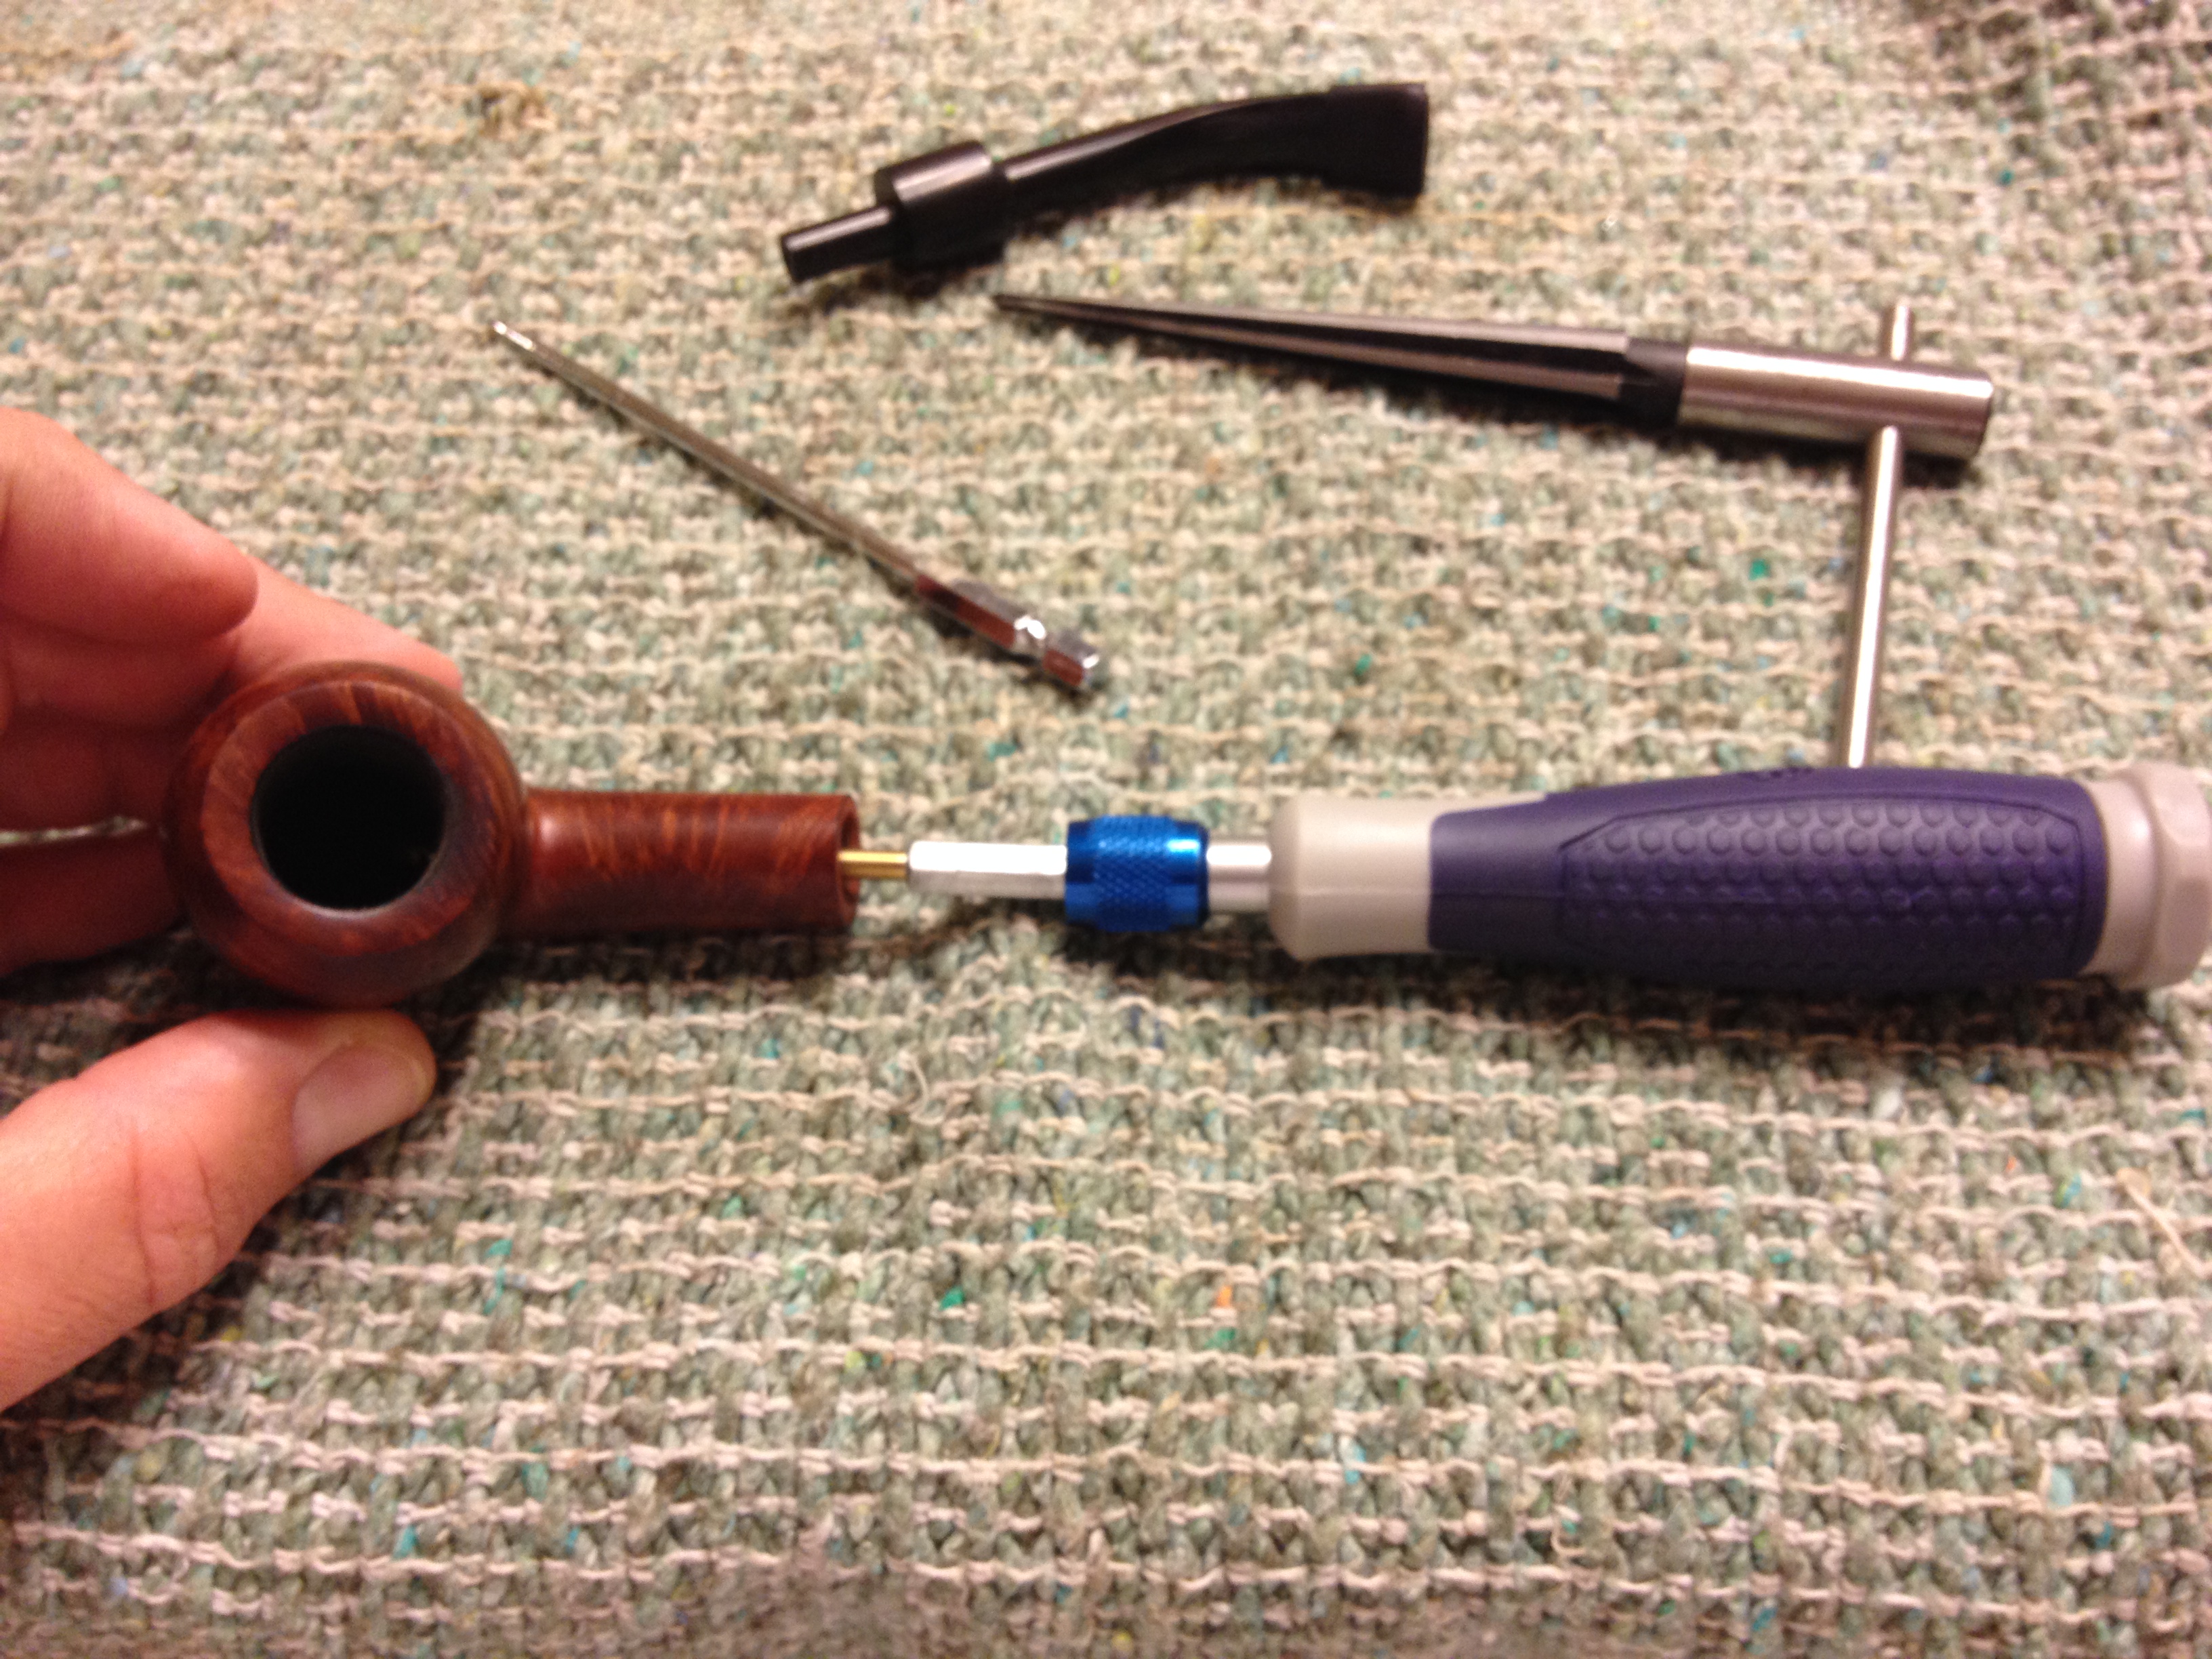
This process takes only a few tools and a few minutes to do. But you can spend a lot more time and effort and use more tools to get better, more precise results if you so desire. The tools I used: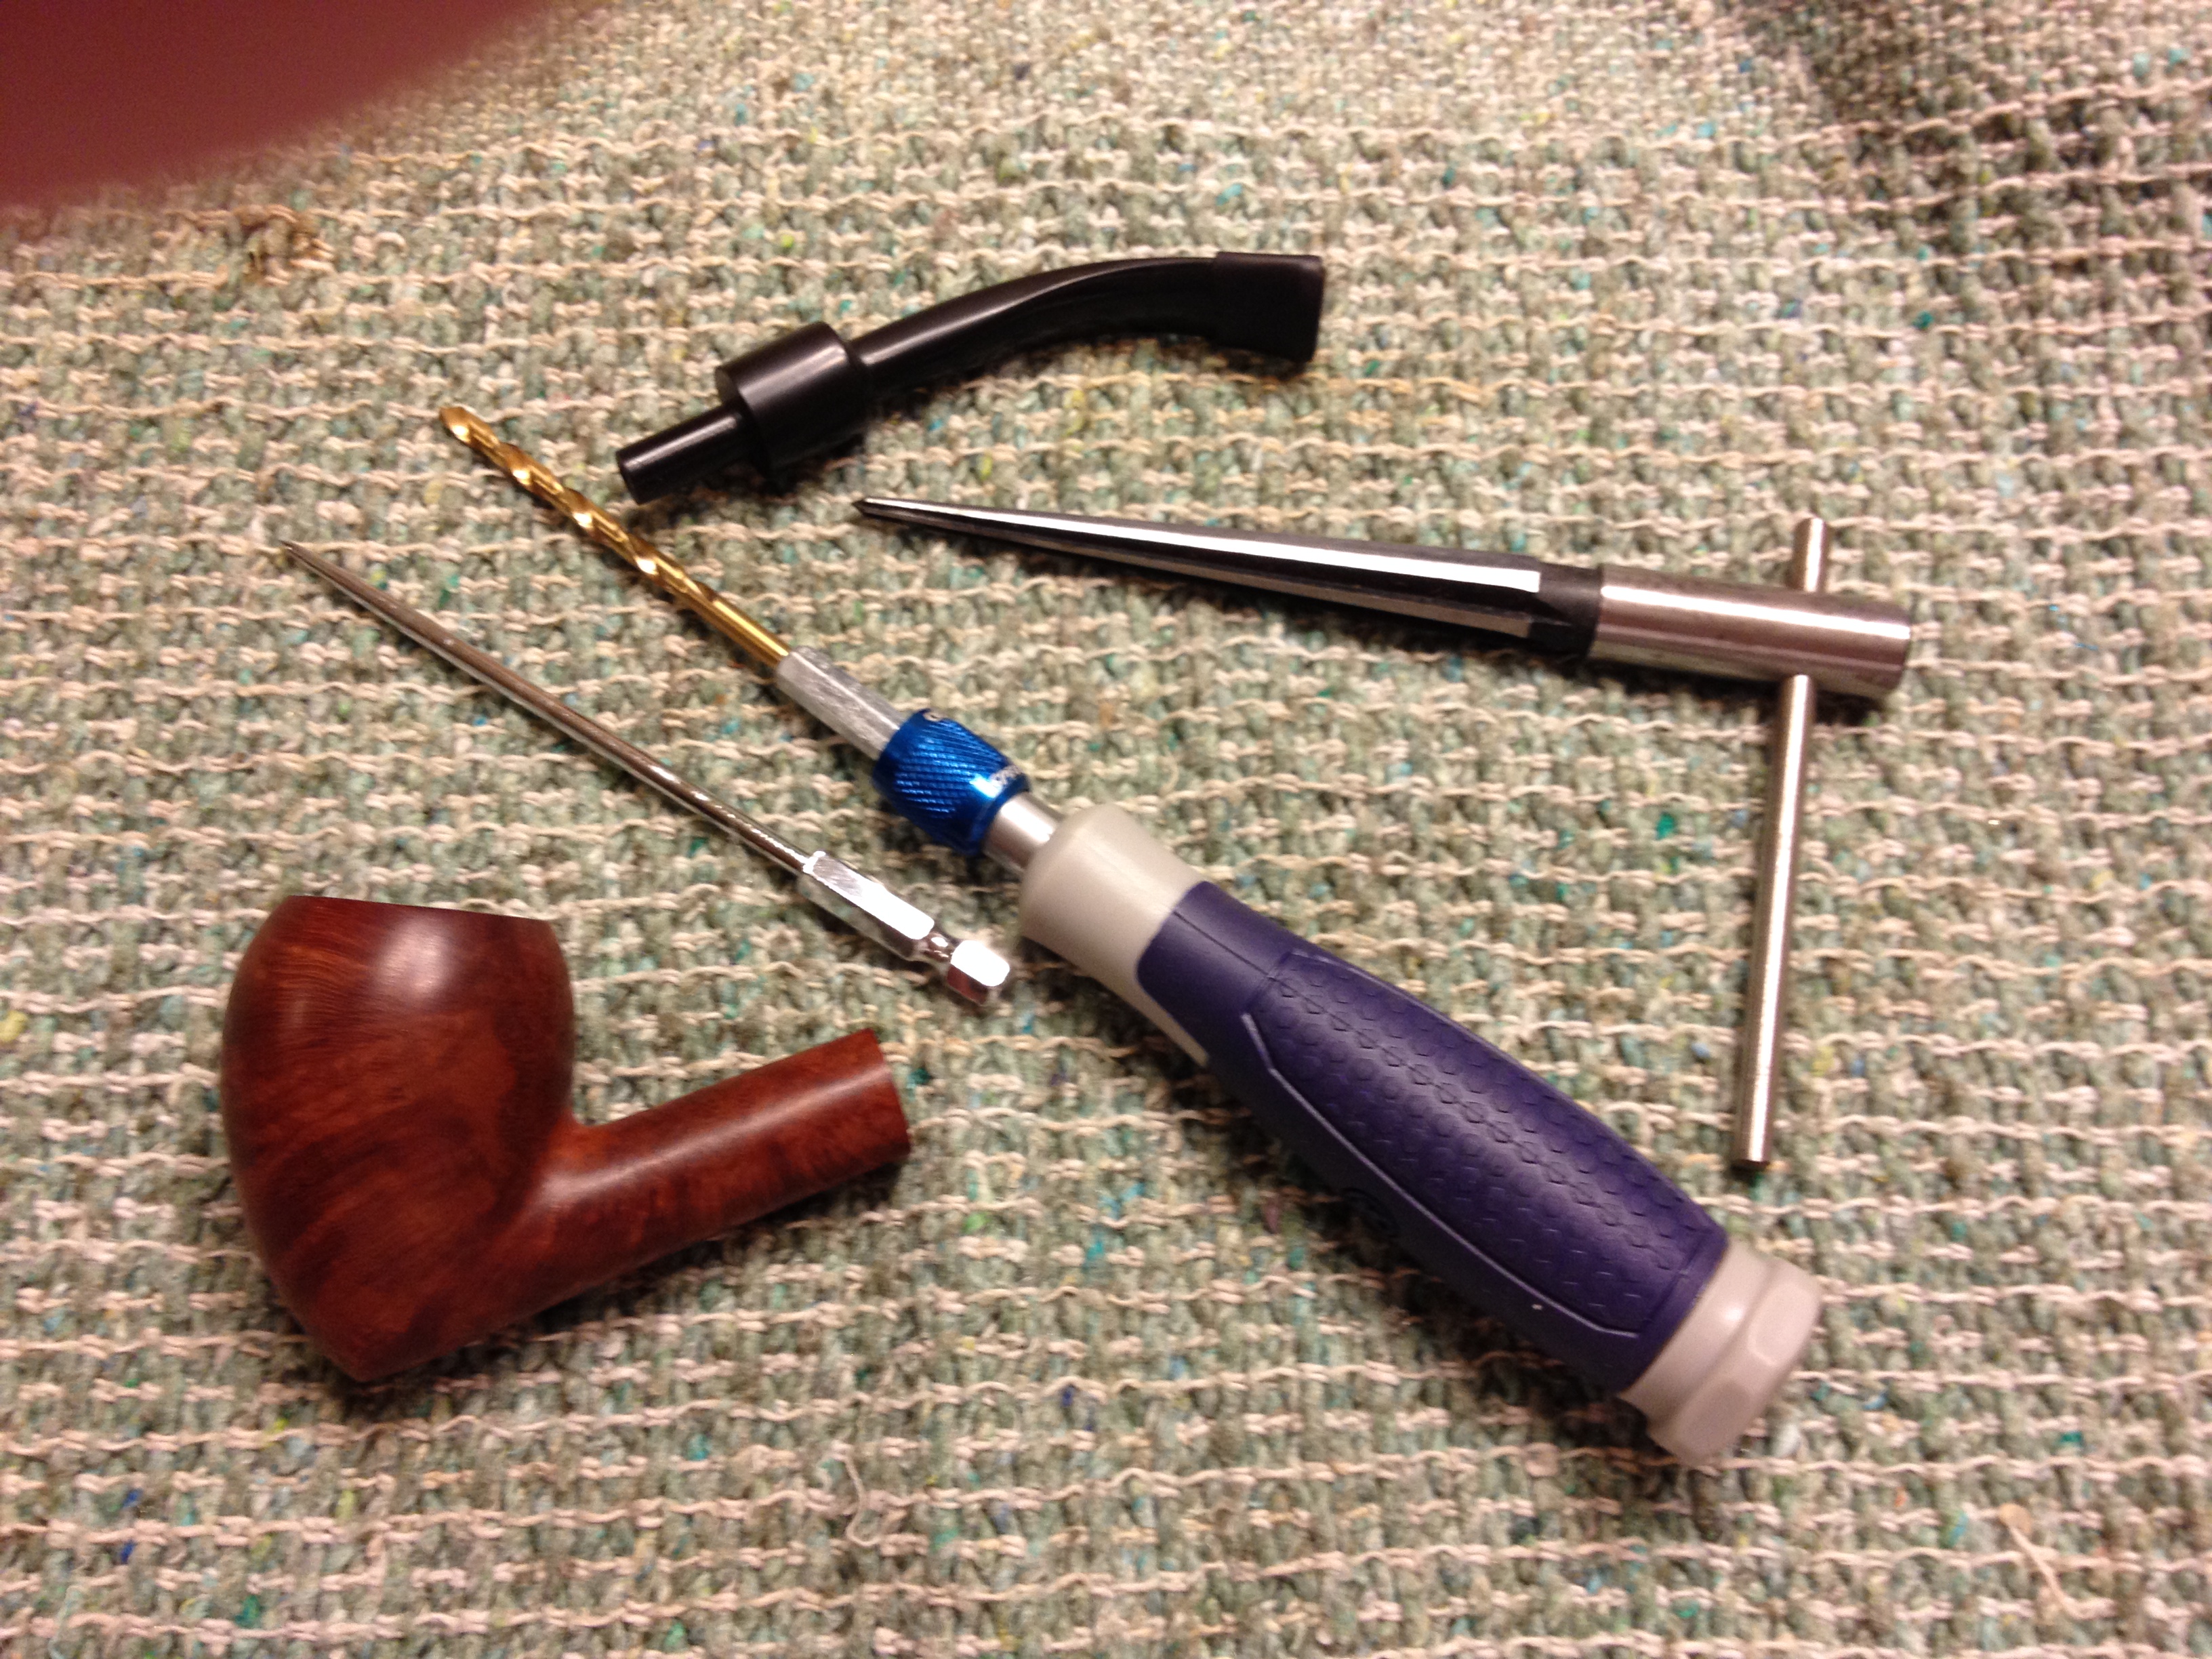
I start by inserting the pick to check the angle of the air hole in the mortise. Sometimes the angle won’t let me re-drill the pipe without damaging the edge of the shank. In this case there was ample clearance so I changed the over to the drill bit. The drilling can be done by hand or with the use of a hobby/universal vice with cushioned jaws; I use one sometimes, depending on how I feel, the value of the pipe, the angle, etc. I do this slowly and evenly, with moderate to light pressure. When I see the tip of the bit peek into the bowl I begin to pull the bit out, continuing to “drill” as I go backwards; I think this cuts a more even hole. I usually repeat this process 2-3 times, as I feel needed by the resistance on the bit and material that comes out with each pass.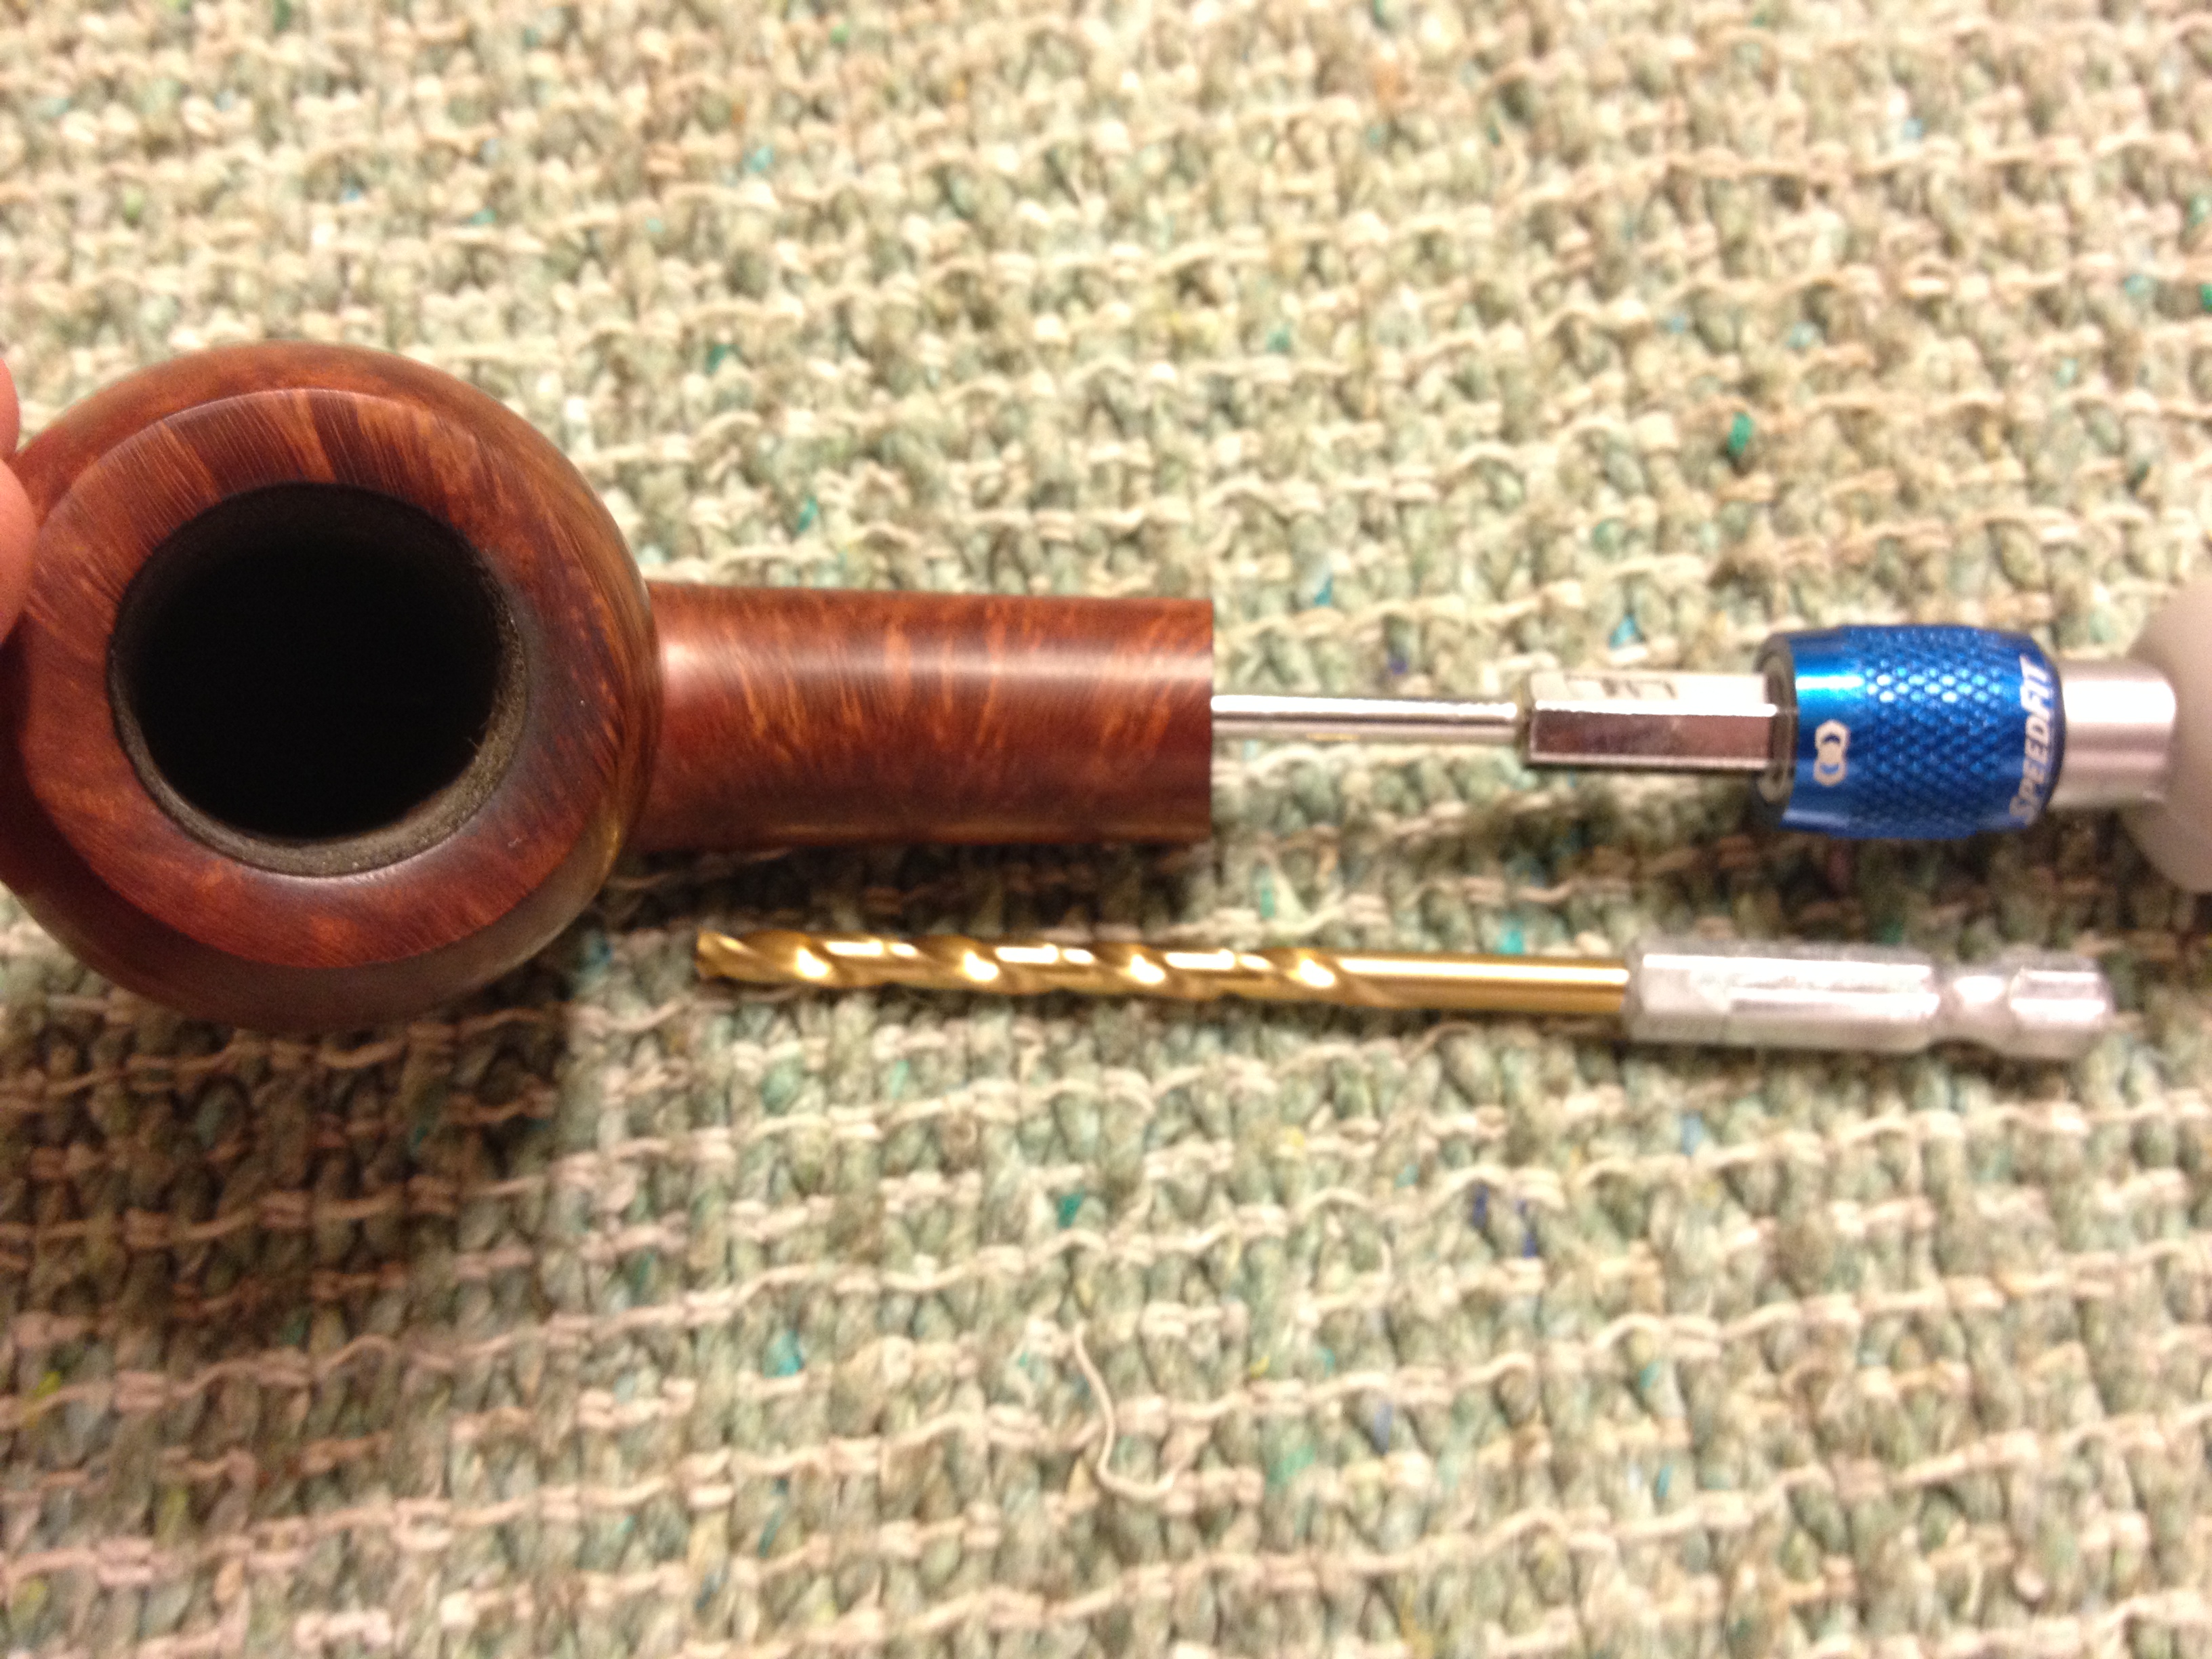
I now turn to the stem and the reamer. As you can see, this is drilled straight, with no funneling or chamber. Most of the time the procedure I am going to talk about with fix draw/gurgle issues but sometimes the stem will need re-drilled, too; that is another post!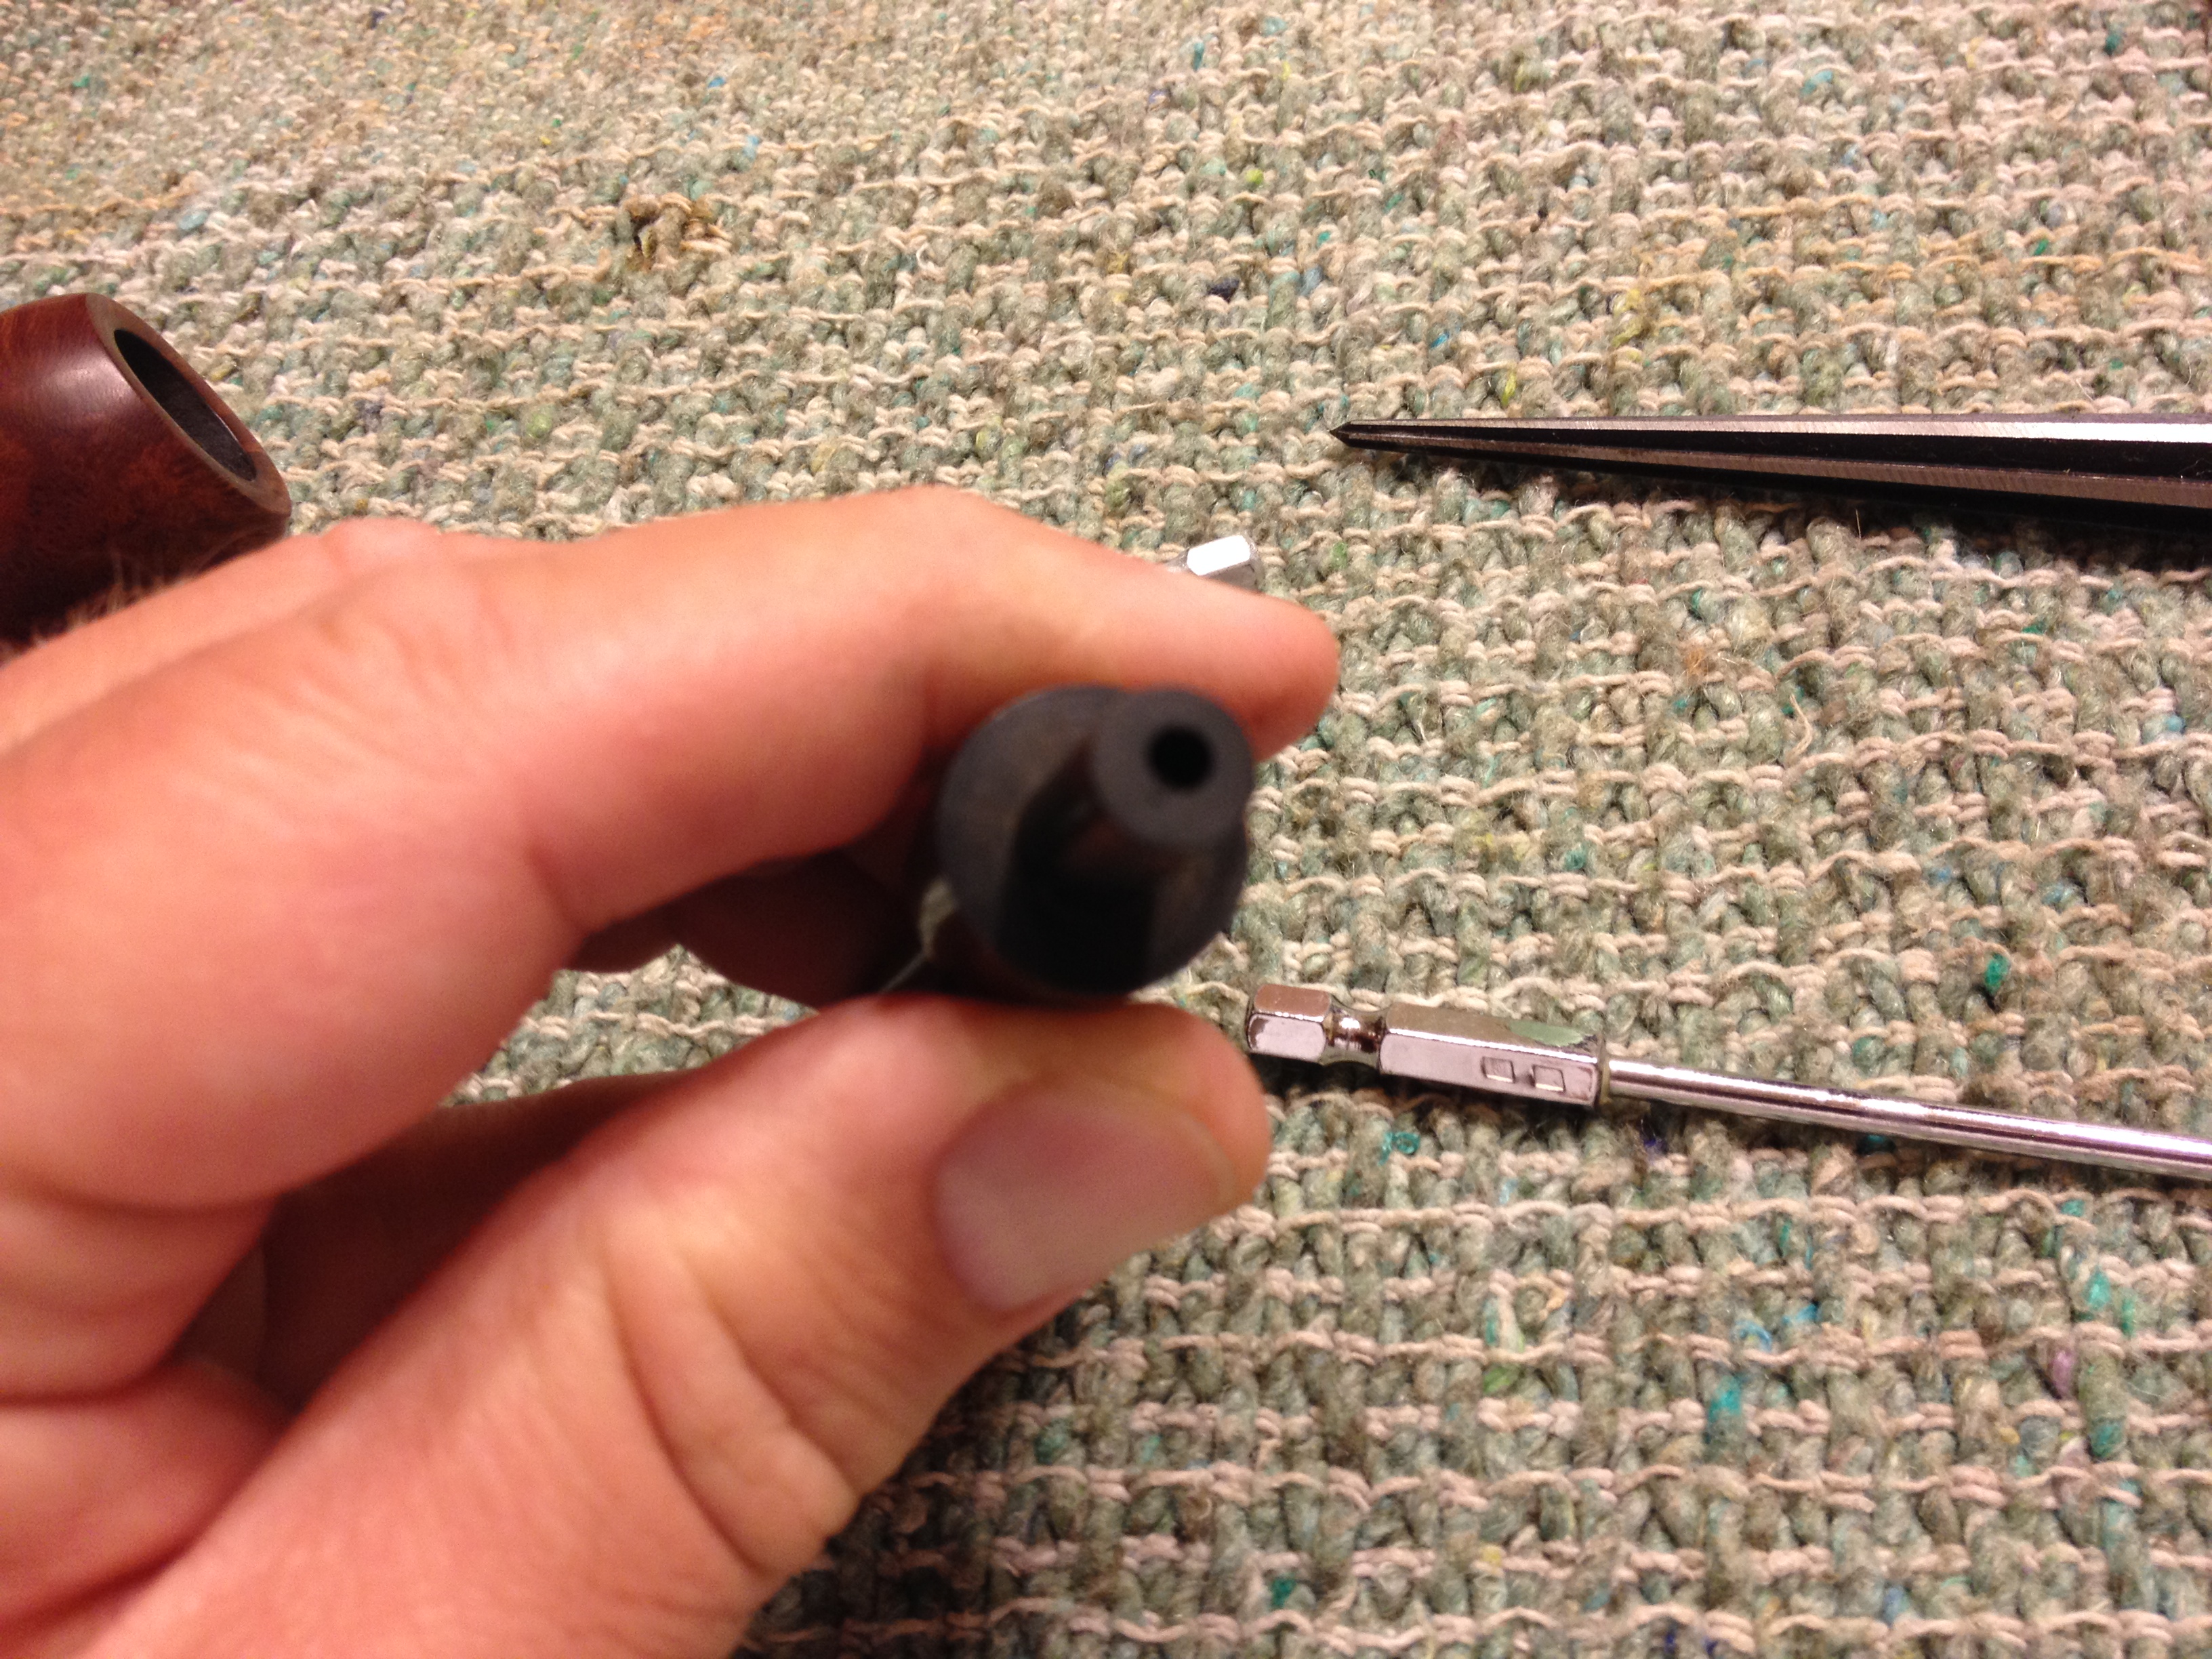 I use the reamer to open up the tenon just like one would do with a drill; the difference is that we aren’t going in very far (less than 1/2″ generally speaking) and we are increasing the size of the hole in a funnel shape as we go. You can see the difference a little work makes.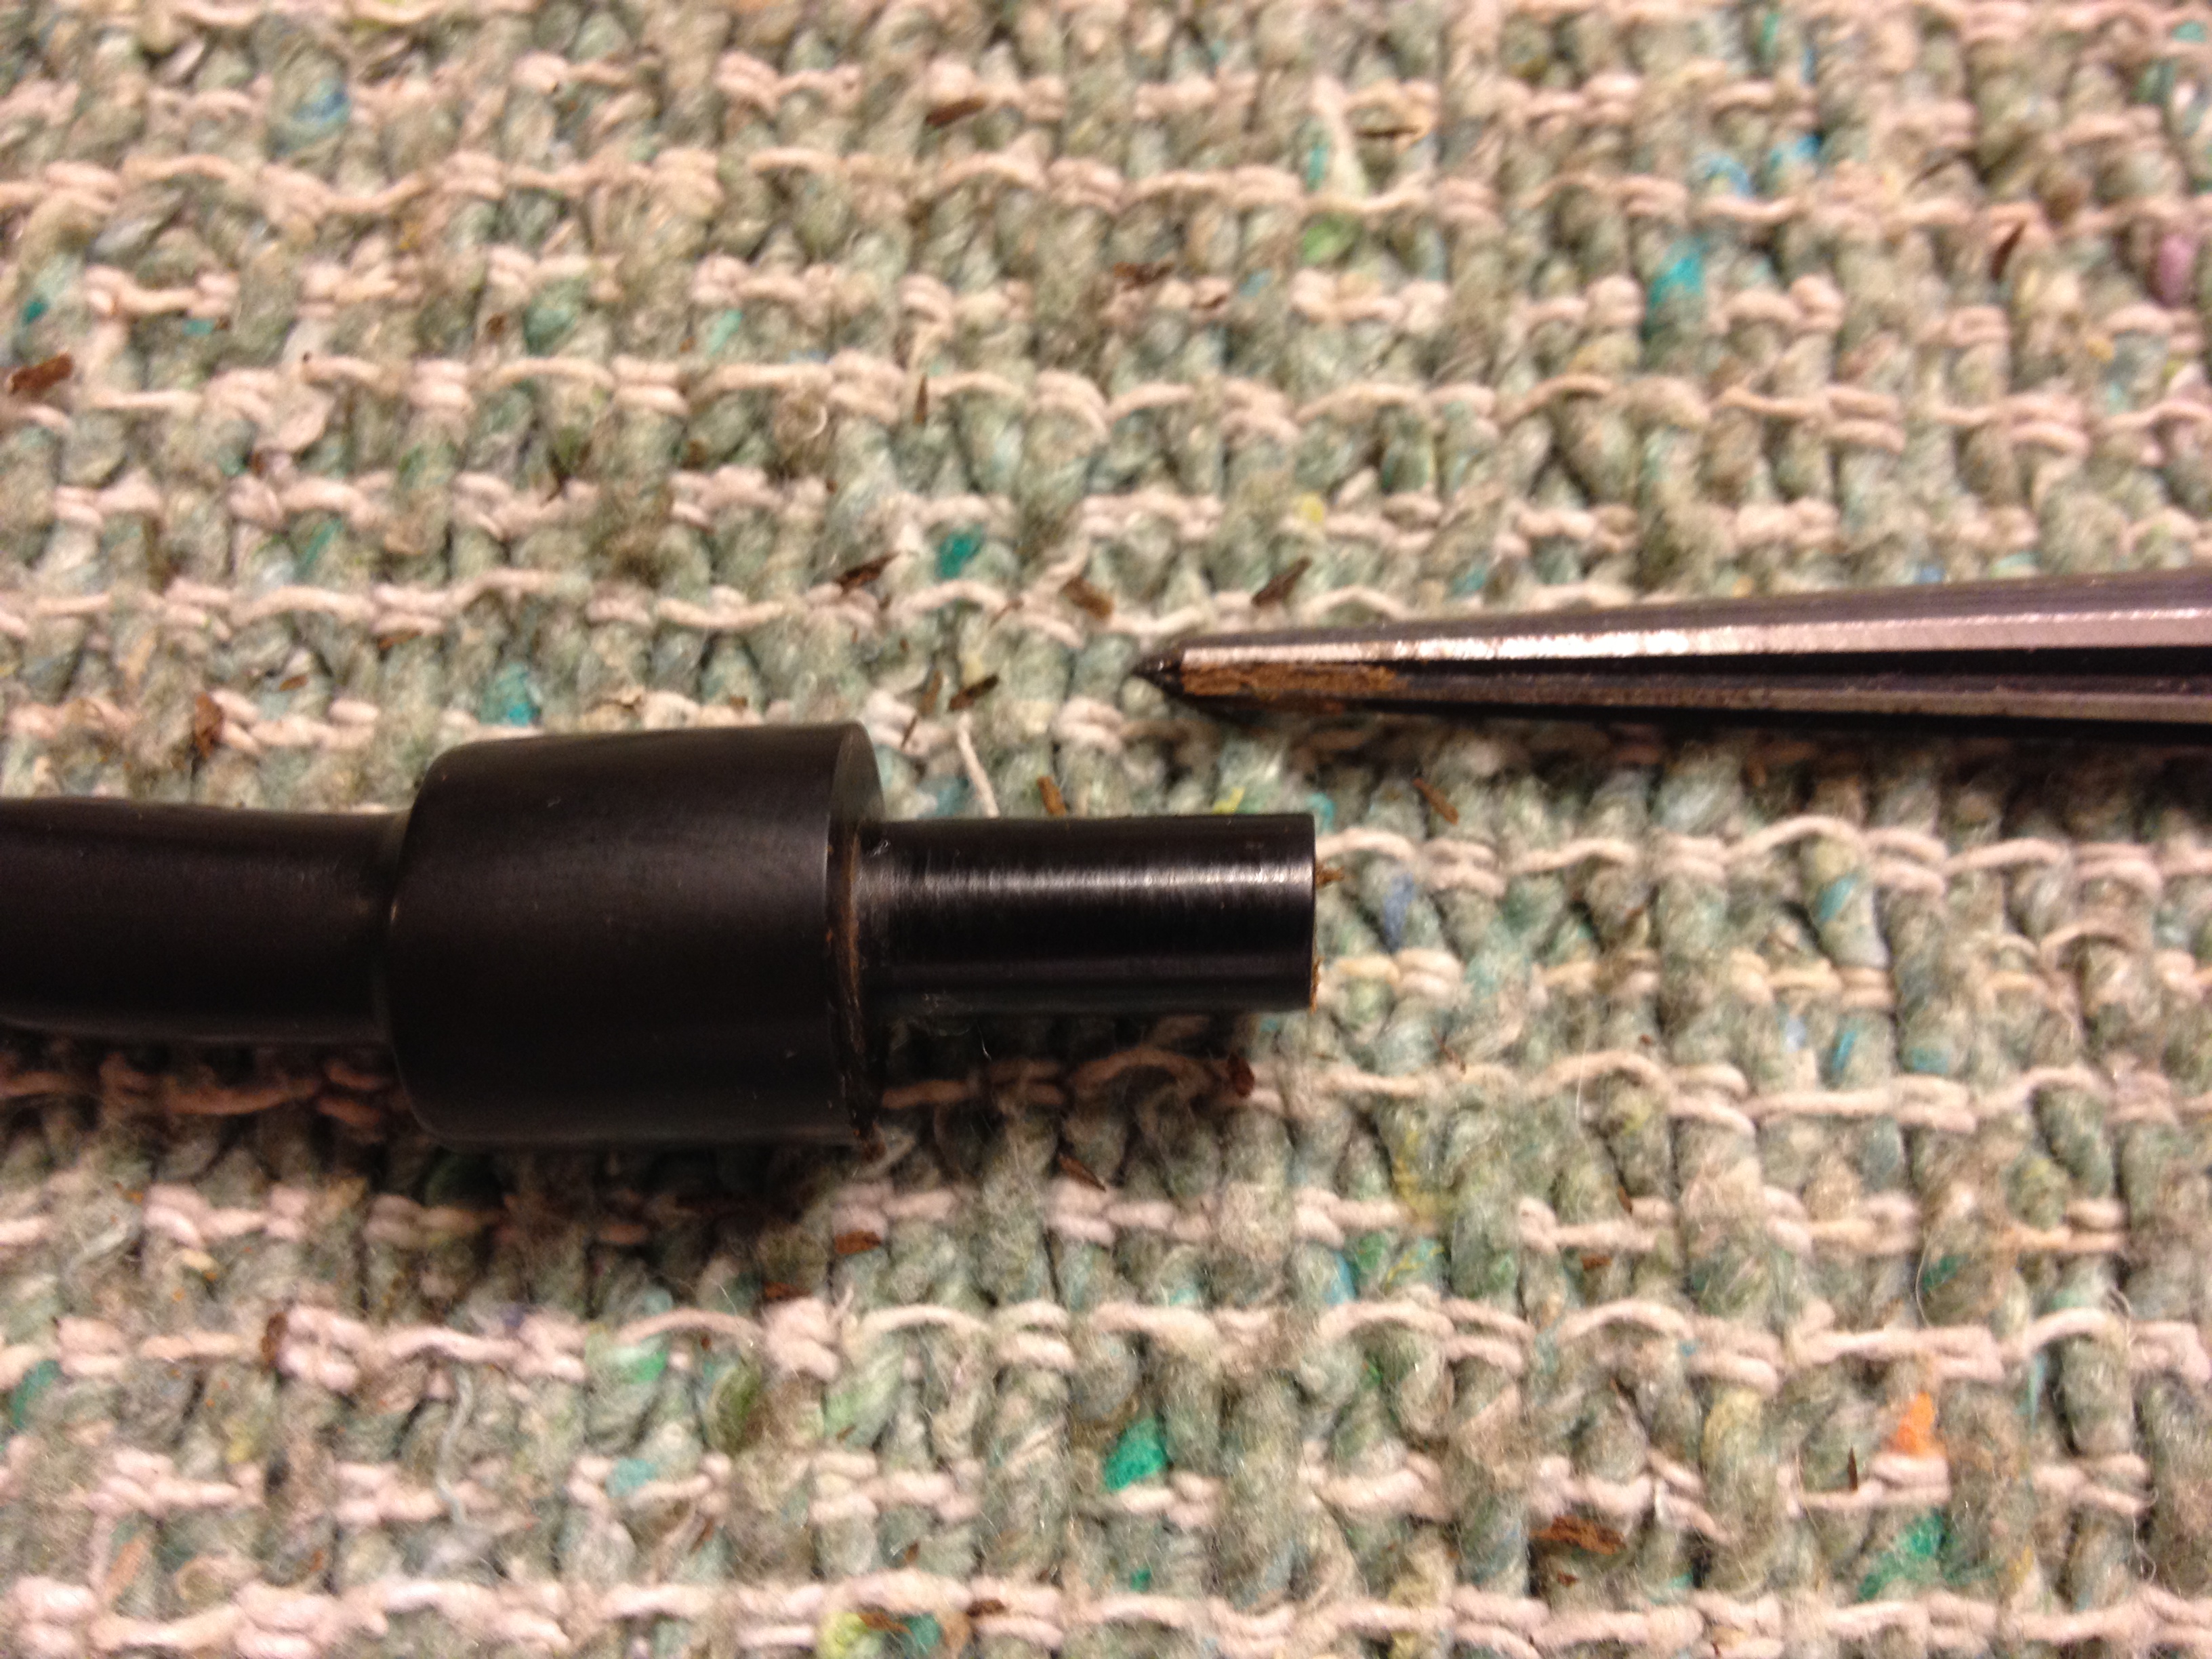
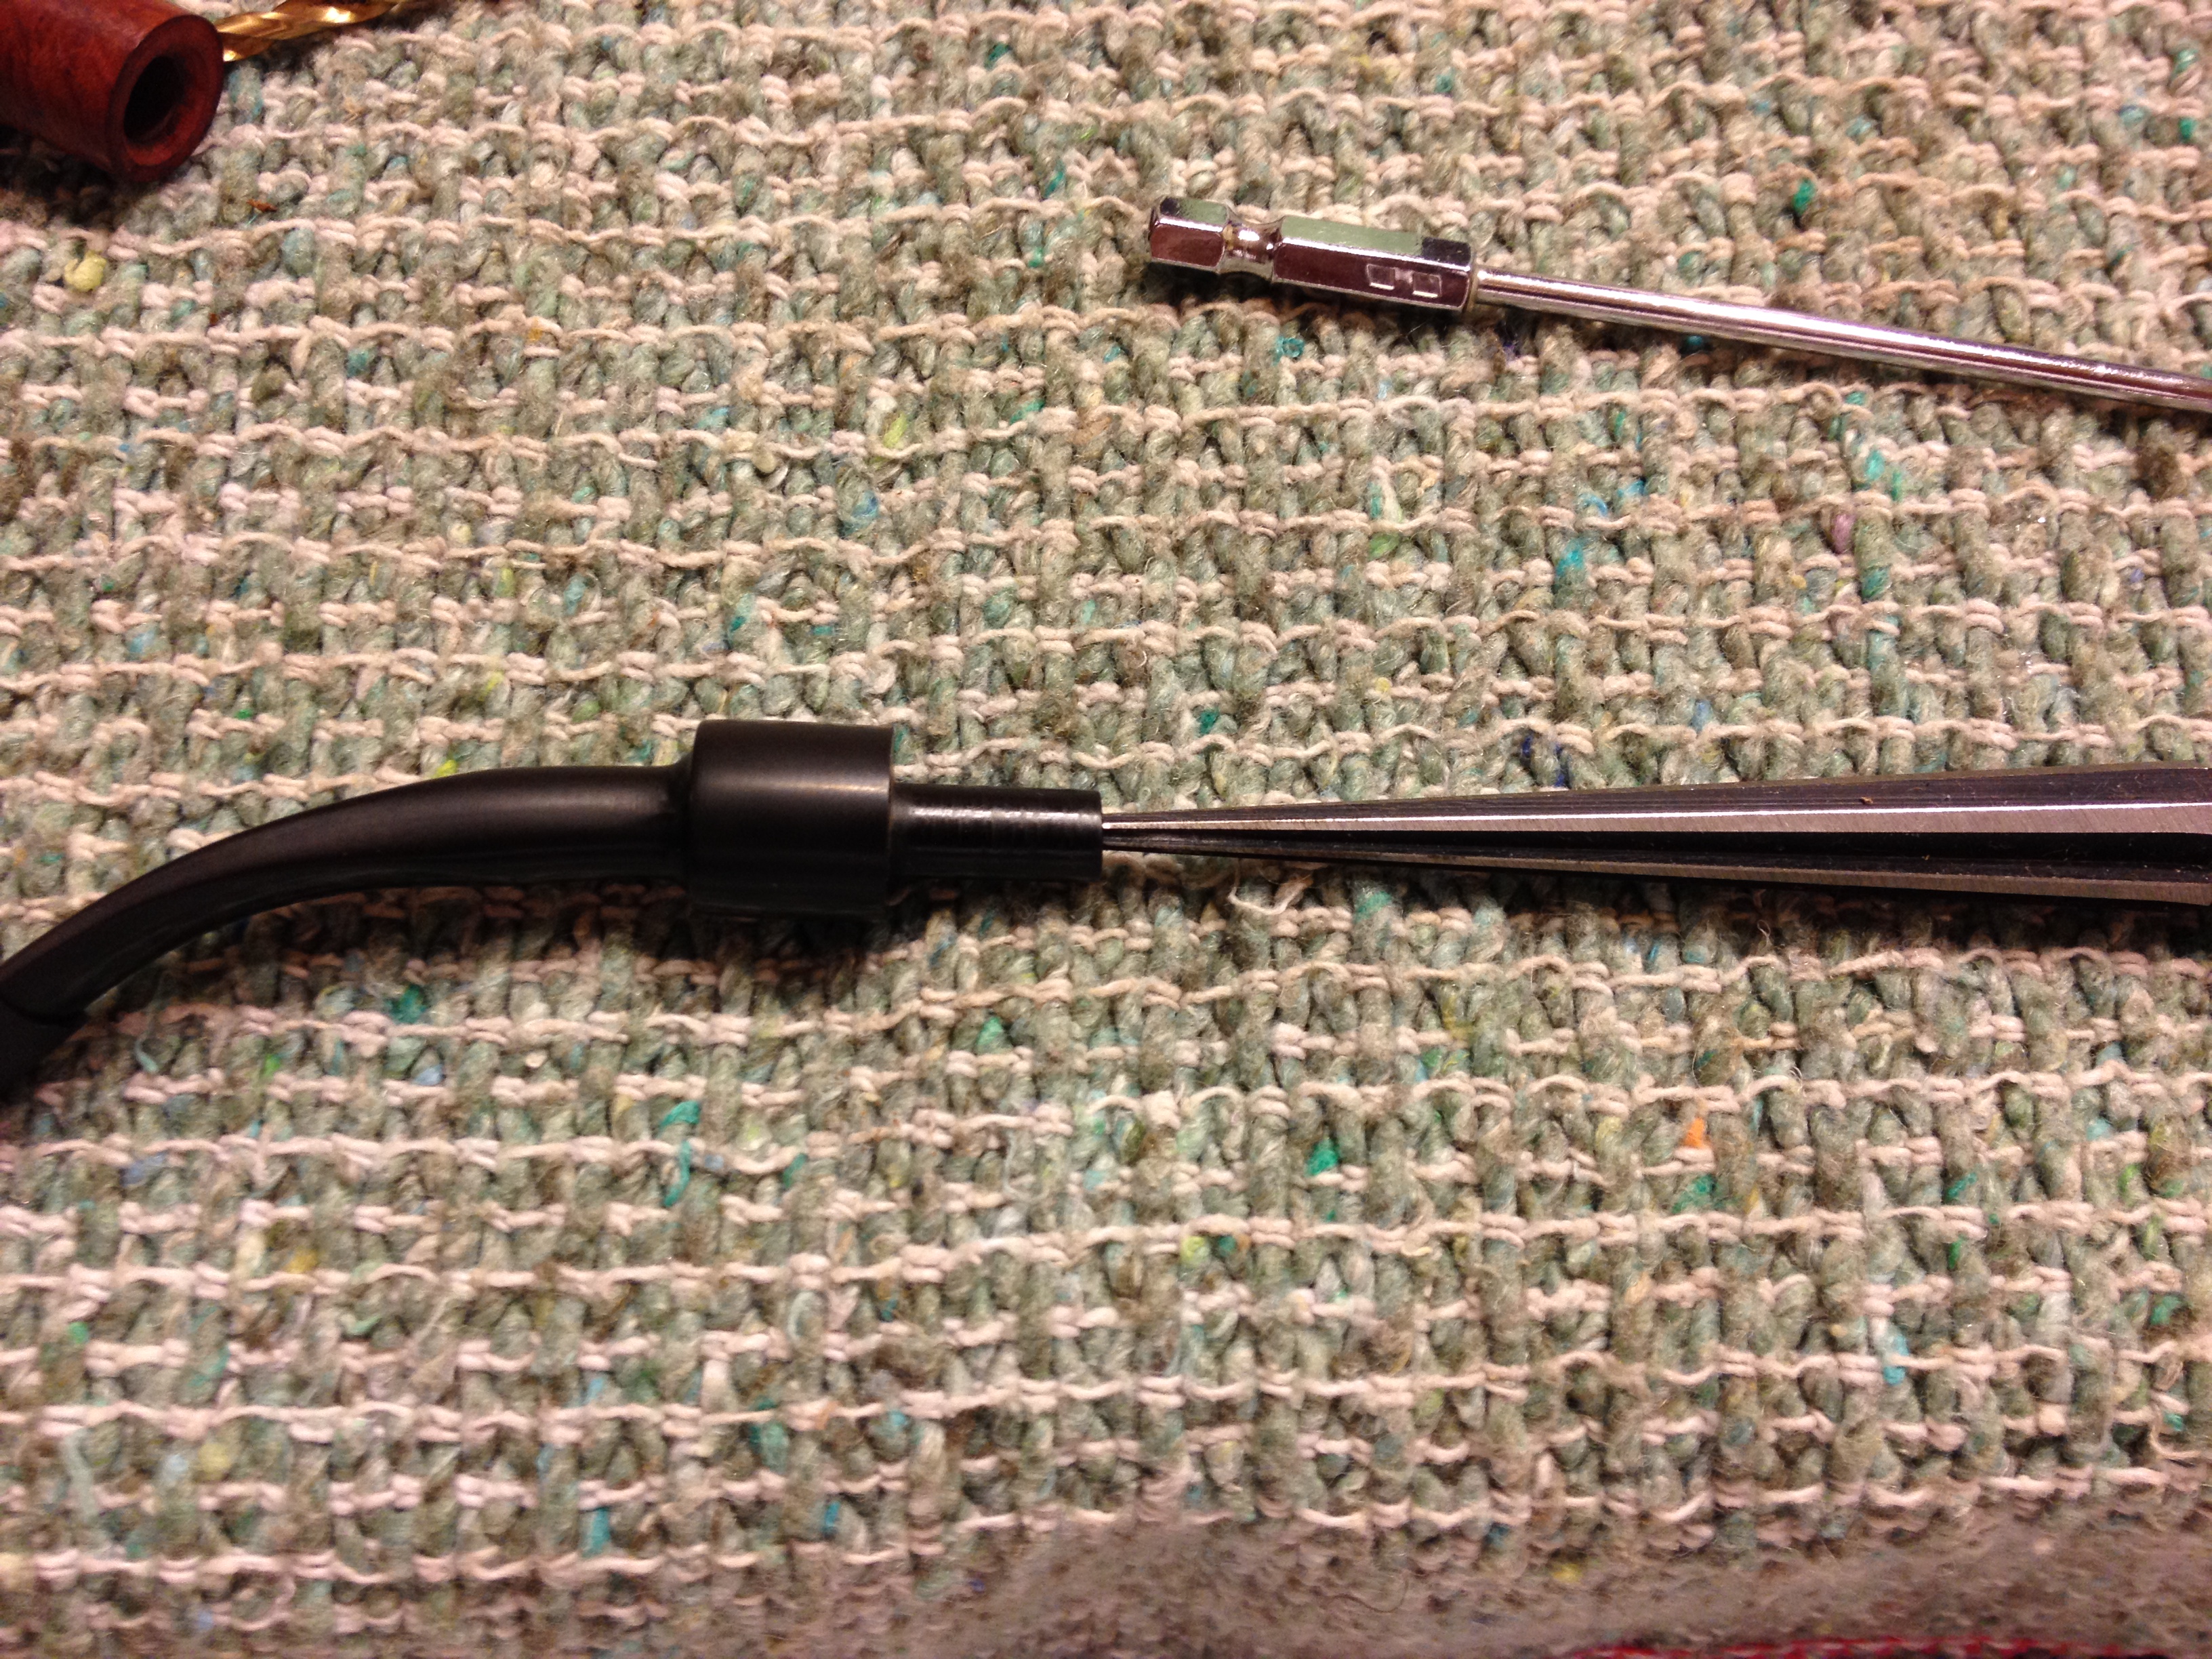
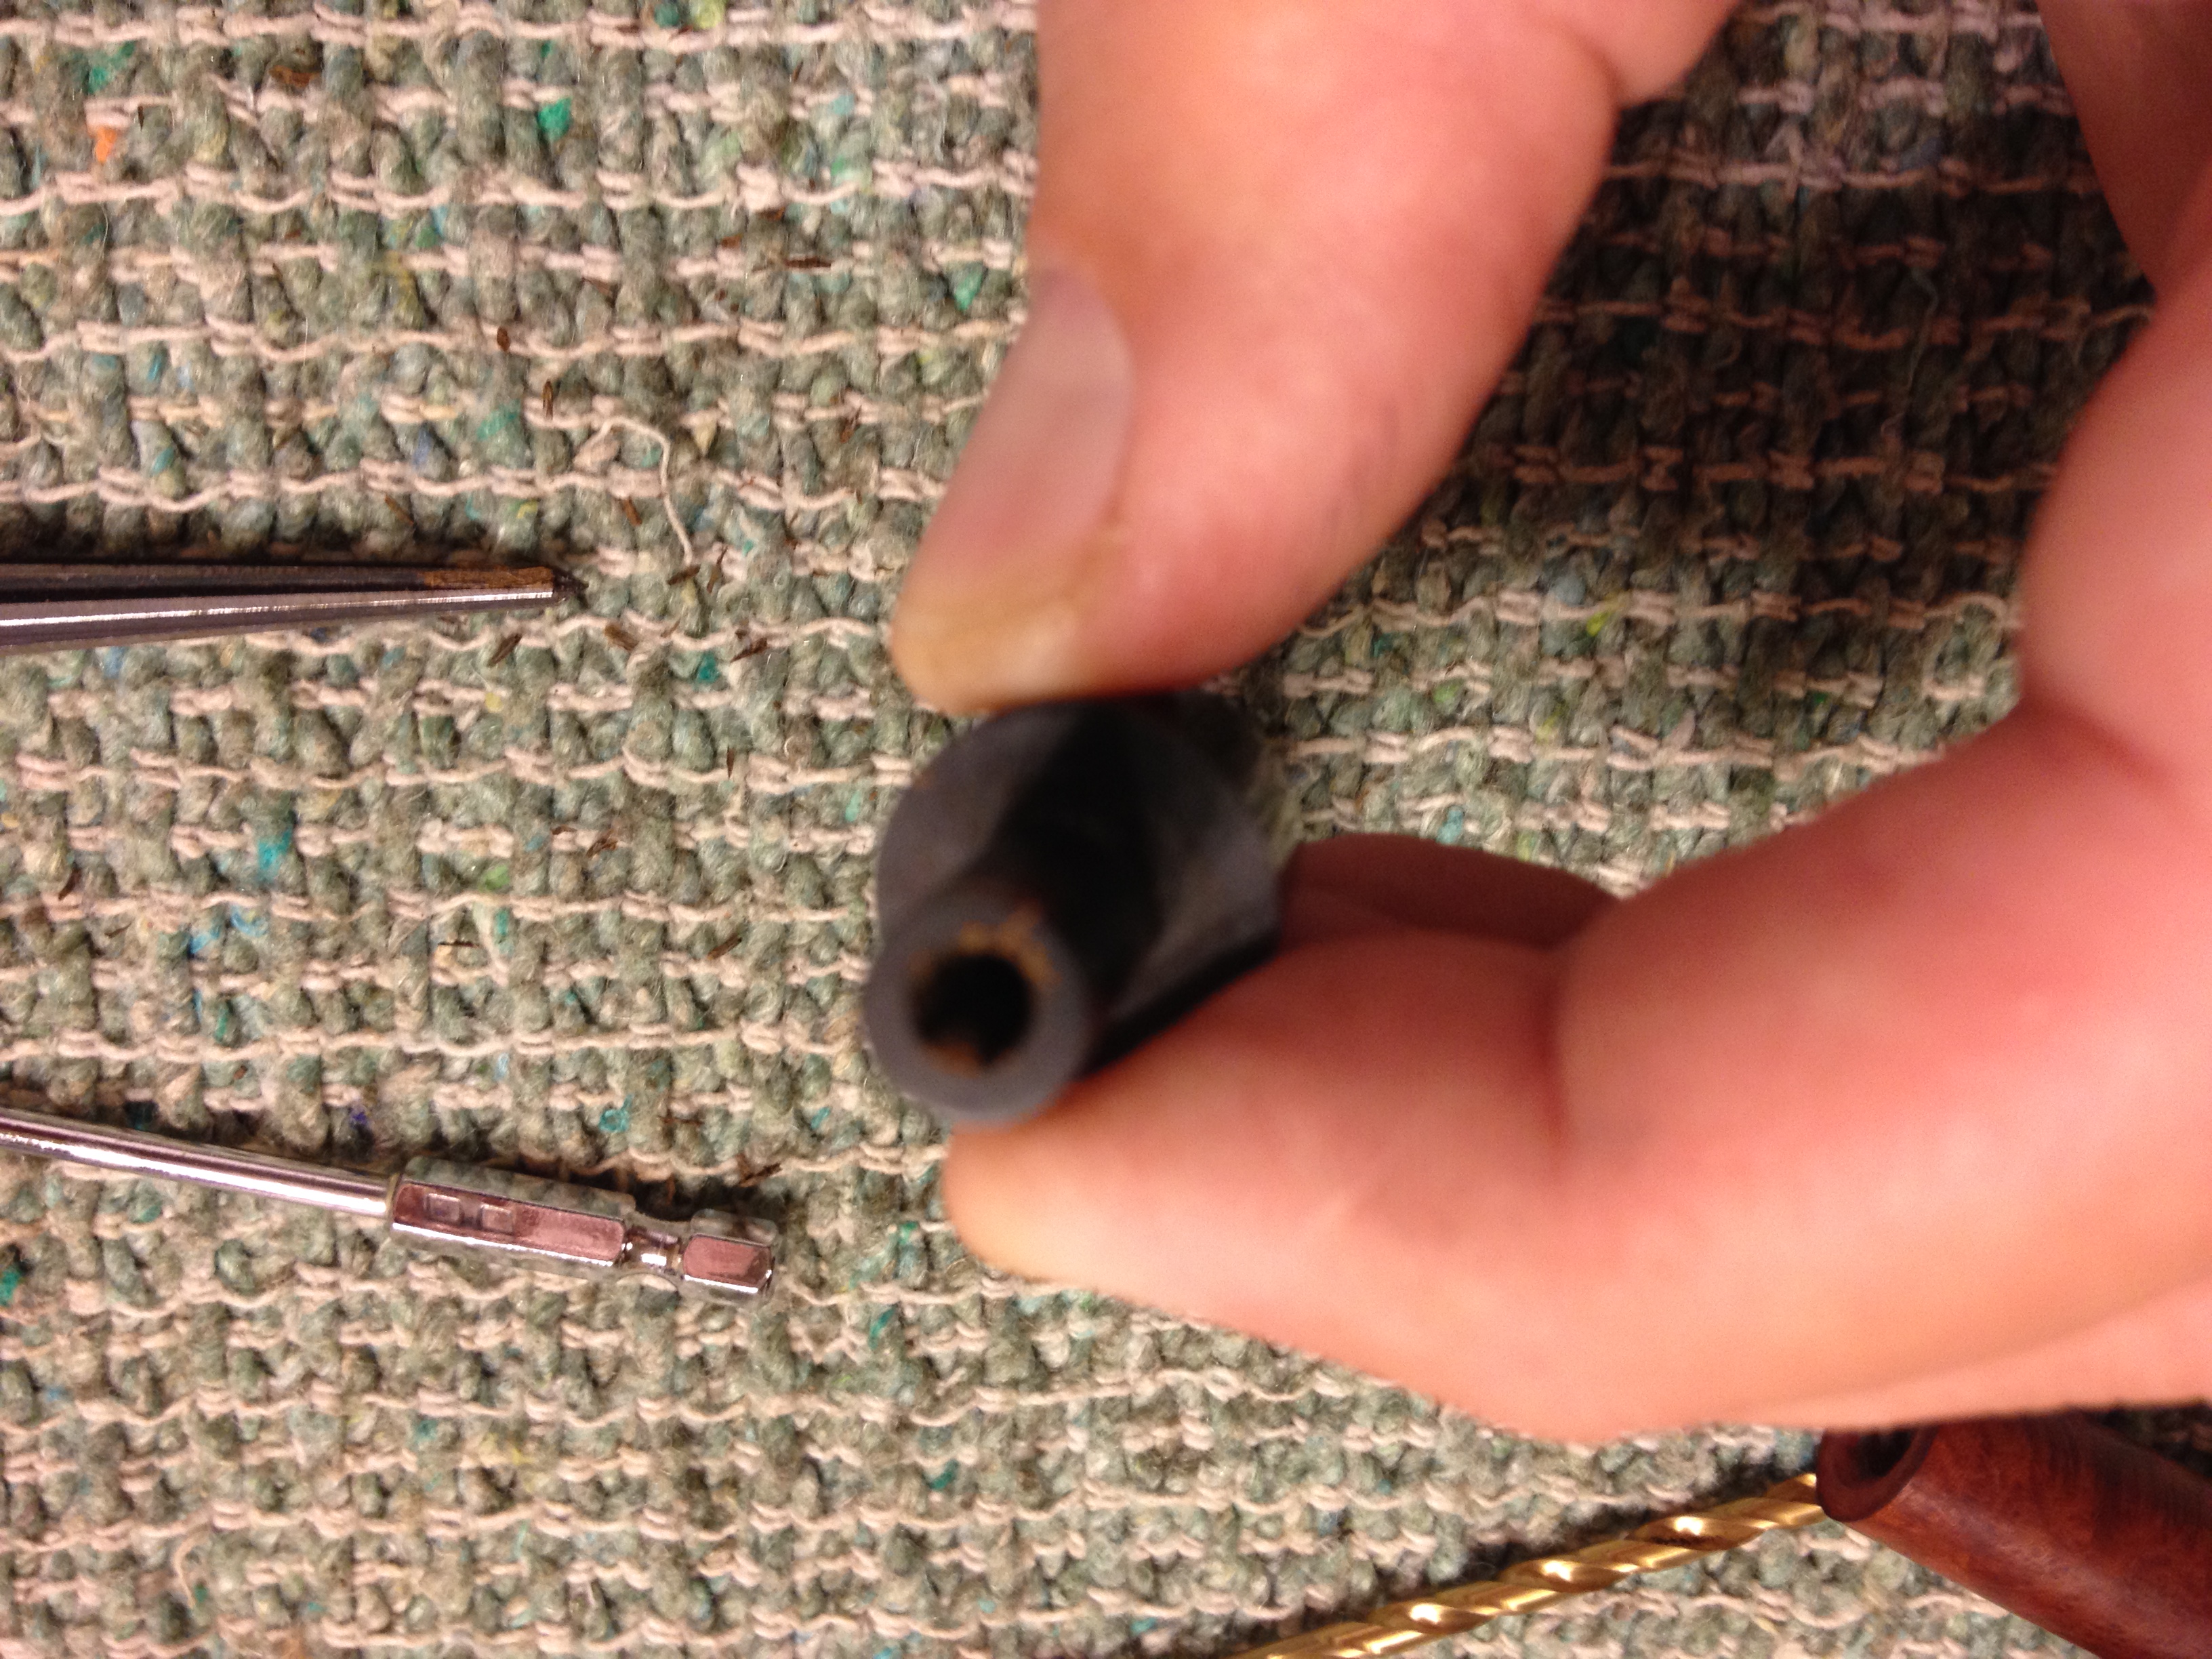 When you are satisfied with the size and shape of the end of the tenon the next step is filing. I use a round needle file to make sure the inside of the tenon is smooth and there are no sudden changes in diameter. After filing the tenon I then do the same procedure to the newly opened air hole, though I forgot to photograph that.
This quick and easy project will benefit almost any pipe that has a gurgle issue. In this case the drilling was off-center, to the right a bit, and the re-drilling brought the air hole almost dead centered. I do still need to raise the bottom of the bowl a bit when I have time but I anticipate this opening up if the airway will make smoking this loved pipe more enjoyable than it already is.
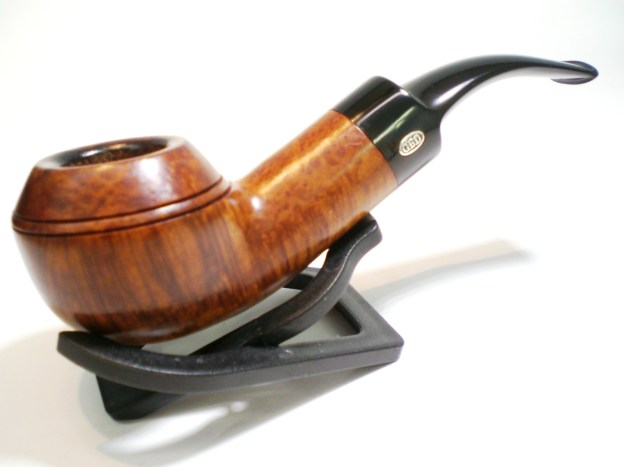
The iconic GBD 9438 saddle stem Rhodesian is one of my favorite shapes. I really wasn’t on the look out for an additional 9438, but this Century model was one I didn’t have and the asking price was too good to pass up.
According to Pipepedia, the Century model was released starting in 1950 and had “A golden finish created to celebrate over a century of manufacturing the finest briar pipes.” The finish is somewhat unique among my other GBD’s, so that description is apt.
The pipe was in pretty good shape. It had a little rim darkening, one dent on the bowl top and an oxidized stem. The rondell looked to be in good condition. There were two teeth indentions, one on each side of the stem.
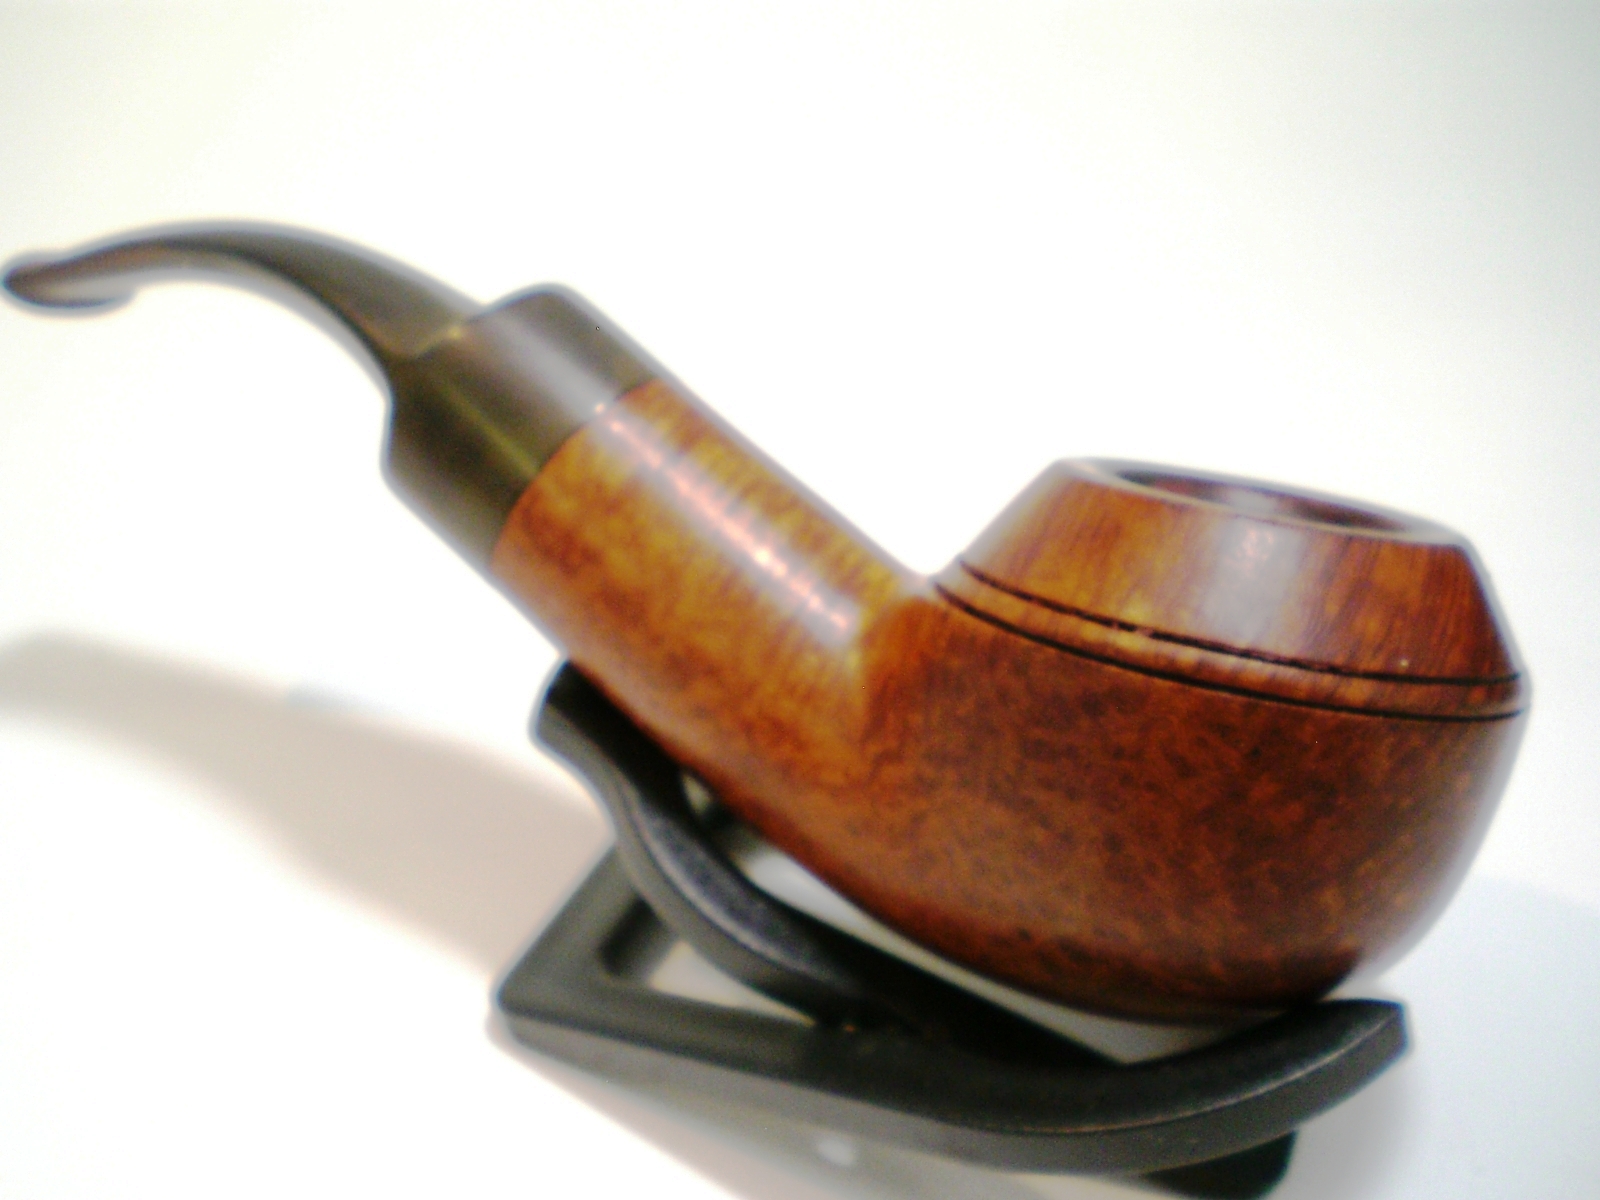

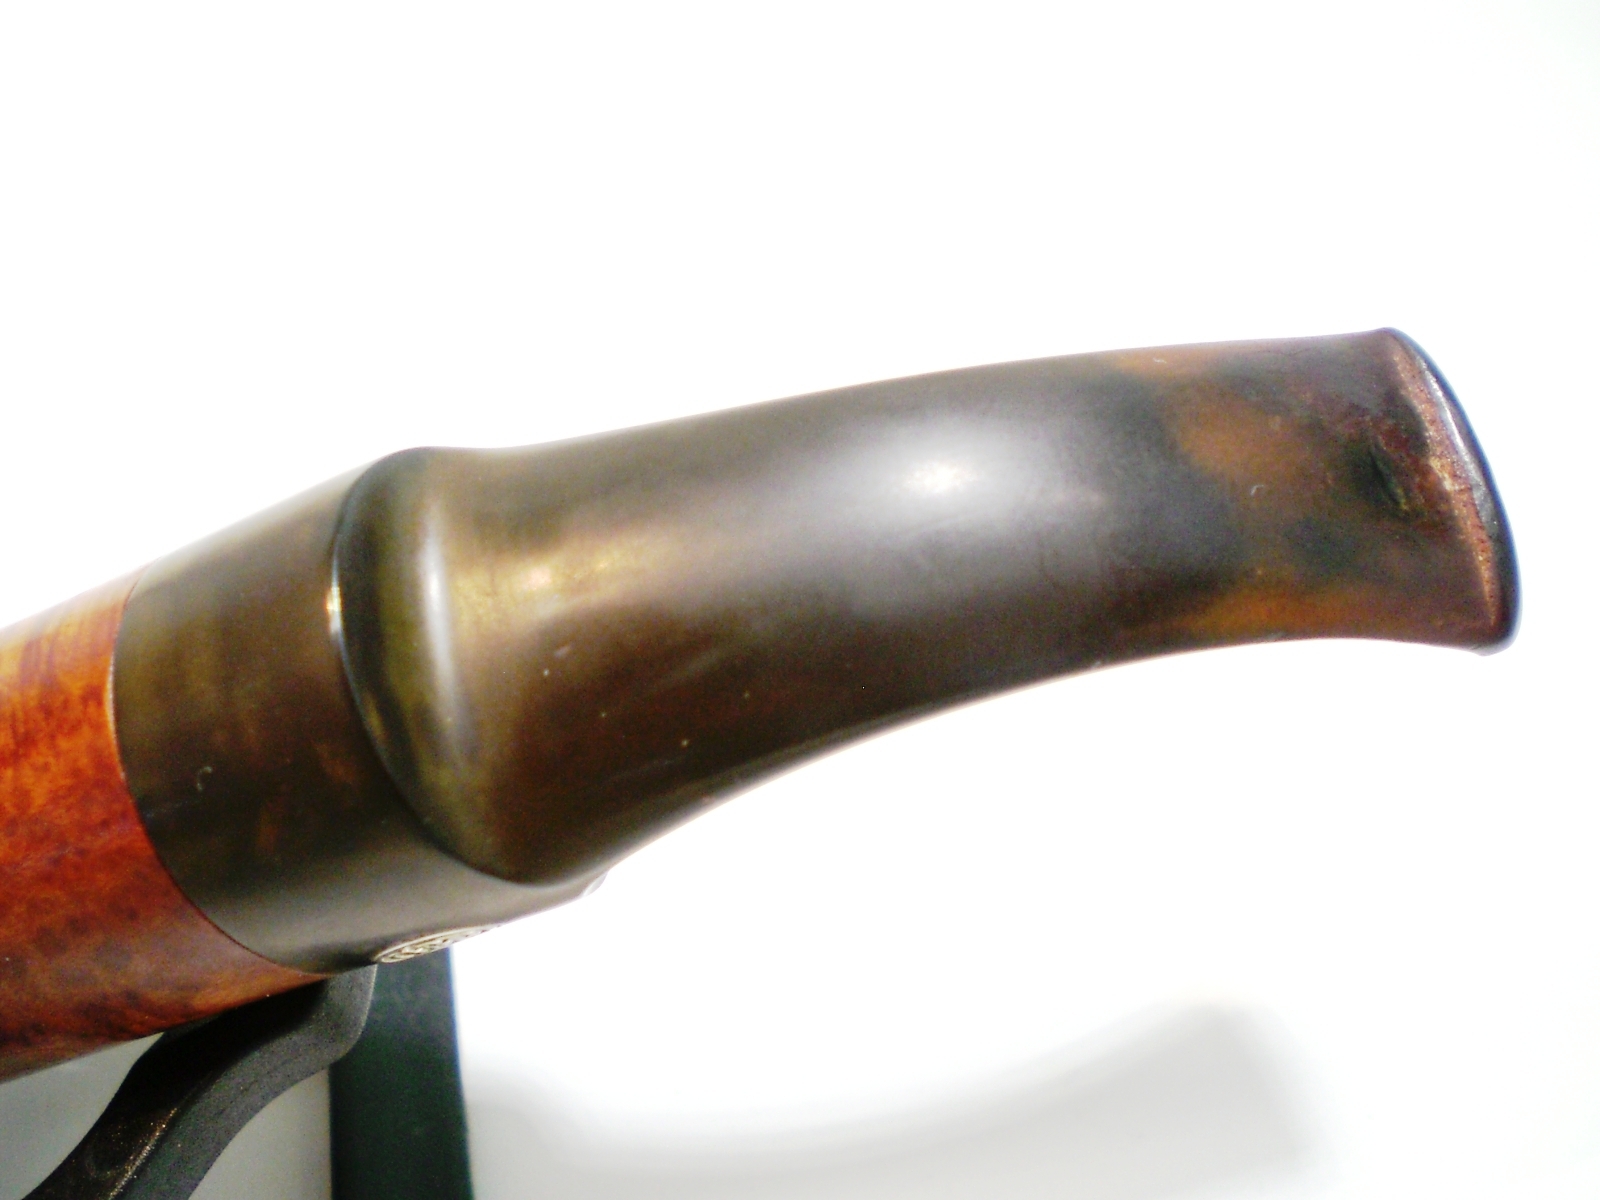
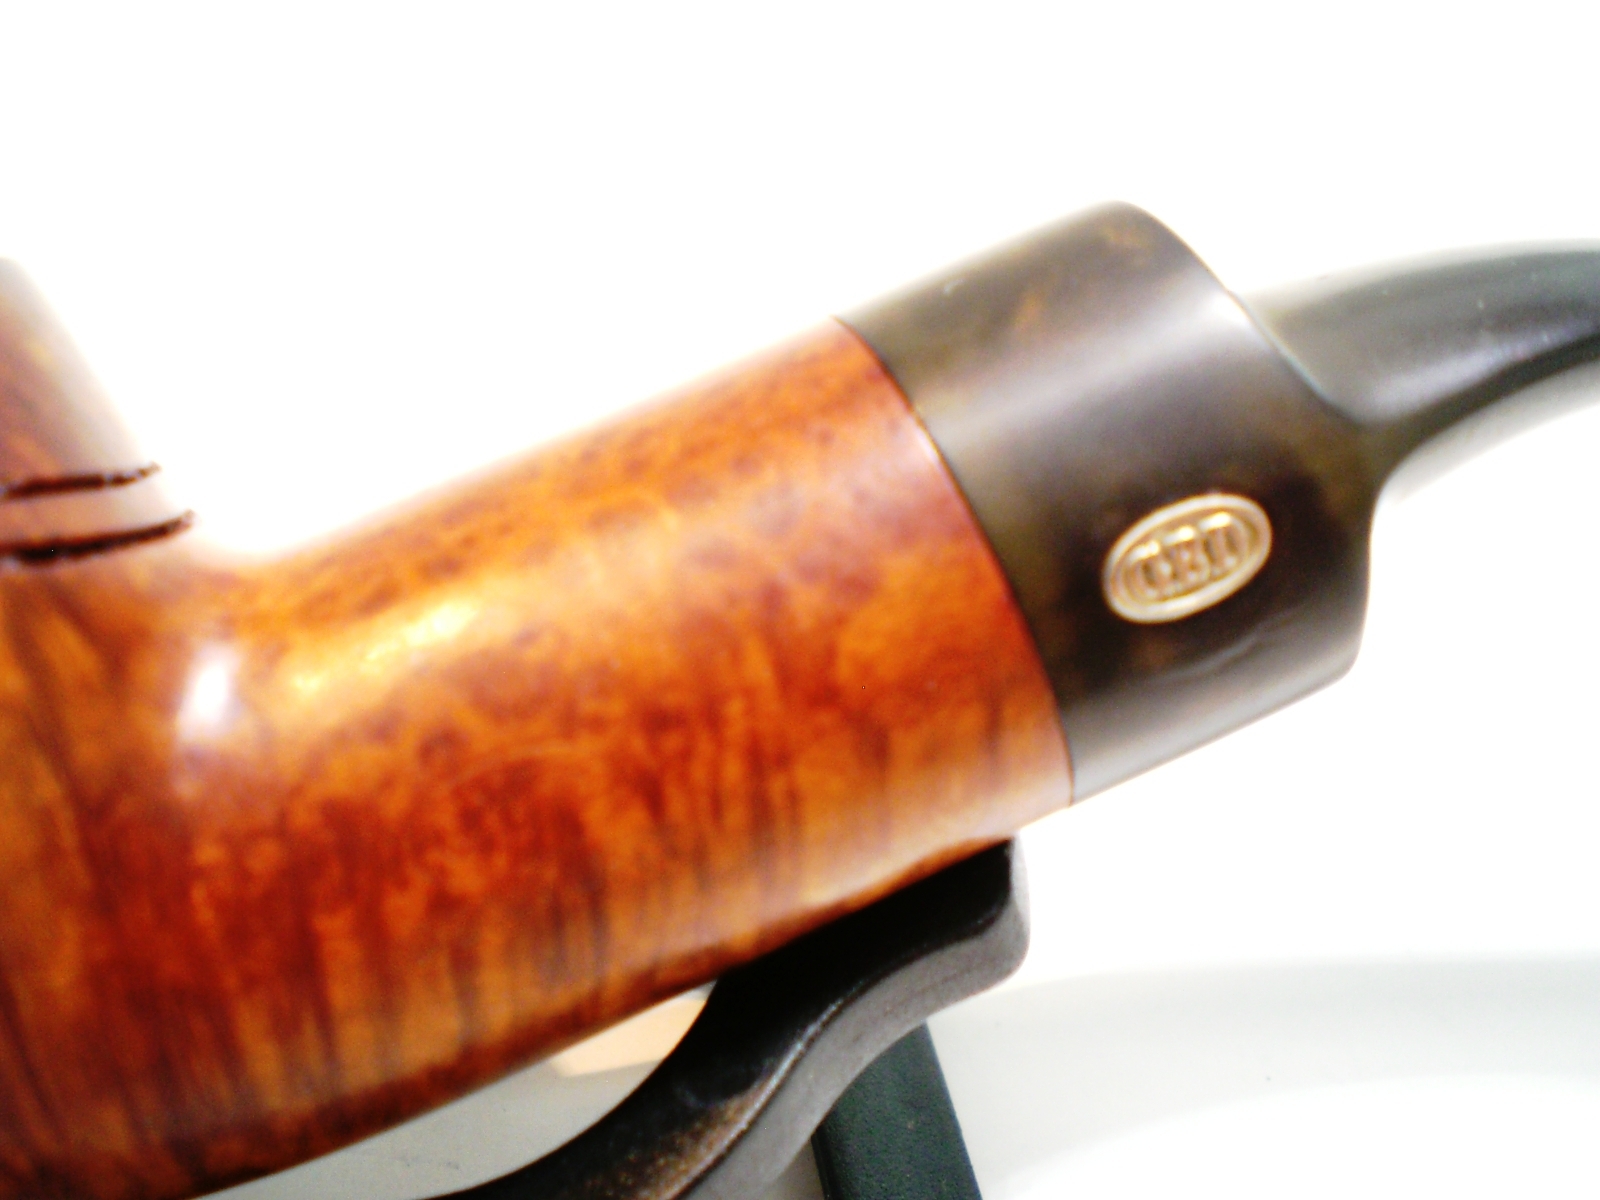
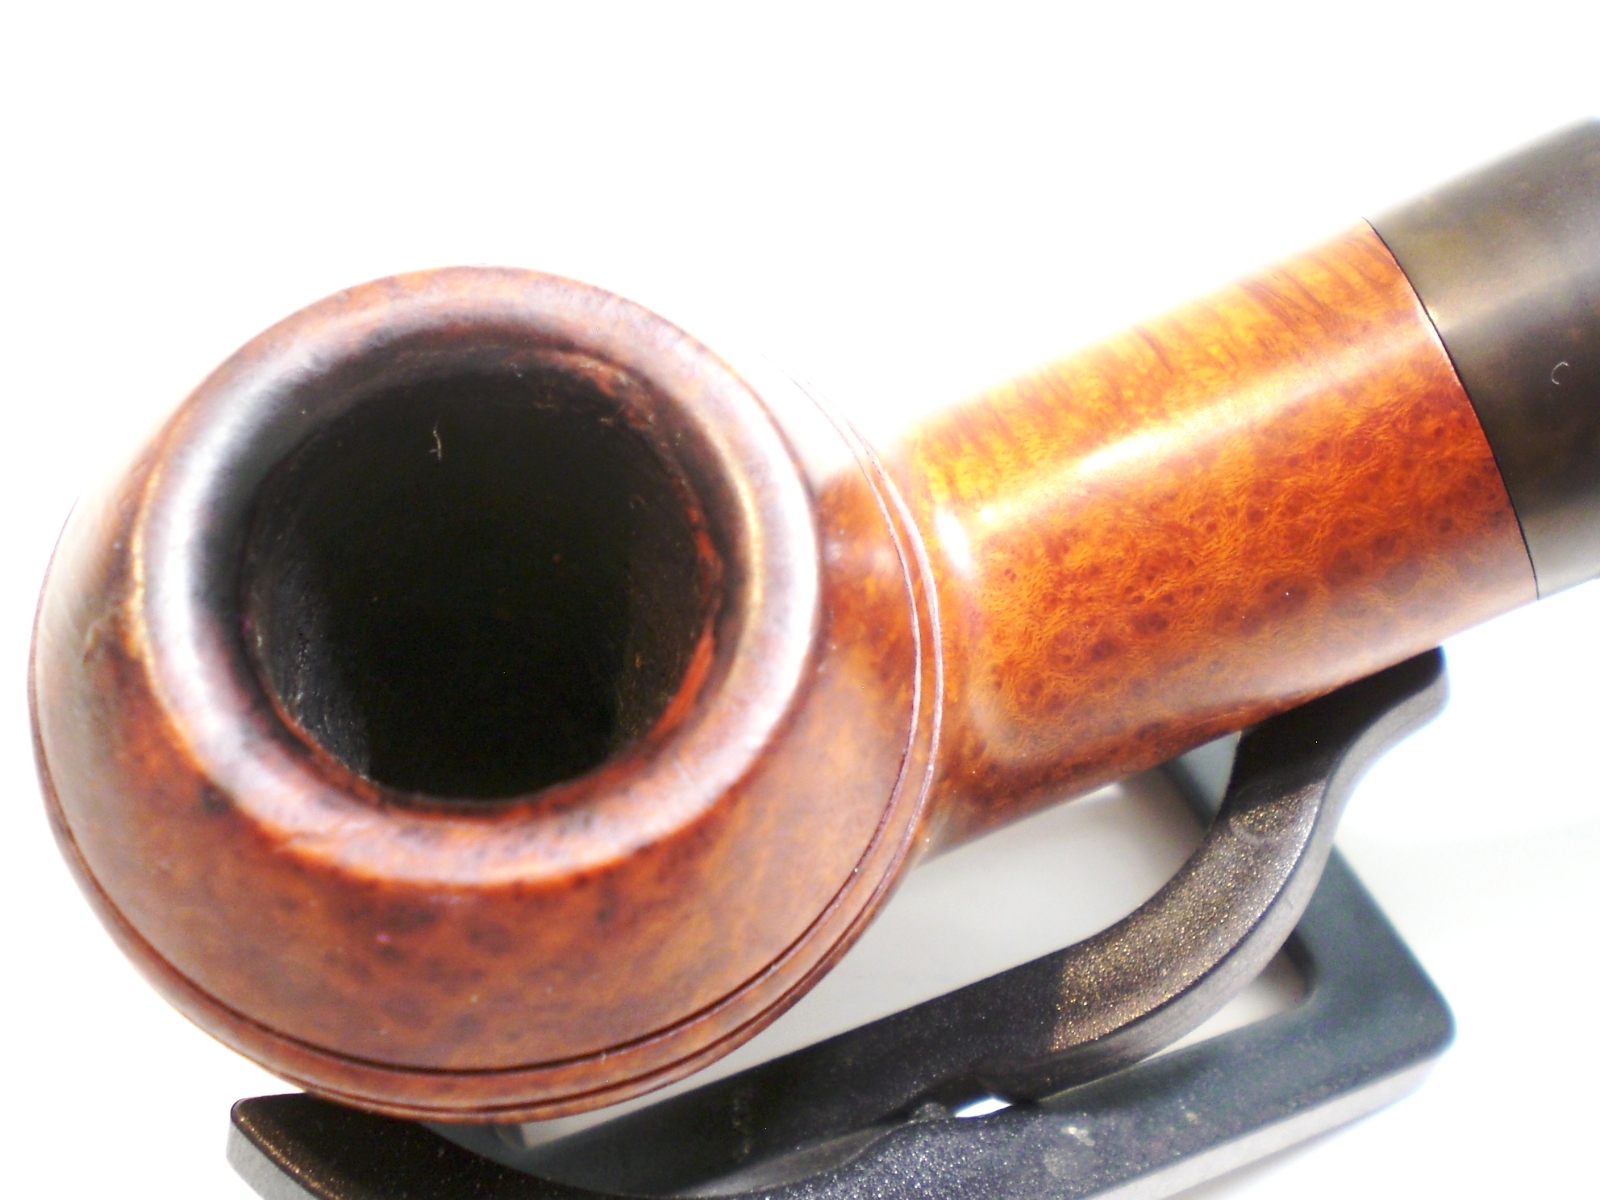
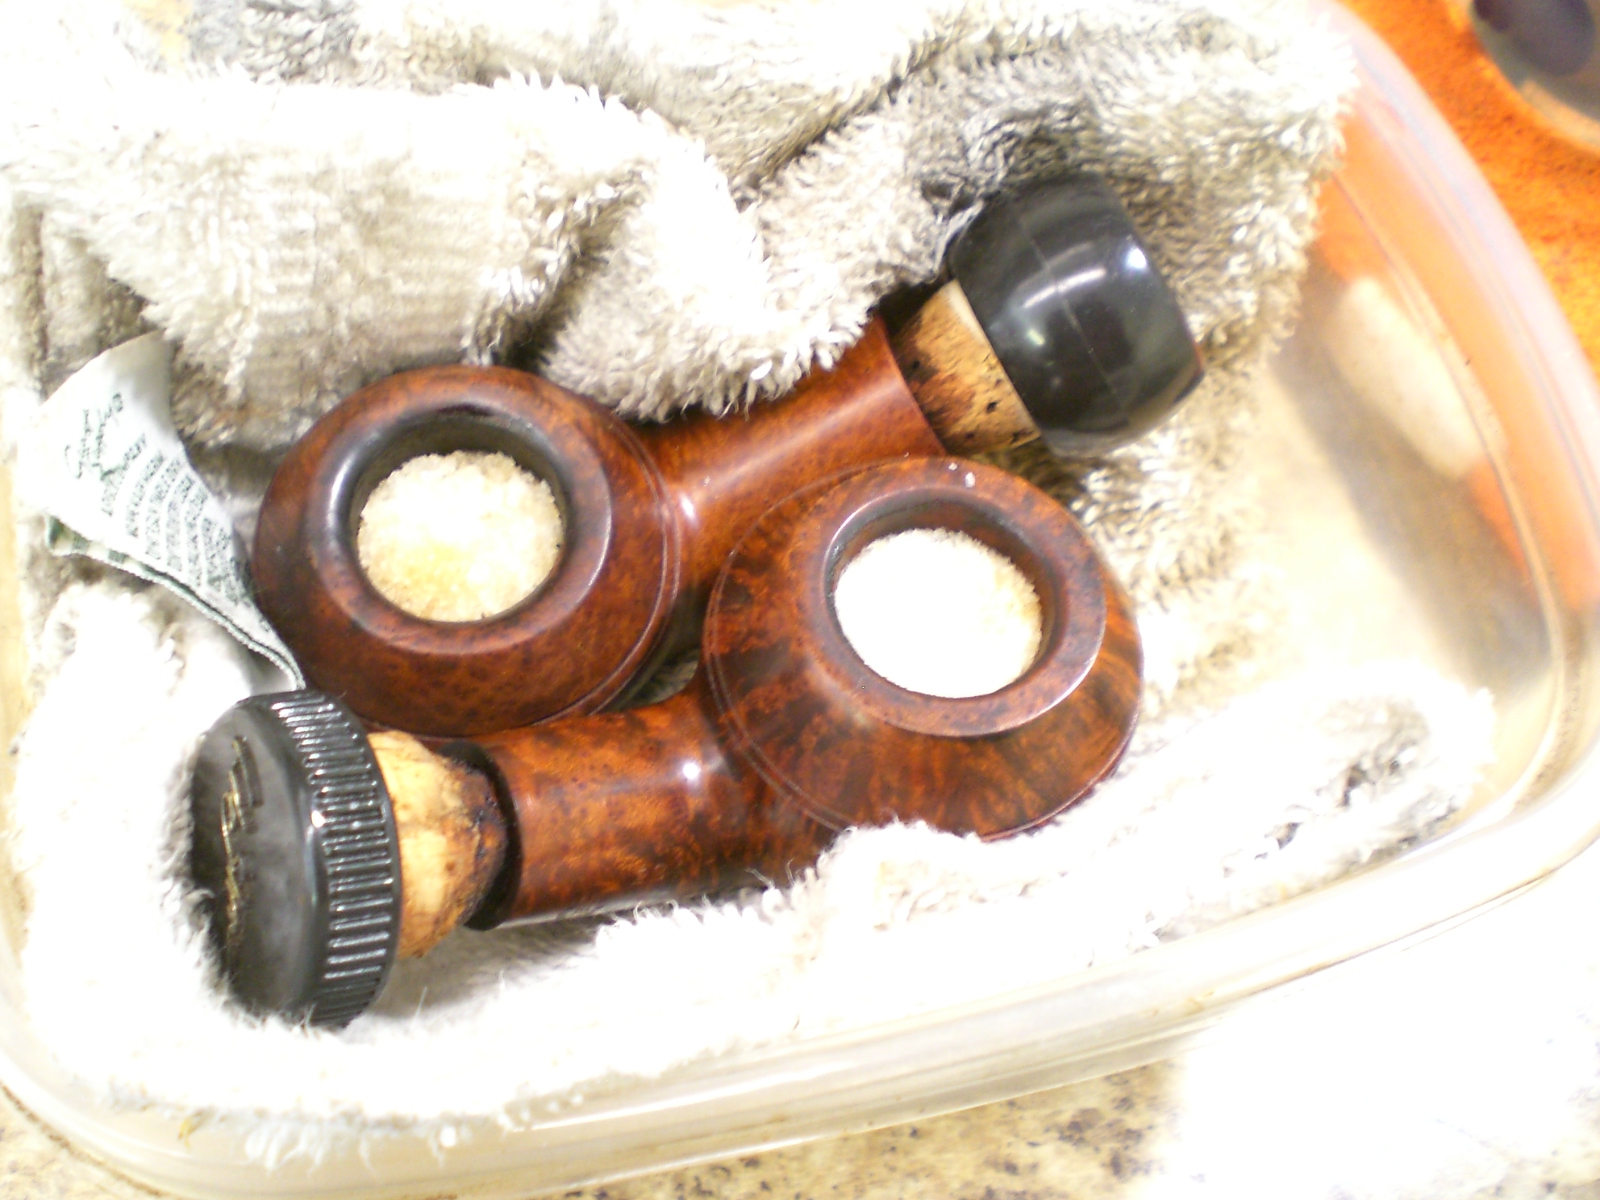
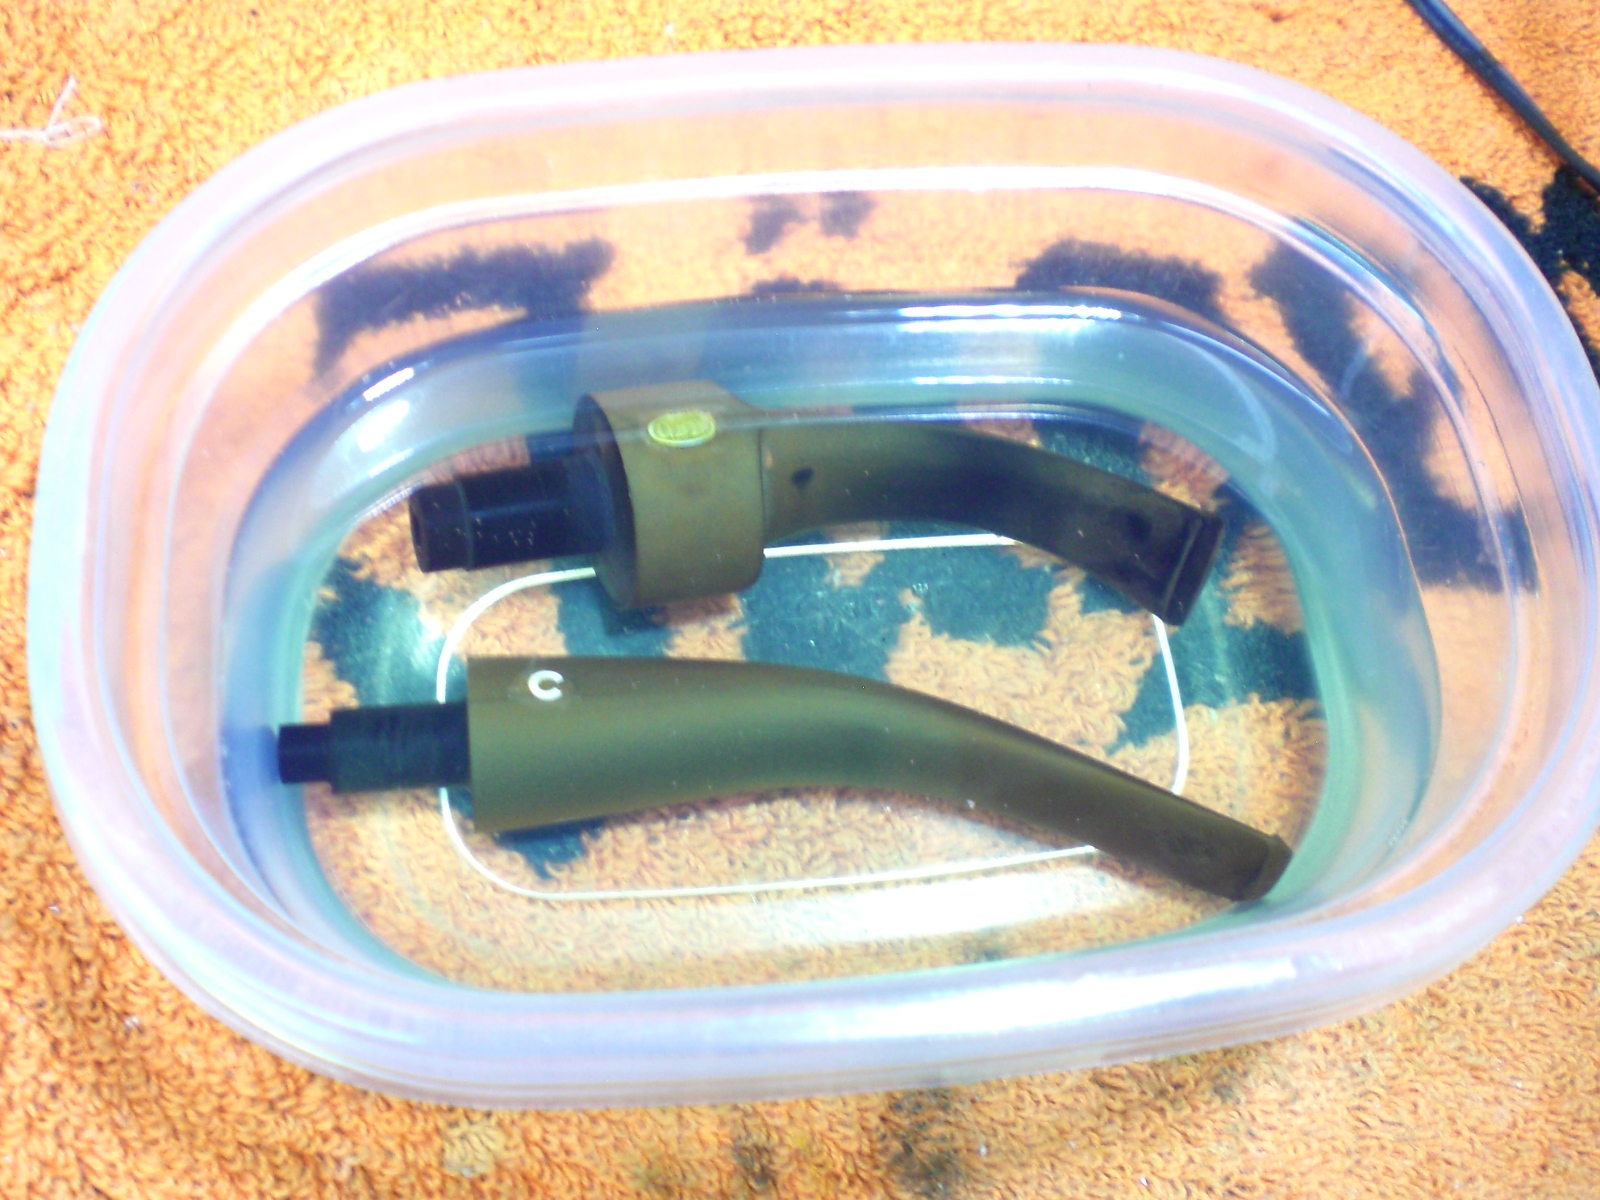
I reamed the bowl of the slight cake and soaked it with isopropyl alchohol and sea salt, sharing space with a Comoys Tradition I was also working to complete. The stem was soaked in a mild Oxyclean and water solution with a dab of grease over the rondell to protect it.
I worked on the bowl top dent, which was really a small crease. Using a heated table knife and a wet cloth, I was able to steam most of the dent out.
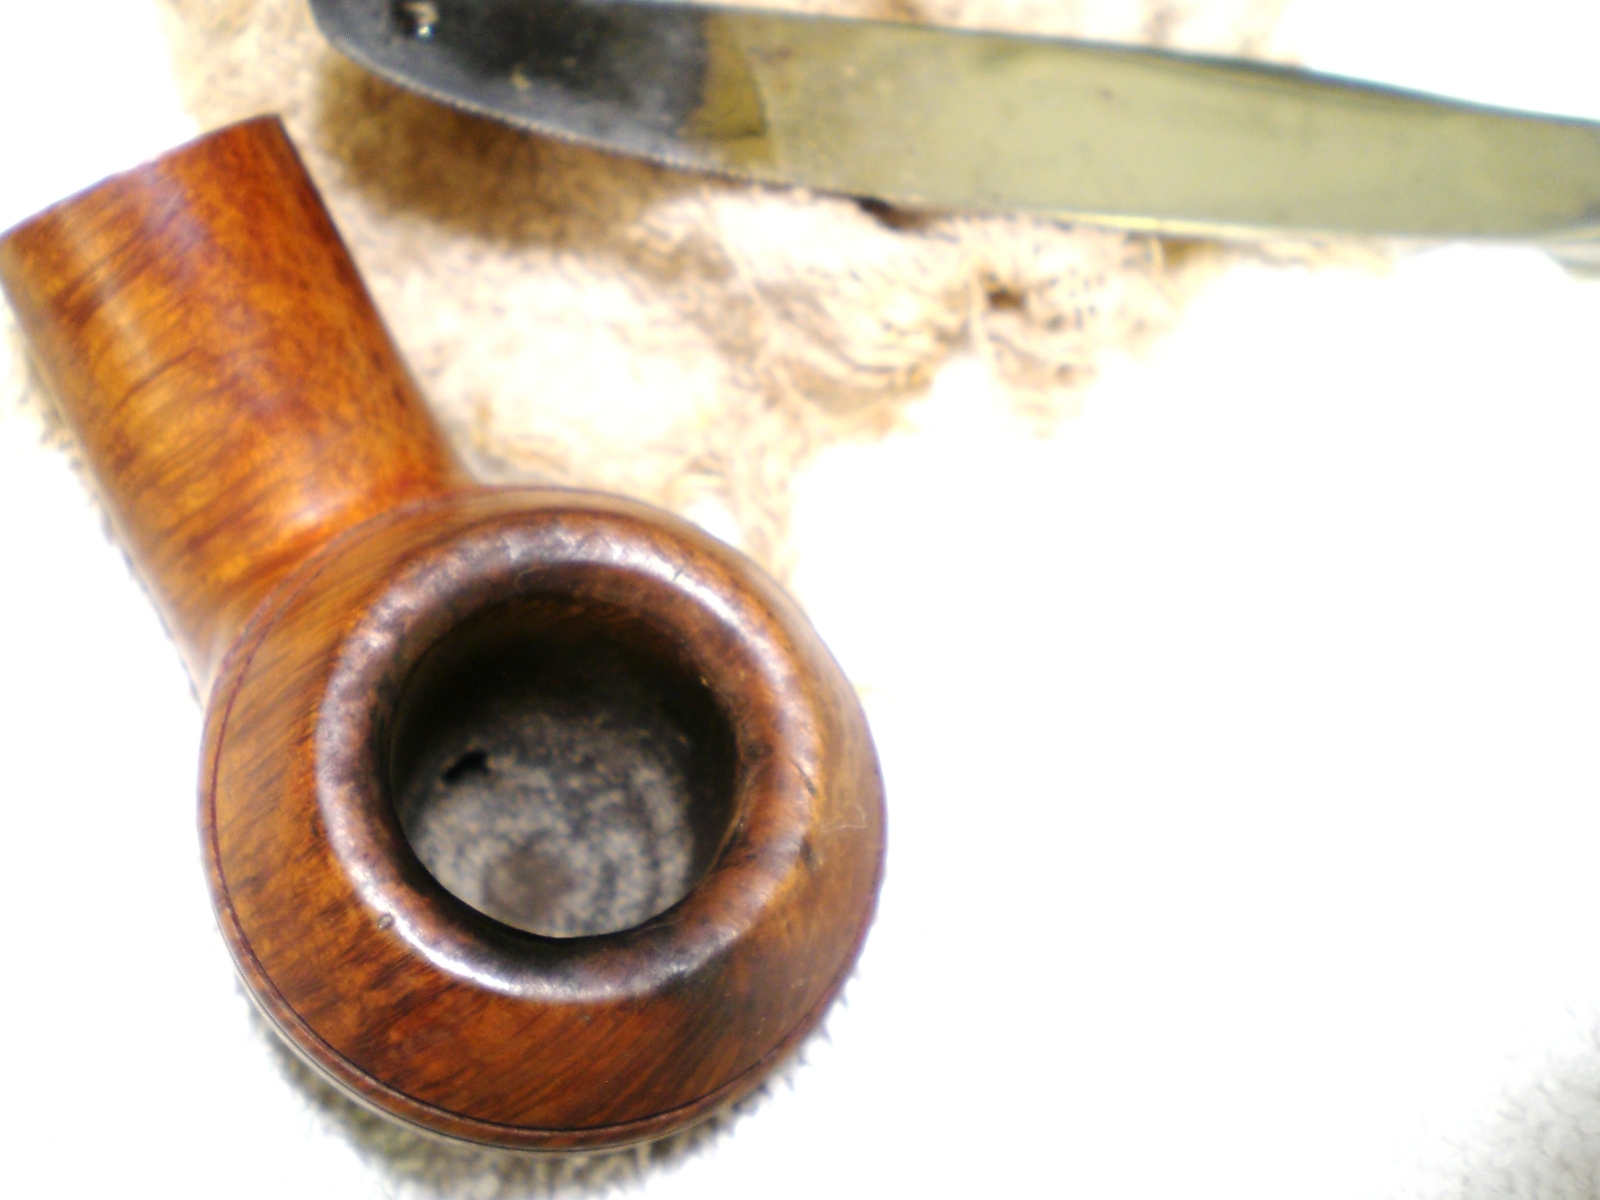
Being careful around the weak nomenclature (but 100% legible with the naked eye), the bowl was buffed lightly with white diamond and then several coats of Carnuba wax. The rim darkening was some build-up and I was able to minimize it.
I used heat to lift the two teeth marks. The one on top was removed completely and the one below reduced to just a wave mark. I started removing the stem oxidation with 800 grit wet paper and then moved thru 1000, 1500 and 2000 grades. I used the 8000 and 12000 grade Micromesh papers before going to the buffing wheel. The stem was buffed lightly with White Diamond and then Meguiars Plastic Polish.
Below is the completed pipe, it will make a welcome to my rack of existing 9438 shapes. I thought this was number Seven, but it turns out that I have eight 9438’s in various finishes/grades. Factory made GBD pipes are now known for their grain, but this one has a nice little splash on the rondell side.
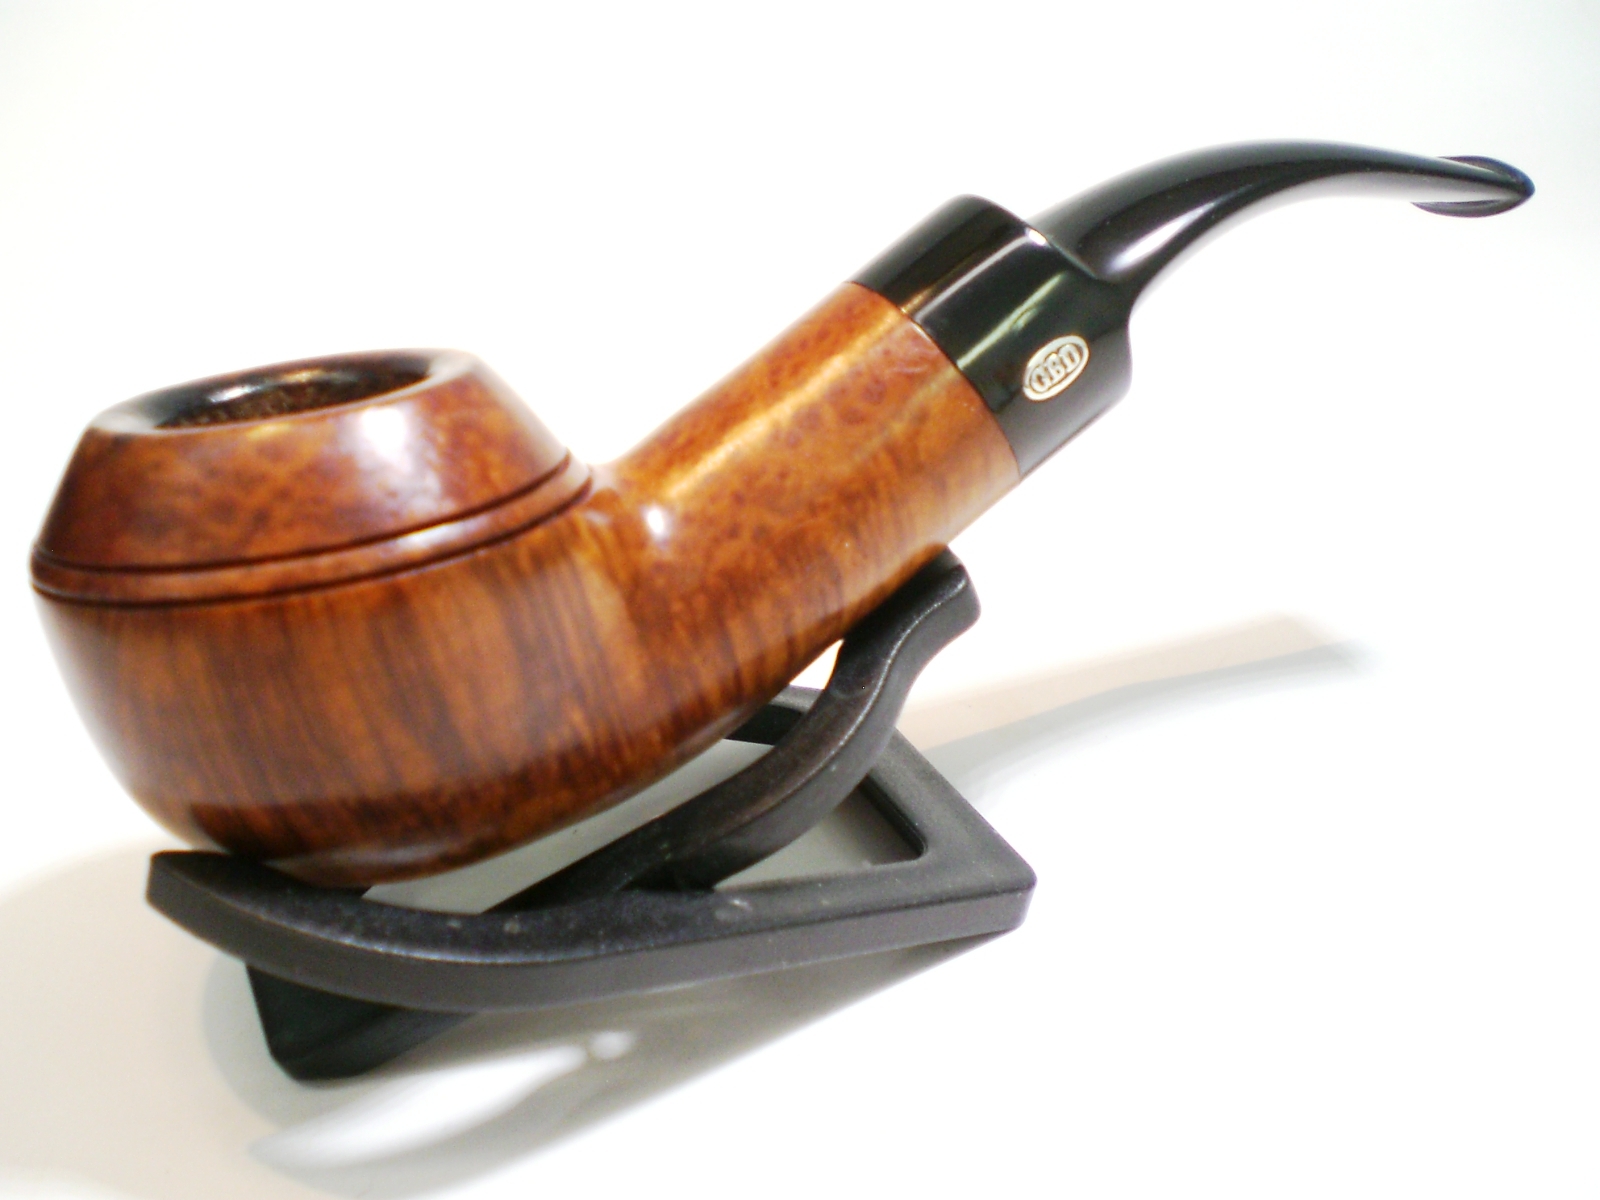
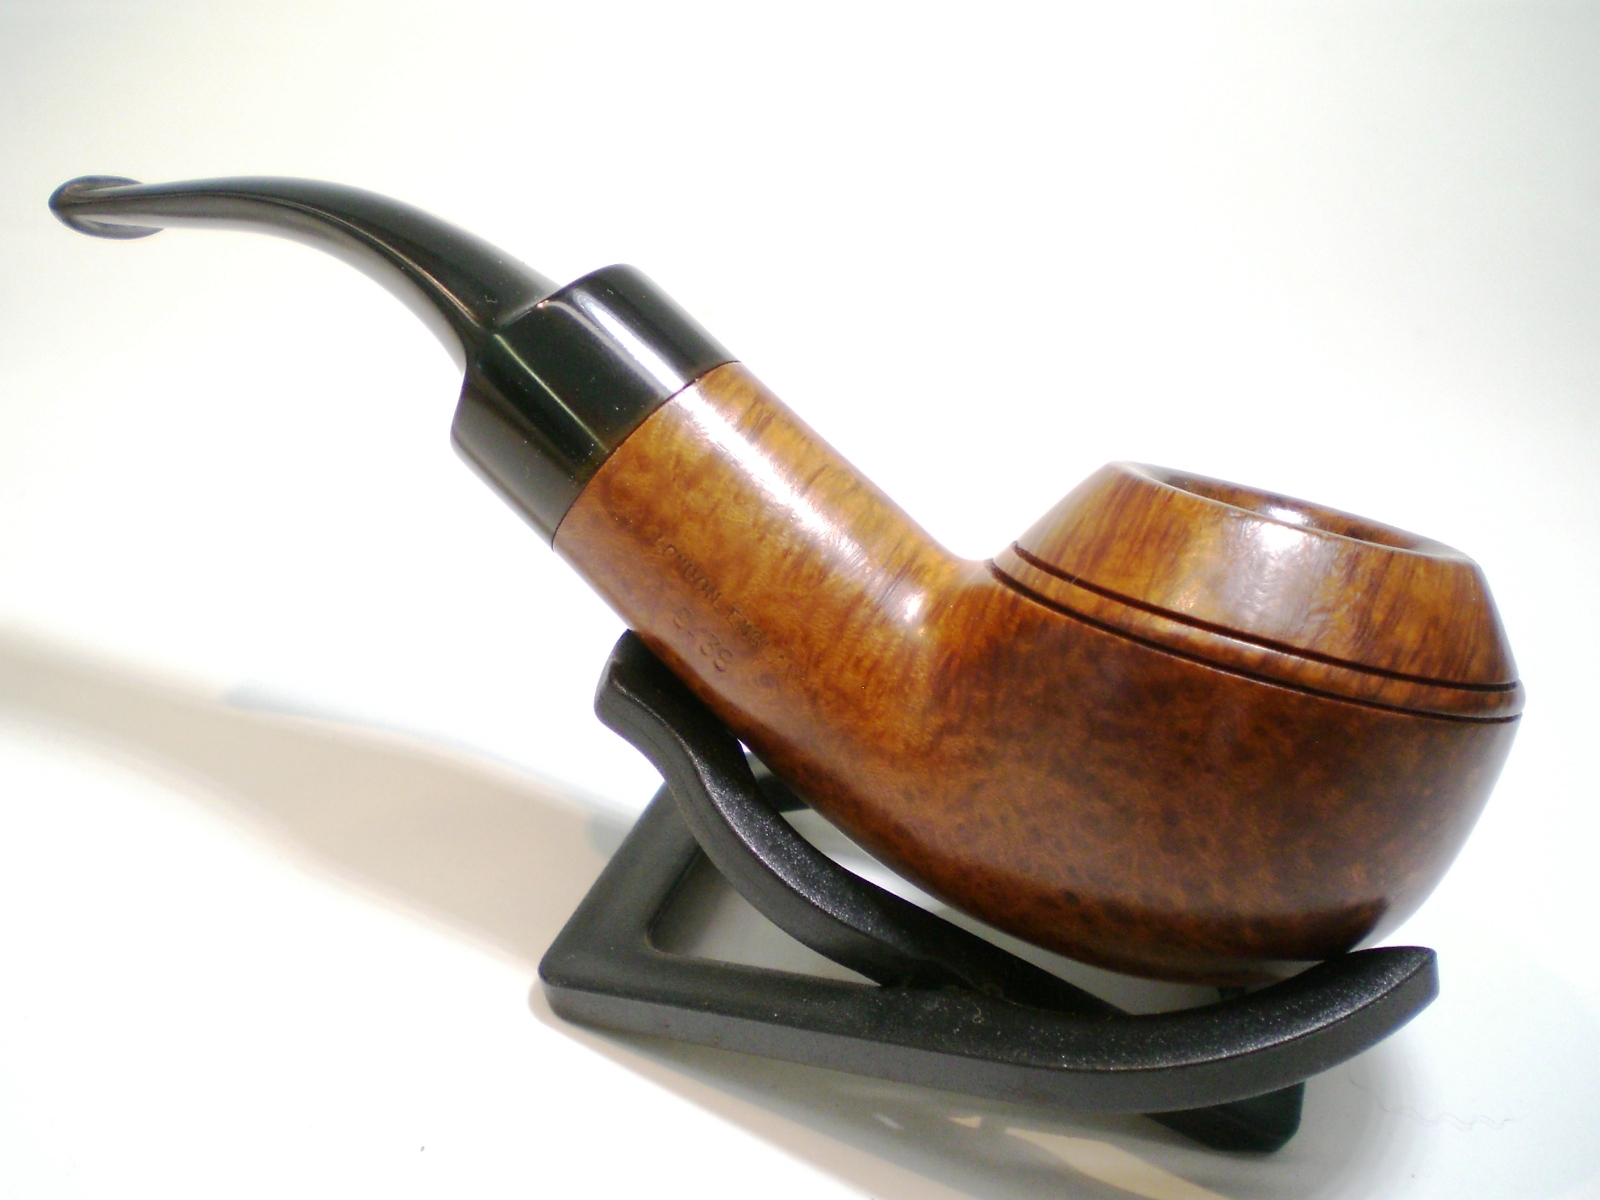
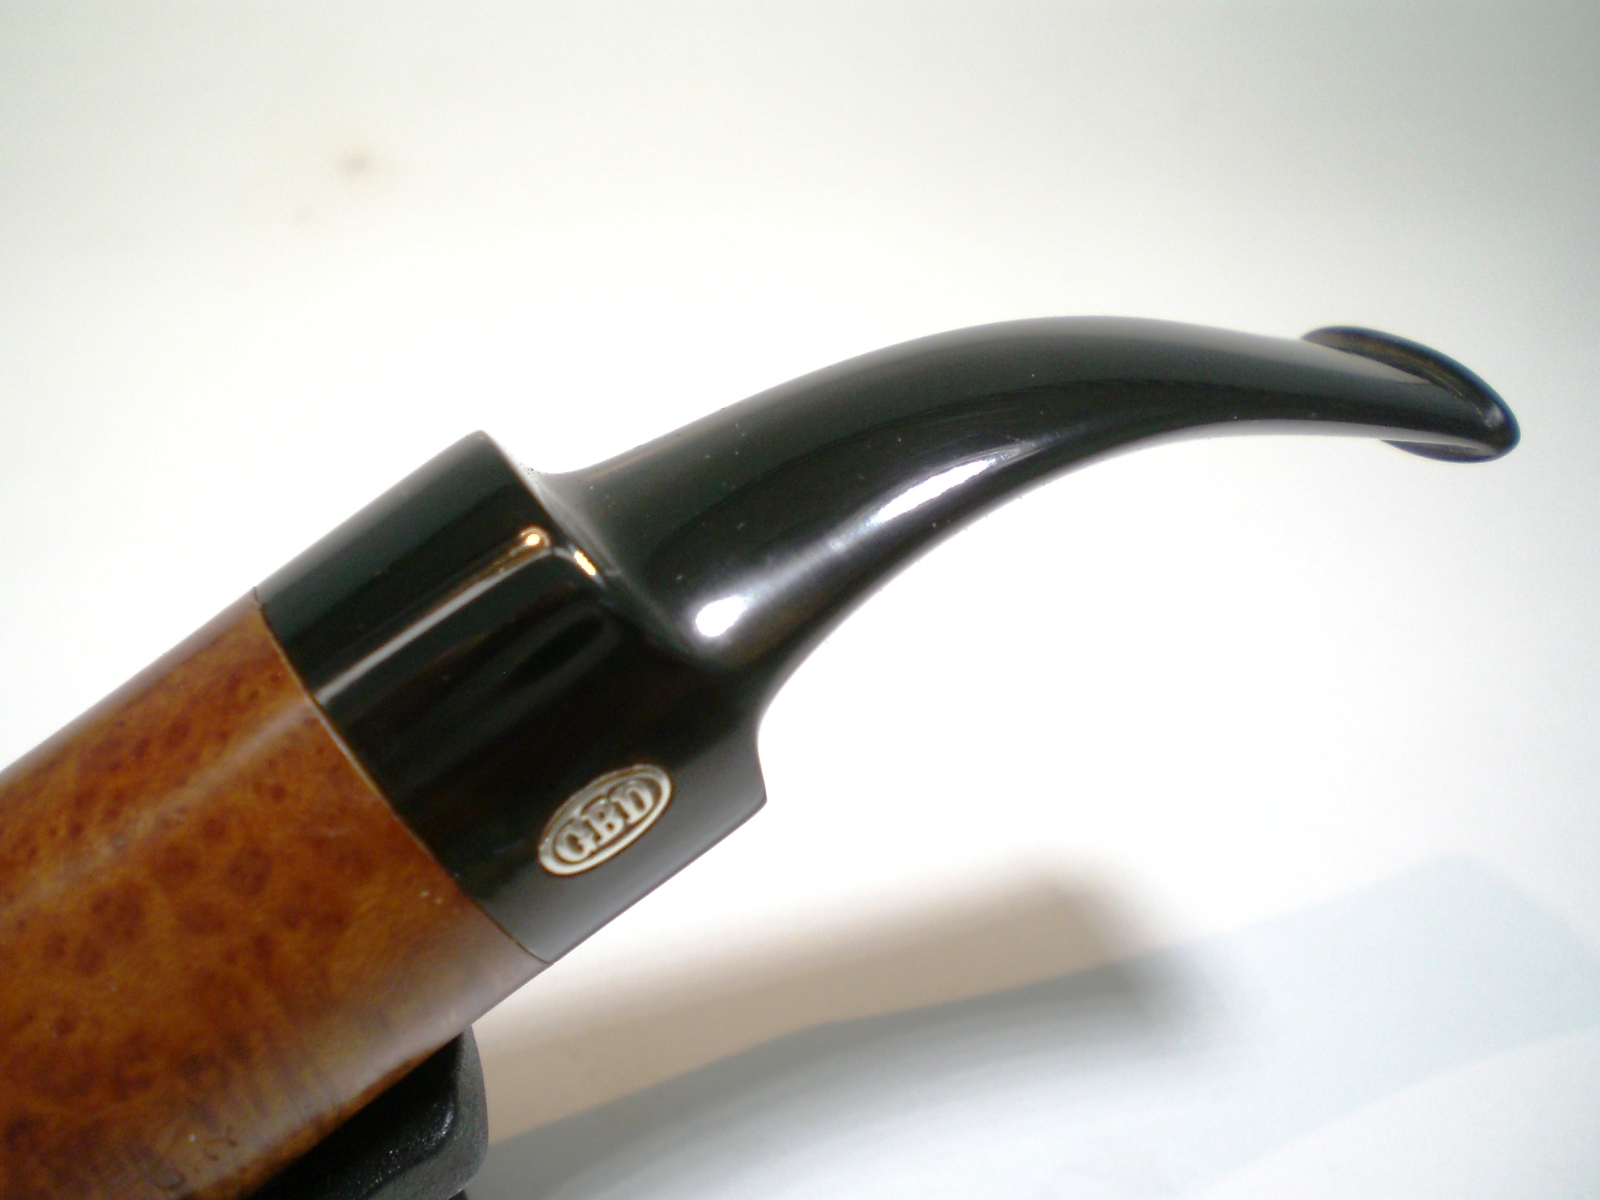
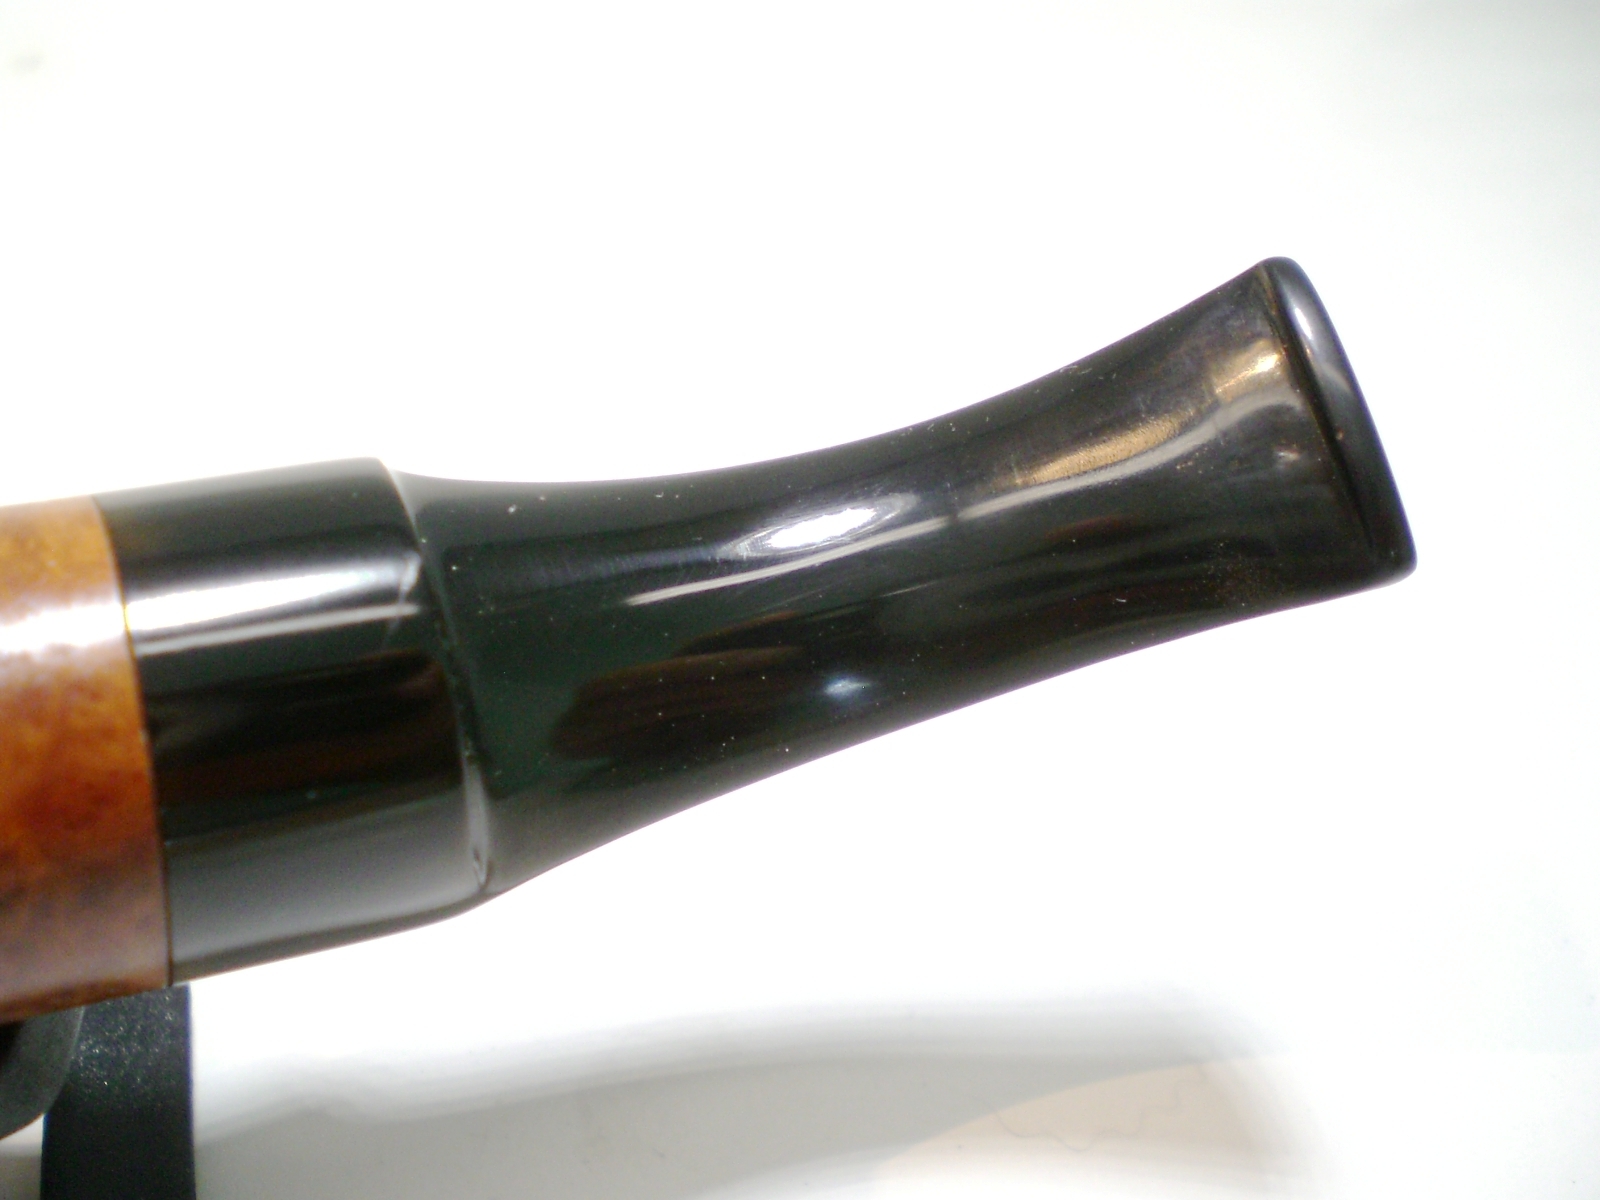
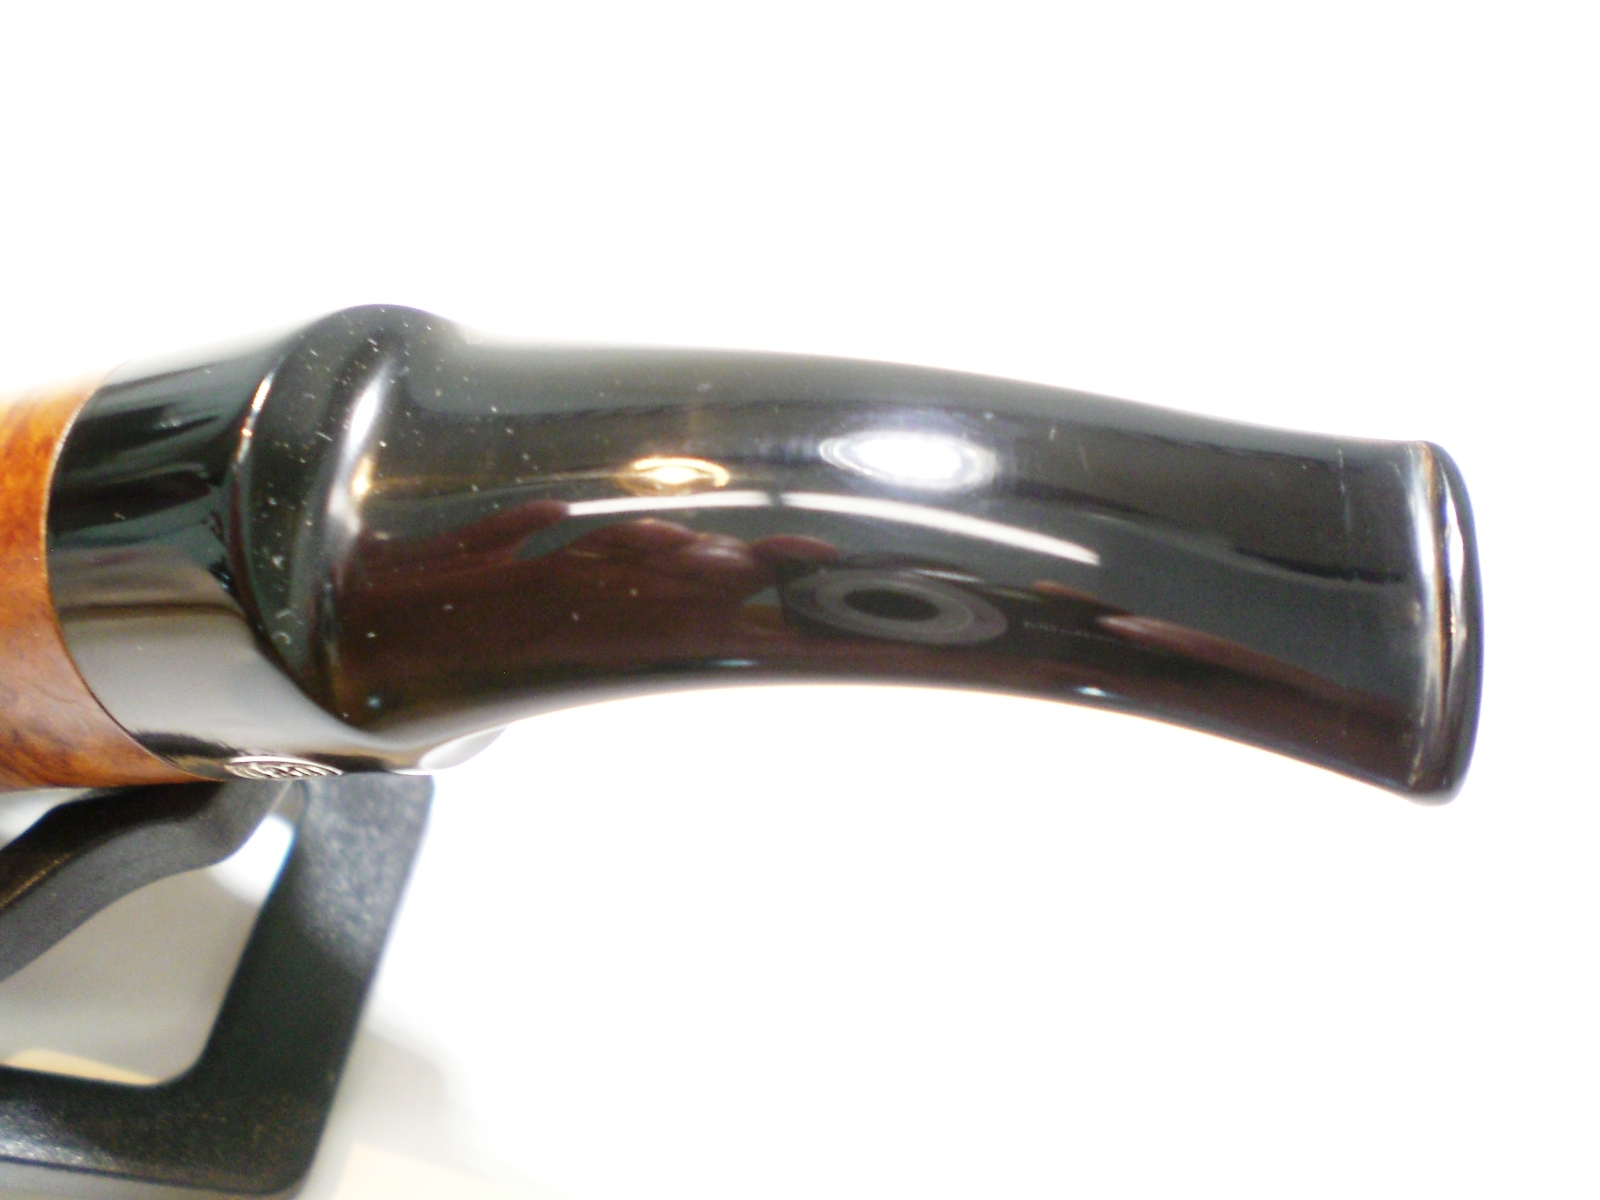

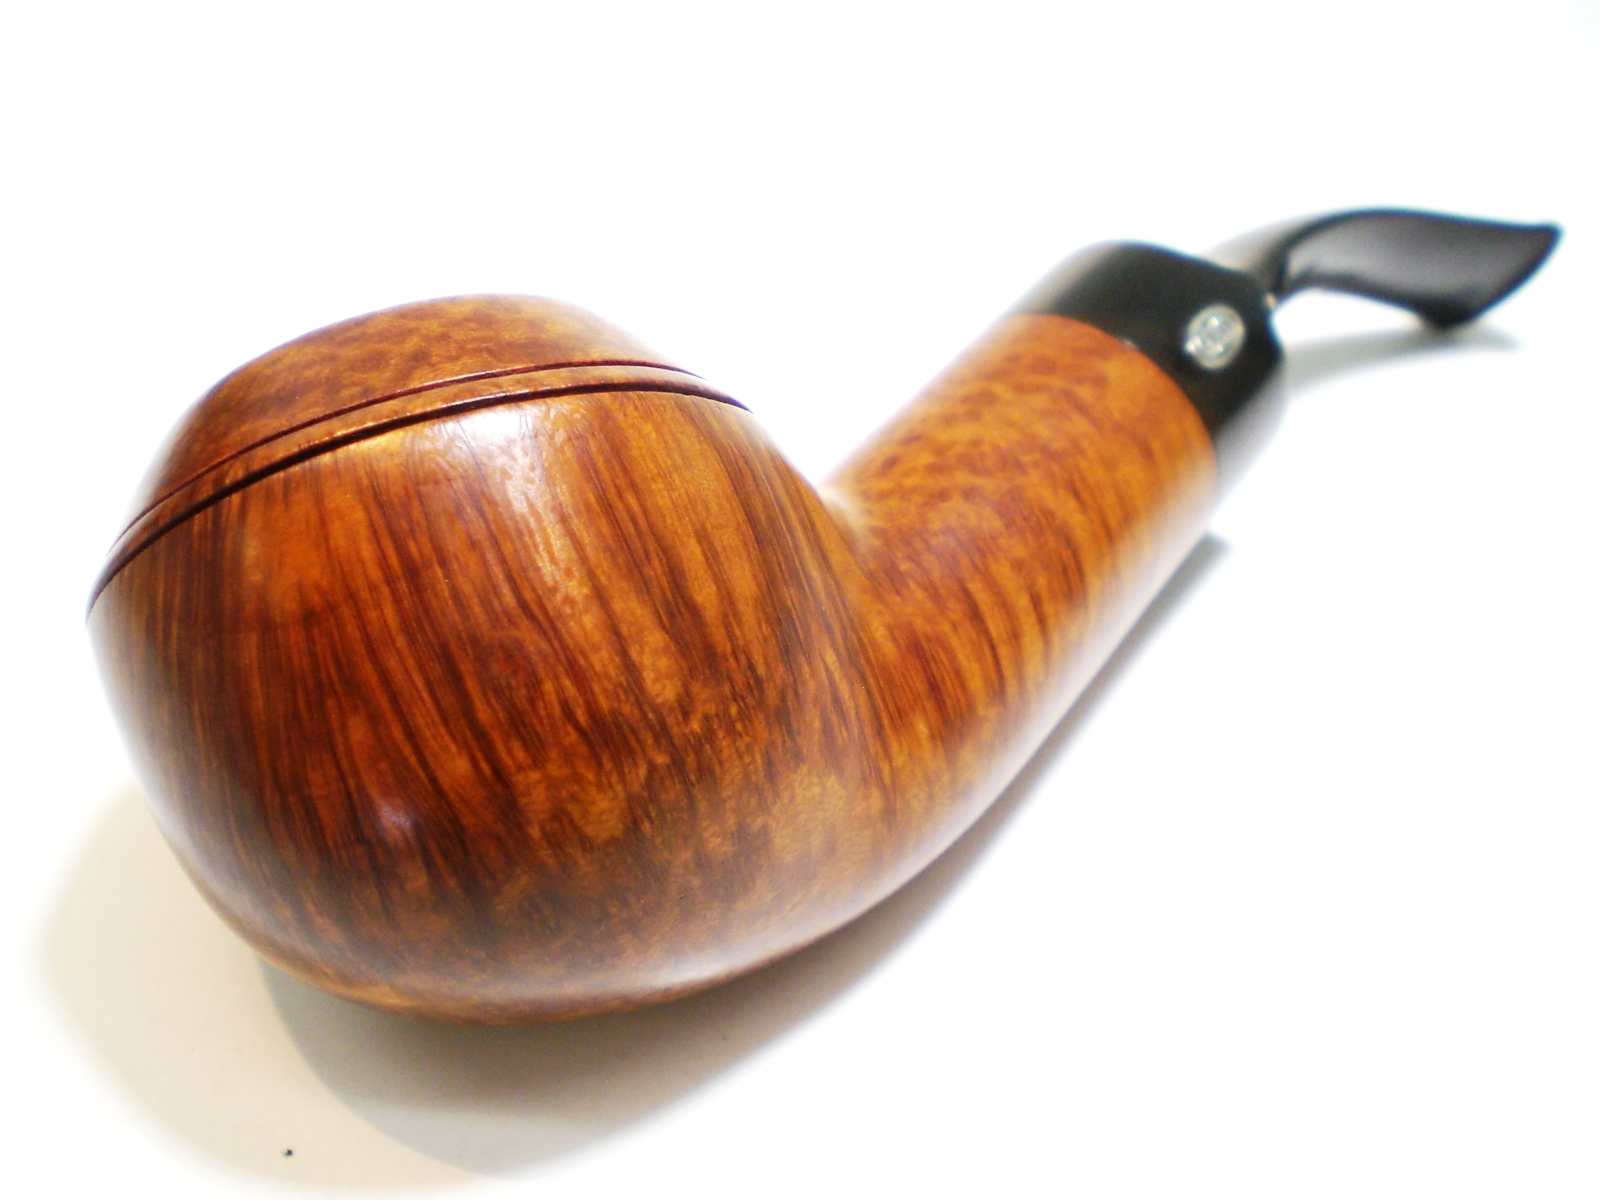
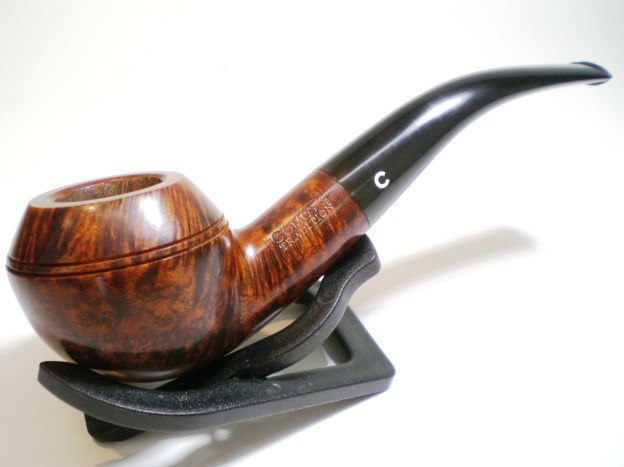
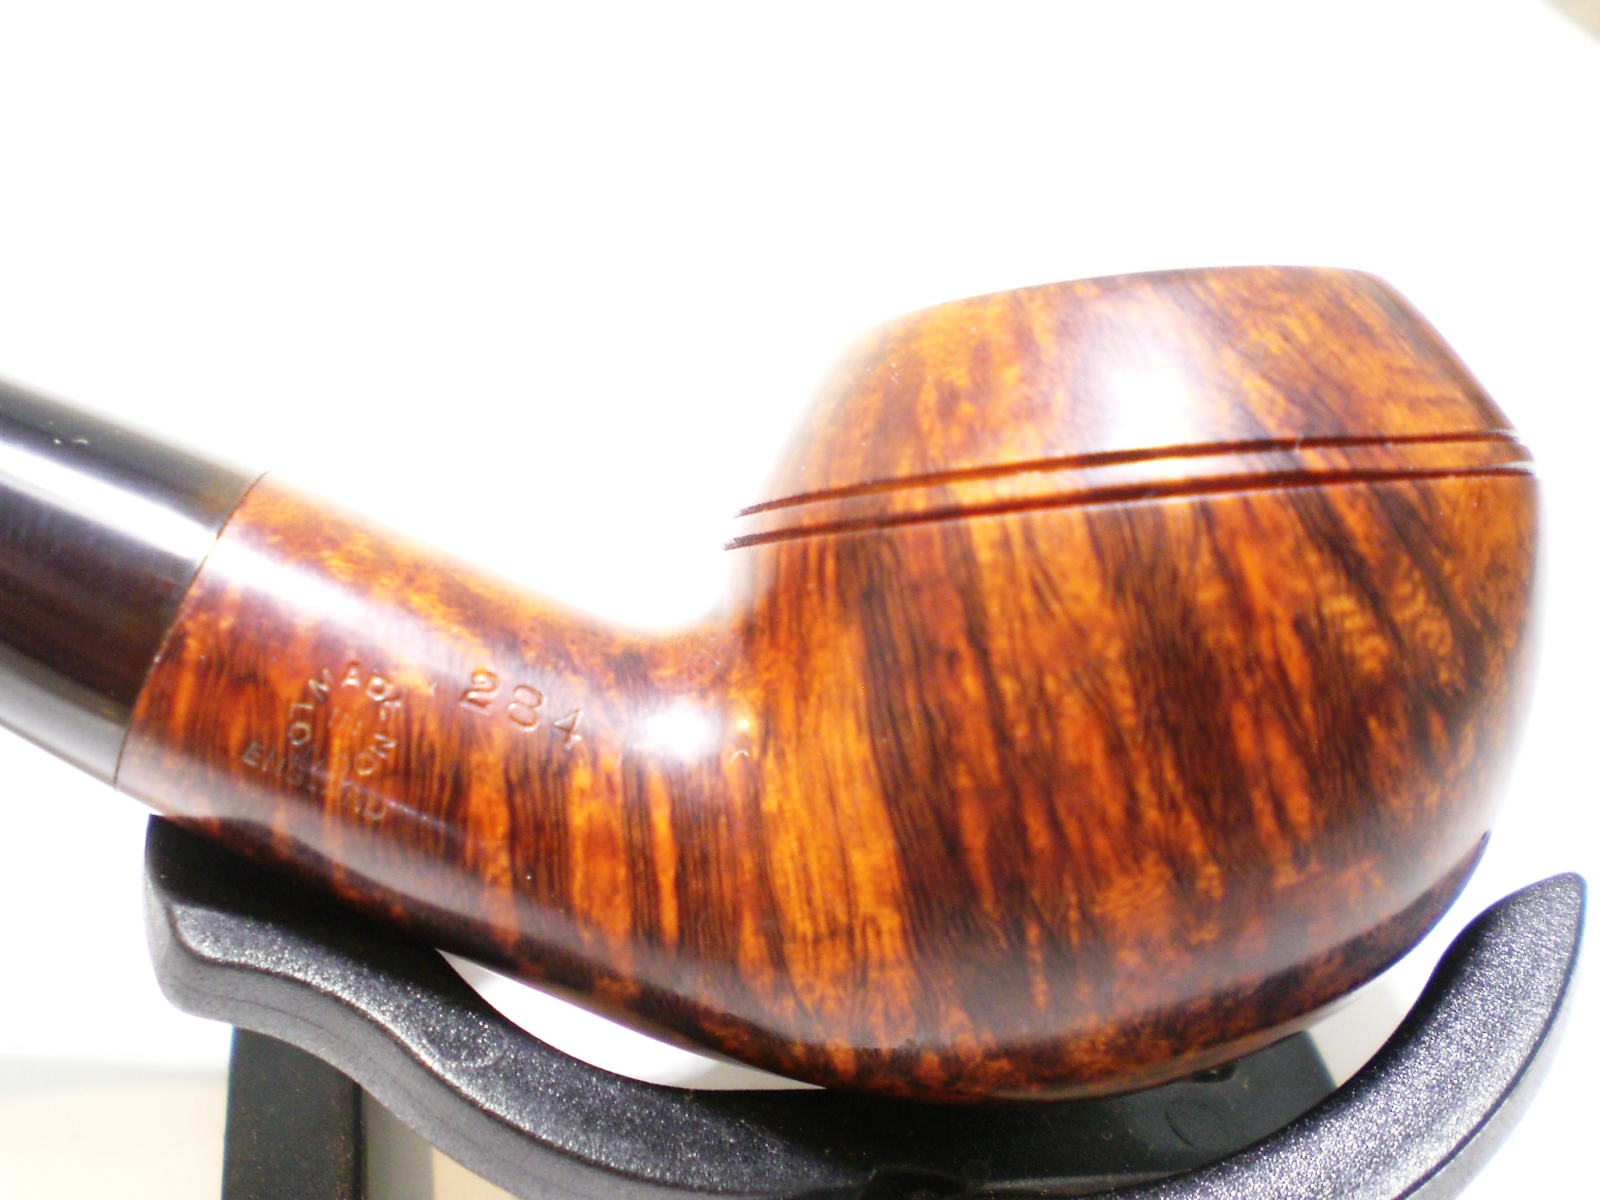
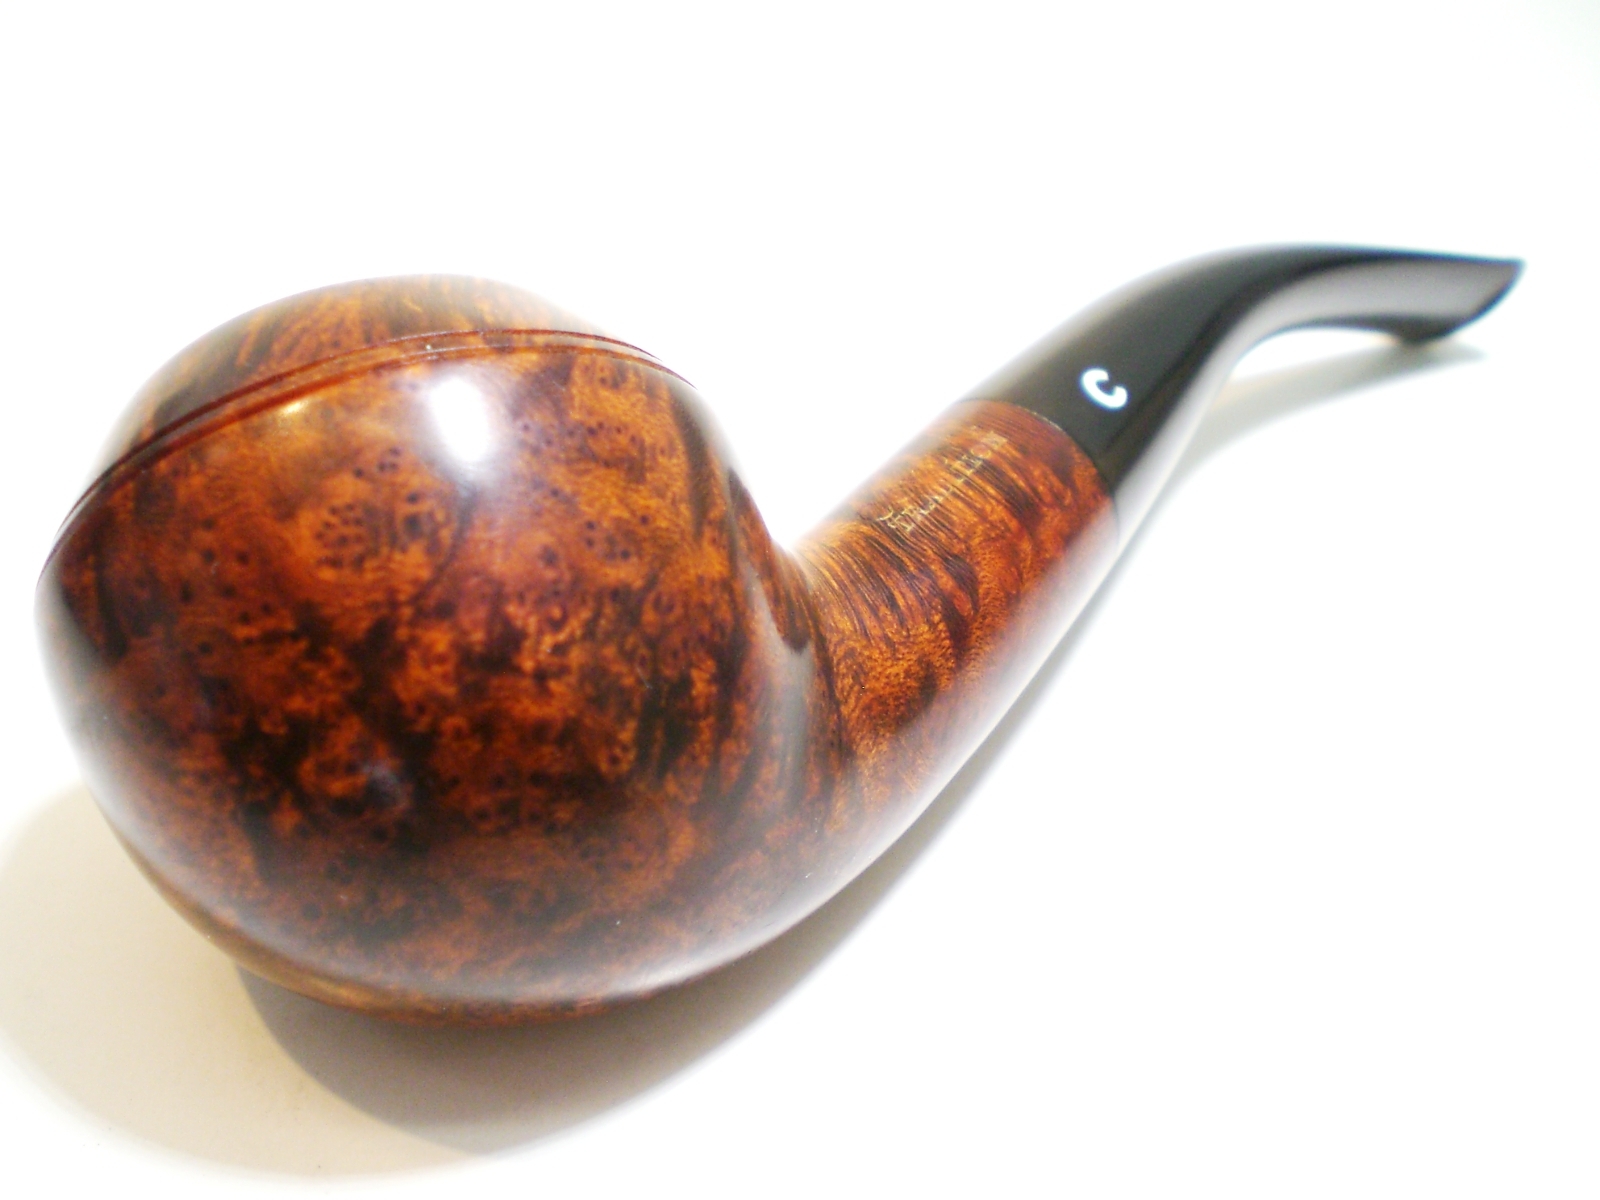
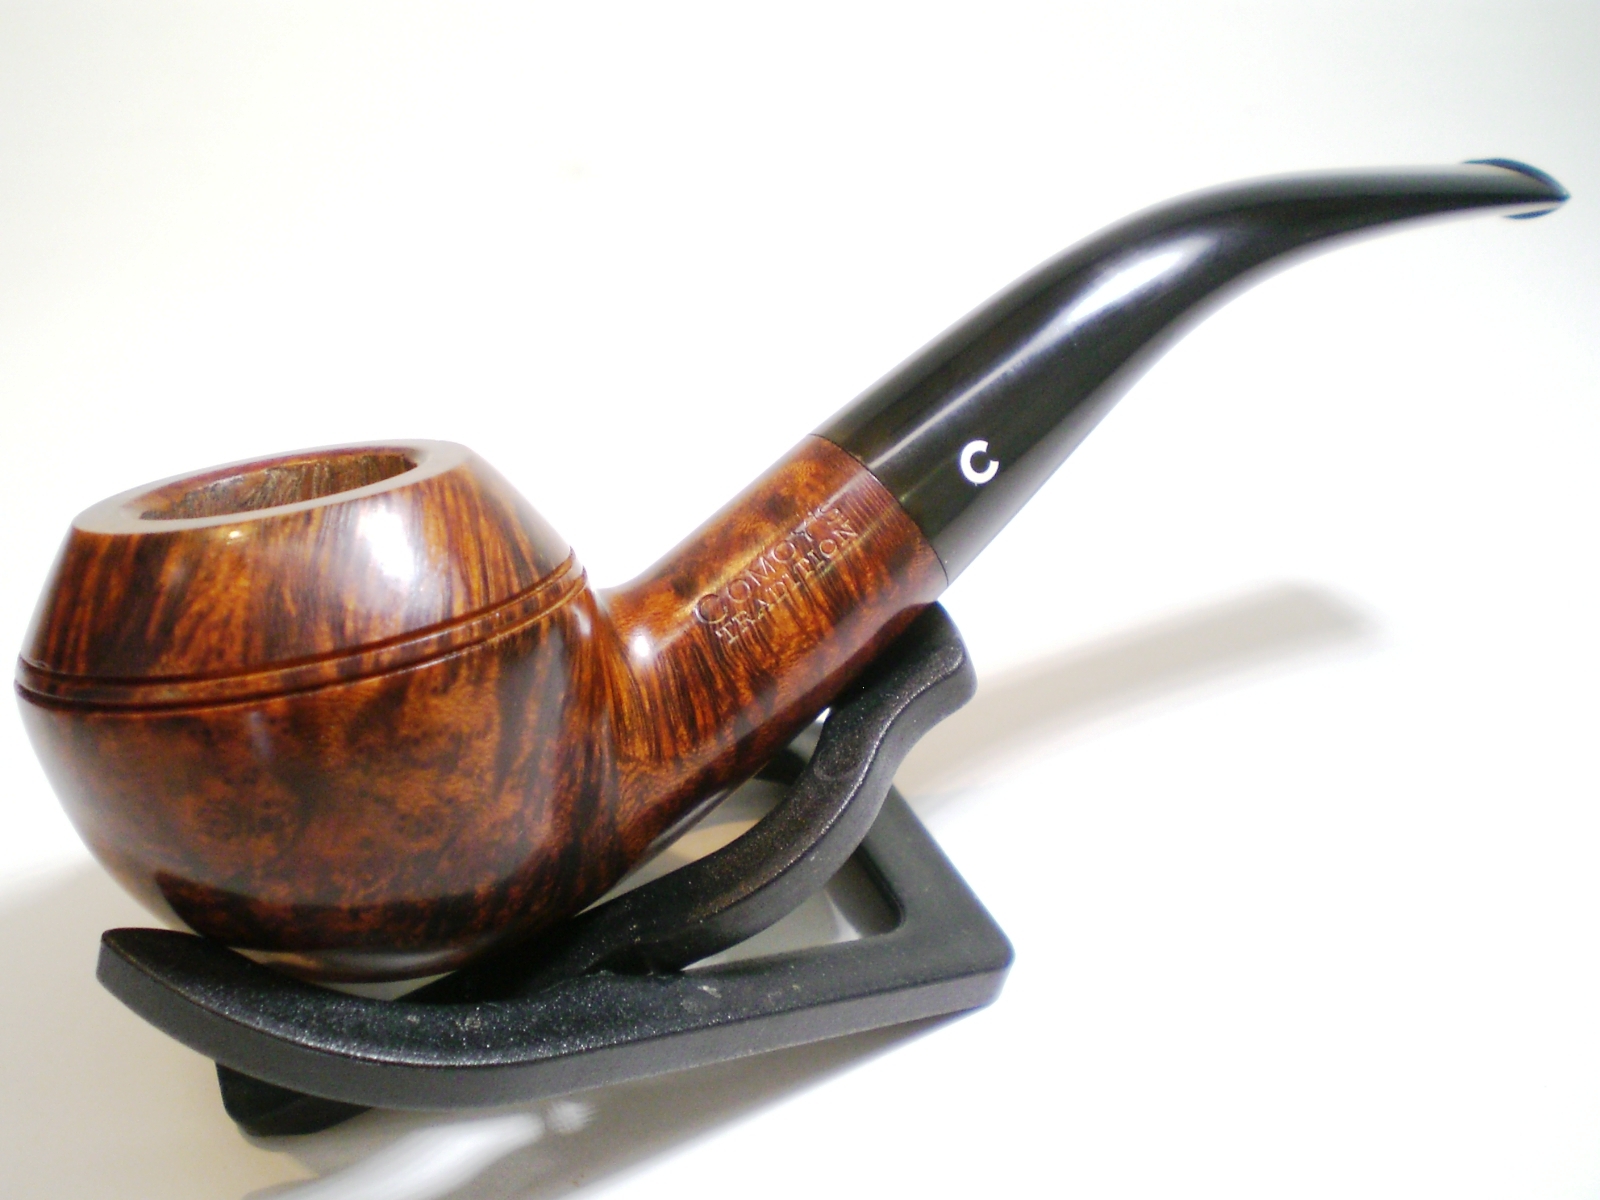
As a fan of the Rhodesian pipe shape, the Comoys Shape 284 is one of my favorites and in the top 5 of my “Holy Grail” list. Last week, this Tradition grade pipe showed up for auction. I made an offer to the buyer and surprised to find it accepted. As this is a hotly sought after shape on the market, I couldn’t believe my good fortune until I opened the package and held it in my hand.
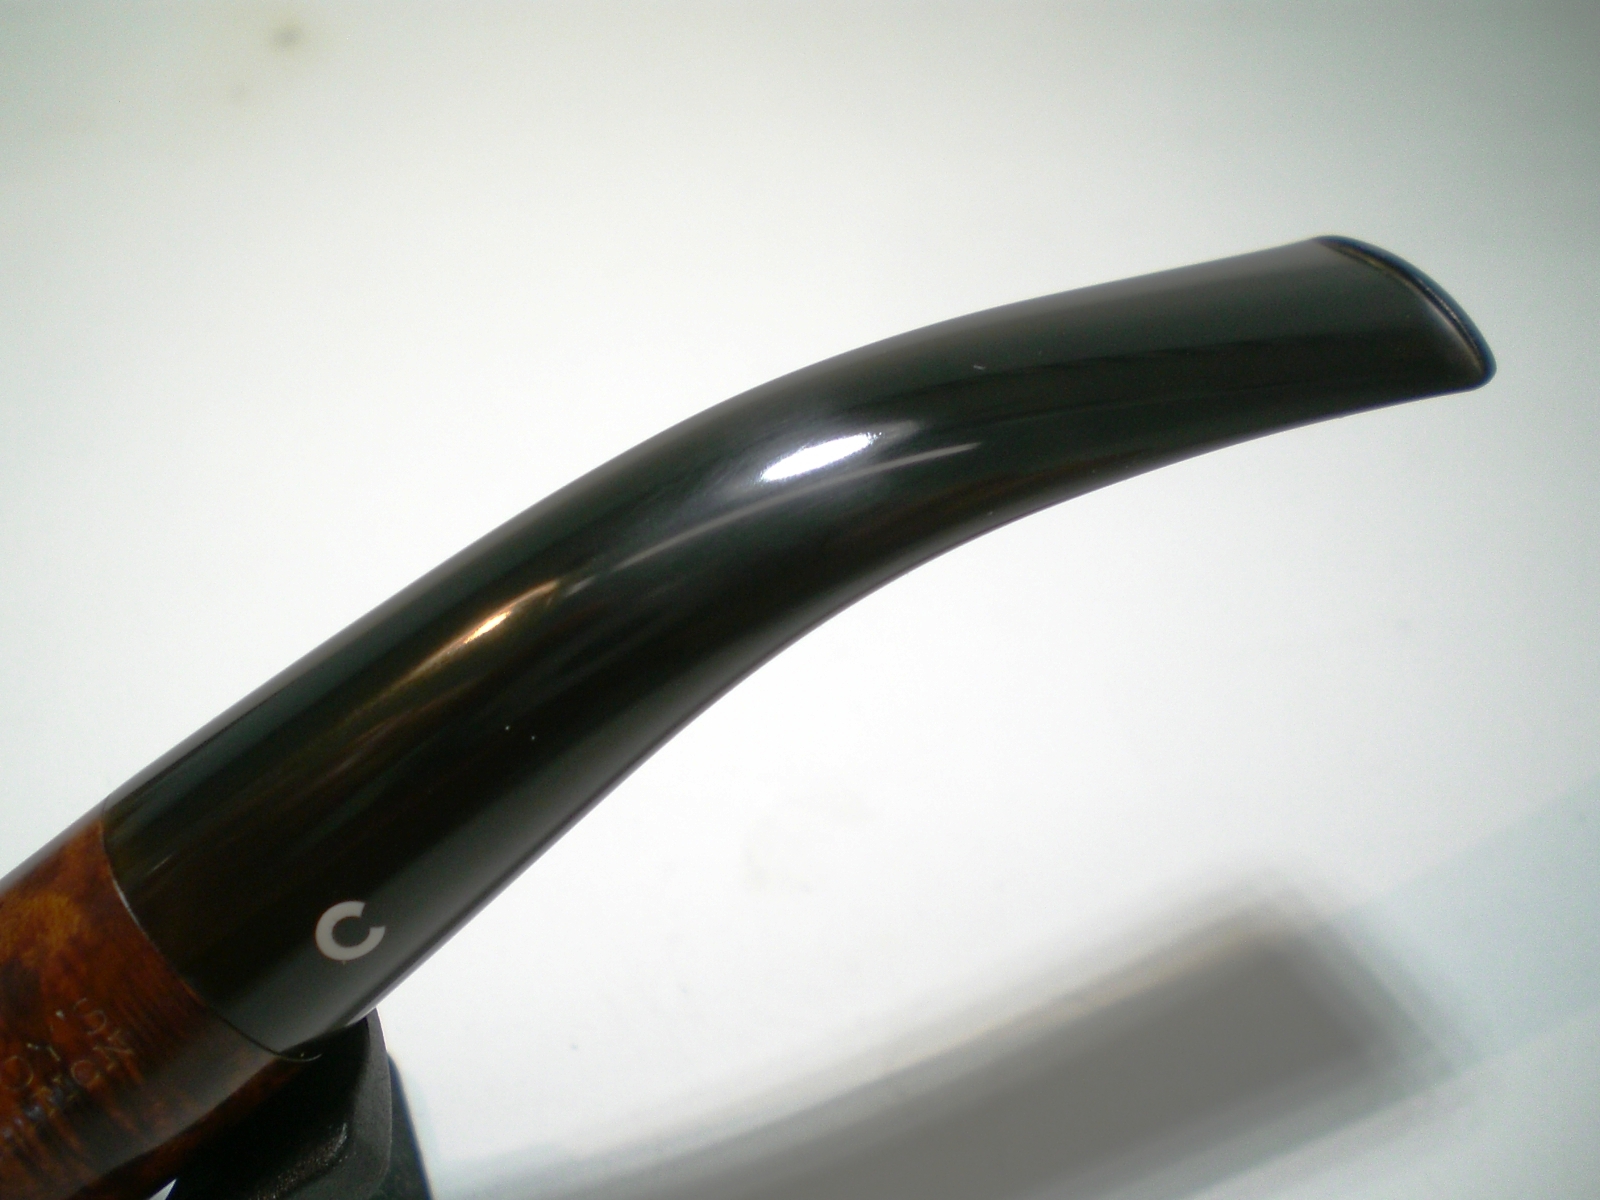
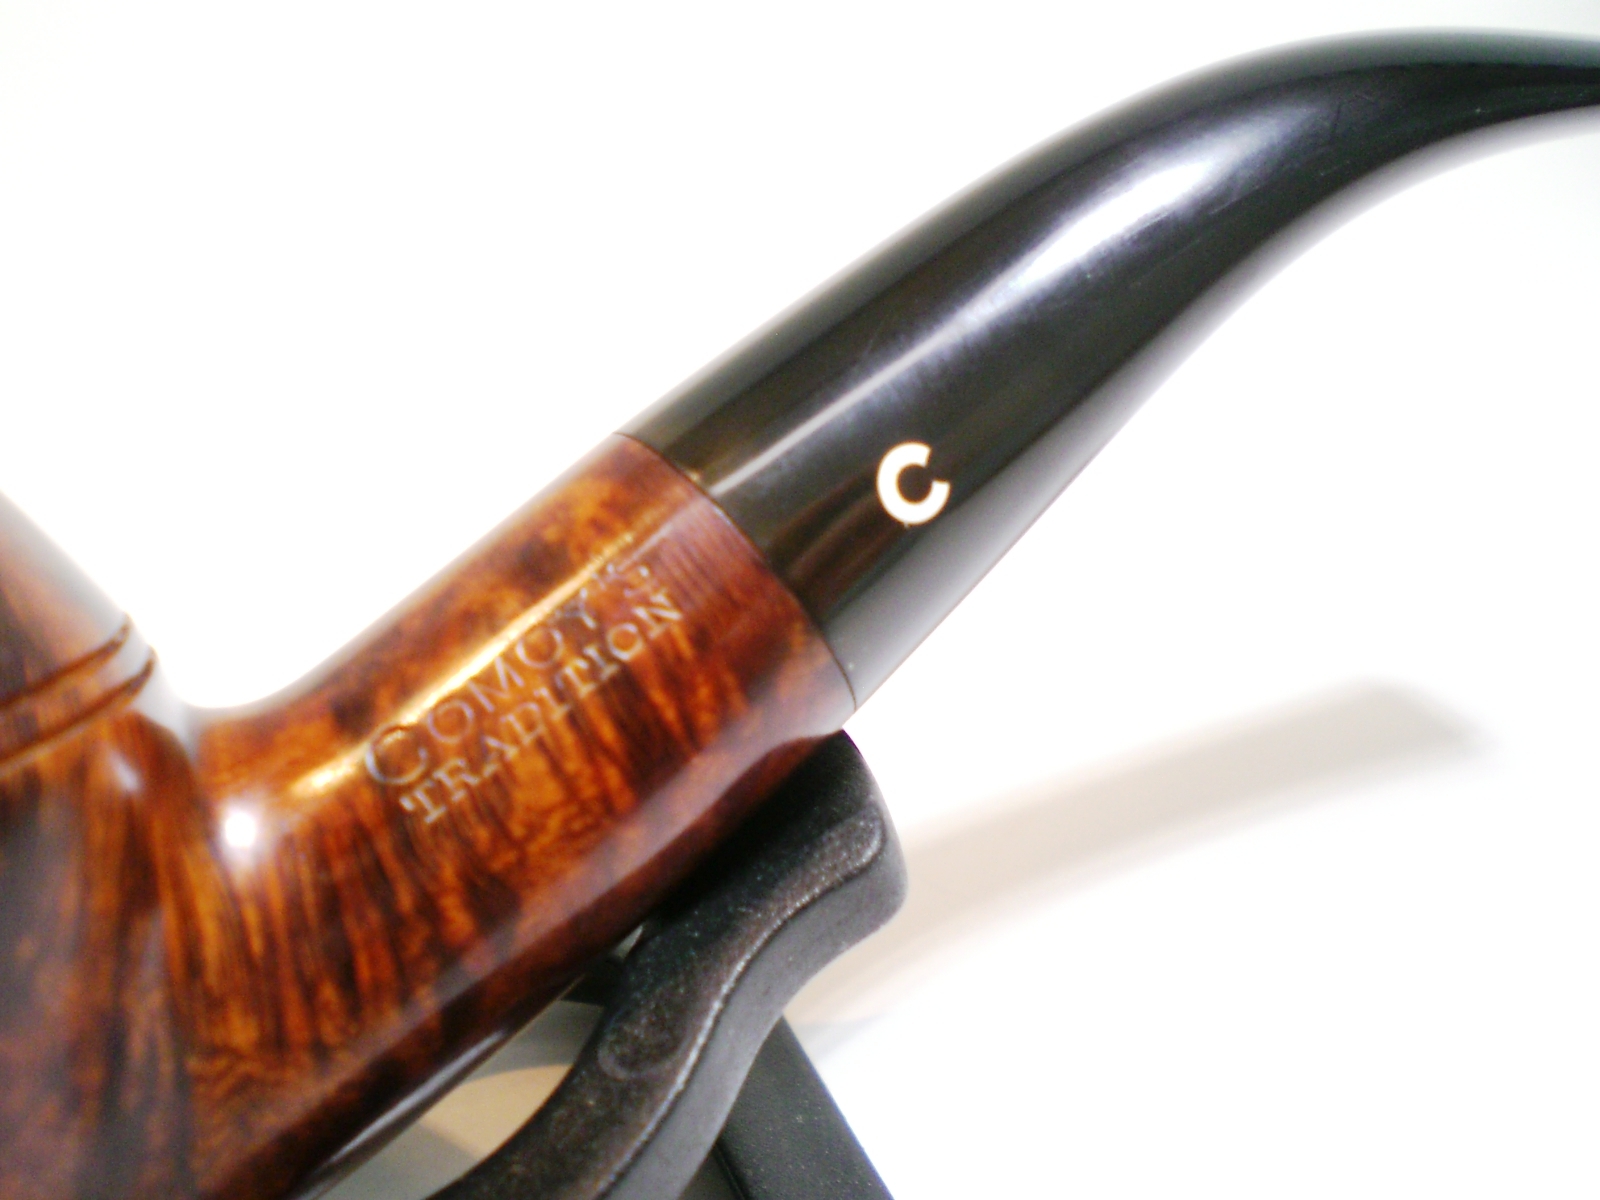
The pipe was in excellent condition, bowl and stem. There were only the slightest handling marks and the bowl top was not scorched. The stem, while oxidized only had two tiny teeth marks on the button. The three piece “C” logo was in perfect condition. I love working on Comoys stems, they just seem to shine more brilliantly than other British made vulcanite stems of that era.
The stamping of “Comoy’s” with the slightly larger “C” and the apostrophe was started in the 1950’s and the round “Made In London” with England below was also used in that era. The pipe could have been made from the 1950’s to the end of the Cadogan era in 1982 (give or take!).


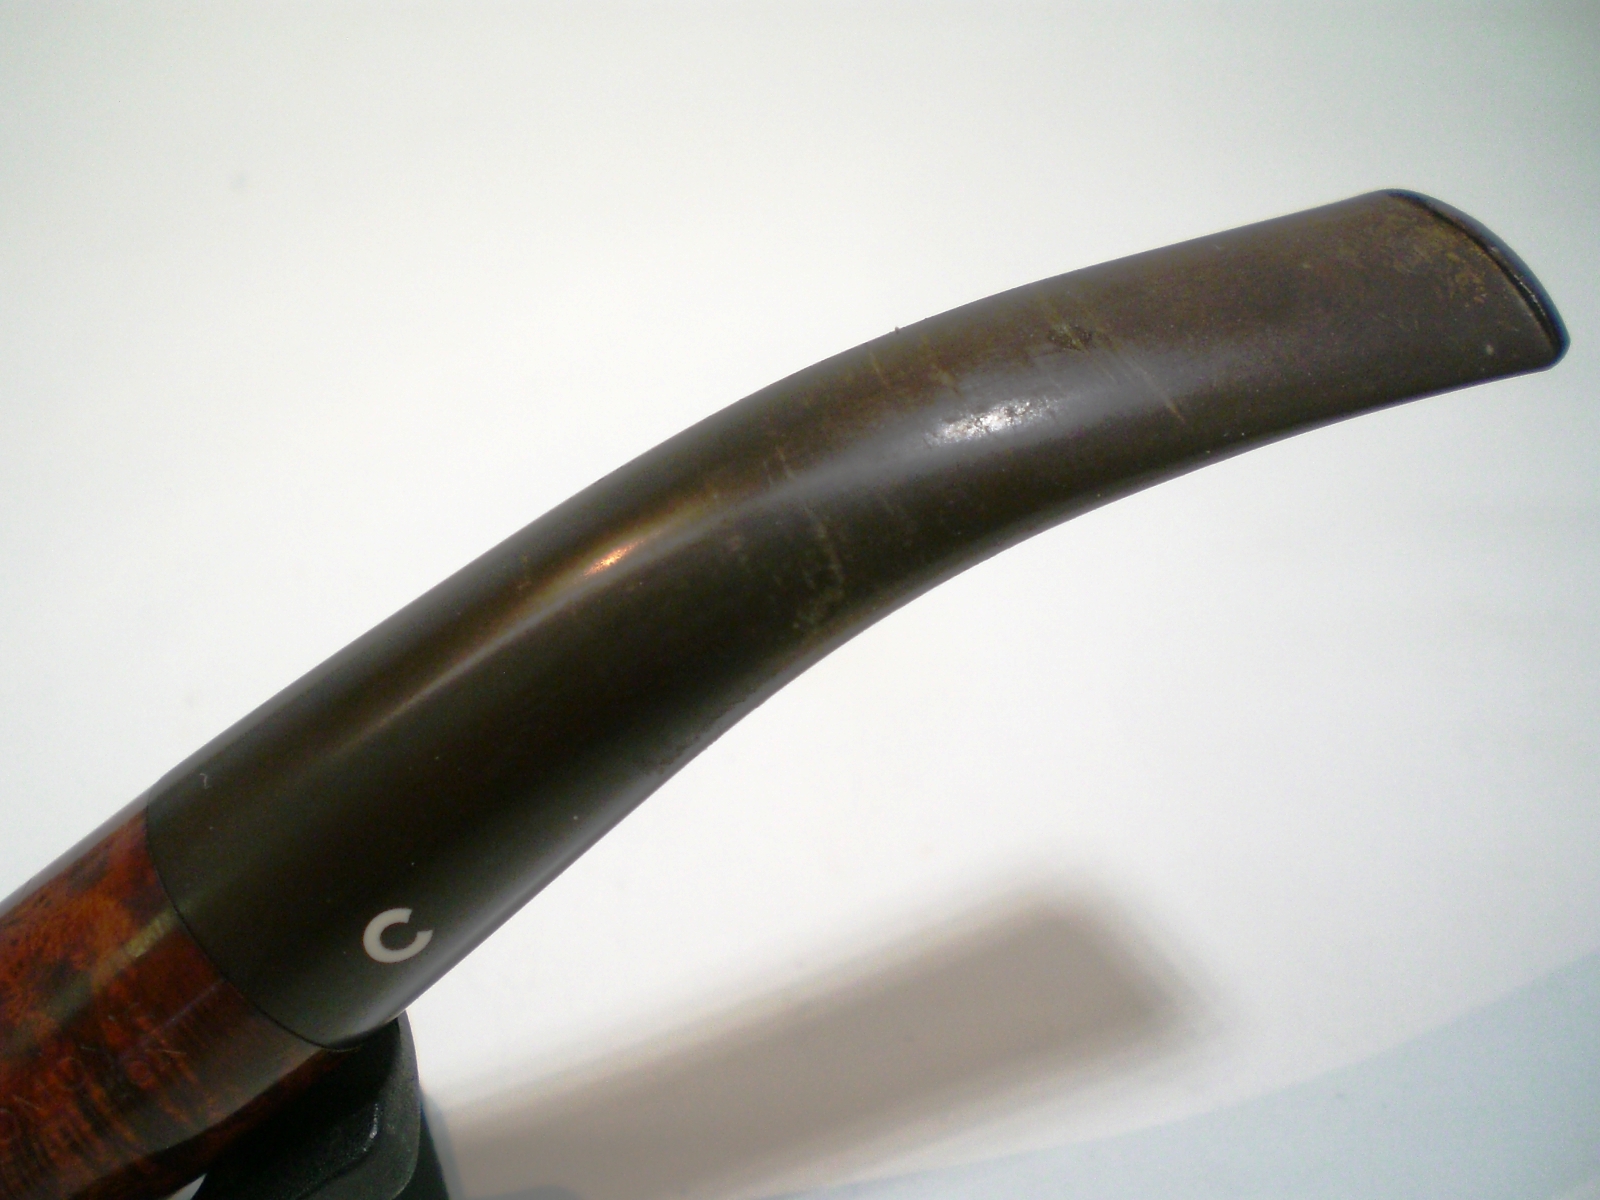
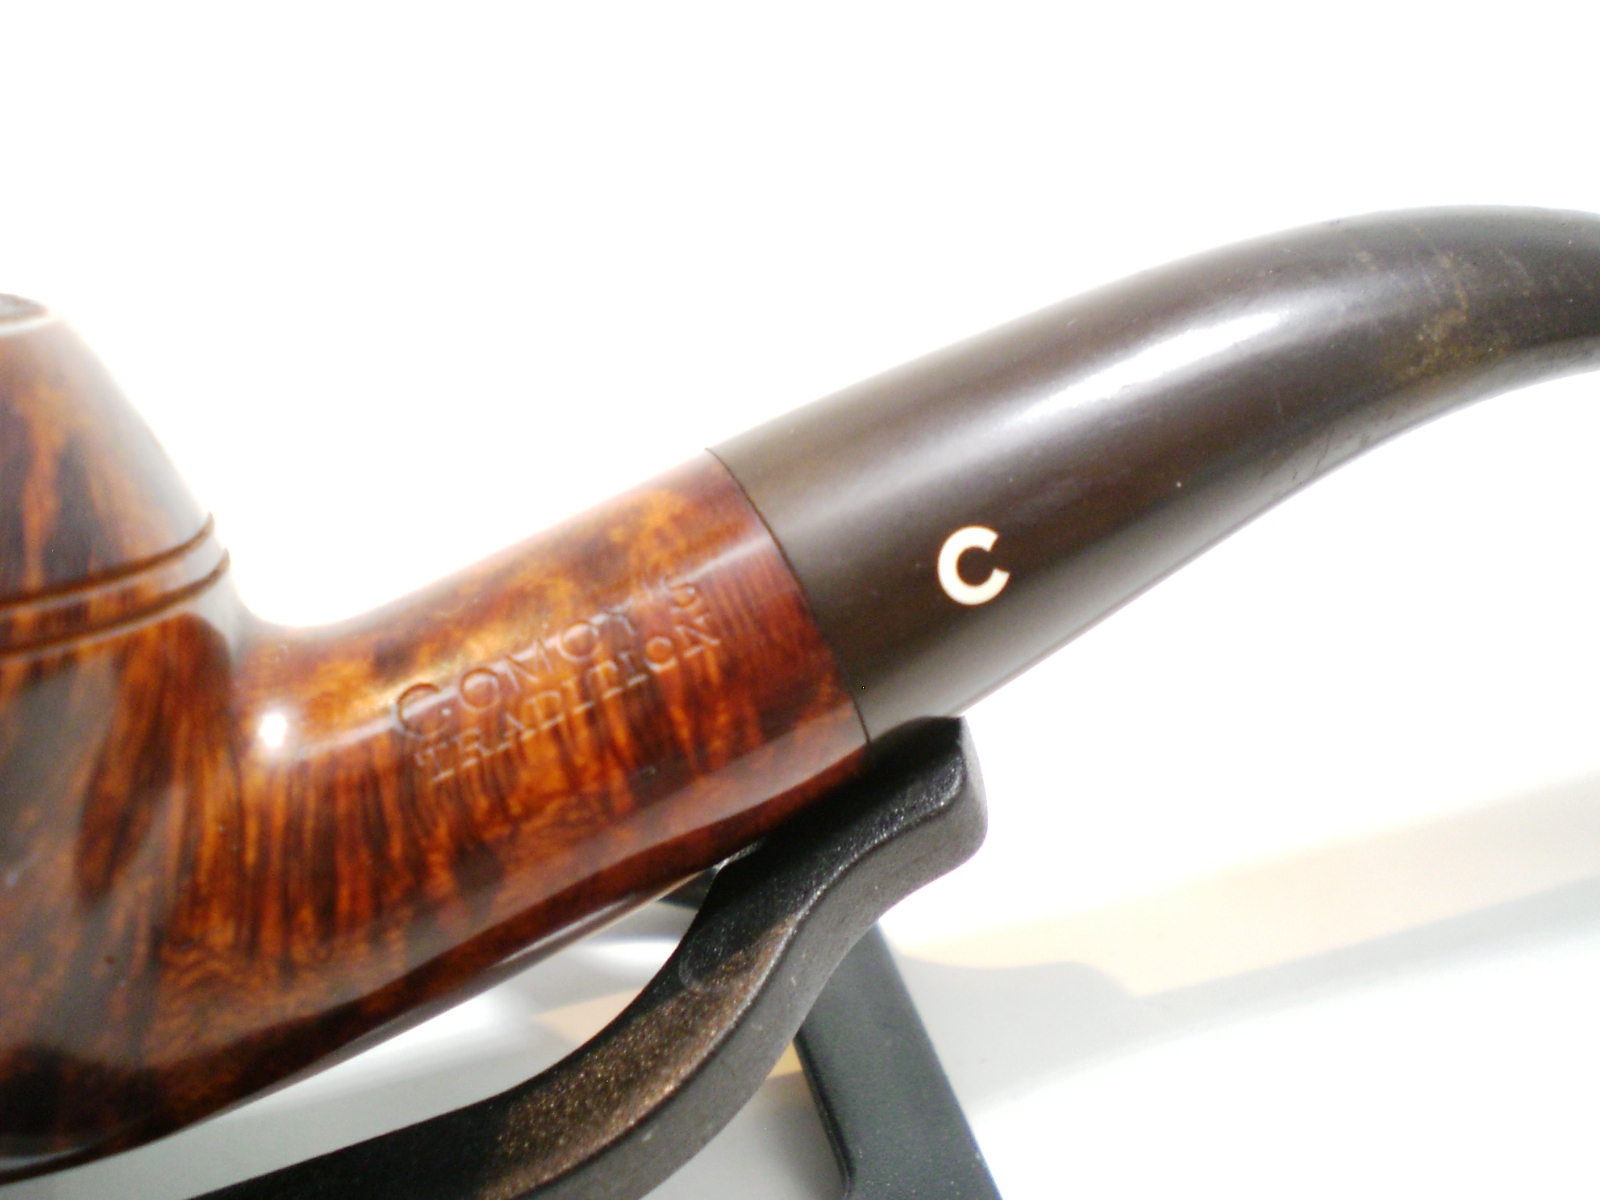
I soaked the bowl in salt and Isopropyl alcohol. Here the pipe is shown along with another project, a GBD 9438 Century. I put a dab of grease on the stem logo and soaked the stem for several hours in a mild Oxyclean/water solution to loosen the oxidation.
The bowl only required a light buff with white diamond and then a few coats of Carnuba wax. The nomenclature is quite strong and I didn’t want to damage it.
I started removing the stem oxidation with 800 grit wet paper and then moved thru 1000, 1500 and 2000 grades. I used the 8000 and 12000 grade Micromesh papers before going to the buffing wheel. The stem was buffed lightly with White Diamond and then Meguiars Plastic Polish.
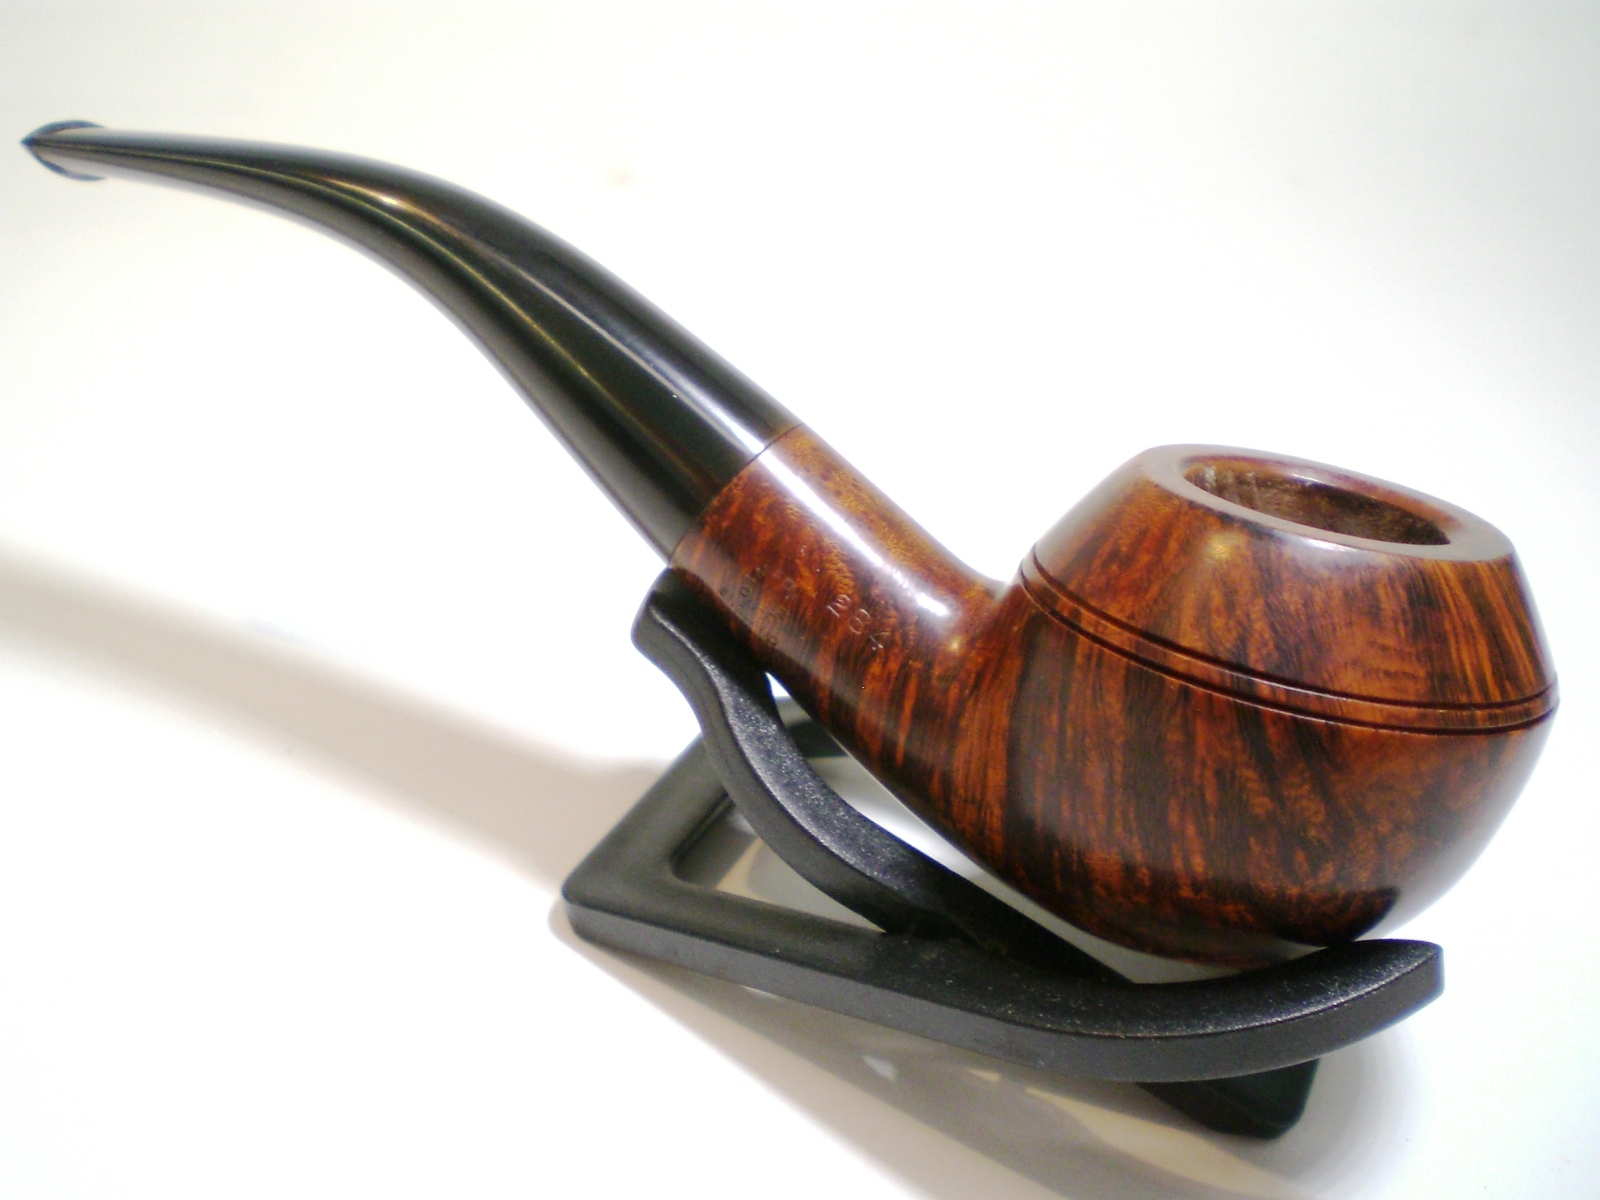
Below is the finished pipe. I’m thrilled to add this one to my collection of Rhodesian pipes and look forward to breaking it in later this evening.

The last pipe in my box of pipes to refurbish was a Medico Apple that was stamped Medico over Imported Briar on the underside of the shank. It was a well-worn sandblast bowl that had dark stain marks on the front and back of the bowl. It appeared to be a dark blue India ink type of staining. The grooves in the blast were worn down almost smooth and what was left was dirty with light brown grime that raised the surface of the grooves smooth. The top of the bowl was damaged and worn from being struck against a surface to empty the bowl. The inside of the bowl was badly caked and crumbling when I received and I cleaned and dumped out the carbon and shreds of tobacco before throwing it in the box. The stem had been bitten through on both the top and the bottom sides next to the button. The nylon stem was in rough shape with many deep tooth dents around the holes. At one point I had taken the stem out thinking I would work on it and sanded down the tooth chatter and some of the lighter marks. I had heated the stem to raise them and gotten quite a few of them out-of-the-way. The holes in the stem left me questioning whether I even wanted to work on this poor worn pipe.


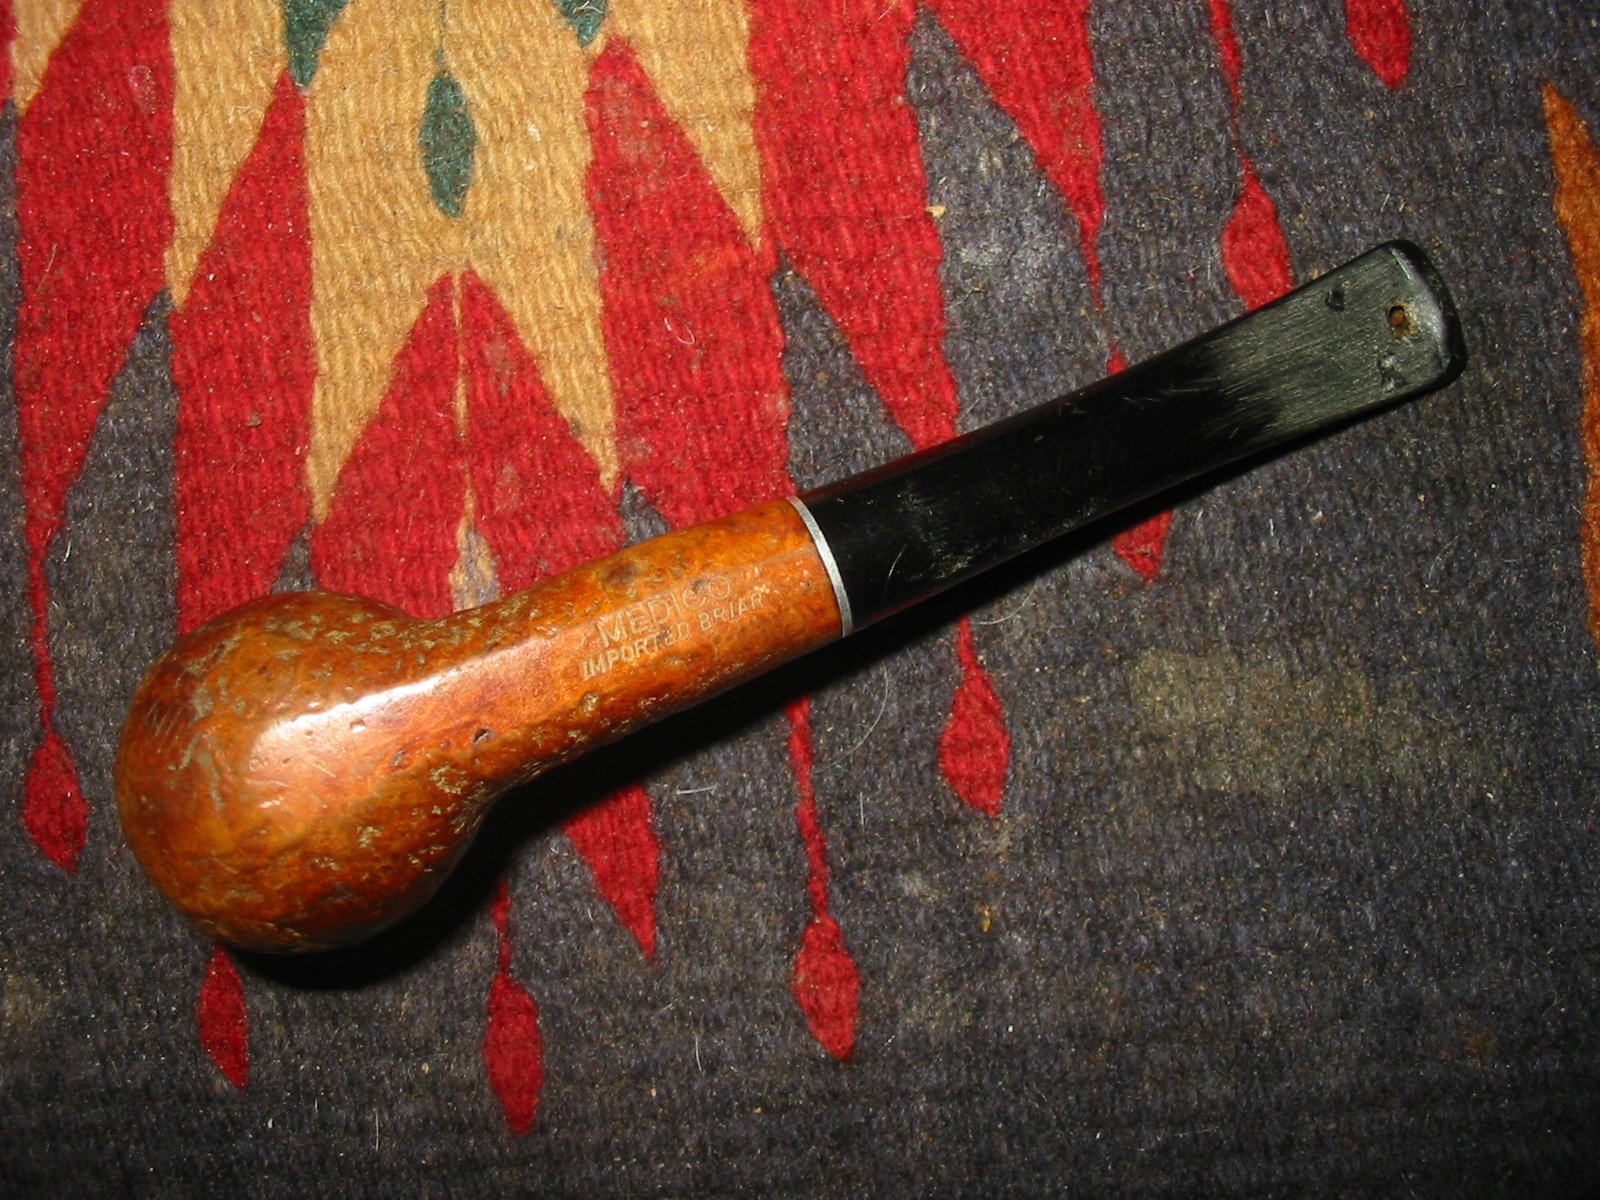
After reading Greg’s post about saving a pipe – the Medico VFQ I was moved to go and have a look at the last pipe in the box. I have four days off starting today and it is a rainy cool day in Vancouver. It is a perfect day for working on pipes so I took the pipe to the worktable. I knew all of the flaws that awaited me but the bones of the pipe, the briar was still sound. The damage truly was cosmetic. The stem was another question. But I figured it was worth the effort. I cleaned the surface of the nylon stem and wiped it down with alcohol. I folded a piece of cardboard and coated it with Vaseline before sticking it in the airway to provide a backing for the black super glue patches that I was going to use for the holes.


The super glue had become quite viscous which actually worked for me. It was not the thin liquid it had been when I purchase it several years ago. I shook it well and then applied it to the holes on the stem. I always do the patching in layers. I start quite wide around the edges of the hole and work toward the centre to close off the hole. I decided to work on both sides of the repair at the same time so I put the glue in both holes. I set the stem aside for the repair to cure before adding more layers of glue.


I scrubbed the bowl with Murphy’s Oil Soap to remove the grime. I used a tooth brush to get into the remaining grooves in the briar. I used the soap undiluted as I find it is less liquid and works better on rounded surfaces as a gel. I wiped off the soap with cotton pads, rinsed the bowl with warm water and dried it off. The next four photos show the bowl after this cleaning. The sandblast was basically worn away and I needed to make a decision on what to do with the finish on this bowl.


The worn finish and the ink stains on the front and back of the bowl made the decision pretty easy for me. To clean and restain the pipe would still leave it worn and the ink stains visible. I decided I would rusticate the bowl with the rusticator I had received from Chris. I wanted the finish to look slightly different from the previous pipe that I rusticated so I had some ideas on what to do once I had rusticated the finish.


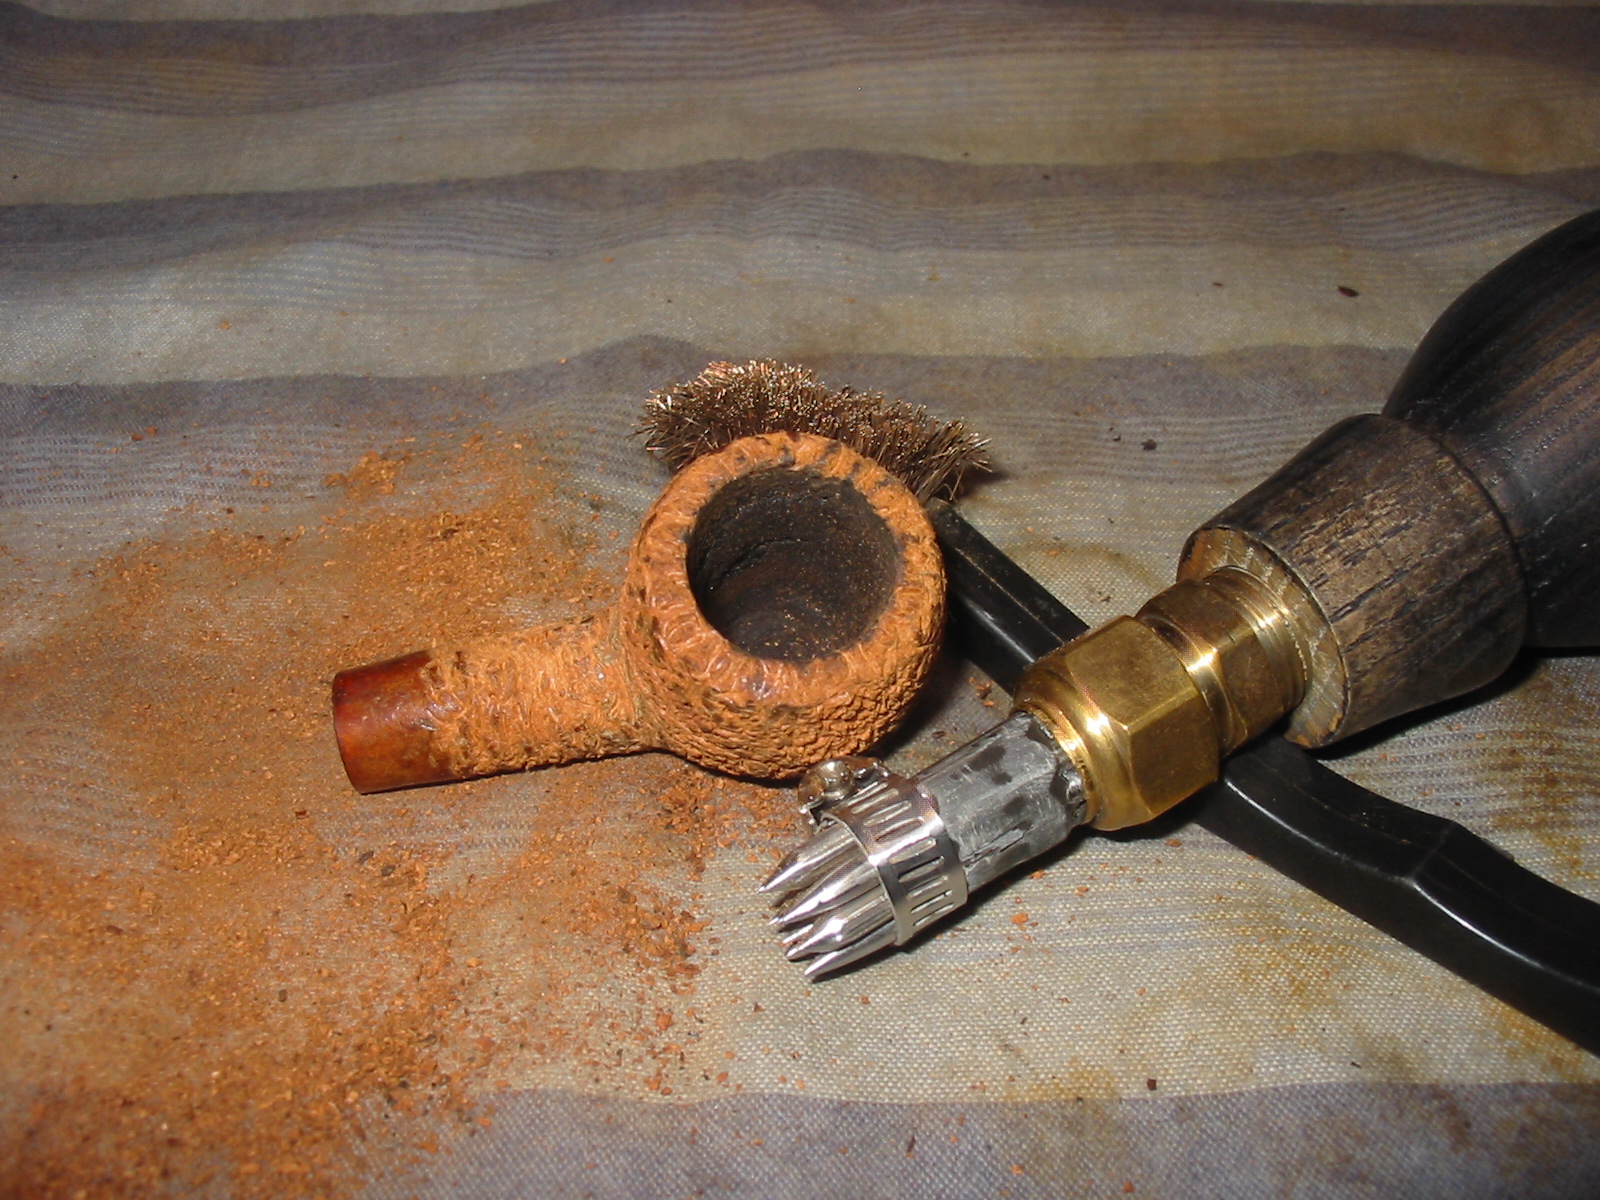


Once the bowl was rusticated I scrubbed the rough surface with a brass tire brush to knock of the edges. I carefully rusticated the rim and used the tool to round the edges on the outer rim to hide some of the obvious damage that had been present before. Once finished I stained it with a dark brown aniline stain. I had left the underside of the shank smooth and a portion of the shank next to the stem shank junction. I stained the bowl, flamed it, stained it and flamed it again until the coverage of the stain was even all over the briar.
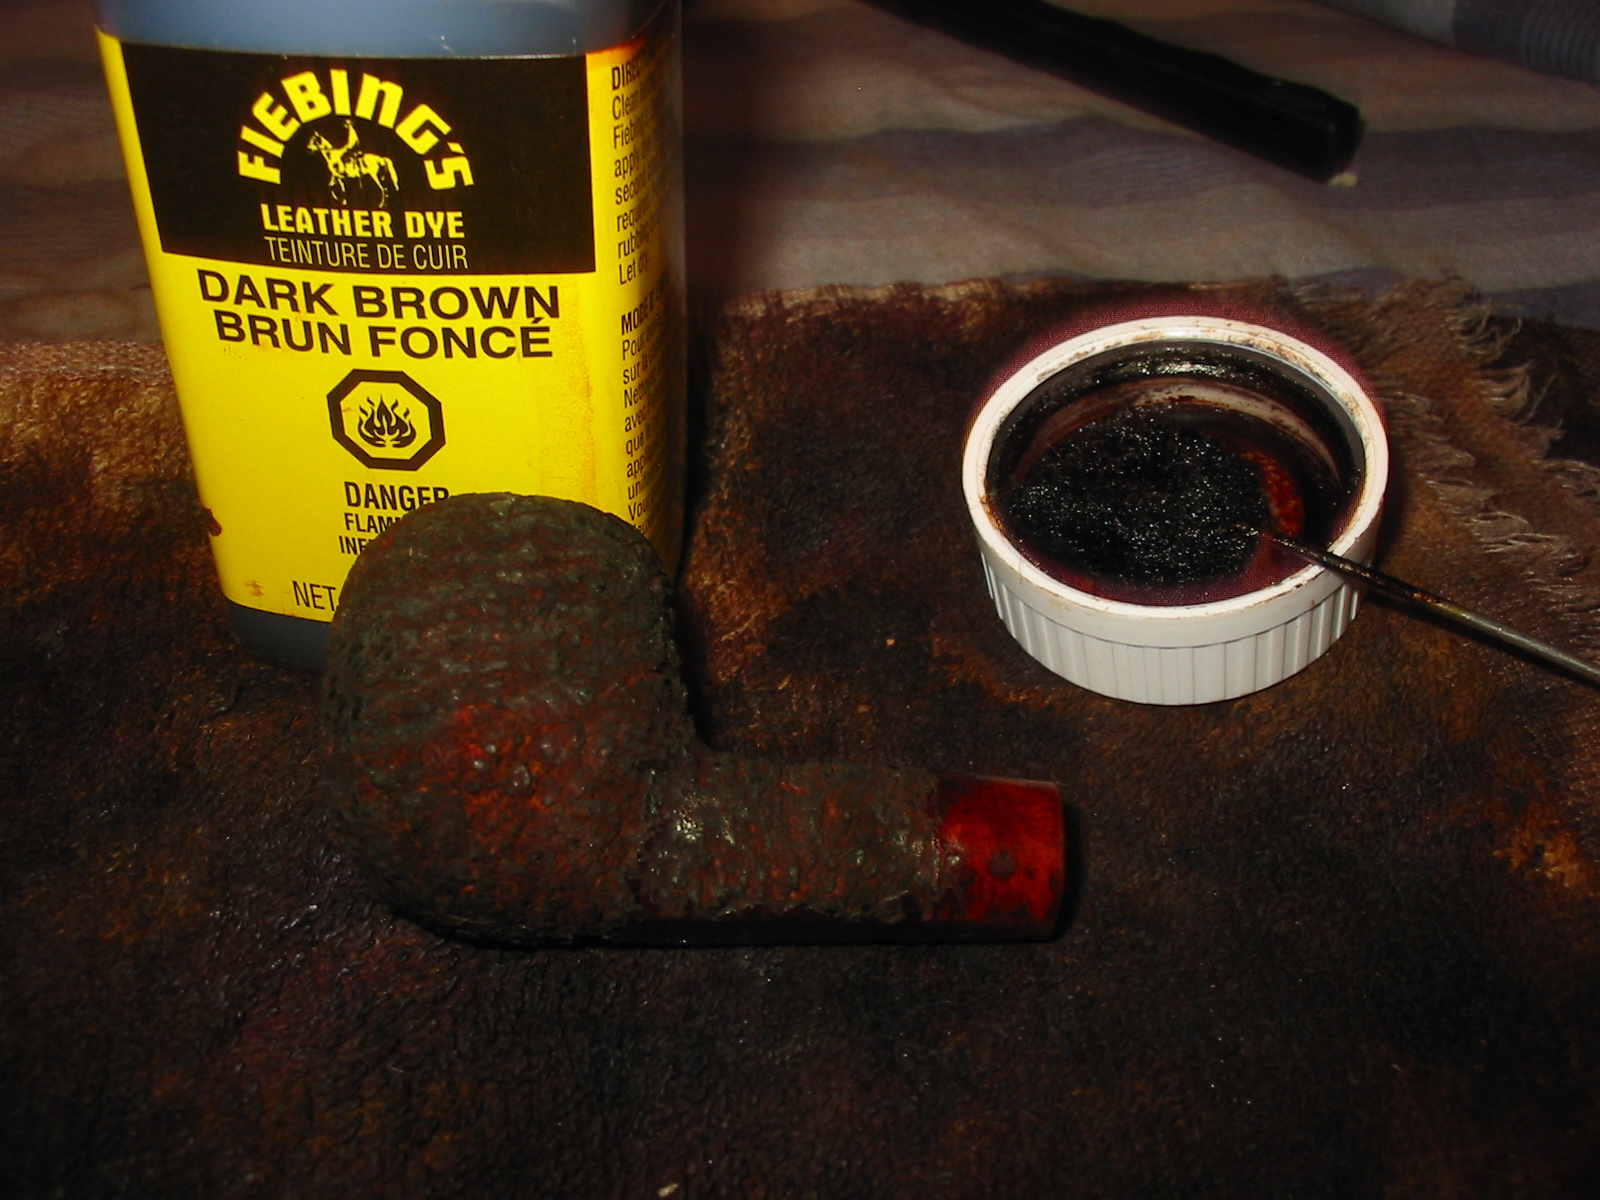


I buffed the bowl with red Tripoli to further smooth out the high spots on the rustication and give a little contrast to the stain. I used the brass brush a second time on the surface. It still was not quite what I was aiming for but I laid it aside for a while to look at it and think about the options. It was while I was doing that I thought I would see if I had a new stem that would work. It gave me a second option to try should the repair or patches not work well.

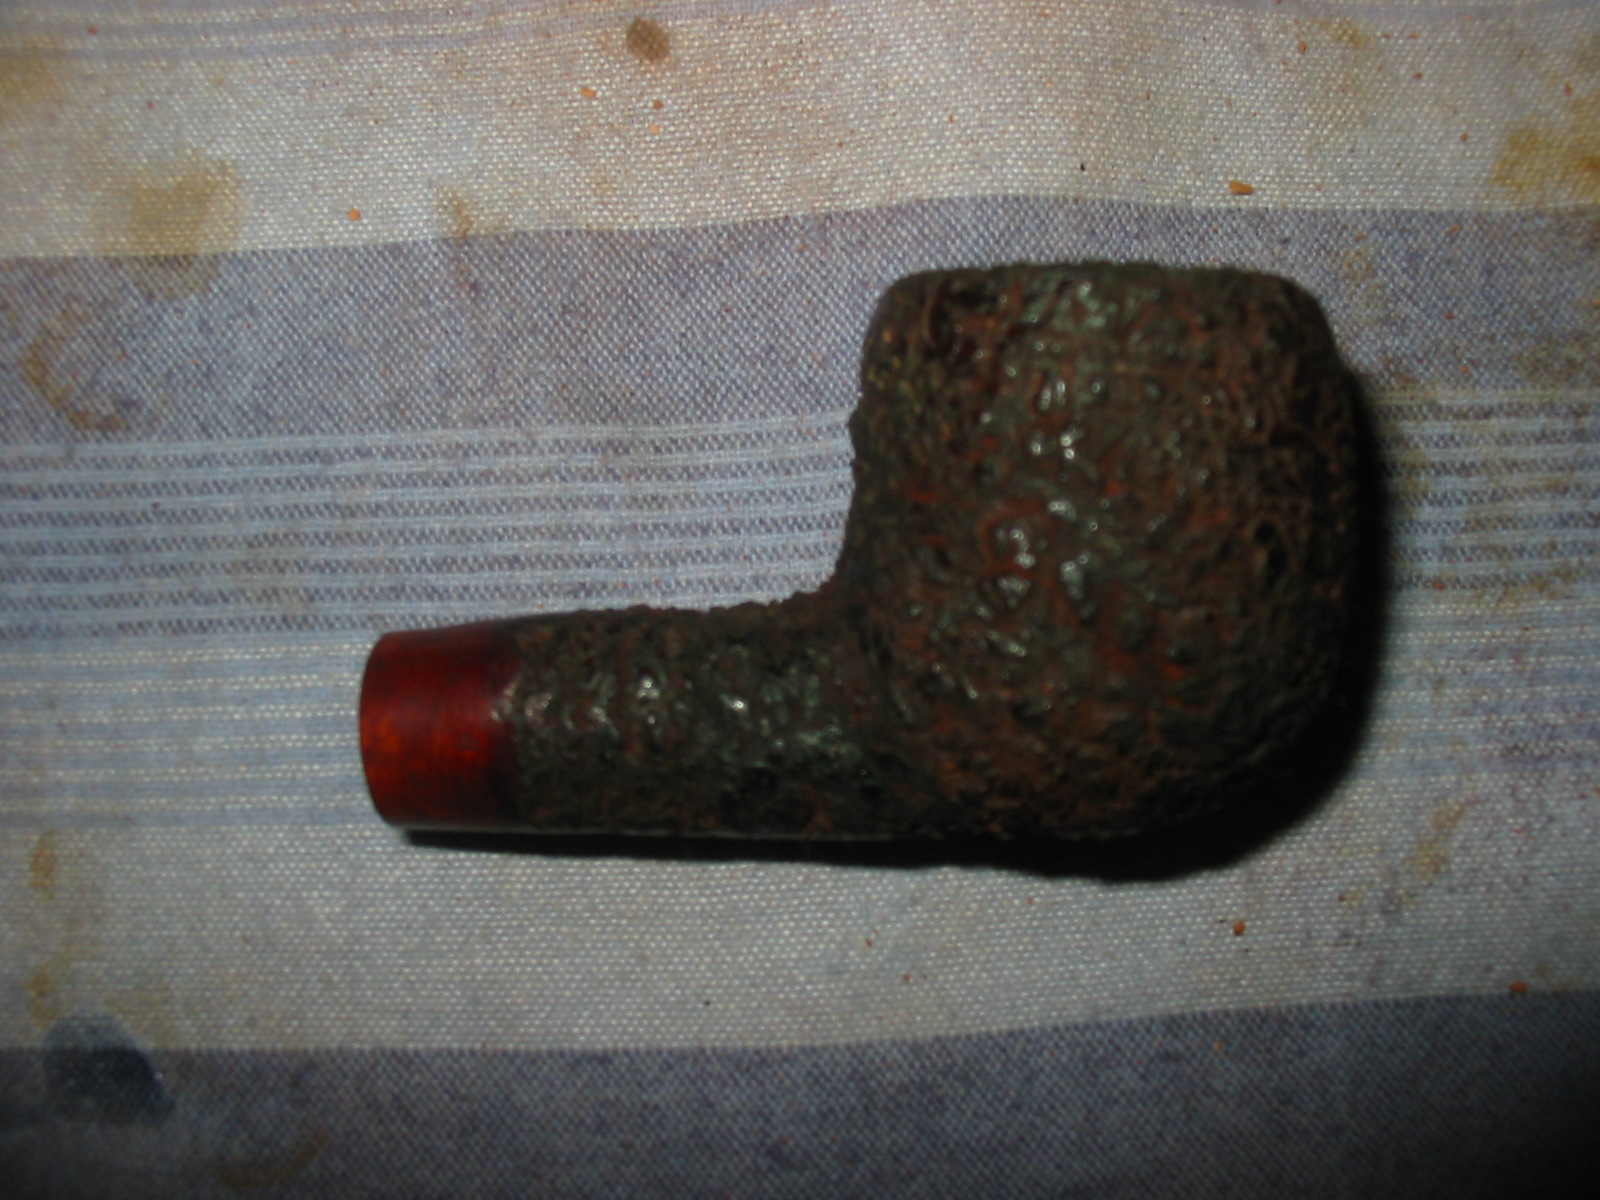

I did not have a round taper or saddle stem in my can of stems that was the right diameter for the shank but I did have quite a few square stems that could be modified to fit the shank diameter. I found one that had the tenon already turned for a previous pipe I was working on and put it on the pipe to have a look. I could see some potential in the stem and the look of the wide blade saddle stem. It would certainly be worth a try. If it turned out well and the patch on the other stem worked then I would have several options to work with. The tenon on the square stem was too long but that could easily be adjusted for a tight fit against the shank. I did the adjustment with a Dremel and sanding drum.


With the stem in place against the shank I could see the very evident taper of the shank on the topside and the underside. It was significantly narrower than the rest of the shank. I wondered if the smooth briar at the shank/stem junction was not from a previous refitting of a stem. I looked over the stem I was patching and saw that it actually bore the F stamping on the top rather than the M stamp that I had expected. I had not paid attention to that before but combined with the shape of the shank I was relatively certain that the stem was a replacement and the damage to the shank was caused by a sanding the shank to more readily match the smaller diameter of the replacement stem. That made the stem choice easy – I would refit a new stem to the shank. I would use a nickel band to level the shank out and make the taper of the shank more even. This would also make fitting the new stem quite easy. I set up a heat gun, heated the nickel band and pressed it into place on the shank. The silver actually looked good against the rustication of the bowl.


I used the Dremel and large sanding drum to take off the square edges of the new stem. I worked on it until it was round. I started by taking off all the corners and creating an octagon first and then continuing to round out the stem until it was the same shape as the shank. The bottom of the shank on the pipe was flattened so the pipe would sit upright on its own so I left the bottom side of the stem slightly flattened as well. I sanded the stem with 220 grit sandpaper and medium and fine grit sanding sponges to get the fit against the bowl and band perfect. I also sanded the rustication on the bowl to soften the high spots and flatten them out. I wiped the bowl down with alcohol after I had sanded. The next series of four photos show the sanded bowl and stem. The rustication is getting closer to the look that I was after when I started.


I continued to sand the stem with the fine grit sanding sponge and also the bowl. I once more wiped the bowl down with a soft cloth and alcohol to remove the dust. Each step in the process is flattening out the rustication slightly more and bringing a shine to the newly rounded stem.


I sanded the stem with micromesh sanding pads – wet sanding with 1500-2400 grit pads and dry sanding with 3200-12,000 grit pads.


I rubbed the stem down with Obsidian Oil and when it had dried I buffed the bowl and the stem with White Diamond. I sanded the bowl with 1500-2400 grit micromesh sanding pads to further flatten he high points of the rustication and then buffed the bowl a final time with White Diamond. I gave the stem multiple coats of carnauba wax. I buffed with a soft flannel buff between the coats of wax. I wiped the bowl down lightly with a coat of olive oil. The finished pipe is shown below. It has come a long way from the worn and tired looking old Medico with the bite throughs in the stem. The rustication came out the way I wanted it to with the high spots showing a lighter brown and the valleys in the rustication holding the dark brown stain. It is finished and ready for an inaugural smoke – if not by me at least by someone who will take it home to their rack.
Oh, and for those who wondered about the “original” stem that I was patching earlier in this post, I am continuing to work on the repairs. Both sides have had two layers of super glue and the holes are sealed. There are still more layers to go as the glue shrinks as it cures. It will be used on some other pipe in the future I am sure but for now once the patch is finished it will go back to the stem can to be used on another pipe.
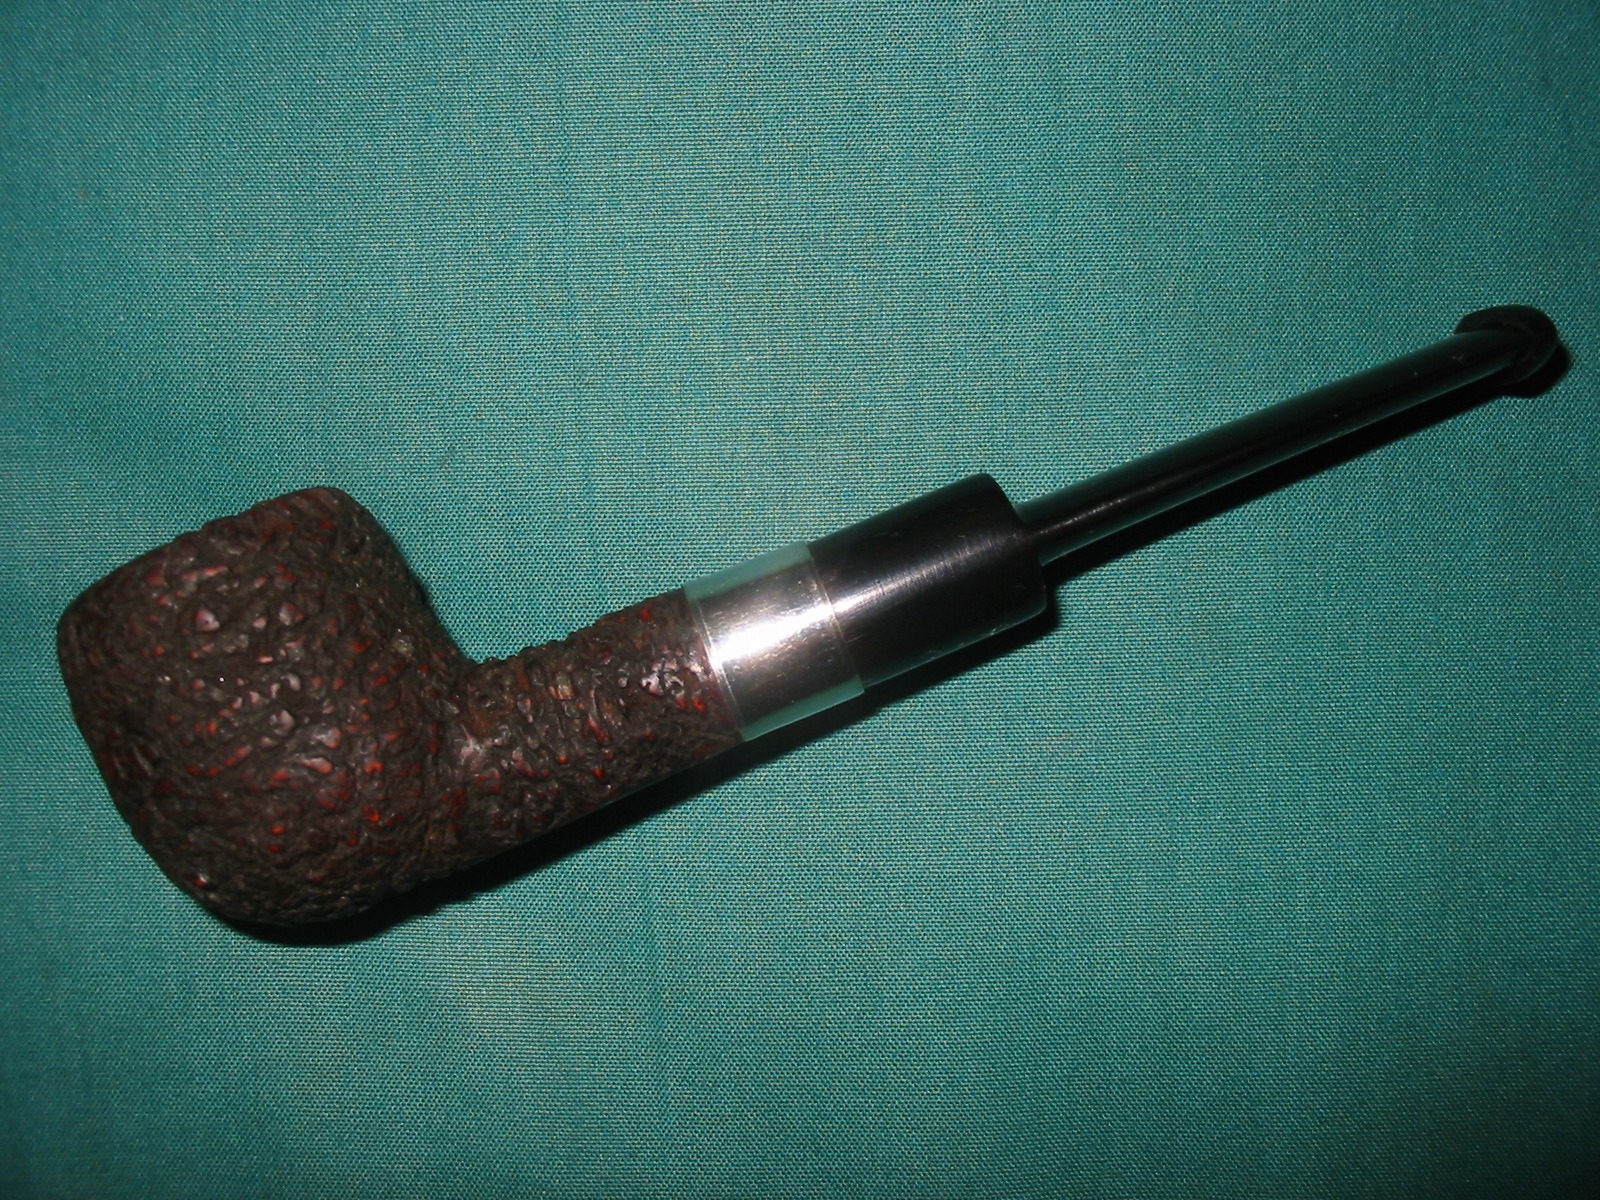


It is a pleasure to post this blog piece by Bill Tonge. He is the friend who sent me the Hardcastle’s Dental Briar I posted about earlier. I met Bill on Pipe Smokers Unlimited and have appreciated the photos and write ups of pipes he has refurbished or rusticated. I also follow him on Twitter so I saw this pipe in a Tweet he did earlier today. I really like Bewlay pipes and love the fact that they are made by such pipe companies as Orlik and Barling as well as others. This particular pipe caught my eye when I saw it in its raw state and in Bill’s finished photos. Bill does excellent work on the pipes he refurbishes and I always learn something from his efforts. I think you will appreciate the minimal tools he uses to get the results he does. I asked Bill about why he enjoys refurbishing and he responded with the following. I think it summarizes why many of us begin the process of refurbishing. Here are Bill’s own words: “As a person that is economically challenged, I enjoy fixing up the ugly ducklings. I take pride in taking that $5.00 pipe that no one else wants and converting it to something that fits beautifully in a pipe collection.” Without further introduction here is Bill’s first article on the blog. Thanks so much Bill, for sharing your work with us.
I recently received a care package from some very good friends. Inside was a ton of tobacco and three pipes: a Bewlay and 2 Trypis. As you will see from the first set of pics the Bewlay was a project pipe.
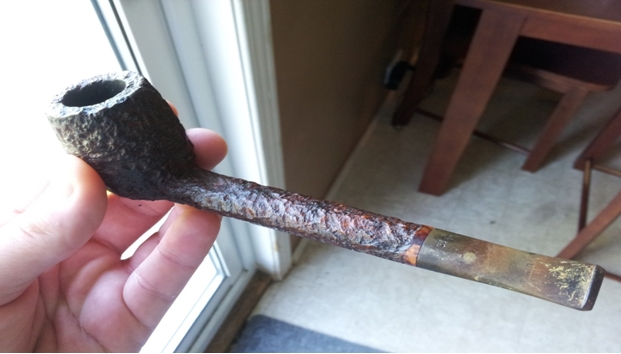
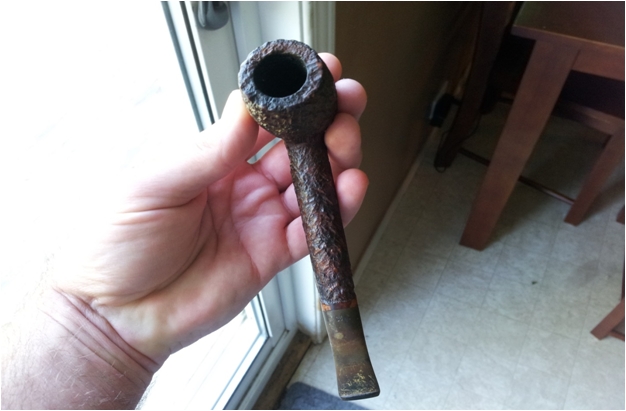
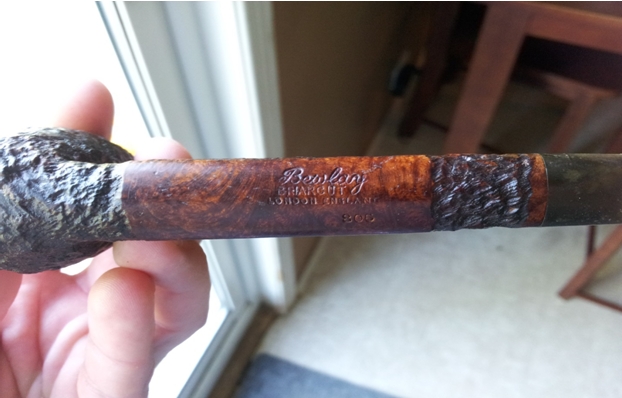
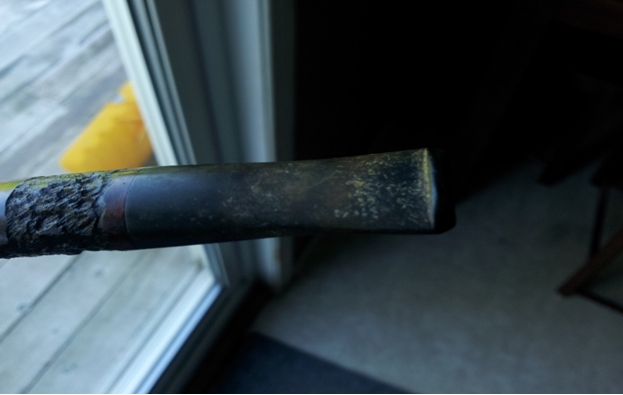
I only use a Dremel, wire brush attachment, fibre brush attachment, sanding attachment, some wool balls, micro mesh, magic eraser and carnauba wax. I do enjoy the time I spend bringing pipes back to life. I have only been doing this since January but I want to show you don’t need oodles of tools to clean up a pipe.

I used the wire brush attachment in the Dremel to highlight the high spots on the pipe and the sanding attachment to clean the inside of the bowl. I then sand the smooth spots on the pipe with the micromesh. Then I take the wool ball, load it up with carnauba wax not worrying about leaving a caked on looking wax build-up, and apply it to the whole pipe. I then take the fibre brush attachment in the Dremel and use it to remove the excess wax, as it leaves an extremely nice buff and shine. I use a rag to finish off the smooth spots and give it a final wipe.
I use the Oxi Clean and Magic Eraser to clean the stem and then go at it with the micro mesh pads. If stems are worse I will use 400-1000 grit wet paper before the pads. Then I apply a coat of wax to the stem with the wool ball and buff with a rag.
This is the finished pipe. I like my pipes on the lighter coloured side so I am very happy with the way it turned out.
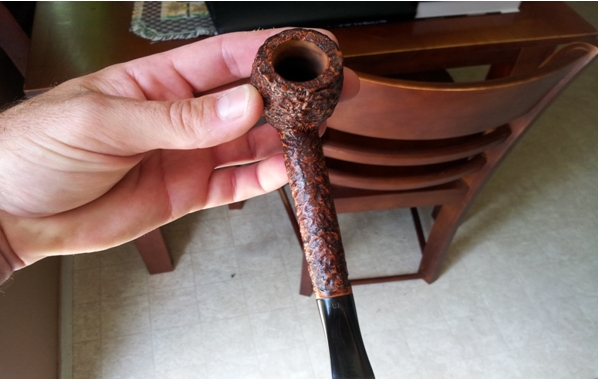
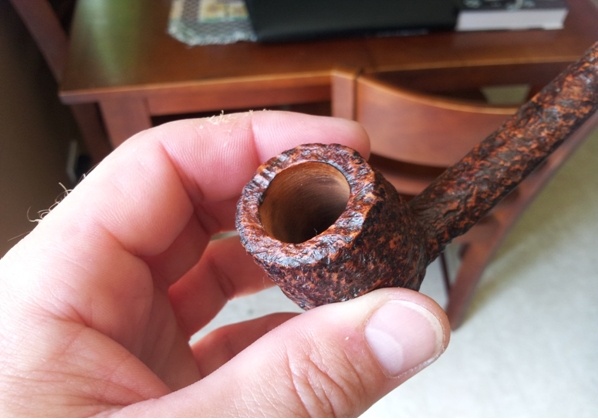
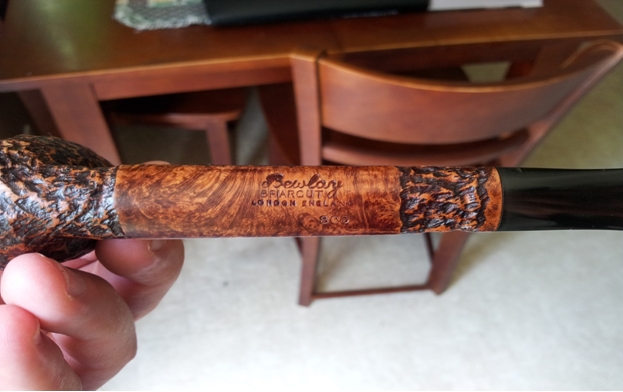
Thank you to Steve for allowing me to post on his blog. I enjoy reading it and seeing the history of all the pipes you work on. My next project is a pipe that was gifted to me by Steve.

