Blog by Steve Laug
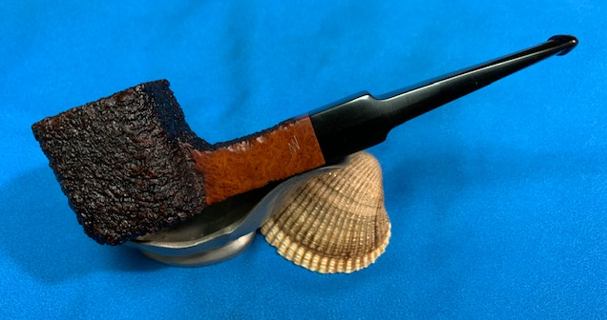
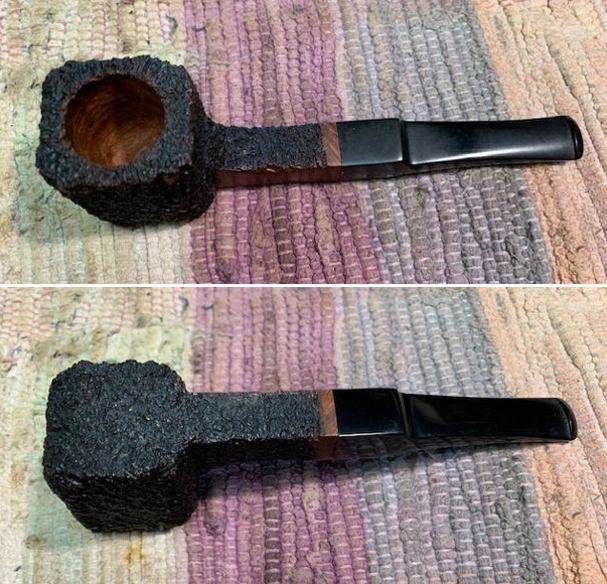
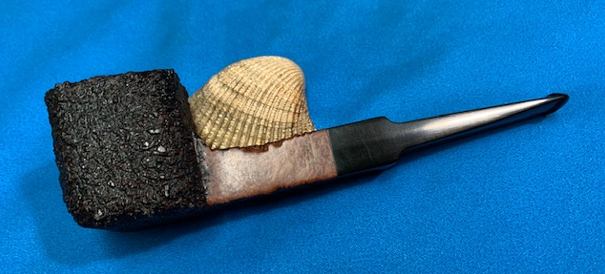
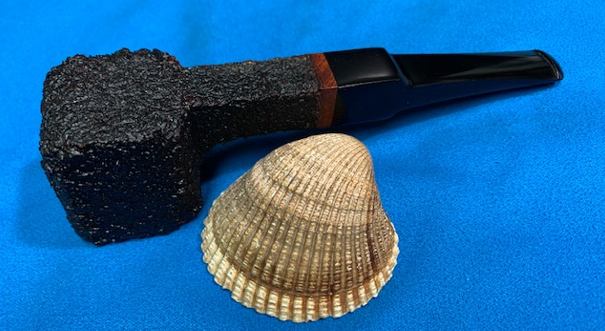
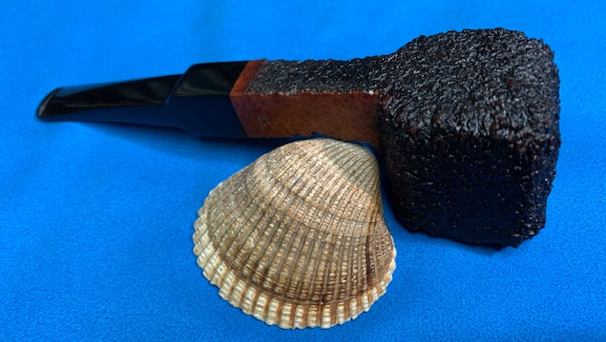
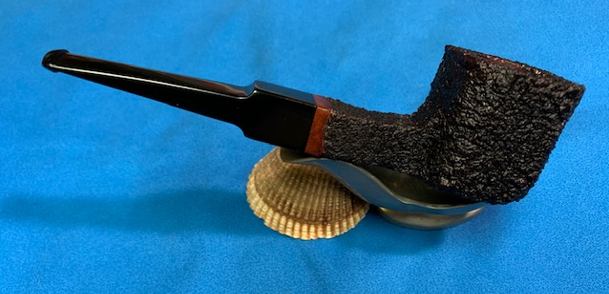
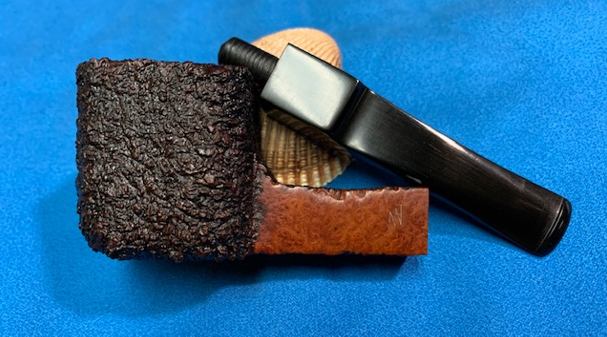
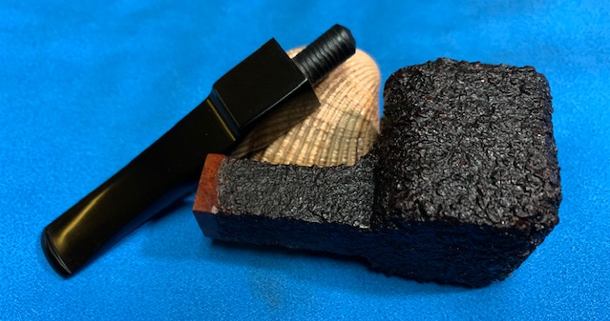
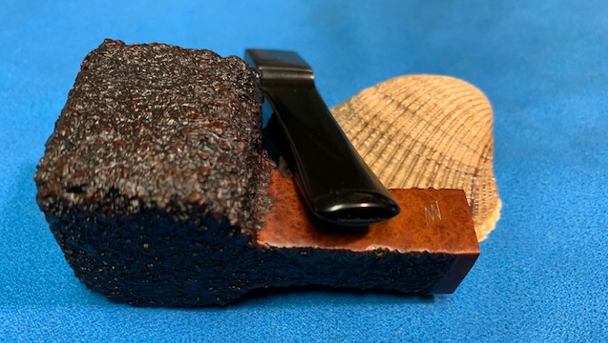
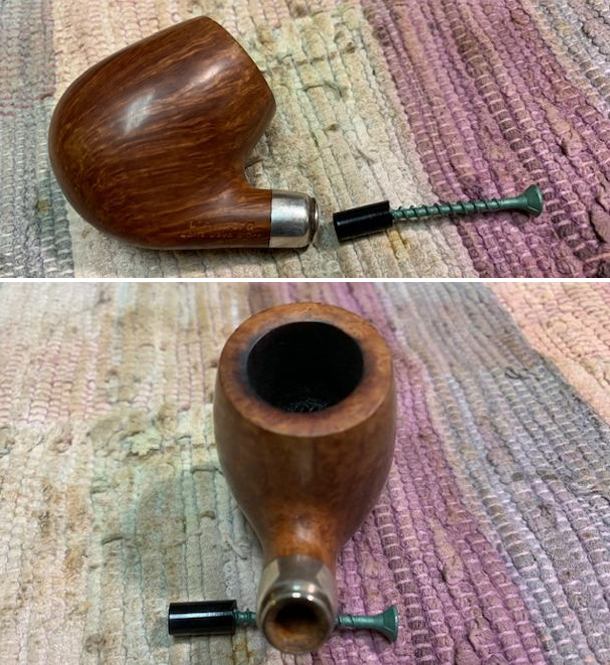
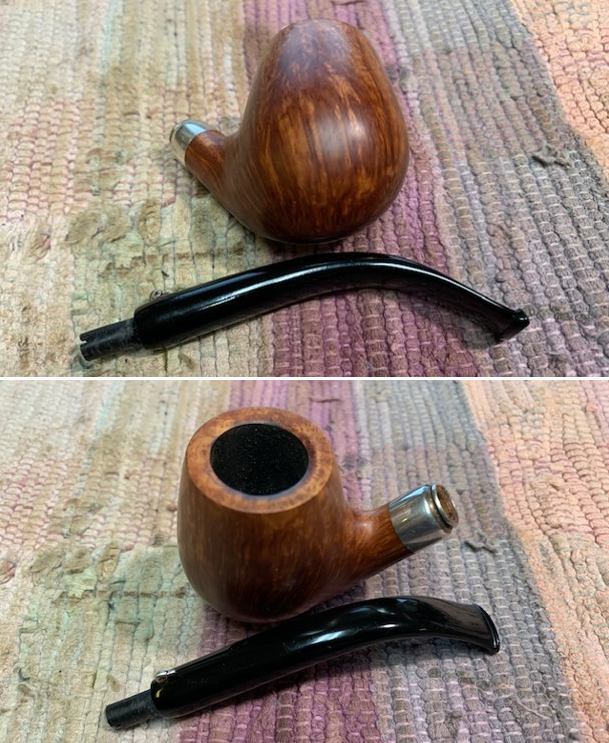
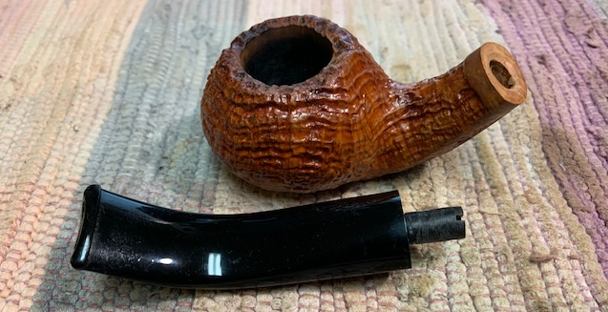
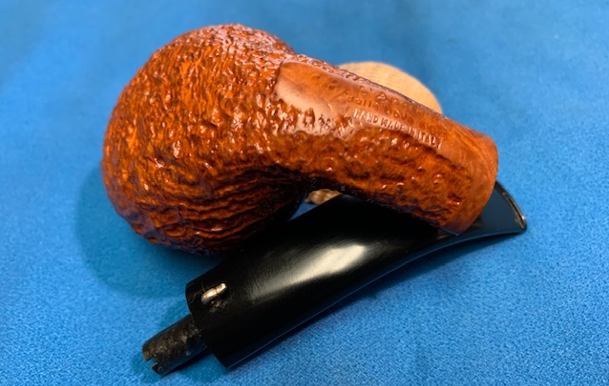
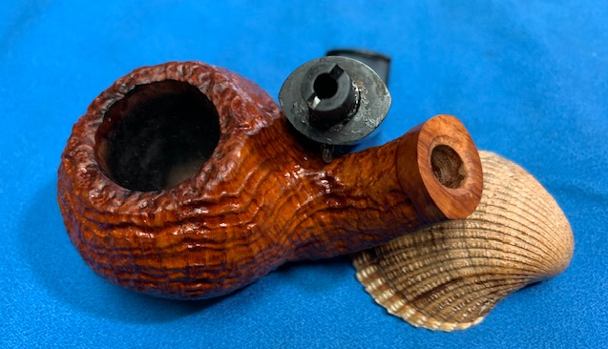
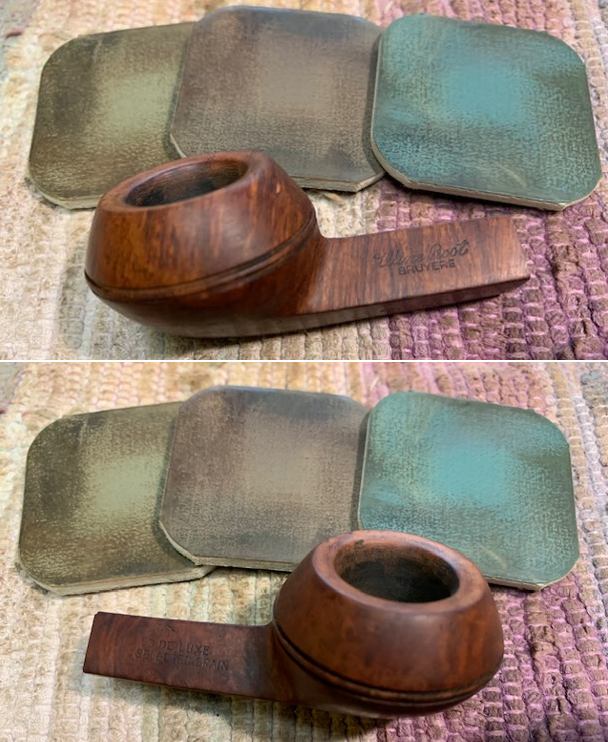
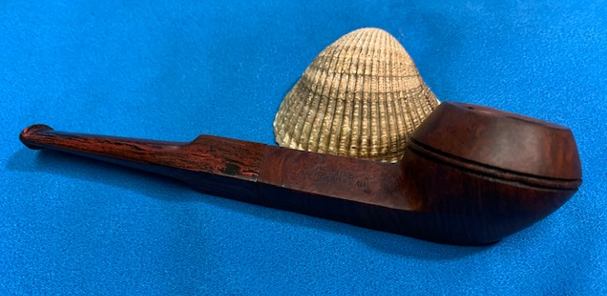
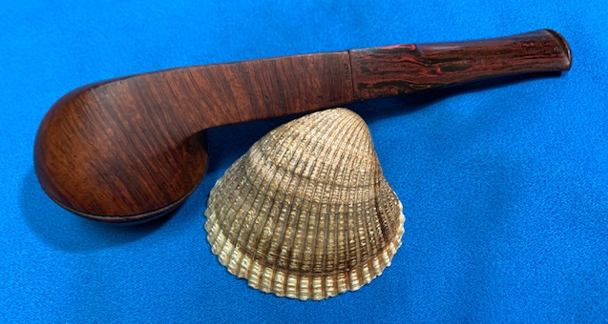
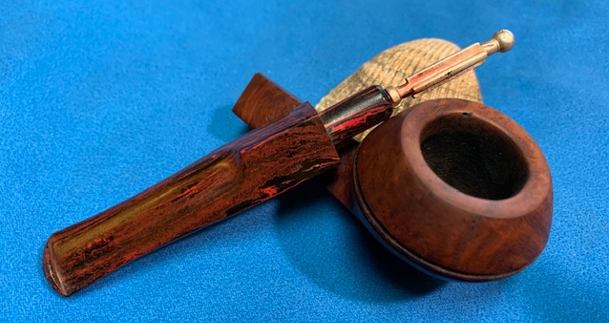
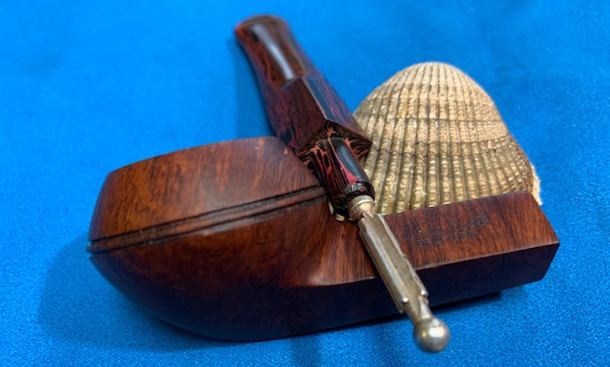
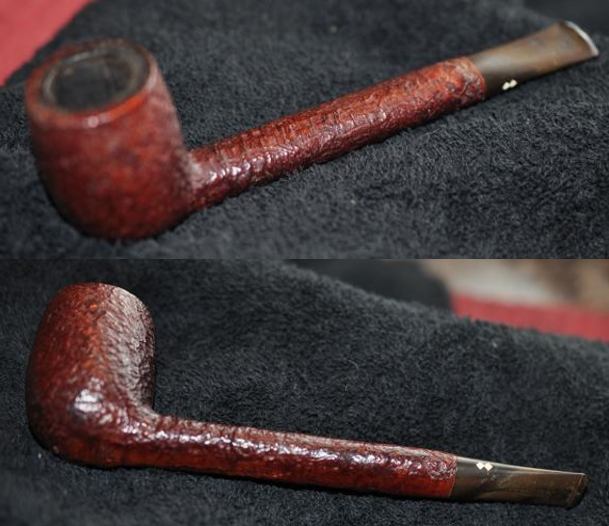
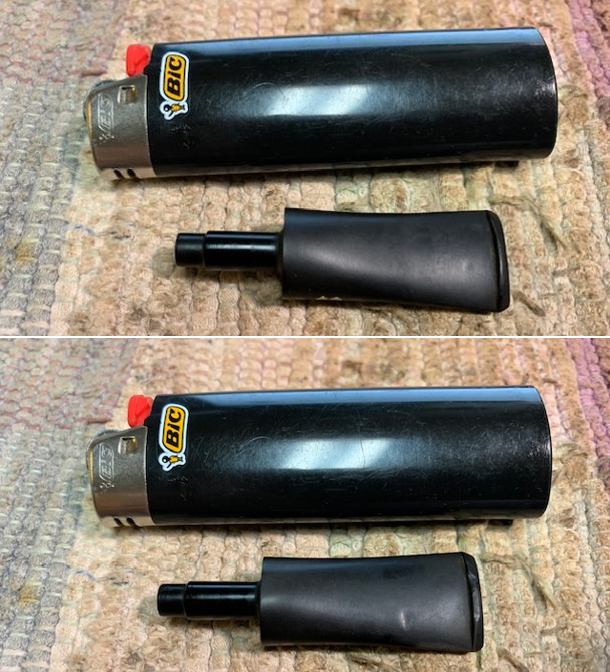
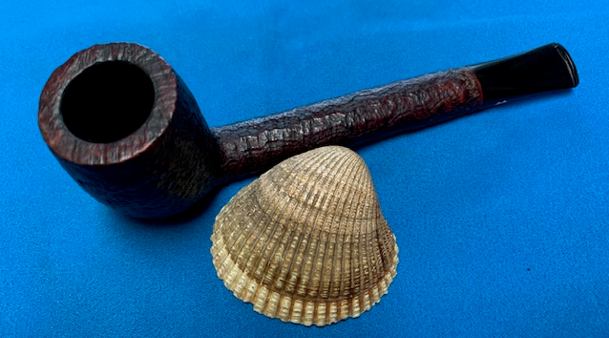
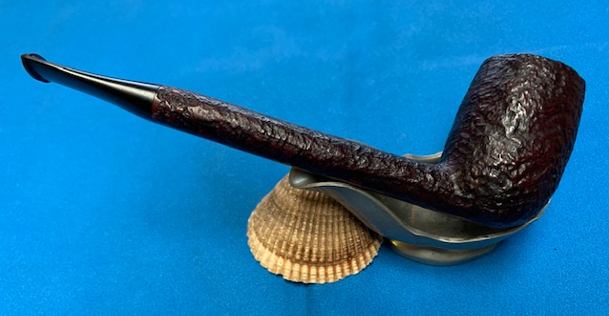
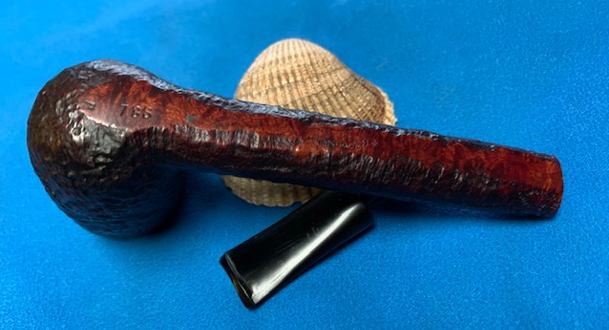
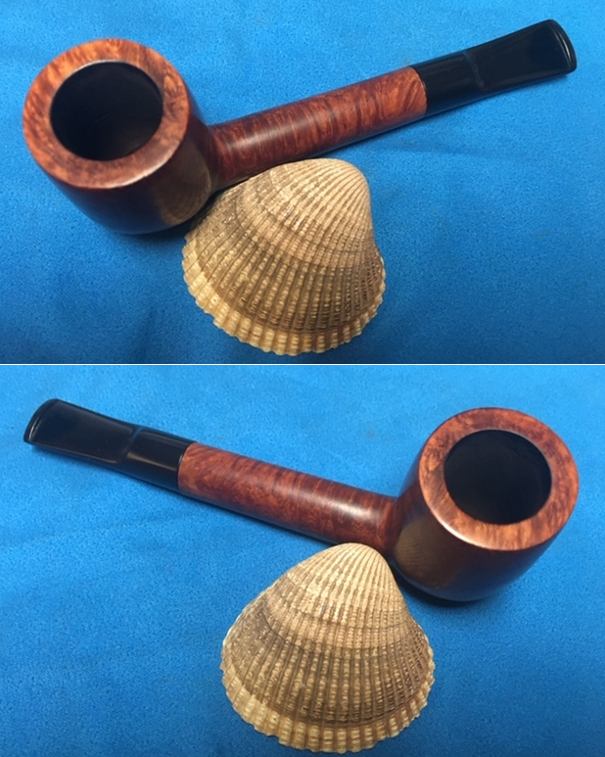
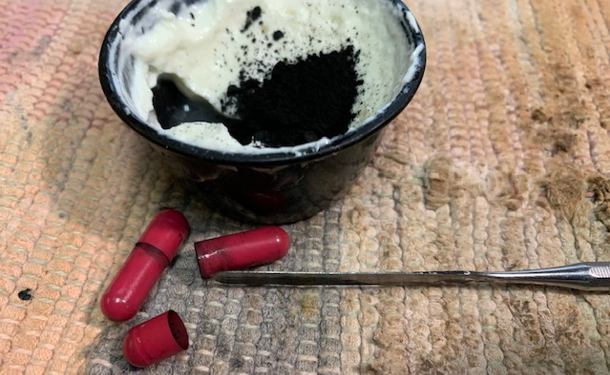
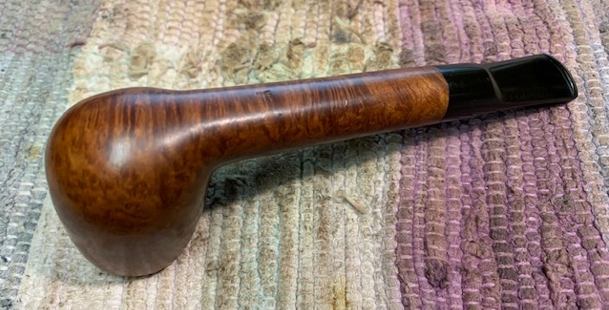
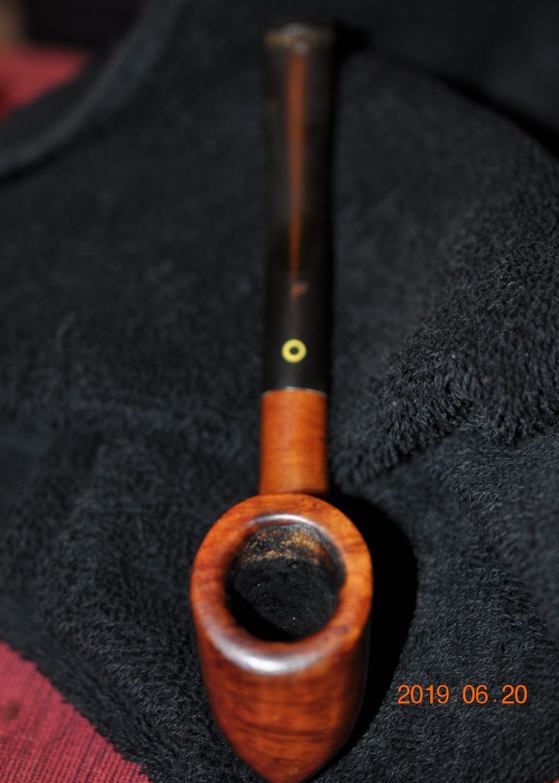
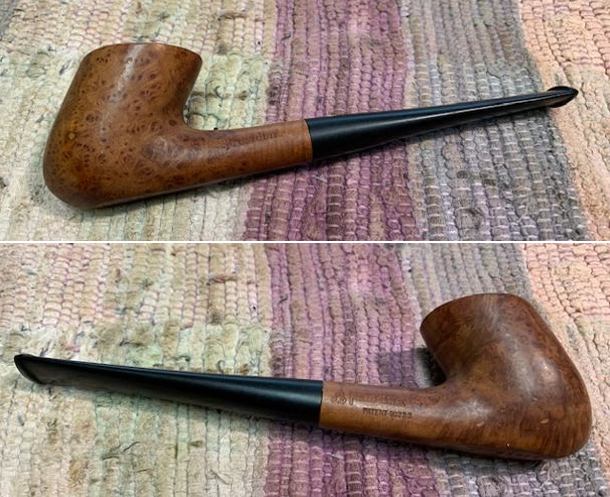
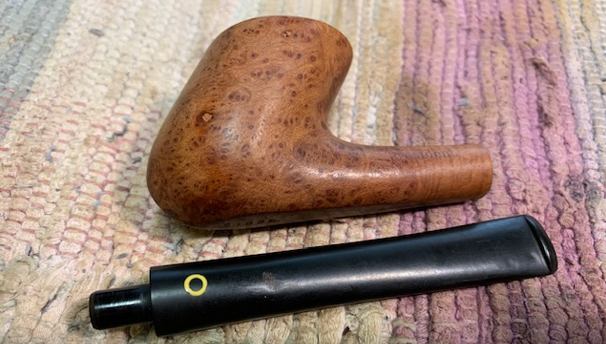
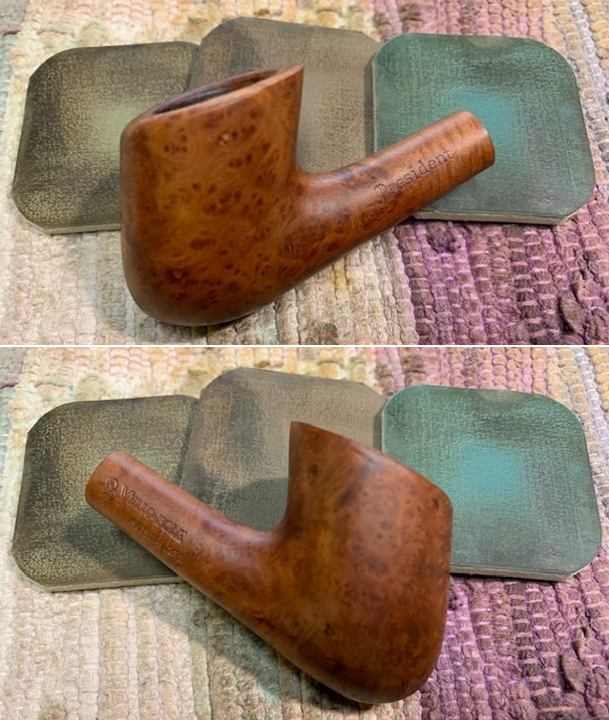
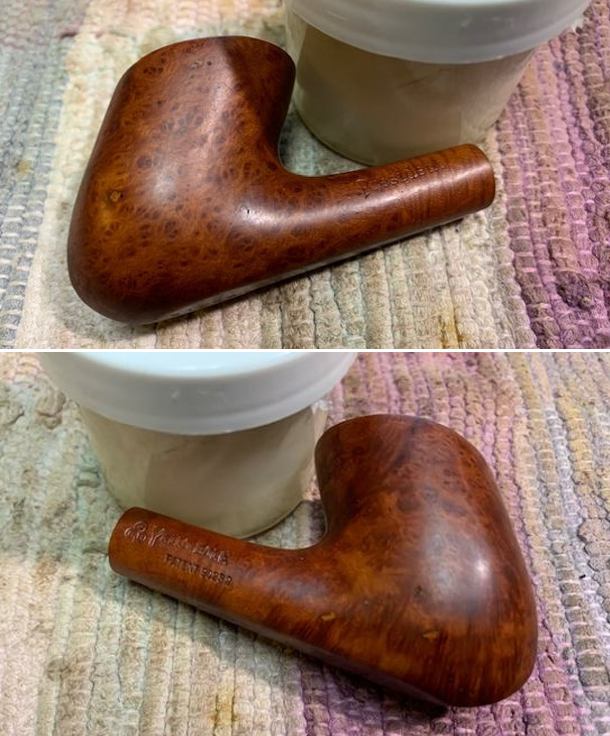
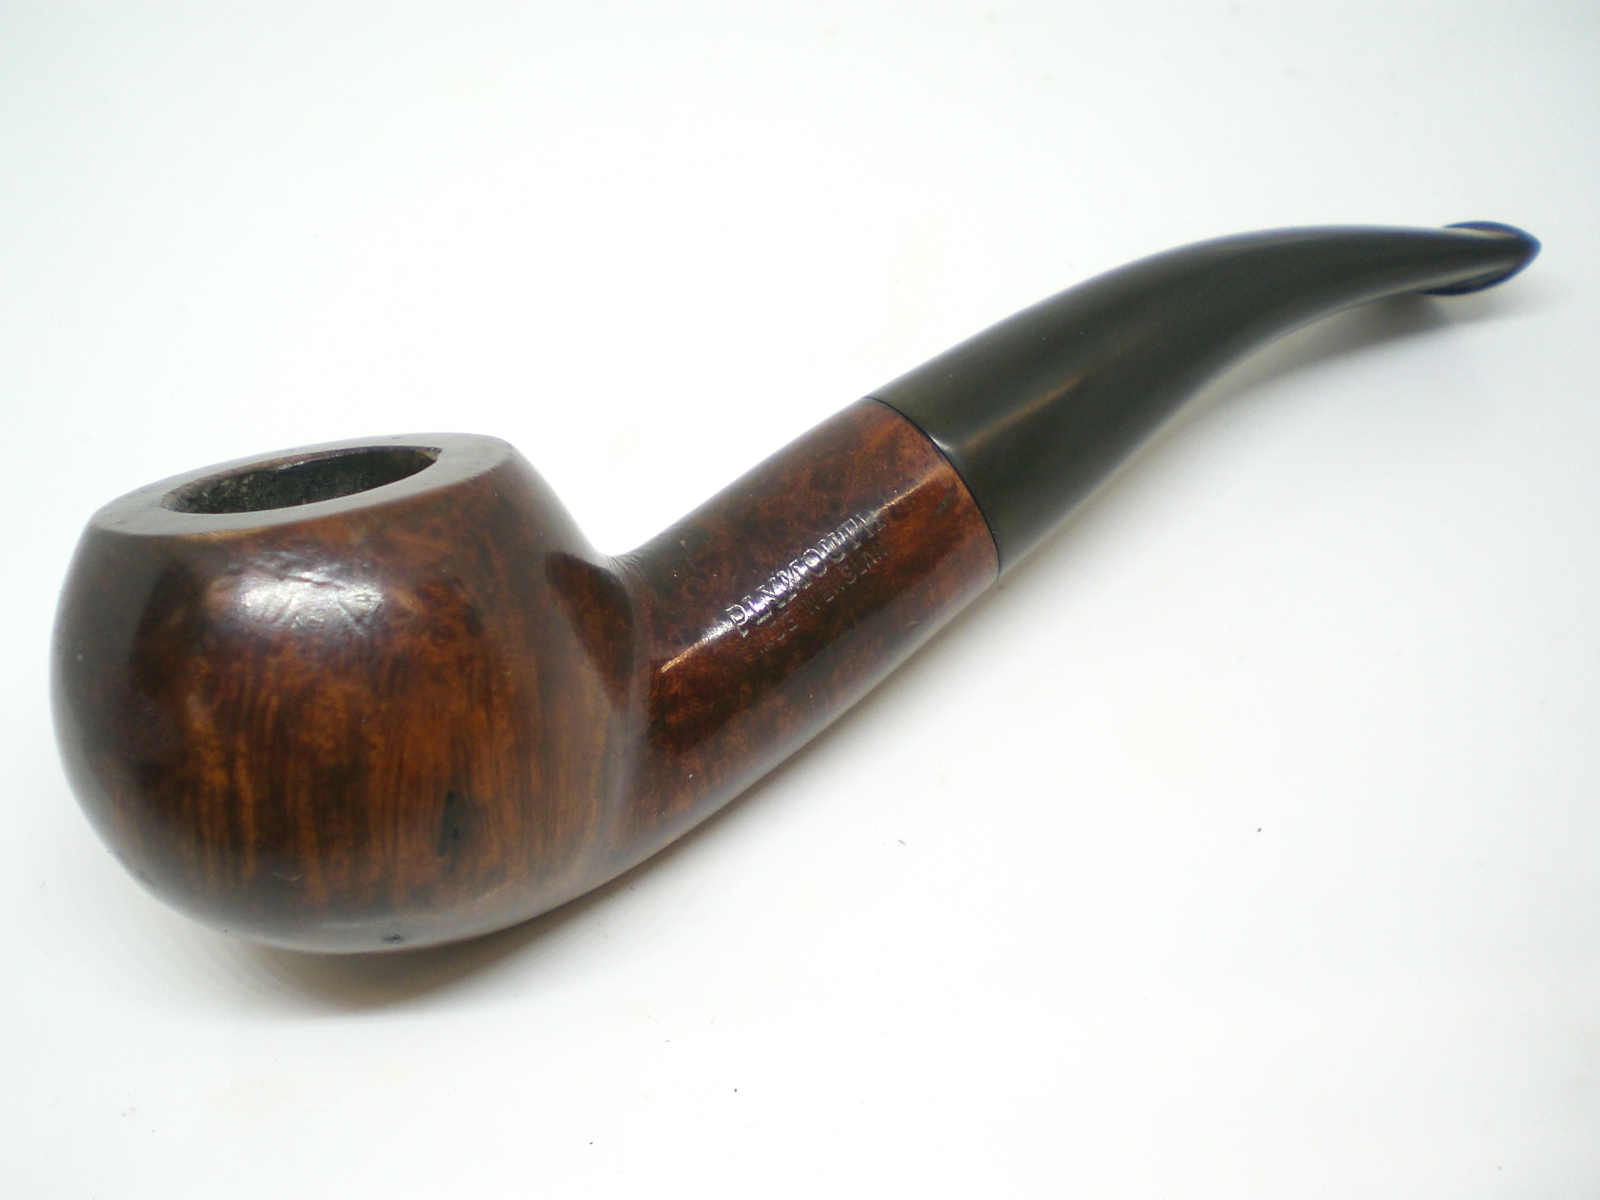
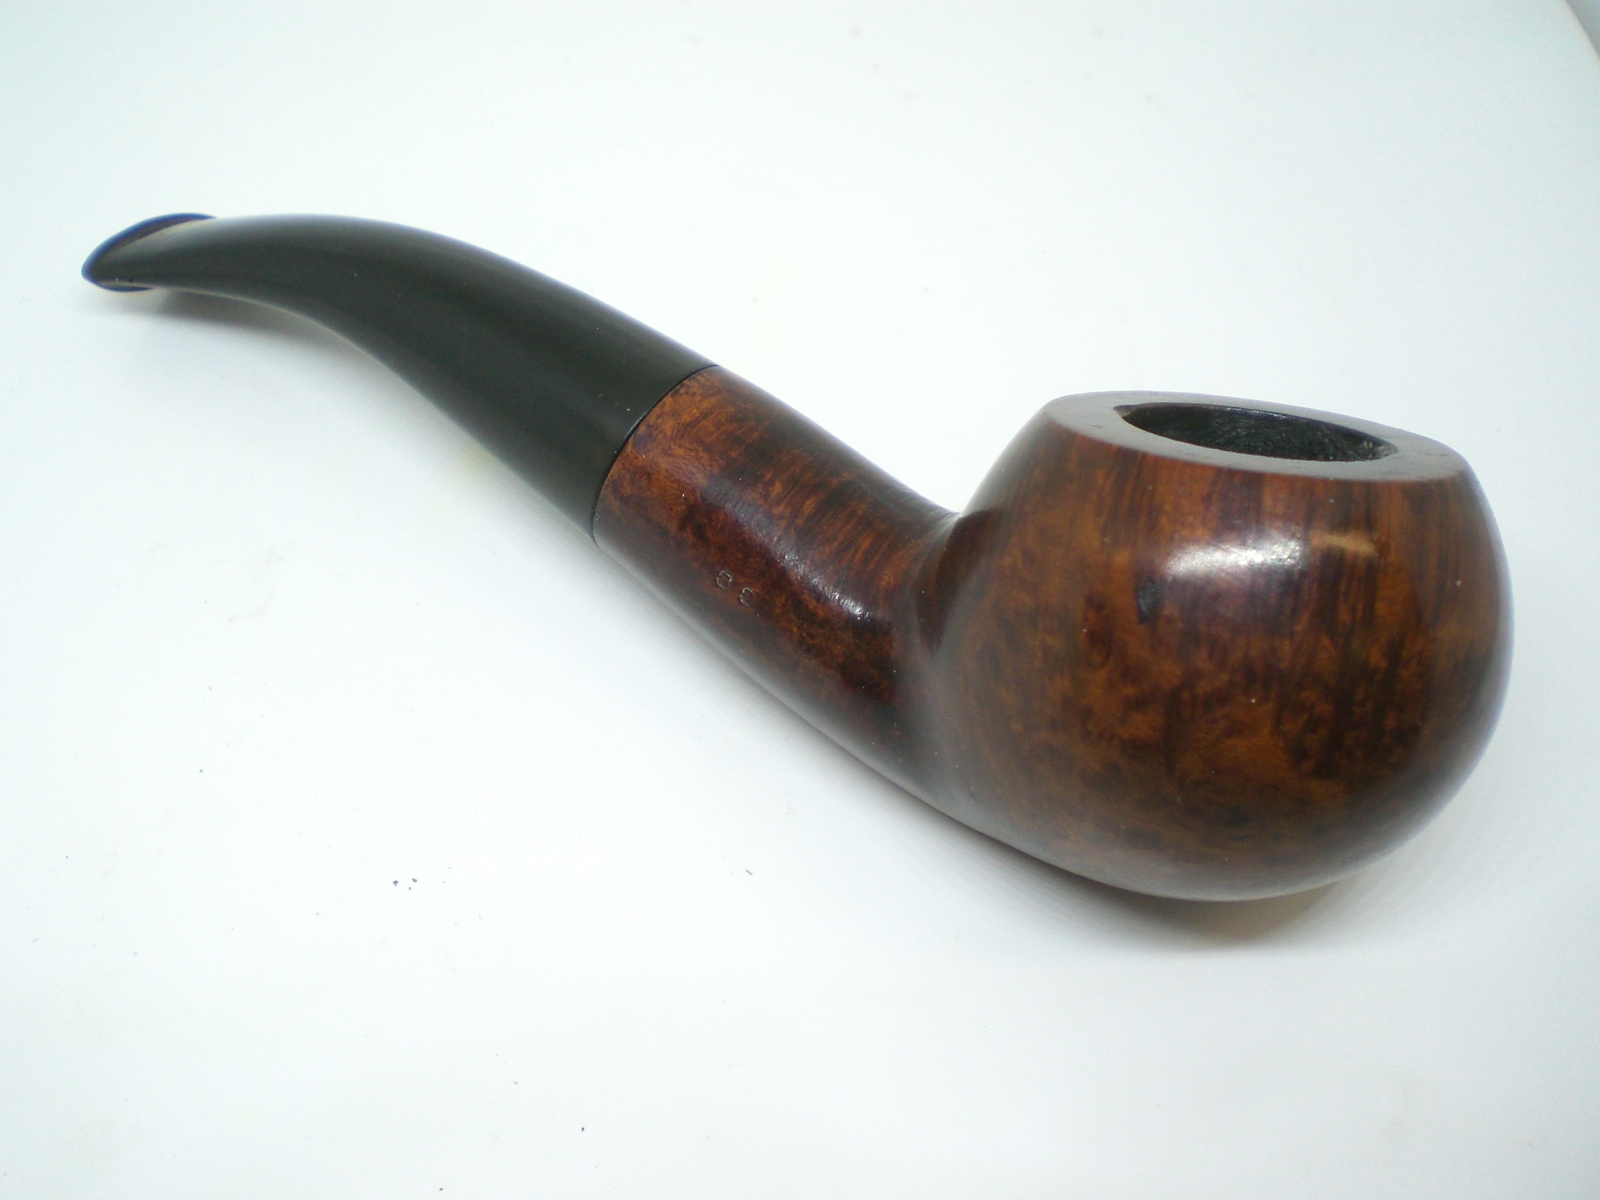
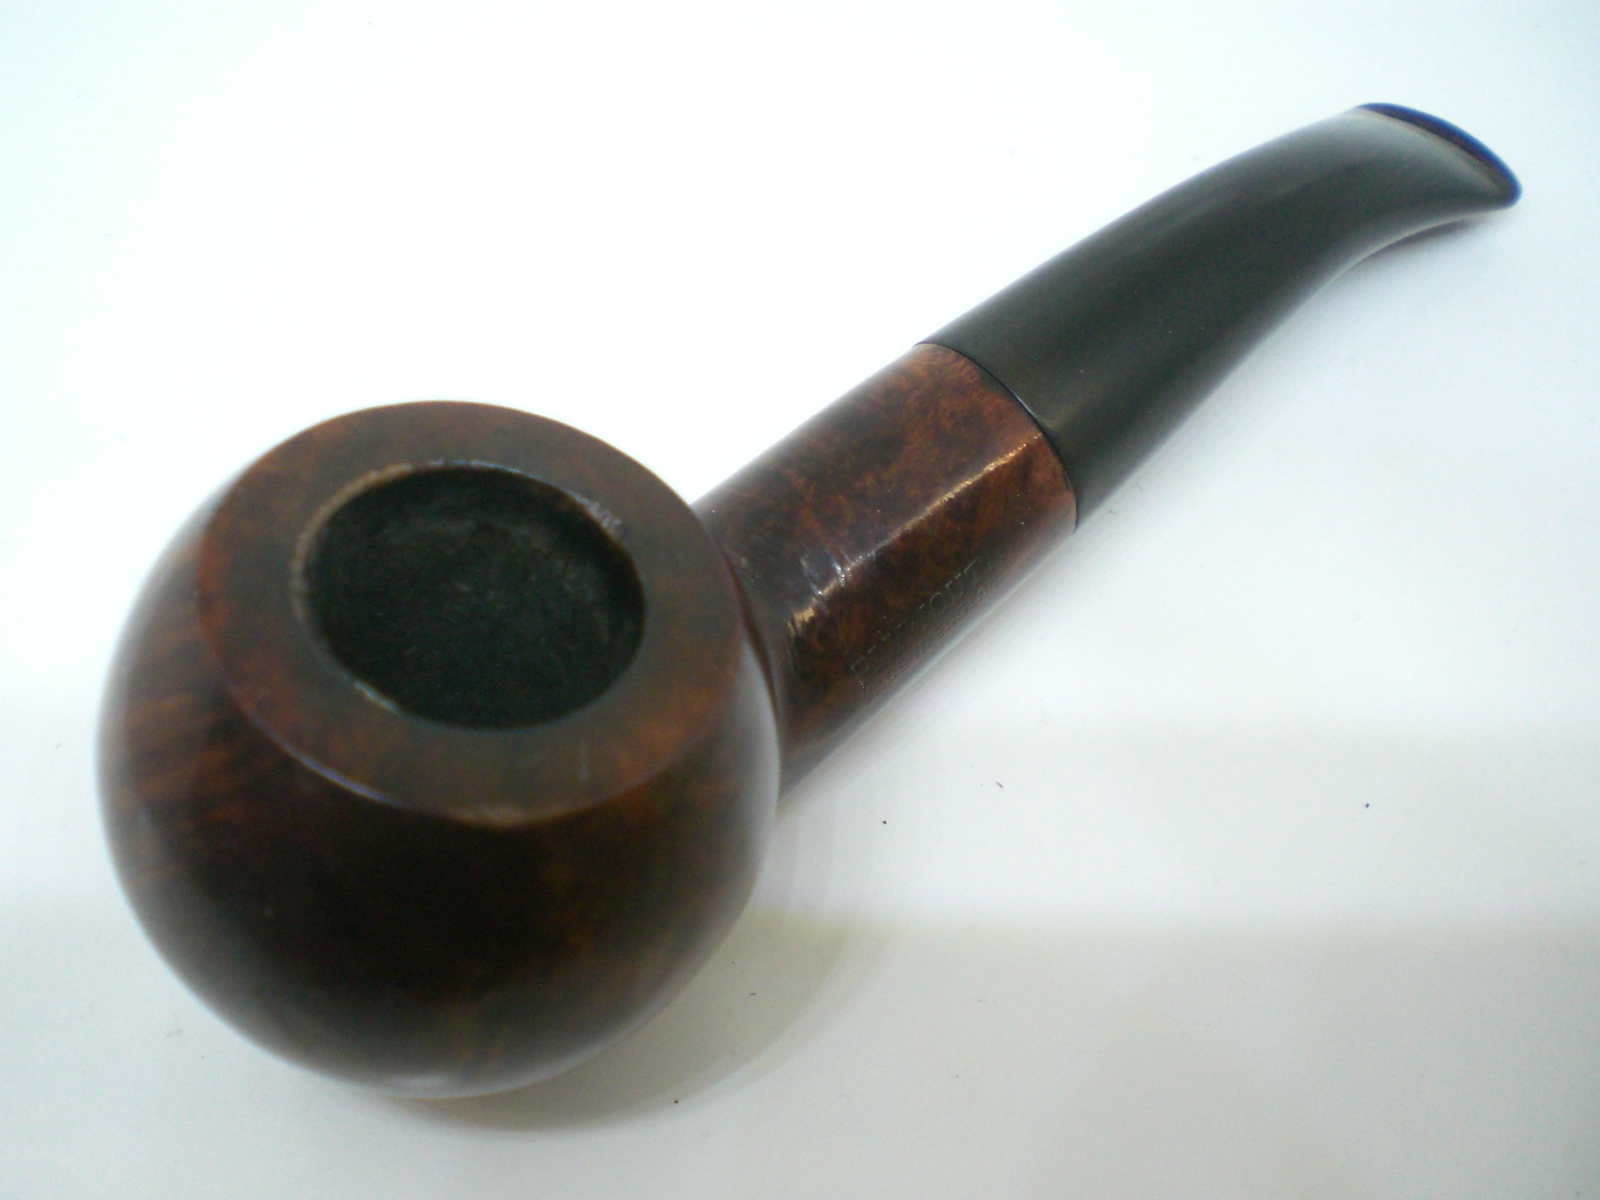
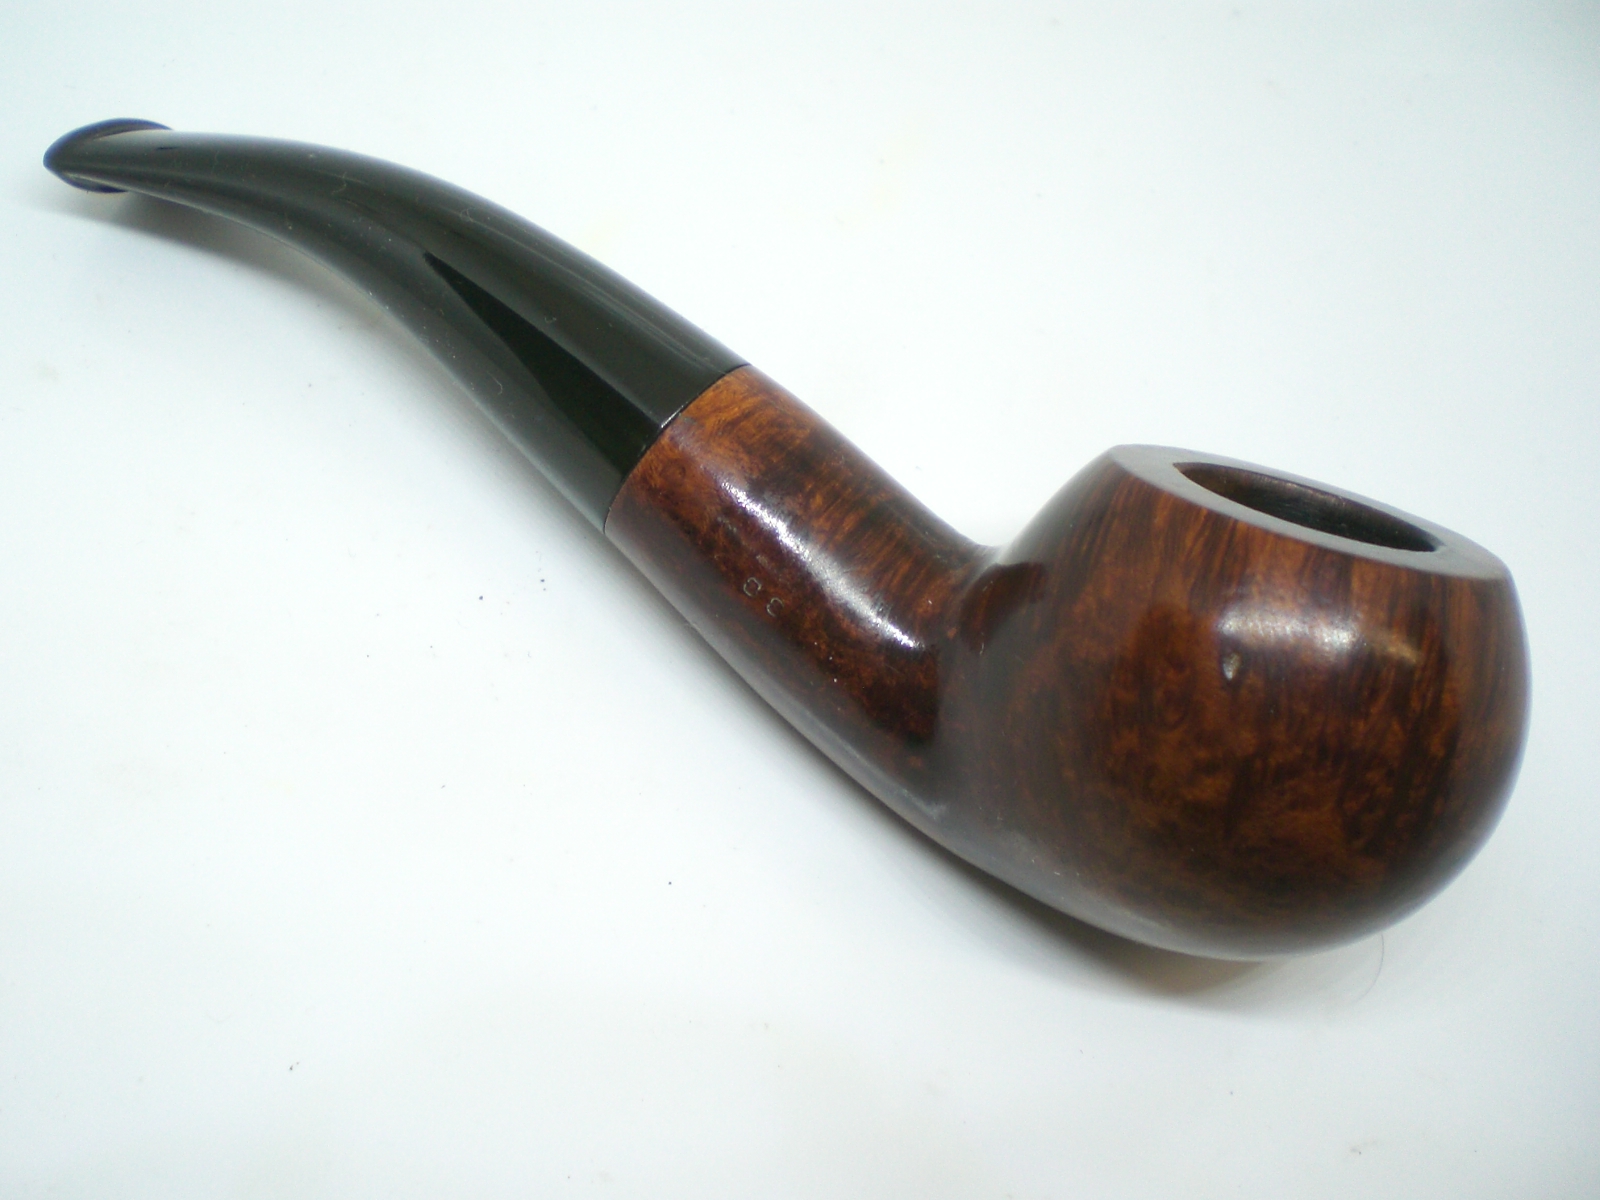
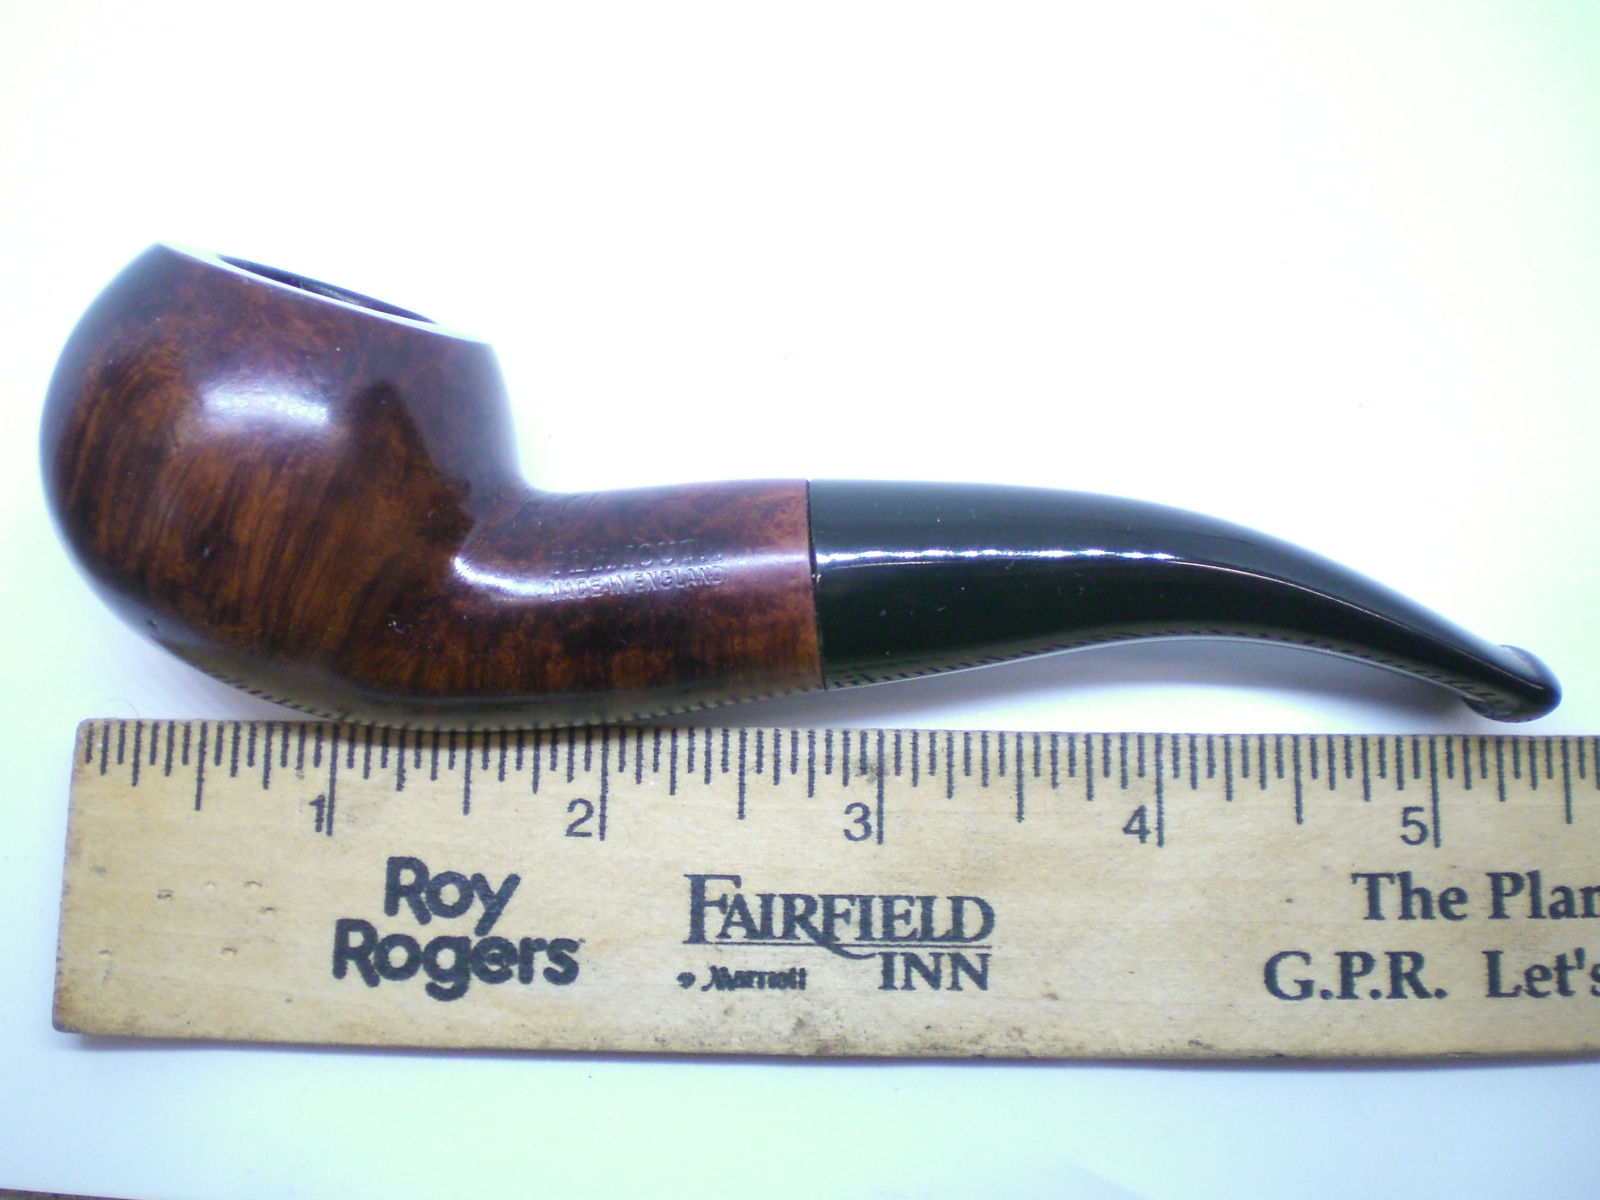
The next pipe on the table was purchased on 05/08/19 from an online auction in Cedar Springs, Michigan, USA. Jeff picked it up because we both like Cumberland stems and this little Bulldog had that and some great grain. The pipe is stamped Wine Root [over] Bruyere on the top left side of the shank and Wally Frank [over] Limited on the bottom left side. On the top right side it read De Luxe [over] Selected Grain and on the bottom right side it was stamped ITALY. The bowl was heavily caked with a heavy overflow of lava on the beveled rim top. There was some darkening on the outer edge of the rim down the side of the cap toward the back of the bowl. The finish was dirty and oily from the heavy use it had seen. It had a Cumberland push stem and an interesting/odd stinger apparatus in the tenon. The stem was oxidized to the point that the Cumberland was almost hidden. There were tooth marks and chatter on both sides ahead of the button. Jeff took some photos of the pipe before he started his clean up work.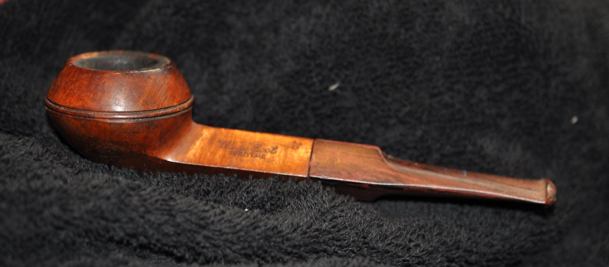
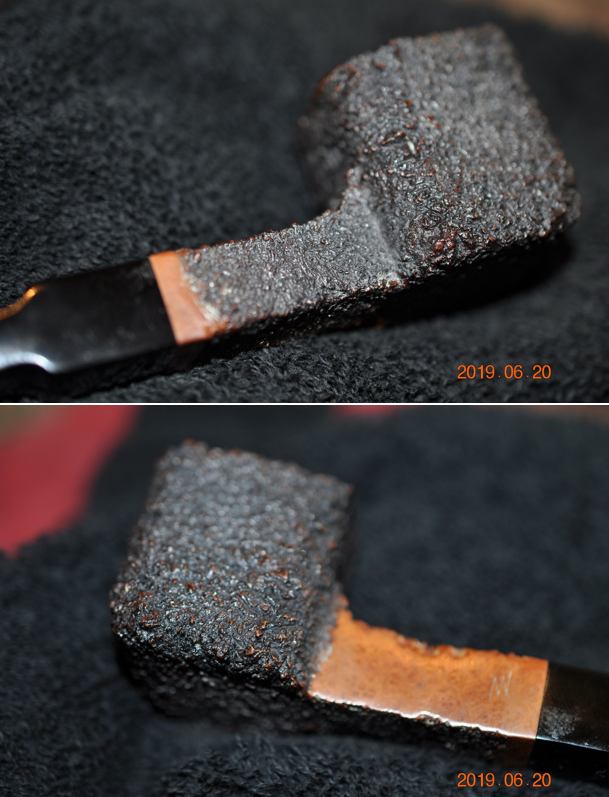
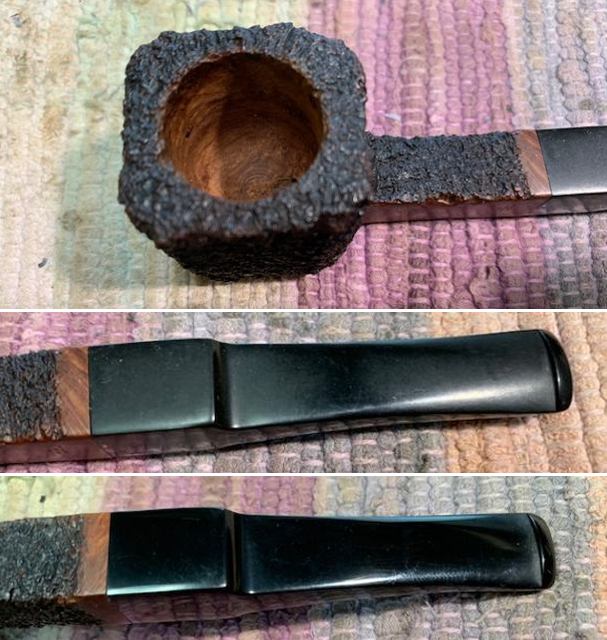
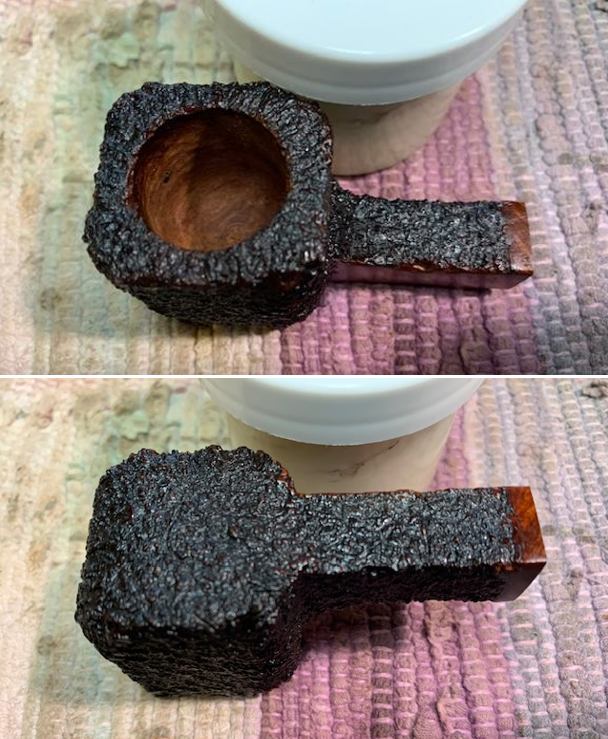
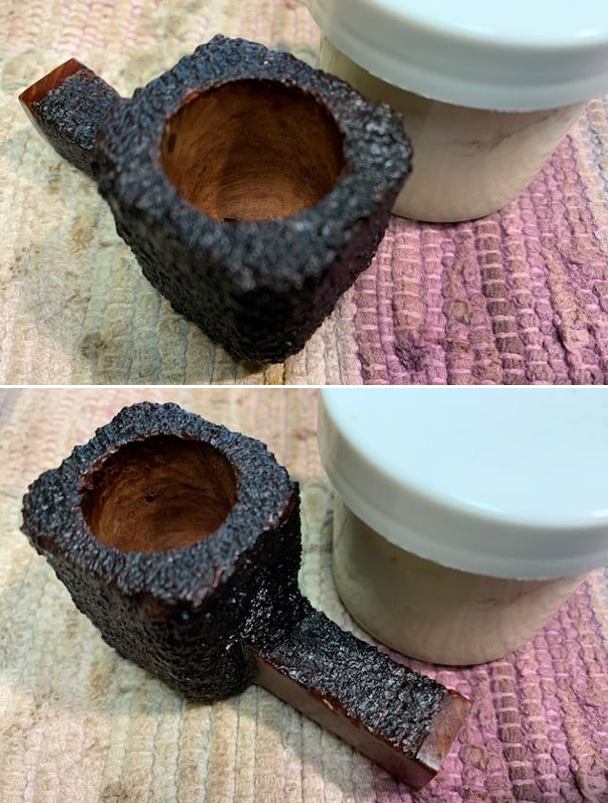
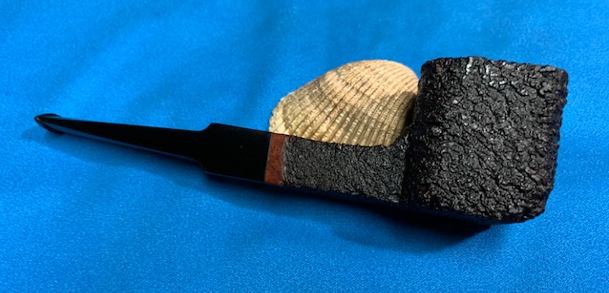
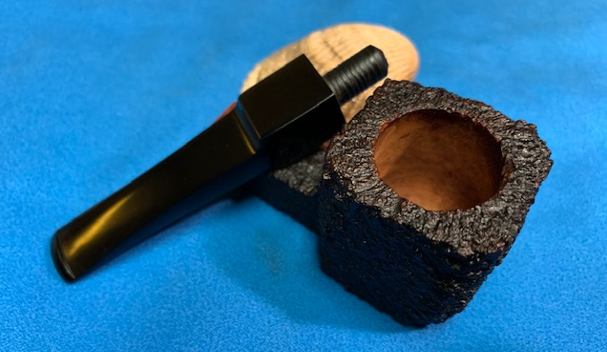
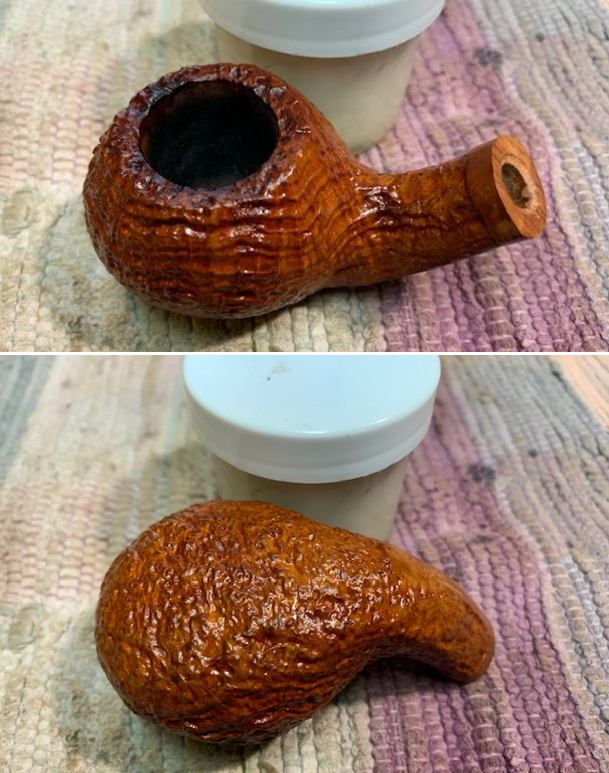
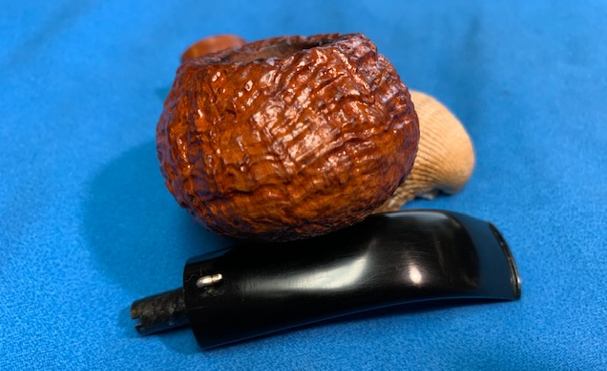
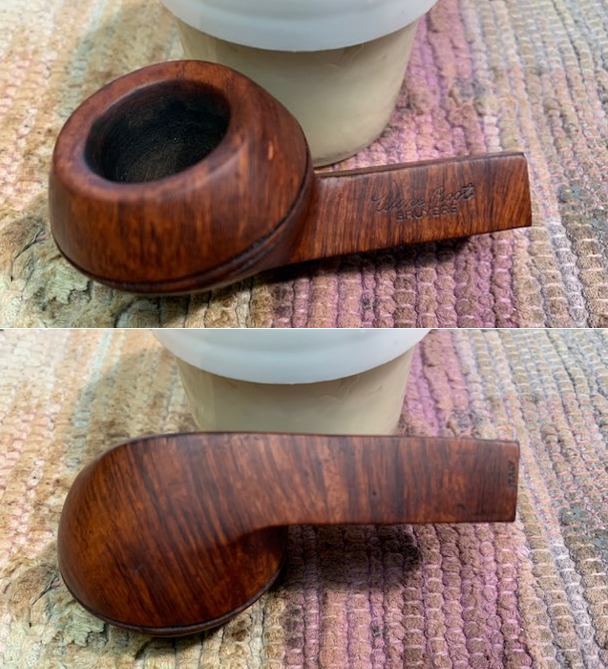
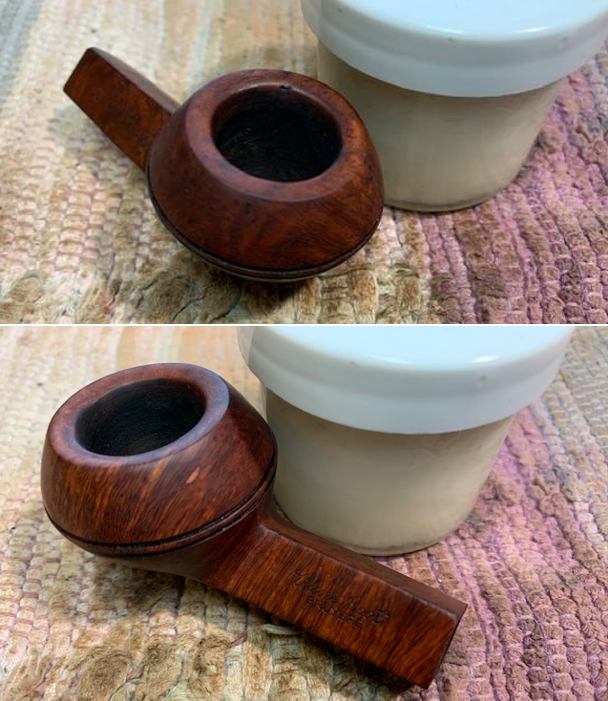
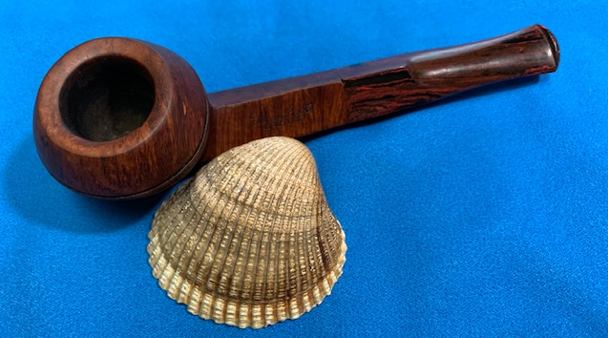
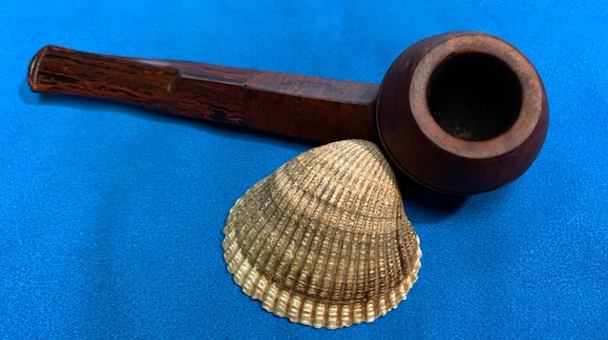
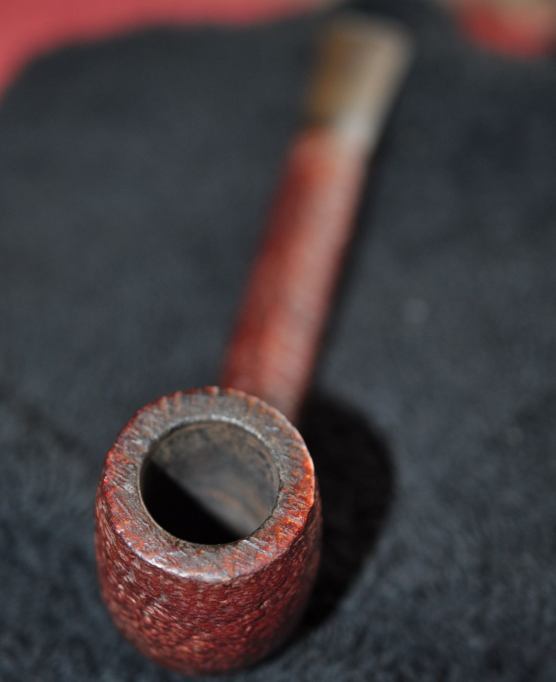
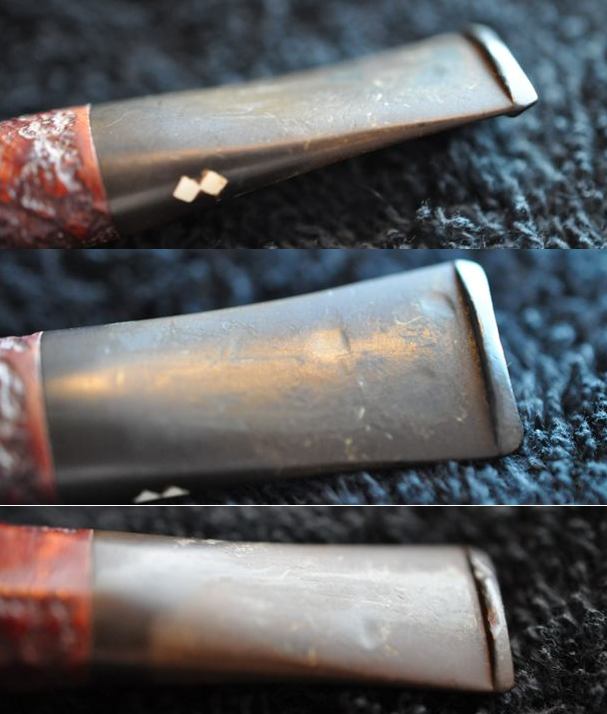
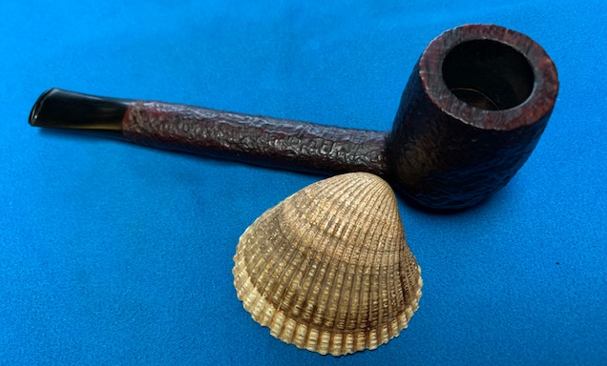
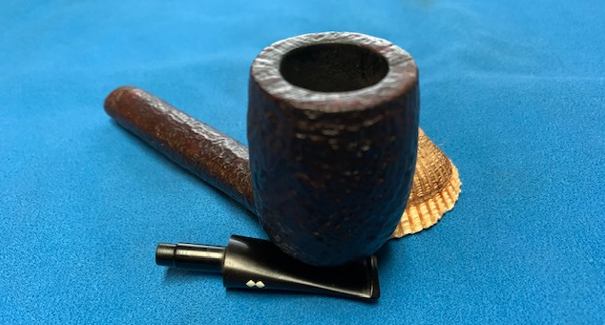
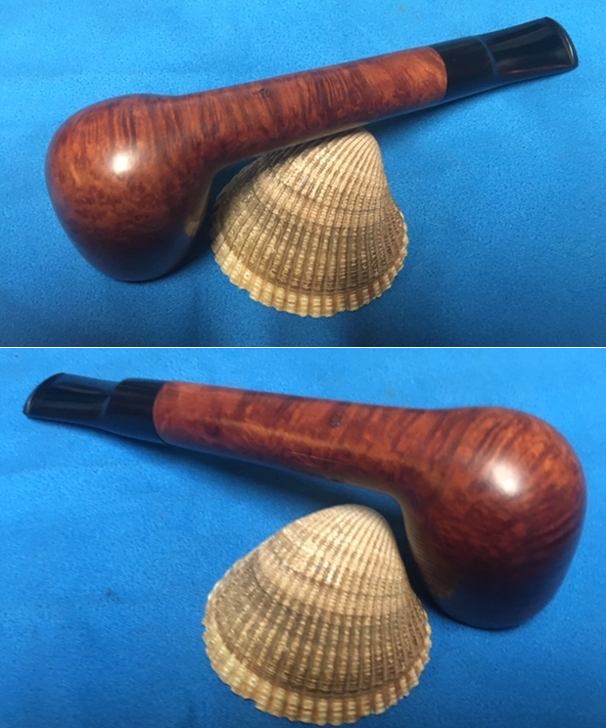
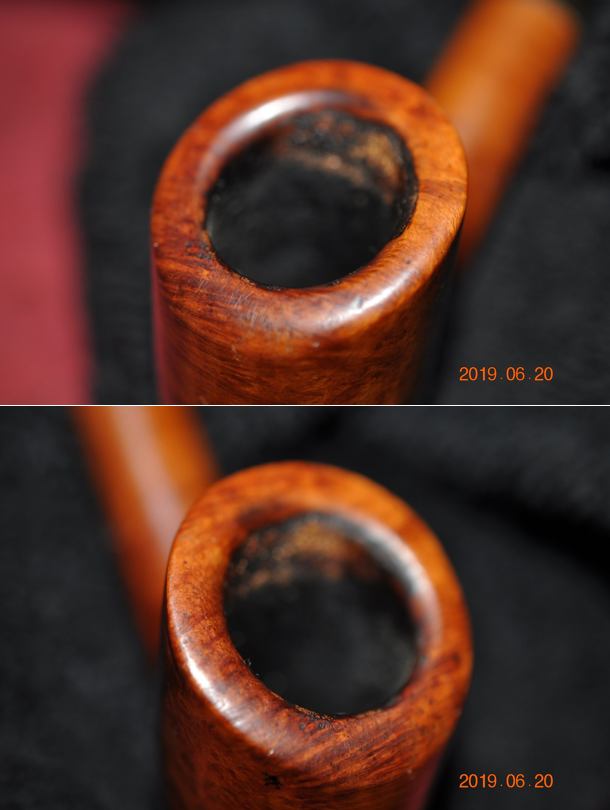
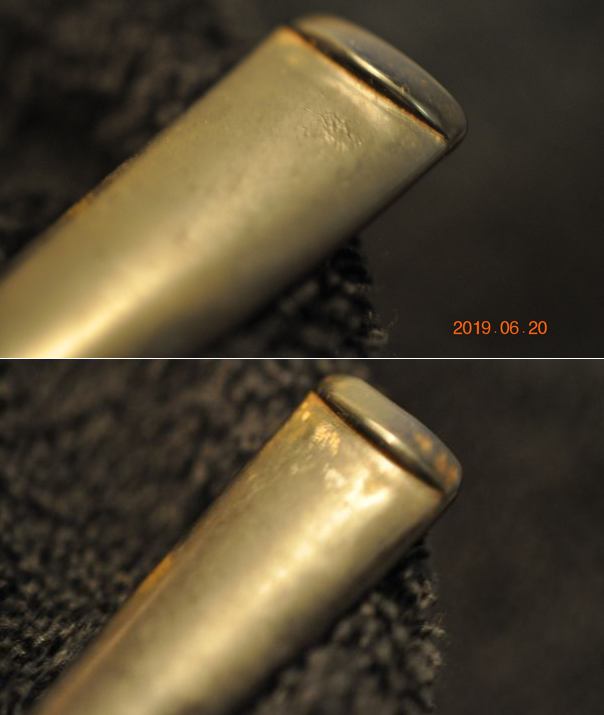
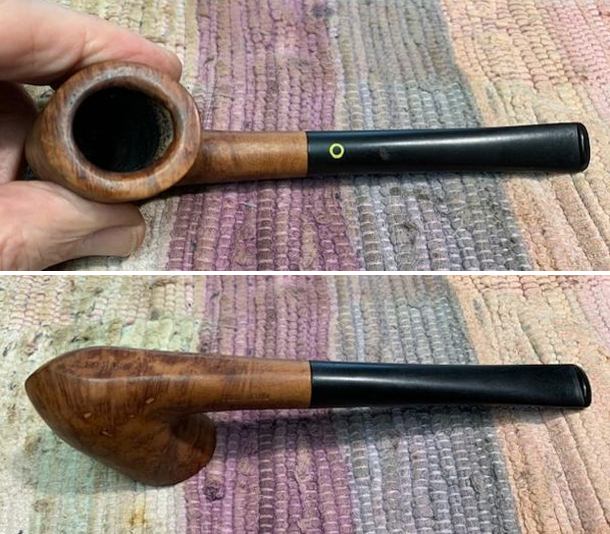
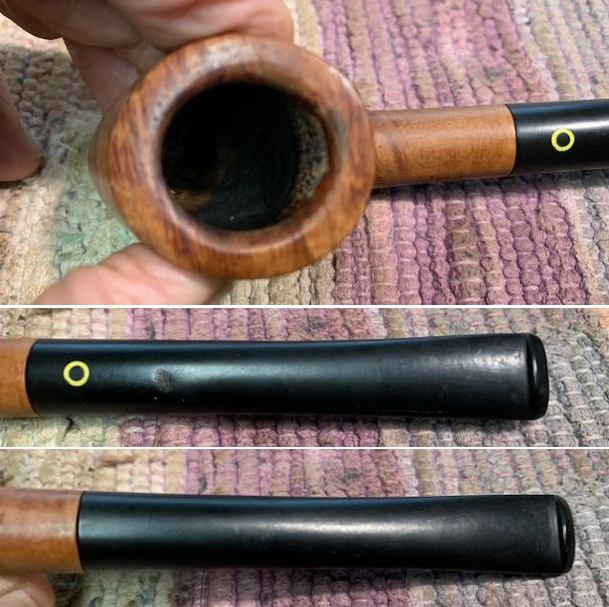
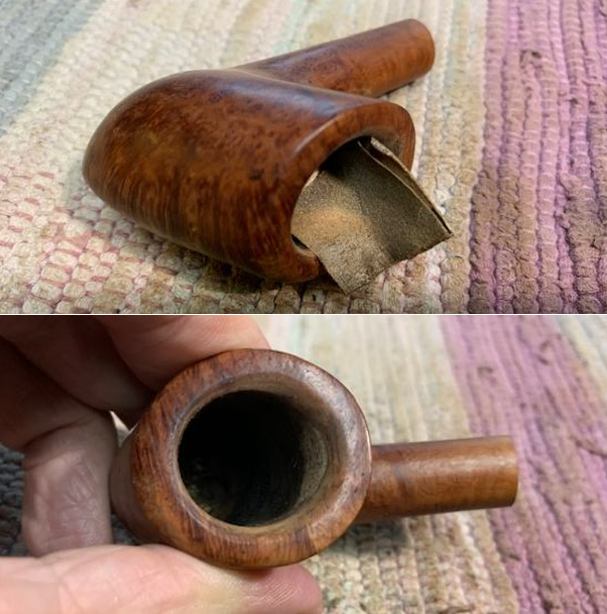
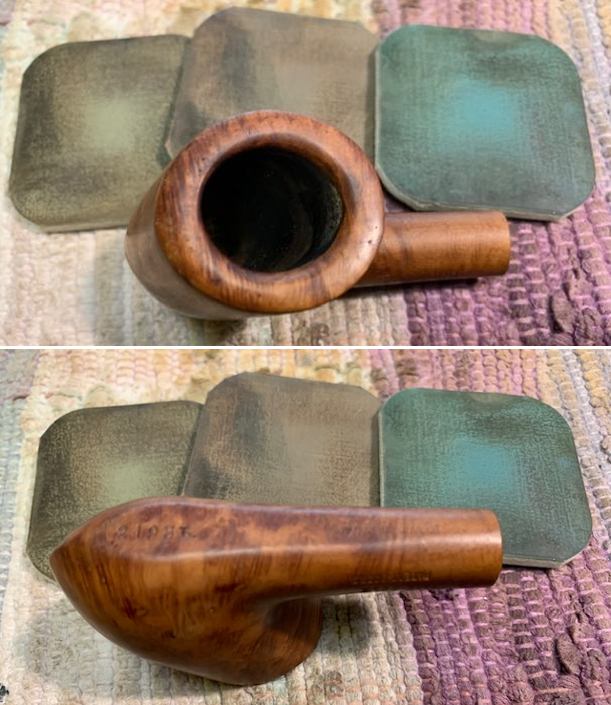
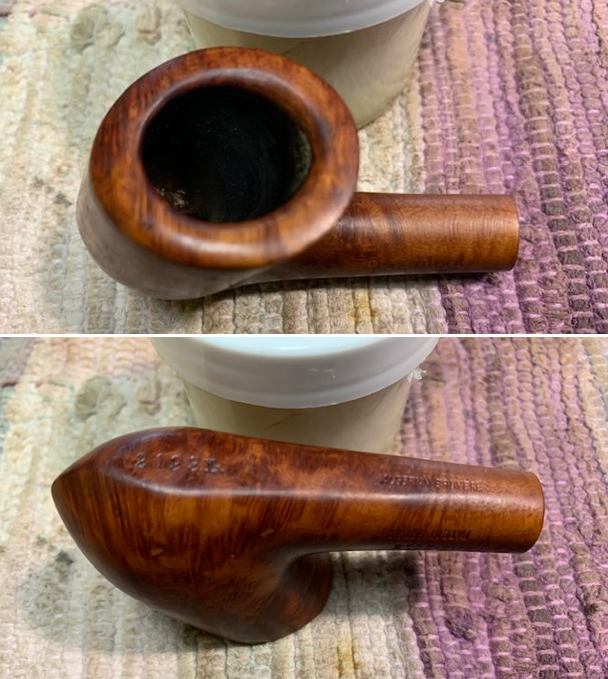
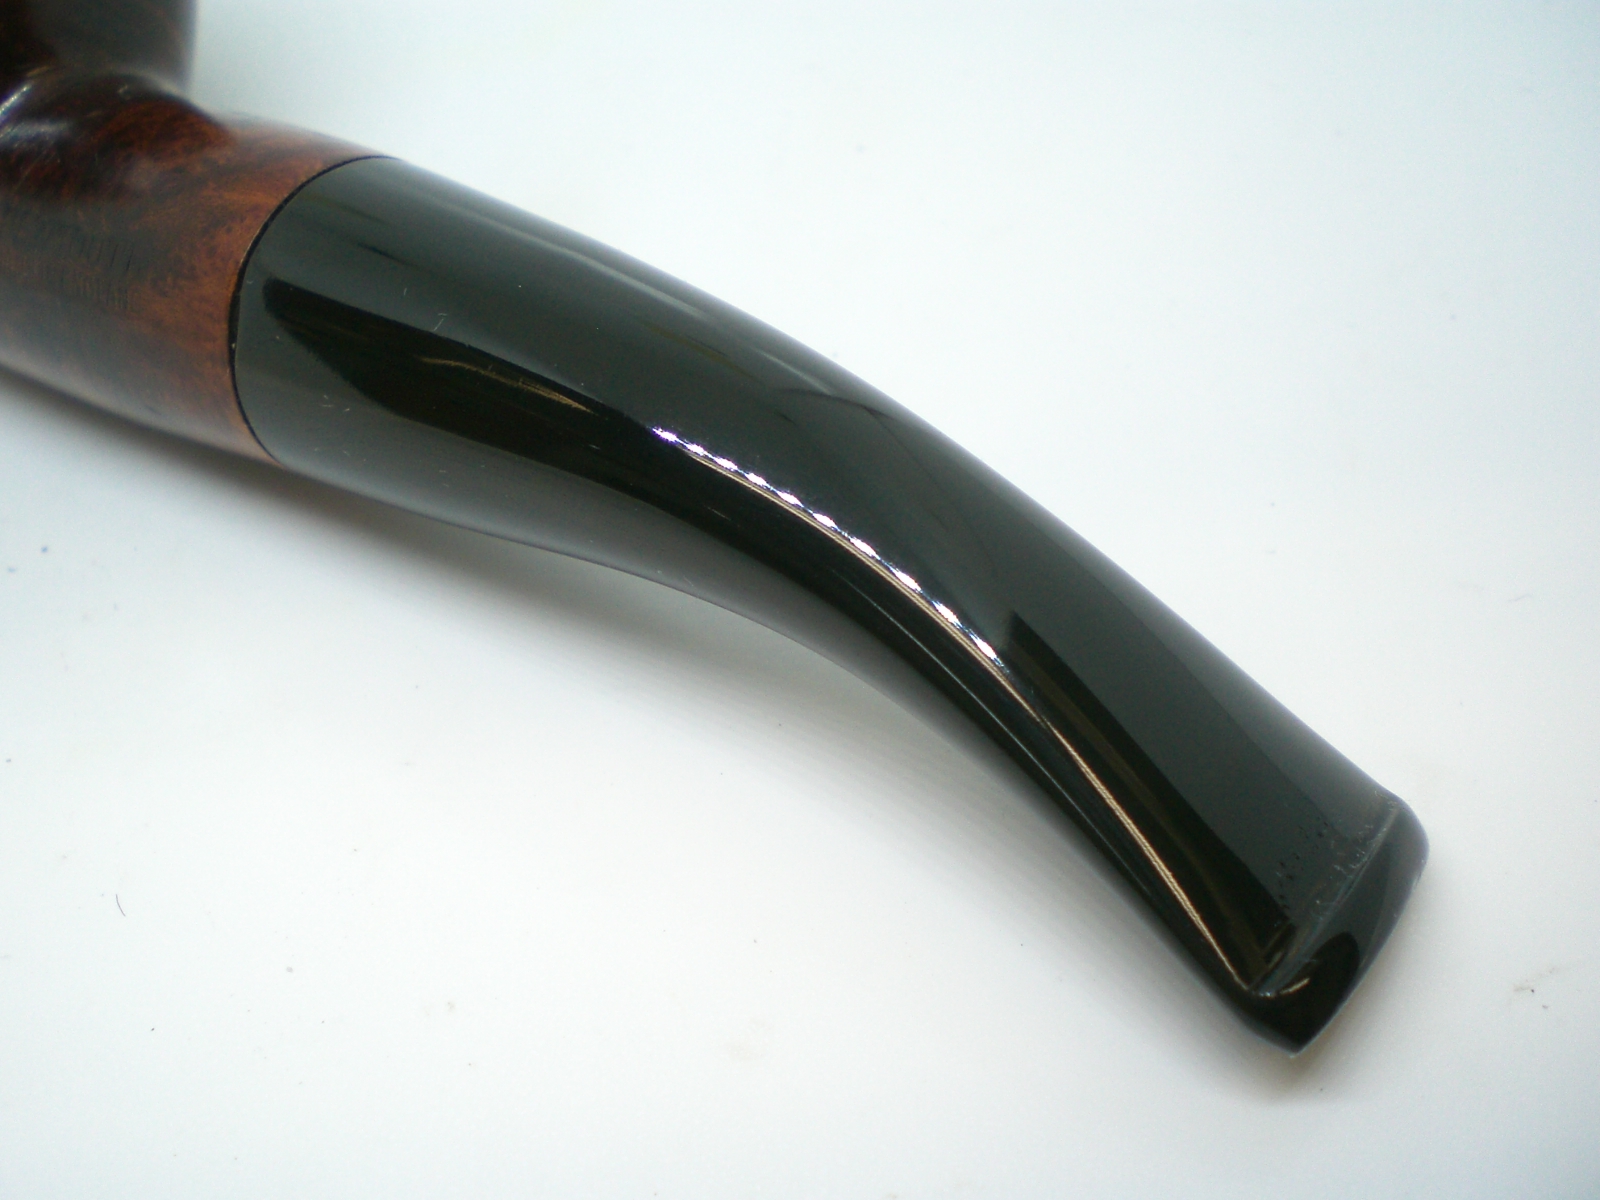
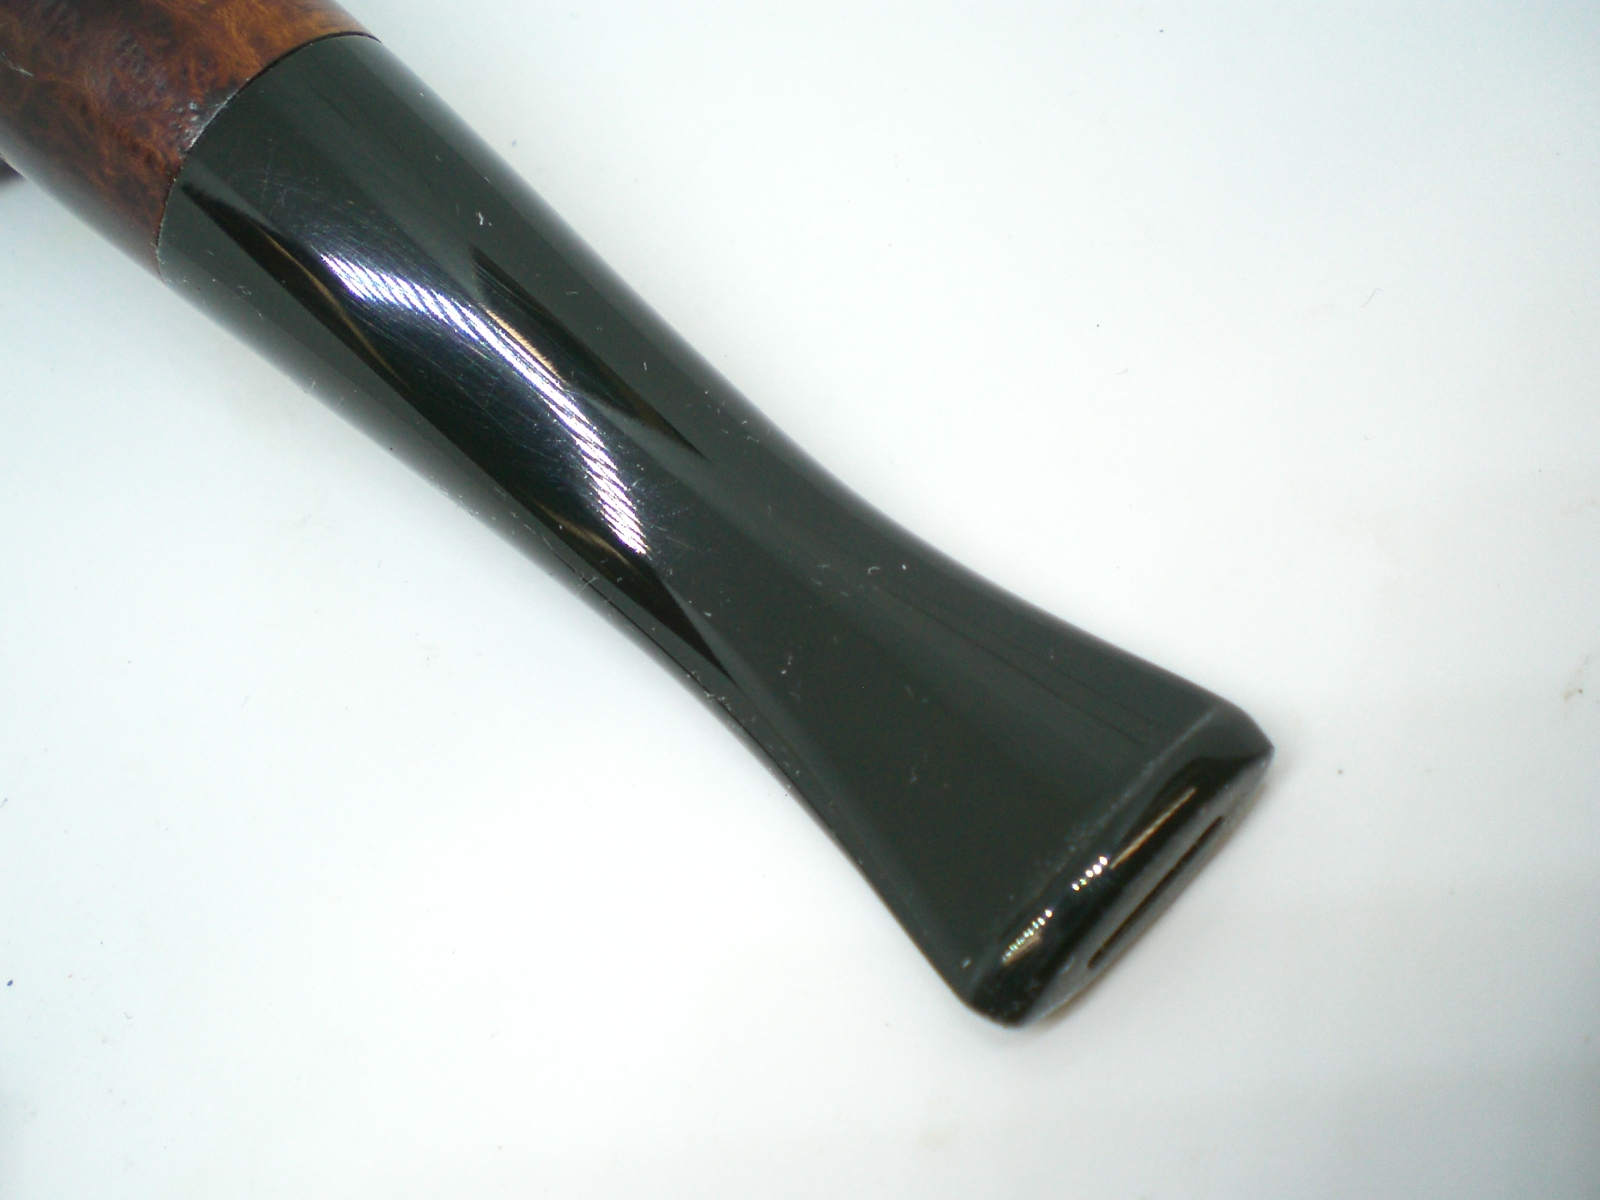
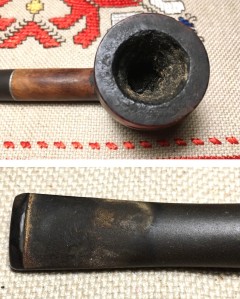
 The a photo of the rim top show the thick lava coat that flows out of the bowl and over the edge of the bowl. It is hard to know what the edges of the bowl – inner and outer – look like because of the lava and cake. The photos of the stem show the heavy oxidation and tooth marks and chatter on both sides.
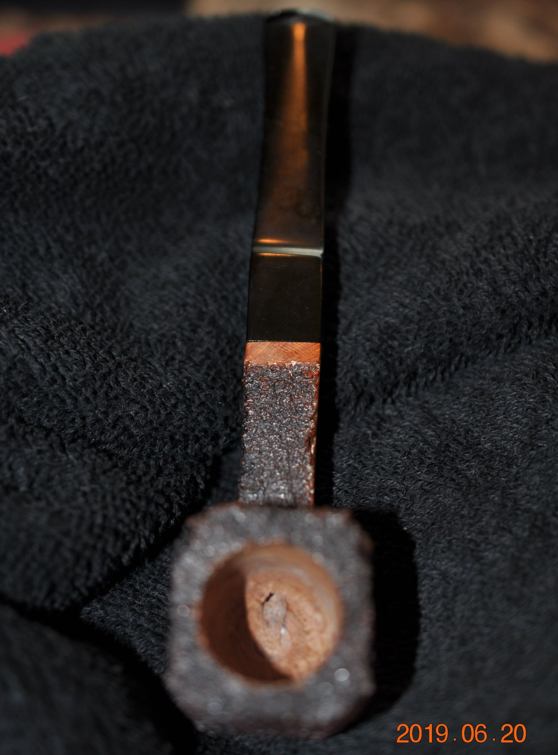
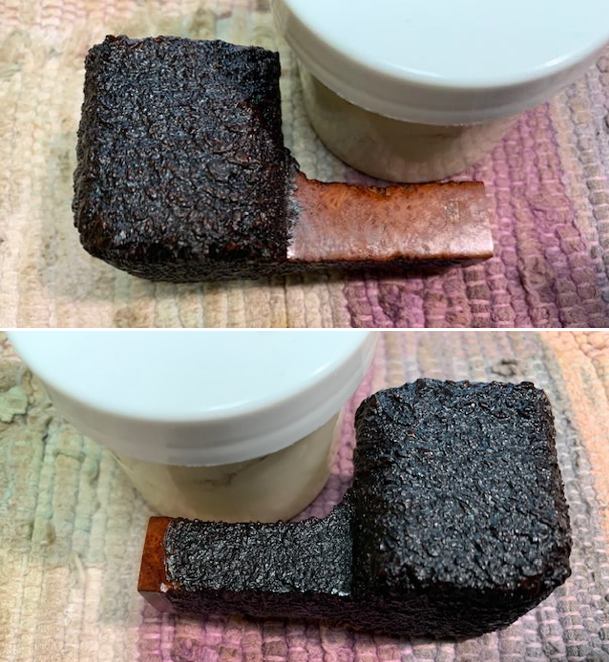
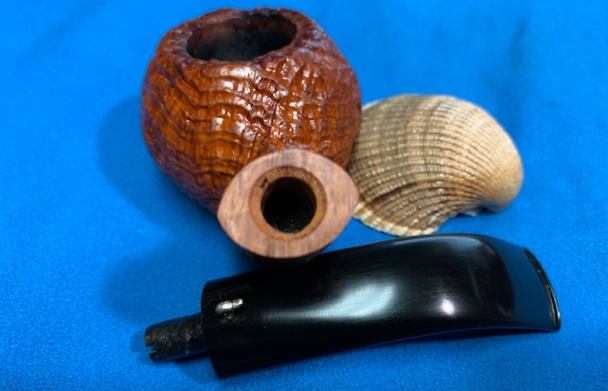
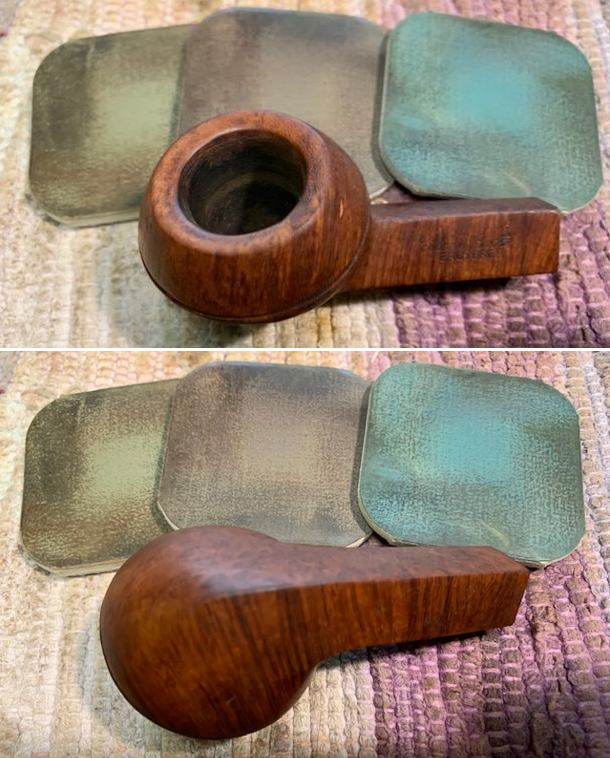
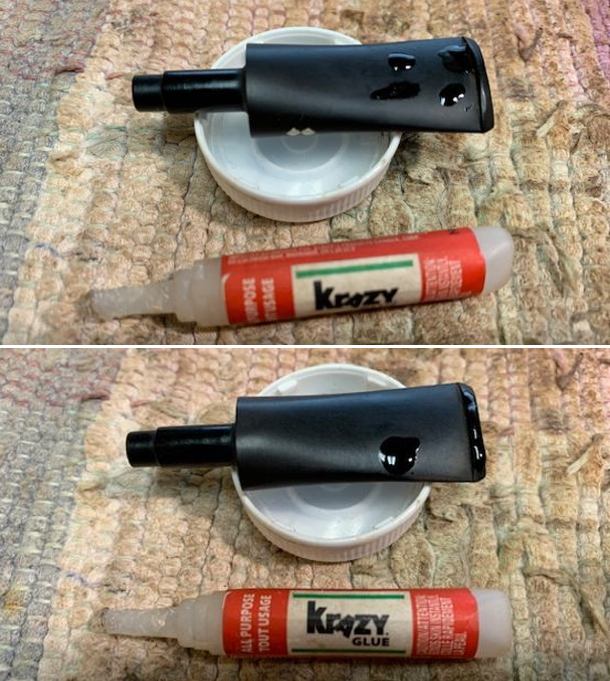
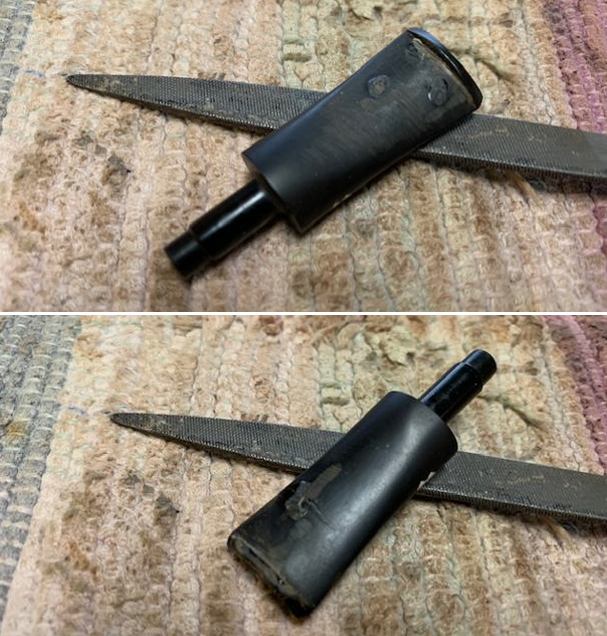
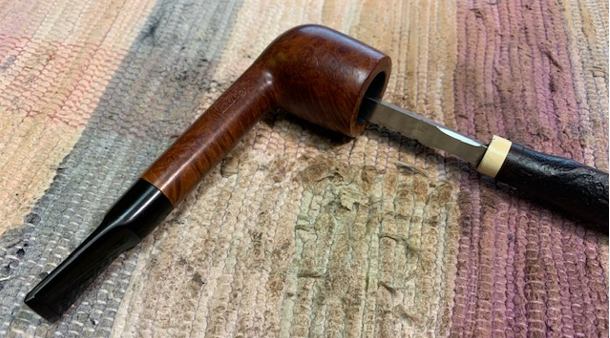
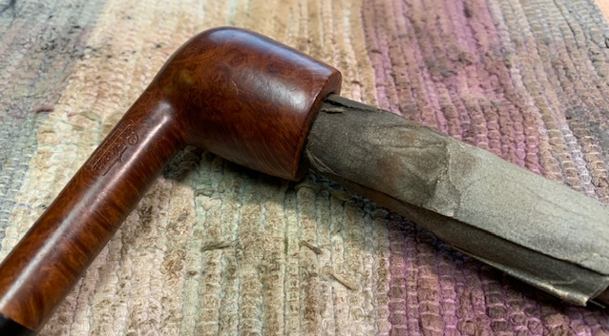
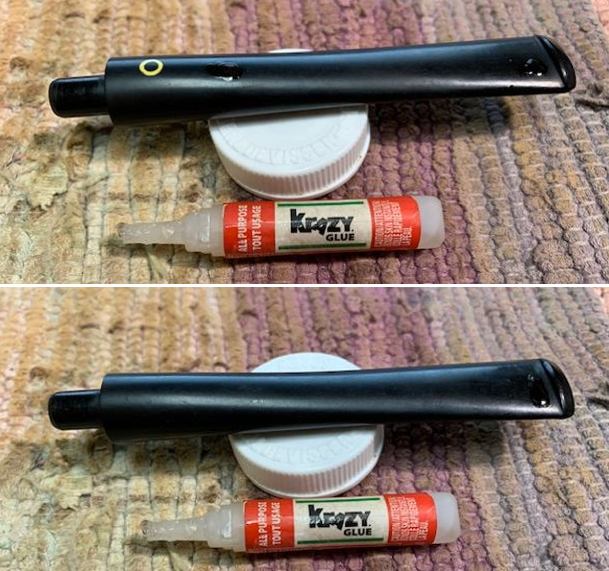
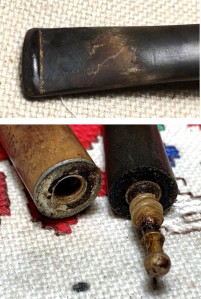
 Jeff took a photo of the stinger apparatus that shows how packed full of debris and tars that the fins around the stinger really are.
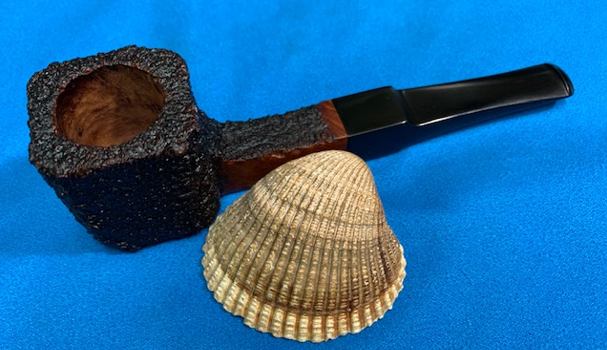
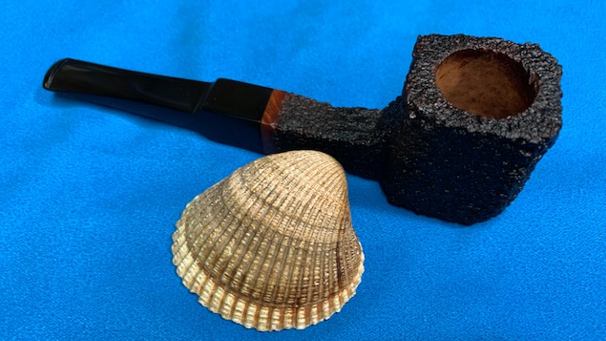
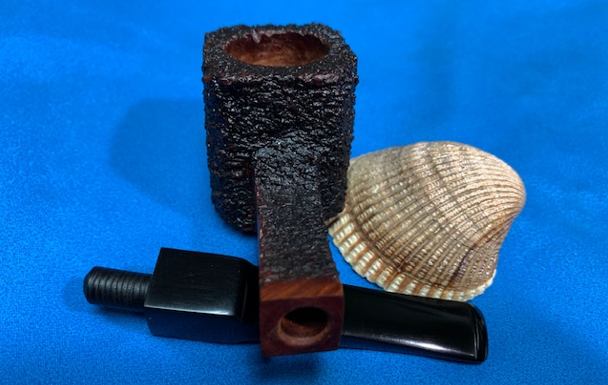
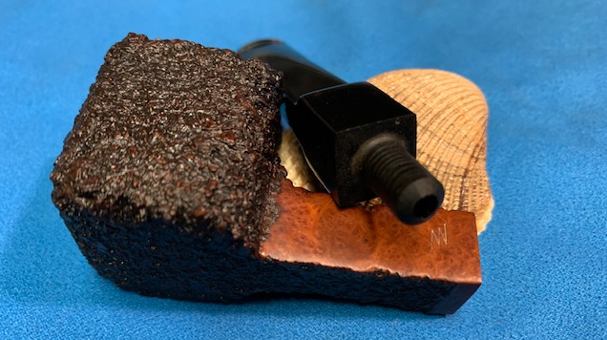
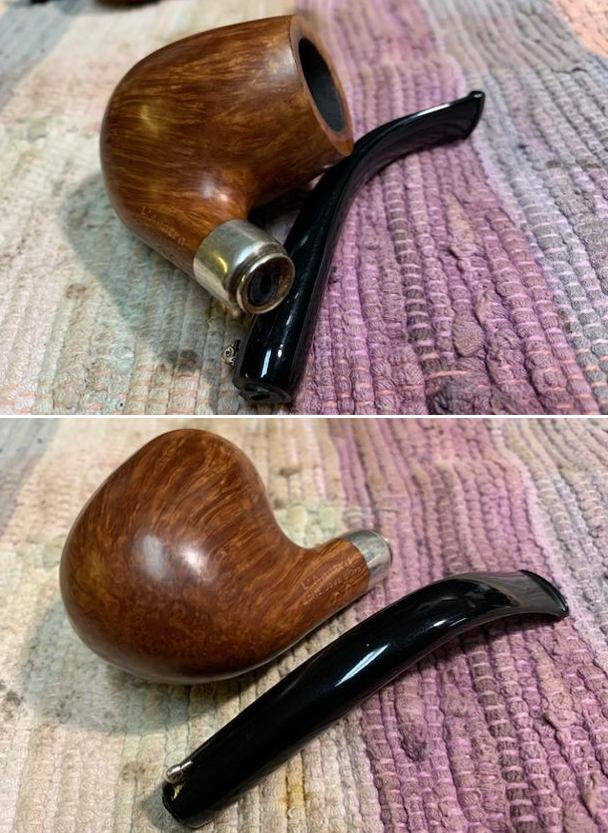
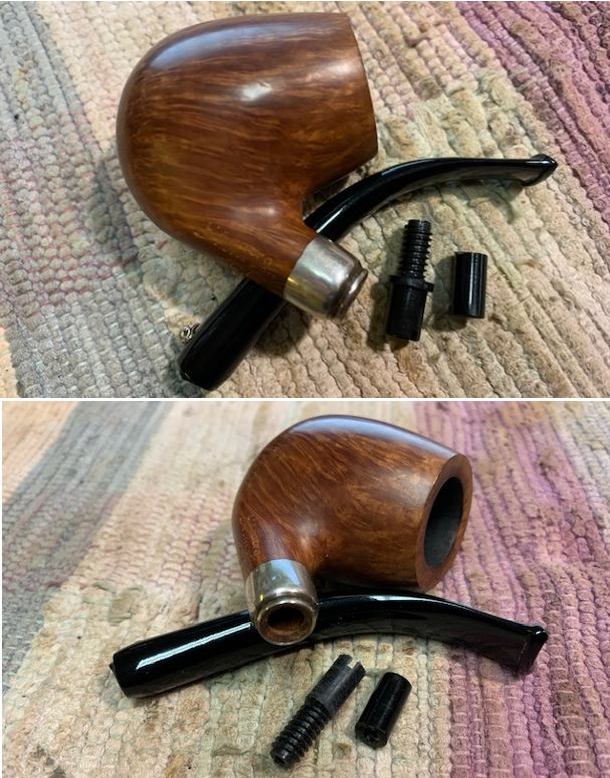
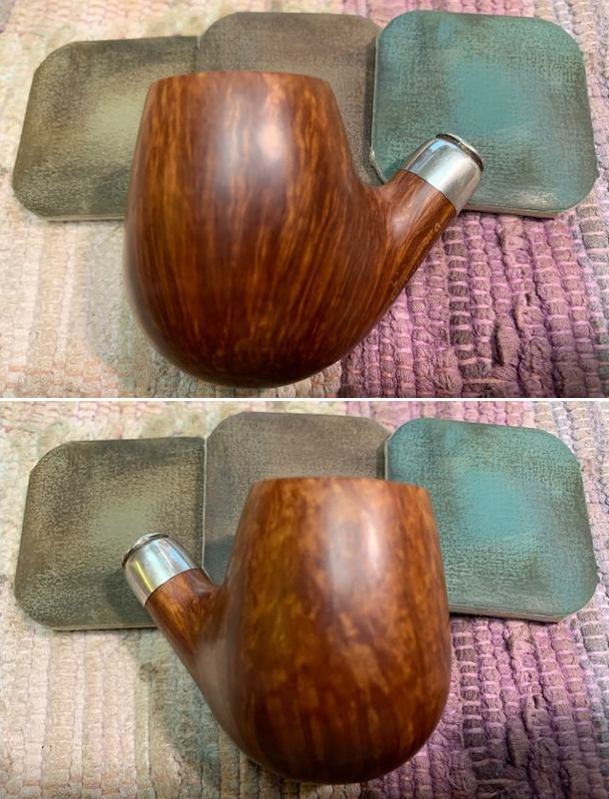
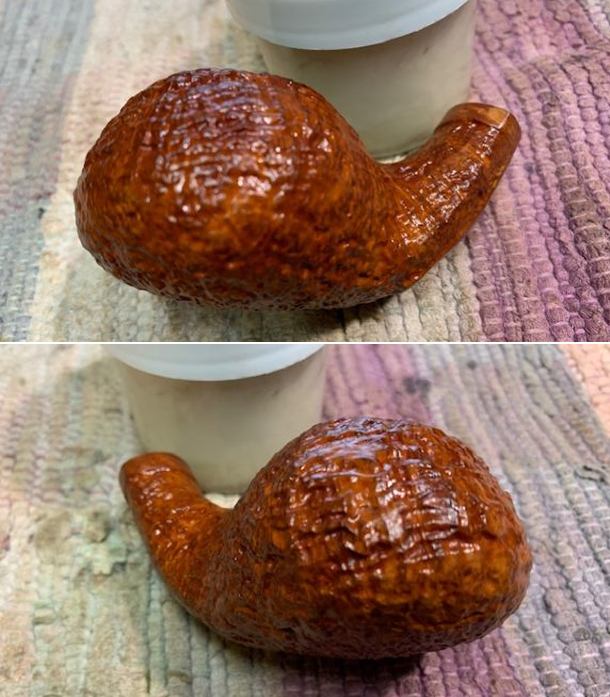
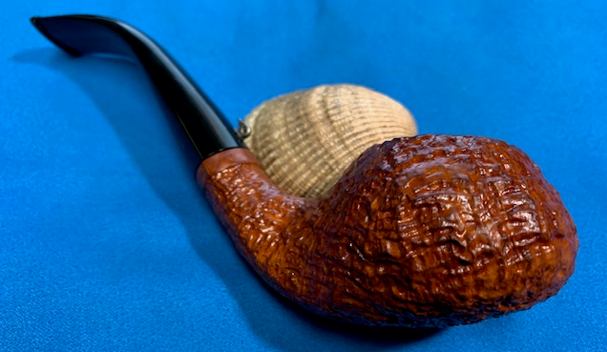
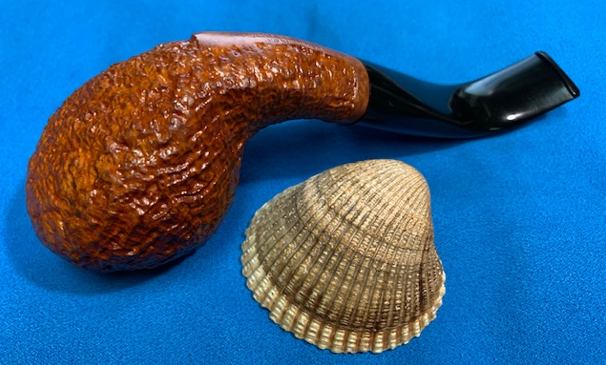
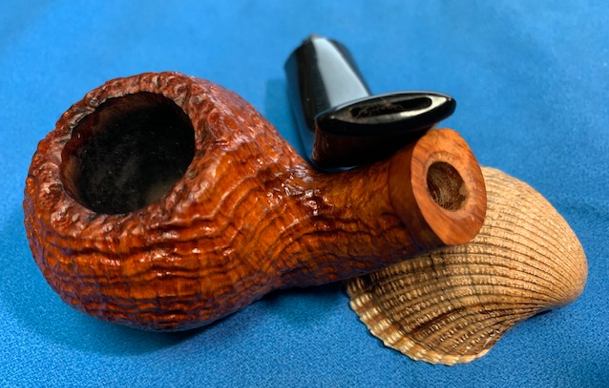
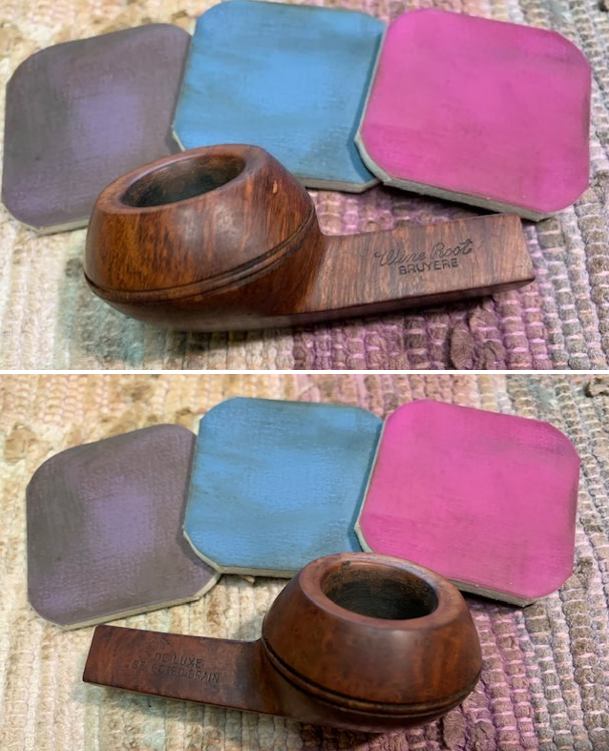
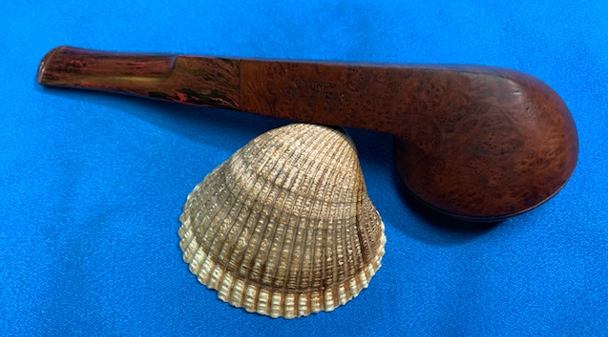
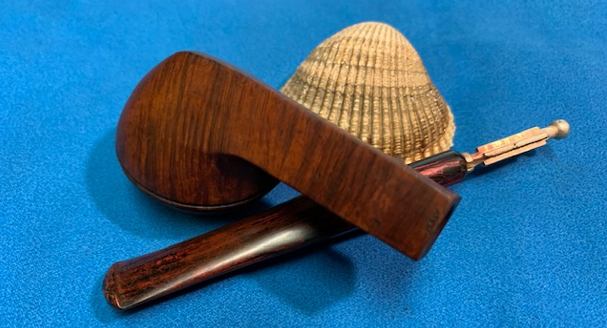
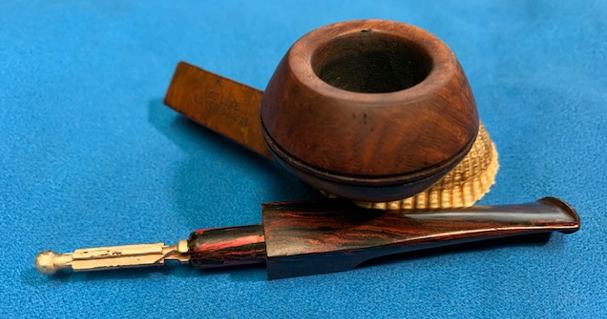
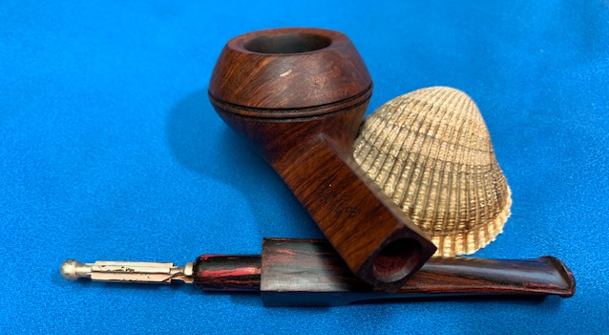
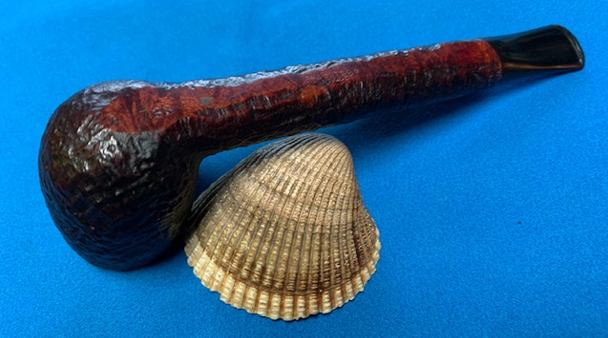
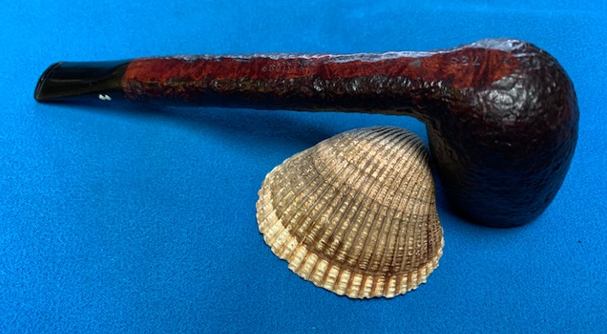
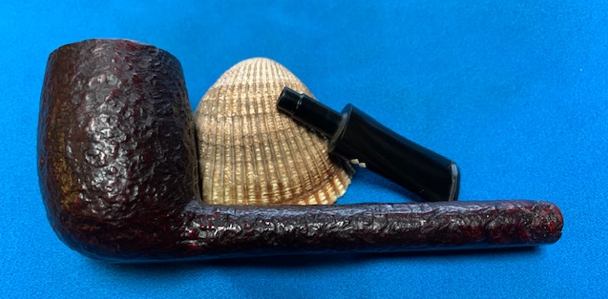
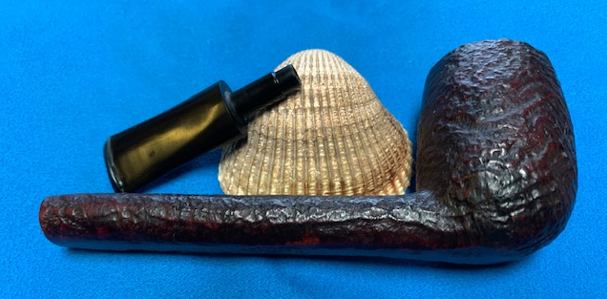
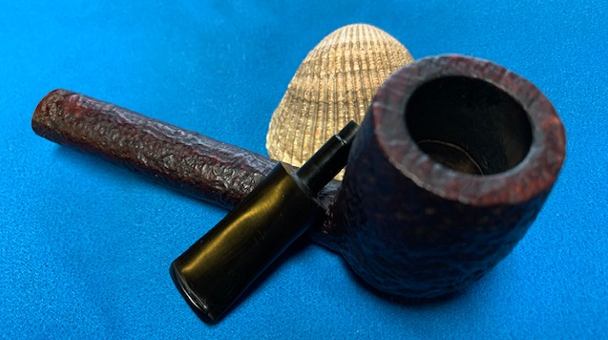
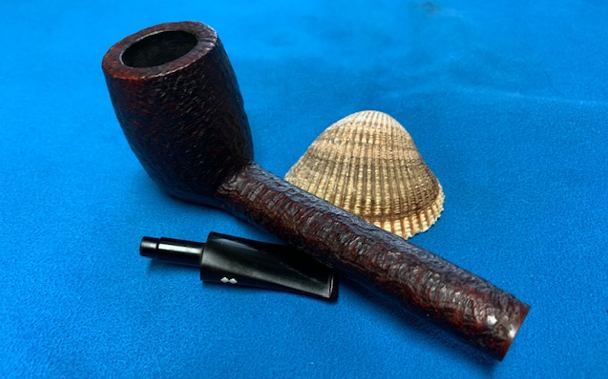
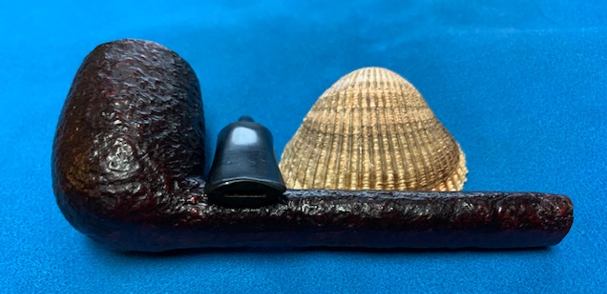
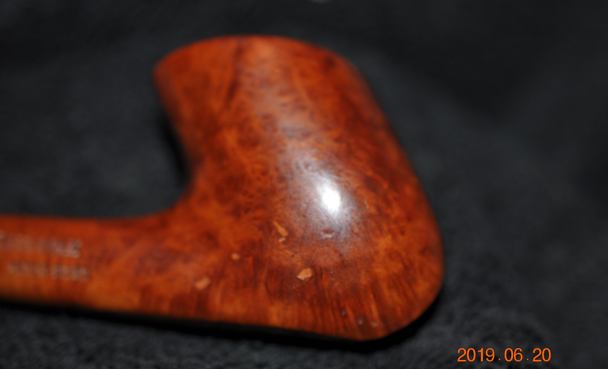
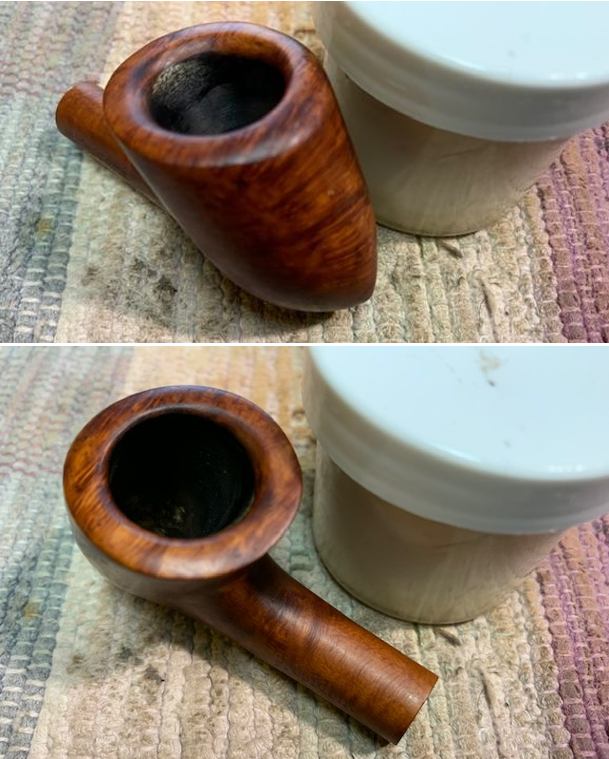
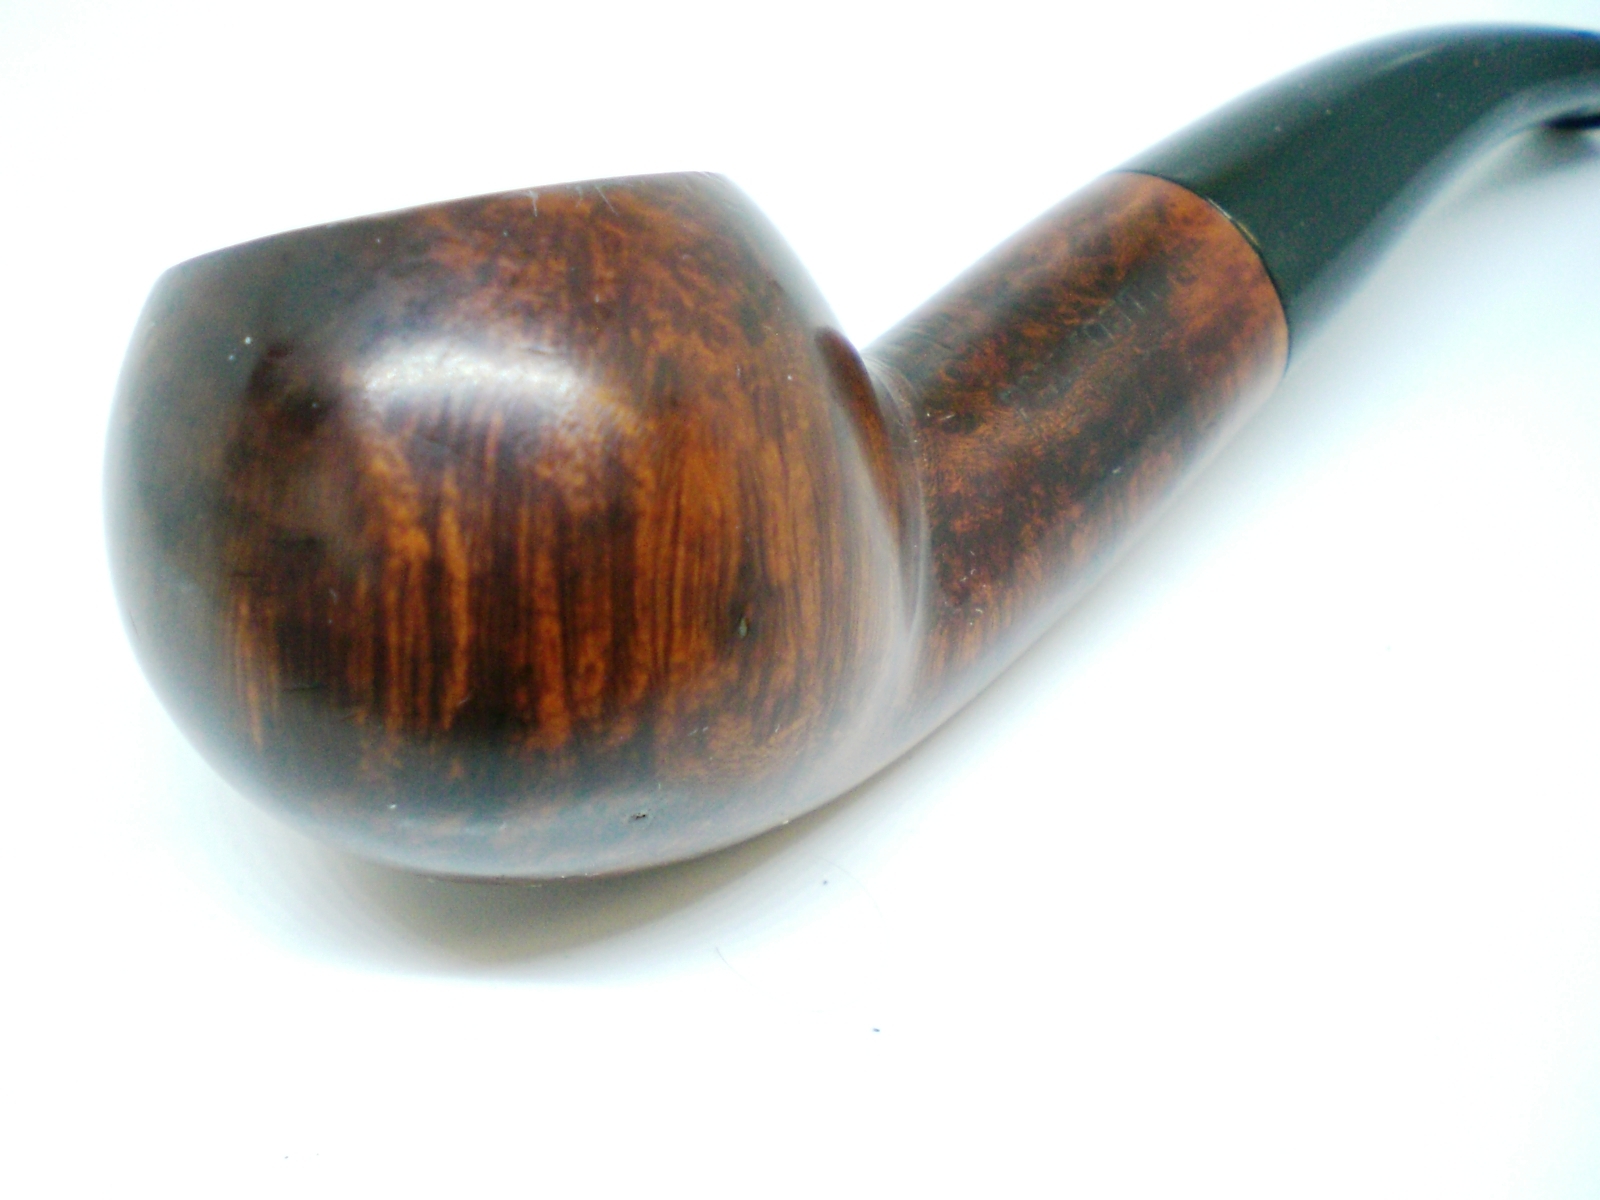
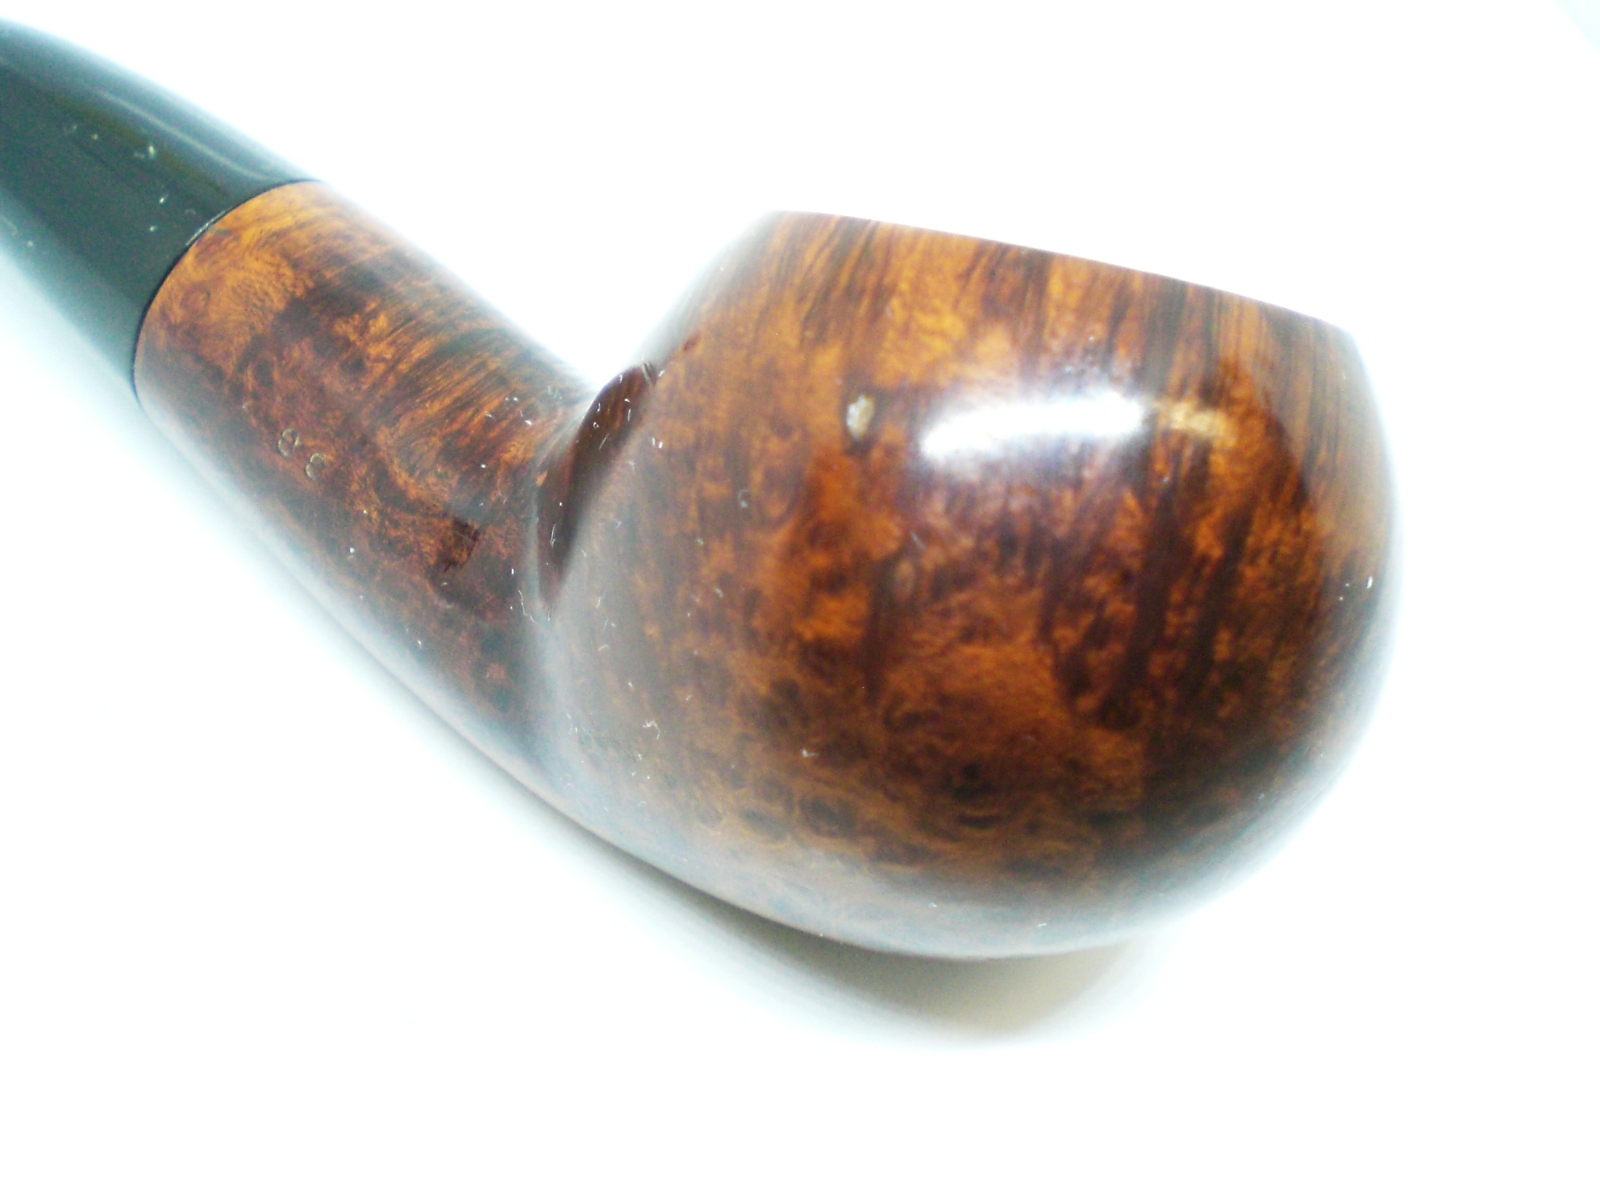
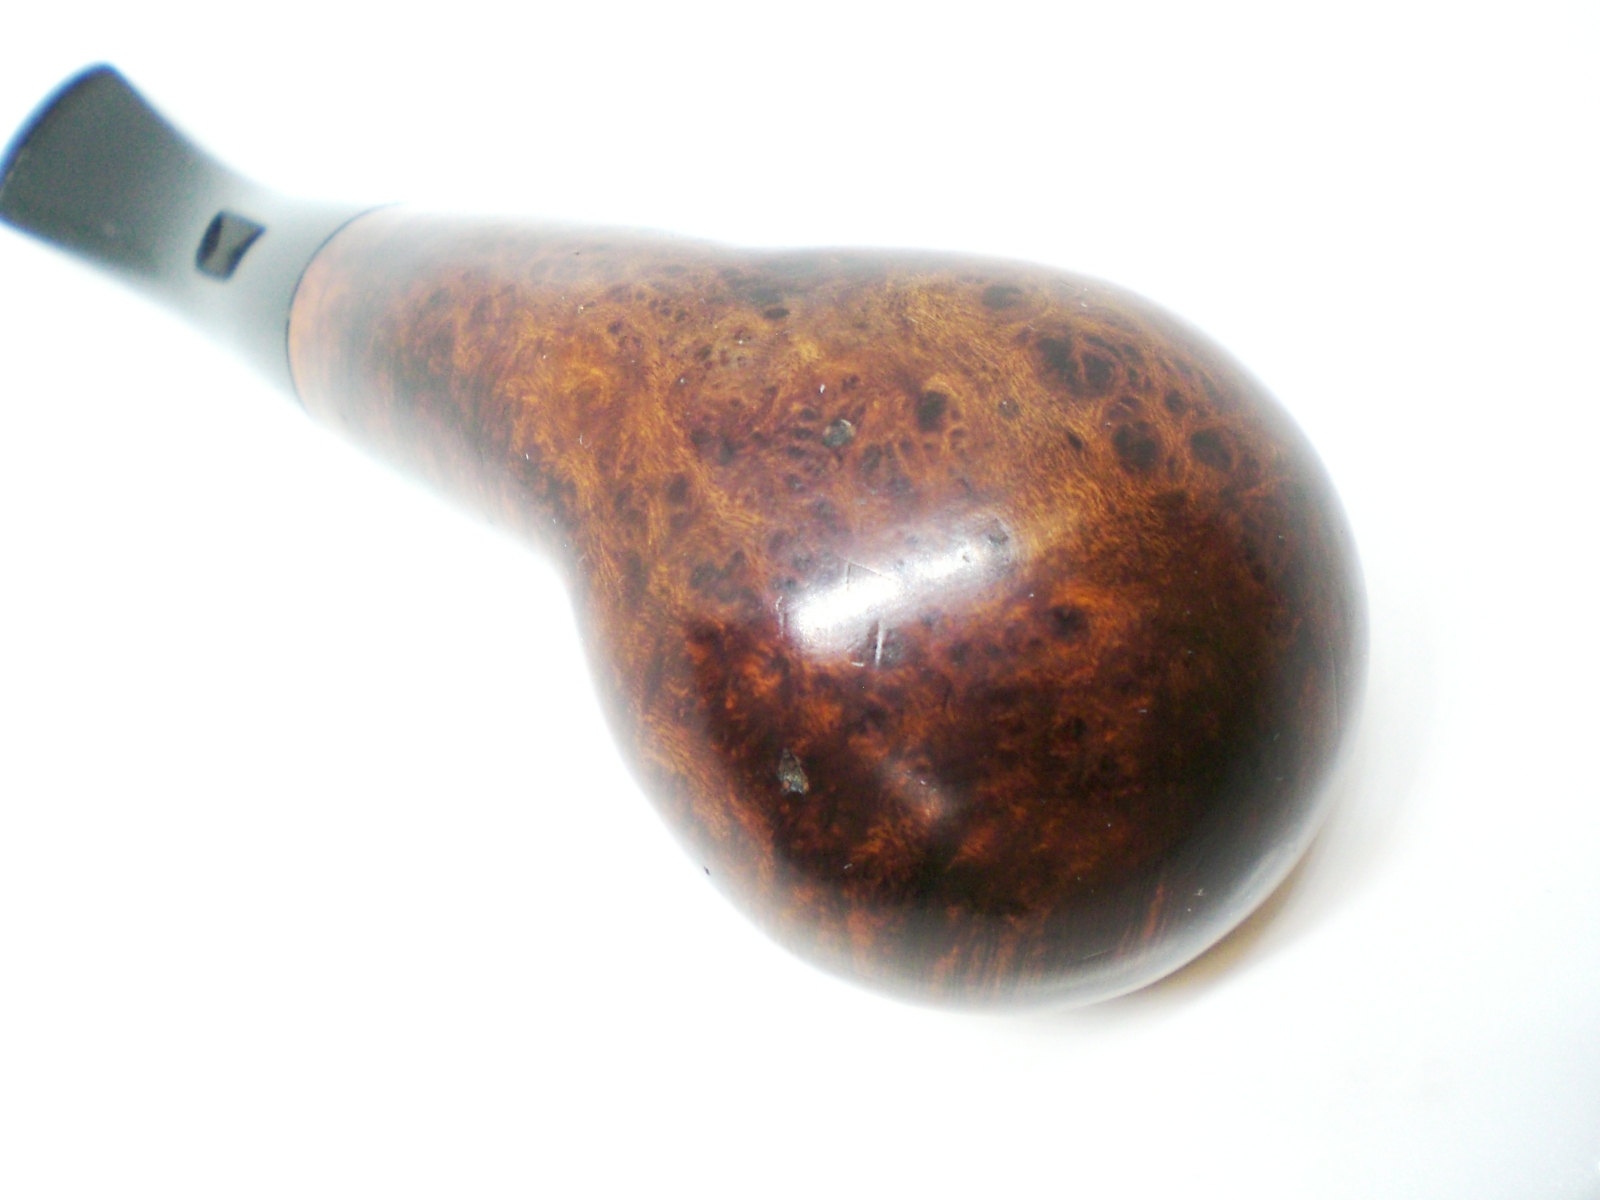
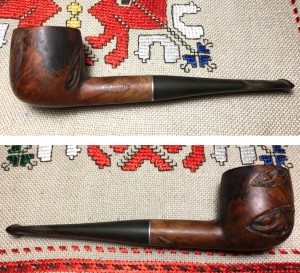
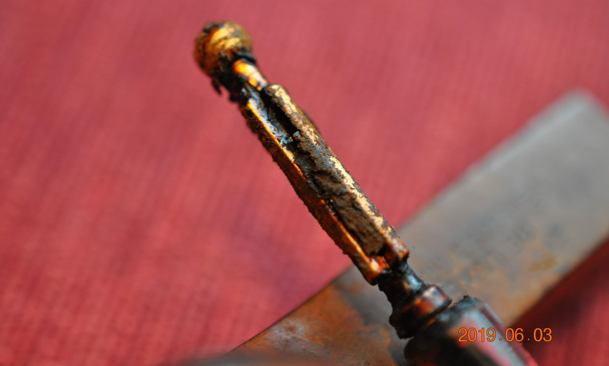 The next three photos show the grain around the sides of the bowl and heel as well as the placement of the fills on the sides of the bowl. It is a pretty neat looking pipe.
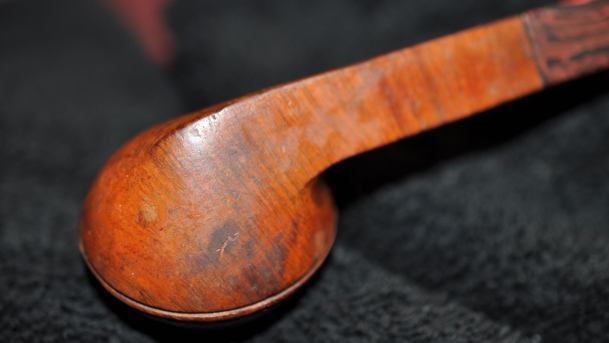
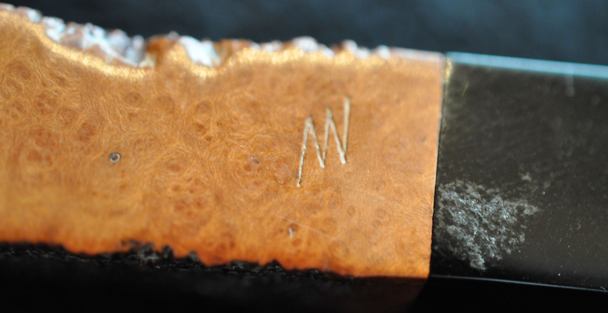
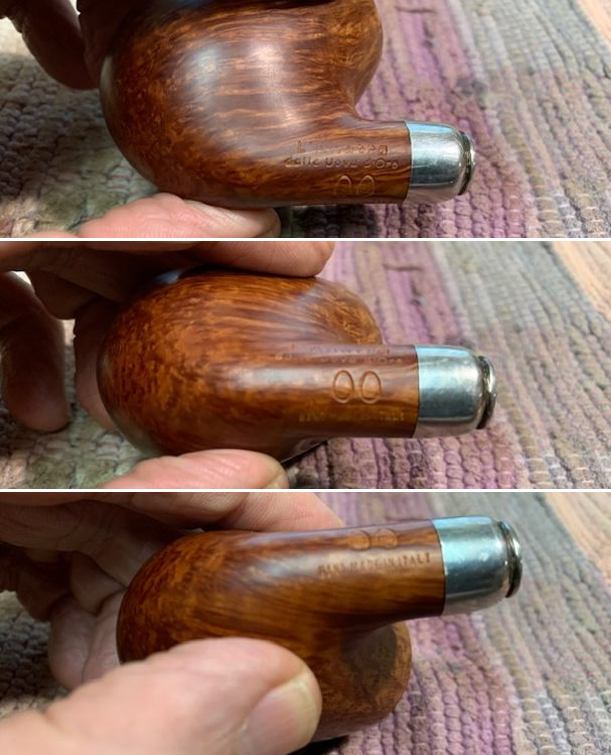
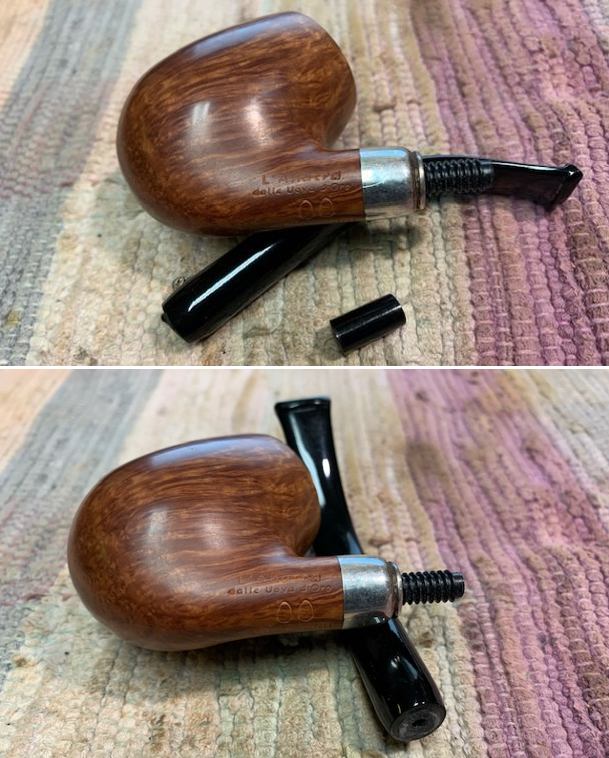
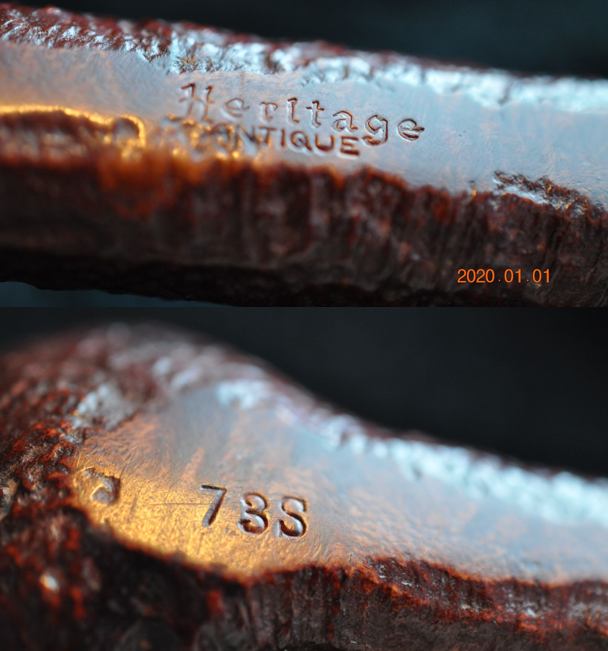
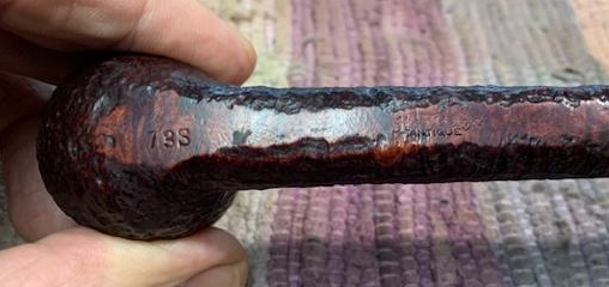
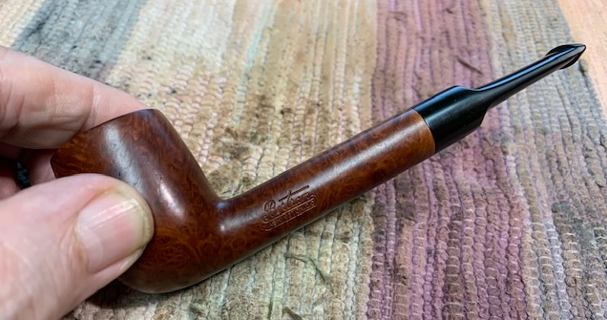
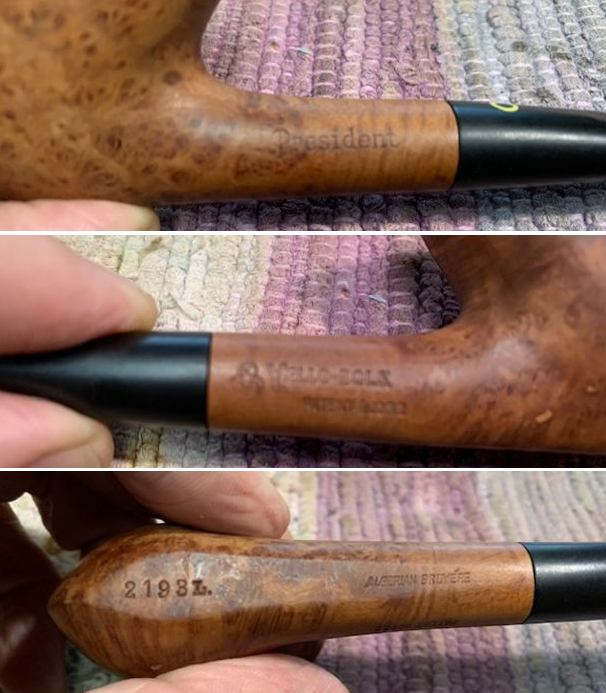
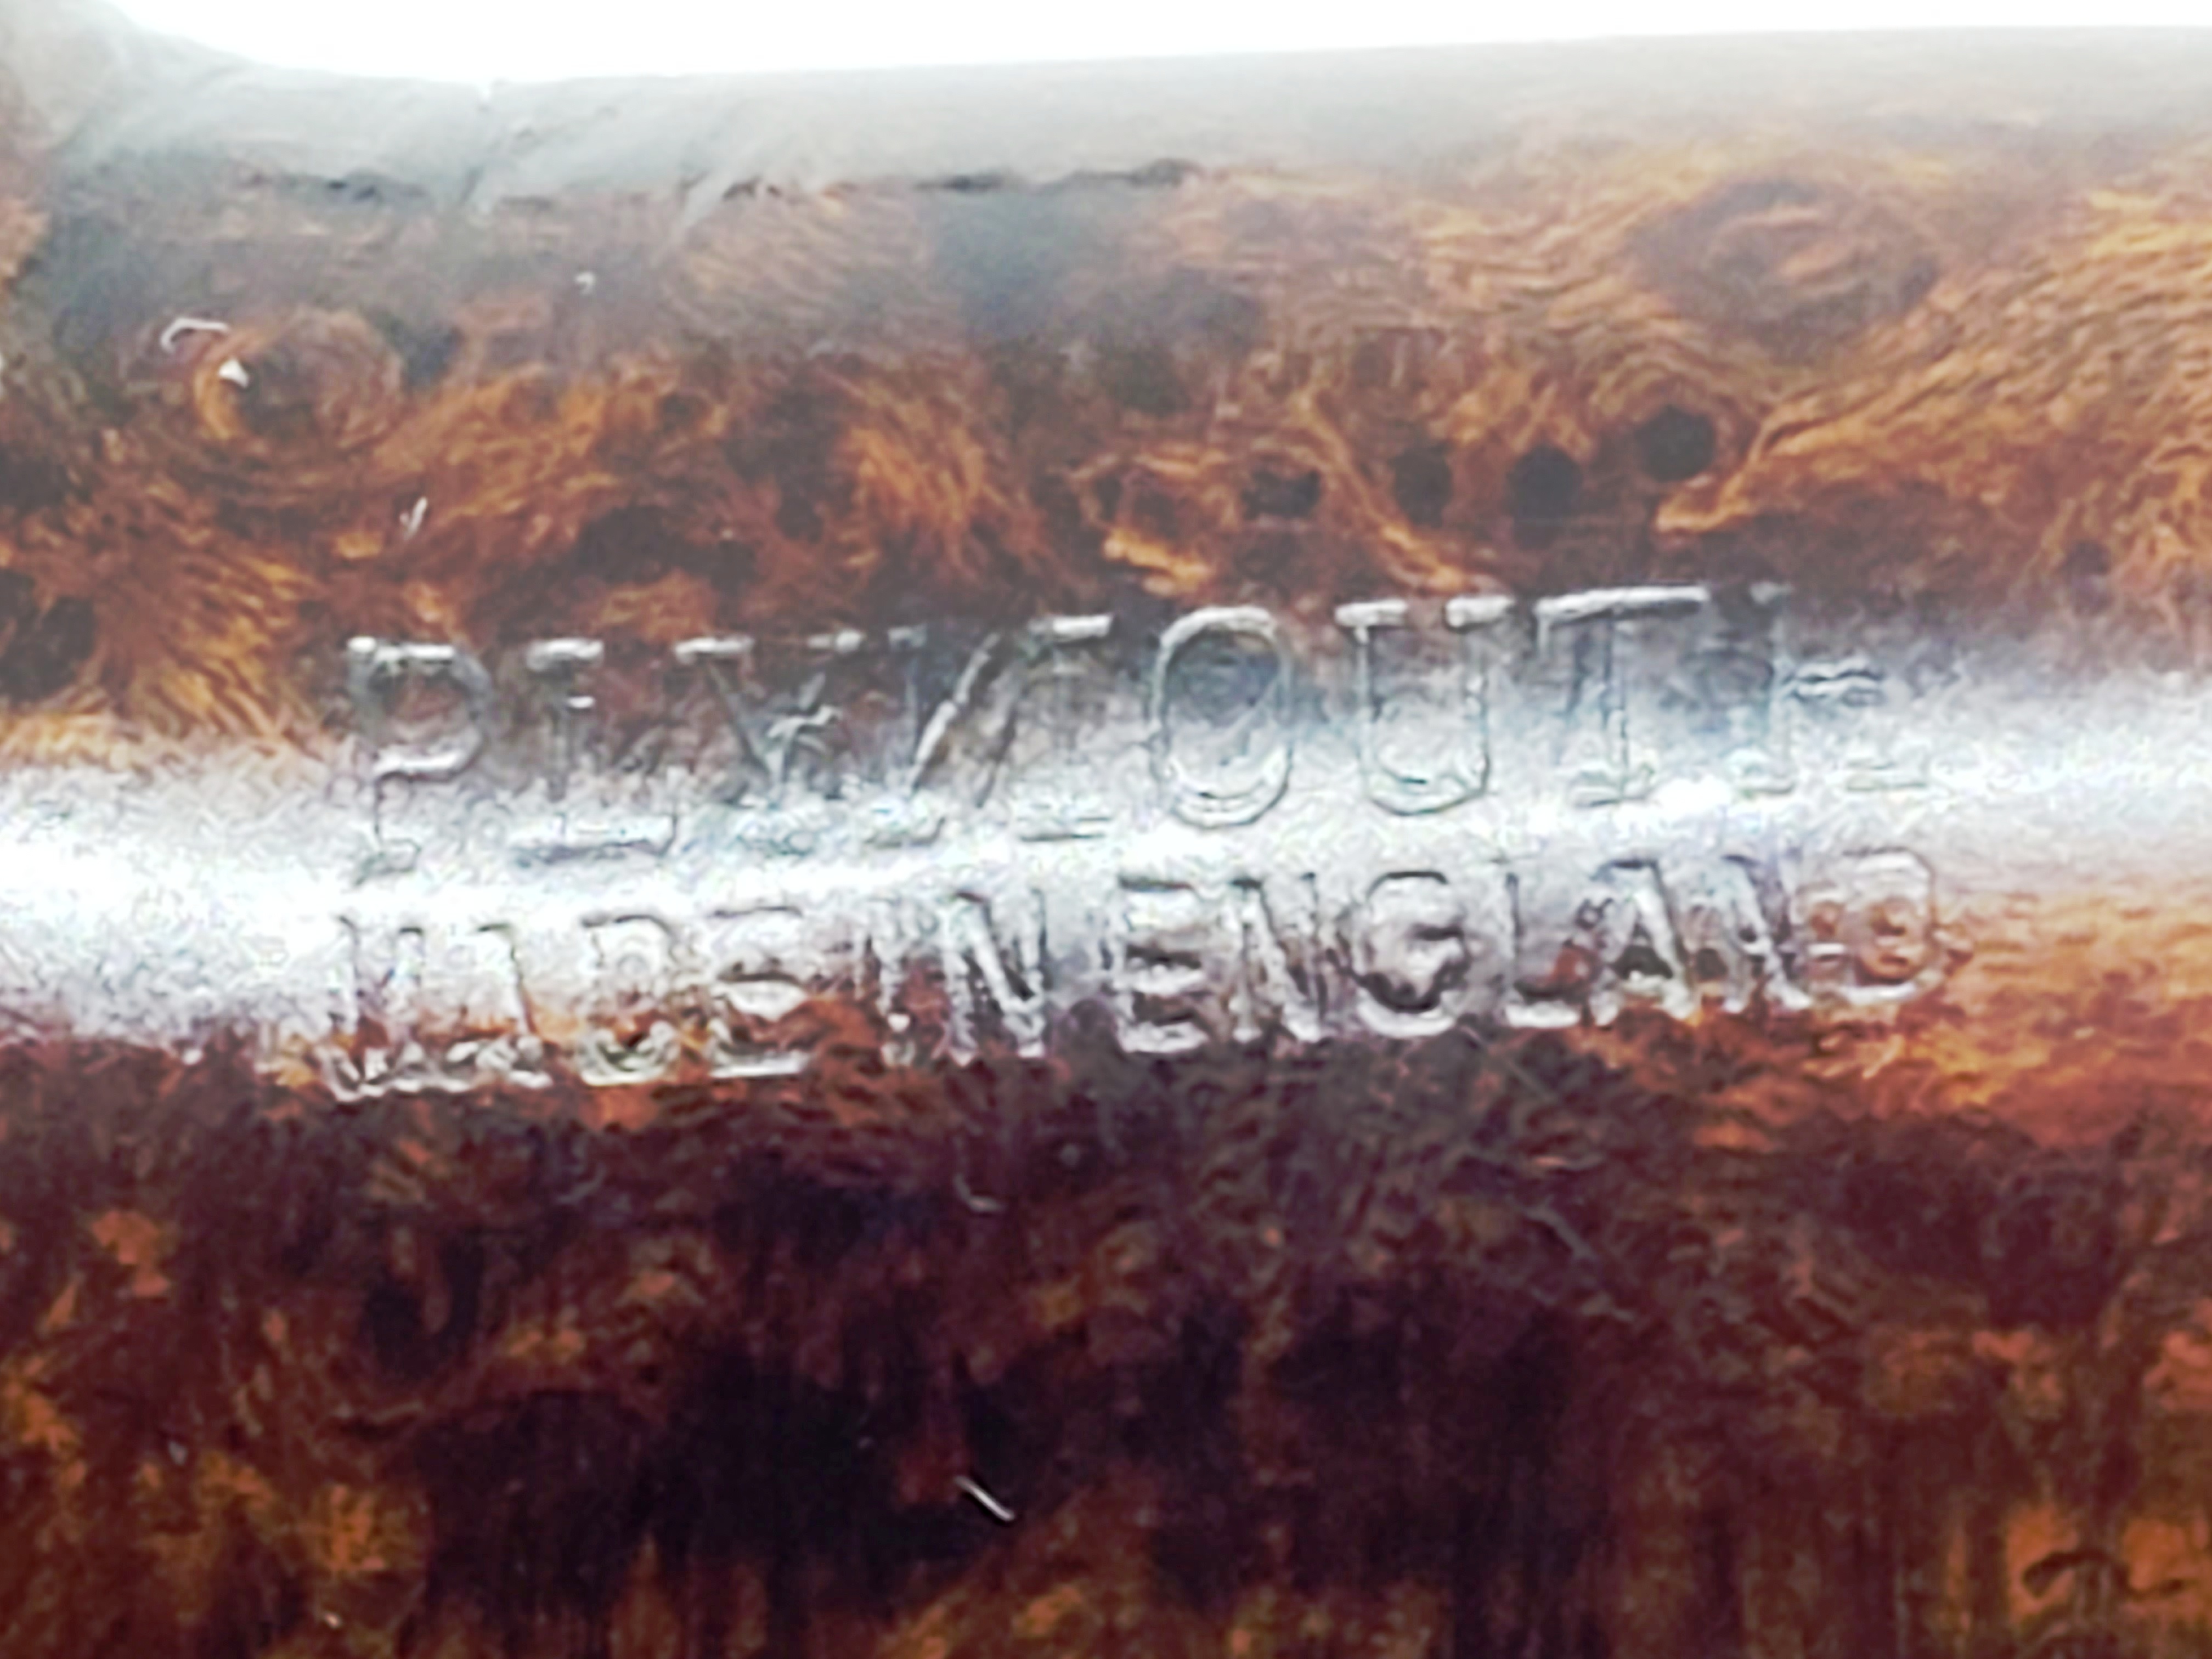
 The next photo shows the stamping on the top left side of the shank. It was clear and readable. Jeff did not take photos of the other sides of the shank.
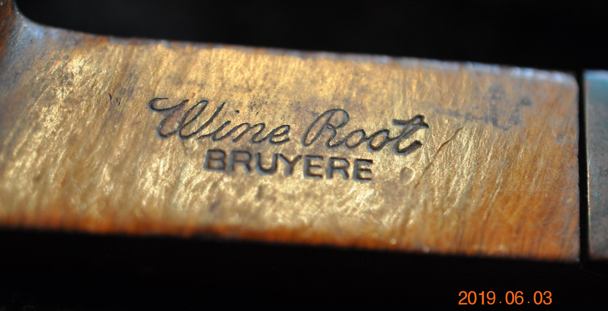 I turned to Pipedia (https://pipedia.org/wiki/Wally_Frank) to refresh my sense of the history of the brand. I quote below the history that is noted there.
Wally Frank, Ltd. was one of America’s oldest and most respected names in pipes and tobaccos, beginning in the early 1930’s. Wally Frank operated a chain of tobacco stores in New York City (the flagship store was in Lexington Avenue) and had a vast catalog business for pipes and pipe tobaccos. Their numerous private-label pipes were made by many makers, including Charatan, Sasieni, Weber, and many others. Wally Frank, Ltd. also owned the Pioneer brand of meerschaum pipes, made from both Turkish and African meerschaum. In addition to importing pipes, he had many pipes made in his own name and also employed pipemakers like Peter Stokkebye, Svend Bang, and Ed Burak (who later became the owner of Connoisseur). As a result, each Wally Frank pipe must be individually evaluated on its own merit.
Members of Wally Frank’s “The Pipe of the Month Club” received a new pipe in the mail once a month.
In 1952, Wally Frank was on a buying trip in Italy and “discovered” pipe maker Carlo Scotti. Frank liked Scotti’s pipes, but there was the small problem of Scotti’s pipes bearing the same trademark or logo as one of Wally Frank’s pipe lines, the White Bar. The two men decided on creating a new logo for pipes sold in the U.S.: a hole drilled in the stem and with a piece of silver foil inserted in the hole and covered with clear Lucite.
There was no specific information on the line I was working on but the history of the brand was good to be reminded of. Now it was time to work on the pipe.
It may seem that I praise Jeff’s work in cleaning up the pipes I work on a lot! I know I do but he is an indispensable part of the restoration work for me. He has developed a system of cleaning that is quite remarkable and leaves the pipes very clean. It saves me a lot of time so I have no issues saying that! Jeff did a great job cleaning up the pipe as usual. He reamed the pipe with a PipNet reamer and cut back the cake back to the bare briar. He cleaned up the walls with a Savinelli Fitsall Pipe Knife. He scrubbed the interior of the bowl and shank with pipe cleaners, cotton swabs and alcohol to remove the tars and oils. He scrubbed the exterior of the pipe with Murphy’s Oil Soap and a tooth brush to remove the grime from the finish. He worked on the rim top lava and darkening with the soap and tooth brush. He scrubbed the inside of the stem with alcohol and pipe cleaners. He scrubbed the exterior with Soft Scrub and then soaked it in Before & After Deoxidizer. He washed it off with warm water to remove the Deoxidizer. The pipe looked far better when it arrived. 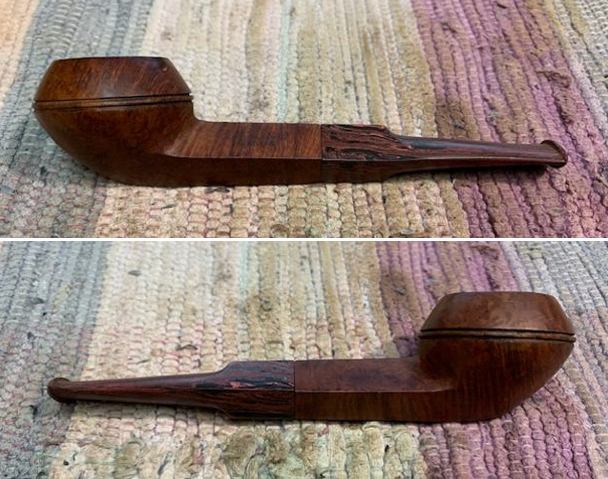
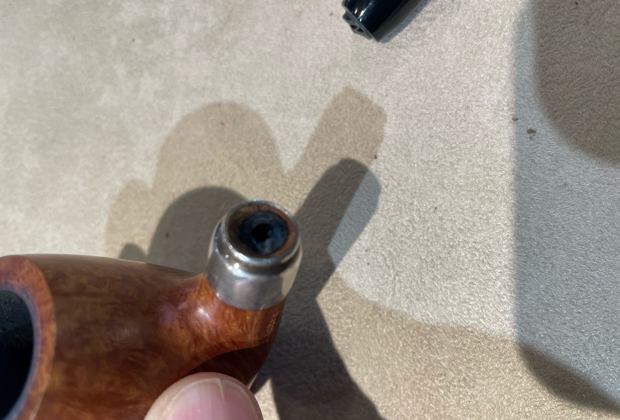
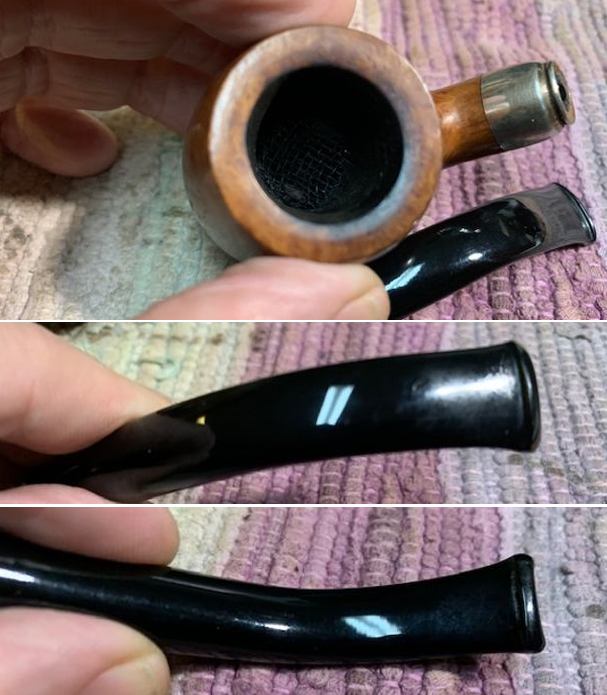
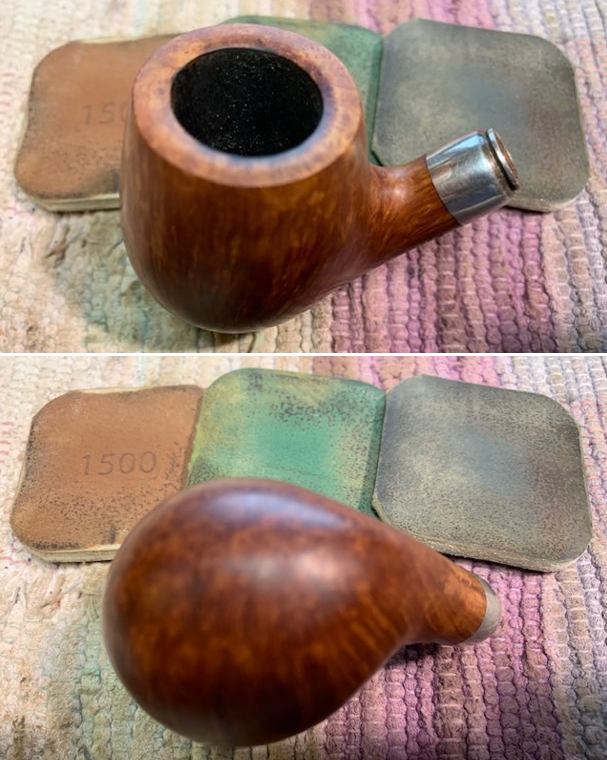
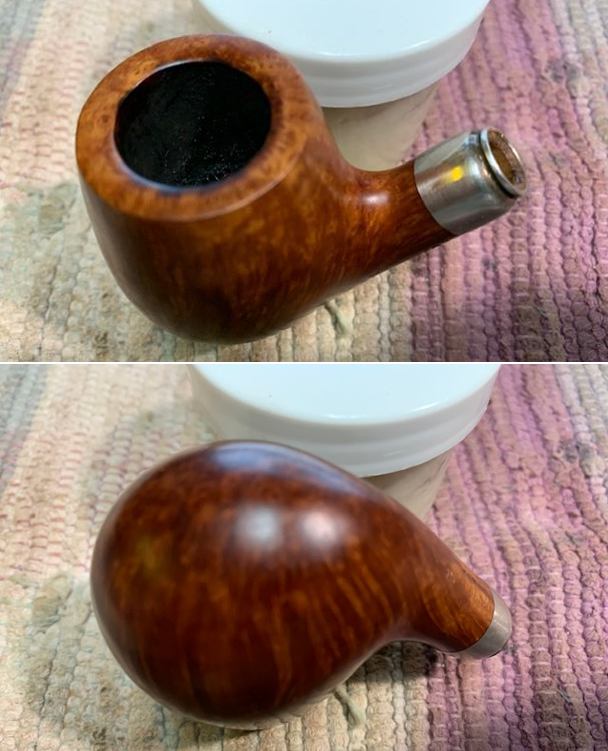
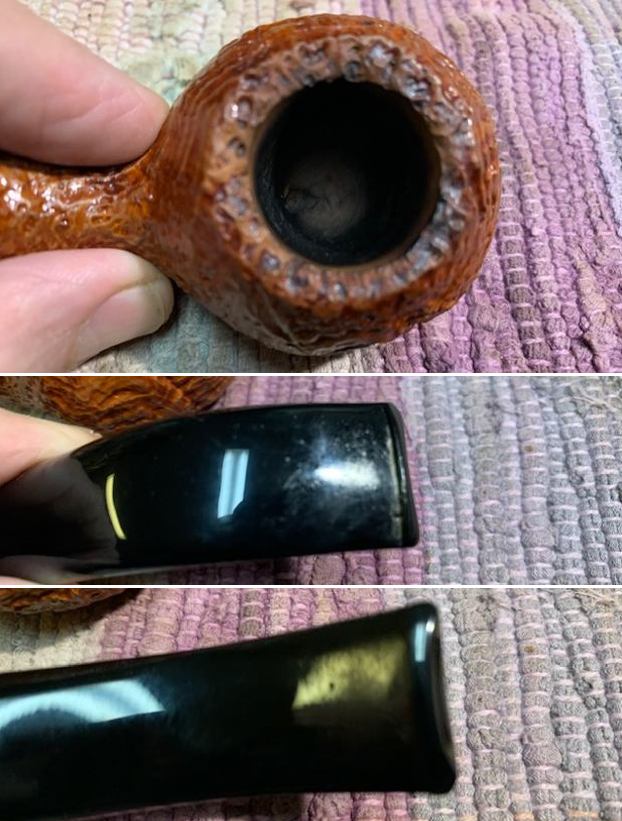
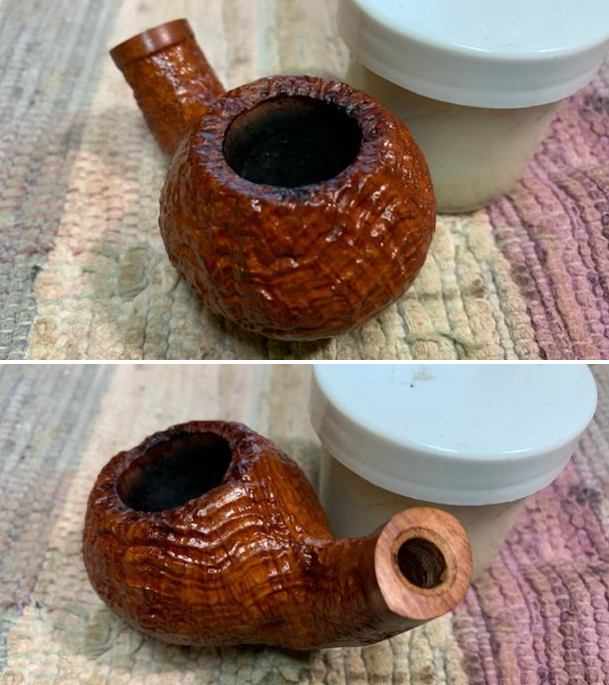
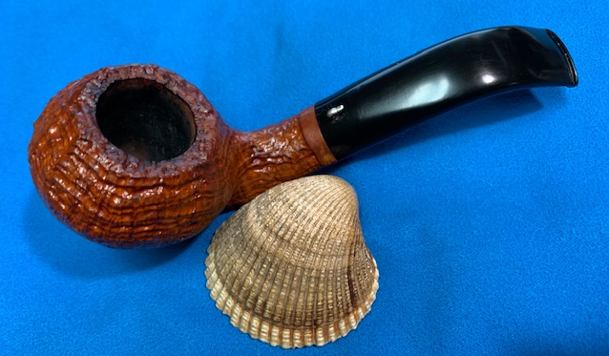
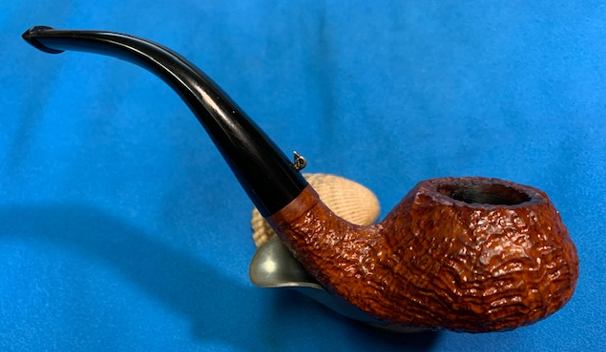
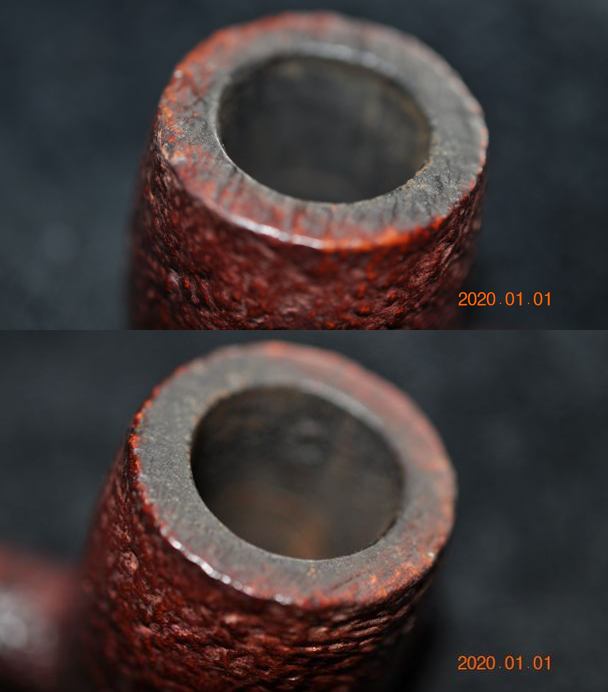
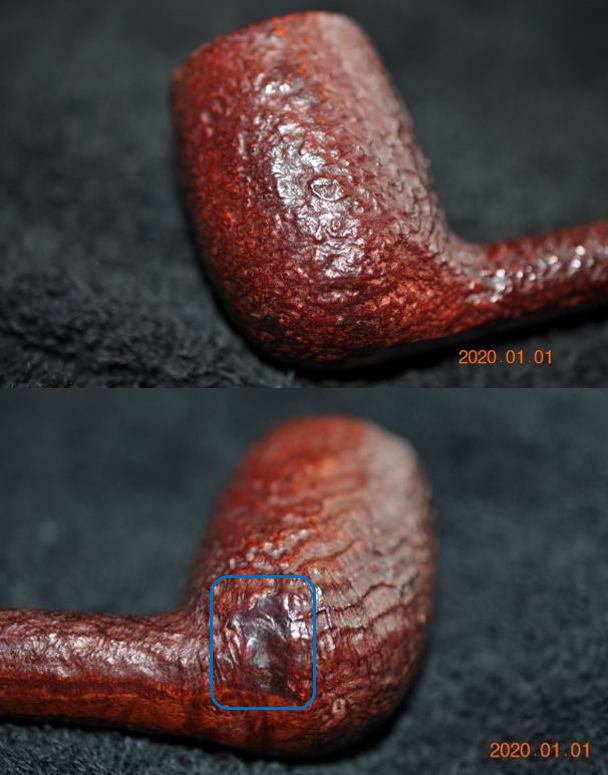
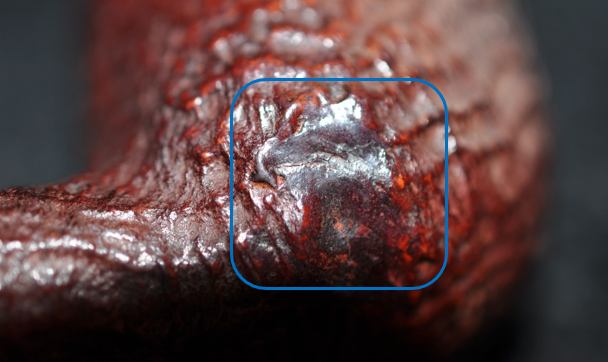
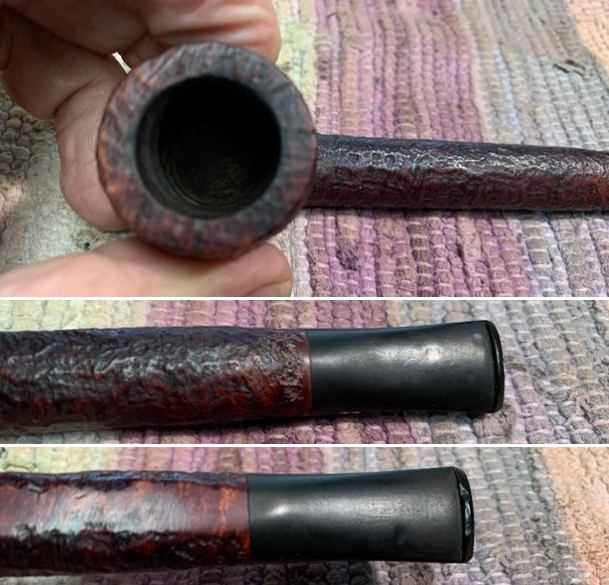
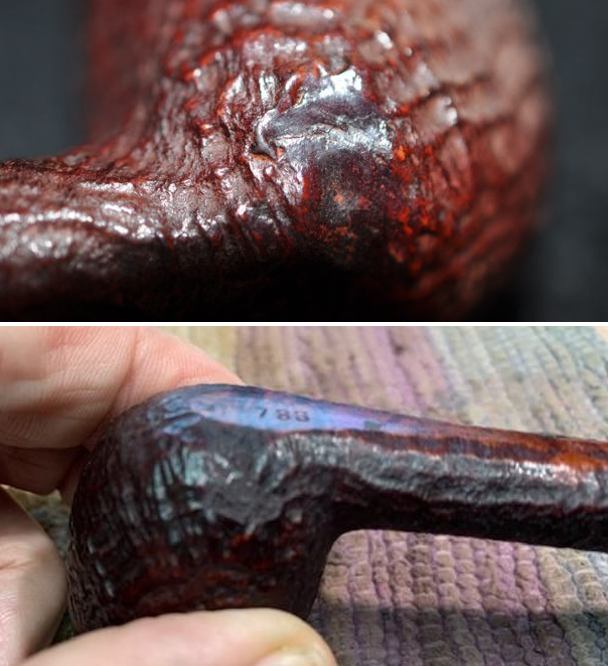
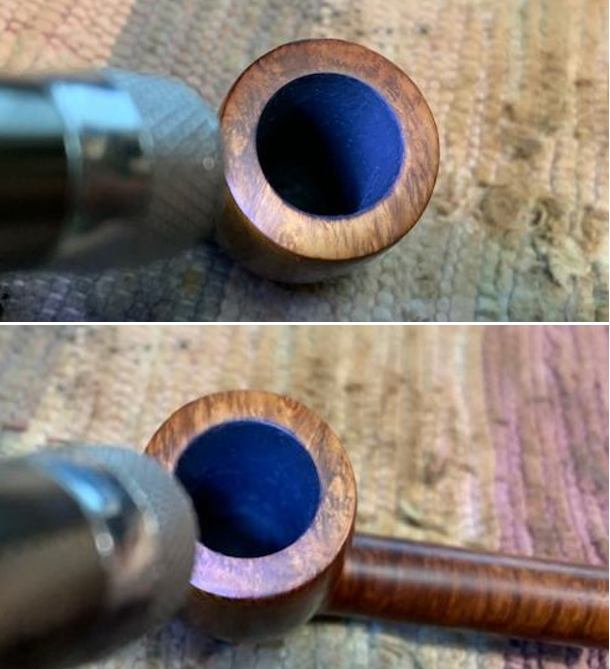
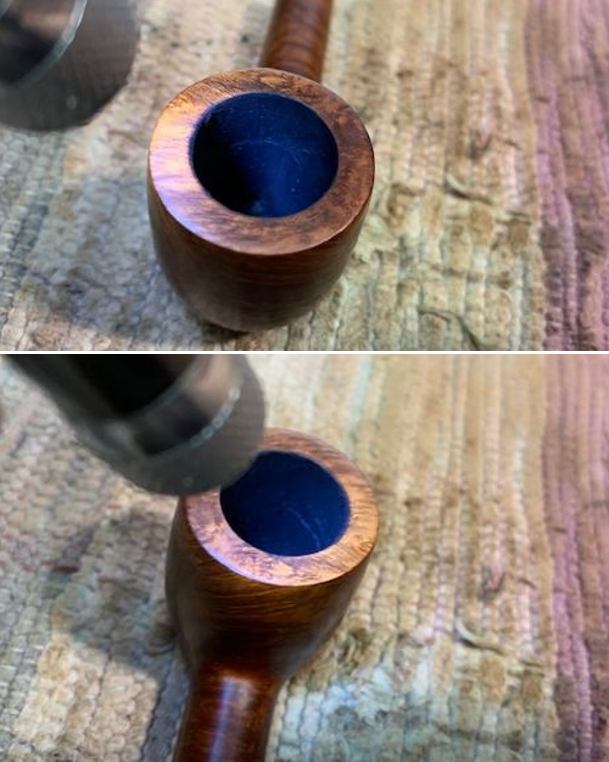
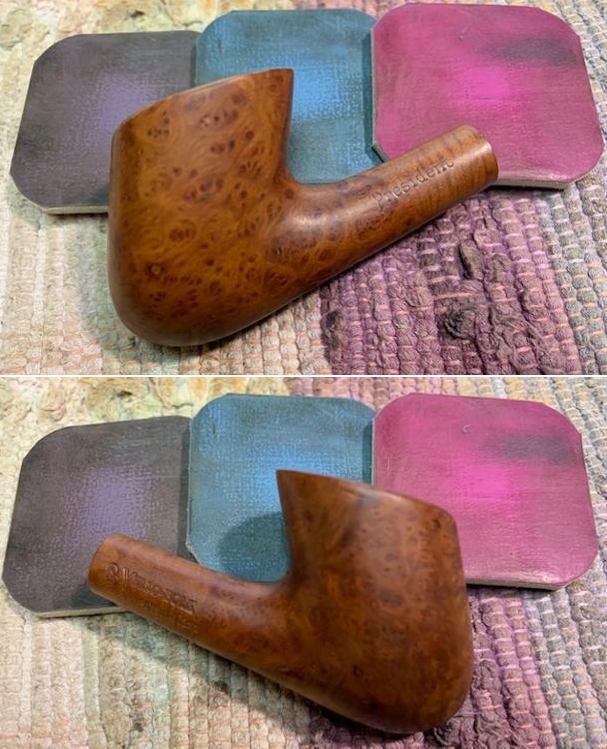
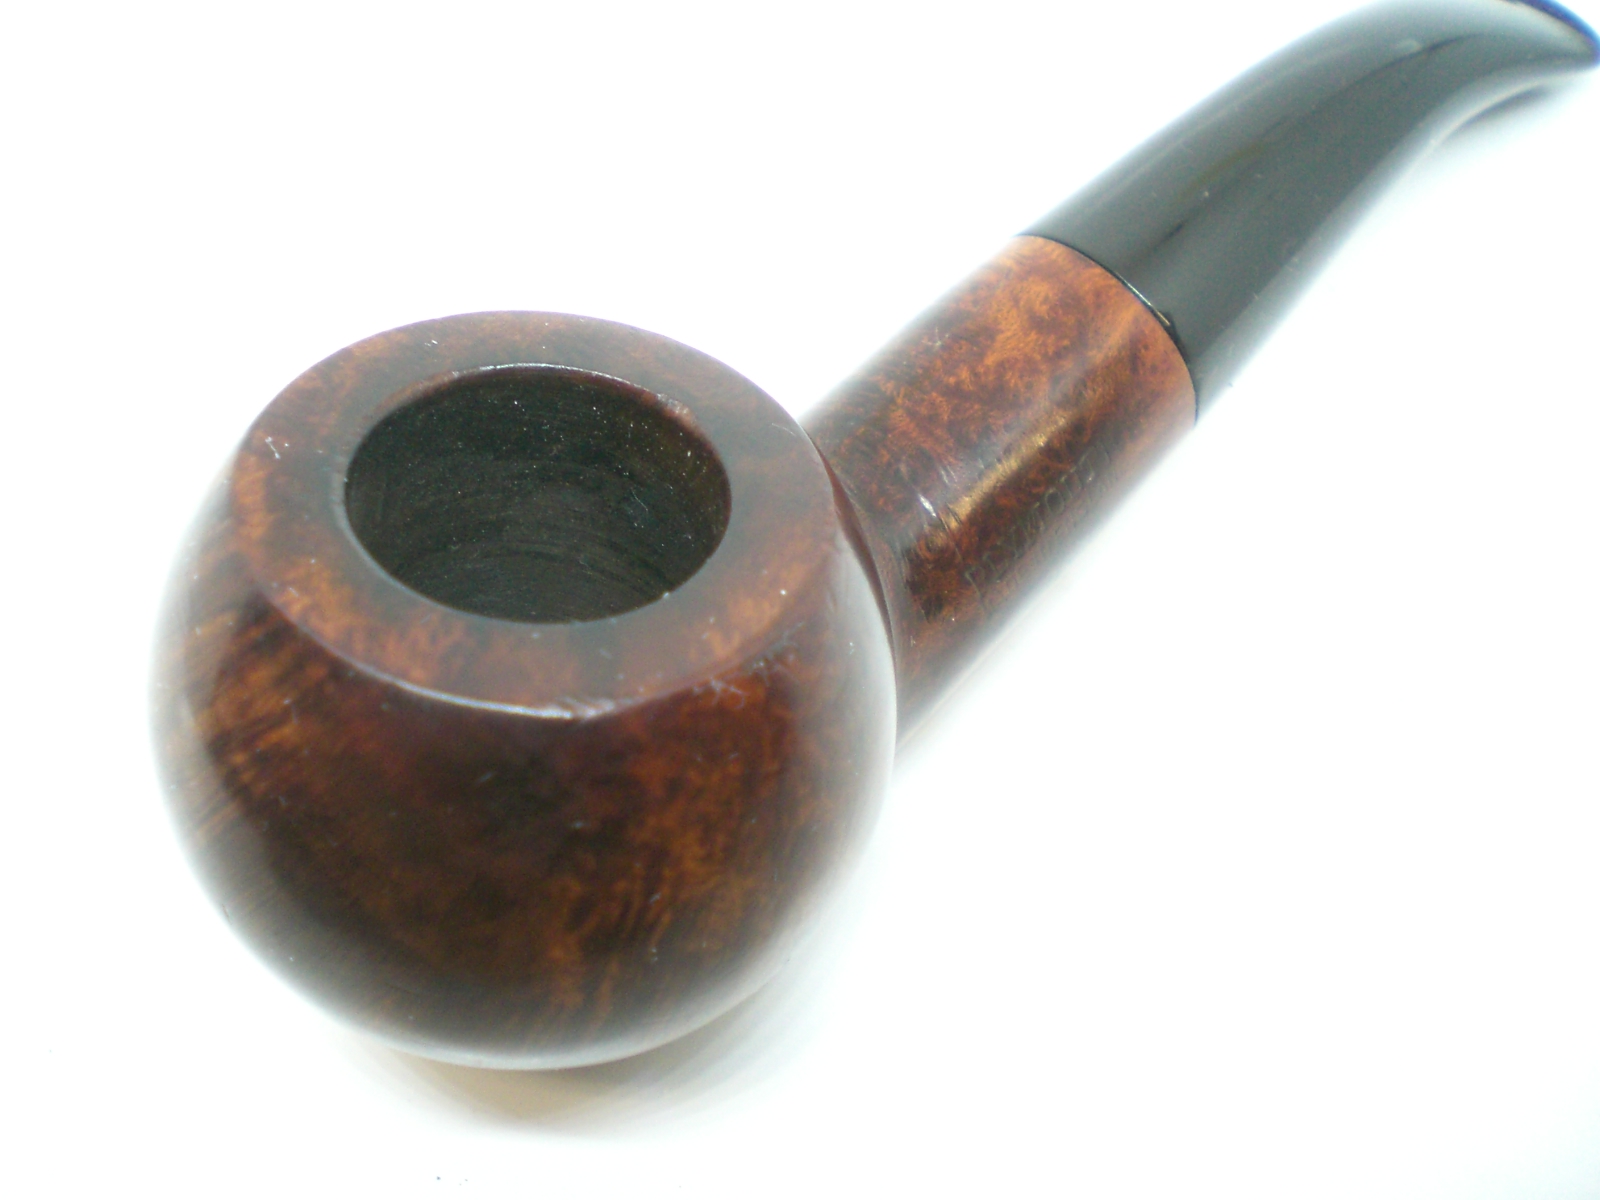
 I took some close up photos of the rim top and also of the stem surface. I wanted to show how well it had cleaned up but also to show the damage. The rim top photo looks good but there are some nicks and damage on the top and the beveled inner rim edge. The outer edge is also nicked. I also took close up photos of the stem to show the light tooth marks and chatter on the surface near the button on both sides.
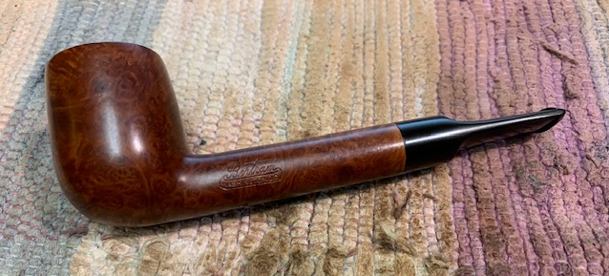
 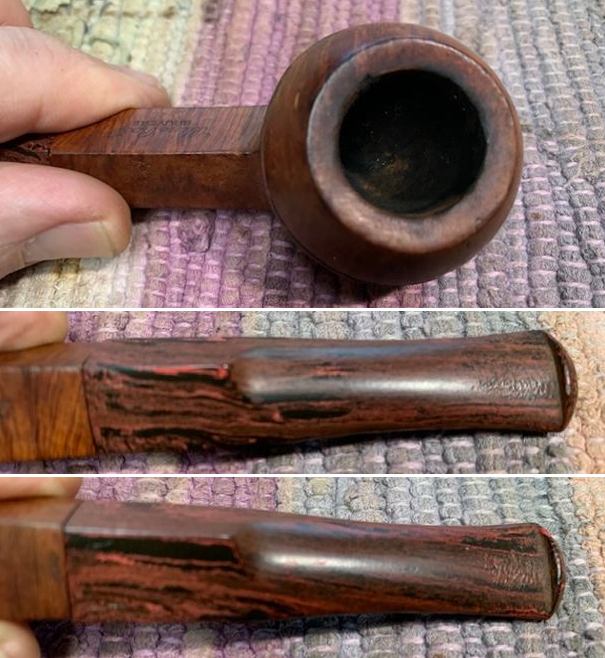 The next series of photos show the stamping on the shank sides. The stamping is clear and readable as noted above.
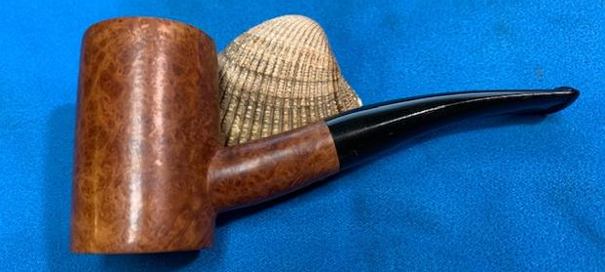
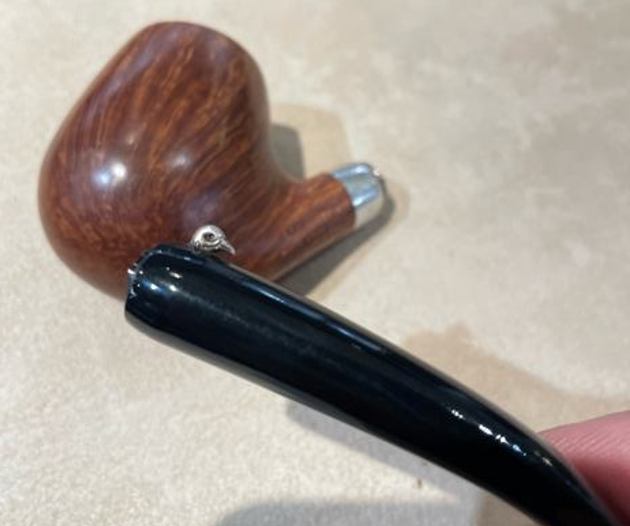
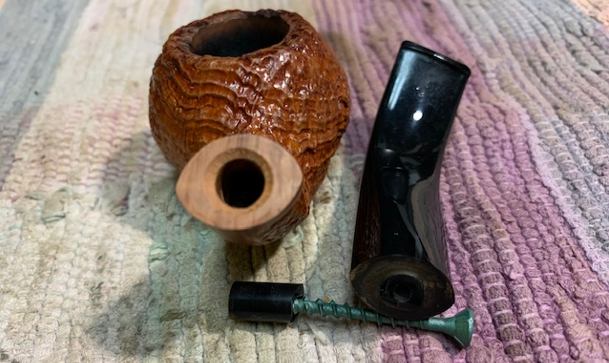
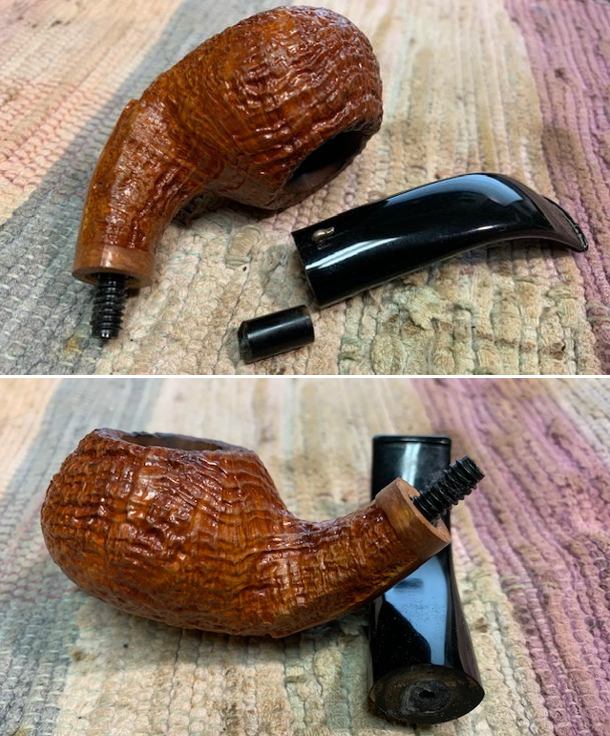
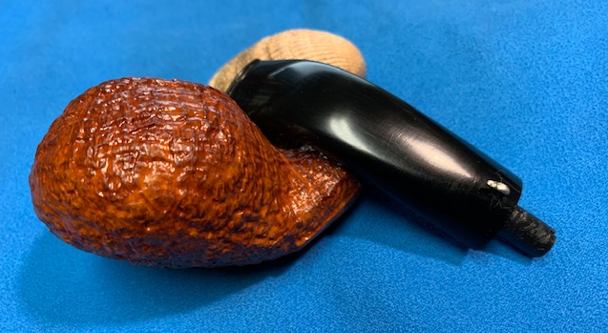
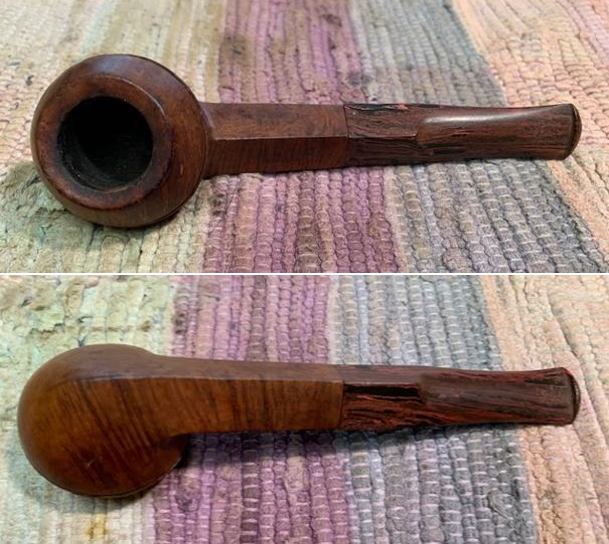
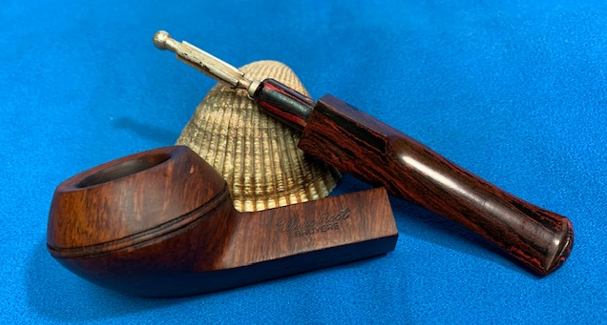
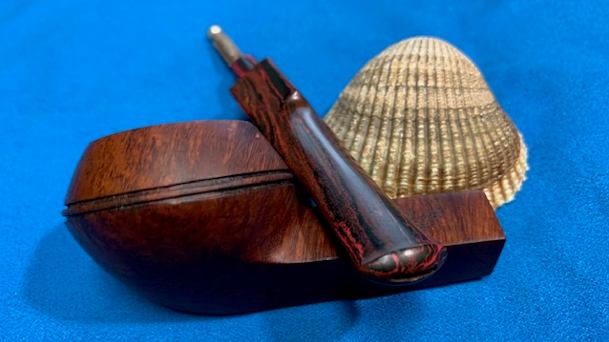
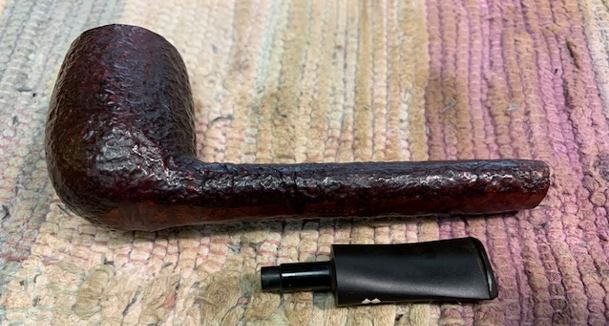
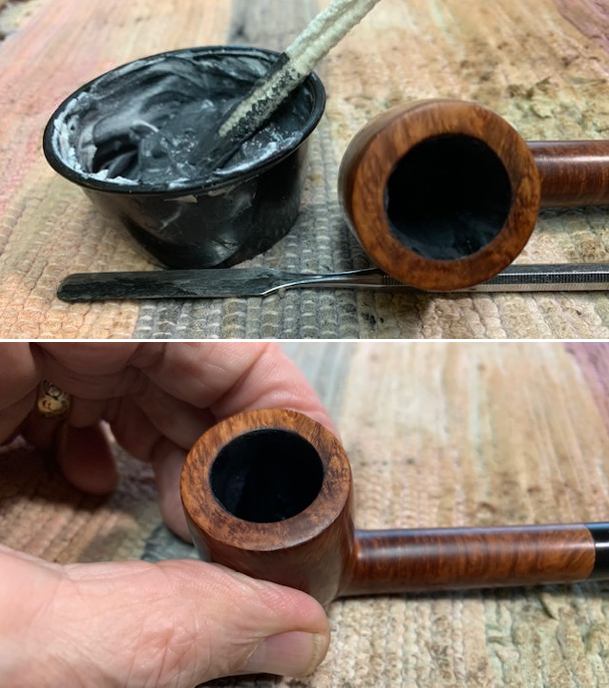
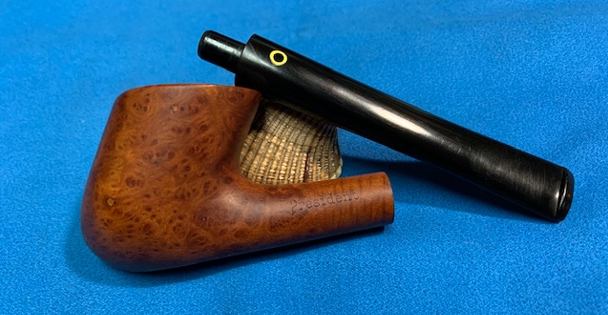
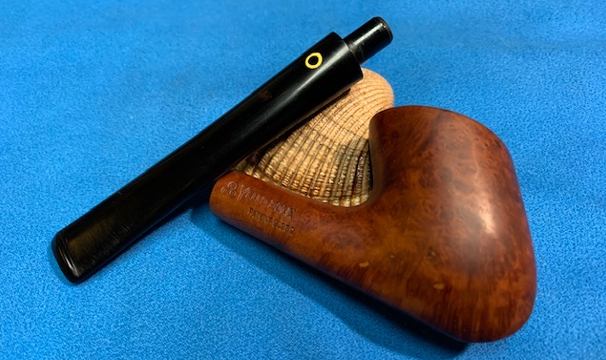
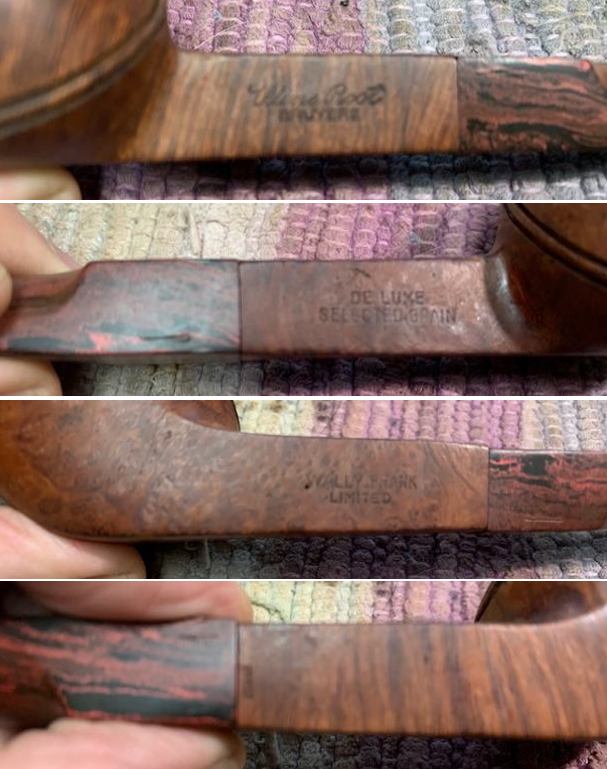 I took the pipe apart and took a photo of the pipe. It is a good looking pipe and has some great grain on the side of the bowl. The stinger is very unique and is stained red from the stain on the bowl that has permeated the aluminum.
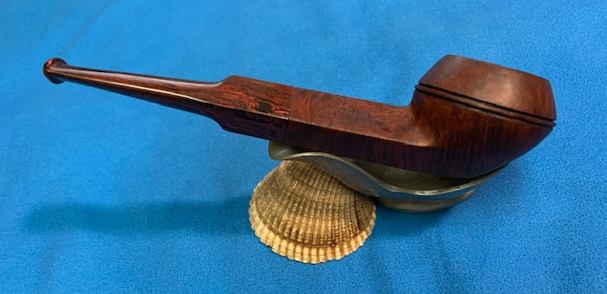
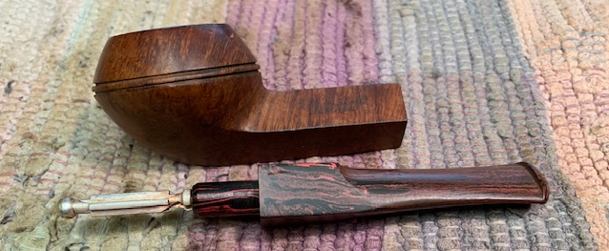 I decided to address the rim top damage first. I used a folded piece of 220 grit sandpaper to the beveled inner edge to minimize the damage to the rim. I think that it is definitely better once I finished. I would polish the flat top of the rim with micromesh and try to minimize the scratching there. The angle of the stem makes topping the bowl seem impractical.
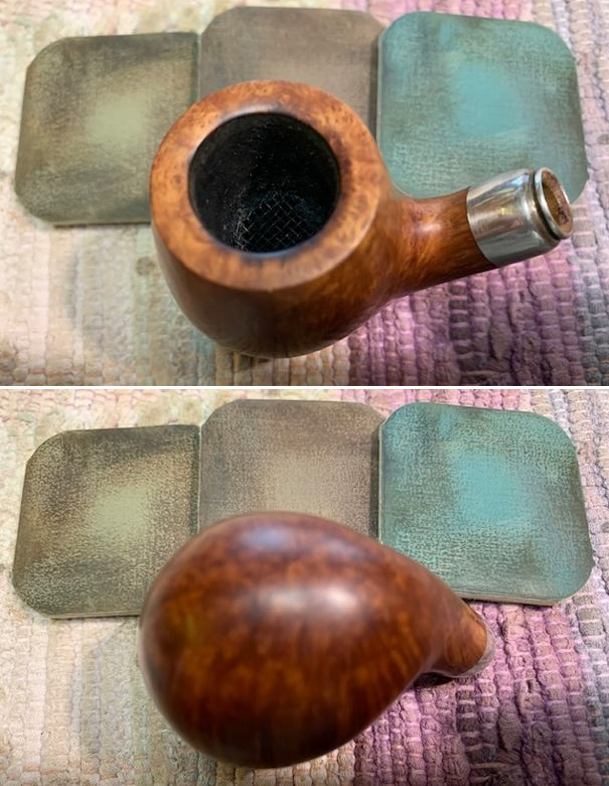
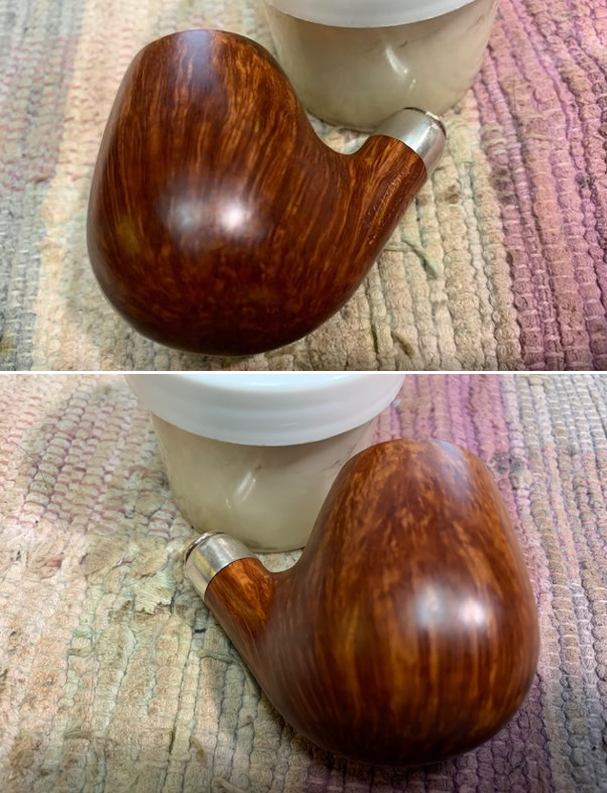
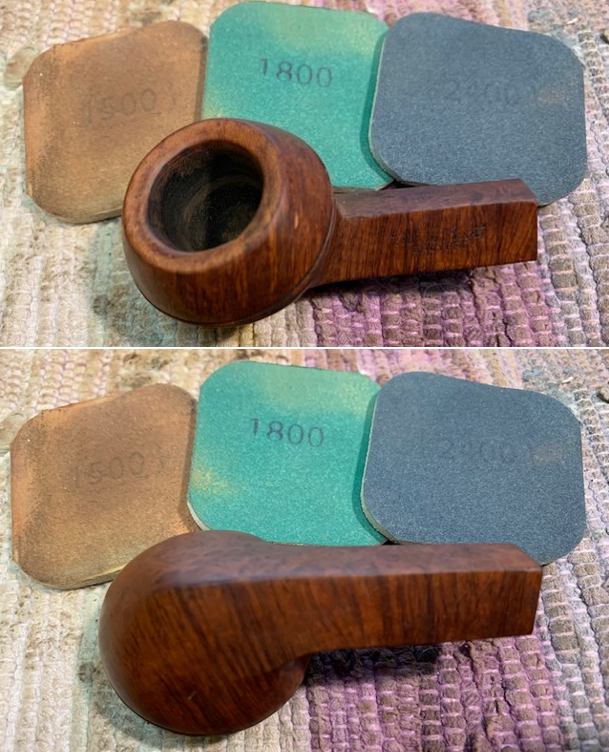
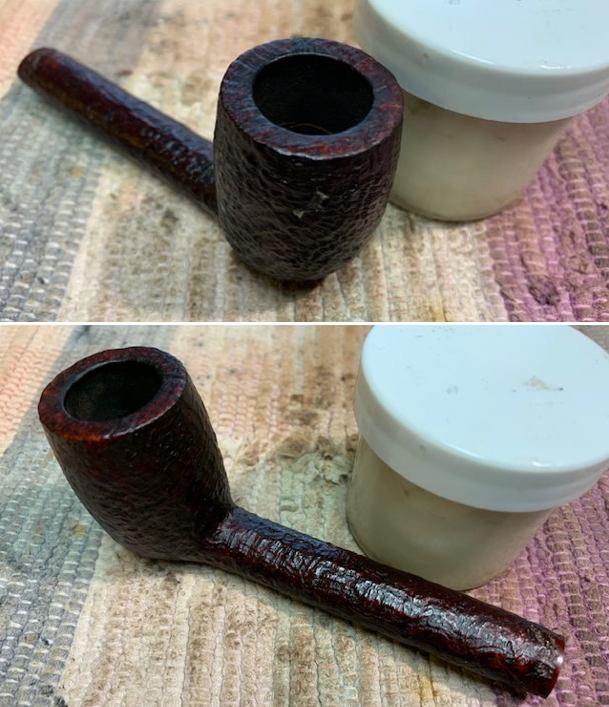
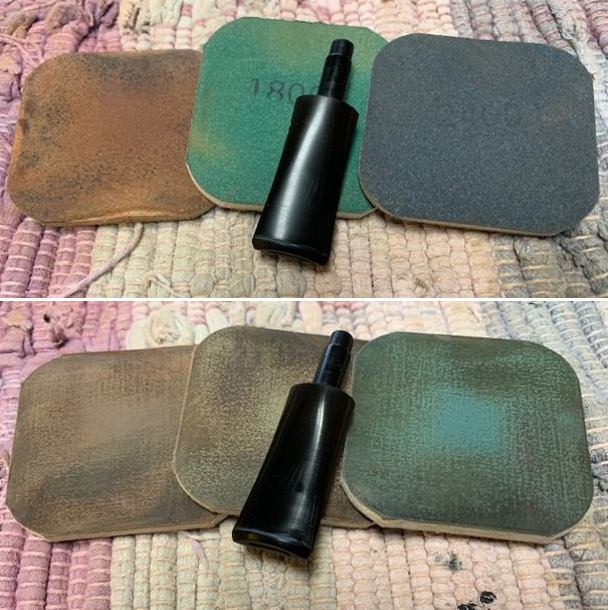
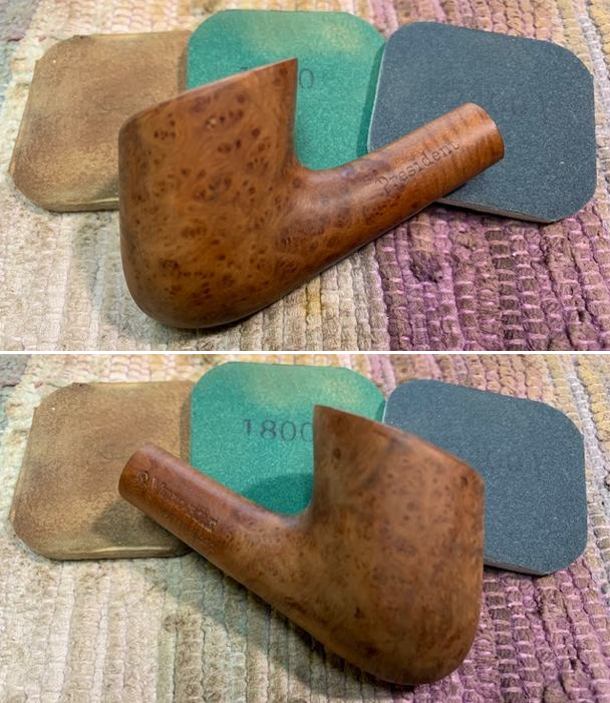
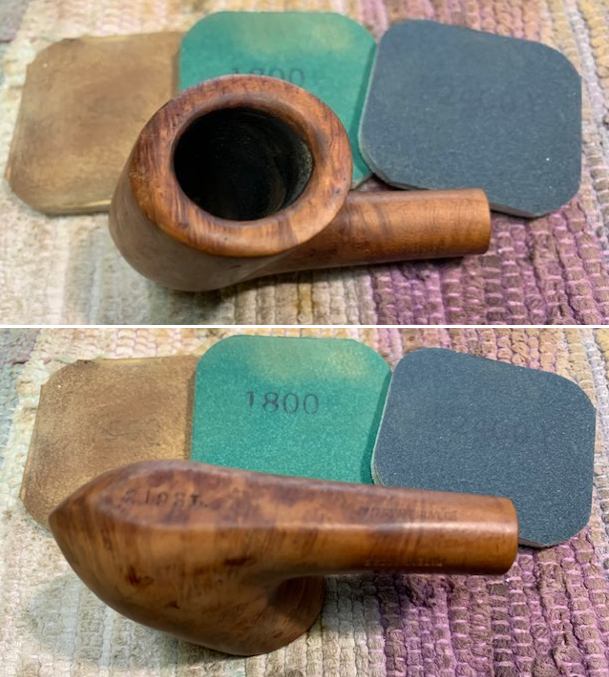
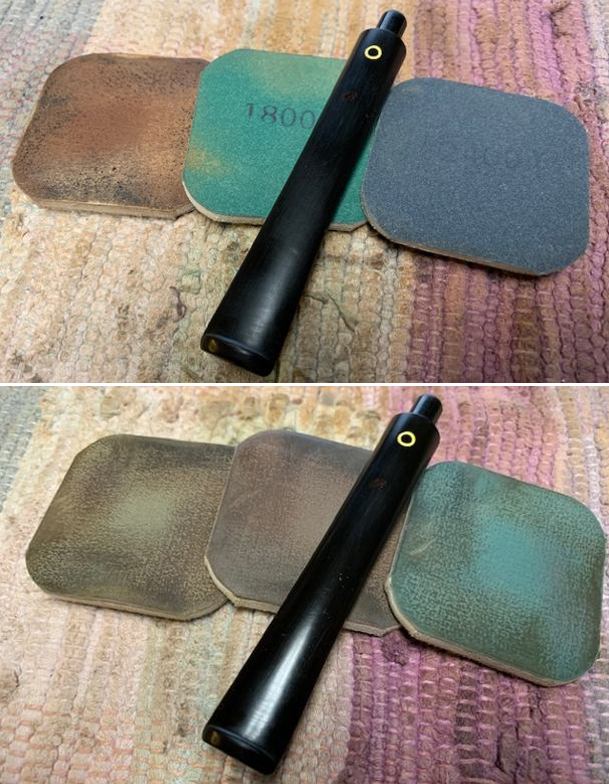
 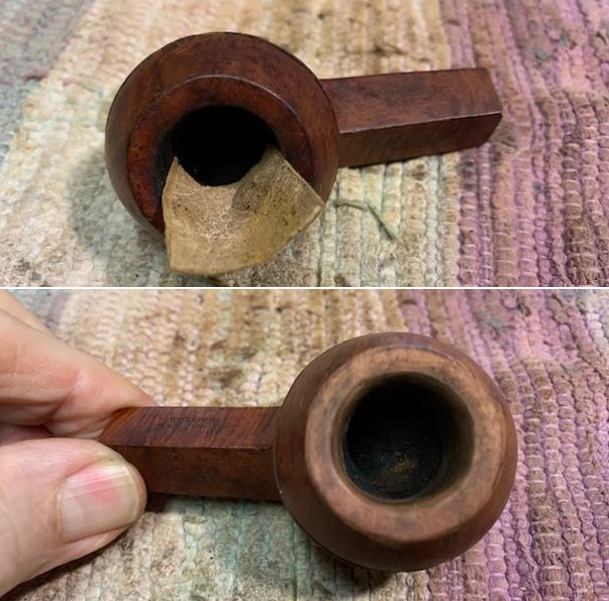 I polished the briar rim top and edges along with the rest of the briar with micromesh sanding pads –dry sanding with 1500-12000 grit pads and using a damp cloth after each pad.
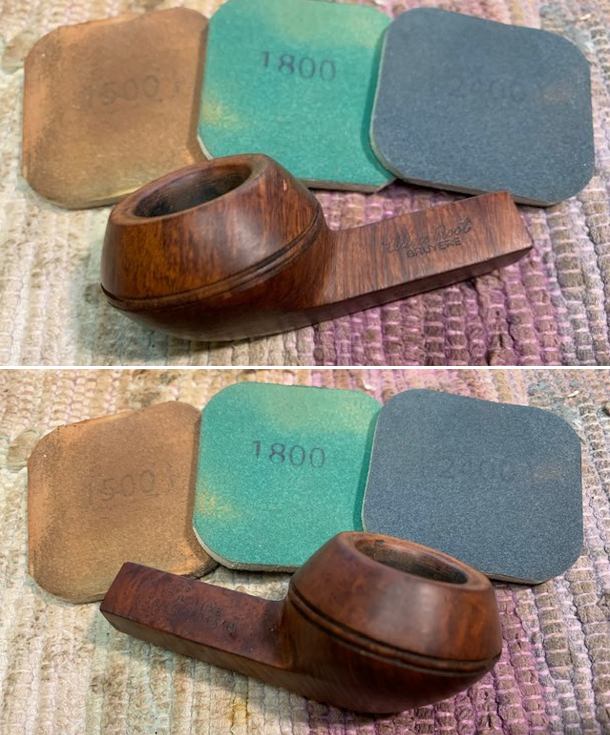
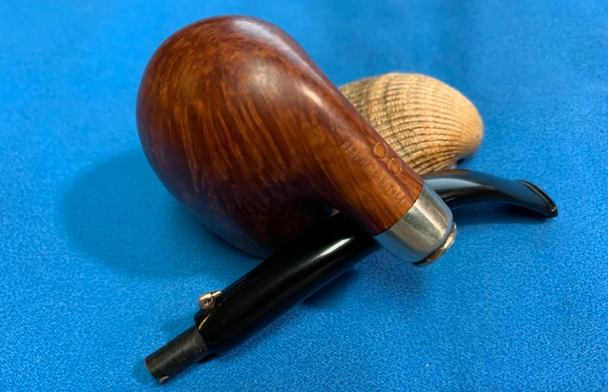
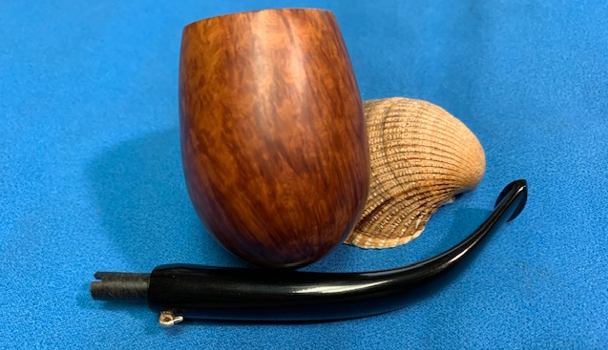
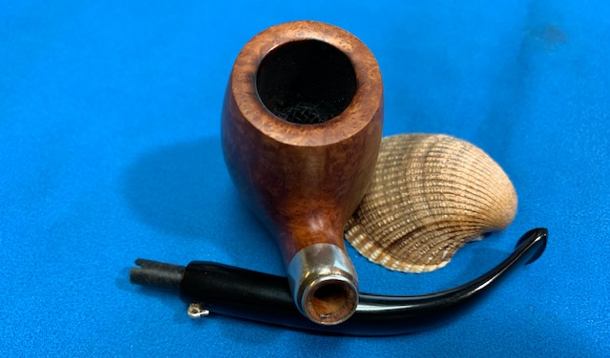
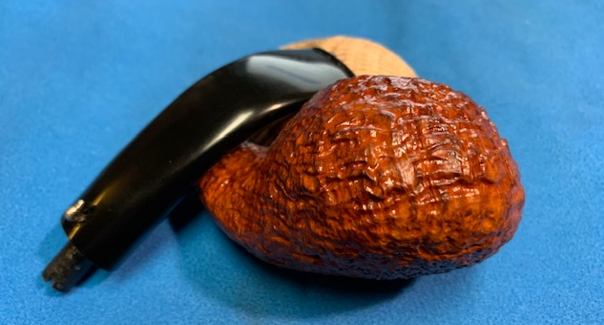
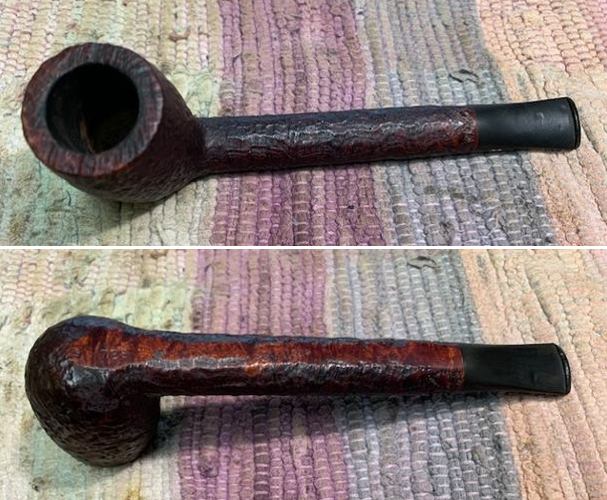
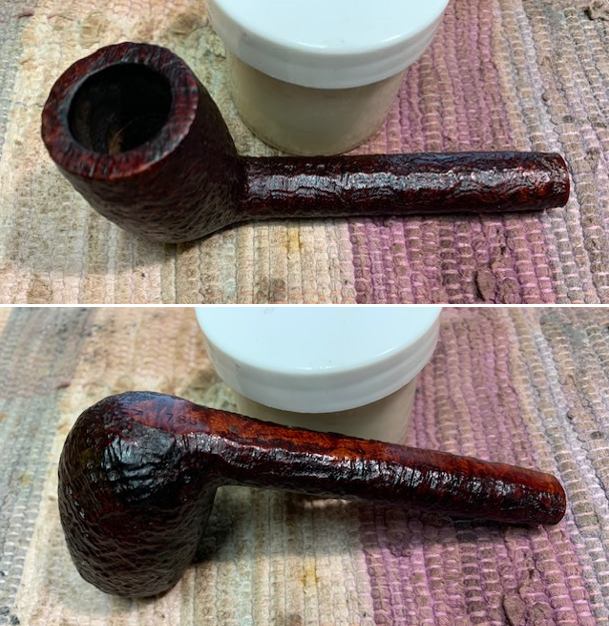
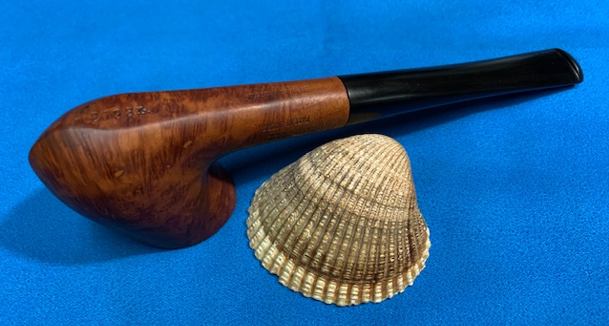
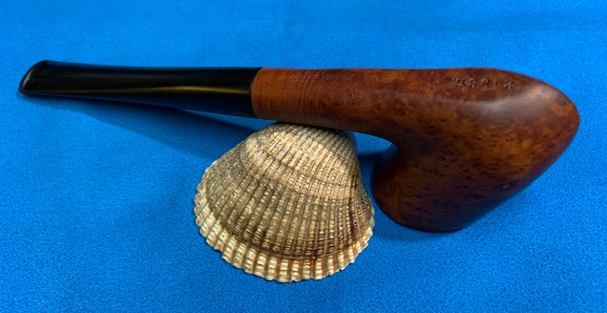
 I worked some Before & After Restoration Balm into the surface of the briar with my fingertips to clean, enliven and protect the briar. I let the balm sit for 15 minutes and then buffed with a cotton cloth to raise the shine. The photos show the bowl at this point in the restoration process.
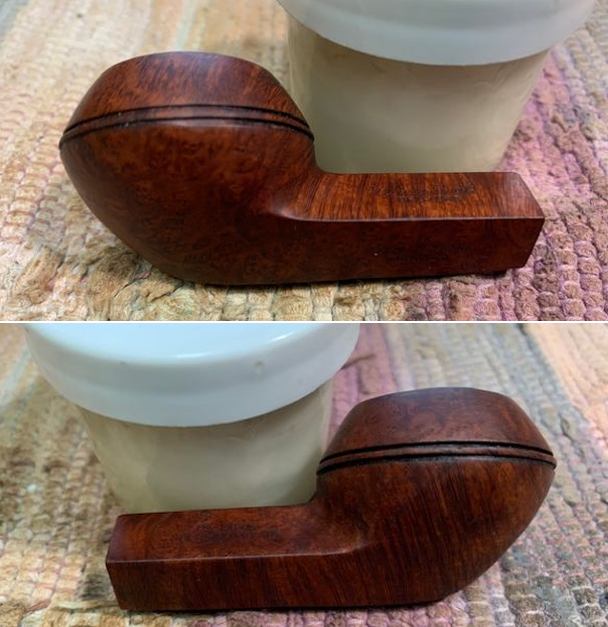
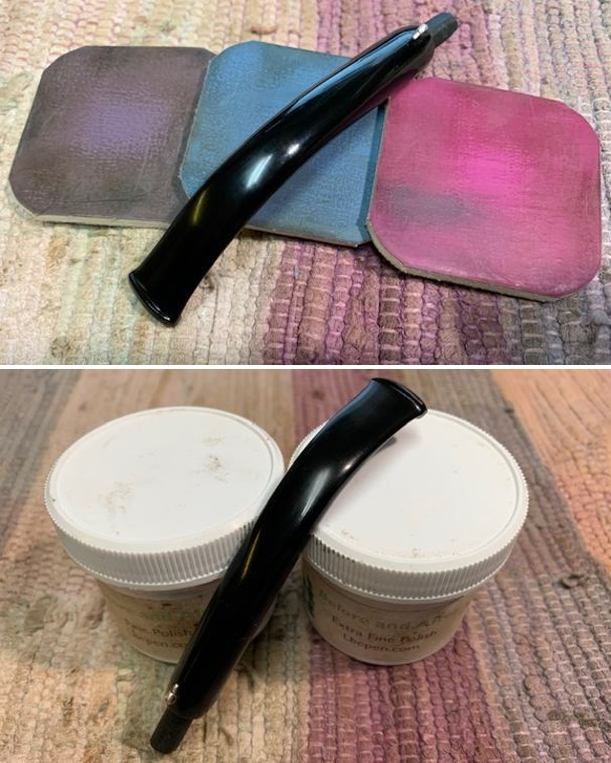
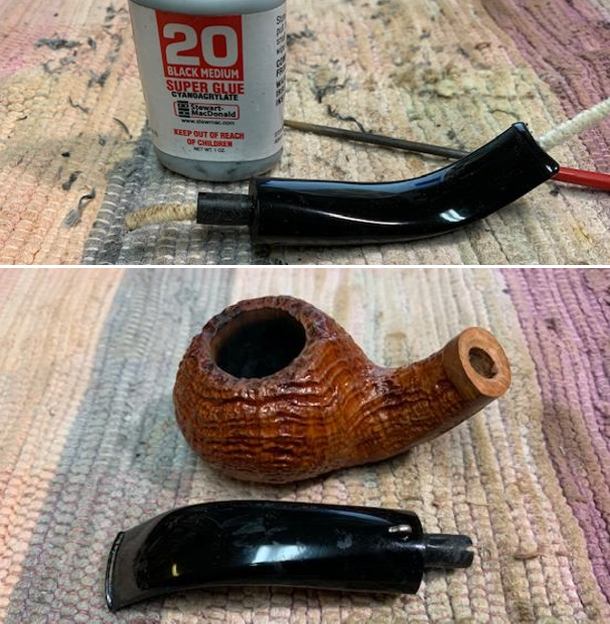
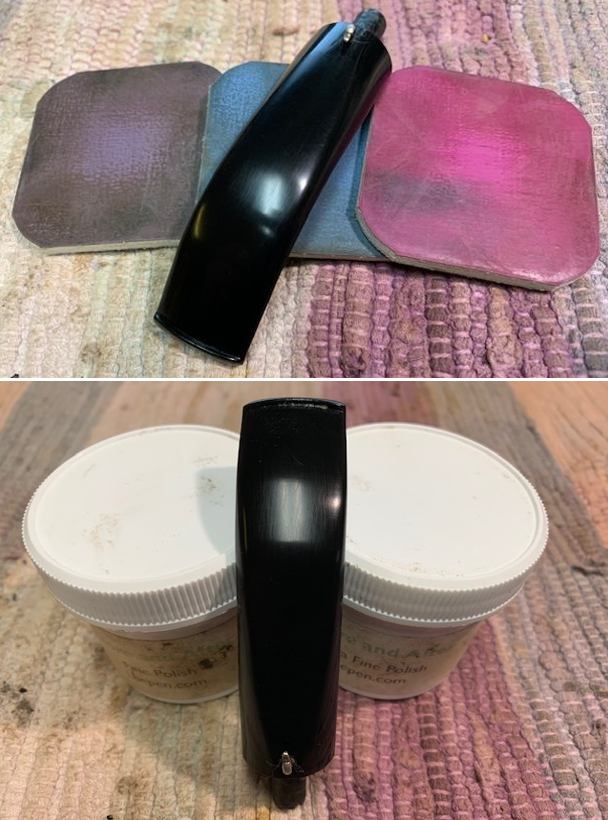
 I set the bowl aside and turned my attention to the stem. I sanded out the tooth marks and chatter with 220 grit sandpaper and was able to remove them from the surface. I started the polishing with 400 grit wet dry sandpaper. I wiped it down with some Obsidian Oil.
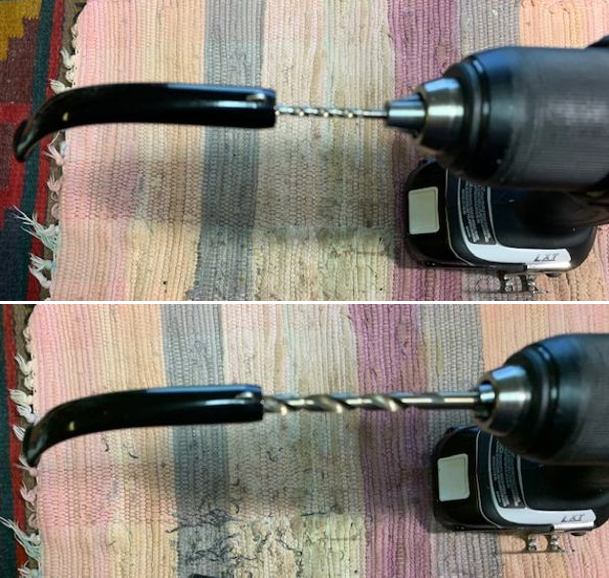
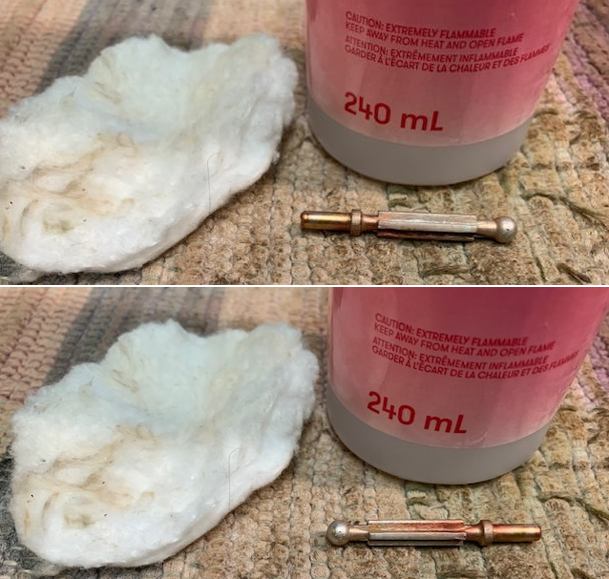
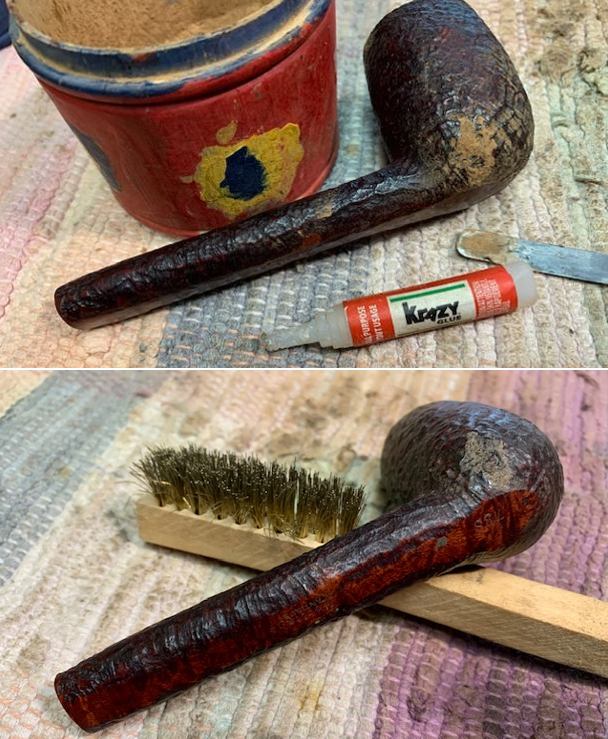
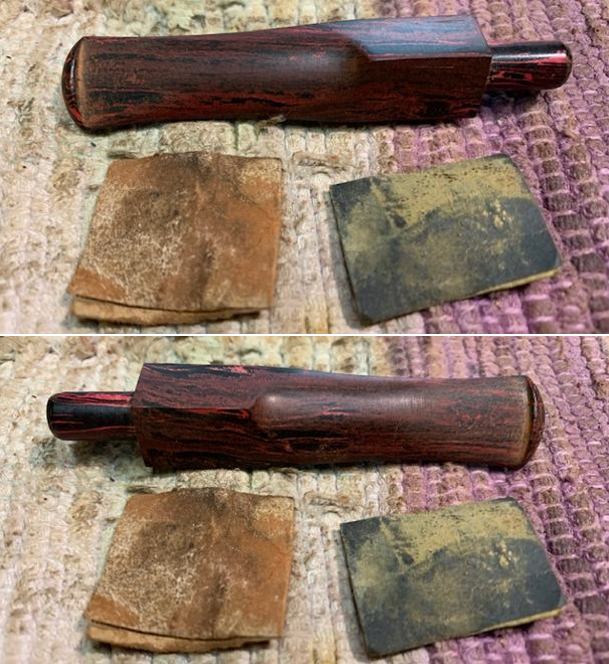 I decided to try and clean up the stinger next. I used a brass bristle brush to try to clean off the stain on the aluminum. It did very little so I put it in a small alcohol bath for about an hour to see if it works. I worked on it with a cotton pads and alcohol to remove more of the stain. It did not do too much. I then scrubbed the stinger with acetone and removed some more. It did not remove any more so there is a pink tinge that remove.
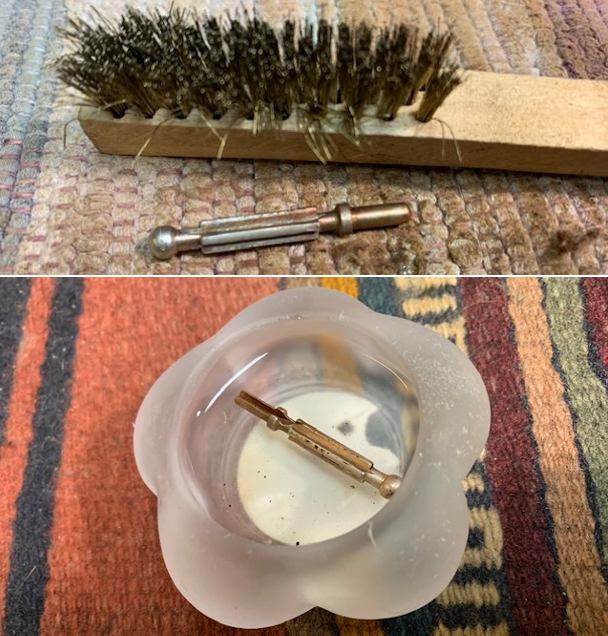
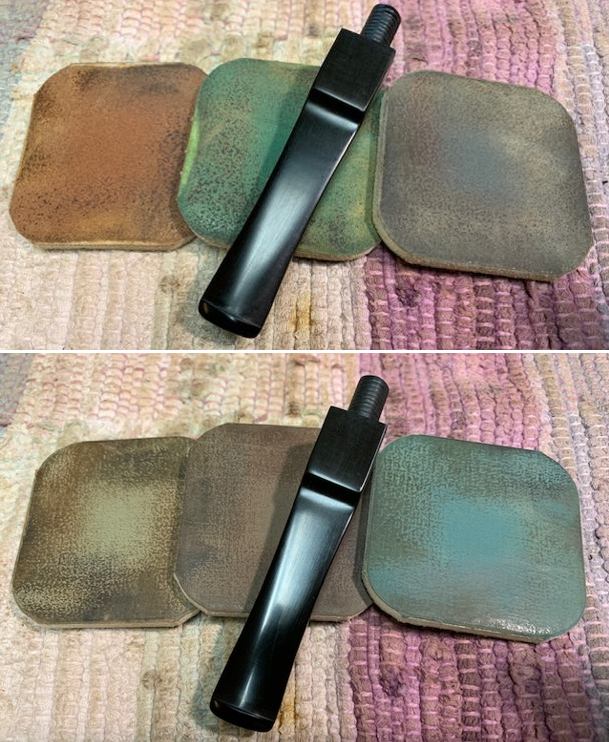
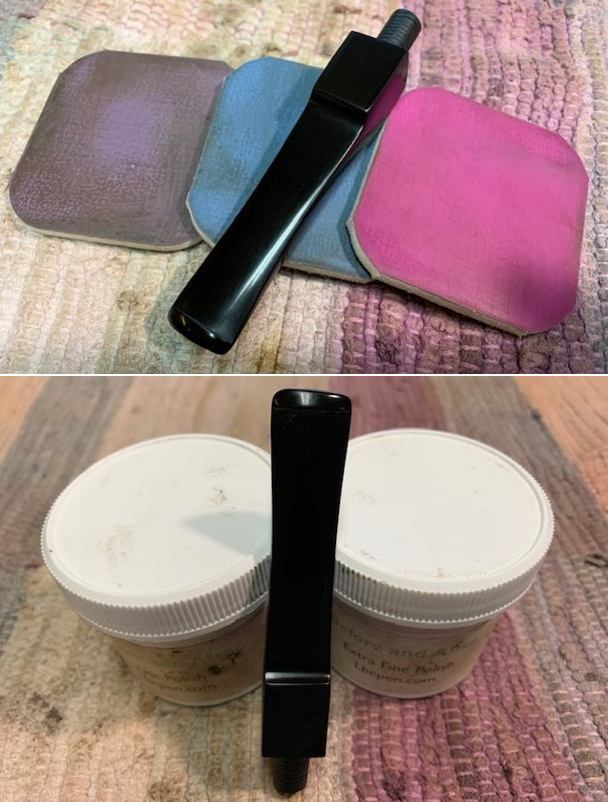
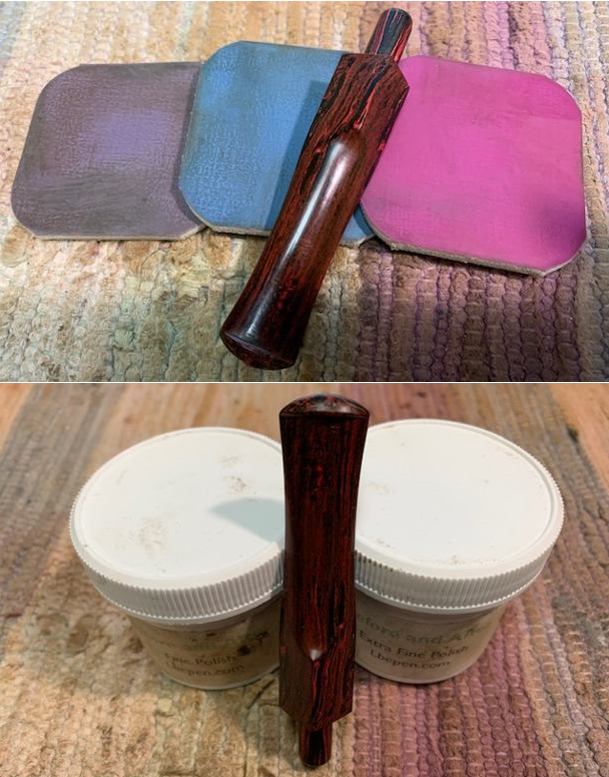
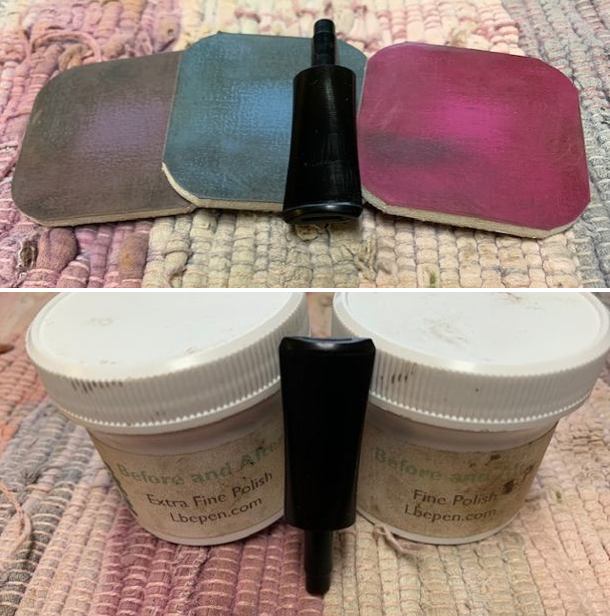
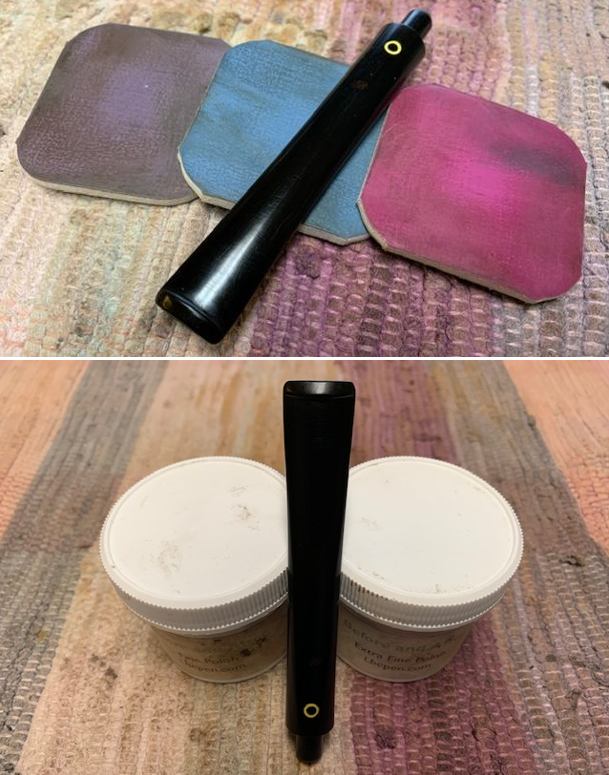
 I polished the stem with micromesh sanding pads – wet sanding with 1500-12000 grit sanding pads. I wiped it down after each sanding pad with Obsidian Oil. I polished it with Before & After Pipe Stem Polish – both Fine and Extra Fine. Afterwards I rubbed it down with another coat of Obsidian Oil and let it dry.
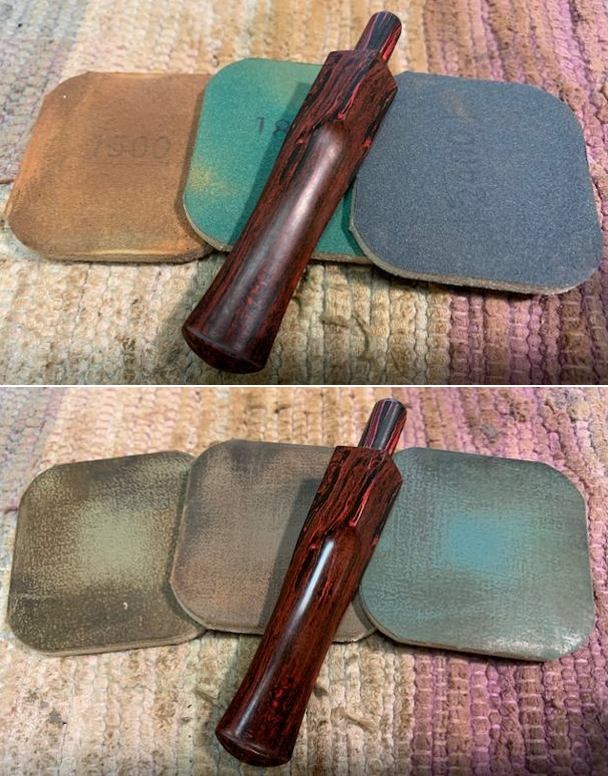
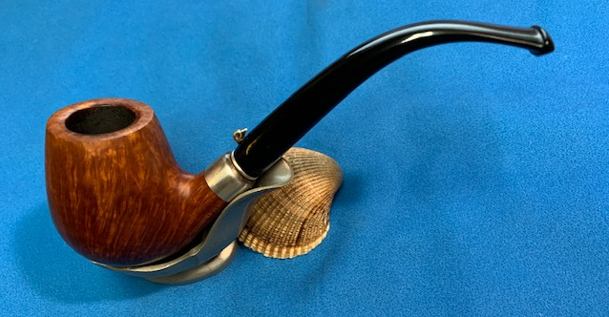
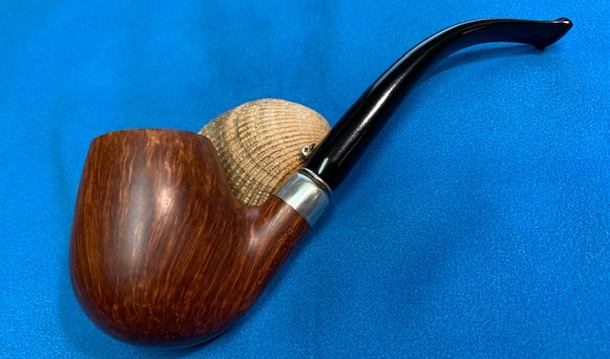
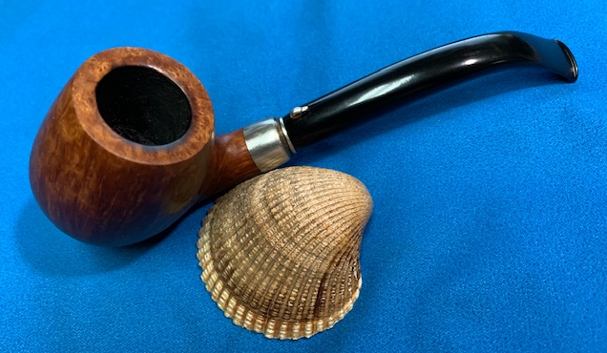
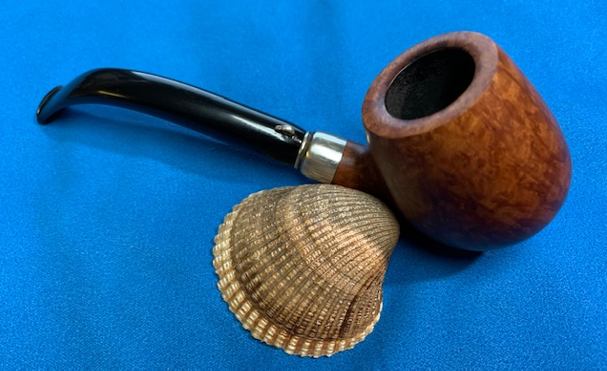
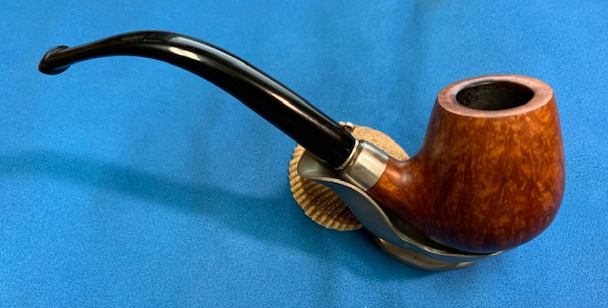
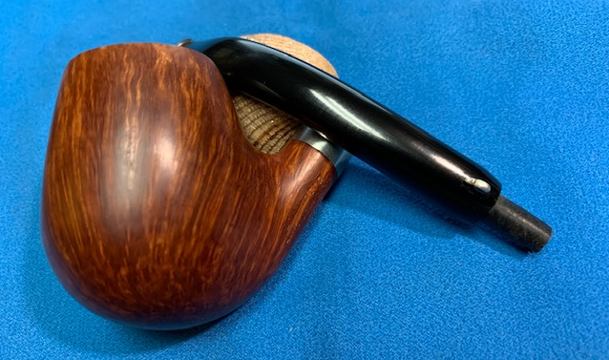
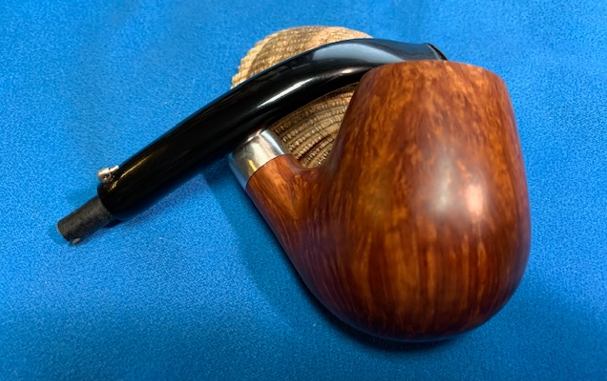
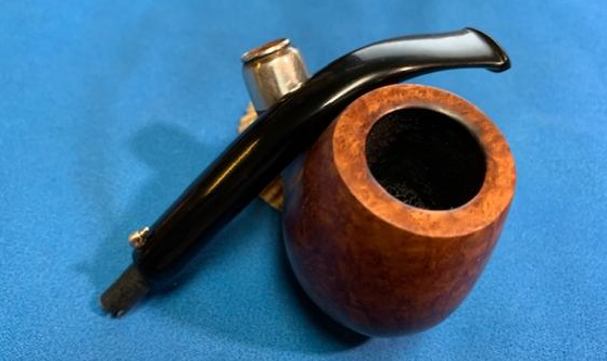
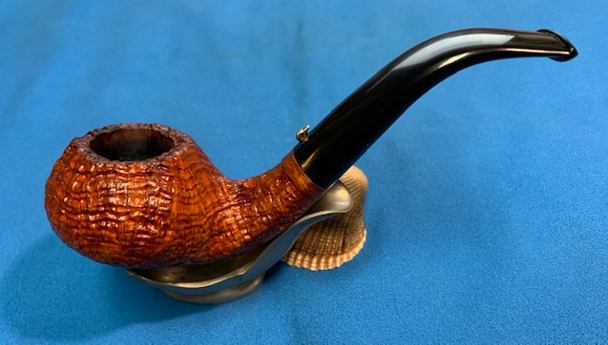
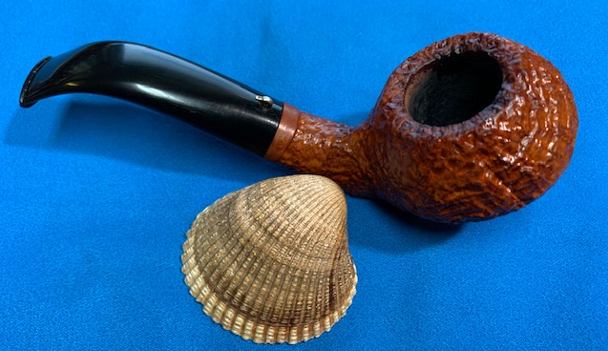
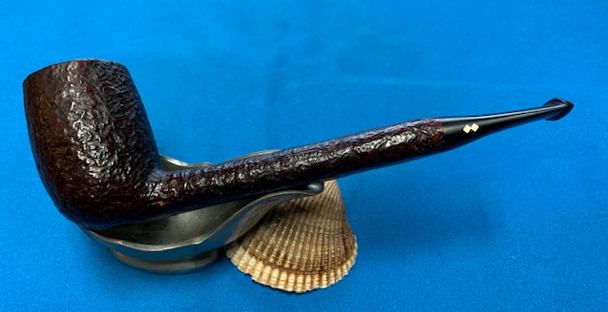
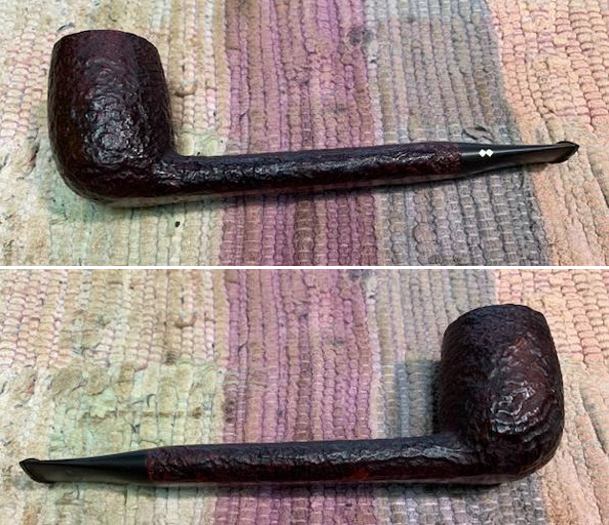
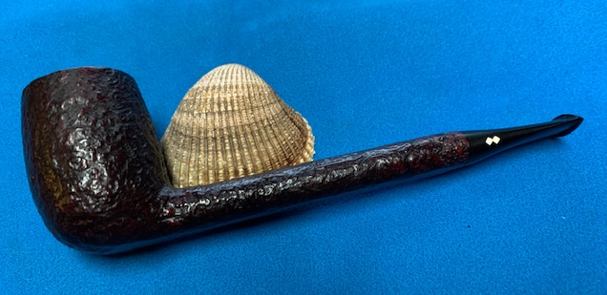
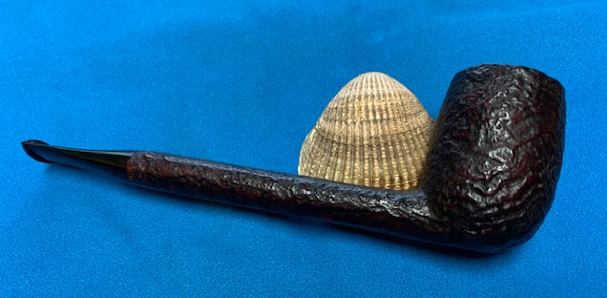
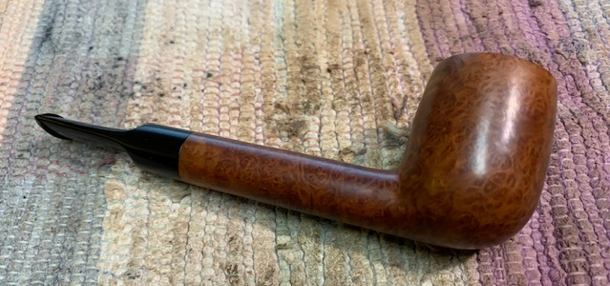
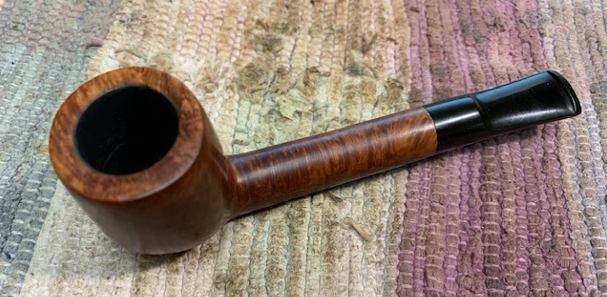
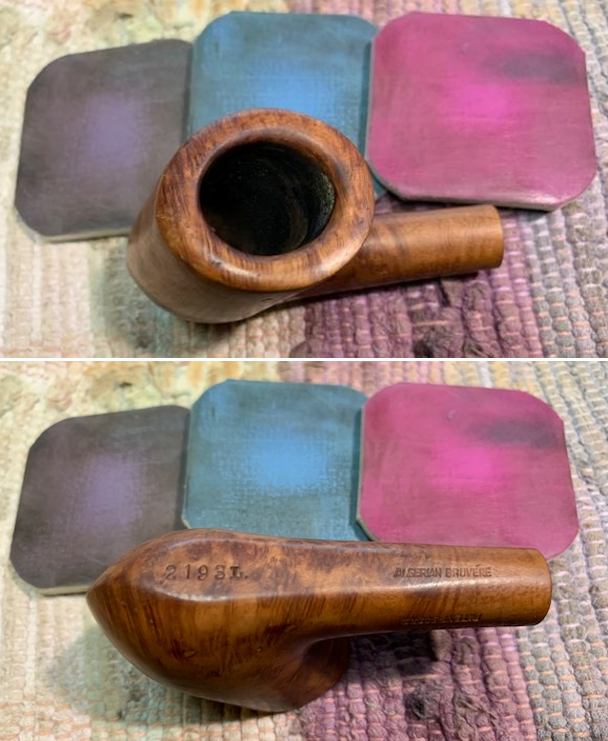
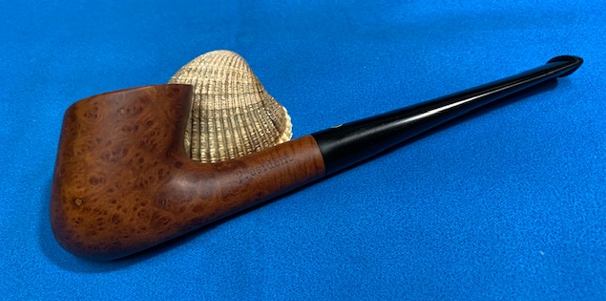
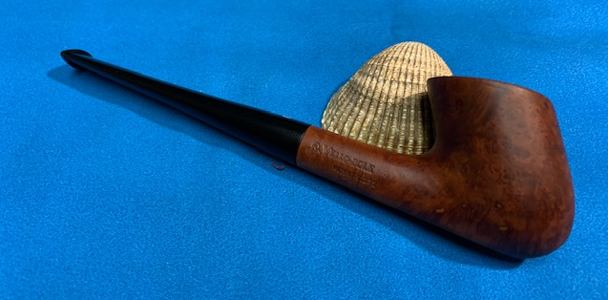
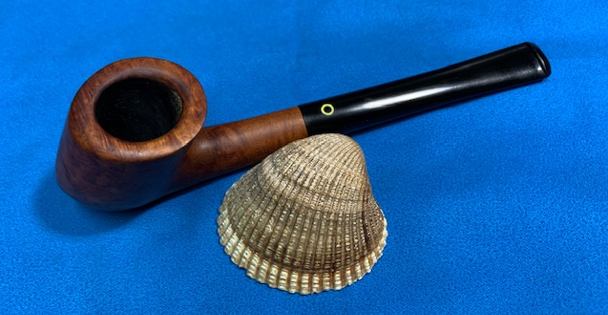
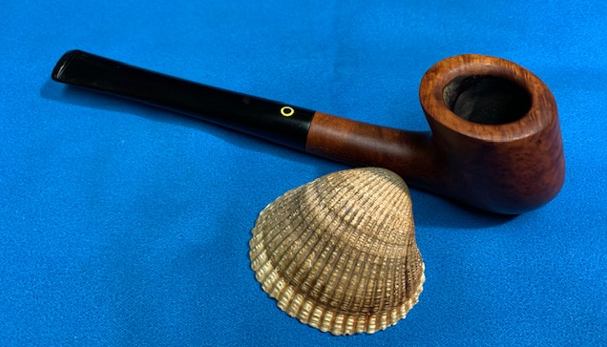
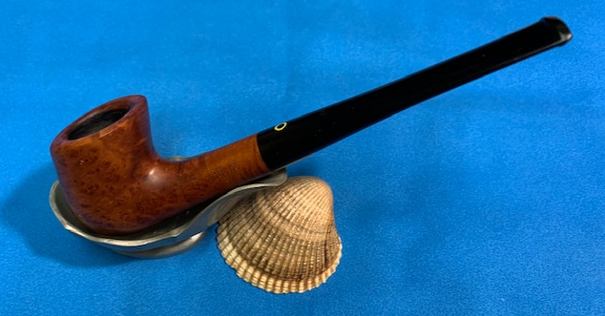
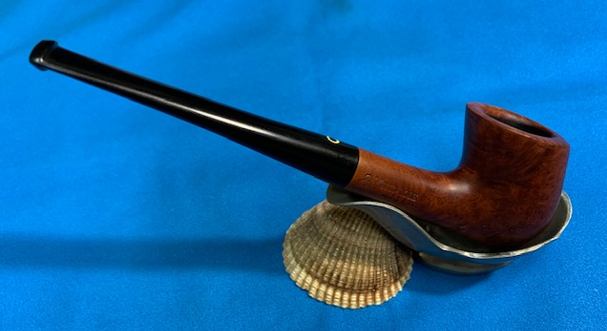
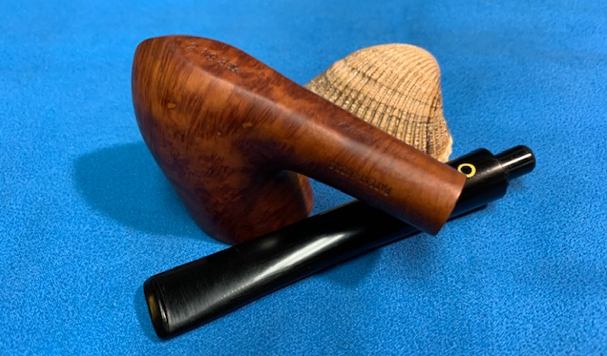
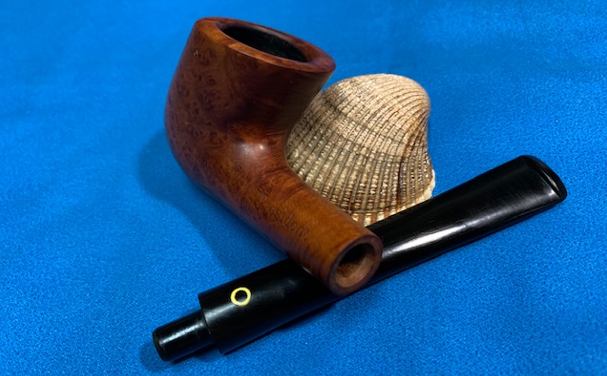
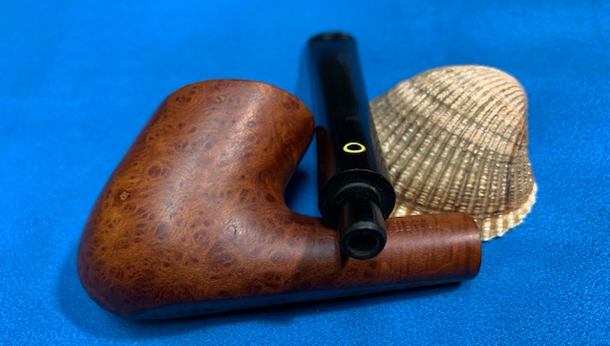
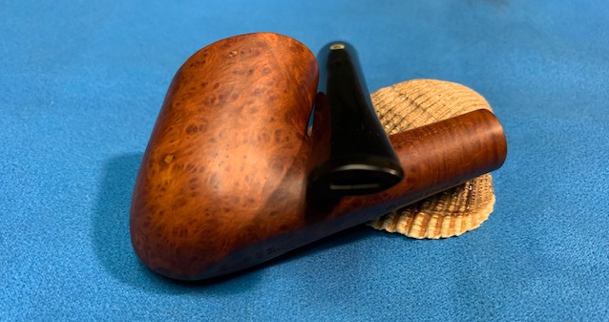
 I am excited to finish restoration of this Wally Frank Wine Root Bruyere De Luxe Selected Grain Squat Bulldog. I put the pipe back together and buffed it with Blue Diamond on the buffing wheel. I gave the bowl and stem multiple coats of carnauba wax. I buffed the pipe with a clean buffing pad to raise the shine and hand buffed it with a microfibre cloth to deepen the shine. It is fun to see what the polished bowl looks like with the polished Cumberland saddle stem. This squat Wally Frank Wine Root Bruyere Bulldog feels great in my hand. It is light and well balanced. Have a look at it with the photos below. The dimensions are Length: 5 ½ inches, Height: 1 ¼ inches, Outside diameter of the bowl: 1 ¼ inches, Chamber diameter: ¾ of an inch. The weight of the pipe is 31 grams/ 1.09 oz. It is a beautiful pipe and one that will be on the American Pipe Makers section of the rebornpipes store soon. If you are interested in adding it to your collection let me know. Thanks for walking through the restoration with me as I worked over this pipe. Thanks to each of you who are reading this blog.
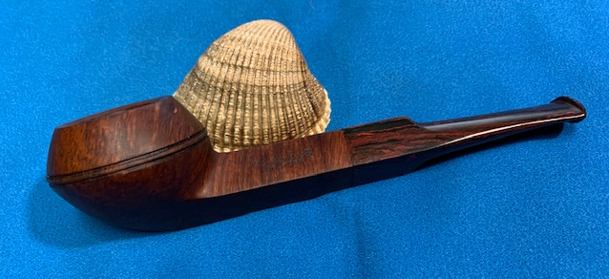


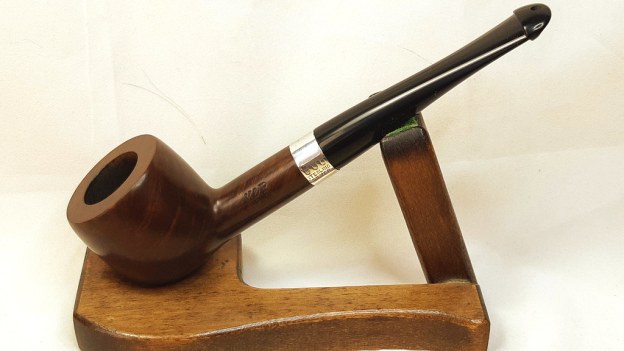


 The nomenclature on the left flank of the shank is stamped in what appears to be an old English font slightly arched upwardly, ‘Yorkshire’ [over] STANDARD [over in a reversed downward arch] ALGERIAN BRIAR. I could find no other markings on the…