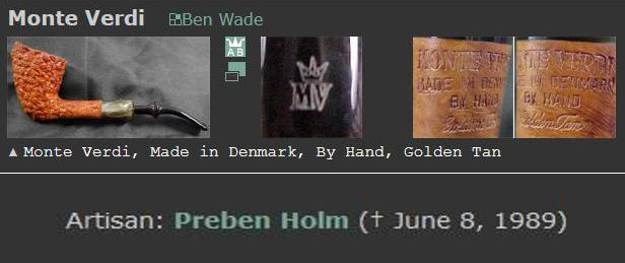
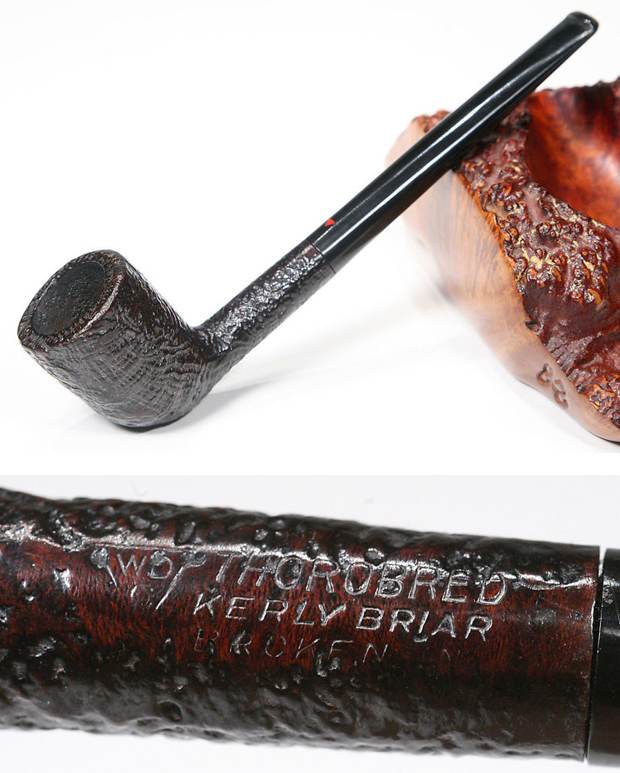
Blog by Steve Laug
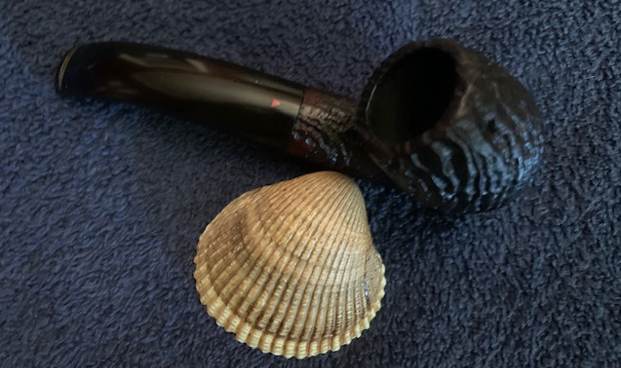
Though I am not currently not taking on new work but trying to catch up on my backlog of pipes I have a commitment to doing repairs for customers of our local pipe shop. I have worked on several pipes for the pipeman who dropped this pipe and two others off at my house on Tuesday morning. All three had the tenons snapped off in the shank and two with broken or damaged stems. All three were heavily smoked with cakes almost completely filling in the bowls. It always make me wonder how one can fill a bowl when cake is so thick my finger would not fit in the bowl. The exterior of all three bowls were heavily caked with tars, oils and grime ground into the finish. The pipes reeked of the aromatic tobaccos that had been smoked in them. My wife bagged the three pipes and sealed them until I could get to them.
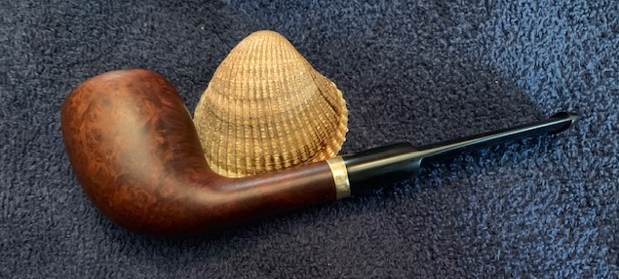
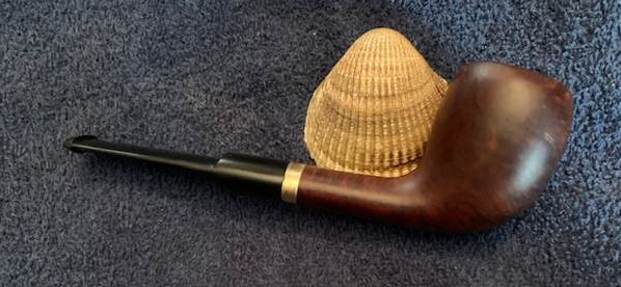
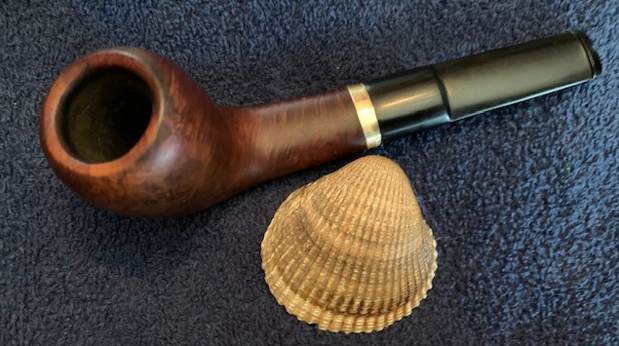
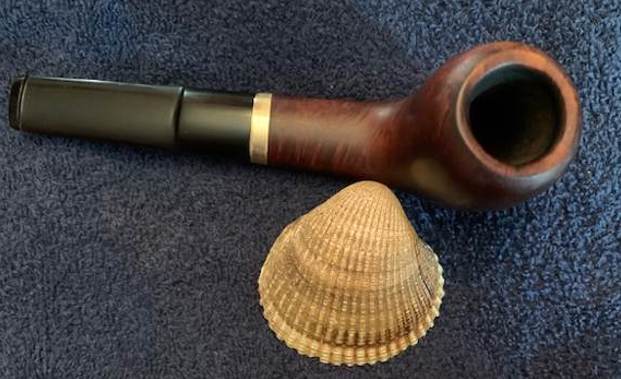
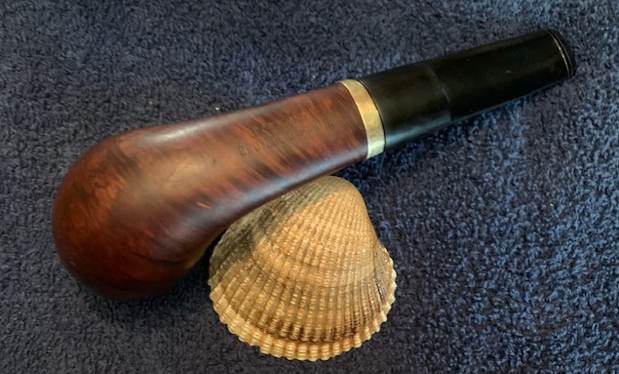
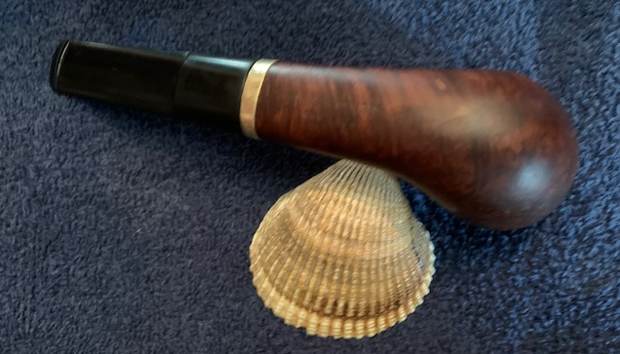
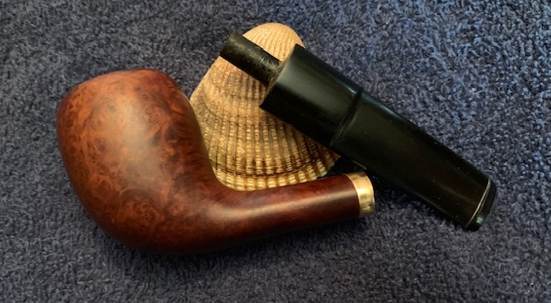
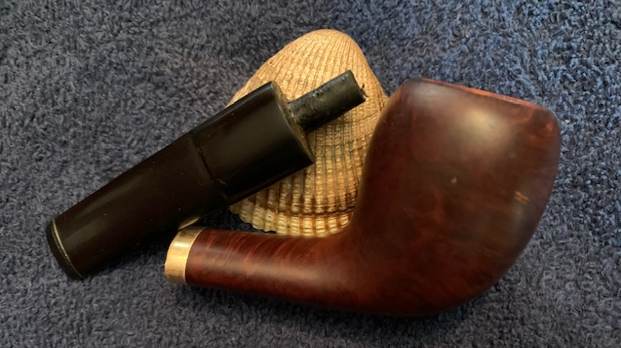
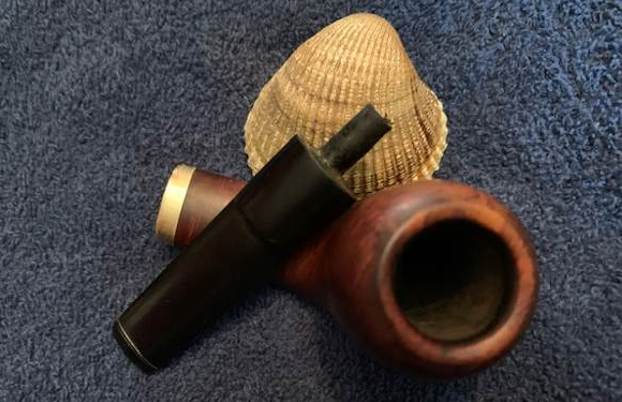
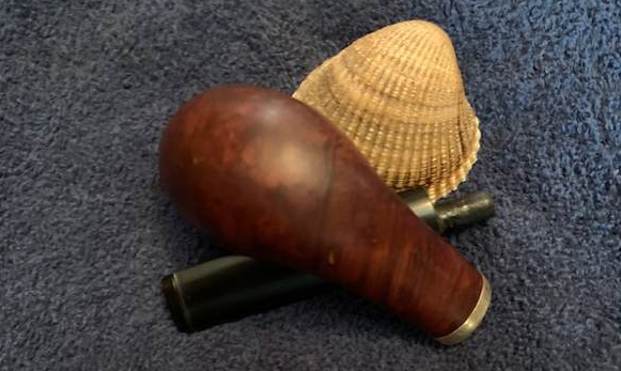
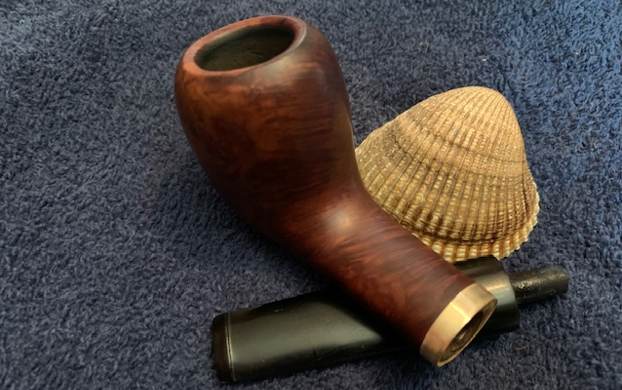
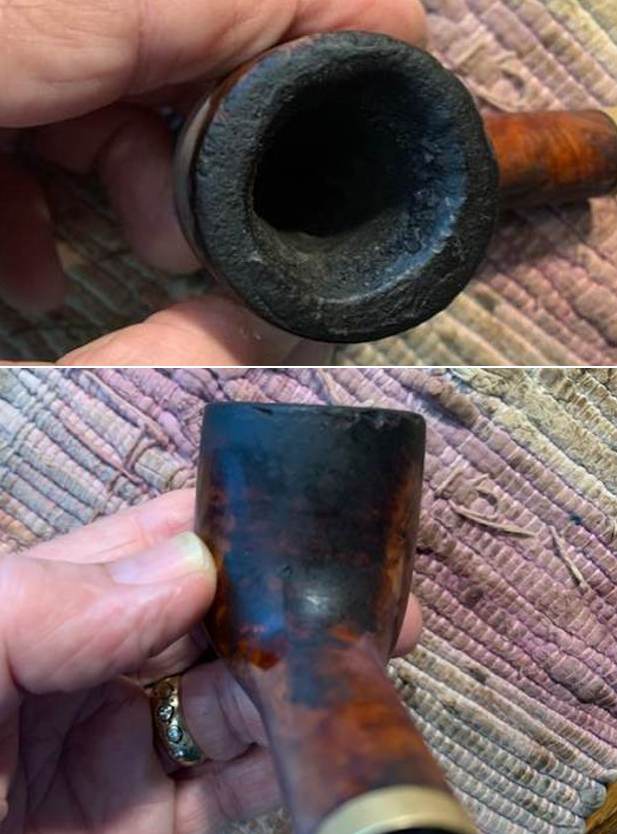
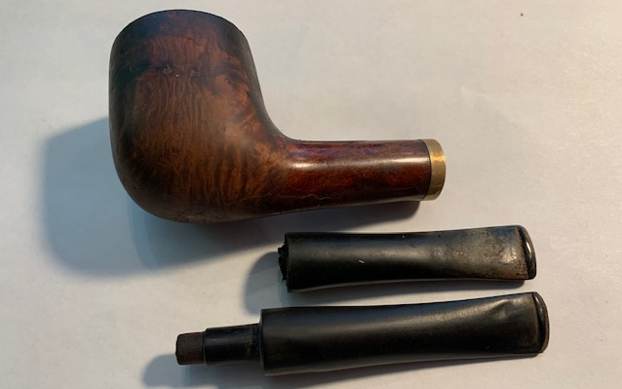
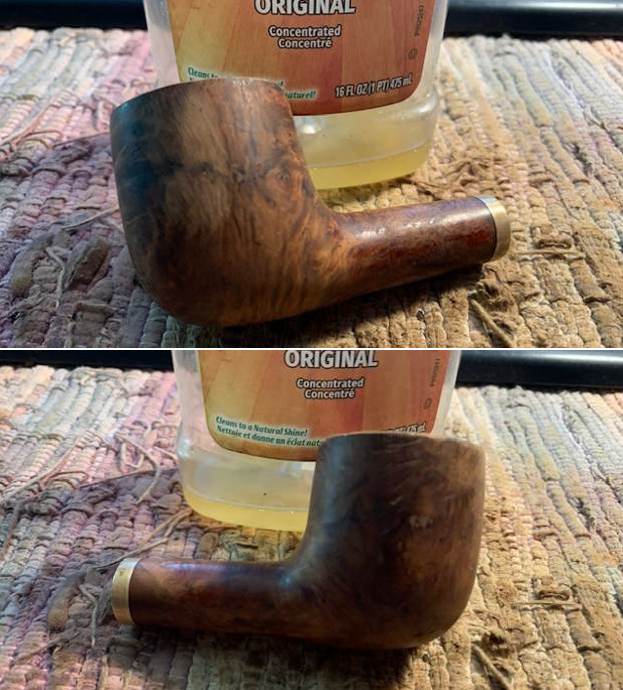
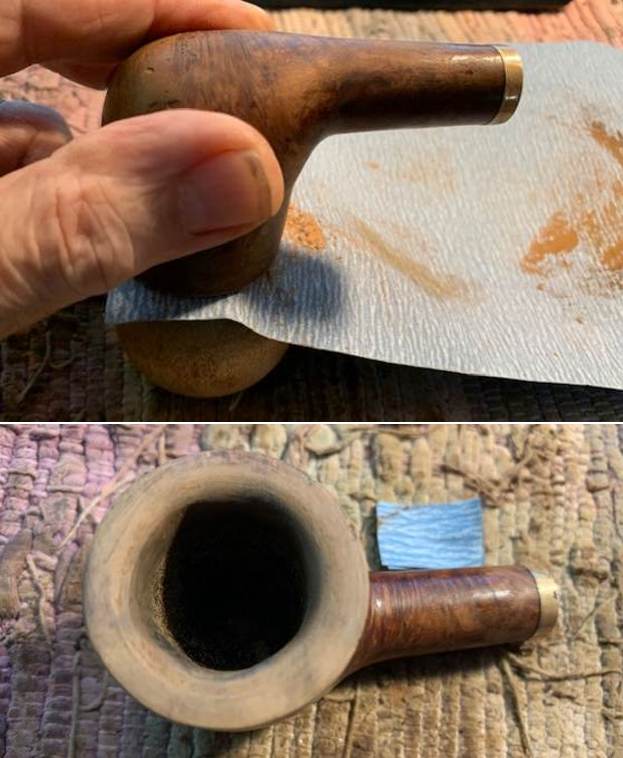
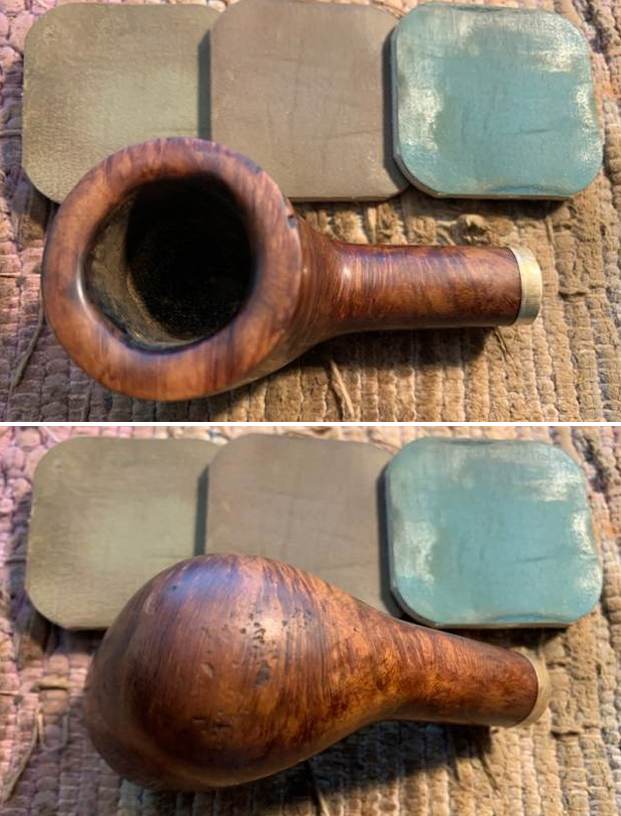
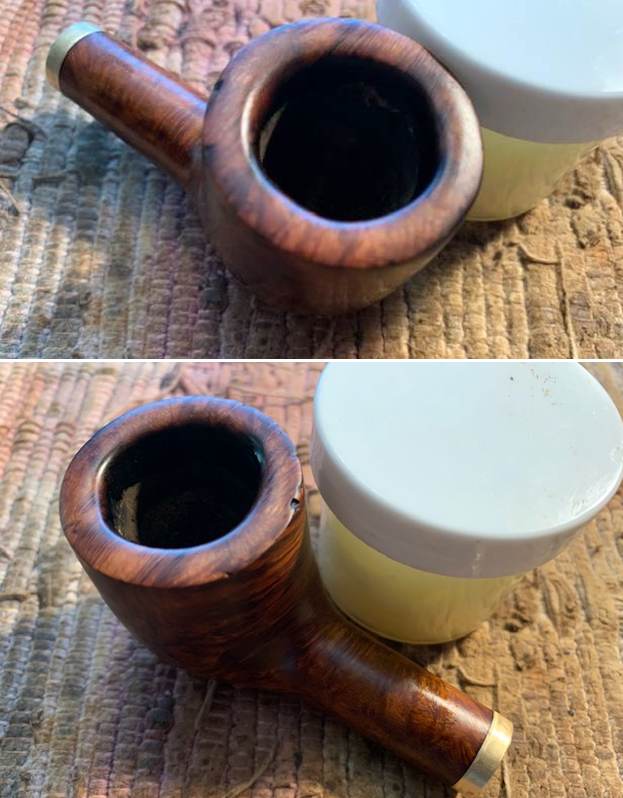
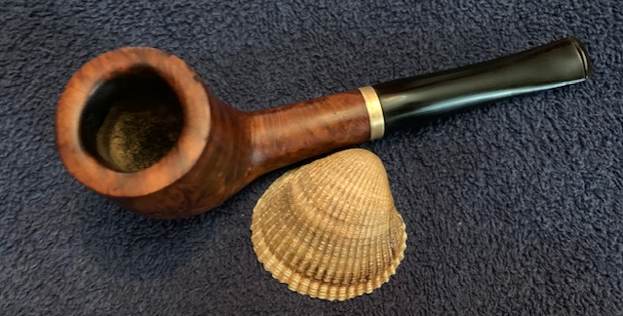
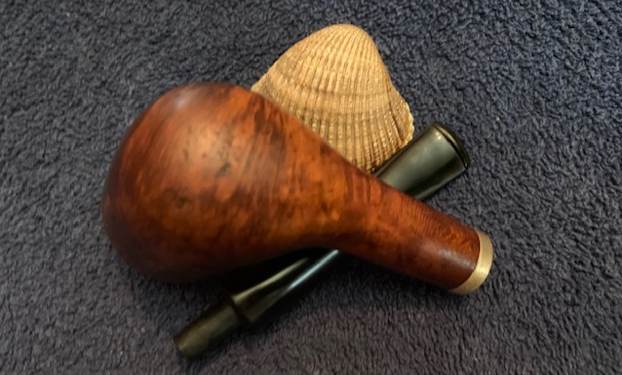
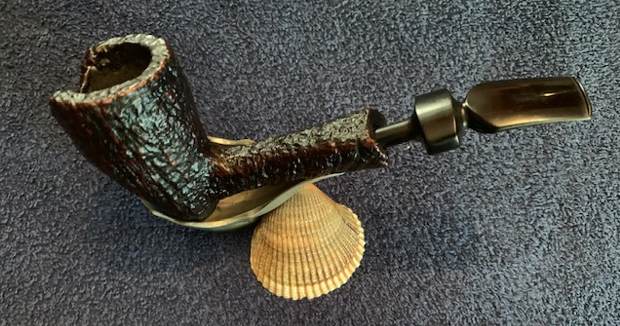
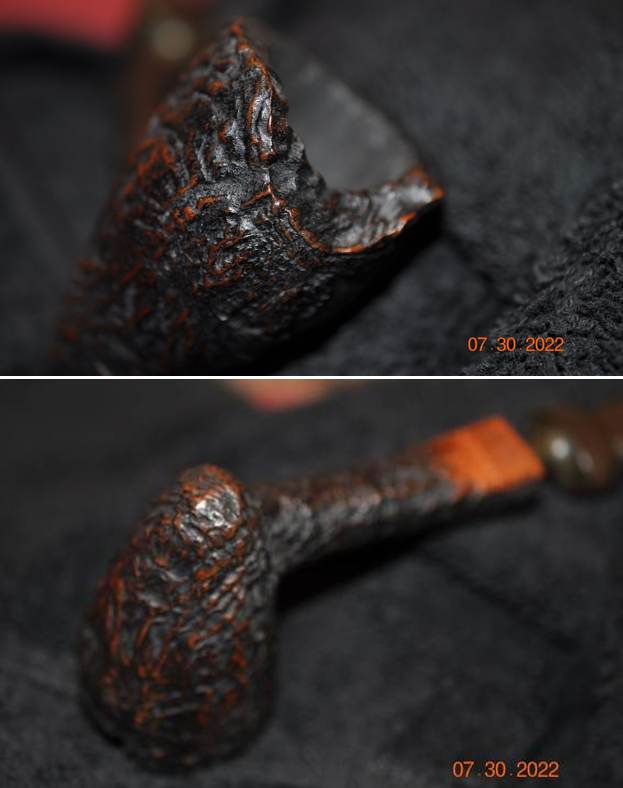
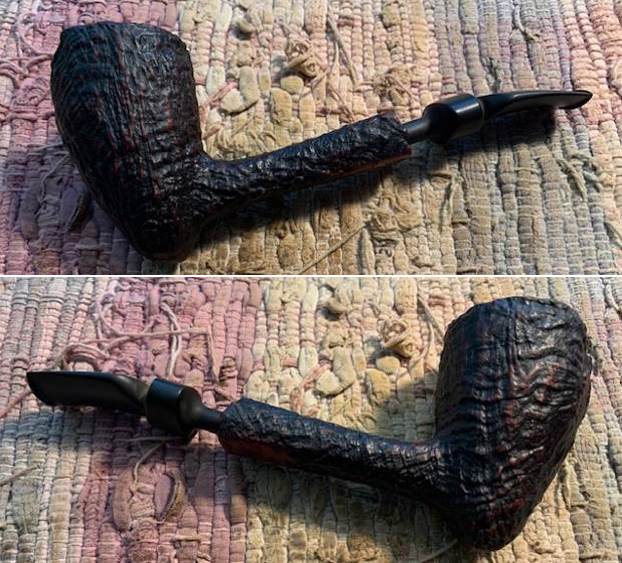
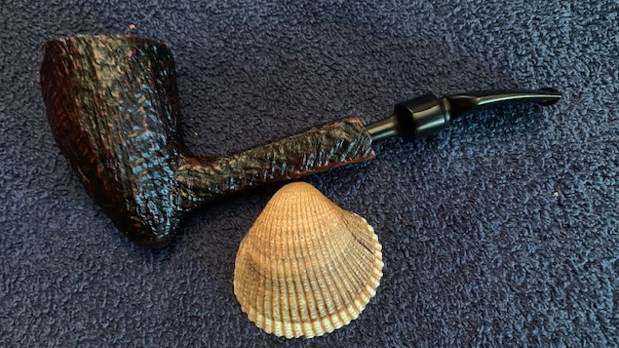
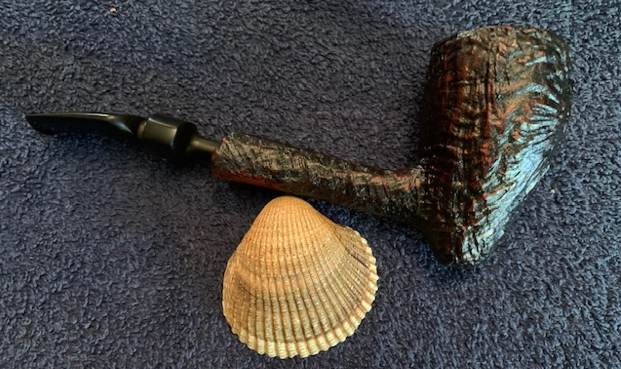
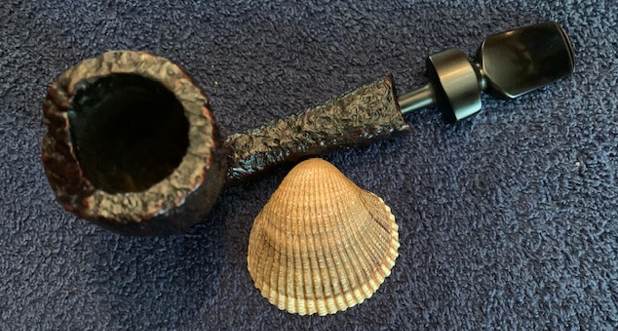
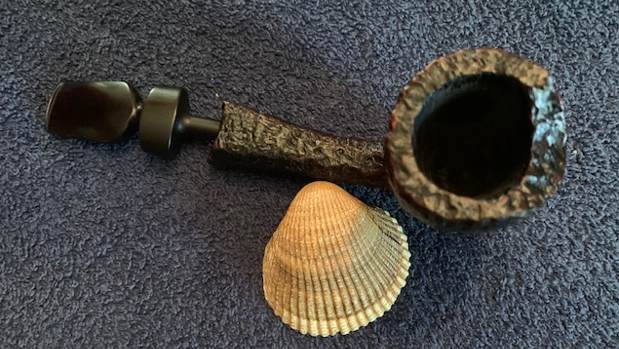
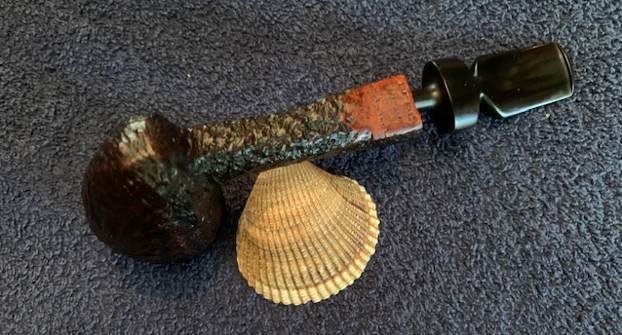
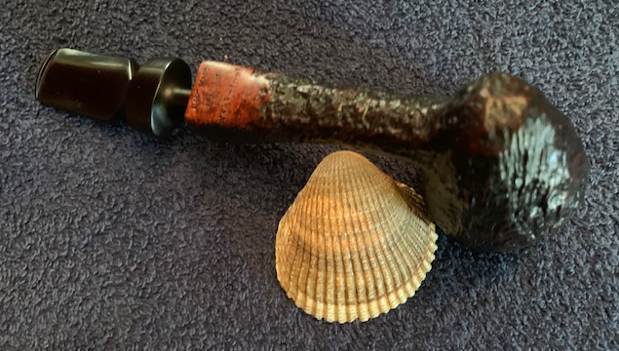
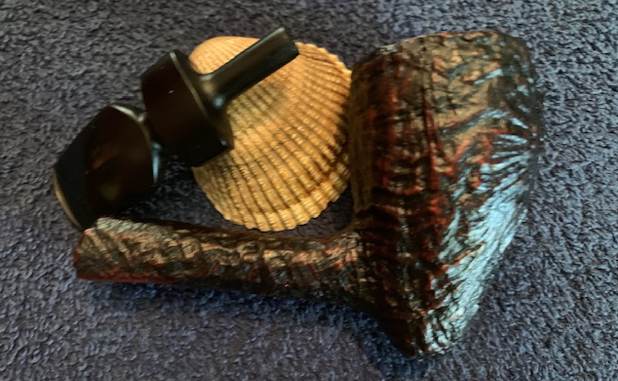
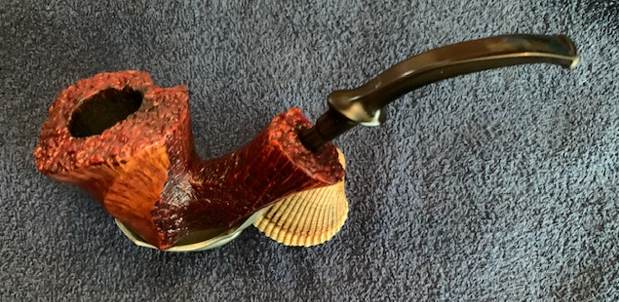
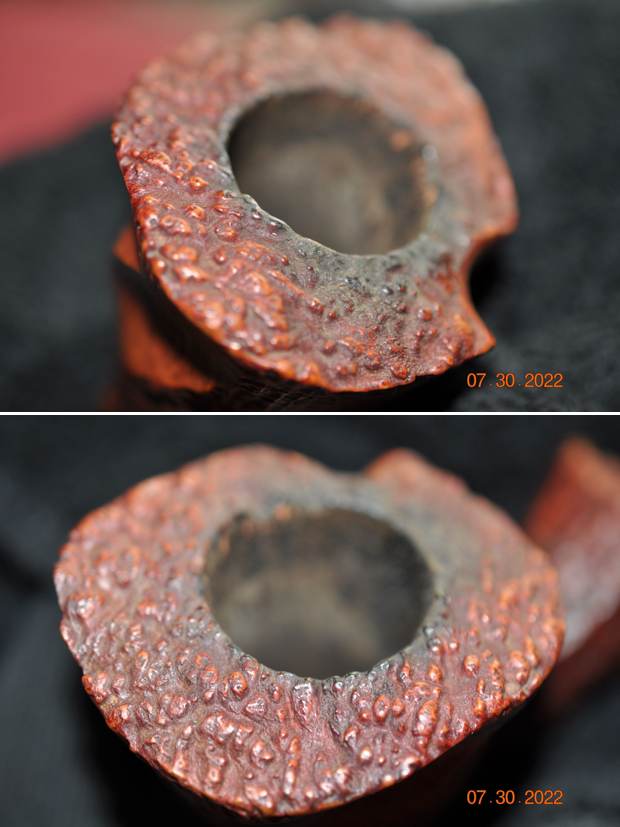
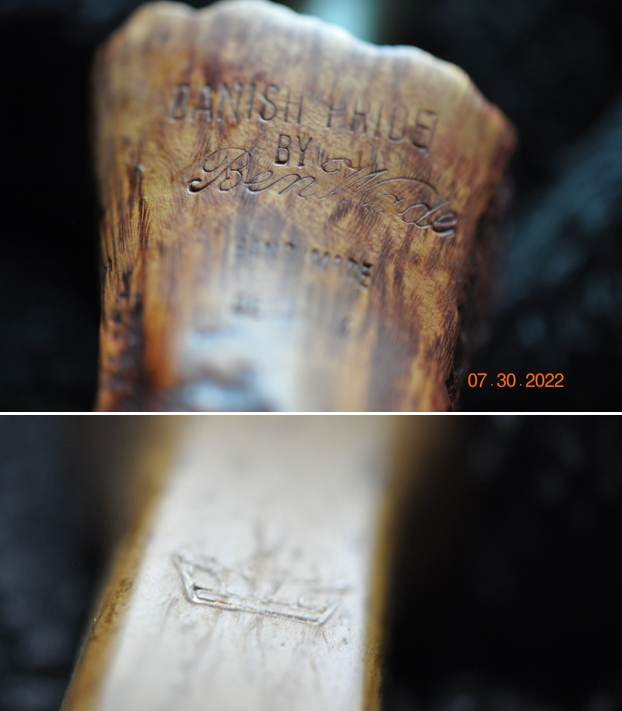
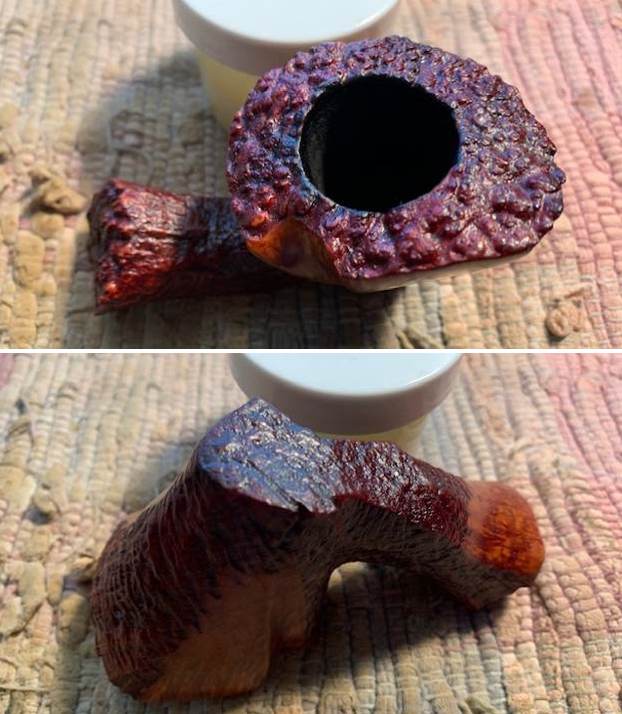
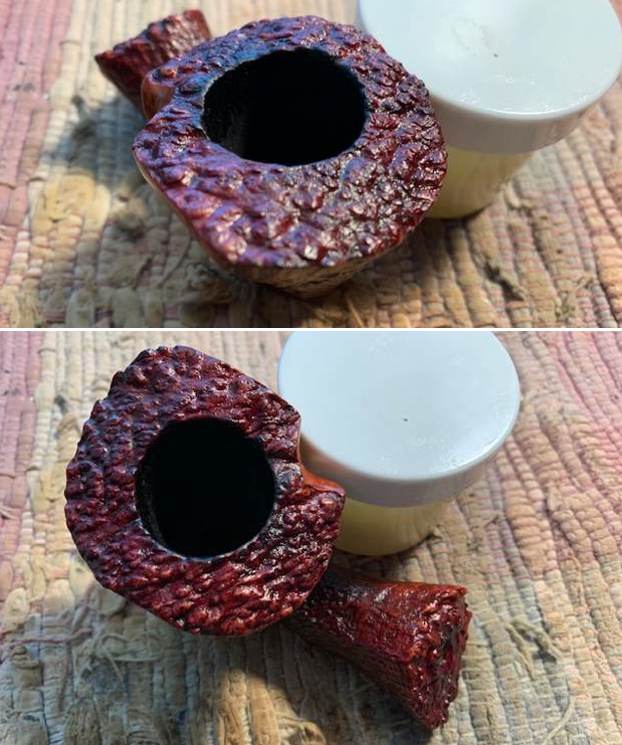
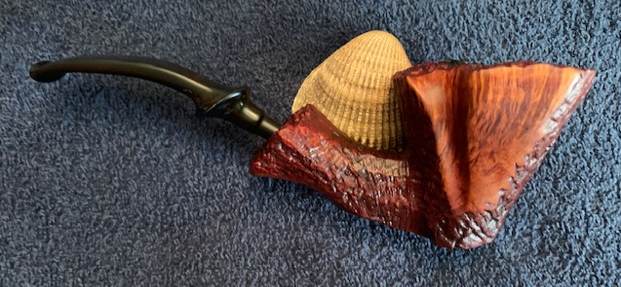
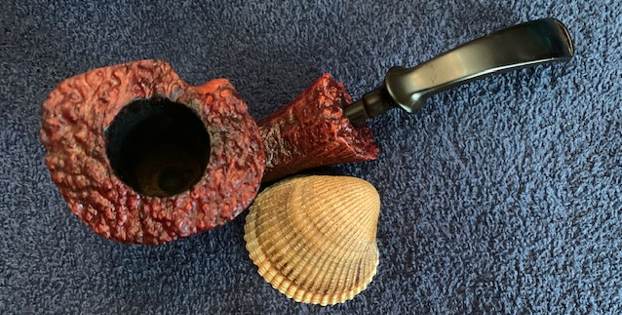
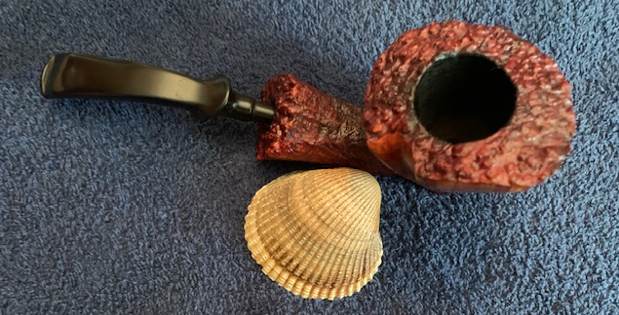
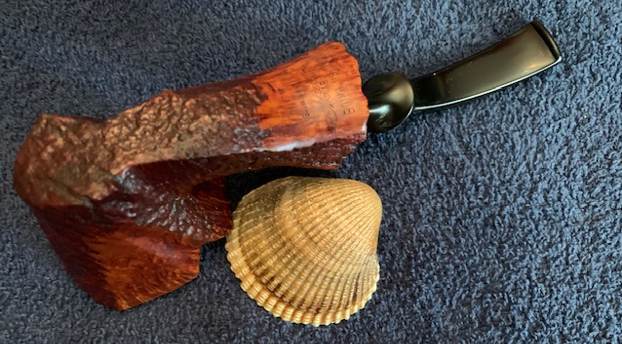
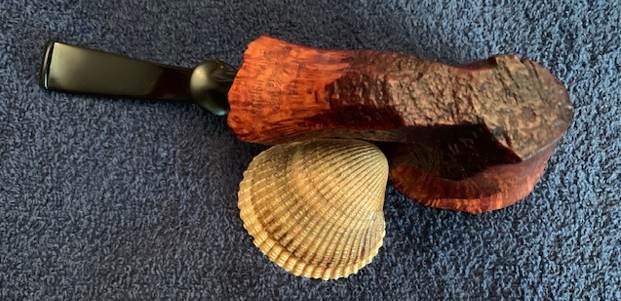
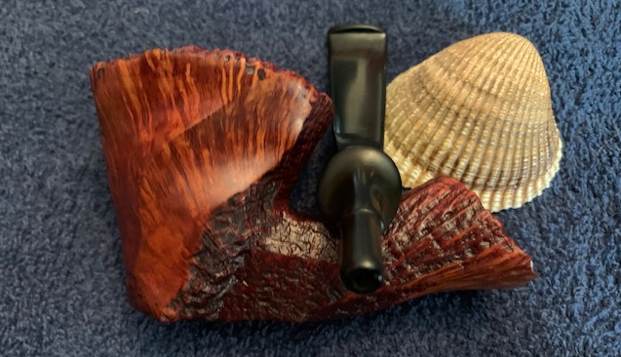
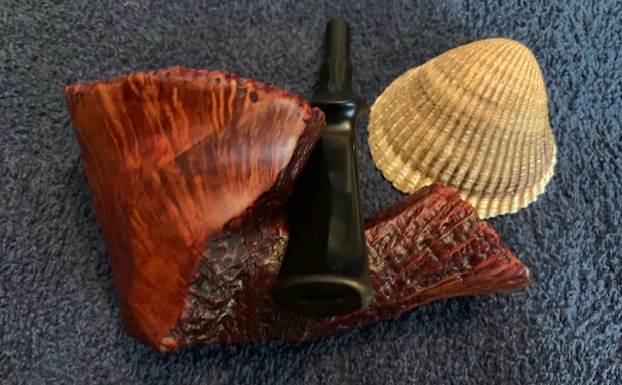
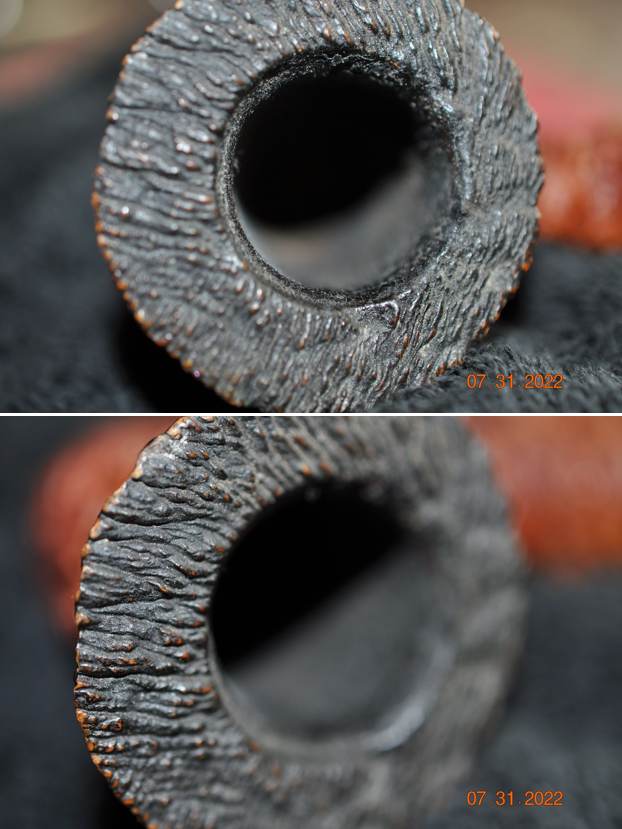
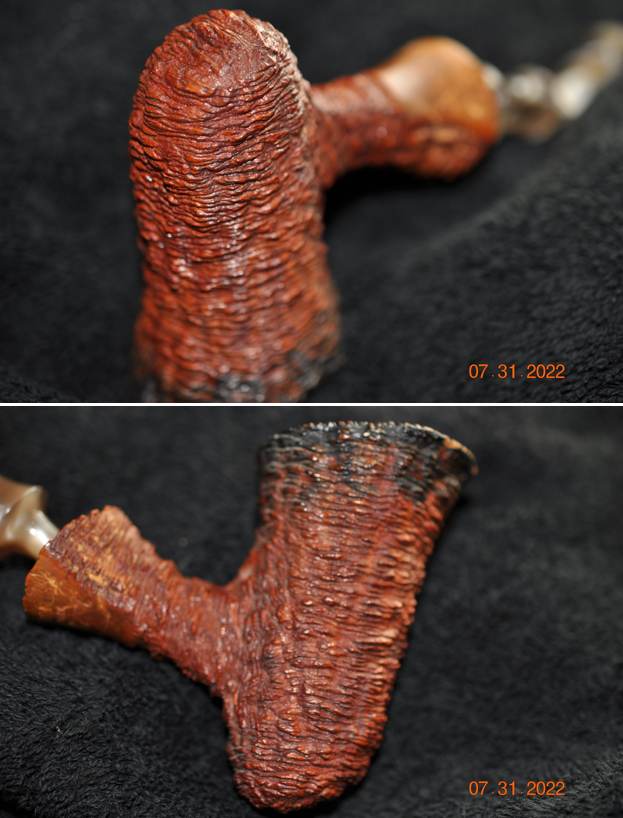
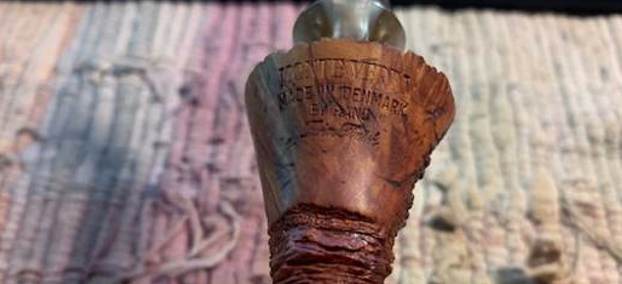
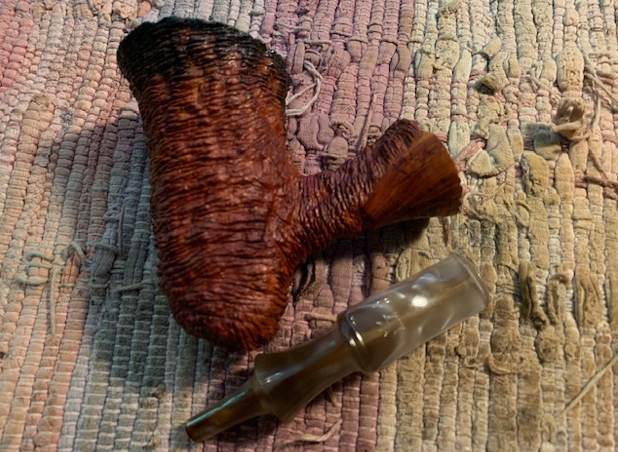
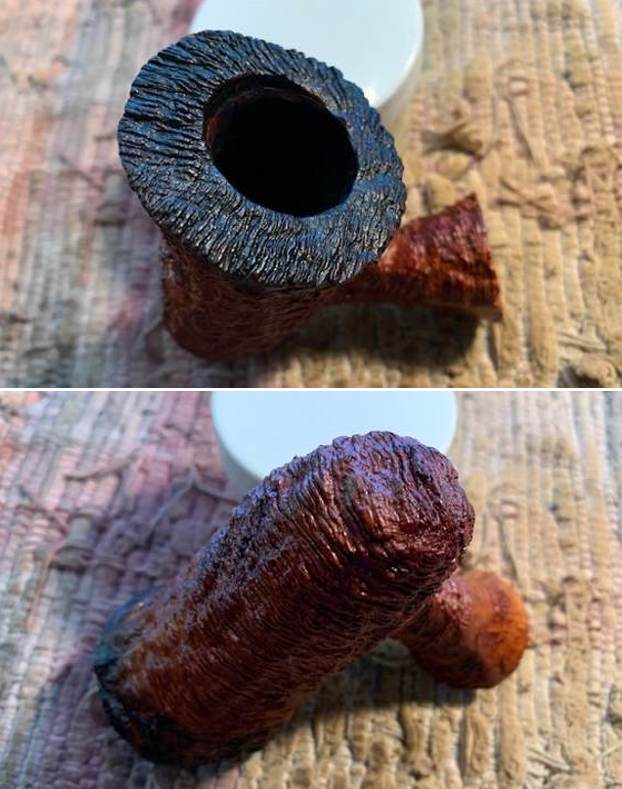
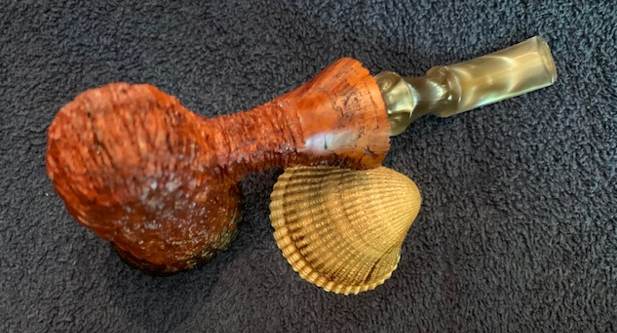
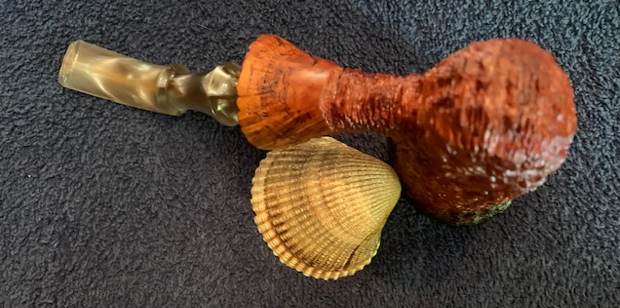
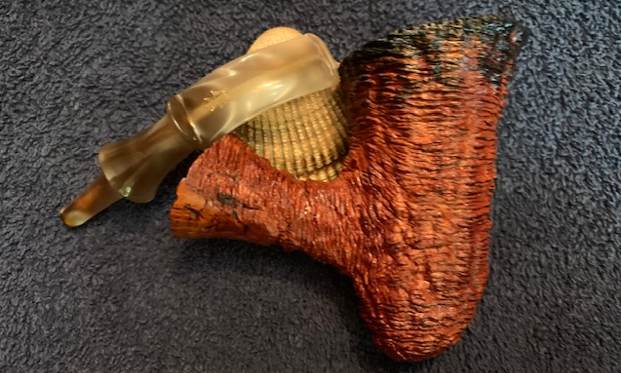
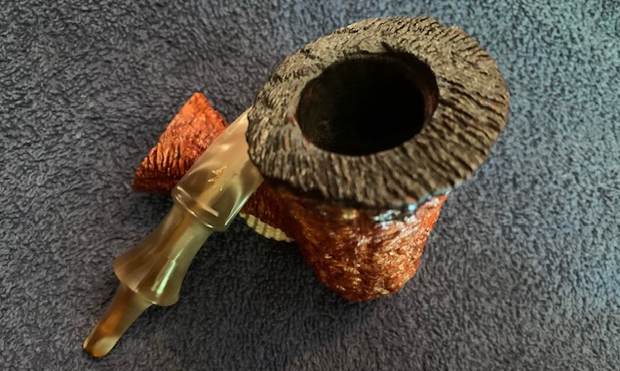
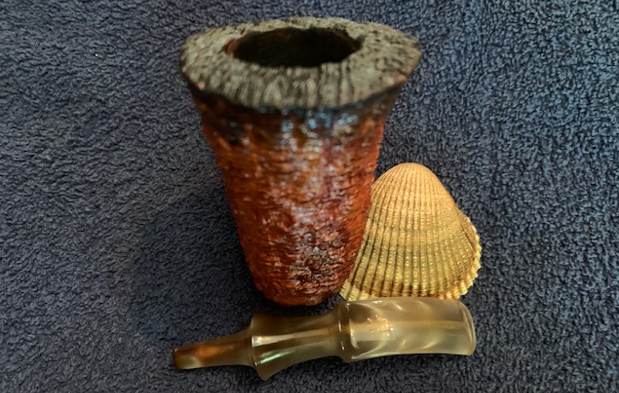
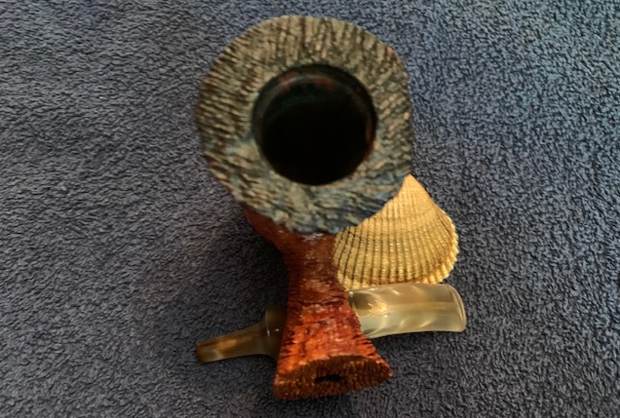
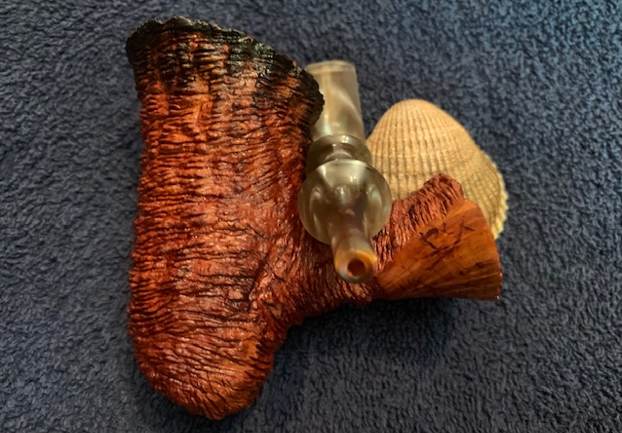
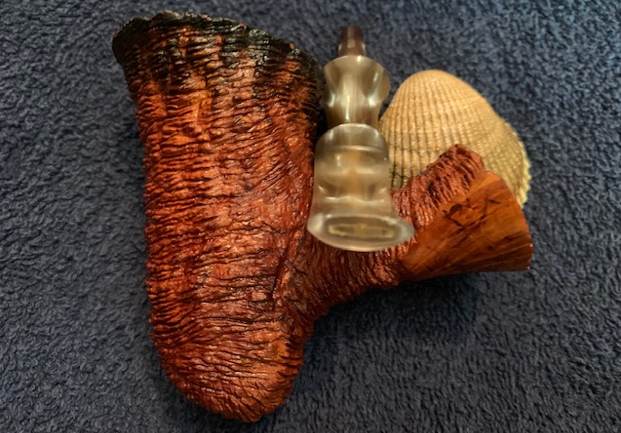
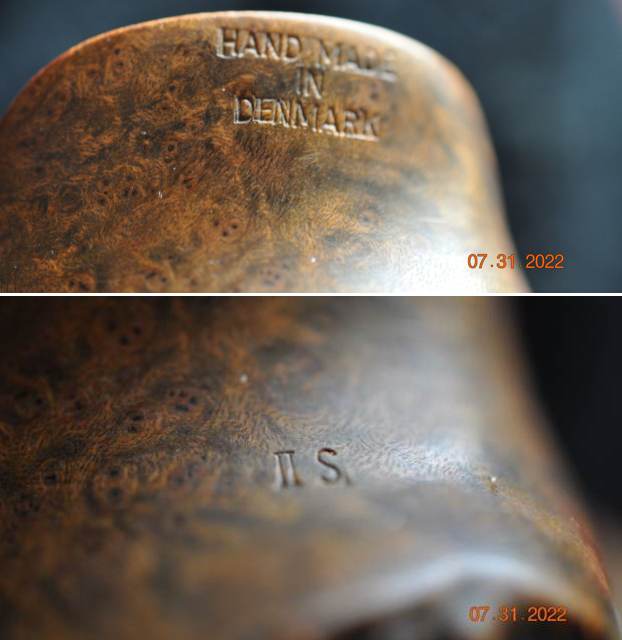
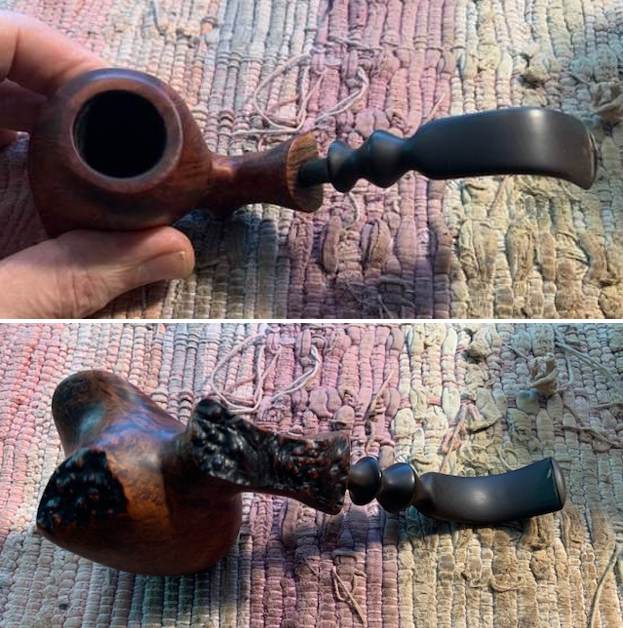
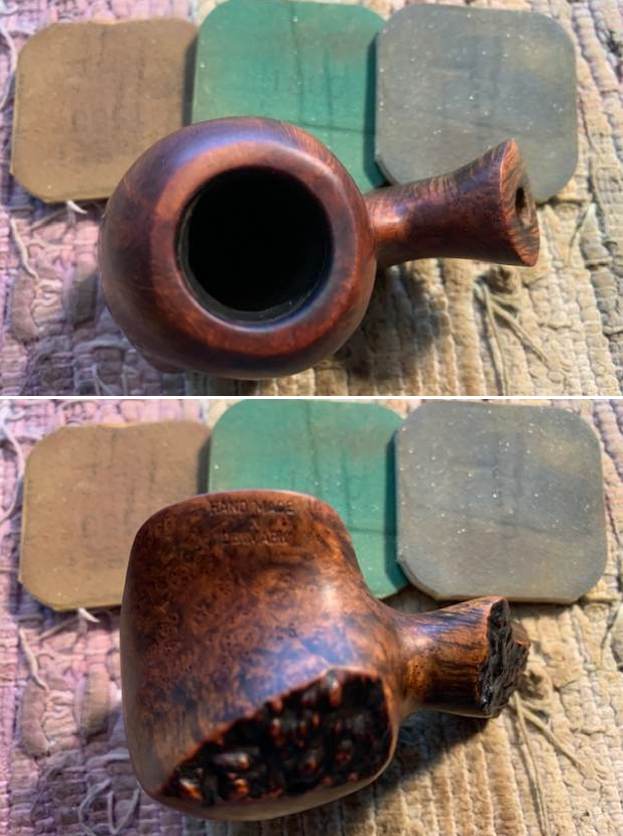
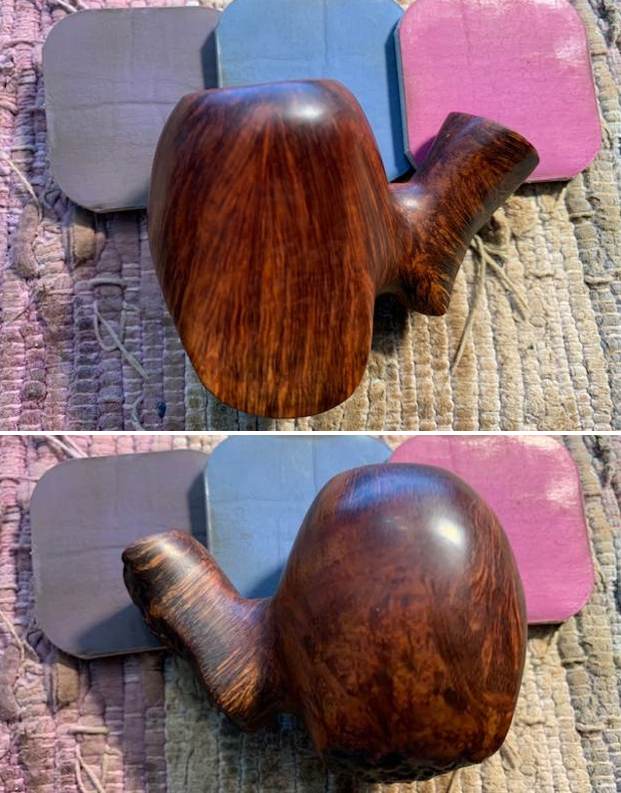
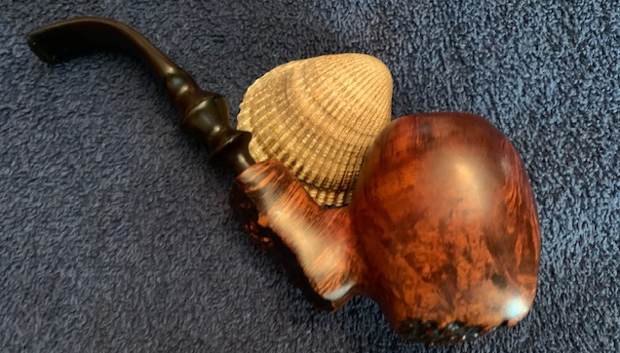
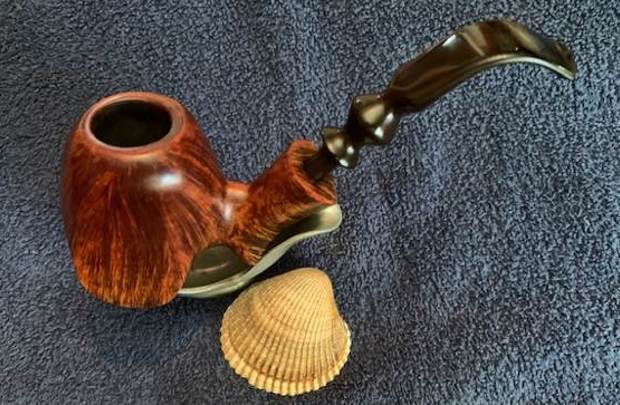
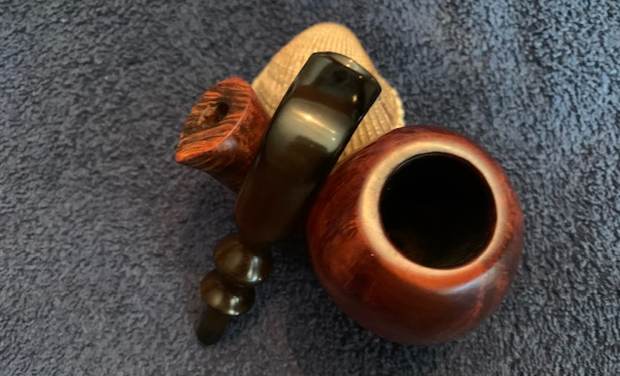
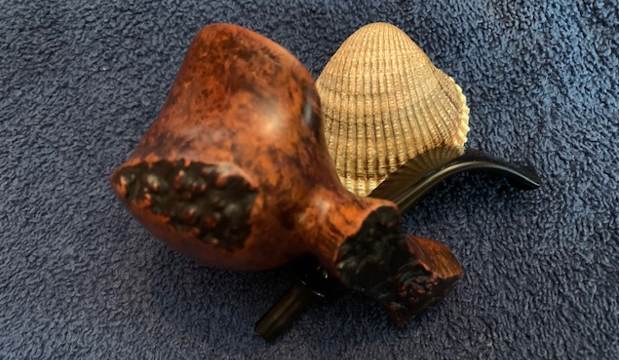
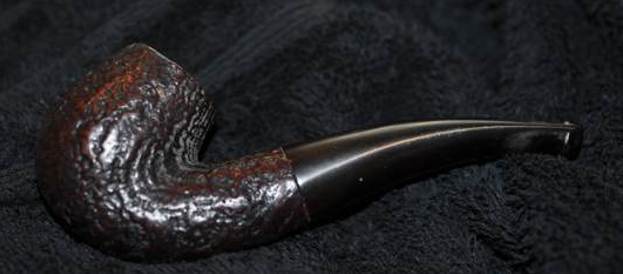
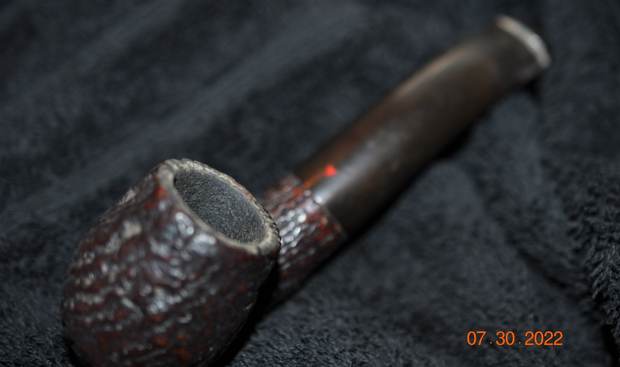
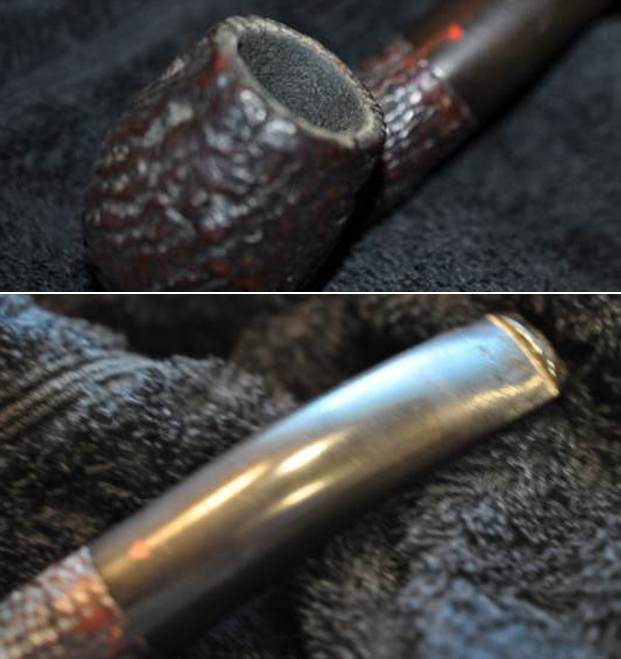
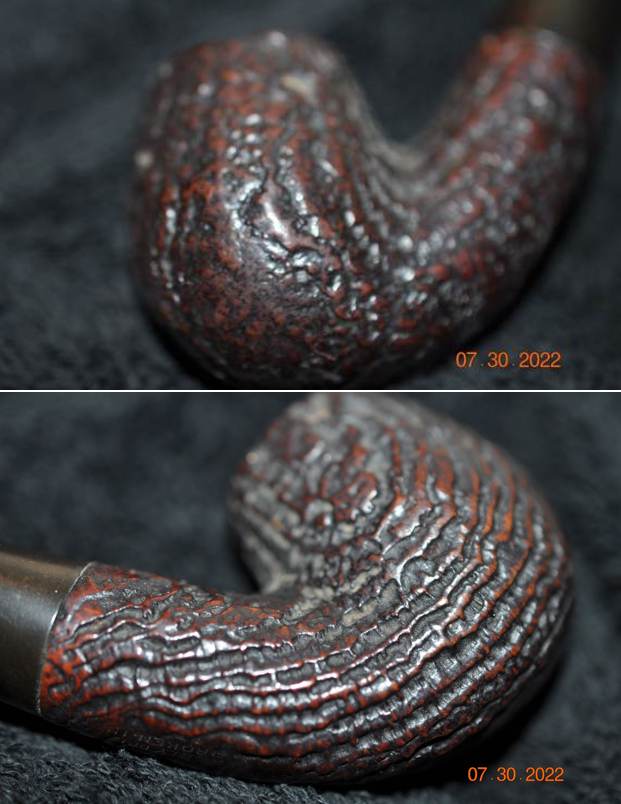
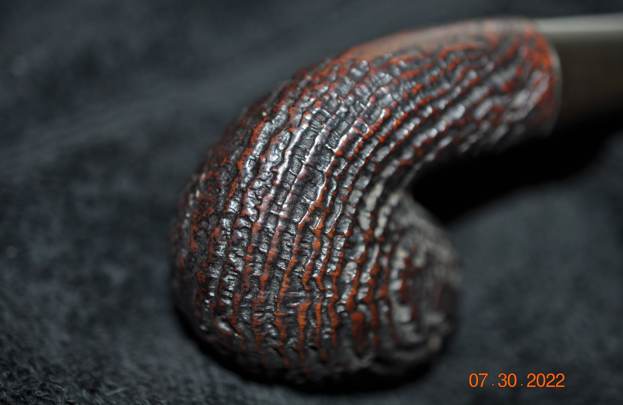
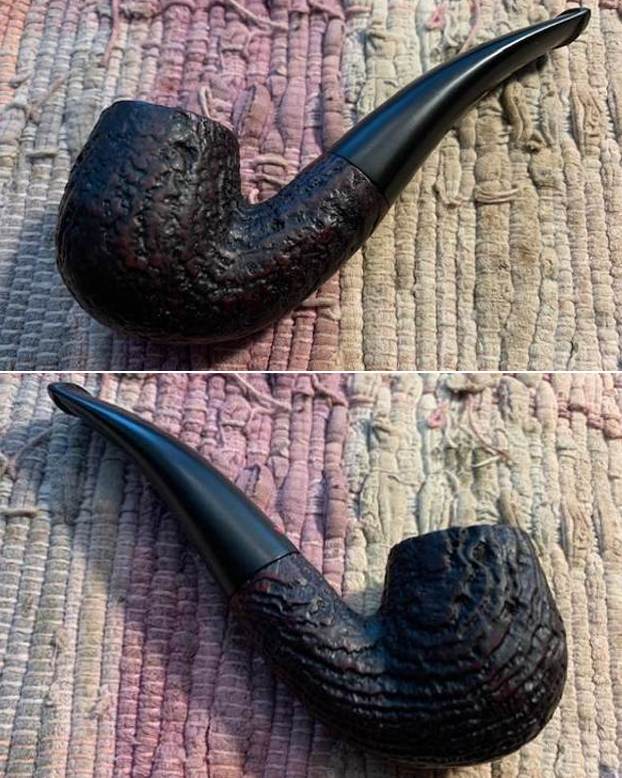
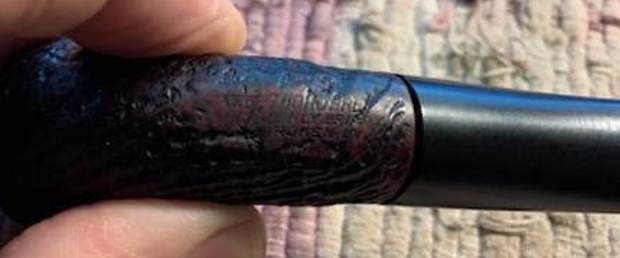
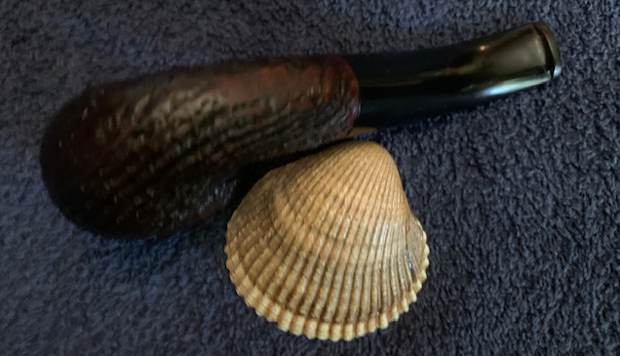
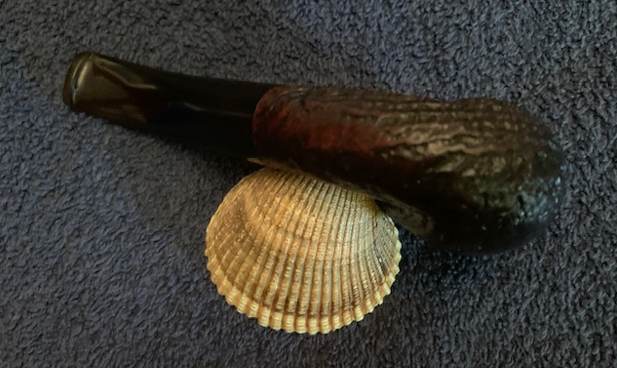
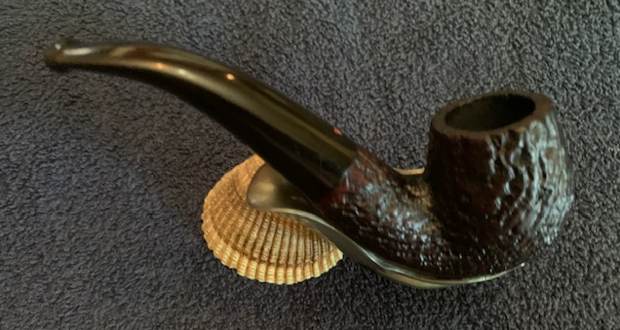
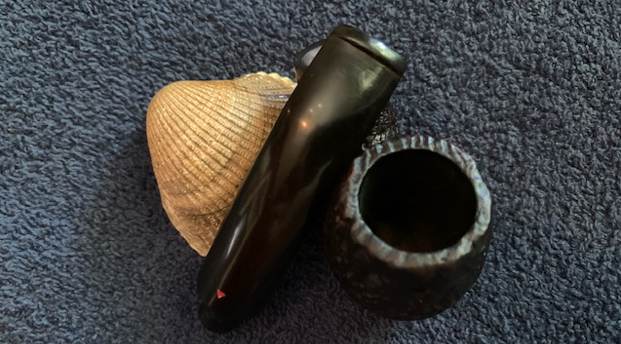
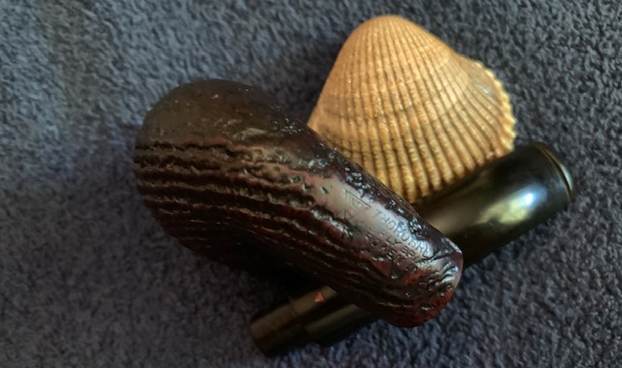
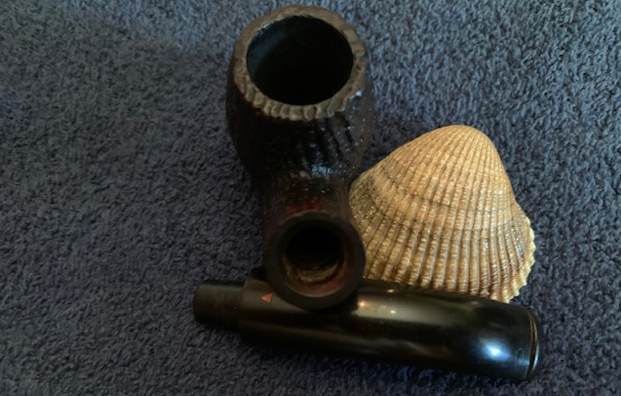
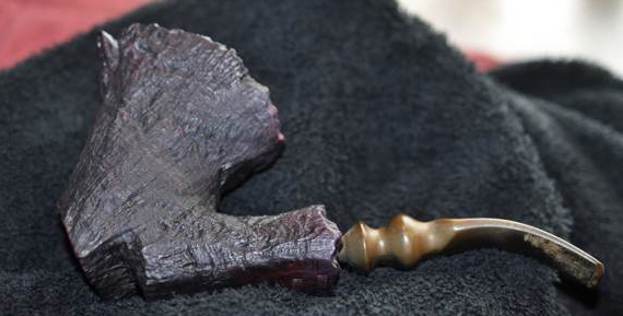
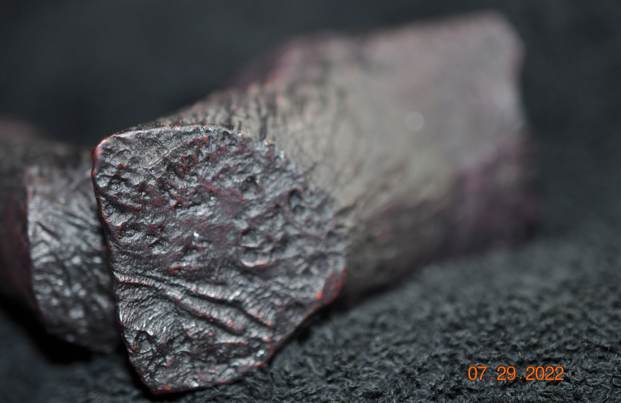
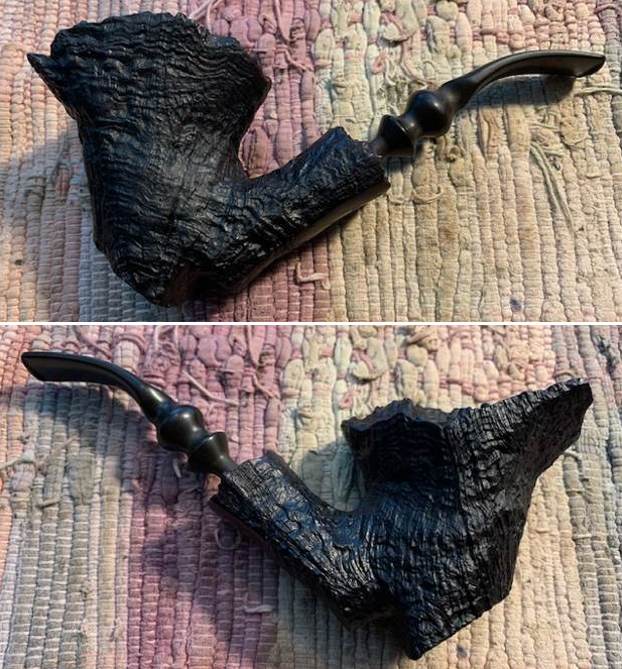
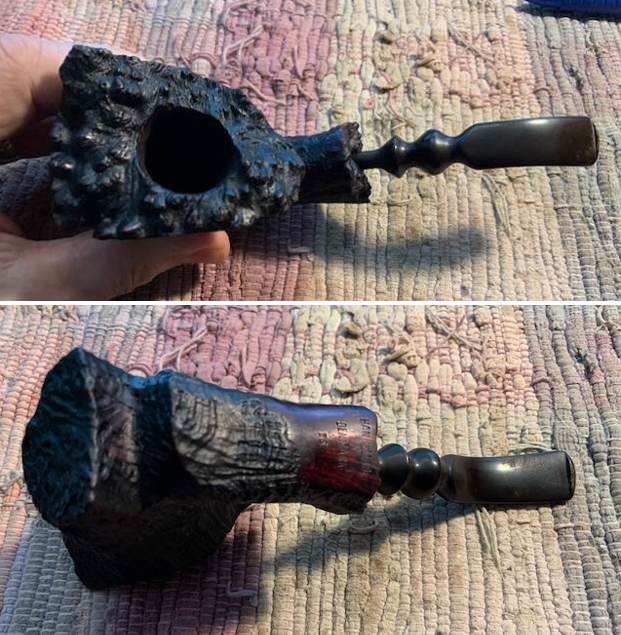
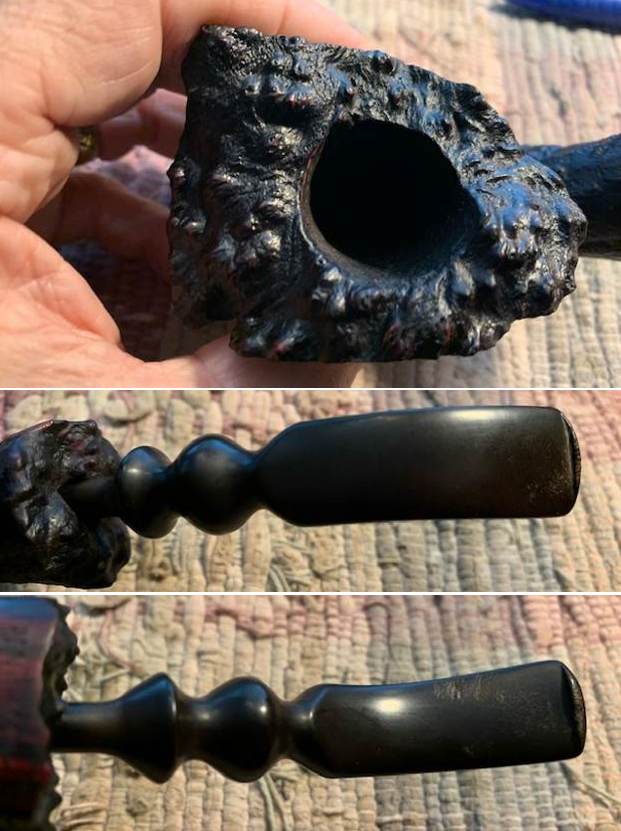
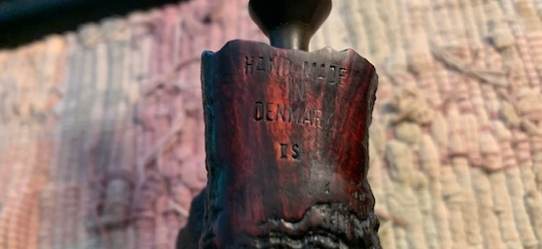
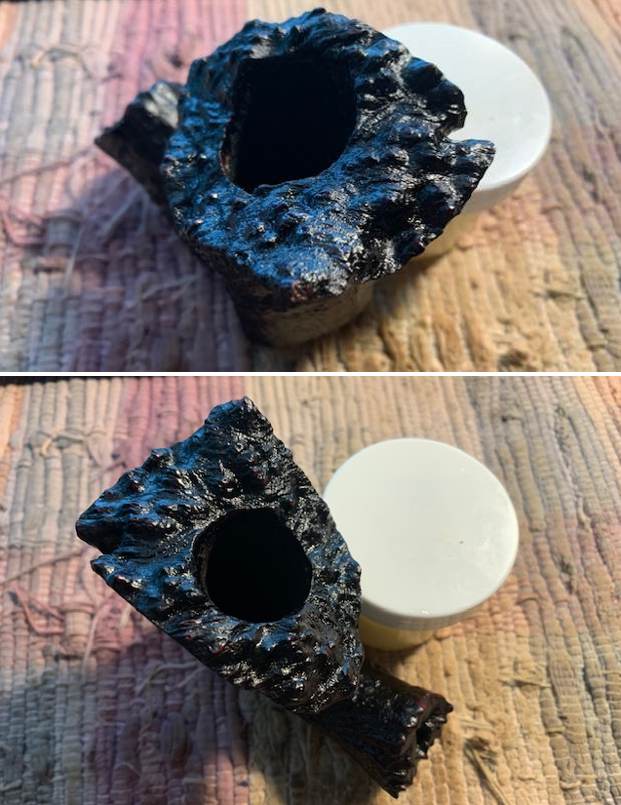
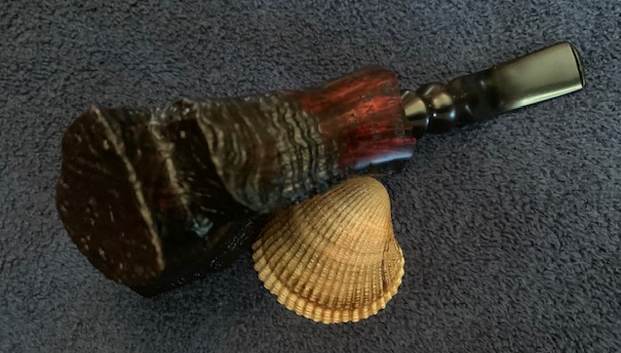
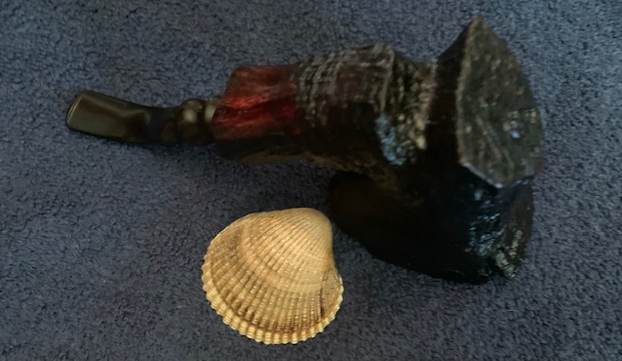
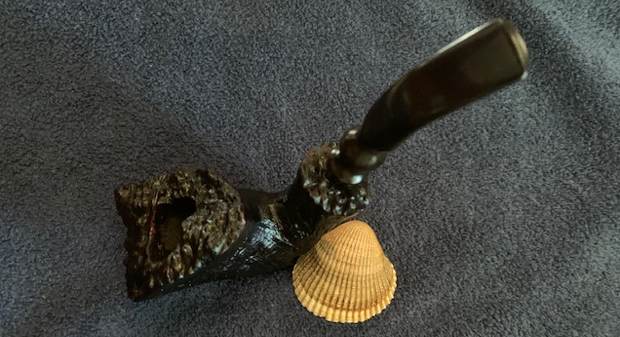
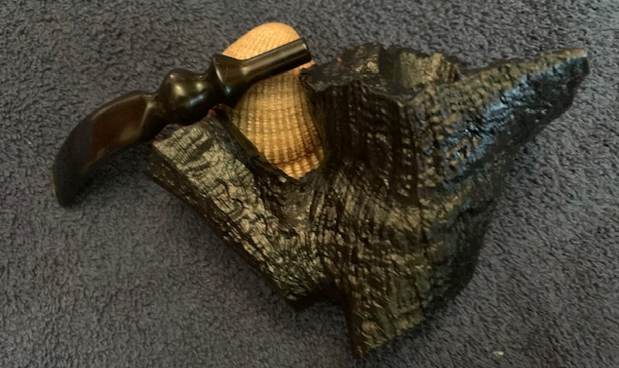
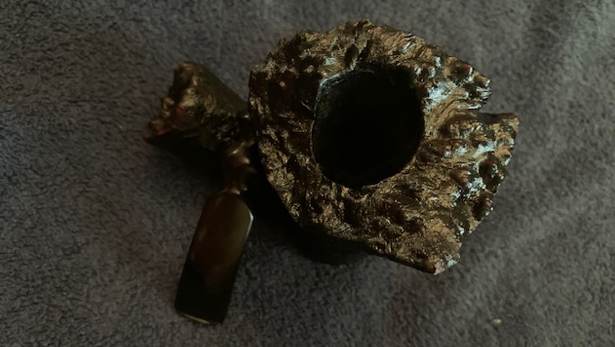
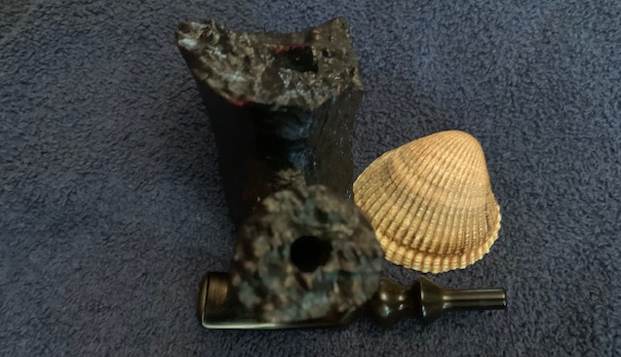
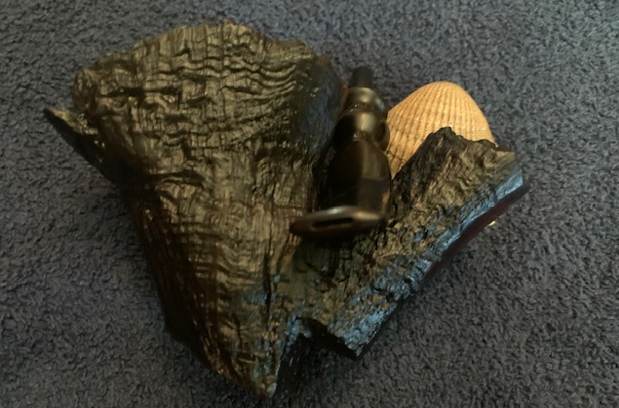
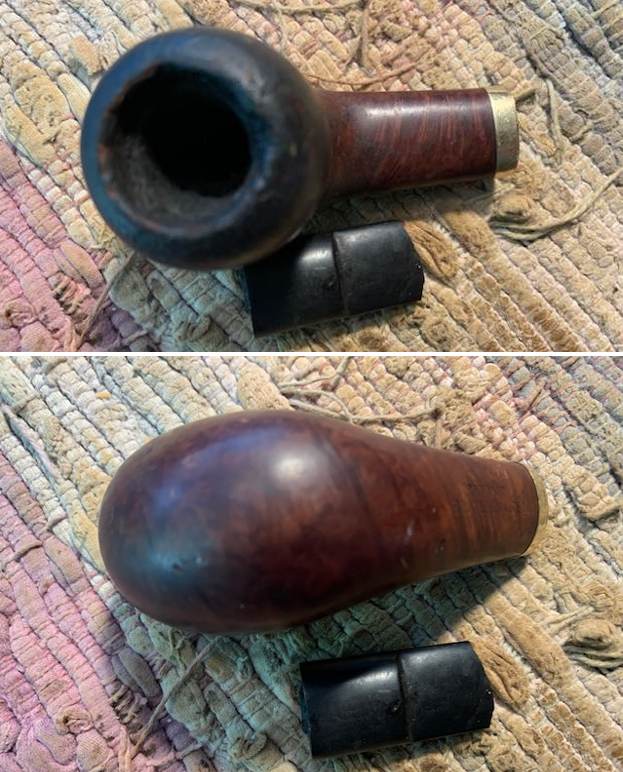
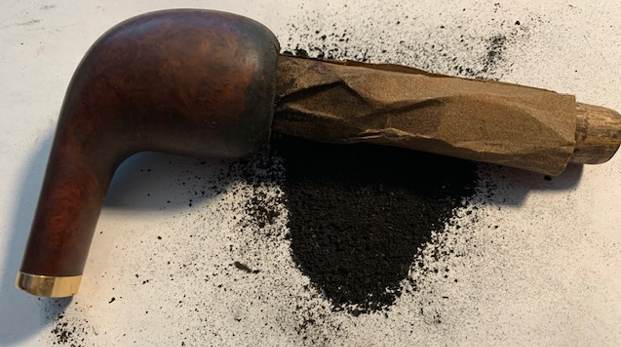
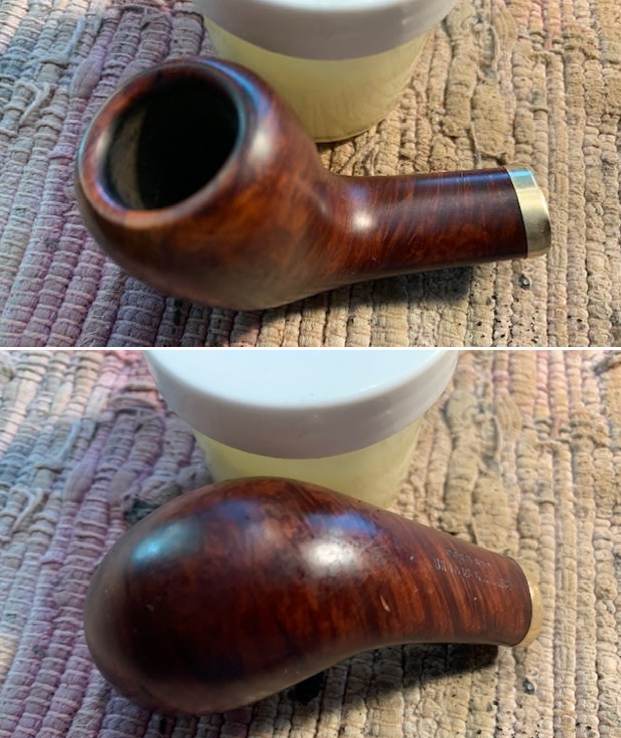
I decided to work on one of two oval shank canted eggs with oval saddle stems next. I opened the bag and removed both the bowl and the broken stem. I took photos of the bowl to show its condition before I started on it. I took photos to show the heavy grime on the bowl sides, the cake in the bowl and the heavy lava and damage to the rim top and inner edge. Somewhere along its journey the pipe had been banded. It was a real mess. 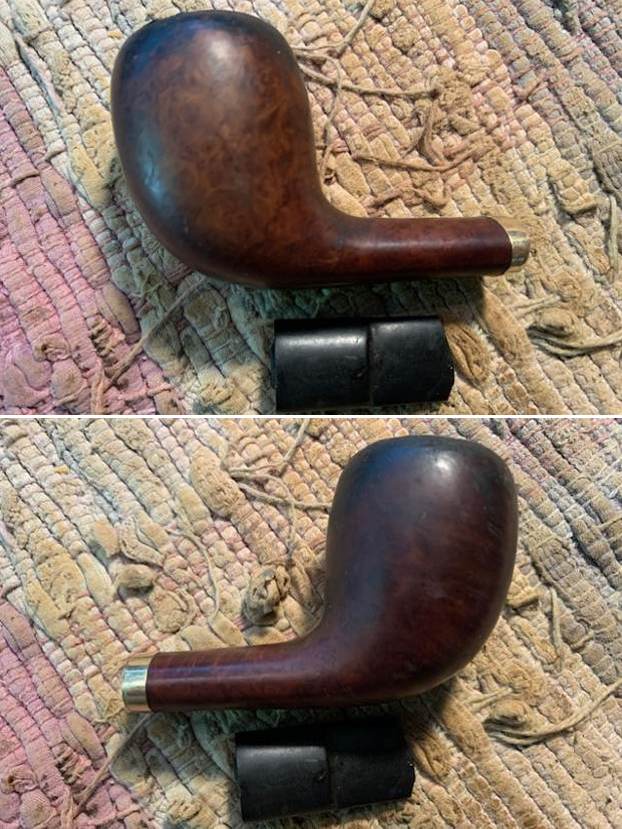
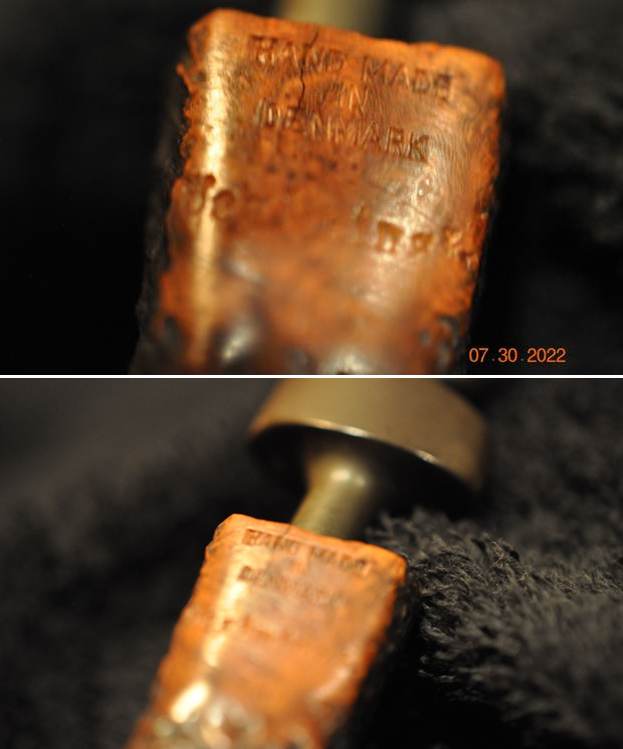
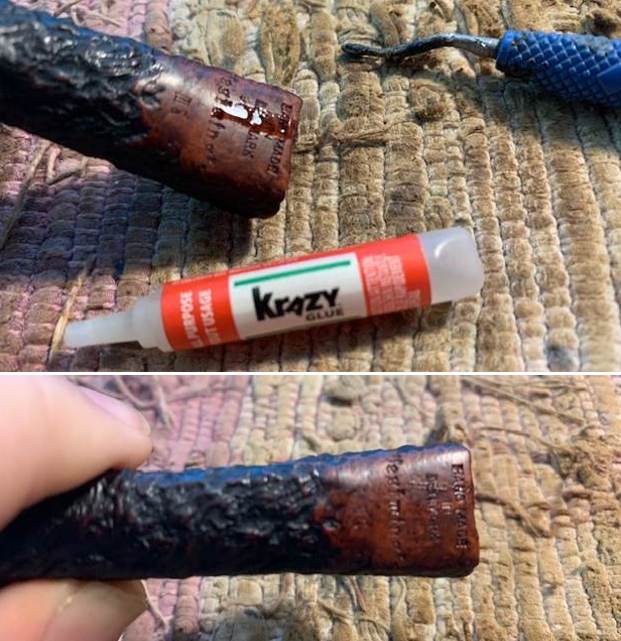
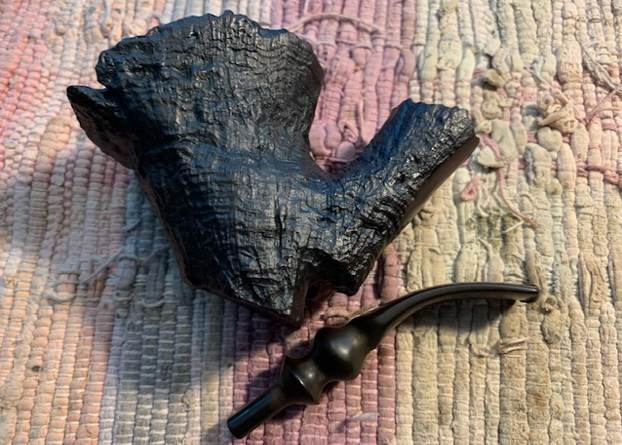
 I tried to pull the broken tenon and was not surprised that it was stuck in the shank. I put the bowl in the freezer and let it sit for 30 minutes. Once I removed it I used a screw turned into the airway to wiggle the tenon out of the shank. It actually came out quite easily.
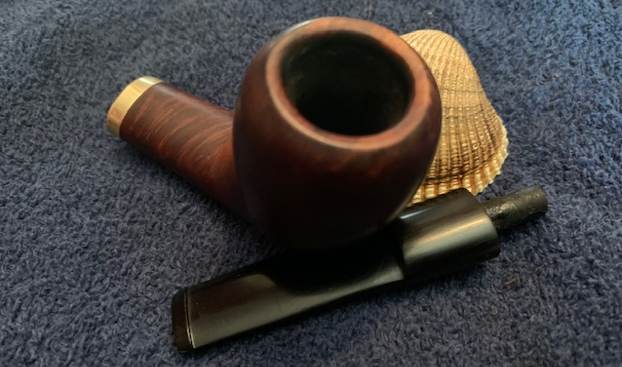
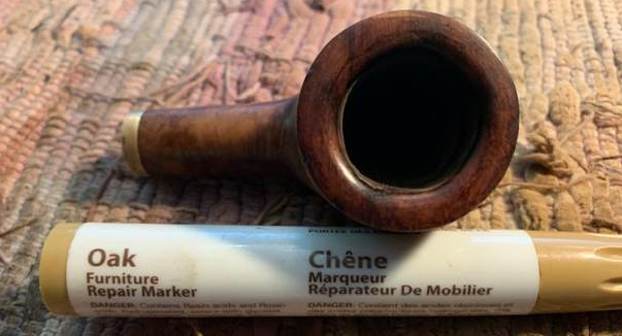
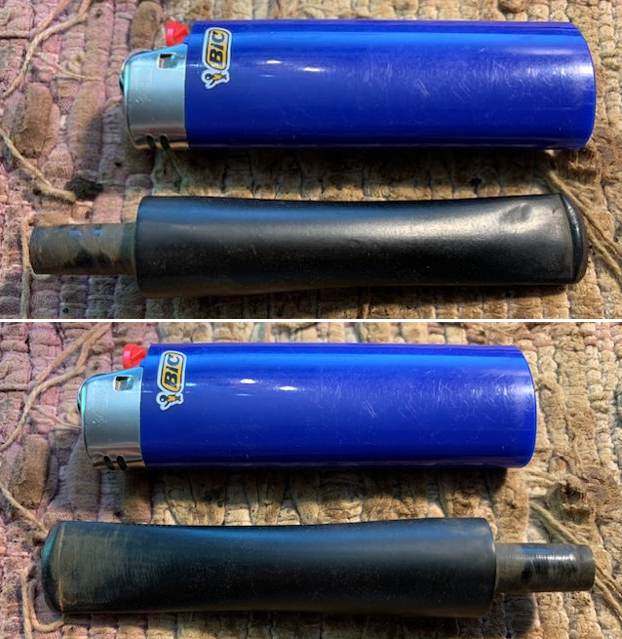
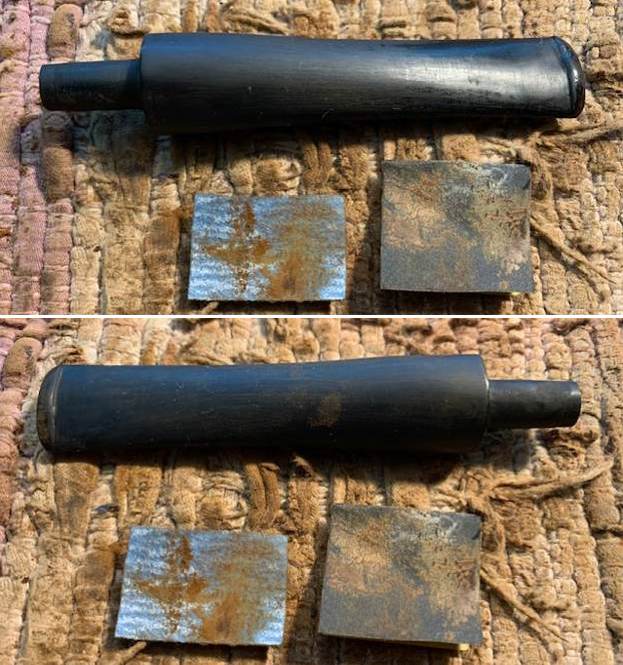
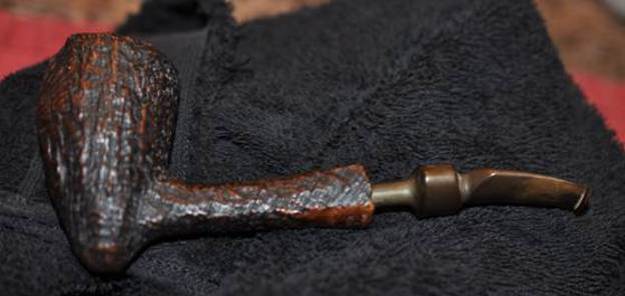
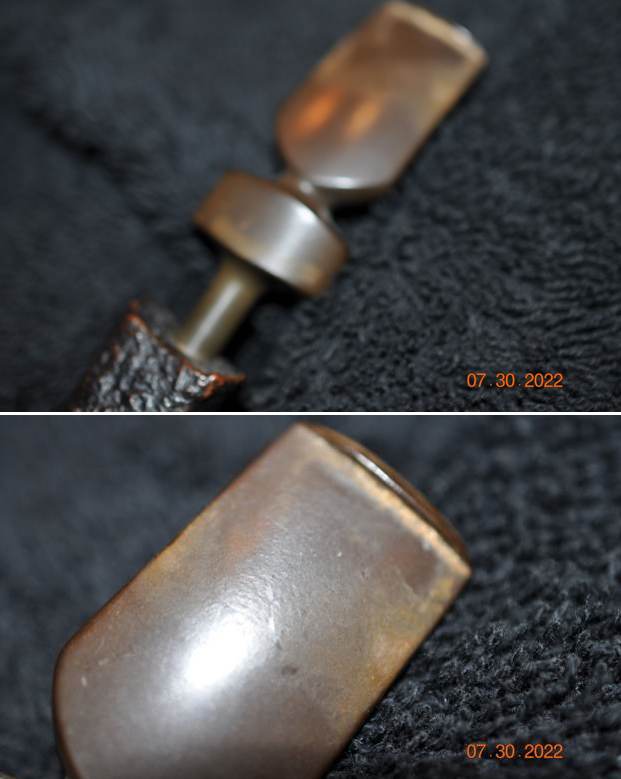
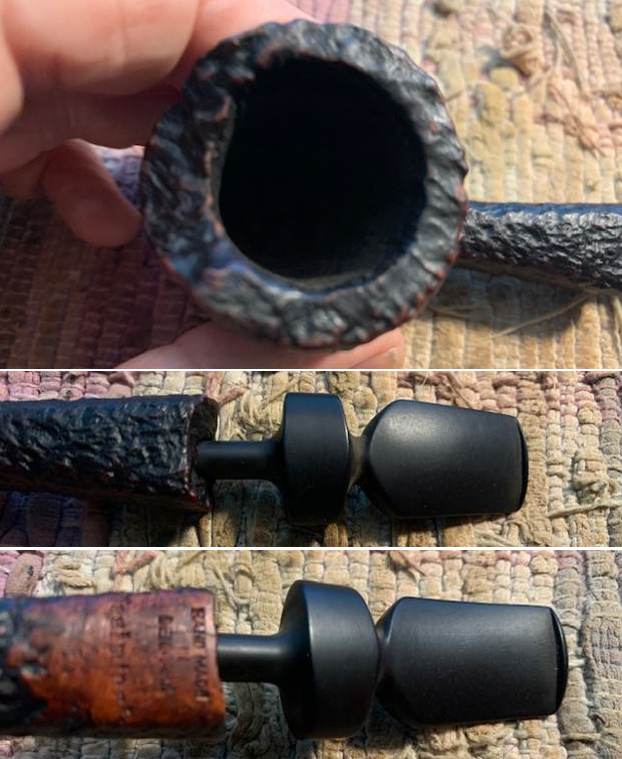
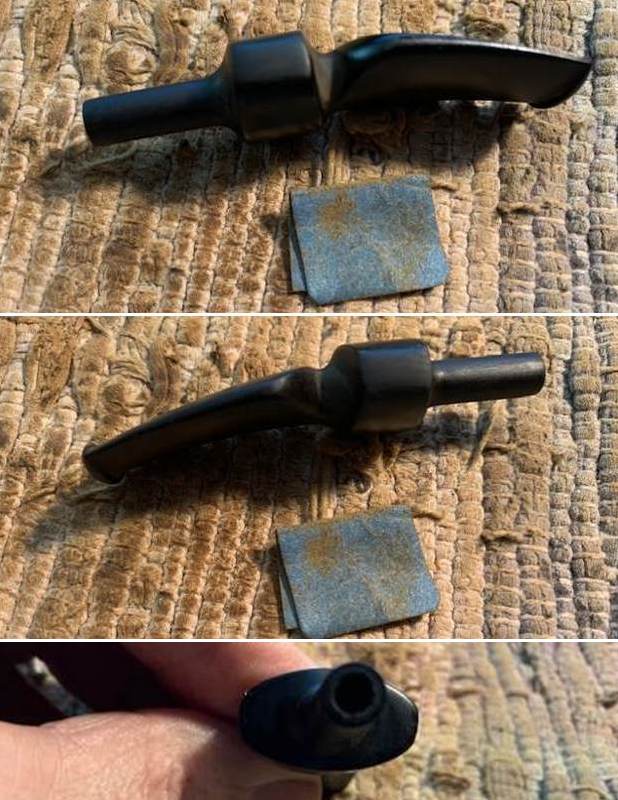
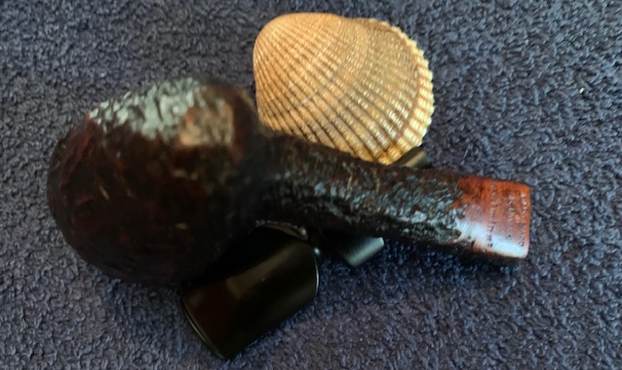
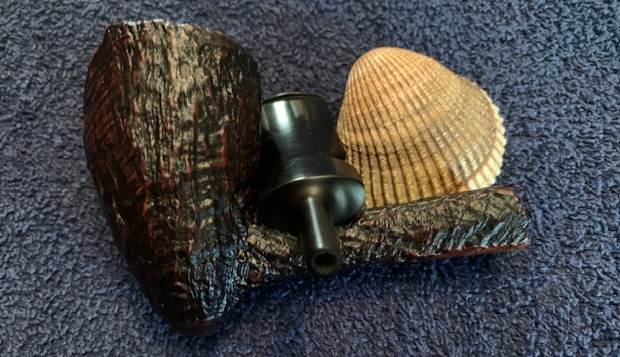
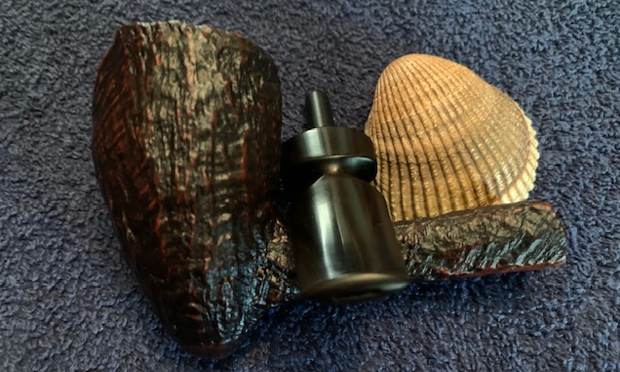
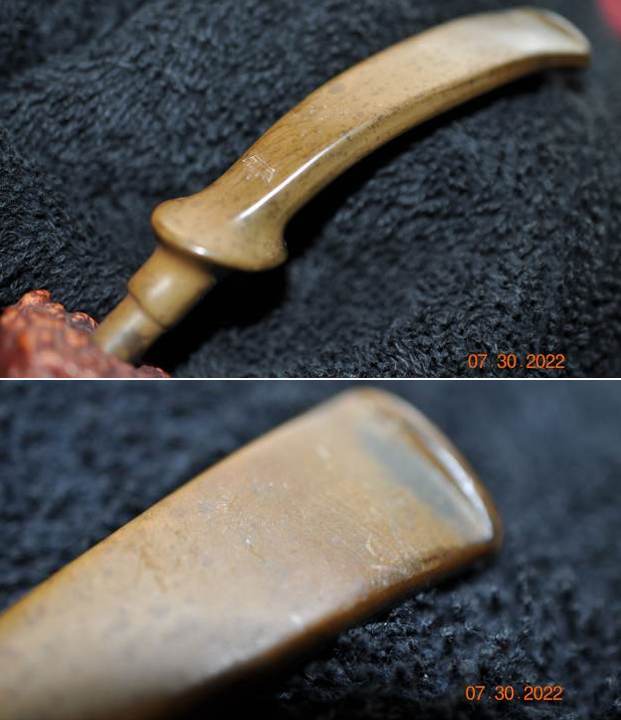
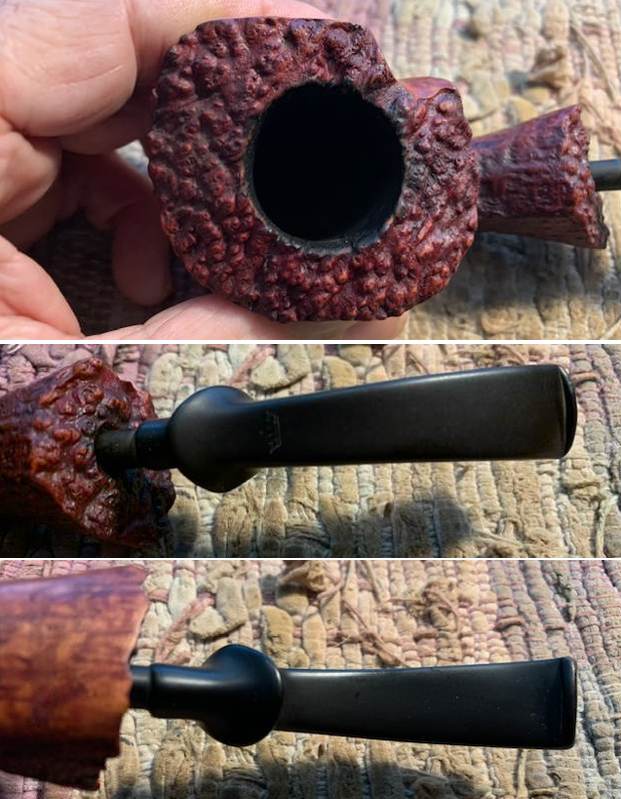
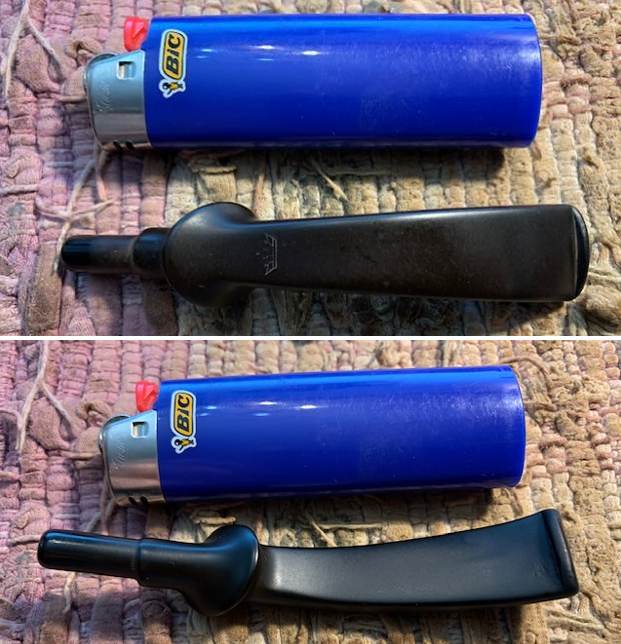
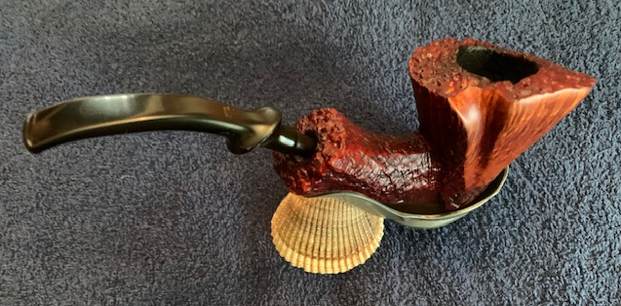
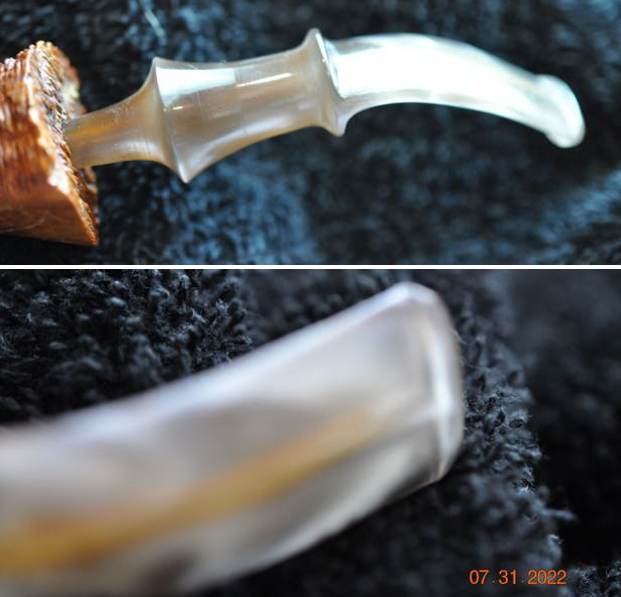
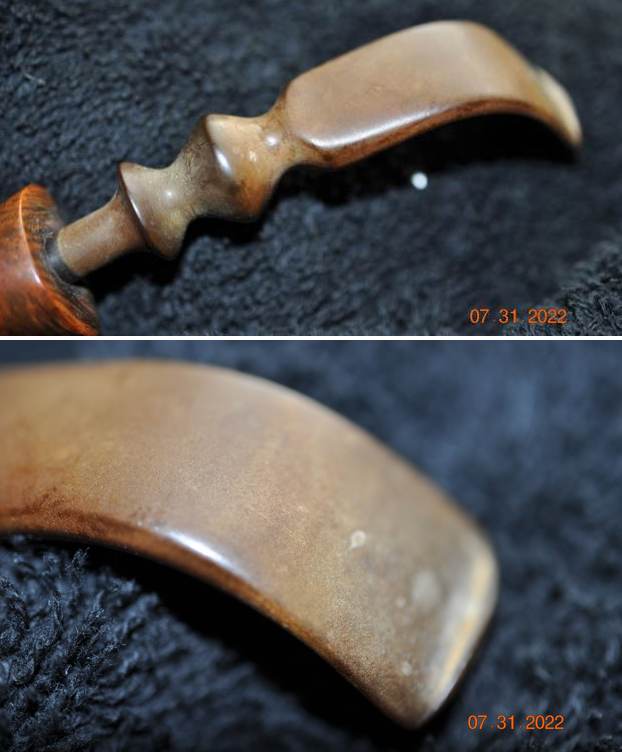
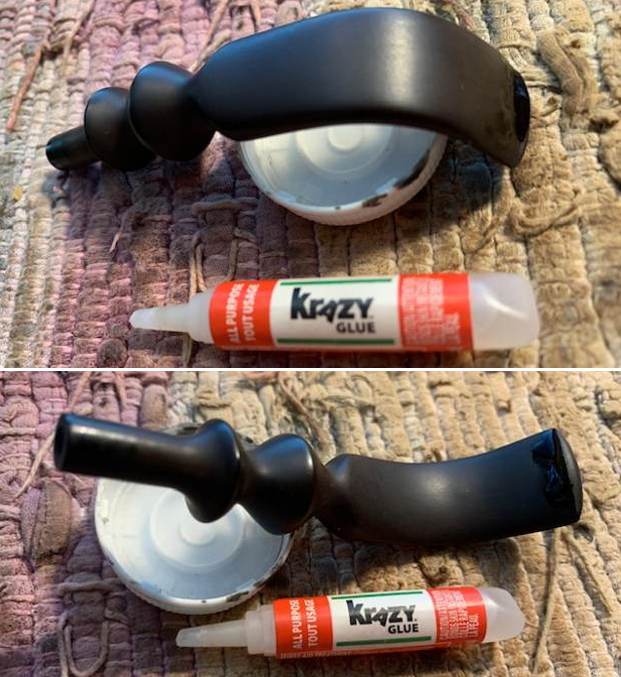
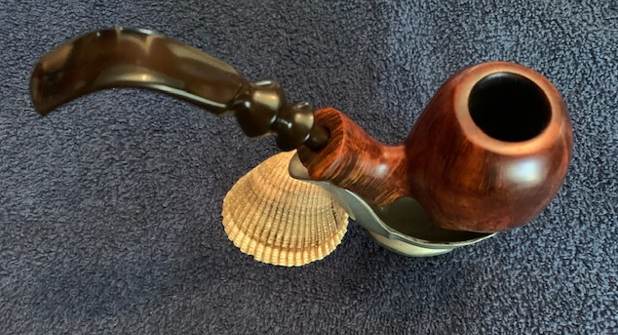
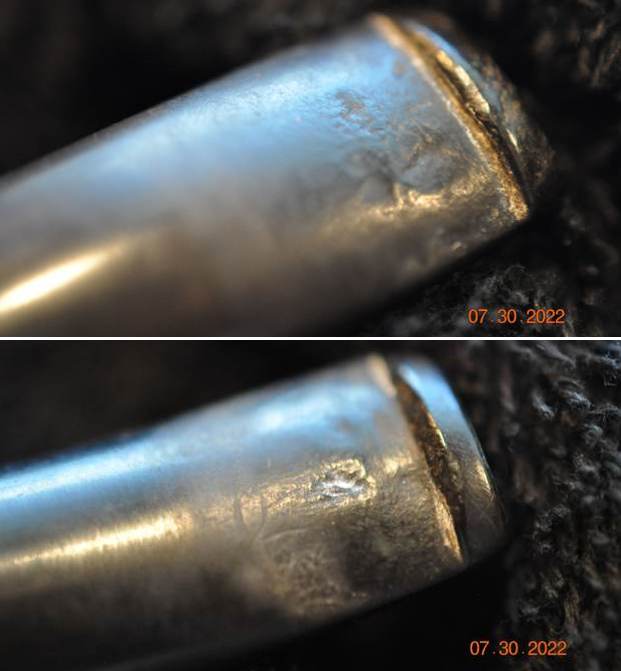
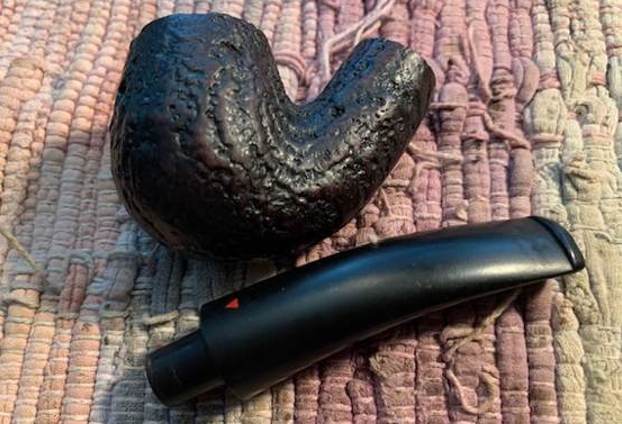
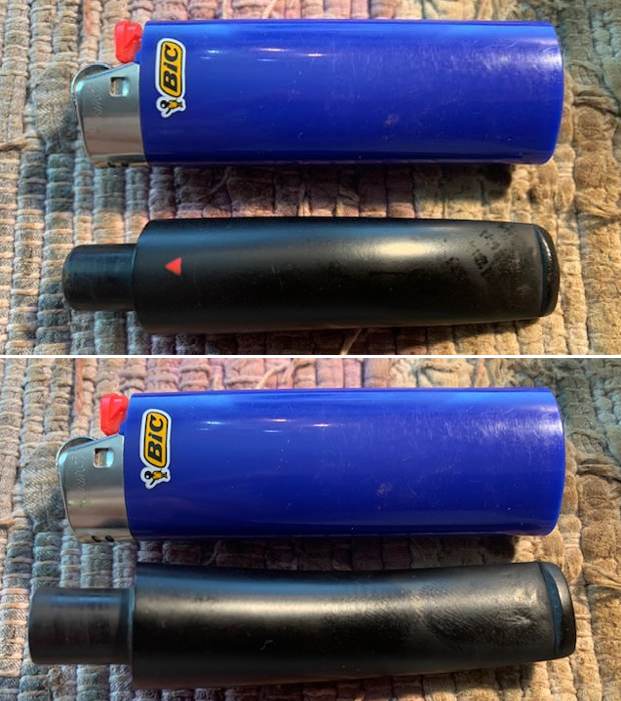
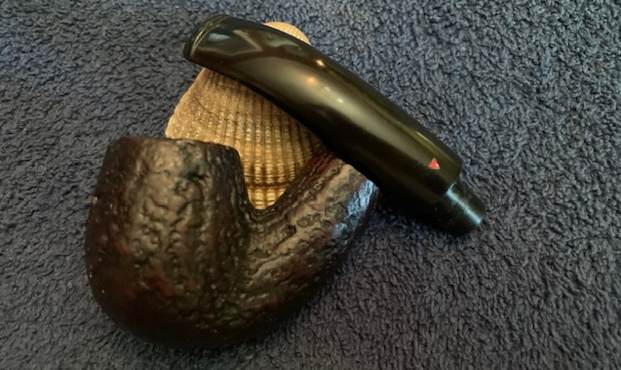
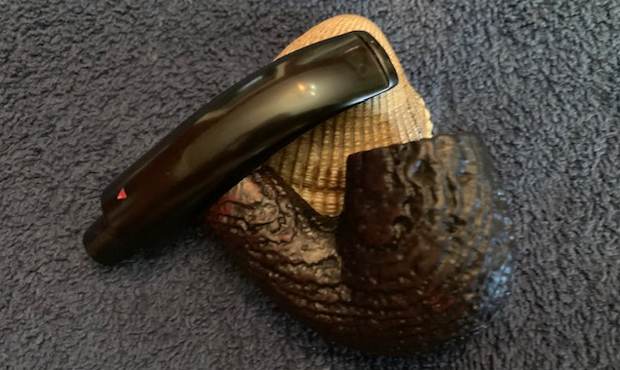
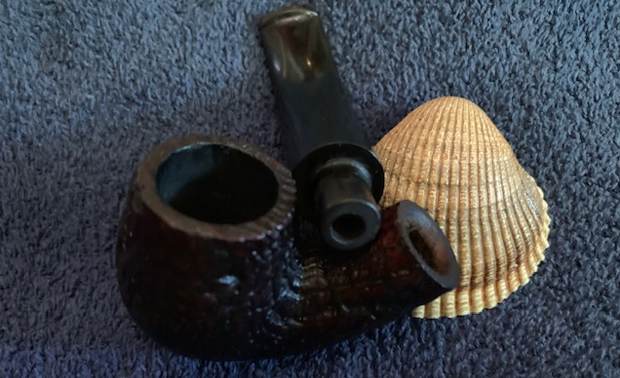
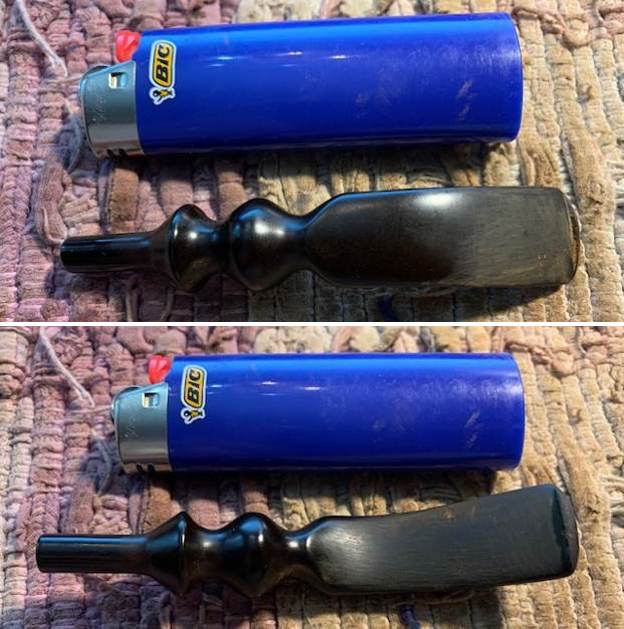
 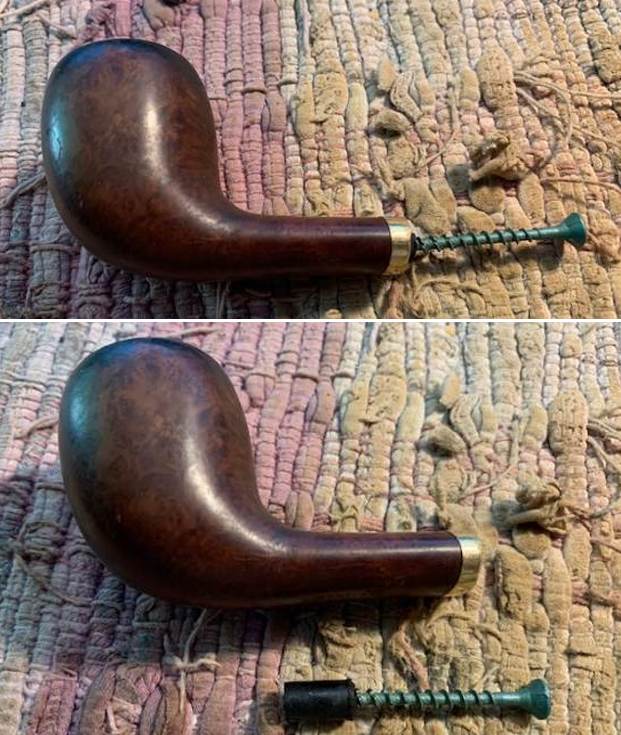 I went through my stems and found a new one that matched the broken piece of the previous stem. I took a photo. I would need to turn the cast tenon and remove the casting marks on the sides and the button on the pipe to get a fit. Here is a photo of the bowl with the new stem.
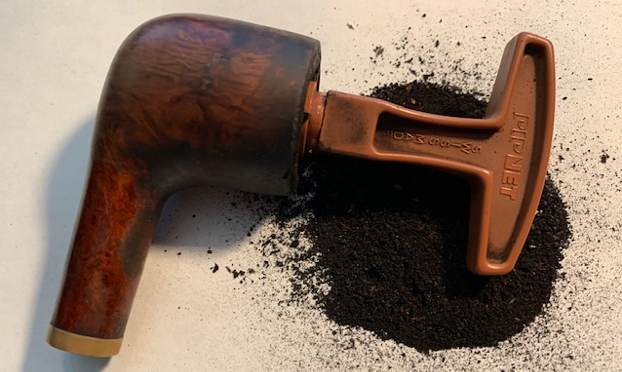
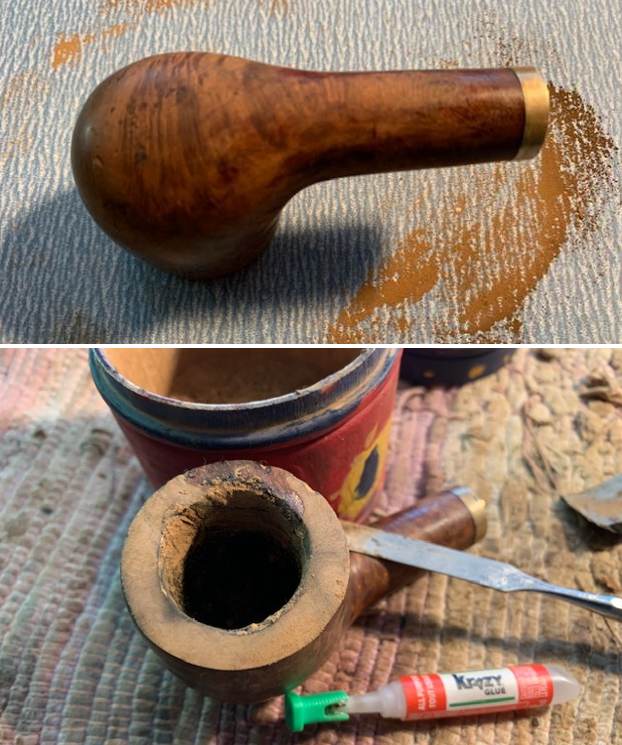
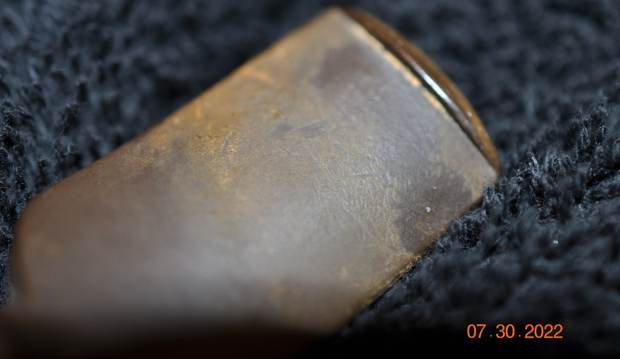
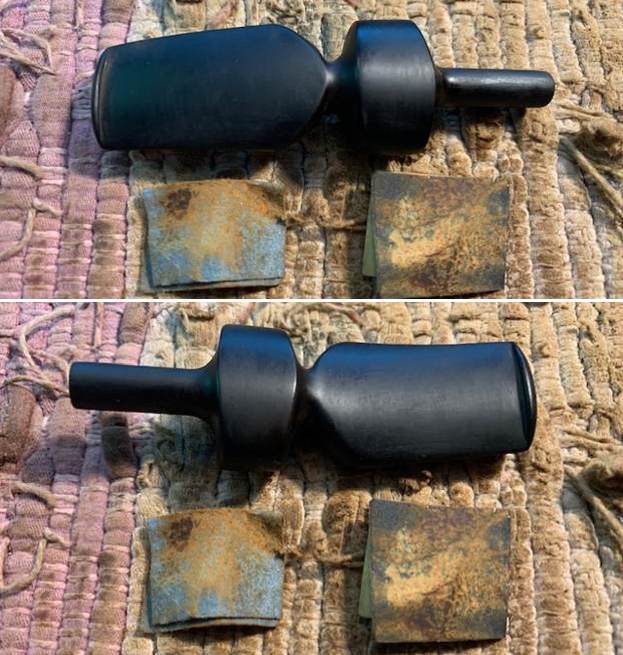
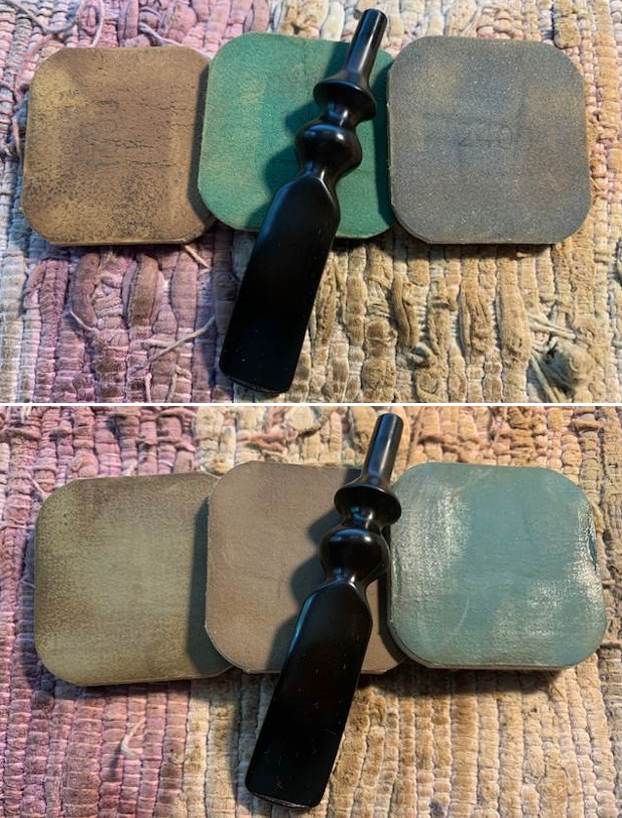
 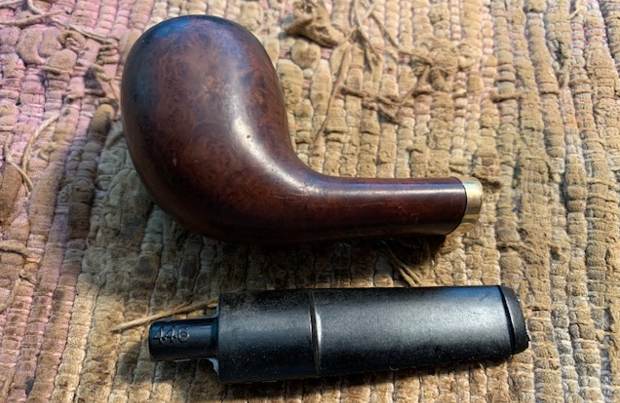 Now it was time to clean it up so I could work on it. I like restoring clean pipes so that was going to be a lot of work but worth it to me to get rid of the grime. I reamed the bowl with a PipNet reamer using the largest cutting head. I cleaned up the reamer with a Savinelli Fitsall PipeKnife. I sanded the walls of the bowl with 220 grit sandpaper wrapped around a piece of dowel. There was a small mountain of carbon.
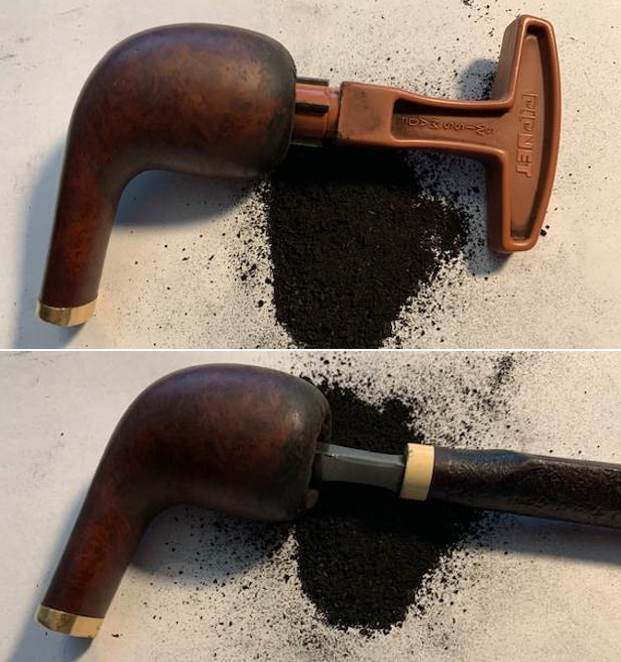
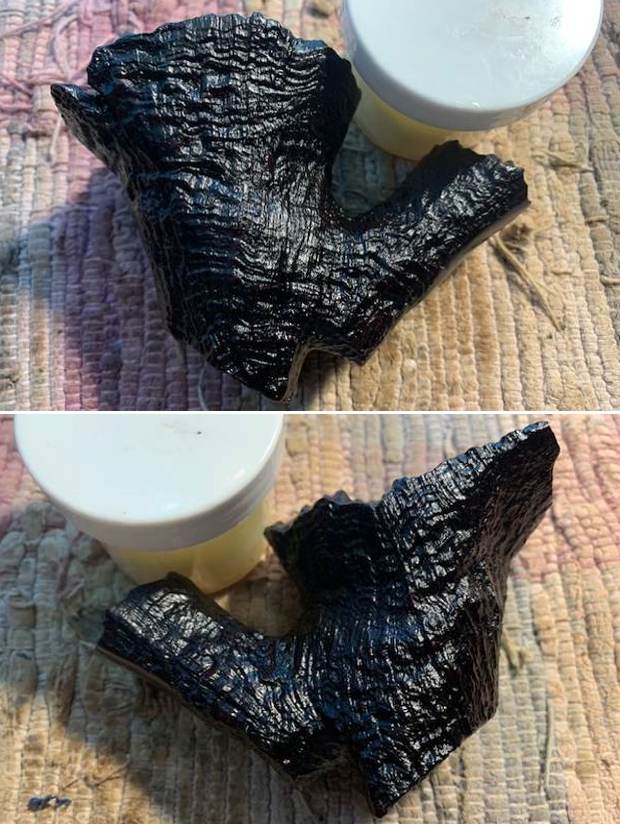
 I scrubbed the externals of the pipe to remove the heavy oils and tar build up on the bowl. It took a lot of elbow grease using a tooth brush and Murphy’s Oil Soap. I worked on it until the grime washed away with running water. It looks much better at this point.
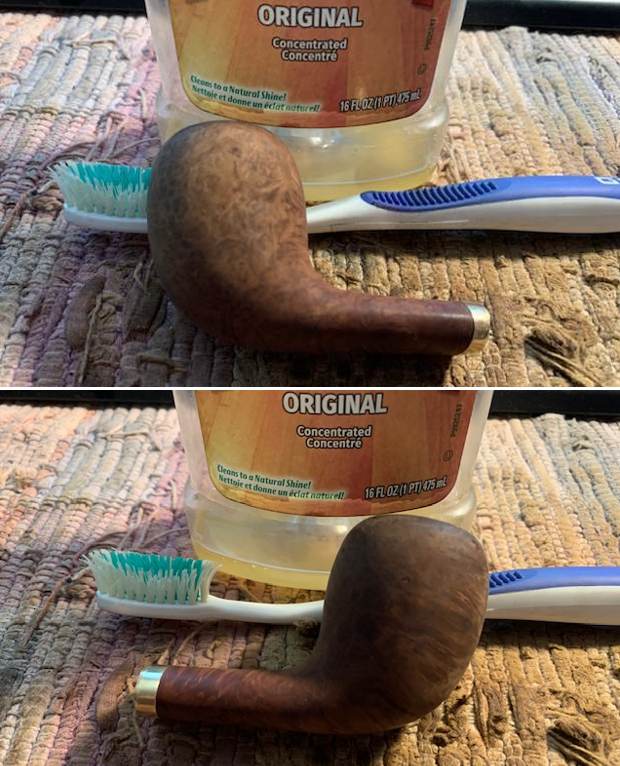
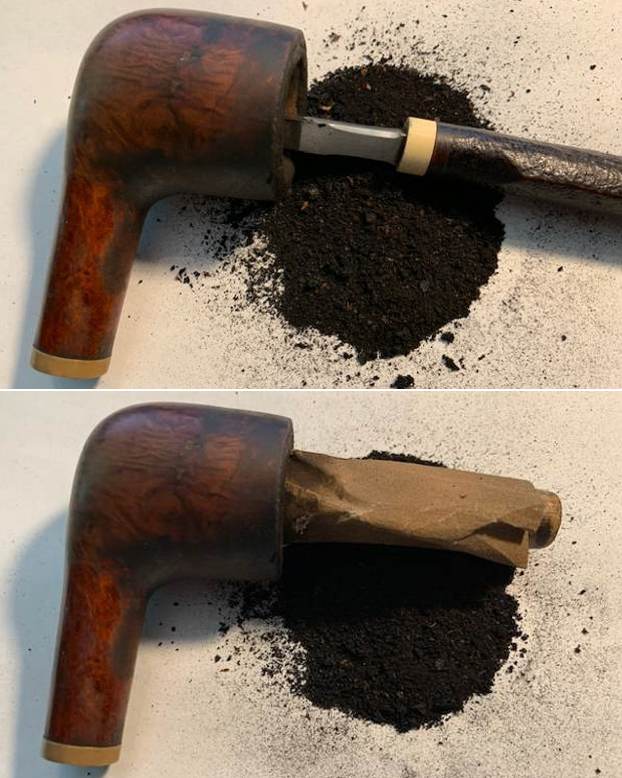
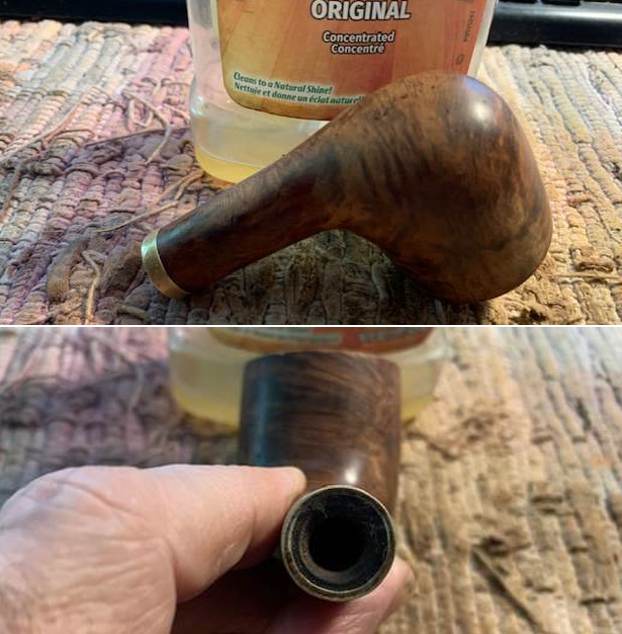
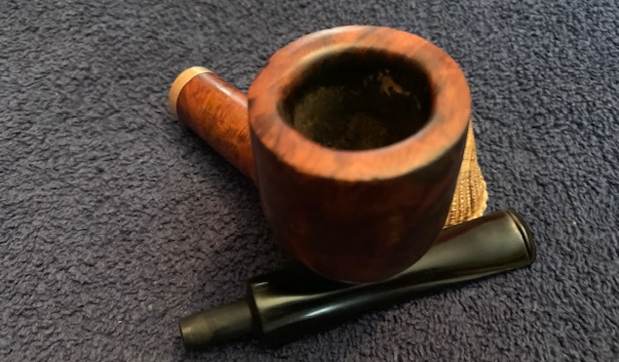
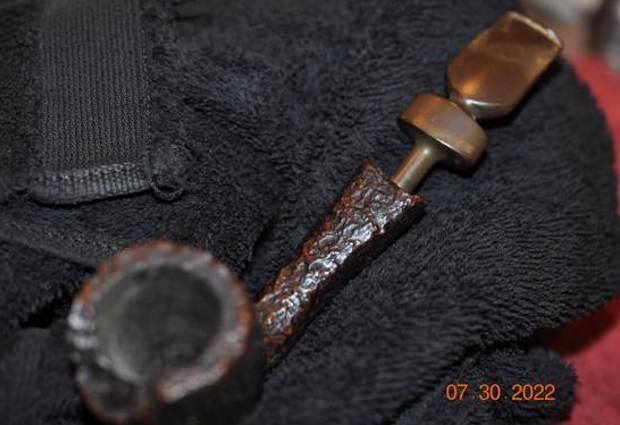
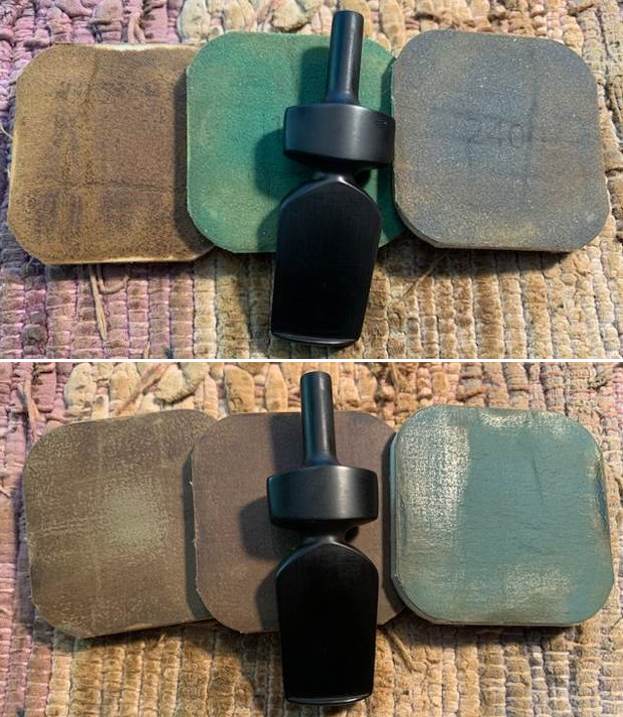
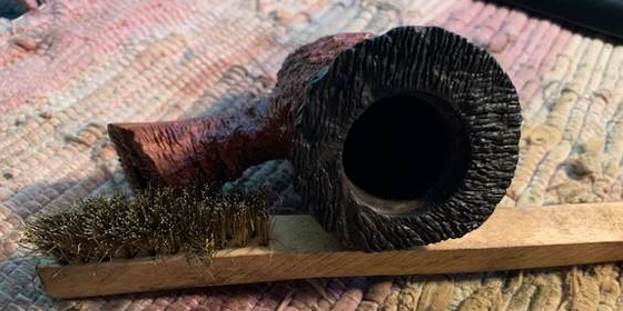
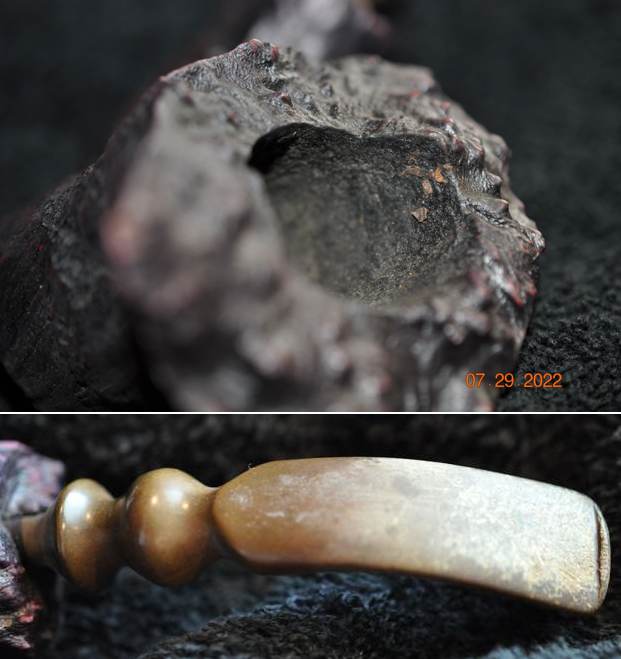
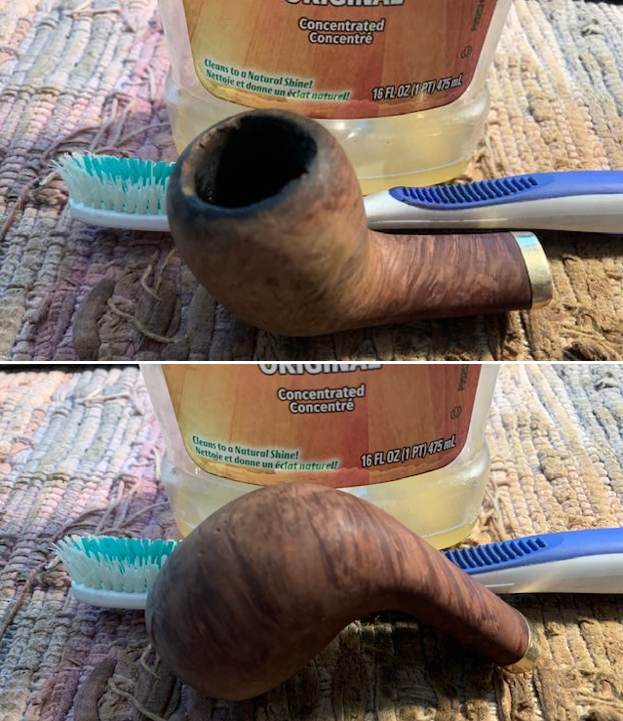 With the externals cleaned I turned my attention to the internals. I scrubbed the shank and the airway in the bowl with pipe cleaners, cotton swabs and isopropyl alcohol until it was clean. It was a mess. The stem was brand new and was very clean.
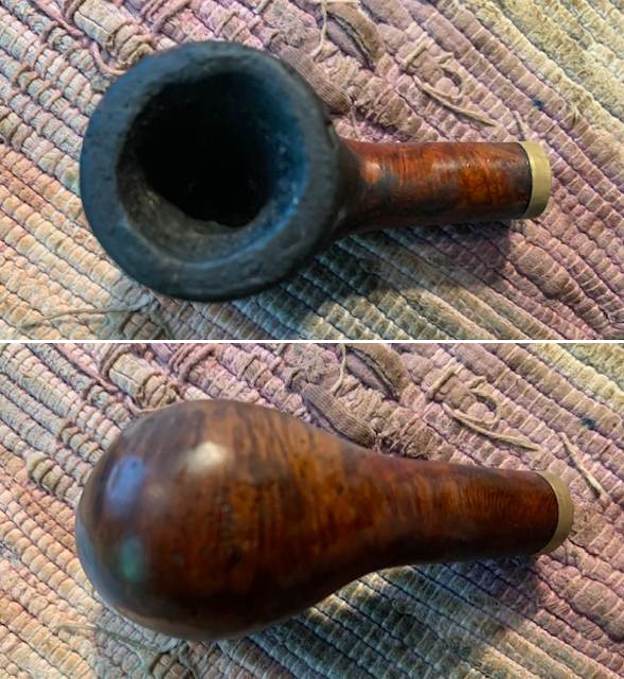
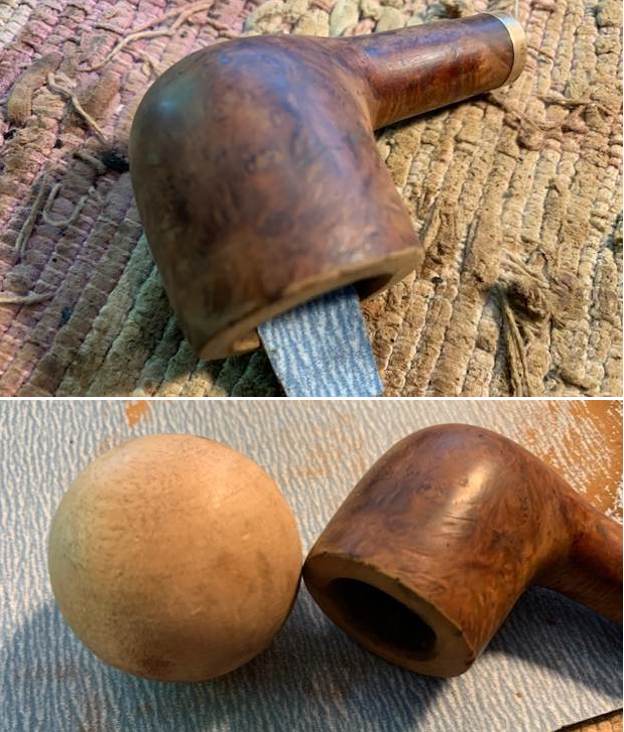
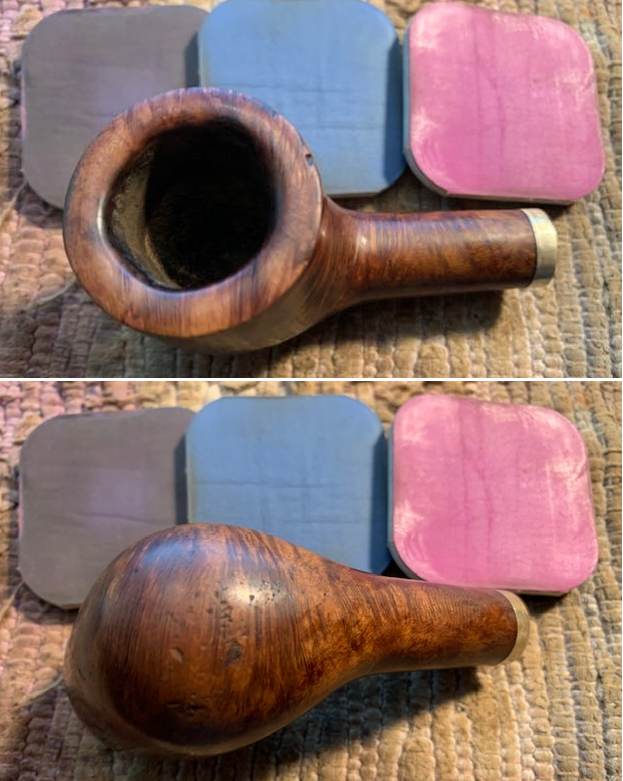
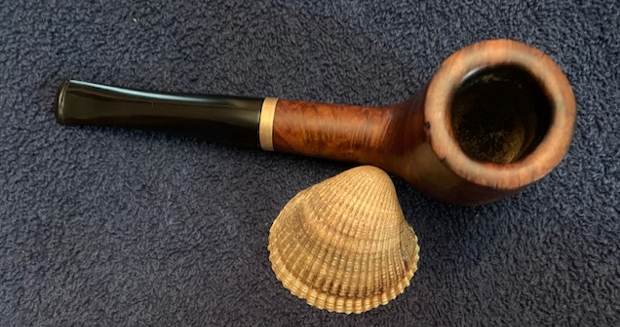
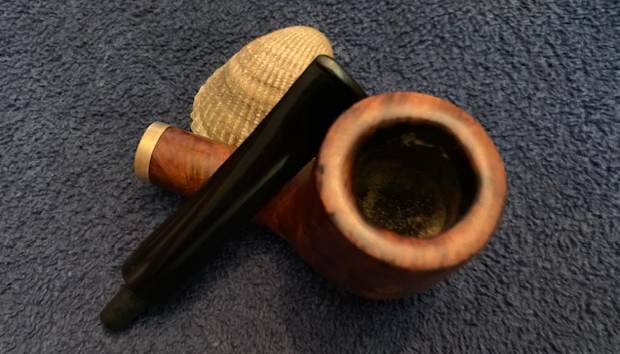
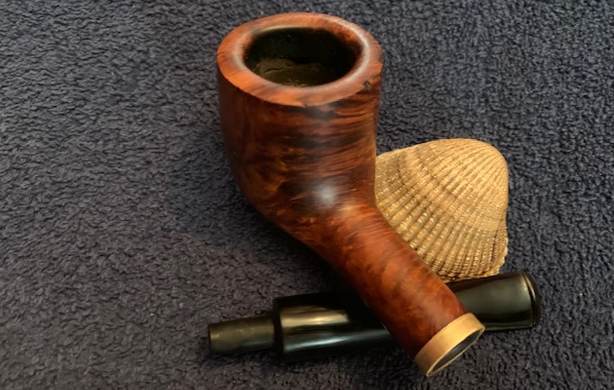
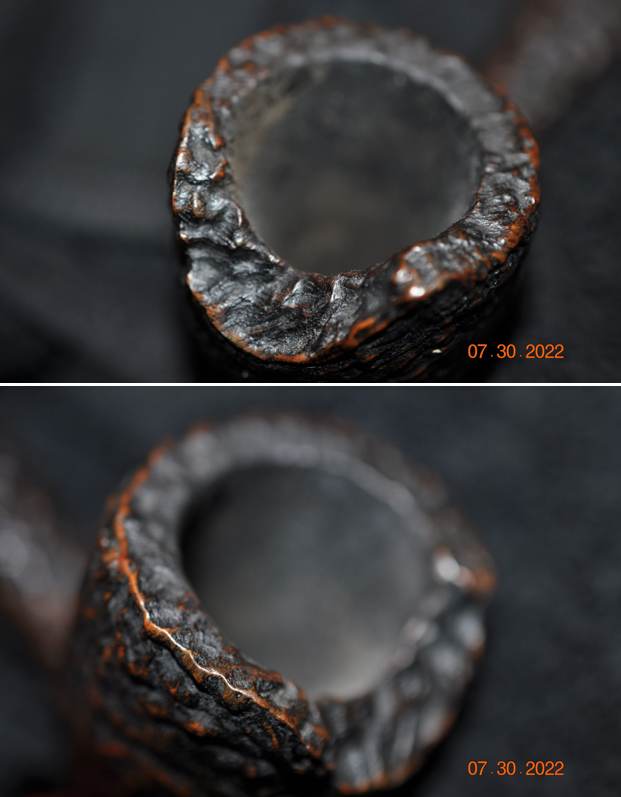
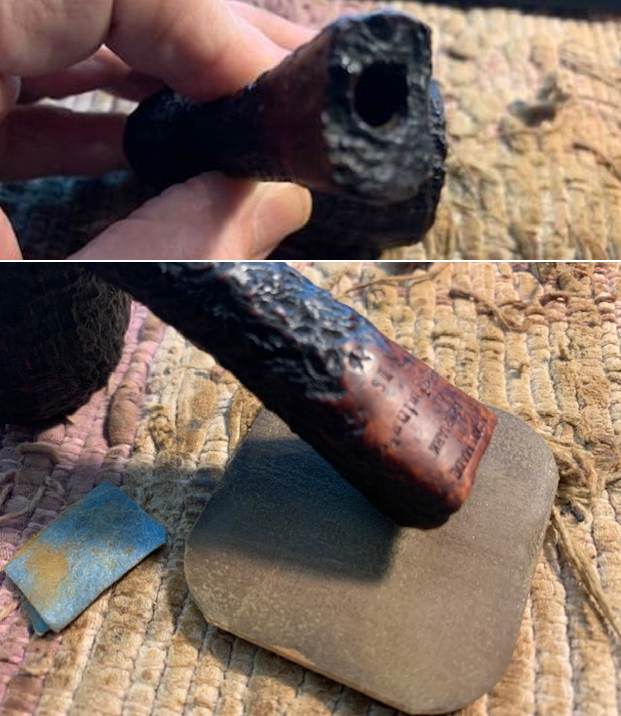
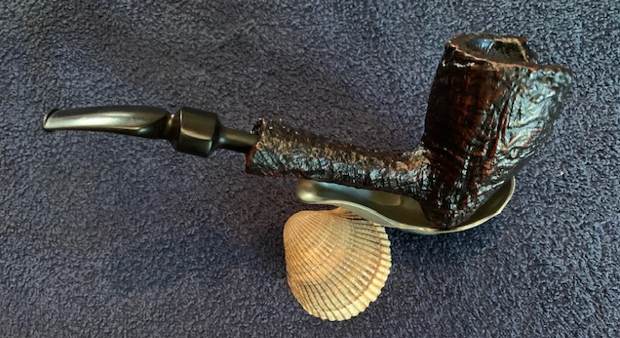
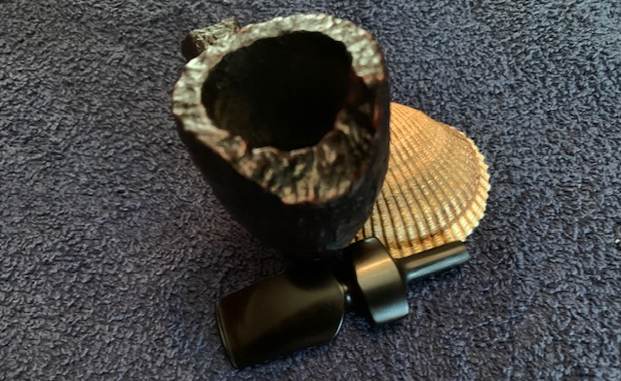
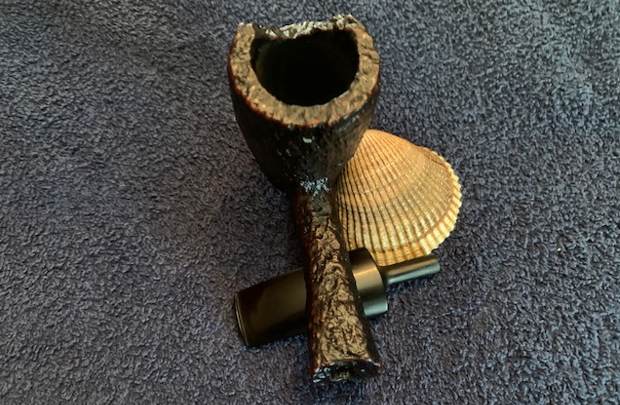
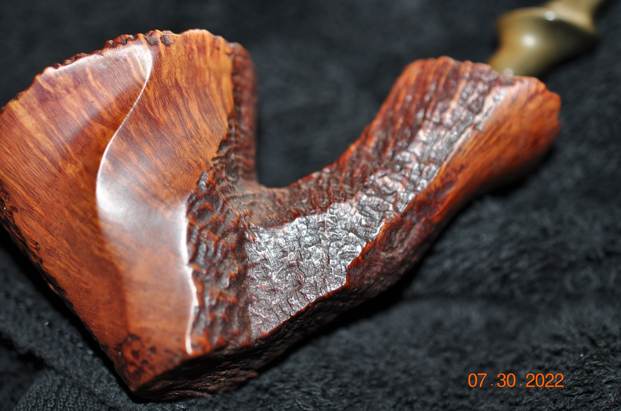
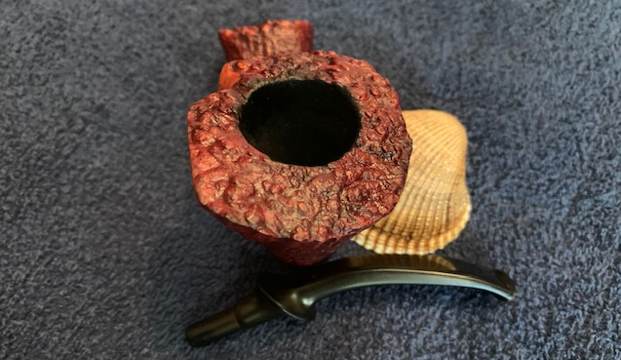
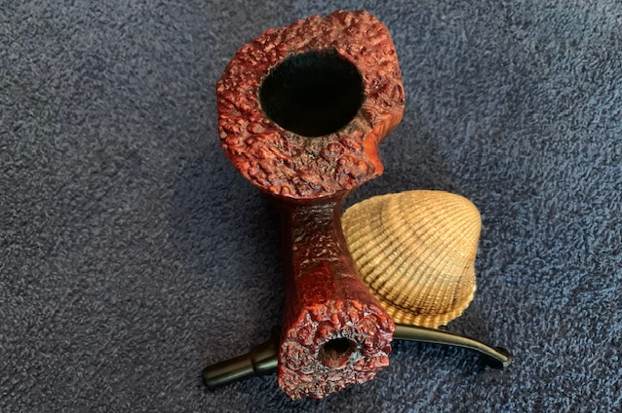
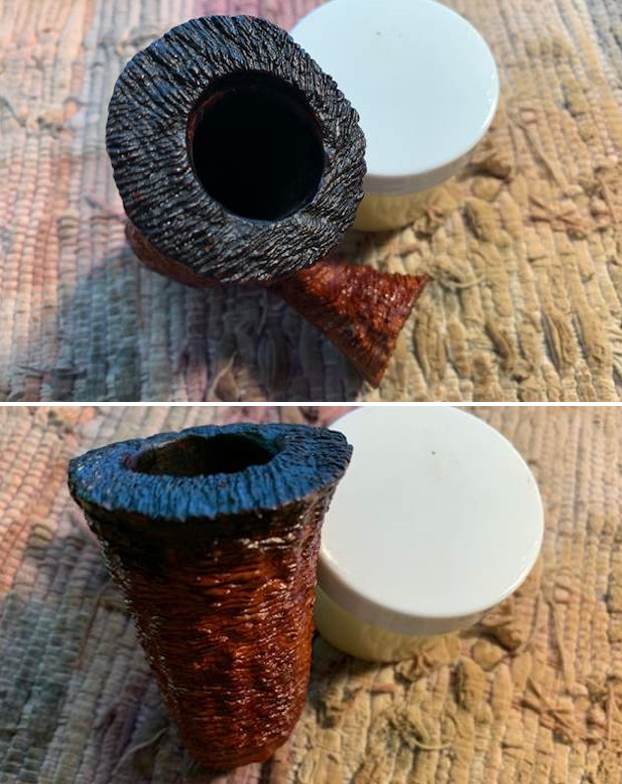
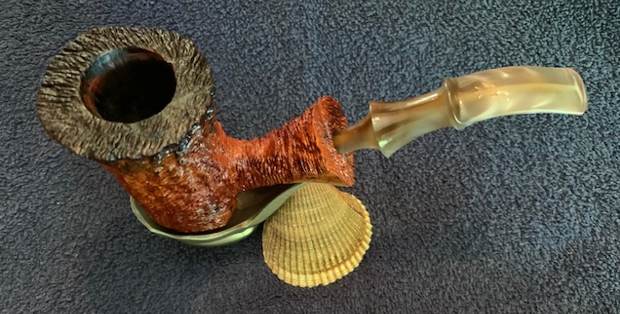
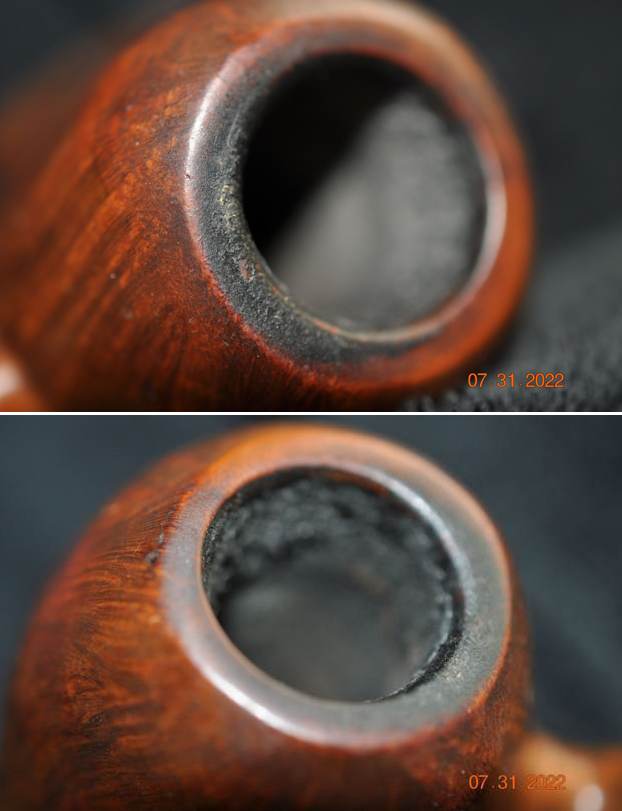
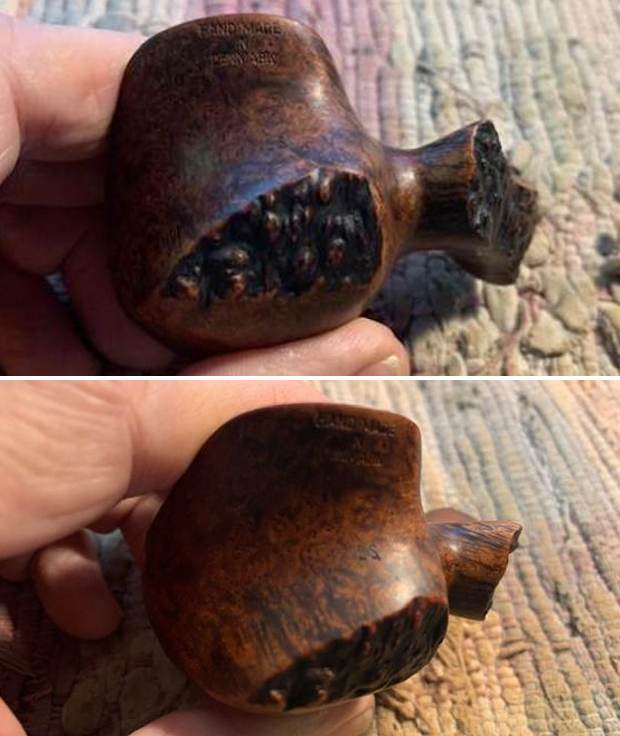
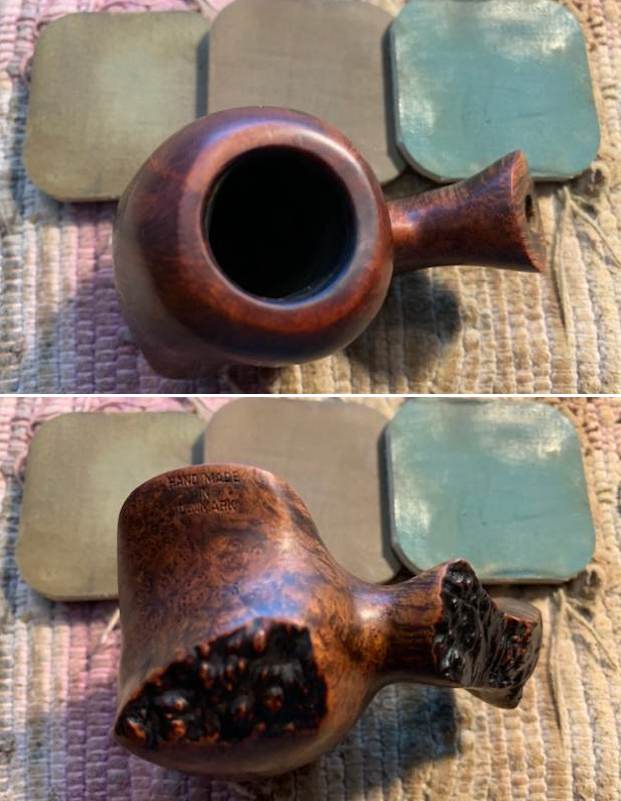
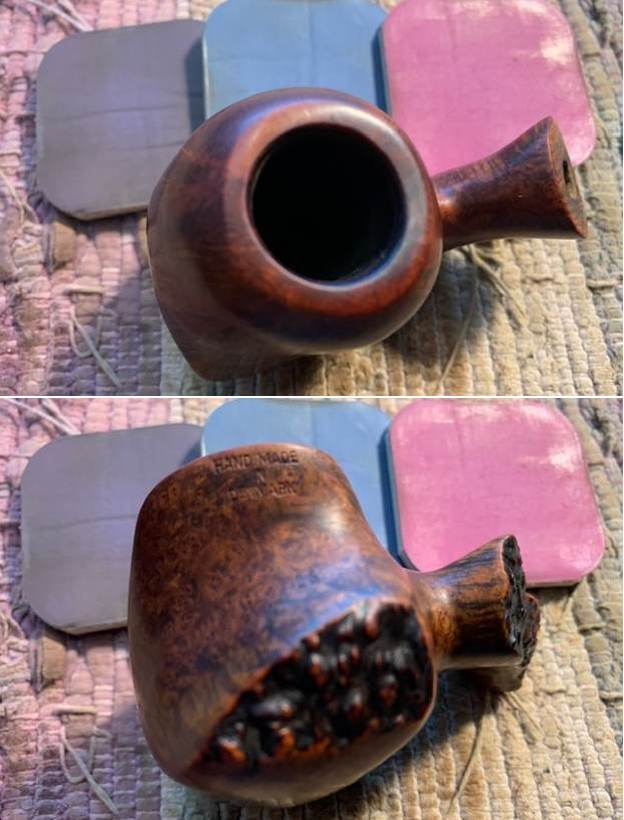
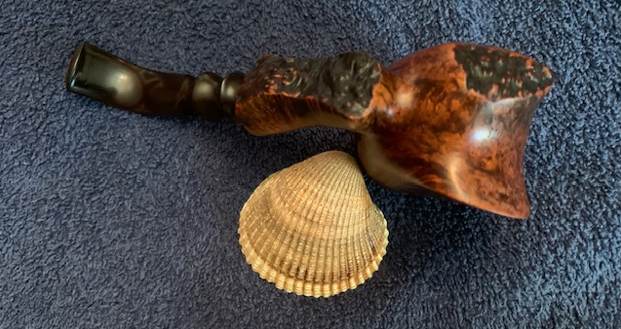
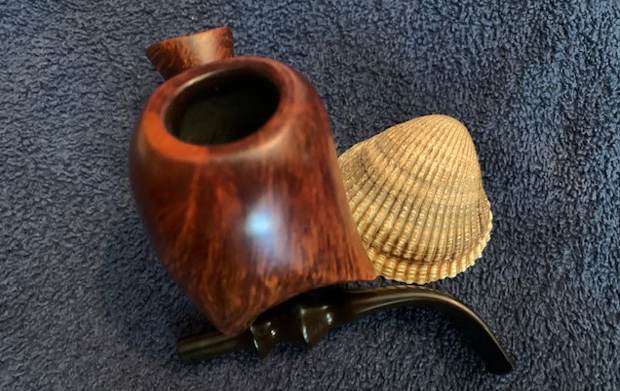
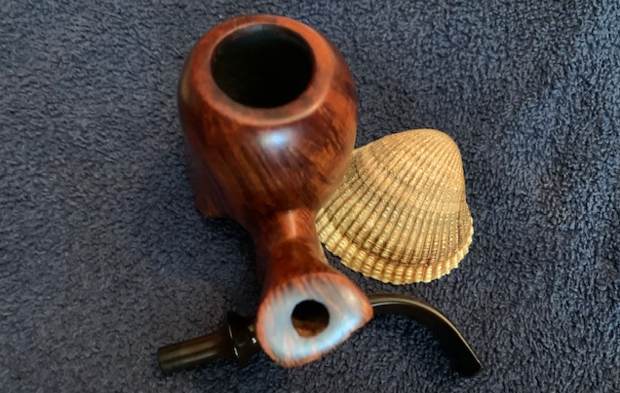
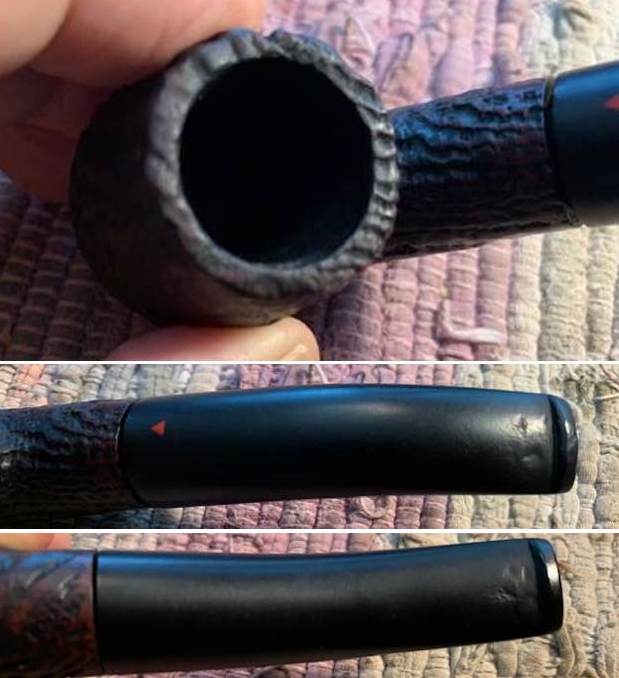
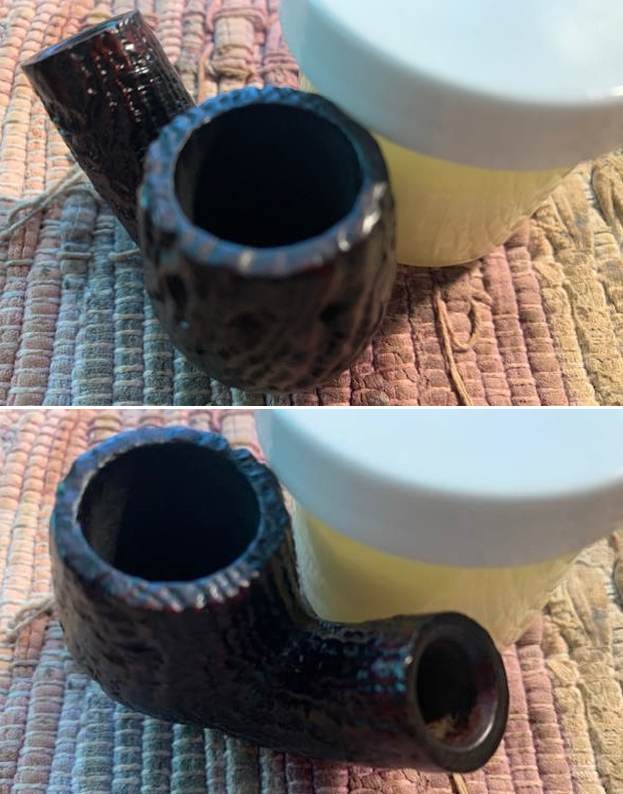
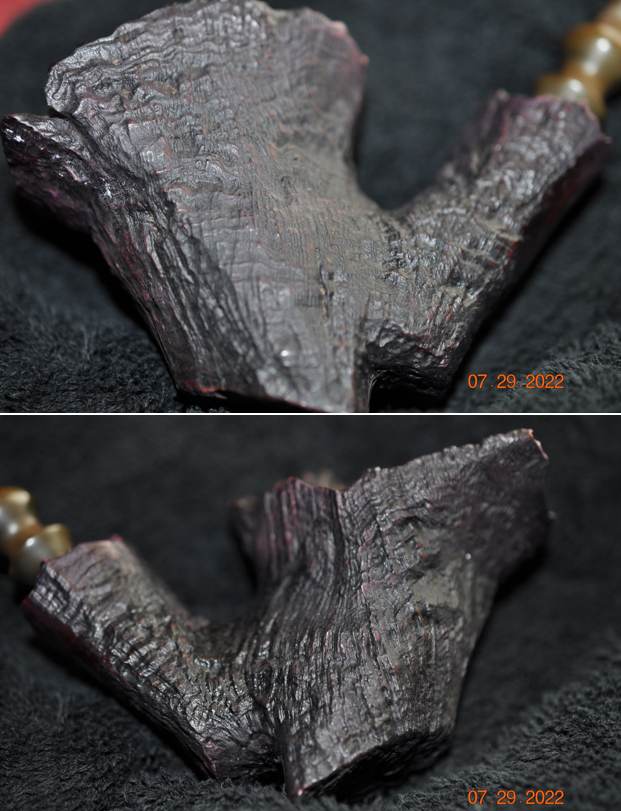
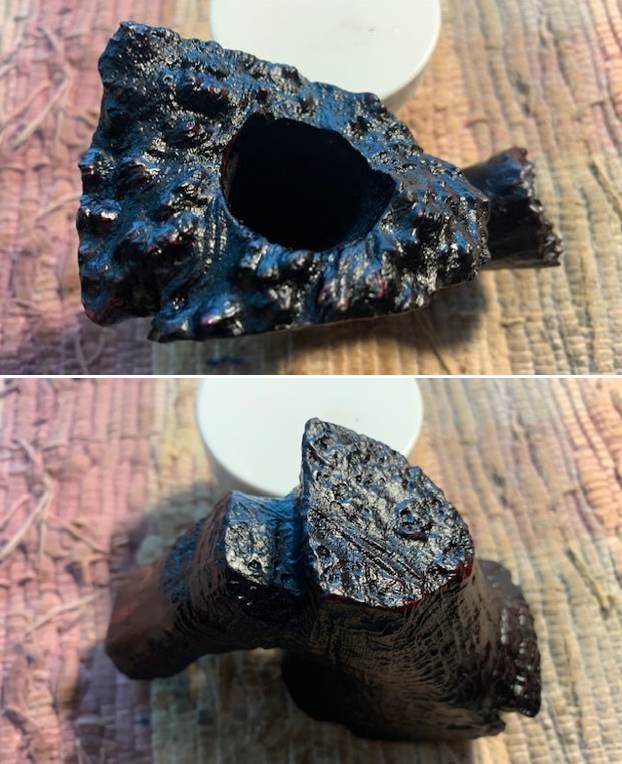
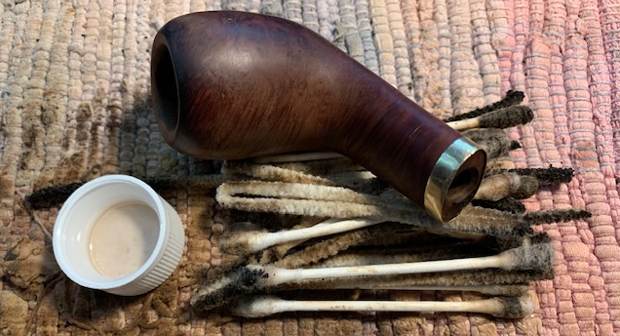 I topped the bowl to prepare it for reworking the damage to the inner edge of the bowl. I wanted to smooth it out before working on the inner bevel of the bowl. I used a wooden ball and 220 grit sandpaper to give the bowl a bevel. The final photo of the four below shows the repaired and reshaped rim edge.

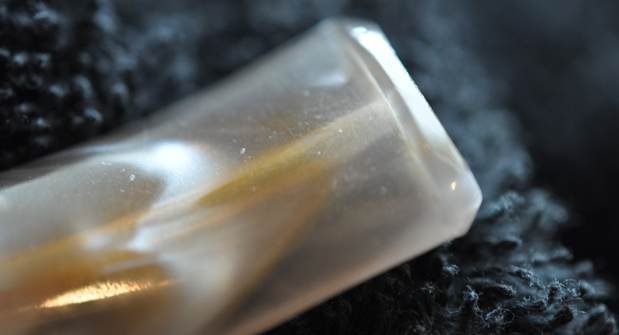
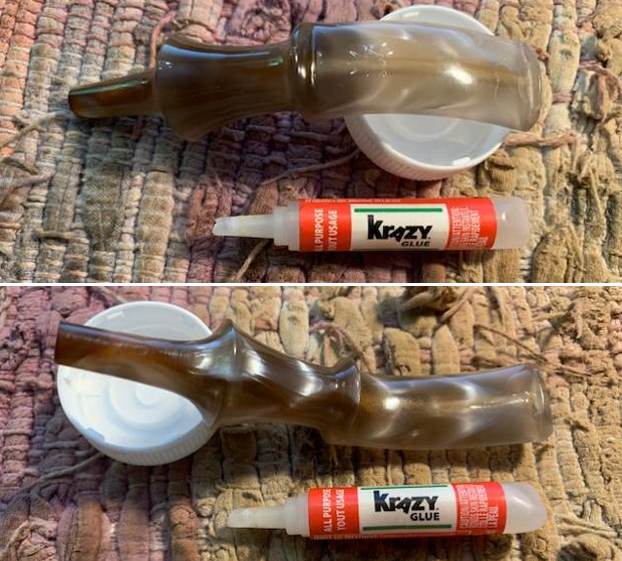
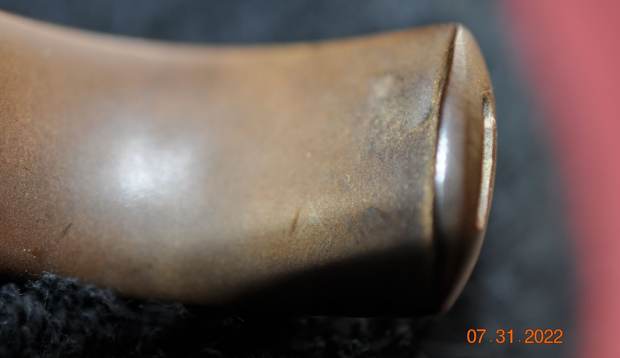
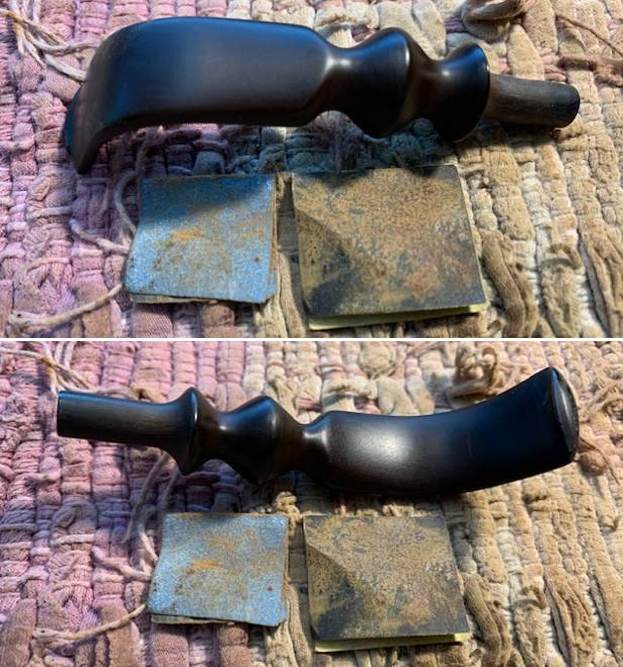
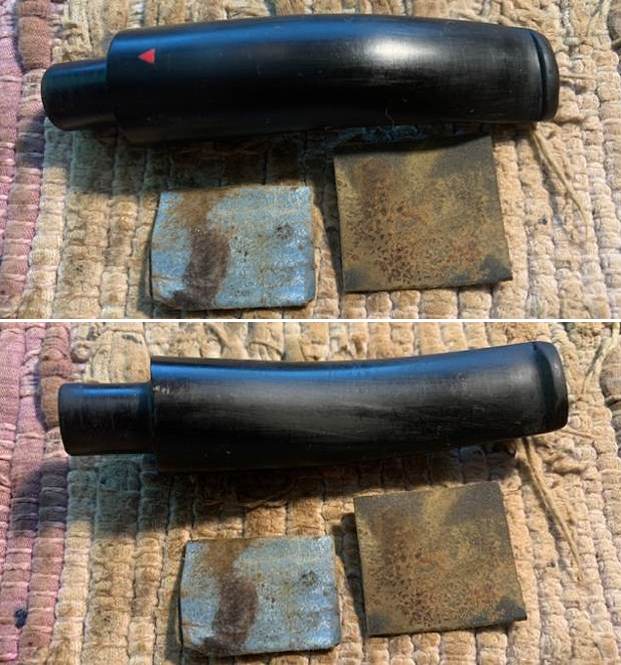
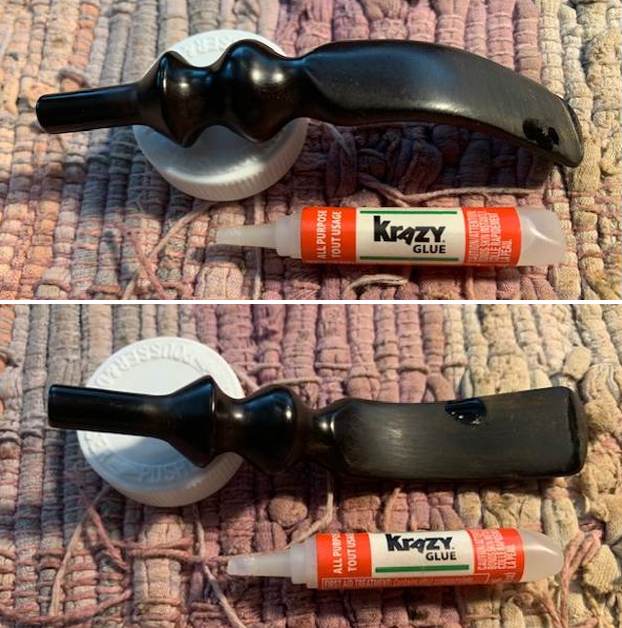
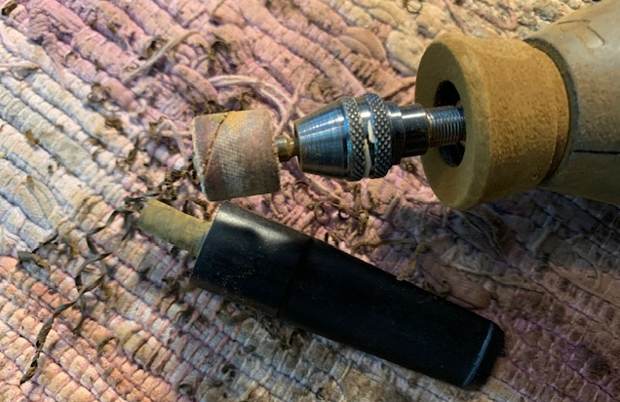
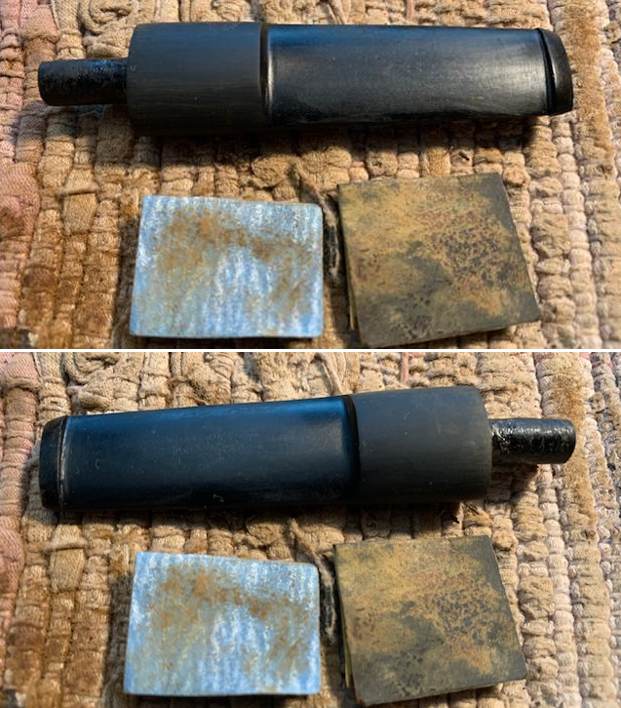
 I set the bowl aside and worked on the fit of the stem. I drilled out the airway with a bit the same size as the guide pin on the tenon turning tool. I then used the tenon turning tool to remove and reduce the diameter of the tenon. I smoothed out the tenon with a sanding drum on my Dremel. I used a flat file and a smaller file to remove the casting marks on the sides of the stem and the end of the button. Once finished with the file it was looking much better.
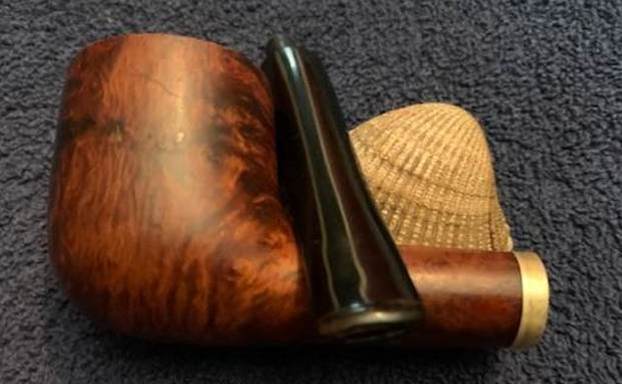
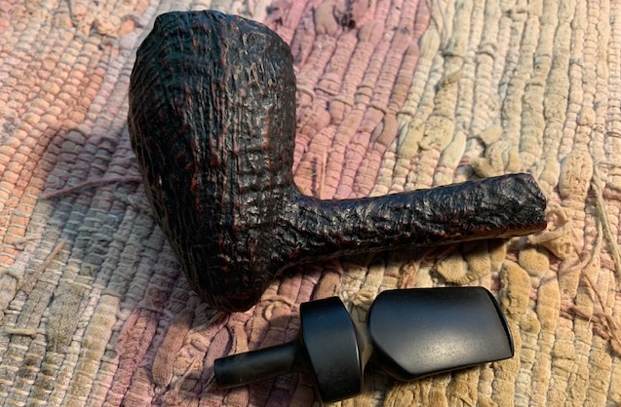
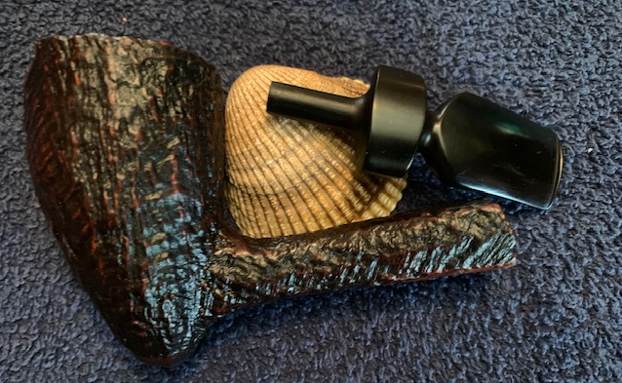
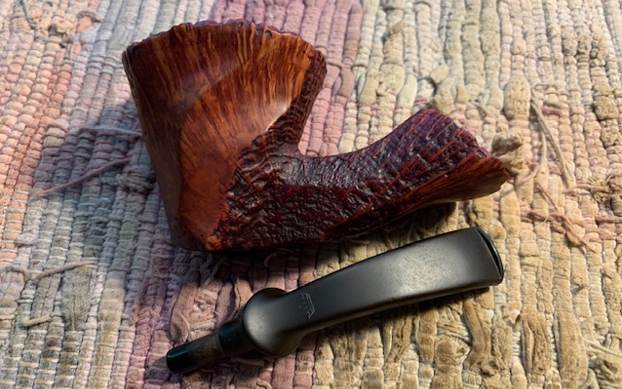
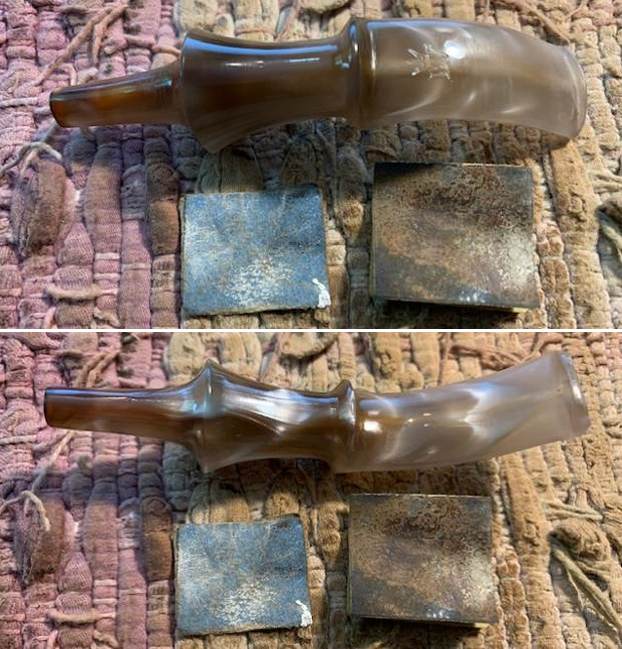
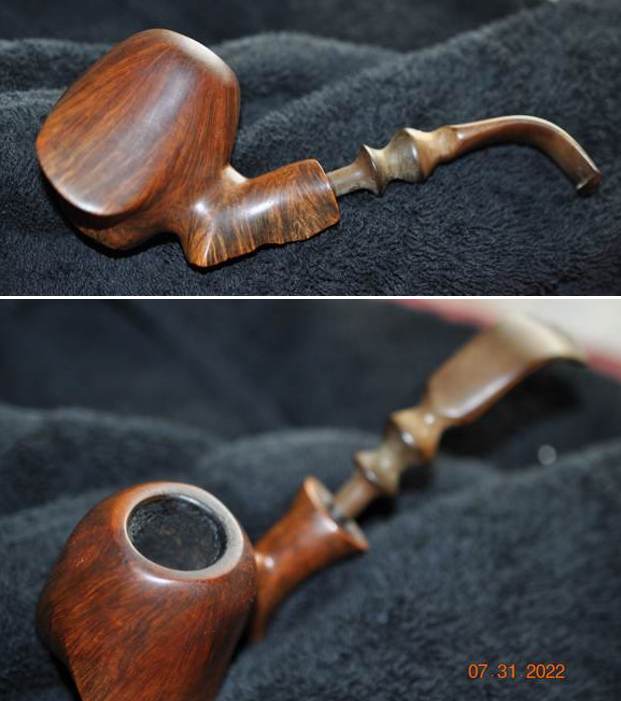
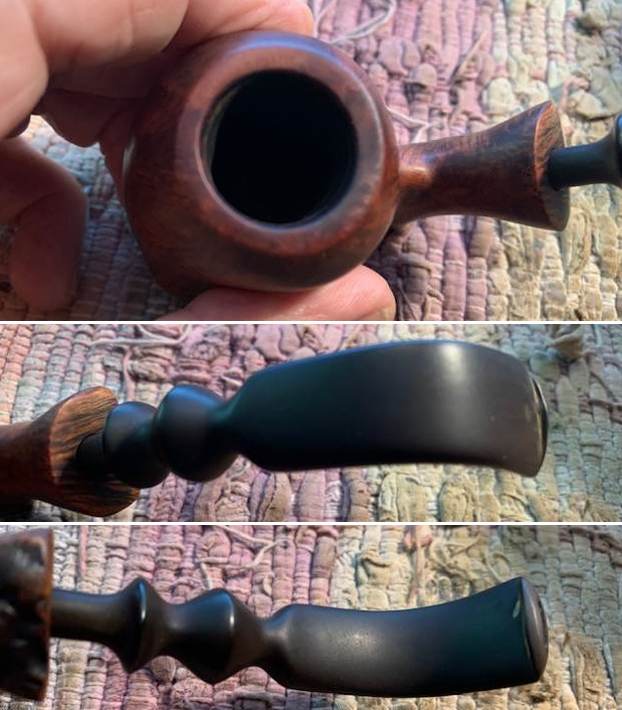
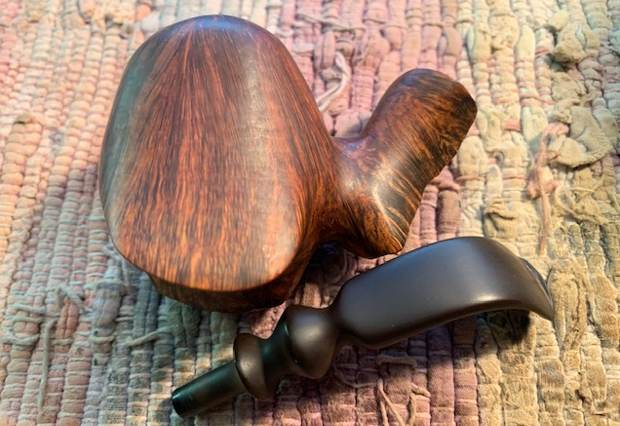
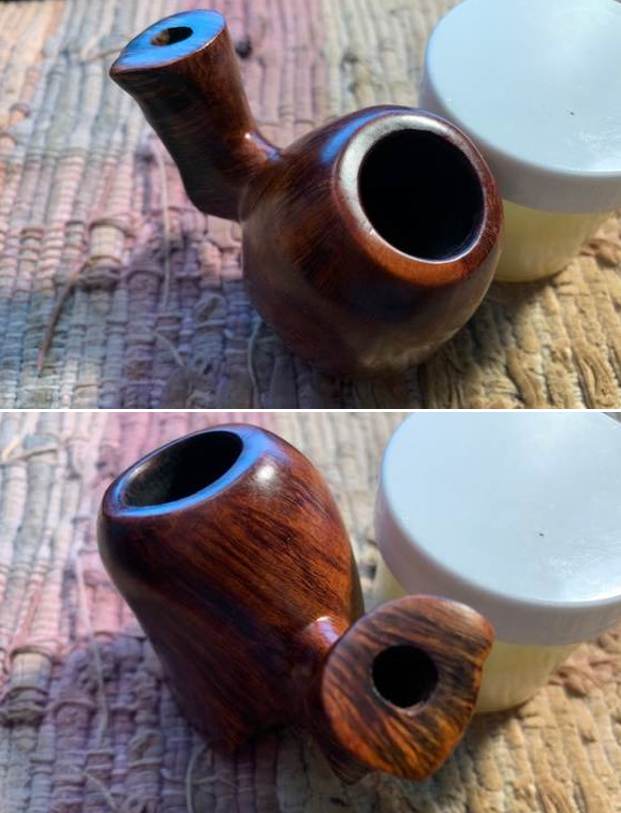
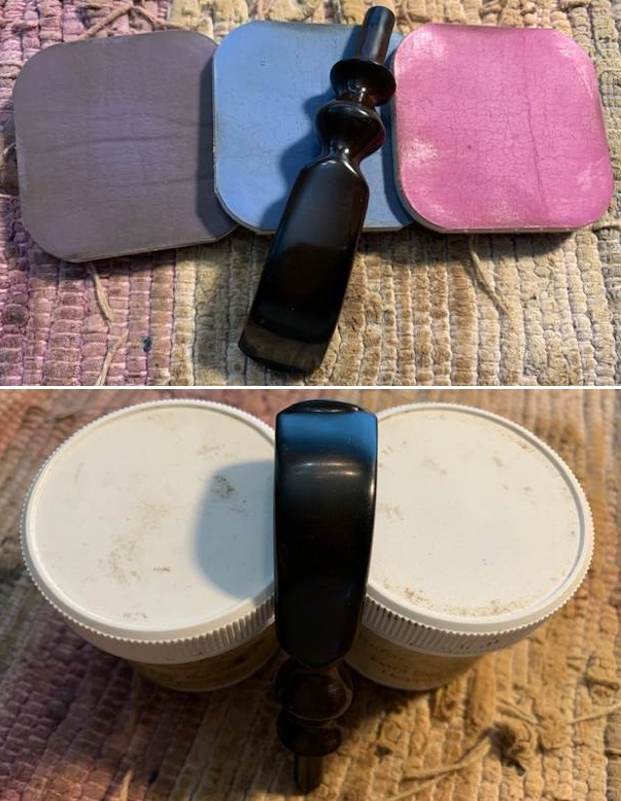
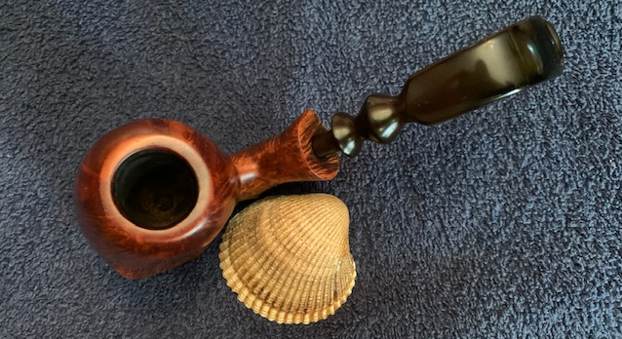
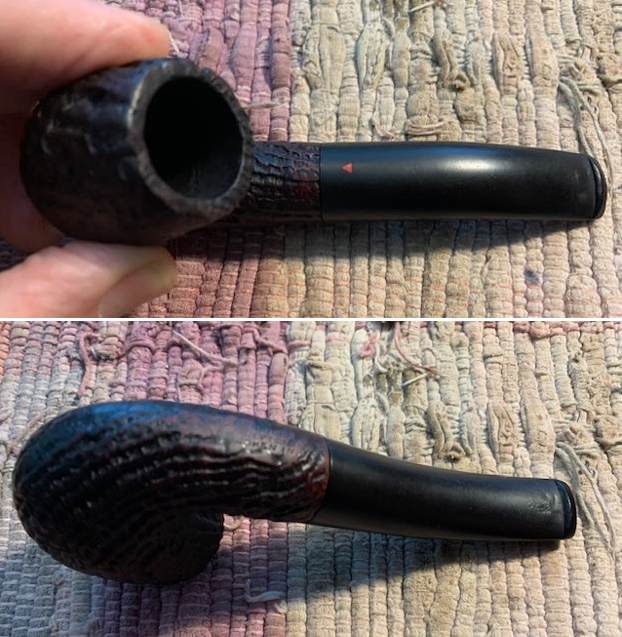
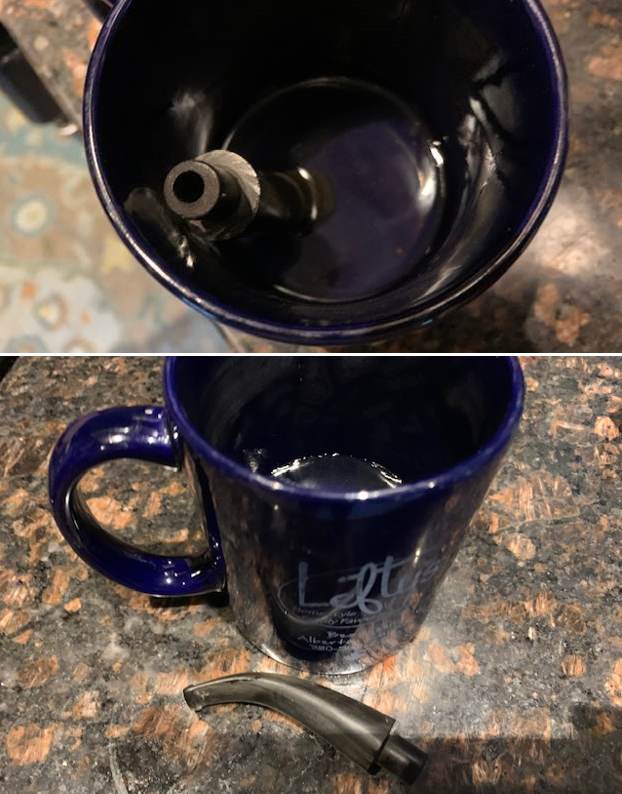
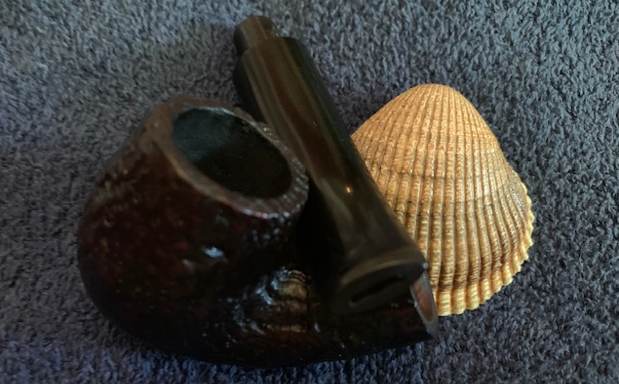
 I put the stem on the shank and took photos of the look of the fit of the stem to the shank. I will need to do some shaping around the shank end but the fit in the shank is perfect. It is a snug fit.
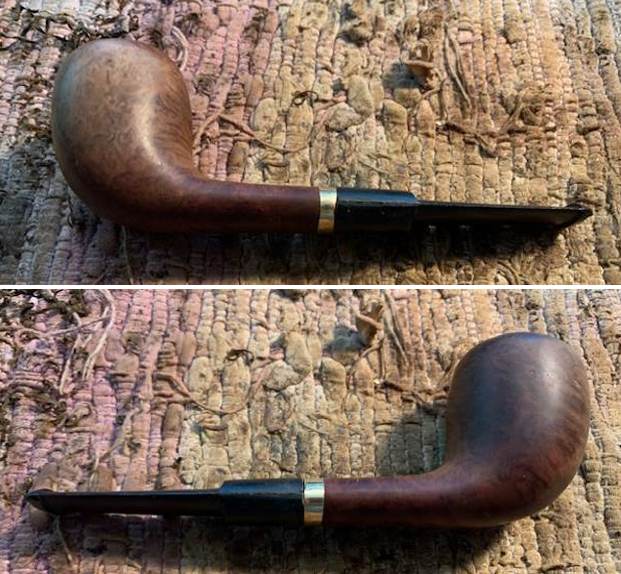
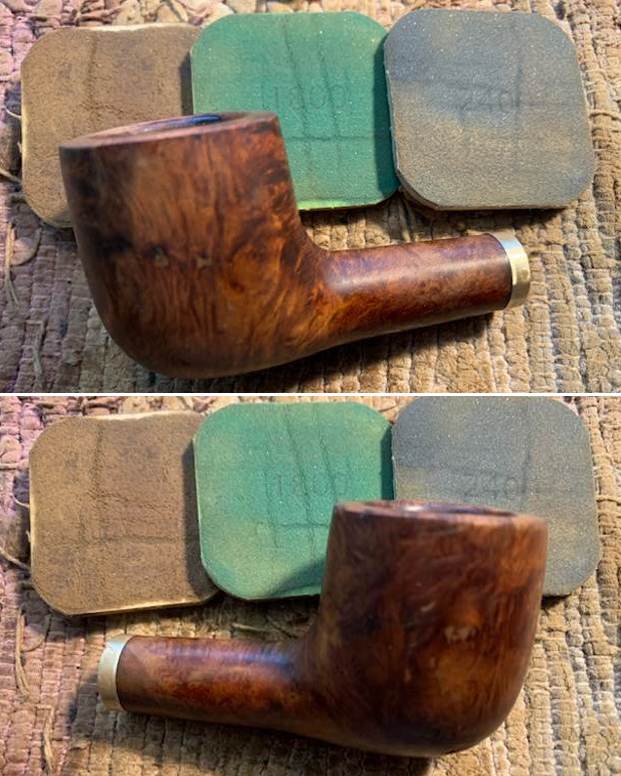
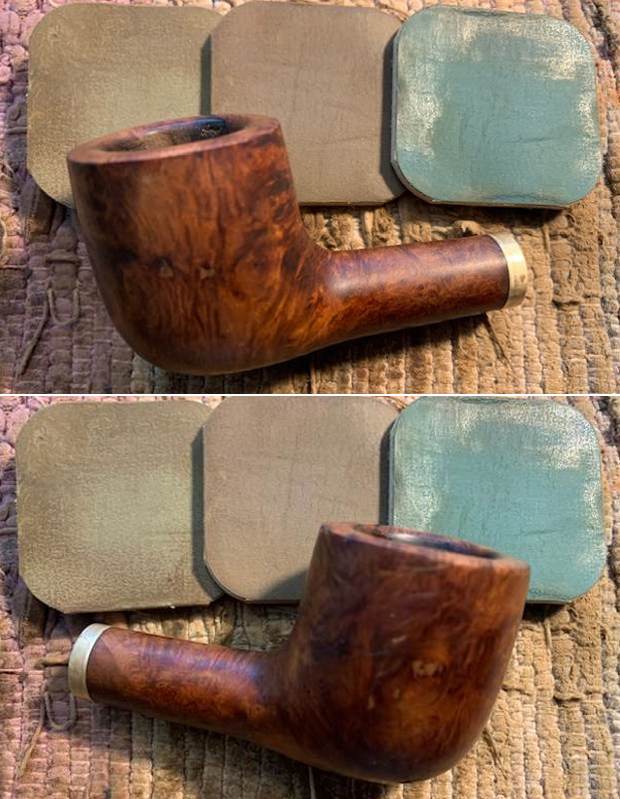
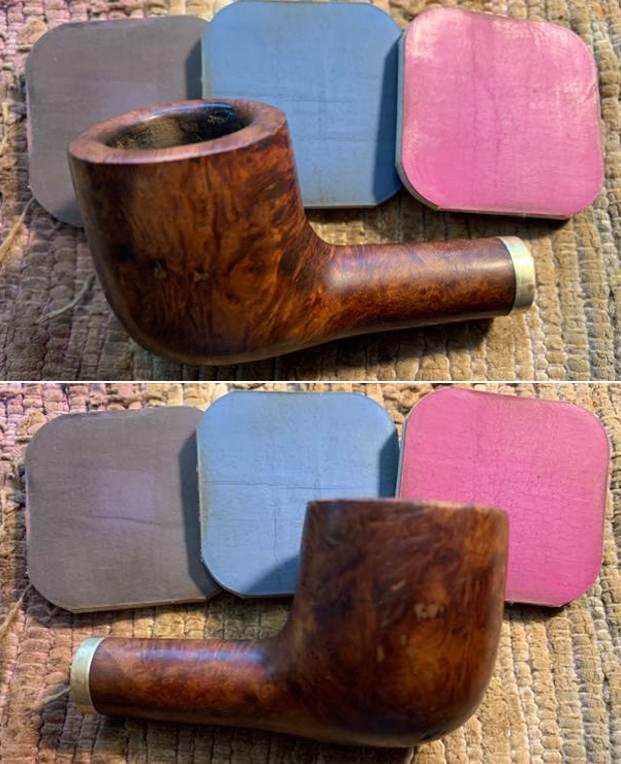
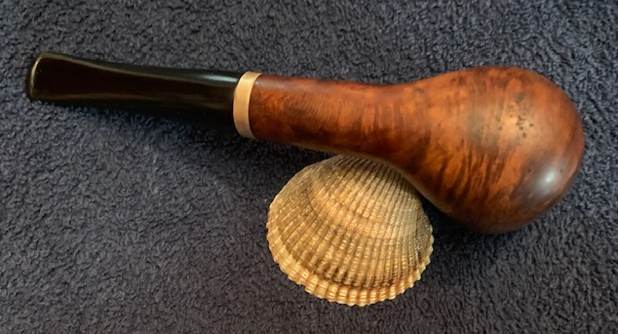
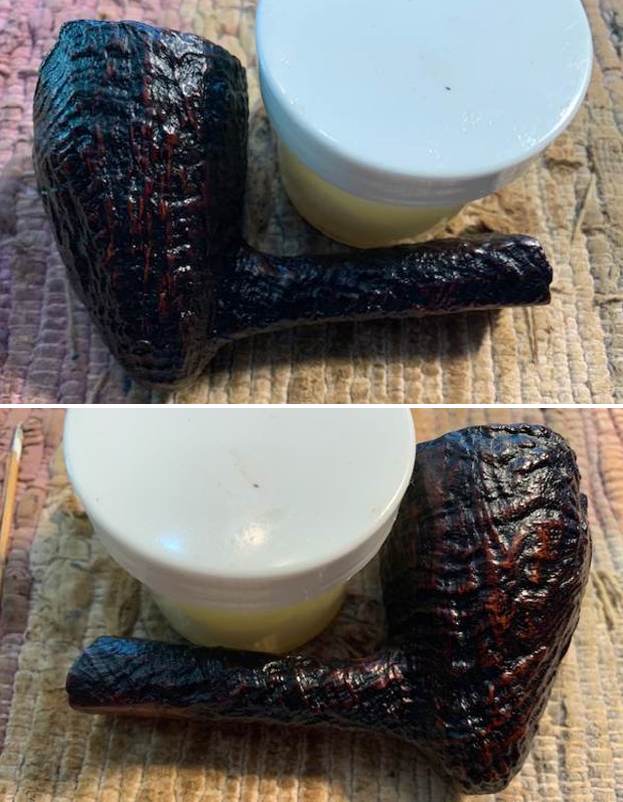
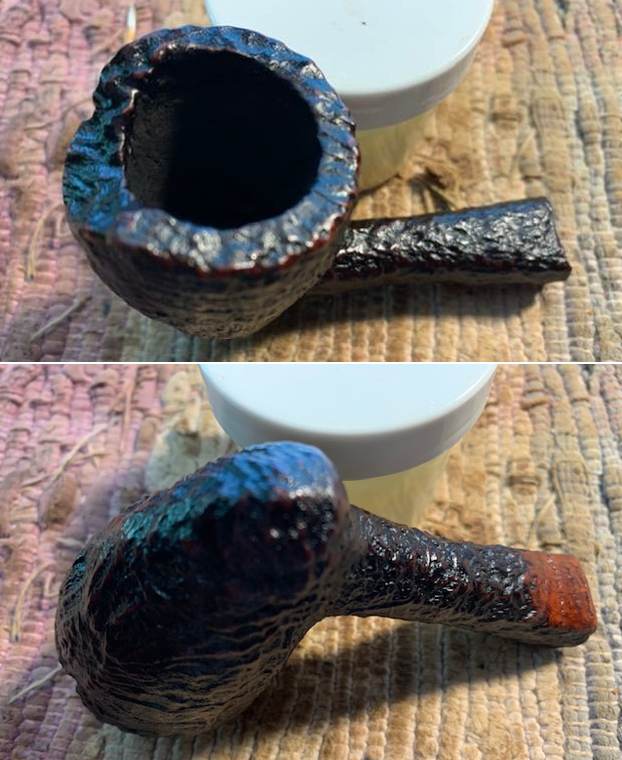
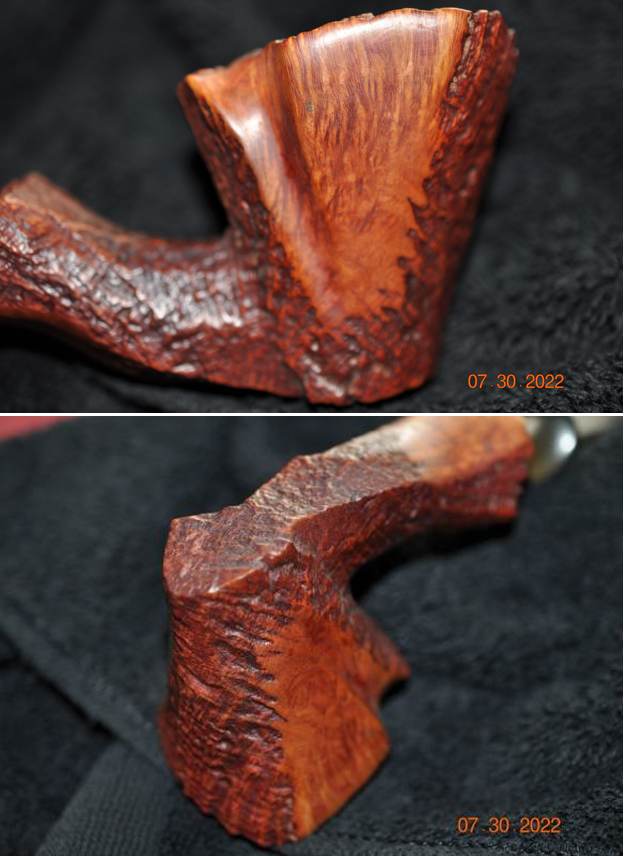
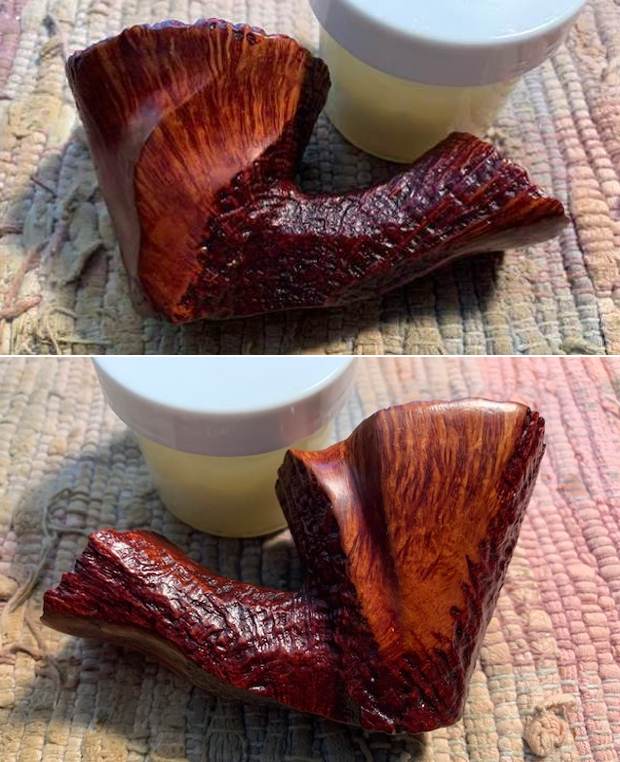
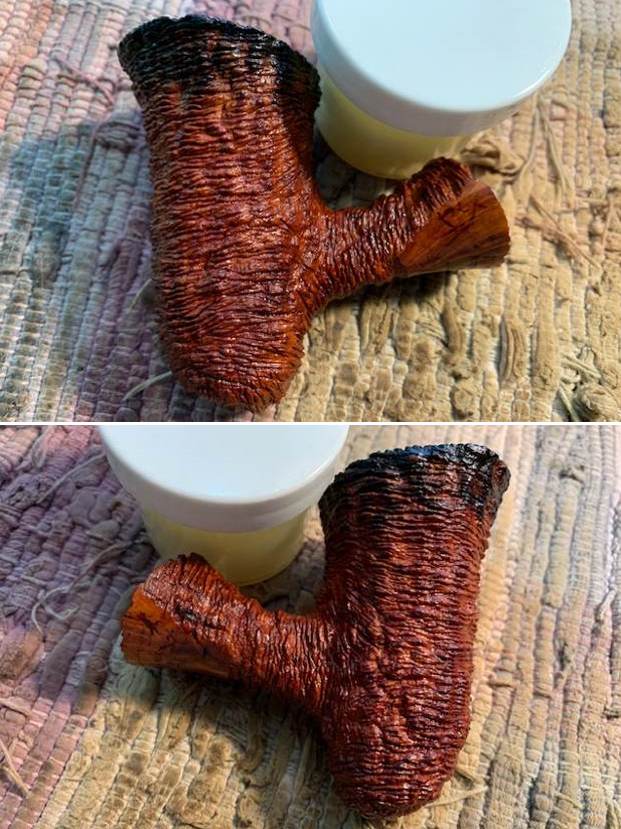
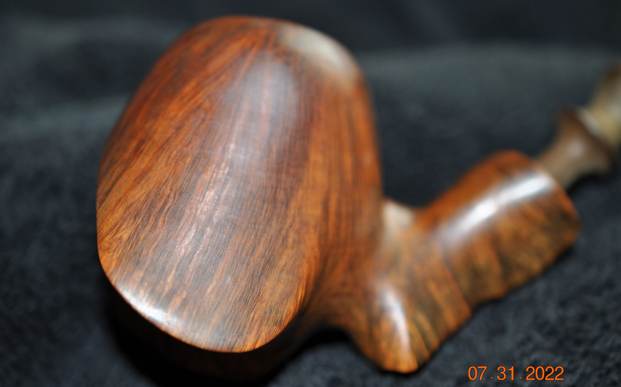
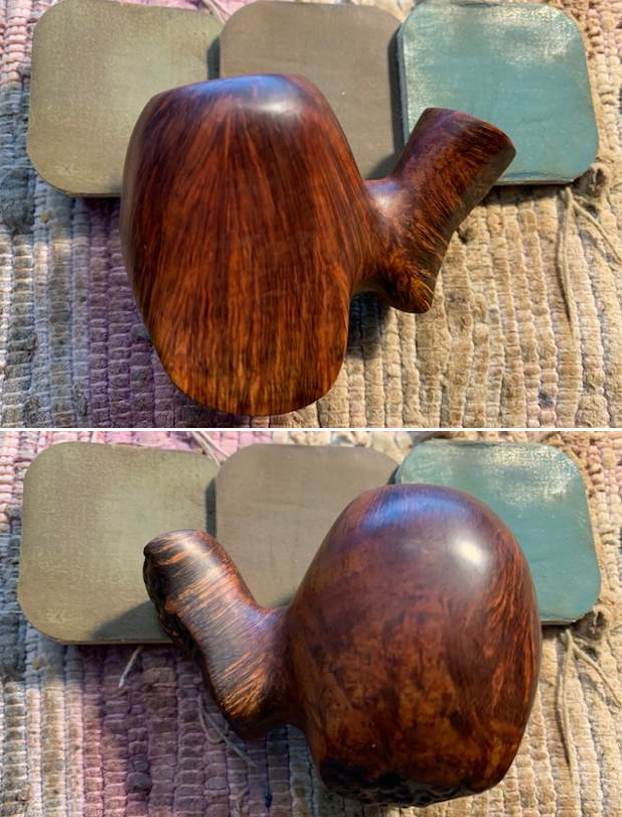
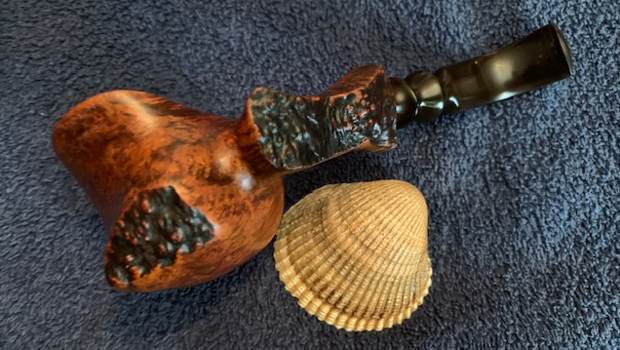
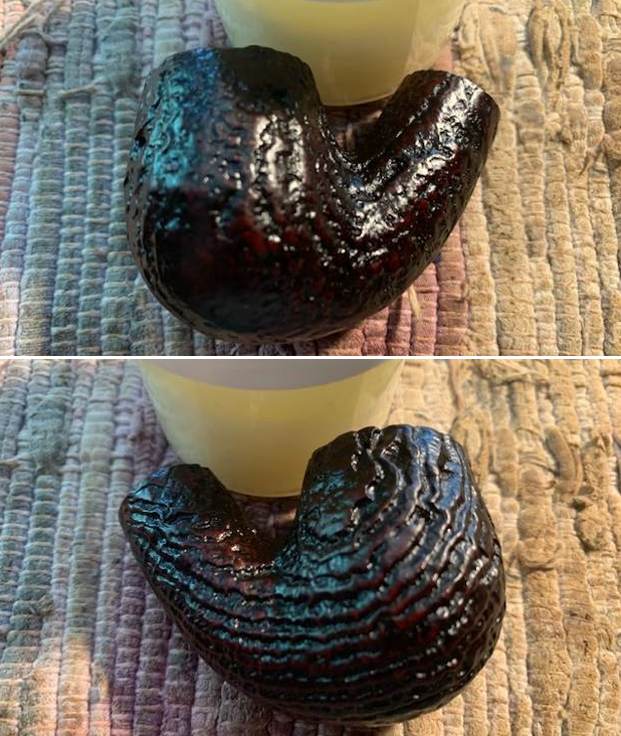
 I went back to the bowl to finish the cleanup and restoration of it. I polished the it with micromesh sanding pads – dry sanding with 1500-12000 grit pads and wiping it down after each pad with a damp cloth. It looks far better than it did before even with the many fills in the briar around the bowl.


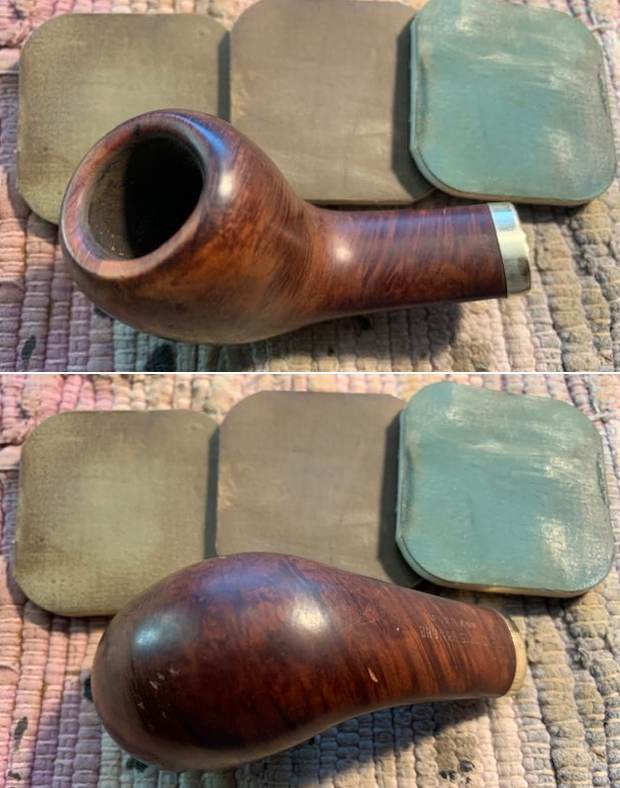
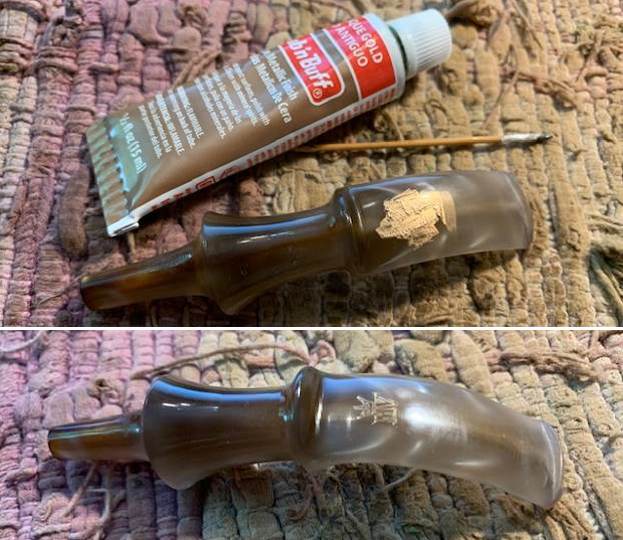
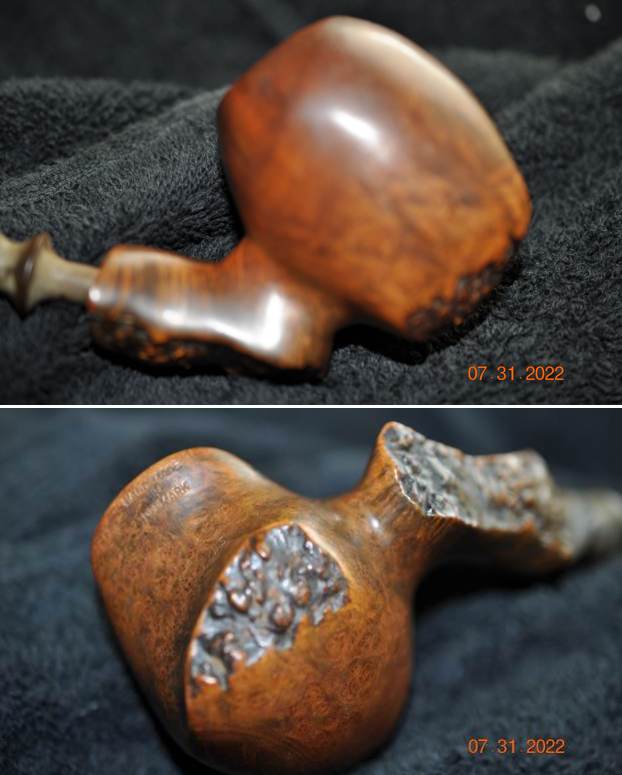
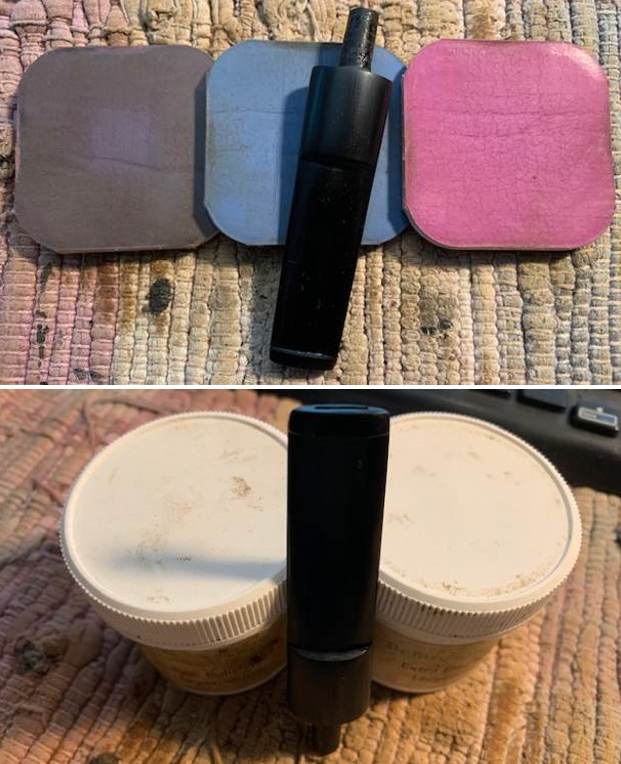
 I worked some Before & After Restoration Balm into the surface of the briar with my fingertips. The balm works to clean, enliven and preserve the briar. I let it sit for 10 minutes then buffed it off with a soft cloth. It is a beautiful pipe.
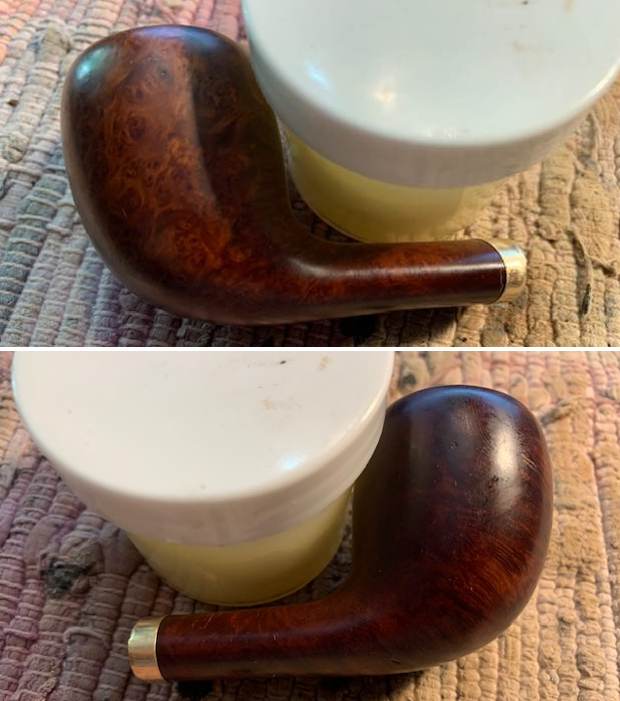
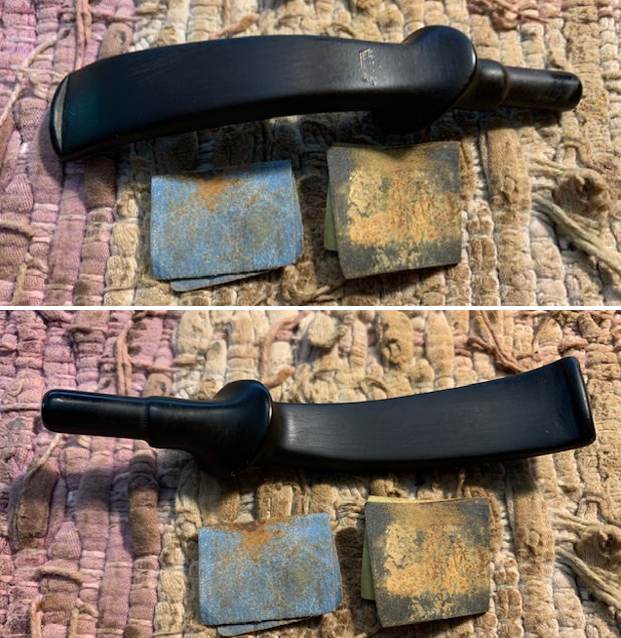
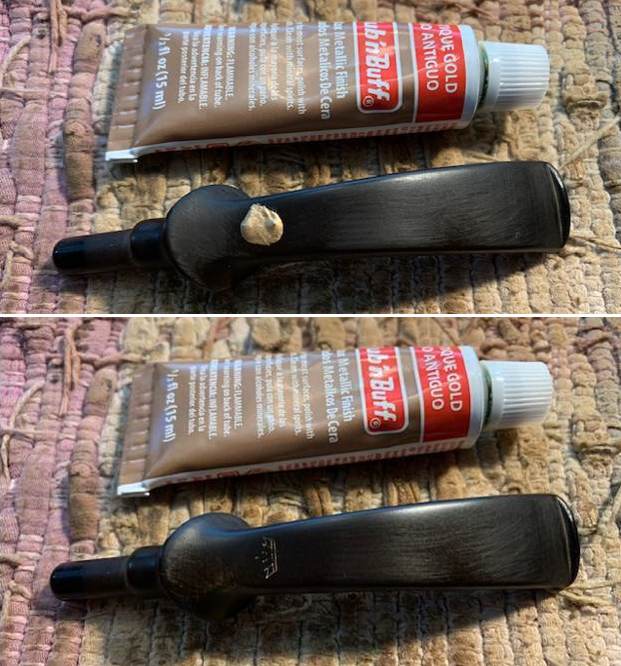
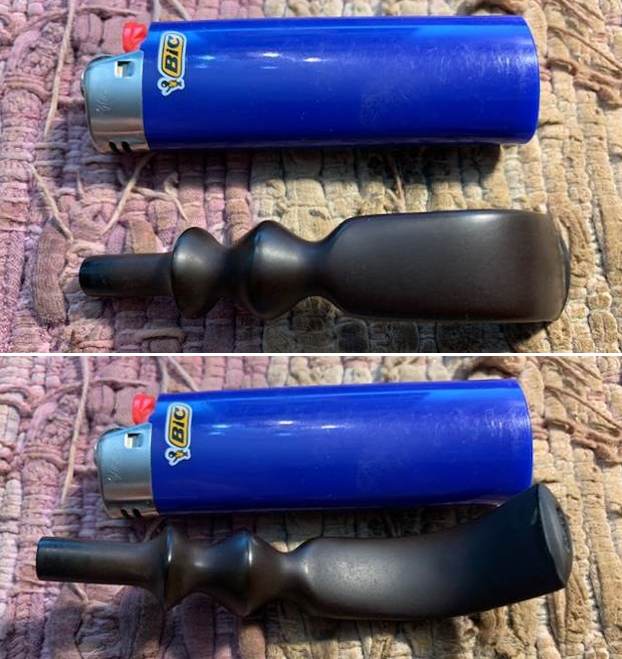
 I turned back to the stem. I shaped the stem and adjusted the saddle portion of the stem with 220 grit sandpaper. I removed excess vulcanite all around the top, bottom and underside to shape and get the fit next to the shank and brass band. I started polishing the stem with 400 grit wet dry sandpaper. The fit looked very good.
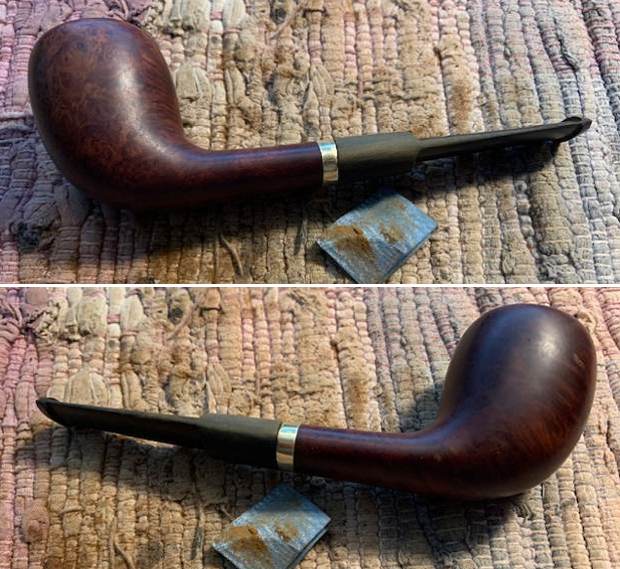

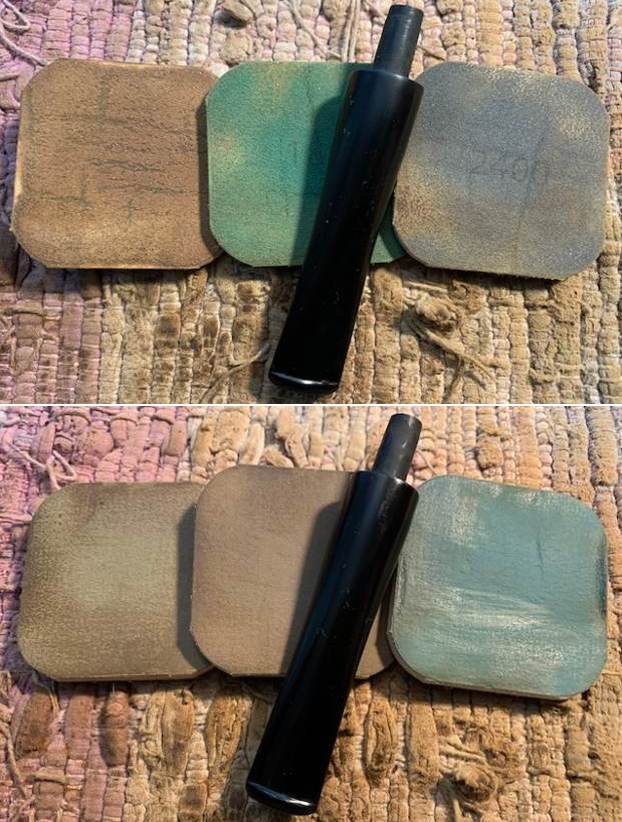
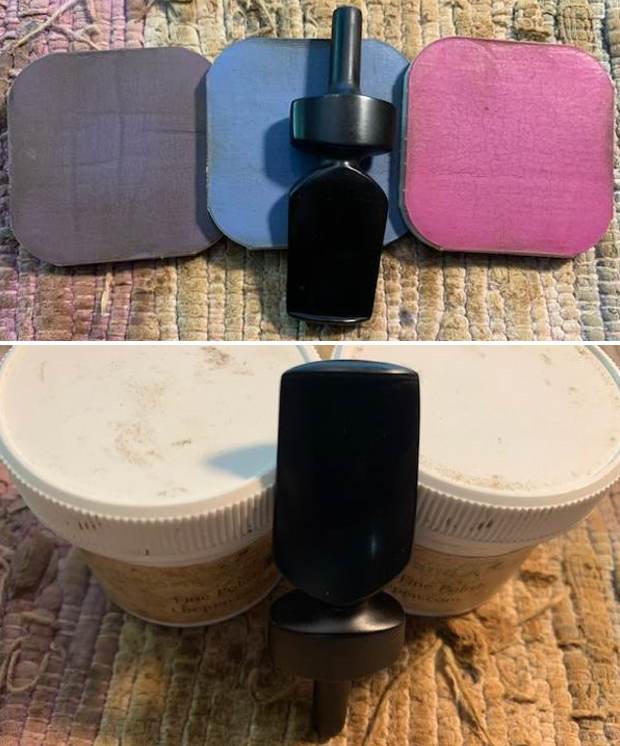
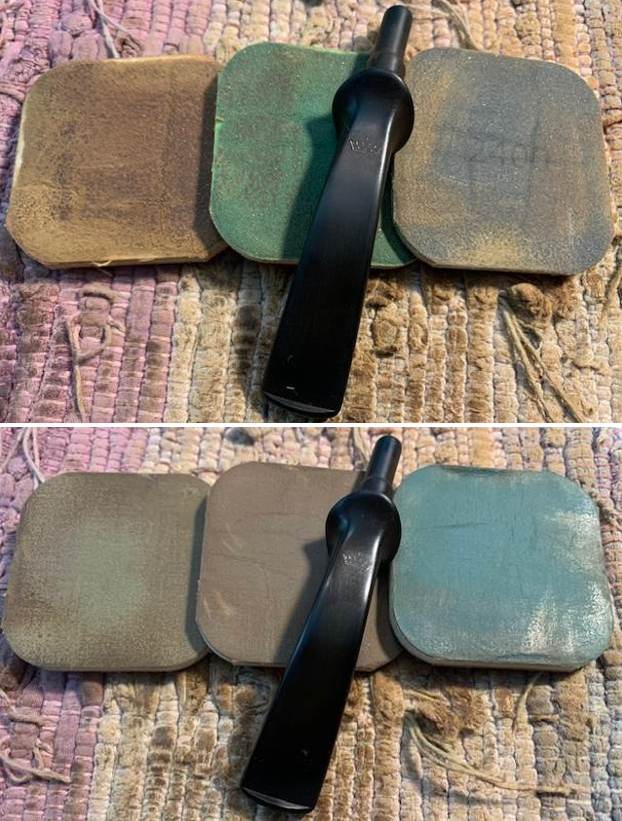
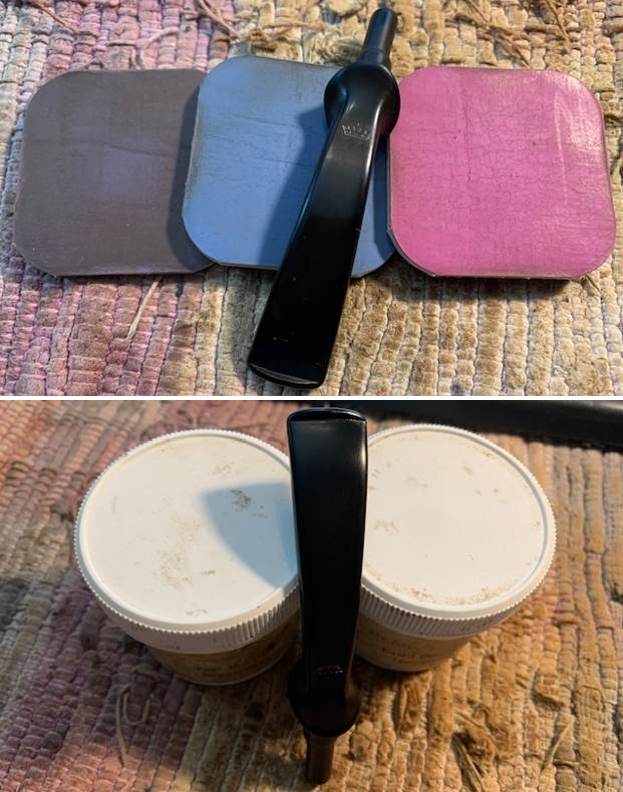
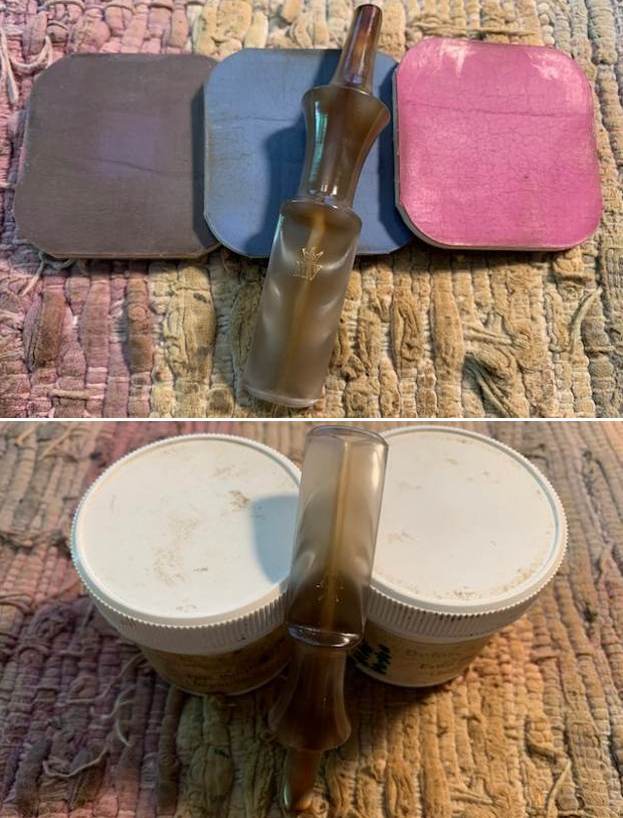
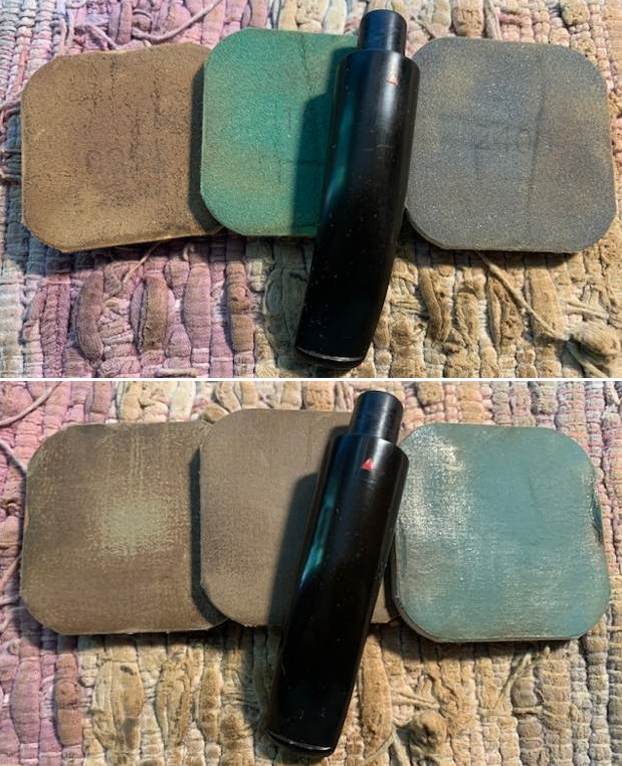
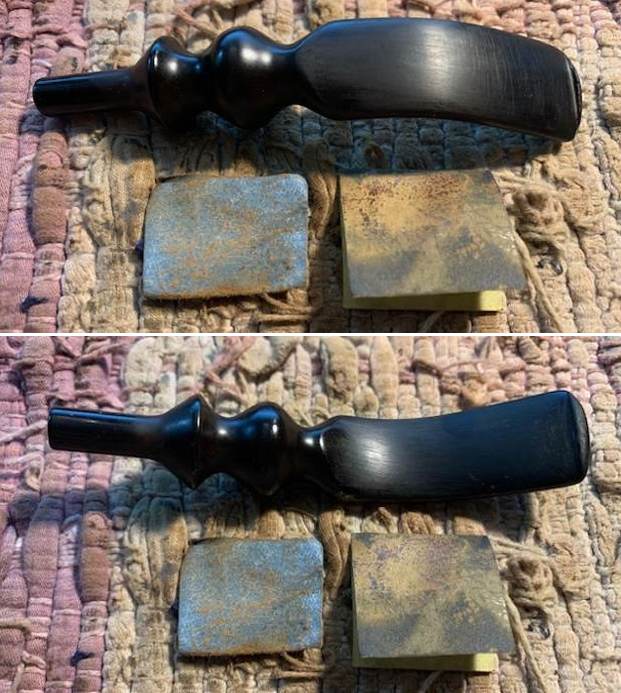
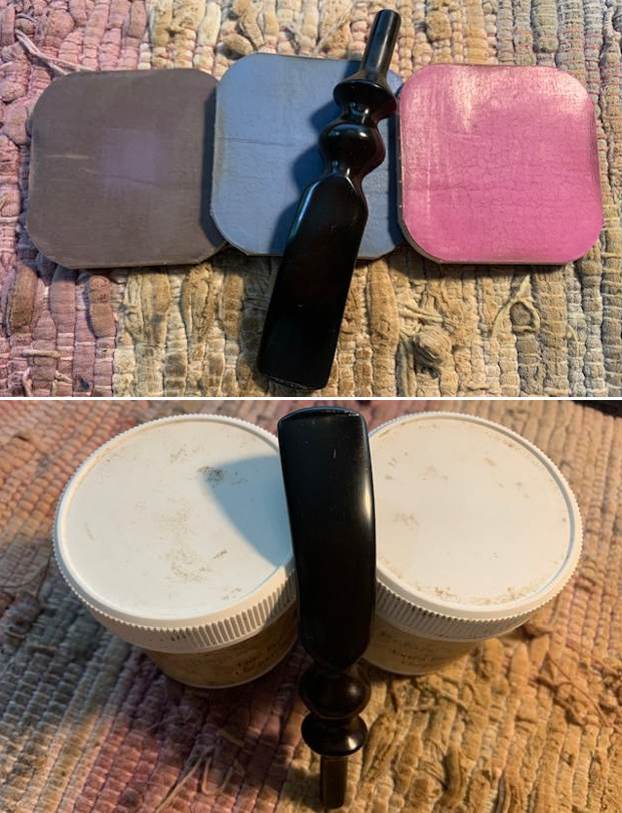
 I polished the stem with micromesh sanding pads – dry sanding with 1500-12000 grit pads. I wiped the stem down after each pad with some Obsidian Oil. I finished hand polishing it with Before & After Pipe Stem Polish – Fine and Extra Fine. I rubbed it down with another coat of Obsidian Oil and let it dry. The stem really was beginning to look very good.
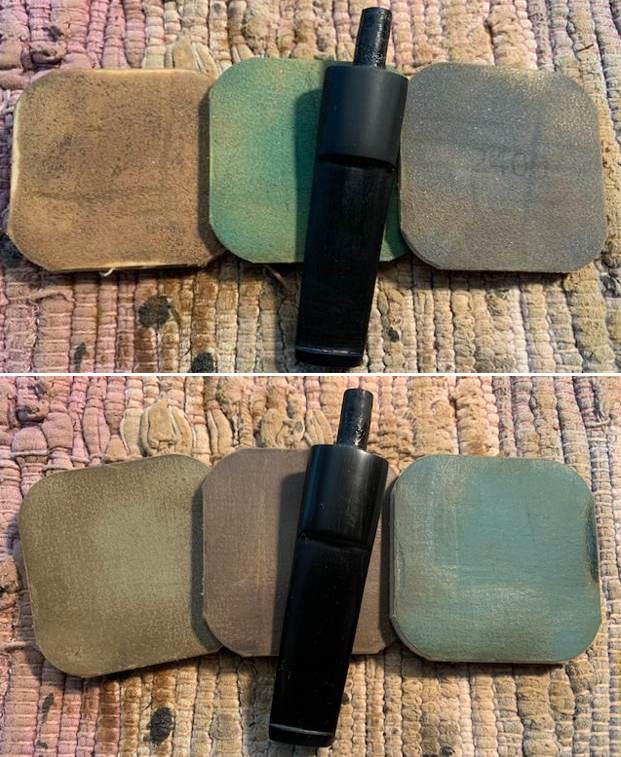
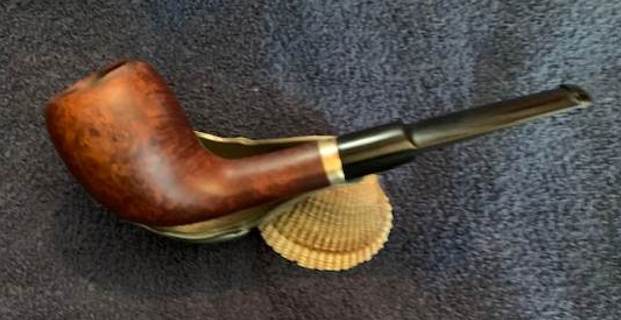
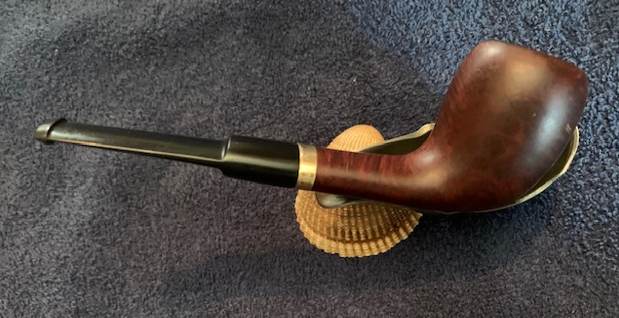
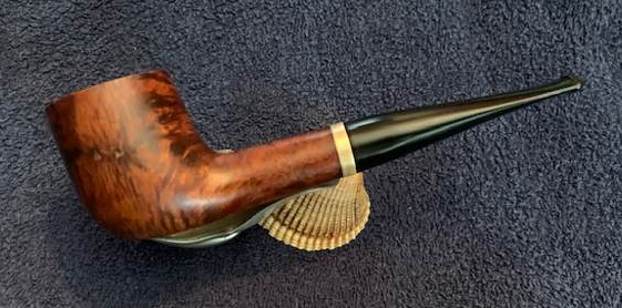
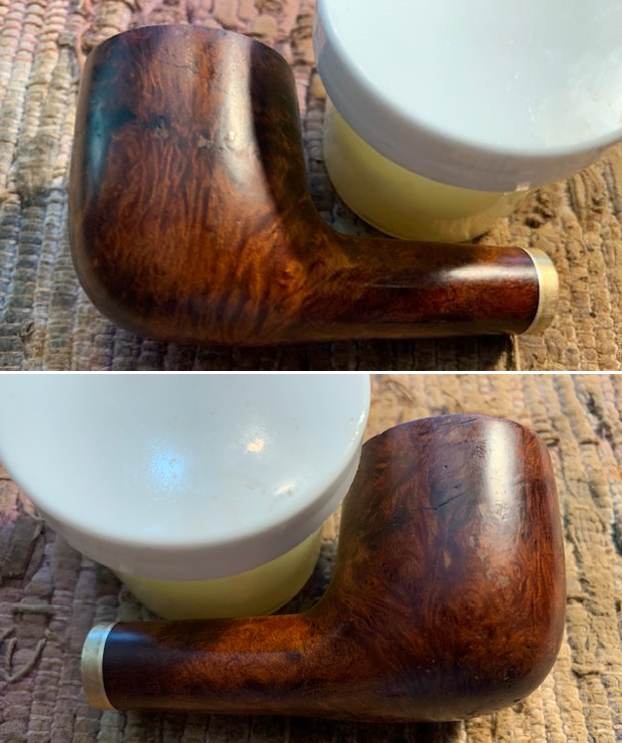
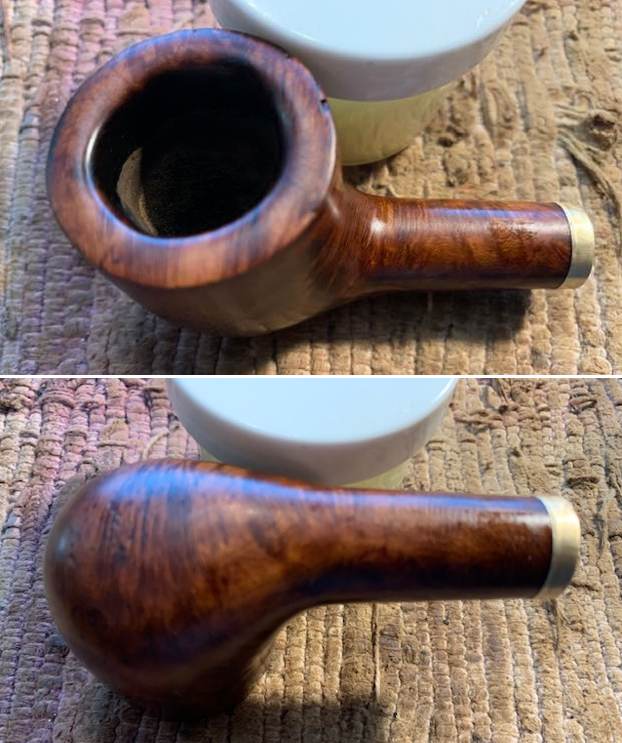
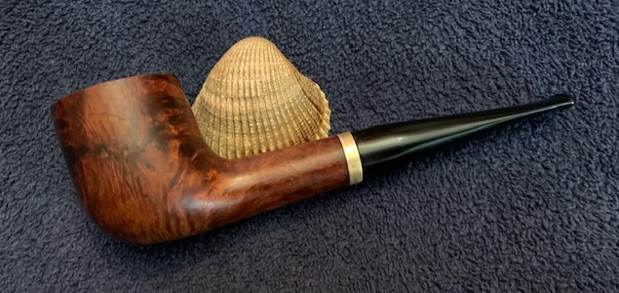
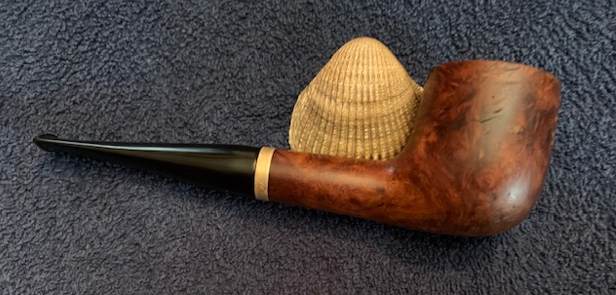
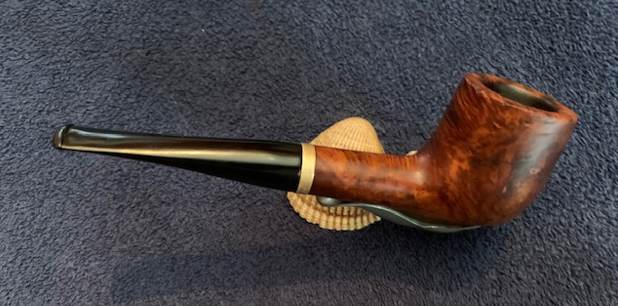
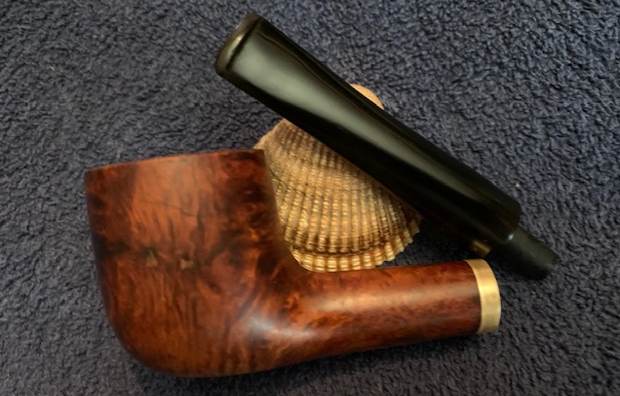
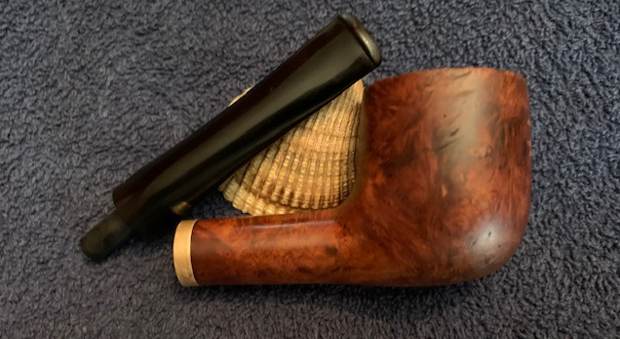
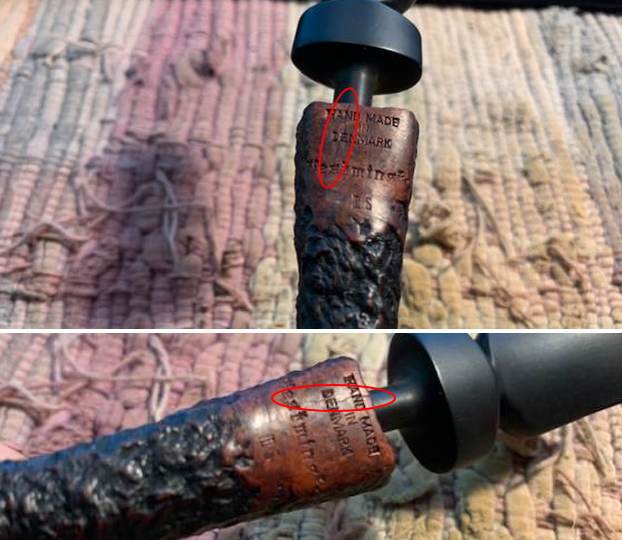
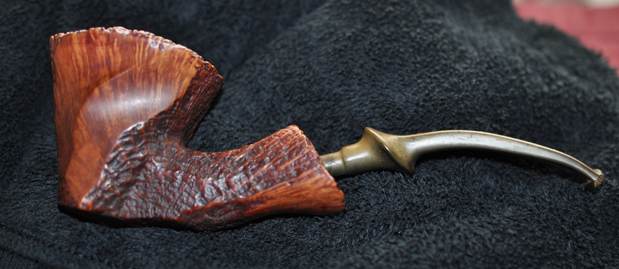
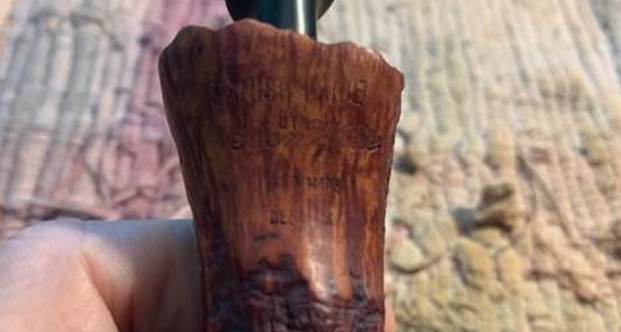
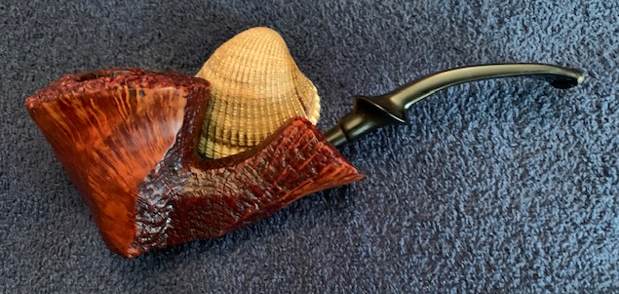
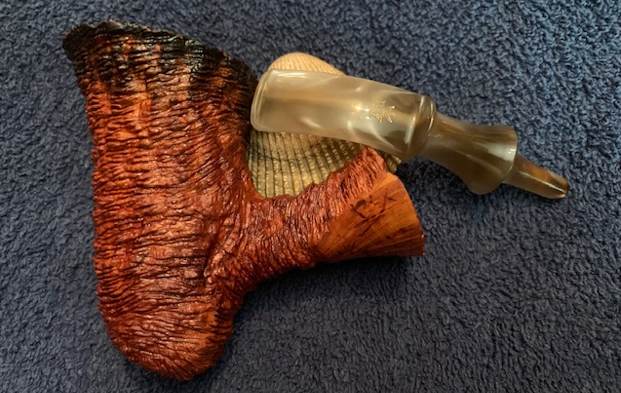
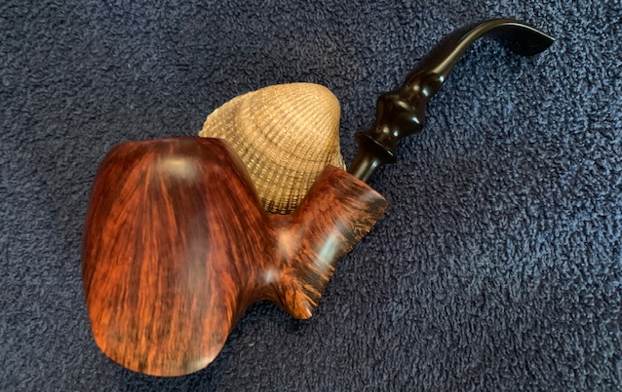
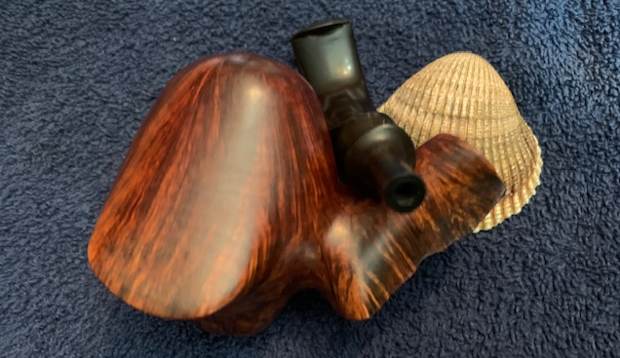
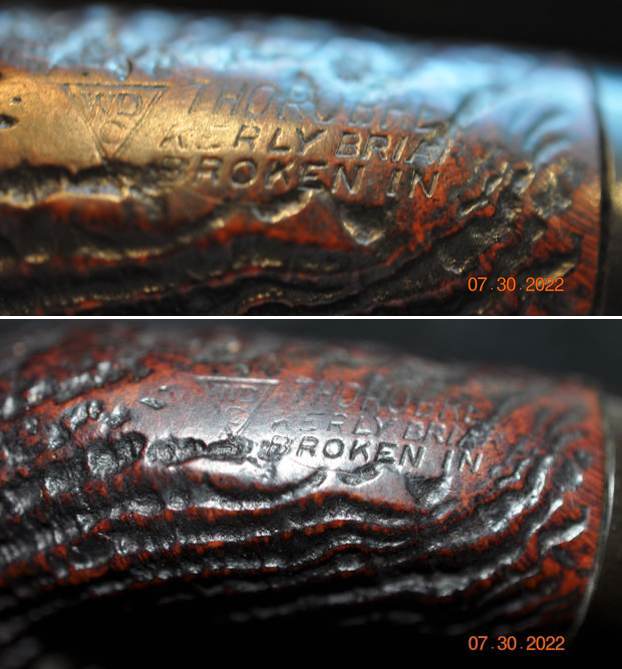
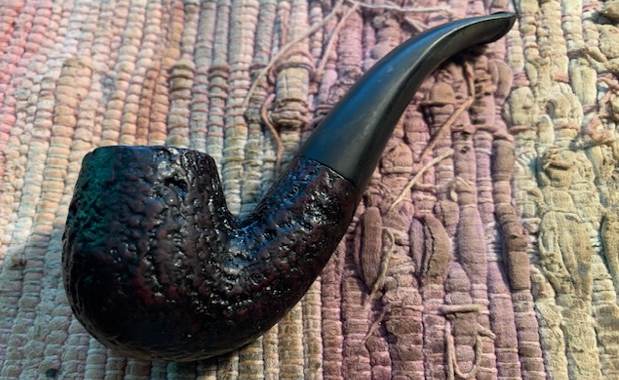
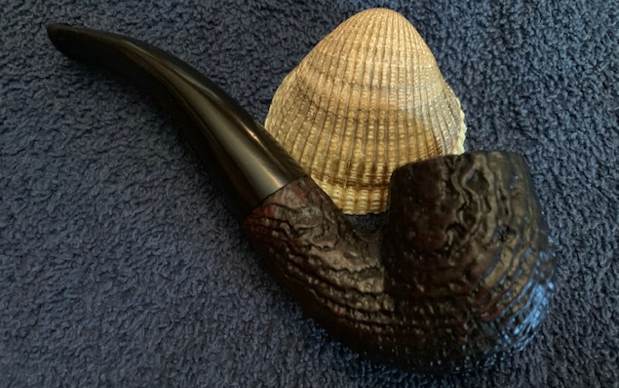
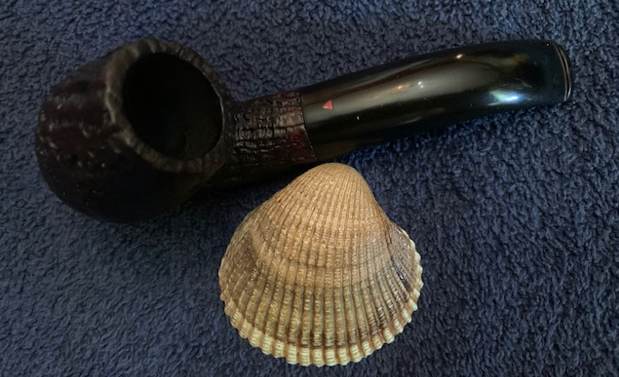
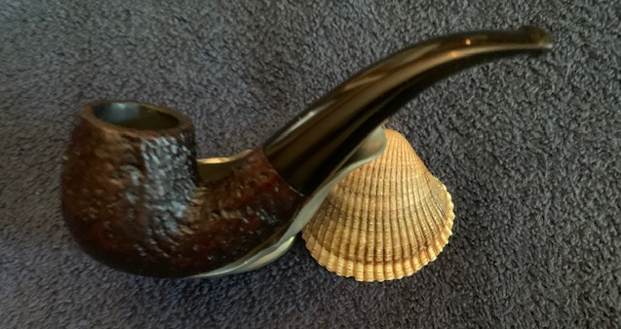
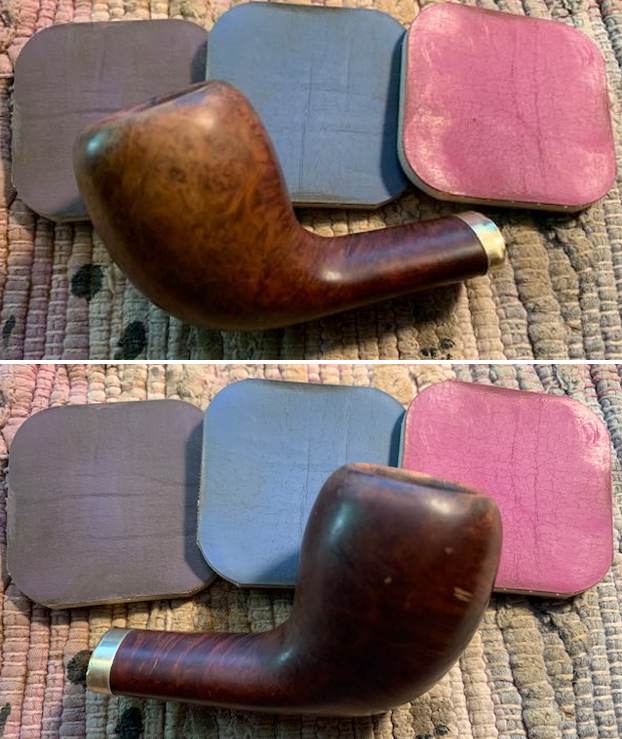
 This was a very beat up Portland Bruyere Garantie Canted Egg and now with its newly fit black vulcanite saddle stem it looks far better than when I started. The reworked rim top works very will with the rest of the bowl. I polished the bowl and the stem with Blue Diamond polish on the buffing wheel. I gave the bowl and the stem multiple coats of carnauba wax. I buffed the pipe with a clean buffing pad to raise the shine. I hand buffed it with a microfiber cloth to deepen the shine. The pipe polished up pretty nicely. The brown stain makes the grain just sing and it works well with the polished vulcanite stem. Have a look at the photos below. The shape, finish and flow of the pipe and stem are very well done. The dimensions are Length: 5 ½ inches, Height: 2 inches, Outside diameter of the bowl: 1 ¼ inches, Chamber diameter: ¾ of an inch. The weight of the pipe is 46 grams/ 1.62 ounces. Once I finish restemming the last of the pipes the three will be going home with the fellow who dropped them off. Thanks for walking through the restoration with me as I worked over this pipe.