Author Archives: Greg

Unknown's avatar

About Greg

I am medically retired from my 'career', have been since 1999. For quite some time I missed my old job a lot. I enjoyed it, I was good at it and didn't have any desire to do anything else. But the Lord had other plans for me. Now He has called me to work for Him. He has graciously given me some talent to work with words. He has also seen fit to guide me with the Holy Spirit to study and comprehend His Word. Don't misunderstand; I am no scholar nor a pastor. I'm just trying to be obedient to my Lord and Savior and do what He asks me, in a way that would please and bring glory to His holy Name.

The Doctor Gets a New Coat- A Dr Grabow Omega Reborn


Blog by Greg Wolford

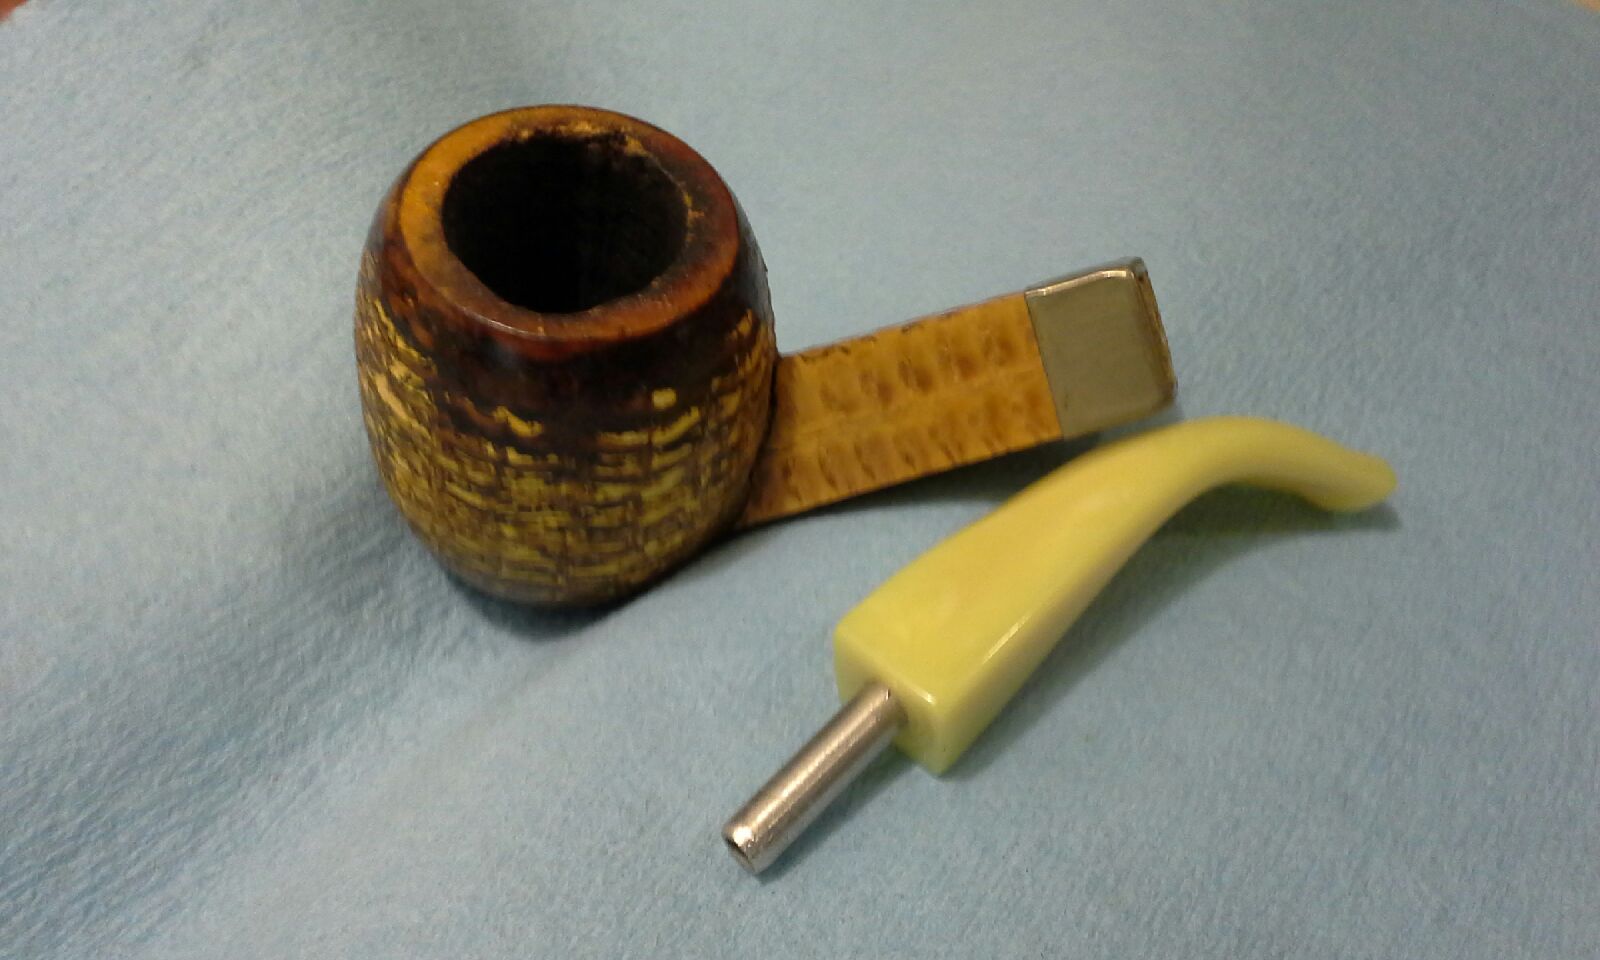
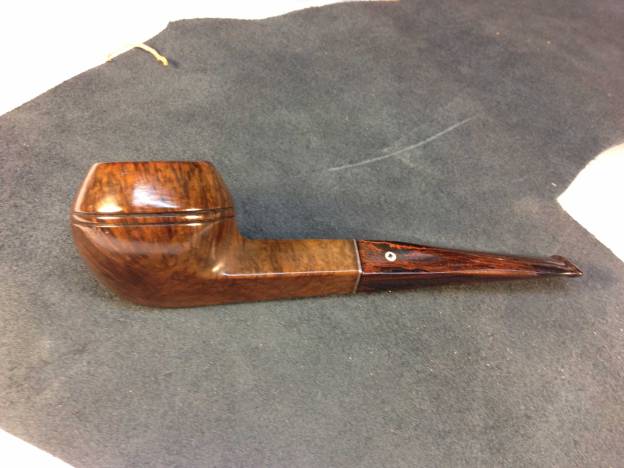
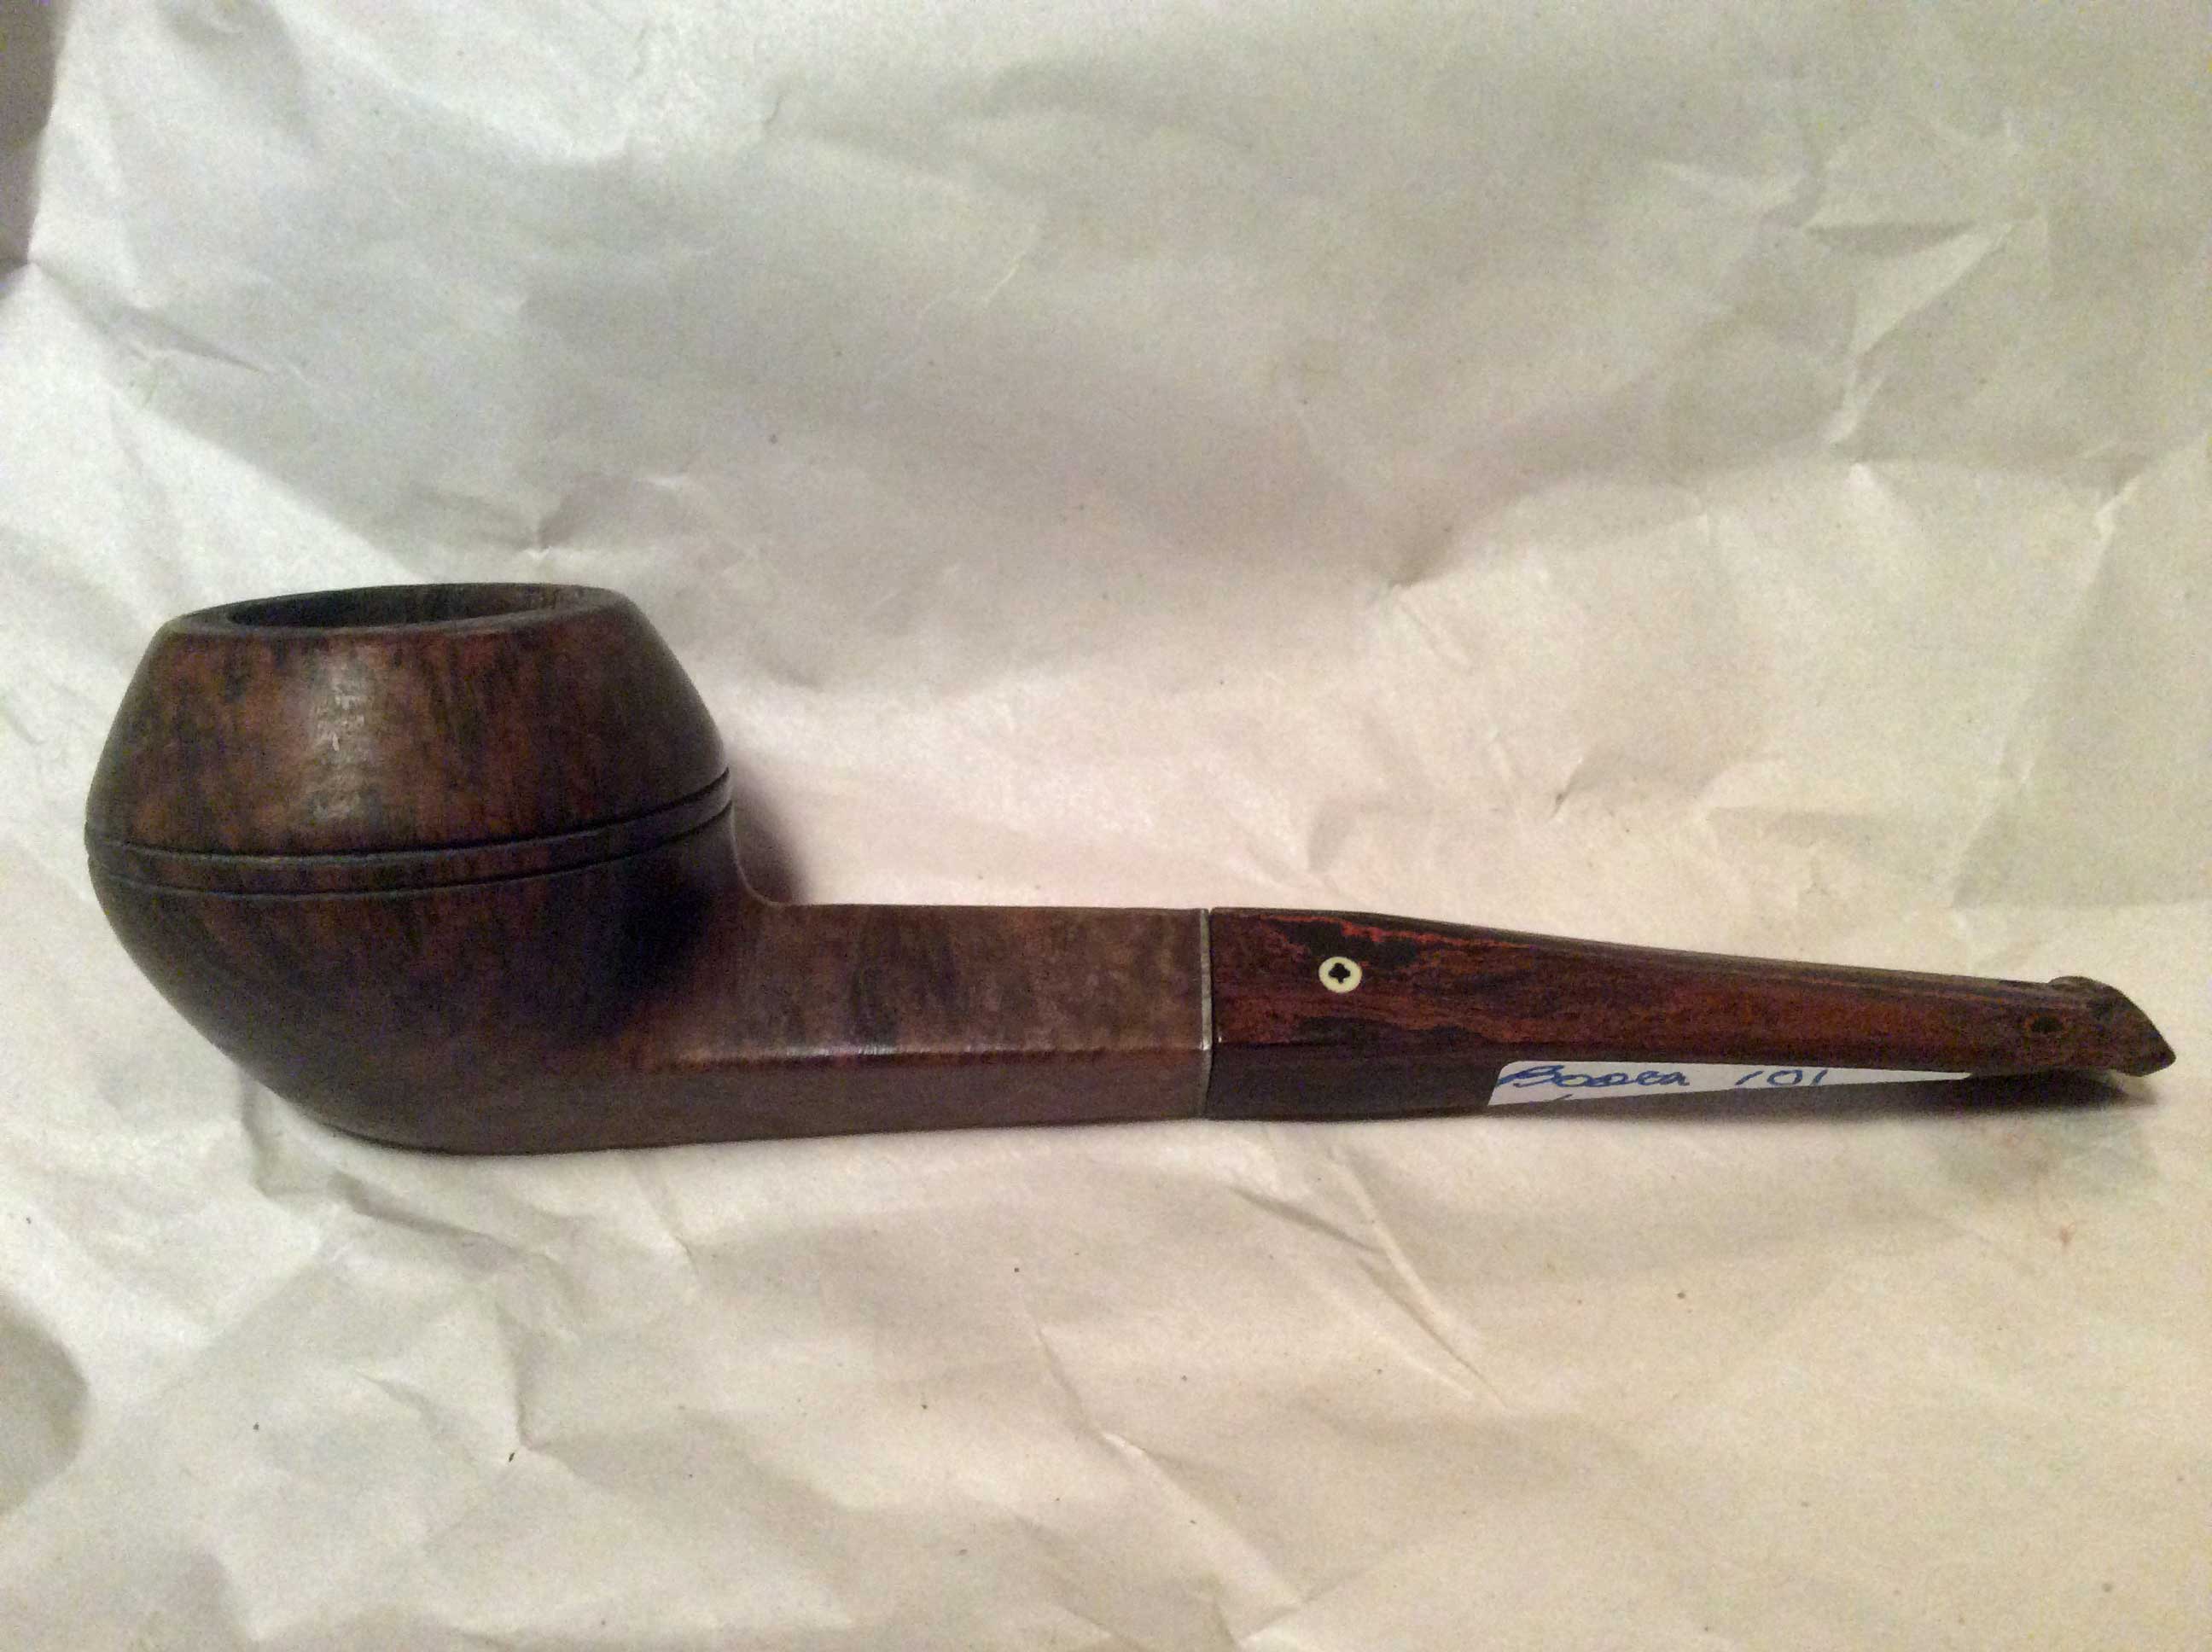
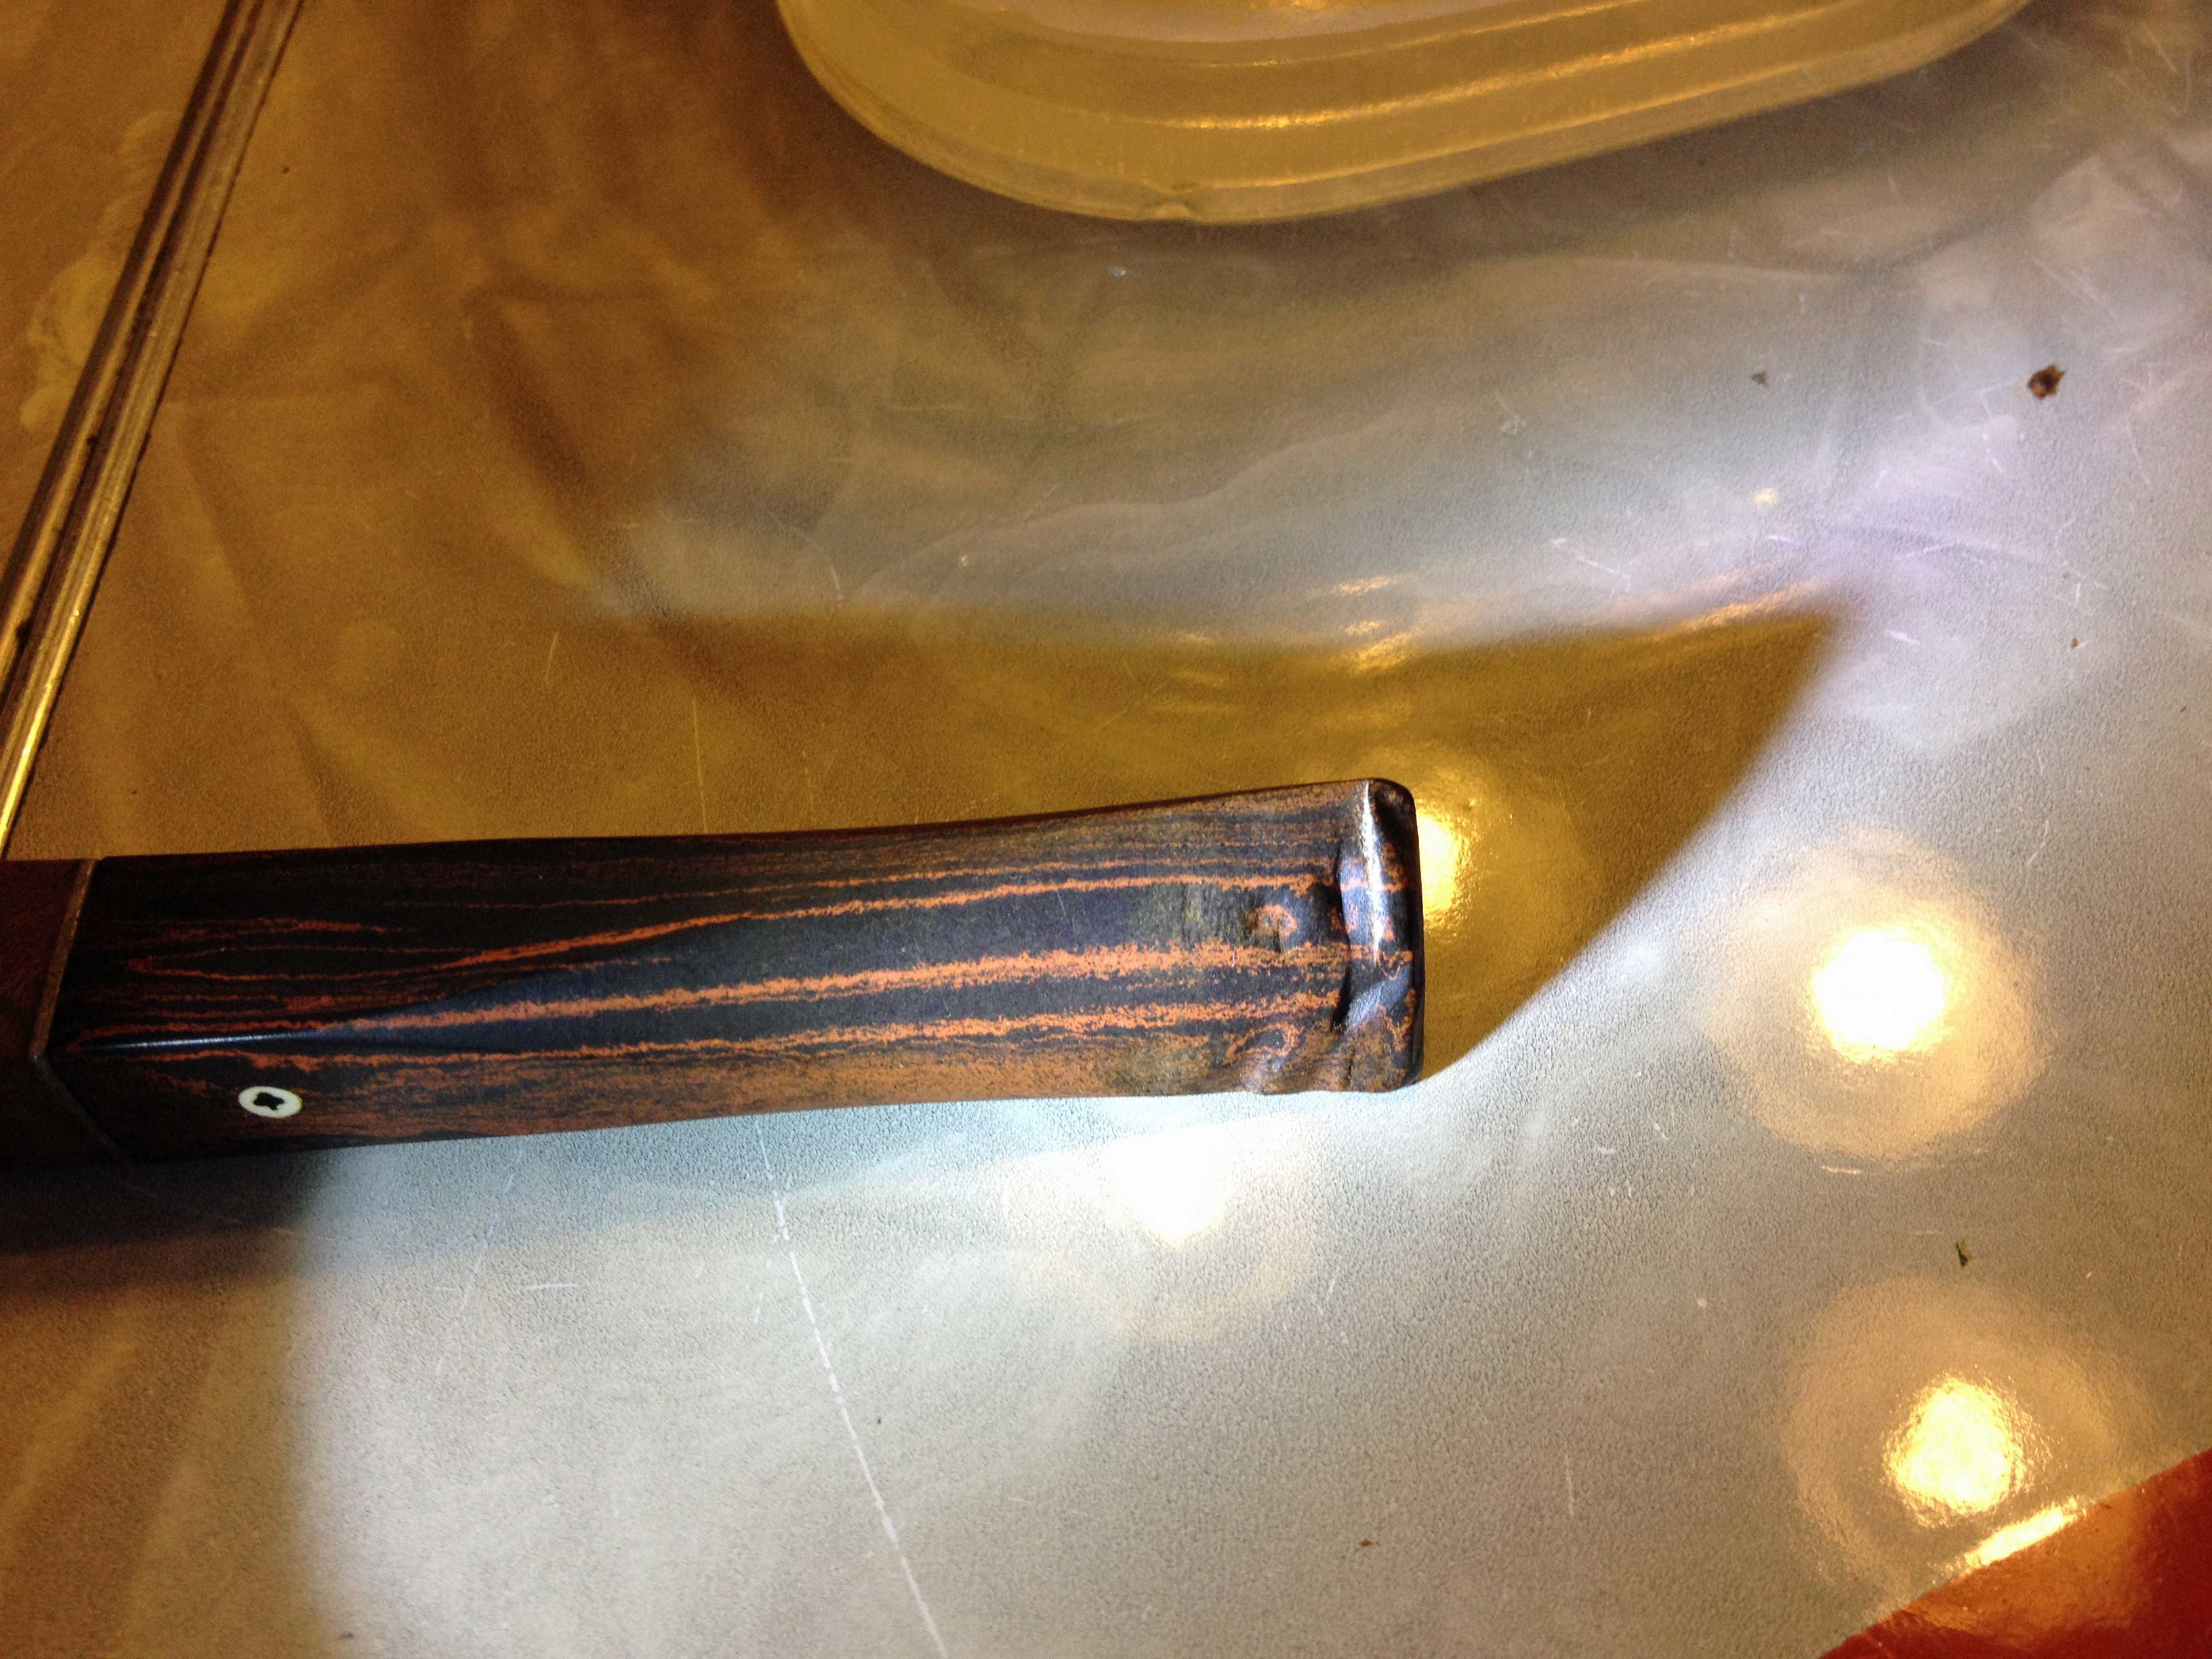
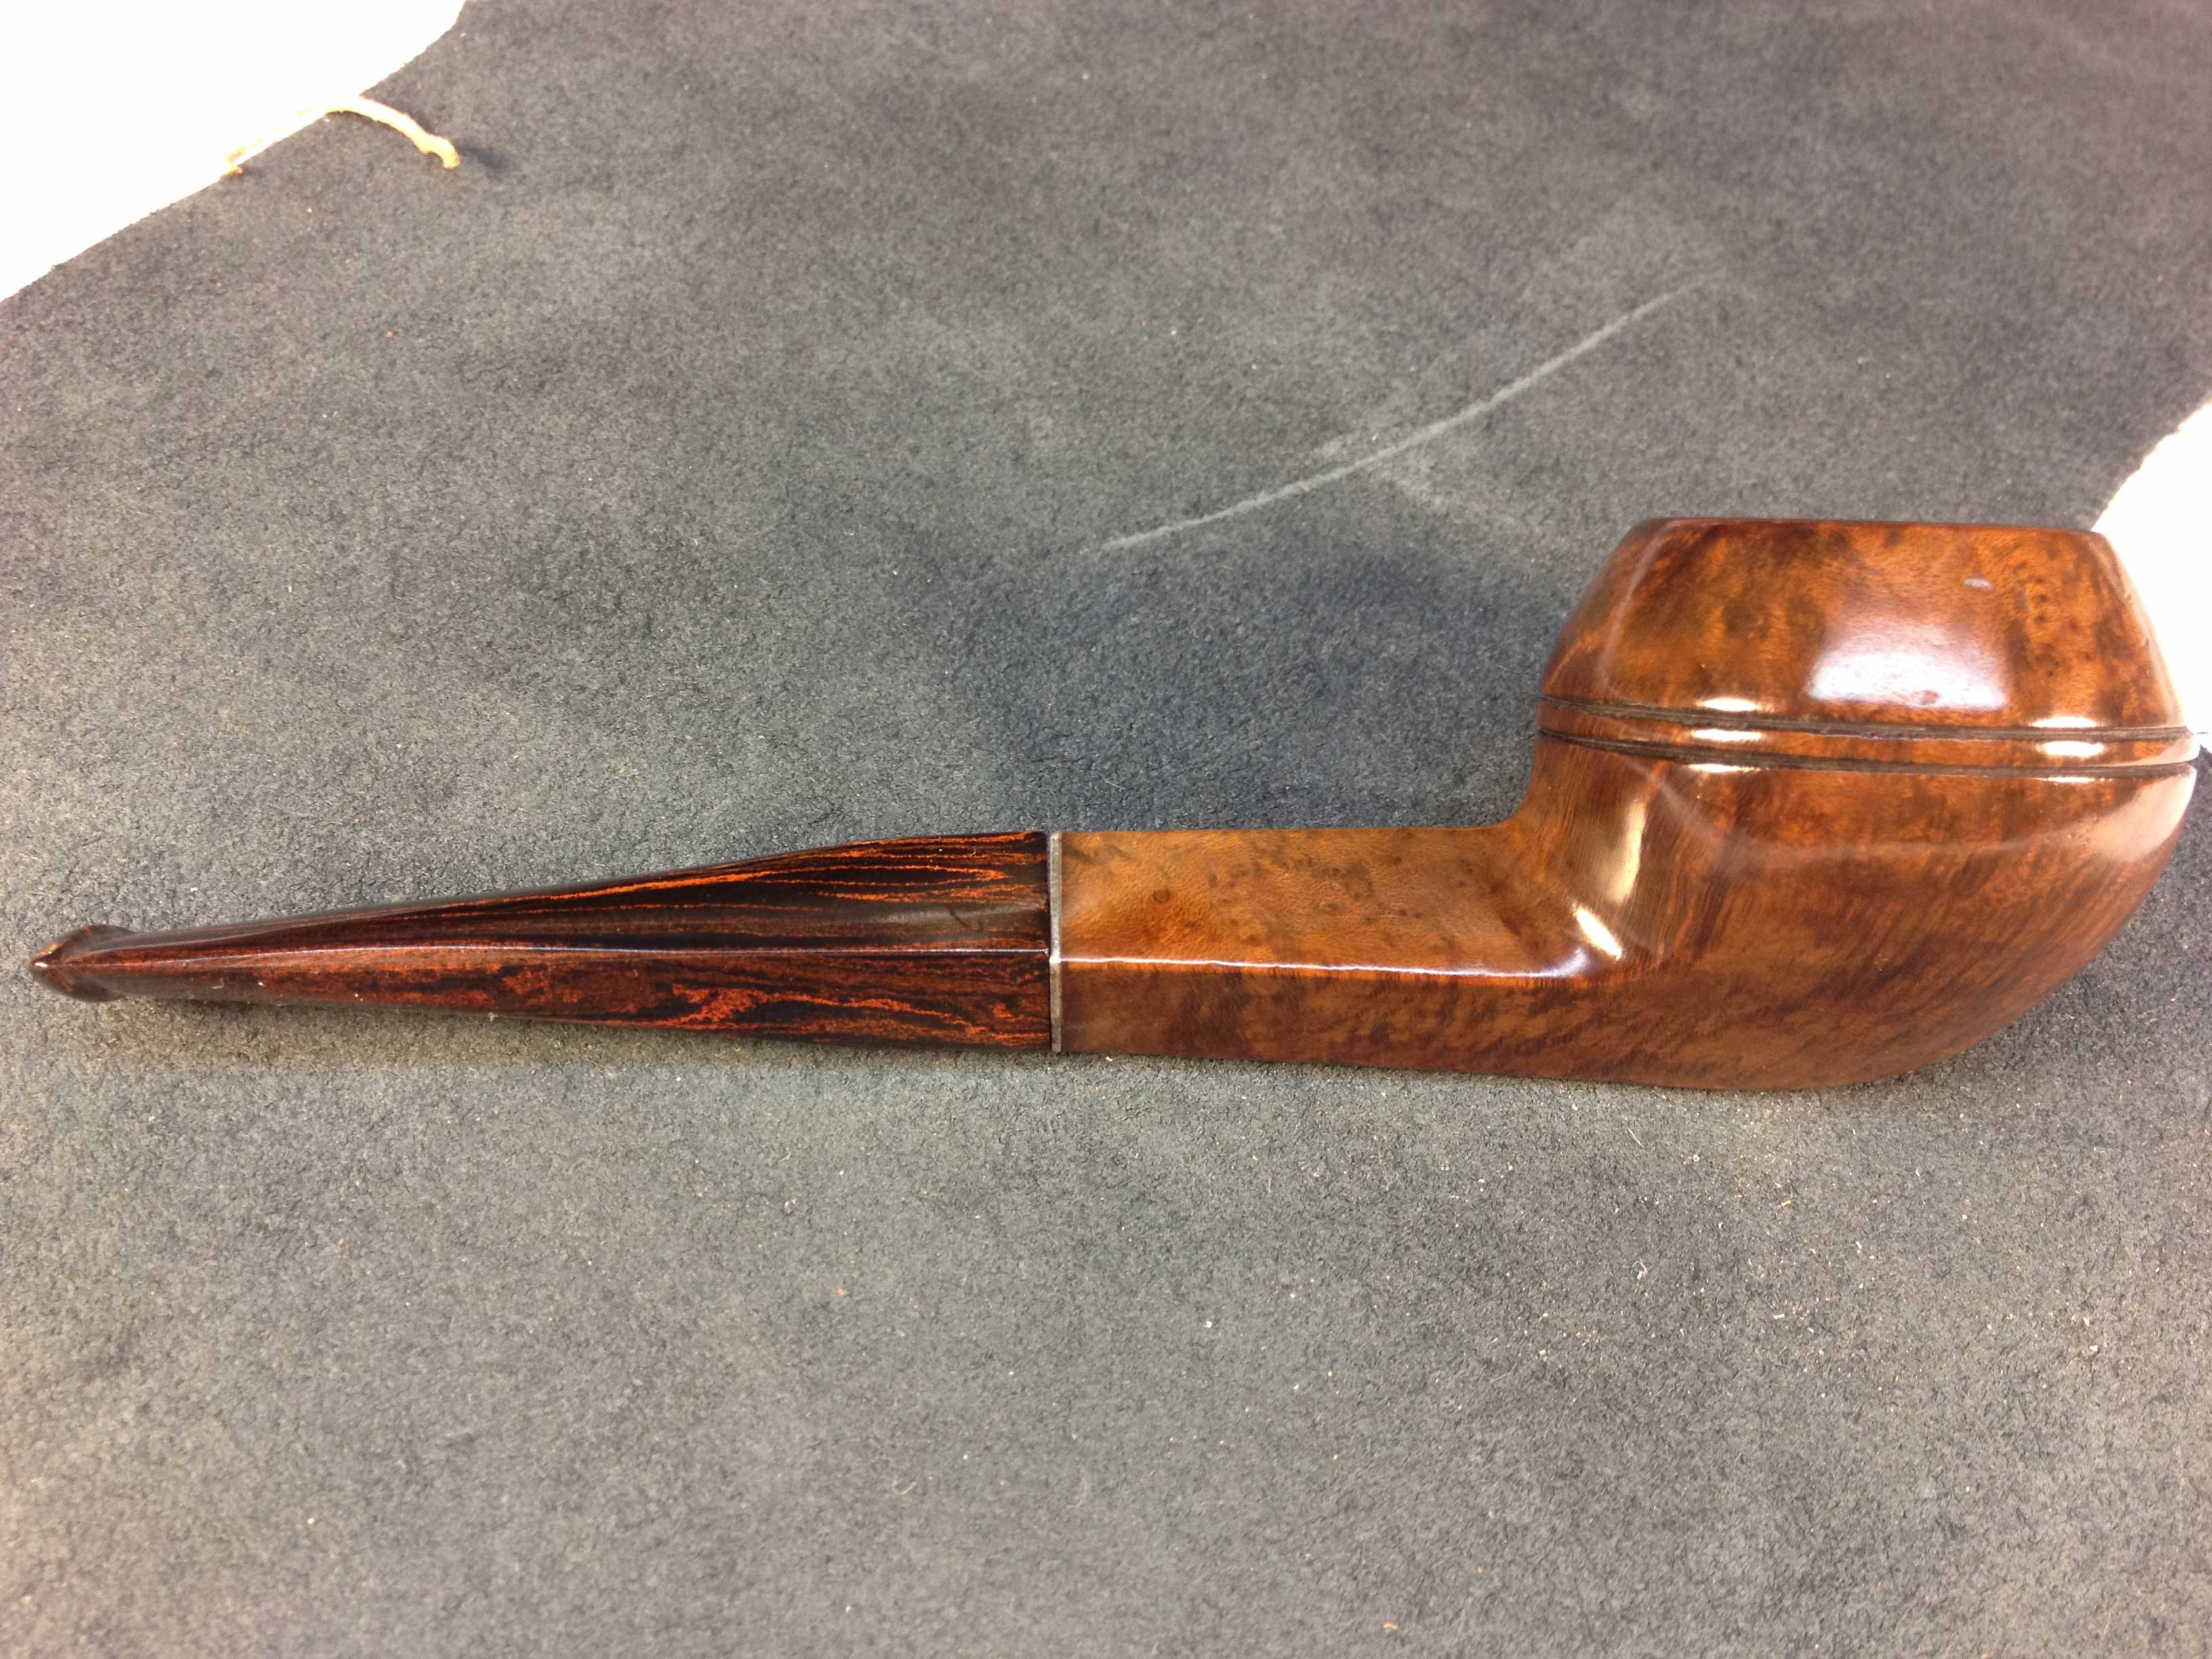
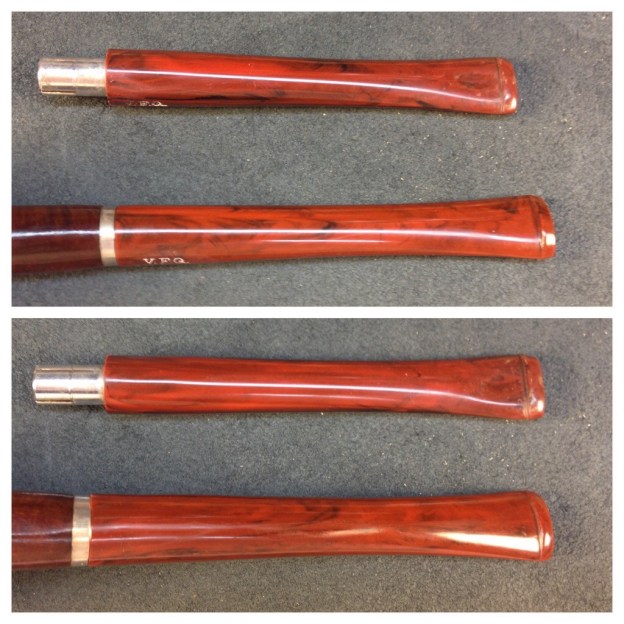
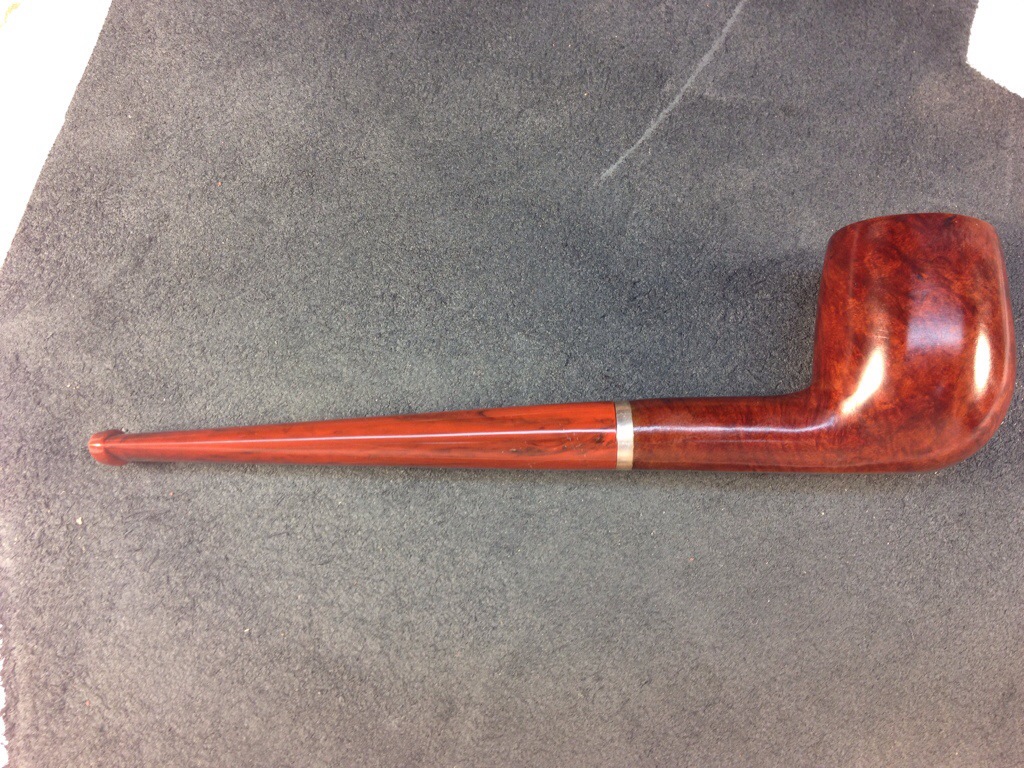
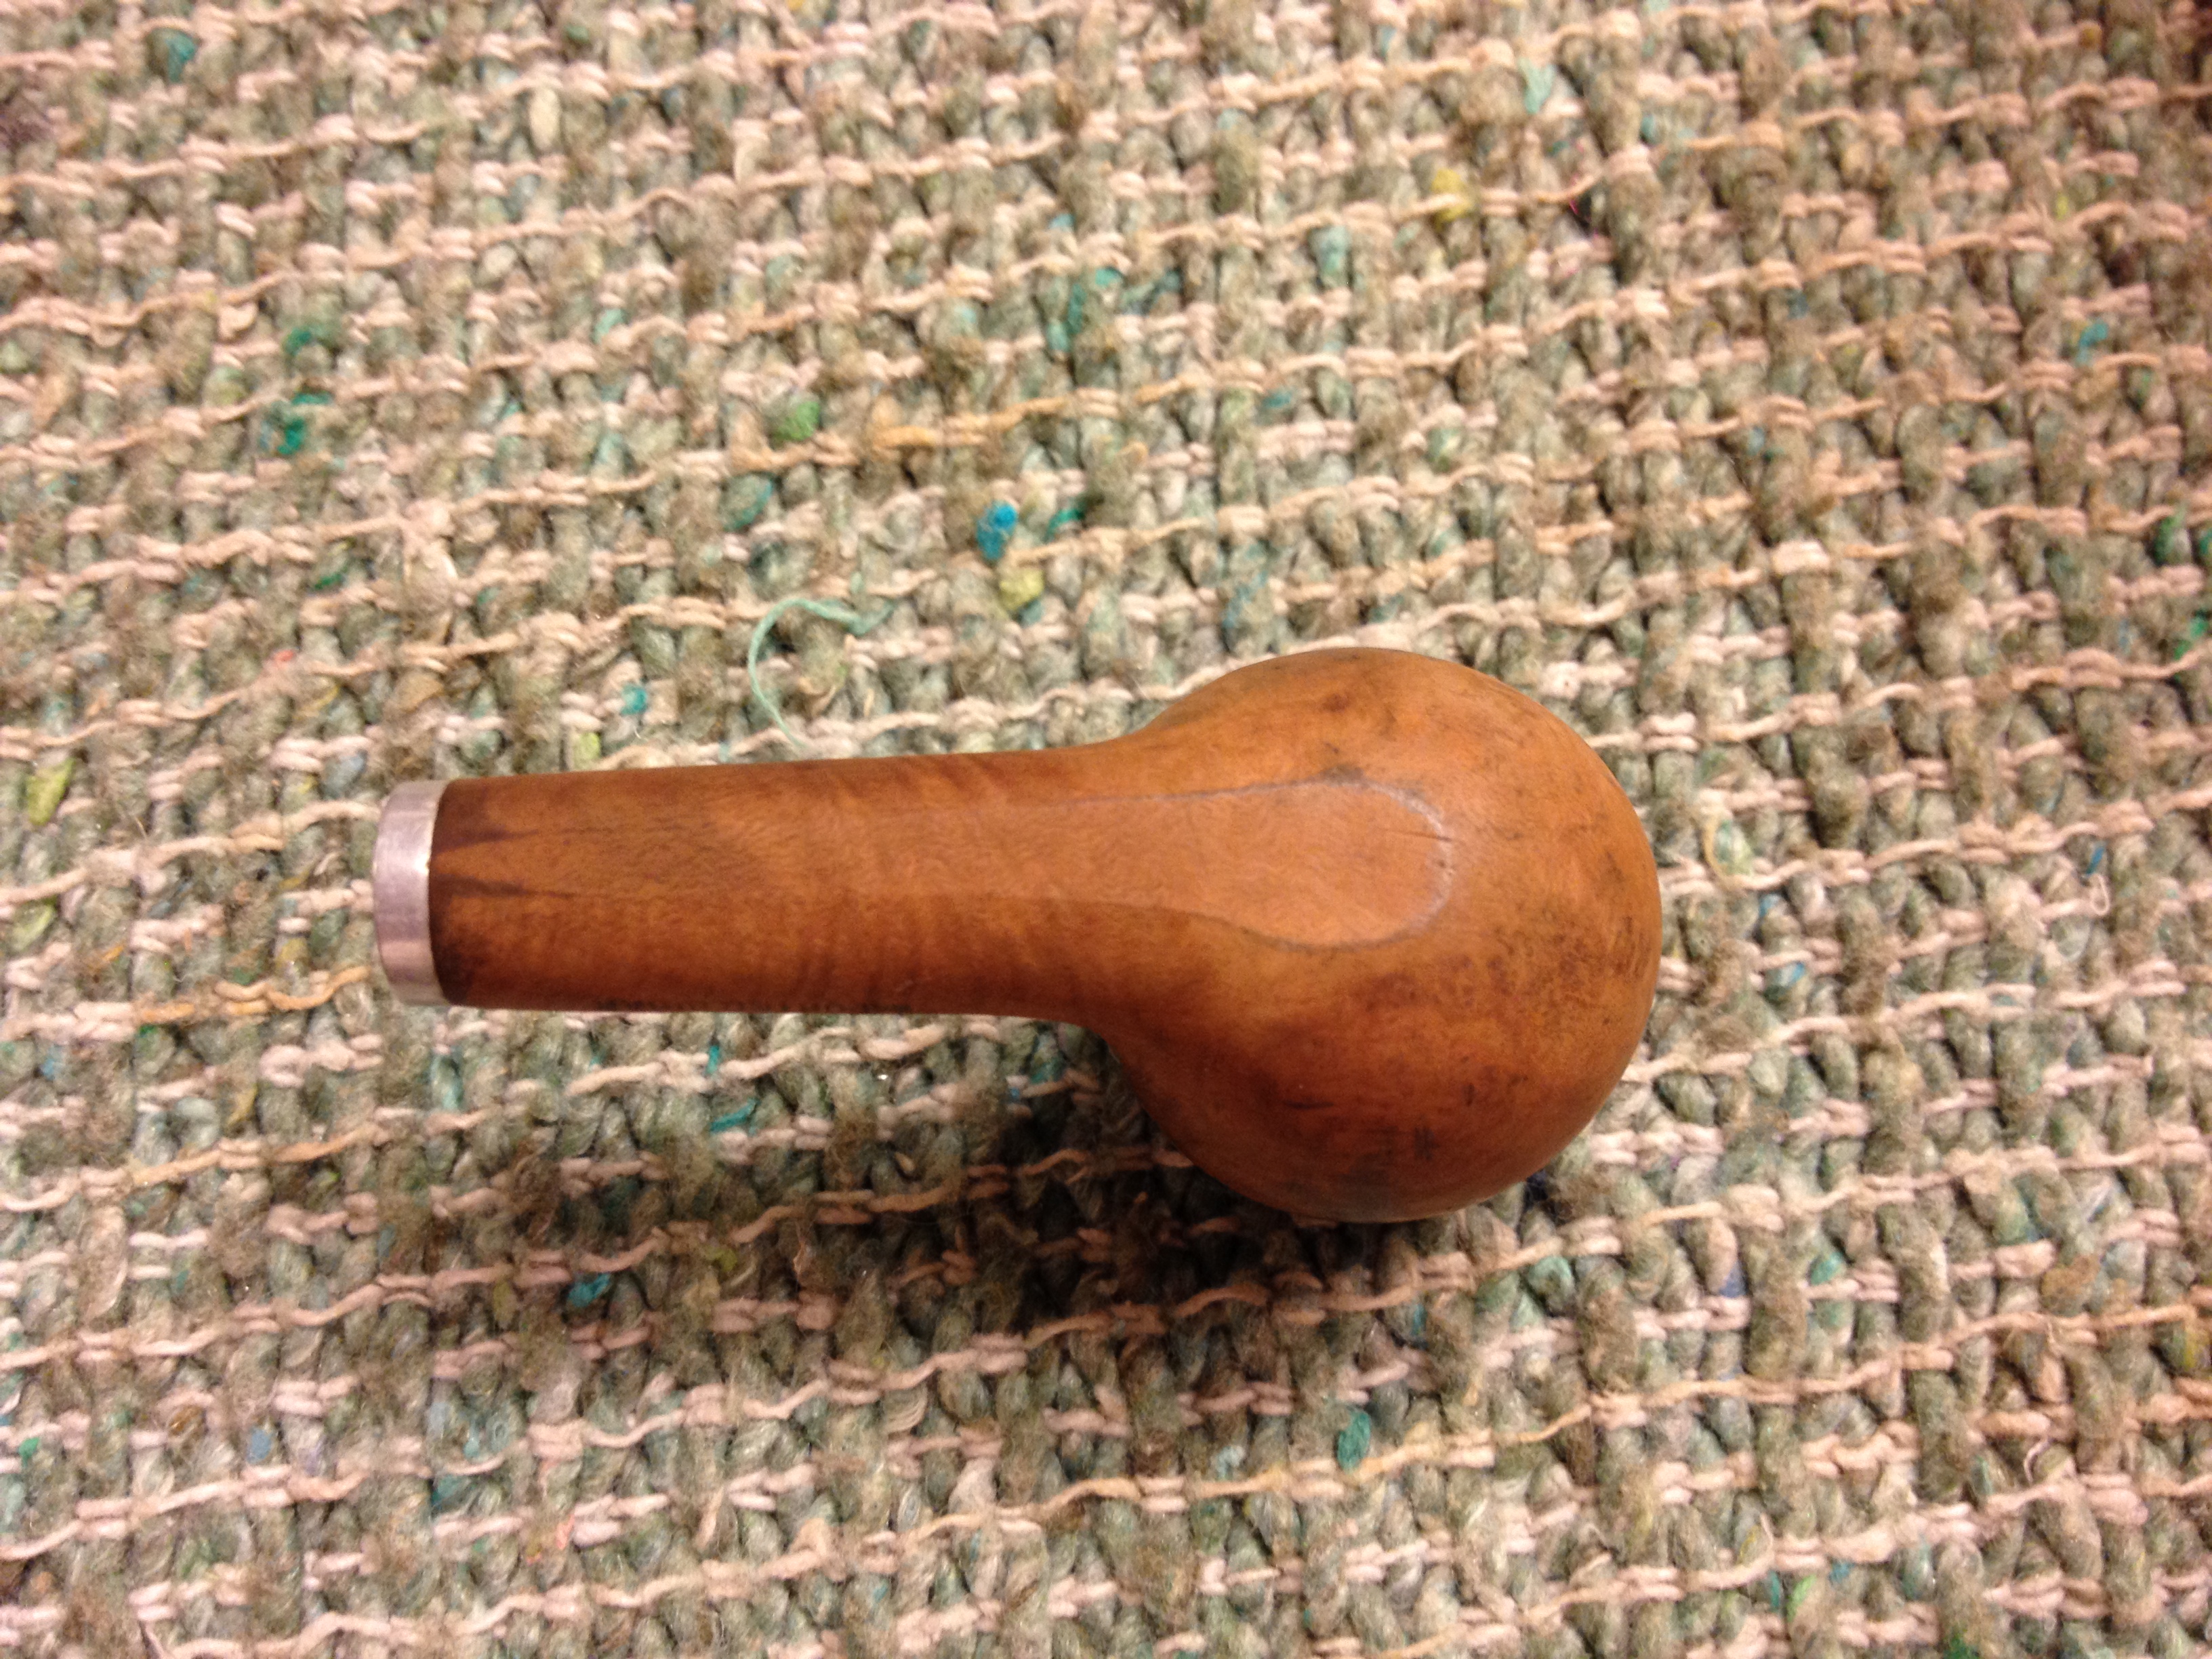
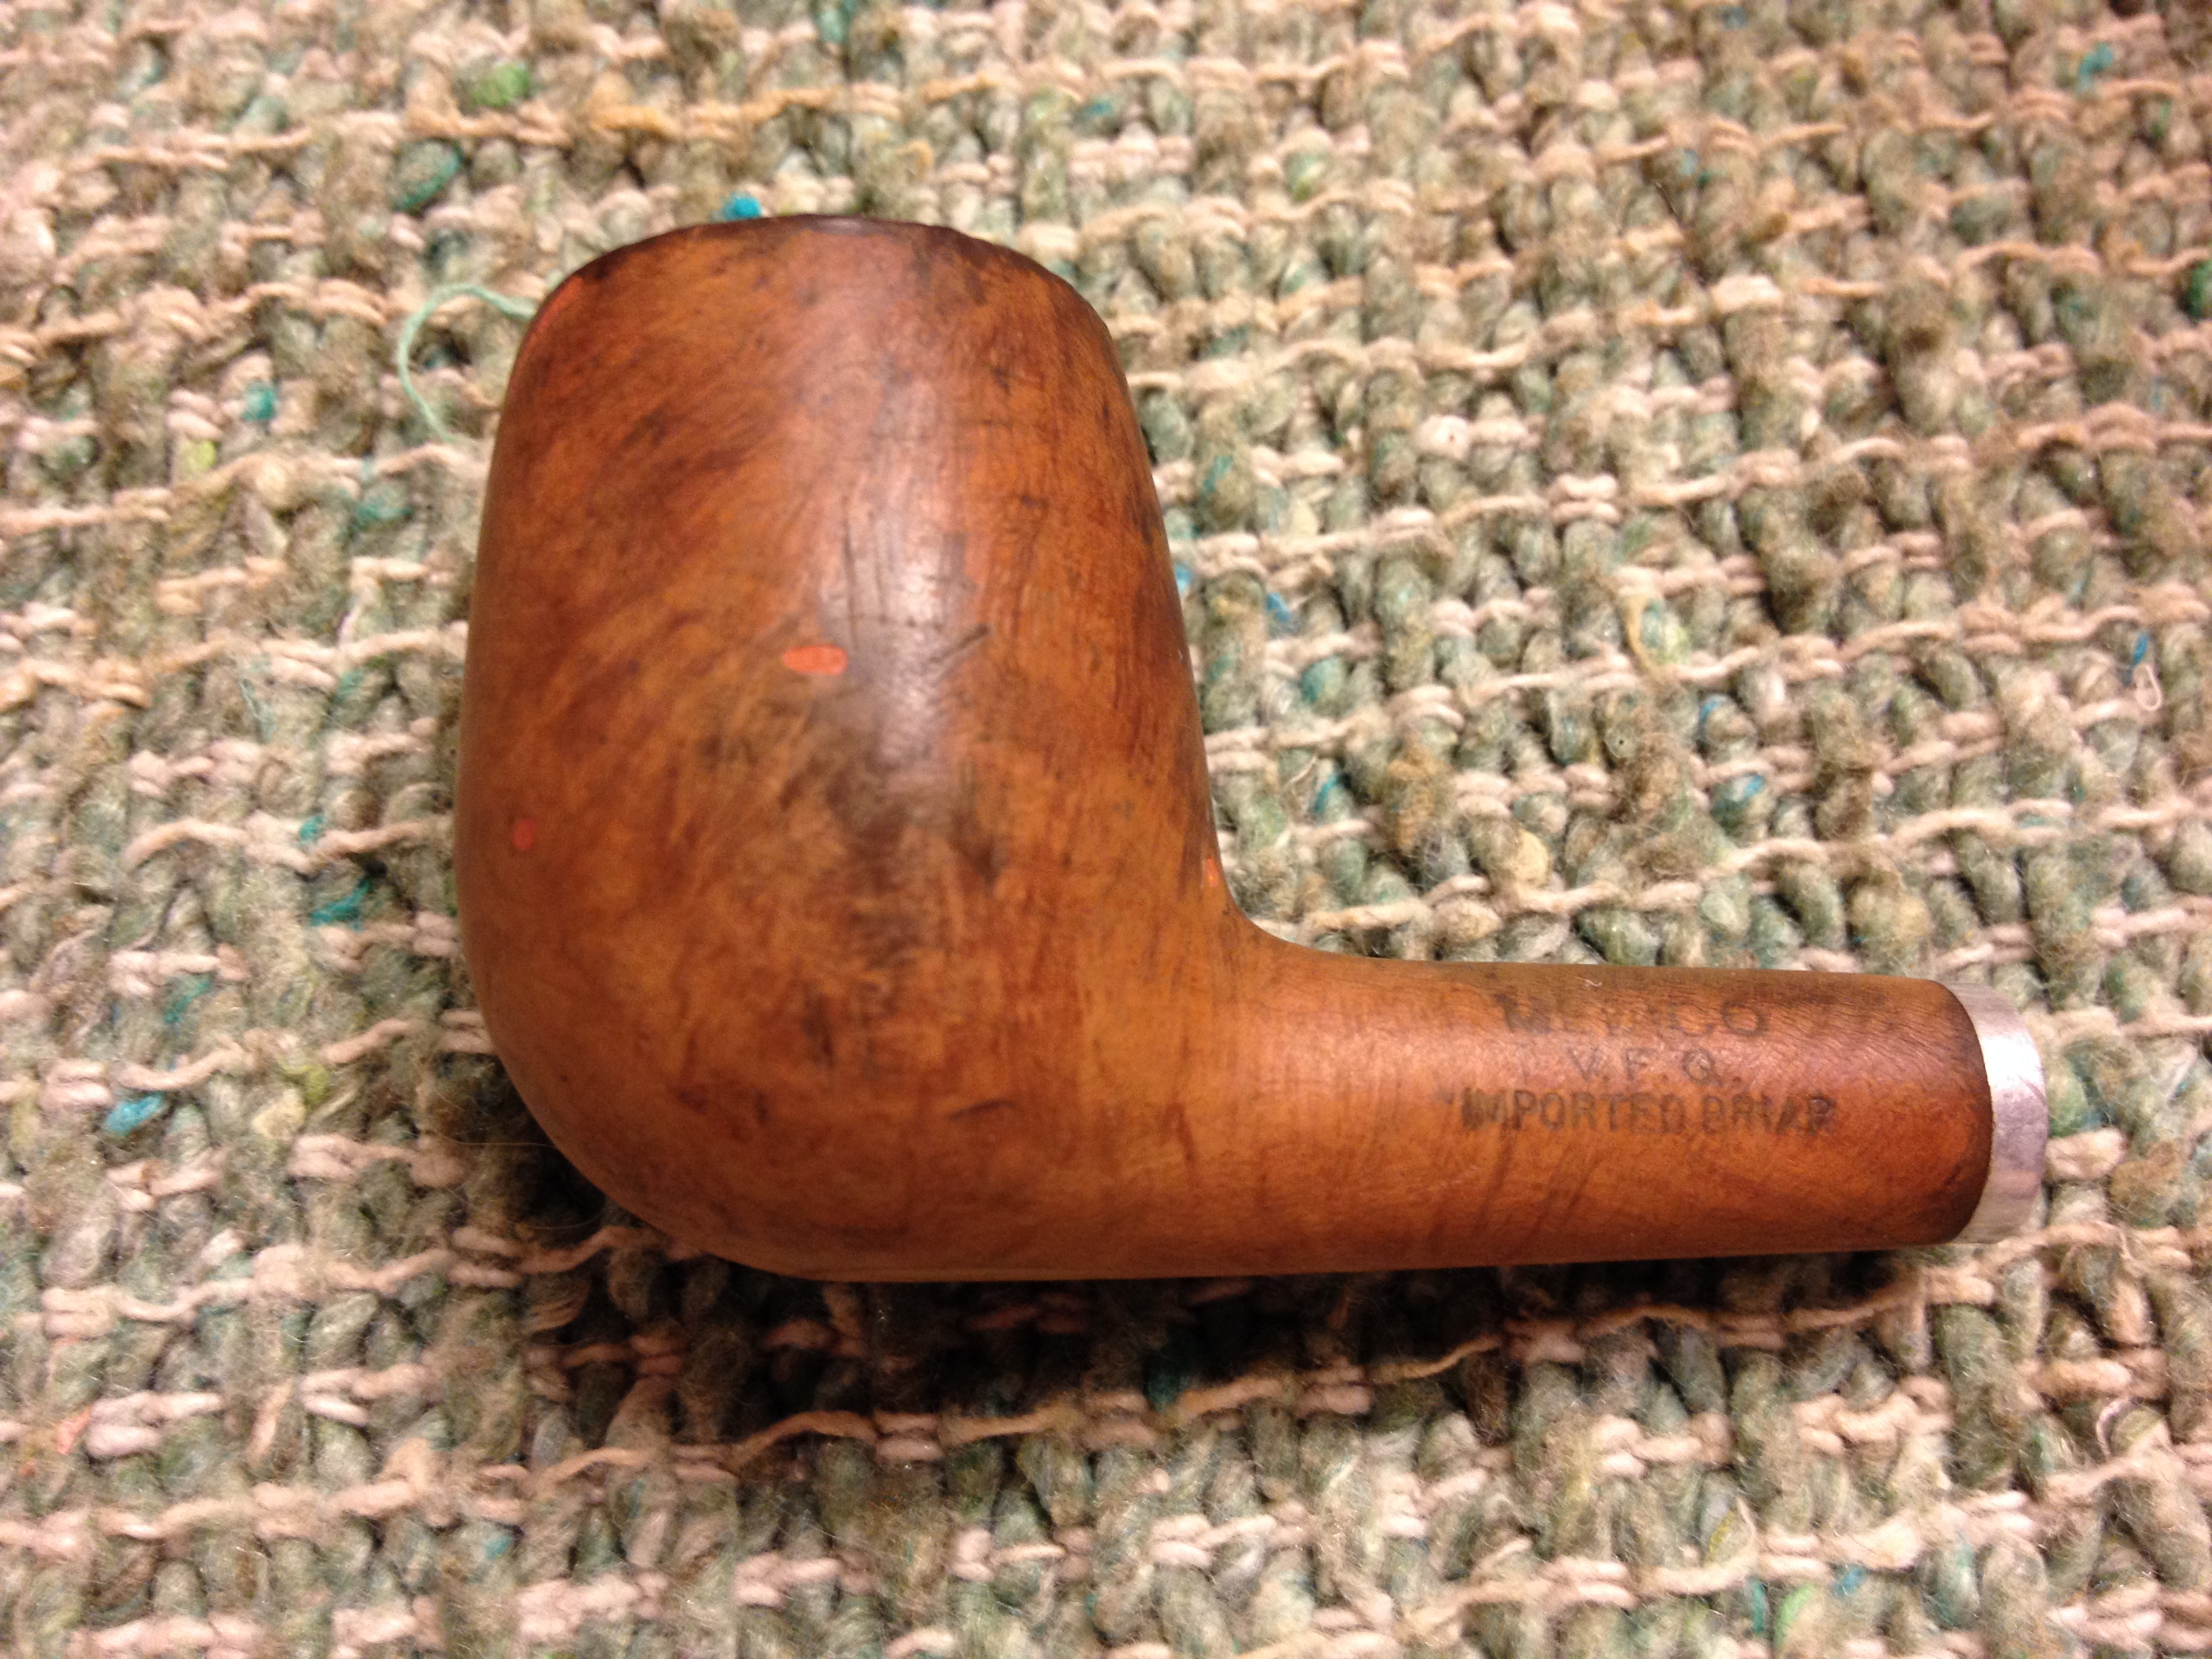
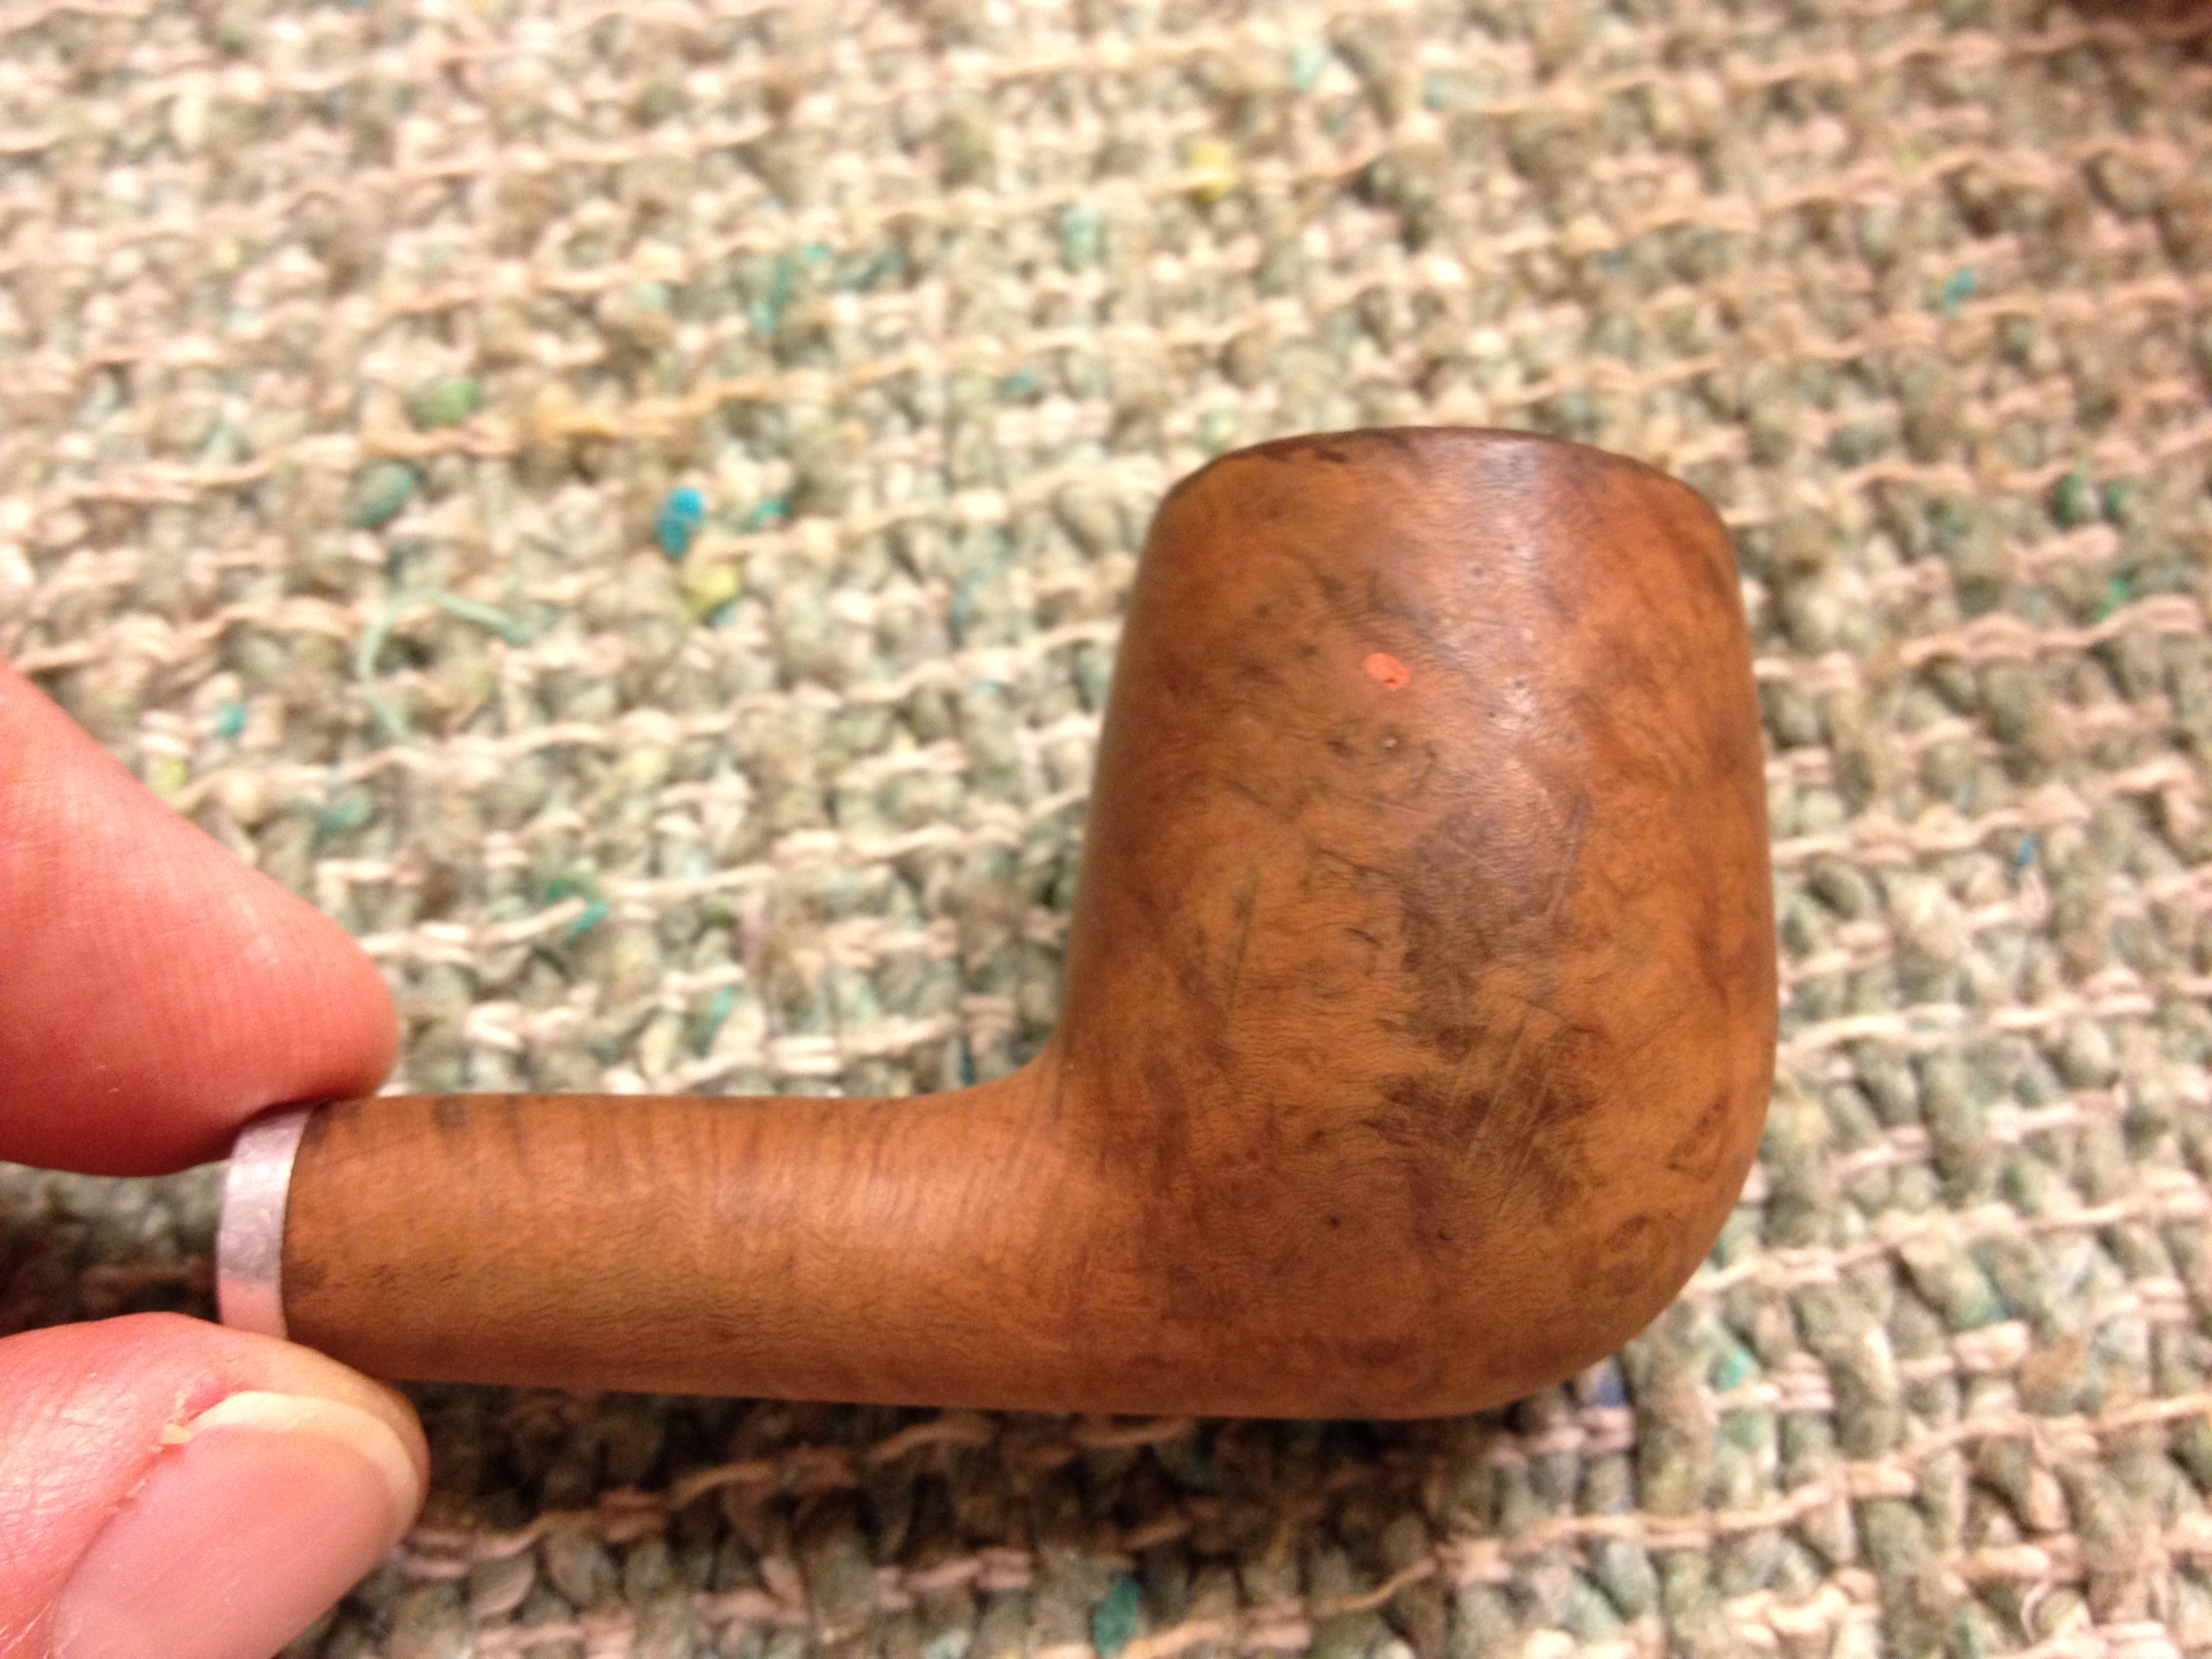
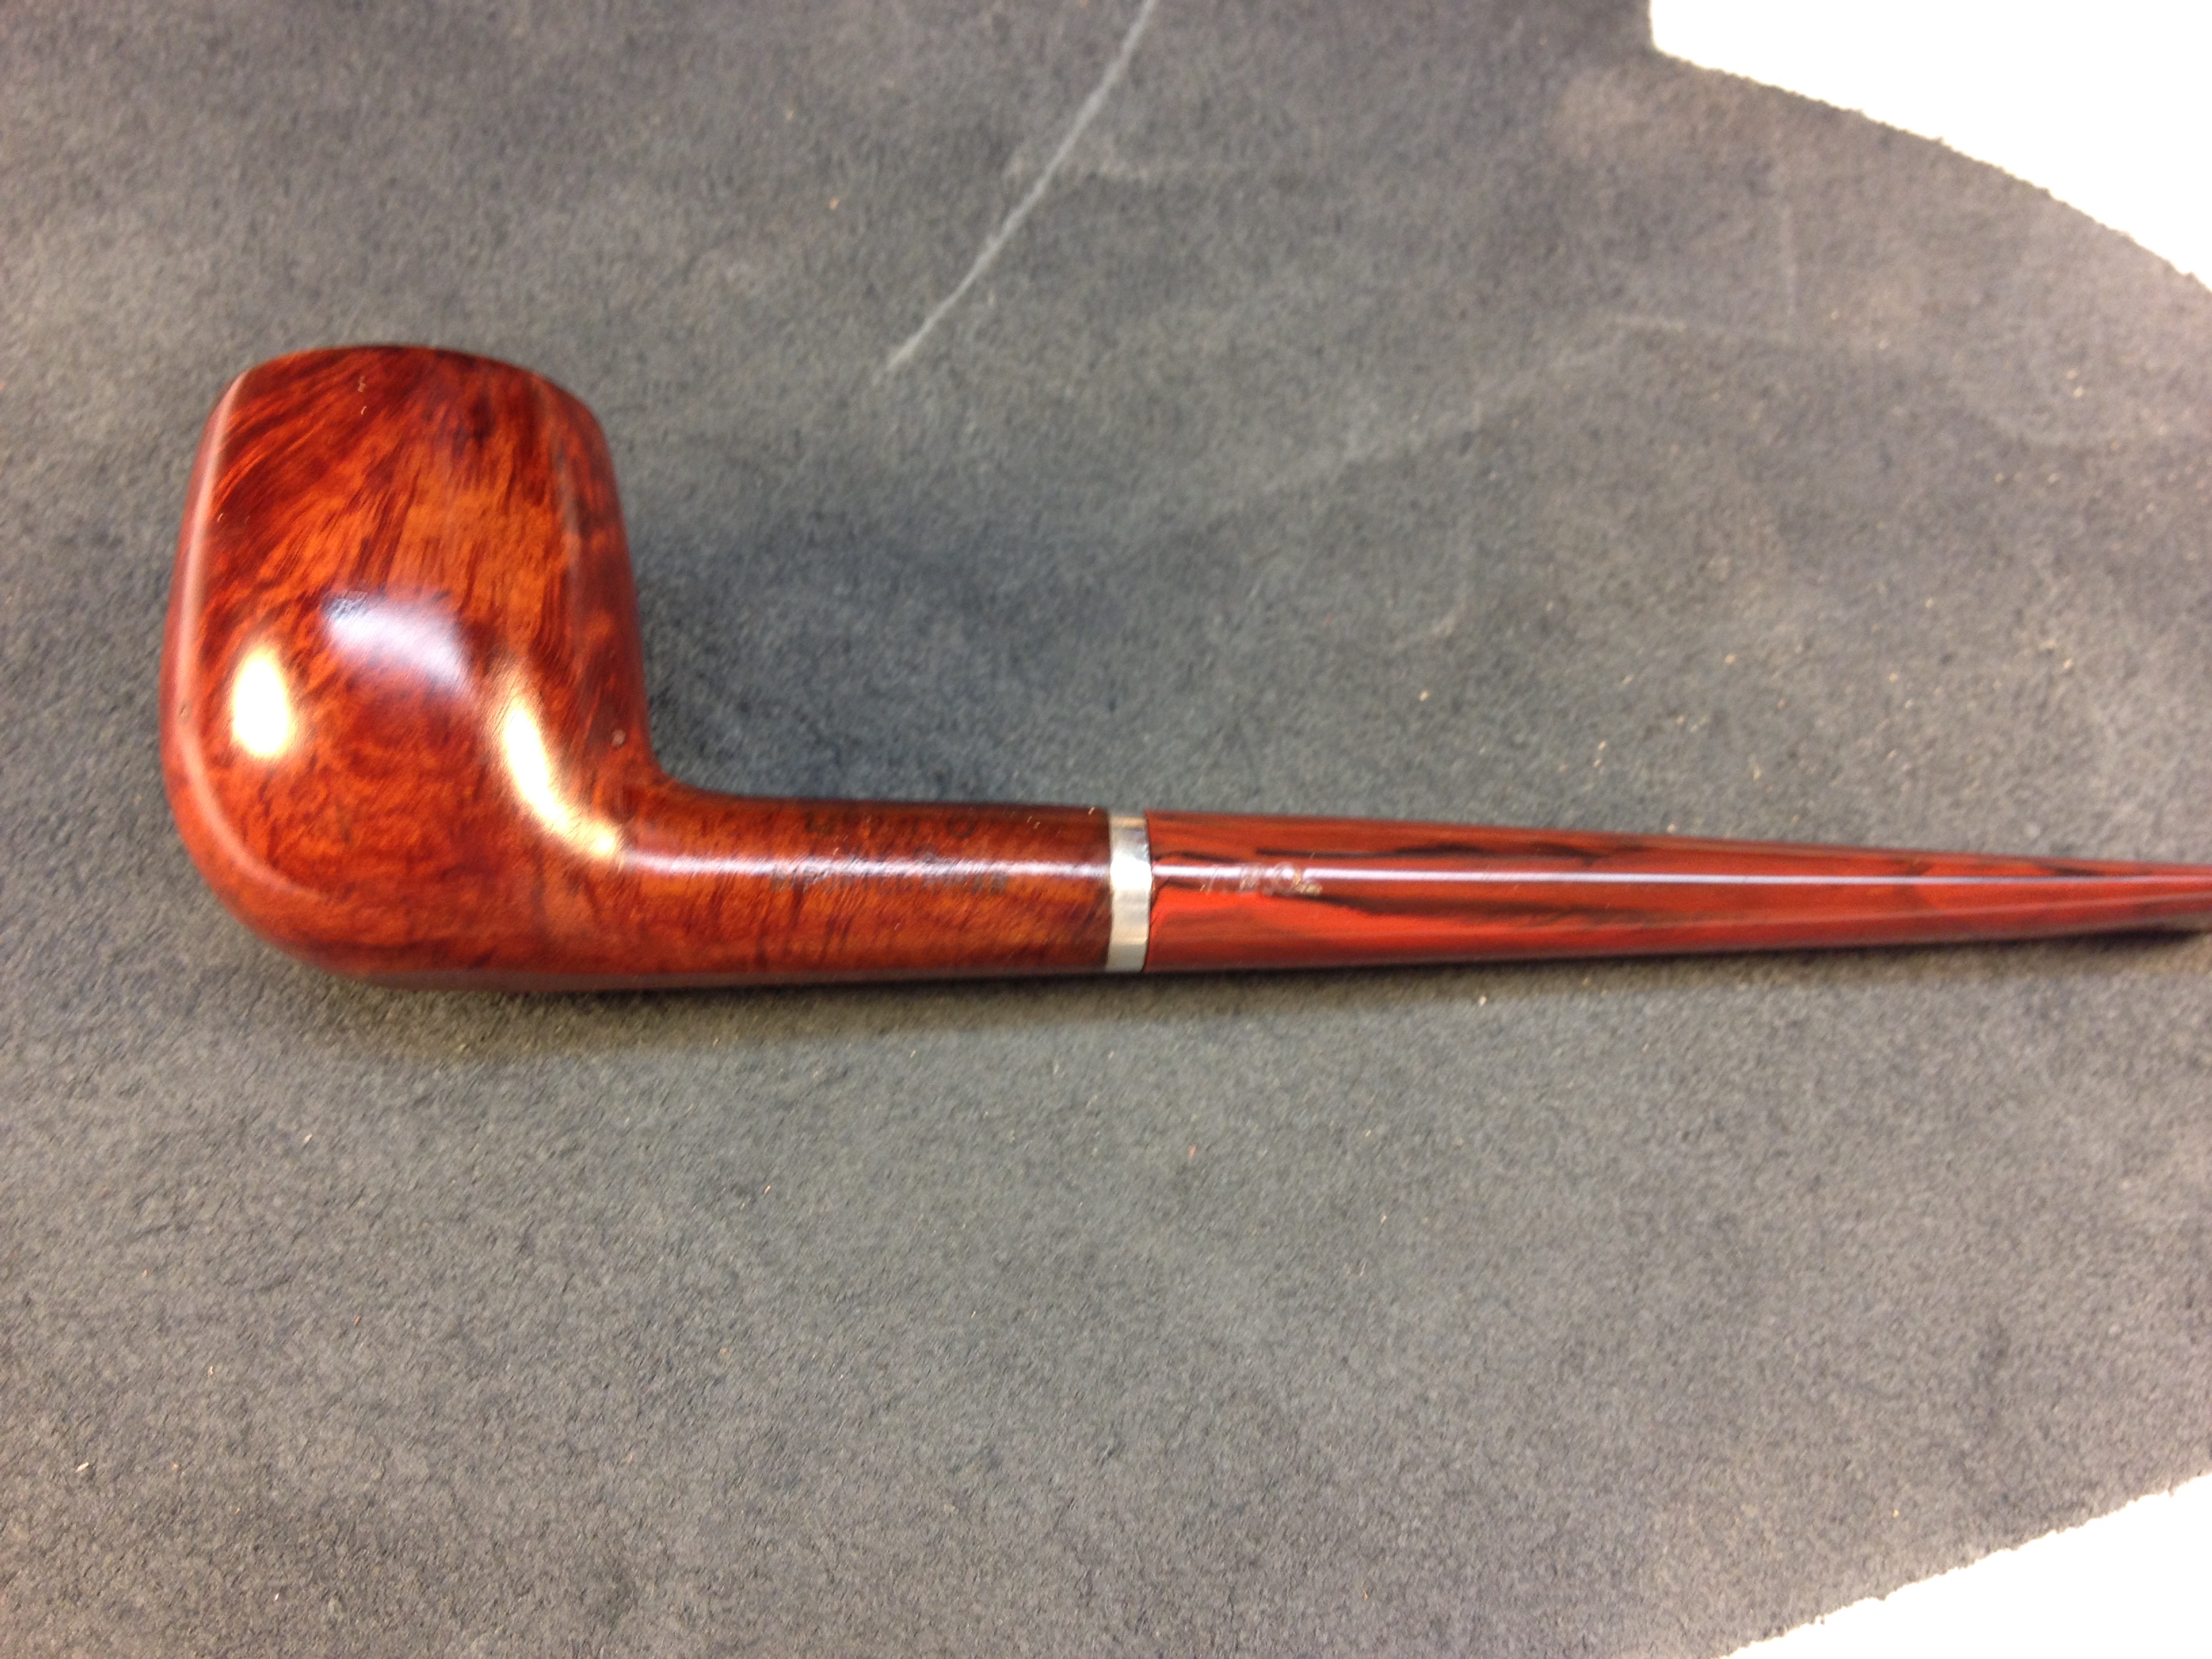
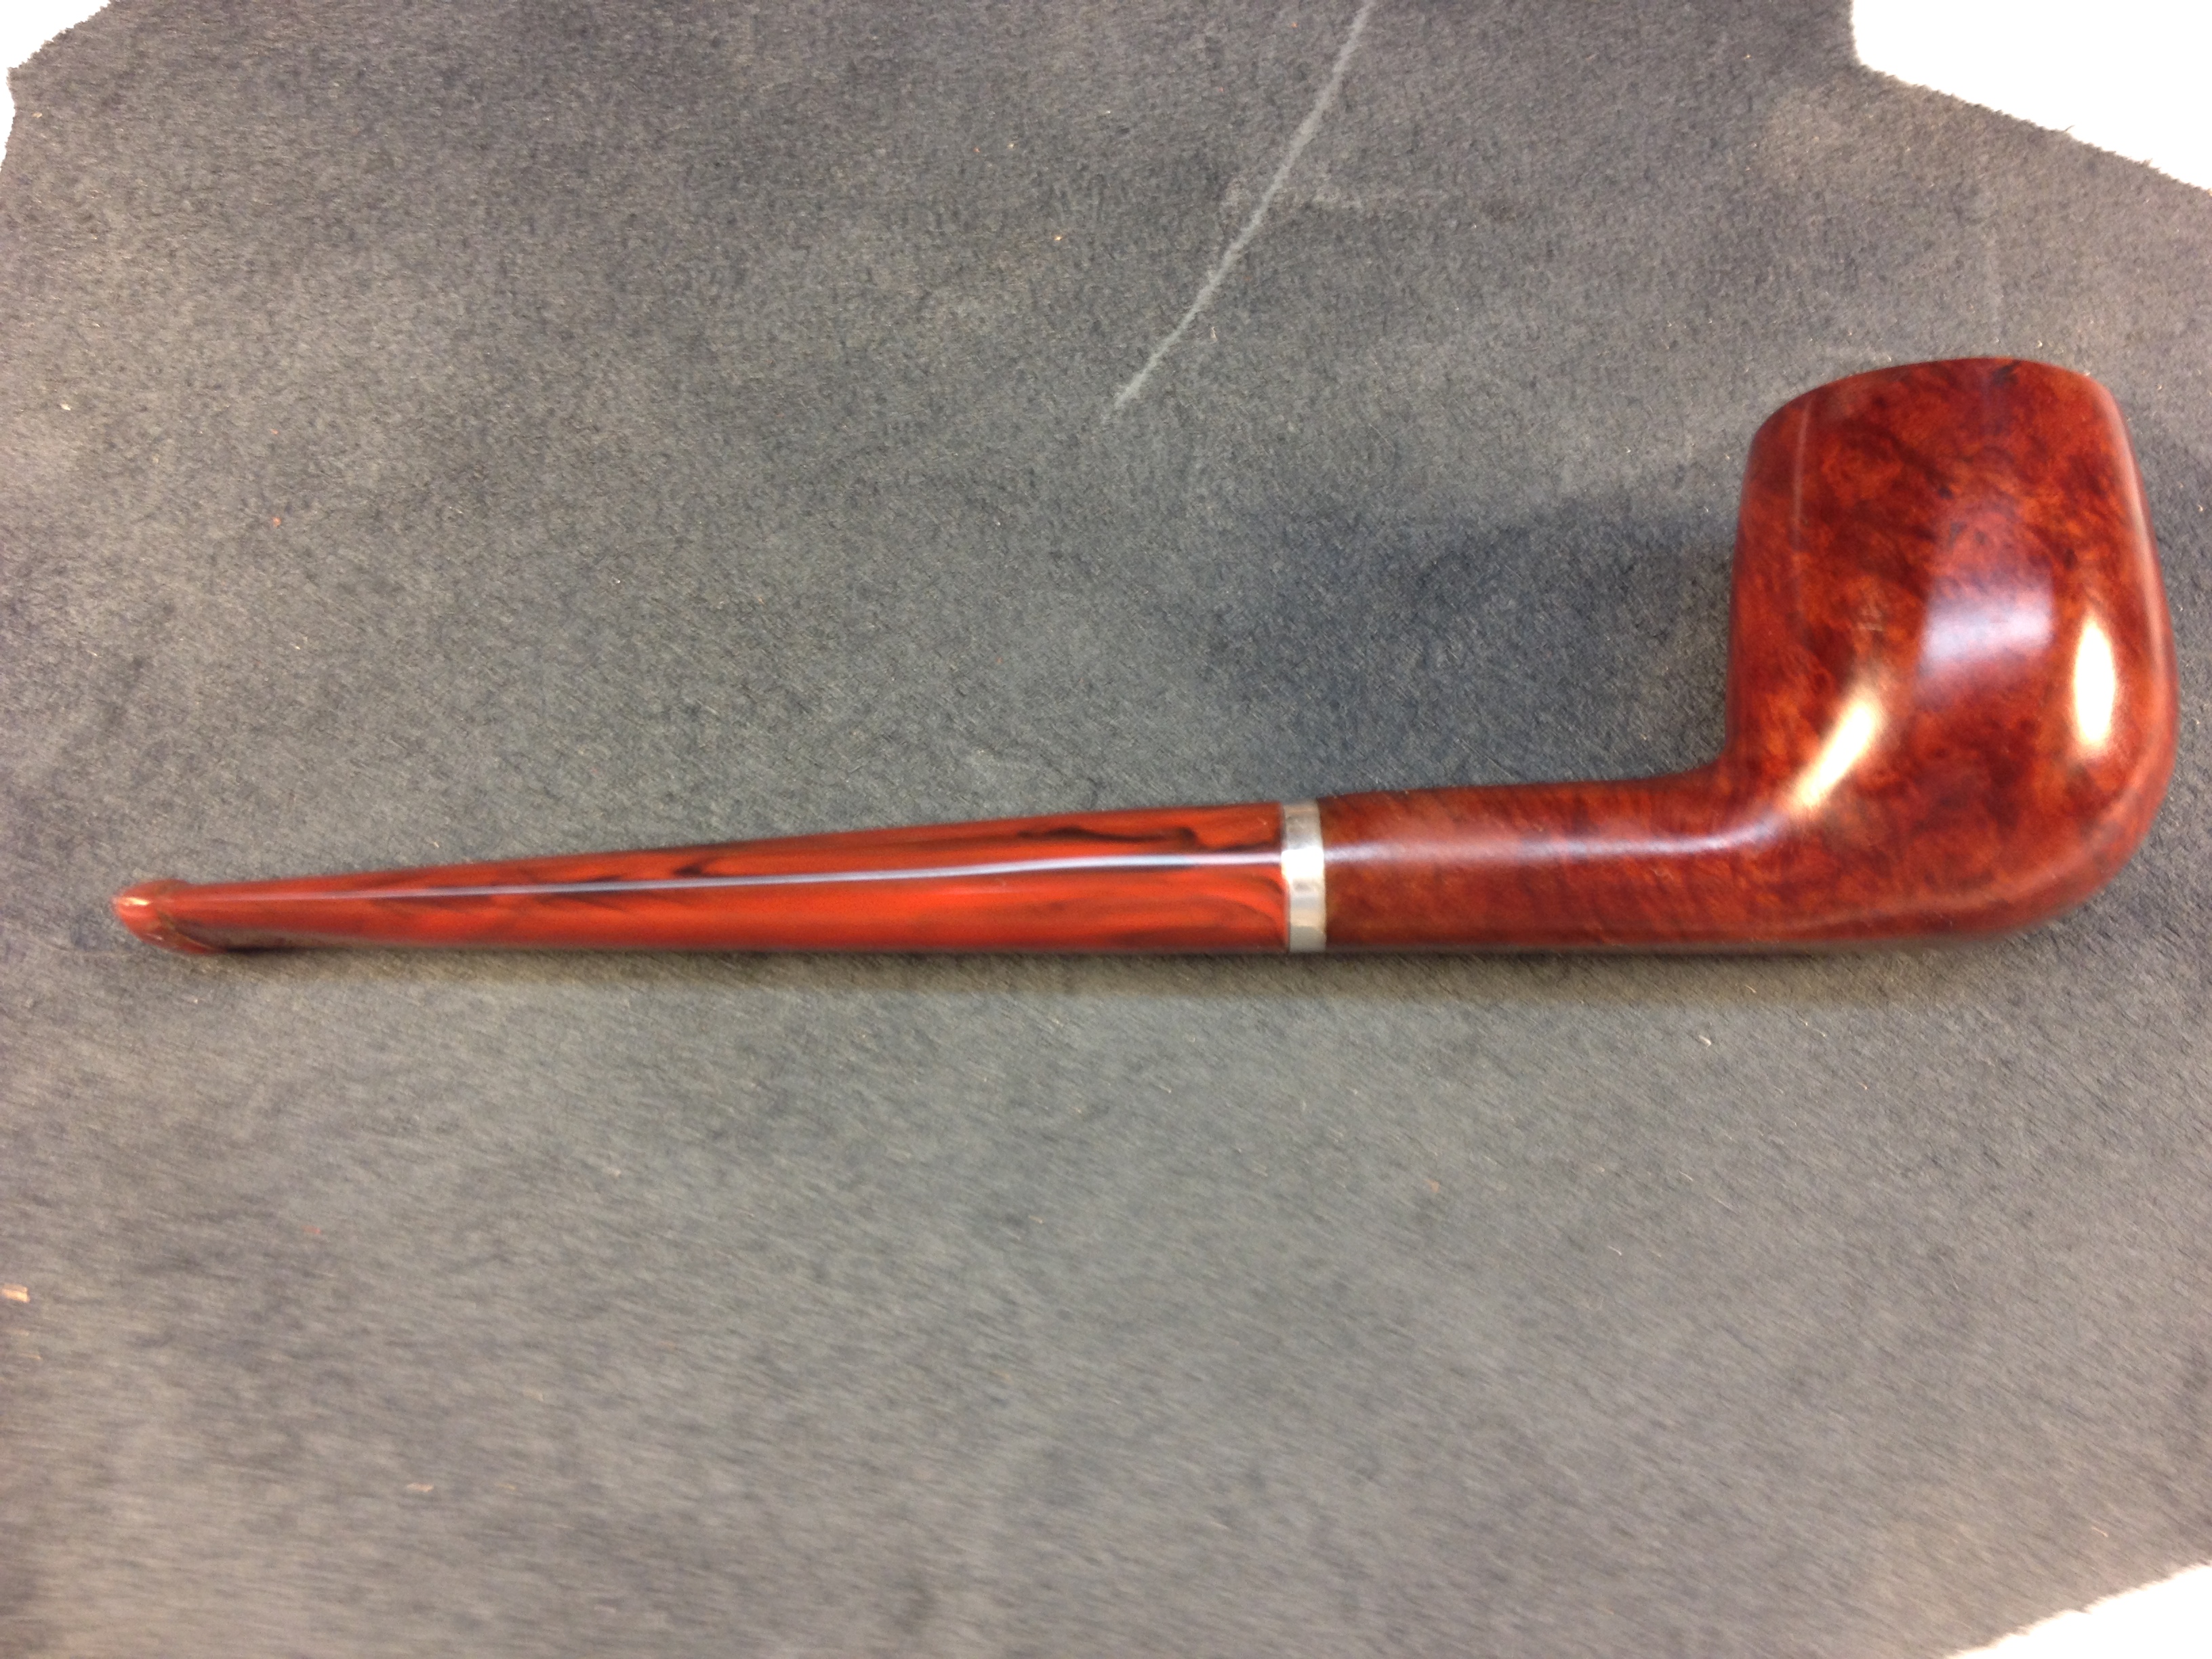
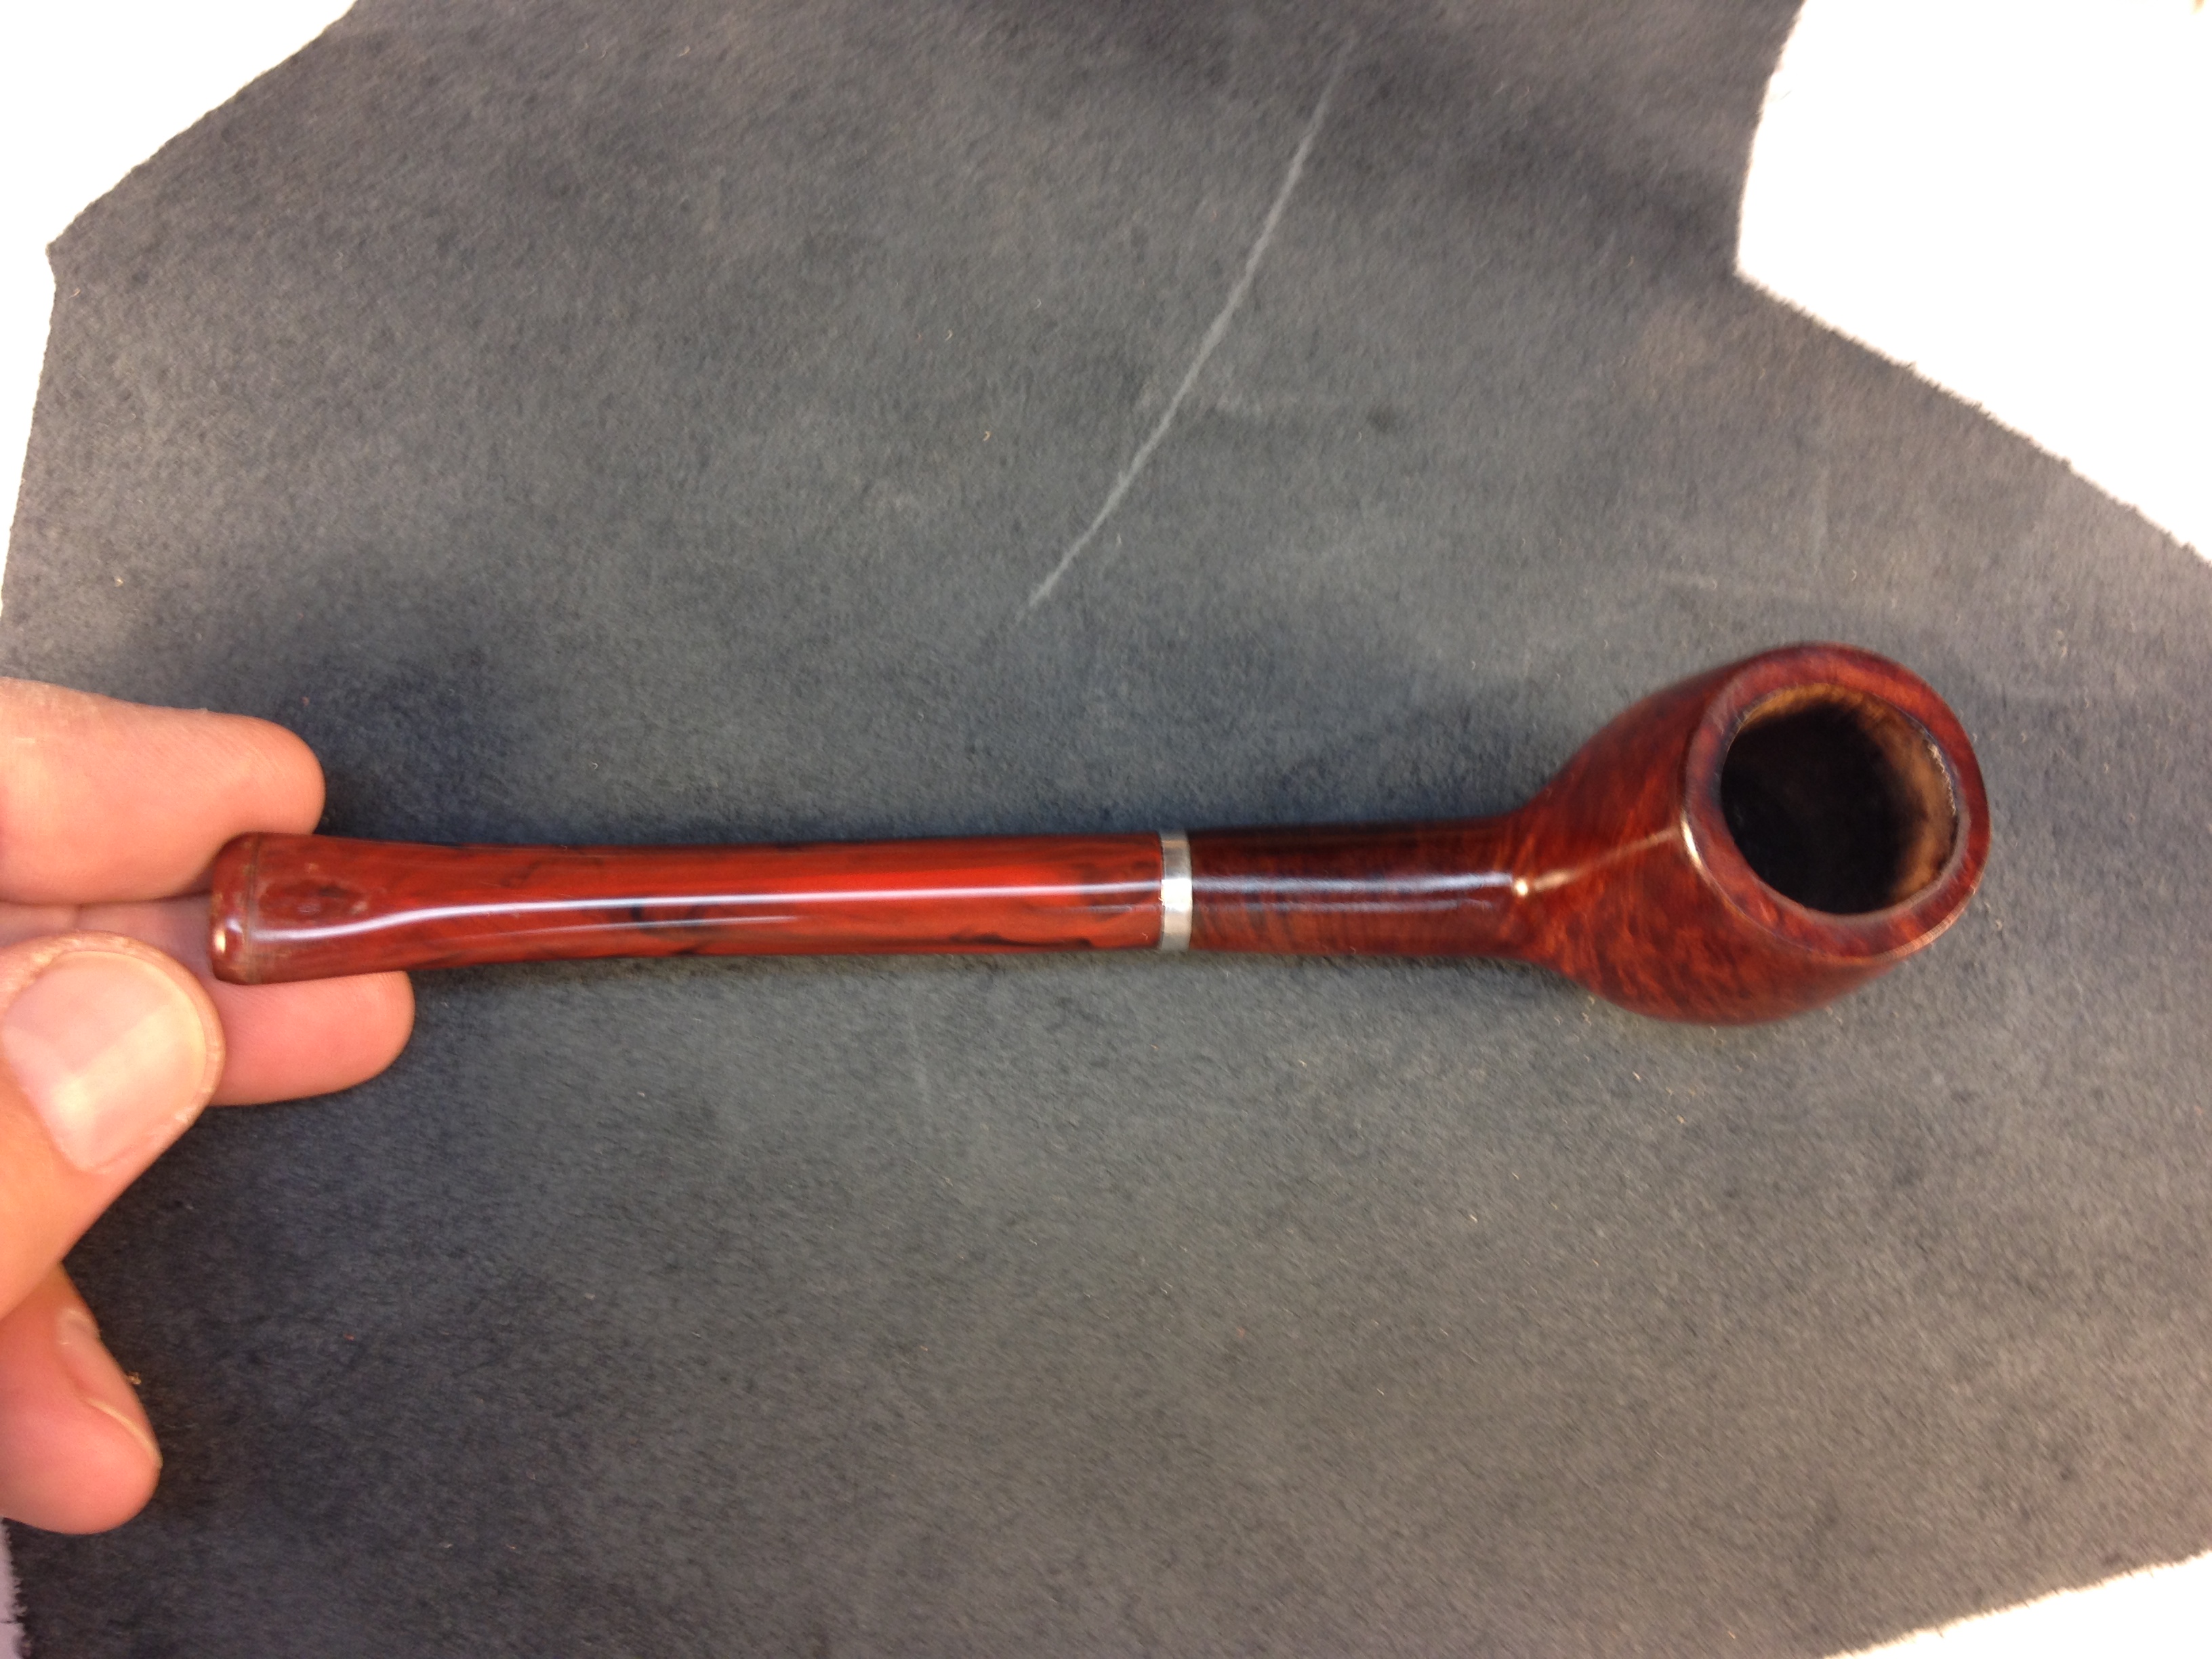
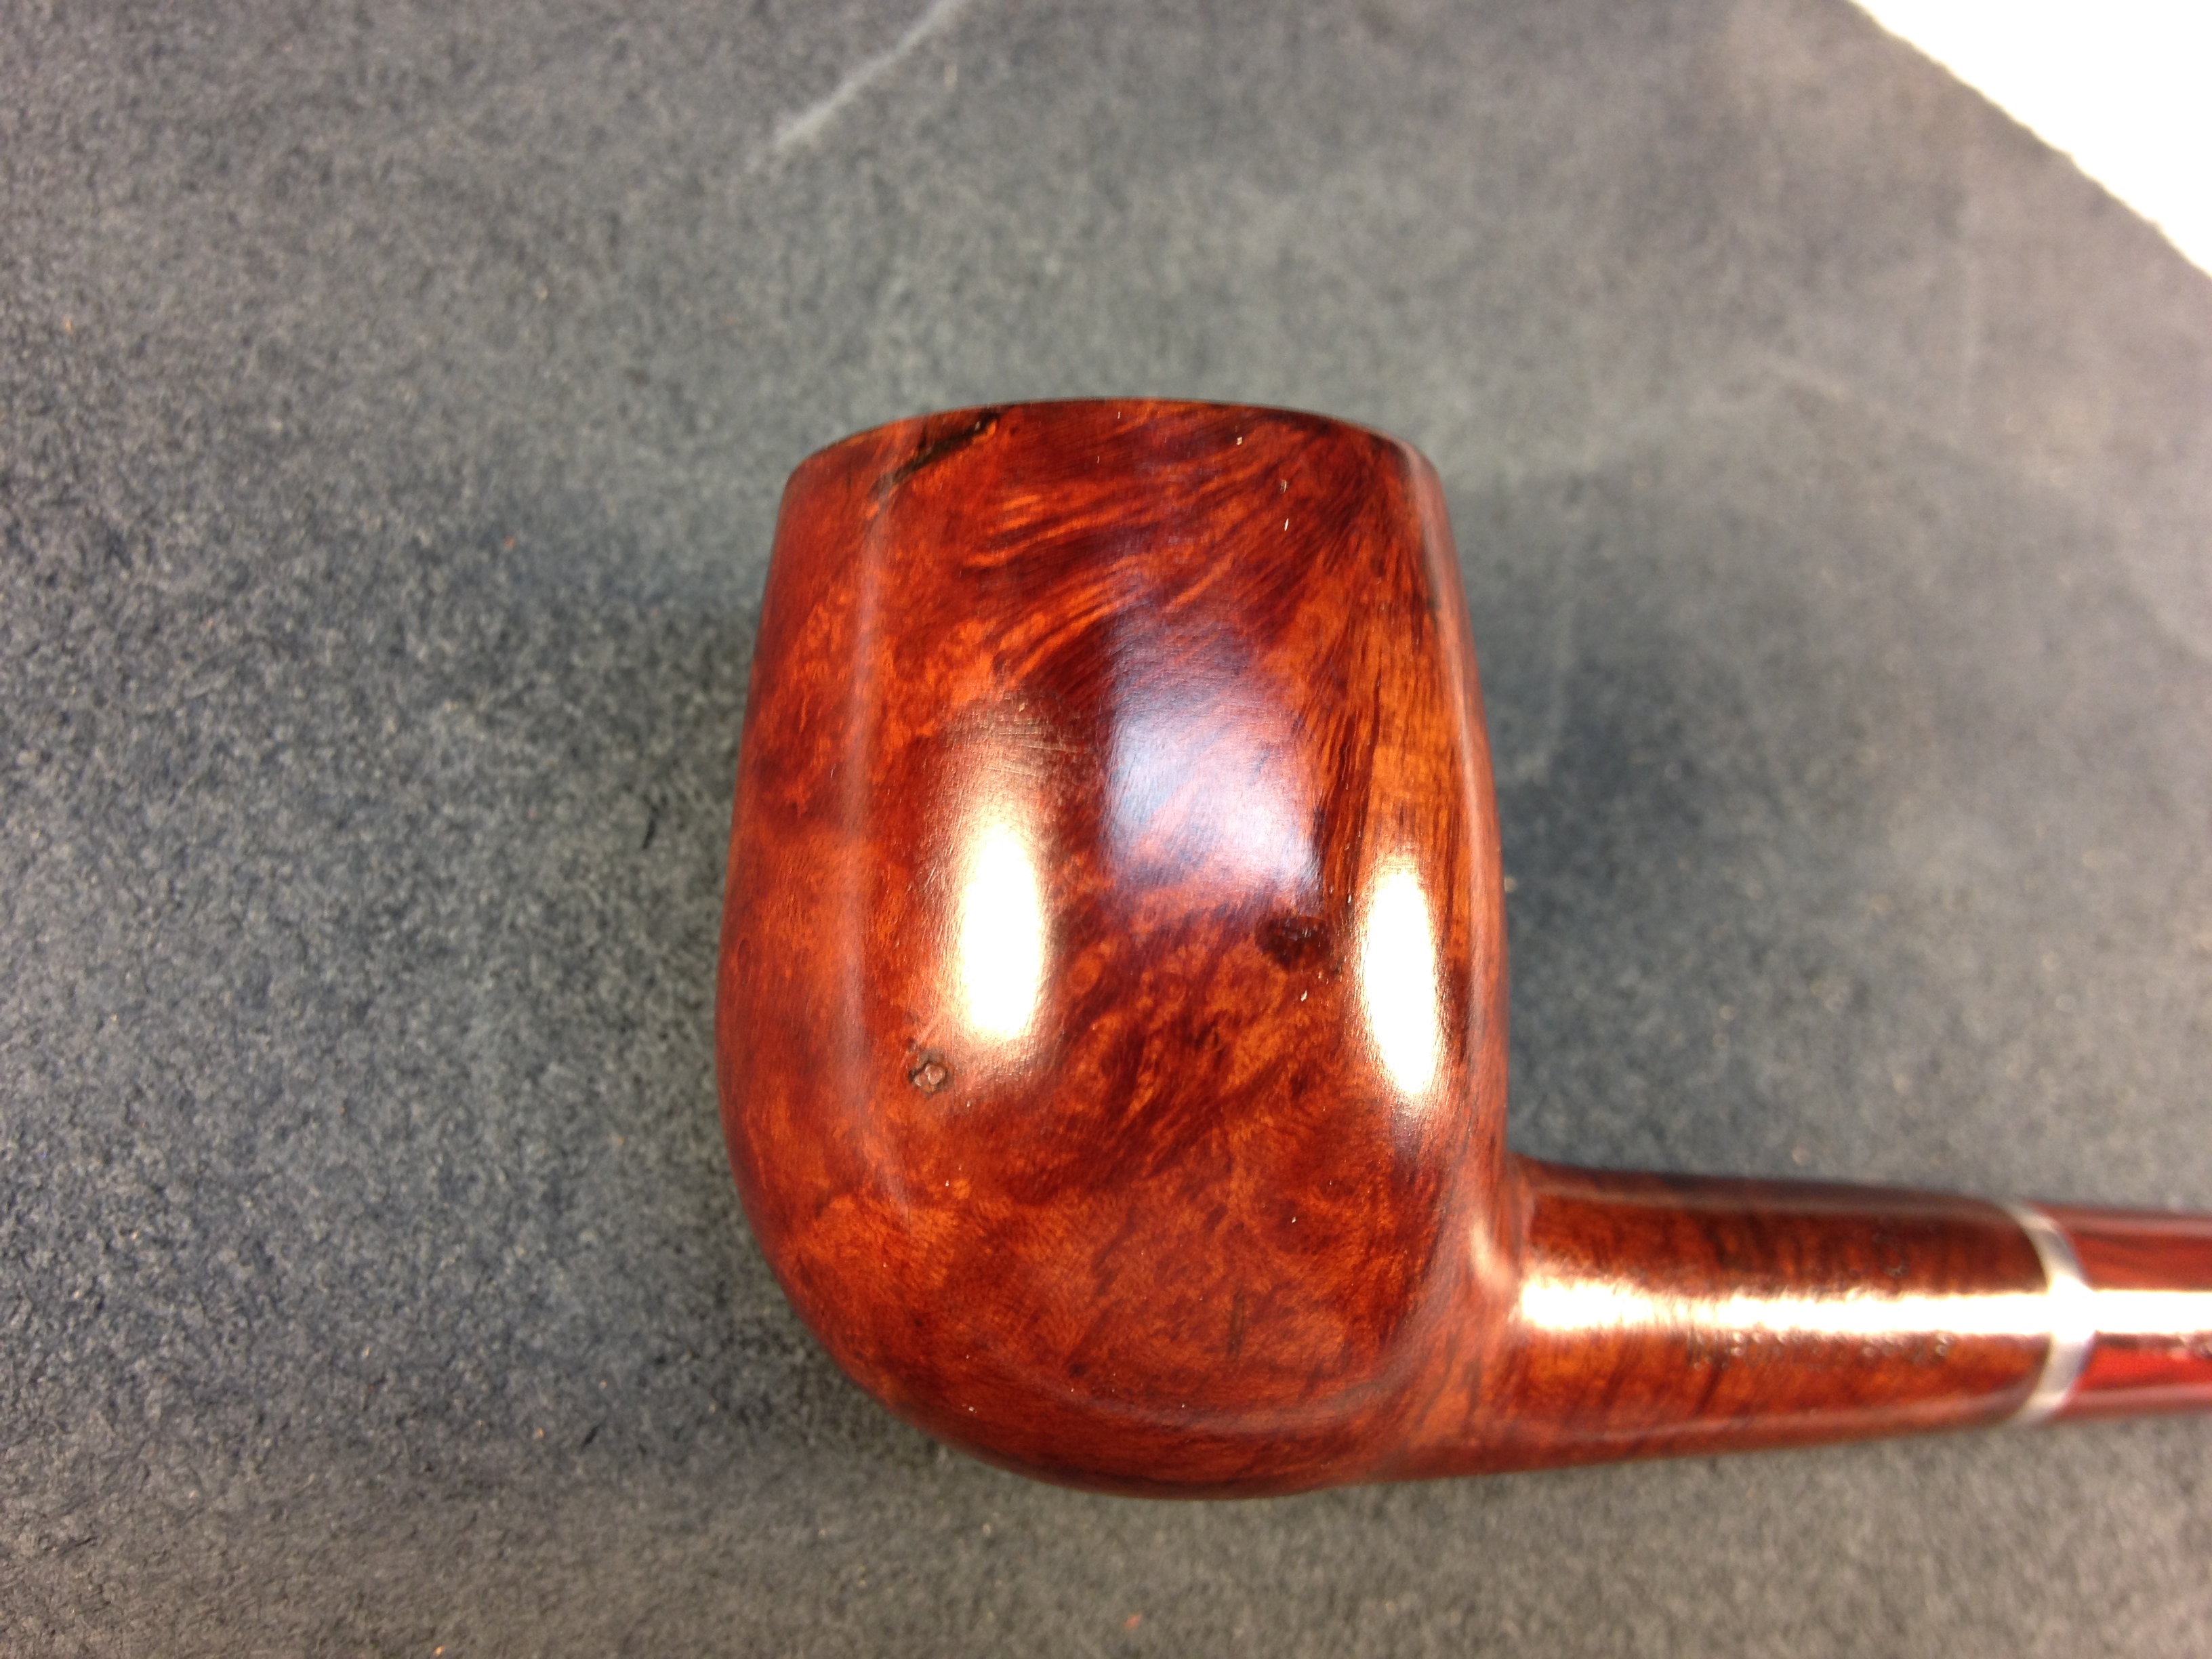
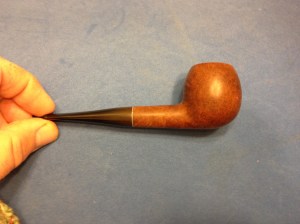
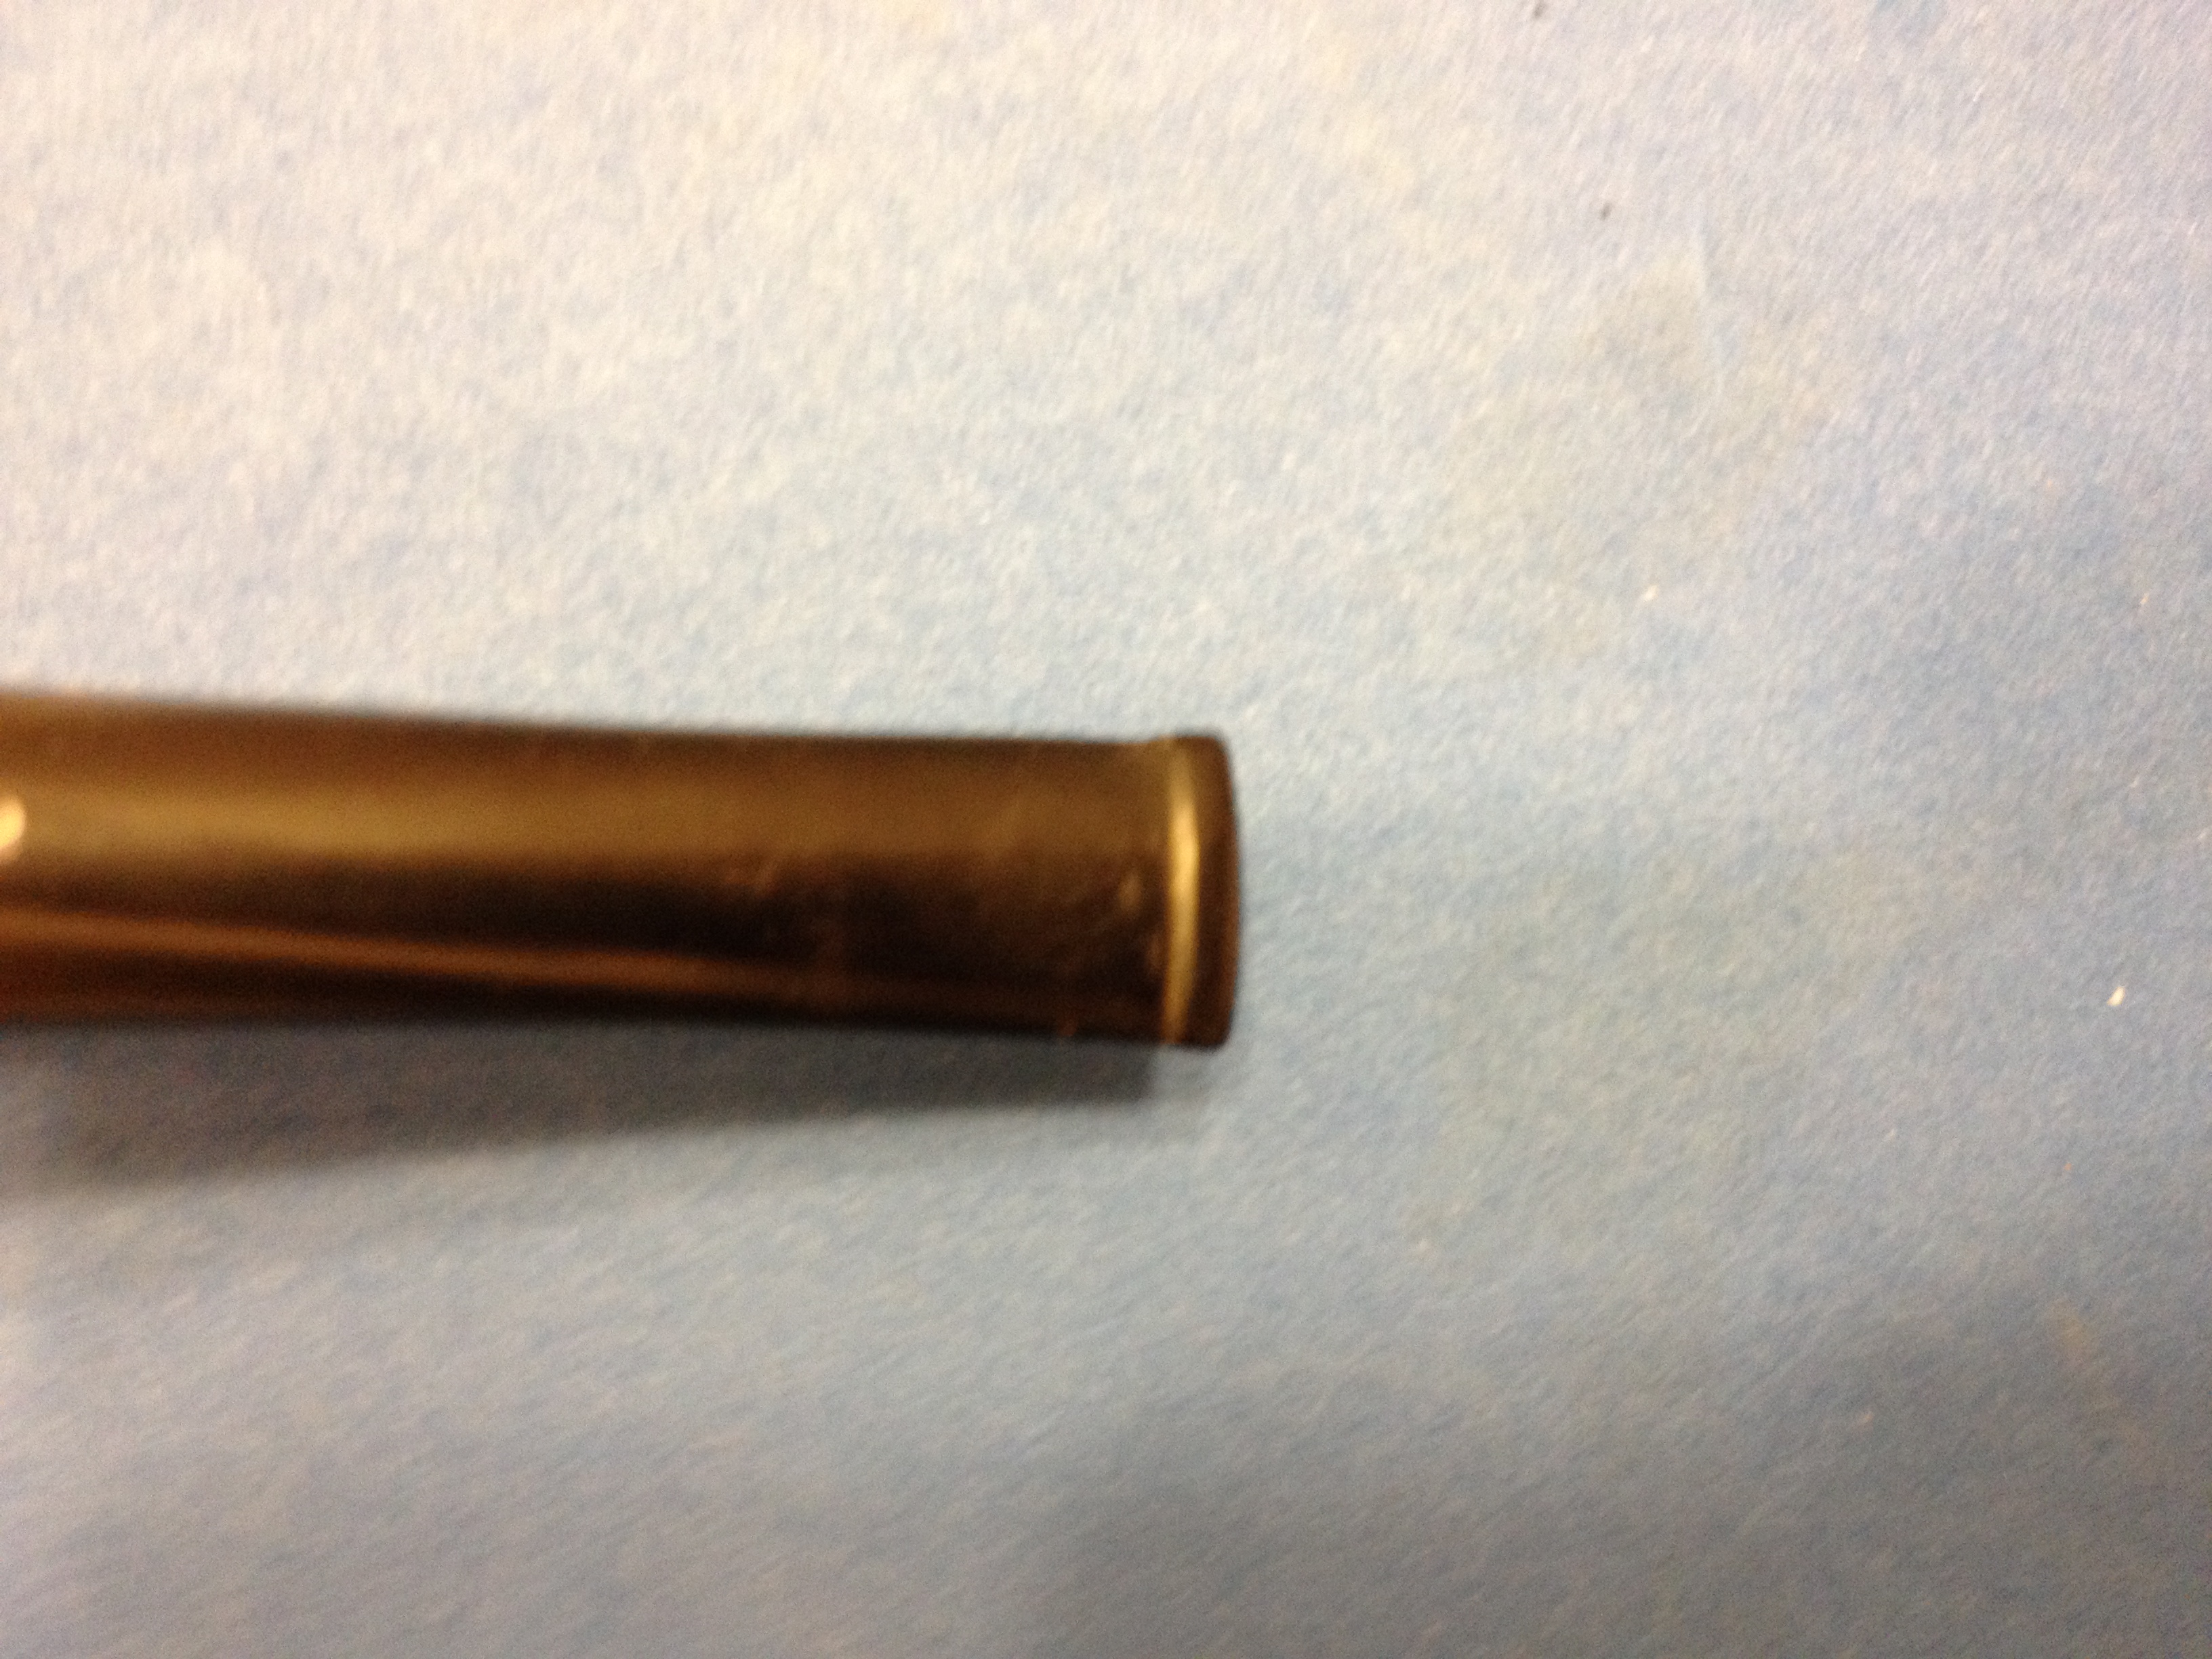
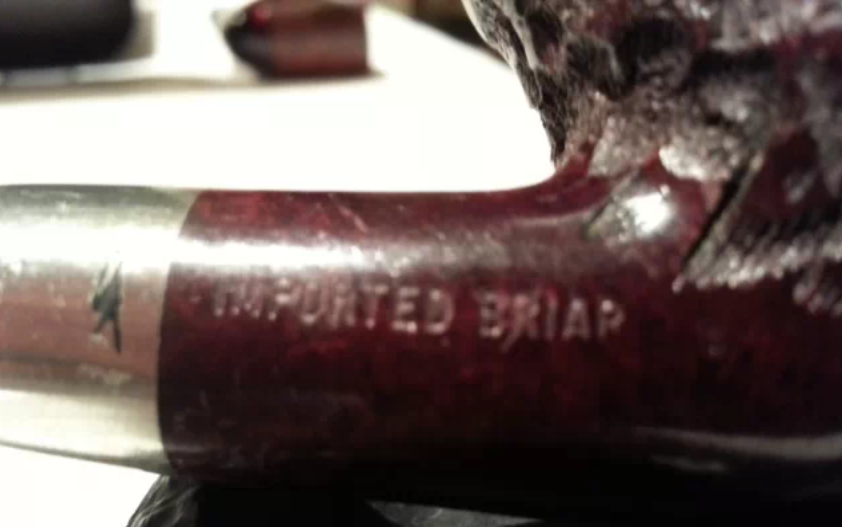
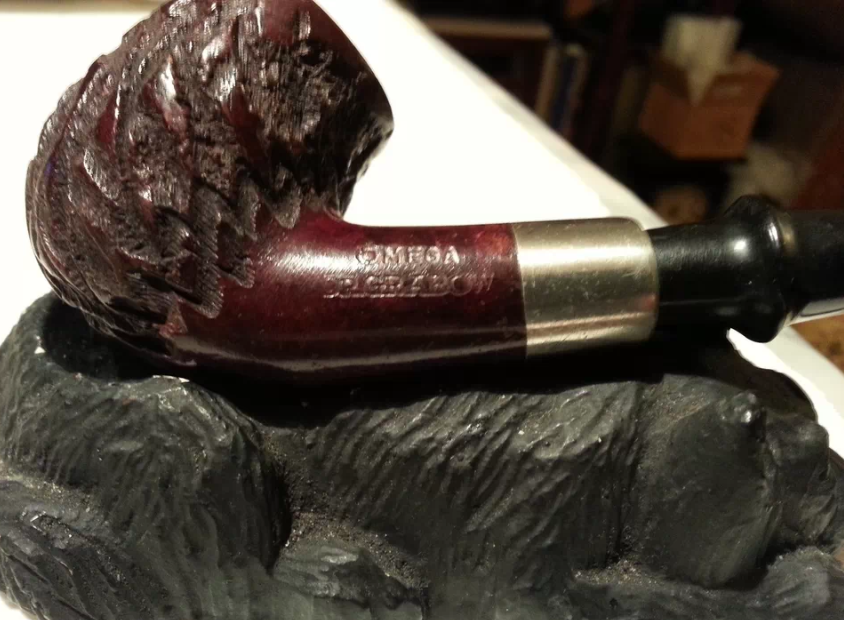
Of late I’ve been admiring system-type pipes. Having never had one I placed a bid on a lot of four old pipes – two I had little interest in – two of which were Dr Grabow Omegas, a smooth and a rusticated. Here are a few photos from the seller; I forgot (again) to take before and even some along-the-way shots.
IMG_0286.PNG

IMG_0287.PNG

IMG_0285.PNG

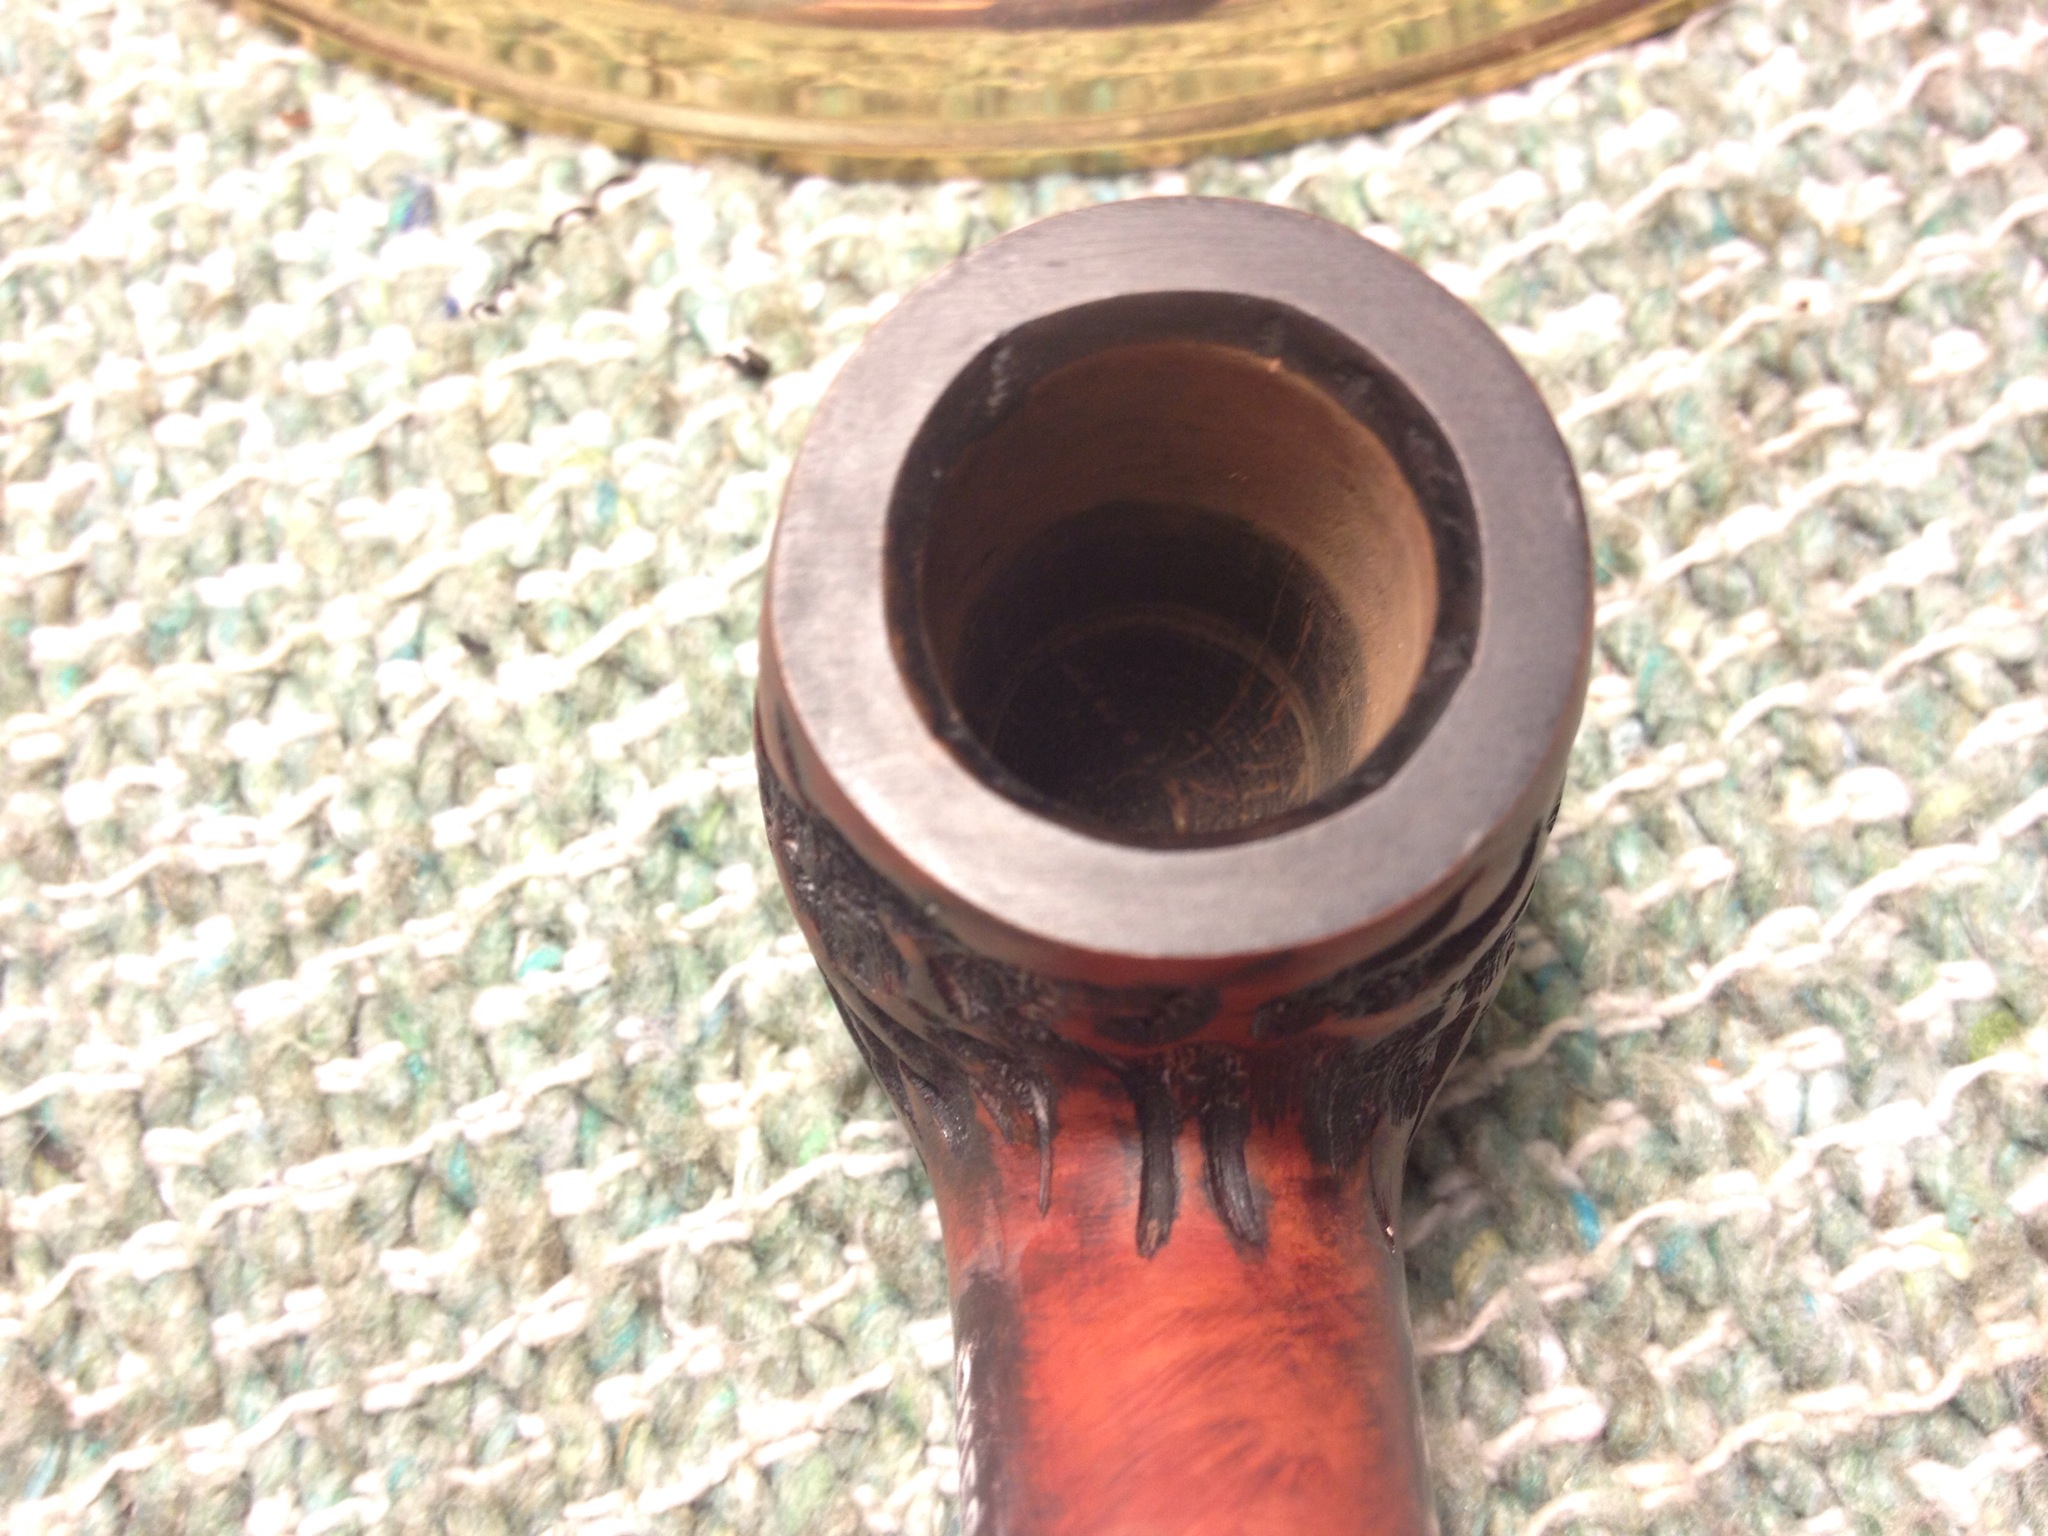
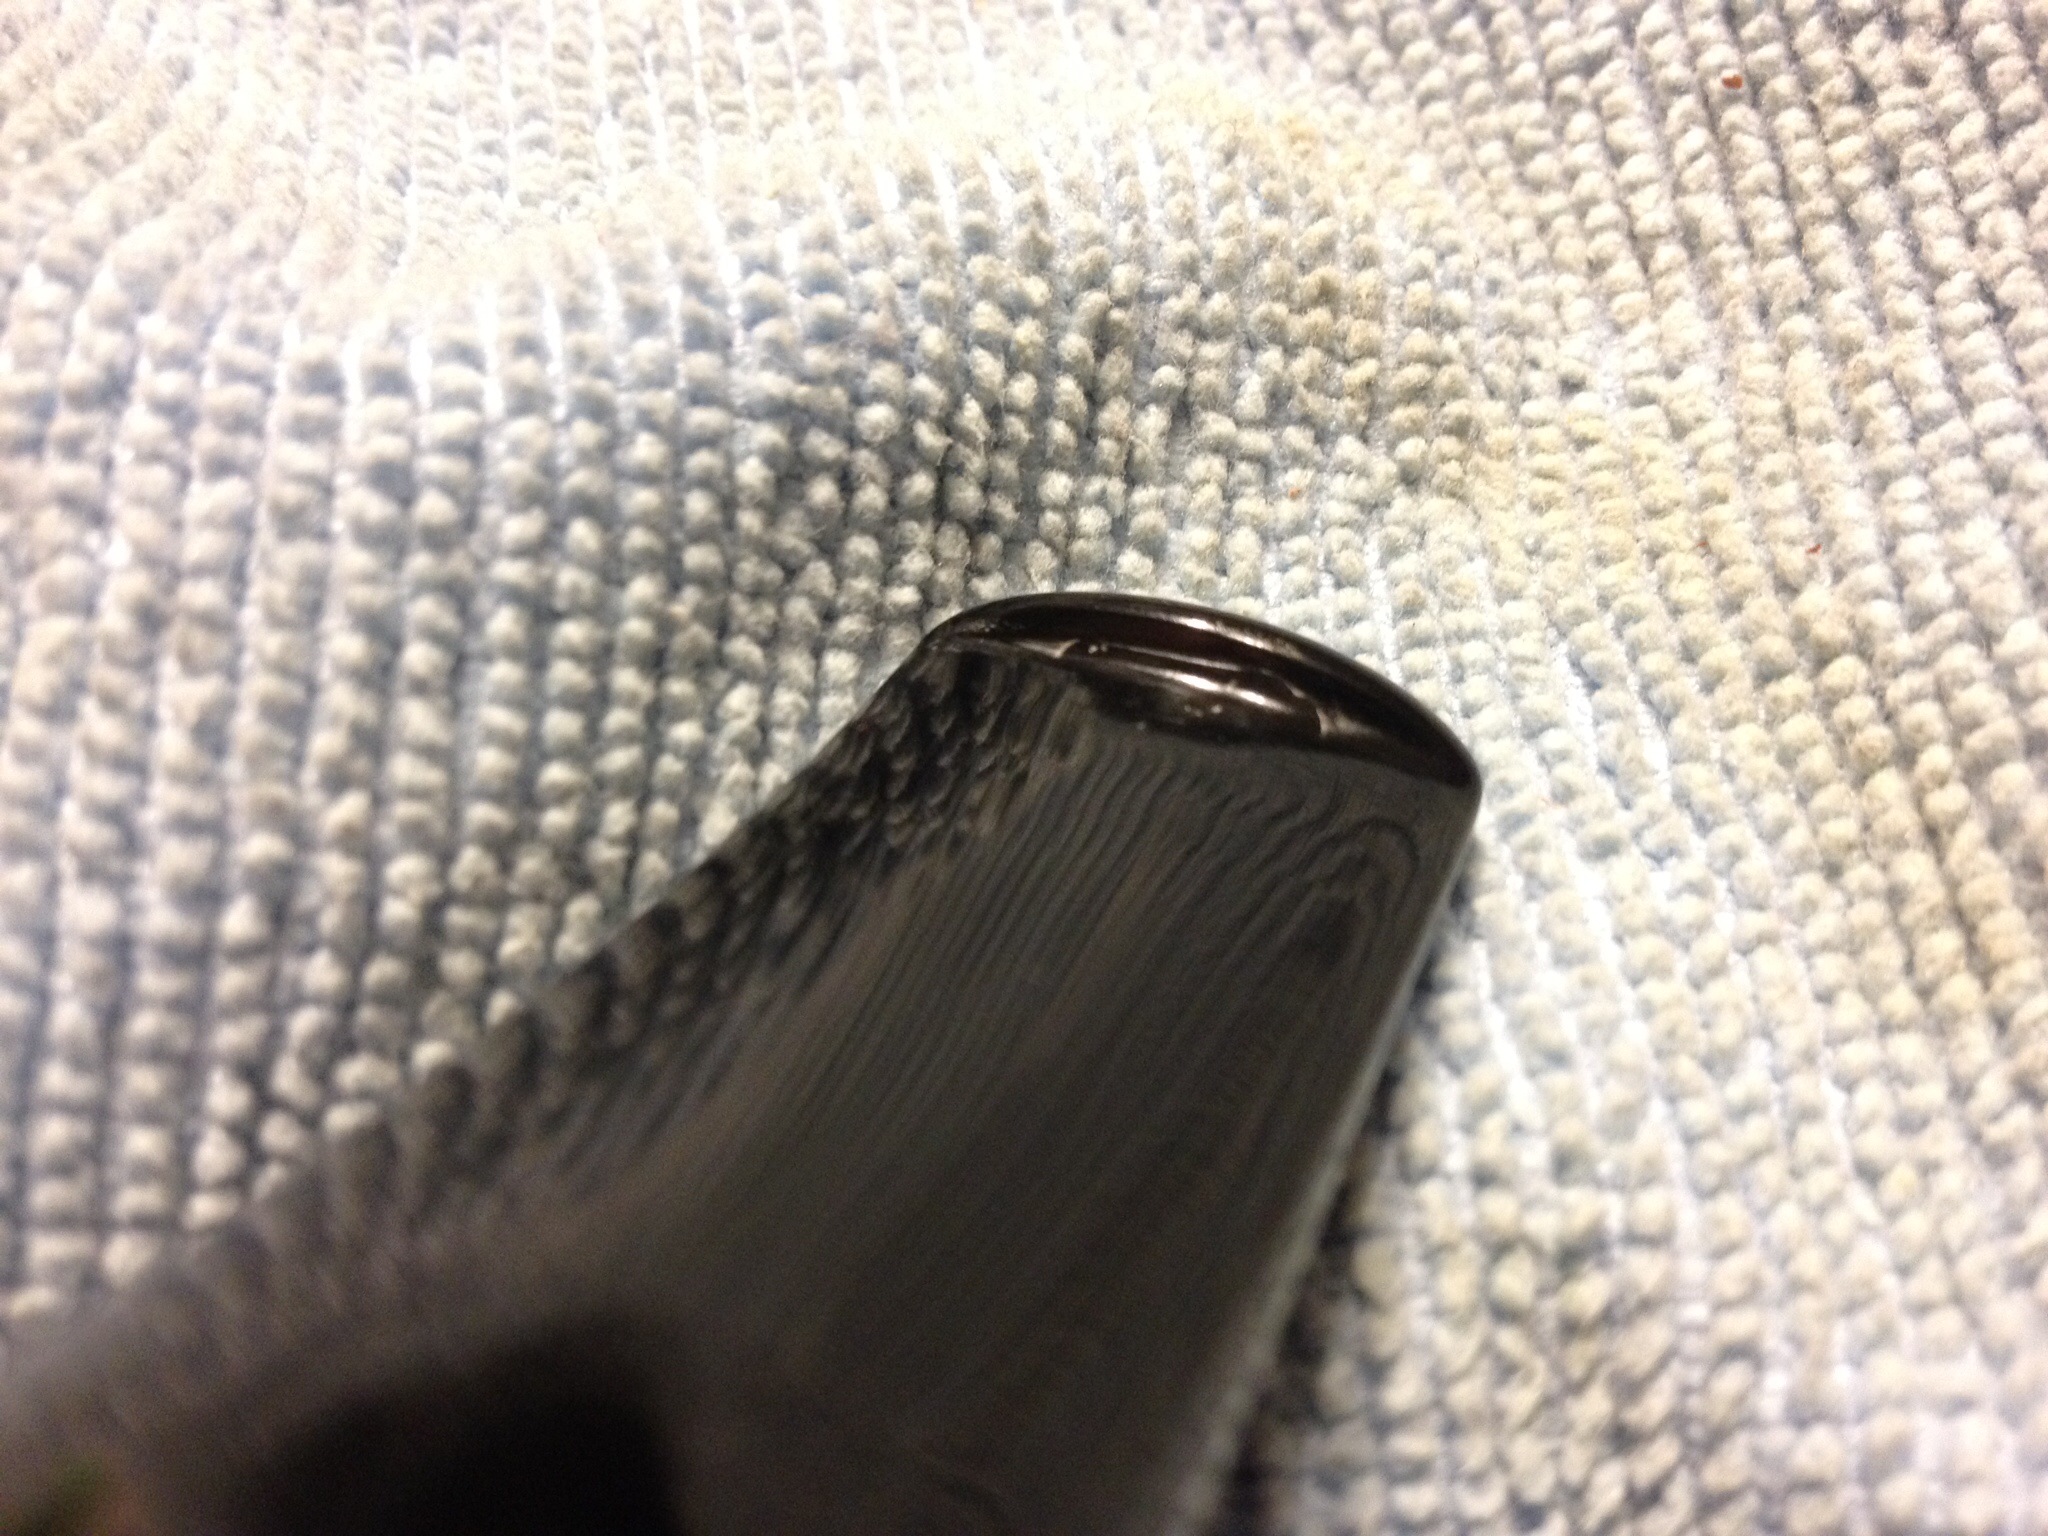
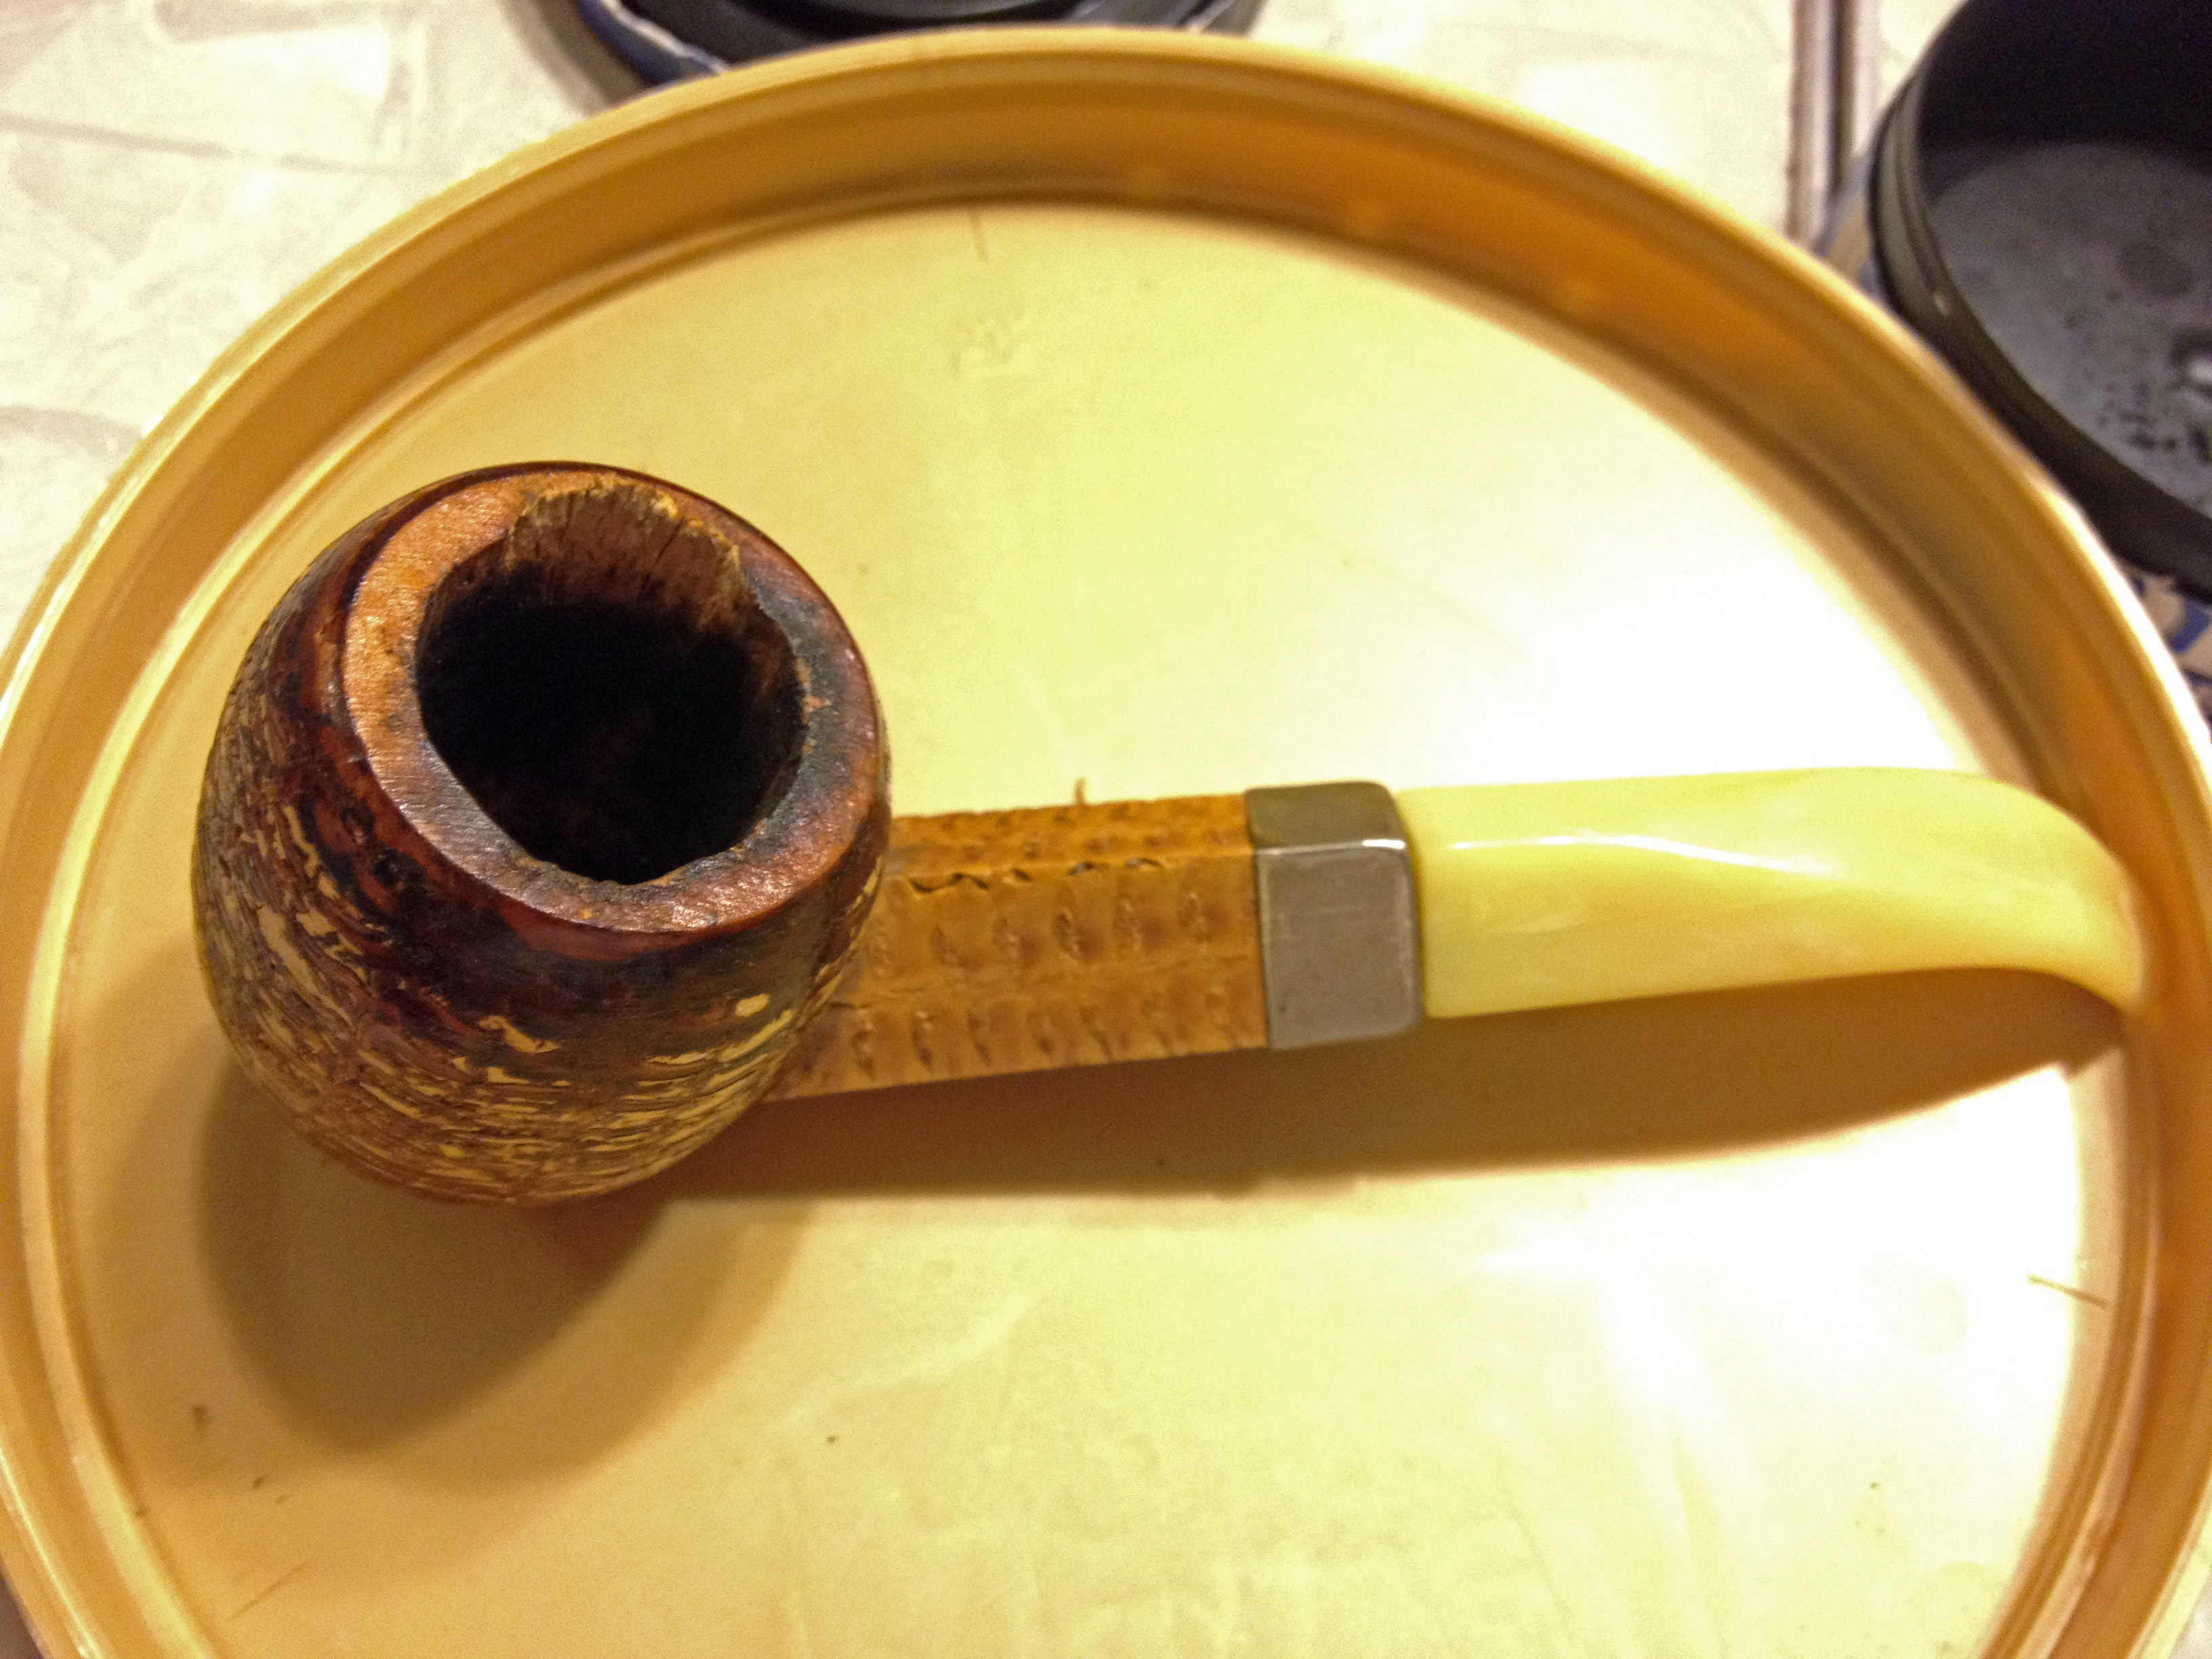
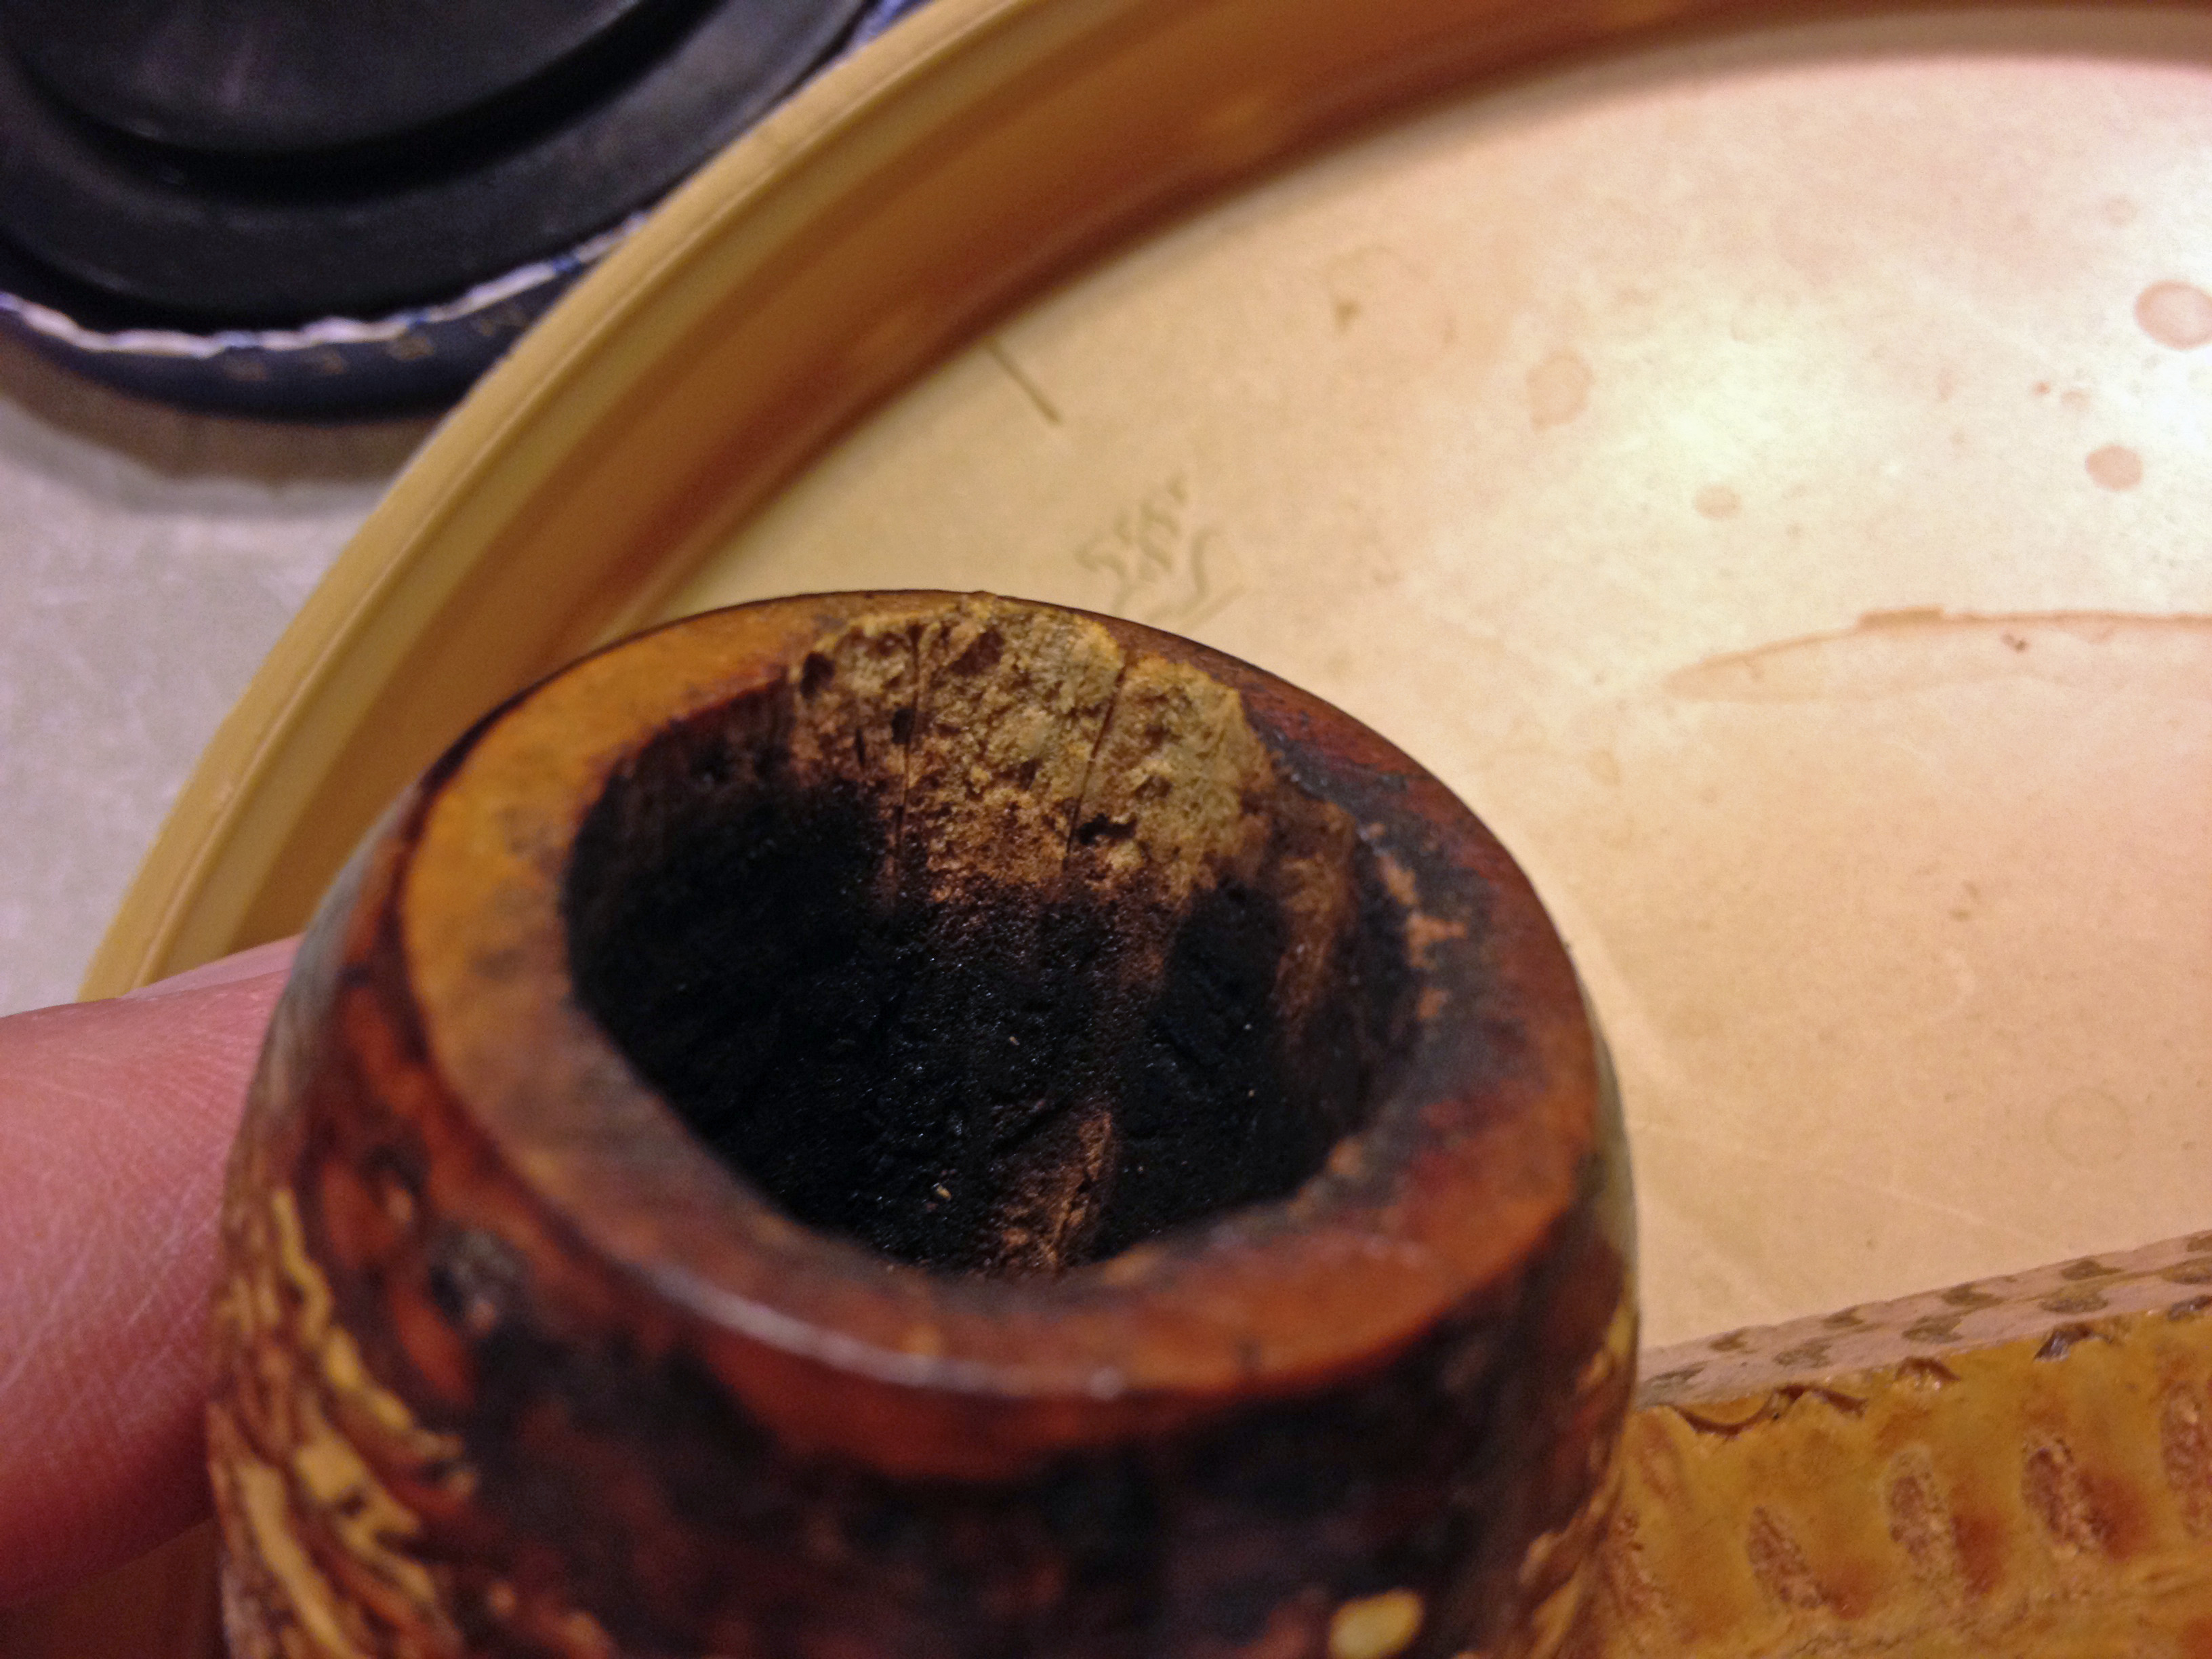
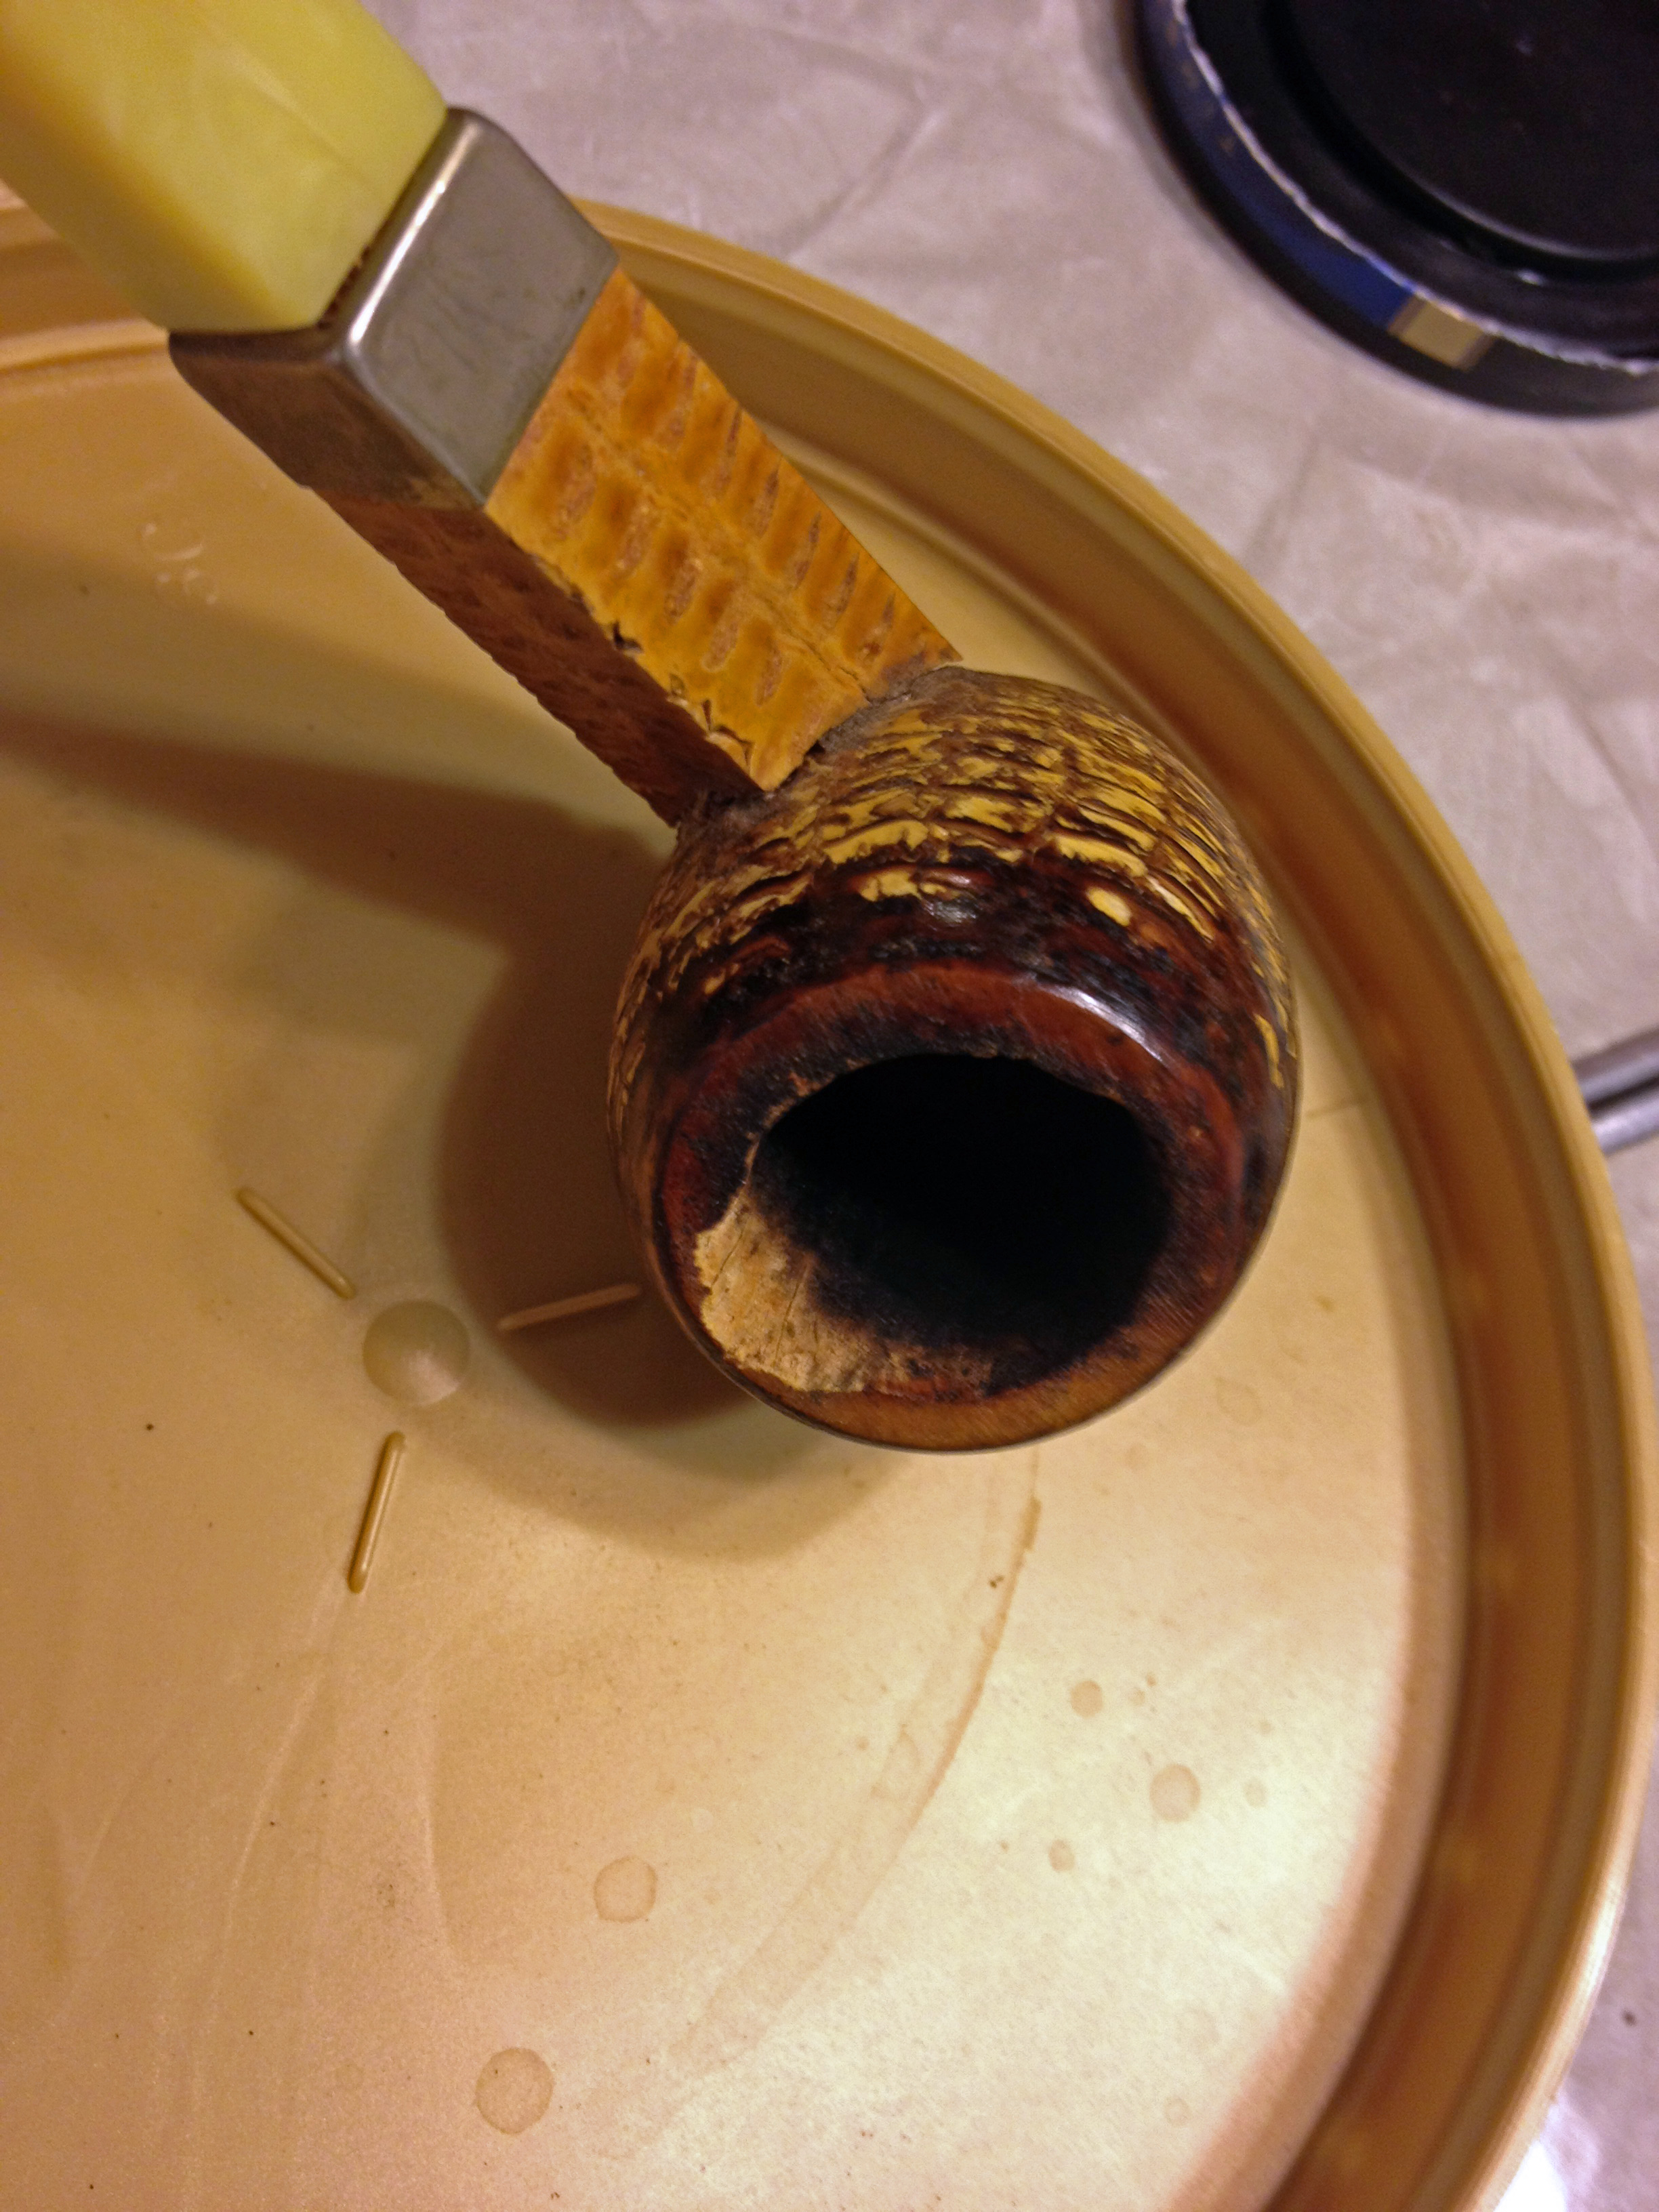
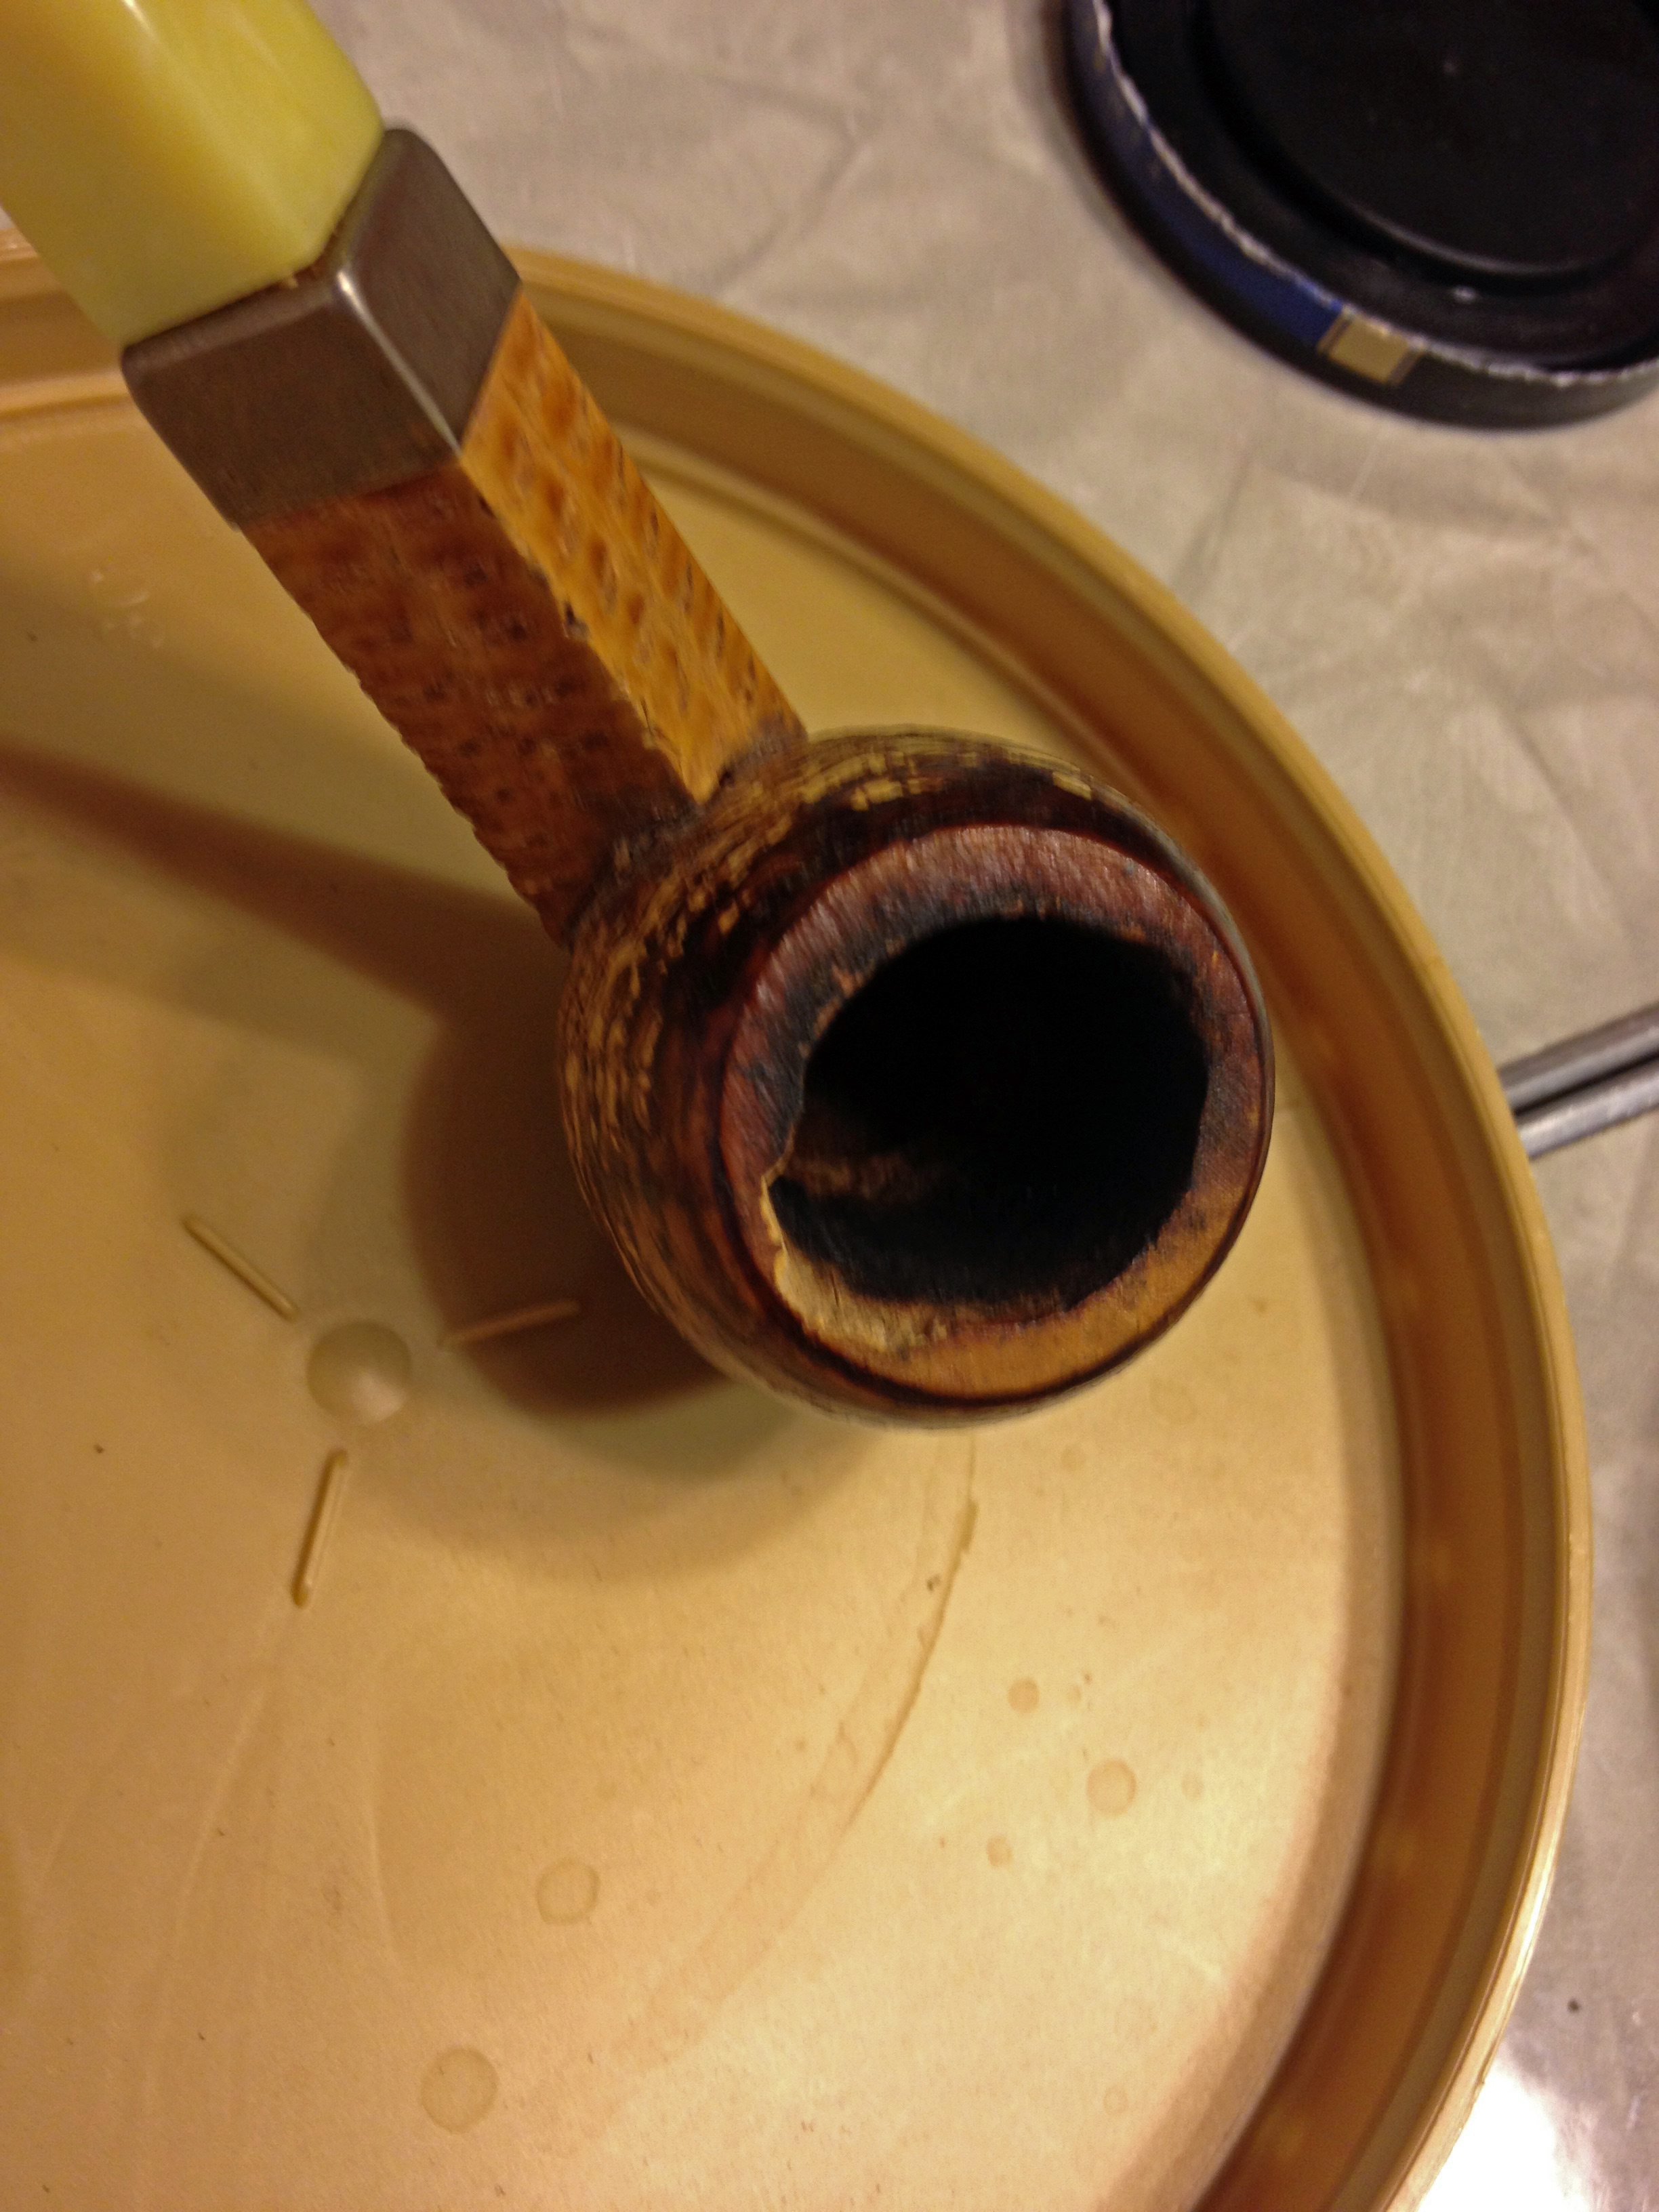
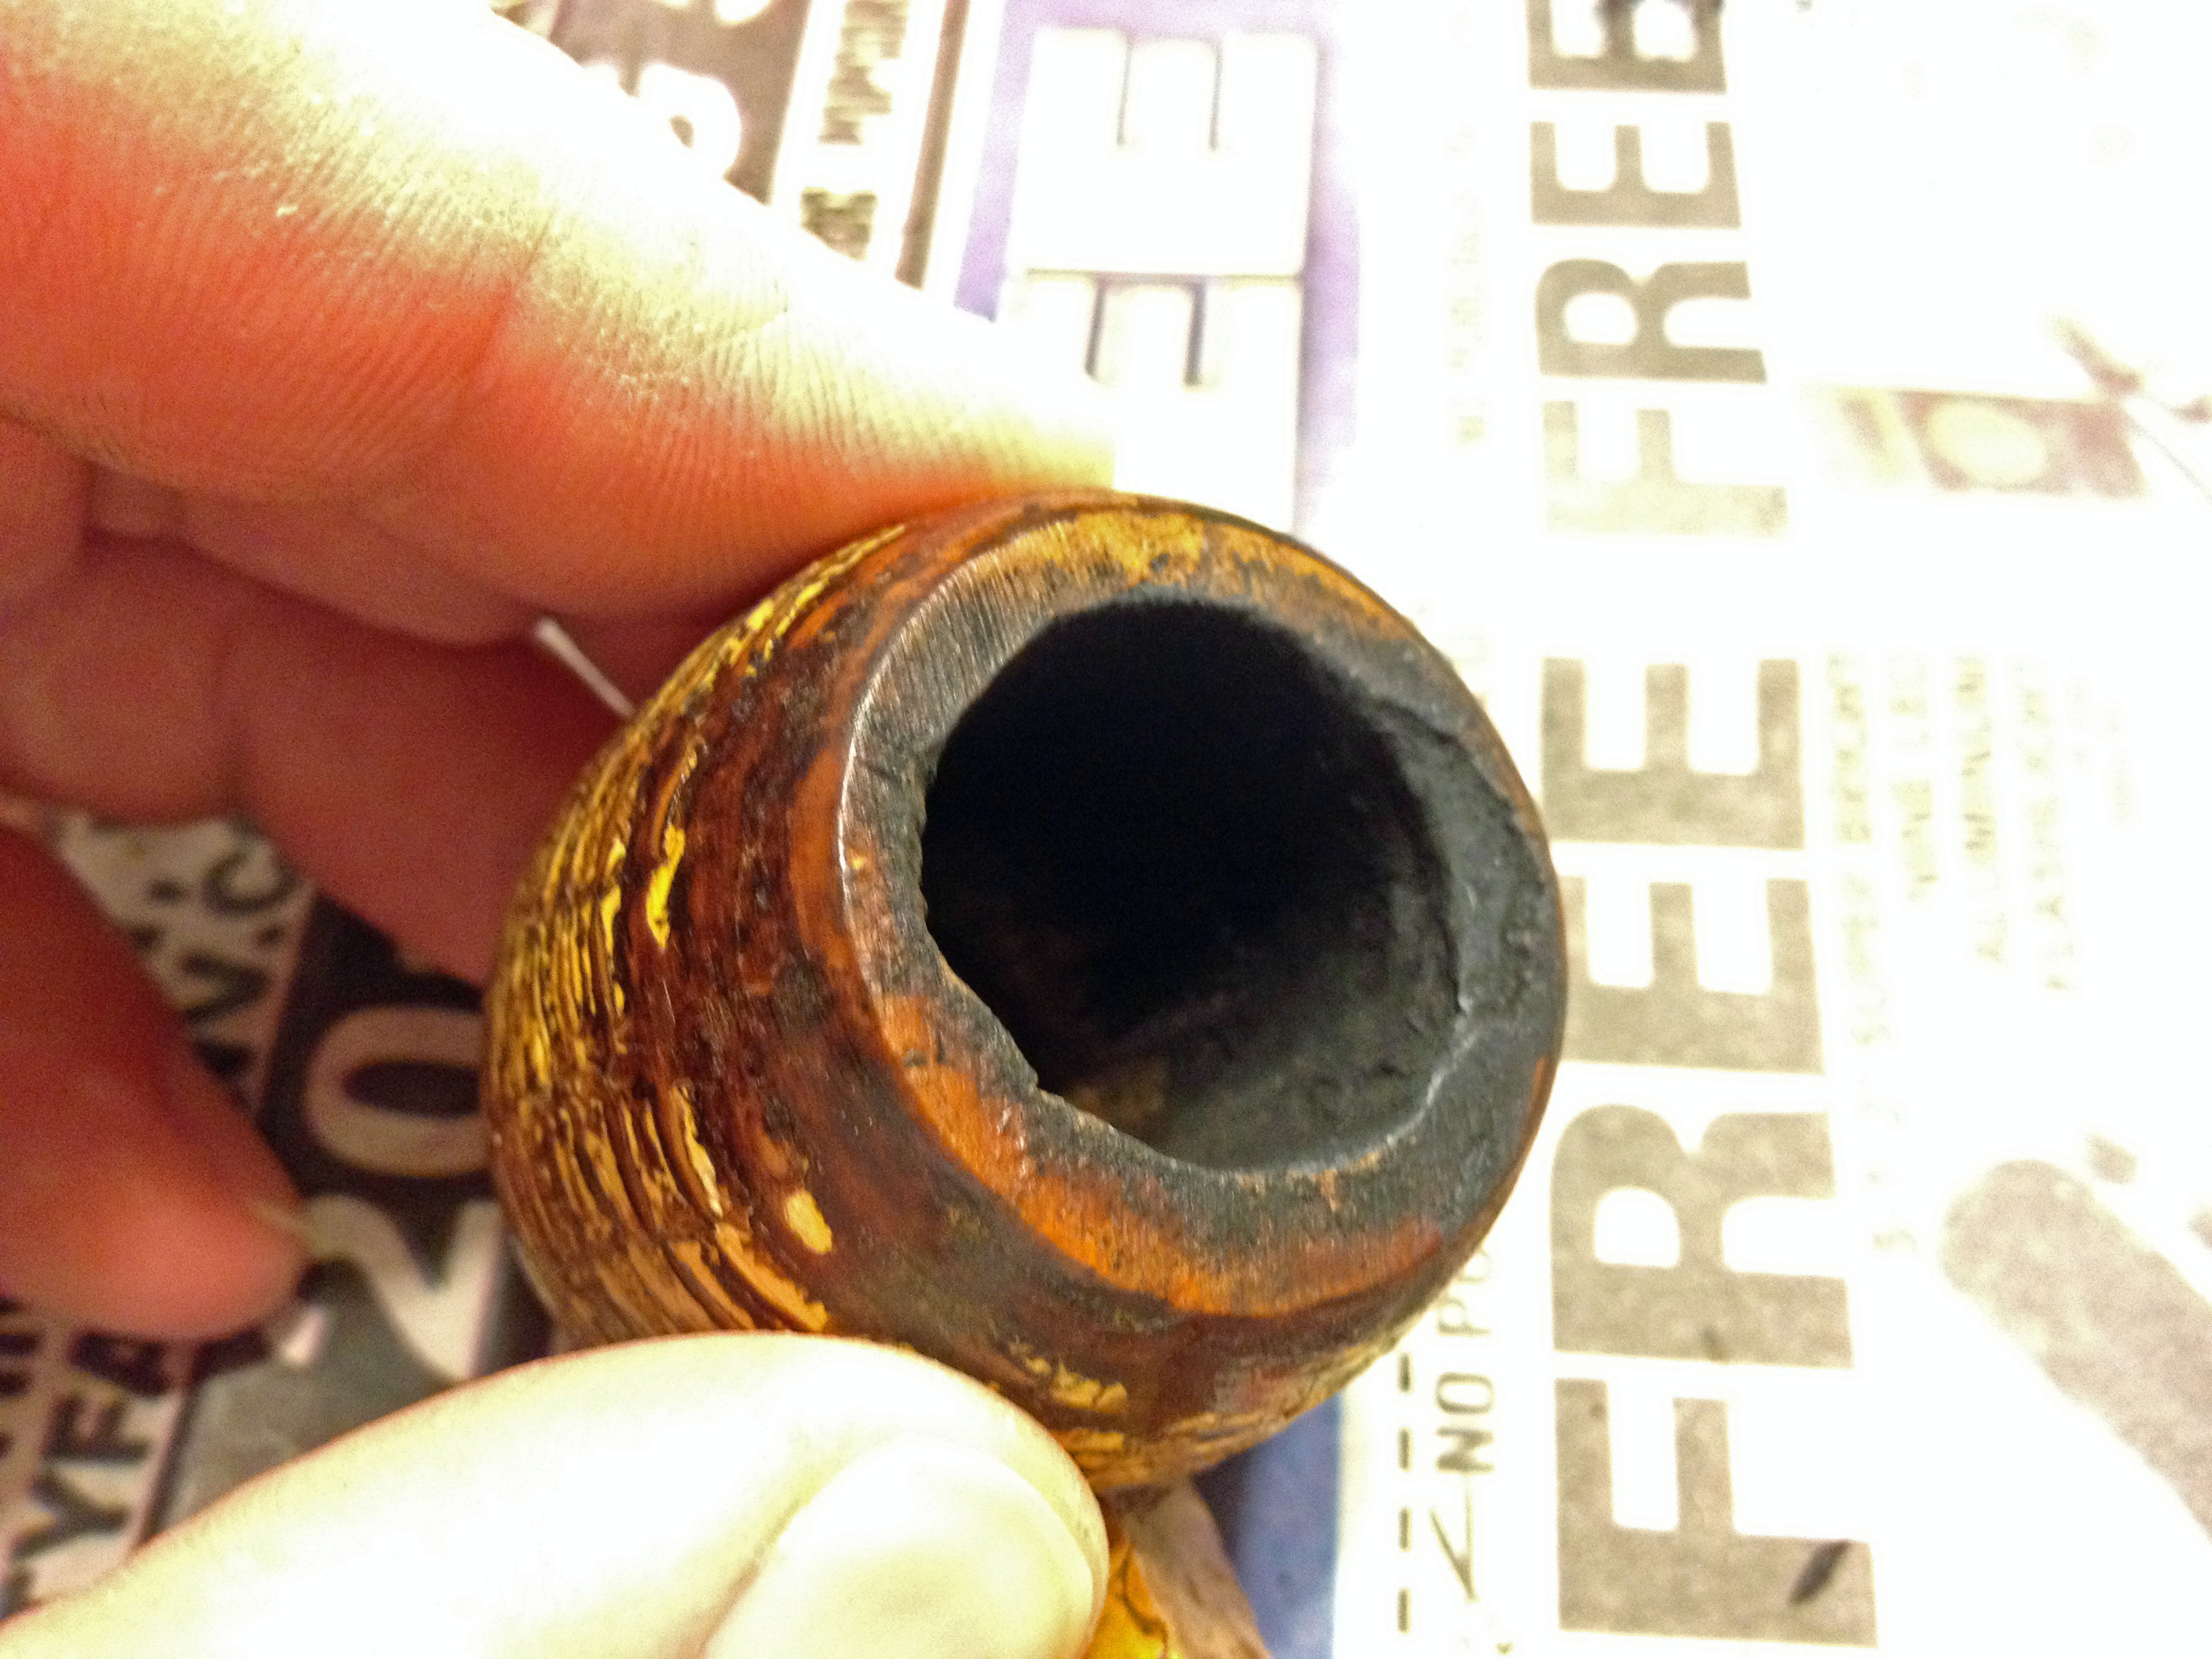
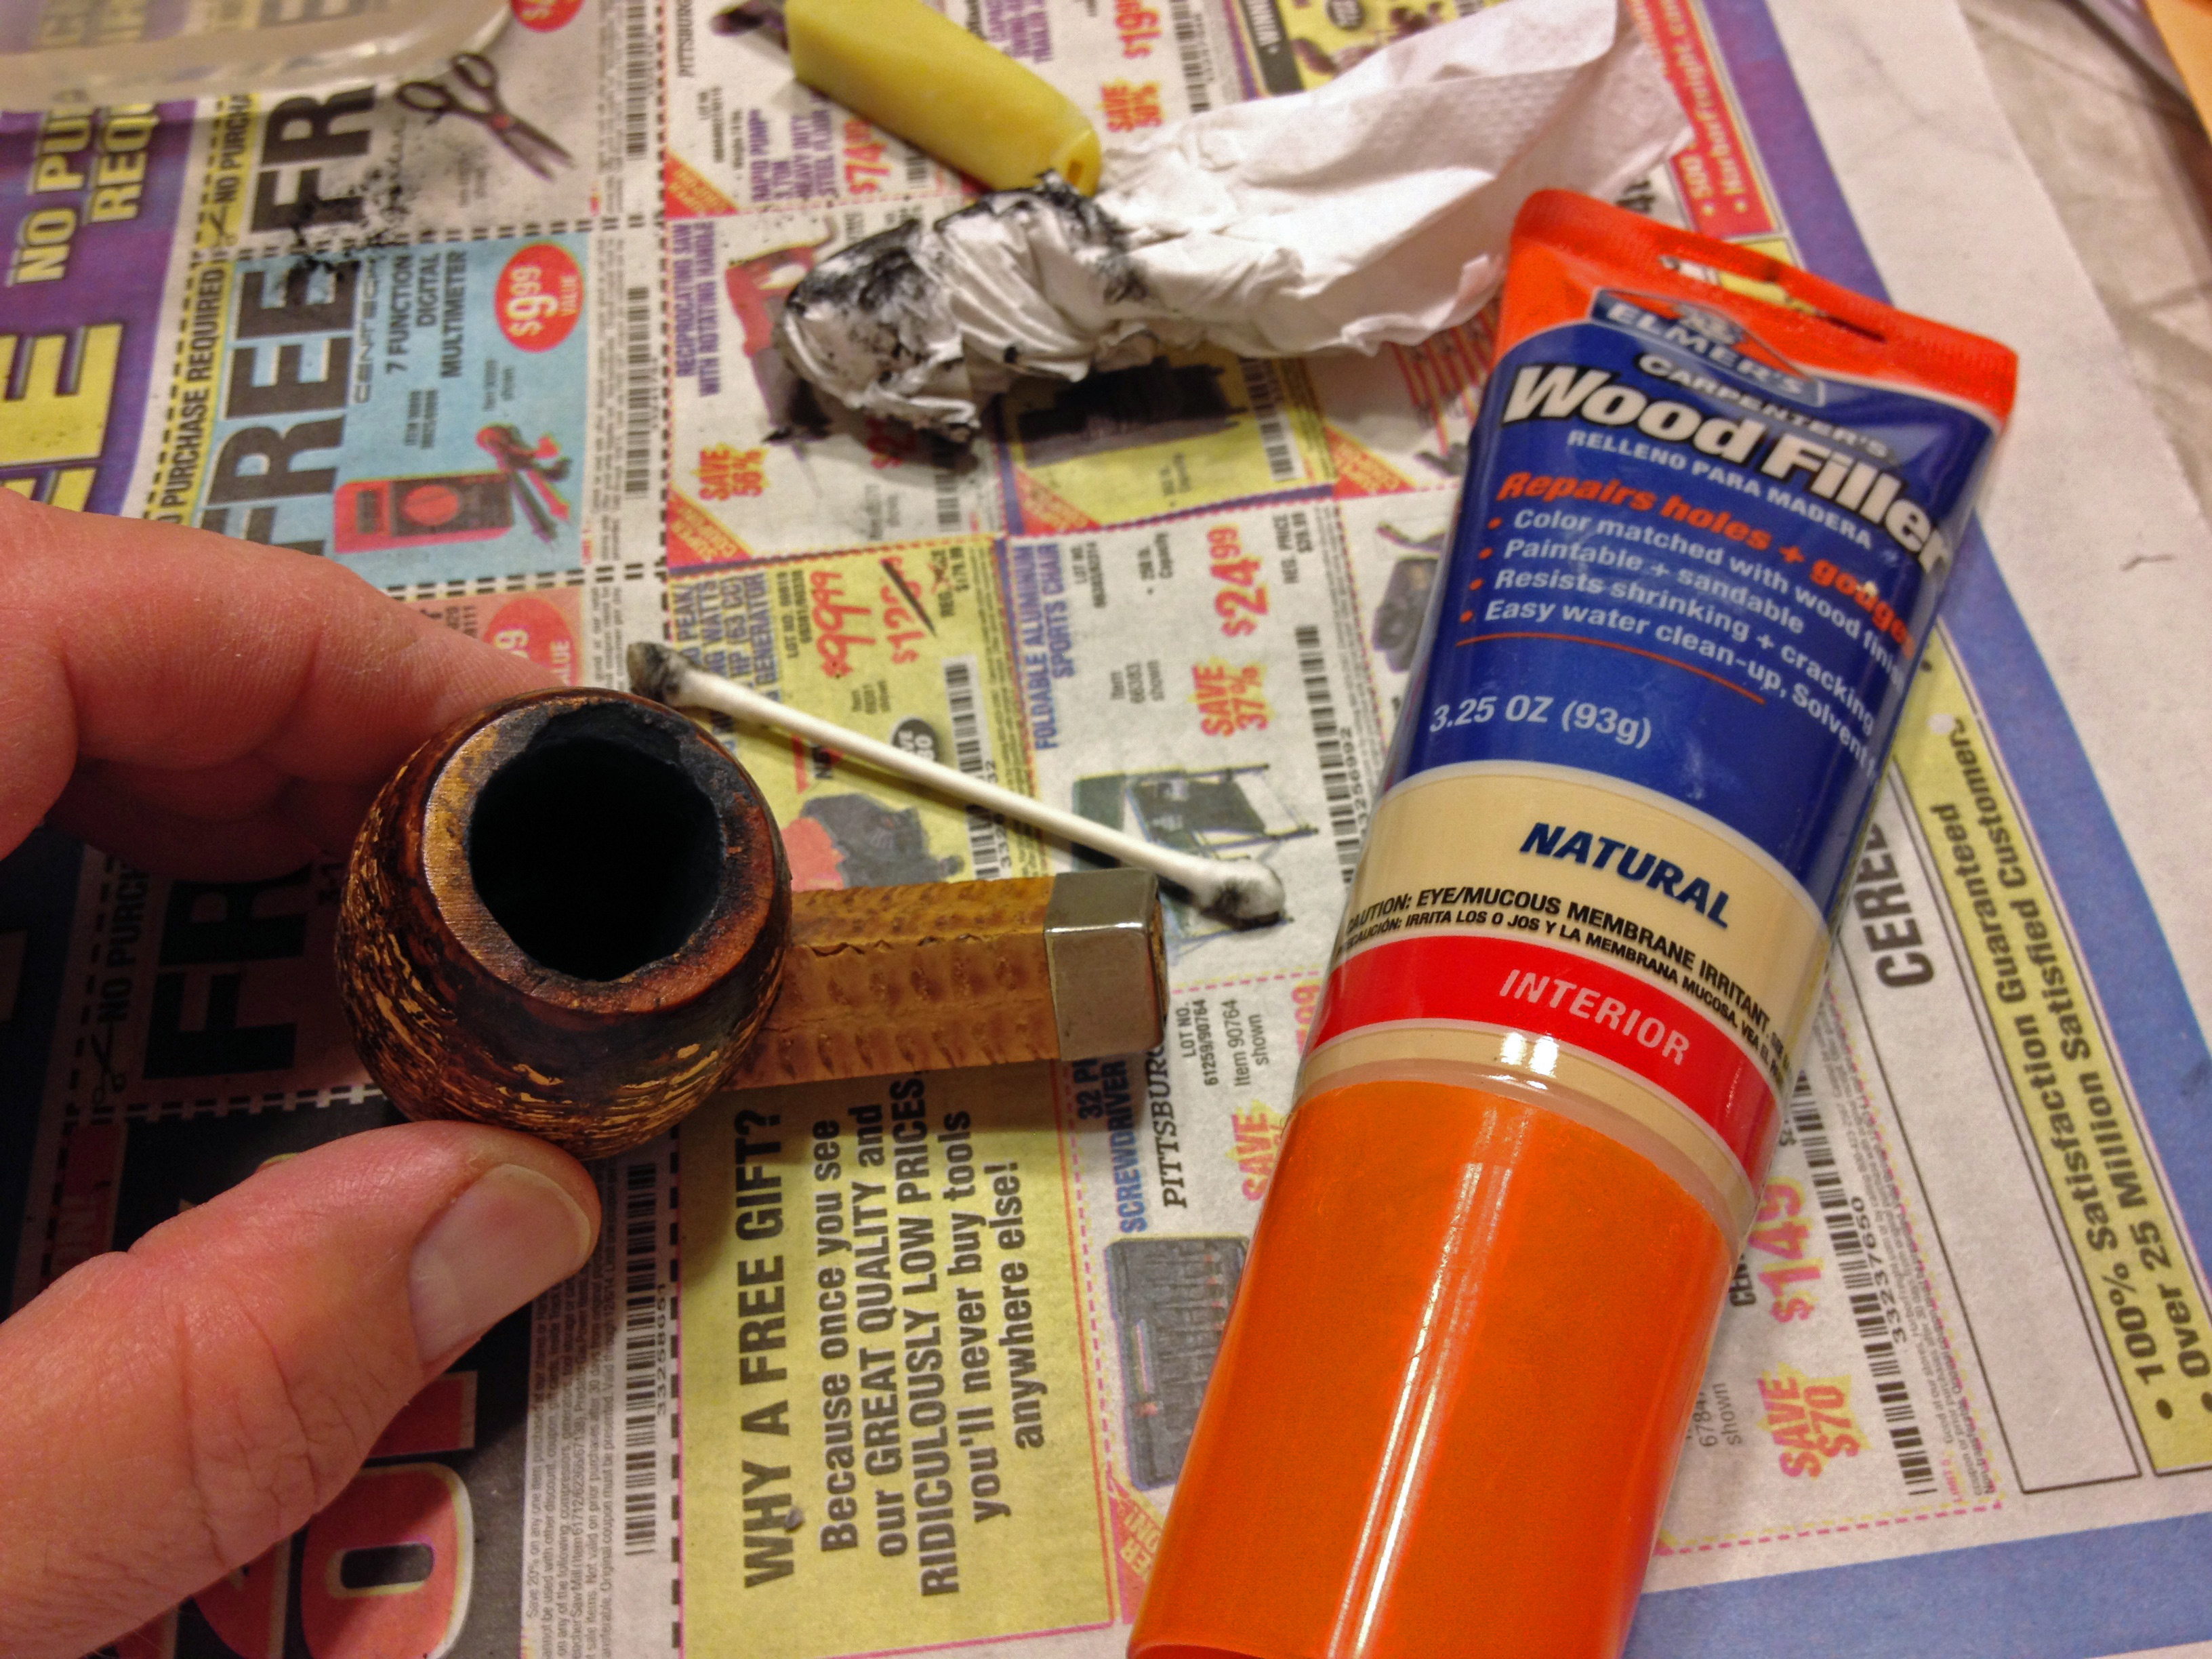
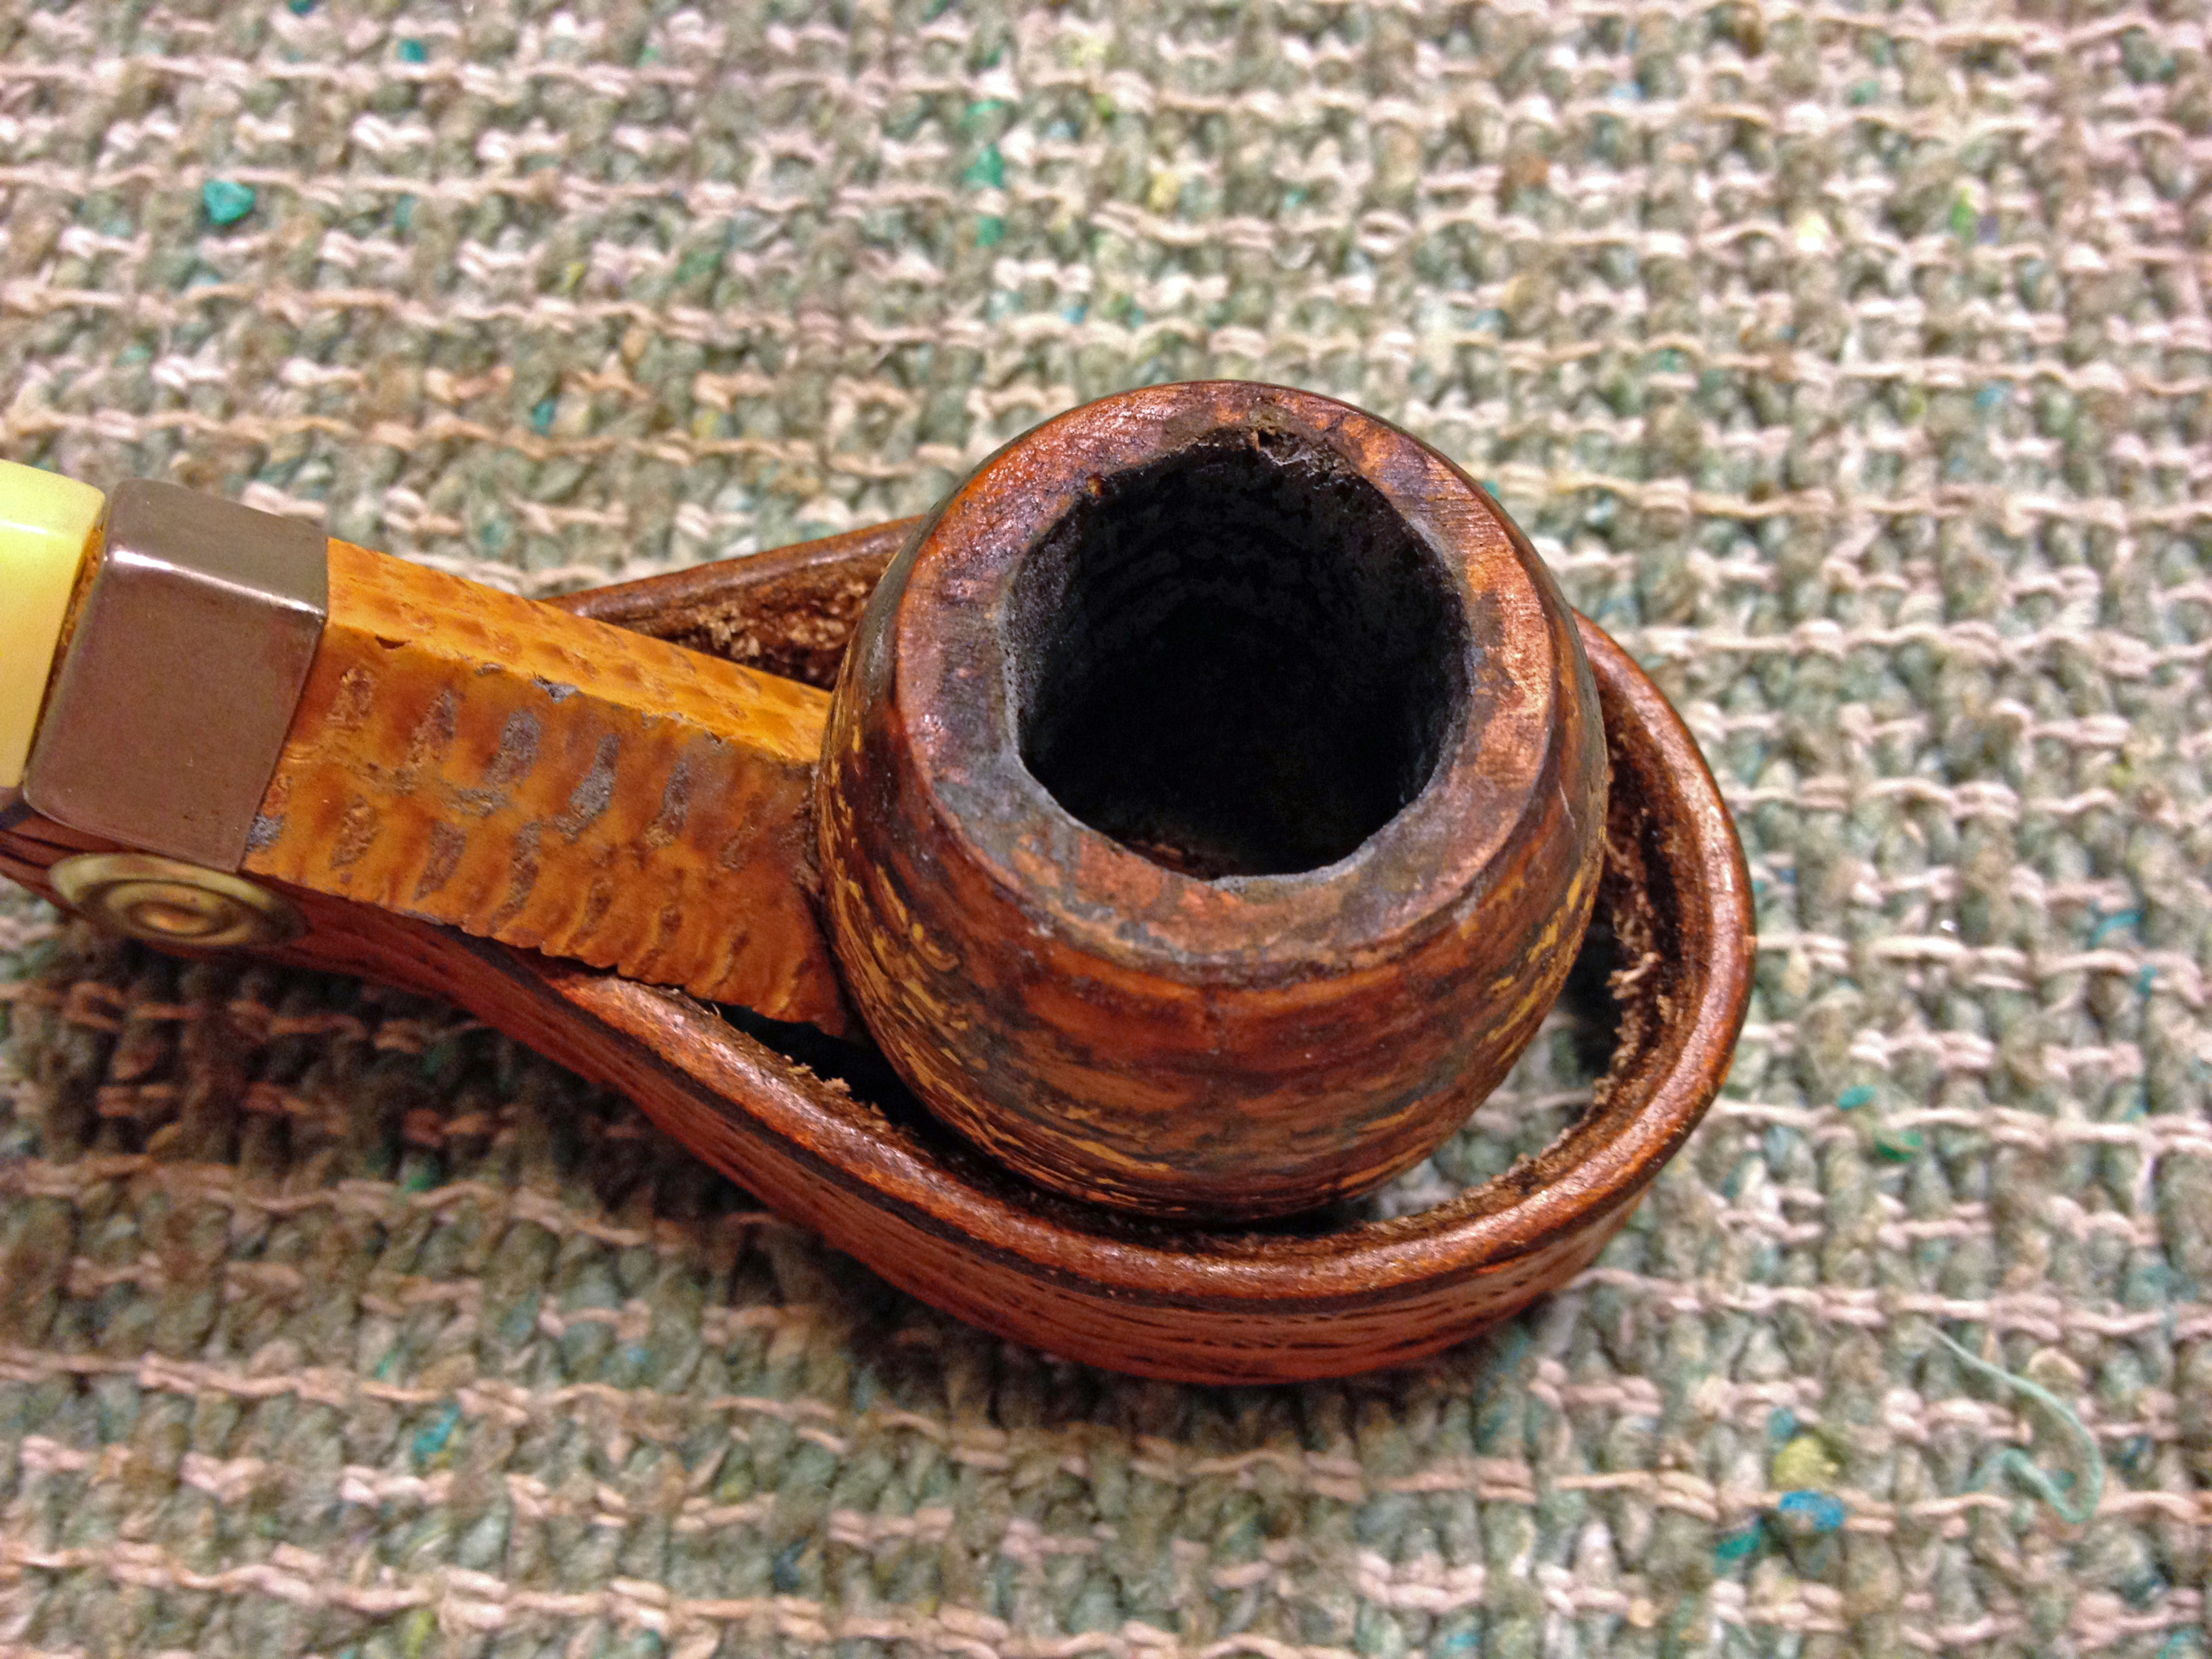
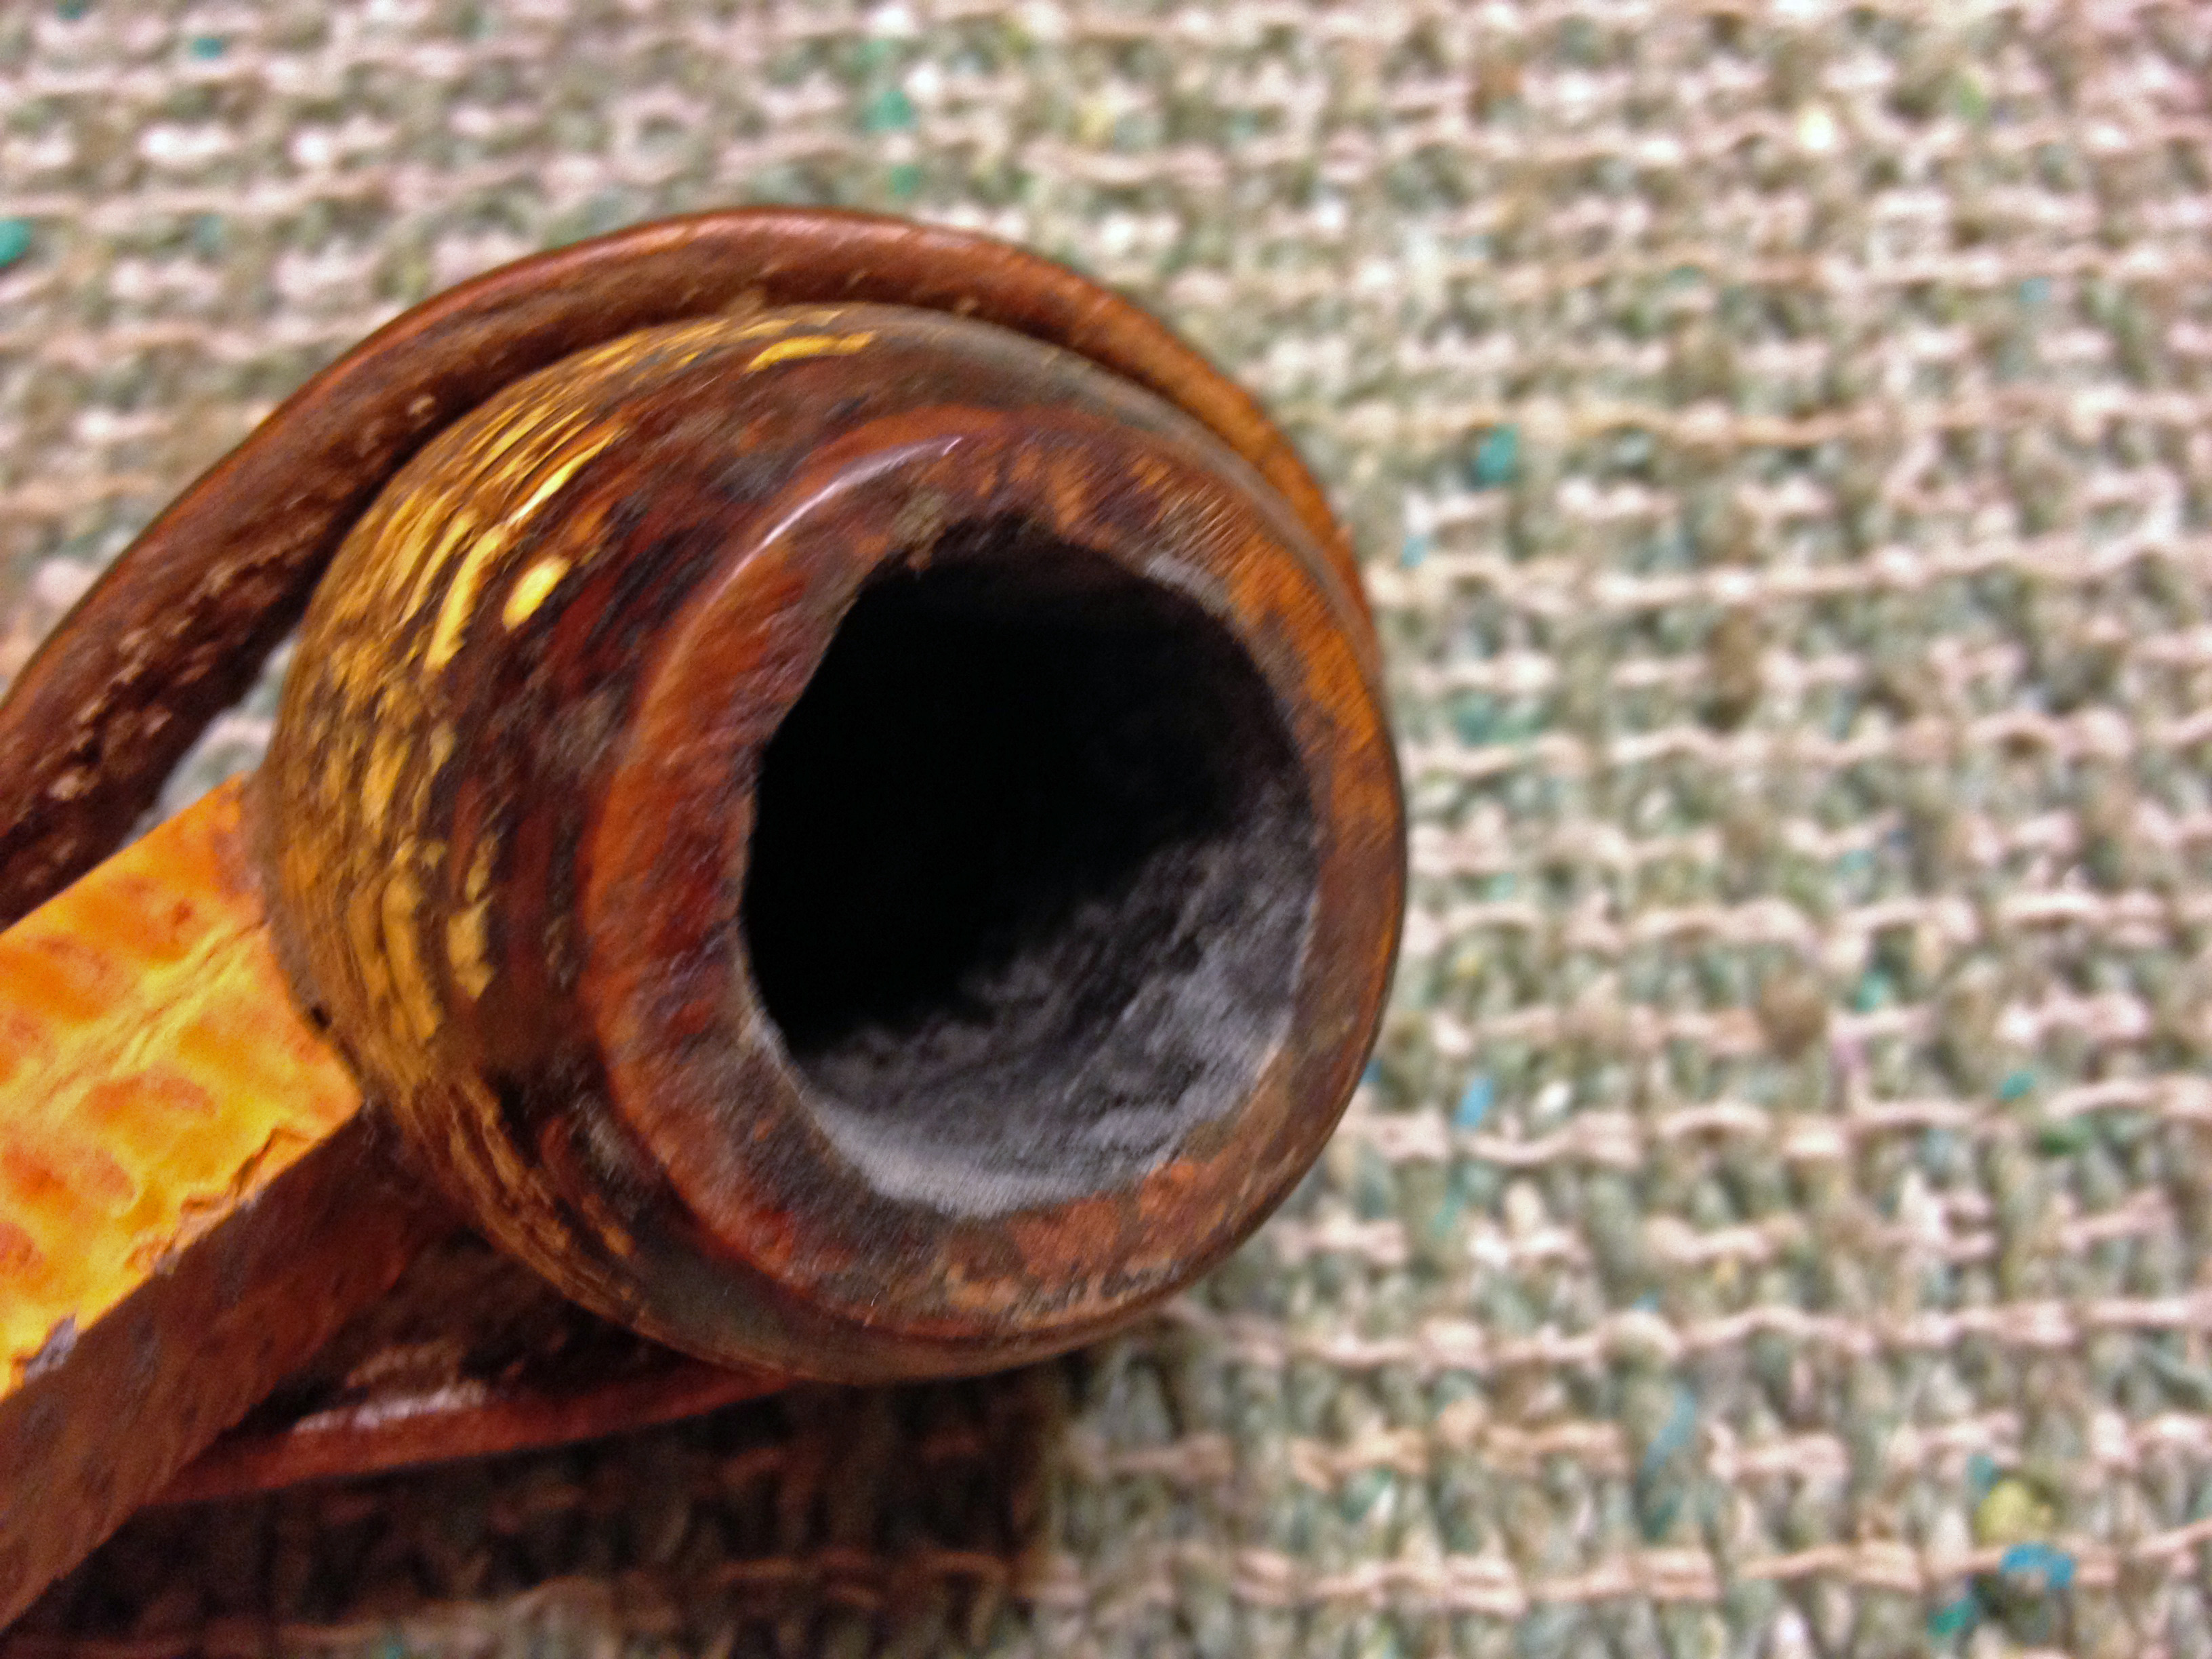
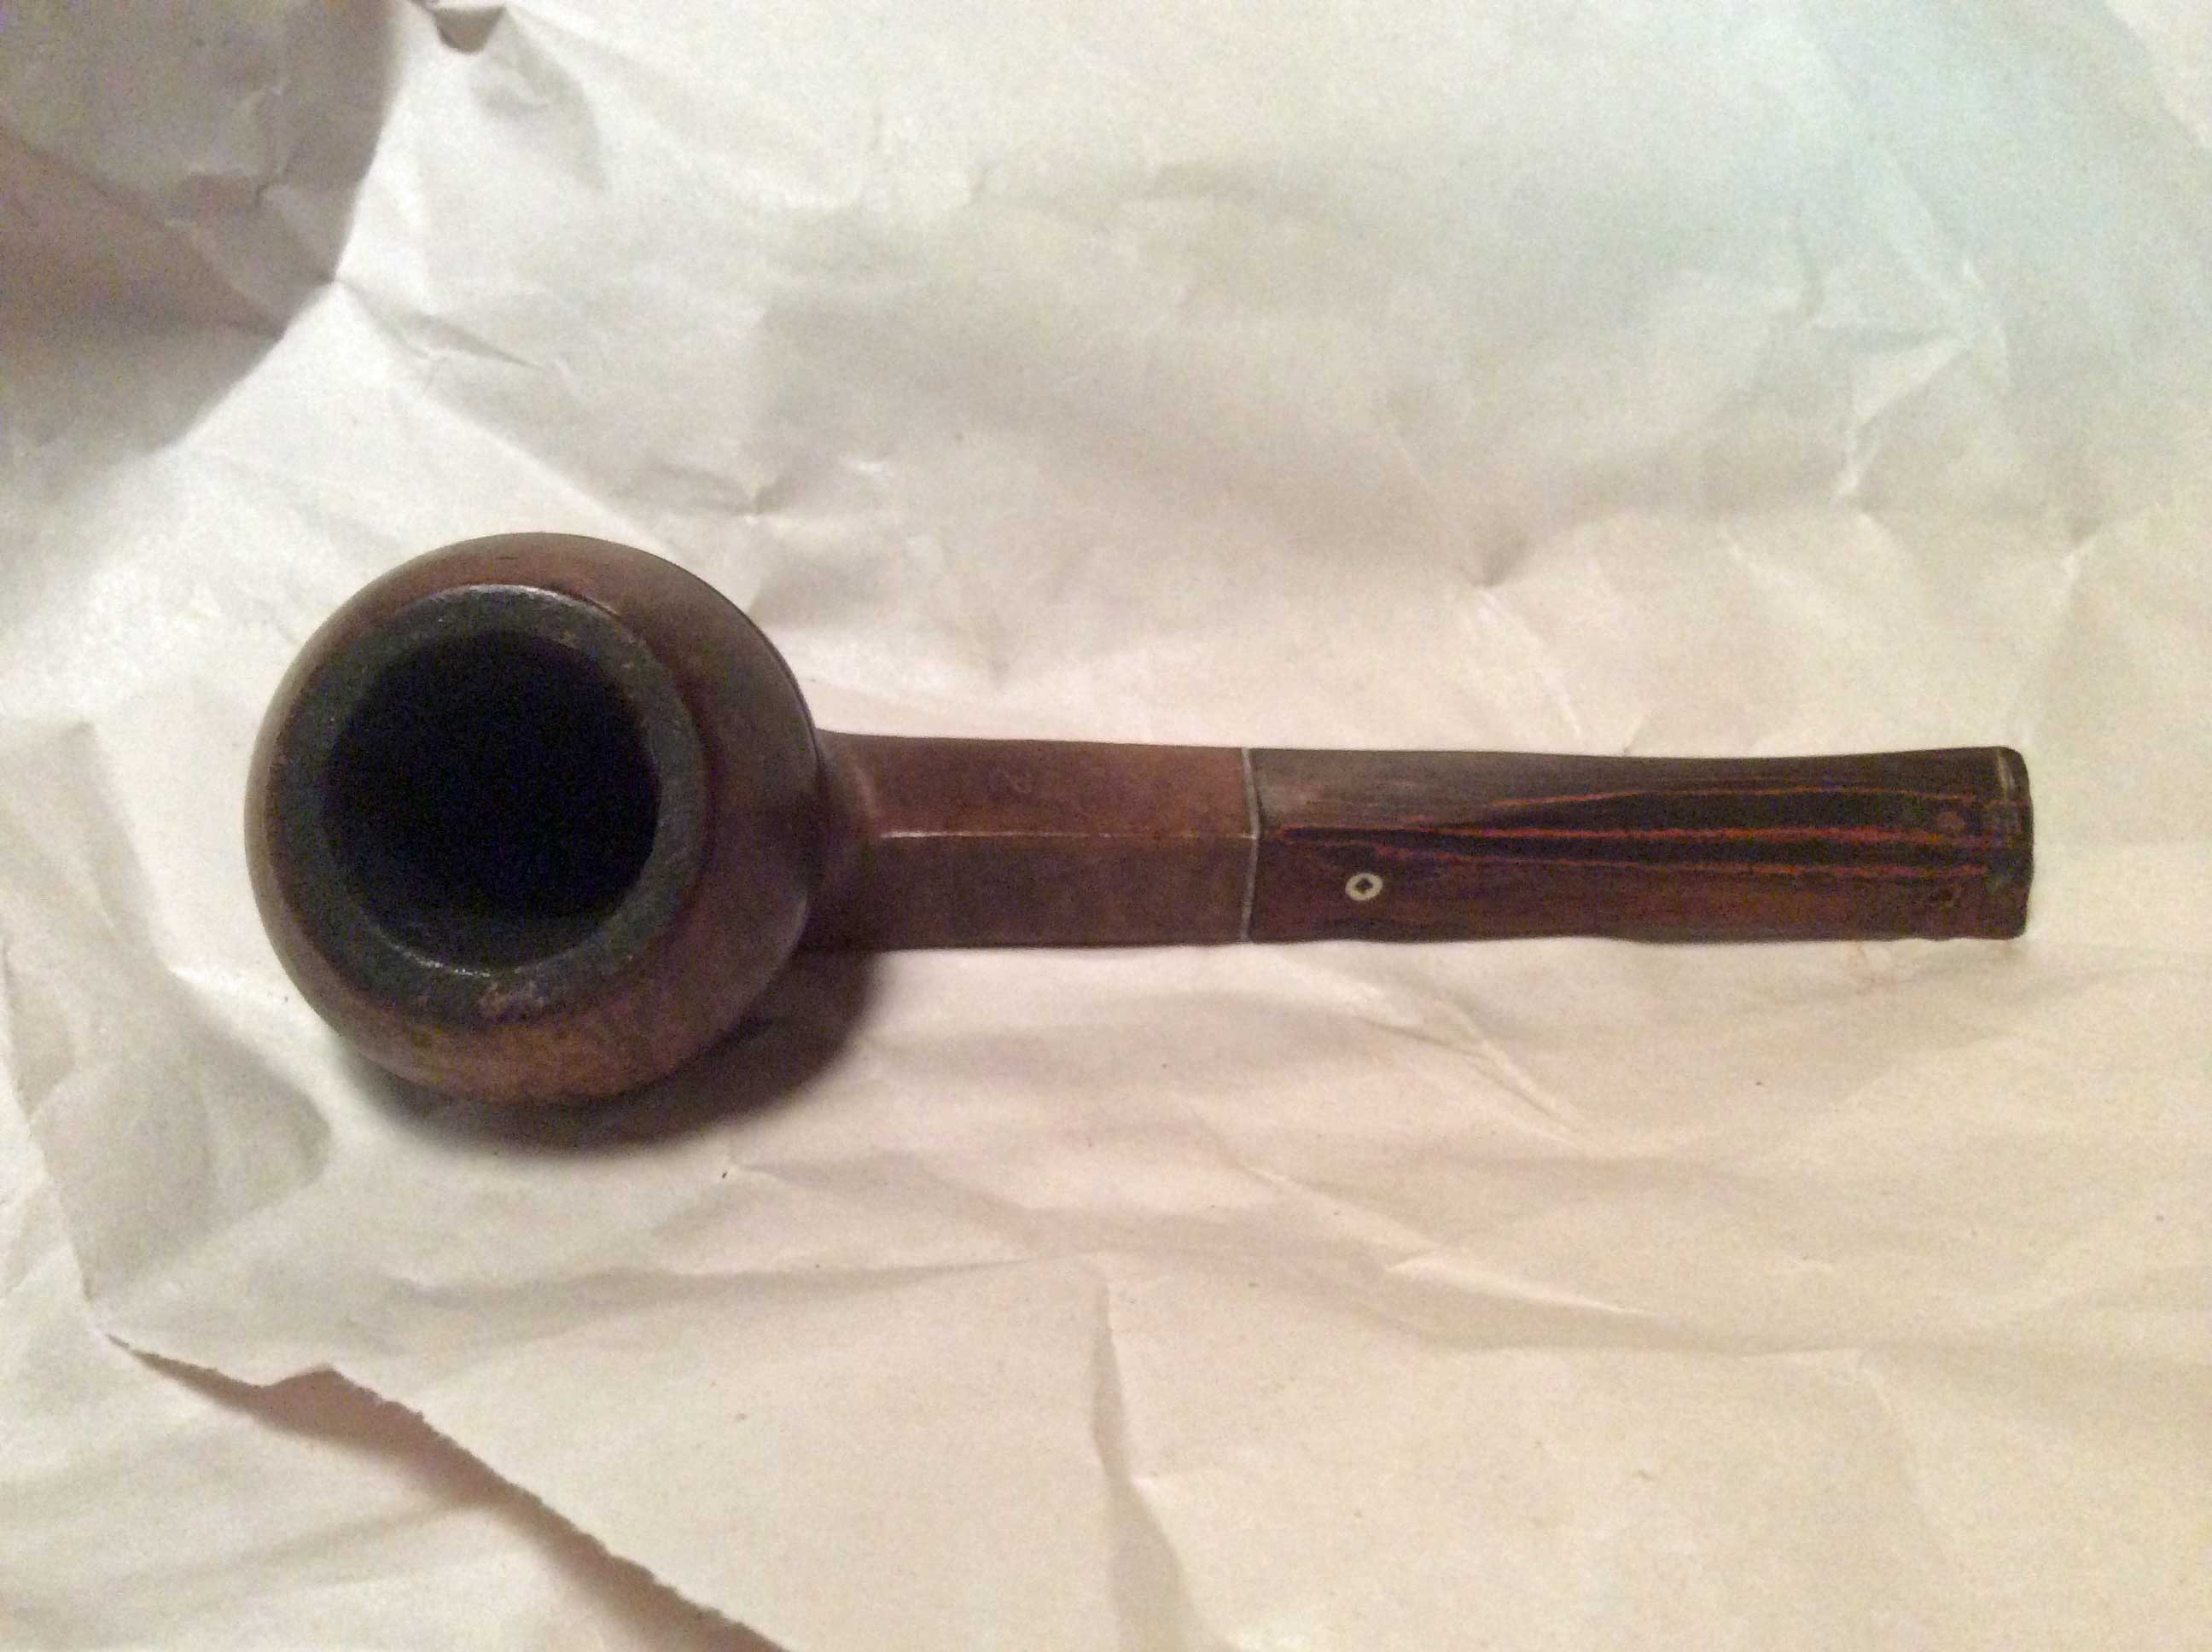
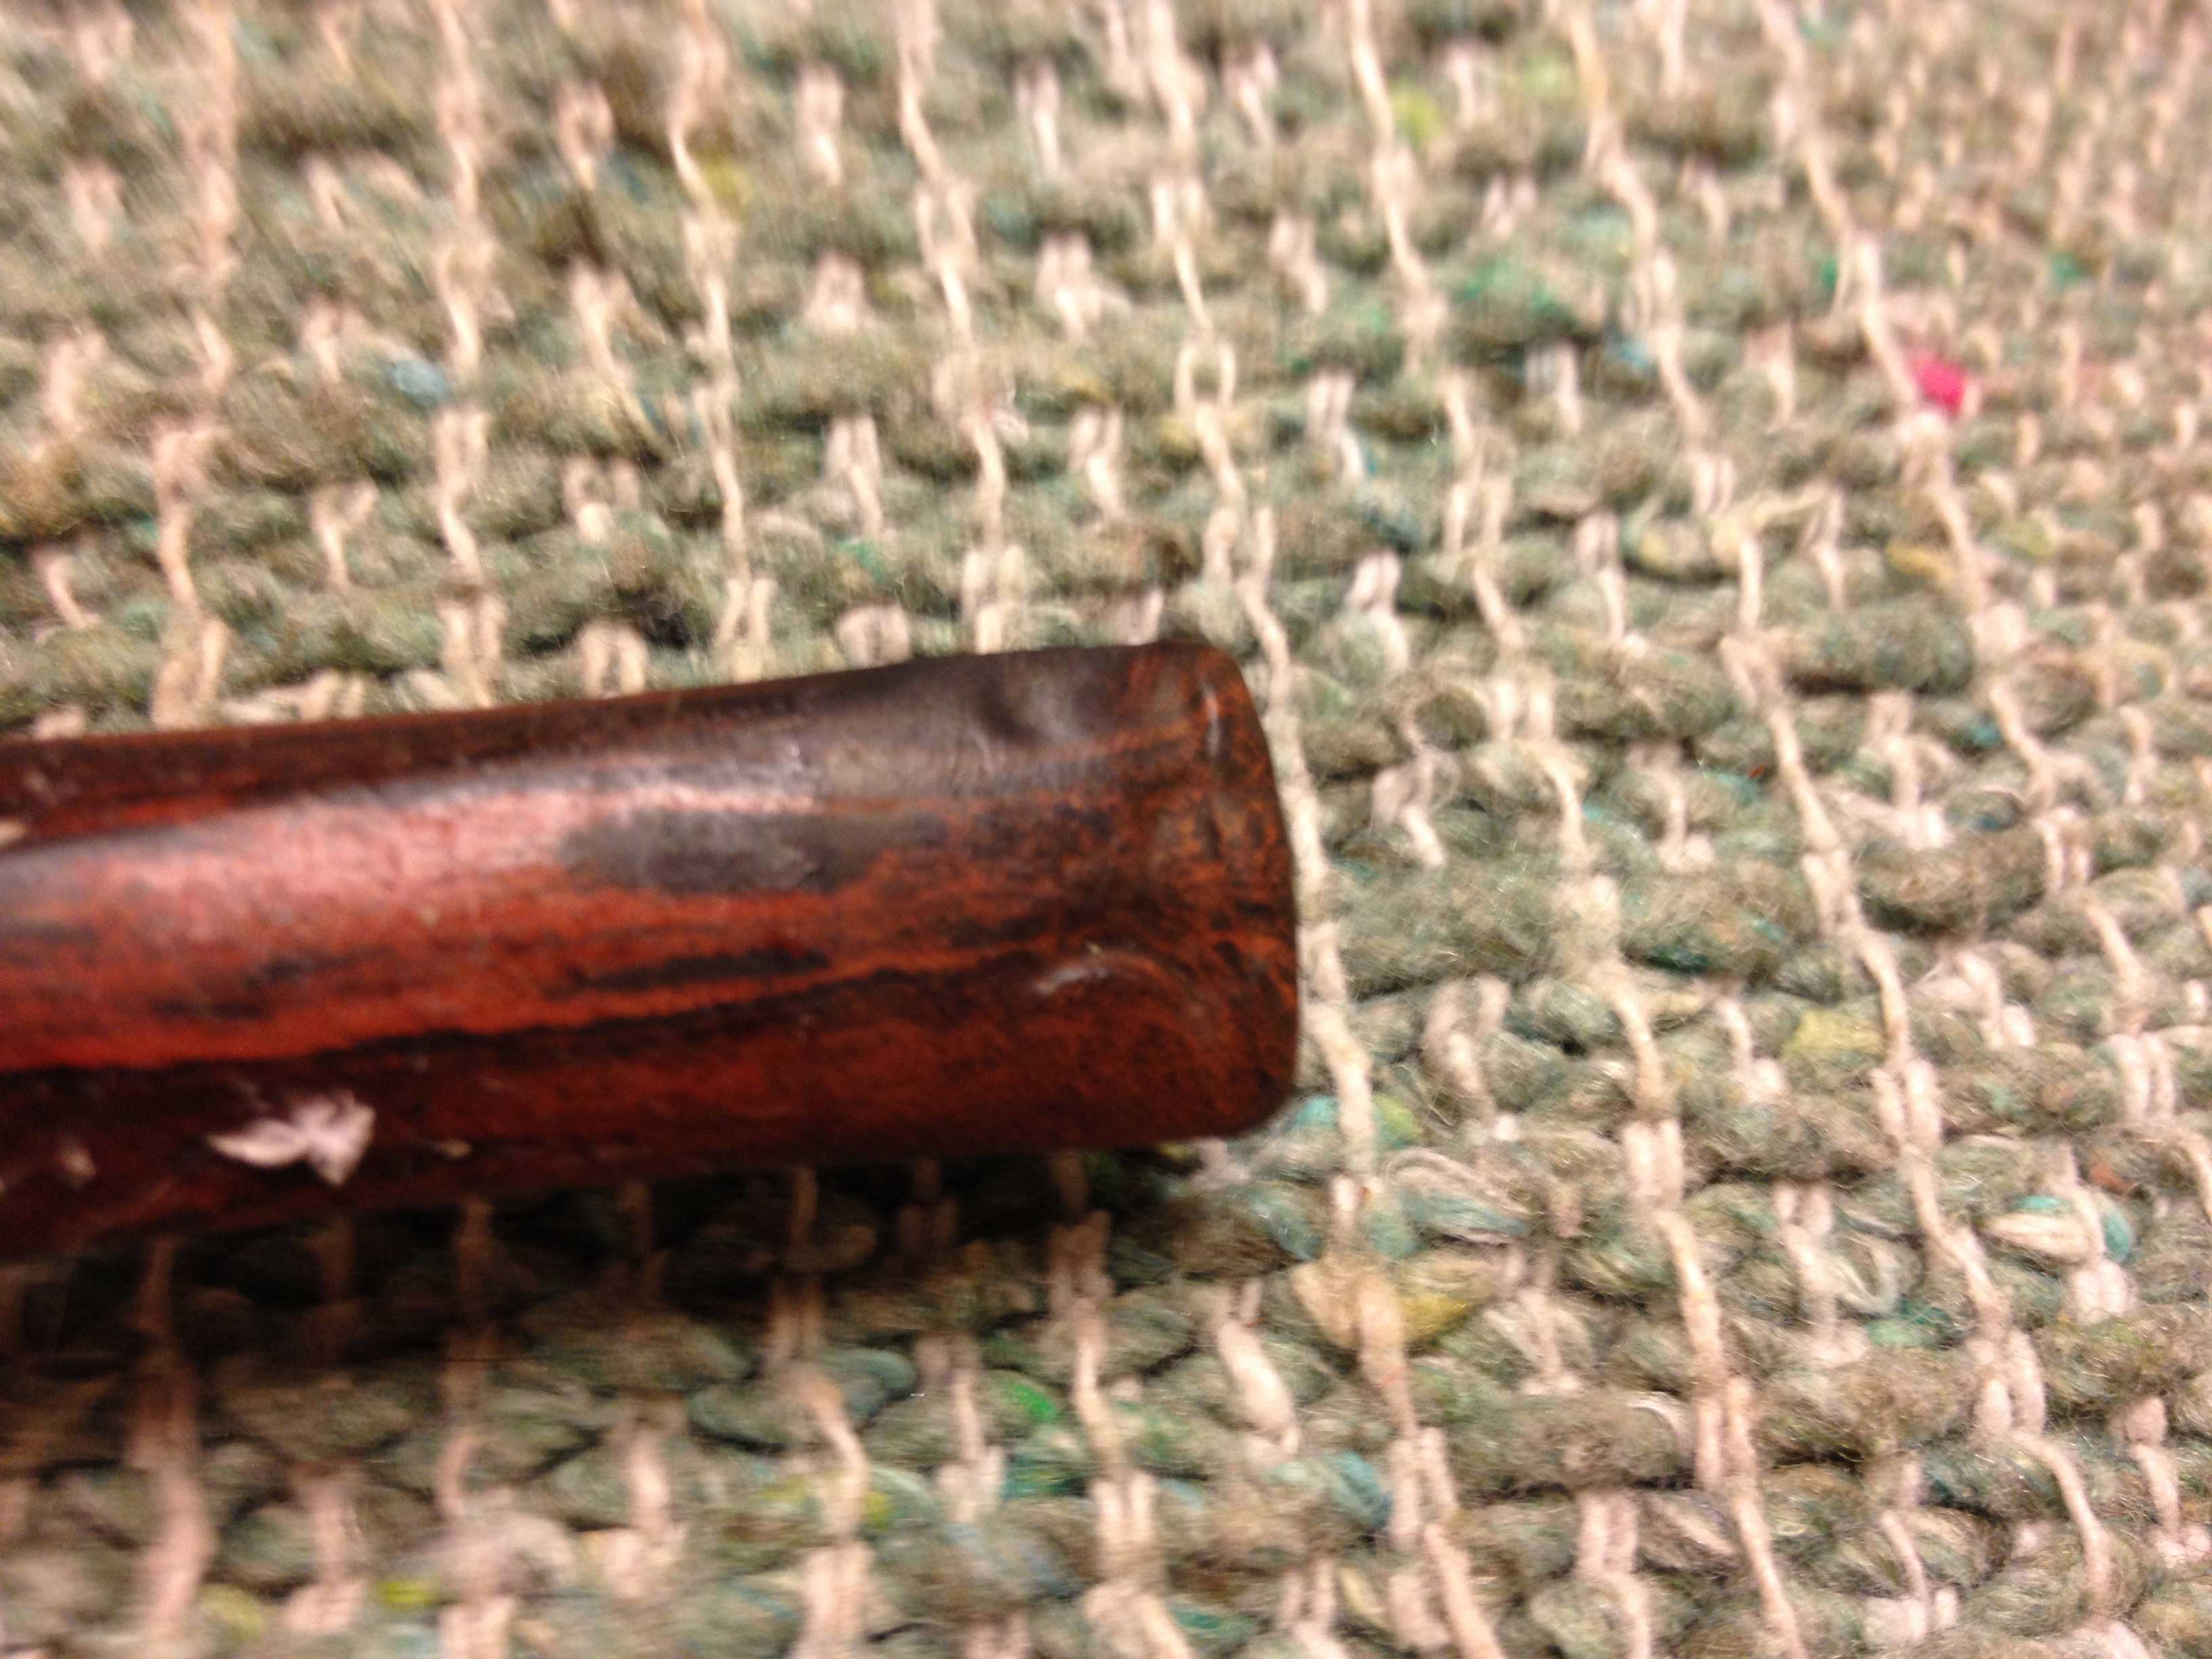
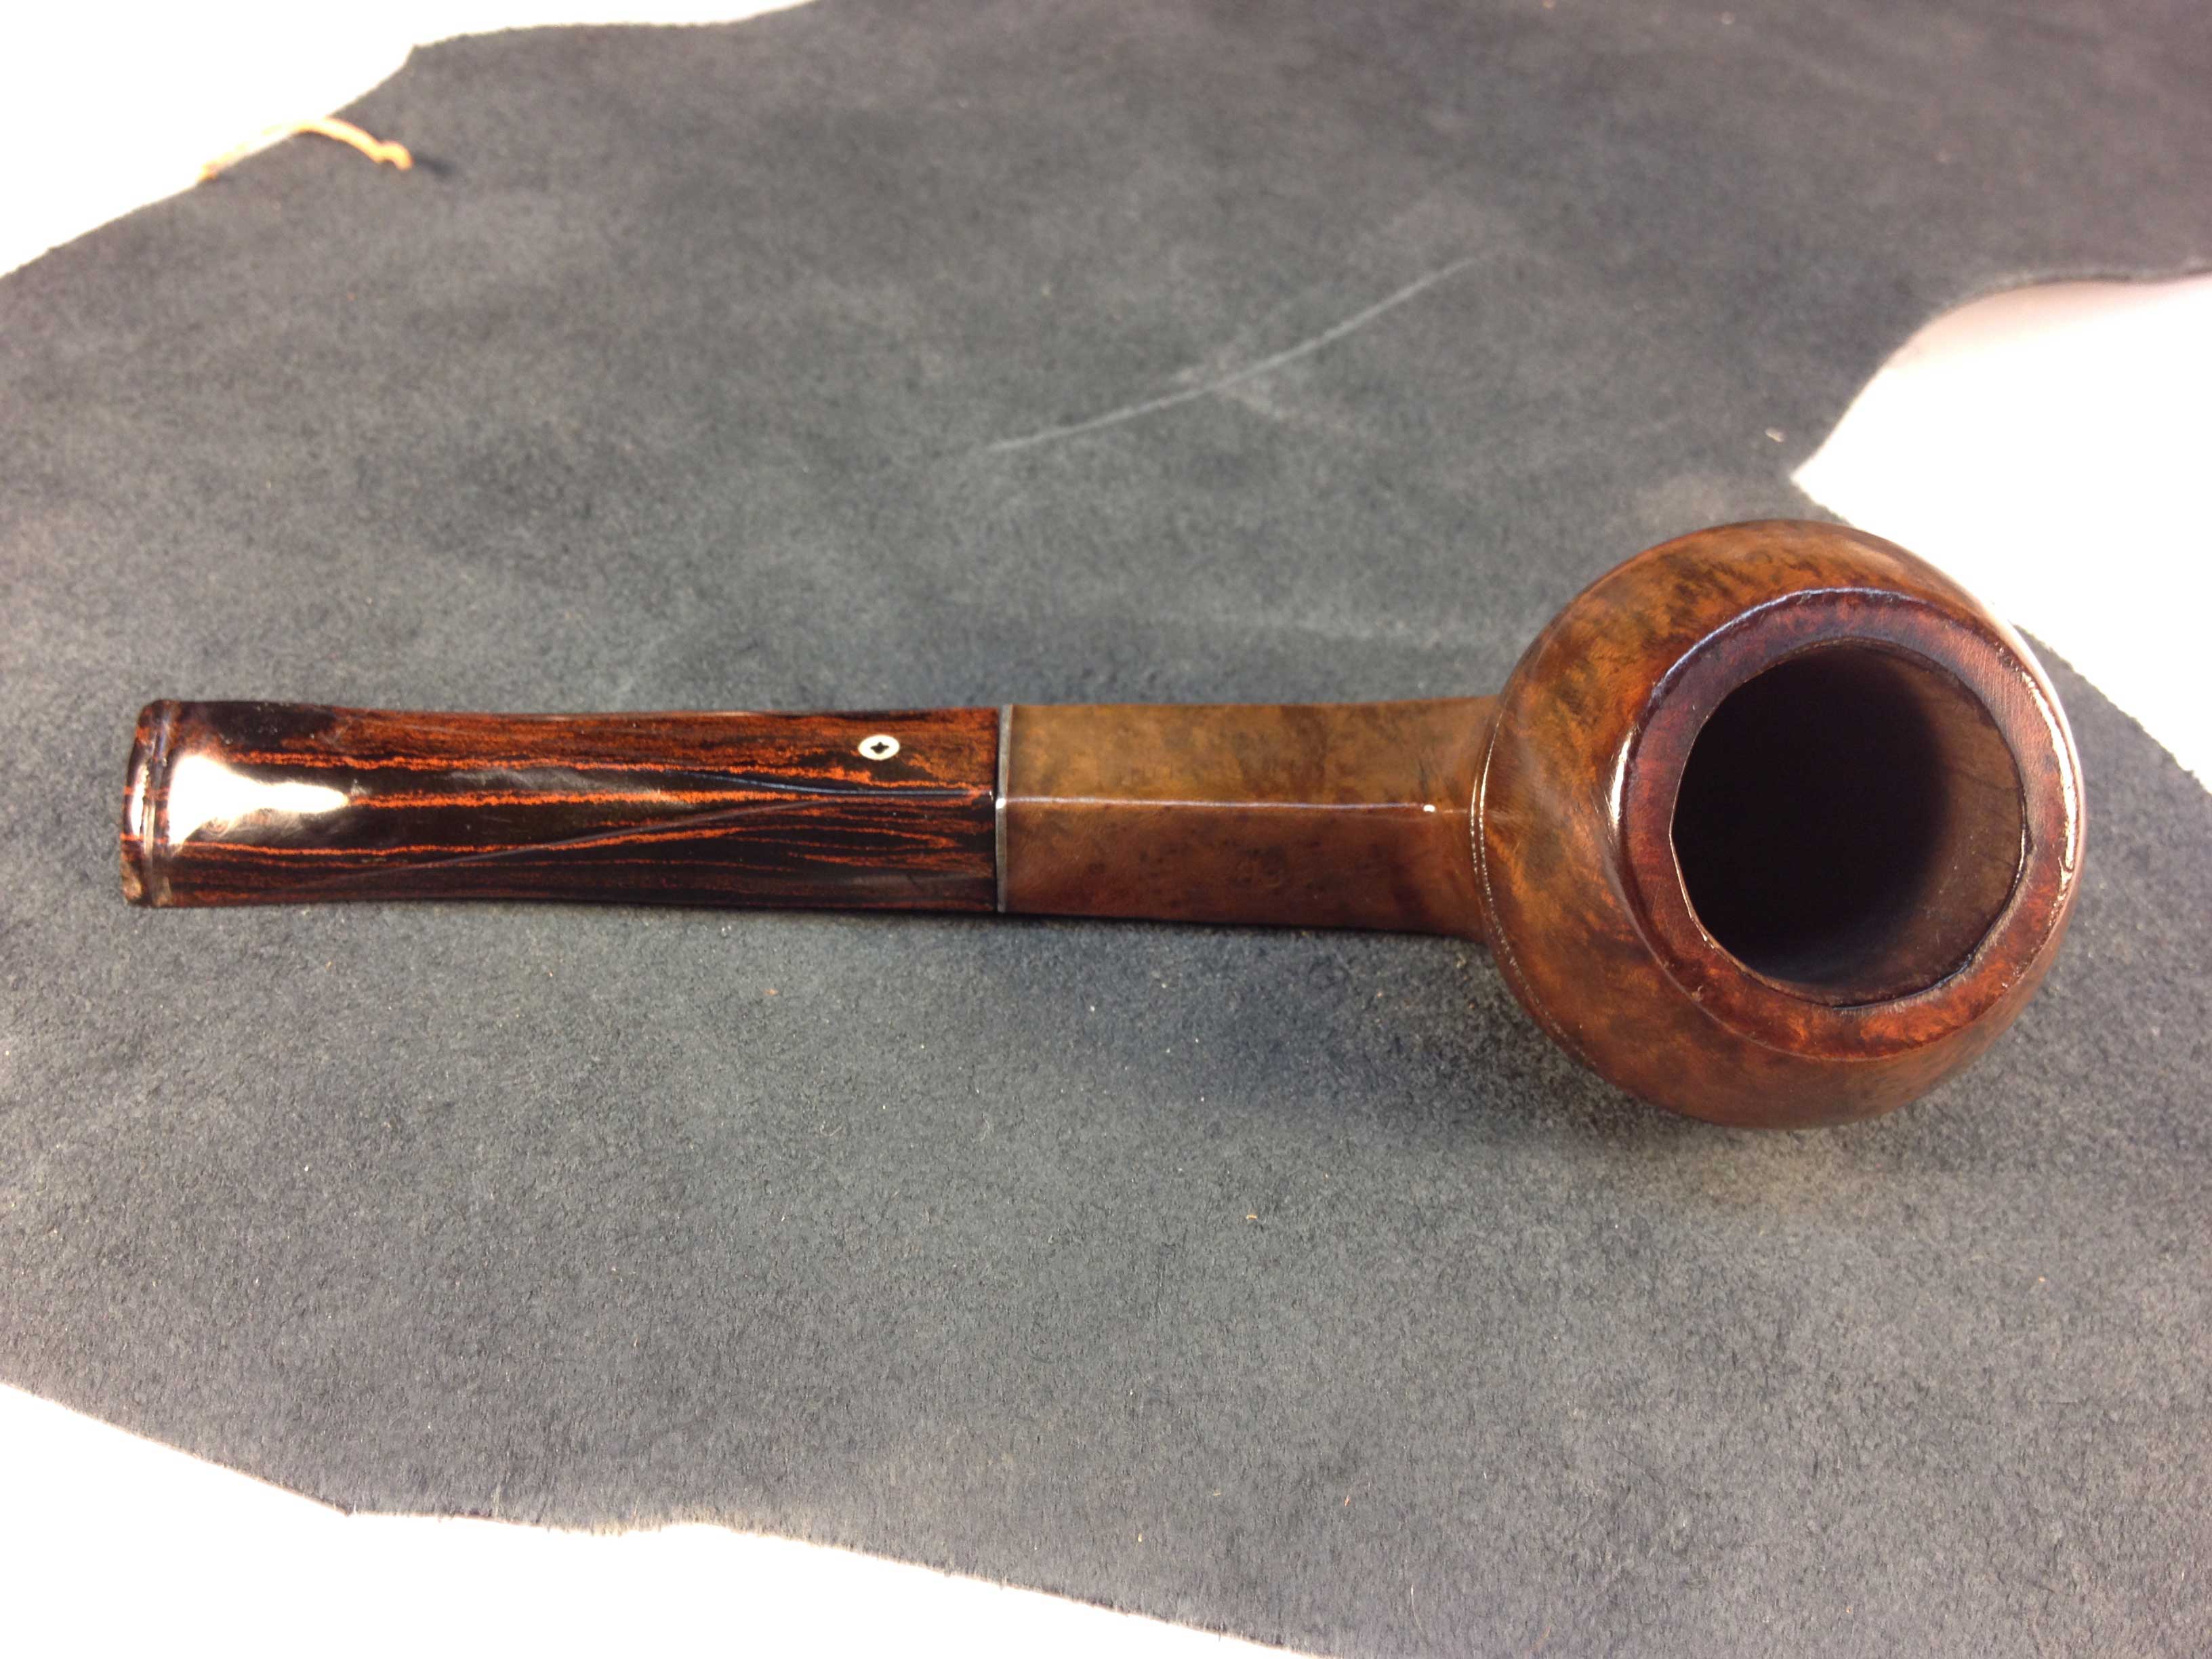
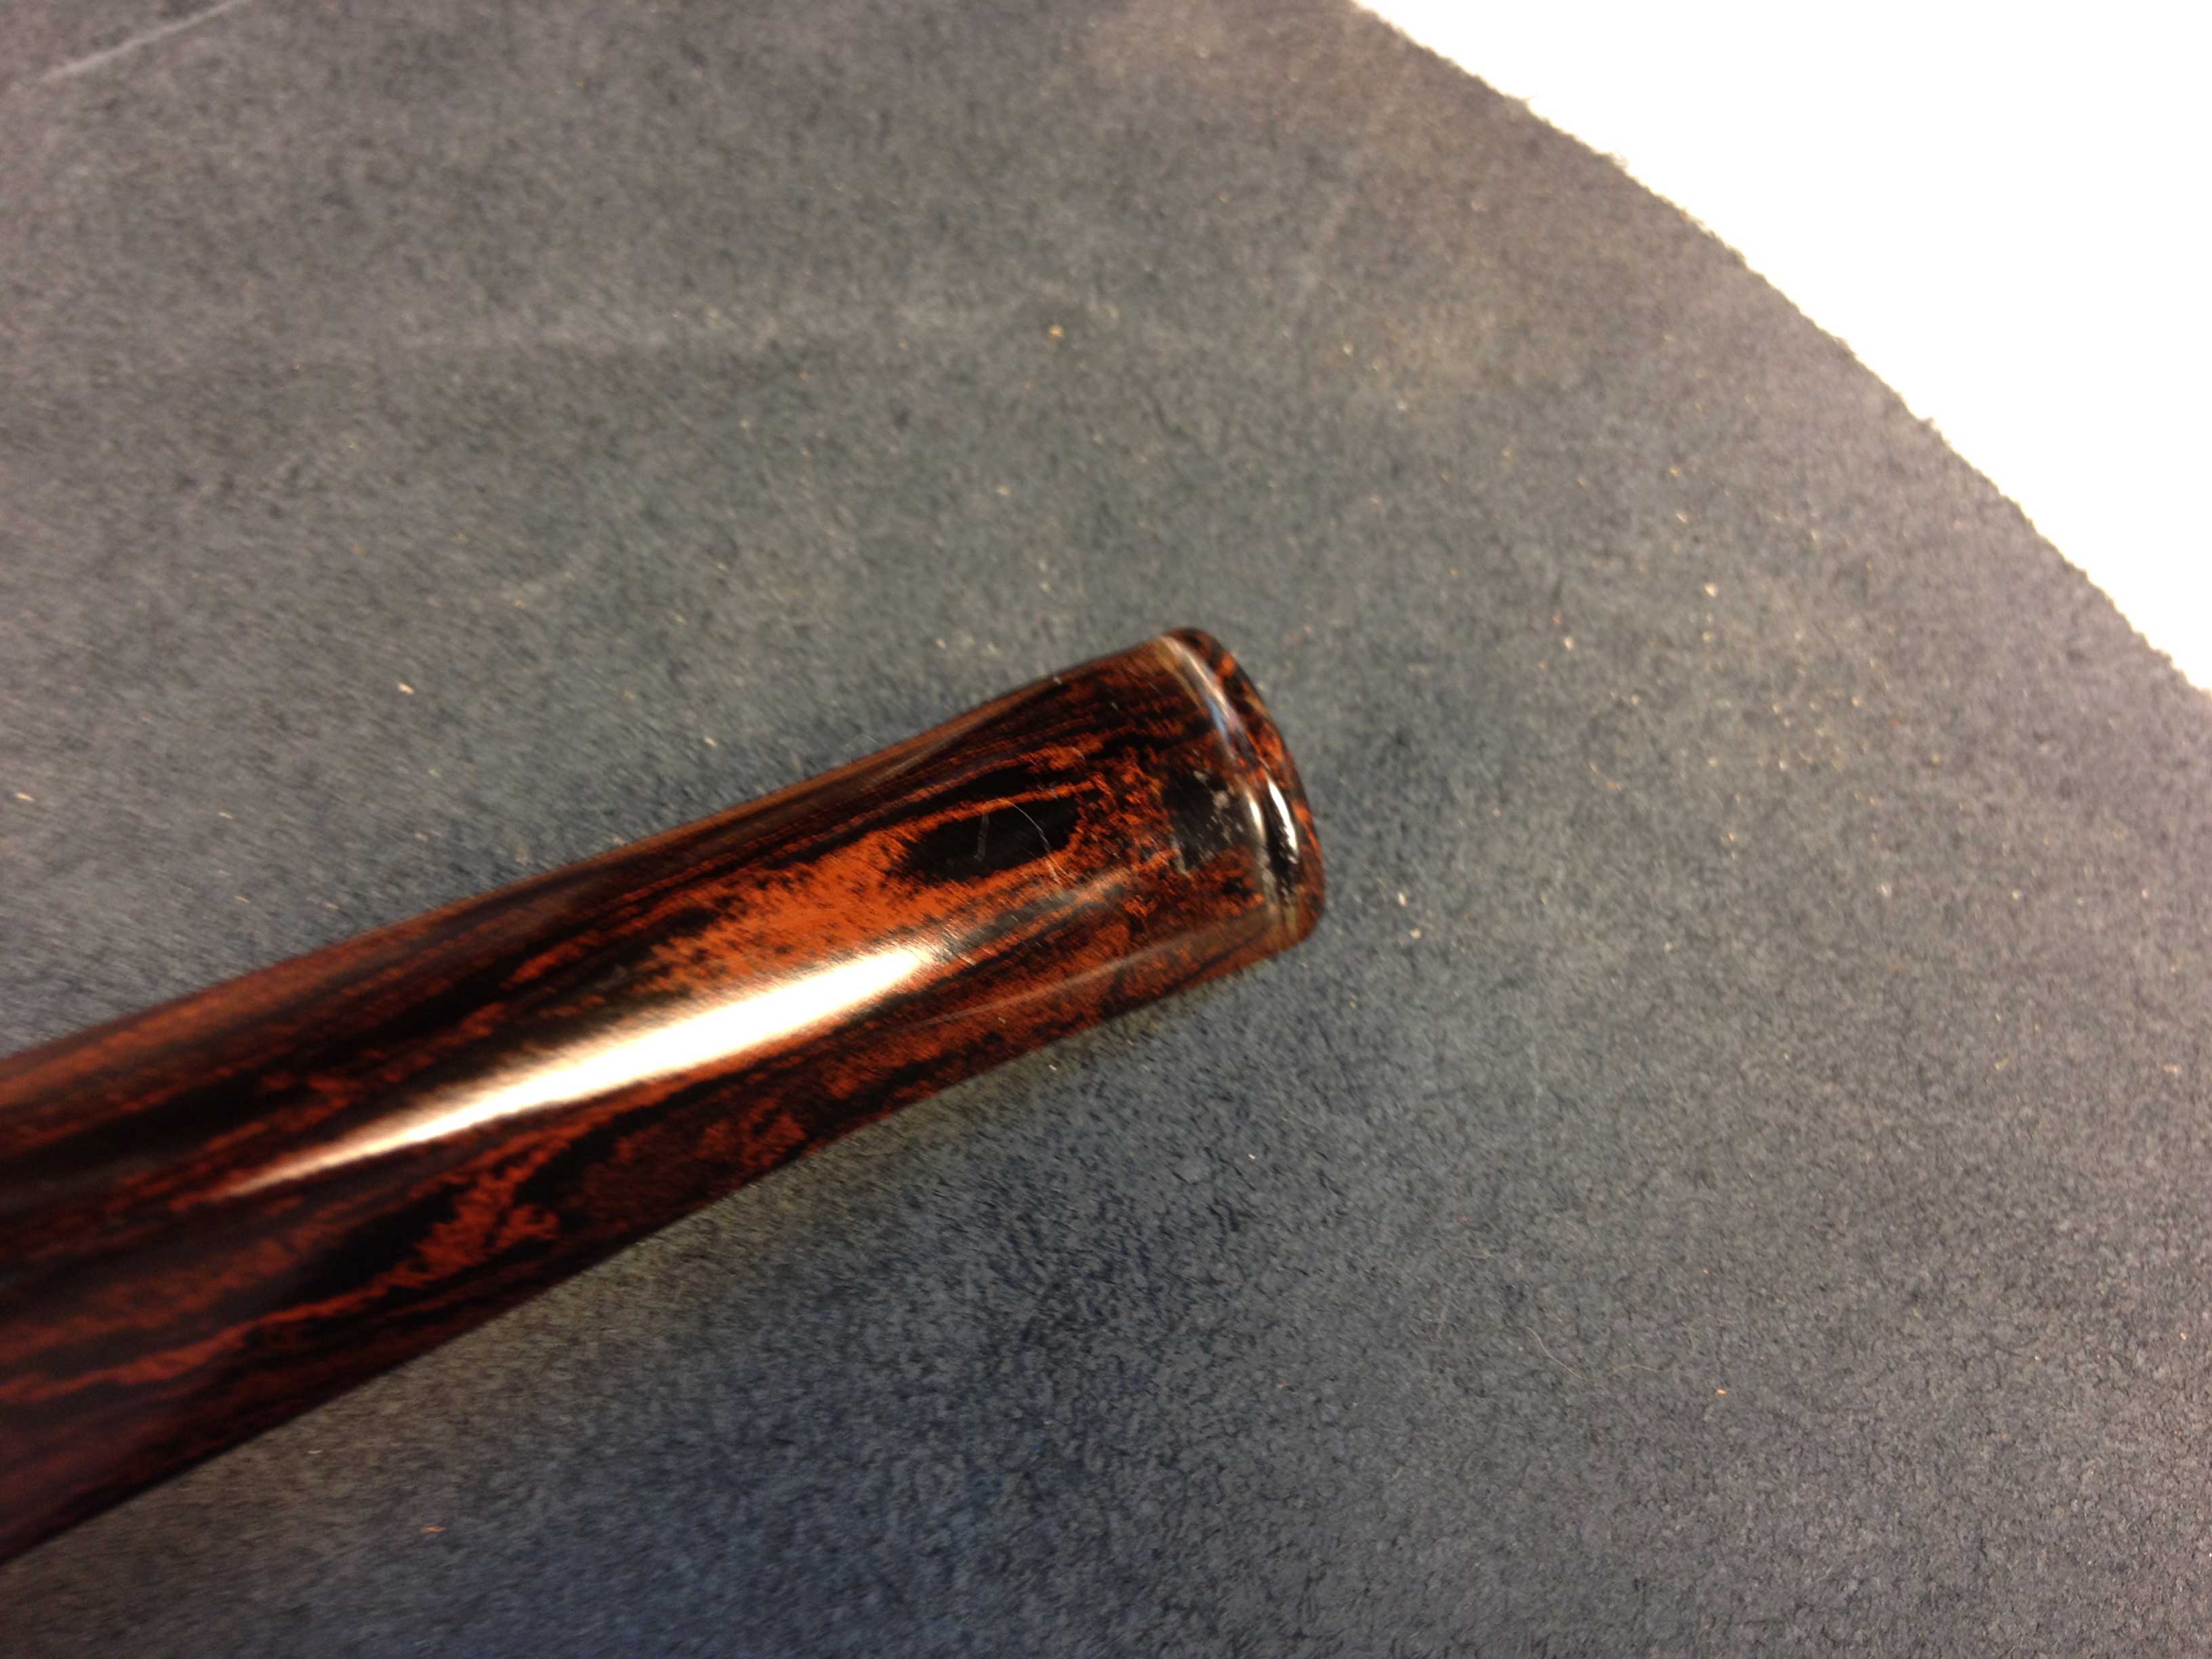
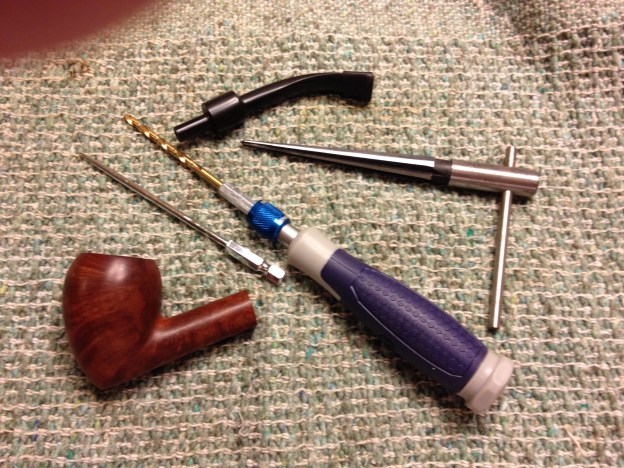
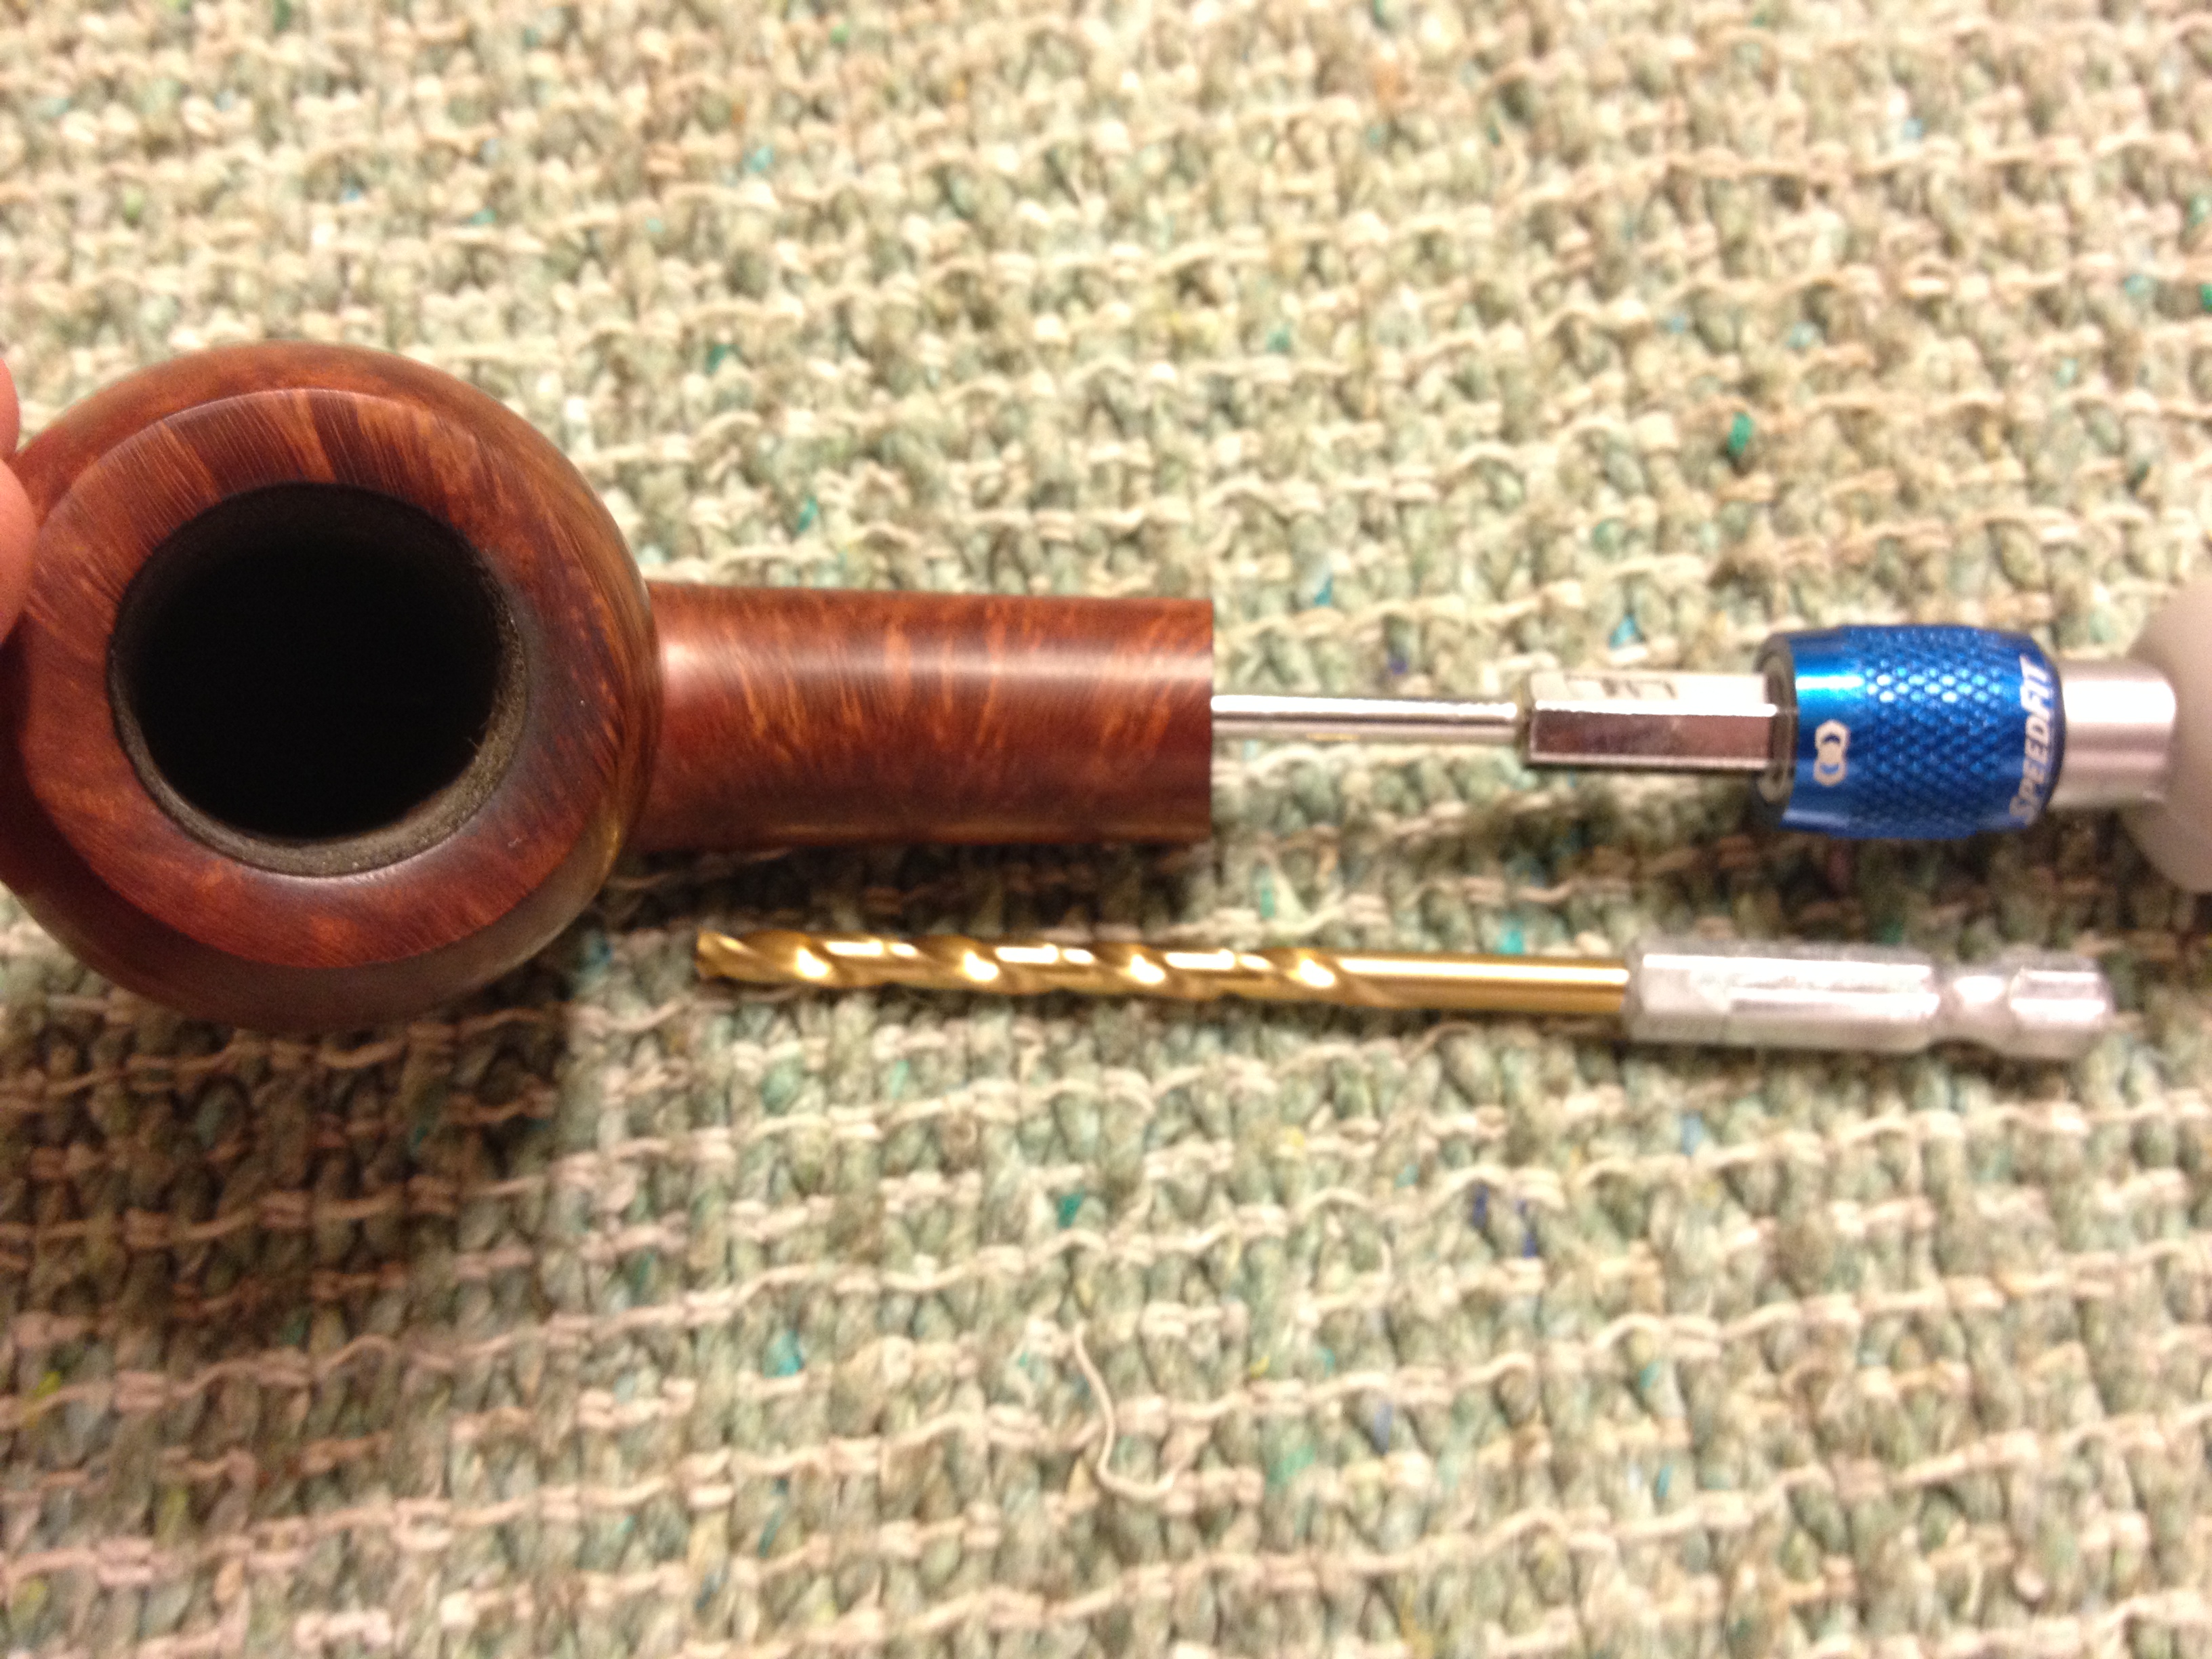
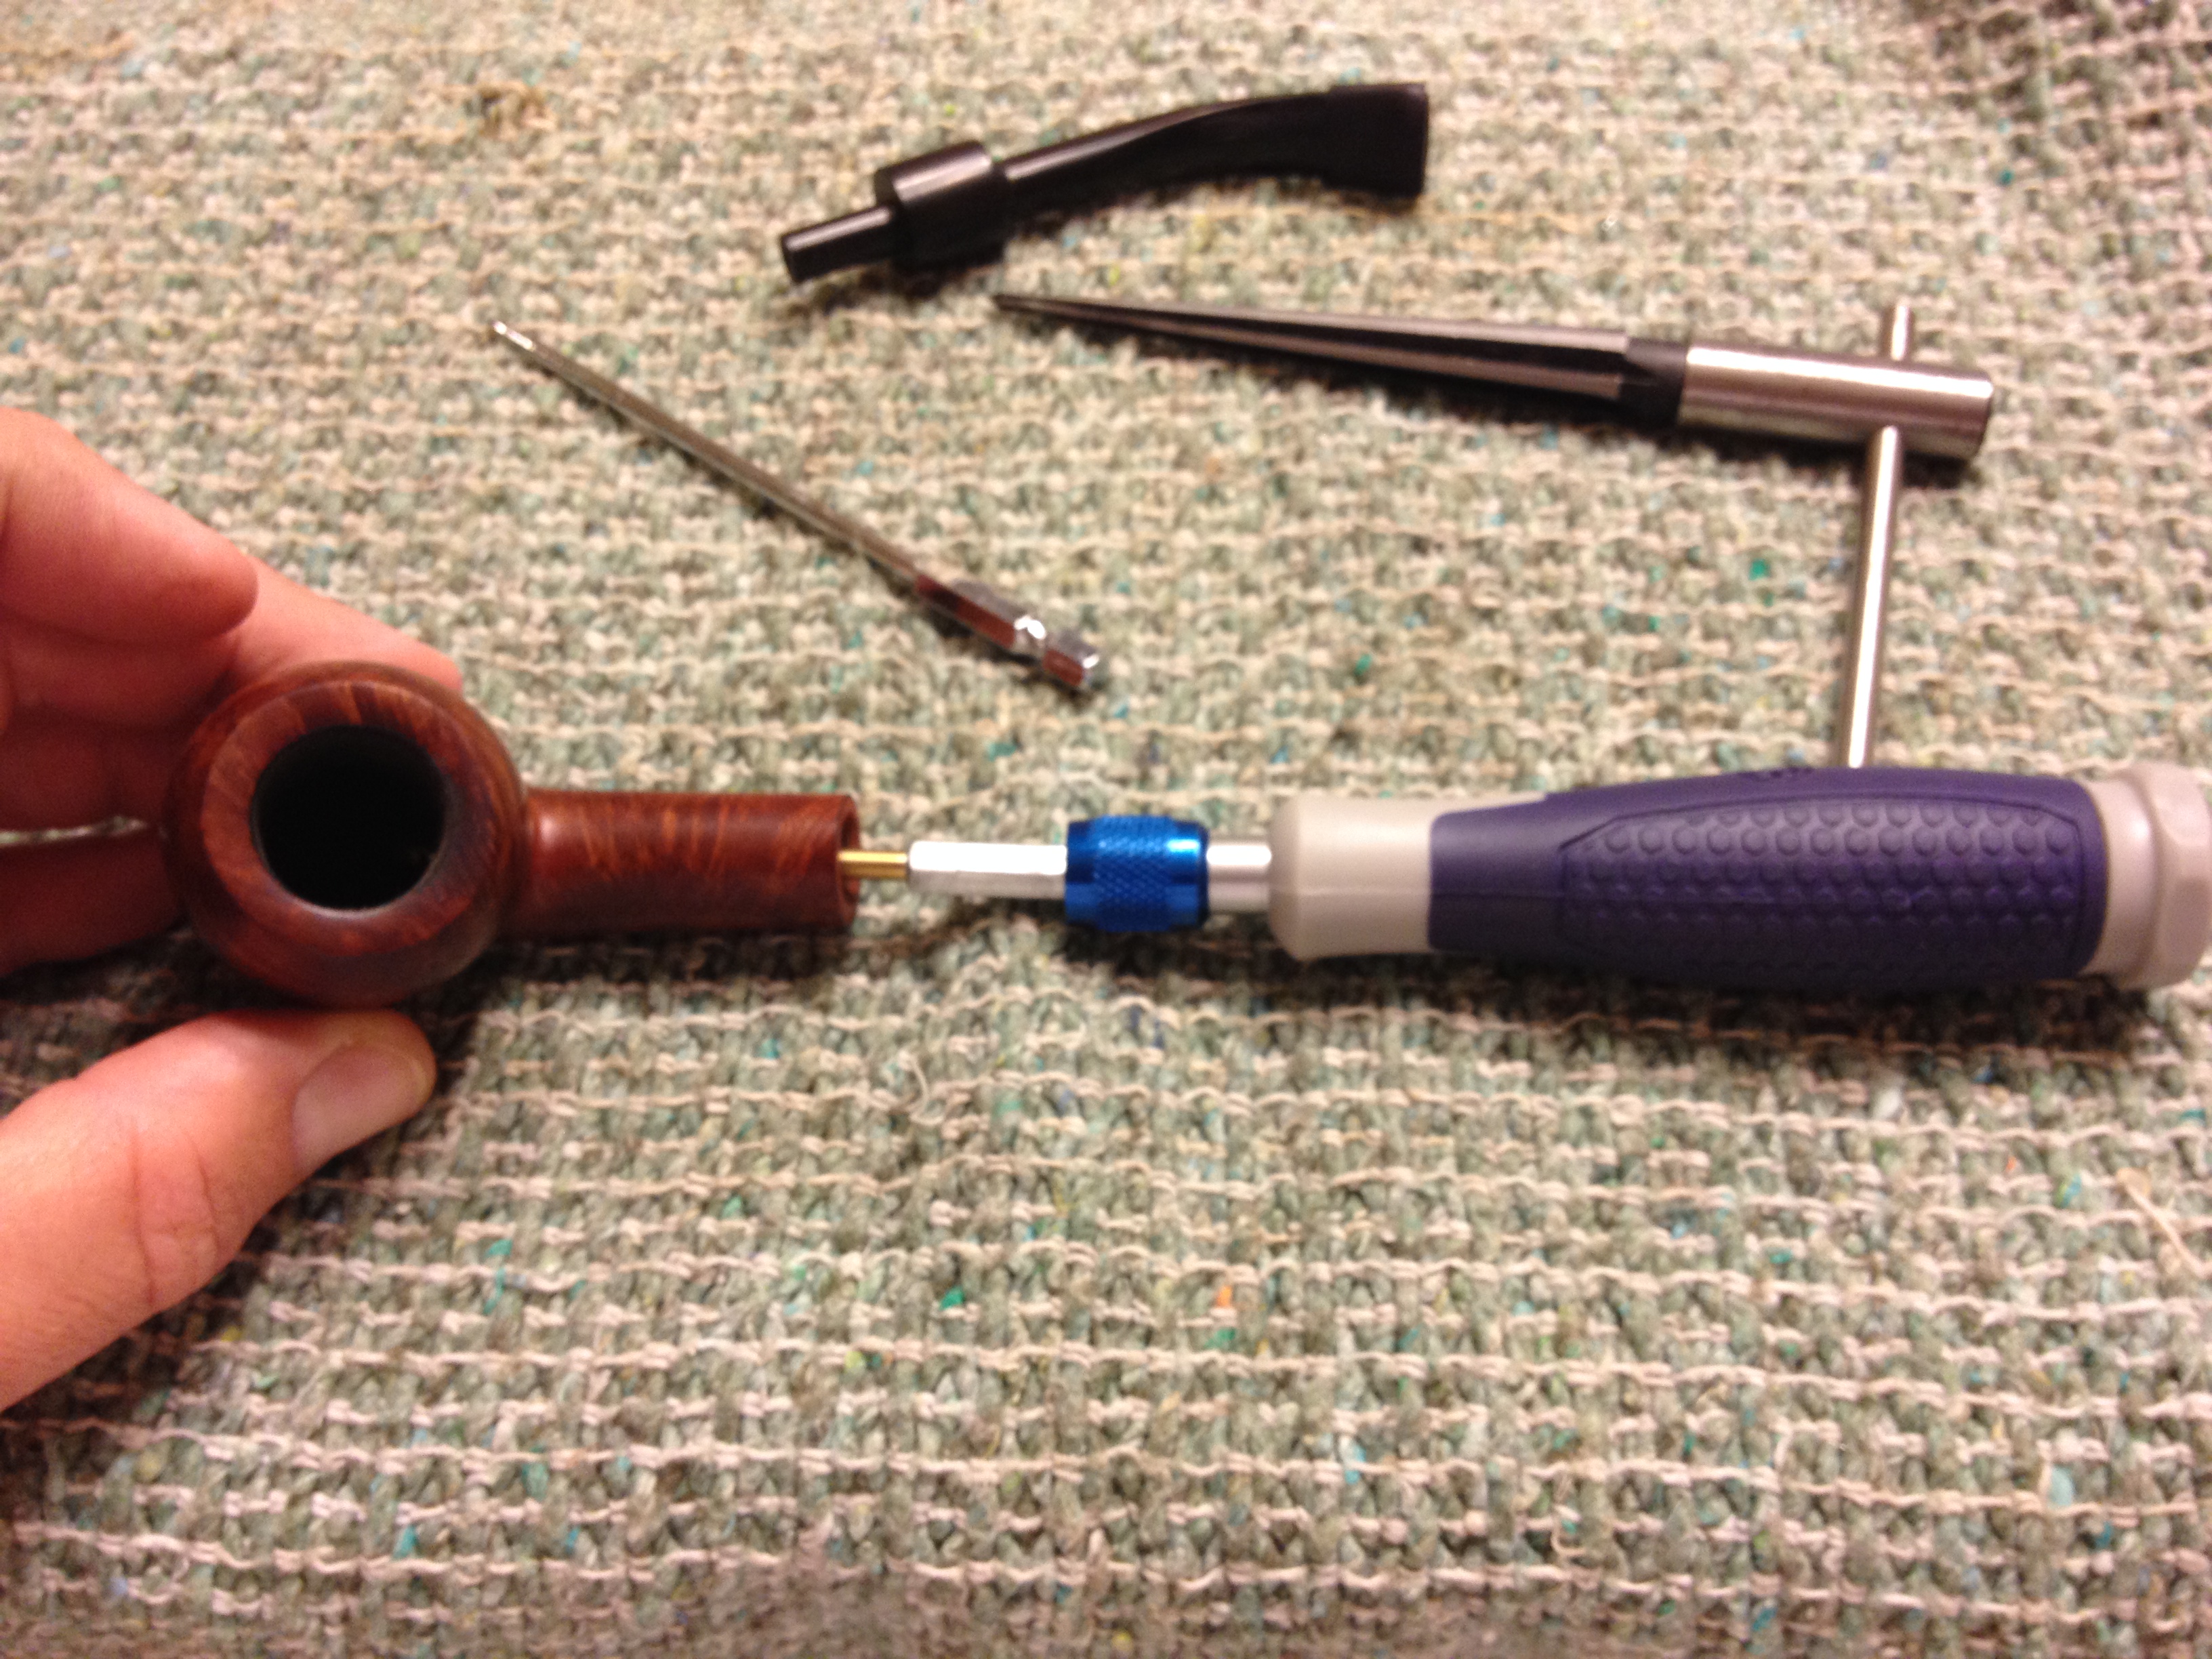
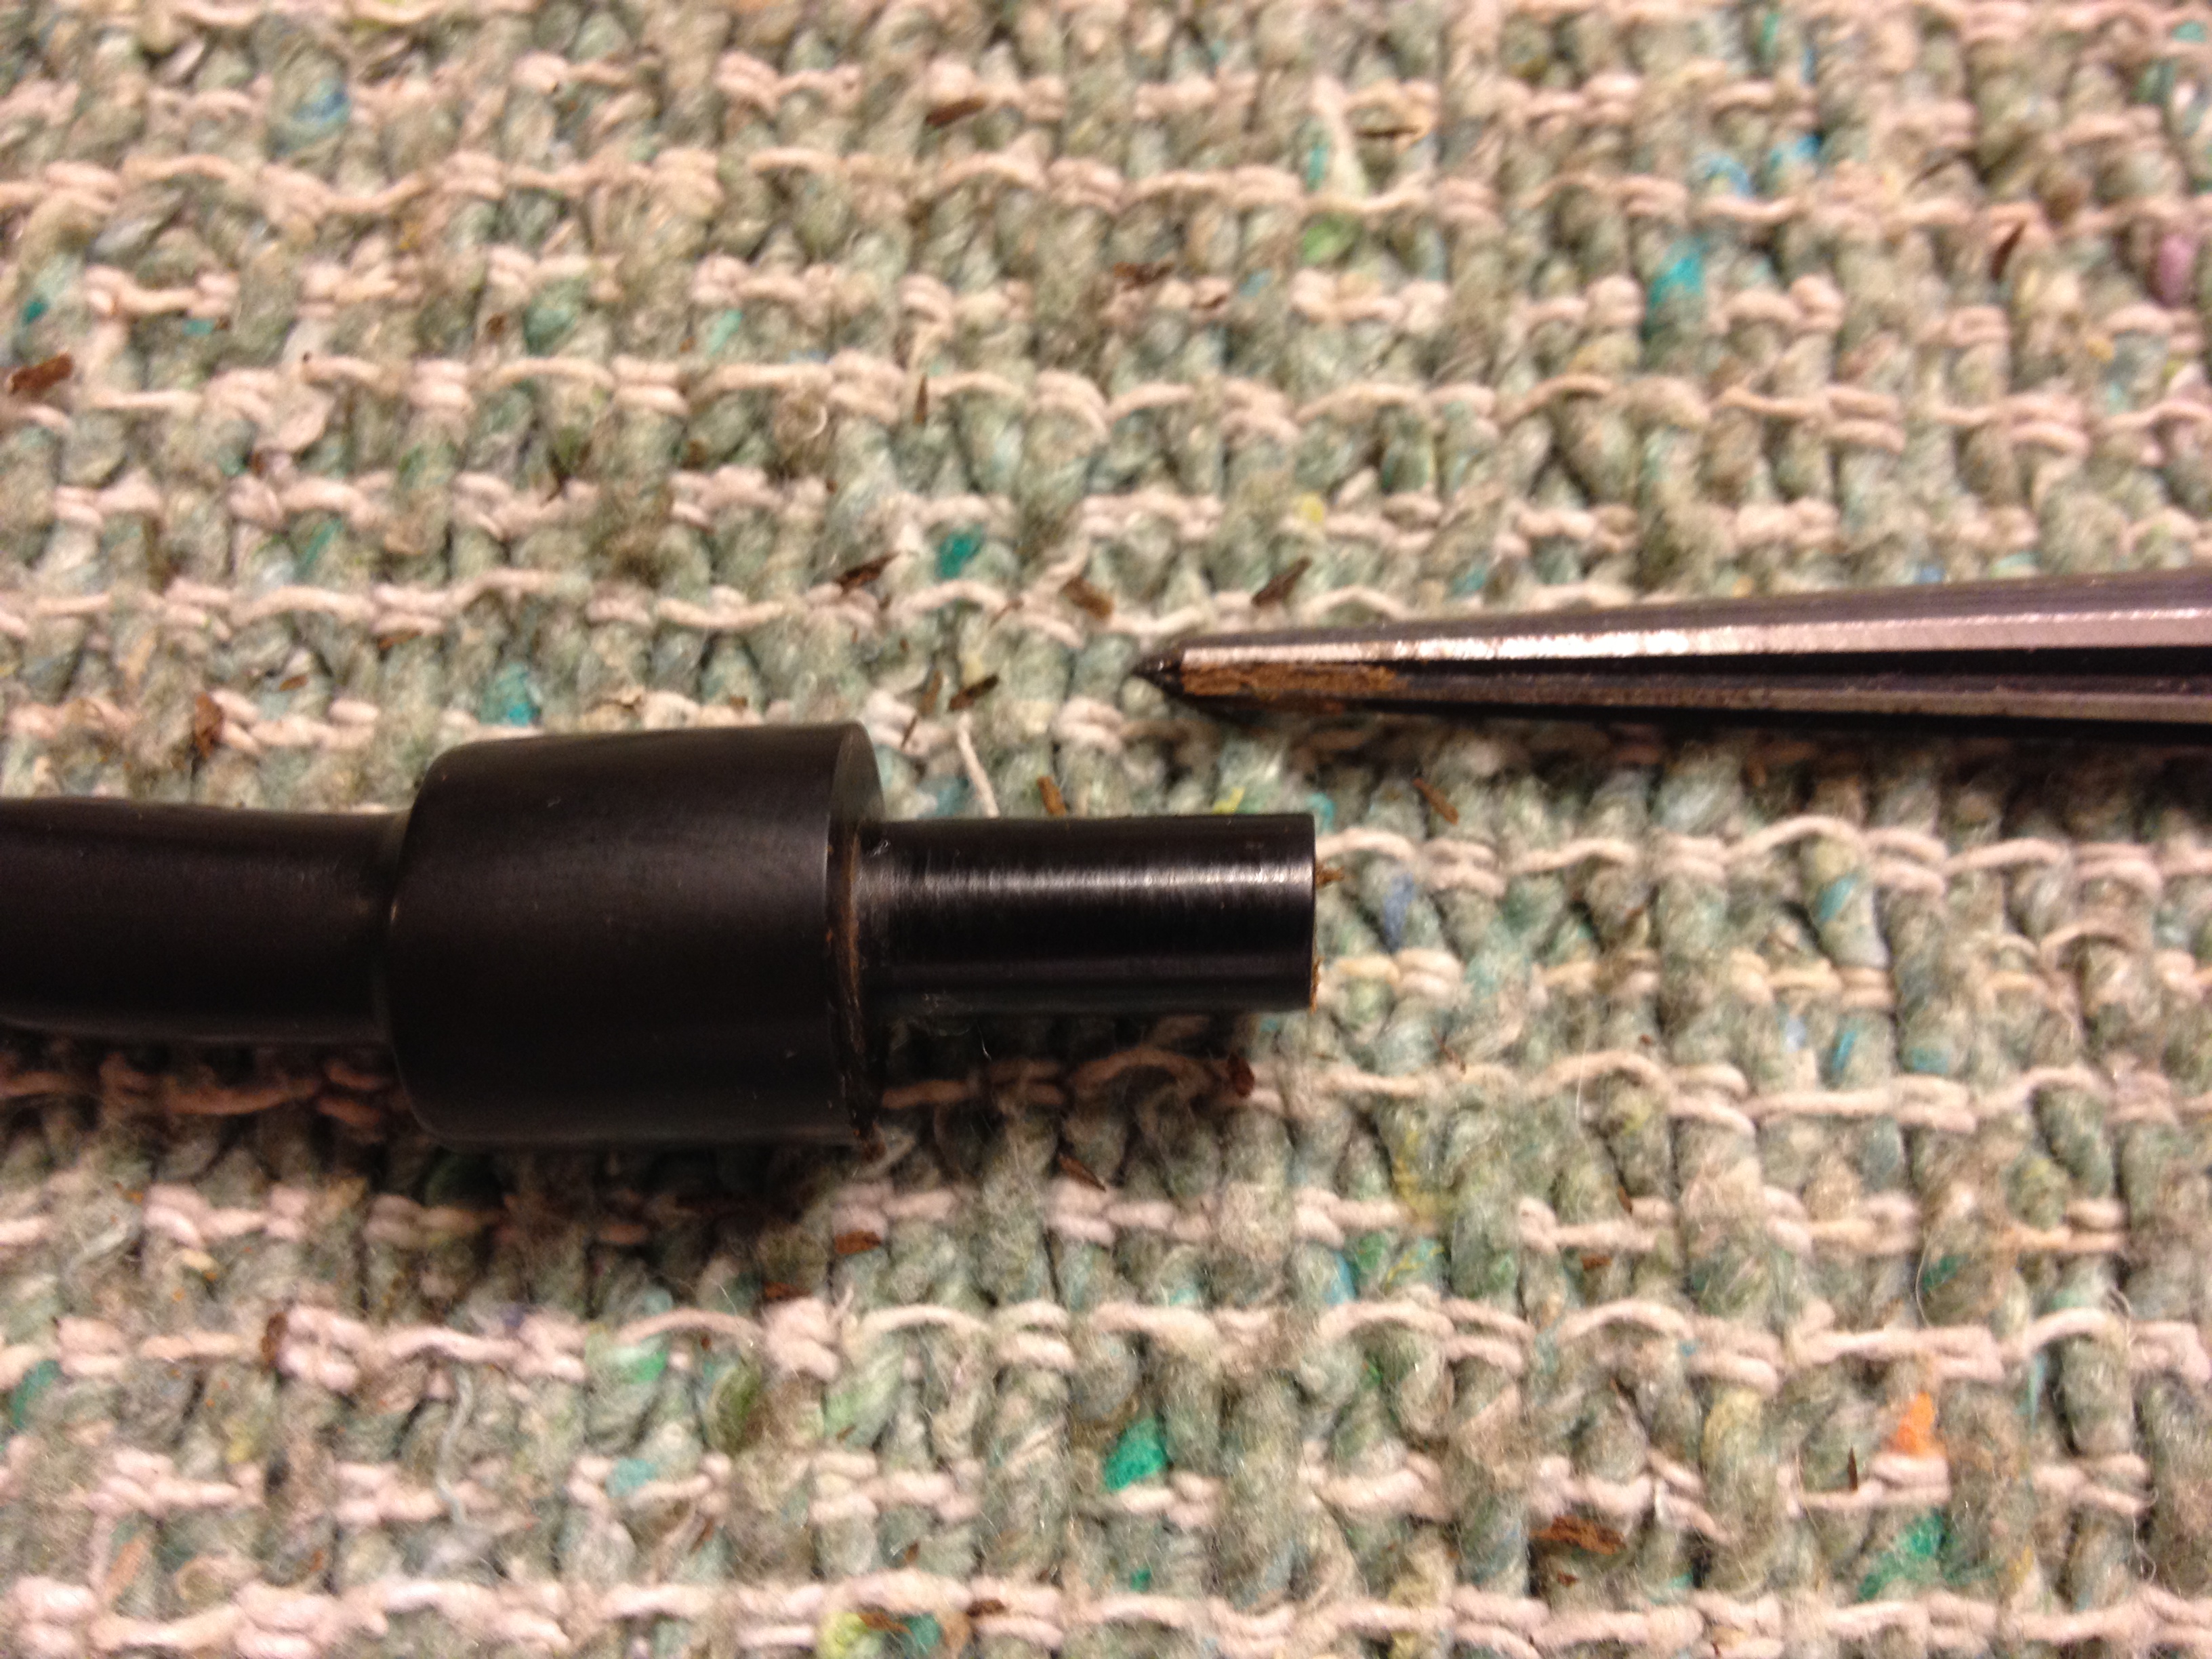
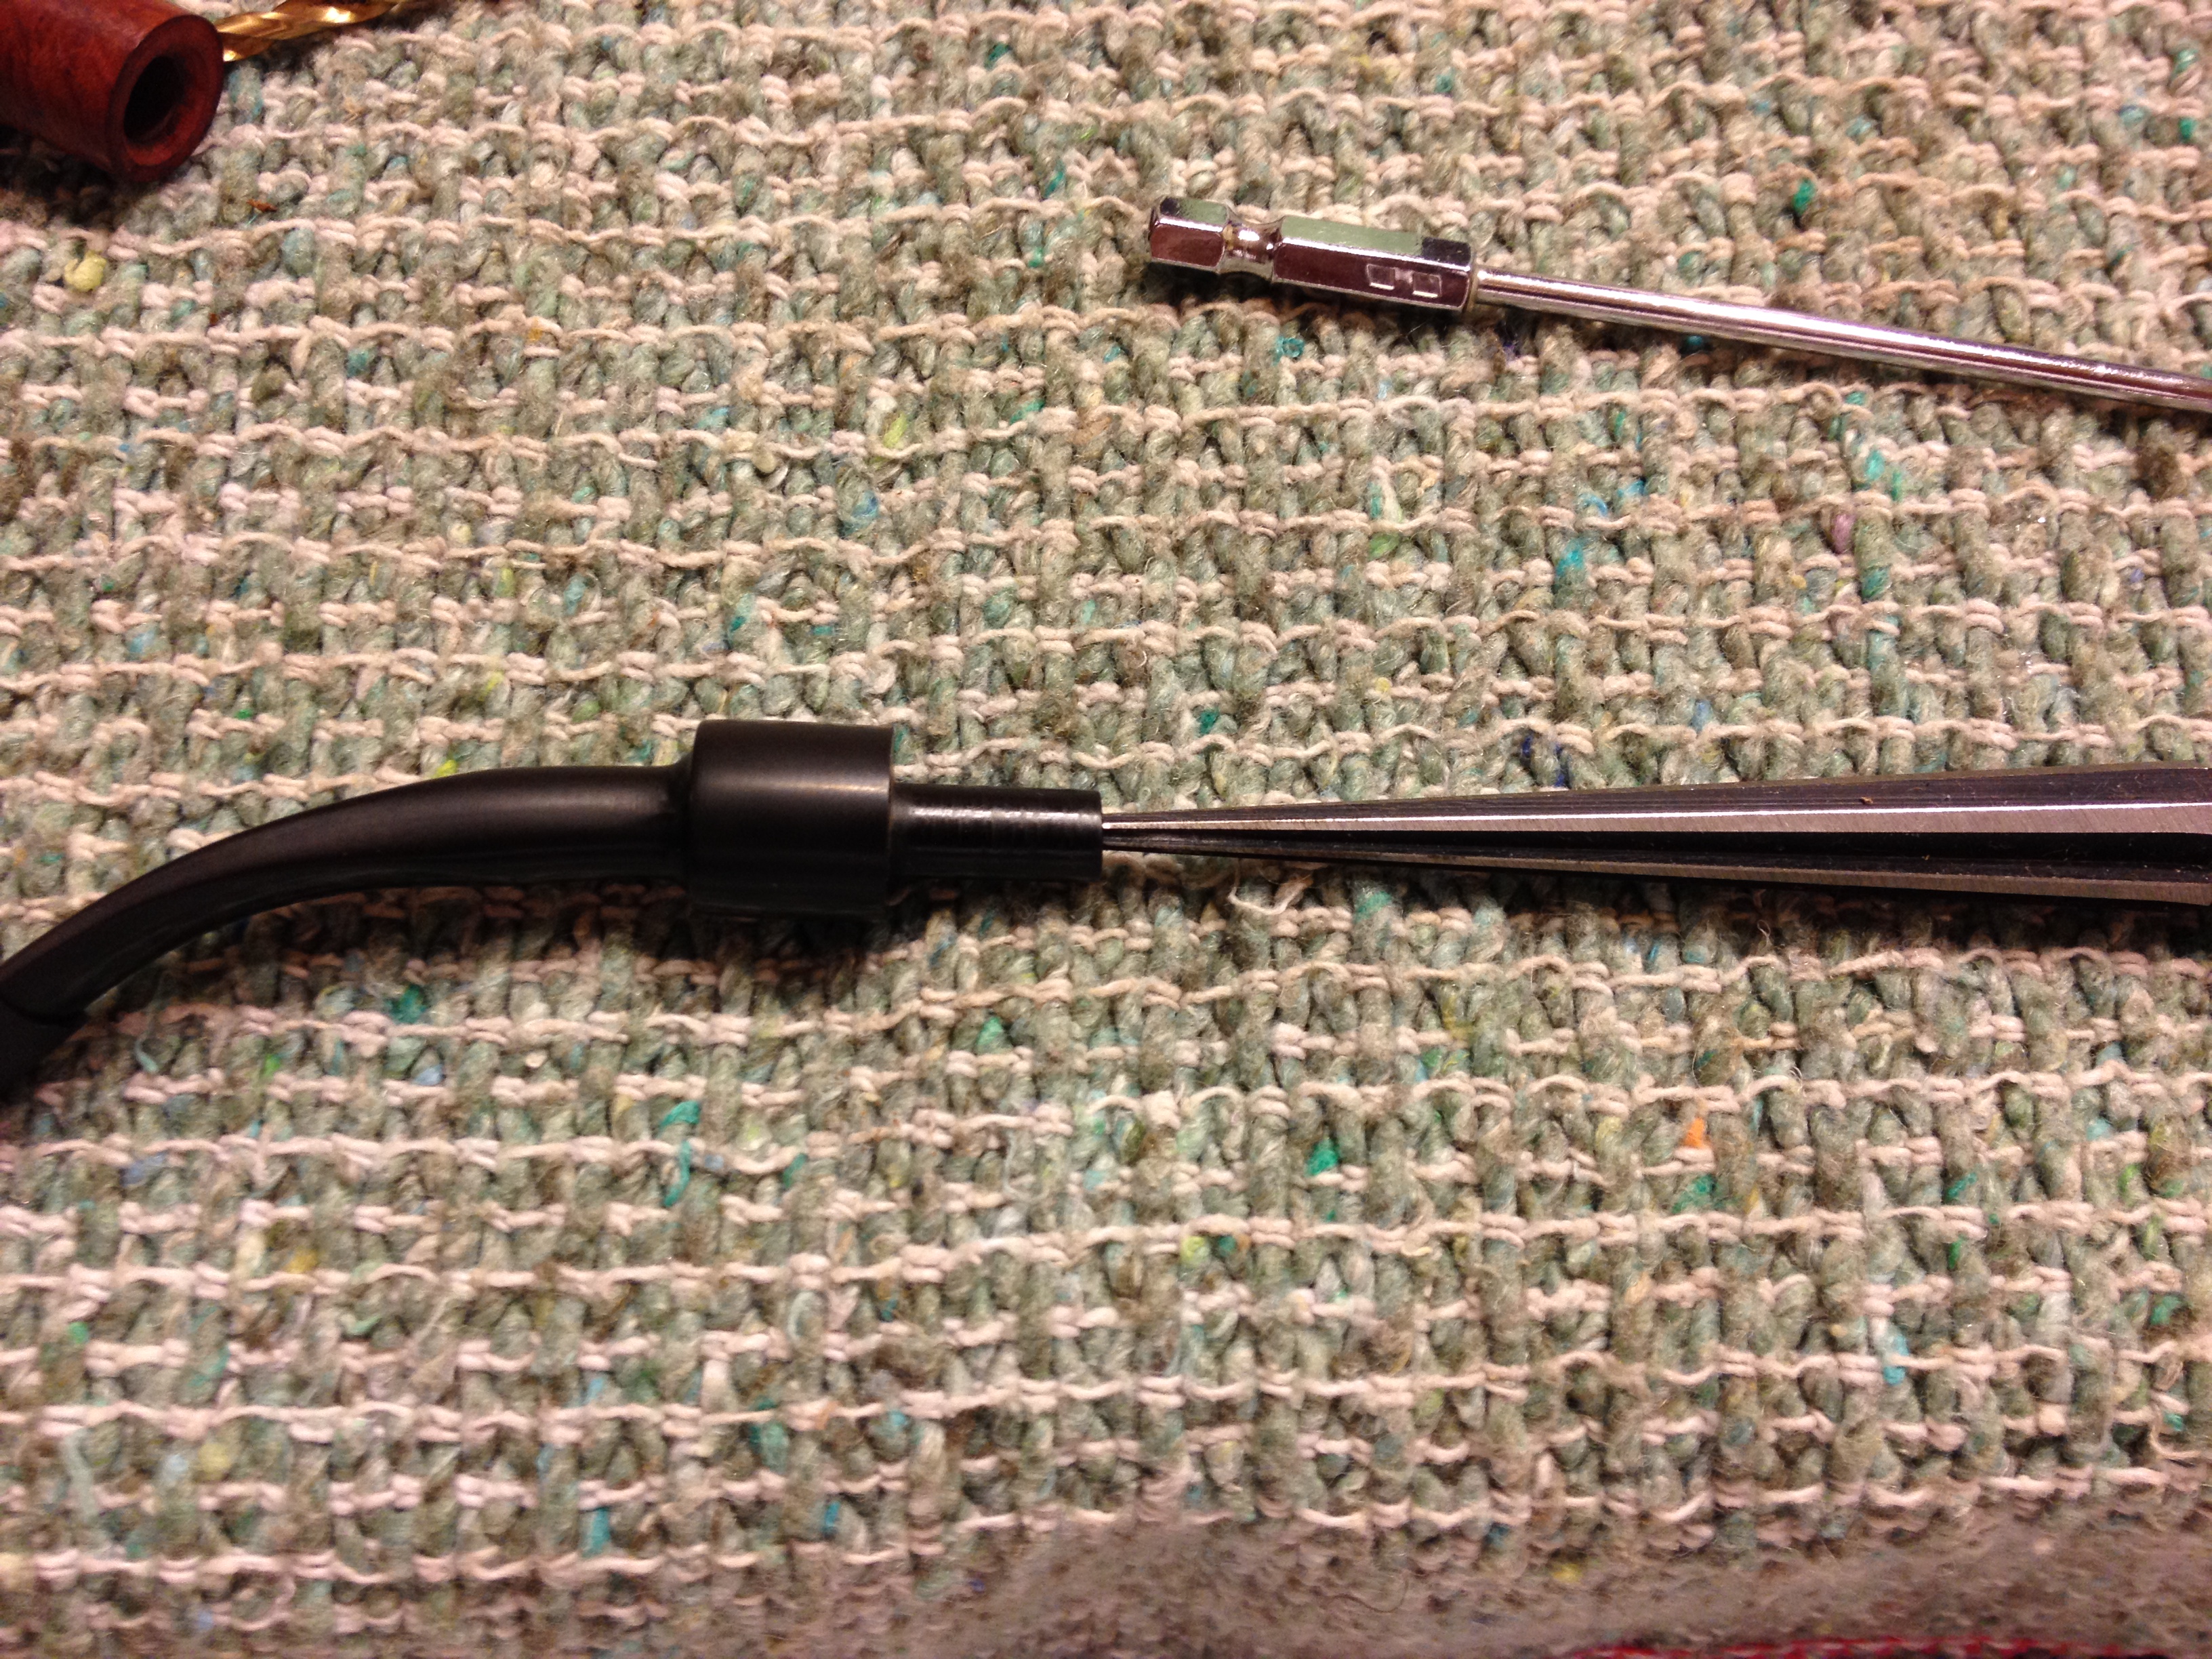
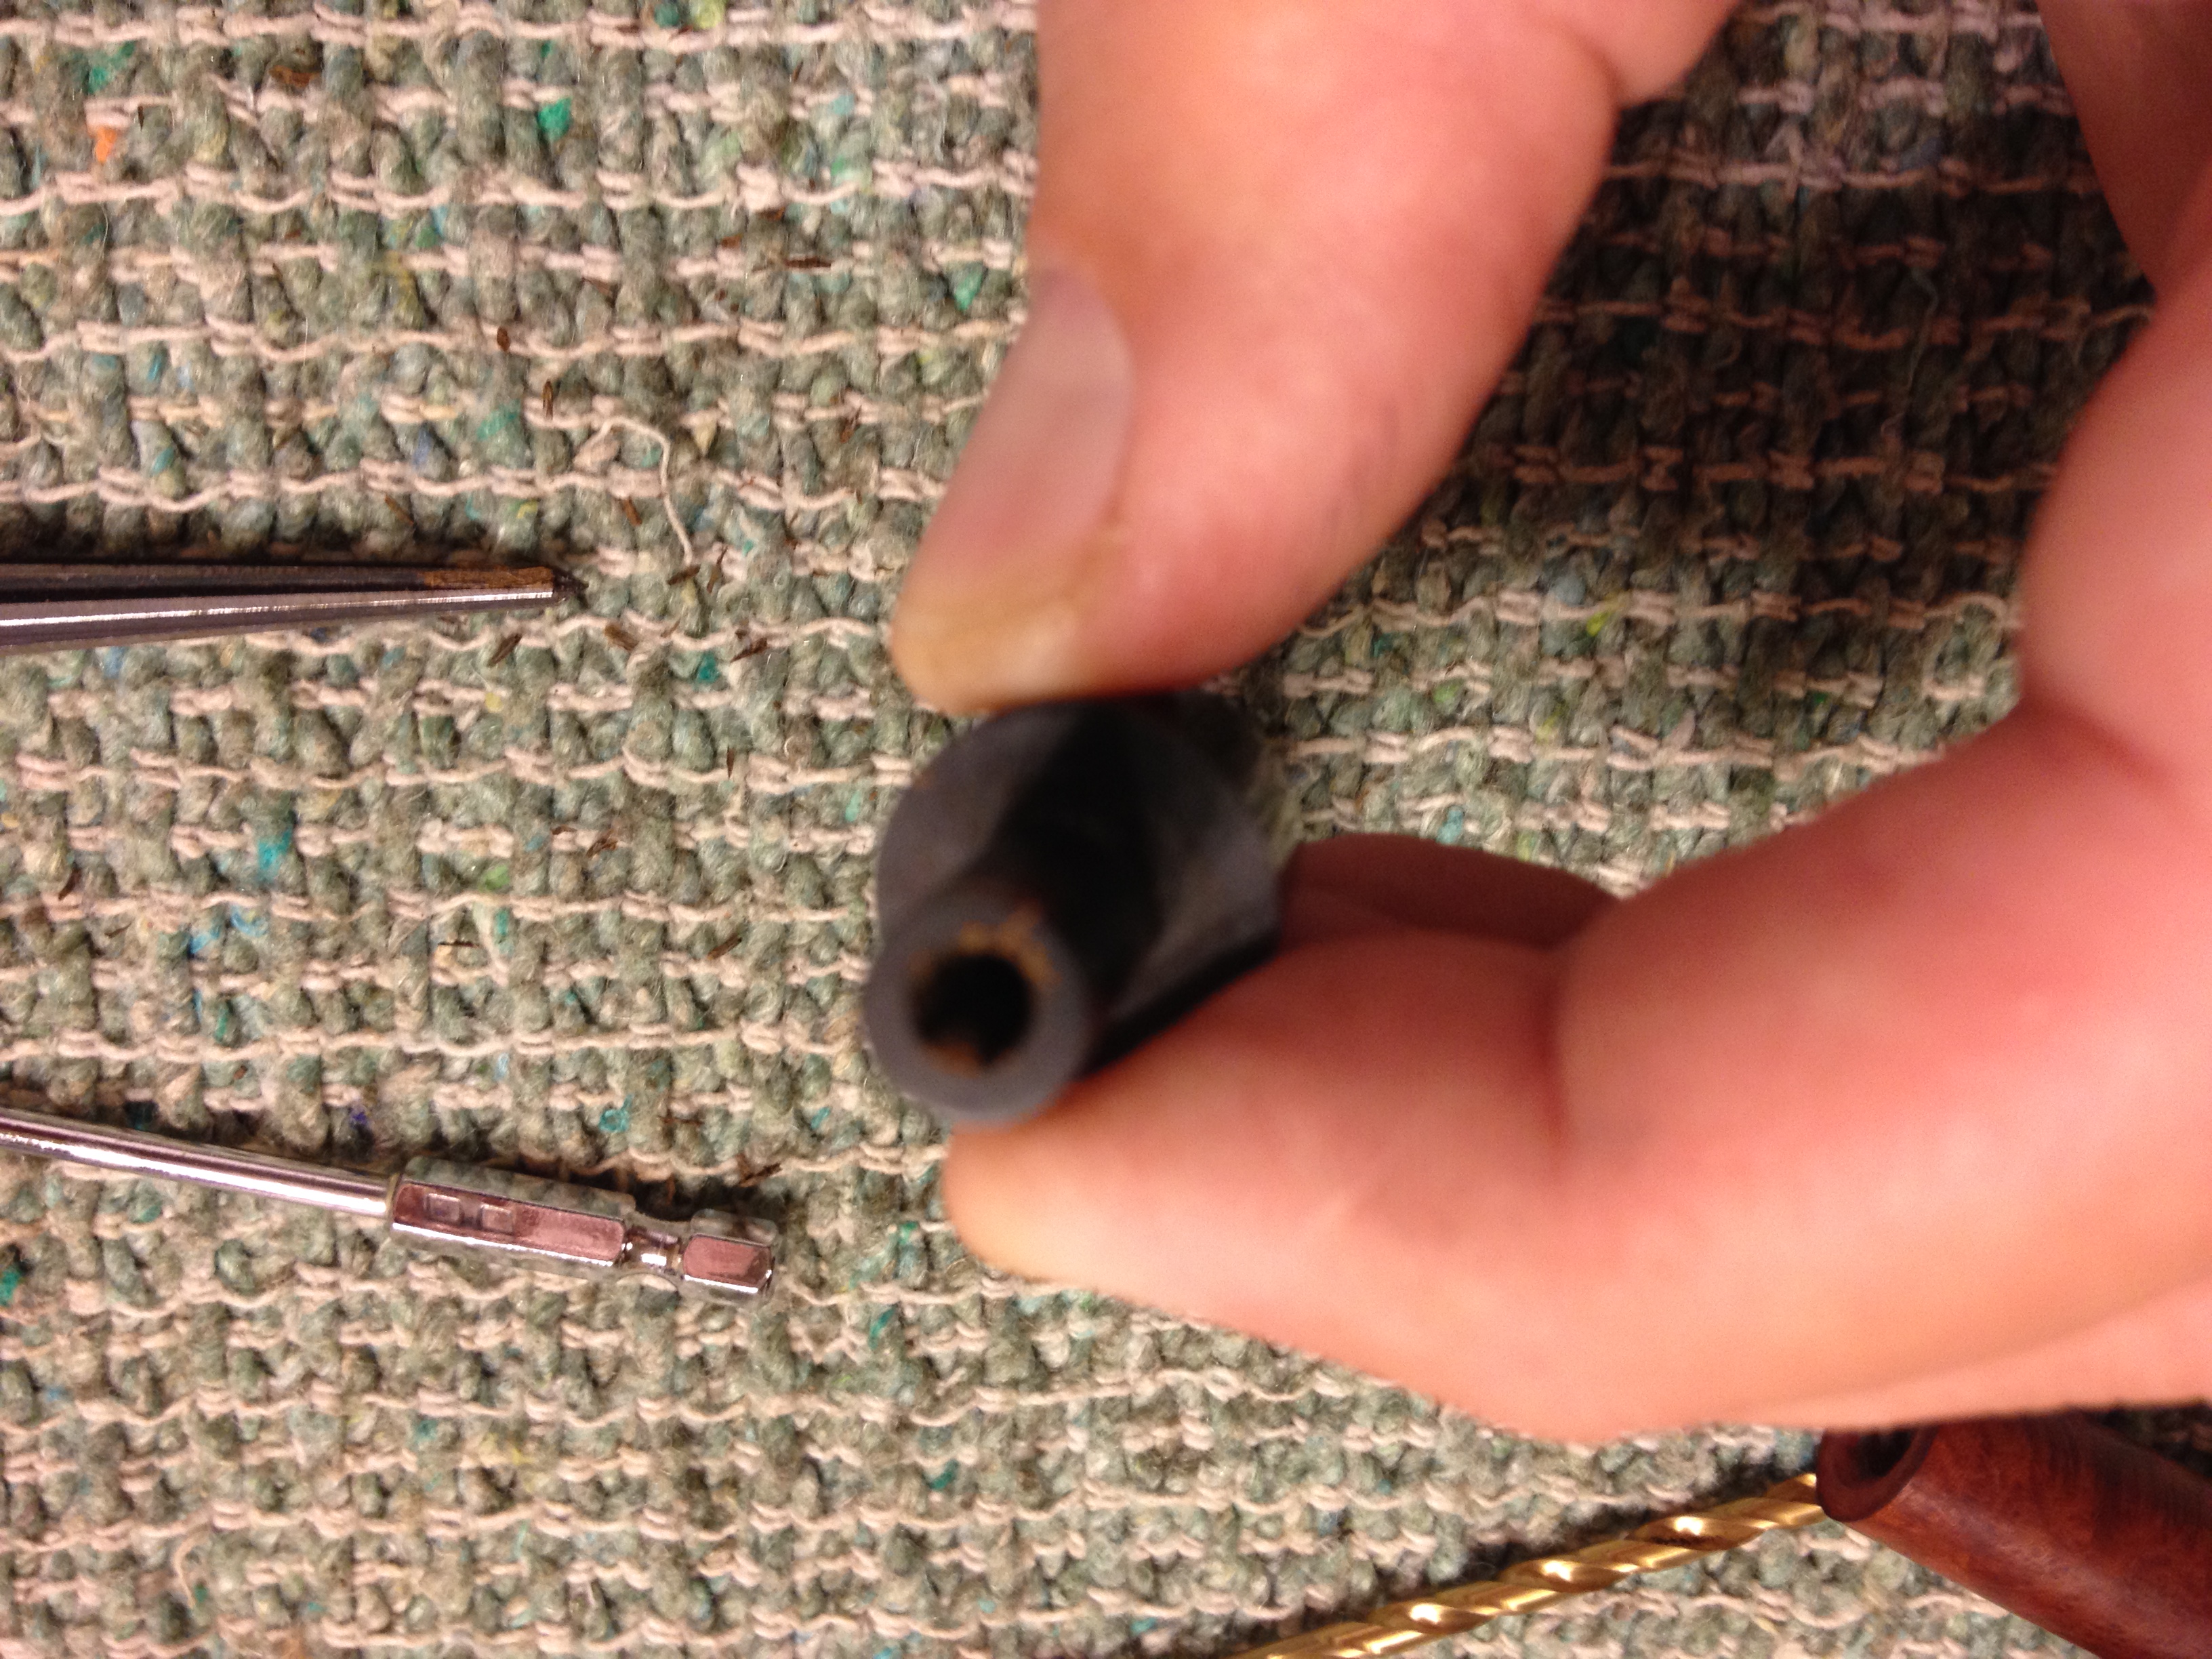
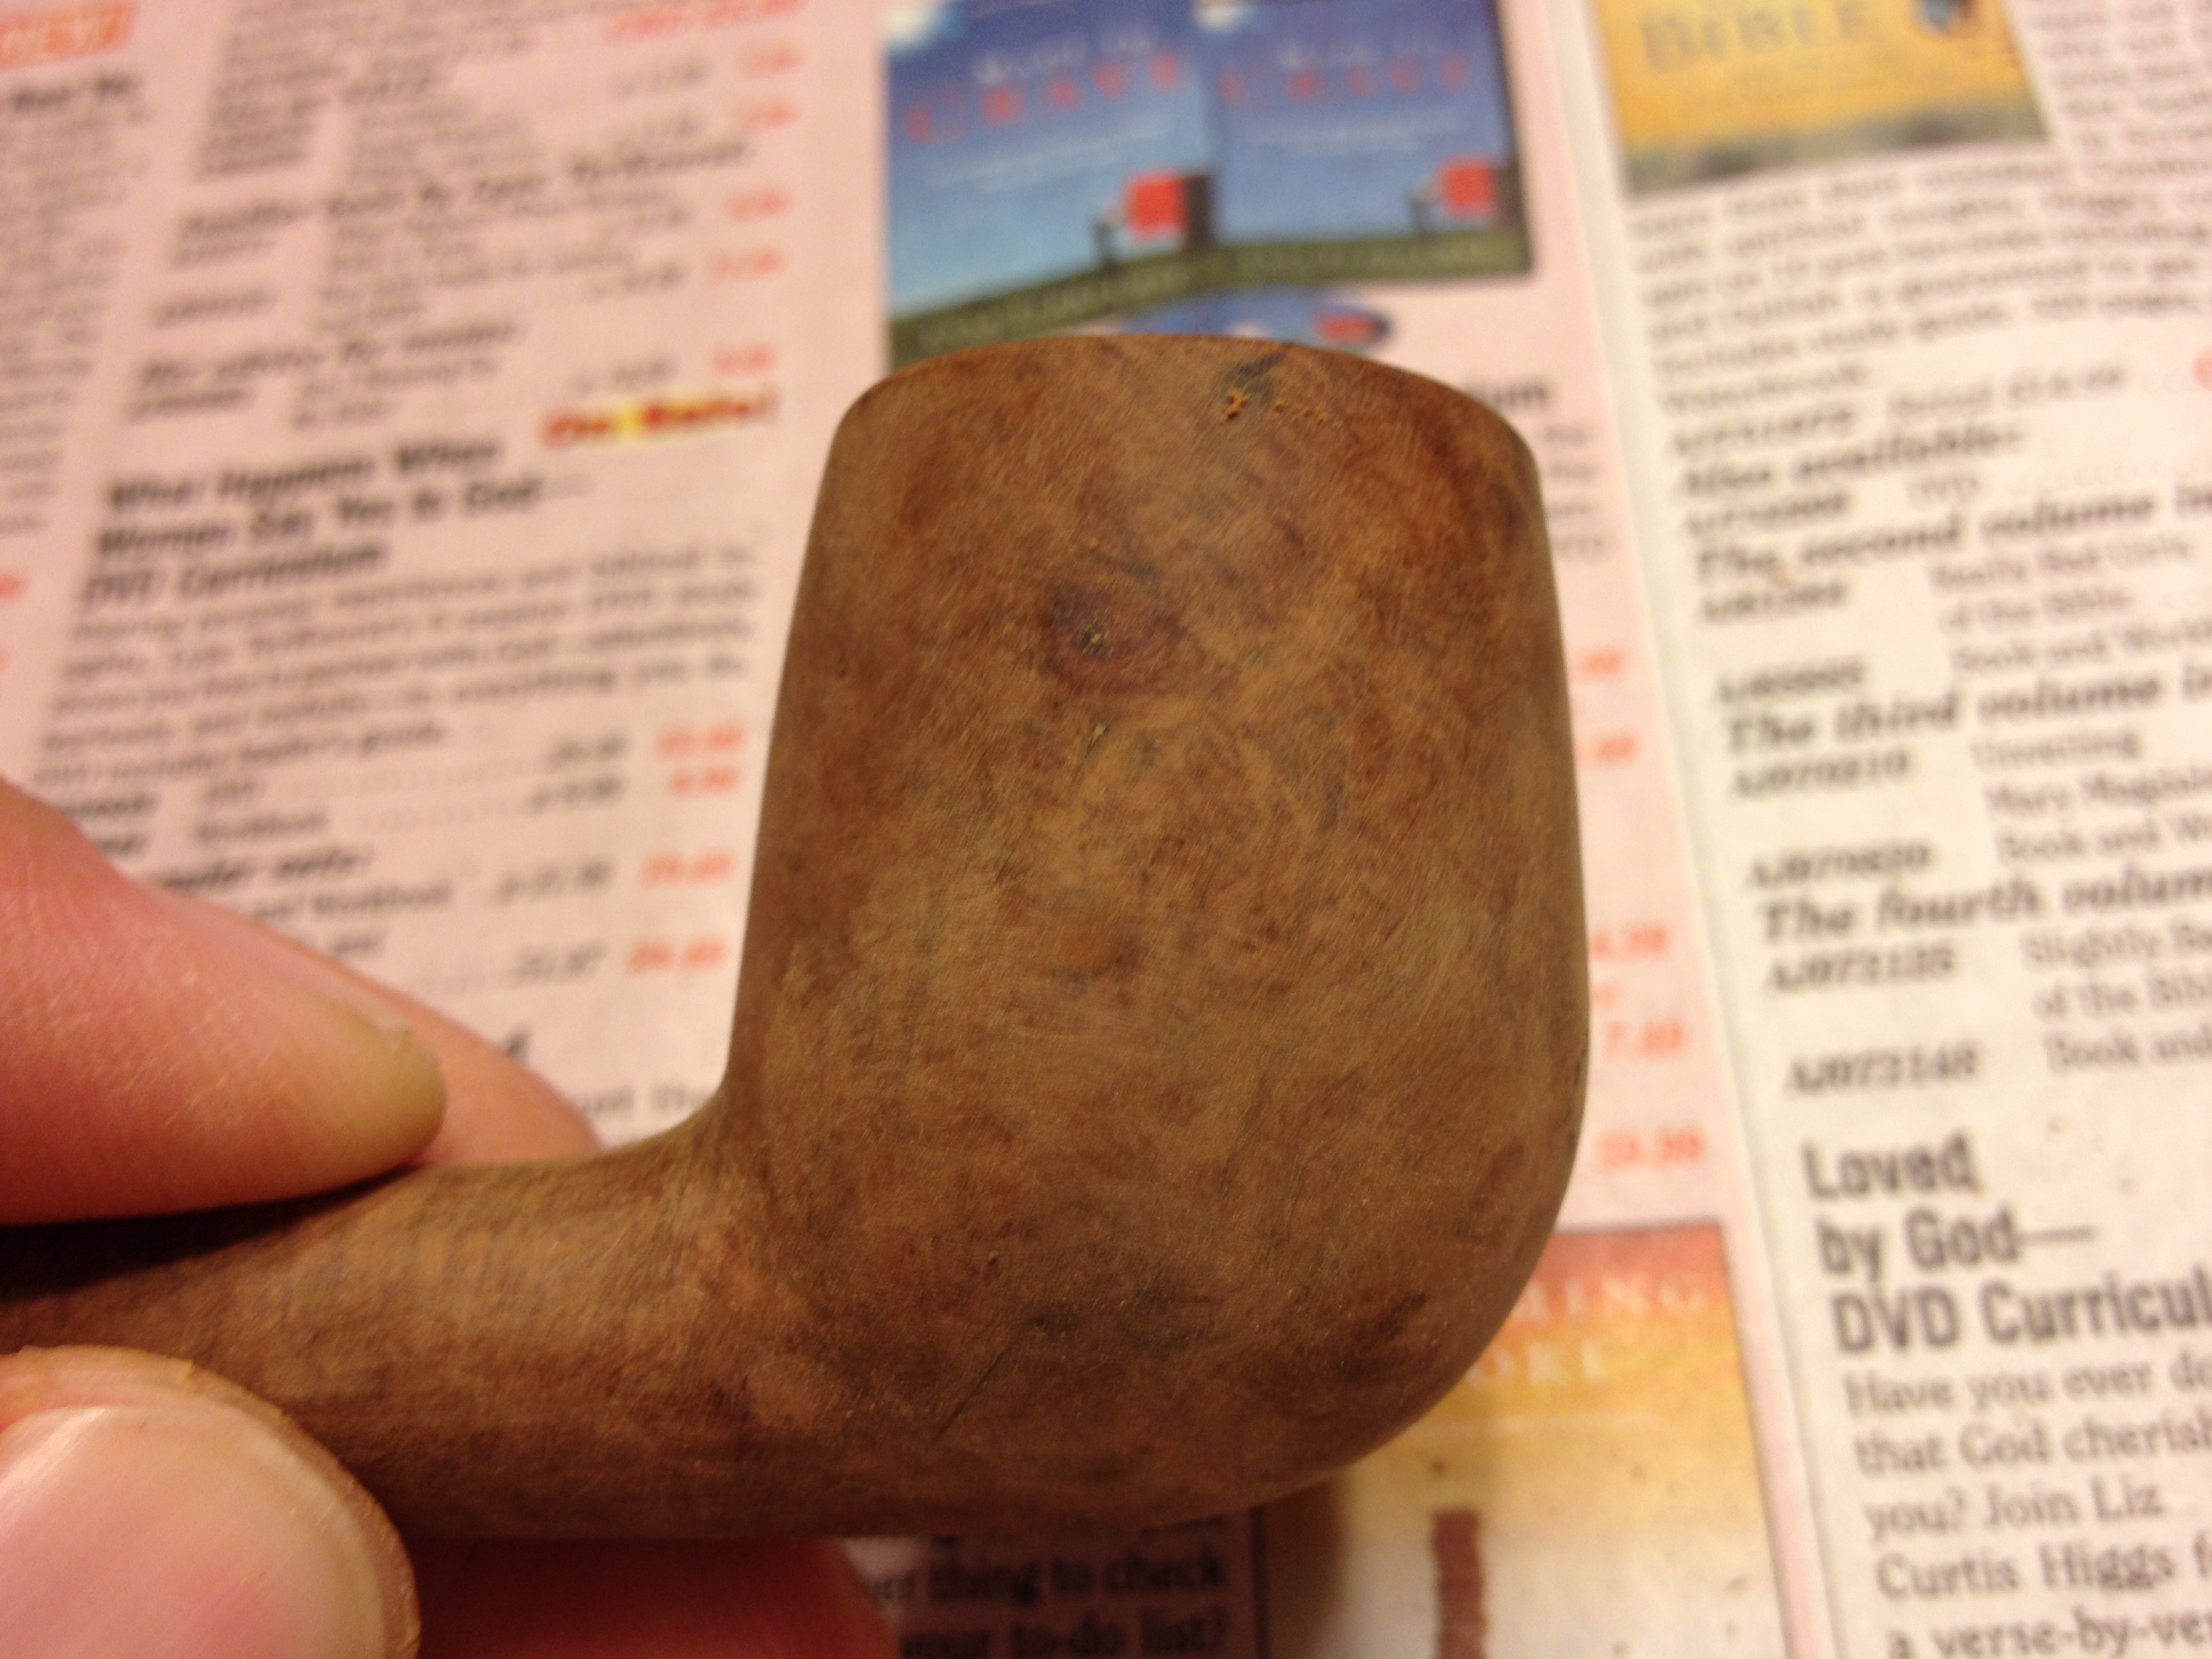
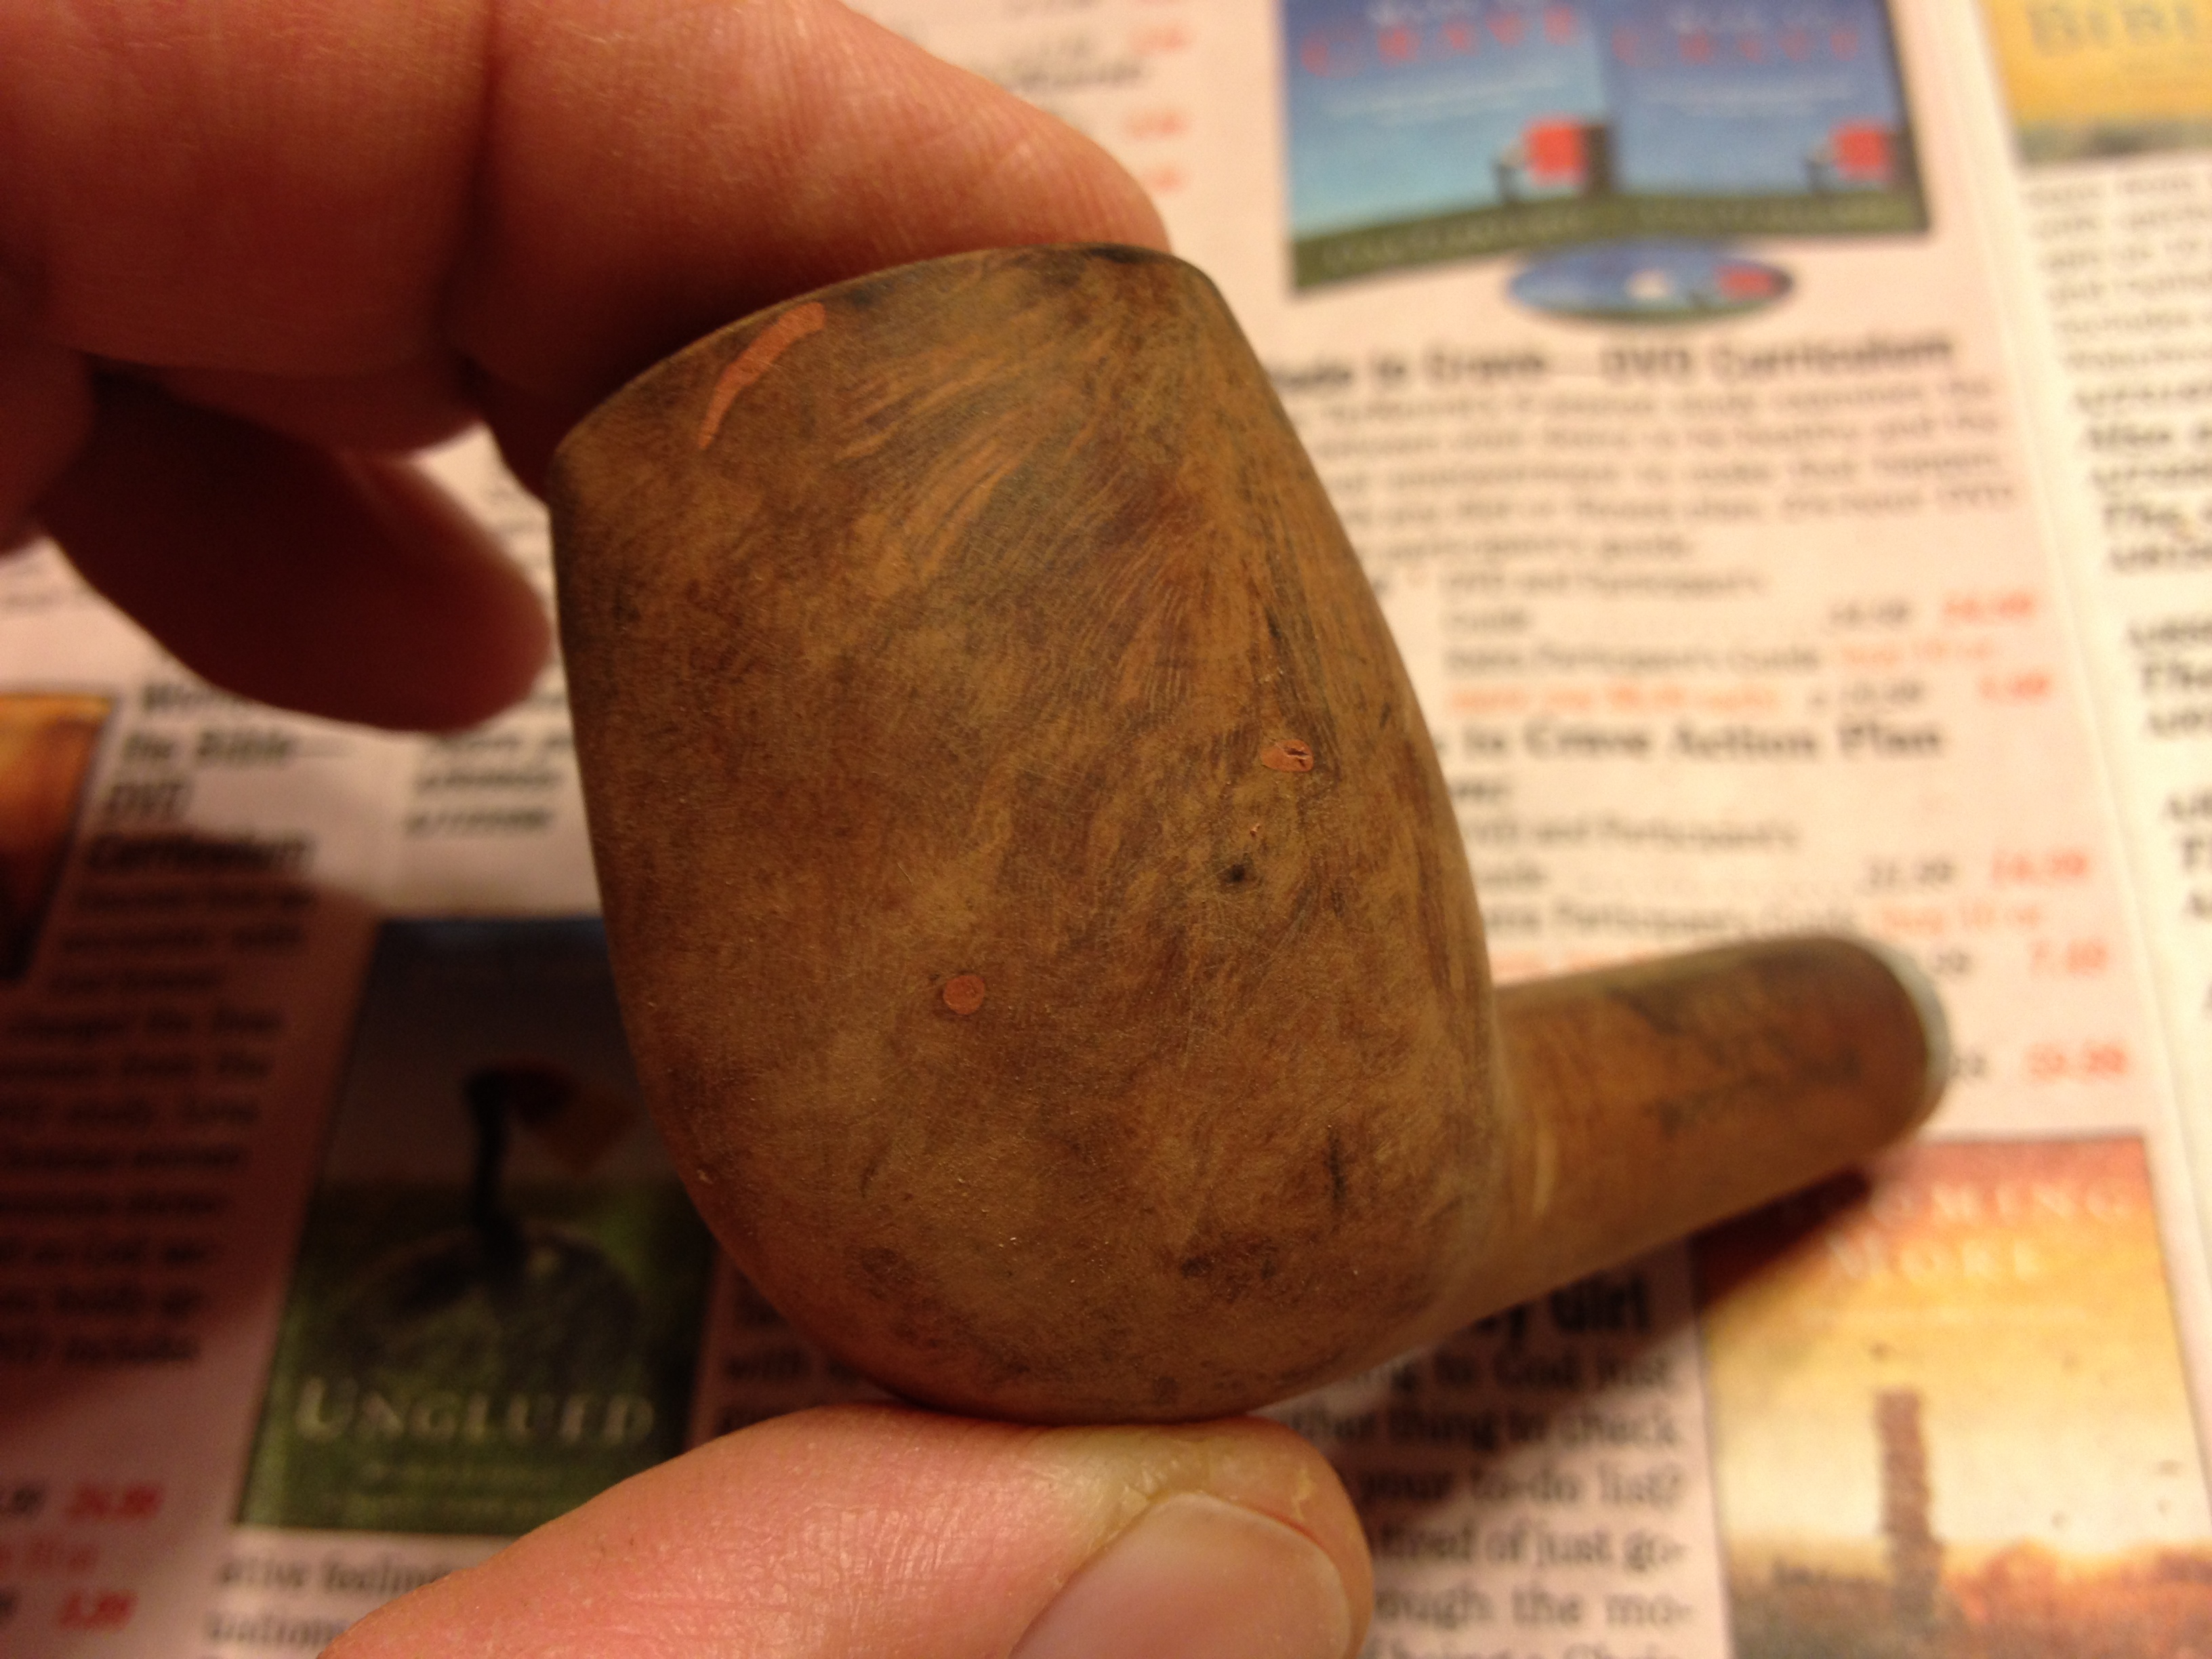
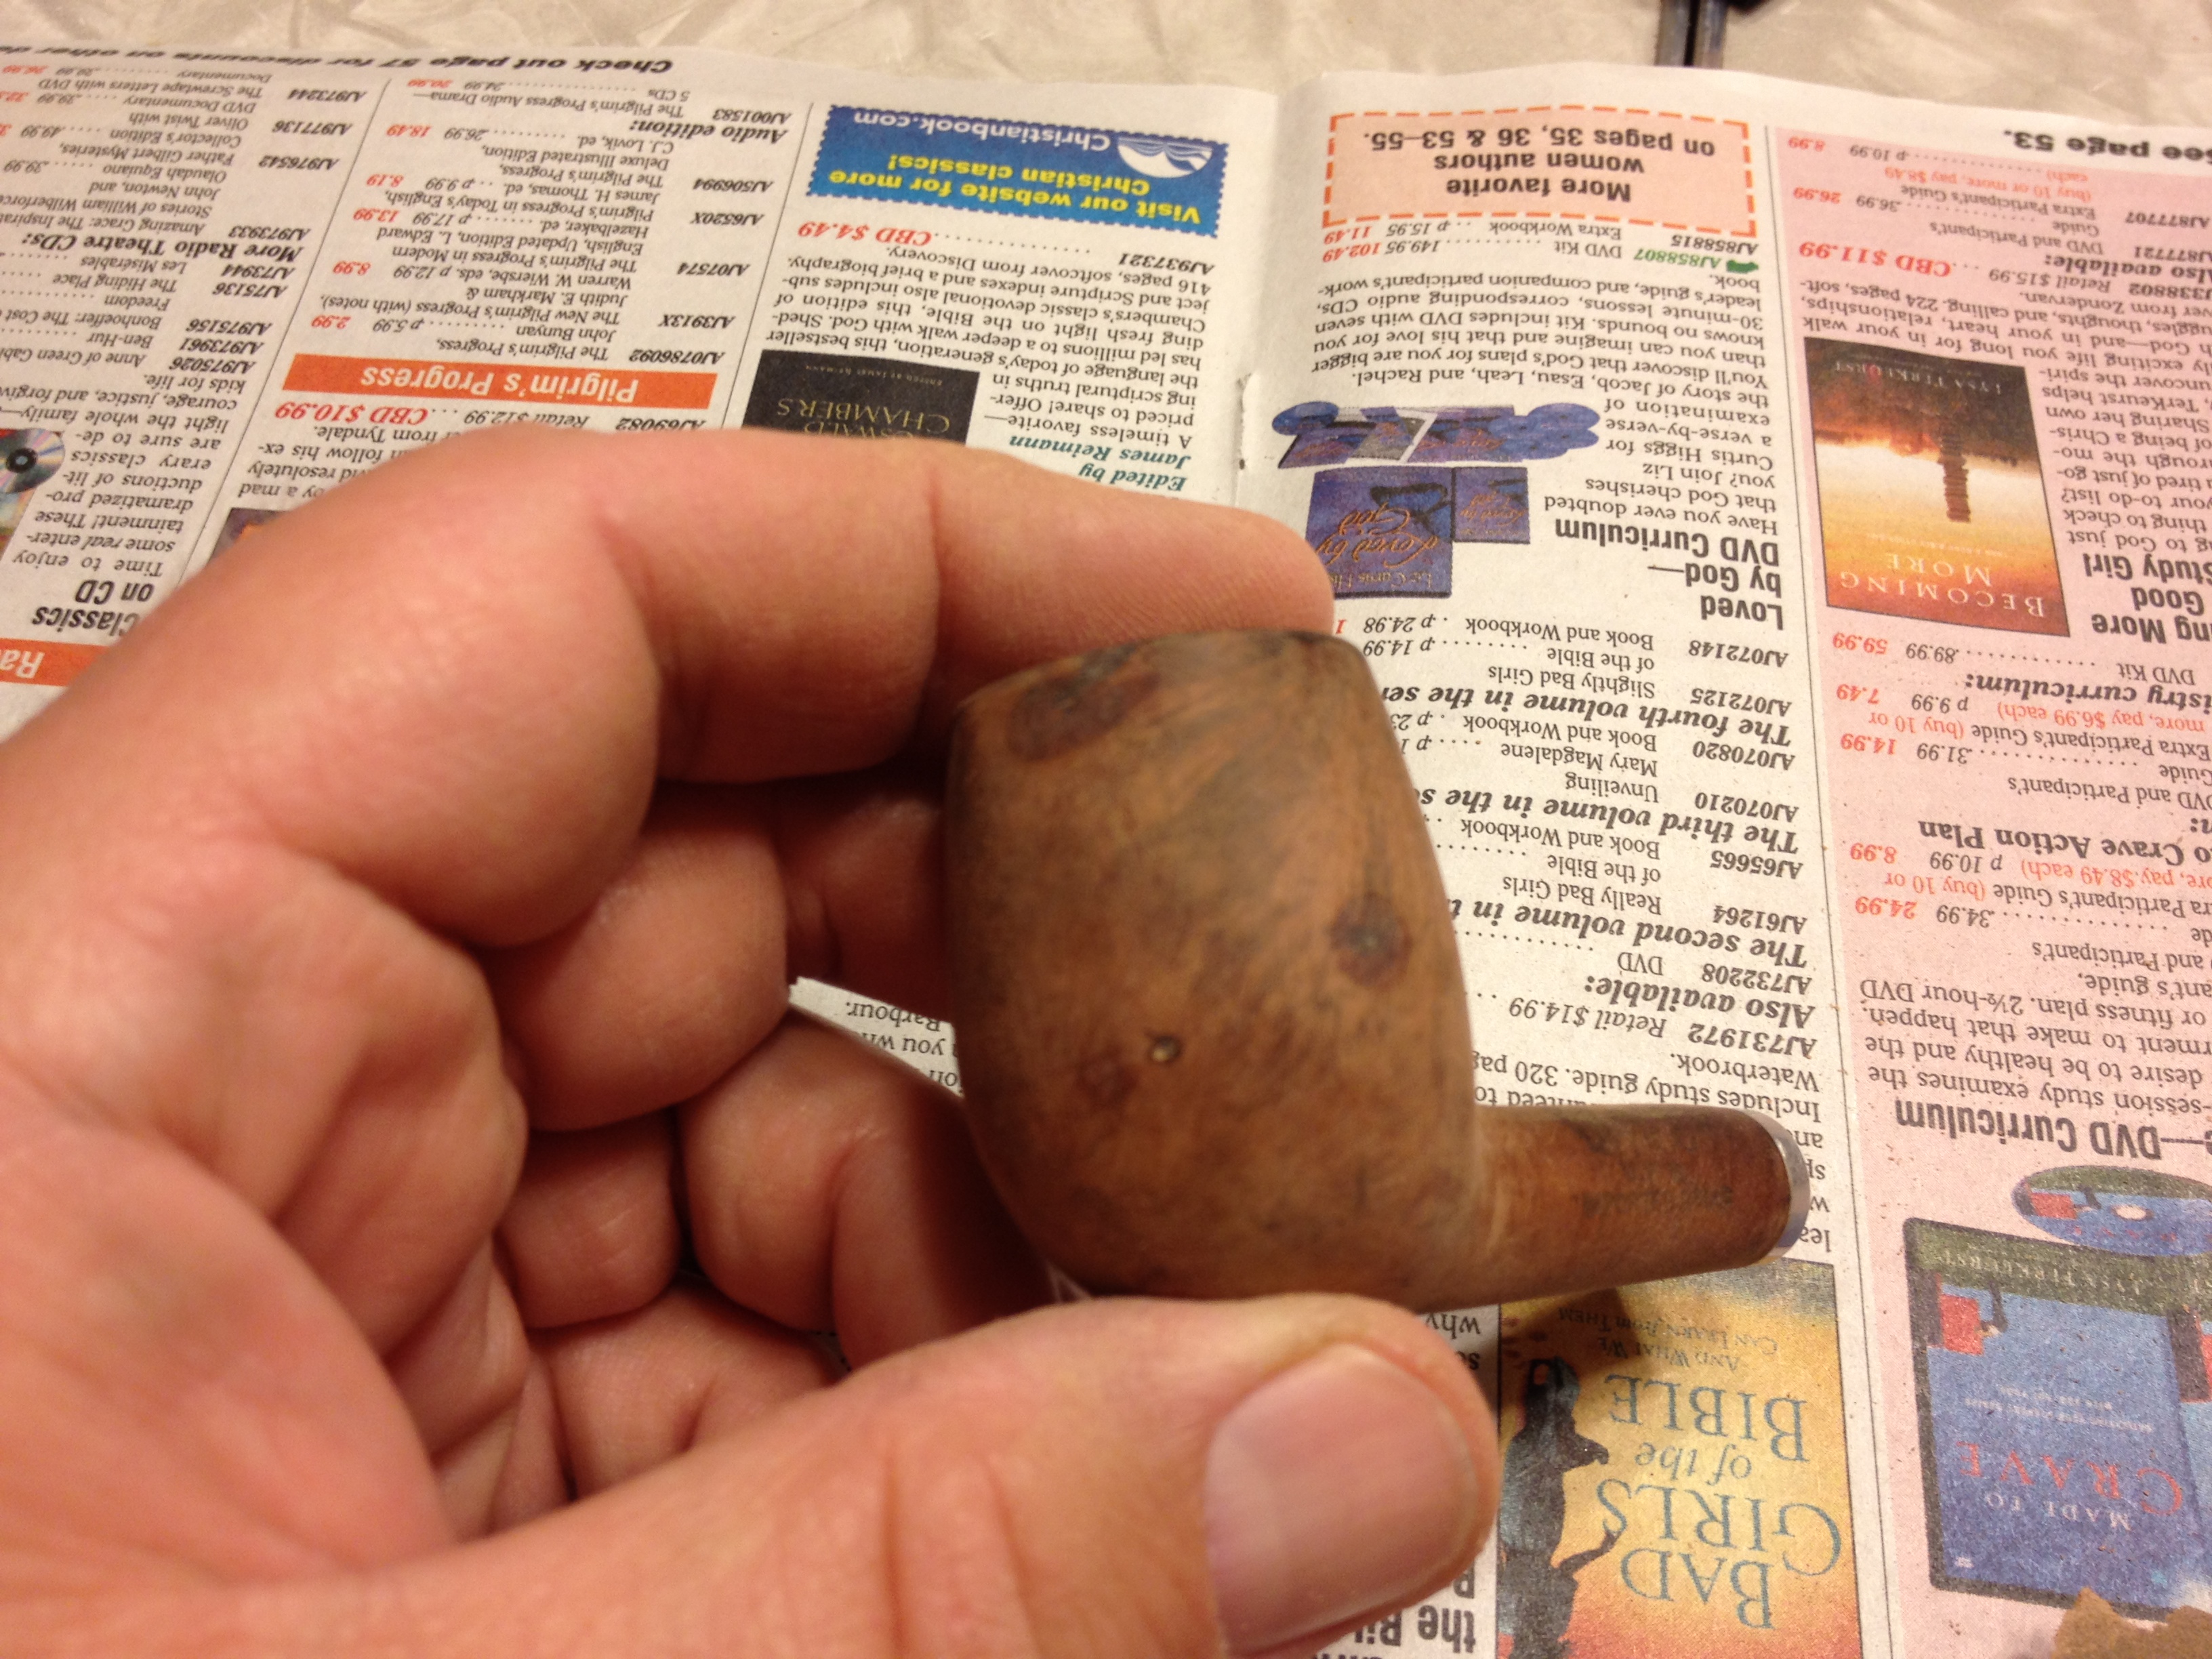
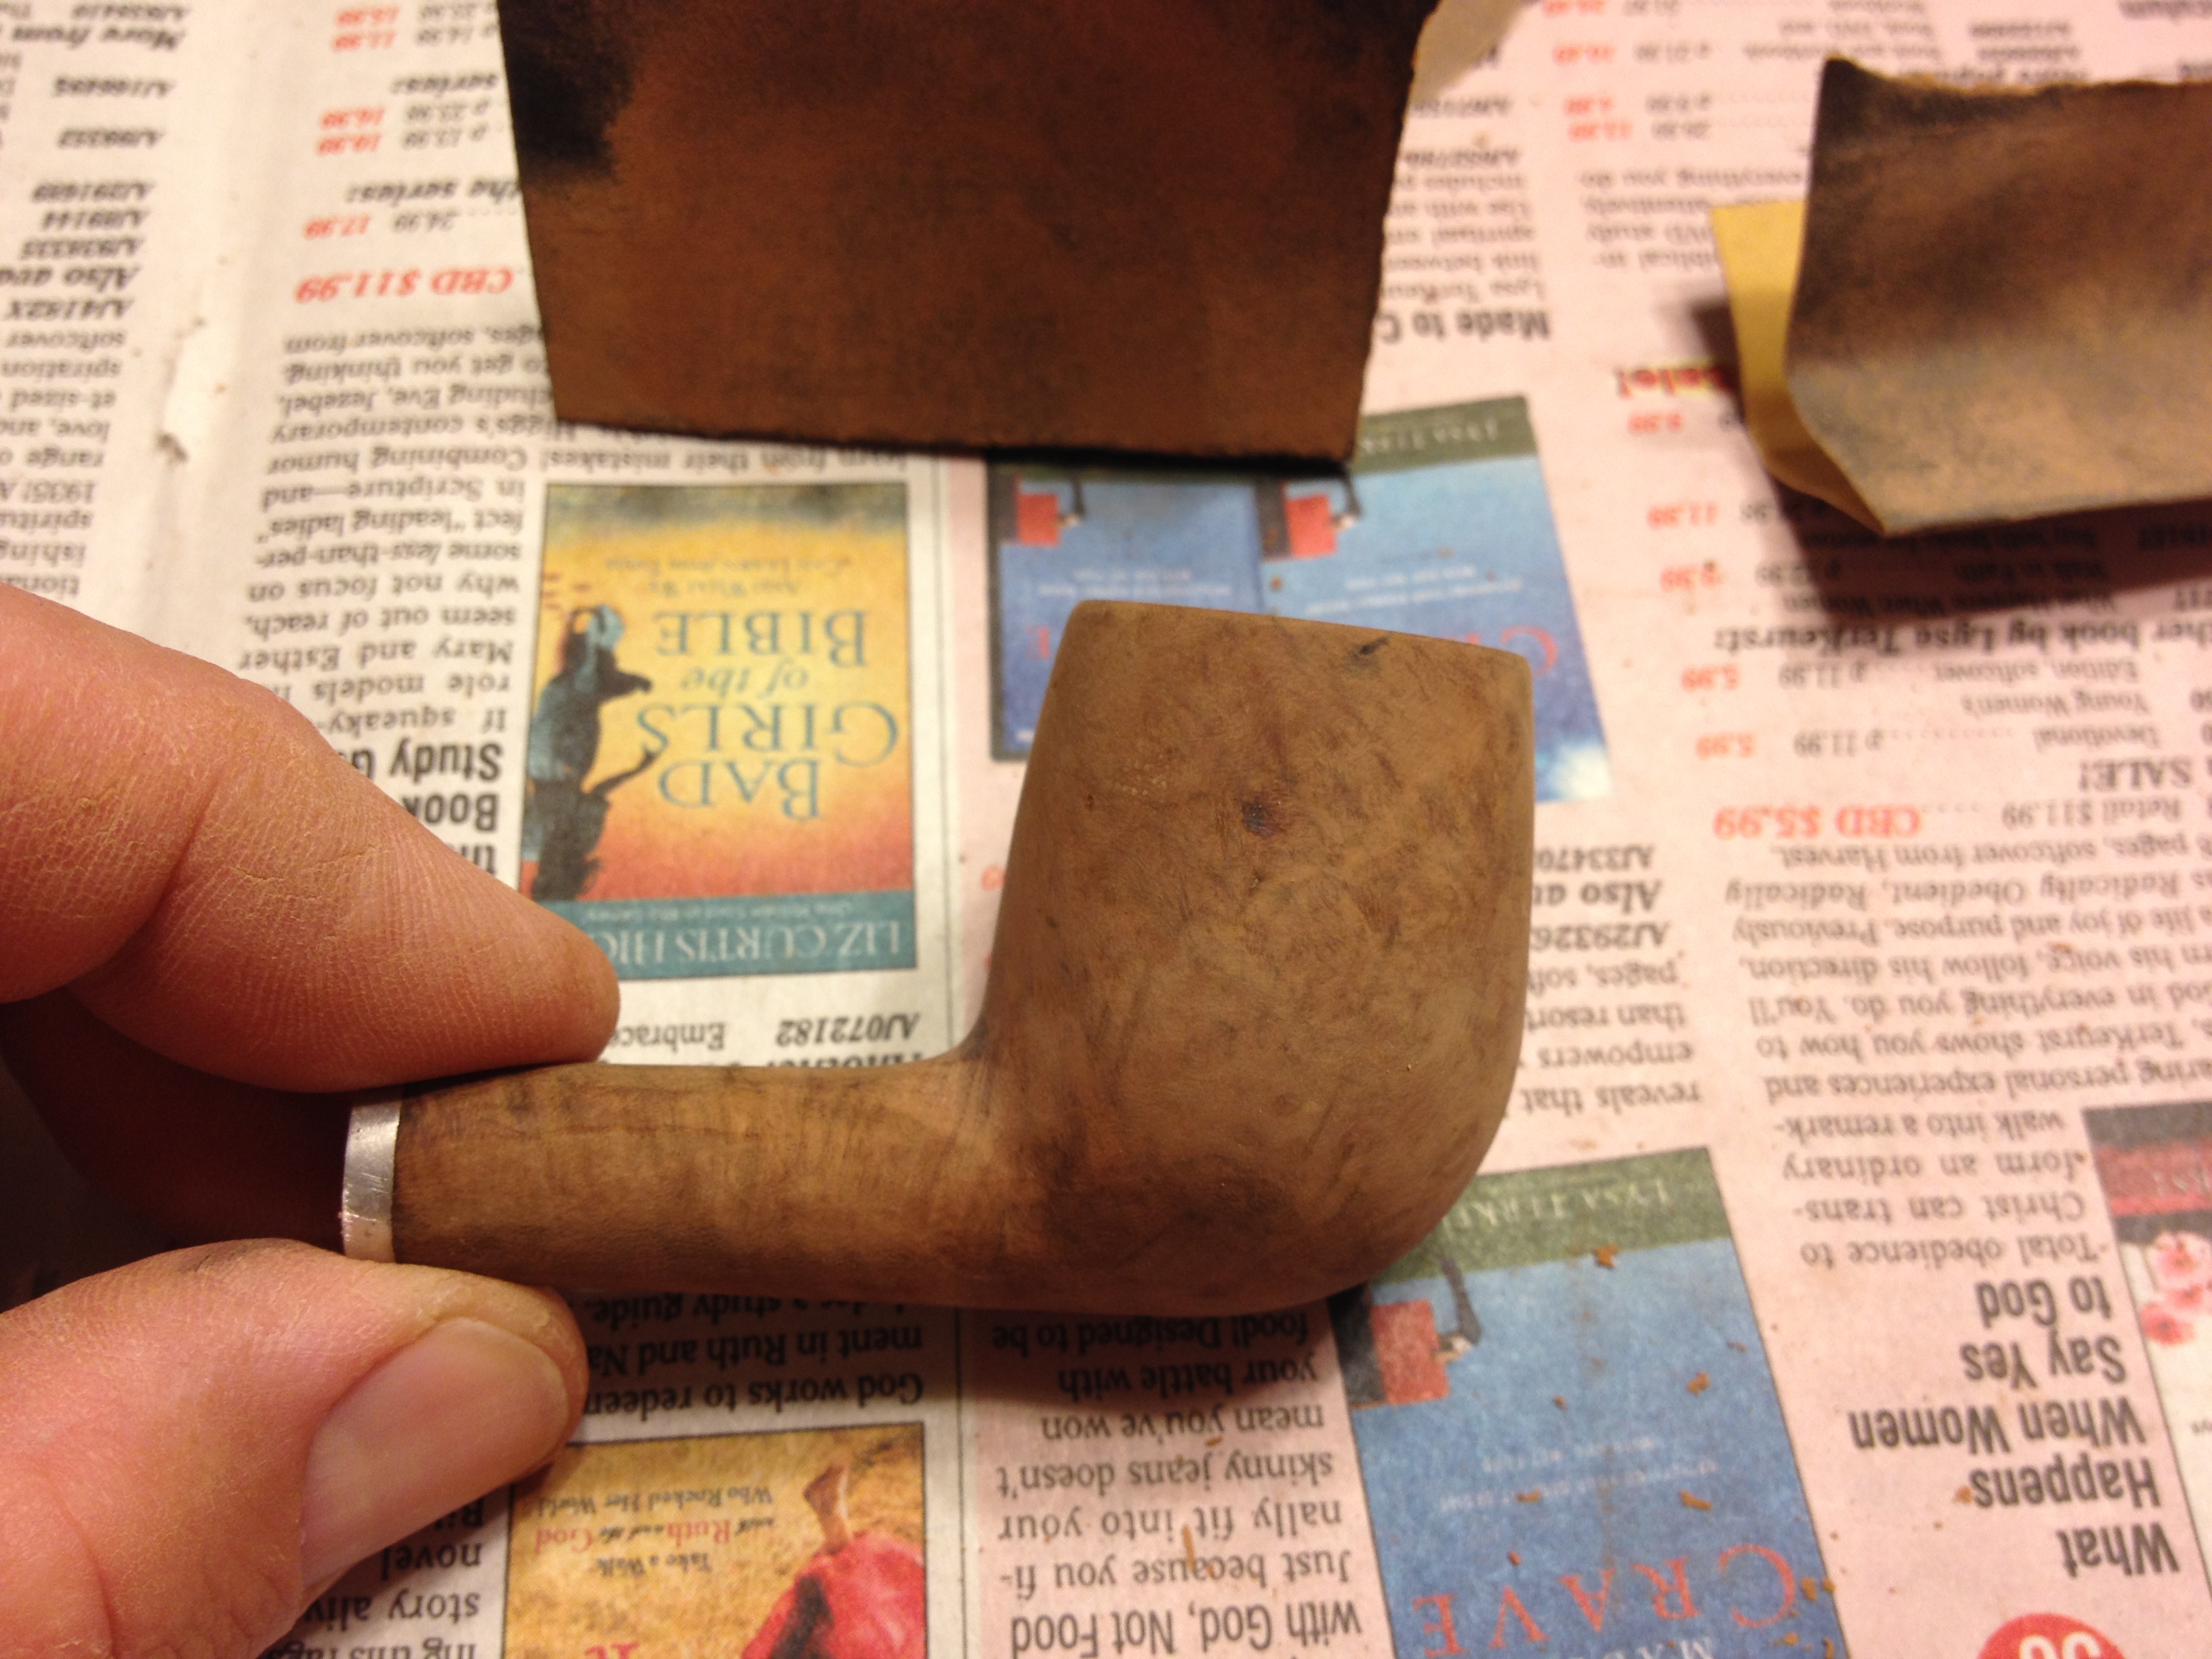
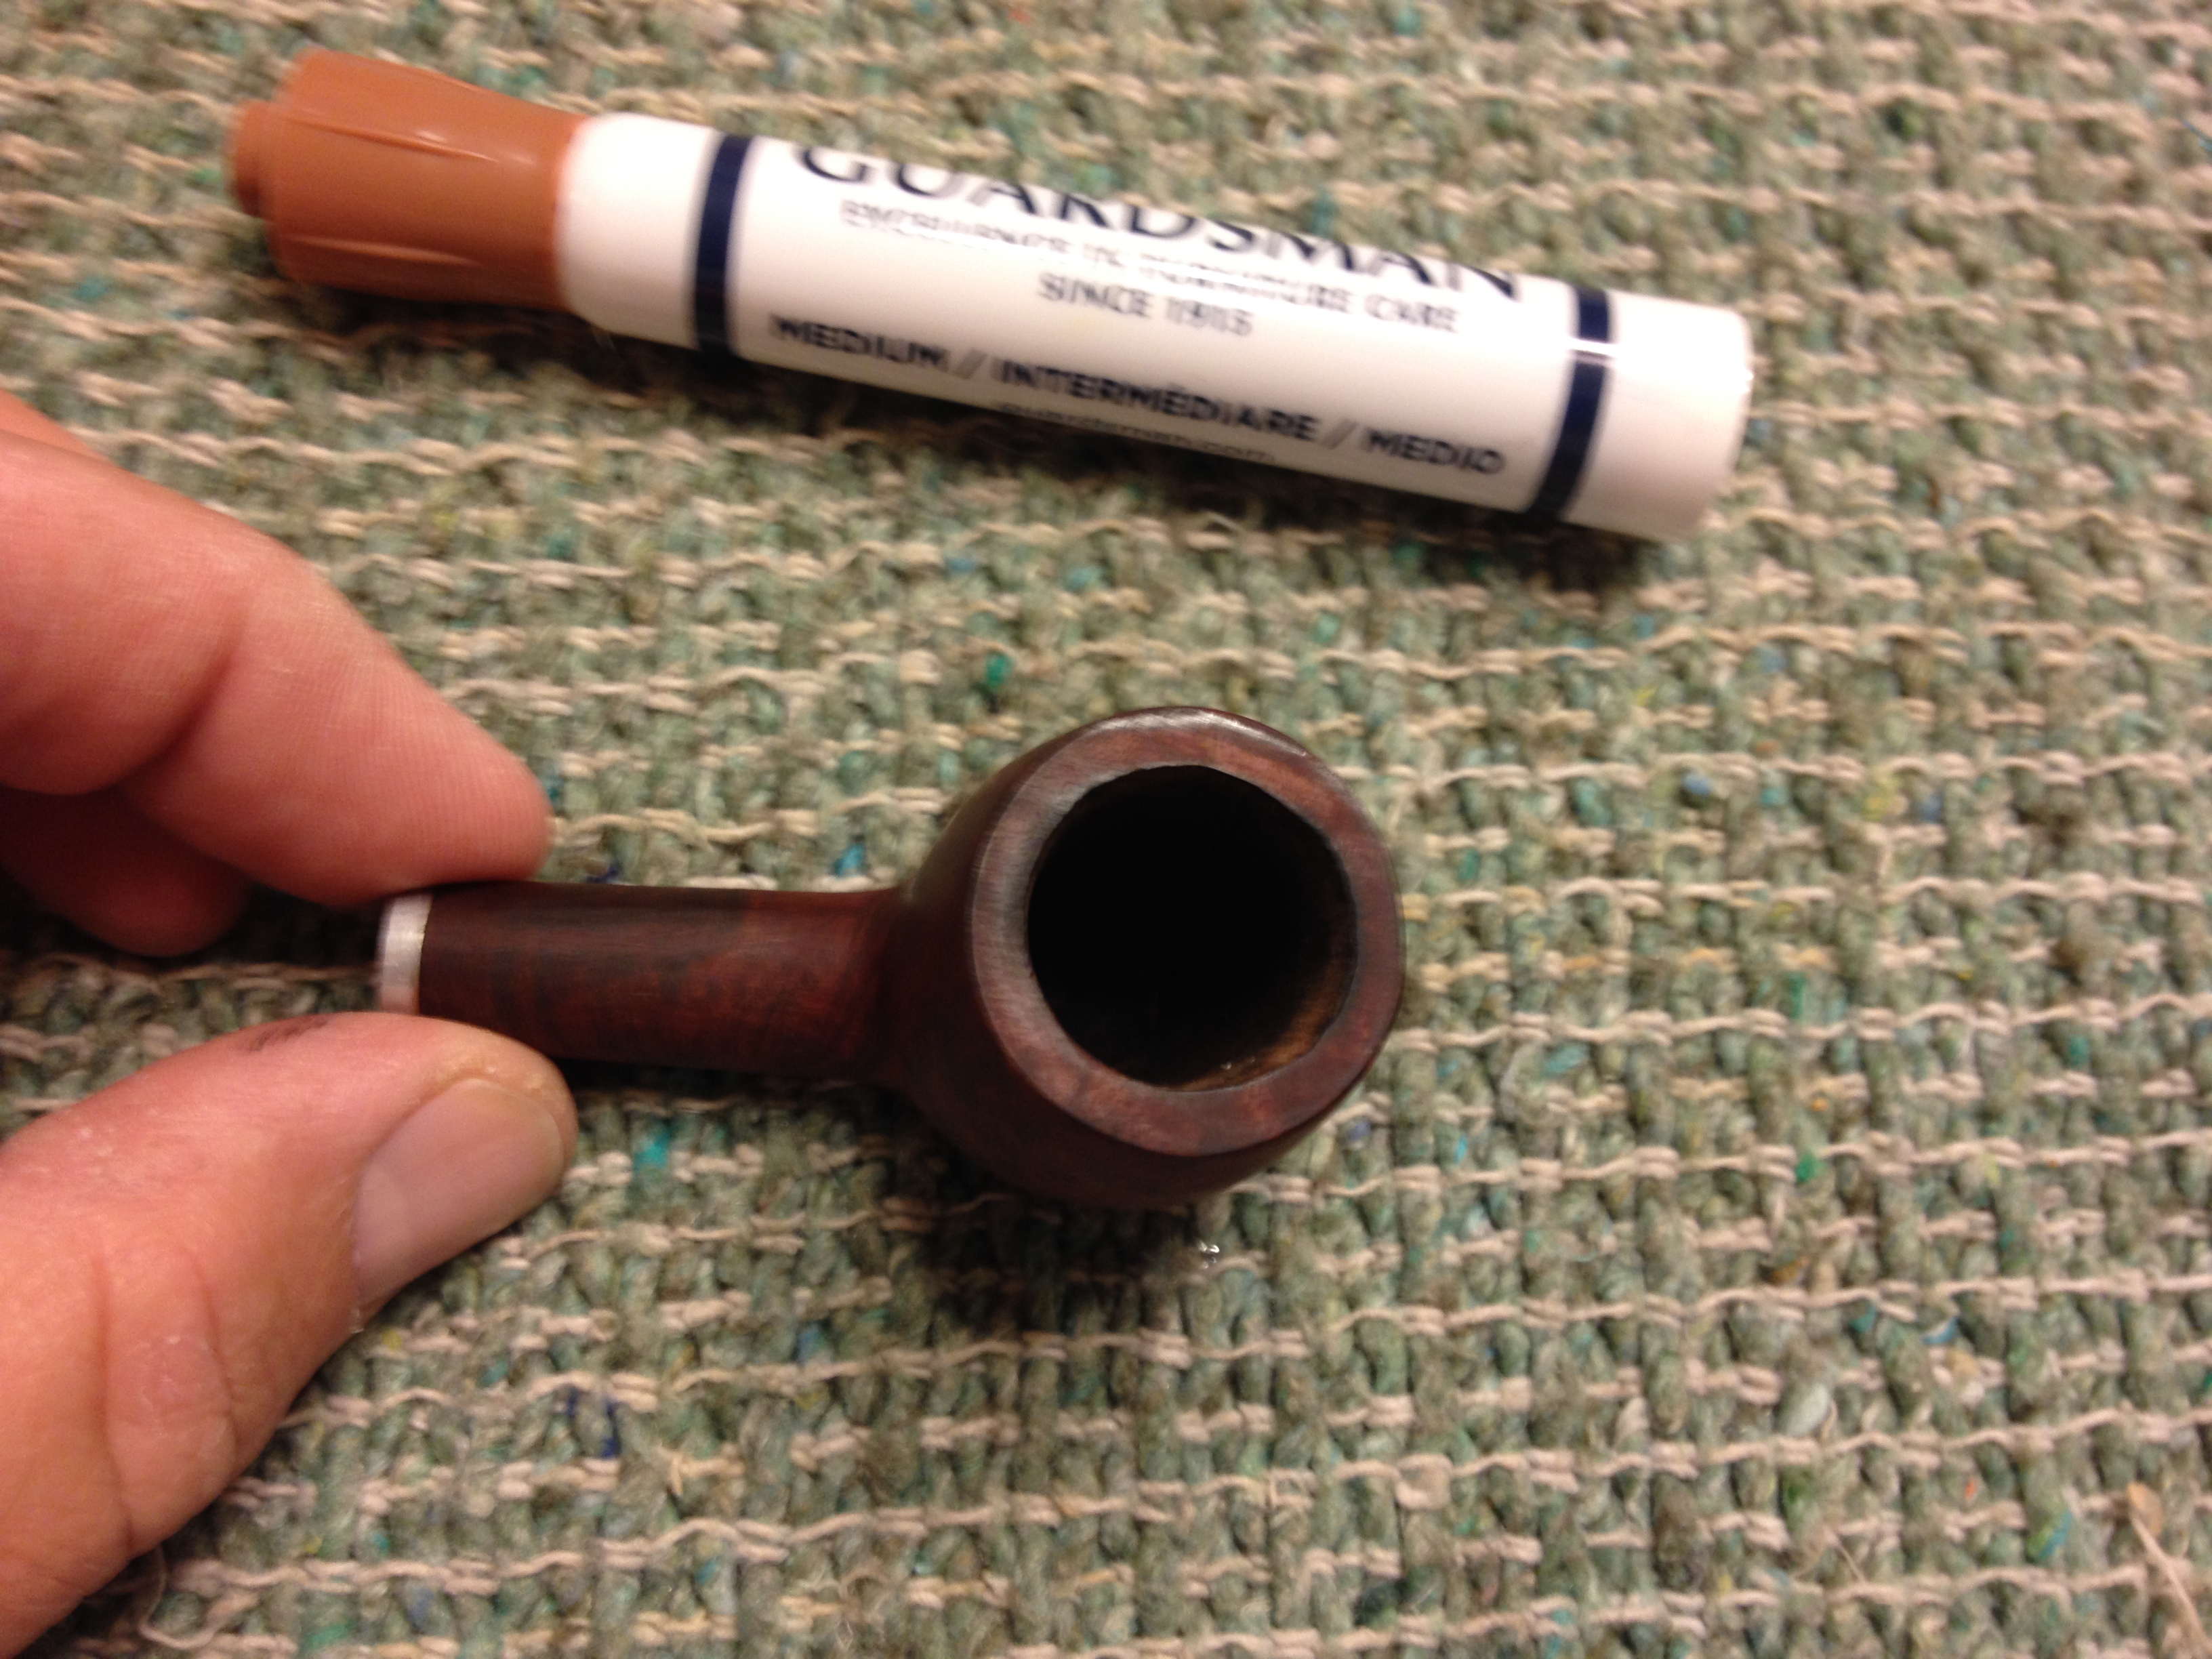
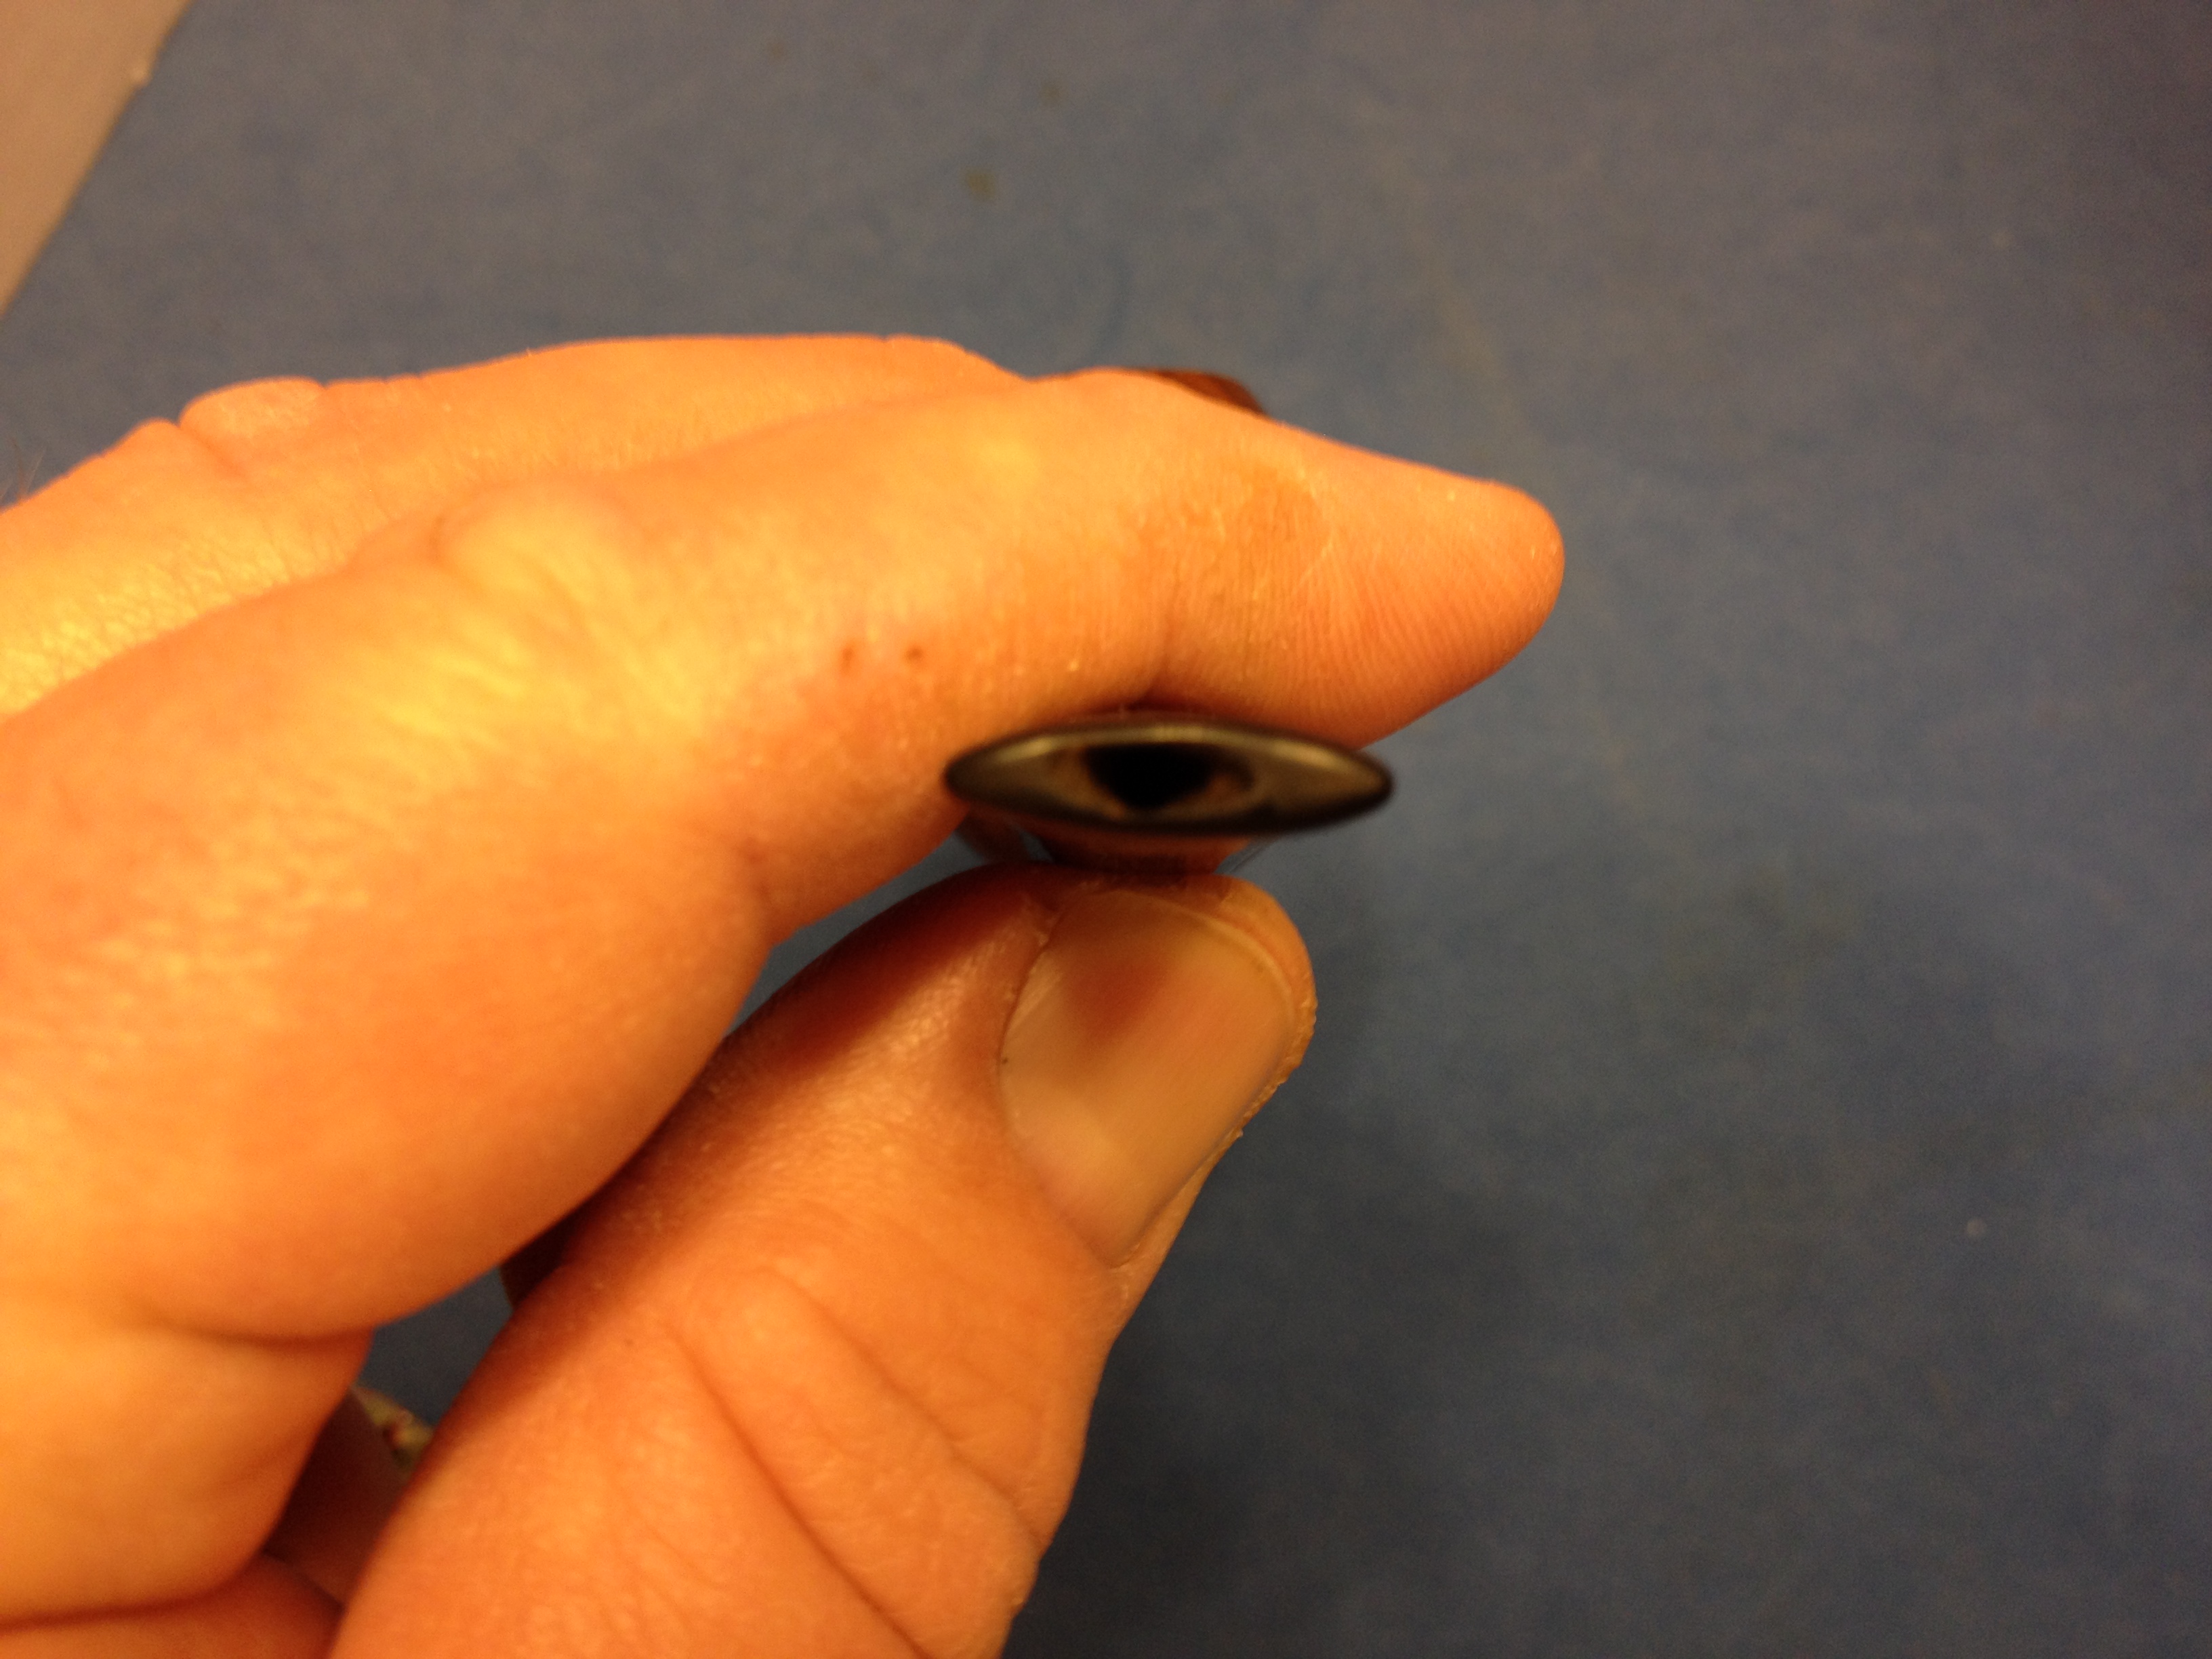
I stared on them both with the normal scrubbing the outside with acetone on cotton balls to remove their finishes. Then I reamed them back to bare wood. The smooth pipe was heavily caked but the rusticated one wasn’t at all, barely smoked really. However, you can’t tell in the above picture, the rusticated one had some heavy damage to the inner rim. I began by topping the bowl to even it it some but it would take a lot of briar removal to attempt to get out the chunks missing from the inner rim. So I took the second largest head on my Castleford reamer, too big for the bowl, and started a “bevel” on the inner rim, which I then worked with needle files and sandpaper to smooth out. I couldn’t take out all the damage but made it much less noticeable and would be even better after I stained it and it was later smoked. Next I got out my hand drill and re-drilled both bowls with a 5/32″ bit to improve the draw. I did the same thing with the tenon ends of the stems and then funneled them out. At this point I dropped both bowls in an alcohol bath overnight.

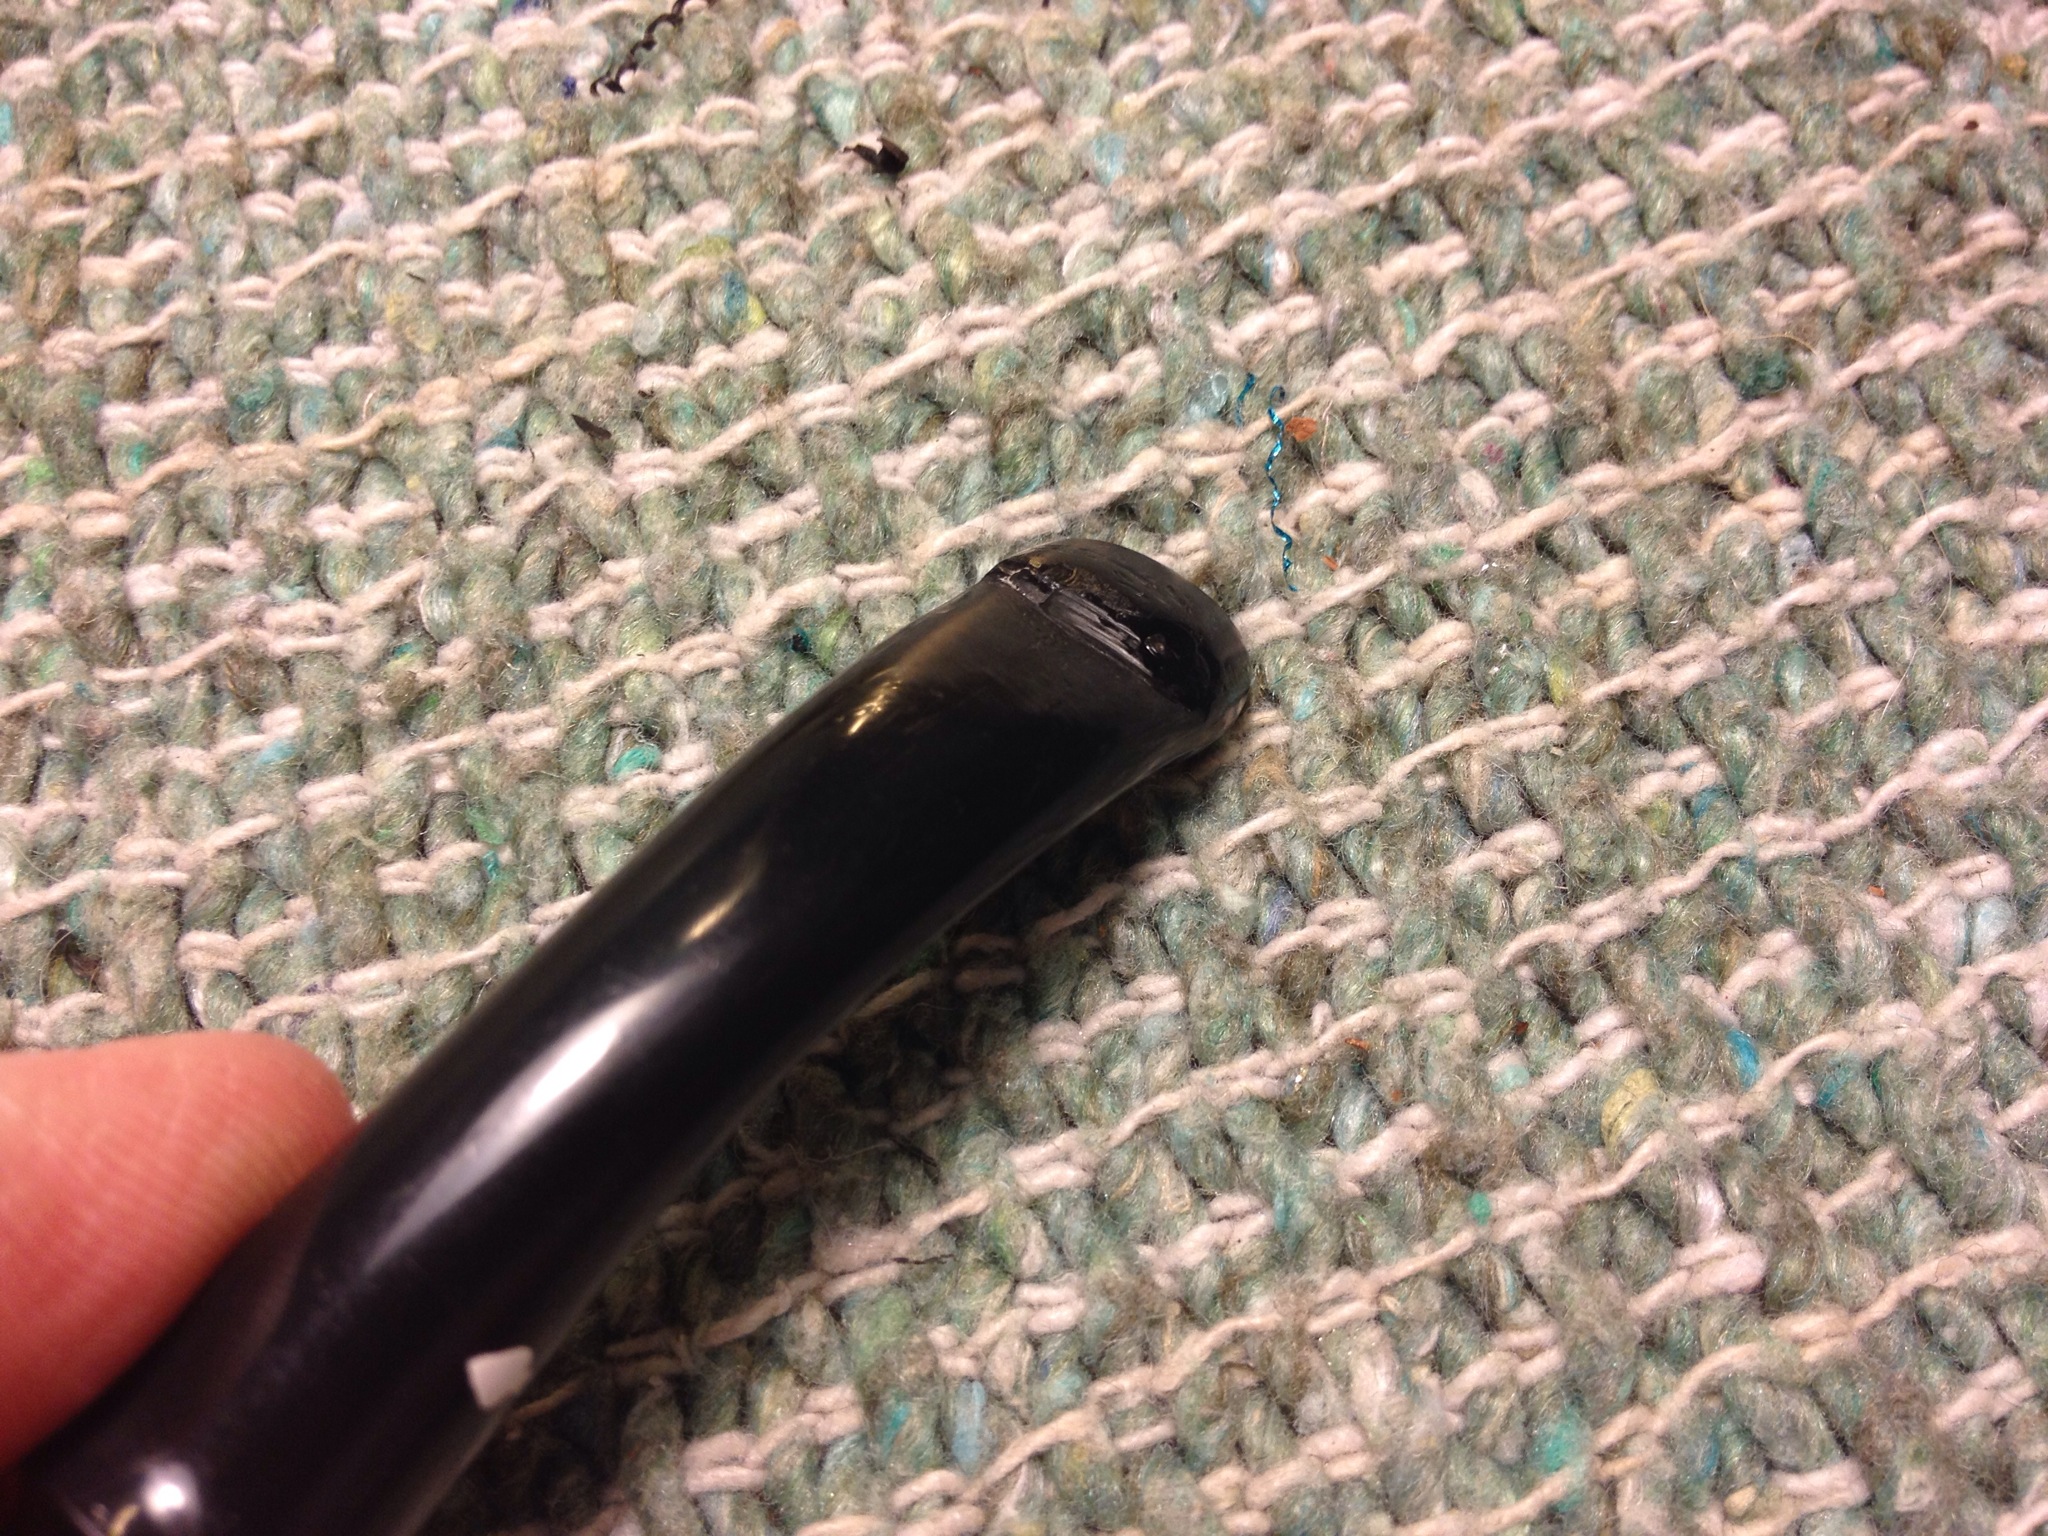
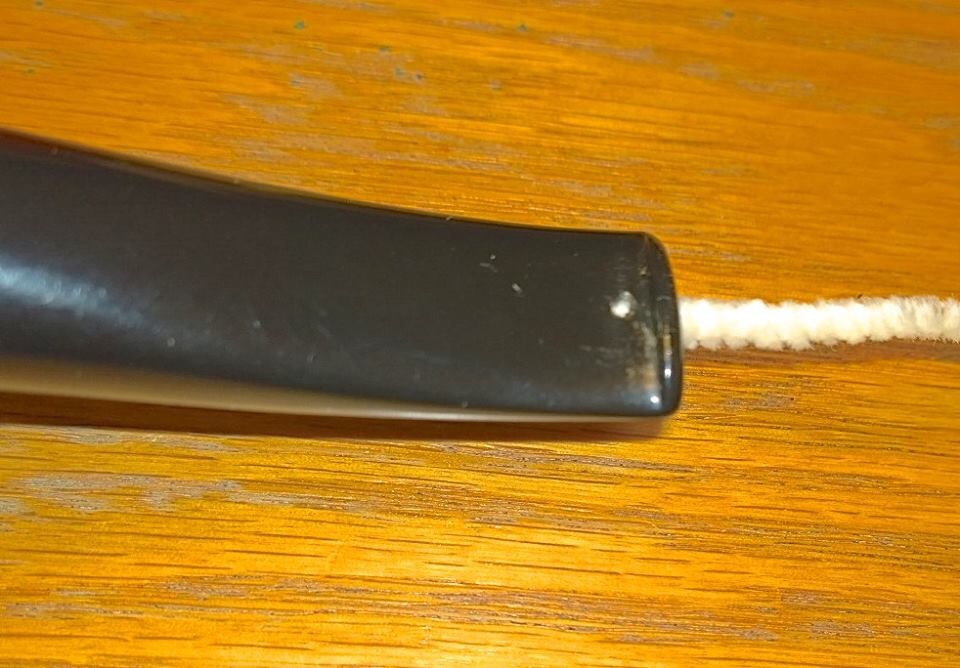
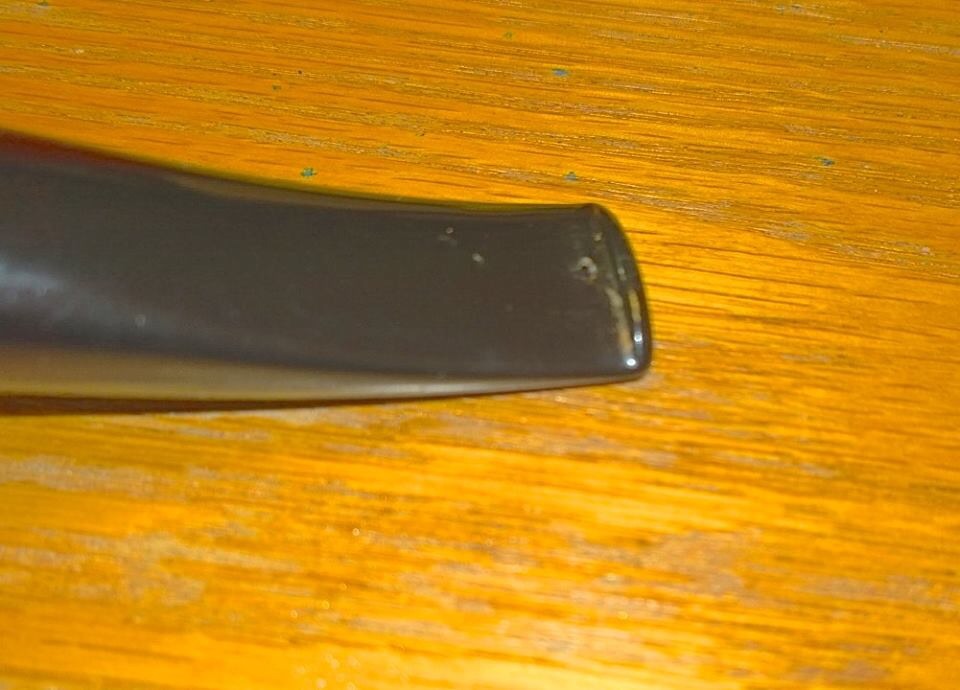
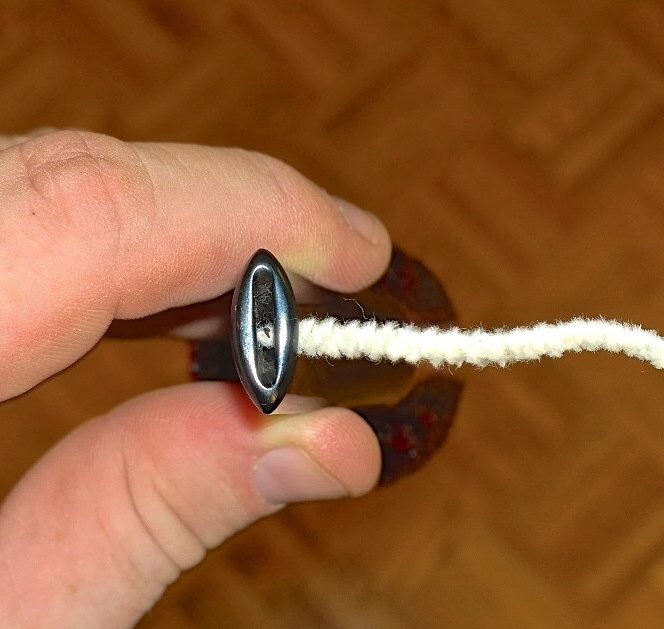
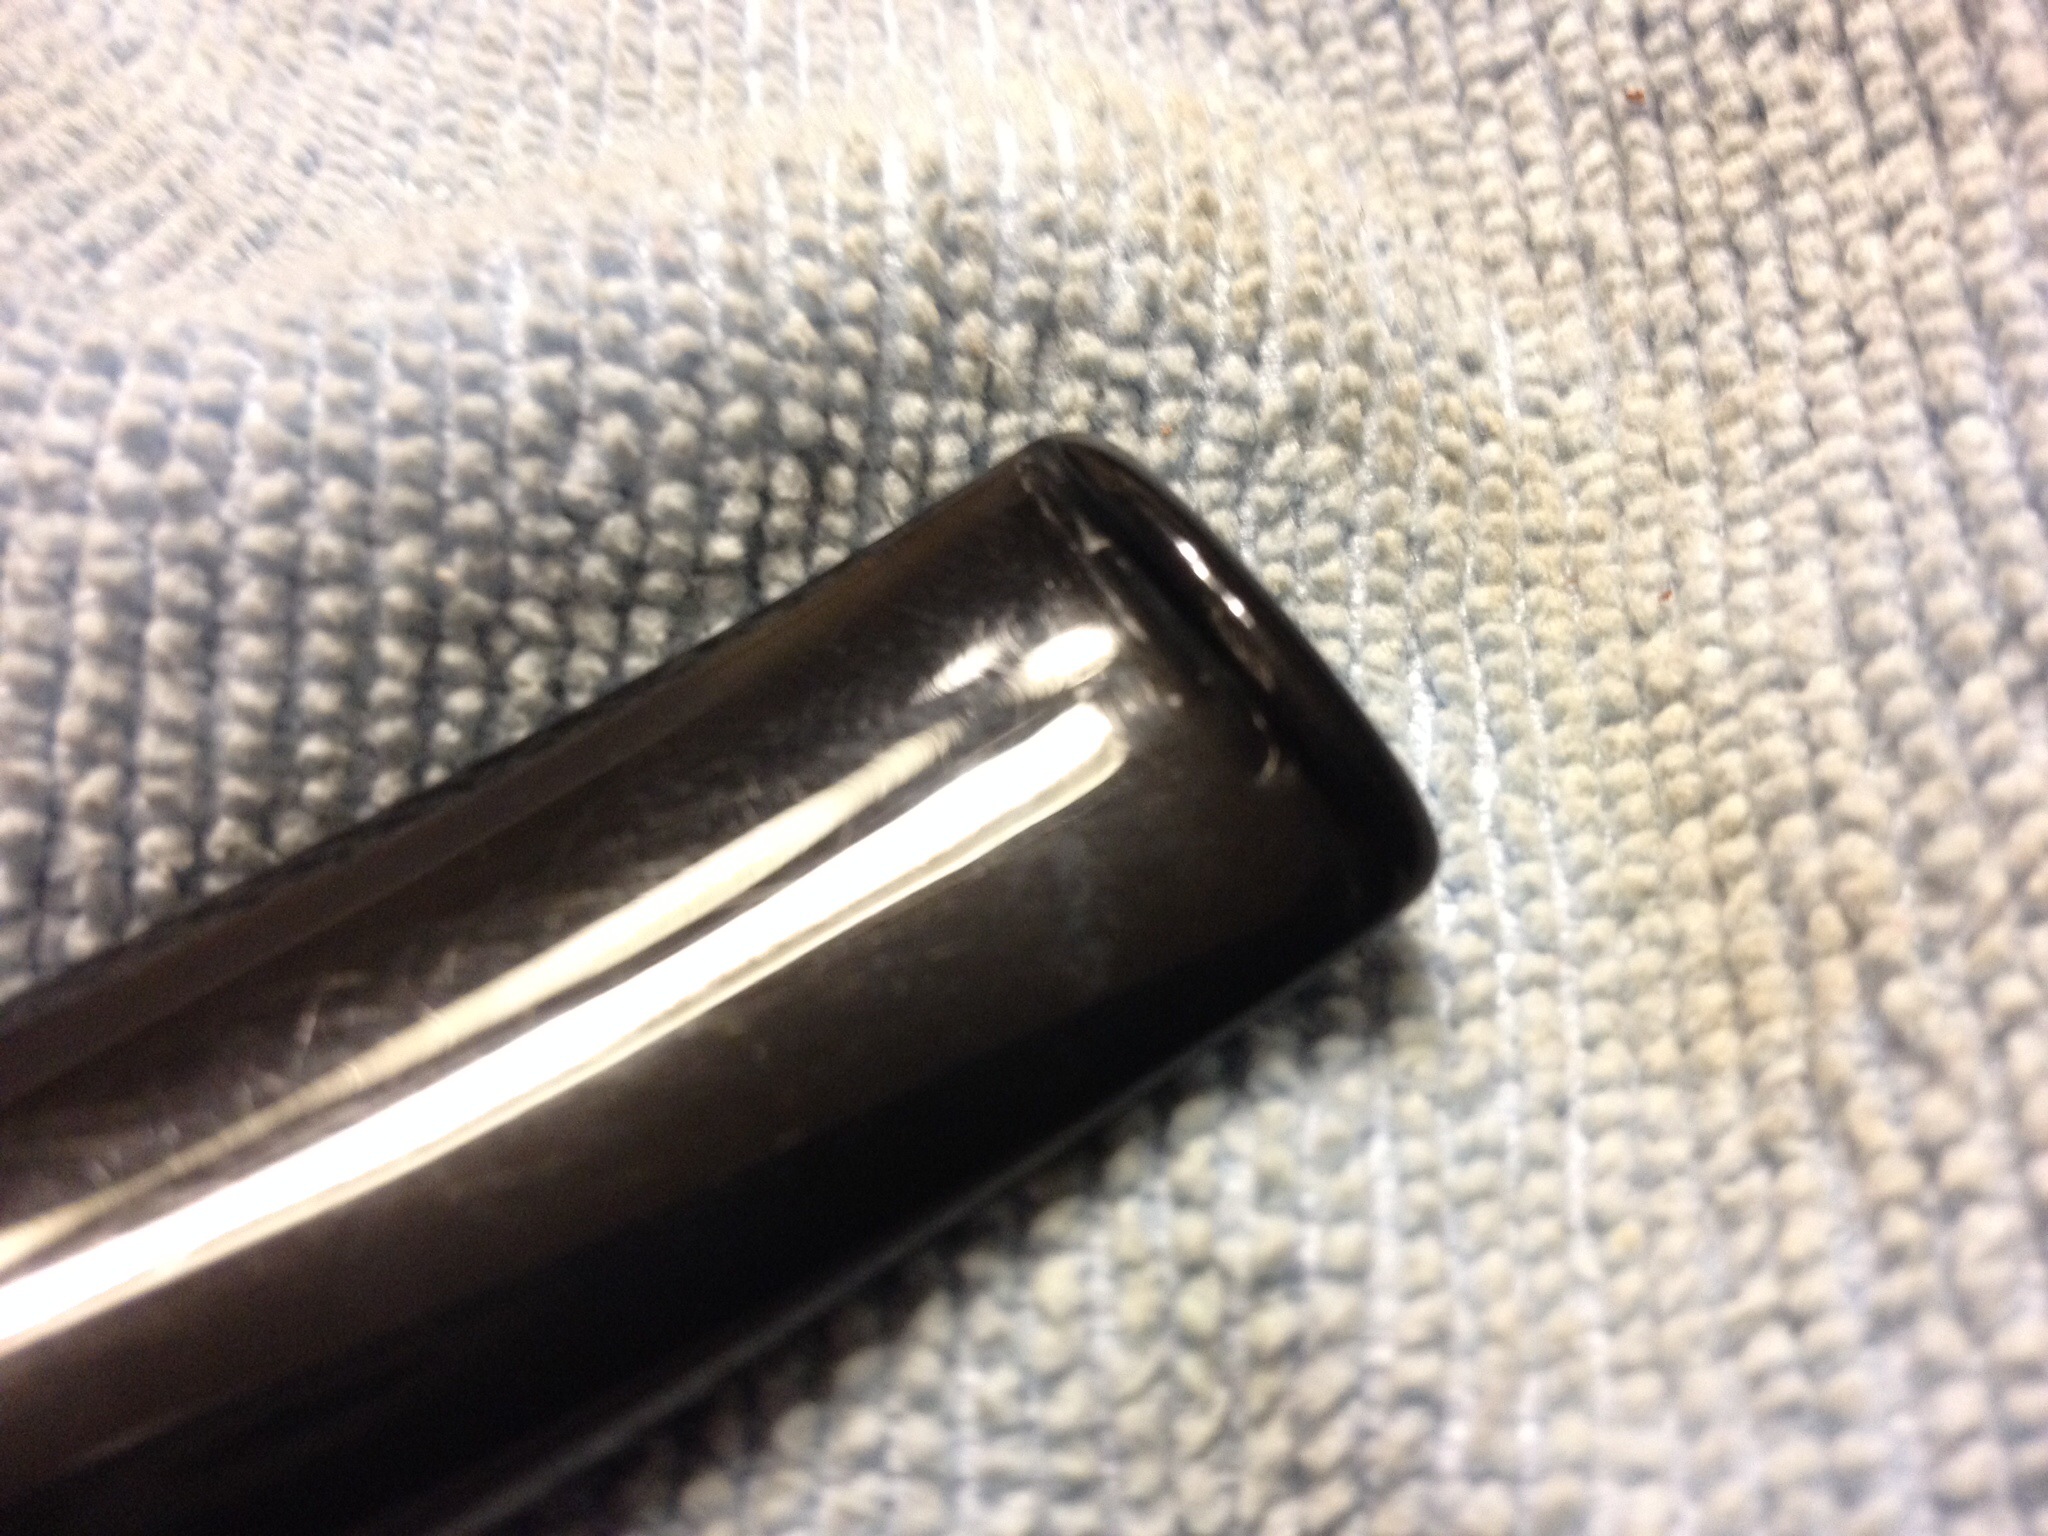
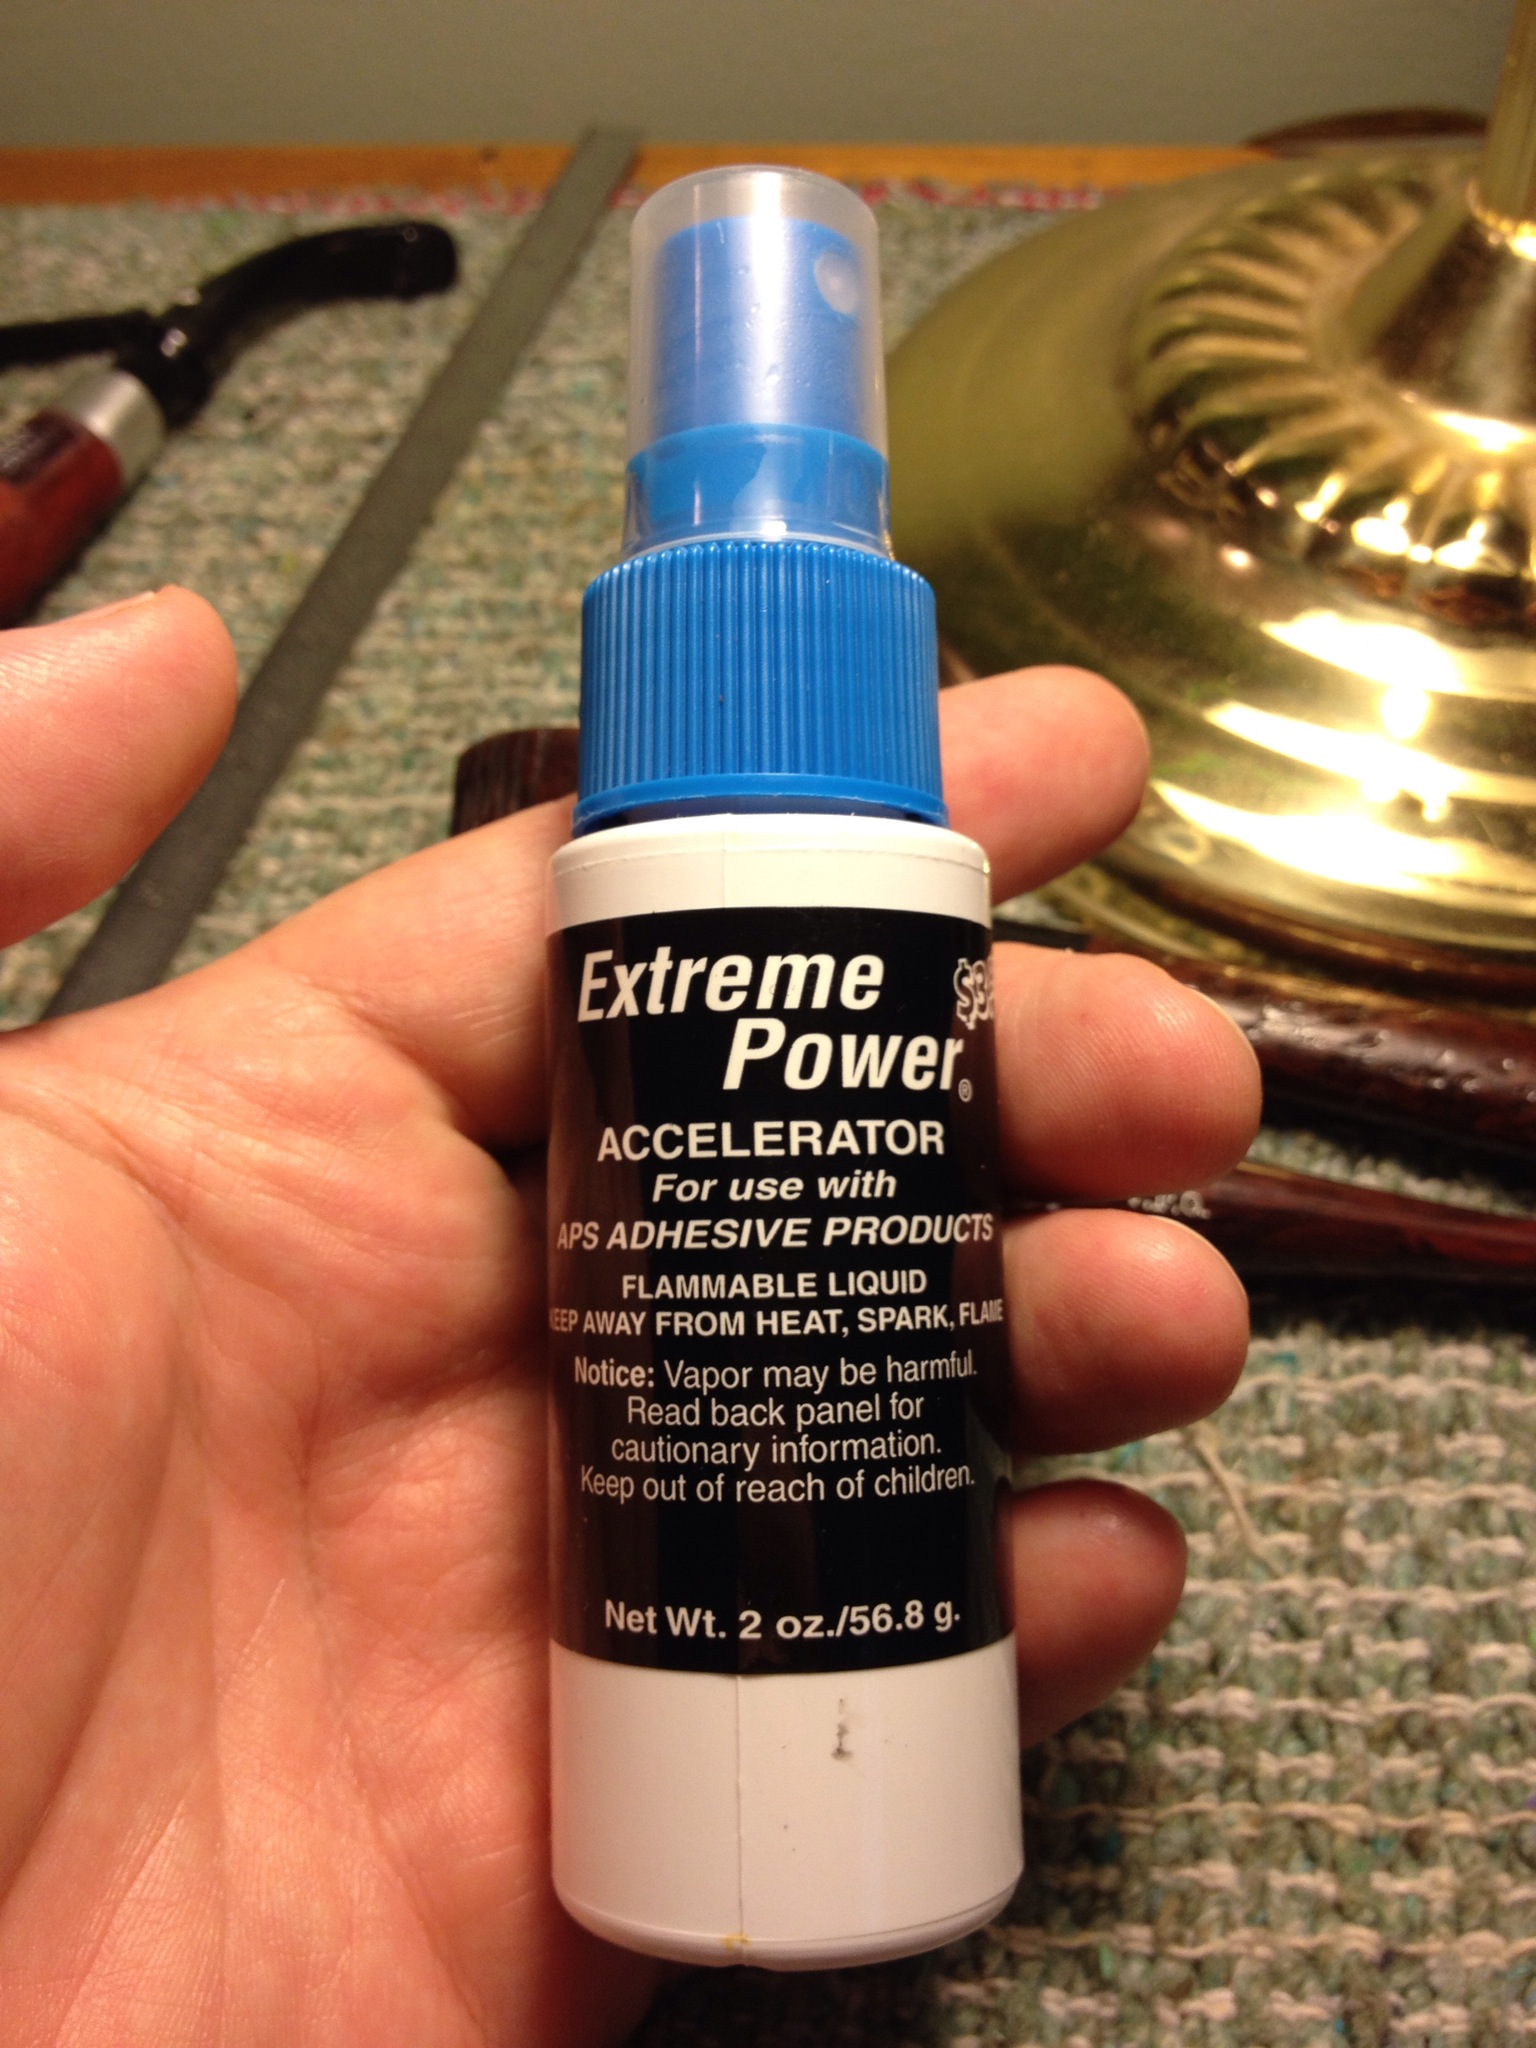
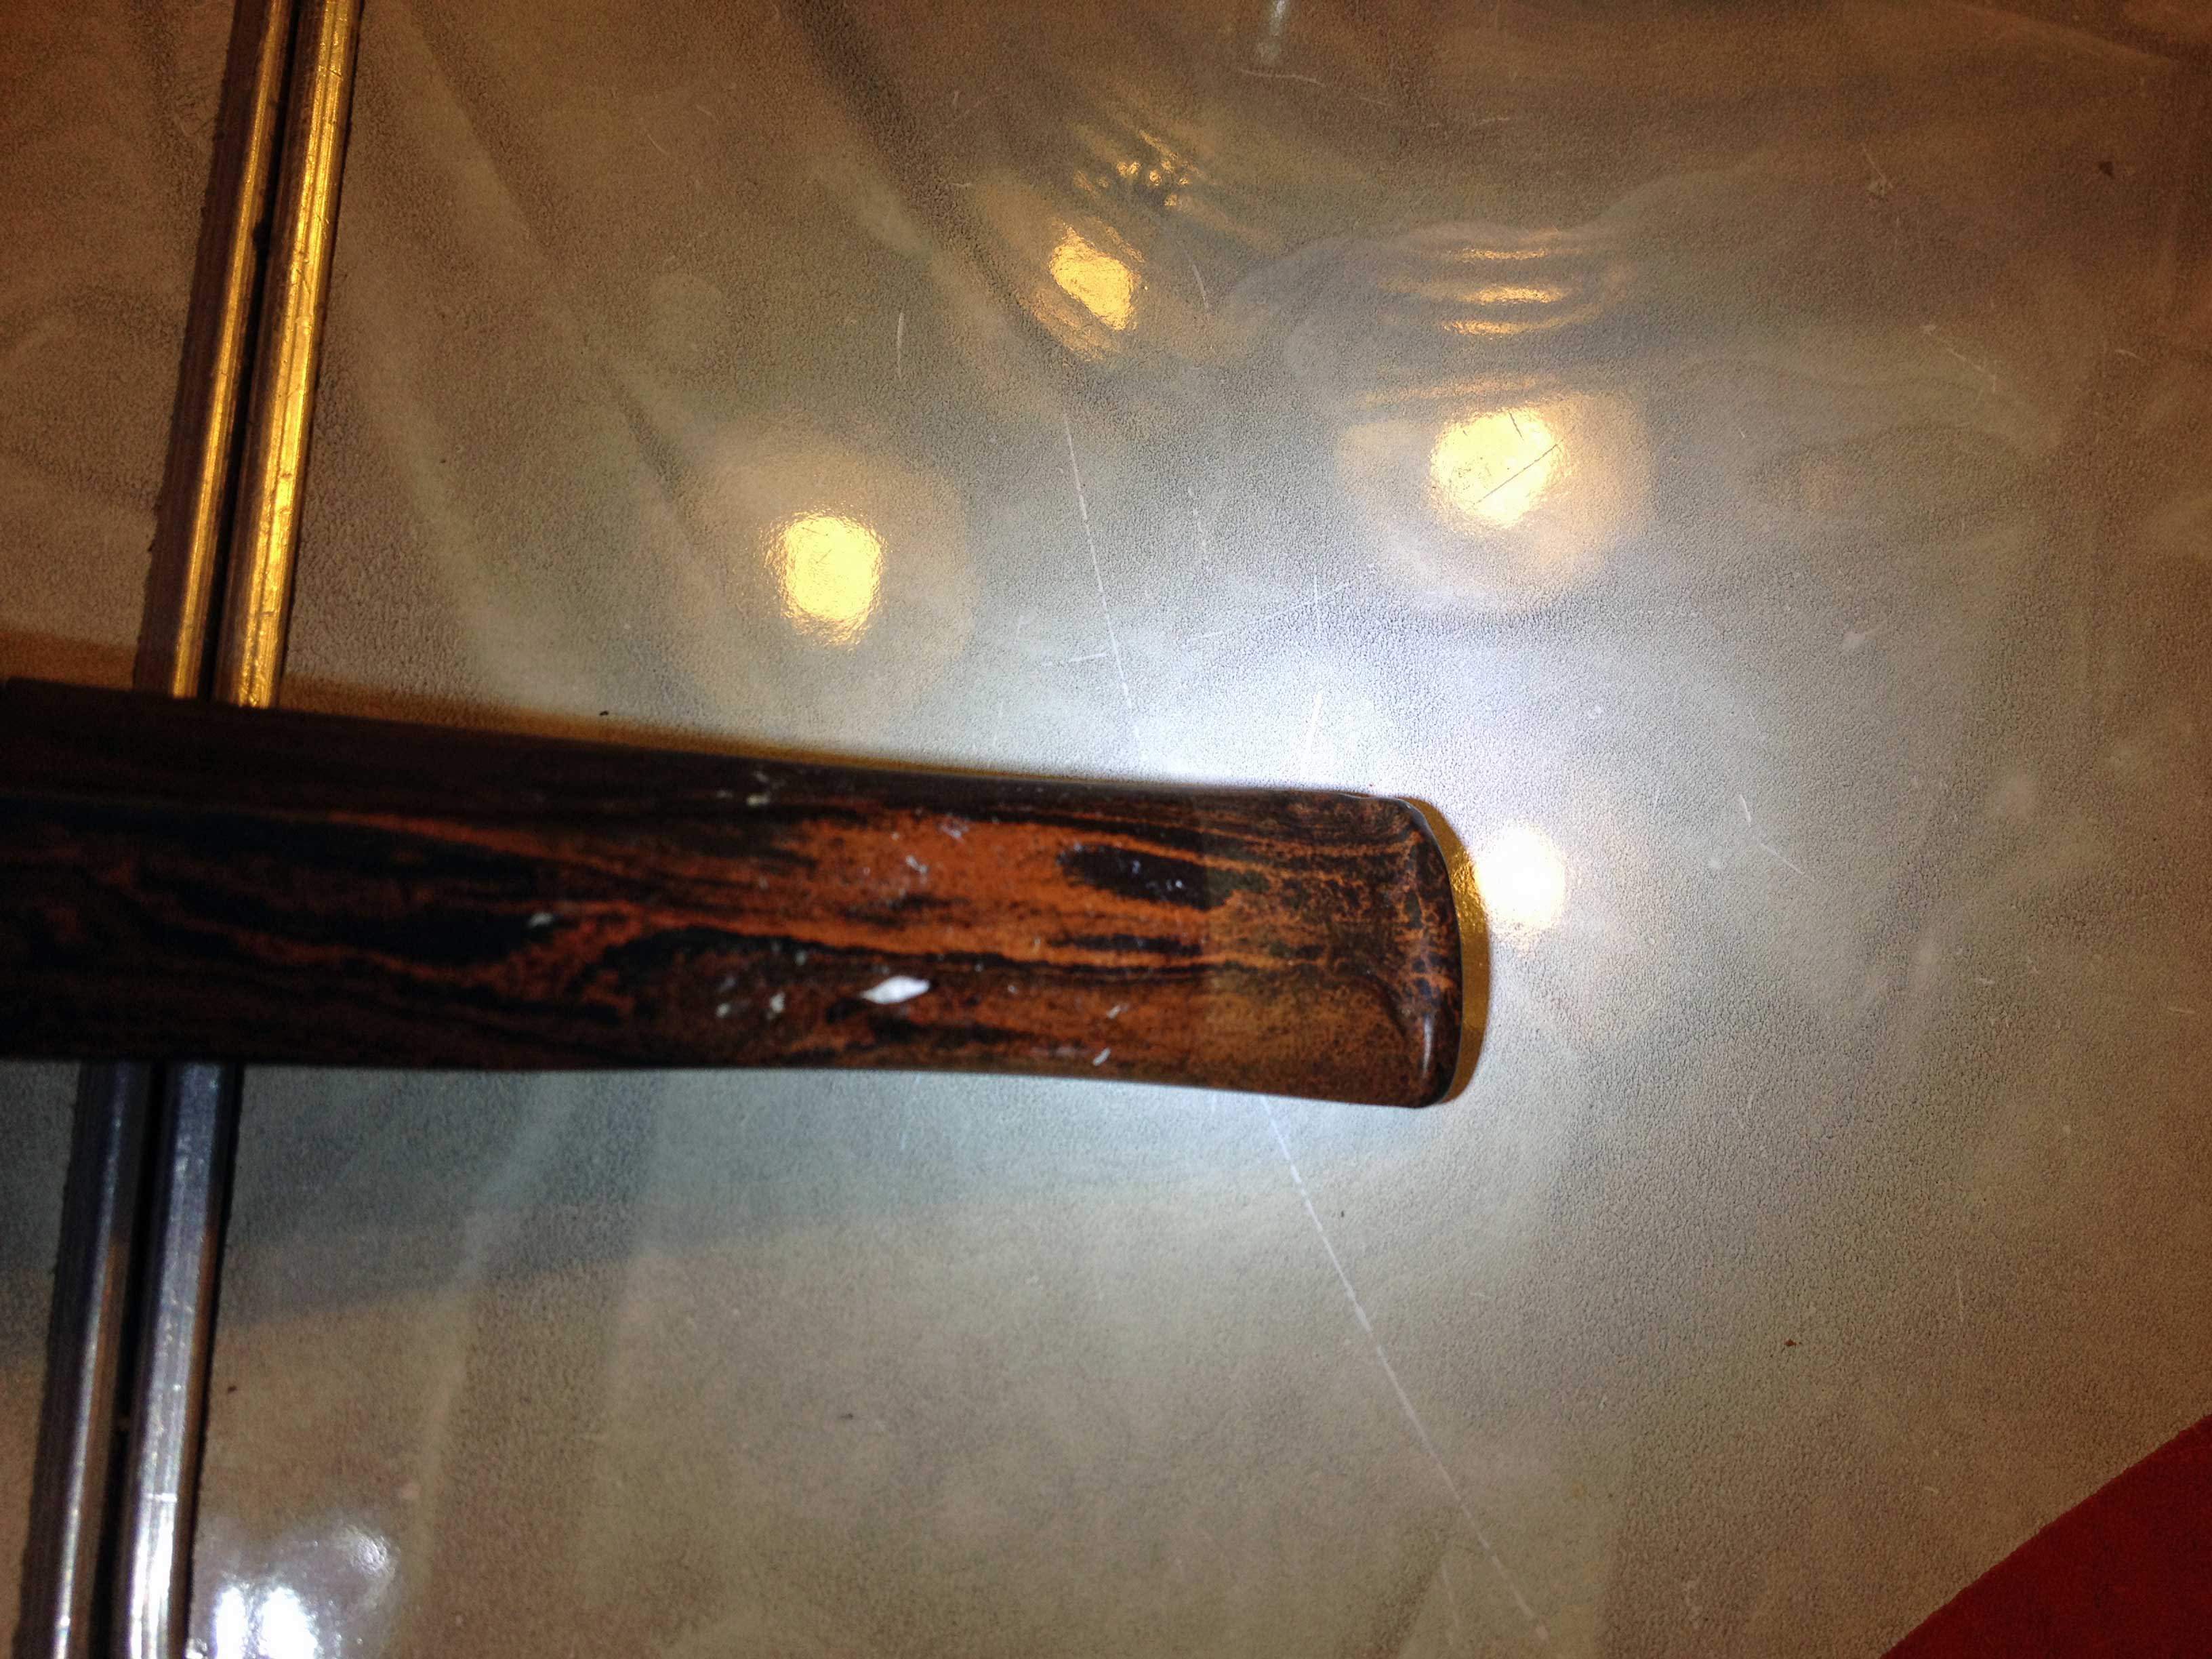
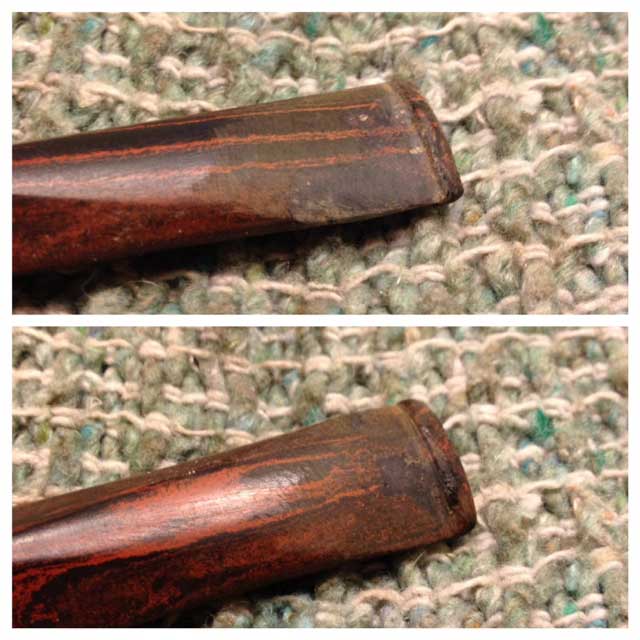
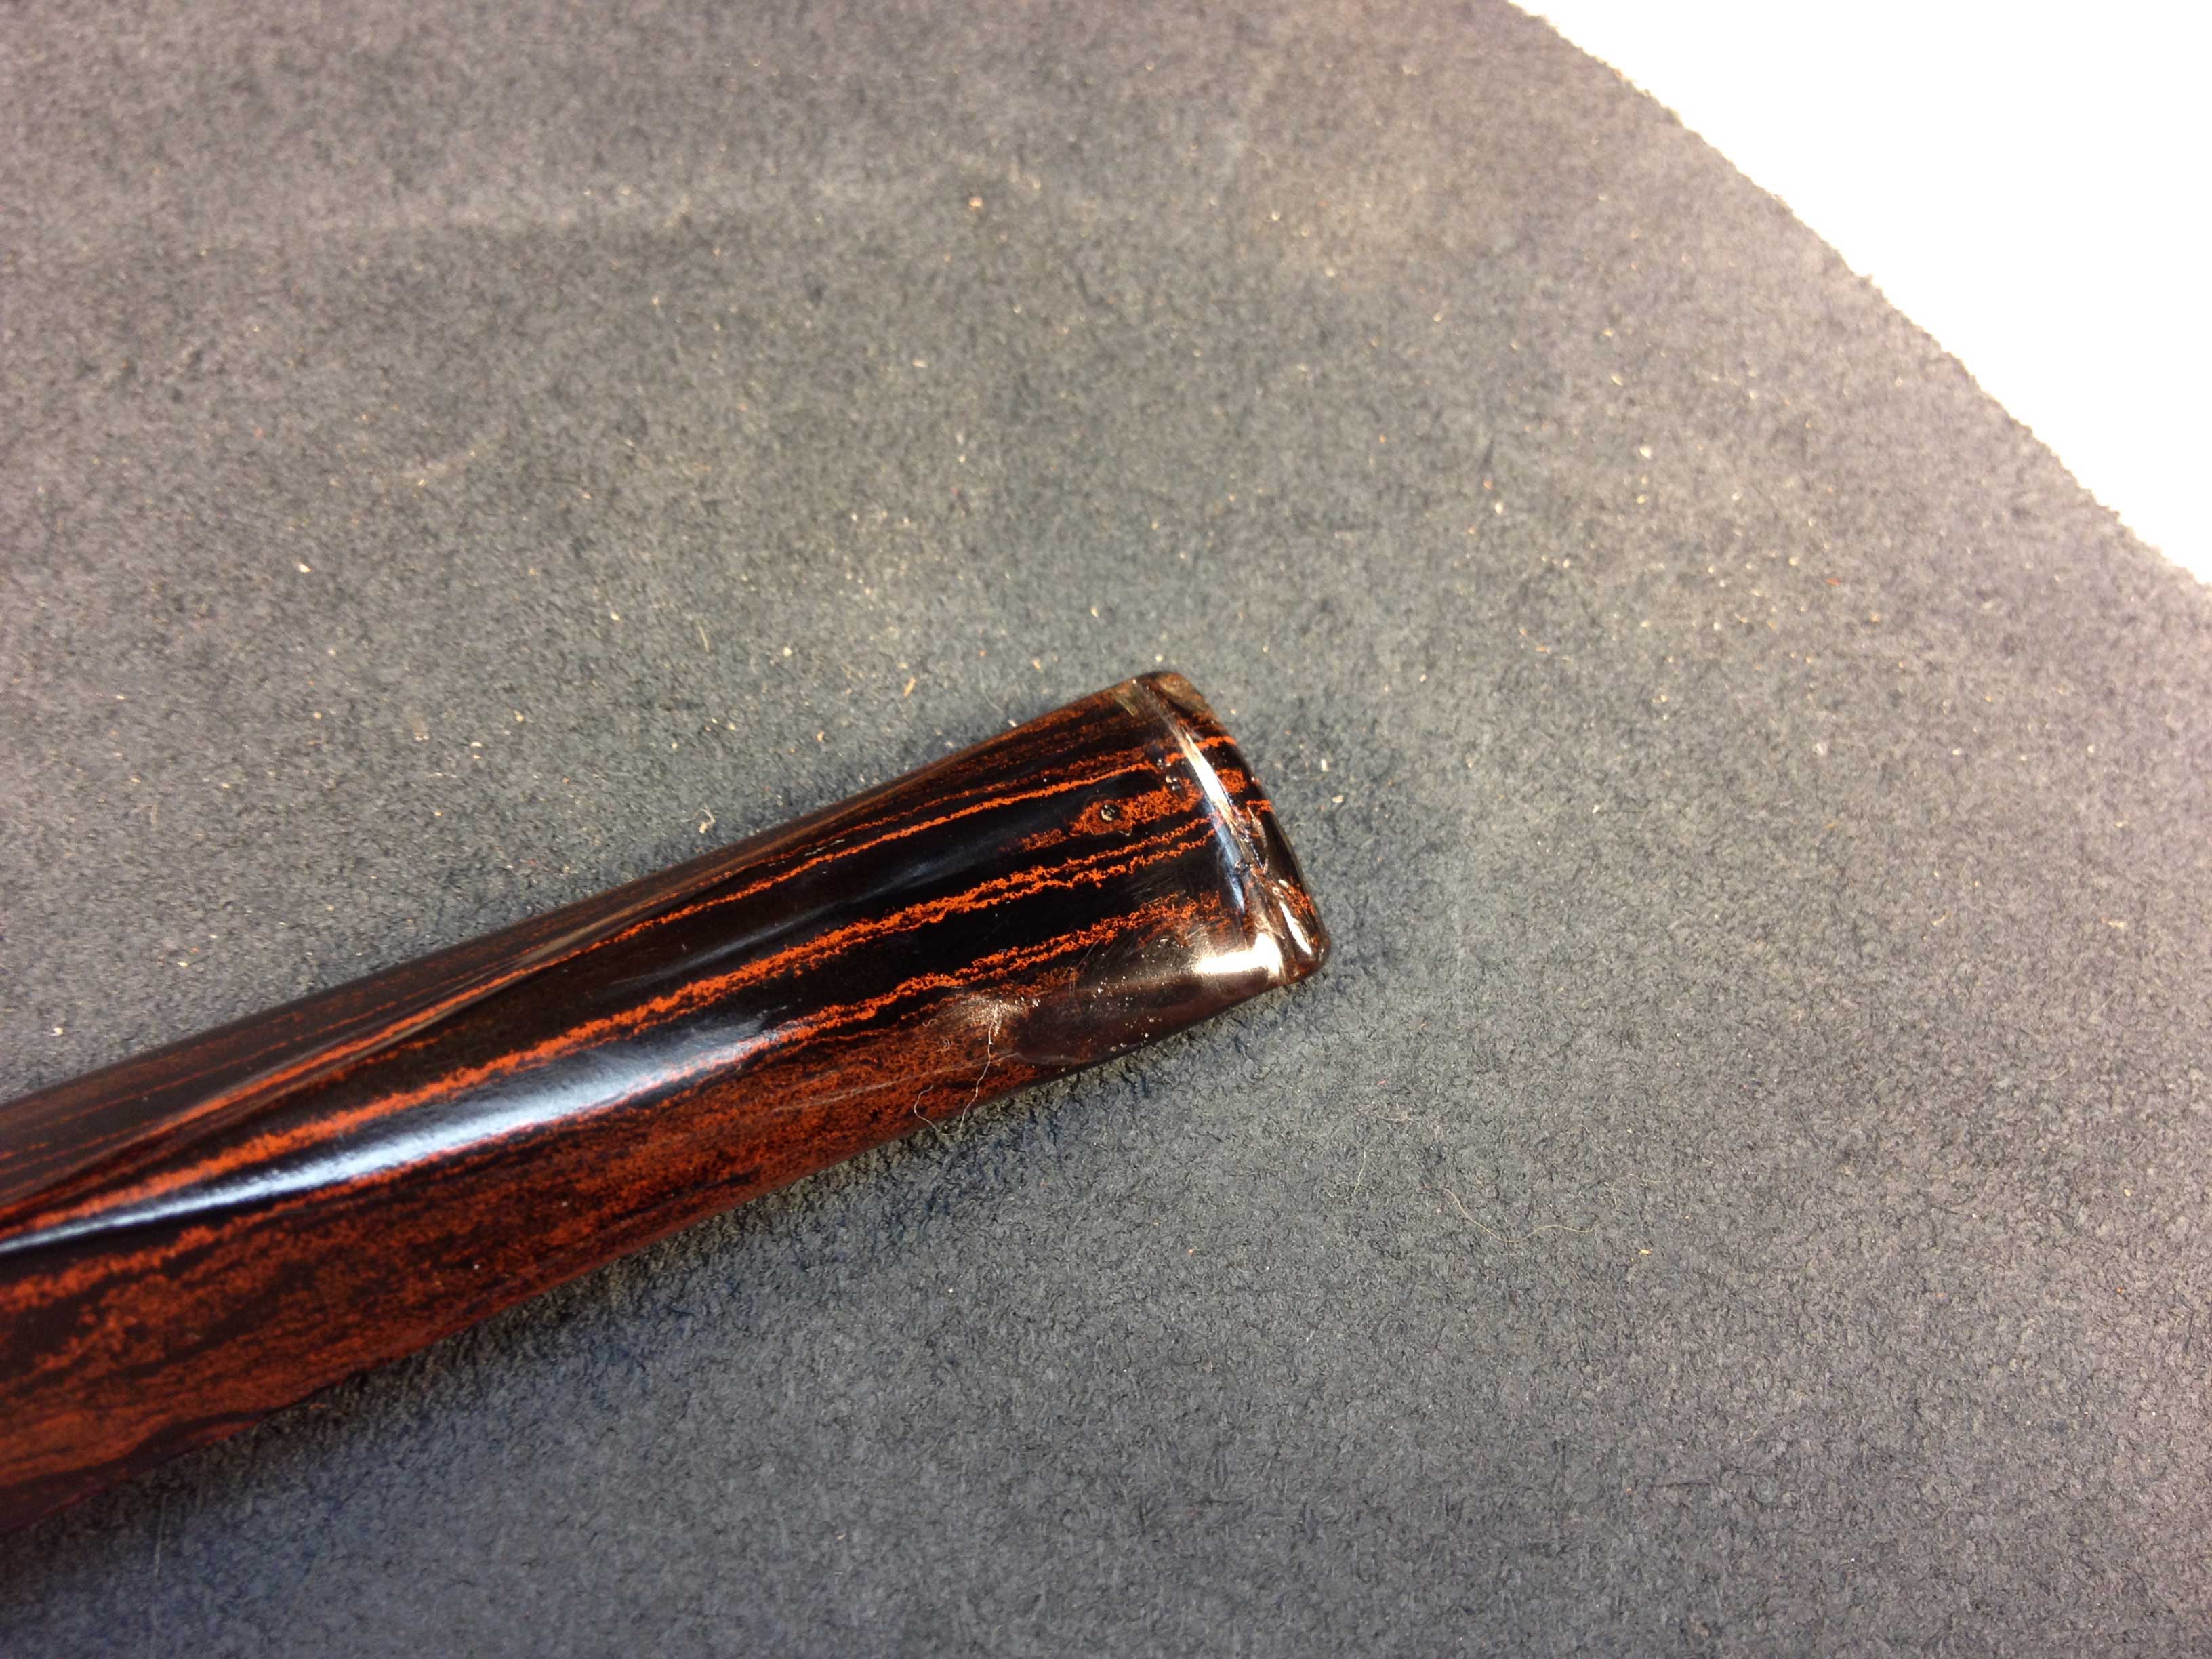
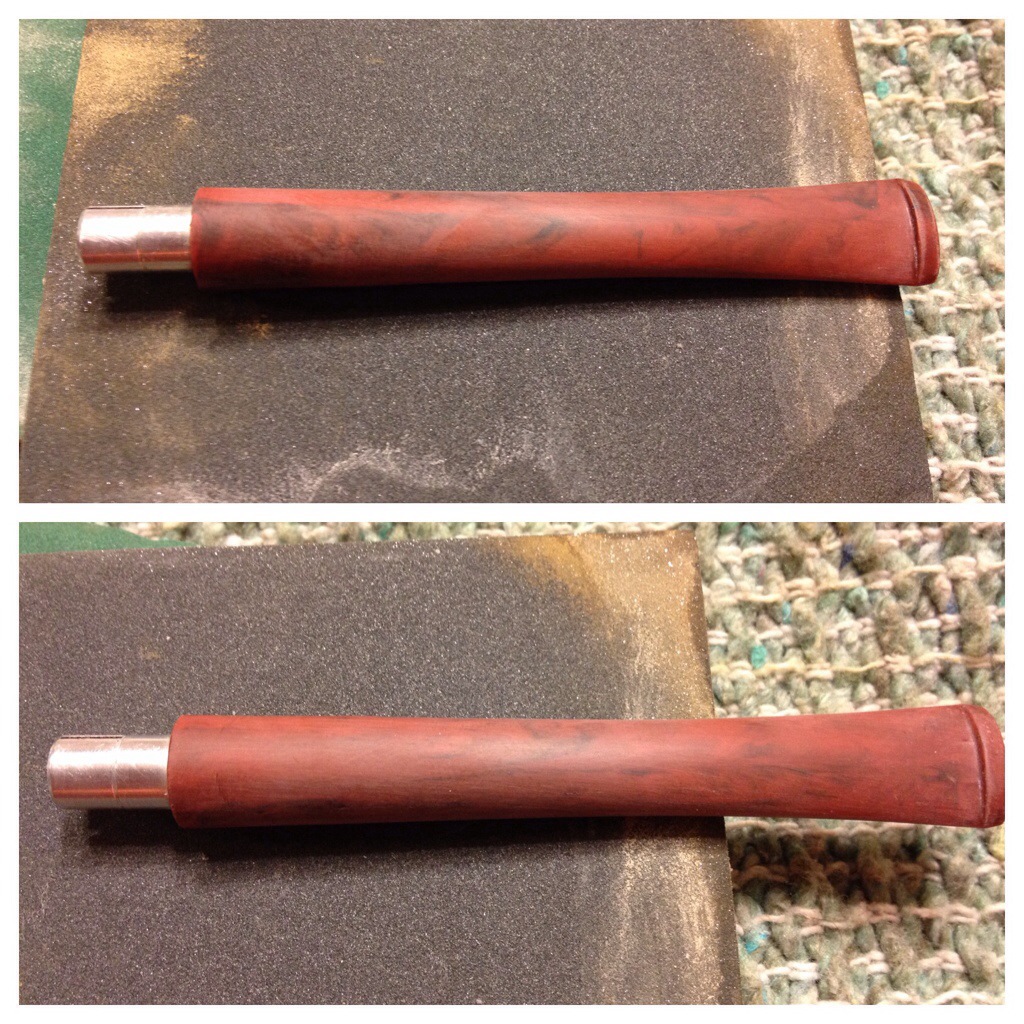
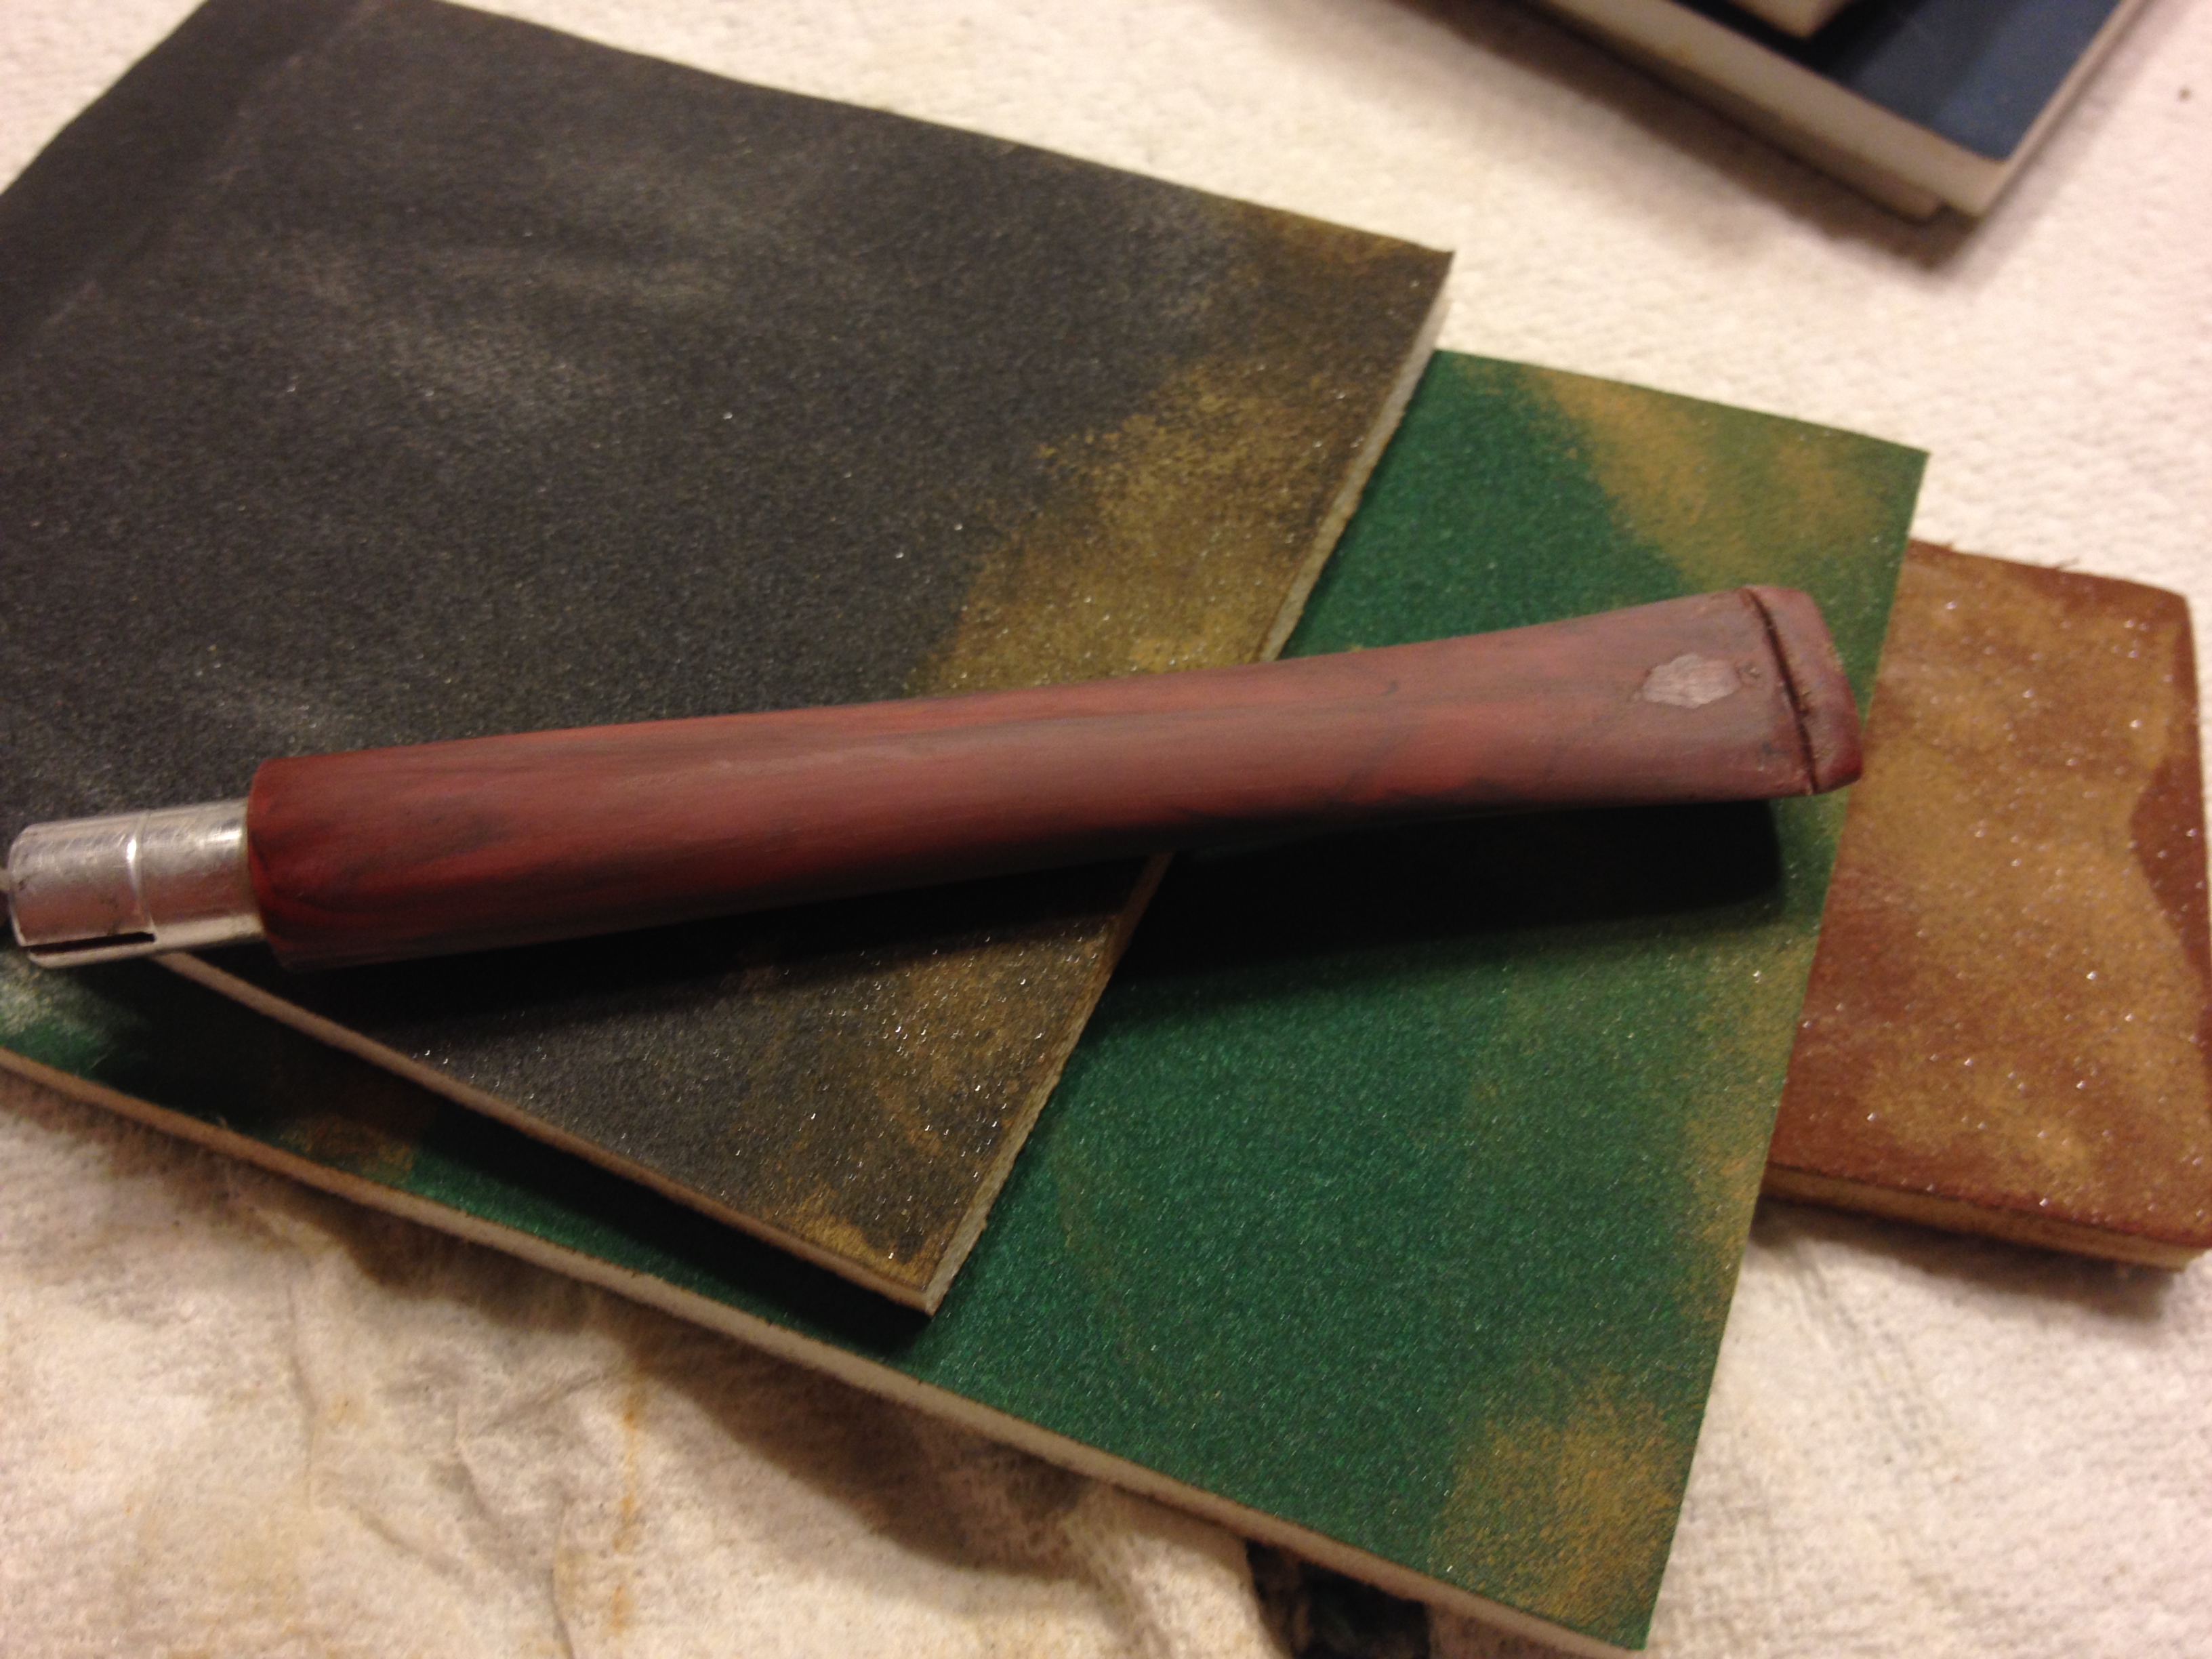
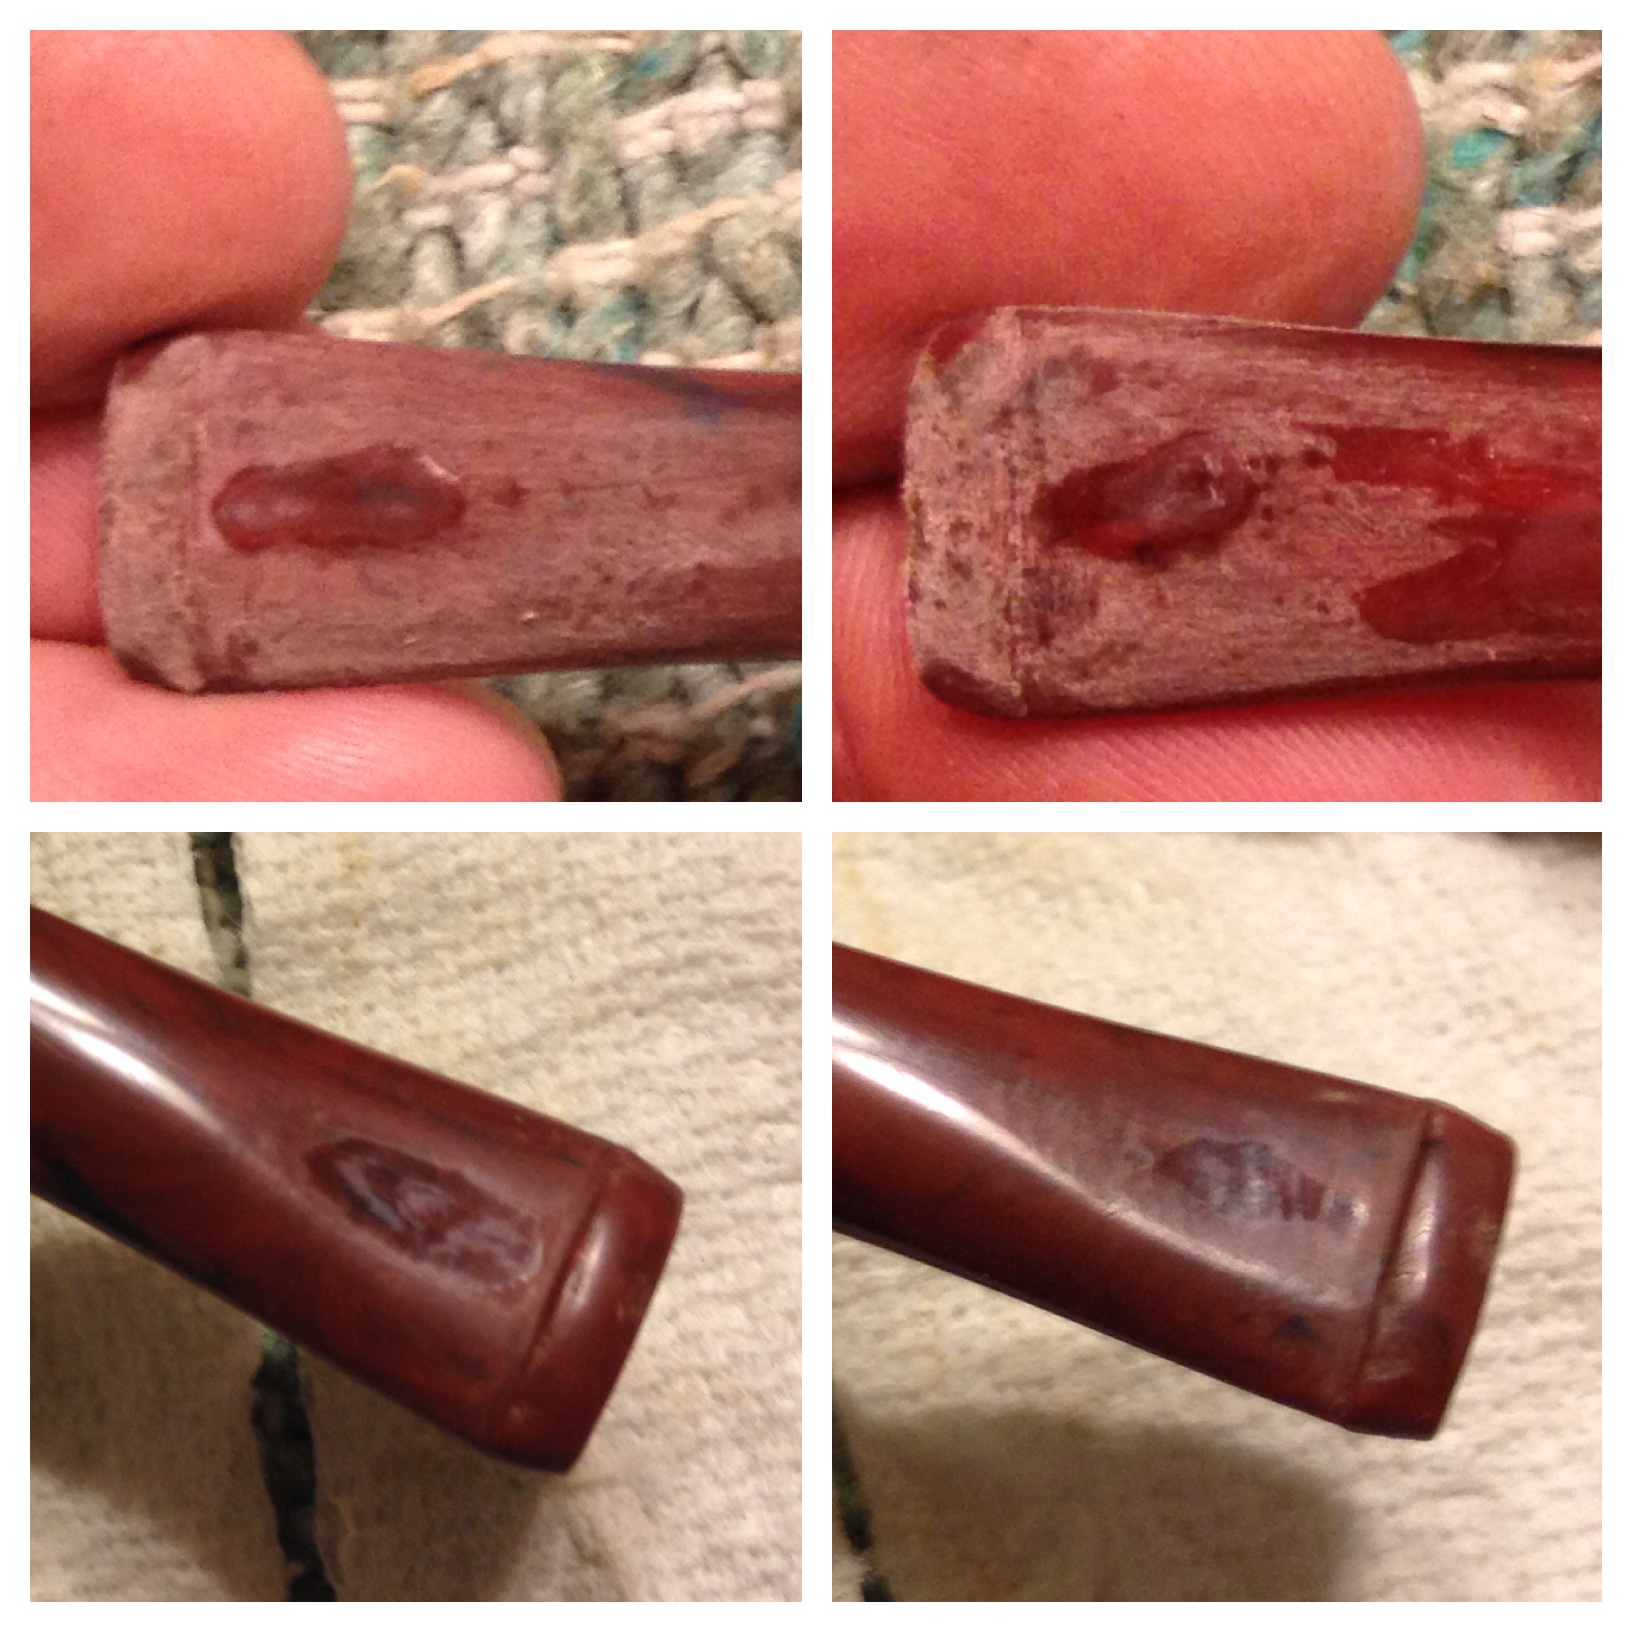
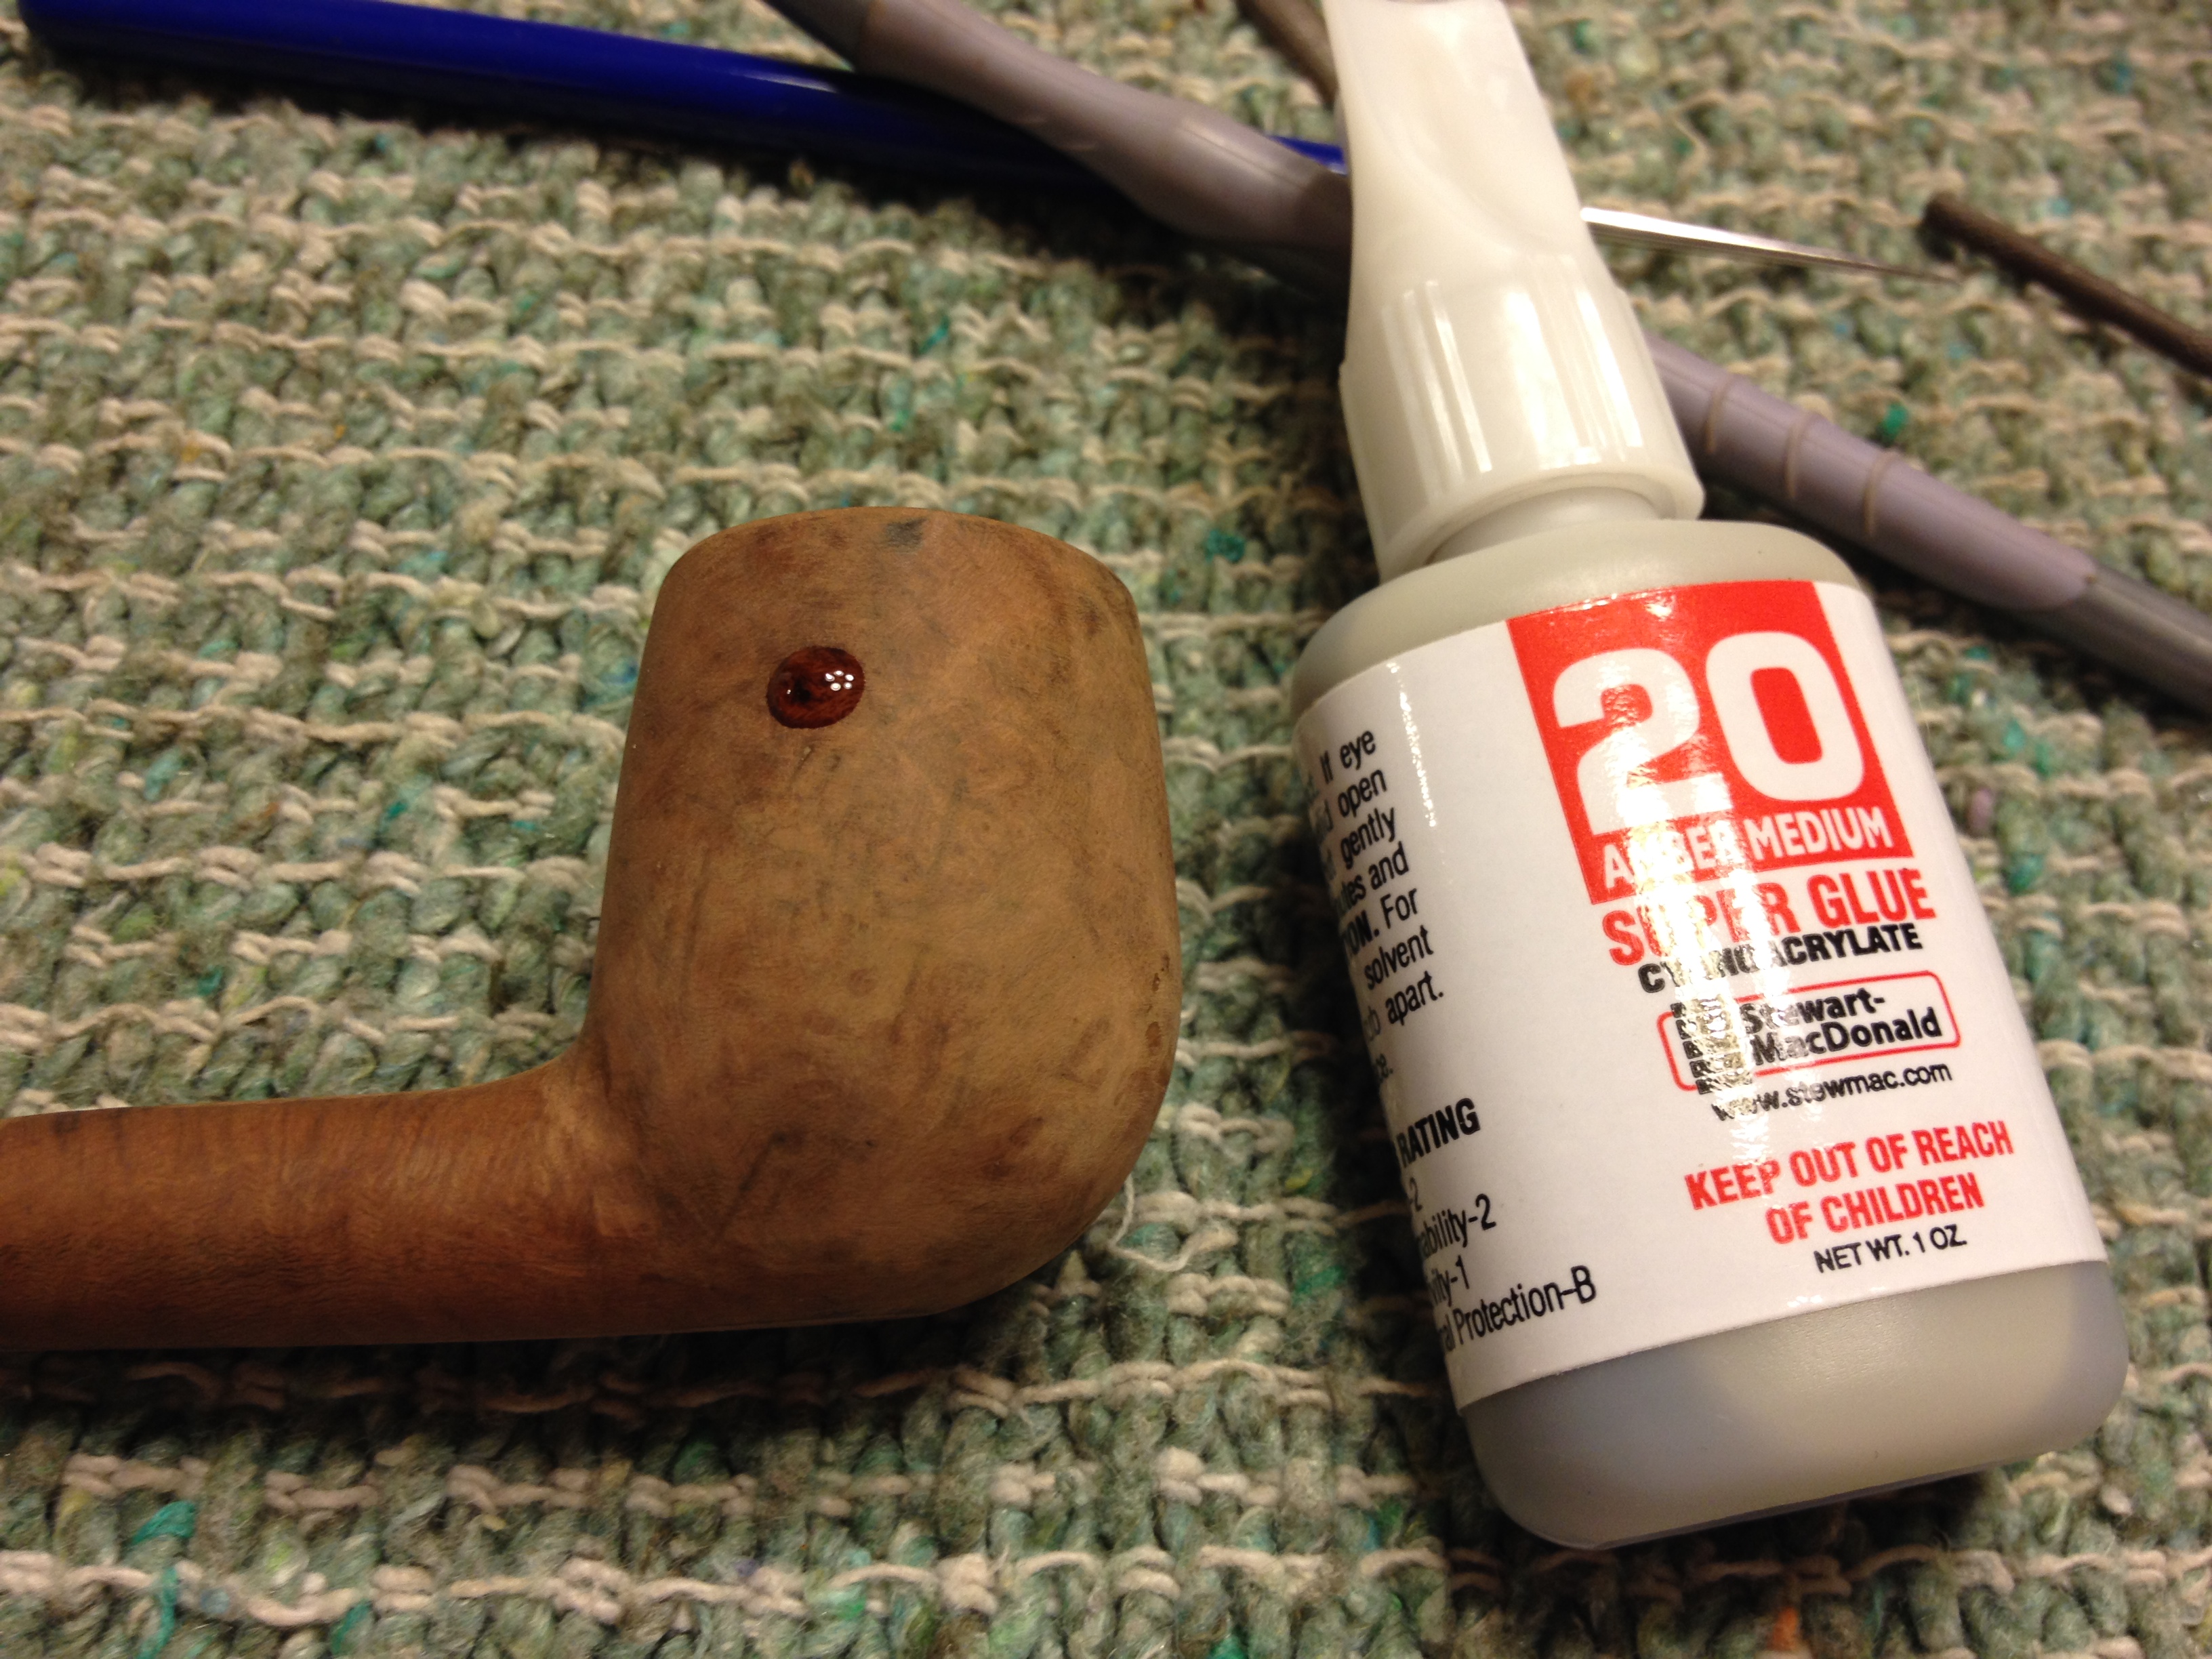
I cleaned out the stems with alcohol and pipe cleaners until they came out white. These stems are not vulcanite but a nylon-type material, ABS plastic I believe, and are not my favorite to work on. The smooth bowled pipe had a good stem the rusticated one’s stem was chewed pretty badly. I decided to use some of the adhesive accelerator and black super glue to raise up some the bites marks; I left the “roughness” of the chew marks on, thinking the glue would adhere better. I alternated polishing the “good” stem and building up the patch on the chewed up P-lip style one. Once the “rough” stem was built up to my satisfaction I used a needle file and some 320 wet/dry paper to smooth off the roughness from the chewing the previous pipeman had done. Then I polished the stem with plastic polish and was happy with the “decent” look I ended up with; I felt it just wasn’t worth the time and effort to try to get this plastic stem any closer to “new” than it was now.

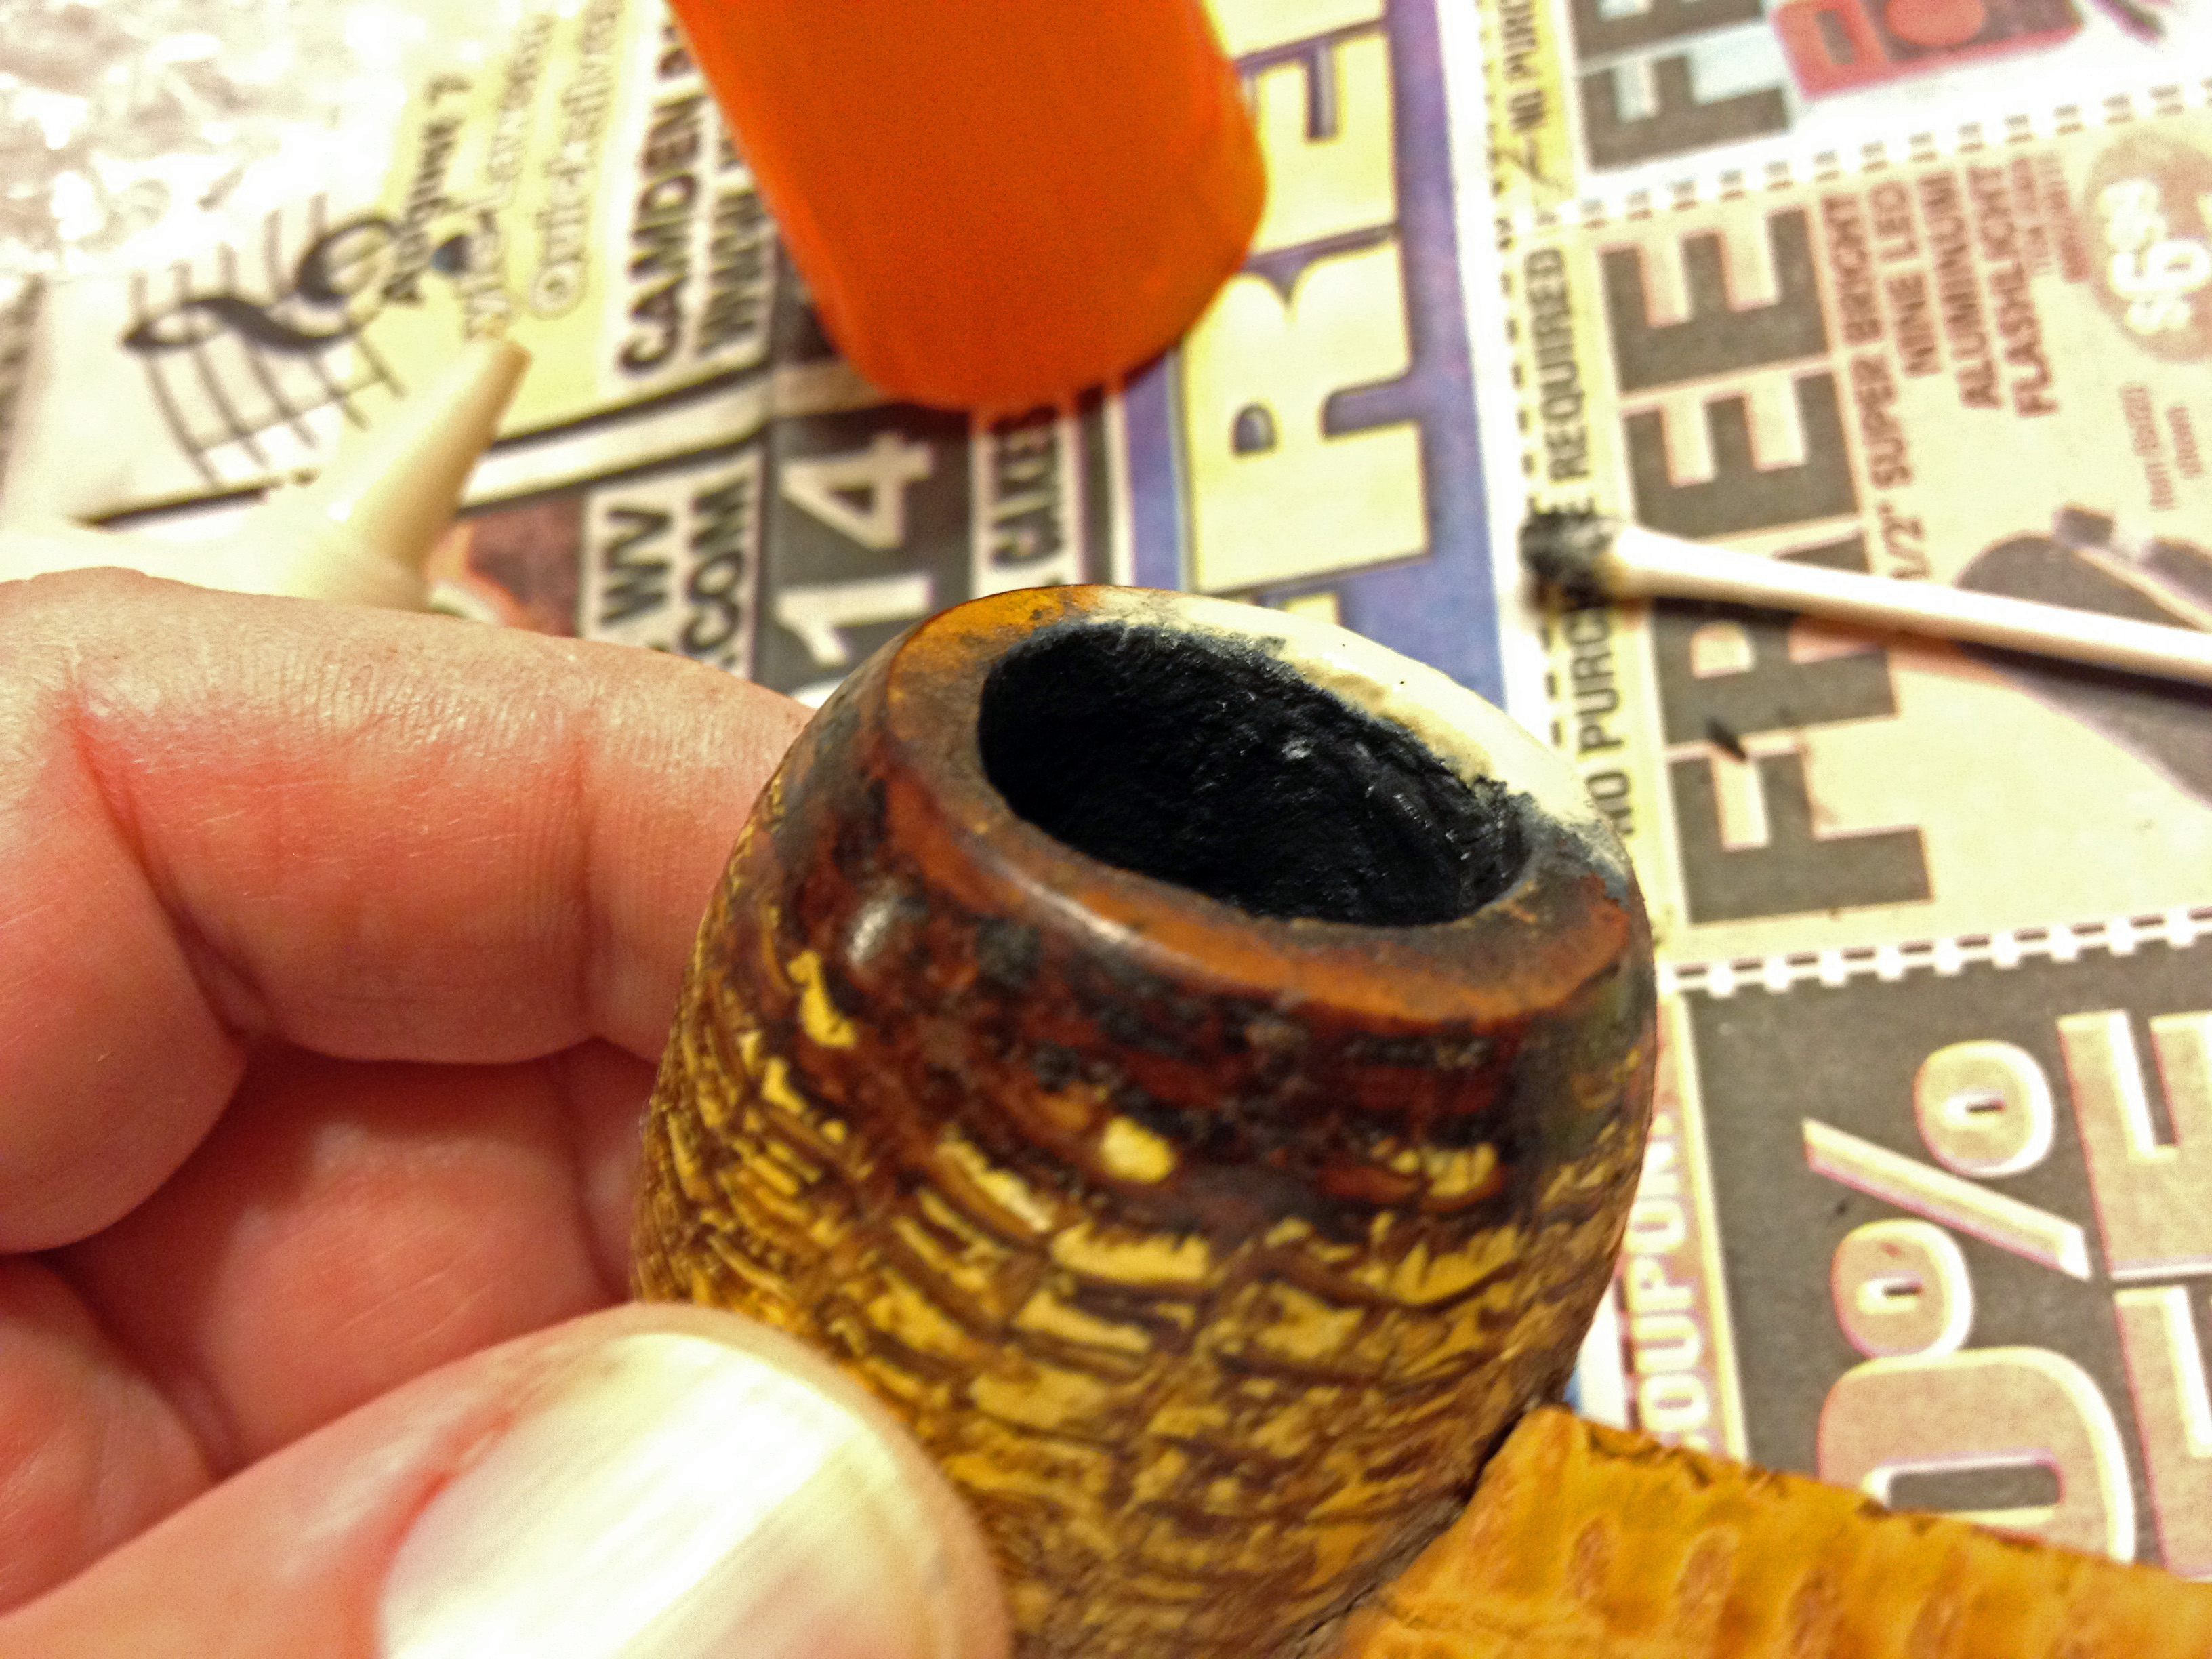
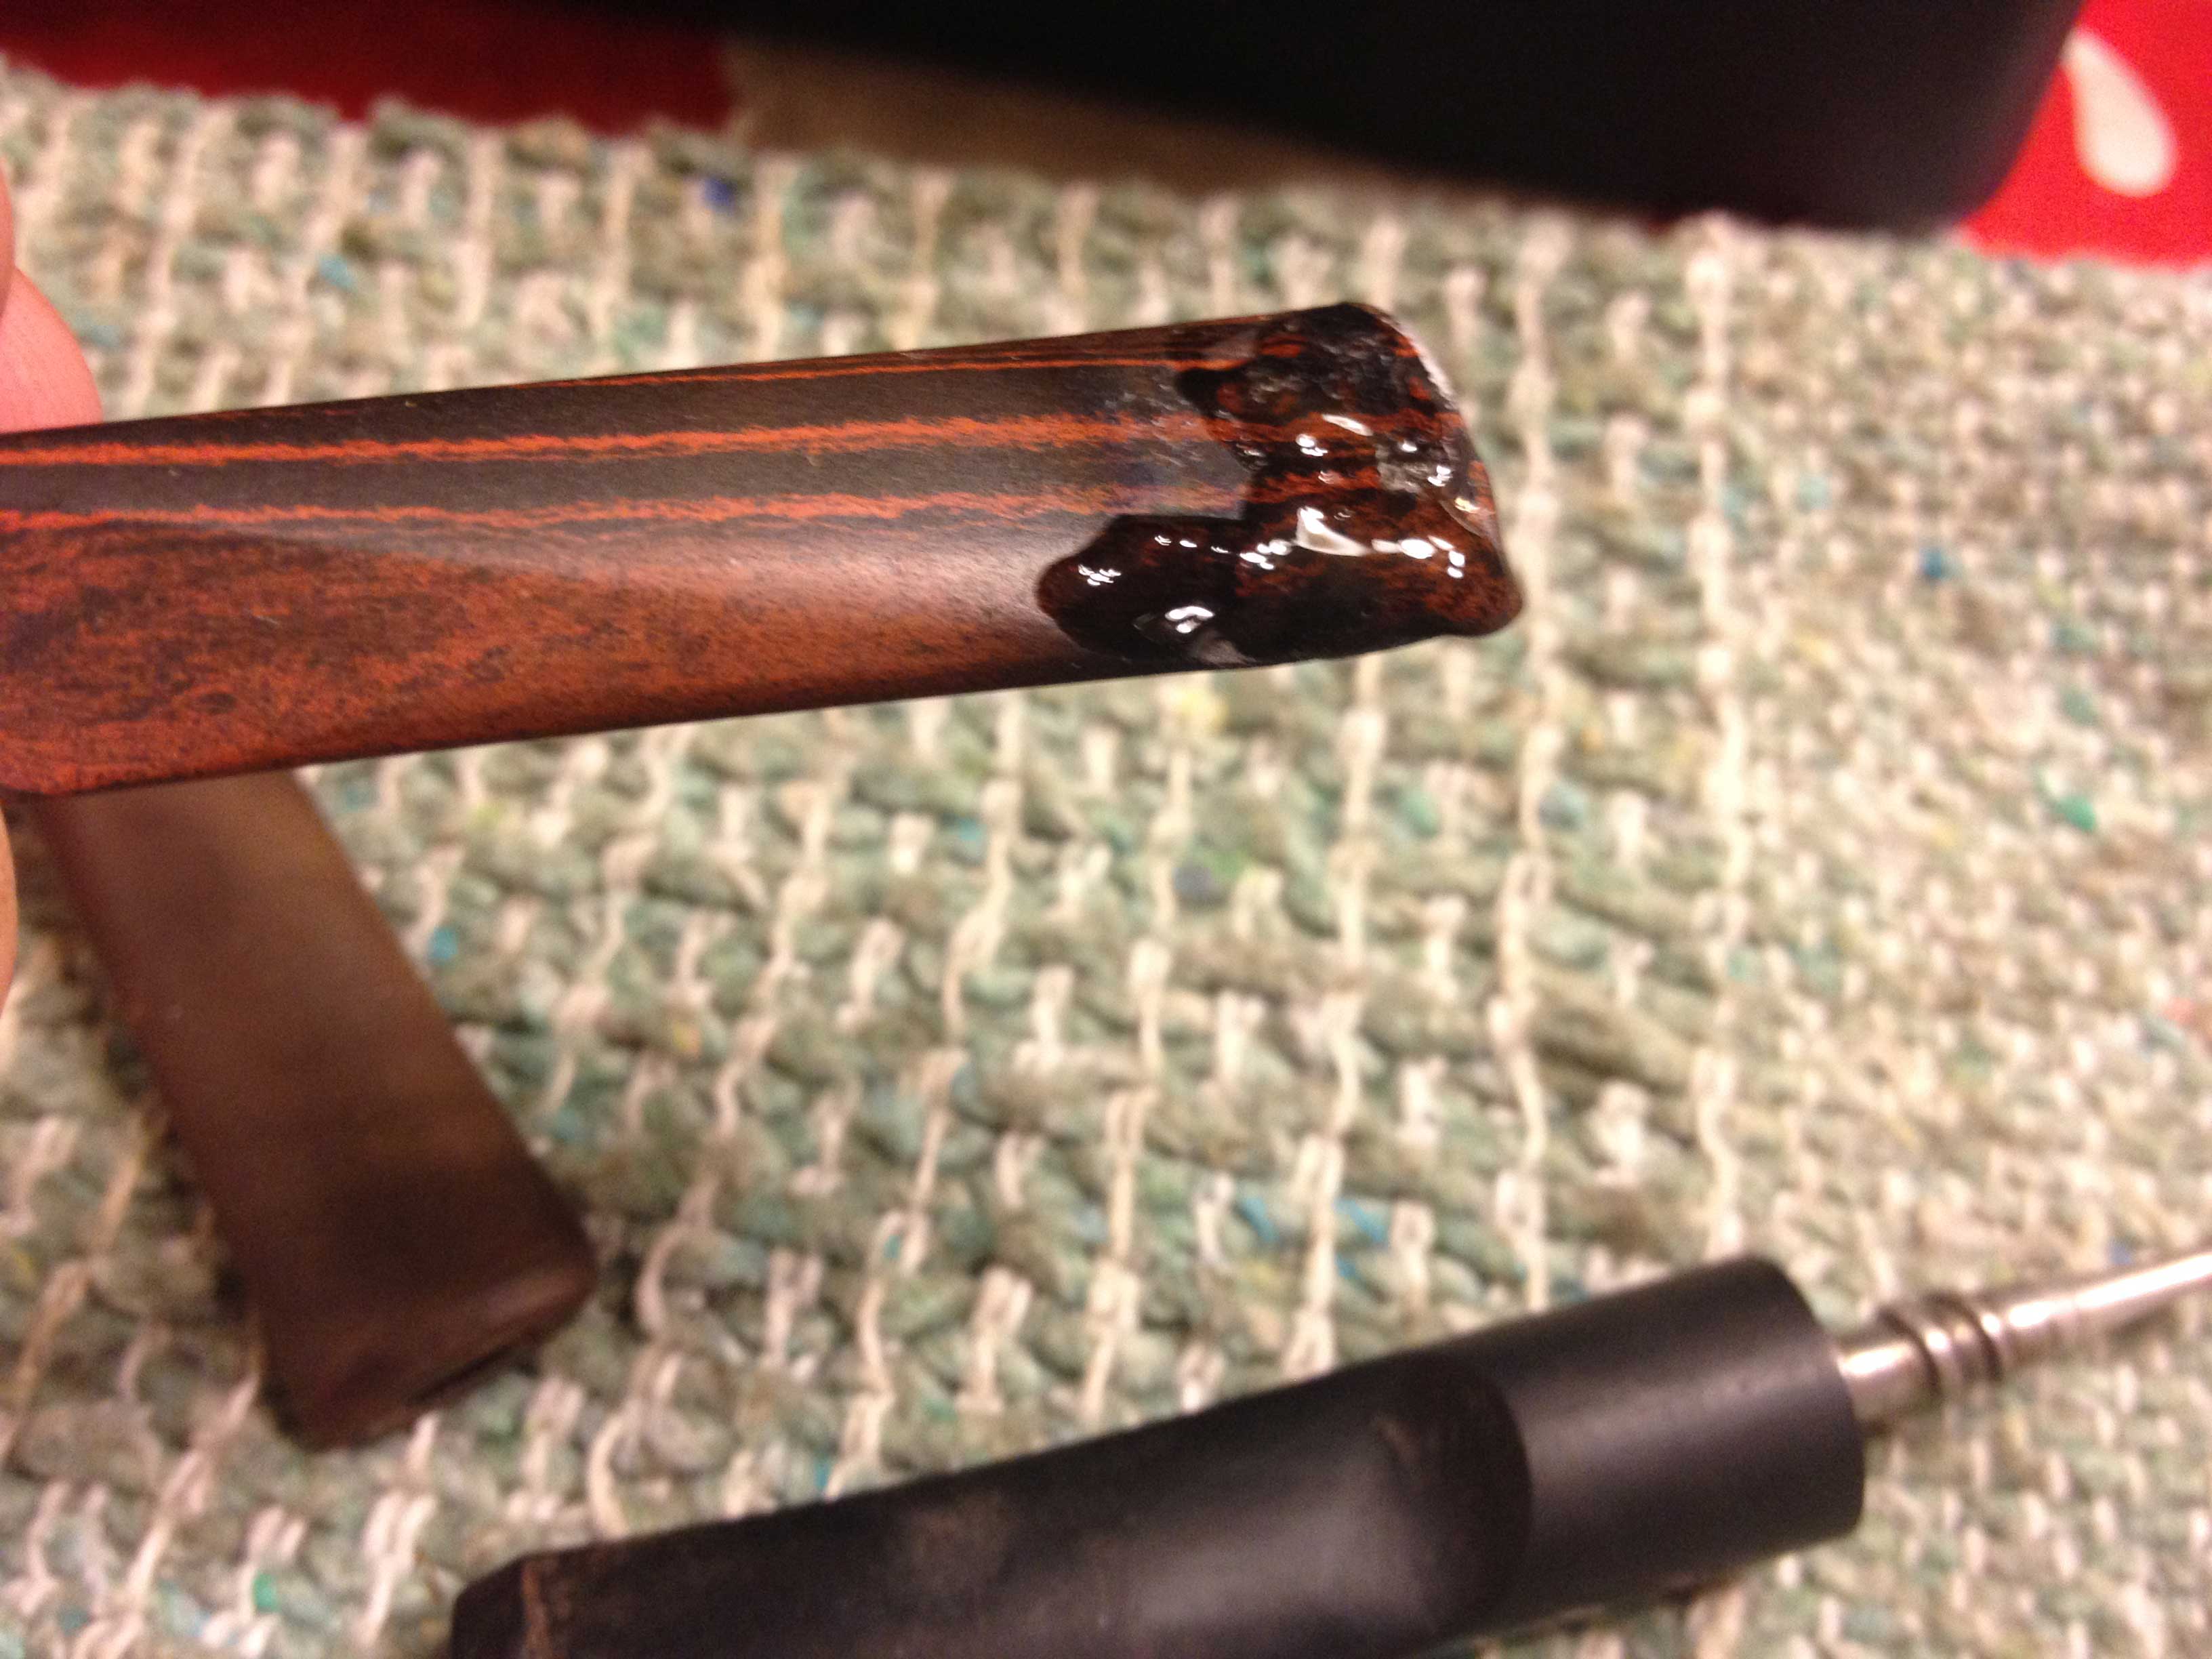
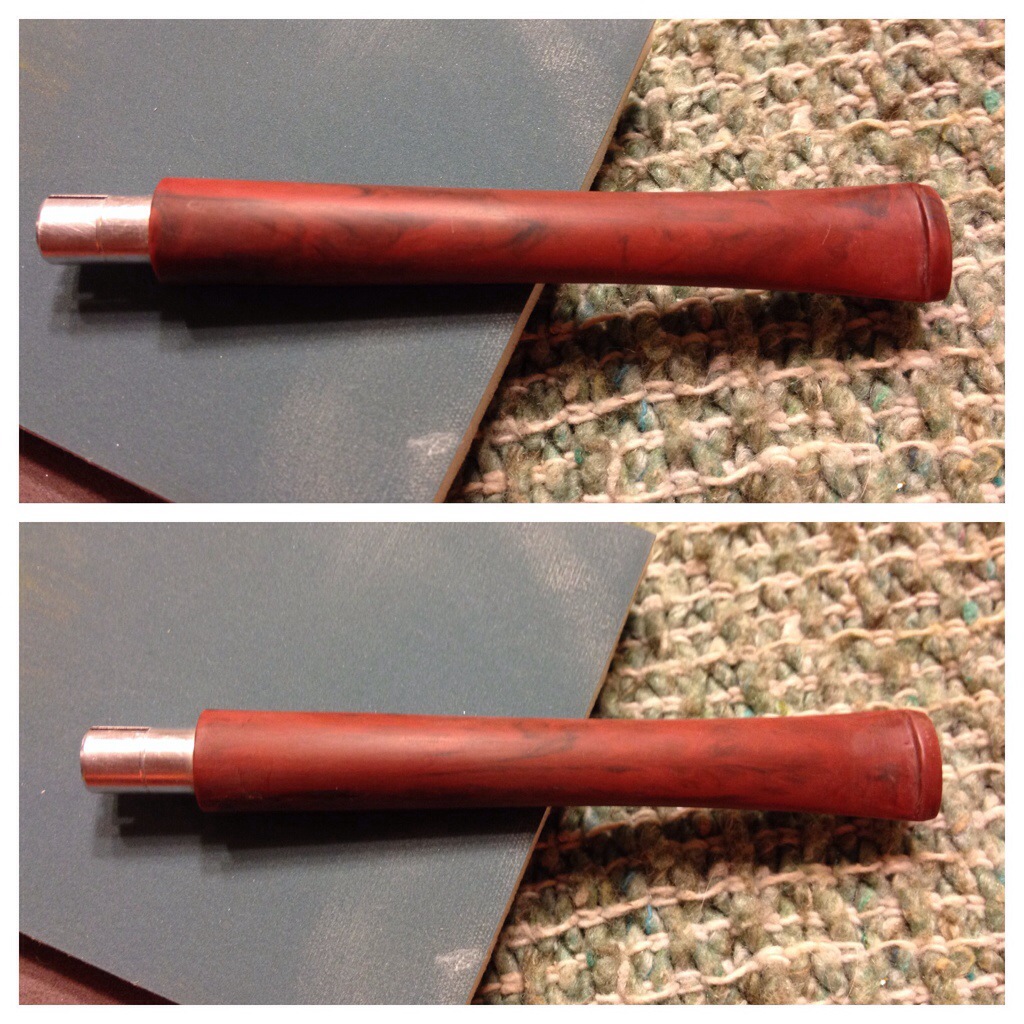
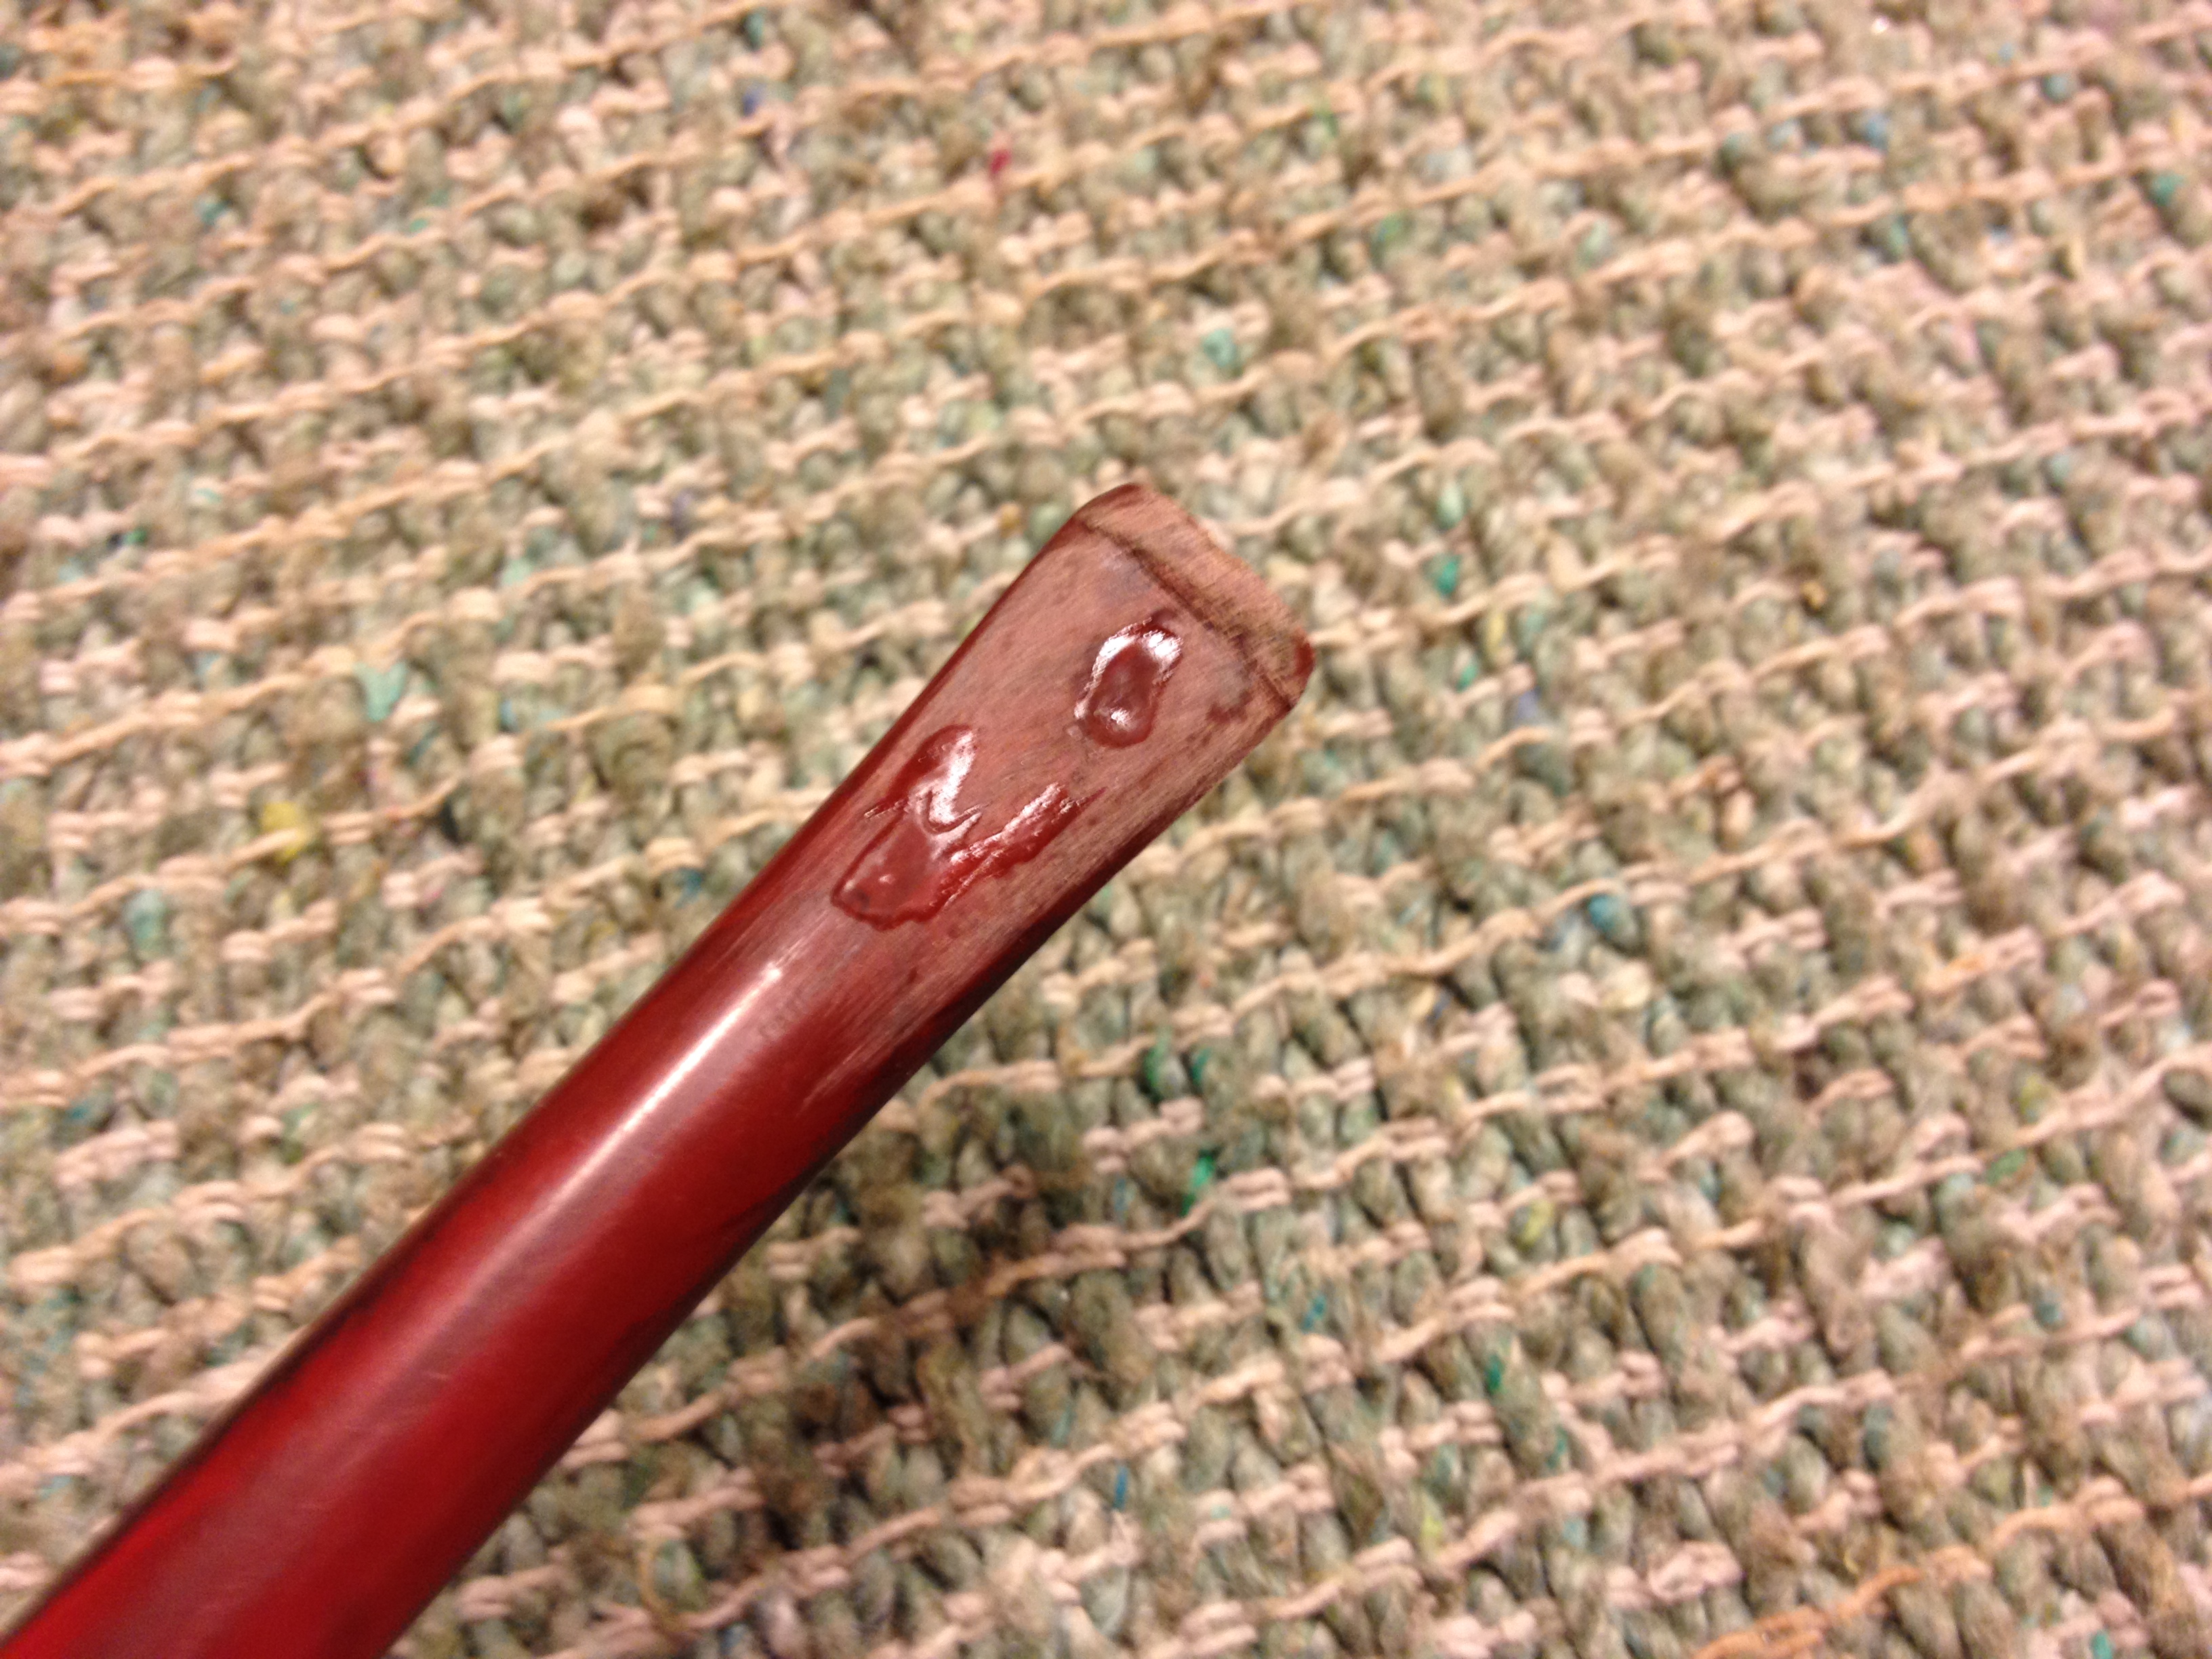
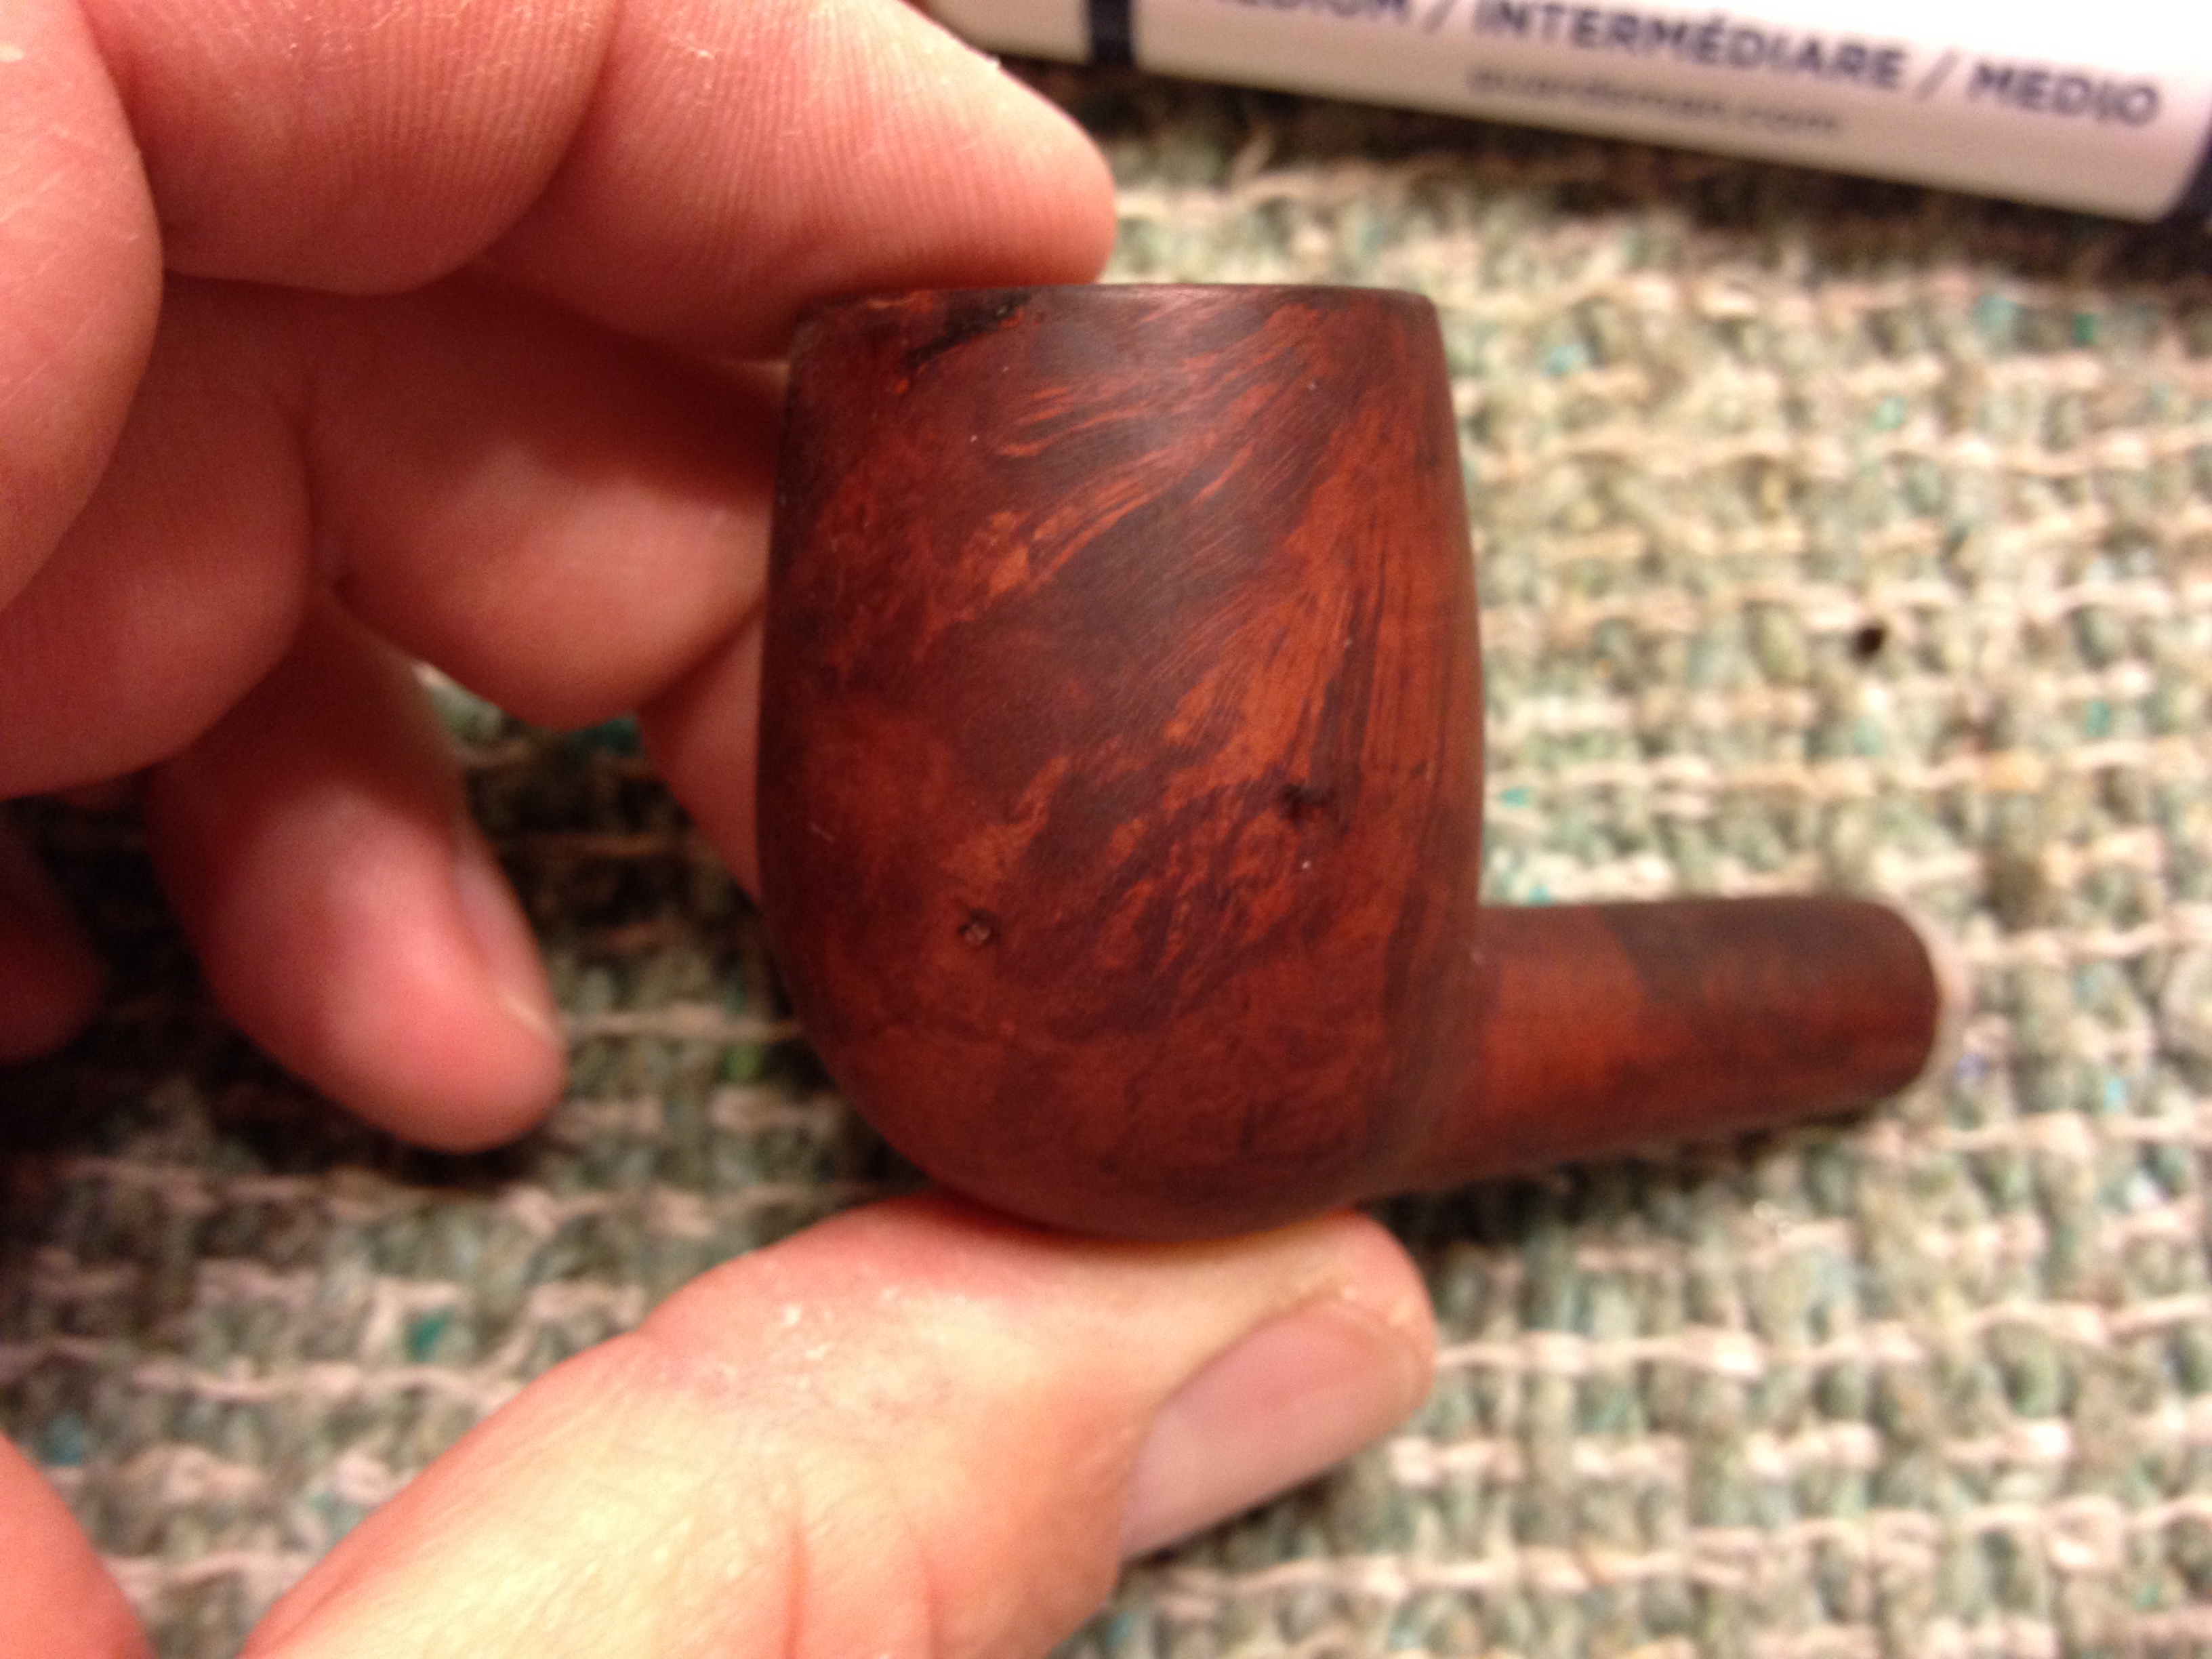
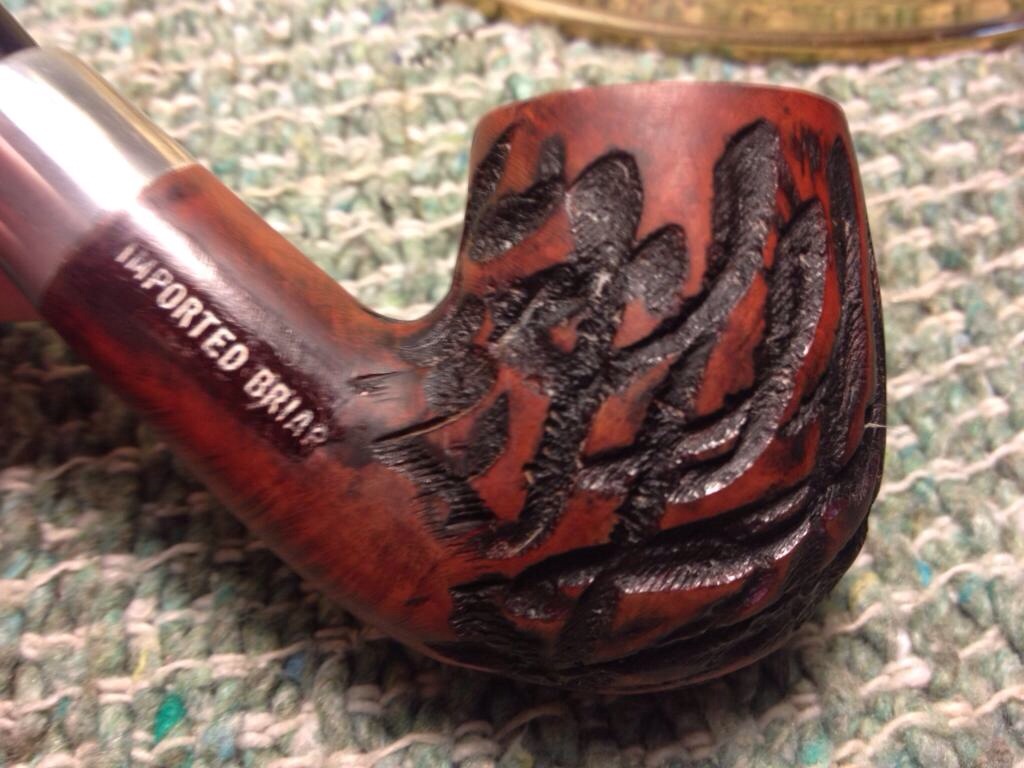
The next morning I took the bowls out of their soak and let them dry an hour or so. I wanted to make this “typical” rusticated Omega look less typical so I started sanding in it; the rustication was plenty deep enough to remove some briar on the smooth part without worry of loosing the rustication’s definition. I did tape off the stamping to retain that as much as possible before starting.

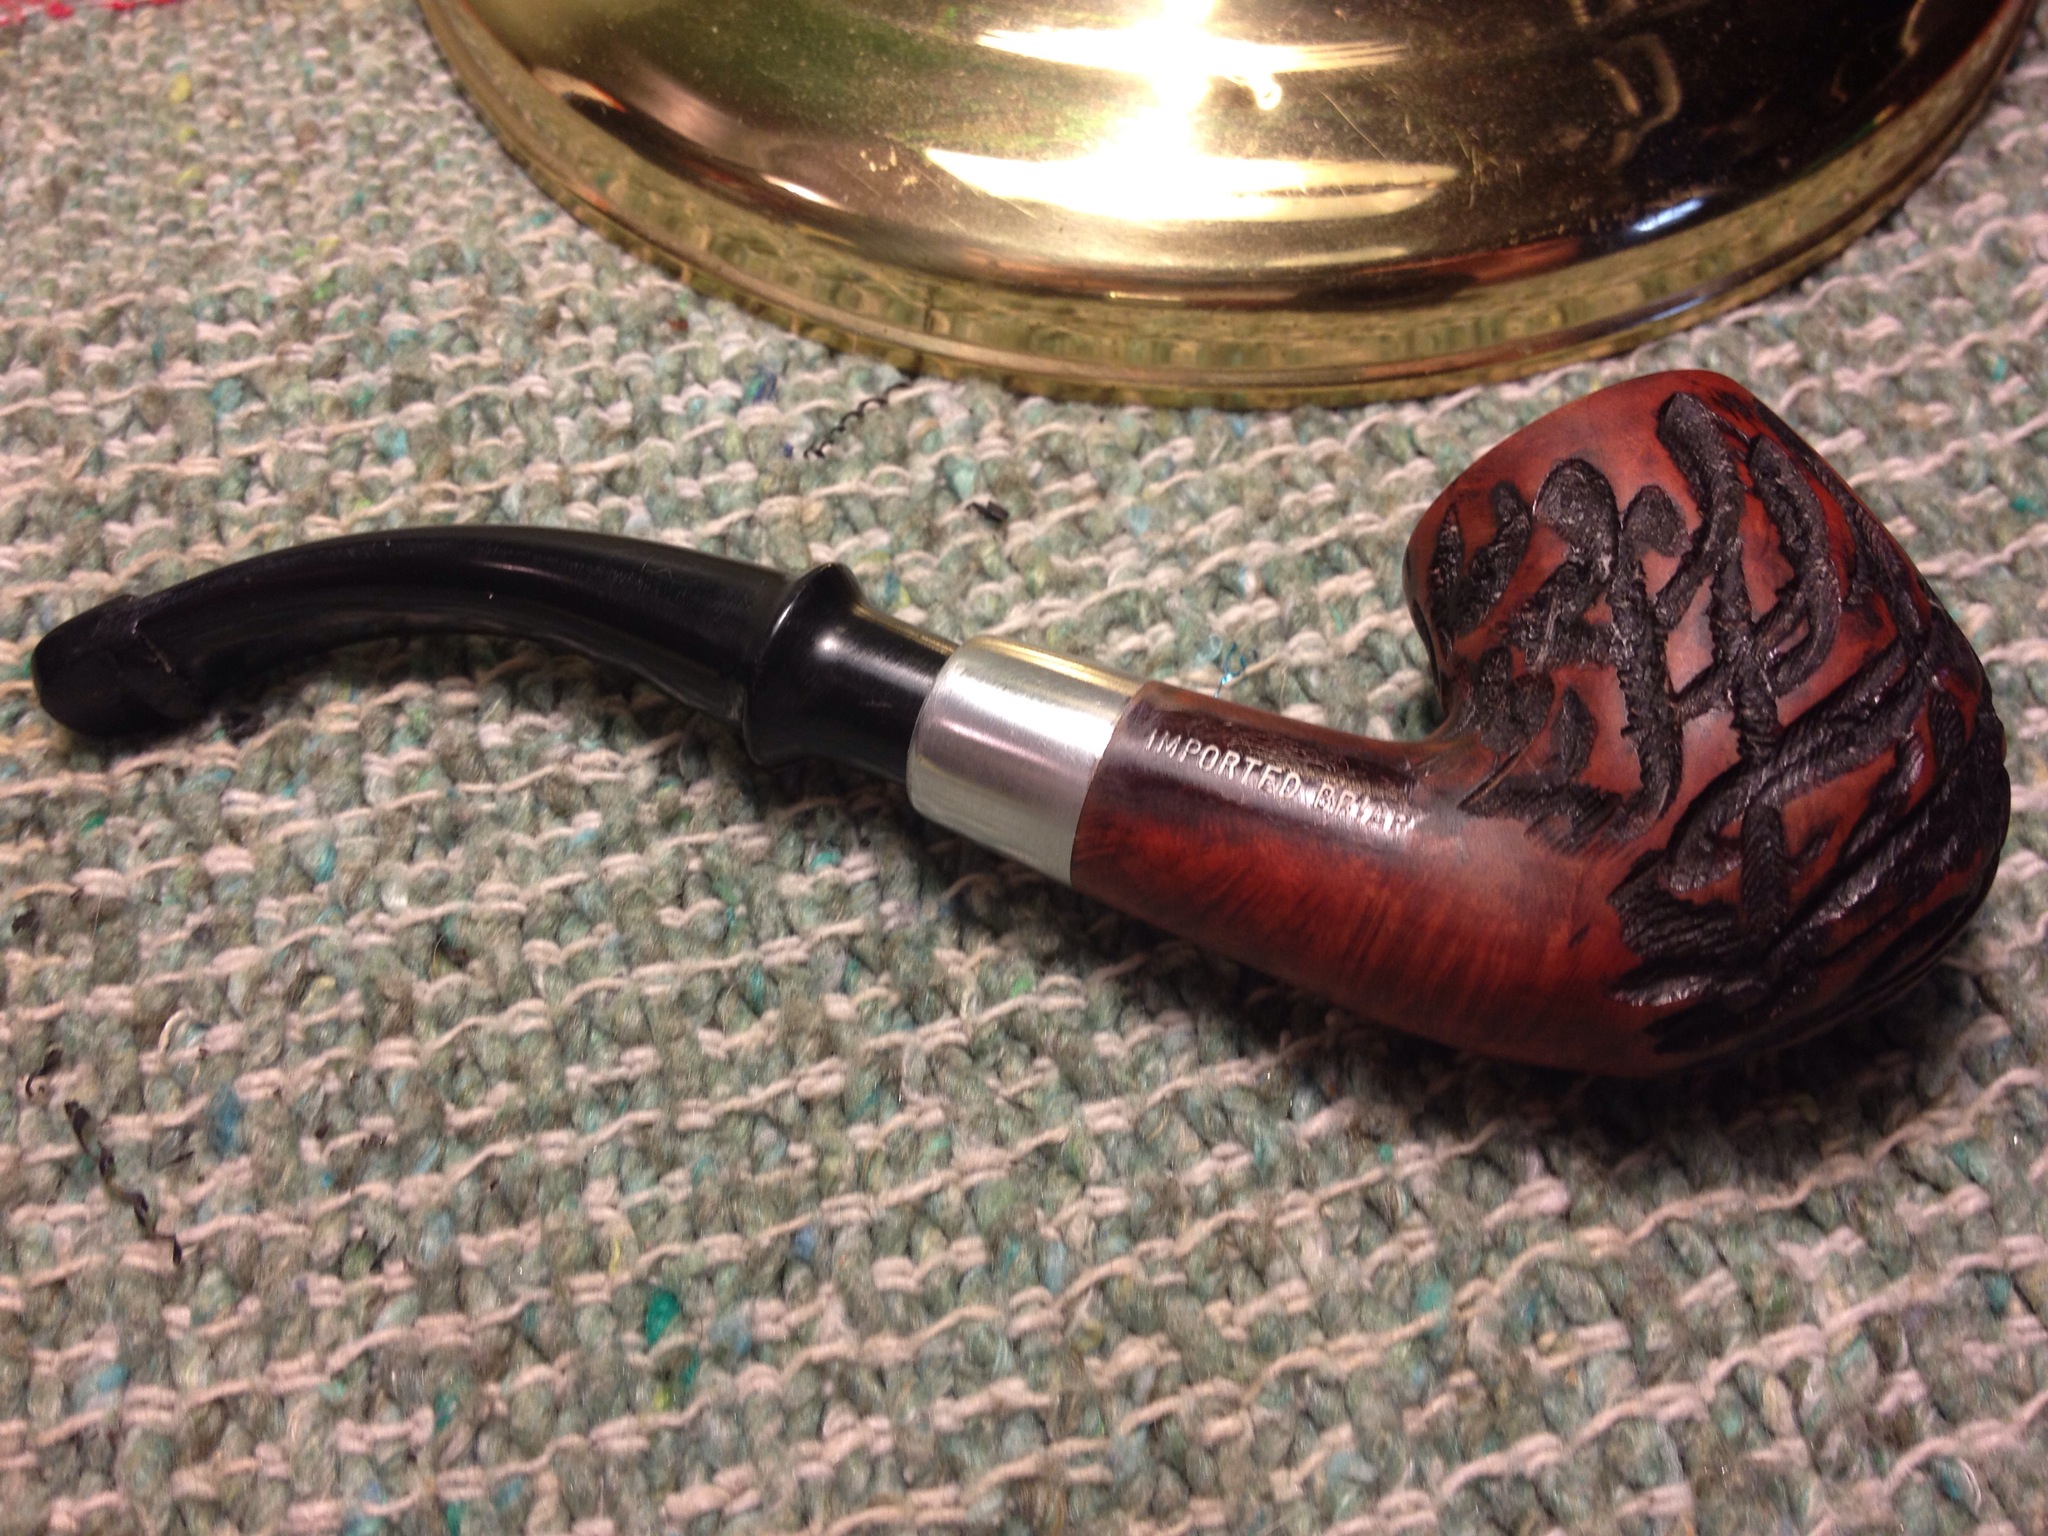
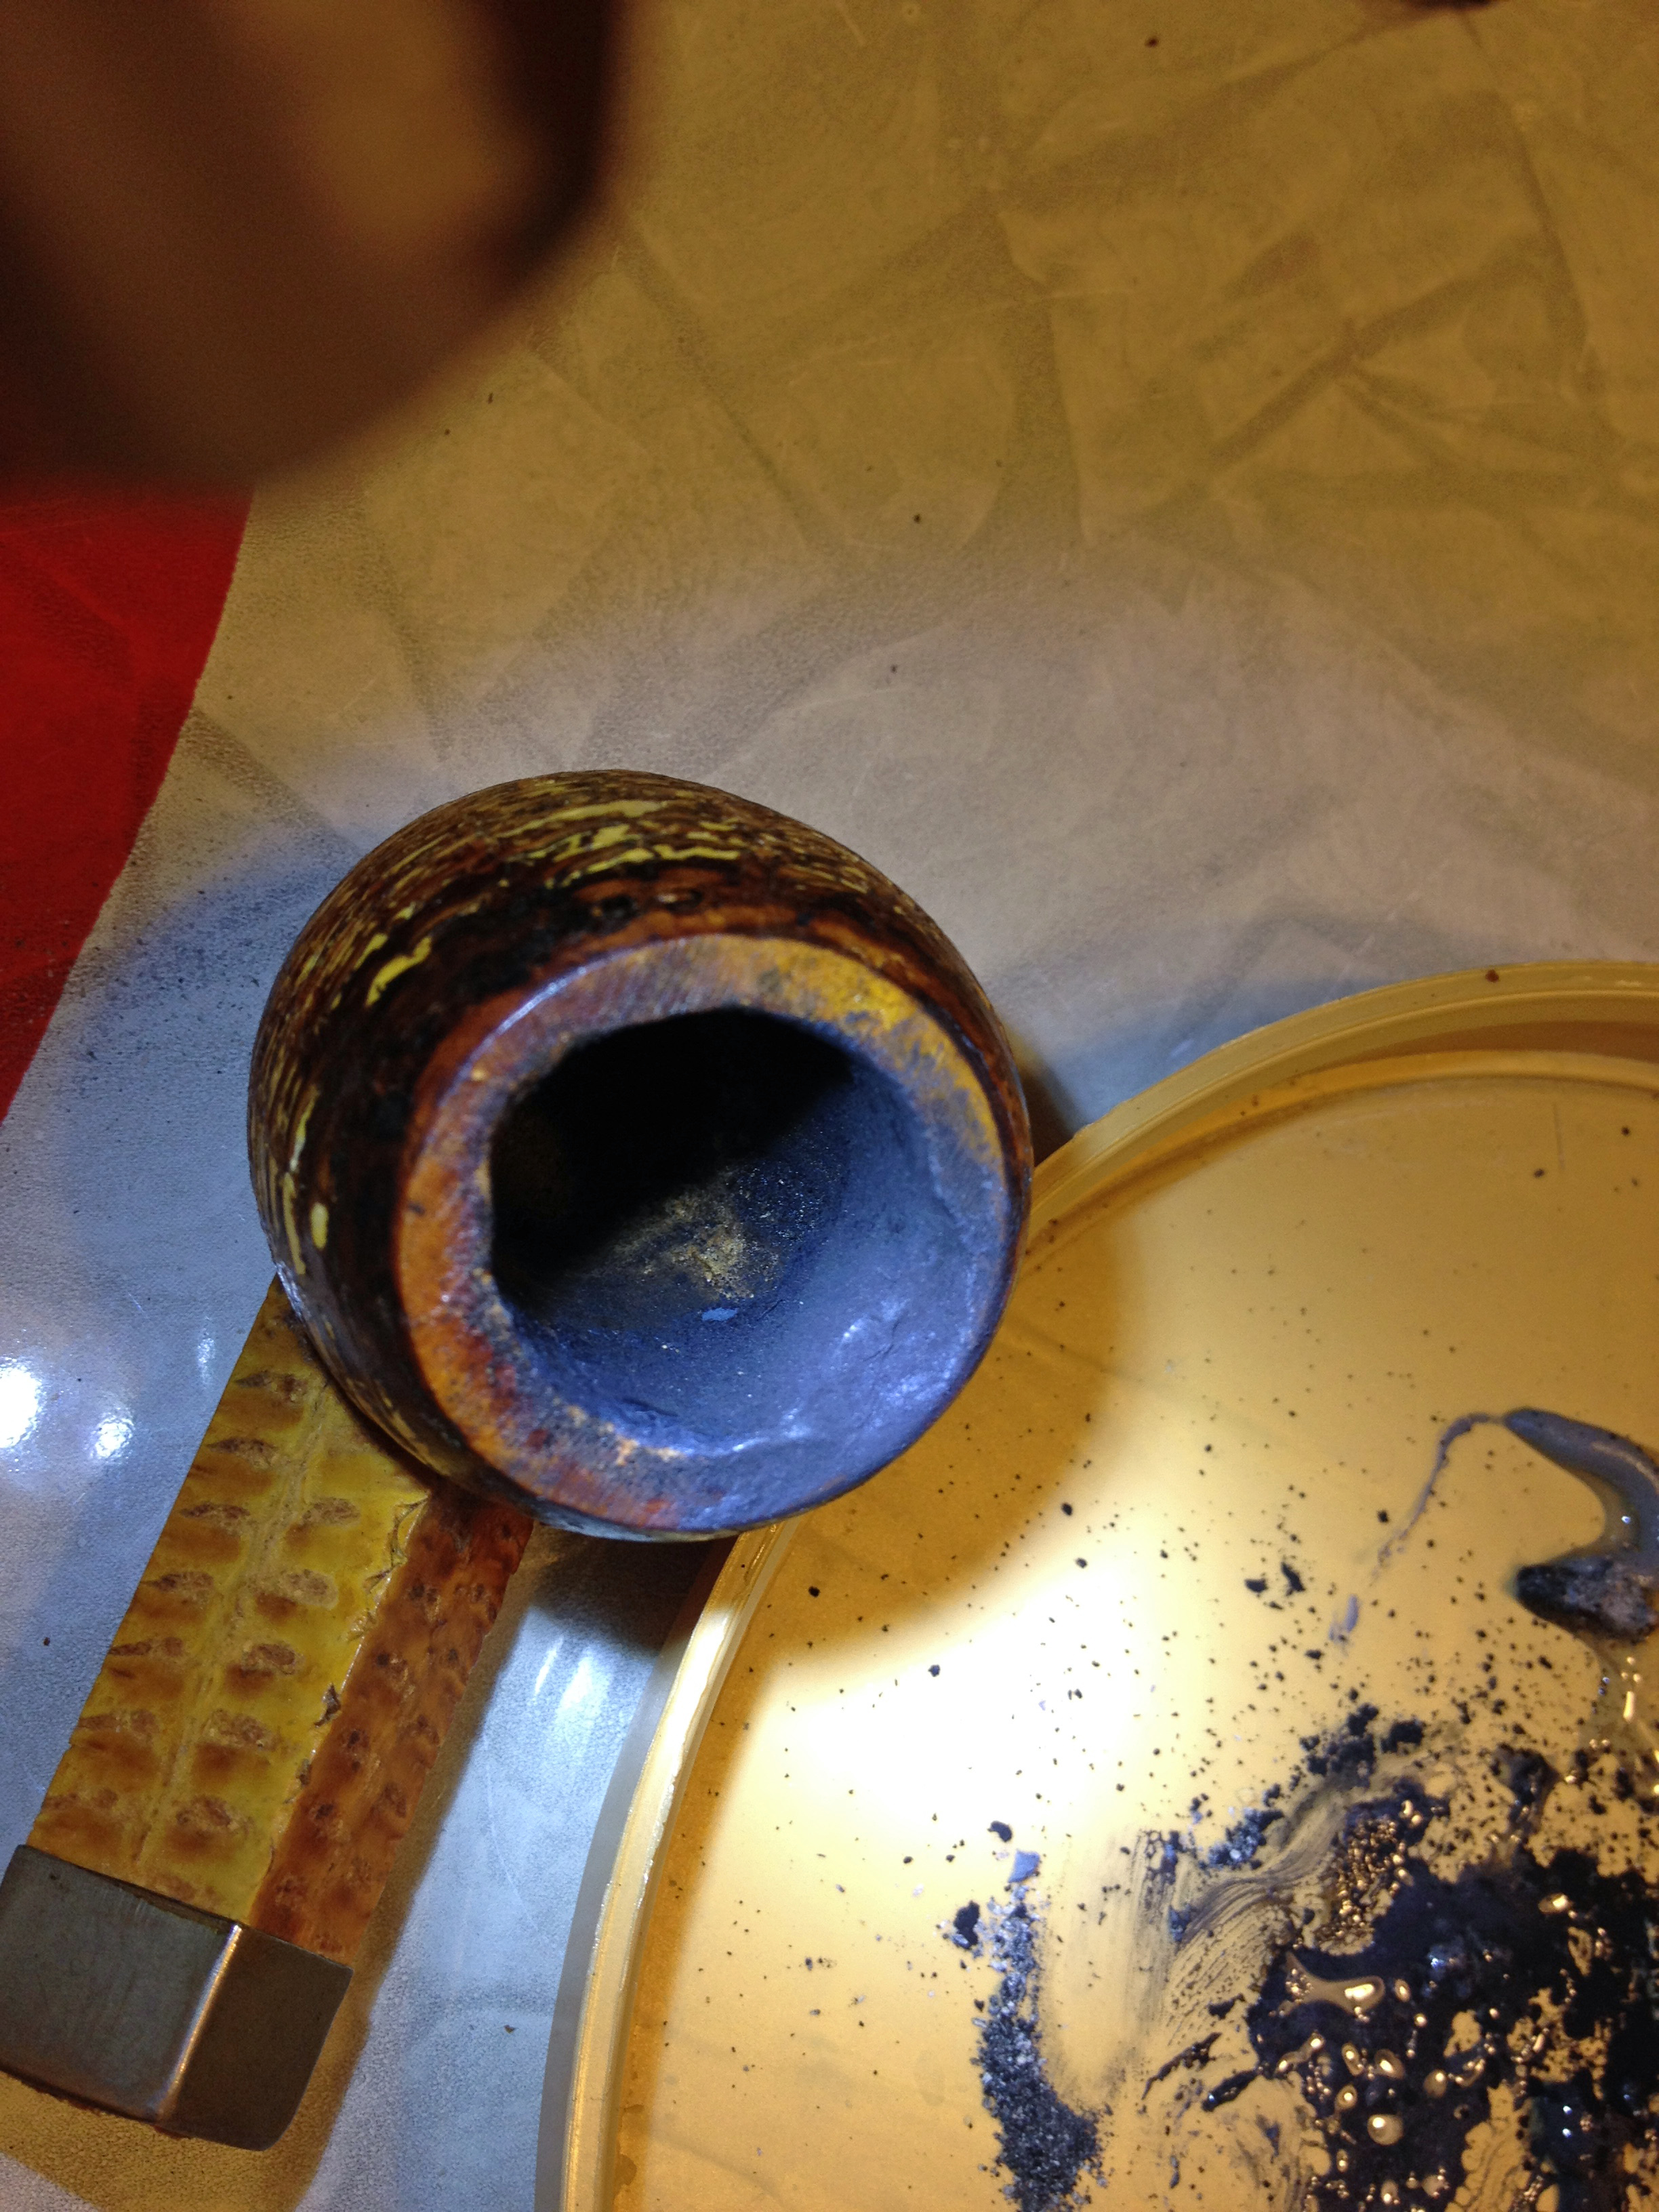
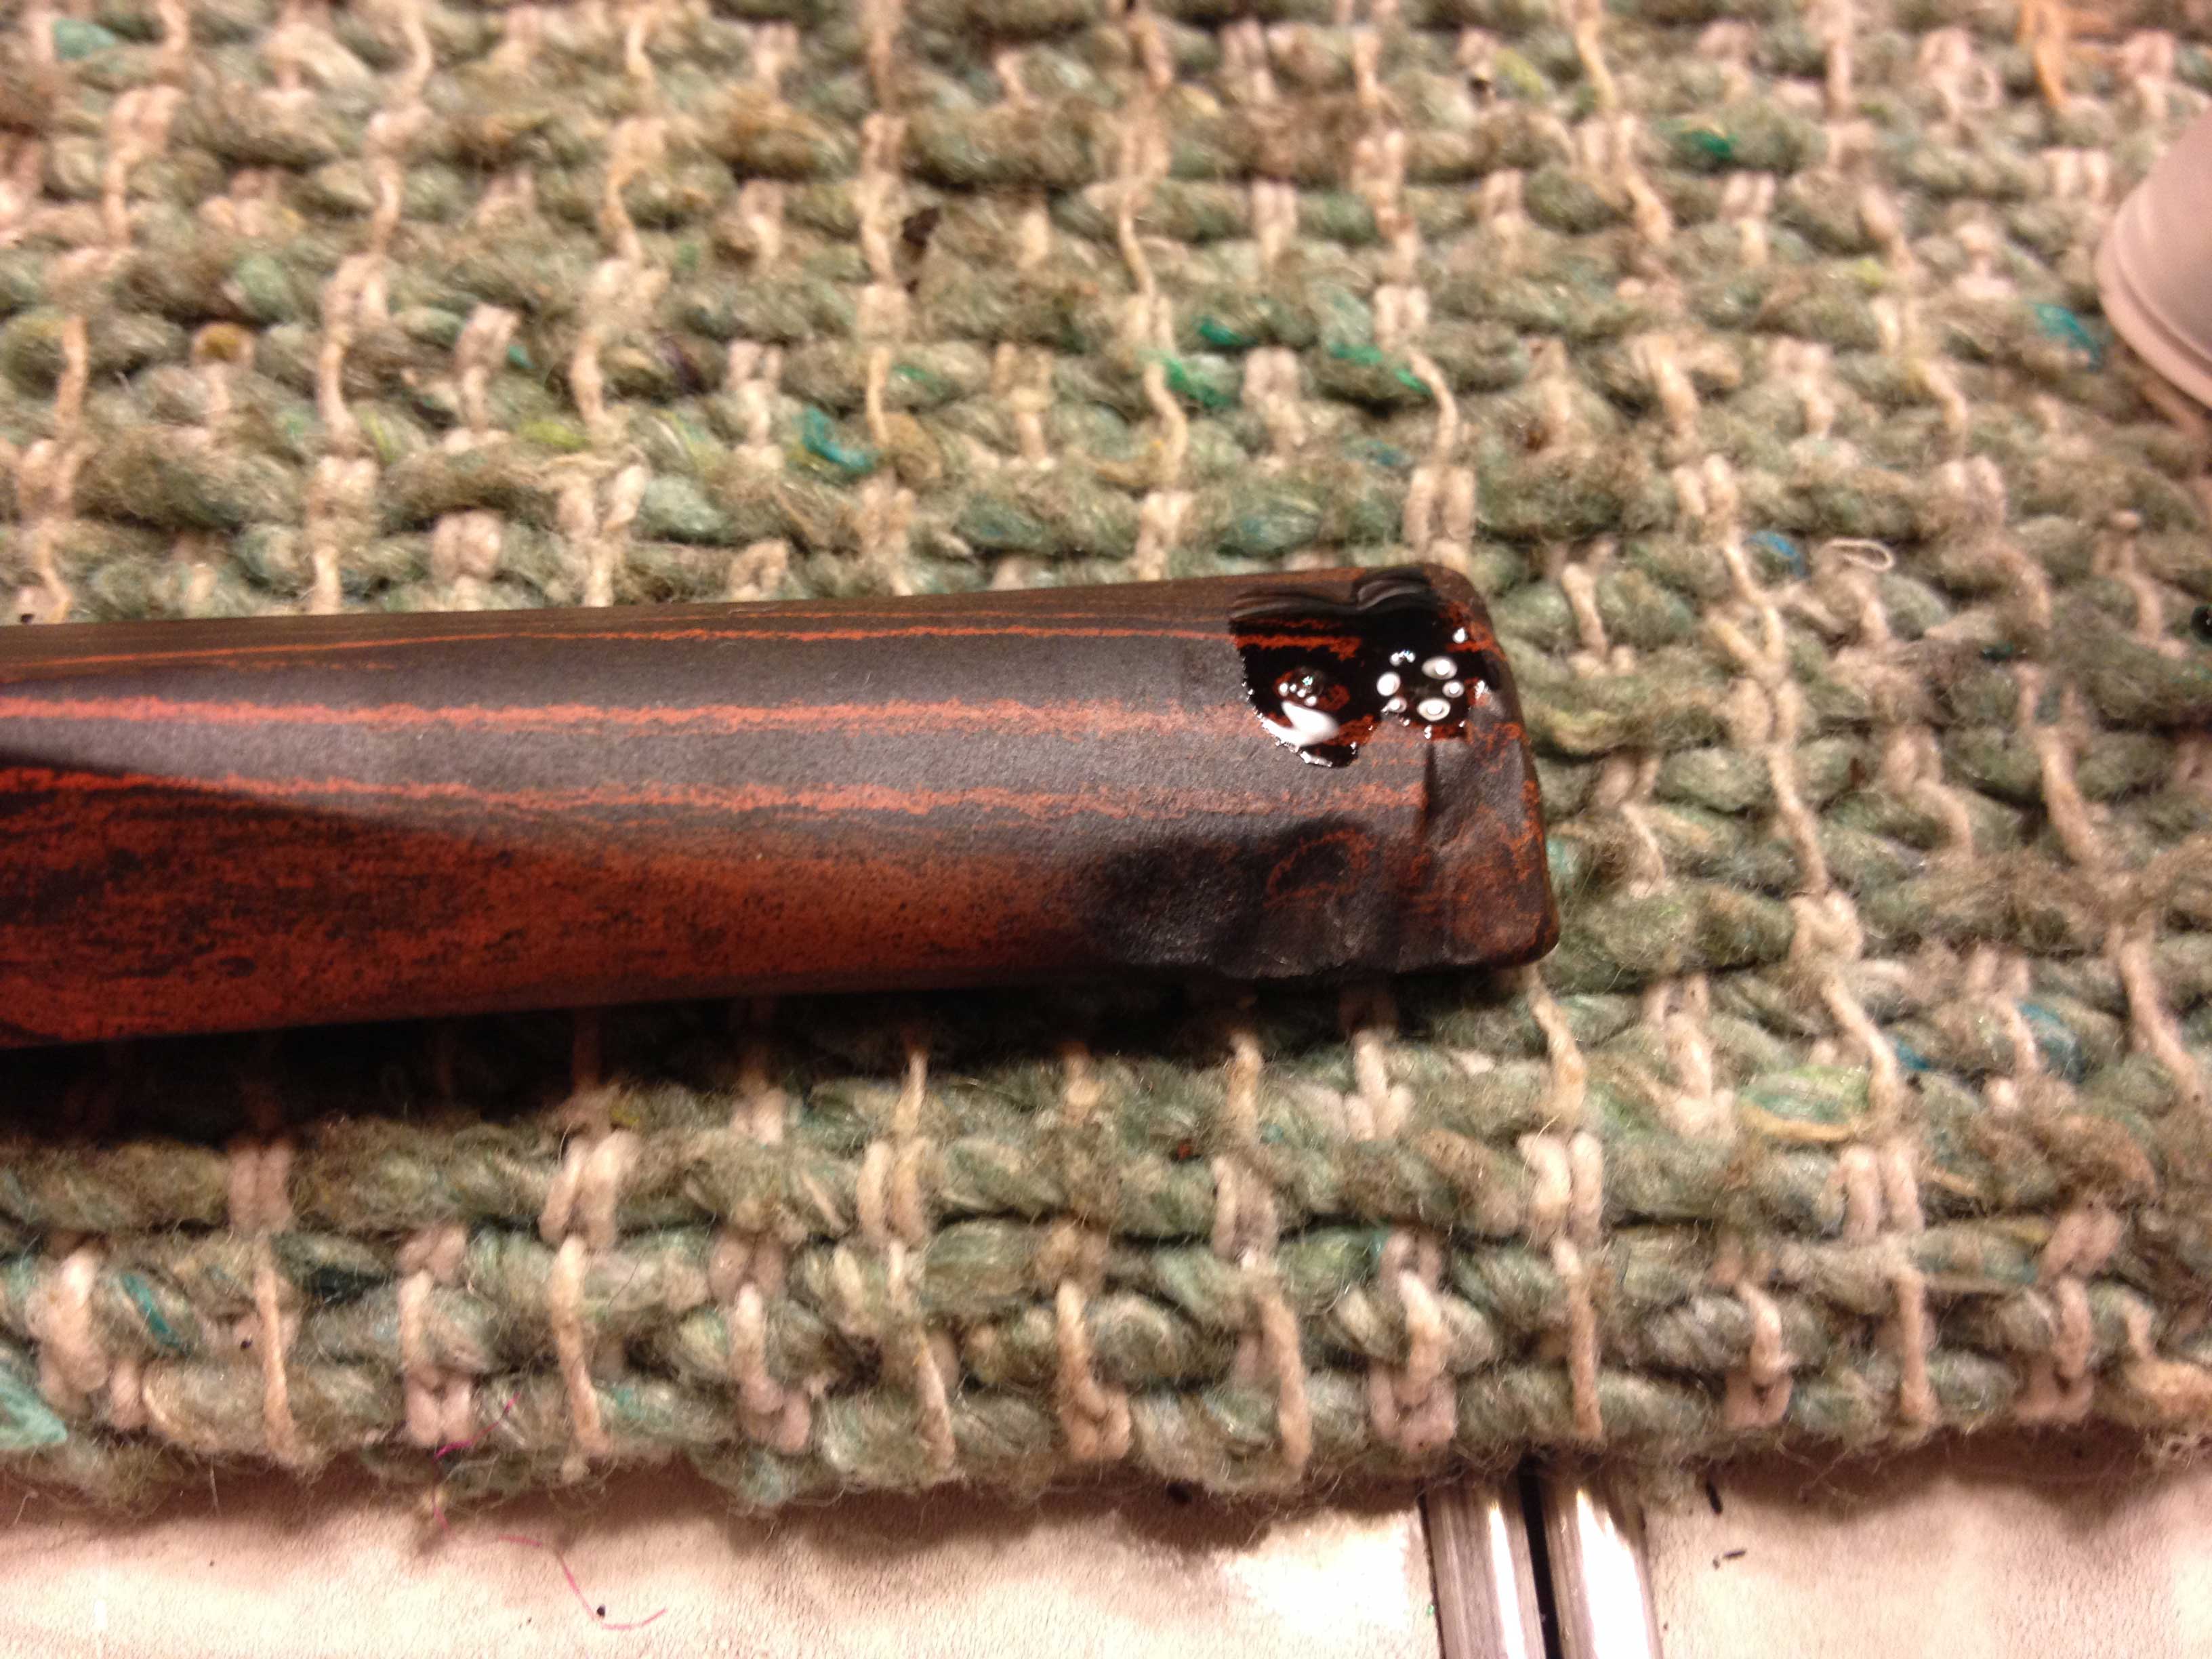
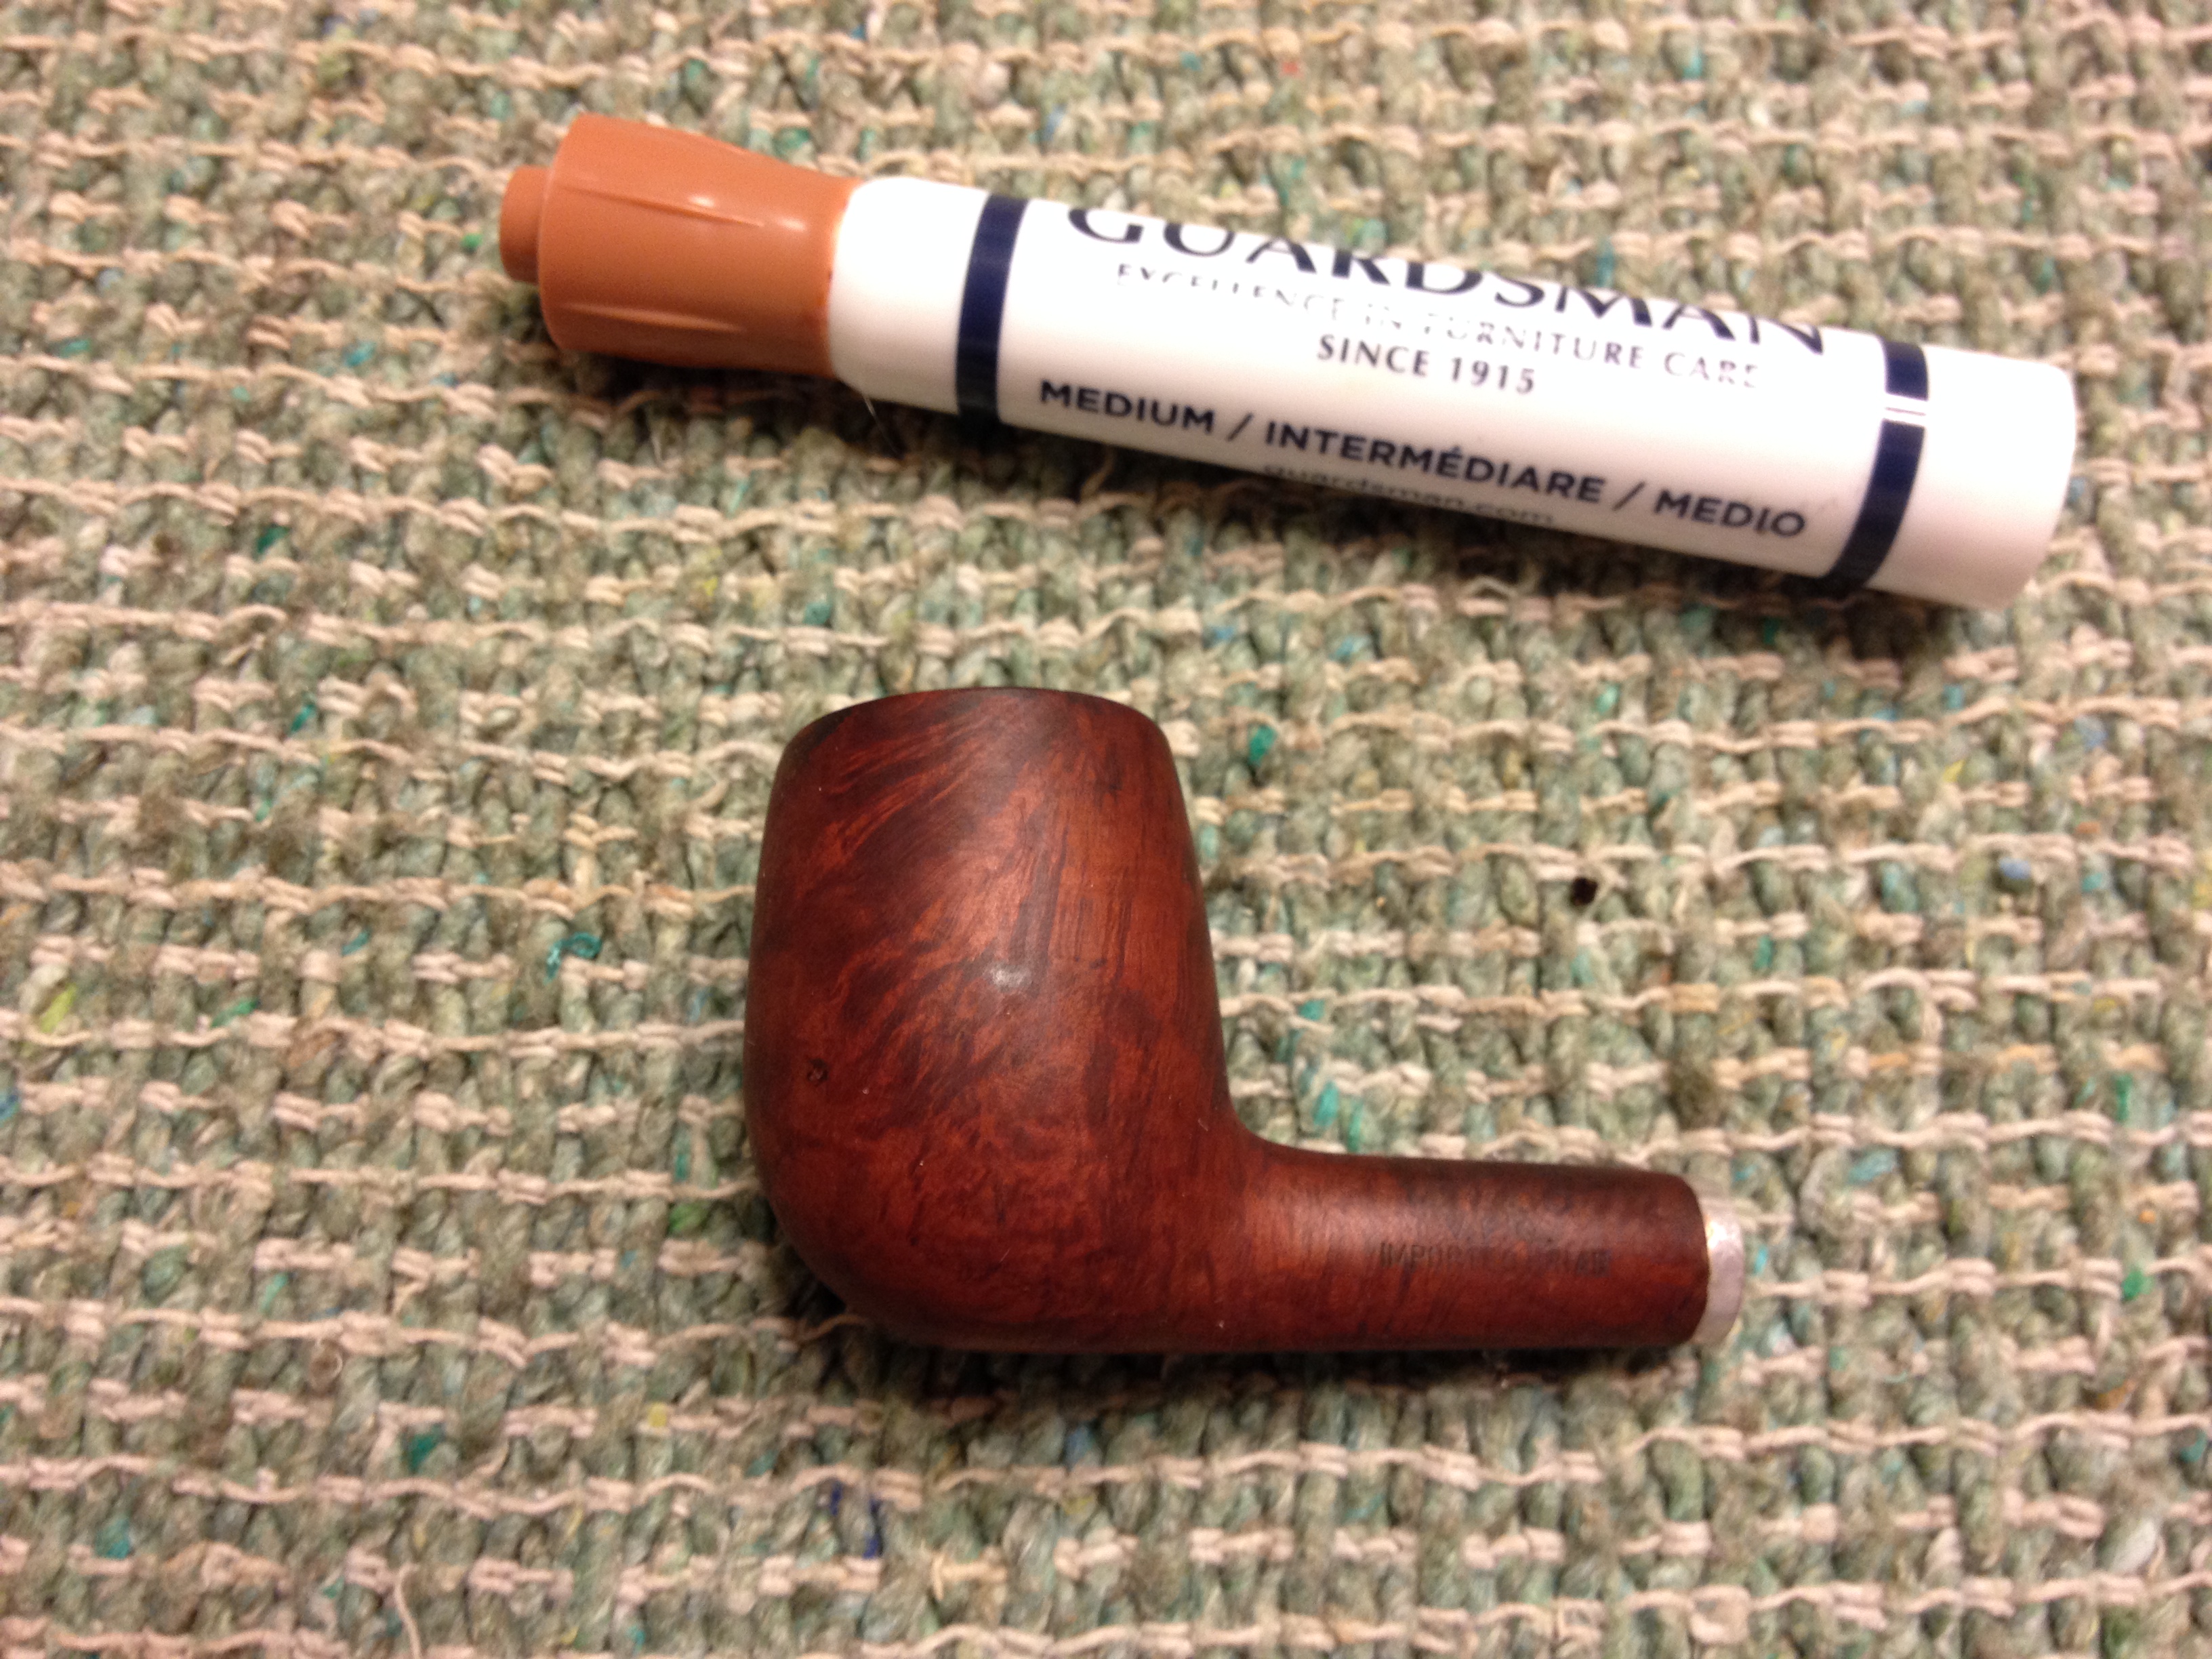
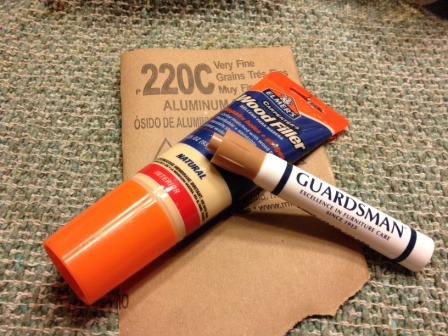
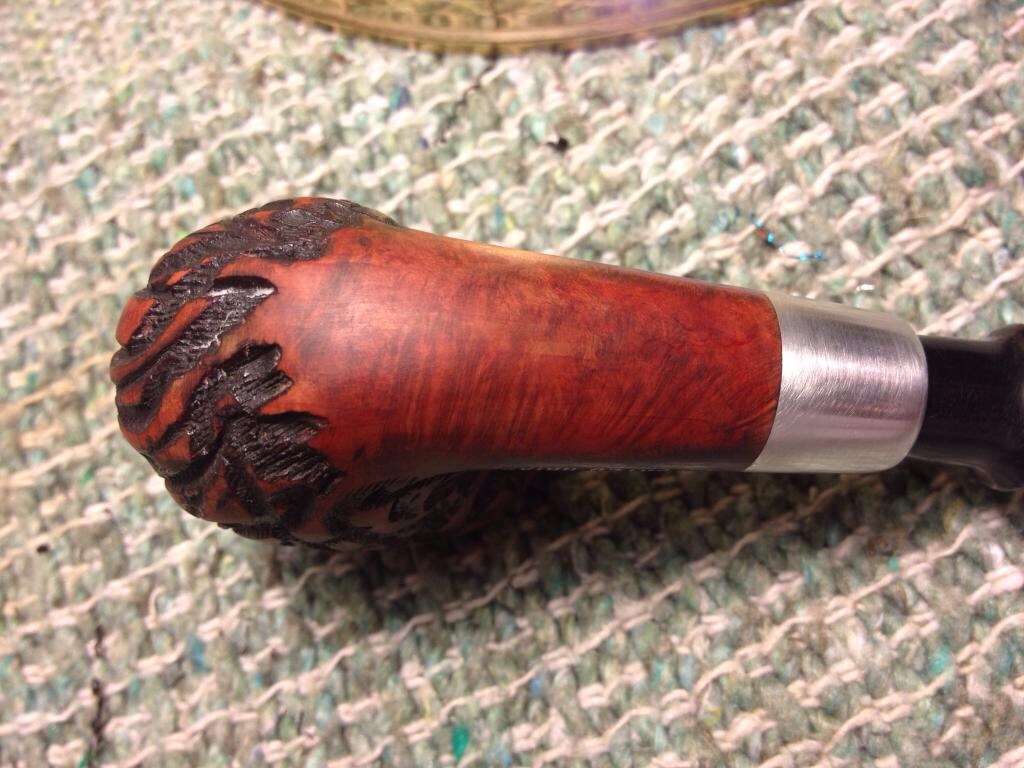
Taking off the old deep red top coat would give me a great opportunity to create a kind of unique contrast on this pipe I thought so after sanding the bowl and band with 220 and 320 grits I used a black sharpie to color in all the rustication and also the rim and new inner bevel. Then I used 400 grit to sand off the bowl again, to remove the over-marks of black, and the band. Then I applied a coat of a lighter red, which is actually a stain marker I got in a set at The Dollar Tree and is marked “medium brown”. I let the stain cure for a bit and then highlighted the nomenclature with white acrylic paint, for an extra “pop”.

IMG_0290.JPG

IMG_0288.JPG

IMG_0289.JPG

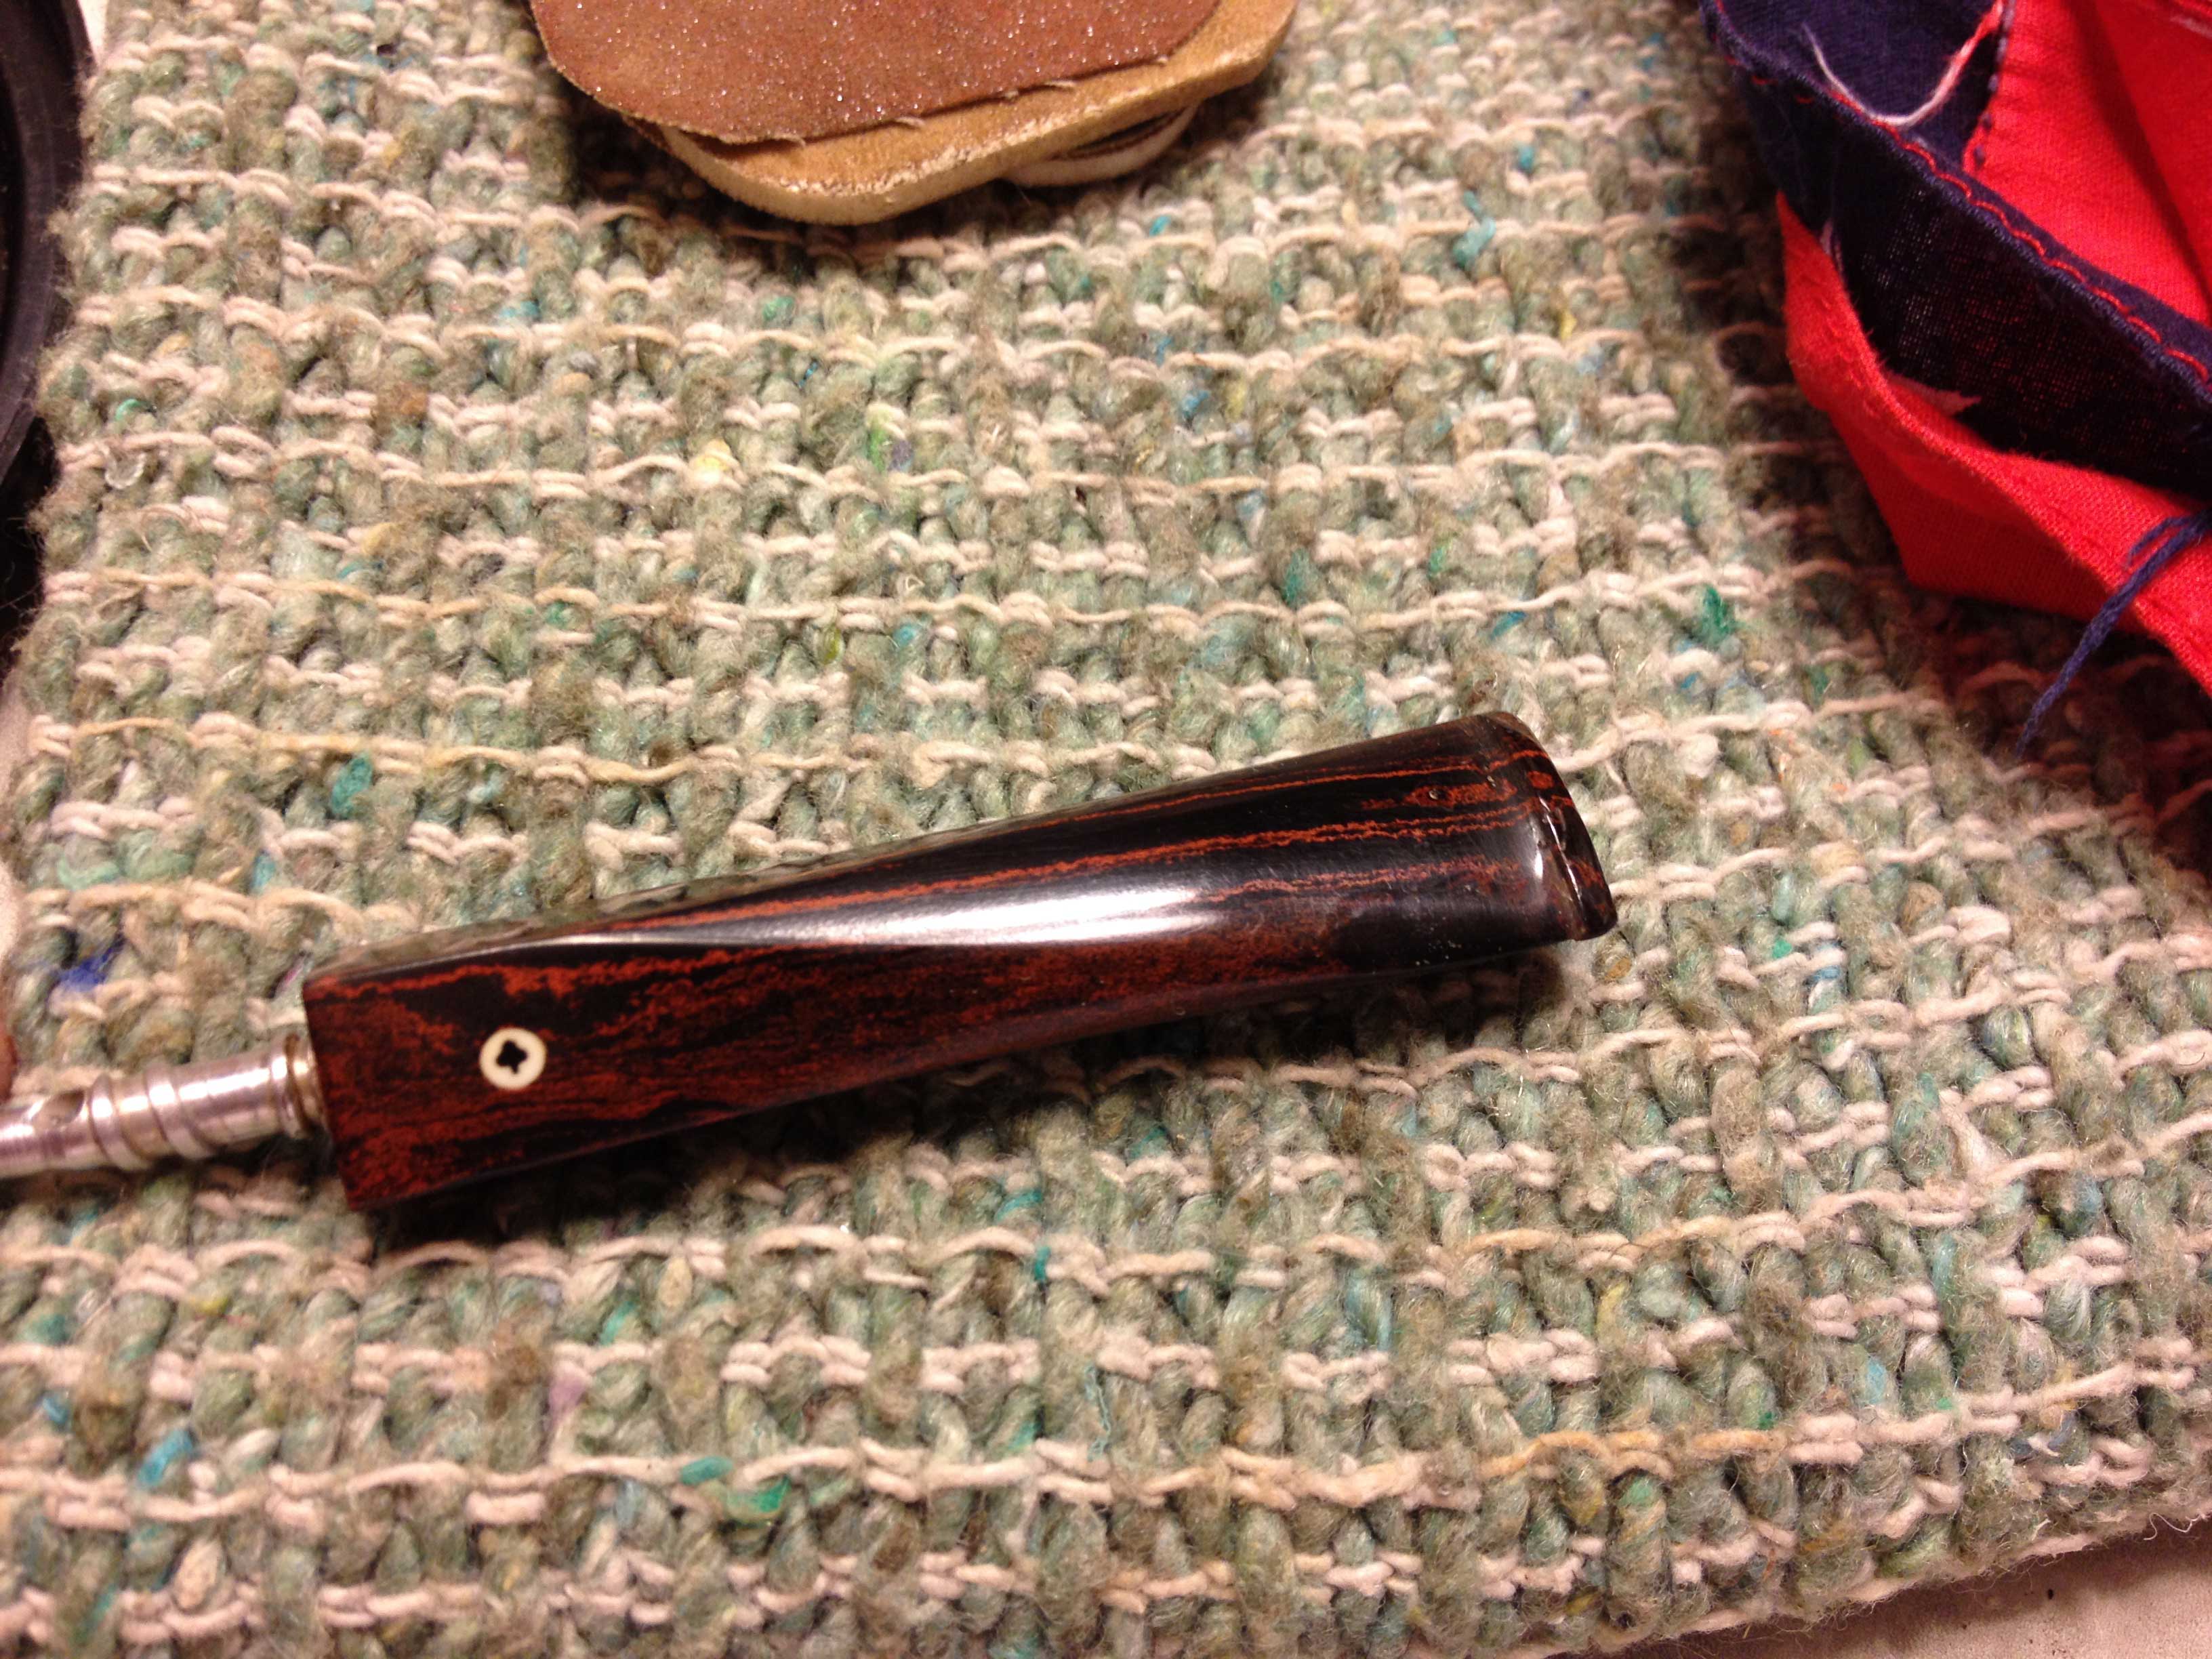
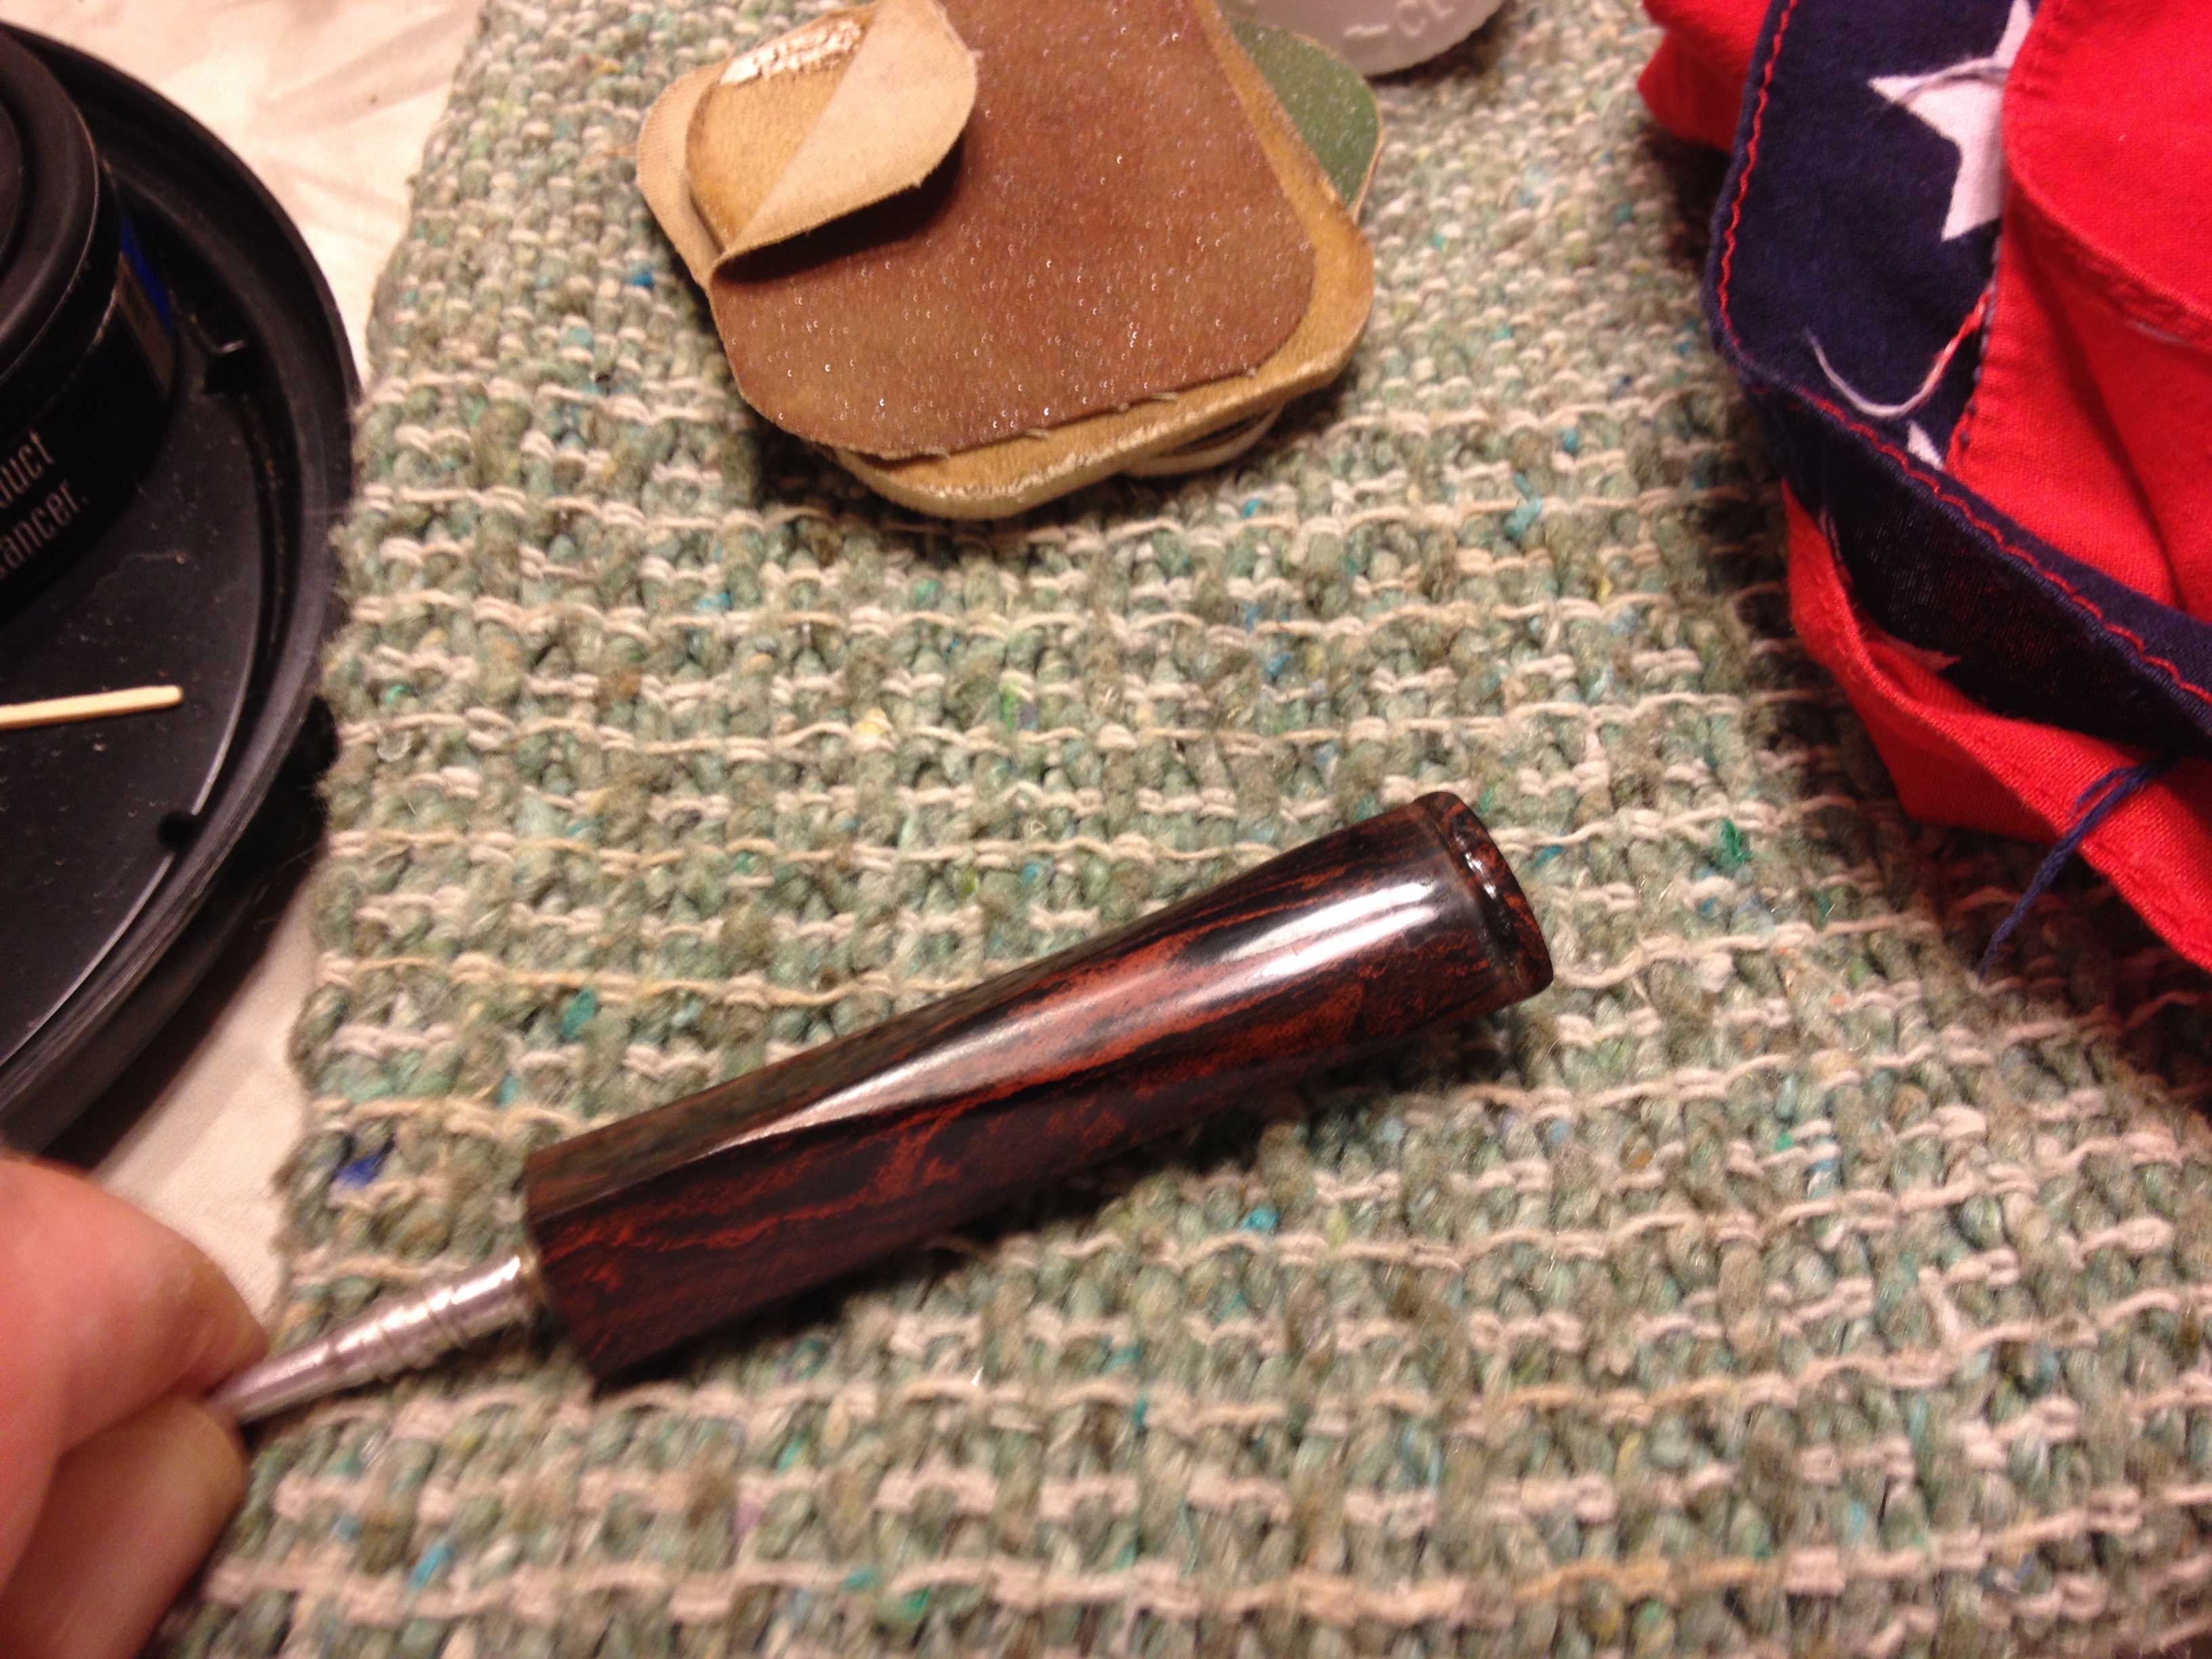
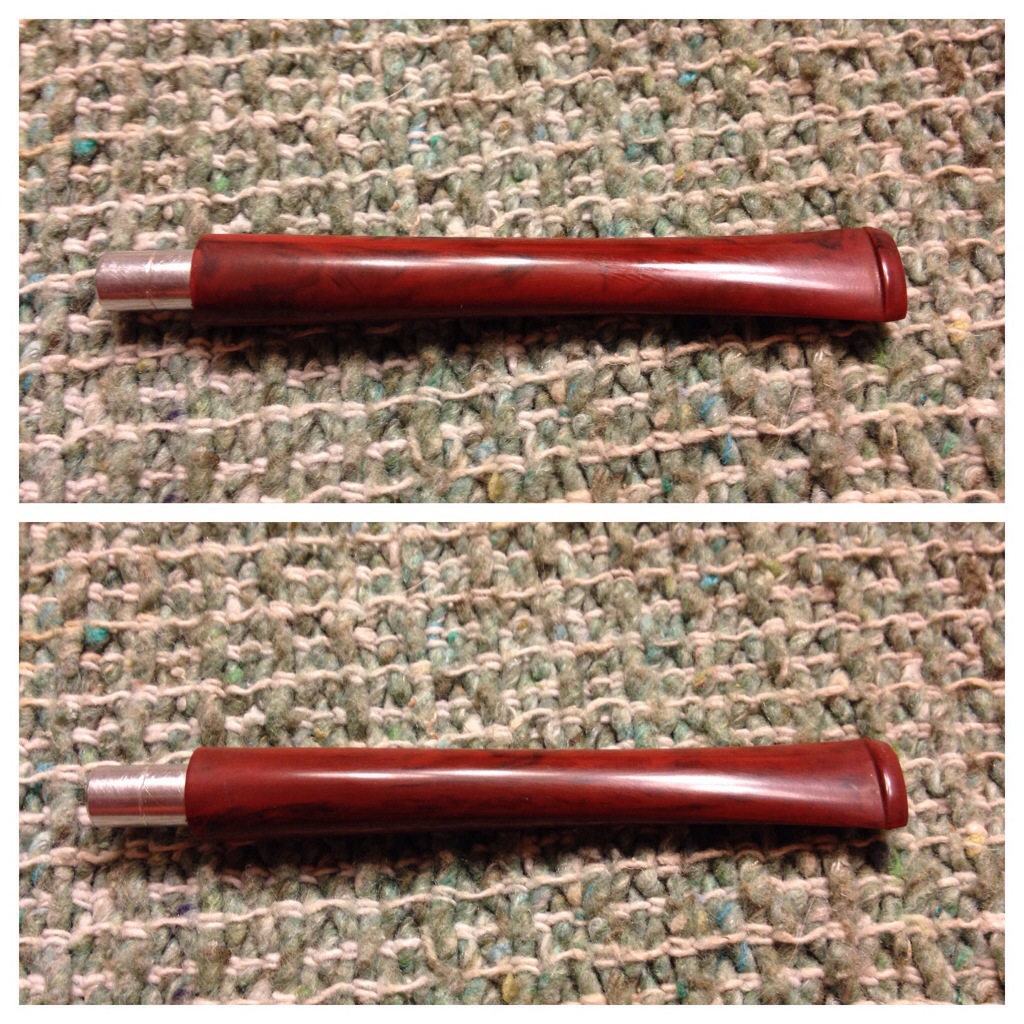
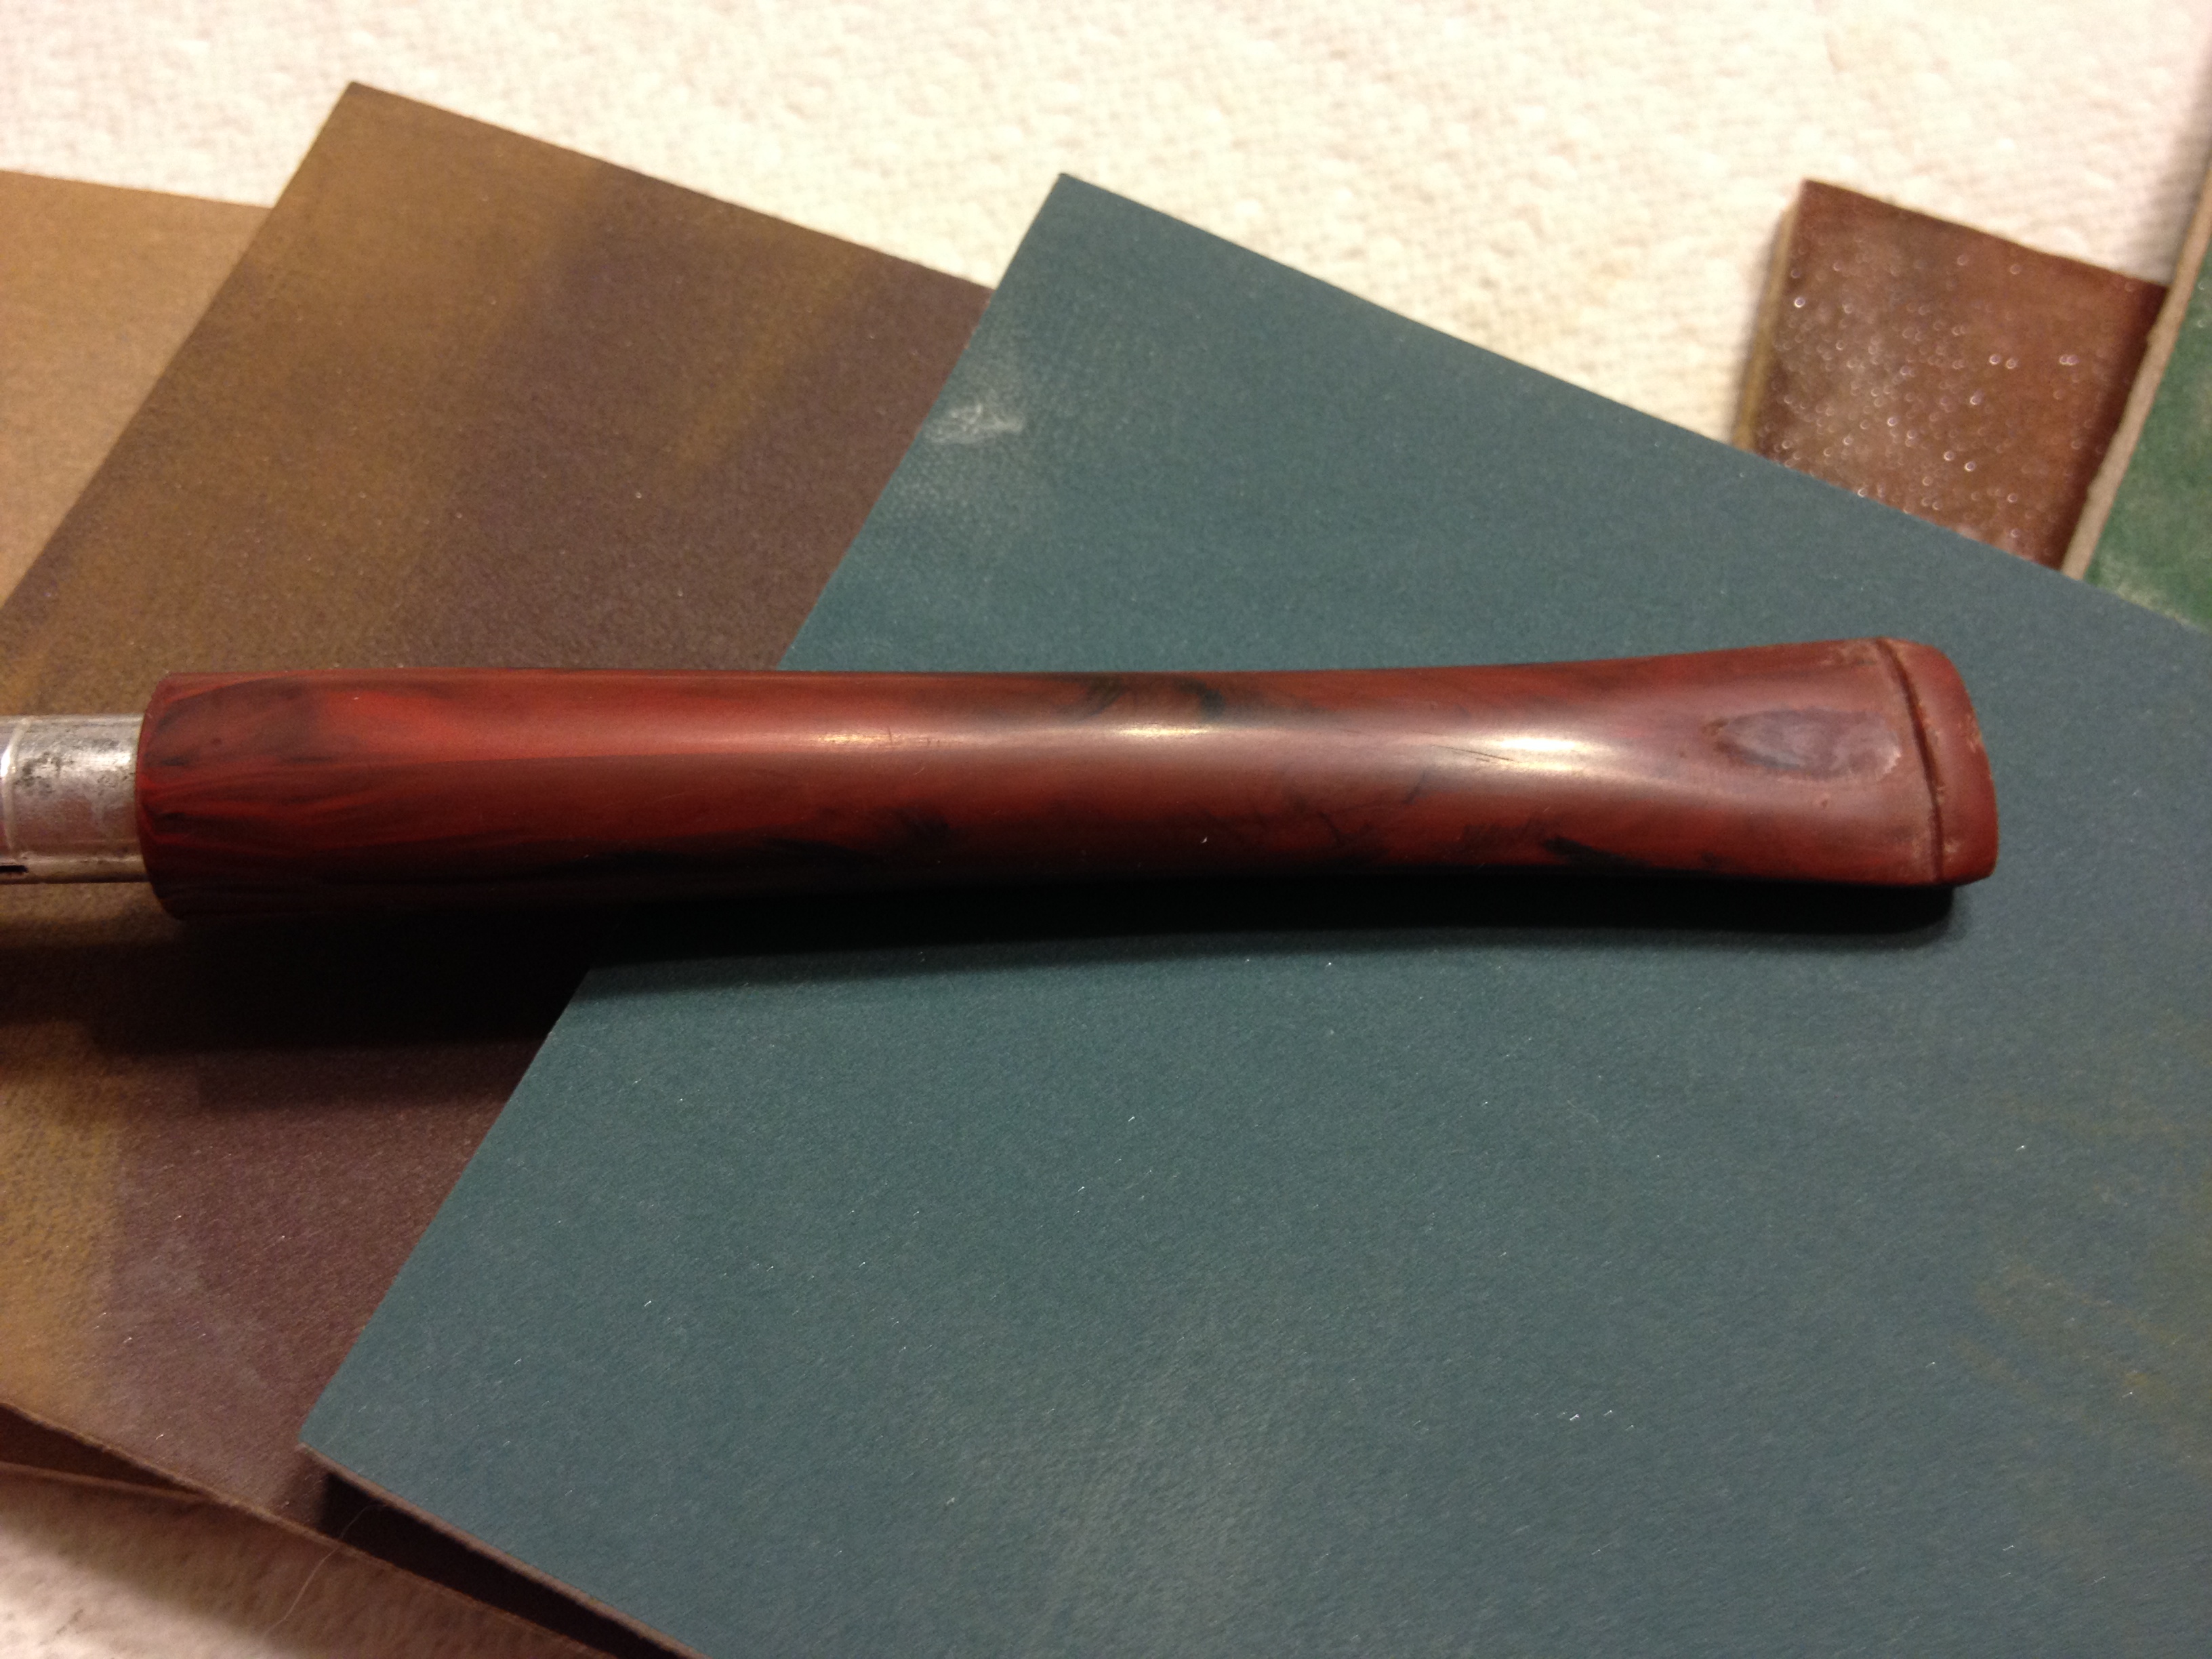
While the paint cured I have the stem a final polish with plastic polish just to brighten and shine it a little more. I was tempted to try to make the bit nicer but the back of my mind kept telling me it wasn’t worth the headache so I finally decided to leave it.

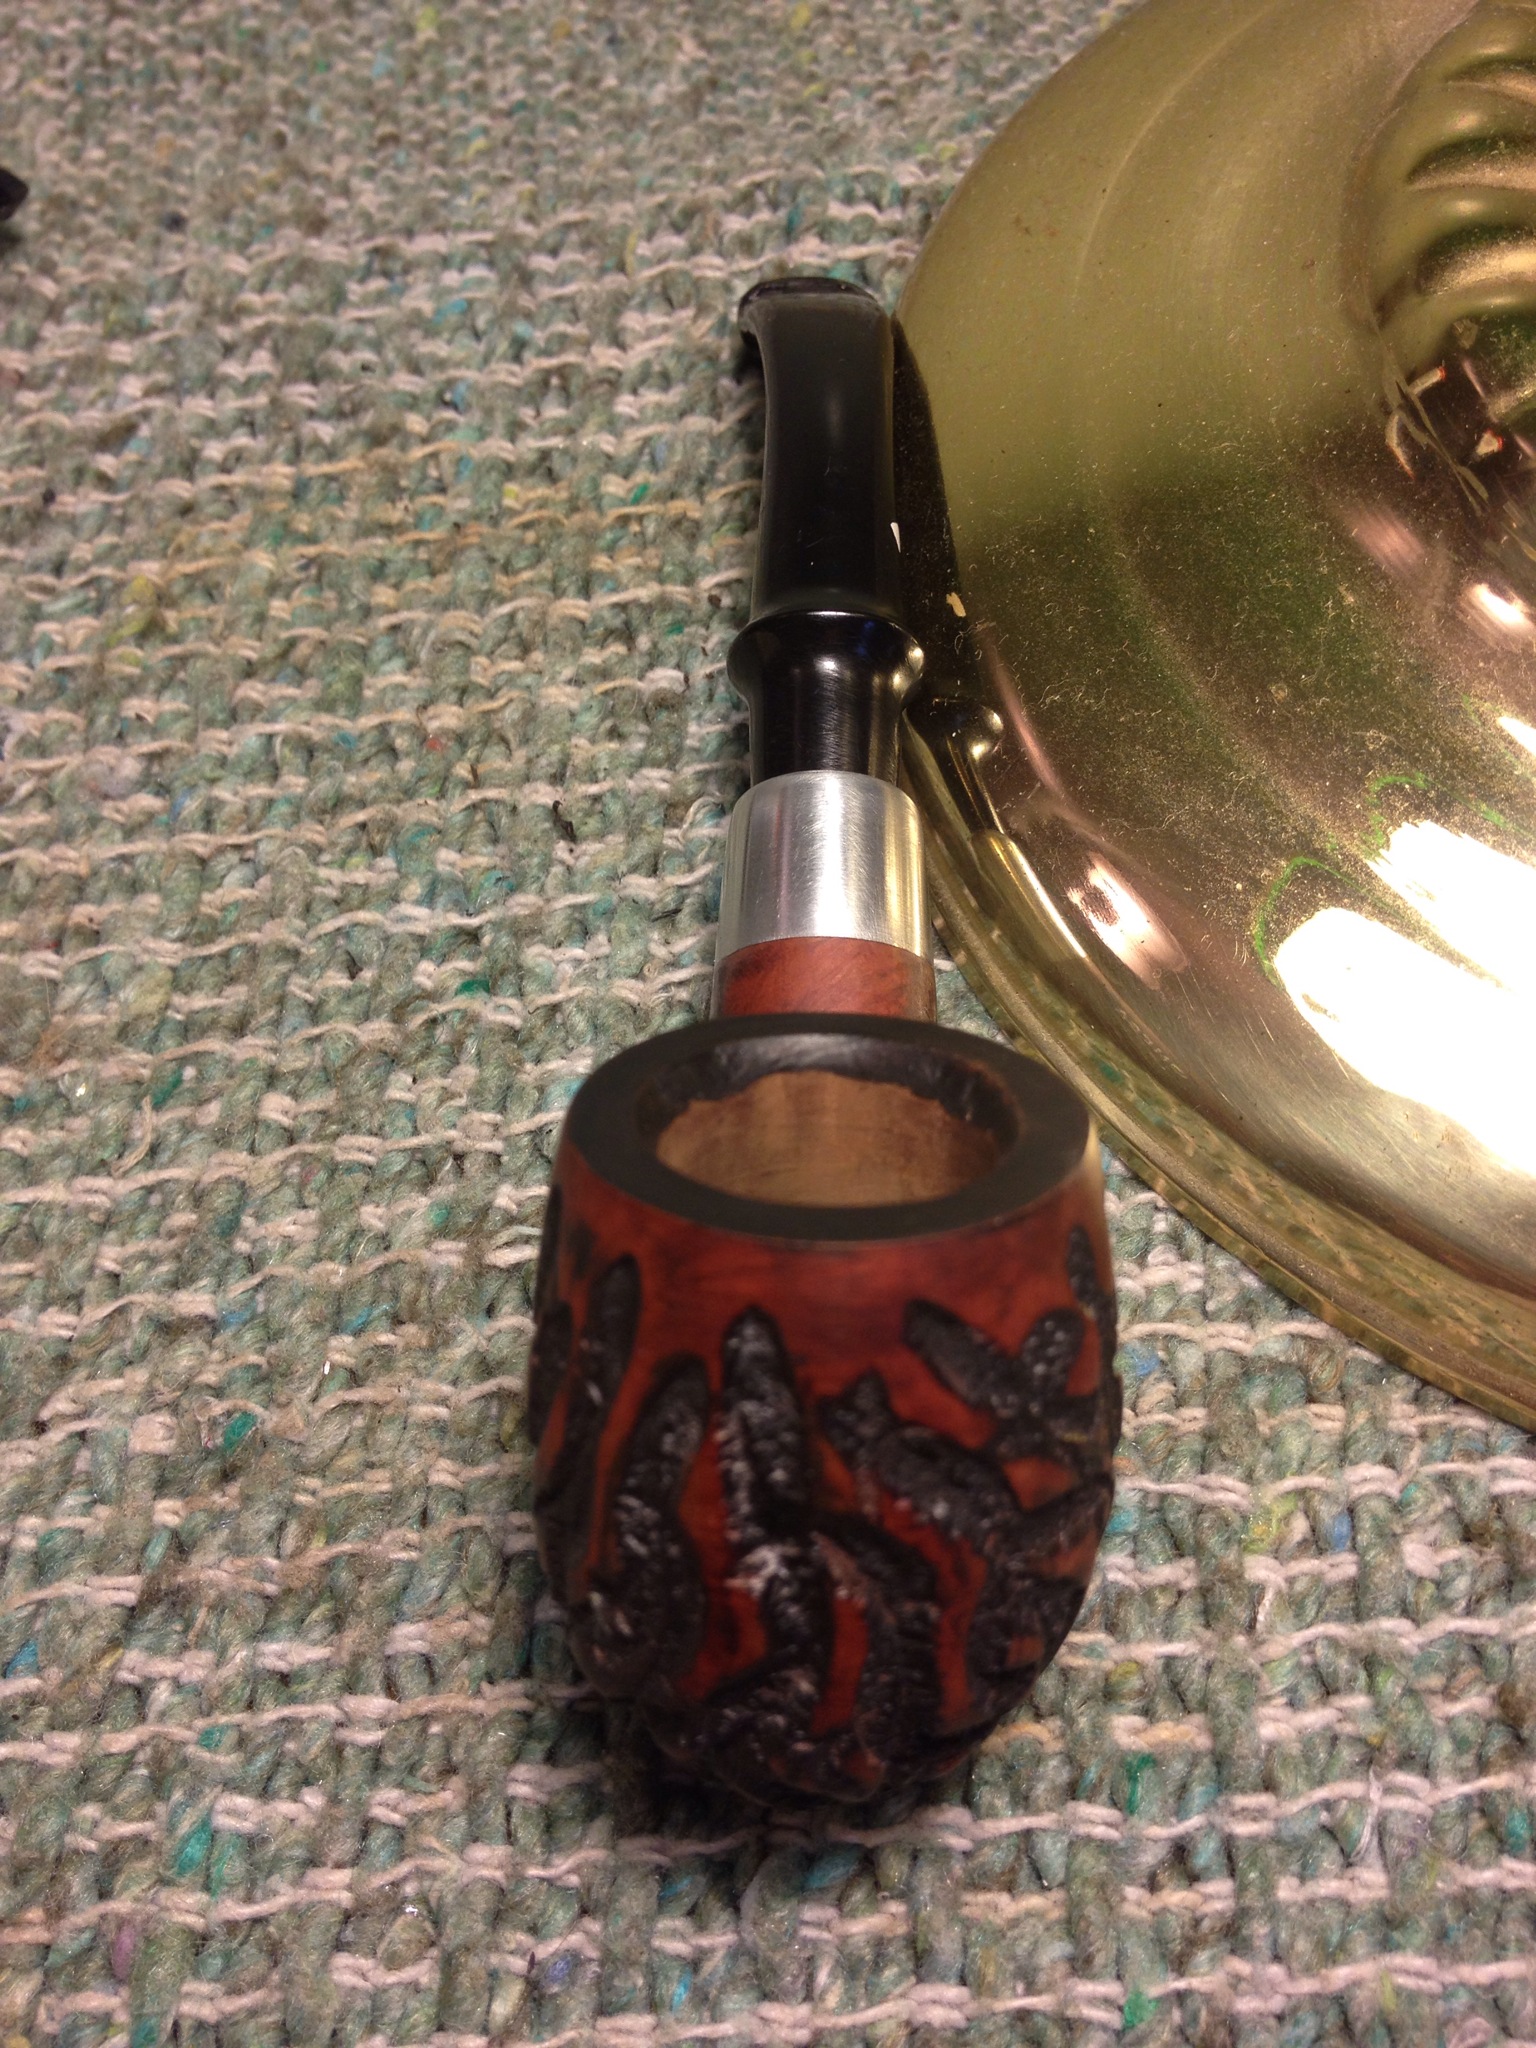
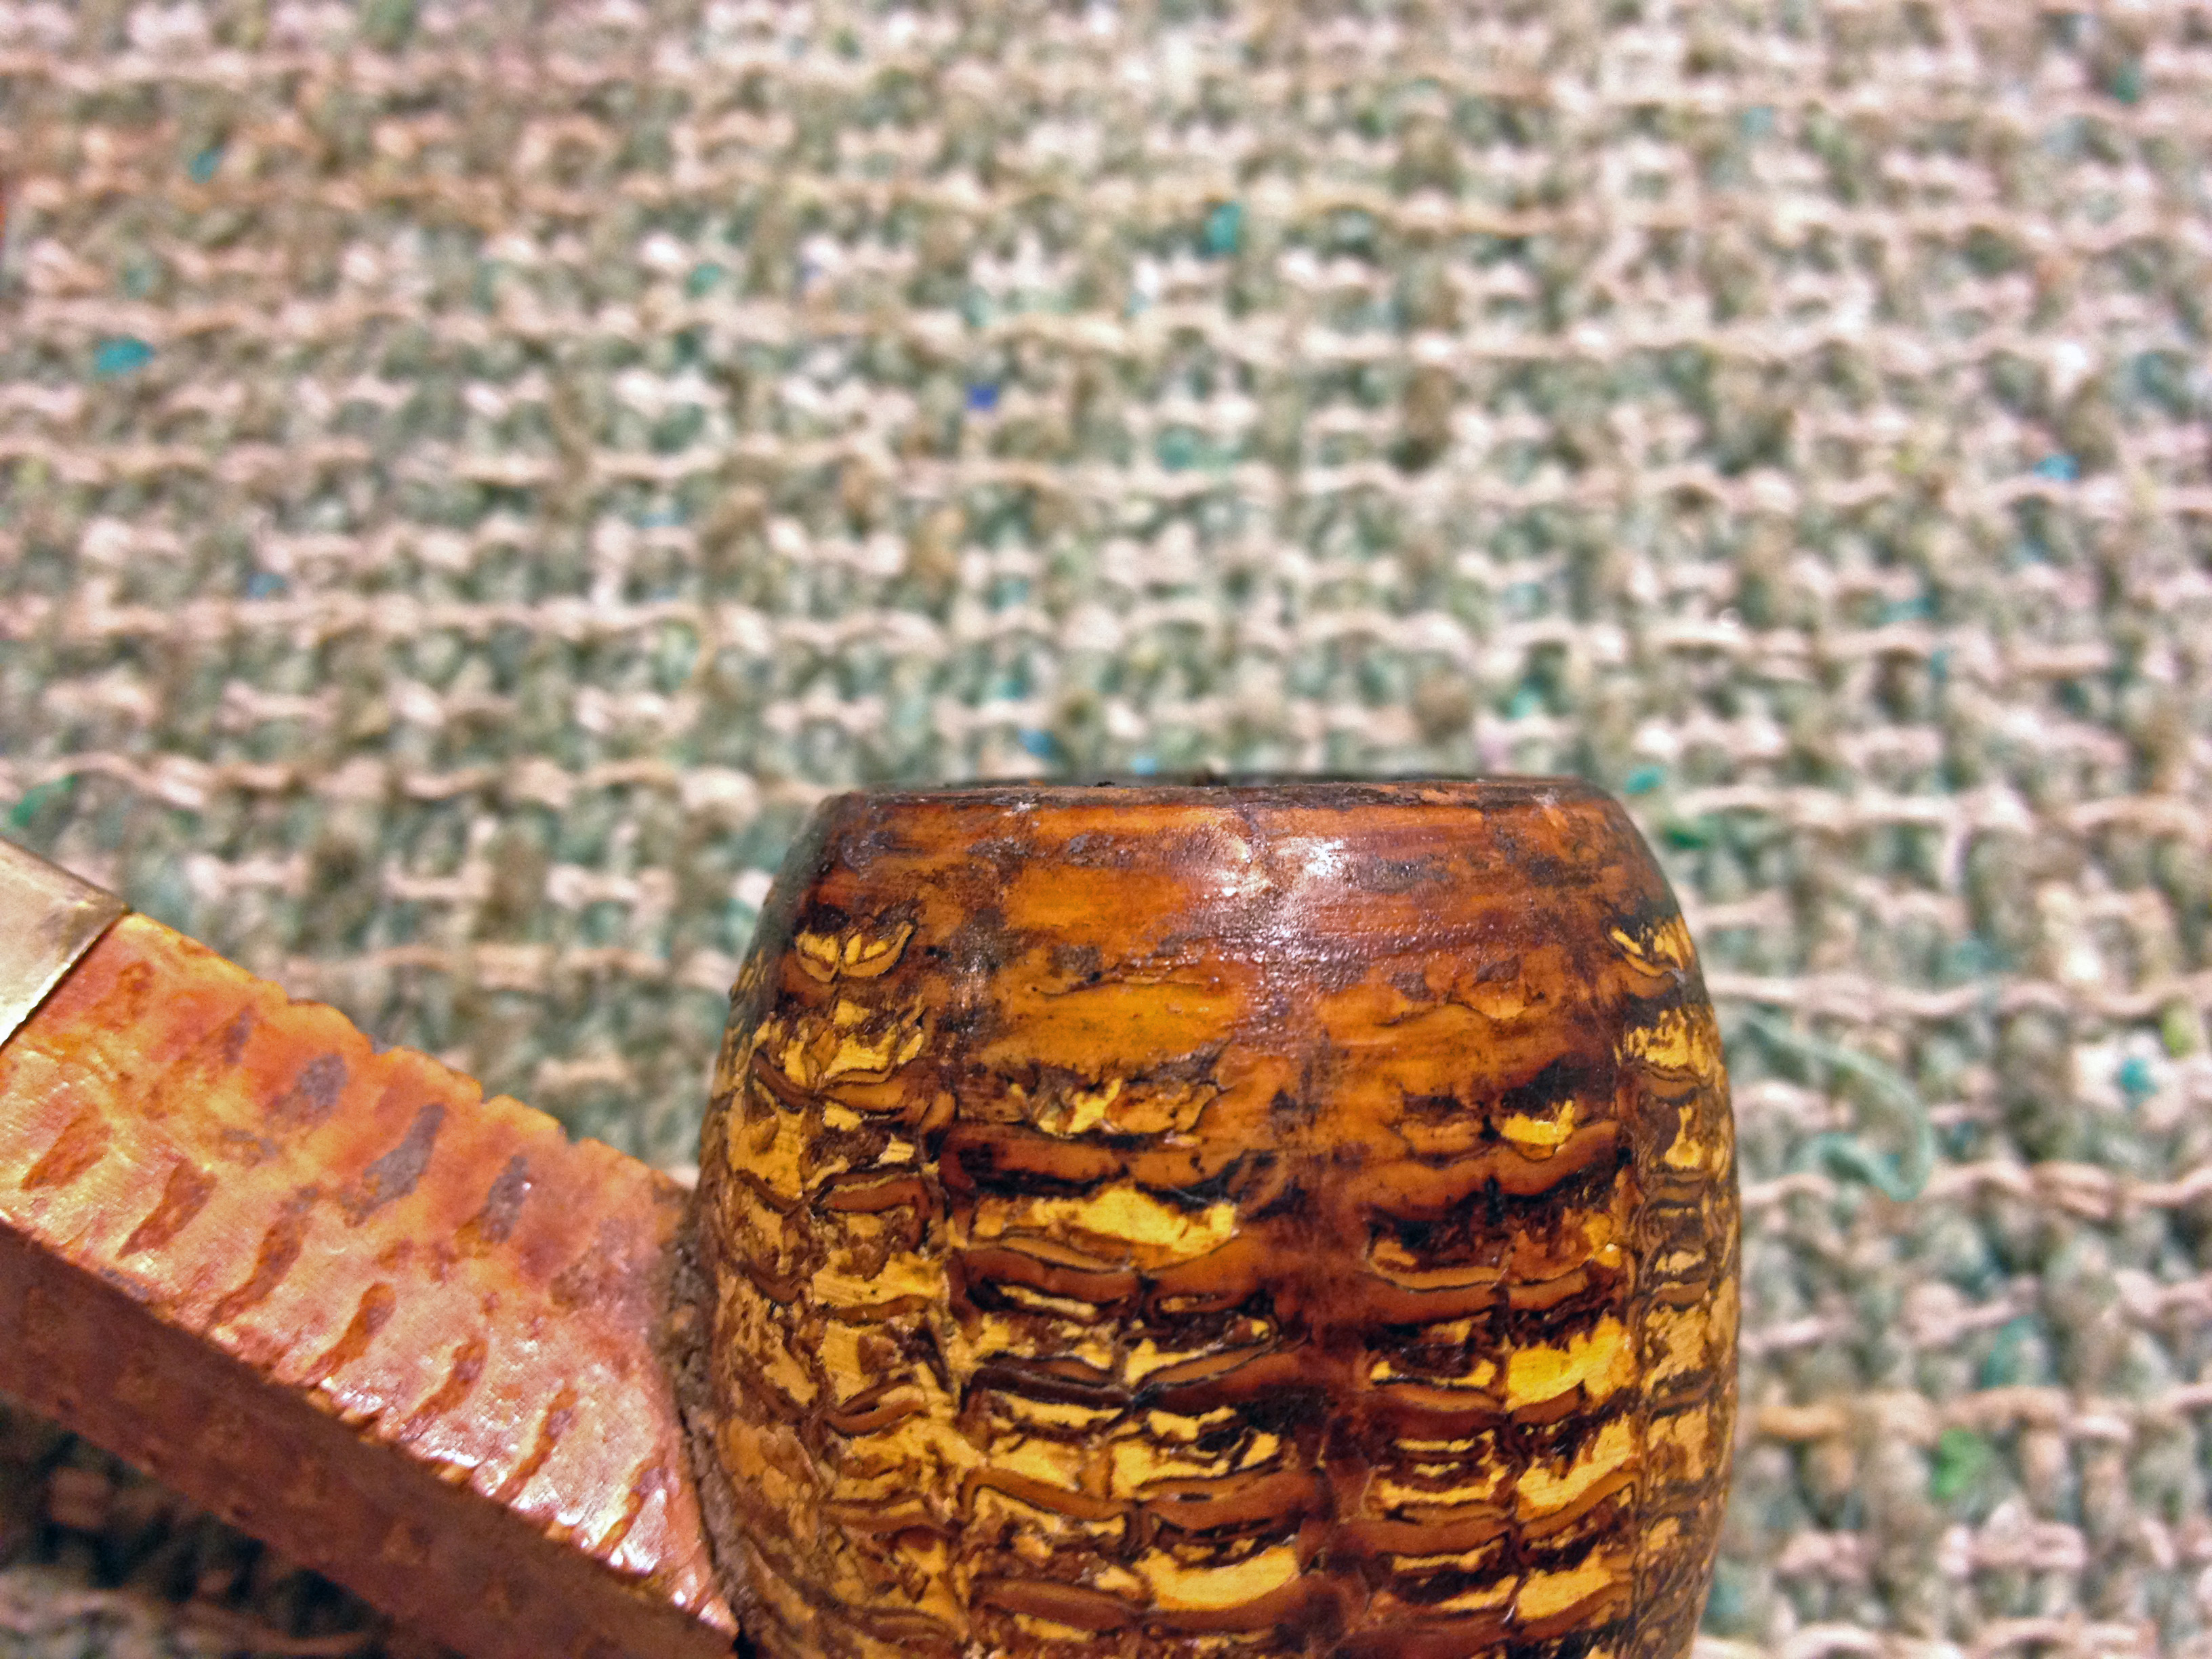
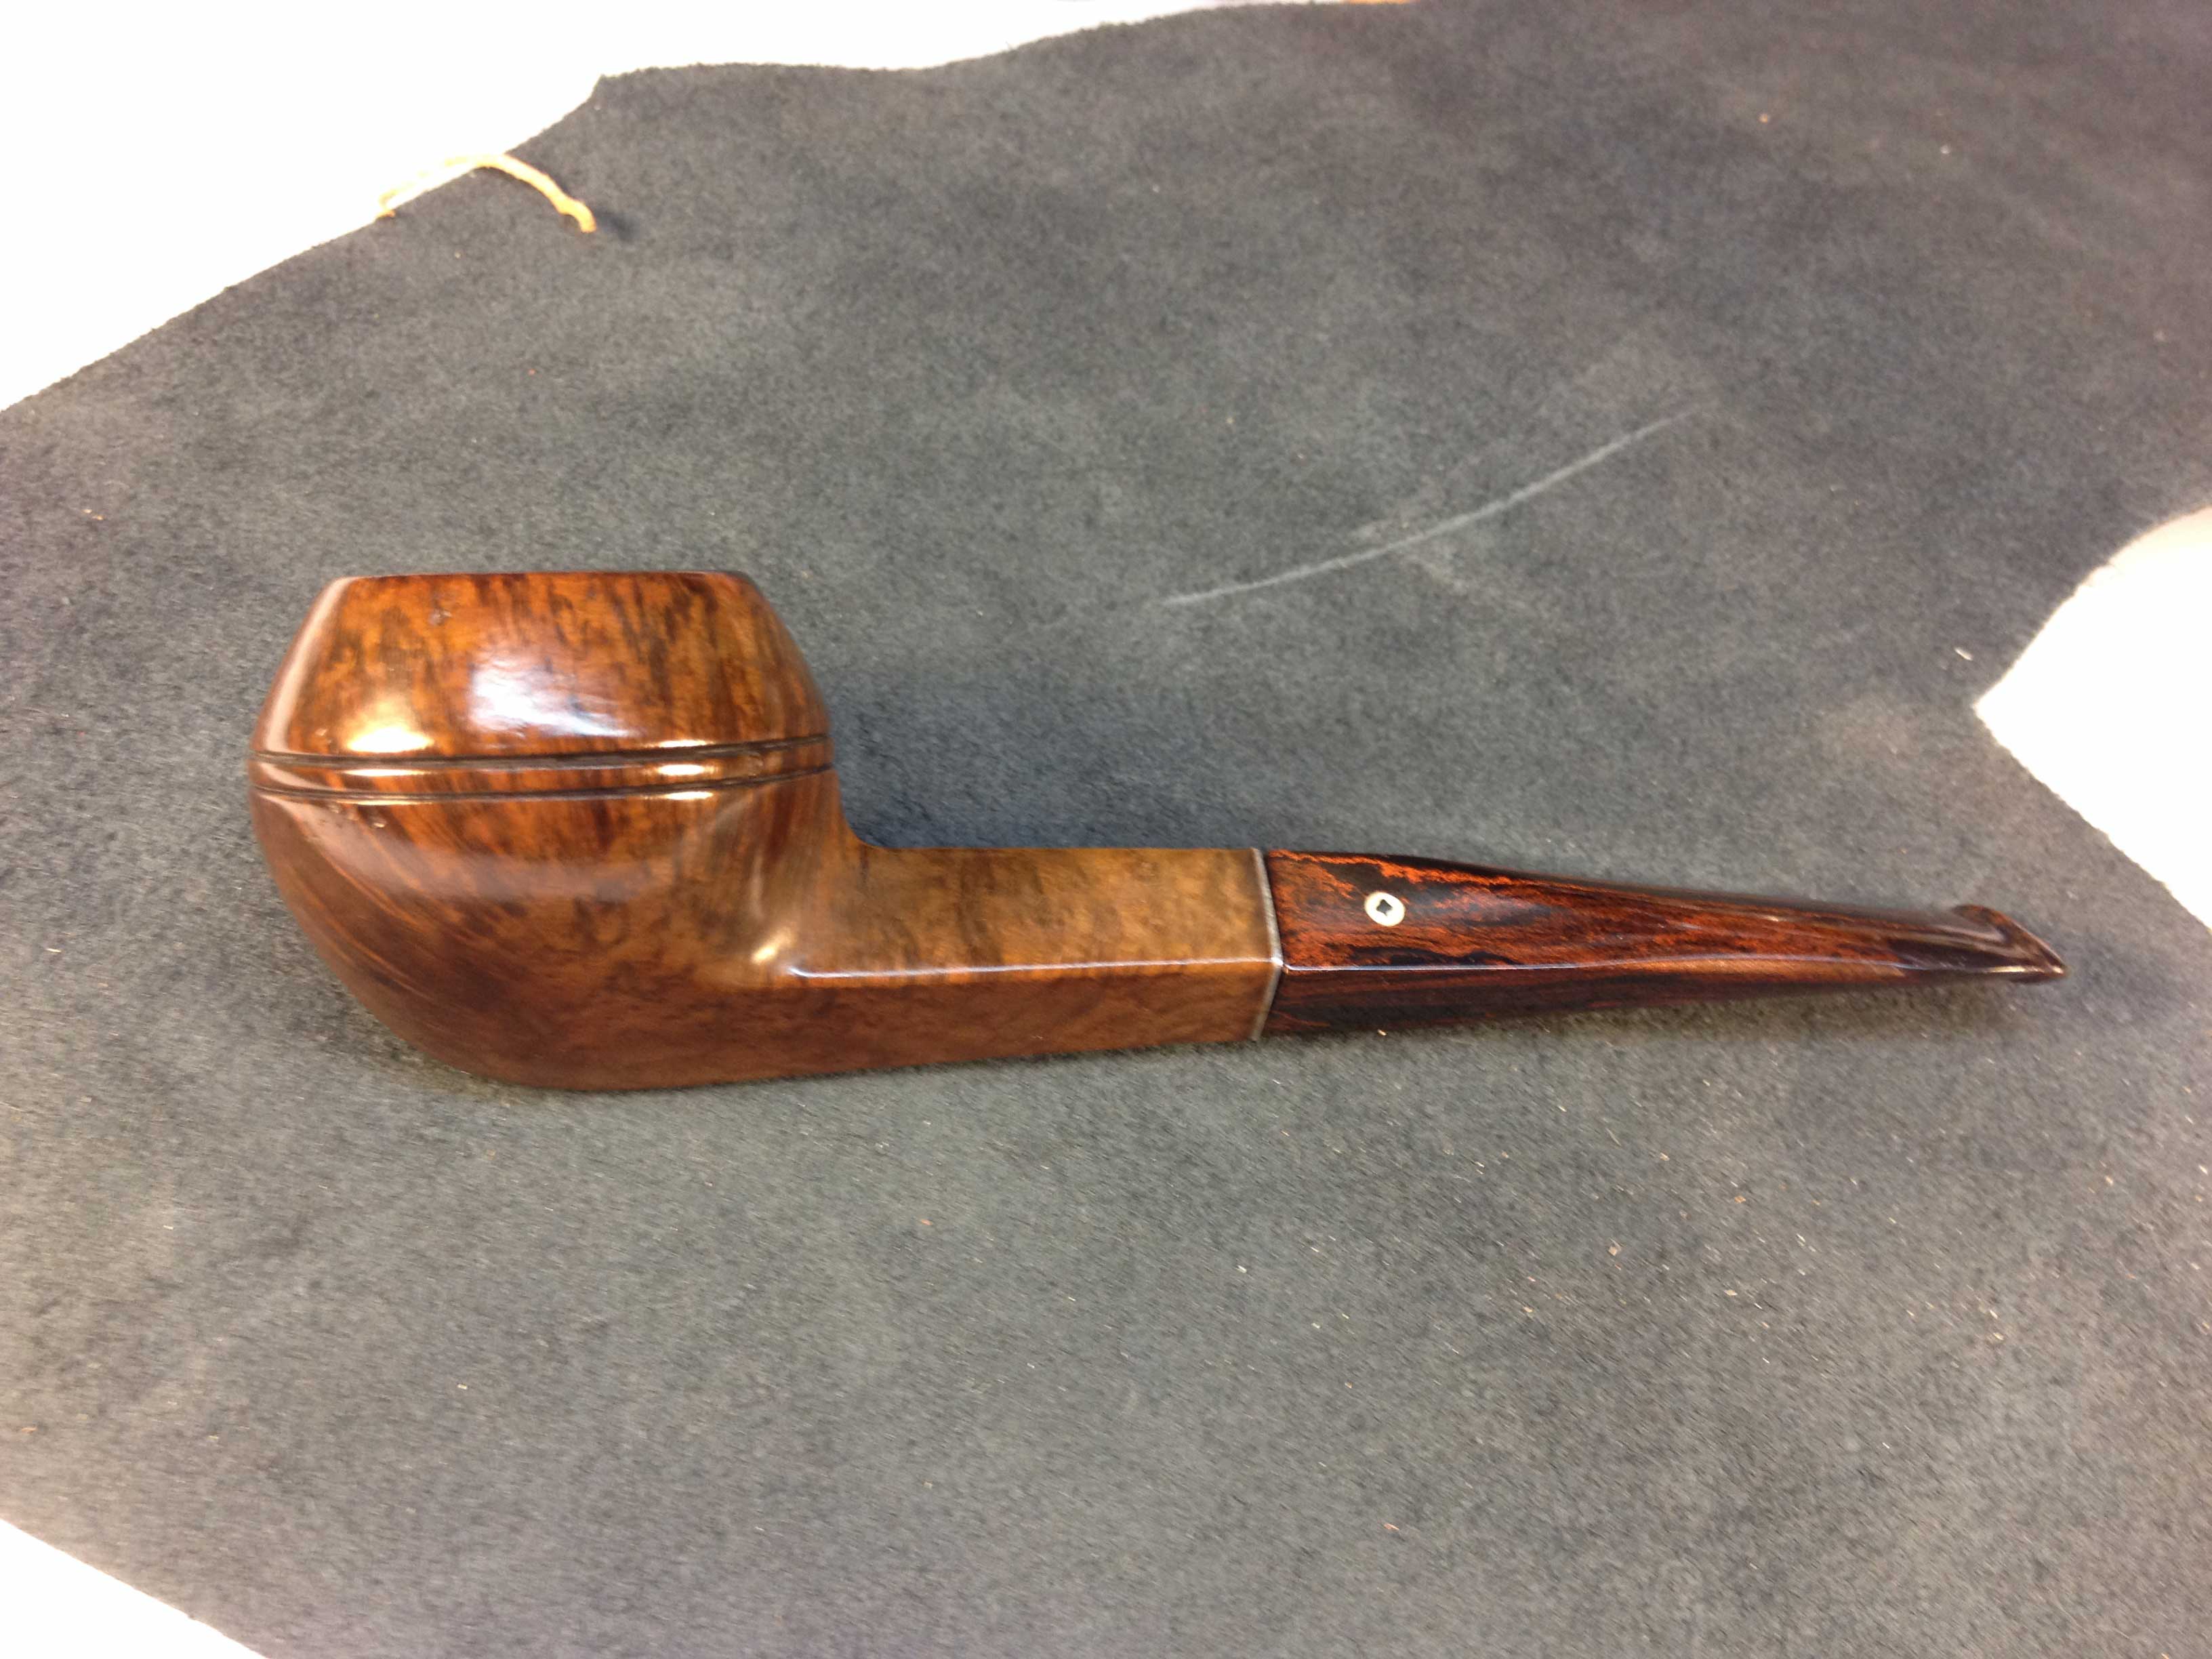
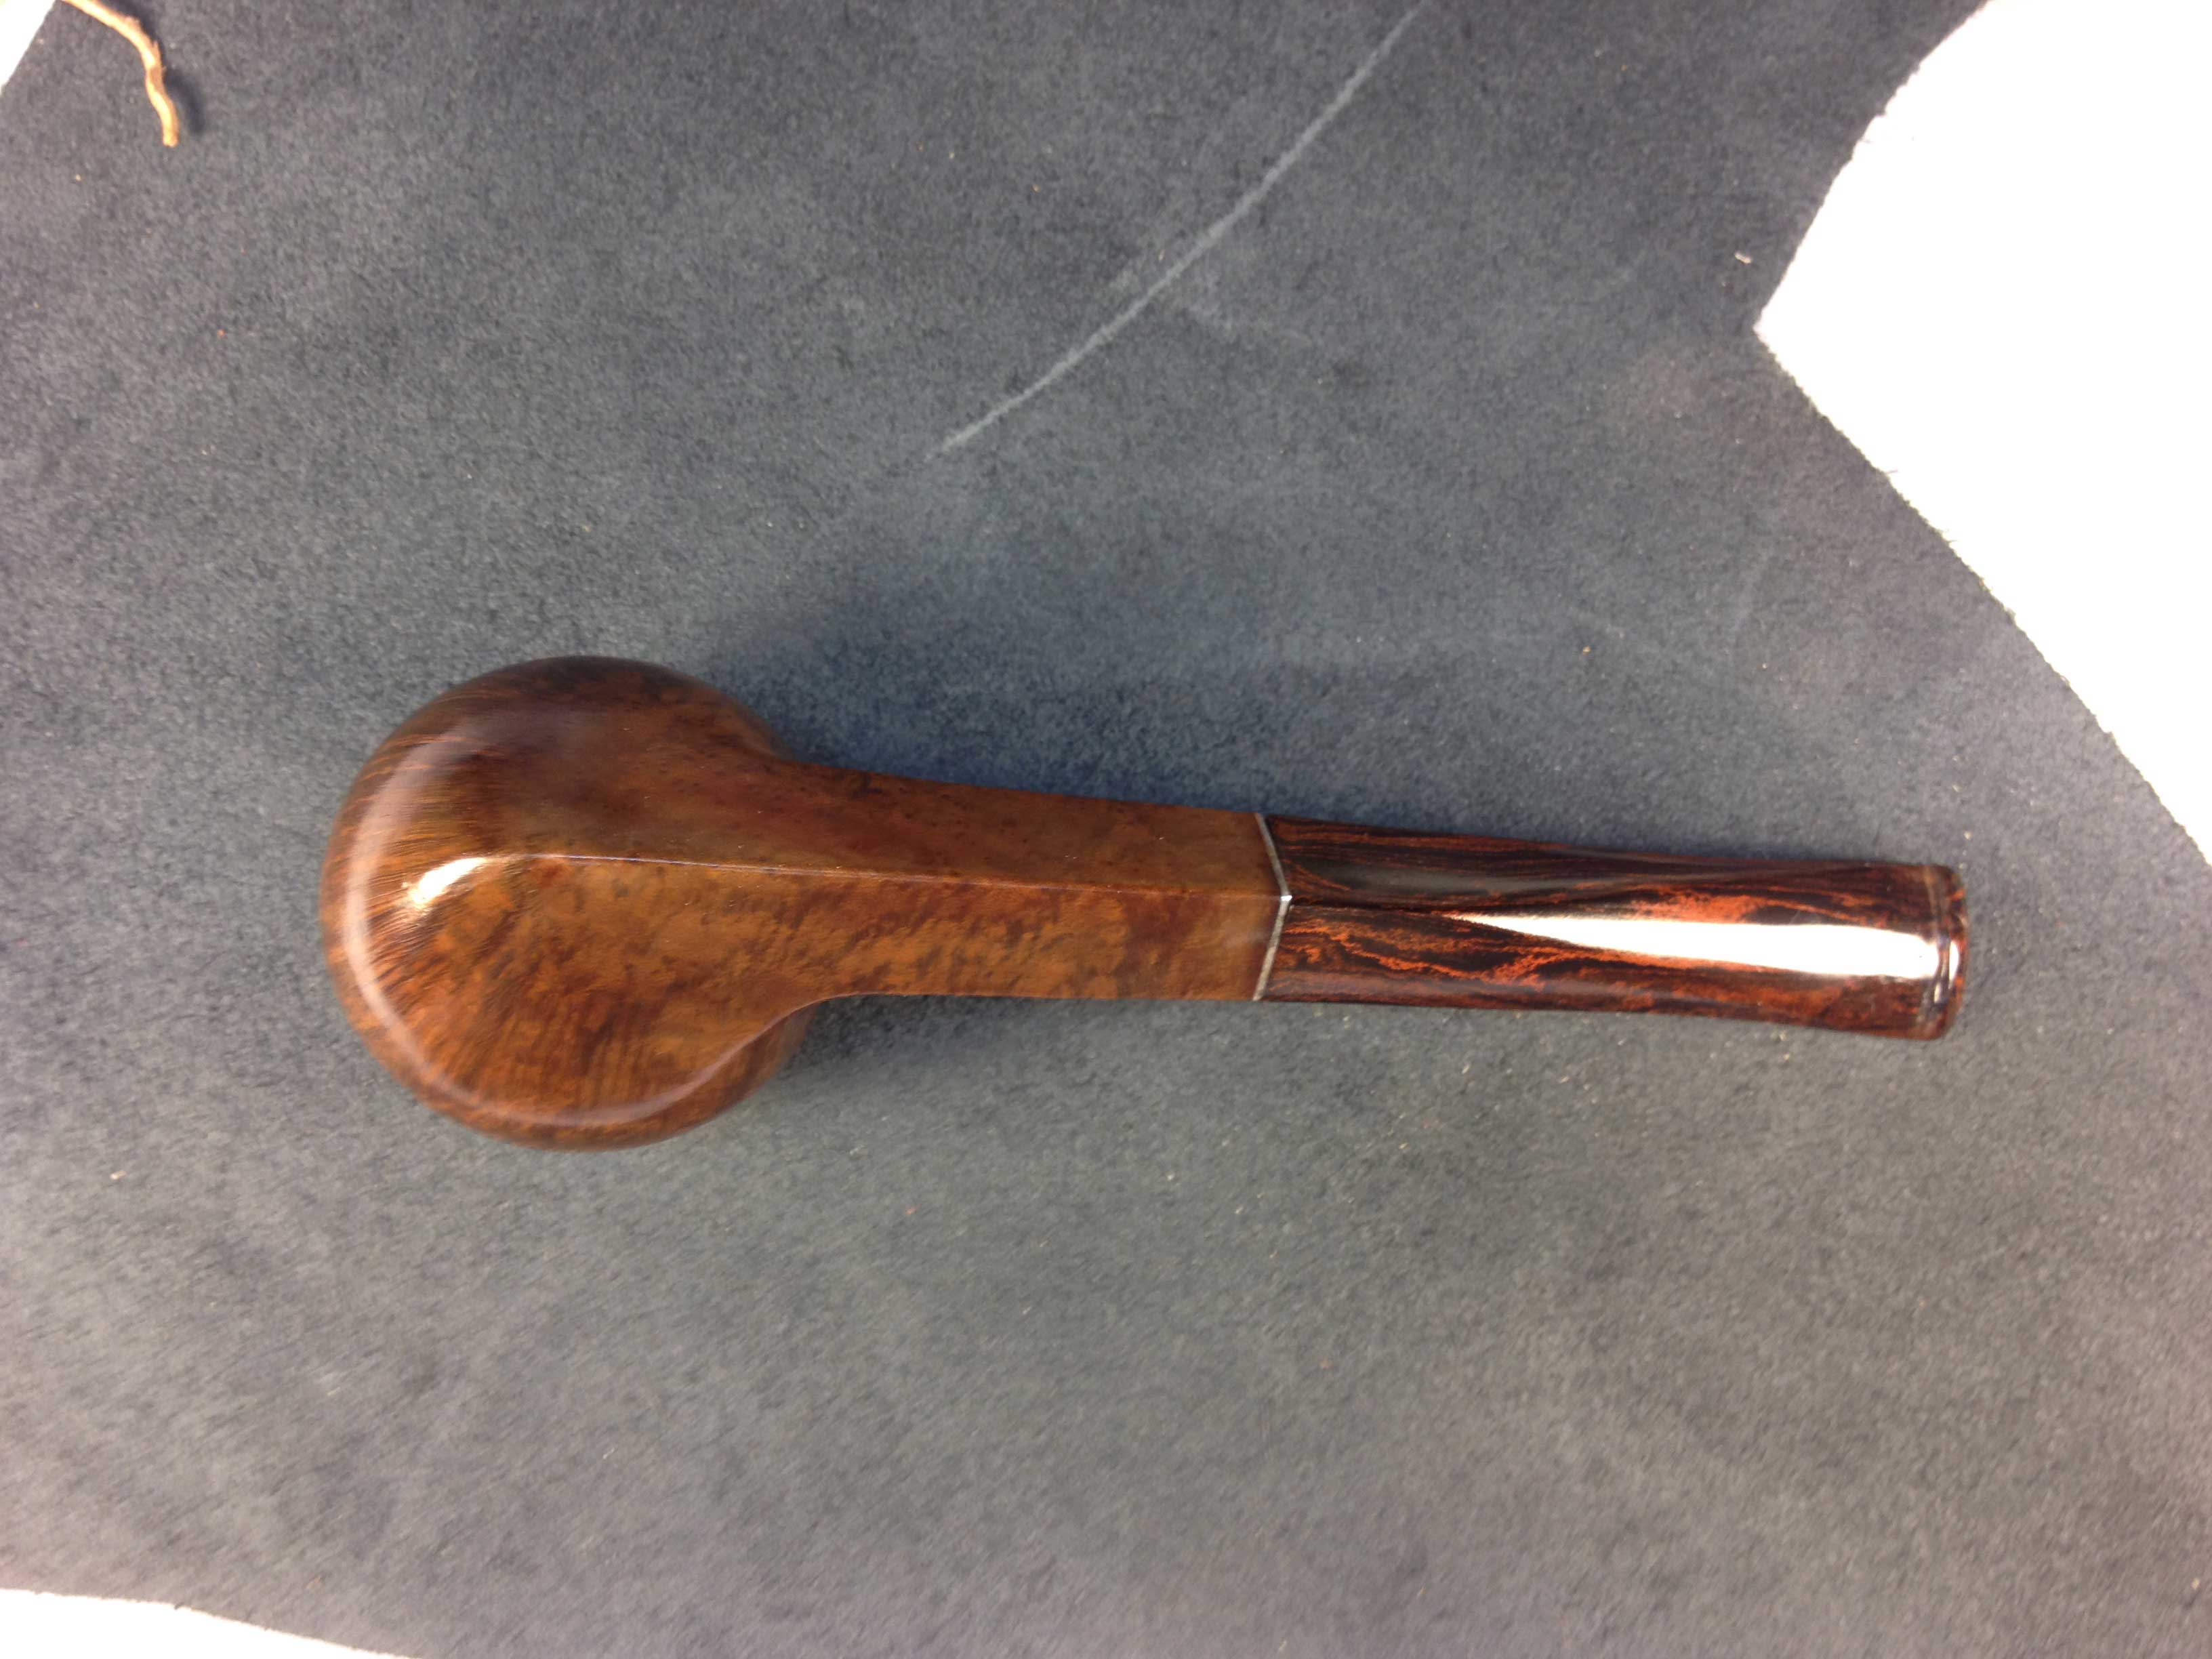
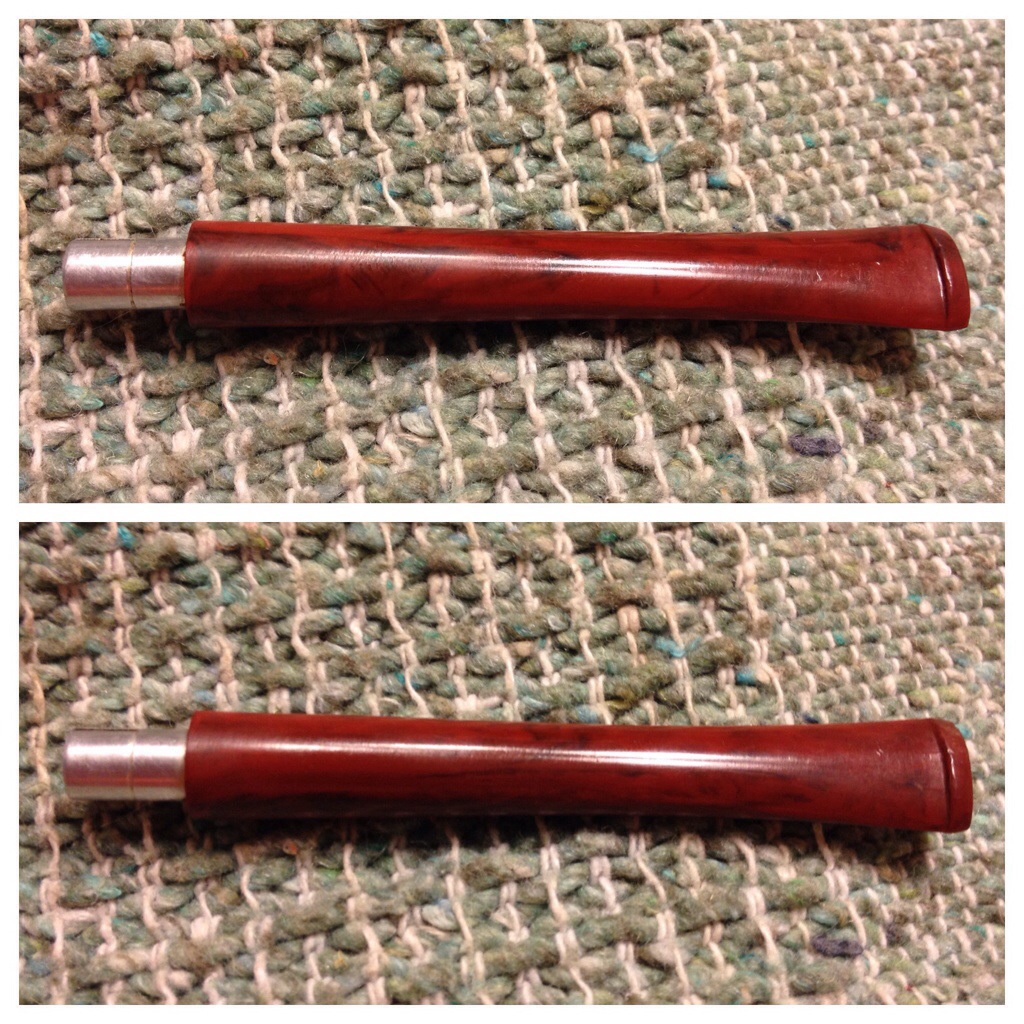
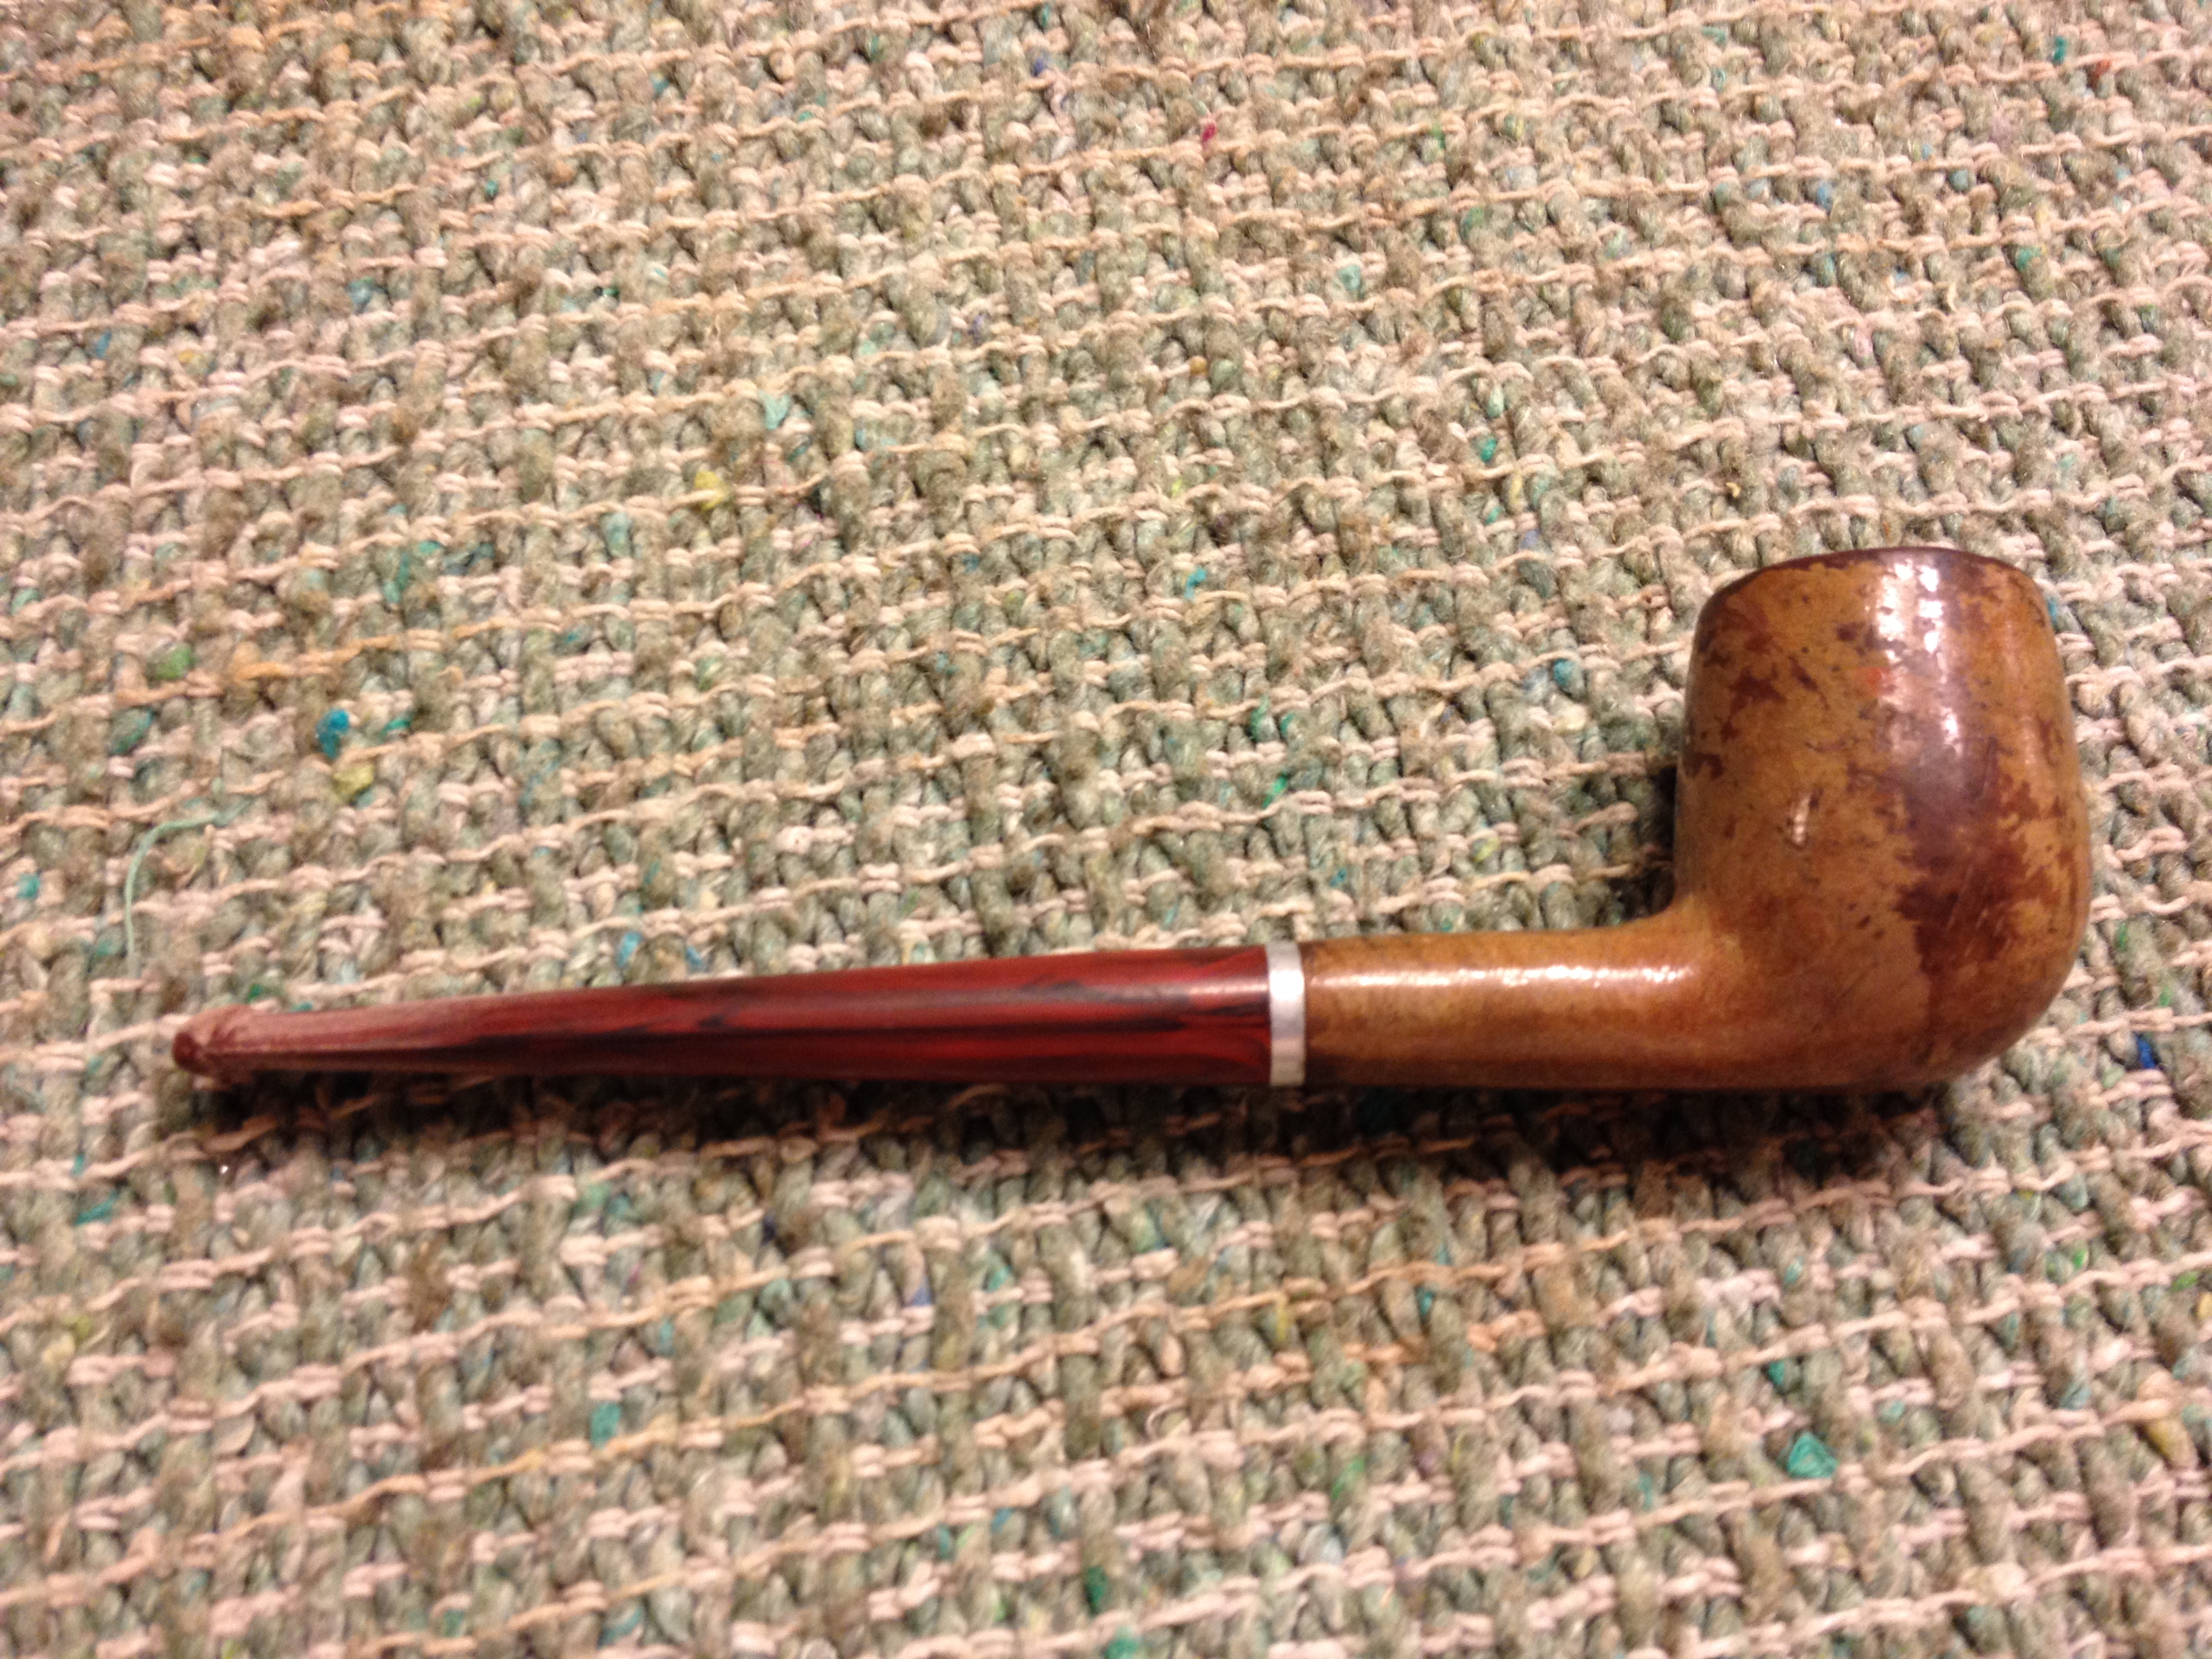
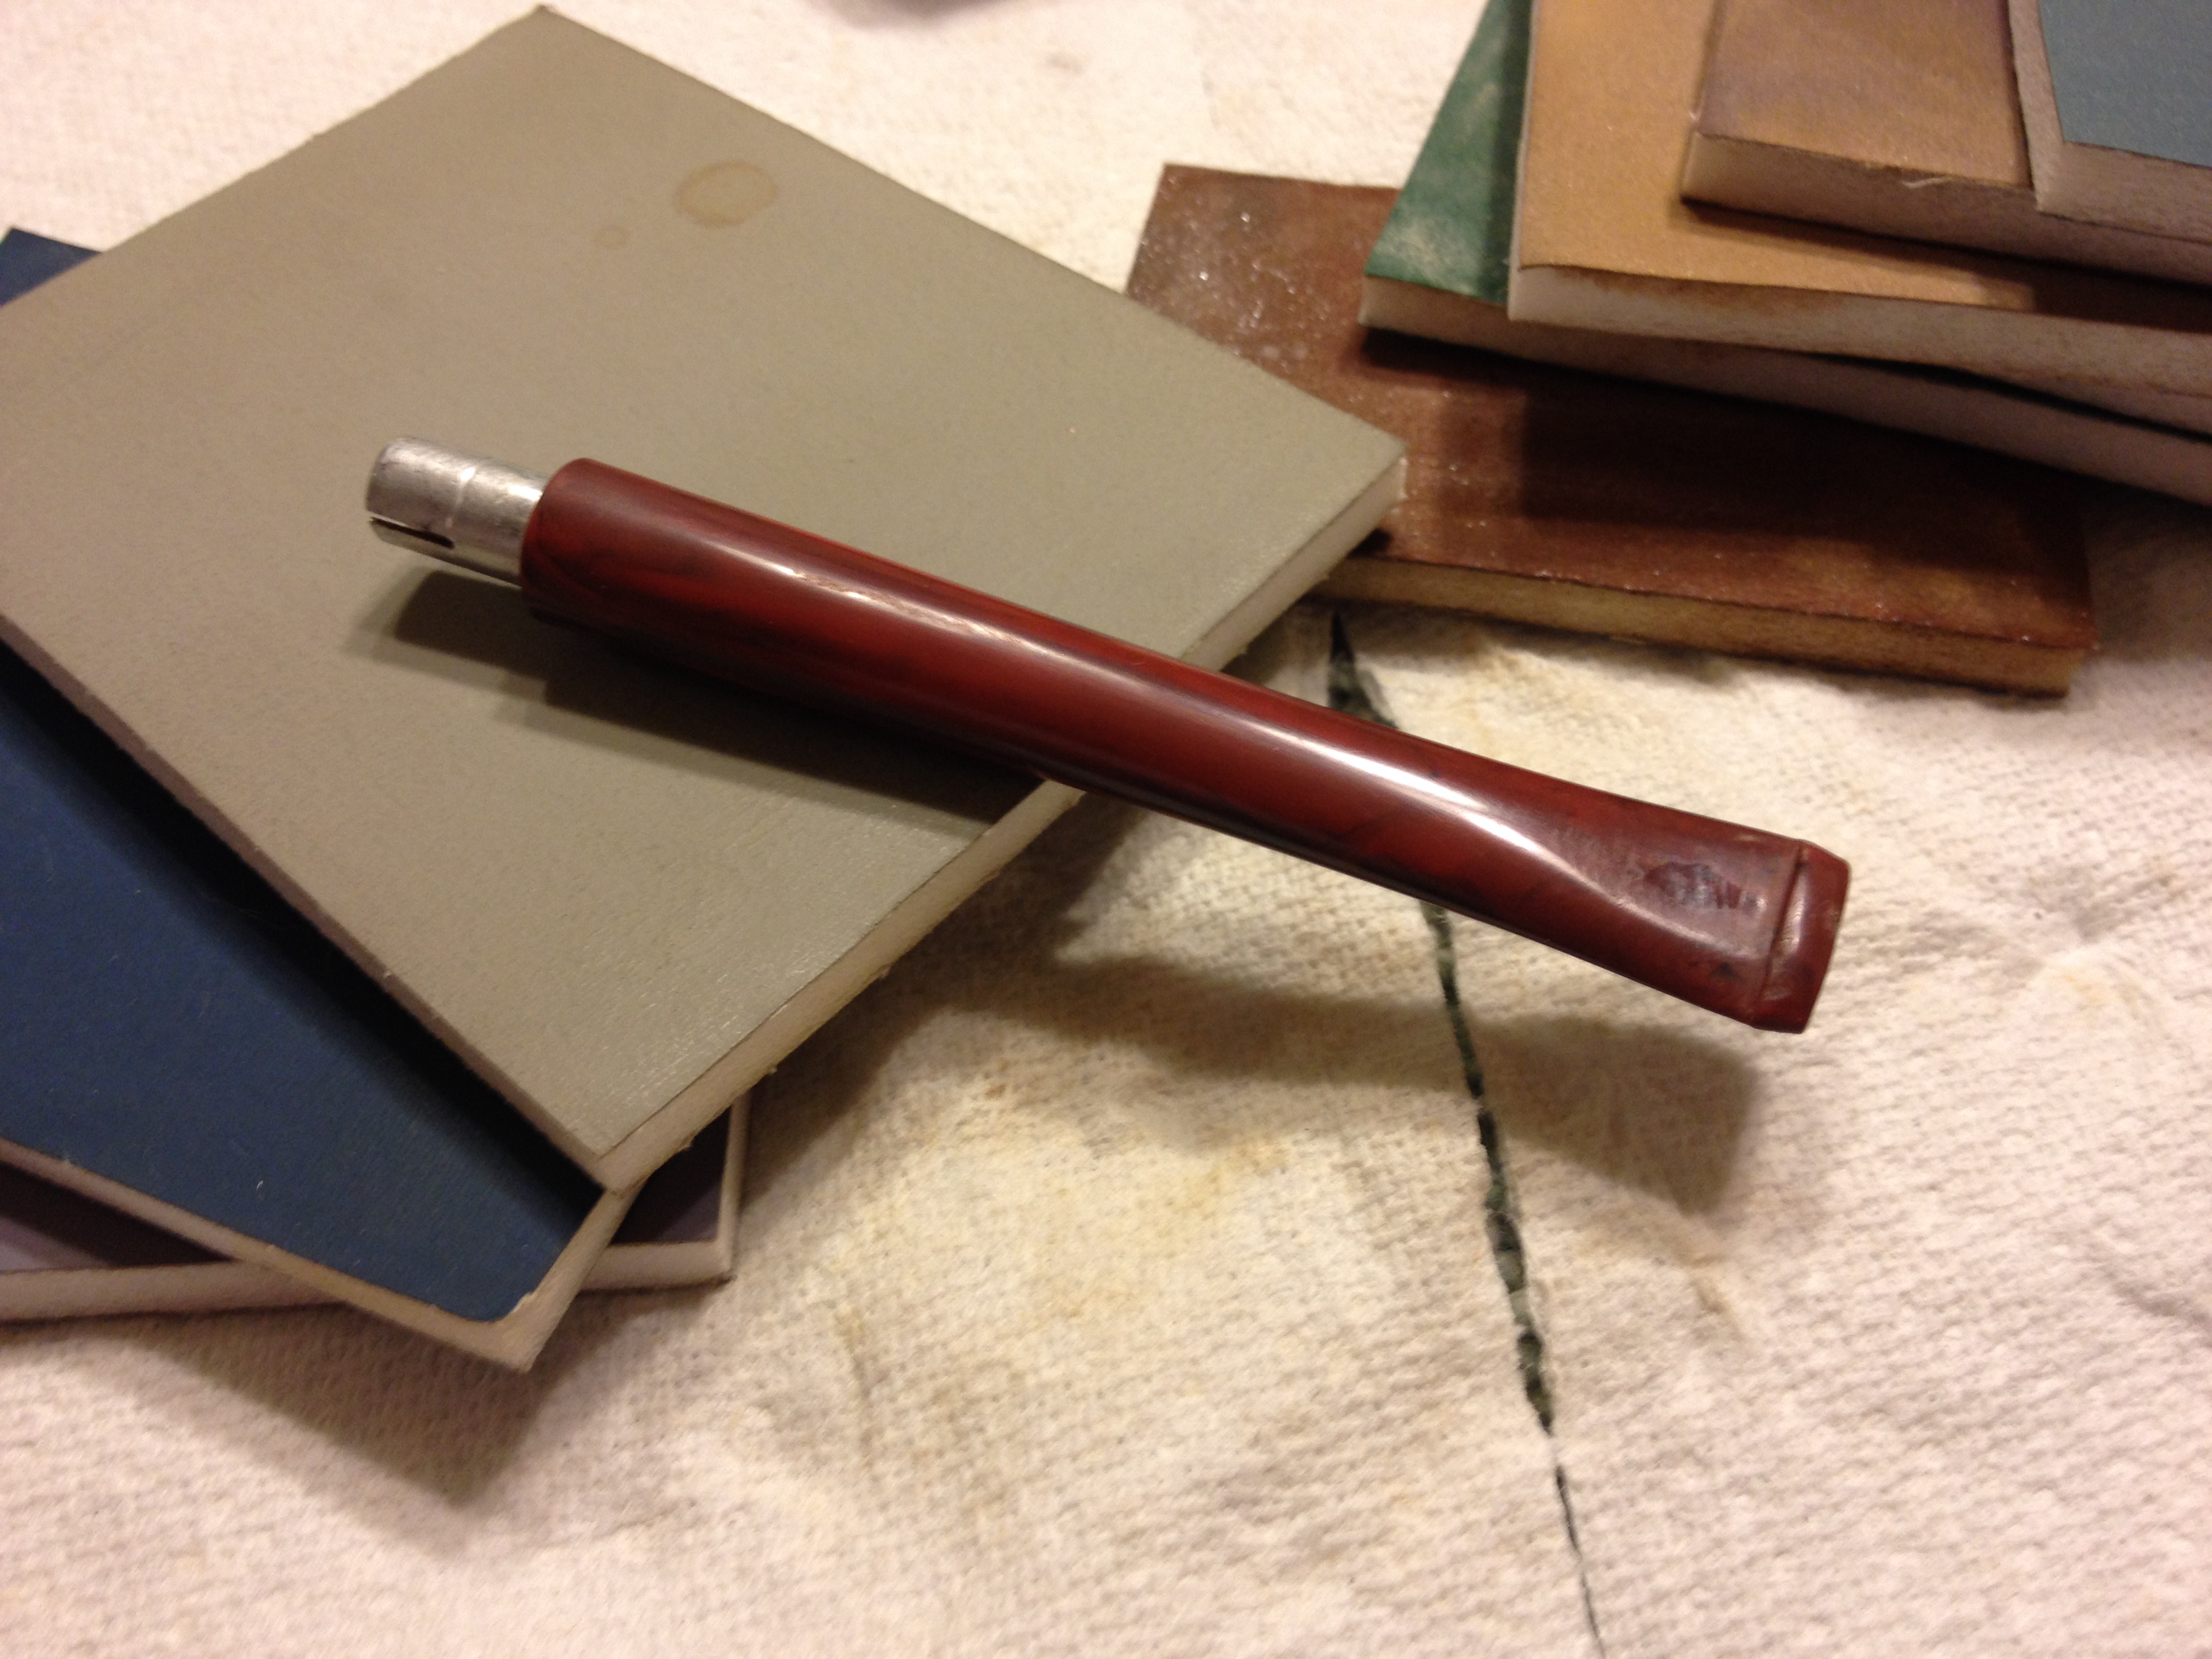
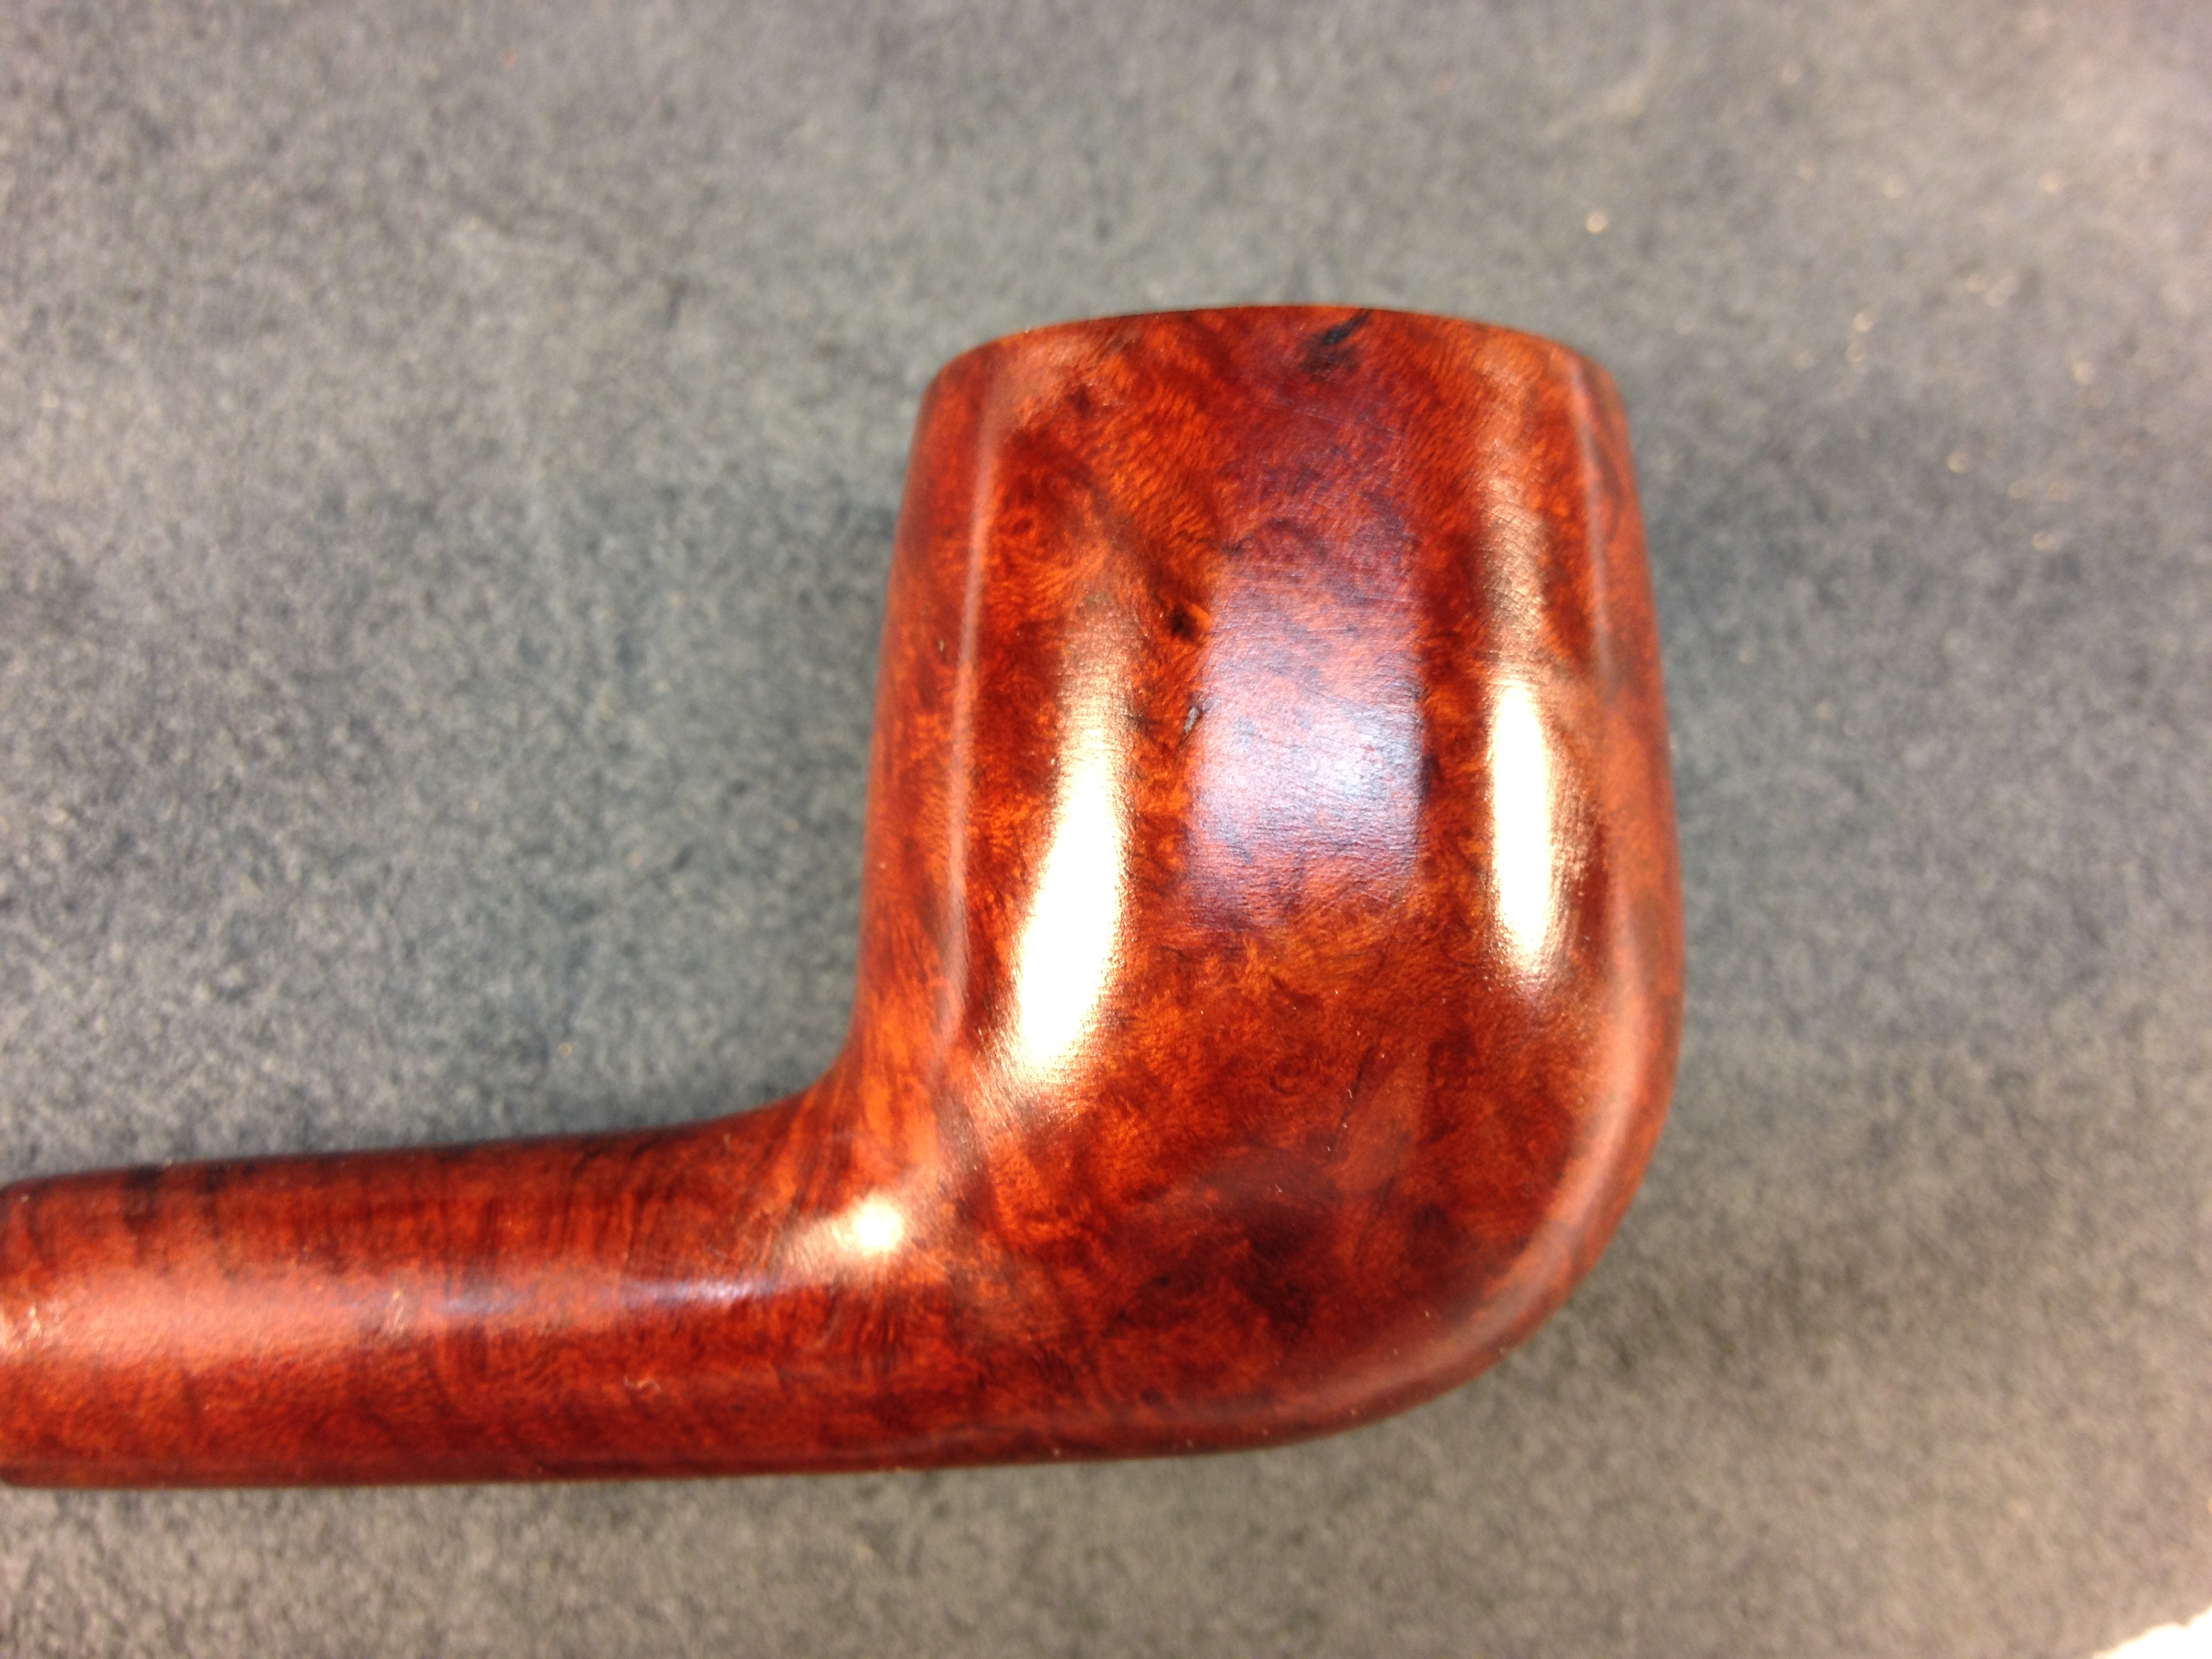
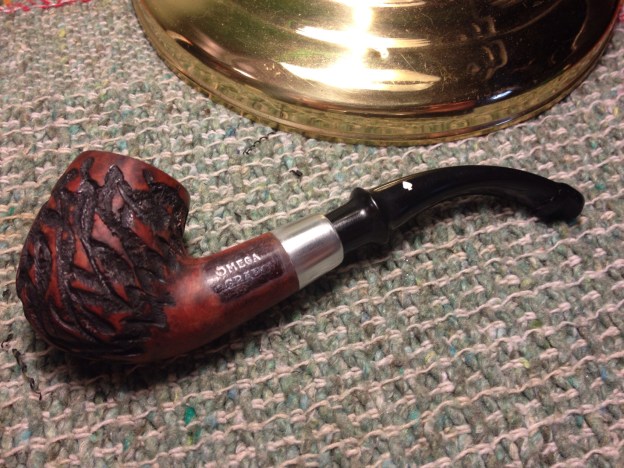
I have the bowl one last coat of stain and let it dry for about 15 minutes; these bargain-markers dry real fast, even if the colors aren’t what I thought they’d be. Then I applied a good coat of Halcyon II wax to the pipe and stem and buffed it by hand.

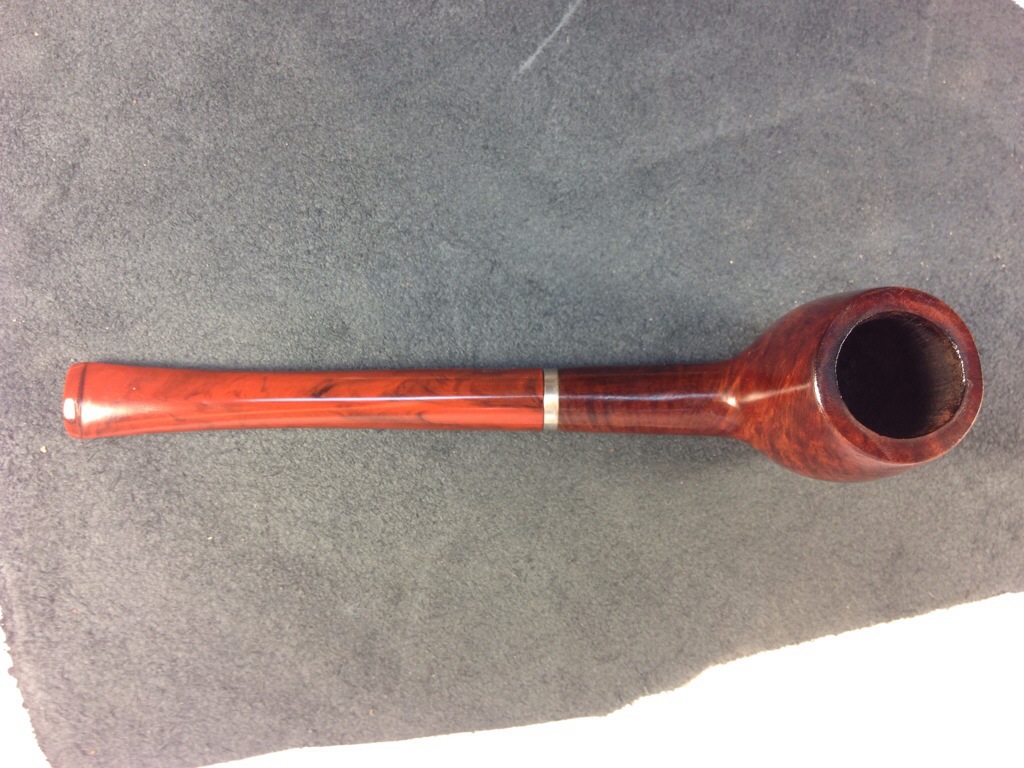
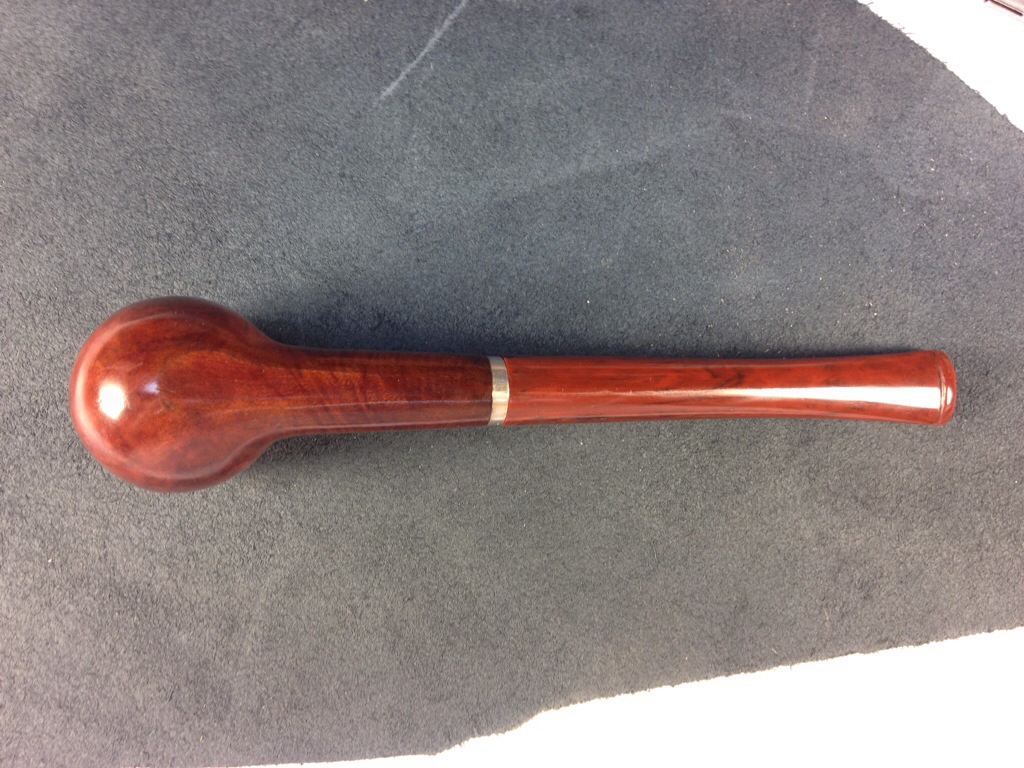
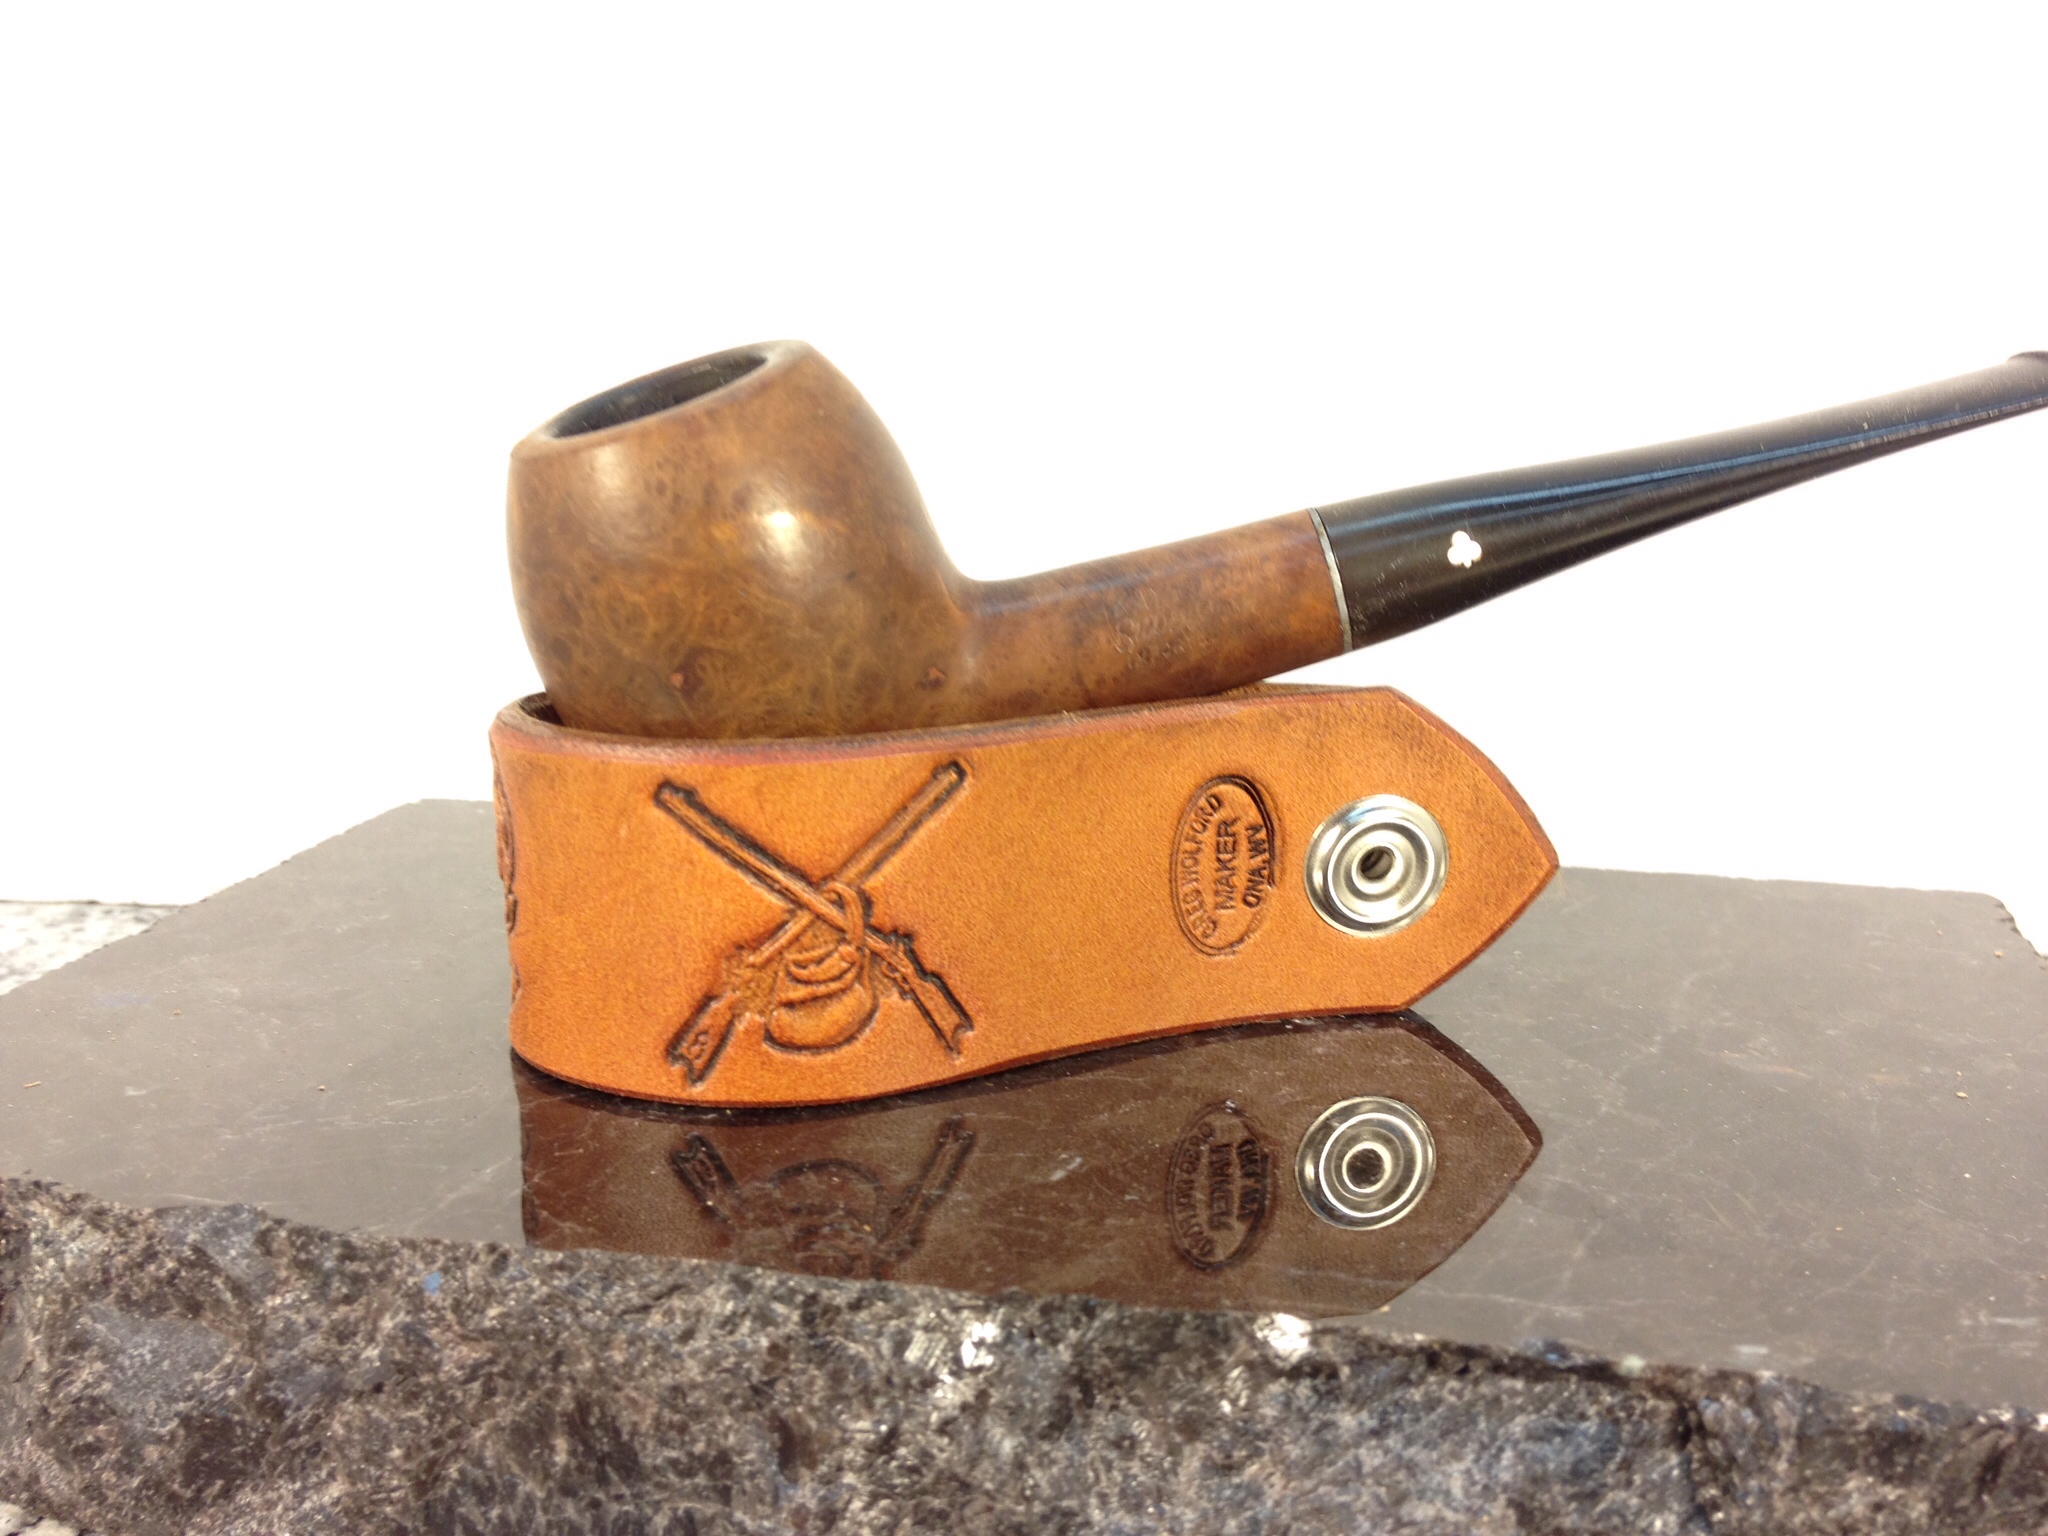
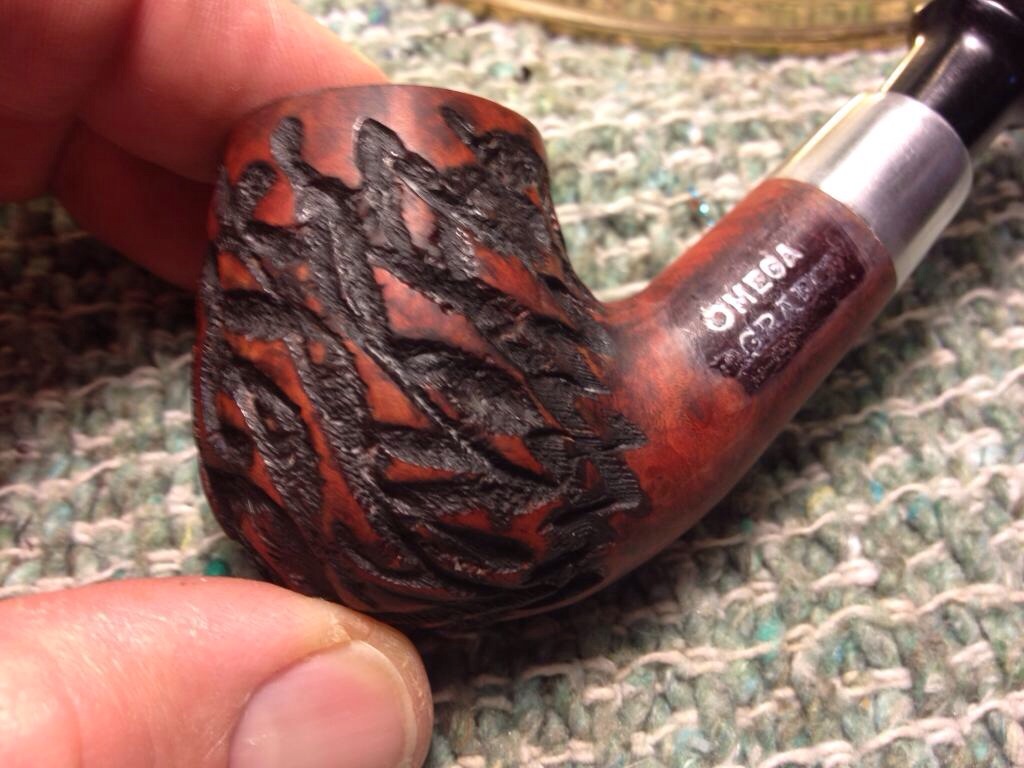
The end product is, in my eye, a pretty neat and definitely different from most other Omega product, even with the “boogered” stem.

IMG_0223.JPG

IMG_0222.JPG

IMG_0221.JPG

IMG_0225.JPG

IMG_0230.JPG

IMG_0224.JPG

Repairing a Hole in an Acrylic Stem


Blog by Greg Wolford

A couple of weeks ago I received an IM from a Facebook friend; he’s a pipe collector and reseller. He attached the following photos of an acrylic stem with a hole in the underside.
IMG_1623.JPG

IMG_1622.JPG

IMG_1624.JPG

He had seen photos of some of my work bad wanted to know if I could repair this stem for him; he said the top of the stem and the stummel were pristine and this was the only problem with the pipe. I said I could fix it so he told me the stem would be in the mail in a couple of days.

A week later I found a box in the mail from a sender I didn’t recognize and I wasn’t expecting any packages so I was eager to see what was inside. When I opened the box I found a beautiful large Radice (I forget the model name and didn’t remember to photograph it) inside – with a big hole in the stem; apparently the seller sent the pipe directly to me first and, after repairing it, I would forward it to my friend.

The hole was larger than it appeared in the pictures. And it was a bit “ragged”, too. So I picked it with my dental pick and smoothed it with a round needle file to have a good surface to work with. I bent a pipe cleaner to make it triple-width to fit the slot and greased it with vegetable shortening; I’ve had trouble with petroleum jelly in past not keeping the glue in place real well and have started using the shortening instead.

I began by applying a drop or two of black super glue to the hole an pd then setting it aside to cure; it was going to take several layers to fill this hole so it would be a waiting game. Later that evening I applied a few more drops and left it overnight to cure.

In the morning I found the patch had shrunken, as expected, and needed more glue. I applied two more patches that day, once in the morning and another that evening and allowed it to cure overnight again.

It was at this point I began to have some fairly dramatic vision problems due to diabetes, which I’d been recently diagnosed with. (More on that can be found here if you are inclined to read about it.) So I sent my friend a message telling him what was going on and it might be several more days before I could finish the repair. His reply was no problem, make sure I took care of me first.

Several days later my son and I stopped into the local Hobby Lobby to pick up some new micro mesh pads. As we browsed I found a small “spray bottle” labeled adhesive accelerator; I immediately wondered what kind of adhesive it was for and began to read the label, with my son’s help, since my vision was still not clear. It was for most glues so I thought it might be a similar product to Stewart-McDonald’s super glue accelerator – but only $3.99 – so I bought it. I was now even more anxious to work on that Radice stem!

I experimented on an old stem, vulcanite, with a large hole first, not wanting to “play” with someone else’s pipe. The results were great: the super glue set up hard in about 15 minutes and it looked just like it normally would, with no adverse effects from the overspray. Next I’d try it on the Radice.

It was, indeed, a few more days before I could see well enough, long enough to work on the repair. I sprayed the patch with the accelerator, applied the final drips to the patch, sprayed it again and set it aside for 30 minutes. I then filed, sanded (220/320/400/600 grits) and wet-polished with micro mesh 1500-12,000 grits, a final polish with McGuire’s Scratch X 2.0 and hand waxed and buffed the stem with Halcyon II wax; I don’t like buffing acrylic stems, especially when they aren’t mine and are expensive! This is the final repair:

IMG_1620.JPG

IMG_1621.JPG

He is thrilled with the results, as am I. And I’m even happier to find a local source, and less expensive alternative, for the accelerator. If you have a Hobby Lobby nearby you, I highly recommend you grabbing a bottle and giving it a try; you’ll save yourself a lot of time and a few bucks to boot.

IMG_0258.JPG

Repairing an Over-Reamed Corn Cob Pipe


Blog by Greg Wolford

About three weeks ago I was contacted by fellow PSU member, and sometimes-contributor here, Astrid after she had an accident reaming a nice old corn cob pipe. Cob Pipe Pic.1

She had remembered reading about some work my grandson and I had done to a few of my cobs and was curious if I might be able to fix the chunk that had accidentally been removed when she was reaming her “Corn Dog”.  As you can see, it really is a nice old pipe, with a super (in my opinion) Bakelite stem; I was really looking forward to getting it in hand after seeing it.

As luck would have it, I have done several repairs of this type to different corn cob pipes, as well as using the general technique for everything from raising to bottom of bowls to repairing cracked bowls. So, I told her I would be happy to doctor the old cob up for her and she sent it out to me a few days later.

When the pipe arrived I had no idea of exactly what the extent of the damage was so I was anxious to see what the box from Canada held! I was pleasantly surprised to find a couple of old pipes to tinker with (and keep) as well as a generous gift of tobacco. At the bottom of the box I finally found the old pipe, and was happy to see it was just about what I’d hoped it would be: Nothing too difficult! Here are a few photos of the rim damage:Old Cob (1)_edited-1Old Cob (2)_edited-1Old Cob (3)_edited-1Old Cob (4)_edited-1

You can see the “chip” was reasonably large, but it didn’t go through the bowl – a very good thing. I started my using a dental pick to lightly scrap the damaged area to remove any loose material; there was very little, most likely because Astrid had already cleaned the pipe very well.

The next step was to mix up a patch for the damaged area. Old Cob (5)_edited-1For this project I used a new tube of fireplace mortar/sealer; my old tube had turned into stone on me. I mention this because I have found that the different brands behave differently when dry: some are impervious to moisture, while others are not. I have found that mixing in a little cigar ash (other fine ash will work too) makes the patch solid but allows for moisture and to go through to the briar (or cob in this case) and disperse better. I also mix in a little powdered activated carbon; I use the capsules now, instead of the messy process of grinding it up myself. The activated carbon does two things: it filters out any potential taste in the first few smokes that the mortar/ash patch might have and it makes it much darker, thus blending in better. The addition of these to components also makes the patch set much faster so you need to have some water on-hand to mix it right; you are looking for a dough-like consistency, wetter for longer working time. After mixing the “putty” up I began applying it with an old pipe tool’s spoon end, working it in to make a nice, Old Cob (6)_edited-1even surface, except for the top, where I left a small gap to blend in later. You can see the still wet patch in this photo, after I had smoothed it out; I used a flashlight to make the repair area easier to photograph. I then took a small amount of powdered carbon and sprinkled it onto the patch to make it blacker and less noticeable. I then set the pipe aside until morning to allow the repair to cure.

The next day it had hardened into a night patch. But, as it sometimes does, the patch had shrunken. I mixed up a little pipe mud and applied it over the patch to make it more flush inside. You can see the result of the second patch in this photo.Old Cob (8)_edited-1 You can also see here the “dip” I left in the rim; I did this to blend in the rim with wood putty.

As I was waiting on the pipe mud to dry, I took a damp cotton swab and cleaned off the rim of the pipe to make sure there was nothing to keep the next patch layer from sticking and to lighten the bit of residue on the rim already. I then applied some Elmer’s Natural Wood Putty to the rim. Again, this is something you want a little water on-hand to work with and smooth the repair as you go.Old Cob (9)_edited-1 I used both a cotton swab and my finger to apply the wood putty, shaping it as I went, but applying a little extra in case it shrank.Old Cob (10)_edited-1 After I was happy with the wood putty patch I used some of the pipe mud and charcoal powder to mute the brightness of the rim repair. This would ultimately be sanded and stained so I didn’t spend too much time or effort on this step, only on making sure the inside or outside of the bowl didn’t have an excess on them.

The weather was rainy and humid during the time that I worked on this pipe so extra drying time was required on each step/patch. At this point I set the pipe aside for a couple of days to be assured that everything was well dried and cured before I moved onto the final shaping and stain blending.

When I came back to the pipe I checked to make certain the repairs were all well cured, and they were: very solid feeling all the way around. Now it was time to shape the rim; I wanted to get the top nice and even but didn’t want to take away the character of the rim so I opted to lightly top the bowl with 400 grit wet/dry paper, checking often. Old Cob (13)_edited-1After I was satisfied with the rim being level, I used the same sandpaper to touch up the edges just a bit. Looking well-shaped to my eye, I broke out the stain markers I so often rely on, choosing the lightest color I had for staining and blending the rim.

All in all, I think this was a successful repair job that came out quite well. I am sure that after a few gentle smokes that the rim will take on an even more “natural” and blended look. And best of all, I think this old corn cob pipe will provide many more years of good service to Astrid – and maybe even to someone else down the road!Old Cob (11)_edited-1 Old Cob (12)_edited-1


Working by Candle Light- Raising Tooth Dents


Blog by Greg Wolford

Browsing my Twitter feed this morning I noticed a conversation between Steve (@rebornpipes) and Peter Jones (@edpipeclub) about raising tooth marks on a stem with different methods of heat application. The methods discussed were using a soldering iron or a heat gun; Peter had access to the former but not the latter. I tweeted him that a candle flame is also a good option and Steve suggested I post a blog about that. So, without further introduction, here we go!

I use a heat gun if the dents are very deep, or I’m bending a stem, in the shop. But since I’ve been doing more restoration work in the kitchen, upstairs, I have found a candle to be a simple and effective tool for smaller, more shallow dents. A Bic-style lighter will also work for this method but I find myself with a “hot thumb” too often for my tastes using that!

Although about any candle would likely do, I prefer to use a tea candle, such as this:20140801-132659-48419405.jpg
They are inexpensive and small, which makes them easy to work with. And since my wife uses them for her potpourri-type pot, I almost always have them on hand.

20140801-132809-48489530.jpg
What I do is light the candle and hold the stem about 2″ above the flame, maybe a little more. It’s fairly important to keep the stem moving so as to not burn the stem; if the stem is acrylic or nylon keeping moving and higher above the heat is all the more important as, in my experience, ties materials will burn or catch fire with less “notice” and faster than vulcanite. Often with vulcanite you’ll smell an almost burnt-rubber smell before any damage is really done, and this is a sure sign you need to cool the stem; I keep a Tupperware type container of cold water beside me as I do any of this kind of work, no matter what me heat source.

A Video Demo of the Process

After a couple of minutes you’ll notice that the dents are raising up, the heat decompressing the material the stem is made of. Depending on the depth and size of the dent, it can take anywhere from one “pass” to three or more to get the dent as decompressed as possible. If the dent is too large/deep a fill will be required to get it completely level again.

I hope this extra “weapon” in your restoration arsenal is helpful to you; this method may not always be the best way to go but often will be more than sufficient and quick to set up and break down.

Reparing a Cumberland Stem on a Kaywoodie Regent Bulldog 98B


Blog by Greg Wolford

I’ve been hoping to add a Kaywoodie Regent to my collection for some time now. A month or so ago we were out-of-town on vacation when I happened upon one in an antique store. There were actually several pipes in this vendor’s case, most of which I wasn’t interested in. Other than the Regent, there were also two other Kaywoodies I was interested in: a Relief Grain and an extra long Canadian. They all looked to have pretty good bones in the dark little store so I made them mine.

When  I got them back to where we were staying I eagerly opened them up to see what I had. I found that they were a lot dirtier and caked up than I thought. I also now got a really good look at the damage to the Regent’s stem; this was going to take some trail and error I knew.

photo1_zps671dd981 photo2_zps4257f072

When I got home I took some better photos, showing the damage to the stem. There were deep teeth marks on the top and bottom of the stem and the edge of the side where the clover logo is was almost gone completely. This was going to take a lot of time and some research to get it even close to decent again I now realized.

IMG_9492 IMG_9491

My first step was to try some experiments on a Medico VFQ. Although I ended up with a good looking and smoking pipe, the experiments were somewhat in vain: the stems on the VFQ turned out to be nylon. So I now turned to some fellow restorers on the PSU Forum for hints. tips and ideas – and they really came through with many ideas and several new articles posted by Joyal. Some of the best advice for this project come from JoeMan: the idea of using activated charcoal powder with Gorilla brand super glue.

This project took days to complete do to all the patching a rebuilding of the stem. So, I didn’t do a great job documenting it all with photos and because of the extended time frame of the project I may miss a step or two in this article; I apologize in advance for these things.

The fist thing I did (after thoroughly cleaning the stem with pipe cleaners and alcohol) was try to  raise the dents as much as I could with heat from a candle; there was little success here.

IMG_9673 IMG_9672

Now I began the filling and shaping process. This took many forms and layers: I used clear super glue, both “regular” and gel, mixing in some of the StewMac black glue at times, and also Gorilla brand super glue both with and without charcoal powder mixed into it. one of the challenges was to add strength and black-color in some places while not covering up too much of the red in the Cumberland stem. Another challenge was to build up that chewed up side so the end of the stem would have the proper shape again.

IMG_9683 IMG_9682

The StewMac glue was too thin and took so long to dry that it wasn’t much help to me on this project. The Gorilla glue, both “plain” and with the charcoal powder mixed in, was a big help; it is thicker and dries quite fast, especially when the powder is mixed in.

Another thing that added time was the way I went about this repair. There were multiple layers needed, as well as different thicknesses, so I would apply a patch, let it cure, and then shape it as I needed, and then start the whole process over again. I did this many times to get an acceptable result. This photo is after almost all of the layering and shaping was done:

IMG_9730I used needle files and a vulcrylic file for most of the shaping. I also used 220 grit sandpaper. After I had the final shape I was happy with I wet sanded with 320/400/600 and then micro mesh through 12000 grit; after 600 and every few grits thereafter I also polished the stem with Meguiar’s Scratch X2.0,which helps me see if I’ve missed anything along the way. The next four images are before micro mesh and after:

IMG_9733IMG_9734

IMG_9735IMG_9736

As you can see, this stem came out pretty nicely and is more than useable now. Then lines came out well, to my eye, and the rebuilding and patching blended rather nicely.

I didn’t do a lot to the stummel; the nomenclature is readable but very weak. There are some small “pocket” marks but I think they give the pipe an air of character so I basically left the stummel as I found it, sans, the thick cake, mess of tars and oils in the shank, and the buildup on the rim. The rim did require a very light topping and a round or two with the medium touch up marker to give it a head start on matching the patina on this rest of the wood. I only very lightly buffed the pipe with white diamond and carnauba wax and ending with a soft clean buff and hand polish with a micro fabric cloth.

IMG_9737 IMG_9738 IMG_9739 IMG_9740 IMG_9741 IMG_9742

I just noticed there is a bit of wax residue that I missed in the photos. Oh well, that’s easy enough to take care of after while ….

I’m very happy with how this project came out. It will soon find its way, I think, onto my rack where I can hopefully enjoy it for many years – unless my wife learns of its collectors appeal and potential value, then I might be in trouble!

You Complete Me- Finishing Touch on the Medico VFQ


Blog by Greg Wolford

Last week I wrote about restoring an old Medico VFQ (if you missed it the article is here. I mentioned that Steve was sending me a better stem – and boy did he!

It arrived Saturday and I spent a little time polishing it with micromesh 1500-12000 over the weekend. As you can see, it was almost pristine when it arrived.
20140630-130514-47114360.jpg

20140630-130512-47112350.jpg

20140630-130513-47113414.jpg

20140630-130515-47115297.jpg

Today I touched up the stem’s stamping with white paint to make it pop and then, after the paint cured, I gave it a light buff with white diamond and then a few coats of wax to finish it off. And I must say it really does complete the project.

20140630-130812-47292909.jpg

As you can see, there’s a big difference in the stems. I also found they seem to be made of some different material; the original left a black looking sanding dust and the new one a white-looking dust, more like acrylic. Anyway, here’s the real completed project.

20140630-131124-47484831.jpg

20140630-131126-47486611.jpg

20140630-131121-47481124.jpg

20140630-131122-47482999.jpg

Again, thanks, Steve, for providing me with such a nice stem to top off saving this old pipe with. And, in case you’re wondering, I’ve had the chance to run a few bowls through her and she smokes great for me!

Stop the Noise- Opening Up a Pipe’s Draw


Blog by Greg Wolford

I have this German acorn basket pipe that I love; it was a gift from my son. I really like everything about it: the shape, the feel, everything except the gurgle. This morning I decided it was time to “open her up” a little and remembered to take a few photos of the process (finally) to share what I generally do and generally works really well for me.

This process takes only a few tools and a few minutes to do. But you can spend a lot more time and effort and use more tools to get better, more precise results if you so desire. The tools I used:Opening it up (1)

  • a round needle file
  • a straight “pick”
  • 5’32” drill bit
  • reamer (bought from Harbor Freight)
  • a quick change handle (all of the rest of the tools are Kobalt from Lowe’s)

I start by inserting the pick to check the angle of the air hole in the mortise. Sometimes the angle won’t let me re-drill the pipe without damaging the edge of the shank. In this case there was ample clearance so I changed the over to the drill bit. The drilling can be done by hand or with the use of a hobby/universal vice with cushioned jaws; I use one sometimes, depending on how I feel, the value of the pipe, the angle, etc. I do this slowly and evenly, with moderate to light pressure. When I see the tip of the bit peek into the bowl I begin to pull the bit out, continuing to “drill” as I go backwards; I think this cuts a more even hole. I usually repeat this process 2-3 times, as I feel needed by the resistance on the bit and material that comes out with each pass.Opening it up (4) Opening it up (8)

I now turn to the stem and the reamer. As you can see, this is drilled straight, with no funneling or chamber.  Most of the time the procedure I am going to talk about with fix draw/gurgle issues but sometimes the stem will need re-drilled, too; that is another post!Opening it up (5)I use the reamer to open up the tenon just like one would do with a drill; the difference is that we aren’t going in very far (less than 1/2″ generally speaking) and we are increasing the size of the hole in a funnel shape as we go. You can see the difference a little work makes.Opening it up (7)Opening it up (6)Opening it up (9)When you are satisfied with the size and shape of the end of the tenon the next step is filing. I use a round needle file to make sure the inside of the tenon is smooth and there are no sudden changes in diameter. After filing the tenon I then do the same procedure to the newly opened air hole, though I forgot to photograph that.

This quick and easy project will benefit almost any pipe that has a gurgle issue. In this case the drilling was off-center, to the right a bit, and the re-drilling brought the air hole almost dead centered. I do still need to raise the bottom of the bowl a bit when I have time but I anticipate this opening up if the airway will make smoking this loved pipe more enjoyable than it already is.

Medico VFQ – Save This Old Pipe Project


Blog by Greg Wolford

I saw this old Medico V.F.Q. go through two or three eBay auctions with no bids. I have recently been admiring pipes with Cumberland stems and thought this one would make an excellent “project” pipe to see how well I could repair a Cumberland stem. (A side not here: This is not a Cumberland stem I have found out; it is nylon/plastic.) So I wrote to the seller and offered $5/shipped for the pipe, noting that I didn’t care how she shipped it, just safely and cheaply would suffice. She posted a seven-day auction with an opening bid of $5 with free shipping; I was the only bidder.

STOP1 STOP2When the pipe arrived it looked as bad, maybe worse, than I had expected. The stem was really chewed up and the finish was shot. There were also several fills that I hadn’t been able to see in the (above) auction photos. I decided to work on the stem first so I broke out some tools.

The first thing I did was to try to raise the dents with the heat of a tea candle. Not being actual rubber (which I didn’t realize yet), this had little effect. Next I began with needle files to take off some of the roughness. This made some improvement and gave me a better surface to work with for patching with super glue, which I applied at this point. You can also see the shape of the pipe as a whole here when I got it.

Medico STOP (32) Medico STOP (69) Medico STOP (9) Medico STOP (42)Medico STOP (23) Medico STOP (19)I worked in stages over a few days on the stem: allowing the patch to cure, adding more as it shrank, touch it up a little as I went with files or sandpaper. Once it had finally cured into a patch that filled and covered all the dents on both sides I began to shape and smooth it with files and 220 grit sandpaper. The button was ragged and kept getting that way when I worked on it; it was at this point I think that I realized I was working with nylon not rubber. When this revelation struck I decided to begin working it toward the best finish I could get with micro mesh and not spend a lot more time on this stem.

Medico STOP (7)Medico STOP (28)Medico STOP (13)Medico STOP (6)Medico STOP (33)Medico STOP (45)Medico STOP (79)

From beginning to final end.

From beginning to final end.

I had been doing a running post on Pipe Smokers Unlimited forum with this project. Steve, our humble leader and blog owner, contacted me with the welcome news that he had a very nice VFQ stem that he would send to me for this pipe. I excitedly accepted his gracious offer and sent him my address. When the stem shows up, if it fits, I will add photos of the end product; thank you again, Steve.

It was now time to get the bowl going, starting with a good leaning, inside and out. The pipe needed reaming and the shank was clogged with gunk, too. So I reamed it back to bare wood, pretty much, and cleaned the shank with many pipe cleaners, cotton swabs and a set of shank brushes until the final cleaners can out white; I also cleaned the stem at this point.

The finish was terrible so I took some cotton balls and acetone to the stummel, scrubbing off the years of grime and broken layer of what I assume is/was lacquer. With the old finish gone there were a few things now obvious: there were a couple of large fills to address and the bowl needed to be sanded to remove some scratches, and it needed topped.

Medico STOP (30) Medico STOP (63) Medico STOP (14) Medico STOP (41)I started with the topping process, using 220 grit sandpaper. I realized that the rim char was too deep to get all of it out without getting into the large fill near the top of the bowl’s front so I rounded the edges of the bowl to remove the edge char and see how deep that was; it wasn’t bad. I decided to leave the top for now and work on the fills; after the fills were done I came back and sanded the top smooth.

I wanted to use this pipe to experiment on, not just the stem but also the fills. In the past when I have used super glue and briar dust to patch a fill it is usually much darker than the rest of the pipe; sometimes I can blend it in well and other times not so much, so I wanted to try something different here, with an eye toward a future project. A few months ago I bought some black and amber super glues from Stewart McDonald; they offer black, amber, clear, and white. The black I plan to use on stems but the amber I thought might work well on patching fills and this was the project to try it on.

I removed one fill to start, just in case the experiment didn’t go well; the dry time on this stuff is very long so I suggest you try the accelerator if you order from them (I forgot it).

Medico STOP (60)

Medico STOP (4)

I used my dental pick, a beading awl, and a file to pick out the old putty. After the putty was out I dripped a bit of the amber glue into the hole, leaving extra to feather when I sanded it. I also used the end of the awl to make sure the glue went all the way into the hole. Then I waited until it cured a few hours, tapped it down with a tamper, in case there was any air pockets, and let it finish curing. Medico STOP (44)When it was set through, several hours, I began to sand with 220 grit paper. And I was really pleased with the initial results: an almost perfect match to my eyes!Medico STOP (53)I then decided to take out all the fills and patch them the same way, with amber glue and nothing else.Medico STOP (66)Medico STOP (51)Medico STOP (77)The waiting game began again. Some hours later I noticed that the large fill at the top needed more glue so I dripped in another layer and waited more. This morning I finally got to start sanding the new fills down, and the entire bowl as I went. The results on these fills were a bit varied from the first one I soon saw.Medico STOP (73) Medico STOP (10) Medico STOP (25) Medico STOP (35) Medico STOP (12)Even when sanded smooth a couple of the fills weren’t as nice and I have a few ideas why: I didn’t use the awl to make sure the glue went in all the way, I didn’t go back and tamp it part way through the curing process, and I may not have gotten all the pink-filler out. The next time I do this I will be sure to remember these items!

Next I prepared the bowl for staining. I finished sanding with 220, then 320, and finally 400 grit paper and wiped the bowl down with alcohol to remove any dust left behind. Then I began staining the bowl with a medium brown stain marker. I applied one coat as evenly as I could and let it dry about 10 minutes. Then, the secret I think to using these, I applied a second coat in small segments, wiping it with a paper towel to even out the color as I went. The rim got 3 coats of stain.Medico STOP (38) Medico STOP (22) Medico STOP (70) Medico STOP (68)Next I gave the stummel a light buff with Tripoli, and the entire pipe a buff with white diamond and a few coats of carnauba wax, then a buff on a clean wheel before a final hand buffing with a microfiber cloth.Medico STOP (36) Medico STOP (65) Medico STOP (17) Medico STOP (40) Medico STOP (24) Medico STOP (43)I’m very happy with the end results of this multi day project. I think the fills look and blend much better, especially the first one. And I believe with a little more tweaking and experimenting this is a very good option for patching fills. From a $5 eBay catch to, well, it’s probably still not worth much – but I’m glad in the end that I took the time to Save This Old Pipe.

EDIT

The new stem that Steve sent me arrived in the mail. I have written about and post the story, along with new photos, here.

A Quick and Easy Face Lift for a Missouri Meerschaum Corn Cob Pipe


Blog by Greg Wolford

Recently I’d read a comment someplace about using wood filler to repair cracks and leaks in corn cob pipes. Being an avid fan and user of Missouri Meerschaum pipes, and needing a quick and fun project for me and my five year-old grandson to do, I decided to try it out on one of my cobs yesterday afternoon.

cob 2Legends are one of my favorites: they are cheap, of decent size, and readily available locally. I use them for potentially “rough” times, like outside or on the pontoon, and also to test new blends and smoke the occasional aromatic. I had one that had seem better days (I didn’t get a before picture since I was sort of occupied with Connor, my grandson) that had some cracking in the plaster and some blackened “kernels” in the middle; this would be our project!

We used a minimal amount of tools for this project: wood filler, 220-grit sandpaper, and a light brown furniture repair marker.cob toolsWe applied a nice, thin coat of the wood filler all over the cob bowl and let it dry, about 10 minutes I’d guess.  Then we took turns sanding the cob smooth with the sandpaper. I then topped the bowl a bit to remove most of the char and “gunk” that had built up. After it was nice and smooth we, again, took turns staining it with the furniture marker. It then needed a few minutes to dry.

Connor had such a good time he convinced me to do a second, almost new, pipe that really didn’t need any thing done to it. But since the little guy was having such a good time and is on the mend from a broken arm and surgery to set it, how could I not do it? You are right: There was no way not to!

cob 3The middle pipe is the one I set out to make repairs on, compared to a new in the package one and the almost new one. This project took us probably 20 minutes, maybe less, from start to finish and it was so simple, well, a five year-old can do it!

A Kaywoodie Reworked, with a Little Mystery!


Blog by Greg Wolford

This year has not been a banner one, so far, for me personally. The harsh weather, an accident, and a failure of one of my orthotics has had me mostly sidelined since the first of the year. My workshop is downstairs, in the garage, and it isn’t exactly the warmest, most comfortable place to work in the temperatures we’ve had, not to mention the difficulty of actually getting myself up and down the stairs … but I digress … so I’ve been able to do very little work on either of my hobbies so far in 2014.

Last week my wife had a little pity on me and allowed me to bring a few necessary tools and supplies up to the kitchen so I could work on a few old pipes; leather work is out of the question until the temperature and my body cooperate. I think she knew I was getting a bit restless, not being able to get into any of my projects. When I said she “allowed” it, she corrected me with “I didn’t say you could do that” but she didn’t send it all back down to the shop either, so I take that as permission I told her! LOL

Now, I must admit that my photographs, when I remember to take them (that’s a preview hint that I haven’t remembered as often as I should have), aren’t as good as I would like but I don’t have as good a set-up as I normally do. So, I ask you to bear with me on the quality and quantity of them.

Sometime back I acquired an older Kaywoodie model 33. It is an apple shape with a rounded bowl-top. The pipe was in pretty good condition other than the front edge was damaged from being knocked-out and the bottom of the stem had been bitten off. because of the stem damage I put off working on this pipe for months; I wanted to save the stem but didn’t have the black super glue yet, which I planned on using, to do the job. Here are a couple of photos (all I could find) of it before I started working on it.

Kaywoodie Apple (10) Kaywoodie Apple (11) Kaywoodie Apple (13)

Unfortunately all I can find are some photos that I used it as a “prop” in and one of the underside of the stem. You can see the pipe itself wasn’t too bad but the stem was another story.

Initially I tried to patch the chip with black super glue; I tried this three times: the first attempt the pipe cleaner I was using as a plug absorbed all the glue and the other two times, using different materials for the plug, the patch failed. It turned out that the chip was just too large for me to patch well so I decided to cut it off and file a new button since there seemed to be plenty of room to work with on this stem.

I used a hacksaw on a small frame to remove just behind the bite through. When I looked at the air hole I noticed two things, neither good: first I had closed off the airway accidentally with the glue and second the air hole wasn’t drilled center. I fixed the glue-plug problem quickly by drilling out the hardened glue with a pin vice and then picking out the small fragments that were left. One problem down – now onto forming a new button and slot.

I used various needle files to shape the new button, being timid about not getting it too thin. I recently bought a new set of Kobalt needle files, a big upgrade from my old ones, and found that this (only my second or third time making a whole new button and transition) went much smoother and faster than in the past. I also used the files and a bit of sandpaper to open and funnel the slot, again I was a bit timid in not going too thin; I have done that once and suffered a cracked bit afterward. This is a fair representation of what I ended up with:

Kaywoodie Apple (8)

Once I had the stem to my satisfaction I turned to the stummel.

I had at some time past already reamed the bowl lightly, it had very little cake, and cleaned the shank and stem. I now began by cleaning the stummel with acetone wetted cotton pads to remove the old finish and dirt. After the acetone I moved on to some alcohol wetted pads to lighten up the grime on the bowl top. When it was sufficiently clean I decided to use some 400 grit sandpaper to lightly smooth the edge damage. I didn’t know it at the time – because I failed to look first, a fault I have all too often – but the rim was supposed to be rounded. Luckily I liked the general look of the rounded top and thought it might be the way it was supposed to be so I wanted to keep it rather than topping the entire bowl. I personally like, in general, the less sharp lines on a bowl top so this was an easy choice – one that turned out to be a good one as well.

Once I had reduced the damage to the rim and front, keeping the shape as close to original/symmetrical as I could, I moved to micro mesh pads to sand and polish the bowl top. After getting through the first two grades I thought the entire pipe would look nice just polished with the micro mesh. At this point I reassembled the pipe and began to look for nomenclature to avoid during my polishing; this is when I discovered my “mystery”.

On the bottom of the stem, a origianl Kaywoodie, three-hole stinger with white clover logo, I saw something I had never seen before: there was stamping on the vulcanite “D-2”. This immediately intrigued me; I knew I would have to find out more about that … but lets’ wait a paragraph or two on that.

Kaywoodie Apple (9)

I polished the entire pipe with all of the micro mesh grits in order from 1500 – 12000, avoiding all of the stamping, including on the stem. I wet sanded the stem (only) through 4000, then polished the stem with plastic polish, before finishing the entire pipe through 12000 grit. I then applied Halcyon II wax to the entire pipe and hand buffed it. I was really pretty pleased with the results, considering I didn’t have access to my buffer and this was, more or less, my first experience with the Halcyon wax.

Kaywoodie Apple (2) Kaywoodie Apple (3) Kaywoodie Apple (5)Kaywoodie Apple (4)Kaywoodie Apple (6) Kaywoodie Apple (7) 

I missed some file marks on the stem, and the “bits” near the bit; I figure when I can properly buff the pipe I will get those taken care of, as well as put a better shine on it with some carnauba wax. But until then I am enjoying this old gal just as she is!

The stem still has oxidation near that stamping, which I began to research after I finished the work on the pipe. None of the other Kaywoodies I have, or have ever had, have any stamping on their stems like this one does. I scoured the ‘net and asked as many folks as I could think of to no avail … well, almost none. I am a member of the Kaywoodie Pipes Group on Facebook and one of the members there is Bill Fuerbach is as well. He saw my question that I posted about the stamping in that group and replied as follows:

Hey guys. I’ve seen this also on some older Kaywoodie stems. unfortunately at this time I don’t know what the significance is. :(:(

So unfortunately there is not yet an answer to what the stamping means or its significance is – and the mystery remains …  If by chance anyone what reads this knows the answer I would really appreciate it is you would leave a comment with the answers!

Edit

I received an email from Chris at PipePages about this question. He said in his personal opinion, and that it is only a guess, that it could be a factory replacement stem and the number was a style/guide for the repairman to know which stem to use. Although it is only a shot-in-the-dark type of guess, it seems like a plausible answer to me.