Blog by Greg Wolford
About three weeks ago I was contacted by fellow PSU member, and sometimes-contributor here, Astrid after she had an accident reaming a nice old corn cob pipe. 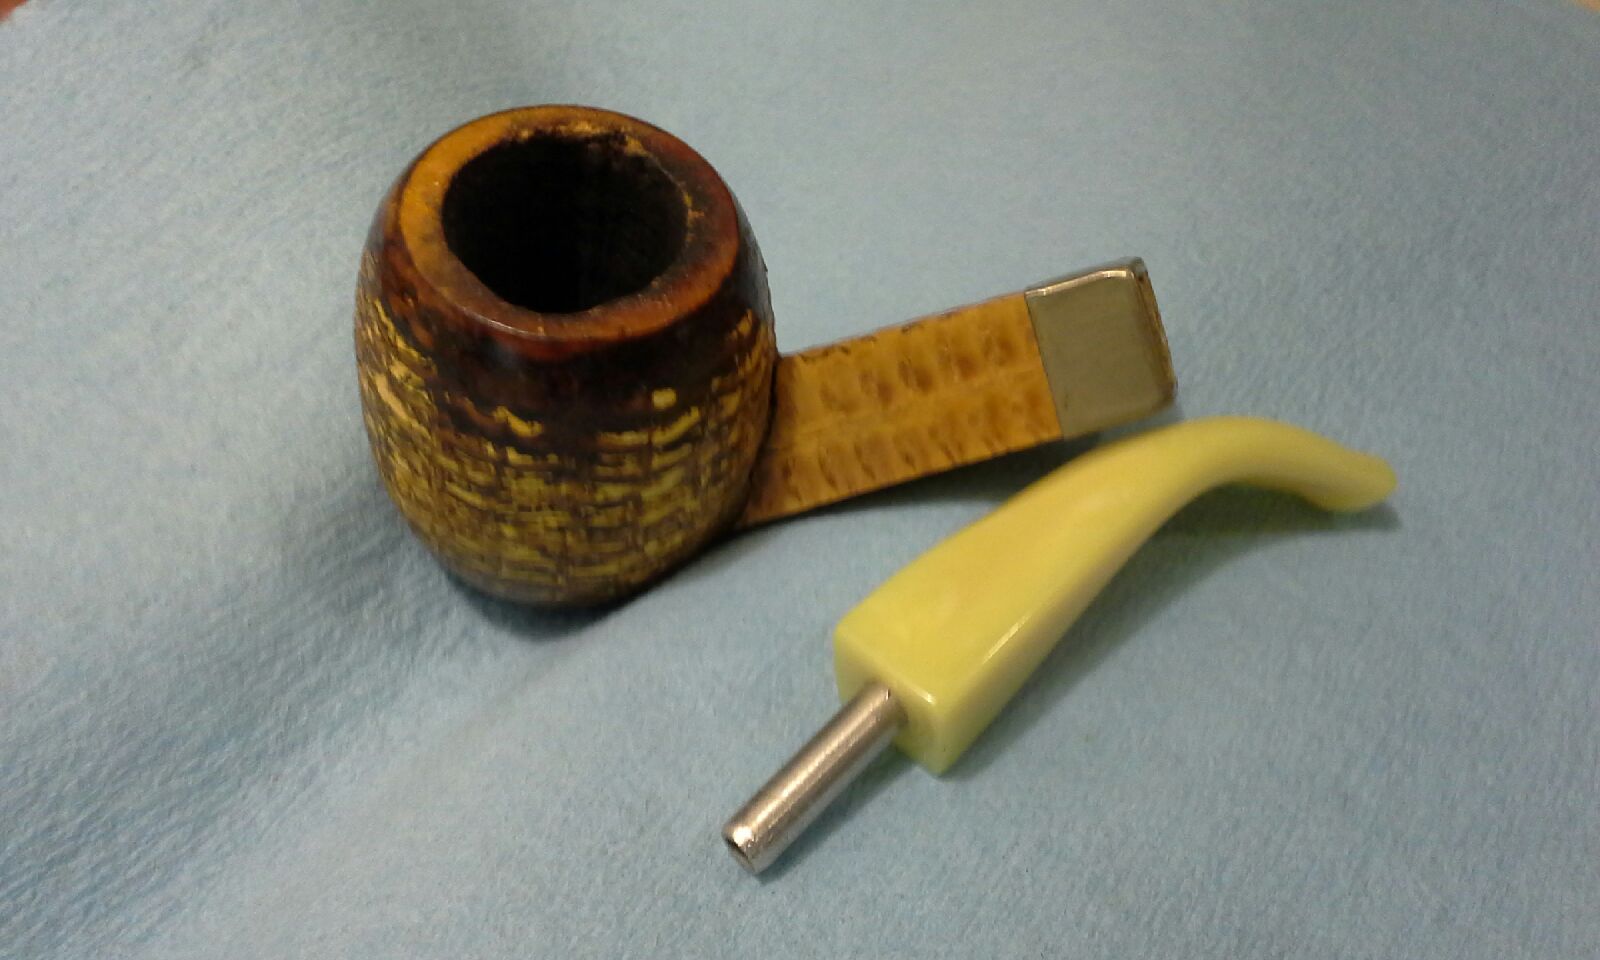
She had remembered reading about some work my grandson and I had done to a few of my cobs and was curious if I might be able to fix the chunk that had accidentally been removed when she was reaming her “Corn Dog”. As you can see, it really is a nice old pipe, with a super (in my opinion) Bakelite stem; I was really looking forward to getting it in hand after seeing it.
As luck would have it, I have done several repairs of this type to different corn cob pipes, as well as using the general technique for everything from raising to bottom of bowls to repairing cracked bowls. So, I told her I would be happy to doctor the old cob up for her and she sent it out to me a few days later.
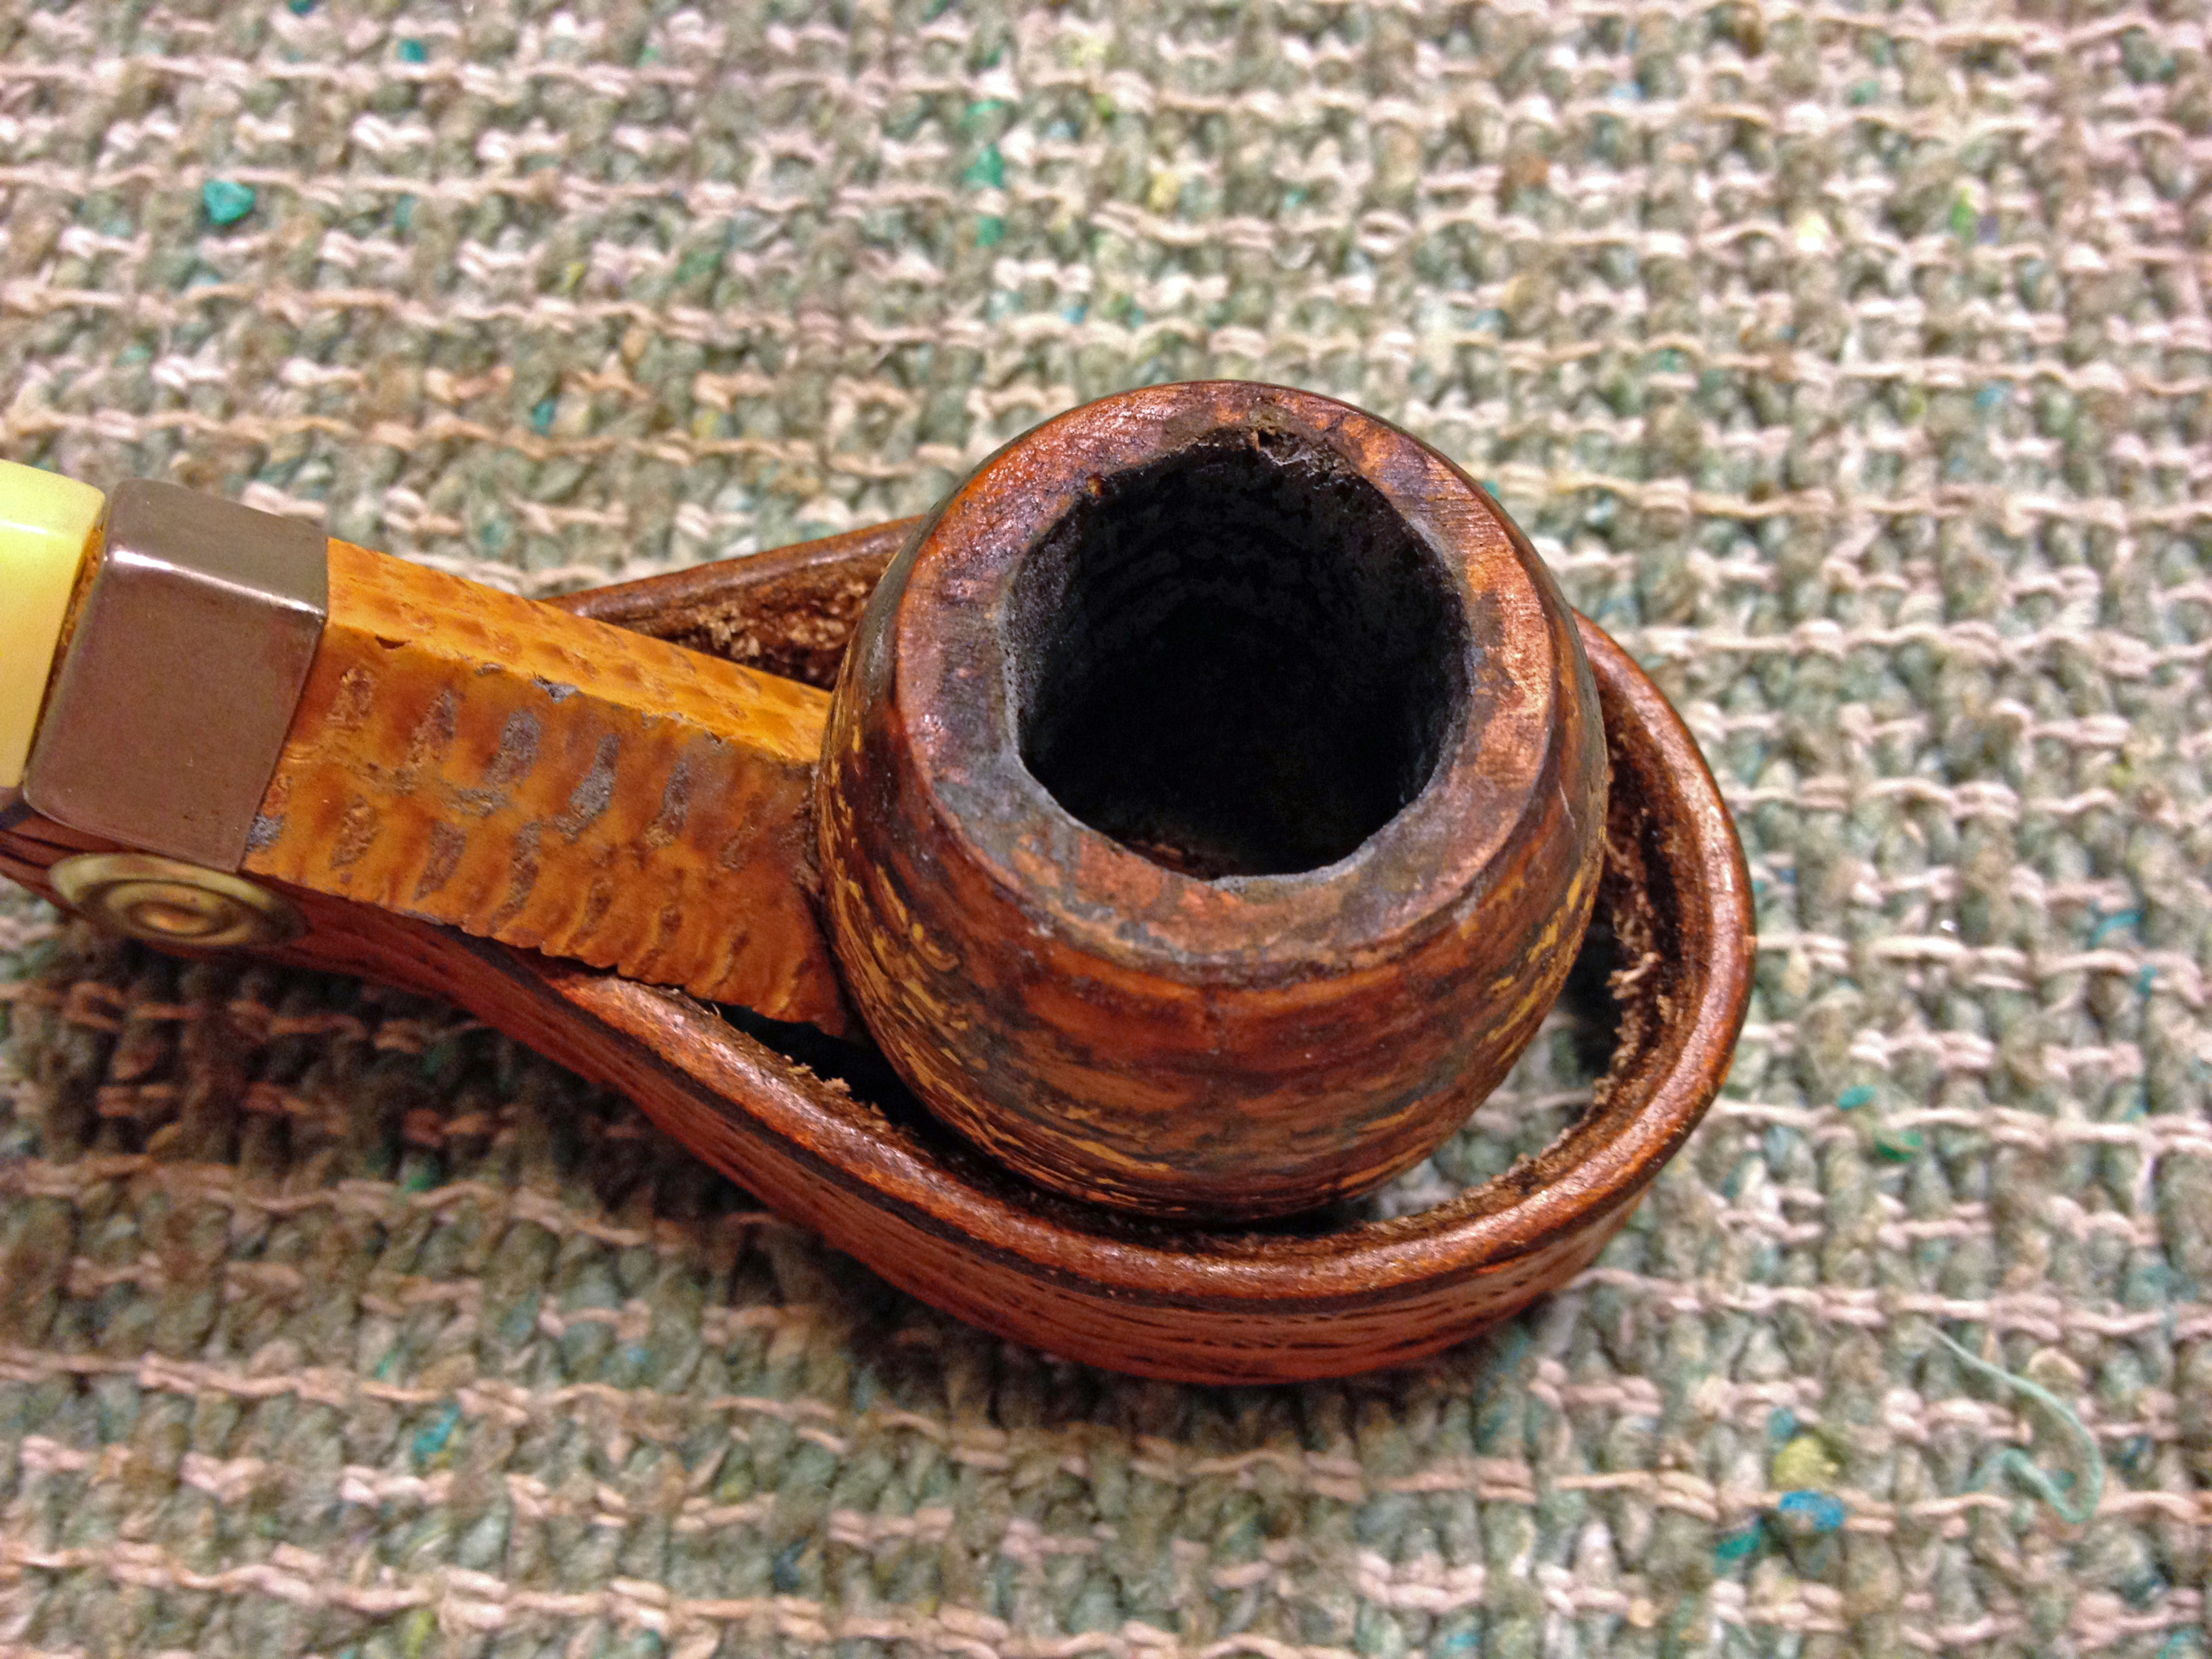
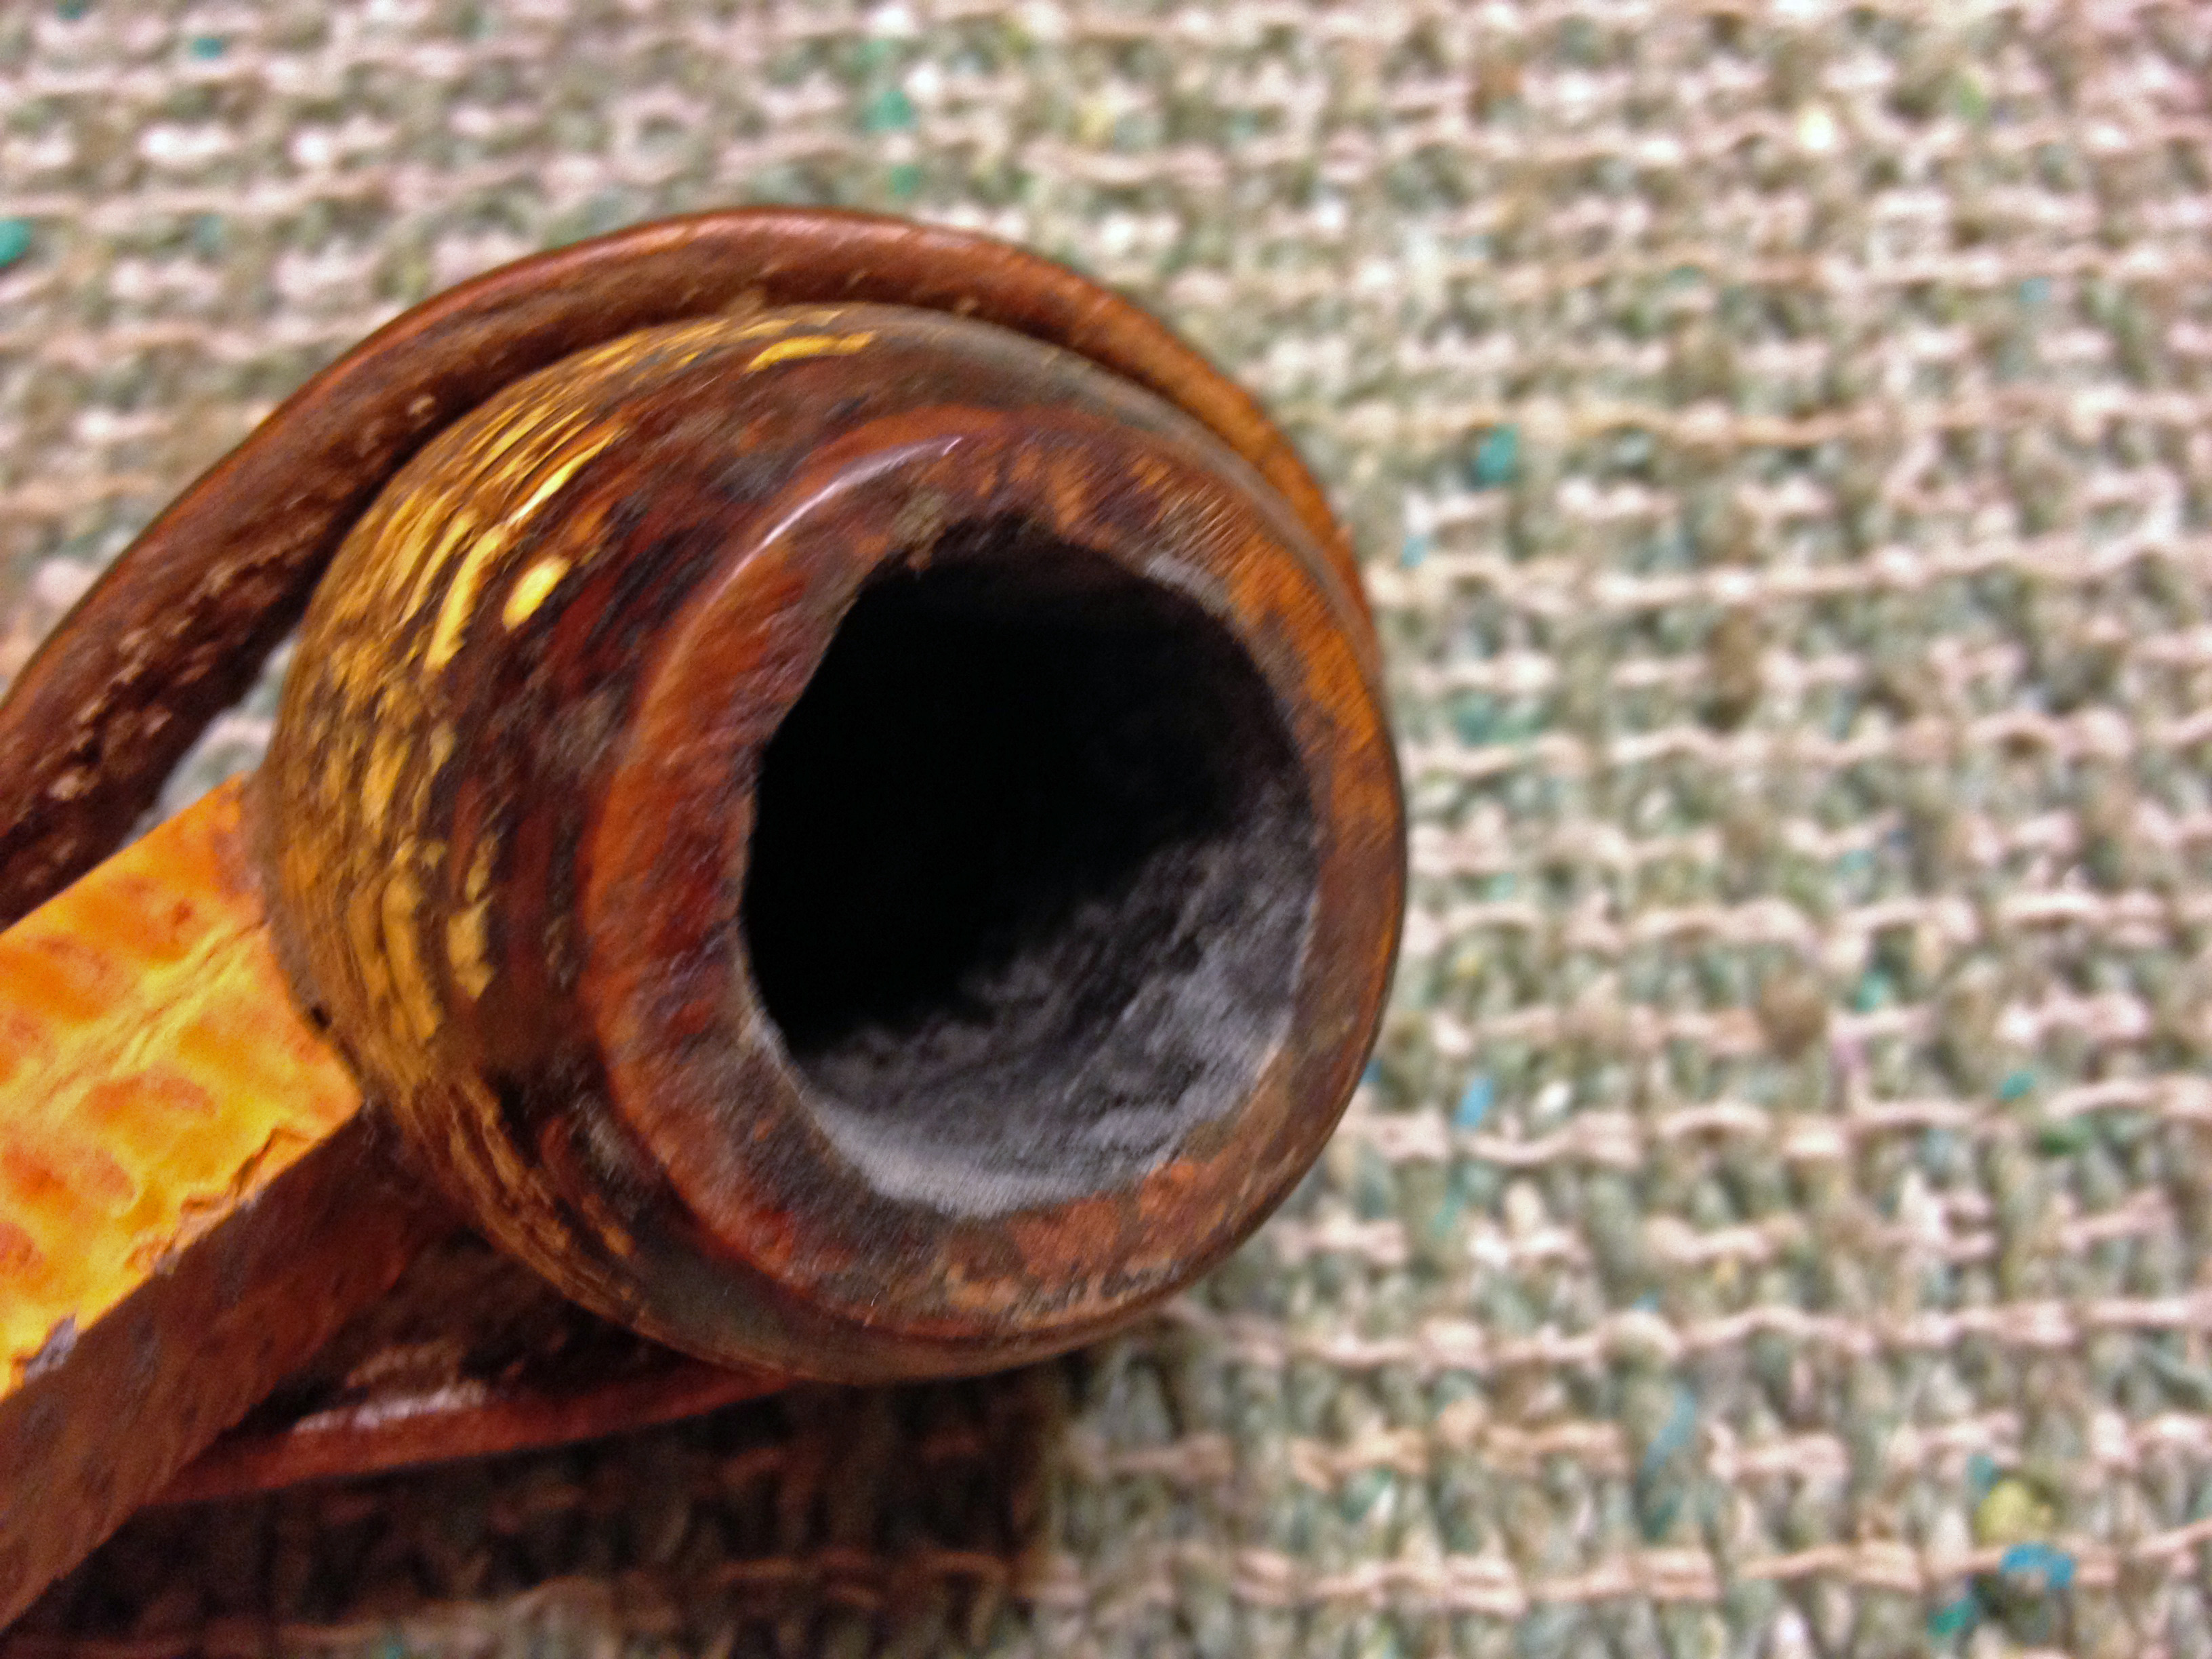
When the pipe arrived I had no idea of exactly what the extent of the damage was so I was anxious to see what the box from Canada held! I was pleasantly surprised to find a couple of old pipes to tinker with (and keep) as well as a generous gift of tobacco. At the bottom of the box I finally found the old pipe, and was happy to see it was just about what I’d hoped it would be: Nothing too difficult! Here are a few photos of the rim damage: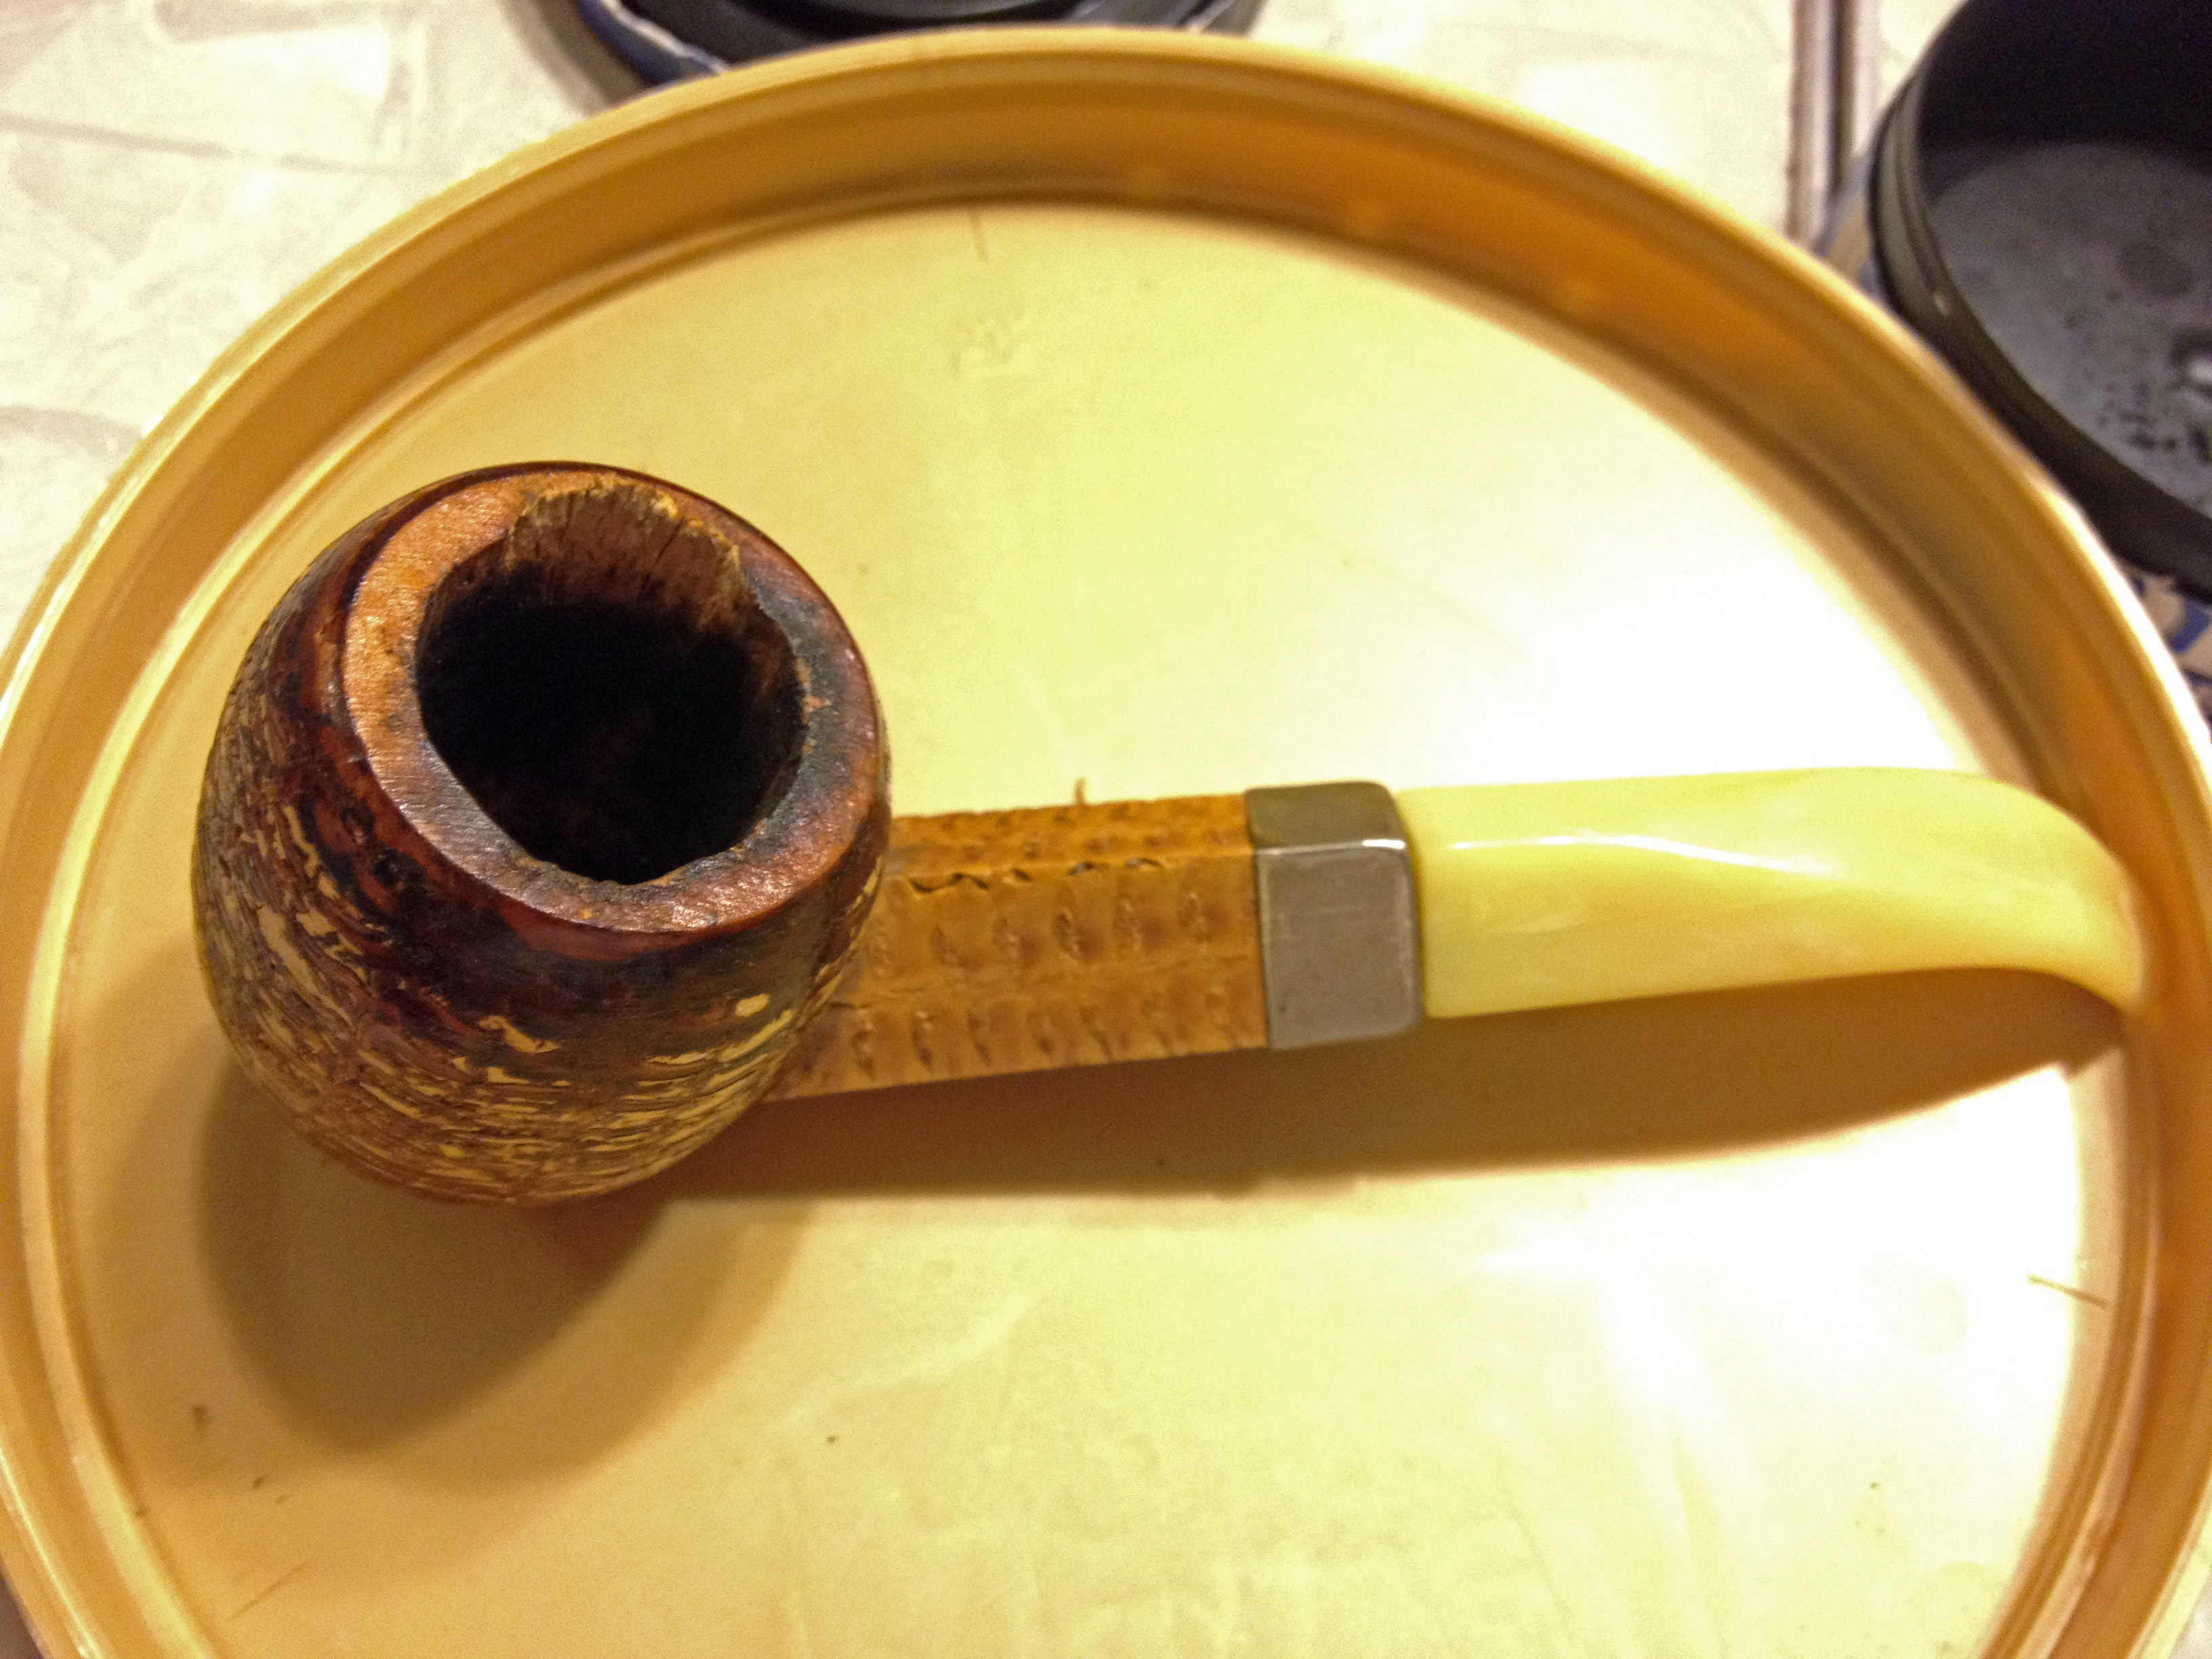
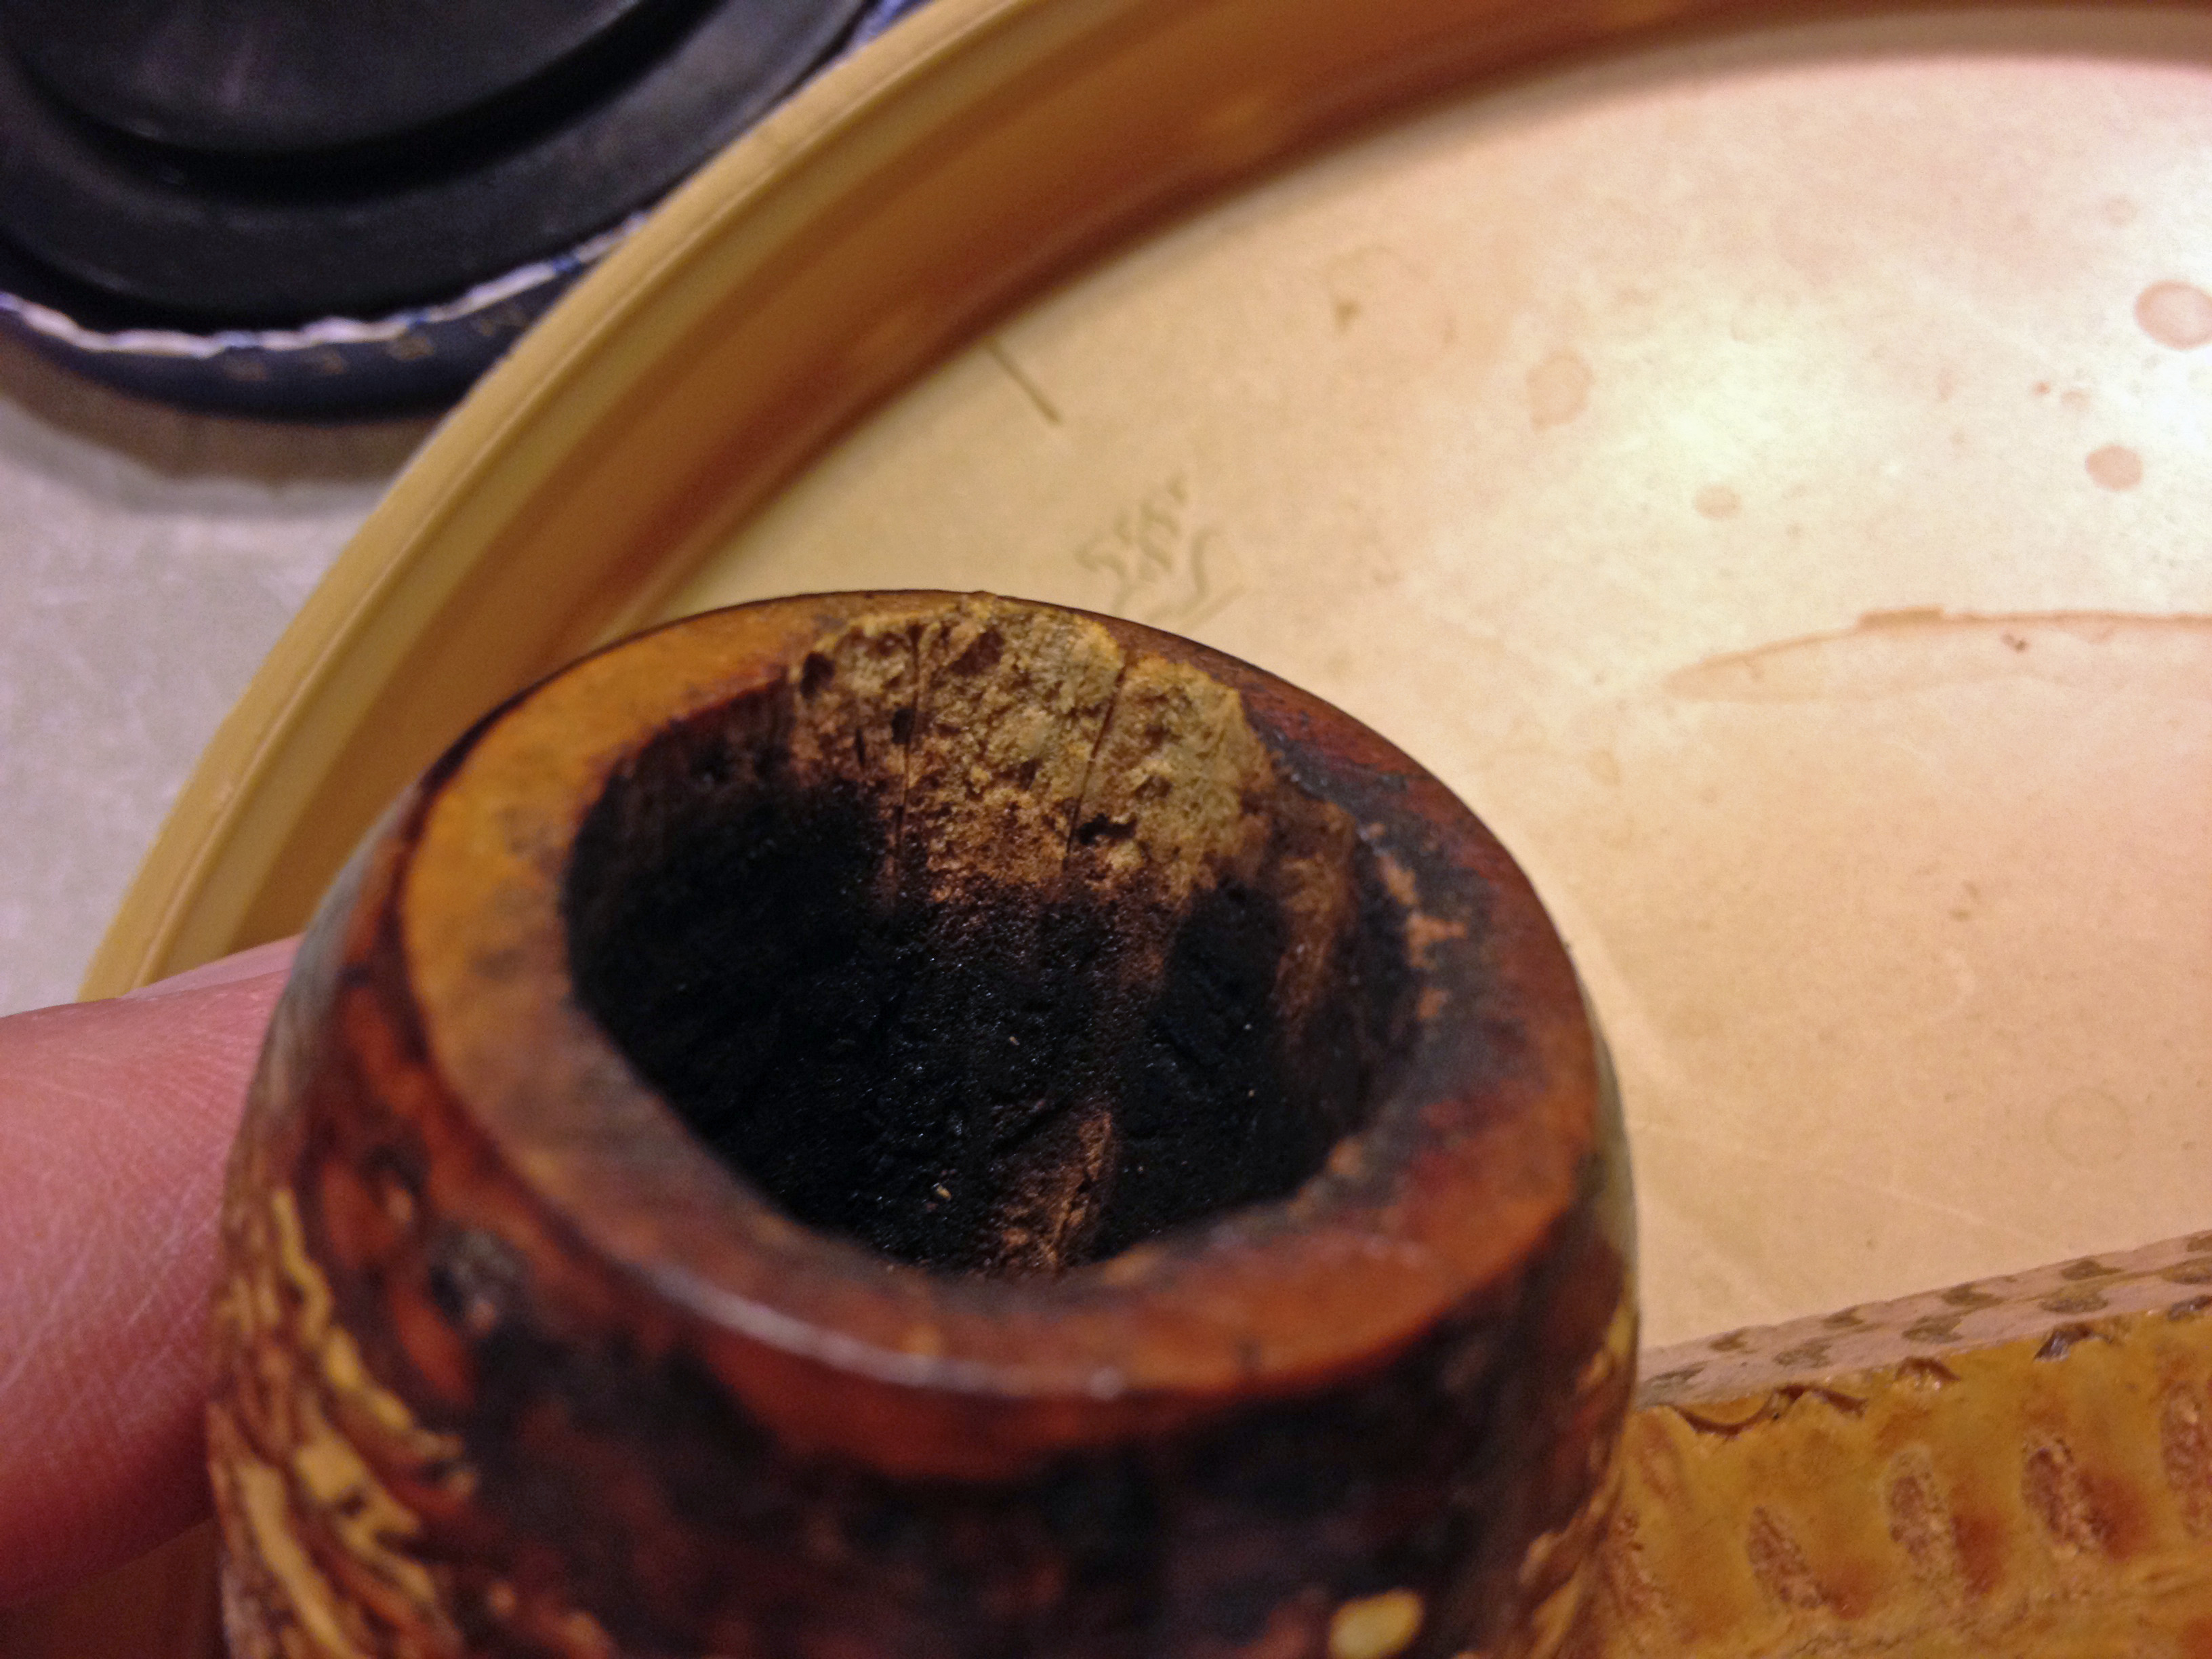
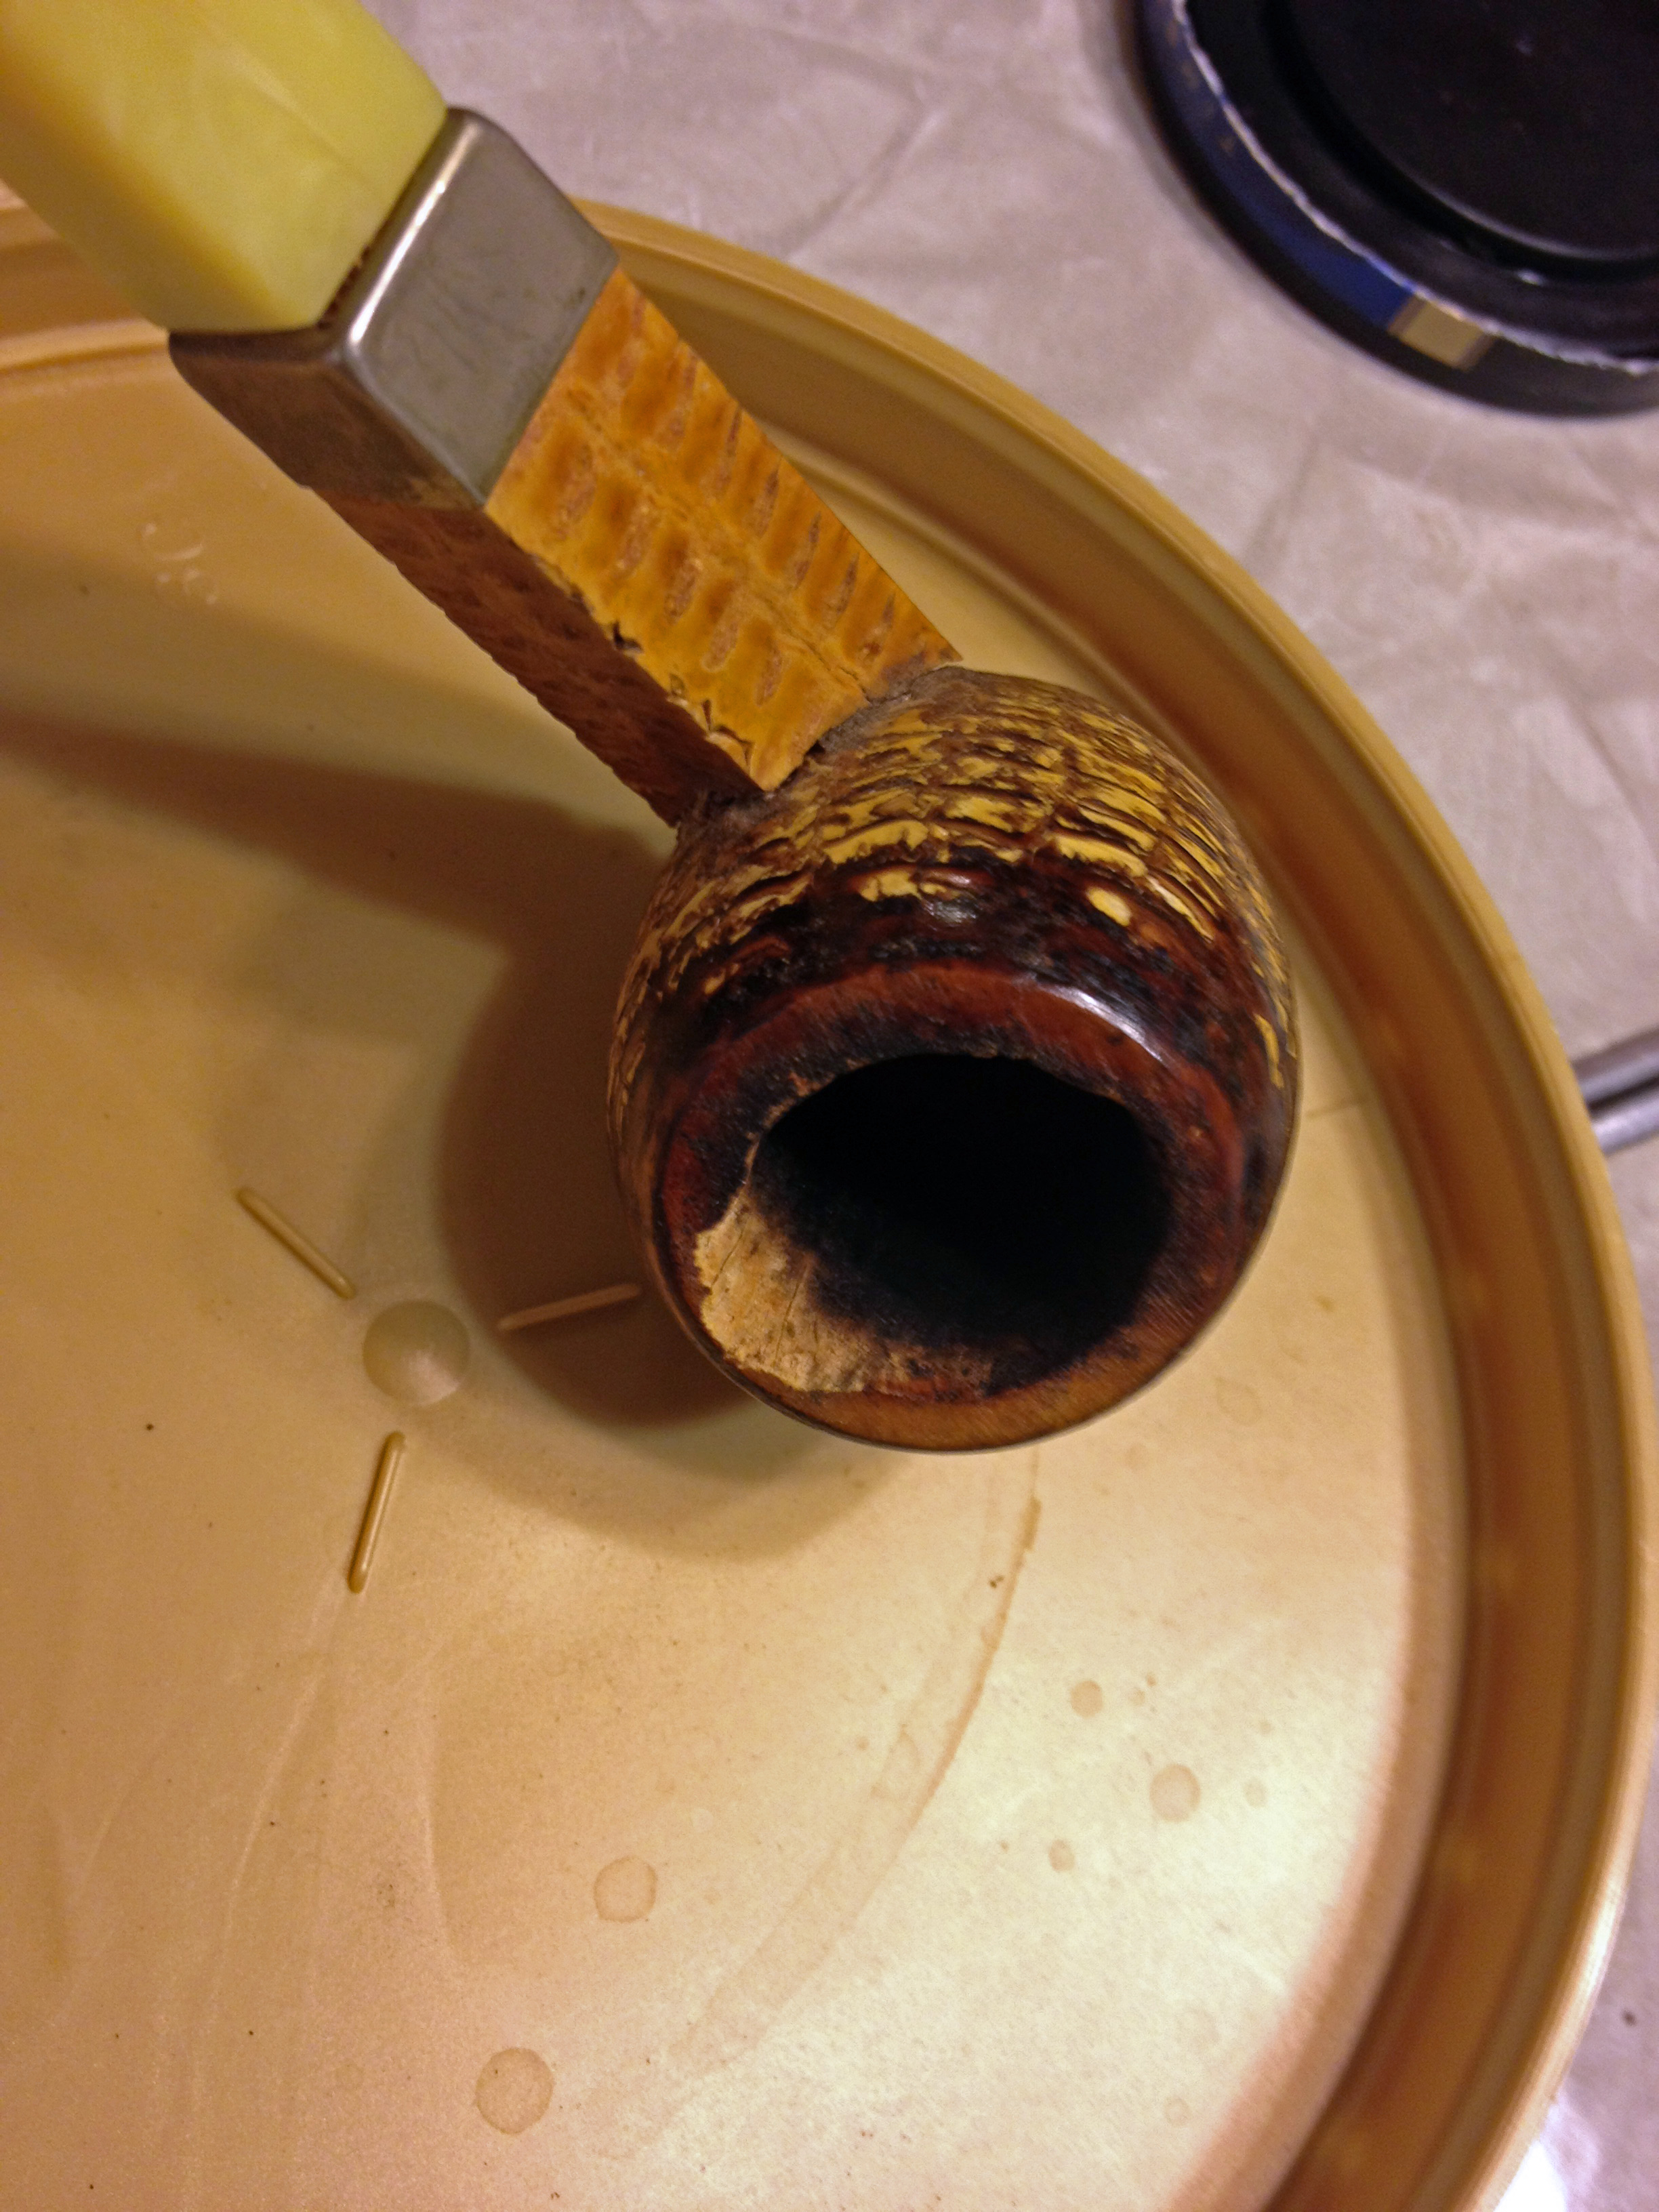
You can see the “chip” was reasonably large, but it didn’t go through the bowl – a very good thing. I started my using a dental pick to lightly scrap the damaged area to remove any loose material; there was very little, most likely because Astrid had already cleaned the pipe very well.
The next step was to mix up a patch for the damaged area.  For this project I used a new tube of fireplace mortar/sealer; my old tube had turned into stone on me. I mention this because I have found that the different brands behave differently when dry: some are impervious to moisture, while others are not. I have found that mixing in a little cigar ash (other fine ash will work too) makes the patch solid but allows for moisture and to go through to the briar (or cob in this case) and disperse better. I also mix in a little powdered activated carbon; I use the capsules now, instead of the messy process of grinding it up myself. The activated carbon does two things: it filters out any potential taste in the first few smokes that the mortar/ash patch might have and it makes it much darker, thus blending in better. The addition of these to components also makes the patch set much faster so you need to have some water on-hand to mix it right; you are looking for a dough-like consistency, wetter for longer working time. After mixing the “putty” up I began applying it with an old pipe tool’s spoon end, working it in to make a nice,
 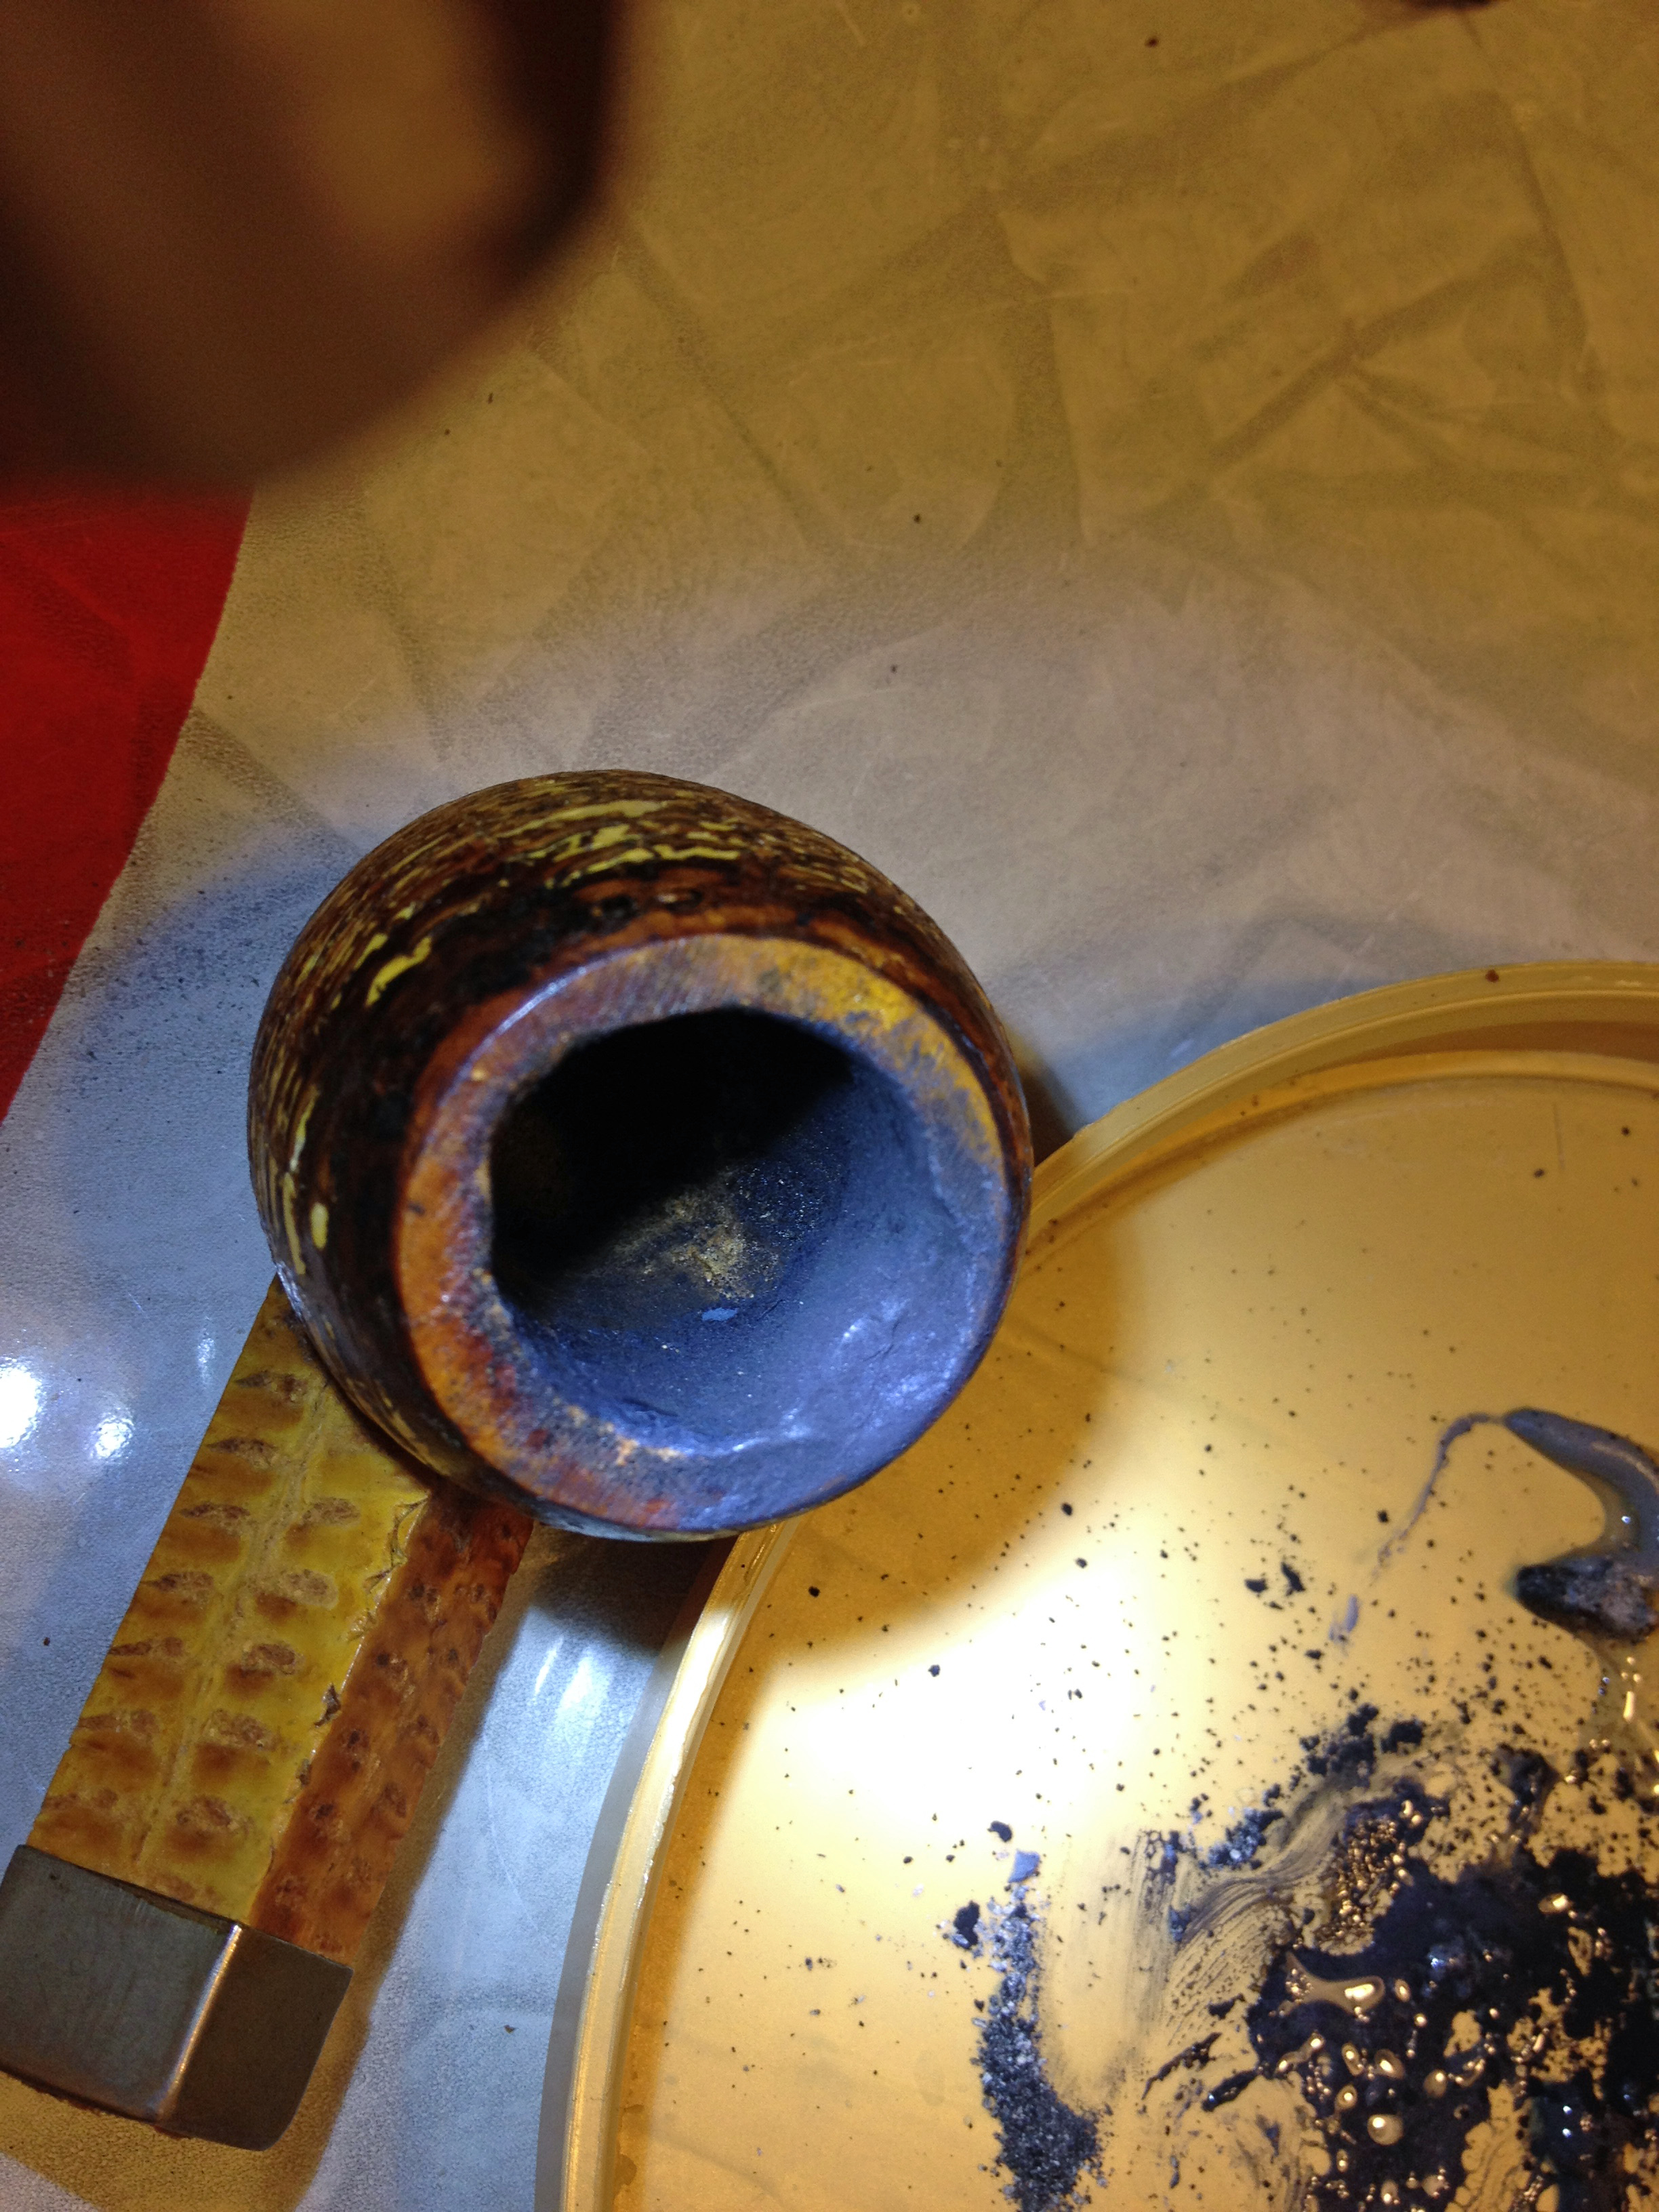 even surface, except for the top, where I left a small gap to blend in later. You can see the still wet patch in this photo, after I had smoothed it out; I used a flashlight to make the repair area easier to photograph. I then took a small amount of powdered carbon and sprinkled it onto the patch to make it blacker and less noticeable. I then set the pipe aside until morning to allow the repair to cure.
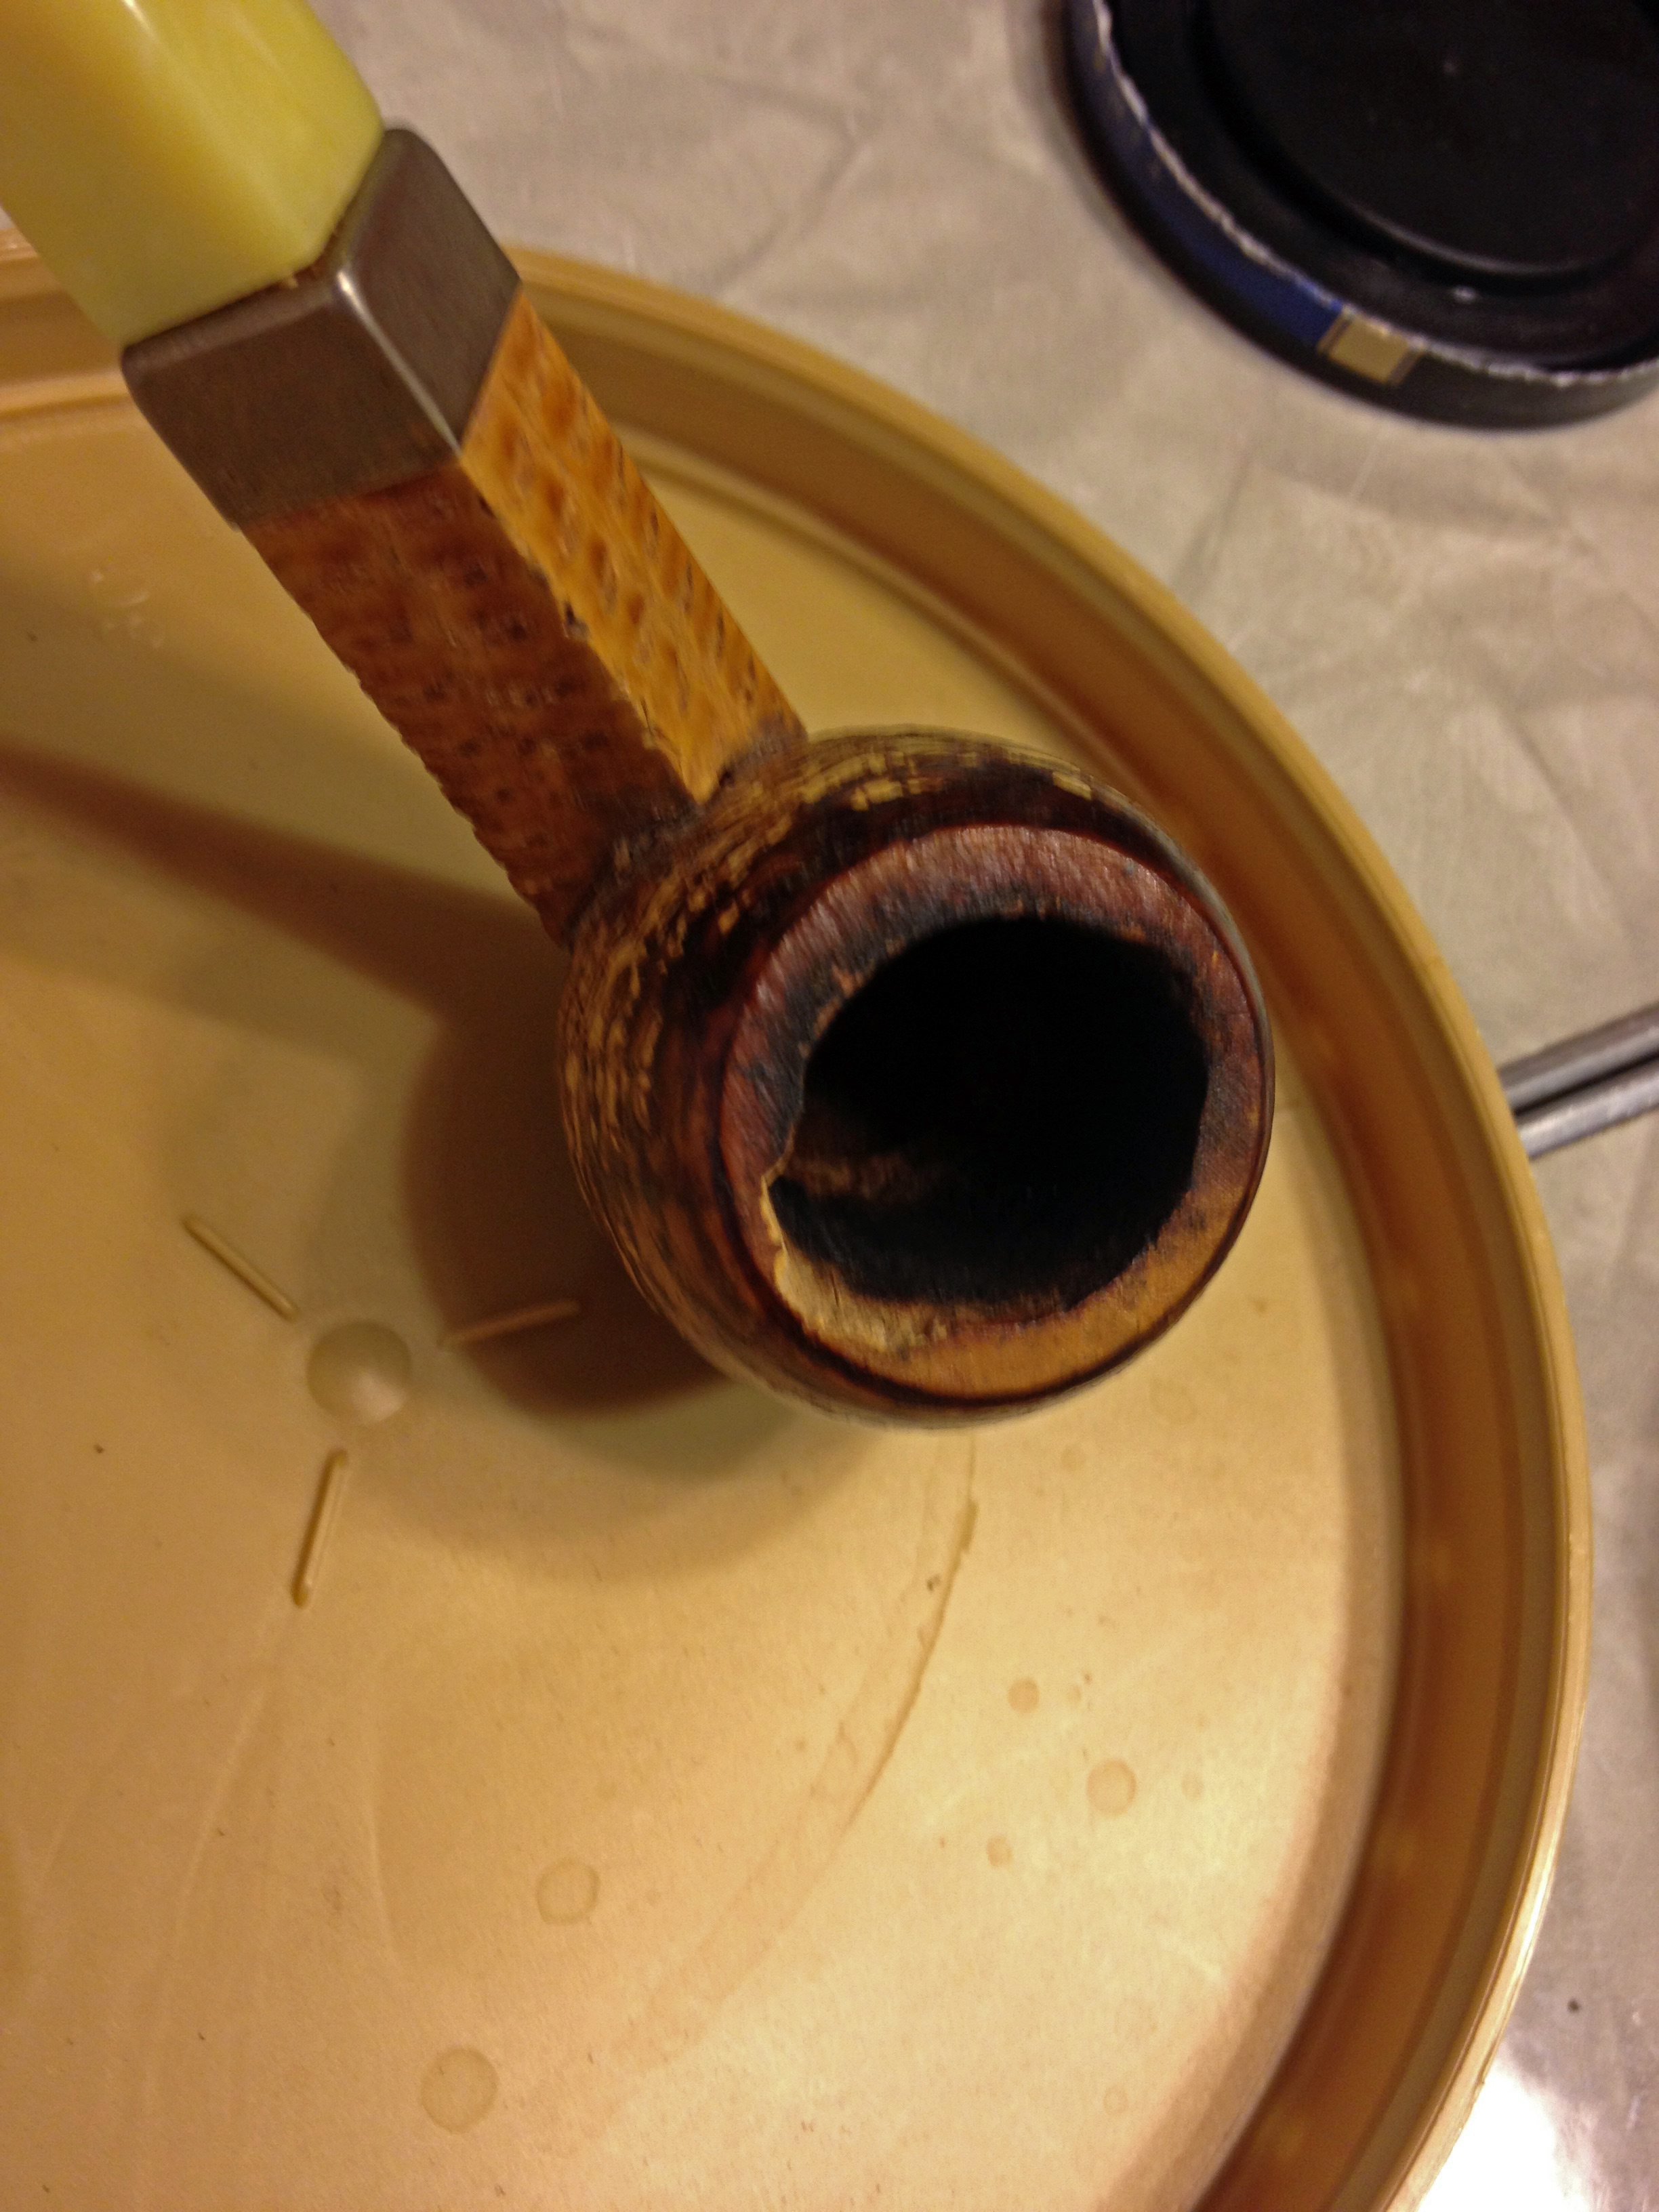
The next day it had hardened into a night patch. But, as it sometimes does, the patch had shrunken. I mixed up a little pipe mud and applied it over the patch to make it more flush inside. You can see the result of the second patch in this photo.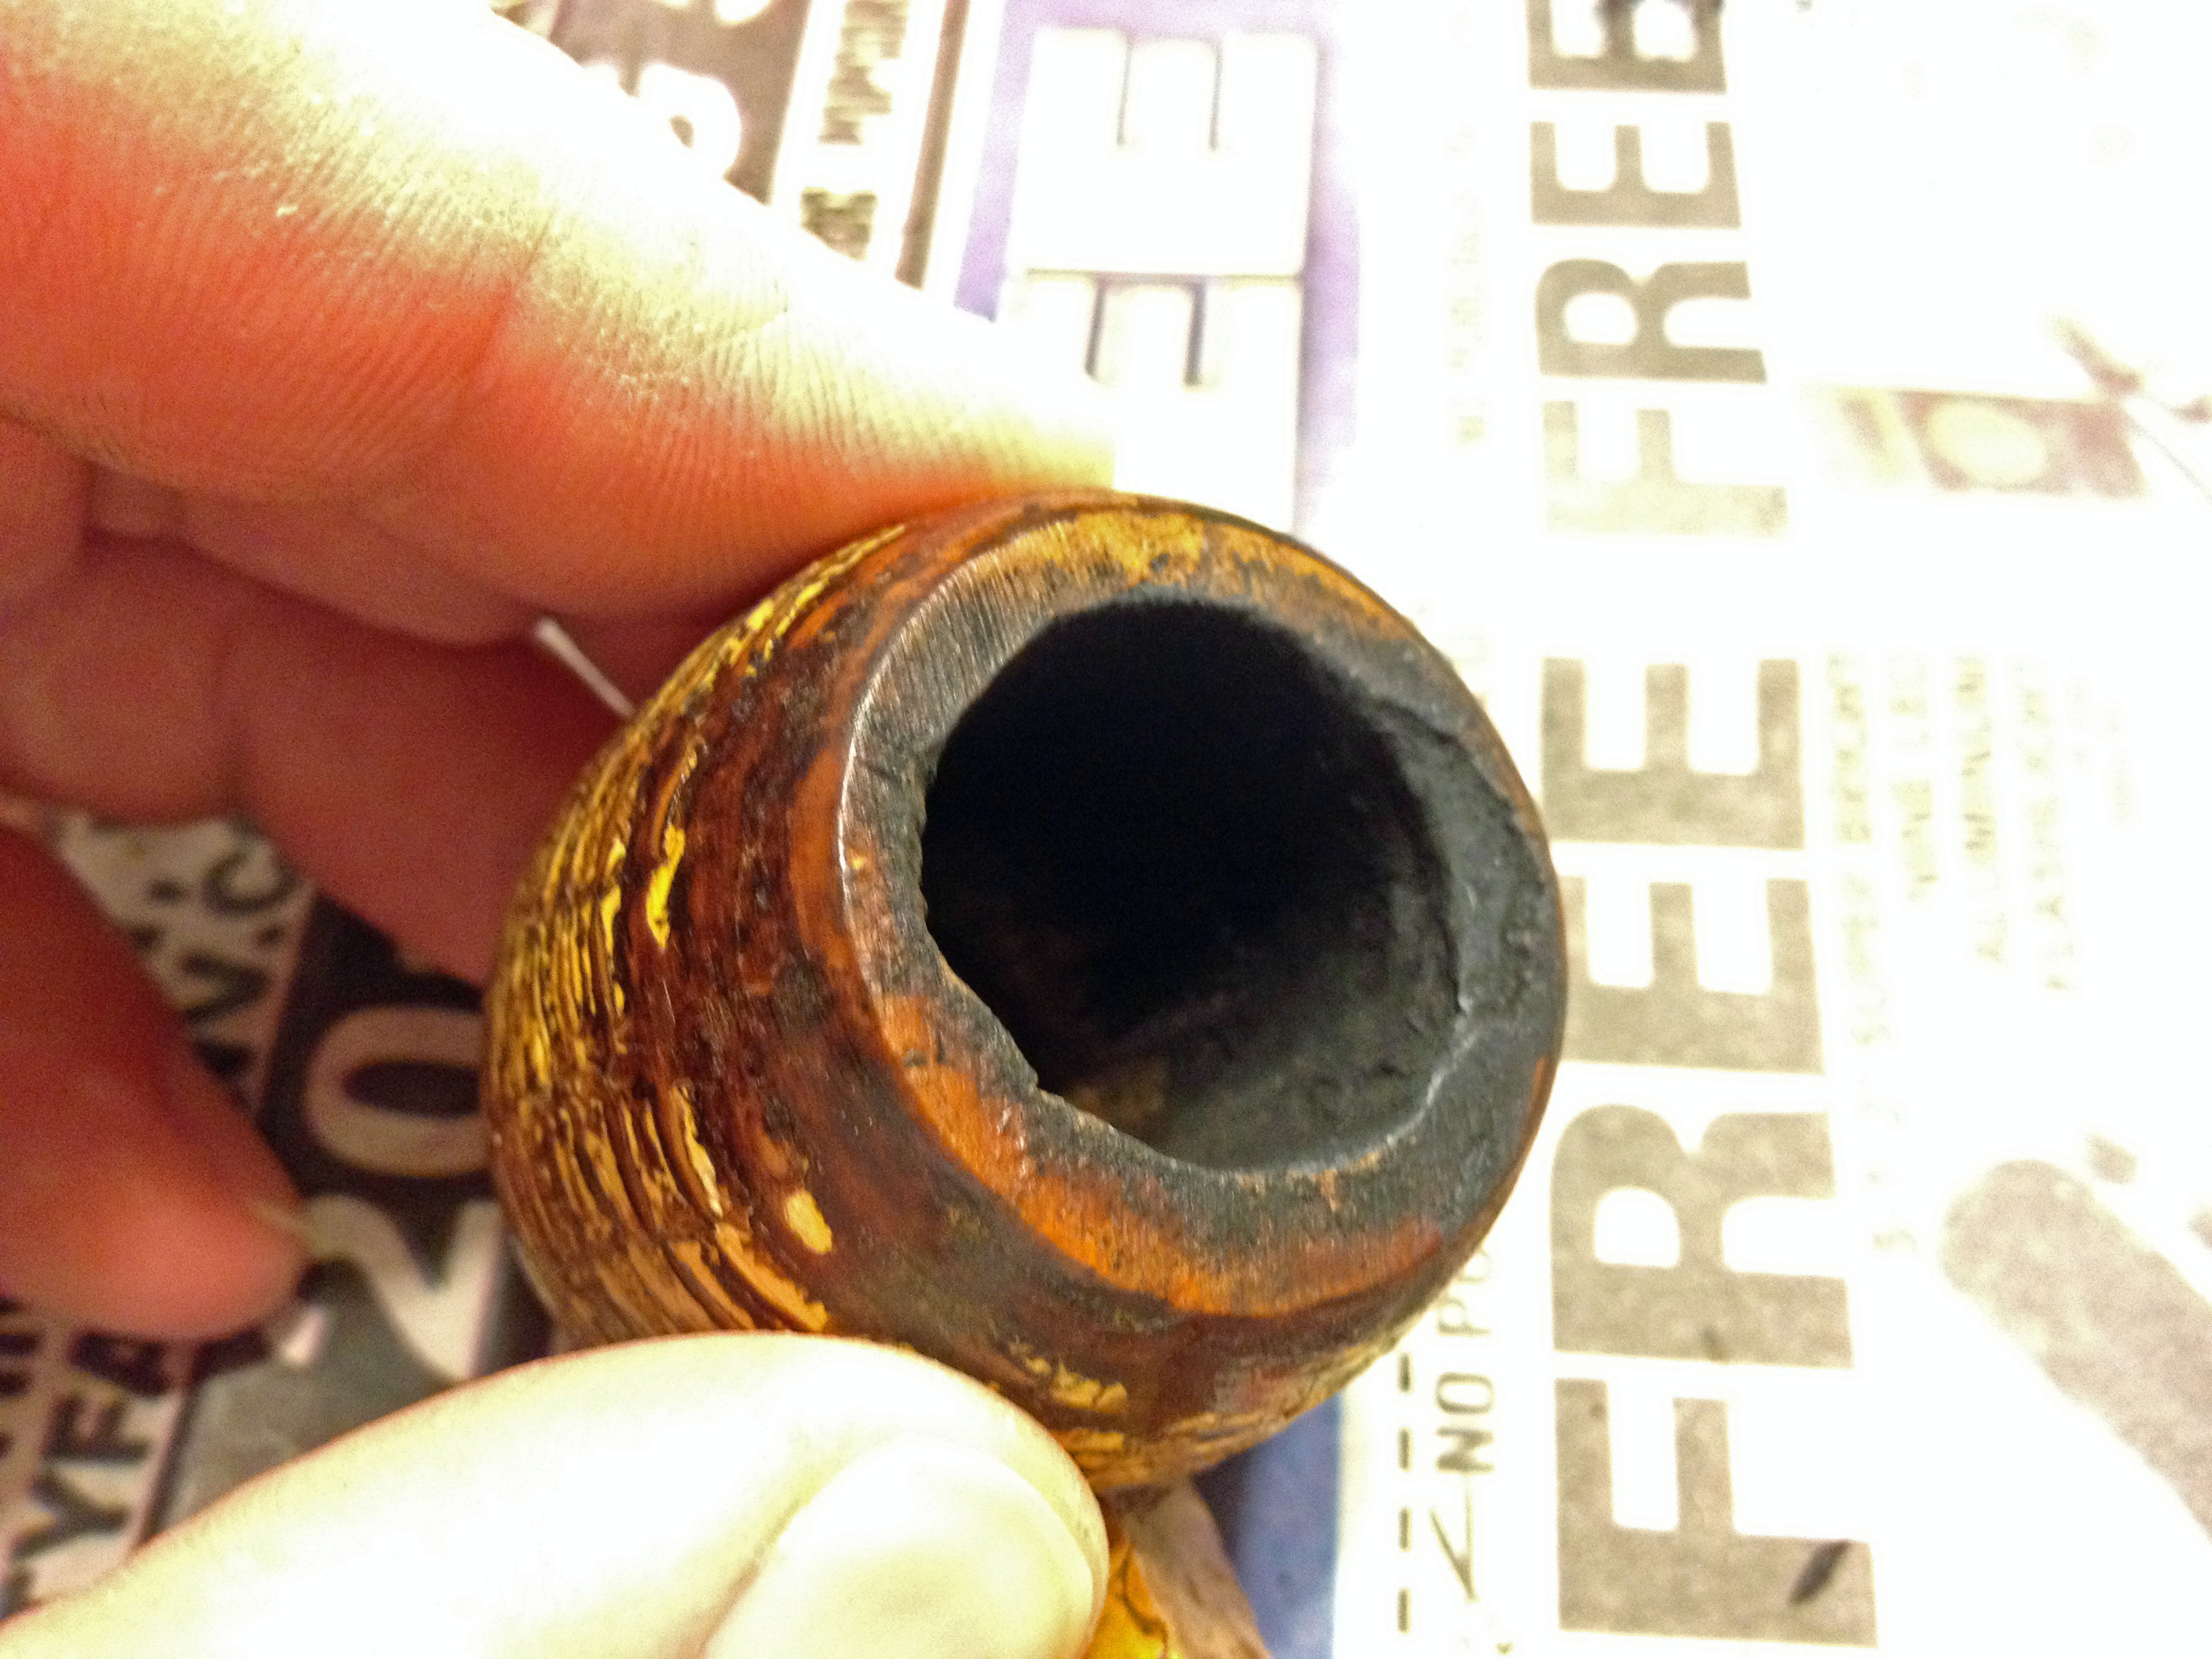 You can also see here the “dip” I left in the rim; I did this to blend in the rim with wood putty.
As I was waiting on the pipe mud to dry, I took a damp cotton swab and cleaned off the rim of the pipe to make sure there was nothing to keep the next patch layer from sticking and to lighten the bit of residue on the rim already. I then applied some Elmer’s Natural Wood Putty to the rim. Again, this is something you want a little water on-hand to work with and smooth the repair as you go.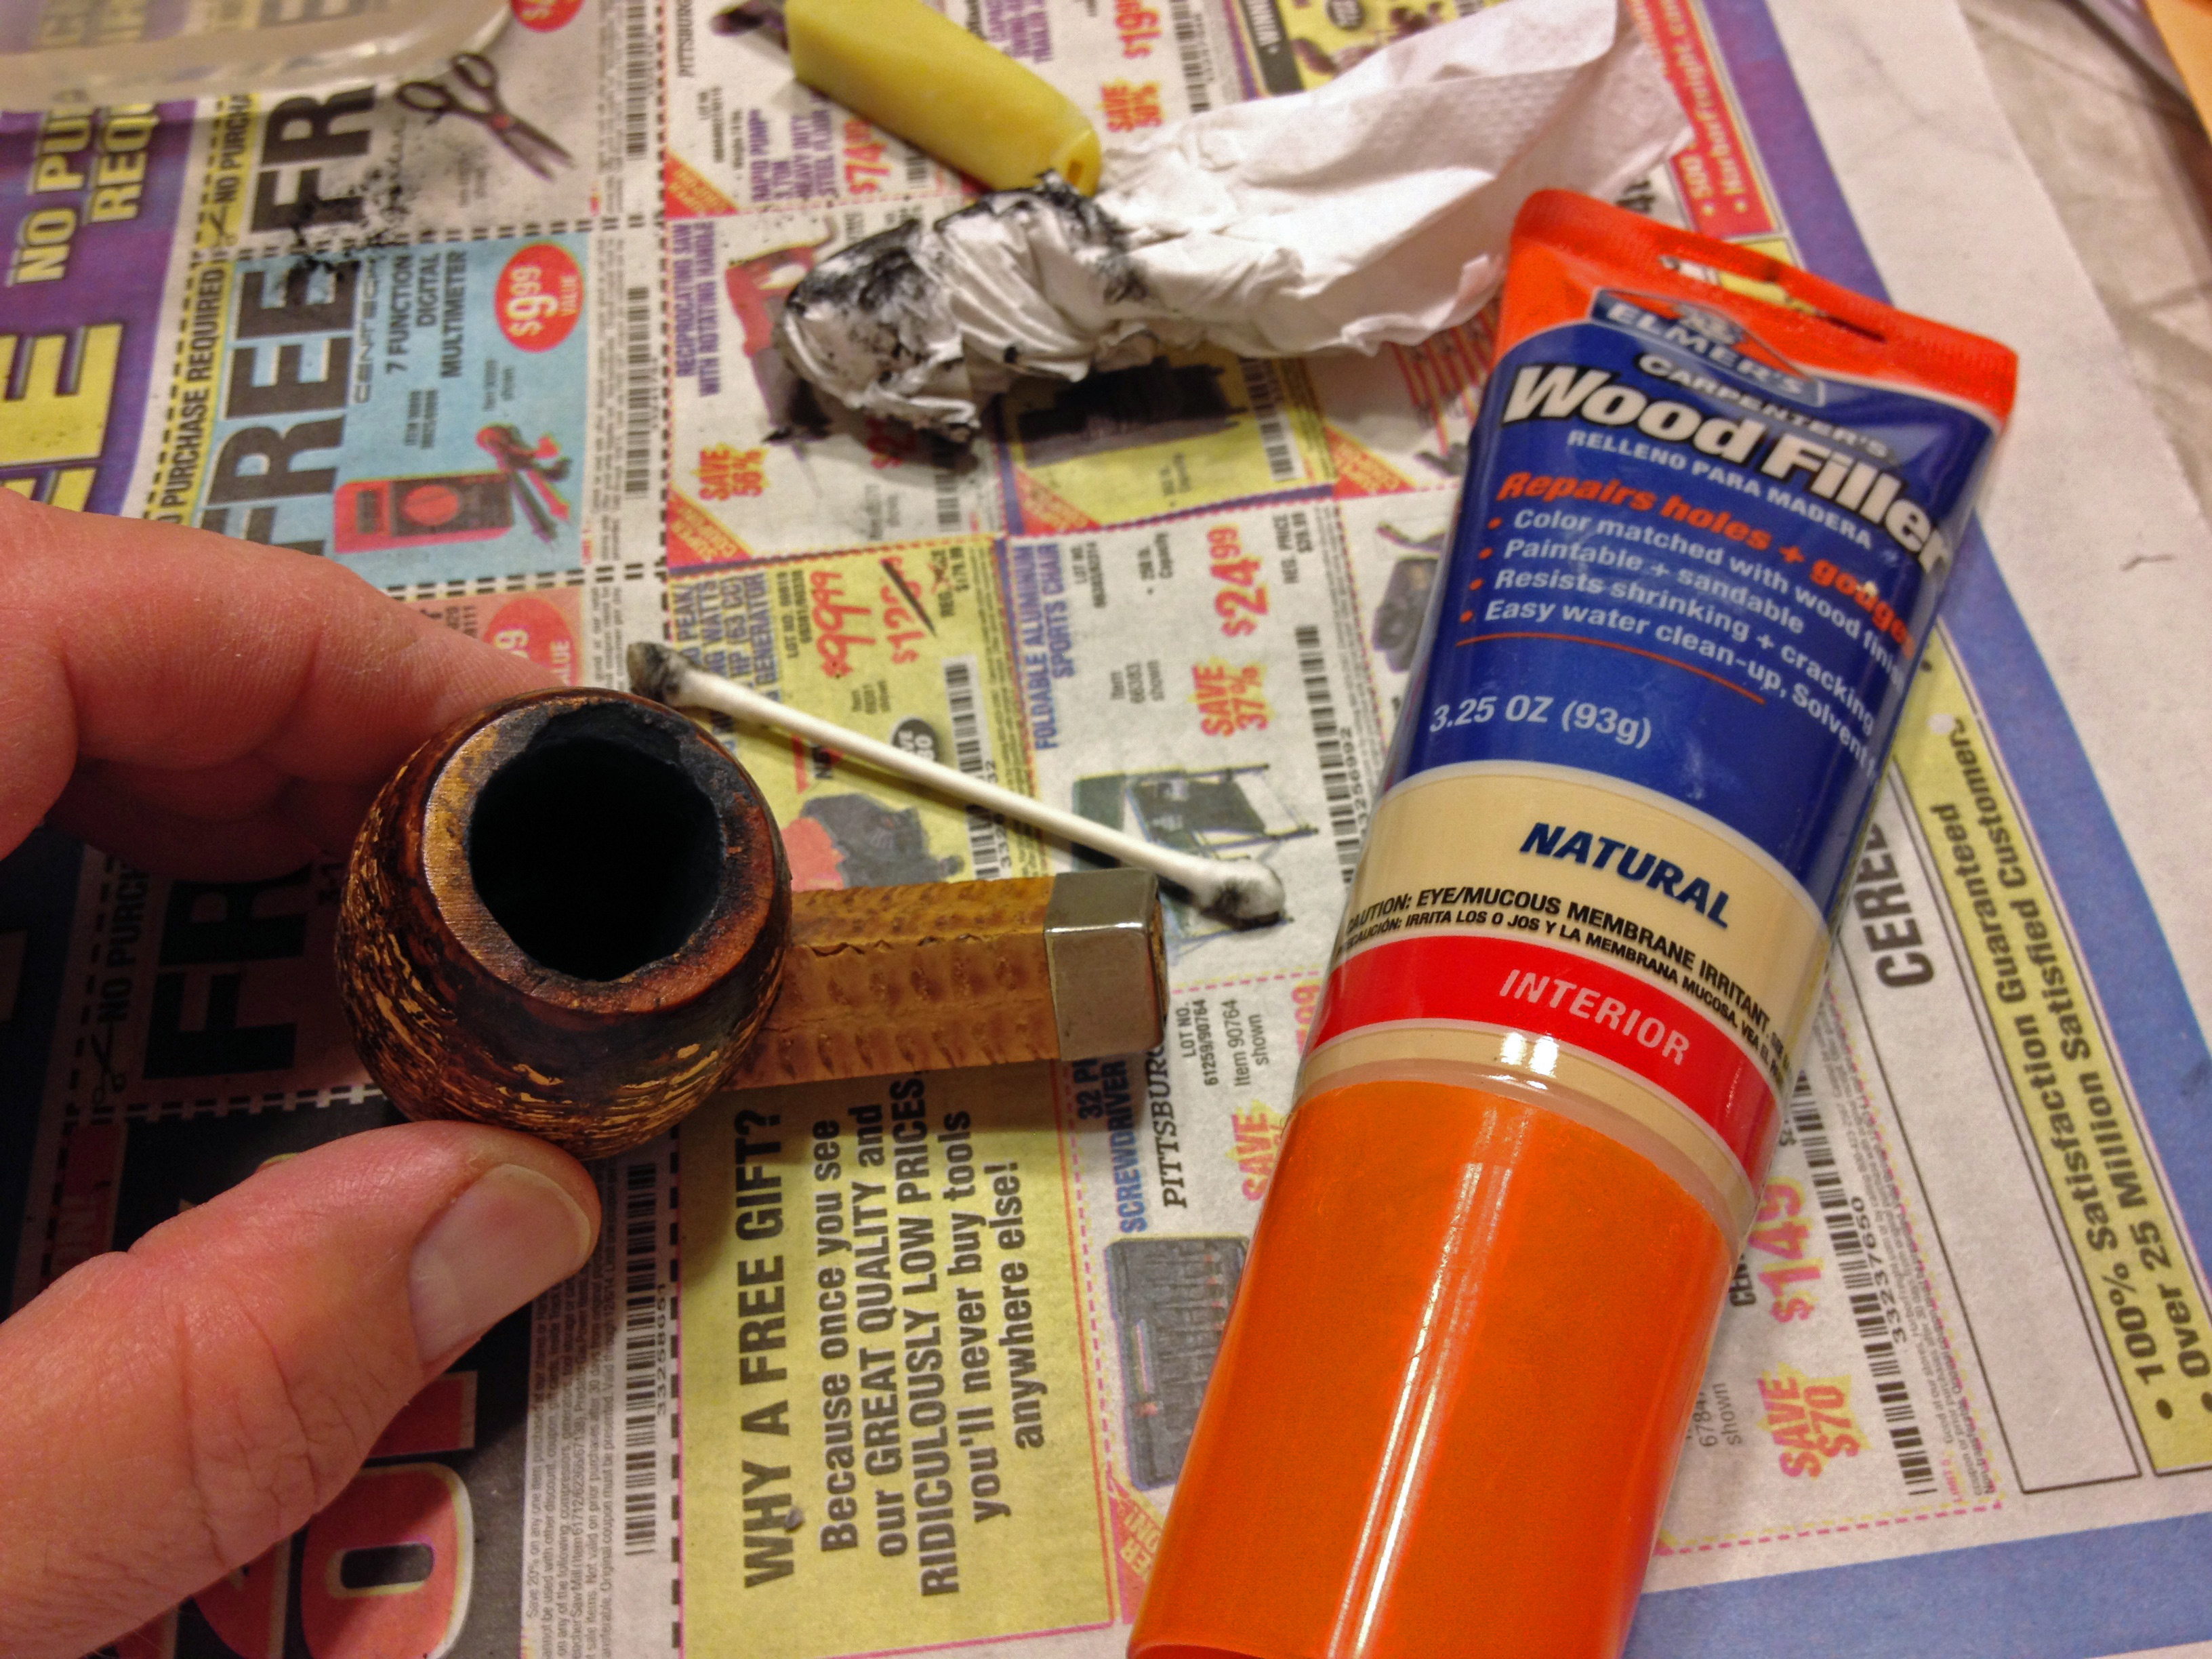 I used both a cotton swab and my finger to apply the wood putty, shaping it as I went, but applying a little extra in case it shrank.
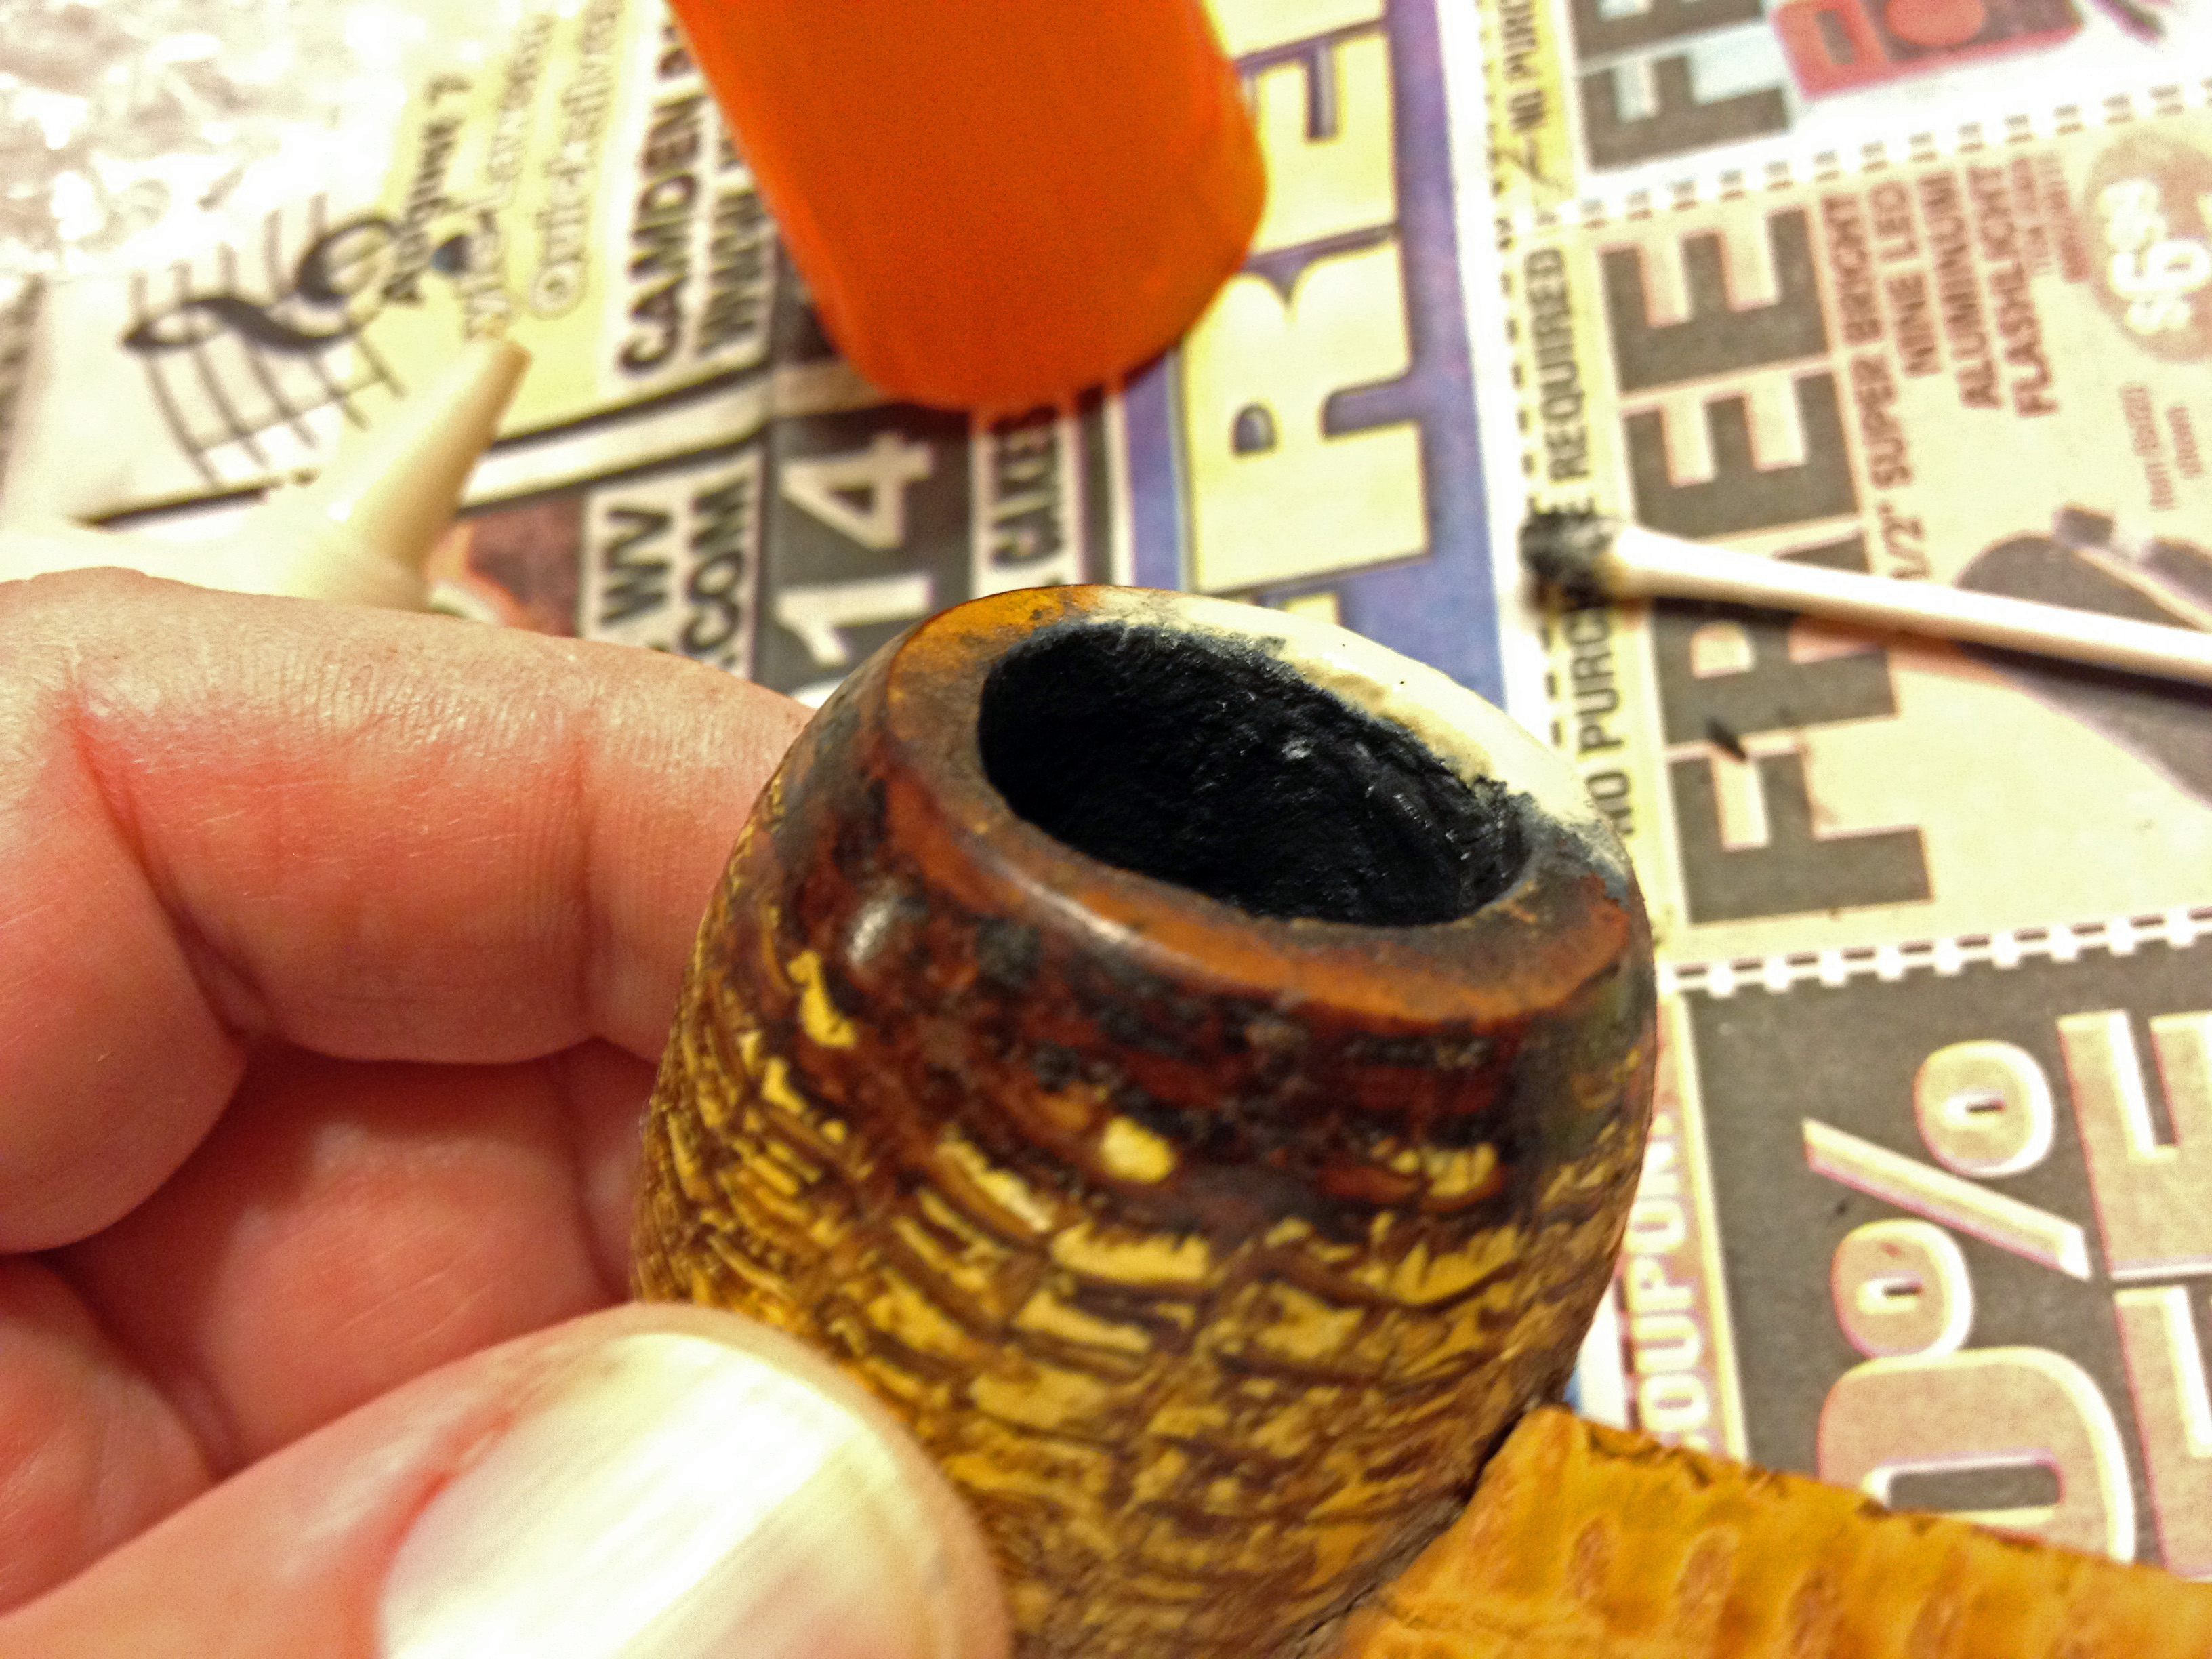 After I was happy with the wood putty patch I used some of the pipe mud and charcoal powder to mute the brightness of the rim repair. This would ultimately be sanded and stained so I didn’t spend too much time or effort on this step, only on making sure the inside or outside of the bowl didn’t have an excess on them.
The weather was rainy and humid during the time that I worked on this pipe so extra drying time was required on each step/patch. At this point I set the pipe aside for a couple of days to be assured that everything was well dried and cured before I moved onto the final shaping and stain blending.
When I came back to the pipe I checked to make certain the repairs were all well cured, and they were: very solid feeling all the way around. Now it was time to shape the rim; I wanted to get the top nice and even but didn’t want to take away the character of the rim so I opted to lightly top the bowl with 400 grit wet/dry paper, checking often. 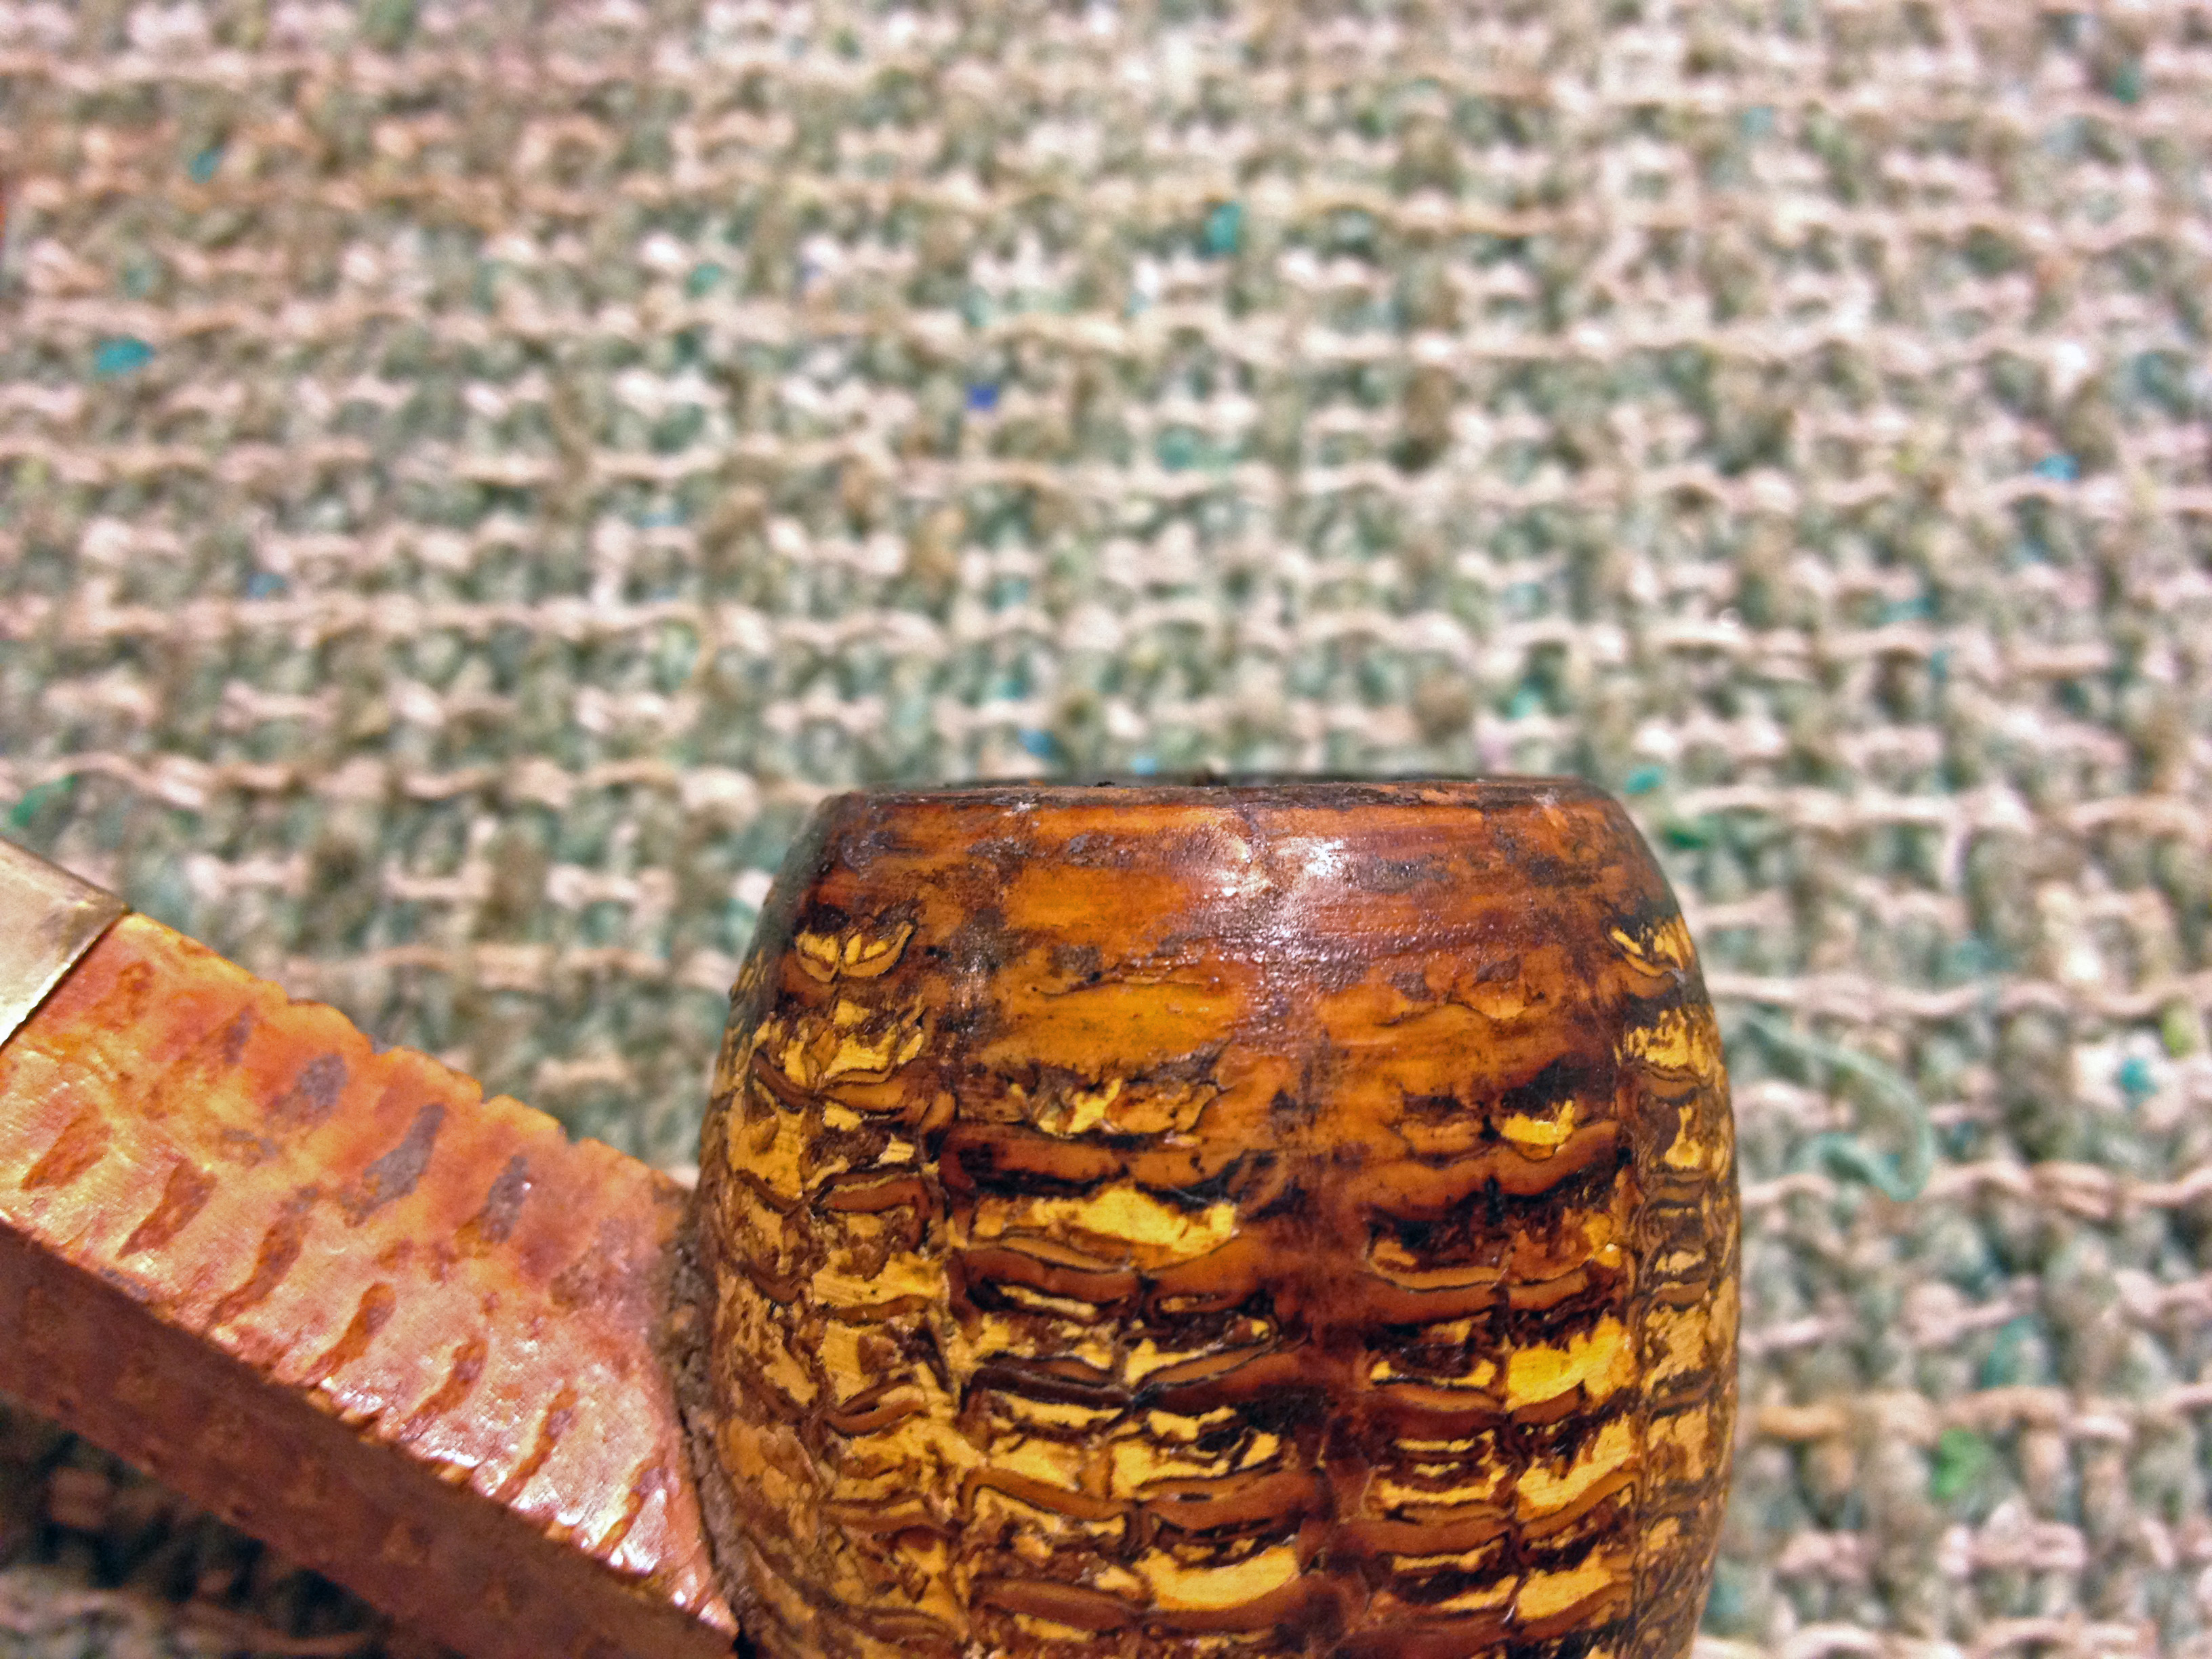 After I was satisfied with the rim being level, I used the same sandpaper to touch up the edges just a bit. Looking well-shaped to my eye, I broke out the stain markers I so often rely on, choosing the lightest color I had for staining and blending the rim.
All in all, I think this was a successful repair job that came out quite well. I am sure that after a few gentle smokes that the rim will take on an even more “natural” and blended look. And best of all, I think this old corn cob pipe will provide many more years of good service to Astrid – and maybe even to someone else down the road!