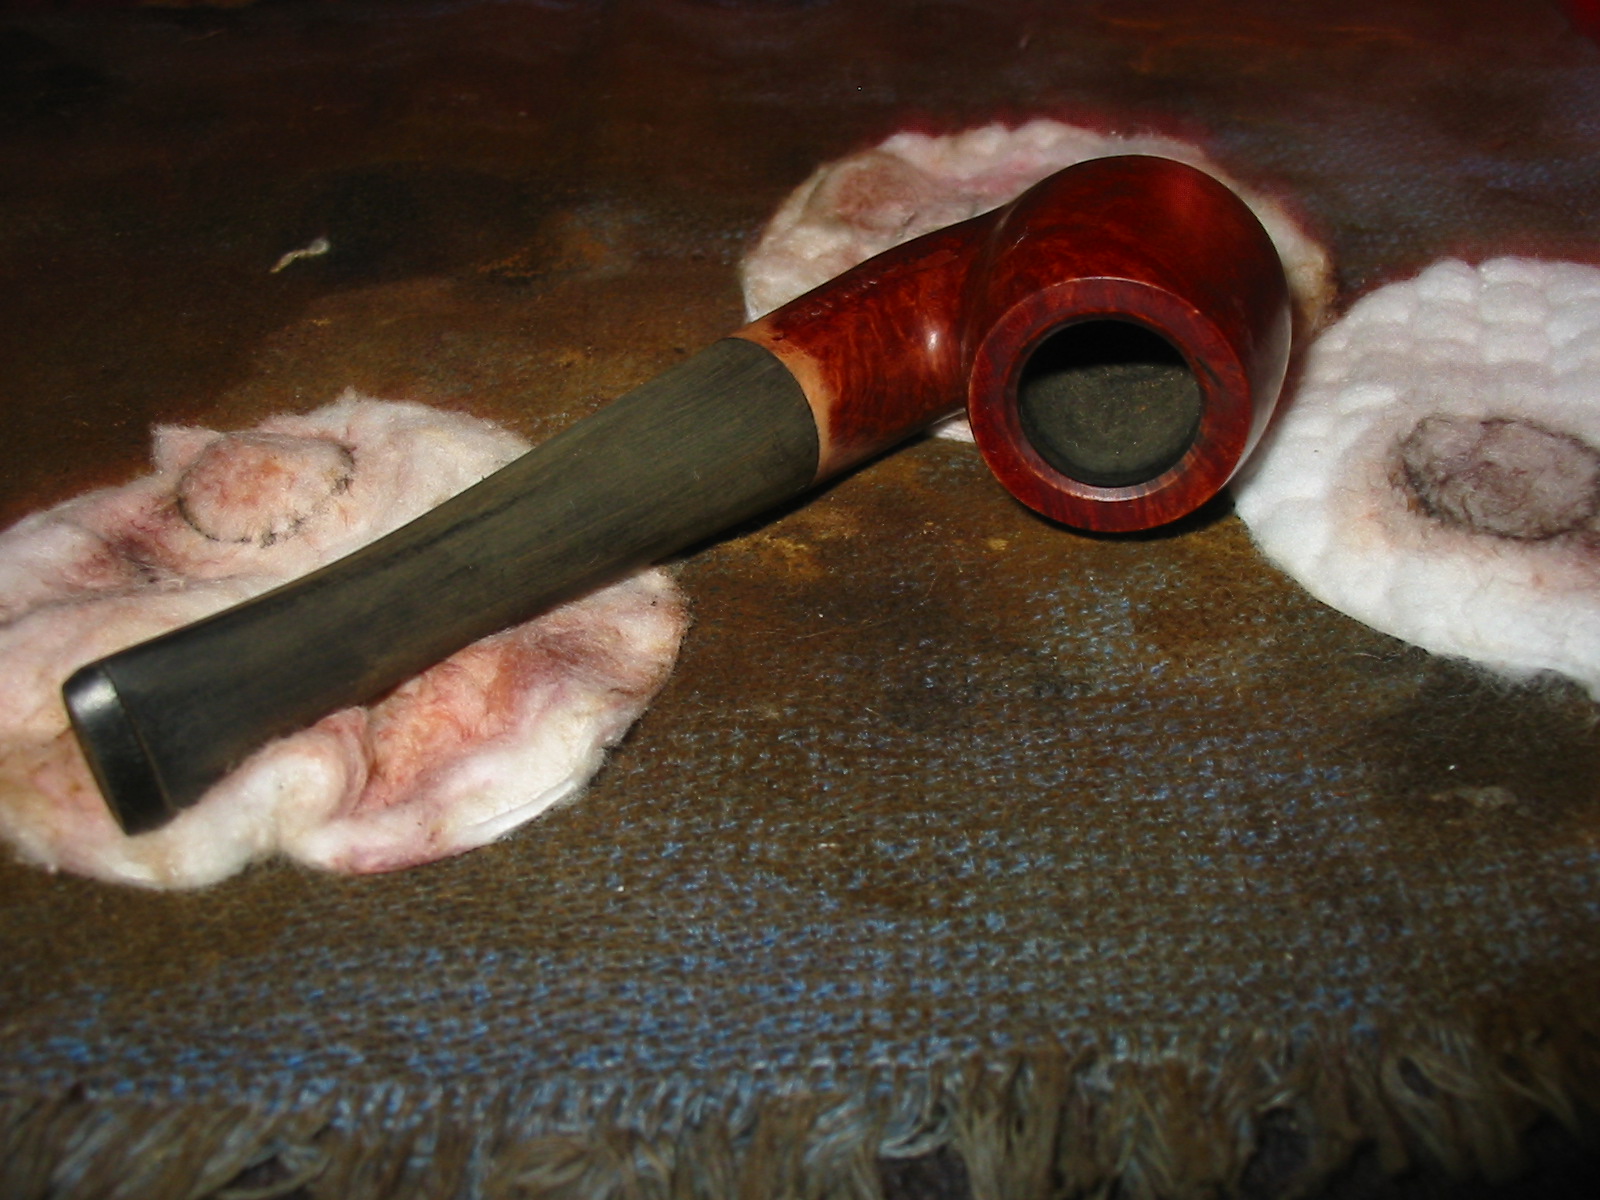
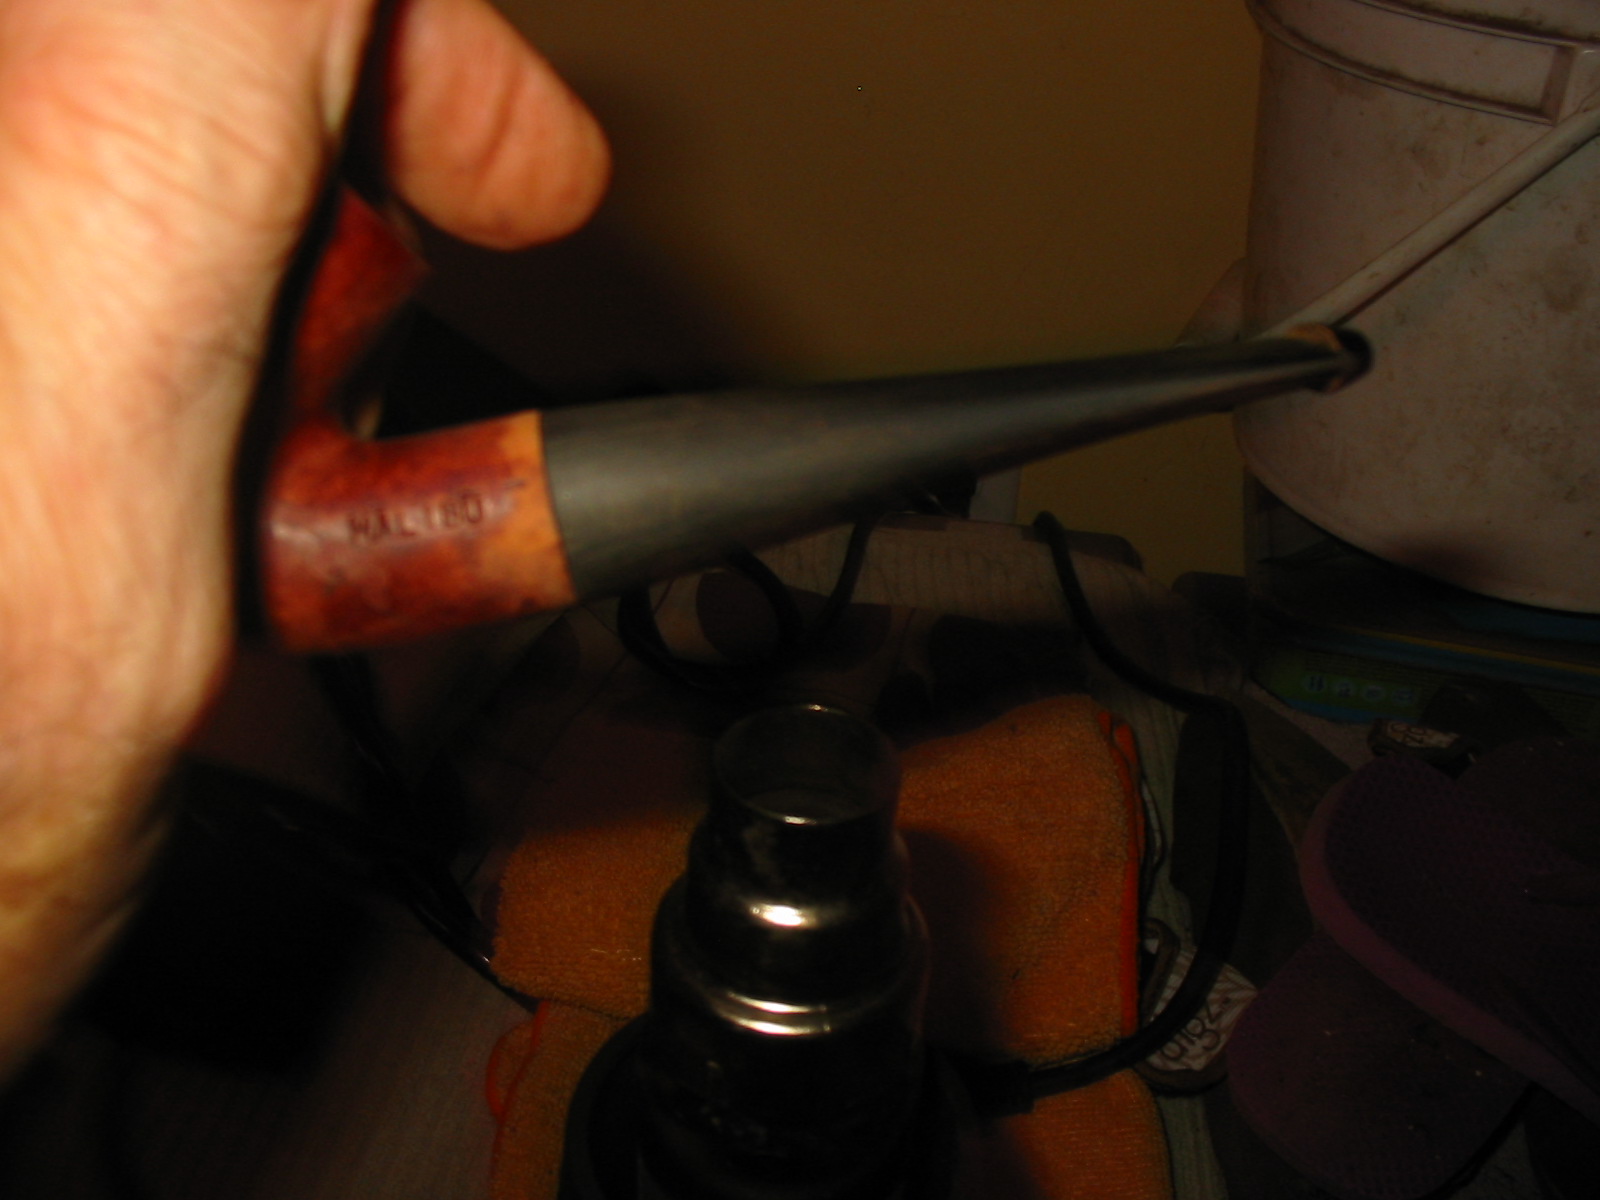
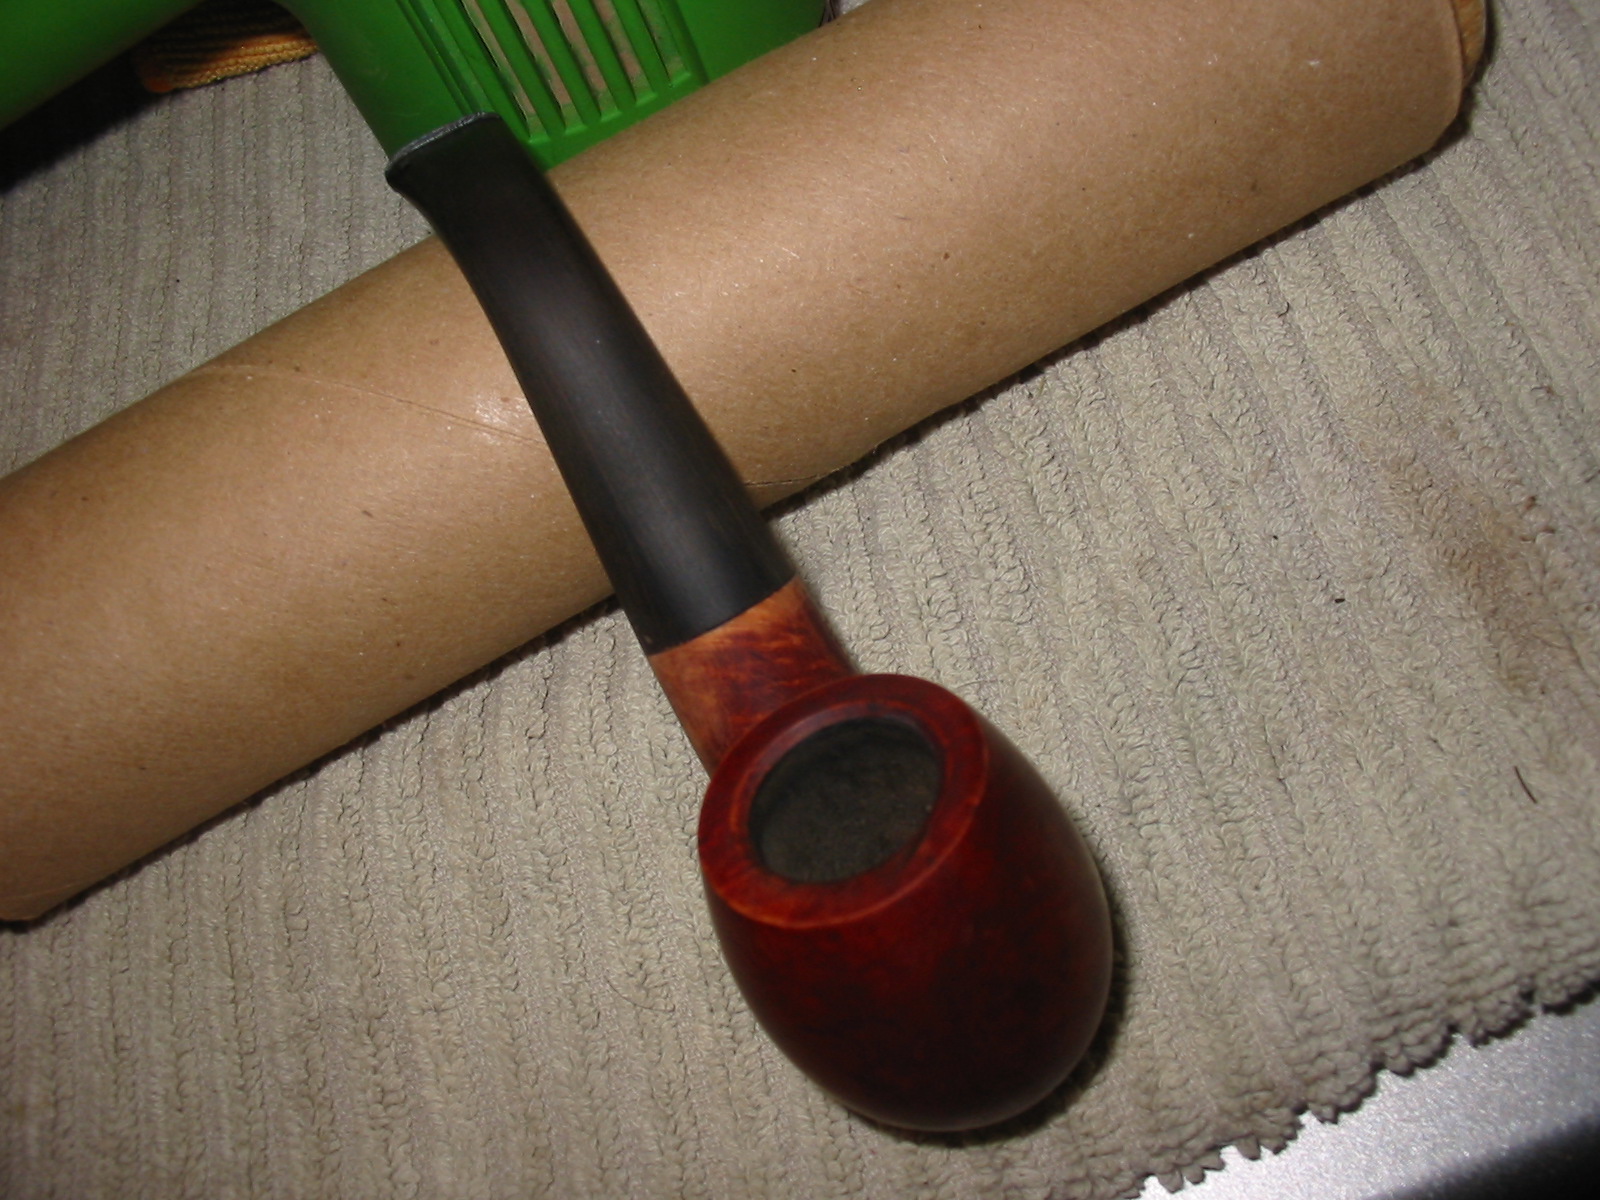
Author Archives: rebornpipes

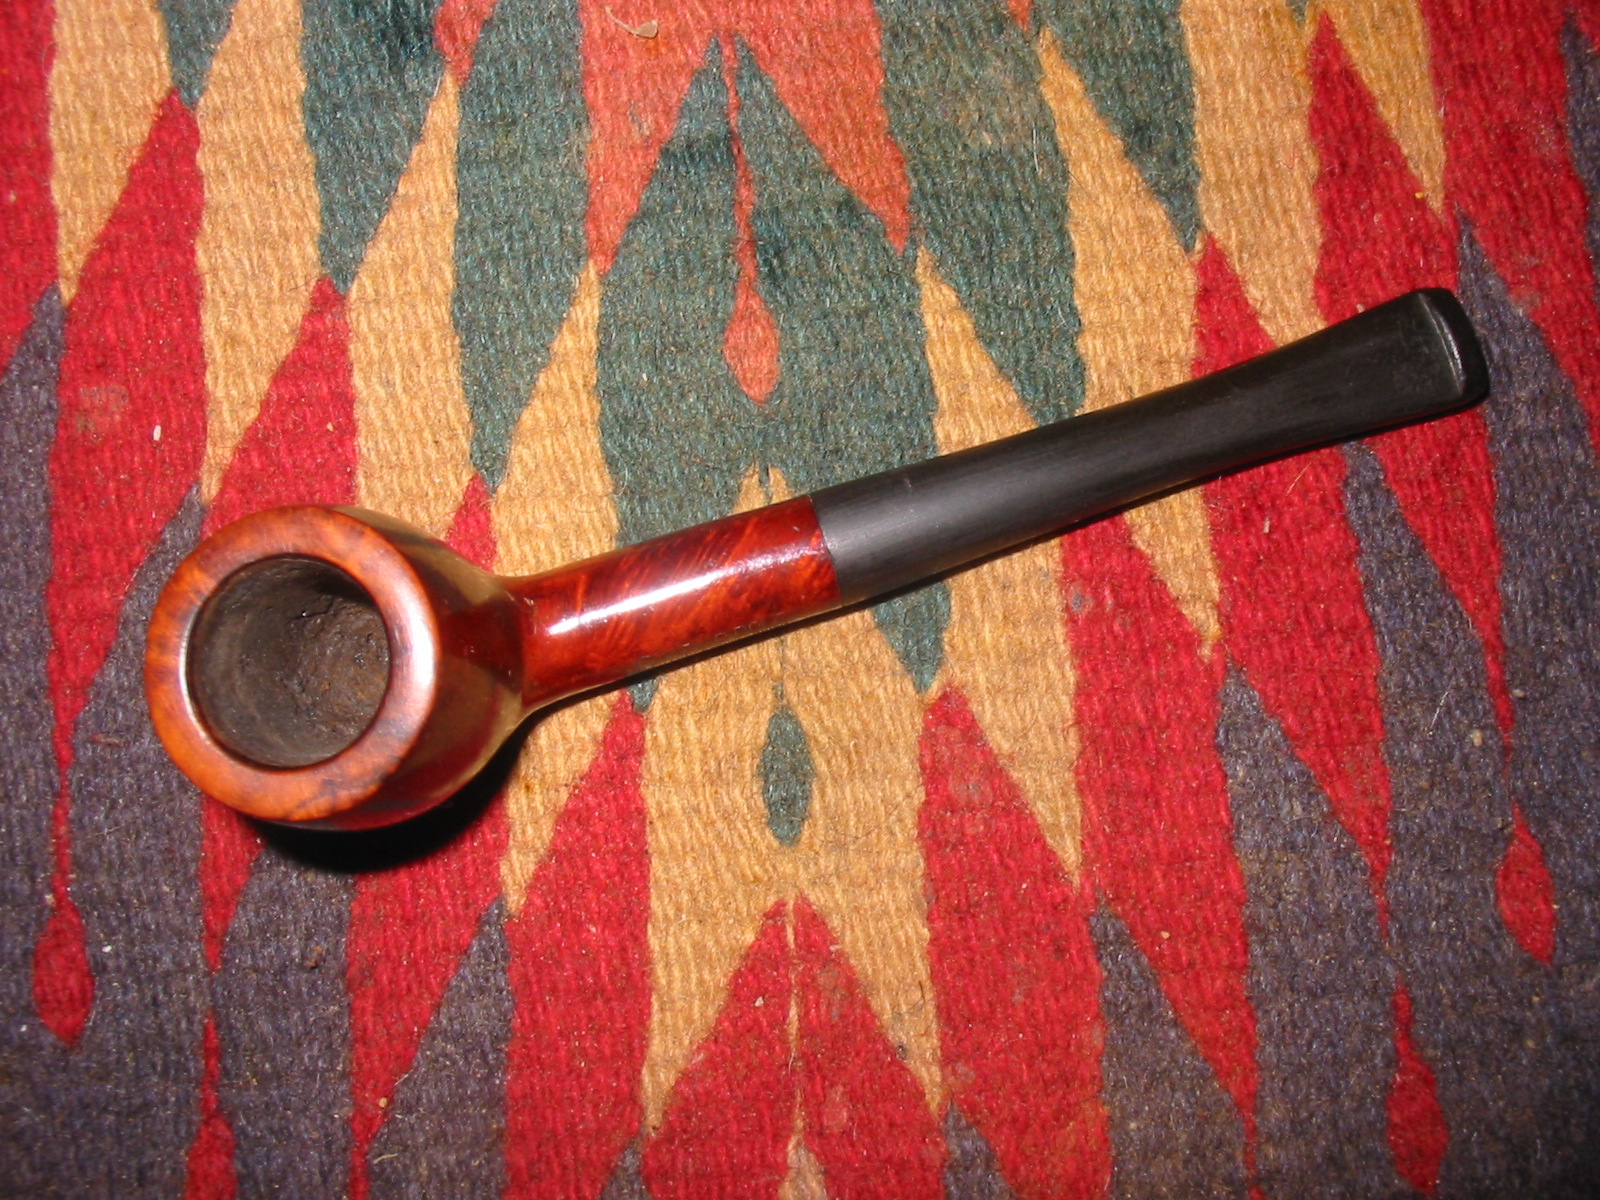
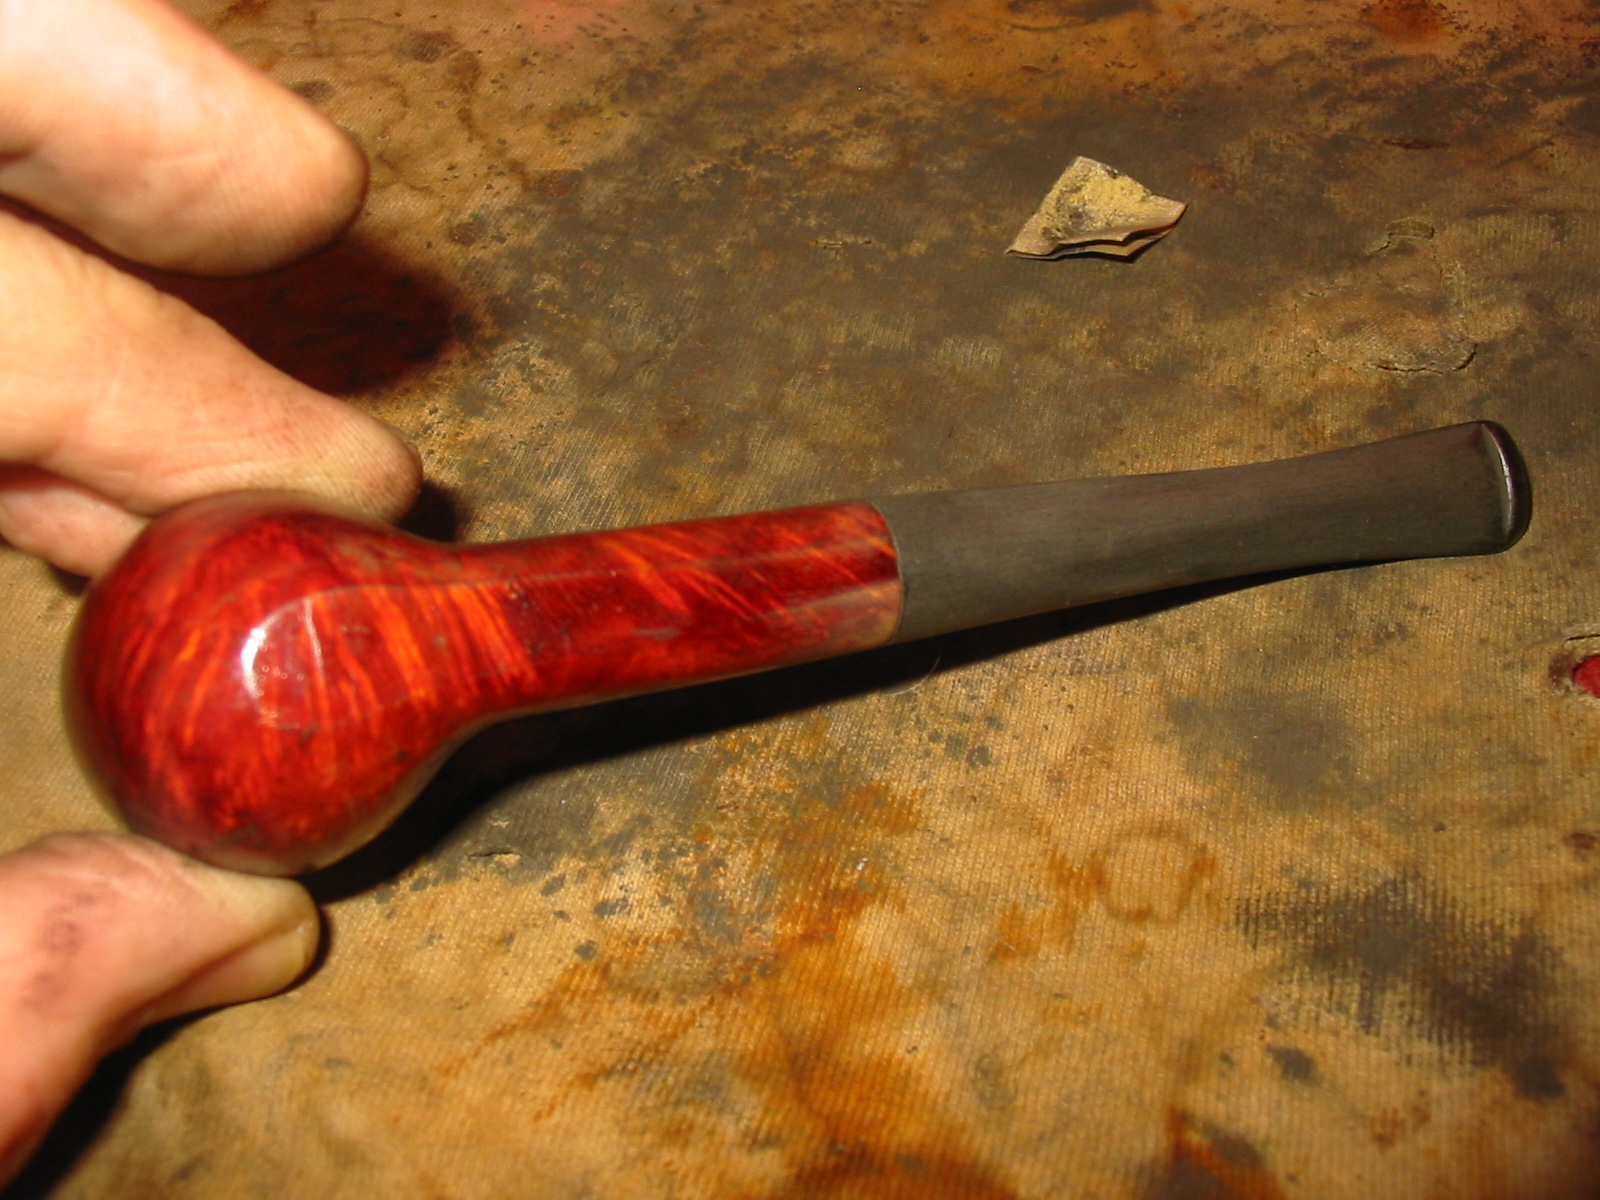
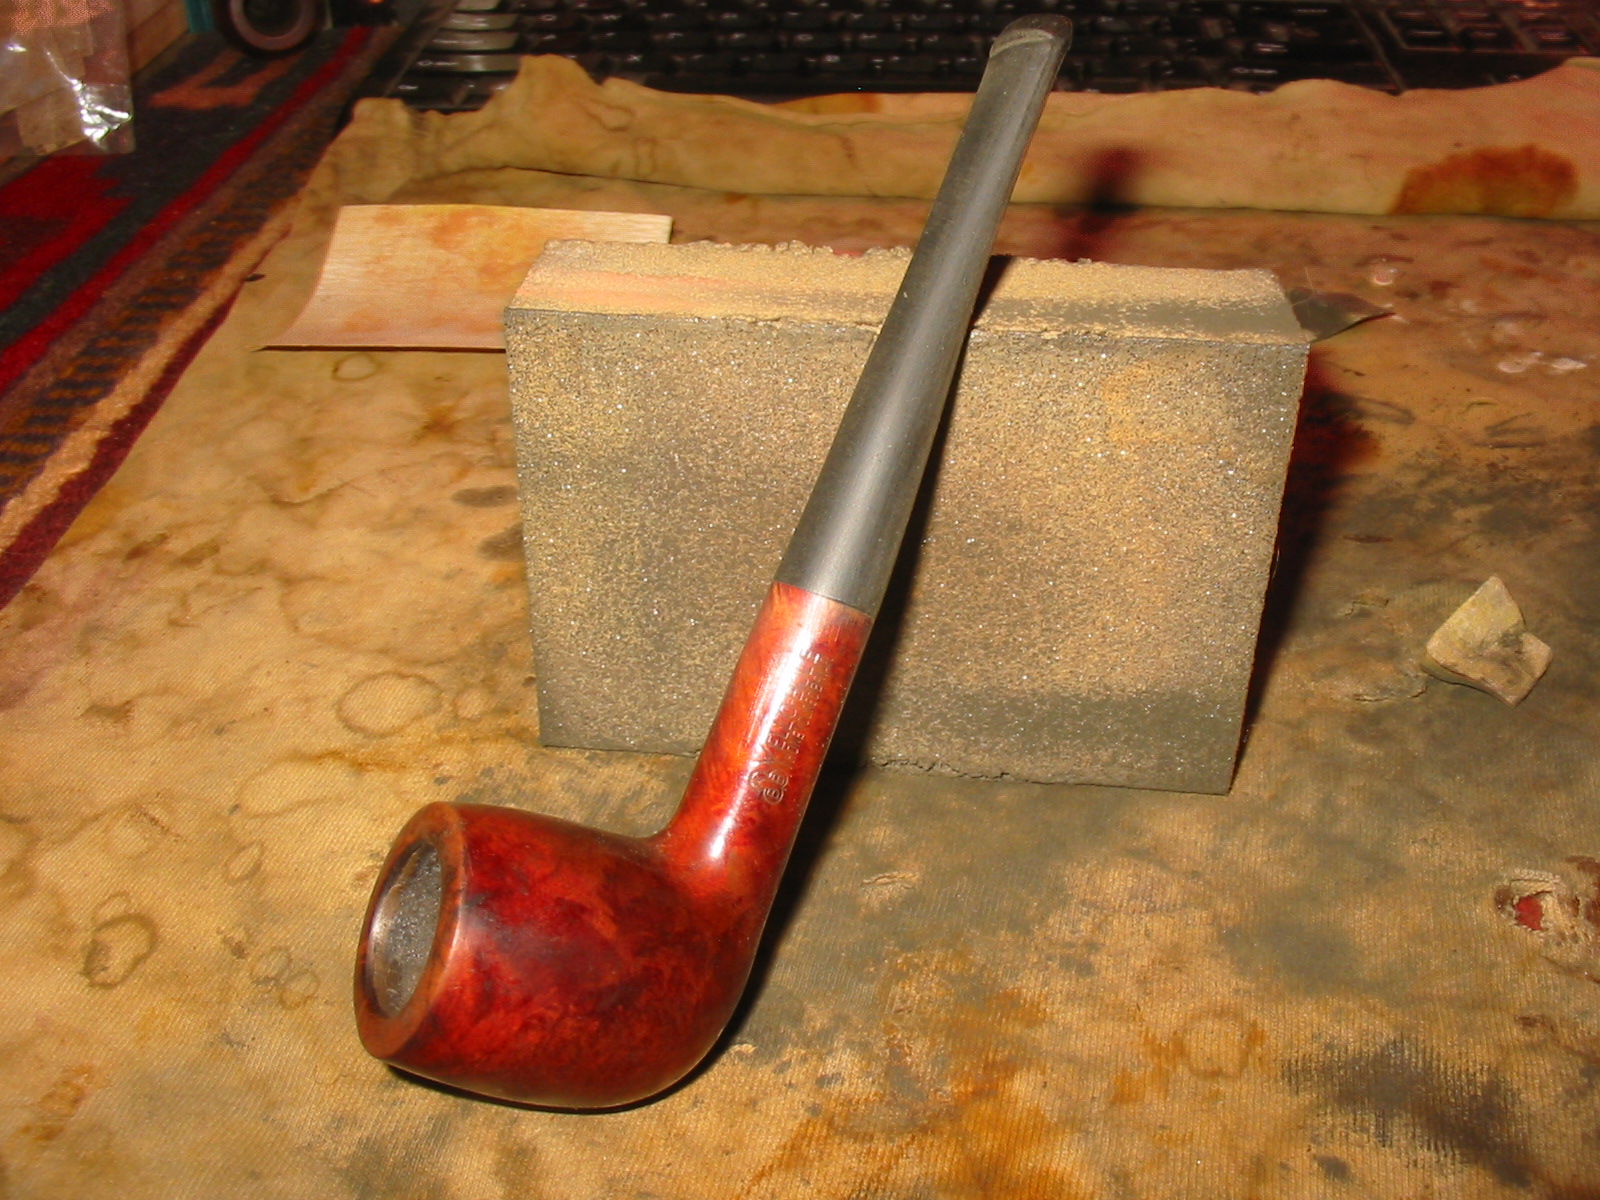
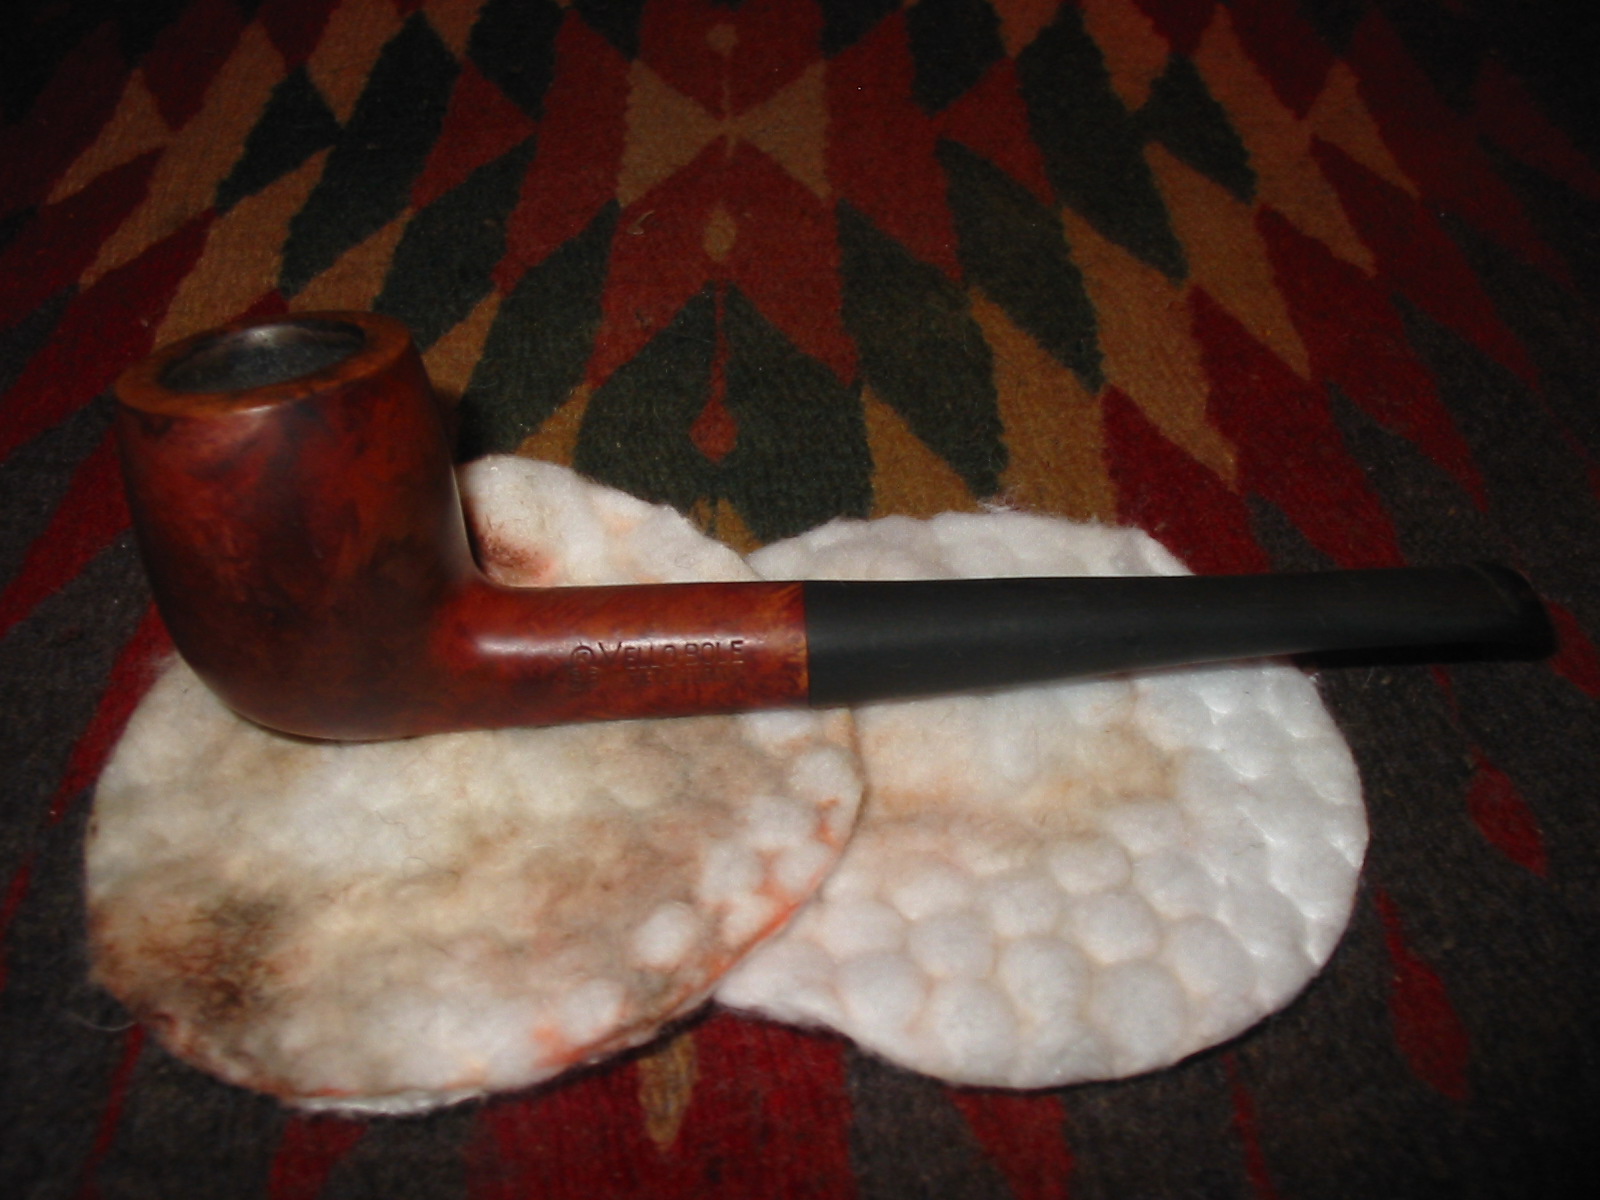
Ten Steps to Restoring Estate Pipes for Beginners


I have been reading on a variety of pipe refurbishing sites on the web how different refurbishers list the steps they take to clean up an estate pipe. Interestingly enough, there is little variation among them on the steps that they take in the process. I think it is fair to say that regardless of who you read and who you learn the trade from you will pretty much follow the same steps. The one addition that I would make to the list that each restorer has made is really a step previous to the one they list – that is to take the time to thoroughly examine the pipe that you will be working on to make a list of what will need to be done to that particular pipe. What does the rim look like? What about the bowl, does it need reaming? Is the bowl plugged? Is the bowl out of round? What is the finish like? Are there dark areas? Is the briar solid in those areas? What about the finish? What does the stem look like? Those and a multitude of other questions become almost automatic as you turn the pipe over in your hands examining it before beginning. By doing this a lot of surprises can be avoided and an order of work can be established.

That being said, I thought that it would be good to make a basic beginners guide for cleaning up estate pipes and restoring them. This guide will enable newcomers to the art of refurbishing a straightforward and basic step by step process for cleaning up some of those great old estate pipes that they add to their collection. I have learned that it is always wise to be prepared for the worst state/condition you can imagine (and even worse) a pipe might be found in and then when you work on it you won’t be surprised by what you find when you begin to work on your newly found treasure. Remember, there are very few issues in an old pipe that cannot be addressed one way or another. When in doubt ask questions.
images I have listed my own supply list for refurbishing in another blog post that can be read at the following link: https://rebornpipes.com/2012/05/31/list-of-supplies-for-refurbishing/ Have a look at that list to gather the basic supplies you will need to do the clean up. Before I get to the basic techniques, I will include a short list of equipment and materials for the job. This short list is designed for the refurbishing beginner who does not have access to a lot of tools. As you get more involved in the art you will want to add more of the equipment I list in the extended list in the above blog post. But here are the essentials:

* Pipe Reamer – to me the best is the PipNet reamer – a T handle and four insertable heads.
* Isopropyl Alcohol, a minimum 91% though the higher percentage is better. I generally look for 99%
* Murphy’s Oil Soap or some other Fine Wood Soap (use undiluted)
* OxyClean powder
* Tooth brush
* Pipe cleaners – fluffy, thin, tapered, bristle
* Cotton swabs or Qtips
* Cotton Balls – I buy them in huge bags at the Dollar Store
* Cotton Make-up removal pads
* 220, 400 and 600 grit sandpaper
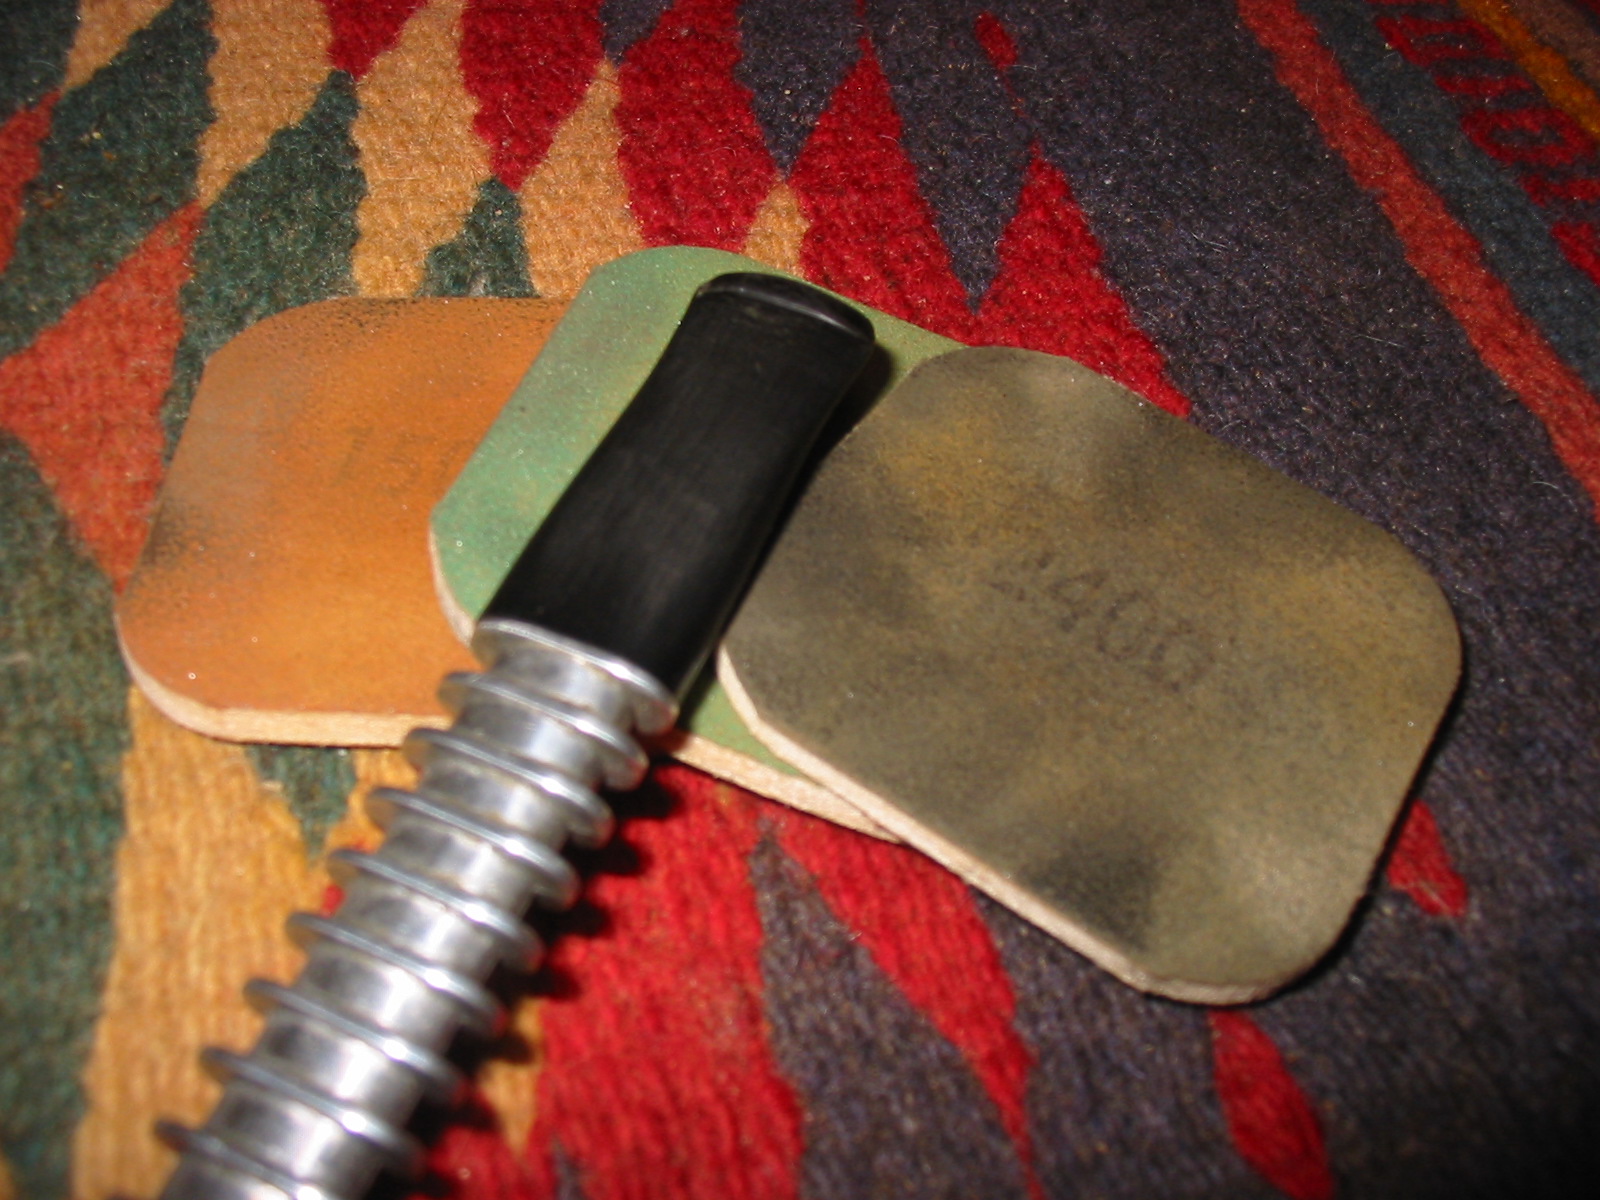
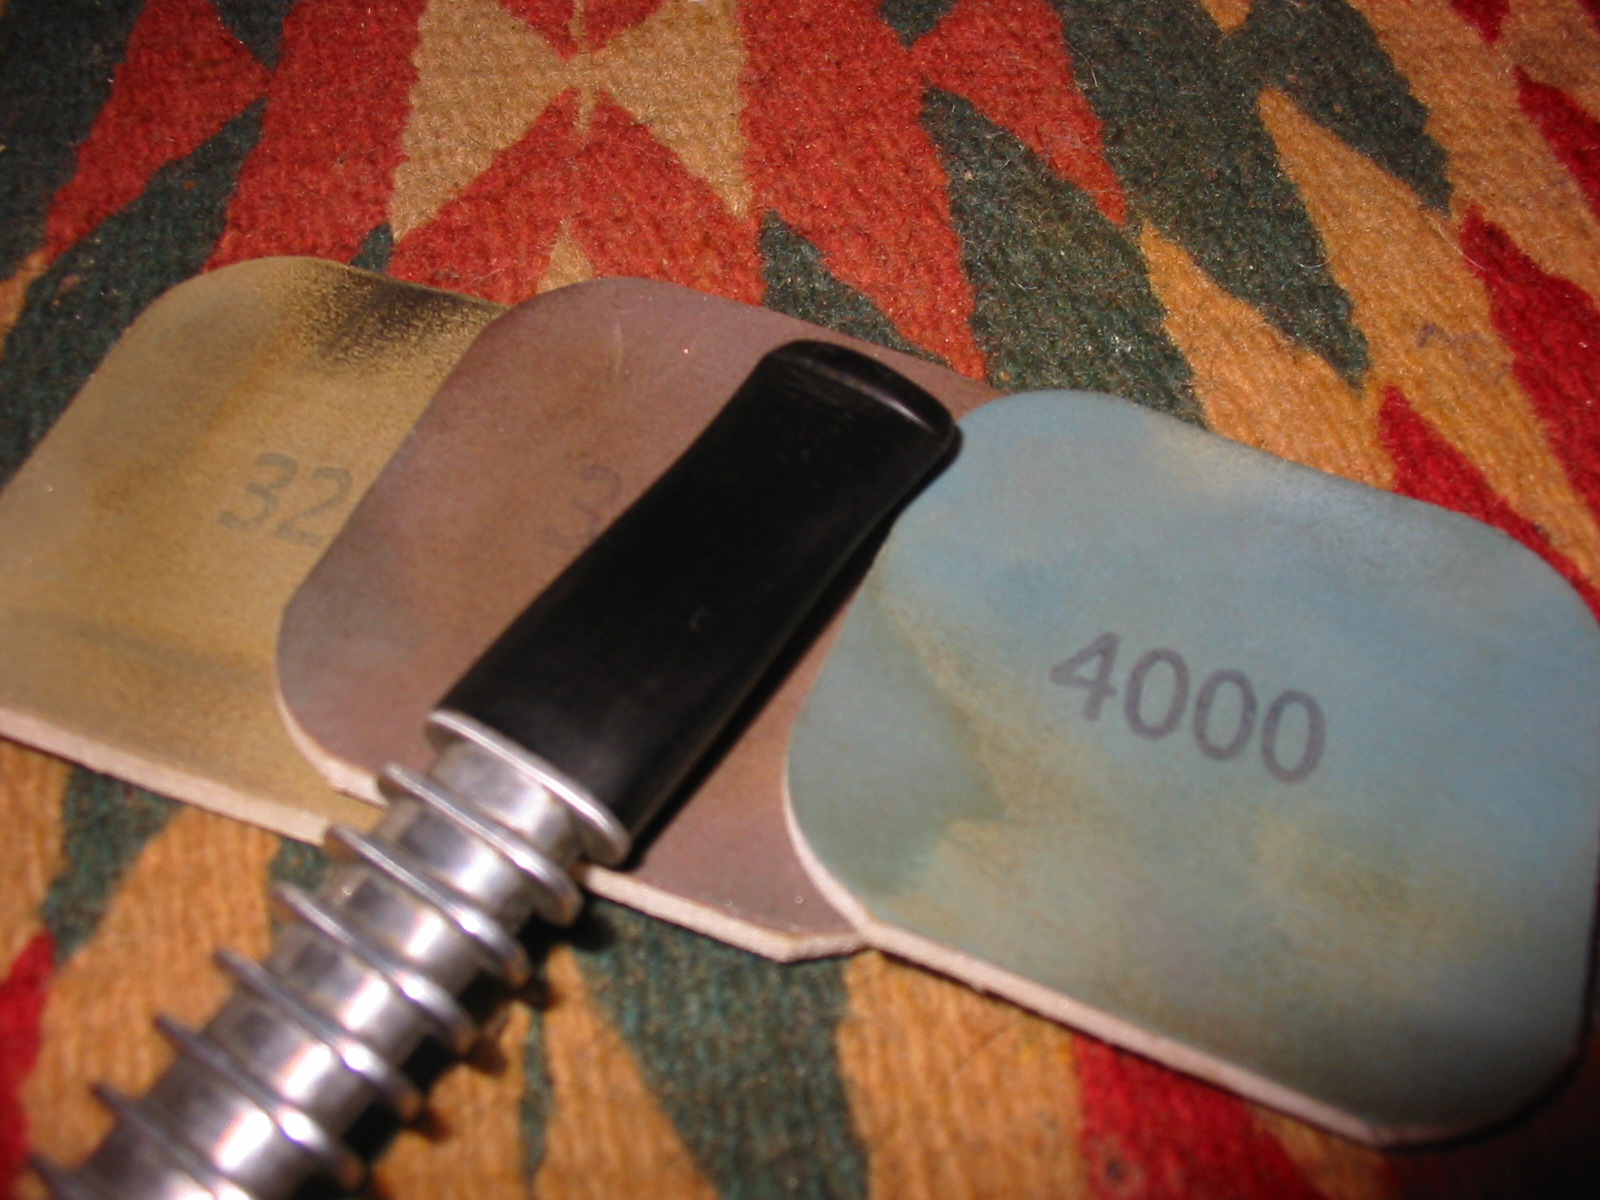
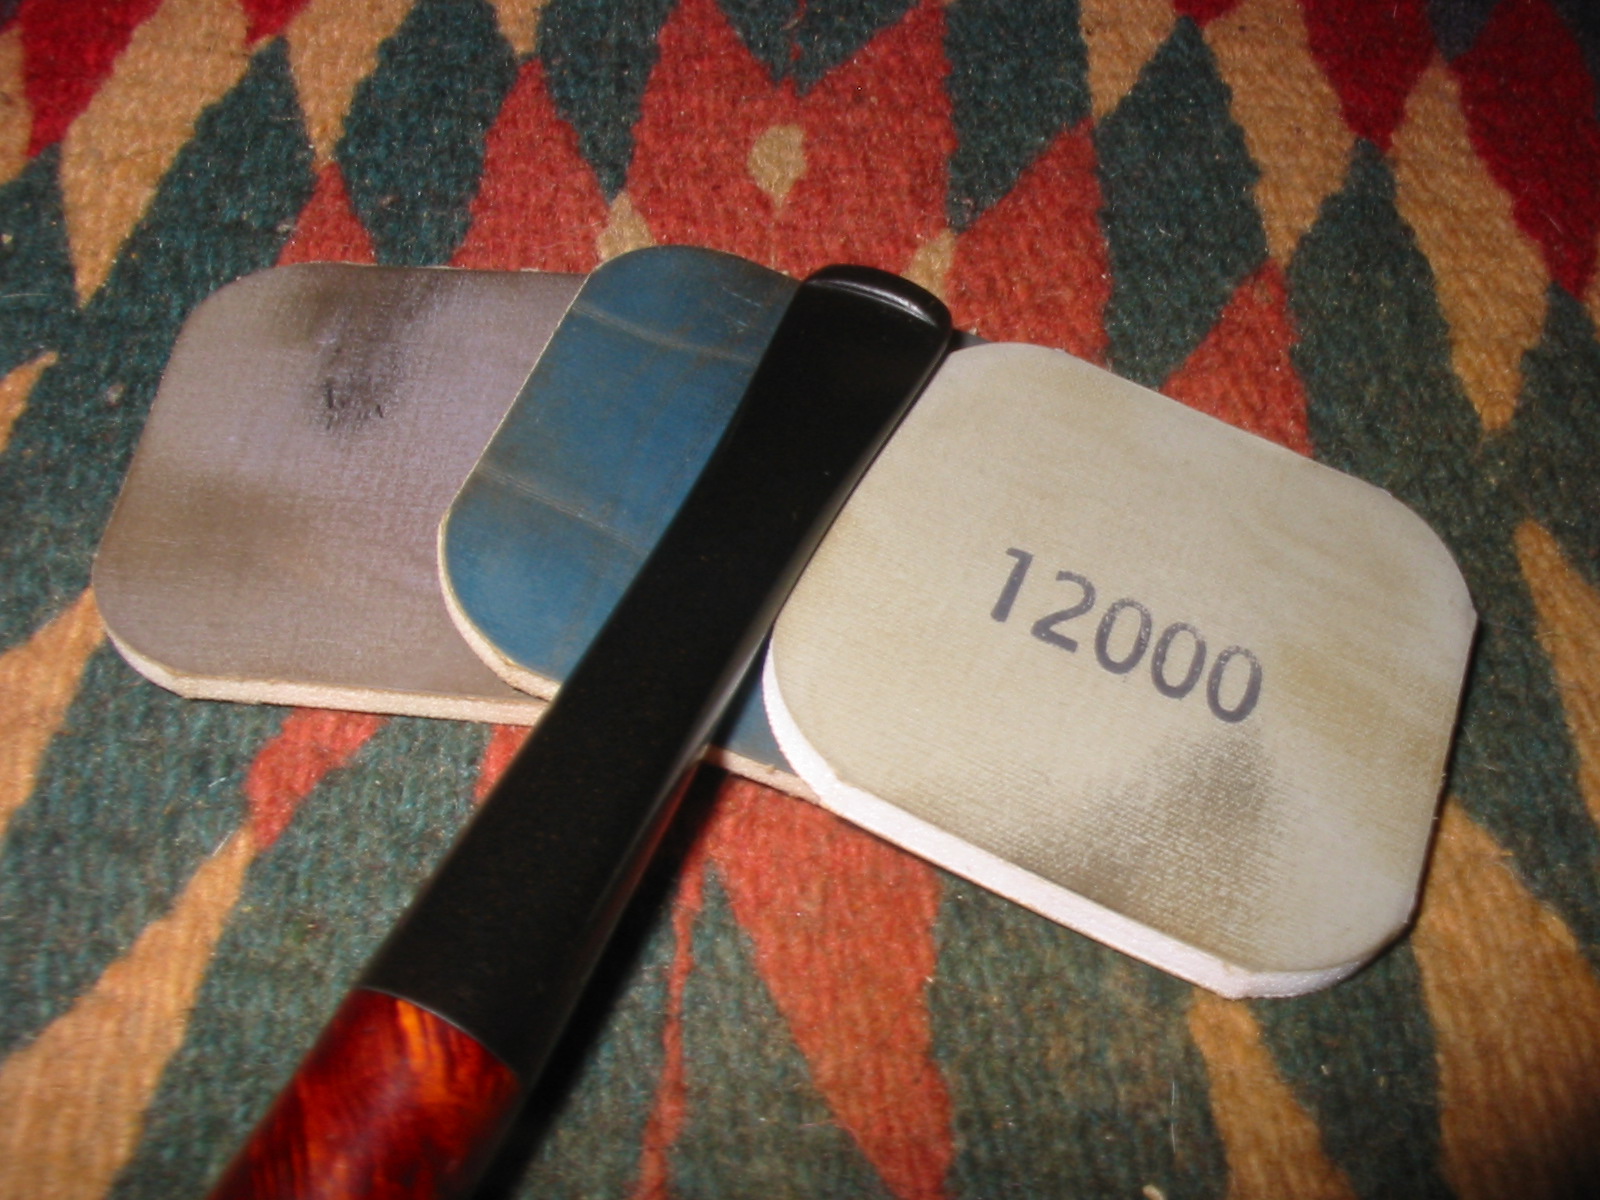
* micromesh sanding pads 1500-12,000 grit (12 pads in all available in hobby stores)
* Halcyon II and Paragon Wax available online
*A shoe brush
* Cotton Cloths for polishing

I know that many of you who have been doing this for a while – old timers in the refurbishing game will have all kinds of things you will want to add to the above list. You will no doubt have things you will want to add to my ten steps but truly, this list will give a person all they need to refurbish an estate and polish it by hand. As they get deeper into the hobby of course there will be items to add to the list – buffers, etc. But this will get anyone started. I would also recommend sticking with the isopropyl alcohol over high proof rum or spirits. In Canada where I am Everclear is unavailable and I know that is true other places as well. That is why I suggest the iso and encourage starting there. It evaporates quickly and leaves no residue so use it.

tenSteps Now for my ten steps: I am assuming at this point that you have examined the pipe you have before you purchased it and it is in sound working order. It does not need a new stem. The bowl is intact and dirty but not burned out. Those are the kind of issues that I deal with in many of the posts on this blog so if you want information about those they are accessible to you on the blog. That disclaimer being said here are the steps.

1. Take the pipe apart. This may sound simple but it may not be so simple in actuality. Do not force the stem off the bowl. If it is stuck it may be a screw on stem – gently try twisting it counter clockwise (to your left). If it is still stuck then put the pipe in the freezer for up to an hour and then check it. The stem and bowl material will react differently to the cold and often this is enough to allow you to loosen the stem. Once you have the stem and bowls separated move on to the next steps.

2. Ream the pipe. Choose the smallest reaming head from the PipNet set and start with that. Work your way up to the size of the bowl. Make sure that the head is absolutely vertical in the bowl and remains that way as you turn it. An angle on the head can make the bowl out of round. Personally I ream the cake in the bowl back to the briar and start fresh. Others leave a thin layer of cake on the walls of the pipe. I remove it all because I want to examine what is underneath the cake. I want to check for damage in the briar.

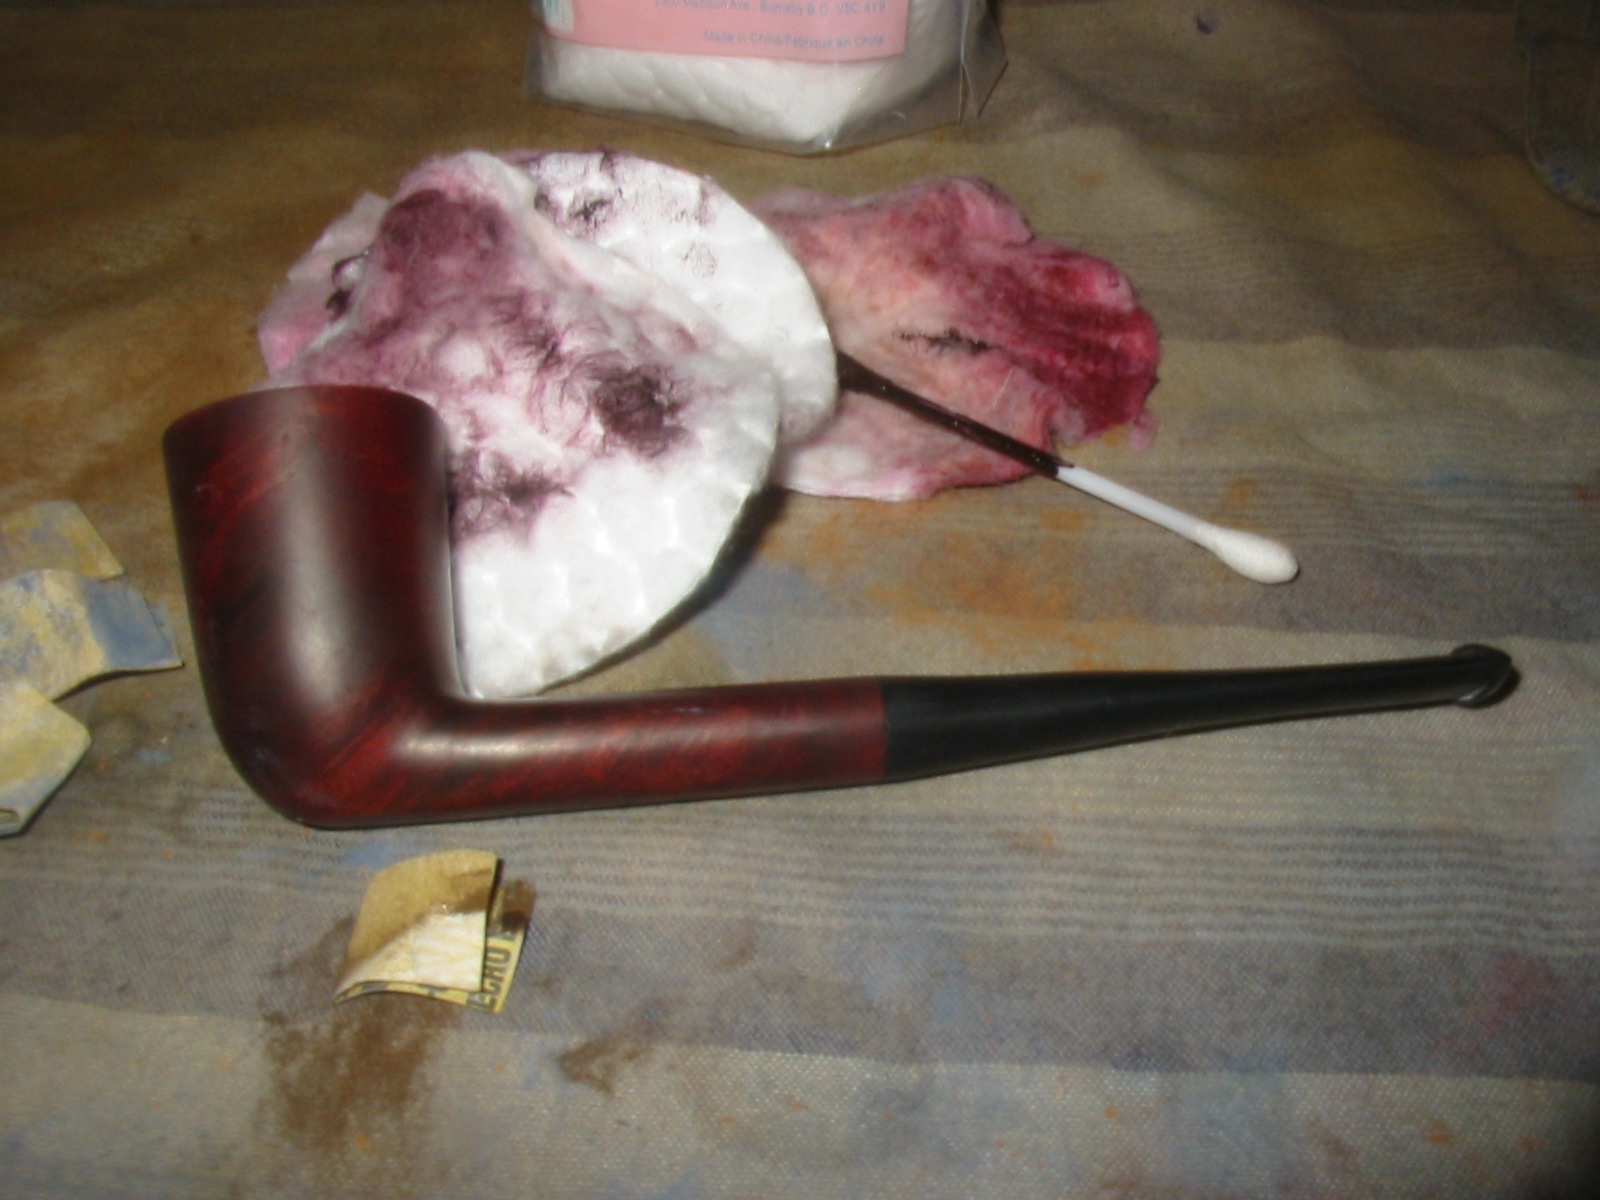
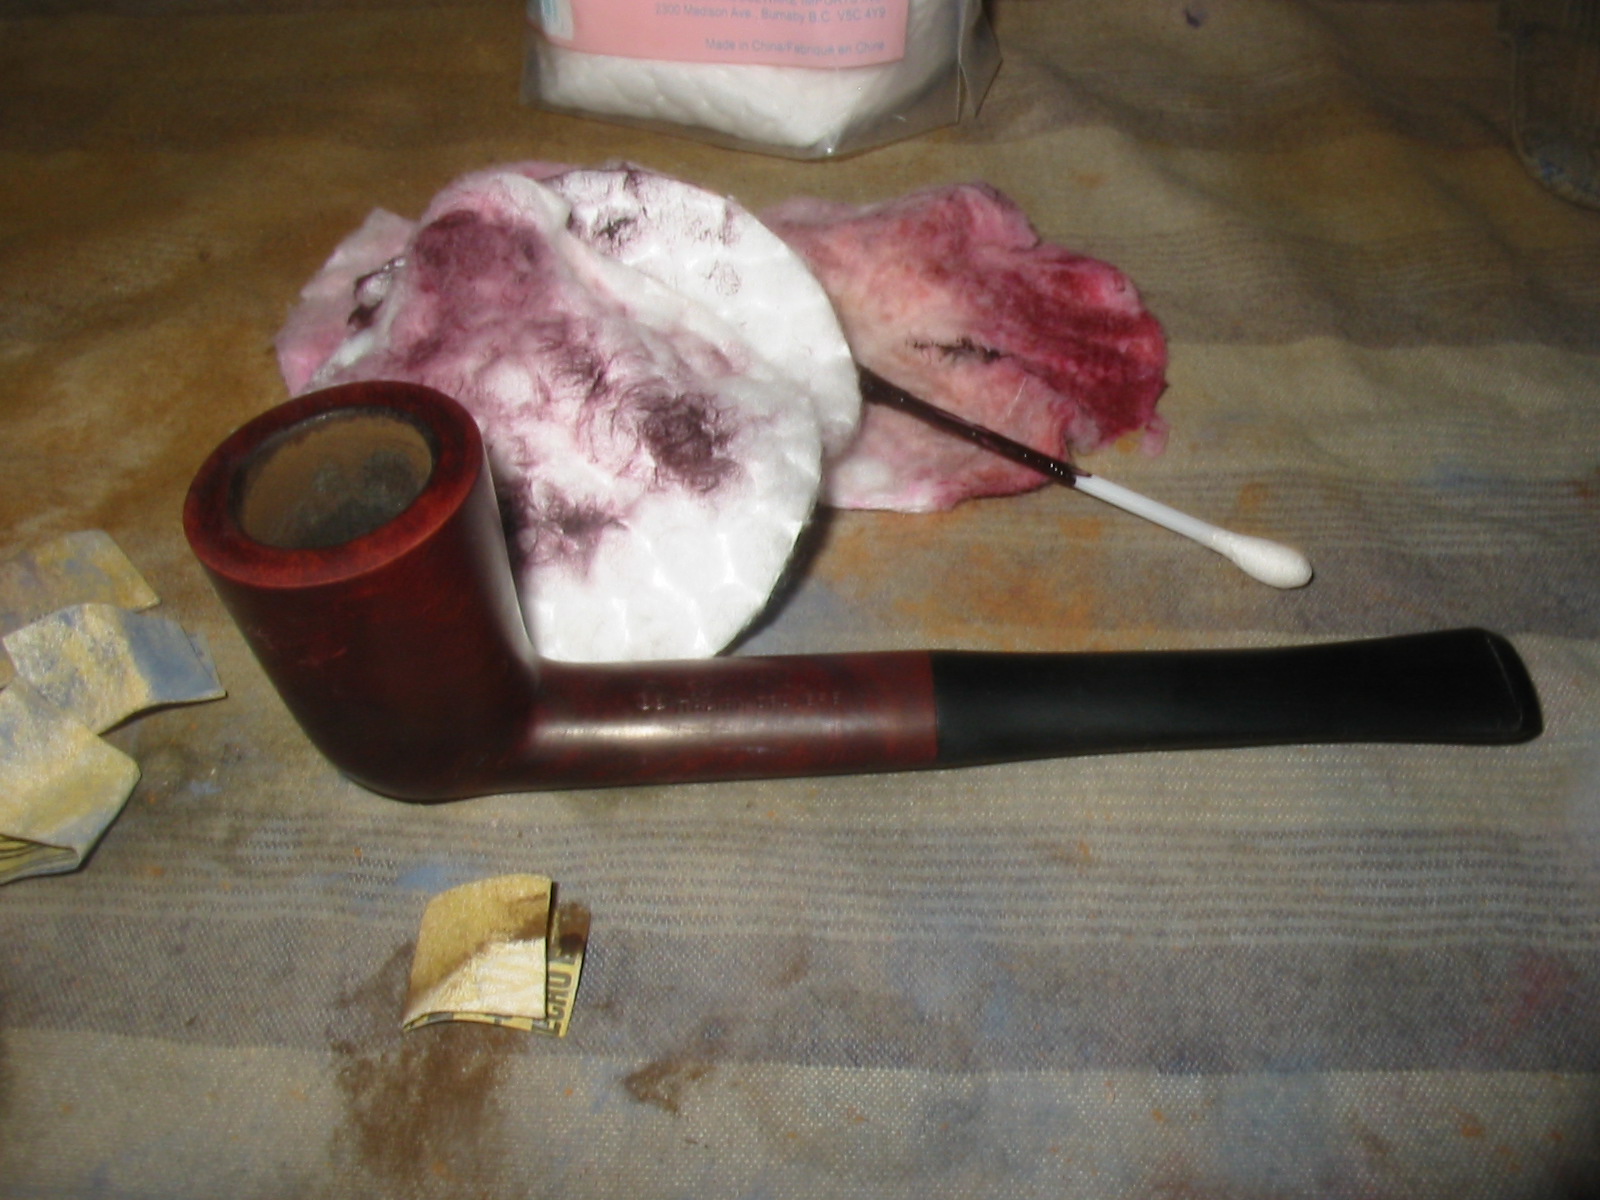
3. Scrub the internals of the bowl. Use Qtips, pipe cleaners and alcohol to remove all of the tars and oils in the shank. Work until the pipe cleaners come out with no colour. Use a folded pipe cleaner to wipe out the inside of the bowl and pick up any alcohol that may end up in the bowl from the cleaning of the shank.

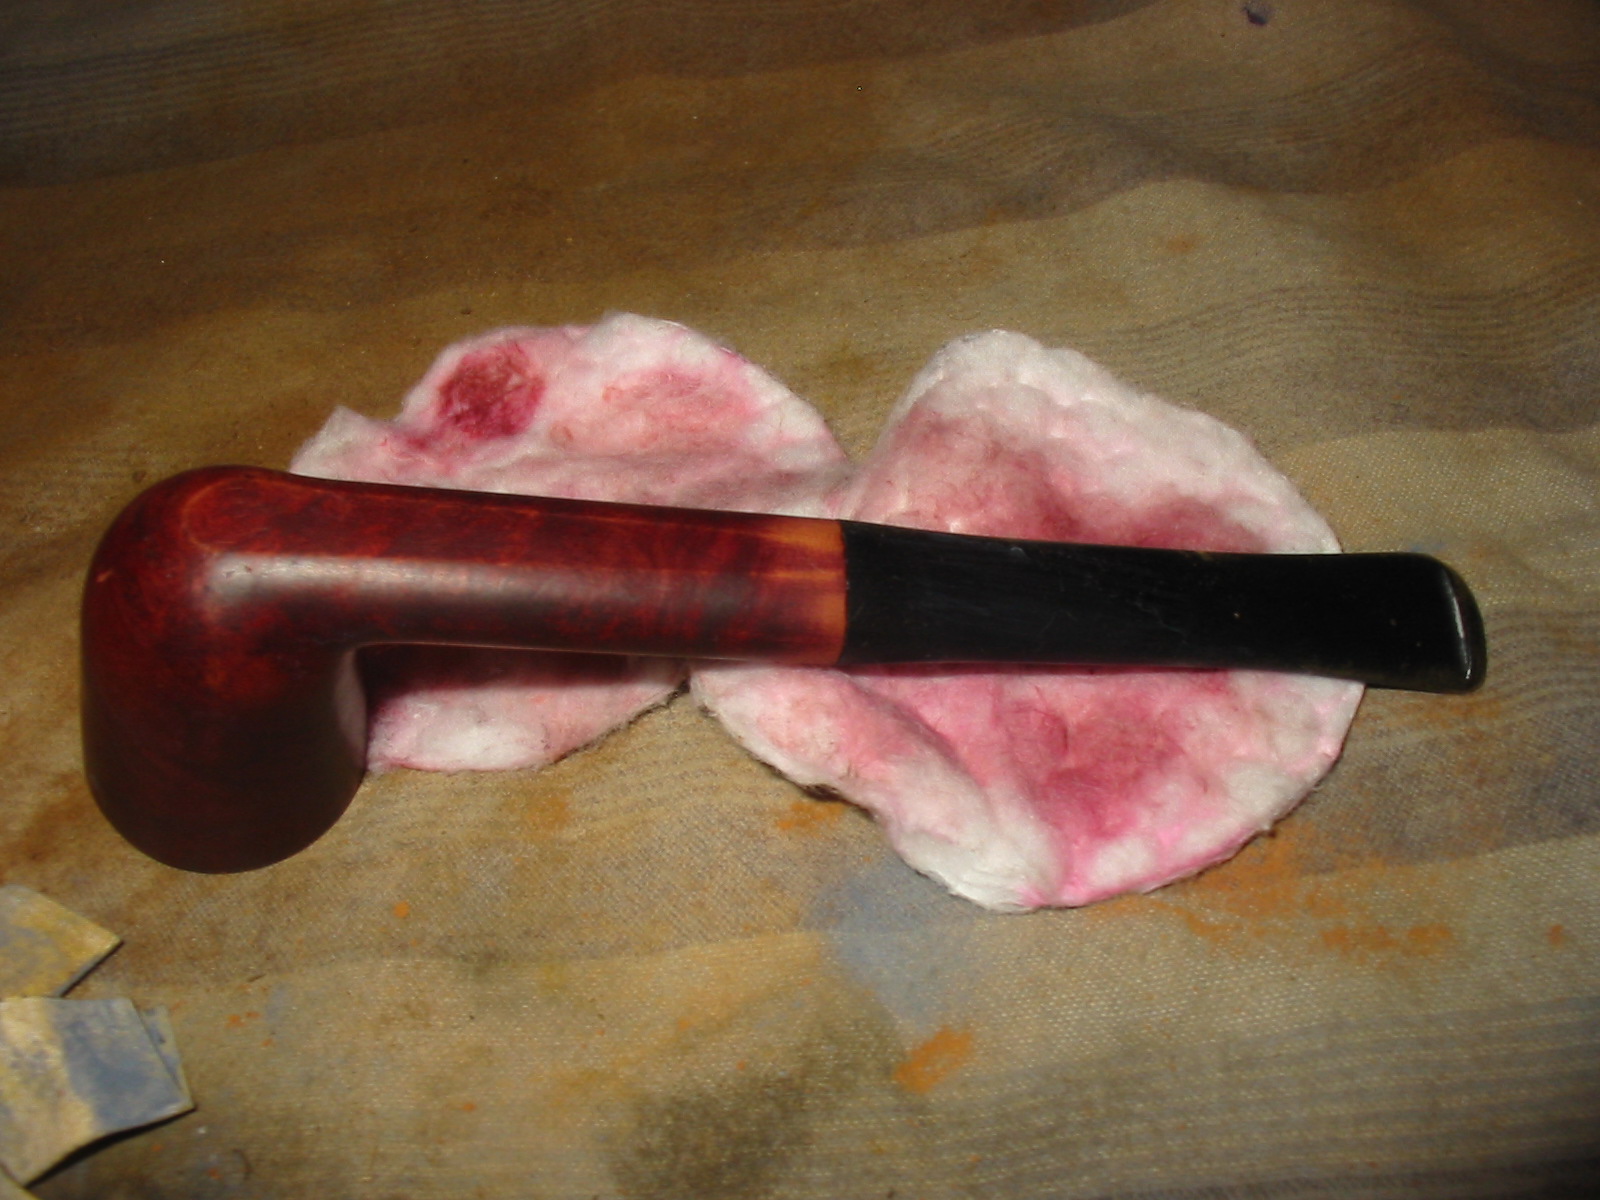
4. Scrub the externals of the bowl. Use the cotton make up pads and the Murphy’s Oil Soap (undiluted) to wipe down the surface of the bowl and shank. Scrub it as hard as necessary to remove the grime on the surface. The rim takes extra scrubbing and I will often let the soap sit on the rim to soak into the buildup. Once it softens the buildup it scrubs off quite easily. If you are working on a rusticated or sandblast finish use the tooth brush to scrub the surface with the soap. Once you are satisfied it is clean rinse it carefully with running water (keep the water out of the bowl and shank). Dry it off with a clean cotton cloth. (Some use saliva to wipe down the rim. I have done that but often resort to the oil soap as I find it works better. Some also say that the soap removes stain from the briar – I have not had that problem though it does lighten the stain slightly due to the removal of oils and residue from the briar.) Set the bowl aside and turn to the stem.

5. Clean the internals of the stem. Use the Qtips (Cotton swabs), pipe cleaners and alcohol to clean out the stem. I use the cotton swabs to clean out the end of the tenon and the area around the tenon and the face of the stem. I use the pipe cleaners to clean out the slot in the button end of the stem and remove any build up in that area. Again clean the internals until the pipe cleaners and the cotton swabs come out with no colour when run through the stem.

6. Clean the externals of the stem. Scrub the stem down with alcohol on a cotton make up pad and make sure to get the buildup out of the groove on the button. Carefully scrub around the stamping or inset logo on the stem. The idea behind this step is to remove any calcification or buildup left behind on the stem. We will address the brown colour/oxidation in the next step.

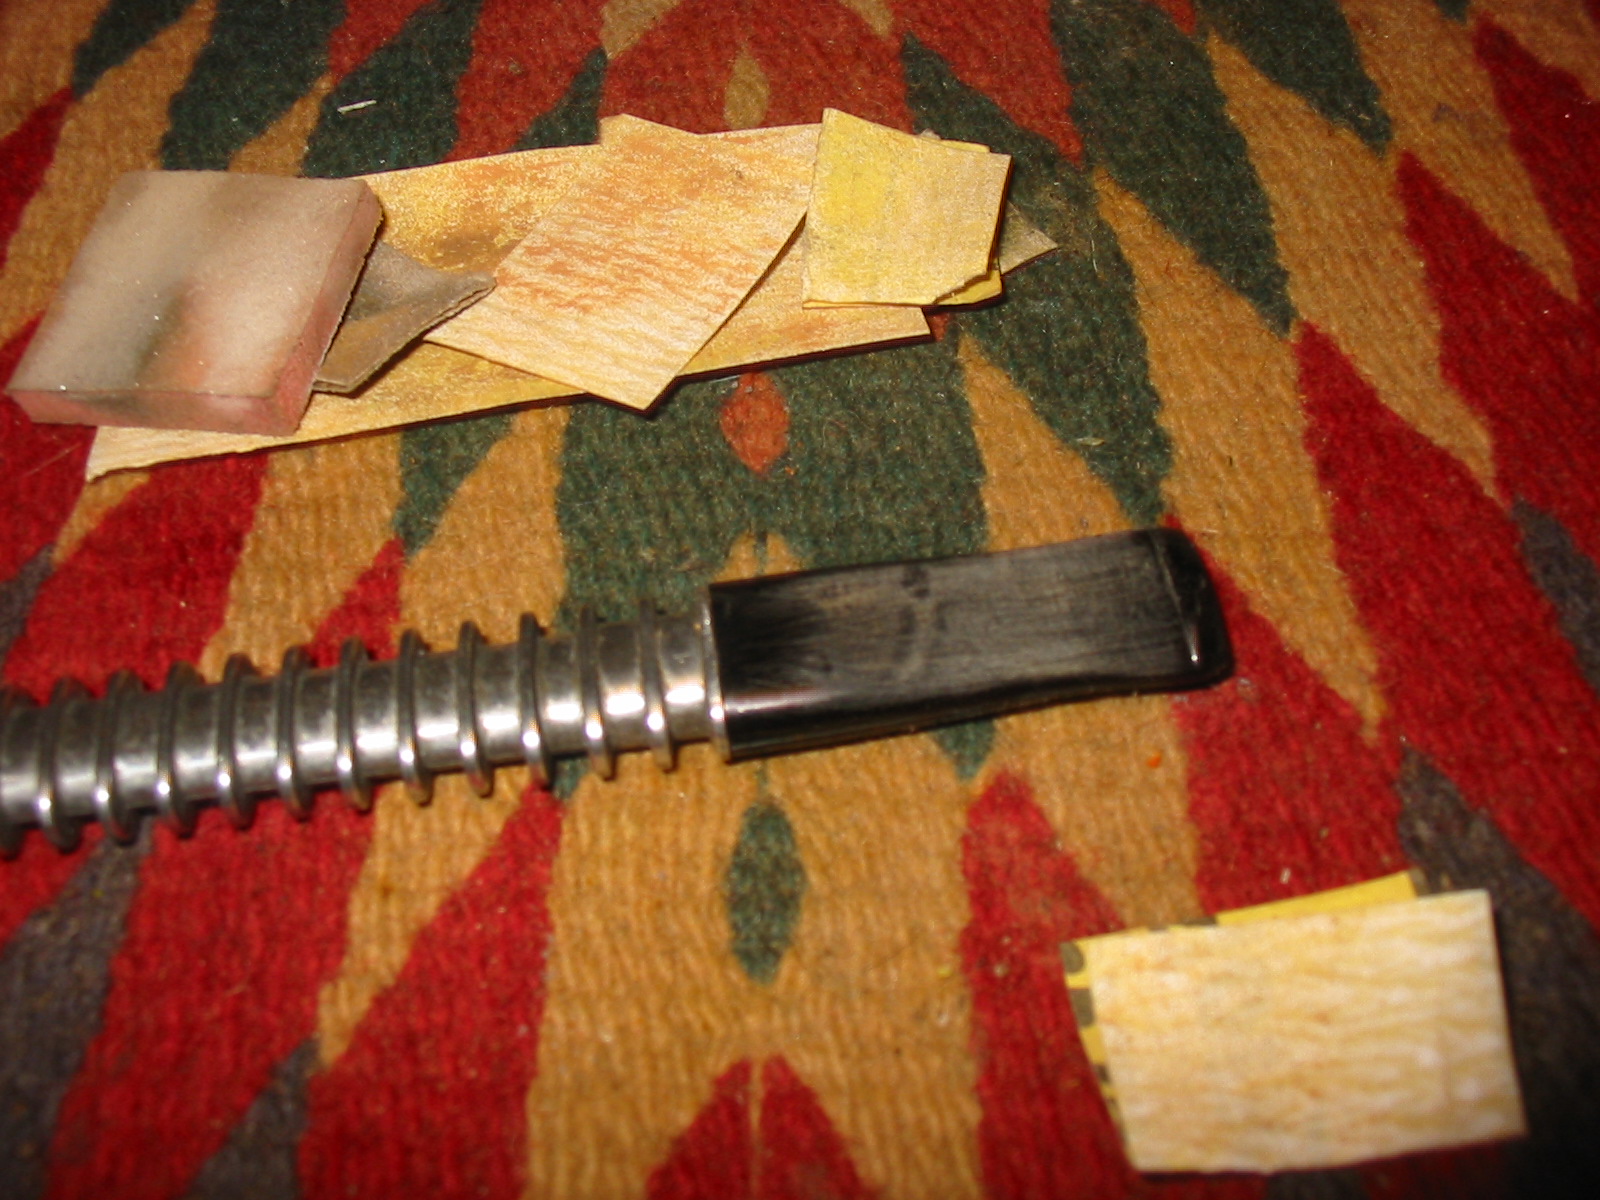
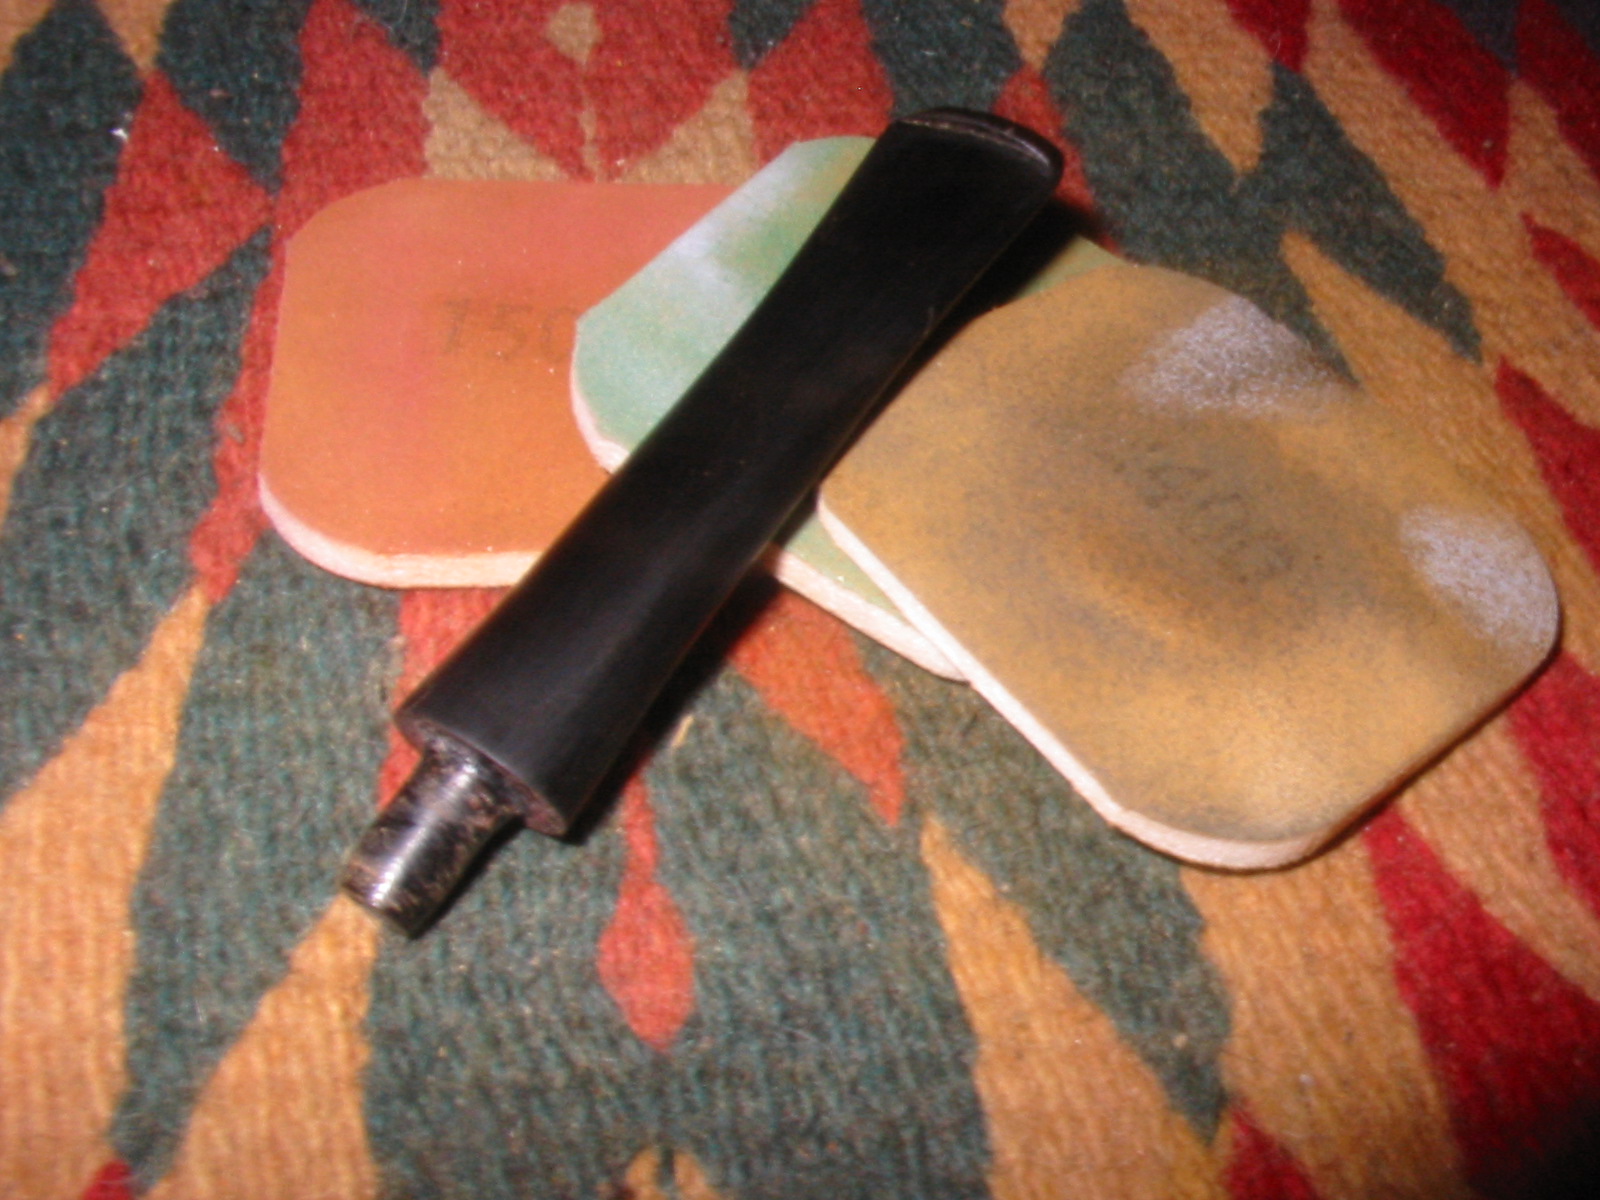
7. Remove the oxidation. Oxidation is the greenish/brown colour that is taken on by vulcanite stems with age, sunlight and heat. Mix a scoop of OxyClean in a bowl jar with warm water. Make sure the container is deep enough to immerse the stem in. Place the stem in the mixture for 30-60 minutes to soak. The soak softens the oxidation on the stem. Wipe down the stem with a dry cloth. Sand lightly with 220 grit sandpaper to loosen the oxidation and then wet sand with 400 and 600 grit sandpaper until the oxidation is gone. Be careful around the stamping or emblems. Also be careful not to round the edges of the stem at the tenon end. This takes much care to avoid. You can wrap the shank of the pipe with painters tape and then put the stem in the shank and sand it in place. Once it is clean sand with the various grits of micromesh sanding pads from 1500-12,000. I wet sand with the 1500-2400 grit and dry sand with 3200-12,000 grit pads. I will sometimes use a drop of olive oil/vegetable oil on the stem while I am sanding. I find that with the micromesh it gives it a good bite on the stem material.

8. Put the pipe back together. Once you have finished the stem put the pipe back together and wipe it down with a soft cloth and a drop of olive oil. I find that this give some life to the briar and the vulcanite. Be careful how much you use. I use a small drop on a cotton pad or even a paper towel and wipe down the pipe. I dry it with a clean cloth after it soaks for 5-10 minutes.

9. Apply the wax to the bowl and stem. I use Halcyon II to wax rusticated or sandblast finished pipes and Paragon on smooth briar pipes. If you do not have access to these waxes you can use a neutral coloured Kiwi Shoe Polish (it is made of carnauba wax). I do not use Kiwi wax on rustic or sandblast pipes as it tends to gum up in the grooves. Apply the same wax to the stems as the bowl. I do both at the same time.

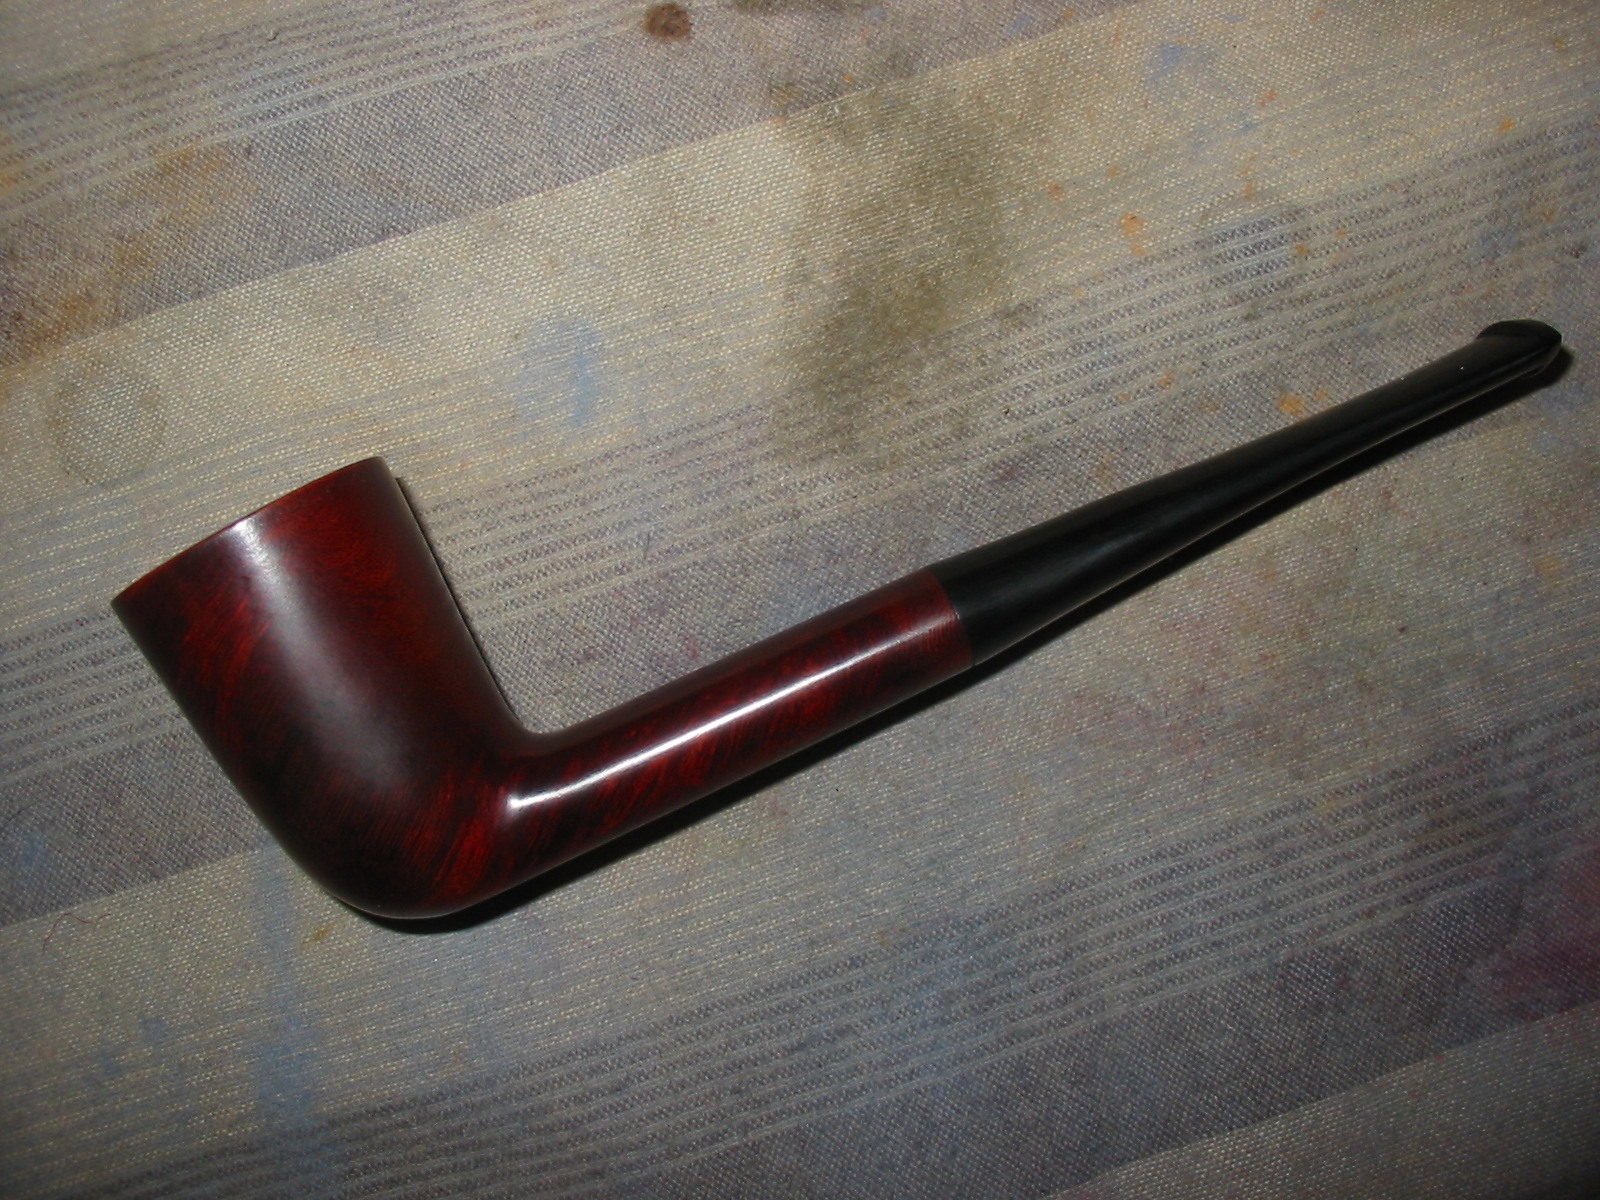
10. Buff the pipe with a shoe brush. Once the wax has dried I buff the pipe and stem with a shoe brush. I buff it until the pipe and stem shine. It does not take long. I often use the shoe brush after smoking a bowl in the pipe as well. The wax heats on the surface of the bowl so a quick buff keeps things shiny and polished.

Hopefully you will find this brief annotated list helpful if you are starting out in the refurbishing of estate pipes. It is meant to be a starting place and not the final word. The beauty of the hobby is that it lets you be innovative and creative in how you address the issues facing you on the cleanup of any particular pipe. These are some of the basic cleaning techniques I use to this day with some fine tuning of the steps and tools to bring back estate pipes to usefulness.
Thanks to Father Tom I have a Base for the Yello-Bole Airograte Bowls


Blog by Steve Laug

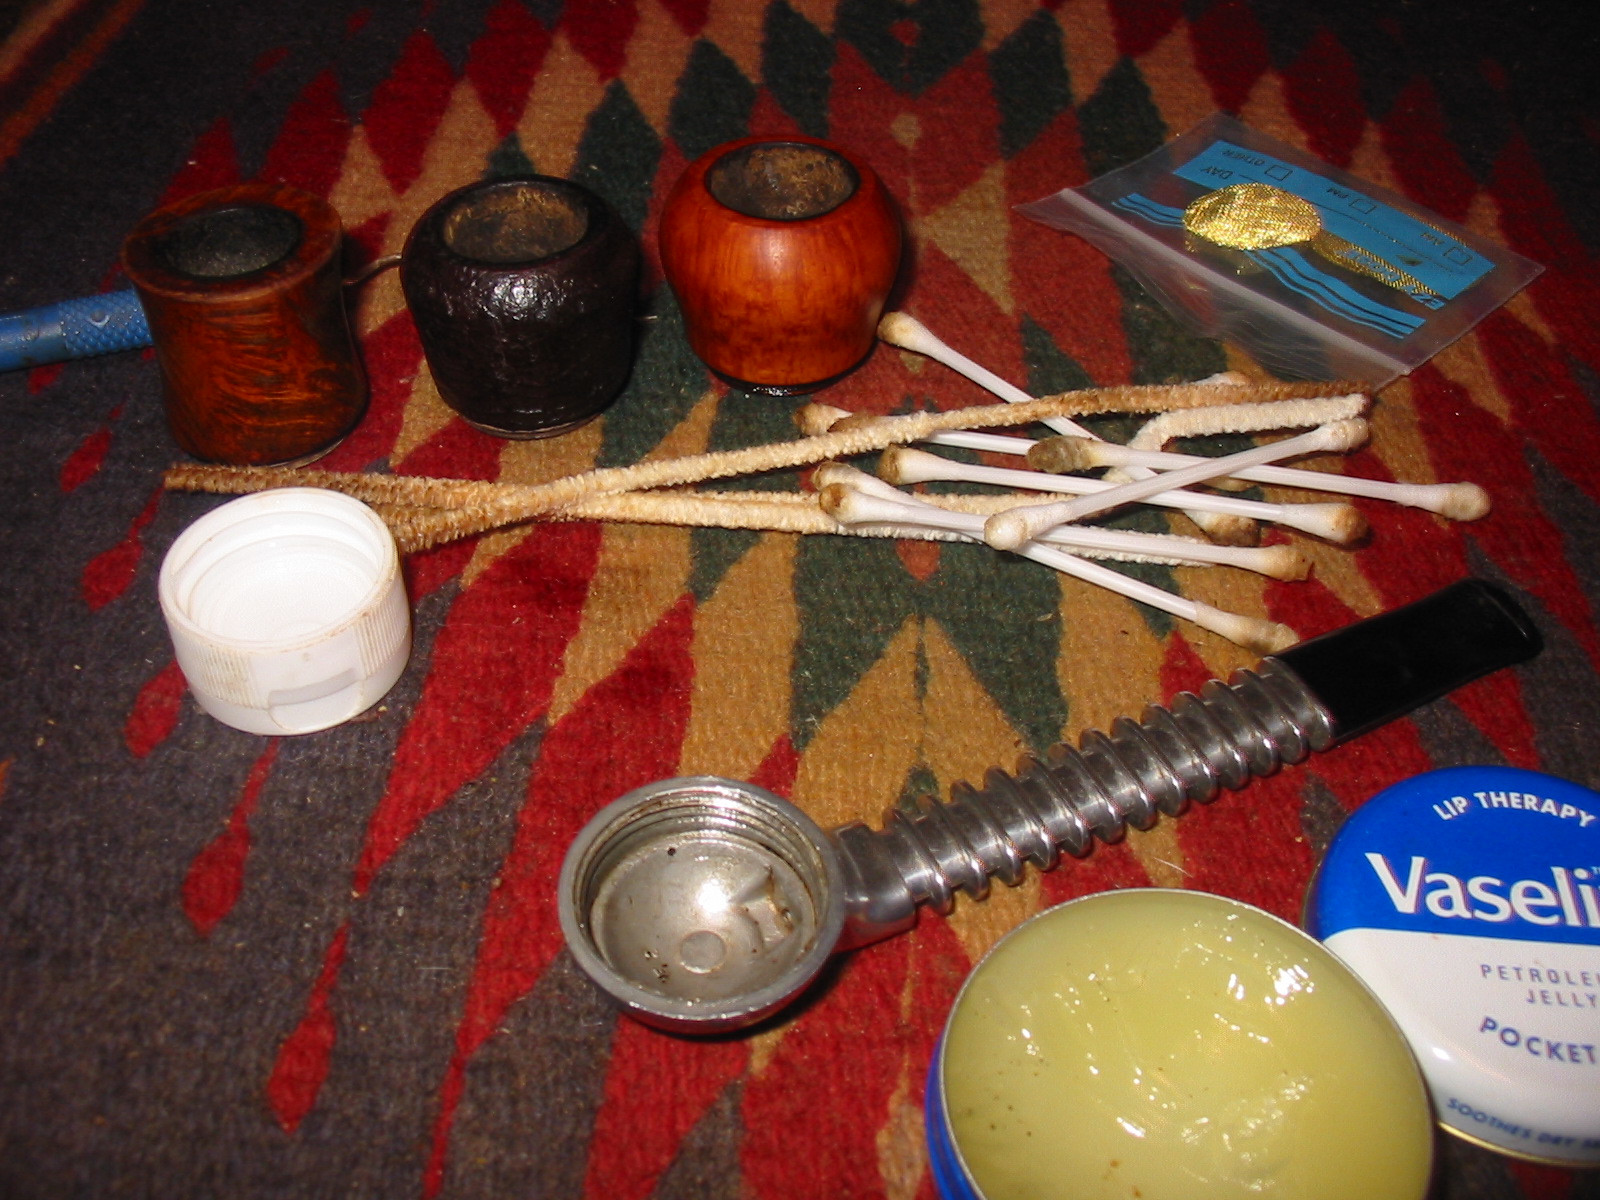
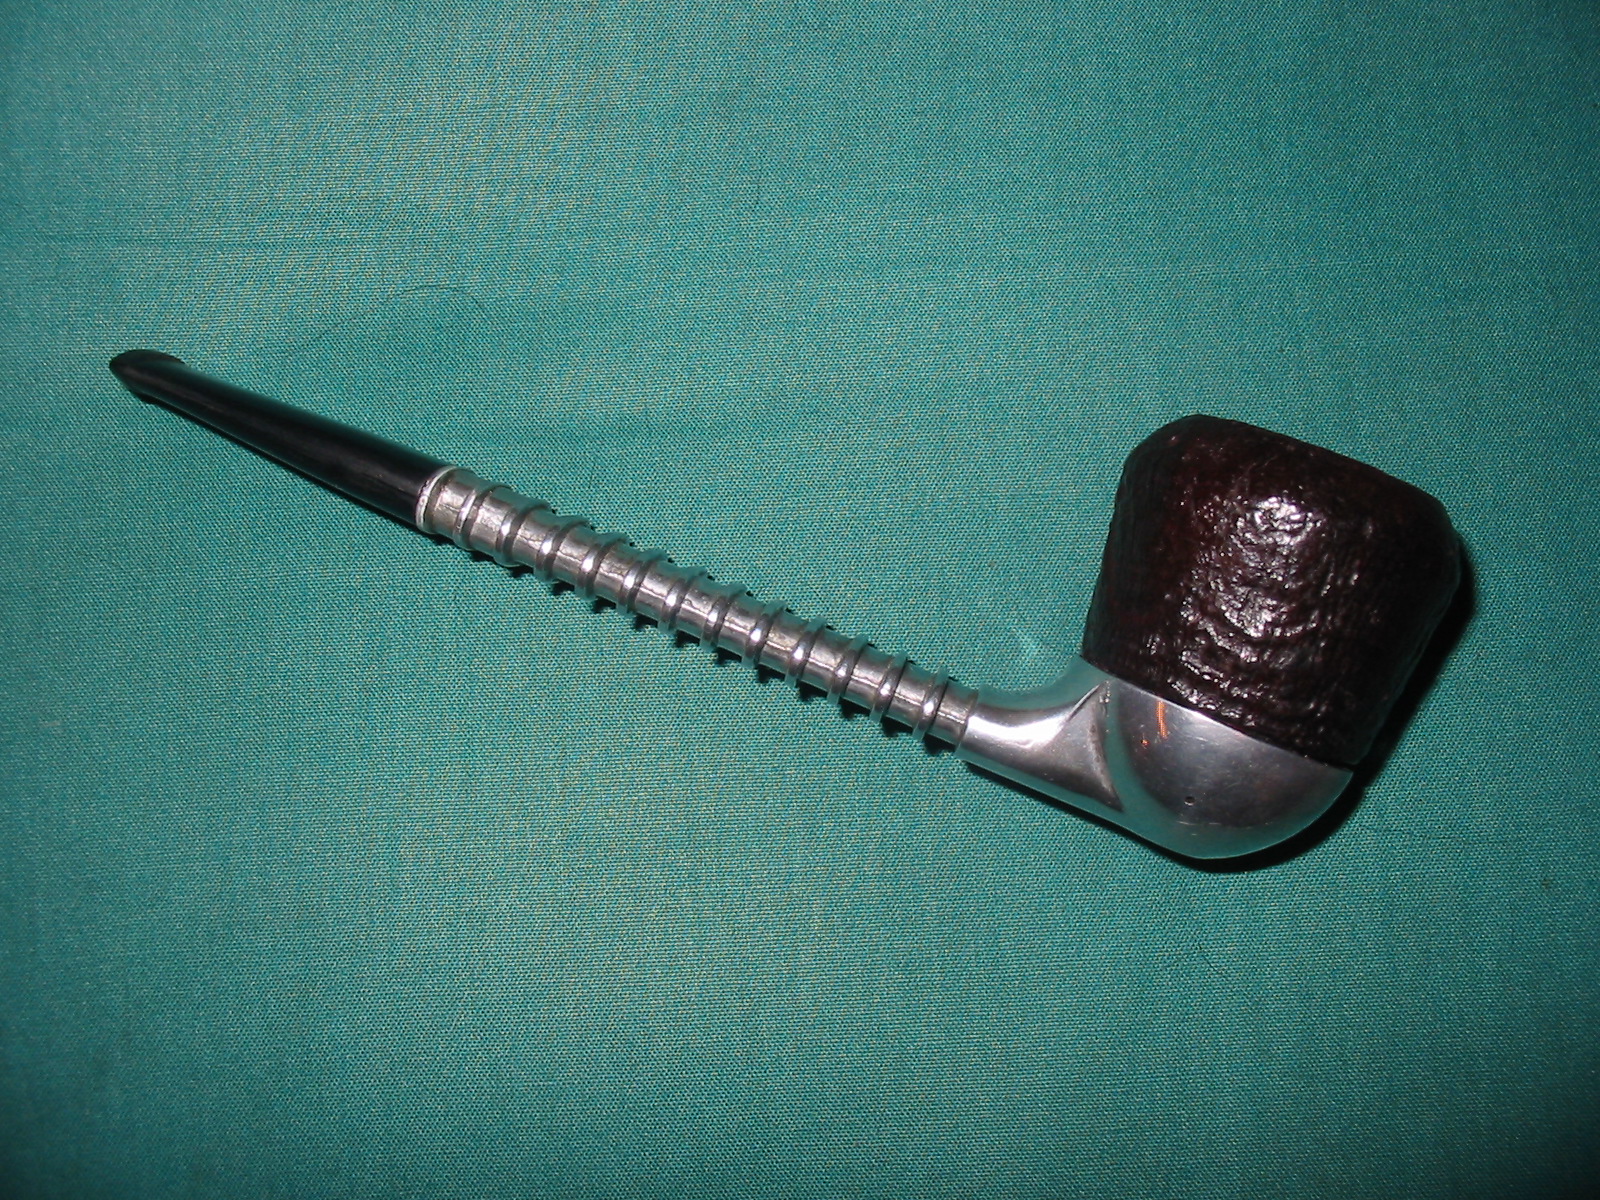
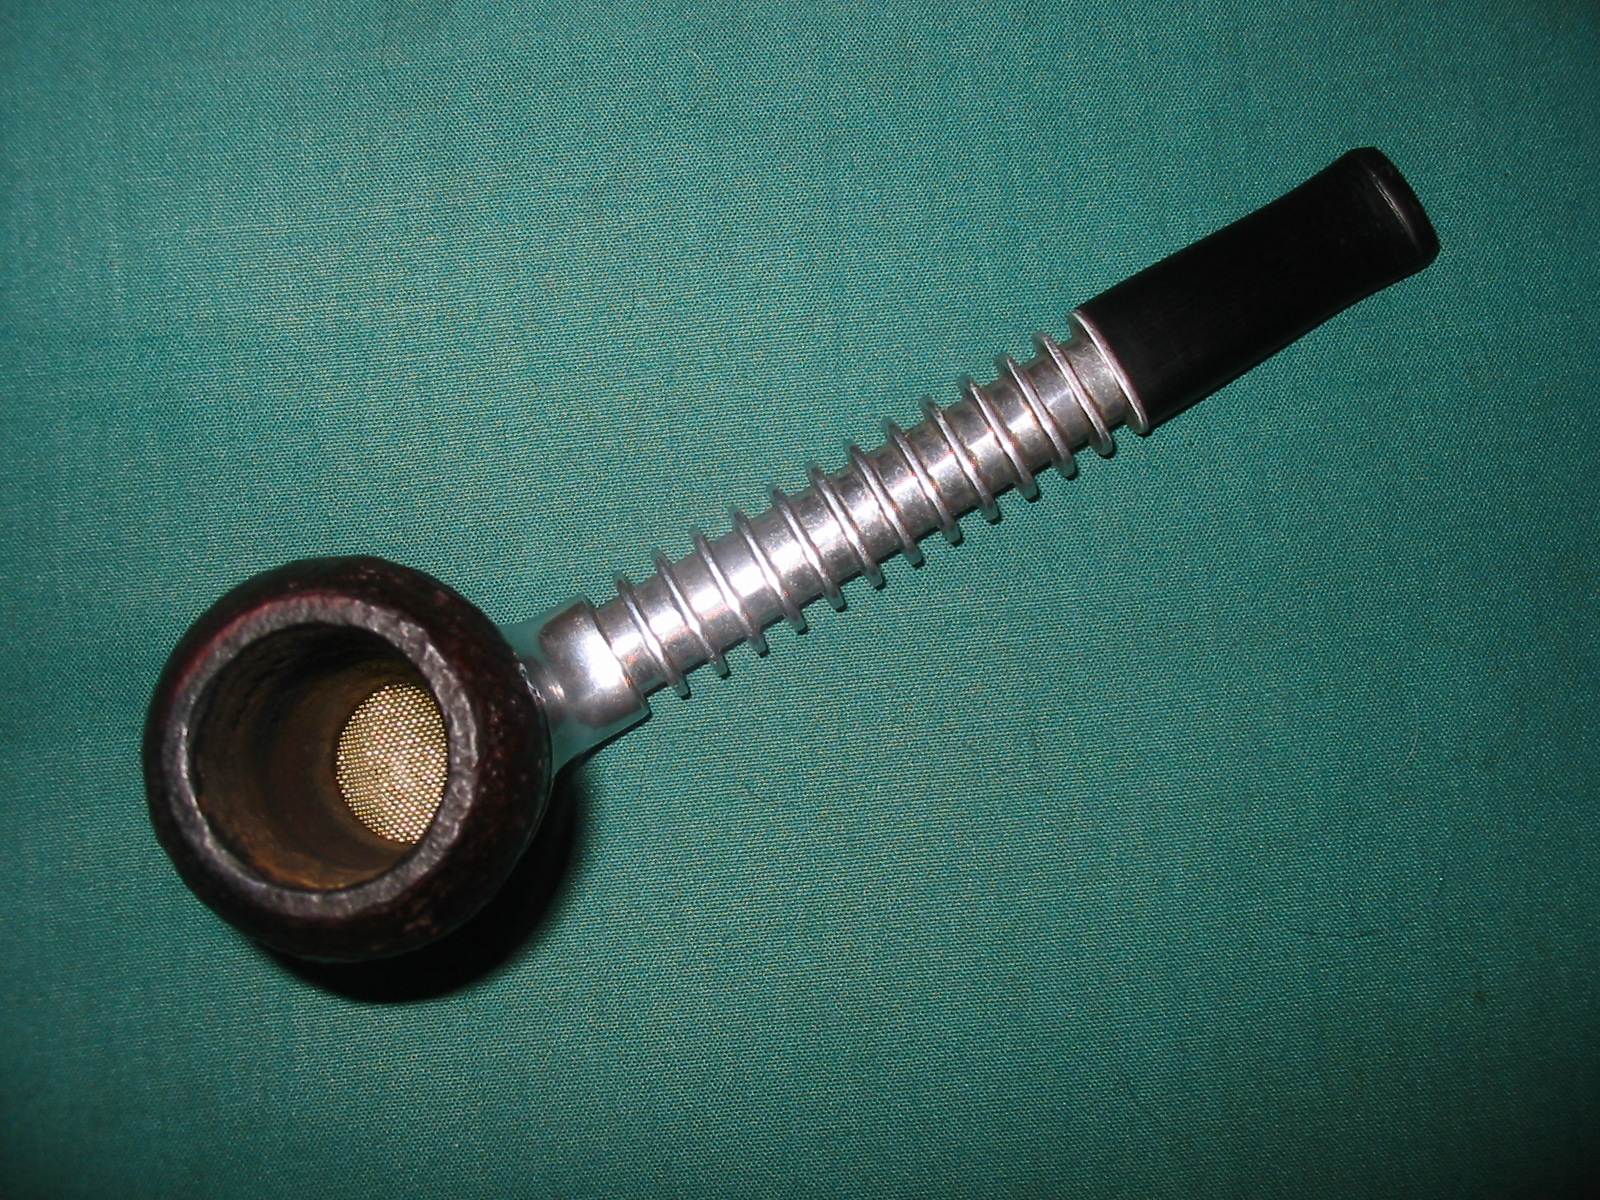
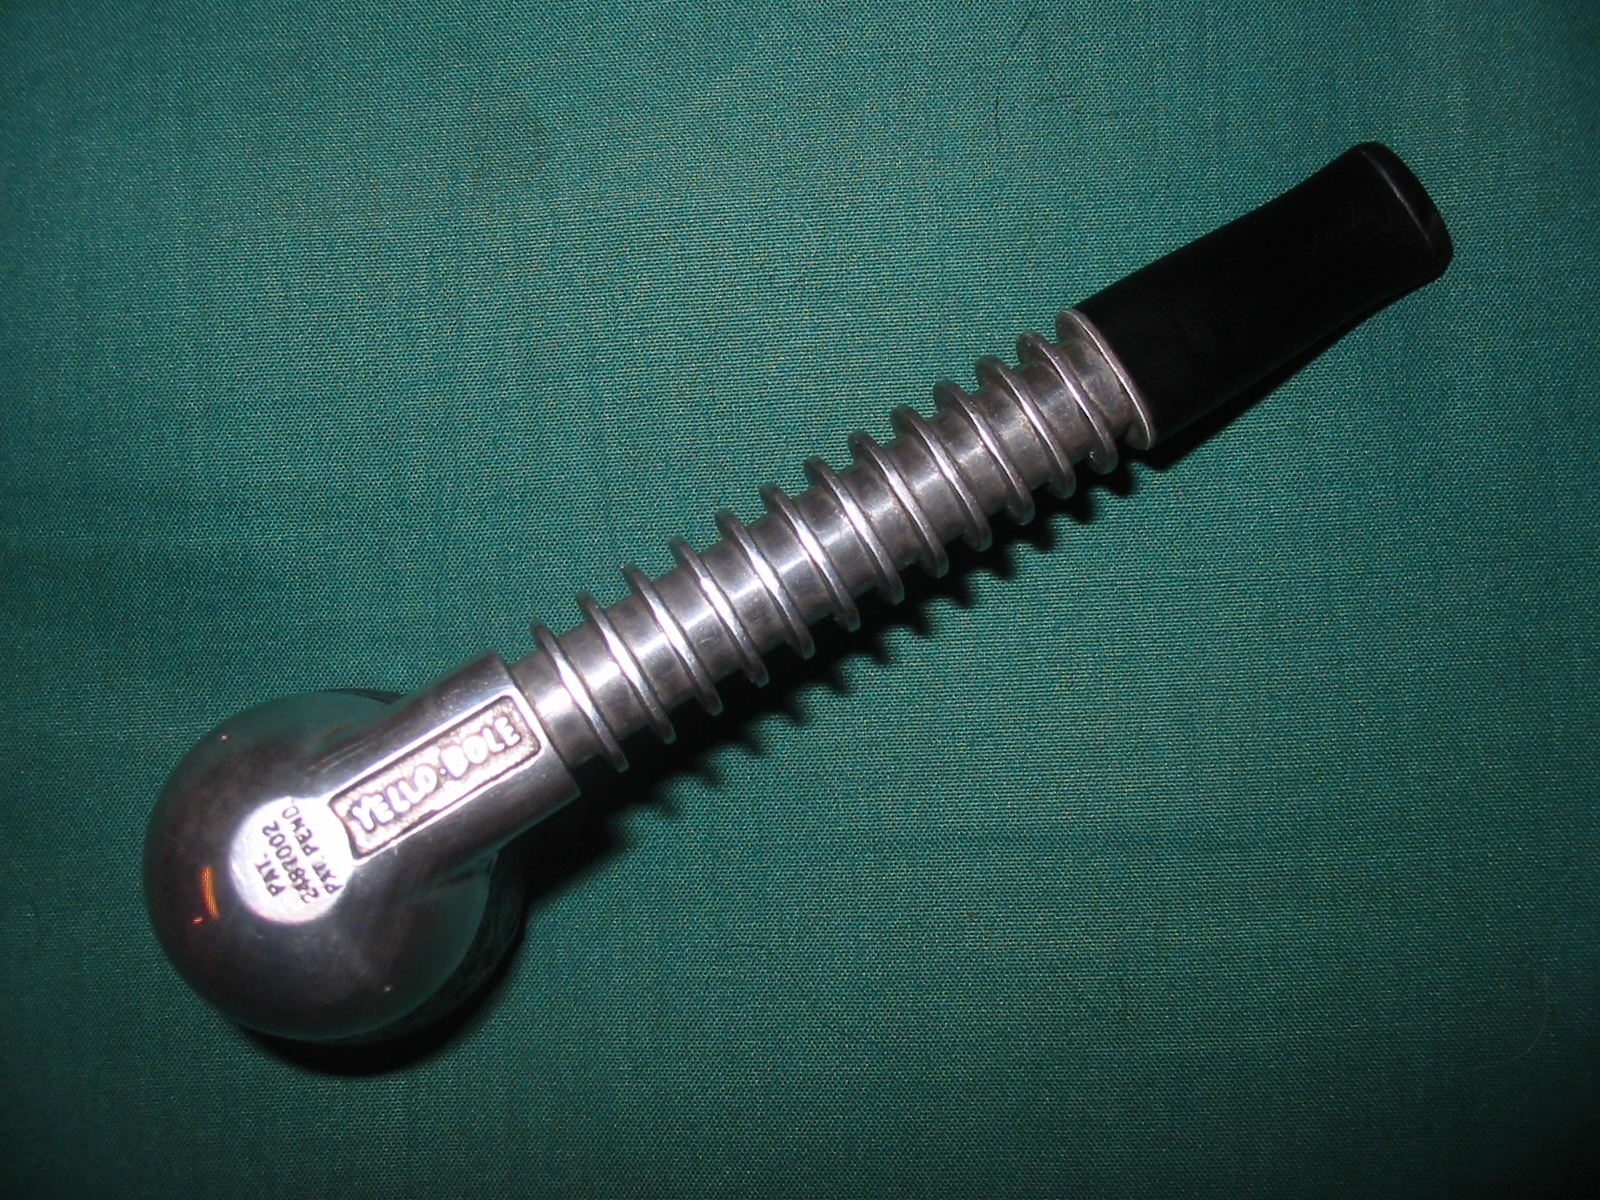
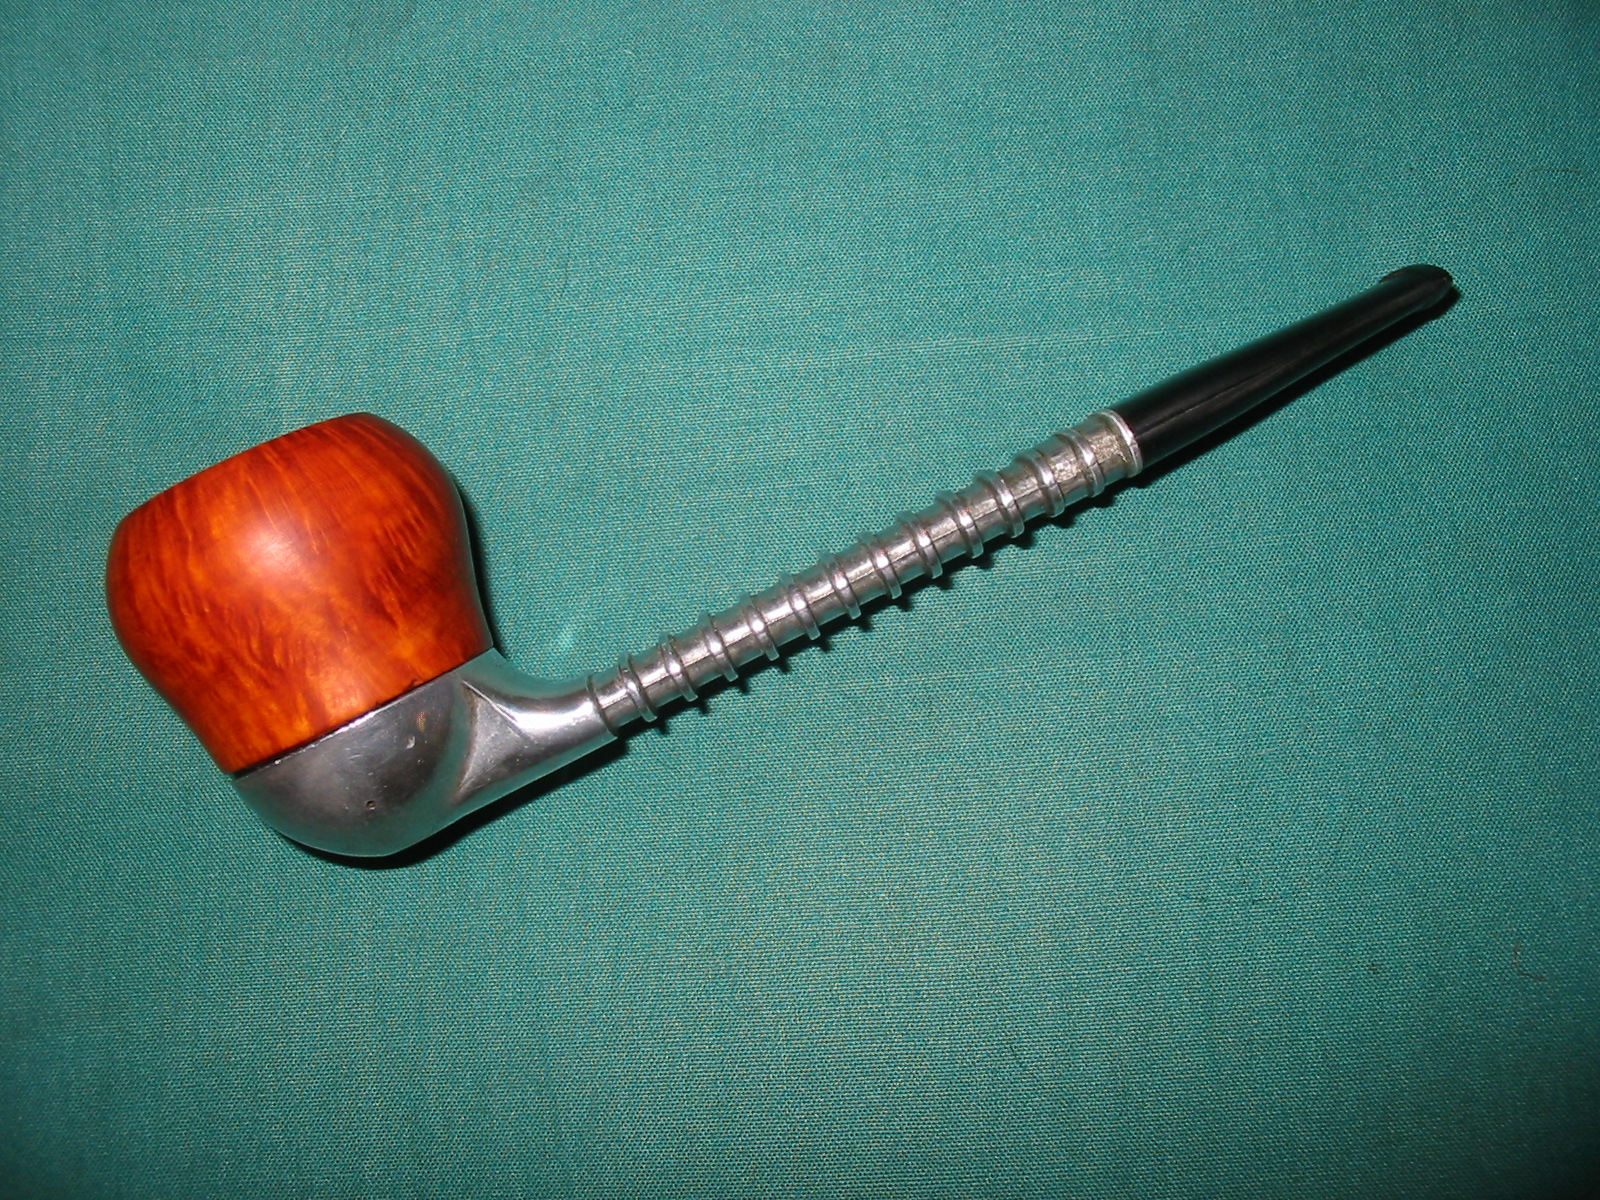
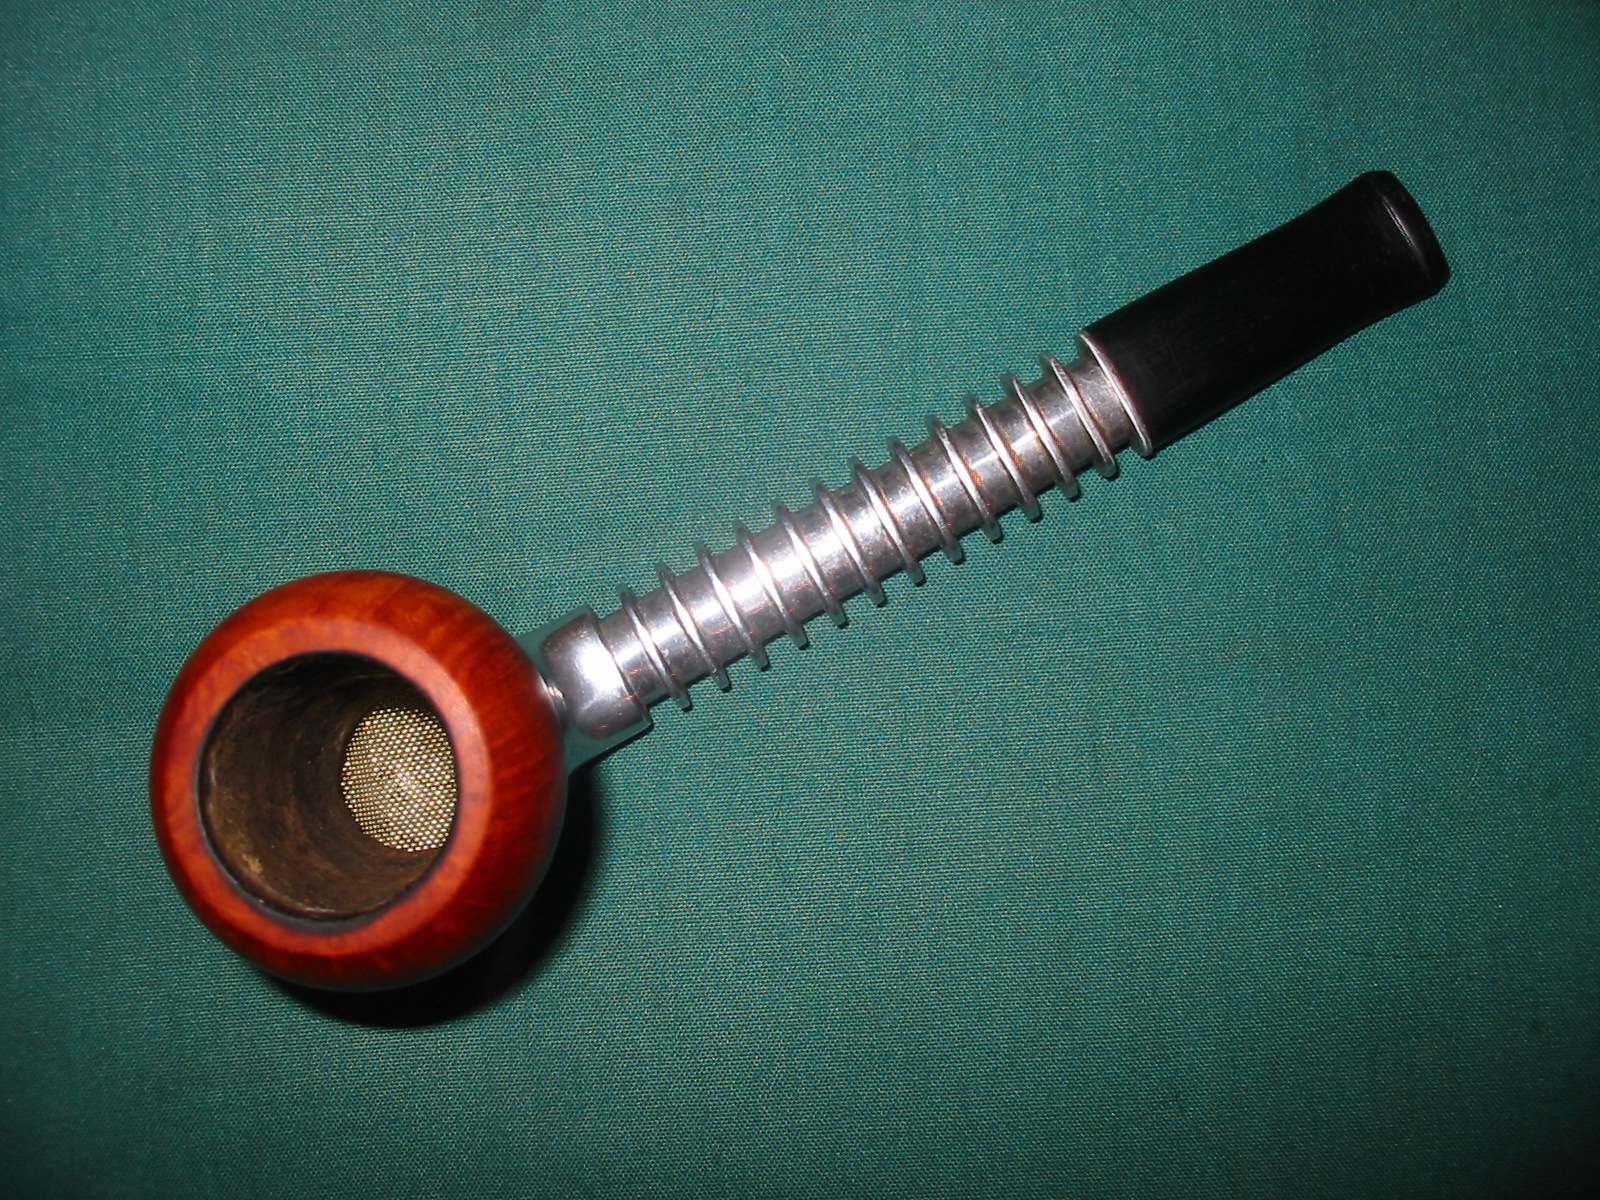
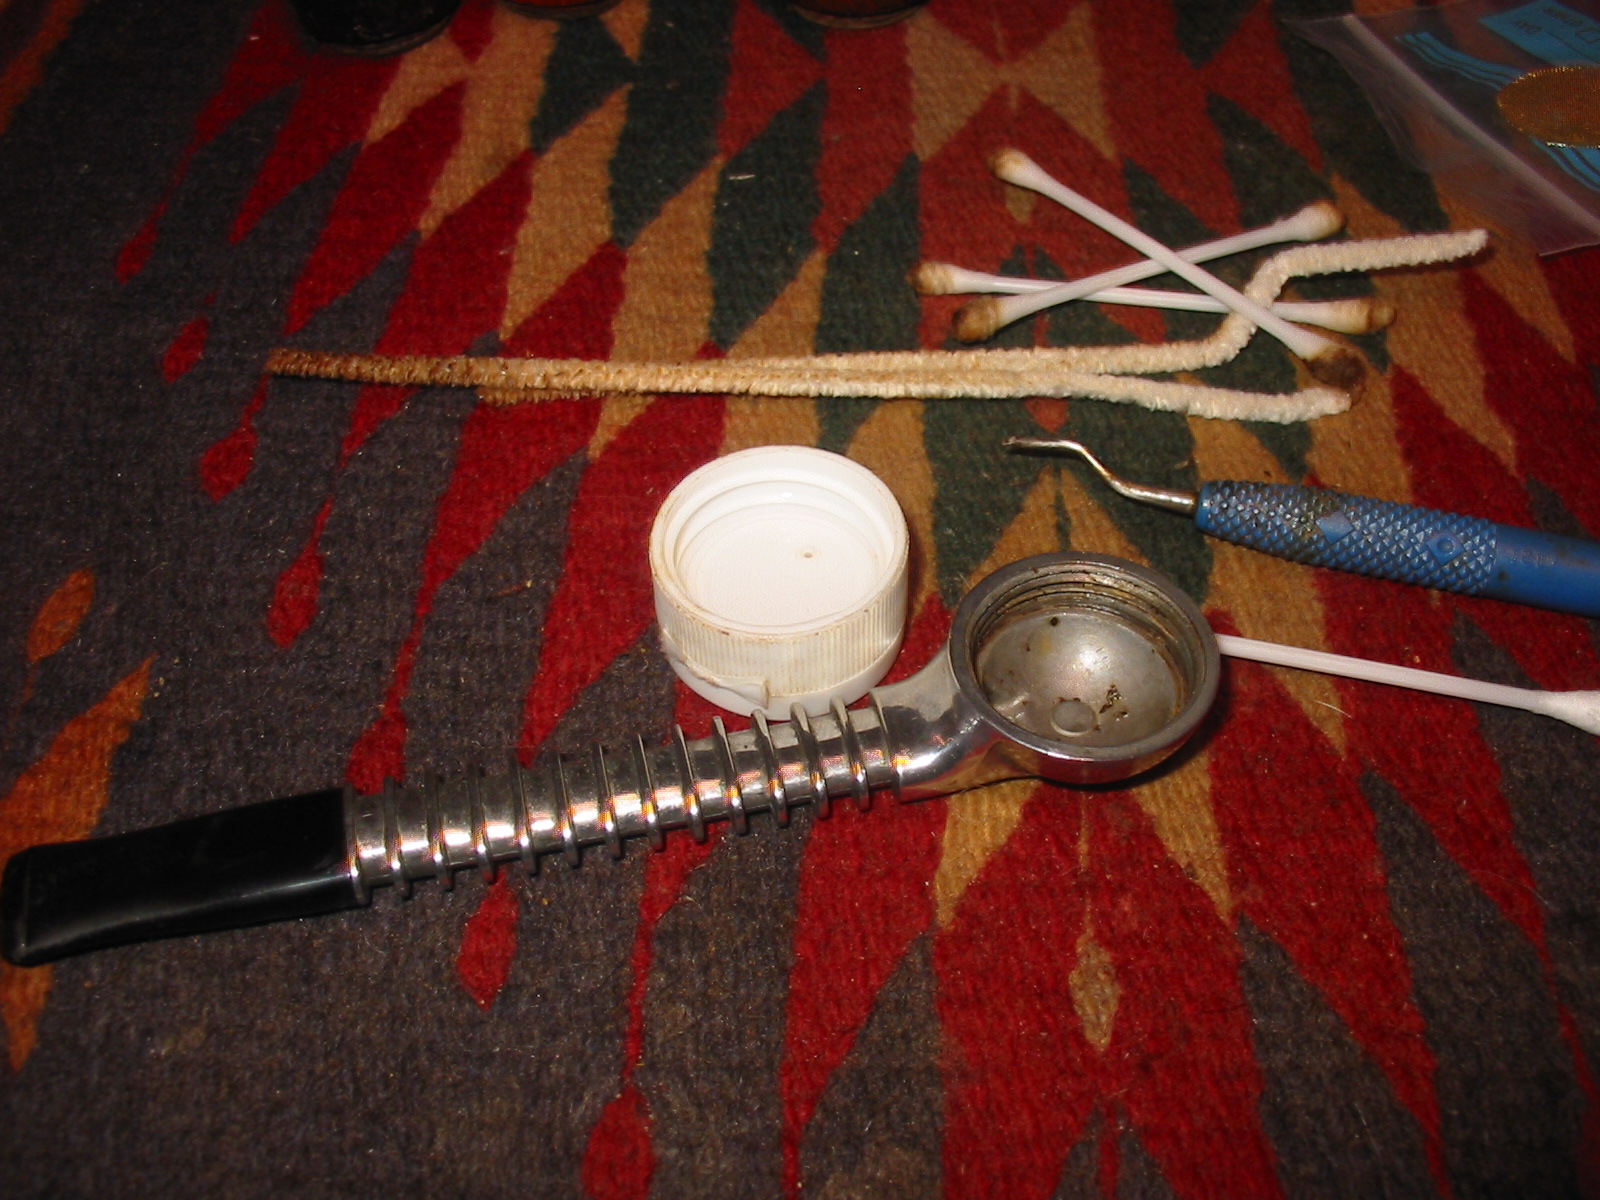
Those of you who have followed the blog for a long time will get the irony of the title. I have written quite a few Father Tom stories over the years and have had them on the blog. I am hoping that a book of these stories will be published in the near future. Anyway on the Pipe Smokers Unlimited Forum I posted that I was looking for a base unit/stem for some Yello-Bole Airograte pipe bowls that I had been gifted. I had refurbished the bowls and written of them here on the blog: https://rebornpipes.com/2014/07/17/restoring-a-couple-of-yello-bole-airograte-bowls/ Father Tom sent me a private message saying that he had one and would be glad to send it to me. We exchanged a few messages and settled on a trade. Last evening when I got home from work I was greeted by a package from him. The pipe had arrived. He had put a Grabow Viking bowl on the stem just for traveling and when I opened the box and removed the pipe from the wrappings I was excited to get to work on it. I removed the Grabow bowl and went to work cleaning the stem. I used pipe cleaners, cotton swabs and isopropyl alcohol to remove the buildup from the bottom of the base and the dental pick to clean out the threads.
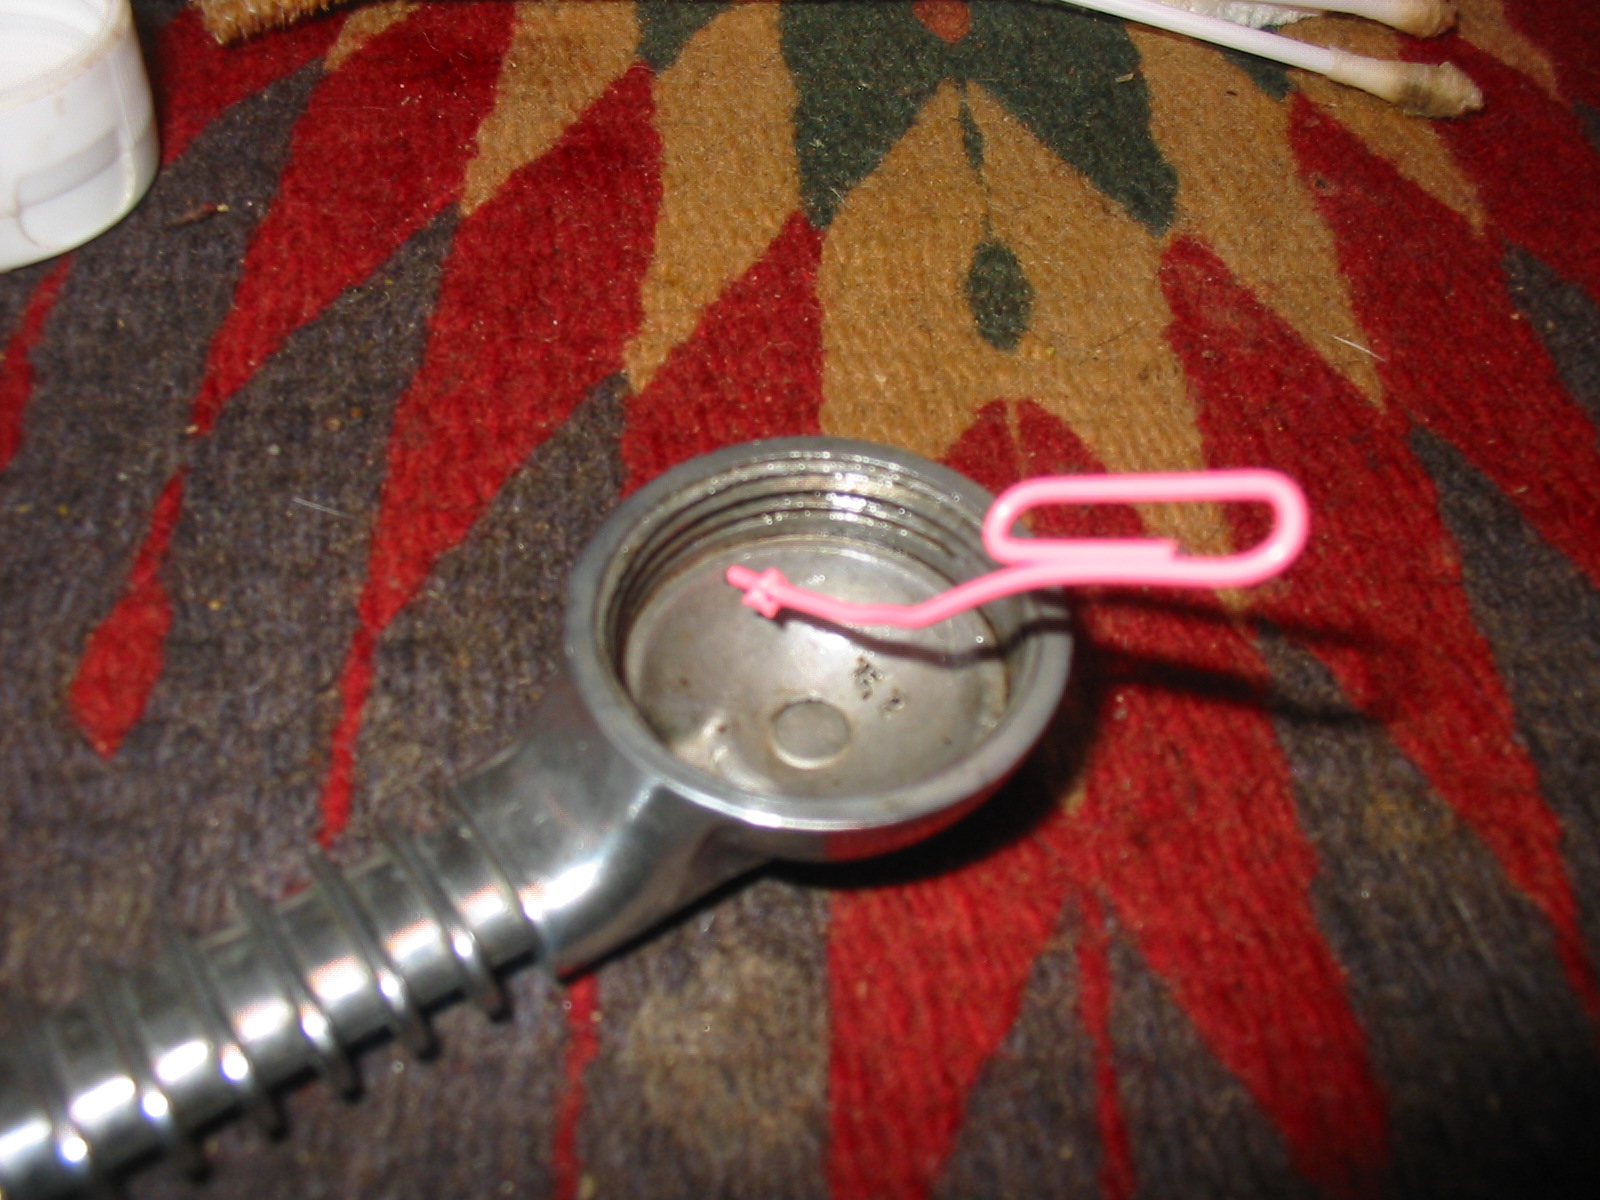
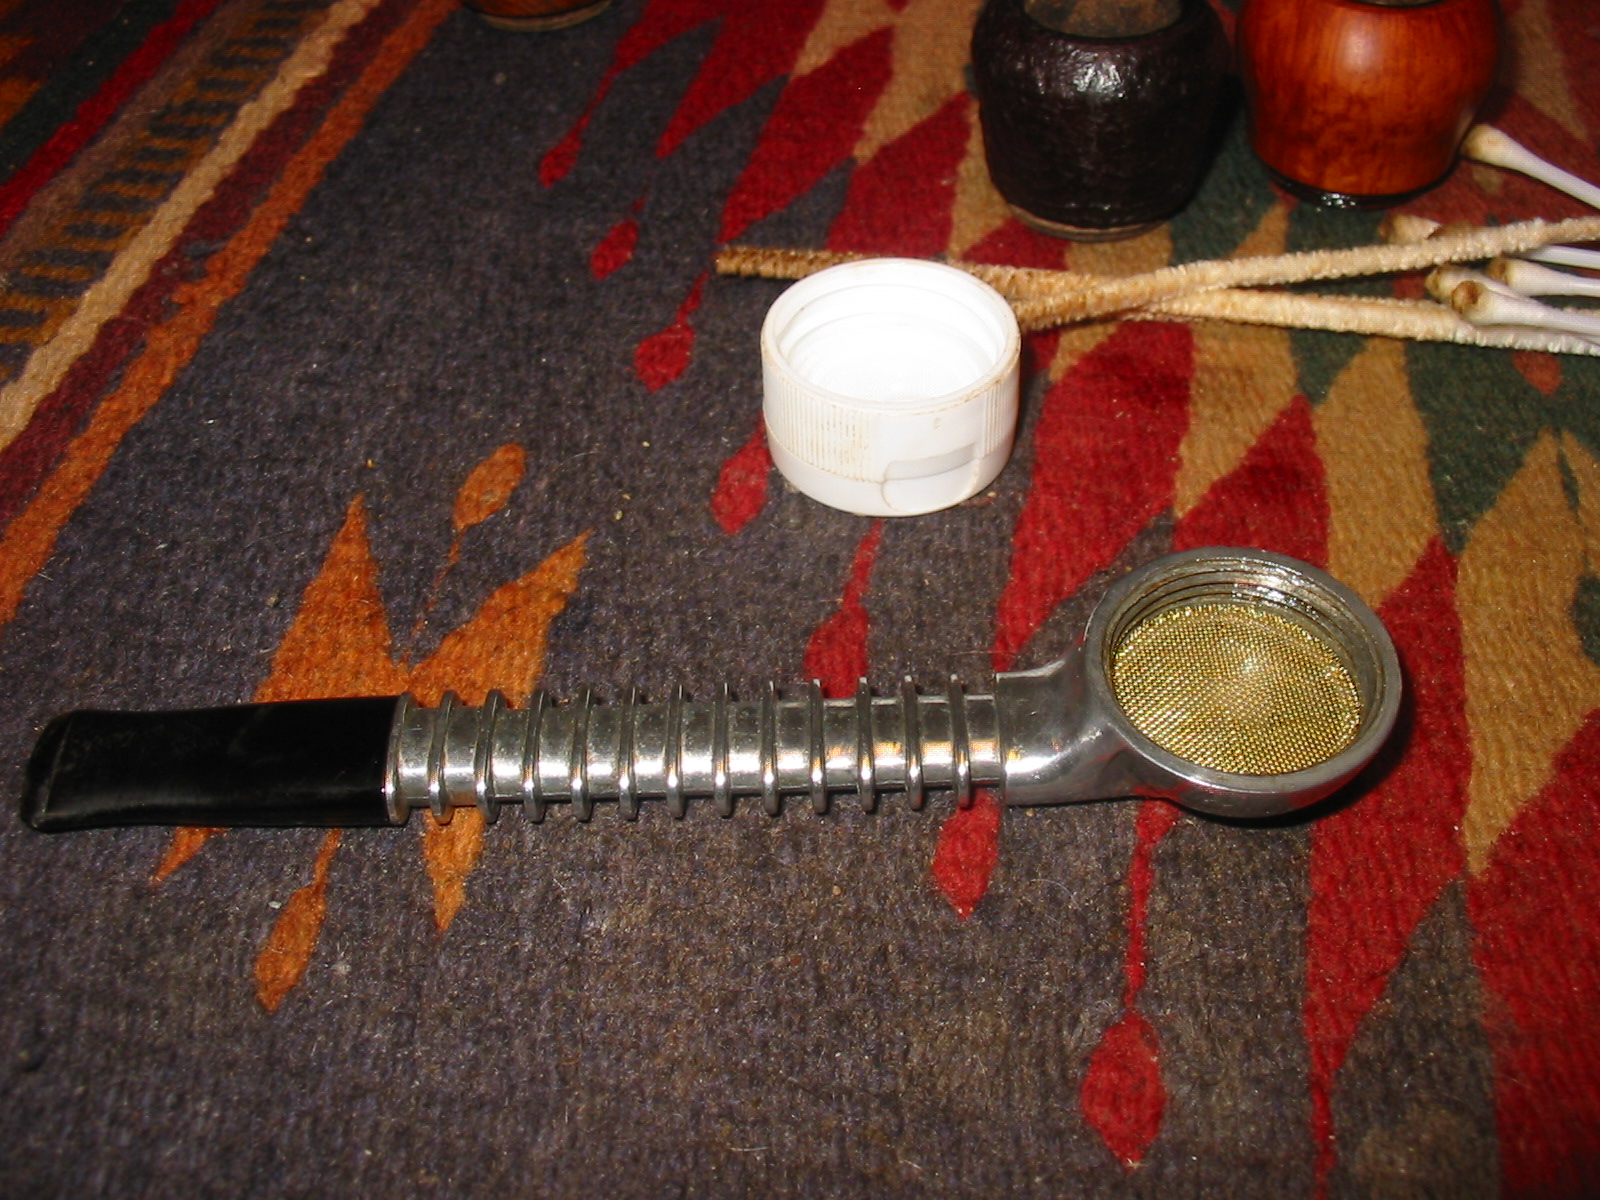
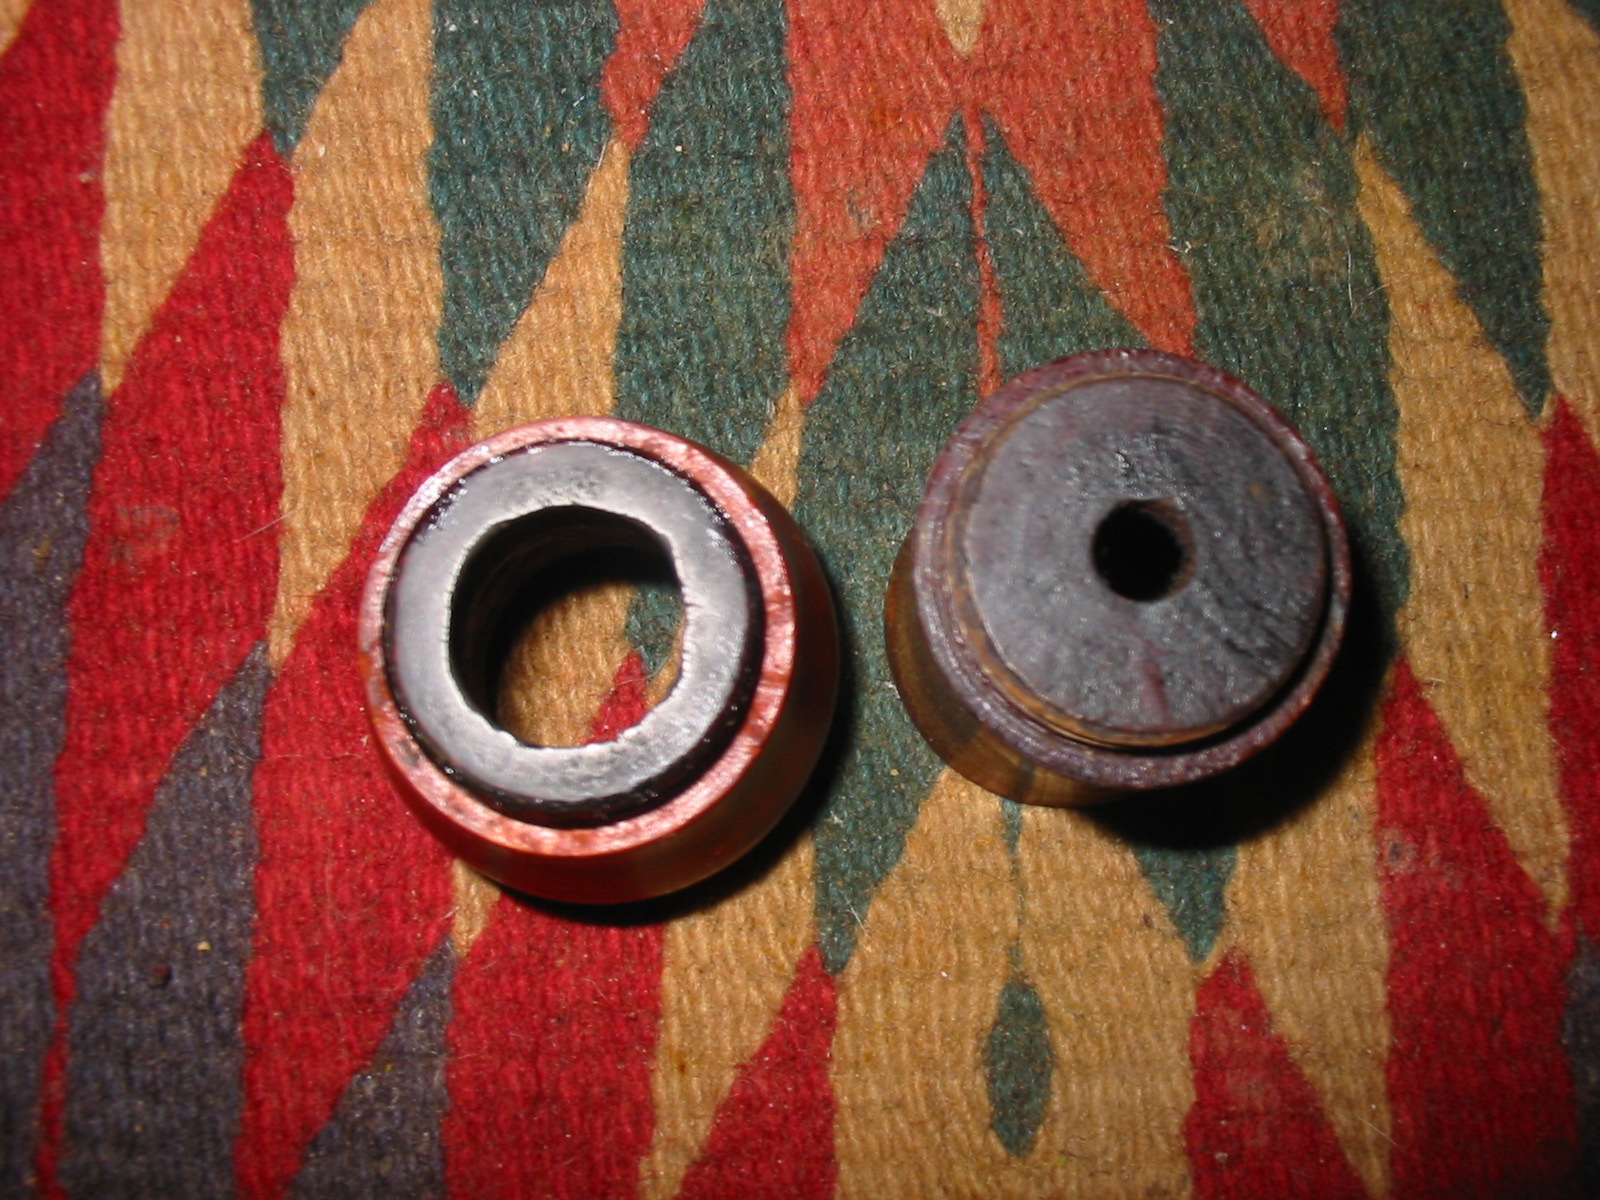
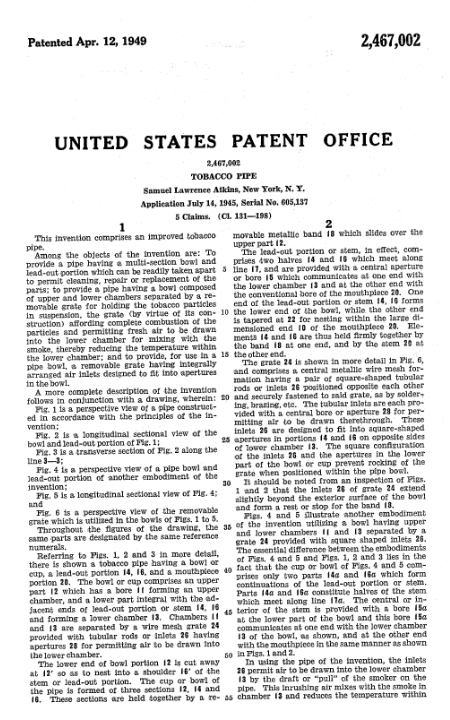
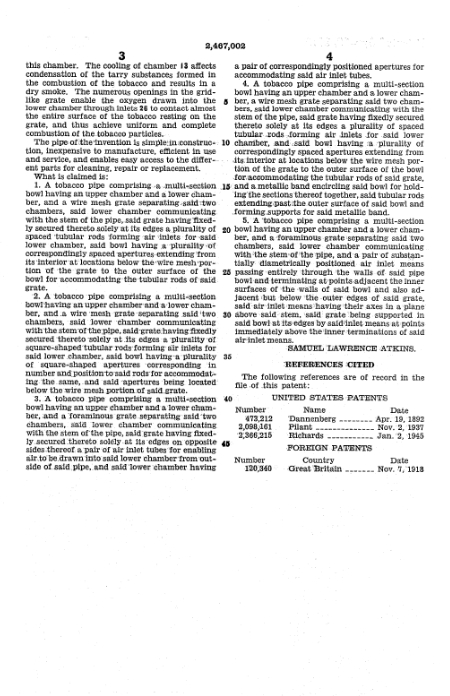
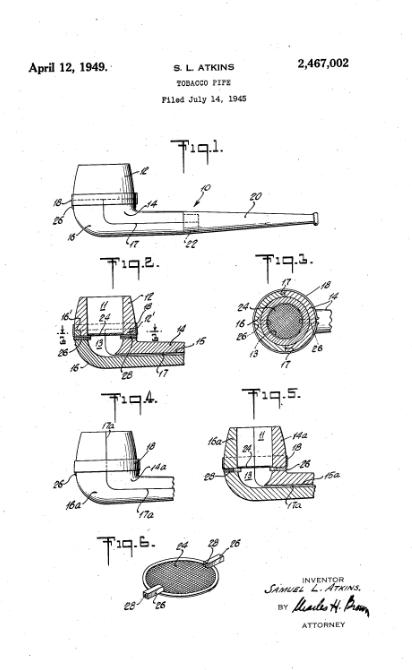
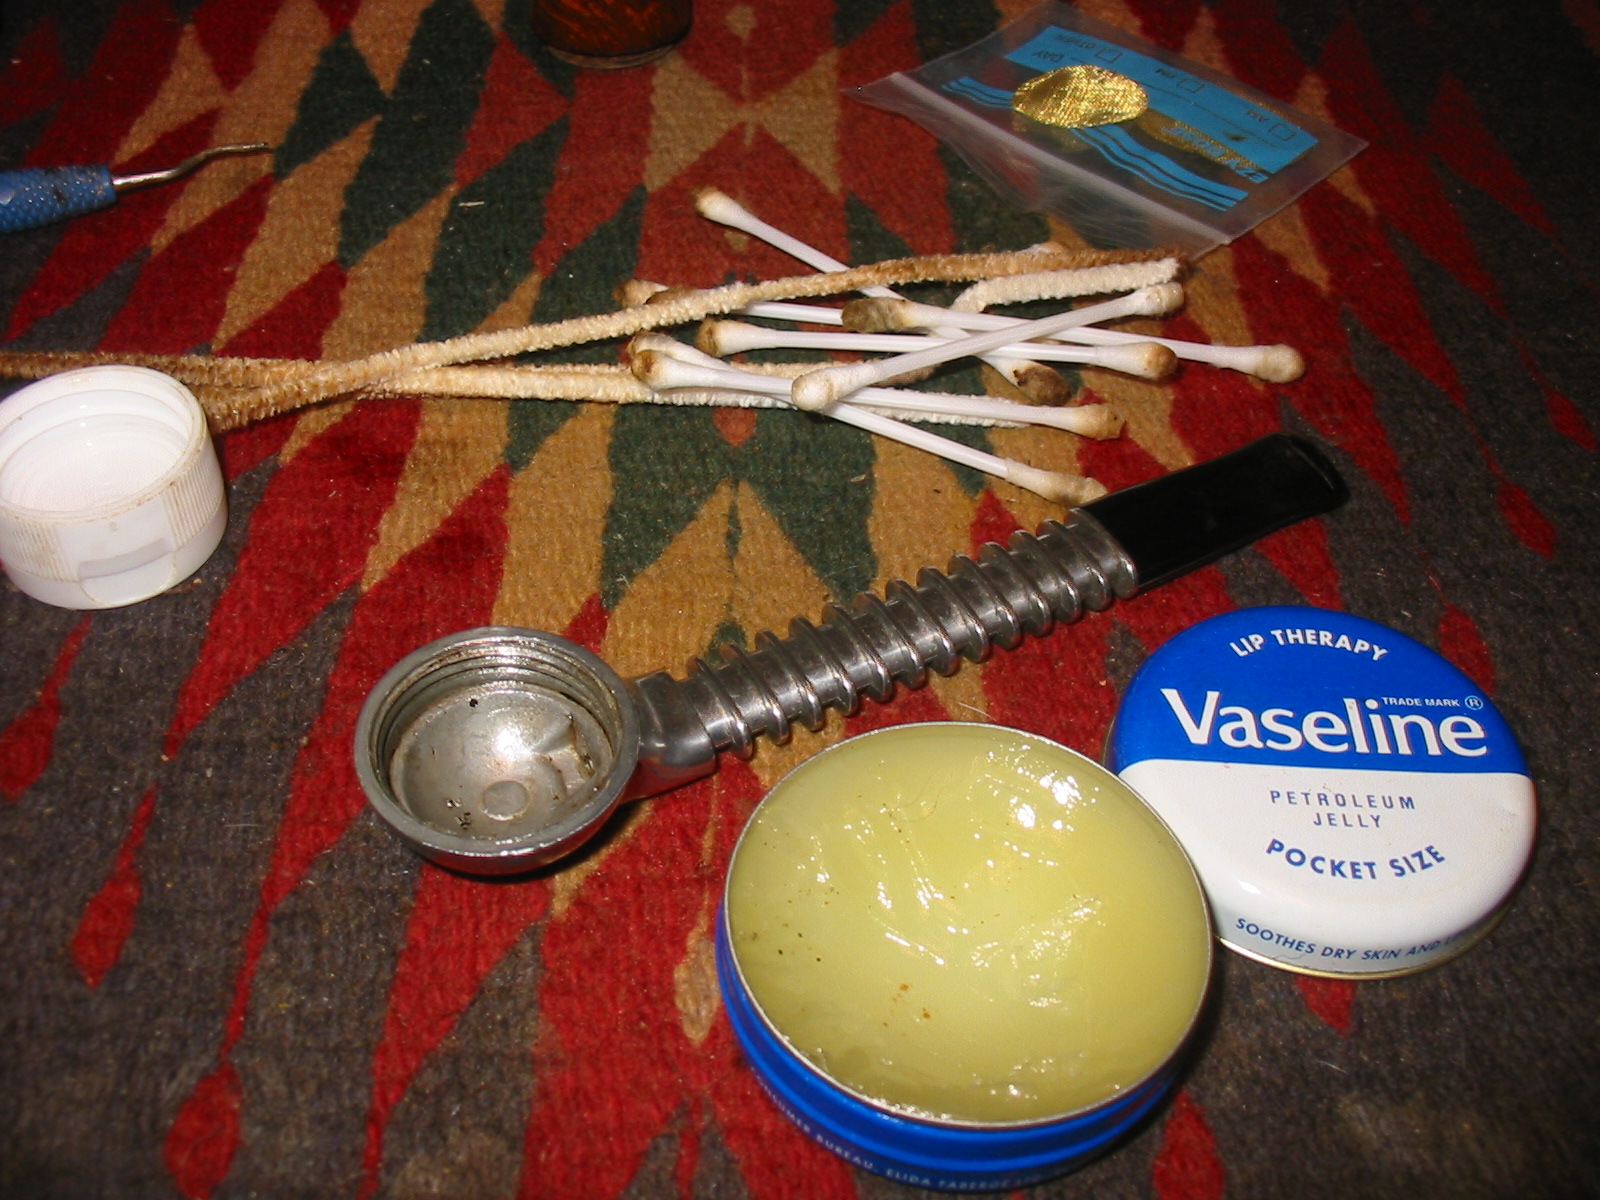
IMG_7647 Once it was clean I used Vaseline to lubricate the threads so that the bowls would turn easily into the base. I applied it with cotton swabs to get it into the threads. In the background are some brass screens that Tom sent along that go in the base between the bottom and the bowls. The open bottom on the bowls sit against this screen. Tom has found that these brass screens work far better than the original metal plate with holes that originally formed the grate for the bottom of the bowls. He says they clog far less frequently. IMG_7648 IMG_7649 The Airograte base has two small airholes in the sides of the bowl just below the ledge where the grate or screen sits. These tiny holes allow air to the bottom of the tobacco when smoked. When air is drawn in the bowl, it enters through these small airways. In this particular base the airways were clogged. I used an unfolded paper clip to open them again. I pushed out the clogs from both sides of the base from both the inside and the outside. The airflow is now unrestricted in those airways.IMG_7651 IMG_7652 I put the brass screen in place in the base once I had the cleaning finished. The bowl will screw on top of the screen and the tobacco when loaded will sit on top of the screen. IMG_7650 With the above statement about the bowl sitting on top of the screen I thought that it might be helpful to take a photo of the two different bowls. The one on the left is the bowl for the Airograte while the one on the right is for Grabow Viking. The Airograte is more of a tube that sits on top of the grate. The tobacco burns on the grate. IMG_7653 The Viking bowl also fits perfectly on the nylon stemmed pipe I have written about earlier. I am pretty certain that the nylon one is also a Grabow though it is unstamped. The photo below shows the bowl from the nylon pipe and the Grabow bowl from the bottom. IMG_7654 While I was cleaning up the bowl base I noticed the Patent and Patent pending information on the bottom of the bowl. This made me curious to see exactly what was patented/patent pending. I went to the US Patent Office on line ( http://patft.uspto.gov/ ) and searched the number on the bottom of the base. I was able to find that the patent had been applied for in 1949 by Samuel Lawrence Atkins of New York City. The patent was for the airograte that sat between the airway in the bowl and the tobacco and the two small holes in the bottom sides of the bowl. It was designed to give a dry and even burning smoke and keep bits of tobacco from entering the airway and mouthpiece. I have included a copy of the patent document with a diagram below. I find that it is always interesting to read the pitch that is made in terms of purpose for the design. The ongoing hunt for the perfect pipe continues to this day. yellobole patent3 yellobole patent4 yellobole patent With the bowl finished, the base cleaned and the airway opens and clean all that remained was to tidy up the stem. The nylon stem, though similar to the ones on Vikings and Falcons had a slimmer profile. The thinness made it very comfortable in the mouth. There was tooth chatter against the button on the top and the bottom of the stem as well as some deep tooth marks mid stem that had been poorly sanded out leaving dents in the flat surface of the stem midway up the stem on both sides. I sanded the stem with 220 grit sandpaper to remove the tooth chatter and to smooth out the flow of the taper. I followed that by sanding with a medium and fine grit sanding sponge to work on the scratches. IMG_7658 IMG_7660 Once the dents and scratches were gone I worked on the stem with micromesh sanding pads. I wet sanded with 1500-3200 grit pads. I found it really frustrating work to try to remove the scratches and marks. Wet sanding did not seem to really do the job – so I started over with the pads and a drop of olive oil. The oil seemed to do the trick. It proved to be the right medium for the micromesh. It gave bite to the pads and really worked quite well. IMG_7661 I continued to sand with the drop of oil through the 3200-4000 grit pads. The scratches really began to disappear and the stem was getting smoother. IMG_7662 I did the same with the 6000-12000 grit pads and a drop of olive oil. IMG_7663 Once I had finished sanding the stem with the micromesh I gave it a light buff with White Diamond. A light touch is essential when buffing nylon stems or you make more of a mess than you started with. I rubbed the stem down with Obsidian Oil and when dry I coated it with Paragon Wax and hand buffed it. Below are some photos of the pipe with each of the two bowls in place. I really like the looks of the finned shank on this one. The flat stem makes it very comfortable. I am looking forward to loading a bowl and trying out the patented “Airograte” screen that is on the bottom of the bowl. IMG_7664 IMG_7665 IMG_7666 IMG_7667 IMG_7668 IMG_7669 IMG_7670

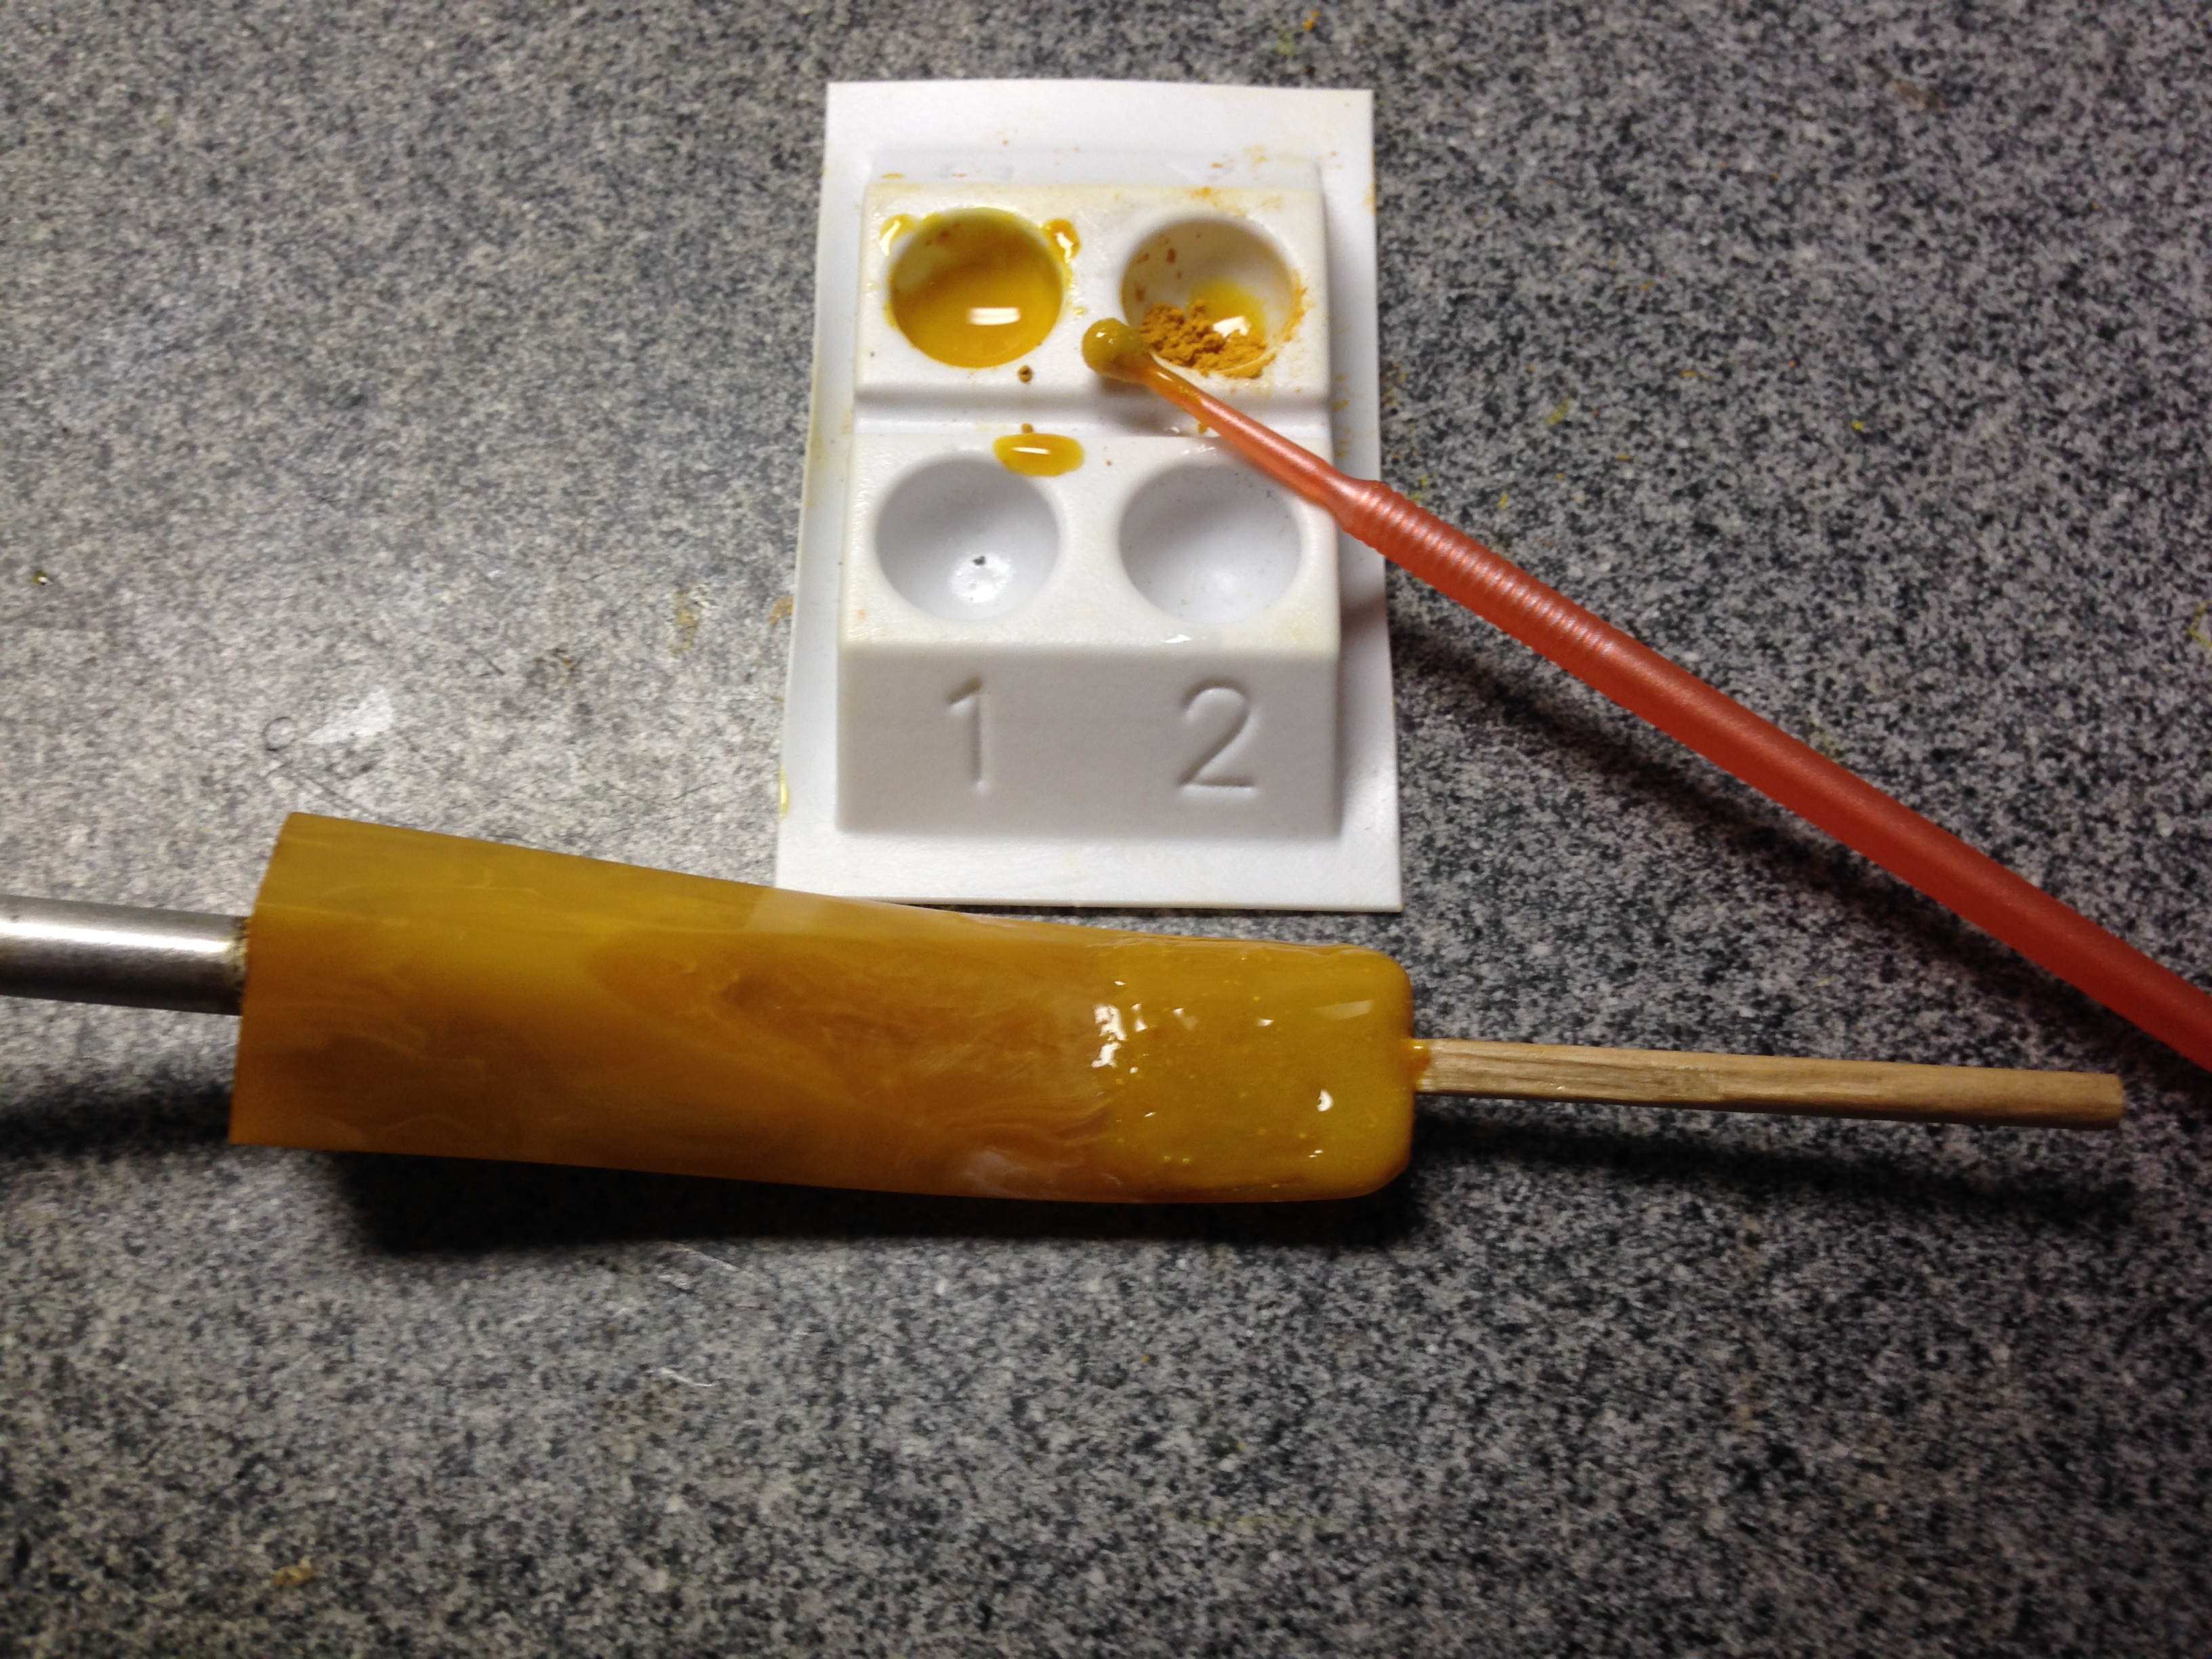
Yellow Acrylic Stem Patch – Part 3 – by Joyal Taylor (aka holymolar)


This is the third part of Joyal’s article on the yellow acrylic stem patch. His earlier parts of the article chronicle the various methods and procedures he has used in his try to get a matched patch on the acrylic stem he was working on. Please read the earlier installments to see the complete experiment. Part 1 can be found at this link: https://rebornpipes.com/2014/07/08/stem-patch-using-amber-super-glue-joyal-taylor-aka-holymolar/ Part 2 can be found here: https://rebornpipes.com/2014/07/08/yellow-acrylic-stem-patch-part-2-joyal-taylor-aka-holymolar/

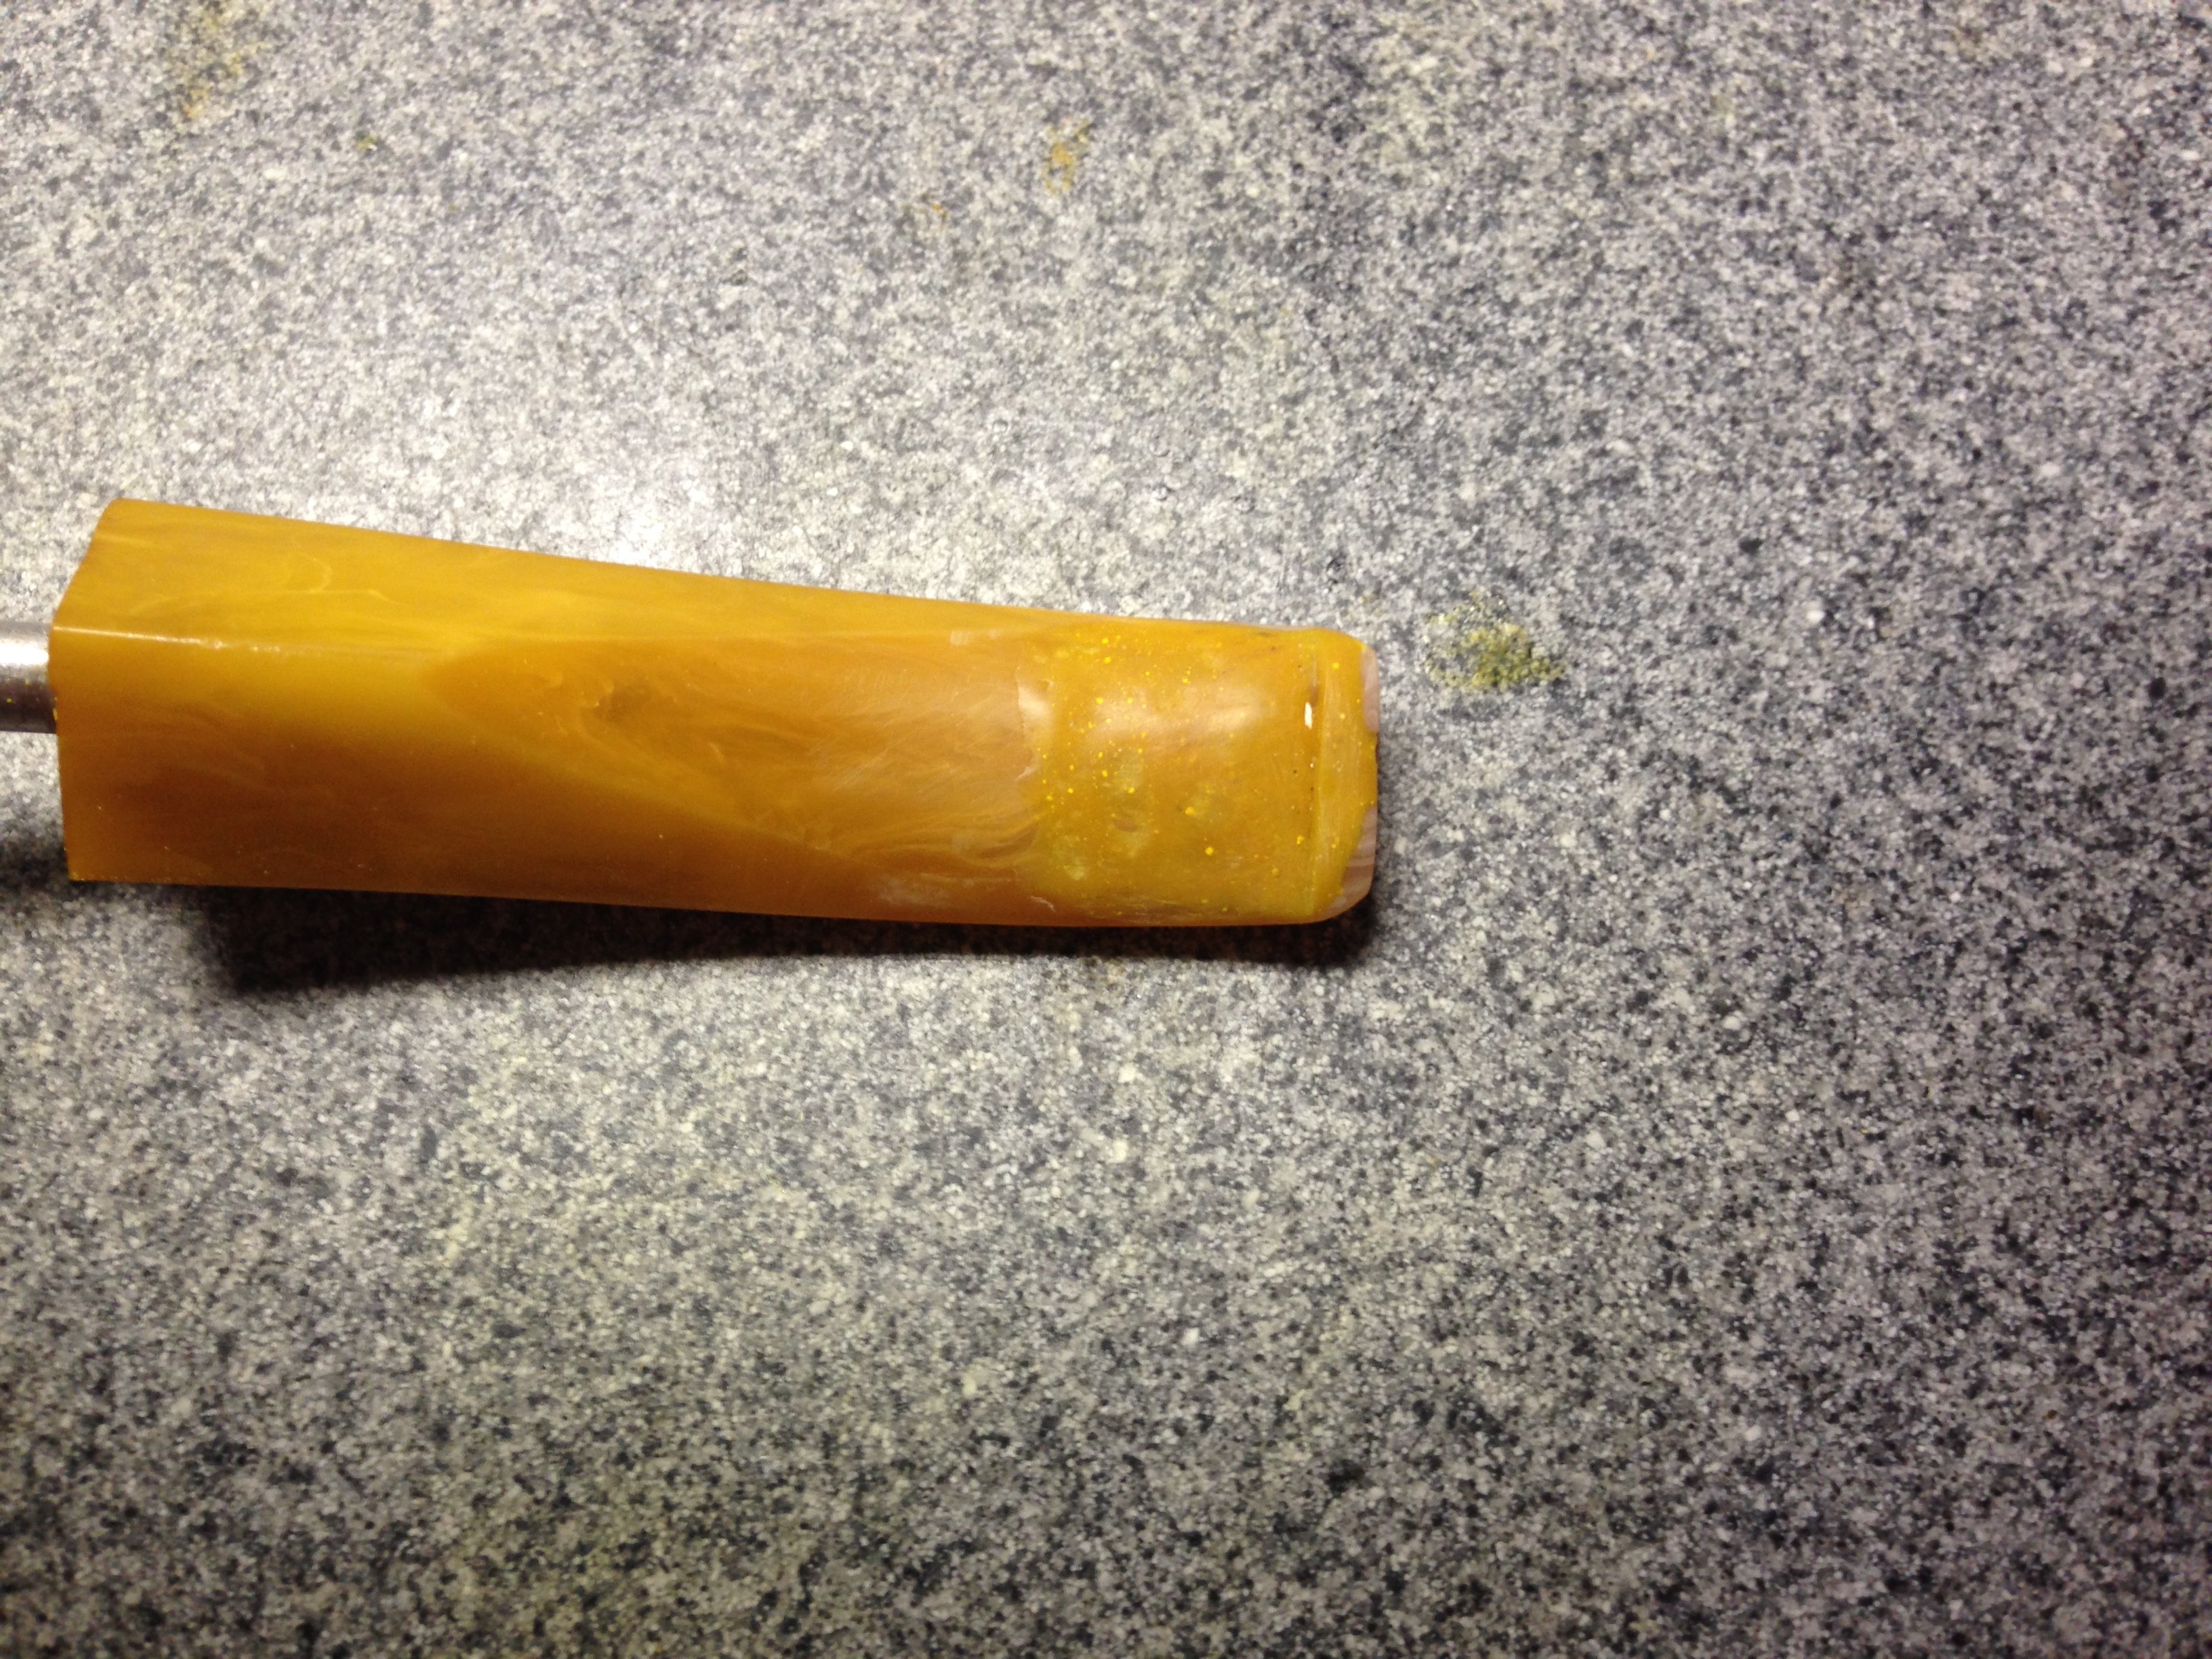
This time I tried Behlen’s yellow powder w/ StewMac’s thick clear superglue.
This is the best so far. Good color and opaque. Some of the powder didn’t mix in but it all polished smoothly. I had to leave the patch thick at the edge because every time I tried to sand it smooth it to the acrylic, I would remove more of the original color from the acrylic and have to add more patch material. Oh well, this may be as good as I can do, for now.
Photo 1 Photo 2 Photo 3

Renewing a 30’s Era KBB Yello-Bole Honey Cured Briar


Blog by Steve Laug

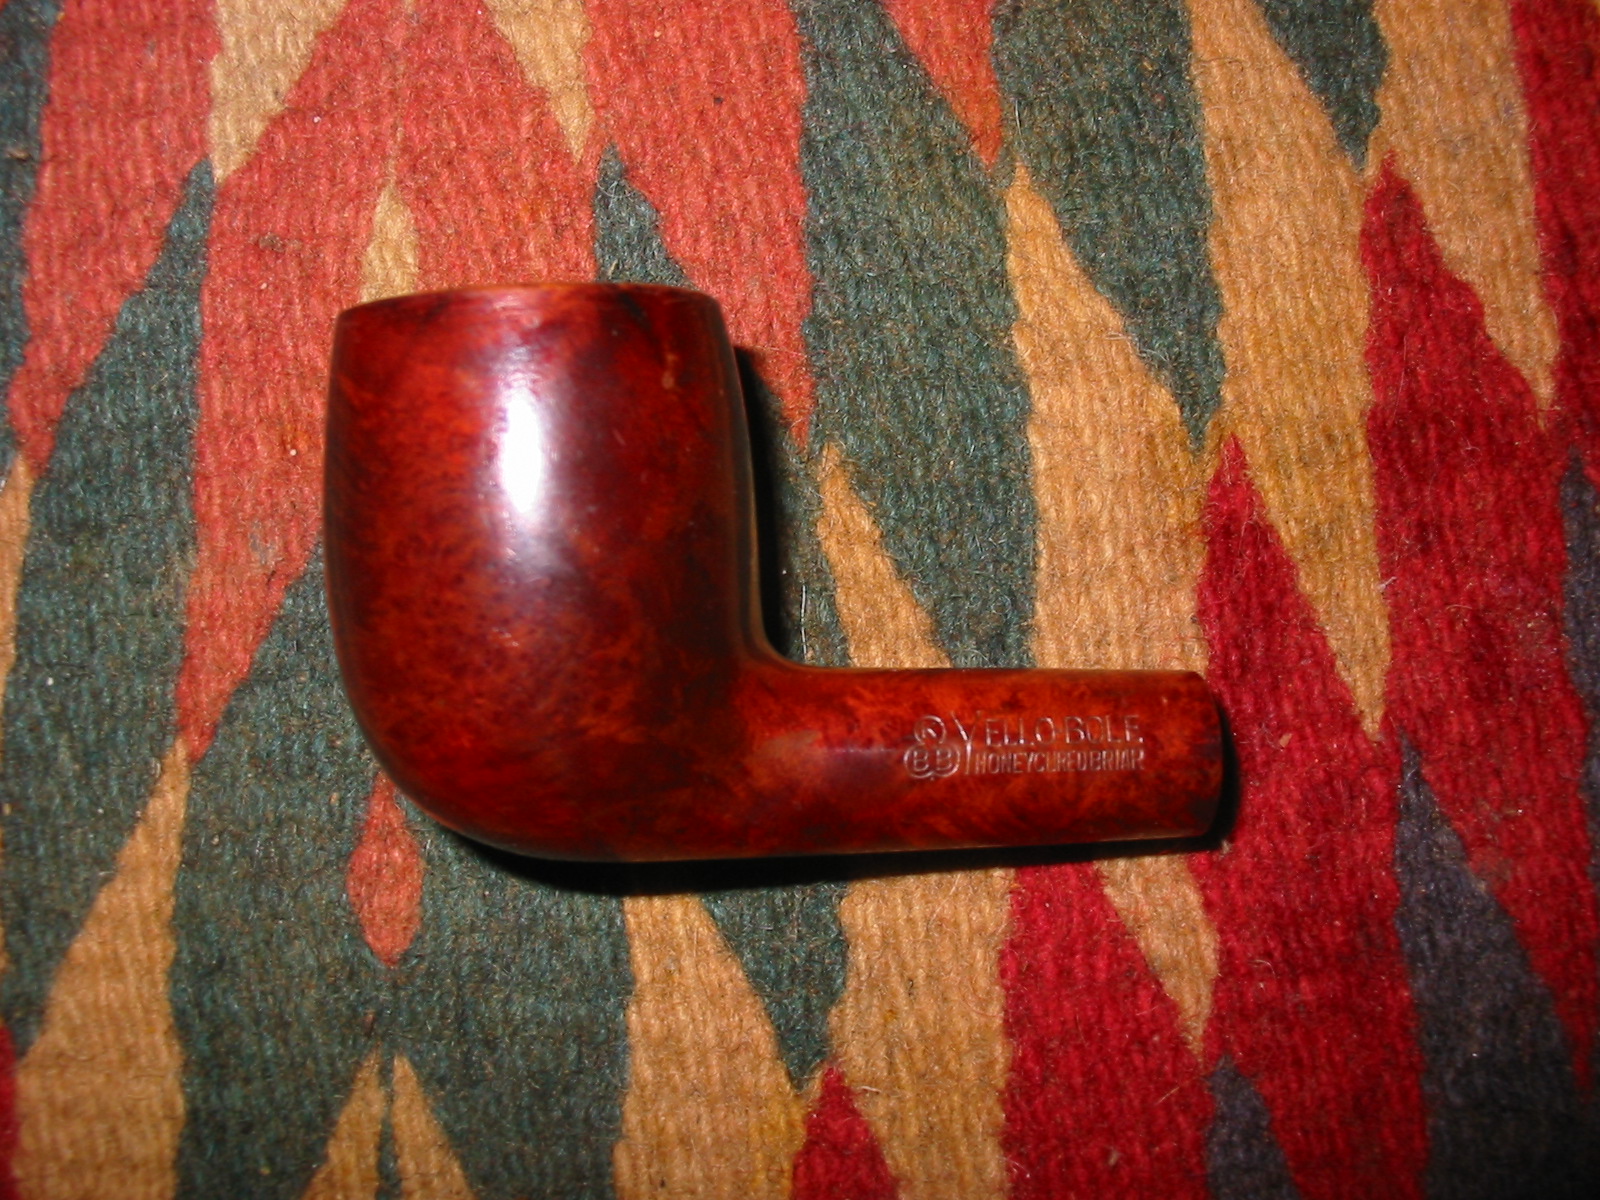
I just finished restoring and restemming an older Yello-Bole billiard. The bowl was stamped with the KBB (no ampersand) on the left side of the shank and next to it is stamped Yello-Bole in capital letters. Underneath is stamped Honey Cured Briar. On the right side of the shank it is stamped 2068B.
IMG_7566 The bowl was in decent shape. The finish had a heavy coat of varnish over the stain but the briar appeared to be quite nice. I could not find any visible fills in the bowl. There was some good grain under the varnish. The rim had been topped and was rounded and crowned. It still had some scratch marks in the wood and also it was stained in a much lighter colour than the rest of the bowl. The stem was missing. It originally had a push tenon stem as the mortise was not threaded. Fitting a new stem would not be difficult but getting proper look to the stem required that I had some idea of the era of the pipe. That pushed me to do a bit of research. IMG_7567IMG_7570 Since Yello-Bole pipes are one of my favorite older US brands doing the research would be enjoyable. As with other early brands made in the states I have found that older is better. A KBB in a cloverleaf stamp will date them back to the ’30’s. I have found through my reading that the 4 digit shape numbers are older than 2 digit ones. The pipes with the logo on top of the stem are older than ones that have them on the side. That is just some of the information that I found with a cursory read through the forums and a variety of websites.

I found that Kaywoodie would sort shipments of briar and send the culls to be used for Yello-Boles, meaning they got some quality briar. One fellow on the web believes that is why Yello-Bole pipes tend to be smaller over all, working around flaws. He also said that he thinks calling them Kaywoodie seconds is a bit of a misnomer, being that Kaywoodie was one of the largest briar purchasers in the world at the time (’20’s-50’s) and got some fantastic wood.

I came across the SM Frank website http://www.smfrankcoinc.com/home/?page_id=2 and found a wealth of historical information on Kaywoodies, Yello-Boles and the merger between KBB and SM Frank and later Demuth. It was a great read and I would encourage others to give the website a read. The information in the next paragraph was condensed from that site. I found confirmation for the statement above that the Yello-Bole line was an outlet for lower grade briar not used in Kaywoodie production. Yello-Bole’s were introduced in 1932 and manufactured by Penacook, New Hampshire subsidiary, The New England Briar Pipe Company. Advertising from the 1940′s, pictures the Yello-Bole “Honey Girl” and urges the pipe smoker to smoke the pipe with “a little honey in every bowl.” Honey was an ingredient of the material used to line the inside of the bowl. It was said to provide a faster, sweeter break-in of the pipe.

I went hunting further to see if I could find information on establishing dates for Yello-Bole pipes and found that there was not a lot of information other than what I had found above. Then I came across this link to the Kaywoodie Forum: http://kaywoodie.myfreeforum.org/archive/dating-yello-bole-pipes__o_t__t_86.html I quote the information I found there as it gives the only information that I found in my hunt to this point.

“OK so there isn’t a lot of dating information for Yello-Bole pipes but here is what I have learned so far.
– If it has the KBB stamped in the clover leaf it was made 1955 or earlier as they stopped the stamping after being acquired by S.M. Frank.
– From 1933-1936 they were stamped Honey Cured Briar.
– Pipes stems stamped with the propeller logo they were made in the 30s or 40s no propellers were used after the 40s.
– Yello-Bole also used a 4 digit code stamped on the pipe in the 30s.
– If the pipe had the Yello-Bole circle stamped on the shank it was made in the 30s this stopped after 1939.
– If the pipe was stamped BRUYERE rather than briar it was made in the 30s.

That is all I have in my notes right now I don’t have anything on the multitude of stem stampings or any other age indicators. If anyone has more definitive information or other methods of determining date please feel free to post it and I will edit this as I go. I currently have 2 from the 30s and 6 from pre 55 and 2 fairly modern ones.”

One further item was also found on that site. It was just a passing comment in the midst of some information on Kaywoodie pipes. I quote: “The pre-Kaywoodie KB&B pipes were marked on the shank with a cloverleaf around KB&B. Some early Kaywoodies had this same marking on the shank, but the practice was dropped sometime prior to 1936. Yello-Boles also had KBB in the leaf on the shanks, but did not have the ampersand found on Kaywoodies.” (Highlighting is mine)

Given the above information I discovered that the pipe I was working on was made sometime between 1933-1936. It was stamped with the Honey Cured Briar stamping on the shank and had a four digit code. Thus it was an early Yello-Bole from the 1930s. With that information I had a fairly clear idea of what kind of stem I needed to fit to the shank. I looked for photos of the pipe online and found none from that era. So I looked at KW stems to get some sense of what the shape of the stem and the slope of the taper would have been like. I found one the shape I was looking for in my can of stems. It had the right taper and look and after turning the tenon I was able to fit it to the shank. The diameter of the stem was slightly larger than the shank on the top and would need to be sanded until the transition was smooth between the shank and stem. IMG_7577IMG_7578IMG_7579 I sanded the stem with 220 grit sandpaper to remove the excess material on the top side. I sanded the shank to make the transition smooth. I planned on removing the varnish and touching up the stain on the rim anyway so to touch up the shank would not be a problem. I sanded carefully so as not to damage the stamping. IMG_7592IMG_7593IMG_7594IMG_7595 There were some slight ripples in the taper of the stem so I sanded it with a sanding block to smooth out the high points on the taper and even out the line. IMG_7596IMG_7597IMG_7598 I wiped down the bowl with acetone and cotton pads to remove the varnish and some of the stain coat. I always do that when I am going to do a restain on the rim and shank as I find that it makes the new coat of stain much simpler. IMG_7599IMG_7600 I wanted to remove the crown and rounding of the rim and flatten it out. The original bowls did not have a crowned rim but a flat one so I wanted to repair that and bring it back to its original look. I set up a topping board and 220 grit sandpaper and pressed the rim into the sandpaper and sanded the top flat. IMG_7601IMG_7602 I sanded the rim with a medium and a fine grit sanding sponge and also with 1500-2400 grit micromesh sanding pads to prepare it for staining. I stained the bowl, rim and shank with oxblood aniline based stain, flamed and repeated until the coverage was even. I then buffed the pipe with White Diamond. IMG_7604IMG_7605IMG_7606IMG_7608 I sanded the stem with medium and fine grit sanding pads once again and then sanded it with the micromesh sanding pads. I wet sanded with 1500-2400 grit pads and 3200-12,000 grit pads. I rubbed the stem down with Obsidian Oil and when it had dried took the pipe to the buffer. IMG_7609IMG_7610IMG_7611 I buffed the pipe with White Diamond and then gave it multiple coats of carnauba wax, buffing with a flannel buff between the coats. The finished 1930’s era pipe is shown below ready to be loaded and enjoyed for another 80 years. The stain does a great job highlighting the grain on this little pipe. It came out looking like new. The stamping stands out and is still sharp. The stem tapers just right to my liking. It is finished and waiting. Now the only decision left is what tobacco to use to break it in once again. IMG_7613IMG_7617IMG_7615IMG_7616

GBD New Standard 9442 Cleanup


ReserectedPipes's avatarReserectedPipes

Recently I bought a GBD New Standard 9442 on eBay in which the seller said had been “professionally” cleaned. The photos online looked ok and I bid on the pipe. Upon receipt I was disappointed in the condition. It would not even pass a pipe cleaner.

There was a lot of tar built up in the base of the pipe and the stem was plugged solid. I went through a number of pipe cleaners and cotton swabs to get it cleaned.

The stem had a couple of tooth marks and a crack in the bottom of the stem. Using the black super glue I tried to fill the tooth marks and repair the crack.

This is an area that I will need much more practice in before I can say it’s good. At this writing the repair I made are primitive but ok. I will continue to practice…

I soaked the…

View original post 52 more words

Restored – Kaywoodie Flame Grain 13B (Author) Drinkless – Pat Russell


It is a pleasure to present Pat’s second contribution to the blog. In it he describes his work on an old Kaywoodie in one of my favourite shapes – the 13B. Thanks for the contribution Pat. Keep ’em coming. You are doing some great work.

Greetings friends.

It’s been one heckuva week, one of those weeks where life just seems to take over. As a reward for making it through, I’ve taken a holiday today to restore a beautiful old pipe that has been sitting on my bench for a month or so. This was another $14.00 eBay win, and one I was thrilled about. I started looking for early Kaywoodies about a year ago when I fell in love with the quality of the briar. This lovely little author was in pretty good shape. The drinkless stinger, with 4 holes, and a two digit shape code with one letter dates it to between 1940 and the early 1950s. There was a sizable tooth mark in the top of the stem, a couple smaller bites out of the bottom of the bit, and a few small dings and dents in the bowl. Other than that, the pipe was in pretty good shape.
KW1KW2KW3KW4KW5 So I threw the stem in a OxyClean bath, and then took the new PipNet reamer to the cake.
KW6KW7KW8 I then wet a tea towel and set the bowl rim down on the towel for two minutes or so, before using the damp towel to wipe off the rim char and tars.
KW9 Once that was done, I wet sanded the stem with 600 and 800 grit sandpaper.
KW10 Then took the heat gun to the stem to work on those dents.
KW11KW12 It took a couple attempts, but they both lifted somewhat.
KW13KW14 Then I took 0000 steel wool to the stinger to clean it up.
KW15 Following the stinger, I elected to do a surface clean of the stummel with acetone and a cotton pad.
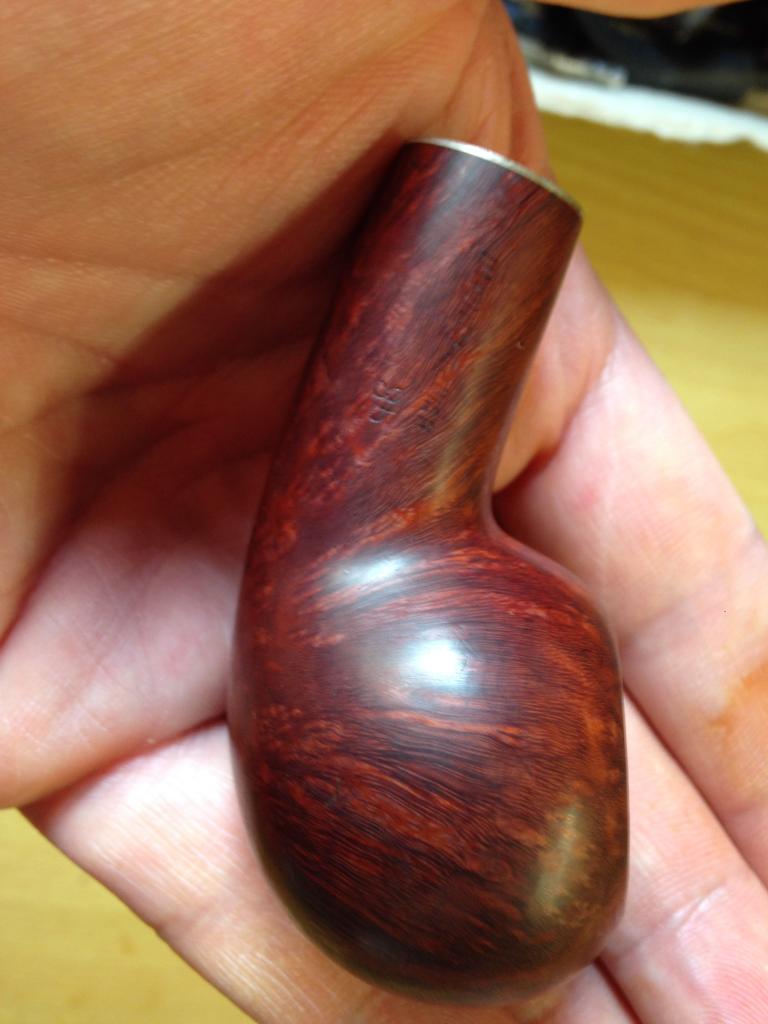
KW17KW18KW19KW20 At this point, it was time to make some judgement calls. There was still some rim darkening, there were a couple very minor dents in the bowl, and that tooth mark was still there even after the heat treatment and there was a little bleaching around the top of the bowl. This pipe is for me. I’m a clencher. I elected to leave the tooth mark. I also elected to leave the dents, and do a light tint of the bowl to bring back the colour.

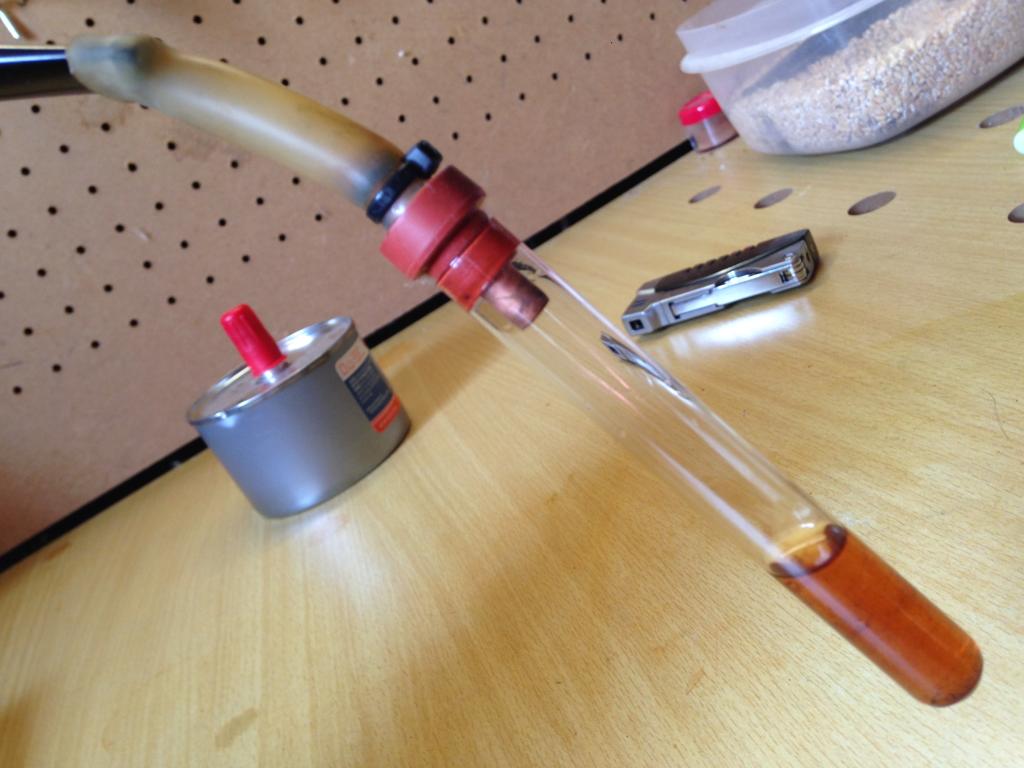
The next step was a date with about fifty pipe cleaners and the same number of bristle cleaners liberally dosed with isopropyl alcohol. After a thorough scrub out, I elected to finish the stem, shank and stummel clean with a retort.
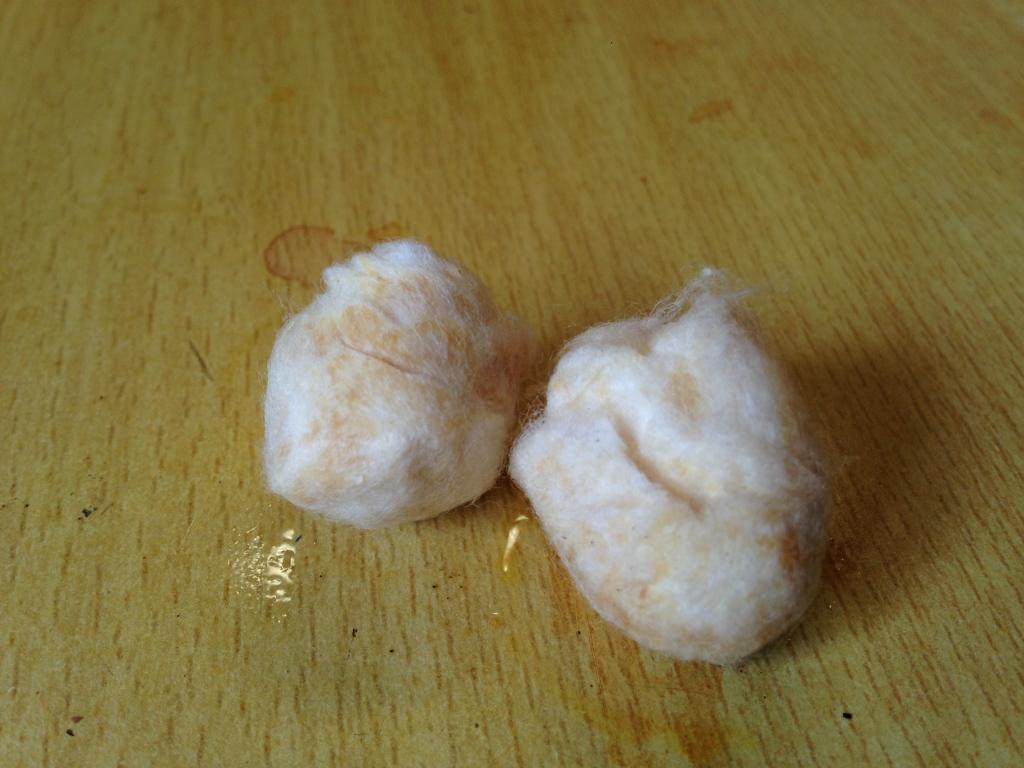
KW21KW22KW23 Testament to the fact that isopropyl alcohol and pipe cleaners don’t clean out everything, here are the cotton balls from the bowl post retort.
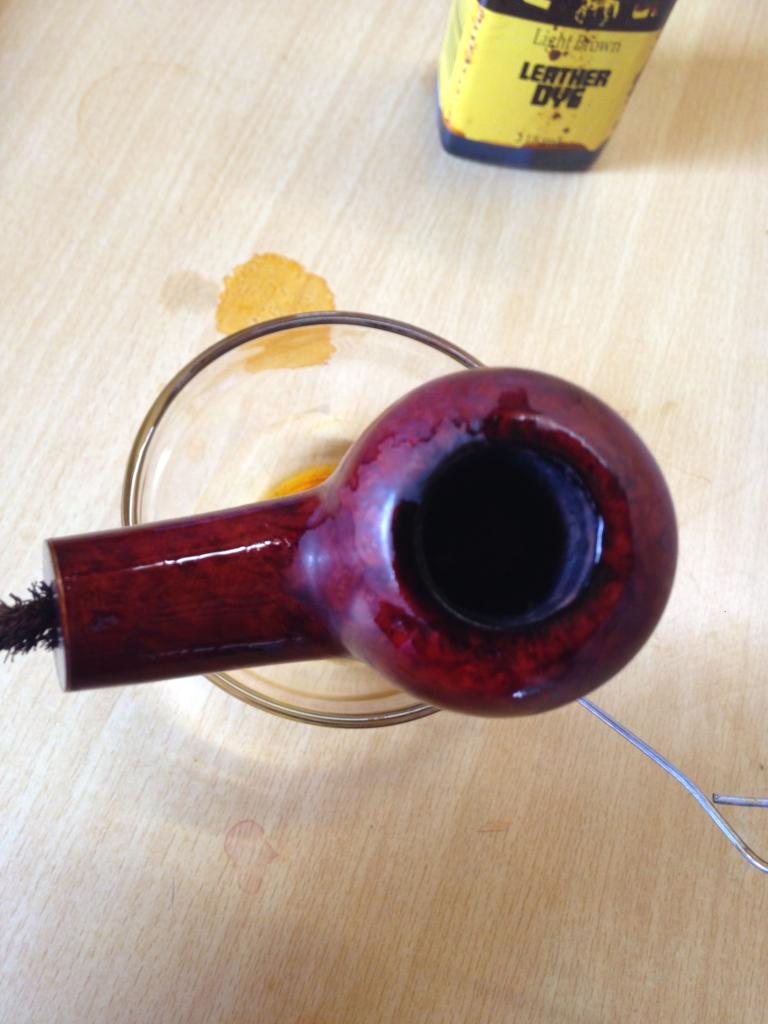
KW24 Post retort, I added two drops of Fiebing’s Light Brown to about half an eye dropper of 99% isopropyl alcohol. I do this to create tints. I don’t always want to restain a pipe, the tint allows me to blend the stain and bring colour back to the bleached areas of the stummel.
KW25KW26KW27KW28KW29 After adding the tint, I used a cotton ball with isopropyl alcohol to wipe down the stummel and even out the tint.
KW30KW31 Then the pipe went to the buffer. First with white diamond…
KW32KW33 Then with Carnauba…
KW34KW35KW36KW37 Then after a wipe down with a Dunhill Pipe Wipe…
KW38KW39KW40KW41KW42KW43 I love this pipe. I’m thrilled to have it, and can’t wait to smoke it.

Right now I’m having one of these to celebrate.
KW44 As always, thanks for looking, and feel free to toss any tips my way.

Castleford & PipNet Reamer – Side by Side Comparison – Pat Russell


Blog by Pat Russell

It is a pleasure to have Pat Russell posting on rebornpipes. I have been reading about and observing Pat’s refurbs on Pipe Smokers Unlimited (PSU) for a while now and thoroughly enjoyed his attention to detail. I enjoy seeing what challenges he takes on and how he creatively deals with them. Pat posted this comparison of the Castleford and PipNet reamers on PSU and I wrote him a quick email to see if he could post it here on the blog as well. He graciously consented to have it here. Have a look at the Thanks to Contributors page here on rebornpipes to read more about Pat and the other contributors to the blog. Without further introduction here is Pat’s first contribution to the blog.

I was gifted a PipNet Reamer by a good friend who also restores pipes. A lovely gesture which provides me with the chance to share a side by side comparison.
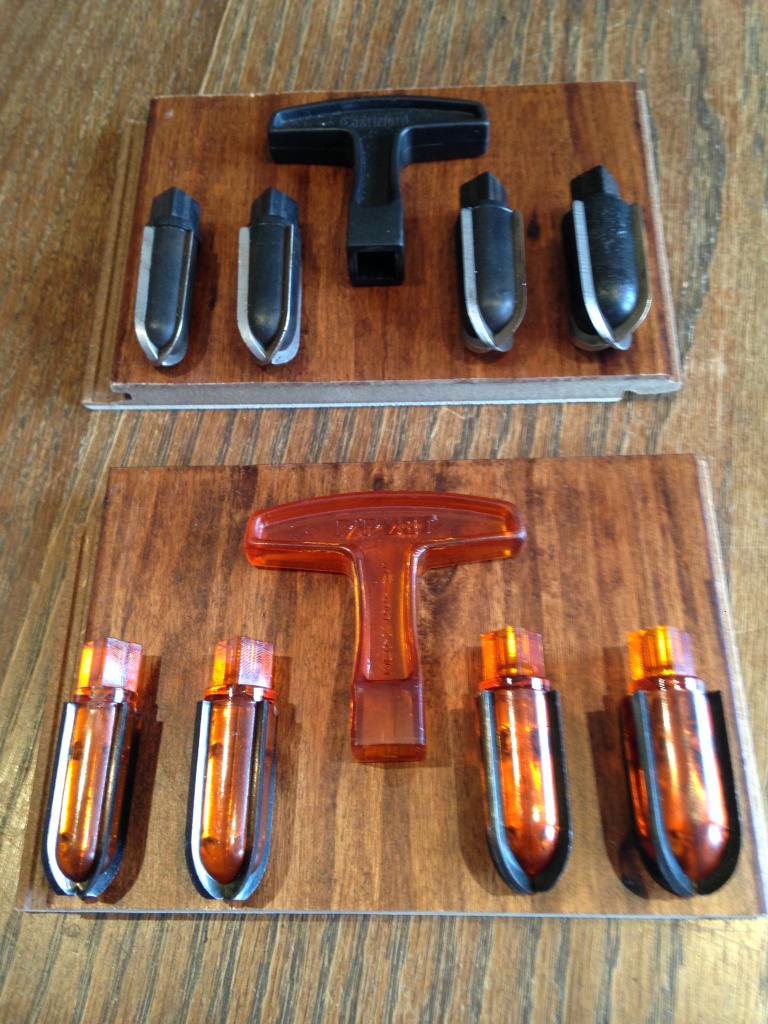
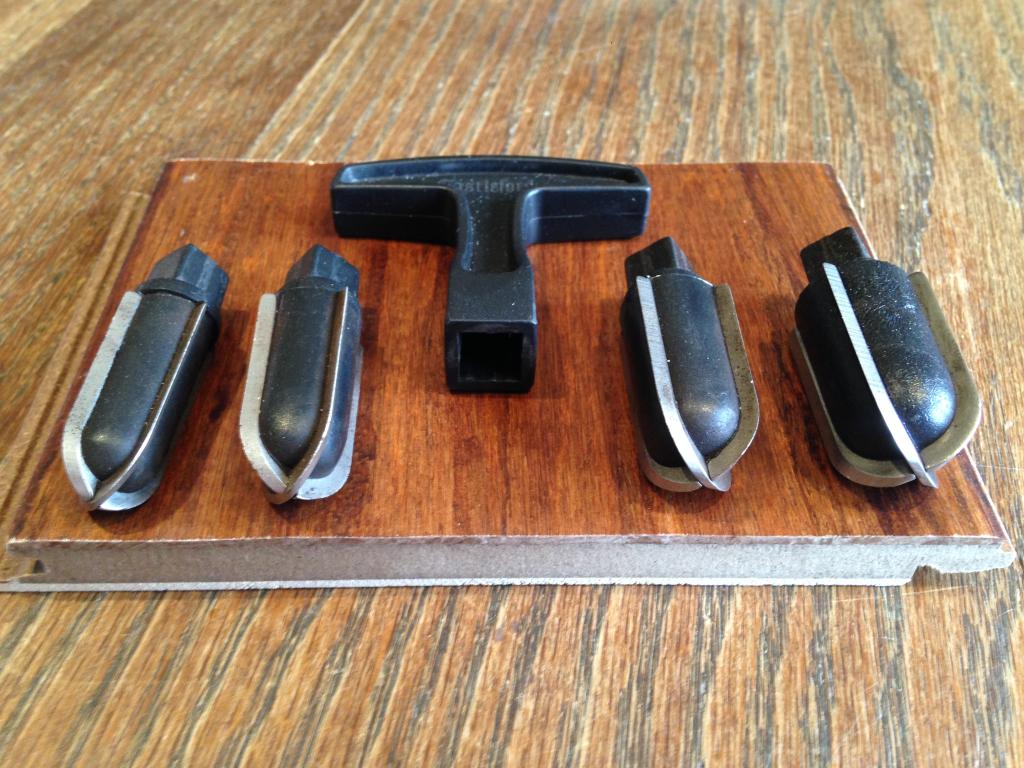
Pruss1I’ve only ever used the Castleford Reamer. When I started doing restoration work I read as much as I could on reamers and which offered the most control. The PipNet Reamer was well reviewed by many, including here by Steve Laug https://rebornpipes.com/2012/05/31/my…rs-a-review-6/ and it came out on top. My problem was access, when I was building up my kit I couldn’t find one. So I opted for a Castleford Reamer set. I liked that it had four fixed blade heads, that it was unlikely to slip and seemed to afford some control.
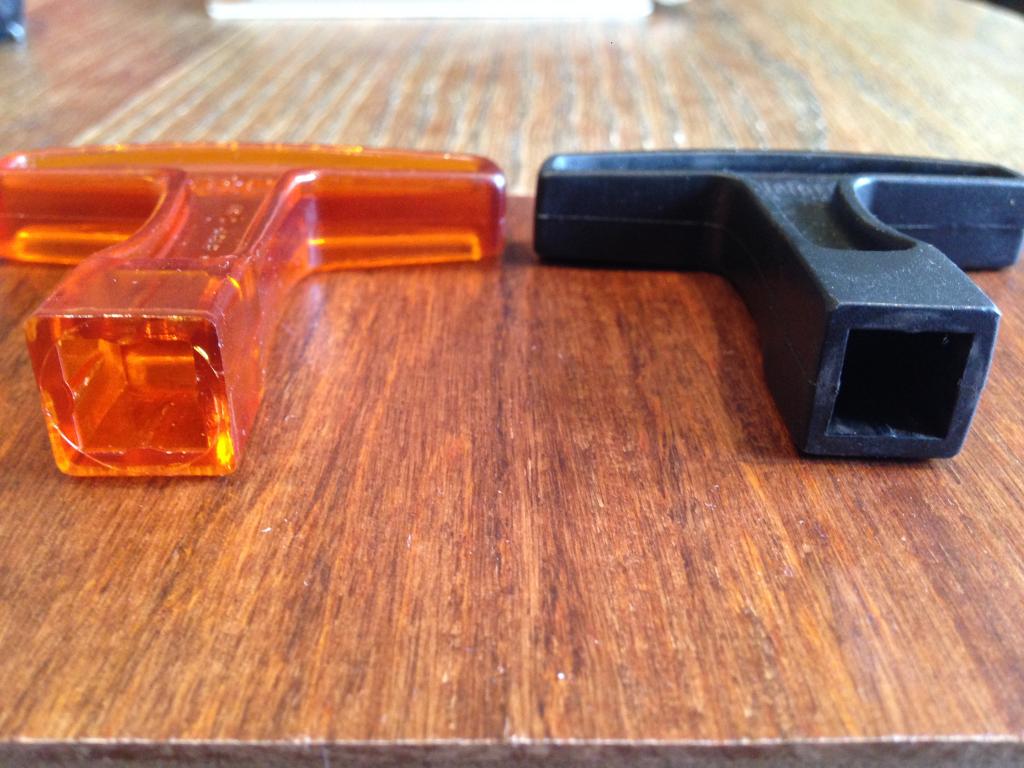
Pruss2I’ve used my Castleford Reamer for over 70 pipe restorations, and it was coming to the end of its life. So not only was this spontaneous gift a surprise, it was a fortuitous one. The problem with my Castleford set was that the plastic which is used to make both the reamer and the handle is soft and it wears down. Two of my four reamer heads for the Castleford are so stripped now, that they won’t stay in the handle. The PipNet does indeed seem to be made of a stronger/sturdier acrylic than the softer plastic of the Castleford.
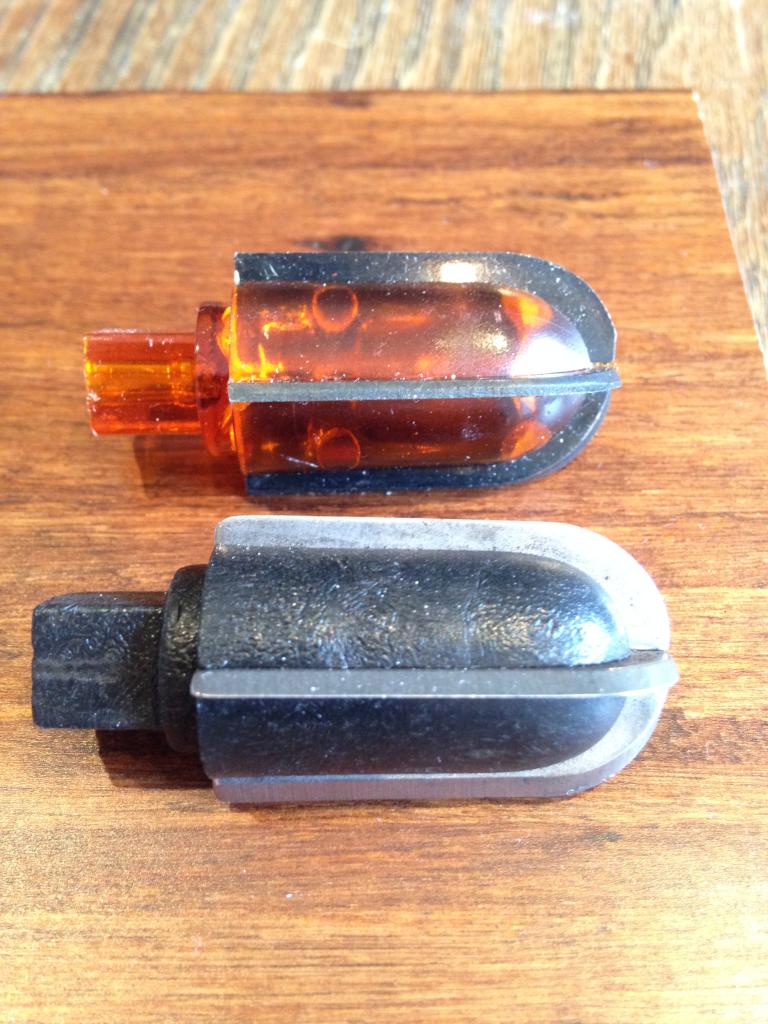
Pruss3Here is a closeup of one of the reamer blades from my Castleford. You can see the wear in the centre and on the edges of the toothless side of the blade which is inserted into the handle.
Pruss4Aside from the material difference, the blades of the PipNet are thicker, and one-sided. There is definitely more material in the blades of the PipNet, and the mass of the blade seems to make for a smoother cut through cake. The thinner steel blades of the Castleford blades seem to catch on cake more easily.
Pruss5Pruss6Pruss7Pruss8The other piece that I like about the PipNet Reamer is the extra length in the handle. It affords just a little more purchase and mechanical advantage.
Pruss9Pruss10I look forward to the next 70 pipes with the PipNet, and will report back on how it performs. But if the first seven are any indication it and I are going to be long friends.

A Malibu Bent Billiard by Savinelli Restemmed and Restored.


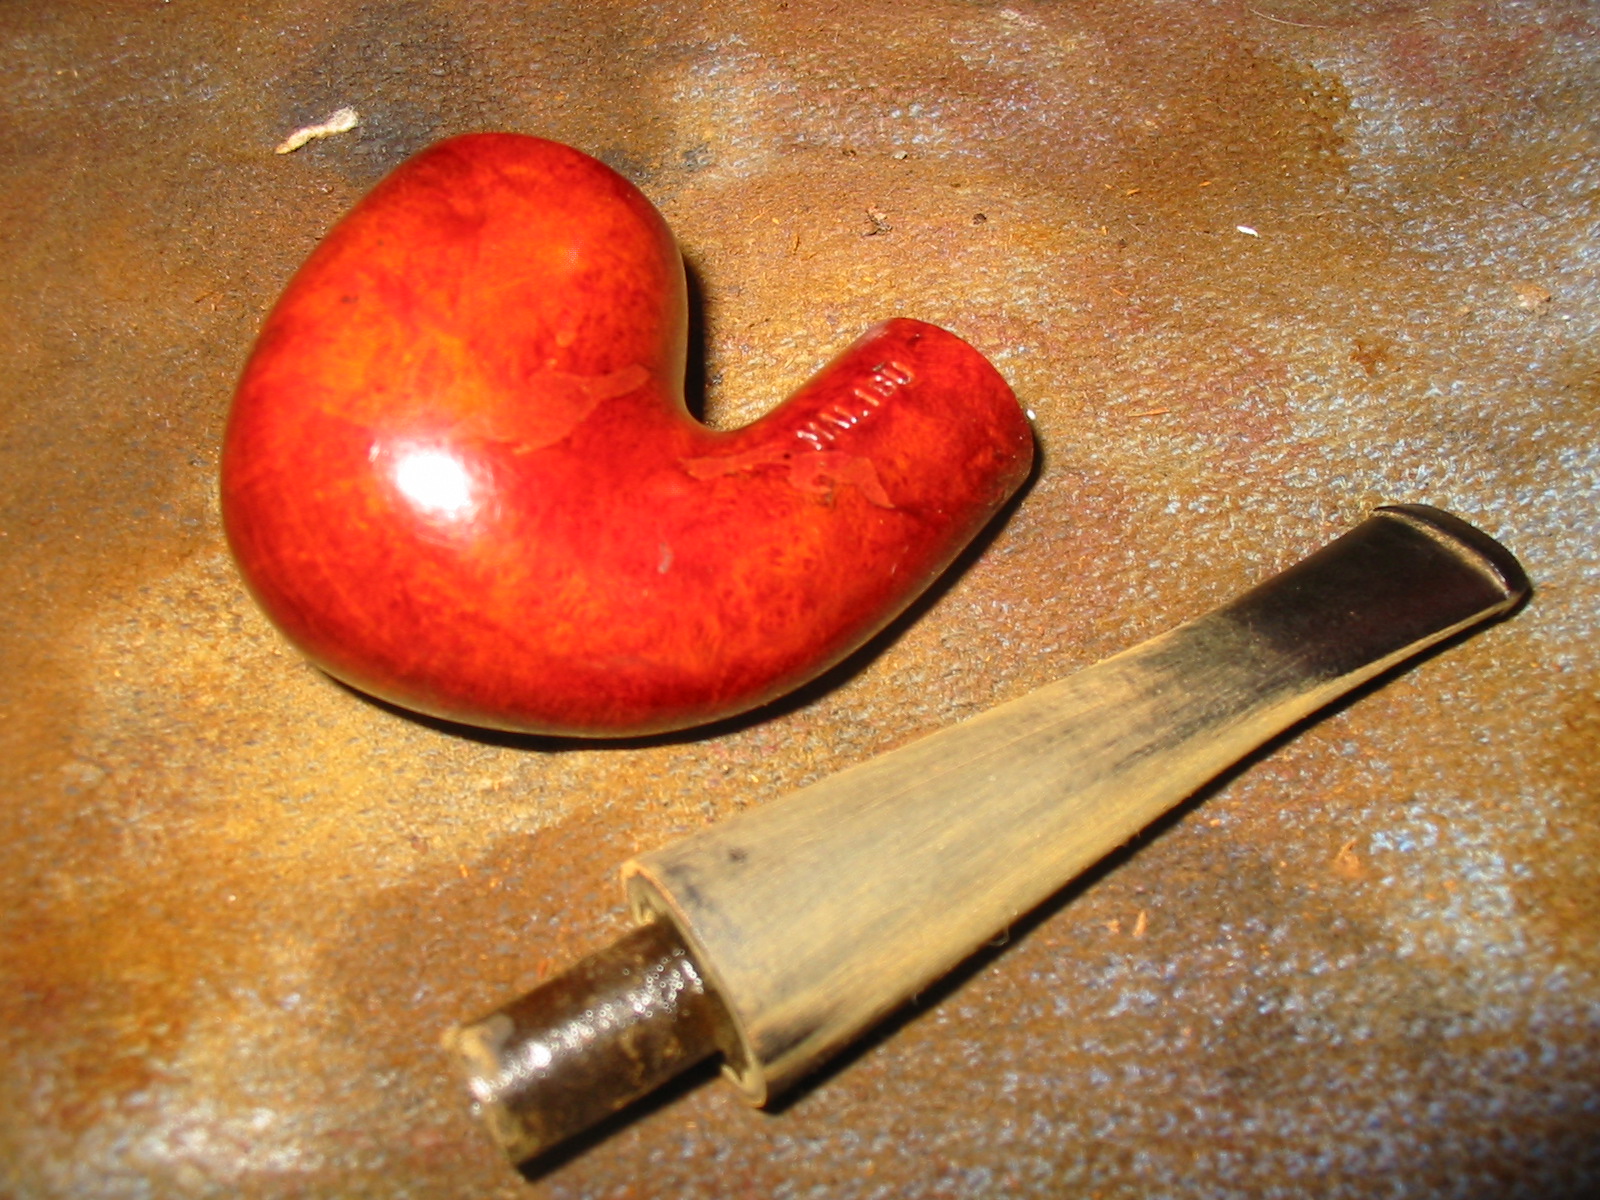
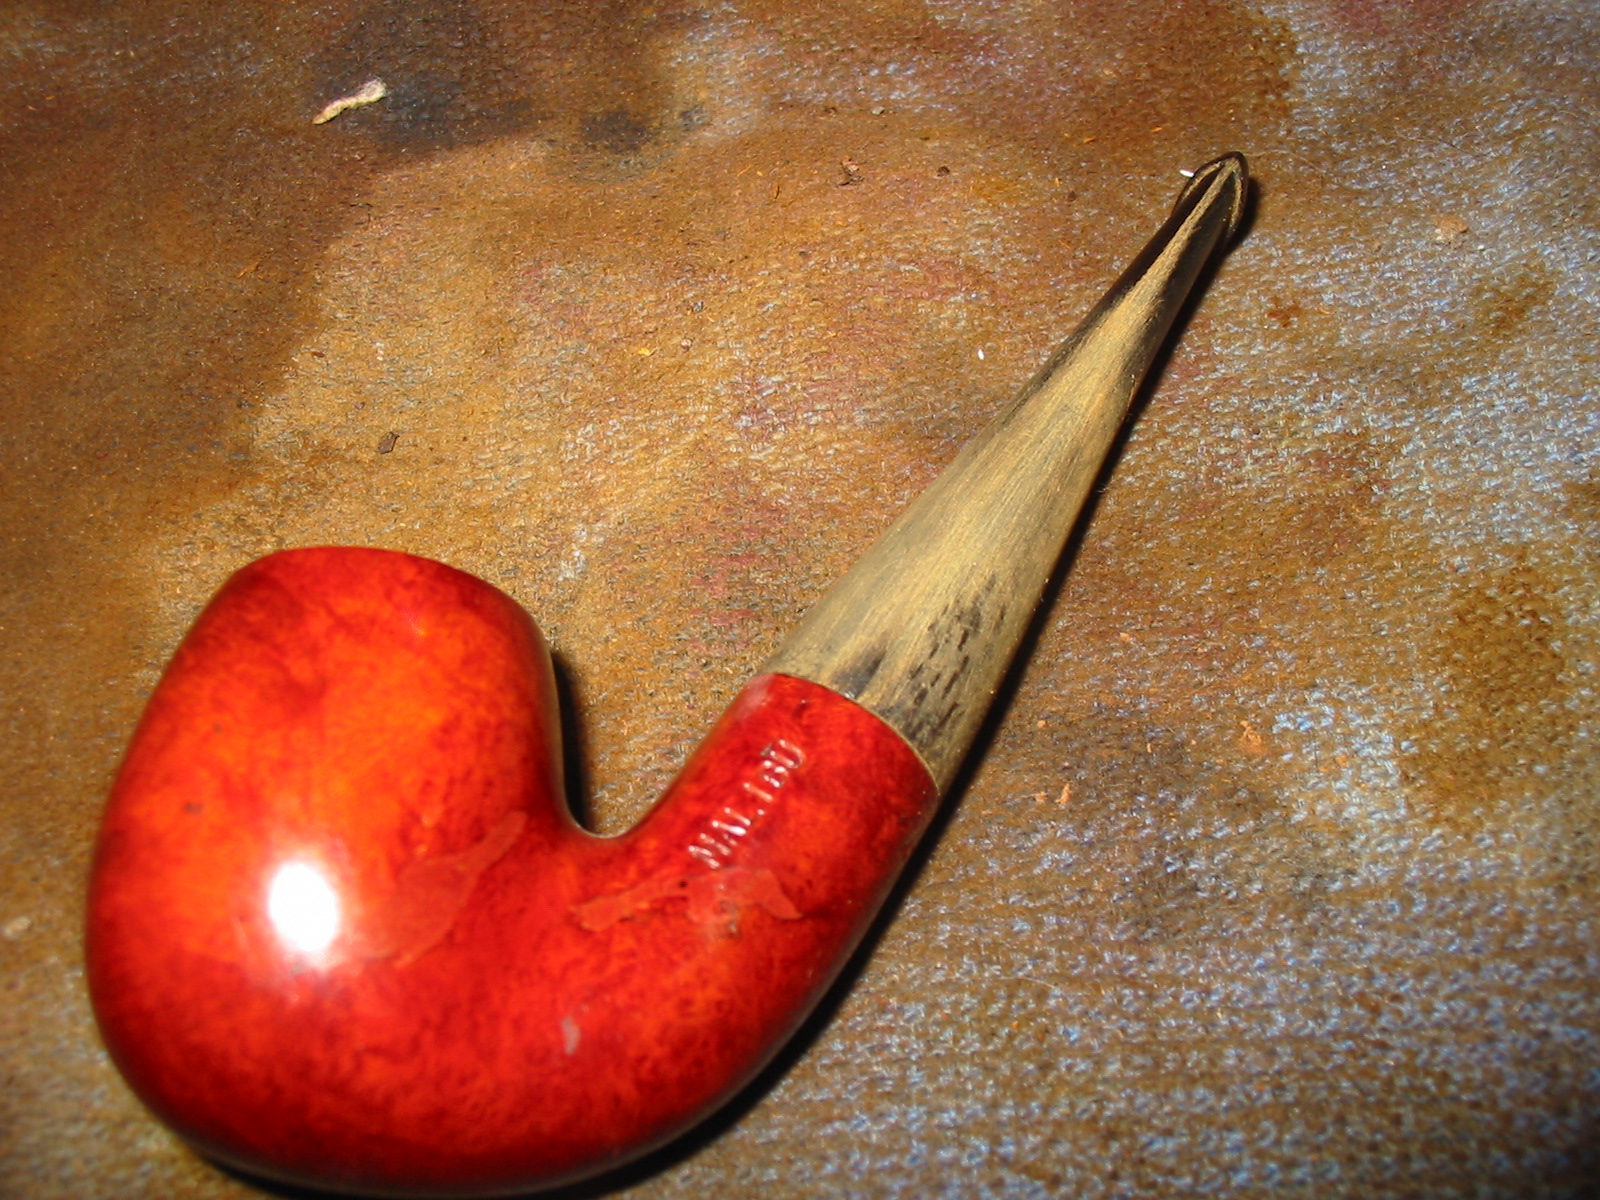
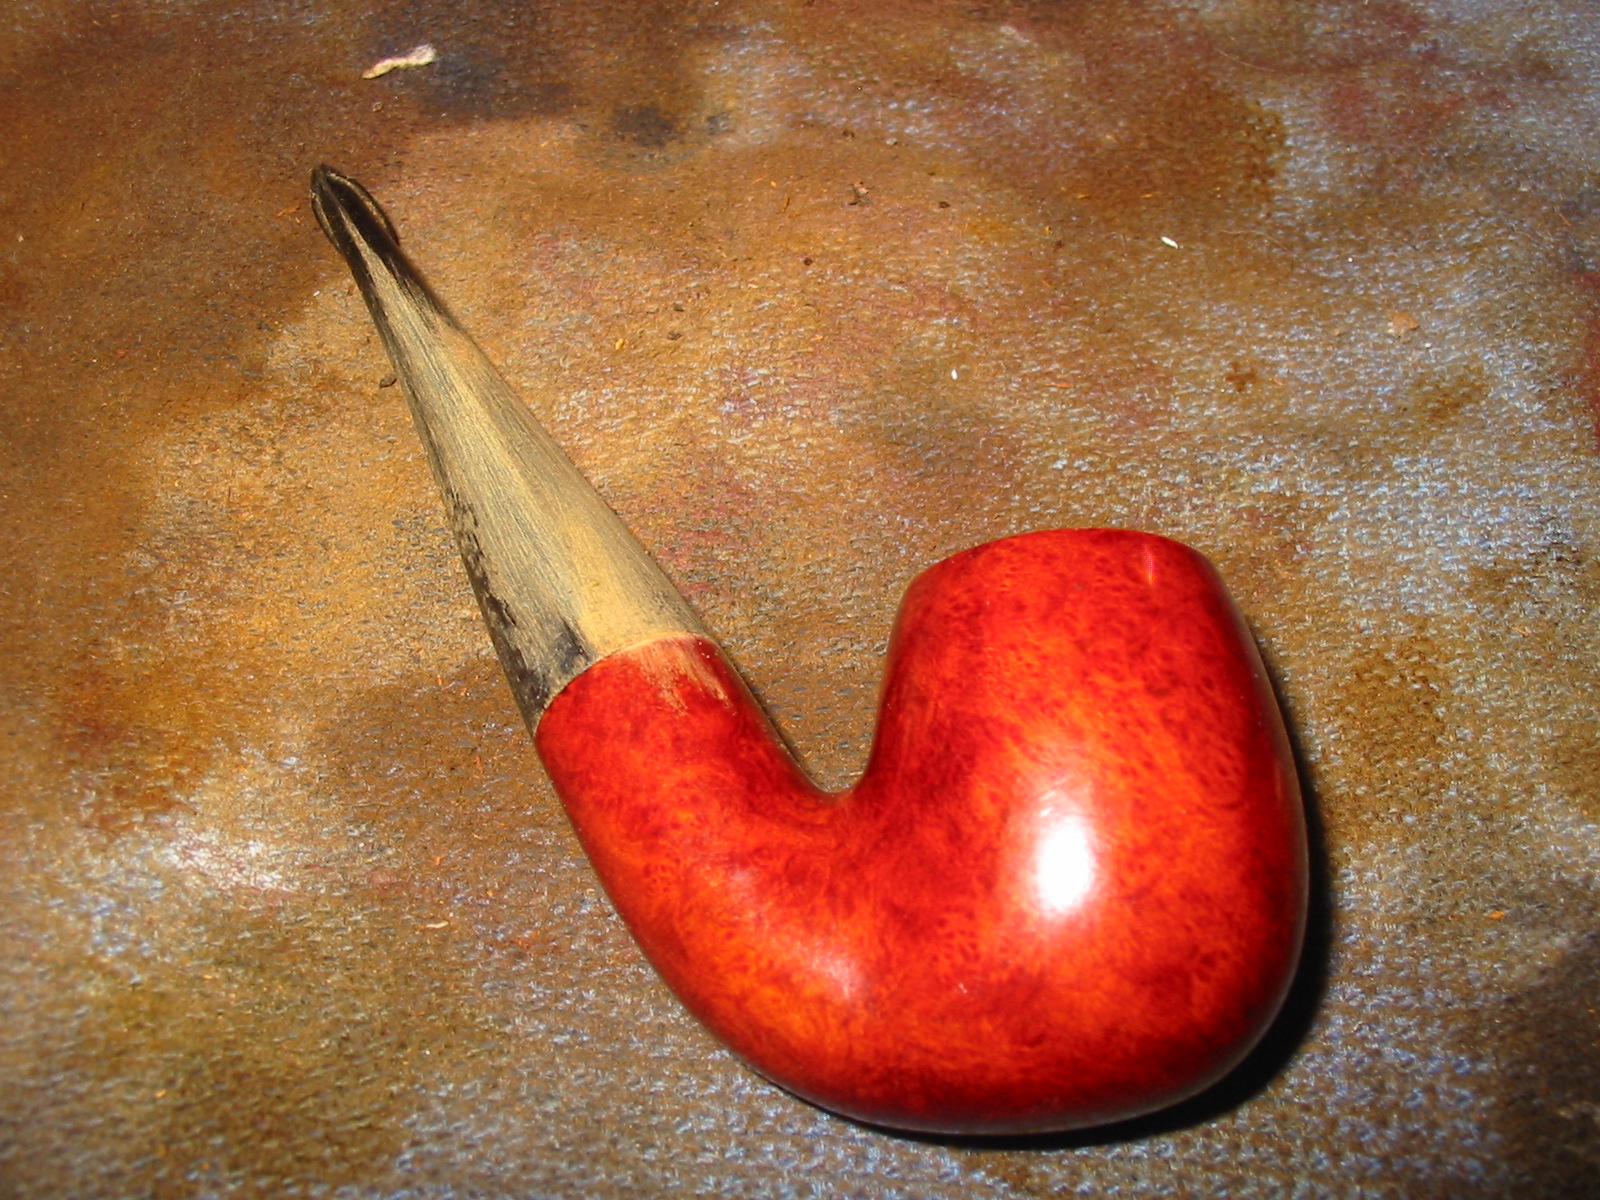
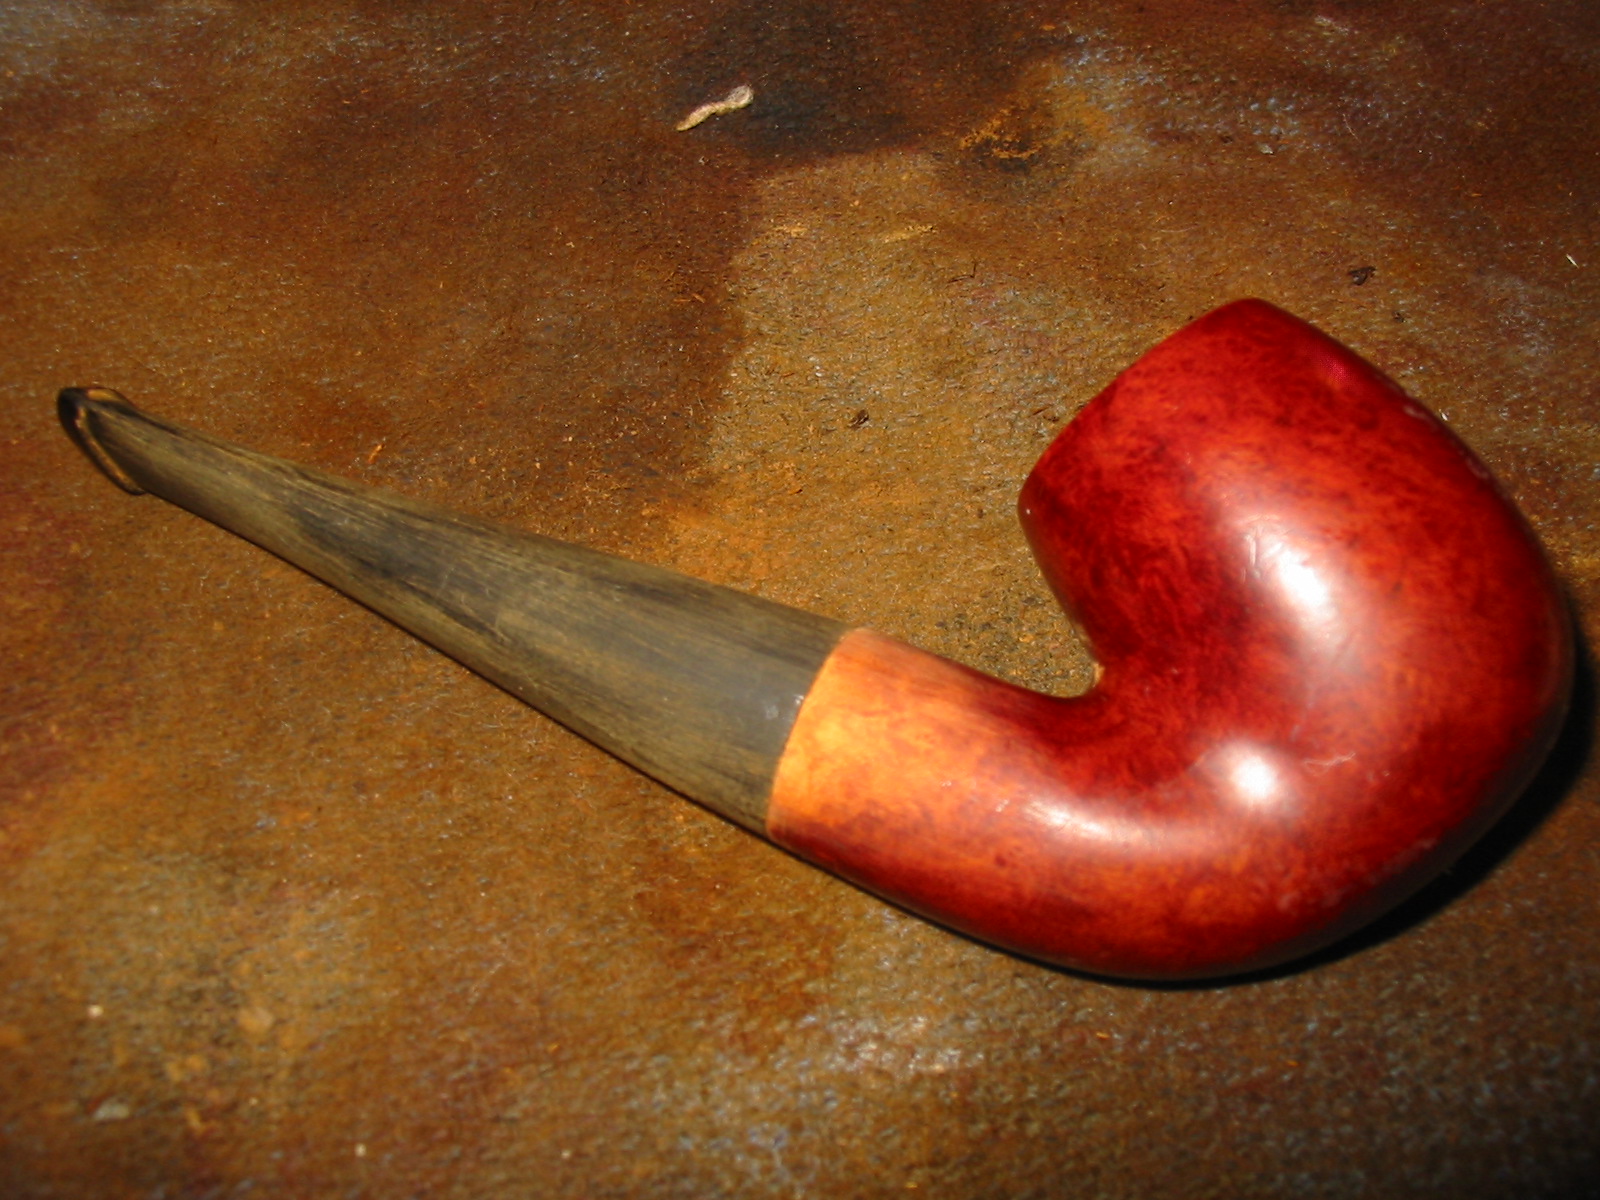
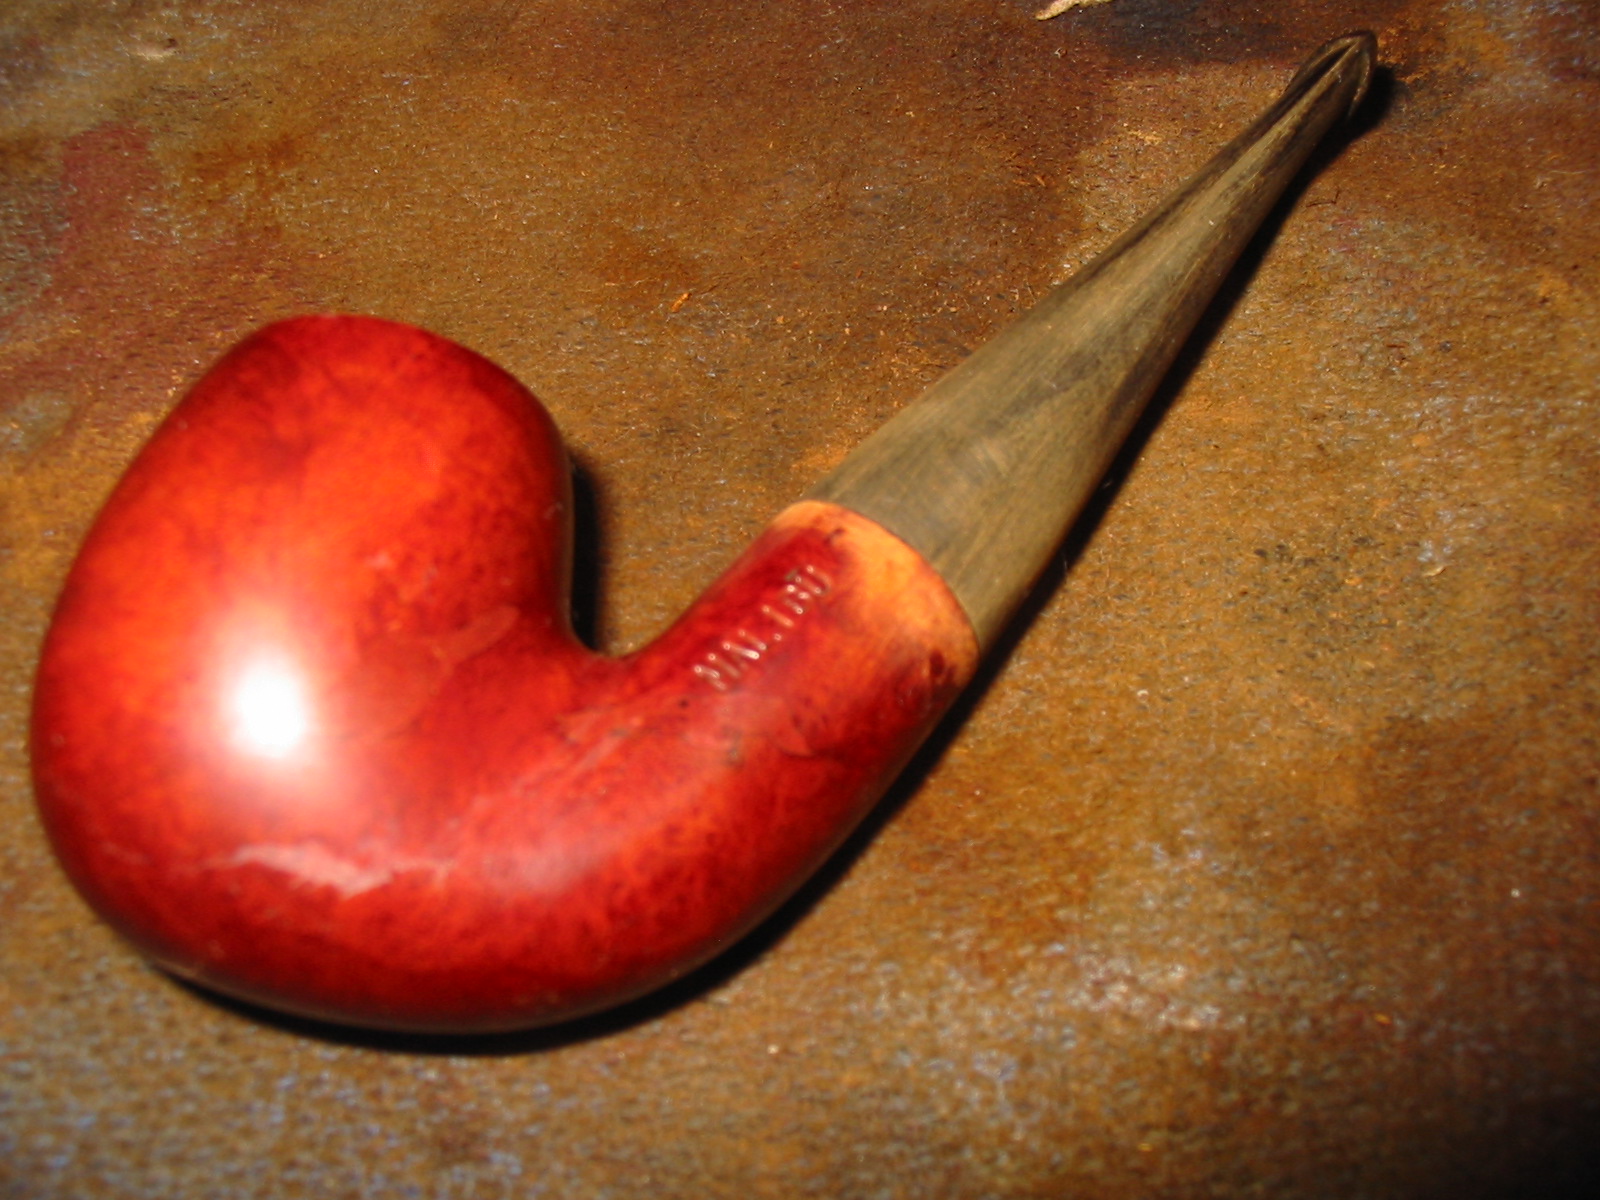
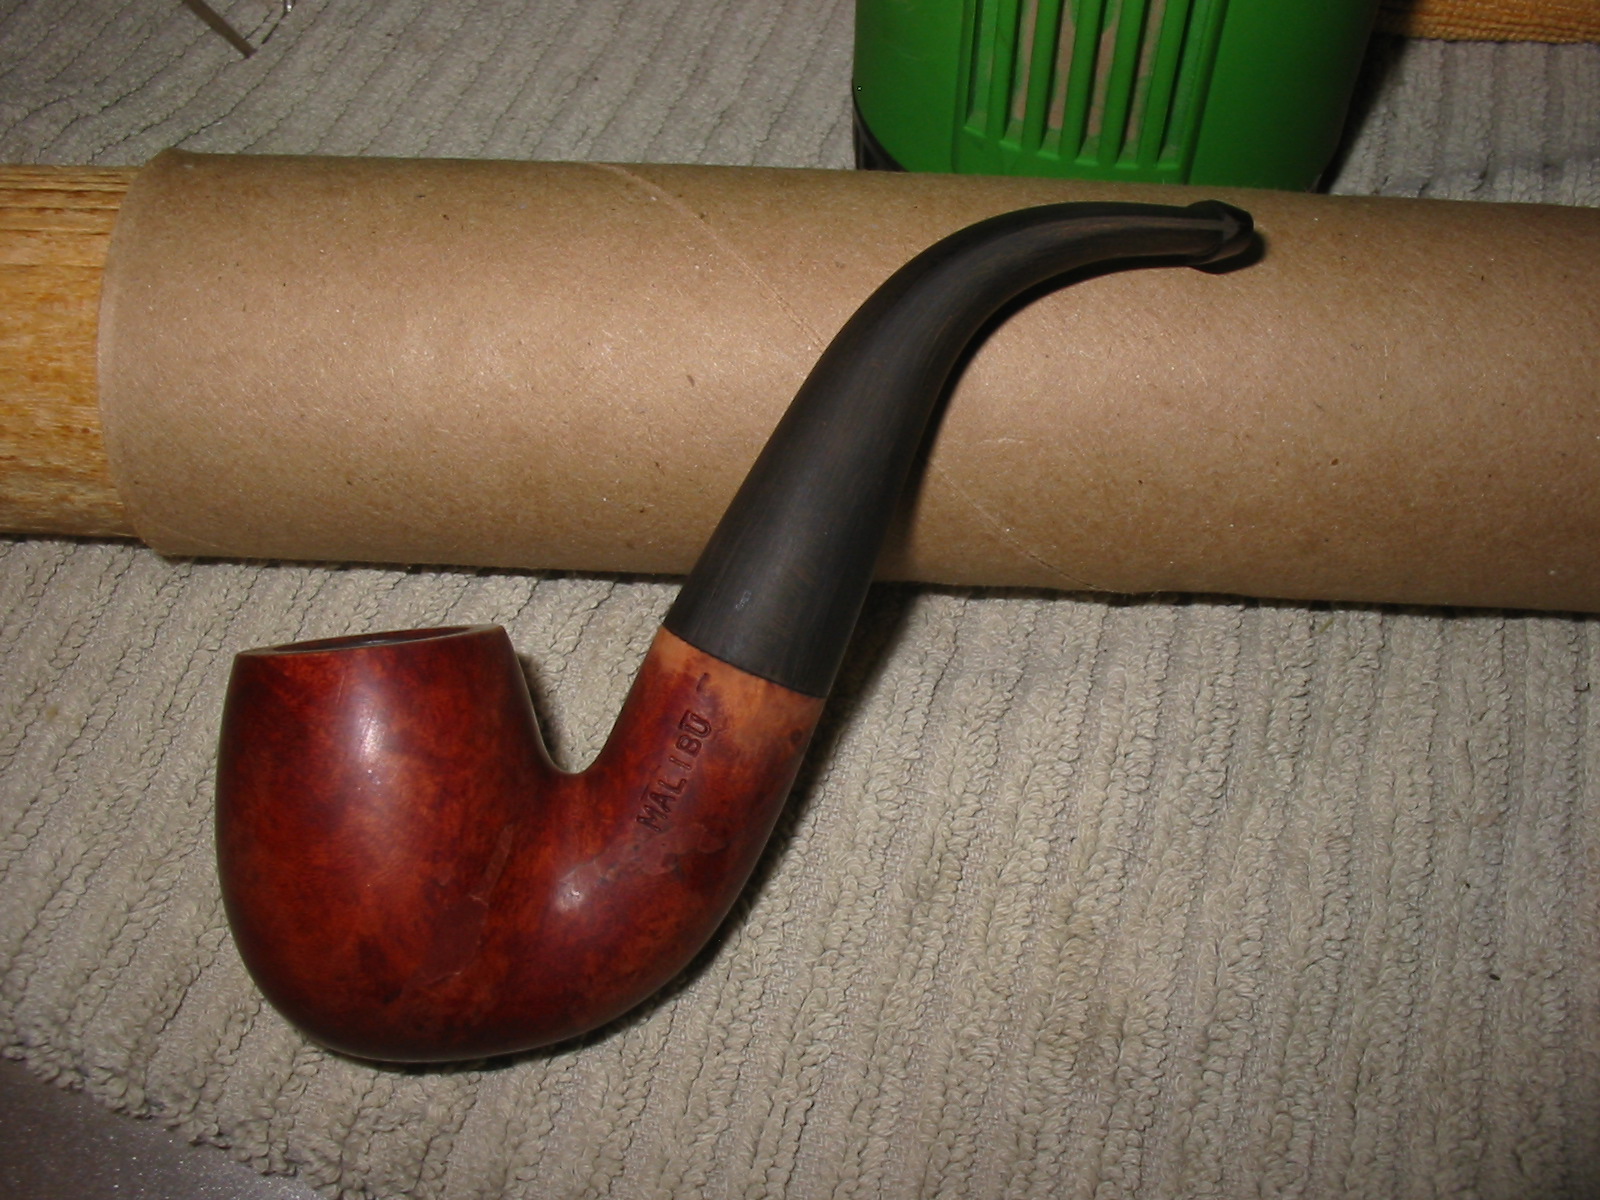
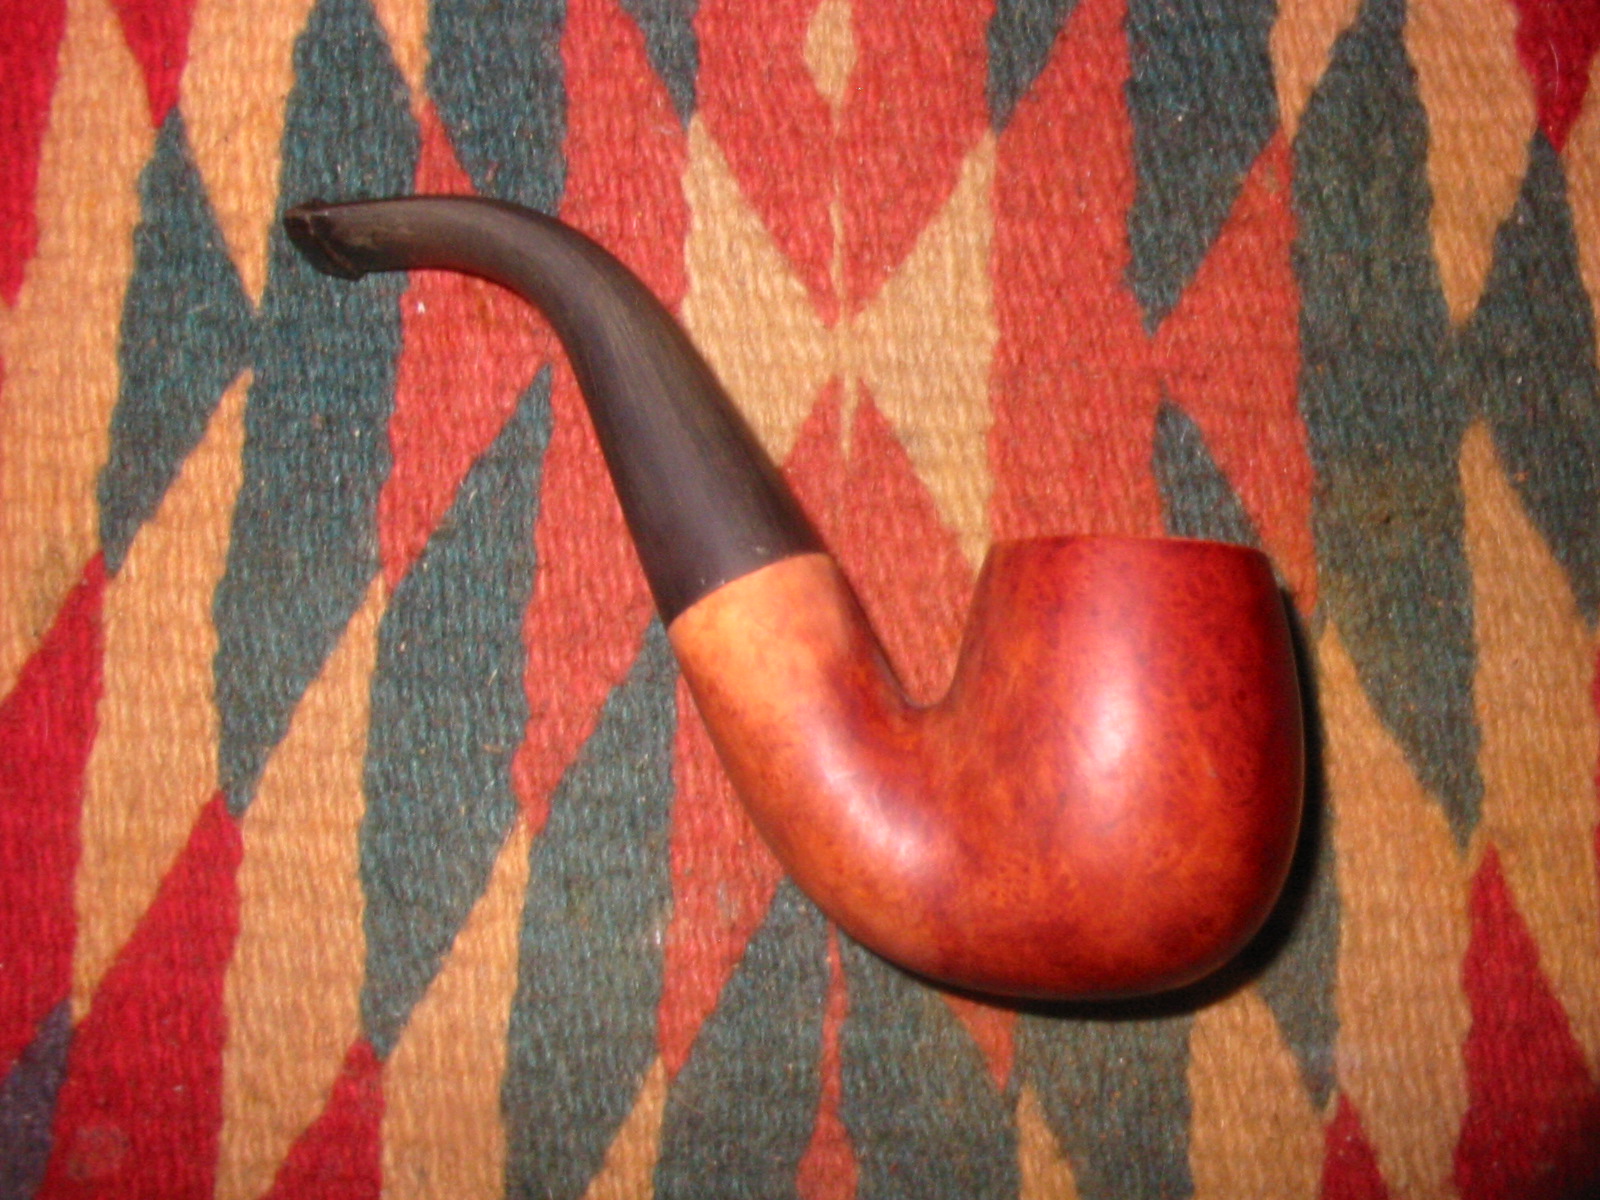
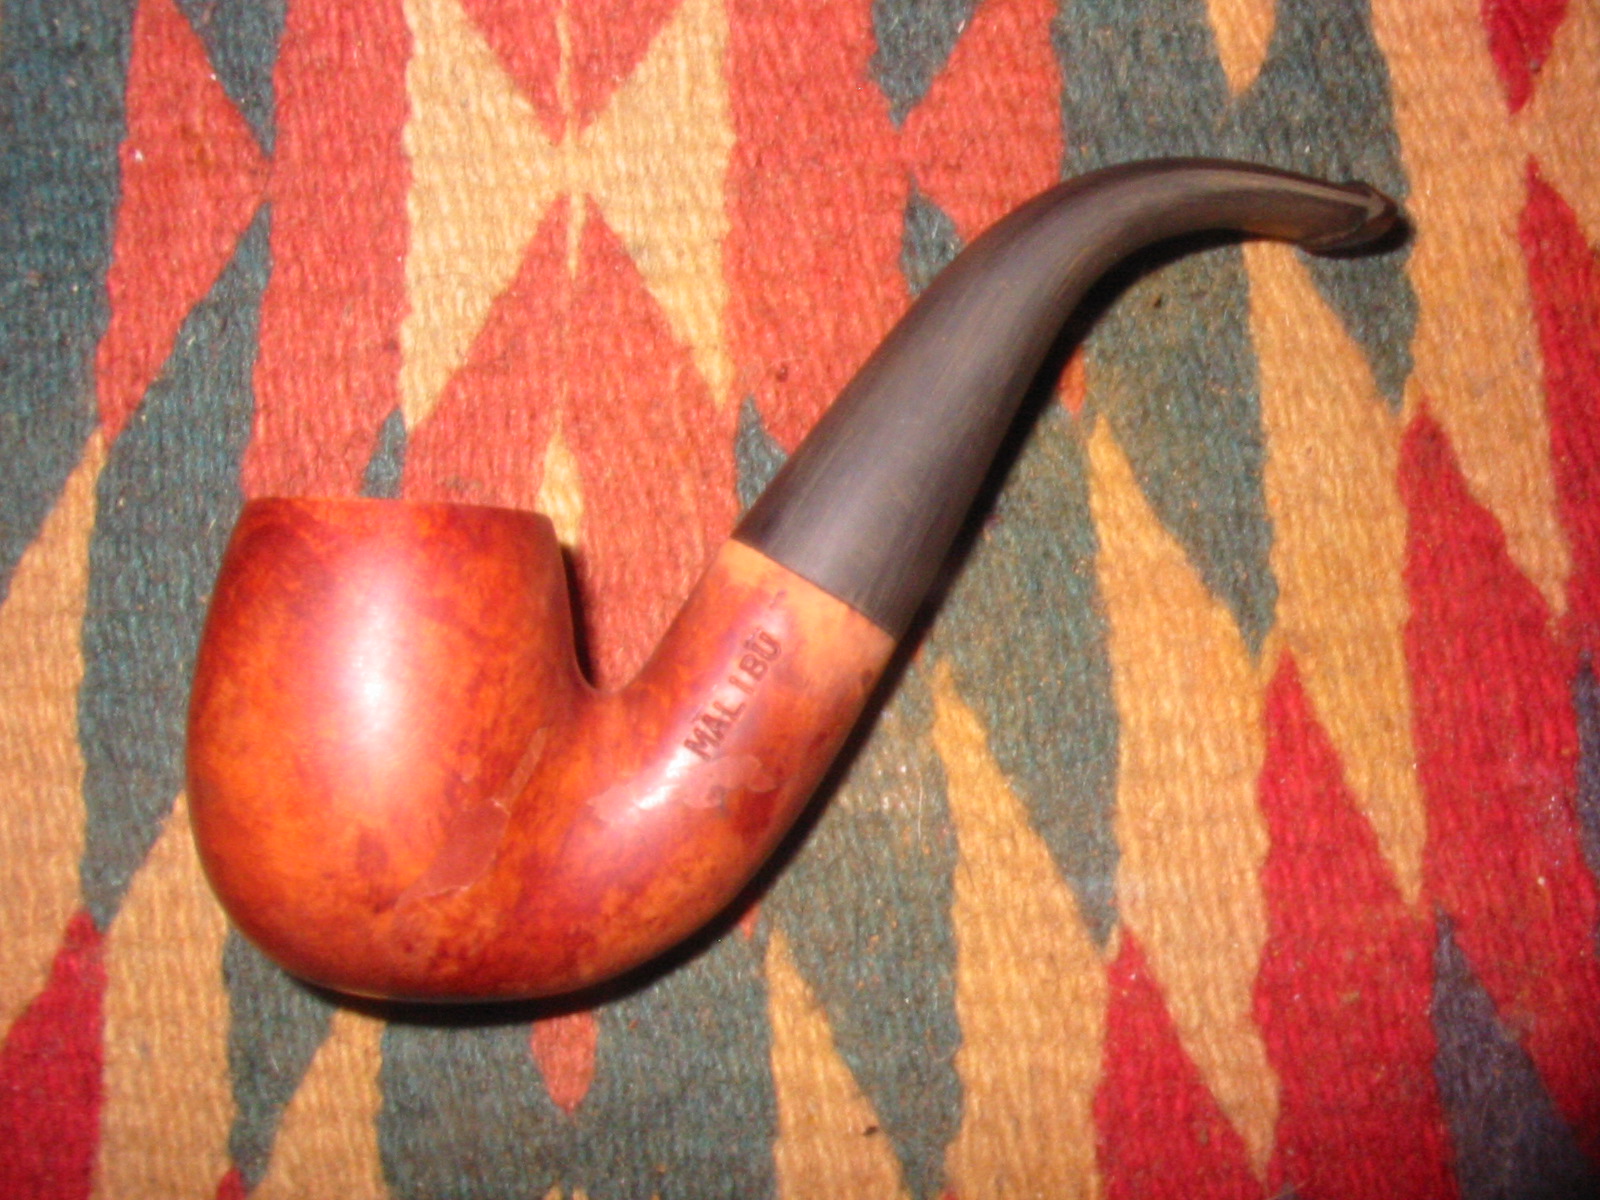
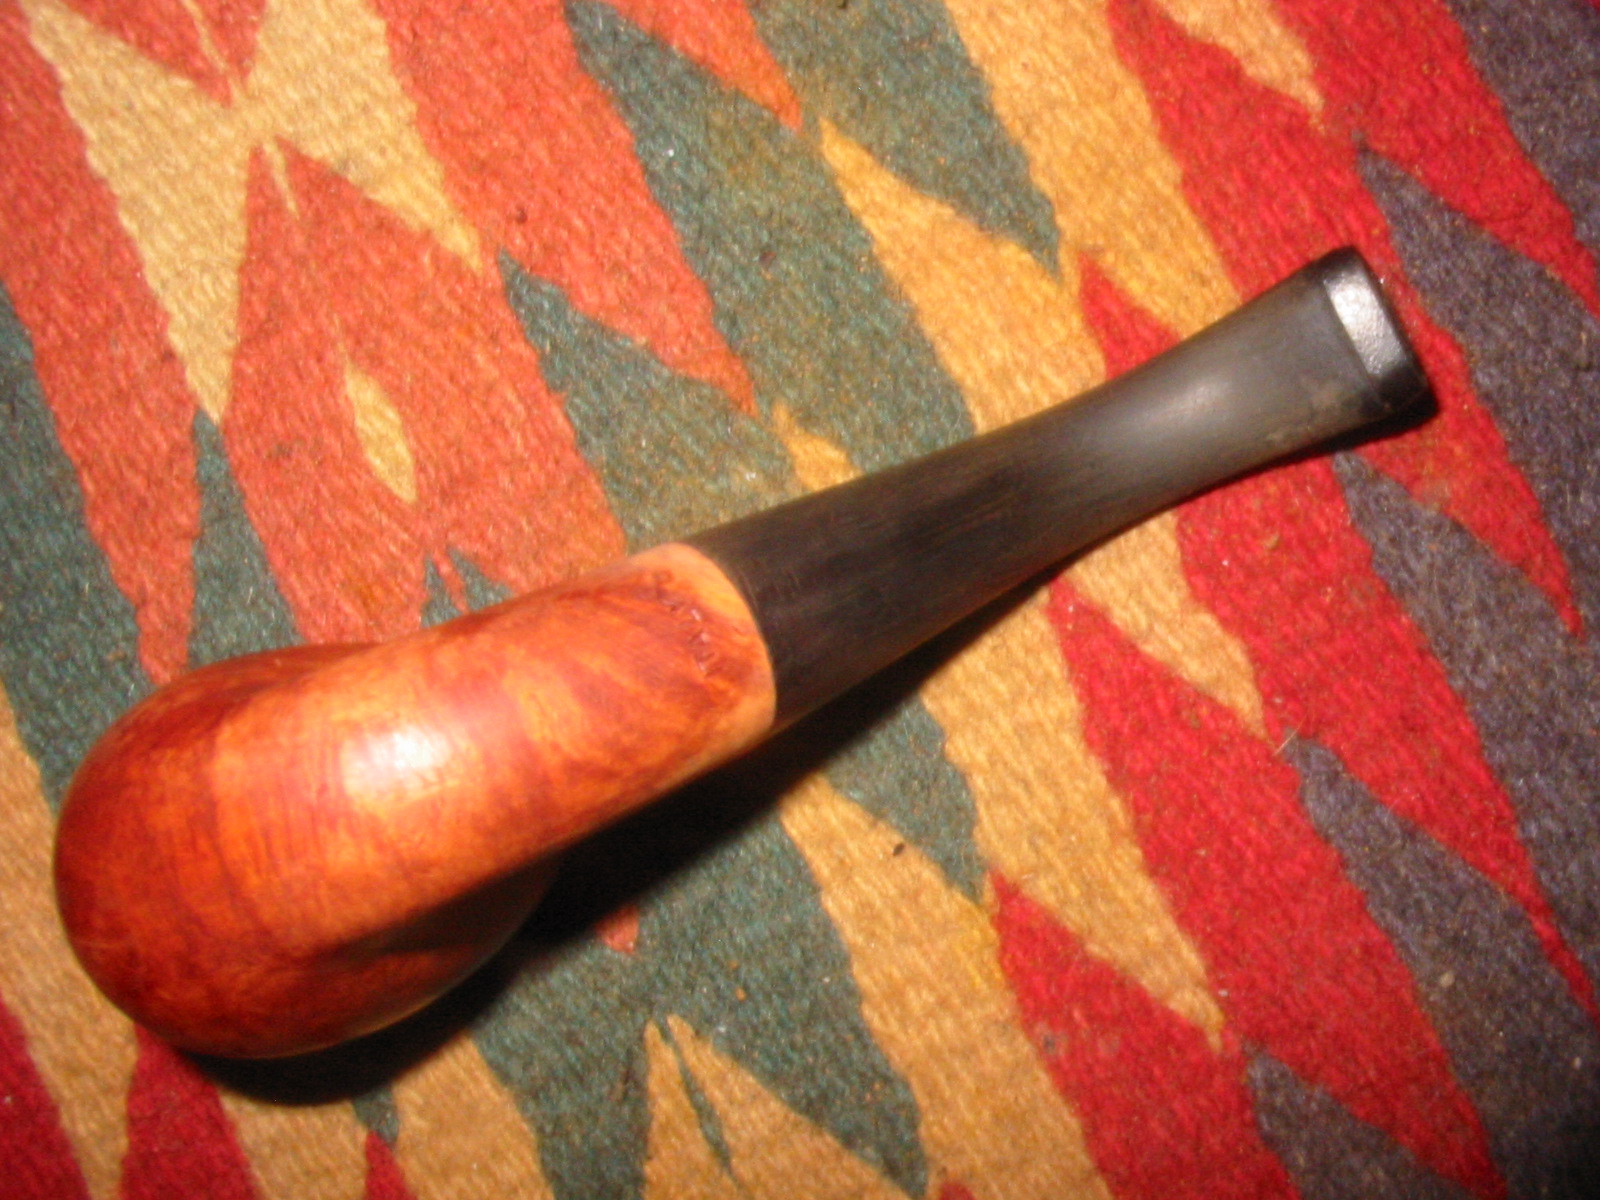
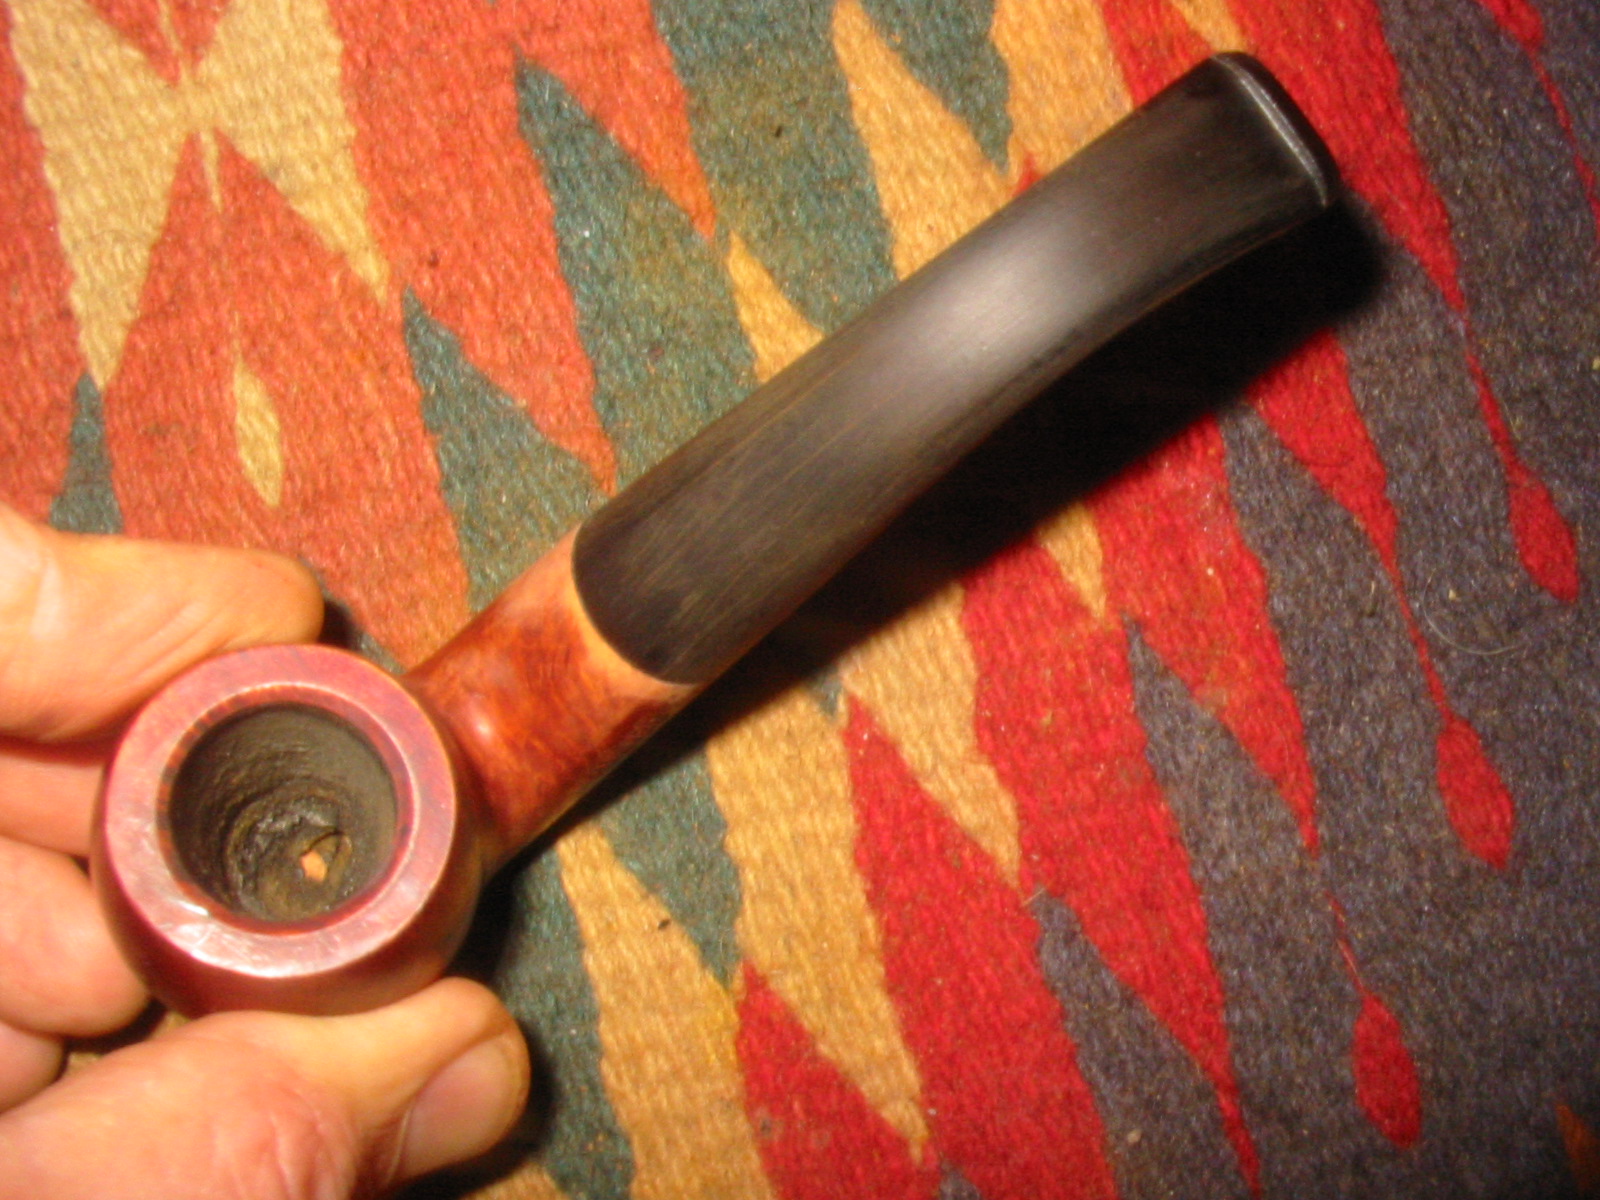
The next pipe from the gift box of bowls was a bent billiard stamped MALIBU on the left side of the shank and Italy on the underside. There is no other stamping on the pipe. I searched the internet for information on the brand and also looked in the book Who Made That Pipe and there found that the pipe was made by Savinelli. I emailed Savinelli but have not yet received a confirmation of that information. I will update this post as soon as I hear from them. In the meantime I worked on the bowl. It was in decent shape though covered by a thick varnish coat that gave it a perma-shine. The bowl and shank were dirty but had not been smoked enough to build up a cake or tars. The rim was in excellent shape and the finish other than being very plastic looking was clean. In the first photo below you can see the two large fills that were on the bowl and shank on the left side. The first is on the side of the bowl, just ahead and below the bend. The second is on the shank next to and below the stamping. They seemed to have taken the stain and though they are visible are not a bright pink. There was no stem with the pipe so I found the one in the photo below that would fit the shank with a little work.
IMG_7519
I turned the tenon down with a PIMO Tenon Turning Tool and then sanded some of the seams that still showed on the side of the bowl. The diameter was very close to being the same – I had to make a few adjustments on the top and the right side to get a seamless fit.
IMG_7520

IMG_7521

IMG_7522

IMG_7523
I sanded the stem in place and sanded the shank at the same time. I needed to remove the varnish coat anyway so I figured it would be okay to sand the shank at the same time. I did not want to reduce the size of the shank – merely that of the stem and then match them. I find that if I do that with the stem off the shank it is easy to round the edges of the stem. With it in place and using a sanding block I can get a smooth transition. I also work to restain the sanded area of the shank to match the bowl.
IMG_7524

IMG_7525

IMG_7526

IMG_7527
Once the transition was smooth I wiped down the bowl with acetone to remove the varnish coat. It took some scrubbing with acetone wet cotton pads. I was finally able to break through the finish with the acetone.
IMG_7528

IMG_7529

IMG_7530
I sanded the bowl and shank, carefully avoiding the stamping, with a medium and a fine grit sanding sponge. I sanded the entire bowl and shank and then wiped the bowl down with isopropyl alcohol to remove the sanding dust.
IMG_7531

IMG_7532
I sanded the stem with the same sanding sponges and removed the majority of the scratches left behind by the sandpaper. I set up a heat gun and heated the stem to soften it so I could bend it. When it was pliable I bent it over a rolling pin with a hard cardboard tube over it to smooth out the wood. I bend it until the stem looks right with the bend in the shank and then use cool water to set the bend.
IMG_7533

IMG_7538

IMG_7539
With the bend set I took it back to the worktable to sand the bowl to even out the existing finish and the stem.
IMG_7541

IMG_7542

IMG_7543

IMG_7544
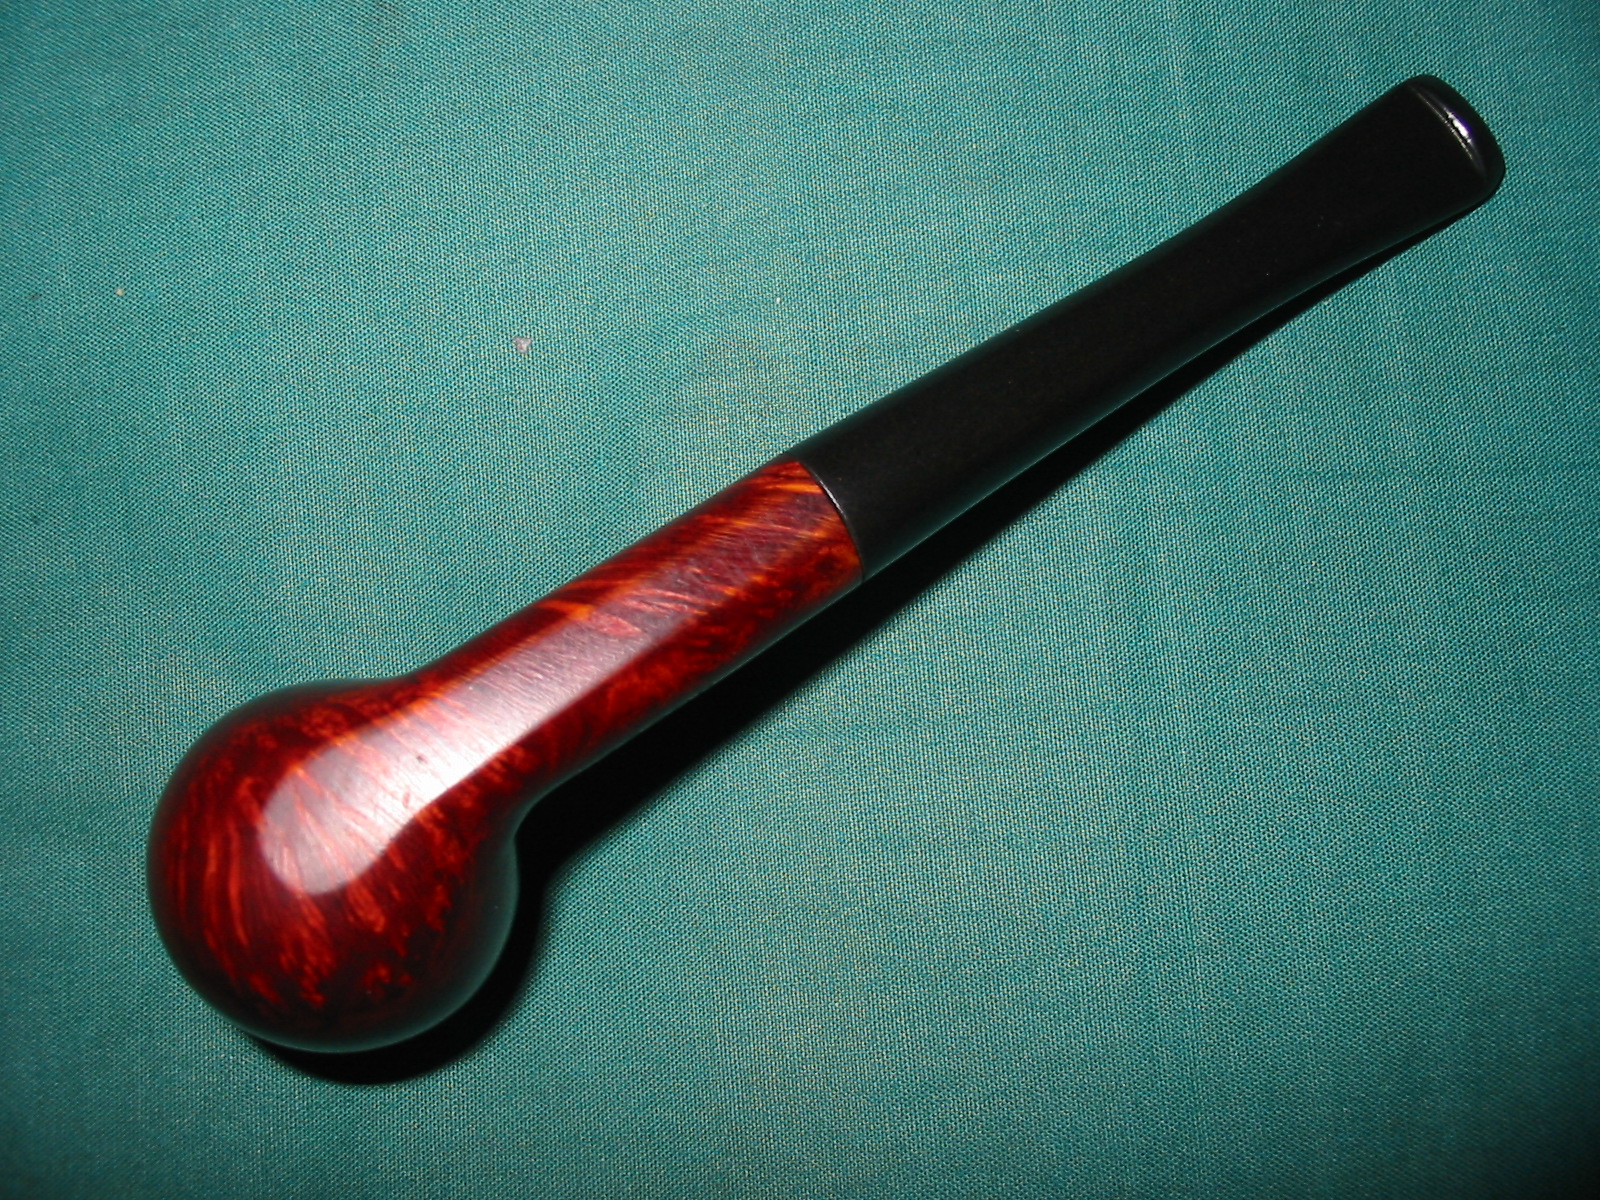
I stained the bowl with a medium brown aniline stain, flamed it and repeated the process. I sanded the stem with the usual battery of micromesh sanding pads – wet sanding with 1500-2400 grit pads and dry sanding with 3200-12,000 grit pads. I rubbed the stem down with Obsidian Oil between each set of three pads and then as a final rub down once I had buffed the stem with White Diamond. I buffed the entire pipe with White Diamond and then gave the bowl and stem multiple coats of carnauba wax – buffing with a soft flannel buff between coats of wax. The finished pipe is shown below. The fills on the left side are still visible but the blend into the bowl is quite good. It is tolerable. The pipe is cleaned, refinished and ready for the rack of the next pipe man who will smoke it.
IMG_7551

IMG_7565

IMG_7552

IMG_7553

New Life for an old KBB Doc Watson Dublin


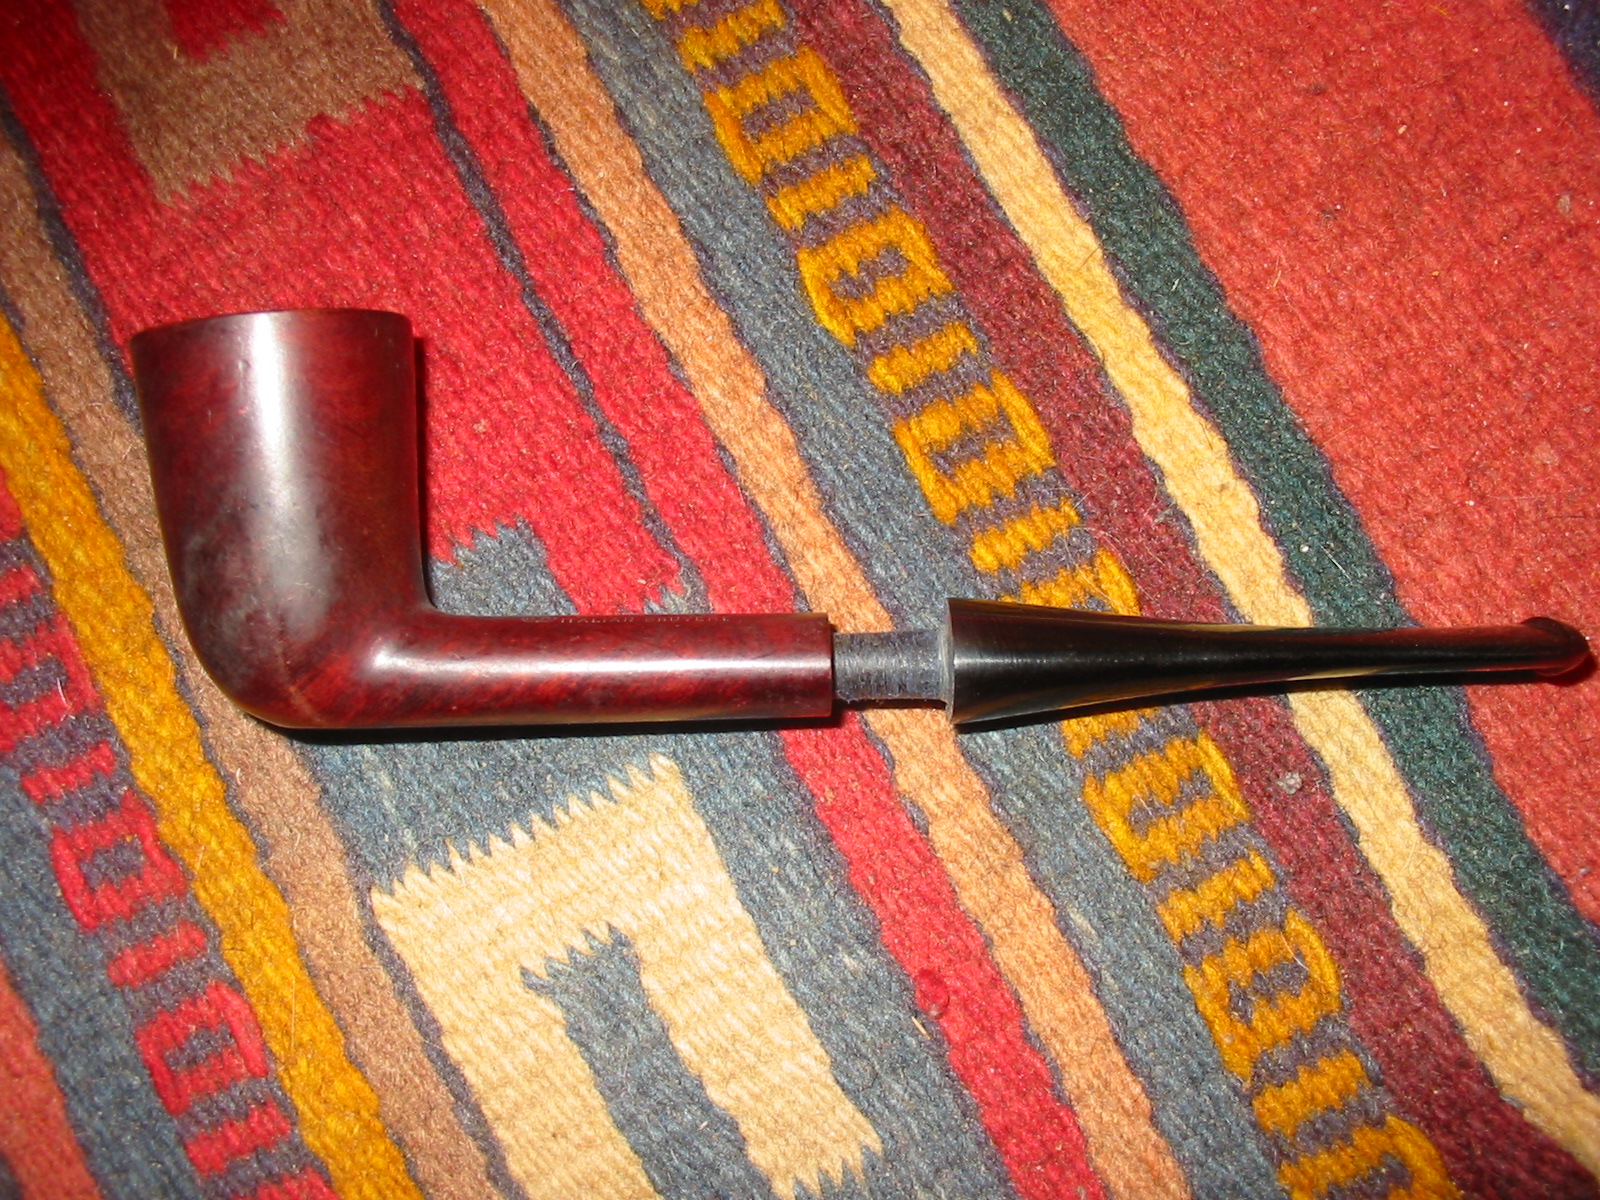
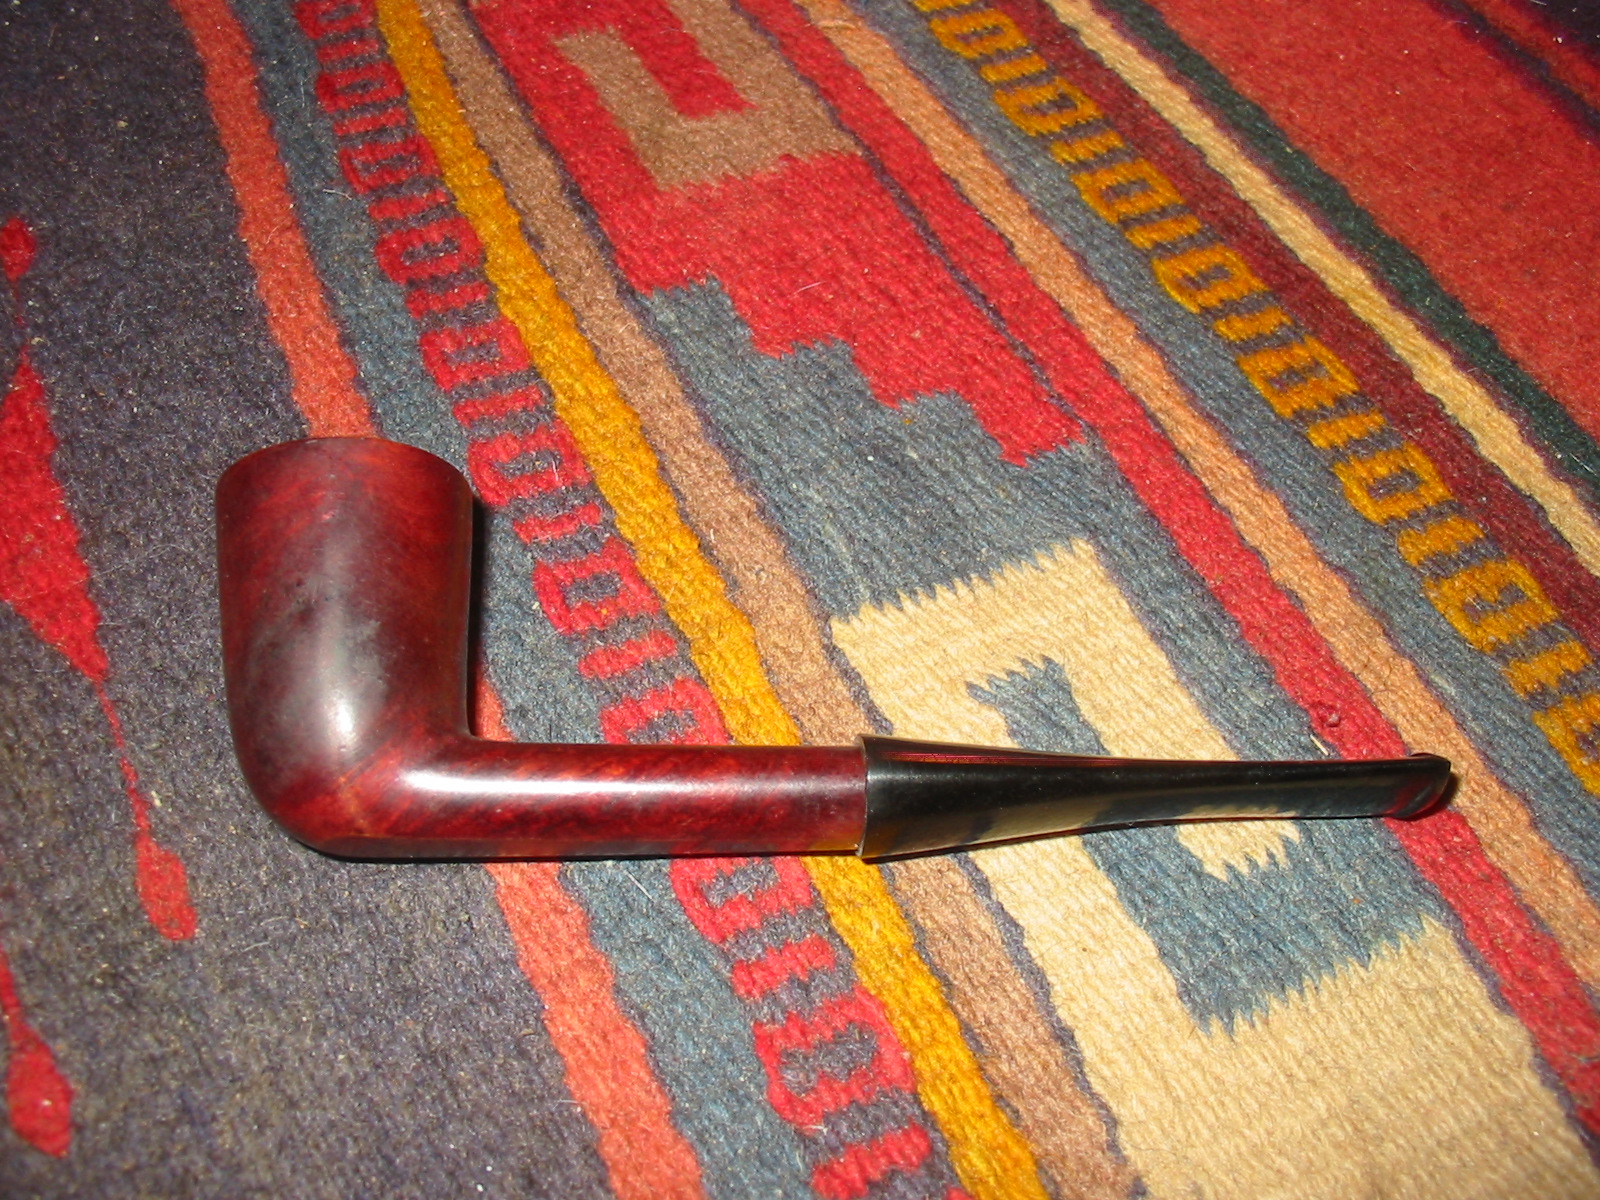
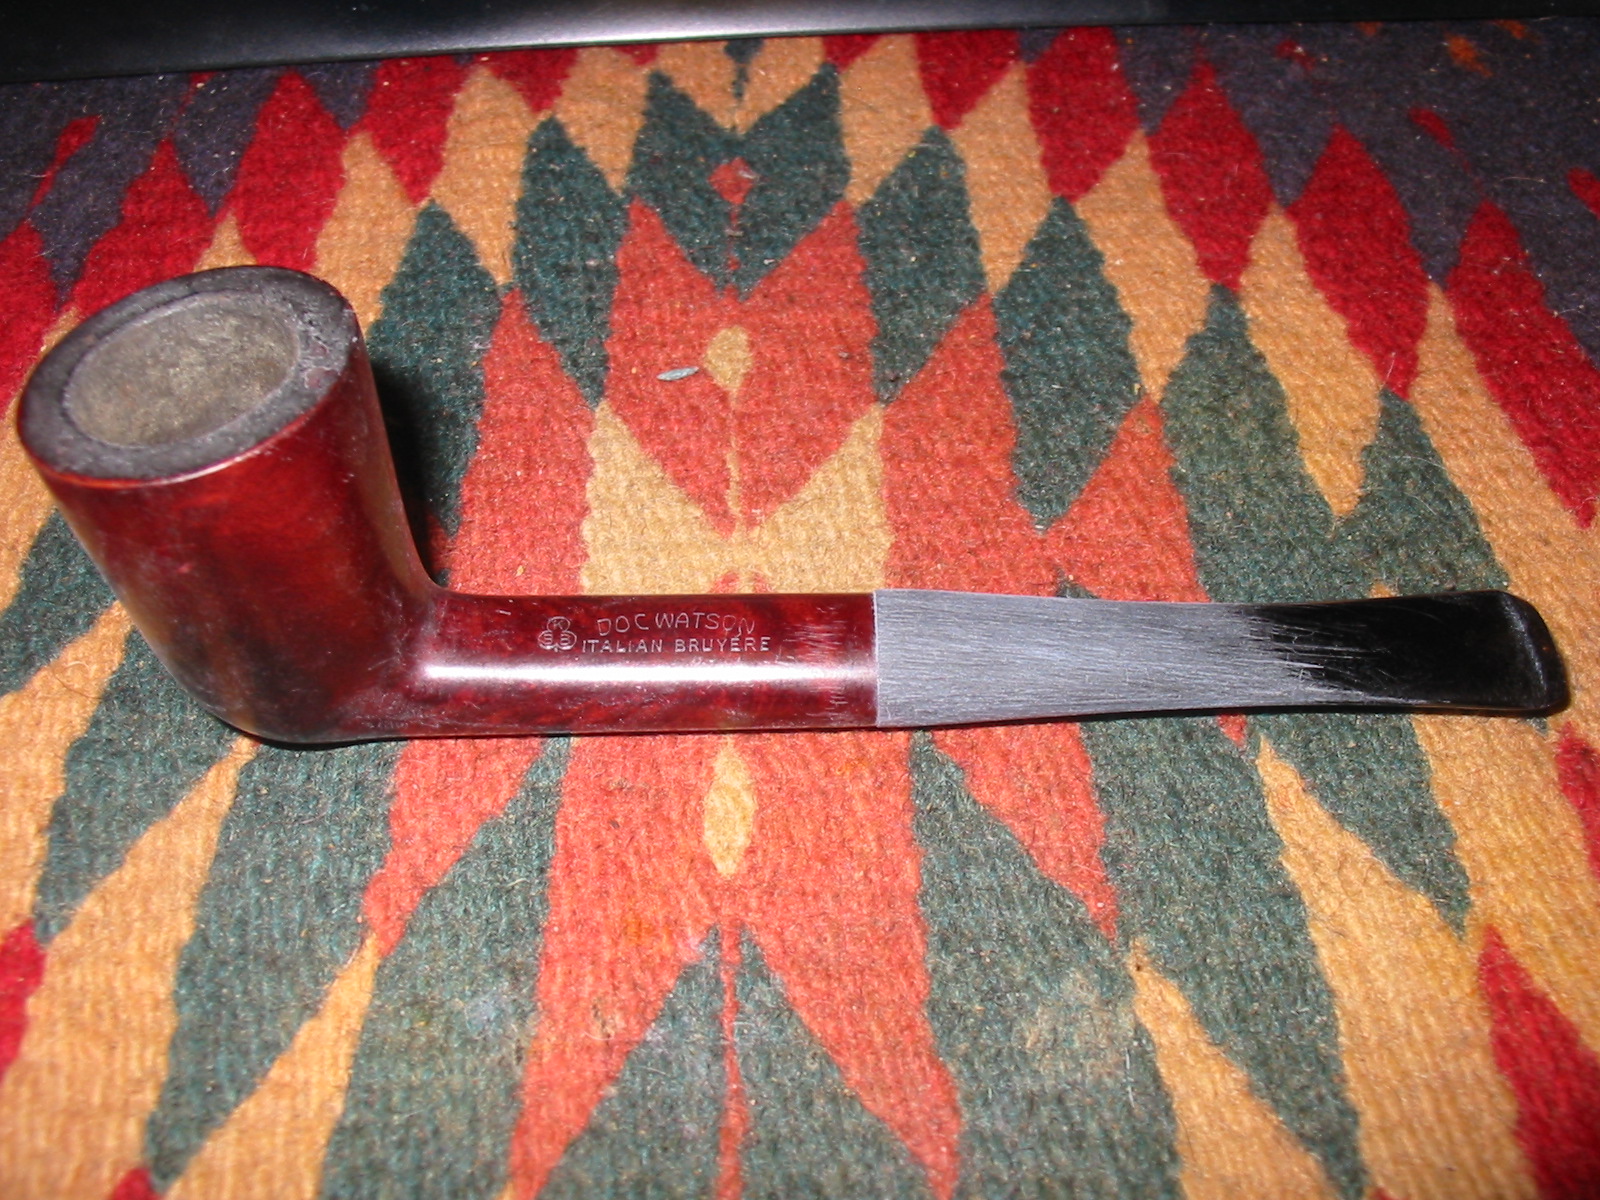
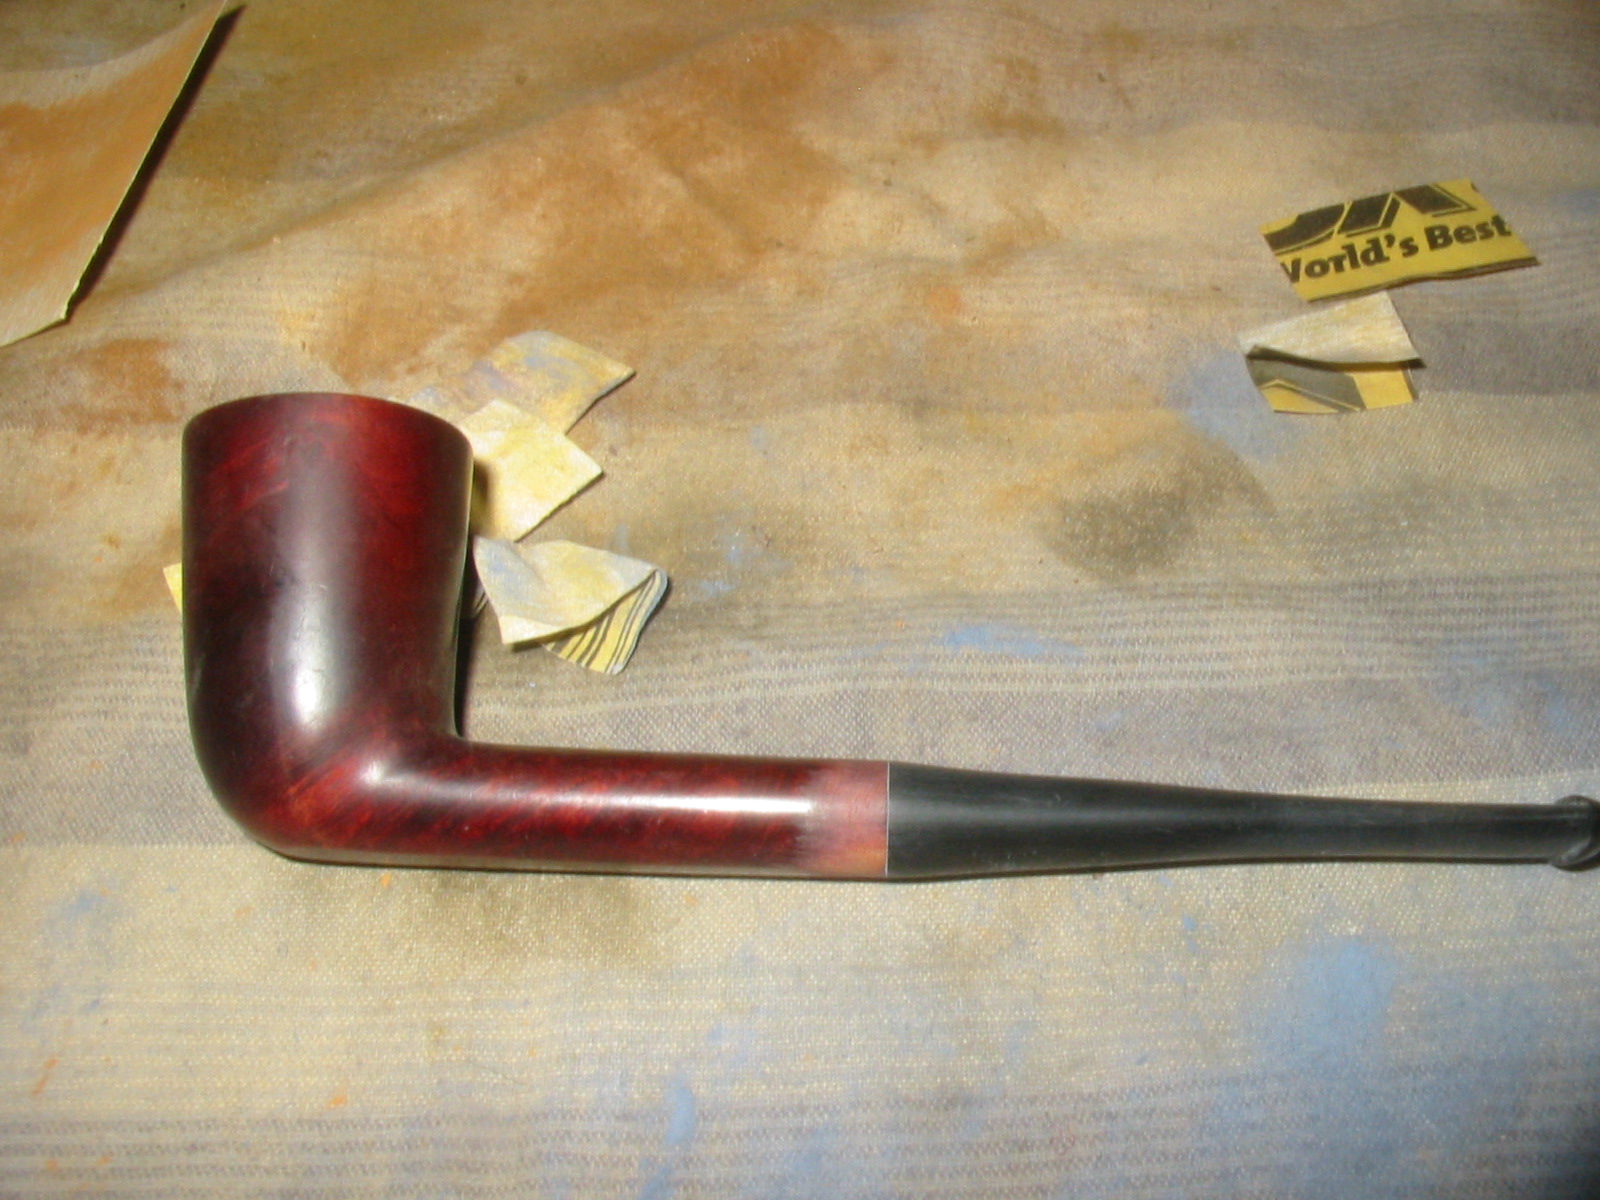
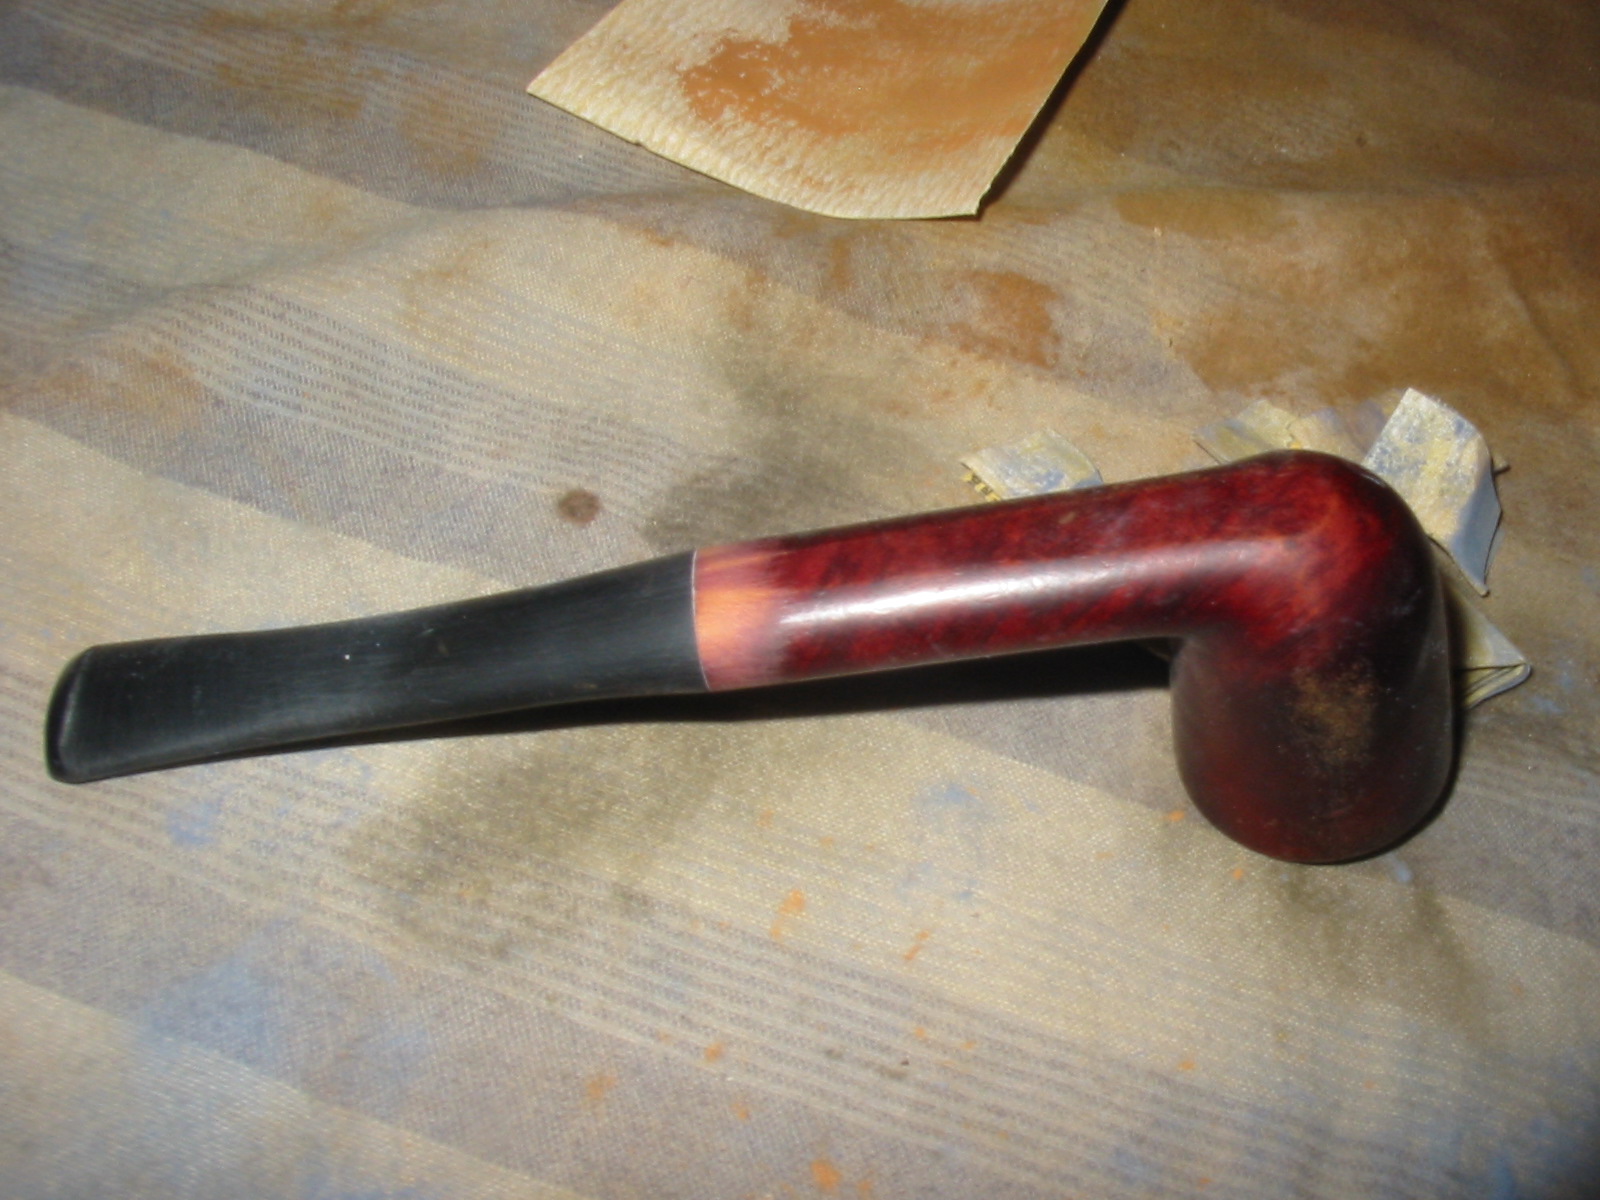
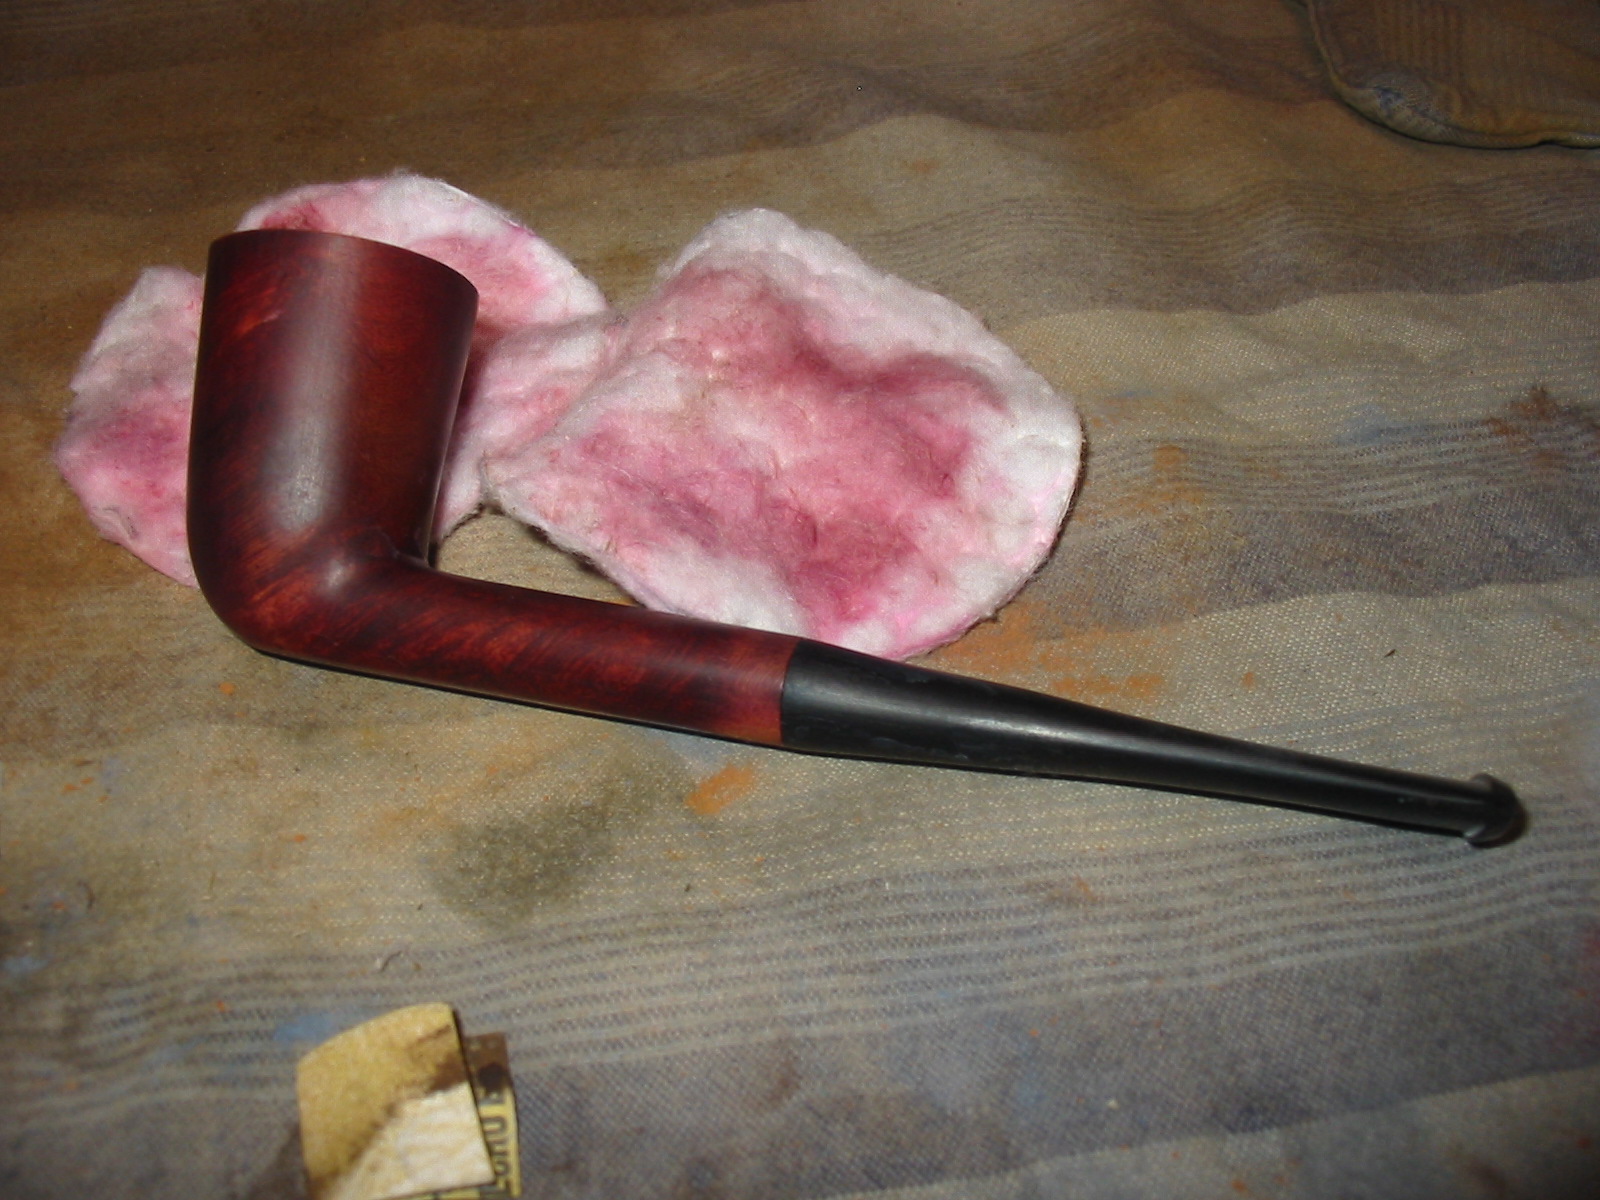
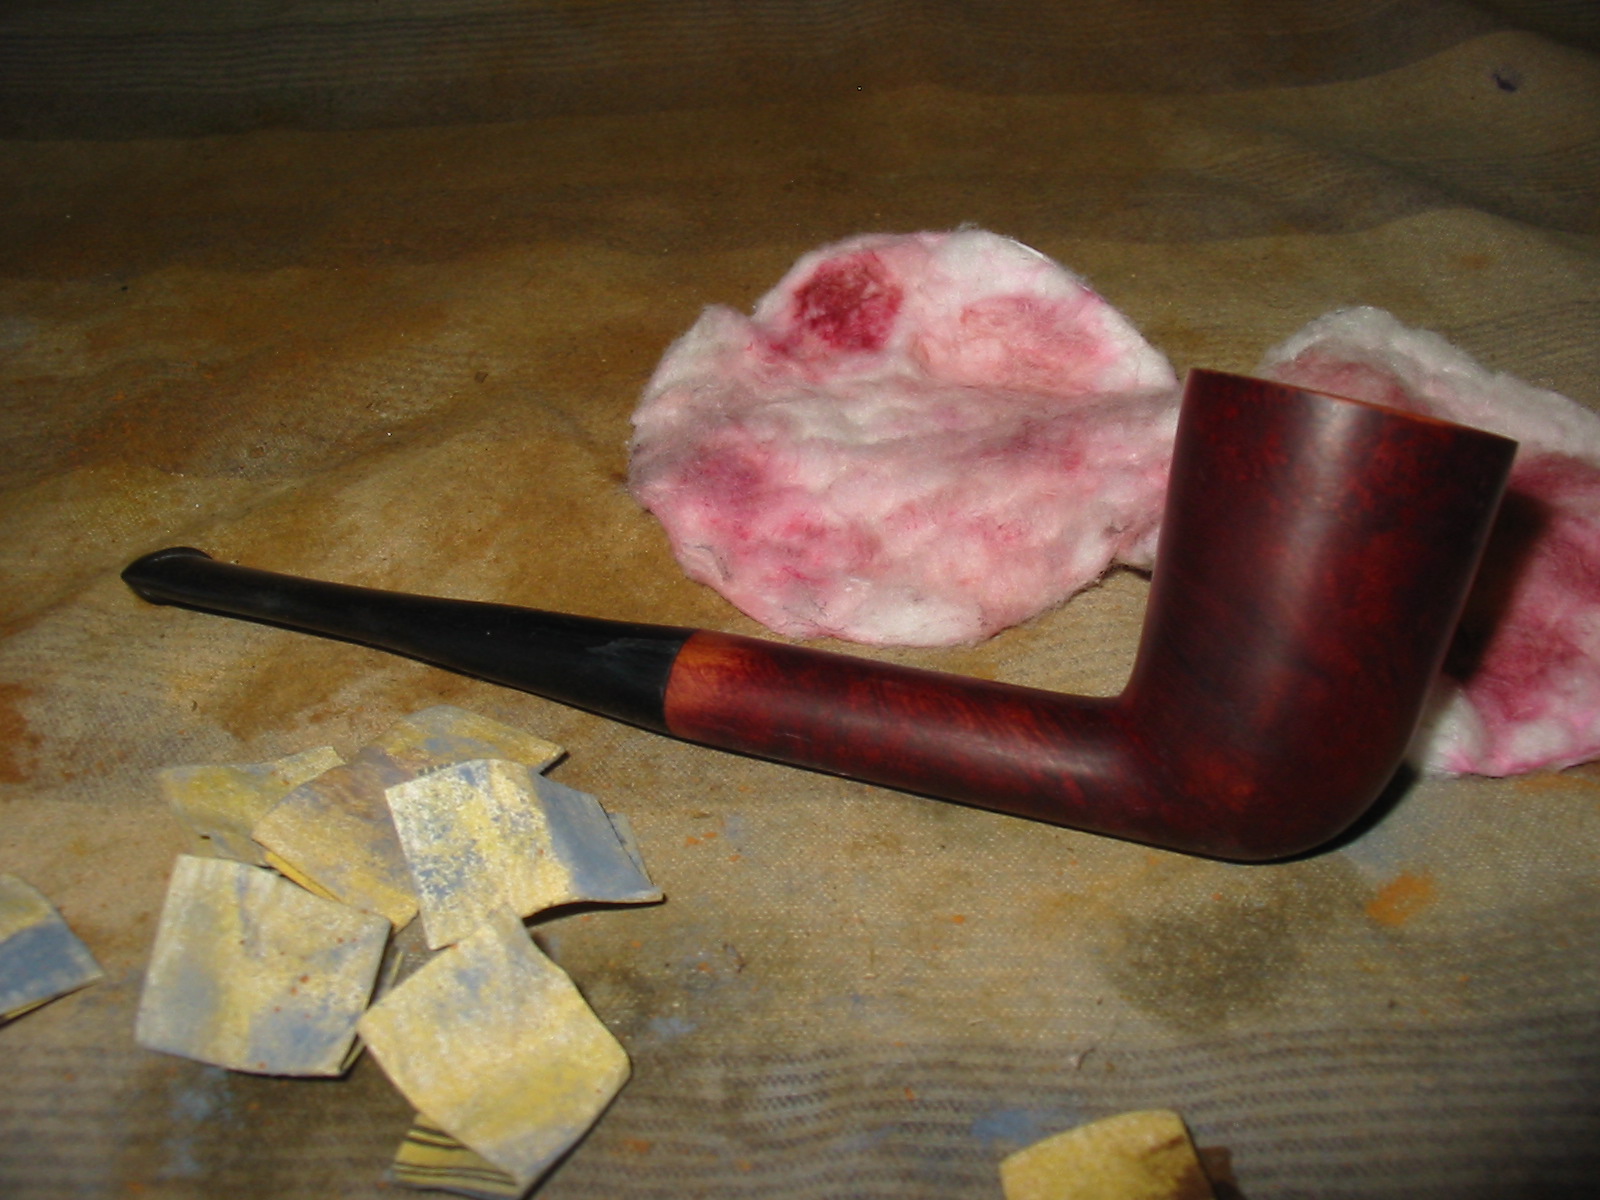
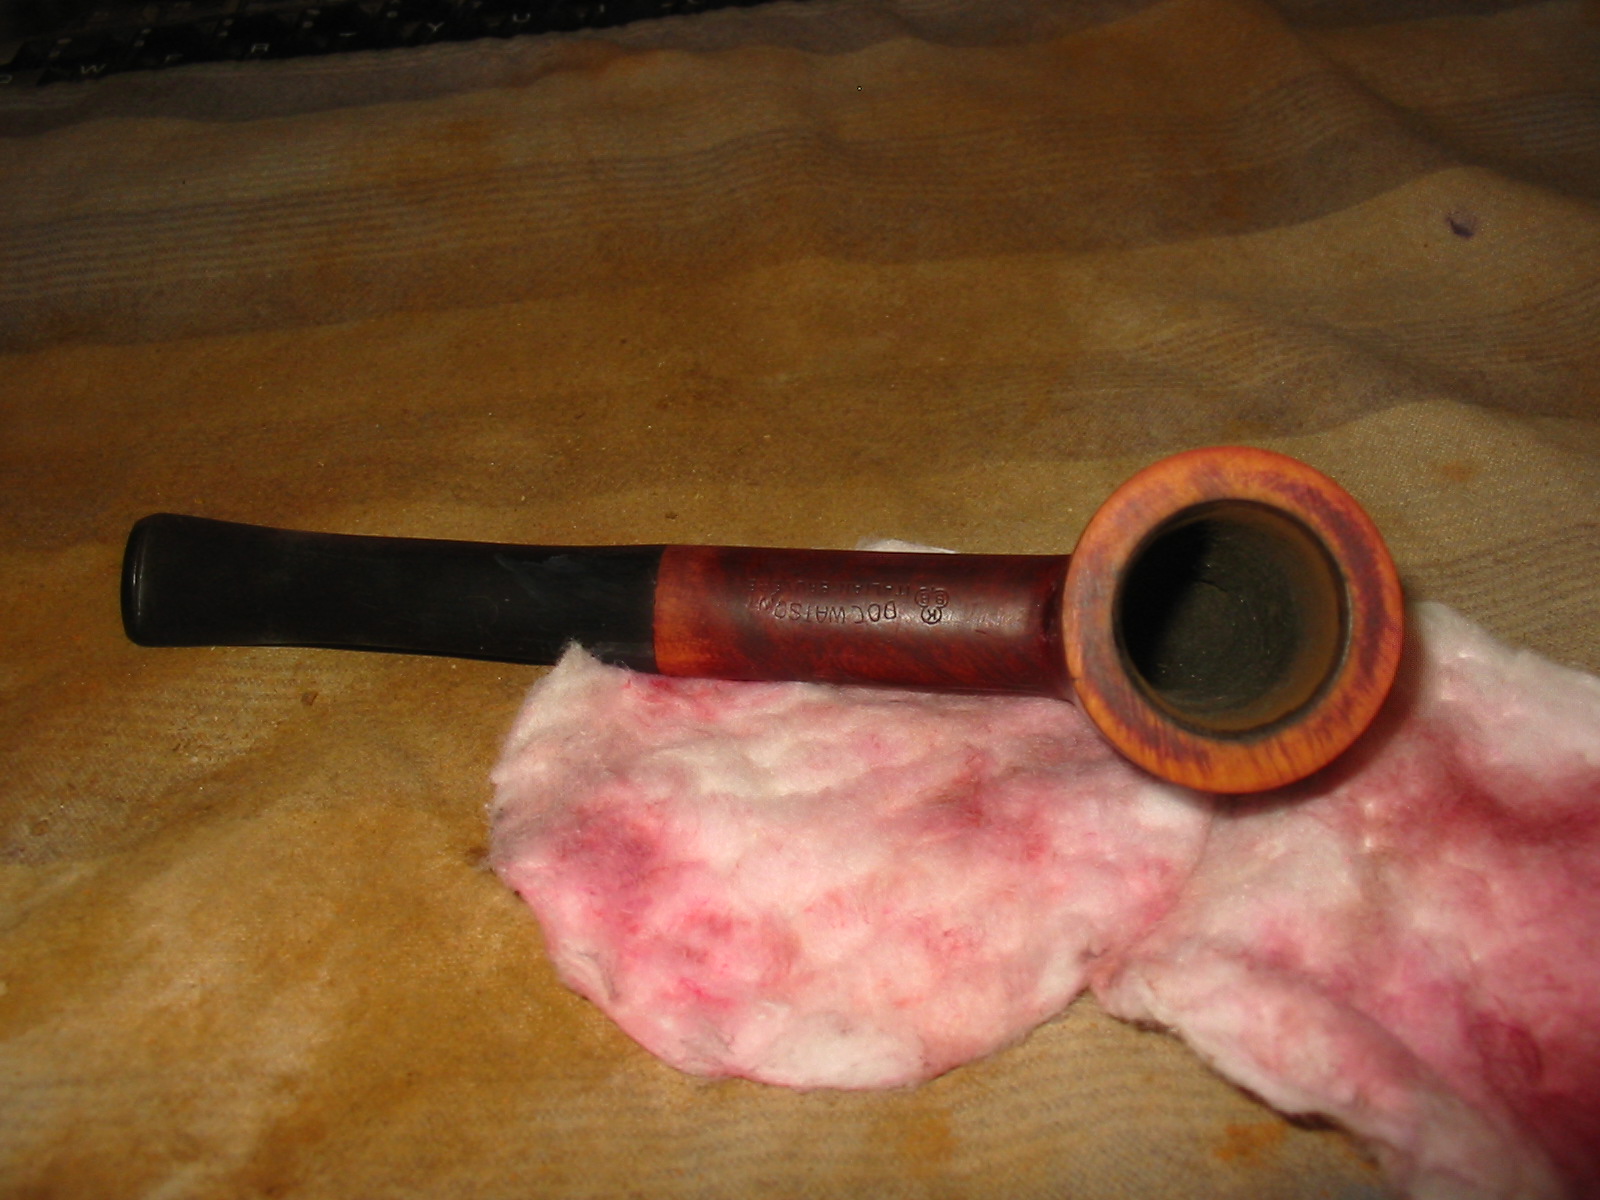
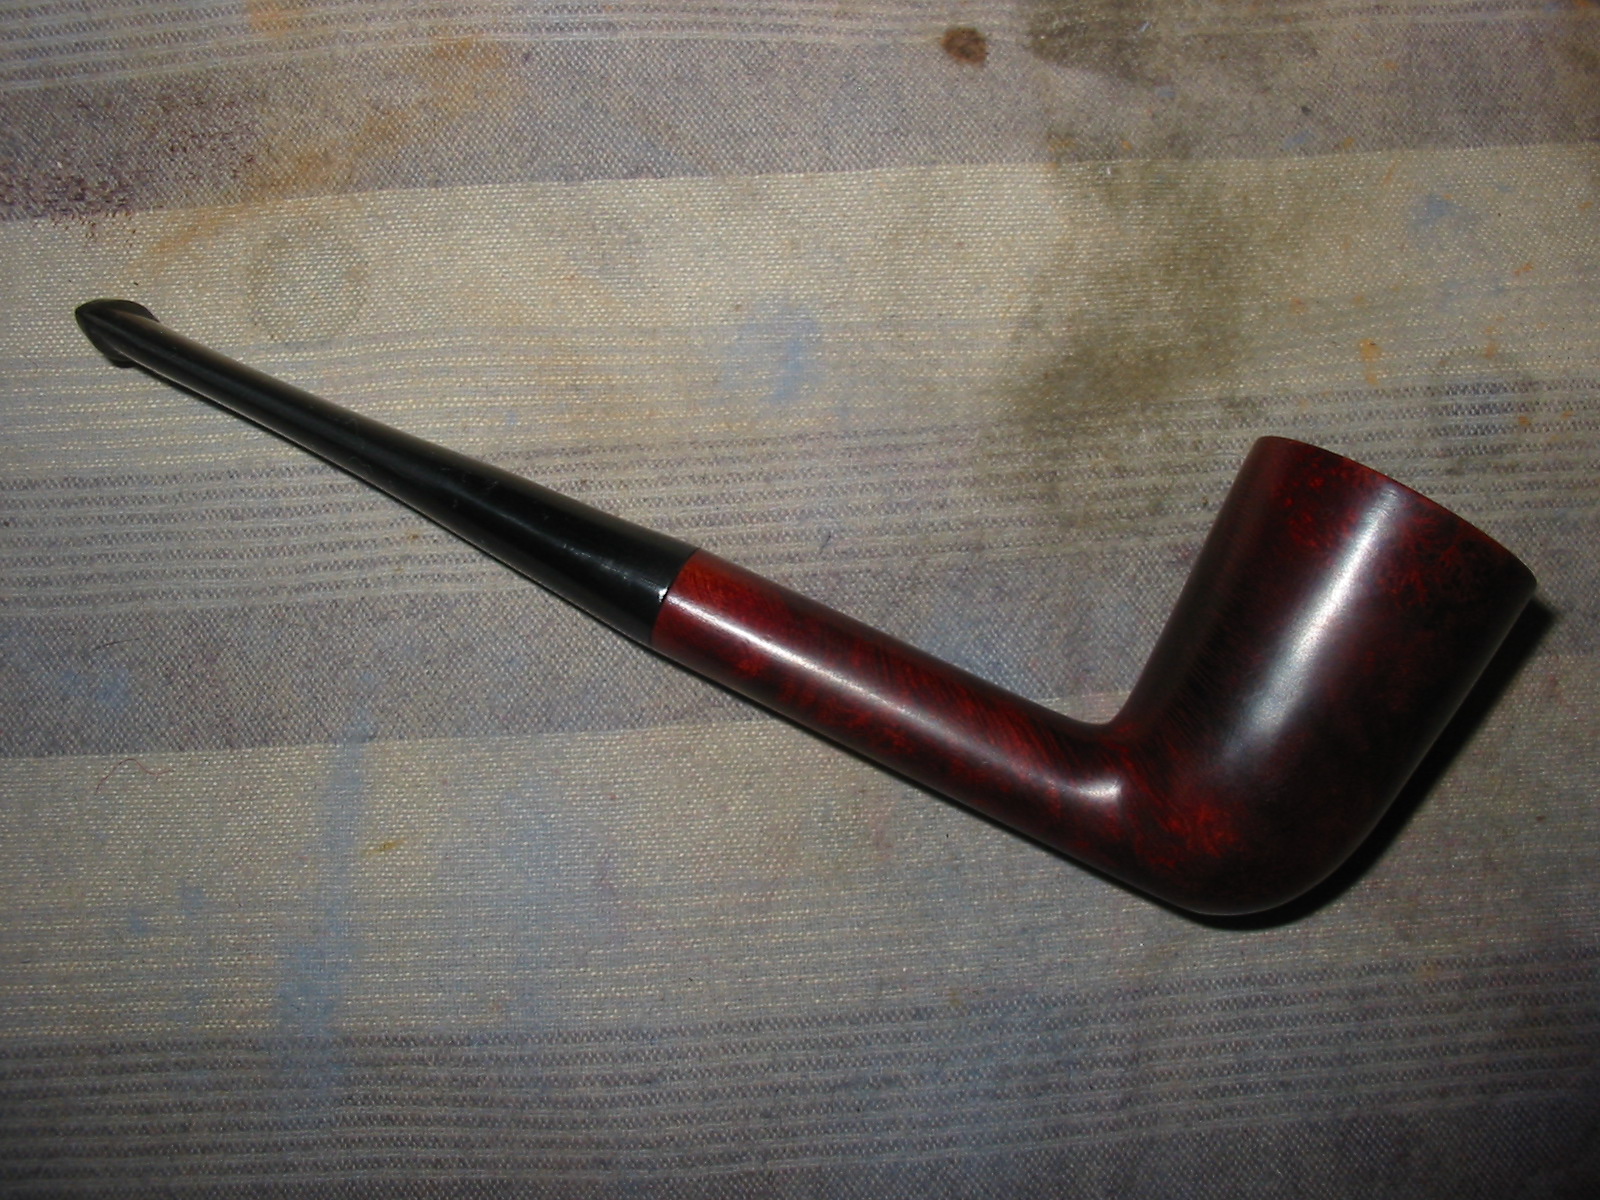
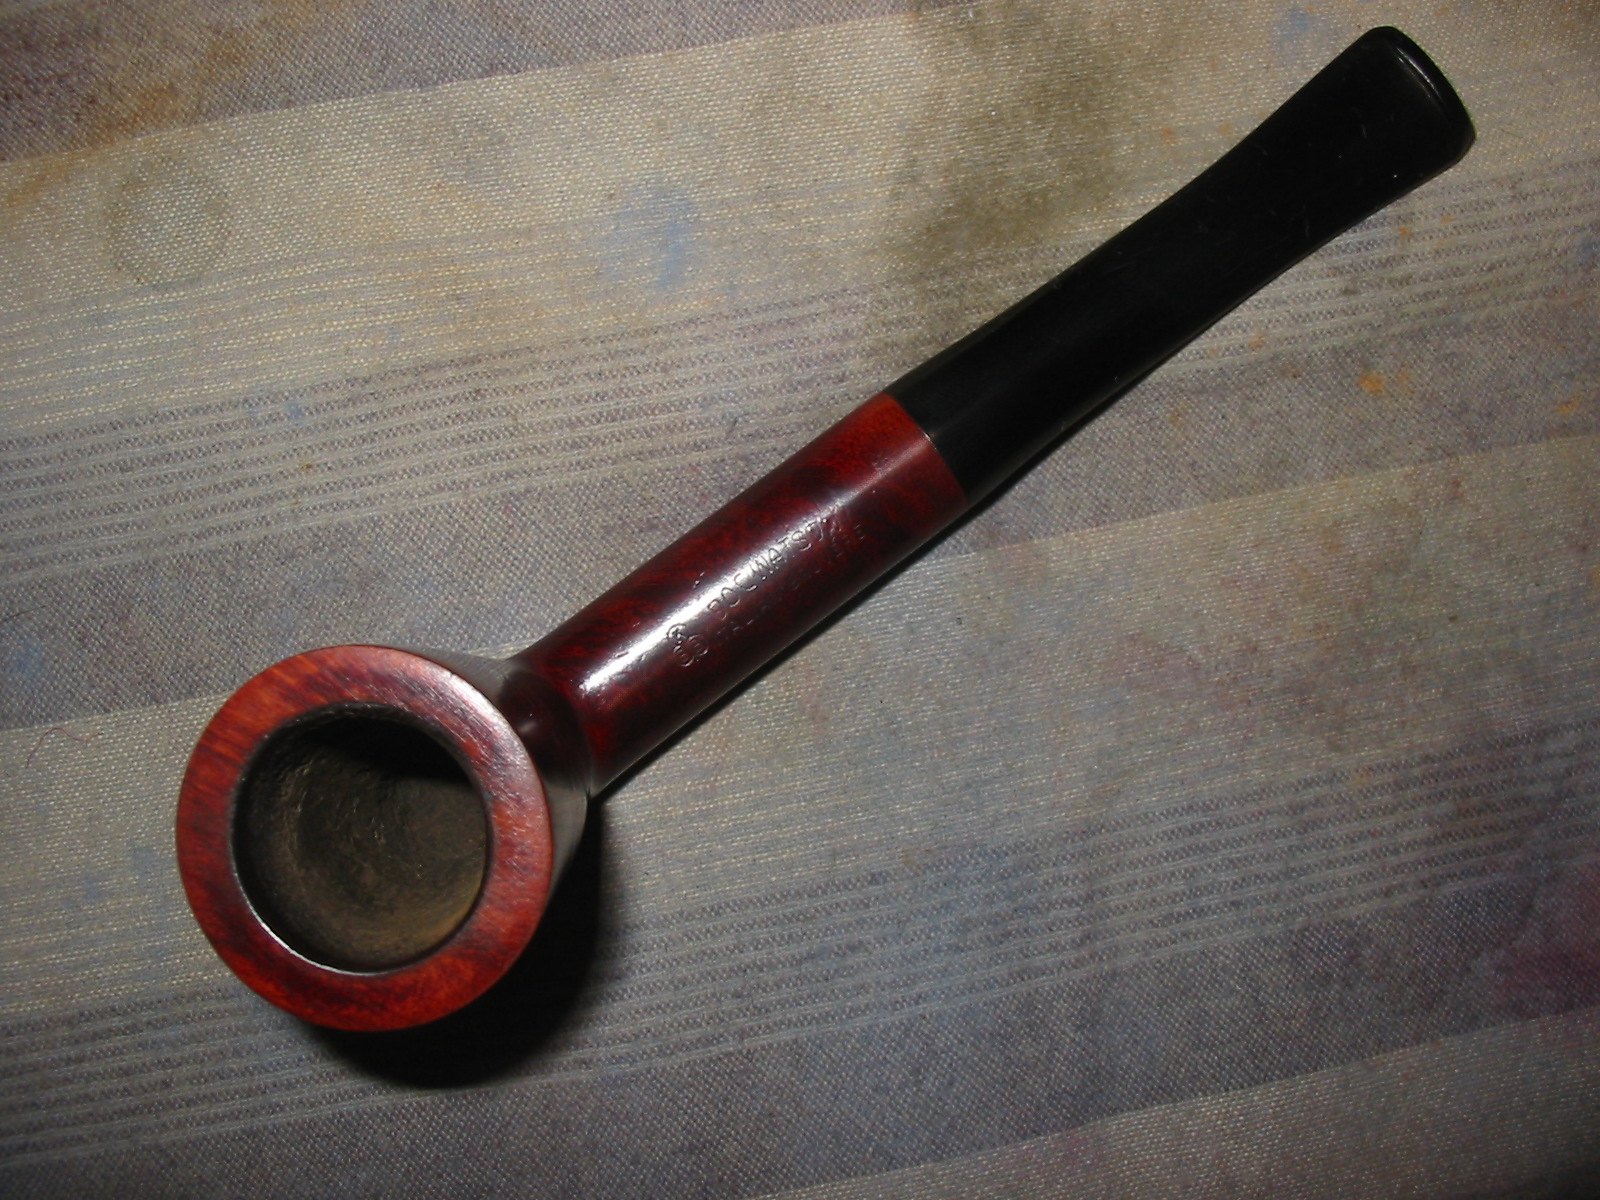
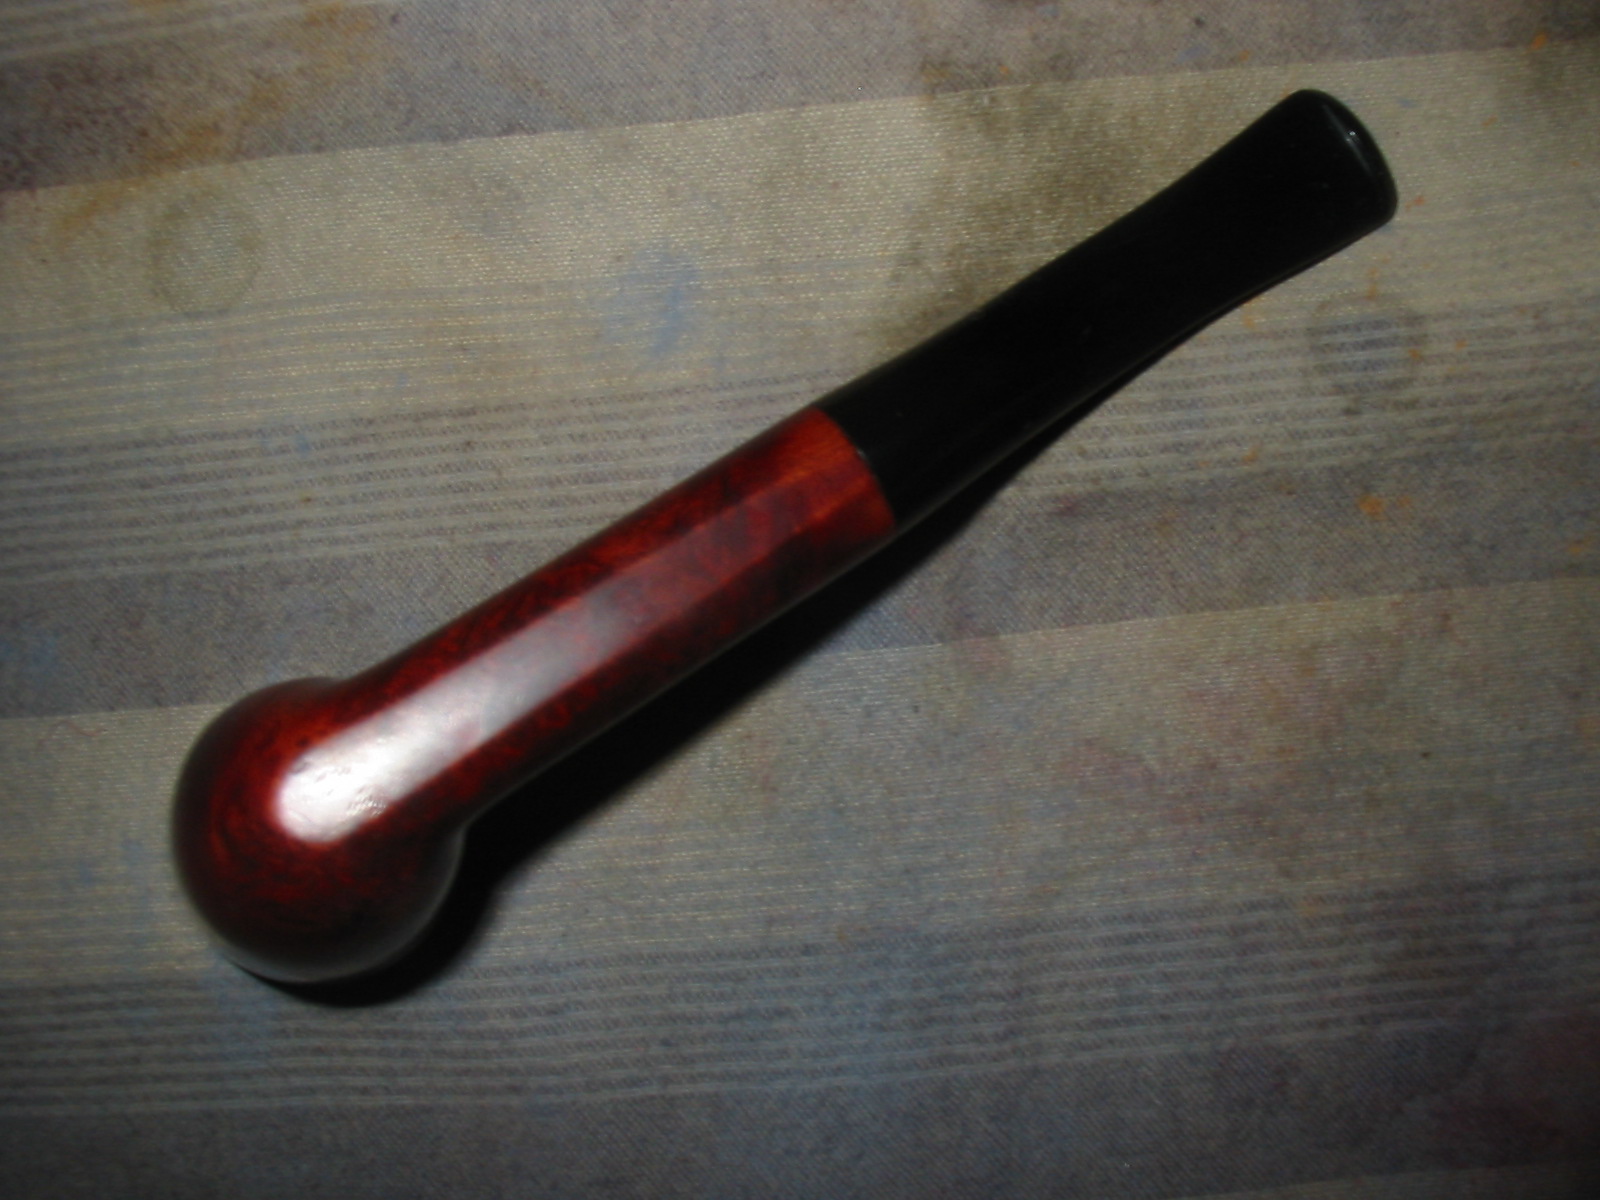
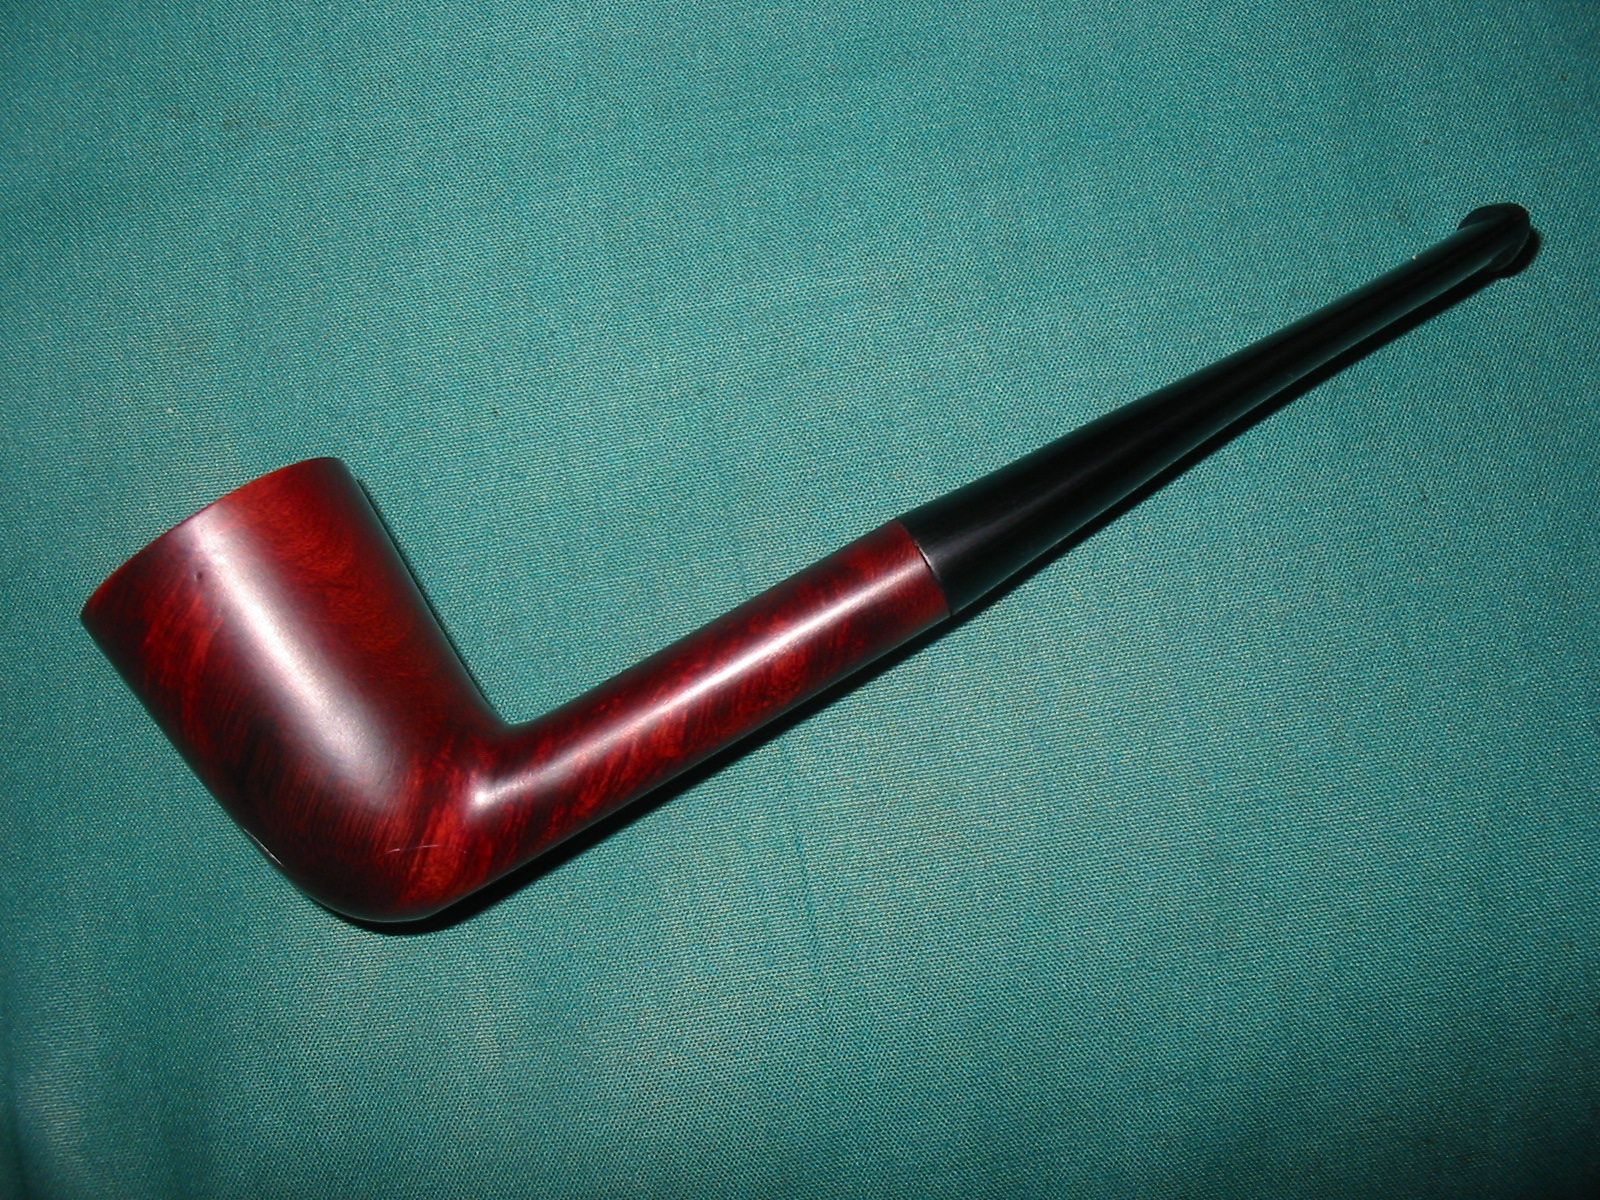
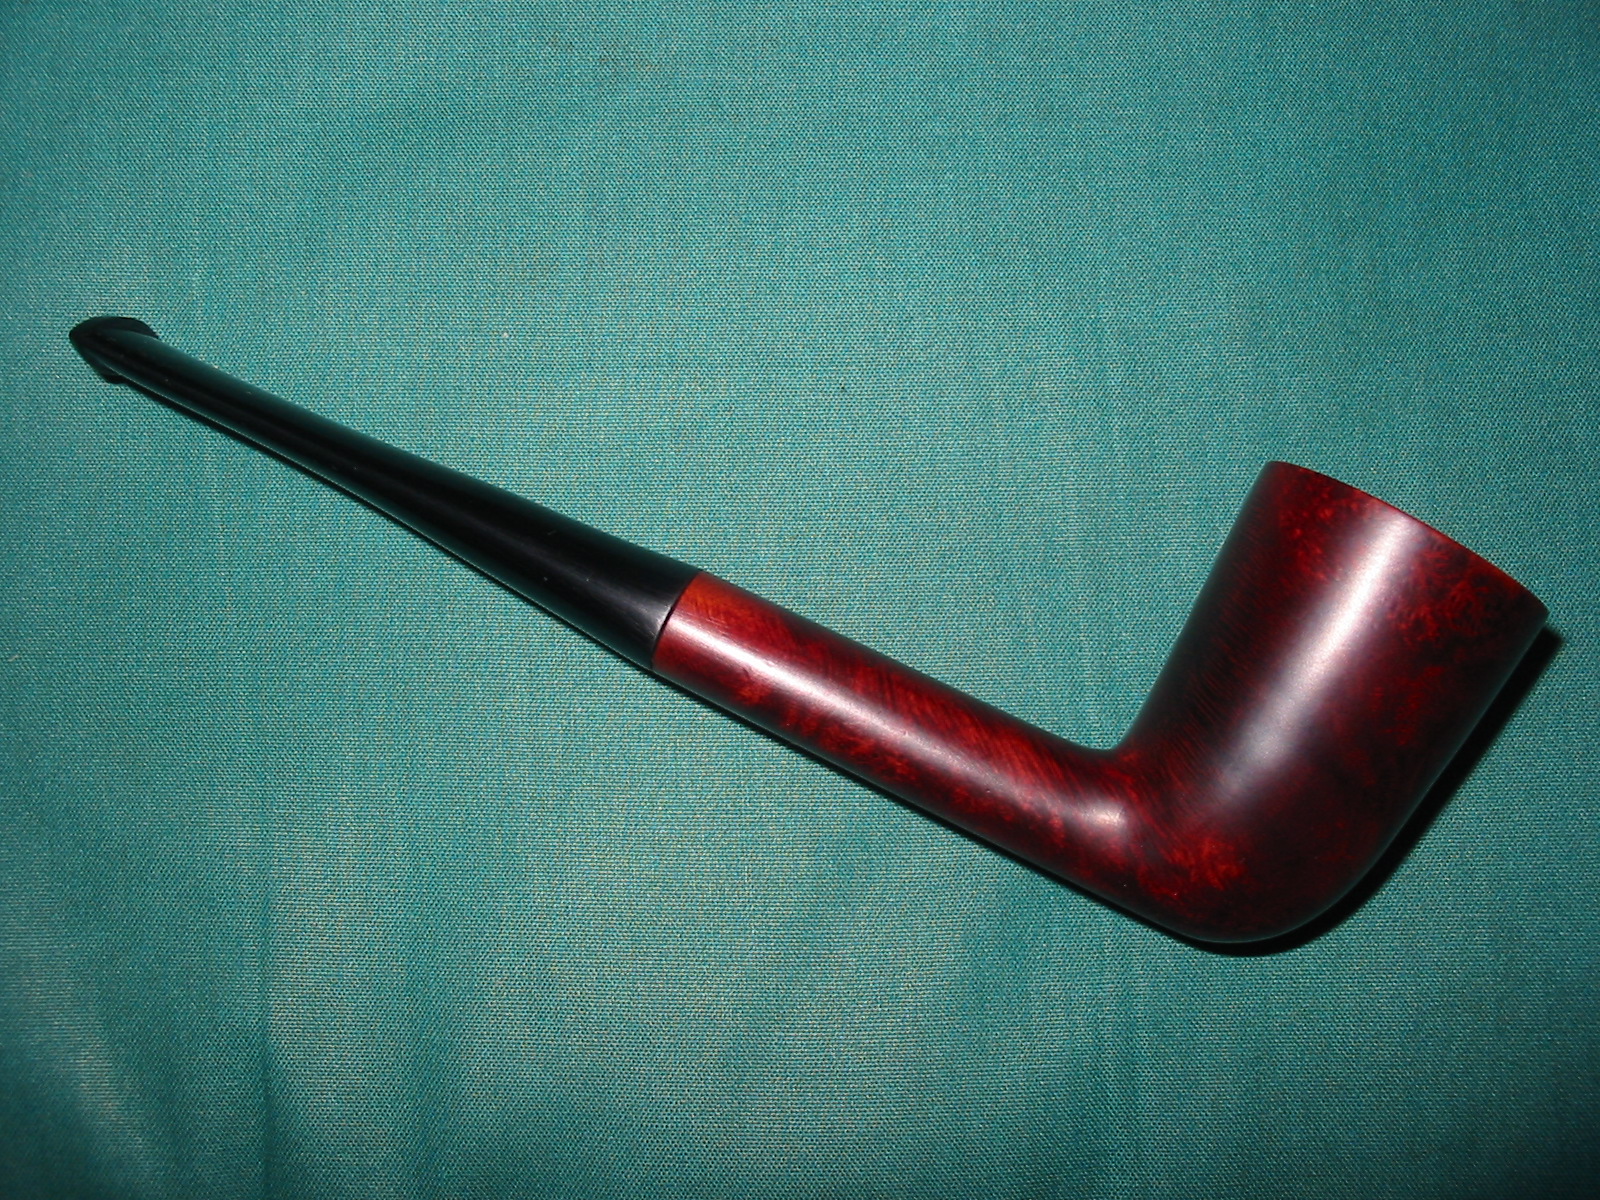
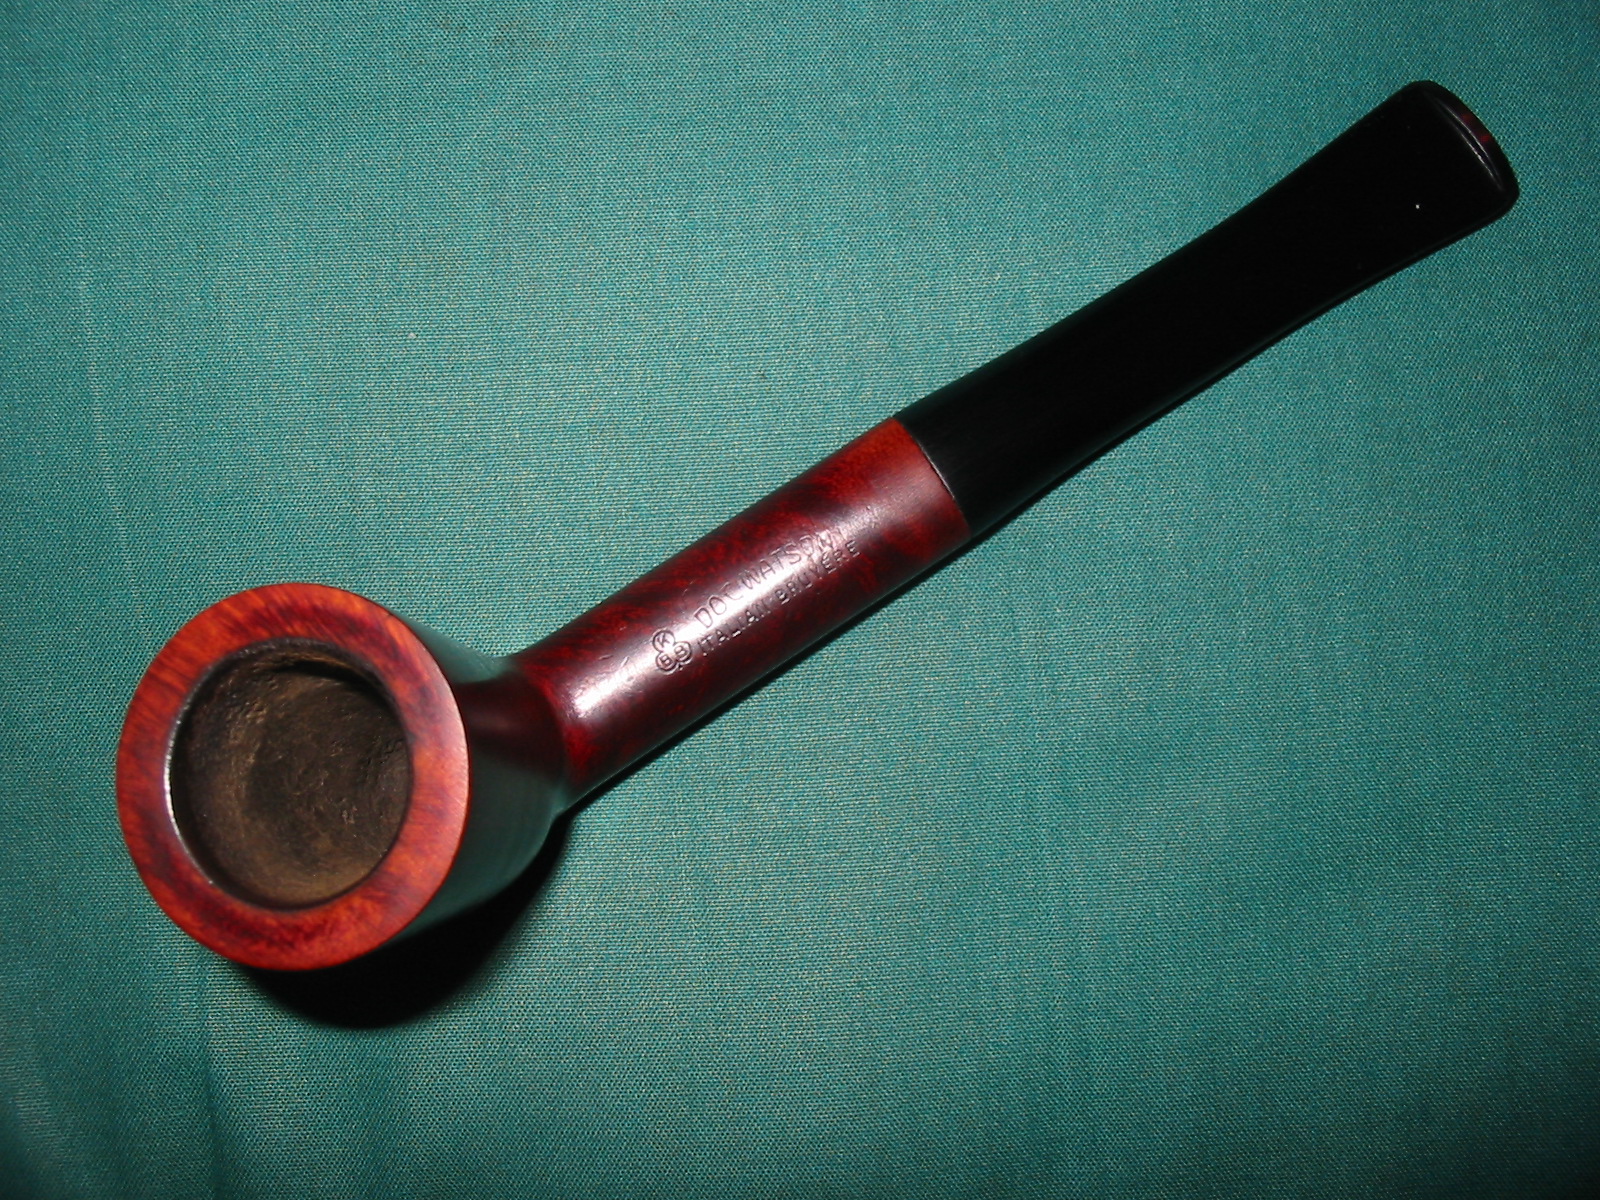
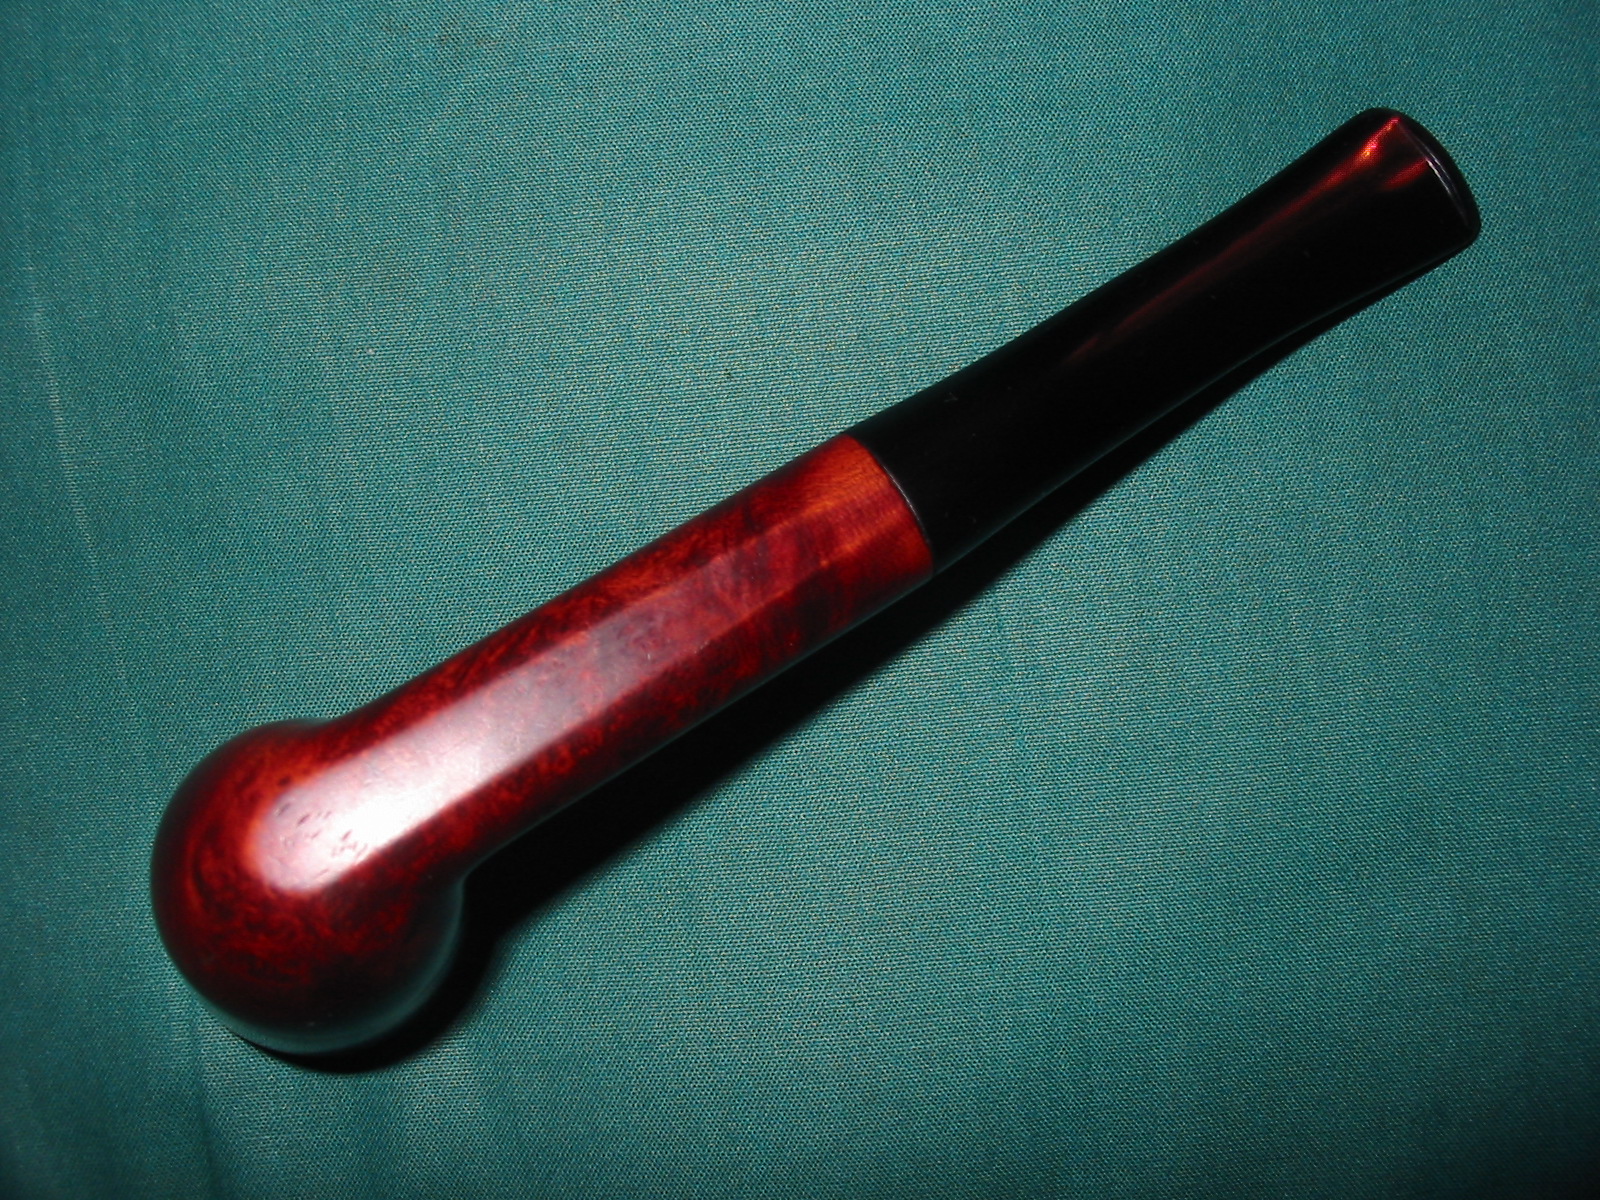
Yet another of the gift bowls was on the work table today. It a delicate Dublin shaped bowl that is stamped on the top of the oval shank with KBB in the cloverleaf and next that Doc Watson in an arc over Italian Bruyere. There are no other stampings on the bowl or shank. I was intrigue to work on this old pipe as Doc Watson was one of my favourite musician/singers. I enjoy his guitar playing and singing. I have no idea if this pipe is connected to him in any way but the name brought back memories of small concerts when I lived in Southern California. The finish was dirty and the briar darkened on the left and right side of the bowl where it was held in the hands. Oils and soil from the hands of the previous smoker had darkened the bowl. It had a dark oxblood stain that hid the grain of the briar. There was a small nick on the bottom front of the bowl that did not go too deep into the briar. The rim was darkened and had a buildup carbon and oils that would need to be cleaned. The bowl had a light uneven cake and the shank was dirty.
IMG_7445

IMG_7446

IMG_7447

IMG_7448
I had a new oval Lucite stem in my stem can that would work well for this bowl. The slot in the button had not been cut or shaped. The diameter of the stem was slightly larger than the shank so it would need to be shaped. The tenon was too longer so it would need to be shortened to fit in the shank.
IMG_7449

IMG_7450
I used a Dremel to sand the diameter of the tenon and shorten it. When I had the fit close I sanded it by hand to assure a snug fit in the shank.
IMG_7451

IMG_7453
I initially sanded the excess diameter on the stem with the Dremel and a sanding drum. I followed that by sanding with 150 grit sandpaper to smooth it out and bring it closer to matching the stem. I When I had the fit close I sanded the shank and stem together with 220 grit sandpaper to make the transition absolutely smooth.
IMG_7454

IMG_7486

IMG_7487

IMG_7488

IMG_7489
I wiped down the bowl with acetone on cotton pads to remove the finish. I find that when I break down the stain I can actually bleed it into the sanded portion of the shank. This colours the shank and makes it easier to apply the next coat to the whole bowl.
IMG_7490

IMG_7491

IMG_7492

IMG_7493
I sanded the bowl and shank with 1500-2400 grit micromesh sanding pads. Then wiped it down a final time with isopropyl alcohol.
IMG_7494
I stained the bowl with a oxblood aniline stain, flamed it and repeated the process. It covered the pipe very well.
IMG_7495

IMG_7496
When it had dried I buffed the pipe with White Diamond to polish it. The bowl was ready to be buffed with carnauba but I waited until I had worked on the stem then I would buff them together.
IMG_7499

IMG_7500

IMG_7501

IMG_7502
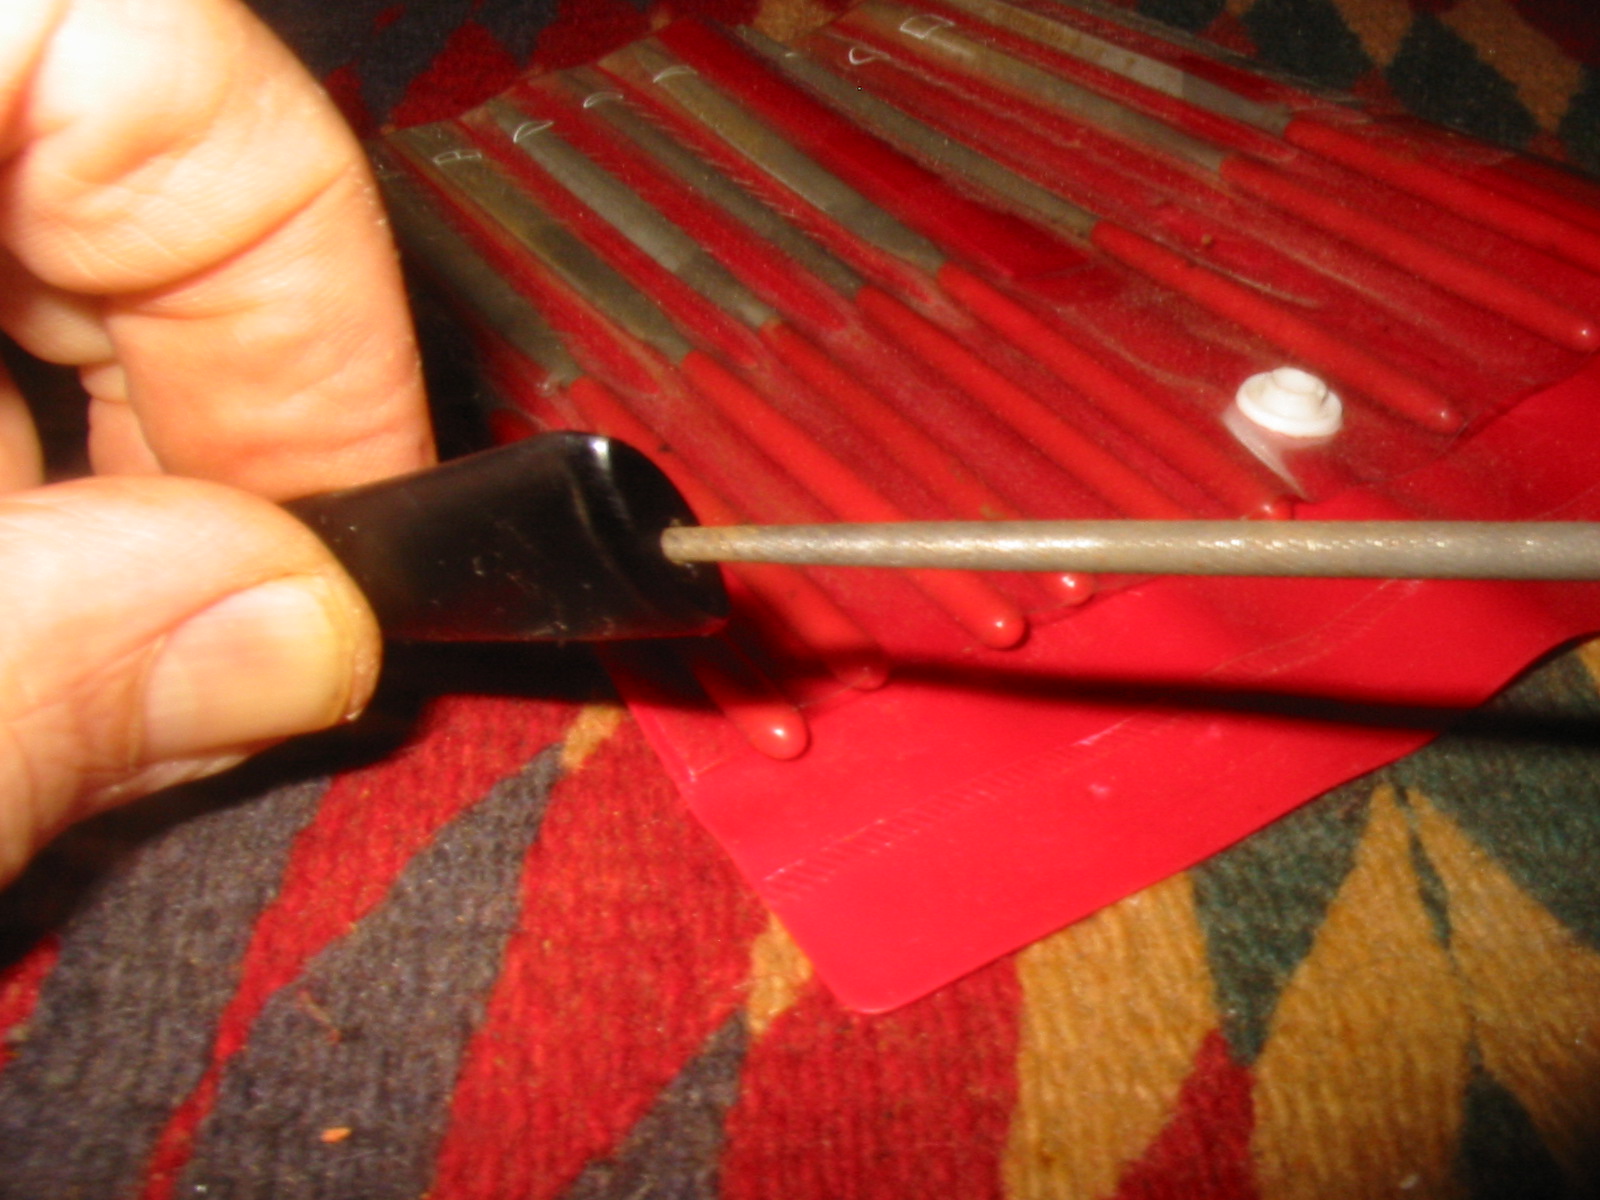
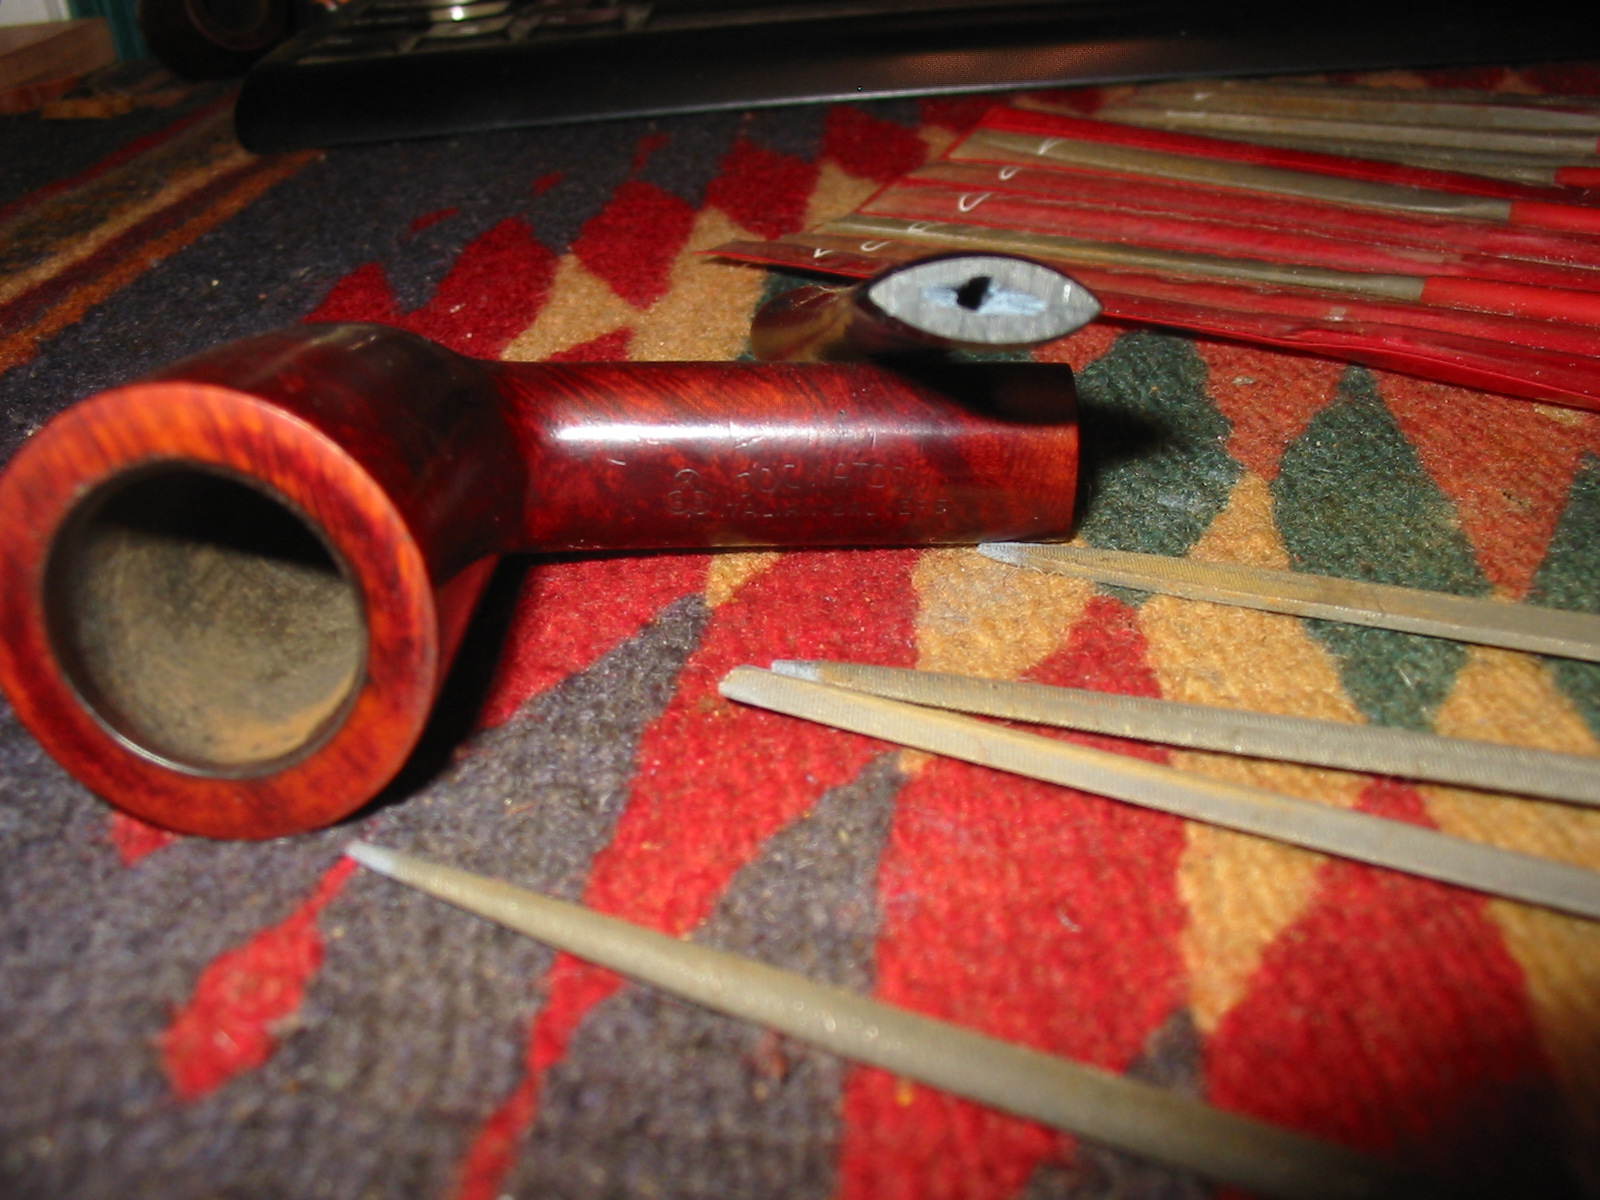
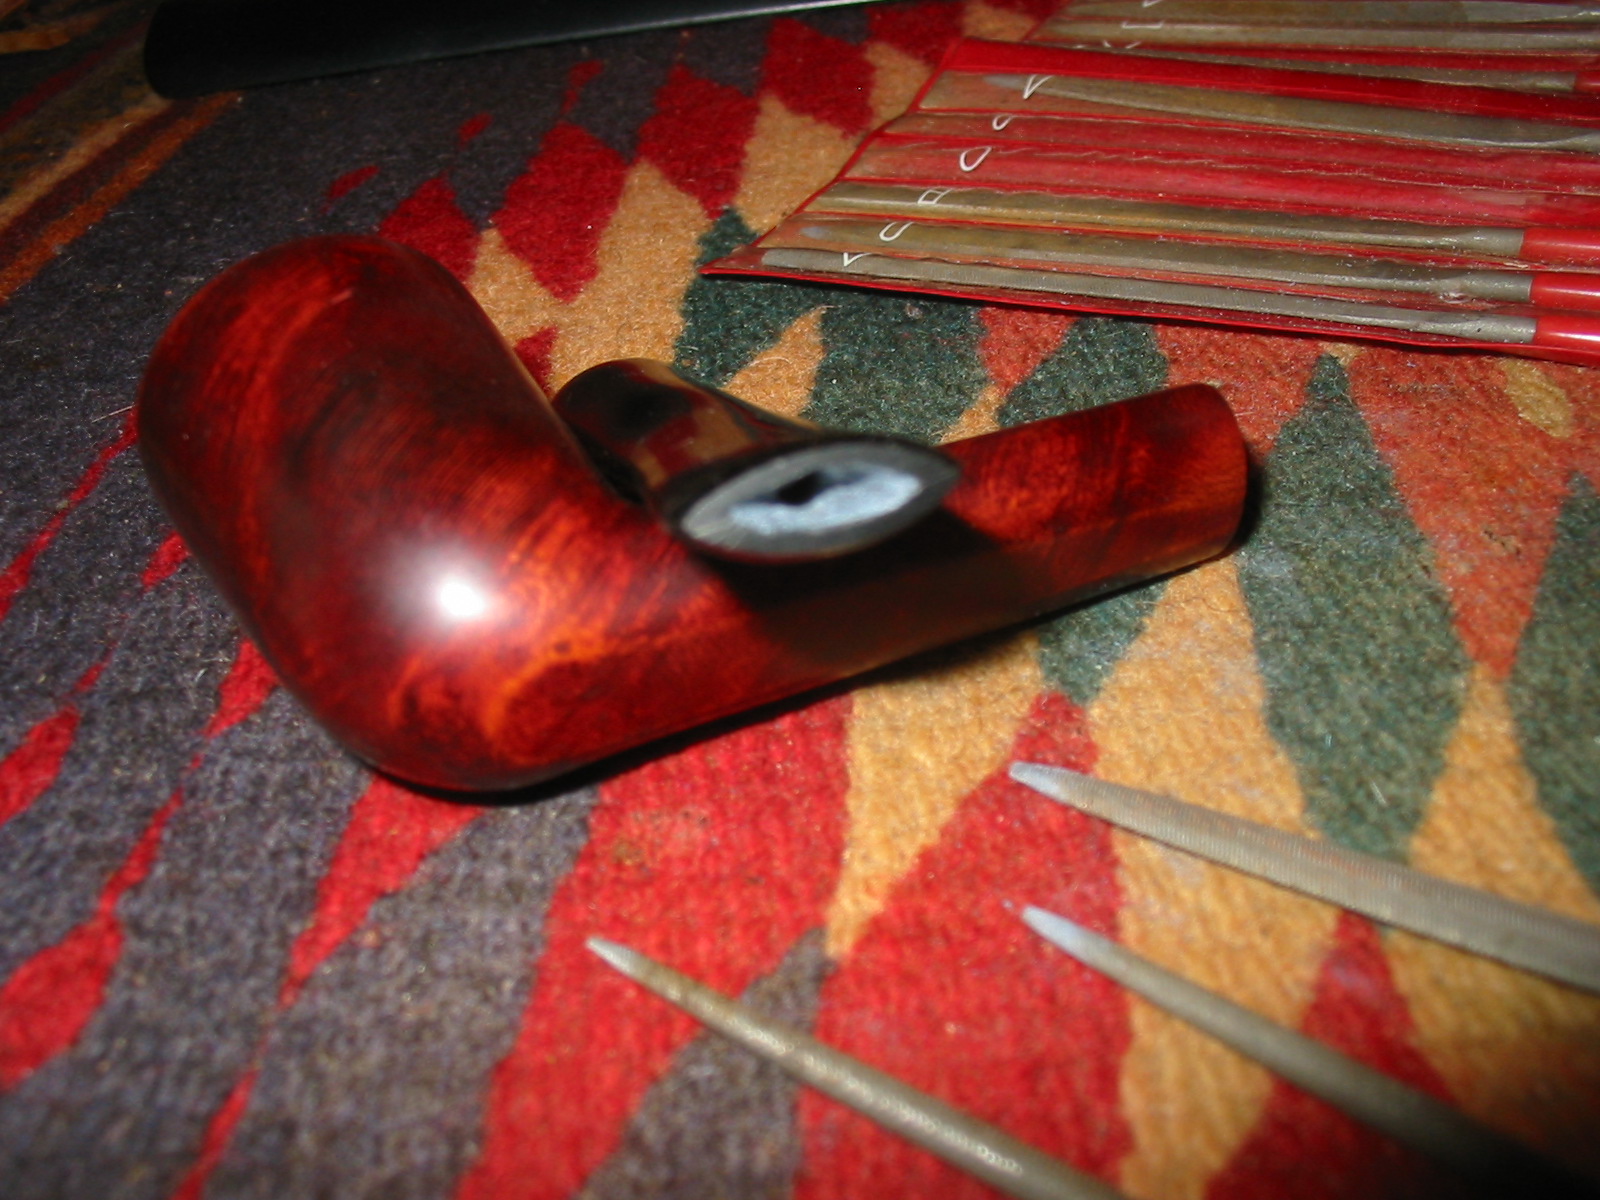
I sanded the stem with my usual array of micromesh sanding pads. I wet sanded it with 1500-2400 grit pads. I then worked on the slot. I wanted to have a wide open oval slot in the button so I used needle files to open the airway in the end of the stem. I used flat, round and oval files to open it and then a folded piece of sandpaper to polish after filing.
IMG_7503

IMG_7504

IMG_7507

IMG_7509

IMG_7512
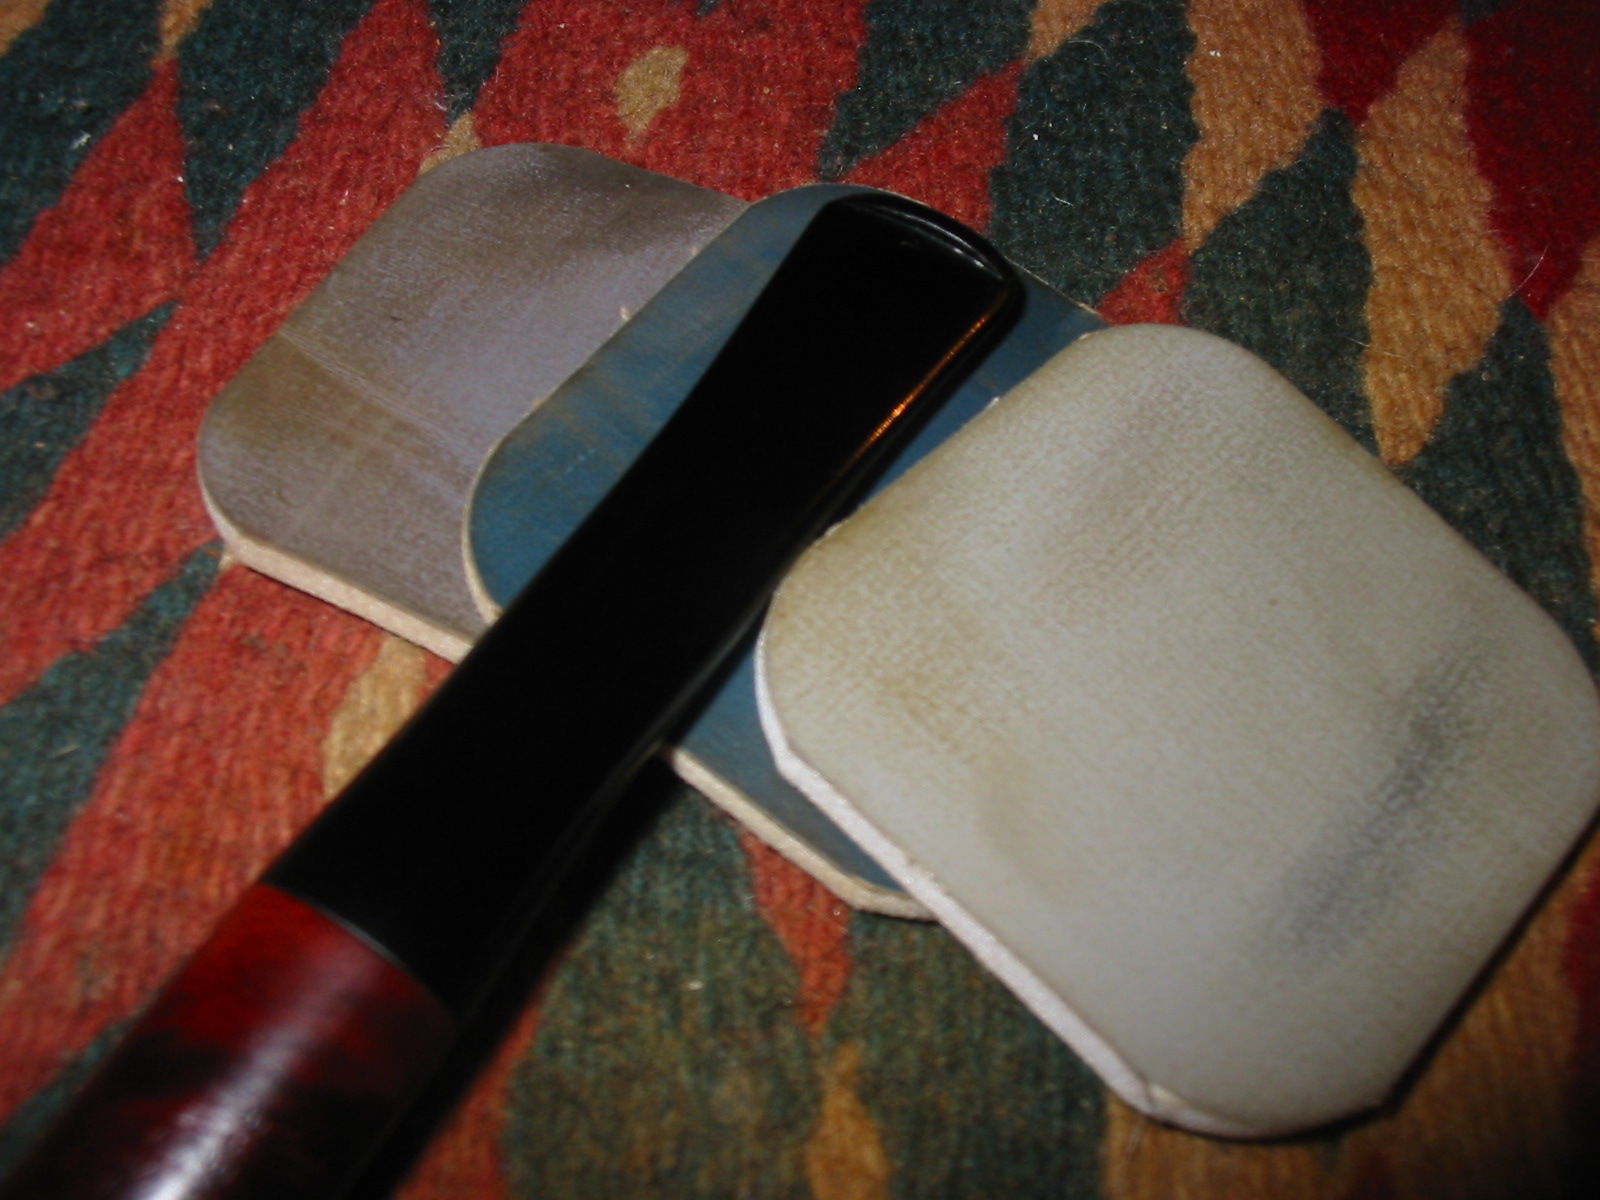
I dry sanded the stem and the end of the button with 3200-12,000 grit pads. To remove some of the scratches left on the button I also started again and wet sanded with the 1500-2400 grit pads. When I had finished sanding I polished it with Obsidian Oil and let it dry. The Oil does not soak in like it does on vulcanite but provides a lubricant that works well when I buff the Lucite stem with White Diamond.
IMG_7513

IMG_7514
I buffed the bowl and stem with White Diamond and then gave it multiple coats of carnauba wax, polishing it with a clean flannel buff between coats. When finished the pipe looks like it must have the day it left the KBB factory. It is cleaned, restored and ready to smoke. The finished pipe is shown below.
IMG_7515

IMG_7516

IMG_7517

IMG_7518