Author Archives: rebornpipes

Restoring a Lovely Rhodesian by John Calich


Blog by Steve Laug

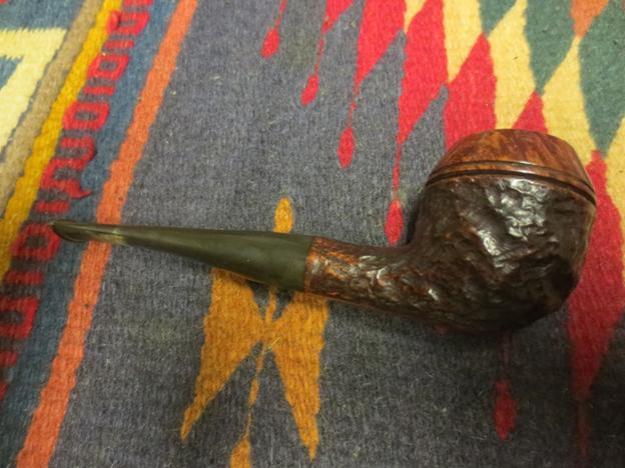
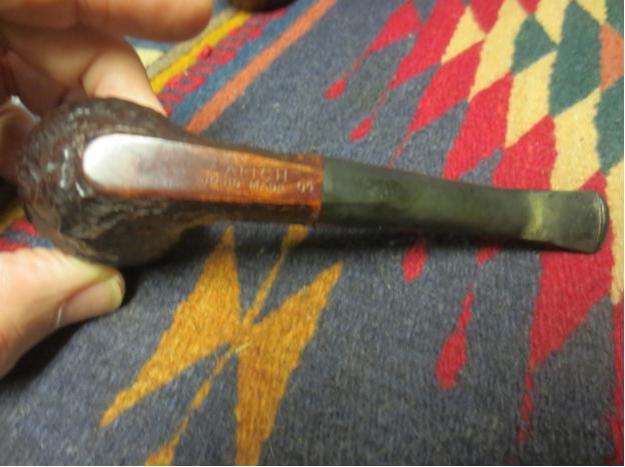
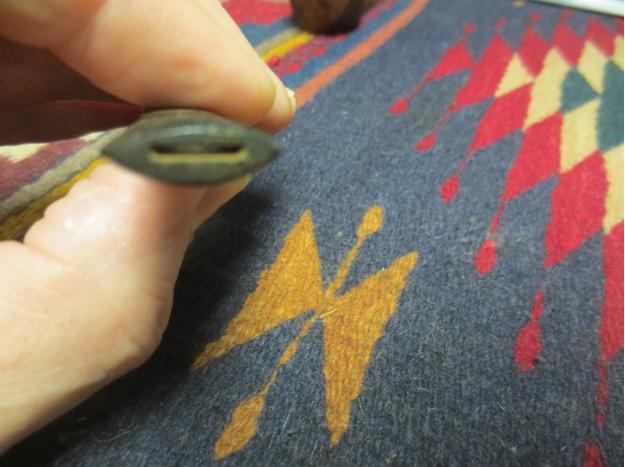
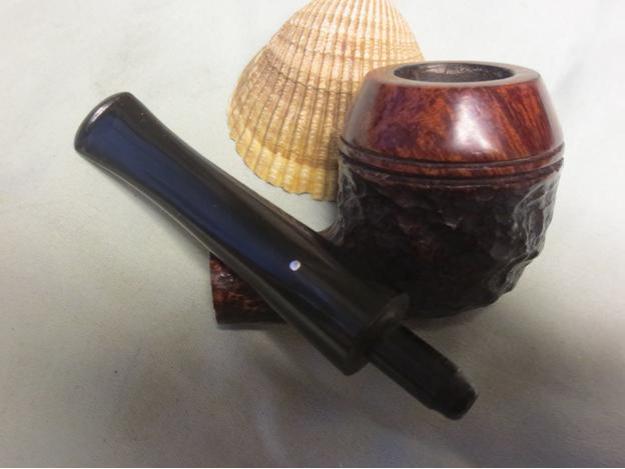
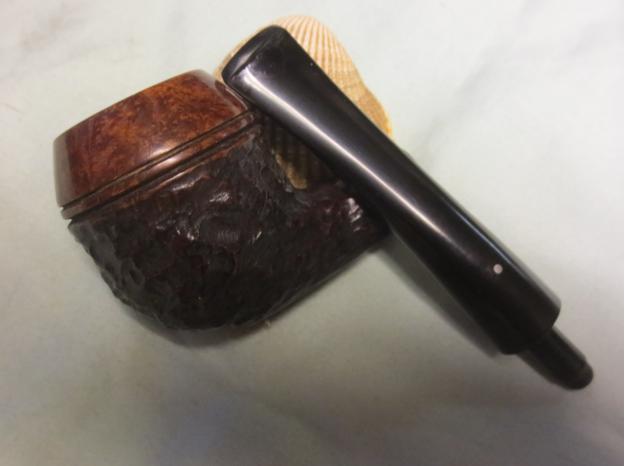
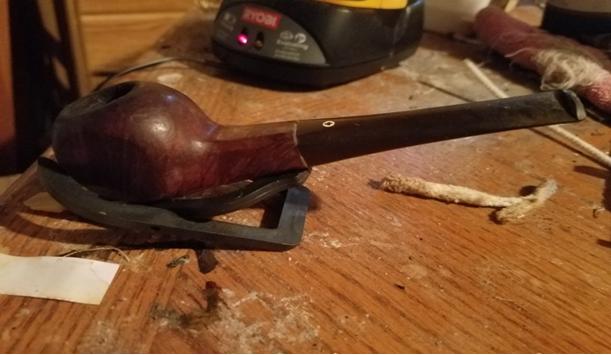
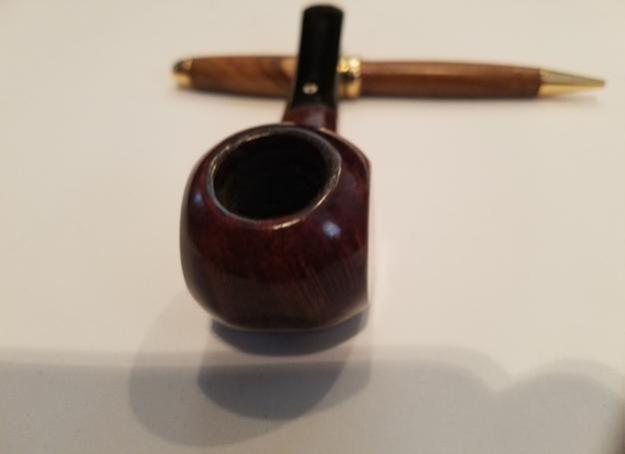
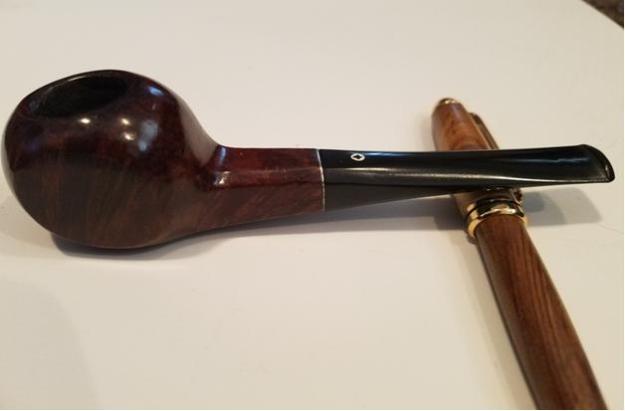
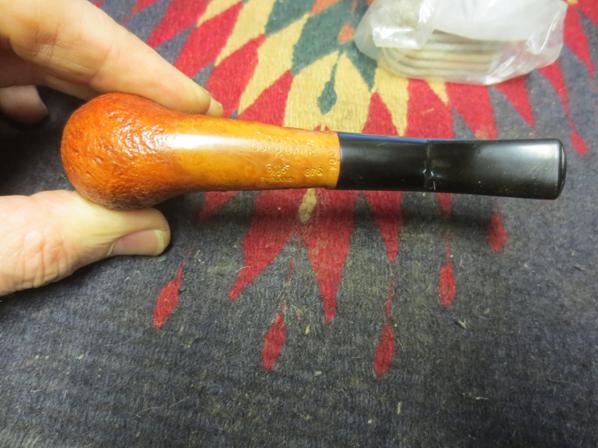
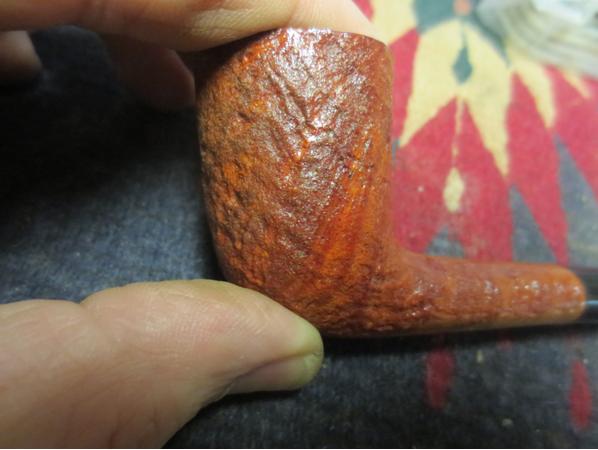
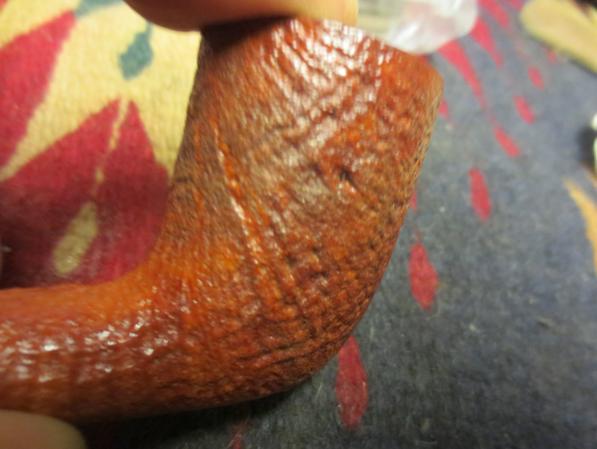
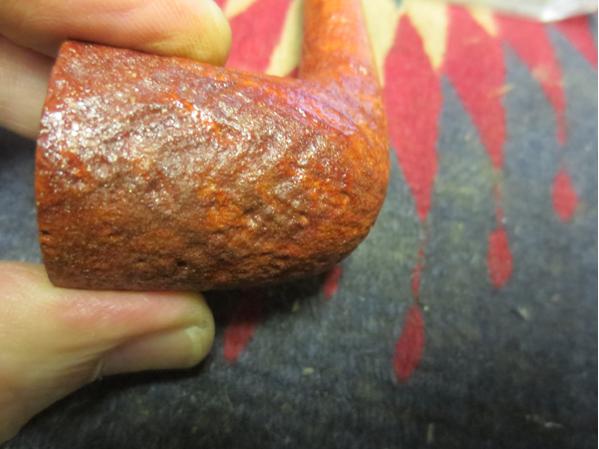
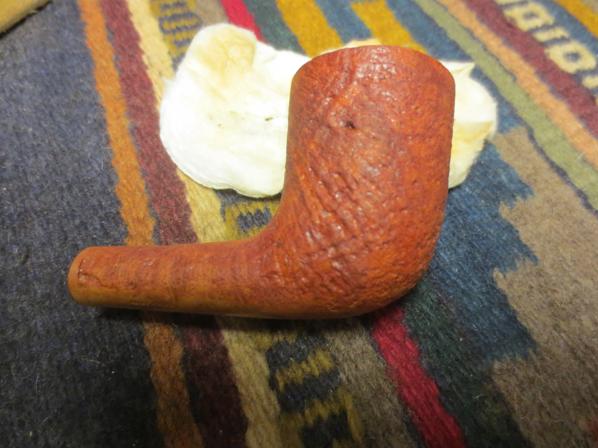
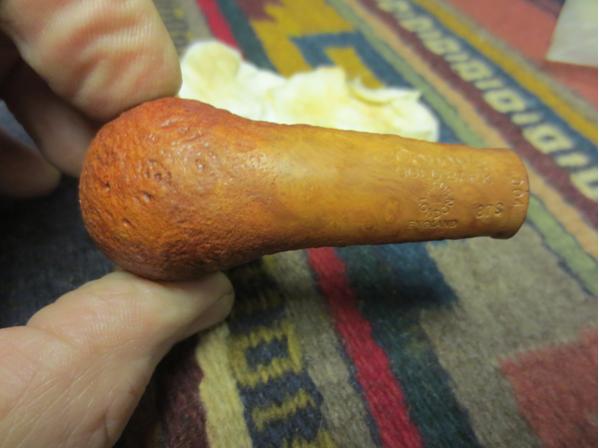
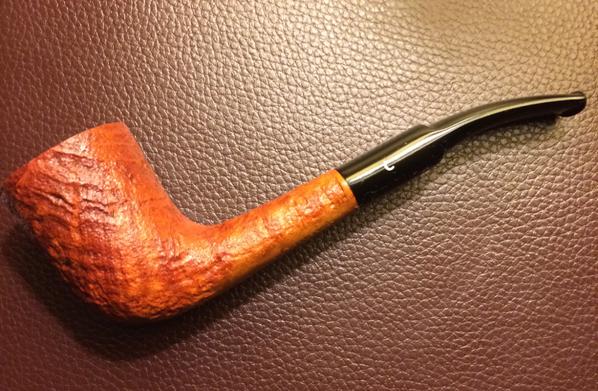
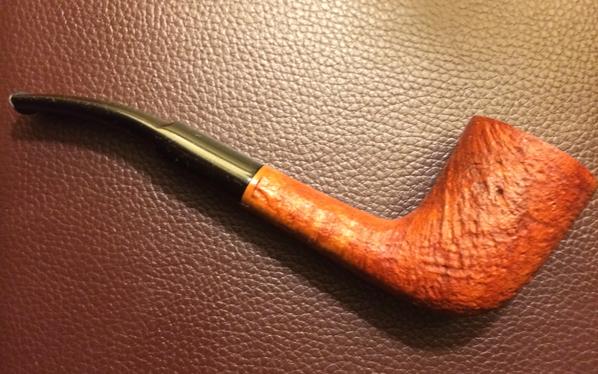
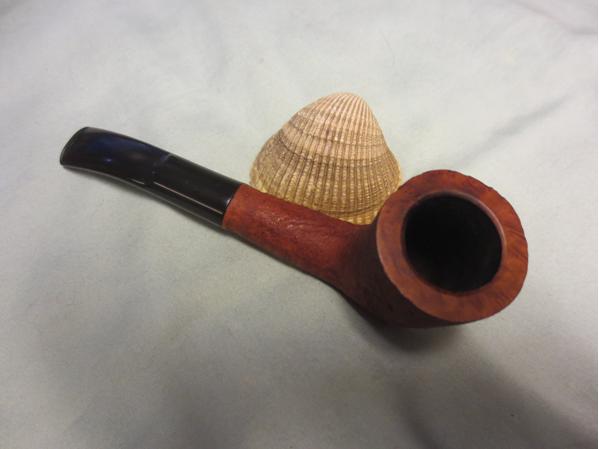
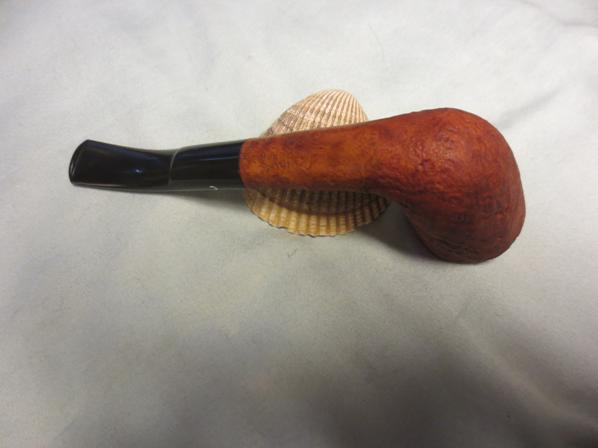
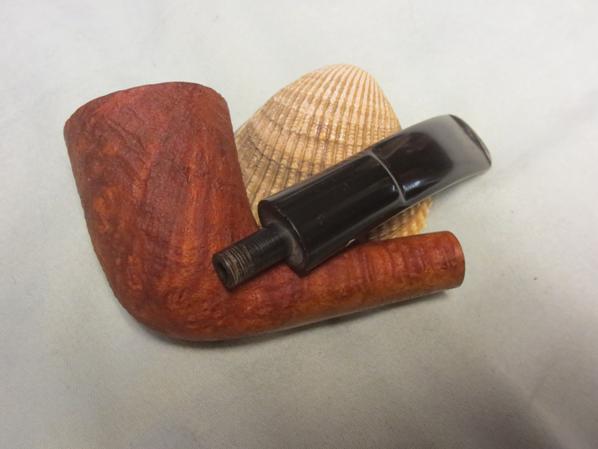
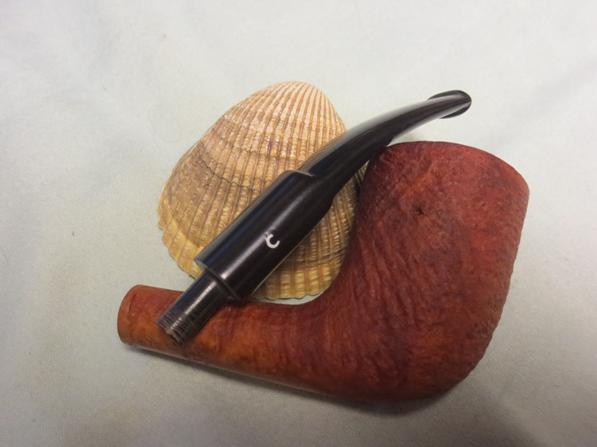
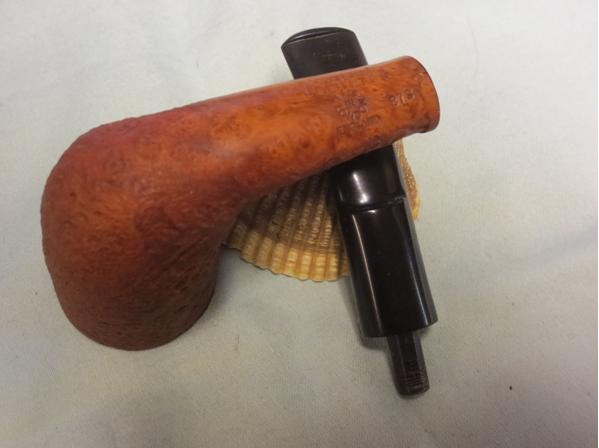
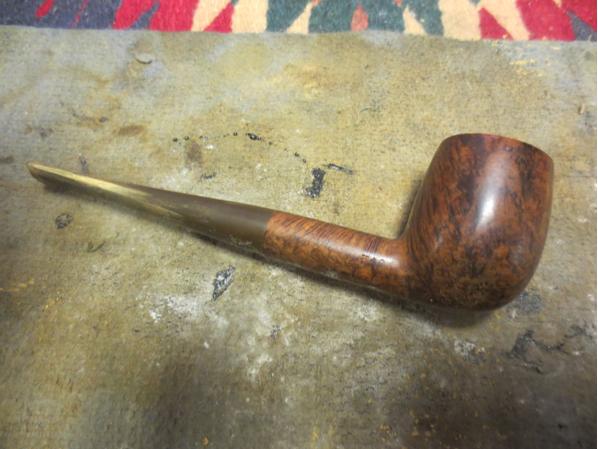
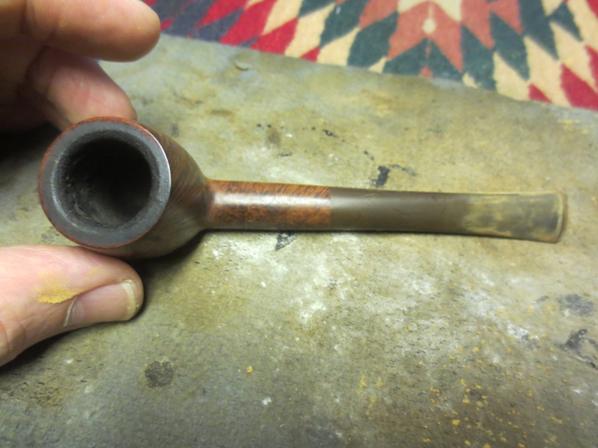
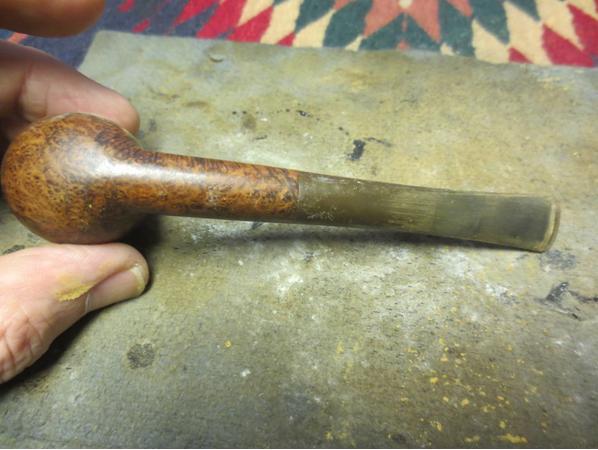
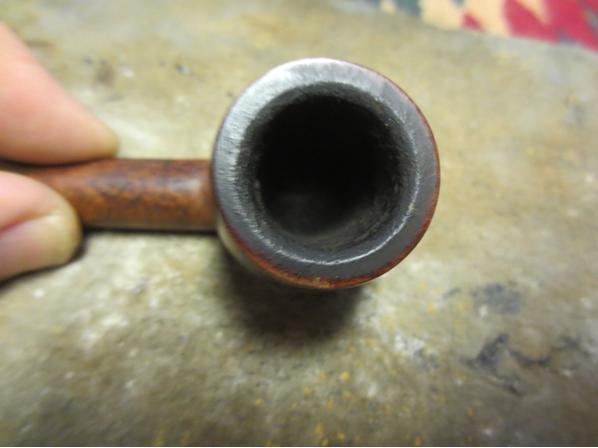
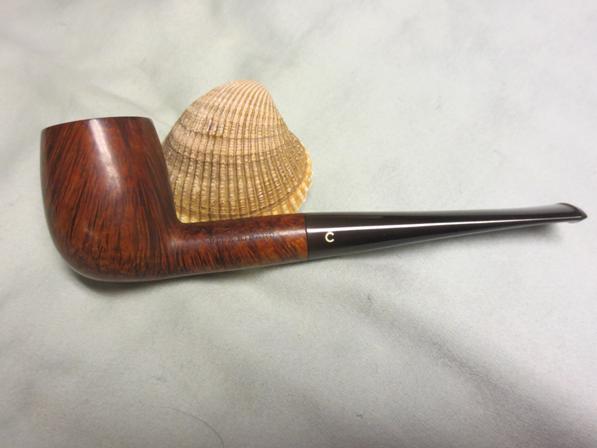
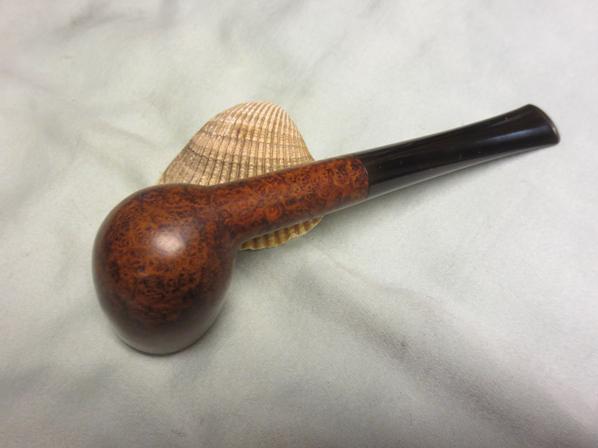
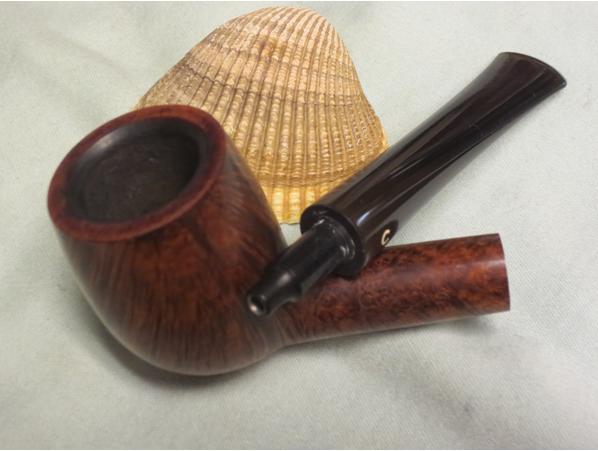
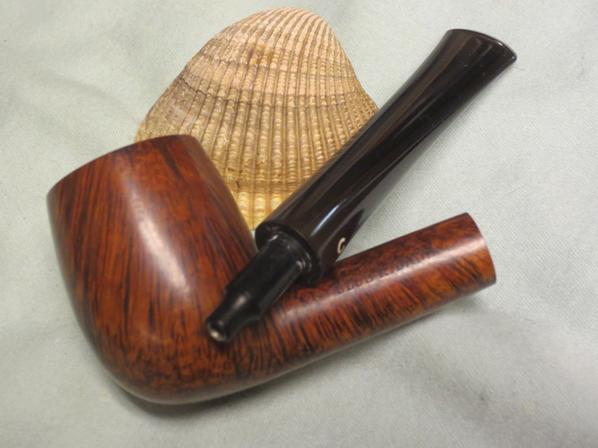
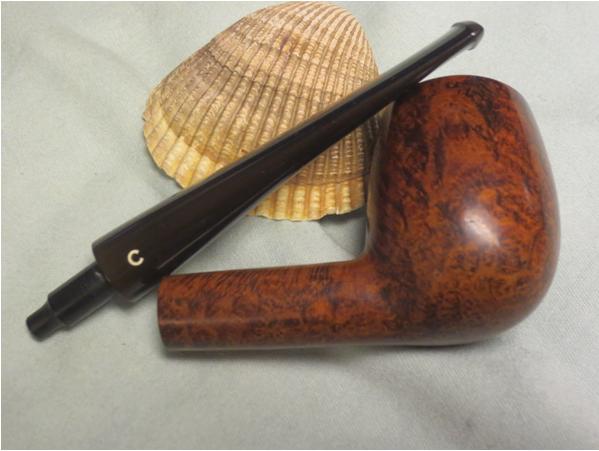
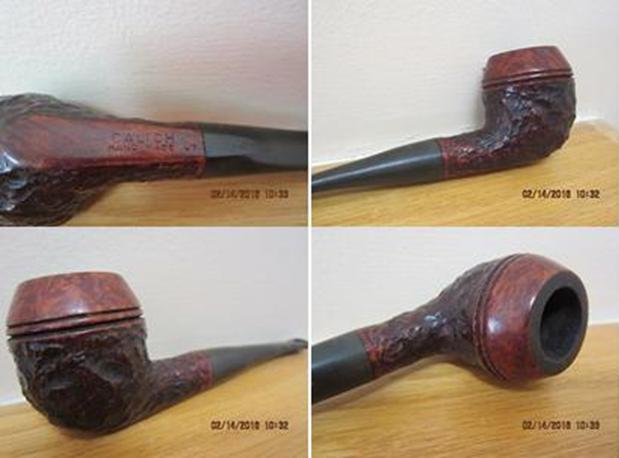
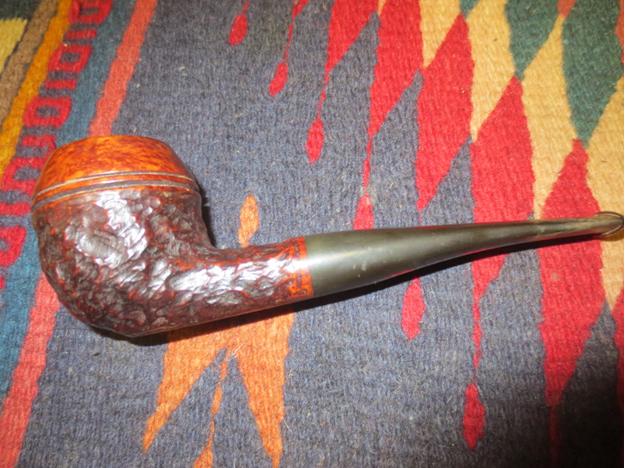
I have had a thing for Calich pipes since John made a new stem for a bowl I bought on Ebay for one of his pipes. It was a labour of love and one which led to several phone conversations and correspondence with John. He was a great guy and a definite loss to the Canadian pipe smoking community. Whenever I come across one of his pipes in need of work I try to purchase it and restore it. The pipe I am writing about at this time is a Calich Hand Made Rhodesian that is stamped that way on the underside of the shank. It also has a 04 stamping. The photos below were shown by the eBay seller. The bowl appears to be in great shape. The stem is slightly oxidized and the seller noted that there was a hole in the top side of the stem at the button. I knew what I was getting into when I purchased this pipe – or so I thought.Calich1I have written several blogs about Calich pipes that help give an idea of the age of the pipe. While I waited for the pipe to arrive I reread those pieces to refresh my memory on the stamping. I have included the links to the blogs below.
https://rebornpipes.com/2015/03/03/one-of-my-john-calich-pipes-a-calich-ee-billiard/

I summarize the dating information from those blogs now: From my research and conversations I learned that John’s pipes were graded 3E – 8E. The retail prices for them ranged from $145.00 to $500.00. Each pipe was stamped “CALICH” and given an E grade. His earlier pipes were graded from 3-14 and had a single, tiny silver dot applied to the top of the stem. More information can be found at the Pipedia website by clicking on this link. http://pipedia.org/wiki/Calich This information told me as expected that the pipe I had was an earlier one.

I vaguely remembered that I had found further information but could not remember it so I read the next blog I wrote. https://rebornpipes.com/2014/03/21/reflecting-on-my-collection-of-john-calich-pipes/ There the information honed in on the date more closely. I quote from that blog now: I did find out some further information on the dating of Calich pipes as the information on Pipedia was not complete. What I found was very helpful. His early pipes were graded with numbers from 3 – 14. By the late 1980’s Calich introduced 15, 16, and even one 17. In the mid-90’s the grade system changed employing a number of E’s. The more EE’s the higher the grade. From that information I knew that the pipe I had was not only an earlier one but came from early in the 1980s.

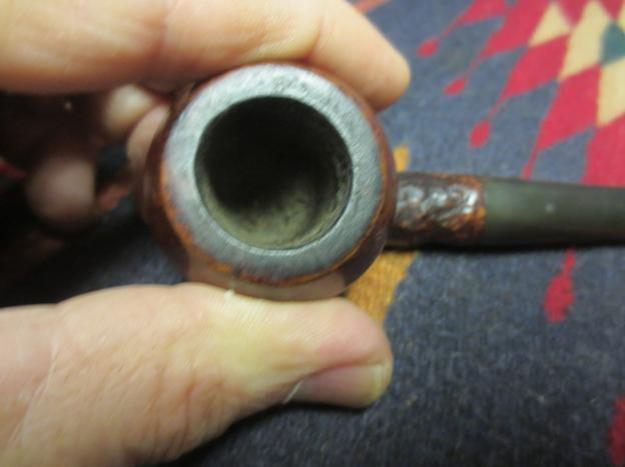
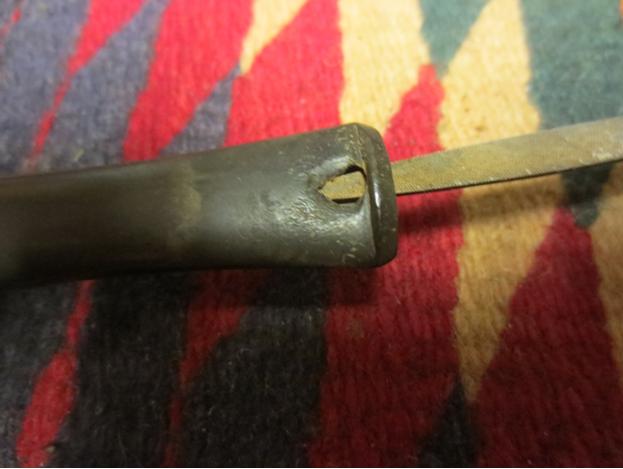
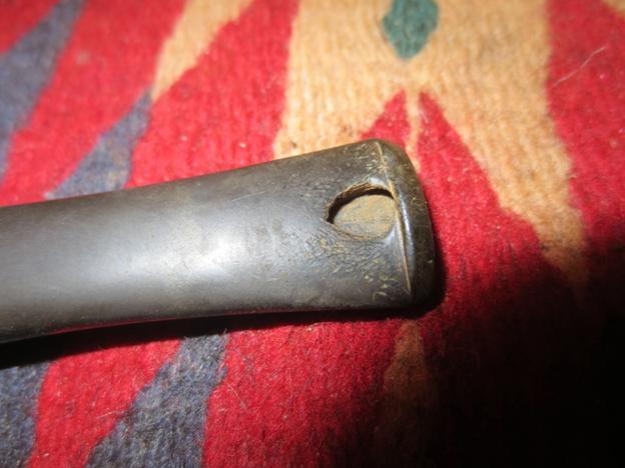
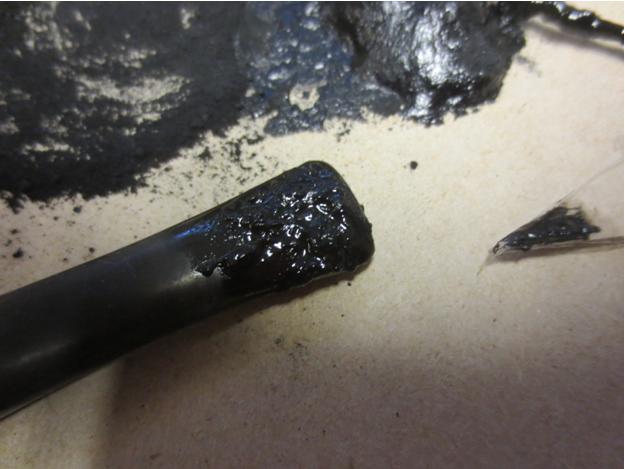
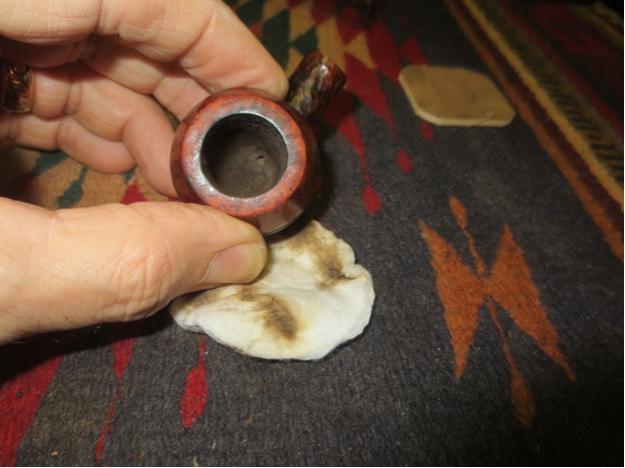
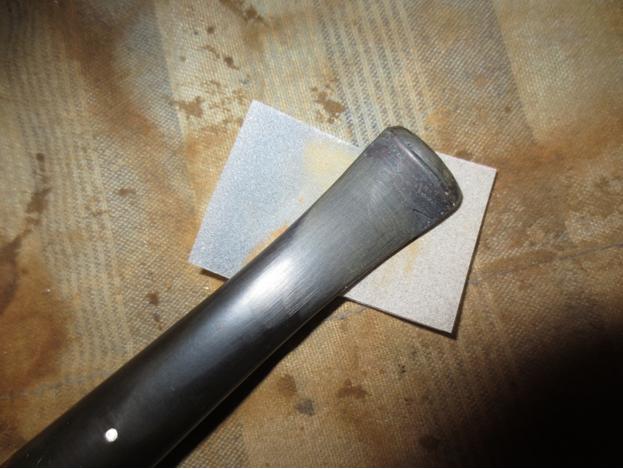
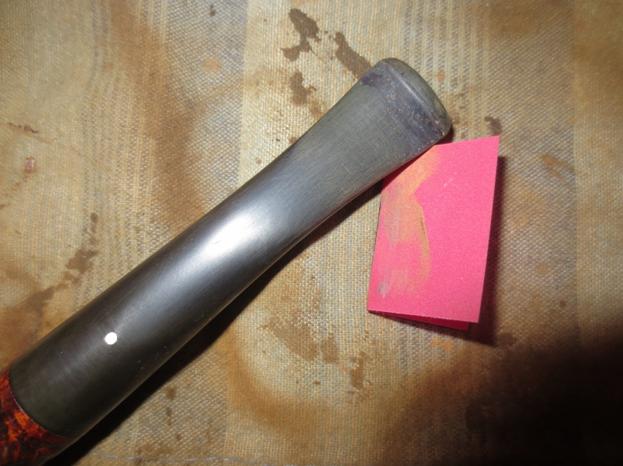
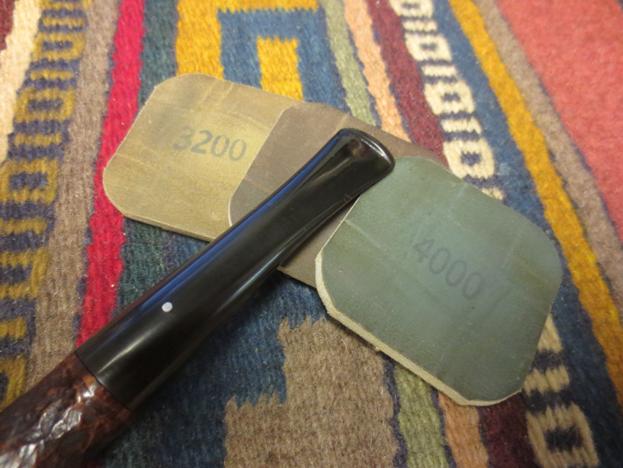
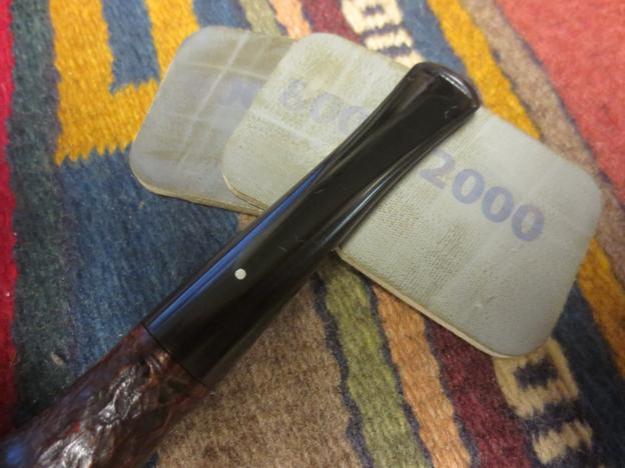
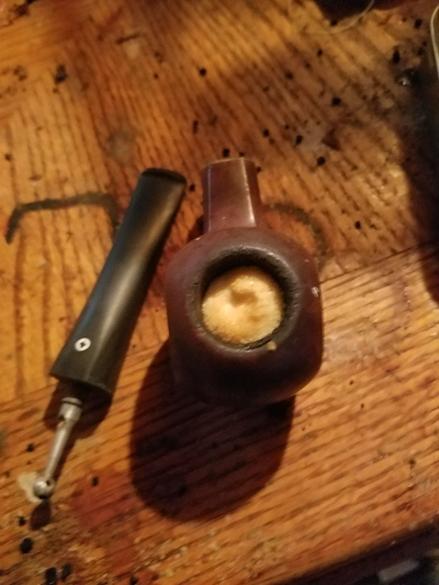
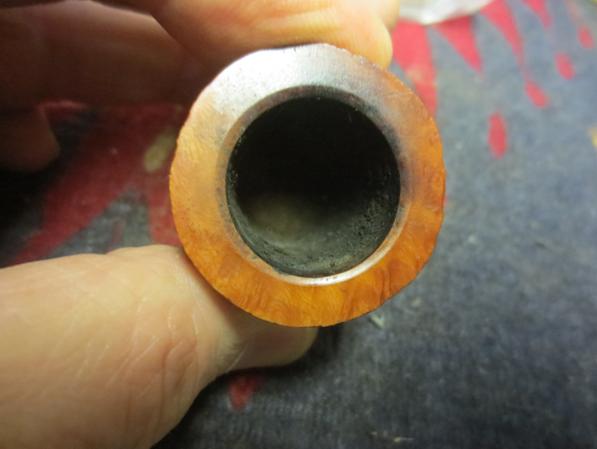
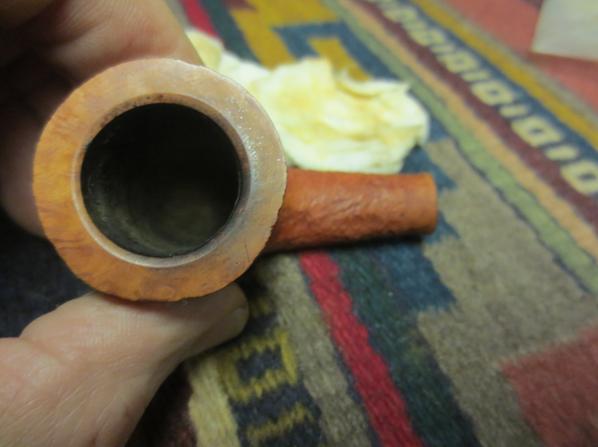
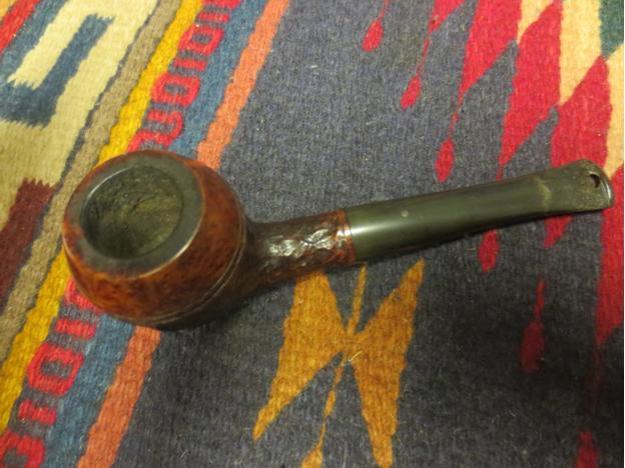
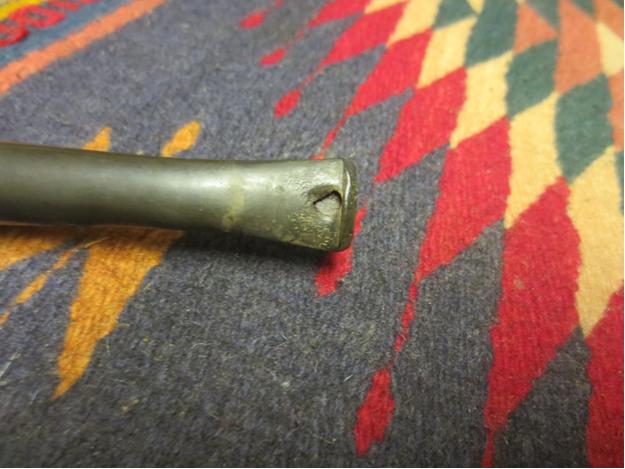
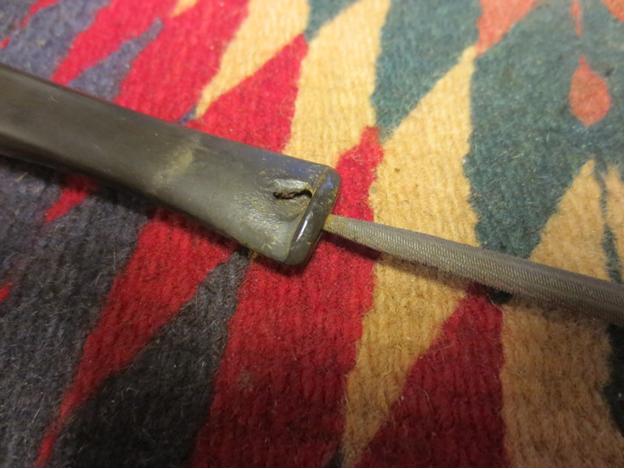
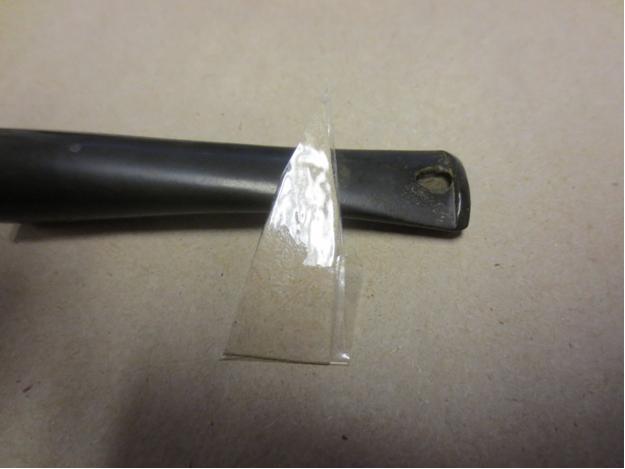
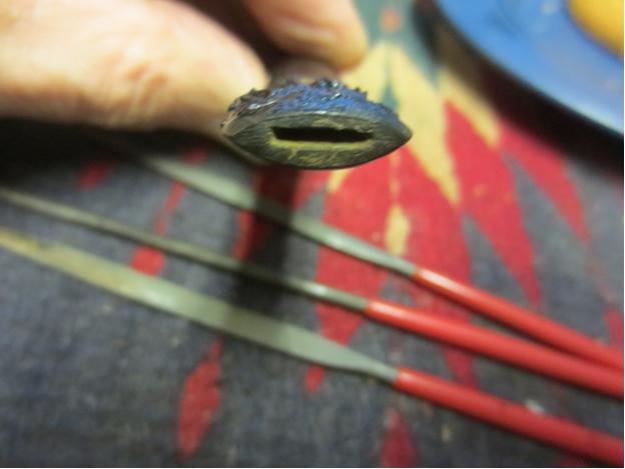
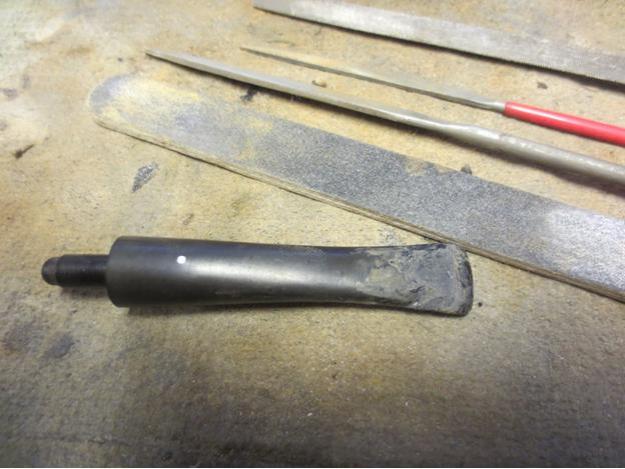
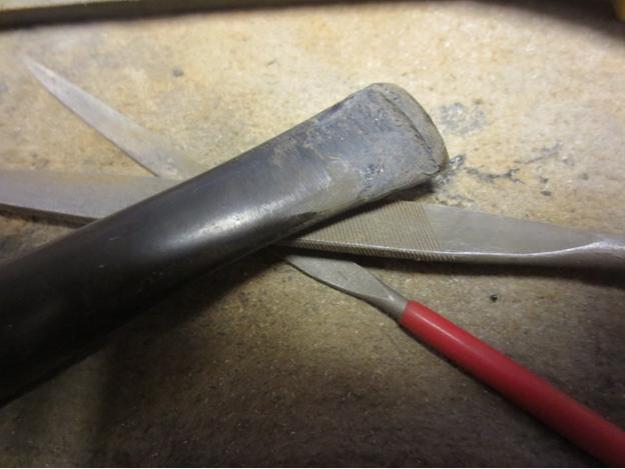
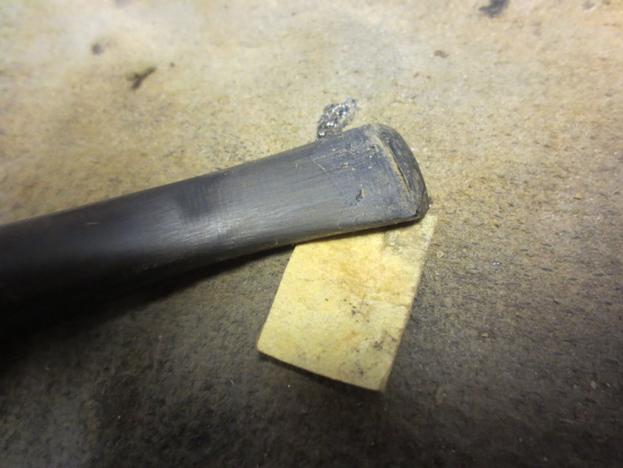
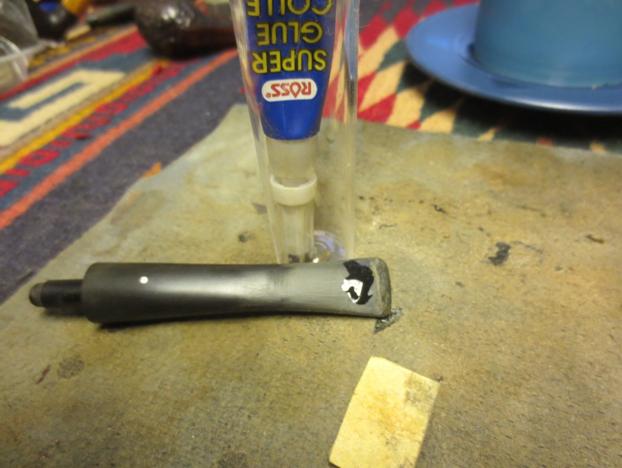
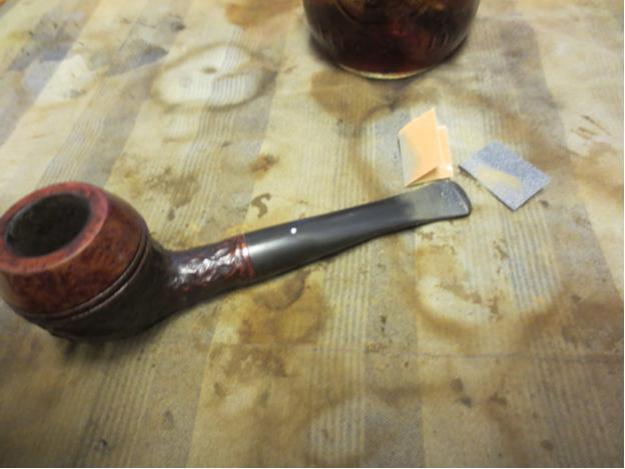
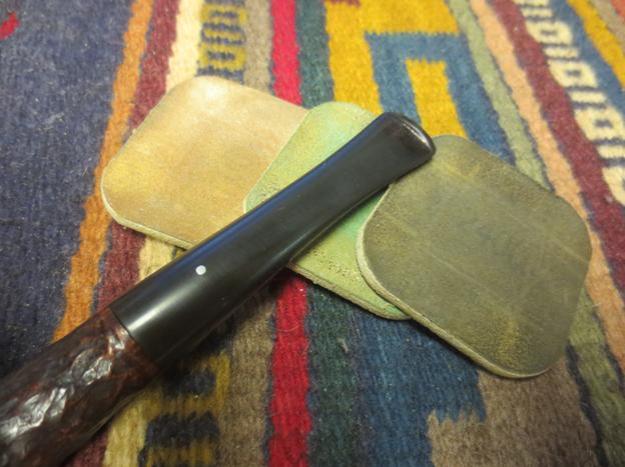
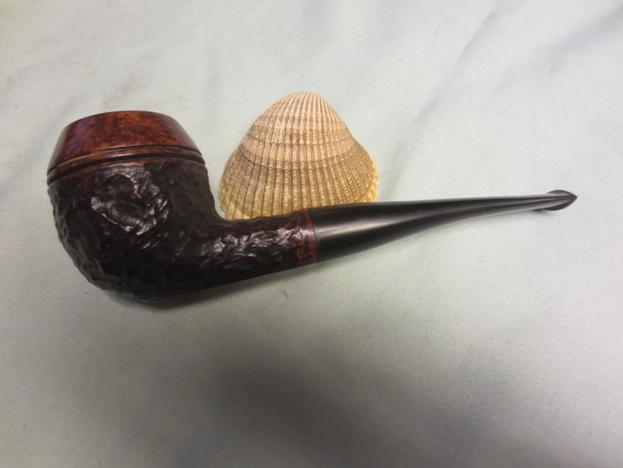
When the pipe arrived I took some photos of it to give a clear picture of what I was going to have to deal with in the restoration of this pipe. The stem was more oxidized than the seller’s photos showed and the finish also showed more debris in the rustication and the double rings around the bowl cap than had appeared in the photos. The rim top looked about the same – there was a thin build up of lava on the flat surface but the inner and outer edges were undamaged.Calich2 Calich3The bowl had a light cake in it and would be easy to deal with. There was no damage to the inner bowl. As I looked over the surface of the bowl it was clear that under the grime the pipe was in pretty decent shape. The big issue was the hole in the top side of the stem at the button.Calich4 Calich5 Calich6I took a photo of the bite through to show the extent of the damage. The edges of the bite through were also pushed down into the airway on the stem constricting the airway so that a pipe cleaner would not pass through. The topside of the button was also thinned down considerably and would need to be built up. Calich7 Calich8I used needle files and a dental pick to open up the airway and clean up the crushed edges of the bite through. It enlarged the hole but the airway was wide open when I finished. I also roughed up the edges of the cleaned up hole with the needle files to give a rough surface for the repair to bond to.Calich9 Calich10 Calich11With the stem hole cleaned up I was ready to begin the repair. I cut a wedge of cardboard and covered it with clear tape to make a surface that the glue would not stick to. I inserted it into the airway under the hole and wedged it in place. I mixed a batch of activated charcoal powder and black super glue to make a patching mortar and using a dental spatula applied the material to the hole and the top of the button to build it up. I sprayed it with some accelerator to harden the surface so I could continue to work on the pipe and removed the cardboard wedge.Calich12 Calich13I reamed the bowl with the Savinelli Pipe Knife to clean out the thin cake. You can see from the photo that there was not much of a build up so it was quick job.Calich14I set the stem aside and used a dental pick to clean out the rings around the bowl cap. I scrubbed the rustication with some Murphy’s Oil Soap to clean up the dust in the grooves and crevices of the finish.Calich15I scrubbed the top of the rim with saliva and cotton pads and was able to remove the lava on the surface without harming the finish on the bowl top.Calich16 Calich17I cleaned out the inside of the mortise and shank with cotton swabs, pipe cleaners and alcohol.Calich18By that time I was also able to clean out the inside of the stem with pipe cleaners and alcohol. The pipe cleaners went through with little issue and the stem was clean.Calich19The next morning after the glue had cured overnight I worked on the stem. I needed to reshape the slot to facilitate easy cleaning so I used needle files to clean up the entrance of the airway.Calich20I sanded the stem repair and the surface of the button top with a sanding board to begin the process of reshaping the surfaces of both.Calich21I cleaned up the edge of the button and shaped the surface of the button with needle files until the edge was sharp the surface matched that of the underside of the button.Calich22With all of the hard shaping done it was time to begin the tedious process of sanding the repairs. I started with 220 grit sandpaper to smooth out the surface and the transition to the rest of the stem.Calich23There were still some small holes around some spots on the fill. I used a clear super glue to fill these in and smoothed out the patch with a spatula.Calich24 Calich25When the repair had dried I sanded it with some finer grit sand papers until the surface was smooth.Calich26 Calich27 Calich28I moved on to sand the stem with micromesh sanding pads – wet sanding it with 1500-2400 grit pads and then giving it a coat of Obsidian Oil. I dry sanded with 3200-4000 grit pads and gave it another coat of oil. I finished by sanding it with 6000-12000 grit pads and giving it a final coat of oil. I let the oil dry before buffing the pipe.Calich29 Calich30 Calich31I buffed the pipe and stem with Blue Diamond on the wheel and then gave the stem several coats of Carnauba wax. I buffed the stem with a clean buffing pad. I gave the bowl several coats of Conservator’s Wax and hand buffed it with a shoe brush. The finished pipe is shown in the photos below. The stem repair is solid and though visible to me as I have looked at it so long, it is not obvious. The pipe is useable and looks as close to what it must have looked like when John shipped it out from his shop in the 80s. Thanks for looking.Calich32 Calich33 Calich34 Calich35 Calich36 Calich37 Calilch36
Restoring a Unique Kaywoodie Flame Grain 23C


Blog by Bill Hein

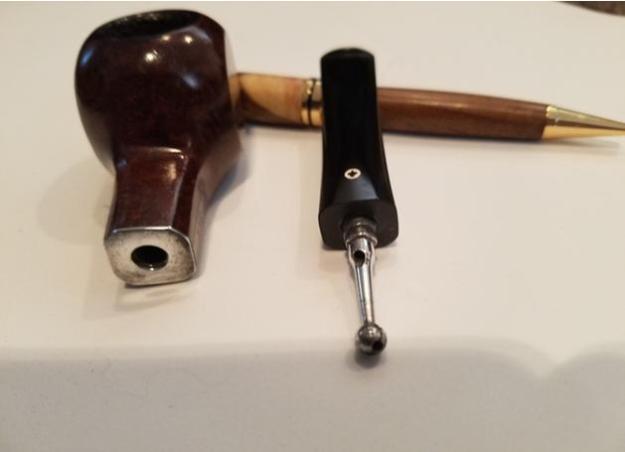
Today I have an interesting Kaywoodie on the bench. This particular pipe is an early Flame grain. It has a shape number of 23C. This is interesting because 23C was used for two different pipes in the same era. 23C is a two panel apple shape. One is half bent, the other is a square shank. The one on my bench is a square shank. I imagine it is quite rare as this style was only made in 1947. This still has its 4 hole stinger. Below are the before pictures.KW1 KW2Starting off I disassembled the pipe and tossed the stem into a oxiclean bath. While the stem was soaking I reamed out the bowl and filled it with salt and alcohol. After a few hours I removed the stem from the oxiclean bath and rinsed it off. To my surprise there wasn’t much oxidation. I knocked the salt out of the bowl and gave it a good rinse before setting it aside to dry.

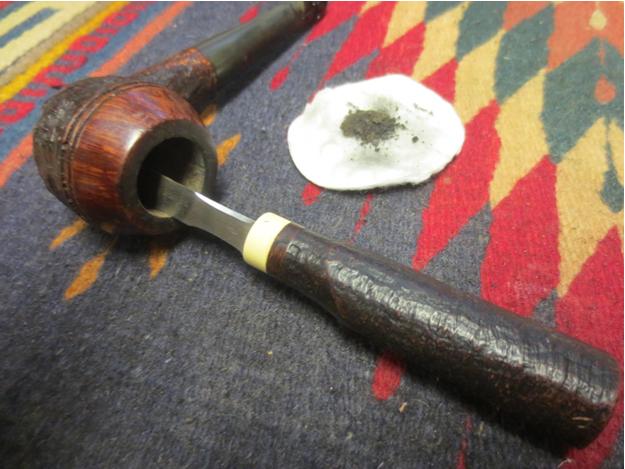
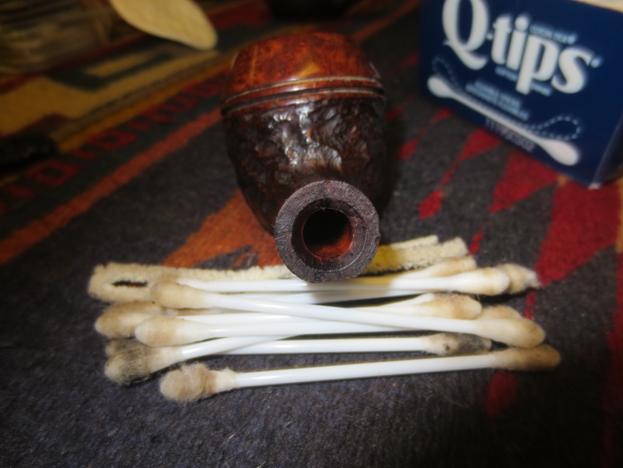
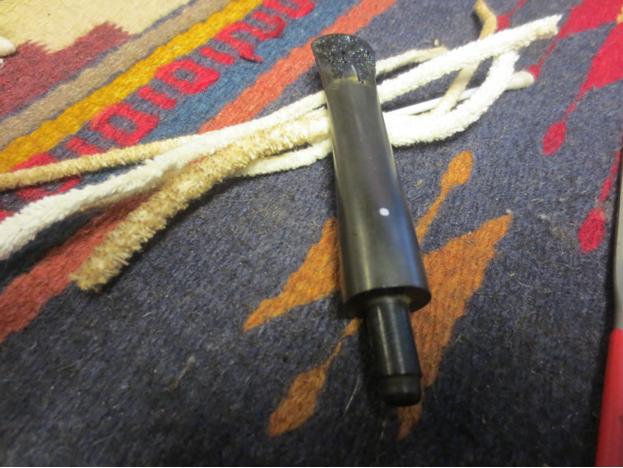
Kw3While the bowl was drying out I ran alcohol soaked pipe cleaners through the stem until they came out clean. This can be tricky with Kaywoodie pipes as quite a bit of sludge builds up inside the stinger. The ball on this pipe wasn’t too nasty but I found a very narrow pipe cleaner, a piece of wire, or even a toothpick can come in handy cleaning out the holes. I took some heat and 500 grit wet sandpaper to remove the oxidation and lift the few tooth marks near the bit.

I buffed the stem, stinger, and metal shank insert with white diamond. I then buffed the bowl and stem with carnauba wax. I finished the pipe up by buffing by hand with a microfibre cloth until I achieved a near mirror like shine. Below is the finished pipe.KW4 KW5 KW6


Some Interesting New Additions to my Reamer Collection


Blog by Steve Laug

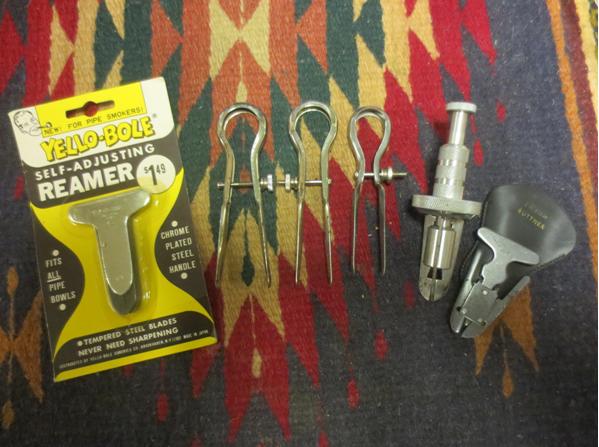
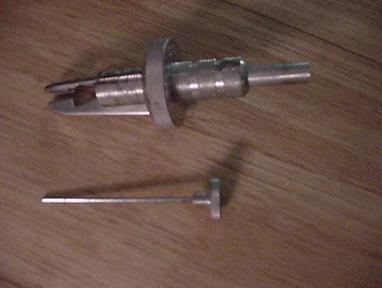
When I was in Idaho my brother gave me a bag of reamers that he had picked up on Ebay and also one that I had purchased. They are shown in the photo below. From left to right they are as follows: an unused Yello-Bole Self-Adjusting Reamer; two Cook’s Pipe Reamers that are stamped with the name over Ansonia, Connecticut over Made in USA; a smaller Bryco #1169 Hong Kong Reamer; an adjustable Kaywoodie Reamatic Pat. Pending and two British Buttner reamers that are stamped Gt Britain over Tool Steel Hardened and Ground Edges. Both of the Buttner reamers have Patent Apd 29243/45 stamped on the handle near the cutting blades.Reamer1With the pipes my brother had purchased and those we found while in Idaho I was able to use all of these reamers but the Yello-Bole. I thought I would take a few words to document the various reamers and how they worked.

I had never used the Cook’s Reamers or the Bryco Reamer before so to have three of them to use was a unique experience. The Cook’s Reamers and Bryco Reamers are the same reamer. They are one piece of metal that is shaped like a handle with two flattened blades. They act like a spring against the walls of the bowl when inserted. In the centre of each of them a screw is inserted with an adjustable nut. This nut can be turned to adjust the width of the spread of the two blades as it is used. The difference lies in the metal – the Cook’s are made of steel while the Bryco seems to be a softer material. The spring on the Cook’s is very tight and hard while that on the Bryco is very soft and easy to squeeze together. Both work the same way in a bowl. They are inserted either by squeezing and pushing into the bowl or screwed tight and adjusted out until the fit is snug. They are then turned and the blades cut away the cake in the bowl. They worked really well with lightly caked pipes and soft caked pipes and not so well with thick hard cakes.

Reame2Reamer3The Kaywoodie Reamatic Pat. Pending Reamer was in excellent shape – basically unused. Its limitation is pretty straight forward – it seems to be designed to fit one bowl size which I assume is standard in Kaywoodie pipes. I expected the tool to be adjustable from the name and unless it is stuck I am unable to adjust it. There is some movement to accommodate a straight U shaped bowl or a more conical bowl but the width is the same. The blades are sharp and the tool works well on the set bowl size. It makes a good clean cut on the bowl and easily removes the cake. The top nob on the remove turns and once removed reveals a long poker for cleaning out the shank of a pipe.

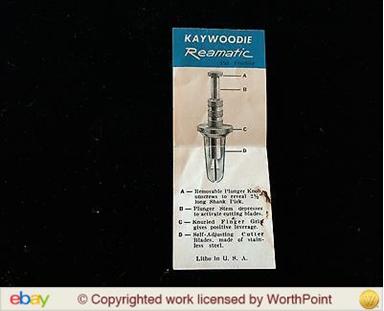
I did a bit of research with Google and found the photo on the left of the leaflet that was included in the boxed reamer. It is hard to read but I think the details are as follows. A. Removable Plunger Knob unscrews to reveal a 2 ½ long Shank Pick. B. Plunger Stem Depresses to activate cutting blades. C. Knurled Plunger Grip gives positive leverage. D. Self-Adjusting Cutter Blades made of stainless steel. Litho In USA. This leaflet gave me what I needed to use the tool well. I would never have known about how the various parts worked.

The British Buttner Reamers are not new to me. I have used these for years and they are a good work horse reamer to keep the caked tamed in the bowl. They work well in a moderately to lightly caked bowl but are pretty useless in a thick caked estate bowl. They are adjustable and can be used in either a conical or U shaped bowl with ease. If you don’t have one I suggest you pick one up for the regular maintenance of your bowl.

The unopened Yello-Bole Reamer has some interesting marketing phrases on the package. It reads New! For Pipe Smokers! on the top of the package. Directly under that is the usual Yello-Bole stamping. It follows with the title Self-Adjusting Reamer and $1.49 in a circle. On the sides of the reamer the package reads Fits All Pipe Bowls and Chrome Plated Steel Handle. Underneath the reamer it reads Tempered Steel Blades Never Need Sharpening. Then in small print is written – Distributed by Yello-Bole Sundries Co. Brookhaven, NY 11980 Made in Japan. I am very tempted to open the package and give the reamer a try but have not done so yet.

All in all these are some nice additions to my reamer collection. They are all new or barely used to they come to me in great shape.

Interesting 1920’s-early 1930’s Unmarked Star Logo Pipe


Troy found and cleaned up this beauty. He makes a connection with a Charles Lindbergh pipe that WDC made and to me the connection is right on. Beautiful work. I wanted to reblog it for the information that is included. Thanks Troy.

Troy W's avatarBaccy Pipes

I found this pipe on a random Ebay search.Here is one of the pictures as it was listed.s-l1600 (1) (640x480).jpg

I was instantly drawn to the pipe.The shape,rustication ,the star logo really appealed to me. Not to mention the excellent shape it was in. Looking at the additional pictures i could tell by the stem style it was a late 1920’s to early 30’s pipe. It seemed unmarked though, so i sent a message to the seller asking if there was any makers stamping on the pipe. They replied that there was not and if i wanted it he would knock off 35% of the buy it now price, which by the way was really reasonable. I gave it some thought and kept coming back looking at it.The more i looked the more i liked it,so i purchased it.

While i waited on the pipe to arrive i did some research  to…

View original post 722 more words

Refinishing an English made Comoy’s Gold Bark 87S Zulu


Blog by Steve Laug

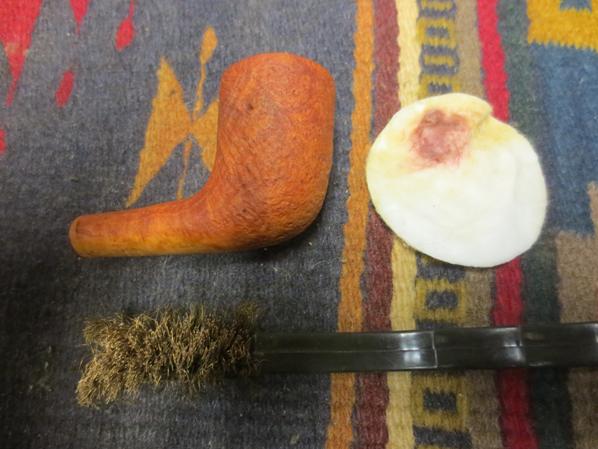
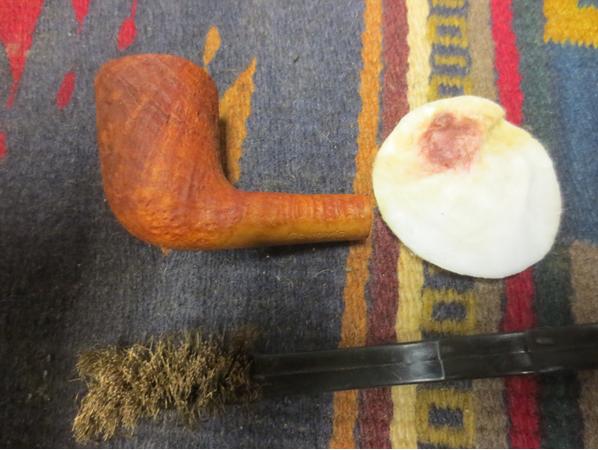
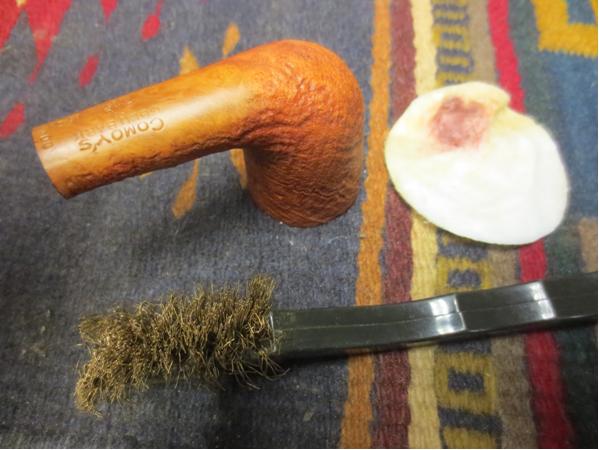
Quite a few years back now, my daughters gave me this little Comoy’s Golden Bark Zulu as a birthday gift. They had dutifully hunted for the pipe and then picked it up at a local pipe shop. I loved the look and the shape of it as it reminded me of an older one that I had smoked from time to time. I loaded a bowl and smoked it just twice because the finish bubbled and blistered in the sandblast on the back, front and sides of the bowl. I talked with others about what to do and found out that really there was nothing left to do but refinish the pipe or return it to the shop. I looked into returning it to the shop but found that it was one of a kind so I kept it. I put it in the pipe cupboard and there it remained for many years. In the photos below you can see the blistering in terms of discolouration on the sides of the bowl. The underside of the shank had also faded and was significantly lighter than the rest of the pipe.Bark1 Bark2 Bark3 Bark4Fast forward to several weeks ago. On Facebook I was following a conversation that Chuck of Stag Tobacco in Albuquerque, New Mexico was having with one of the Stokkebyes and found that they were talking about Comoy pipes. I wrote a real time question on the thread there and found out quickly that what I had in hand was an English Comoy and that it was significantly older than I had originally imagined. Somehow I thought it was made during the period when the Italians made the pipes during the Cadogan era. I was wrong it turns out. The stamping on the underside of the shank reads COMOY’S over GOLD BARK over the round COM stamp with Made in London in a circle with the in residing in the center of the circle. Underneath the circle is a straight line reading ENGLAND. Next to that stamping is the 87S shape number and then along the edge of the shank stem joint is stamped 004.

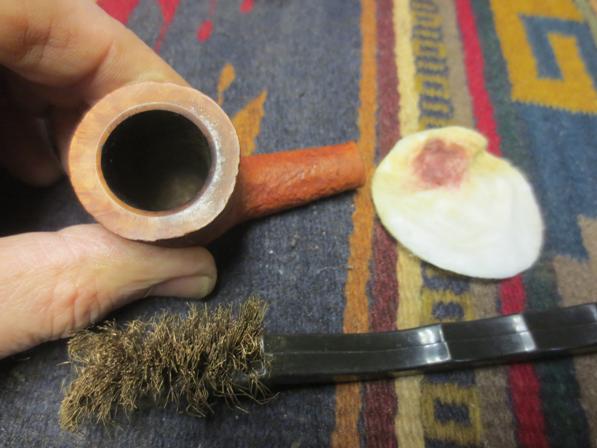
I decided then that it was time to address the finish on the pipe. I took a few close up photos to show the blistering of the finish to give you an idea of what I was working with.Bark5 Bark6 Bark7The rim also had a little darkening from the little bit I had used it and there was the beginning of a light cake in the bowl.Bark8To begin stripping the bowl I wiped it down with acetone on cotton pads and found that it worked to remove the finish on the high spots of the blast but left a lot of the shiny bubbly finish in the deep grooves.Bark9 Bark10 Bark11 Bark12To deal with the bubbly finish in the grooves of the blast I used a brass bristle brush and then wet the bowl down with acetone to keep the surface wet while I scrubbed it with the brush.Bark13 Bark14 Bark15 Bark16I finished removing the finish with more acetone on cotton pads until the finish was clean. I took a few photos of the pipe at this point to show the new look of the finish. The lighter colour of the shank was beginning to blend in better with the rest of the pipe.Bark17 Bark18 Bark19 Bark20I gave the bowl a light coat of olive oil to highlight the red tones in the finish and then buffed it lightly with a clean buffing pad. I gave it a coat of Conservator’s Wax and buffed it with a shoe brush. The finished pipe is shown in the photos below. The colour of the blast and the look of the pipe exceed what I thought it would look like when I was finished. The grain on the pipe shows through the blast and gives the pipe a beautiful look in my opinion. Thanks Chuck for the impetus to get this pipe cleaned up. I am once again looking forward to using this pipe and enjoying the gift from my daughters. Thanks for looking.Bark21 Bark22 Bark23 Bark24 Bark25 Bark26 Bark27 Bark28

Taking a Minimalist Approach on Restoring a Comoy’s Blue Riband 340 Billiard


Blog by Steve Laug

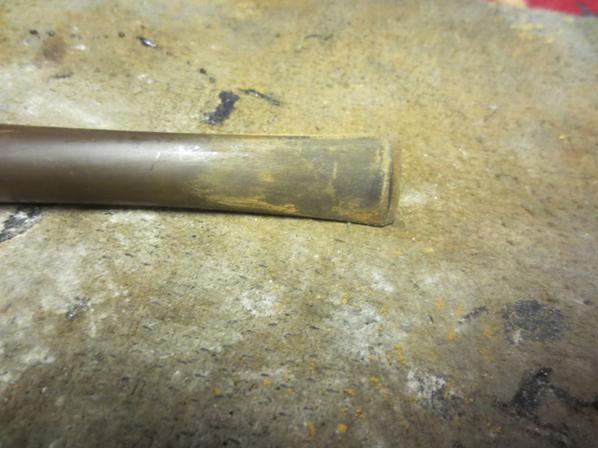
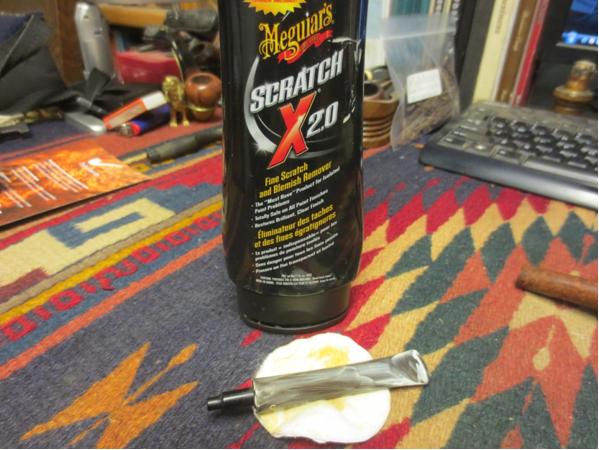
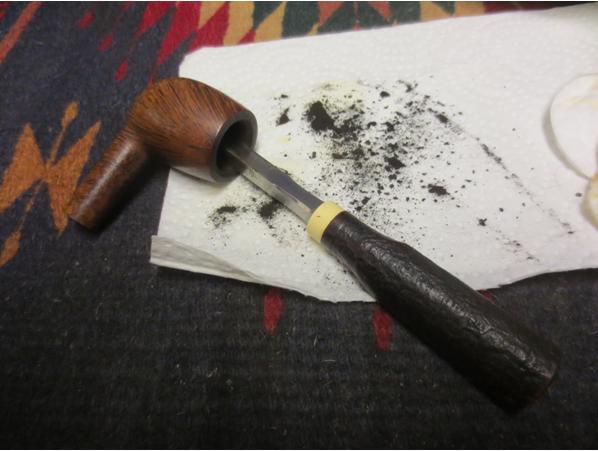
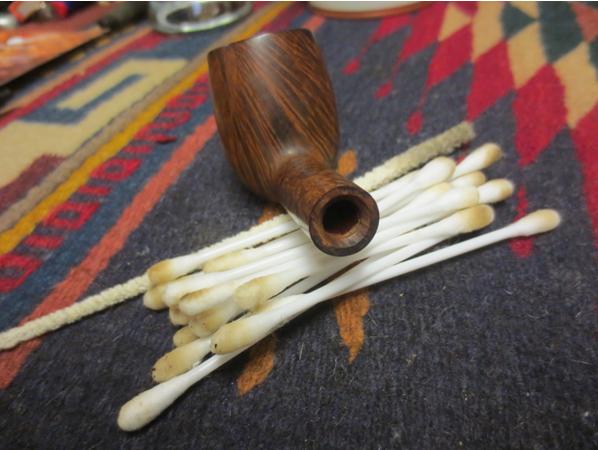
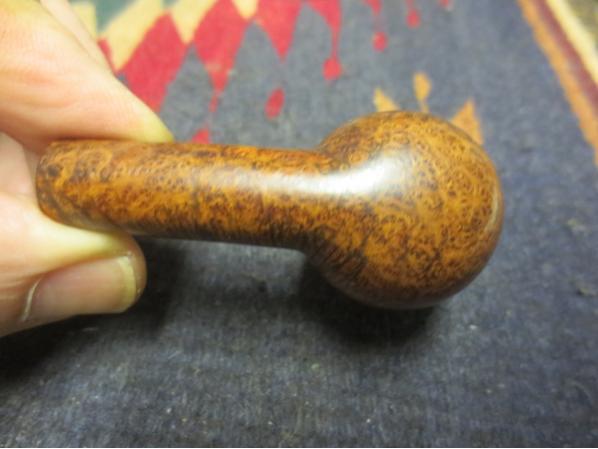
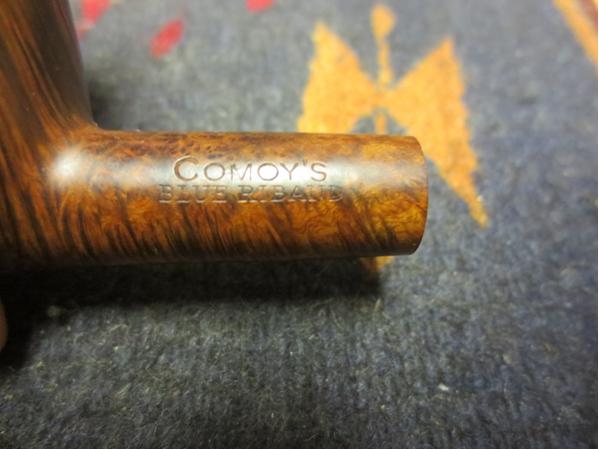
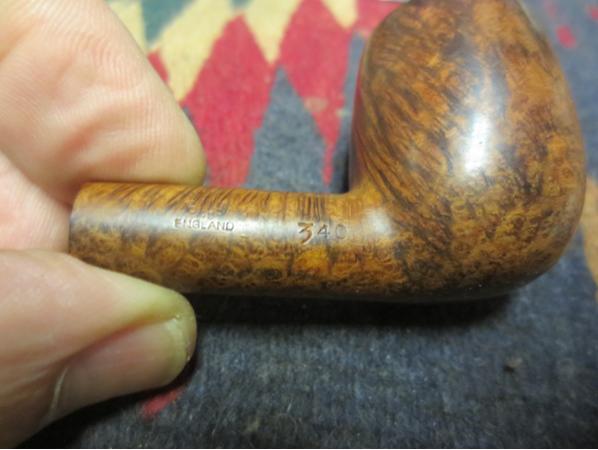
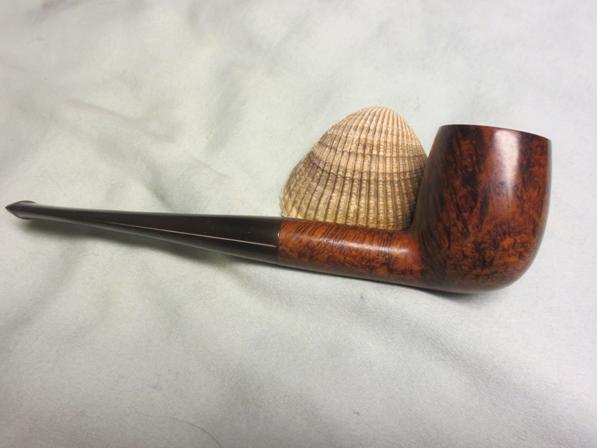
A reader and friend in Texas and I had been corresponding about this pipe for a long time. When he picked it up and sent it to me for a restoration I was excited to see it. The Comoy’s Blue Riband has long been a favourite pipe of mine and I looked forward to seeing what the one he was sending looked like. From the photos I could see that it was dirty and tired with an oxidized stem but otherwise in decent shape. When I arrived I took it to the shop and opened the box. The next photos show the condition of the pipe before I started the clean up process. The stem was oxidized as well as having some calcification around the button end that someone had scraped off. It did not have any tooth marks and minimal tooth chatter. The rim was dirty and sported a coat of lava that hid the inner beveled edge and the top but it did not seem to have been burned or damaged. The bowl had an uneven cake build up inside that would need to be reamed. The finish was dirty but in really good shape. The grime on the surface obscured the stellar grain that showed on all sides of this pipe.Blue1 Blue2 Blue3 Blue4I took some close up photos of the rim and the stem to give a better idea of the condition of the pipe.Blue5 Blue6I decided on a minimalist approach to cleaning this stem. I did not want to remove too much of the surface of the vulcanite or change the fit to the shank in any way. I scrubbed the stem with Meguiar’s Scratch X2.0, a plastic polishing compound. The second photo below shows the stem after one application of the polish.Blue7 Blue8I used the Savinelli Pipe Knife to clean out the uneven cake from the bowl.Blue9I cleaned out the shank with pipe cleaners, cotton swabs and alcohol until it was fresh. I did the same with the stem.Blue10I scrubbed the rim with saliva on cotton pads to remove the lava build up without damaging the finish. It took some elbow grease but I was able to remove all of the grime.Blue11I gently cleaned off the briar with Murphy’s Oil Soap to remove the grime and make the grain stand out once again. I use the soap undiluted and in this case very sparingly. I applied it with a cotton pad and quickly wiped off the surface. I did not want to remove the stain just clean the surface. The photos below show the bowl after the scrubbing.Blue12 Blue13 Blue14 Blue15With the bowl clean I took some photos of the stamping on the shank. The first photo shows the left side of the shank with the Blue Riband stamping. It is sharp and clear. The second shows the right side of the shank with the Made in London stamp and the shape number.Blue16 Blue17I continued to scrub the stem with the Meguiars polish until the vulcanite began to shine with a rich black glow. I sanded it with 1500-12000 grit micromesh sanding pads and rubbed it down with Obsidian Oil. It took a lot of elbow grease but it worked and the stem shone. I buffed the bowl and stem with Blue Diamond and then gave the full pipe multiple coats of carnauba wax. I buffed with a clean buffing pad and then by hand with a microfibre cloth. The finished pipe is shown in the photos below. I mailed it out to my friend in Texas and look forward to hearing what he thinks of the pipe now. Thanks for looking.Blue18 Blue19 Blue20 Blue21 Blue22 Blue23 Blue24

PipNet Pipe Reamer Brochures


Blog by Steve Laug

My brother, Jeff picked up an almost new PipNet pipe reamer off Ebay. He got it for a good price and it was great to have it to work with when I was visiting him in Idaho. It got a lot of use. It is the same set that I have here but the difference was that his came with the brochures that came with the reamer. I took photos of the brochure so that I could have a set myself. It is always nice to have the documentation that comes with these tools.

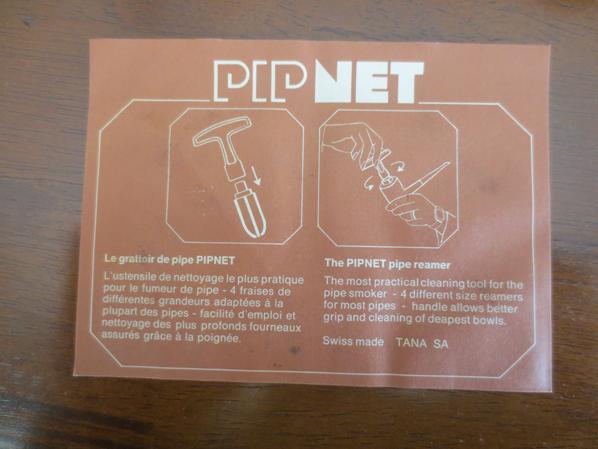
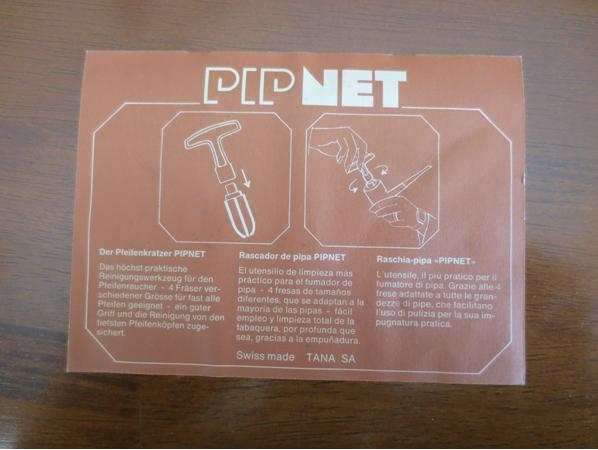
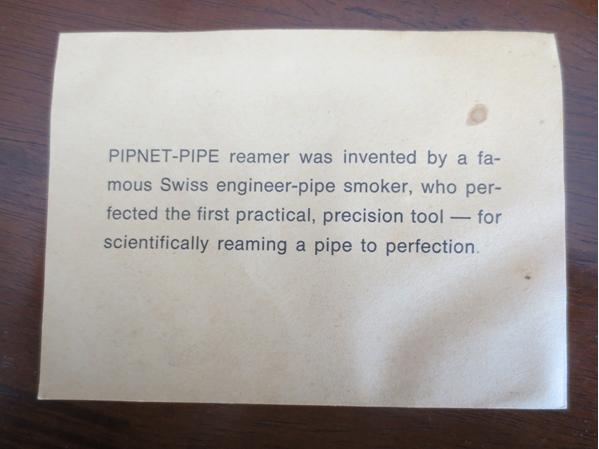
The front of the first document showed the PipNet reamer and how it worked. It is printed in French and English on this side of the document.Pipnet1On the reverse side it is printed in German, Spanish and Italian giving the same instruction. Both sides of the document note that the tool is Swiss Made by Tana SA.PipNet2There was also a short note included in the box that the reamer came in that gives some background on the inventor of the reamer and how he saw it being used. I thought it was a nice piece of background information on the reamer that is my go to tool for reaming pipes that I refurbish.PipNet3I don’t know about you but I love finding this old information as it adds colour to the tools that I  use on an almost daily basis in pipe restoration. Thanks for looking.
One of those unforgettable days Pipe Hunting


Blog by Steve Laug

Last week I was in Idaho to spend time with my 87-year-old father who needed to have the aorta valve on his heart replaced. His surgery was on Tuesday and went exceptionally well. On Thursday morning my brother Jeff and I visited him in the hospital and then drove to a neighbouring city to do some pipe hunting. There is something about the thrill of a pipe hunt that is hard to beat in terms of the adventure of the hunt and the thrill of the finds. It is something that we both enjoy doing and it is great to be able to do it together. In preparation for our hunt that day we had done a bit of research on our destination city. We had visited a few shops in the town where my brother lived and picked up a magazine of antique shops. He had hunted pipes in the neighbouring community so we knew there were a few shops.
But in our digging we found that there were 13 antique shops in that city and that many of them may well have pipes. So we drove the fifty miles to get there with expectation but we had no idea what we would run into when we arrived. The first shop we went to had several pipes that I picked through. I purchased a bent billiard Peterson K-Pipe with a fish tail stem that was in decent shape for $10 and the shop keeper gave me a GBD Lovat with a severely cracked bowl. He sent it along to see if I could do anything with it and only wanted photos of the process.

The second shop we went to had no pipes but did have a wealth of information for us on the antique shop scene in the city. She recommended two shops owned by a husband and wife team that was only a couple of blocks away. We walked to the shops and enjoyed a great visit with the wife and the staff of the two shops. They went through their stock in the back room and were able to find four pipes that I picked up – a Dr. Grabow bent bulldog for $8, an Ehrlich Canadian with a monogram on the shank $8, a Ben Wade Freehand $6 without a stem and a Peterson System pipe bowl without the stem for $3. I had happened to put a stem in my bag when I flew to Idaho for another pipe my brother had and it fit perfectly. So far I had spent a whopping $35 and had six pipes to show for it. I was pretty pumped and we had only covered four shops at this point.

We put our bounty in the back seat of the car and drove to the next shop. The owner had sold out everything in her pipe section but a couple of beat up corn cobs. I asked if she had any other pipes in the back. She thought for a moment and then opened a bag under the counter and took out a nice flat bottom rusticated Jobey Stromboli Bent sitter. I don’t remember the shape number as it is still packed away. That one was $10. She recommended another shop to us so we drove to the next shop. It was a small hole in the wall shop – an old single story house that had been converted into and antique shop.

When we got there the owner was outside painting the building. She said that her 84-year-old mom was running the shop and she would show us the pipes that they had. We looked around for a while and she pointed out their stock. I picked up a Peterson Dublin Castle that was barely smoked for $42 and a Scandia Bent acorn with a twin bore stem for $6. I also picked up a nice leather pipe pouch for $10. My brother picked up a beautiful Servi Basket Weave carved block meerschaum for $49. It was barely smoked. By far this was the shop where we spent the most – a total of $107. We had 10 pipes and a new pipe pouch for a total of $152 at this point in the process.
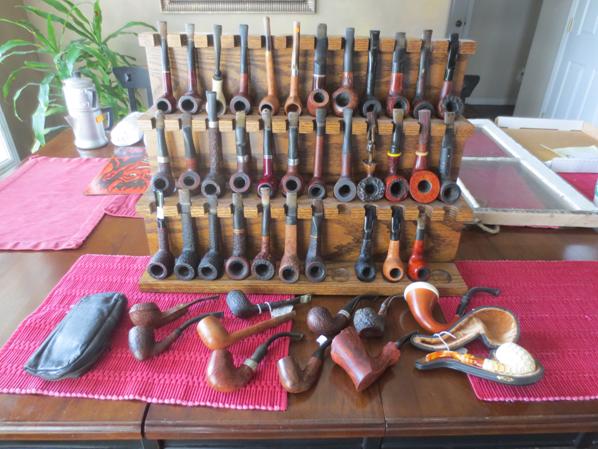
In the course of our conversation with the mother of the shop owner it turned out that her husband had owned a pipe shop and that these pipes were some of his stock. I asked if he had more and if he would be willing to have a couple of visitors. She called him and let me talk with him about what I was looking for. It turned out he was willing to meet us at his house if we were serious about buying estate pipes. He had many that he was motivated to sell. We left the shop and drove to his house. He met us at the door smoking some Lanes 1Q in a Stanwell. He took us into the kitchen to show us what he had for sale. He had a rack of 36 pipes and a small rack of about 6 and at least 6 unsmoked and four smoked Gourd Calabash pipes. There was also an assortment of other loose pipes on the counter to look at. On the floor was a large ice chest filled with bulk tobacco that he was also selling.
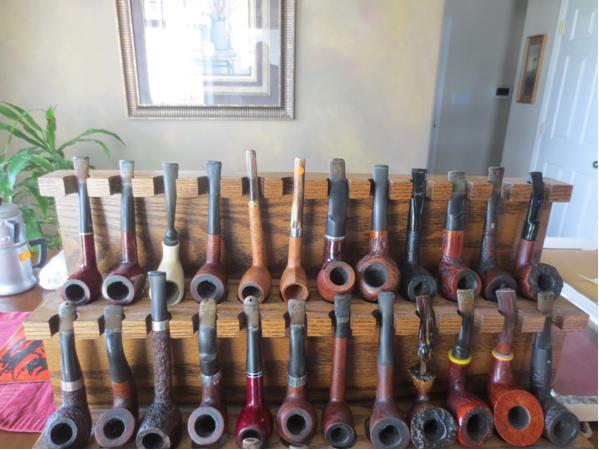
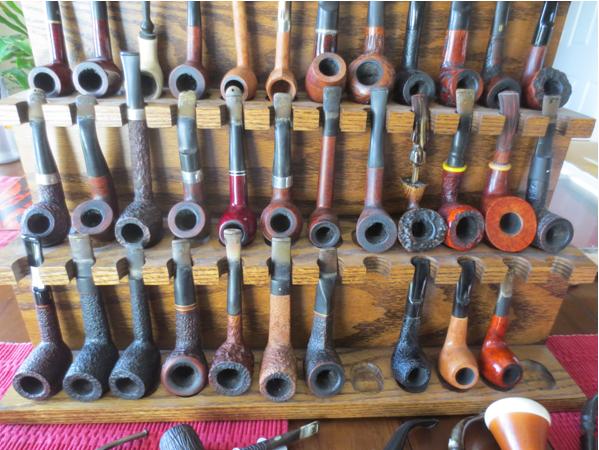
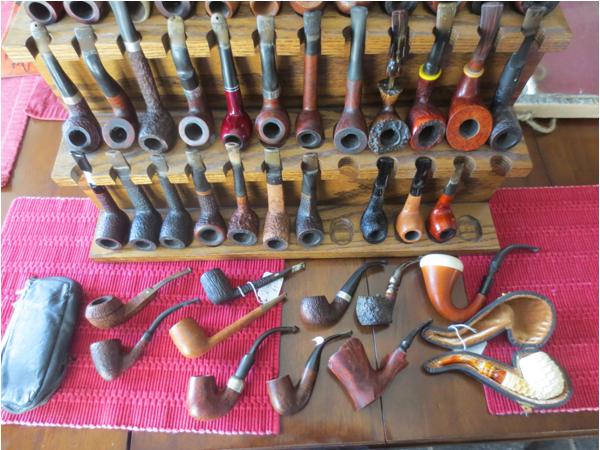
As I looked over the pipes I felt like we had hit the jackpot with this lot. I spent a lot of time talking with him as I went through the pipes he had displayed for sale. I mentally catalogued the ones on the rack. There were 7 Savinellis, 6 Petersons (2 shape 999 one of my favourites), 2 Bjarne pipes, 2 Nordings, 1 Dunhill Shell, 4 Italian Corsena pipes, a Castleford, two older horn stemmed pipes, a Tracy Mincer author, a Jobey Asti,a Dutch made ceramic double walled Dublin, a Stanwell 63 and a Lane billiard. I looked through the others and as I picked them up he would get a sentimental look on his face and remove those from sale. There were a lot of pipes for sale in that lot. He kept repeating that he was a motivated seller. While I was fiddling at choosing a bunch to take with me, Jeff asked him what he wanted for the lot. He stalled a bit but finely gave us a price for the rack and the pipes that were on it. We dickered a bit and he threw in a Gourd Calabash for my brother. We made a deal and added 35 more pipes to the days finds along with a solid oak three tiered 36 pipe rack. I also picked up a tin of GLP’s Blackpoint and a sealed package of Esoterics’ Peacehaven (a pleasant mix of 6 Virginia tobaccos).
We loaded our bounty in the car and bid the old pipeman farewell. He hinted at the fact that he had many more pipes that he would be selling in the near future so I am sure we will one day go back for another visit. We had a bit of lunch and made our way back to the hospital. All in all it was one of those amazing days. We came home with 35 pipes (several that were unsmoked), a pipe pouch and an oak pipe rack. My brother has been hunting pipes for a while now and we both knew that this was a rare find that we had stumbled upon – we got to cherry pick a pipeman’s estate and bring home some of his old pipes. It was a mixed lot but there were more than enough really nice pipes in it to make it a worthwhile purchase. Besides that we got to meet a nice older pipeman who was thrilled that his pipes were going to someone who obviously loved pipes as much as he did.

Oh, I almost forgot. When he had his shop I used to stop by there on the way to visit my mom and dad. I stopped and bought pipe tobacco and cleaning supplies from him over the years. When we walked in his front door he remembered me and I remembered him. That was the icing on the cake for me. He had closed his shop several years before and I had lost touch with him. It was a very good day pipe hunting.

When we got back to my brother’s house I set up the pipes and took the following photos of the haul. You can see the amazing pipes that we found. The first photo shows the rack and the finds in their entirety.Hunt1The next photos I tried to get some closer pictures. The first one below shows rows 1 and 2 of the rack. The second one shows rows 2 and 3. The third photo shows the pipes on the table in front of the rack. I put the Peterson stem I had brought along in the Peterson bowl I found. See if you can identify the pipes in the rack and on the table. What do you think of the results of our hunt? I am still pretty pumped by the find and had to share it with folks who understand what it feels like to make this kind of find. Thanks for looking.Hunt2 Hunt3 Hunt4

Restoring a WDC Milano Hesson Guard


Blog by Bill Hein

I received an email from Al Jones saying that Bill had contacted him about contributing to rebornpipes. I contacted Bill and received a great email and this write up on a WDC pipe he recently restored. It is a great write up and a great restoration.  It is a pleasure to have Bill write for us and share his work with us. I for one never tire of reading about the work each of the contributors do and always find  I learn something from you. Thanks Bill for your work. Welcome to rebornpipes.

Today I’m working on a WDC Milano Hesson Guard. This pipe is stamped with the words Grainy Briar and stamped patented Dec.22 1925. Through a quick google search I found a patent date of 1932 for the Hesson Guard models so this pipe must have been made between 1925-1932.

When this pipe came to me it had some deep tooth indents in the stem and a rounded over rim. I started out by reaming the bowl and giving it the salt and alcohol treatment. While the bowl was soaking I put the stem in an oxiclean bath. After about a 4 hour soak I knocked the salt out of the bowl and gave it a good rinse. I removed the stem from the oxiclean bath and rinsed it as well. I let both dry overnight.

With the stem and the bowl dry I started sanding down the tooth marks on the stem. I applied heat with a soft flame lighter and used 500 grit wet sandpaper to remove the marks. These pipes have a pretty thick stem so I wasn’t worried about sanding away at them. I then sanded the stem with 1500 grit sandpaper. With the outside of the stem in much better condition, I proceeded to run alcohol soaked pipe cleaners through the stem until they came out clean. This pipe has a long metal stinger which I cleaned by sanding with 500 grit paper.


With the stem finished I took the bowl over to my belt sander and topped it off. I was able to sand it back to be flat without removing too much briar. I used a walnut stain pen to restain the rim .

With the rim topped and re-stained I reassembled the pipe and took it over to my buffer. For the bowl I buffed on 3 coats of carnauba wax, buffing with a soft wheel and microfiber cloth between each coat. For the stem I first buffed it with brown tripoli, followed by carnauba wax.

Here is the finished pipe.

Fixing Two Common Stem Fit Issues


Charles work on these two are exemplary of work on these older Canadian made Brighams

Charles Lemon's avatar

I had a pair of Brigham pipes sent to me for some work, a 2-Dot Sportsman model bulldog and a 318 billiard. The owner had found the pipes in a local antique shop. The price was right but the pipes had a few issues to contend with, most notably stem fit.

The pipe stems were original as far as I could tell, but both suffered from opposite fit problems – the stem on the 318 was loose enough to fall out, and the bulldog’s stem seemed to be glued into the mortise. I had been asked to address the stem issues and give the pipes a general cleanup in the process.

Here’s how the pipes looked on arrival. They were pretty clean on the outside, and the 318 had been cleaned internally as well. I’d have to get the stem off the bulldog before any real internal cleaning could take…

View original post 733 more words