Blog by Jeff and Steve Laug
A few weeks ago my brother Jeff and I had a great interchange on Facebook Messenger. He has become a great source of pipes for me from antique shops and malls. On top of that he has added a new source for him – eBay. He haunts it and is perpetually finding unusual and interesting pipes for me. We often talk in the evenings on Messenger and my kids continue to laugh at us. His sons and my daughters are quite convinced their old dads have really slipped a cog. They are going by the sheer volume of estate pipes that are traveling between his home in Idaho and mine in Vancouver. When I read them our conversation about a current lot of purchases he had made, they encouraged me to get him to write up this conversation for the blog. I sent him the piece in hopes that he would write it, but he said I should go ahead. I ignored it for weeks but I am finally giving in because as I read it over again this evening I could not stop laughing. I wrote the first draft of the blog and then sent it to him to edit and add to. He sent it back later this evening. The combined efforts of us both have finally gone into this piece.
The first half of the conversation revolved around the topic of PAD (Pipe Acquisition Disorder). I am sure that many of you who read this blog can commiserate with us in our affliction with this disorder. It is both a blessing and a curse. It sits in the back of your head and whispers in a siren voice that not even Odysseus could withstand. In the story of Jason and the Argonauts, Jason takes along Orpheus to play his lyre to drown out the voices of the sirens. But even then one of his crew heard the song and leapt into the sea. He is rescued by the goddess Aphrodite or he would have perished. The sirens song unexplainably causes men to plunge to their death. While PAD does not kill us its call is irresistible – it simply sings that there is one more beautiful pipe that needs to be found… no, one more… no, more…and it never ends! My brother started the conversation that he had at least 2 or 3 more boxes of pipes to send to me. He said that a lot of them were going to be temptations for me. He said that he had some really good luck lately in his purchases. (Then as an aside he said that his wife probably wouldn’t agree!)
I responded that she probably wouldn’t agree. I went on to tell him of the sheer number of pipes that I already had to clean up. You see he had already sent me several boxes of pipes that he had found. There were some real beauties in the boxes and I was sorting and picking what would come next. My daughters think I am absolutely nuts.
He replied, “My whole family thinks that I’m nuts! Only Dad seems to be interested in them.”
When he spoke of our Dad being interested I laughed. It is true. During some of the FaceTime conversations that we have, Dad is right there showing me the pipes and talking about them. I think that he enjoys the huge variety of styles, shapes and designs that Jeff is bringing home.
I replied to Jeff that his oldest son seems to have had some fun looking at the pipes with him when he was visiting.
Jeff said, “Until this week…. now he thinks I’ve gone overboard.”
I have to say, at this point I missed where the conversation was heading. I thought he was talking about how the sirens voices of PAD suck you in and you are never the same. I said to him that it is hard to quit buying pipes – there are so many good looking pieces of briar out there… that was my trouble. Now it is yours
Jeff did not explain what he had meant by the going overboard… he skipped that for the time being. (Somehow I missed how he was like the sailor who traveled with Jason and upon hearing the song threw himself into the sea.) Rather he said that he totally agreed with me. He said, “It’s like a fine combination of art and history… a perfect match for us since these are two things that we both love. Yeah that is the trouble… but then throw in the enticement of competition and I’m hooked! That is the combo. It is hard to walk away from. I look at the Gentlemen’s Pipesmoking Group (Facebook Group) and I think that it’s an epidemic!”
That was when I introduced him to PAD, the acronym for Pipe Acquisition Disorder.
He said it was the perfect description for his ailment… He would have to tell his wife that she needs to be kind and patient with him since he had PAD! I told him that there is no known cure for the illness and lots of folks laugh about it.
Things got quiet for a few moments and then Jeff came back saying, “I read our last few lines to my wife and she can’t stop laughing!!! But I think that it is an unrecoverable ailment. I vow that I won’t look at eBay, but no matter how hard I try to resist it beckons me with its siren call for just a peek at what’s new.”  At this point we were both laughing. Slowly but surely the conversation came around to the point that I had missed earlier – his going overboard. I had no idea what was coming but I could not stop laughing once he started to tell the story. At this point rather than narrate the story further, I invite you into our conversation.
Jeff: I’ll have to fill you in on my latest pipe misstep… it’s a doozy!
Steve: oh oh
Jeff: It took some “splaining” to my wife!
Steve: did she buy the splaining
Jeff: It wrecked my Saturday! I spent all morning trying to fix it!
Steve: oh boy… what did I get you into?
Jeff: Have you ever had several shipments go to the wrong address?? It’s not fun!
Steve: no.
Jeff: Somehow, back in 2008 my wife used our eBay account to send something to our son at Whitworth University in Spokane. Guess where I sent a couple hundred dollars’ worth of pipes? Good thing they’re Presbyterians!
Steve: ouch… these were the eBay wins? What happened?
Jeff: I noticed that two of the orders were marked delivered on eBay. I thought that our mail lady screwed up again and really hadn’t delivered them. So just to make sure, I checked the address that they were sent to… sure enough they went to Spokane. I checked the tracking numbers and two of the packages had been delivered to Whitworth. Two were still in transit (one from Greece!).
Steve: Oh no. What is going to happen? That is my biggest nightmare
Jeff: I talked with the Spokane post office that services Whitworth and they showed that 3 packages had been delivered to the school. As far as they were concerned, their job was done and they couldn’t help me! The school post office was open for 2 hours on Saturday and I was able to locate 1 of the 3 packages by talking with a student working there. The other two had been taken by the supervisor to be sent to the last address that they had for my son. She wouldn’t be at work today but would call me with details early the following week.
Steve: Oh no
Jeff: She called me at work a couple of days later, and mentioned that she had the other two packages and had not sent them to my son. (This was after I got him riled up the night before about how out-of-control I was!). She told me today that since my son has not been a student at Whitworth for at least 2 years, they couldn’t be forwarded to him. Also, since I wasn’t the addressee, they couldn’t by law send them to me either. Instead, they would be returned to the sender. Therefore, I contacted each of the 3 sellers to give them heads-up and to confess my stupidity. Most were cooperative and I believe will work with me on this. I’m hoping that Whitworth will work with me on the package from Greece and will send it to me directly. That seller from Greece was obnoxious. I’m really hoping that the package won’t have to go back to Greece… I might just write that pipe off as a loss!
Jeff: When and if you get these 4 pipes, you had better enjoy them and smoke the living daylights out of them!! Hopefully this has made you evening enjoyable… I can laugh now!
Steve: Lol. It is hilarious.
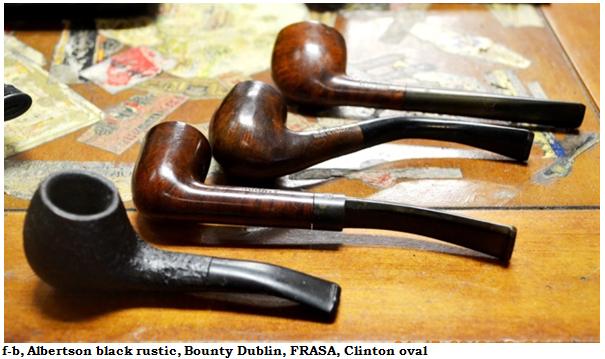
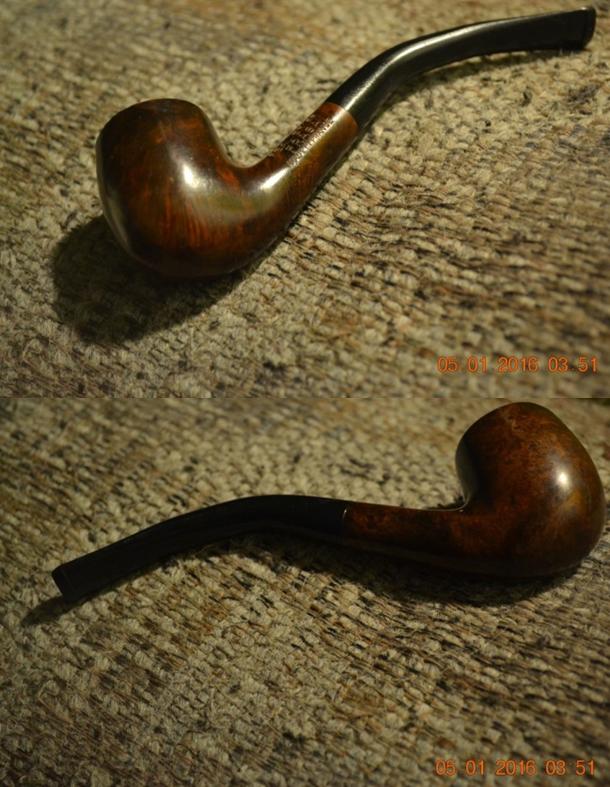
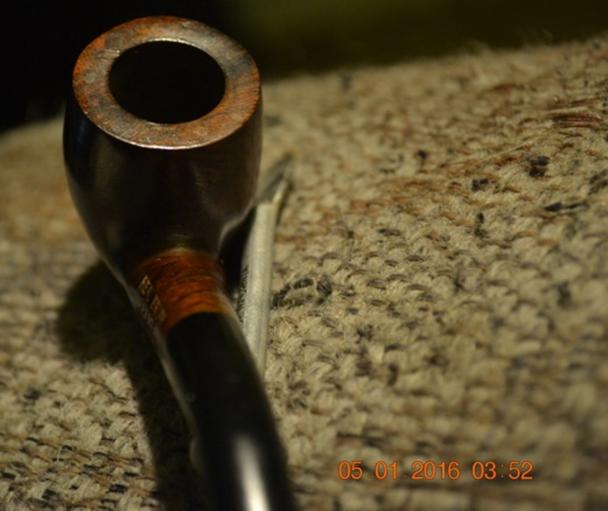
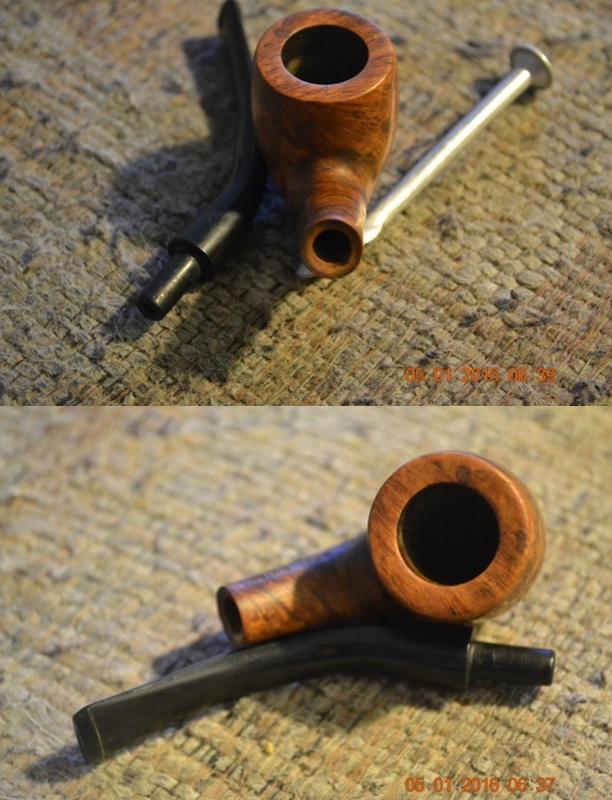
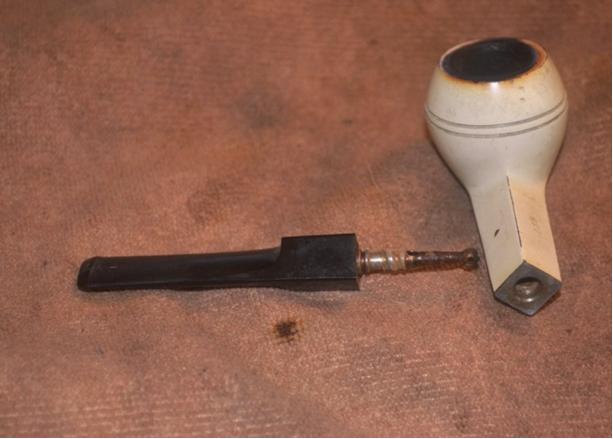
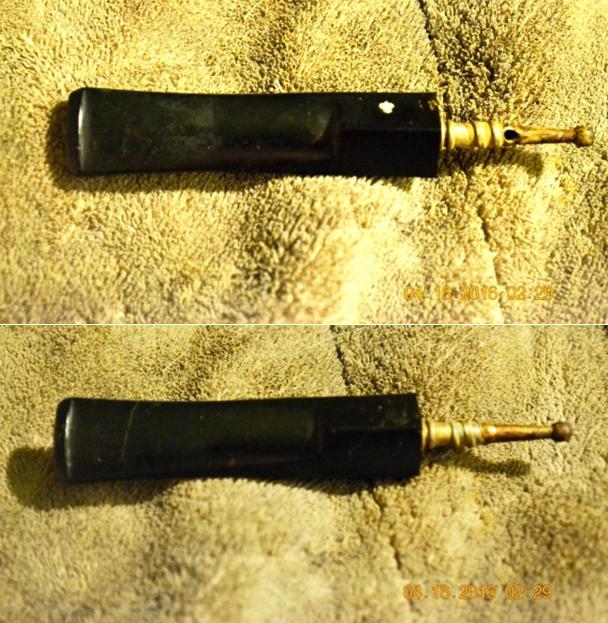
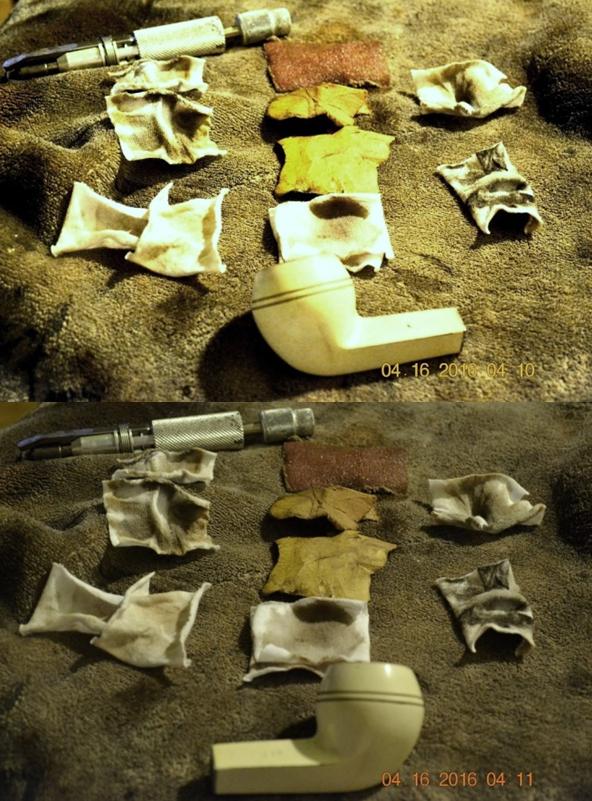
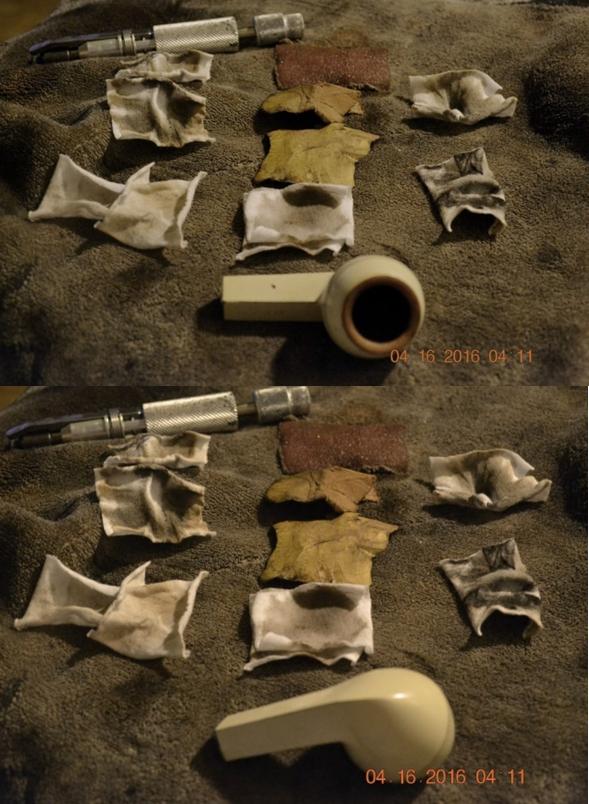
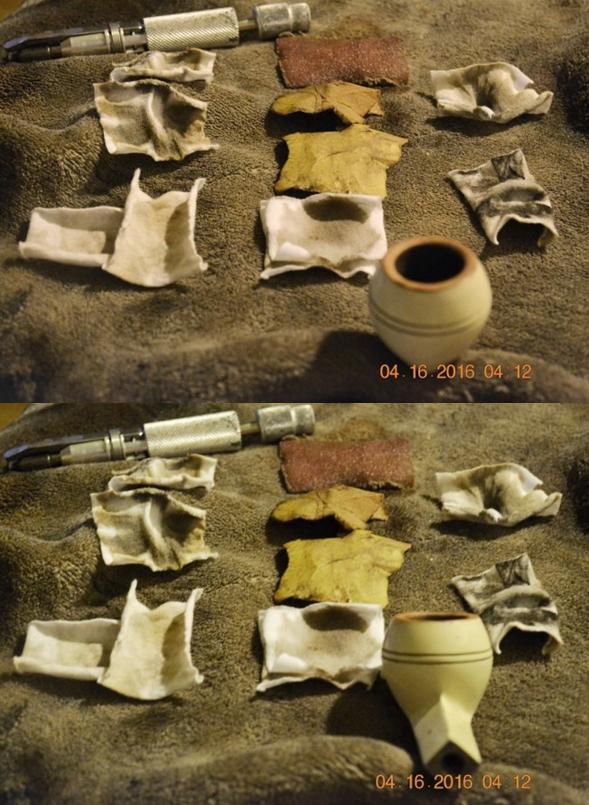
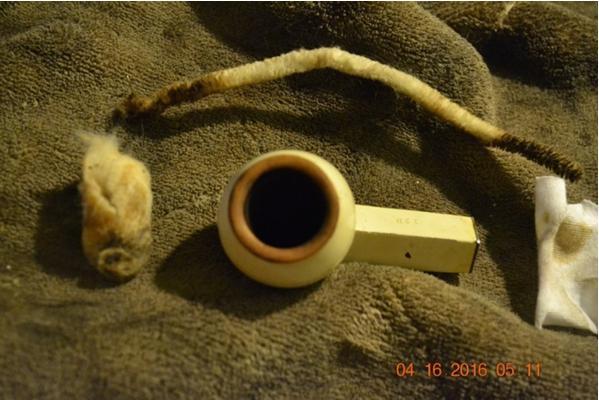
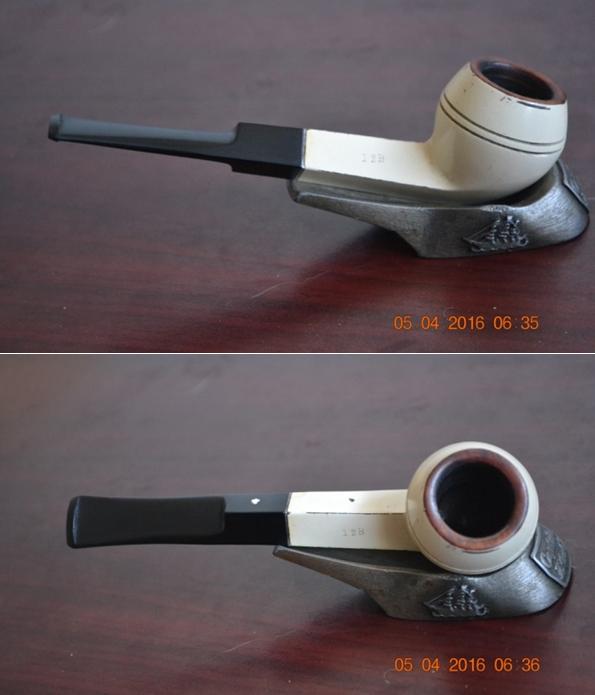
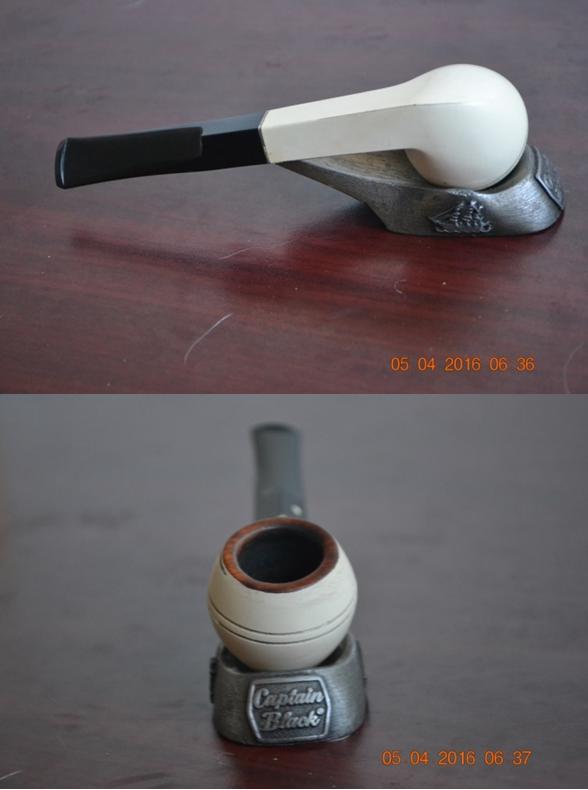
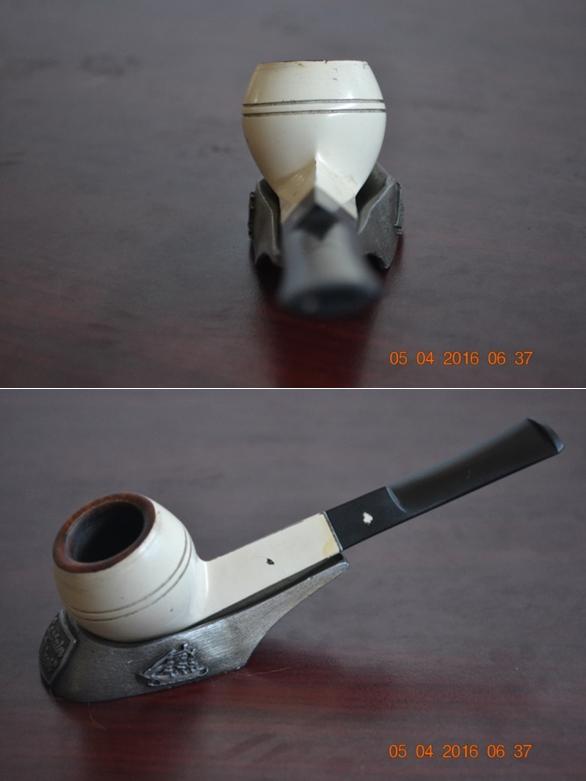
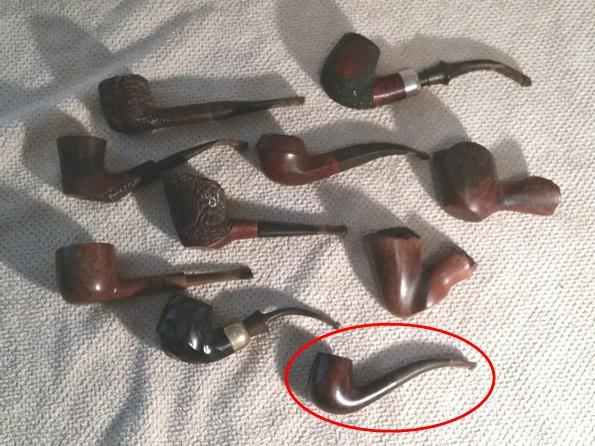
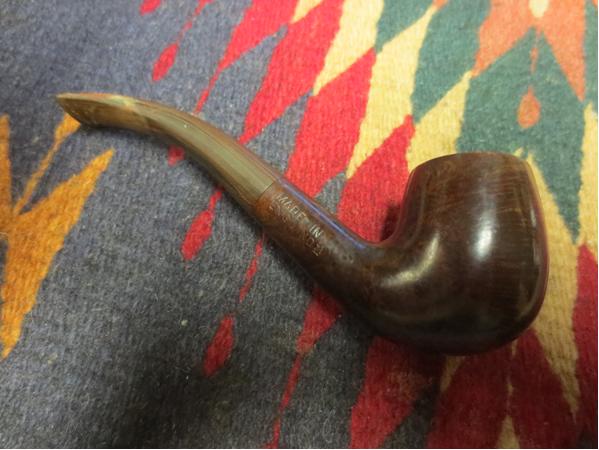
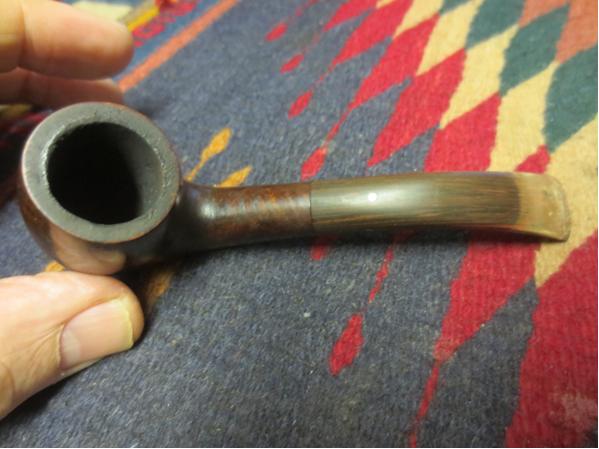
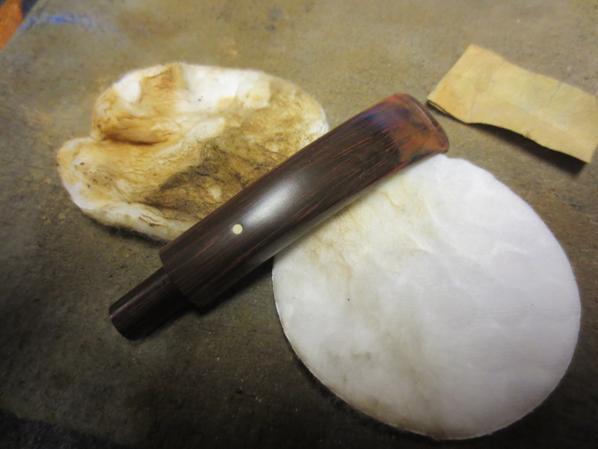
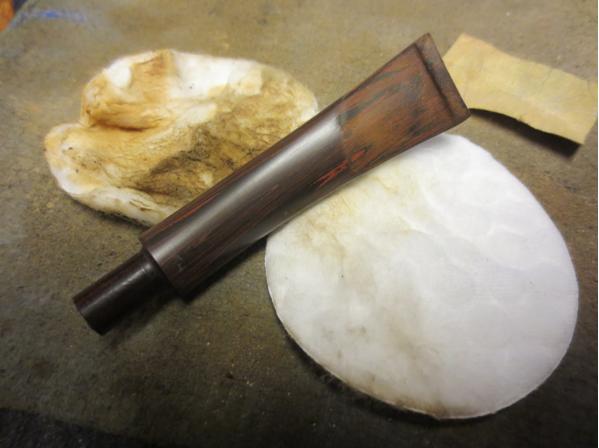
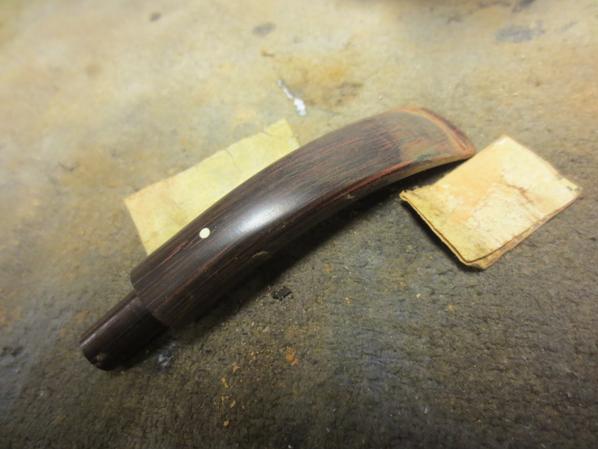
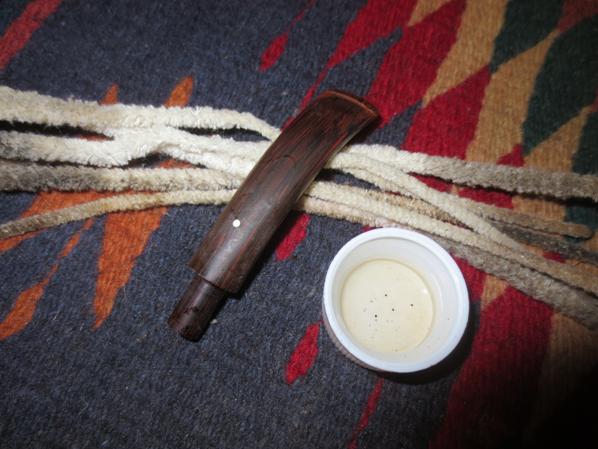
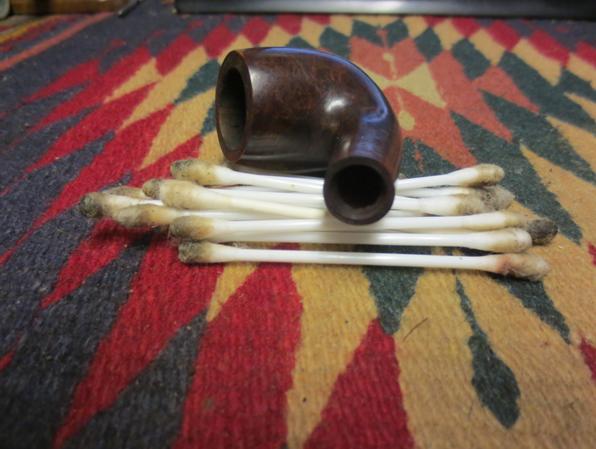
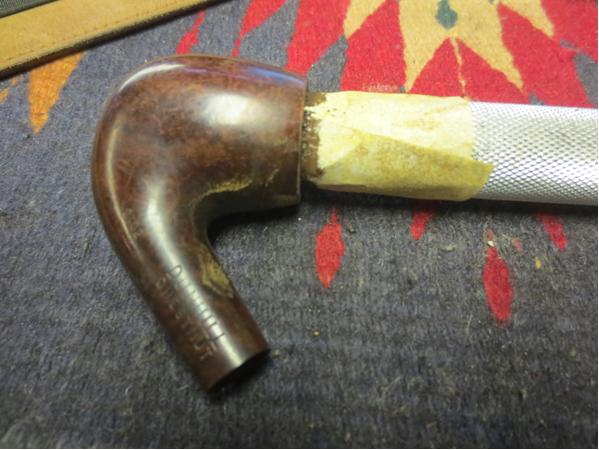
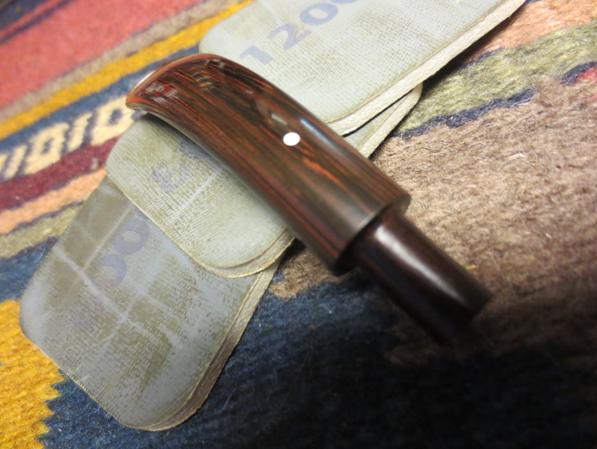
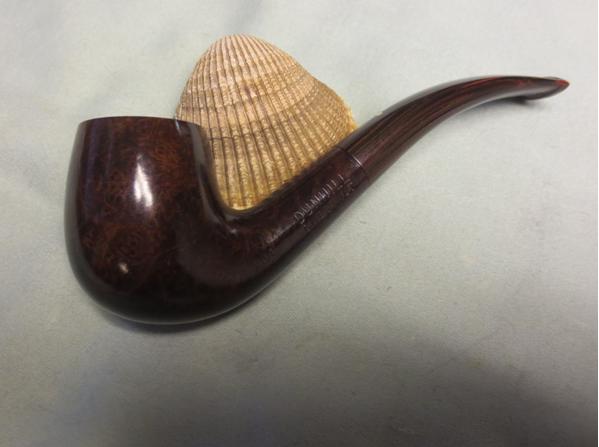
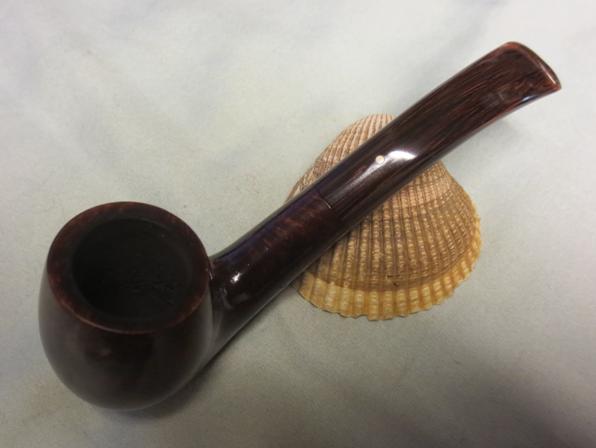
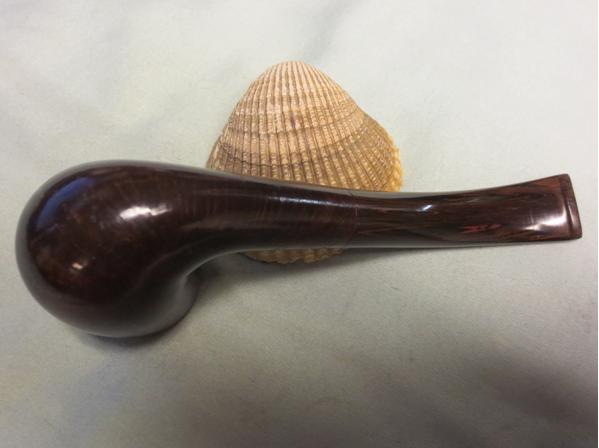
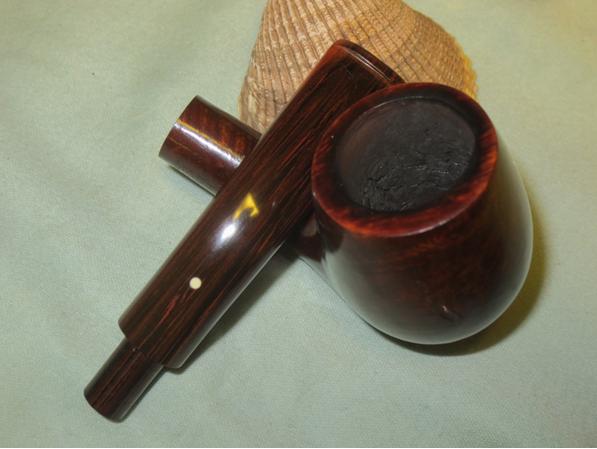
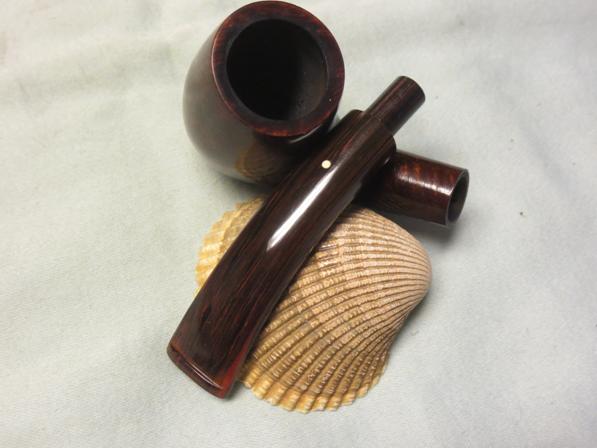
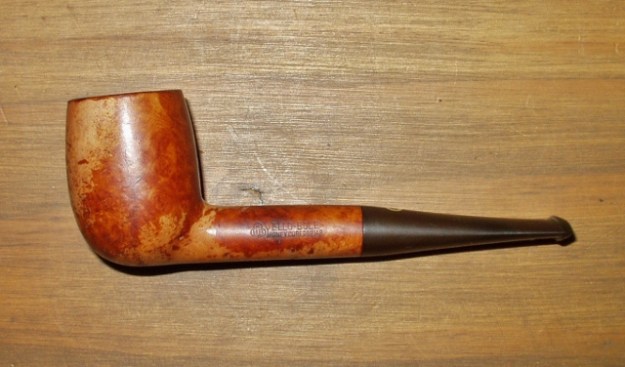
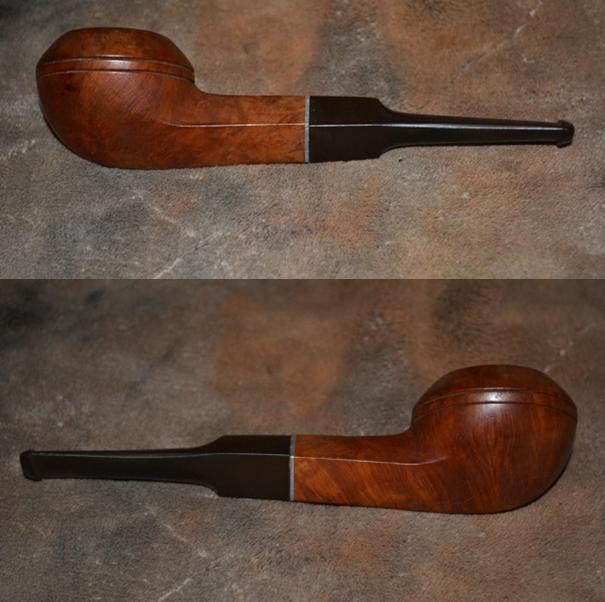
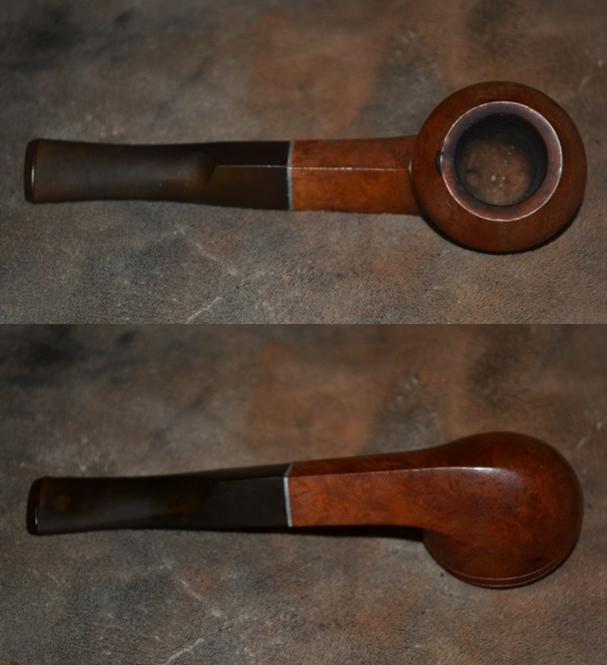
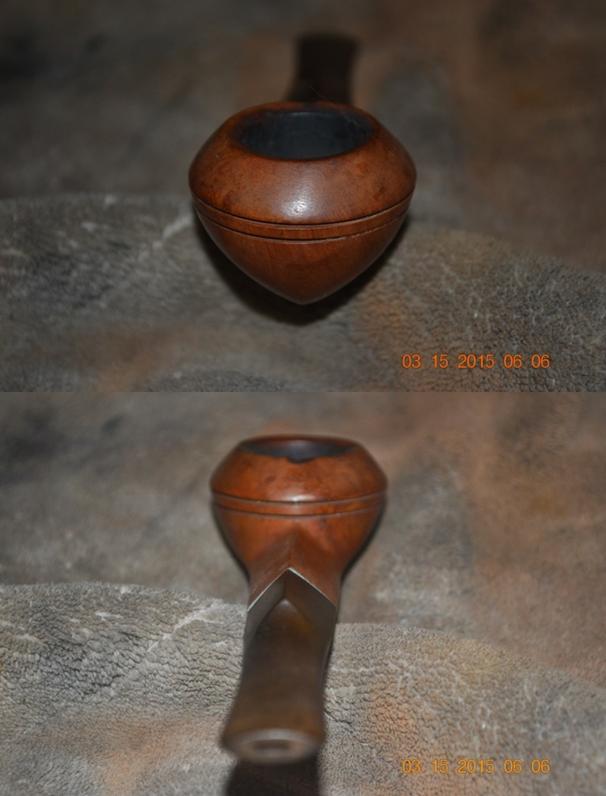
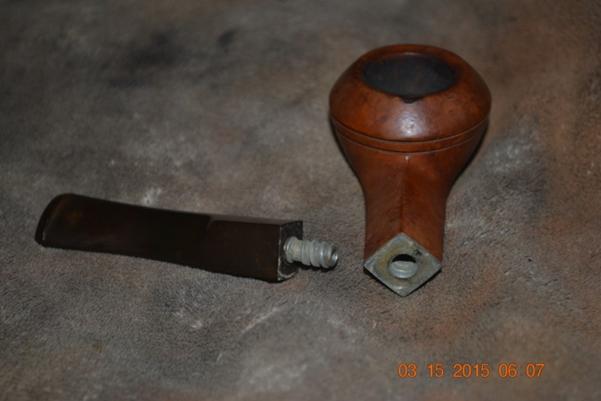
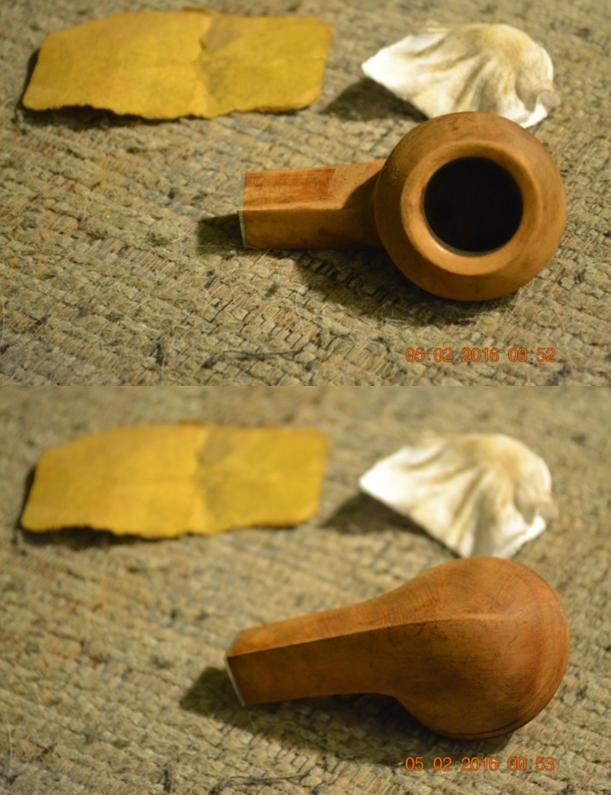
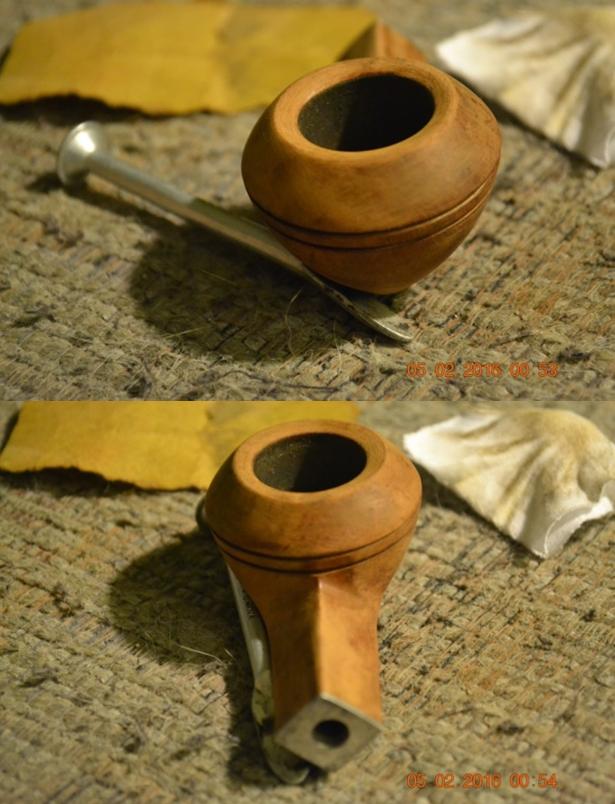
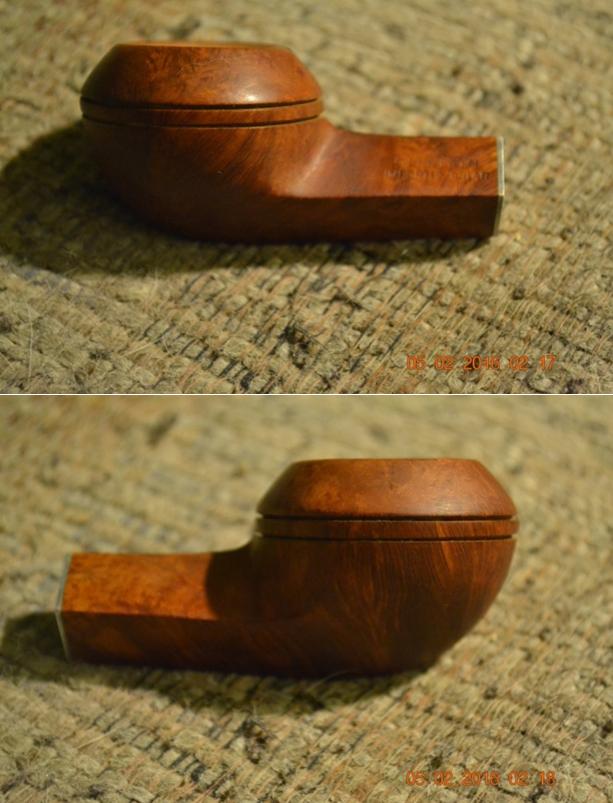
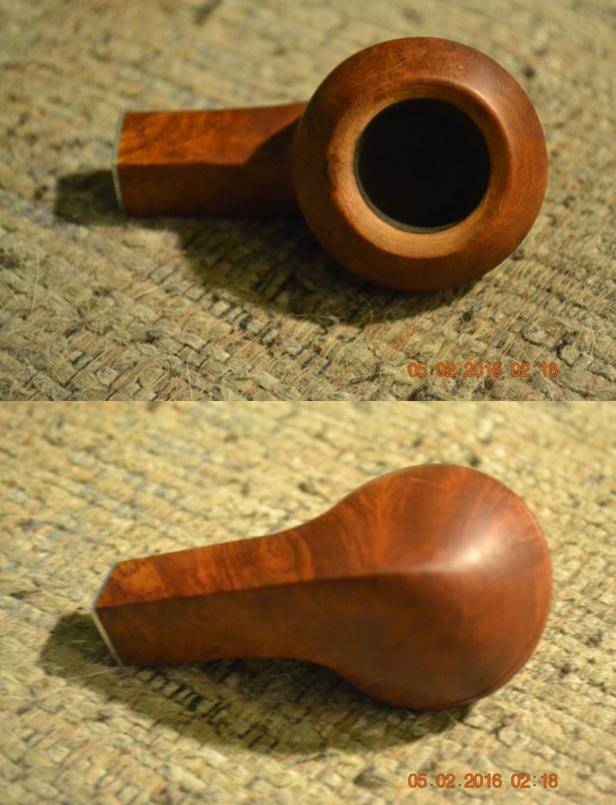
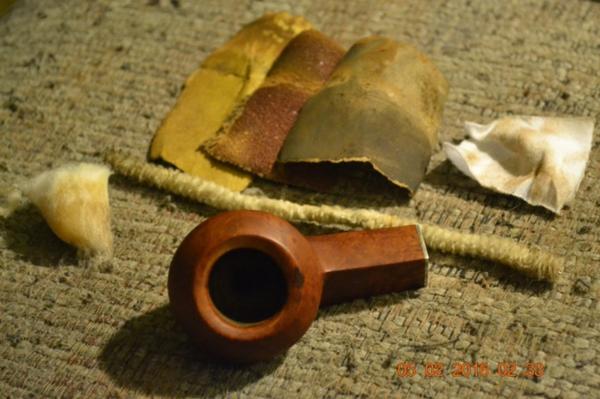
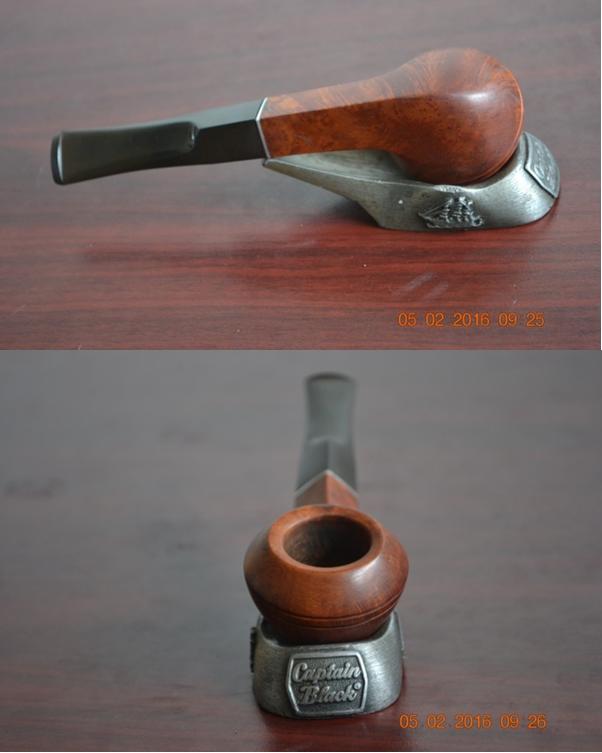
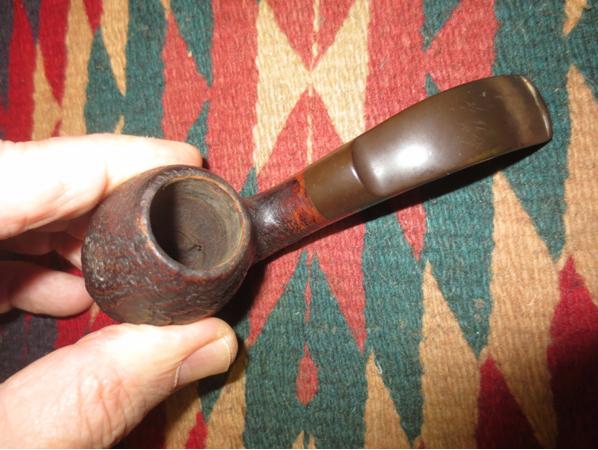
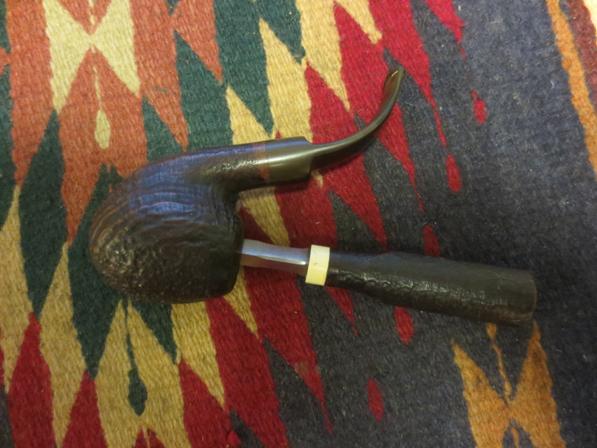
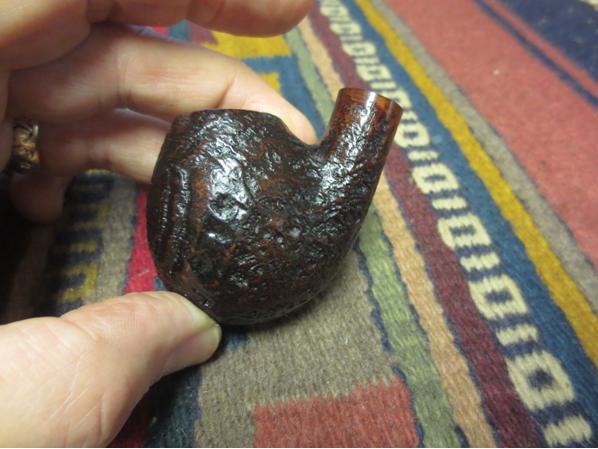
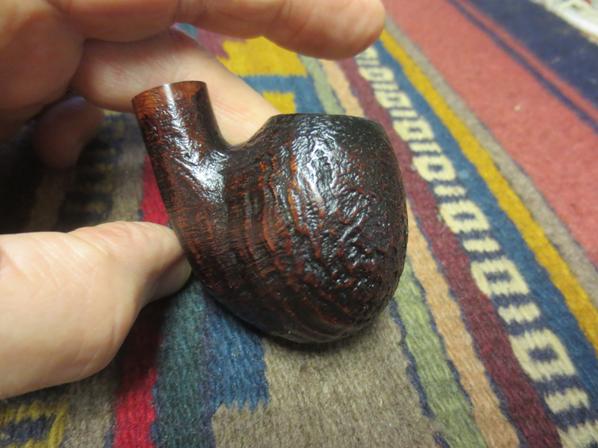
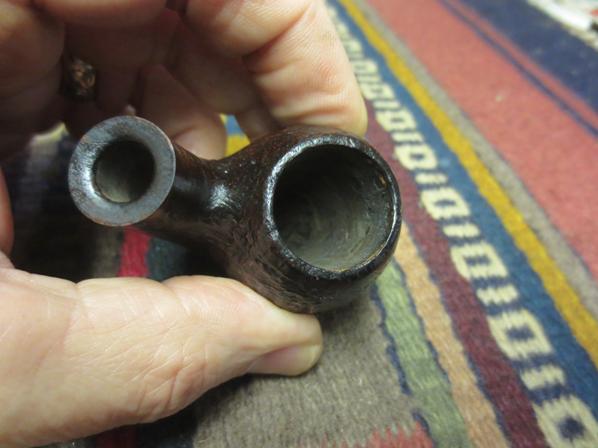
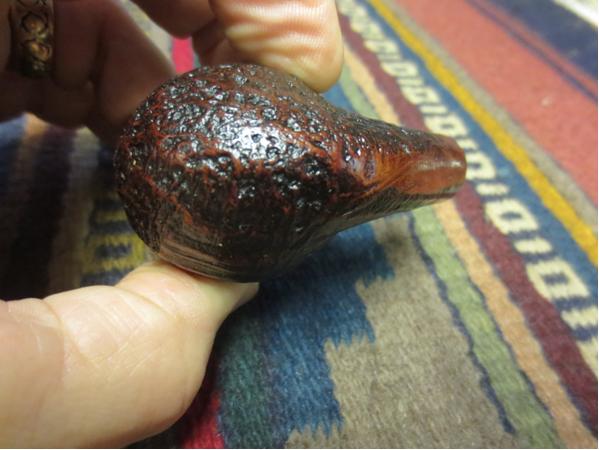
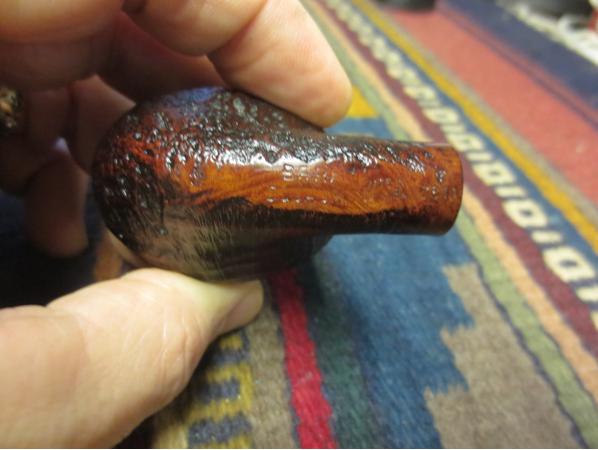
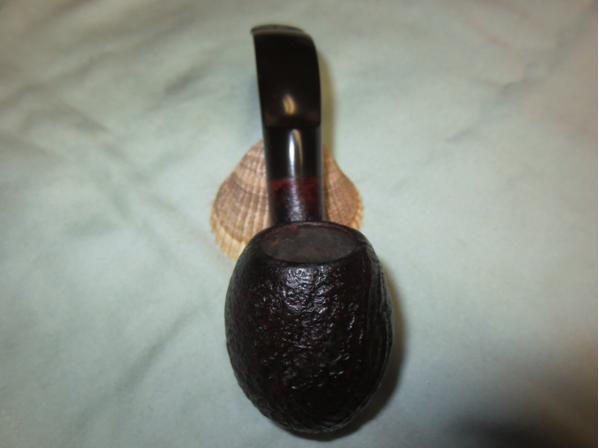
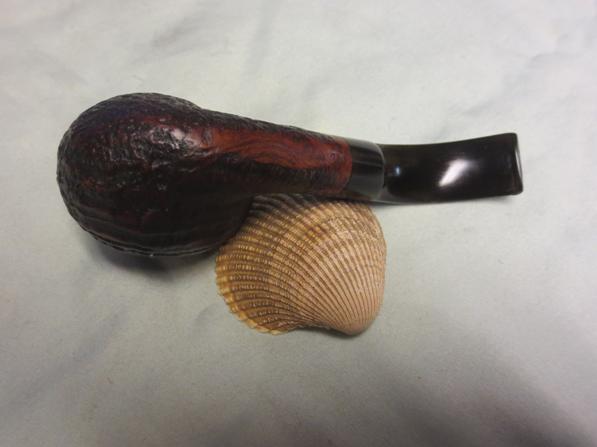
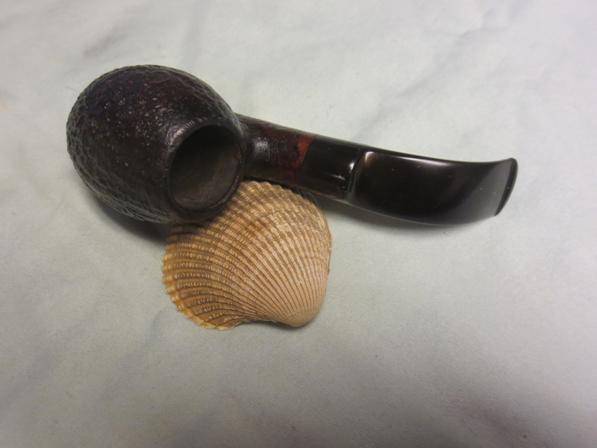
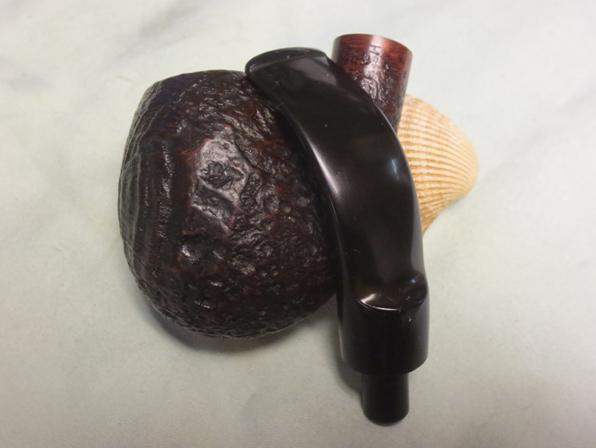
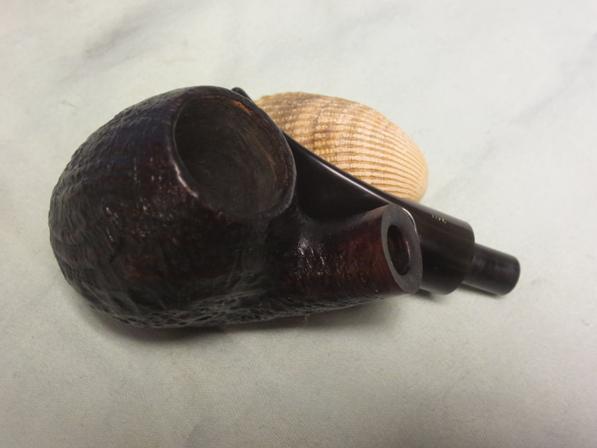
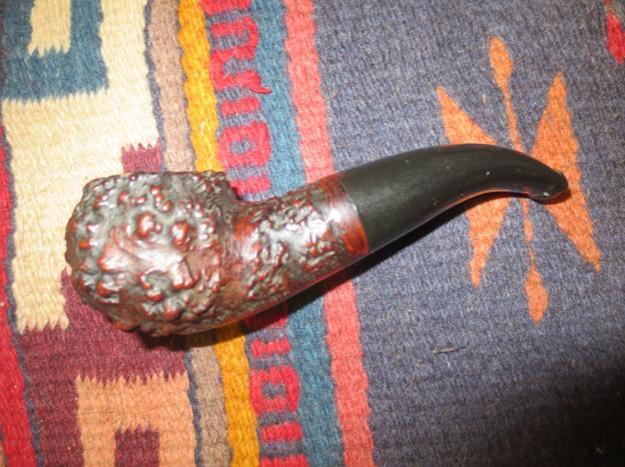
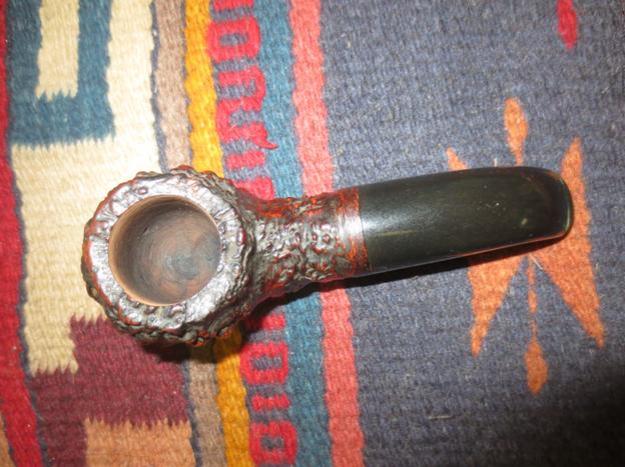
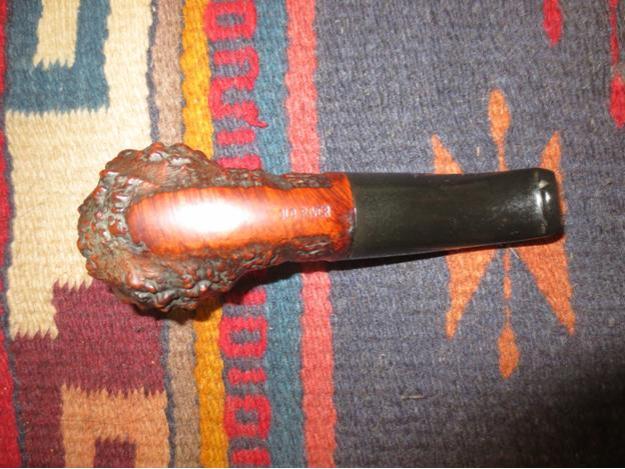
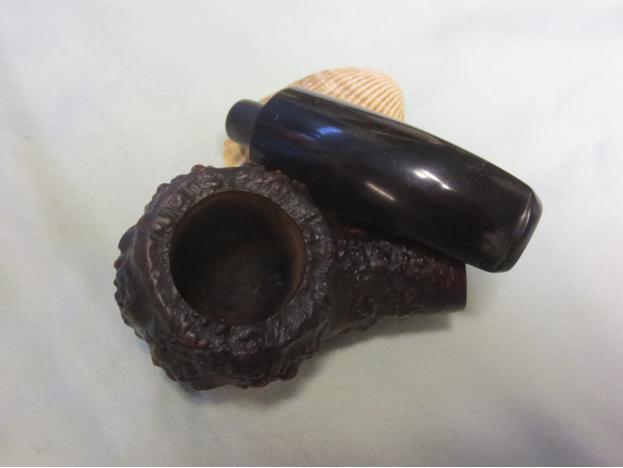
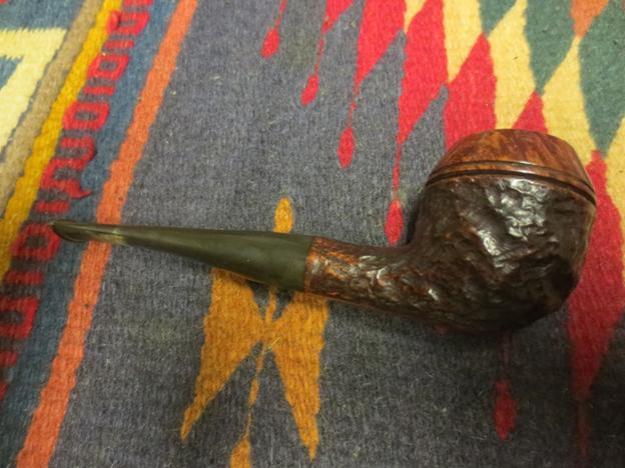
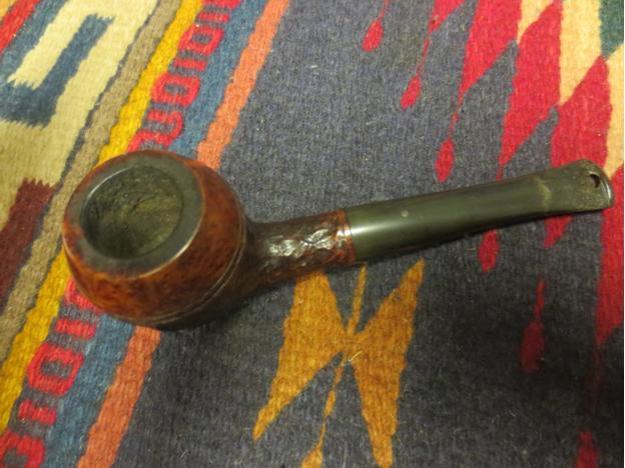
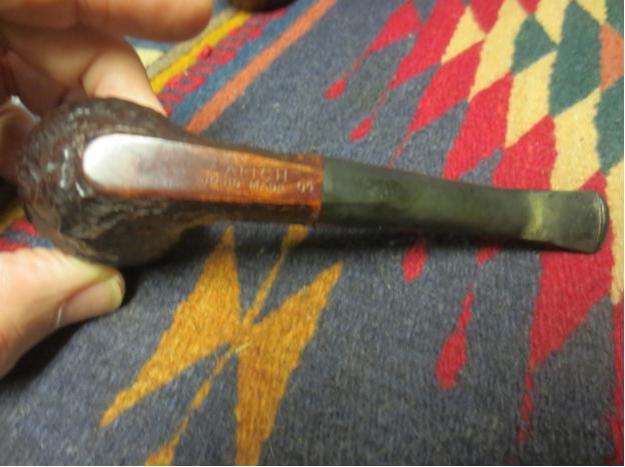
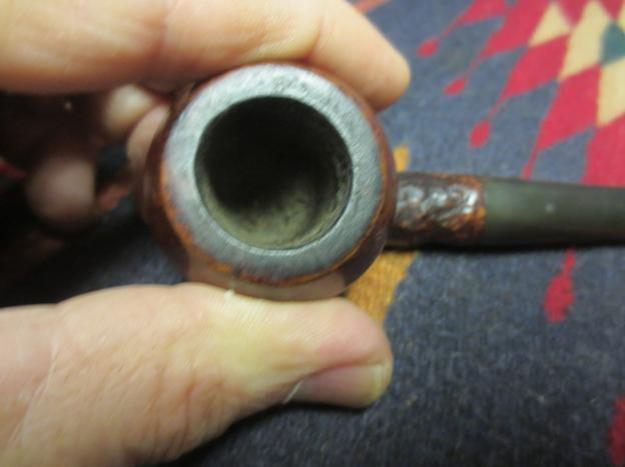
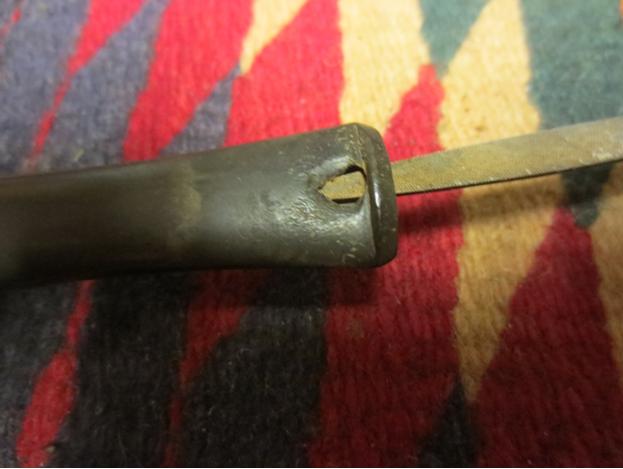
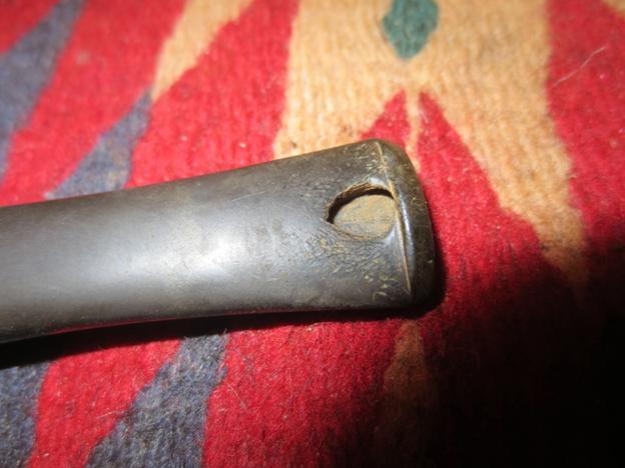
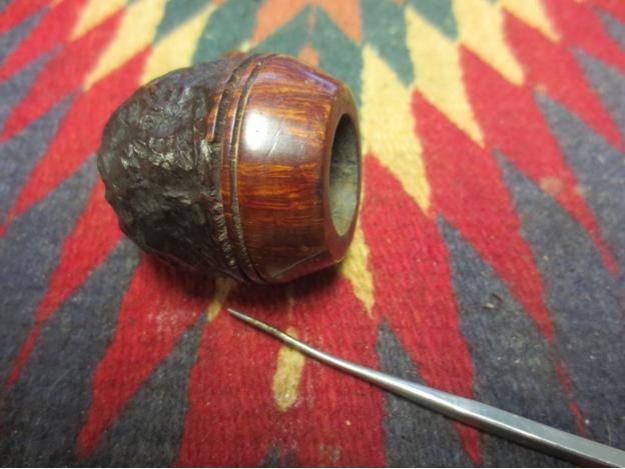
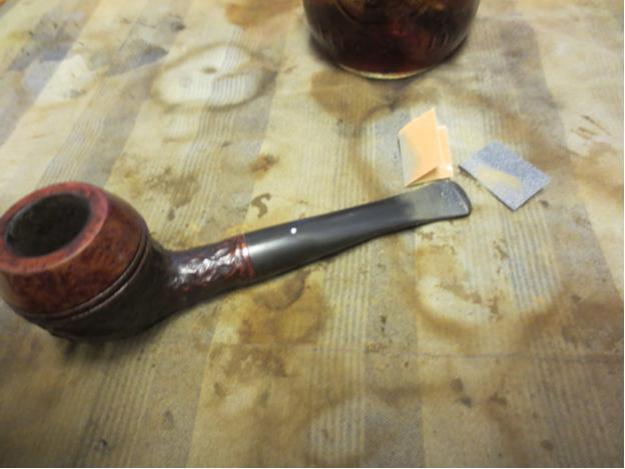
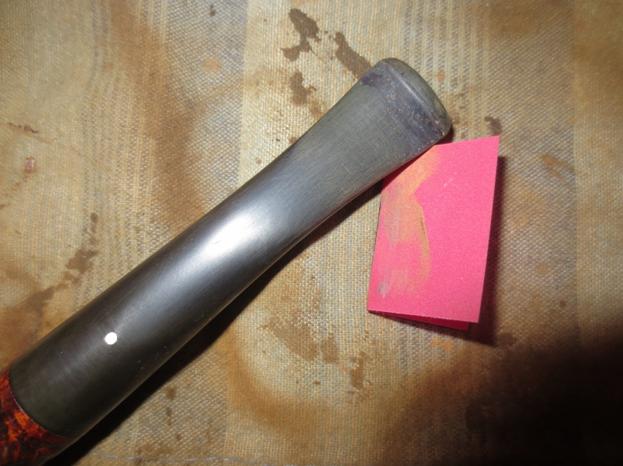
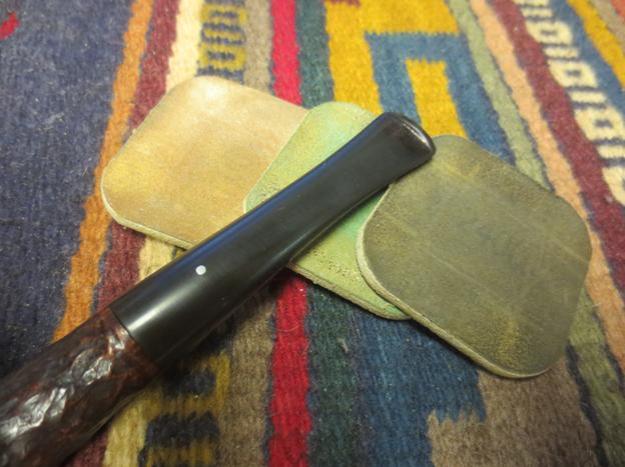
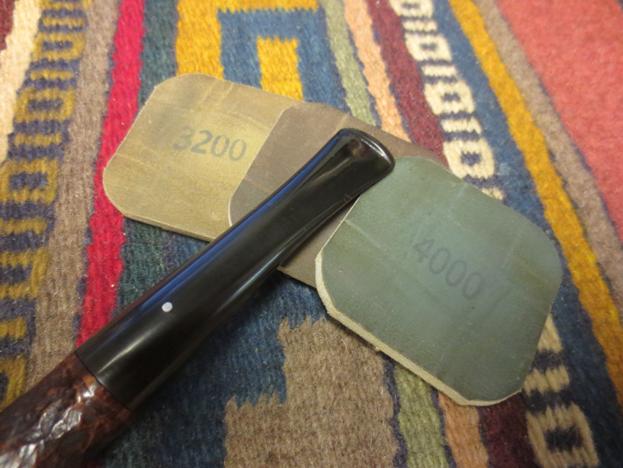
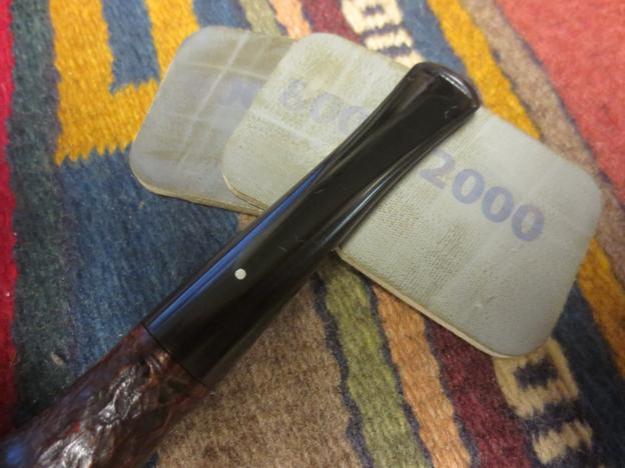
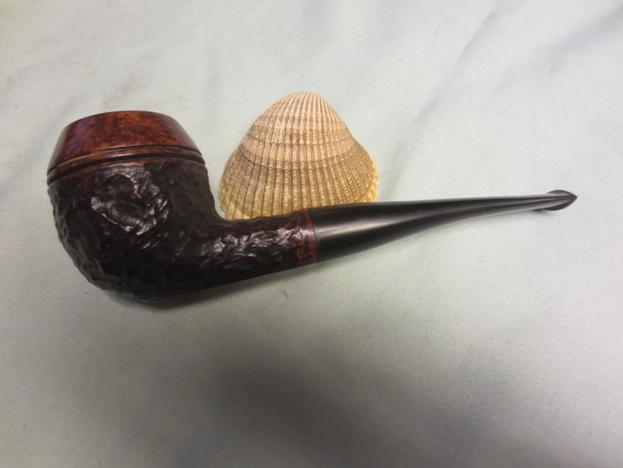
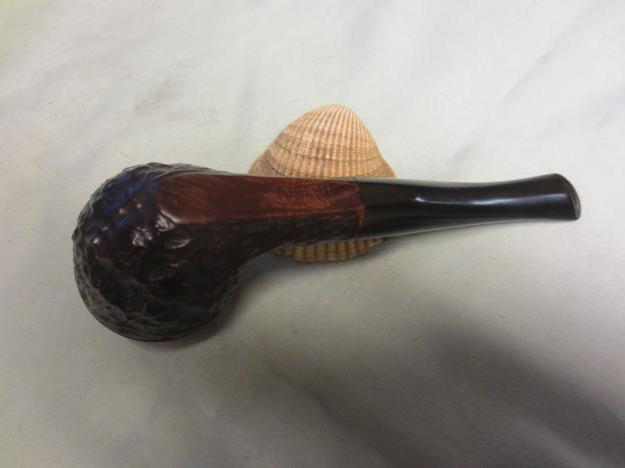
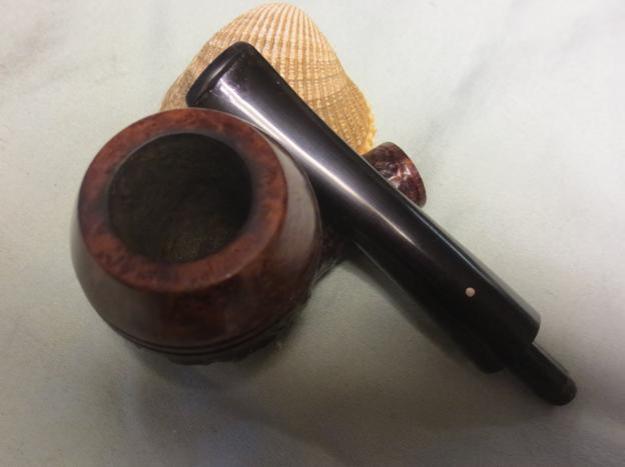
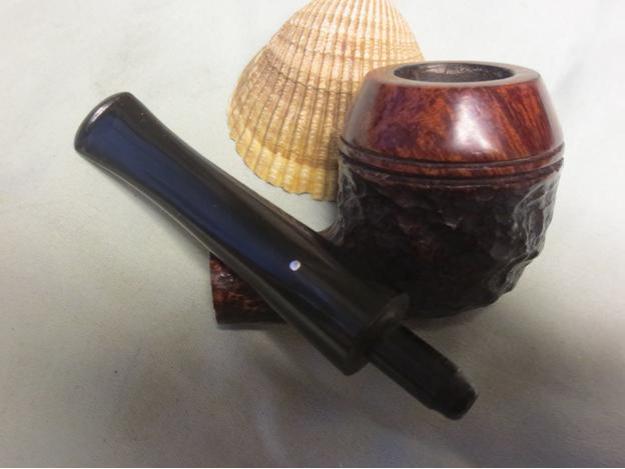
There is a happy ending to this mess… one of the writers here on rebornpipes, Aaron Henson, was willing to go to Whitworth and deal with making sure that three of the packages got sent on to my brother Jeff. The fourth one had been returned to the seller and after paying postage for a second time (totaling more than the original price of the pipe!), the pipe arrived in Idaho Falls. The humorous thing is that this particular pipe turned out to be a nicely carved pipe with beautiful ornamental leaves on the bowl… 7-lobed leaves popular in Colorado, but not in conservative Idaho! Oh well, the plight of PAD! I picked them up (except for this one pipe!) on a recent trip to Idaho and have them in the box of pipes to be refurbished. All in all, a nice haul! Better yet… a great story!