by Steve Laug
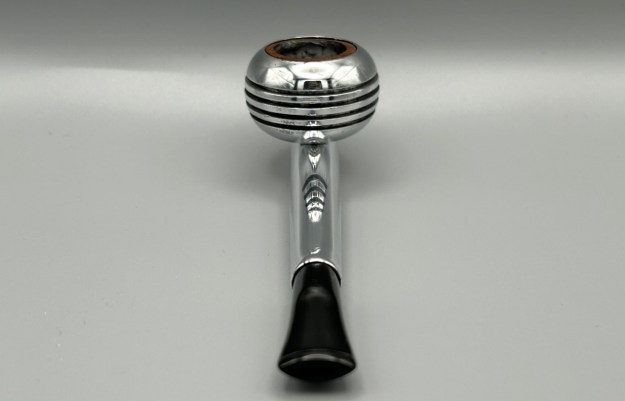
The next pipe on the table is a great looking rusticated Billiard with a smooth rim topo and band on the top and shank end. It was one purchased on 01/20/2026 from a Facebook seller in Quaker Town, Pennsylvania, USA. The bowl and the shank are tightly rusticated. The top of the bowl and the end of the shank band are smooth. It is a great looking pipe. It is stamped on the left side of the shank and reads Jeantet [over] Bon-Cout. The finish was dirty and had a lot of grime and grit ground into the rustication and the smooth portions. The rim top and inner edge of the bowl is dirty with a light lava flow on the edge and the top that was heavier toward the back of the bowl. There is a thick cake in the bowl. The stem is dirty and has light tooth marks and chatter on the surface. It had the Jeantet J logo on the left side, Hand [over] Cut on the right side, and France on the underside. Jeff took photos of the pipe before he started his clean up work. It showed a lot of promise.
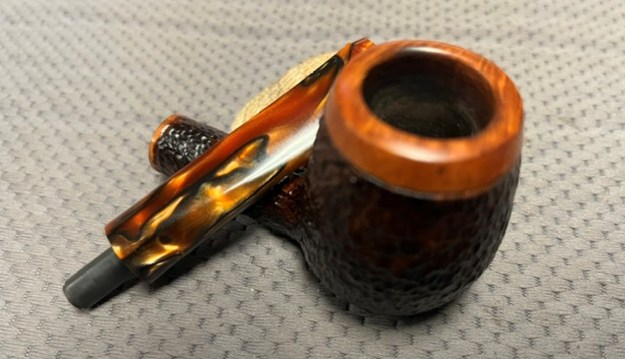
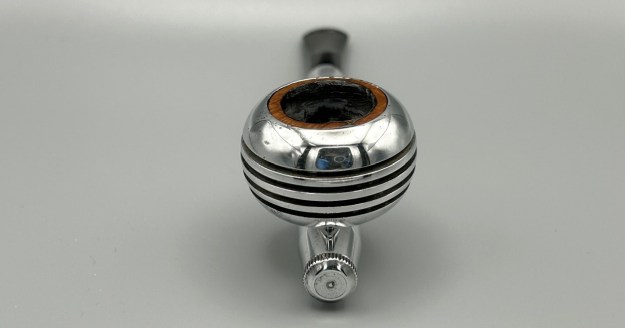
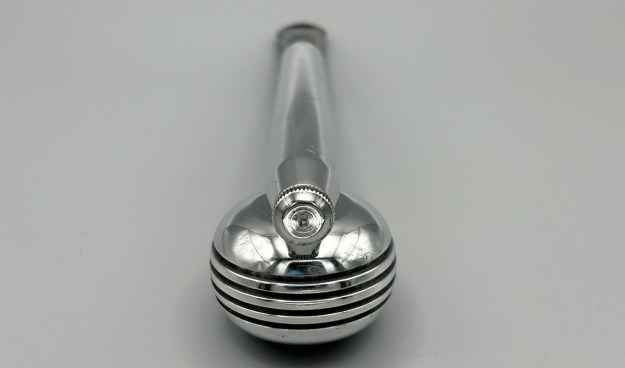
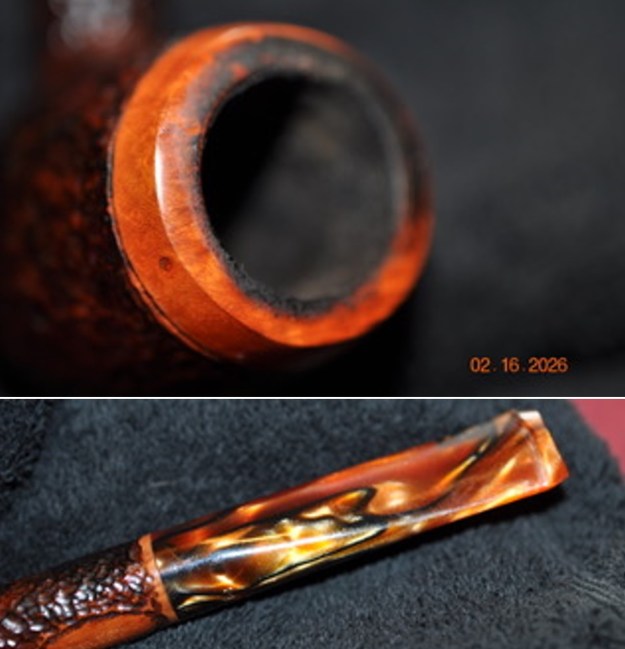
 Jeff took photos of the bowl and rim top to show the cake in the bowl and the lava on the inner edge of the top. The lava is quite thick on the inner edge. He also took photos of the stem to show the tooth marks and chatter on the oxidized stem.
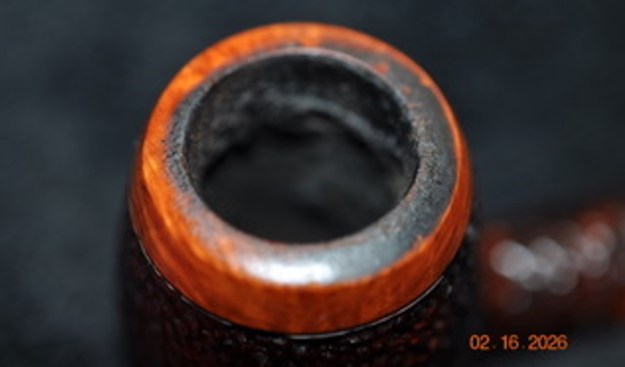
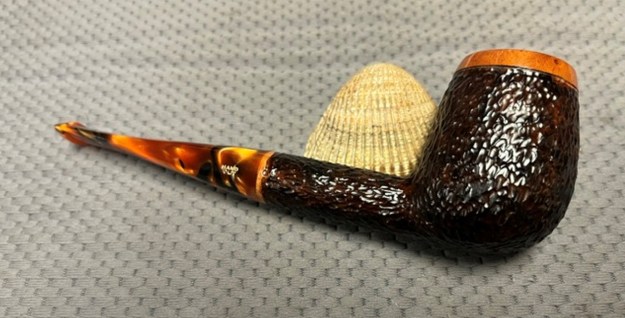
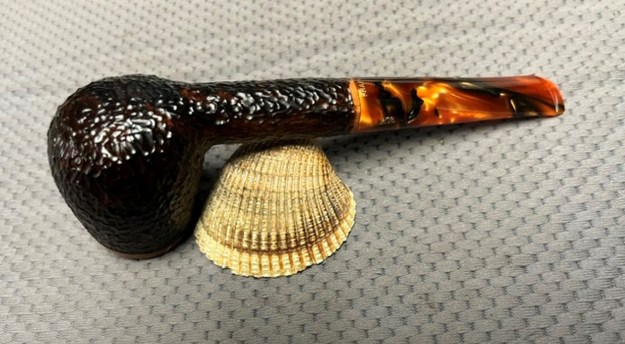
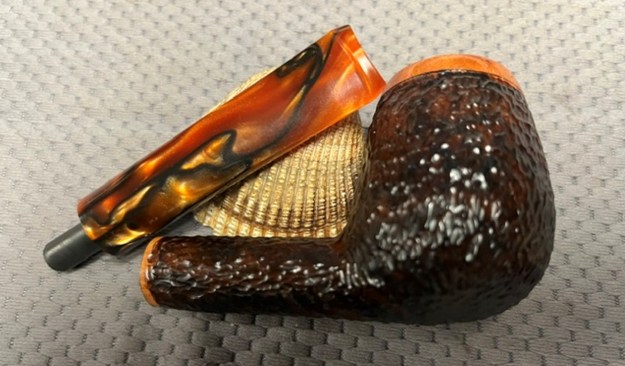
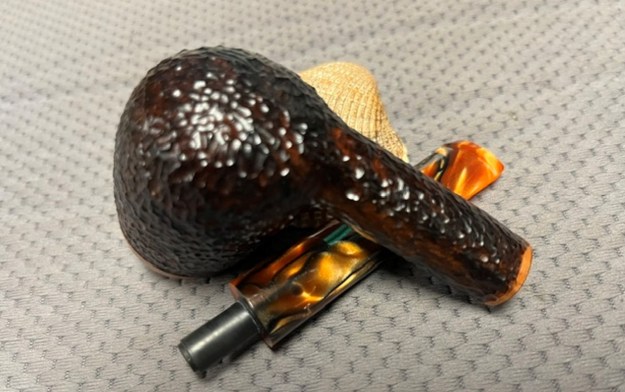
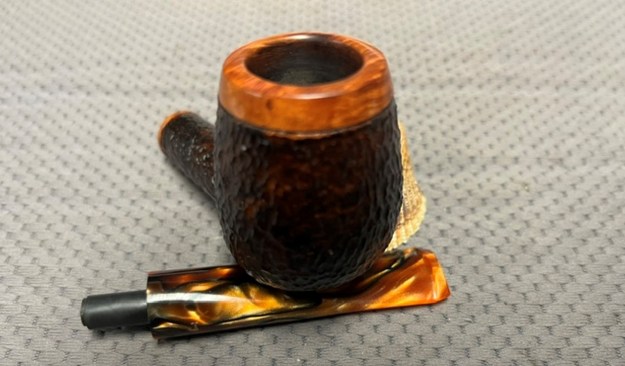
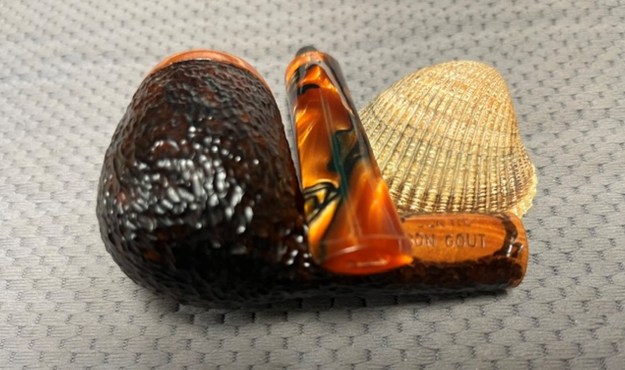
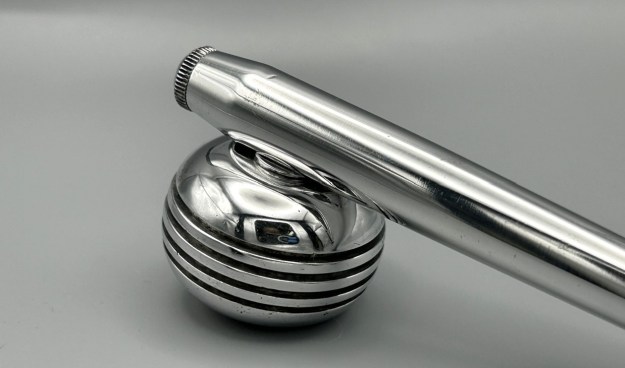
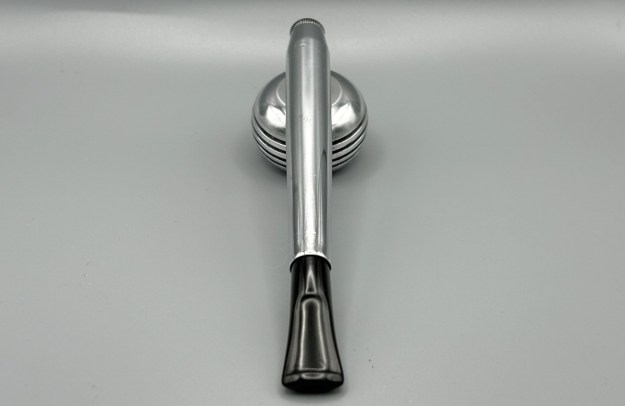
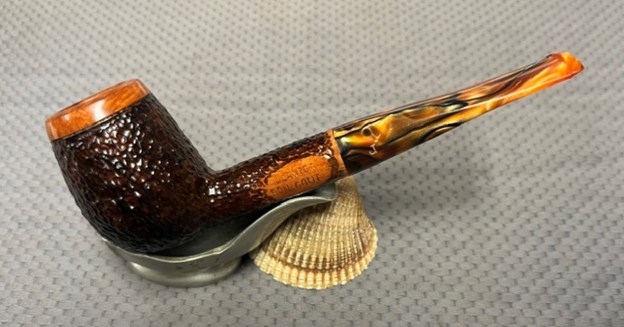
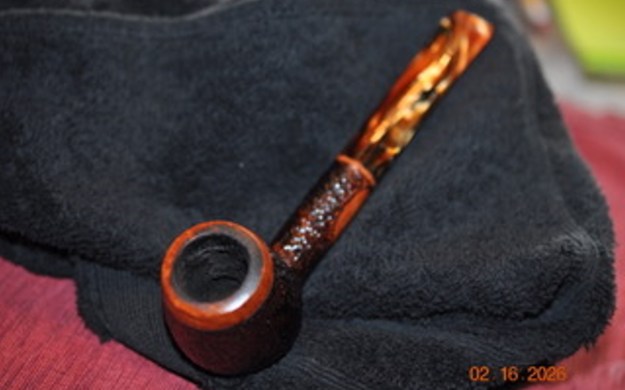
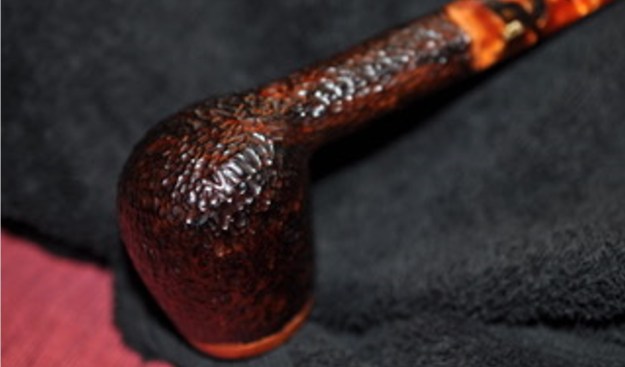
 He took photos of the bowl and heel to show the condition of the finish. The combination of rustication – tight pattern – and smooth portions look very good and are a great contrast to the marble, almost tortoise stem.
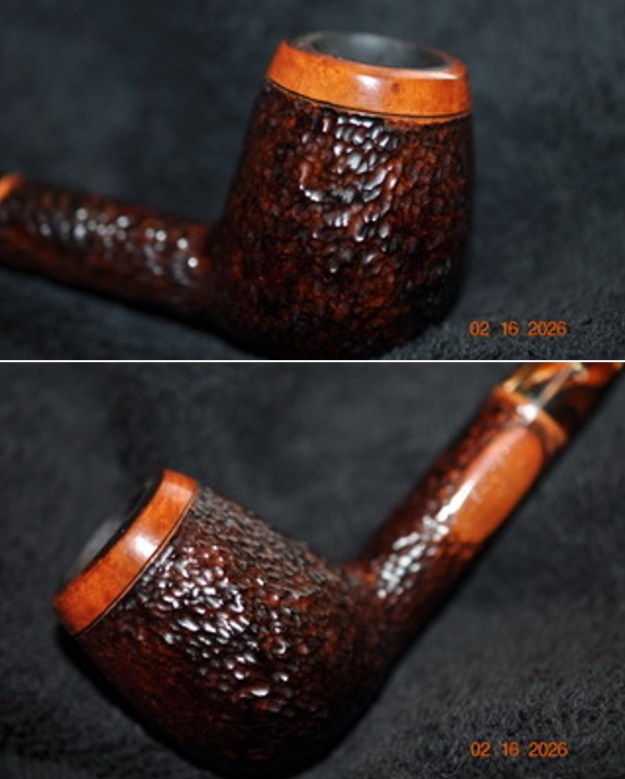
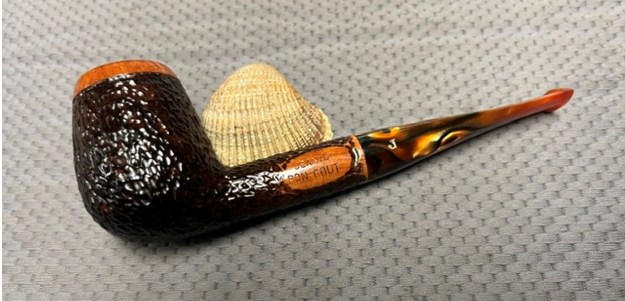
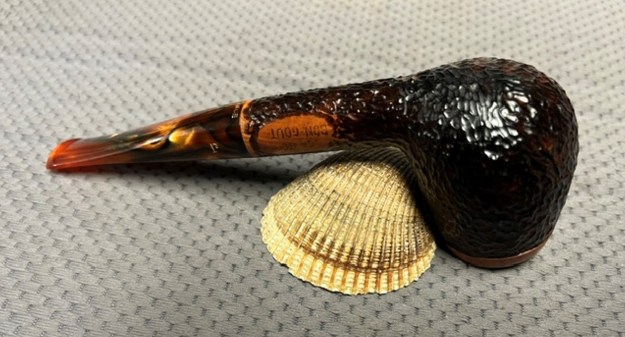
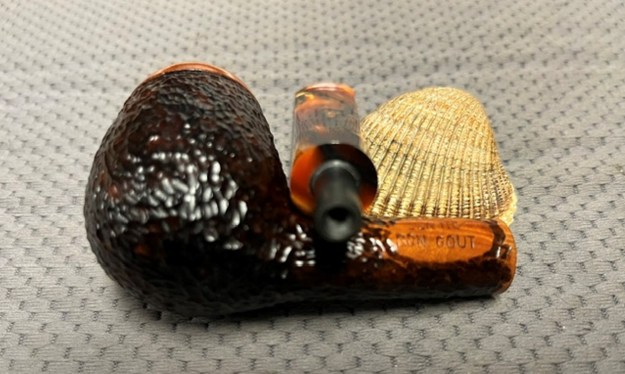
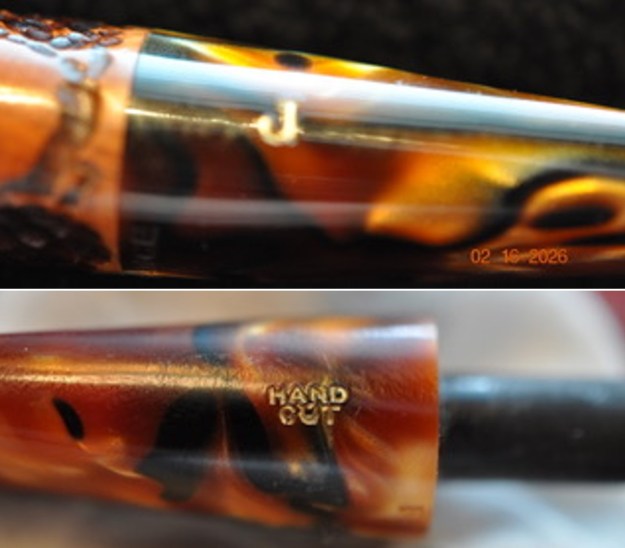
 Jeff took photos of the stamping on the shank and the logo on the stem. They read as noted above and were in excellent condition.
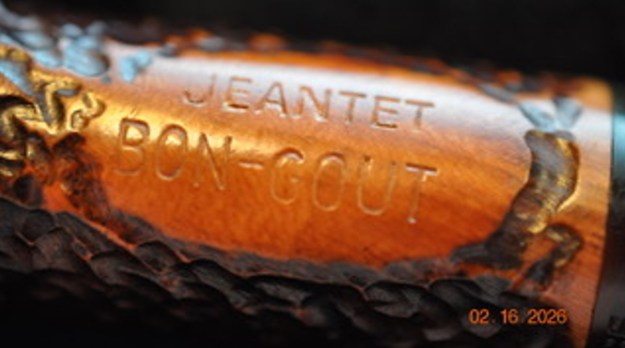
 I turned to Pipephil’s site to see what I could learn about the Bon-Cout line of Jeantet pipes (http://pipephil.eu/logos/en/logo-jeantet.html). There was nothing specific about that line though was a brief summary of the history. I quote from the top bar below:
The company joined the Cuty-Fort Entreprises group (Chacom, Ropp, Vuillard, Jean Lacroix…) in 1992. In 2010 it dropped out and the brand isn’t part of the group any more. The label is owned by the Jeantet family (Dominique Jeantet) again. The pipe production is discontinued. Dominique Jeantet retired in 2000. See also: Antidote, Duke of Kent, Grand Duke, Hermes, Sir Bruce, Sir Duke
I turned to Pipedia to get a more detailed history of the brand (https://pipedia.org/wiki/Jeantet). There as a short history there that I have reproduced below.
The firm of the Jeantet family in Saint-Claude is first mentioned as early as 1775. By 1807 the Jeantets operated a turnery producing in particular wooden shanks for porcelain pipes and wild cherry wood pipes. The firm was named Jeantet-David in 1816, and in 1837 the enterprise was transformed into a corporation as collective name for numerous workshops scattered all over the city.
The manufacturing of briar pipes and began in 1858. 51 persons were employed by 1890. Desirous to concentrate the workers at a single site, the corporation began to construct a factory edifying integrated buildings about 1891 at Rue de Bonneville 12 – 14. This took several years. In 1898 Maurice Jeantet restructured the business. He is also presumed to enlarge Jeantet factory purchasing a workshop adjoining southerly. It belonged to the family Genoud, who were specialized in rough shaping of stummels and polishing finished pipes. (In these times it was a most common procedure to carry goods from here to there and back again often for certain steps of the production executed by dependant family based subcontractors. Manpower was cheap.)
Jeantet was transformed to a corporation with limited liability in 1938. By that time a branch workshop was operated in Montréal-la-Cluse (Ain), where mainly the less expensive pipes were finished. 107 employees – 26 of them working from their homes – were counted in Saint-Claude in 1948 and 18 in the Ain facility.
The Saint-Claude factory was considerably modernized by ca. 1950 installing (e.g.) freight elevators. In 1952 the southern workshop was elevated. 80 workers were employed in 1958. The factory covered an area of 2831 m²; 1447 m² of the surface were buildings.
The climax of the pipe production was reached around 1969, when thirty to thirty five thousand dozens of pipes were made by 72 workers (1969). But then the production continuously dwindled to only six or seven thousand dozens in 1987 and only 22 workers were still there. Even though, around 1979 a very modern steam powered facility for drying the briar had been installed in the factory’s roofed yard.
Yves Grenard, formerly Jeantet’s chief designer and a great cousin of Pierre Comoy, had taken over the management of Chapuis-Comoy in 1971. Now, to preserve the brand, the Jeantet family went into negotiations with him, and resulting from that Jeantet was merged in the Cuty Fort Group (est. 1987 and headed by Chacom) in 1988 along with the pipe brands of John Lacroix and Emile Vuillard. Chacom closed the Jeantet plant, and the City of Saint-Claude purchased it in 1989. After alternative plans failed, the buildings were devoted to wrecking. The southerly workshop was wrecked before 1992.
Today Jeantet pipes were produced as a sub-brand by Chapuis-Comoy who’s mainstay is Chacom of course.
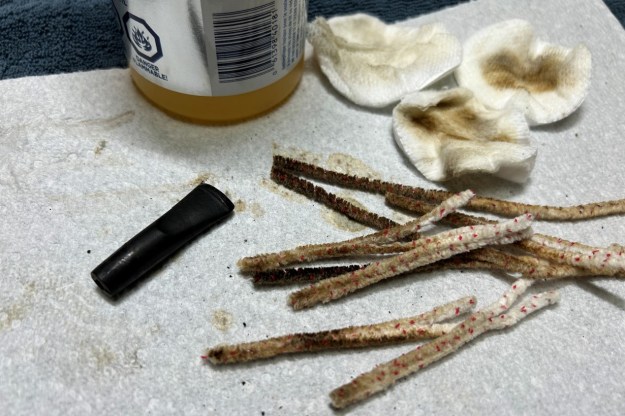
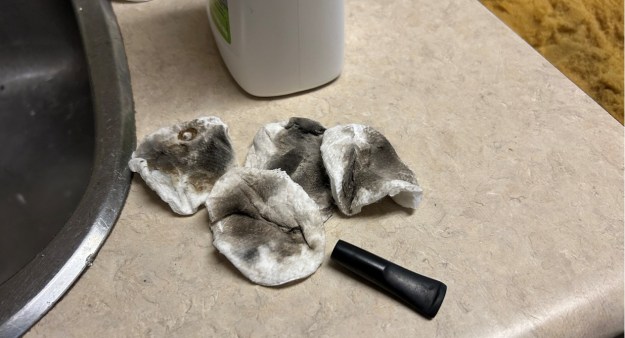
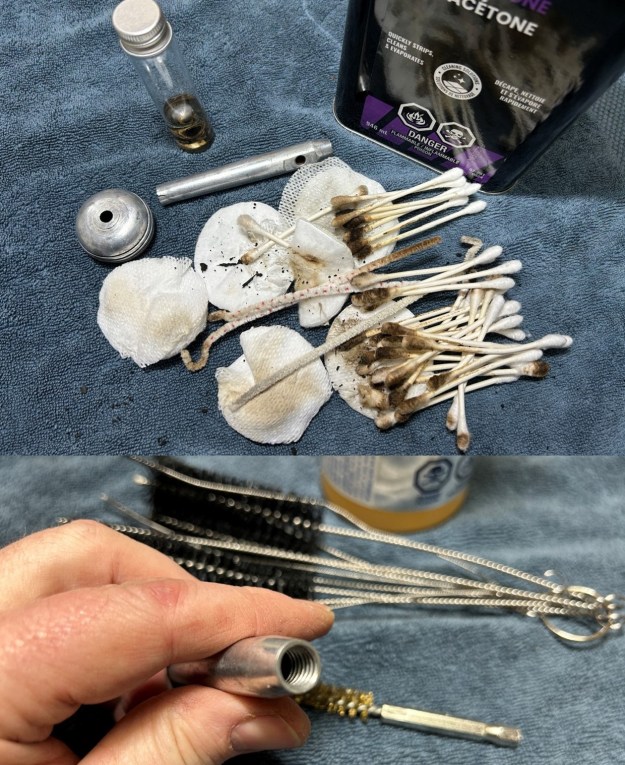
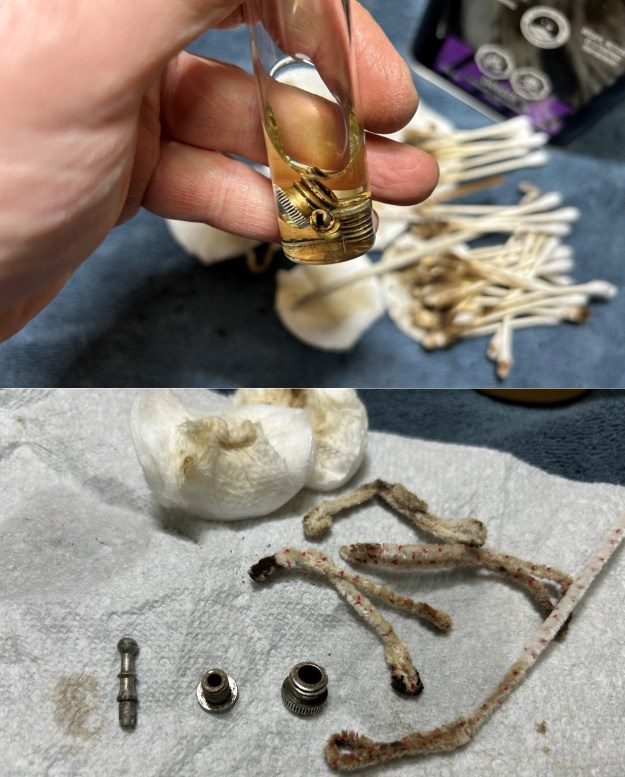
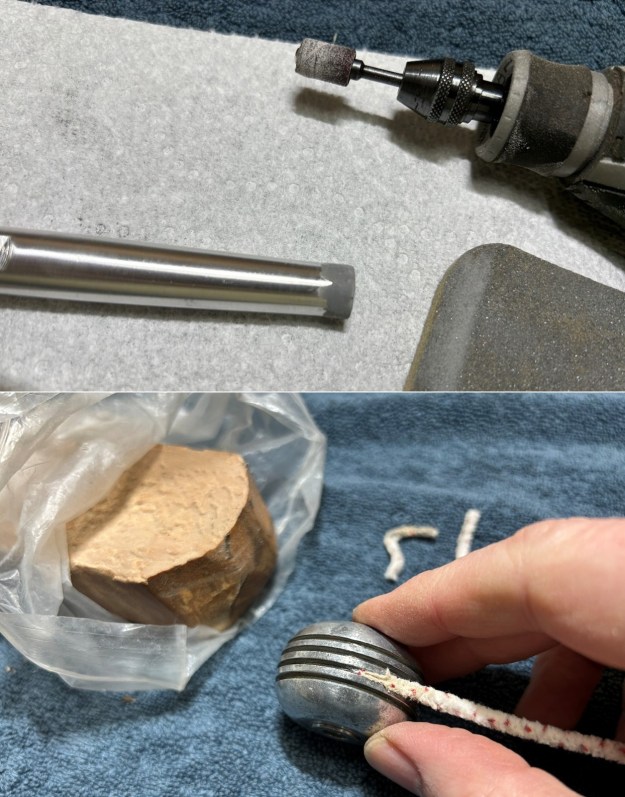
Jeff carefully cleaned up this Jeantet Bon-Cout Billiard with a variegated brown/orange acrylic taper stem with Murphy’s Oil Soap and a tooth brush to remove the grime on the rim top and bowl sides. He reamed the bowl with a PipNet pipe reamer and then cleaned up the inside of the bowl with a Savinelli Fitsall Pipe Knife. He scrubbed the internals of the shank and stem with pipe cleaners, cotton swabs and alcohol until the airways were clean and the pipe smelled fresh. The pipe looked much better once the bowl and stem were clean. He scrubbed the stem with Soft Scrub to remove the debris on the surface. He rinsed it with warm water when he took out of the soak. Before I started my part of the work I took photos of the pipe. It is a pretty looking pipe. 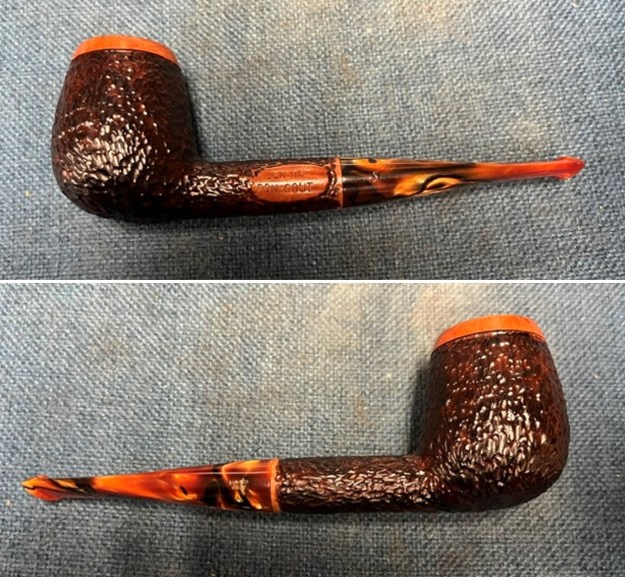
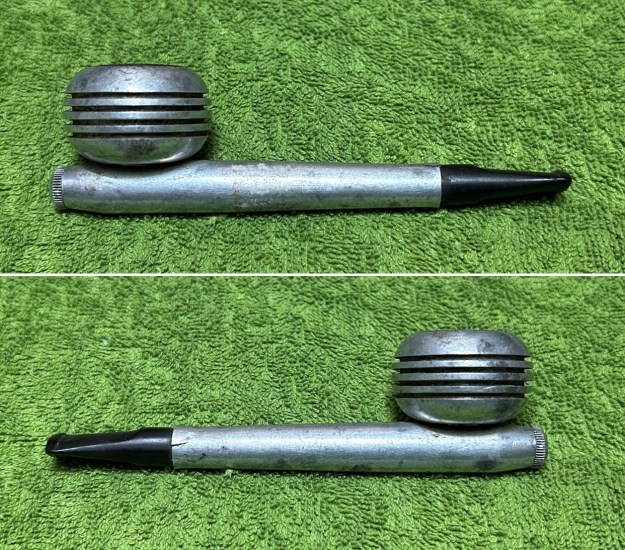
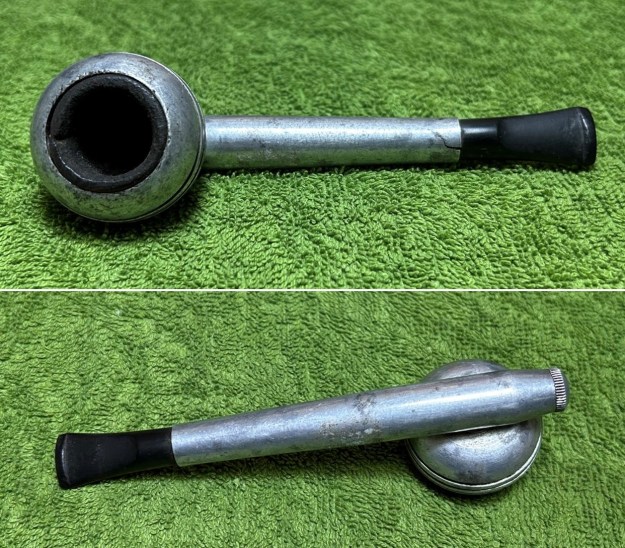
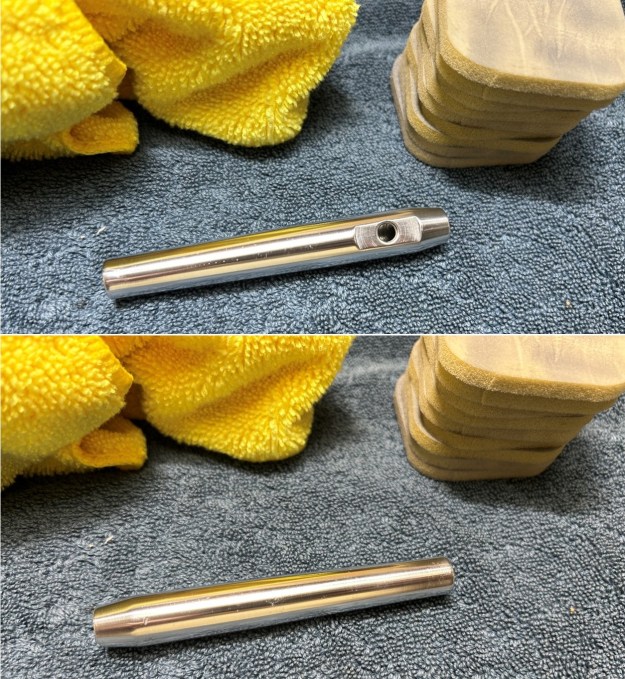
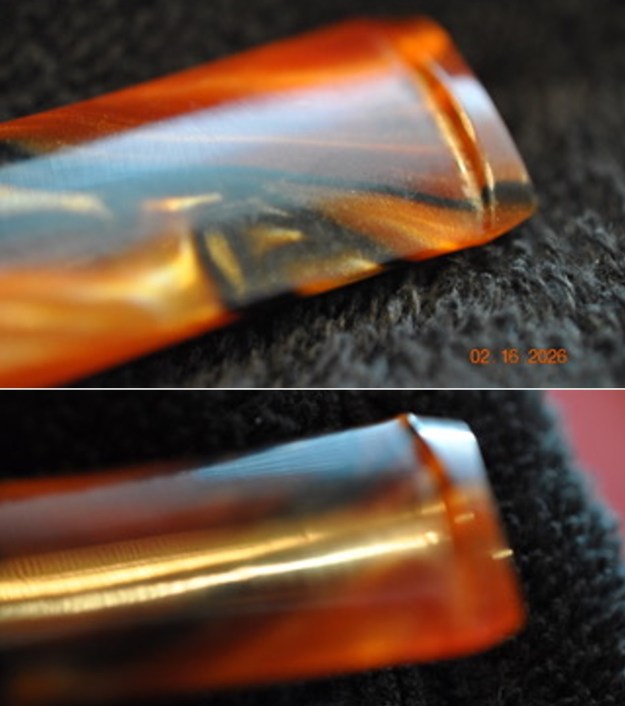
 I took close up photos of the bowl and the rim top to show the condition. It looked better but there was burn damage on the inner edge on the front and the back side of the bowl. I also took photos of both sides of the stem to give a sense of the condition of both sides at the button.
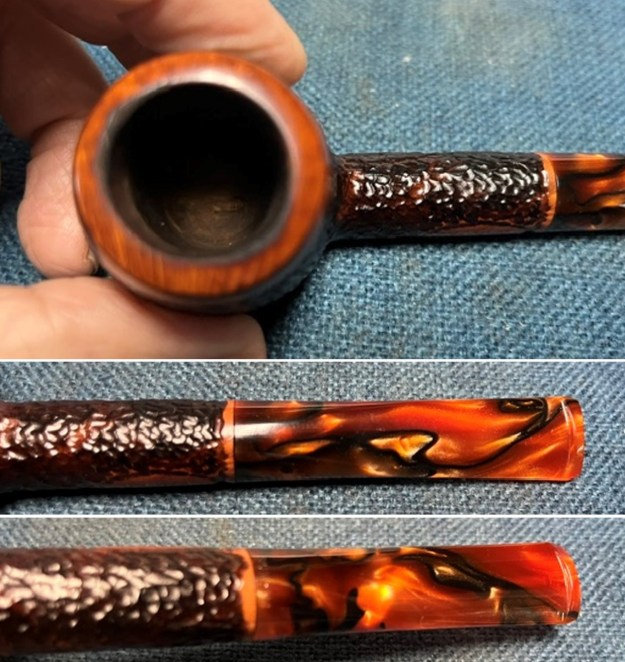 I took a photo of the stamping on the left side of the shank and stem. It reads as noted above and is very clear and readable. The stamping on the shank is faint but readable. I took the stem off the shank and took photos of the pipe to give a sense of its beauty and proportions.
  I worked on the damage from burning on the inner edge of the bowl on the front and the back side. It was damaged but not too deeply burned. I used a folded piece of 220 grit sandpaper to clean up and reshape the edge. It looked significantly better.
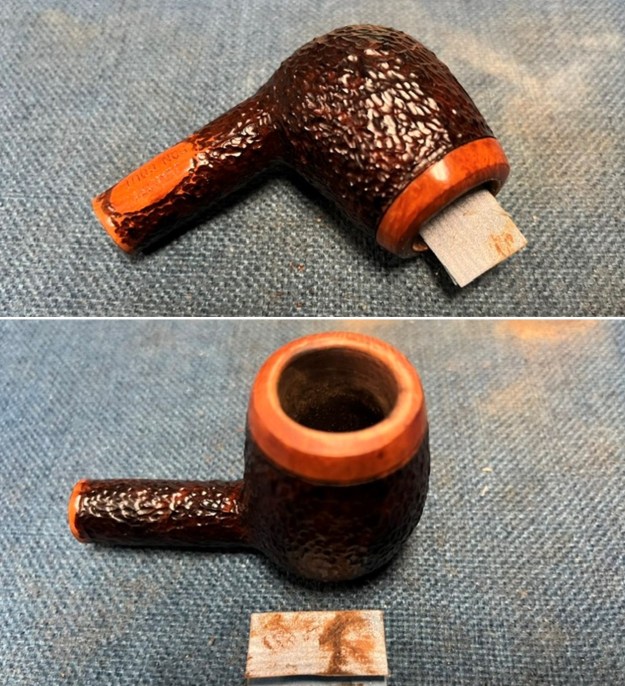 I worked over the rim top and edges with 320-3500 grit 2×2 inch sanding pads. I wiped the rim top down with a damp cloth after each pad to remove the sanding debris. It looked significantly better.
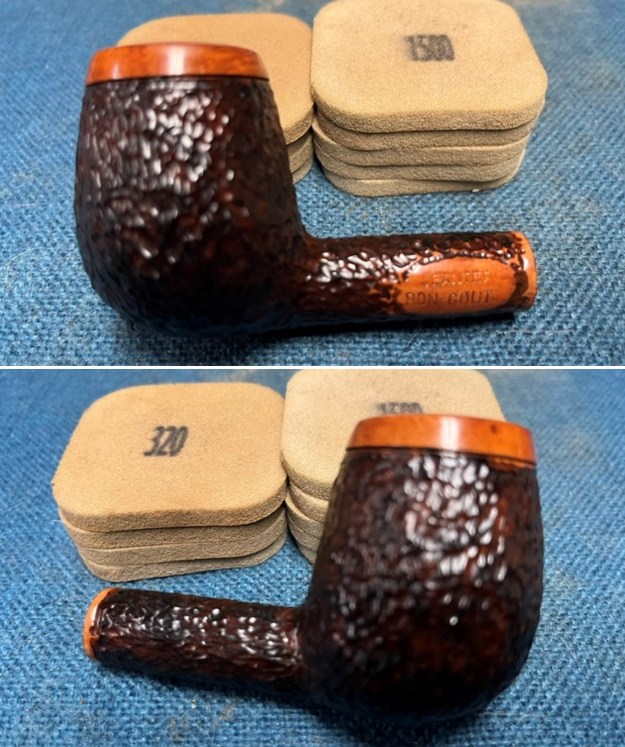
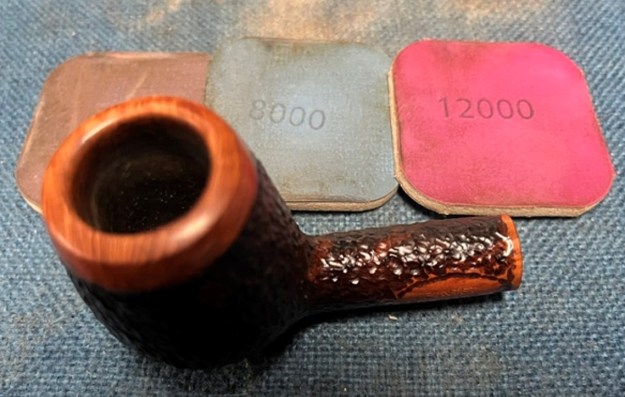
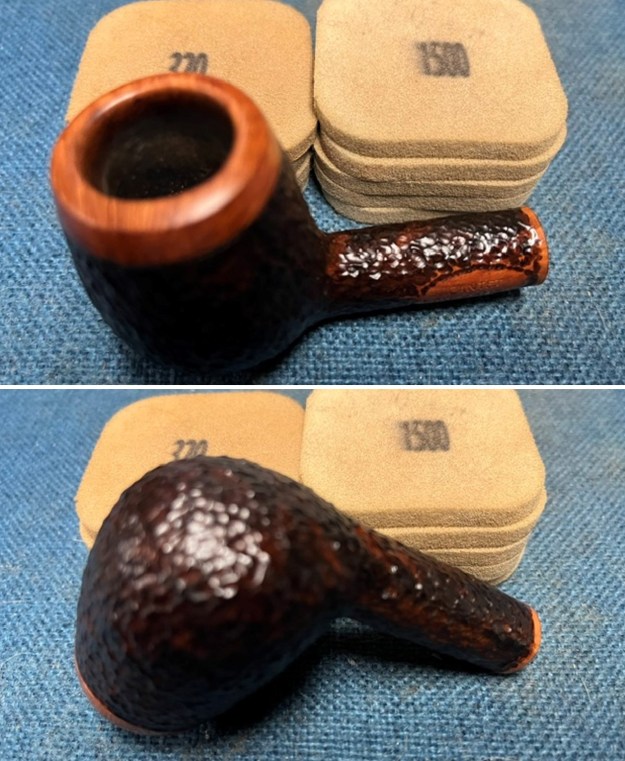 I polished the rim top with micromesh sanding pads – dry sanding with 1500-12000 grit pads and wiped down the bowl after each sanding pad.
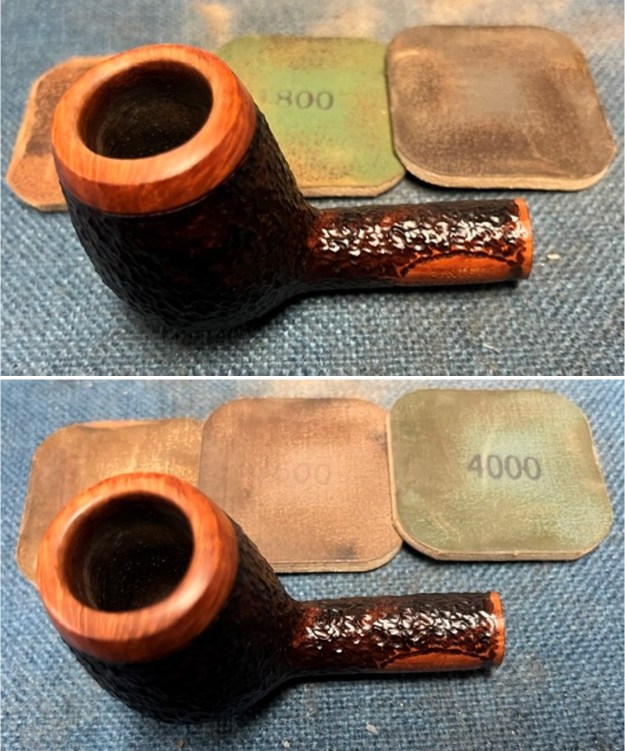
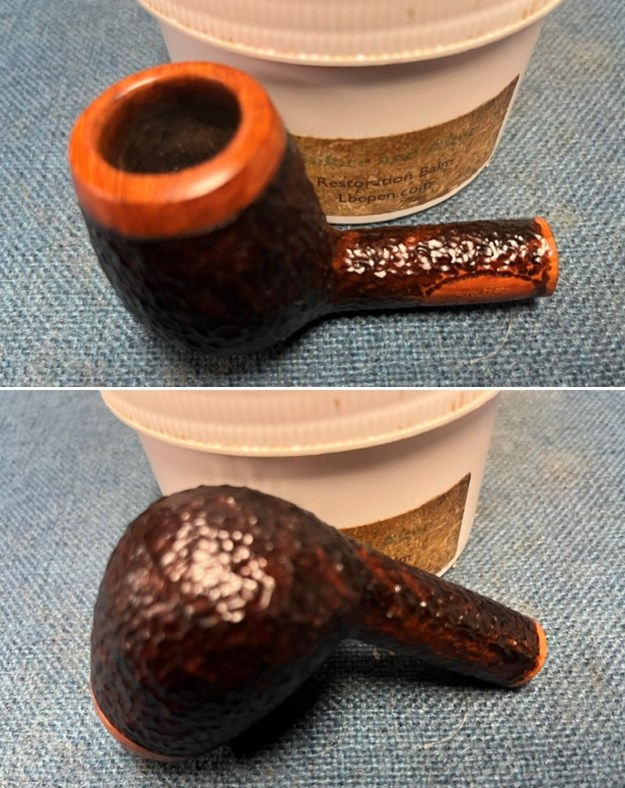
 I rubbed the bowl and shank down with Before & After Restoration Balm. I worked it into the surface of the bowl sides and shank with my fingertips to clean, enliven and protect the briar. I let the balm sit for a little while and then buffed with a cotton cloth to raise the shine. The Balm did its magic and the grain stood out.
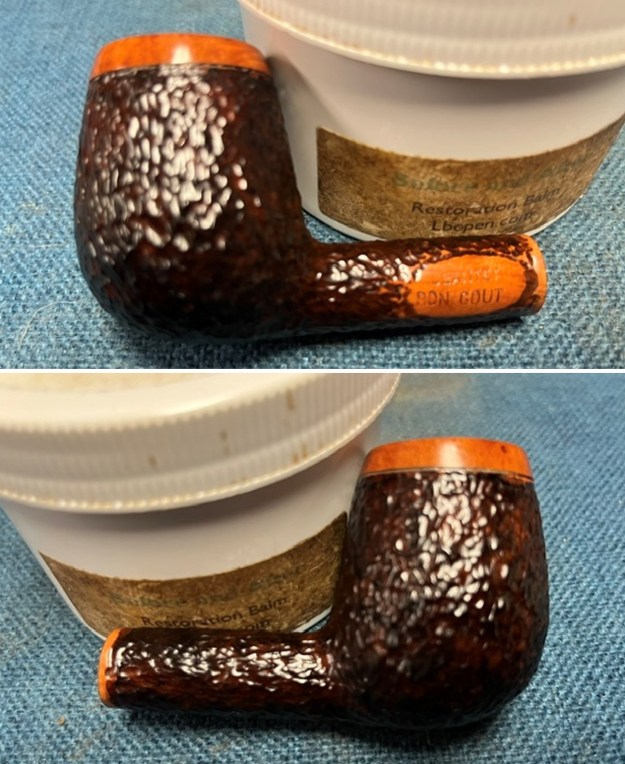
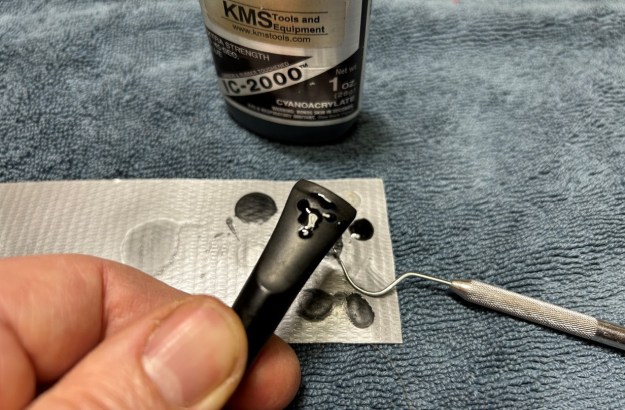
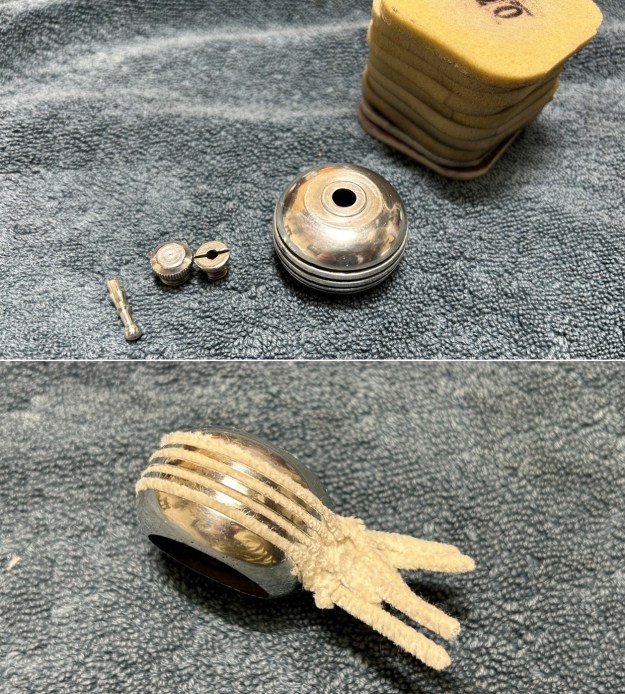
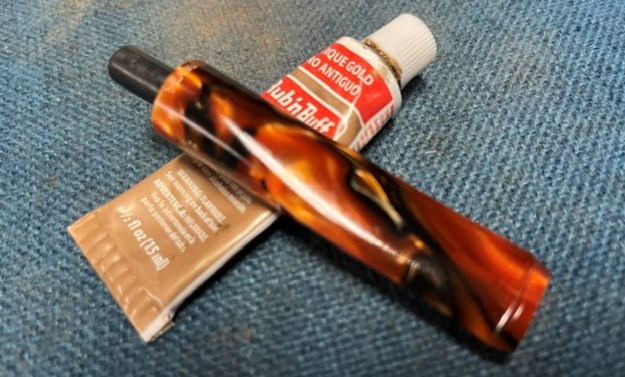
 I set the bowl aside and turned my attention to the stem. Because it was quite clean I decided to touch up the Jeantet J stamp on the left side of the saddle. I filled in the stamp with Antique Gold Rub’n Buff. I did the same with the Hand Cut stamp on the right and France on the underside of the stem. I buffed off the excess material and the markings looked very good.
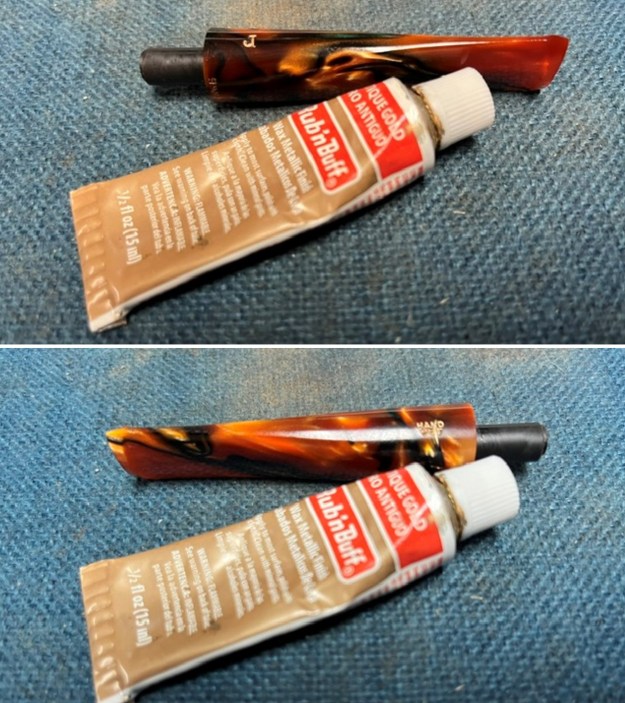
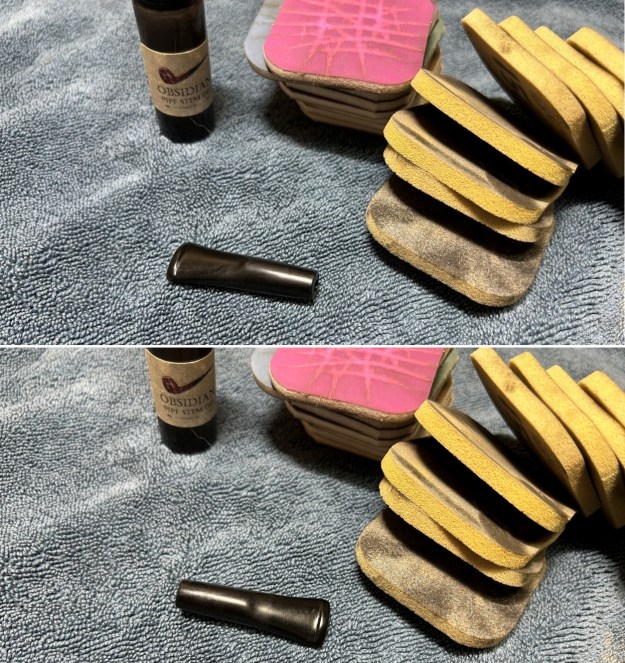
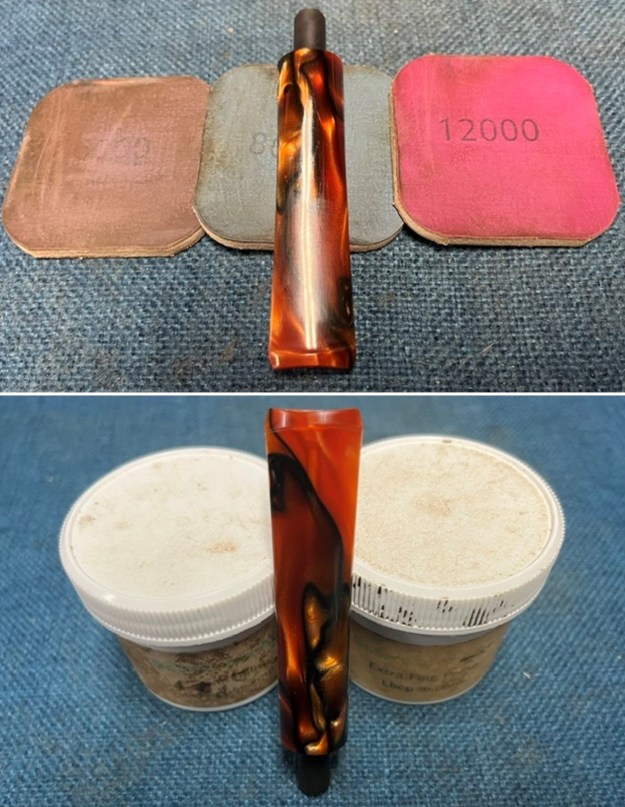
 The stem was in good condition and the light marks and chatter should polish out easily. I polished the stem with micromesh sanding pads – 1500-12000 grit pads. I wiped it down with Obsidian Oil after each sanding pad. I used Before & After Pipe Polish – both Fine and Extra Fine to further polish the stem. I gave it a final coat of Obsidian Oil and set it aside to dry.
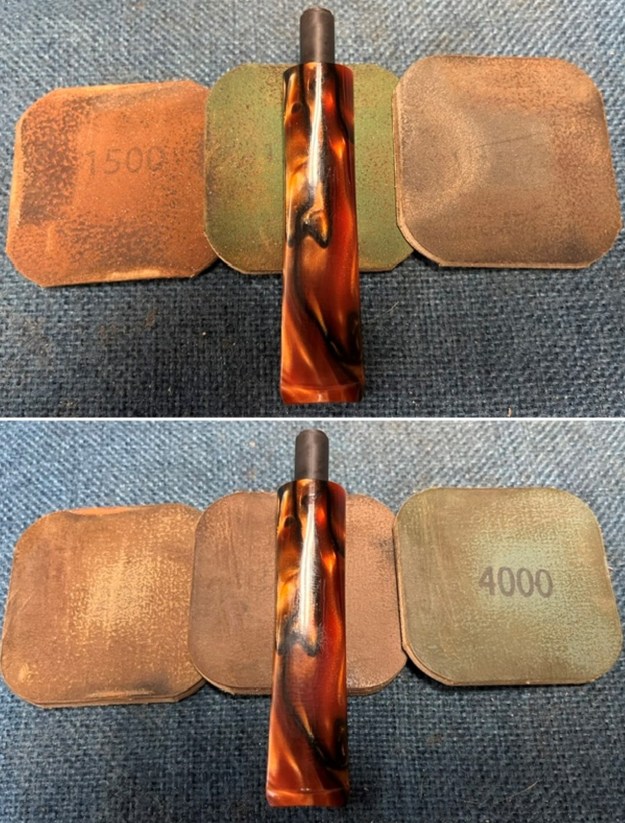
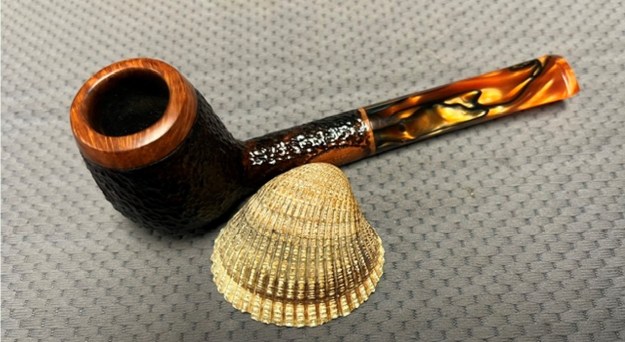
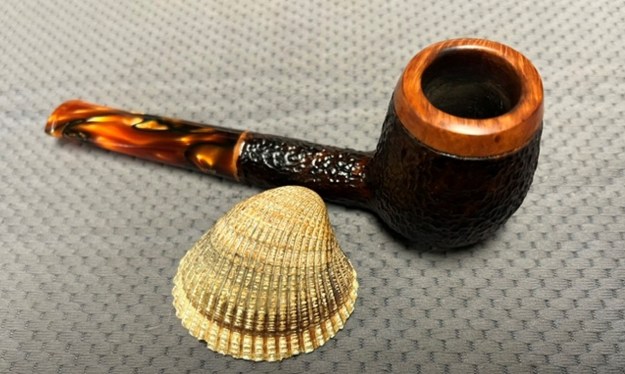
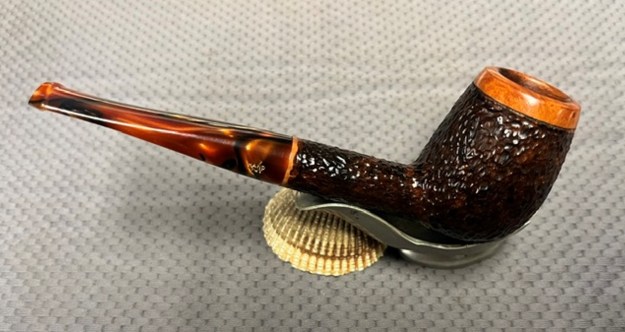
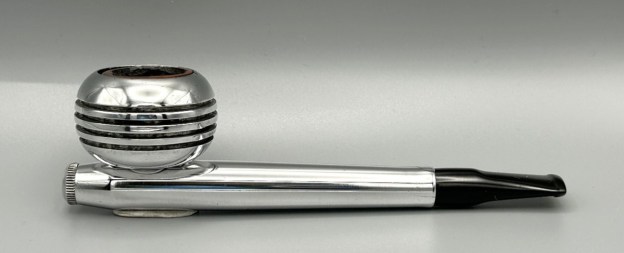
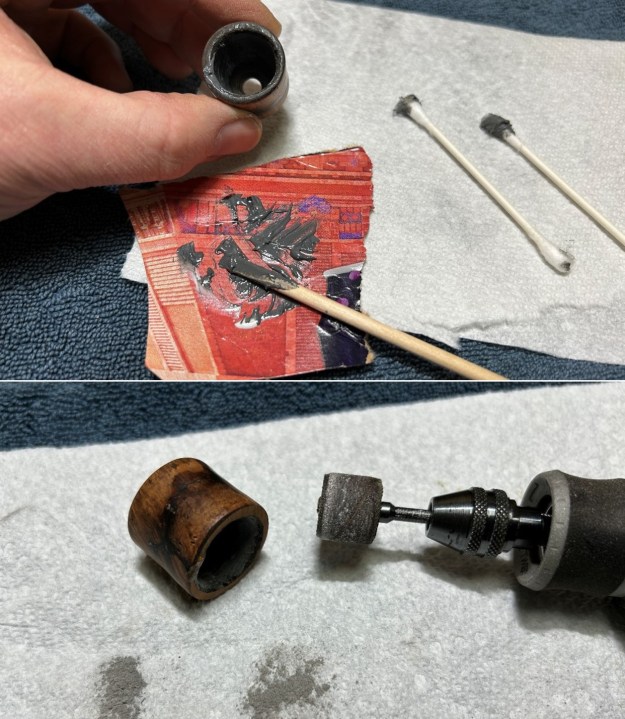
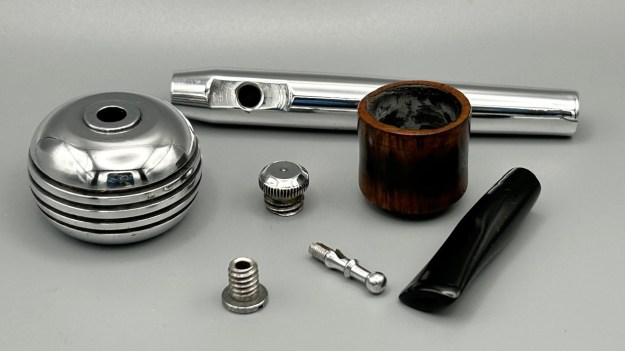
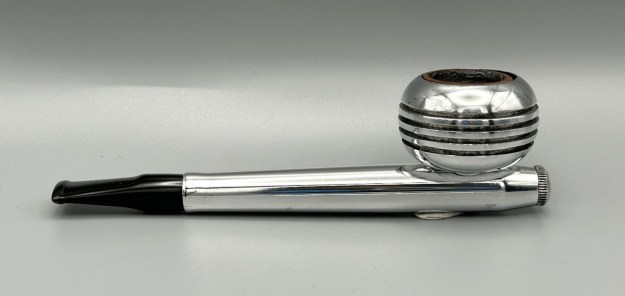
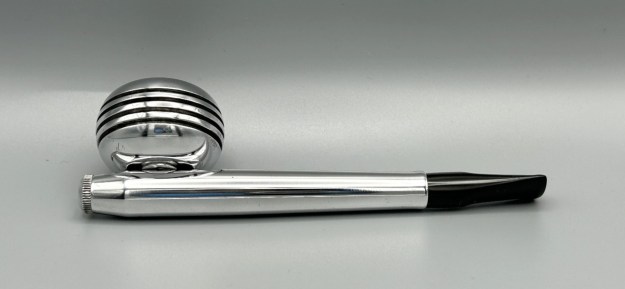
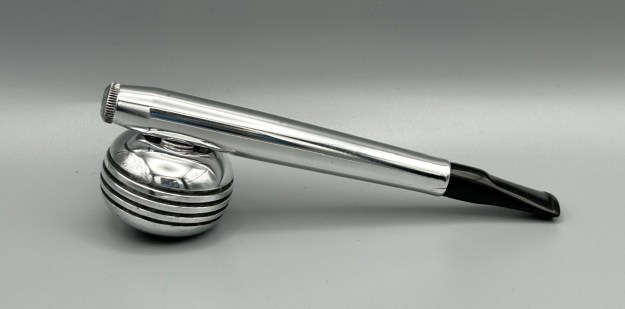
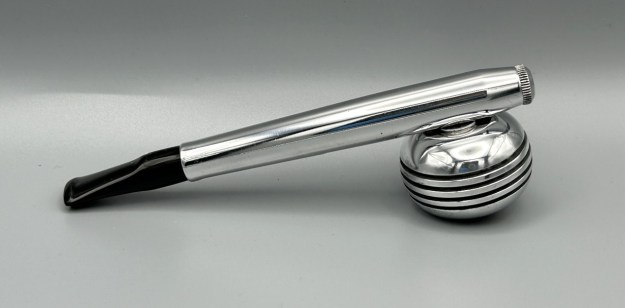
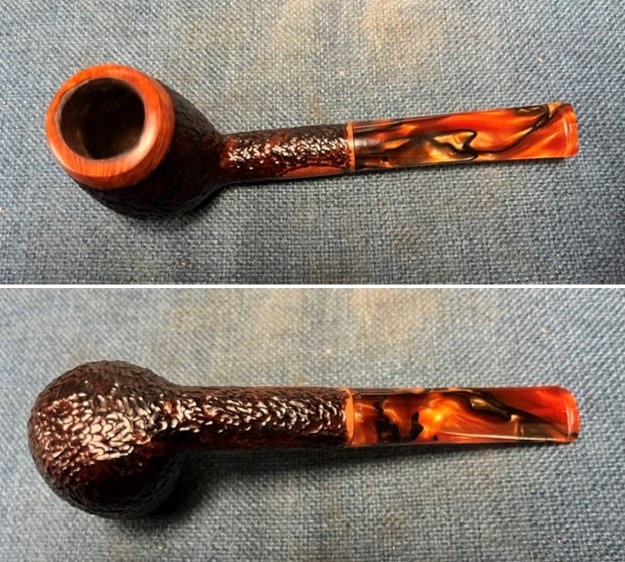
 I put the parts of the Jeantet Bon-Cout Billiard back together and I lightly buffed the bowl and stem with Blue Diamond on the buffing wheel and gave several coats of Carnauba Wax to seal and protect it. I polished it with a clean buffing pad to raise the shine and then with a microfiber cloth to deepen the shine. The briar really looked good with the wax highlighting the grain around the panels on the bowl. The thin shank and saddle stem gave additional beauty to the petite looking pipe. It was an interesting looking pipe. The dimensions of the pipe are Length: 5 ½ inches, Height: 2 inches, Outer Diameter of the bowl: 1 ¼ inches x 1 ¼ inches, Diameter of the chamber: ¾ of an inch. The weight of the pipe is is 53 grams/1.87 ounces. The photos below show the finished pipe. If you would like to add it to your collection I will be adding it to the French Pipe Makers section of the rebornpipes store. Send me a message or an email. Thanks for reading the blog. It was an interesting restoration.