
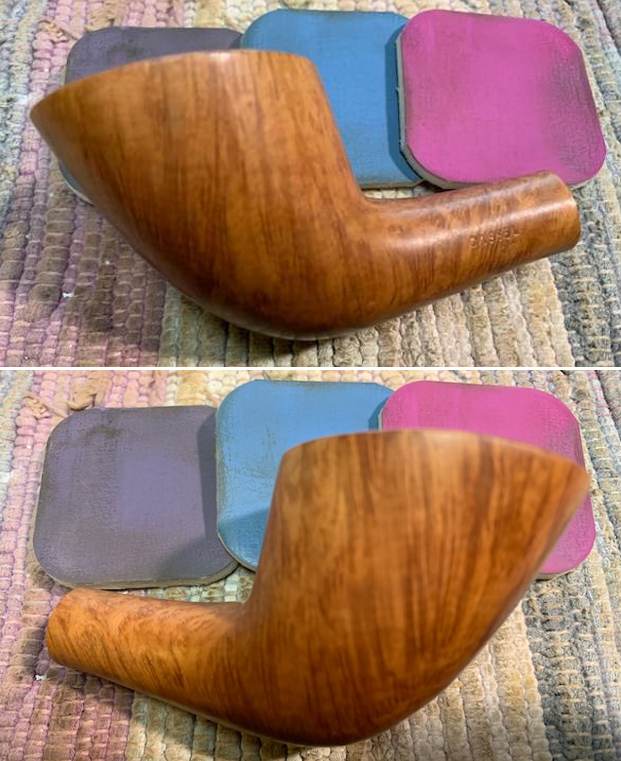
Blog by Steve Laug
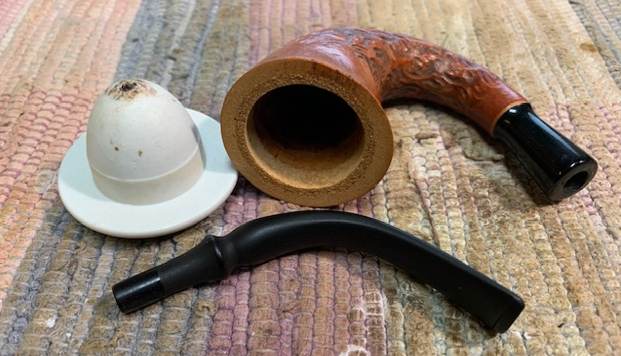
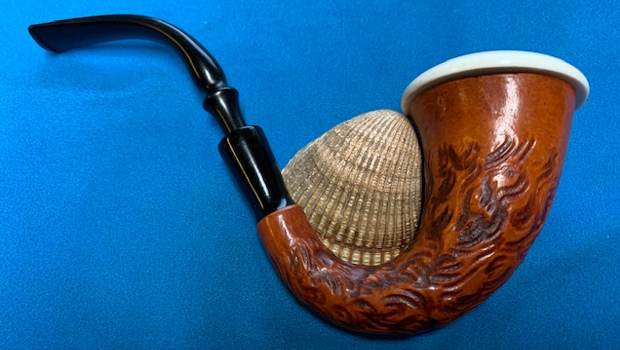
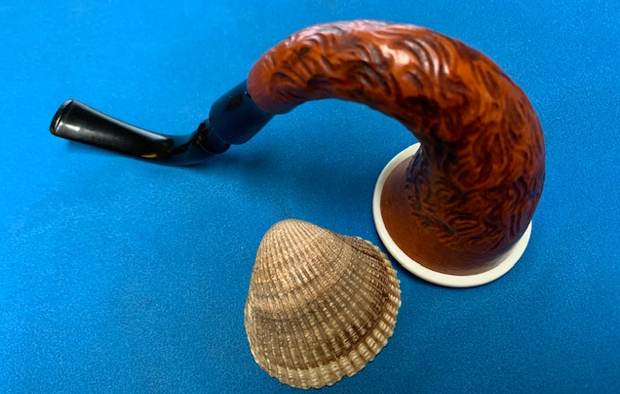
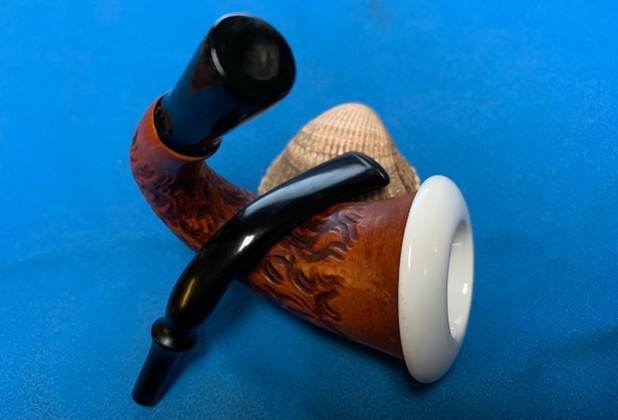
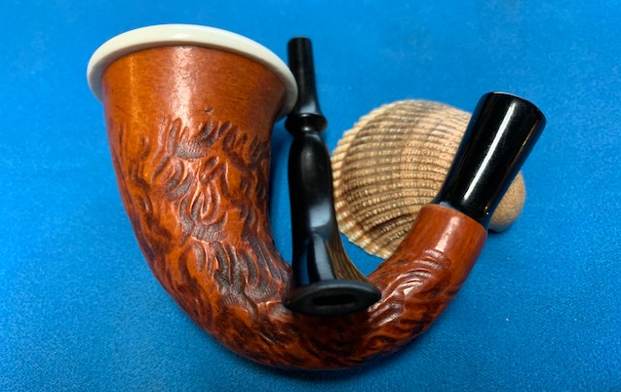
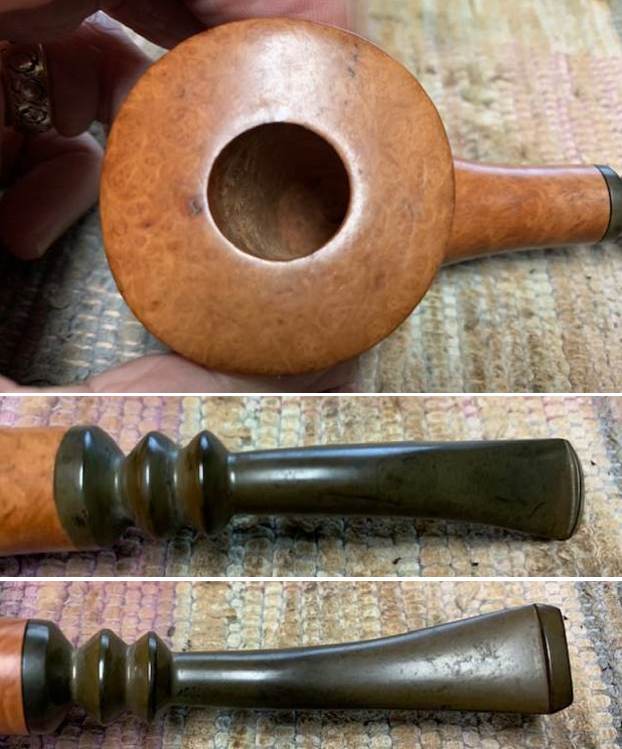
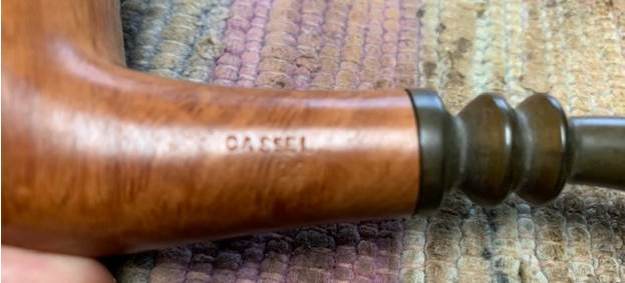
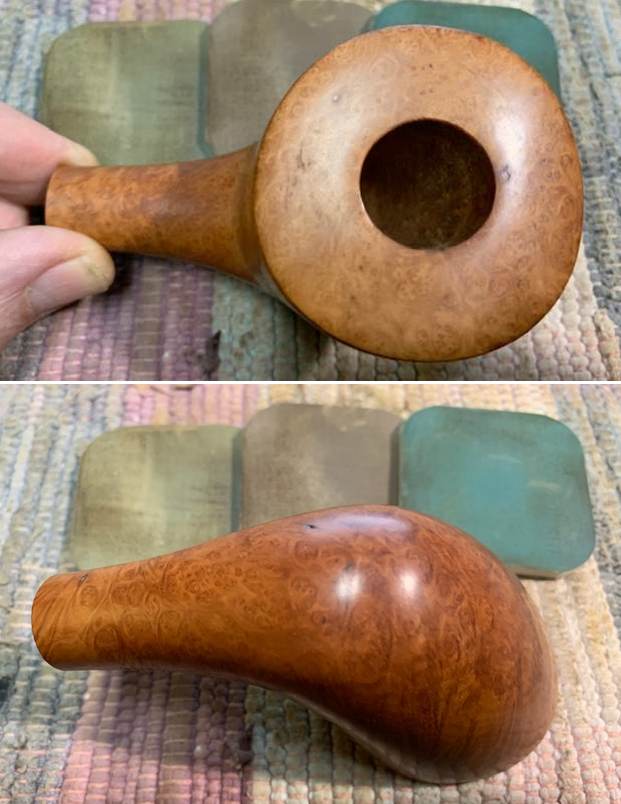
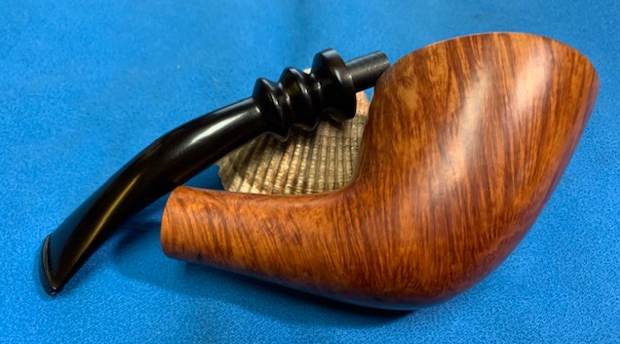
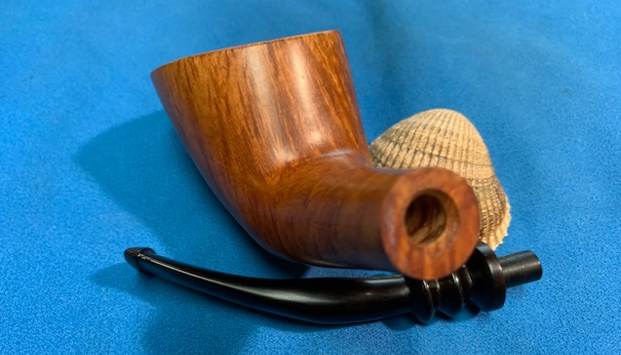
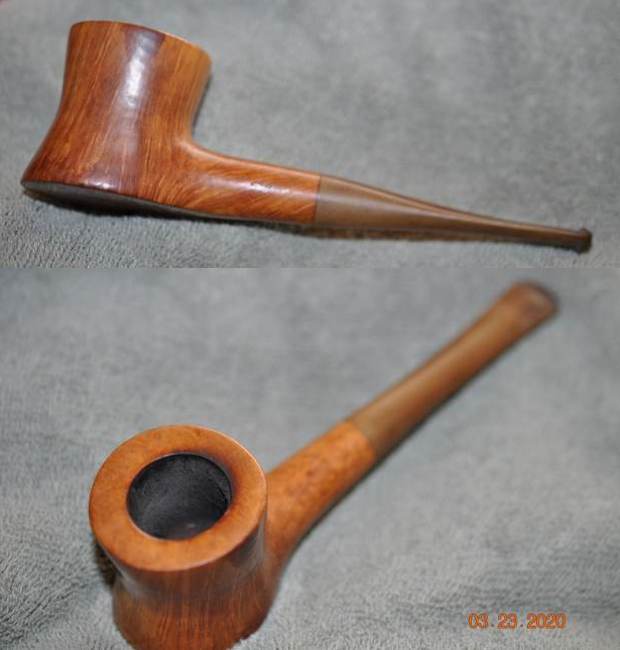
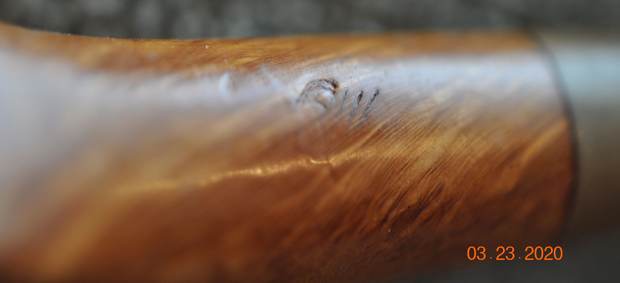
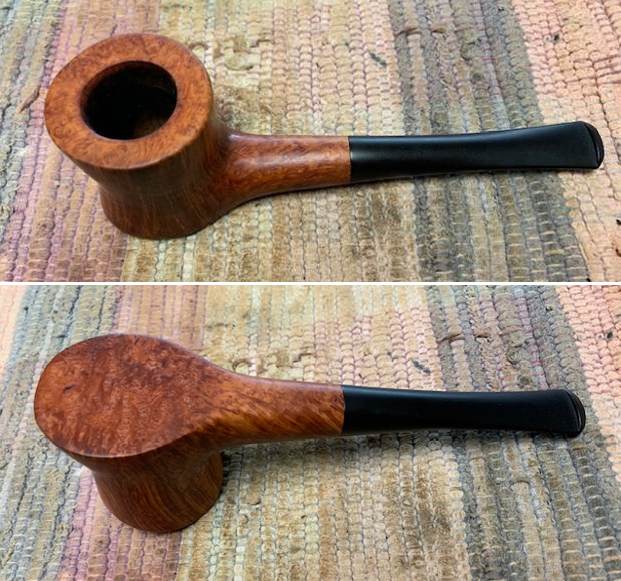
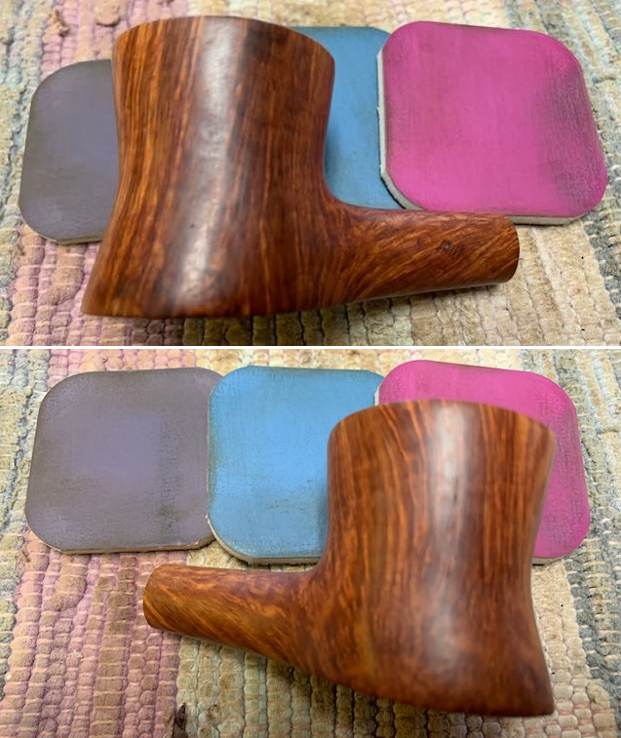
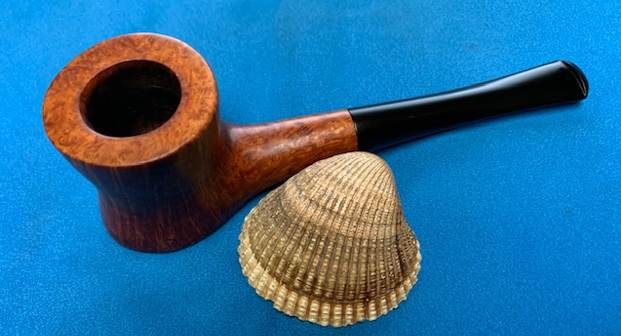
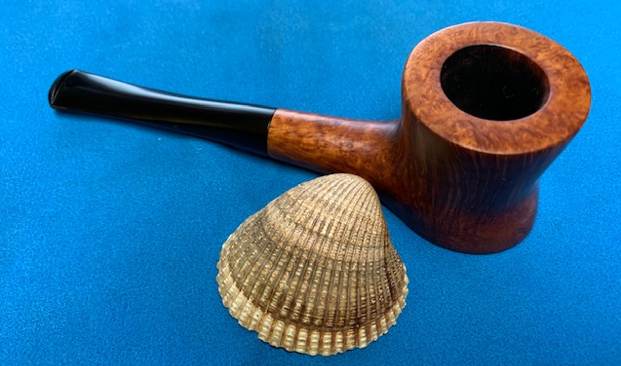
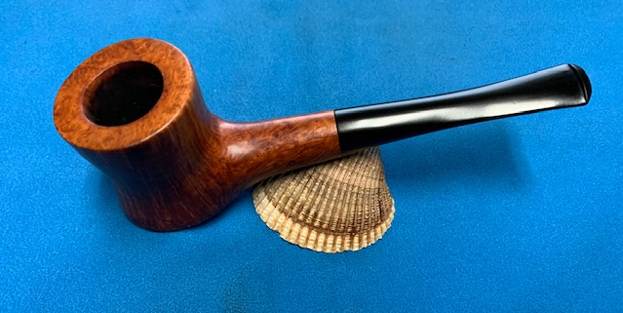
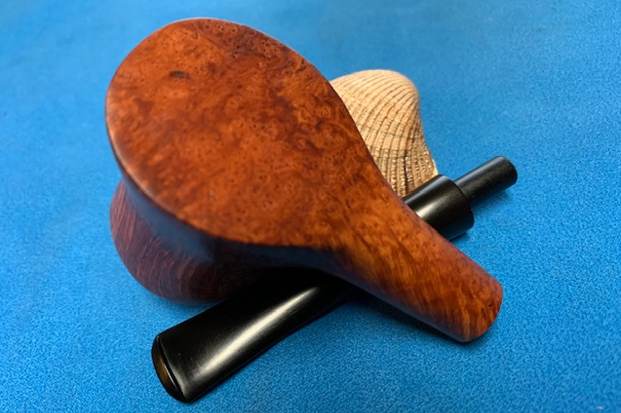
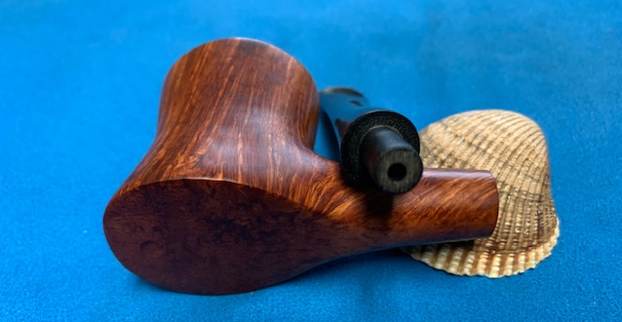
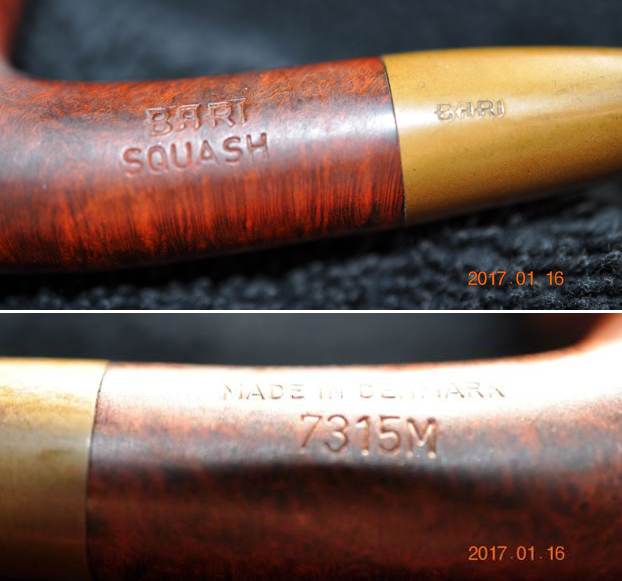
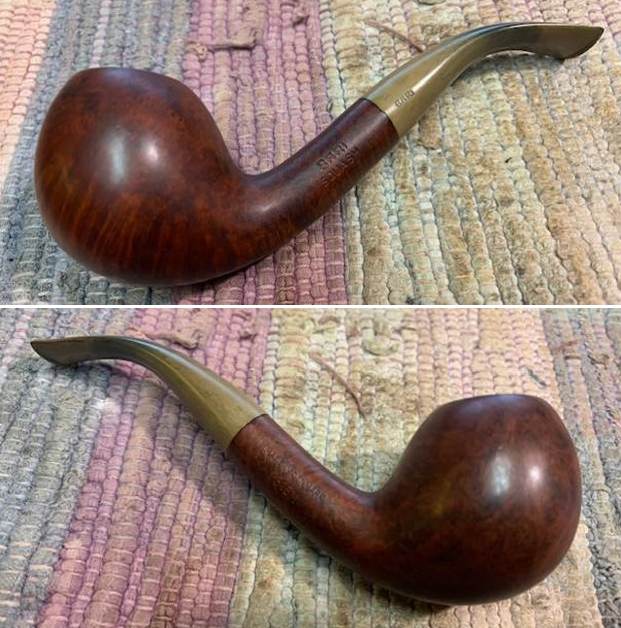
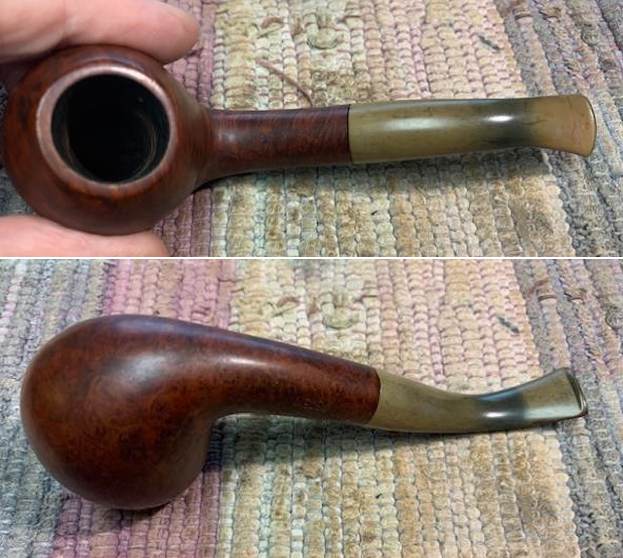
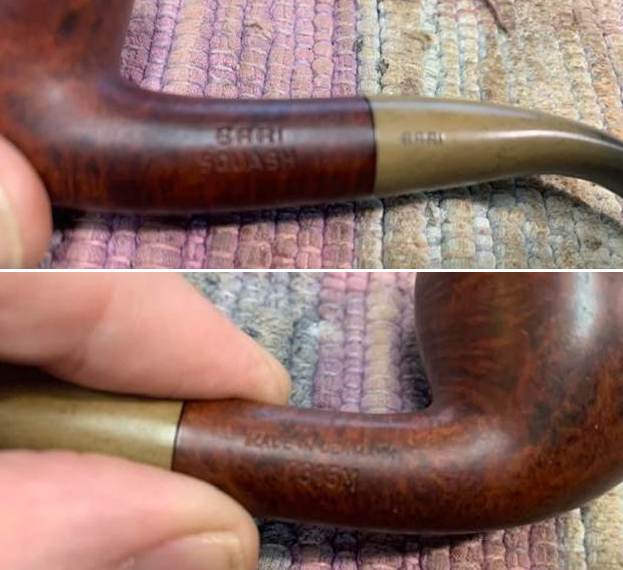
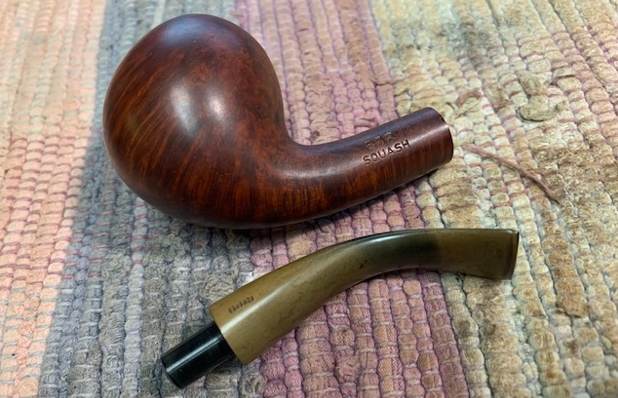
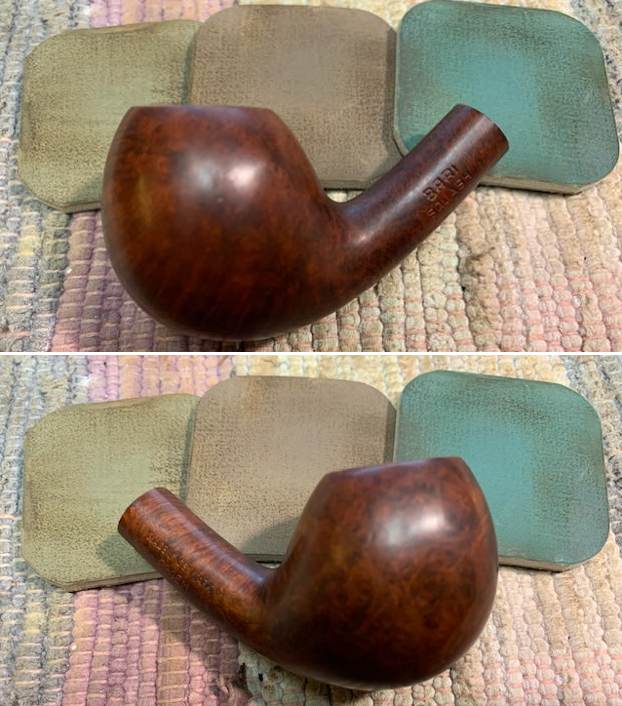
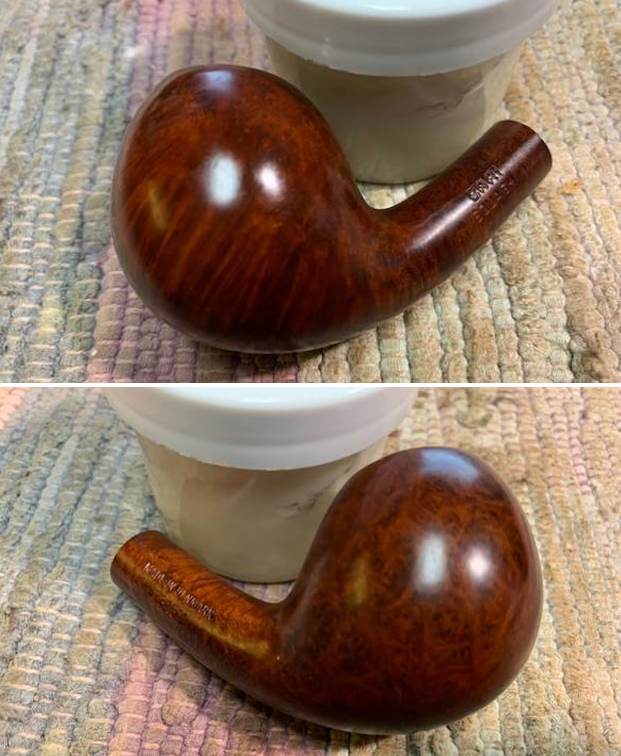
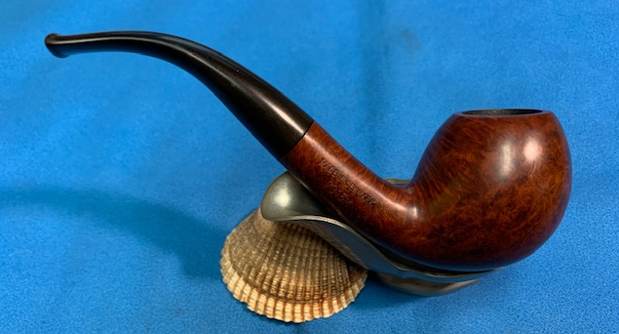
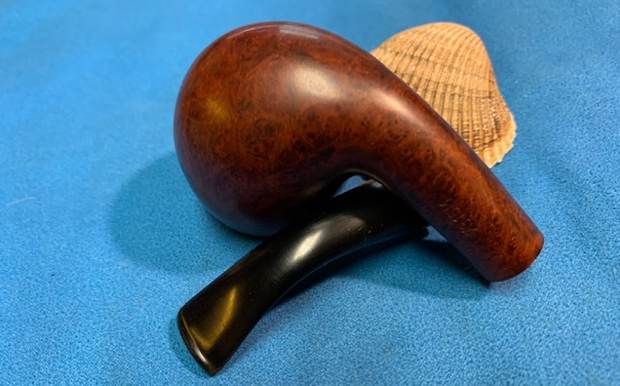
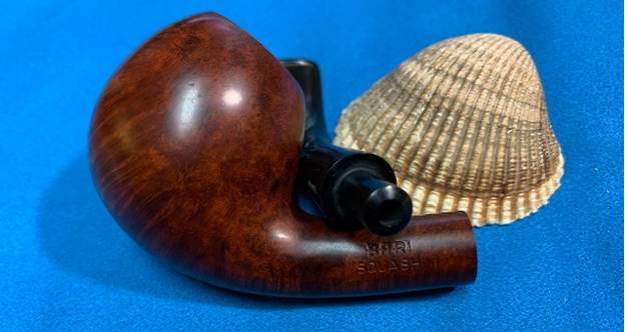
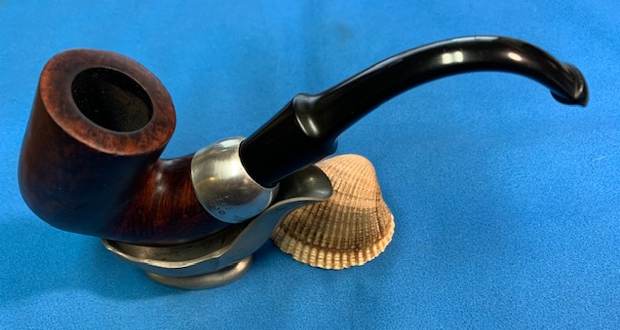
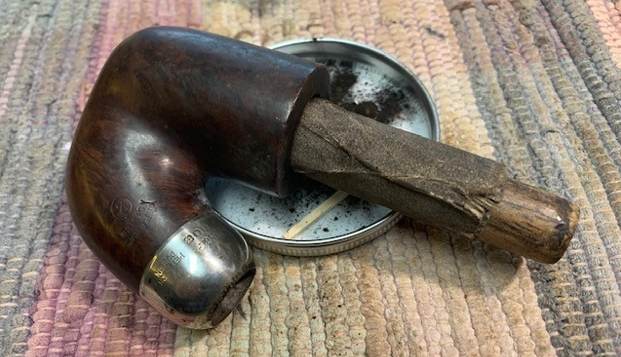
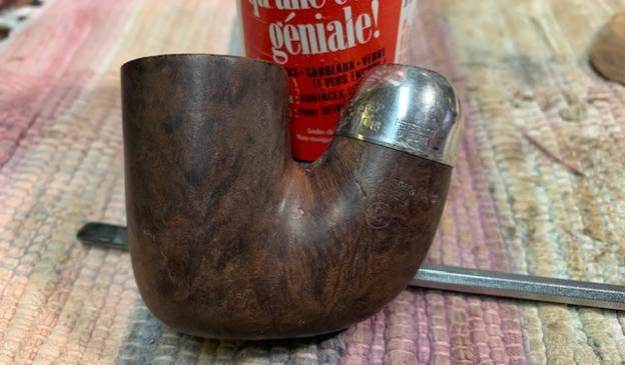
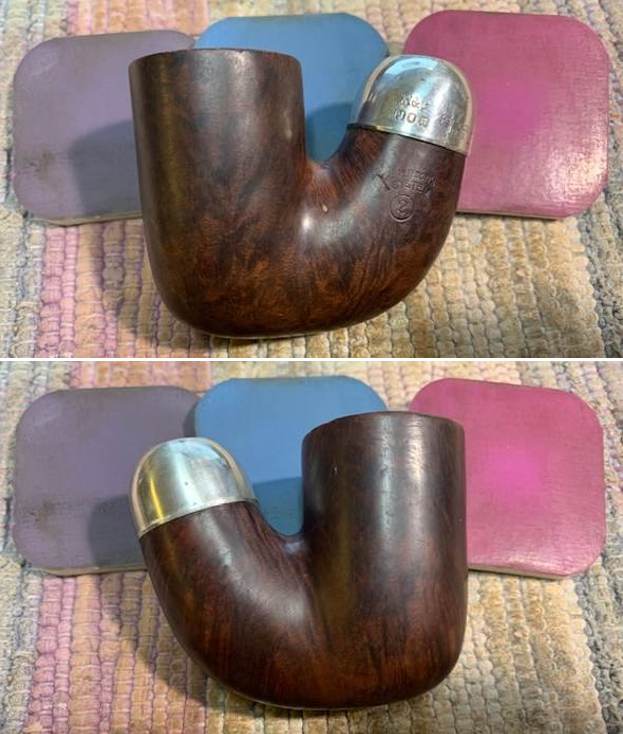
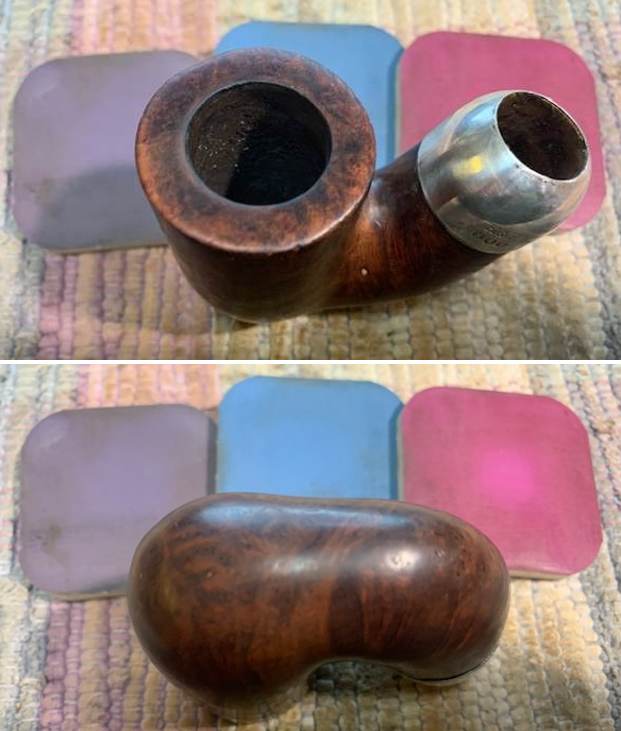
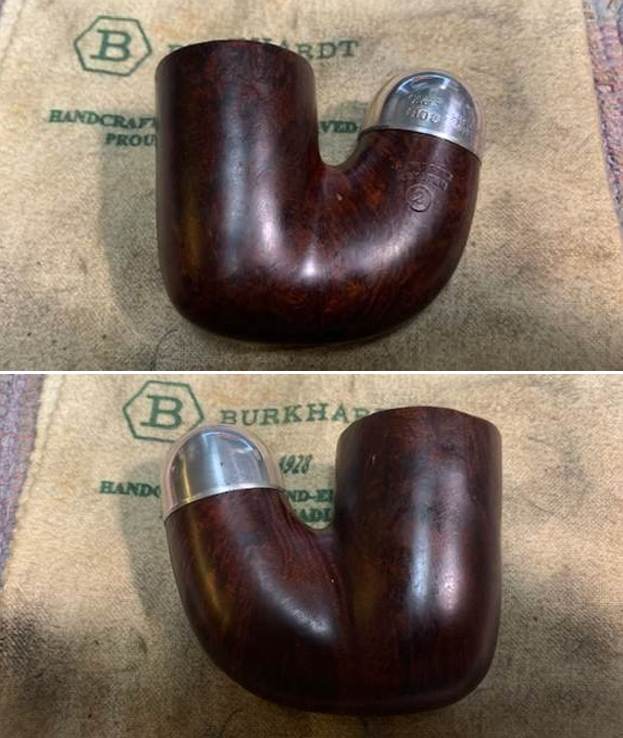
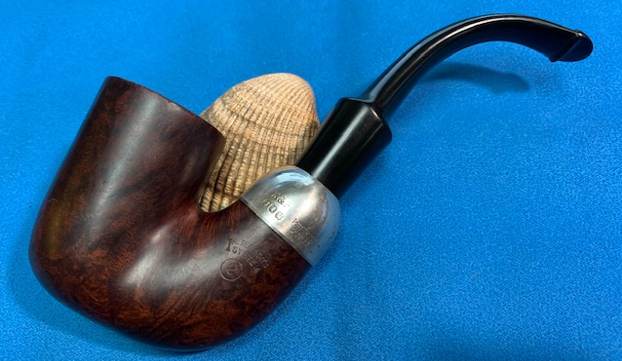
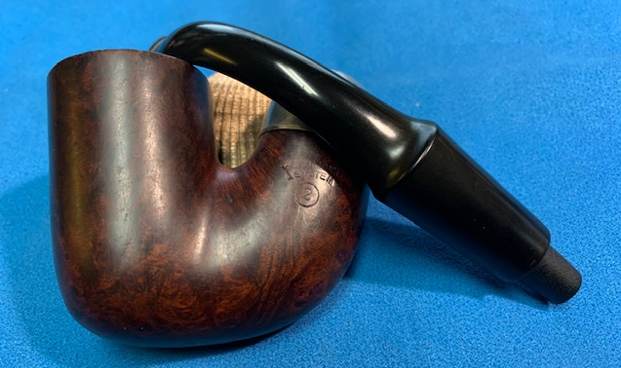
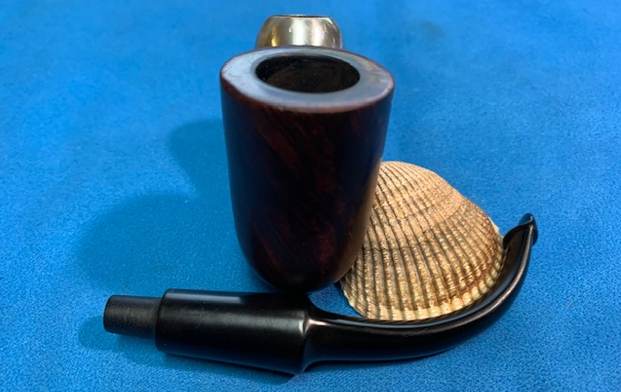
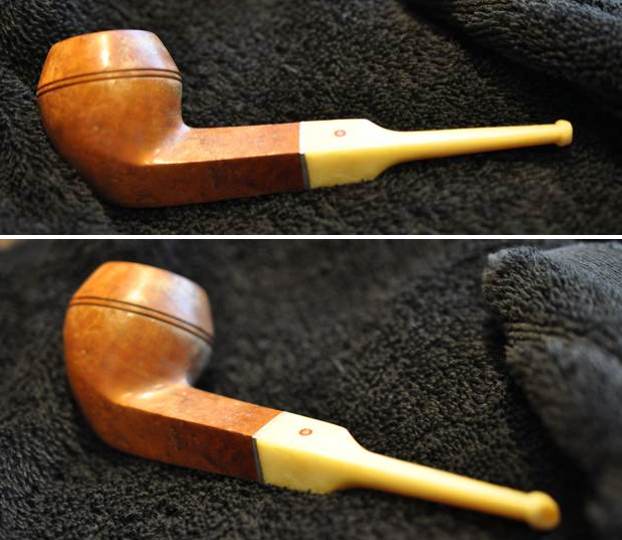
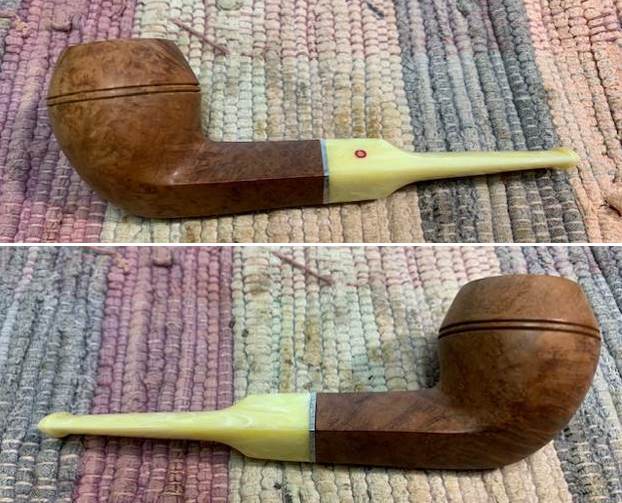
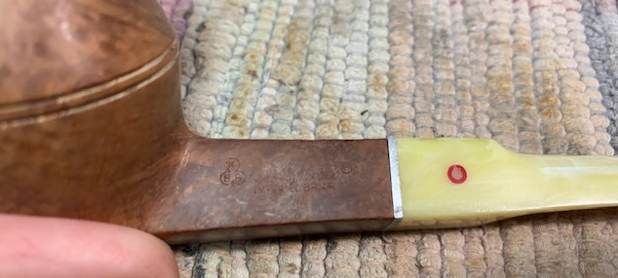
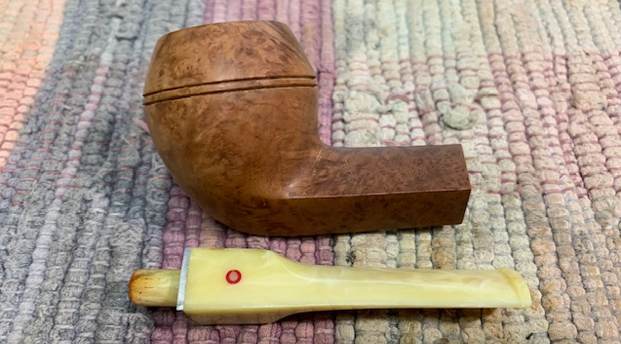
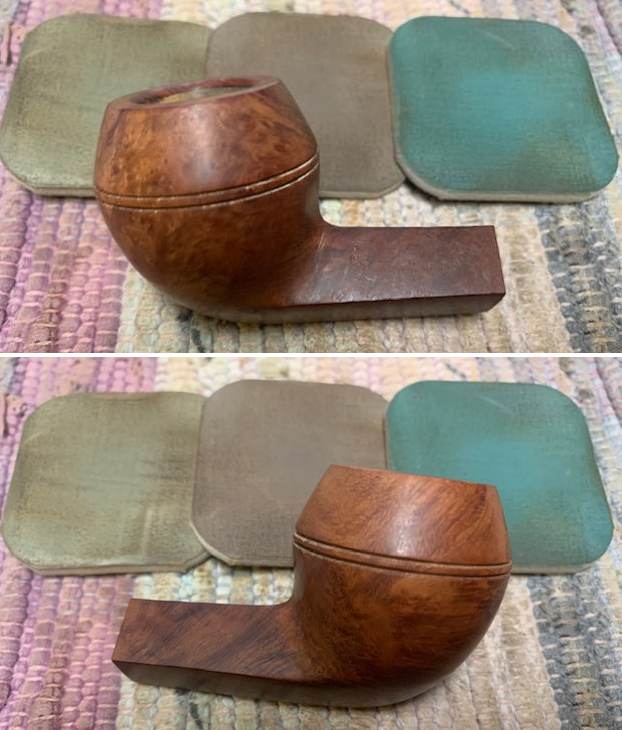
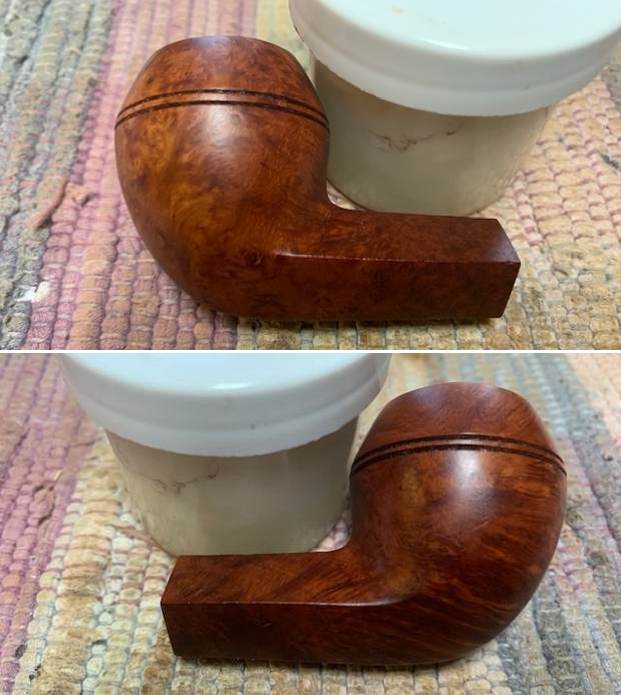
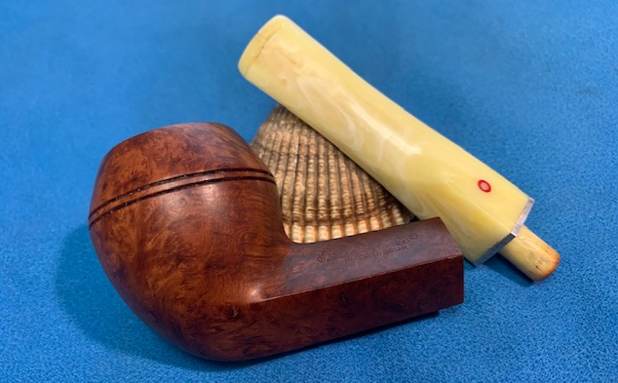
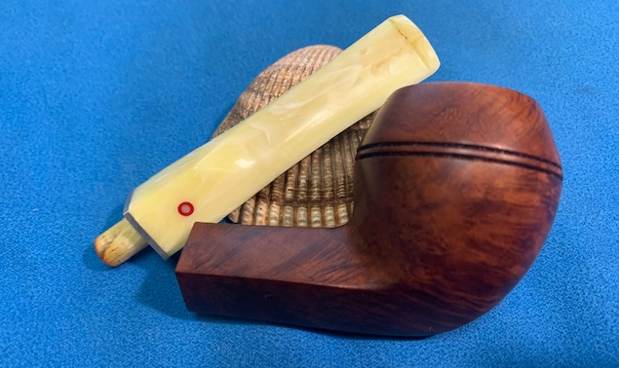
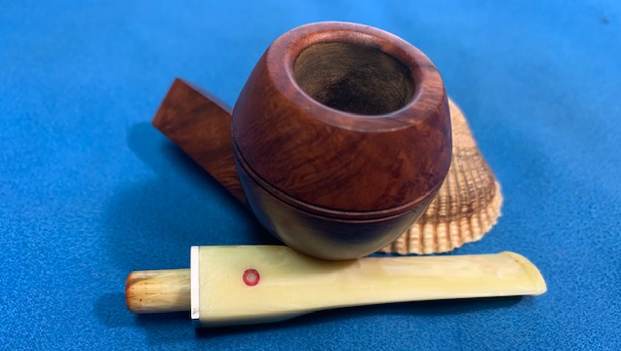
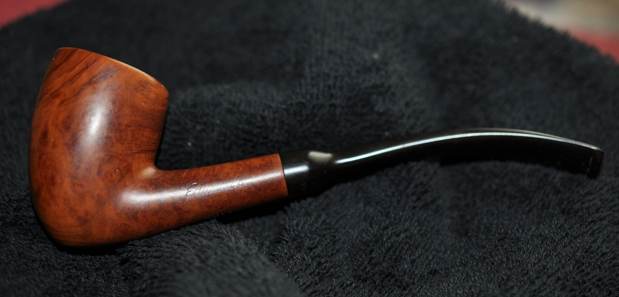
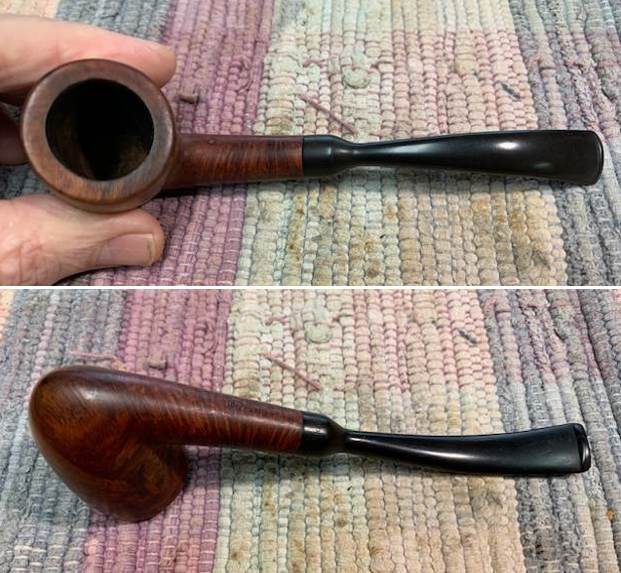
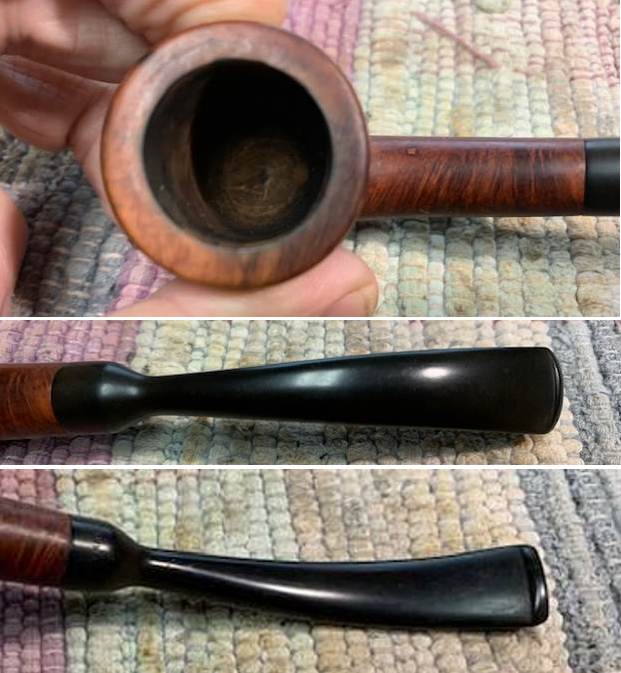
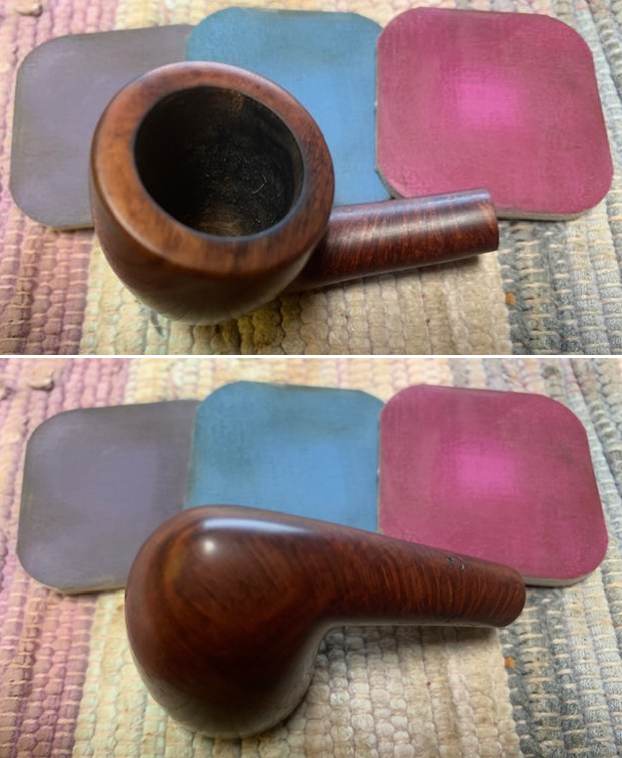
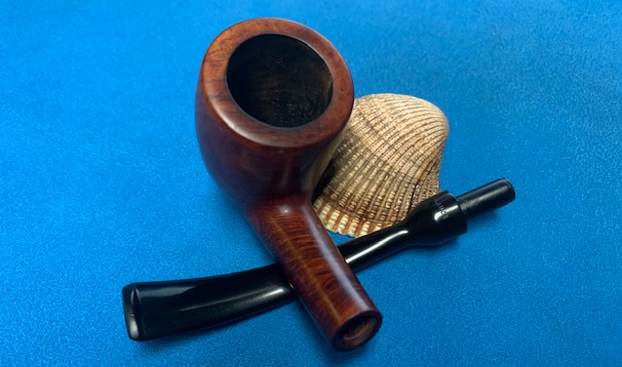
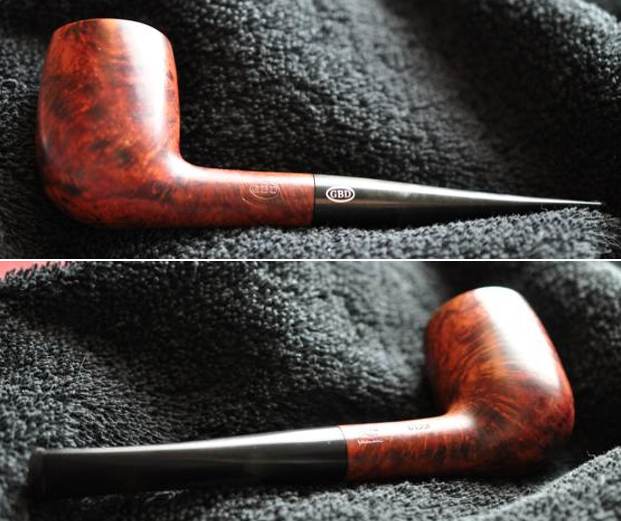
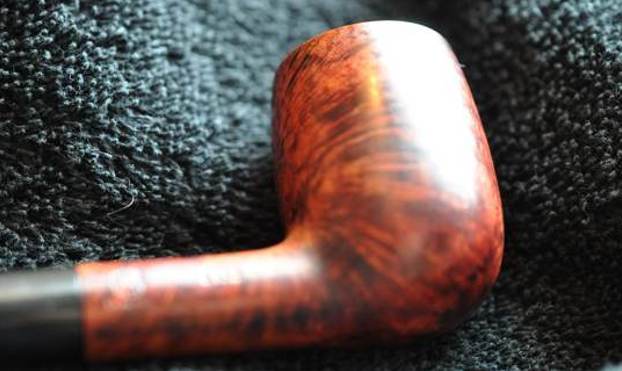
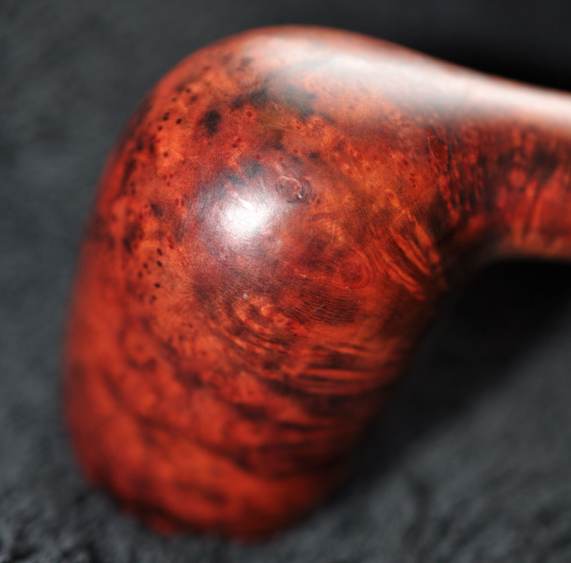
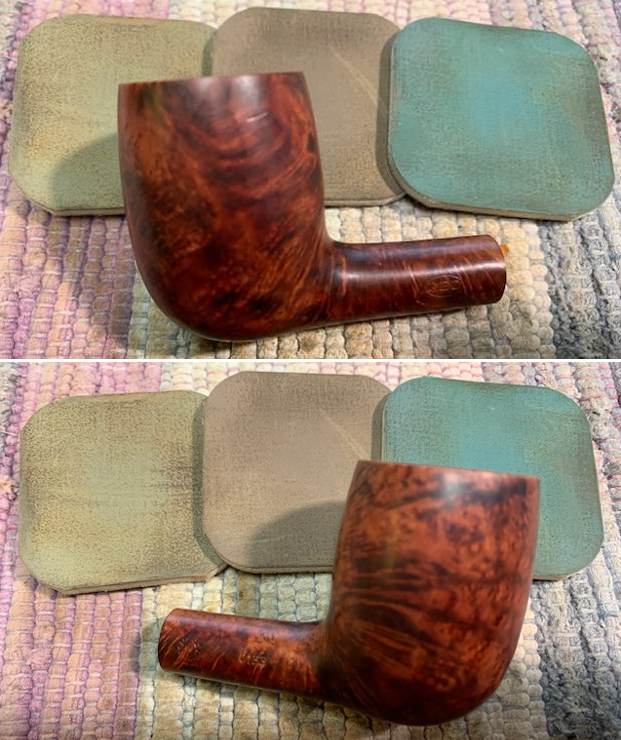
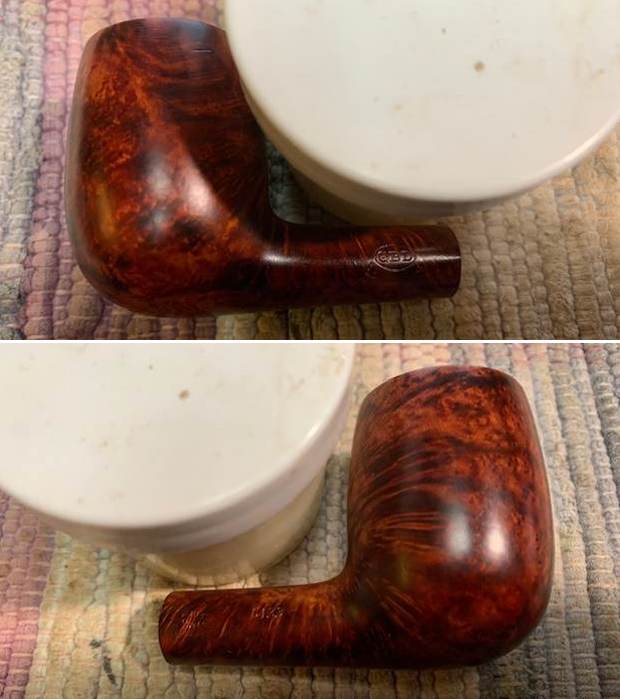
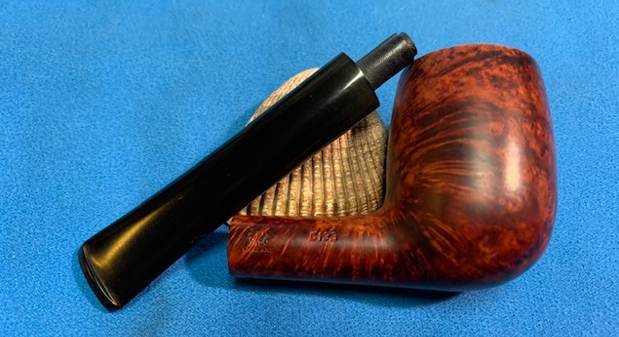
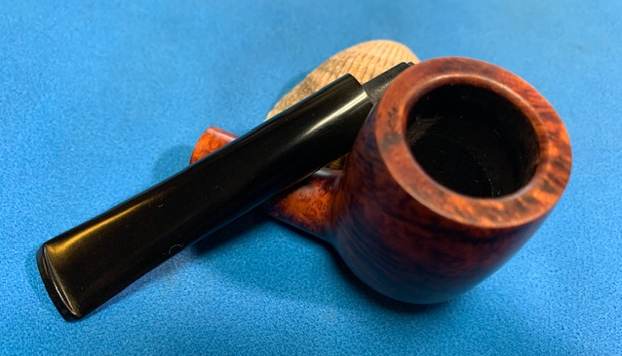
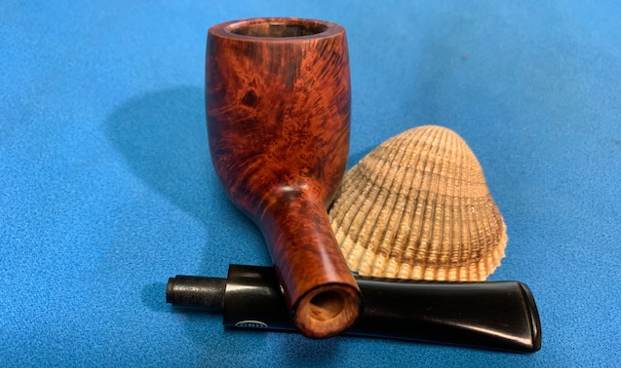
The next pipe on the table to refresh and refurbish is a smaller sized Gourd Calabash. It has the stem and shank extension that make it look like it was made by Pioneer but there is no way of knowing as it is unstamped. It is UNSMOKED/NOS but dirty and tired looking from sitting around for a long time. The gourd is etched around the sides with wavy almost hair like carving. The shank extension appears to be acrylic. The bowl is clean other than dust and some marking on the inside of the cup and on the bottom unglazed portion from storage. It is unsmoked and the inside of the Gourd is very clean. The cup in the Gourd is no meerschaum and to me looks and feels like it is porcelain. There is some thought that these bowls were composite but this one has the feel of porcelain. The fancy turned stem is oxidized and has some scratches on the surface from all the traveling it has done. I took photos of the pipe before I started my refurbishing work.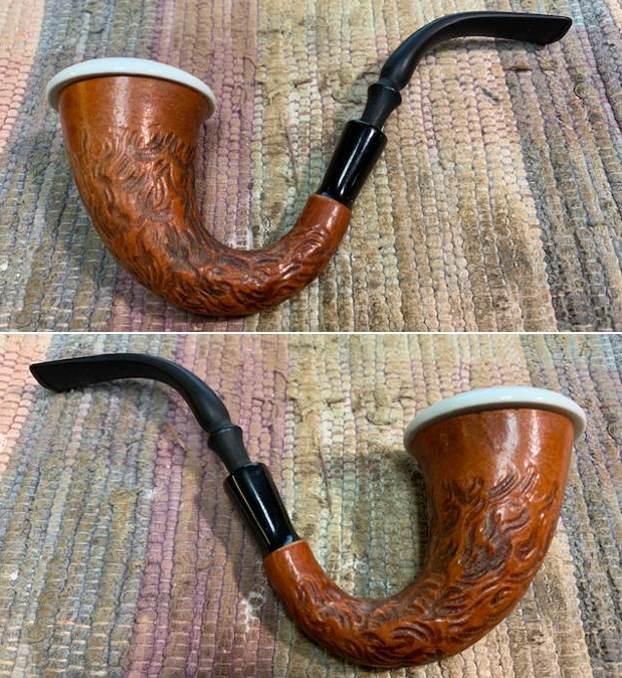
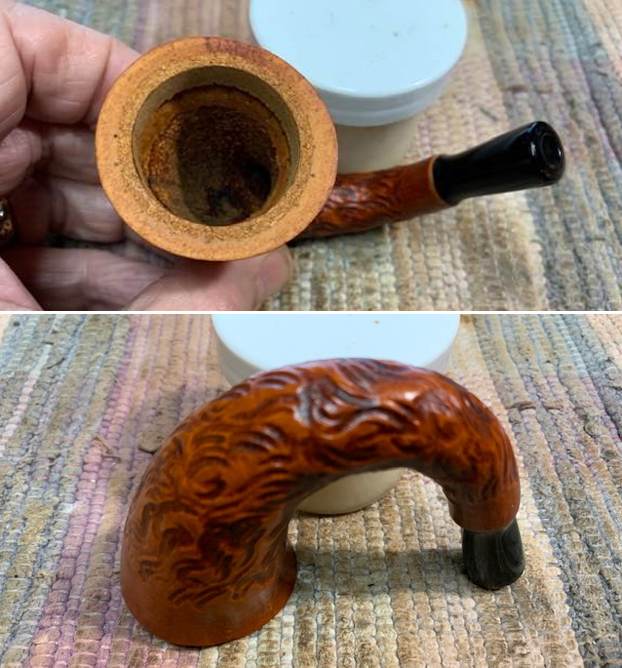
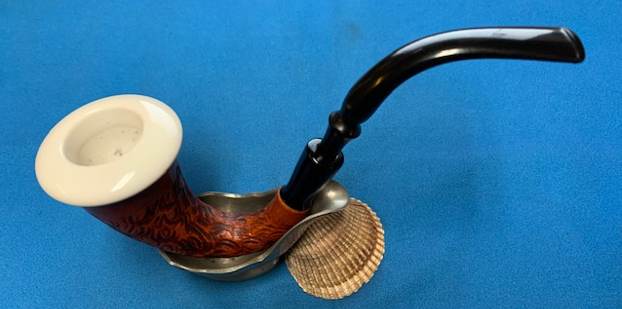
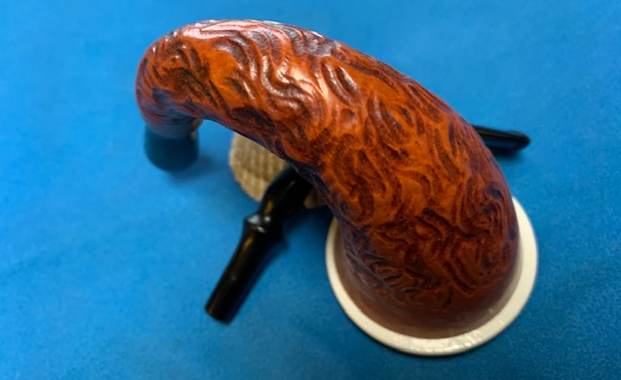
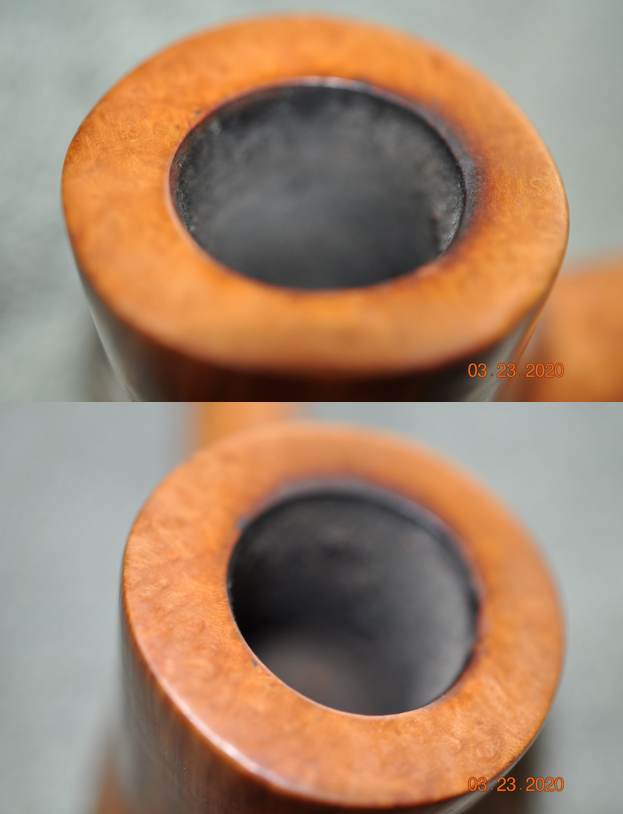
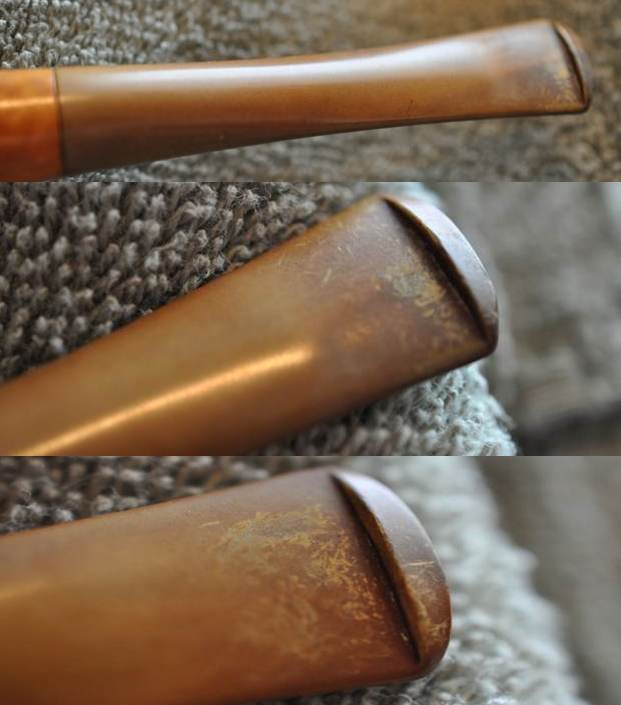
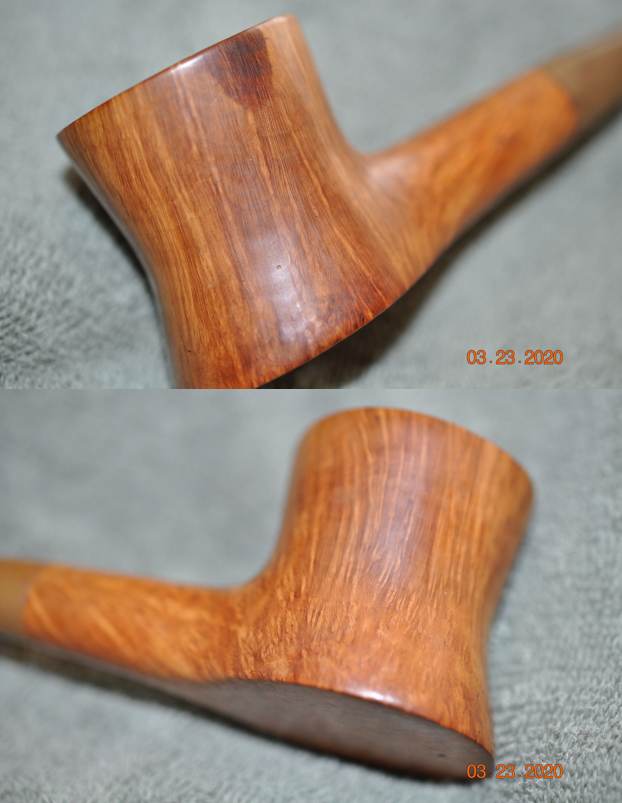
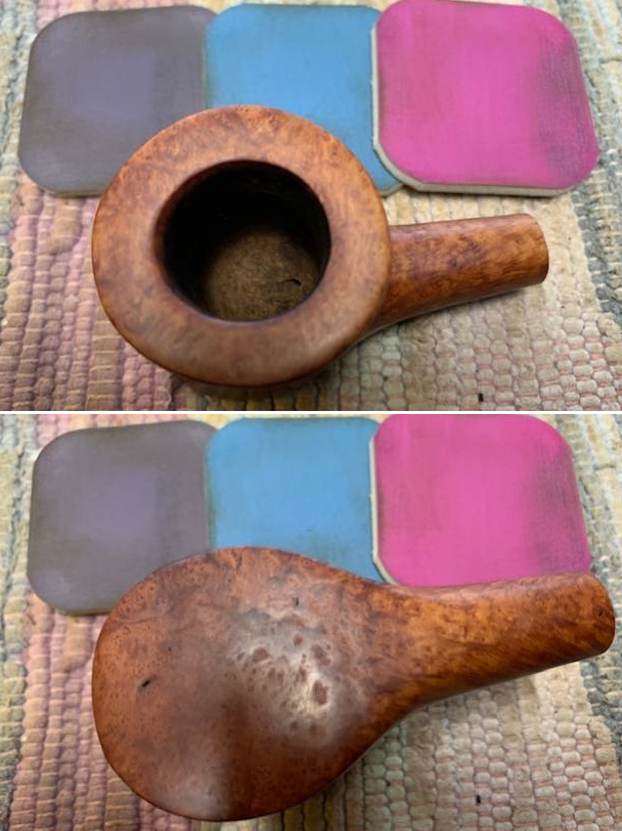
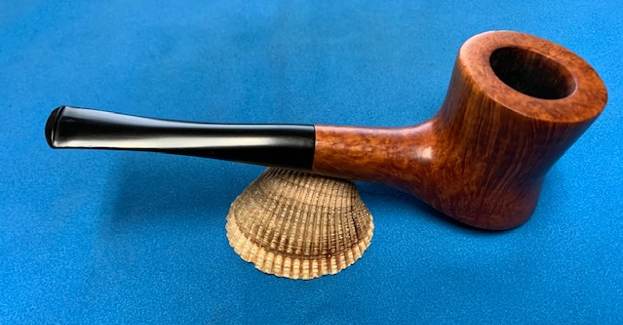
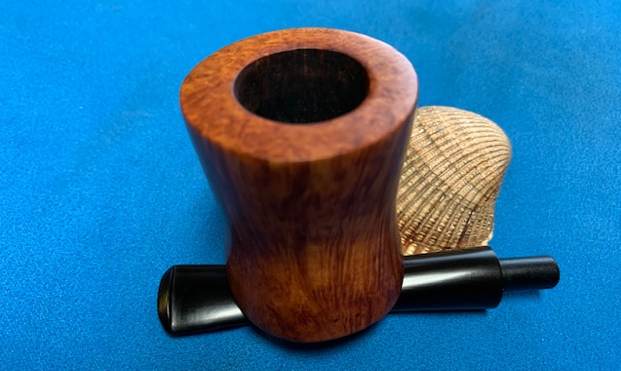
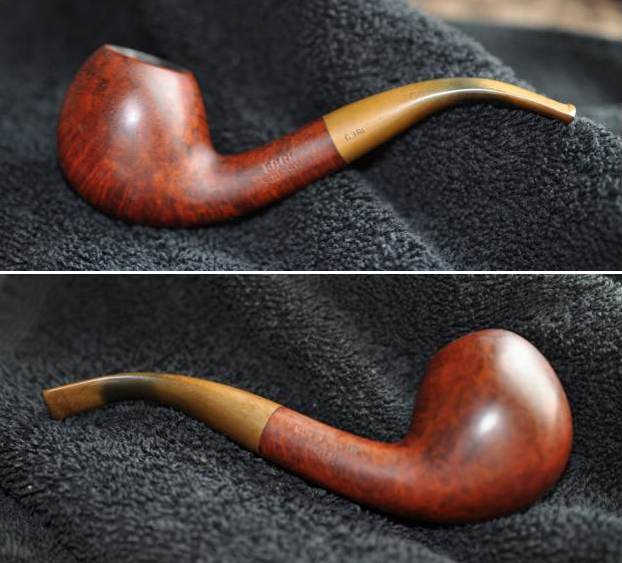
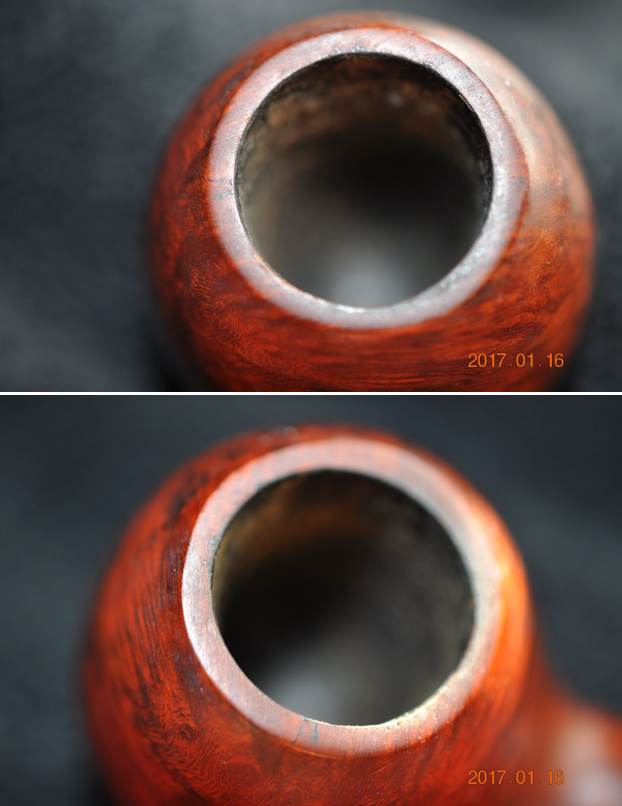
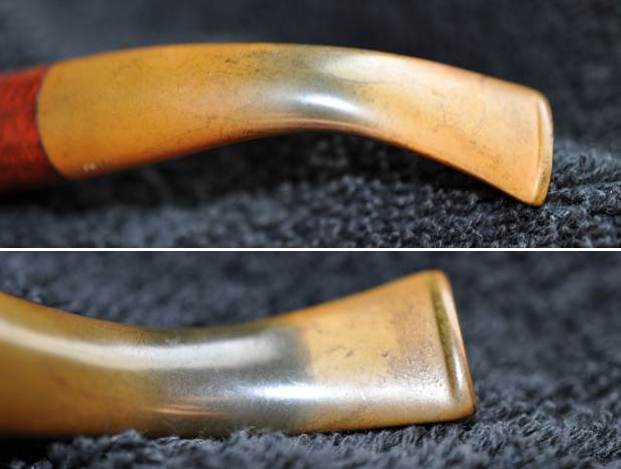
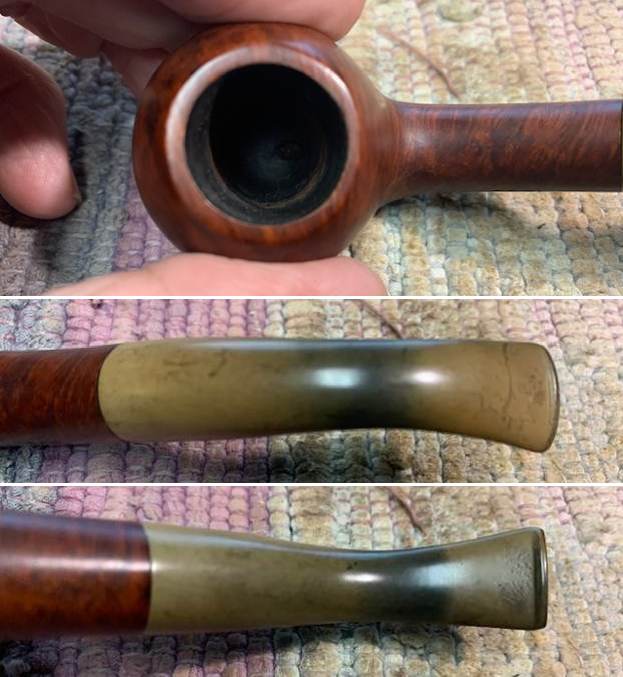
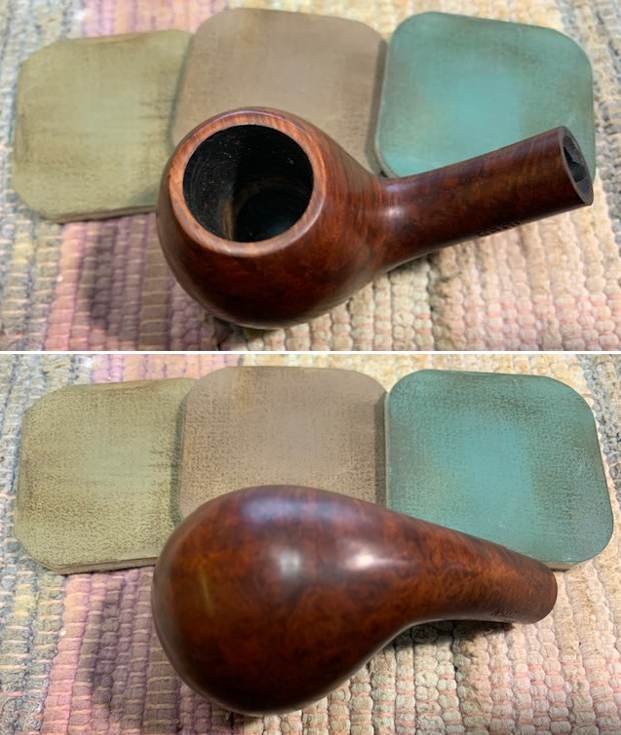
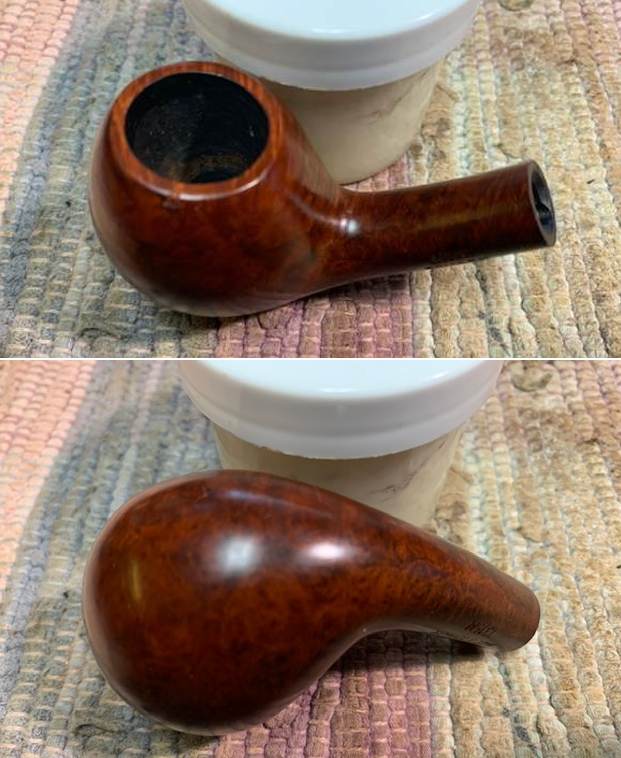
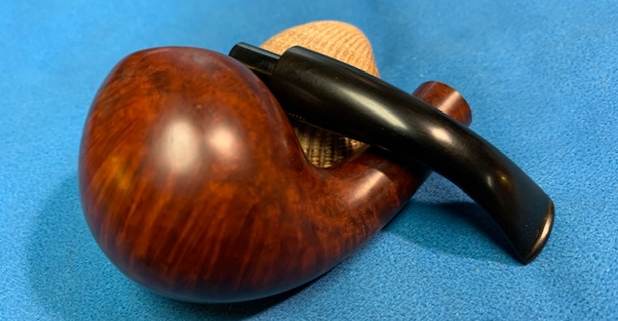
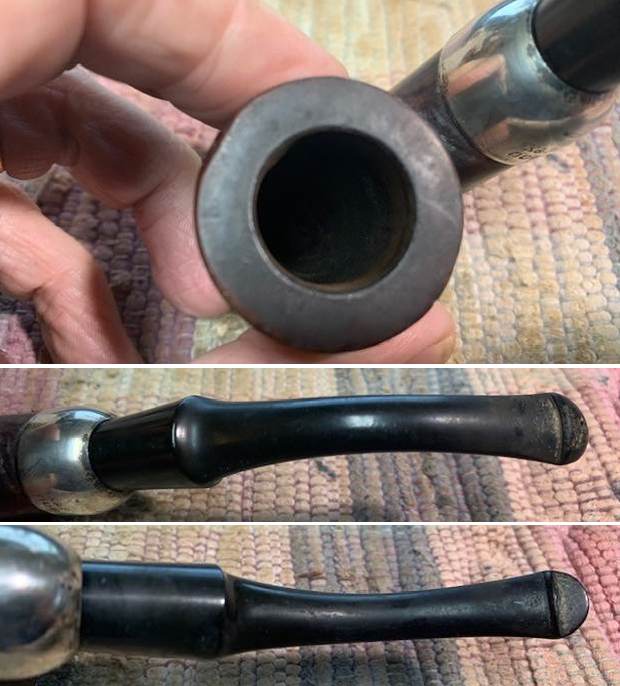
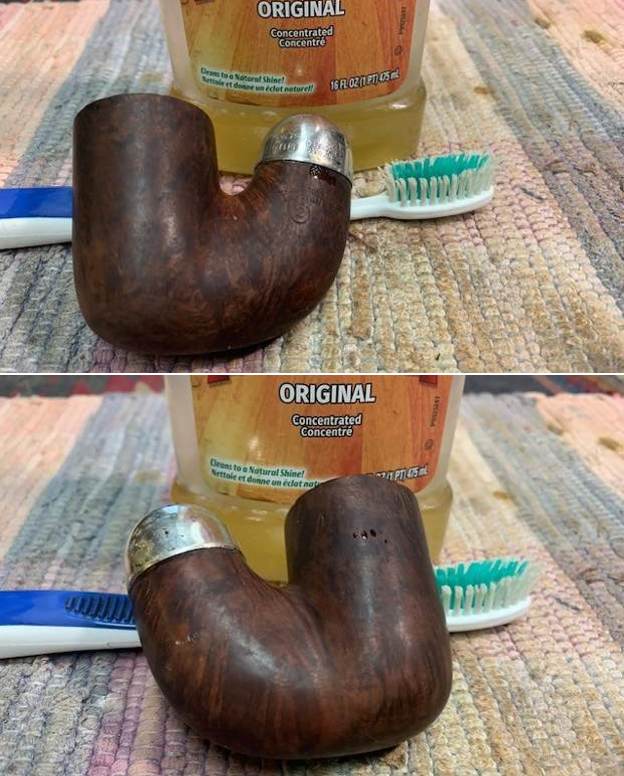
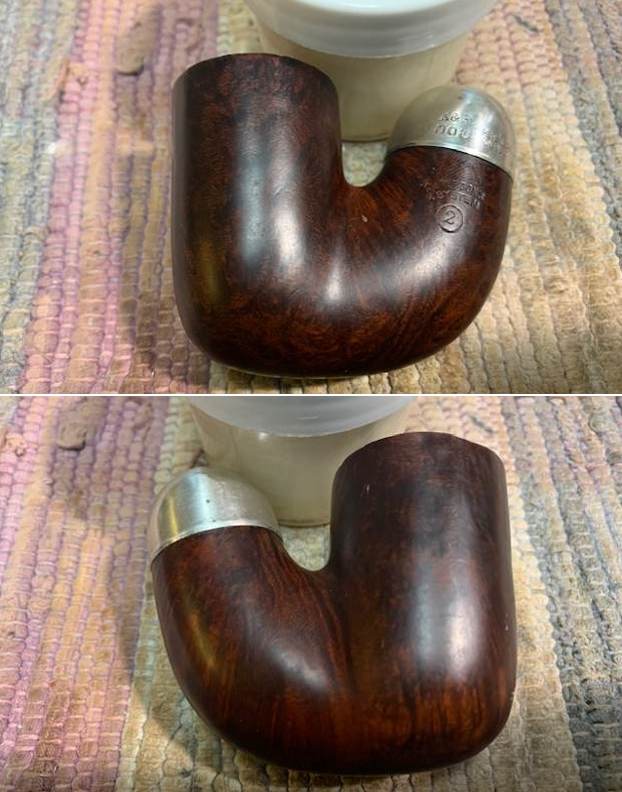
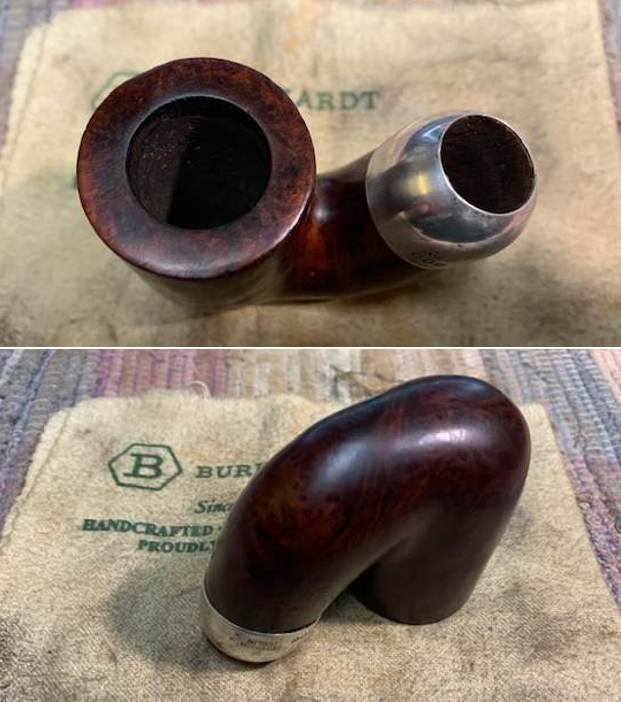
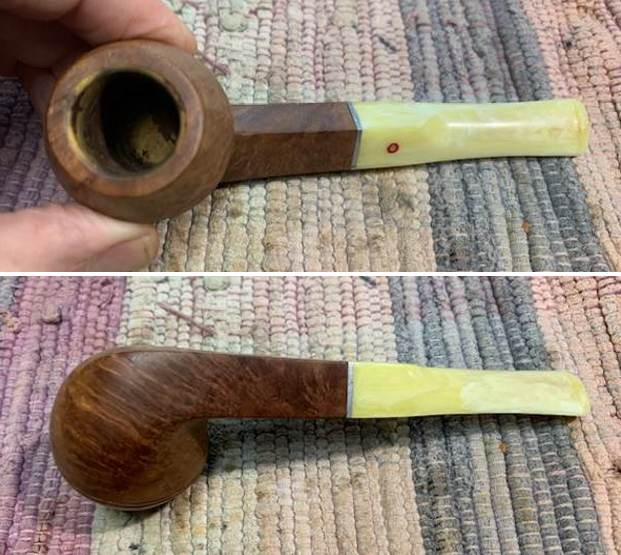
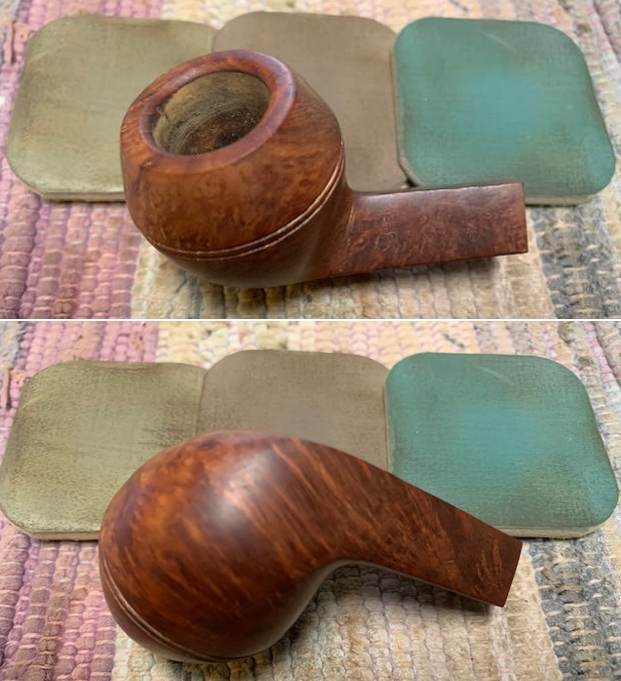
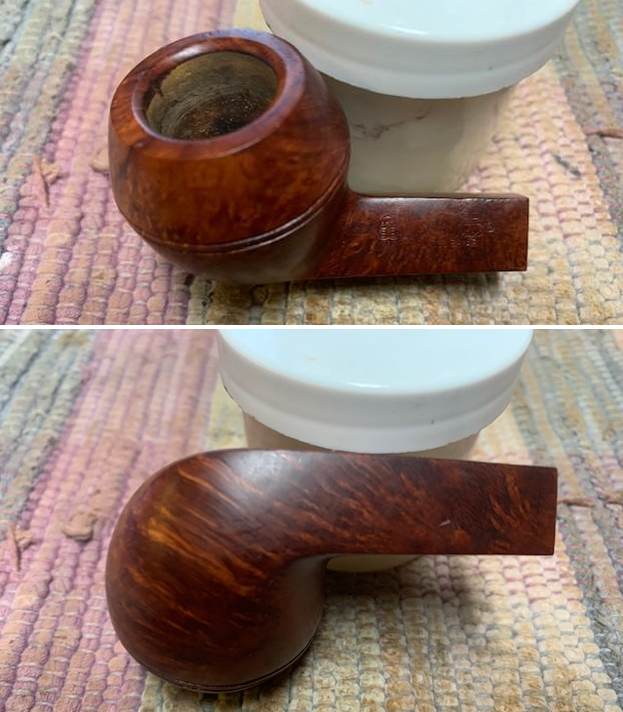
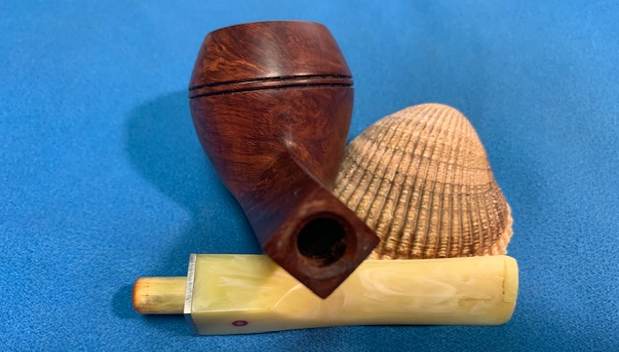
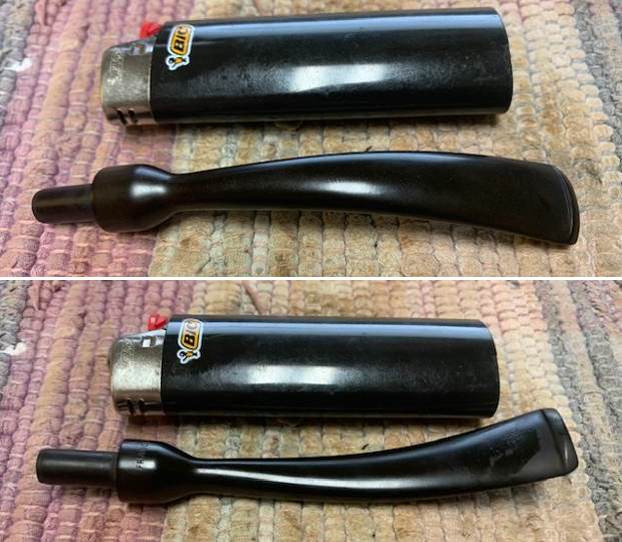
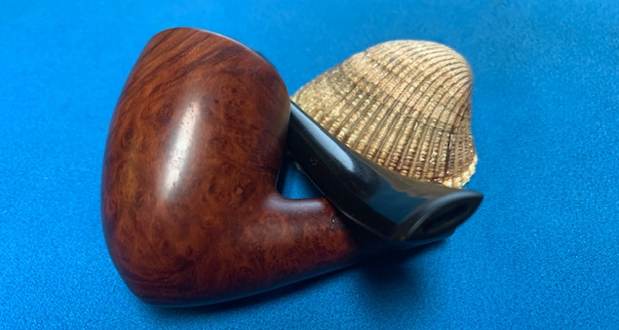
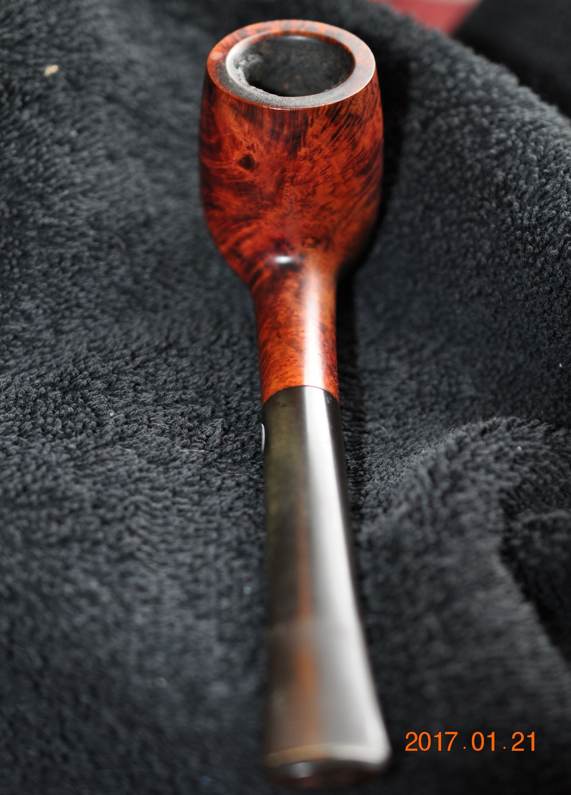
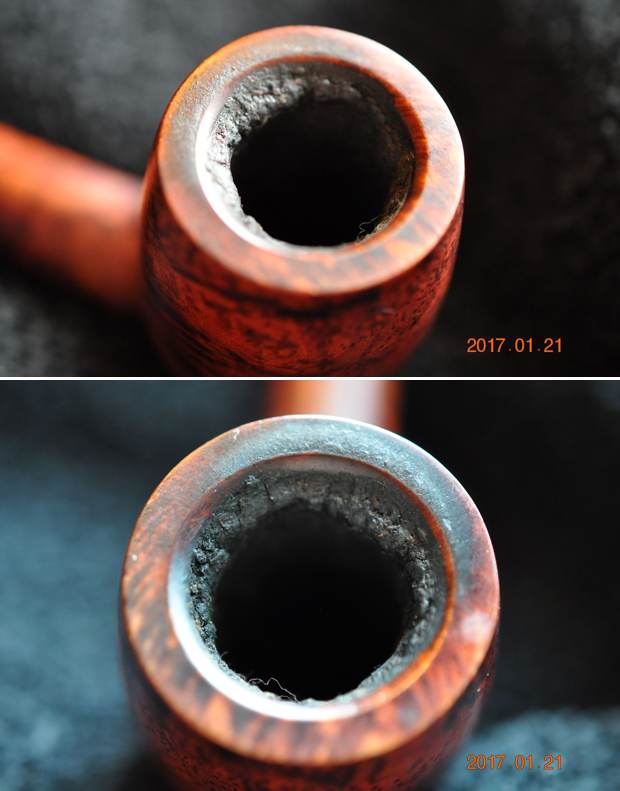
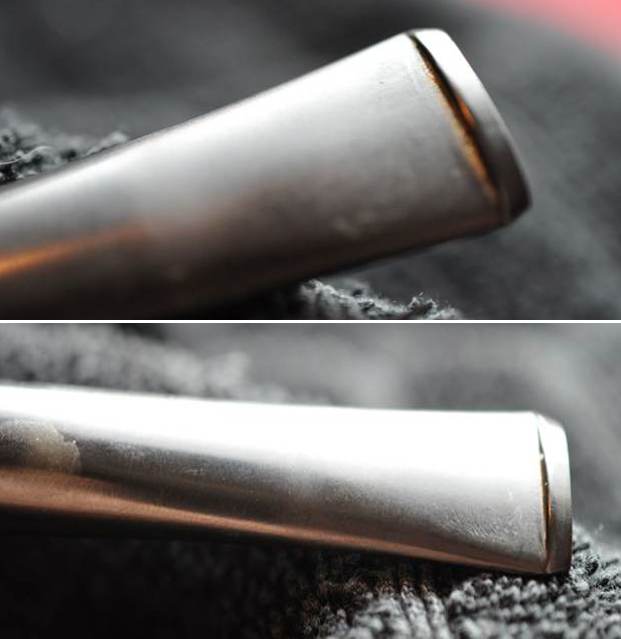
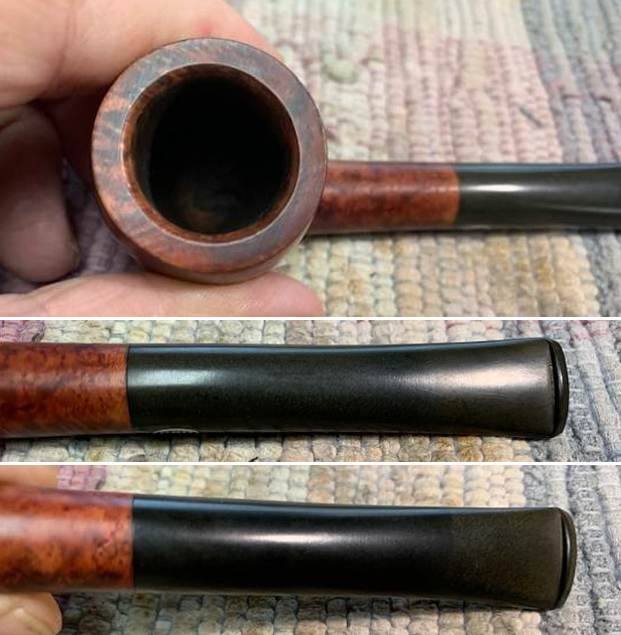
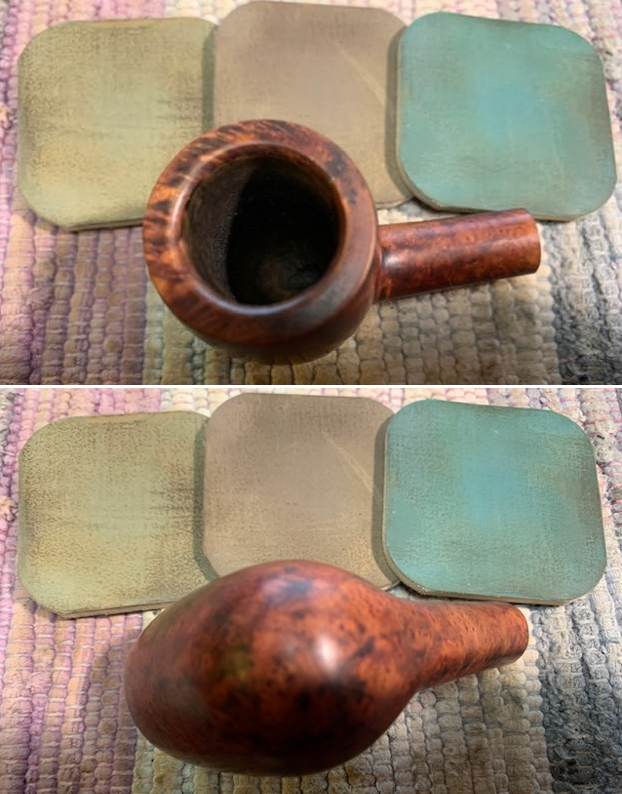
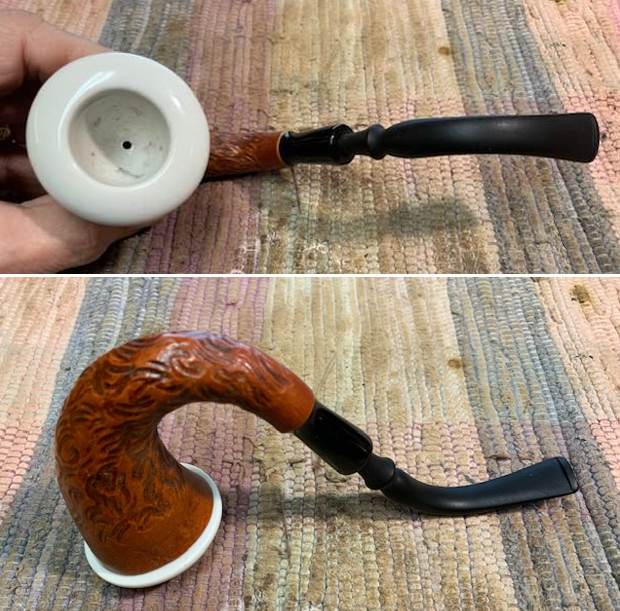 I took some photos of the rim top and bowl. You can see the scuffs in the bottom portion of the bowl but it is clean just marred. The edges and cap on the bowl look very good. The glaze is intact and there is no damage. The stem photos show the oxidation in the vulcanite and is coarse to the touch. It will need to be polished and buffed.
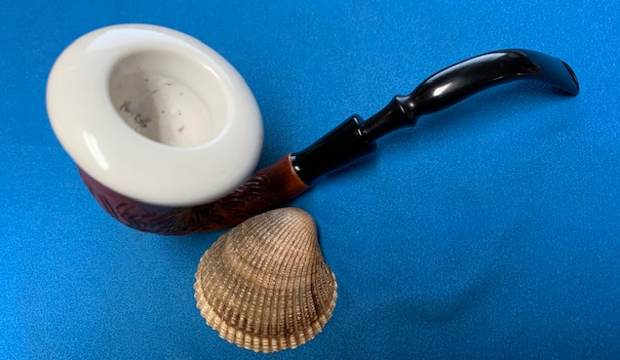
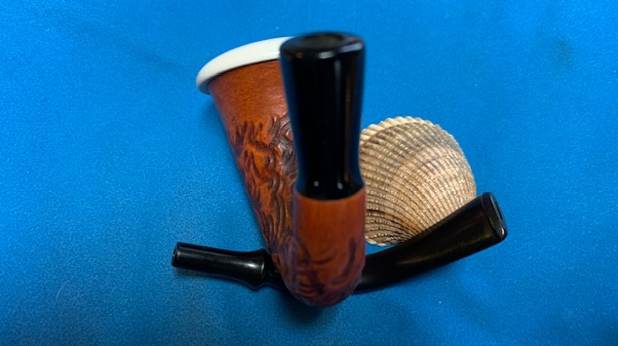
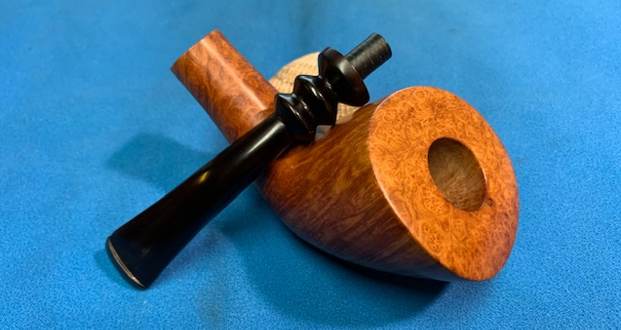
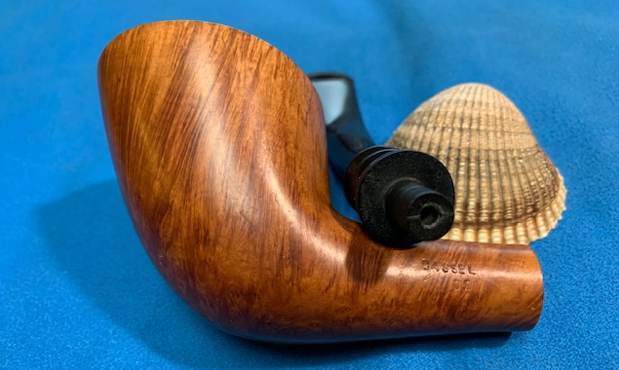
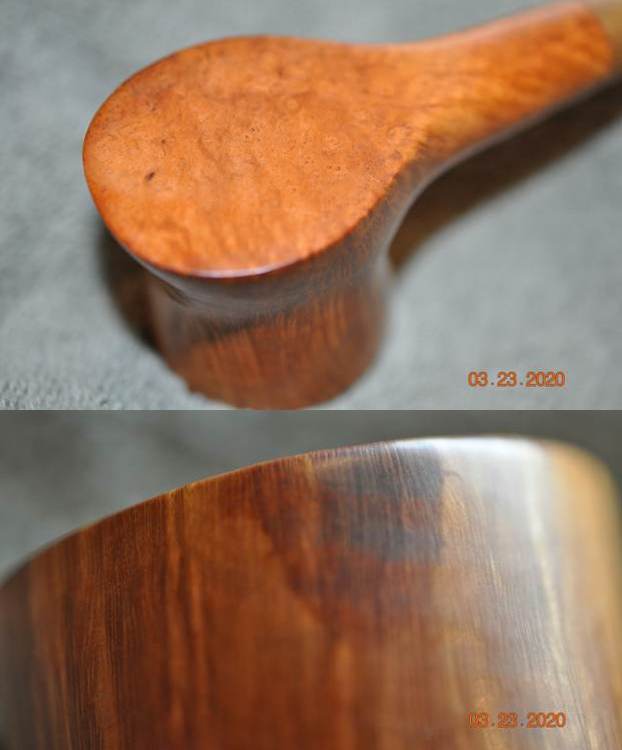
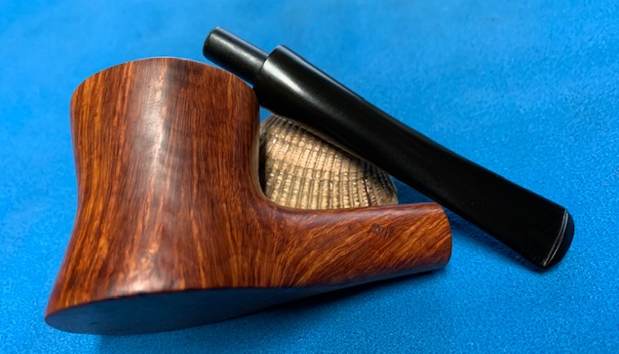
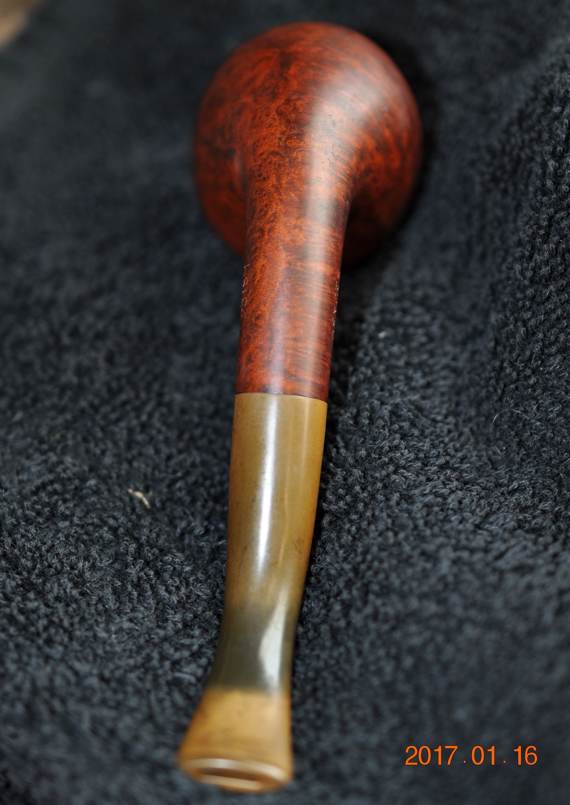
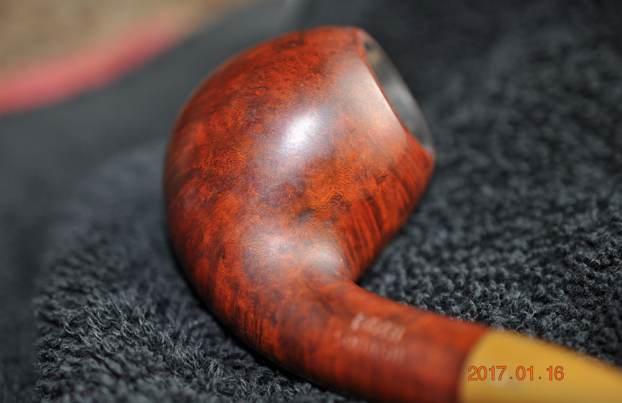
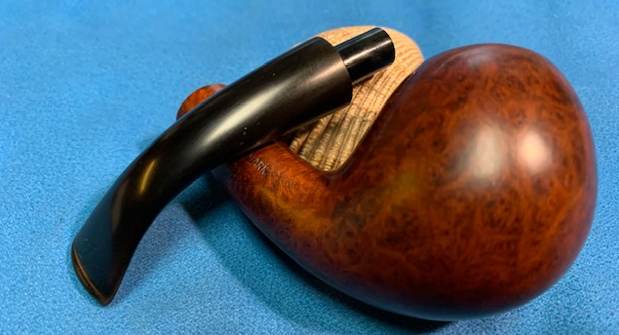
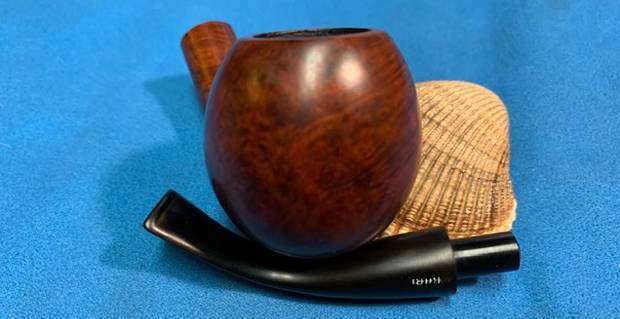
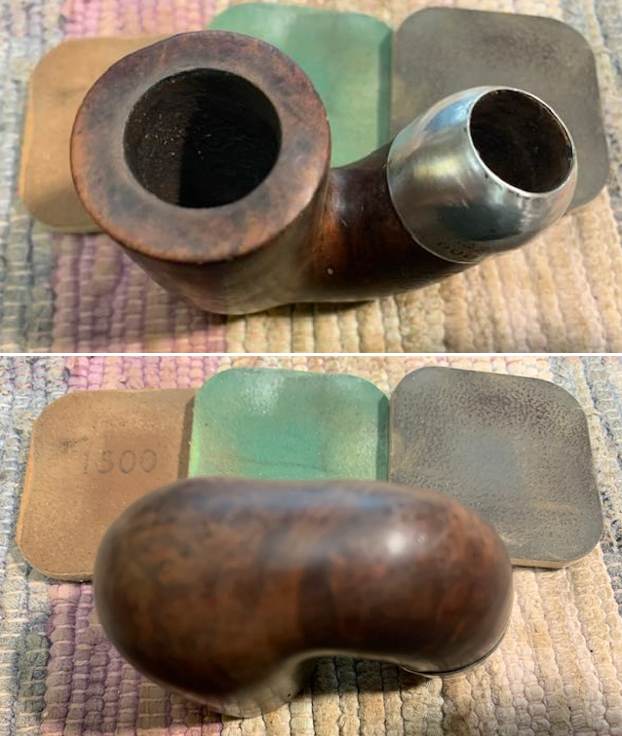
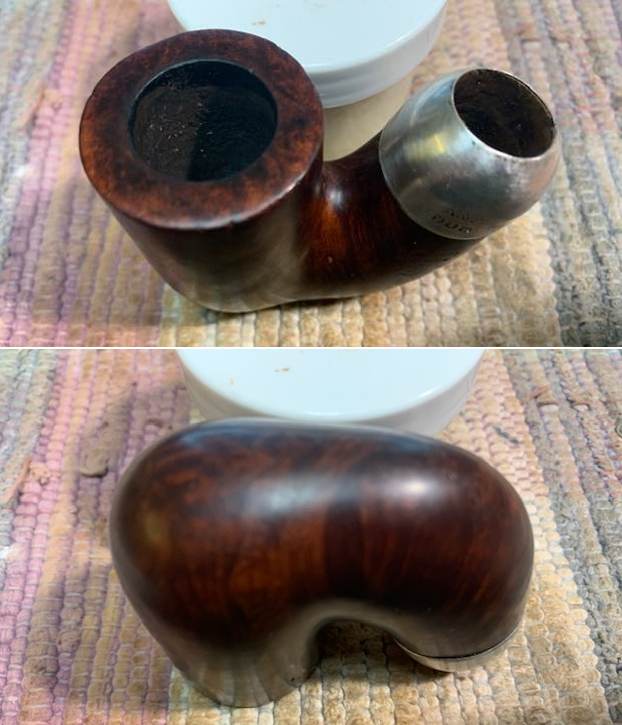
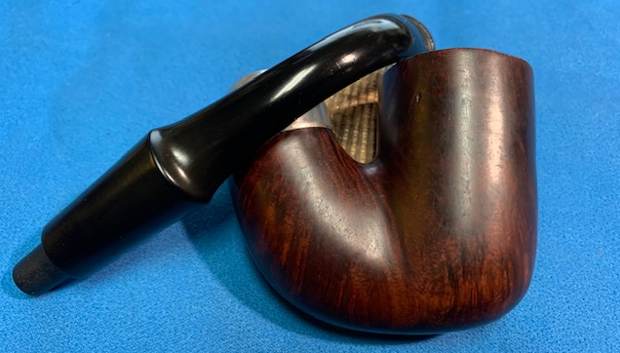
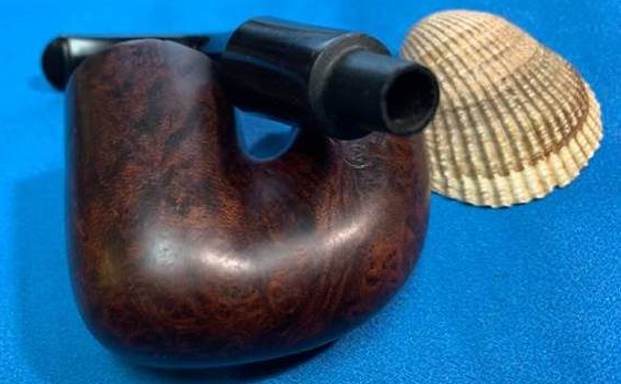
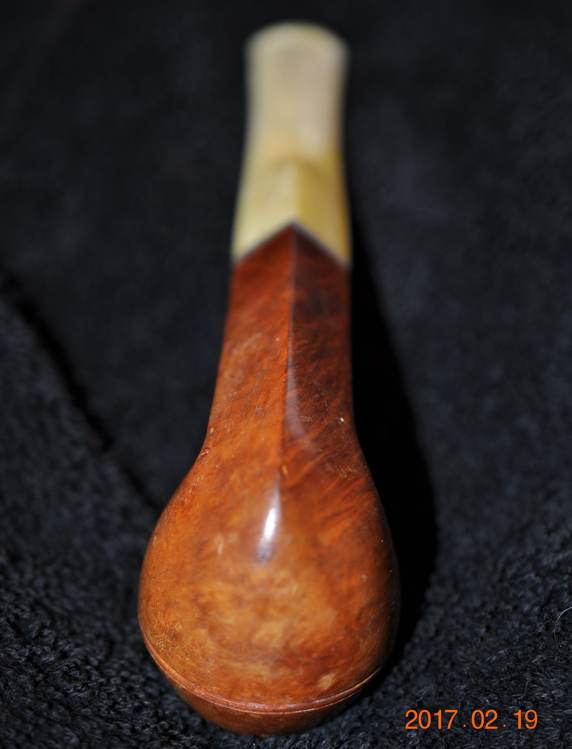
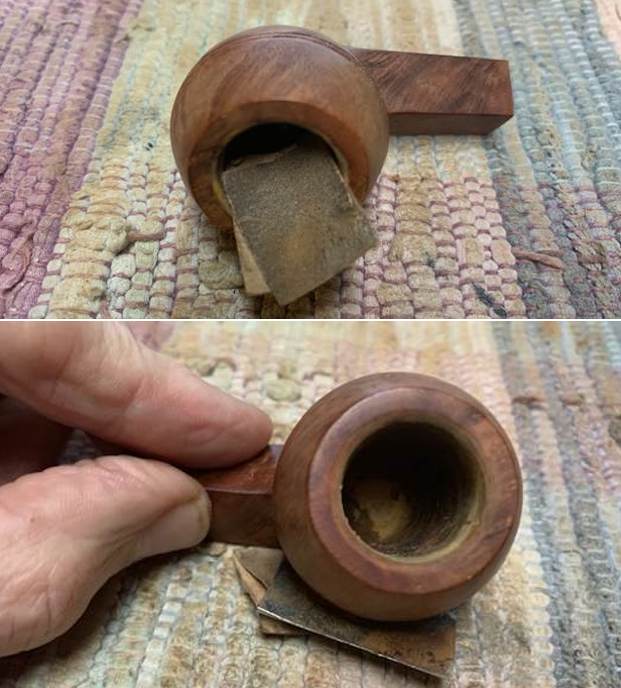
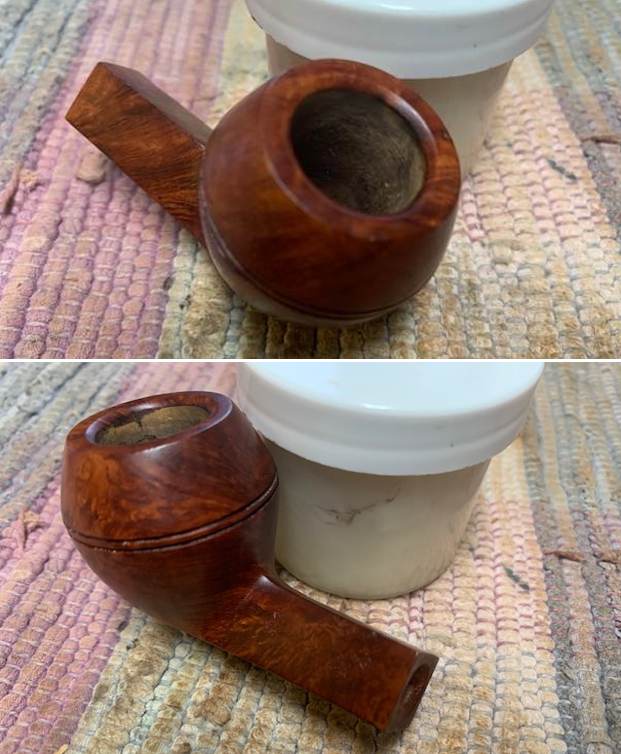
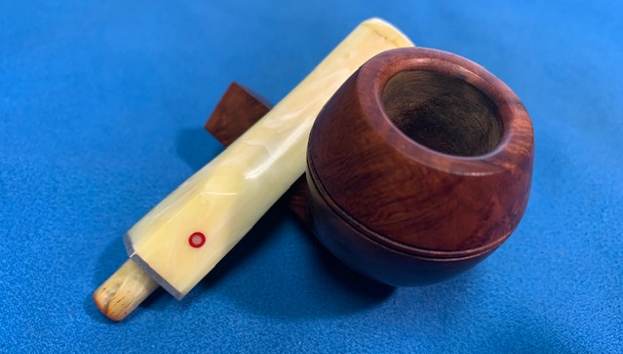
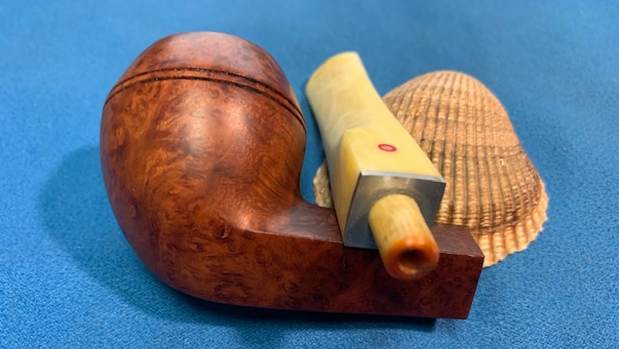
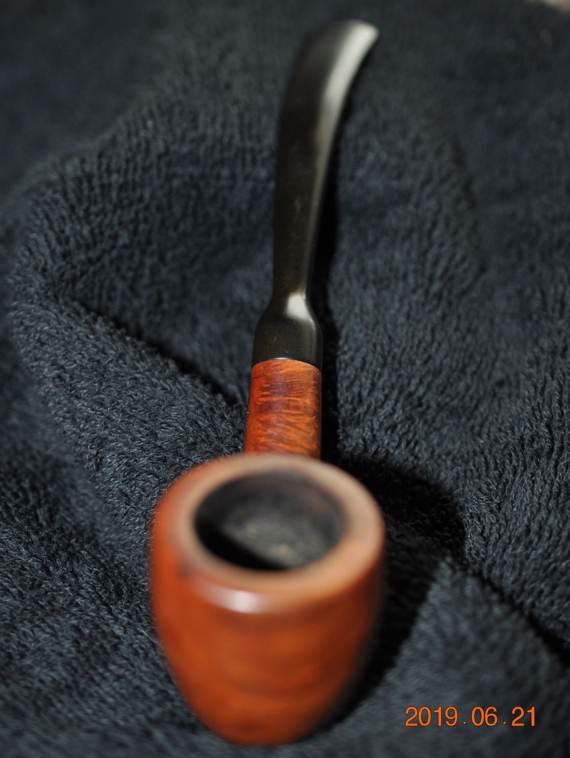
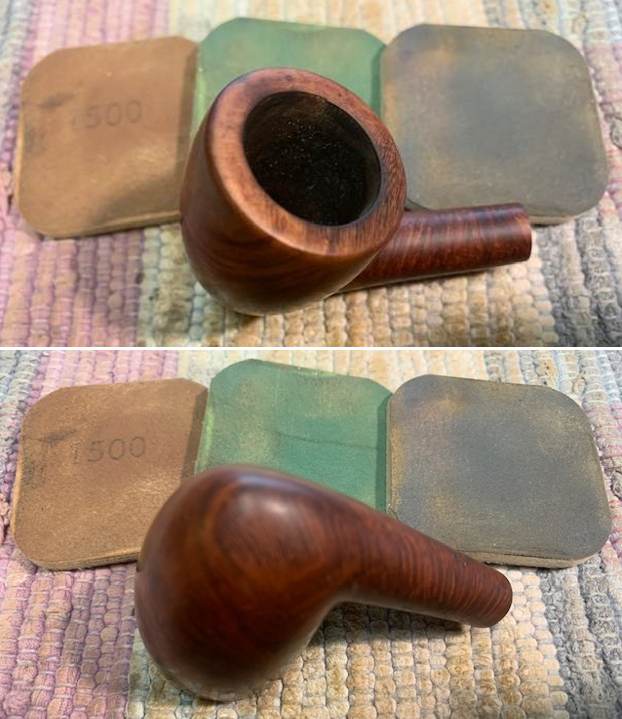
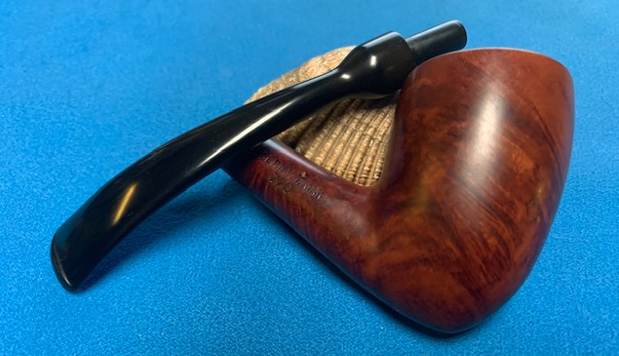
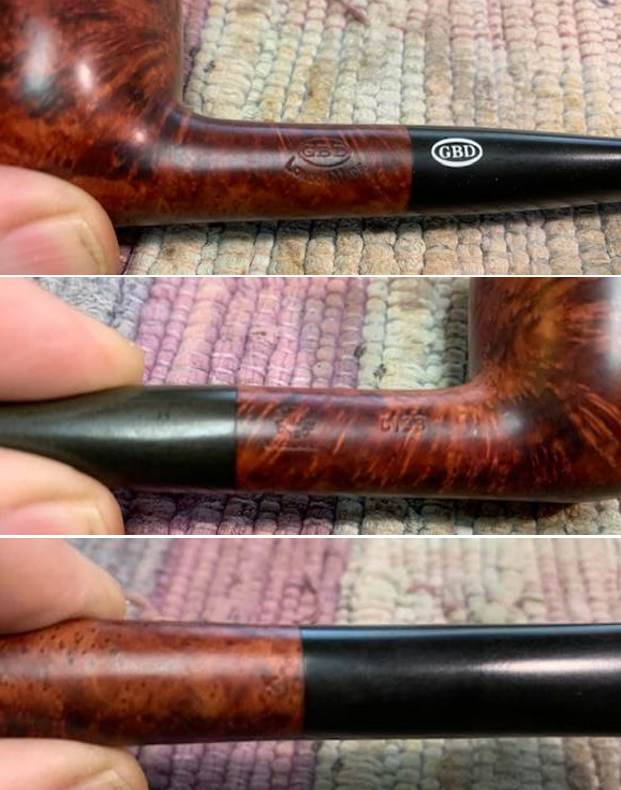
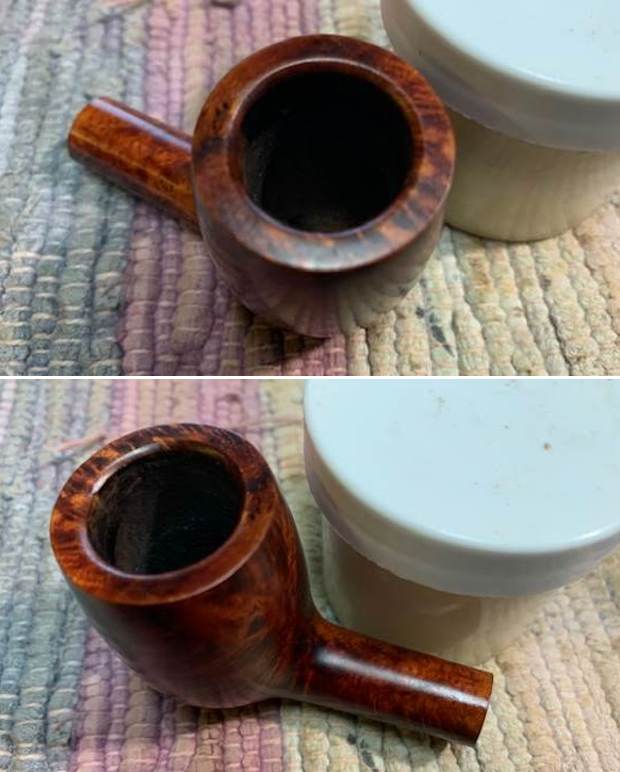
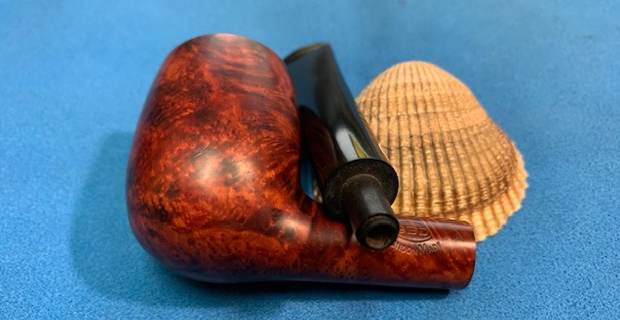
 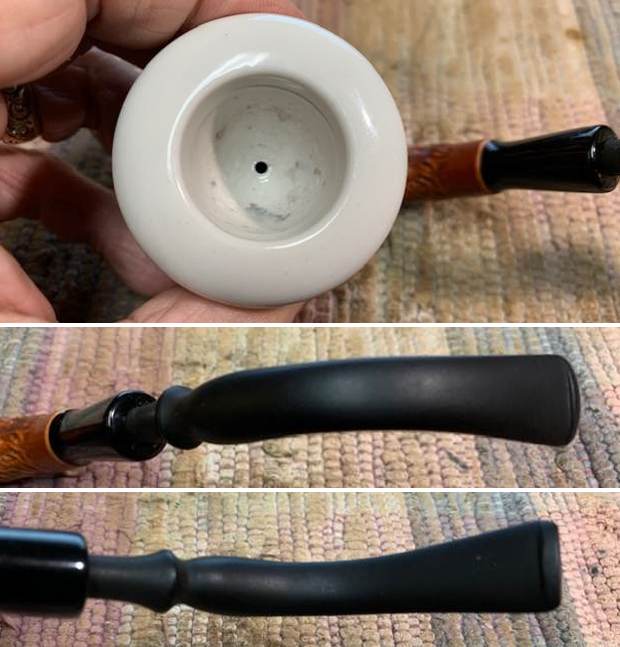 I took the stem off the shank and took a photo of the pipe. I also took the cup out of the Gourd to show the interior of the bowl and underside of the cup. It really is a nice looking pipe.
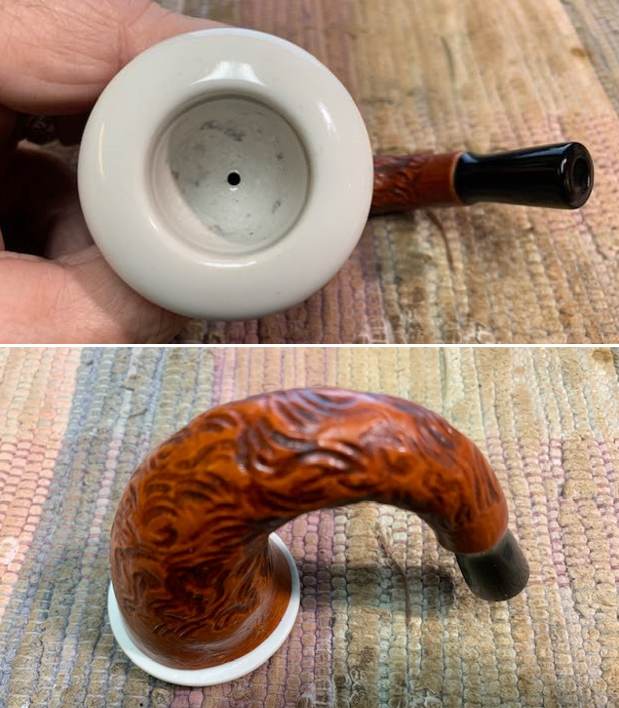
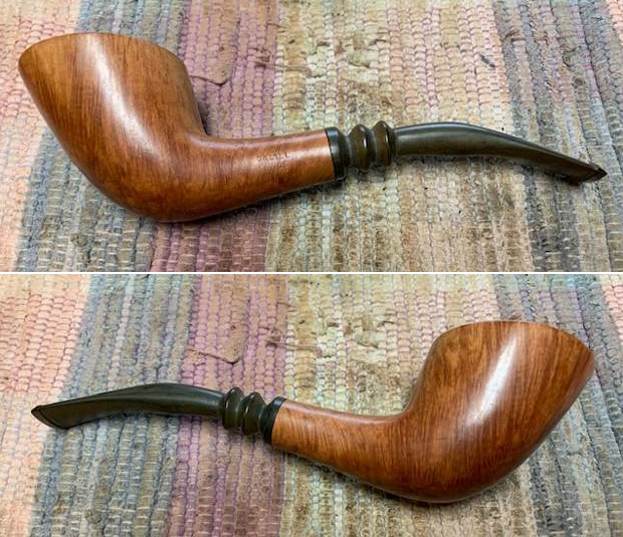
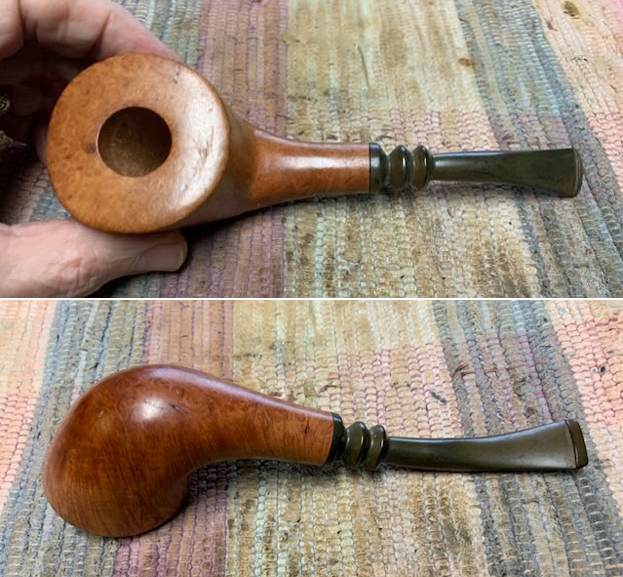
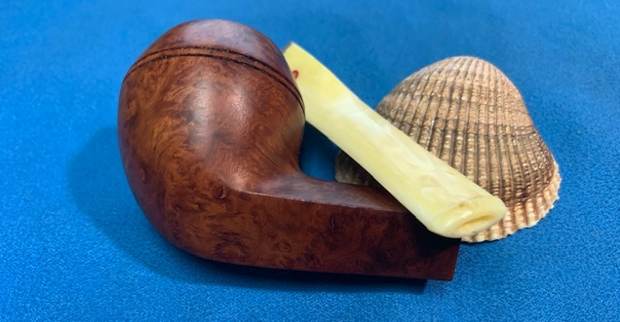
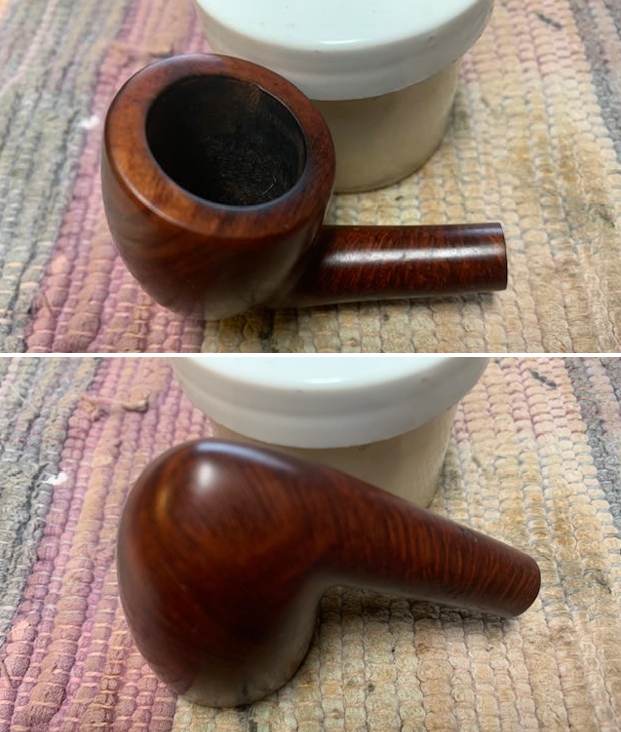
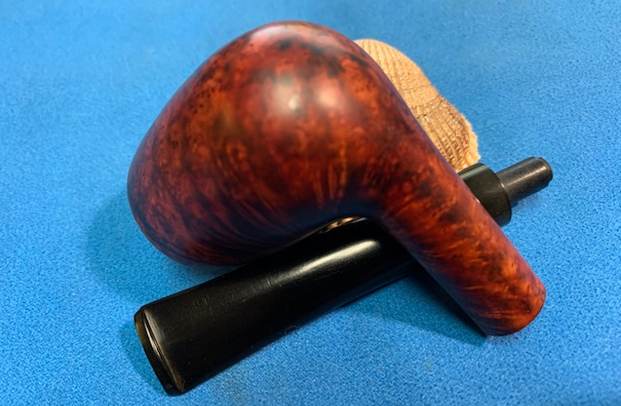
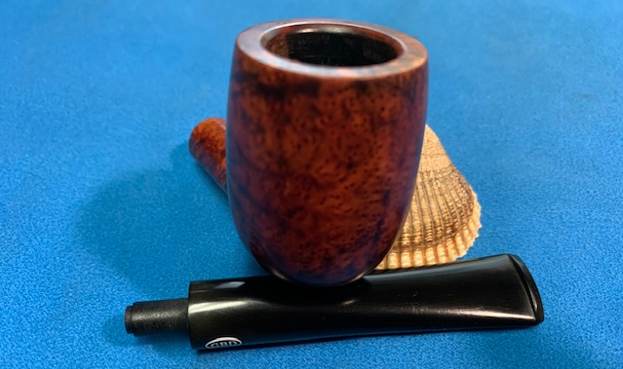
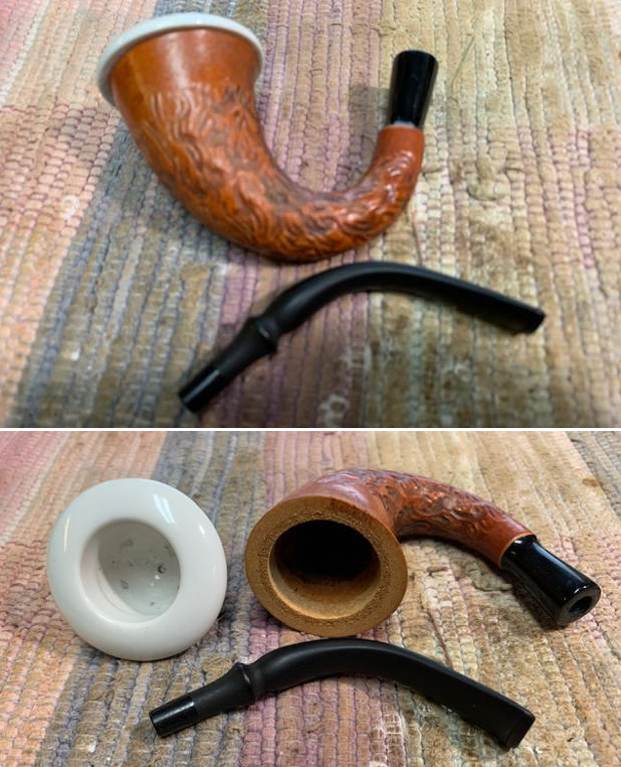
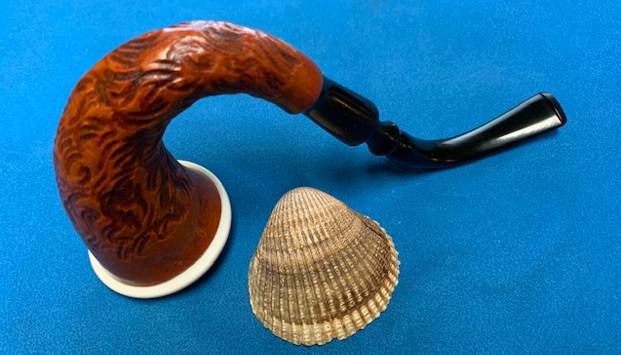
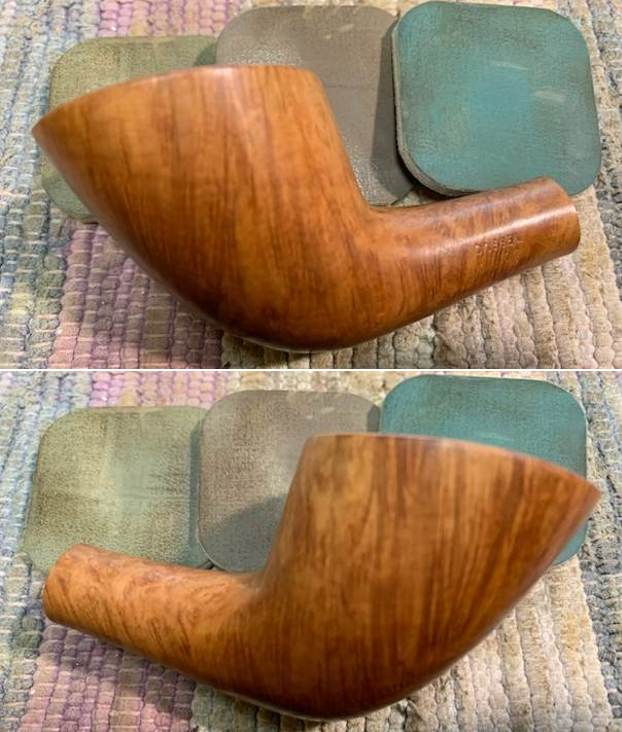
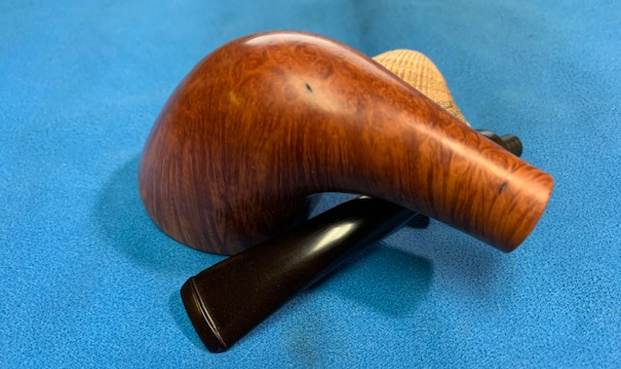
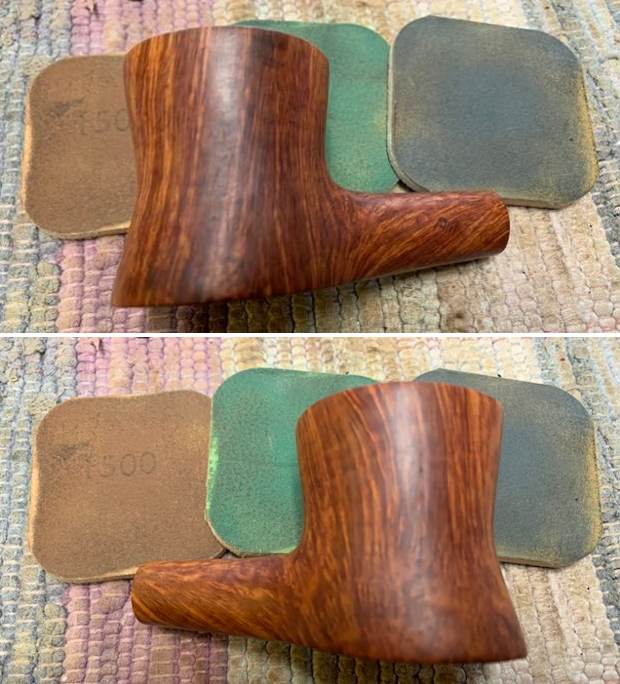
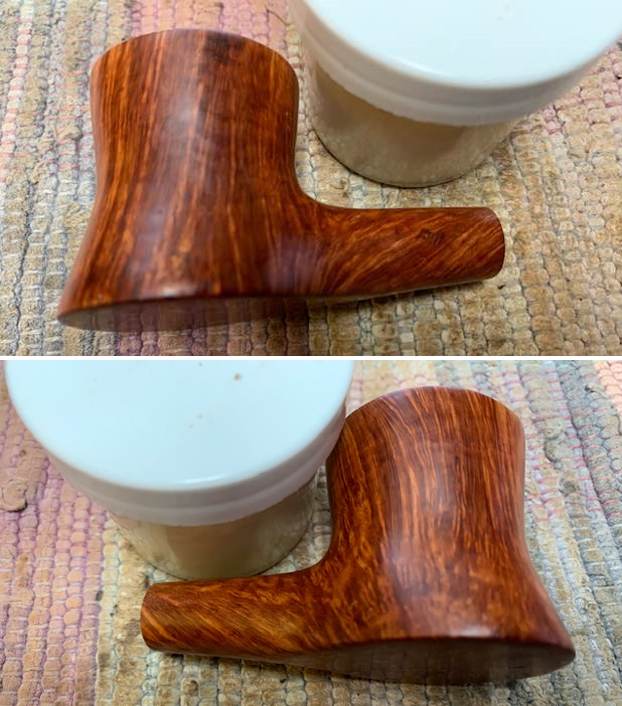
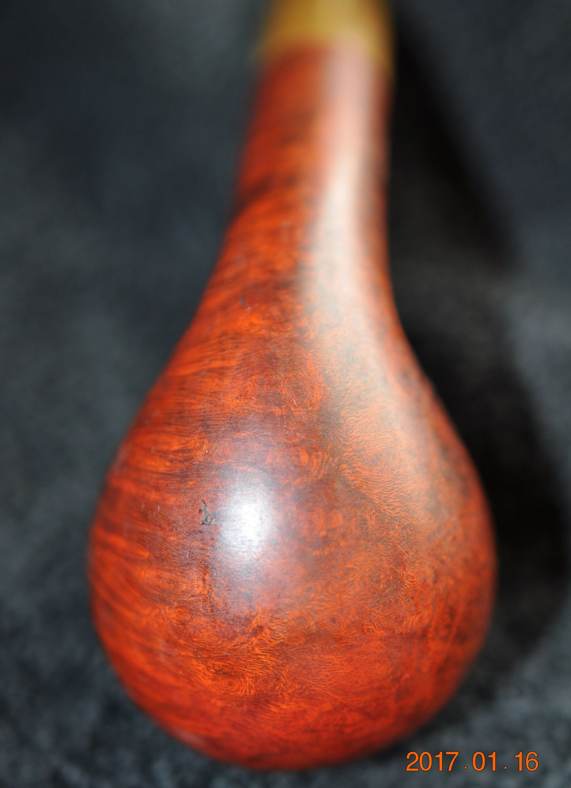
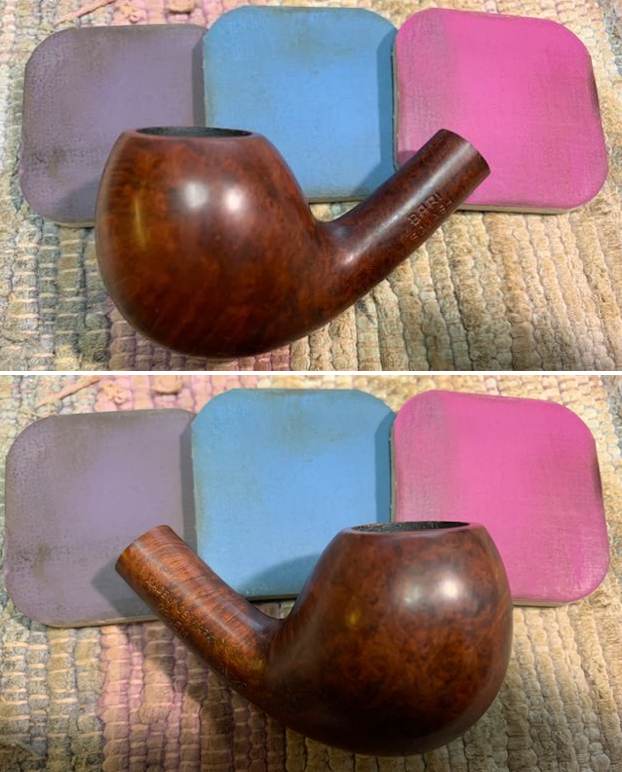
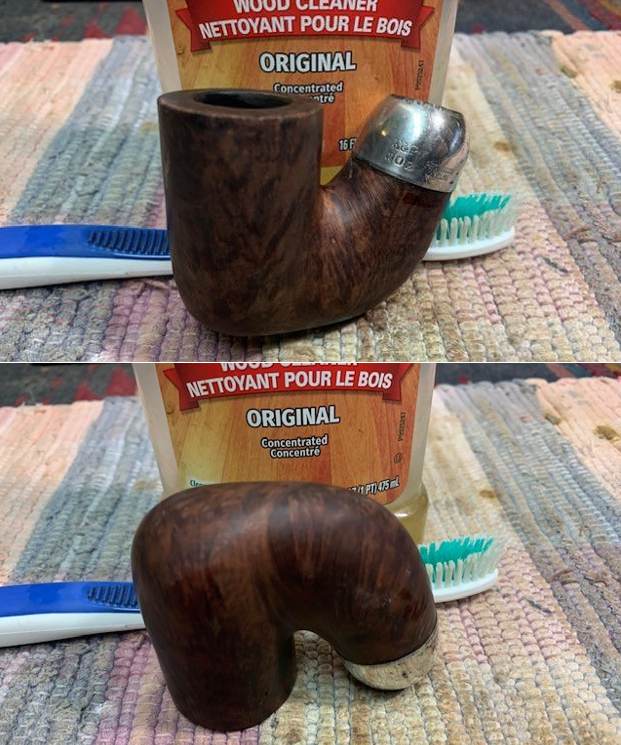
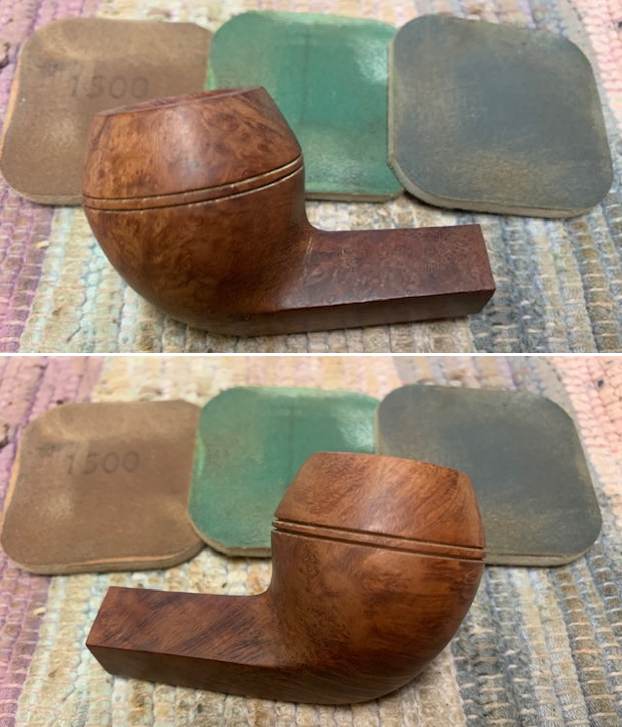
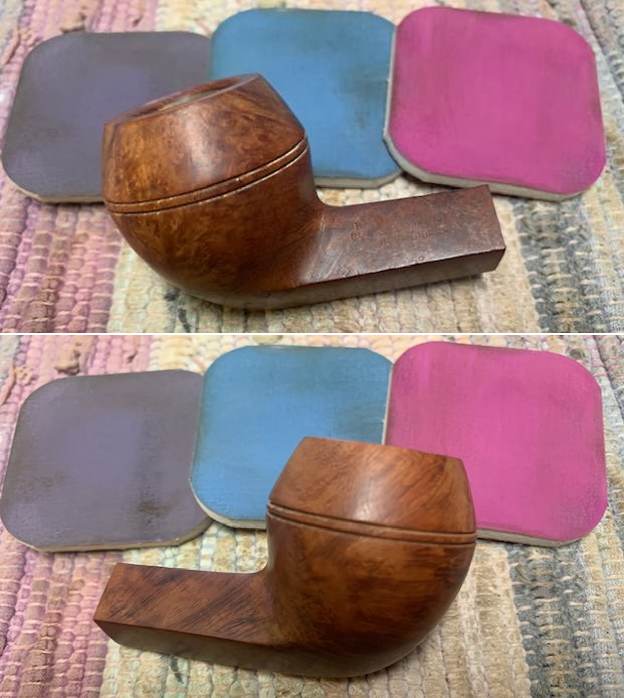
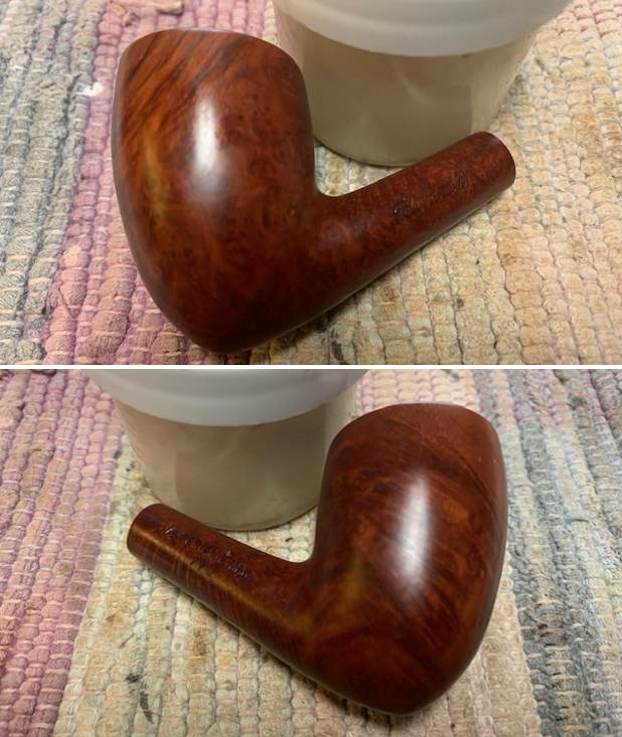
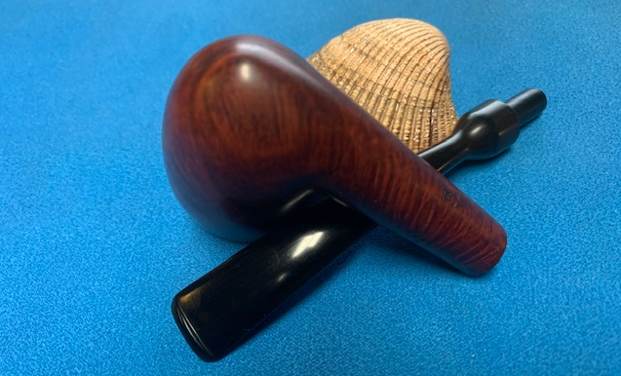
 I worked some Before & After Restoration Balm into the finish of the gourd with my fingertips and a horsehair shoe brush to clean, enliven and protect it. I find that the balm really makes the bowl come alive again. The contrasts in the etched surface and the smooth portion really gave the gourd a sense of depth. I let the balm sit for 10 minutes and then buffed with a cotton cloth to raise the shine. The bowl really looks good at this point.
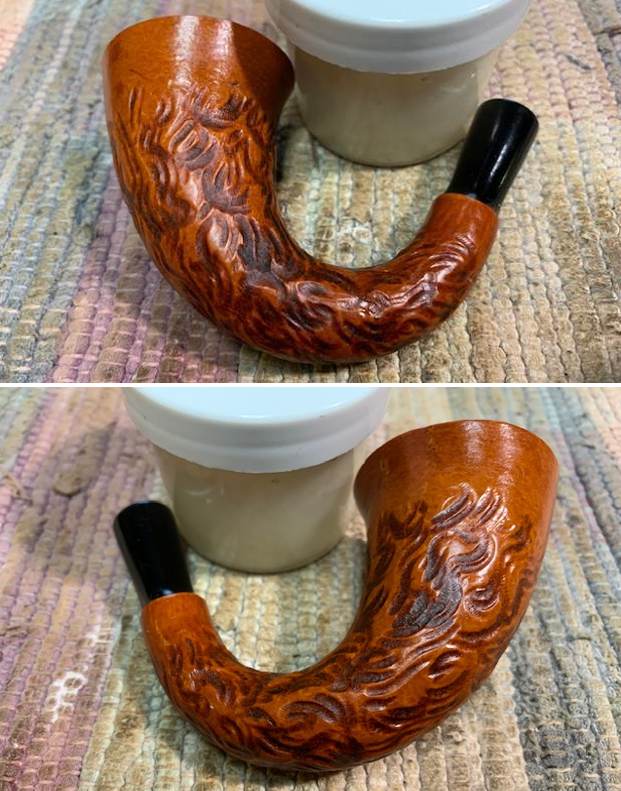
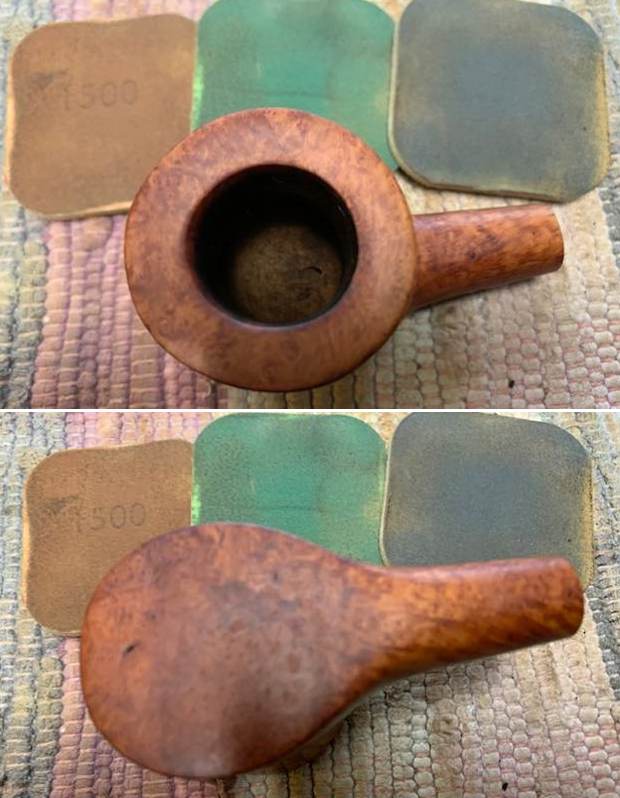
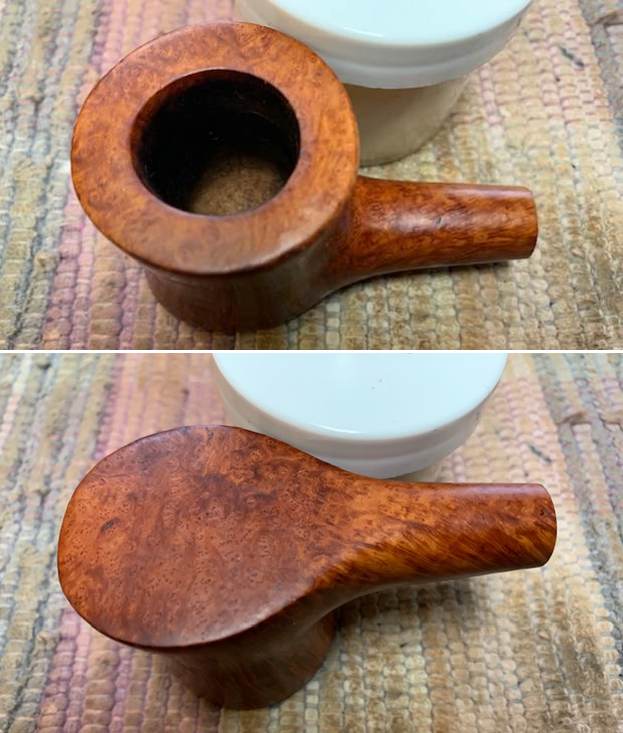
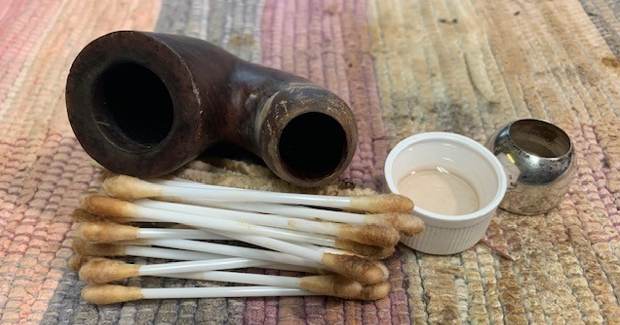
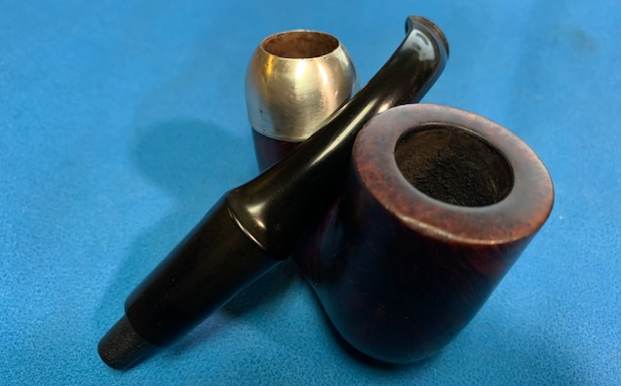
 I used some Vaseline Petroleum Jelly to refresh the cork gasket around the inside of the bowl. The Vaseline enlivens the cork and gives back it flexibility. The soften cork nicely holds the cup in place snugly.
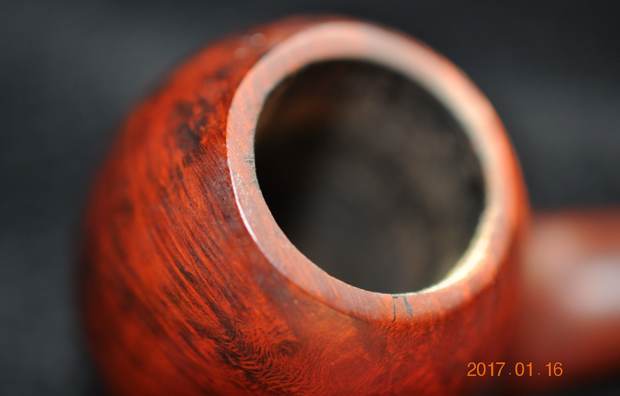
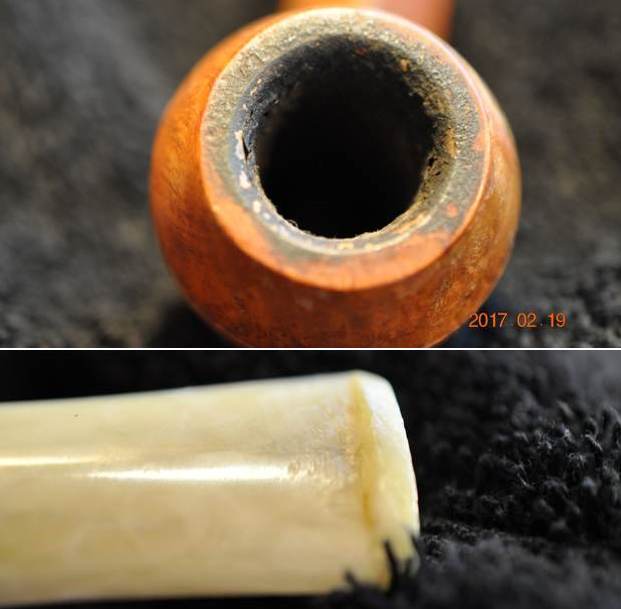
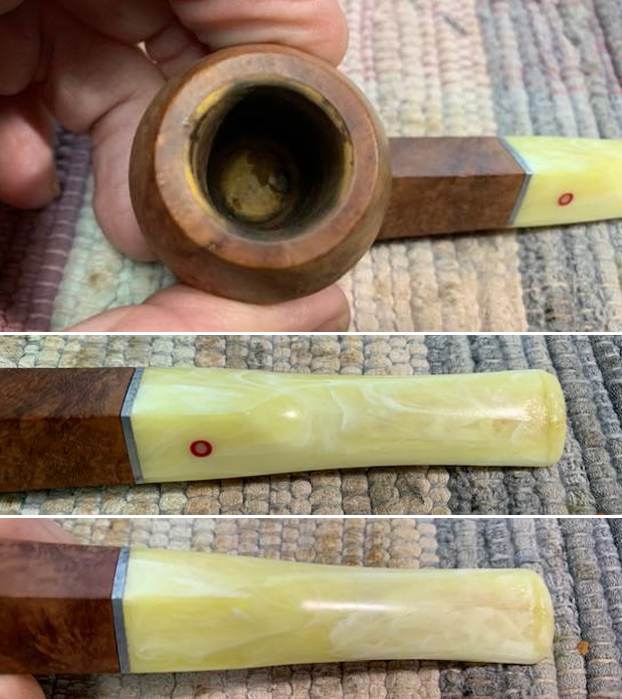
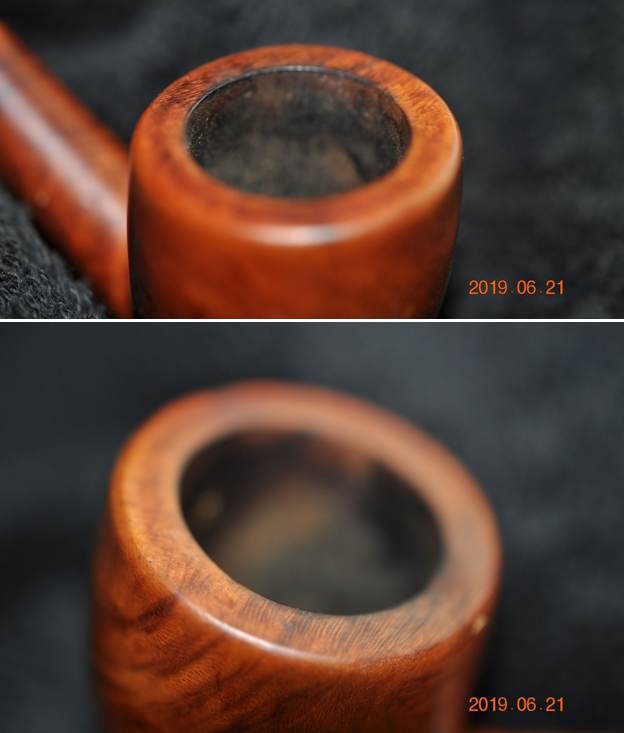
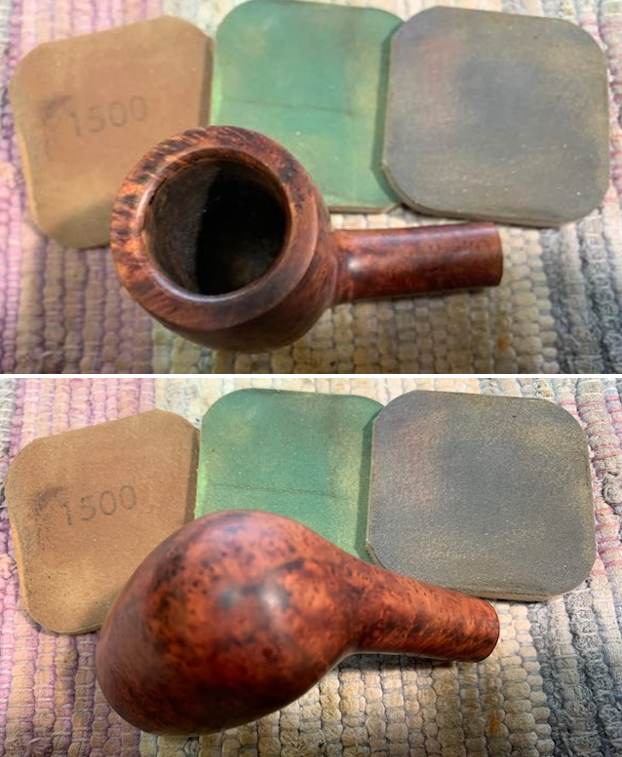
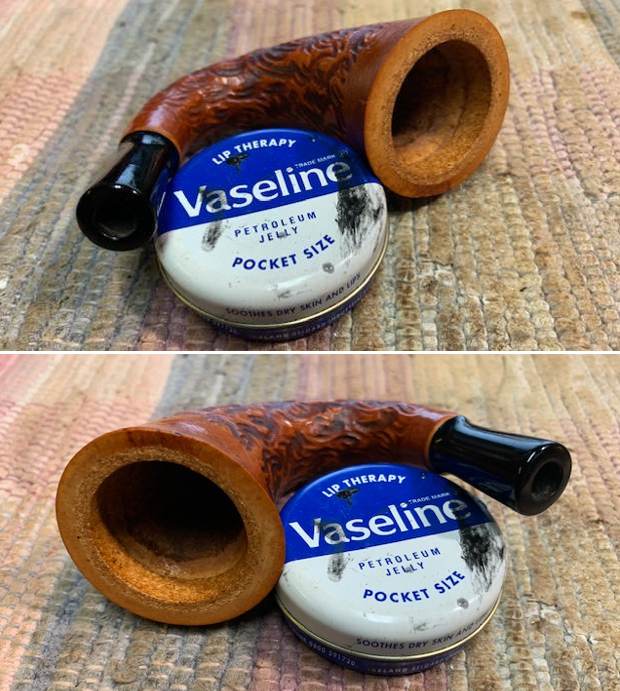 I scrubbed the inside of the bowl with gentle dish soap and a tooth brush to try and remove the marks on the inside and outside of the bowl. While I could not remove all of the marks I was able to lessen them.
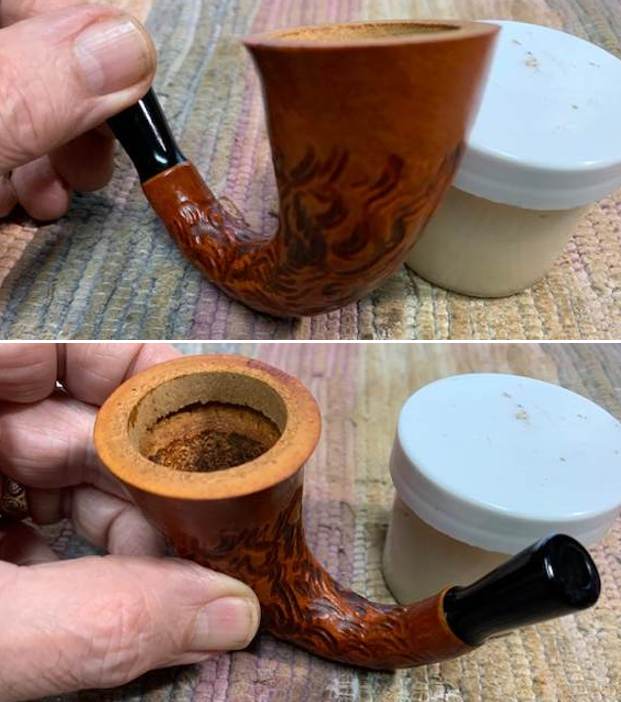
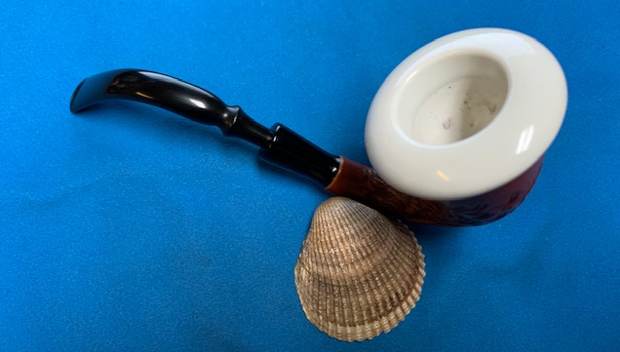
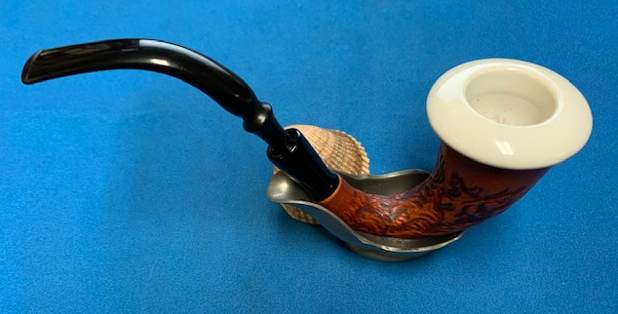
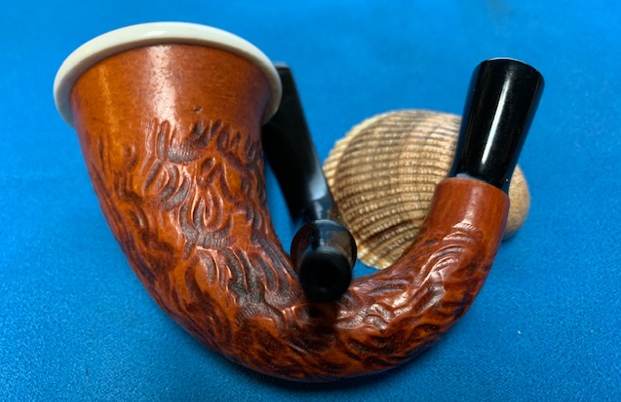
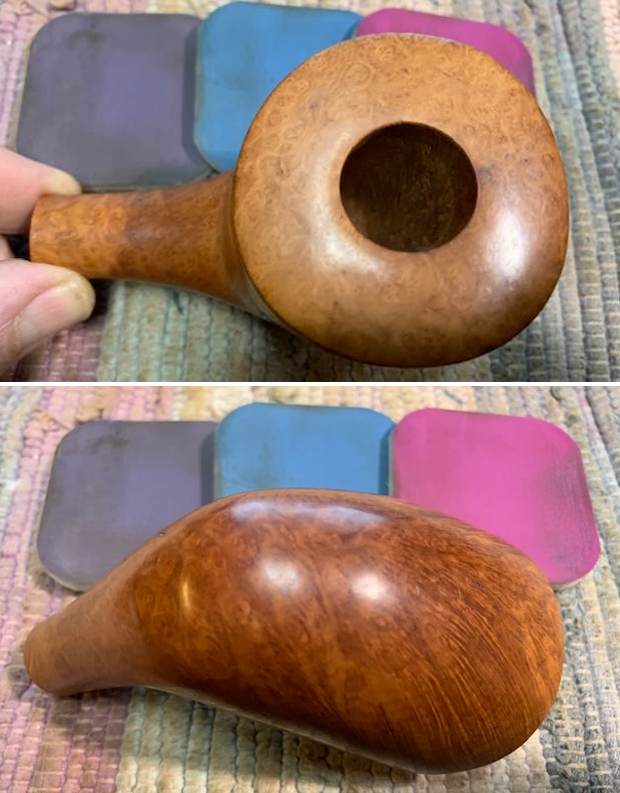
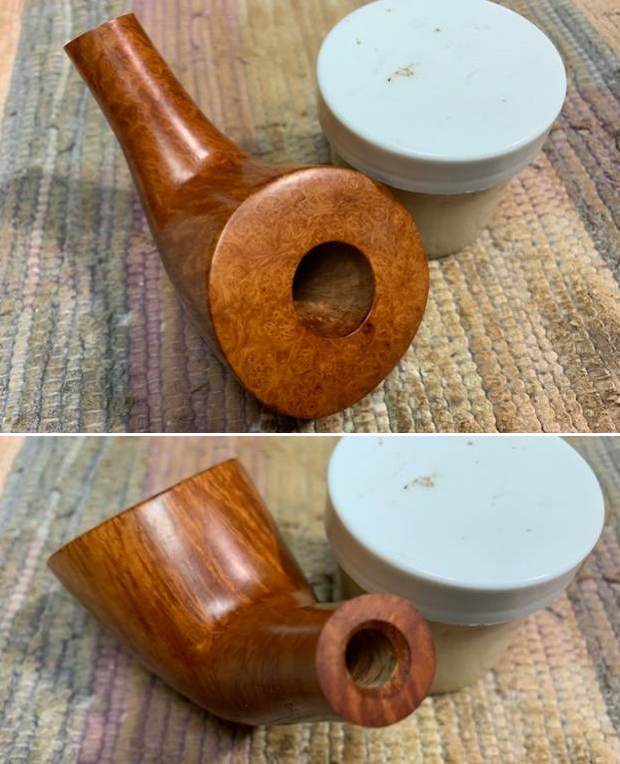
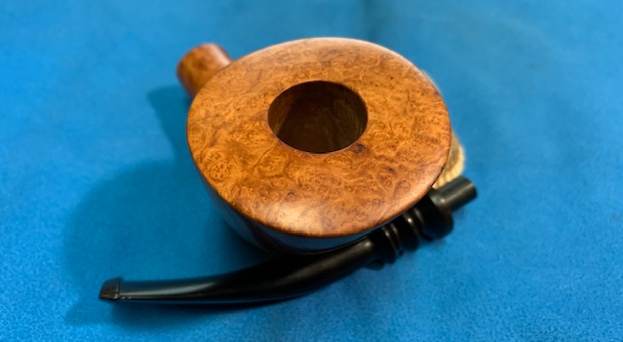
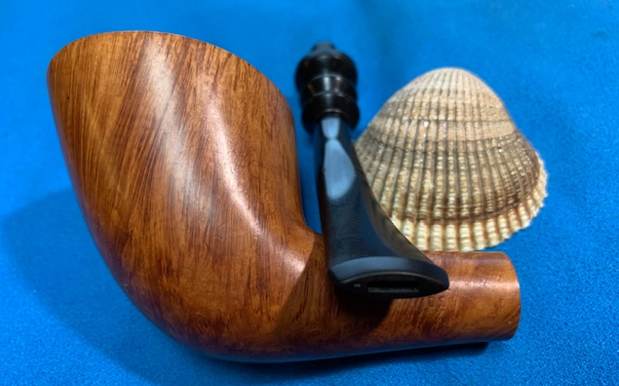
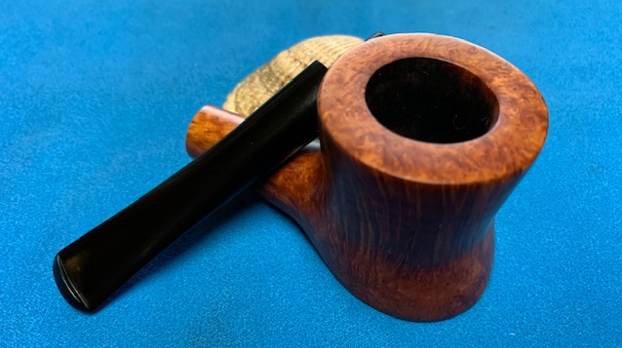
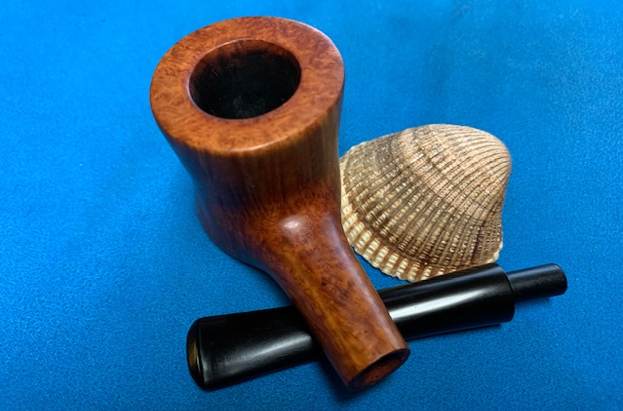
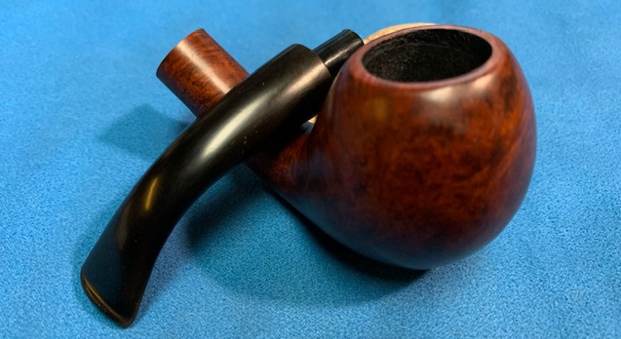
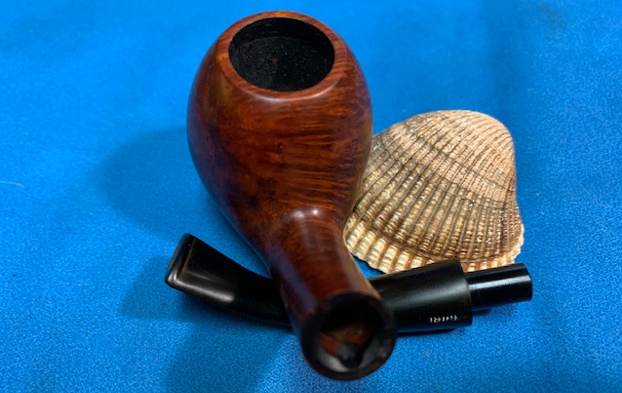
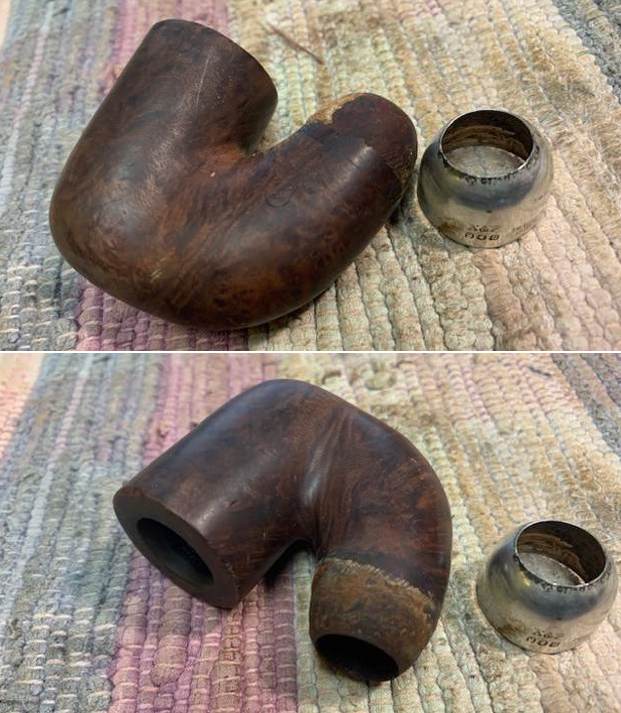
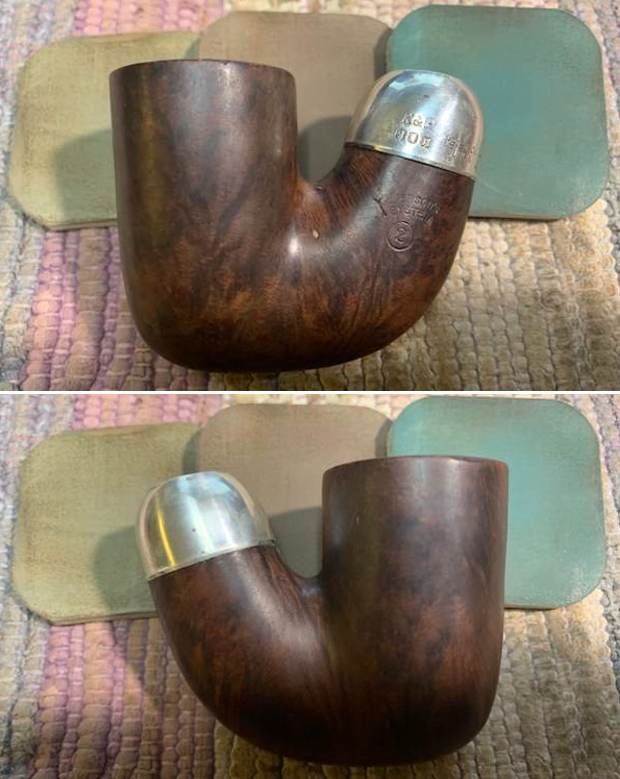
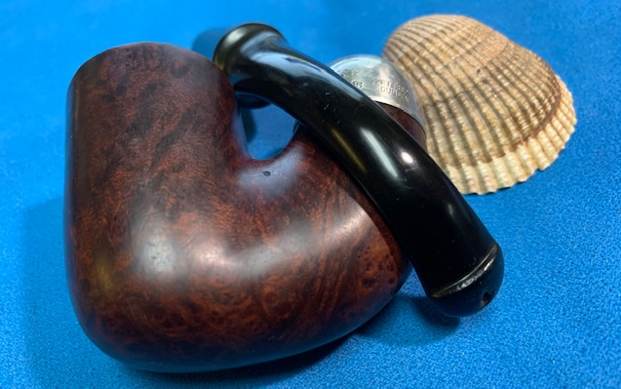
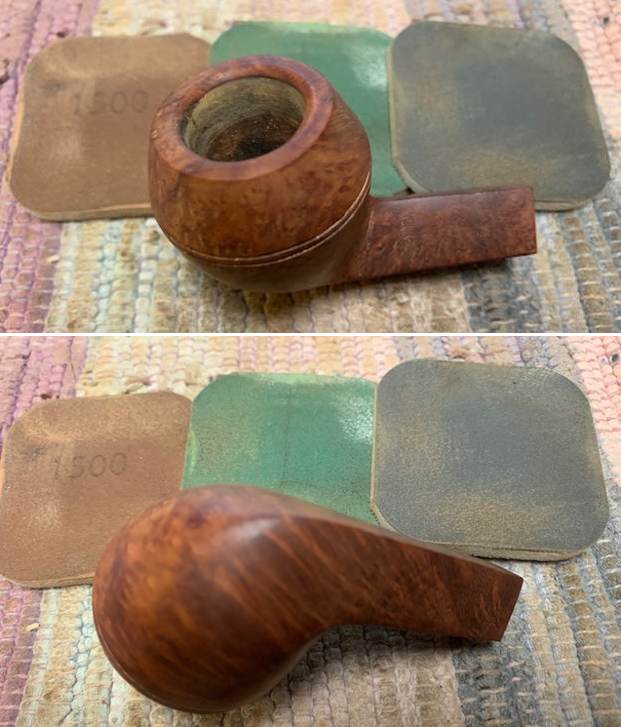
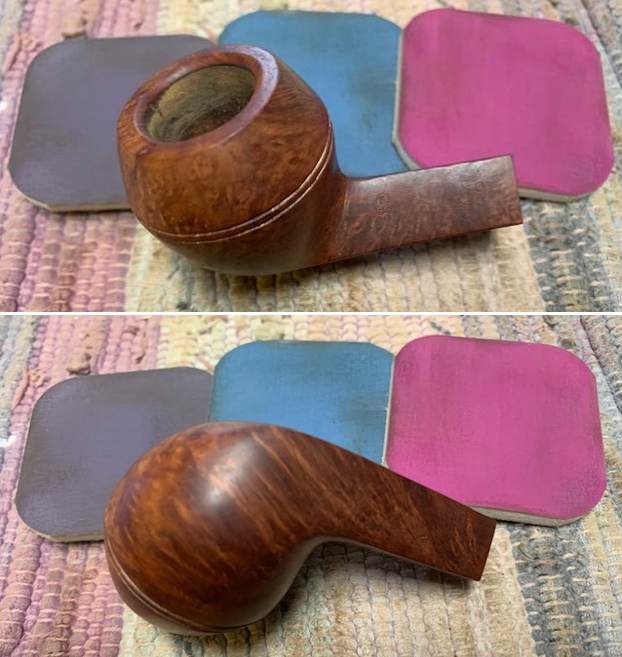
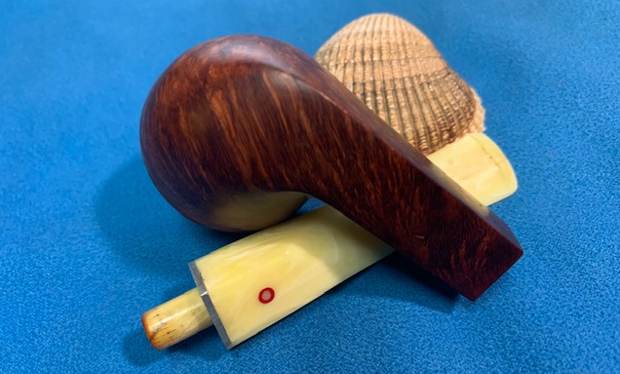
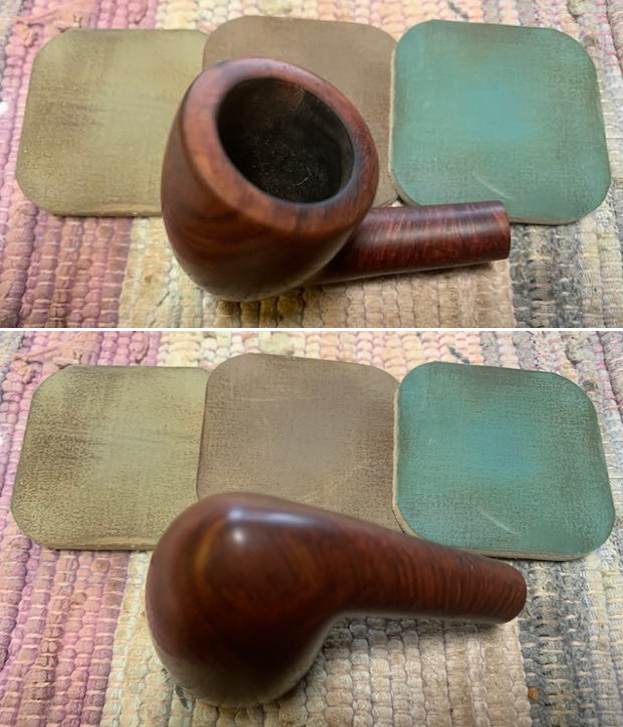
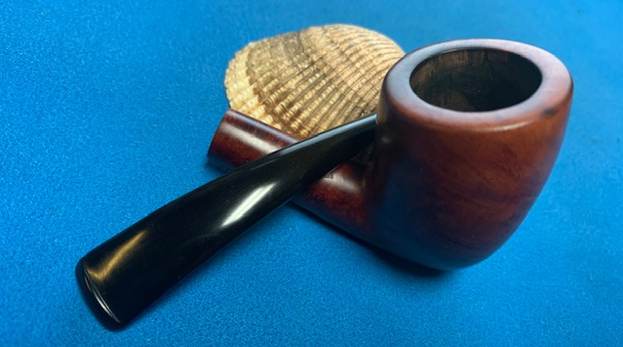
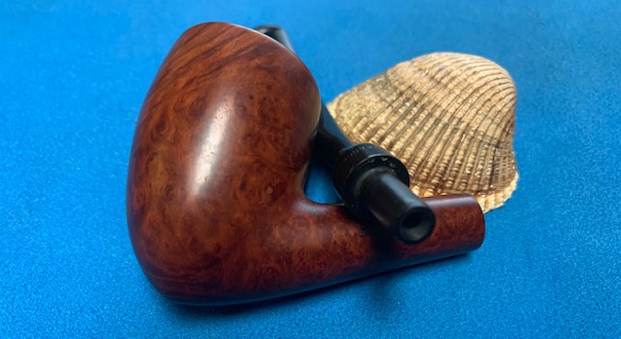
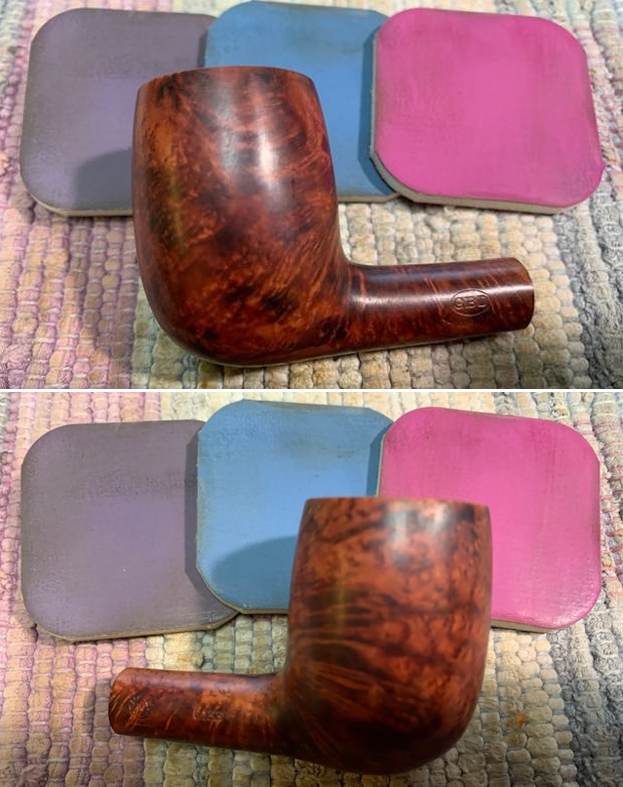
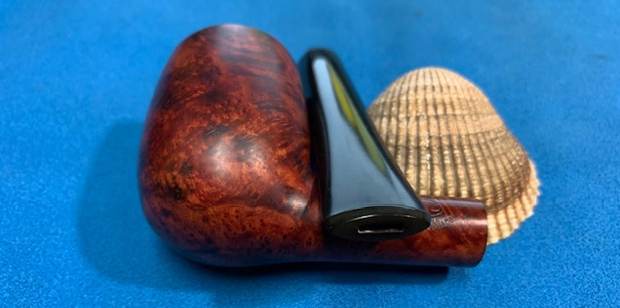
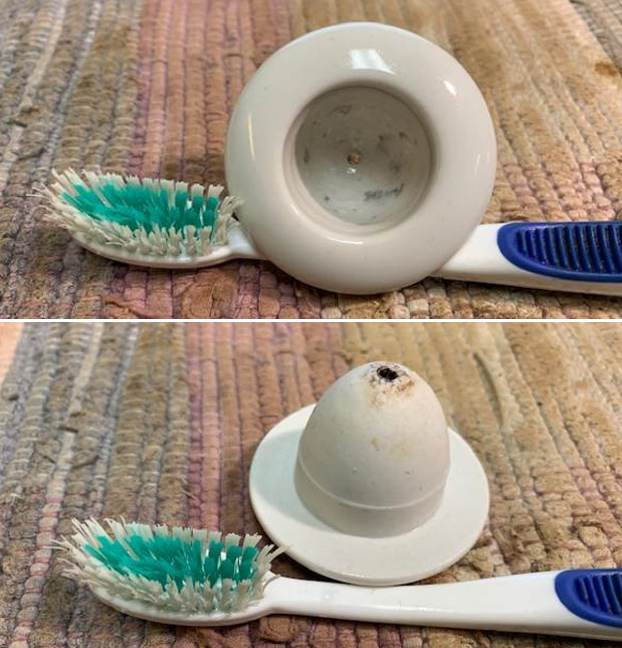 I put the cup back in the gourd and took photos of the way that it looked after the work on the cup and the exterior of the gourd. It really is a nice looking little Gourd Calabash.
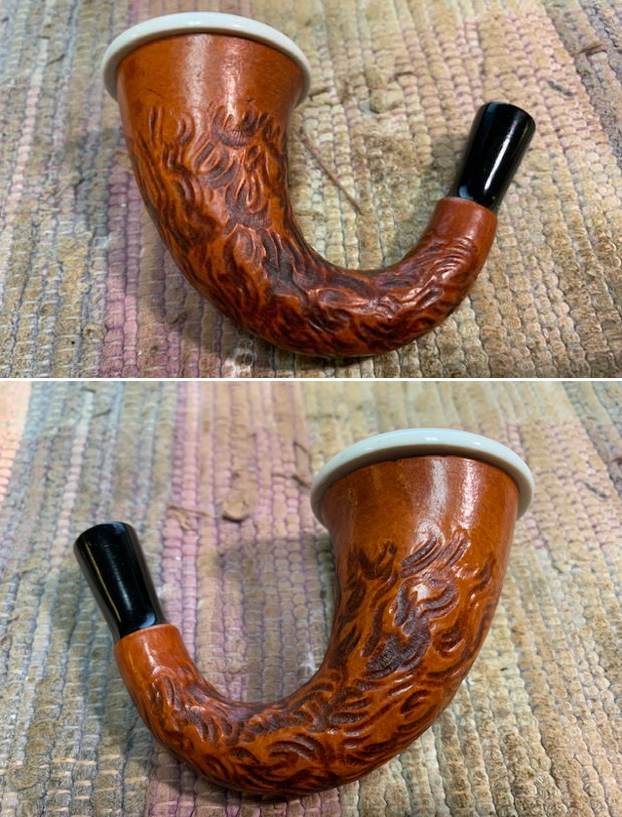
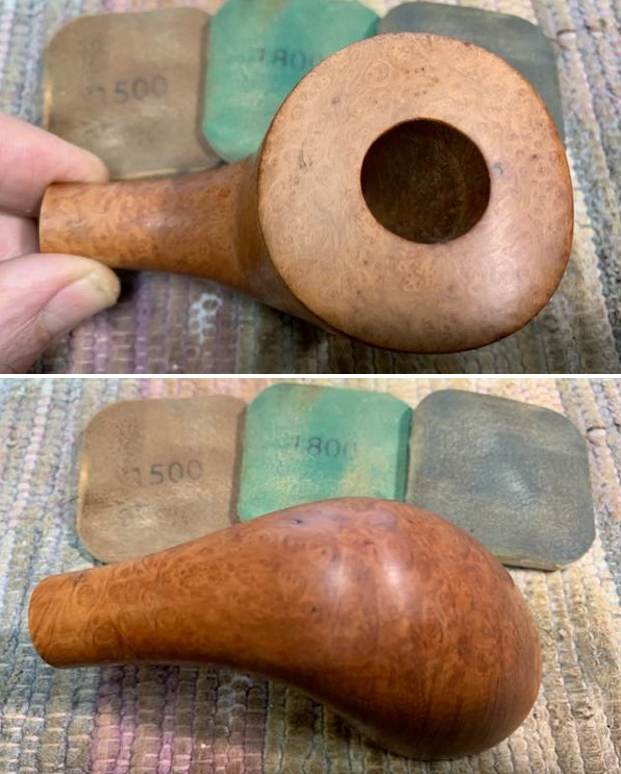
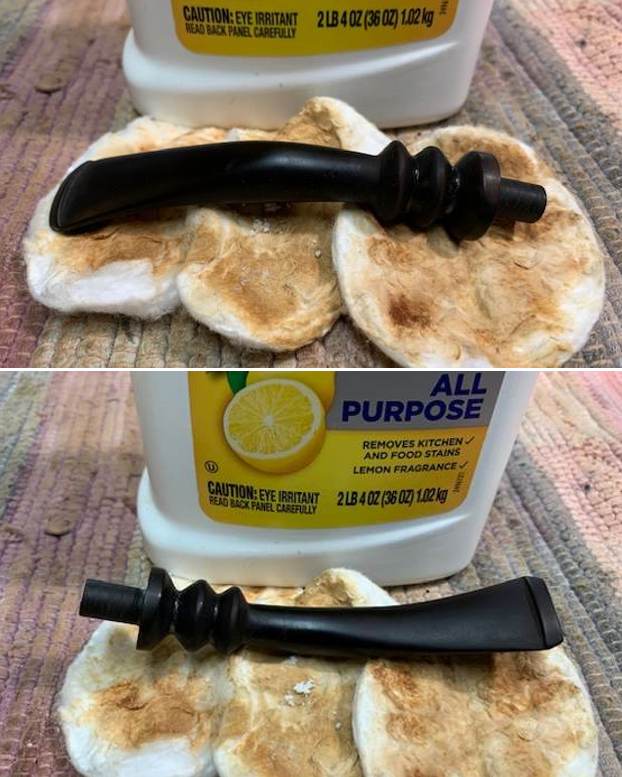
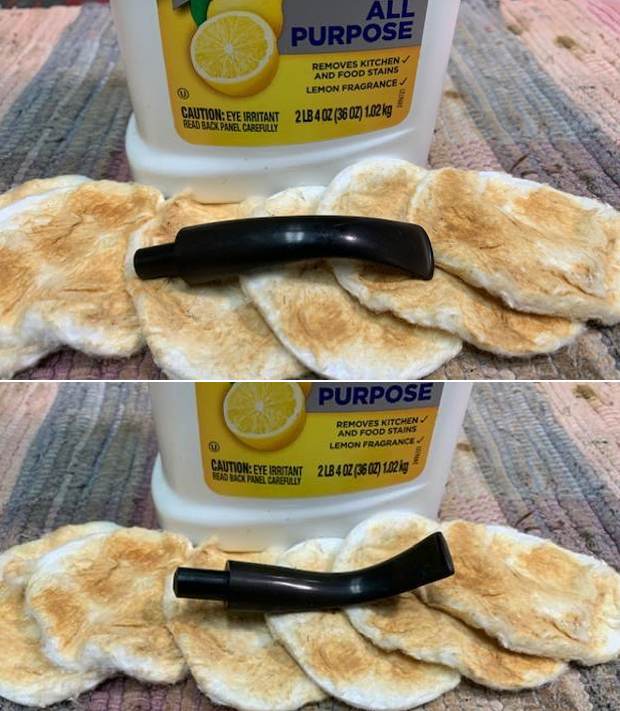
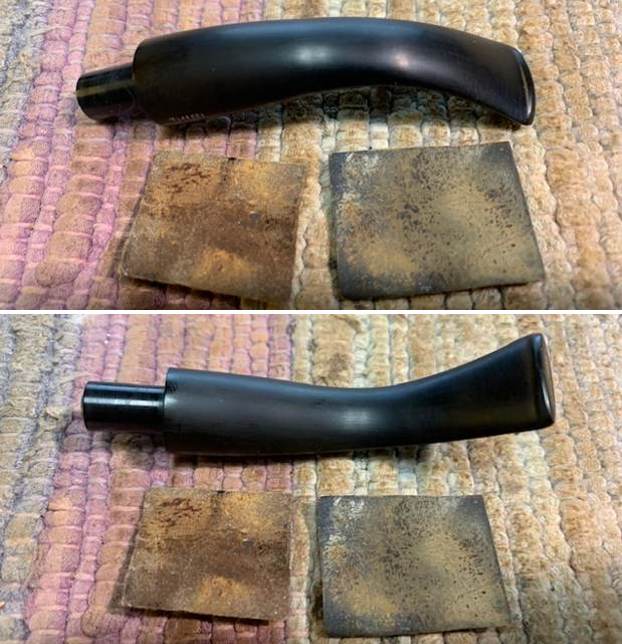
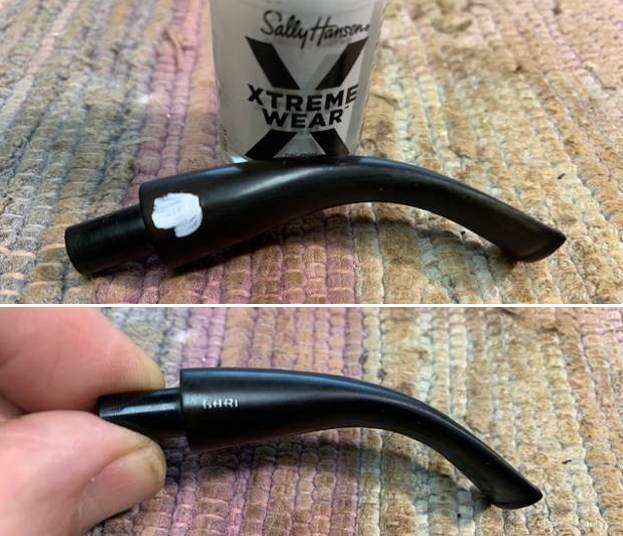
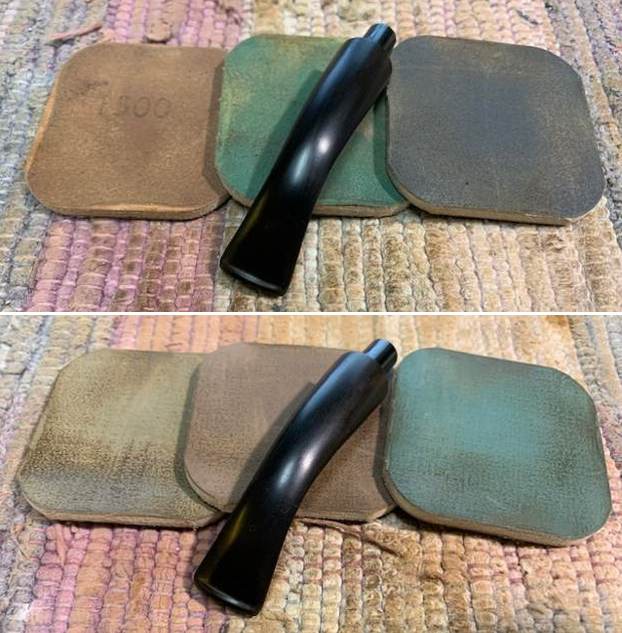
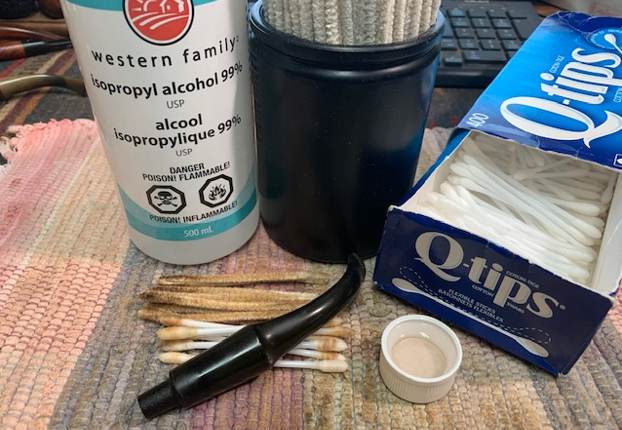
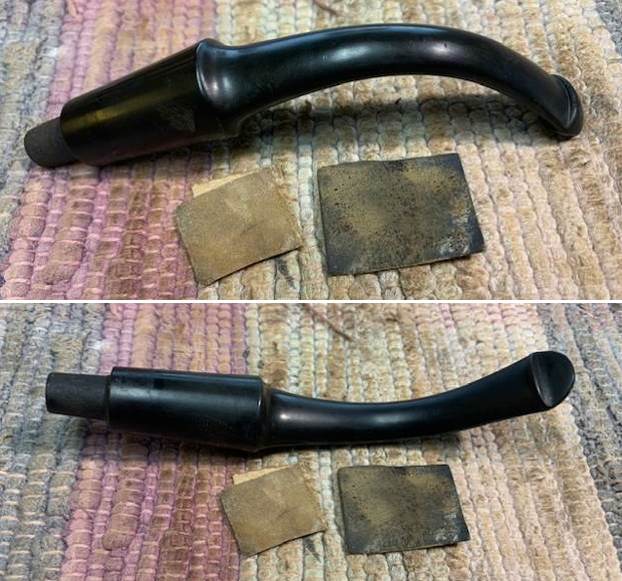
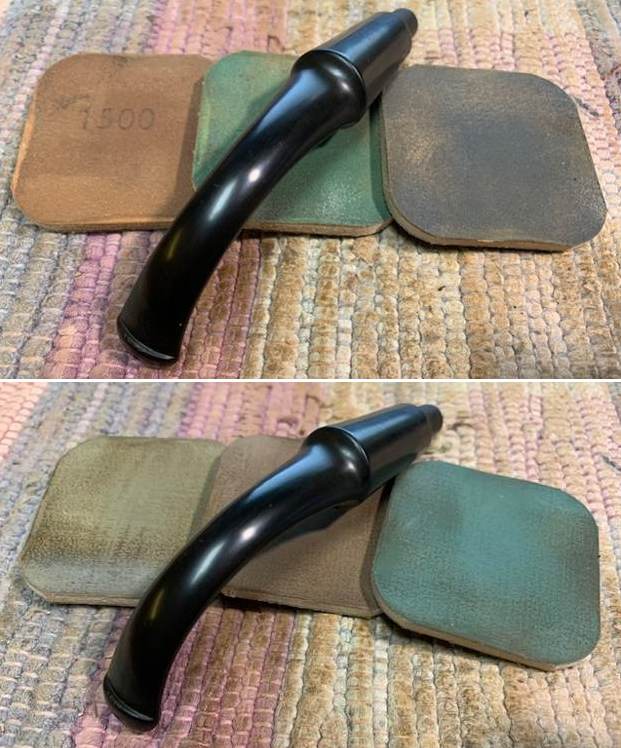
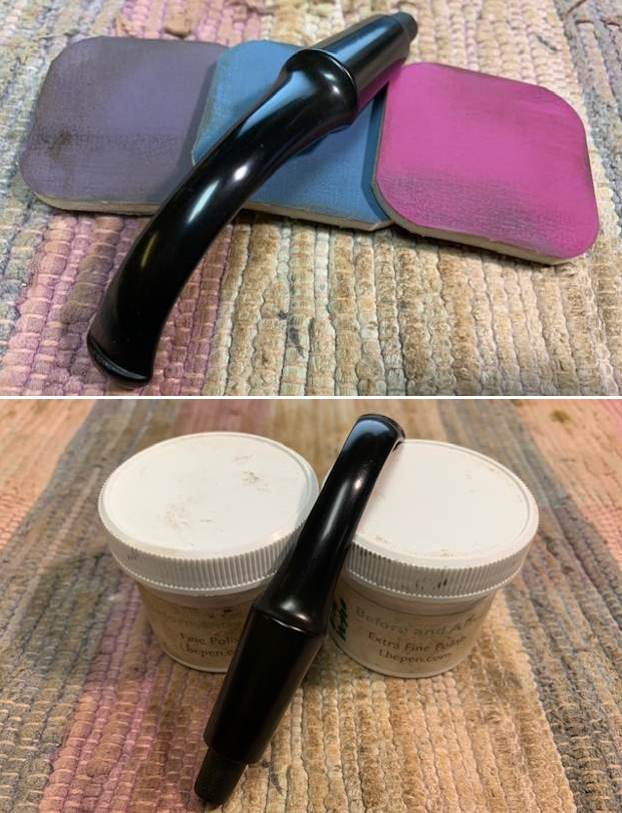
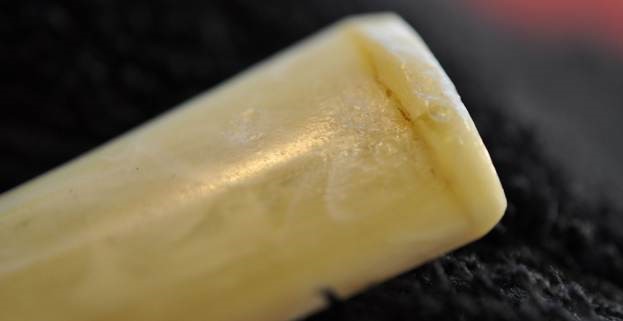
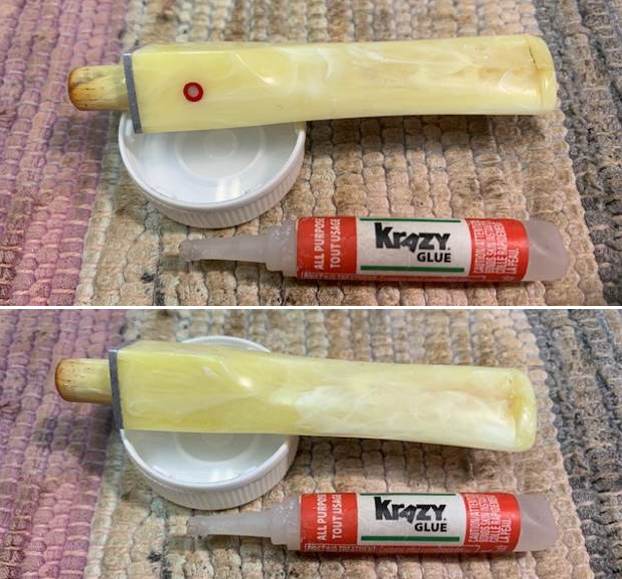
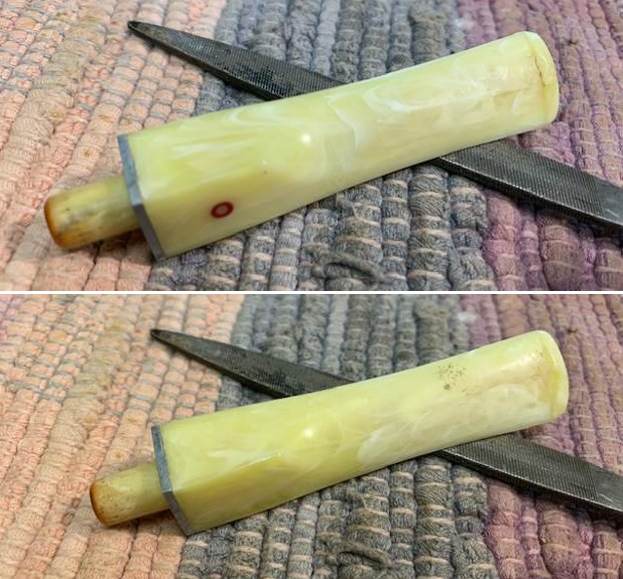
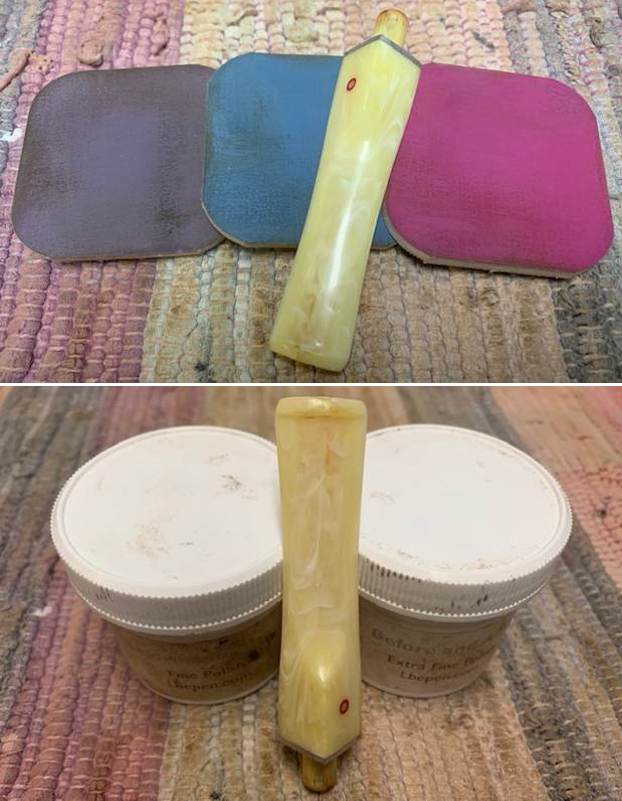
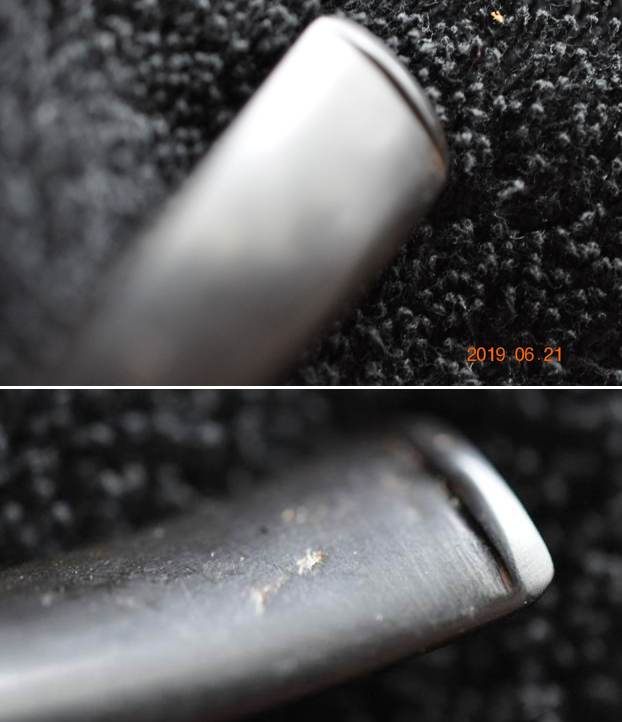
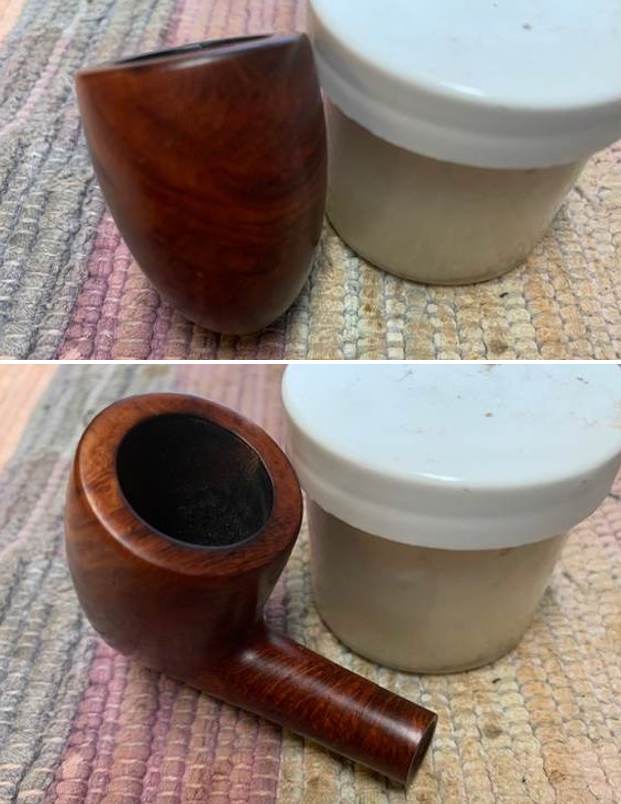
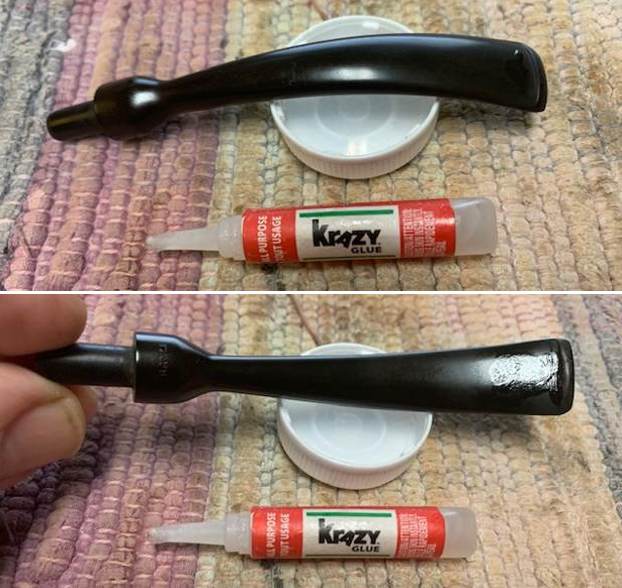
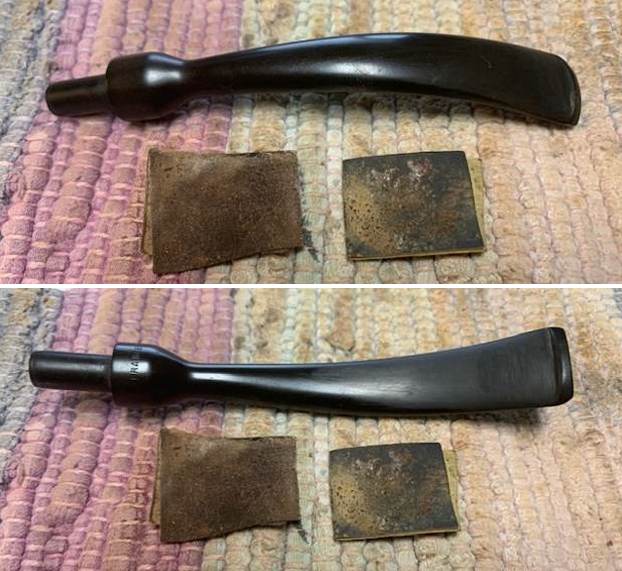
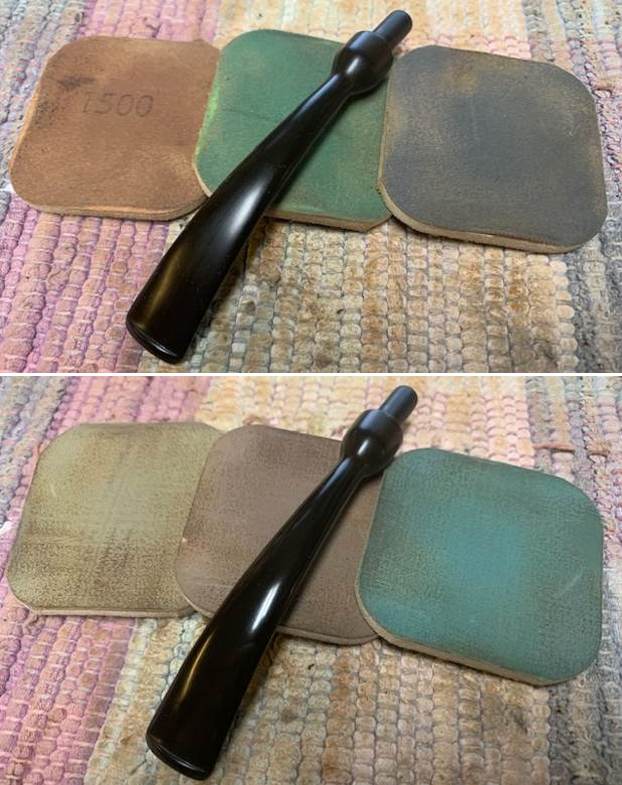
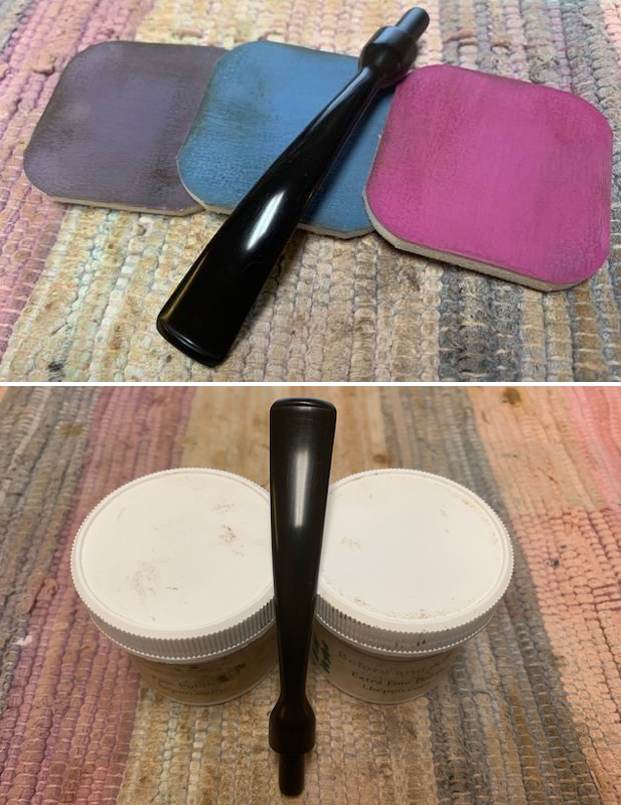
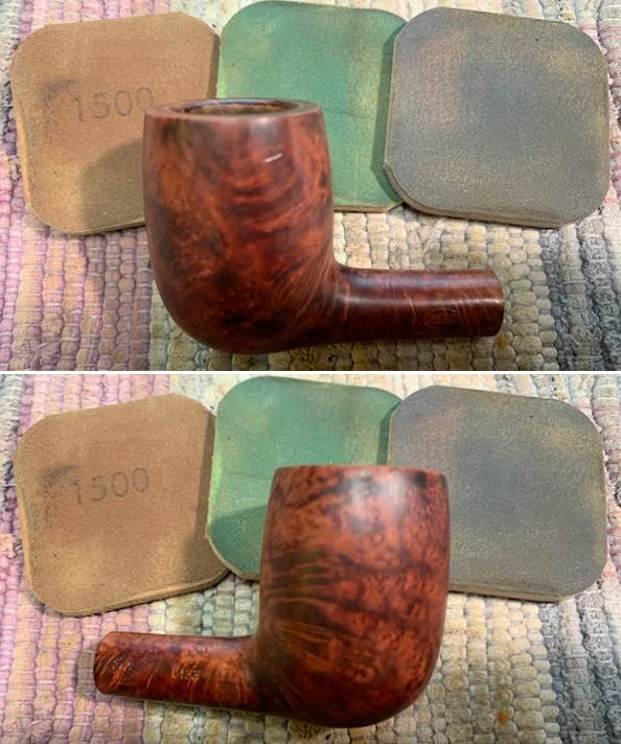
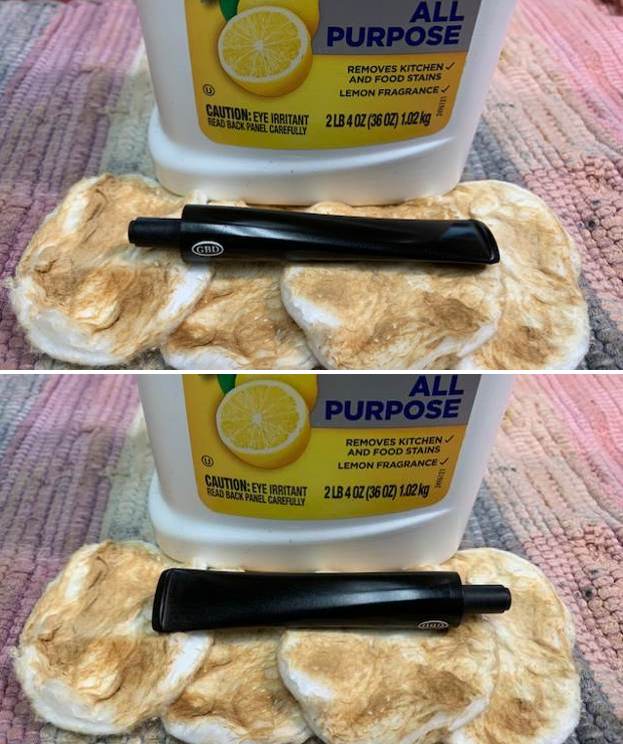
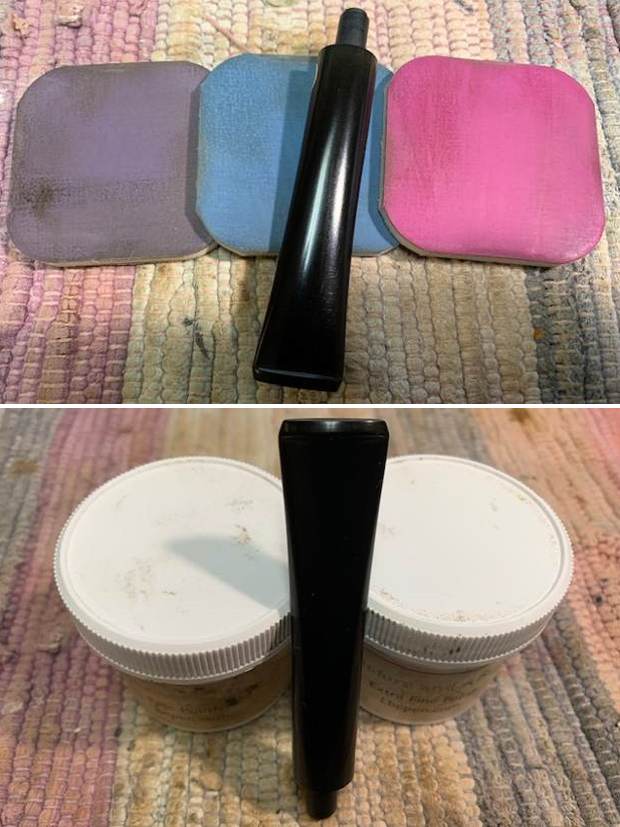
 To deal with the oxidation on the stem I scrubbed it down with cotton pads and Soft Scrub Cleanser and was able to remove the remaining oxidation. It looked better.
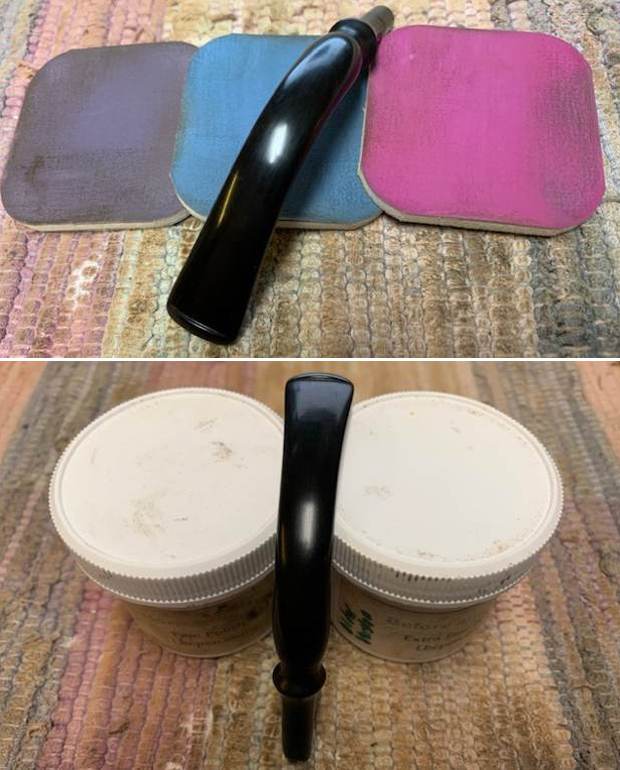
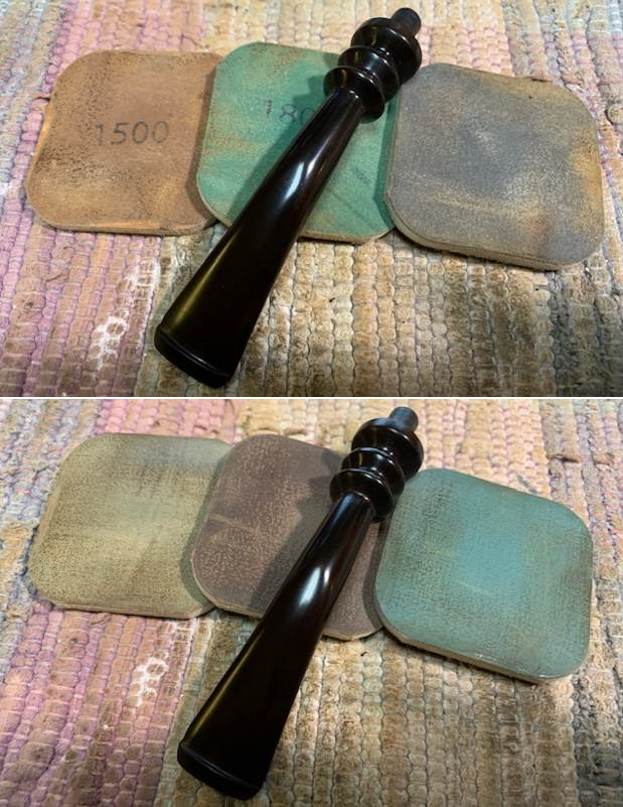
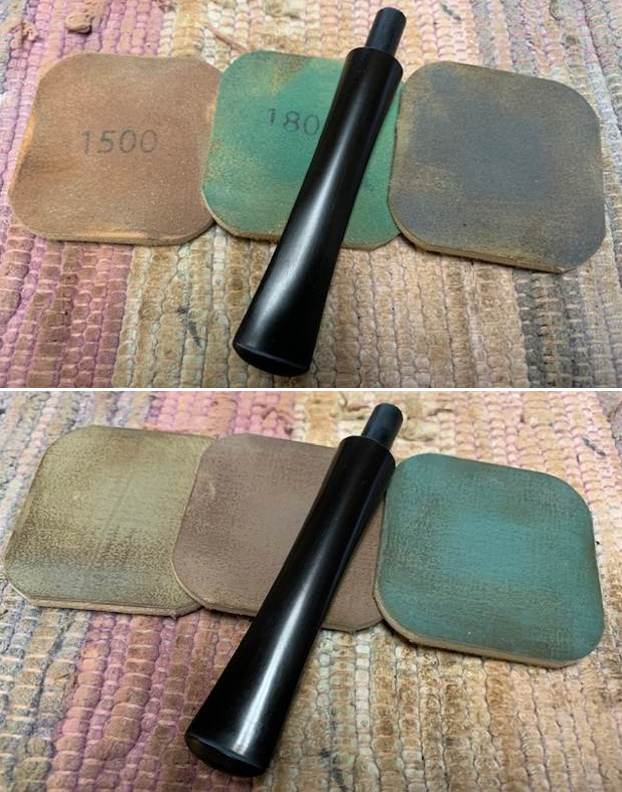
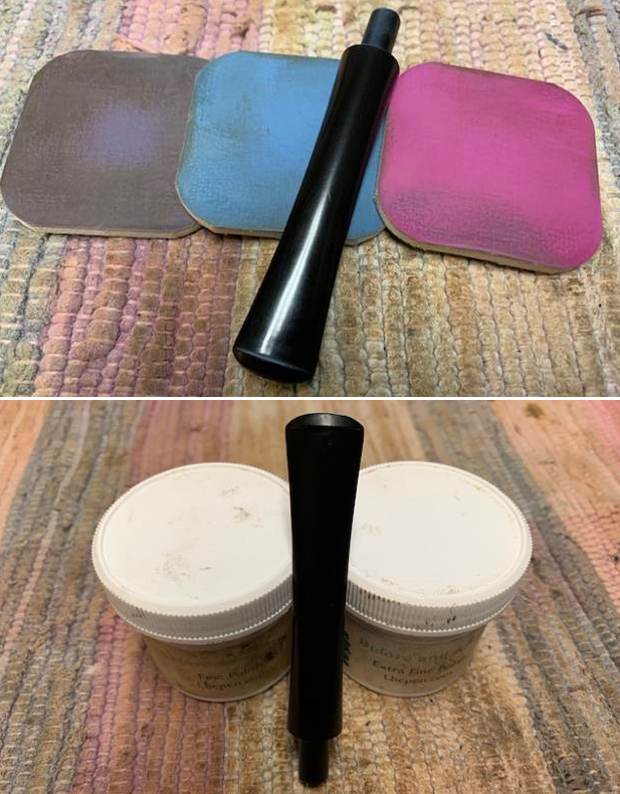
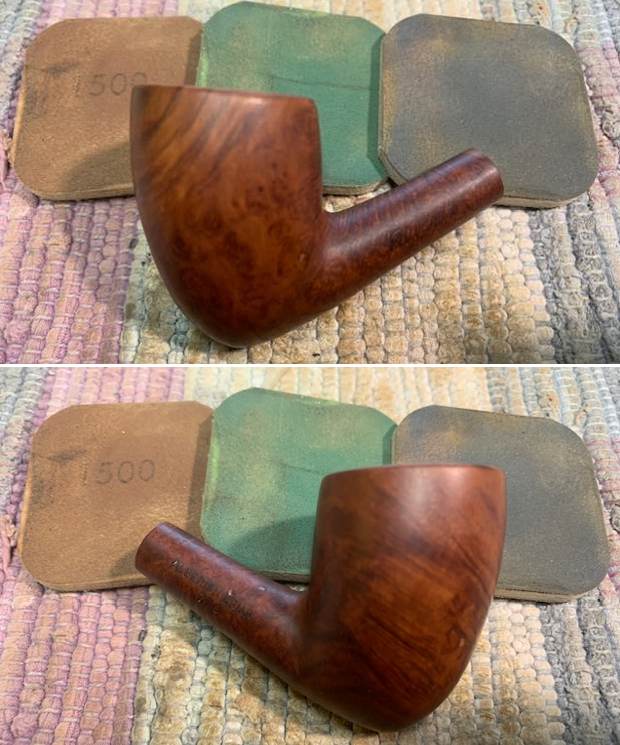
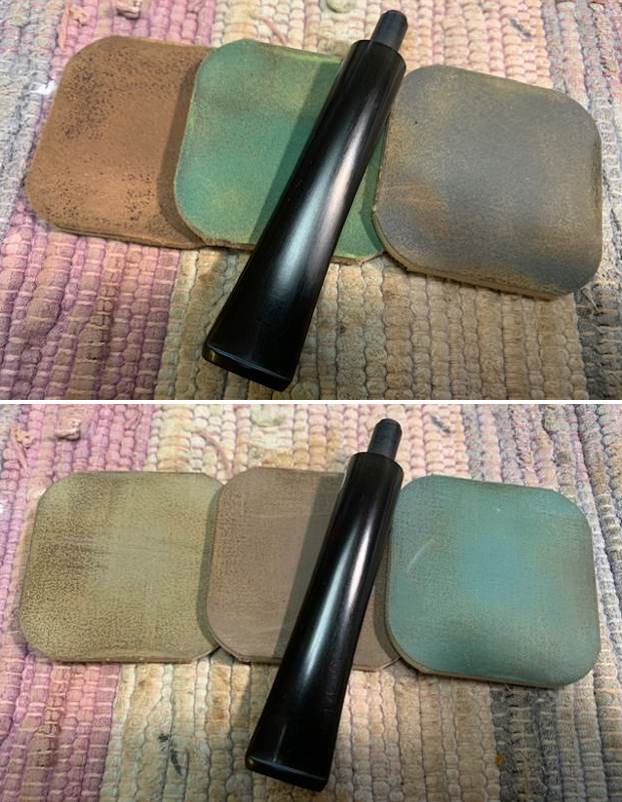
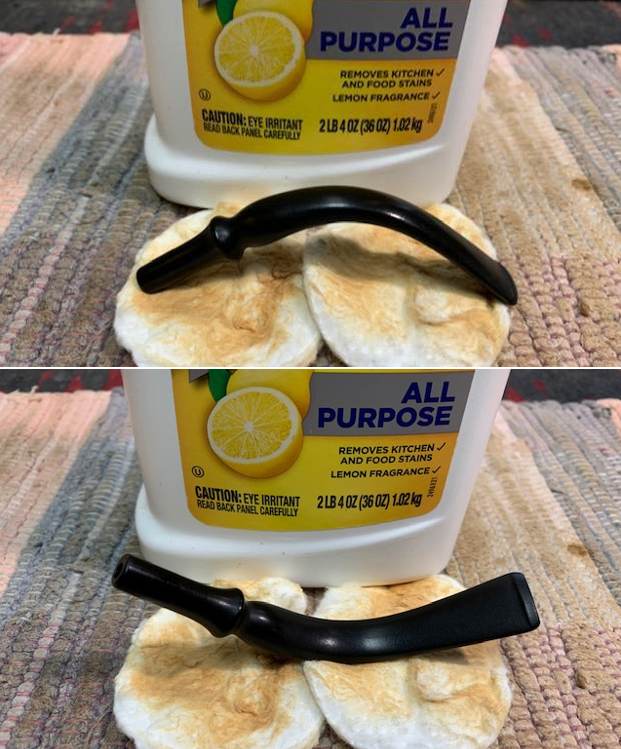 I polished the stem with micromesh sanding pads – wet sanding it with 1500-12000 grit pads. I wiped the stem down after each pad with a cloth impregnated with Obsidian Oil. I polished it further with Before & After Pipe Stem Polish – both fine and extra fine. I gave it a final coat of Obsidian Oil and set it aside to dry.
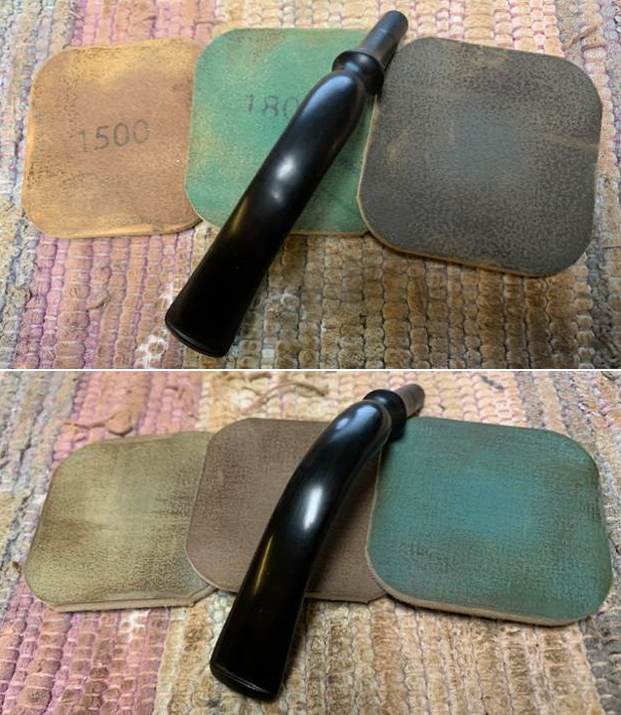
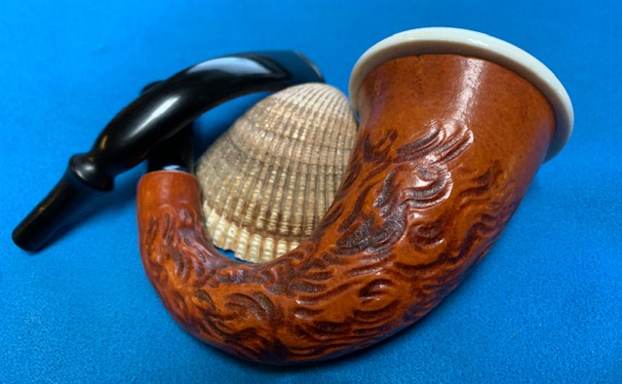
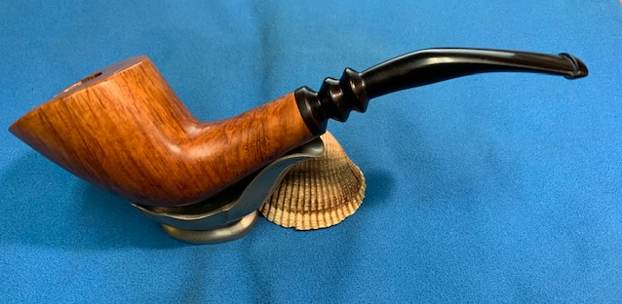
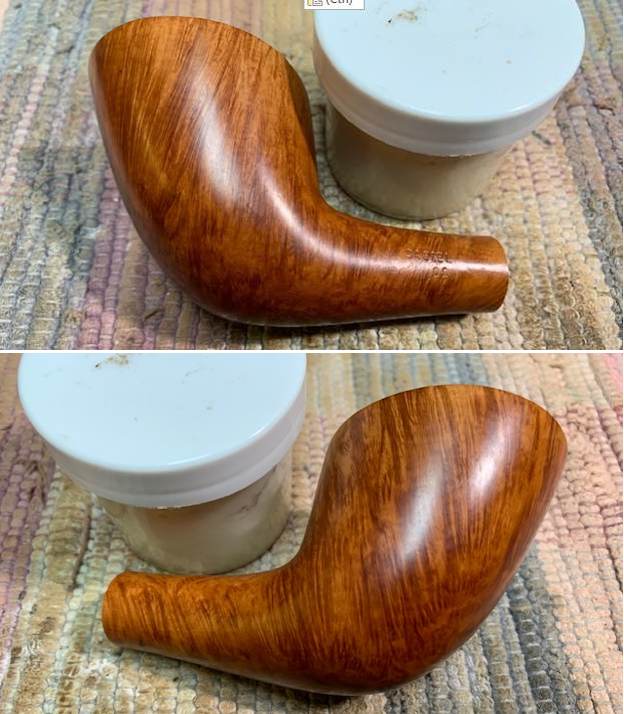
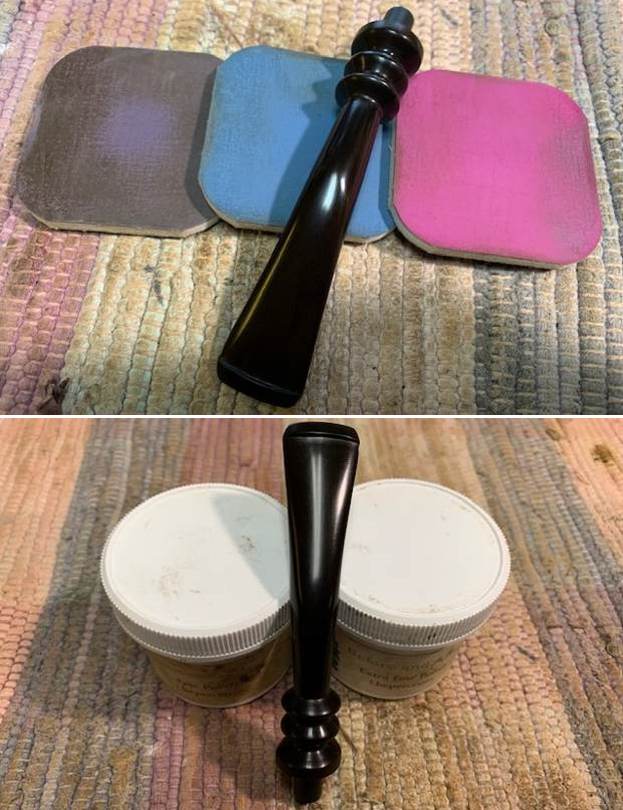
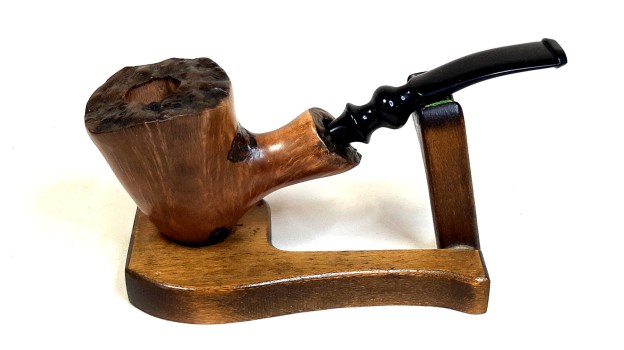
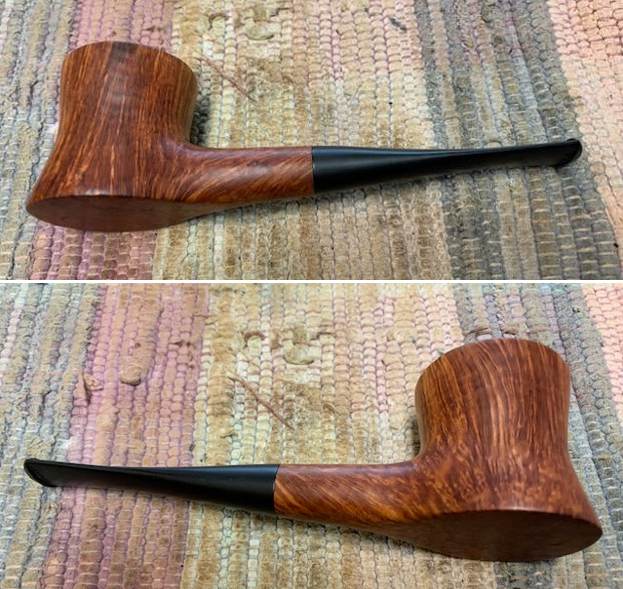
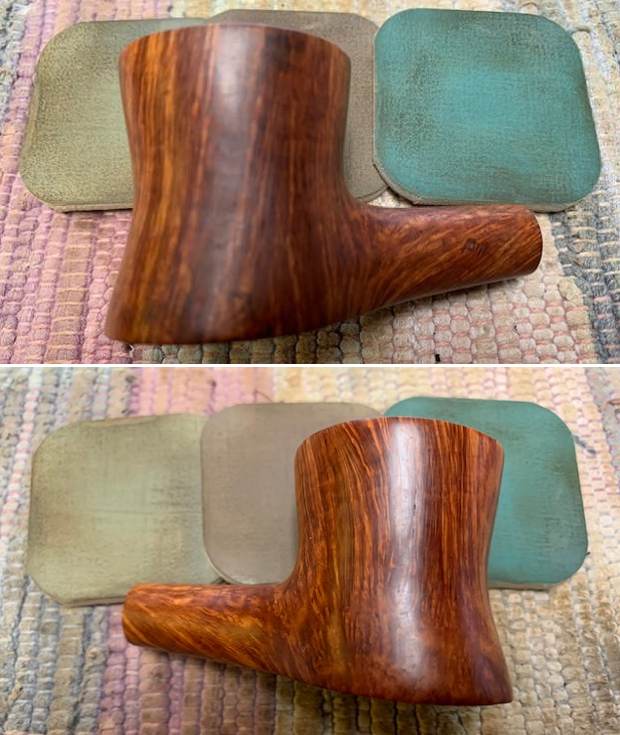
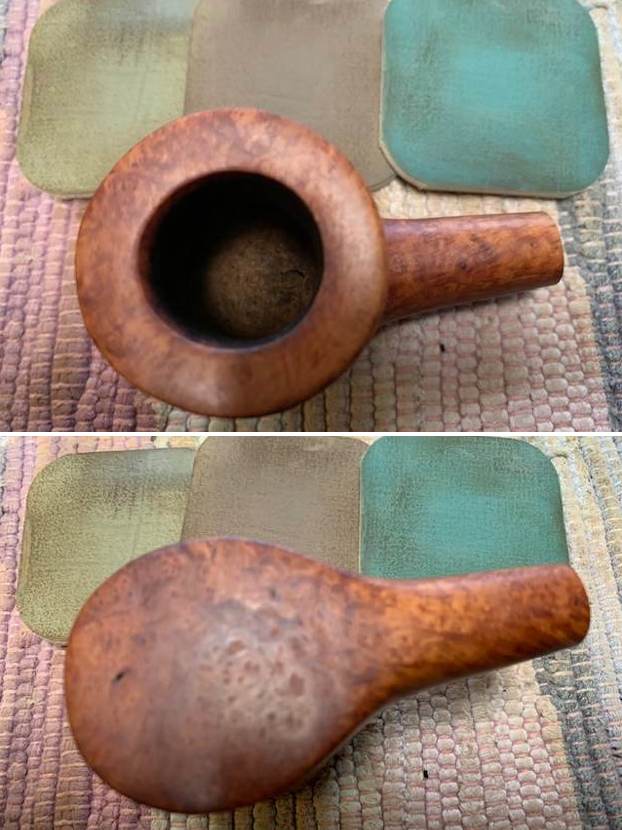
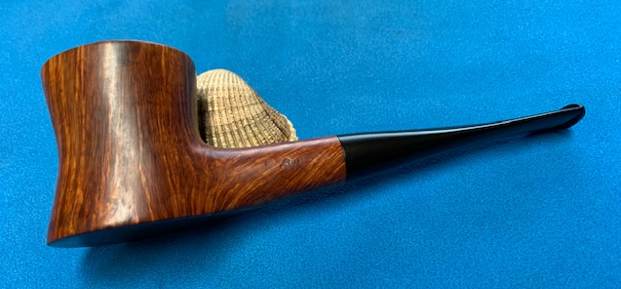
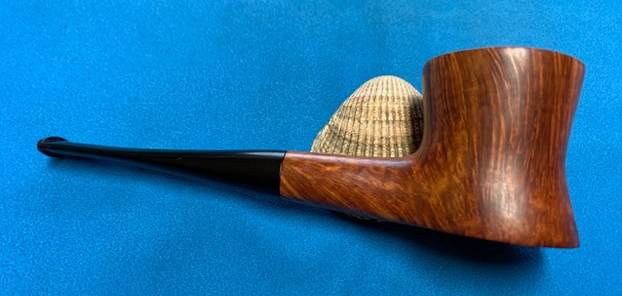
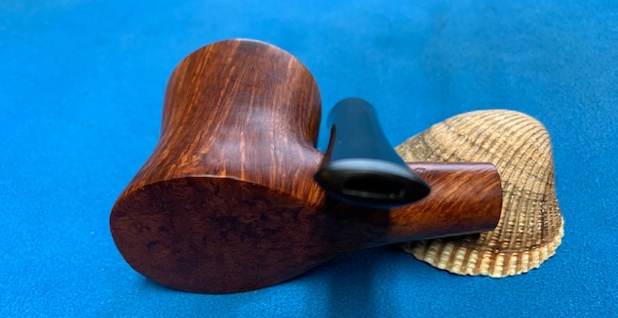
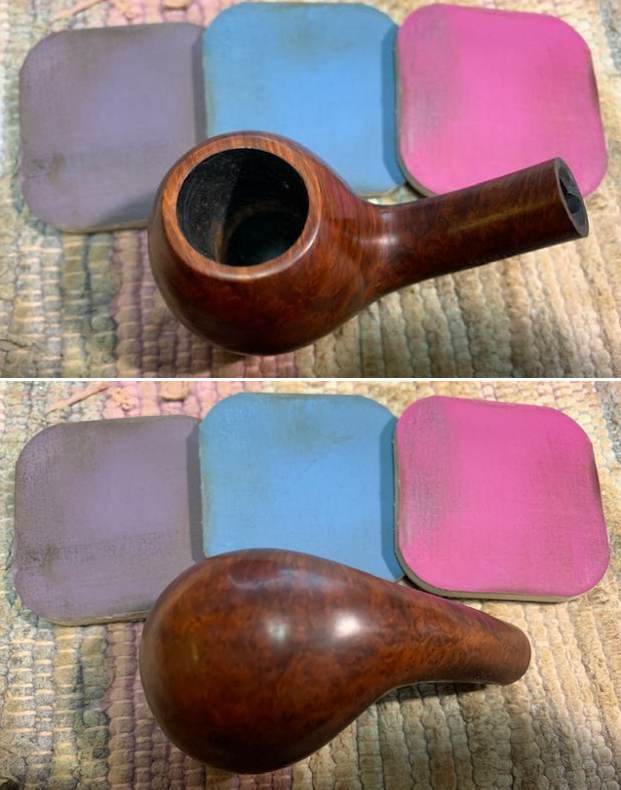
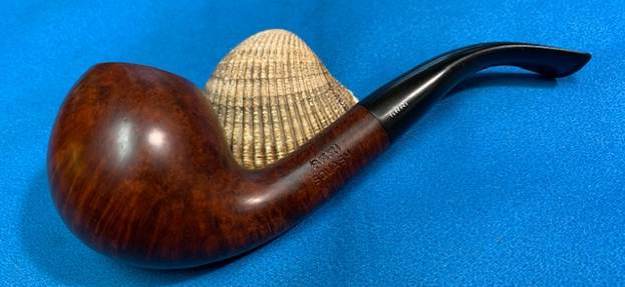
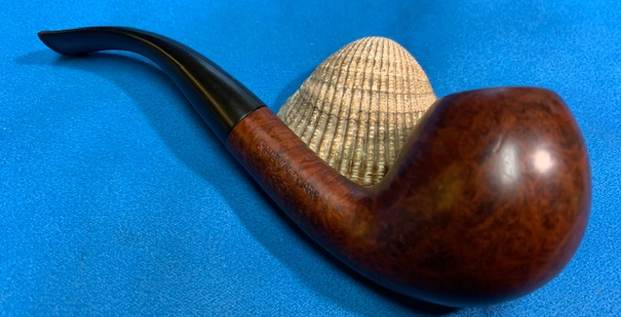
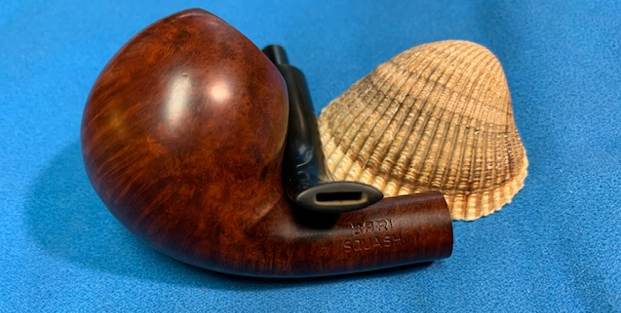
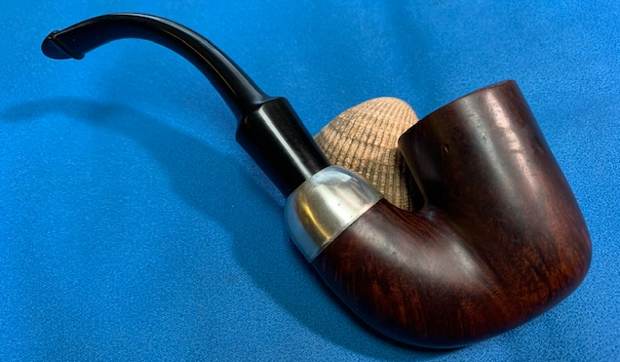
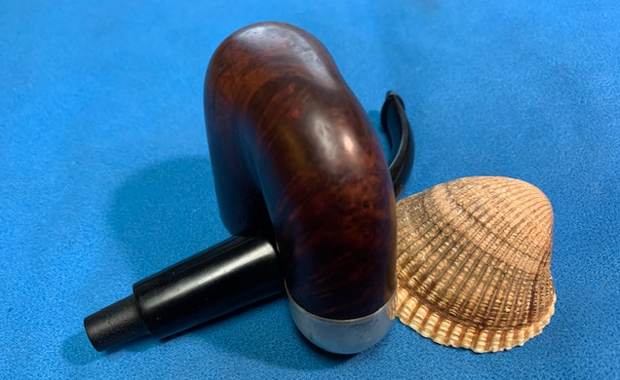
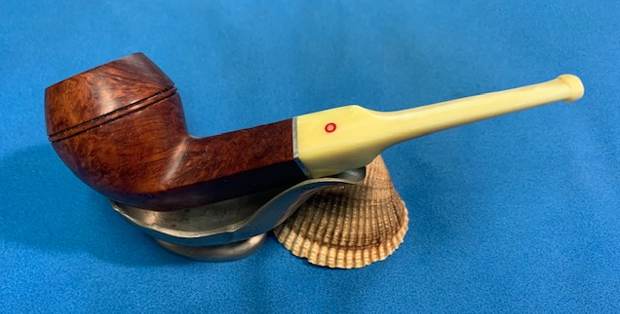
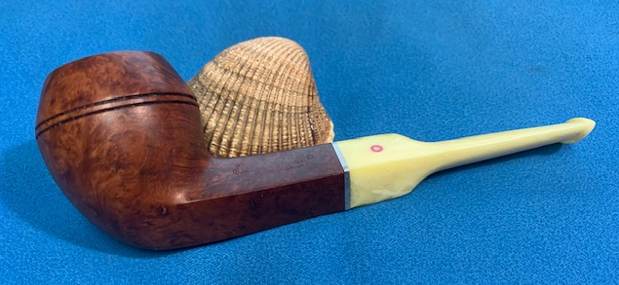
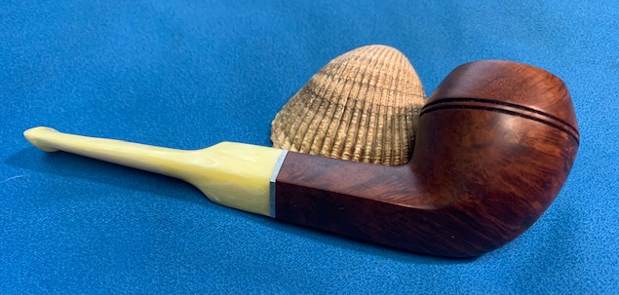
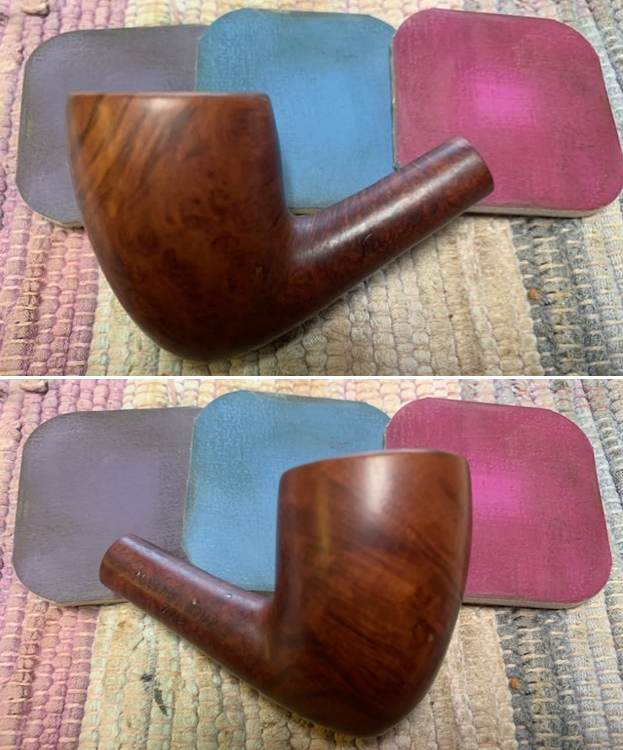
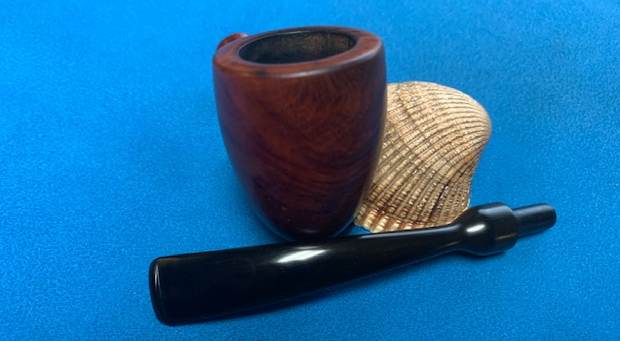
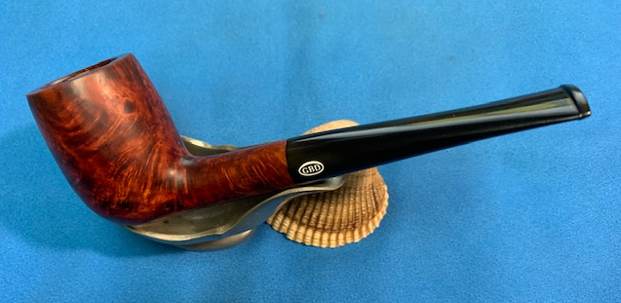
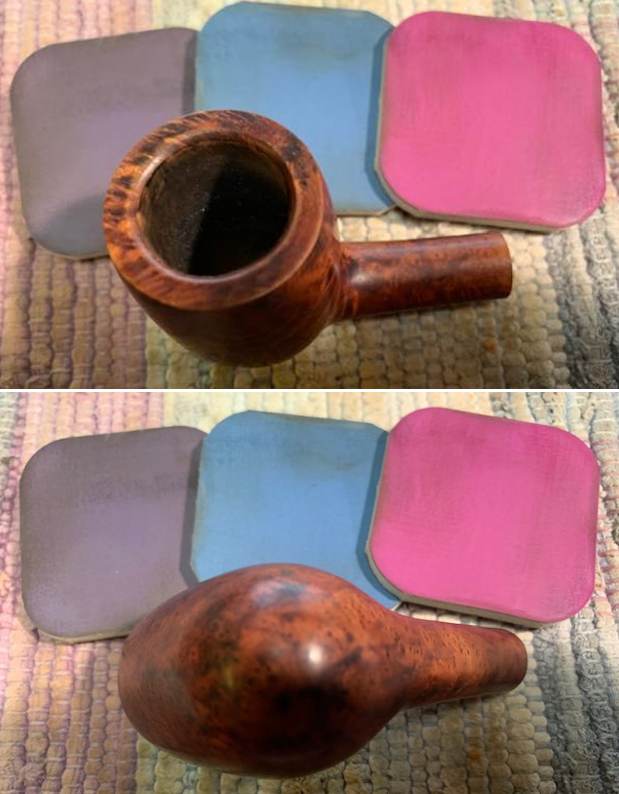
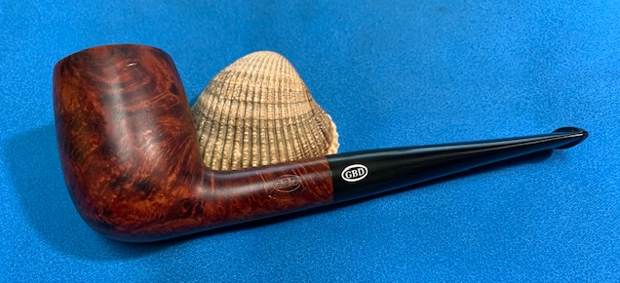
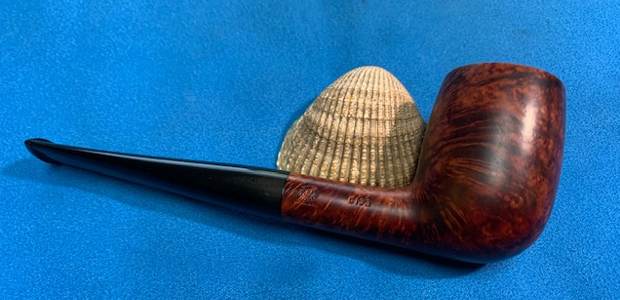
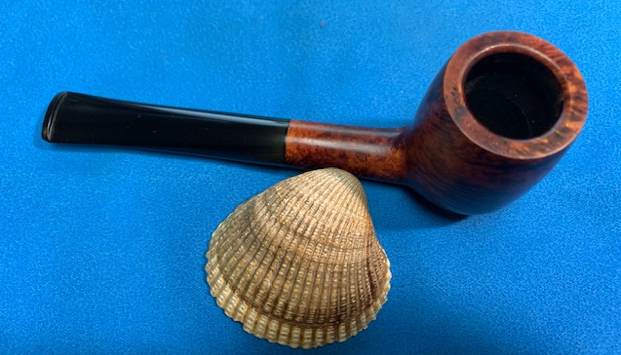
 With refurbishing the final moment when all the pieces come back together is the tell all! I put the pipe back together and buffed the gourd and the stem with Blue Diamond. I gave the gourd and the stem multiple coats of carnauba wax. I buffed the those parts with a clean buffing pad to raise the shine. I hand buffed it with a microfiber cloth to deepen the shine. I put the cup back in the gourd and hand buffed the finished pipe. It is fun to see what the polished bowl looks like with the smooth finish and the black fancy vulcanite stem. This Small Gourd Calabash with a Porcelain Bowl is light wight and it is ready for you to load up a tobacco of preference and enjoy breaking it in for yourself. Have a look at it in the photos below. The dimensions are Length: 7 inches, Height: 2 ¾ inches, Outside diameter of the bowl (cup): 2 inches, Chamber diameter: 1 inch. The weight of the pipe is 57 grams/2.01 ounces. This is one that will go on the American Pipemakers section of the rebornpipes online store shortly. Thanks to each of you who are reading this blog. Remember we are not pipe owners; we are pipemen and women who hold our pipes in trust until they pass on into the trust of the next generation.
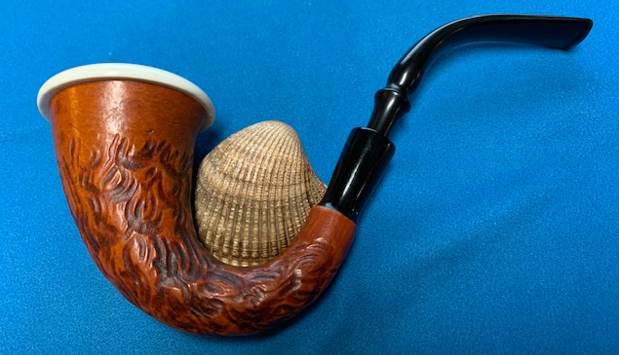


