Blog by Steve Laug
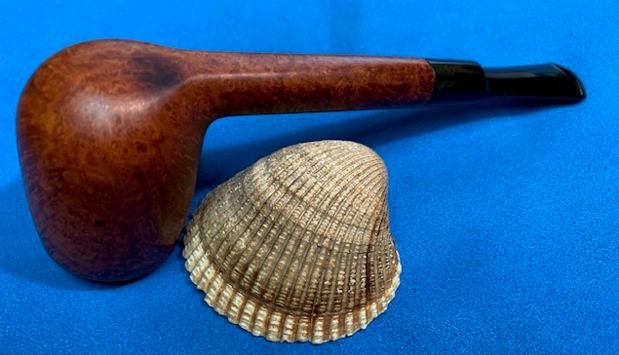
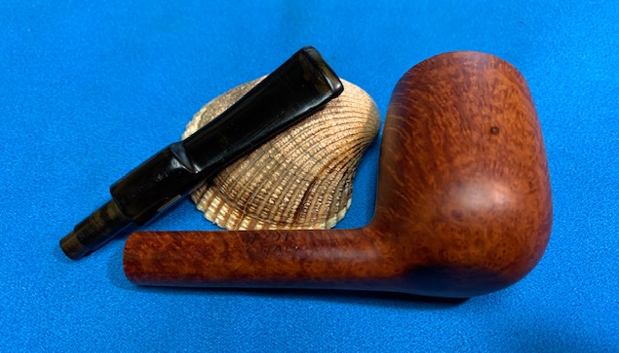
The next pipe I have chosen to work on was purchased from an online auction on 03/21/19 in Wilkes Barre, Pennsylvania, USA. The shape and design caught my eye as I was going through the pipes in the queue. The shape is what I would call a Lovat but it has a thin pencil shank and saddle stem that makes it delicate looking. It is stamped on the left side of the shank and reads Savinelli [over] de Luxe [over] Milano. On the right side it is stamped with the Savenilli Shield S logo followed by the shape number 701 [over] Italy. The finish is very dirty with dust and grime. There were nicks around and scratches around the sides. There were two burn marks – one on the front of the heel of the bowl and one on back of the heel going onto the shank. They appeared to be burns from an ashtray. They were dark but not charred. The bowl had been reamed and was quite clean. The inner and out edge of the bowl had some dark spots on them. The rim top was quite clean. The stem is oxidized, calcified and has light tooth chatter and marks on both sides near the button. The surface of the button looks very good on both sides. Jeff took photos of the pipe before he started his cleanup work. The conditions noted above are evident in the photos. 
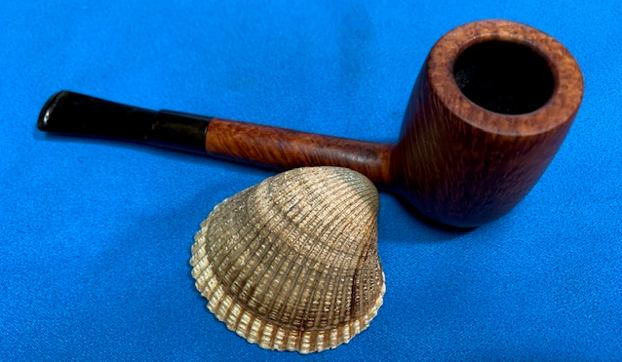
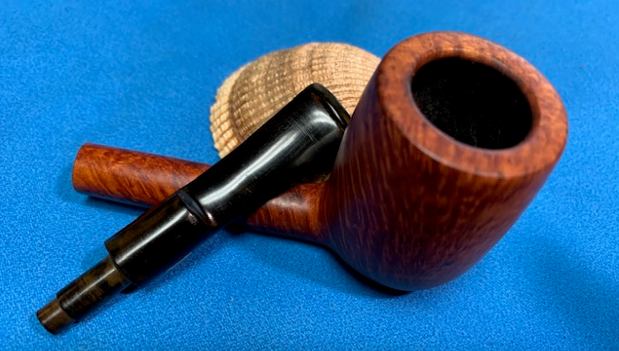
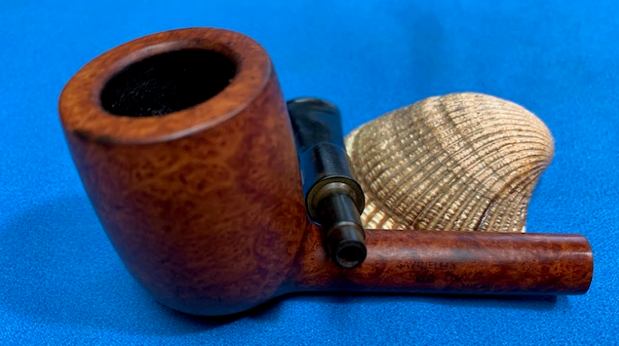
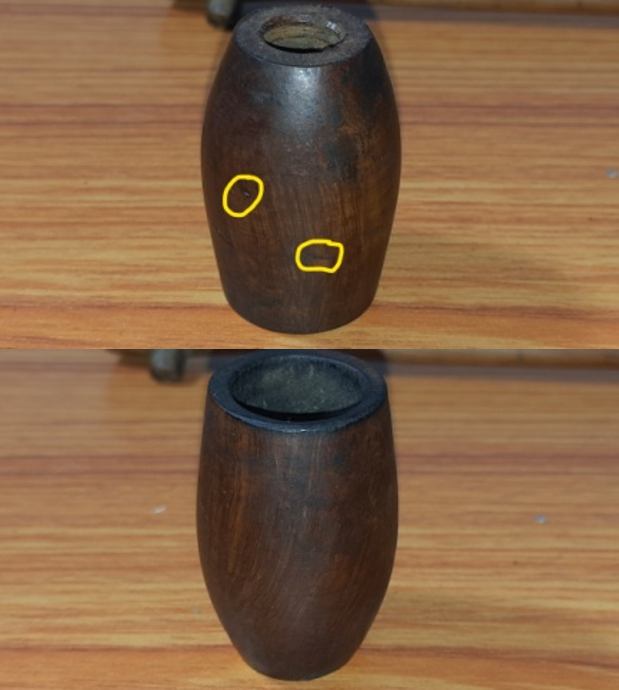
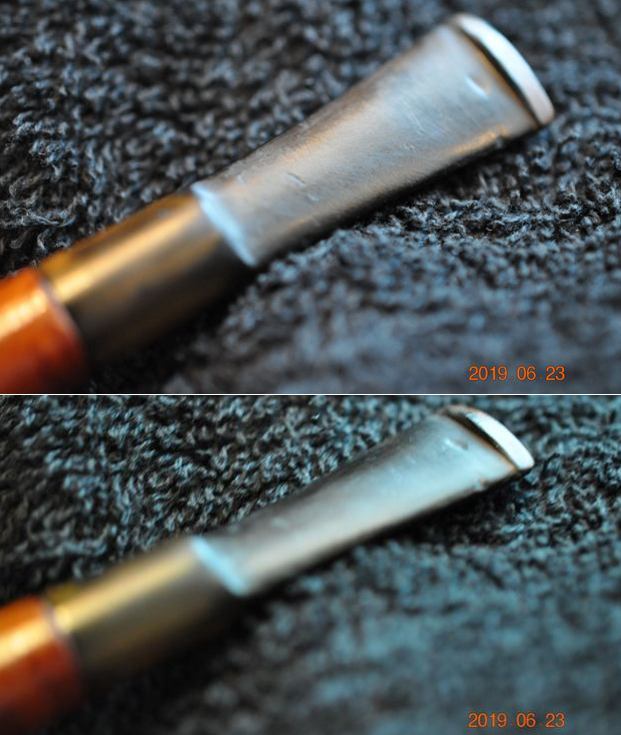
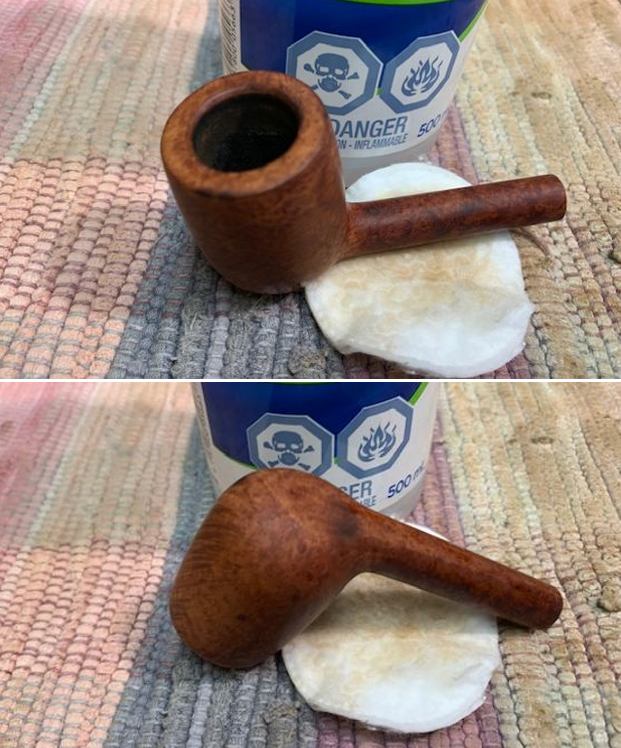
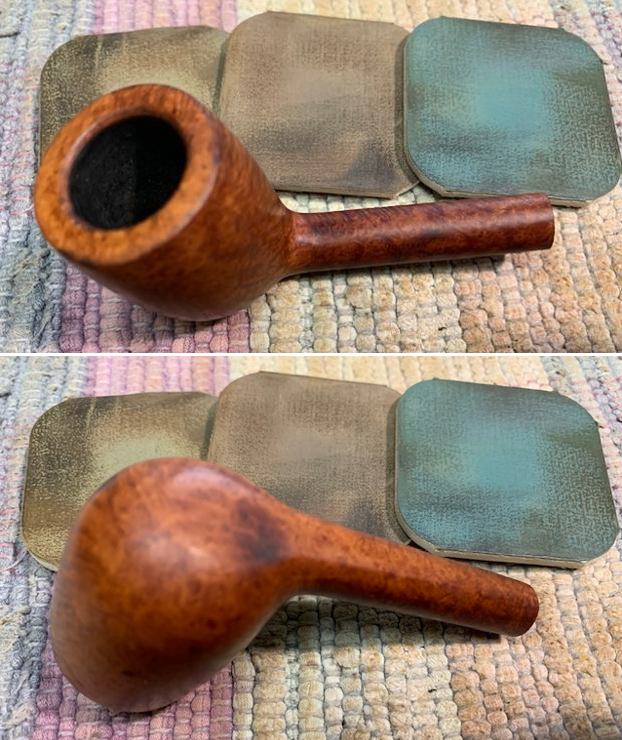
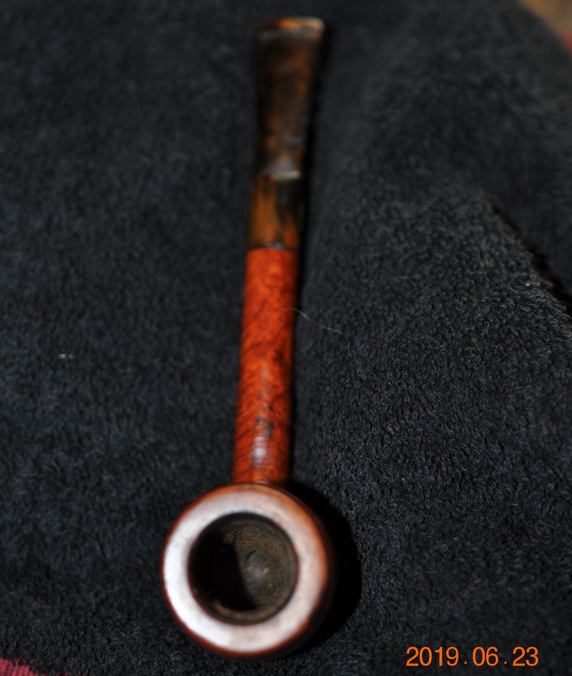 Jeff took close up photos of the rim top from various angles to show the general condition of the bowl and rim. The first photo shows the clean bowl and light cake and the clean rim top. The edges look good. There appears to be a little darkening on the inner edge and a few burn marks on the outer edge on the left side. The stem has light oxidation and quite a few dents and tooth marks on both sides.
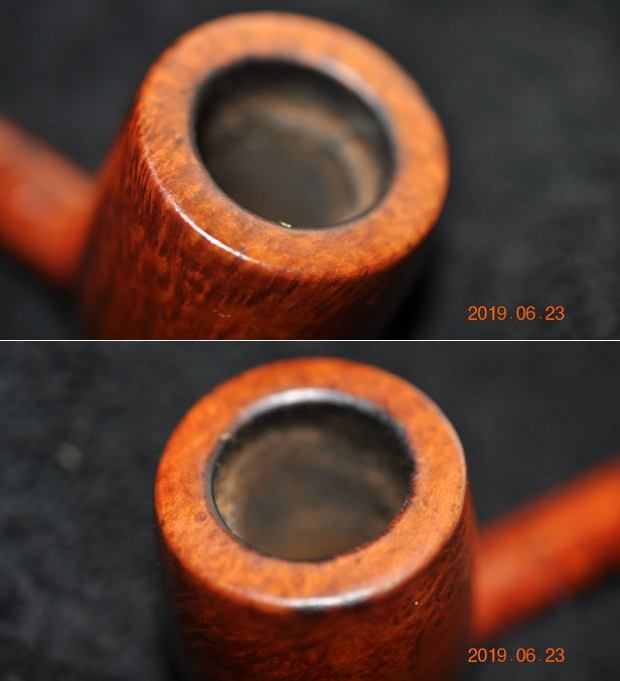
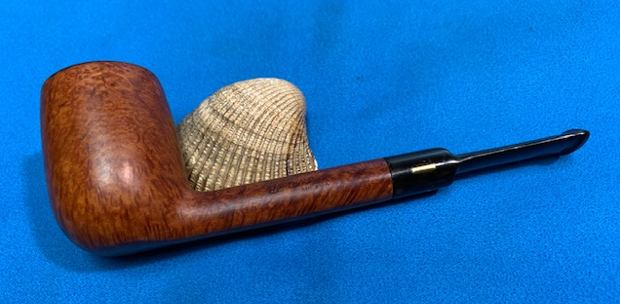
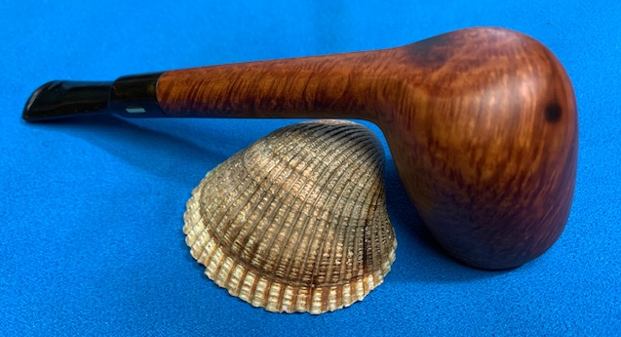
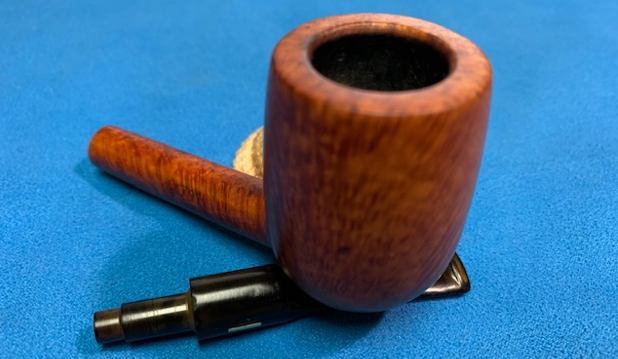
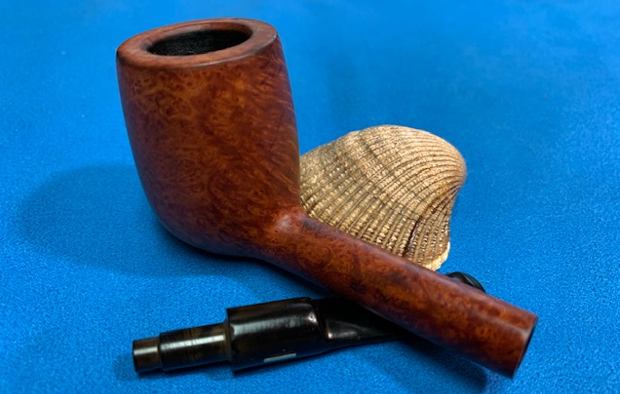
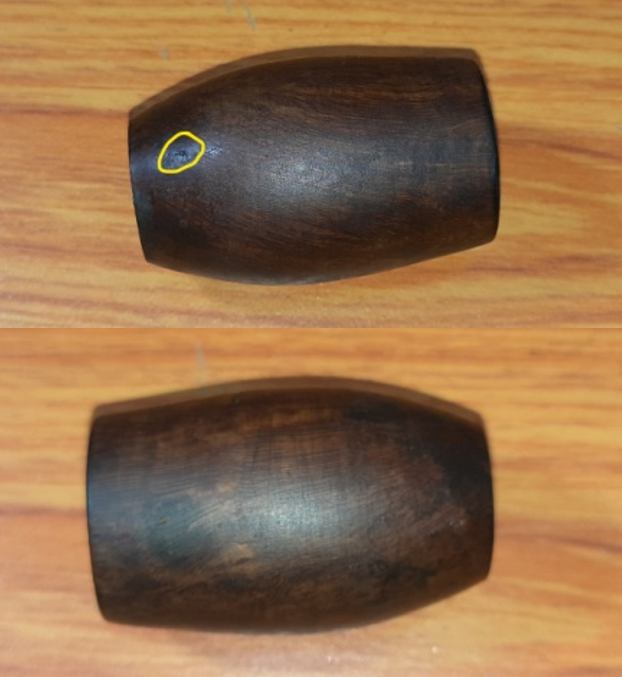
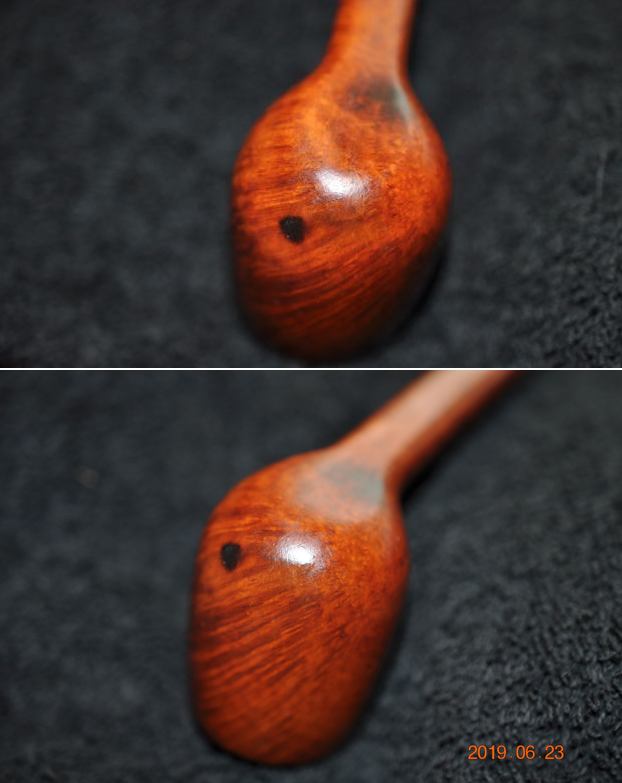
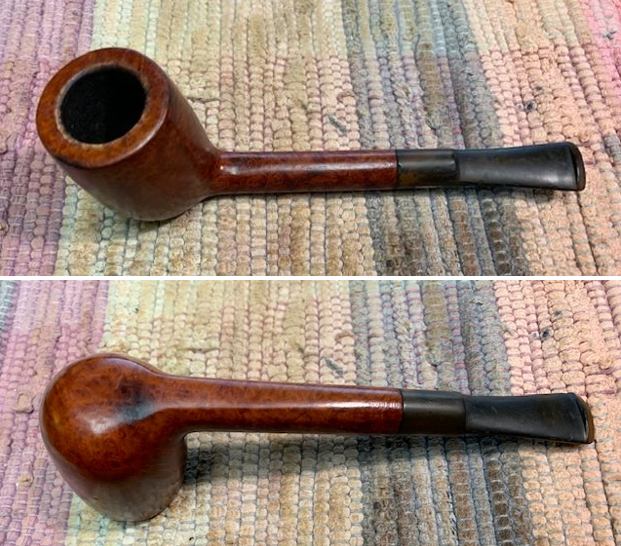
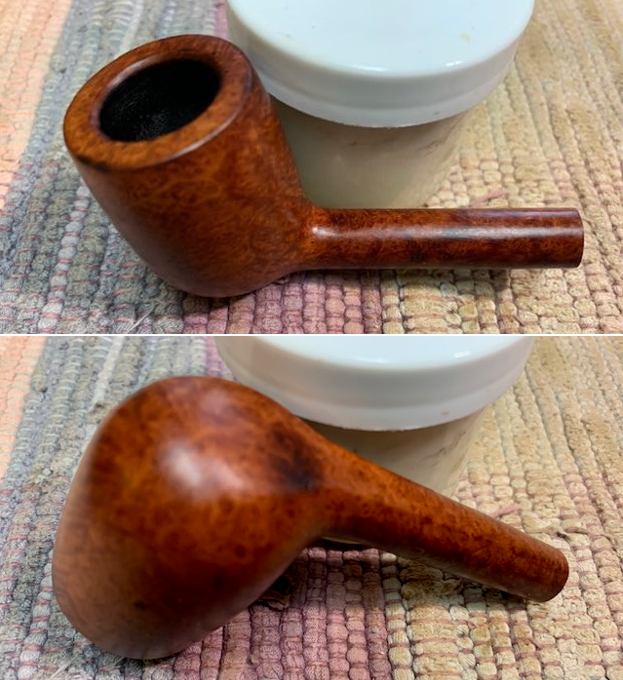
 Jeff took photos of the sides and heel of the bowl to give an idea of the beauty of the grain and the condition of the bowl.
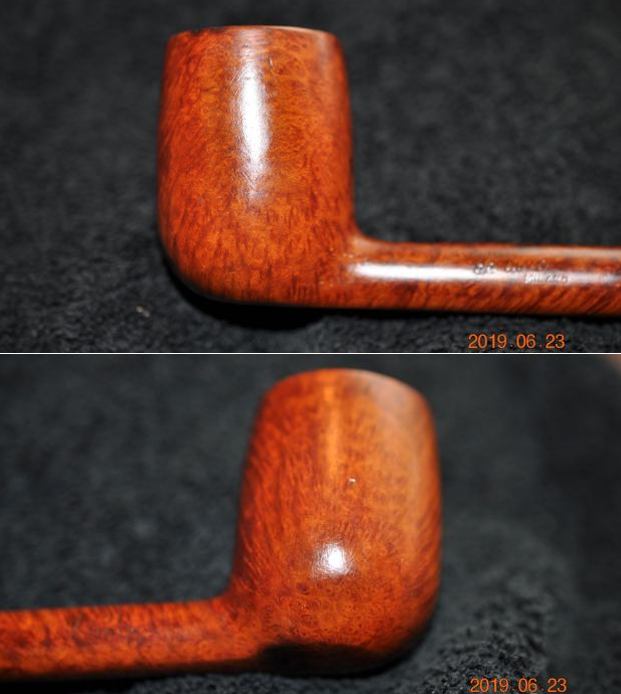
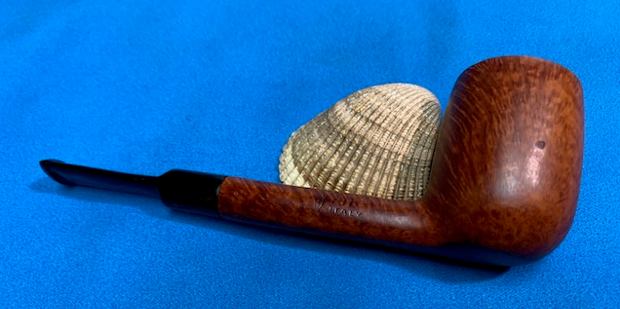
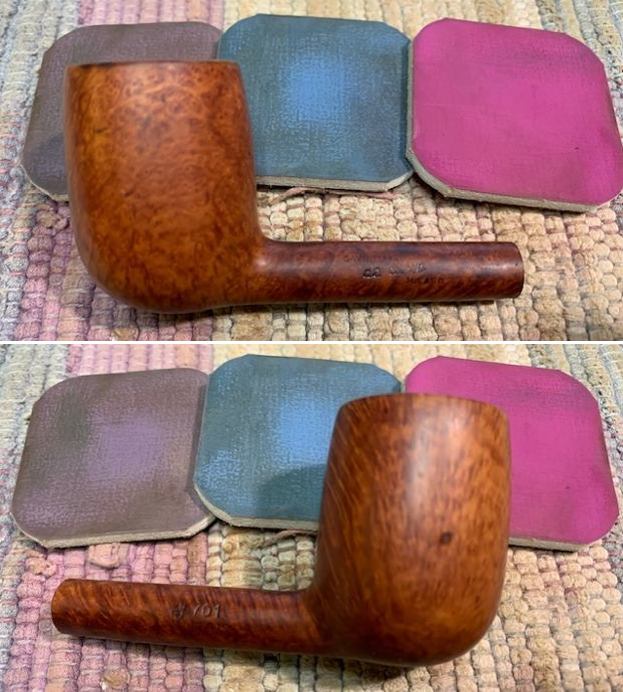
 The pipe is stamped on both sides of the shank and reads as noted above. The stem has a single brass bar inlaid in the left side of the saddle.
 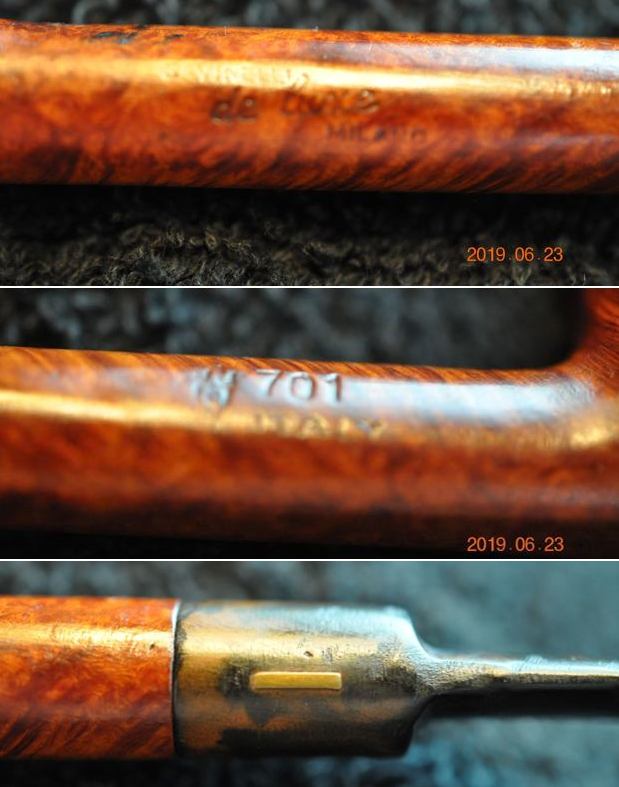 I turned to Pipedia to have a look as I knew there were some advertising flyers on the de luxe Milano (https://pipedia.org/wiki/Savinelli). I love the older Ads descriptions of the pipes. Give a careful read of the descriptions on these pipes as once I read them I want one! The pipe I am working on is described by the ads as a smooth Golden Walnut.
 The site also has a shape chart of the lines of Savinelli. The pipe I am working on is a 701 and the one pictured in the chart below is exactly like this one.
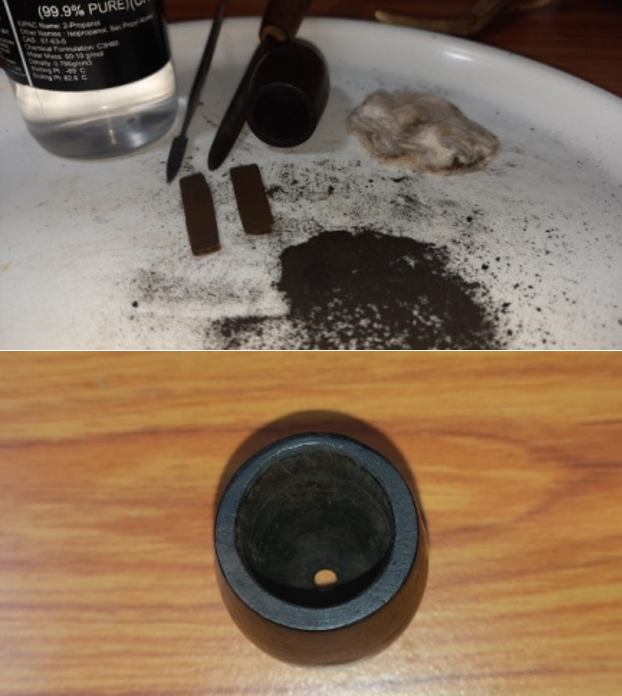
 Armed with that information I turned my attention to the pipe itself. Jeff had cleaned the pipe with his usual thoroughness that I really appreciate. He had reamed it with a PipNet pipe reamer and cleaned up the reaming with a Savinelli Fitsall Pipe Knife. He scrubbed out the internals with alcohol, pipe cleaners and cotton swabs until the pipe was clean. He scrubbed the exterior of the bowl with Murphy’s Oil Soap and a tooth brush to remove the grime and grit on the briar. The finish looks very good with good looking grain around the bowl and shank. The burn marks were present but not deep. Jeff soaked the stem in Before & After Deoxidizer to remove the oxidation on the rubber. When the pipe arrived here in Vancouver for the second stop of its restoration tour it looked very good. I took photos before I started my part of the work.
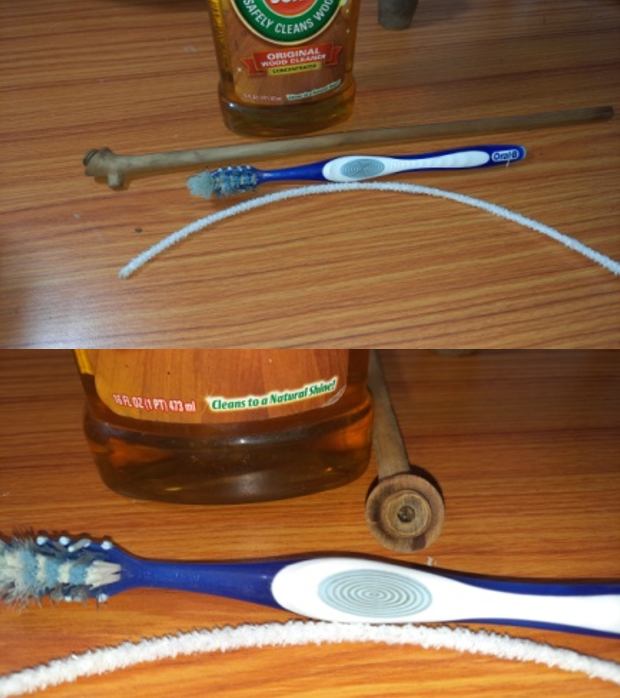
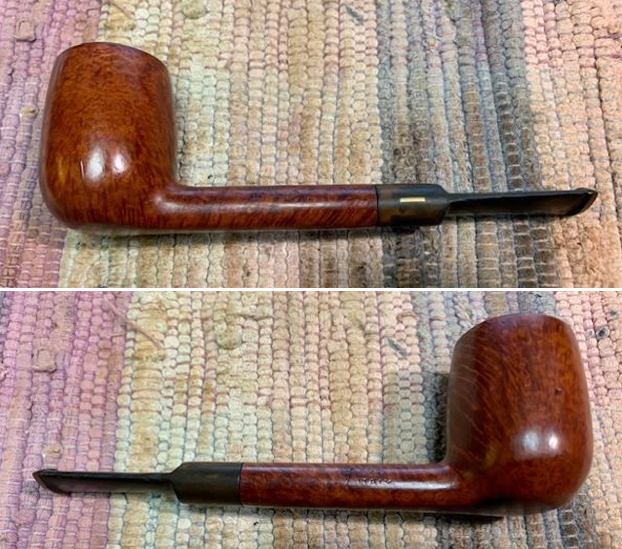
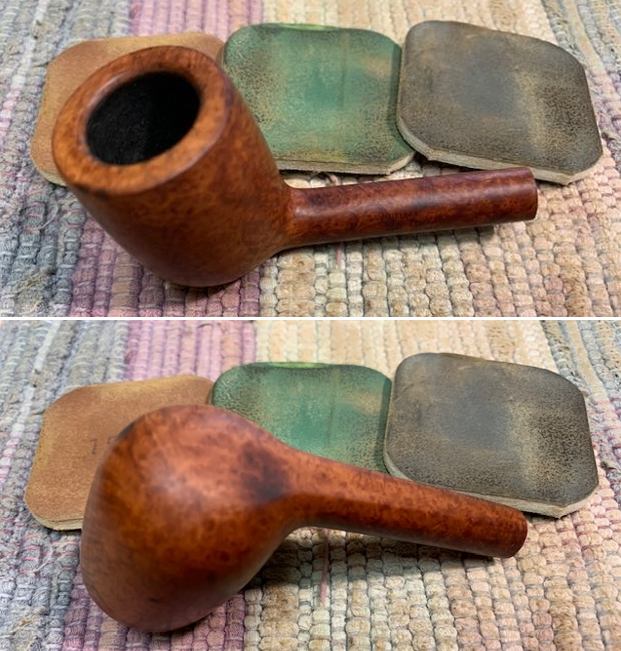
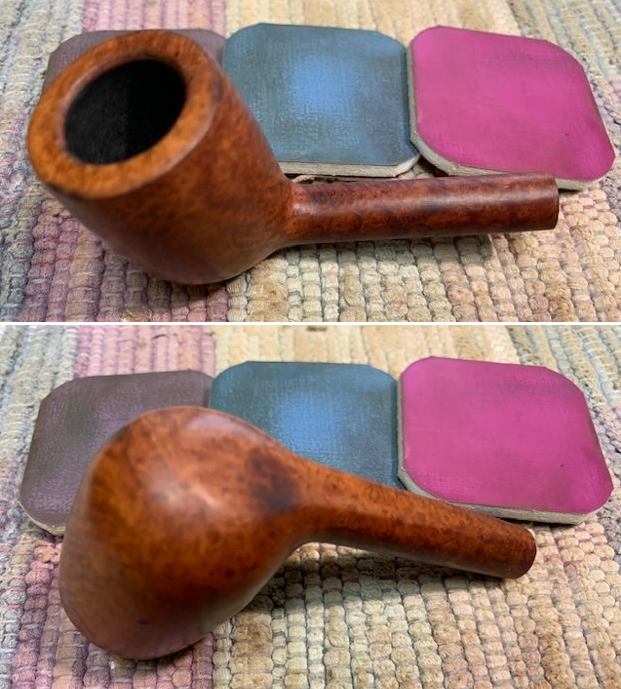
 I took some close up photos of the rim top and also of the stem surface. The bowl and the rim top look good. The inner edge of the rim was rough and there were some nicks in the edge. I also took close up photos of the stem to show how clean the stem was. Once it was cleaned up there were no tooth marks or chatter on either side of the stem.
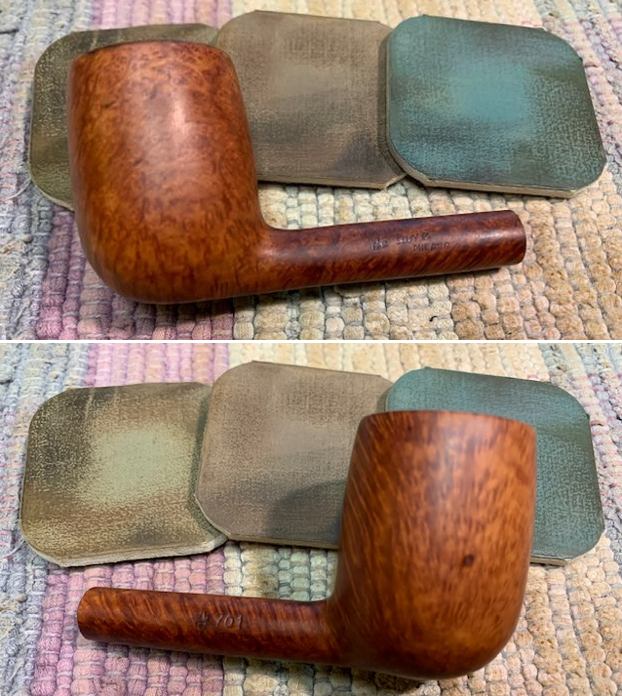
 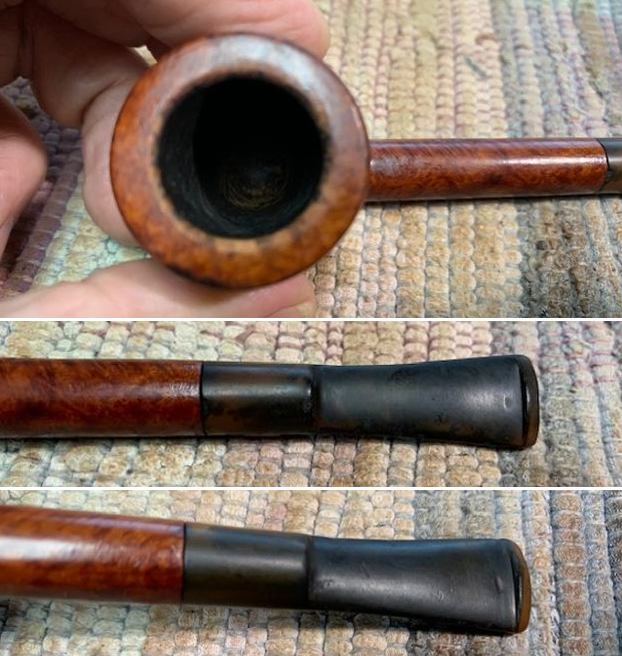 I took photos of the stamping on the shank. It is very readable but faint in some spots on the sides.
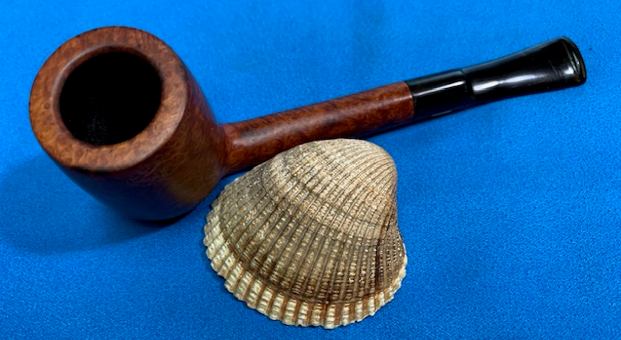
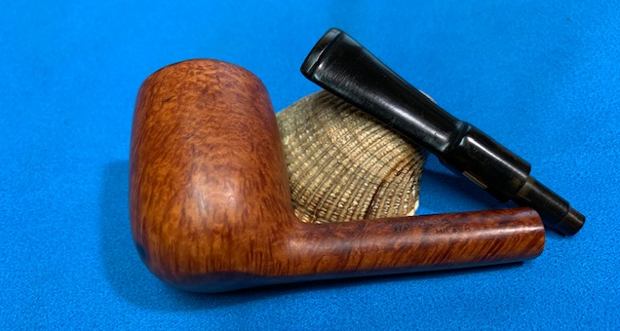
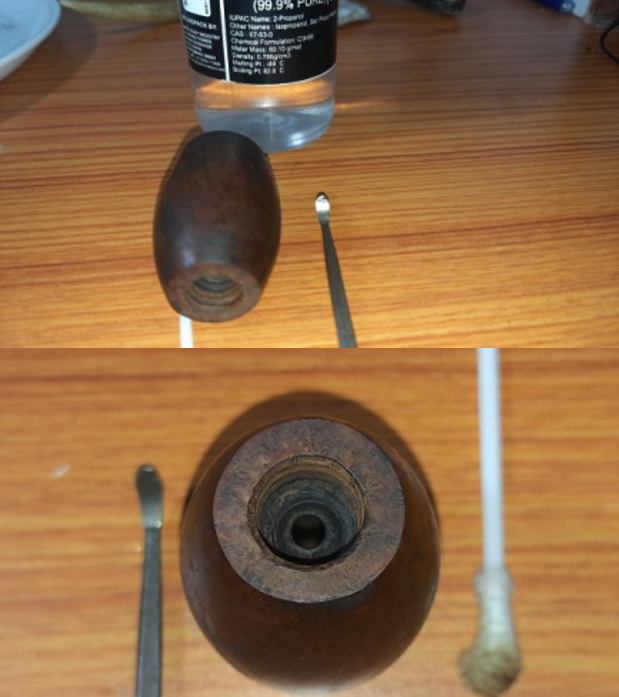
 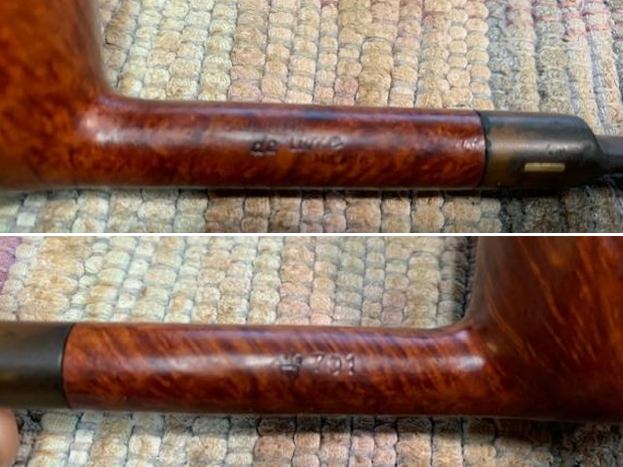 I took the stem off the shank and took a photo of the look of the pipe. It is really a great looking pipe that really follows the briar.
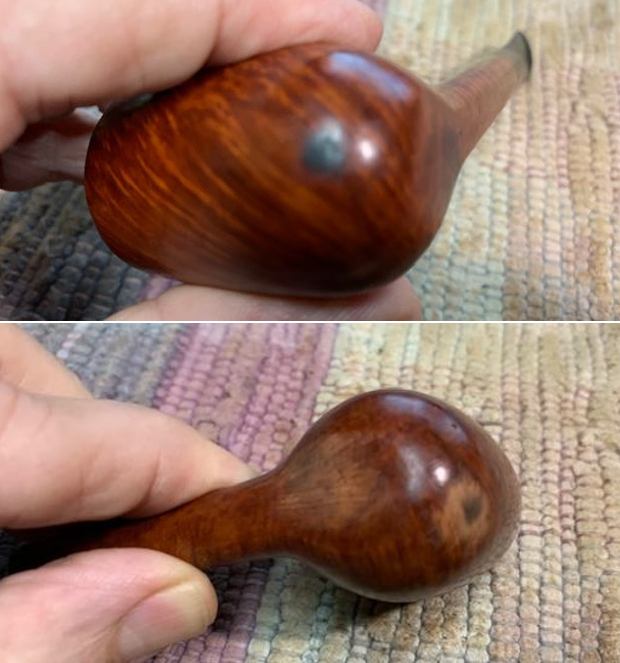
  I decided to start my work on the pipe by addressing the burn marks on the bowl heel and bottom and the inner and outer edge of the bowl. I sanded the burned areas with 220 grit sandpaper to try to minimize them and smooth them out. Though still present they look better.
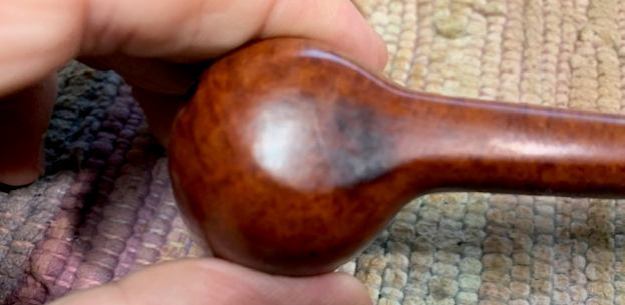
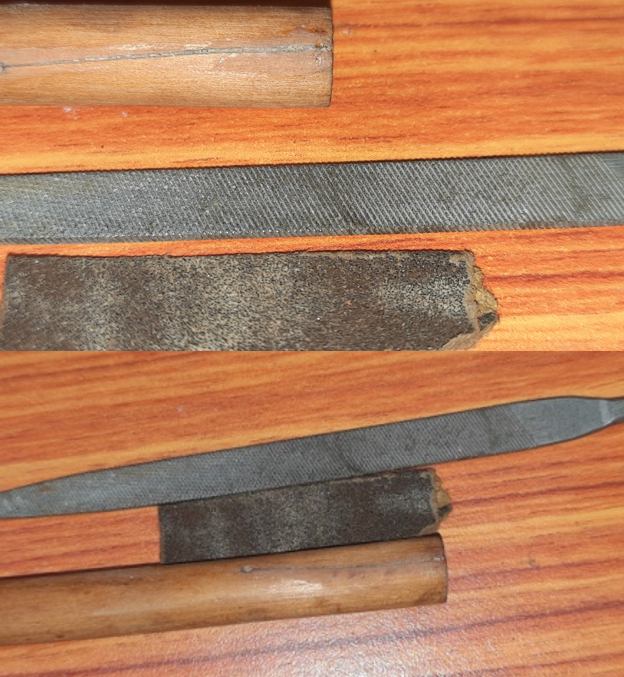
 I worked on the inner edge of the rim and the spots on the outer edge with 220 grit sandpaper.
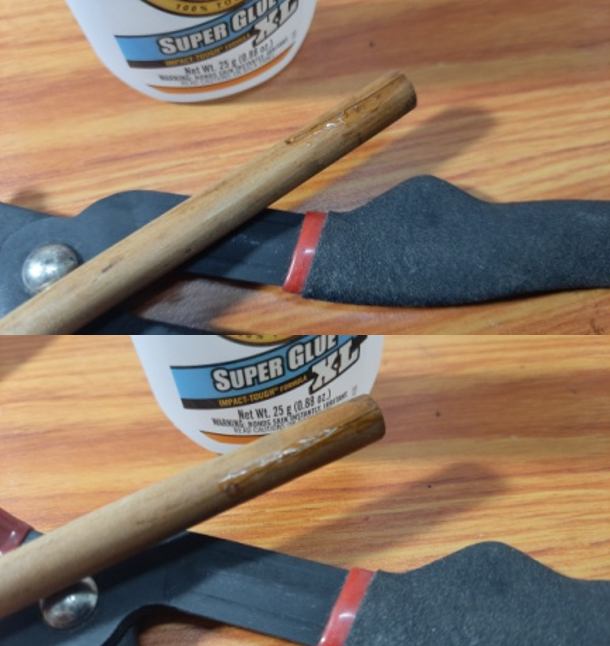
 I filled in the deep nick/goudge in the right side of the bowl with clear super glue. I sanded it smooth and blended it into the surrounding briar with 220 grit sandpaper and smoothed it with 400 grit sandpaper.
  I wiped the bowl down with 99% Isopropyl Alcohol and a cotton pad to remove the remnants of varnish and top coat on the bowl.
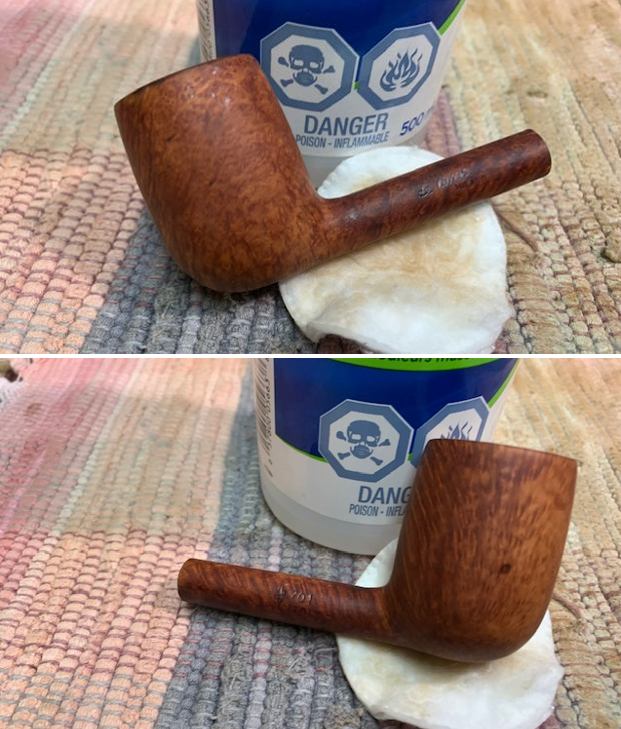
 I dry sanded the briar with micromesh sanding pads – 1500-12000 grit sanding pads. I wiped the bowl surface down with a damp cloth after each sanding pad to remove the sanding dust. Once I finished the exterior of the briar was clean and the grain really stood out.
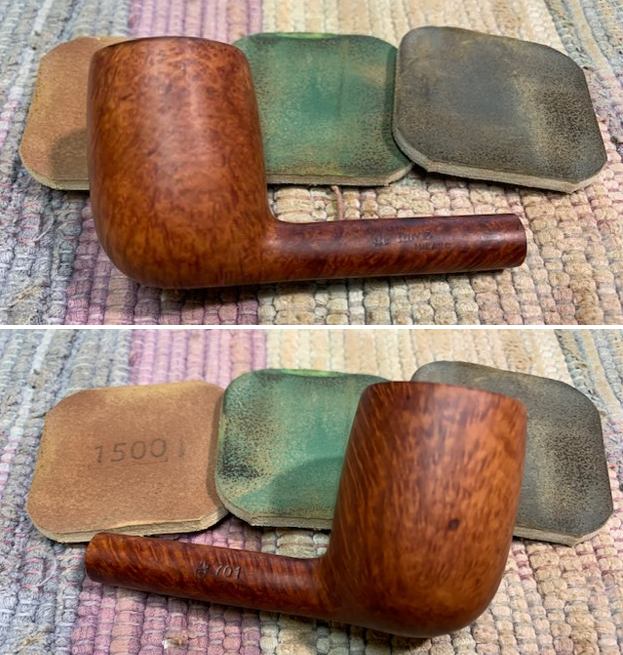
 I rubbed the bowl down with Before & After Restoration Balm. I worked it into the surface of the briar with my fingertips to clean, enliven and protect it. I let the balm sit for 10 minutes then buffed the pipe with a cotton cloth to raise the shine. Mark Hoover’s Balm is a product that I have come to appreciate and one I use on every pipe I have been working on.
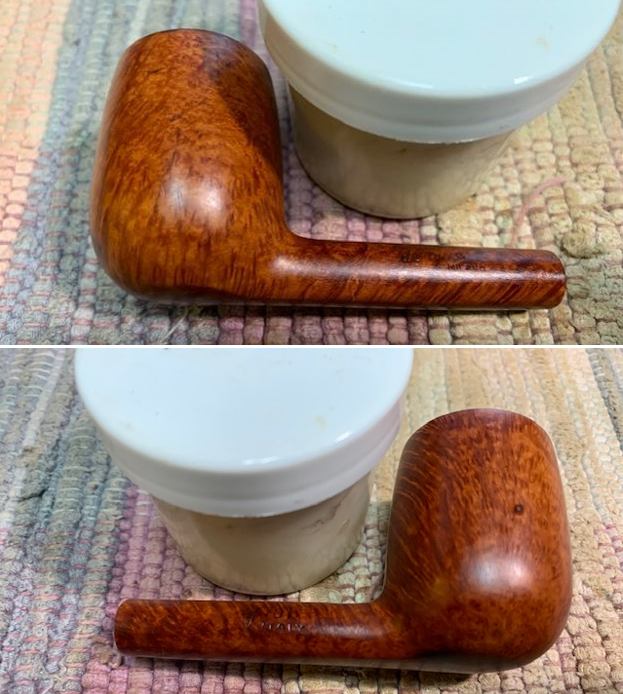
 I set the bowl aside and turned my attention to the stem. I “painted” the surface of the vulcanite with the flame of a Bic lighter to lift the tooth marks. I was able to lift many of them. I filled in the remaining marks with clear super glue. Once it cured I sanded it smooth with 220 grit sandpaper and started polishing it with 400 grit sandpaper.
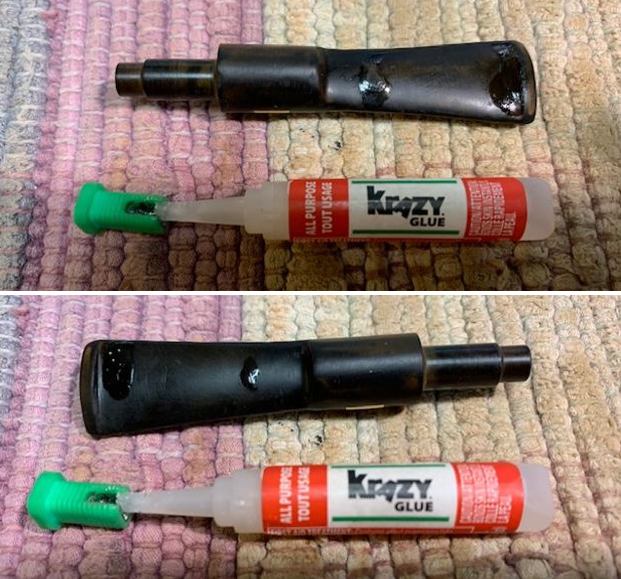
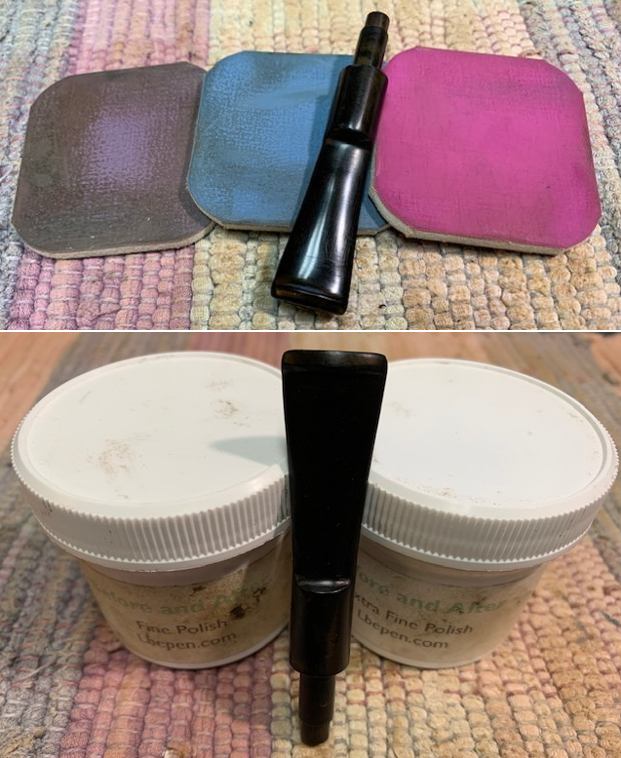
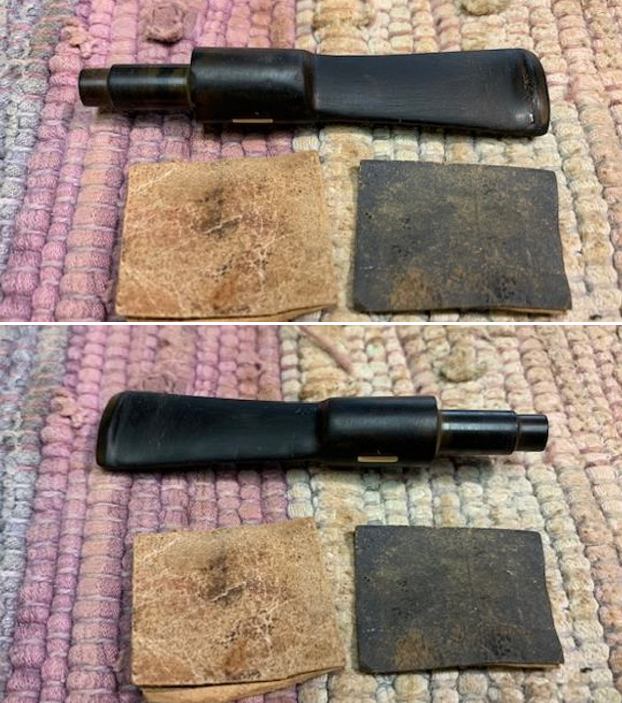 I polished the stem with micromesh sanding pads – wet sanding with 1500-12000 grit pads. I wiped the stem down after each sanding pad with Obsidian Oil. I polished it with Before & After Pipe Stem Polish – both Fine and Extra Fine. Once I had finished the polishing I gave it final coat of oil and set it aside to dry.
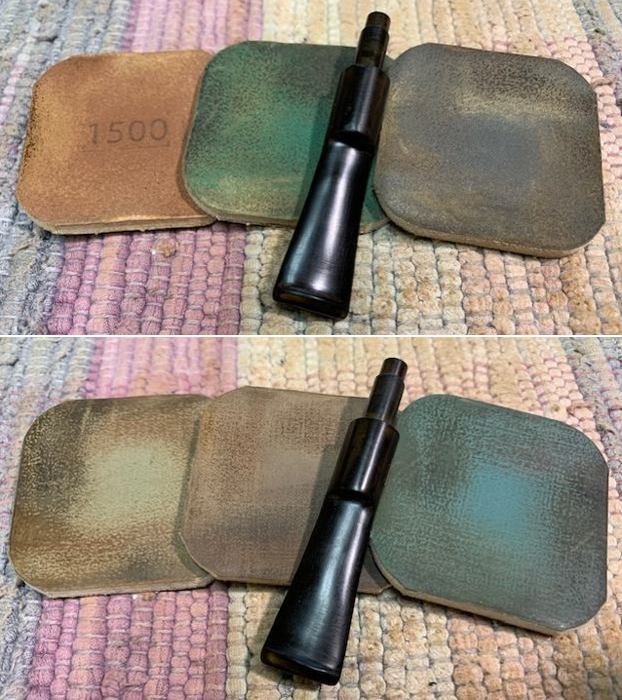
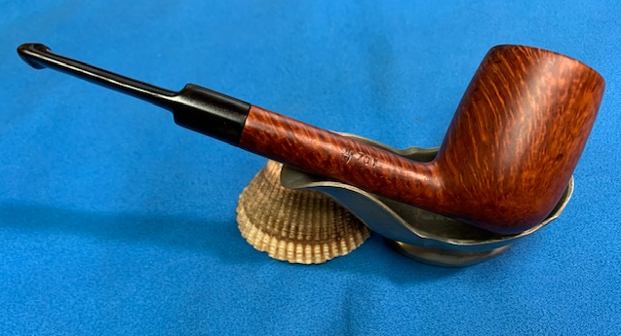
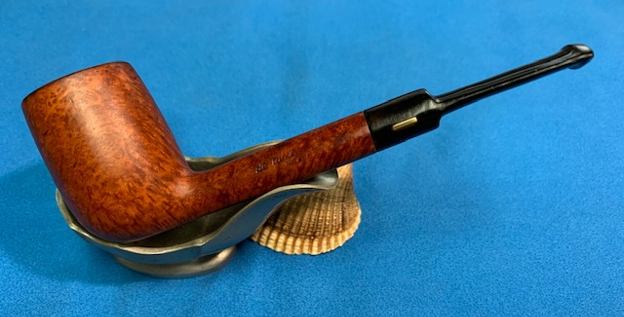
 I am excited to be on the homestretch with beautiful petite Savinelli de luxe Milano 701 Lovat. This is the part I look forward to when it all comes back together, polished and waxed. I put the bowl and stem back together. I polished the bowl and stem with Blue Diamond to polish out the scratches in the briar and the vulcanite. I gave the bowl and the stem multiple coats of carnauba wax. I buffed the pipe with a clean buffing pad to raise the shine. I hand buffed it with a microfiber cloth to deepen the shine. The pipe polished up pretty nicely. The beautifully grained finish looks really good with the interesting grain patterns standing out on the shape. The grain and the polished black vulcanite went really well together. This de luxe Milano Lovat was another fun pipe to work on even with the burn marks. Pipedia describes the classically shaped Savinelli pipes as having an English look that catches the eye. That certainly is true of this one. It is a comfortable pipe to hold in the hand. Even with the burn marks the pipe is still a beauty. The finished pipe is shown in the photos below. The dimensions of the pipe are Length: 5 ½ inches, Height: 1 ¾ inches, Outside diameter of the bowl: 1 1/8 inches, Chamber diameter: ¾ of an inch. The weight of the pipe is 31 grams/ 1.09 ounces. If you are interested in adding this pipe to your rack it will be on the rebornpipes store in the Italian Pipe Makers Section soon. Thanks for reading this blog and my reflections on the pipe while I worked on it.