Blog by Steve Laug
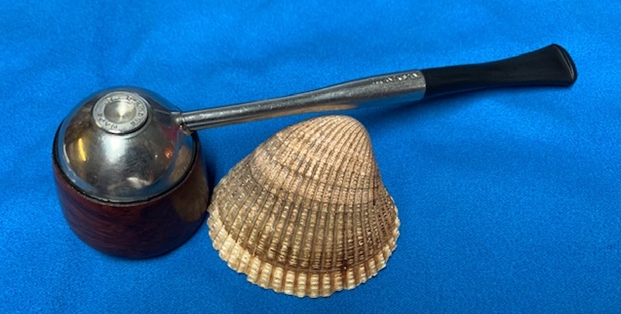
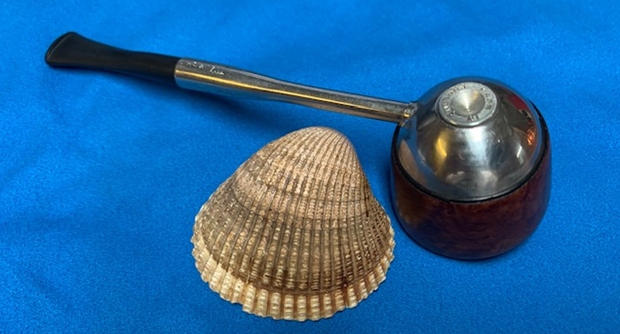
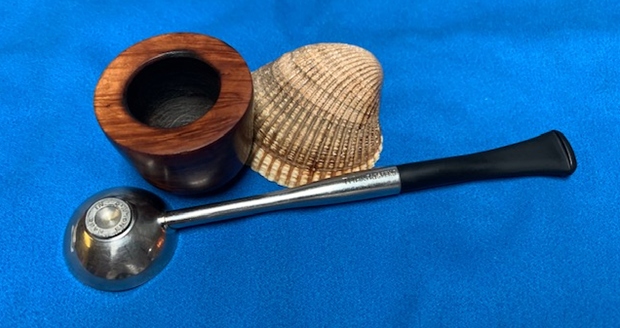
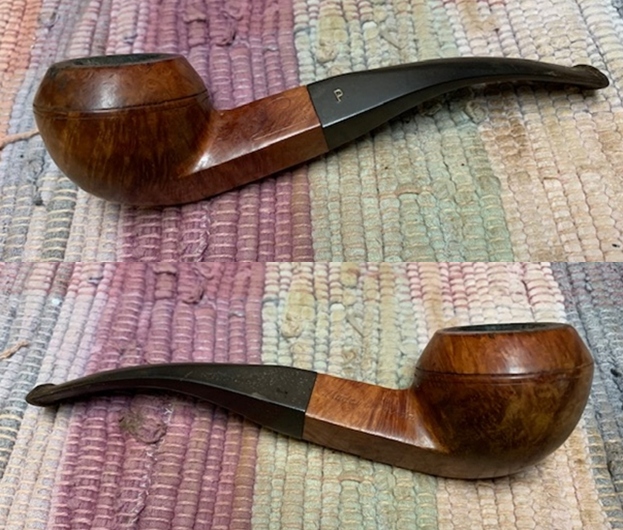
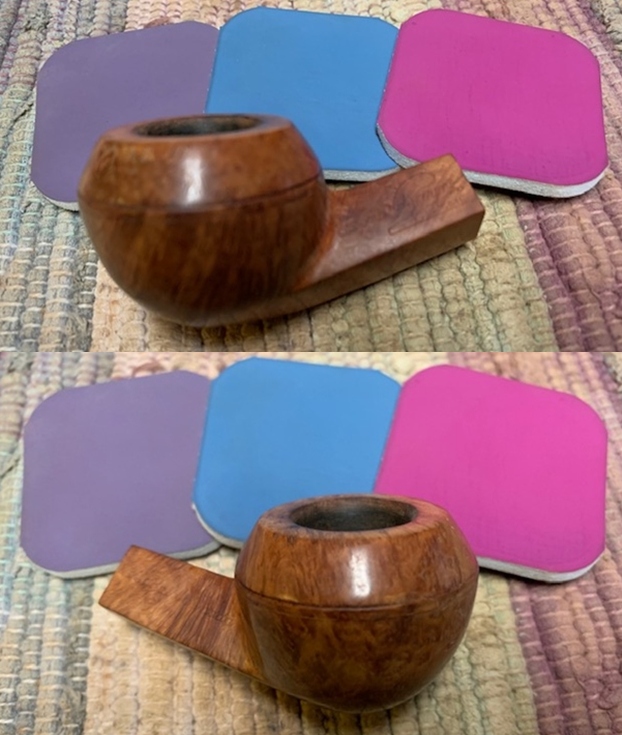
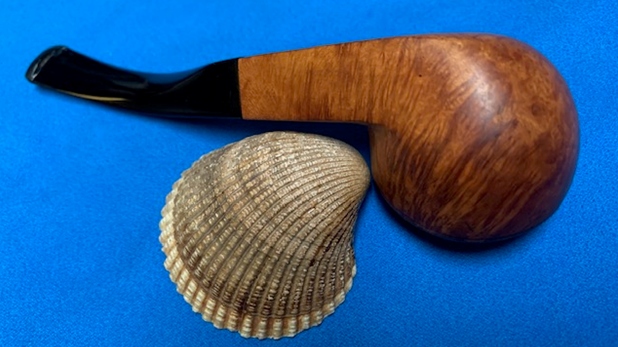
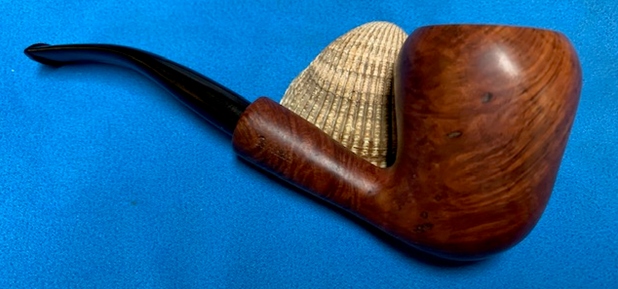
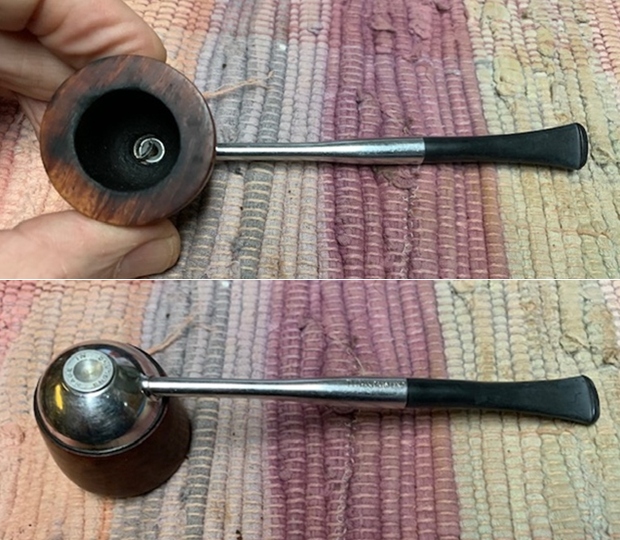
The next pipe on the work table came to us from an online auction in 2018 in Nampa, Idaho, USA. It is an interesting looking Metal Pipe that is made of Stainless steel rather than aluminum. The stem is removable from the base and the bowl is removable from the cup as well. The bowl has a rich reddish brown colour combination that highlights grain. The pipe was in surprisingly good condition other than the normal wear and tear. There was some grime ground into the surface of the briar. This pipe is stamped on the underside of the base – the cup and the shank. On the cup it reads Made in England in a circle around a flat portion of the cup. On the shank it is stamped TITAN Pats. Pend. There is a moderate cake in the bowl as well as tobacco debris. There was a thick coat of lava on the rim top making it impossible to adequately assess the condition of the rim top and the inner edge of the bowl. The outer edge looked very good. The stem was oxidized, calcified and dirty with light tooth chatter and marks on the stem surface. The pipe looks to be in good condition other than being dirty. Jeff took photos of the pipe before he started his cleanup. 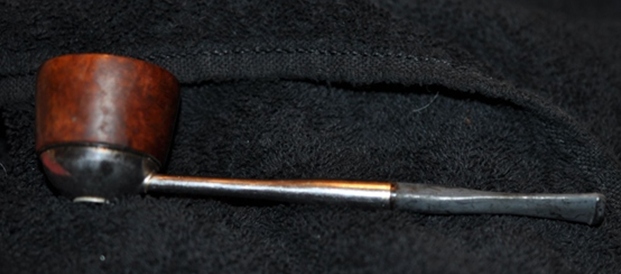
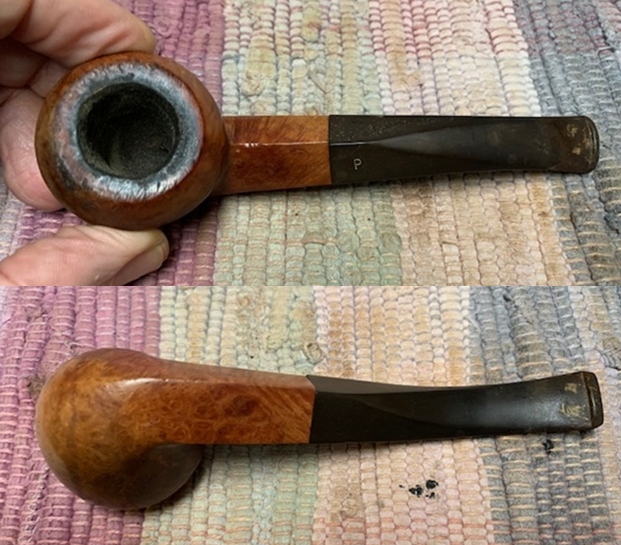
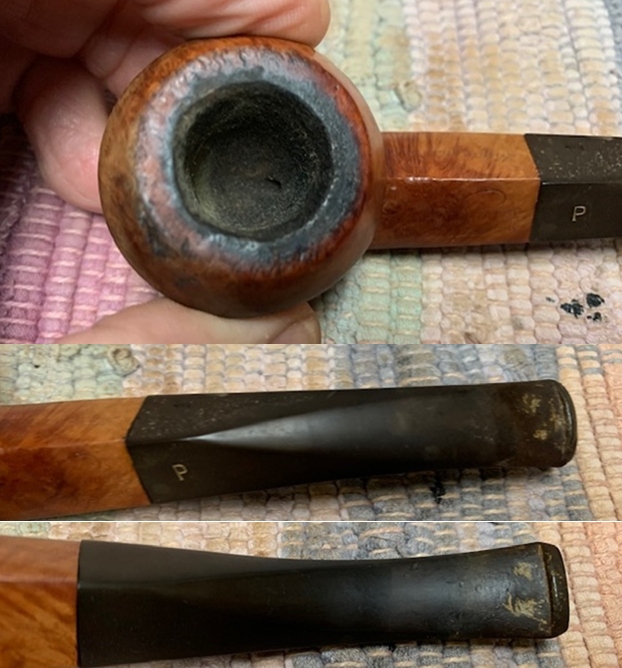
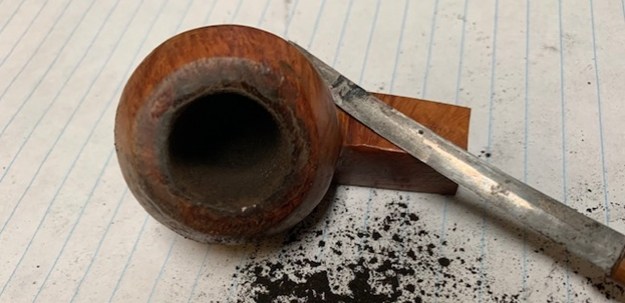
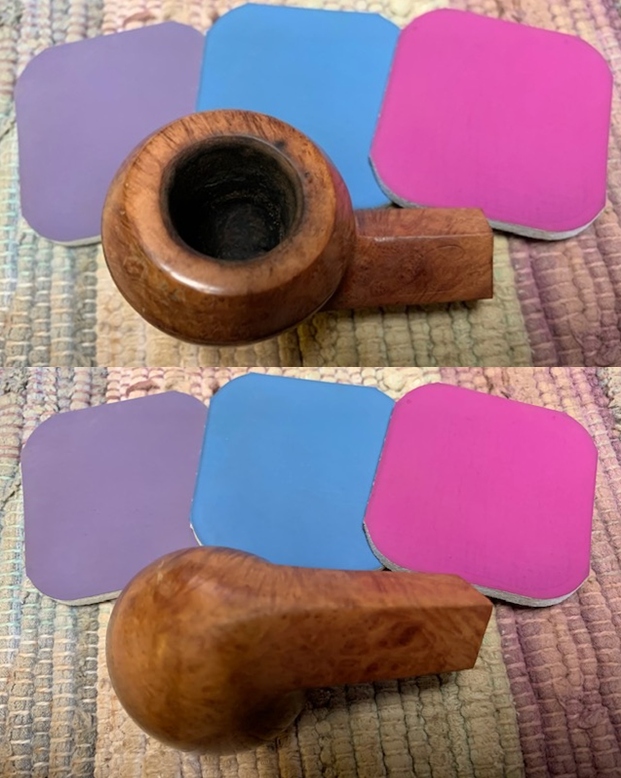
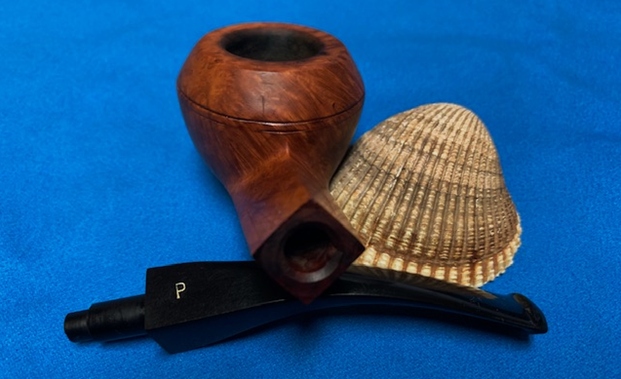
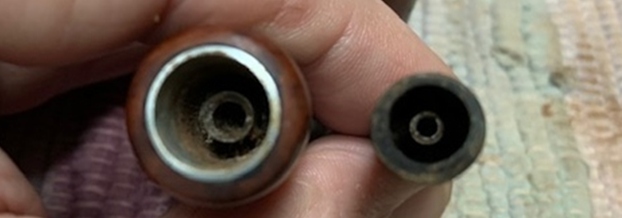
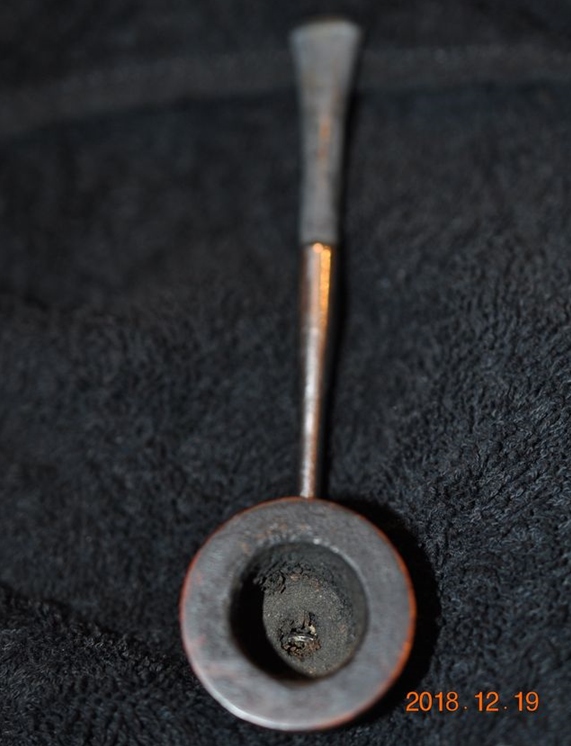 He took a photo of the rim top to show condition of the bowl. The inner edge of the bowl appears to have some damage on both the front and rim of the bowl. It is hard to know what the rim top will look like under the lava coat. He also captured the condition of the stem. It is oxidized, calcified and has light tooth marks and chatter on the top and underside of the stem near the button.
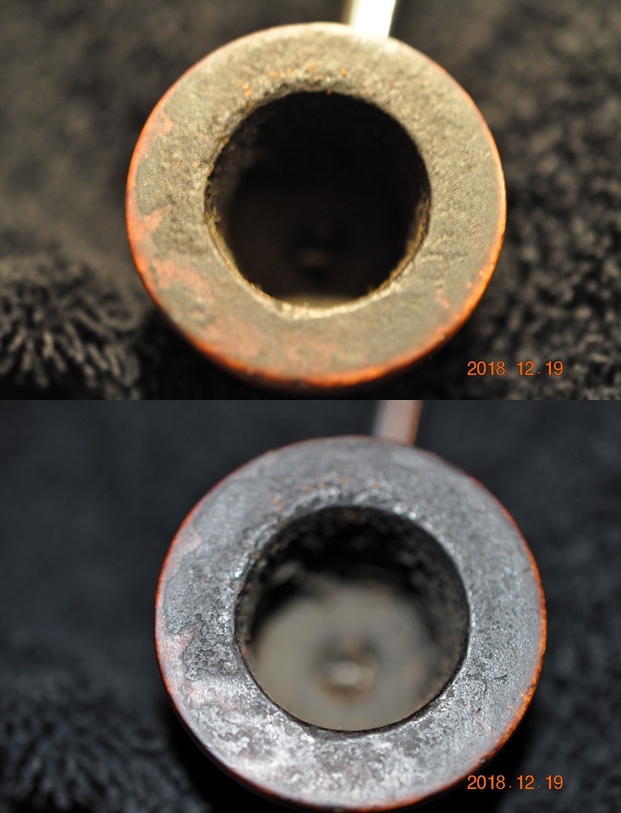
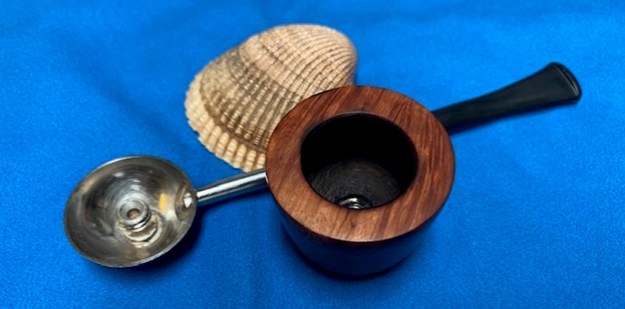
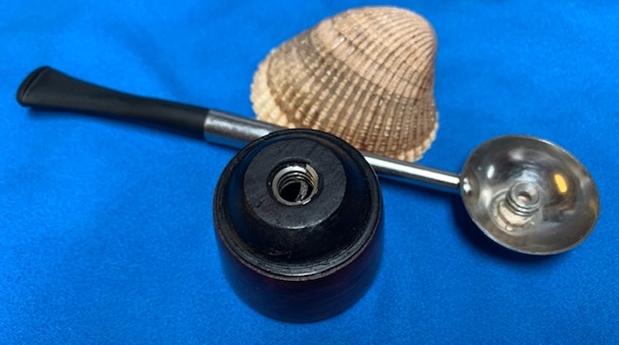
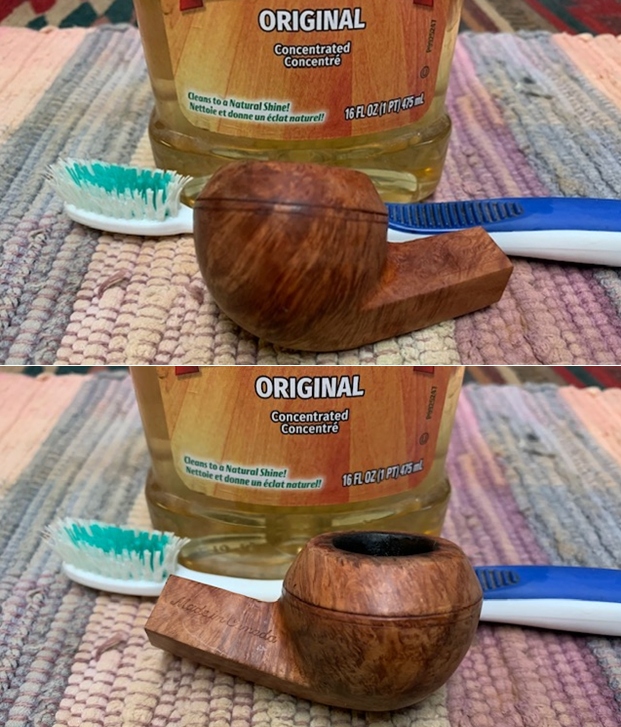
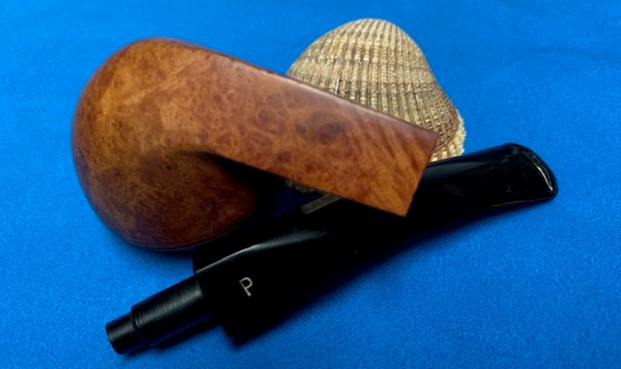
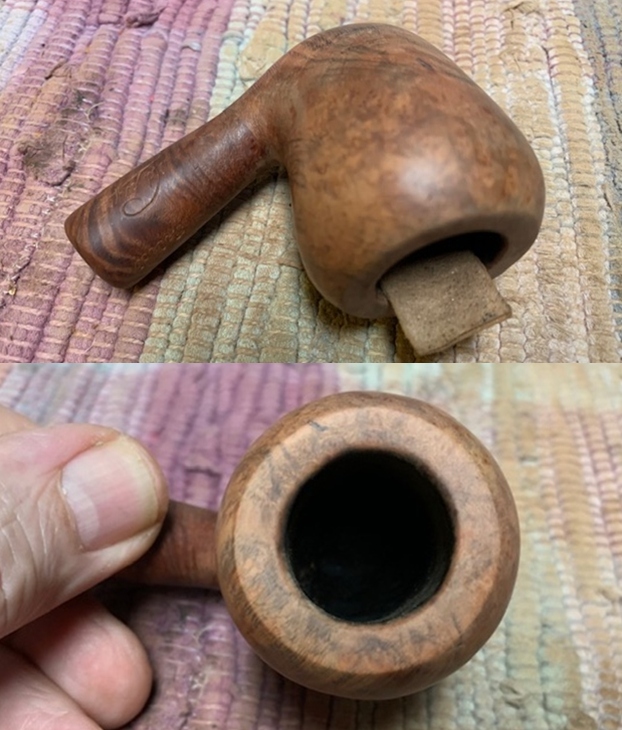
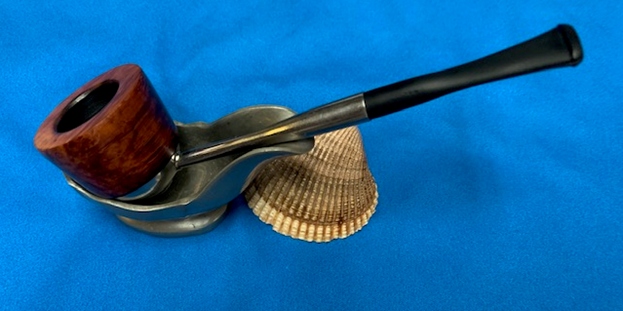
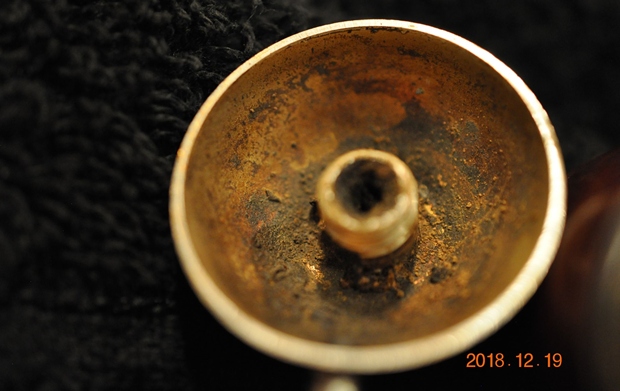
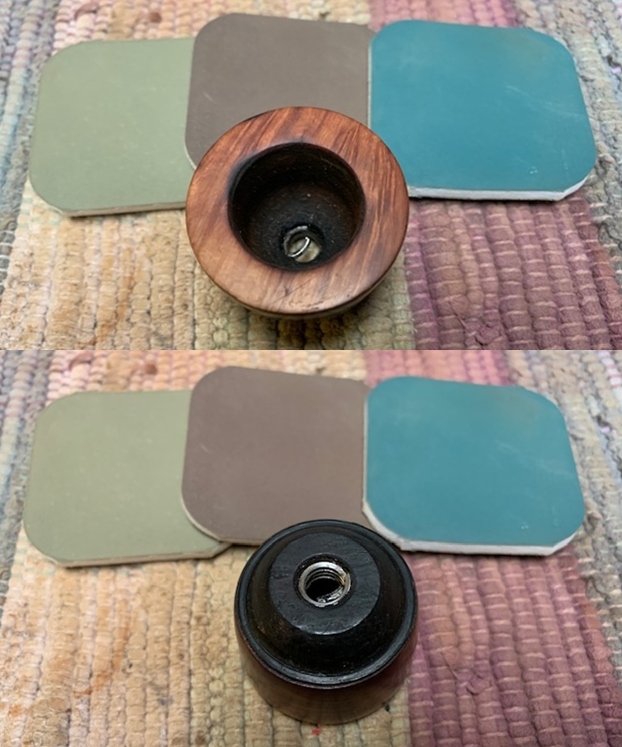
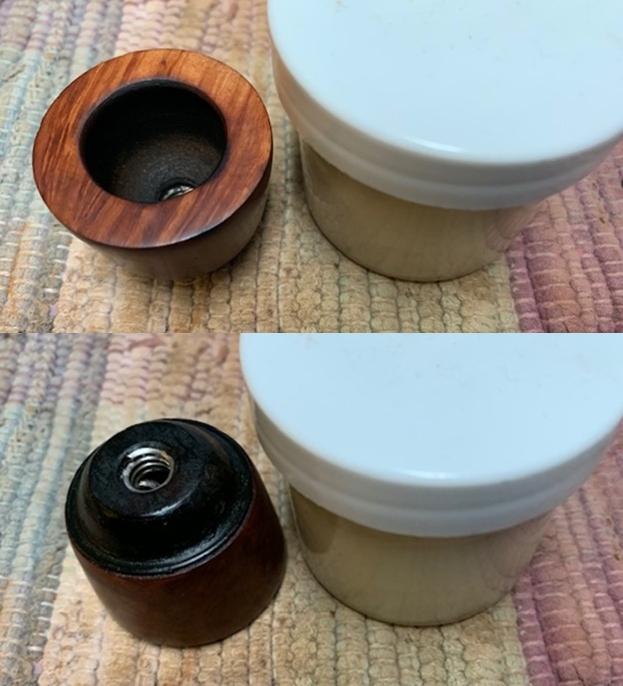
 Jeff took the bowl off the base and took photos to show how it was connected. It is different from the way that many of the briar bowl are connected to the base. This bowl has a nut inside the hole that is threaded and turns onto the threaded screw in the base. There is also a piece of the metal threading that goes across the top of the nut to keep tobacco from falling into the base. It was very dirty but it obviously was a great smoking pipe.
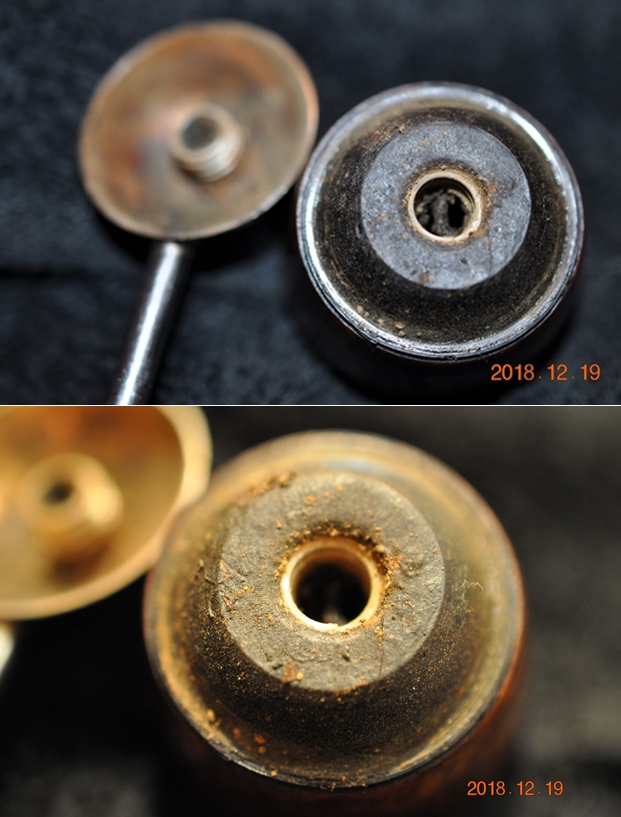
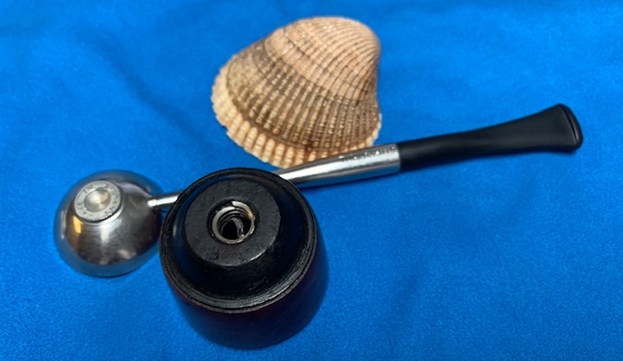
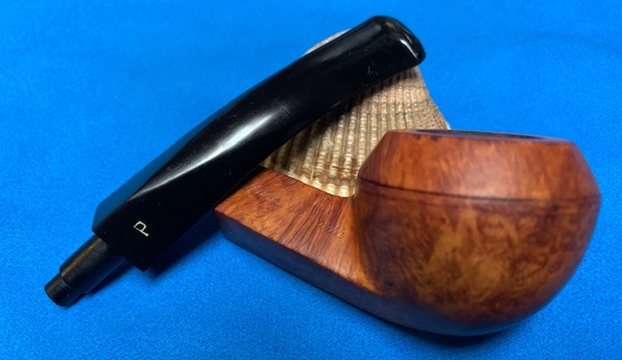
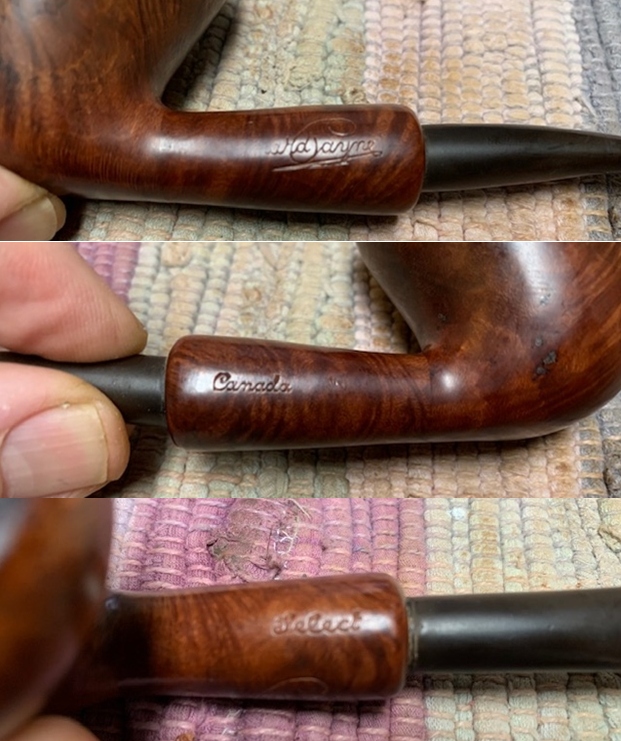
 He took a photo of the stamping on the heel of the base and the shank. It is clear and readable as noted above.
 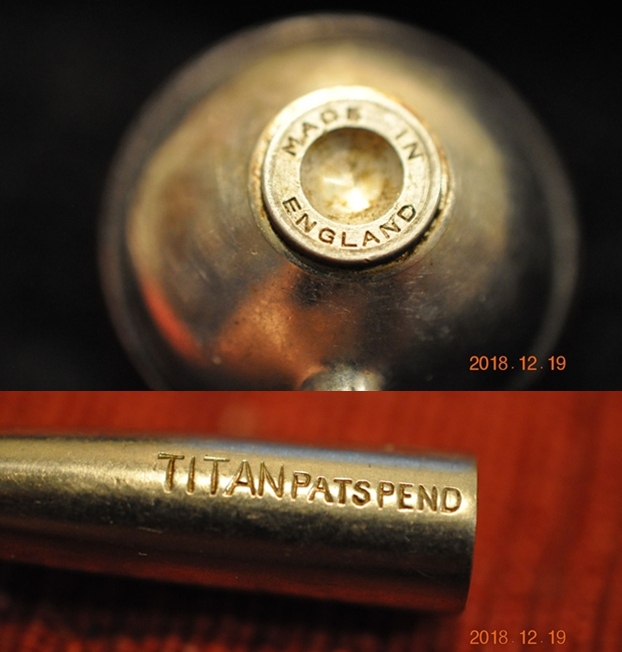 I turned first to a site I always turn to for metal pipe with briar bowls or alternative bowls. It is a site in the UK called Smokingmetal (http://www.smokingmetal.co.uk/pipe.php?page=1410). They had the pipe listed and I include both the description given as well as some photos that were included on the site.
TITAN
Titan, made in England is unusual in that the screw is part of the cup and the bowl has a threaded insert ‘nut’.
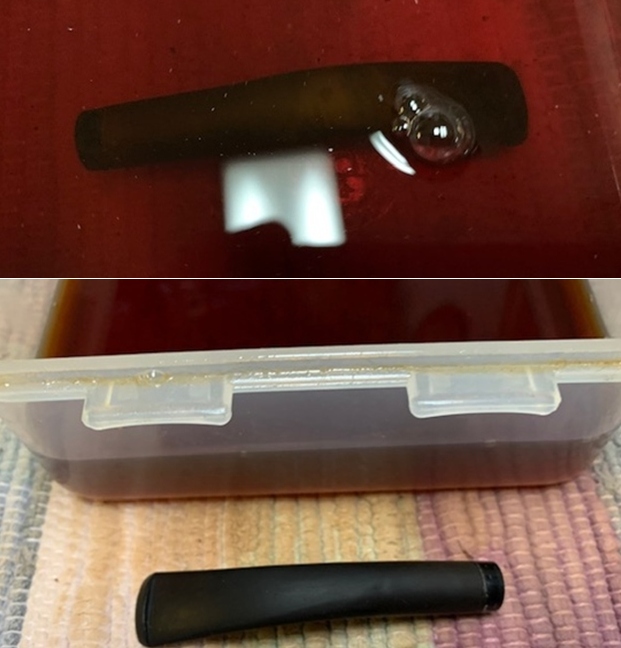
The stem is of stainless steel, and cleaning by immersing in boiling water is recommended for the metal stem only
Strangely there are two identical pipes, one stamped TITAN PATS PEND under the shank, near the mouth piece, and another with CITY PATS PEND. This of course calls for more investigation.
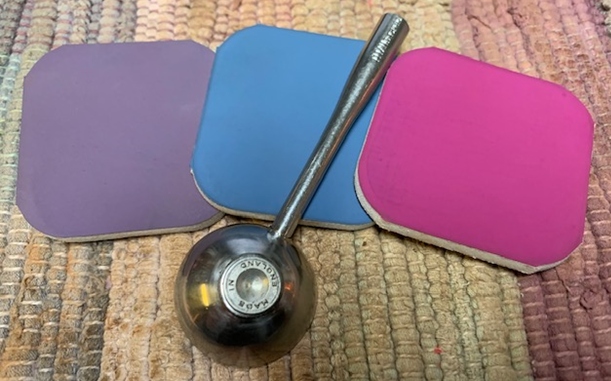
The bit comes in 3 styles, straight, curved and dental, an easy push fit to enable easy interchangeability. There were 6 shapes of bowl (in image below from left to right) which they called
Billiard which confusingly equates to the Falcon Dublin)
Bullcap (Falcon- Genoa)
Dublin equates to Falcon Algiers
Devon (nearest in Falcon would be the Dublin) not shown here
Pot which I find it hard to differentiate from their Dublin
Apple seems the same in both ranges
Also found a meerschaum lined bowl
All six shapes were available in smooth or rustic and cost at the time of my brochure 16 shillings,(which means it had to be before 1971) or 80 p ( $1.40) in today’s cash. The complete pipe was £2 ($3.70)
Not yet established the cost of the case set of pipe and three bowls.

 I looked up the Titan brand on Pipedia to see if I could find any information and there was nothing there. I turned to Pipephil’s site and surprisingly I found the information included below in the screen capture (http://www.pipephil.eu/logos/en/logo-t6.html).
  It also included the information that follows in the sidebar: The Titan pipes came with 6 shapes of interchangeable bowls available in smooth or rustic finish each.
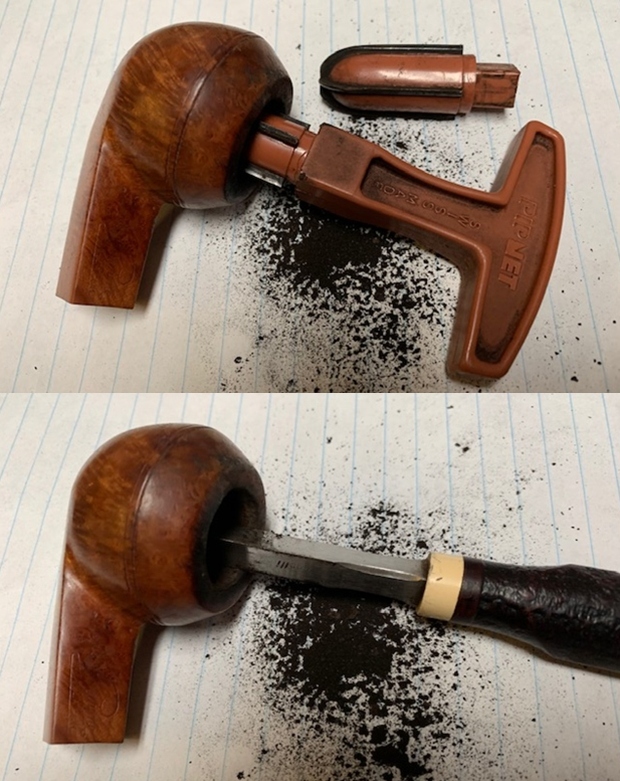
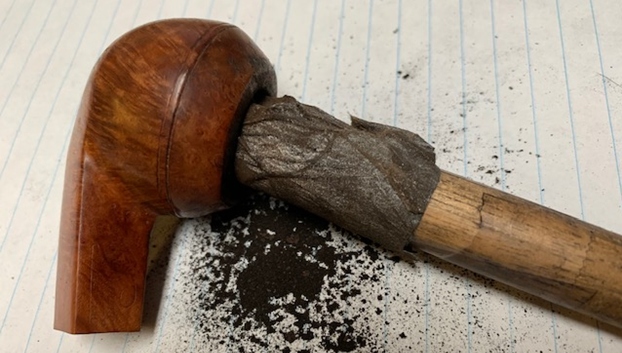
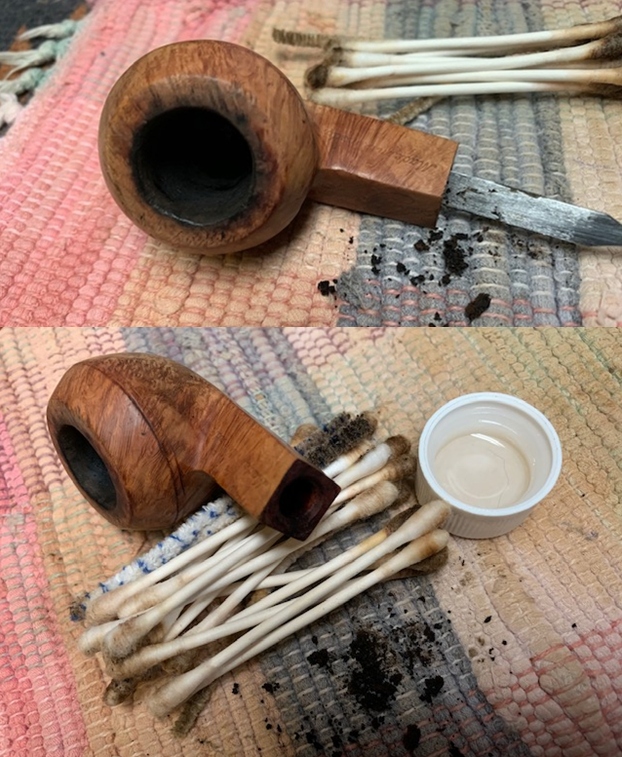
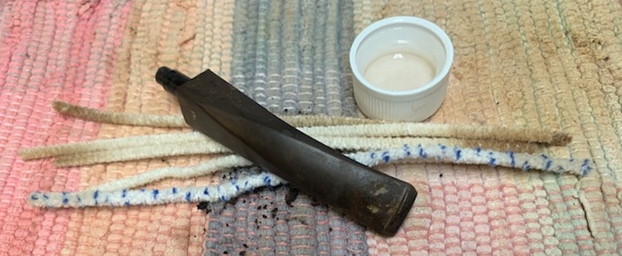
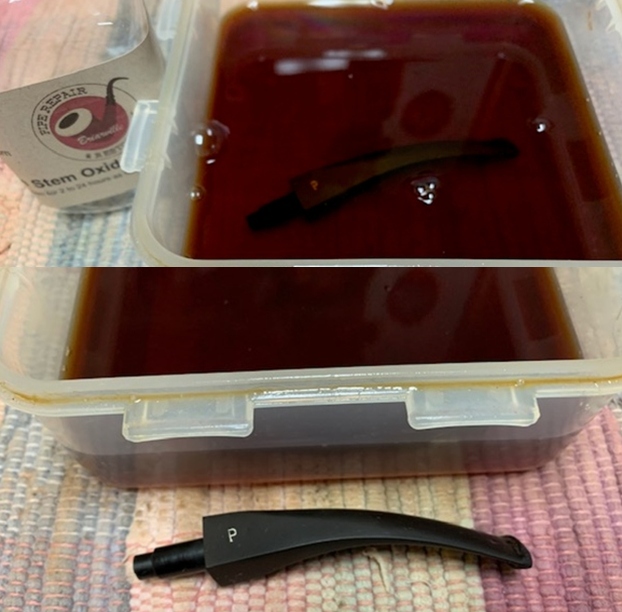
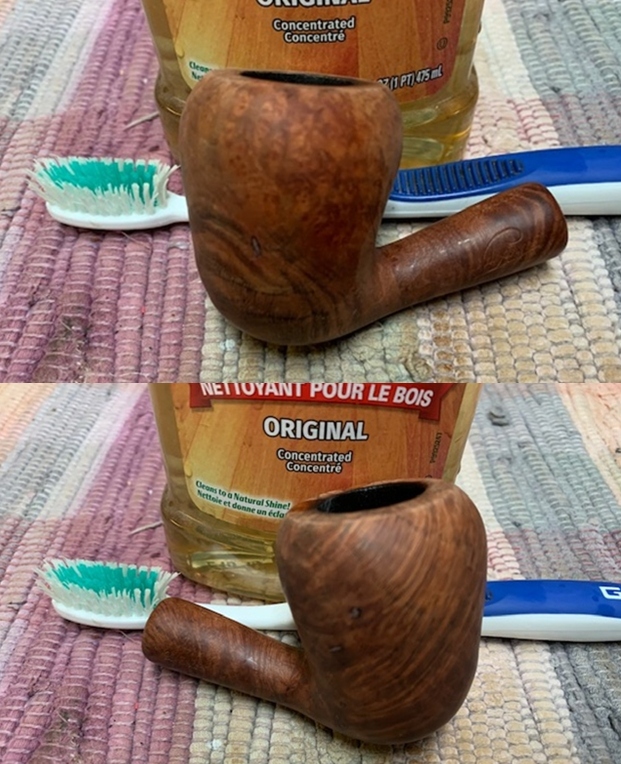
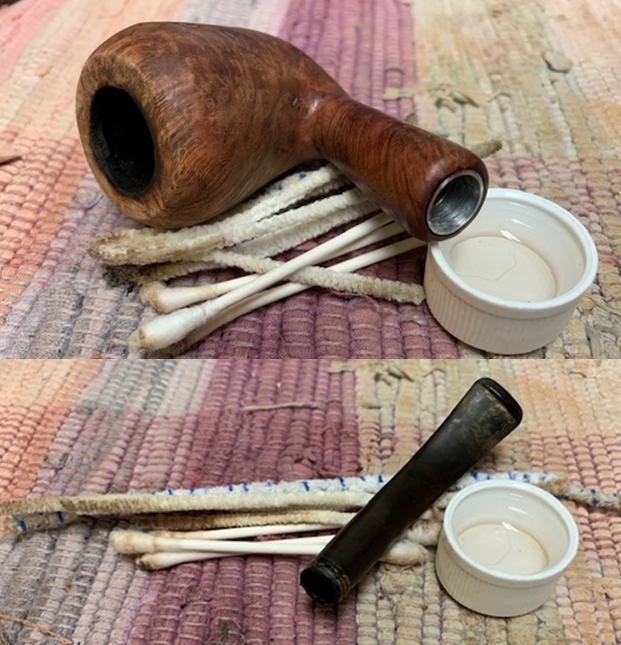
It was time to work on the pipe. As usual Jeff had done a thorough cleanup on the pipe. He reamed the bowl with a PipNet pipe reamer and followed up with a Savinelli Fitsall pipe knife to remove the cake. He scrubbed out the mortise and the airway in the shank and the stem with alcohol, cotton swabs and pipe cleaners. He scrubbed the exterior of the bowl, rim, shank and stem with a tooth brush and Murphy’s Oil Soap to remove the oils and tars on the rim and the grime on the finish of the bowl. He rinsed it under running water. One of the benefits of this scrub is that it also tends to lift some of the scratches and nicks in the surface of the briar. He dried it off with a soft cloth. He cleaned the internals and externals of the stem with alcohol, pipe cleaners and cotton swabs. He soaked the stem in Before & After Deoxidizer and rinsed it off with warm water and cleaned out the airway in the stem with alcohol. 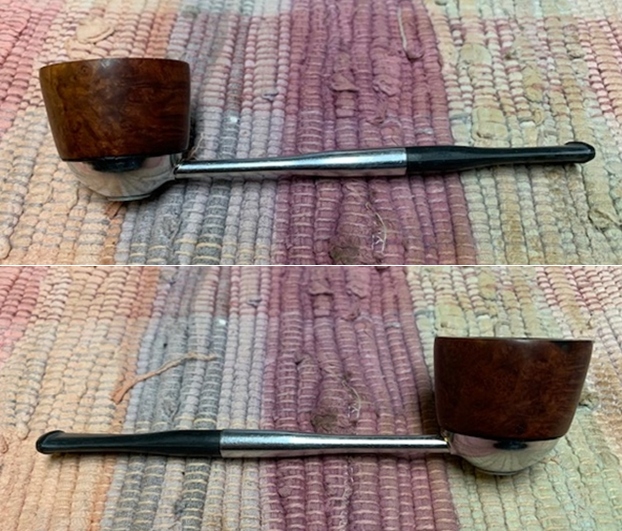
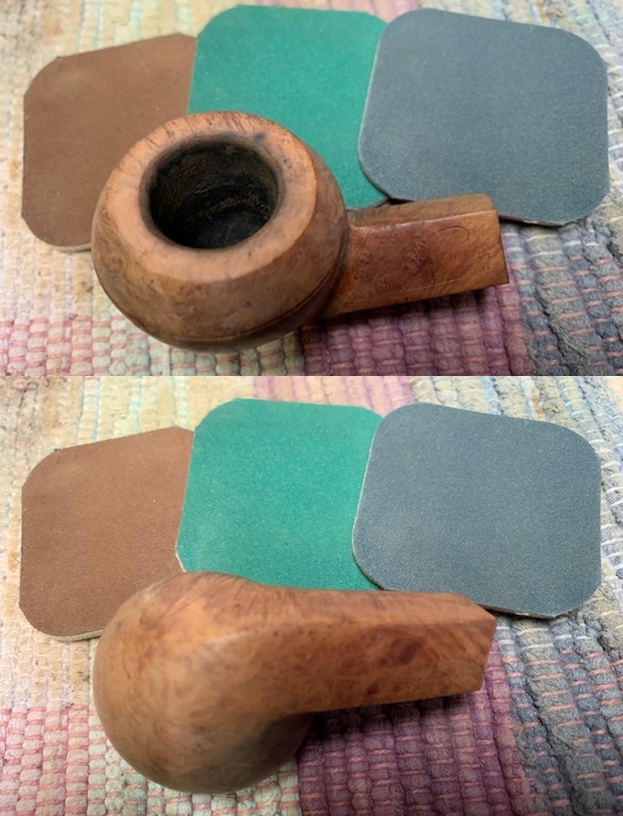
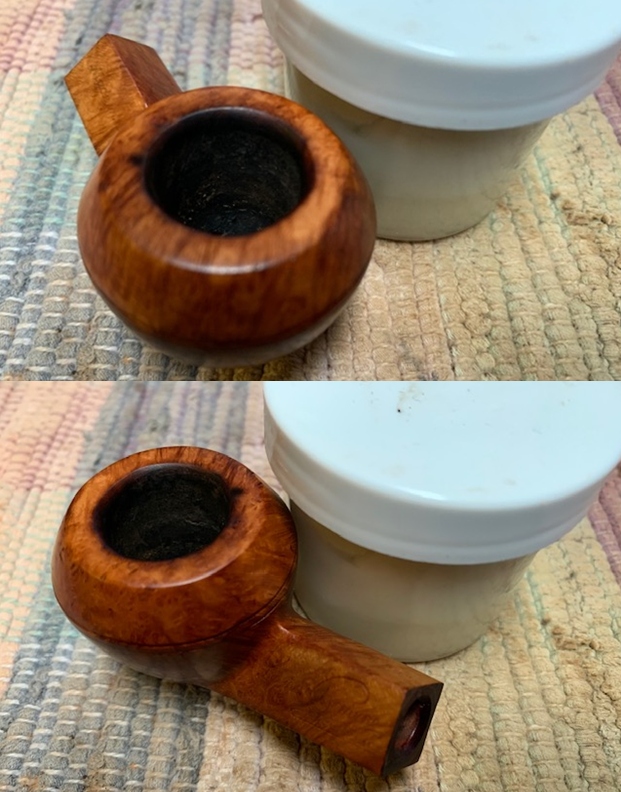
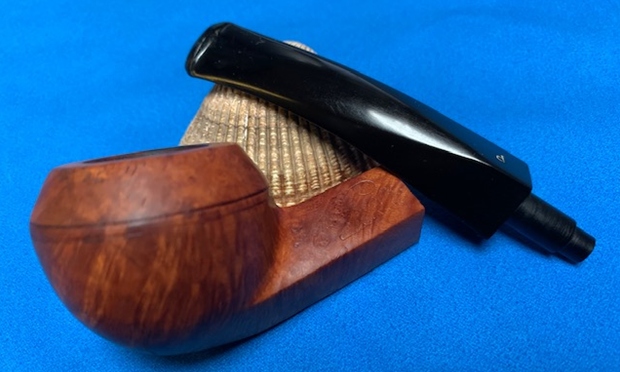
 I took photos of the rim top and stem to show the condition. The rim top and edges showed obvious issues. There were burn marks on the flat rim top and the inner edge had damage all the way around and was out of round. There was one small burn spot on the front outer edge as well. The vulcanite taper stem had light oxidation remaining and light tooth chatter and marks on both sides ahead of the button and on the button edges.
 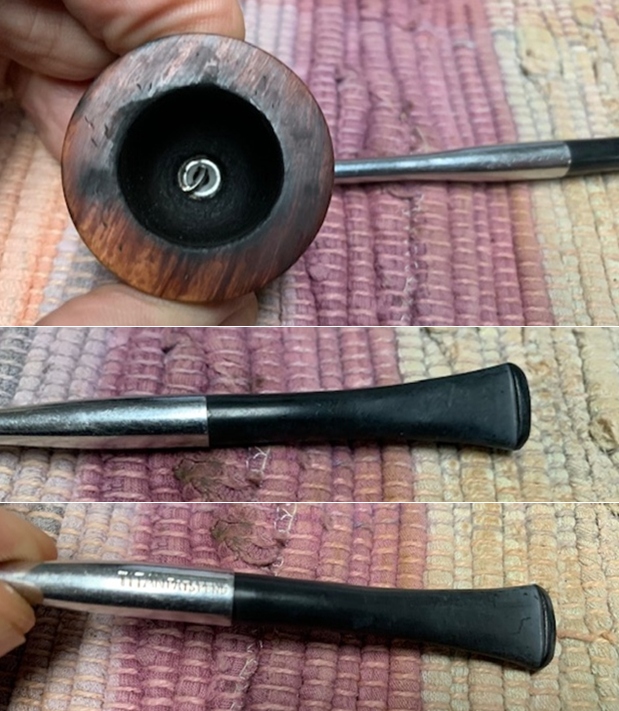 The stamping on the heel and the underside of the shank is clear and readable as noted above.
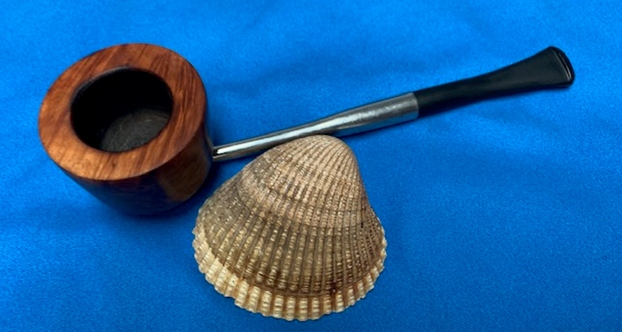
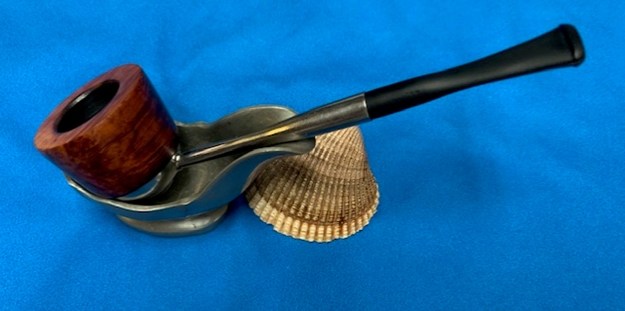
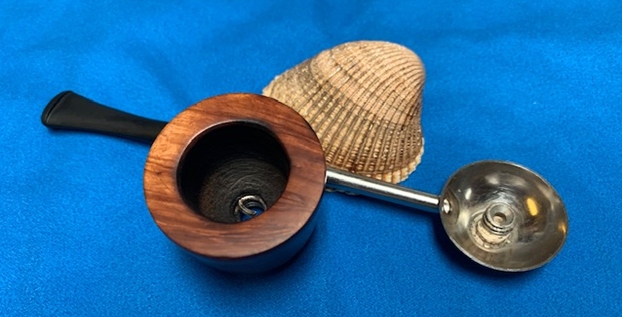
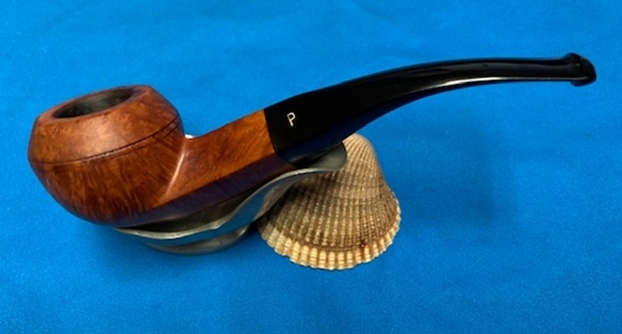
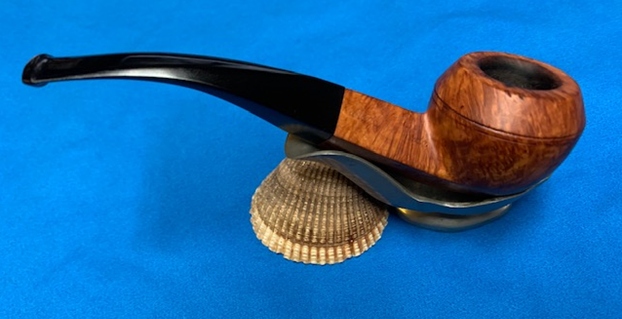
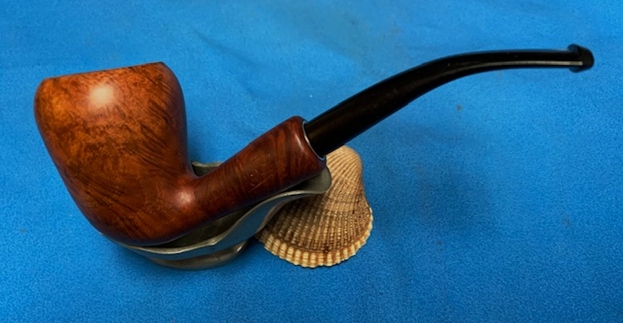
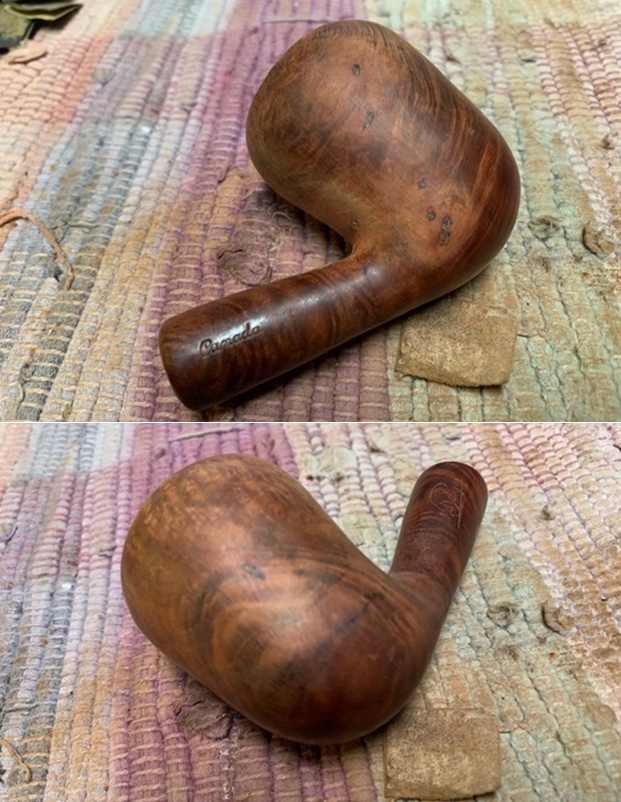
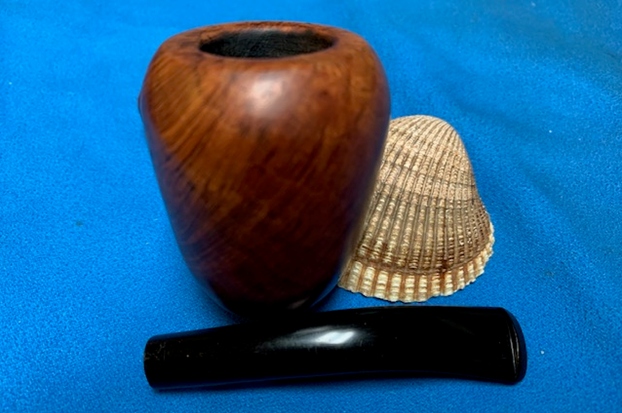
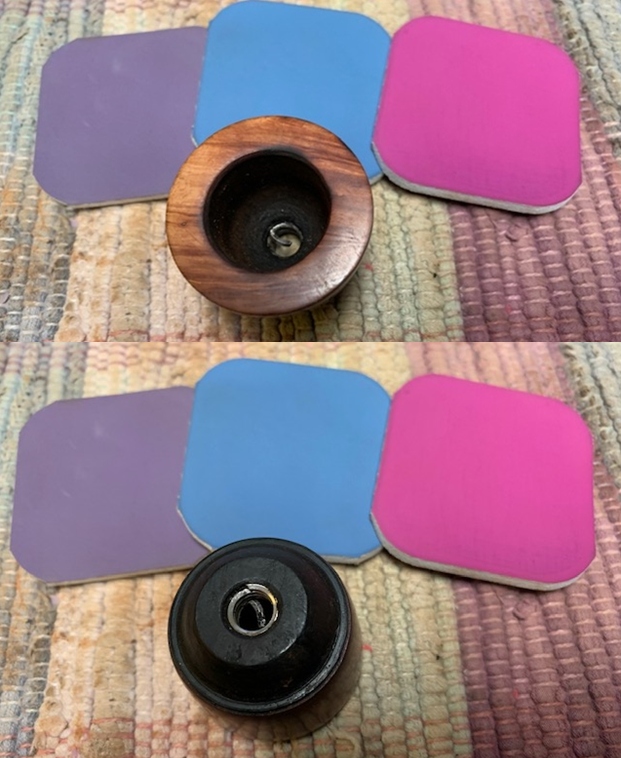
 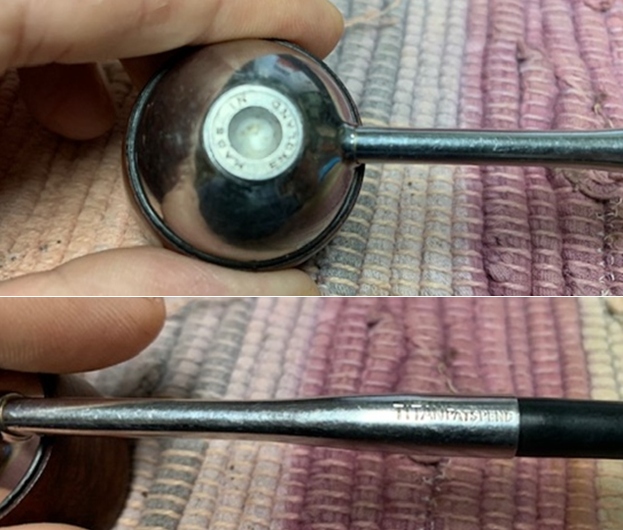 I removed the bowl from the base and the stem from the shank and took a photo of the pipe to give a sense of the whole. It is an interesting metal pipe and should clean up very well.
 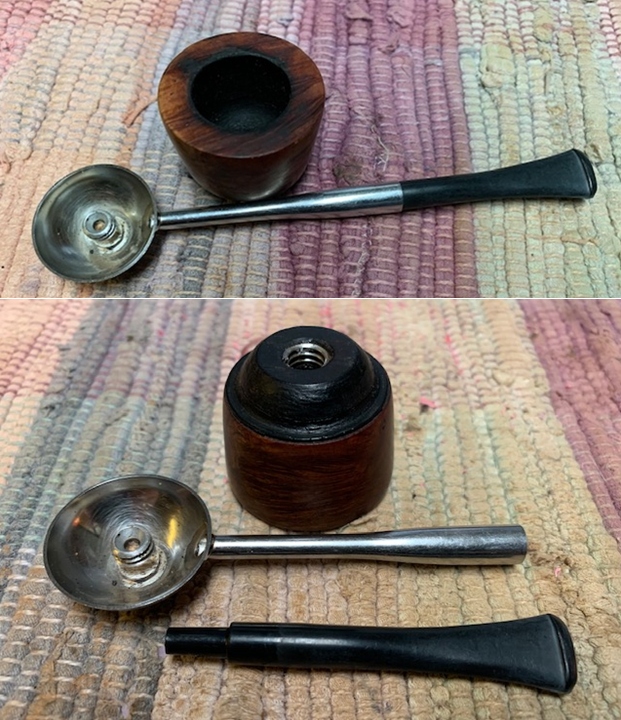 I started my work on the pipe by addressing the damage to the rim top. I topped I on a topping board with 220 grit sandpaper. I removed the damage to the rim top and on the outer edge. I was able to minimize the damage on the inner edge some but would need to work on it some more.
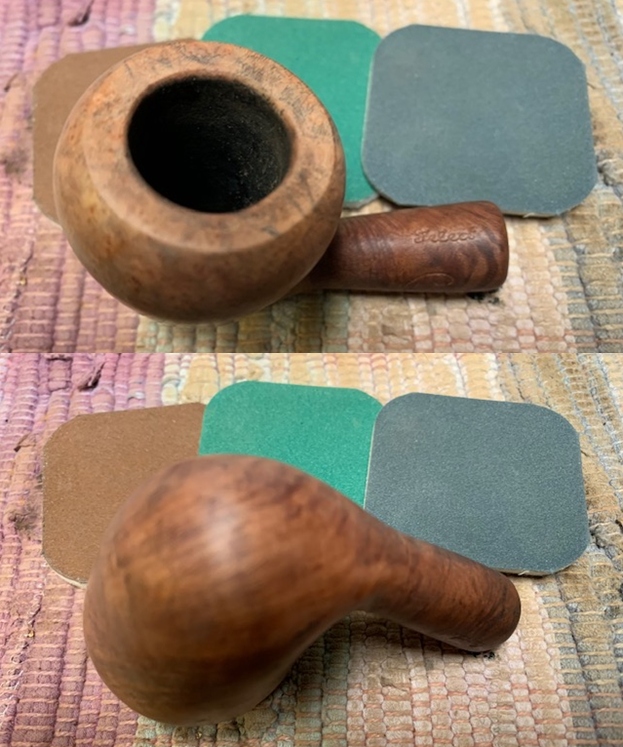
 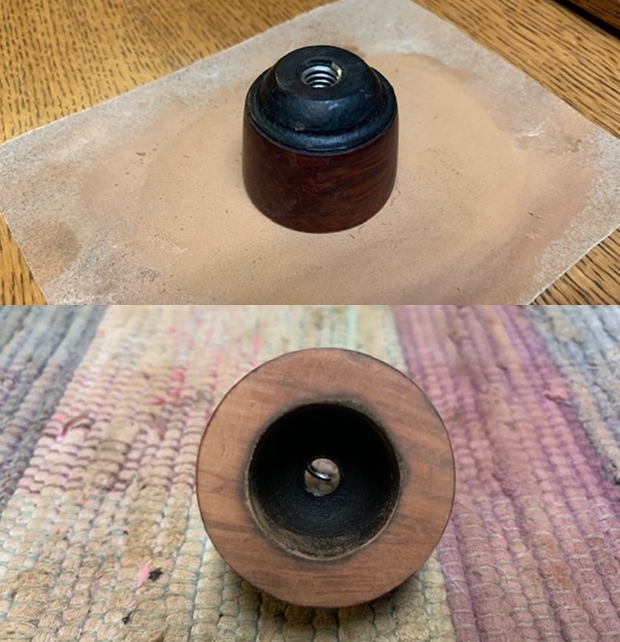 I gave the inner edge a slight bevel with a piece of folded 220 grit sandpaper. I was able to remove and minimize the damage to the inner and outer edge of the rim.
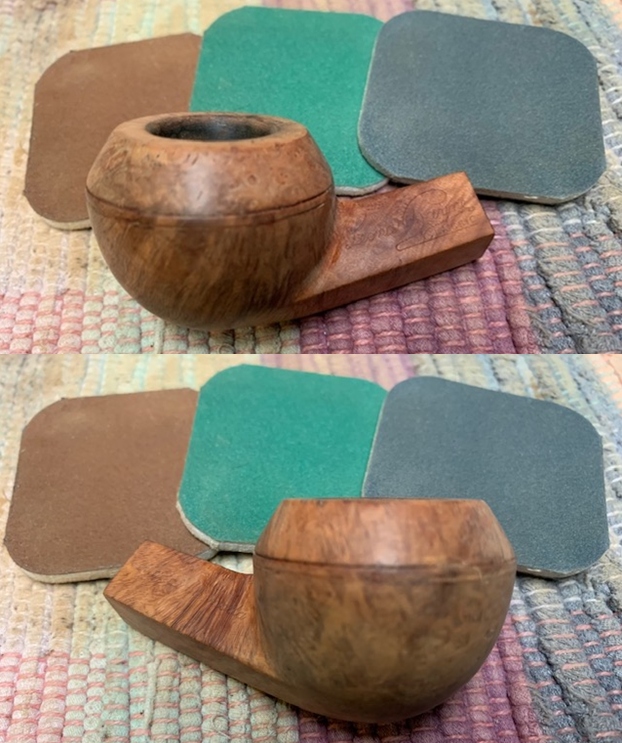
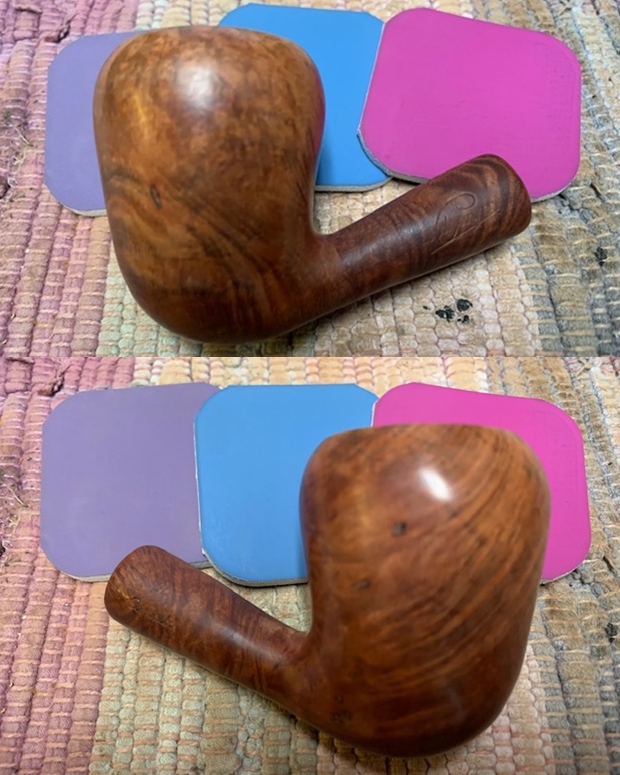
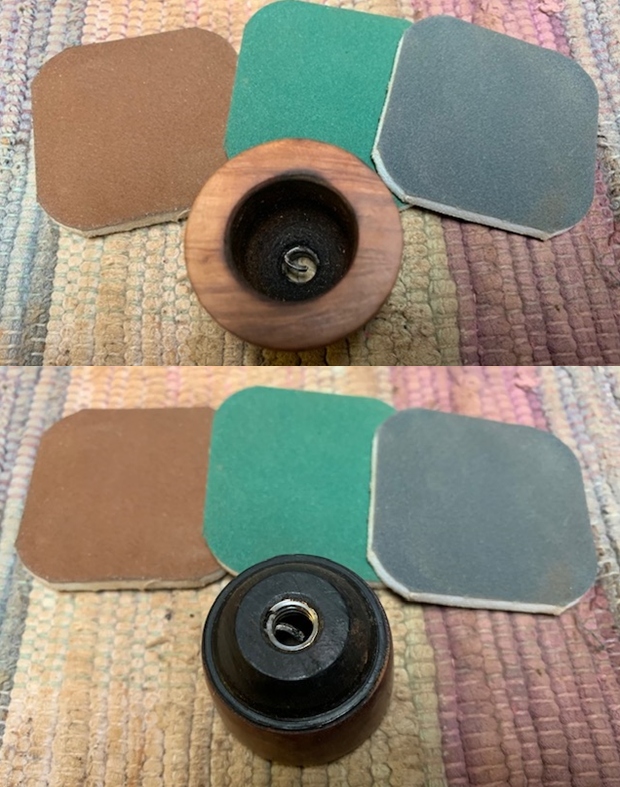
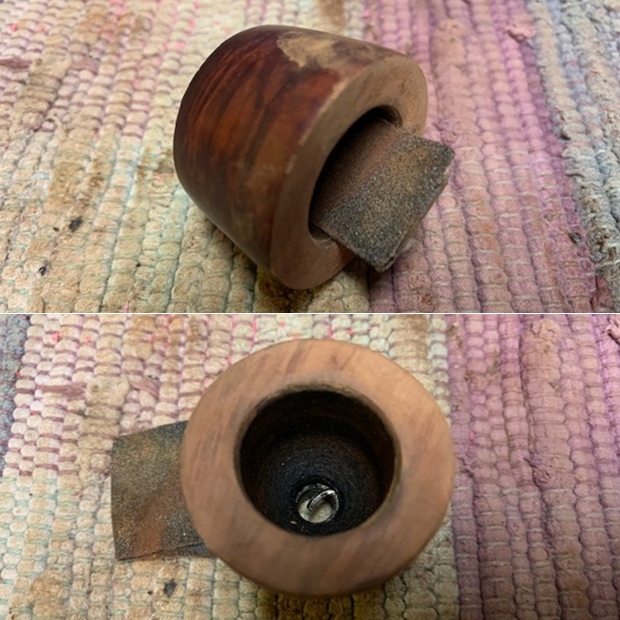 I polished the briar with micromesh sanding pads – wet sanding with 1500-12000 grit pads. I wiped the bowl down between pads with a damp cloth.
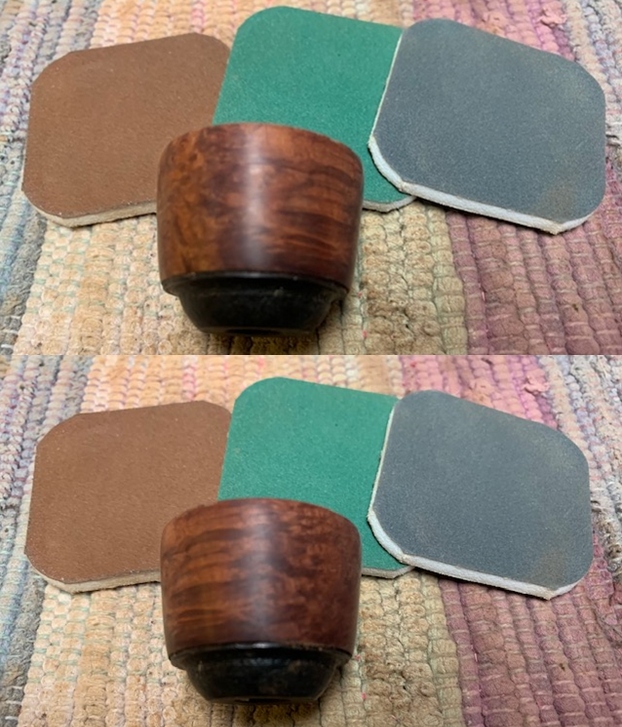

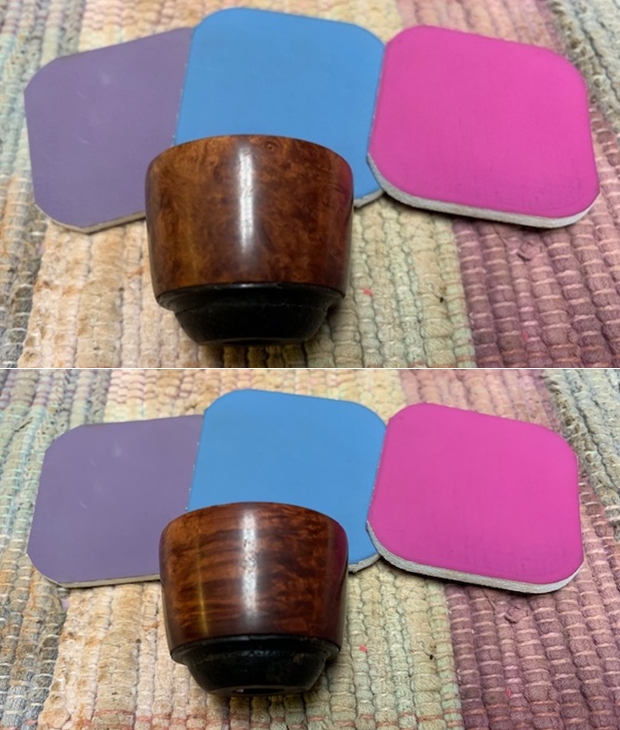
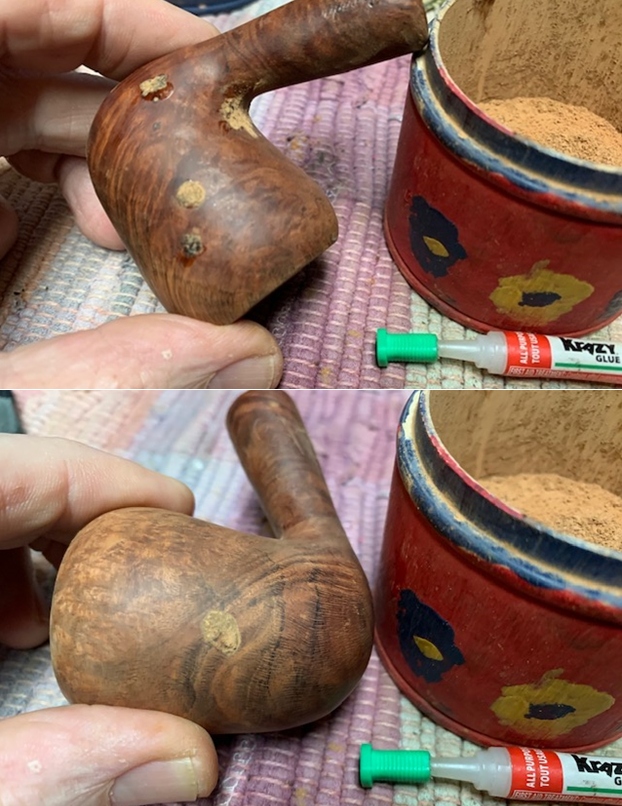
 I rubbed the bowl and shank down with Before & After Restoration Balm. I worked it into the surface of the bowl sides and shank with my fingertips to clean, enliven and protect the briar. I let the balm sit for a little while and then buffed with a cotton cloth to raise the shine. The Balm did its magic and the grain stood out.
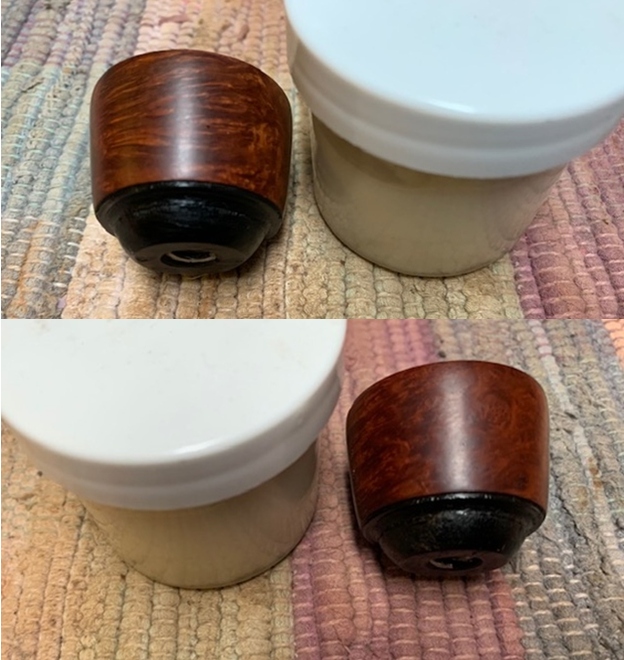
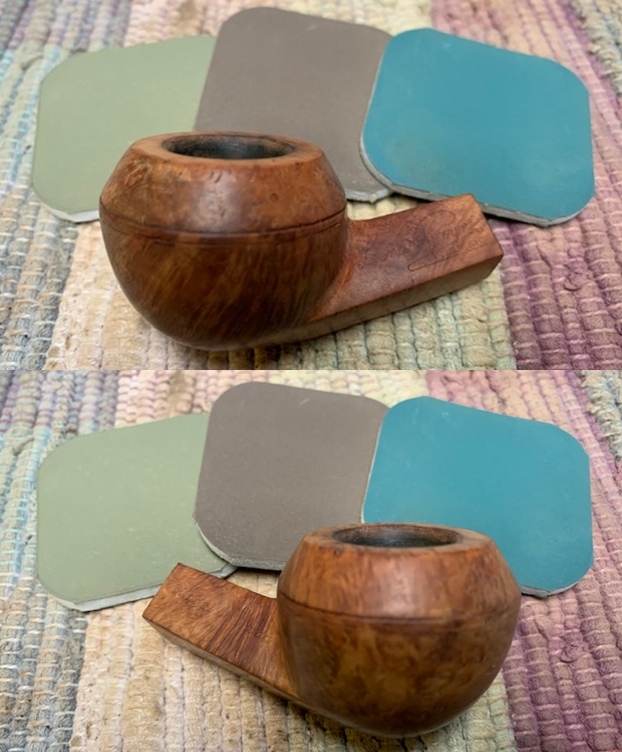
 I polished the stainless base and shank with micromesh pads – wet sanding with 1500-12000 grit pads and wiping it down with a jeweler’s cloth afterwards.
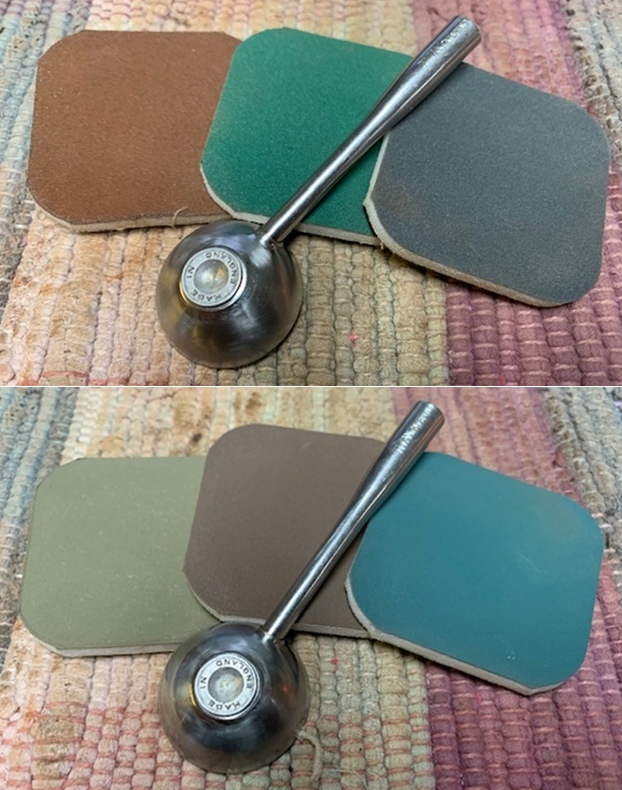
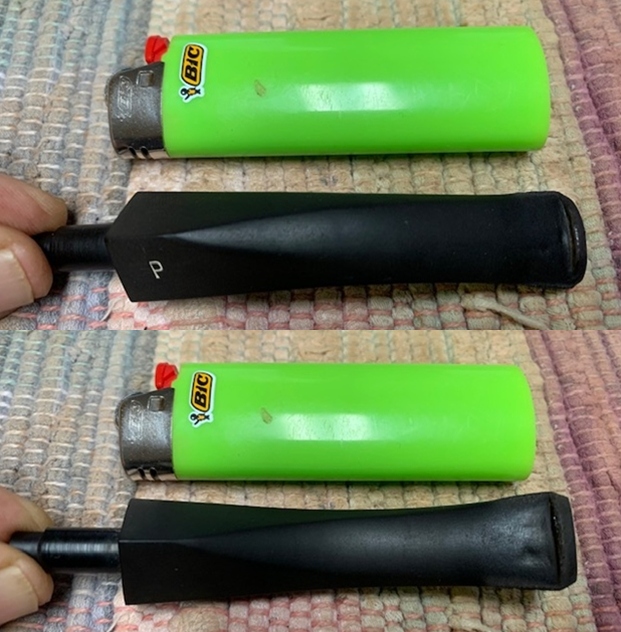
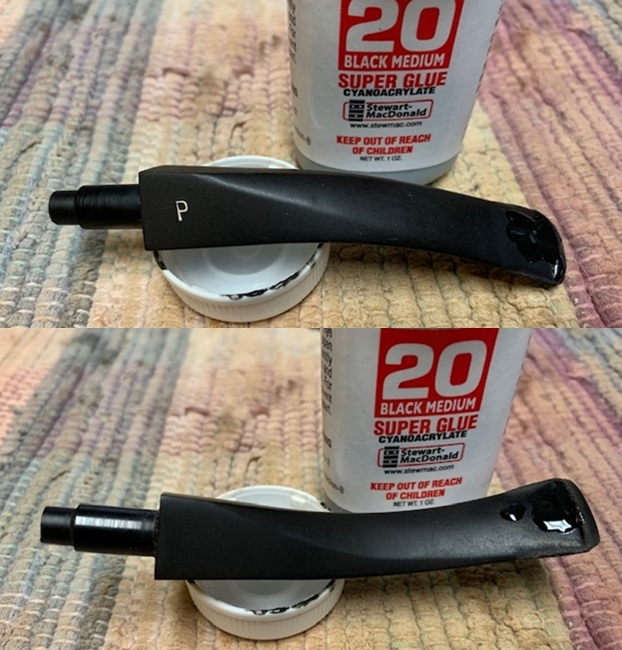
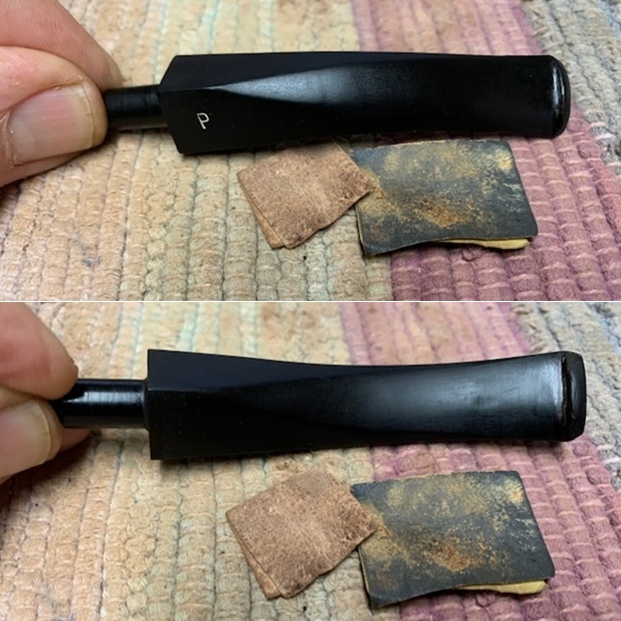
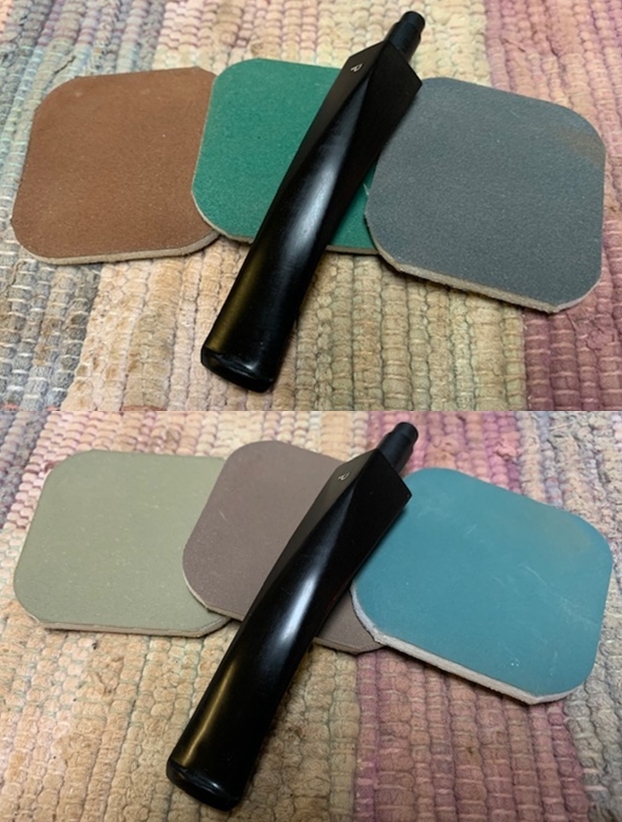
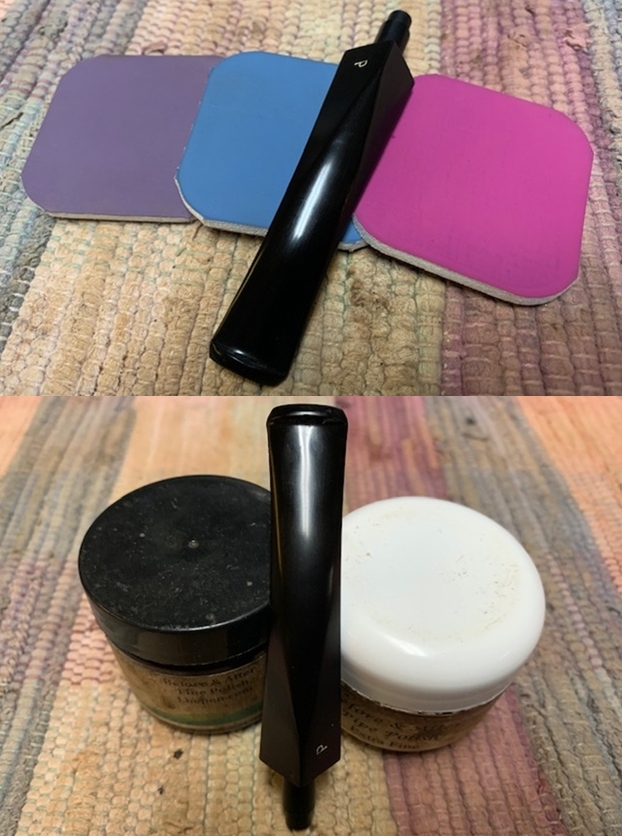
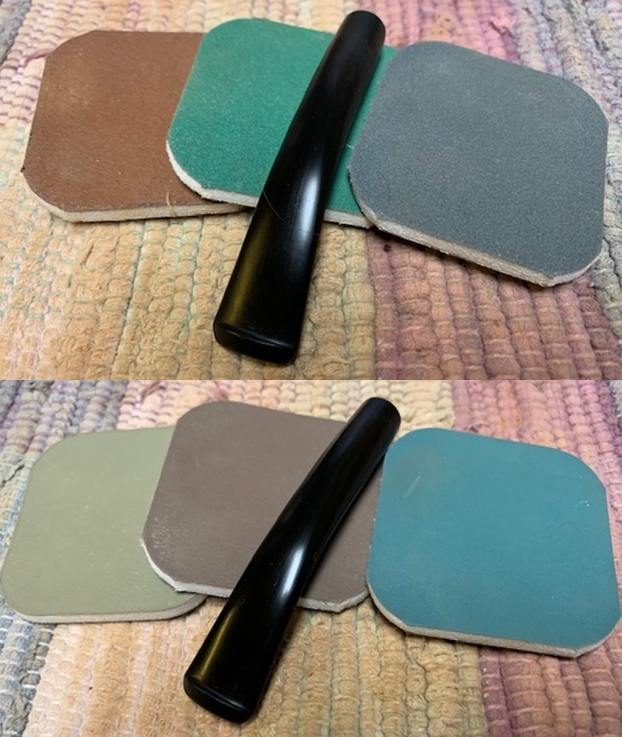
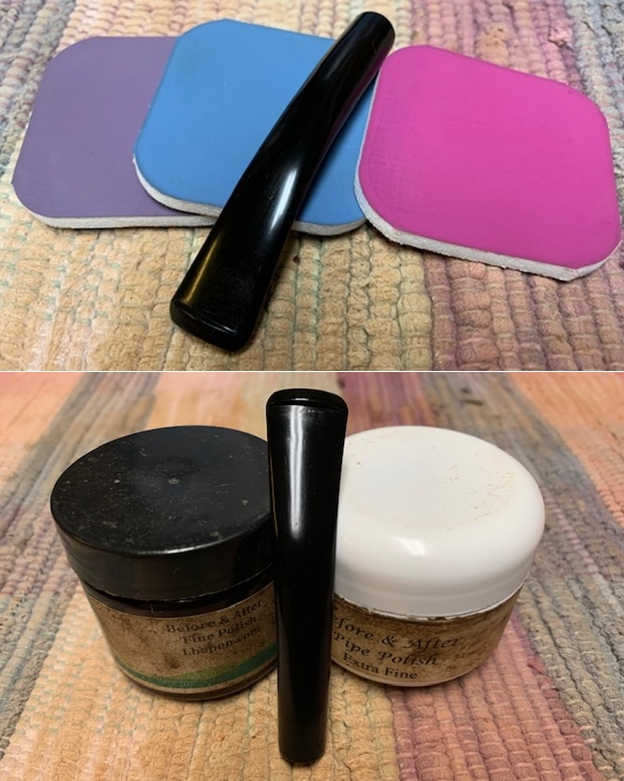
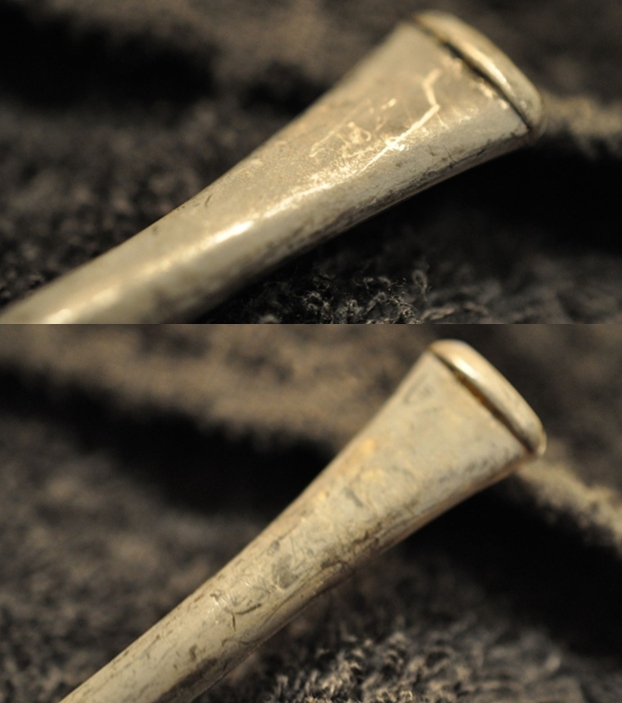
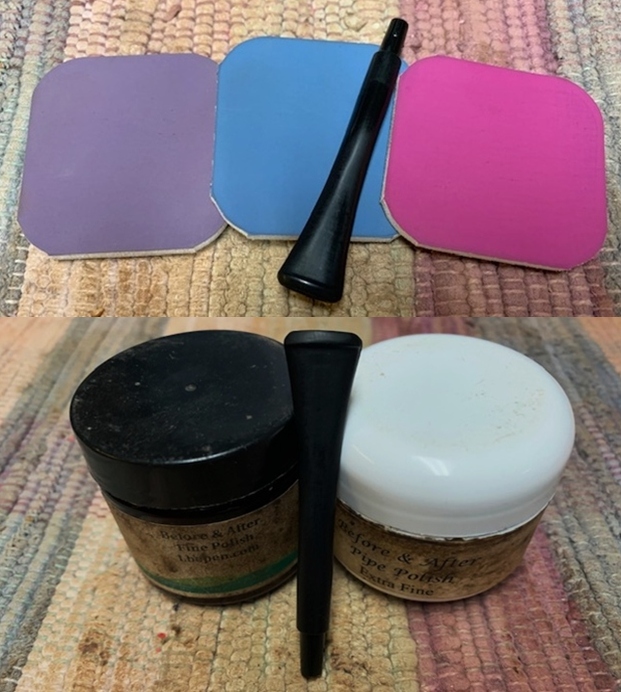
 I polished the vulcanite stem with micromesh sanding pads – 1500-12000 grit pads. I wiped it down with Obsidian Oil after each sanding pad. I used Before & After Pipe Polish – both Fine and Extra Fine to further the stem. The photo below shows the polished stem.
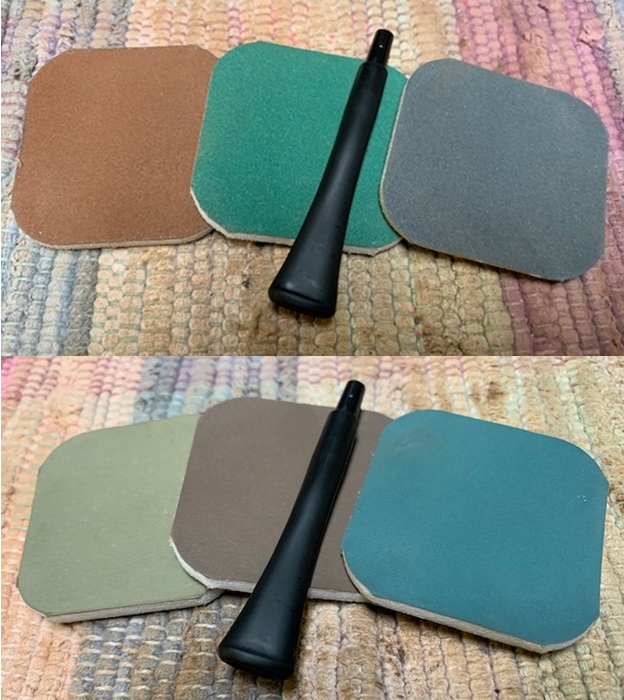
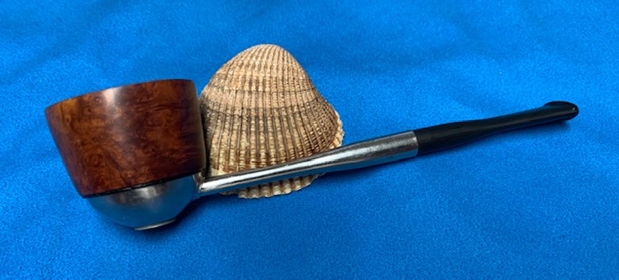
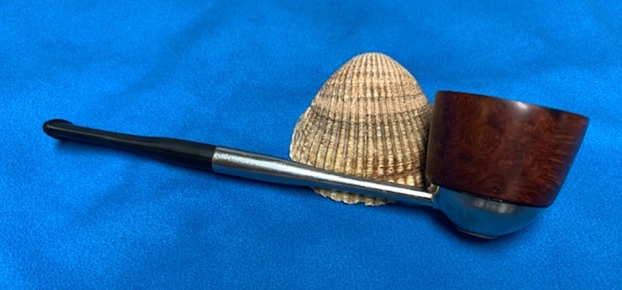
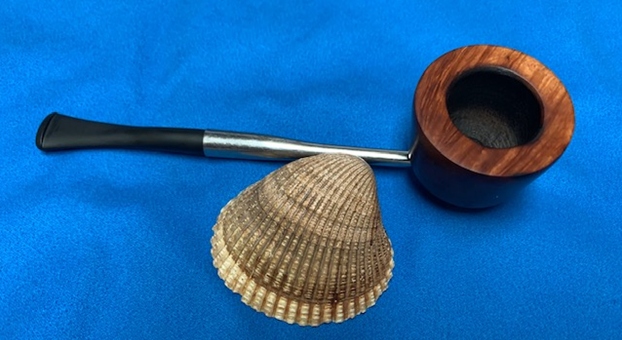
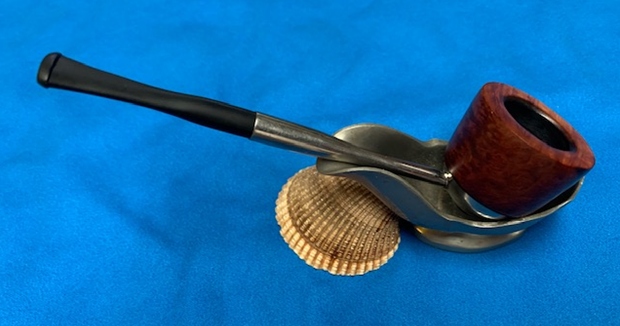
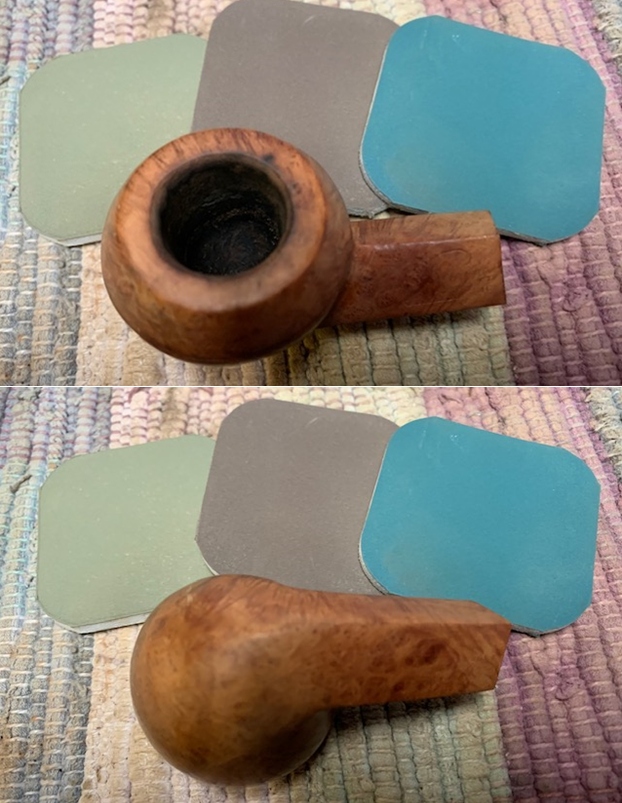
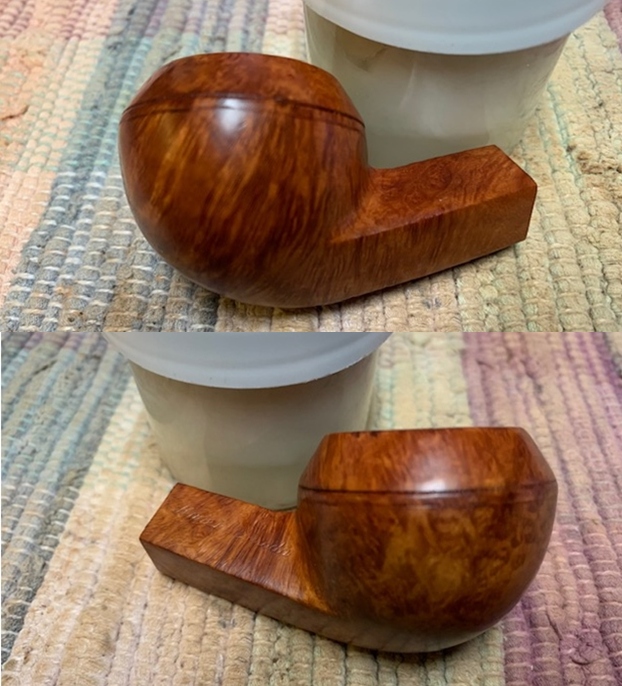
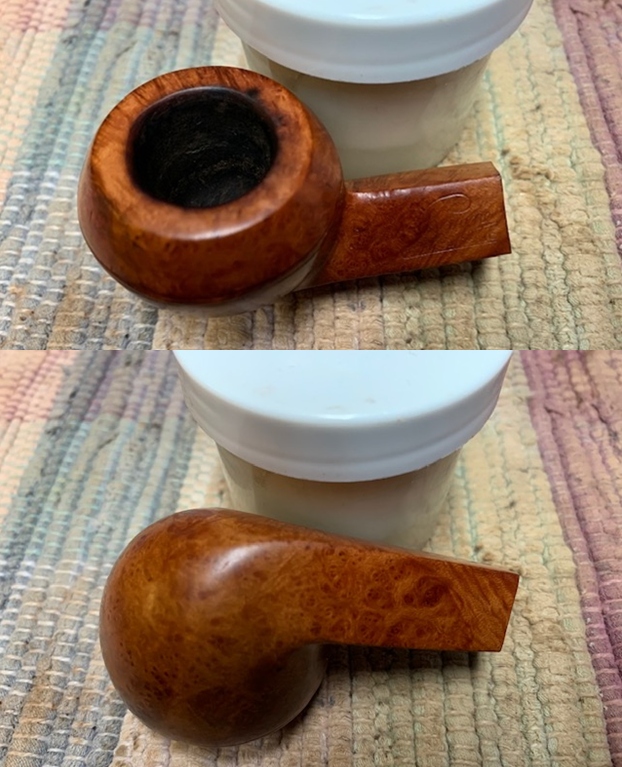
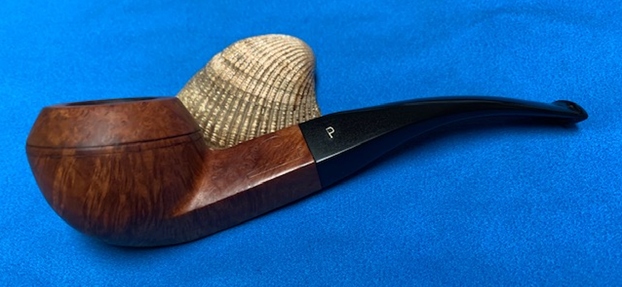
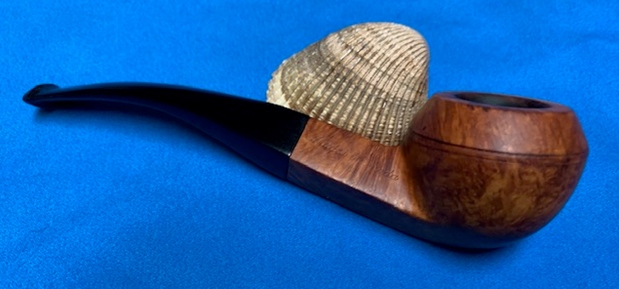
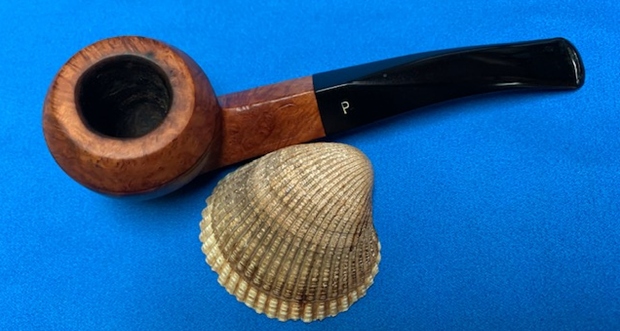
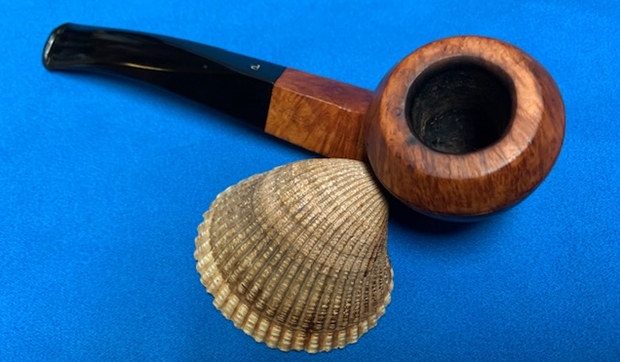
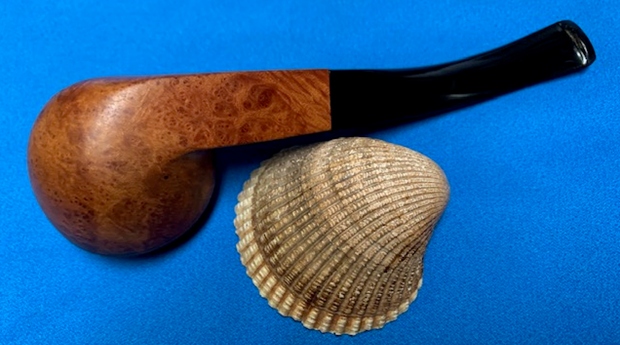
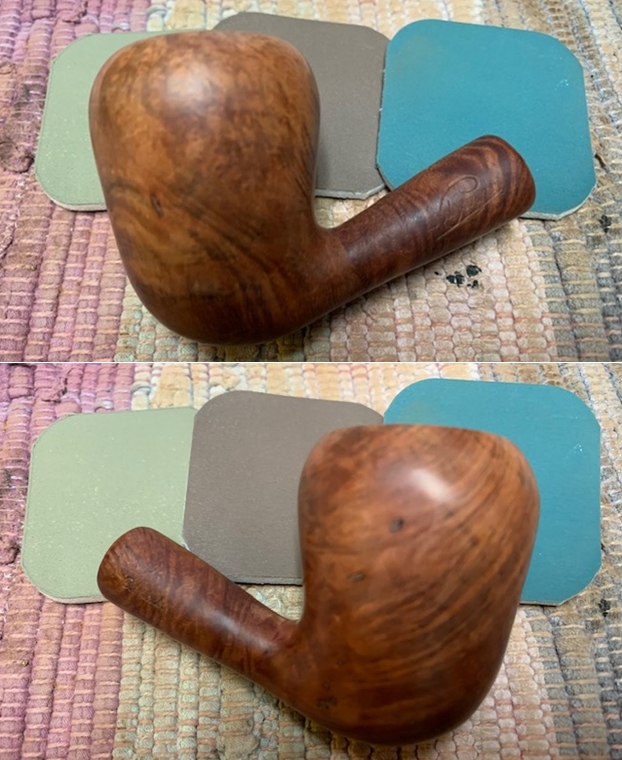
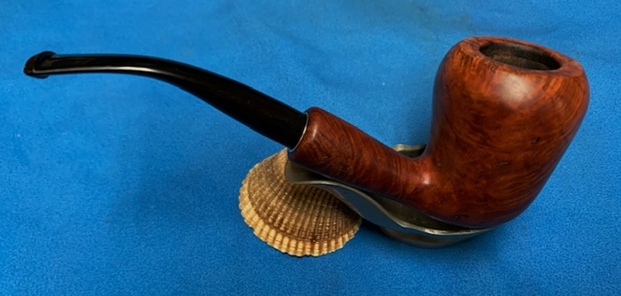
 This interesting metal pipe stamped Titan Patd. Pend. with a short Dublin bowl is a beauty. The stainless steel base and vulcanite taper stem add to the mixture and contribute to a great looking pipe now that it has been restored. The briar around the bowl is clean and really came alive. The rich brown stains gave the grain a sense of depth with the polishing and waxing. The grain really popped. I put the vulcanite stem back on the bowl and carefully buffed the pipe with Blue Diamond on the buffing wheel using a light touch on the briar. I gave the bowl and the stem multiple coats of carnauba wax on the buffing wheel. I buffed the pipe with a clean buffing pad to raise the shine. I hand buffed the pipe with a microfiber cloth to deepen the shine. The finished Titan Patd. Pend. pipe is a beauty and feels great in the hand and looks very good. Give the finished pipe a look in the photos below. The dimensions of the pipe are Length: 5 ½ inches, Height: 1 ½ inches, Outside diameter of the bowl: 1 ½ inches, Chamber diameter: 7/8 of an inch. The weight of the pipe is 30grams/1.06oz. Thanks for reading this blog and my reflections on the pipe while I worked on it. There are many more to come!