Blog by Steve Laug
The next pipe I chose to work on is another one from Bob Kerr’s estate and is part of his collection of Danish made pipes. It is their uniquely shaped Danish Bulldog. I have worked on the restoration of others in this collection which include a Stanwell Jubilee Shape 118 (https://rebornpipes.com/2019/08/11/another-bob-kerr-estate-a-stanwell-jubilee-1942-1982-shape-118/); a Stanwell de Luxe Shape 812 (https://rebornpipes.com/2019/08/10/back-to-bob-kerrs-estate-changing-up-and-working-on-a-danish-made-stanwell-de-luxe-812-billiard-regd-no-969-48/); a WO Larsen (https://rebornpipes.com/2019/01/13/restoring-pipe-17-from-bob-kerrs-estate-a-w-o-larsen-super-15-bent-stack/); a Danish Sovereign Bulldog variation (https://rebornpipes.com/2019/08/11/another-bob-kerr-estate-a-danish-sovereign-305-bulldog-variant/) and a Danmore Deluxe Volcano (https://rebornpipes.com/2019/08/20/restoring-a-petersons-dunmore-70-bent-apple-sitter-from-bob-kerrs-estate-2/).
To this list of Danish pipes I am adding the next – a unique Stanwell Bulldog shaped pipe. Like the others it is part of Bob’s estate that the family asked me to clean up and move out to others who will carry on the trust that began with Bob. In the collection there were BBBs, Peterson’s, Dunhills, Comoy’s and Barlings as well many others – a total of 125 pipes. This is the largest estate that I have had the opportunity to work on. I created a spread sheet to track the pipes, restoration and sales. This job would take a fair amount of time to clean up. I could not pass up the opportunity to work on these pipes and help the family.
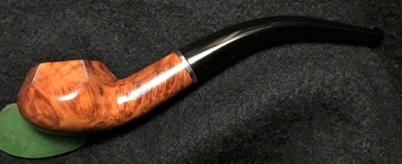
The pipe on the table is a Stanwell Bulldog stained with a rich brown stain with a vulcanite shank extension and a fancy saddle stem. The grain pokes through the dirty finish on the pipe. It was stamped Stanwell Regd. No. 969-48 Handmade in Denmark shape 33 on the left underside of the diamond shank. The finish was dirty like the rest of the pipes in this estate. There was a thick cake in the bowl with remnants of tobacco stuck on the walls. There was an overflow of lava on the rim. The top and edges of the rim were dirty. I could see a beautiful pipe underneath all of the grime and buildup of years of use. The stem was oxidized with tooth chatter on both sides. The Silver Crown S was on the topside of the saddle stem. Surprisingly it also had none of the deep tooth marks that I have come to expect from Bob’s pipes. Jeff took photos of the pipe before he started his cleanup work on it. 
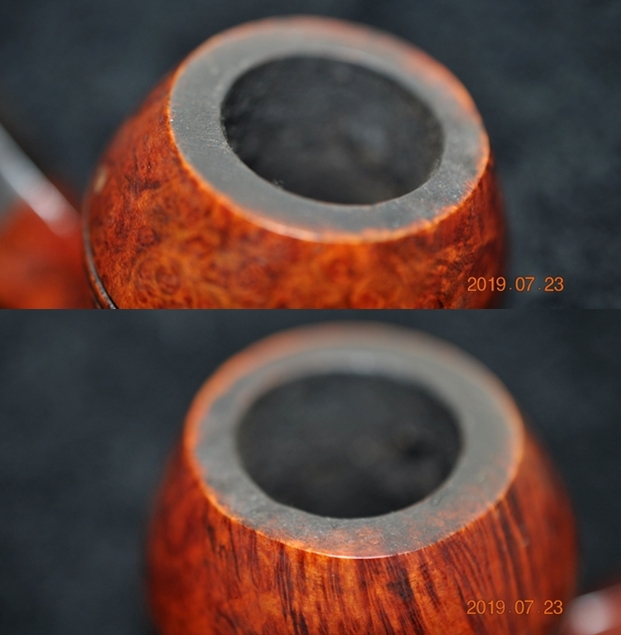
 Jeff took photos of the bowl and rim top to show the cake in the bowl and the lava build up on the edges of the bowl. It was thick and hard but hopefully it had protected the rim and edges from damage. The edges look pretty good.
  Jeff took photos of the sides and heel of the bowl to show the condition of the finish. You can see the grain on the sides of the bowl and the heel. There is a lot of dust and grime on the surface of the briar but the grain can be seen through the grime.
  Jeff took a photo of the stamping on the left underside of the diamond shank. The stamping was readable as you can see from the photos. It read Stanwell over Regd. No. 969-48. To the left of that it had the shape number 33 and directly underneath it read Handmade in Denmark.
  The saddle portion of the stem had an inlaid silver Crown “S” on top behind the saddle.
  Jeff took photos of the top and underside of the stem showing the tooth chatter, scratching and oxidation on the stem surface and wear on the edges of the button.
  I turned first to Pipephil’s site to get a quick idea of the time period of the Regd. No. Stanwell pipes (http://www.pipephil.eu/logos/en/logo-stanwell.html). I quickly found what I was looking for. The pipes stamped this way were made until the late 60s or early 70s then the stamping was discontinued. I have included a screen capture of that information below.
 I also turned to Pipedia’s article on Stanwell and read some more about the history of the brand. It is a great read in terms of the history of the brand (https://pipedia.org/wiki/Stanwell). Once again there was no specific information about the pipe I have in hand. I did find however that the stamping with the Regd. No. 969-48 started after 1948 and continued until the late 60s and early 70s.
With that information in hand I had a sense of the history of this pipe. It had been made after 1948 and before the early 1970s. I could estimate that from the rest of Bob’s pipes this one was probably purchased between the 50s and late 60s and at the very latest the early 70s. I would guess that this pipe fits that time frame. Now it was time to work on the pipe.
With over 125 pipes to clean from Bob’s estate it was taking me forever to clean and restore them by myself. I enlisted Jeff’s help with the cleanup. He cleaned over half of the pipes for me. He cleaned up this pipe with his usual penchant for thoroughness that I really appreciate. It was a real mess and I did not know what to expect when I unwrapped it from his box. He reamed it with a PipNet pipe reamer and cleaned up the reaming with a Savinelli Fitsall Pipe Knife. He scrubbed out the internals with alcohol, pipe cleaners and cotton swabs until the pipe was clean. He scrubbed the exterior of the bowl with Murphy’s Oil Soap and a tooth brush to remove the grime and grit on the briar and the lava on the rim top. The finish looks very good with good looking grain around the bowl and shank. Jeff soaked the stem in Before & After Deoxidizer to remove the oxidation on the rubber. When the pipe arrived here in Vancouver for the second stop of its restoration tour it looked very good. I took photos before I started my part of the work.
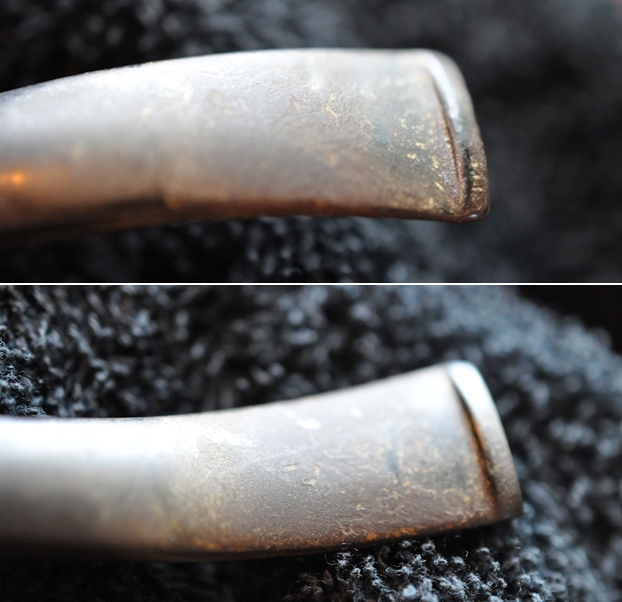
 I took some close up photos of the rim top and also of the stem surface. I wanted to show the great job Jeff did on the cleanup of the rim top. The rim top looks good though there is some damage on the front inner edge on the left side. The finish is dull, but still is in great condition. The bowl looked very good. I also took close up photos of the stem to show the light tooth chatter and the remaining oxidation on the stem surface and the vulcanite shank extension.
 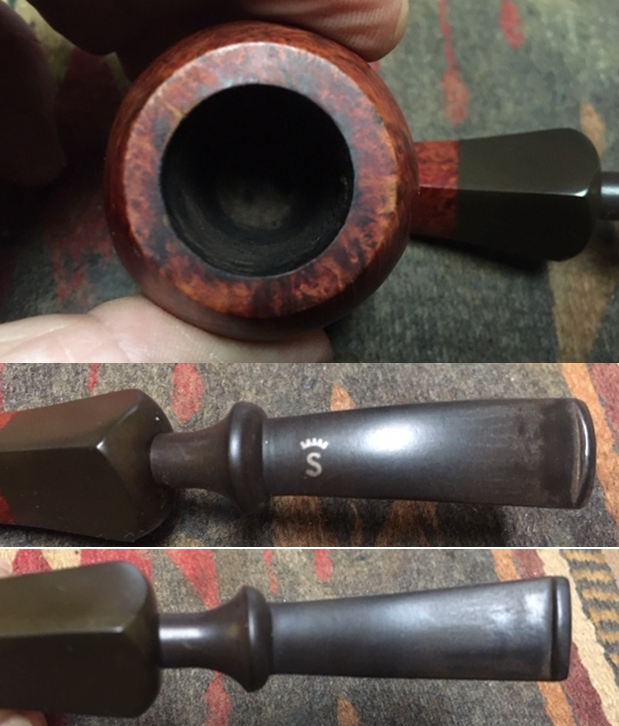 One of the things I appreciate about Jeff’s cleanup is that he works to protect and preserve the nomenclature on the shank of the pipes that he works on. The stamping on this one was very readable though there are spots that are faint. He preserved the stamping as you can see. I took a photo to show the clarity of the stamping.
 Since this is another pipe Bob’s estate I am sure that some of you have read at least some of the other restoration work that has been done on the previous pipes. You have also read what I have included about Bob Kerr, the pipeman who held these pipes in trust before I came to work on them (see photo to the left). Also, if you have followed the blog for long you will already know that I like to include background information on the pipeman whose pipes I am restoring. For me, when I am working on an estate I really like to have a sense of the person who held the pipes in trust before I worked on them. It gives me another dimension of the restoration work. I asked Brian if he or his wife would like to write a brief biographical tribute to her father, Bob. His daughter worked on it and I received the following short write up on him and some pictures to go along with the words including one of Bob’s carvings. Once again I thank you Brian and tell your wife thank you as well.
I am delighted to pass on these beloved pipes of my father’s. I  hope each user gets many hours of contemplative pleasure as he did. I remember the aroma of tobacco in the rec room, as he put up his feet on his lazy boy. He’d be first at the paper then, no one could touch it before him. Maybe there would be a movie on with an actor smoking a pipe. He would have very definite opinions on whether the performer was a ‘real’ smoker or not, a distinction which I could never see but it would be very clear to him. He worked by day as a sales manager of a paper products company, a job he hated. What he longed for was the life of an artist, so on the weekends and sometimes mid-week evenings he would journey to his workshop and come out with wood sculptures, all of which he declared as crap but every one of them treasured by my sister and myself. Enjoy the pipes, and maybe a little of his creative spirit will enter you!
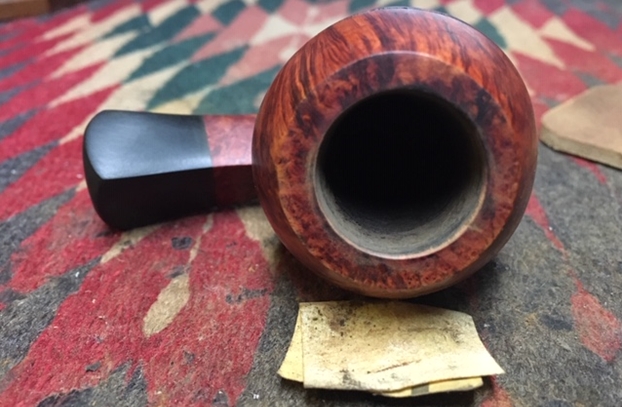
Now on to the rest of the restoration on this Regd. No. Stanwell Bulldog! I decided to begin the restoration of the bowl by cleaning up the rim damage on the inner edge of the bowl. I used a folded piece of 220 grit sandpaper to smooth out the roughness on the front left. The first photo shows the damaged area on the front inner edge of the bowl circled in red. The second and third photos show the cleaned up rim edge. The bowl looks better.
 I polished the briar and the vulcanite shank extension with micromesh sanding pads to blend in the stain and to polish the briar and remove the scratches in the surface of the bowl, heel and shank. I wet sanded with 1500-12000 grit pads and wiped the bowl down between each pad with a damp cloth.
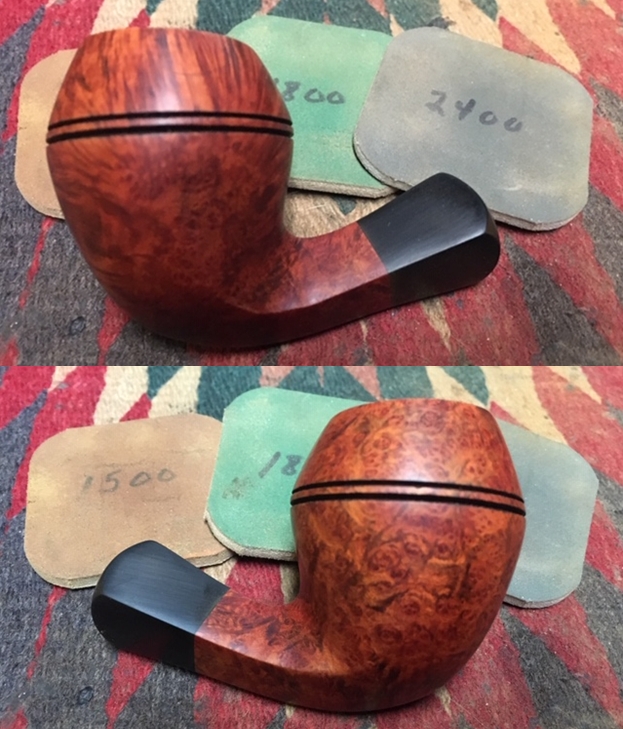

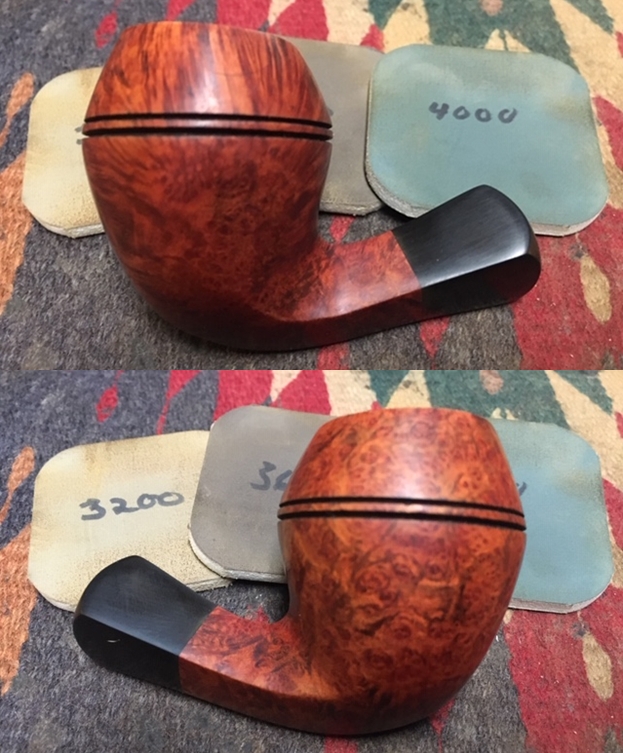
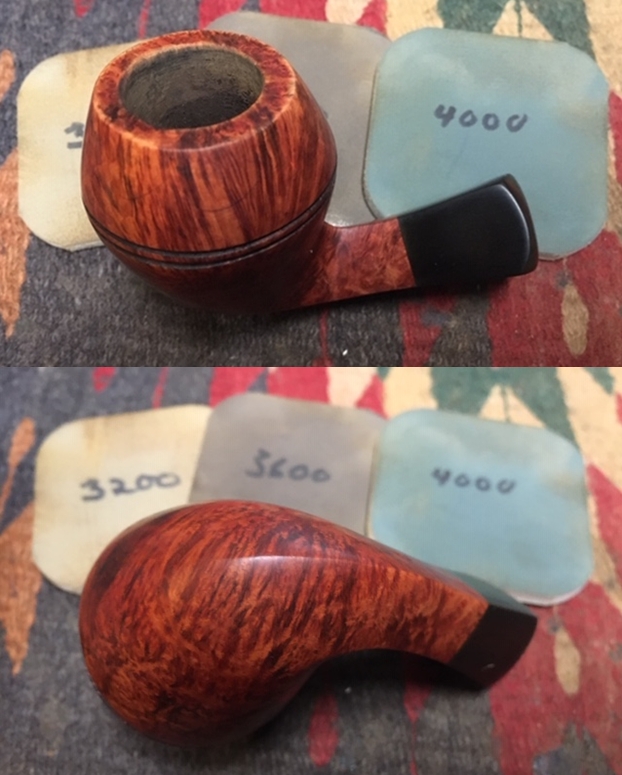
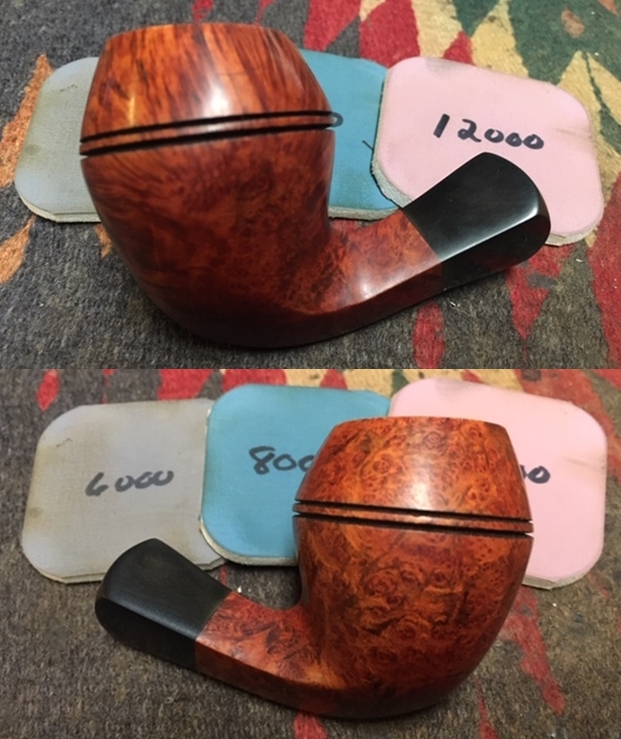
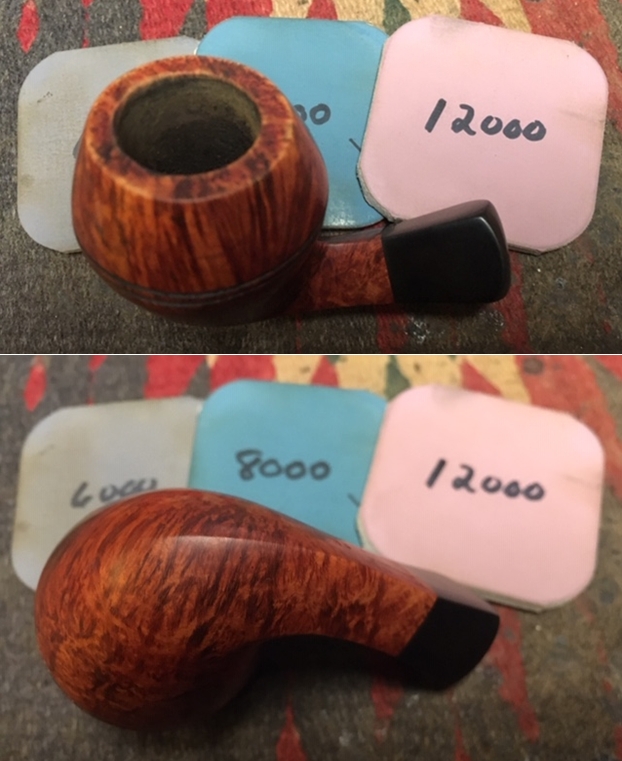 I rubbed the bowl down with Before & After Restoration Balm. I worked it into the surface of the briar with my fingertips to clean, enliven and protect it. I let the balm sit for a little while and then buffed with a cotton cloth to raise the shine.

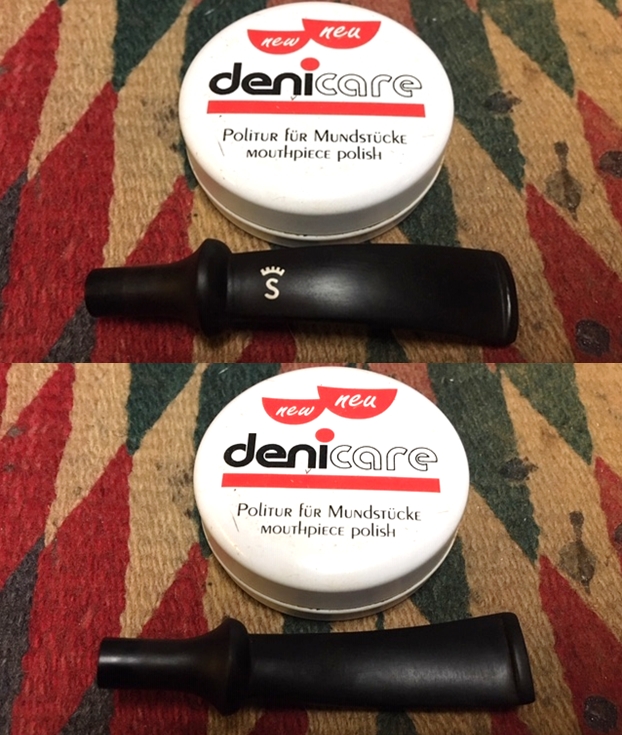
 I sanded the stem with 220 grit sandpaper to break up the oxidation. I started the polishing with 400 grit wet dry sandpaper to remove the scratching. It is starting to look good. I carefully worked on the Crown S stamp. The Silver Crown is coming alive.
  I rubbed the stem down with Denicare Mouthpiece Polish. I have a few tins of this laying around so I am trying to use them up. It does a pretty good job polishing the stem.
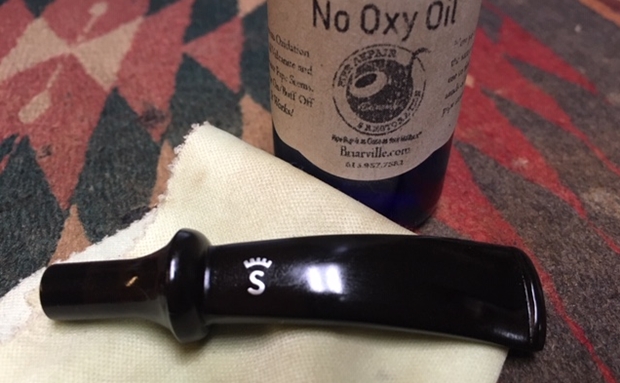
  I polished the stem with micromesh sanding pads – wet sanding with 1500-12000 grit pads. I wiped the stem down after each sanding pad with Obsidian Oil. I polished it with Before & After Pipe Stem Polish – both Fine and Extra Fine. Once I had finished the polishing I gave it a coat of “No Oxy Oil” developed by Briarville. I am experimenting with this product on the pipes I am restoring.

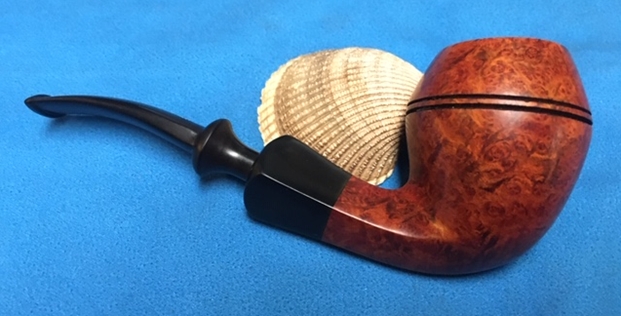
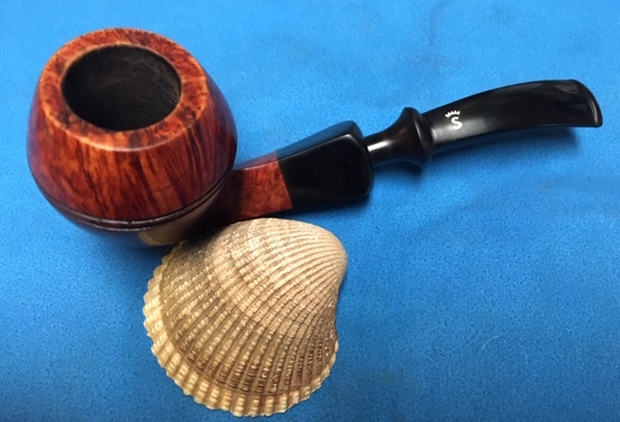
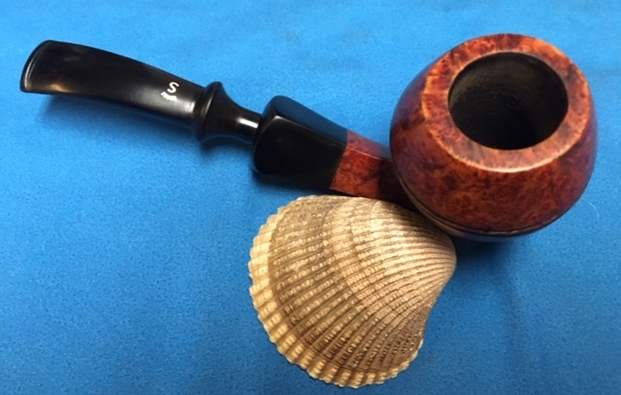
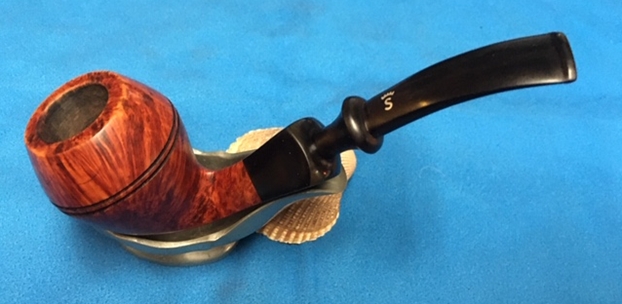
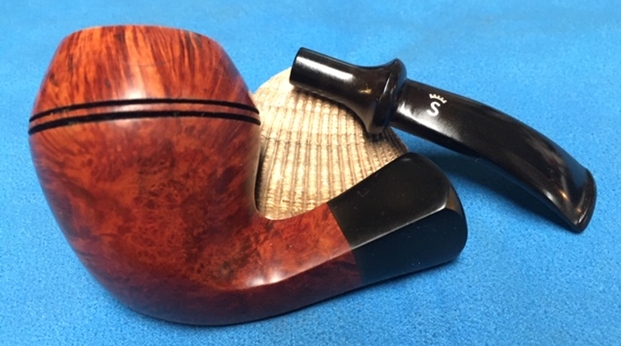
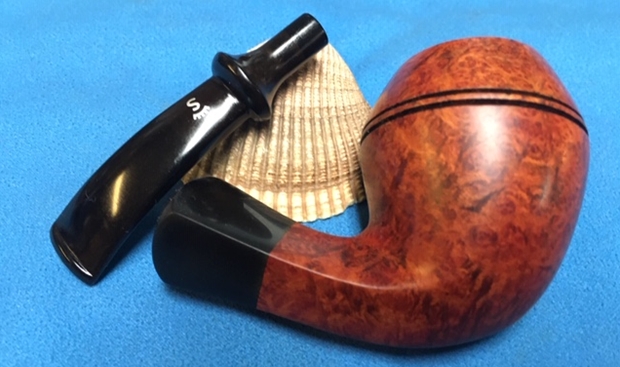
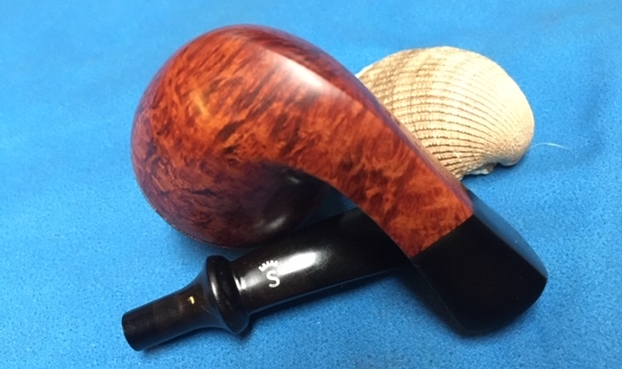
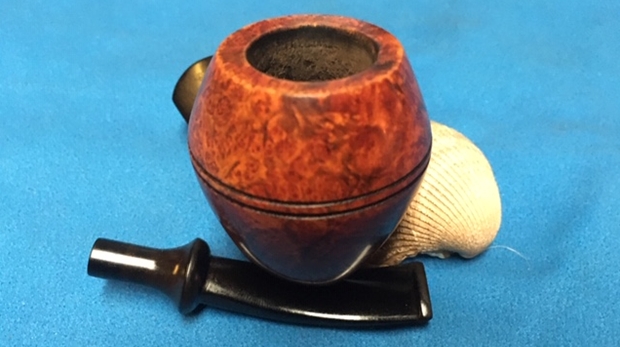
 I am excited to be finishing work on yet another one of Bob’s pipes. This is the part of the restoration part I look forward to when it all comes back together, polished and waxed. I put the bowl and stem back together. I polished the bowl and stem with Blue Diamond to polish out the scratches in the briar and the vulcanite. I gave the bowl and the stem multiple coats of carnauba wax. I buffed the pipe with a clean buffing pad to raise the shine. I hand buffed it with a microfiber cloth to deepen the shine. The pipe polished up pretty nicely. The medium brown stained bowl looks really good with the polished black vulcanite. This Stanwell Regd. No Danish Bulldog was another fun pipe to work on thanks to Jeff’s cleanup work. It really has that classic Danish look that catches the eye. The brown stain really makes the pipe look attractive. It is another comfortable pipe to hold in the hand. The finished pipe is shown in the photos below. The dimensions of the pipe are Length: 5 ½ inches, Height: 2 inches, Outside diameter of the bowl: 1 ¼ inches, Chamber diameter: ¾ of an inch. If you are interested in carrying on Bob’s legacy with this pipe send me a message or an email. I have a lot more to work on of various brands. Perhaps one of those will catch your attention. Thanks for reading this blog and my reflections on the pipe while I worked on it. This is an interesting estate to bring back to life.
