Blog by Steve Laug
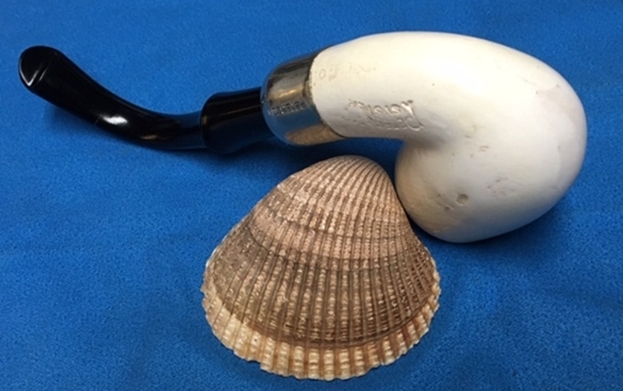
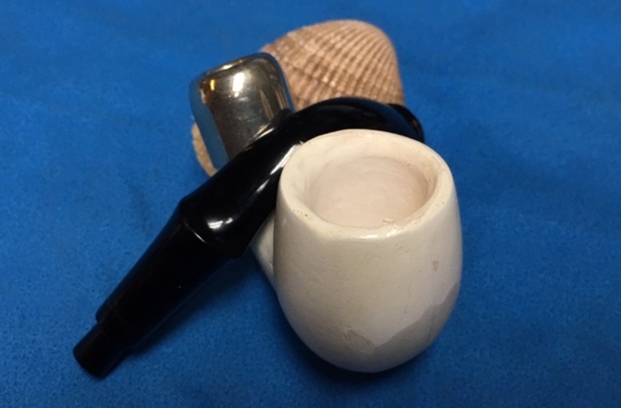
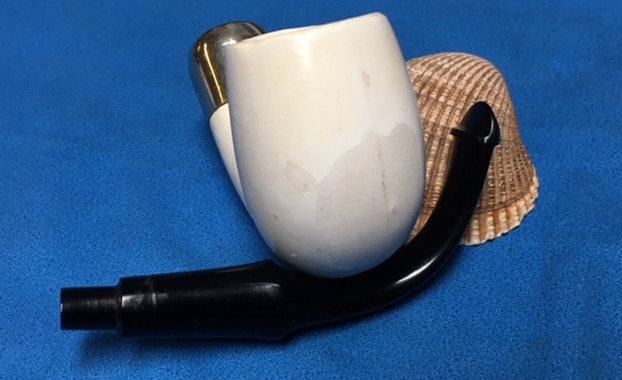
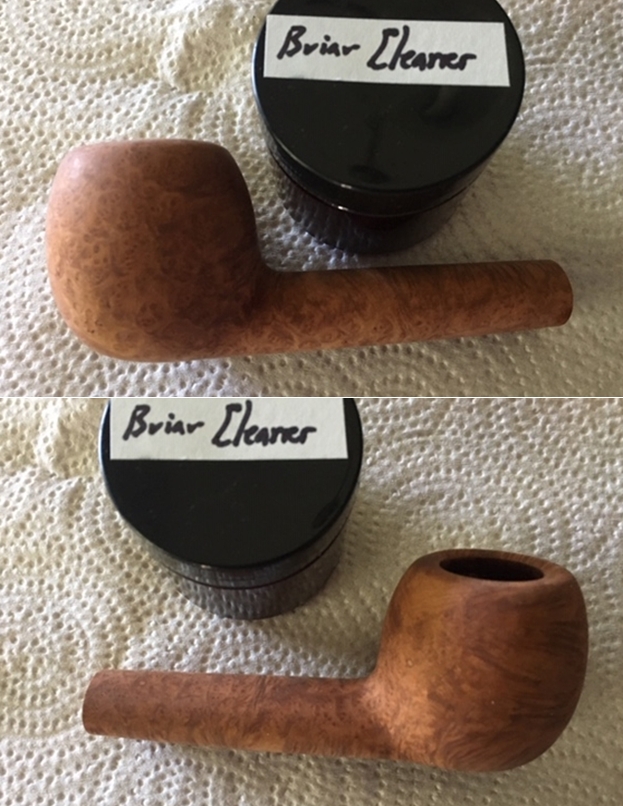
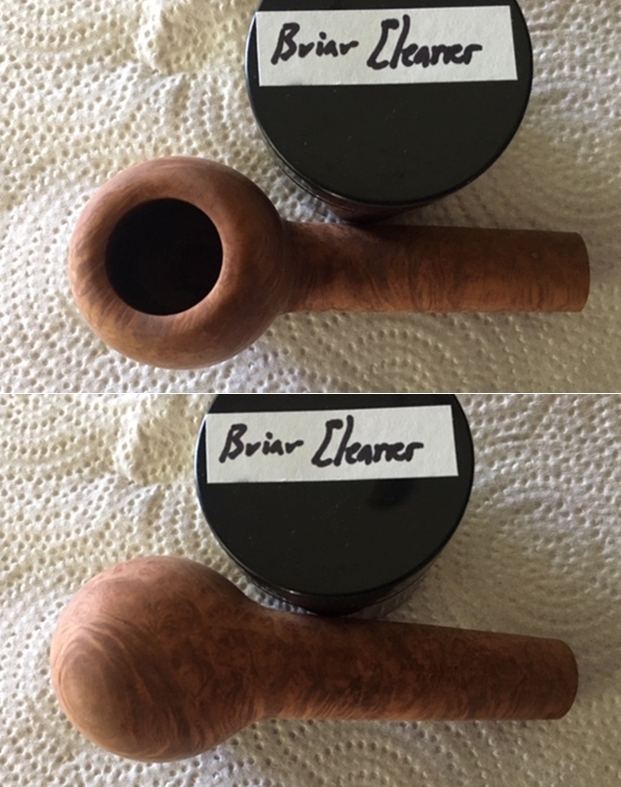
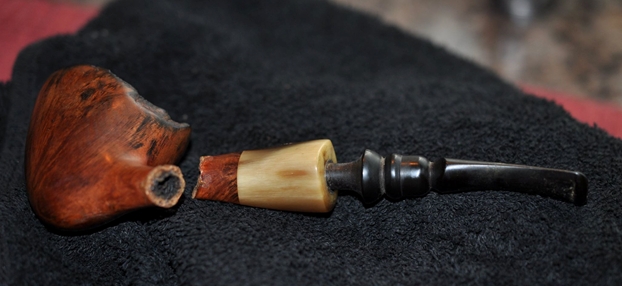
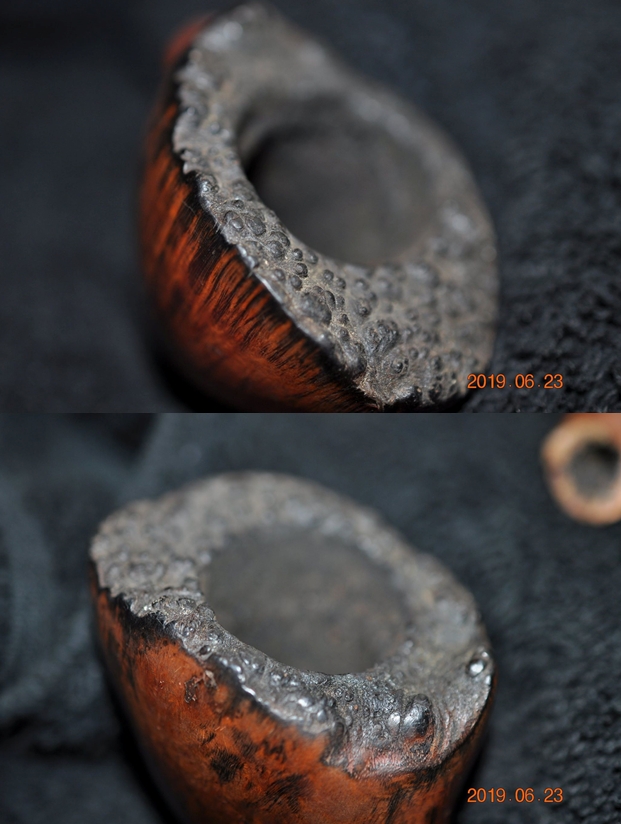
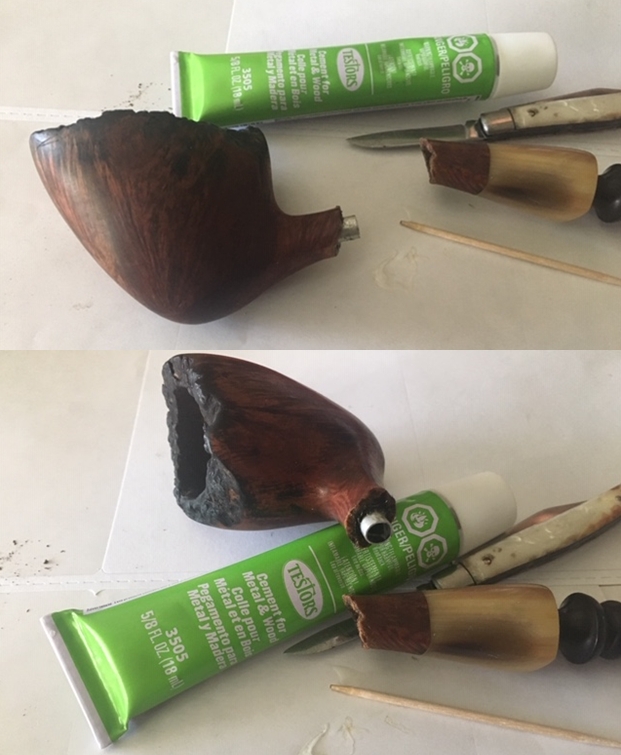
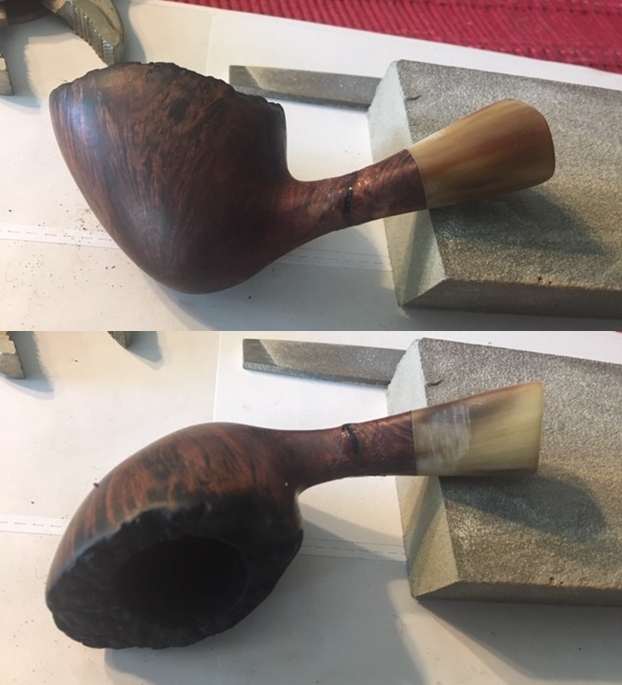
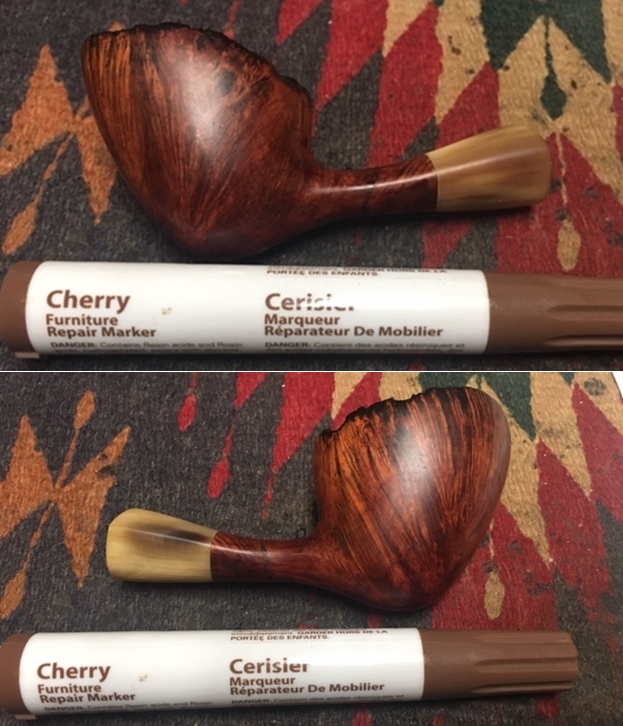
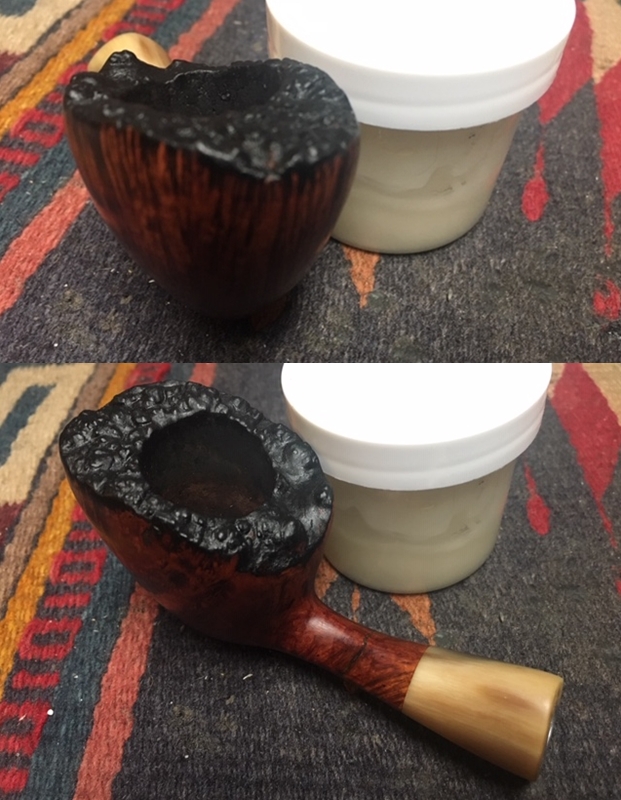
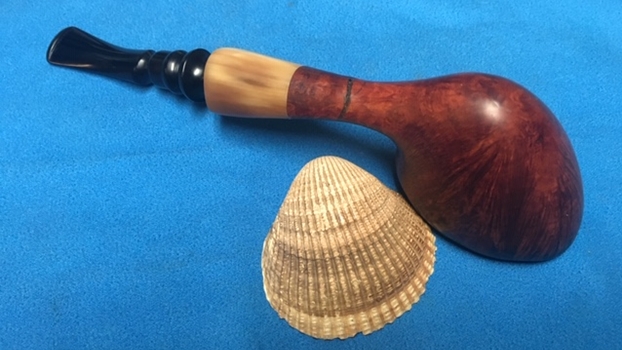
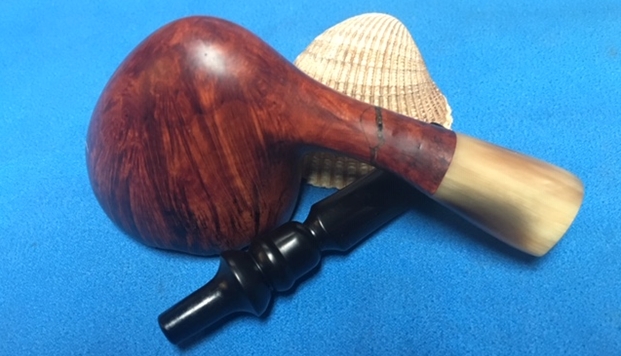
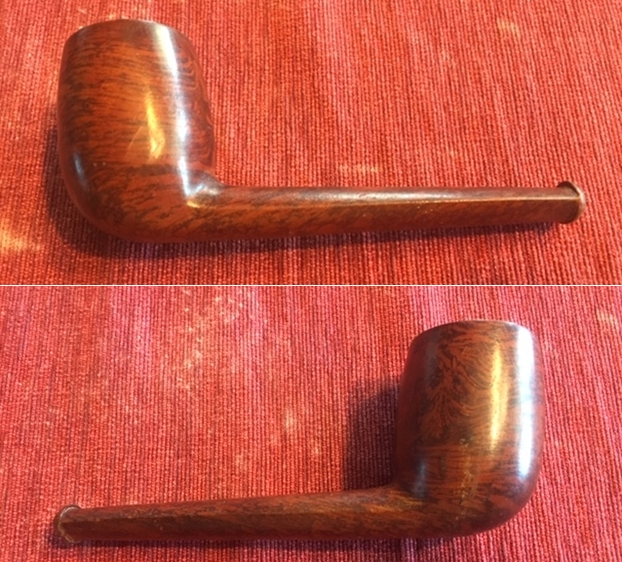
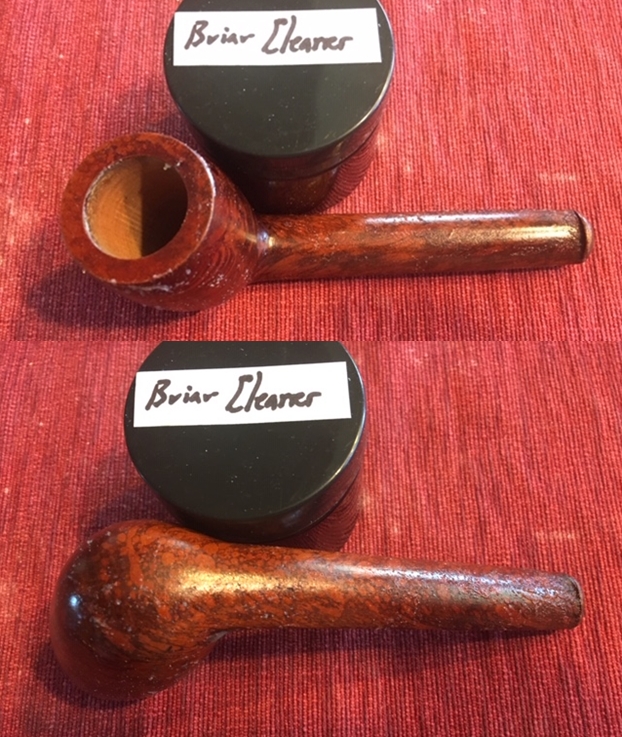
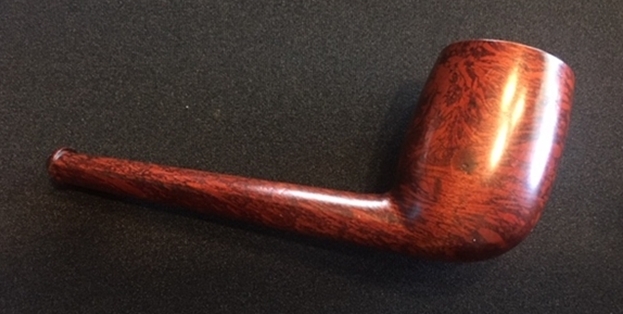
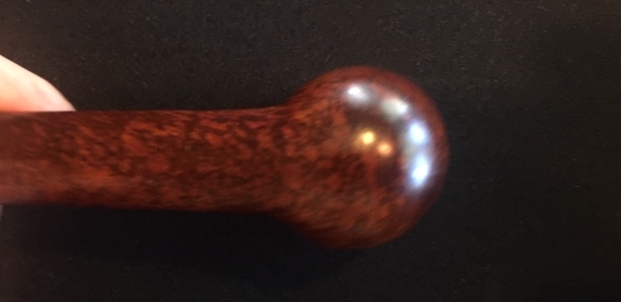
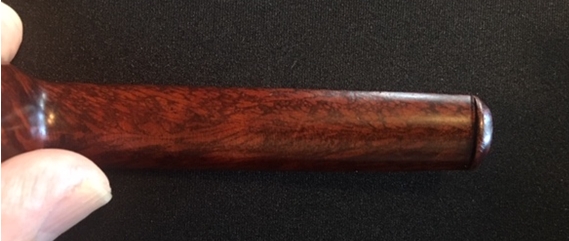
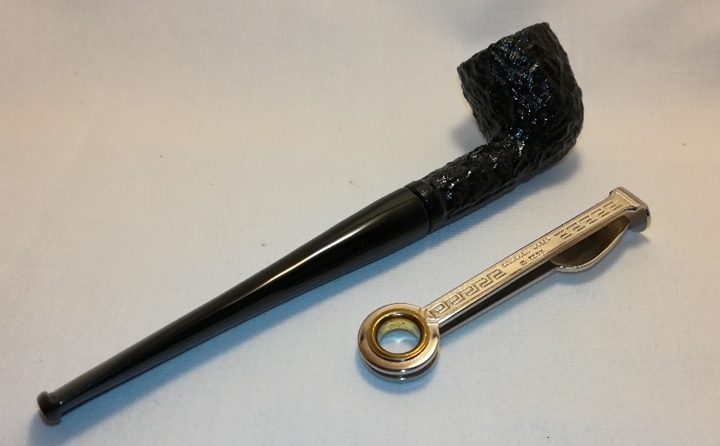
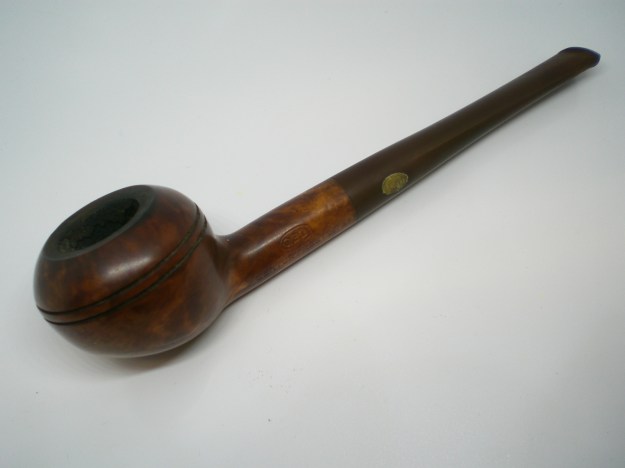
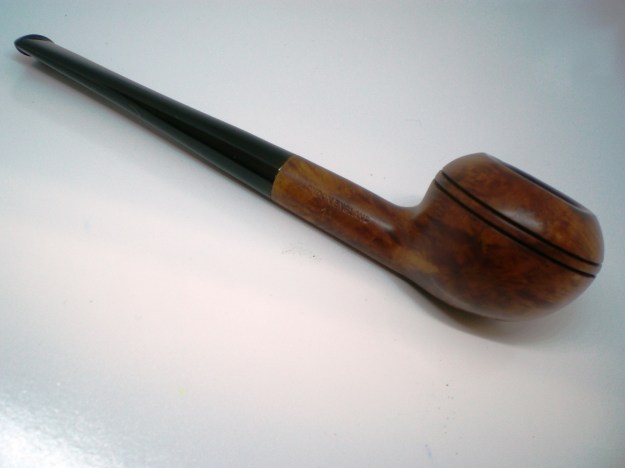
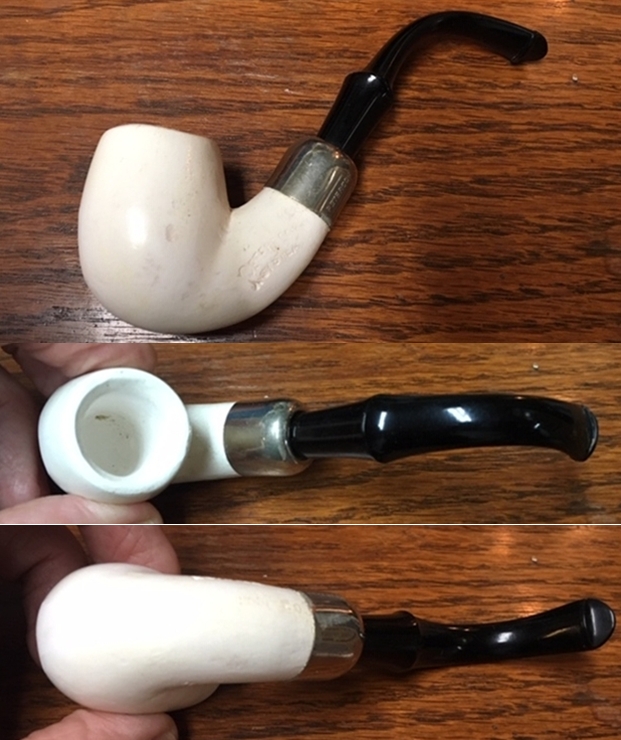
The next few blogs I am writing are about pipes that I worked on with Jeff on a recent visit to Idaho for my Father’s 91st birthday. The next and last of these was a pipe that came from one of the pipe lots Jeff picked up on his travels. It was in a group of old, unsmoked pipes. The pipe is a bent clay Billiard stamped Peterson’s System on the left side of the clay and 12 on the right side of the shank. The nickel ferrule is a classic Peterson ferrule with Peterson’s stamped on the left side. The stem is a military bit with a P-lip. The clay bowl and shank are quite nice with casting marks from the front of the bowl all the way down to the ferrule on the underside. It is a seam where the two halves were joined together. The seam looks almost like a crack but it is not. The there is some wear and tear on the pipe from sitting around as NOS (New Old Stock in some pipe shop). There are typical imperfections in the clay bowl. The rim top is a bit rough and there were some casting marks on the inner edge of the bowl. The bowl itself was unsmoked and the inside was very clean. The finish was dirty and somewhat lifeless. The P-lip stem was flawless with no tooth damage or marks. I took the following photos to show what pipe looked like before I started. 
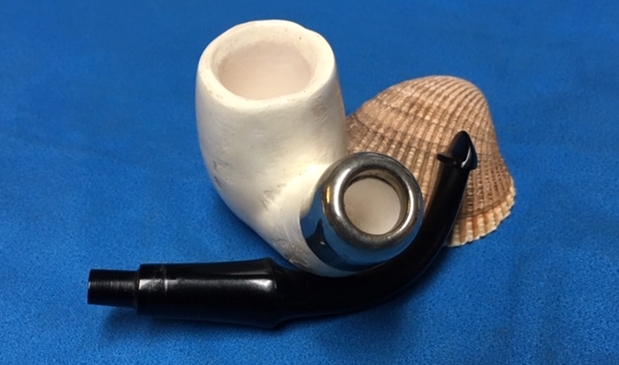
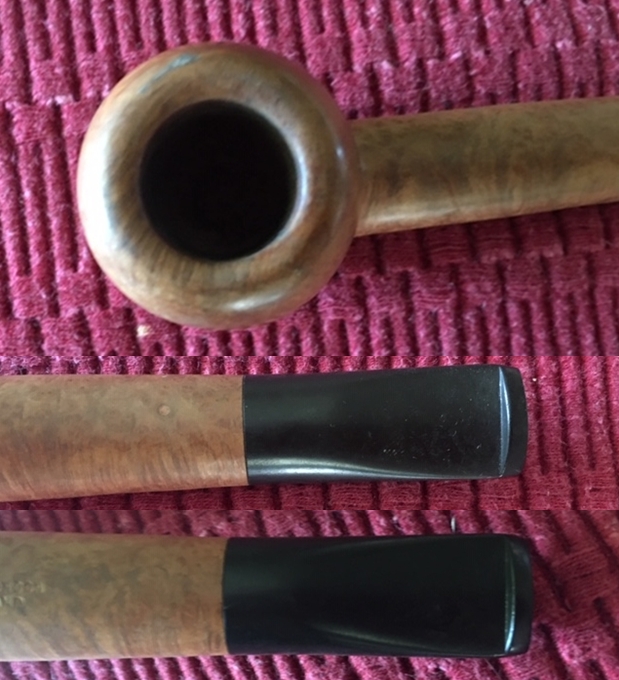
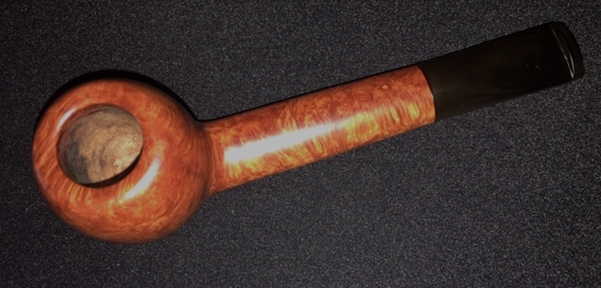
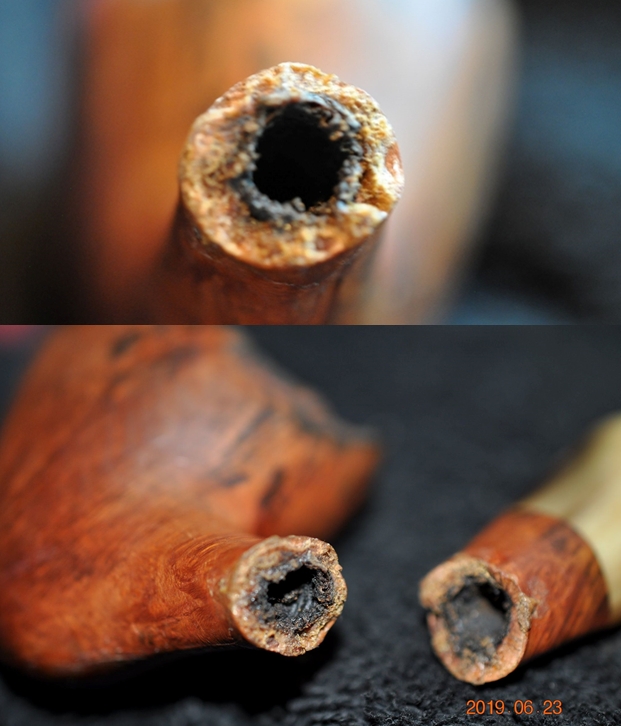
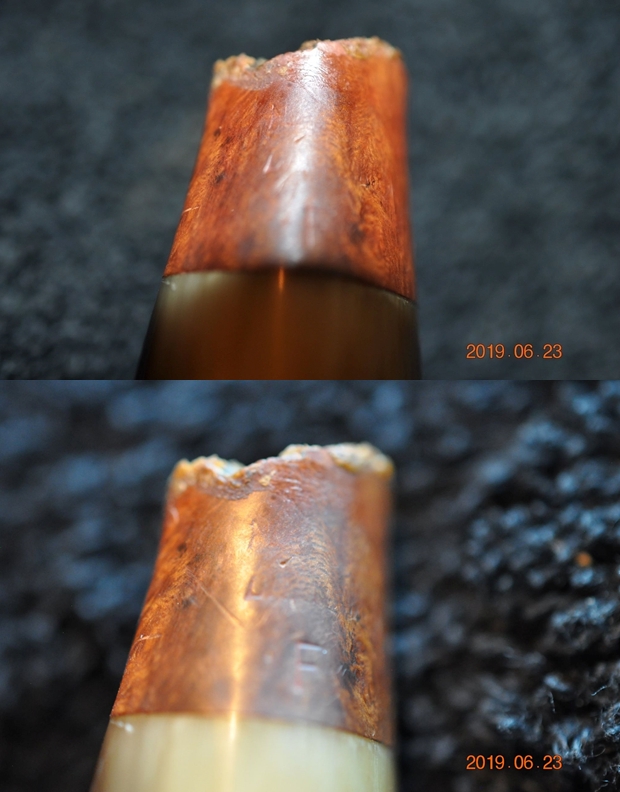
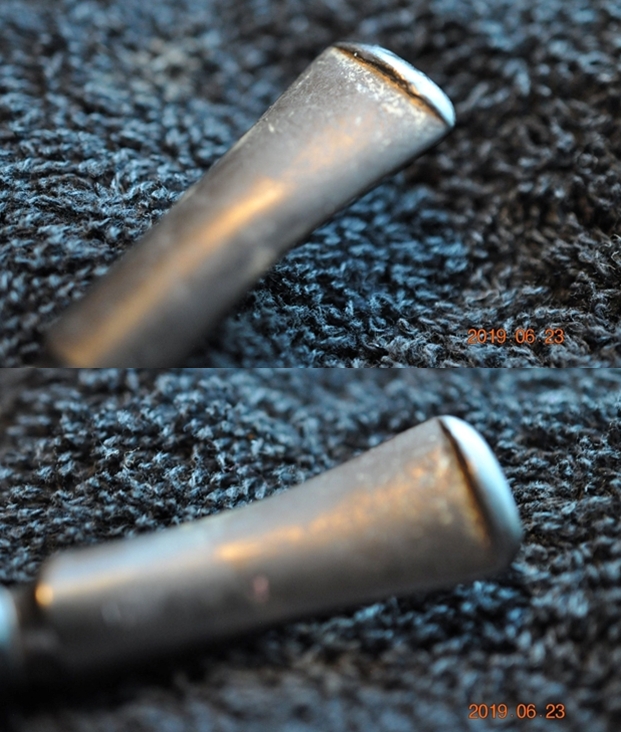
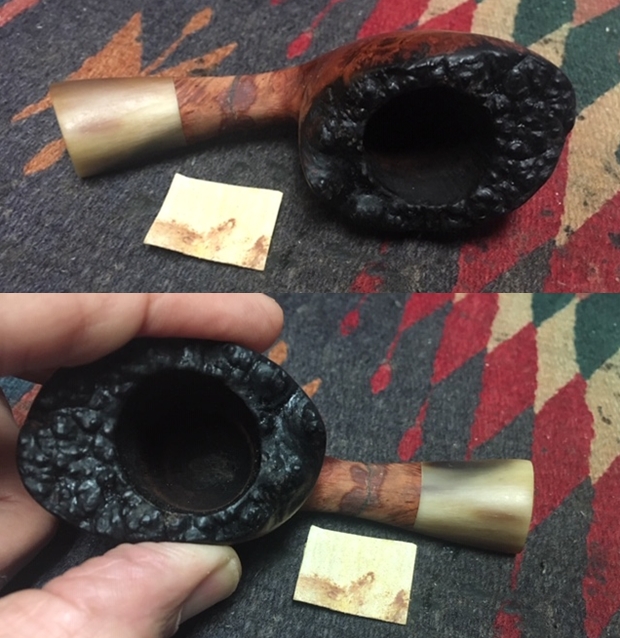
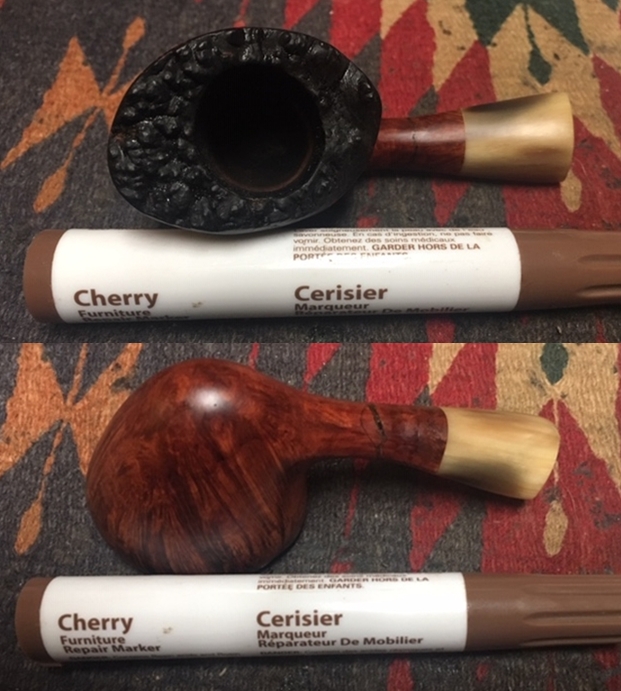
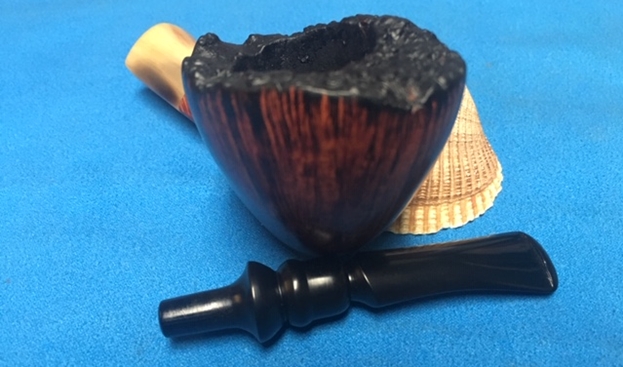
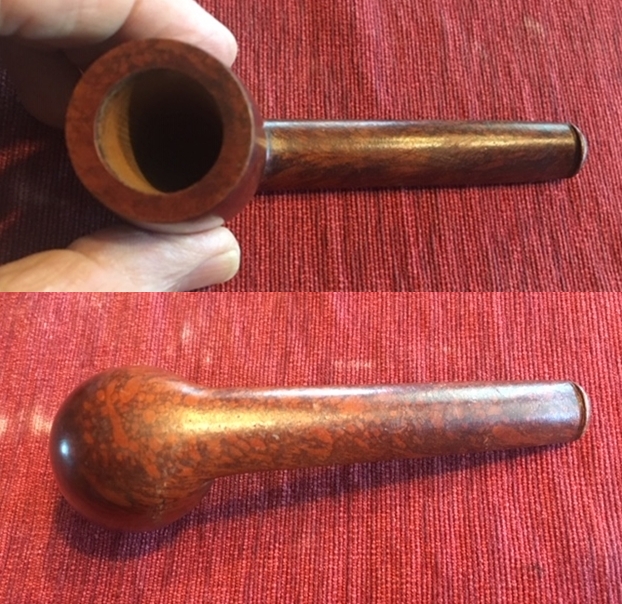
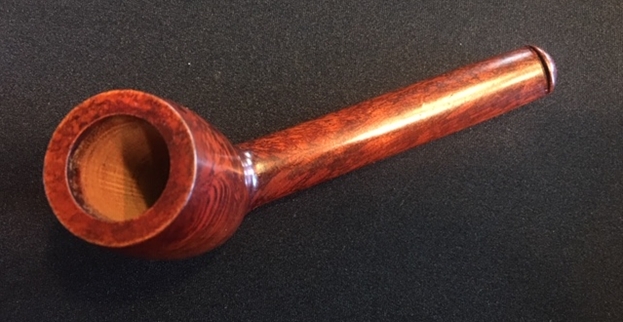
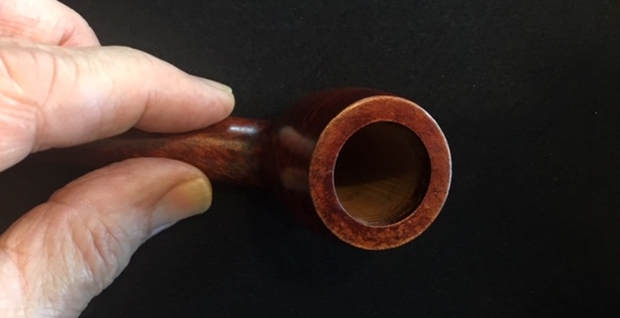
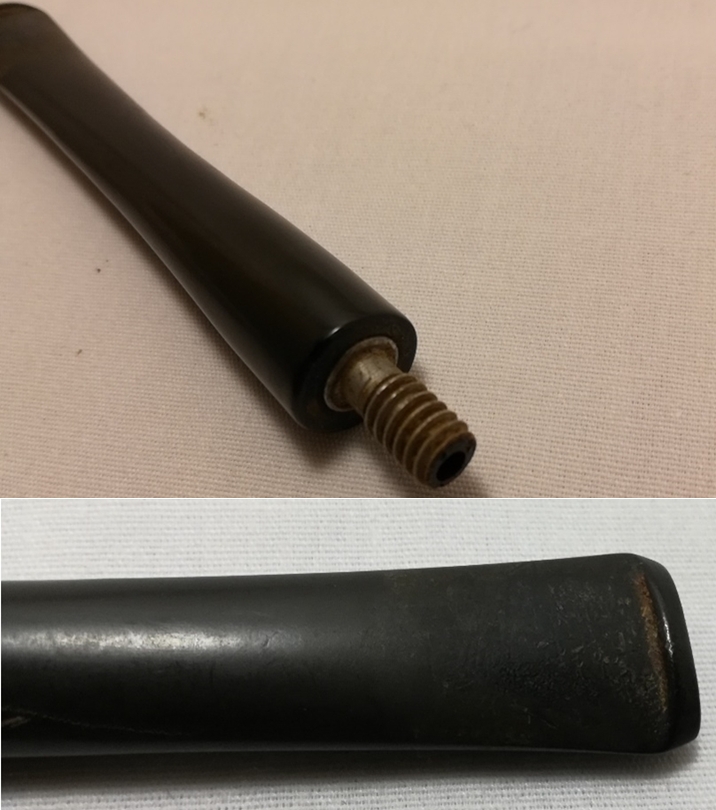
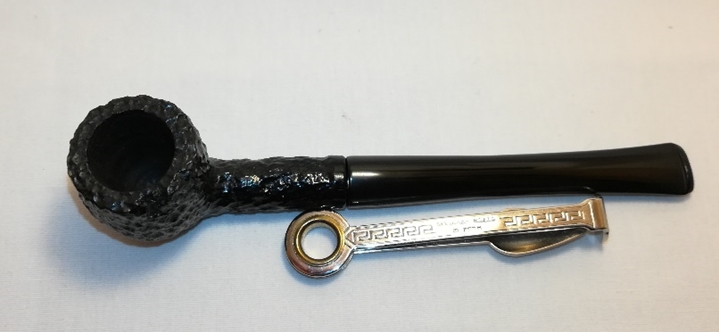
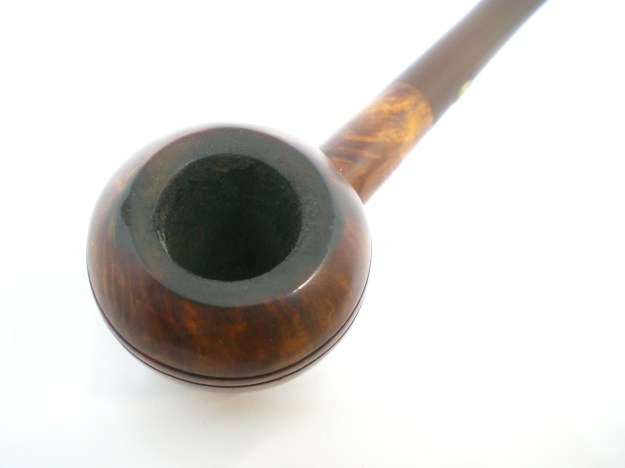
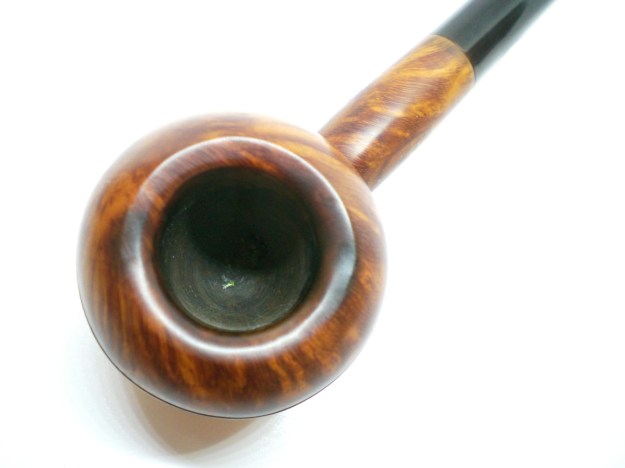
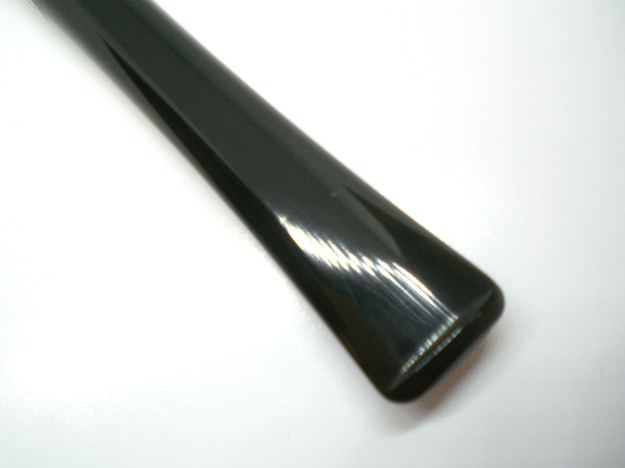
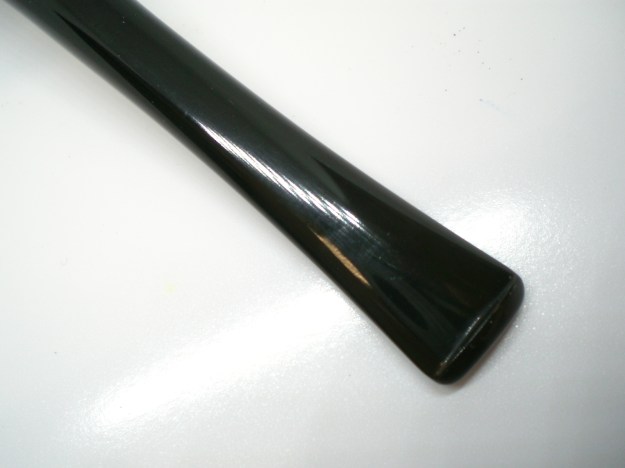
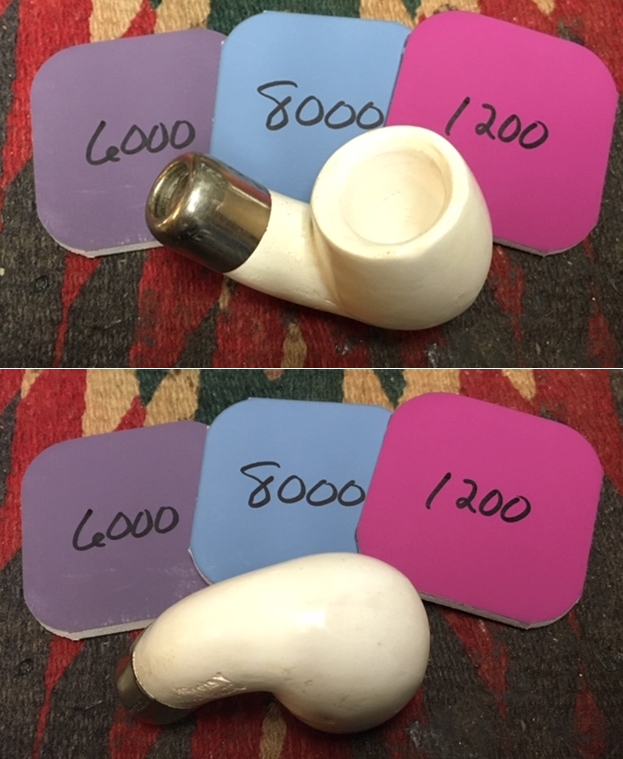
 I took some close up photos of the bowl top and the stem. You can see the roughness in the surface and edges of the rim top – pretty typical of a cast clay pipe. You can also see the dust in the bowl – even a small cobweb in the bottom of the bowl. The P-lip stem is flawless with no oxidation or chatter and tooth marks.
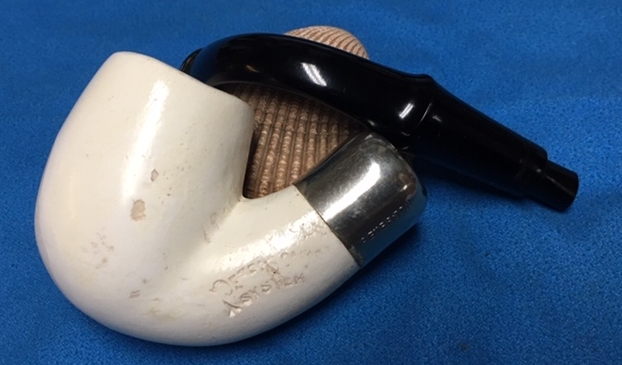
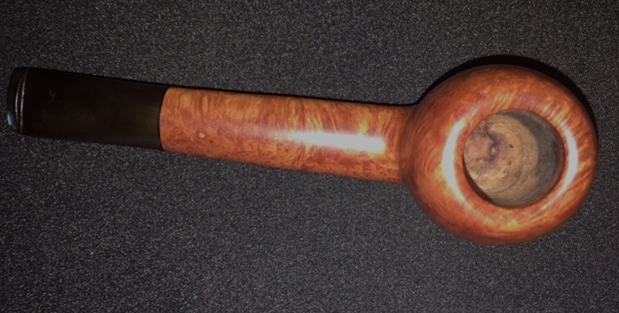
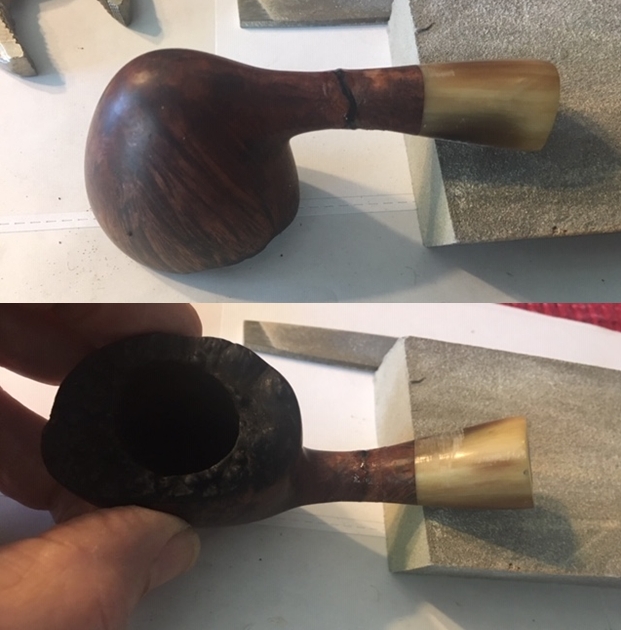
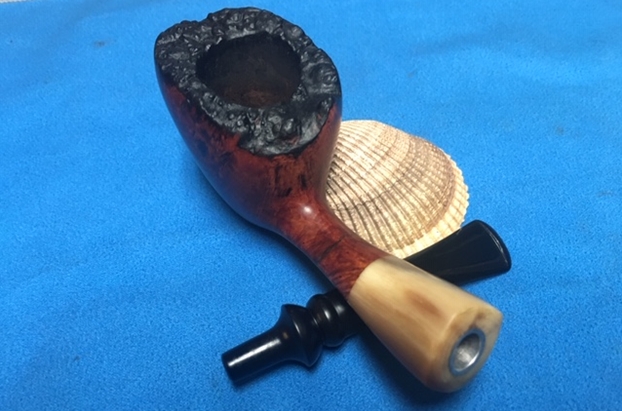
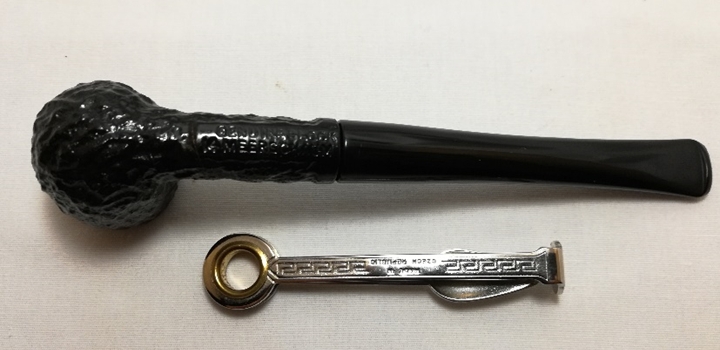
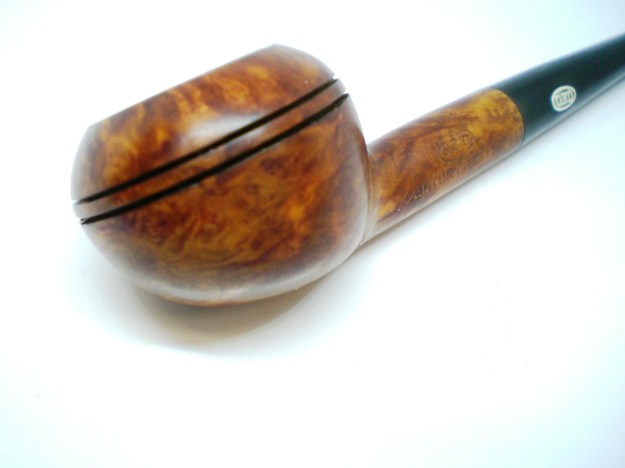
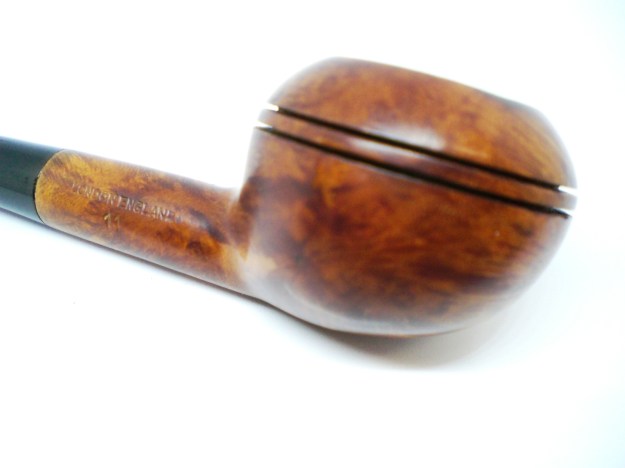
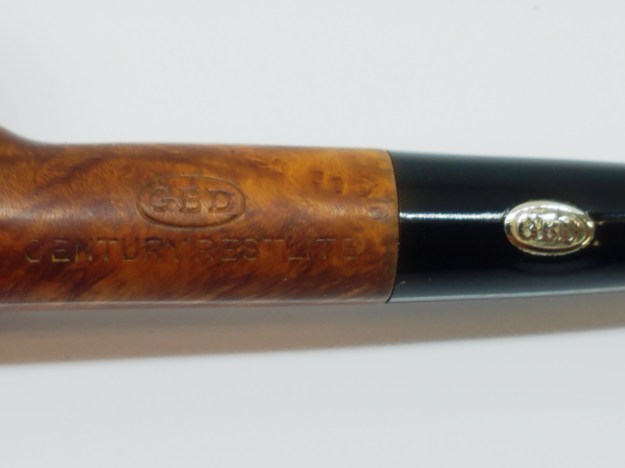
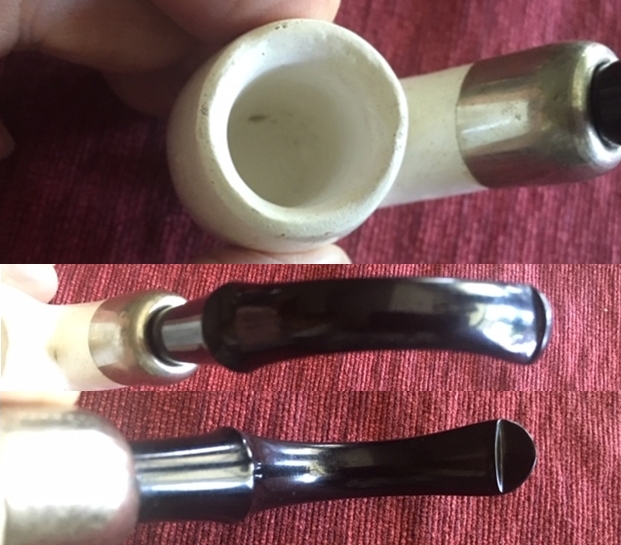 I took some photos of the stamping on the pipe. The first photo shows the left side of the shank with forked P of Peterson arched over System. You can also see the Peterson stamp on the nickel ferrule. The second photo shows the 12 shape number on the right side of the shank.
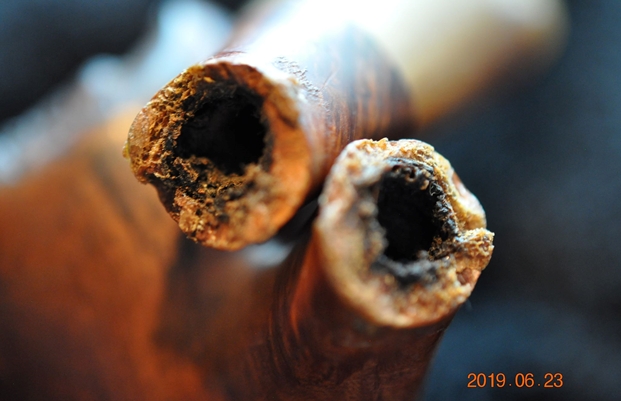
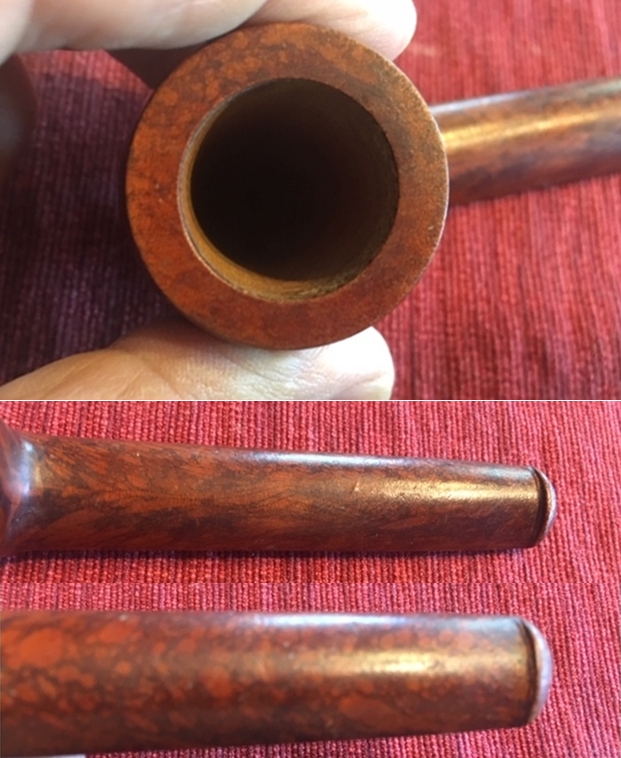
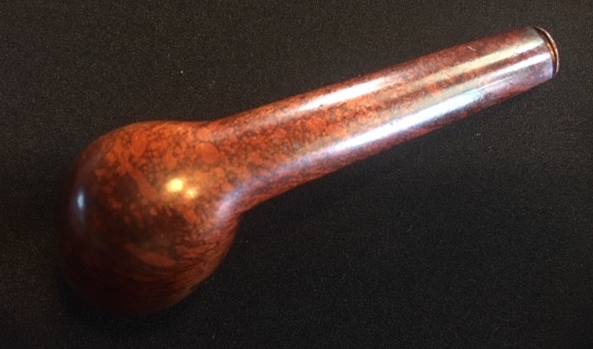
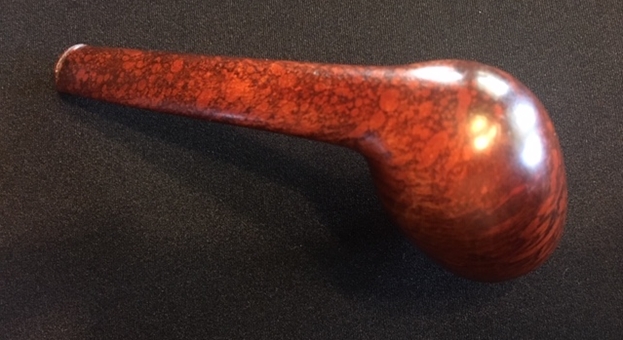
 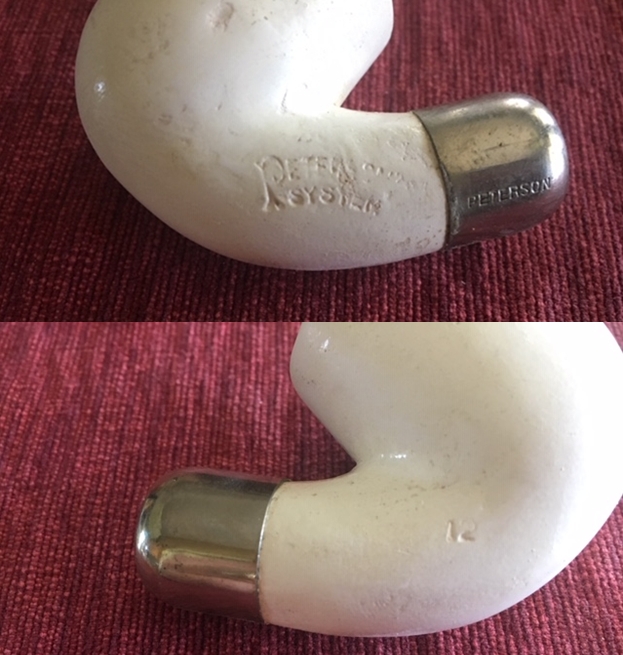 Each evening before going to bed, I have been reading the new Peterson book and came across a section on the clay system pipes. If I had not been reading it I would not have been even aware of them. I had left the book at home in Canada as it is large and heavy. So I wrote to Mark Irwin about dating this pipe and getting some information. Mark graciously sent me the information that I needed. Mark wrote as follows:
… What you have is one of the final generations of the Peterson clay System, made in the 1950s-early 60s. The ferrule no longer says “Brevet,” indicating its manufacture has shifted from France to the UK. I forget the name of manufacturer, but I’ll dig around for it. This was still a fair smoking clay, just not the epitome of Peterson’s work with the French. The final iteration would follow in the 70s–which was more of a pipe to blow bubbles with than to actually smoke! A shame really, as the ones from 1896-1940 were absolutely phenomenal.
When I came home on the weekend I look up some information from the late Jim Lily who was a Peterson Collector par-excellence. Jim maintained a Peterson Collector Blog for years and it is still online. Here is the link to the specific page on the Peterson Clay pipes – http://thepetersoncollector.blogspot.com/2012/04/peterson-clay-pipes.html. It confirms what Mark Irwin included above.
I am often asked about Clay pipes made by Peterson and why they are so rare and few.
Peterson made clay pipes during the Patent Era with two shapes being depicted as can be seen in their 1905 Patent Pipe catalogue. It shows shape numbers 8A and 12A. During this period their clay pipes were stamped “Peterson Patent” and could be purchased with either a silver or nickel band. During the Second World War, Peterson again started making clay pipes, due to the shortage of briar. The clays of this period are stamped “Peterson System” and were only offered with nickel bands. They continued making their clays until their London shop finally closed in the 1960s. Examples of which can be seen on page 9 of the 1962 &1965 catalogues, priced seven shillings and six pence!!.
As to why they are few in number, I suspect that the brittle nature of the clay meant that mortalities would be high.
Both Mark and Jim confirmed that the pipe was from the 50s-early 60s. They were made in the London Shop until the shop closed in the 60s. Now I knew a bit more about the pipe.
For a wrap up on the clay pipe I turned to one of my go to sources for information – Pipedia. From there I learned a bit mofe about the pipes. Here is the link to the section on the clays – https://pipedia.org/wiki/A_Peterson_Dating_Guide;_A_Rule_of_Thumb#Peterson_Clay.2C_Bog_Oak_and_Cherry_Wood_Pipes
Peterson Clay, Bog Oak and Cherry Wood Pipes
(Peterson Clay, Bog Oak and Cherry Wood pipes were offered in the Patent Era with or without a formed case, as also offered with their briar and meerschaum pipes.)
Peterson made clay pipes during the Patent Era with only two shapes being offered and depicted in their 1905 catalogue. During this period their clay pipes were stamped/molded “Peterson Patent” and could be purchased with either a silver or nickel band. How long and in what years Peterson made these clays is not known but as stated above two shapes were offered in their 1905 catalogue. Then during World War II, Peterson again made clay pipes due to the understandable shortage of briar. The clays of this period are stamped “Peterson System” and were only offered with nickel bands. This later production of clay pipes ended with the closing of Peterson’s London Shop in the late 1950s or early 1960s…
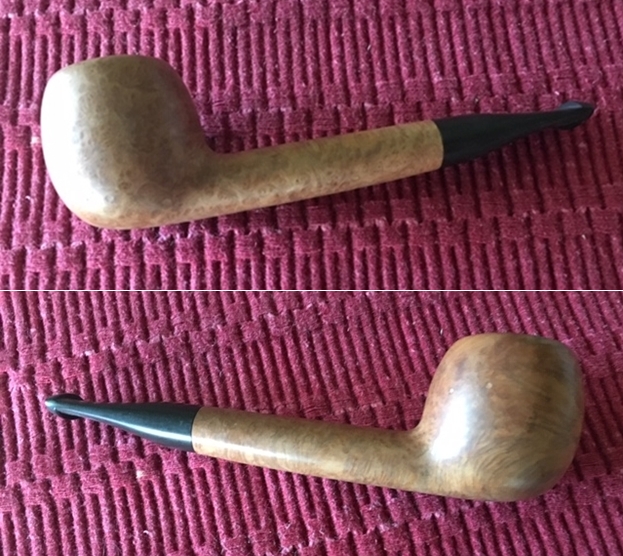
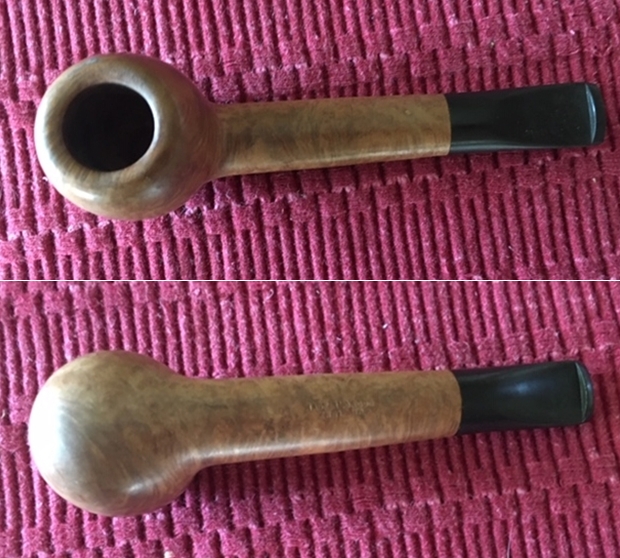
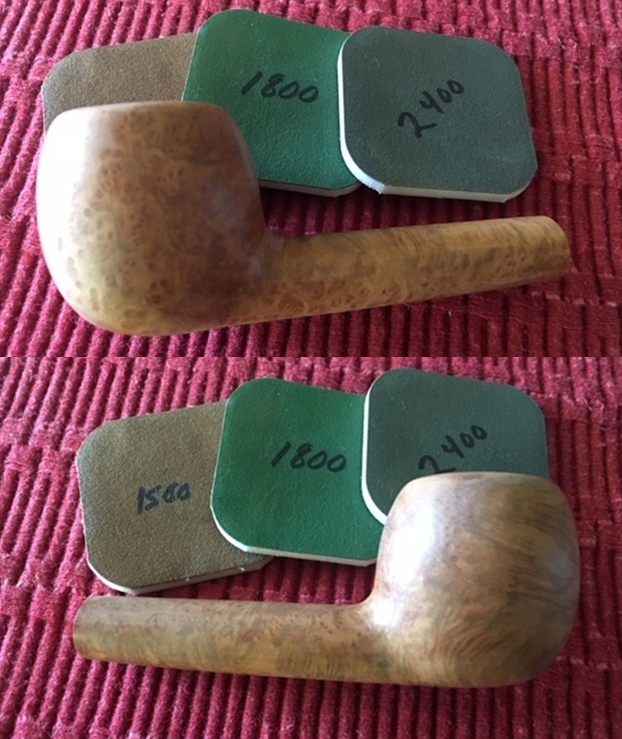
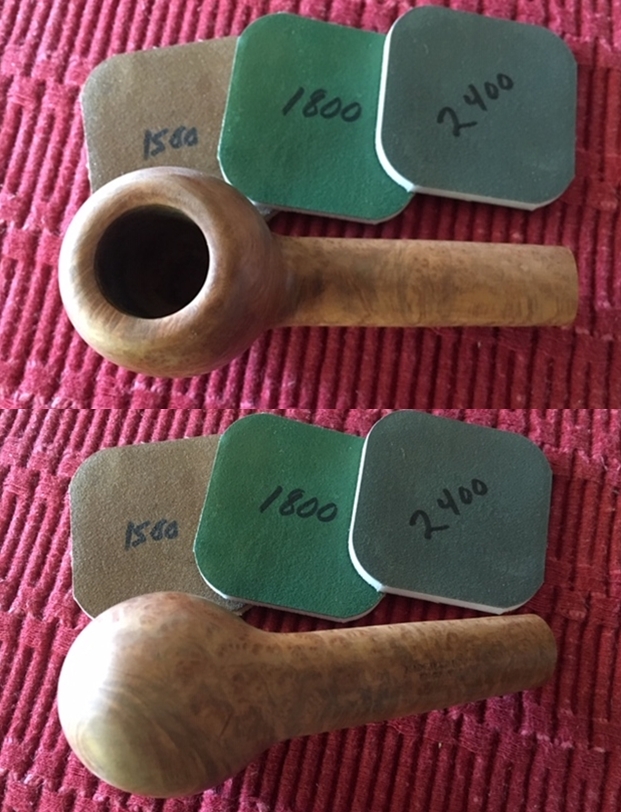
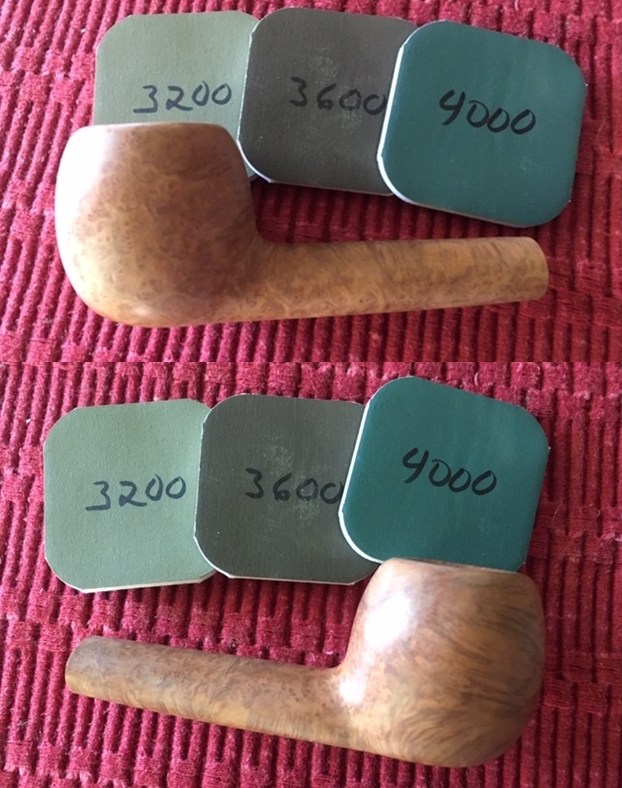
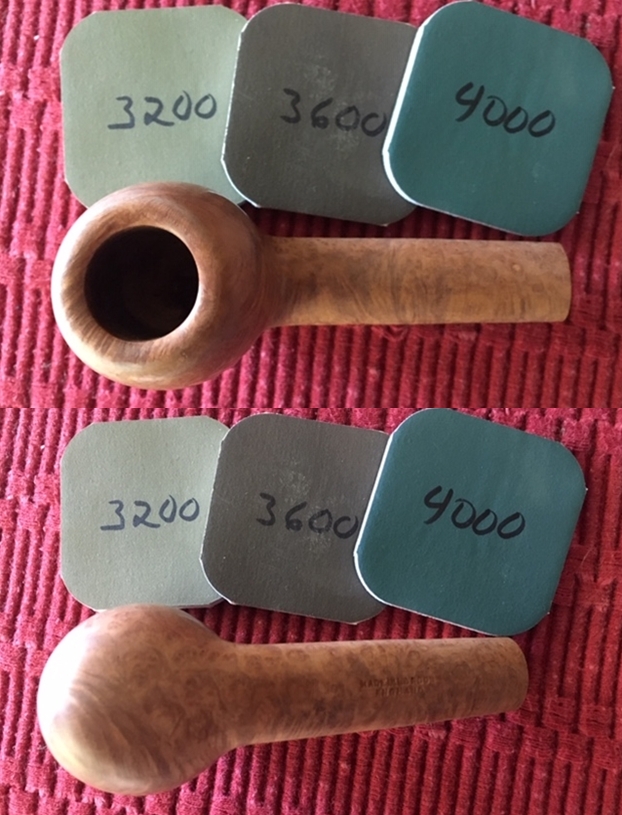
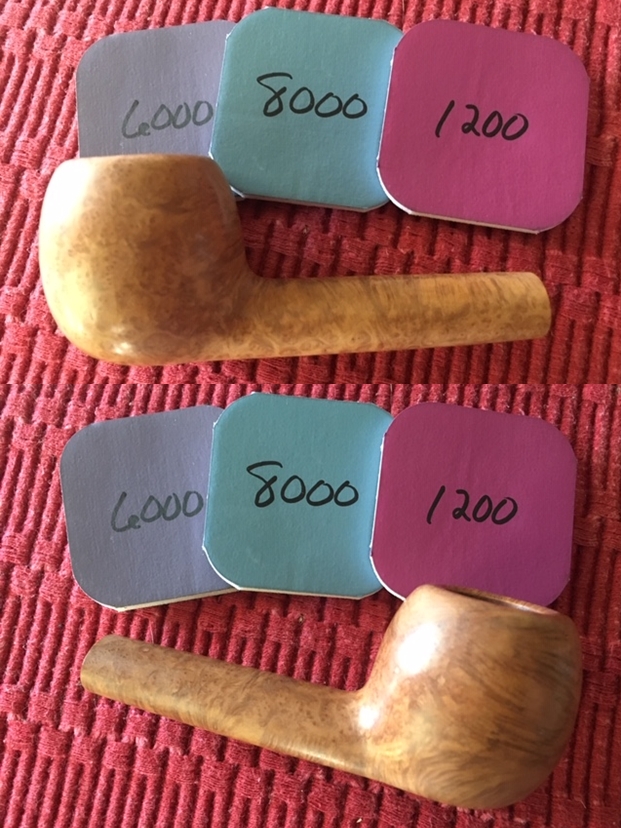
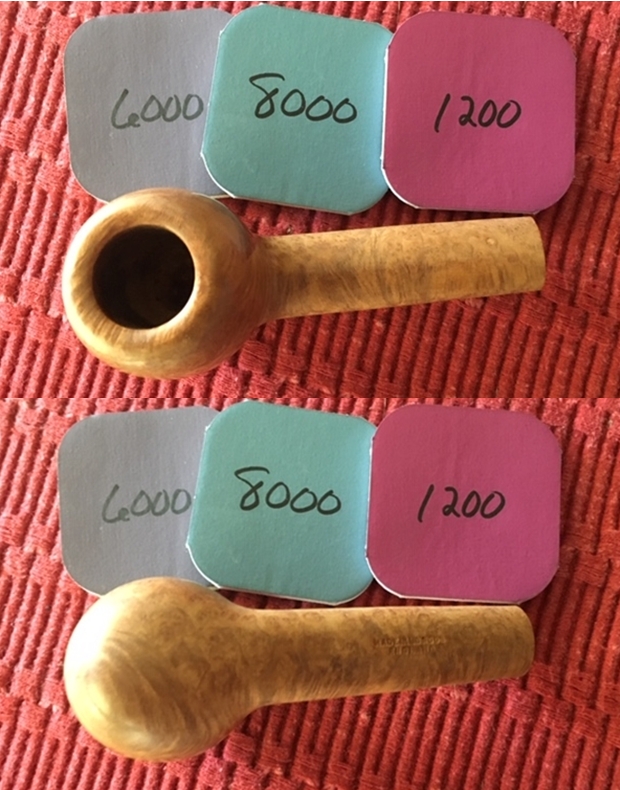
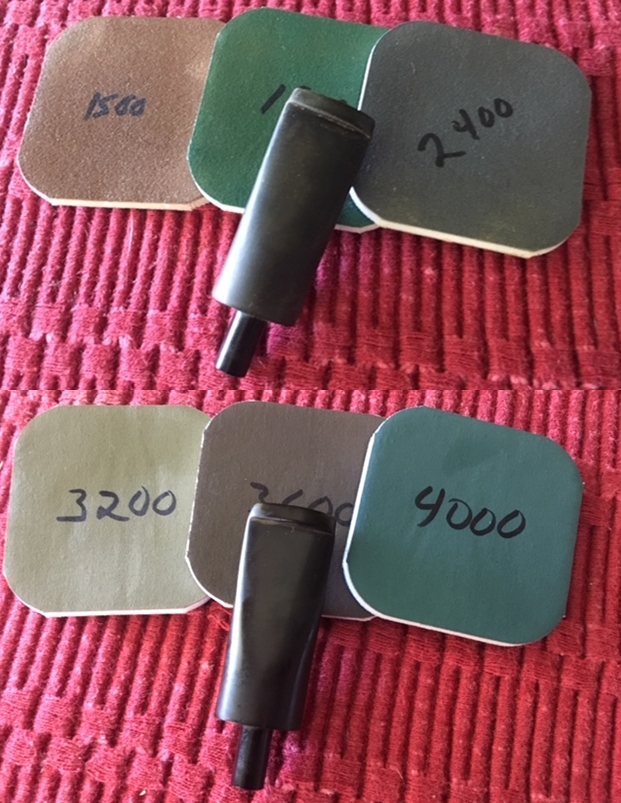
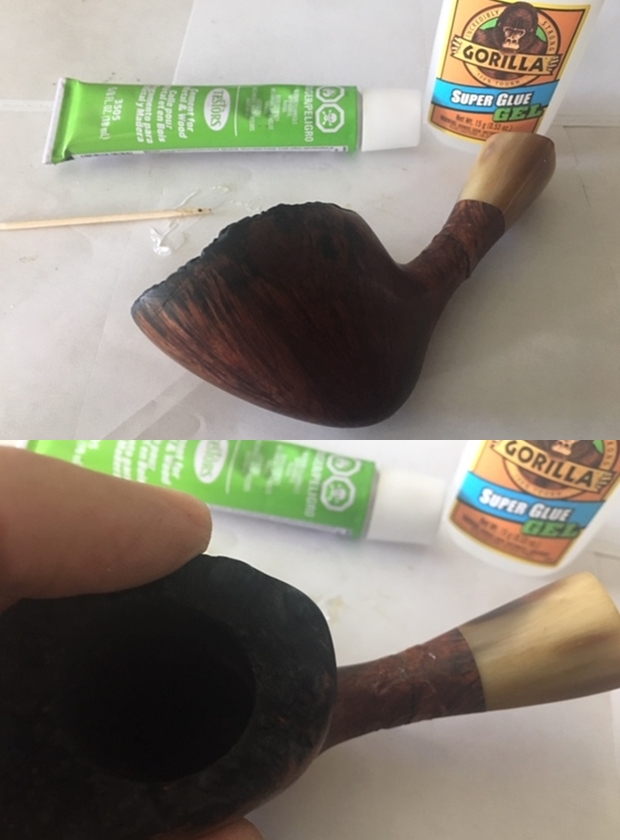
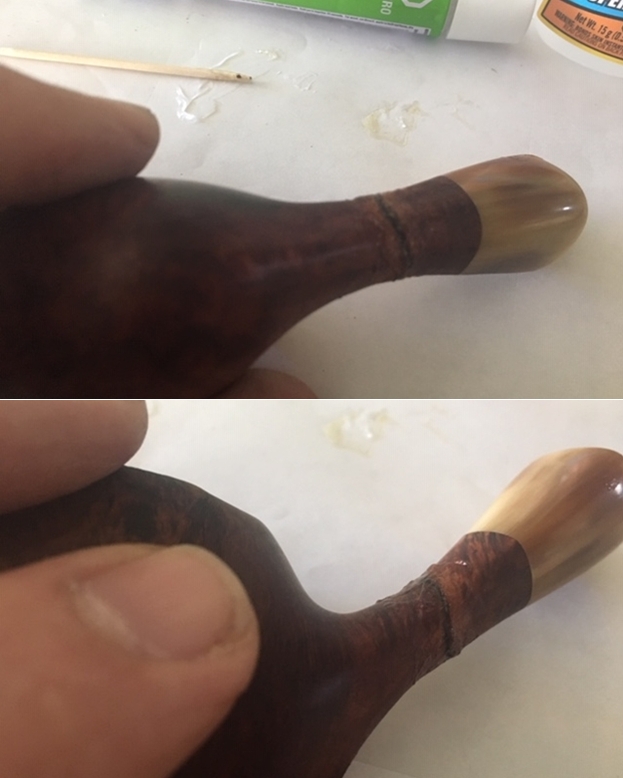
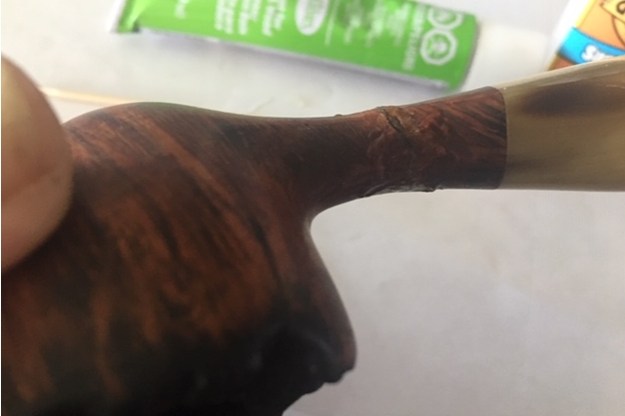
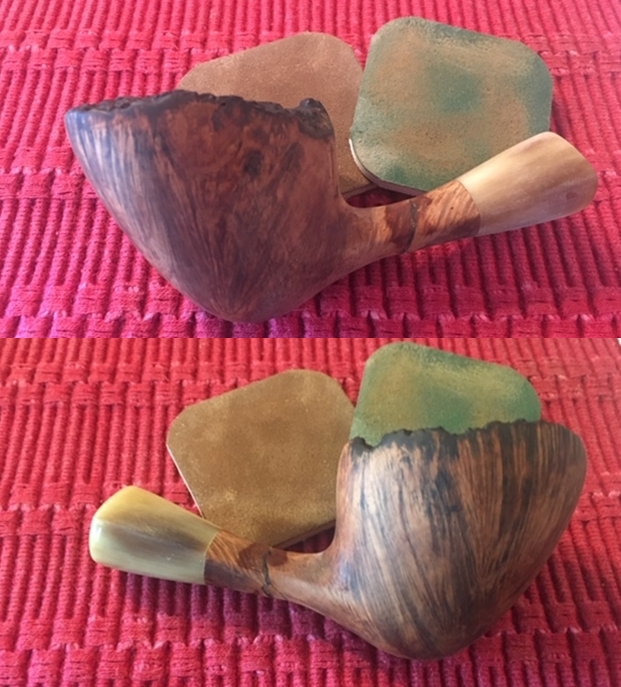
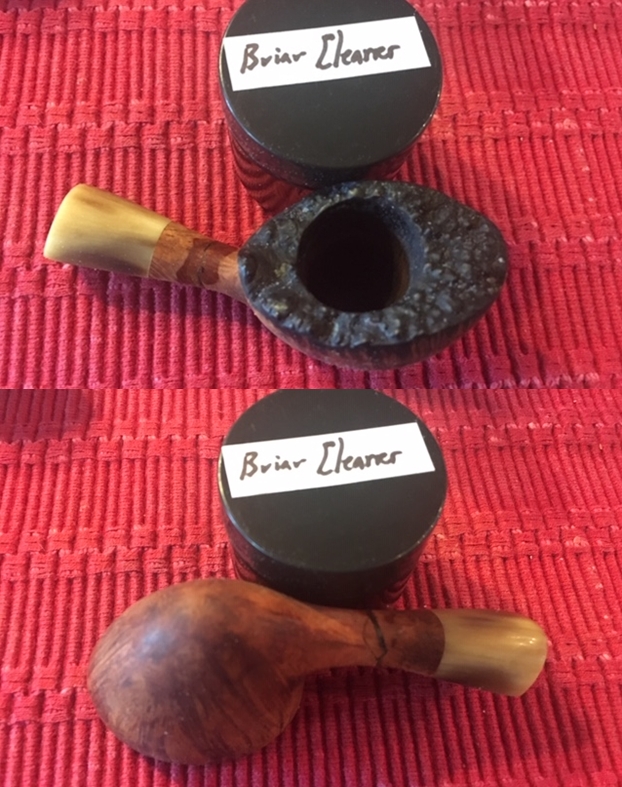
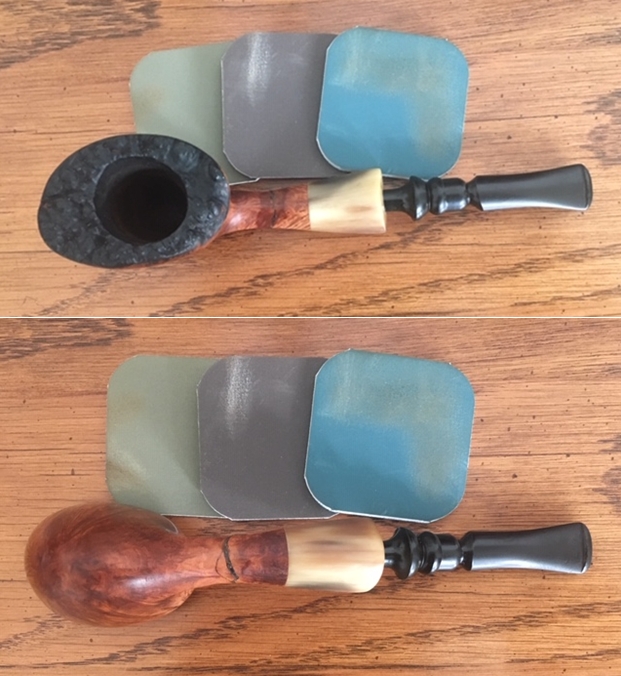
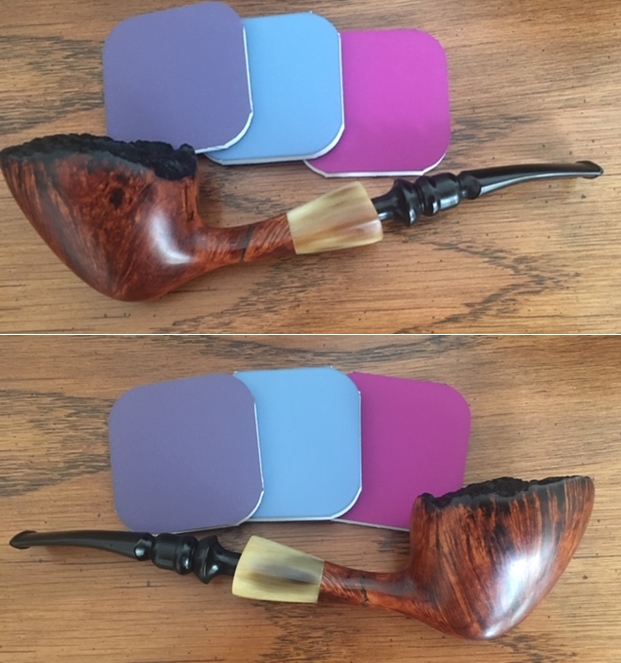
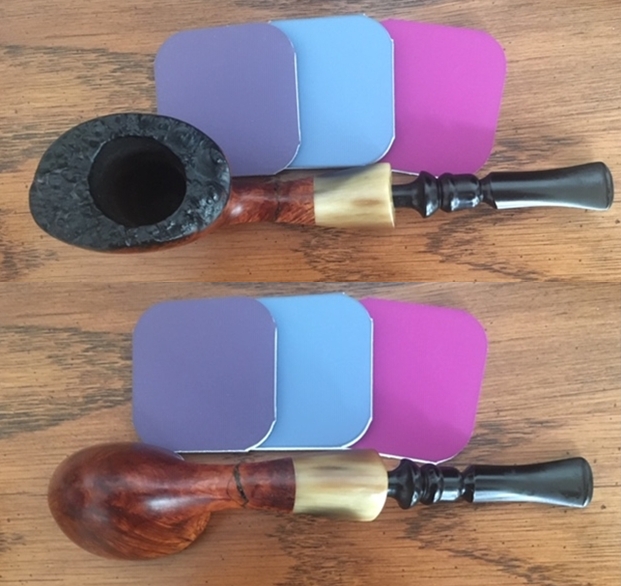
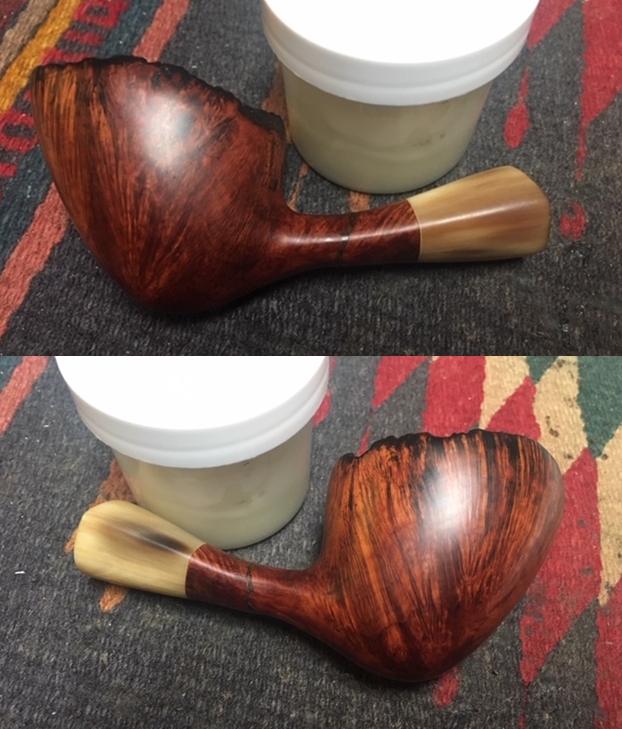
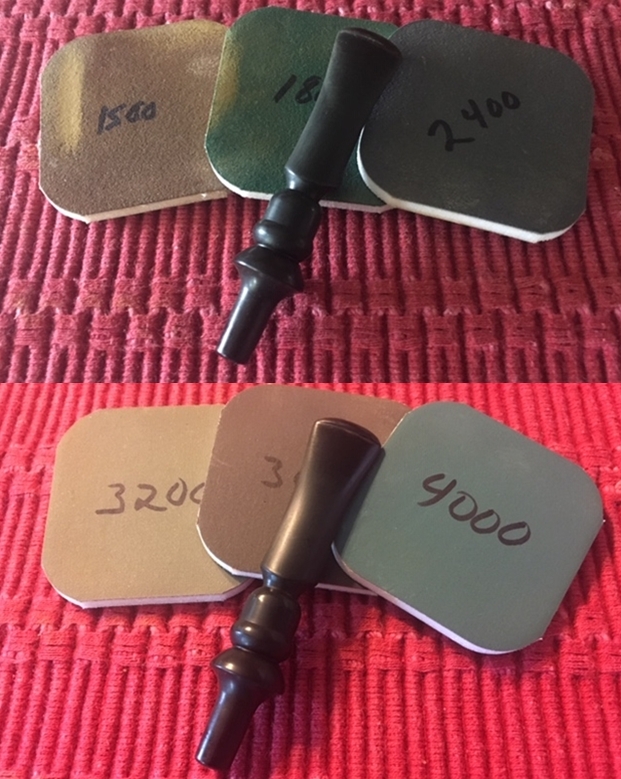
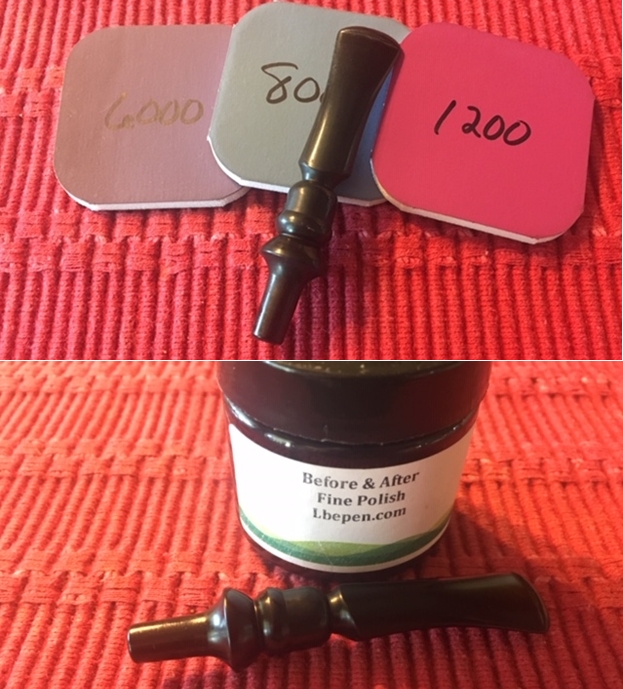
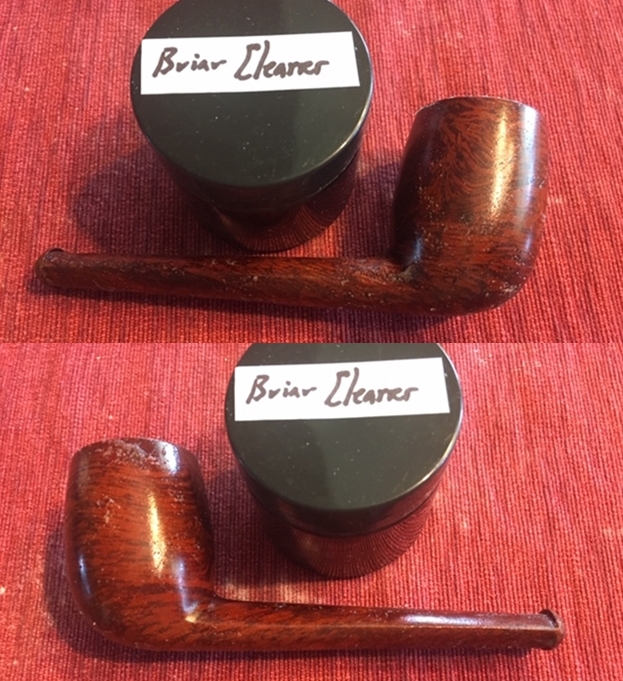
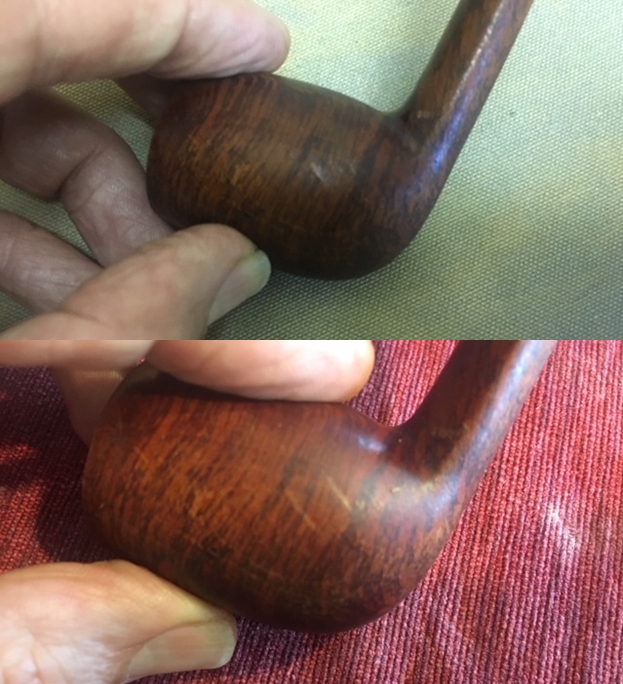
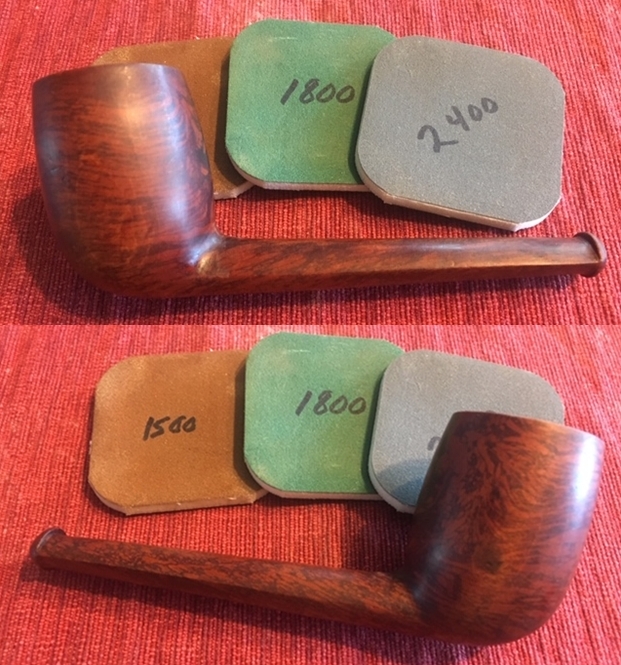
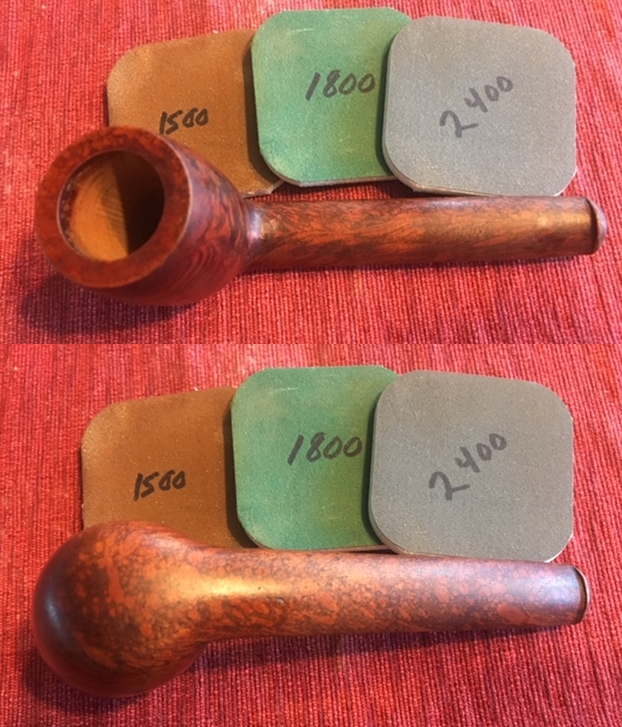
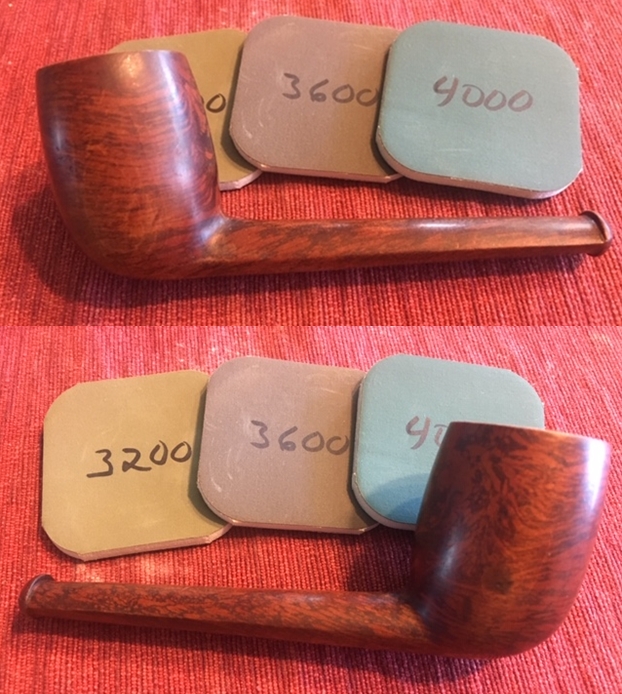
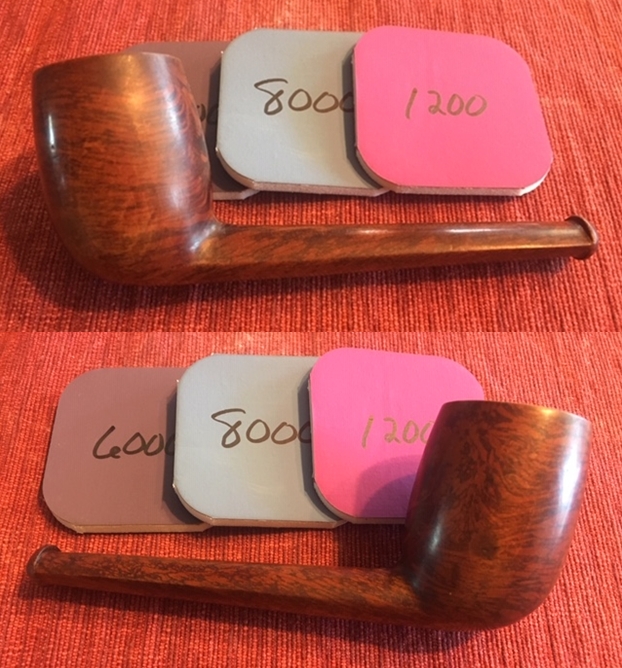
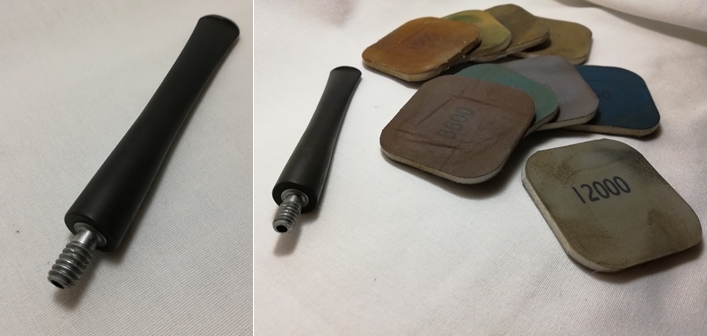
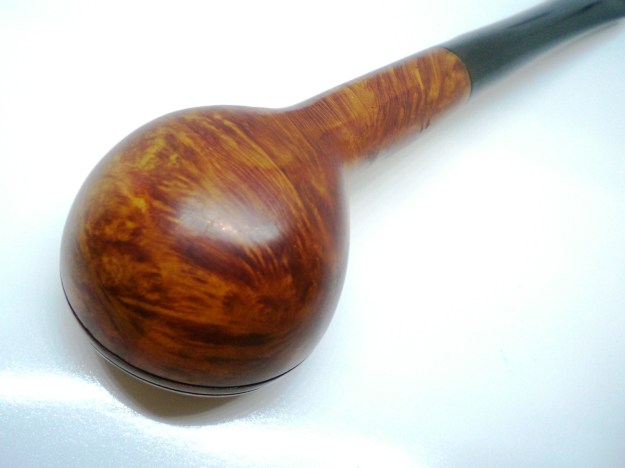
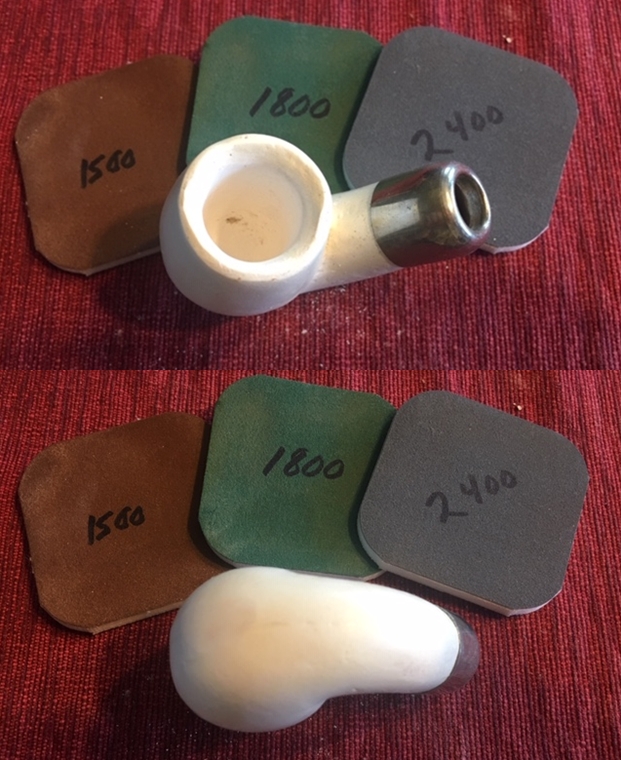
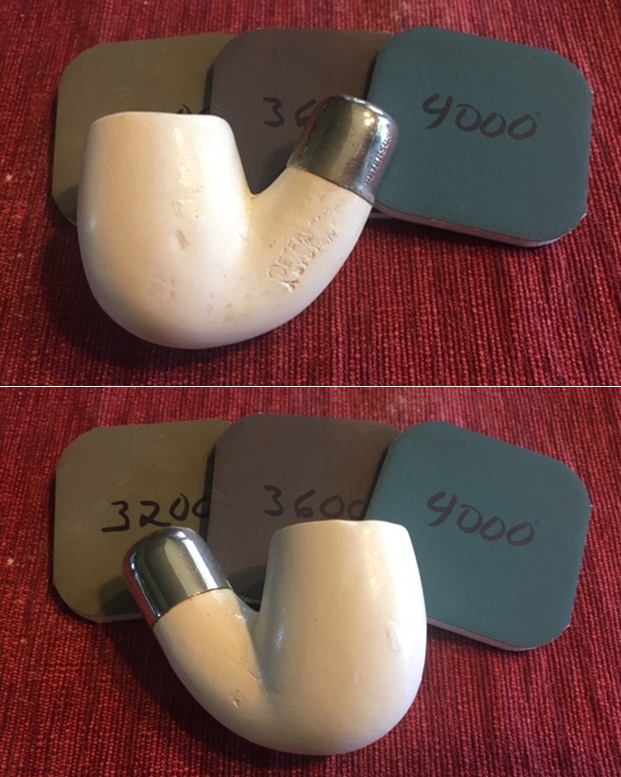
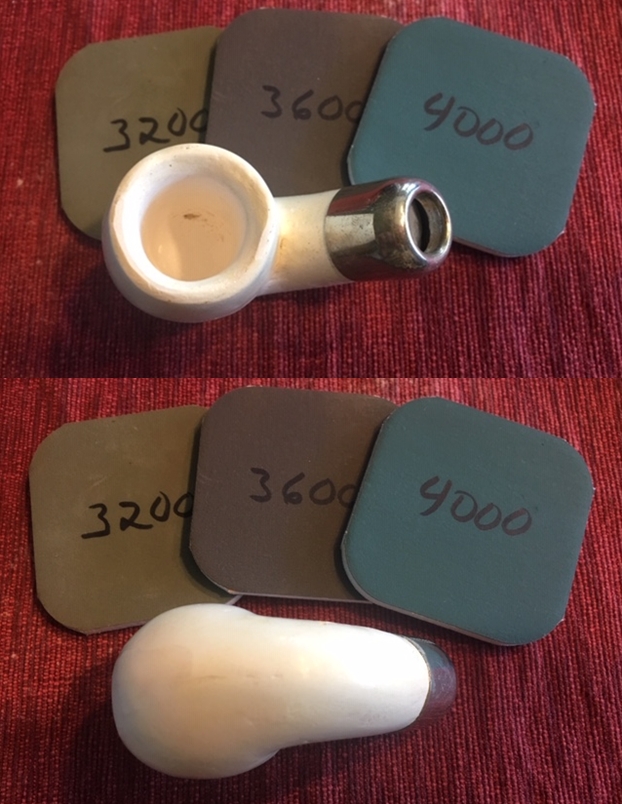
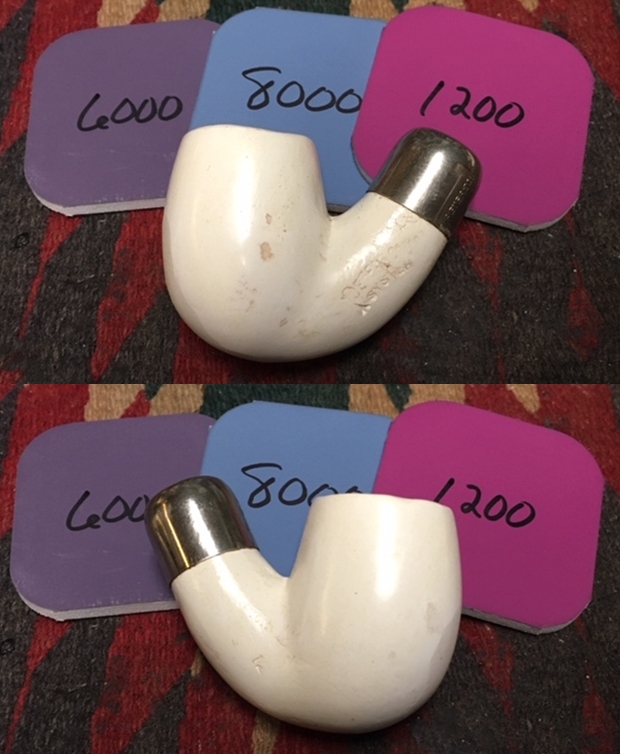
Now that I had some background and a potential day for this 60-70 year old pipe it was time to work on it. I polished the bowl with micromesh sanding pads. I had ordered several sets of them before I left Canada and had them shipped to Idaho to arrive while I was there. I wet sanded with 1500-12000 grit pads and wiped the bowl down with a damp cloth after each sanding pad. The only issue that I found was that the seam on the underside and up the front was not glazed like the rest of the bowl. I polished it with the micromesh to try to bring a shine to the area. It worked fairly well. At least I feel like I did not make it worse!!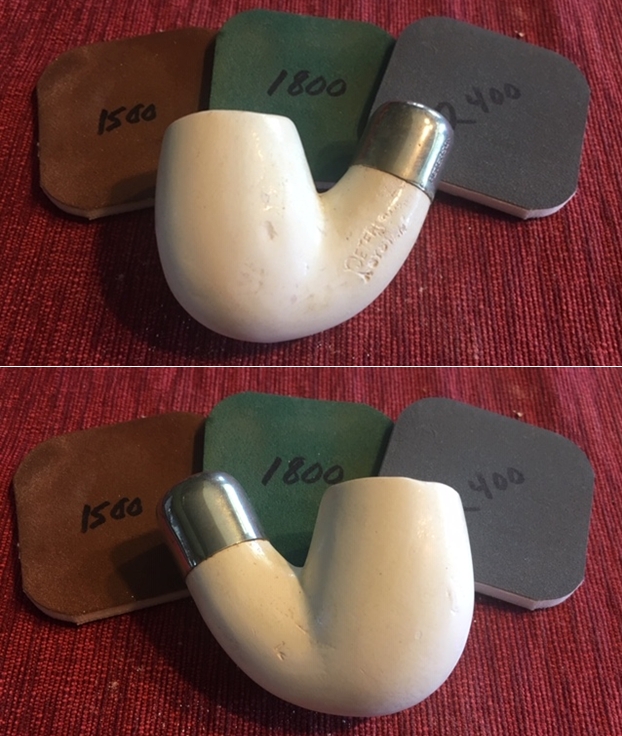
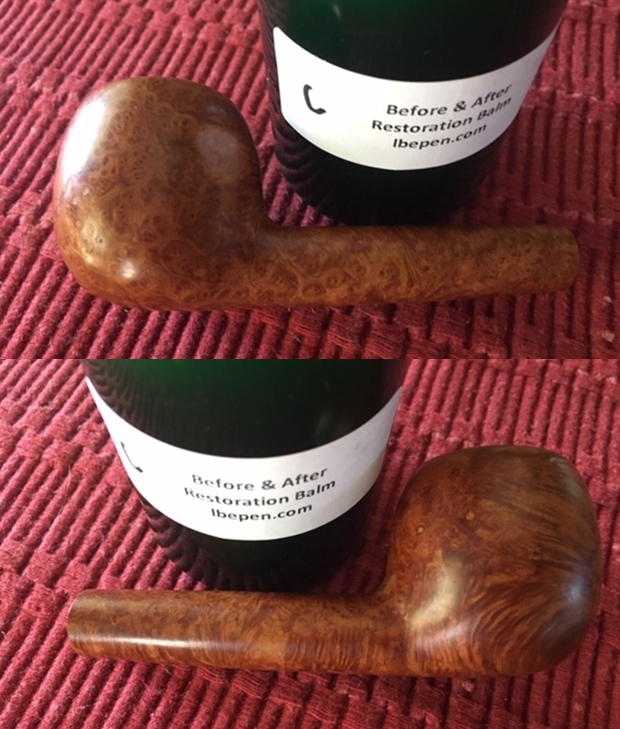
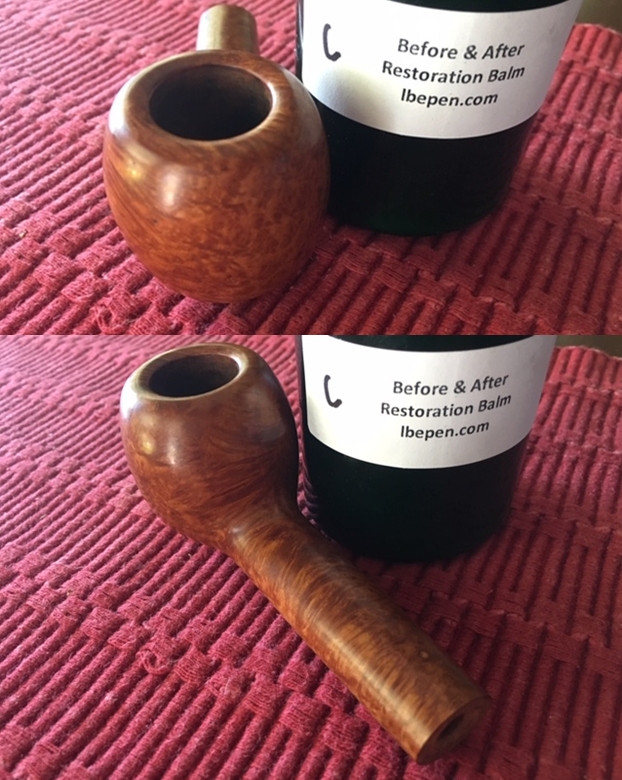
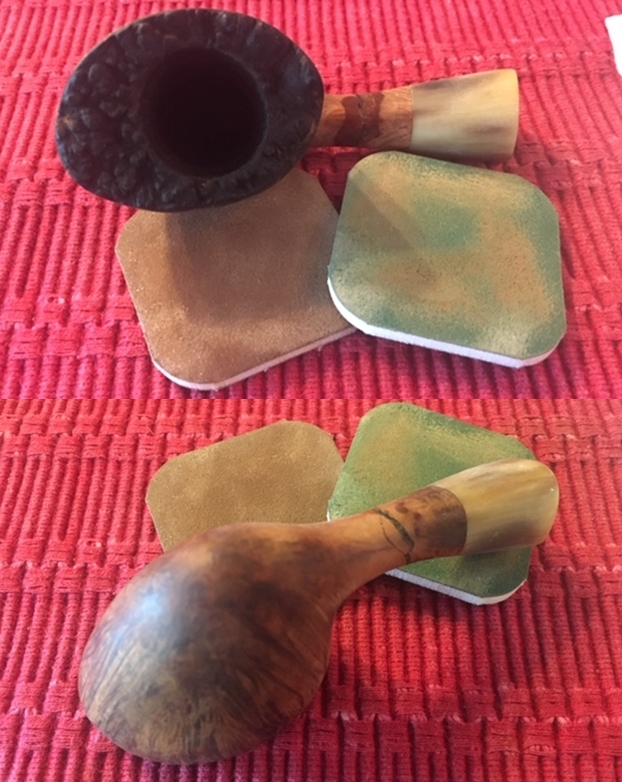
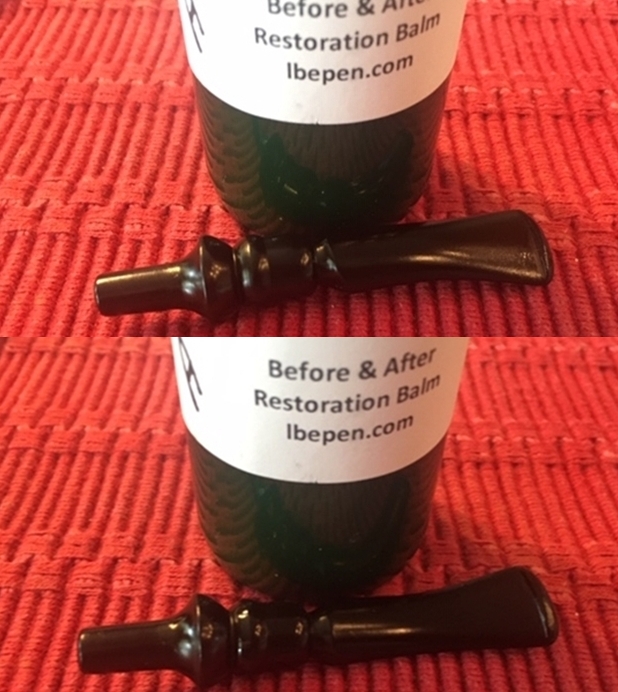
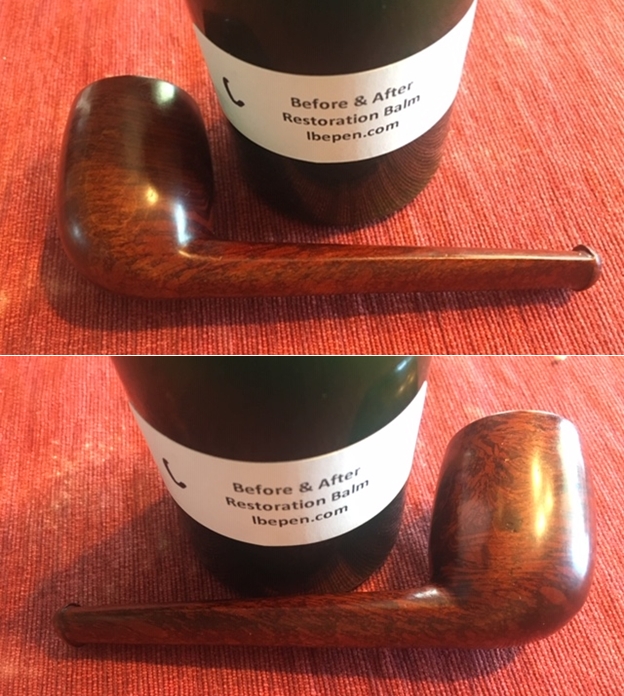
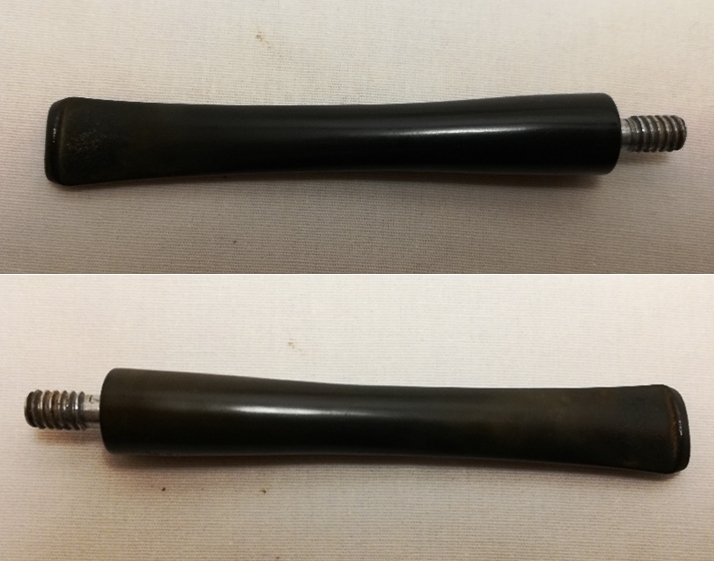
 I polished the stem with Mark Hoover’s Before & After updated Fine Polish. It did a great job in bring back the shine and rubbing out the fine minute scratches in the vulcanite.
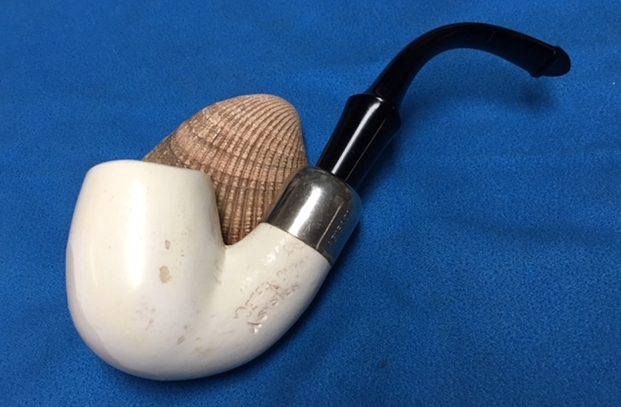
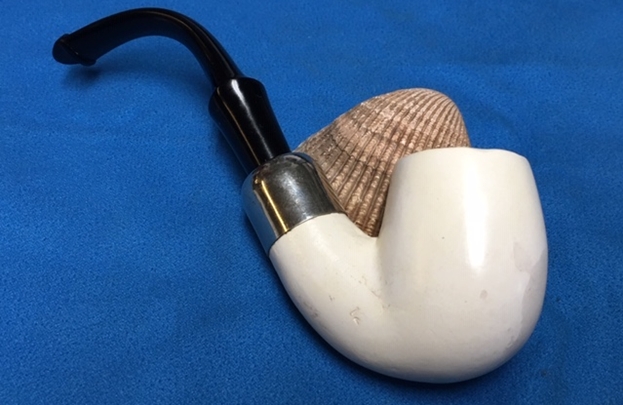
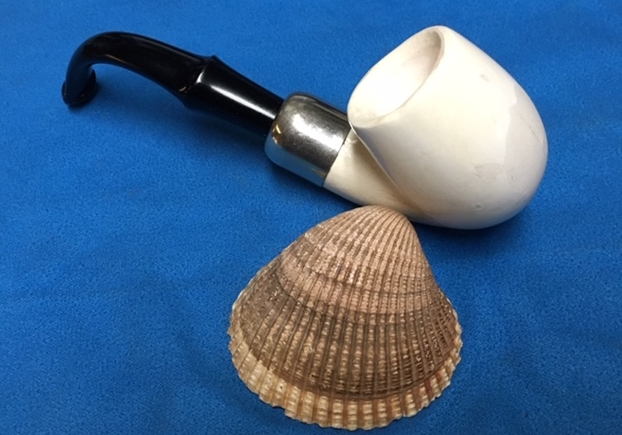
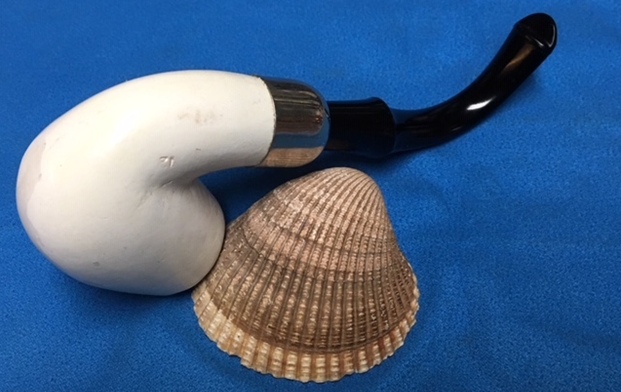
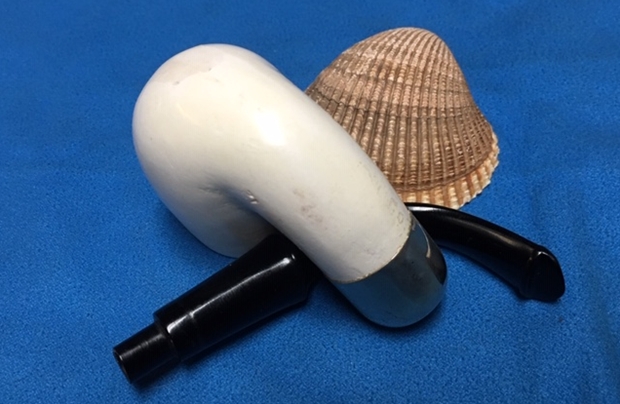
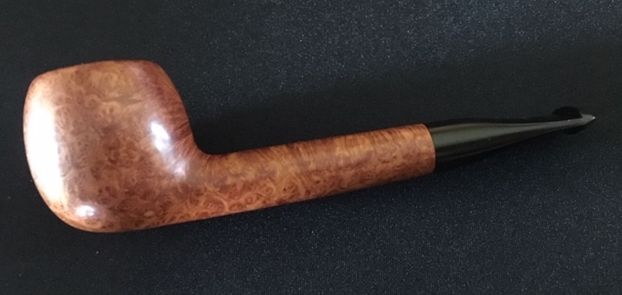
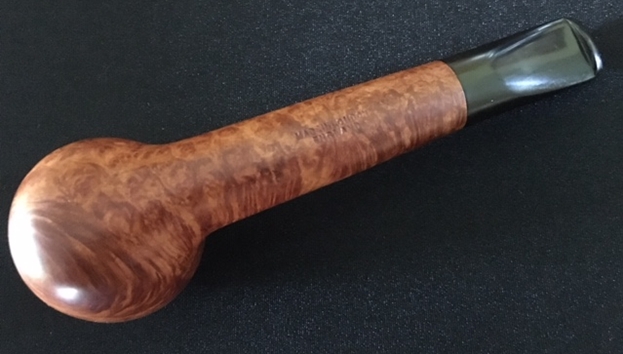
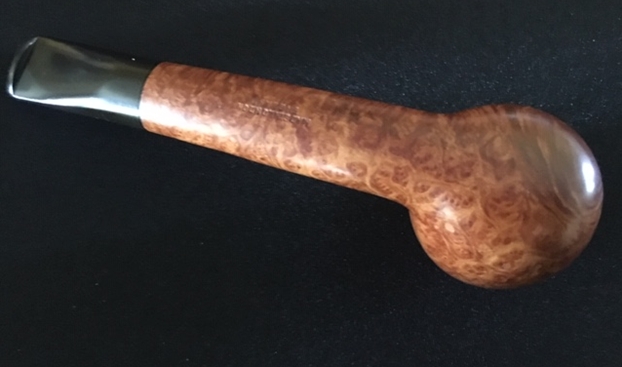
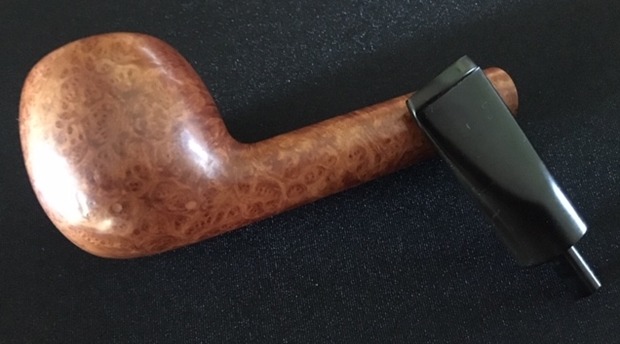
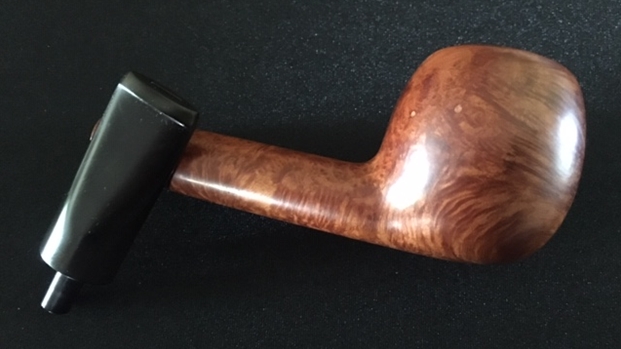
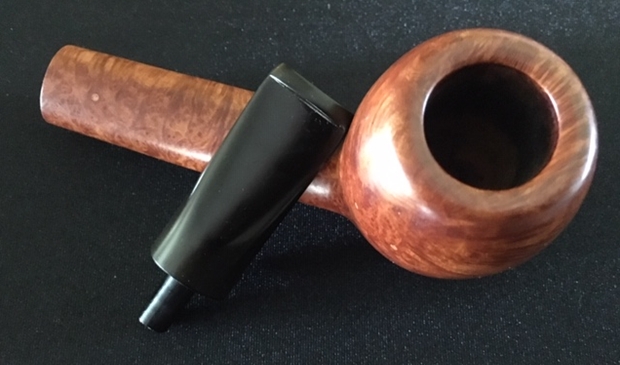
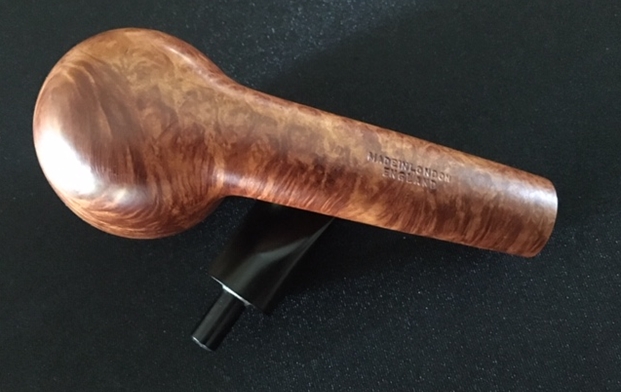
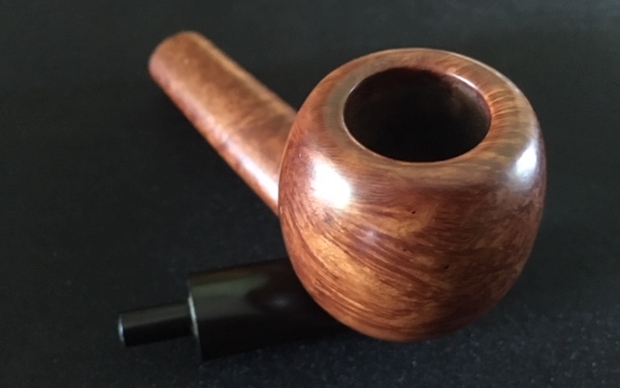
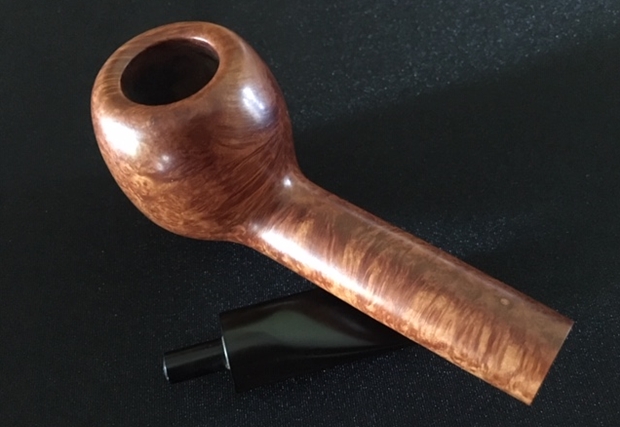
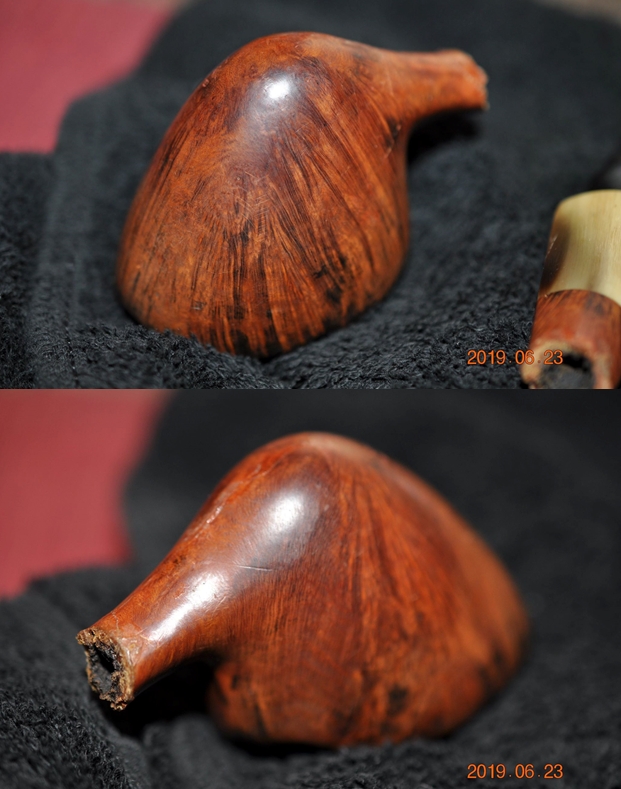
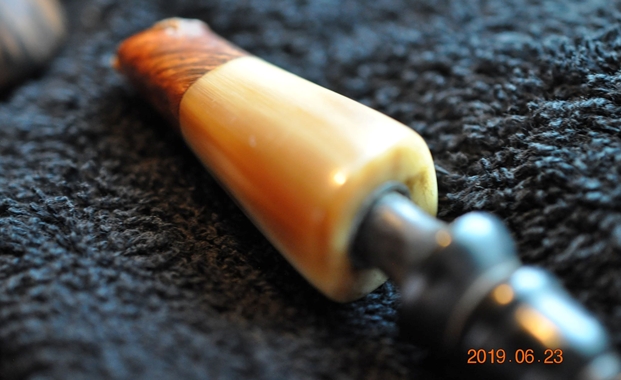
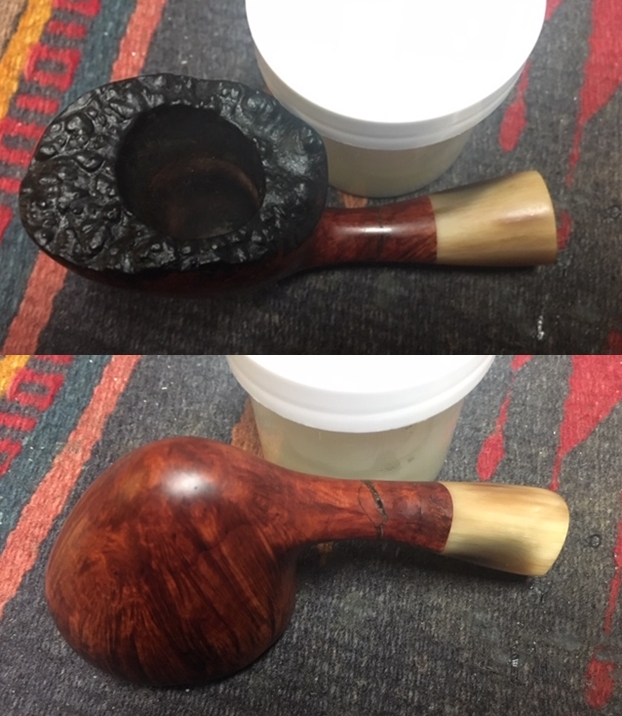
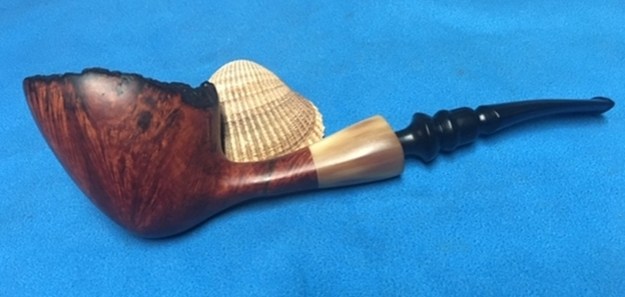
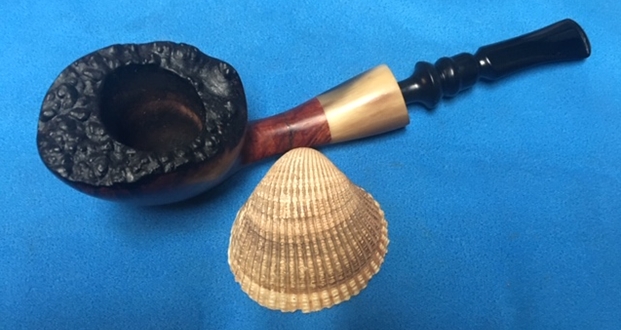
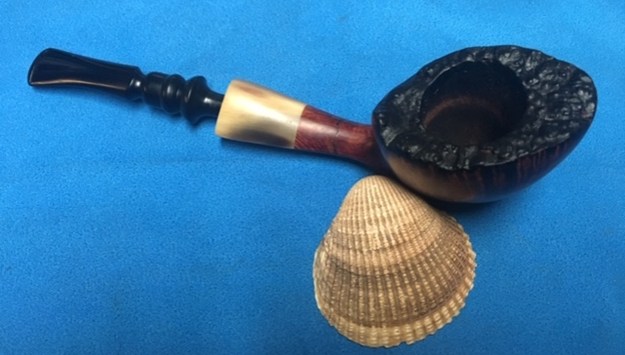
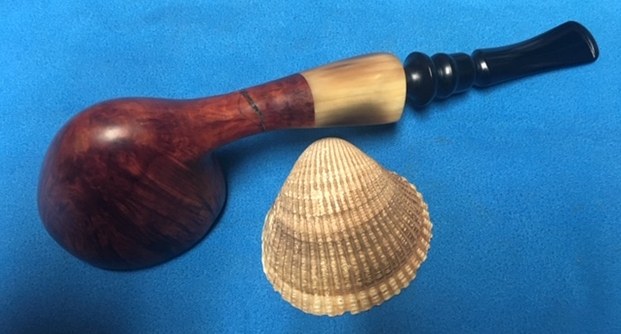
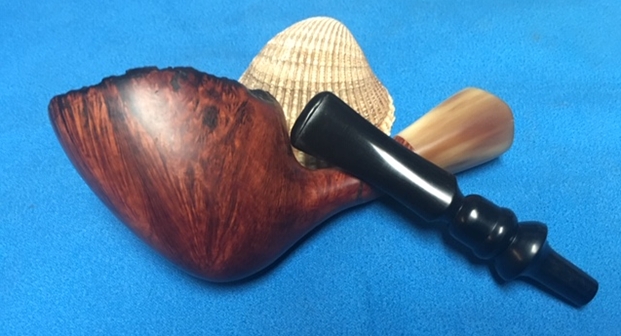
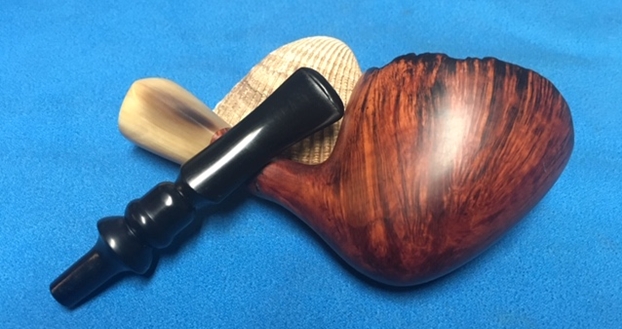
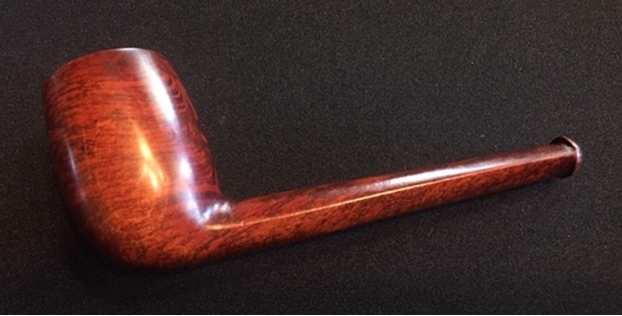
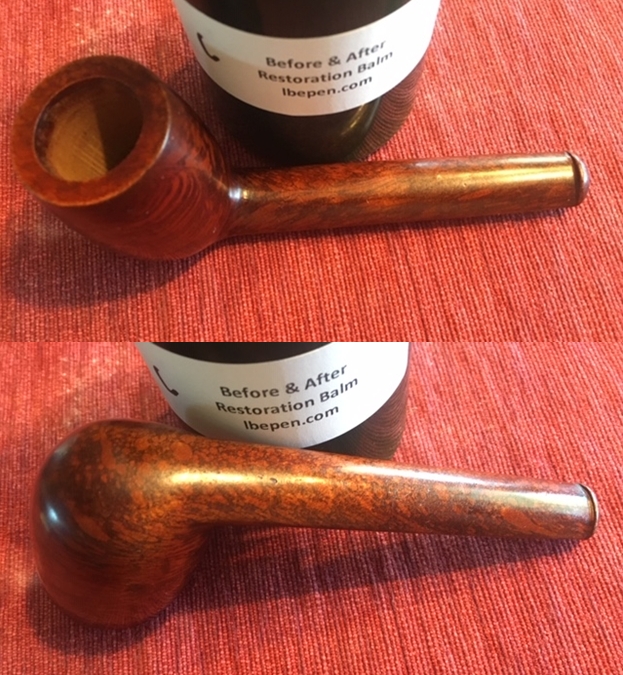
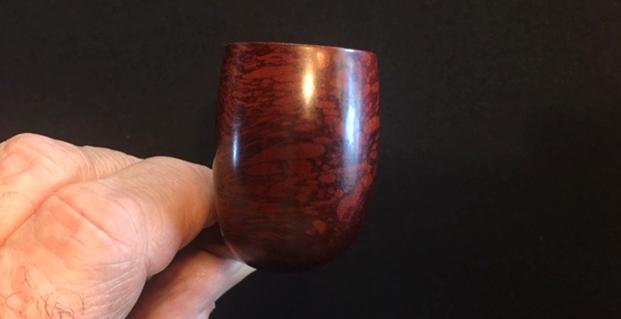
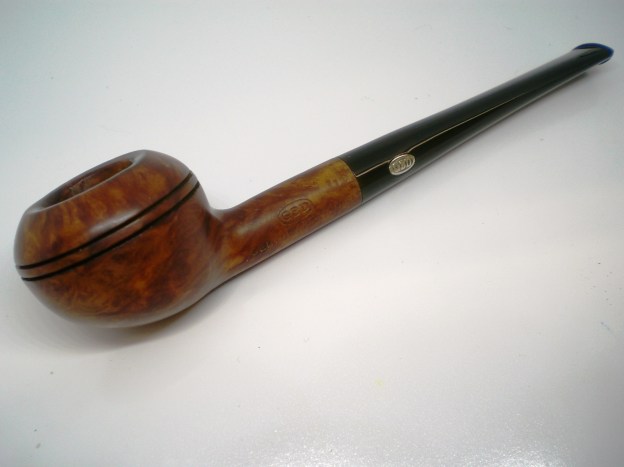
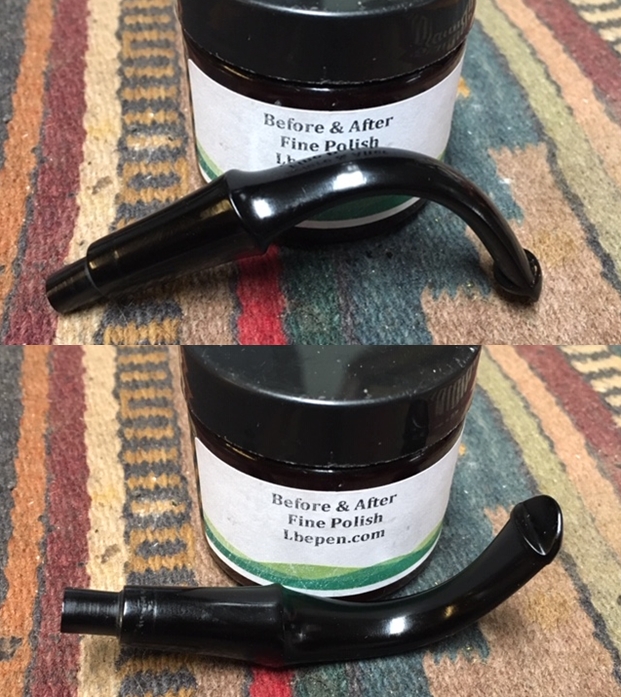 I finished the pipe by buffing it with a microfiber cloth to raise a shine in the clay. The clay took on a rich shine with the buffing and almost glowed. The area around the seam had a shine but was slightly different from the rest of the bowl… This is one of the frustrations of refurbishing and one that still catches me off guard. The finished pipe is shown in the photos below. It is a petite pipe measuring 5 1/4 inches in length, 1 3/4 inches in height. The outside diameter of the bowl is 1 1/8 inches and a chamber diameter of 5/8 of an inch. It is a beautiful little Peterson’s System Bent Billiard that is going to be a fun pipe to break in and enjoy. This is the final pipe that I worked on while I was in Idaho. With the strange stripe on the front and underside of the bowl – where the seam shows clearly and even polishing made stand out more – this pipe will stay with me. Thanks for reading the blog.