Blog by Steve Laug
The next pipe on my worktable is yet another pipe from a local pipe shop. It came from the estate of an older gentleman whose wife returned his pipes to the shop for restoration and resale. This one is a deep craggy, sandblast billiard. It is stamped on the underside of the shank Savinelli over de luxe over Milano. That is followed by the Savinelli S shield then the shape number 14 over Italy. On the left side of the taper stem is an inlaid brass bar. The pipe was very dirty with a thick cake in the bowl and some lava overflowing on to the rim top. It was hard to know what the inner edge of the rim looked like because of the lava and cake. There were some nicks on the left side of the bowl and the cap that would need to be dealt with. The stem was lightly oxidized and had come calcification where a pipe Softee bit had been. There was some tooth chatter and tooth marks on both sides of the stem at the button.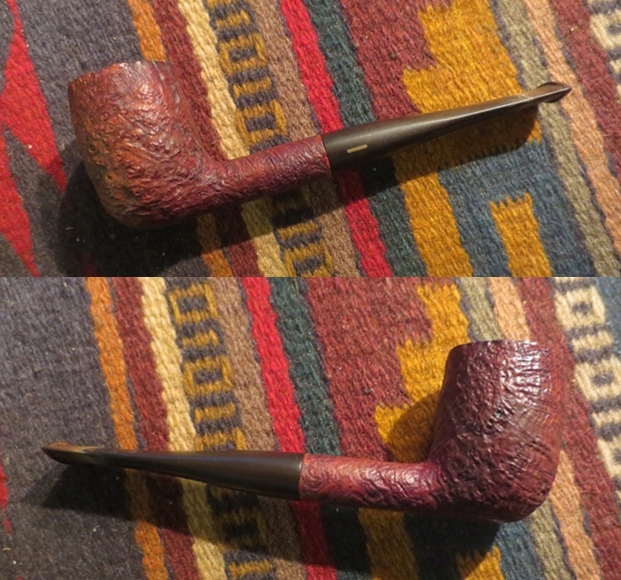
 I included this pipe in the batch that I sent off to my brother for cleaning. I know I have said this before but I will have to say it again. I can’t say enough how much I appreciate his willingness to clean and ream the pipes for me. It allows me to move through the repairs much more quickly. When he received the pipe he took a series of photos of it to show its condition.
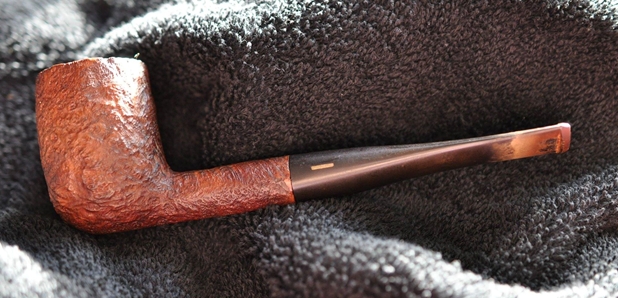
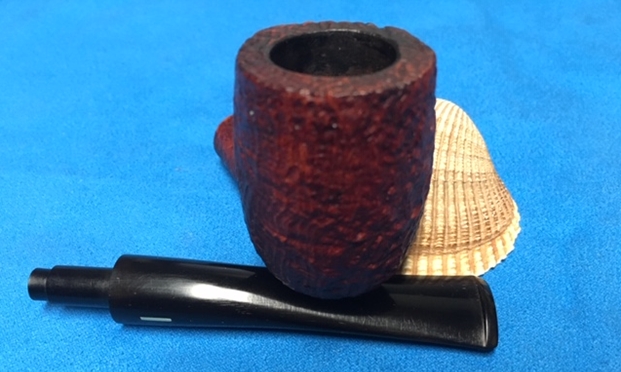
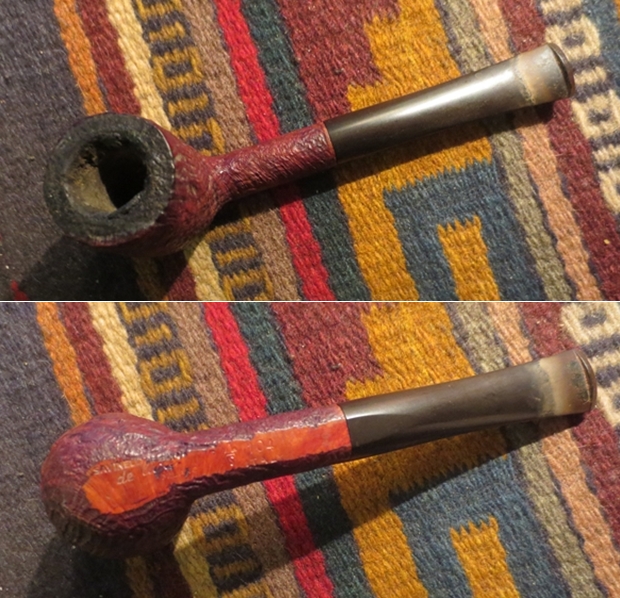
 He took photos of the rim top to show the thick cake in the bowl and the overflow of lava on the rim top. The cake is thick and hard and the lava overflow is actually higher than the rim top. The bowl is a real mess. This must have been a great smoking pipe.
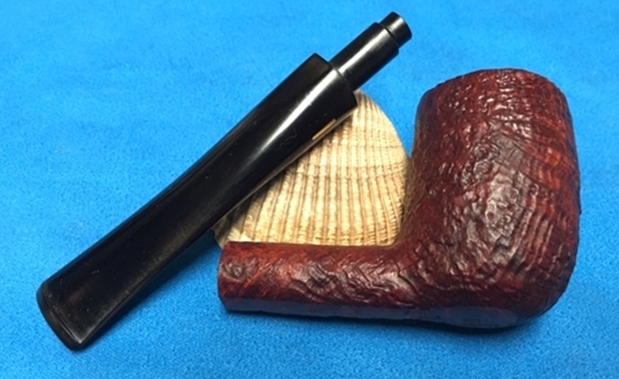
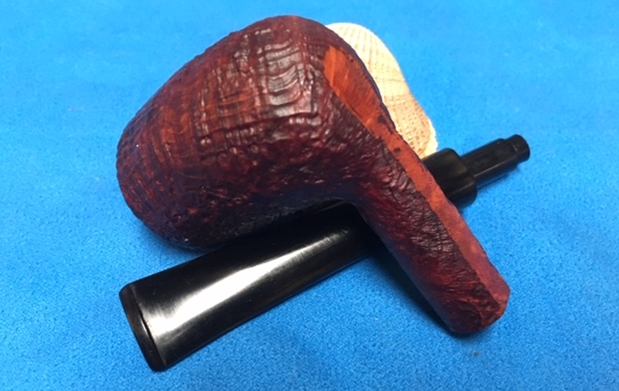
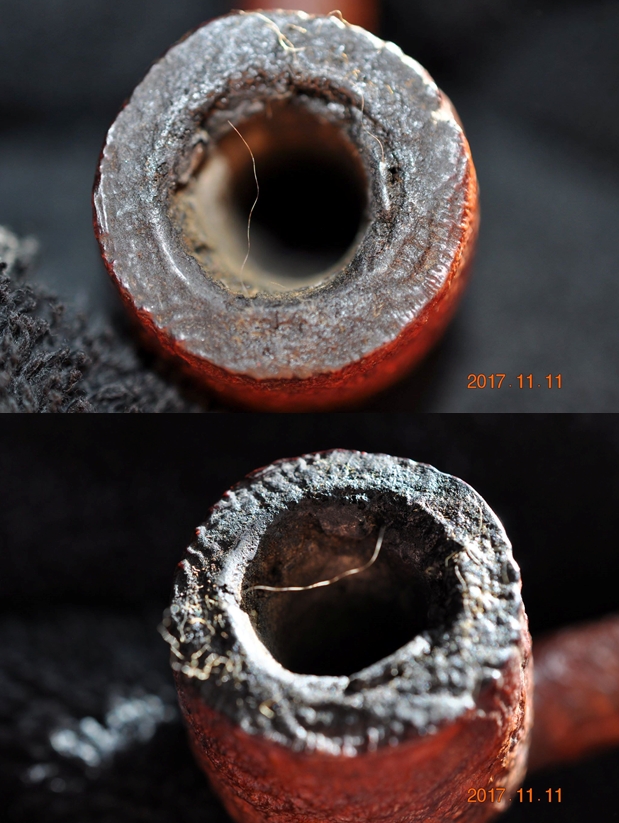 He took a photo of the side and bottom of the bowl to give a clear picture of the beauty of the sandblast grain on this old pipe. Under the grime there is some great grain peeking through.
 Jeff took photos of the stamping to capture the clarity of it even under the grime. The brand and the shape number are very readable. He also included a photo of the brass bar logo on the stem.
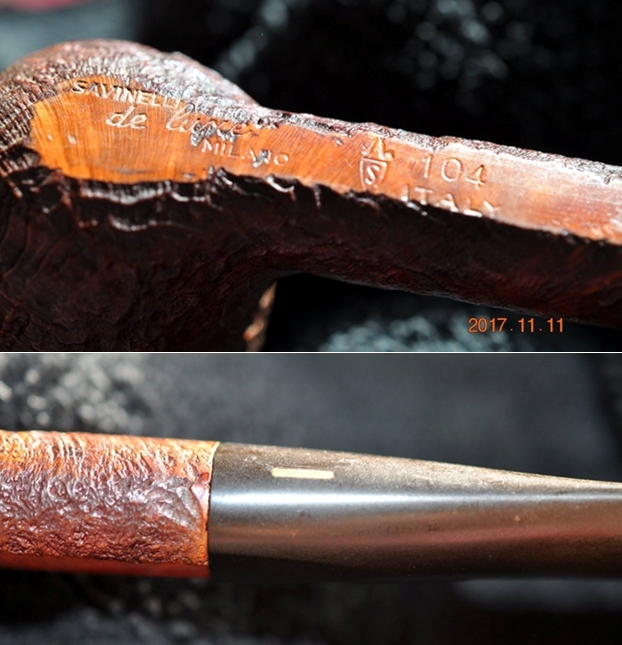 The stem looked dirty and oxidized with the calcification left behind by a pipe Softee bit. The edges of the button had bite marks and there was some tooth damage to the surface of the stem next to the button on both sides.
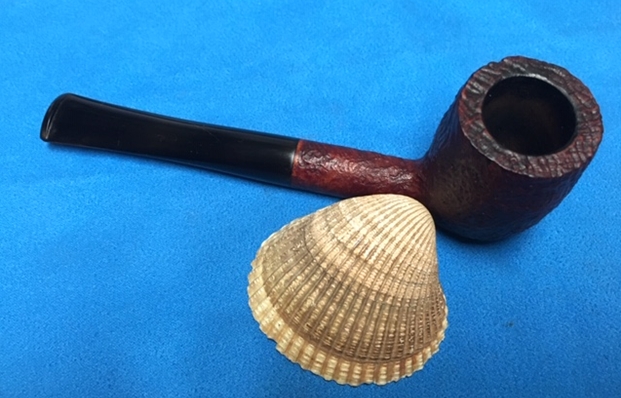
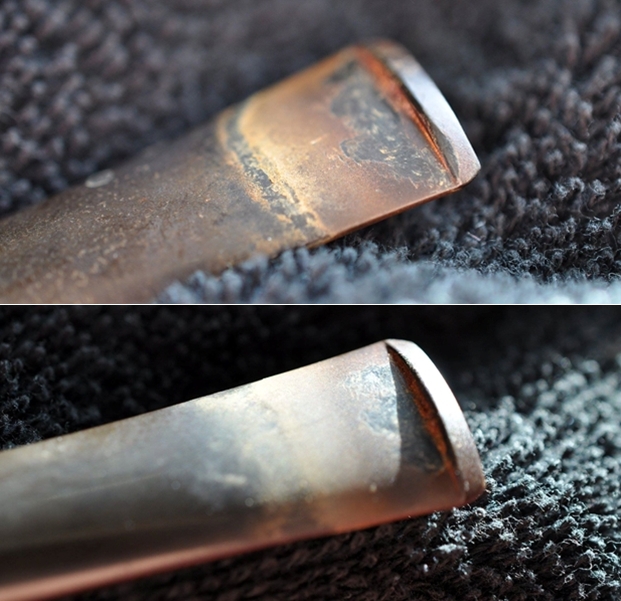 Jeff cleaned up the pipe for me. He reamed the bowl with a PipNet pipe reamer and cleaned it up with a Savinelli Fitsall Pipe Knife. He scrubbed the exterior with Murphy’s Oil Soap and a tooth brush to clean off the grime in the sandblast finish and the heavy overflow of lava on the smooth rim top. He cleaned up the internals of the shank, mortise and stem with pipe cleaners, cotton swabs and alcohol to remove all of the oils and tars in the pipe. When it came back to Vancouver it a cleaner and better looking pipe. I took photos of it before I started the restoration.
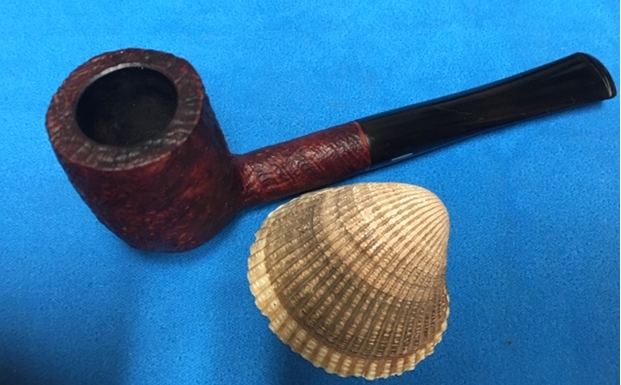
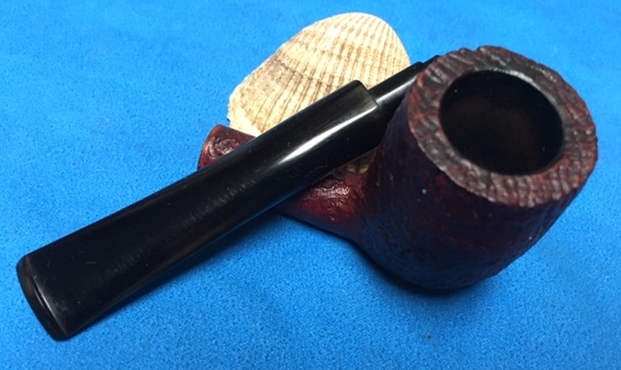
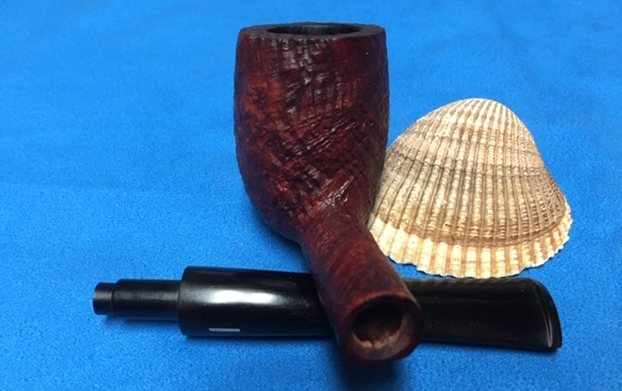
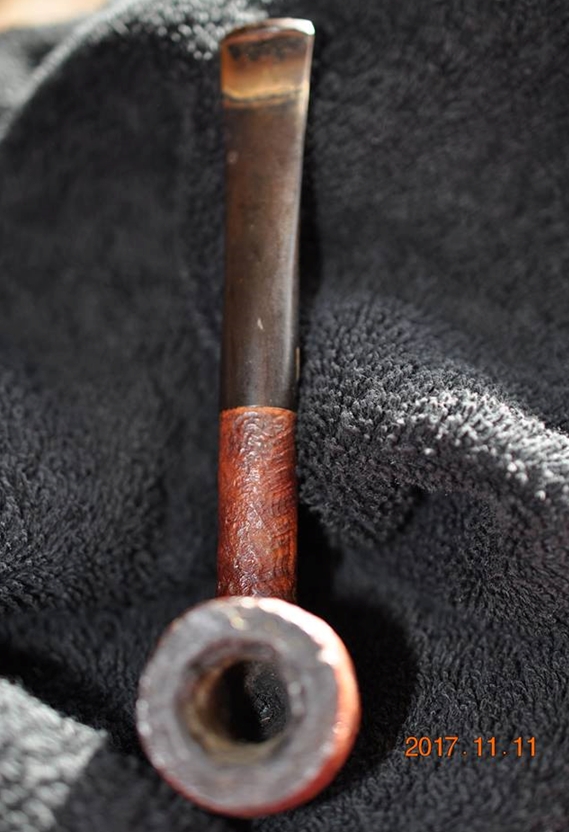
 I took photos of the rim top and the stem to show their condition. Jeff was able to clean up the incredibly thick cake and lava overflow that was shown in the rim and bowl photos above. He was also able to get rid of the grime and grit in the valleys and crevices of the sandblast. There was some general rim darkening but otherwise the rim top and edges looked very good. The stem had oxidation and light tooth chatter on both sides near the button.
 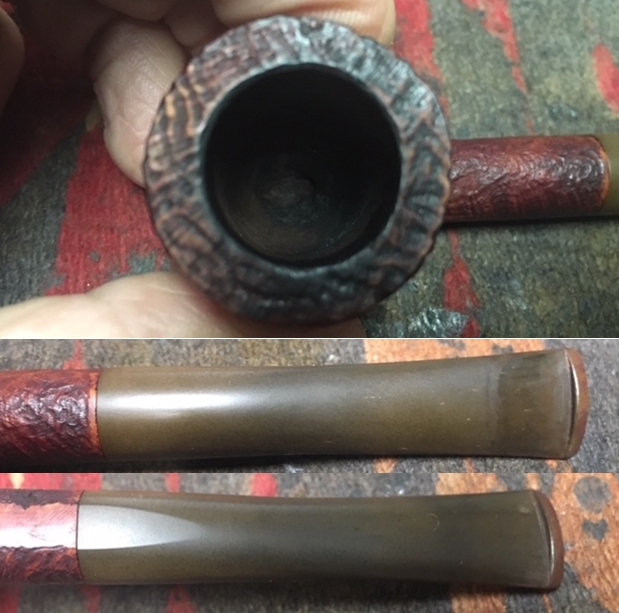 The interior and exterior of the bowl was so clean and such good condition after Jeff had worked on it that I decided to only give the rim top a good scrubbing with a dry brass bristle brush to knock of some of the darkening in the valley’s of the sandblast on the rim top. I was able to get it a little bit cleaner and ready for the next step.
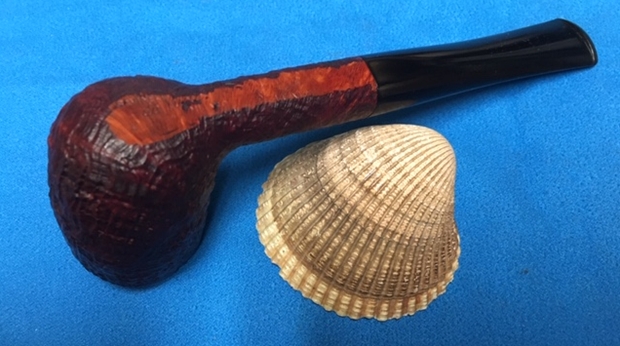
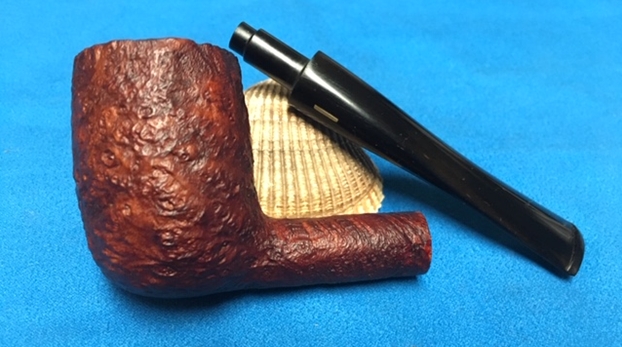
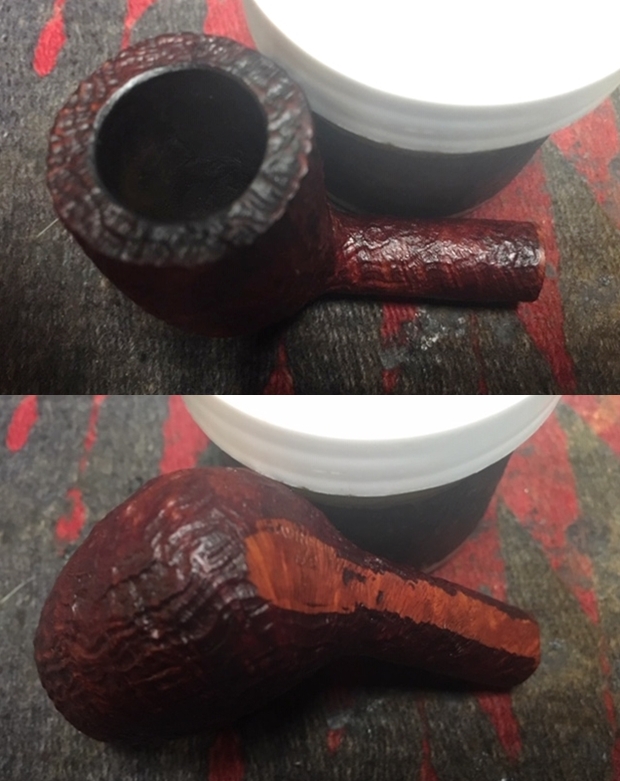
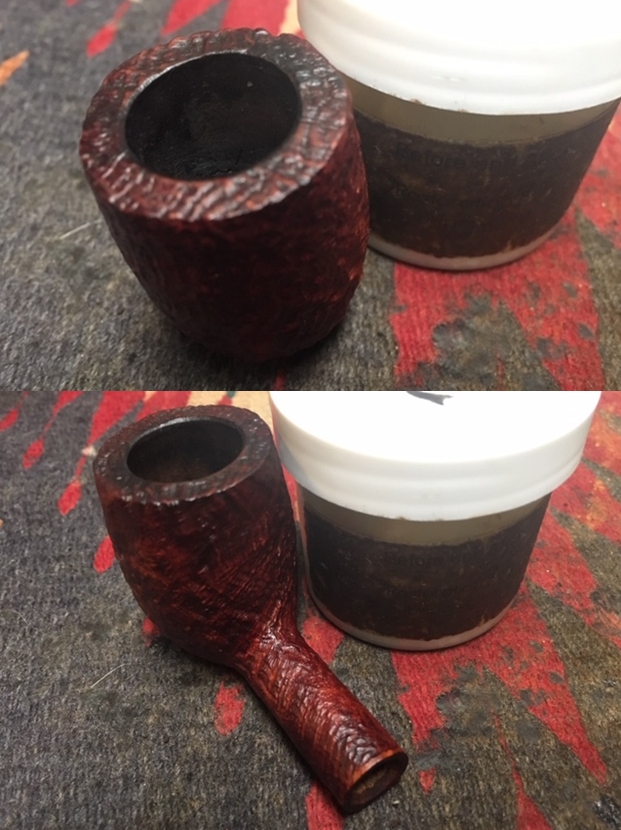
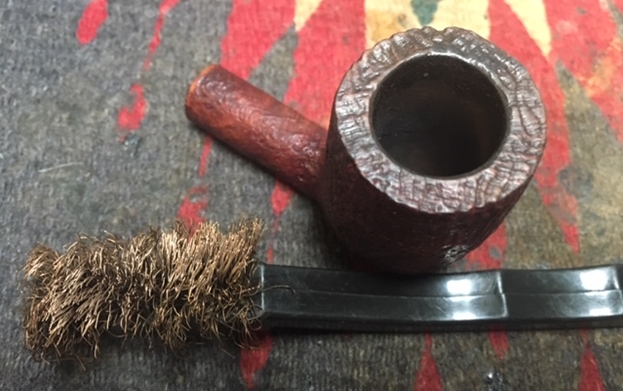 I rubbed the bowl and shank down with Before & After Restoration Balm to deep clean the finish on the bowl and shank. The product works to clean, enliven and protect the briar. I worked it into the sandblast finish with my fingers to get it into the nooks and crannies. After it sat for a little while I wiped it off with a soft cloth. I buffed the bowl with a horsehair shoe brush to polish it. The briar really began to have a rich shine. I took some photos of the bowl at this point to mark the progress in the restoration. It is a beautiful bowl.
 I set the bowl aside and worked on the stem at this point in the process. I sanded tooth chatter and all of the oxidation with folded pieces of 220 to remove the marks and the brown colouration on the stem surface. I sanded them with 400 grit sandpaper until the marks were gone and the oxidation was gone.
 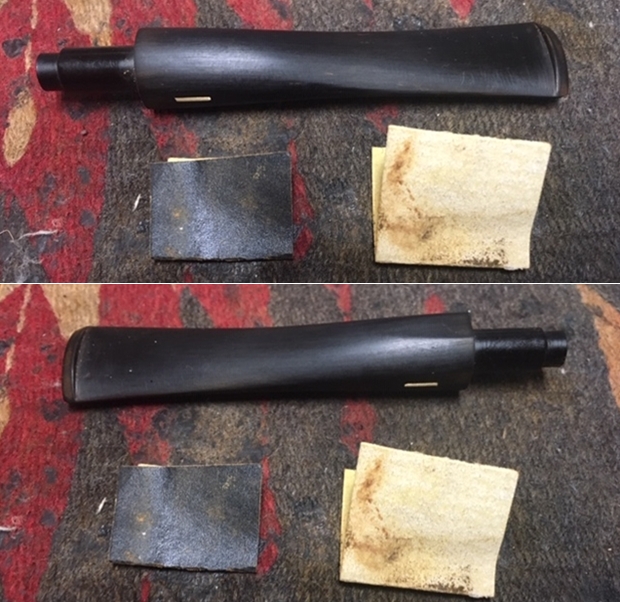 I polished the stem with micromesh sanding pads – wet sanding with 1500-2400 grit pads and dry sanding with 3200-12000 grit pads. I wiped the stem down after each pad with a damp cloth to remove the sanding dust. I used the Before & After Pipe Polish to remove the small minute scratches left in the vulcanite. I finished by wiping the stem down with a final coat of Obsidian Oil and set it aside to dry.
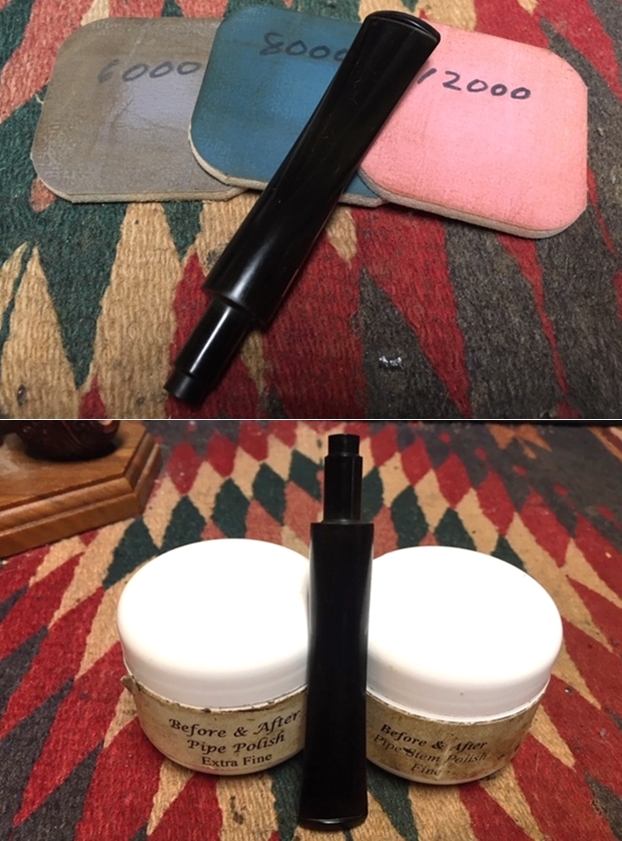
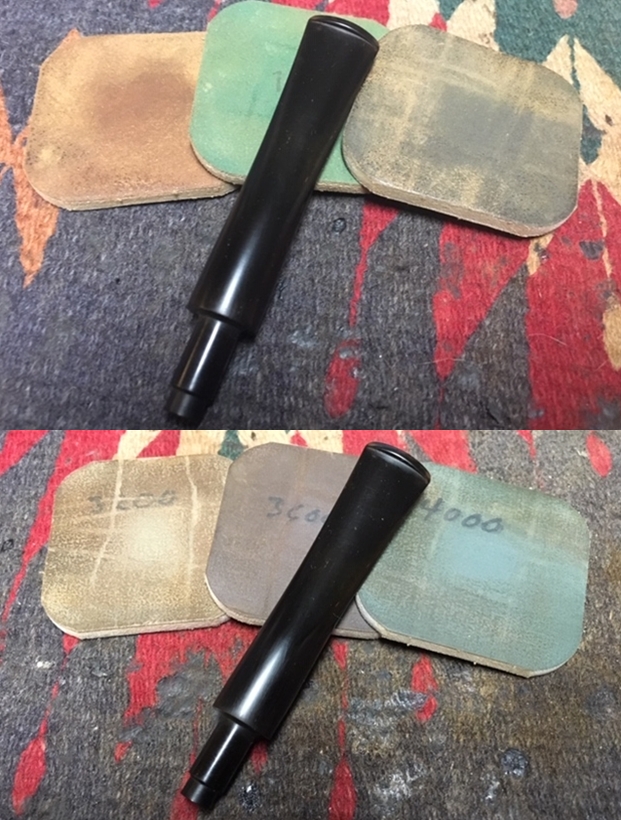
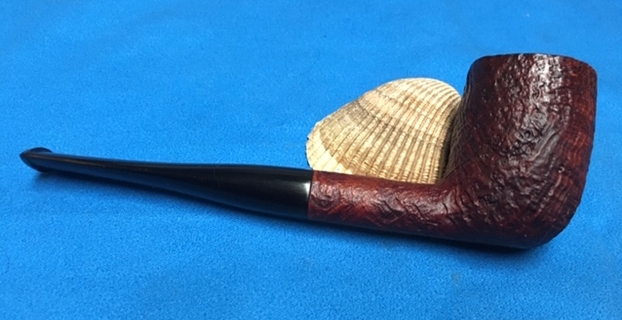
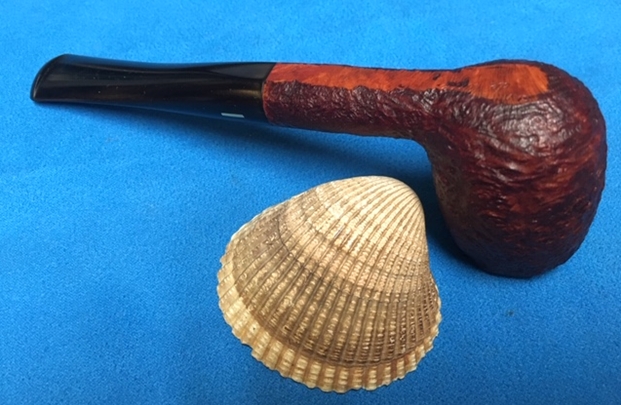
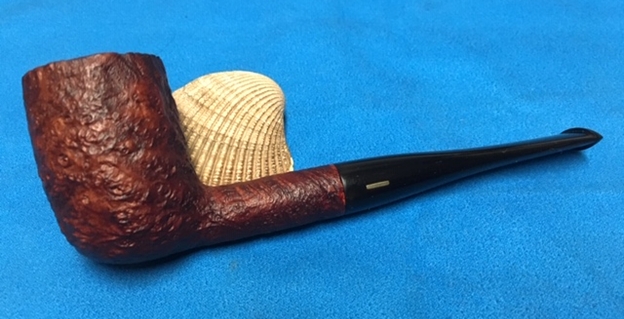
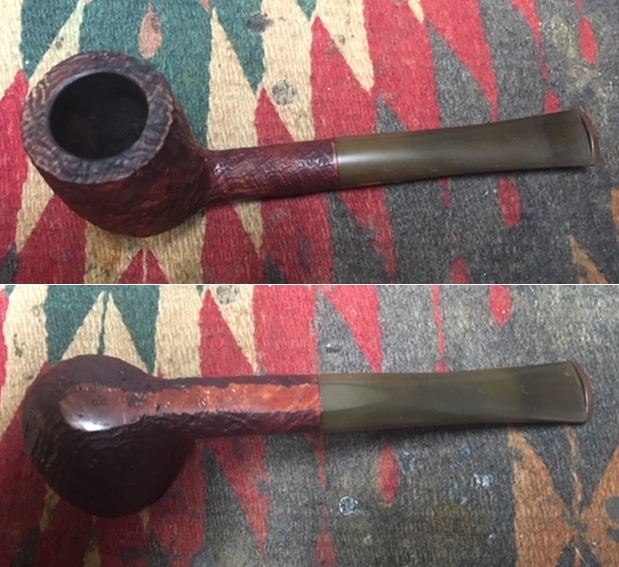
 I put the stem back on the pipe and worked the stem over with Blue Diamond to polish out the remaining small scratches. I gave the bowl several coats of Conservator’s Wax and the stem several coats of carnauba wax and buffed the pipe with a clean buffing pad to raise the shine. I hand buffed it with a microfiber cloth to deepen the shine. The pipe polished up really well with the repairs disappearing into the new finish. The finished pipe is shown in the photos below. The style of the blast and the look of the stain colours remind me of some of the Dunhill Shell Briar pipes or Tanshell pipes that I have repaired and restored over the years. It is quite stunning. The photos just do not capture the textures. The polished black vulcanite looks really good with the browns of the briar. The dimensions of the pipe are Length: 5 ½ inches, Height: 1 3/4 inches, Outside diameter of the bowl: 1 1/4 inches, Chamber diameter: 3/4 of an inch. This is another pipe that I will be putting it on the rebornpipes online store shortly, if you are interested in adding it to your collection. Thanks for walking through the restoration with me as I worked over this beautiful sandblast billiard made by Savinelli. It was another fun one to work on.