Blog by Steve Laug
The next pipe on the work table is a pipe I picked up recently at St. Vincent de Paul thrift shop. I caught the bus to meet my daughter for lunch and while I waited for her to get off work I walked over to the nearby shop. I went through the display cupboards and found an interesting looking pipe. It was a ¾ bent pipe with a rounded edge rectangular shank pipe. It was priced pretty high for a used pipe but I struck a deal with the clerk and got it for a reasonable price. I took the pipe over to the coffee shop where my daughter works and took some photos.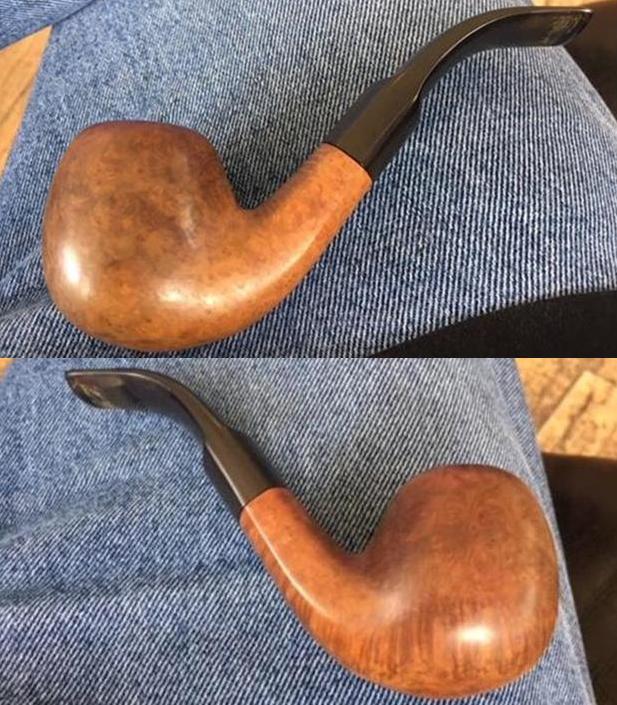
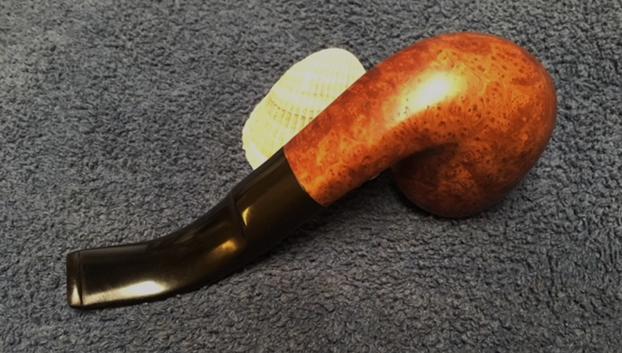
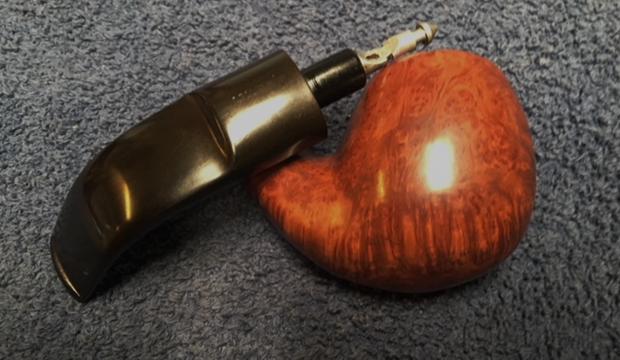
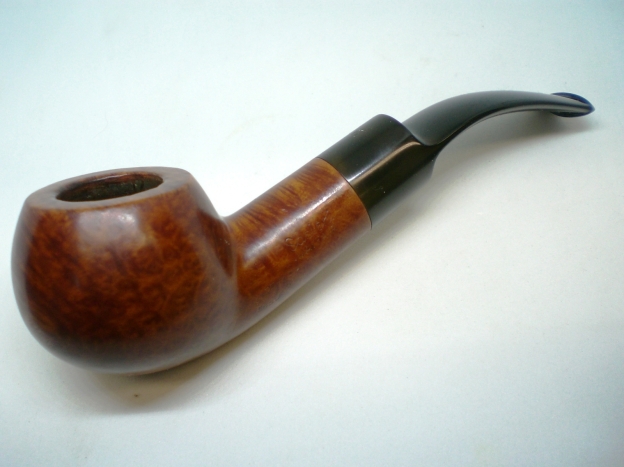
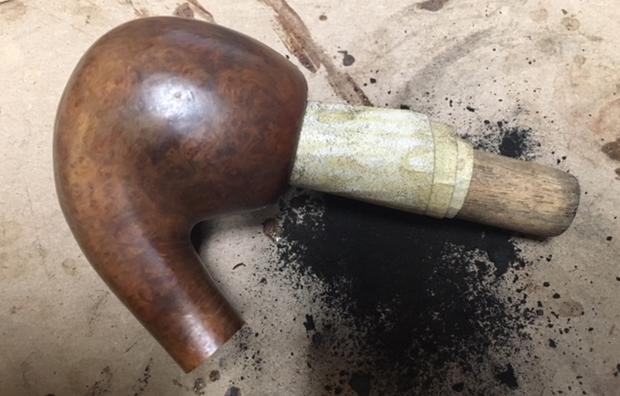
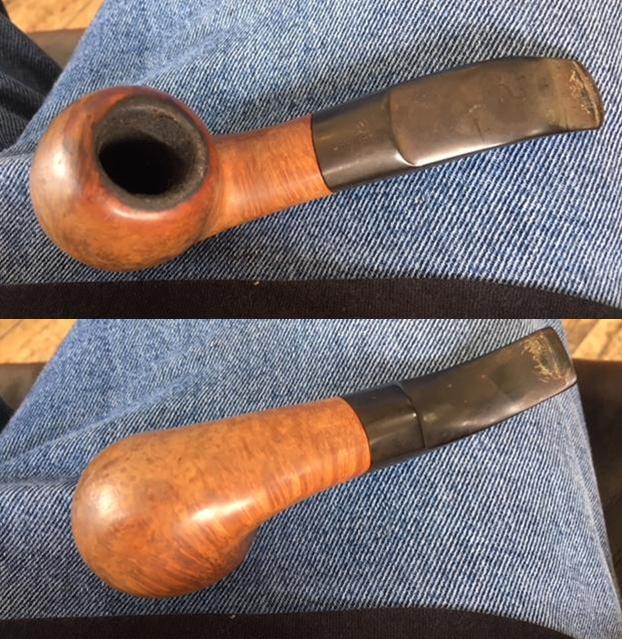 I took the pipe home and finally got around to working on it today. I took some photos of the pipe before I started to clean it up. It is stamped on the underside of the shank Jeantet over Neuilly and next to the shank/stem junction it is stamped France. It is also stamped on the right side of the shank with the numbers 81-3 It is a three-quarter bent apple-shaped pipe with a natural finish. The finish was dirty and stained from the grime of long handling without cleaning. The rim top had an overflow of lava from the thick cake in the bowl. It was dirty and hard to tell if the finish was nicked or damaged under the grime. The outer edge of the bowl is rounded over to the sides of the bowl. The stem was black vulcanite and had tooth chatter and some calcification on the top and underside near the button. It was stamped JEANTET on the top of the saddle stem.
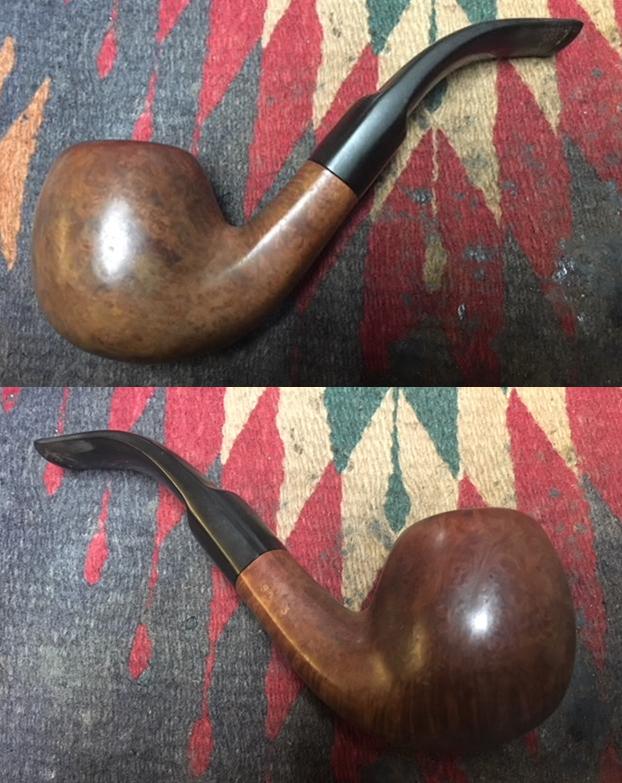
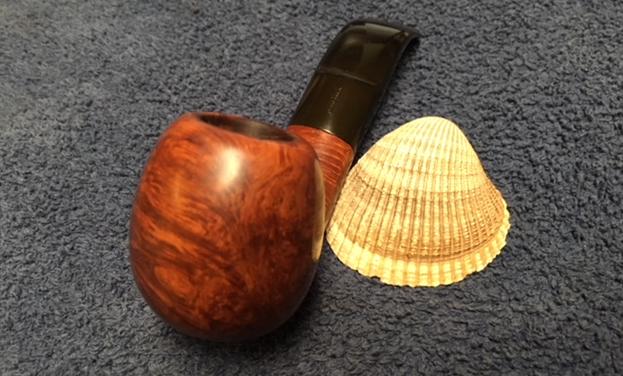
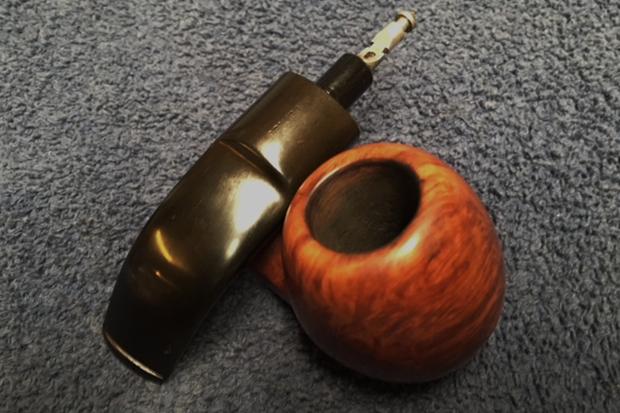
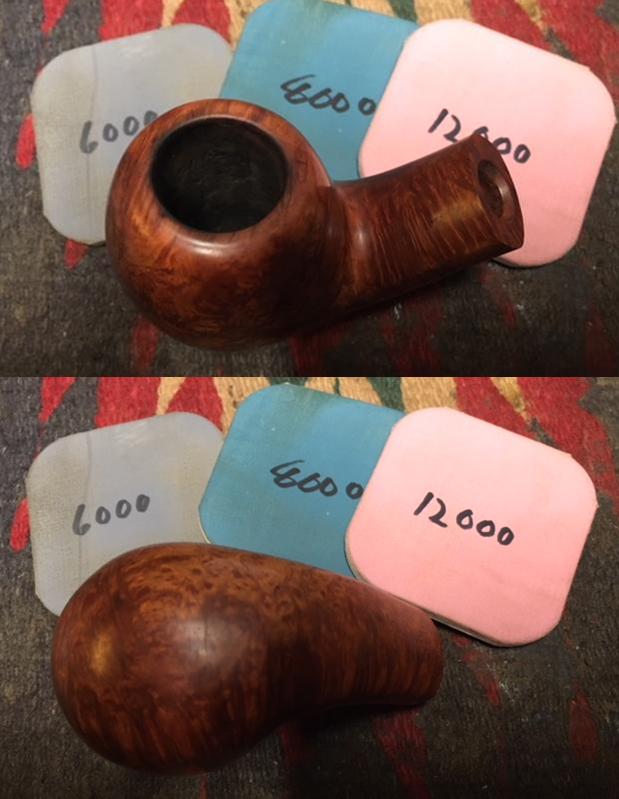
 I took a closeup photo of the rim top to show the lava overflow from the thick cake in the bowl. The rounded outer edge of the rim carried down into the bowl. The inner and outer edges of the bowl look very good underneath the lava overflow. There is a thick cake in the bowl. The stem was in good condition. There was some tooth chatter and scratches on the top and underside near the button. There was some light oxidation on the top and underside of the stem.
 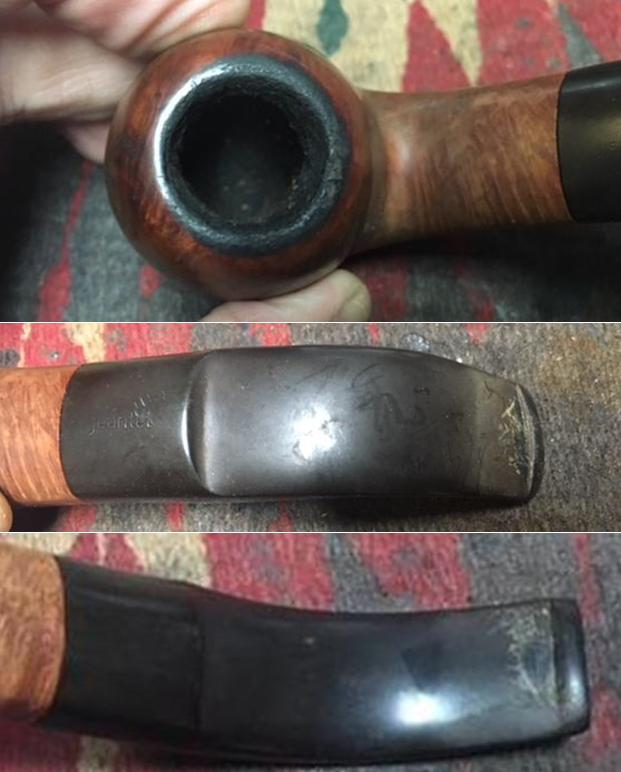 I reamed the bowl with a PipNet Pipe reamer to remove the majority of the cake in the bowl. I cleaned up the remnants of cake with a Savinelli Fitsall Pipe Knife. To finish the cleanup of the bowl I wrapped 220 grit sandpaper around a piece of dowel and sanded the walls of the bowl.
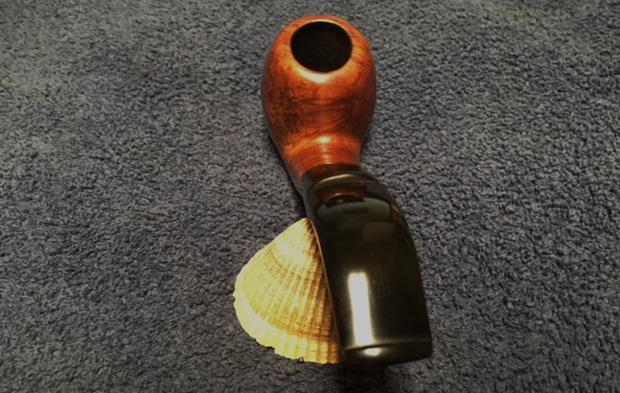
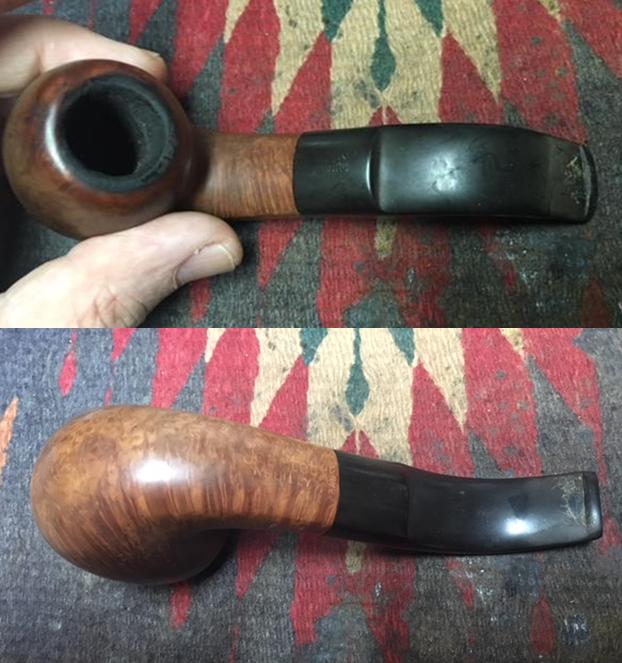
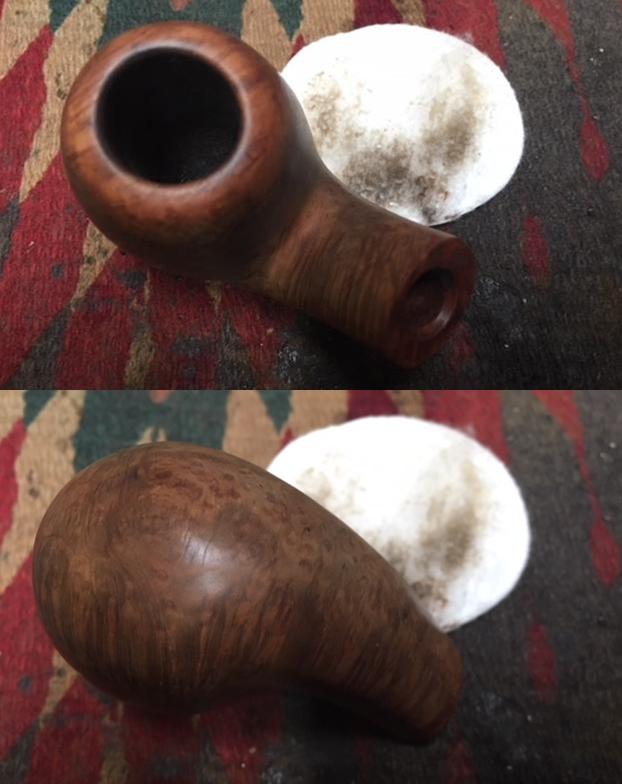
 I used a dental spatula to scrape the buildup of tars on oils on the walls of the mortise. I scrubbed the mortise and the airway in the shank with alcohol, cotton swabs and pipe cleaners. I took some photos of the pipe to show the condition at this point in the process.
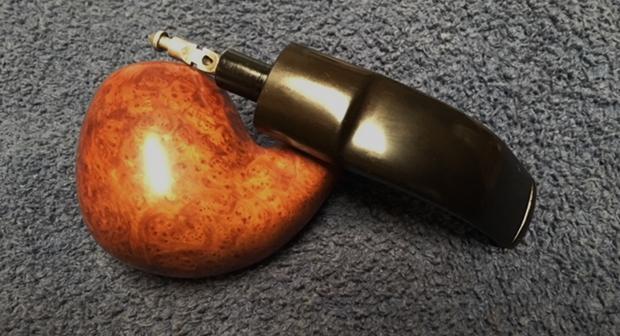
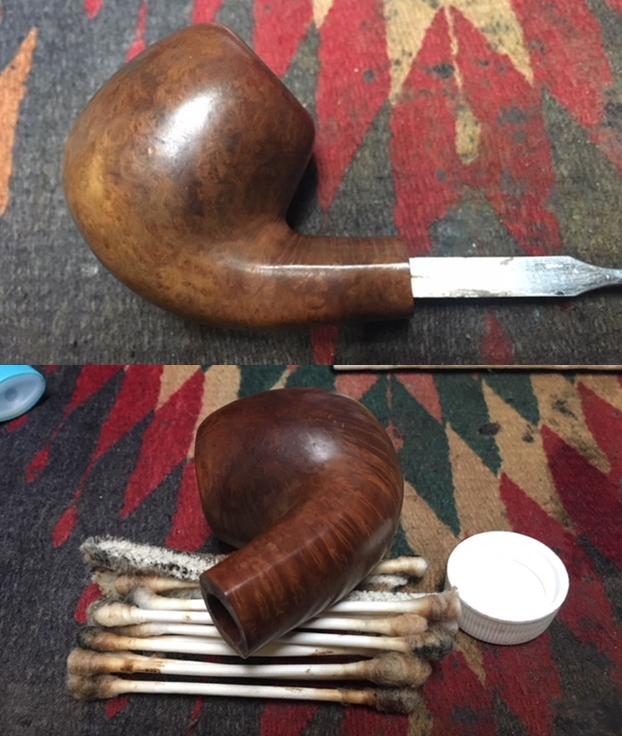 Before I could clean out the airway in the stem I needed to remove the caked and dirty stinger apparatus in the tenon. I used a pair of needle nose pliers to twist the stinger out of the tenon. I took a chance that it was threaded and it was not long before I had it free of the tenon.
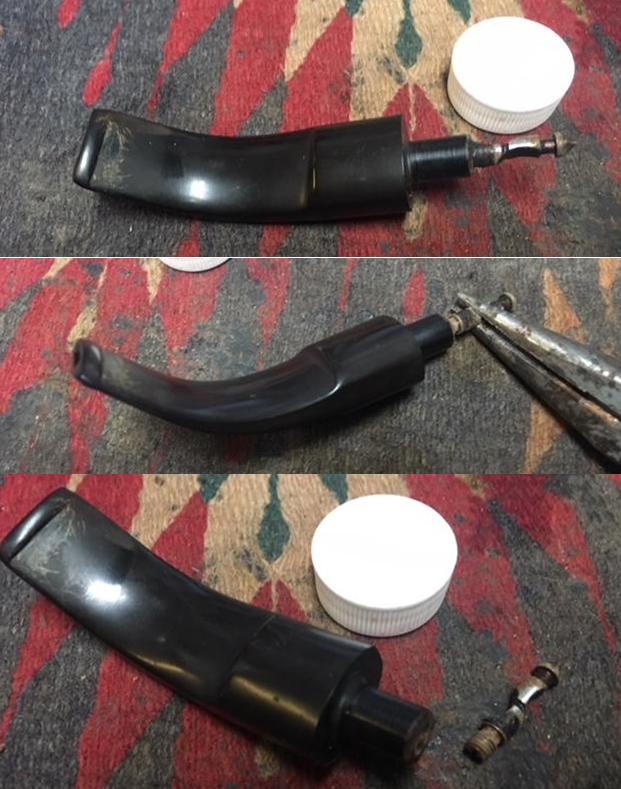 I cleaned up the aluminum tenon with 000 steel wool. I cleaned out the inside of the stinger and the airway in the stem with pipe cleaners, cotton swabs and alcohol.
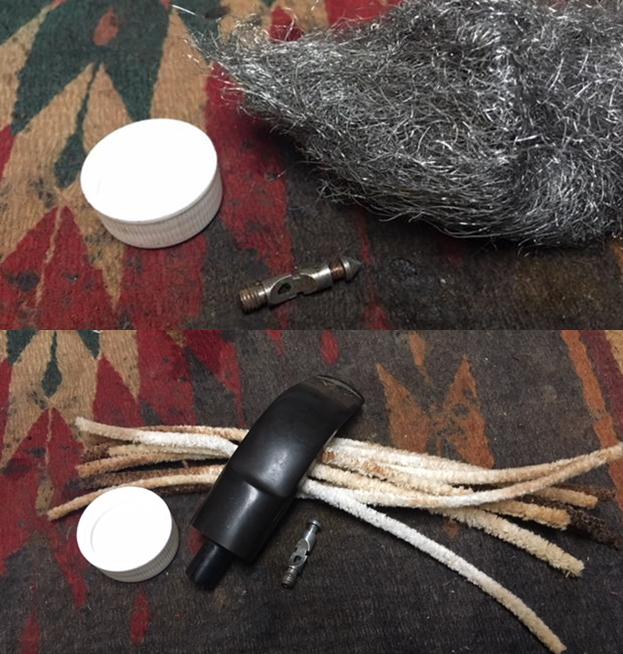 I scrubbed the top of the rim and the exterior of the bowl with isopropyl alcohol and cotton pads to remove the buildup of lava and grime on the bowl.
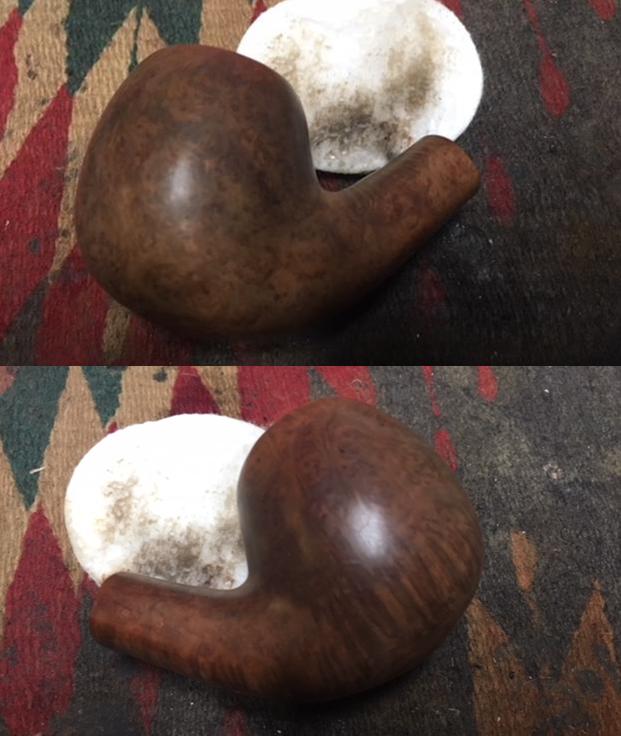
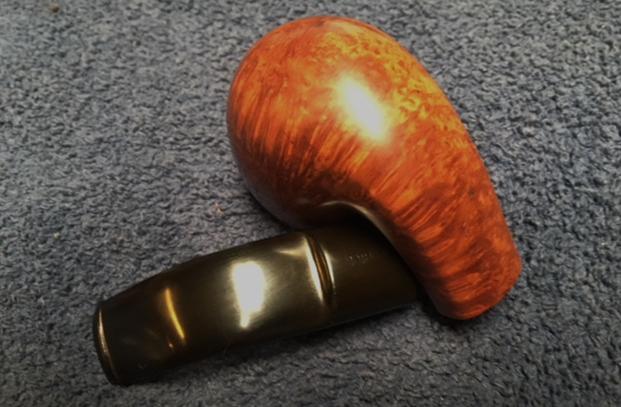
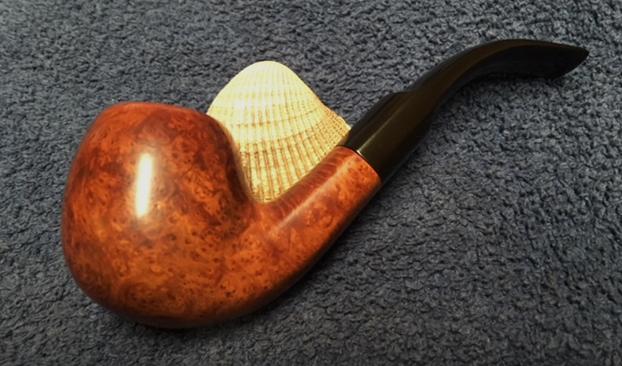
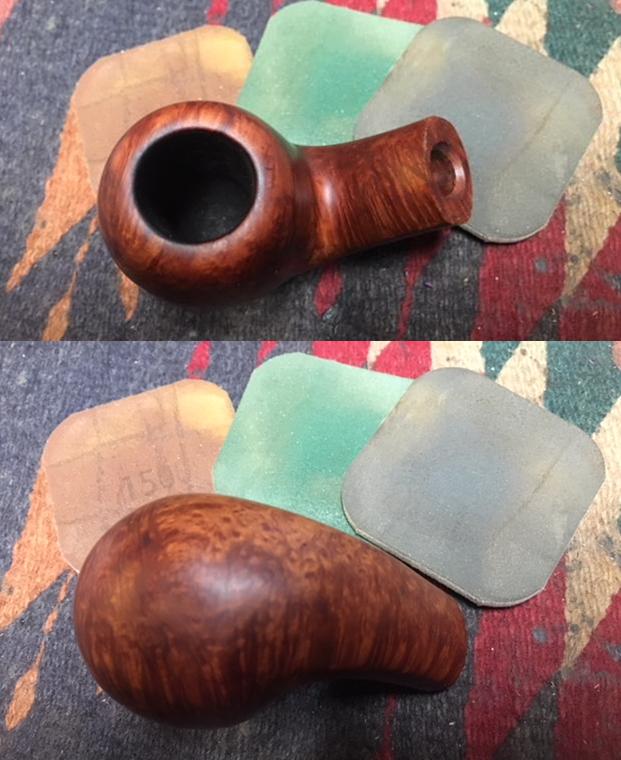
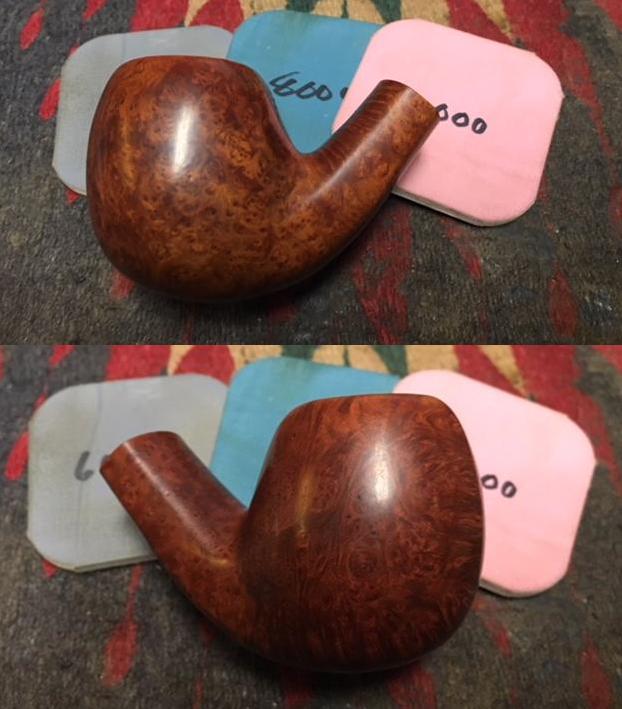
 I rubbed down the briar with Before & After Restoration Balm. I worked it into the smooth surface of the briar with my fingertips to clean, enliven and protect it. I let the balm sit for a little while and then buffed the bowl with a cotton cloth to raise the shine. The following photos show the bowl at this point in the restoration process. The grain is really starting to stand out.
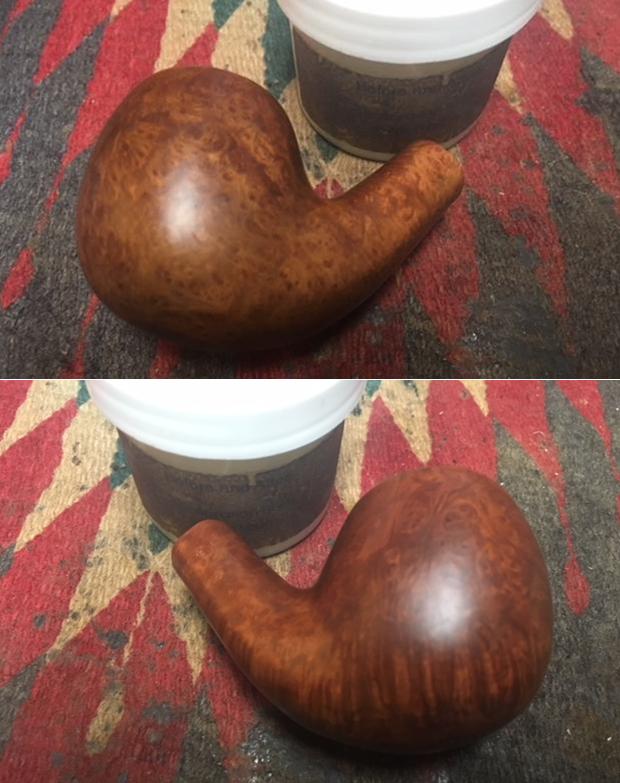
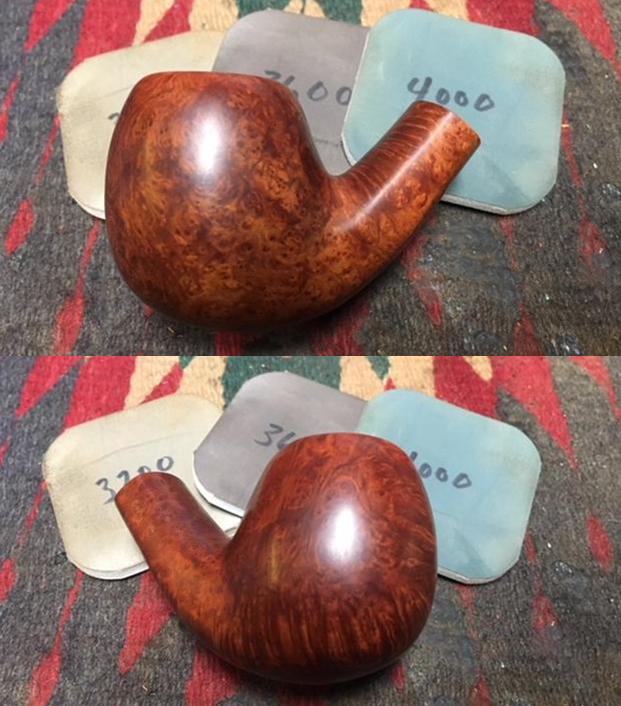
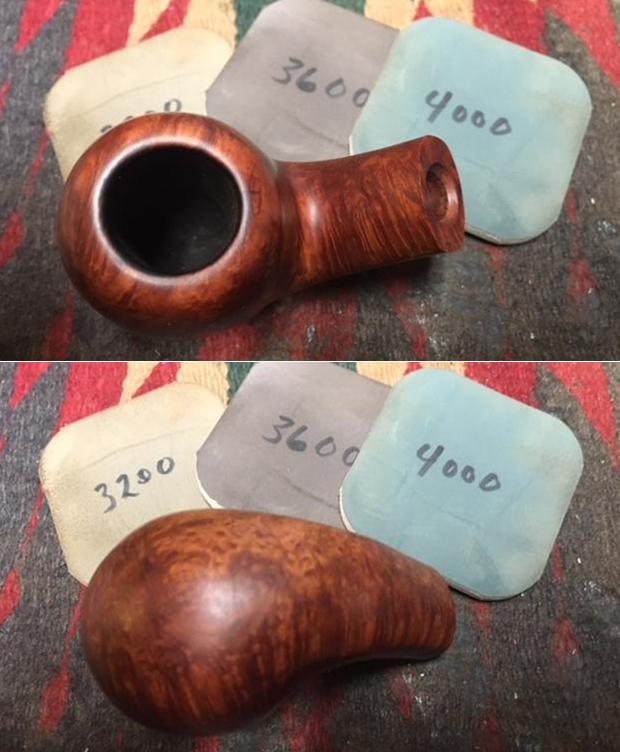
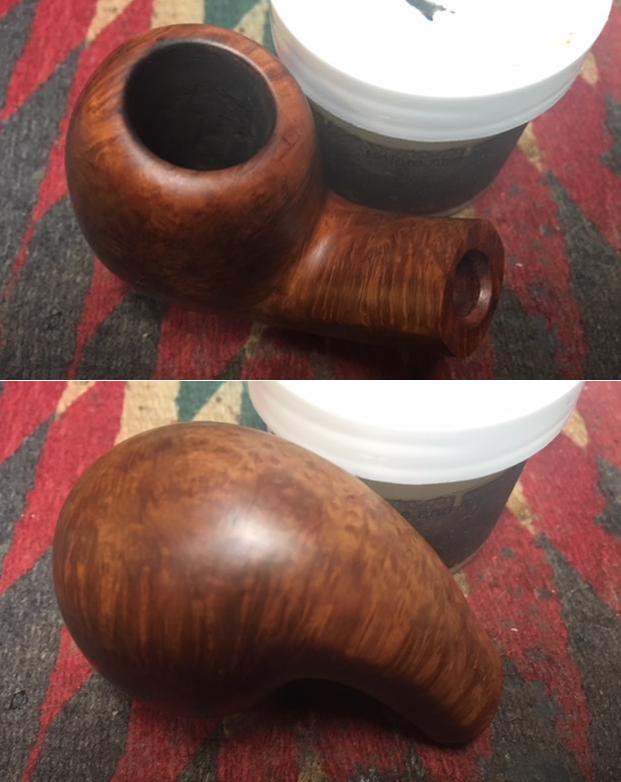 I polished the briar bowl and shank with micromesh sanding pads – wet sanding with 1500-2400 grit pads and dry sanding with 3200-12000 grit pads. I wiped the rim off after each sanding pad to remove the dust. The pipe really shone once it was polished.
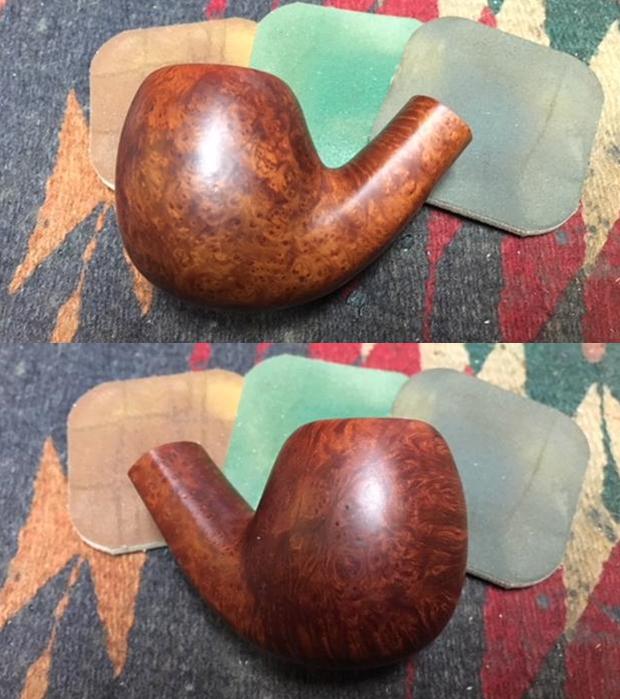
 I took a photo of the stamping on the underside of the shank. It read Jeantet over Neuilly. Along the shank/stem junction it was stamped France. On the right side of the shank it read 81-3.
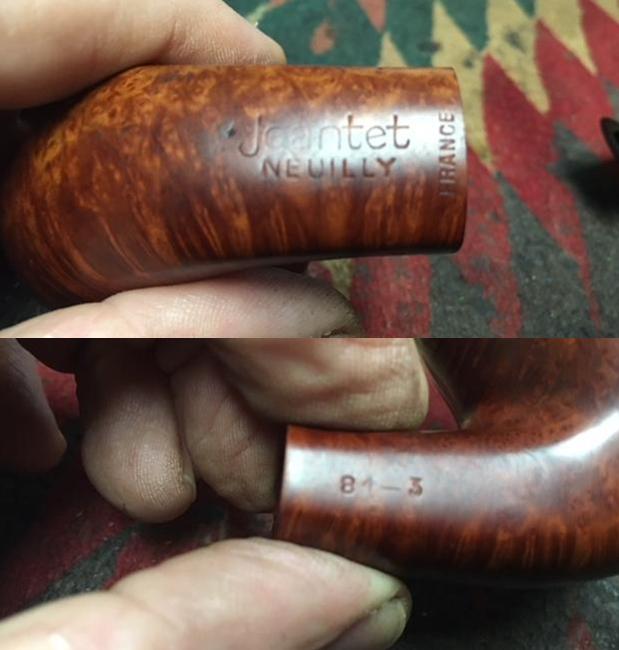 I set the bowl aside and turned my attention to the stem. I used a folded piece of 220 grit sandpaper to sand out the tooth chatter and marks on both sides of the stem just ahead of the button. They were not deep so it did not take too much to remove them.
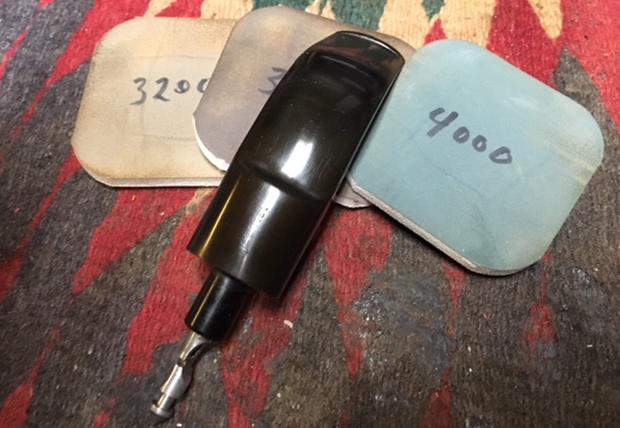
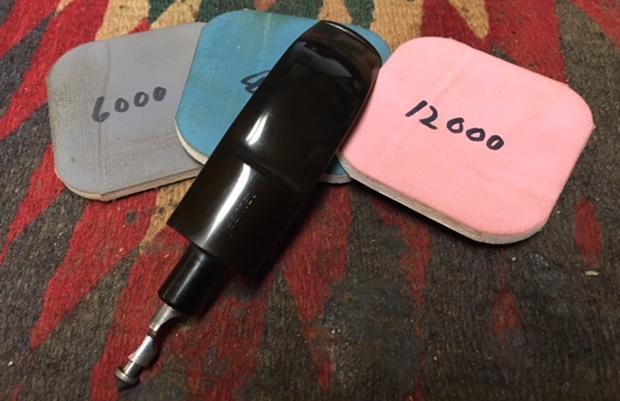
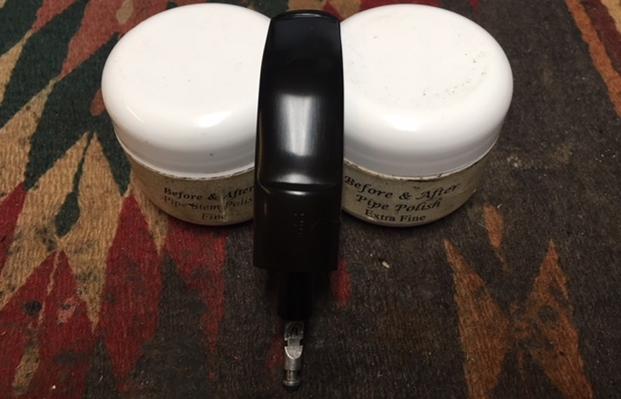
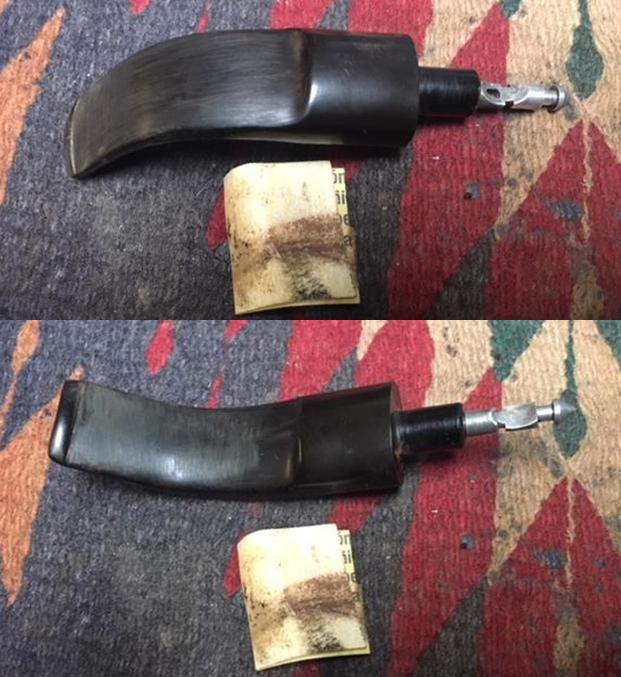 The Jeantet stamp on the top of the stem is quite worn. There is not enough to recolour with white paint but enough that in the right light it is readable. I polished the stem with micromesh sanding pads – wet sanding with 1500-2400 grit pads and dry sanding with 3200-12000 grit pads. I wiped the stem down after each pad with Obsidian Oil to remove the sanding dust on the vulcanite. I finished polishing it with Before & After Pipe Stem Polish – both Fine and Extra Fine. When I finished with that I wiped it down with a final coat of Obsidian Oil and set it aside to dry.
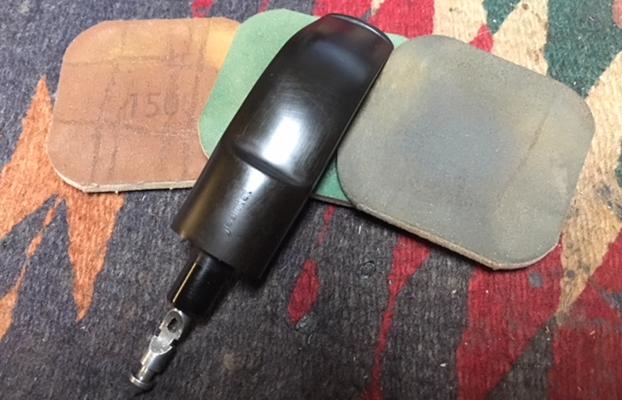
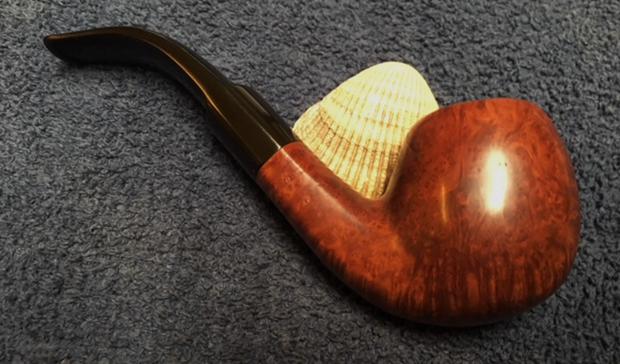
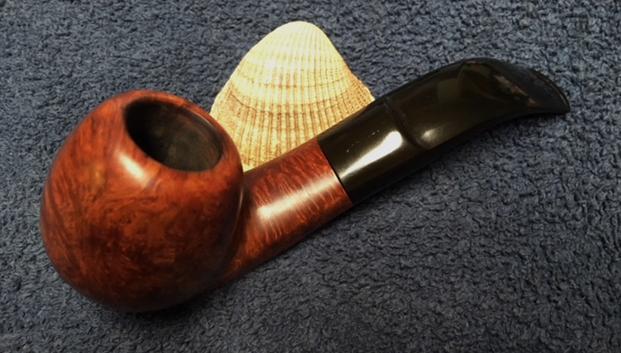
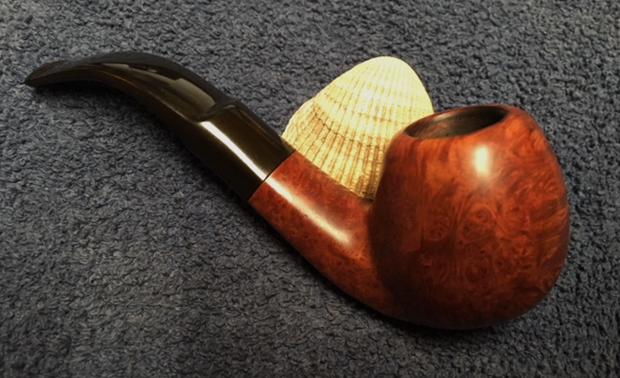
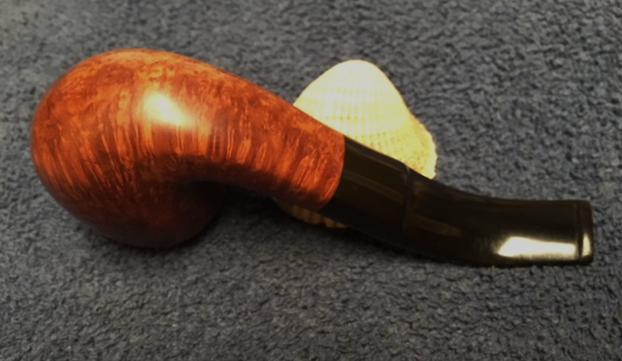
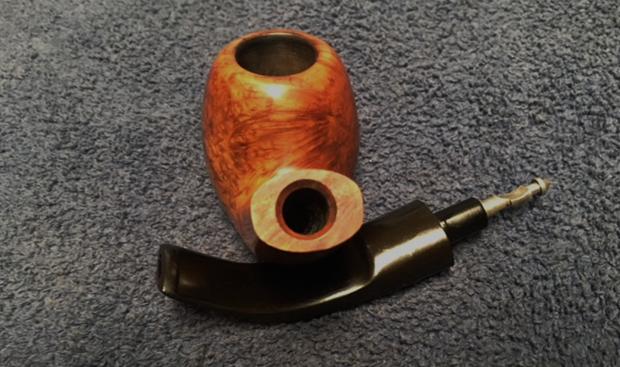
 I polished stem and bowl with Blue Diamond to polish out the remaining small scratches. I gave the bowl and the stem multiple coats of carnauba wax. I buffed the pipe with a clean buffing pad to raise the shine. I hand buffed it with a microfiber cloth to deepen the shine. The pipe polished up pretty nicely. The natural oil finish works well when polished to really highlight the variety of grains around the bowl and shank. It has birdseye on the sides of the bowl and cross grain on the front (toward the right) and back of the bowl and on the shank both top and bottom. The polished black vulcanite stem works together with the beautiful grain in the briar to give the pipe a rich look. The finished pipe is shown in the photos below. The pipe is ready for a new home. The shape, finish and flow of the pipe and stem are very well done. The dimensions are Length: 5 1/2 inches, Height: 2 inches, Outside diameter of the bowl: 1 1/4 inches, Chamber diameter: 3/4 inches. I will be listing this one on the rebornpipes store shortly. Thanks for walking through the restoration with me as I worked over this beautiful little Jeantet Neuilly.