Blog by Steve Laug
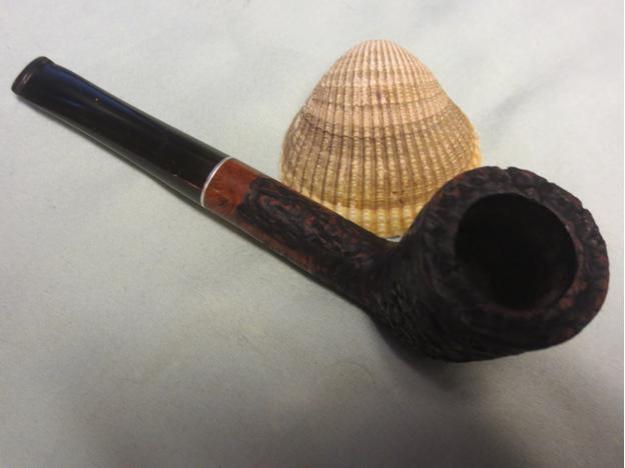
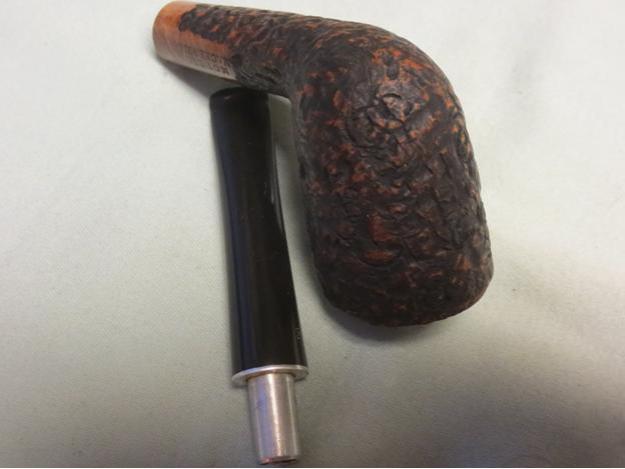
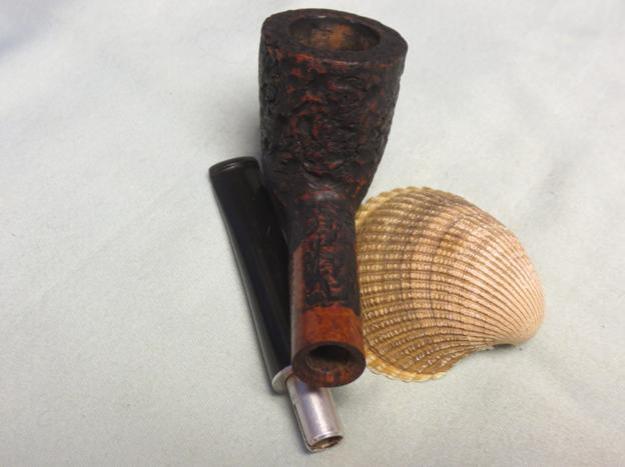
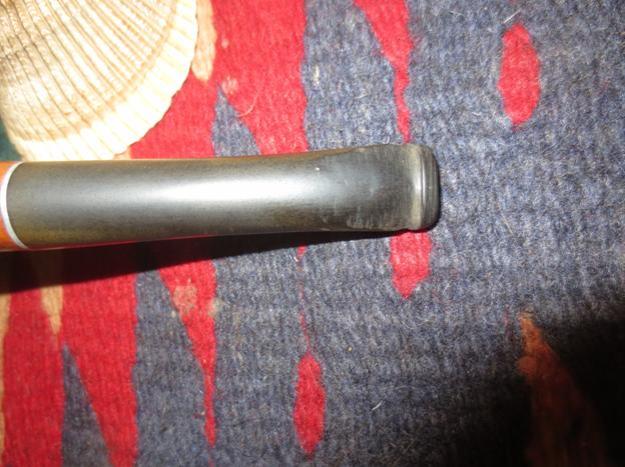
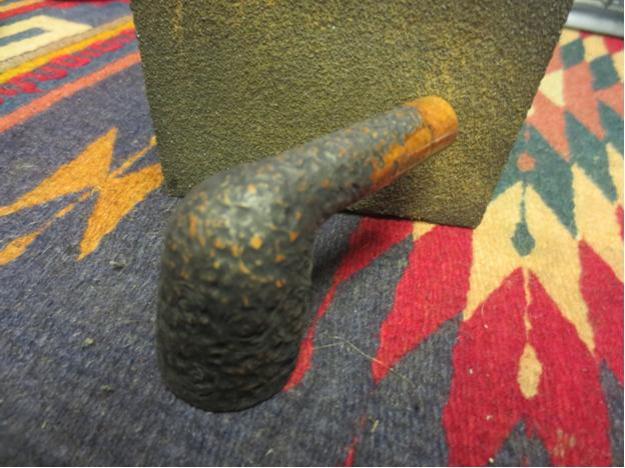
This afternoon I took on the second ugly duckling from the eBay “hackster” who had ruined the pipe that I transformed into a swan earlier. This one is stamped Morell over Mackenzie on the left side of the shank and Imported Briar over Italy on the right side. The Morell was a filter pipe so it was made to accommodate a Medico style paper filter. The pipe was a mess. Picture with me what it looked like. It had been painted with a band of coffee grounds (?) around the rim going down the sides of the bowl about a ¼ inch. The rim had been roughly sawn off and the tooth marks of either the file or saw were still present. The shank had damage that was ignored. The entire pipe had then been coated with a thick, runny coat of shellac that had rippled over the surface and given the pipe an obscene shininess that highlighted the atrocities that had been done to it. The stem was original but the “hackster’s” hand had not missed it either. It was cut off and a poorly cut button was carved into the stem. No care of thought was taken to account for the angles of the stem to the button and nothing had been done to open a slot in the end of the button. If you cannot picture it in your mind’s eye here are some photos.

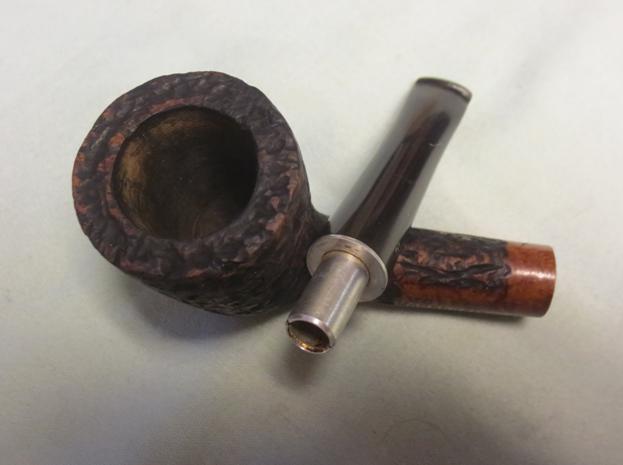
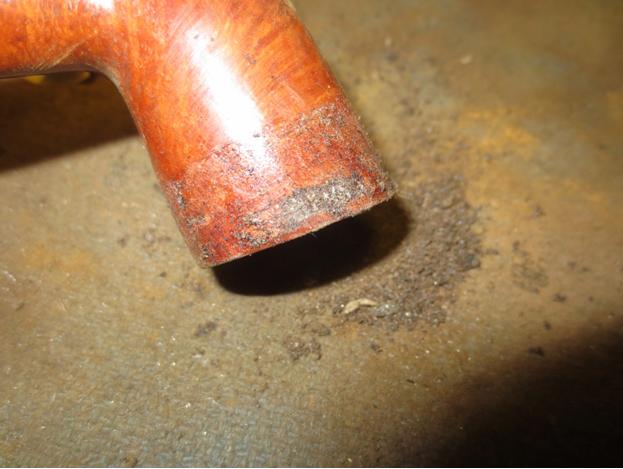
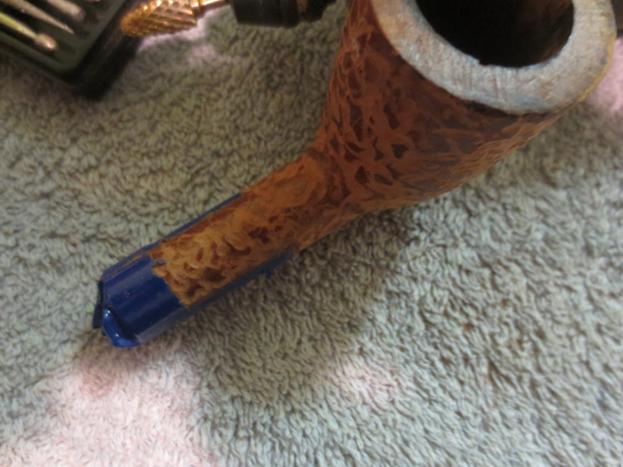
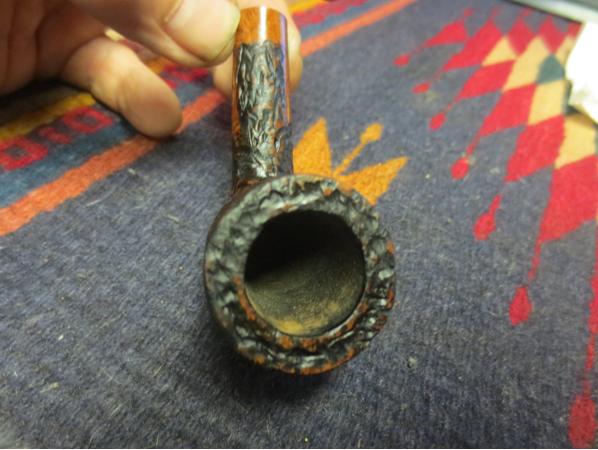
 I took some close up photos of the rim and stem. The rim photo is a little out of focus but you can see what I was talking about above. It was a mess. The issues with the stem are pretty self evident.
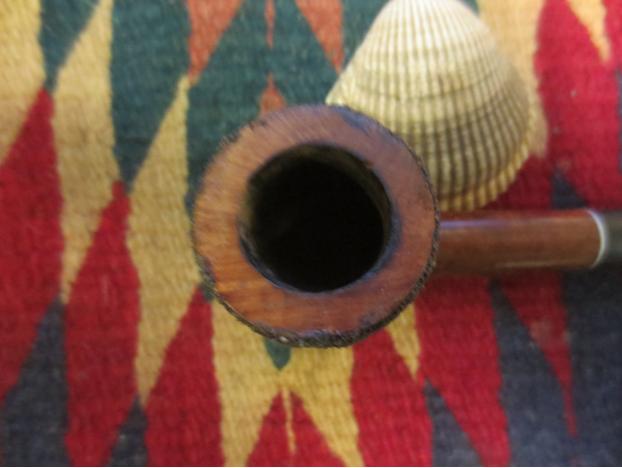

 I scraped the coffee grounds off of the bowl edge with a sharp pen knife. In doing so I found a large pink/white fill on the left side of the bowl across the top just below the rim edge. In the next two photos you can see the coffee grounds on the cloth I put on the work table to collect them when I scraped them off. The bowl was pretty full of fills all the way around.
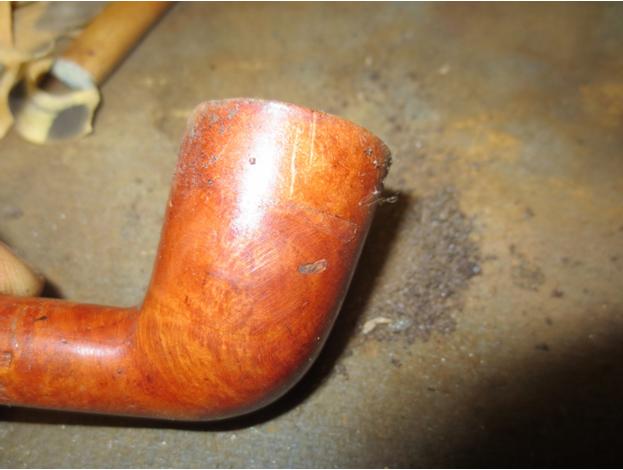
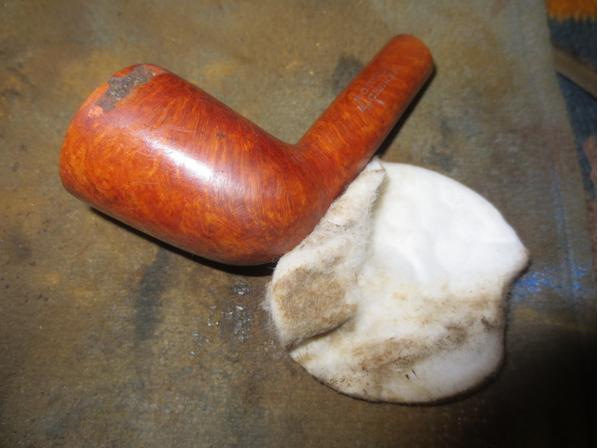
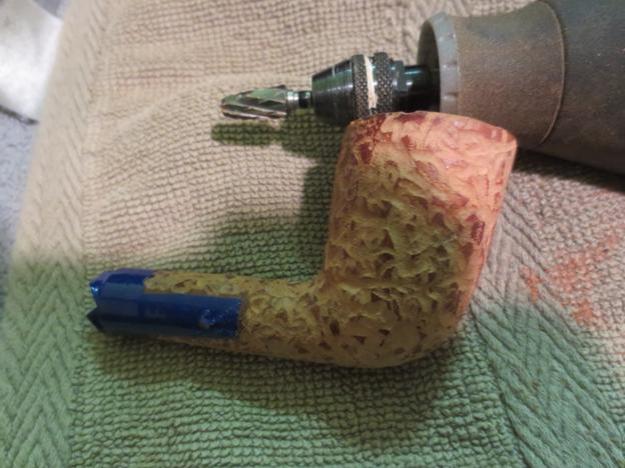
 I scrubbed off the shellac with acetone on cotton pads until I had removed all the thick, runny coat that covered the bowl.
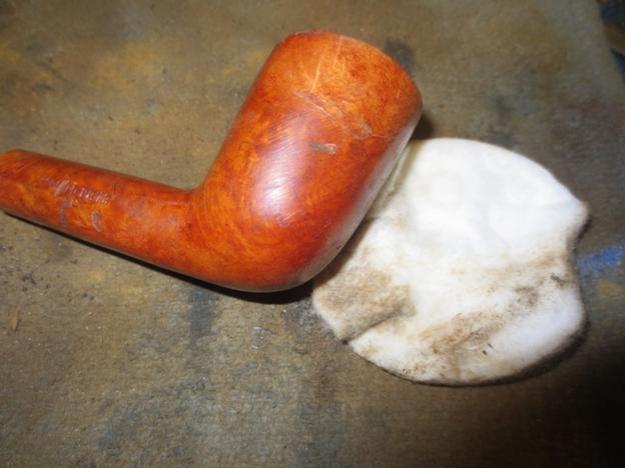
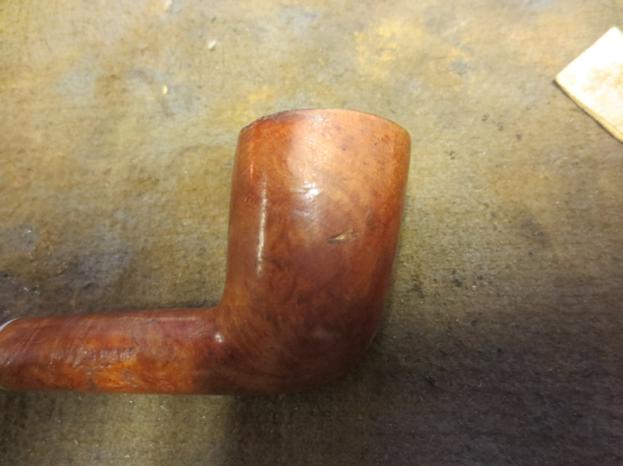
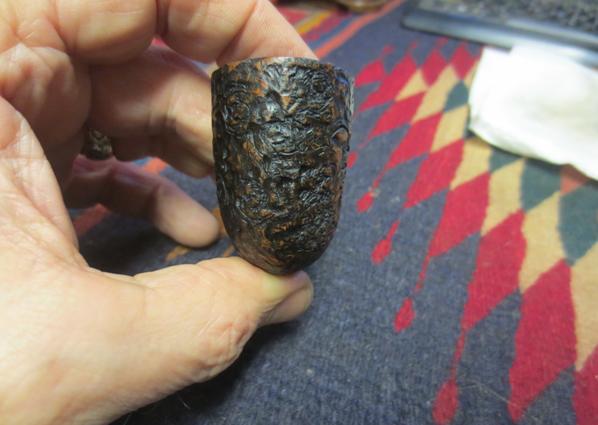
 I took a close up photo of the fill area on the left side to give you an idea of the size of it. It was large and ugly. The other side of the bowl also had several and one larger one mid bowl.
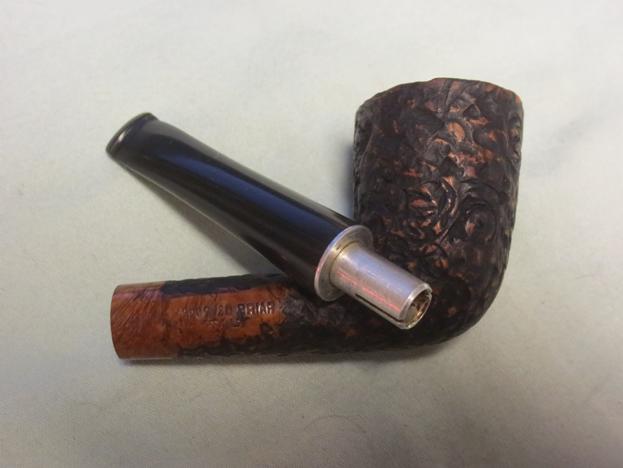
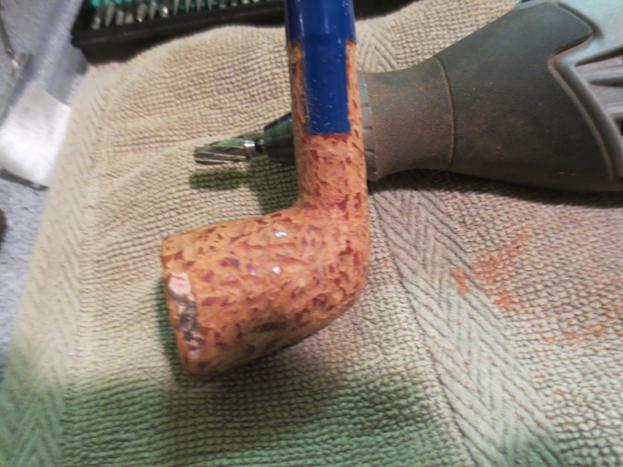
 I took a photo of the rim to show the detail of the file or saw marks.
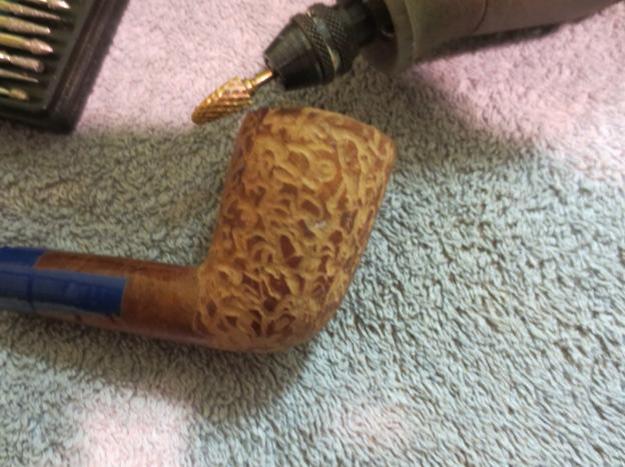
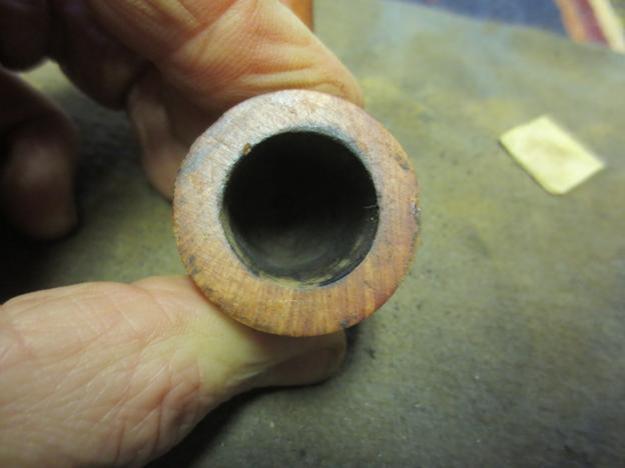 With fills this large and a pipe this ugly something had to be done with it or it would end up looking worse than it did when I started. The ugly duckling would just be a duck of another colour. There would not be any swan emerging unless I took some drastic measures. I taped off the stamping on the bowl and a band around the shank stem union with some electrical tape to protect it during the rustication and the staining. I used a series of burrs on the Dremel to cut a random rustication pattern on the sides of the bowl. Different burrs gave a different effect so follow the photos until the end of the rustication to get a full idea of how each burr worked.
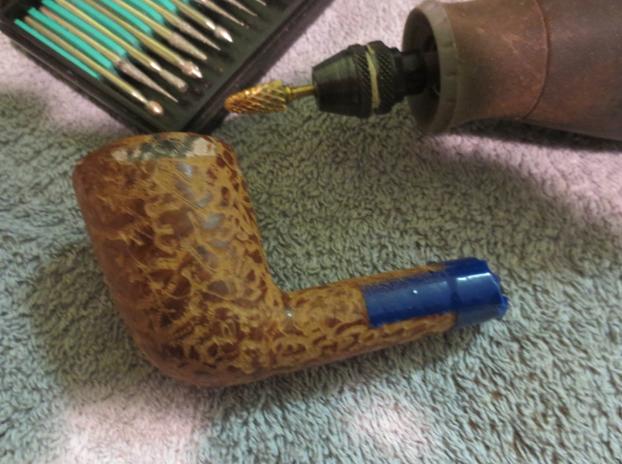

 When I finished with a series of five different burrs I then used the rustication tool that was gifted to me and tore up the finish even more. I wanted to cut some deep gouges in the briar to give it heavy rustication.
 I followed that up with a flower frog (see picture below) to further rusticated the finish.
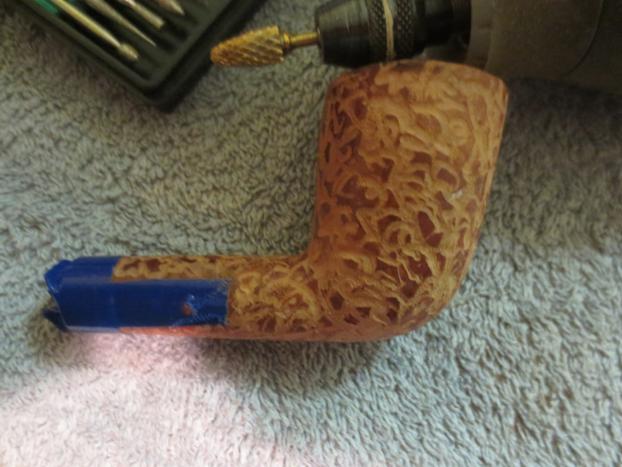
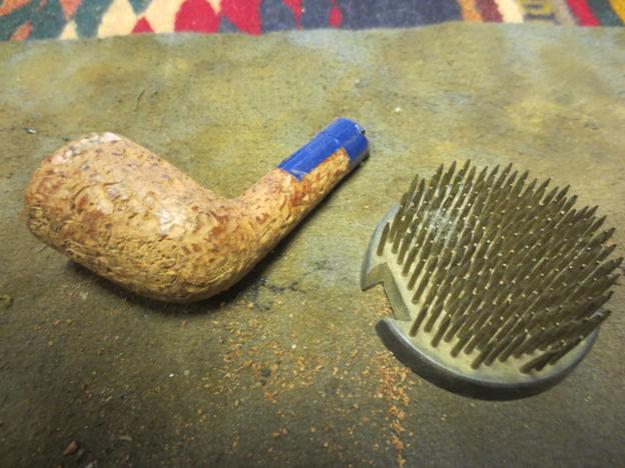 Once finished with the serious weapons I used a brass bristle brush to knock of the loose particles of briar and smooth things out a bit.
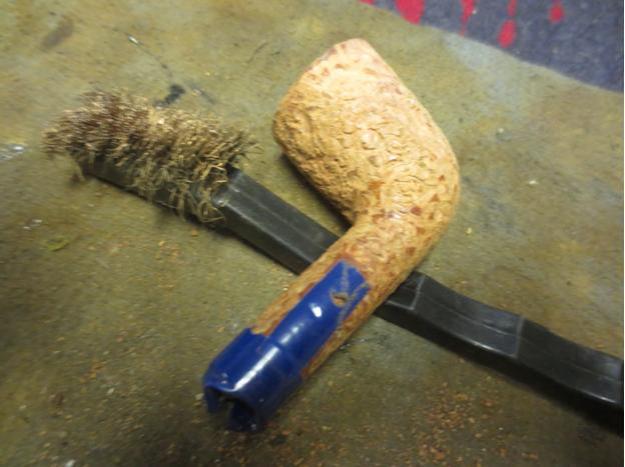 My next step in the transformation process was to stain the bowl. I chose an aniline black stain to go into the grooves of the rustication because of the large fills. The black stain would penetrate even the white stain in the grooves I cut into it. I applied the stain and flamed it to set it in the briar.
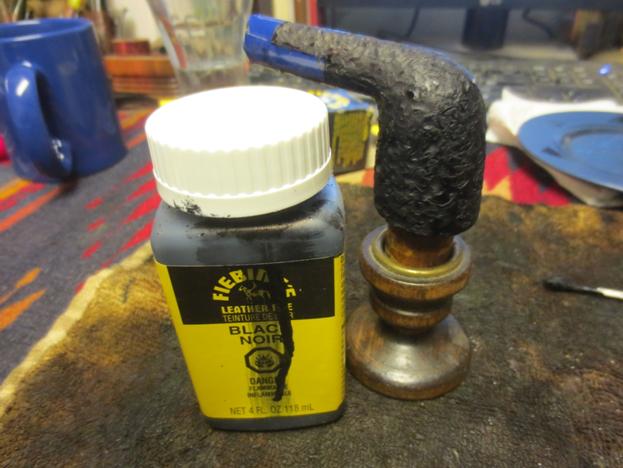
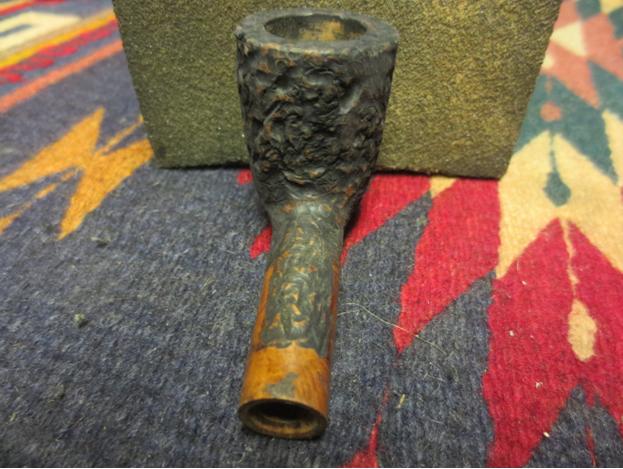
 When the stain dried I removed the tape from the smooth areas. I sanded the high points on the rustication with a sanding block to remove the black from those areas. I wanted to have a contrast that blended well with the smooth areas. I chose on this bowl to also rusticate the rim because of the amount of damage that the “hackster” had done to that area of the pipe. With the sanding done you can see the contrast beginning to show.
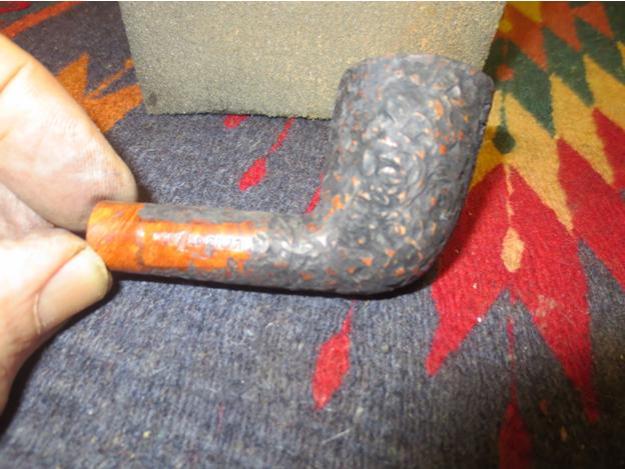

 After I sanded the bowl and rim I rubbed it down with a light coat of olive oil to enliven the briar. I let is absorb into the wood before I hand buffed the pipe with a shoe brush.
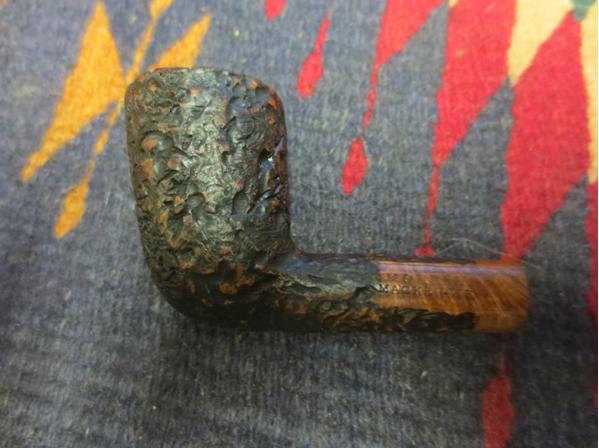

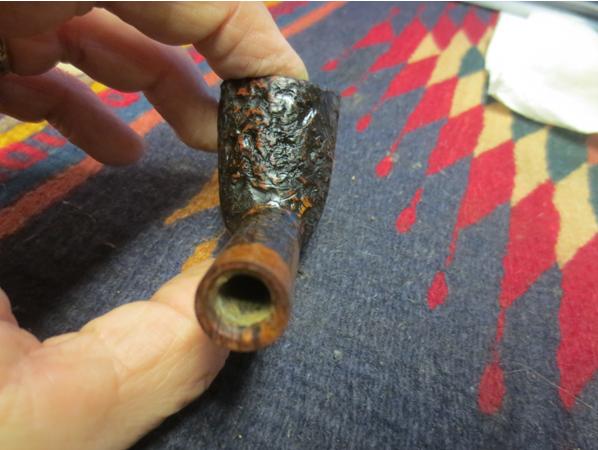
 With the bowl finished it was time to tackle the damage done to the stem. It had been clipped off and then sloppily tapered to the hand cut new button. I worked on the taper with a flat file and a sandpaper until the transition on both sides of the stem matched. I also cleaned up the button as it was wider on the top than the bottom. I also shaped the button so that it was uniform. The button was pinched and there was an indentation on both sides of the stem in front of the button. I sanded the sides of the stem to remove that indentation.
 The end of the stem was left with a raw air hole. I used needle files to clean up the shape of the button from the end and also to cut and shape a slot.
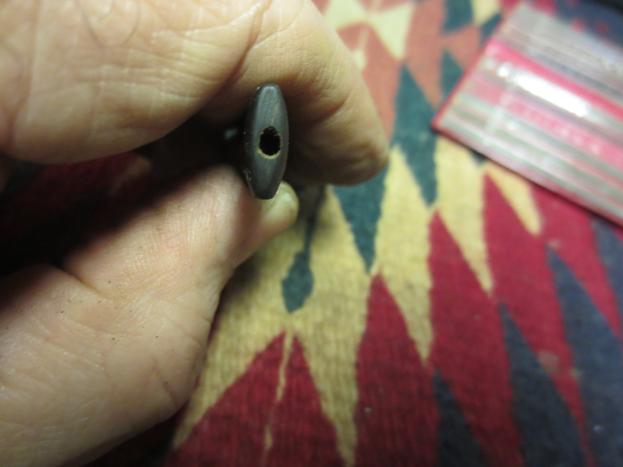
 The photo above shows the general shape of the slot. I still needed to flatten the face of the button and to clean up the slot but you get the idea. I also used some tiny spots of superglue to fill in the areas on the left side of the stem near the button where the “hackster” had cut back too much material. Once it dried I sanded it with 220 grit sandpaper to smooth it out and blend it into the surface of the stem.
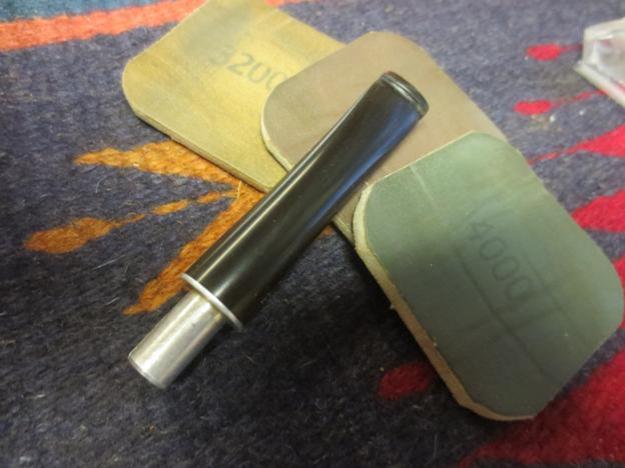
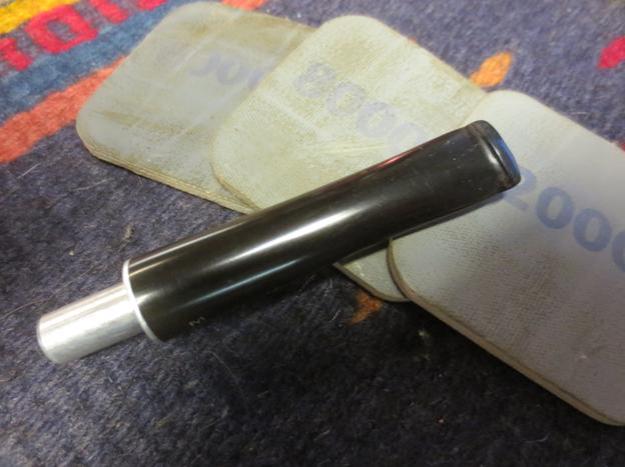
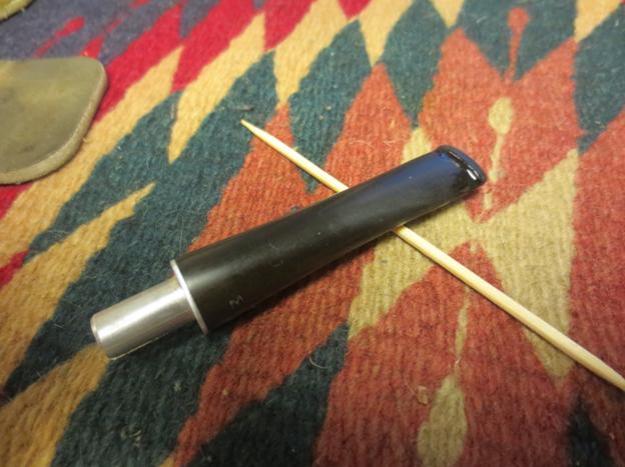 With the reshaping and tapering done to the stem I went on to use my usual array of micromesh sanding pads. I wet sanded with 1500-2400 grit pads and gave it a coat of Obsidian Oil. I dry sanded with 3200-4000 grit pads, another coat of oil and then finished with 6000-12000grit pads. I gave it a final coat of oil and let it dry.
 I buffed the bowl and stem with Blue Diamond – making sure to use a light hand on the bowl. Then I gave the stem several coats of carnauba wax. I gave the bowl a coat of Halcyon II wax and hand buffed the bowl with the shoe brush. I gave the entire pipe a final buff with a microfibre cloth. I think the ugly duckling once again became a swan. What do you think? I may well have to make a new stem for it one day.