Blog by Steve Laug
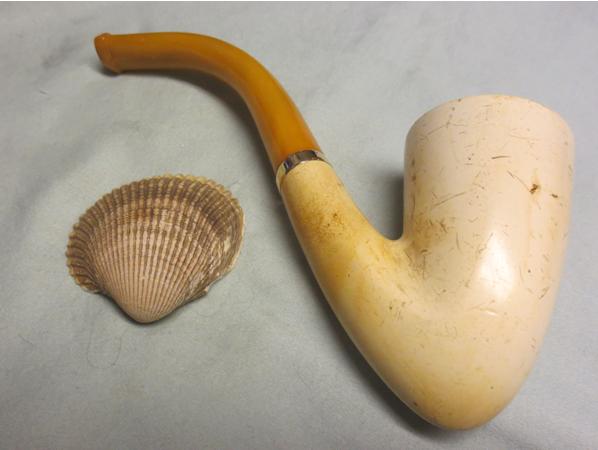
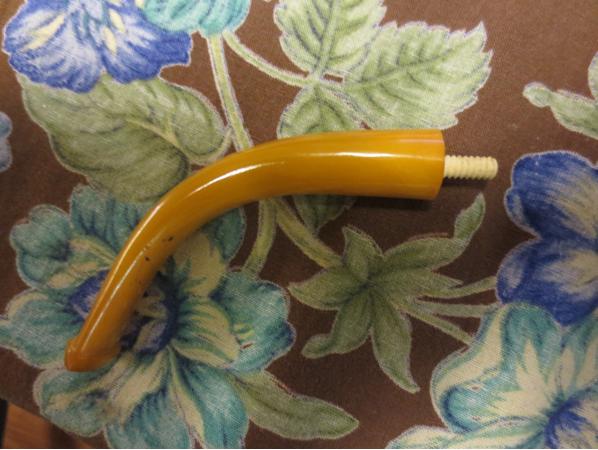
When I received this meerschaum pipe the sender said that it needed to have the tenon replaced. It looked like it would be a simple repair so I left it until last. I restemmed the other little meerschaum that I posted earlier and put a new tenon on an Italian pipe for him and figured that this would be an easy fix. I unscrewed the stem from the broken tenon – it was split and half of it was missing. The stem came off with no problem. I had a perfect replacement tenon available to me so I screwed it into the stem and then looked at the broken tenon in the shank. Still the problem seemed quite simple. I used my wood screw and threaded it into the airway and tried to pull the tenon – either unscrewing it or at least wiggling it free. It did not move at all. I looked at it with a lens and saw that there were remnants of epoxy around the portion of the tenon that showed. Now I was in trouble. What had originally been an easy fix now was complicated.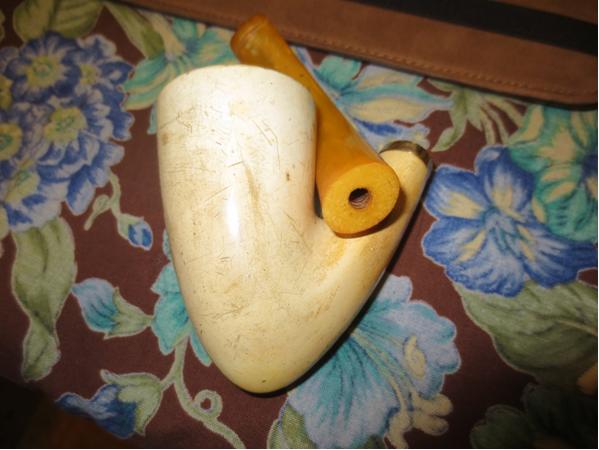

 Before I drilled out the tenon I took a few photos of the bowl to show the condition of the meer. It was worn and scratched but had some beauty that shown through the grime and the scratches. The rim was dirty and pitted but the edges were sharp. The bowl interior was lightly caked and the pipe smelled of strong aromatics.
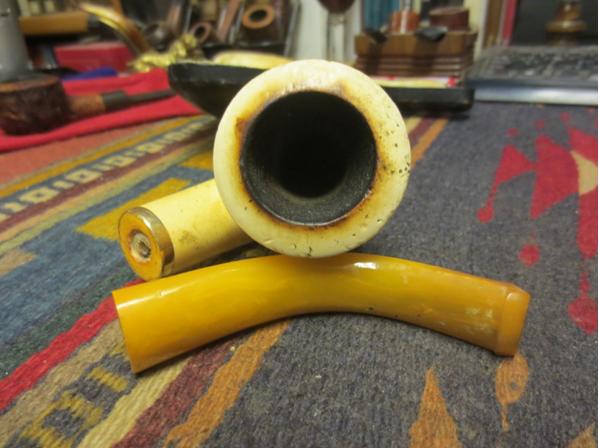


 I drilled out the tenon in the shank of the pipe starting with a bit slightly larger than the airway. No problem with that first step. I increased the size of the bit and drilled it again. It was my hope to have the glued tenon break free with the drilling. I increased the size of the bit yet again, this time to almost the same size as the threaded tenon. No luck. The tenon was absolutely stuck to the insert in the shank. I increased the bit size once more and this time the tenon broke. I tried to pick out the remaining pieces but they were solidly glued in place. I looked at the insert with a lens and could see that the glue and tenon had damaged the internal threads on the insert. This was turning into a real pain. I would have to drill out the entire insert and replace it. Once I had the tenon free I figured this would be easy as well. Again I was wrong. The insert was also glued in place. I increased the size of the bit several times until I had removed the insert itself. This old pipe was turning into a head ache.
I finally was able to remove the insert. I examined the inside of the shank. The original drilling of this pipe was fascinating. It was obviously drilled in several stages stepping down the mortise to the airway. I wrote to the owner and asked if it would be okay to replace the threaded tenon and mortise set up with a push tenon. I figured why complicate things. He confirmed that he was okay with that replacement. I started work on the stem and shank for that set up. I drilled the airway on the stem slightly bigger to take the push tenon. I cleaned out the inside of the stem to remove the debris and the tars. I checked the fit of the tenon in the stem and it was a good fit. I would need to countersink the airway to accommodate the rim on the tenon.

 I cleaned out the shank and airway on the bowl as well. I fit the insert in the shank. The fit was good but I would also need to countersink it to make a flat surface for the stem to sit against.
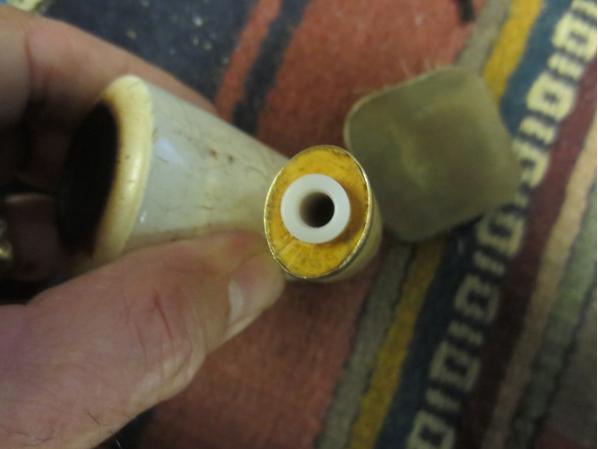 I used a slightly larger drill bit to create the countersink on the shank and pushed the insert in place. The fit was perfect. Due to the damage on the shank from all of the glue I would need to use glue to hold the insert in place but I wanted to clean up the fit before I set the glue in place. In the photo below the new system can be seen. The mortise insert is in place and the push tenon is on the stem.
 I cleaned out the shank one more time and then mixed a two part epoxy for the insert. I applied the mixture to the insert and pressed it into place. I aligned the airway and the stem so that things would be straight once it dried and set the bowl aside so the epoxy could cure.
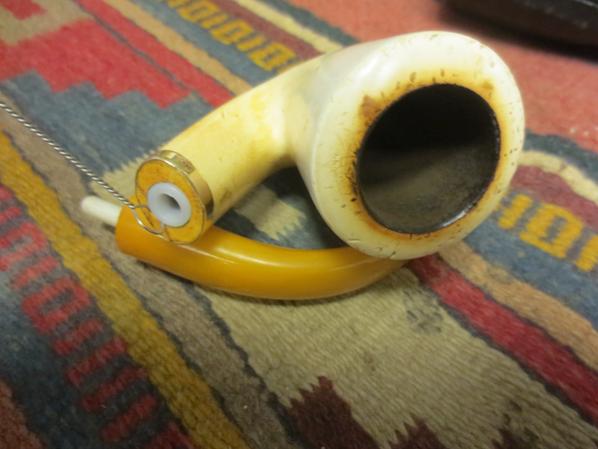 I used a drill bit to countersink the rim on the tenon into the stem. I threaded it in place to make sure the fit was correct.
I sanded the bowl with micromesh sanding pads to smooth out the roughness and bring back some of the shine of polished meer. I wet sanded it with 1500-2400 grit pads and was able to bring back a lot of the life in the meerschaum. I dry sanded with 3200-4000 grit pads to polish it further. The photos below show the pipe after I had sanded it. When I am working on an older meerschaum I do not like to remove all of nicks and scratches as they add character to an old pipe. They are like battle scars and each of them has a story to tell. I clean up the surface damage and highlight the patina but leave the pipe clean but looking its age.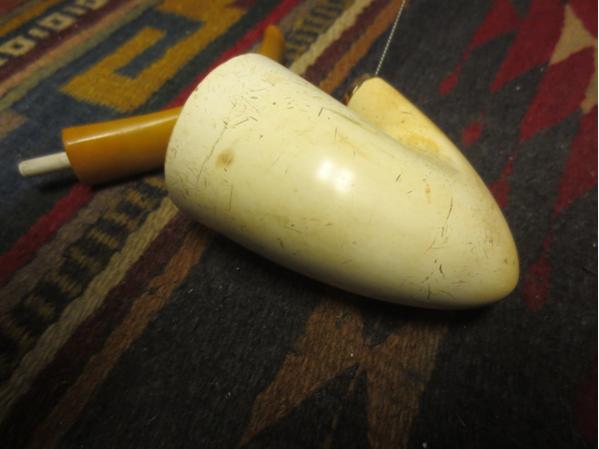

 I let the epoxy set over night and then this morning pushed the stem into the new mortise. The fit was a little tight and I could see some light between the stem and the shank end. I needed to finesse the fit of the stem and shank.


 I carefully sanded the end of the mortise with the Dremel to make sure the insert was flush against the meerschaum end of the shank. I also worked on the countersink of the tenon in the stem with a sharp knife to give it a wider and sharper bevel to accommodate the rim around the middle of the tenon. I polished the newly sanded and cut areas with micromesh sanding pads to smooth out the fresh work. I polished the stem and the bowl lightly with some soft white Beeswax and then buffed the pipe by hand with a microfibre cloth to raise the shine. The finished pipe is shown in the photos below. Soon I will pack up the threesome of pipes and send them back to the pipe man who sent them to me. They are all functional now and to me actually look and work better than they did before. Thanks for looking.