Daily Archives: March 20, 2016

Uncharted Linkman Ringmaster Tri-Shank#2656


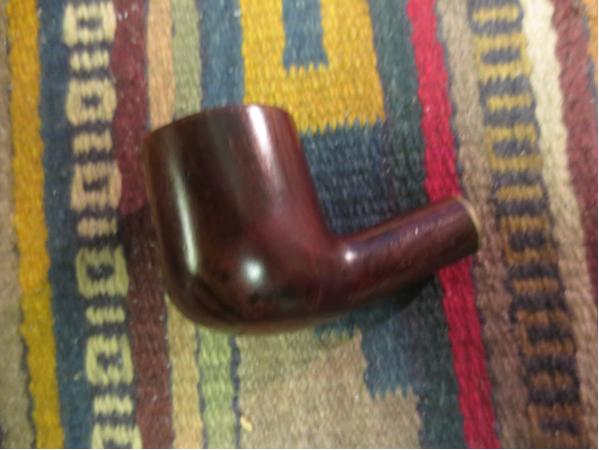
What a beautiful piece of pipe history. Well restored Troy. I like the fill blending you did. Thought it would be good to reblog because of several of your innovations. Great work.

Baccy Pipes

I picked up this old Linkman  green spade Ringmaster from Al , a online friend and fellow member of Dr. Grabow Collectors Forum.

I saw the pipe in his Etsy store , not having a Ringmaster in my collection and or a Linkman tri-shank model i thought i would be a good next project. I contacted him at  a deal was struck.

Check out Al’s store sometime he has a ever changing inventory of old  good project pipes at good prices.I have gotten a few pipes from him .

https://www.etsy.com/shop/Als12paws?section_id=10630414&page=2

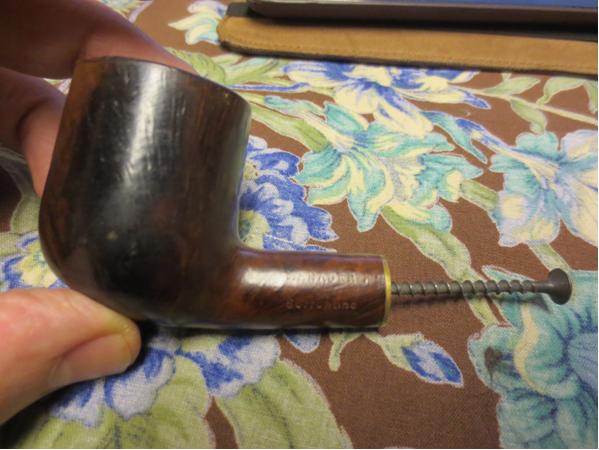
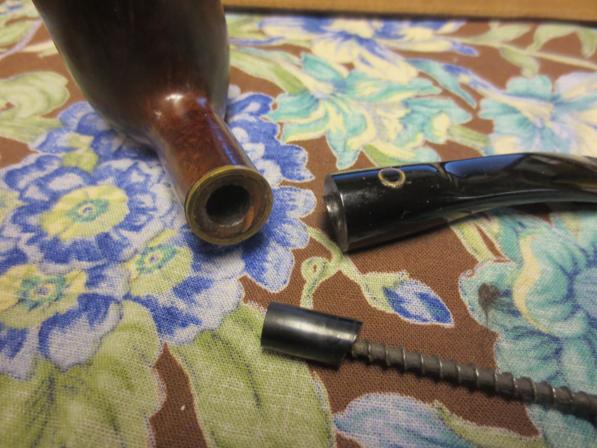
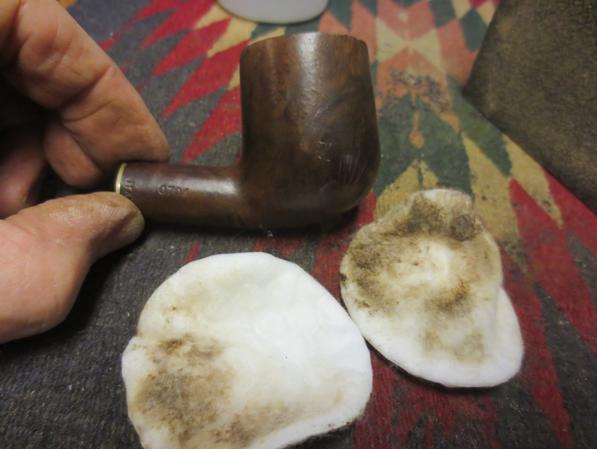
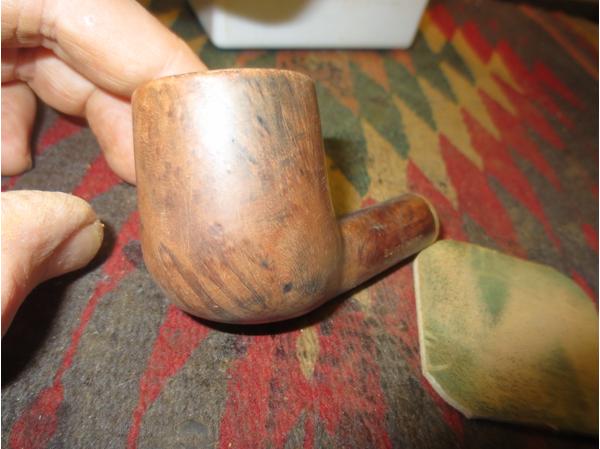
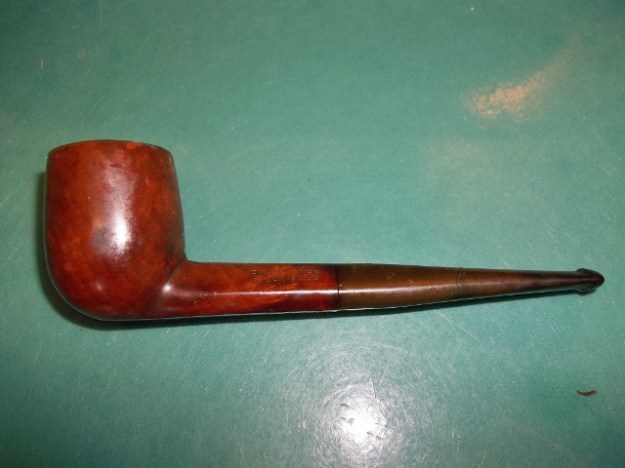
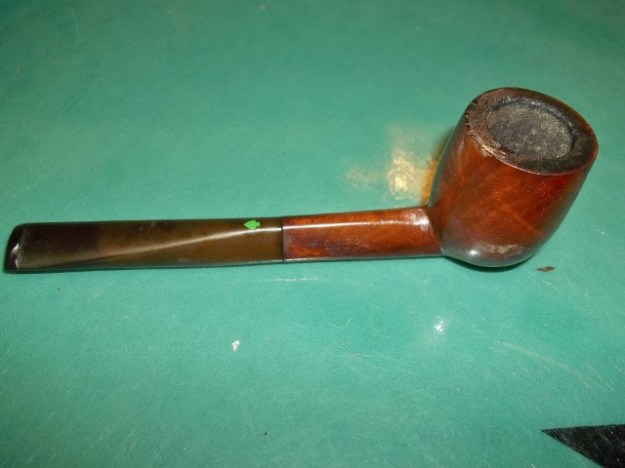
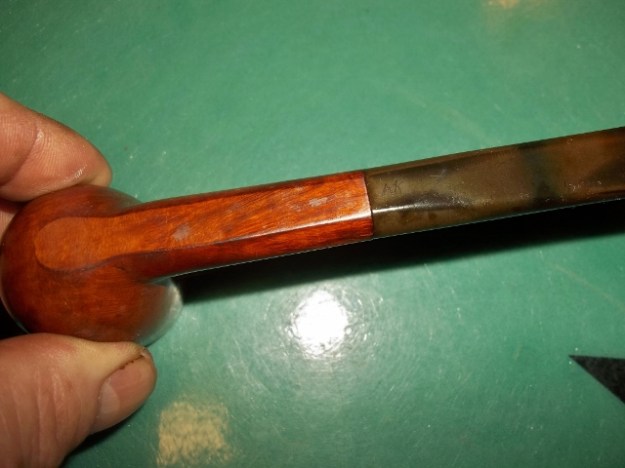
The pipe as it arrived to me .

The Ringmaster is a small to medium size at 5 1/2 inches long and 1 5/8 inches tall bowl.

100_9058 (640x480).jpg100_9047 (640x480).jpg100_9056 (640x480).jpg

Seems AK owned the pipe . If you are looking AK , i got your pipe.

100_9052 (640x480).jpg

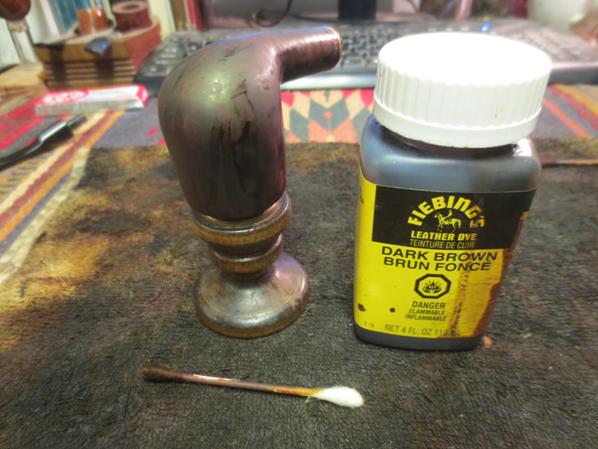
While waiting on the pipe to arrive i did a little research. I could not find the shape 56…

View original post 753 more words

Replacing a Tenon and Doing a Restoration on a Sorrentino Manager 0704


Blog by Steve Laug

I received this one from a fellow who wanted the tenon replaced but being the way I am I could not just replace the tenon and leave the pipe looking tired and worn so I wrote and offered to clean it up for him. It took more work than I had originally thought it would but the added effort made for a beautiful looking pipe. It is stamped on the left side of the shank MANAGER over SORRENTINO. On the right side it says 0704 which is the shape number and Italy. The briar was really in need of some work. The left side was stained with a dark patch that ran from the top to the bottom of the bowl. The finish was also rough to the touch over that section. On the bottom, front and right side of the bowl there was a lot of dents and dings like the pipe had been dropped. The rim had a coat of lava and the bowl had a very uneven cake with more on the left side of the bowl than the right. The finish was basically shot. The stem came with lots of tooth chatter and a broken tenon. The tenon snapped right at the shank and was stuck in the shank. The brass band on the shank was loose. The pipe was tired and needed some TLC. Here is what it looked like when I started.Briar1 Briar2 Briar3In the photos above I had already turned the wood screw into the broken tenon. I use that to pull a broken tenon and it never disappoints in effectiveness. Note the state of the bowl in the photos.Briar4I used a Dremel and sanding drum to flatten out the remnant of the broken tenon on the stem. Once it was flat it was time to drill the stem to take the new tenon. I started with a bit slightly larger than the airway to center the drilling and turned the stem onto the bit by hand. I find that though it is harder to do it by hand, turning it by hand and not drilling it gives me more control of the stem. I worked my way up to a ¼ inch bit and then cleaned it out with a needle file. I had a Delrin tenon I purchased from Tim at JH Lowe and I roughed up the surface of the portion that would go into the stem and gave it a coat of two part slow drying epoxy to hold it in place.Briar5 Briar6 Briar7I lined up the stem in the shank and then set it aside to let the epoxy cure over night. While it dried I worked on the bowl. I stripped off the remaining finish with acetone and cotton pads. I sanded the dark stain mark on the left side of the bowl with 220 grit sandpaper to remove the damaged briar and smooth things out. I scrubbed that side with acetone to finish.Briar8 Briar9I reamed the bowl with a PipNet reamer to even out the cake that had been there. I decided to strip it back to bare wood. I wanted to check out the inside of the bowl walls. The interior was sound and there was no damage on the bowl walls. Briar10 Briar11I sanded the bowl with 1500-2400 grit micromesh sanding pads to clean up the scratches left behind on the briar by the sand paper and by the wear and tear of age. The stripped and sanded bowl was looking pretty good.Briar12 Briar13 Briar14I sanded the inner bevel of the rim to clean it up and prepare the bowl for staining. I wiped it down a final time with isopropyl alcohol. I stained the bowl with a dark brown aniline stain. I flamed it and restained it with a second coat of the stain. I flamed it again.Briar15 Briar16Before setting the bowl aside to dry I wiped it down with alcohol on a cotton pad to smooth out the stain and lighten it slightly. I wanted the grain to show through.Briar17I buffed the bowl with Blue Diamond on the buffing wheel and gave it several coats of carnauba wax to seal and preserve the finish. I buffed it with a clean buffing pad to raise the shine. (Forgive the poor focus on the first photo below. It is blurry but still gives you an idea of how the dark area had been reduced.)Briar18 Briar19 Briar20 Briar21With the bowl finished I set it aside and worked on the stem. I sanded the tooth marks and chatter on the stem with 220 grit sandpaper until they were smoothed out. I was able to easily remove most of the tooth damage to the stem. There was one small tooth dent on the top of the stem that I left as it is minimal and I did not want to thin the stem.Briar22 Briar23I wet sanded the stem with 1500-2400 grit micromesh sanding pads. I dry sanded it with 3200-4000 grit pads. I finished with 6000-12000 grit pads. I buffed the stem with Blue Diamond on the wheel.Briar24 Briar25 Briar26 Briar27I put the pipe together and lightly buffed it with some more carnauba wax to finish it. I hand buffed it with a microfibre cloth for the final buffing. The photos below show the finished pipe. Hopefully when it is returned to the pipeman who owns it he will be pleased with the finished pipe. Thanks for looking.Briar28 Briar29 Briar30 Briar31 Briar32 Briar33 Briar34