Blog by Patrick Russell
“On a warm summer’s eve, on a train bound for nowhere, I met up with a gambler; we were both too tired to sleep…” – All italicized quotes are from the Gambler by Kenny Rogers (used without permission).
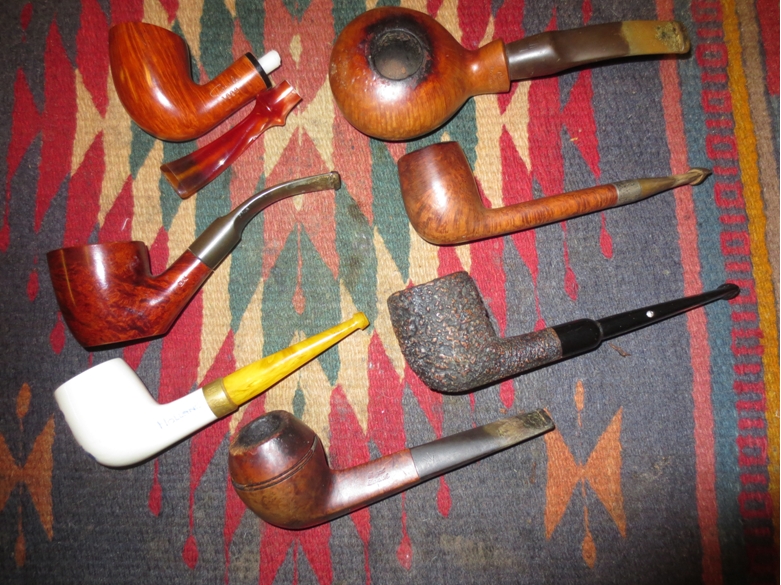
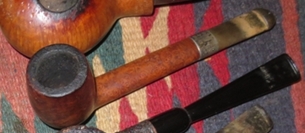
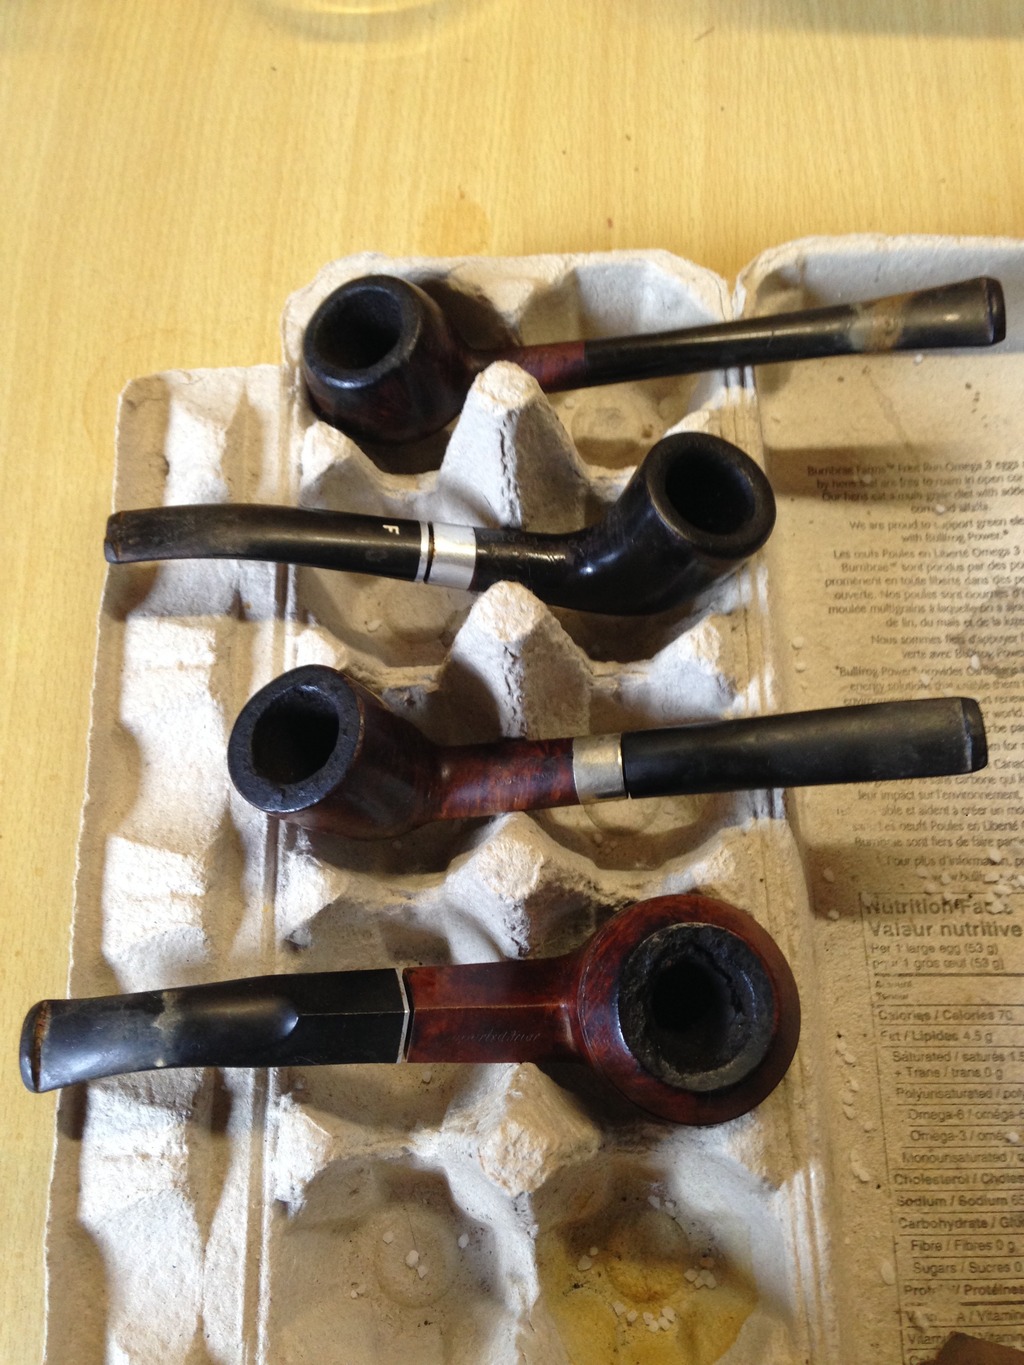
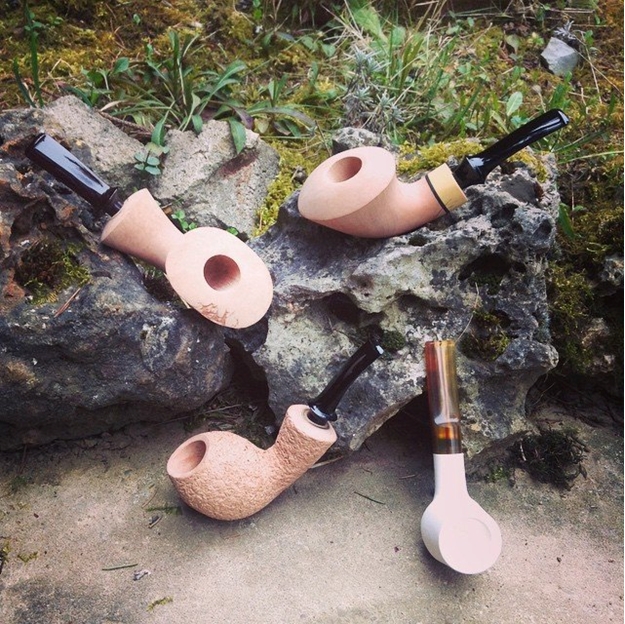
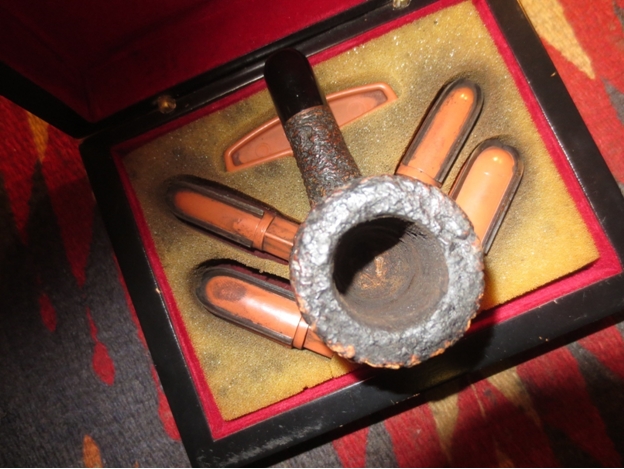
Last summer I was presented with a wonderful challenge by my good friend Dave. Dave, like me, is a younger pipe man. Okay, he’s almost ten years younger than me… but who’s counting. Dave pulled me aside during a pipe club meeting and said, “Pat, can you do something with these?” Dave put four pipes into my hands, “These are my grand-dad’s pipes. He always had one of them in his mouth. Pap loved these pipes.” Like lots of you folks who clean up estate pipes, I often do resto work for free for friends. More often than not, the friend will dash me a tin of ‘baccy or will send me a tip on an estate lot. But that’s not why I do it. I do free resto work for friends for the same reason you do, because you like the person, and they asked for help. My only rule with this kind of work is that the friend has to be on no timeline. When your wife is pregnant, or you have a seven month old, this is an important rule.
Dave put those pipes into my hand last July, before we had our beautiful baby girl, and before I fell out of the pipe cave and into the blue eyes of my daughter. But I digress. The pipes…
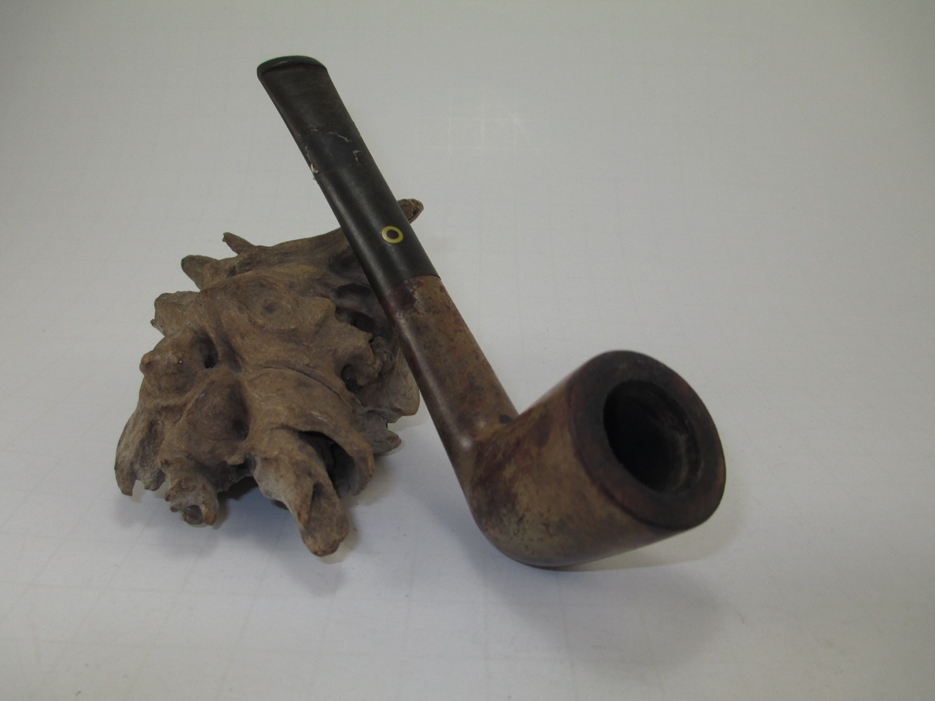
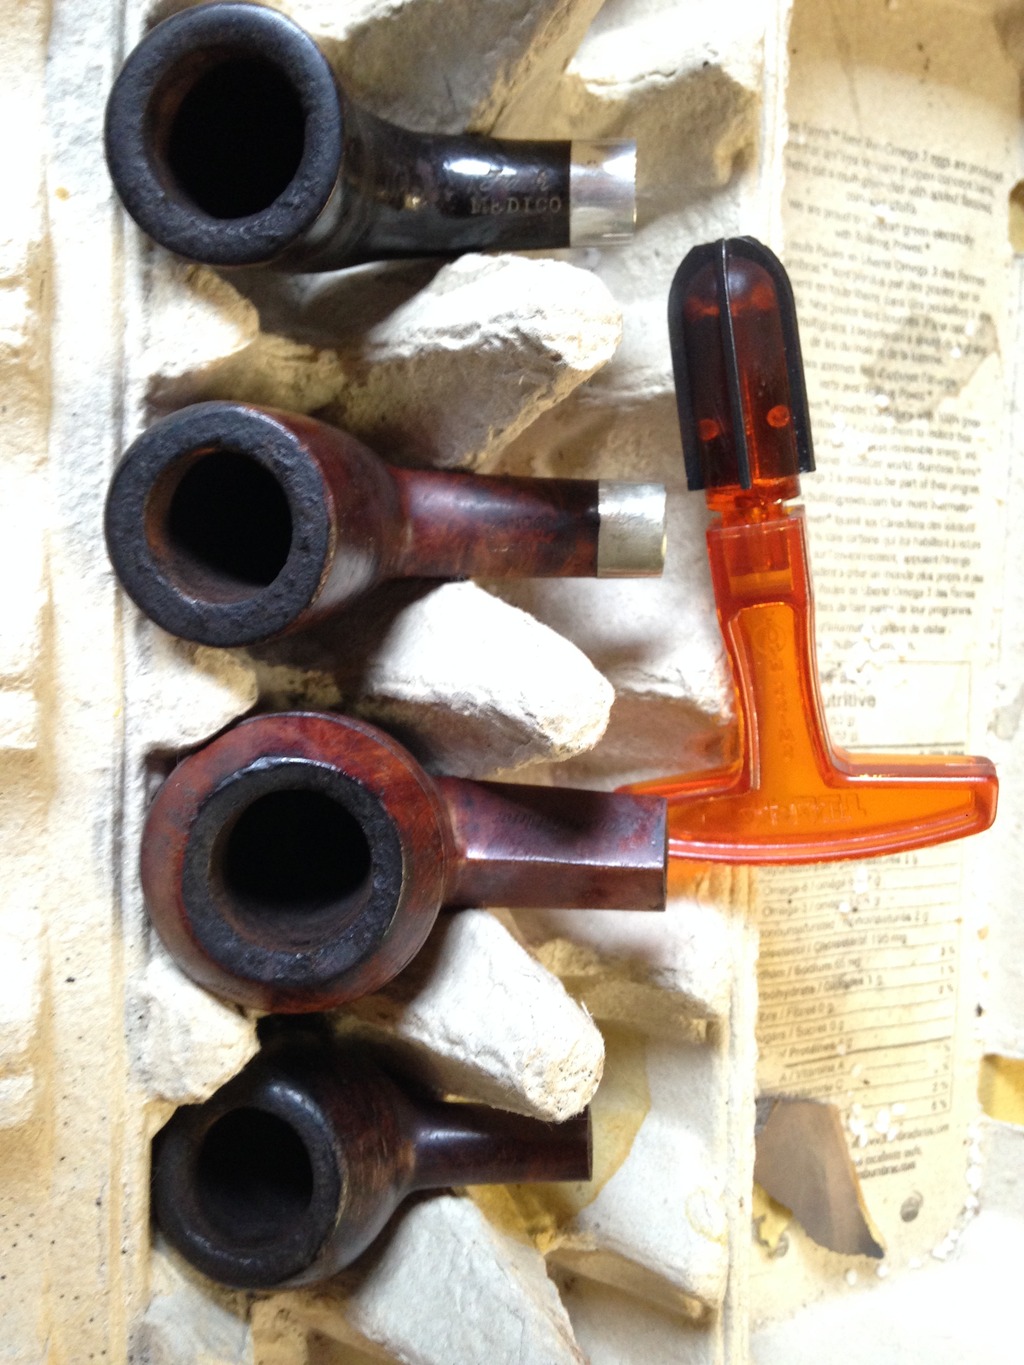
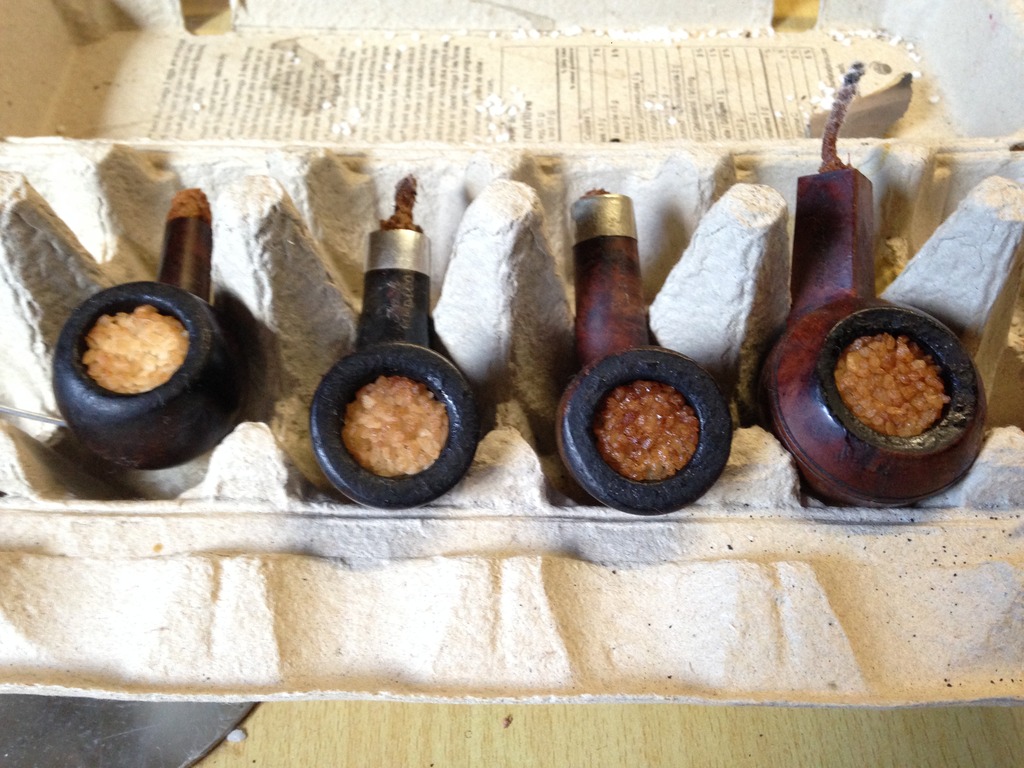
Pap loved those pipes. He really, really, loved those pipes. Dave said that Pap was a stuff ’em and puff ’em guy and a cursory look at the pipes backed up the story. All four airways blocked. Cake thick enough to require the smallest reamer head. There was enough oil on the outside of the pipes that grain was impossible to find, and I’m pretty sure that most of the pipes started with a button. “I’ll do it,” I said.


 Dave loved his Pap, and really wanted these pipes in good working order. I really wanted to be the guy to make that happen for Dave.
“He said, ‘Son I’ve made a life out of readin’ people’s faces, knowin’ what the cards were by the way they held their eyes…”
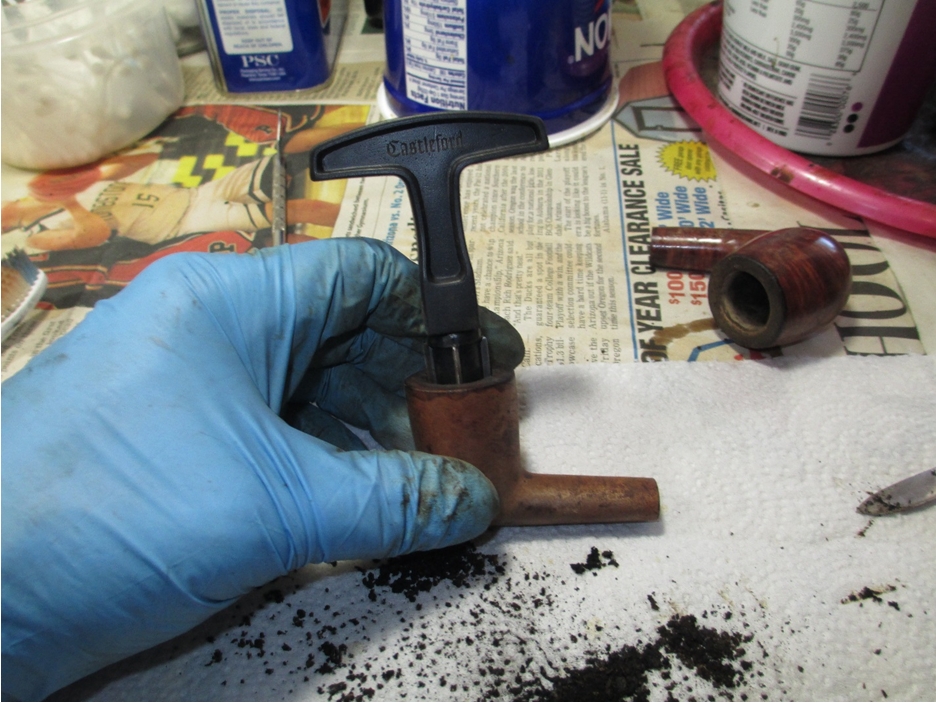
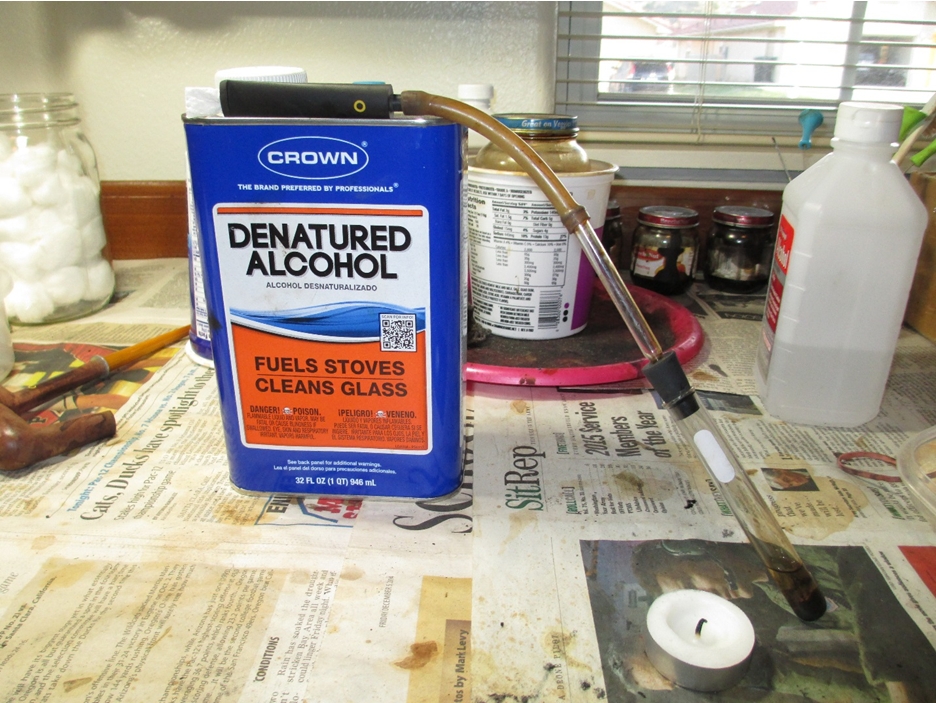
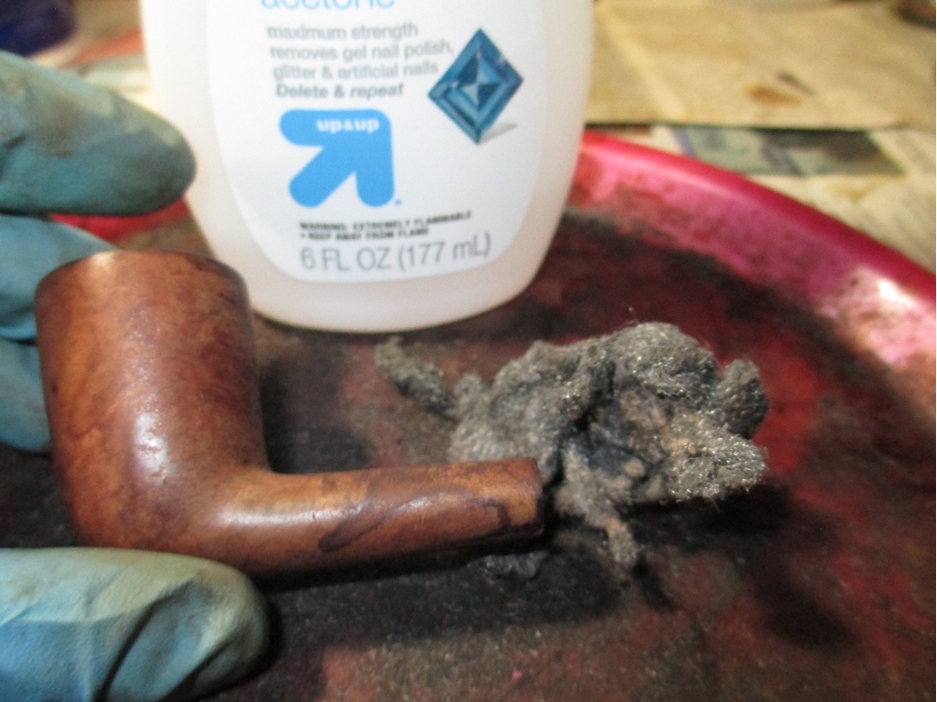
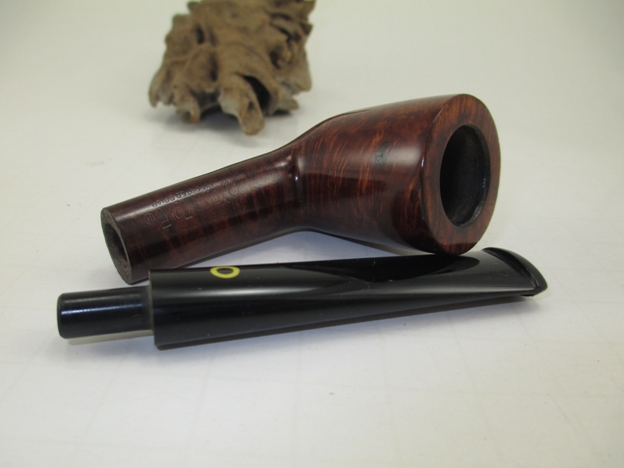
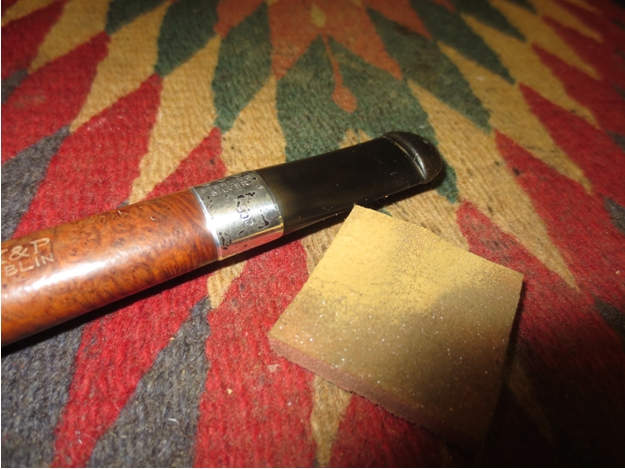
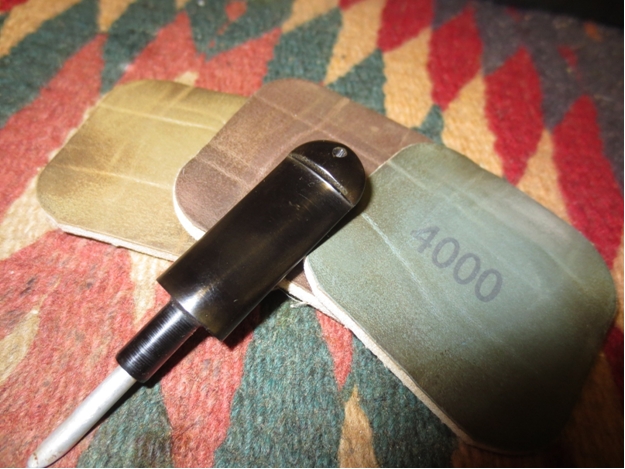
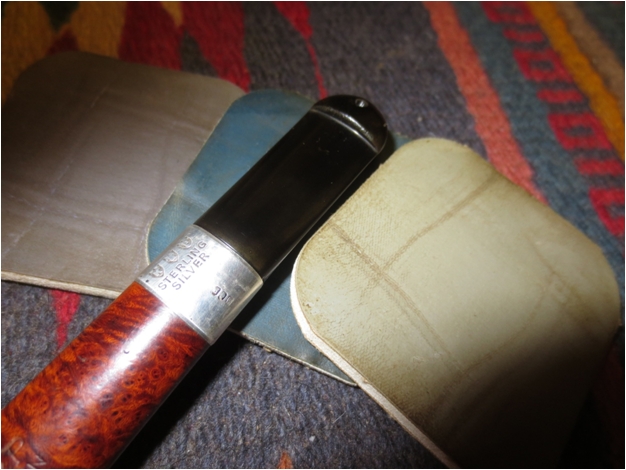
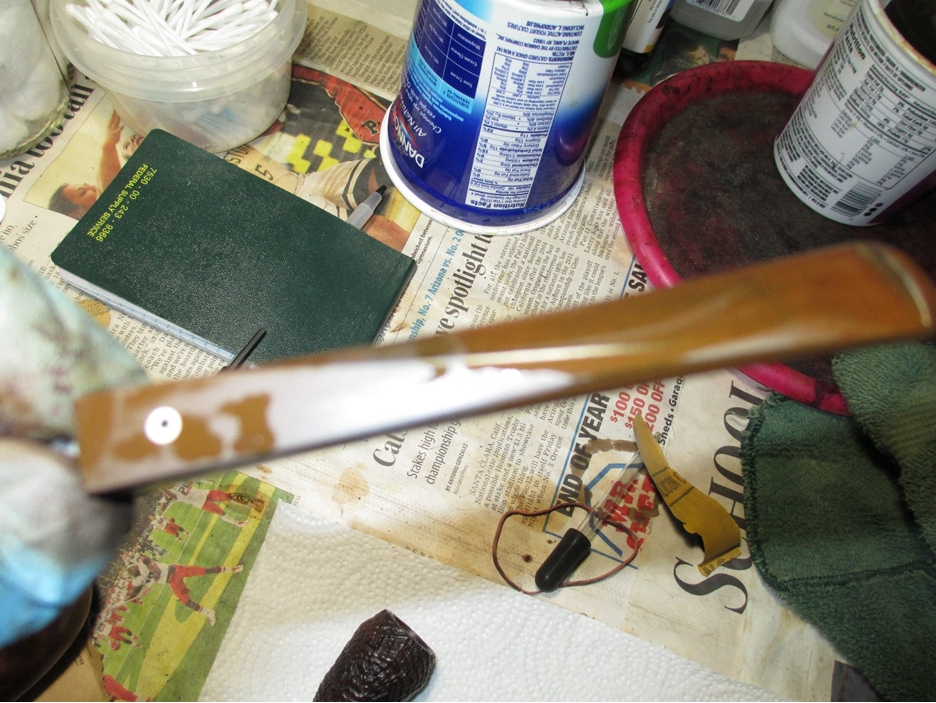
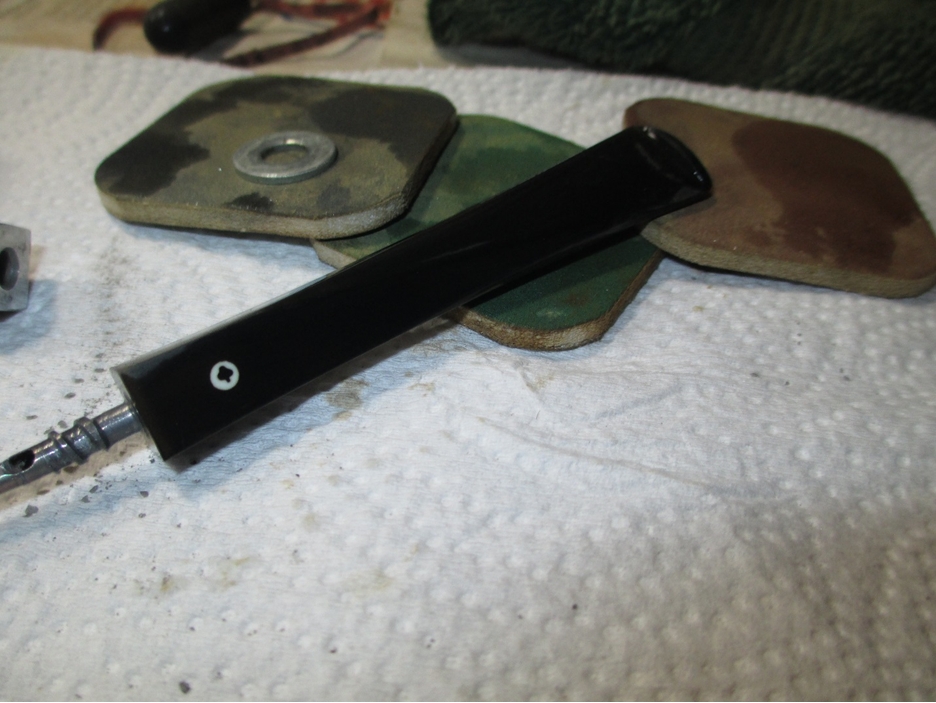
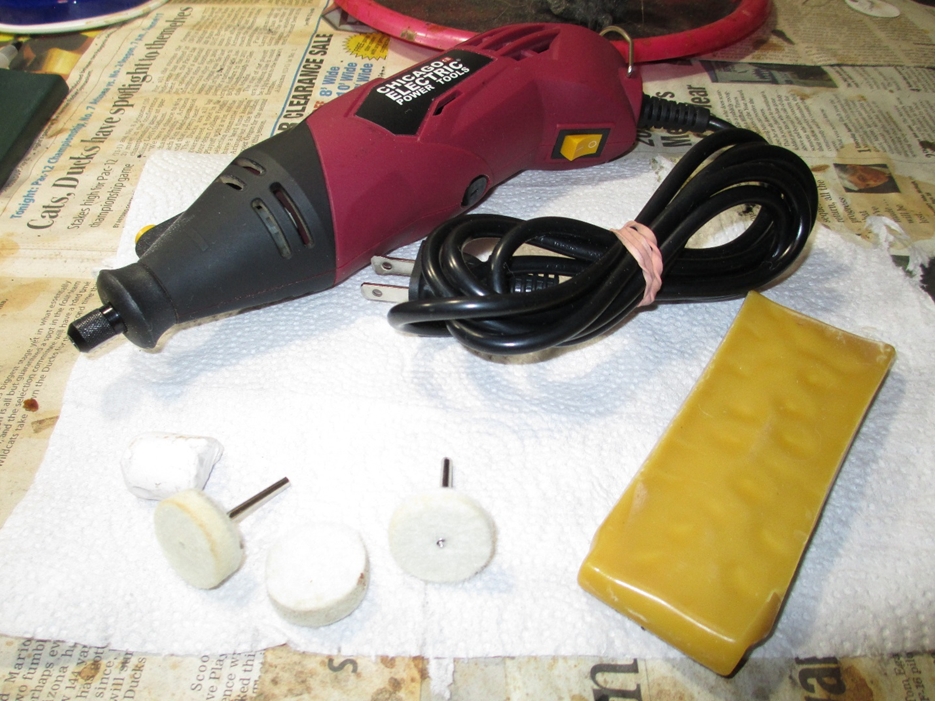
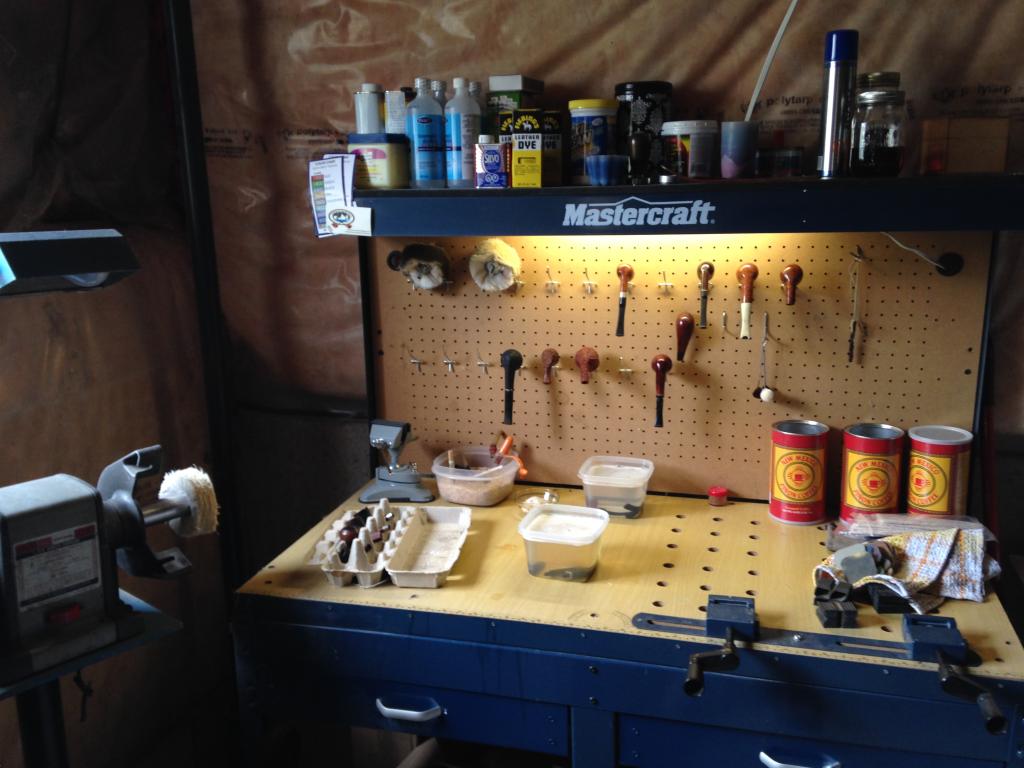
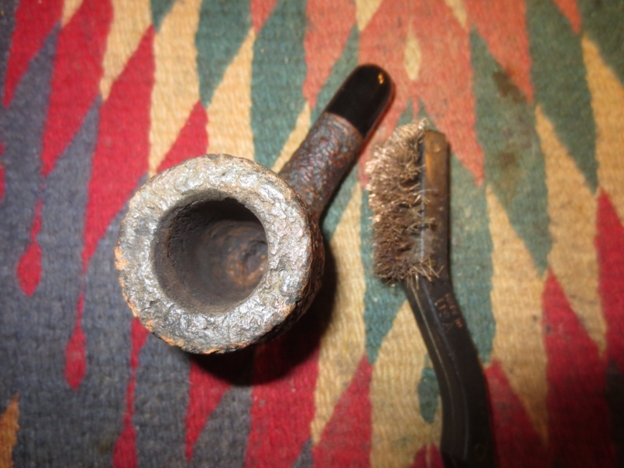
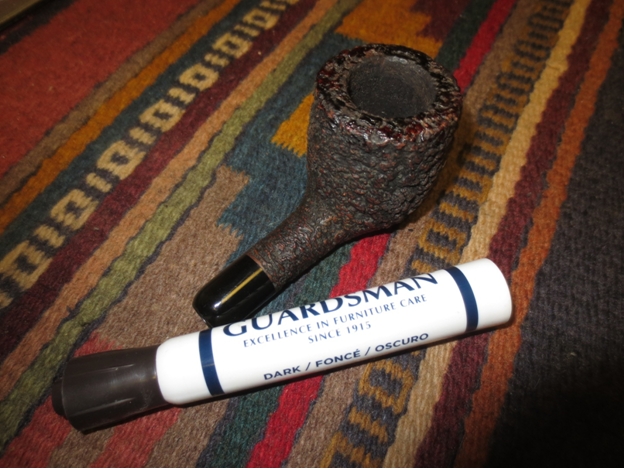
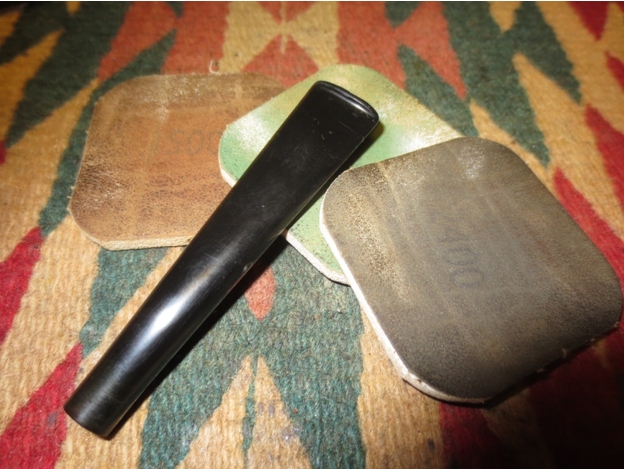
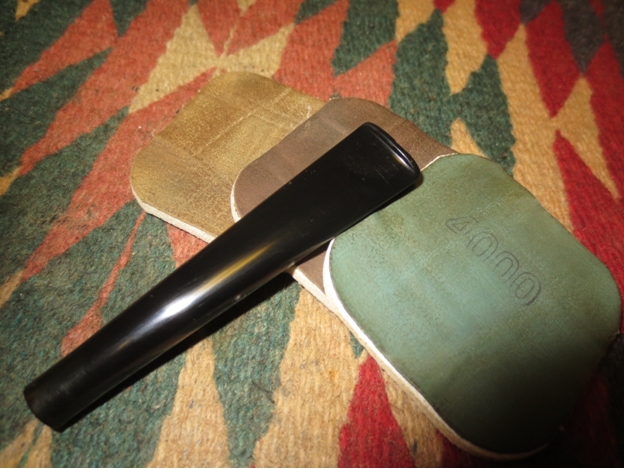
Estate pipes tell you a lot about what can, and can’t, be done to them if you know where and how to look. The first thing I do when I’m cleaning up a pipe is to soak the stems in an Oxyclean bath while I ream the tobacco chamber and then do a surface clean of the rim and stummel. This, generally, lets me investigate the pipe well enough to know what kind of work the resto of it is going to need to get the pipe back into a smoking rotation. I have limits to my skill, some of which I’ll press so I can learn new skills, but never will I do this with pipes that aren’t mine. I sure as hell wasn’t going to go beyond my skill level with Pap’s pipes.


 “And the night got deathly quiet, and his face lost all expression. He said, ‘If you’re gonna play the game boy, you gotta learn to play it right…”
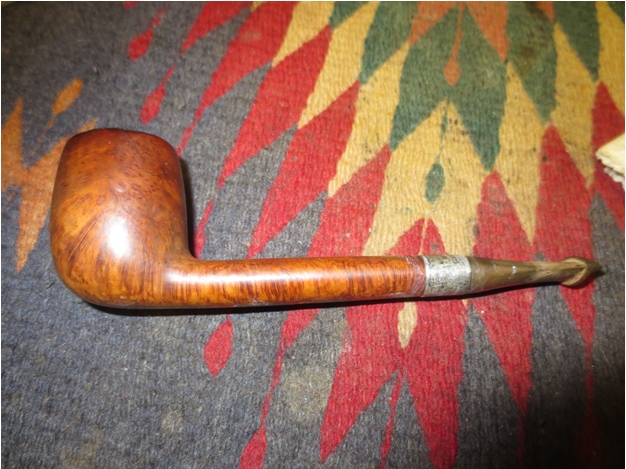
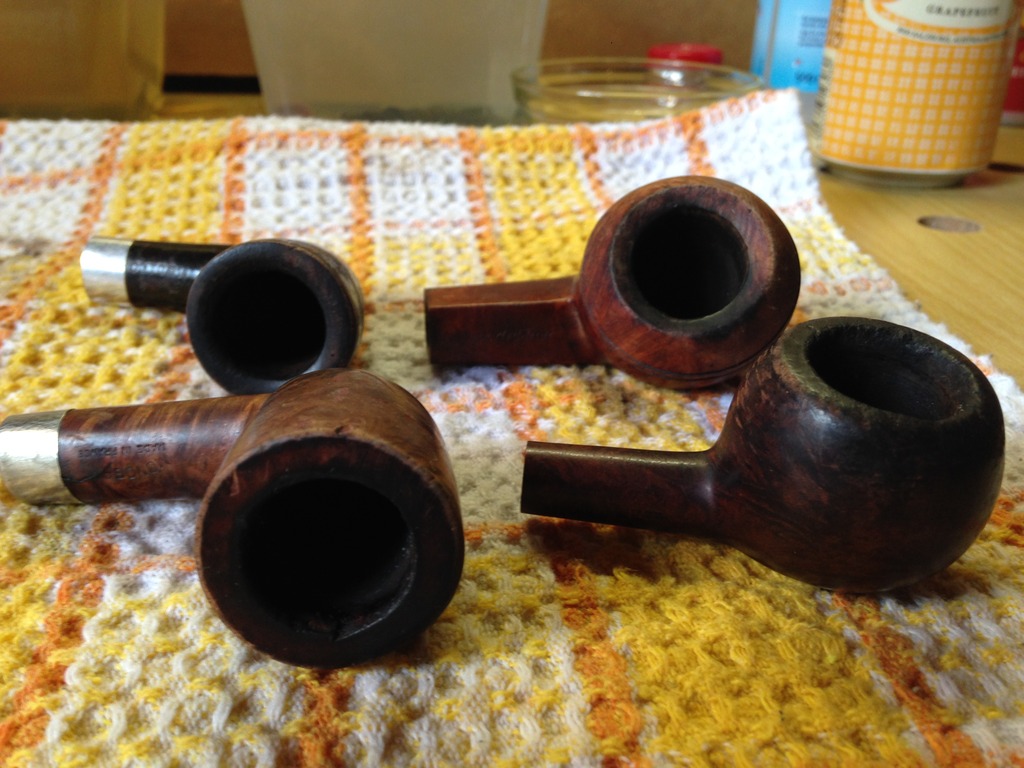
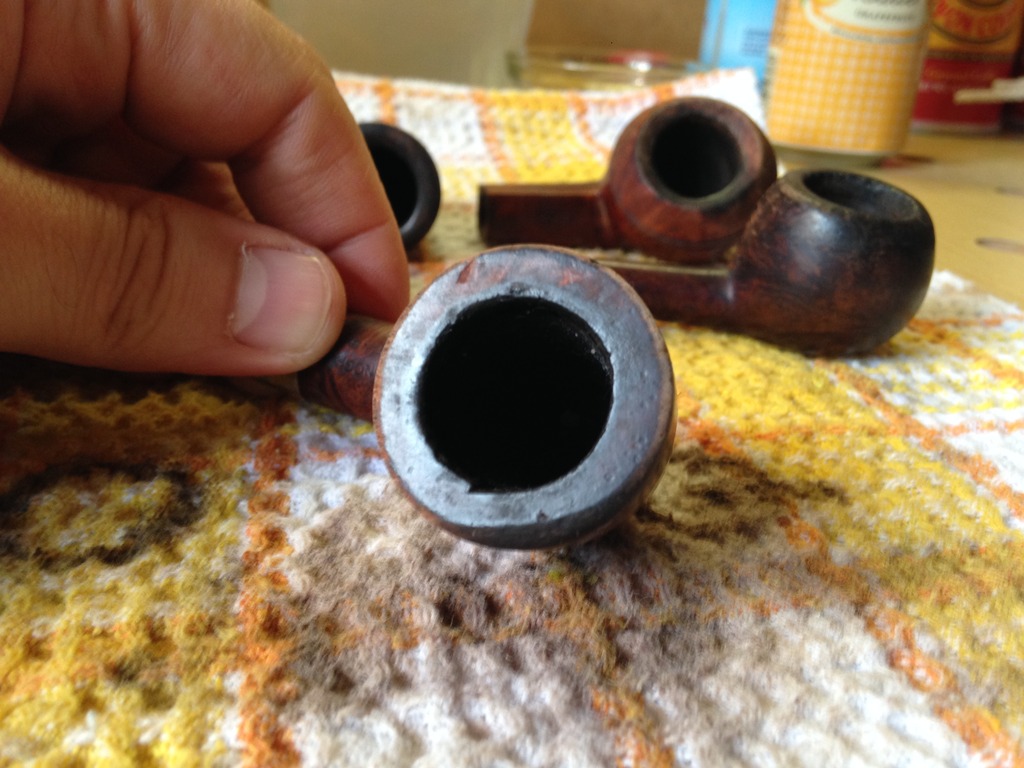
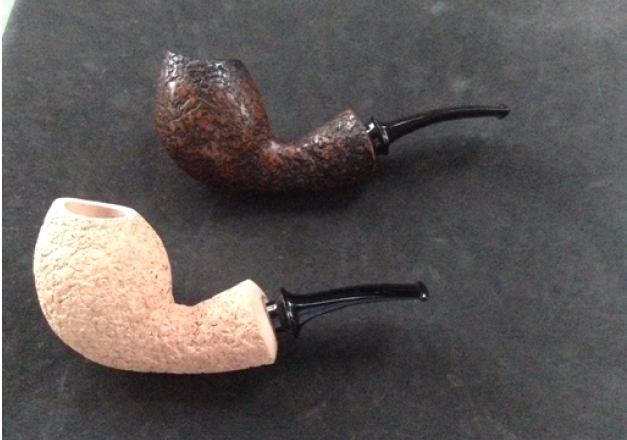
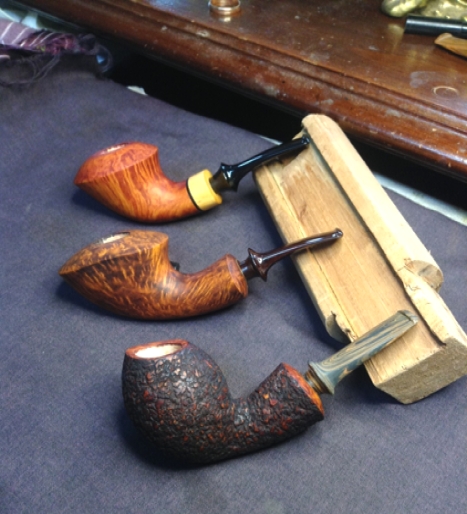
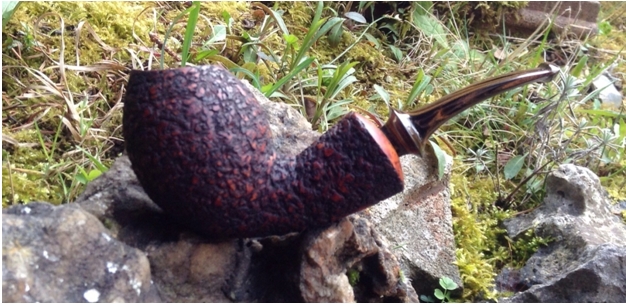
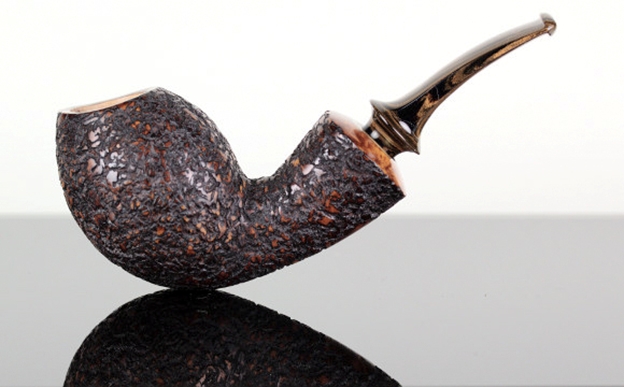
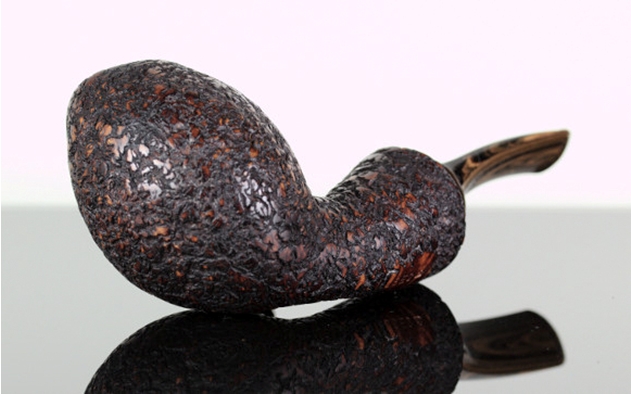
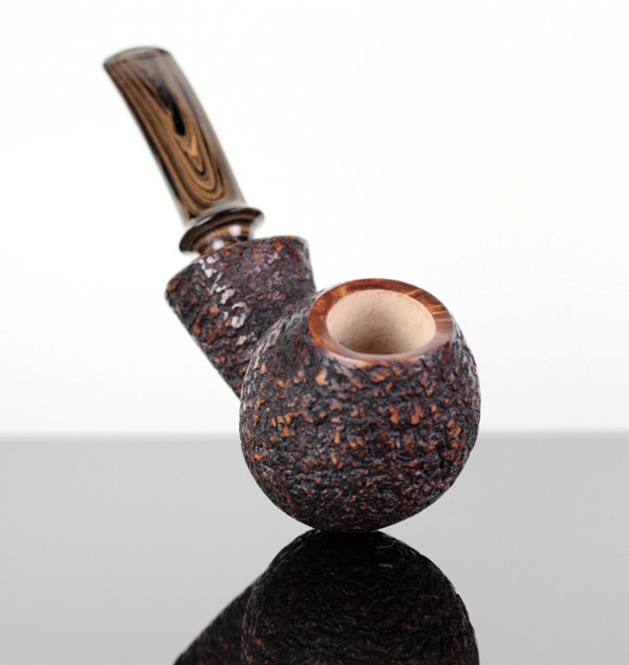
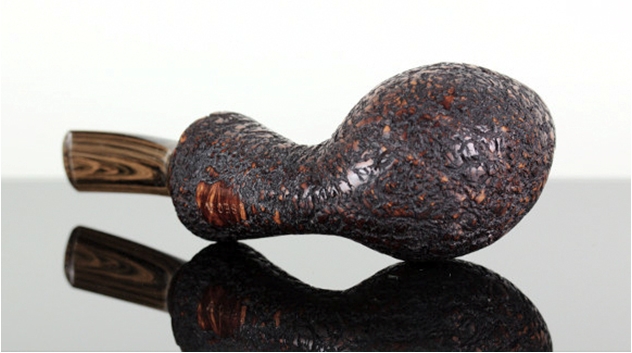
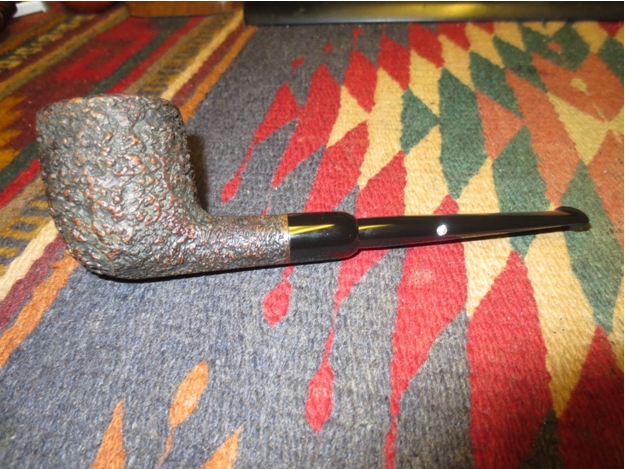
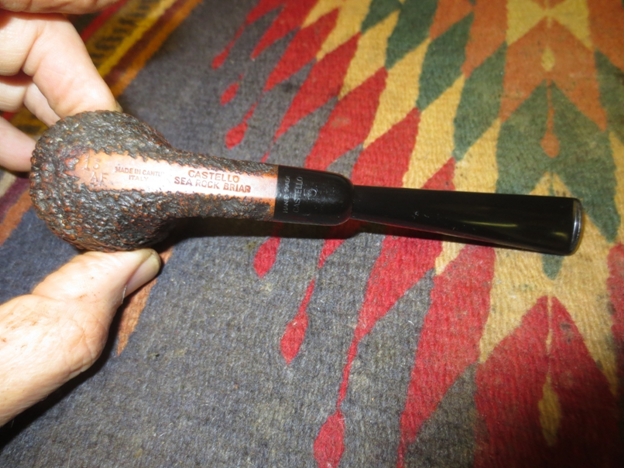
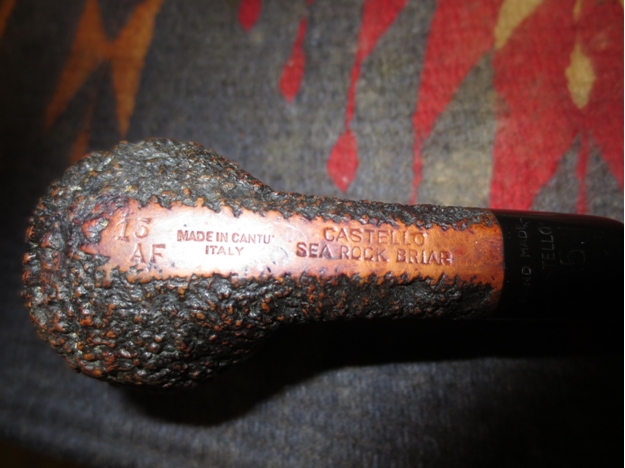
Did you see what I saw when I was cleaning those pipes? Let me give you a closer look…
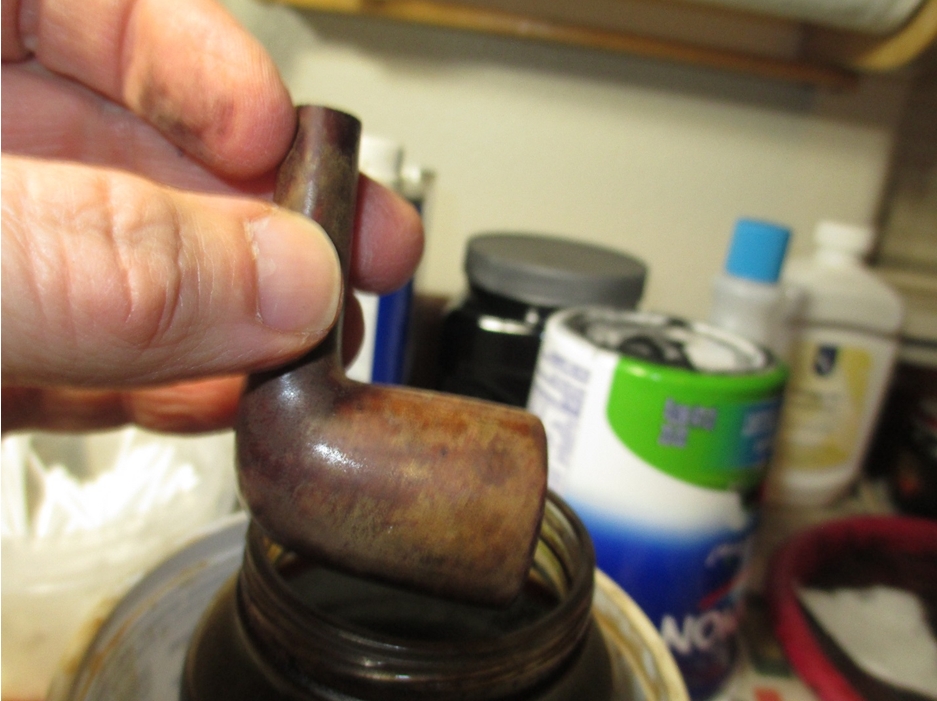
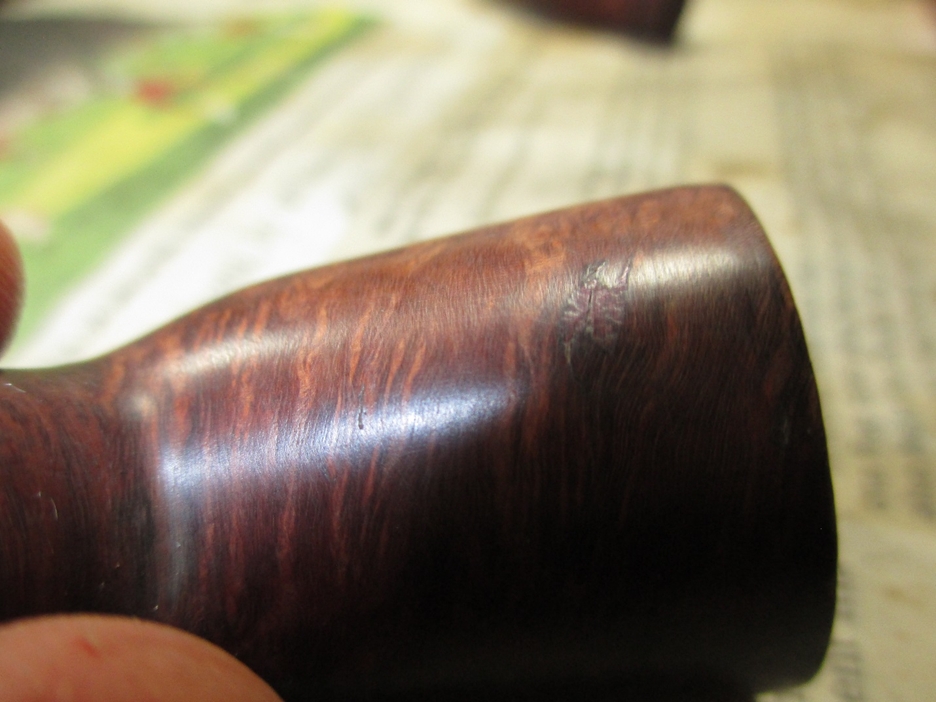
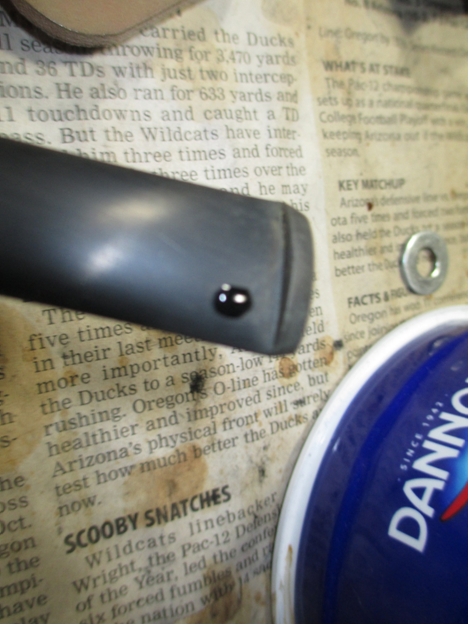
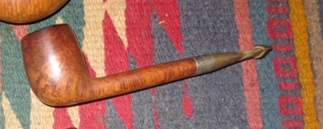
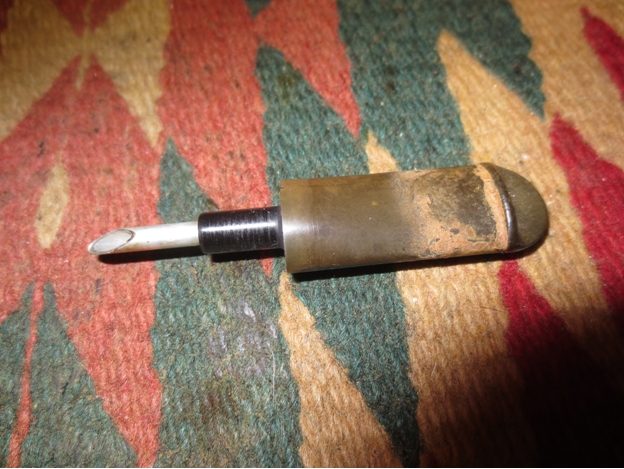
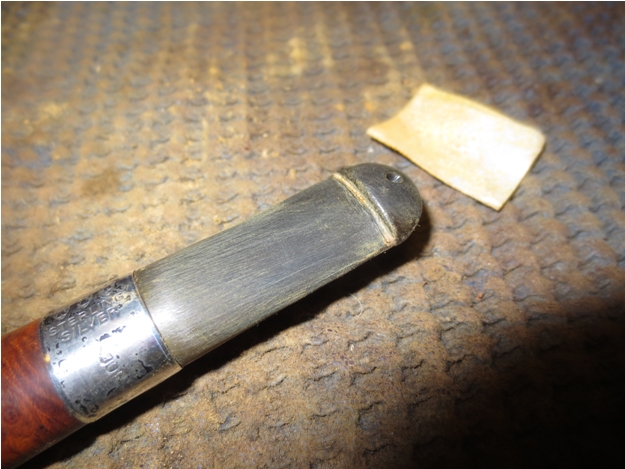
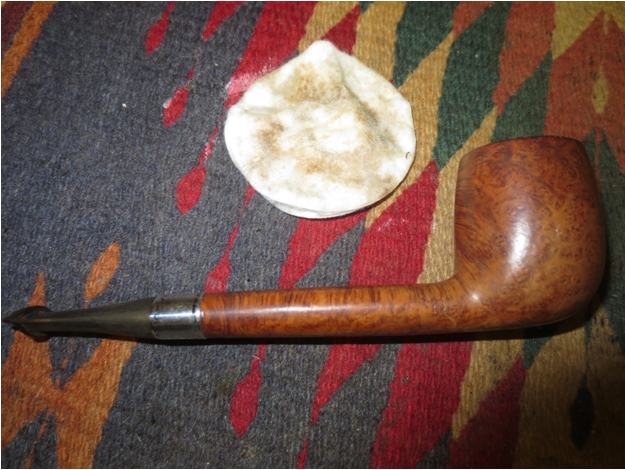
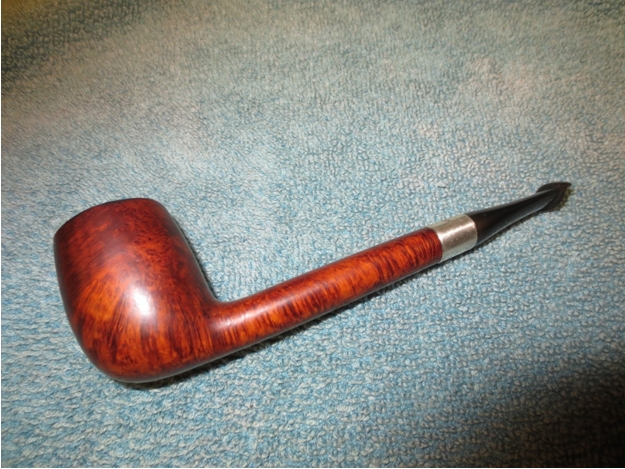
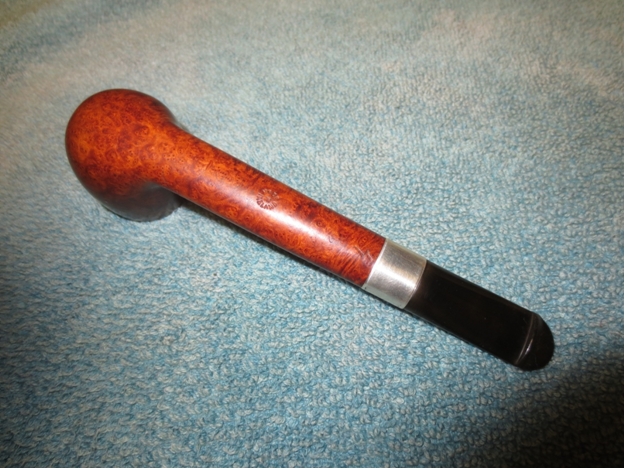
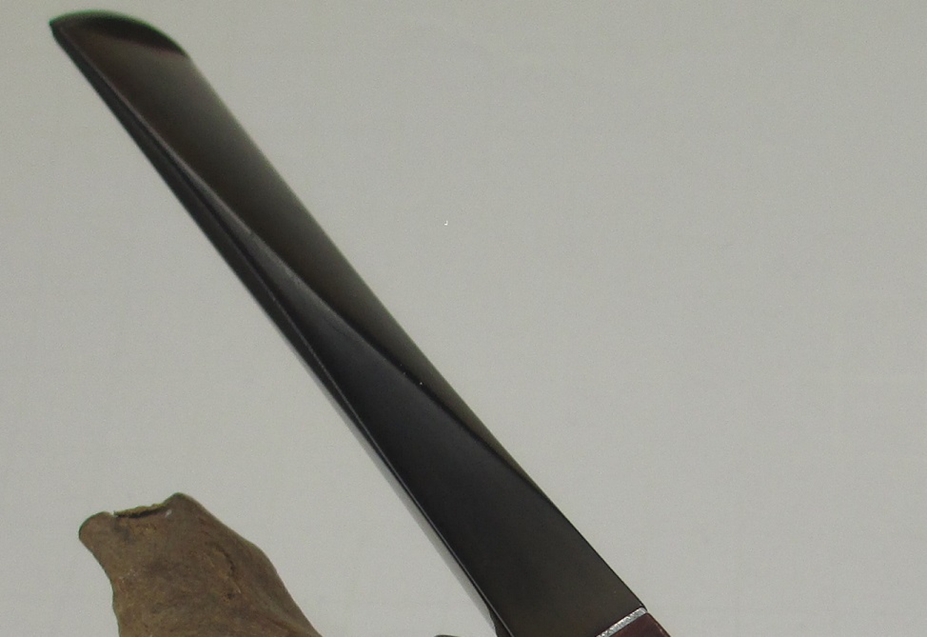
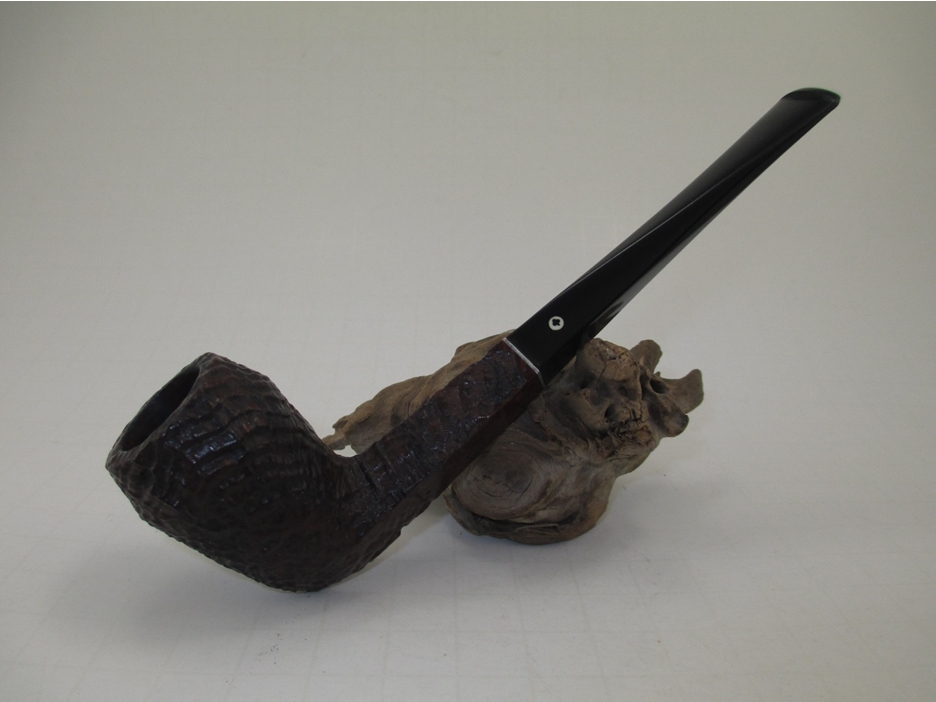
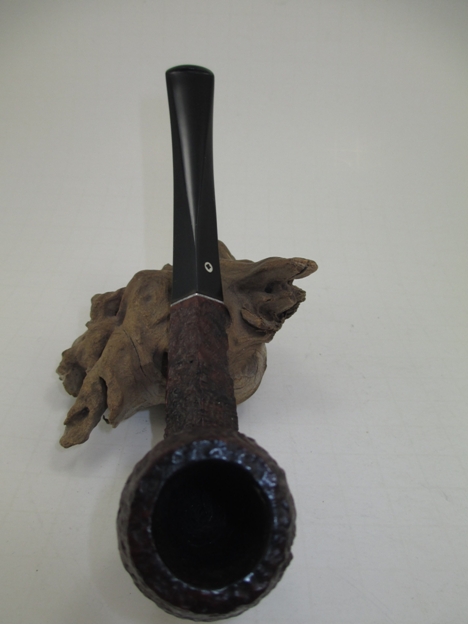
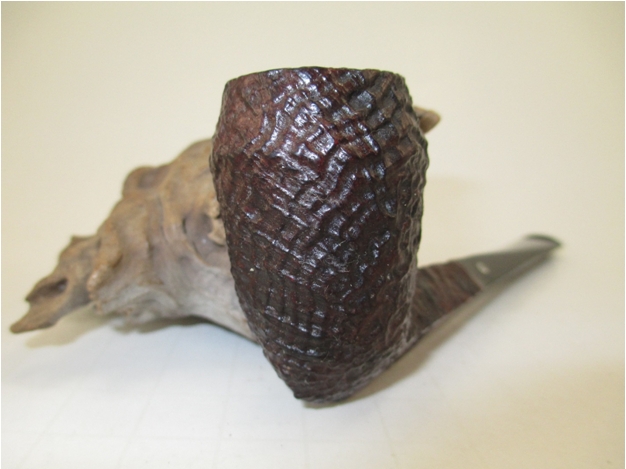
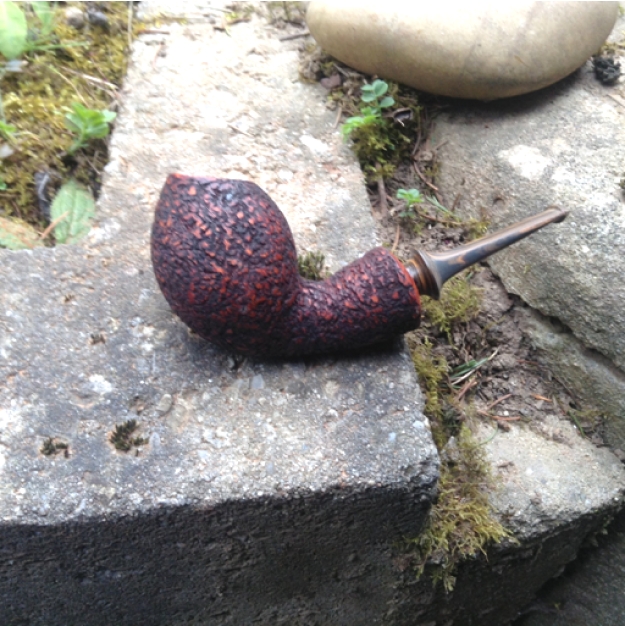
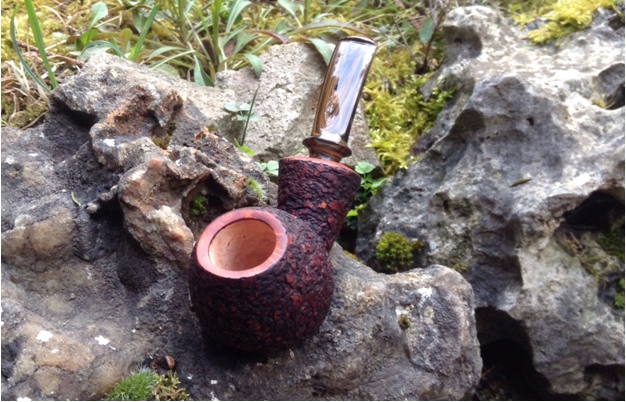
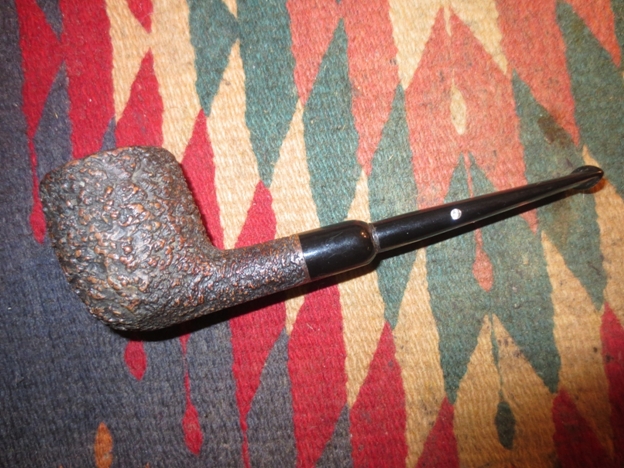
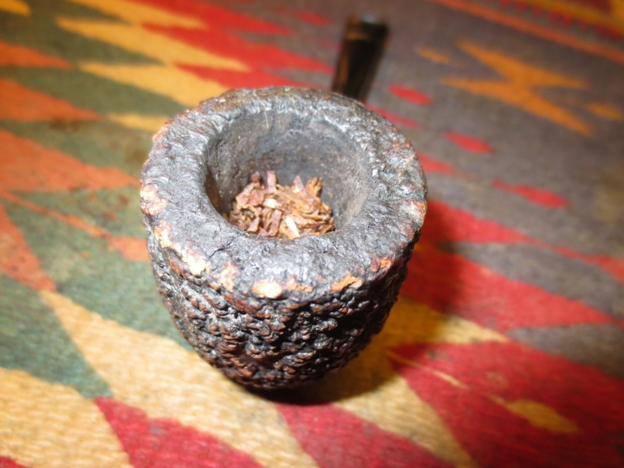
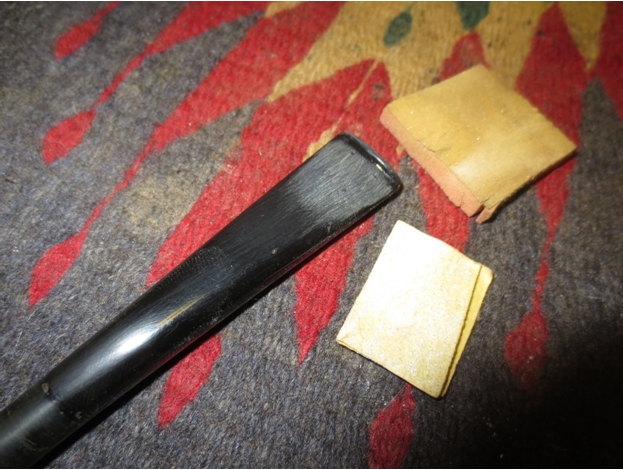
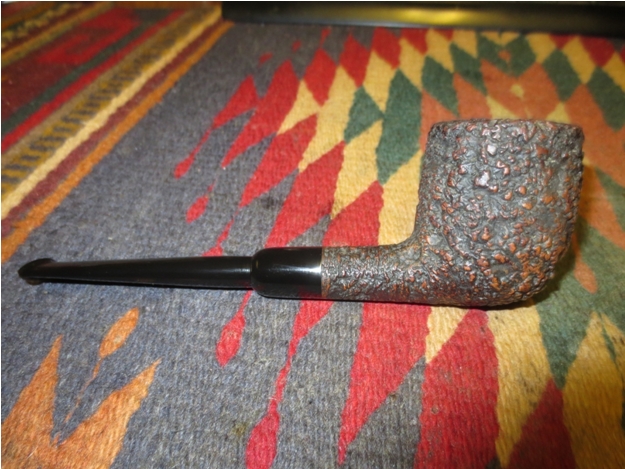
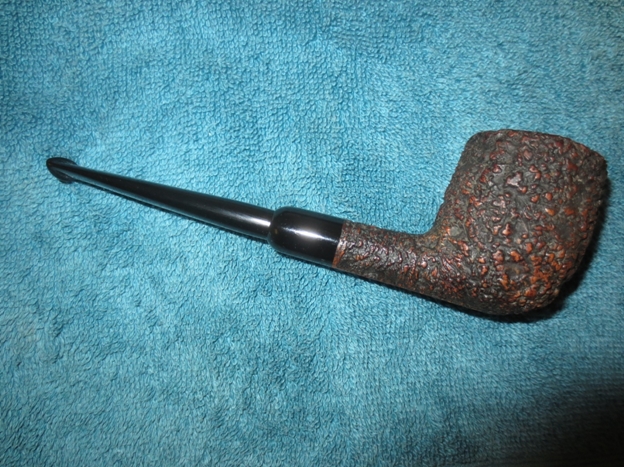
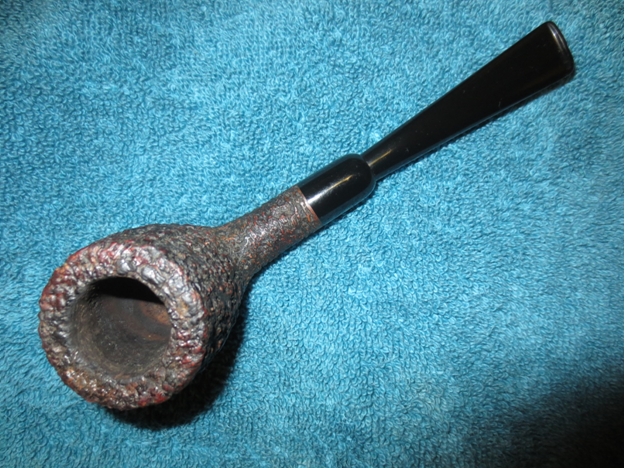
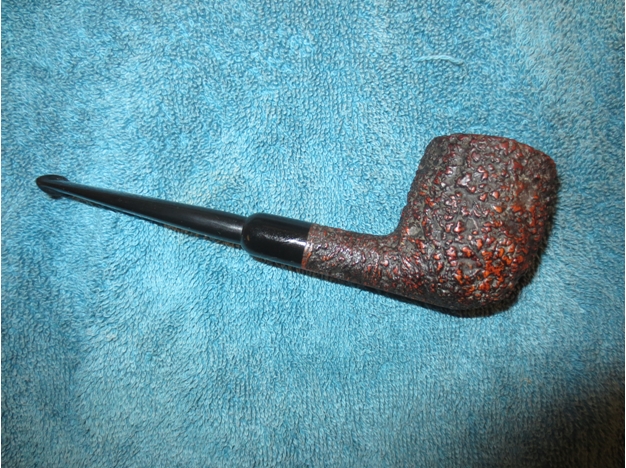
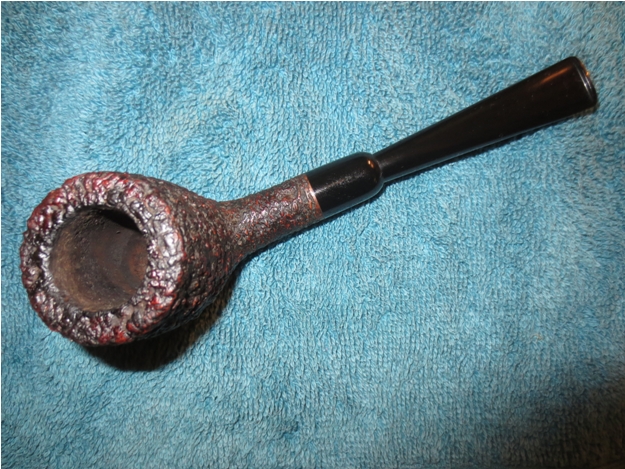
Reamed out of round, with a nasty gouge. That wasn’t me… that looks to me like a pocket knife. Rim badly gouged from knocking out on… life. And the coup de grace… a bad split on the top of the shank.
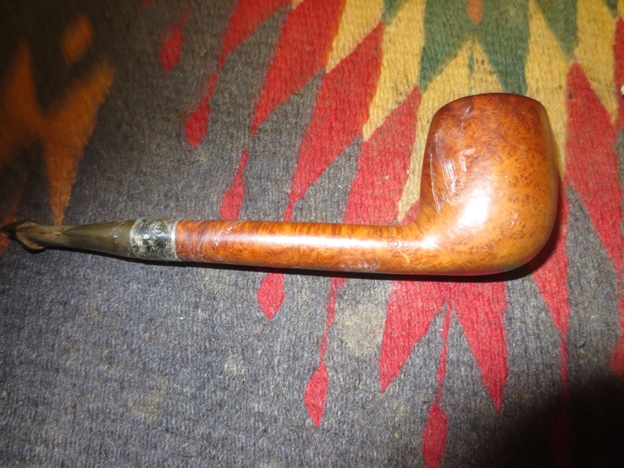
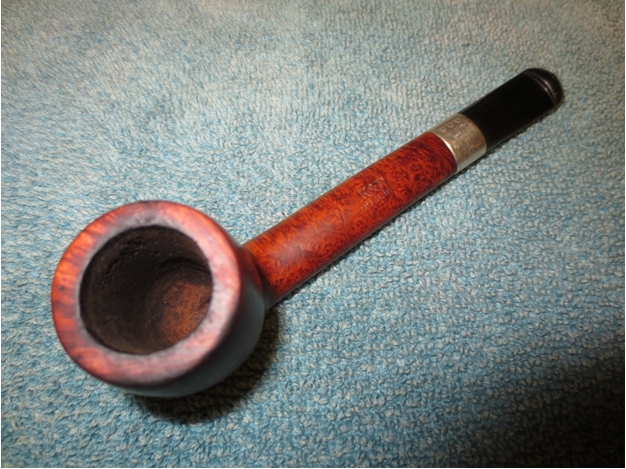
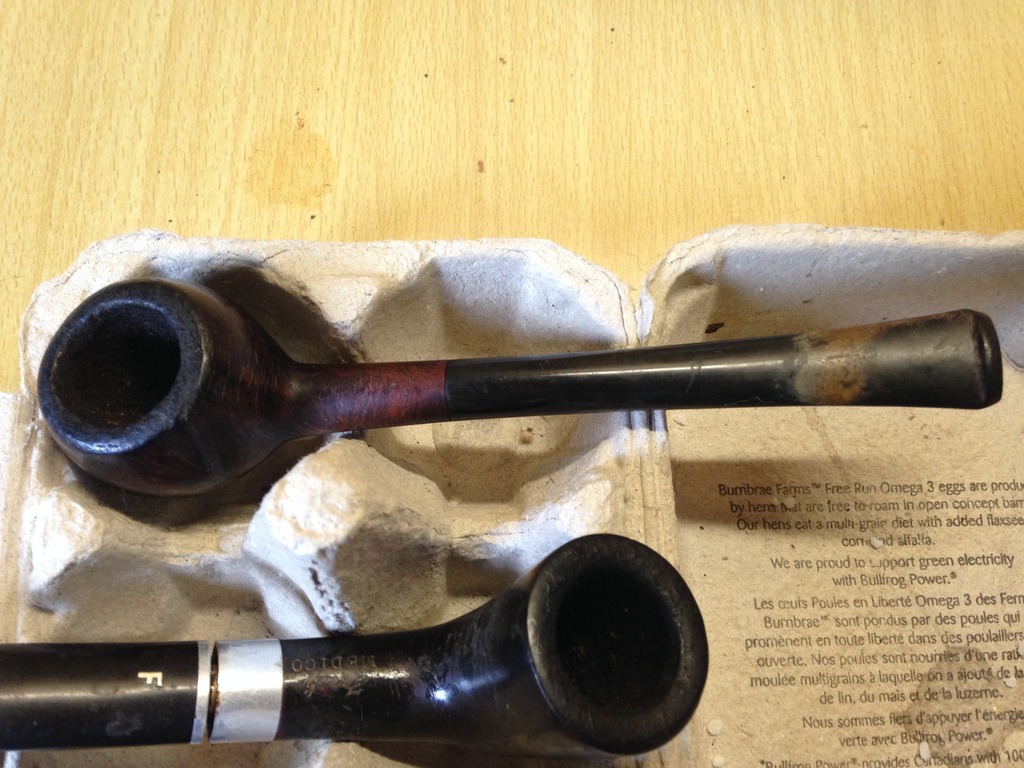
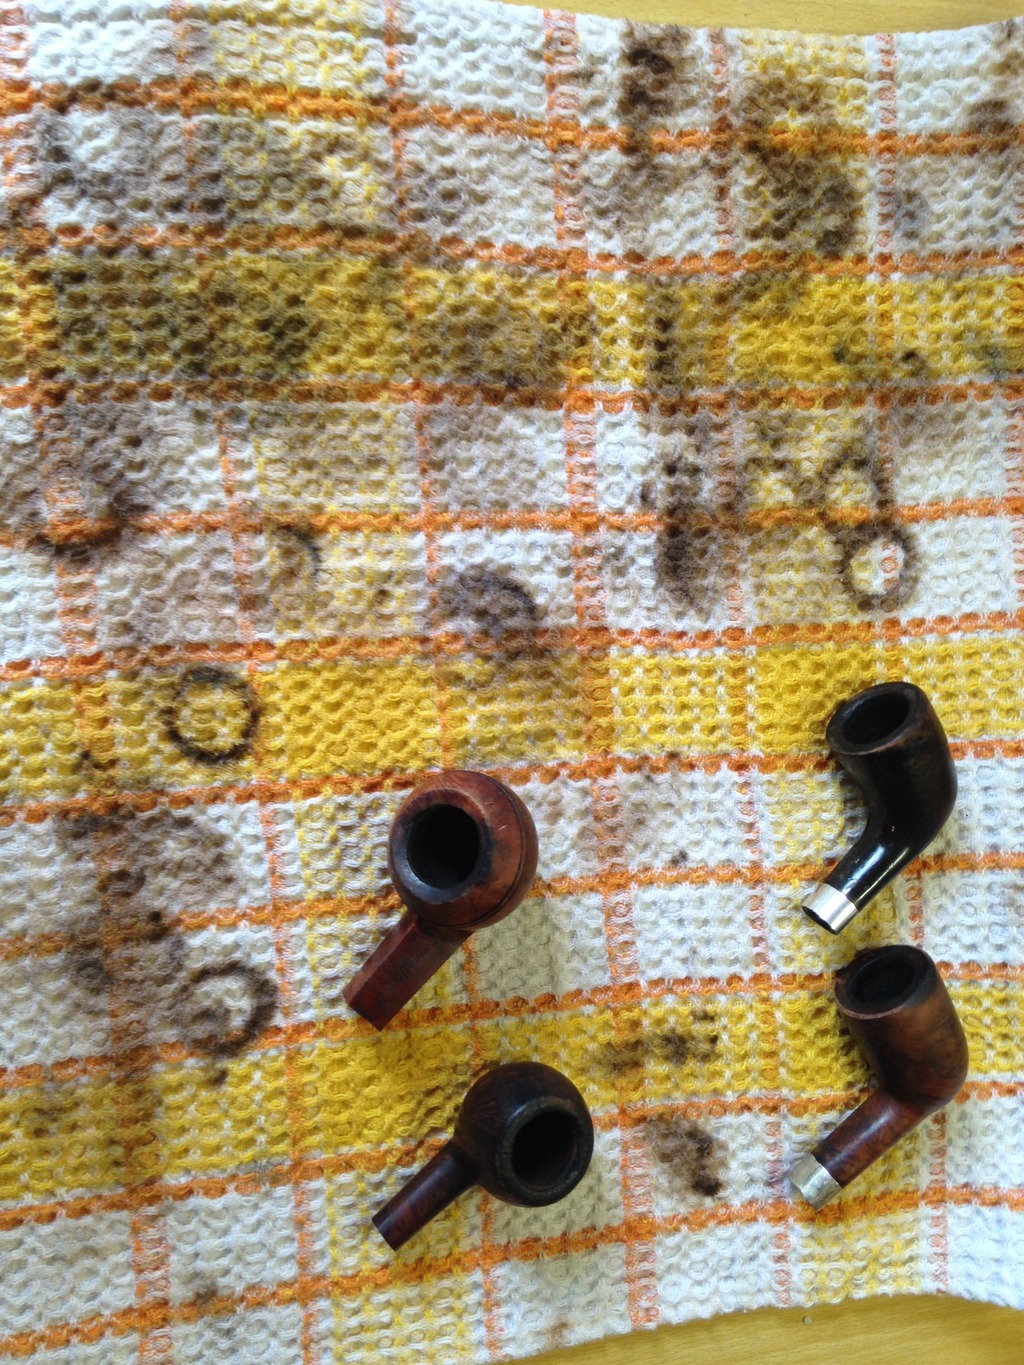
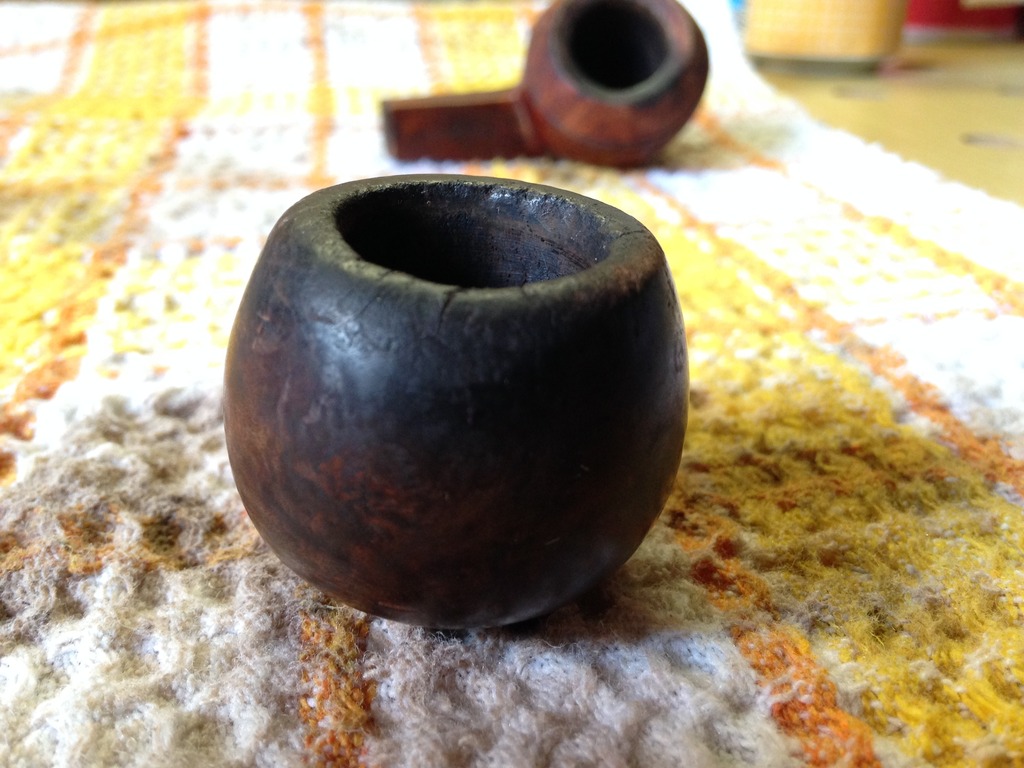
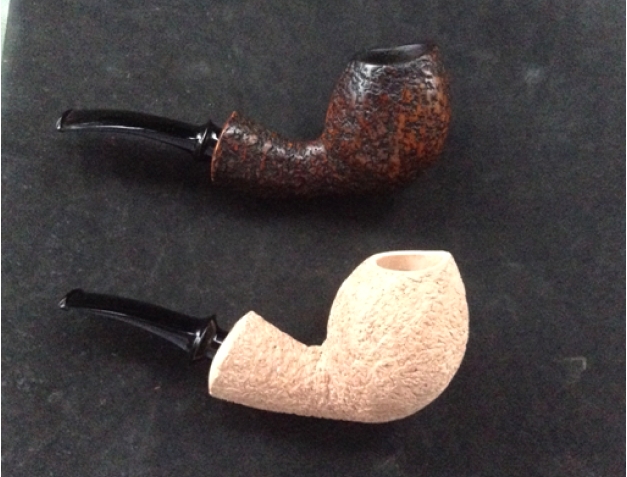
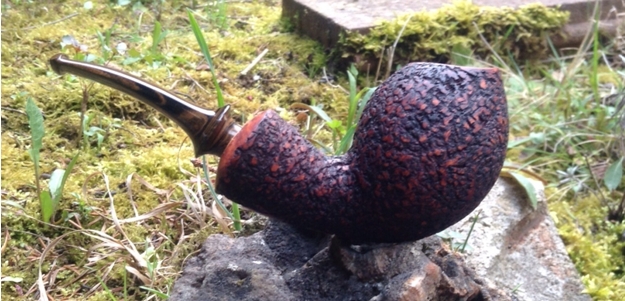
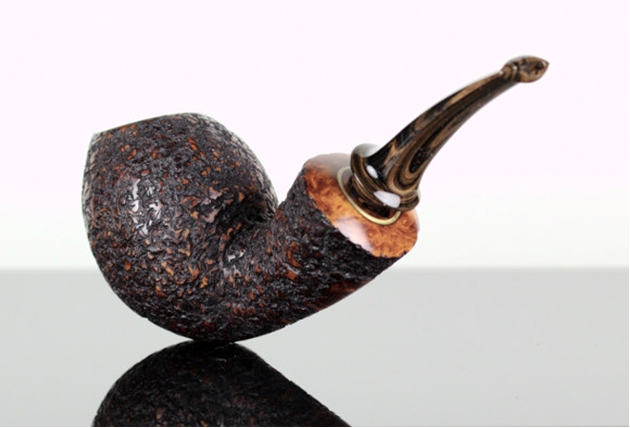
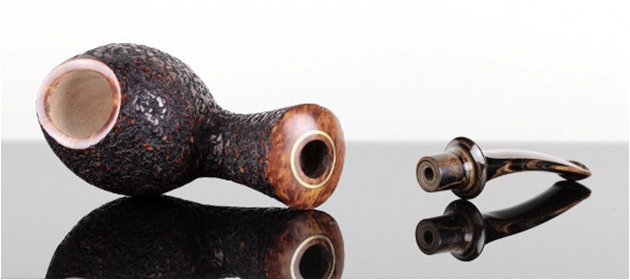
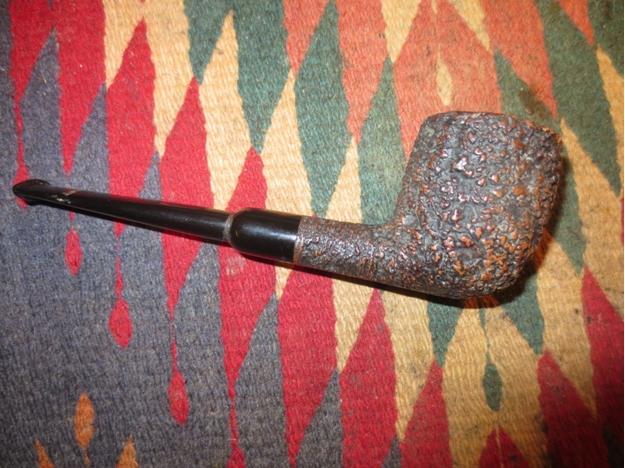
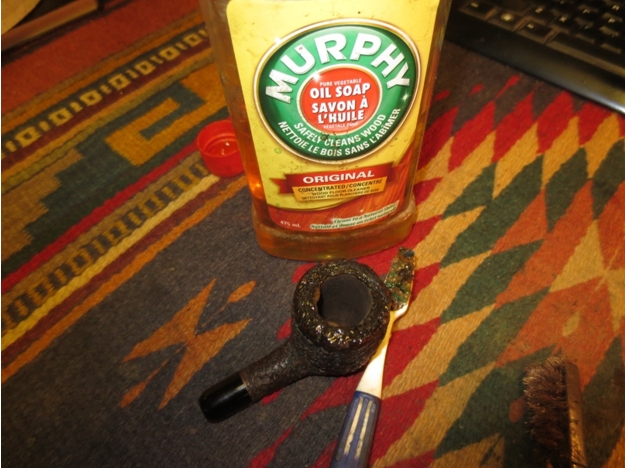
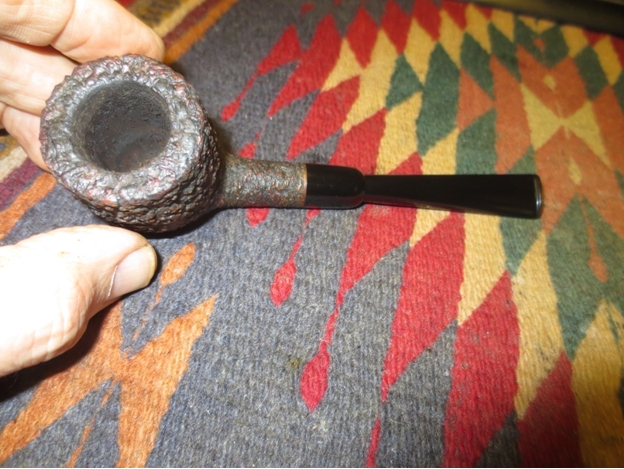
 Rim charring doesn’t cover it, this is rim charred. Any more smokes without the cake that I’d just removed and this prince was going to be a cinder.
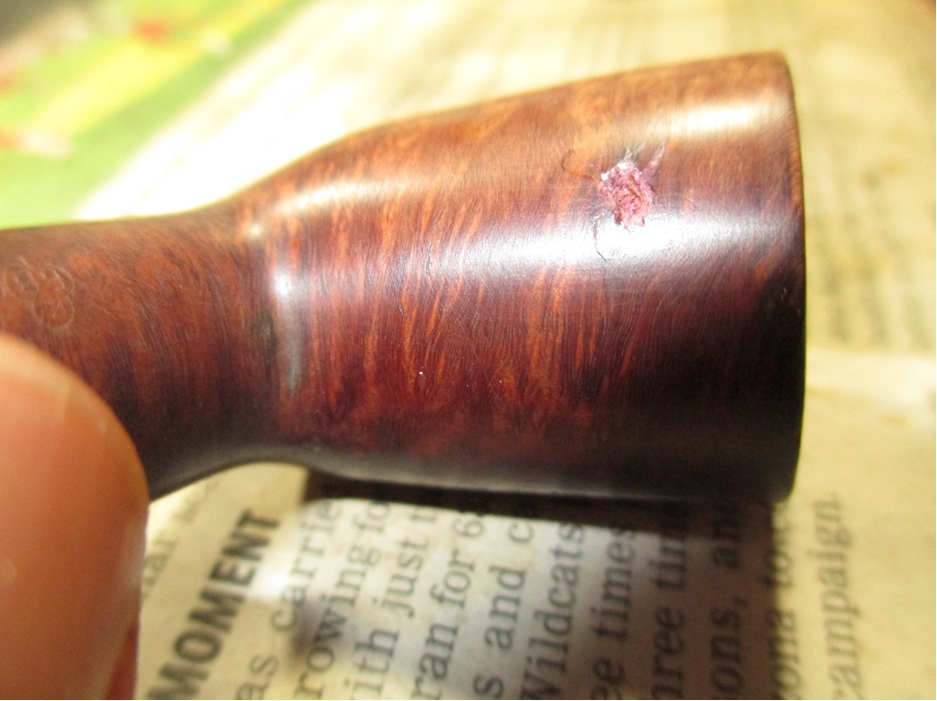
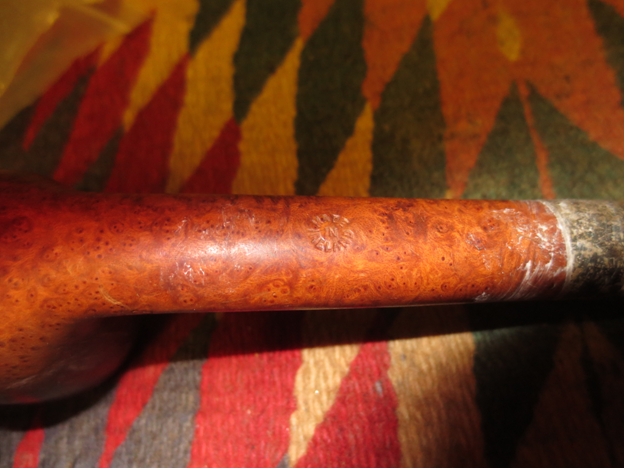
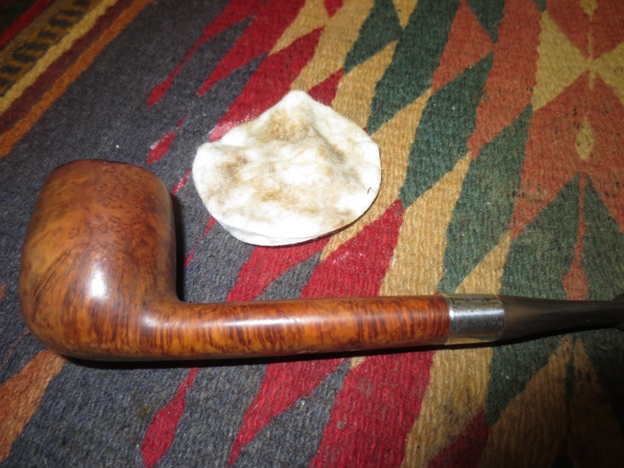
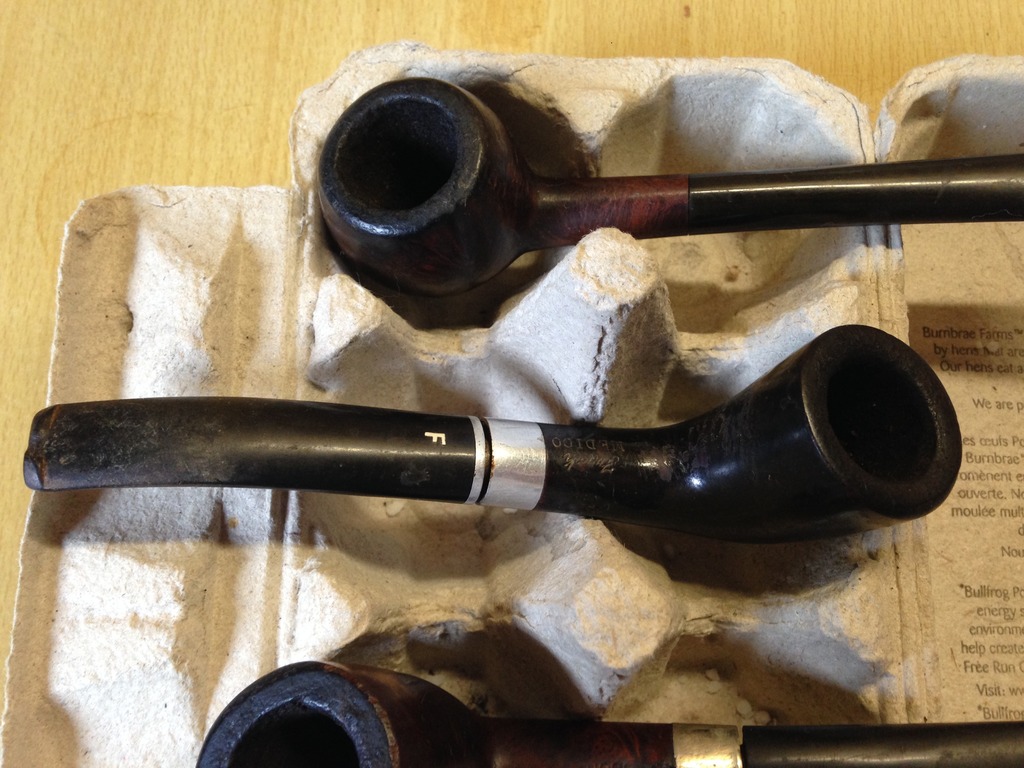
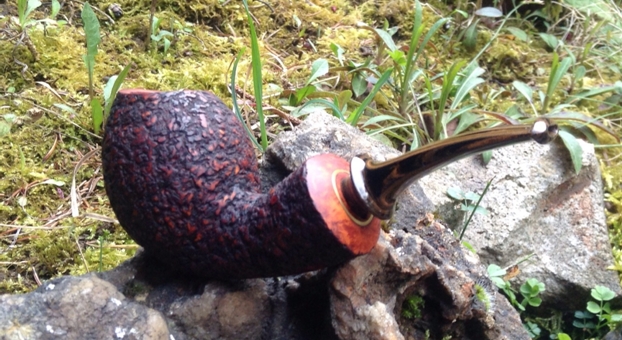
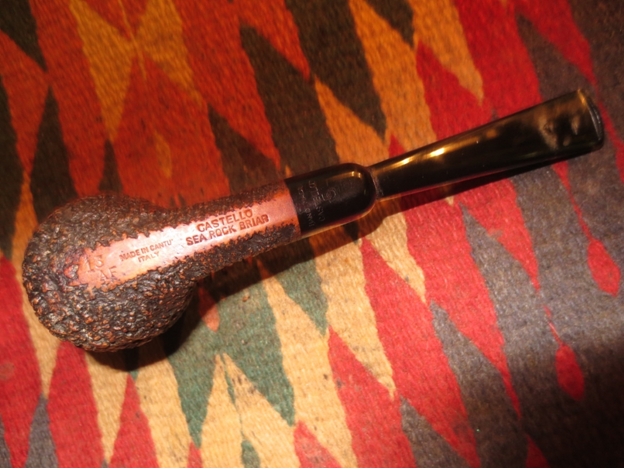
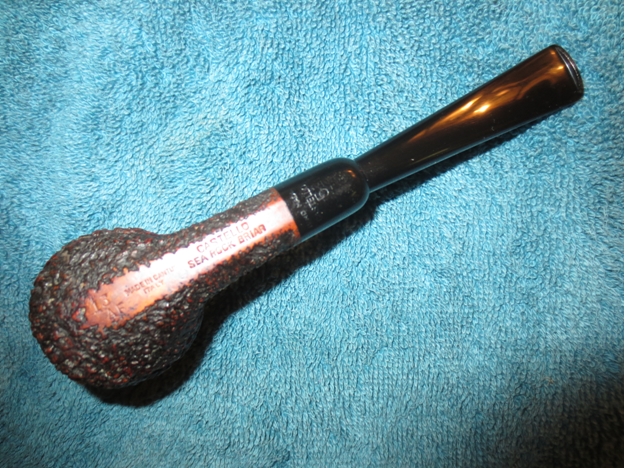
 Fills the size of Manhattan… I know, they are cosmetic only, but look closely at what lies in the fill on the second pic.
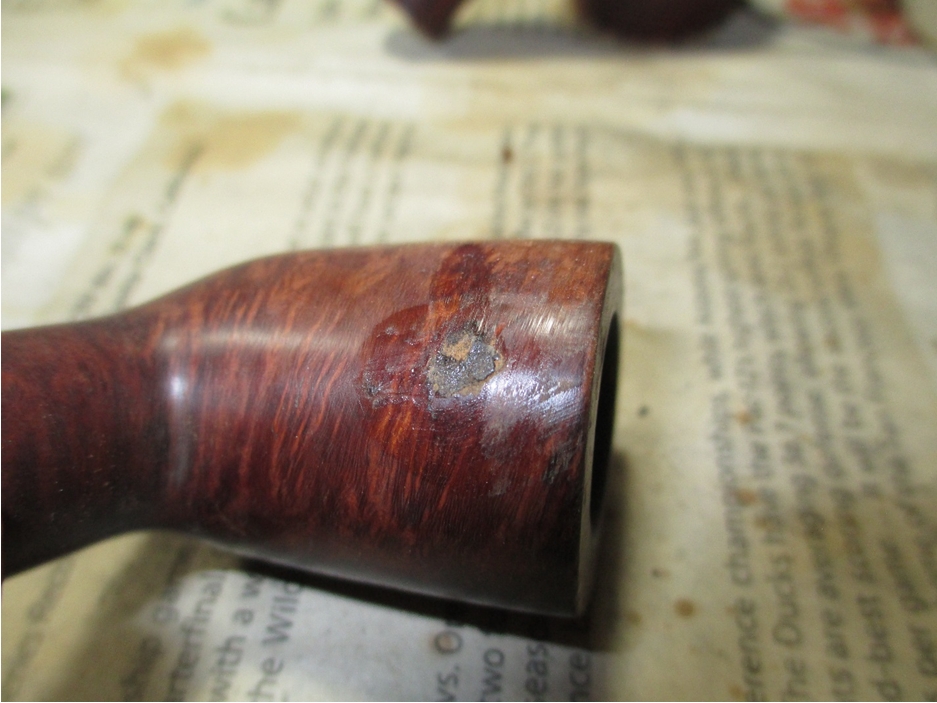
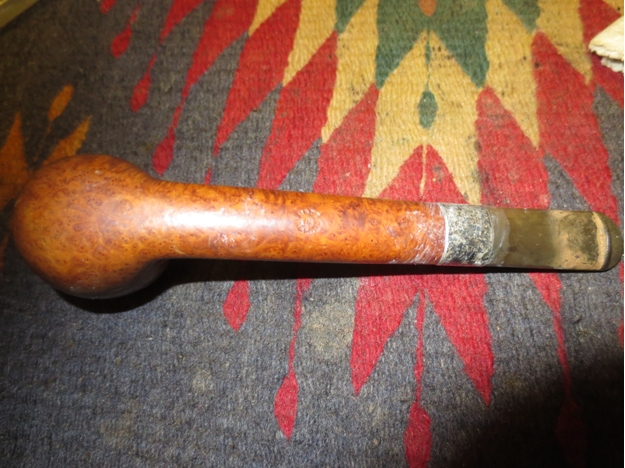
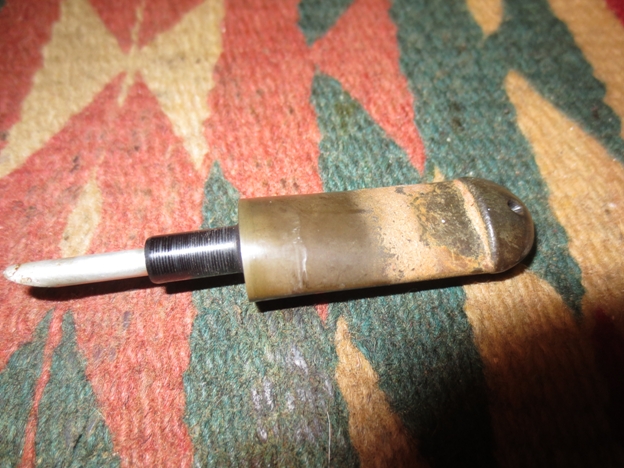
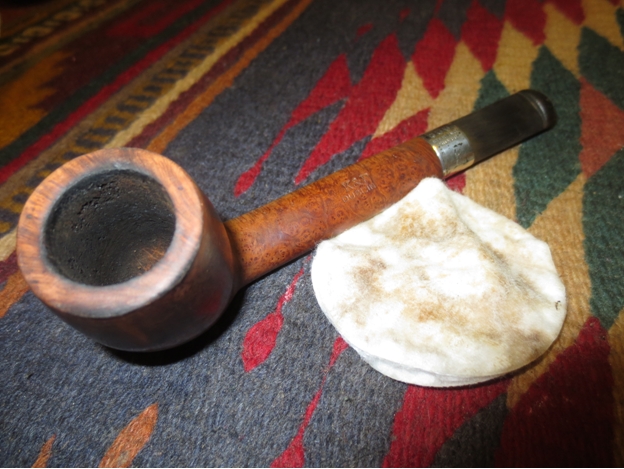
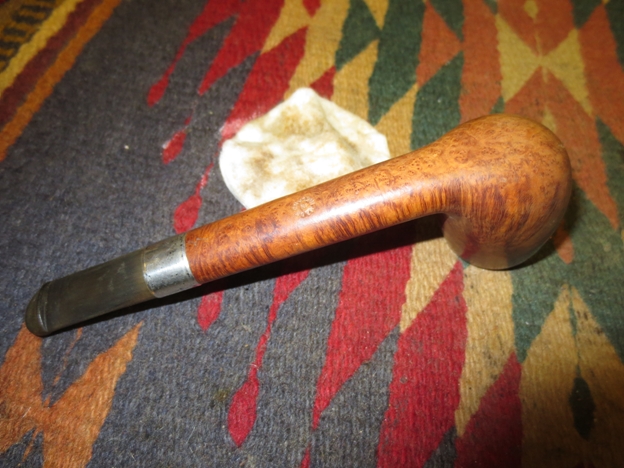
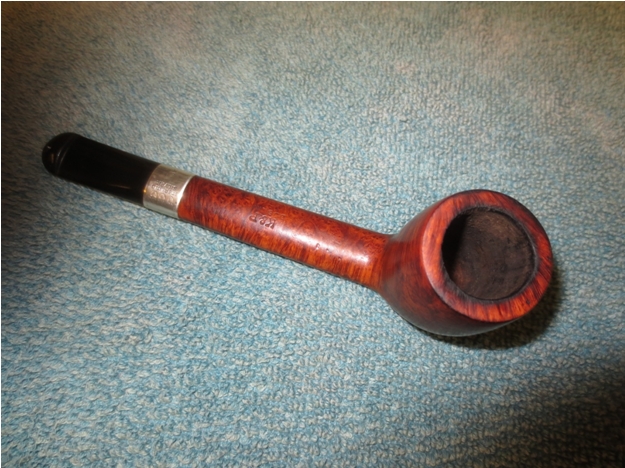
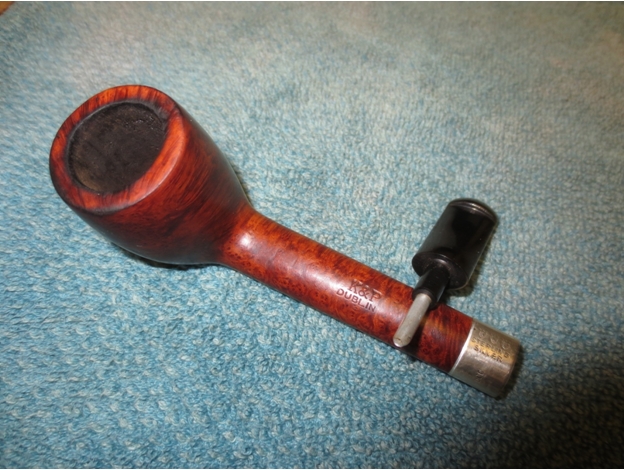
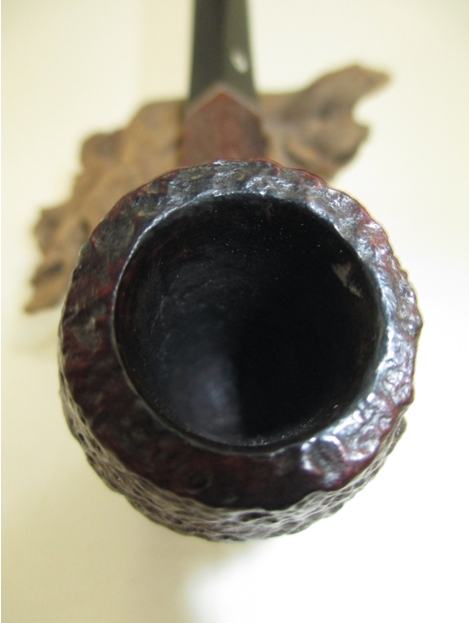
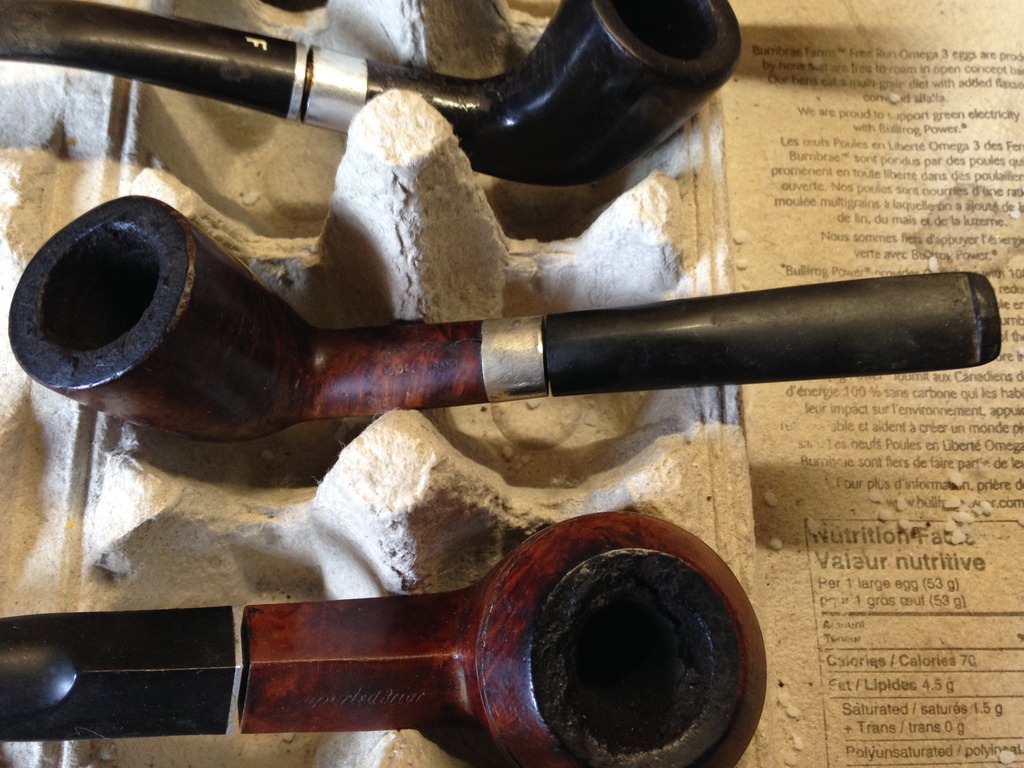
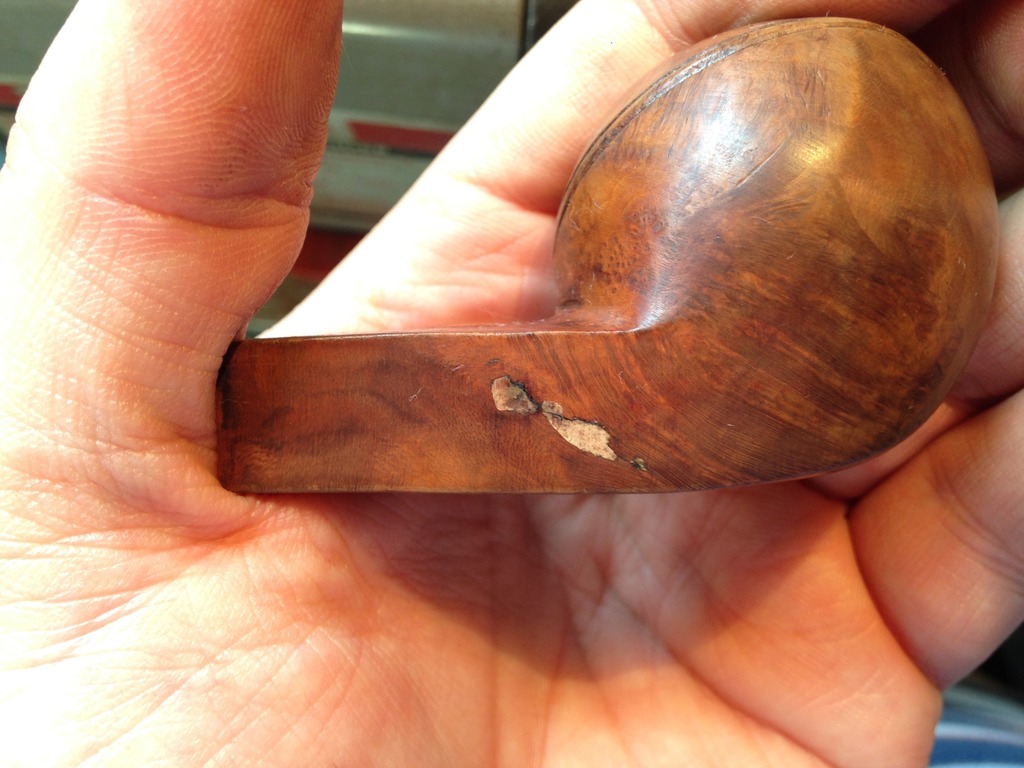
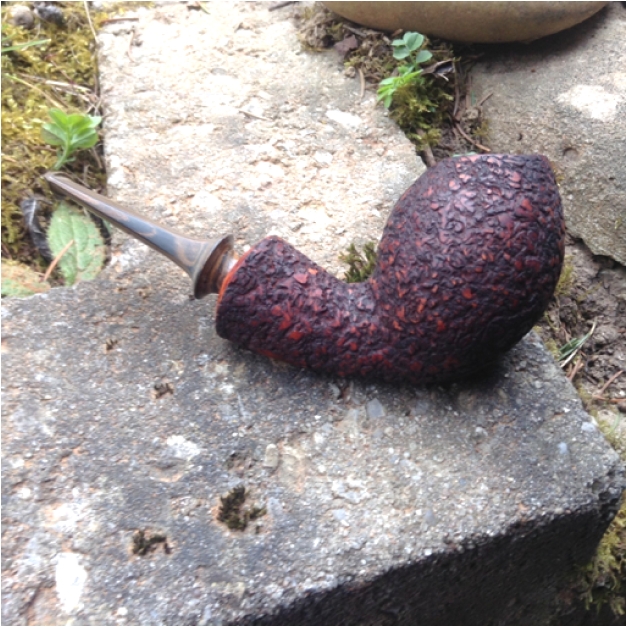
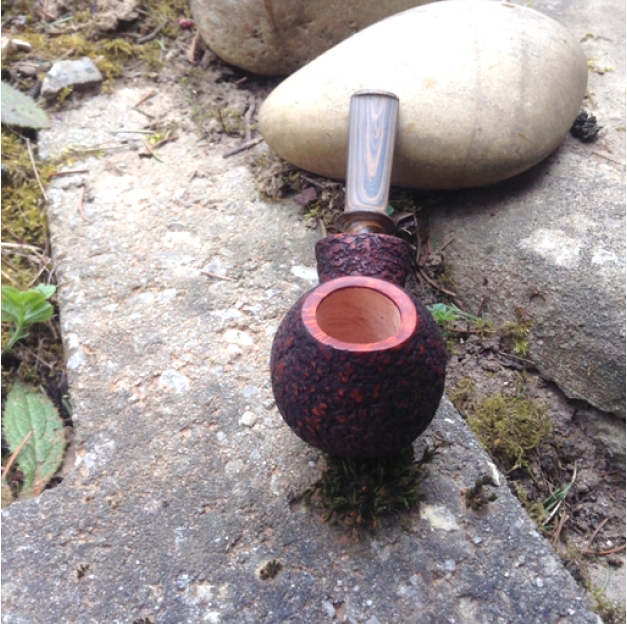
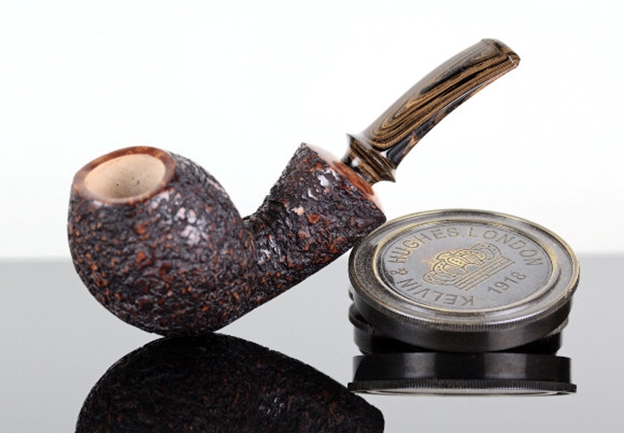
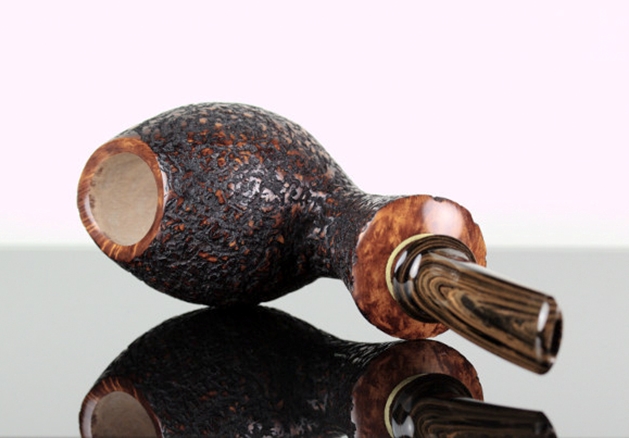
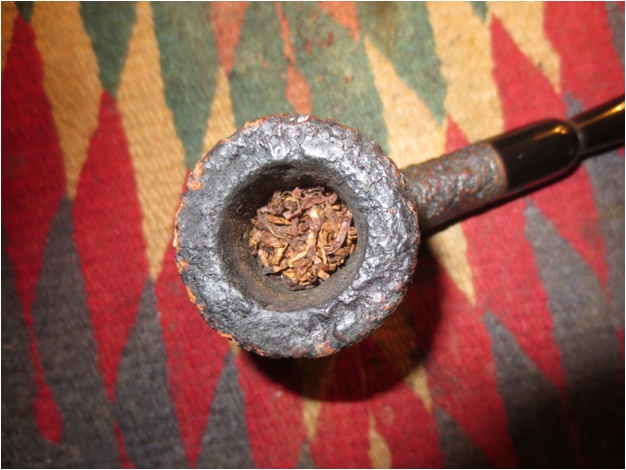
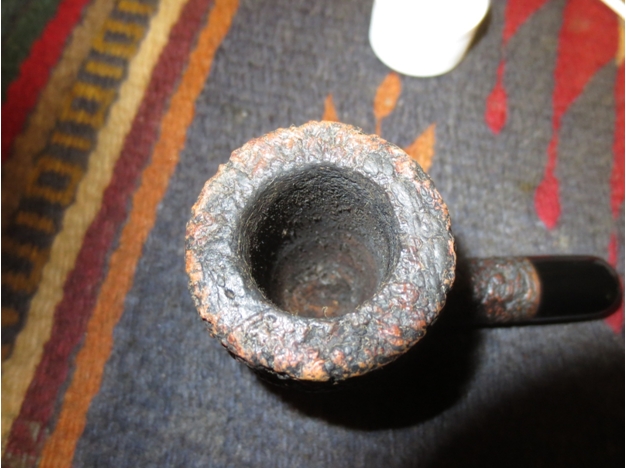
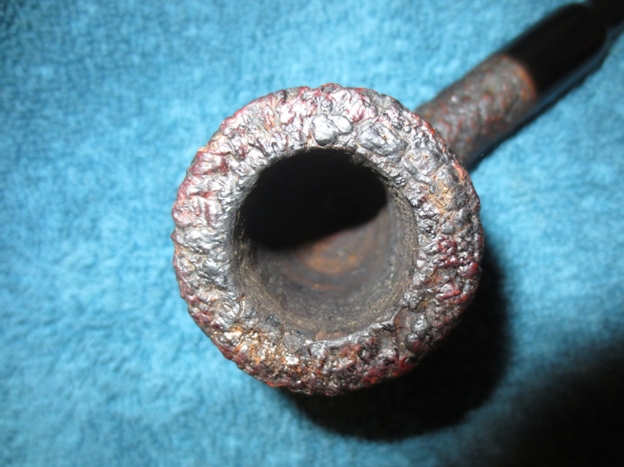
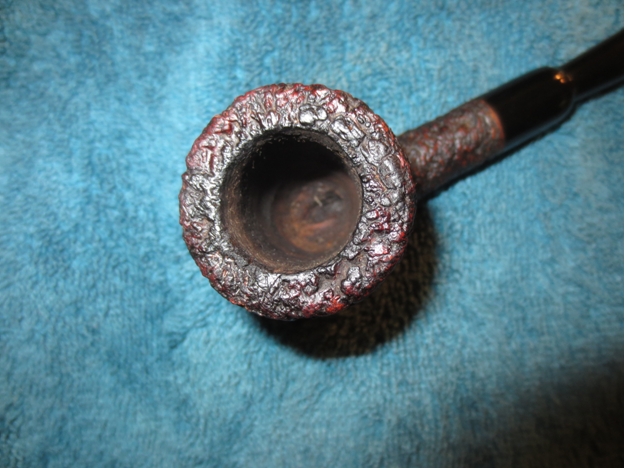
 Um… Yep. That’s a burnout, with the Grand Canyon in the middle of it.
“Every gambler knows that the secret to survivin’ is knowing what to throw away, and knowin’ what to keep…”
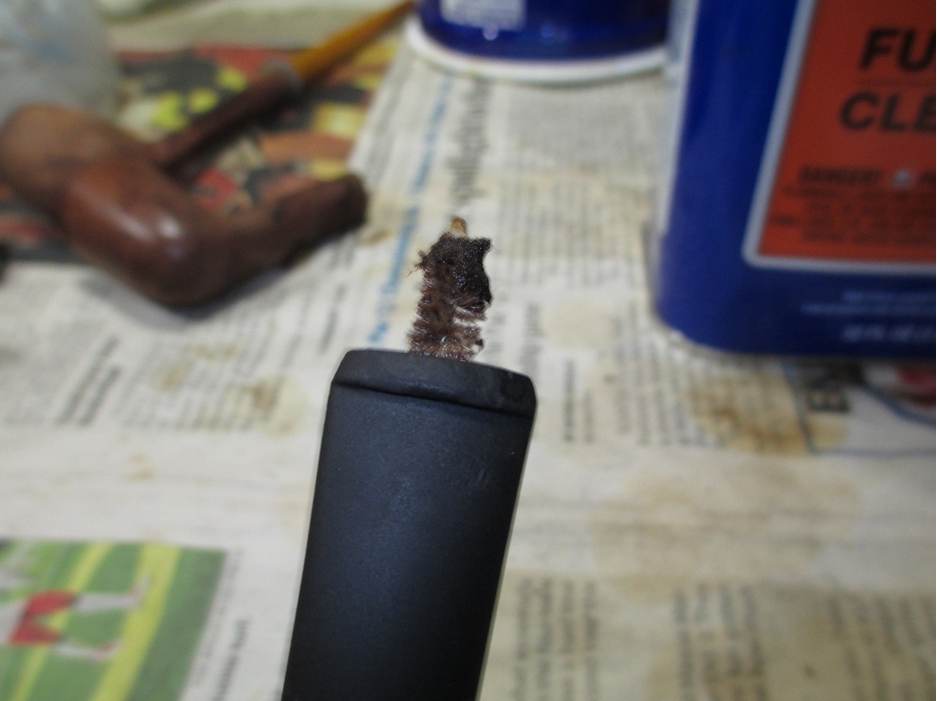
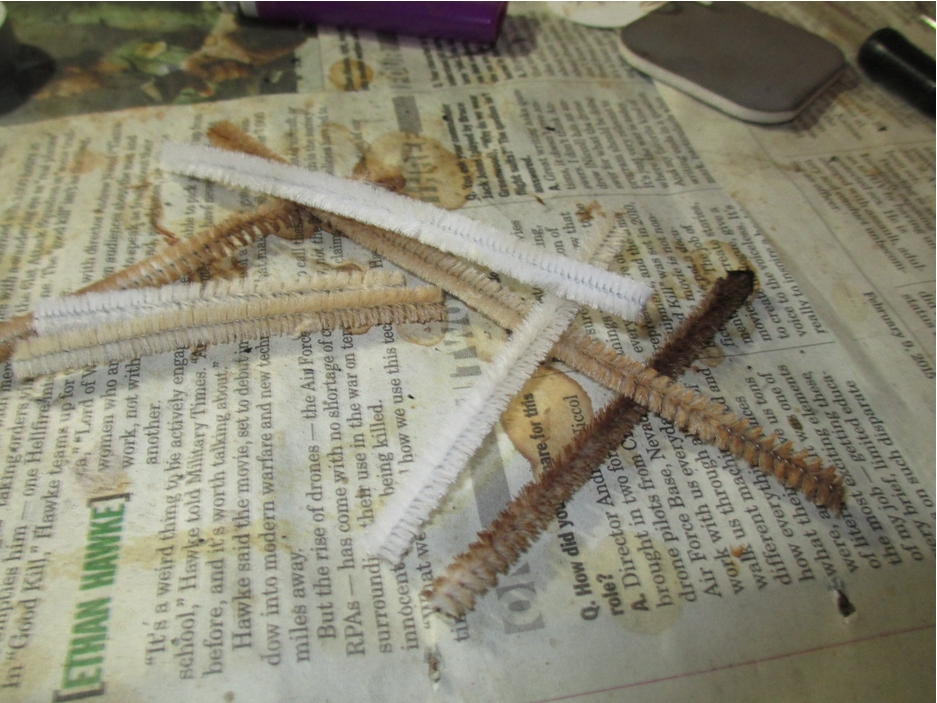
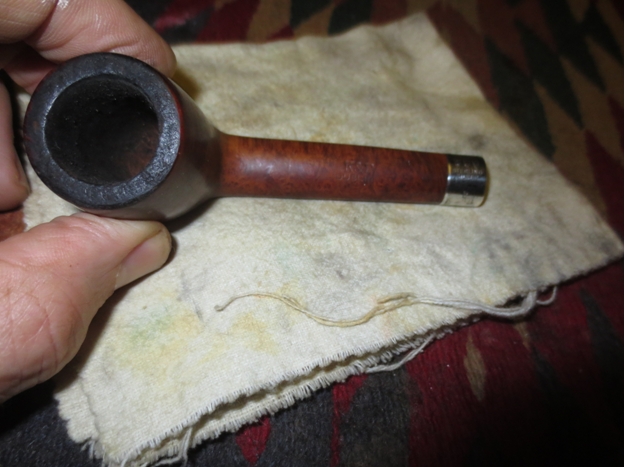
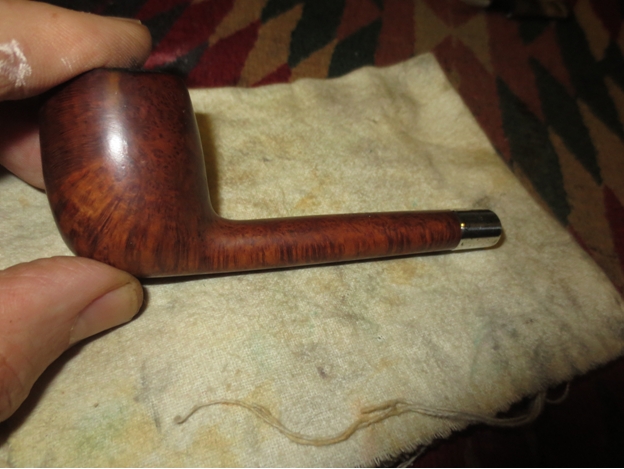
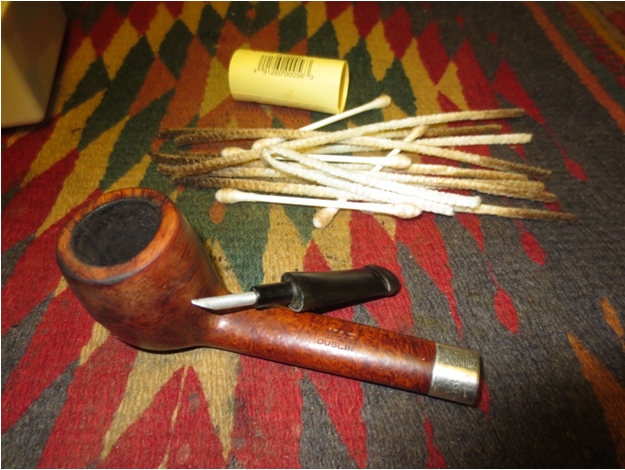
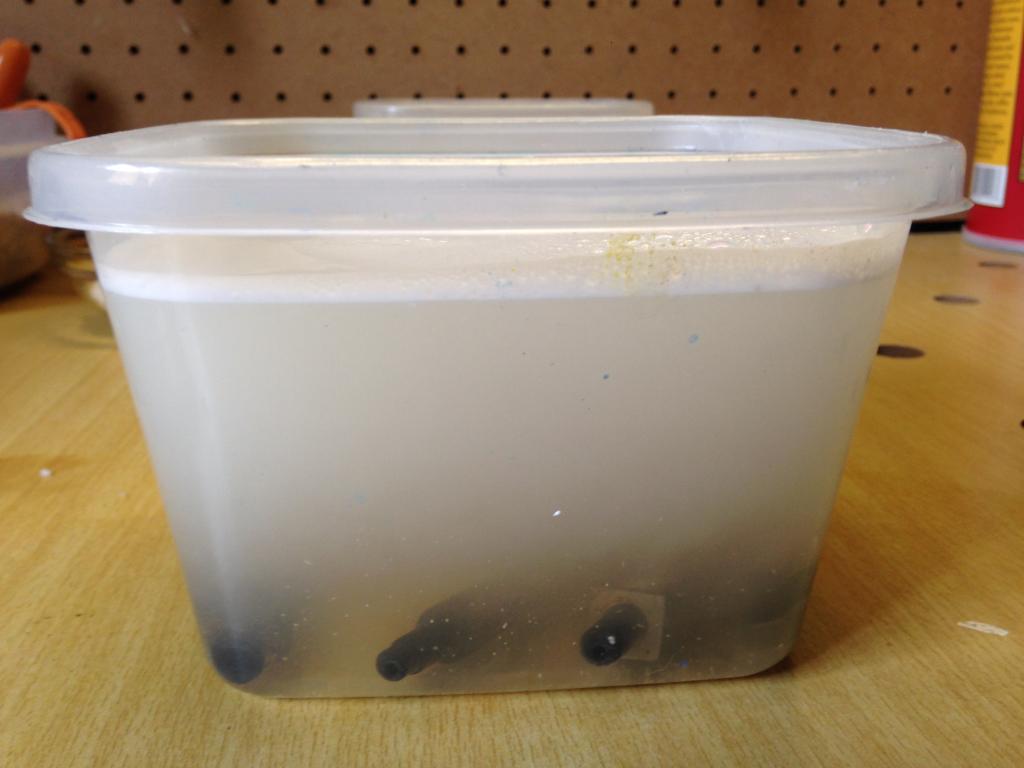
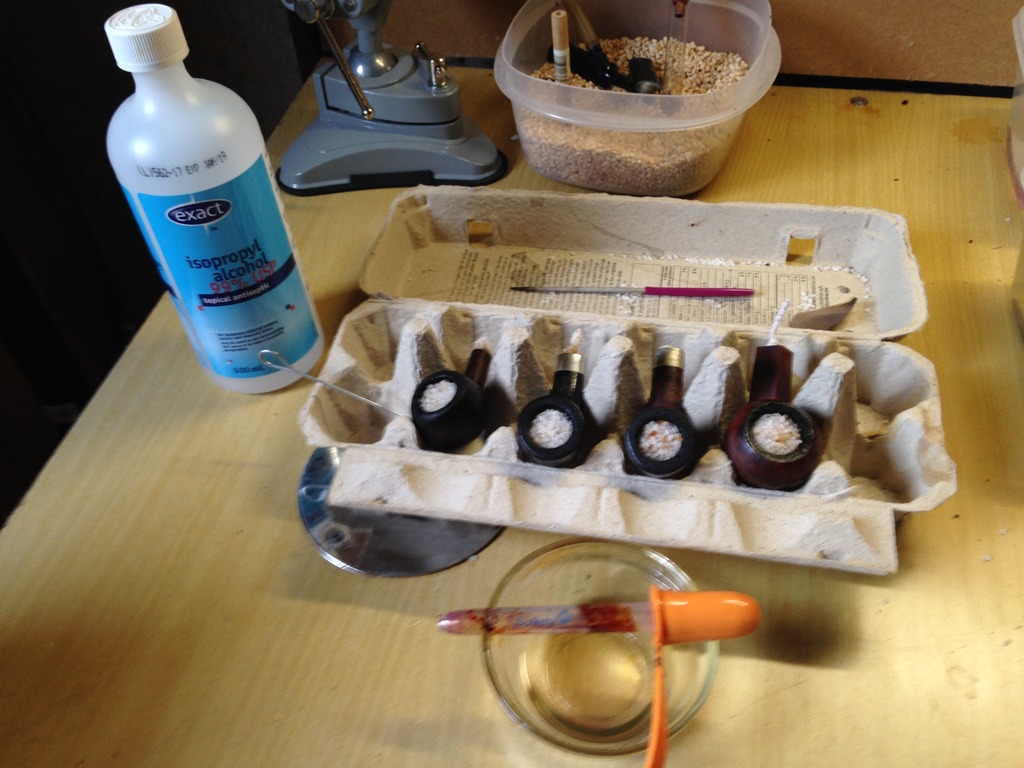
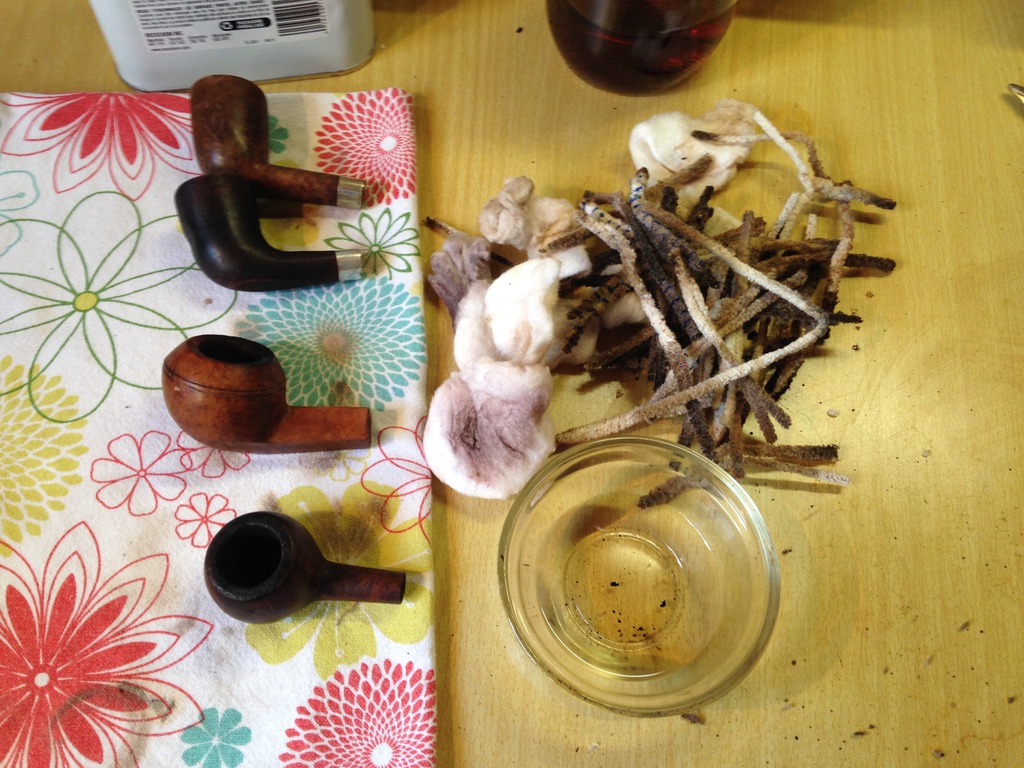
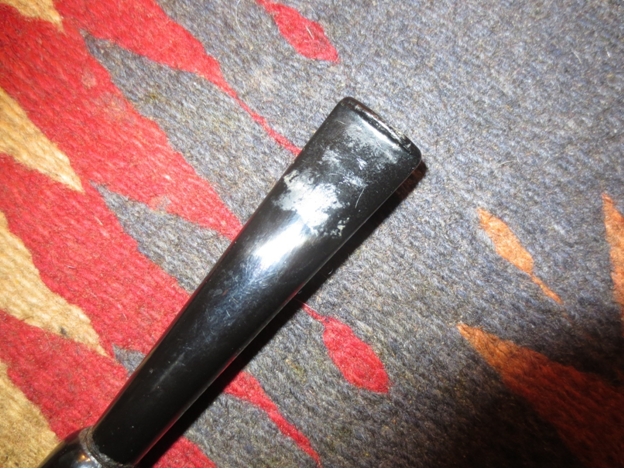
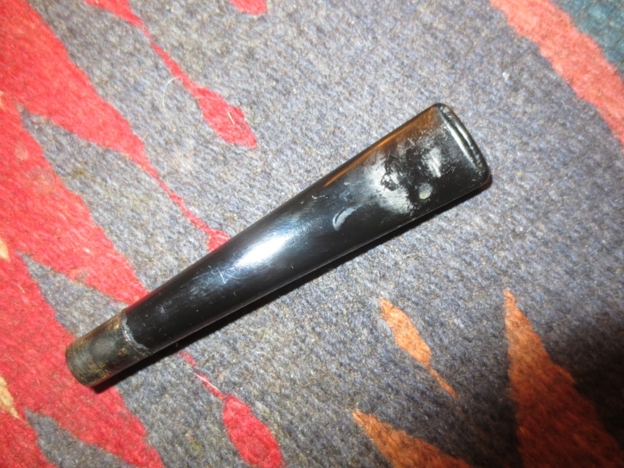
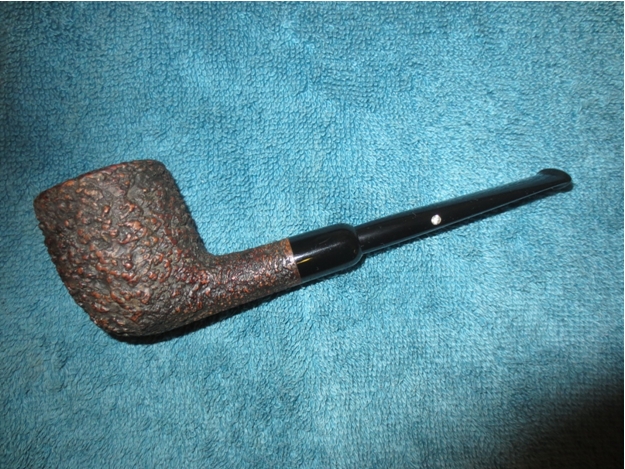
I had to stop. I had cleaned the tars off the surface of the pipes. I had cleared the airways and sanitized the stems. I had reamed the tobacco chambers and done three salt and alcohol treatments… and I still hadn’t broken through the collected dottle and juice which had petrified in the draught holes of the stummels. But if I did any more work on these pipes there was every likelihood that Dave wouldn’t have Pap’s pipes anymore.
“And somewhere in the darkness, the gambler he broke even, but in his final words I found an ace that I could keep.”
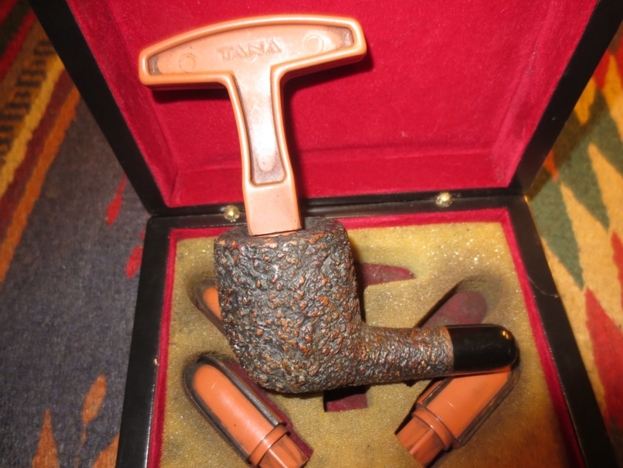
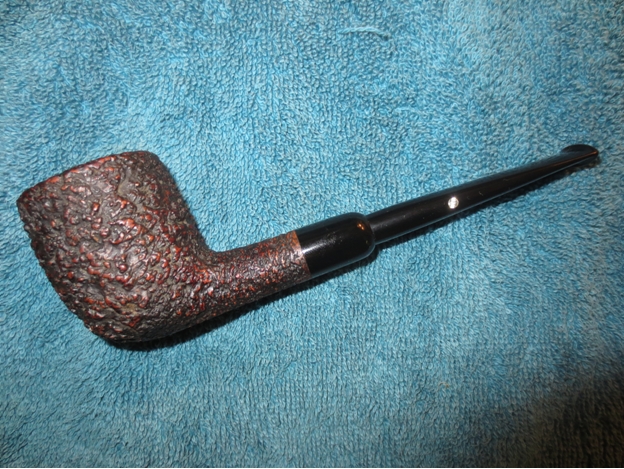
I returned Pap’s pipes to Dave last month at our pipe club night. Was he disappointed? He would have loved to have smoked them, but I think he’s happiest to still have them.
 The pipe is white ceramic with a blue Delft style look to it painted and cured into the ceramic on the side of the shank and on the front of the bowl. The bowl front has a painting of a man in the stocks and people standing in front of him mocking him during his suffering. On the left side of the shank it reads Holland. The brass end cap is stamped Goedewaagen and Made in Holland. The stem is acrylic and looks a lot like some of the older ones that I have the have amber stems.
 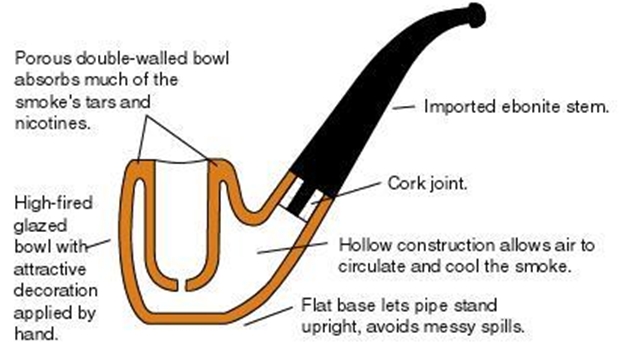 I took a few photos of the unsmoked pipe to keep a record of an unsmoked version of the double walled ceramic pipe.
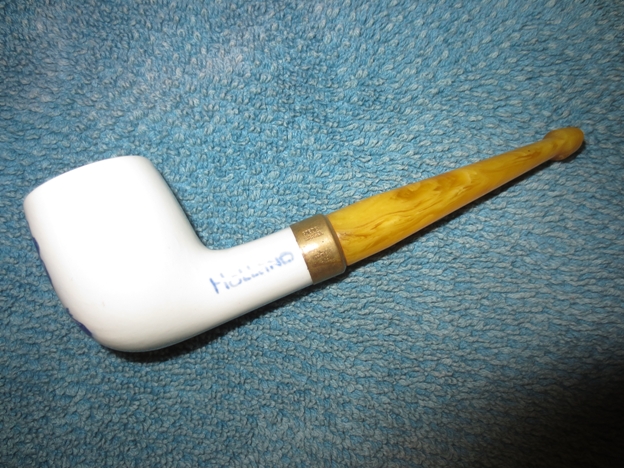

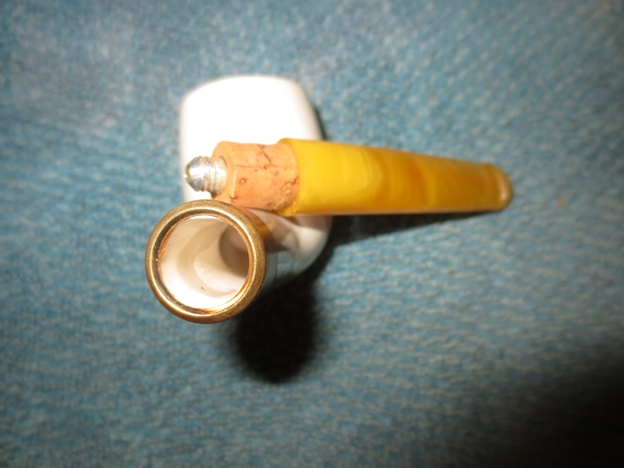
 I took a close up of the bowl so that the air hole in the bottom of the bowl is clearly visible.
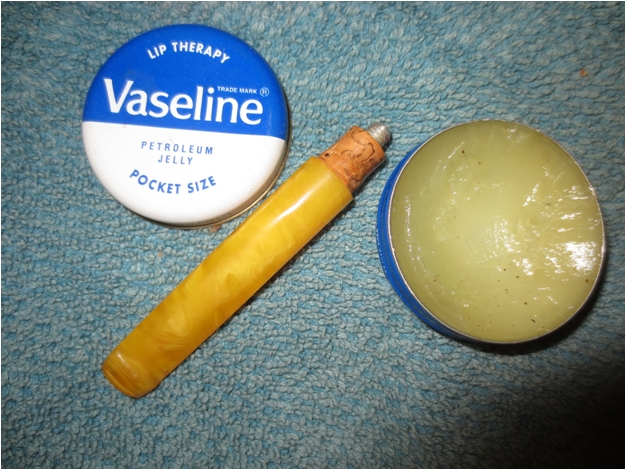
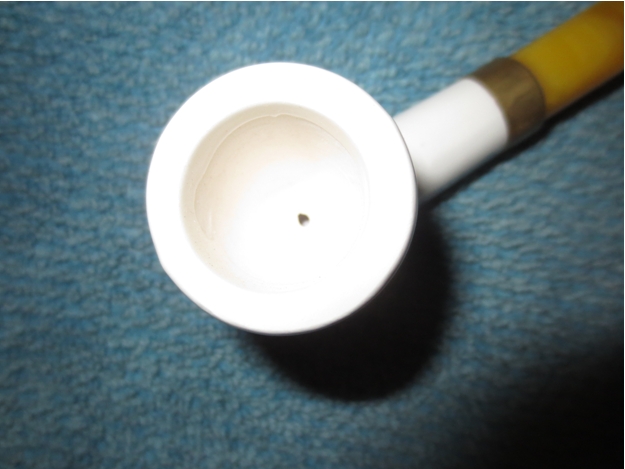 I also took a photo of the cork gasket on the tenon of the stem. It was quite dry so I rejuvenated it with a rub down of Vaseline. Once the Vaseline was absorbed it fit smoothly into the shank. The cork was soft and springy again as it was when it was freshly cut.
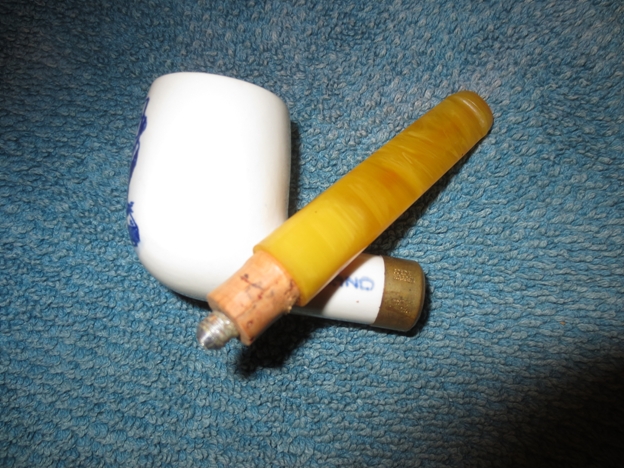
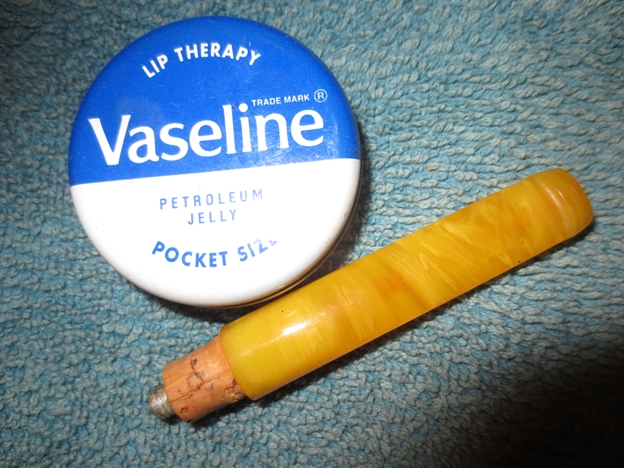
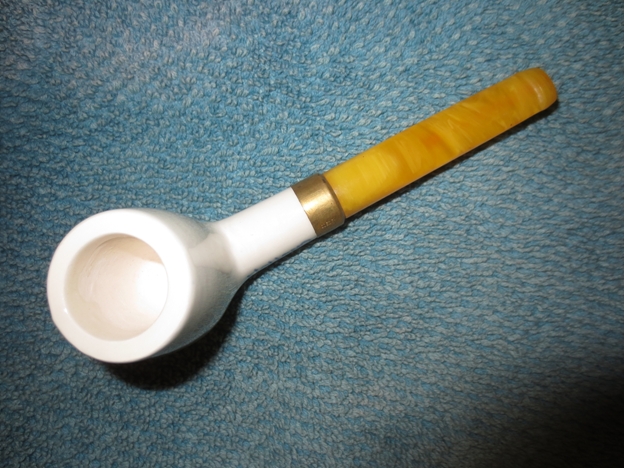
 The end cap is brass and is stamped “Goedewaagen” over “Made in Holland”.
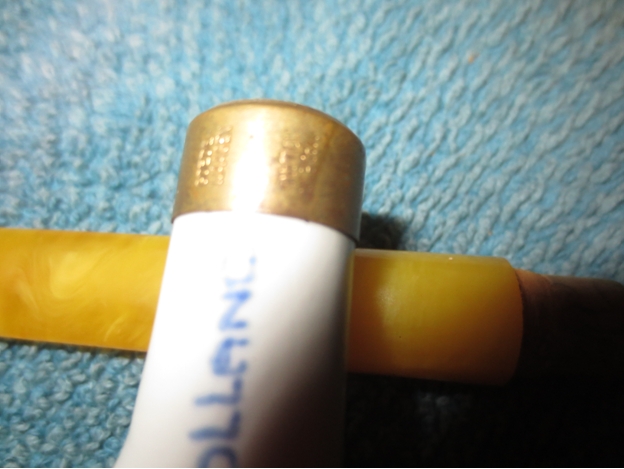 One day I will load up a bowl and smoke it for the first time but for now it will sit in my pipe rack as an unsmoked example of the Goedewaagen pipe.