Blog by Steve Laug
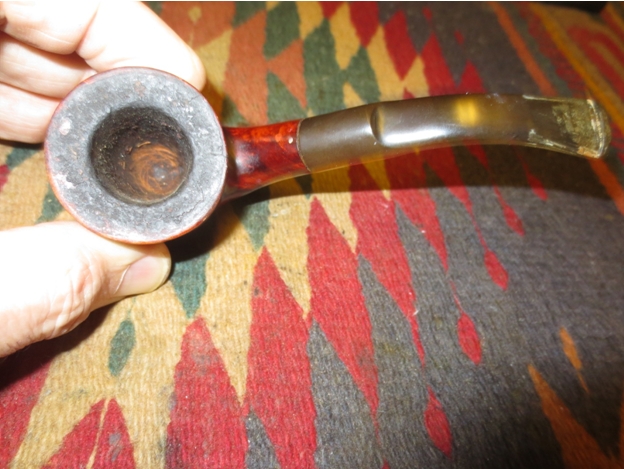
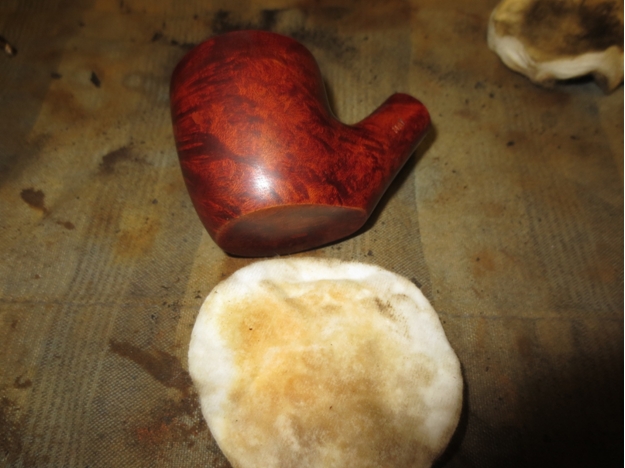
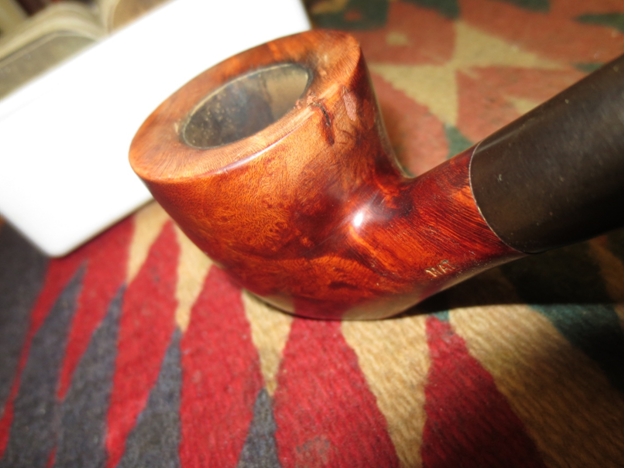
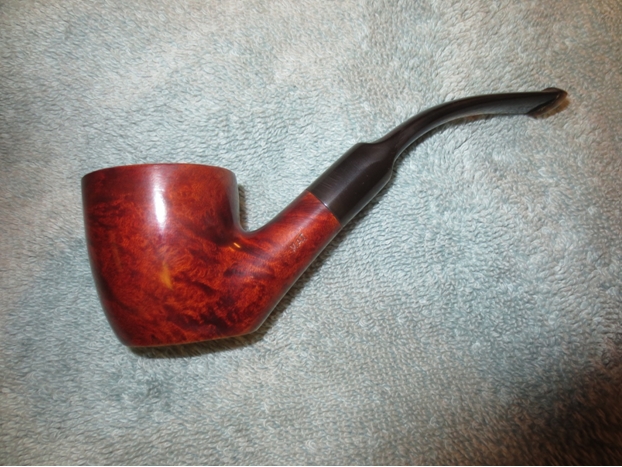
I am finally working on the last of the pipes that I picked up on craigslist – a sitter that is stamped MAT and Italy. It was my least favourite shape in the lot. I left it to the very end to work on. It is shown in the photo below in the middle of the left column.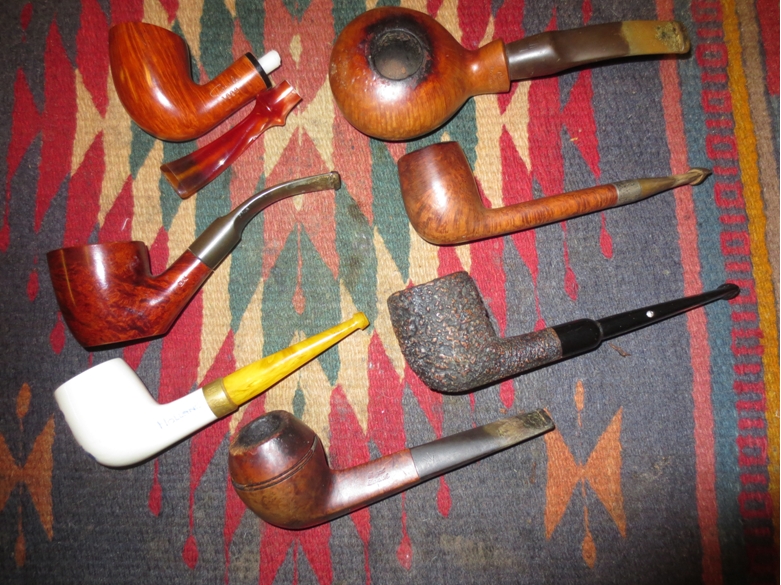 It was a bit of a mess. The stem was stuck in the shank and was oxidized. It also had some tooth chatter. Once again there was the calcification on the stem that comes when a softie is left in place on the stem. The bowl had a shiny varnish finish but that was dulled with a lot of tars and oils. The rim was caked with a very hard, thick coat of tars and oil – lava over flow from the bowl. The bowl itself was caked. There were quite a few fills in the bowl on bottom and on the back side of the bowl near the shank. There was also an area of fills on the top of the rim and a small crack that had been filled on the back side of the bowl near the rim.
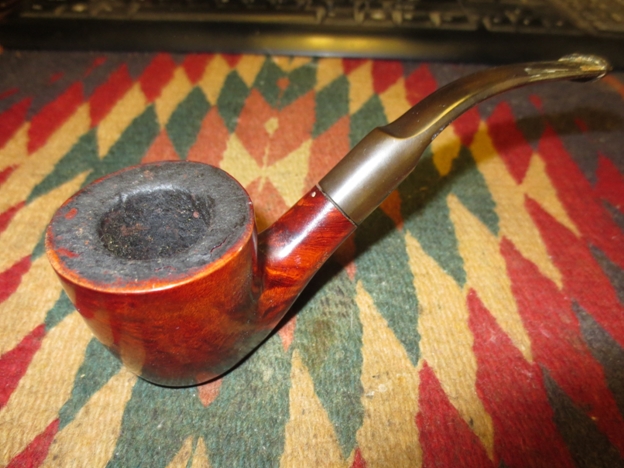
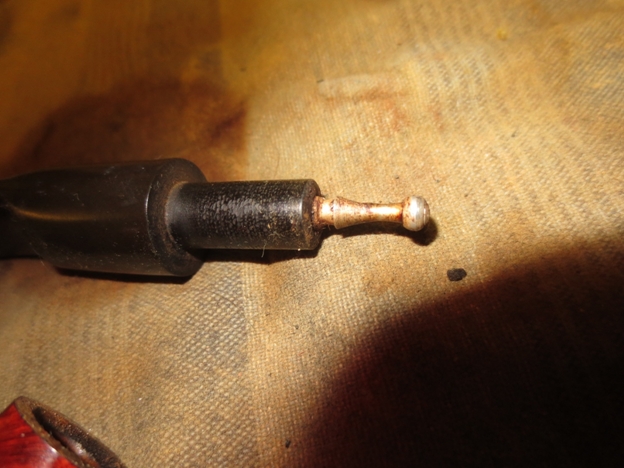
 I put the pipe in the freezer for an hour to loosen the stem. After an hour of cooling I was able to twist the stem out of the shank. I was a little surprised to find a very short – ½ inch stinger in the end of the tenon.
 I heated the stinger with a lighter and then twisted it out of the tenon with a pair of pliers on which I had wrapped tape around the jaws. This tape prevented the jaws from damaging the aluminum stinger.
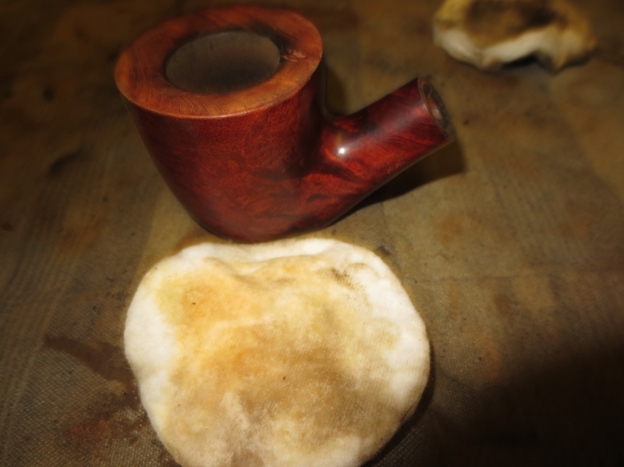
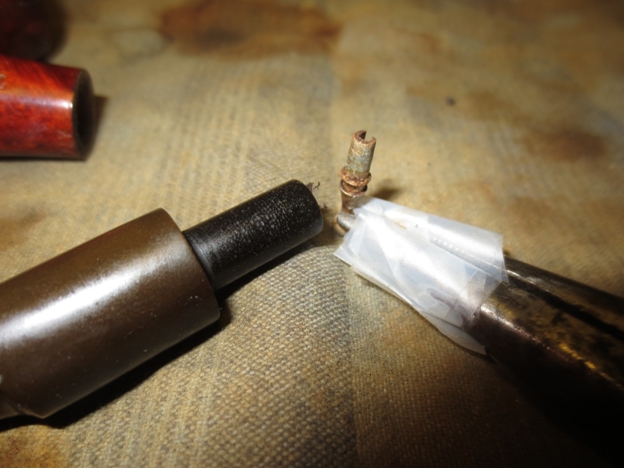 I set the stem aside and reamed the bowl with a PipNet reamer. I used three of the four cutting heads to remove the cake from the bowl. With the small crack on the back edge of the bowl I wanted to expose the interior of the bowl and check out the interior for cracks.
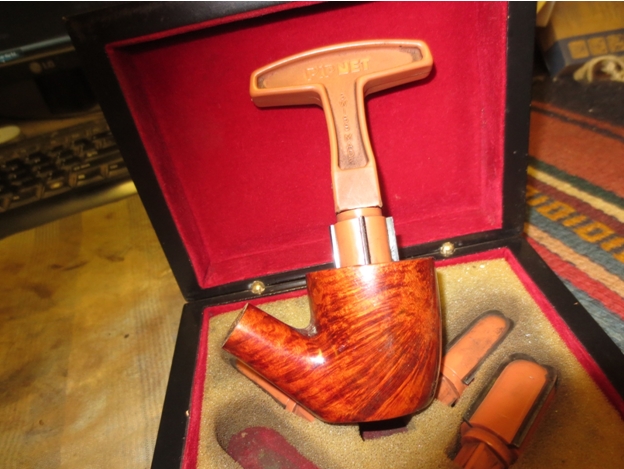
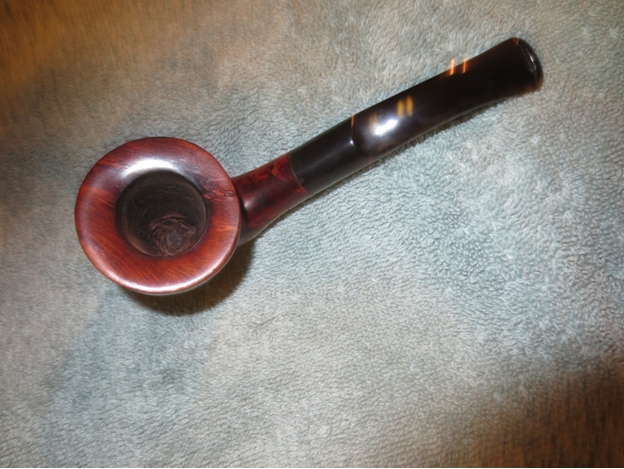
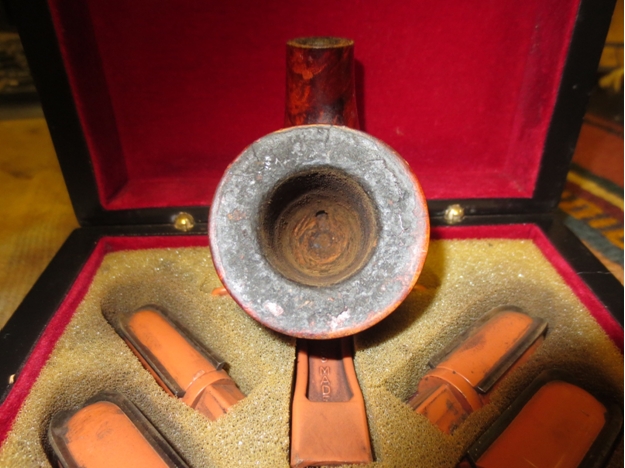 To remove the hard lava from the rim I used a sharp blade pressed flat against the rim to scrape away the buildup. I scraped and then wiped it down with alcohol to soften the tars. I continue until I had removed the cake. In doing so I found that just above the crack on the back of the bowl was an area of several small fills that were on the rim.
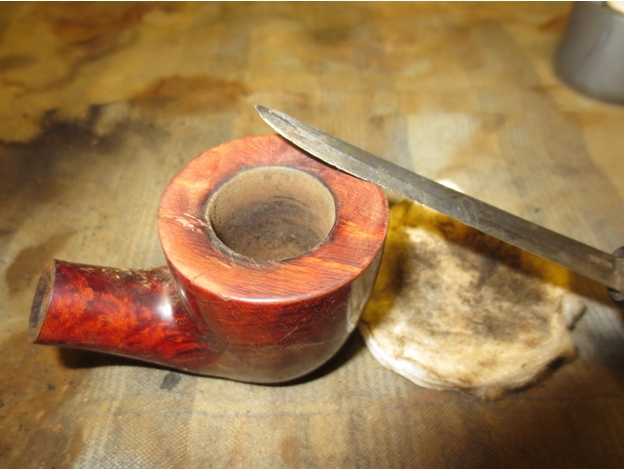 I scrubbed the surface of the bowl with acetone on cotton pads to remove the varnish that was on the finish. I wanted to get underneath that finish so that I could do a repair on the small crack and also get to the surface of the briar. I personally do not like the thick varnish coats that are on some pipes.
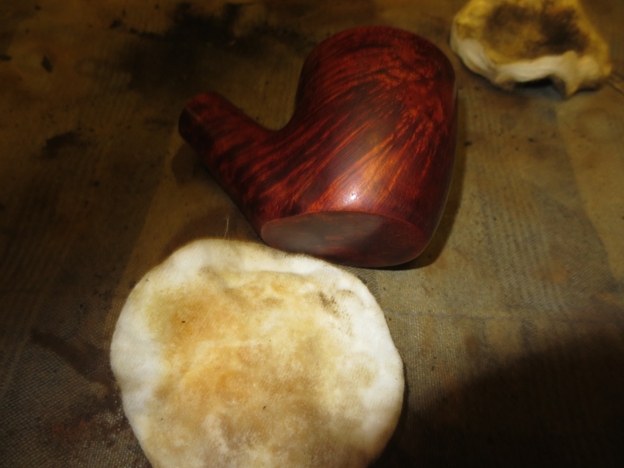

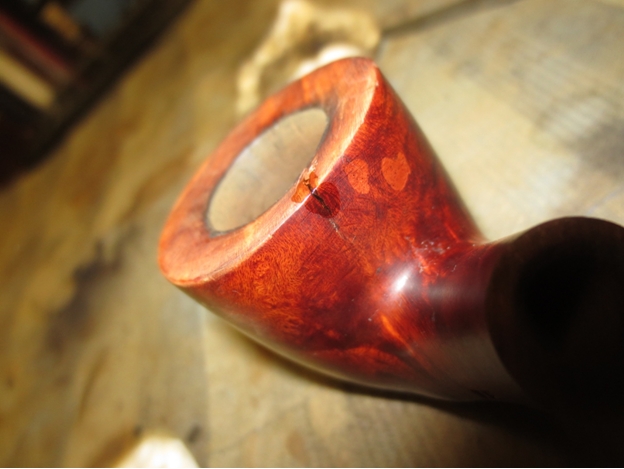
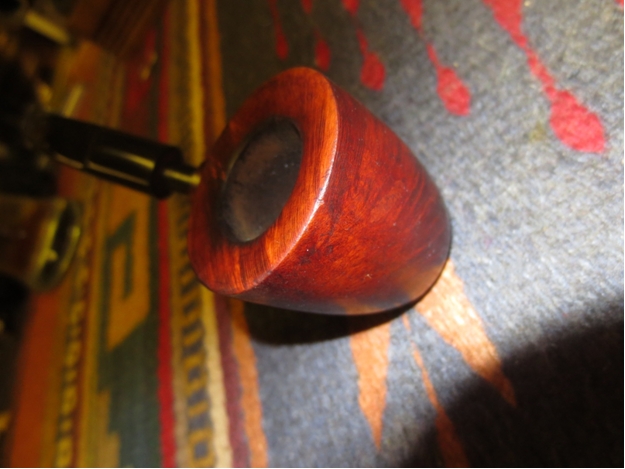
 I cleaned out the small crack with a dental pick and alcohol. I drilled a tiny hole at the bottom of the crack to stop it from spreading. Once it was clean I stuffed briar dust into the crack and then dripped some super glue on to the rim and the side of the bowl to fill in the crack.
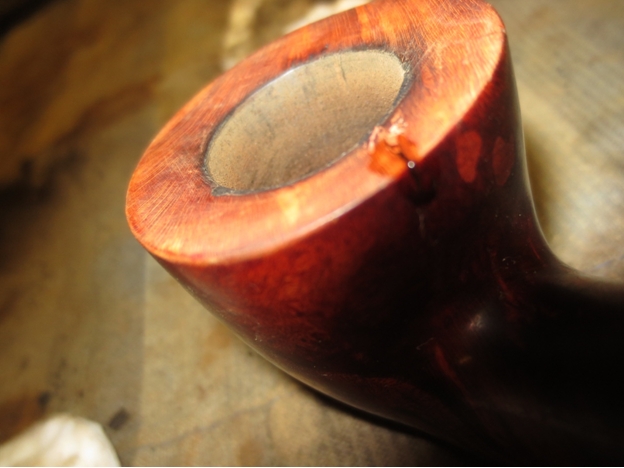
 I sanded the rim and the repaired area with 220 grit sandpaper and then with a medium and a fine grit sanding sponge to smooth out the surface. I cleaned out the shank and the stem with pipe cleaners, cotton swabs and alcohol.
 I sanded the stem with 220 grit sandpaper to remove the tooth chatter and light tooth marks. I also sanded it to remove the oxidation. I followed that by sanding with a medium and a fine grit sanding sponge.
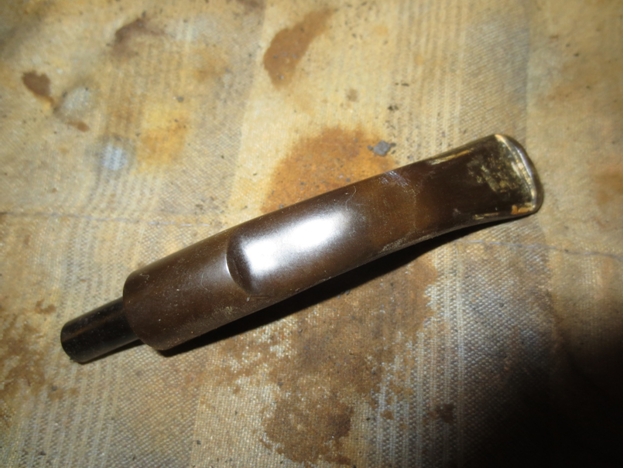
 I buffed the stem with red Tripoli to break through the oxidation. I sanded the stem with micromesh sanding pads – wet sanding with 1500-2400 grit pads.
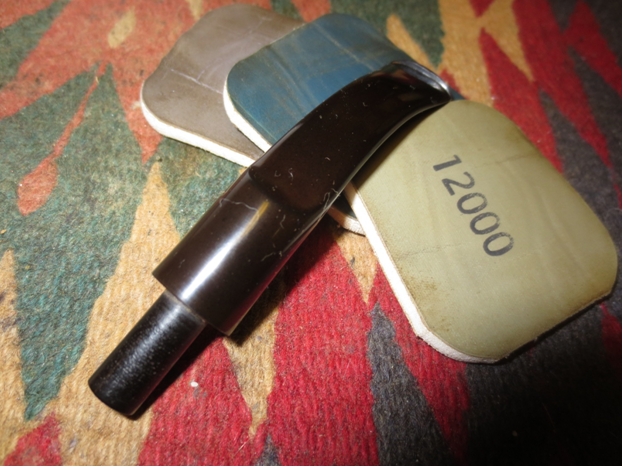
 I rubbed the stem down with Obsidian Oil and then buffed it a second time. I dry sanded with 3200-12,000 grit micromesh sanding pads.
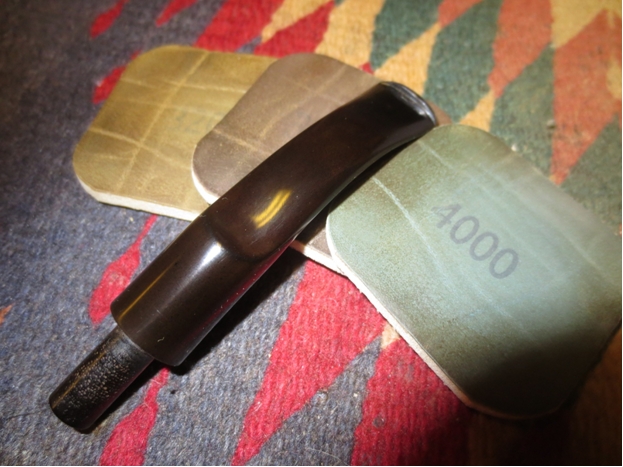
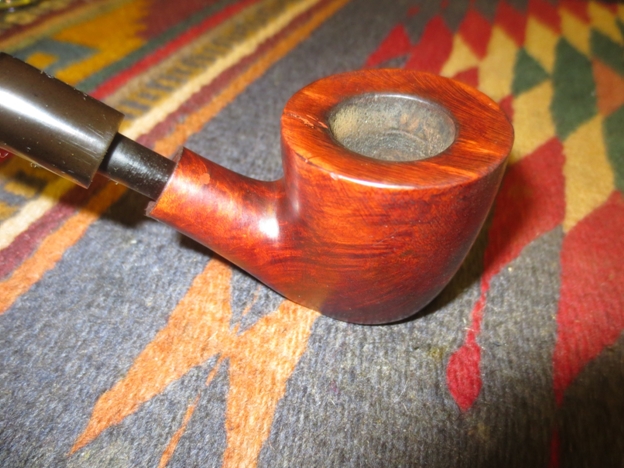
 I used some dark cherry stain that I had on hand – this stain is a water based stain and matched the colour of the original bowl. I applied the stain with a folded pipe cleaner and once I had covered the bowl I let it sit for a few moments before wiping it off.
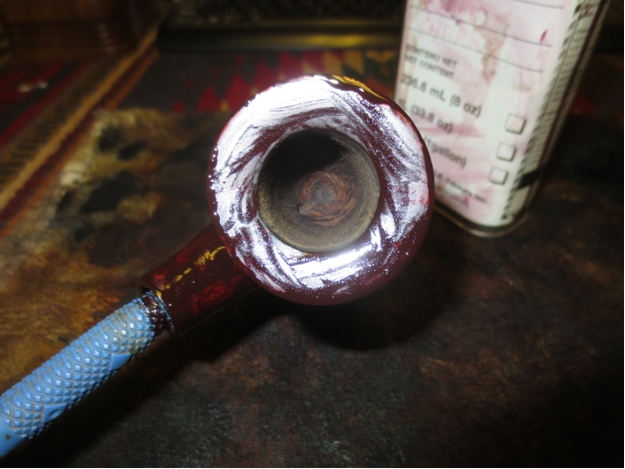

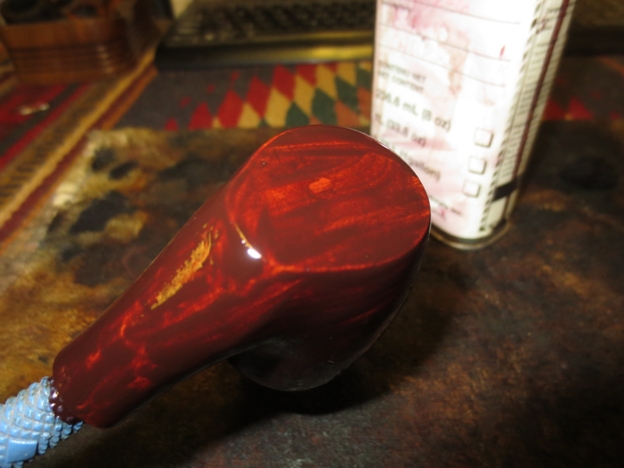
 I wiped down the pipe with a cotton cloth to remove the excess stain and give it a light hand buff.
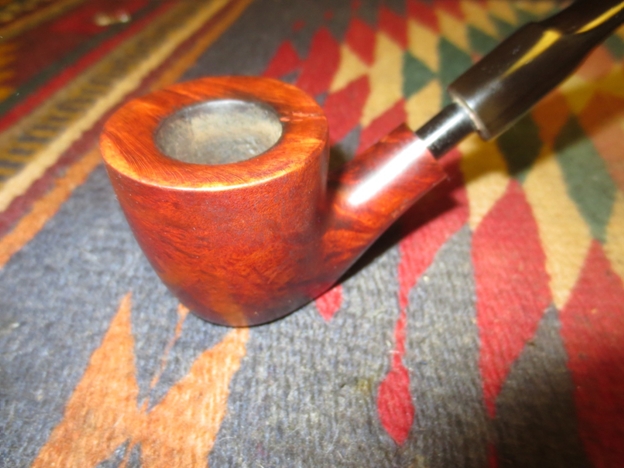
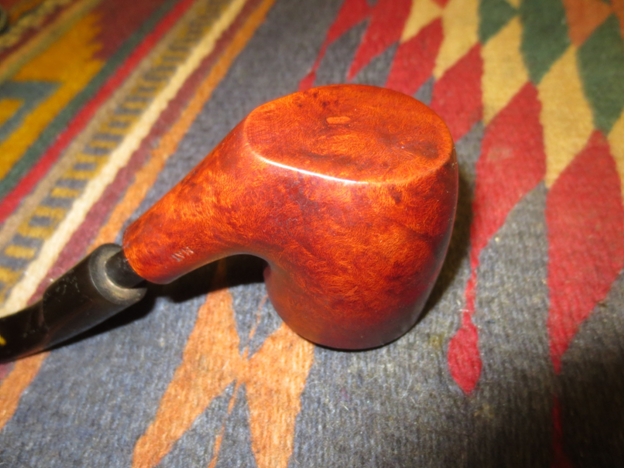
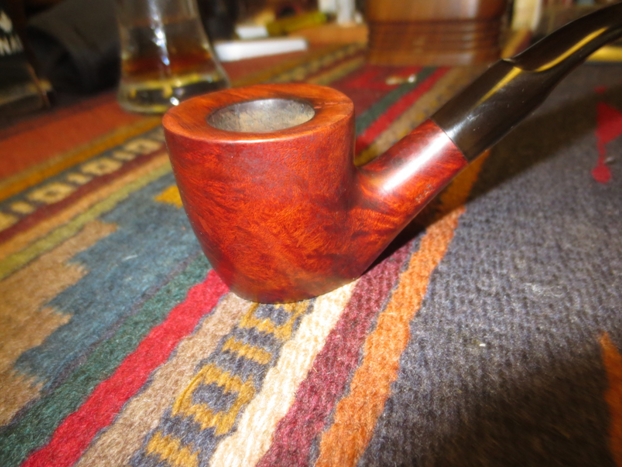
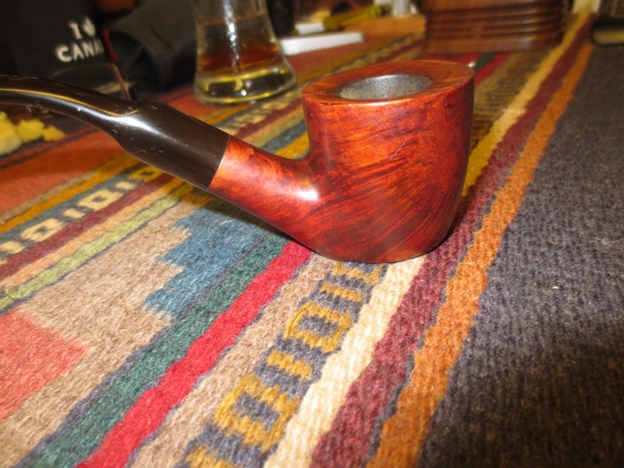
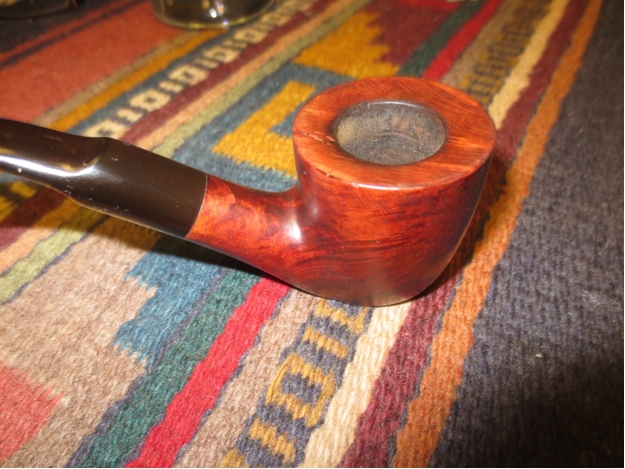
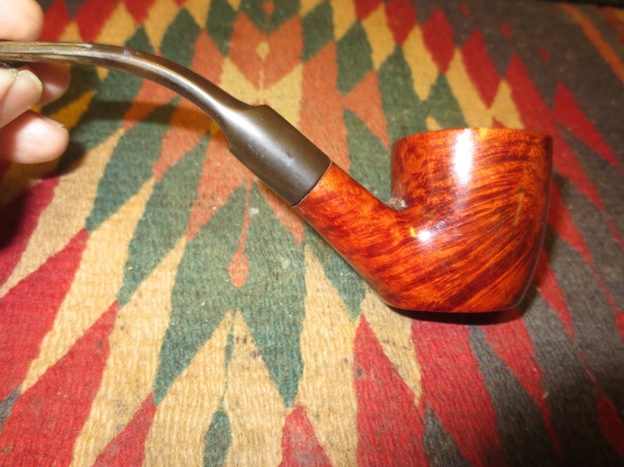
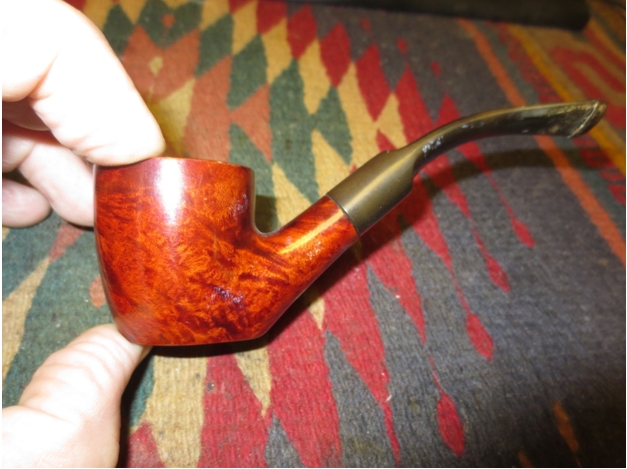
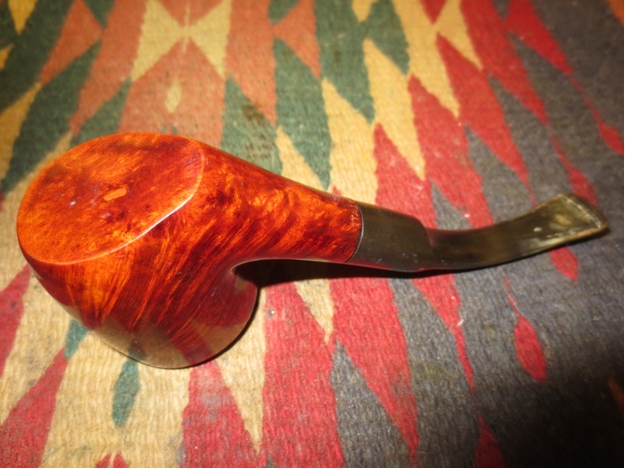
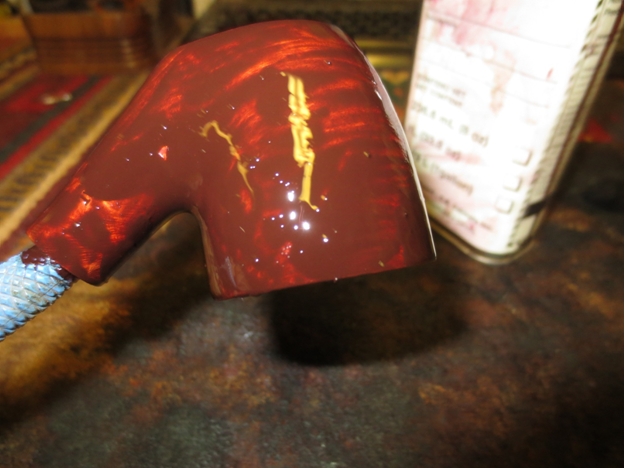
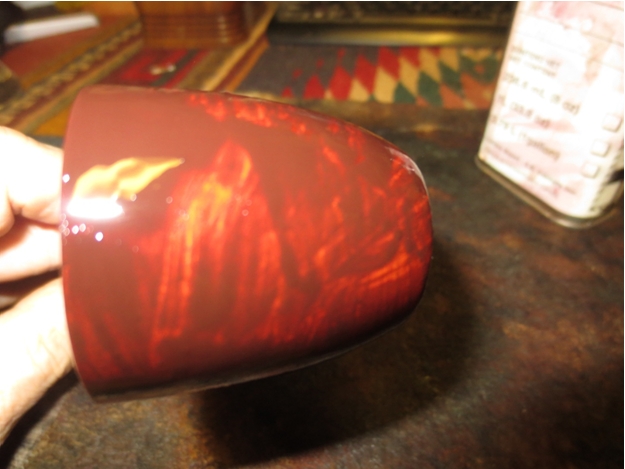
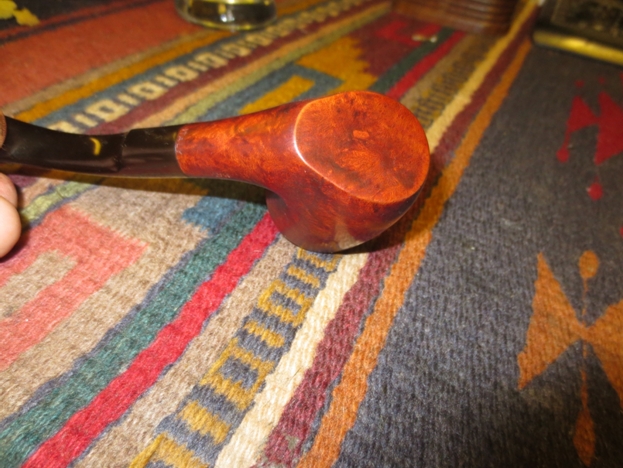 I buffed the pipe and stem on the buffing wheel using pads charged with red Tripoli and with Blue Diamond. I gave the pipe multiple coats of carnauba wax and then buffed it with a clean flannel buffing pad to give it a shine. The finished pipe is shown below.
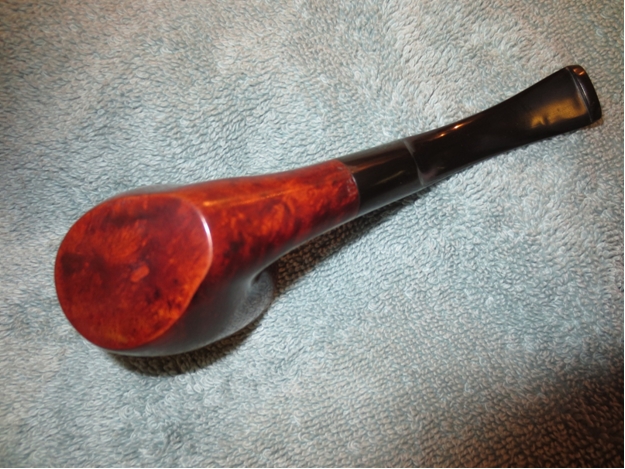

An Italian with a vulcanite stem, an unusual occurrence!
LikeLike