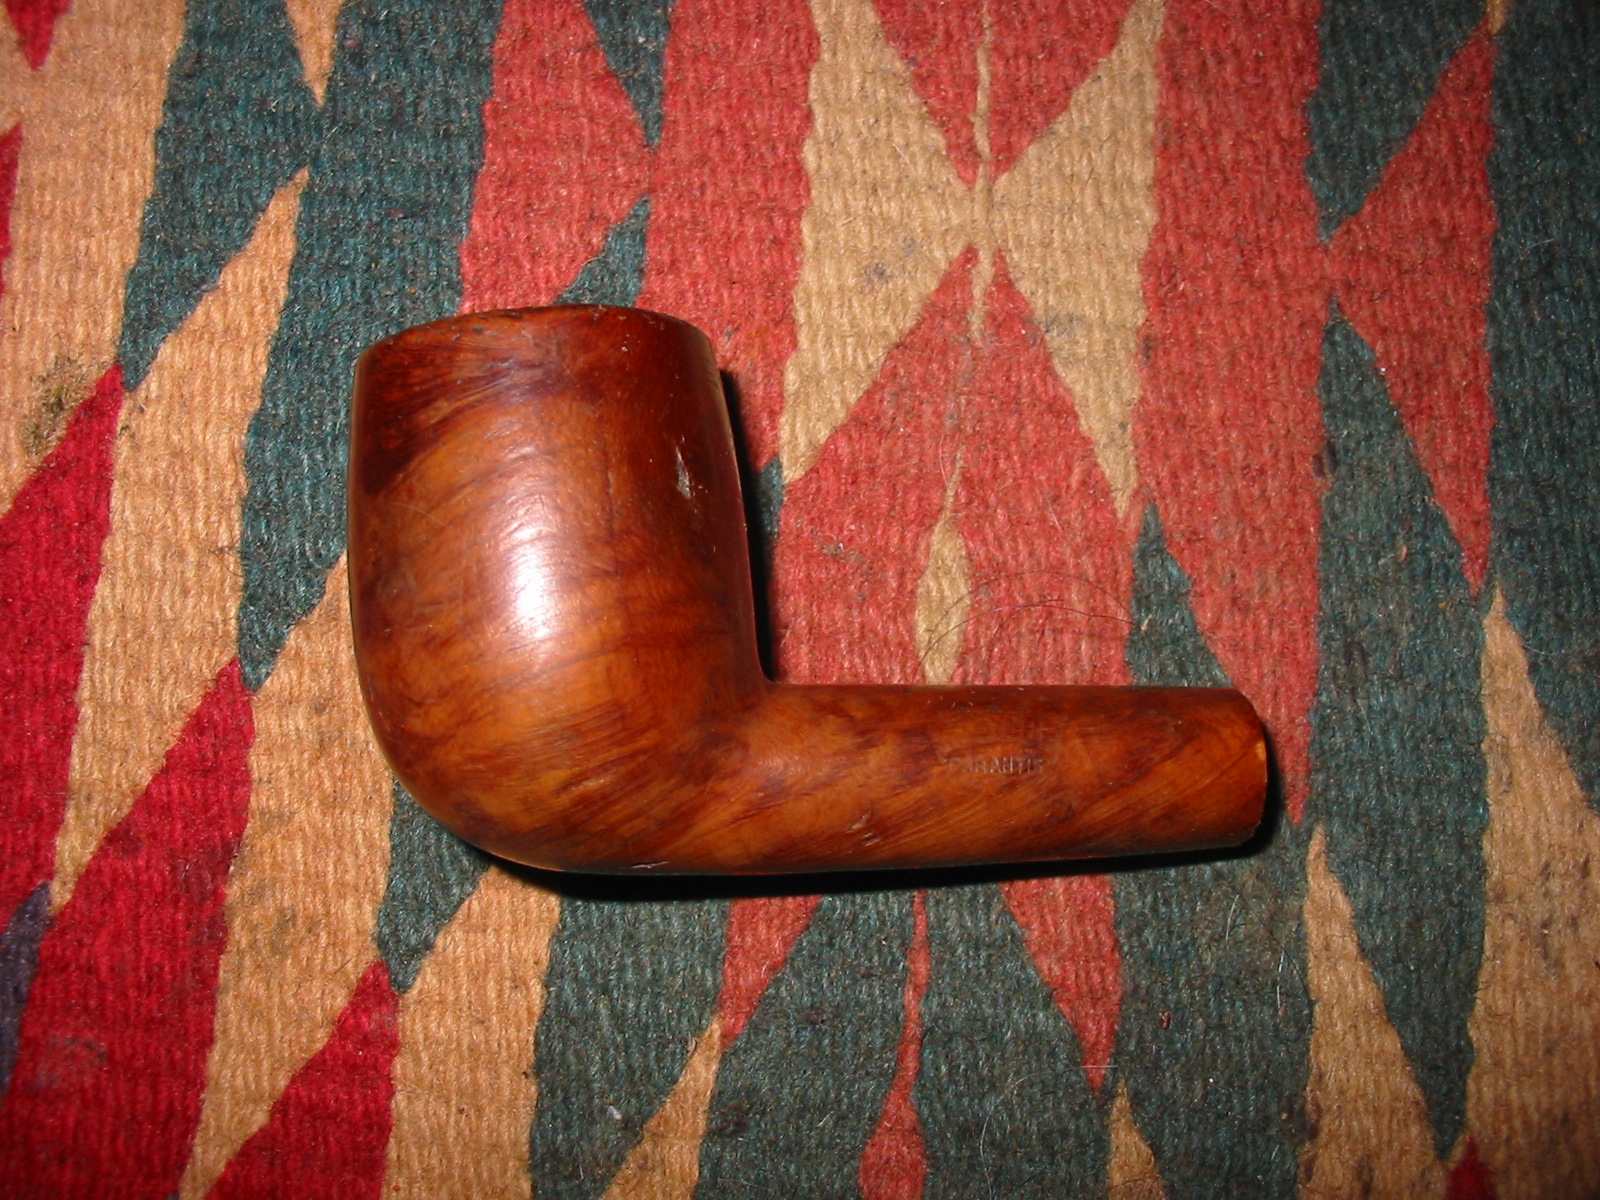
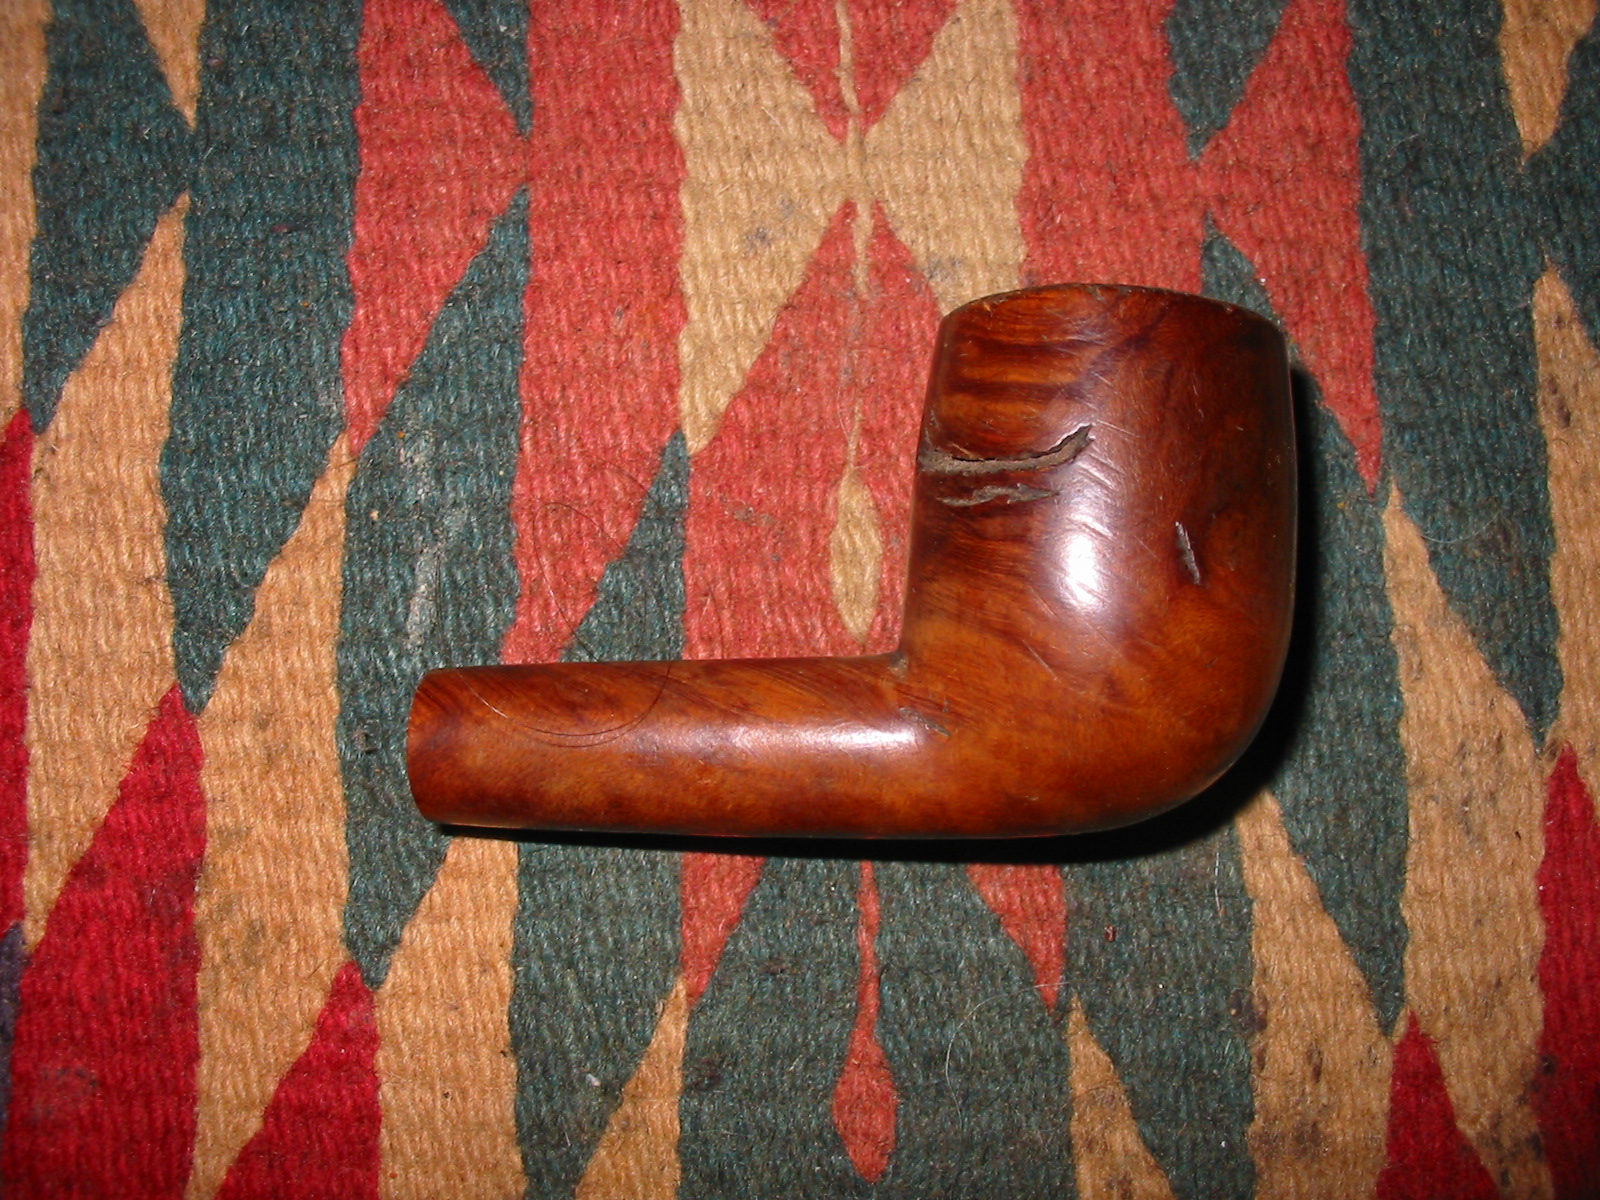
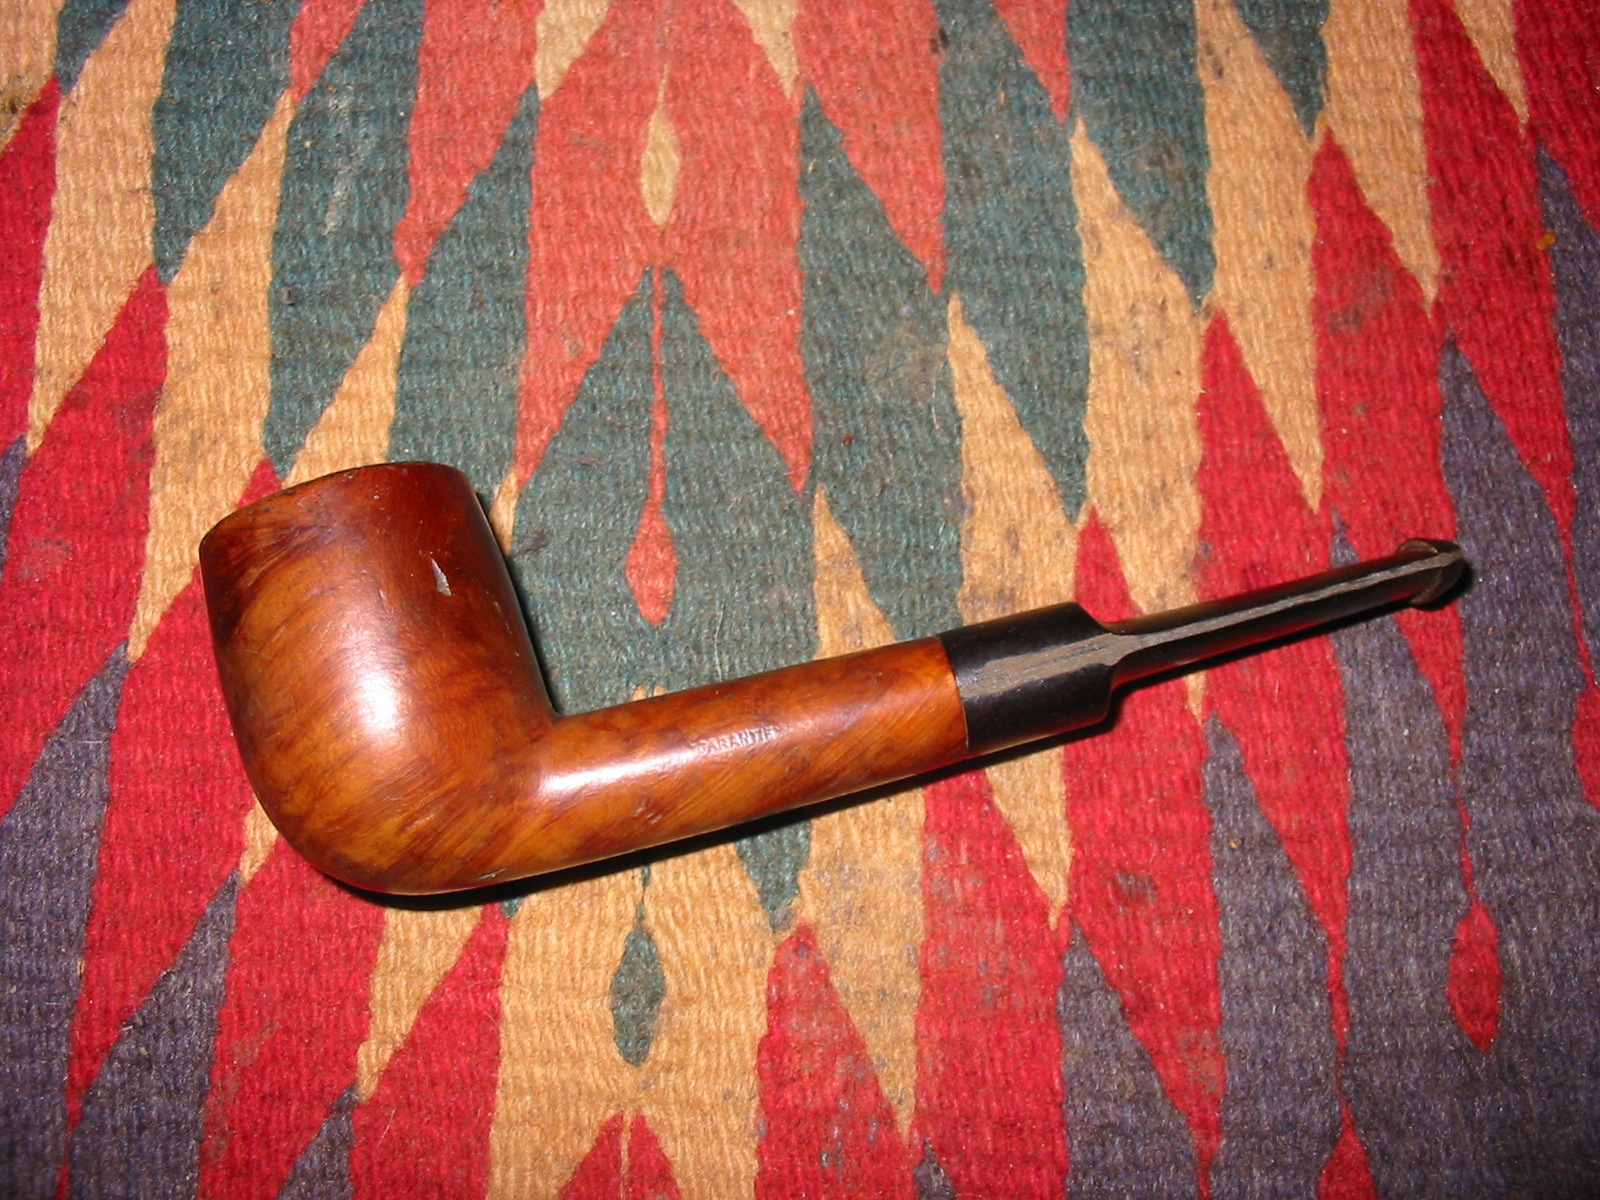
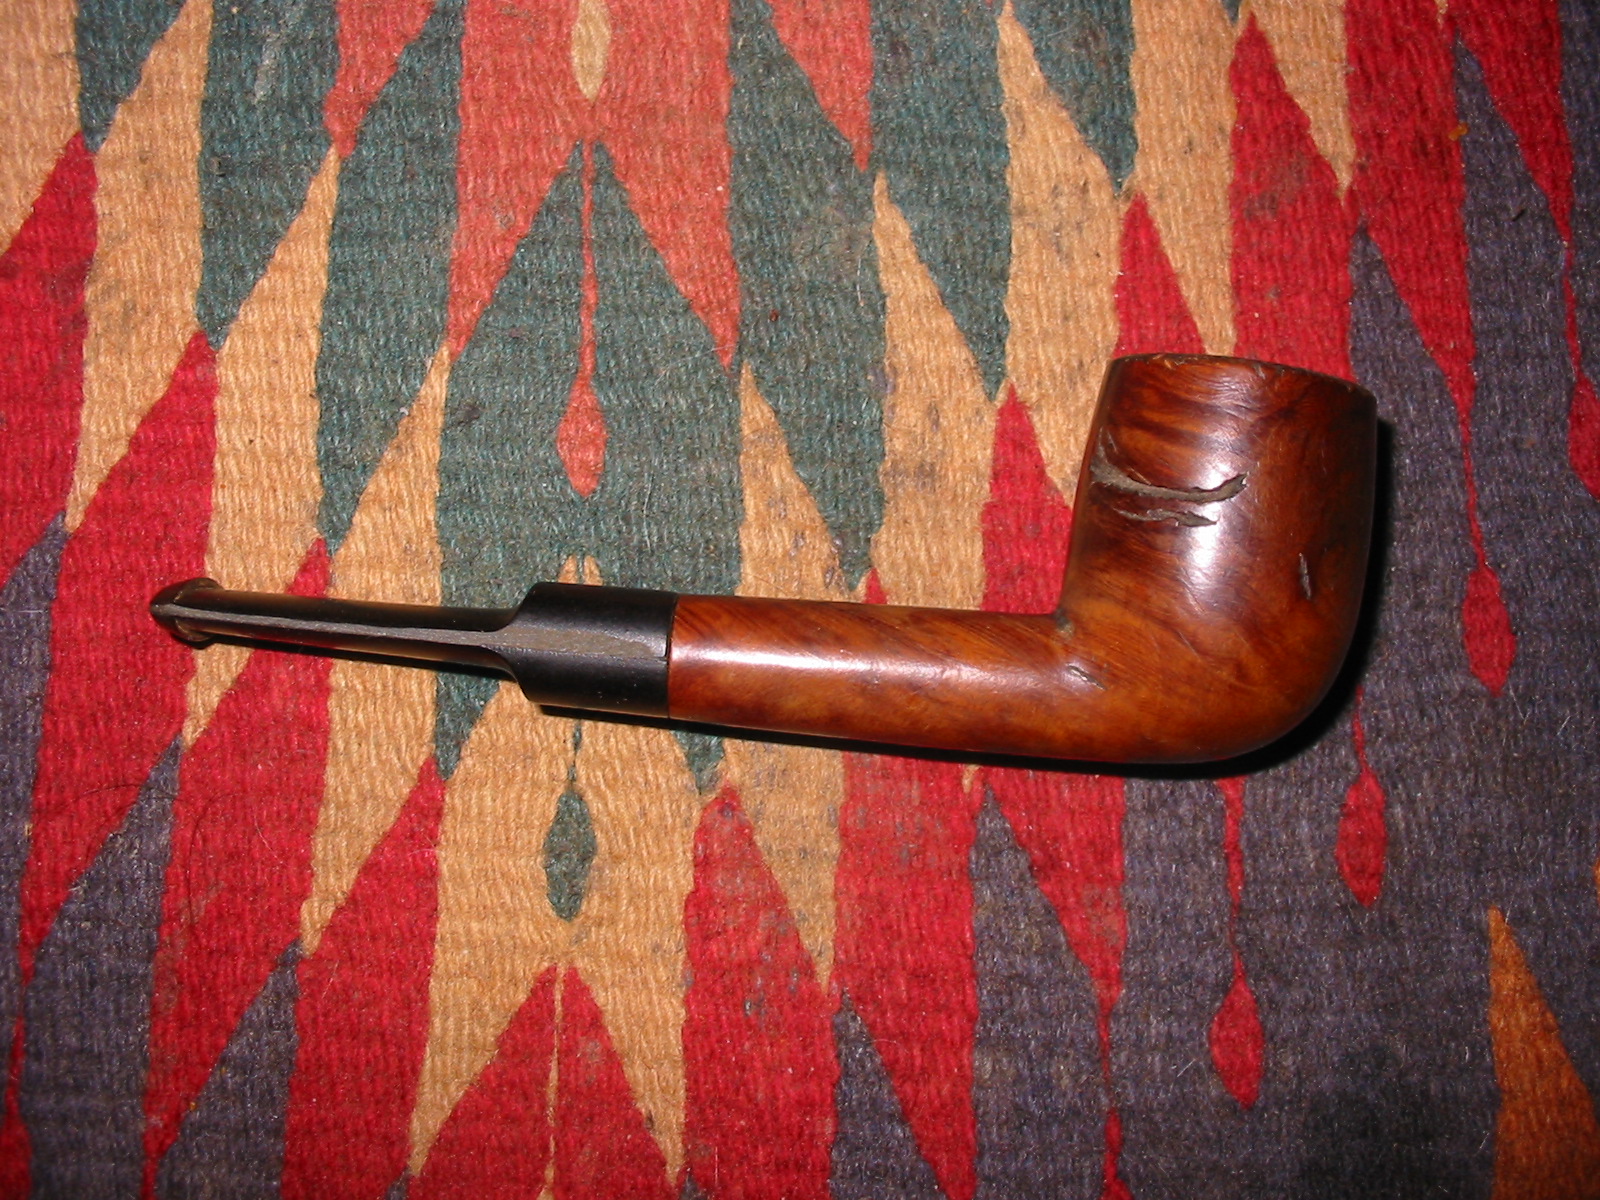
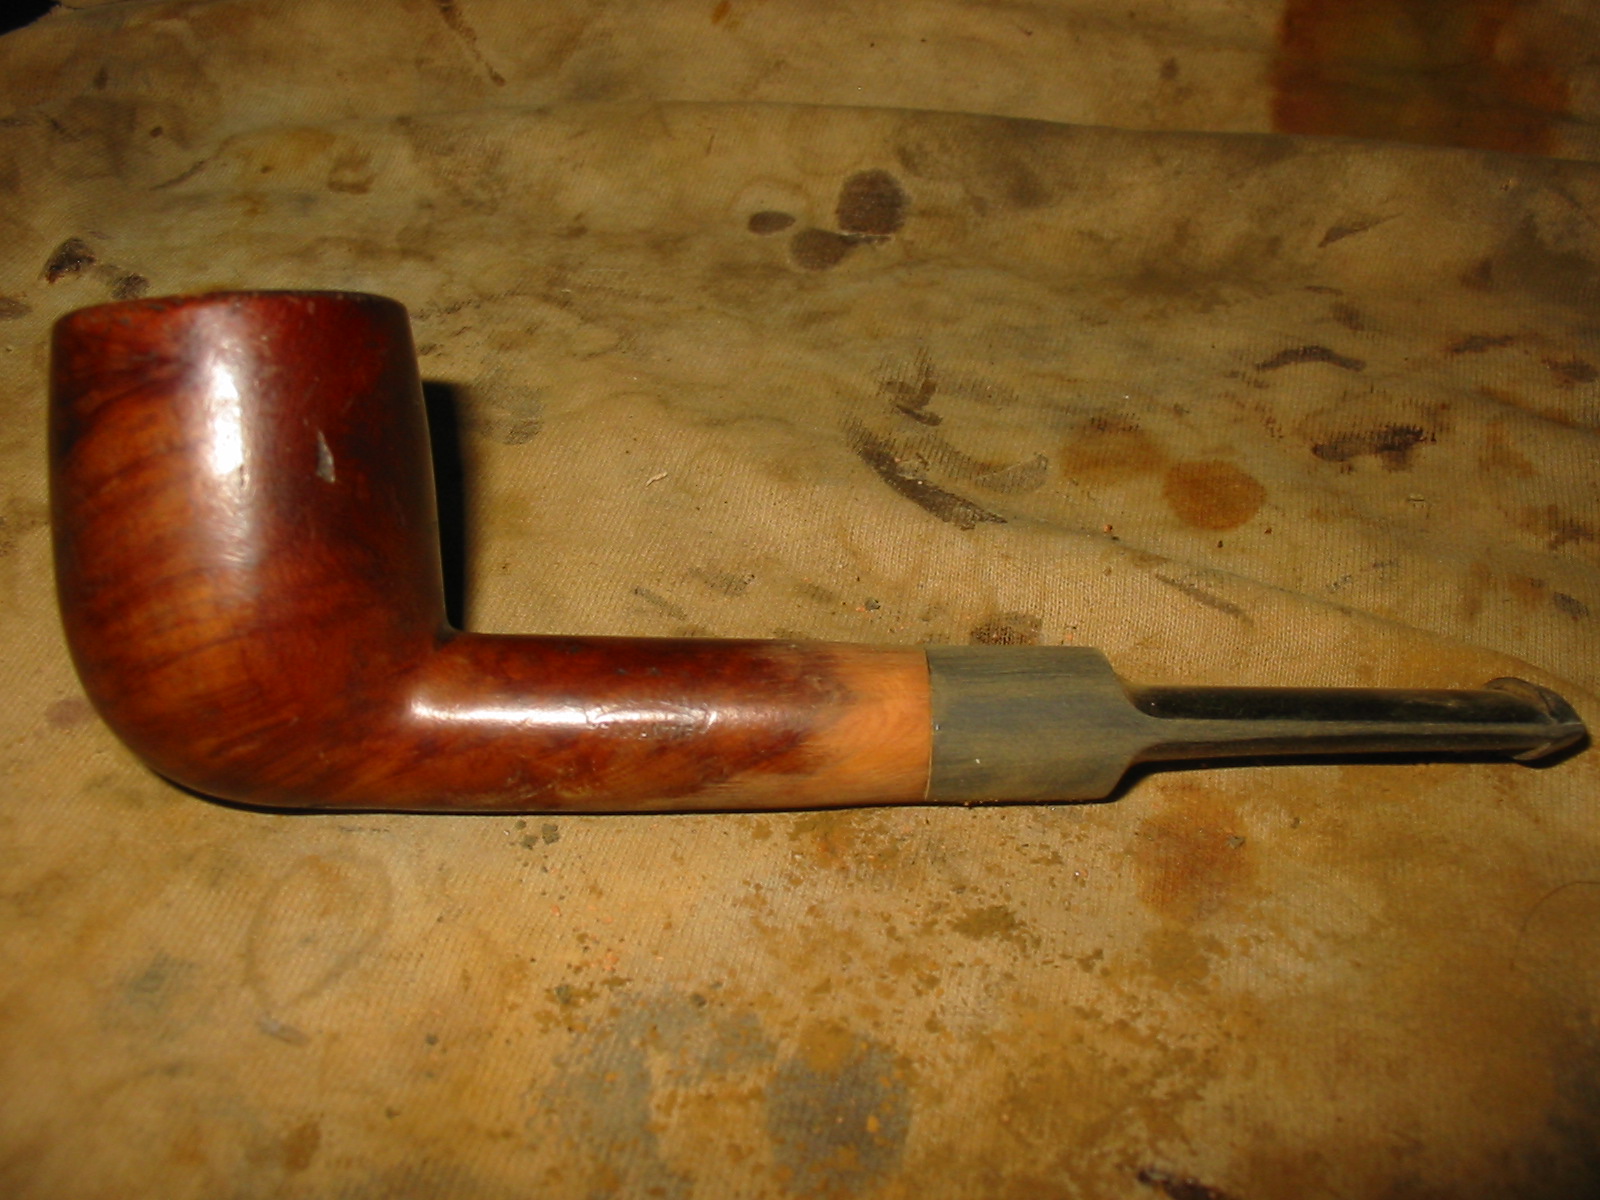
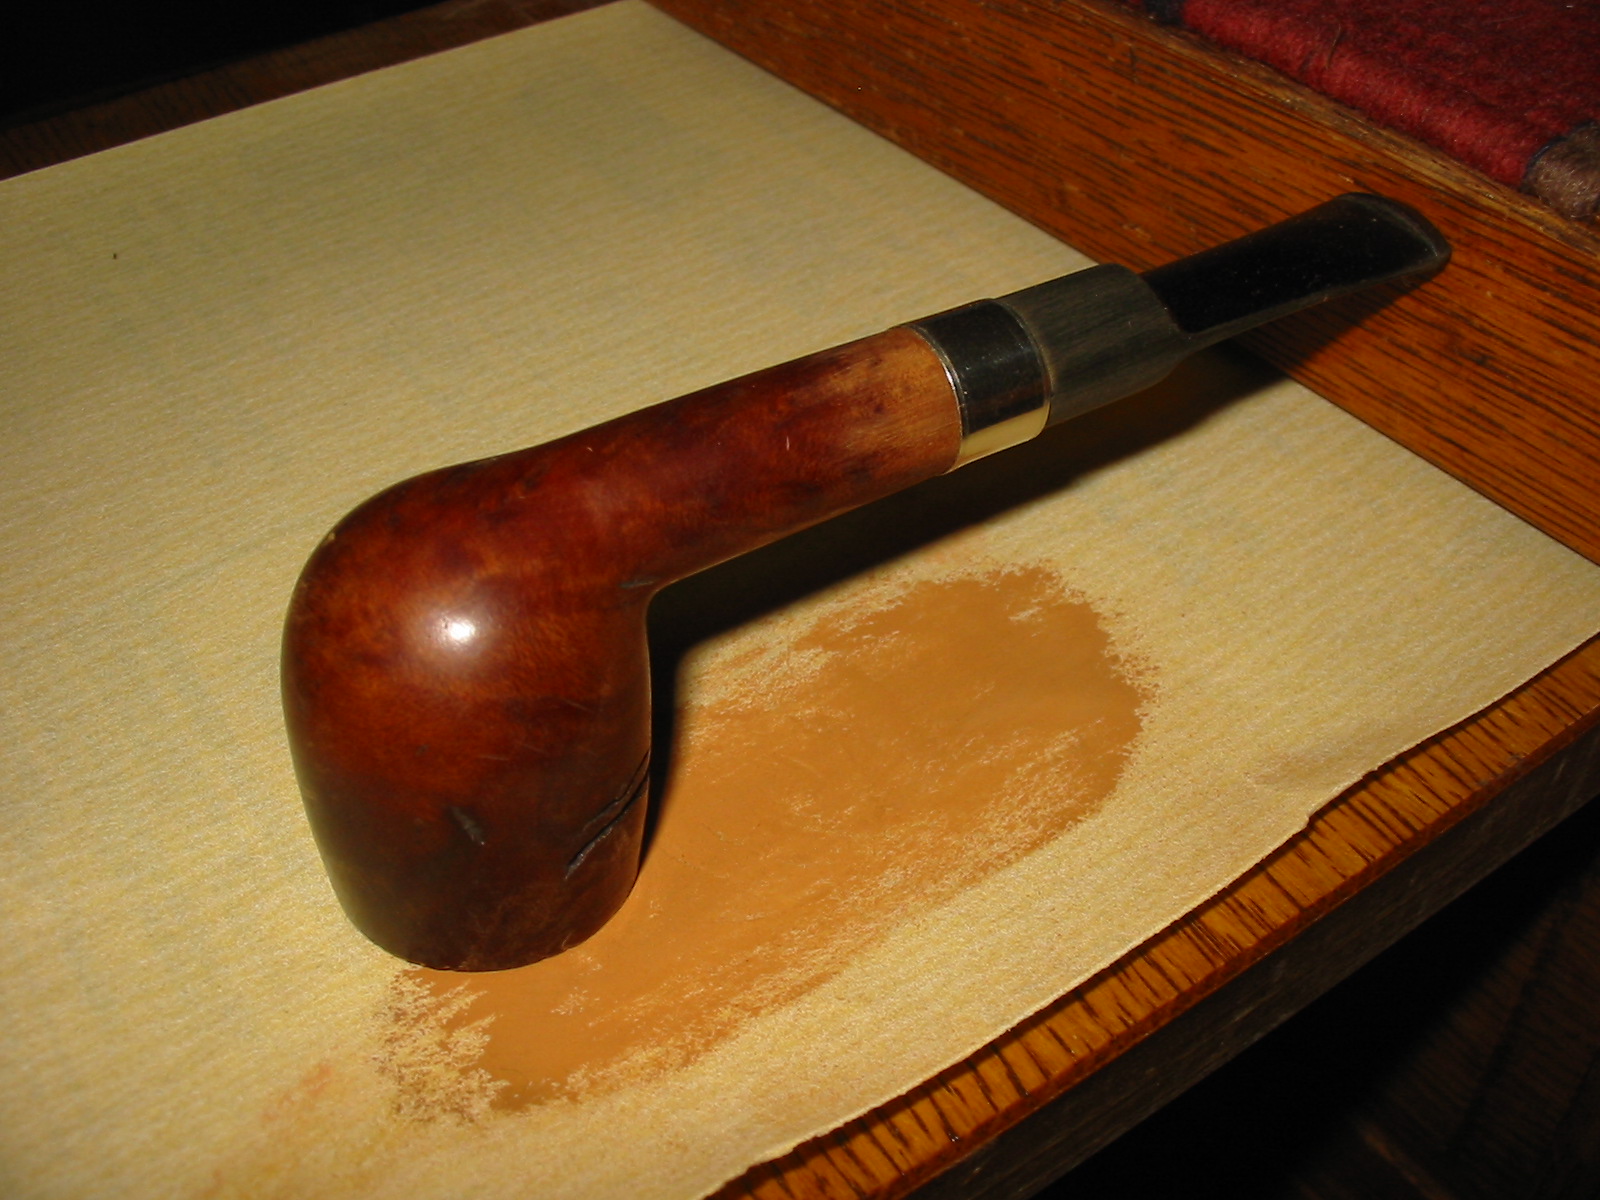
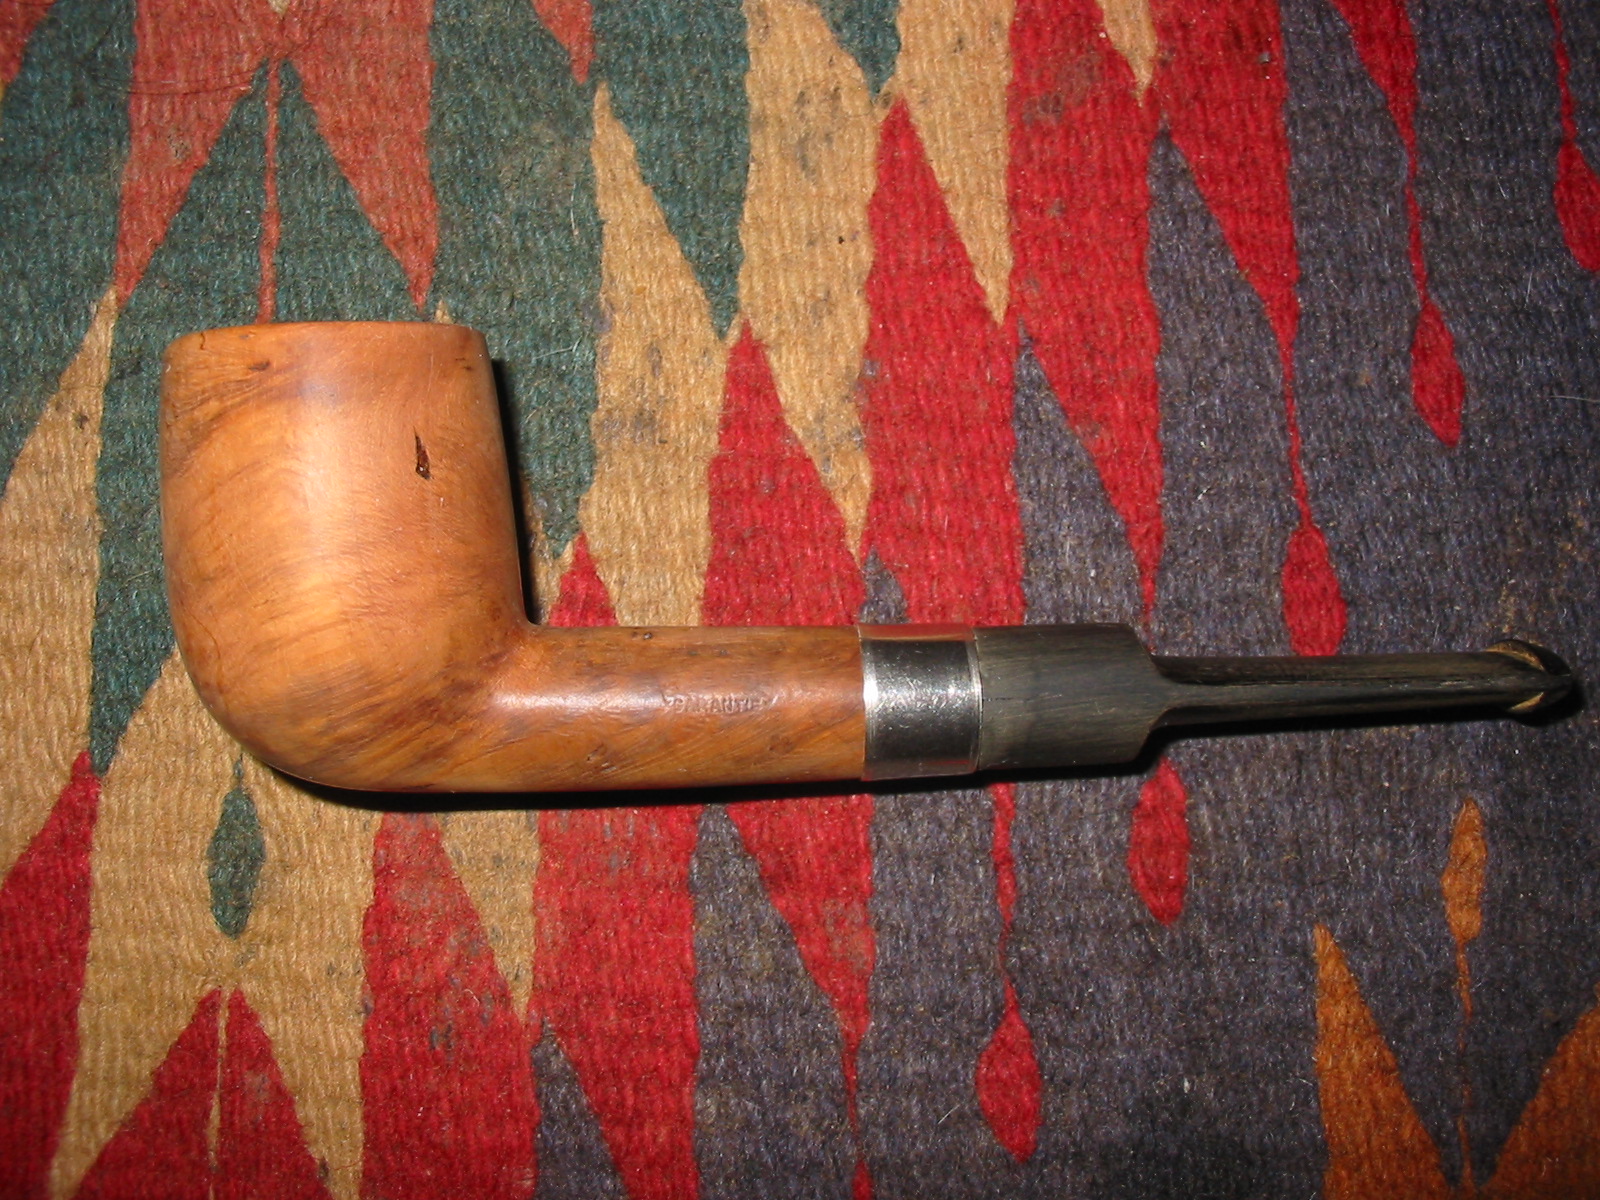
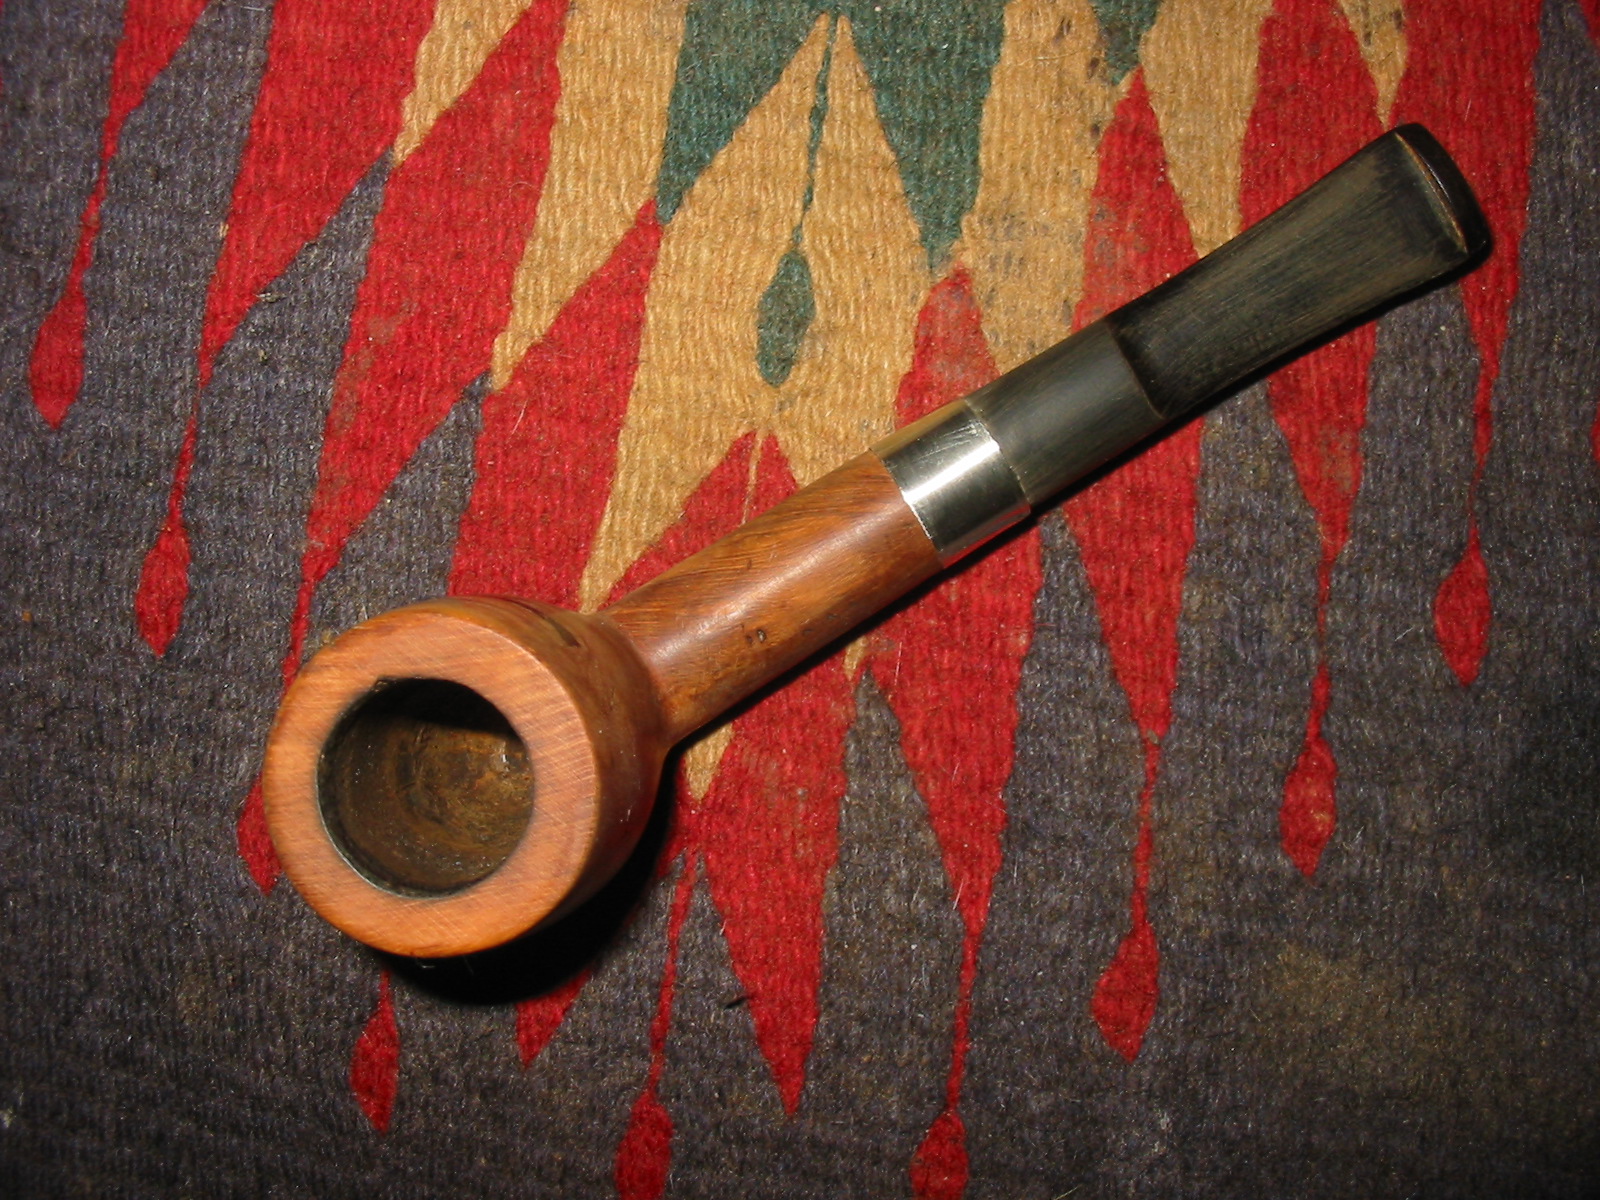
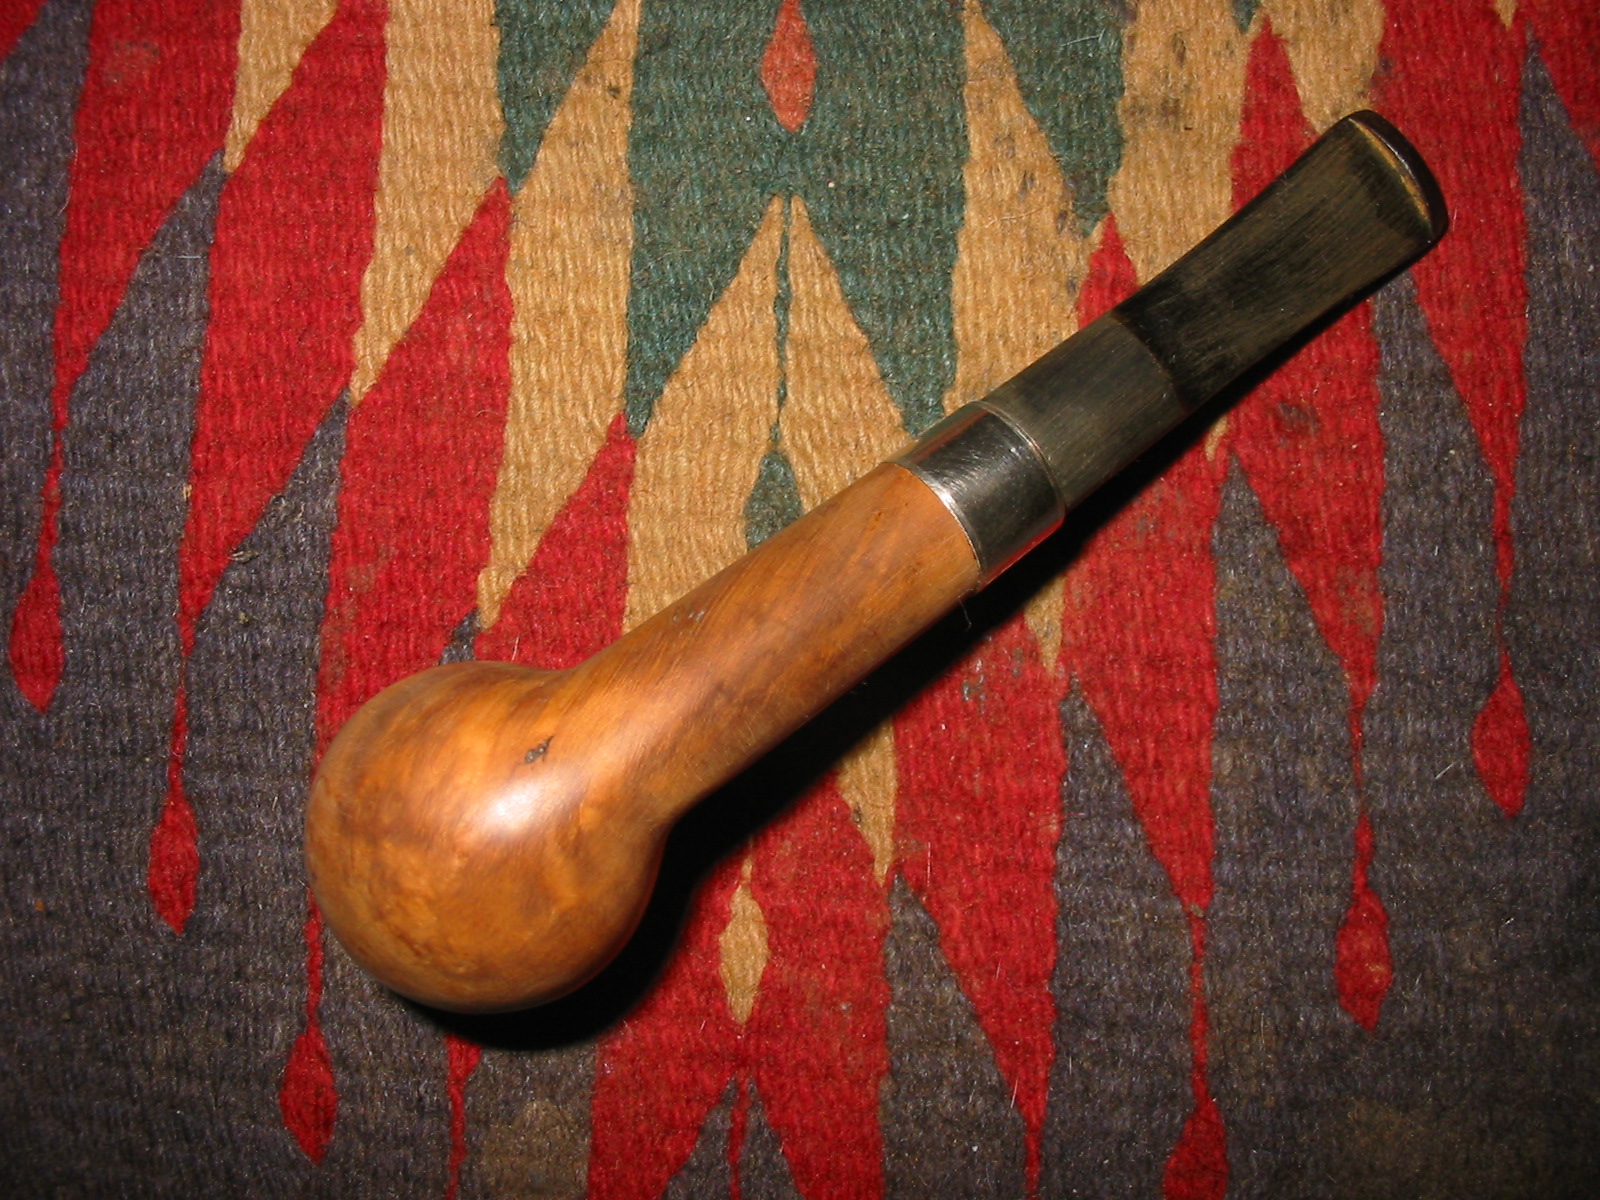
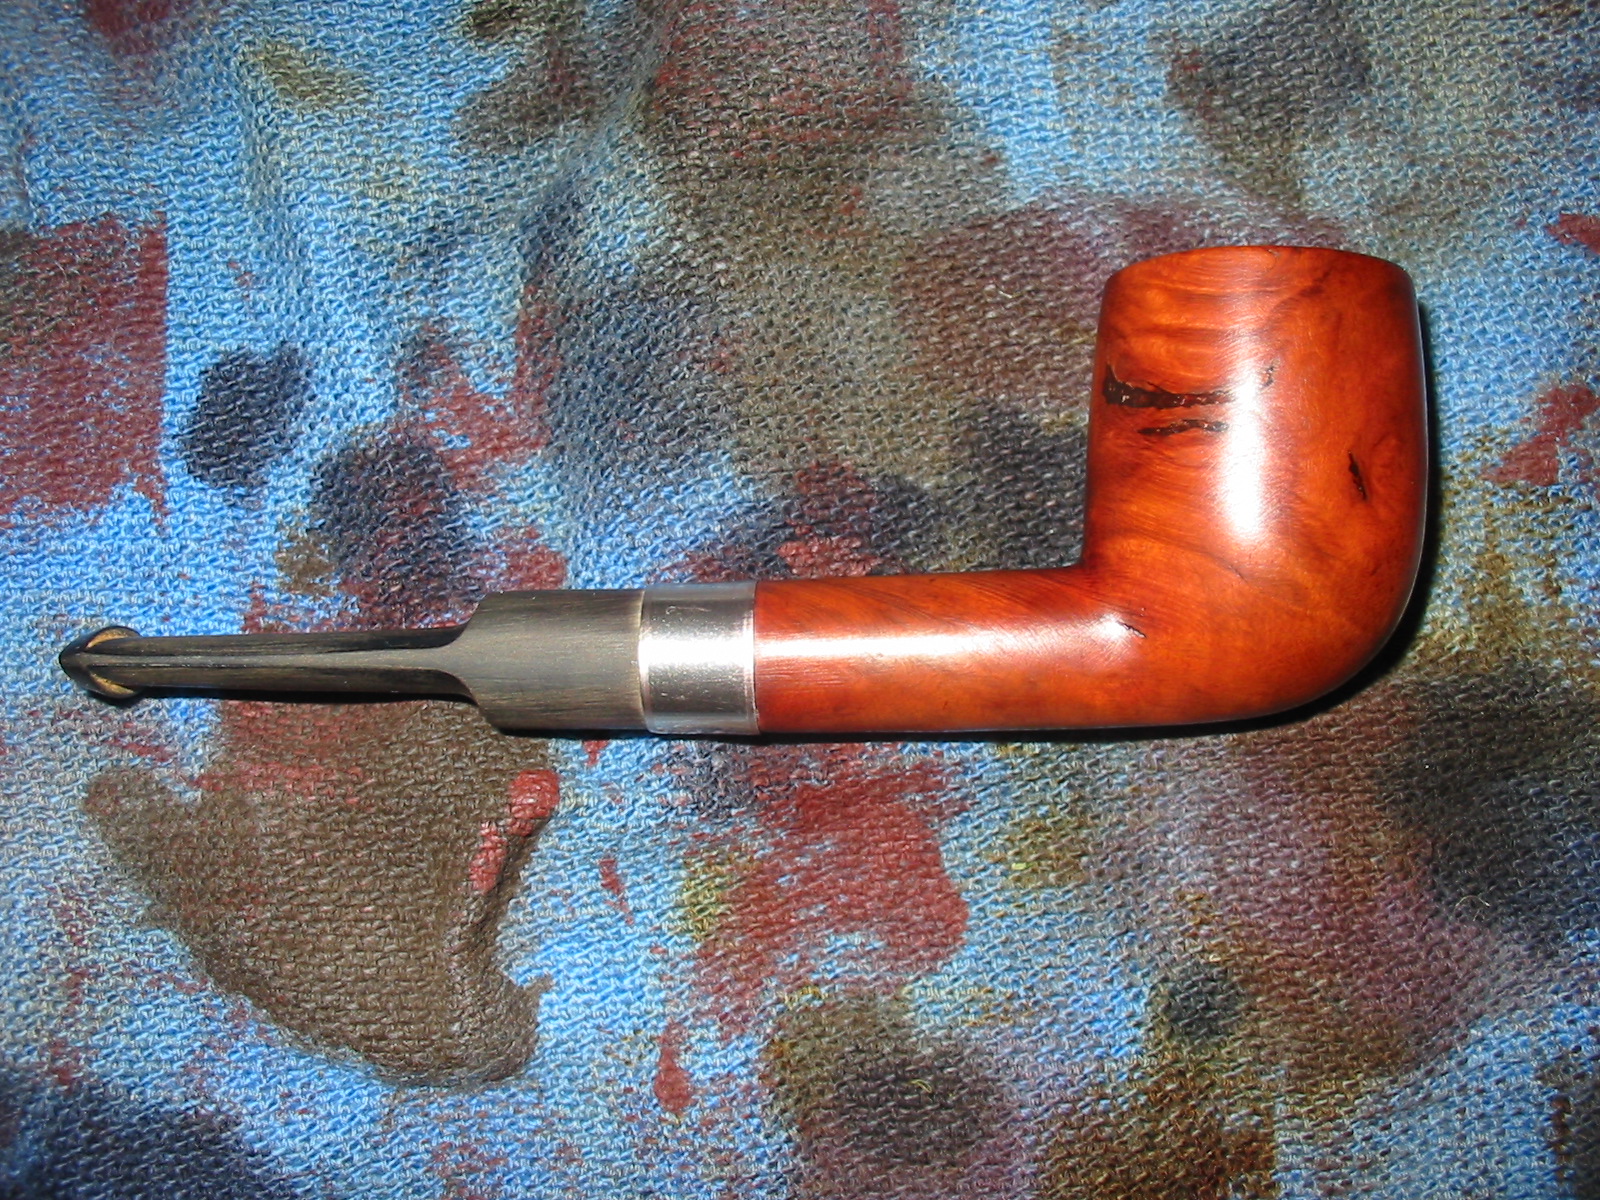
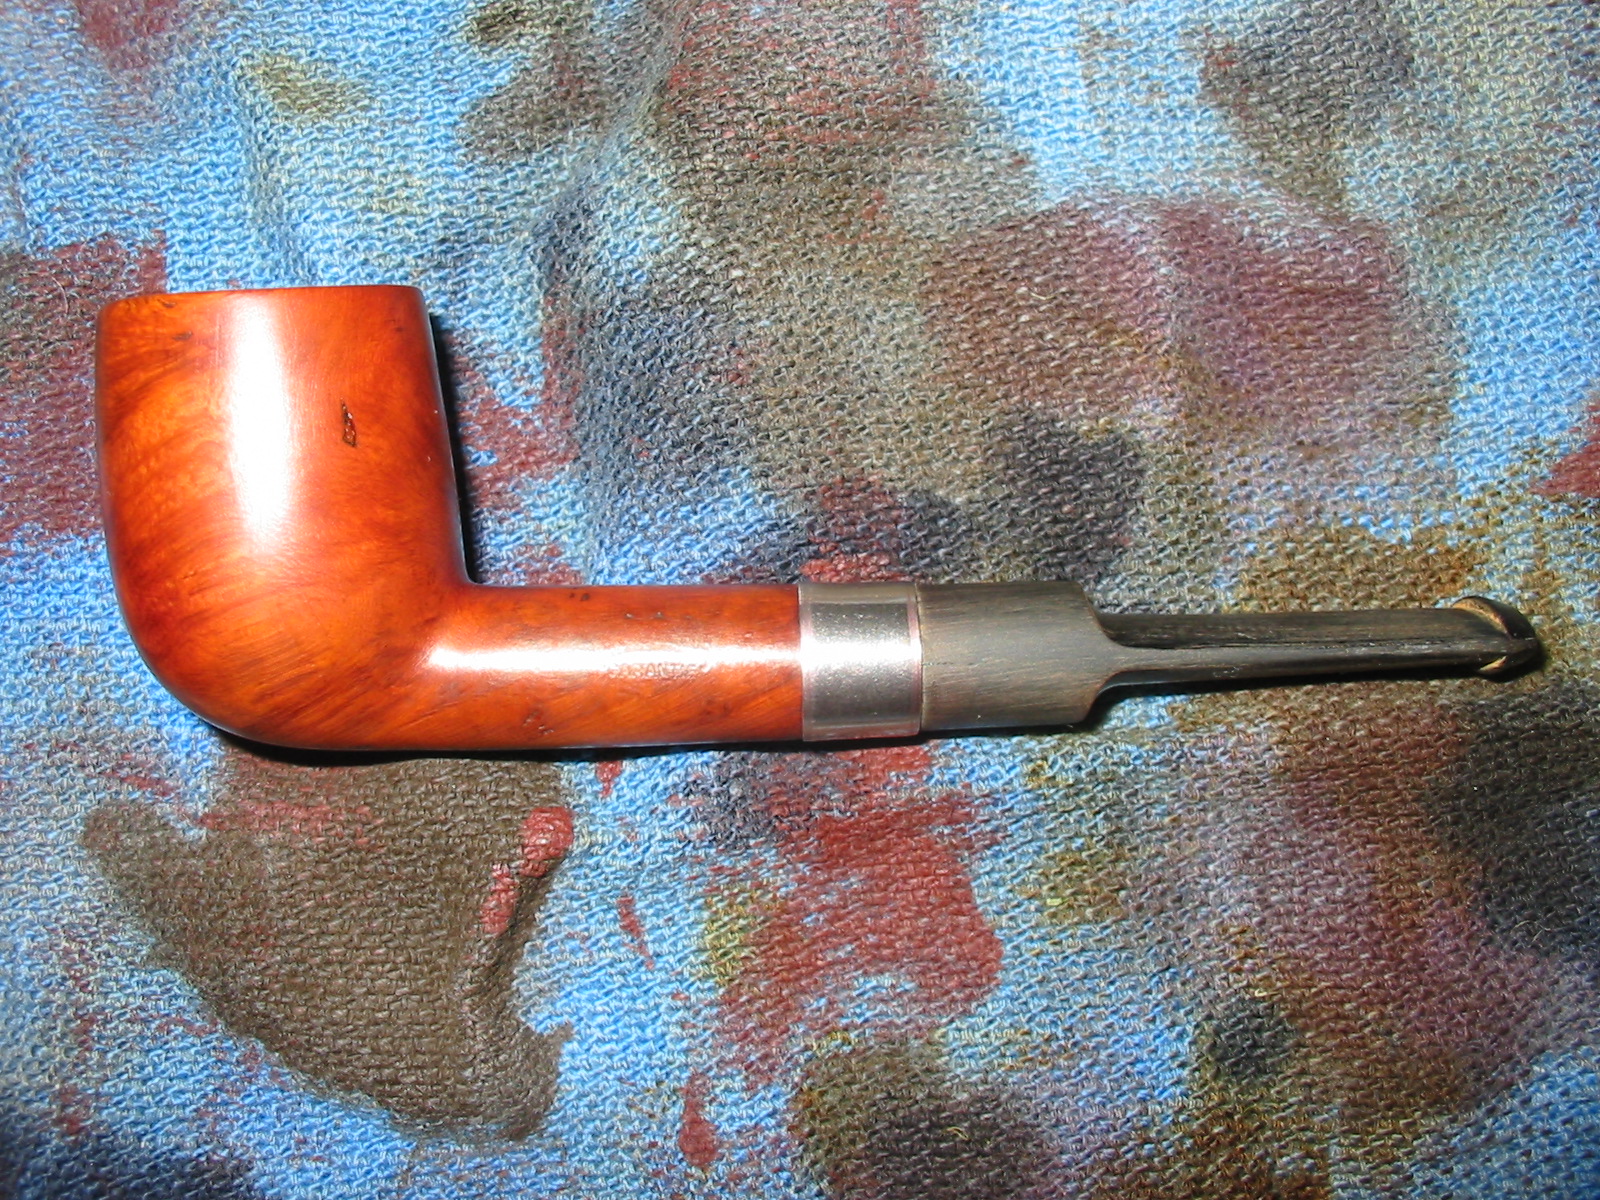
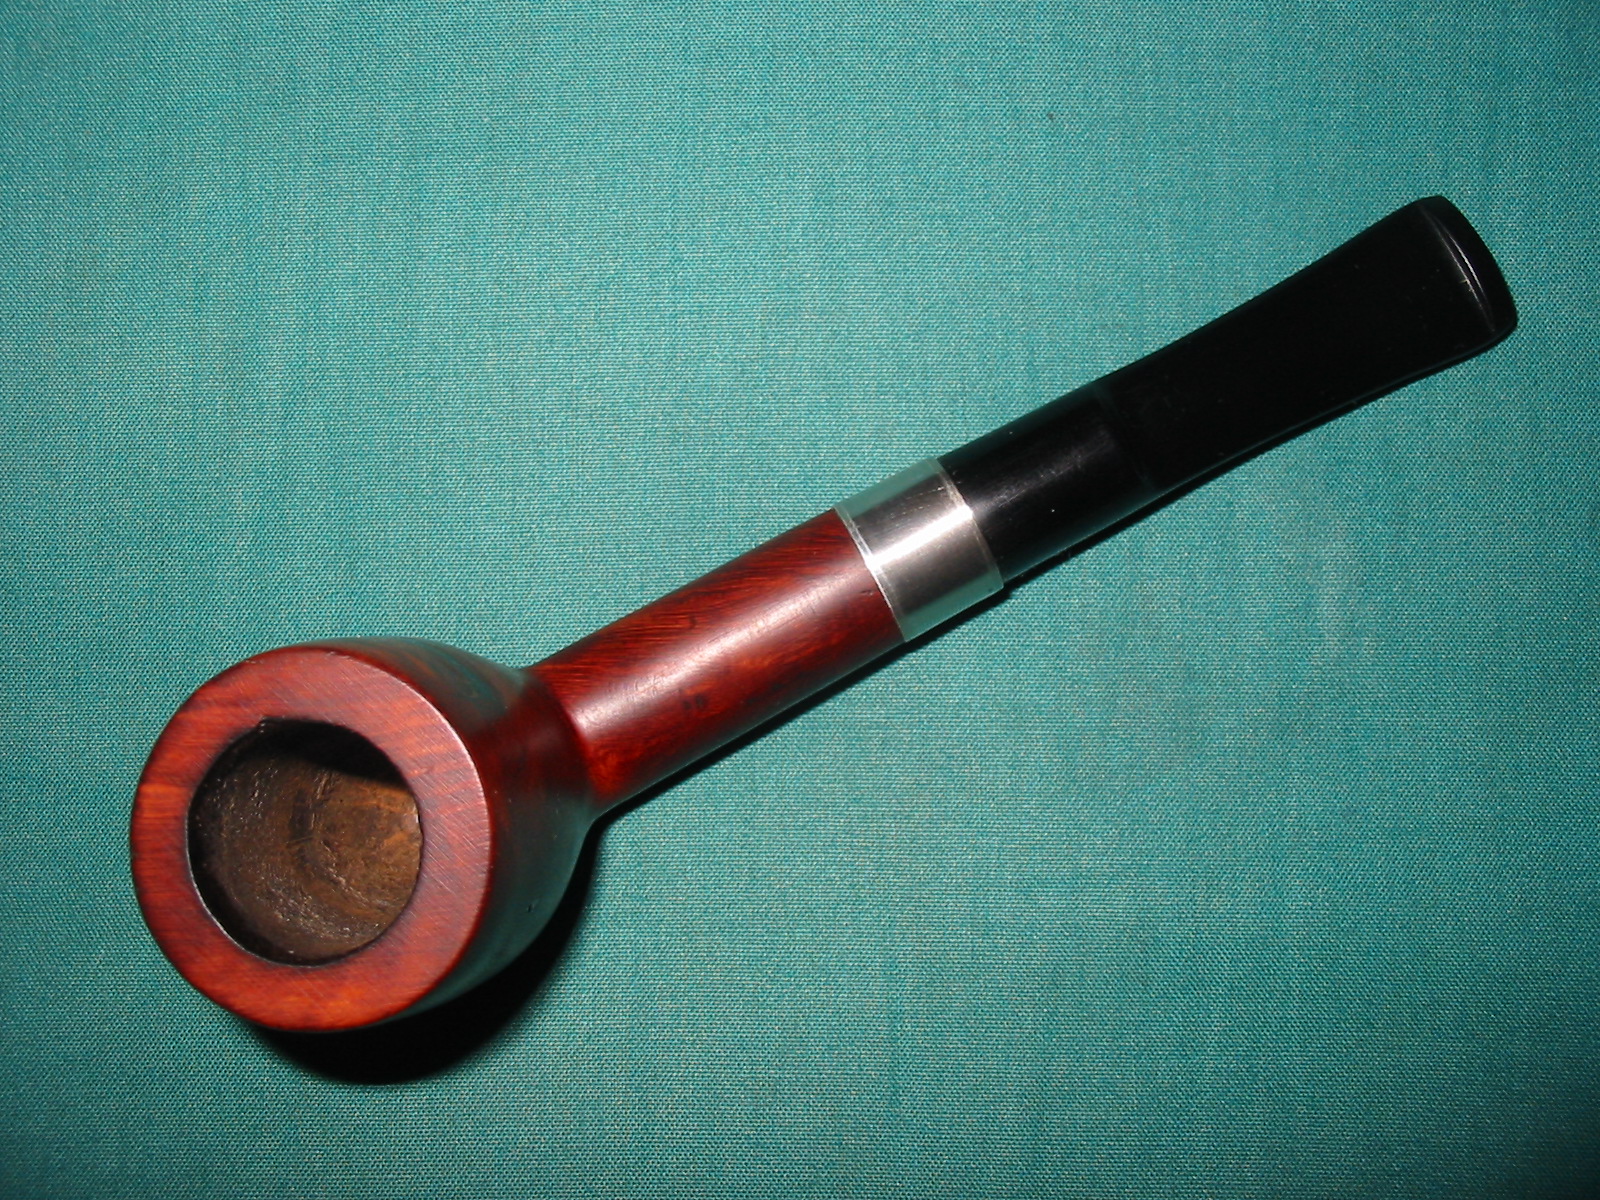
This bowl came to me showing a lot of promise but also a lot of damage. It was like someone had sawed at the bowl on the side near the shank. The cuts were more than mere flaws in the briar as they were very jagged and broken inside the cuts. There were what looked like tooth marks in the grooves. I debated on rusticating it but there was something about the challenge that made we work at ways to make it smooth once again. The inside of the bowl was in great shape. There was one damaged spot on the inside edge of the rim on the right side of the bowl. The bowl had tobacco still in it and the top of the rim was tarred and caked. There were multiple nicks in the finish all the way around the bowl but the majority of those were in line with the deep grooves. The bowl came without a stem and the shank had a nick out of the end making a clean fit almost impossible. There were no cracks in the shank so no damage in that way. The stamping on the pipe is Bruyere in a curved banner – unfurled in an arch on the left side of the shank and underneath it is stamped Garantie. The banner also seems to go across a three pointed crown that is visible underneath the banner.

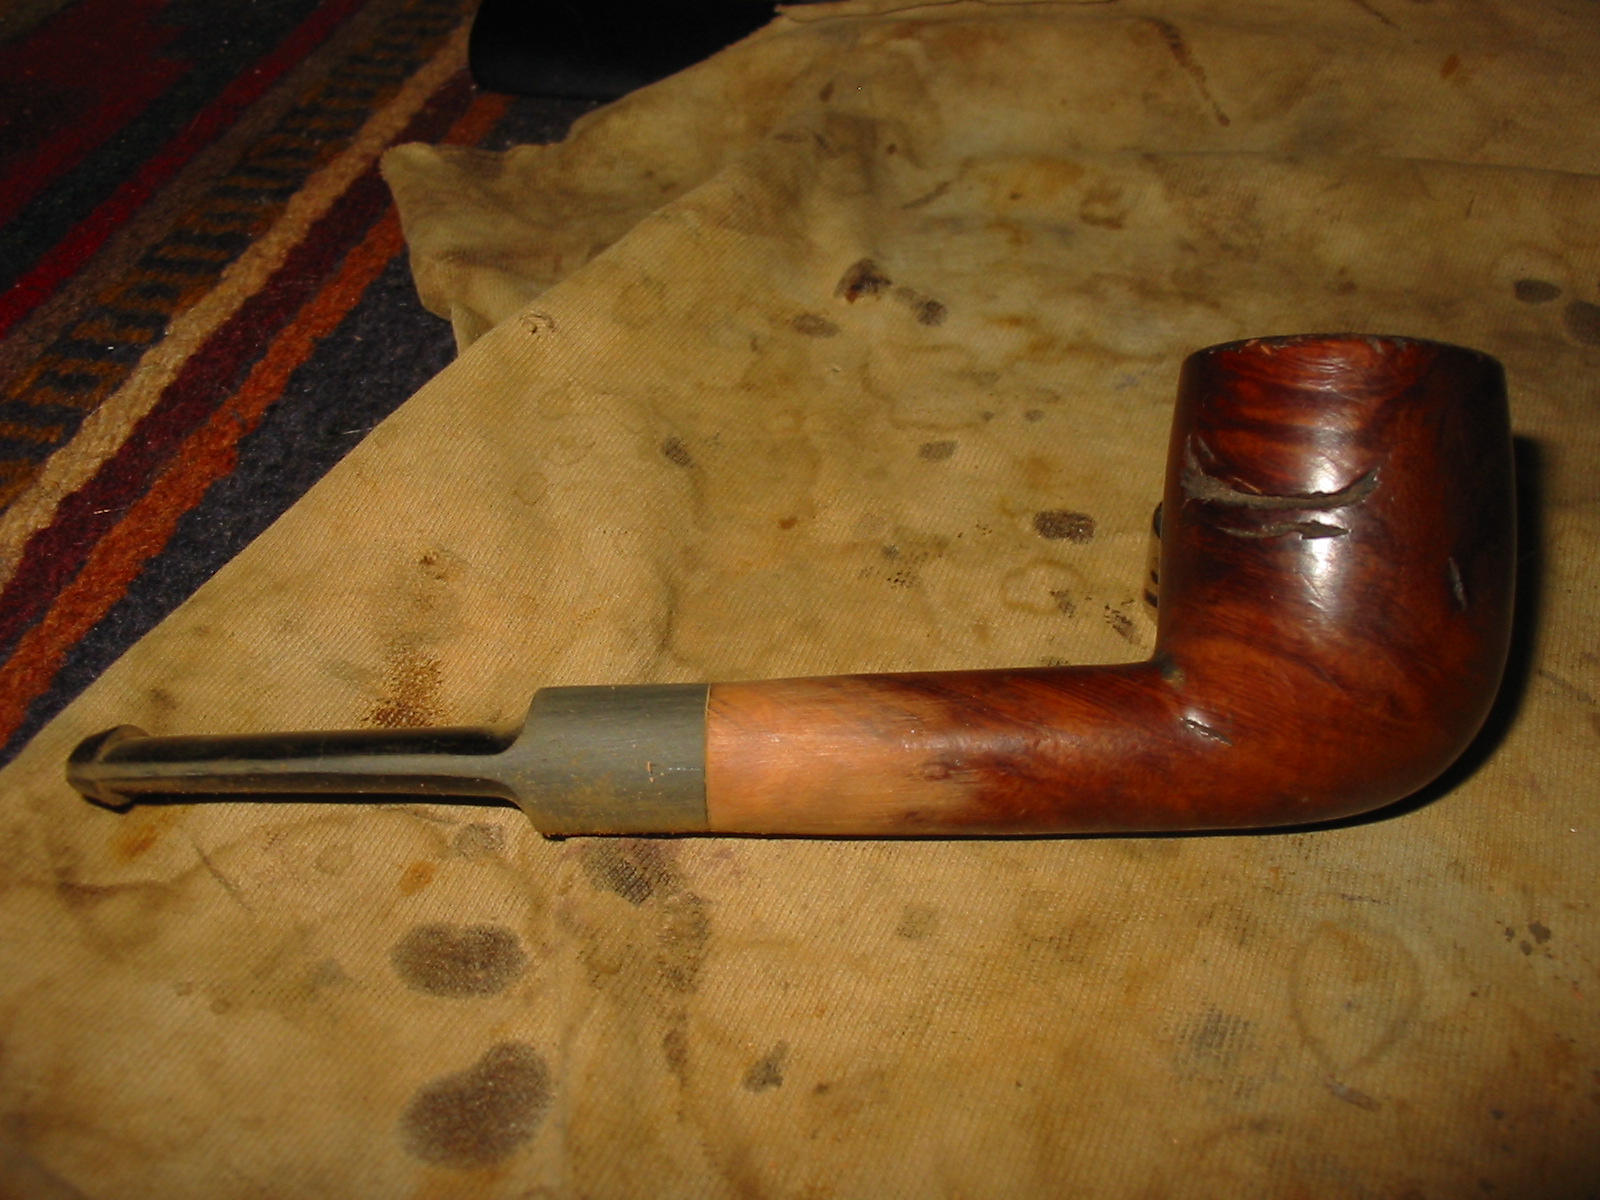
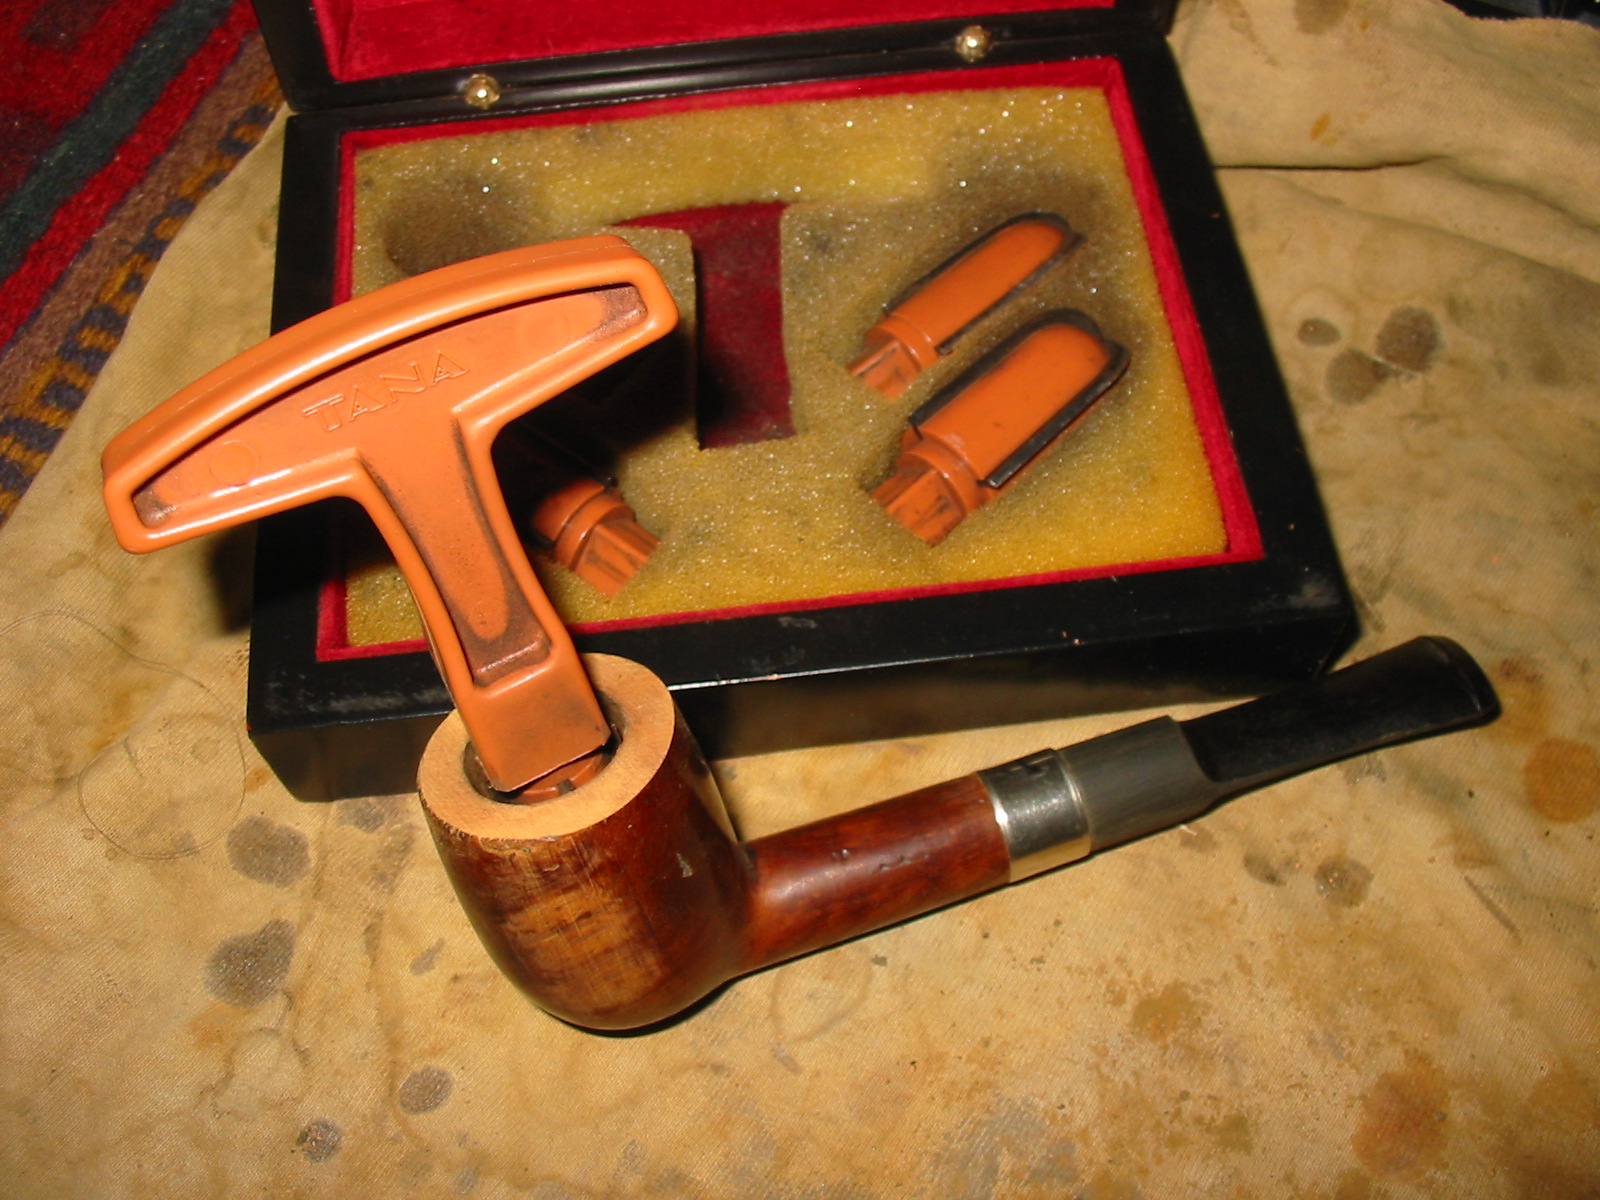
I found a precast stem in my can of stems that was close to the right diameter to the shank and turned the tenon with a PIMO Tenon Turner and then fit it in the shank. I used a Dremel to remove the excess rubber along the edges and end of the cast.

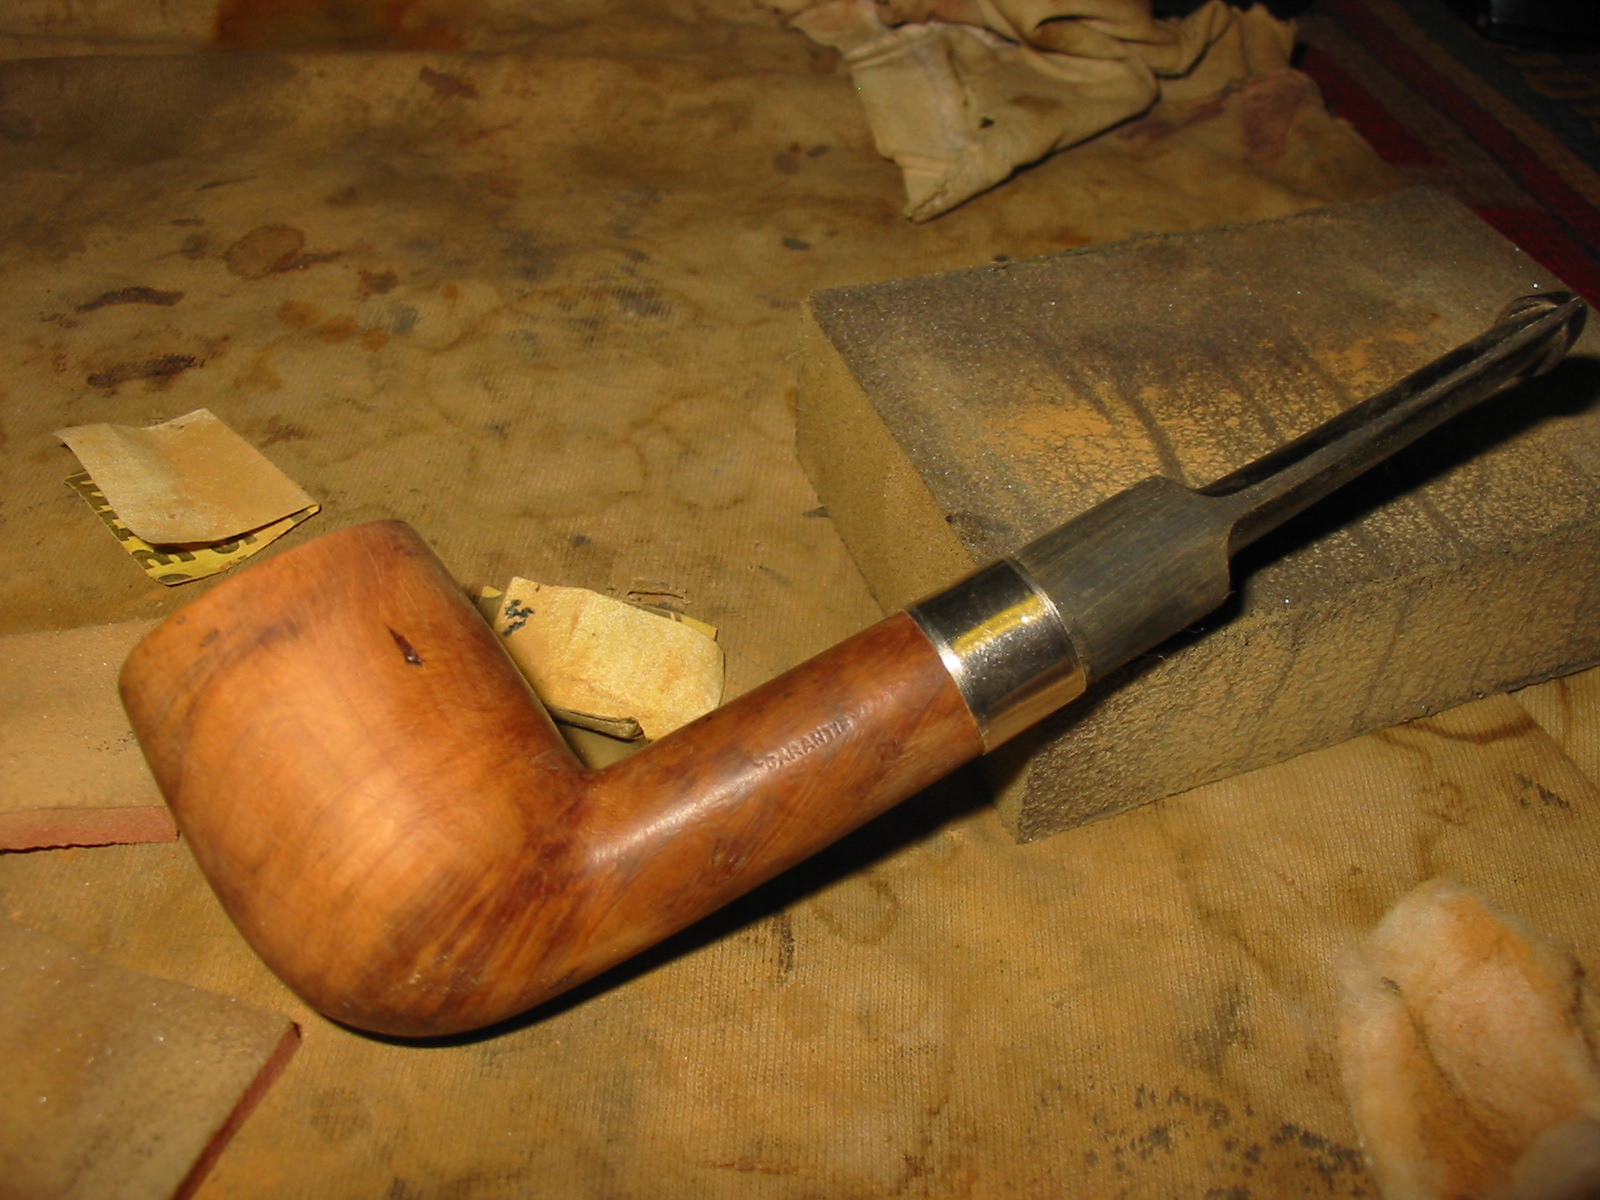
I sanded the stem and the shank to achieve a good smooth transition between the two. In the process I was curious as to what the shank would look like with a band so I slid a band part way on and fit the stem in place to have a look.
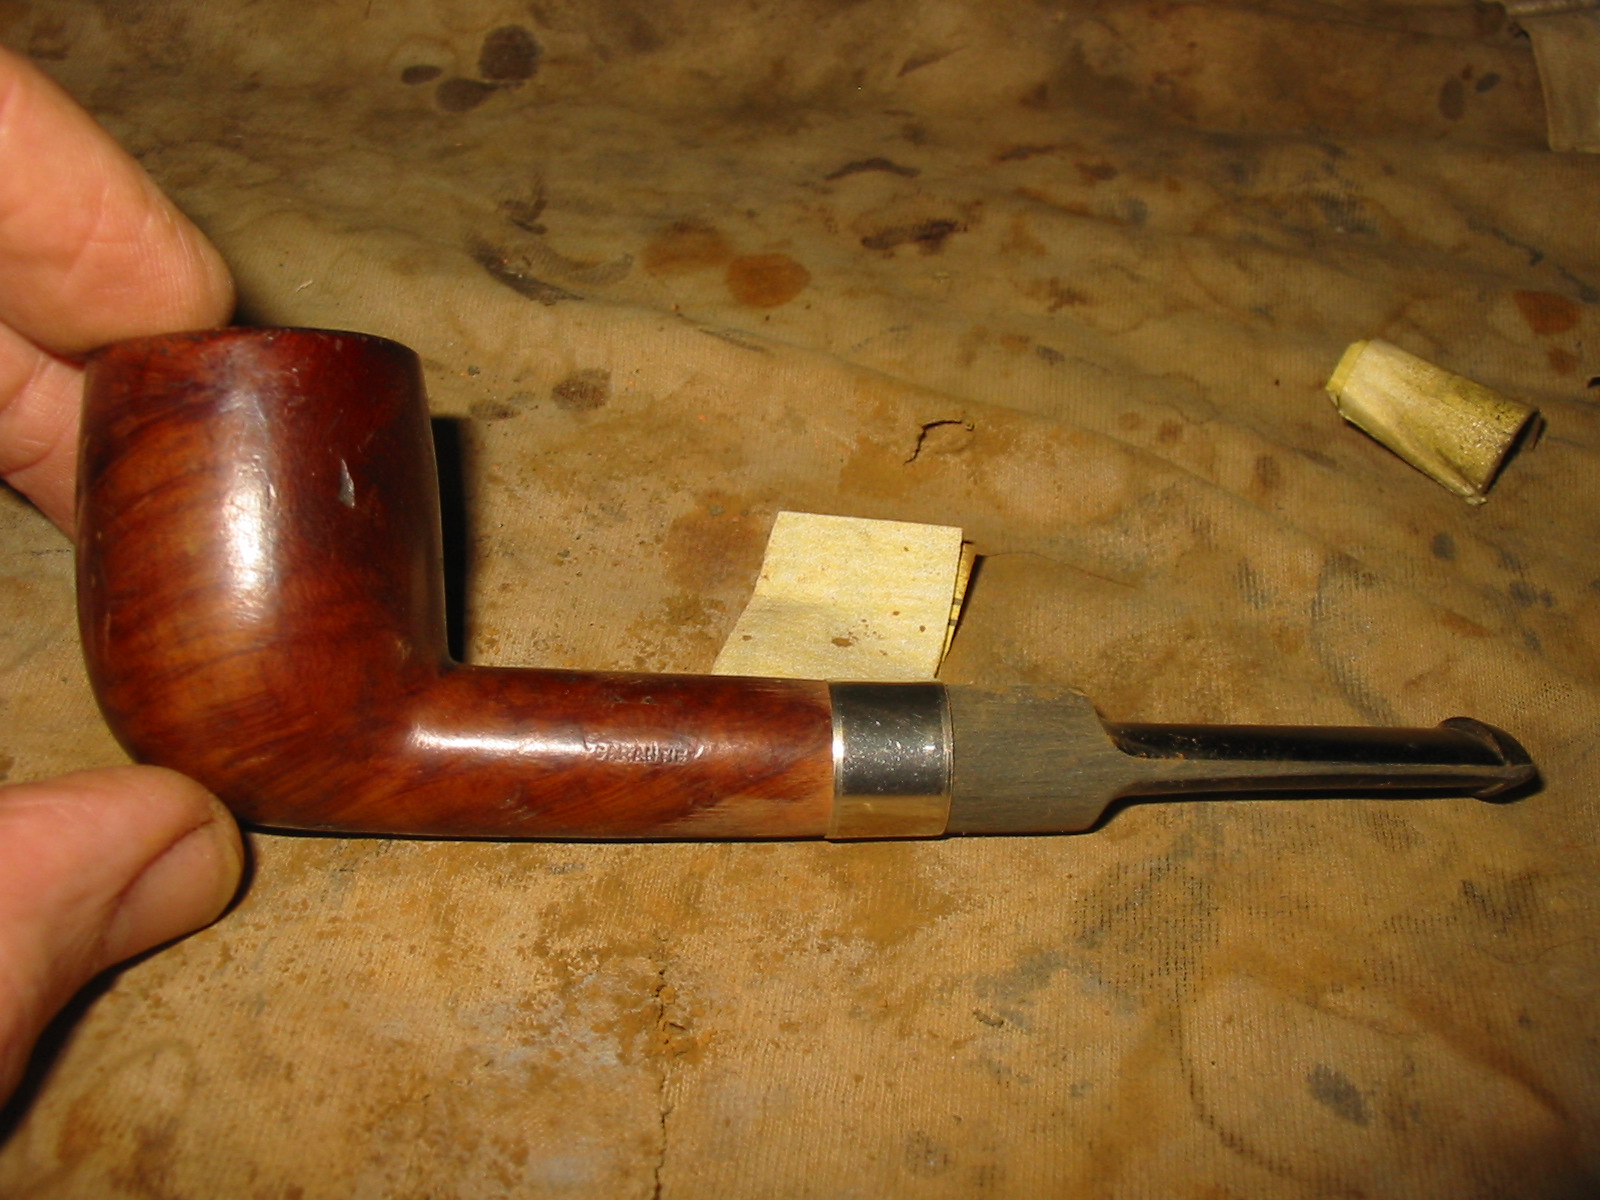
I liked the look of the band so I removed it and sanded the stem to fit smoothly against the shank. I sanded it with 220 grit sandpaper. (I have found that lower grits, courser sandpaper just makes for more scratches and is counterproductive when I am working toward refinishing the bowl.
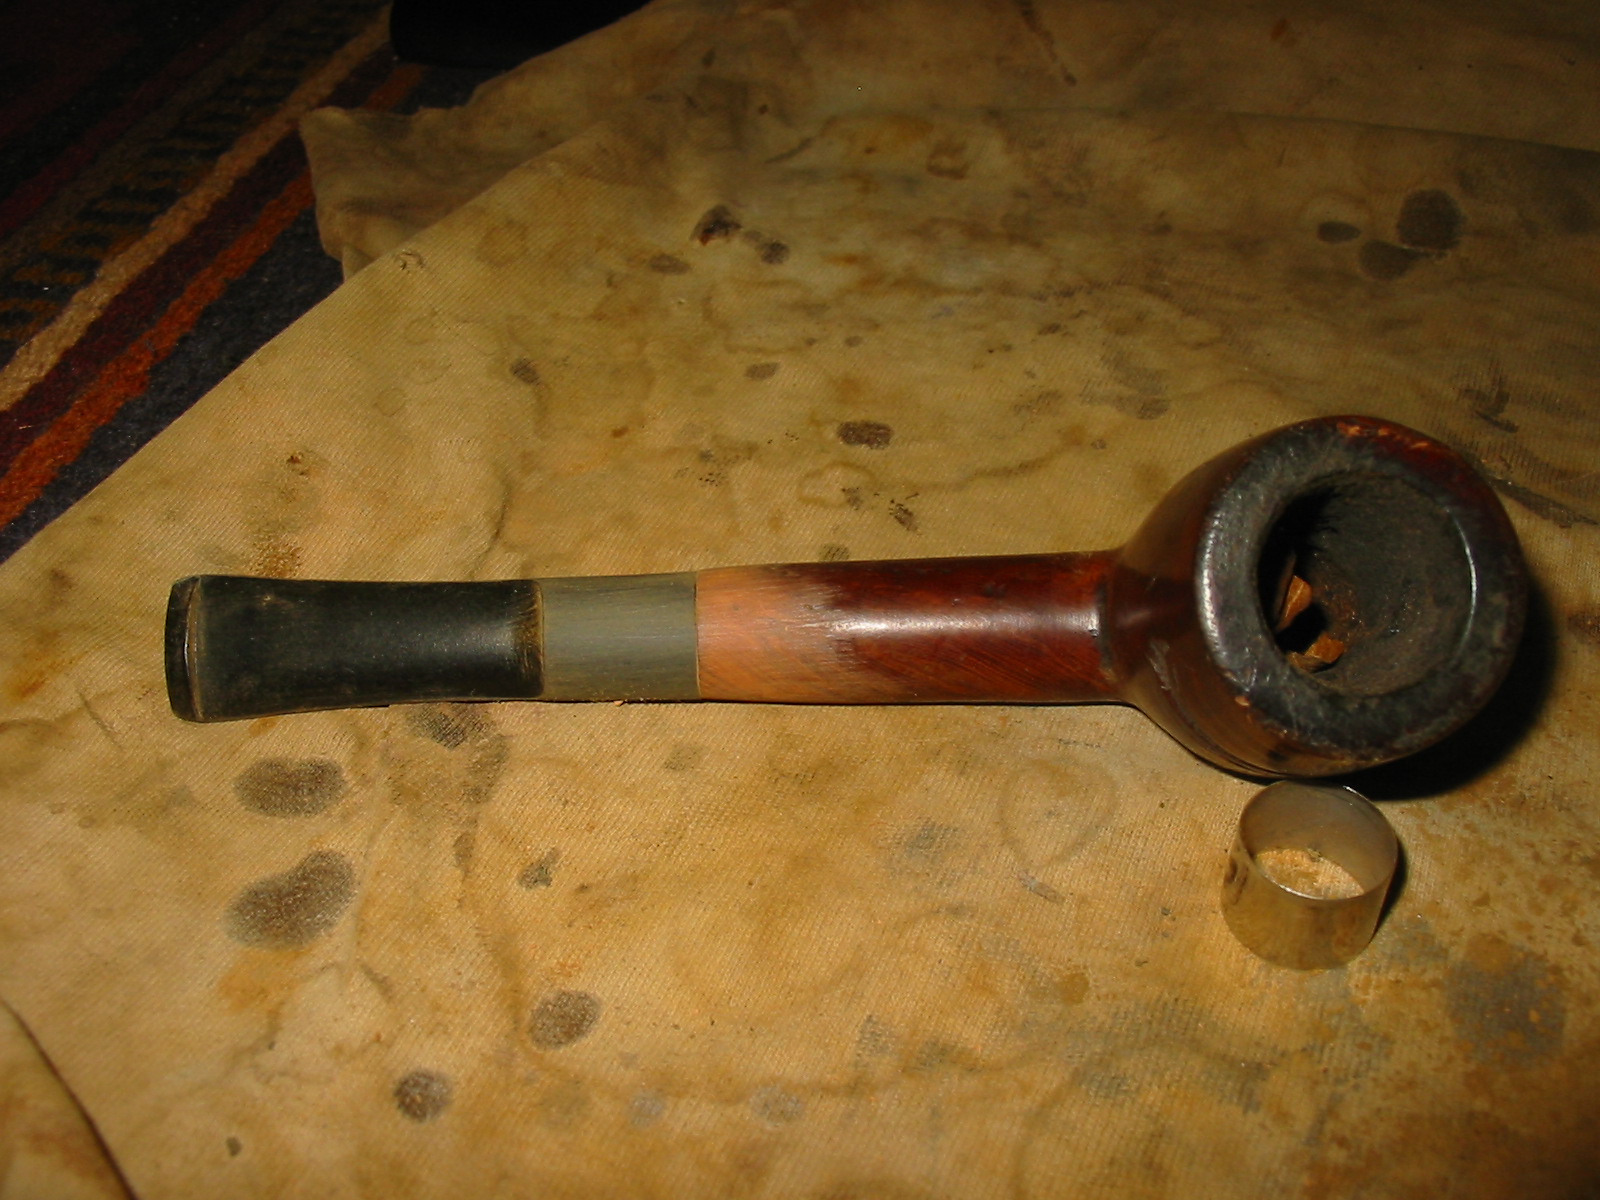
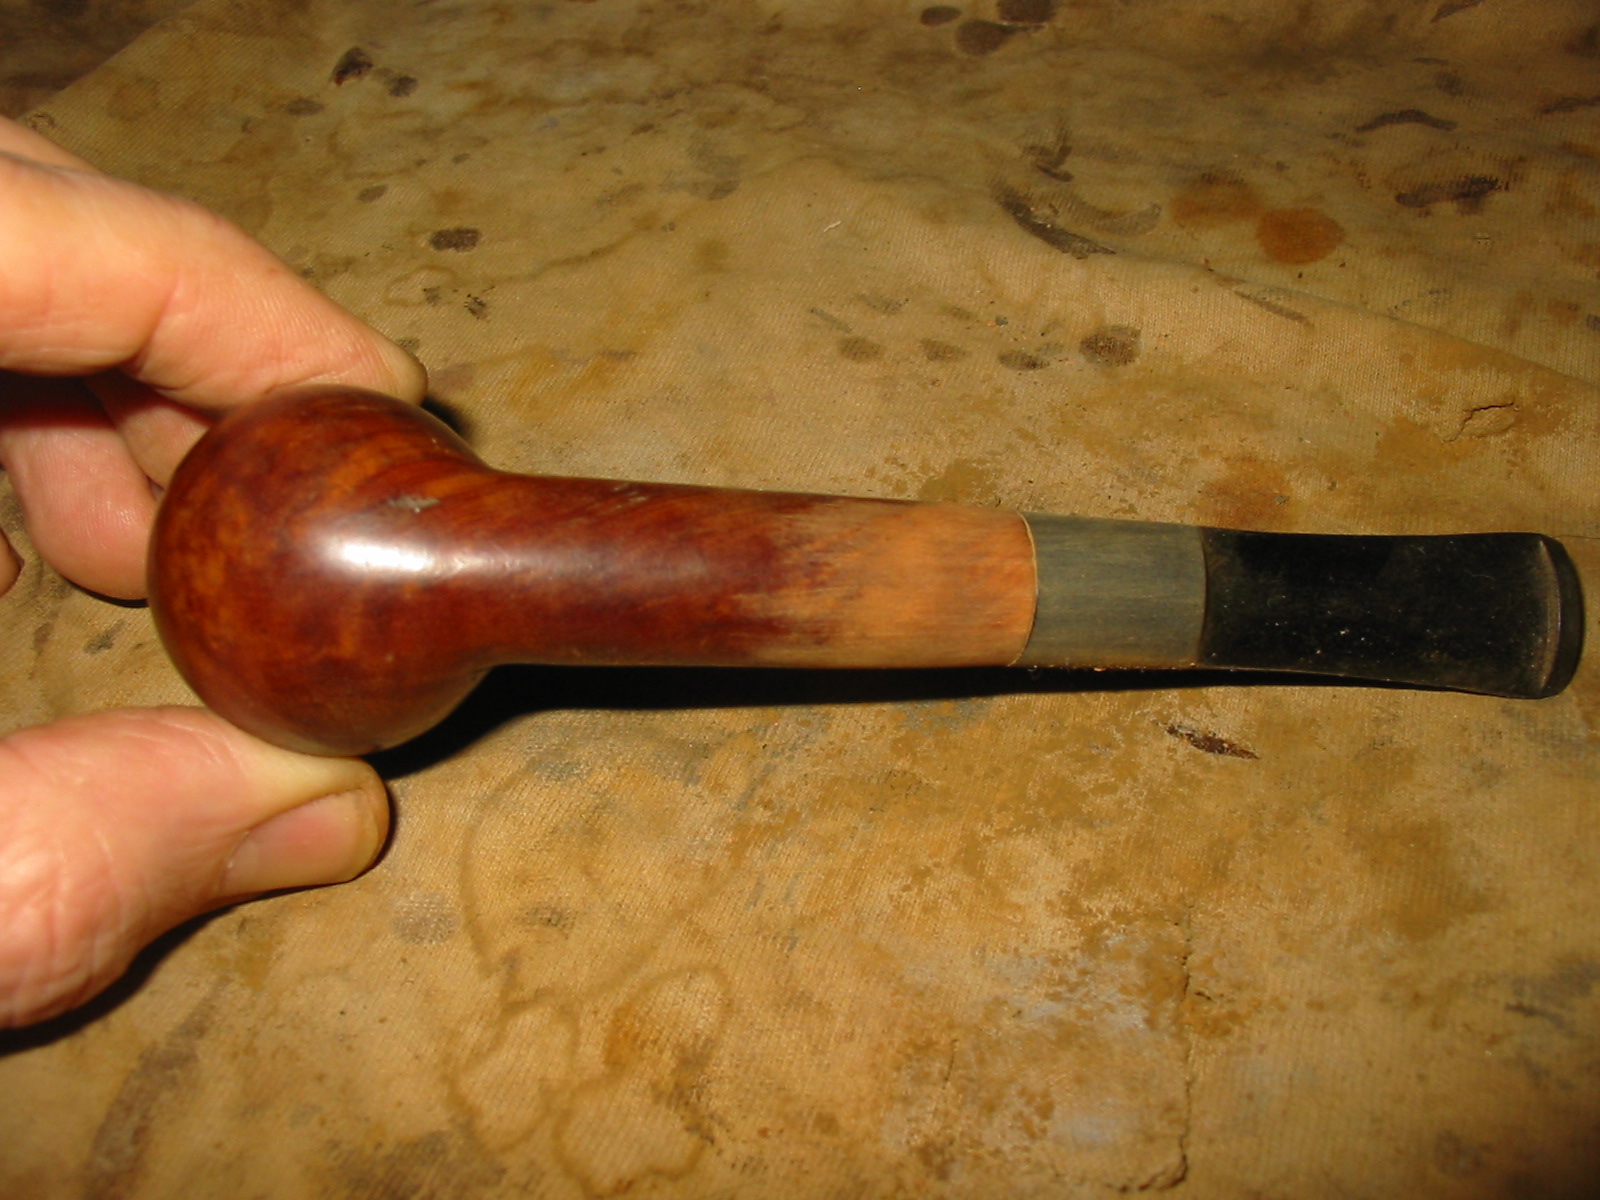
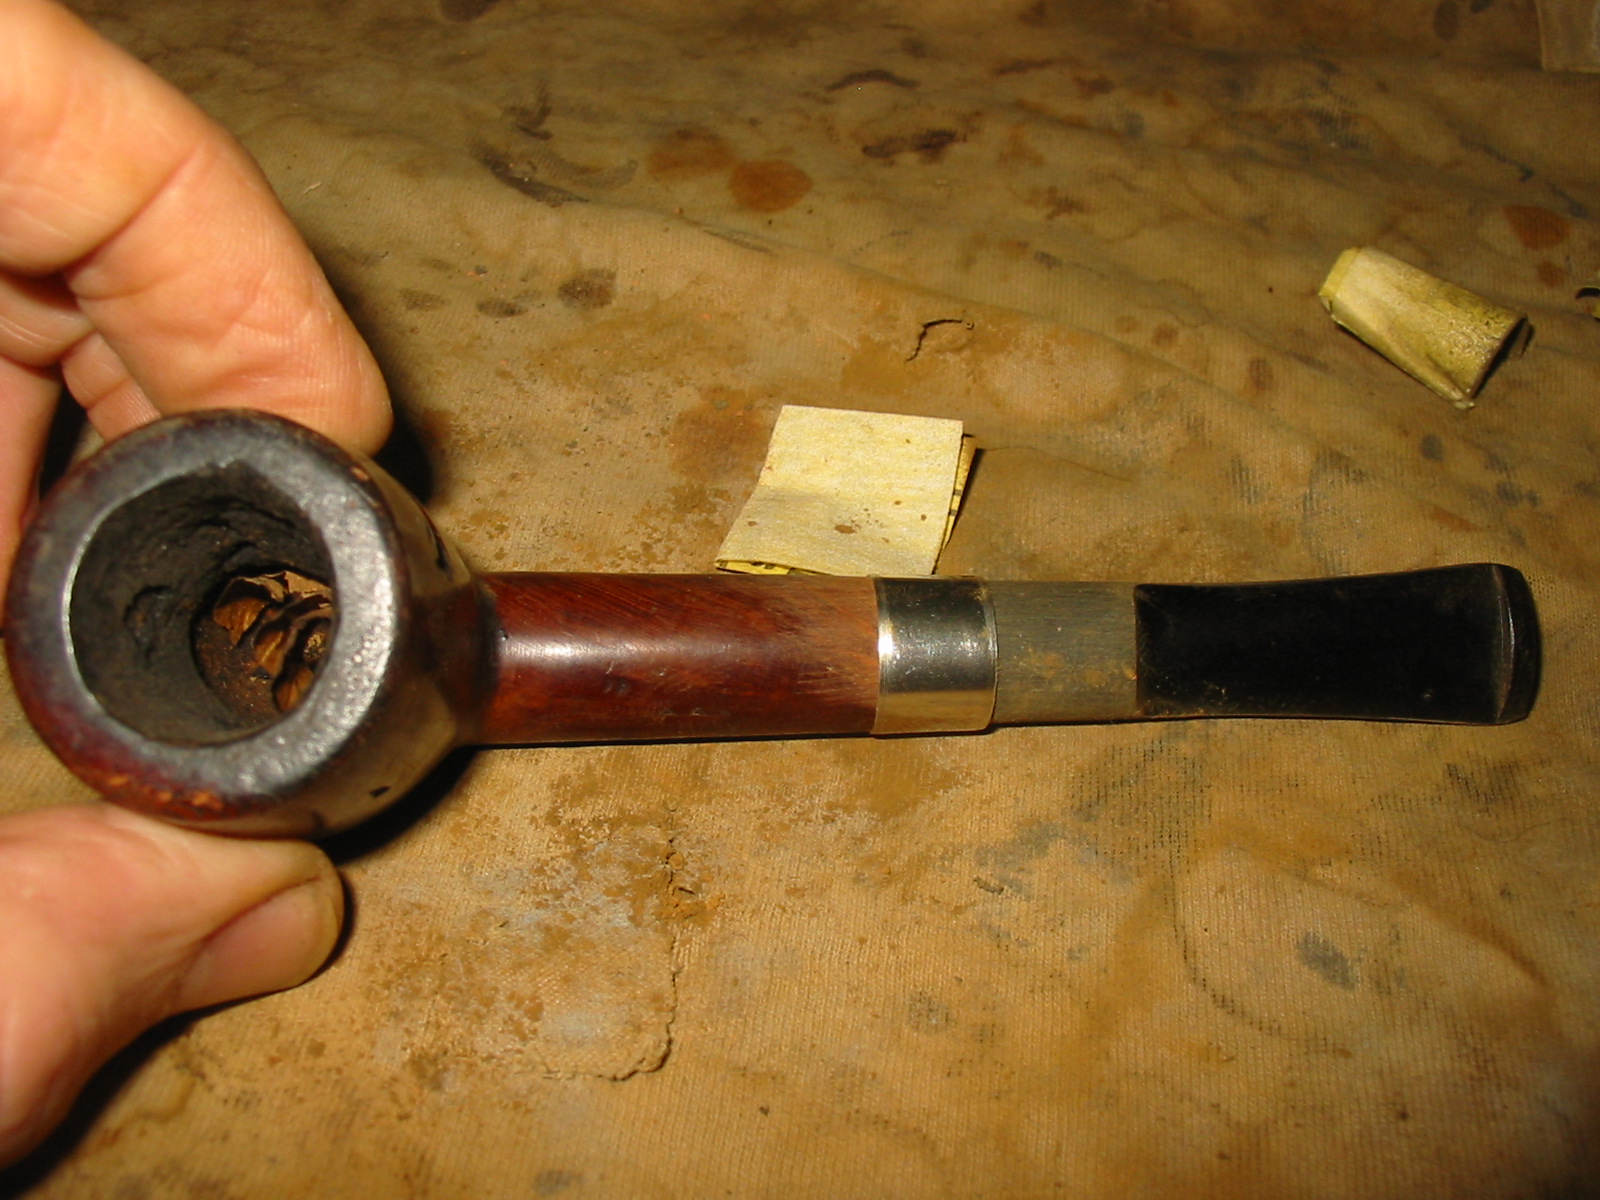
Once I had the fit right and the transition smooth I cleaned off the shank with isopropyl alcohol and then rubbed on some white glue I heated the band and pressed it in place. With the band in place I took the bowl back to my work table and did a light topping as the outer edges of the bowl were more damaged than I thought. I wanted a good clean rim to go with the pipe once I had stripped and refinished it.

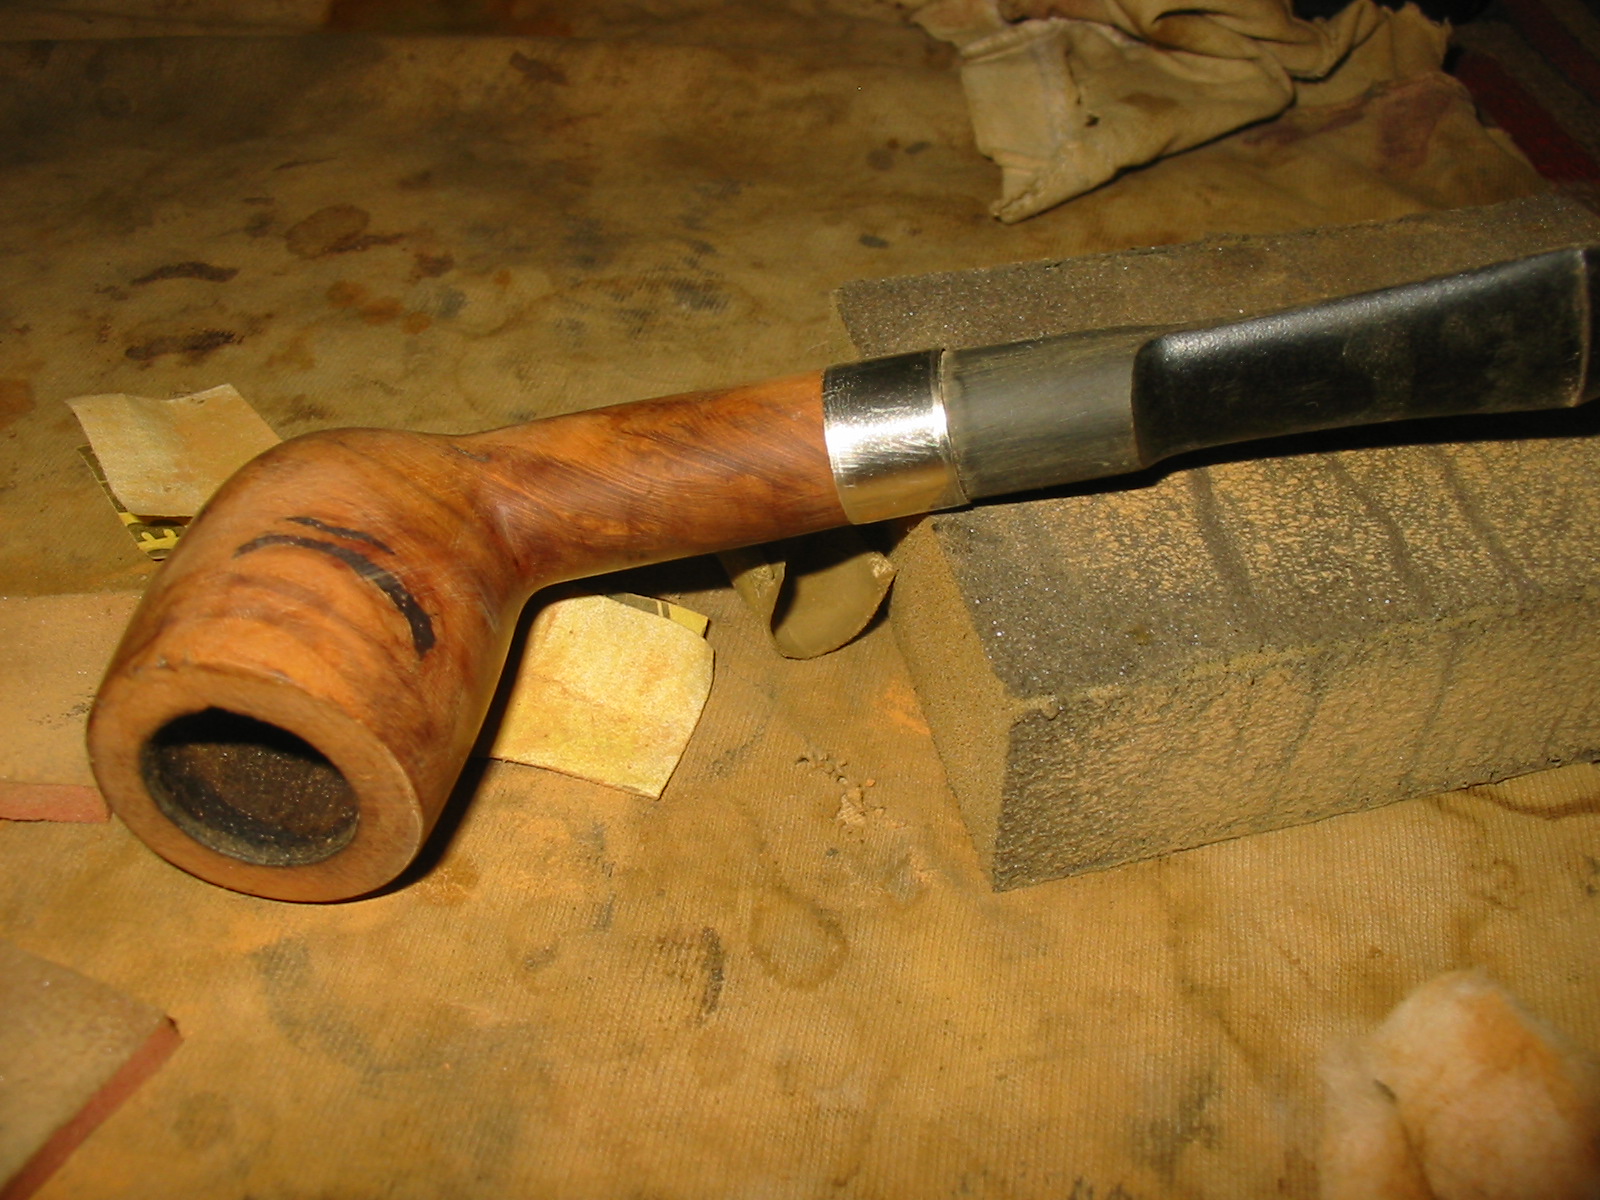
I reamed the bowl with a PipNet reamer and took it back to bare wood all the way to the bottom of the bowl.
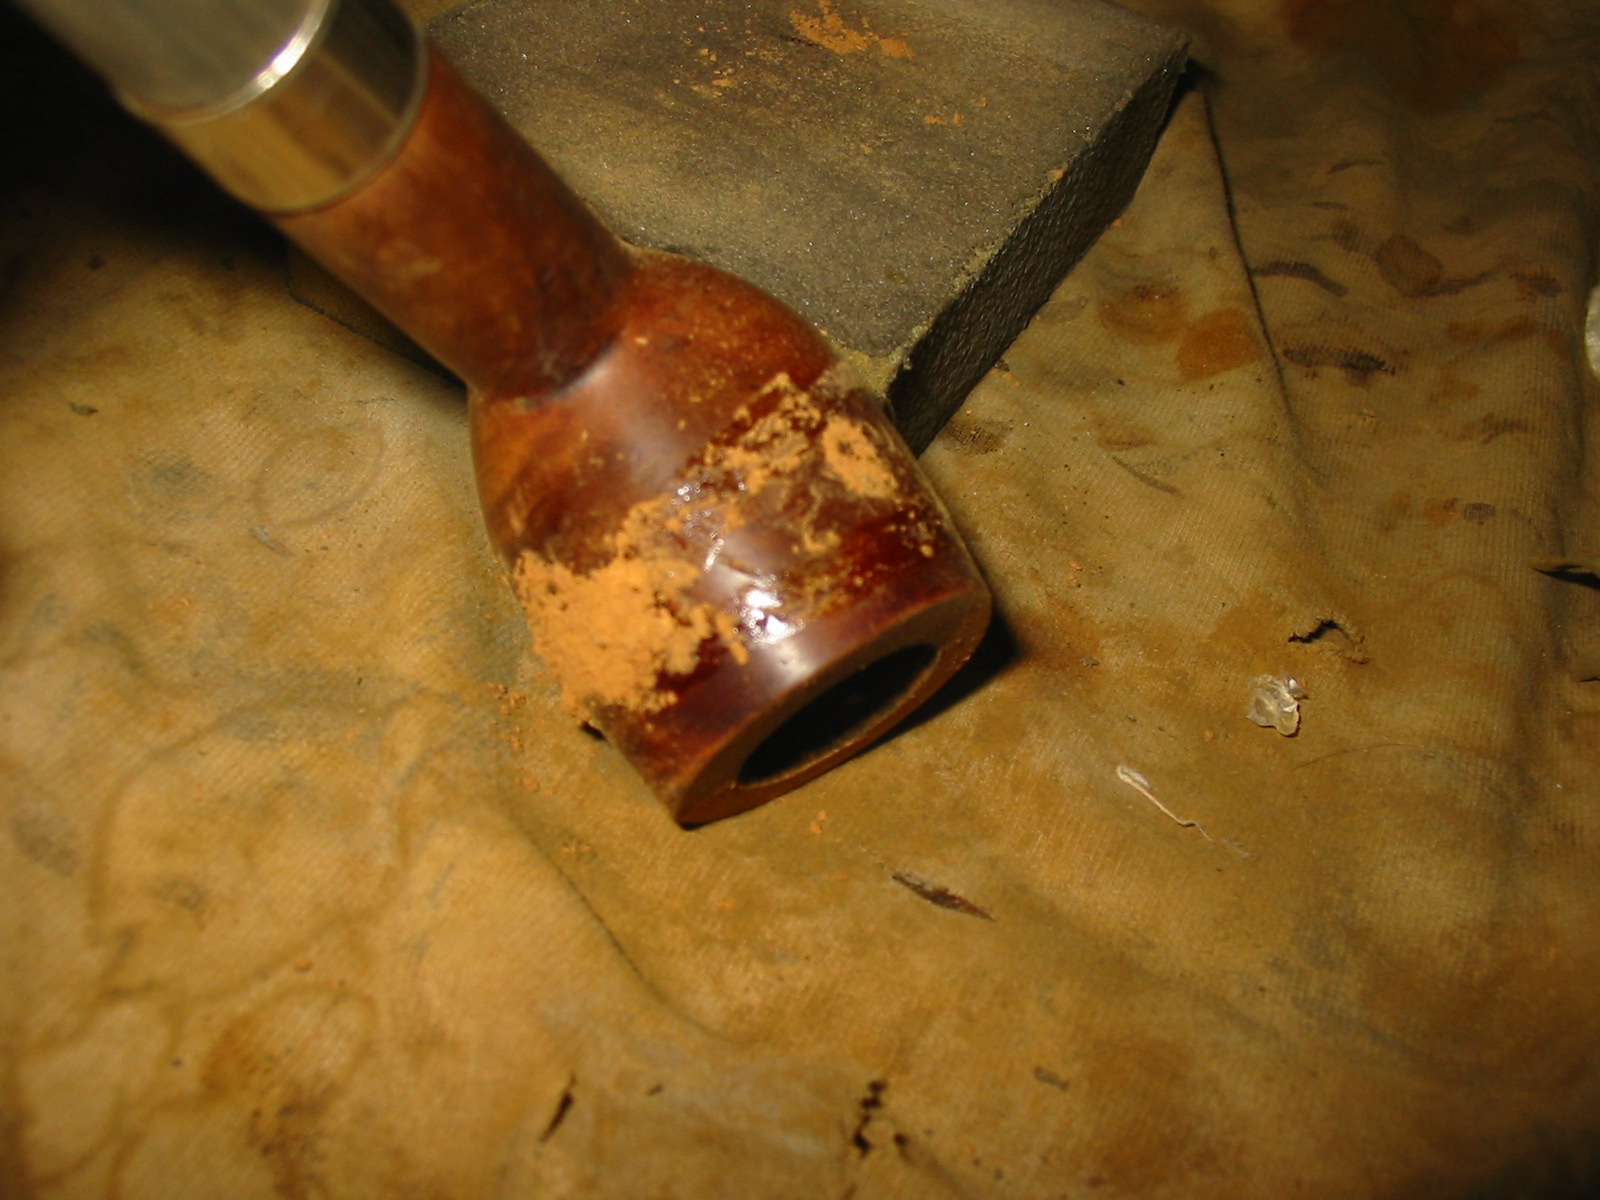
I wiped down the bowl with acetone on cotton pads to remove the finish. I wanted it clean of debris and grime as well as stain so that I could do the repair. I used the dental pick to clean out the edges of the two large cut marks and the smaller chatter in the briar as well. None of them actually were fills but rather gouges in the briar. I roughened the edges and wiped it down a final time with the acetone and cotton pads.

I packed the cuts and nicks with briar dust and tamped it into place with the curved head or a pipe nail and also with the dental pick. Once they were full I dripped super glue into the grooves. I then packed more briar dust into the grooves, over filling them. I always put far more briar dust in the grooves than necessary to get good tight fills in the holes. I figure I can pack once and sand it back to the surface of the bowl instead of doing the pack two or three times. At this point in the process the photos show the pipe as a serious mess. I always wonder if I will be able to clean it up or if I had just made it a mess for nothing.
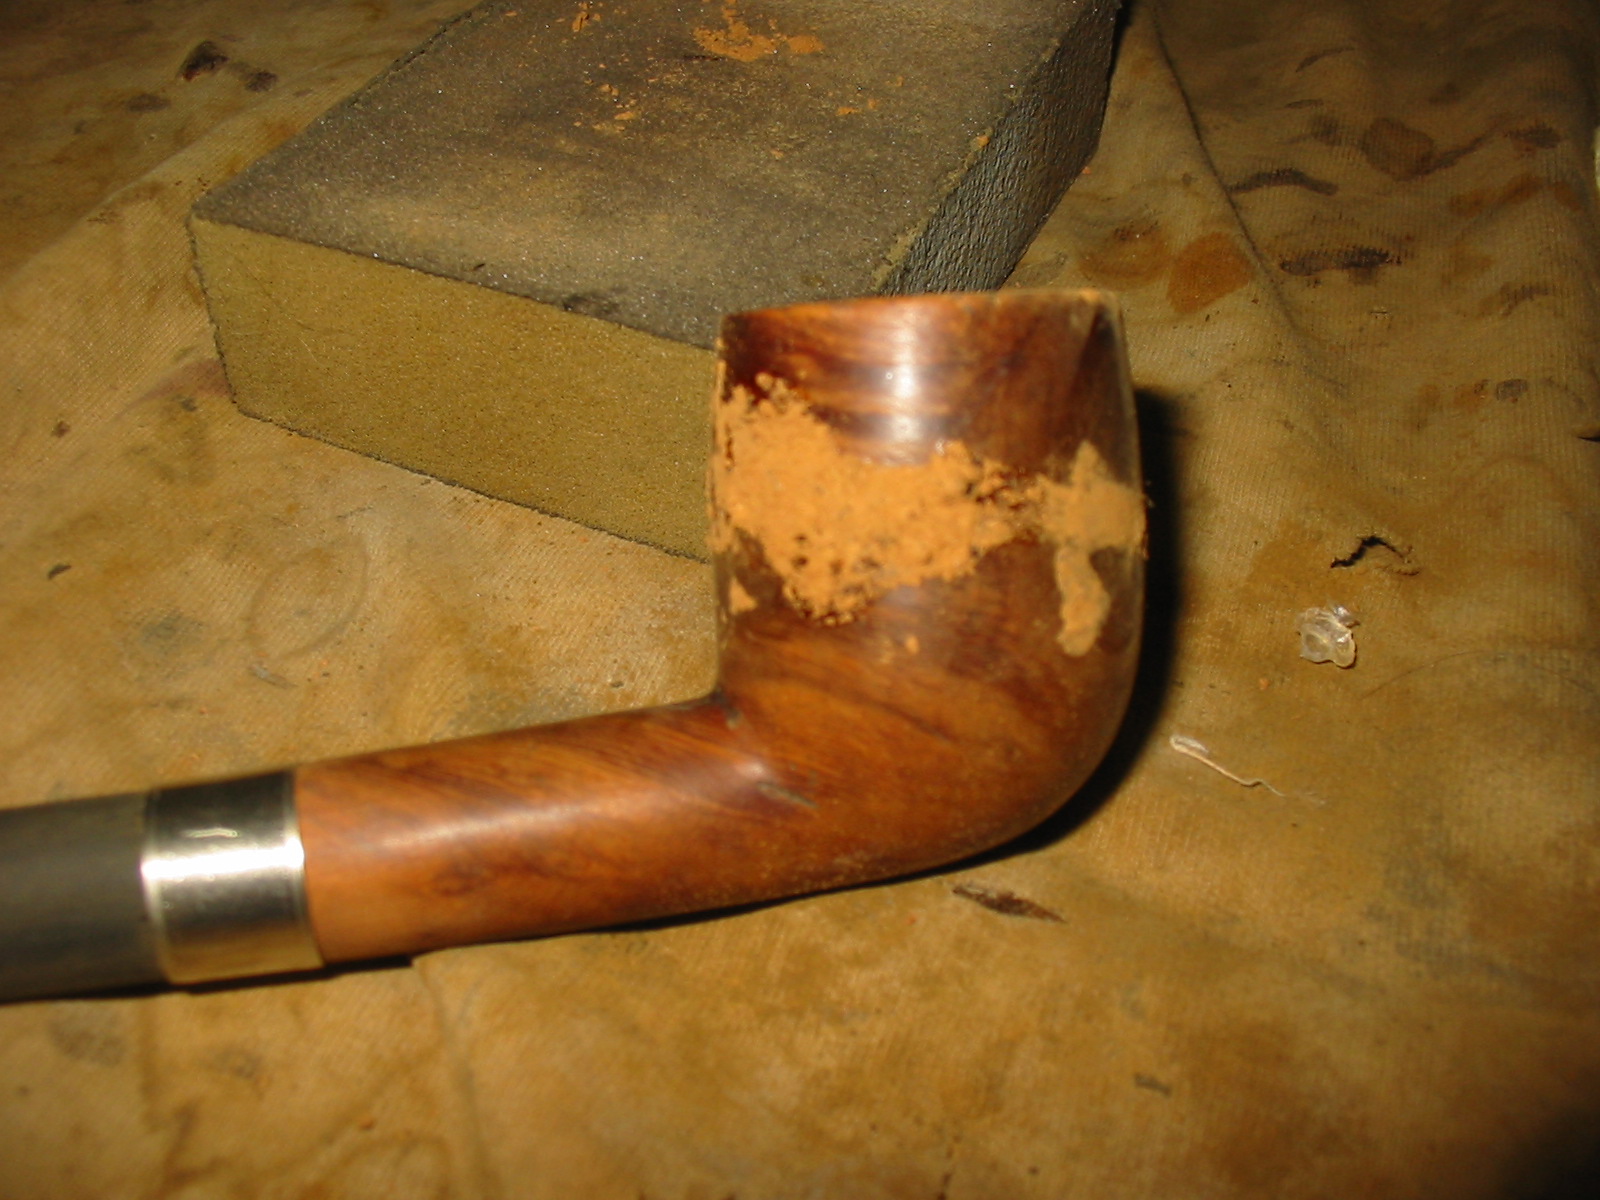
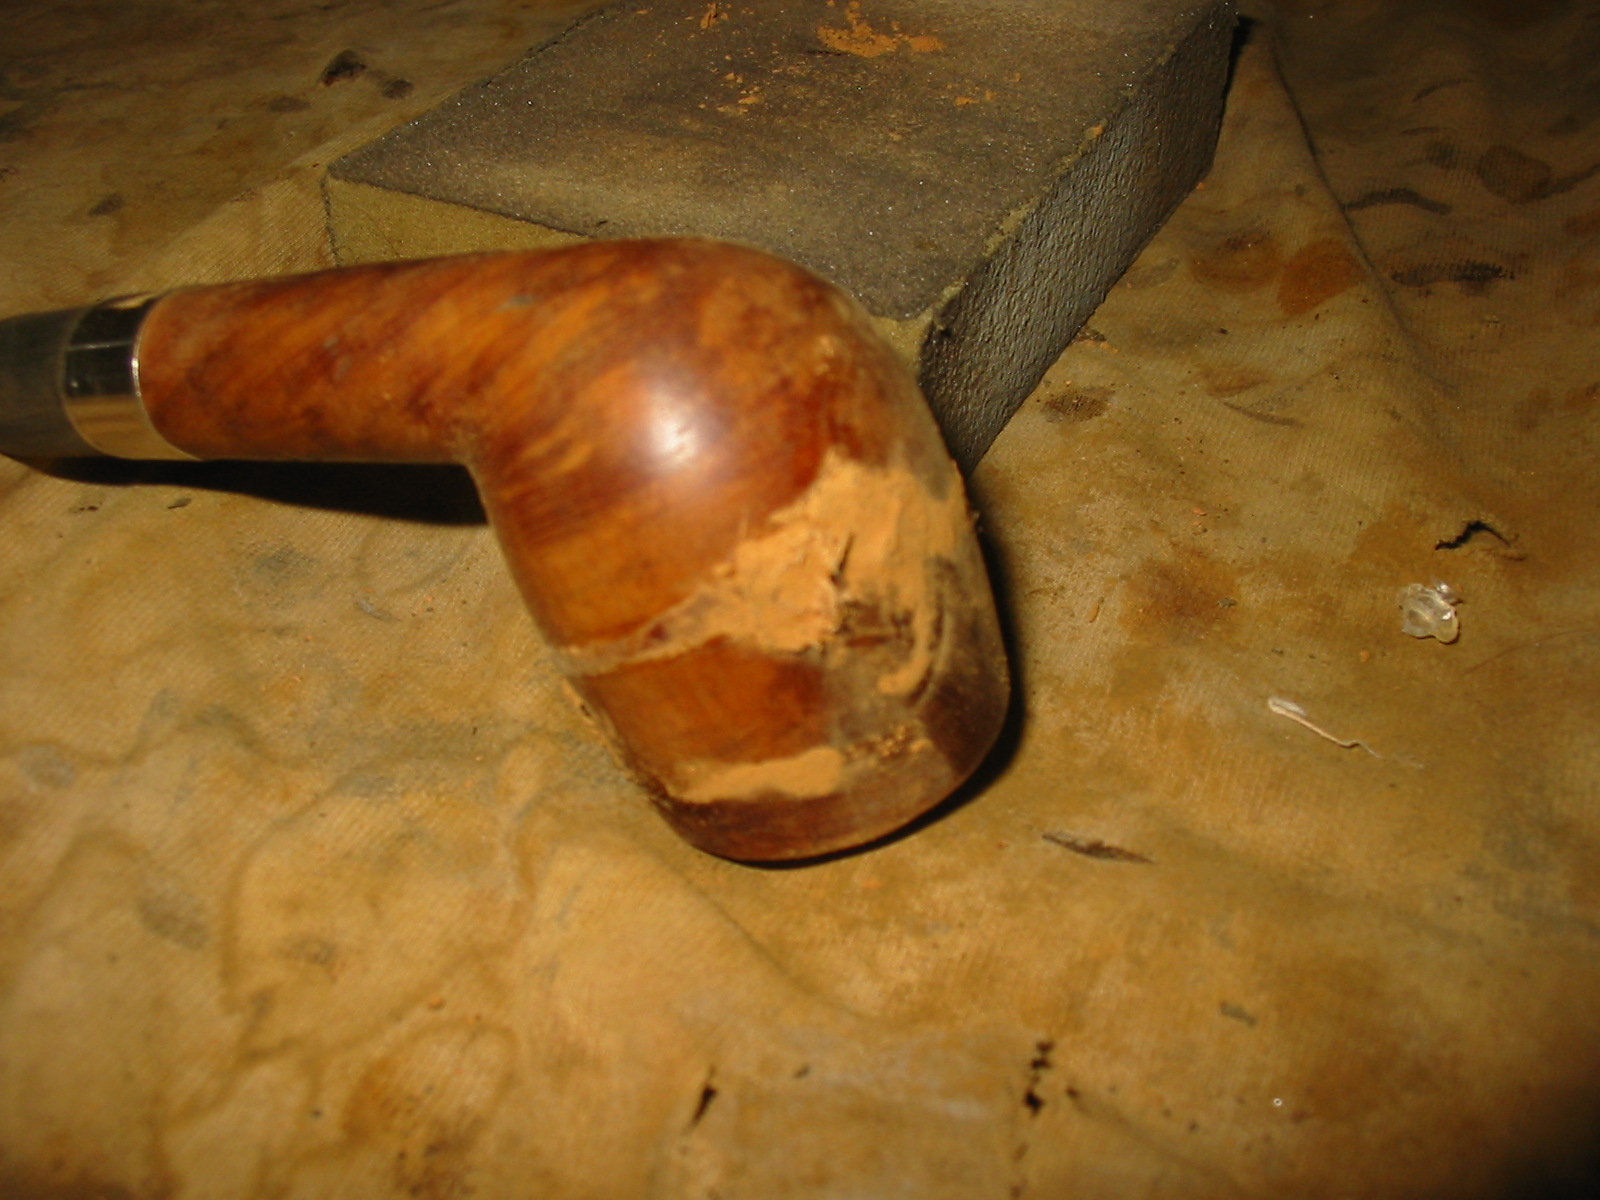
I sanded the repairs and the bowl with 220 grit sandpaper to remove the excess material on the surface of the bowl. I followed that by sanding with a medium grit sanding block. The repairs are visible in the photos below as a solid dark brown/black coloured fill.
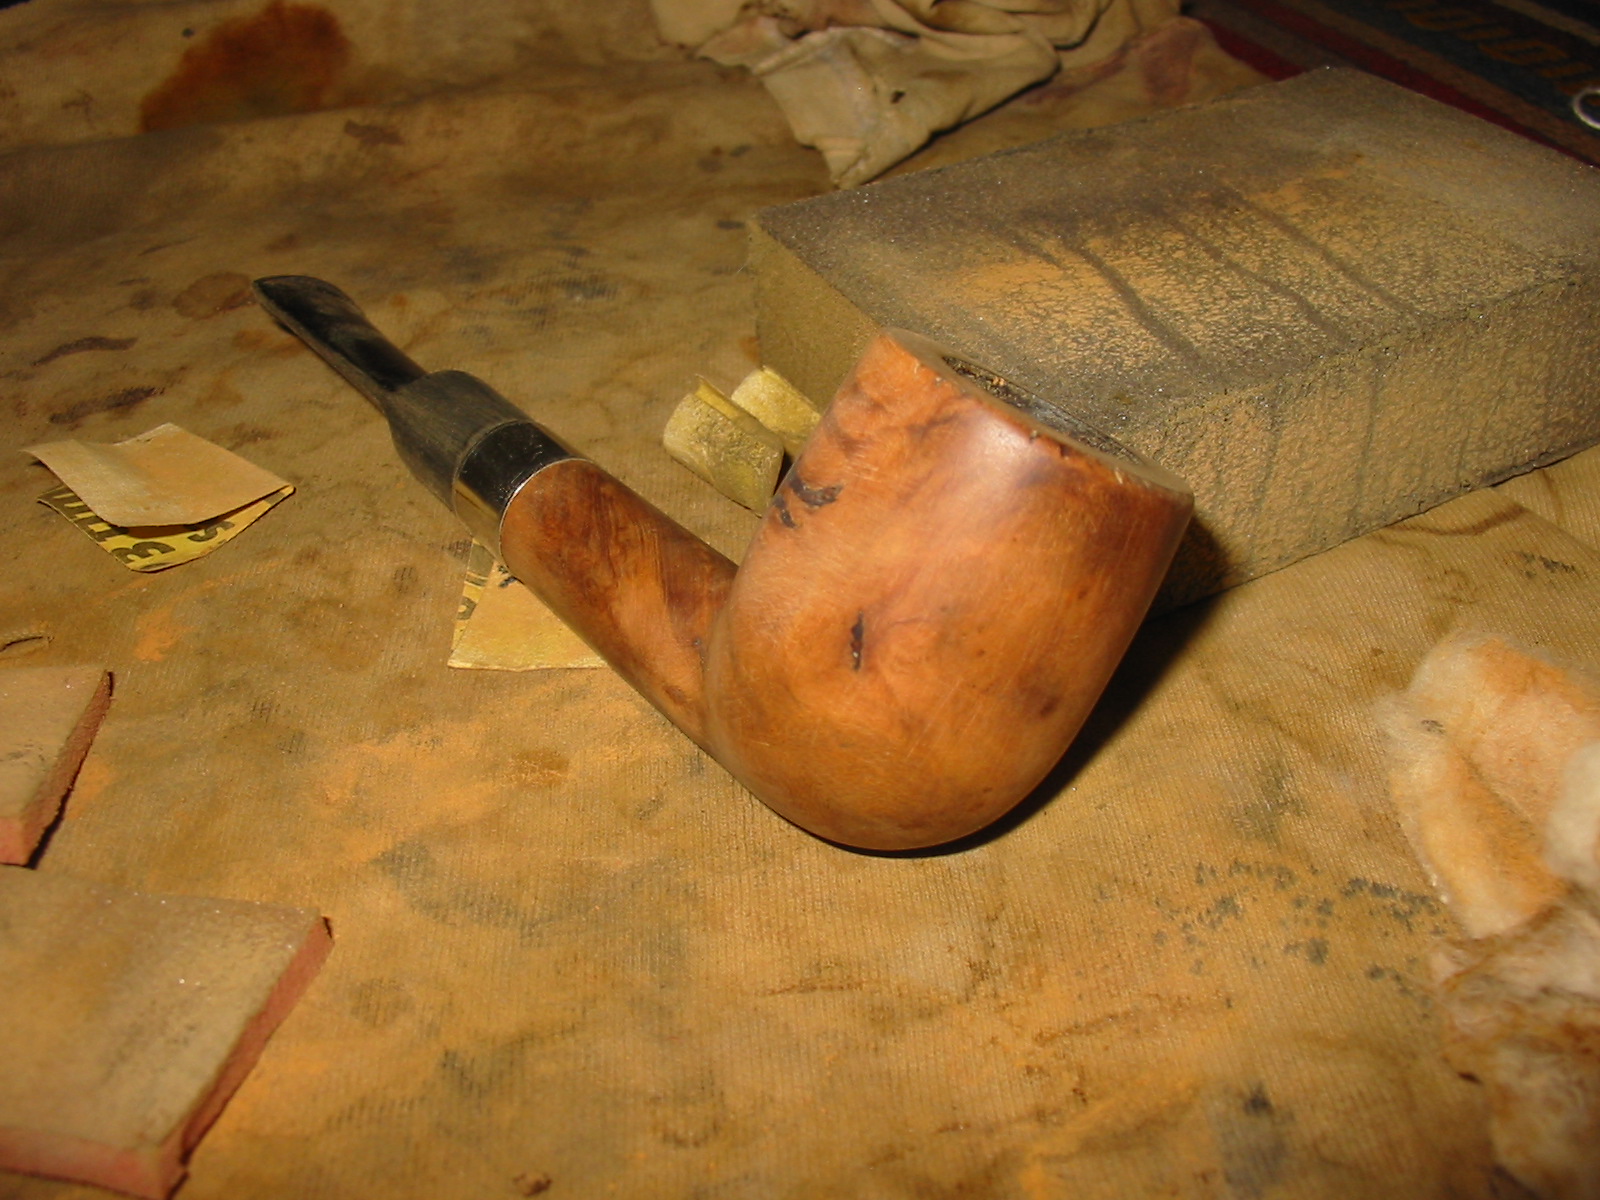
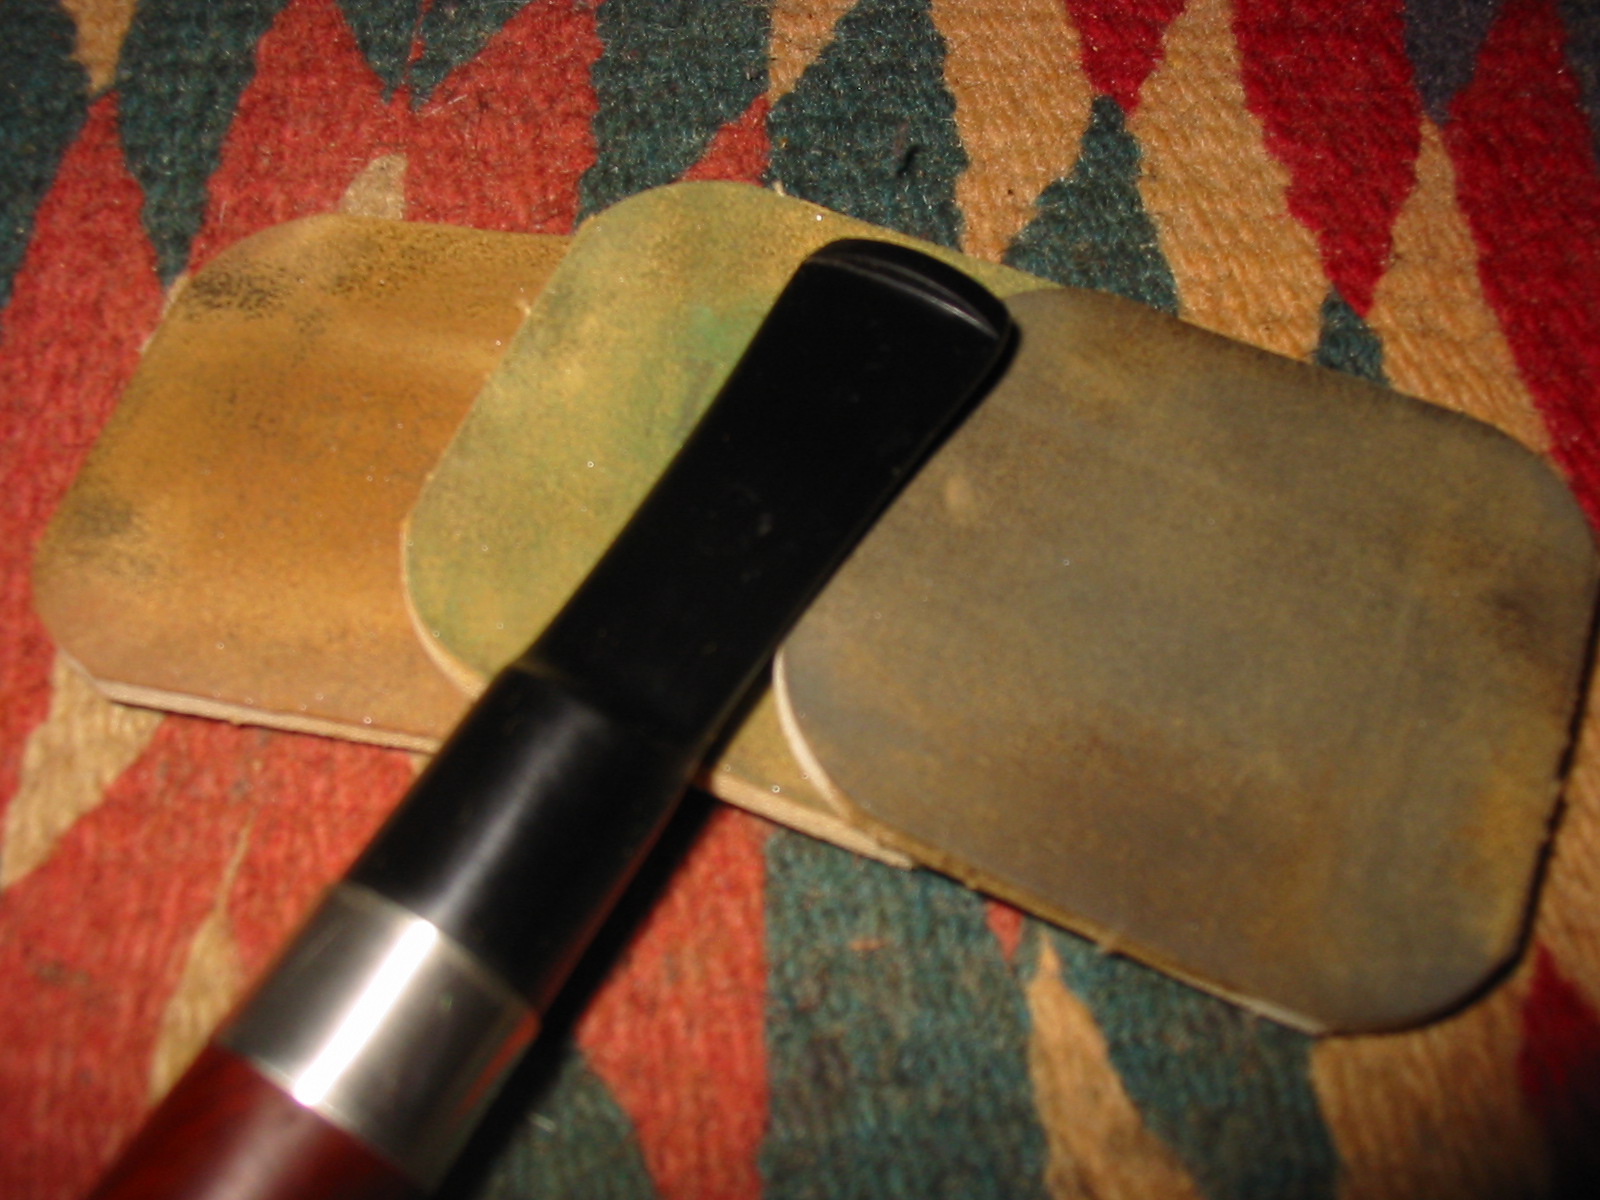
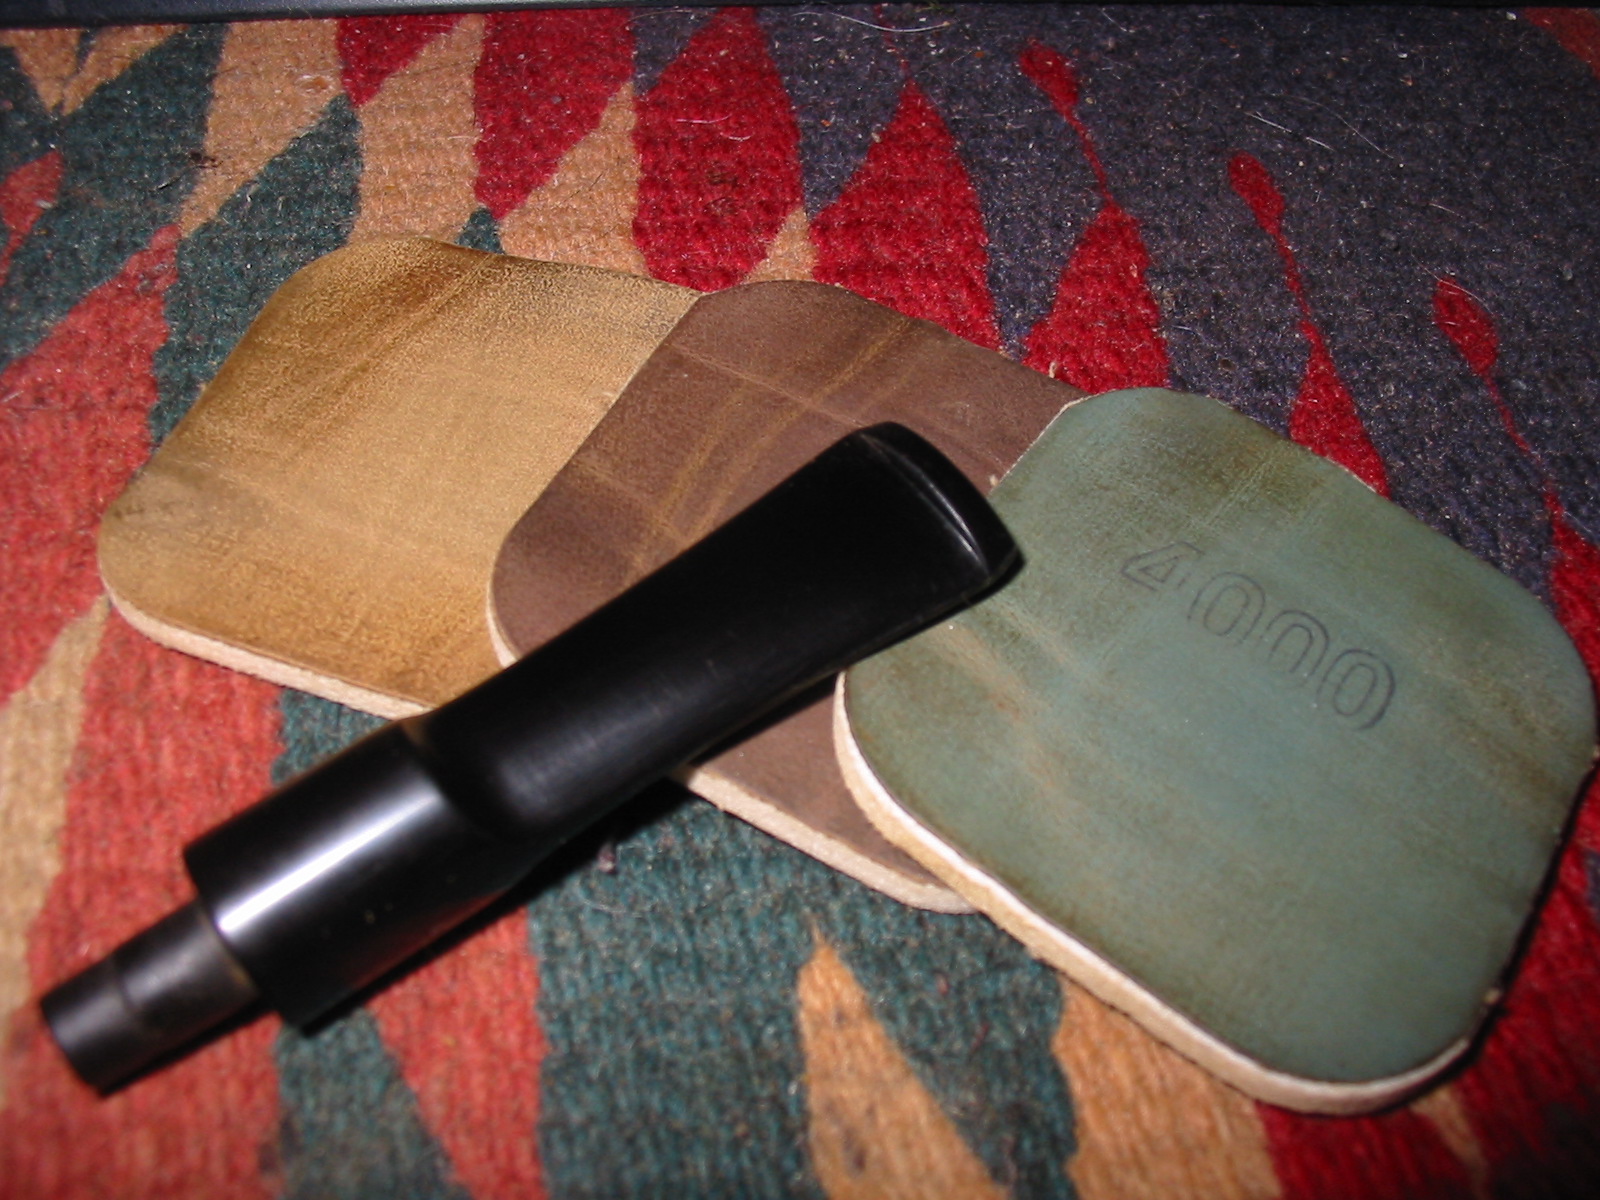
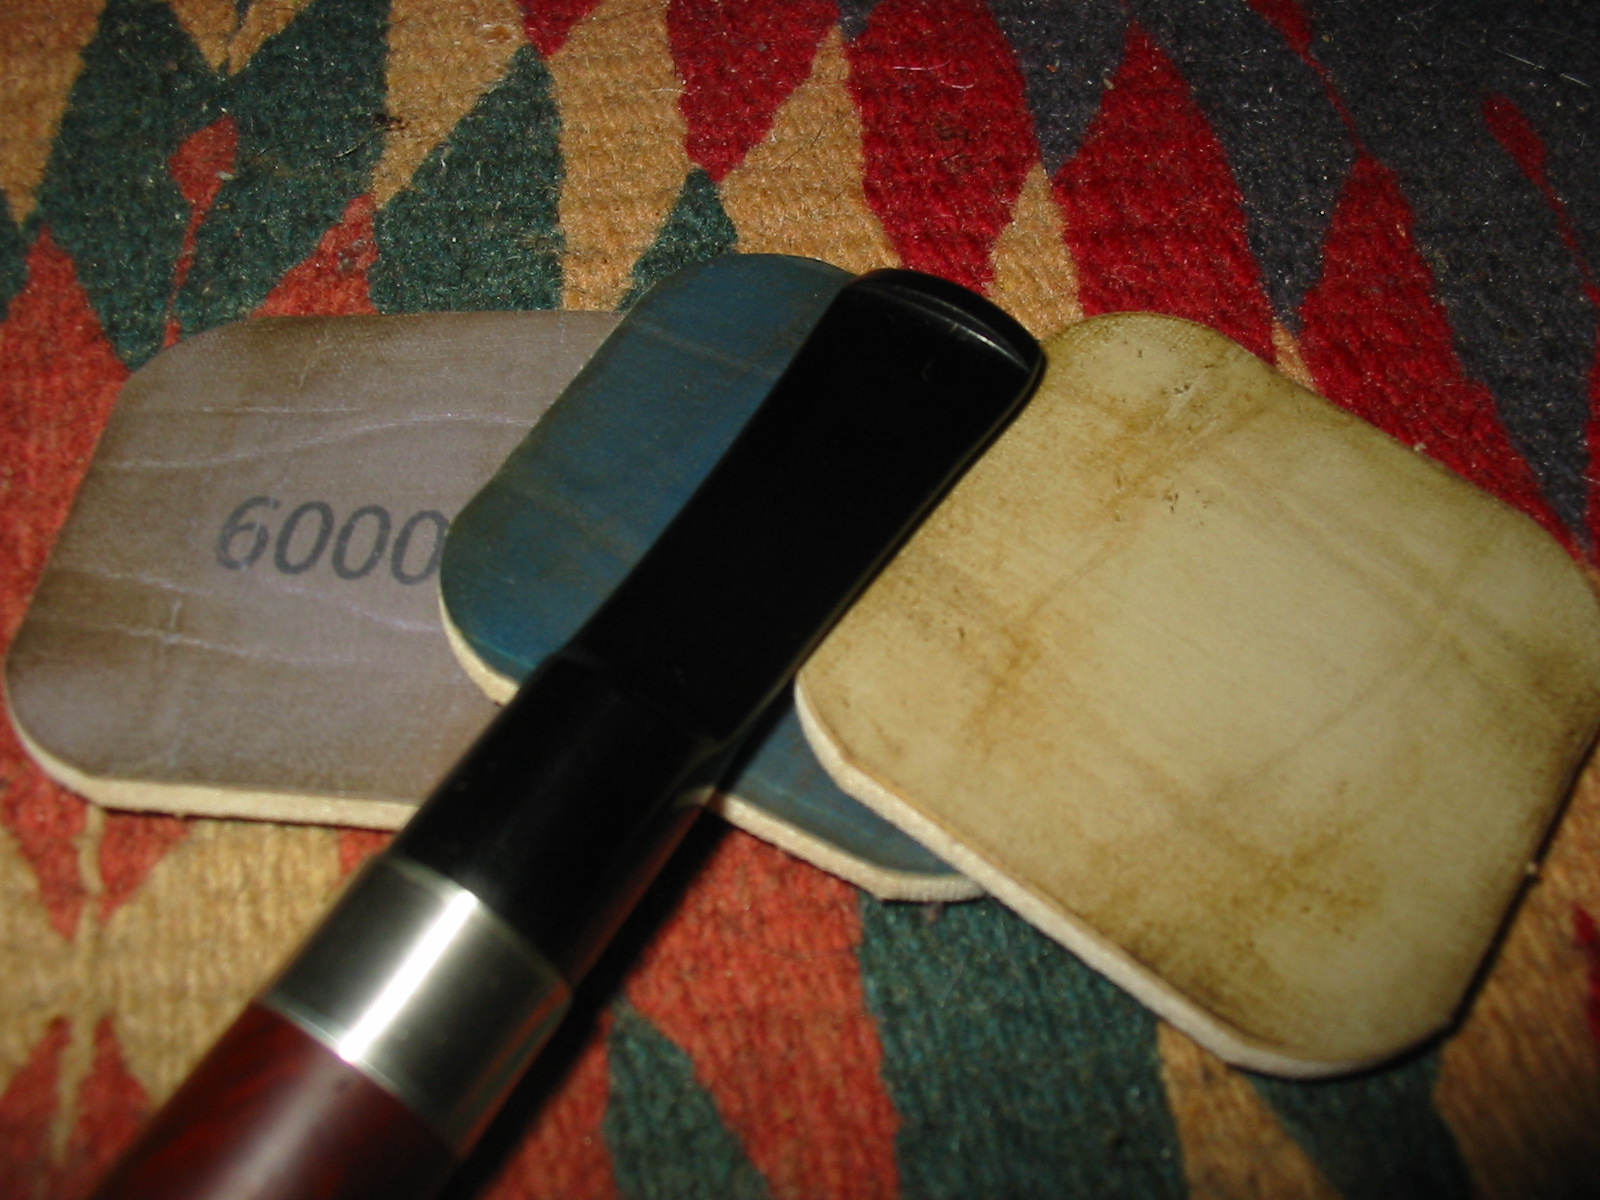
I sanded the bowl further with medium and fine grit sanding sponges to remove the scratches in the surface of the bowl. I wet sanded with 1500-2400 grit micromesh sanding pads to smooth things out even more. I wanted the surface of the repairs to be smooth with the rest of the briar on the bowl. Once the sanding was finished I wiped the bowl down with some isopropyl alcohol on a cotton pad to clean off the dust.

I decided to give the bowl several coats of an oxblood stain that was slightly more opaque than my normal aniline stain. It is a stain that is used on kitchen cabinets and surfaces that food comes into contact with so I believe it is safe once it is dry.

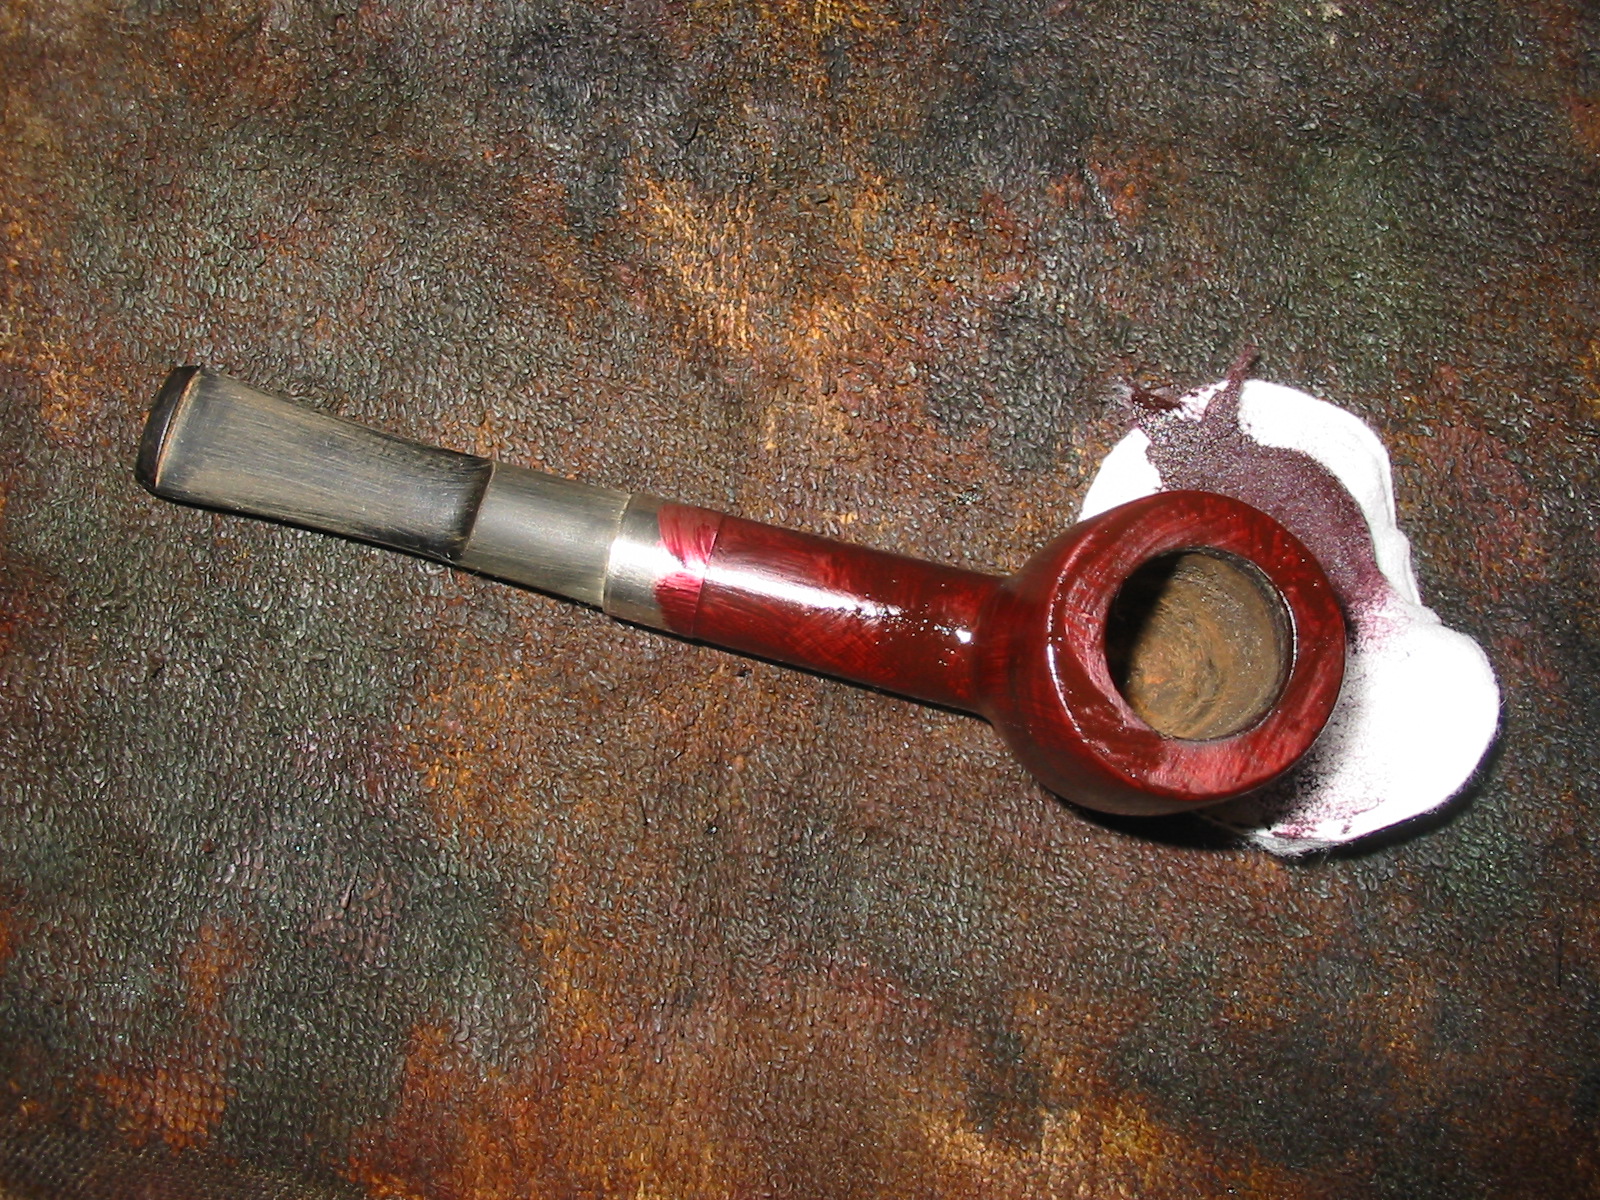

I wiped the bowl down with a soft cotton cloth to remove the excess stain and then restained it a second time. I repeated the staining until the coverage was even and clear.
I worked on the stem some more with medium and fine grit sanding sponges and then with micromesh sanding pads. I wet sanded with 1500-2400 grit pads and dry sanded with 3200- 12,000 grit pads.
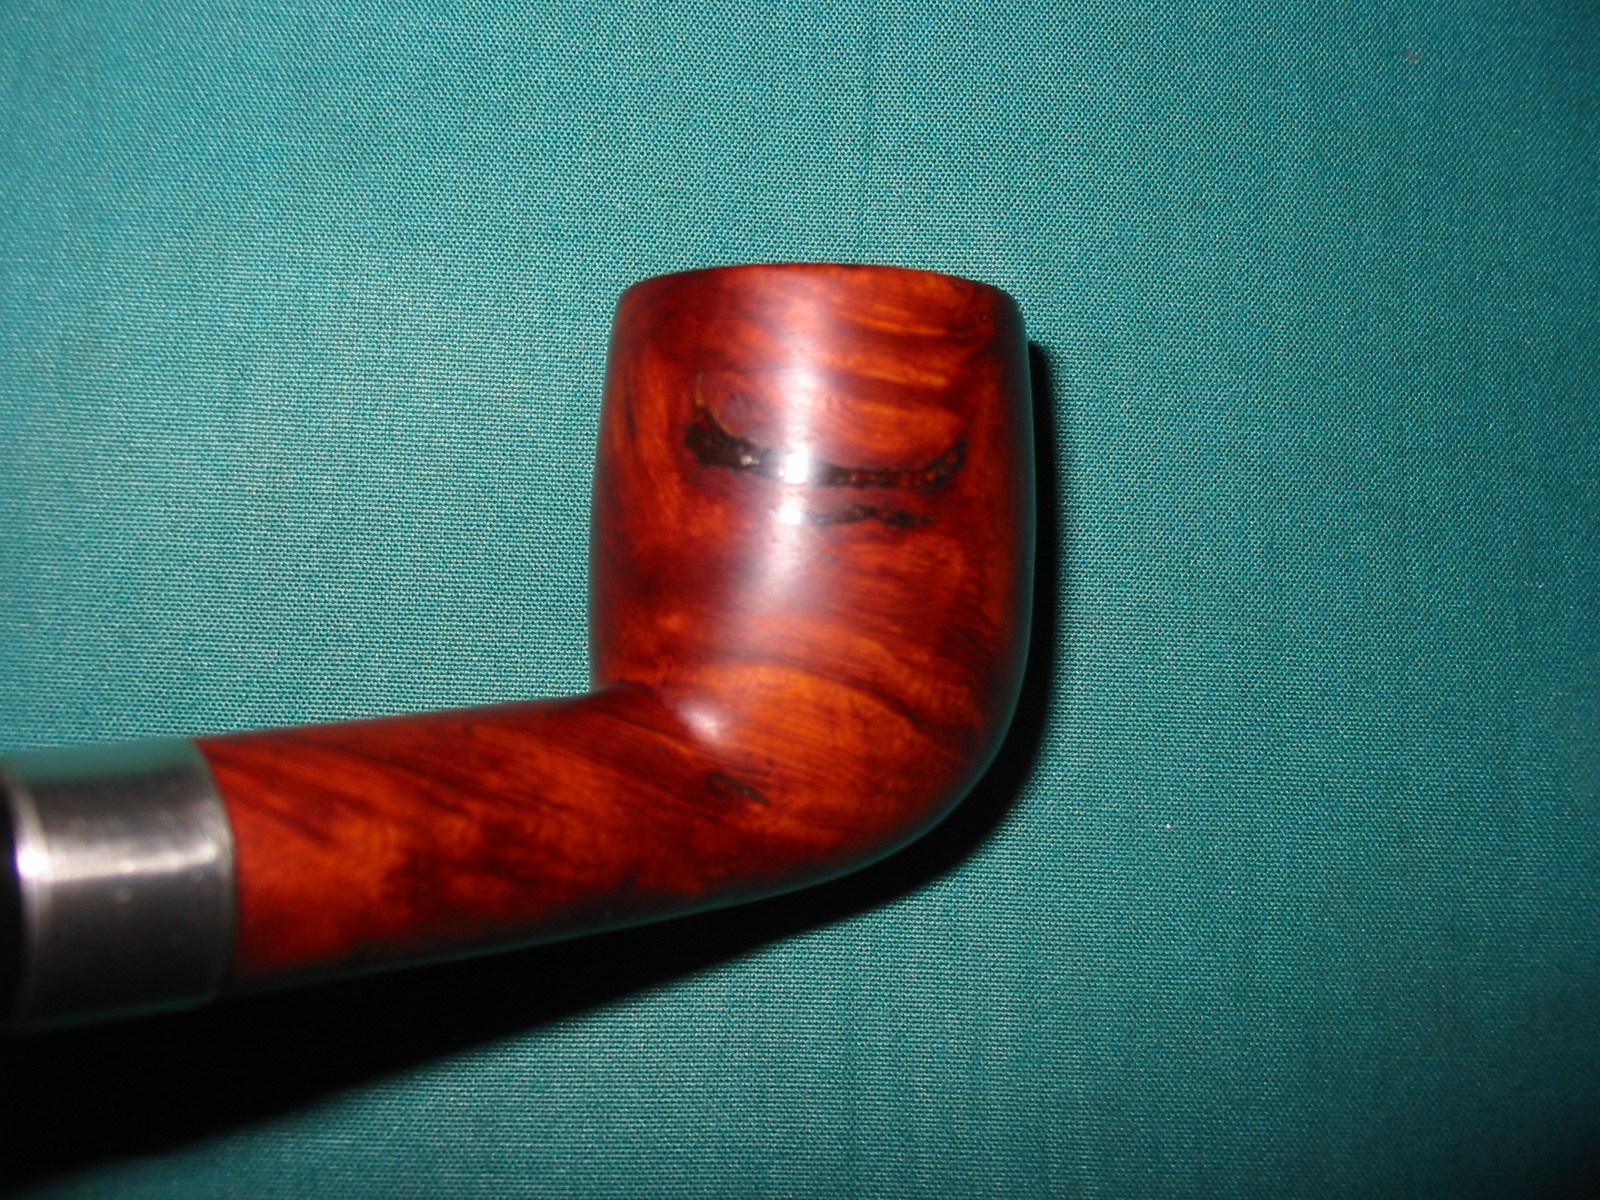
I rubbed the stem down with Obsidian Oil and let it soak in. I looked over the bowl again and decided to give it a top coat of a walnut brown stain. I felt that it might add some darker highlights to the repaired areas and make them less noticeable. I applied the stain, flamed it, restain and reflamed it and then buffed the bowl and the stem with White Diamond on the buffing wheel. I gave the whole pipe multiple coats of carnauba wax and then a final buff with a soft flannel buff to add a polish. The next four photos show the finished pipe. While the flaws/cuts are still visible they are no longer deep gashes in the wood. Rather they give a sense of character to the pipe and overall it is ready to go and last a long time delivering a quality smoke.
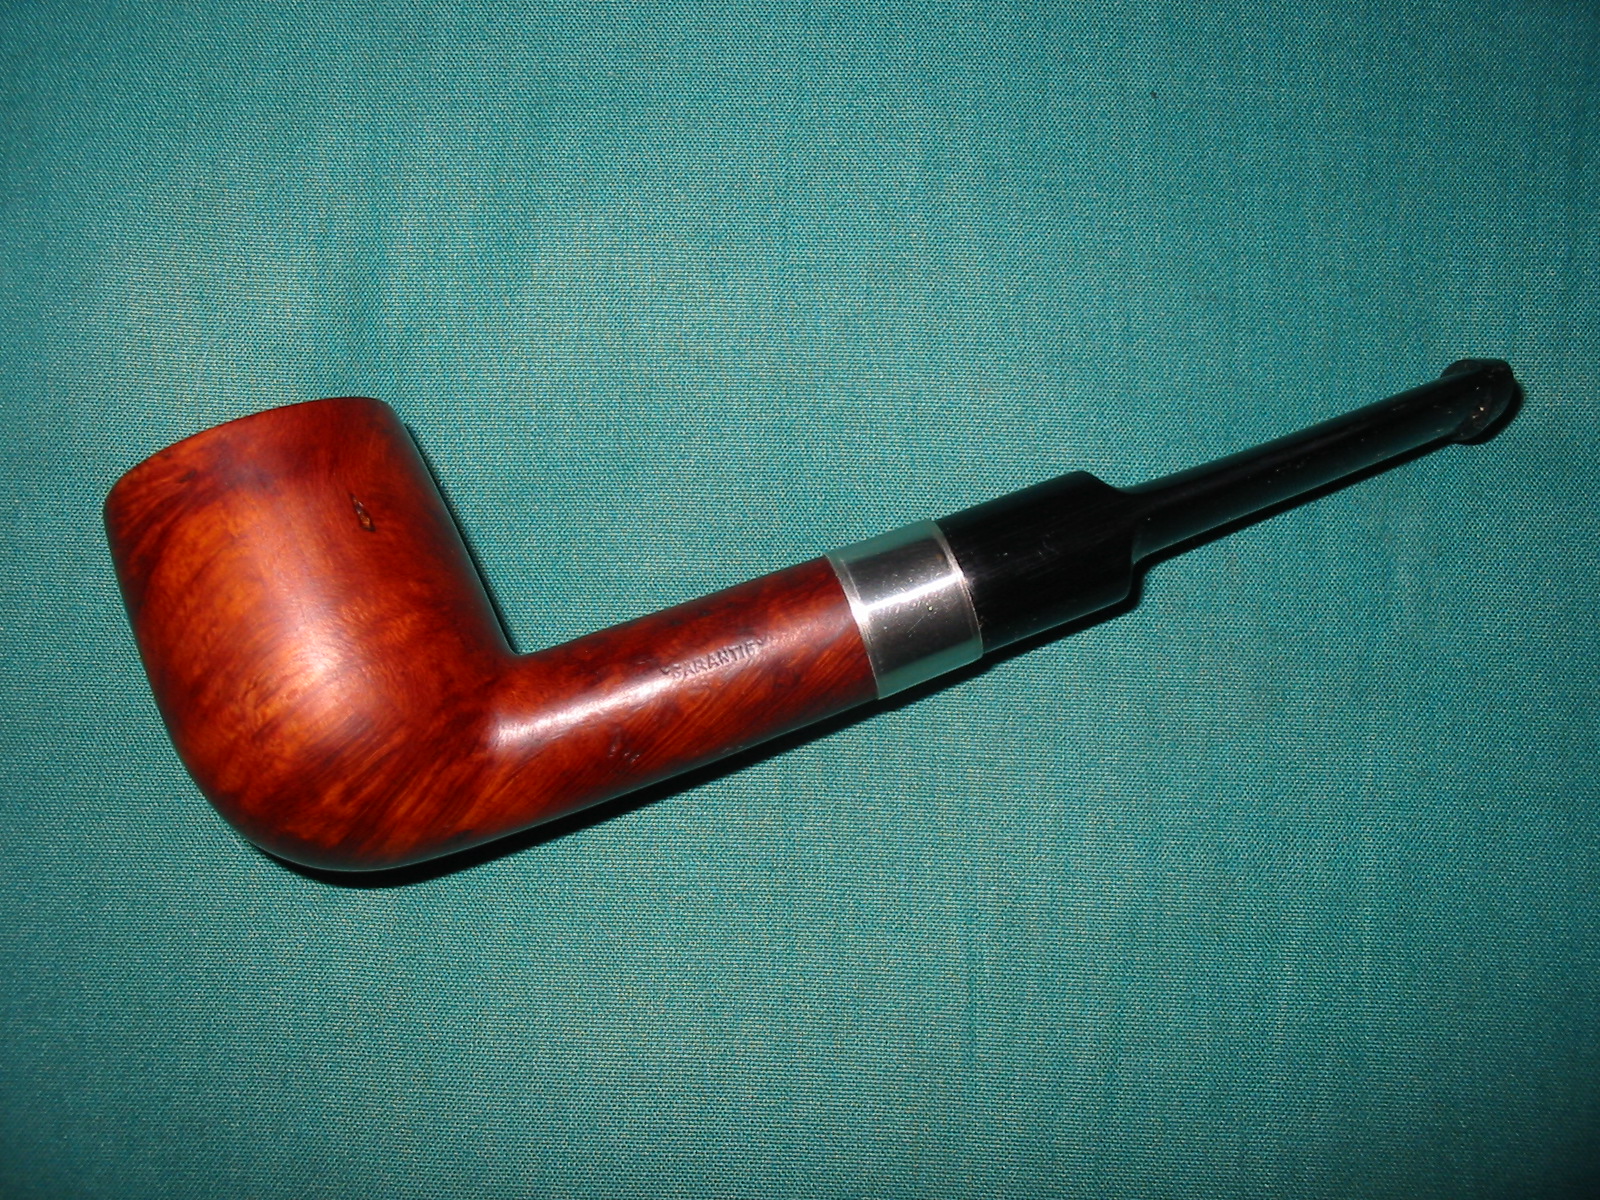
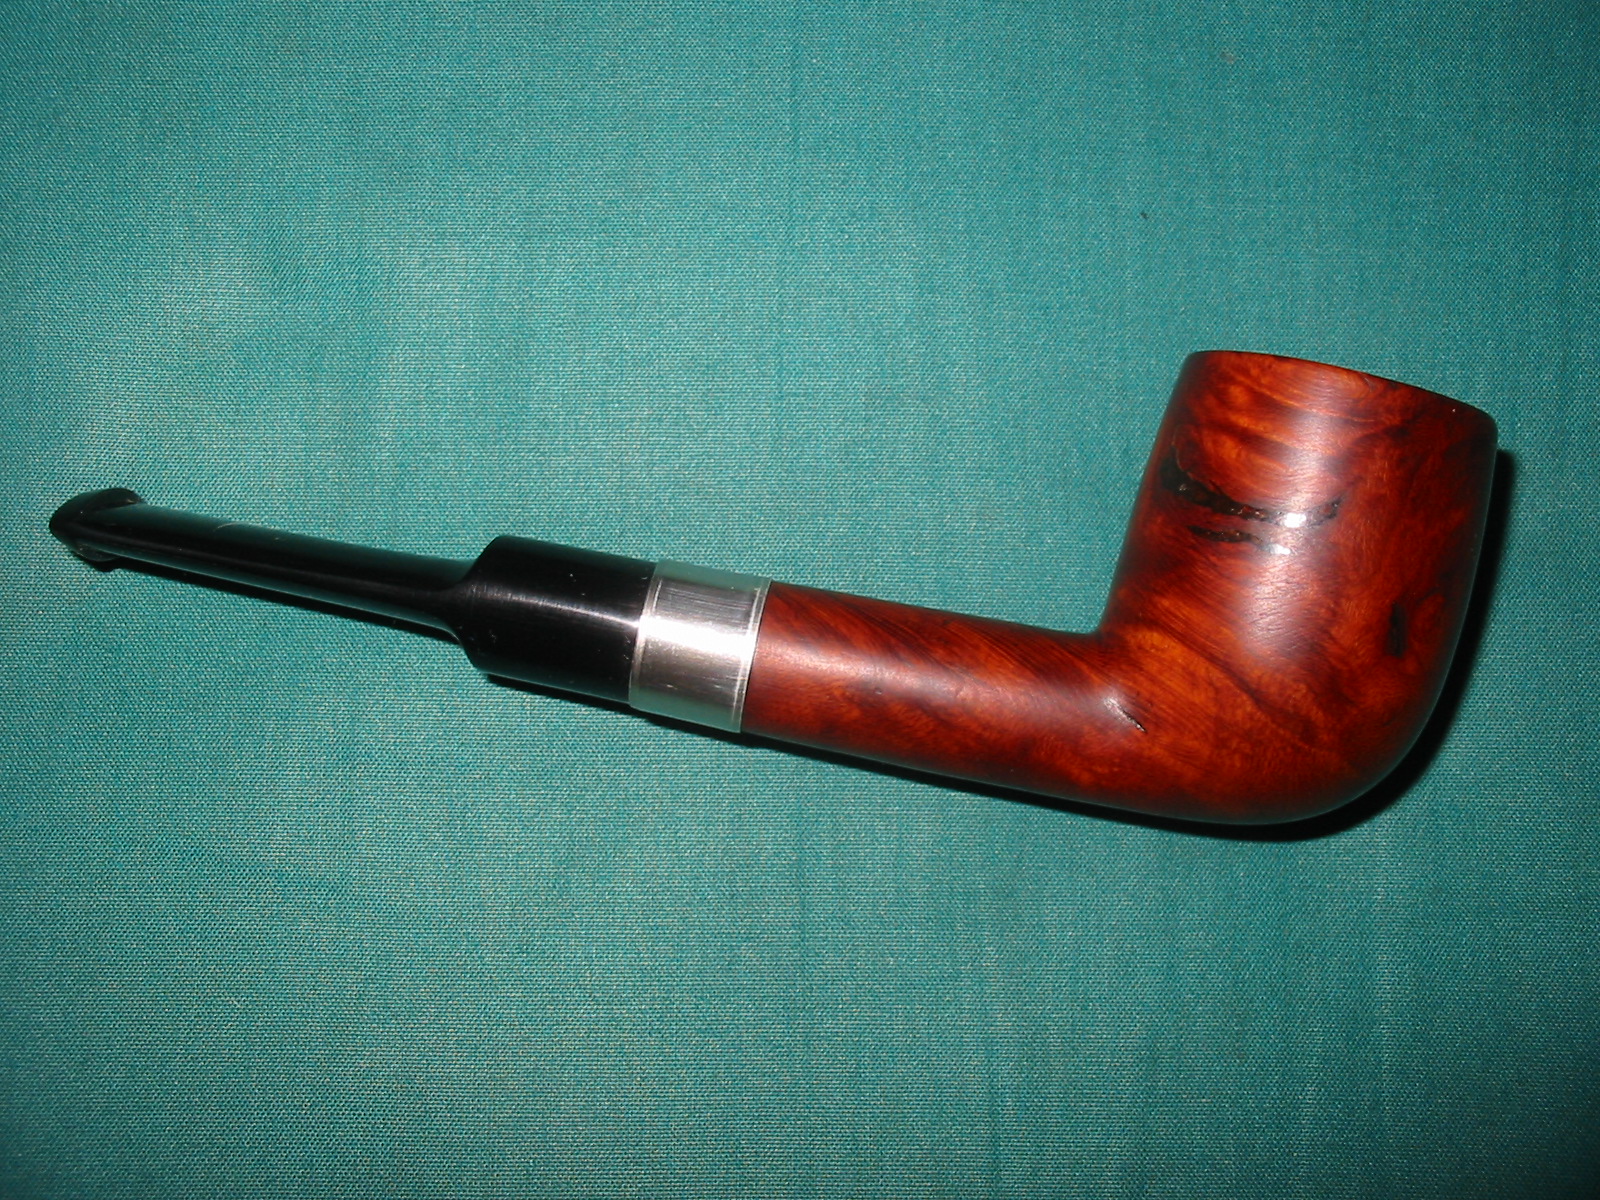
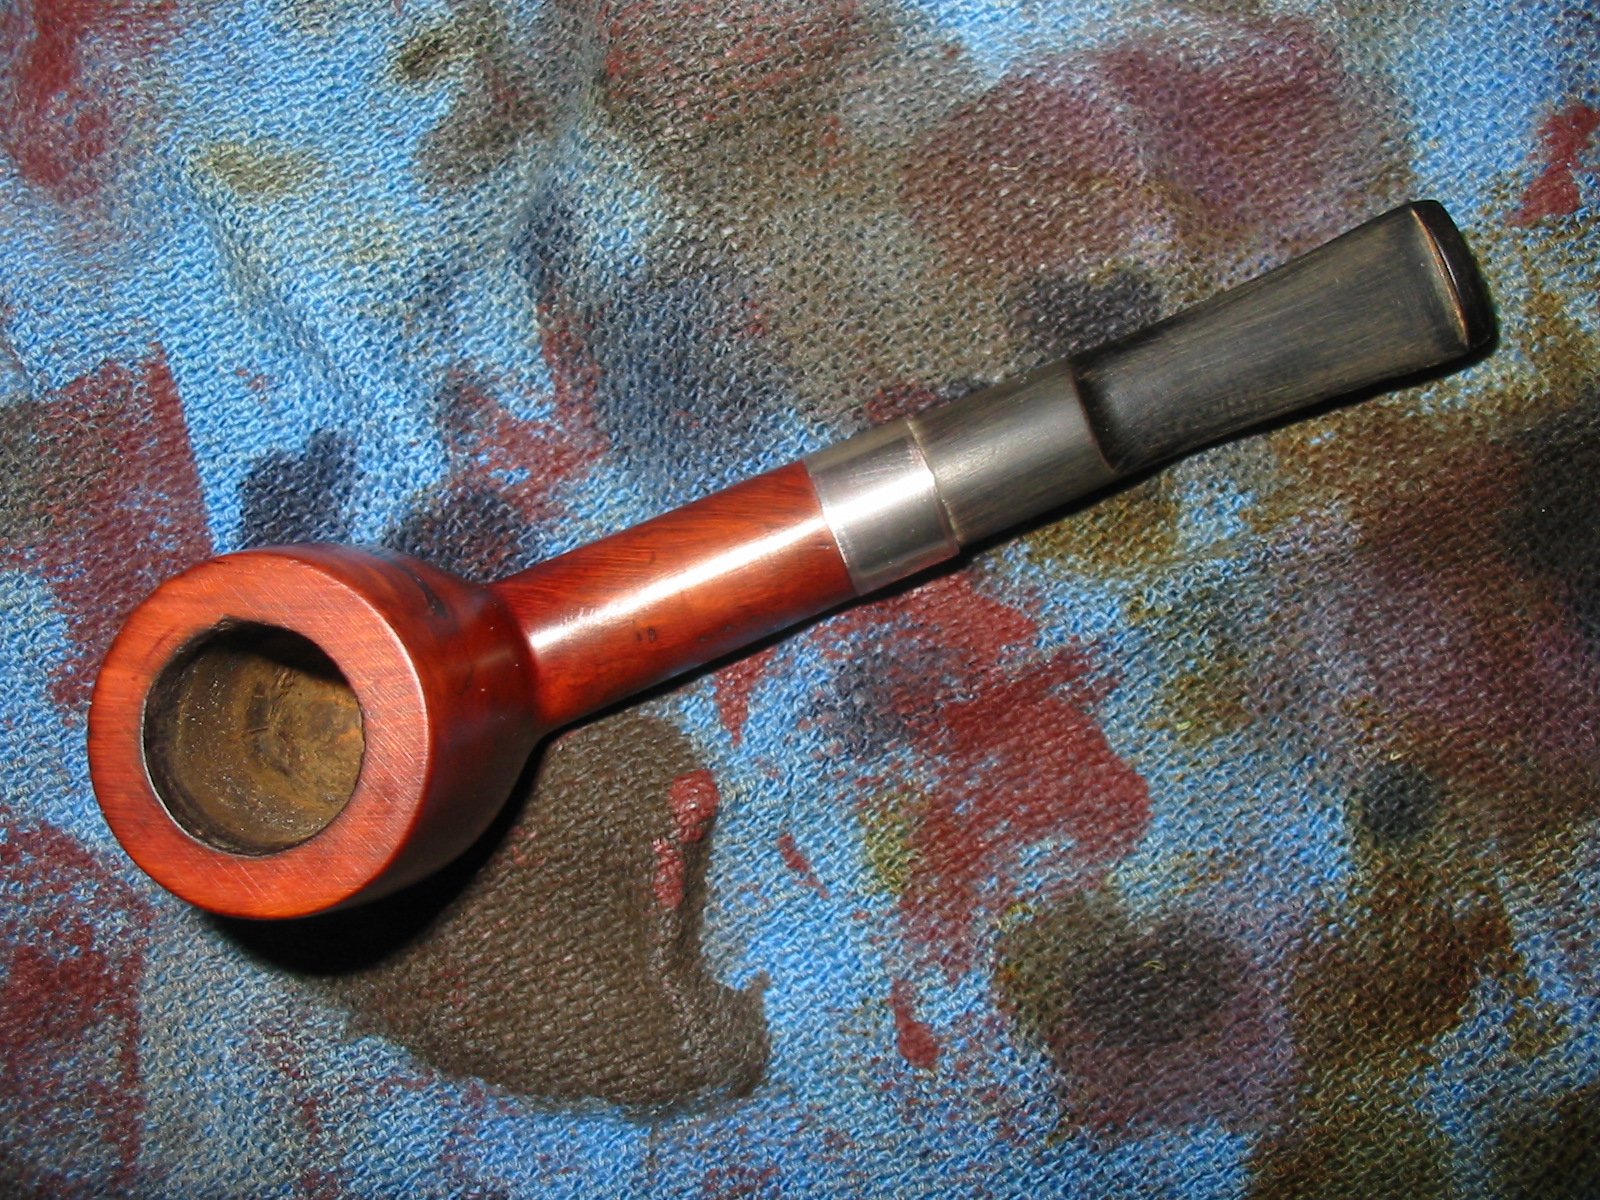
I took the final photo to give a close up view of the repaired gashes on the bowl. Though visible they are now smooth to the touch and solid and unmovable.