Daily Archives: September 8, 2013

Adjusting a Misaligned Tenon


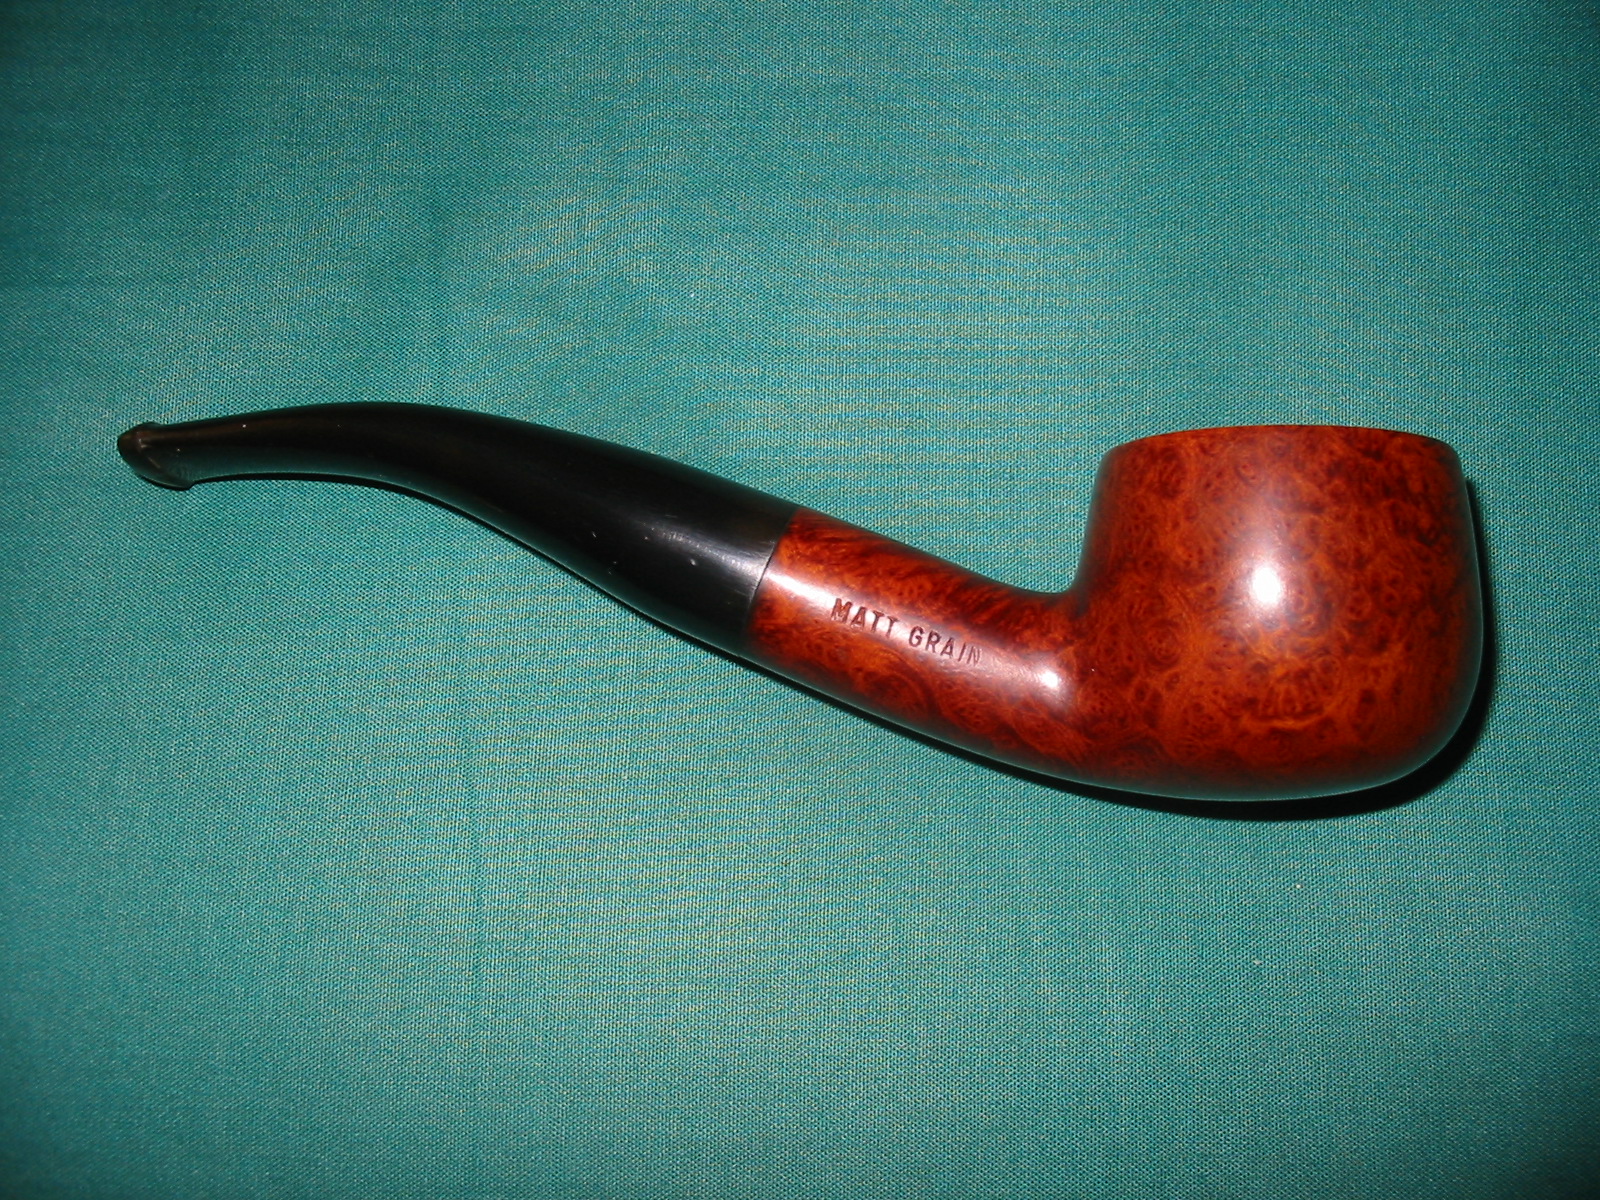
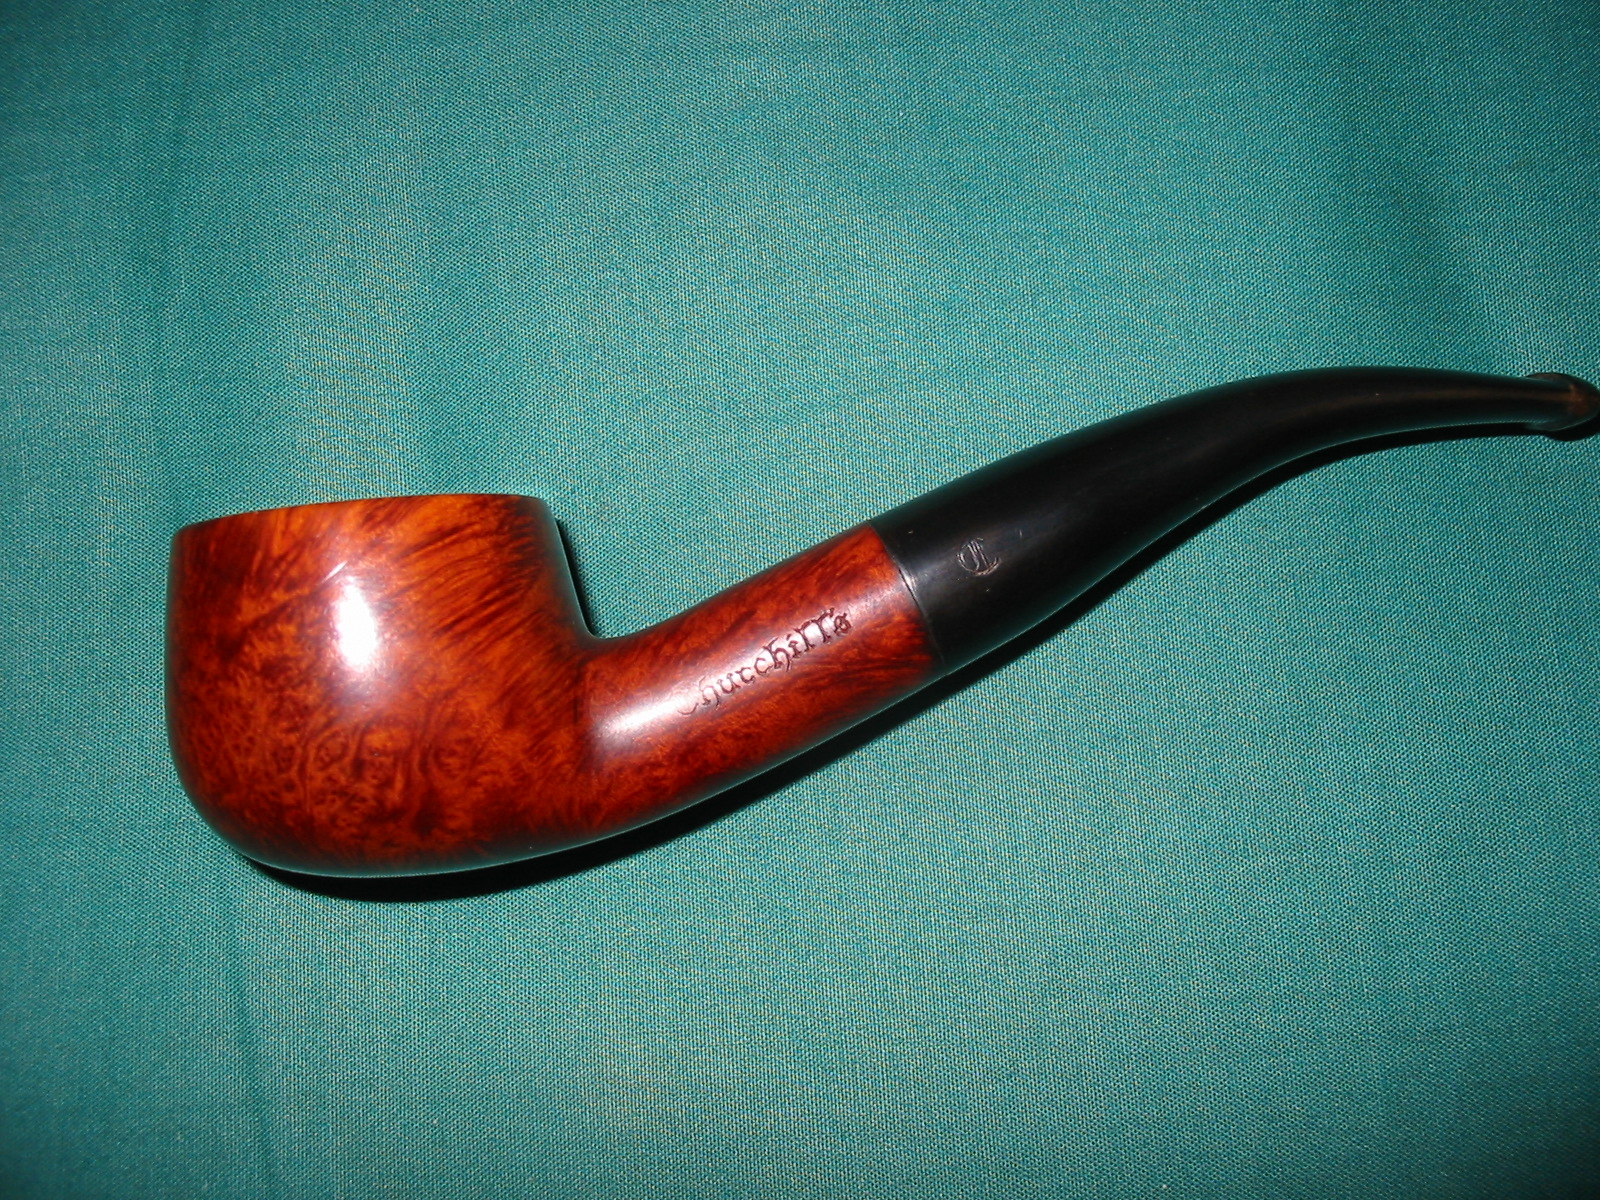
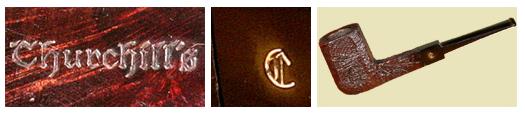
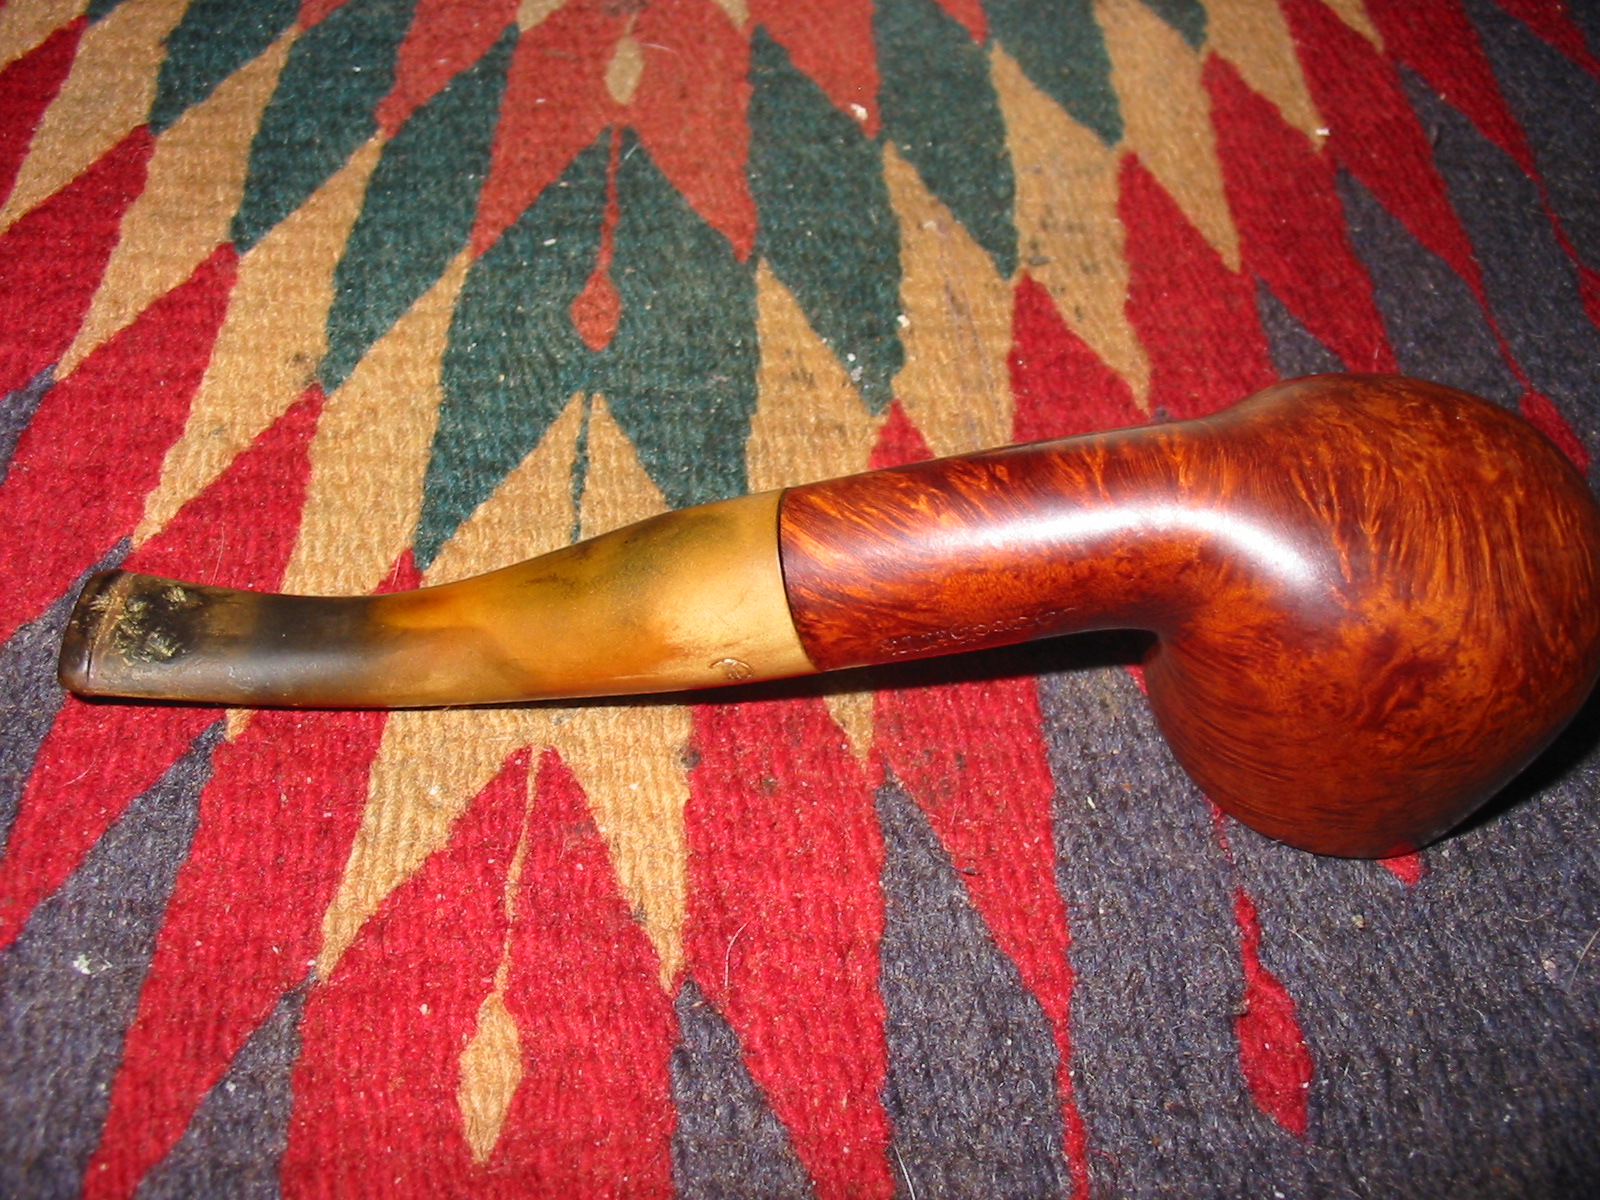
On the old Churchill’s bent pot I picked up on Ebay and wrote about in a previous article I spoke of adjusting a misaligned tenon to tighten up the gap between the shank and the stem. Al Jones commented in his reply to that blog post that he would like to hear more about the procedure I used to achieve the correction. I have written this article in response to Al’s question.

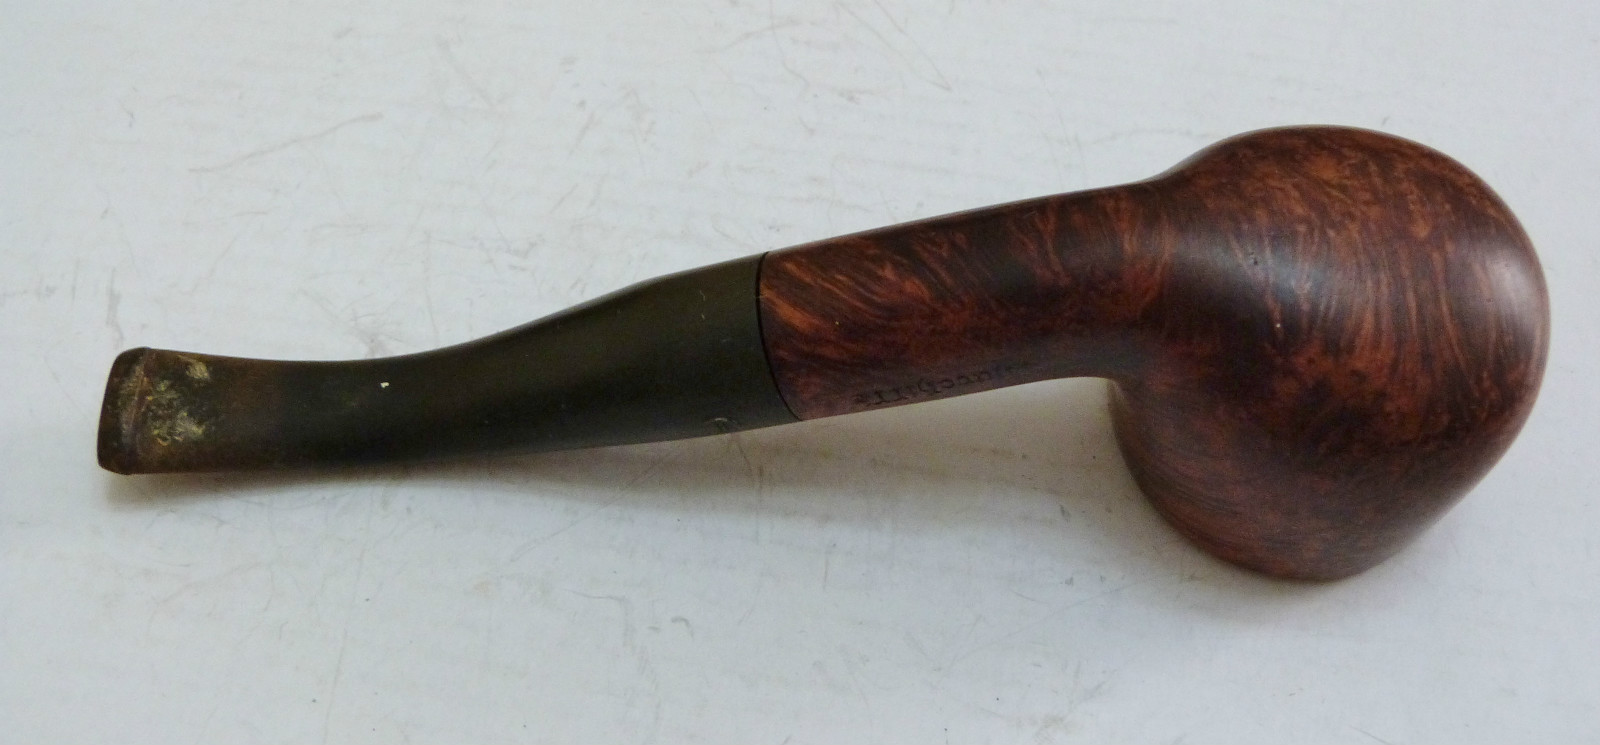
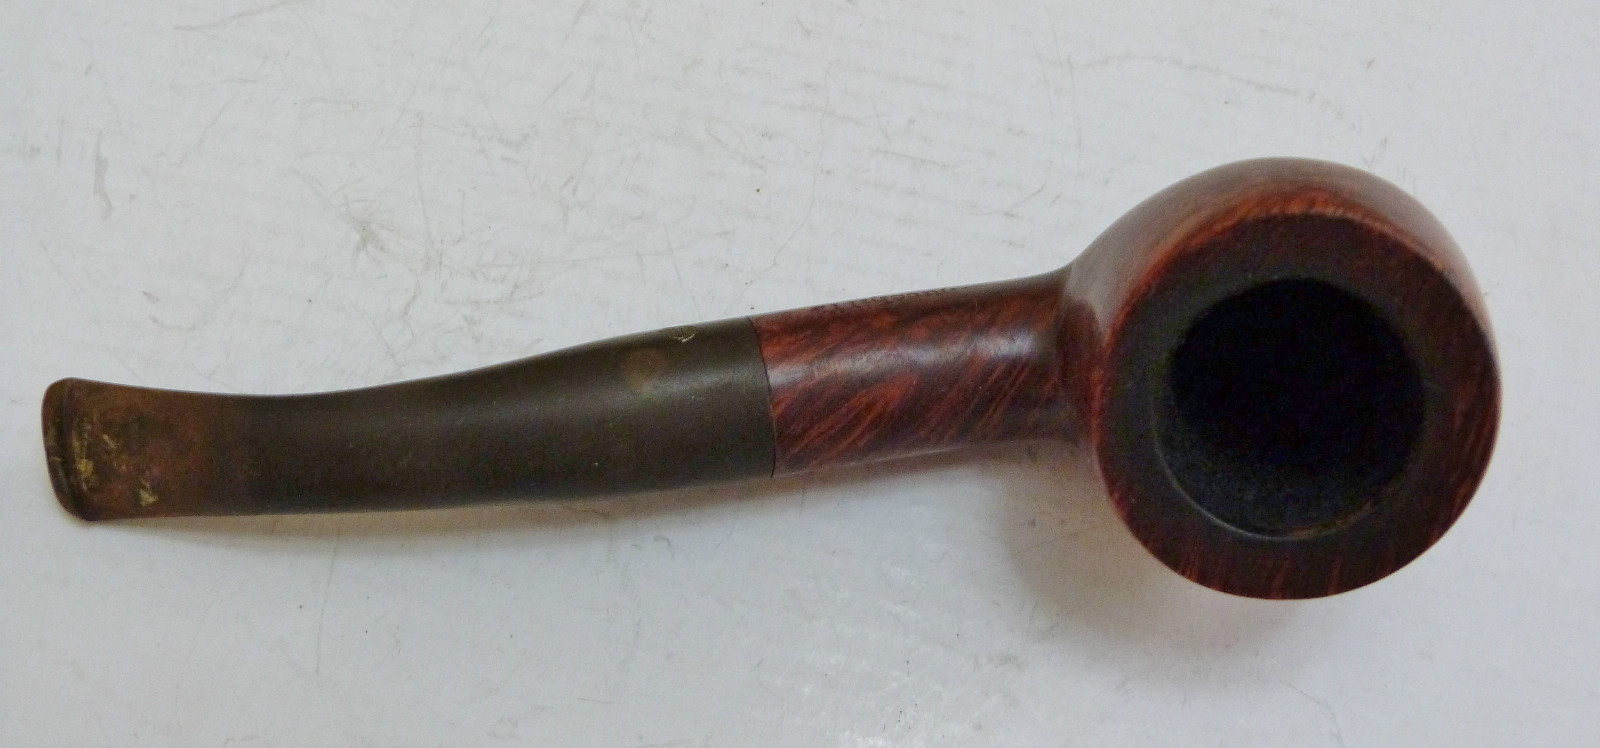
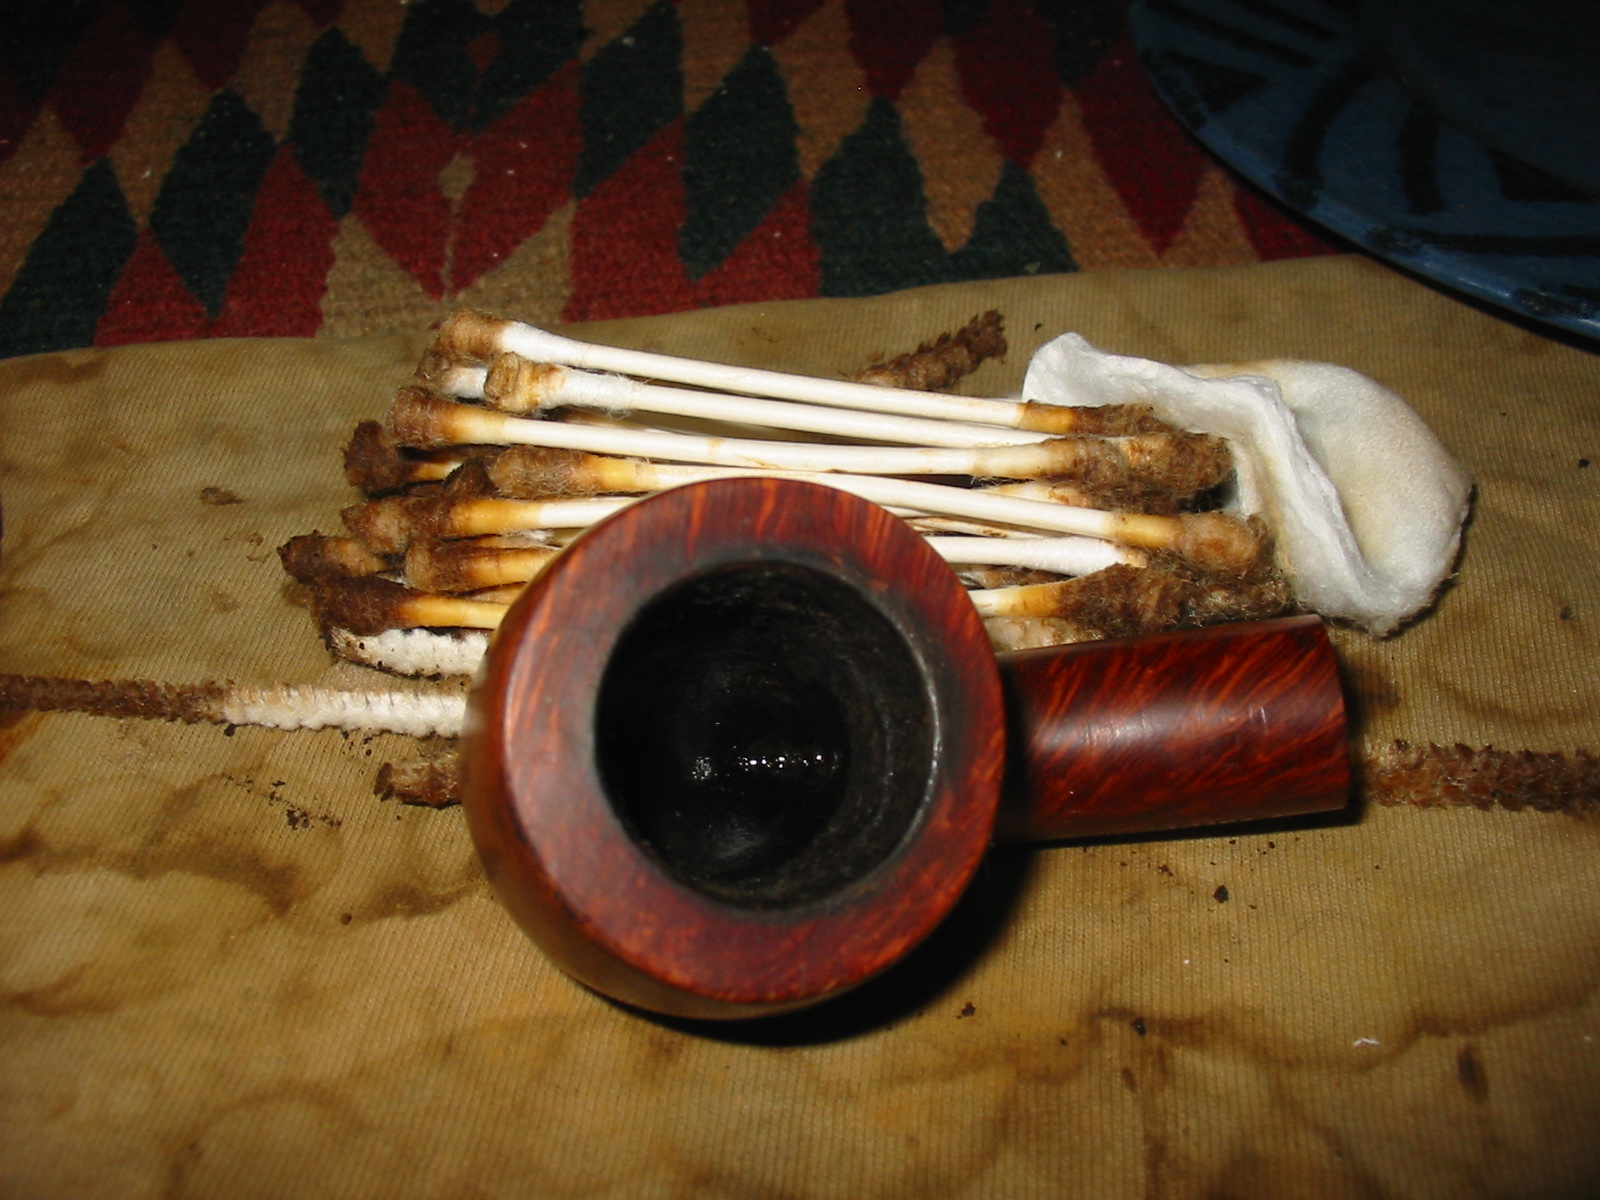
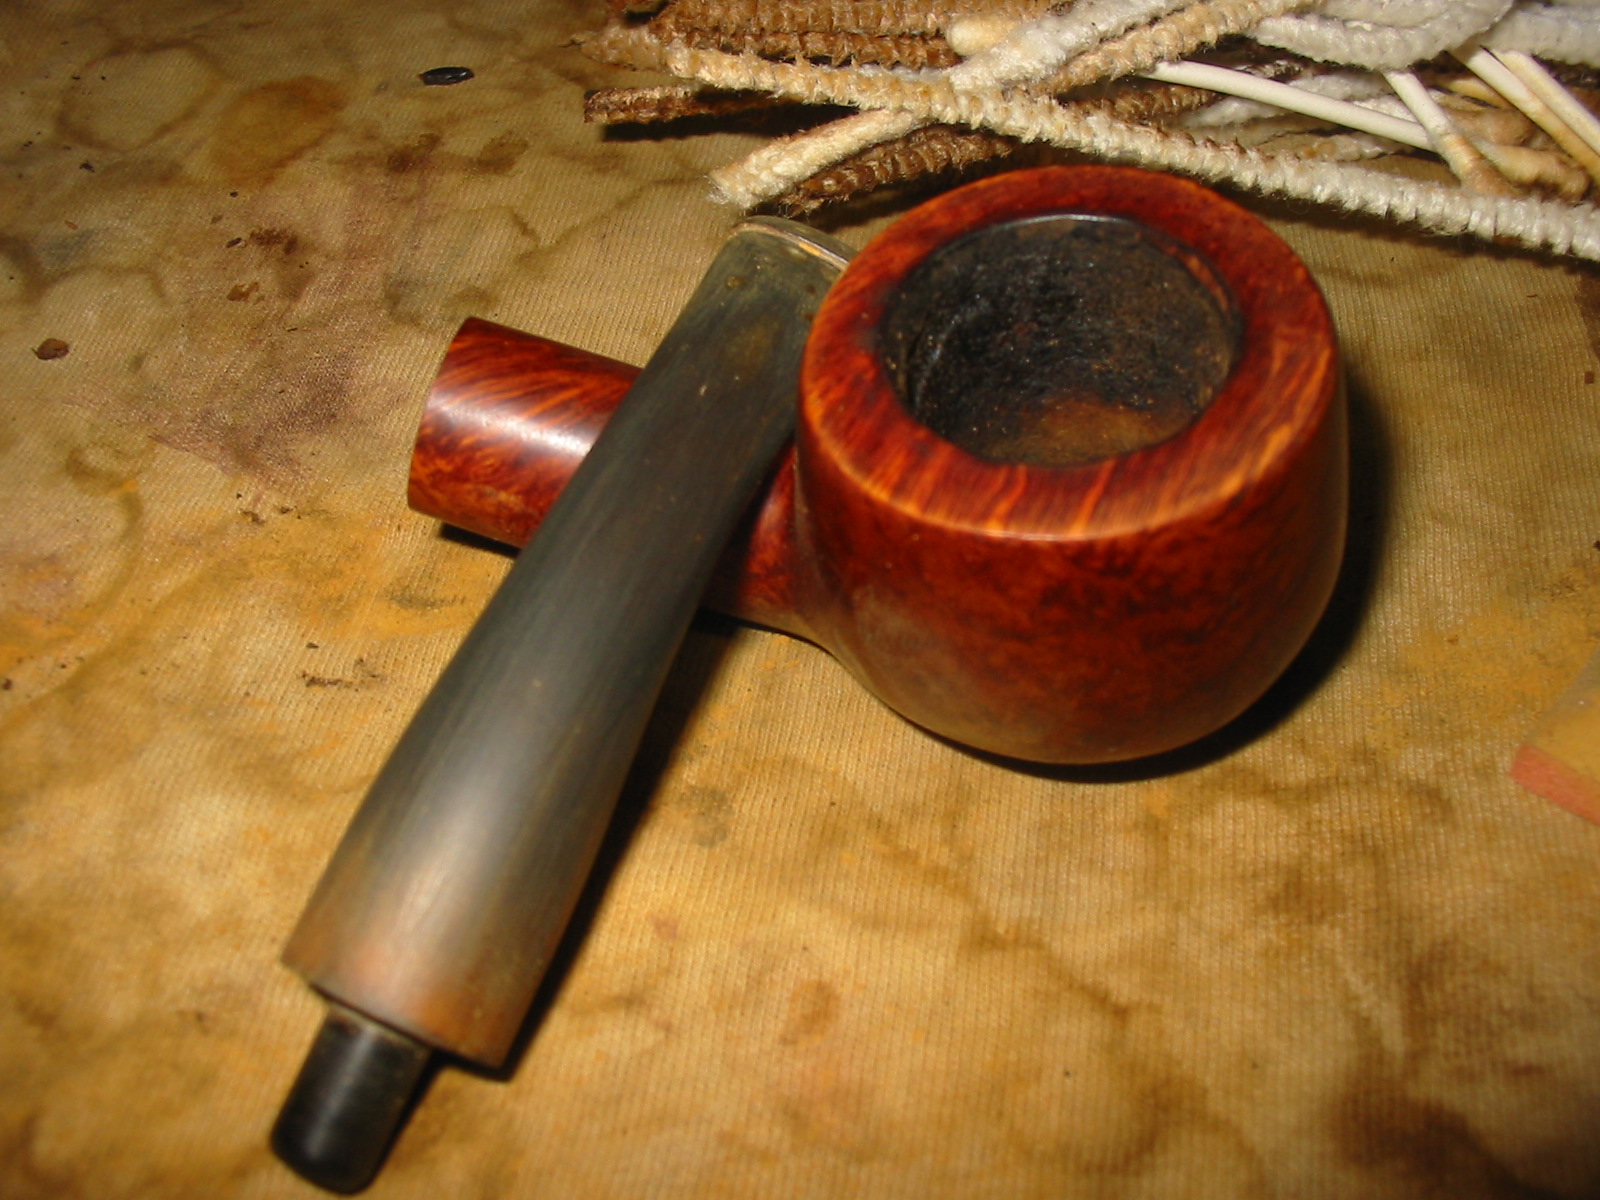
The Churchill’s pipe had a slight cant to the tenon. It did not allow the stem to line up correctly. It had a gap at either the top of the bottom of the shank and no matter how it was inserted you could see light in the gap. I have seen the mishaps, and experienced some firsthand, when the tenon is pressed after heating to try to expand it. The misalignment is often dramatic and hard to repair. In the past I have had to just start over with a different stem. I decided to experiment with a different fix on this old Churchill’s.

Churchill 2

Churchill 3

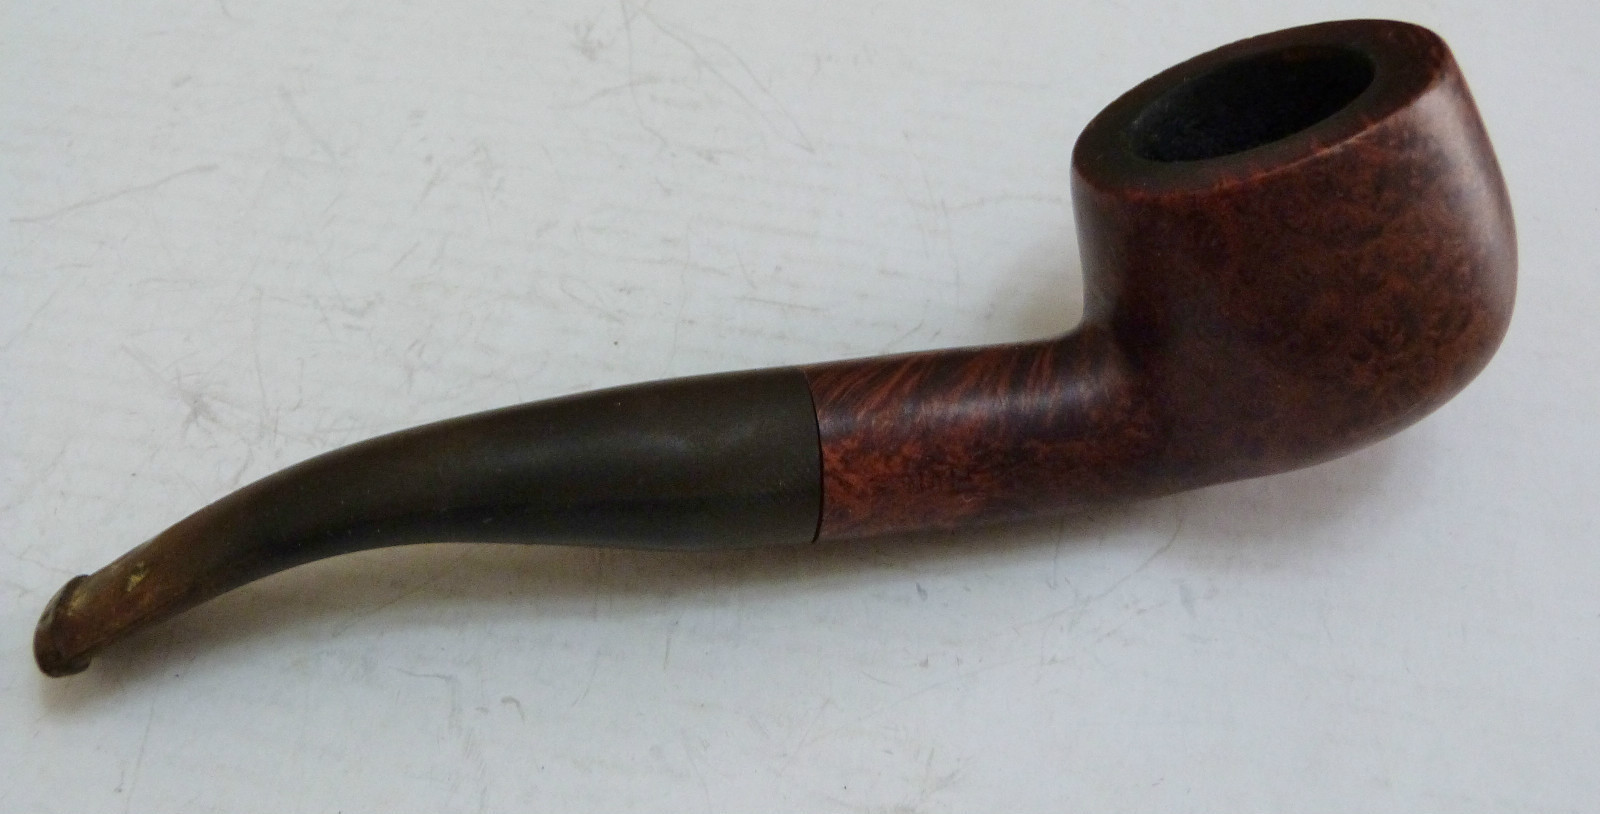
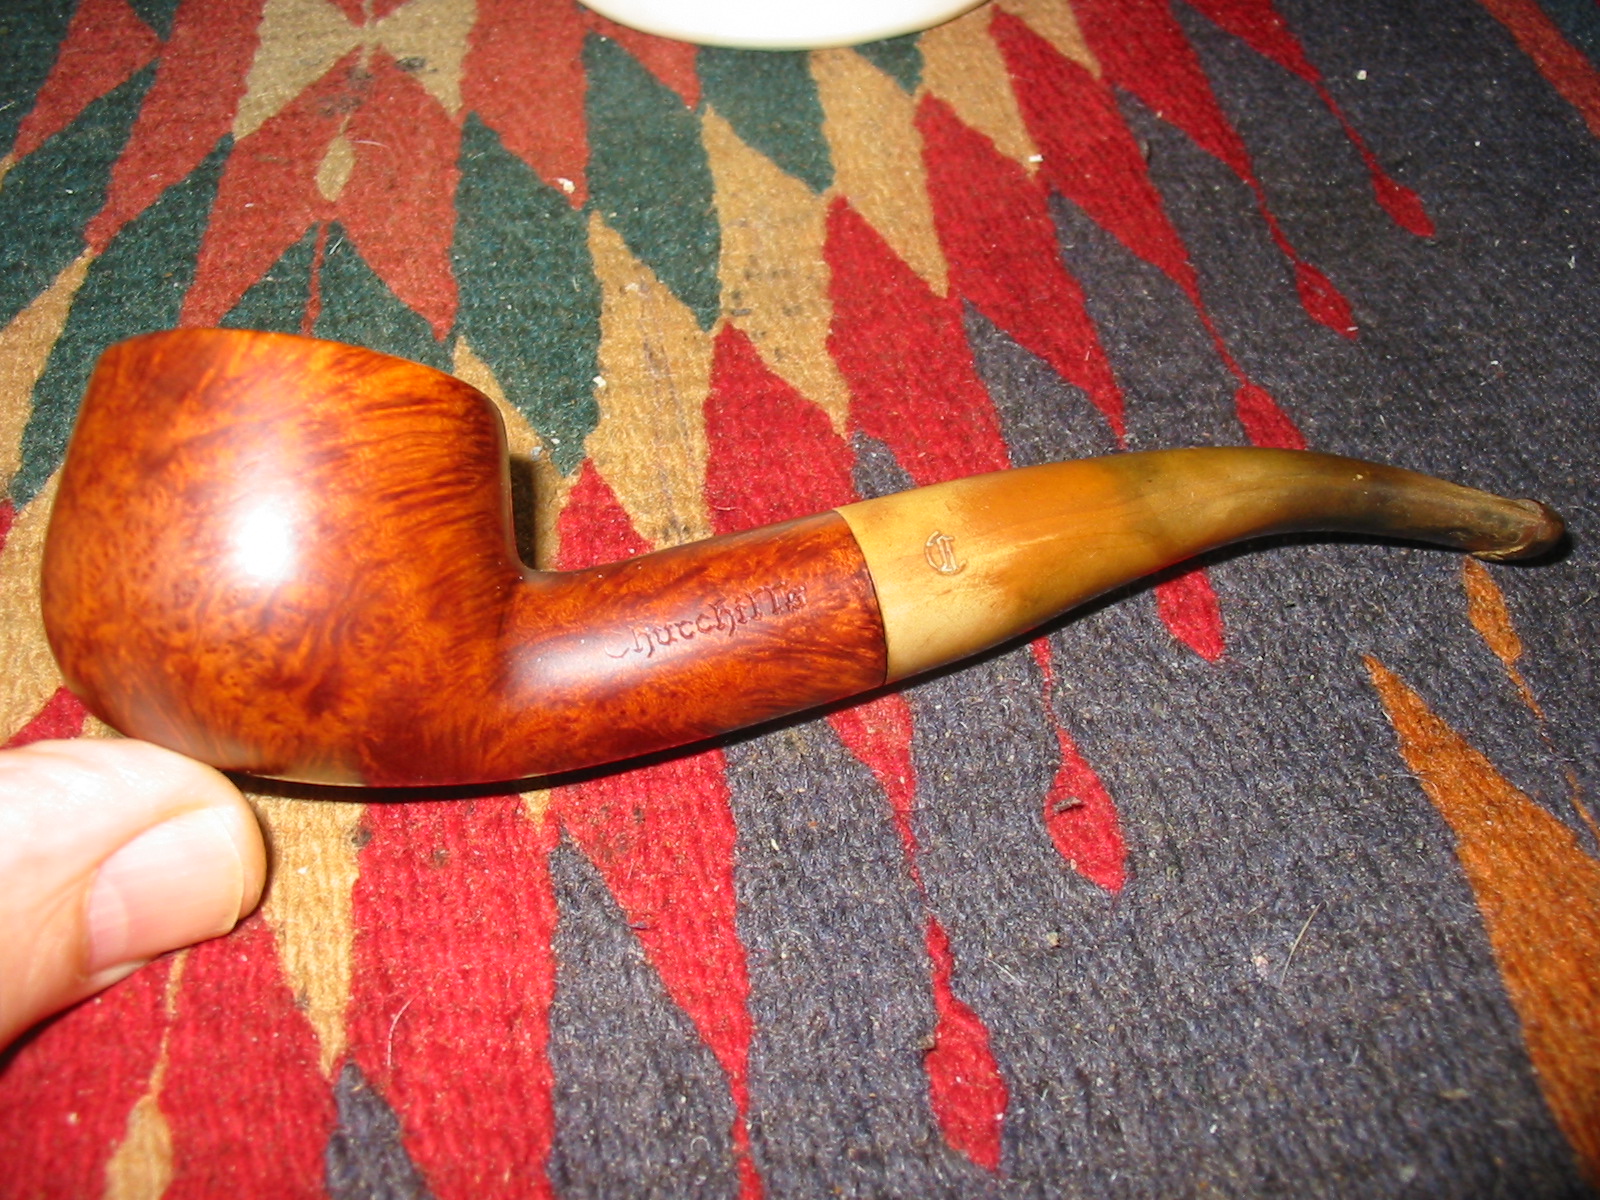
My first attempt at heating the tenon involved the boiling water method that is used to bend stems. I set a bowl of water in the microwave and heated it for two minutes and then dipped the pipe stem, tenon first, into the water to heat it. I repeated that several times until the tenon was pliable and then dried it and inserted into the mortise. I pressed it into place carefully and held it while I cooled it. The results of the first attempt are below – still a gap and the addition of an oxidized stem to remedy. As I thought about the process and the desired end I concluded that a possible issue was that I had not heated the tenon enough to truly get a flexible bend to it. The caution is to proceed very slowly in the process so that you do not snap the tenon and necessitate a different fix.

IMG_1740

IMG_1741

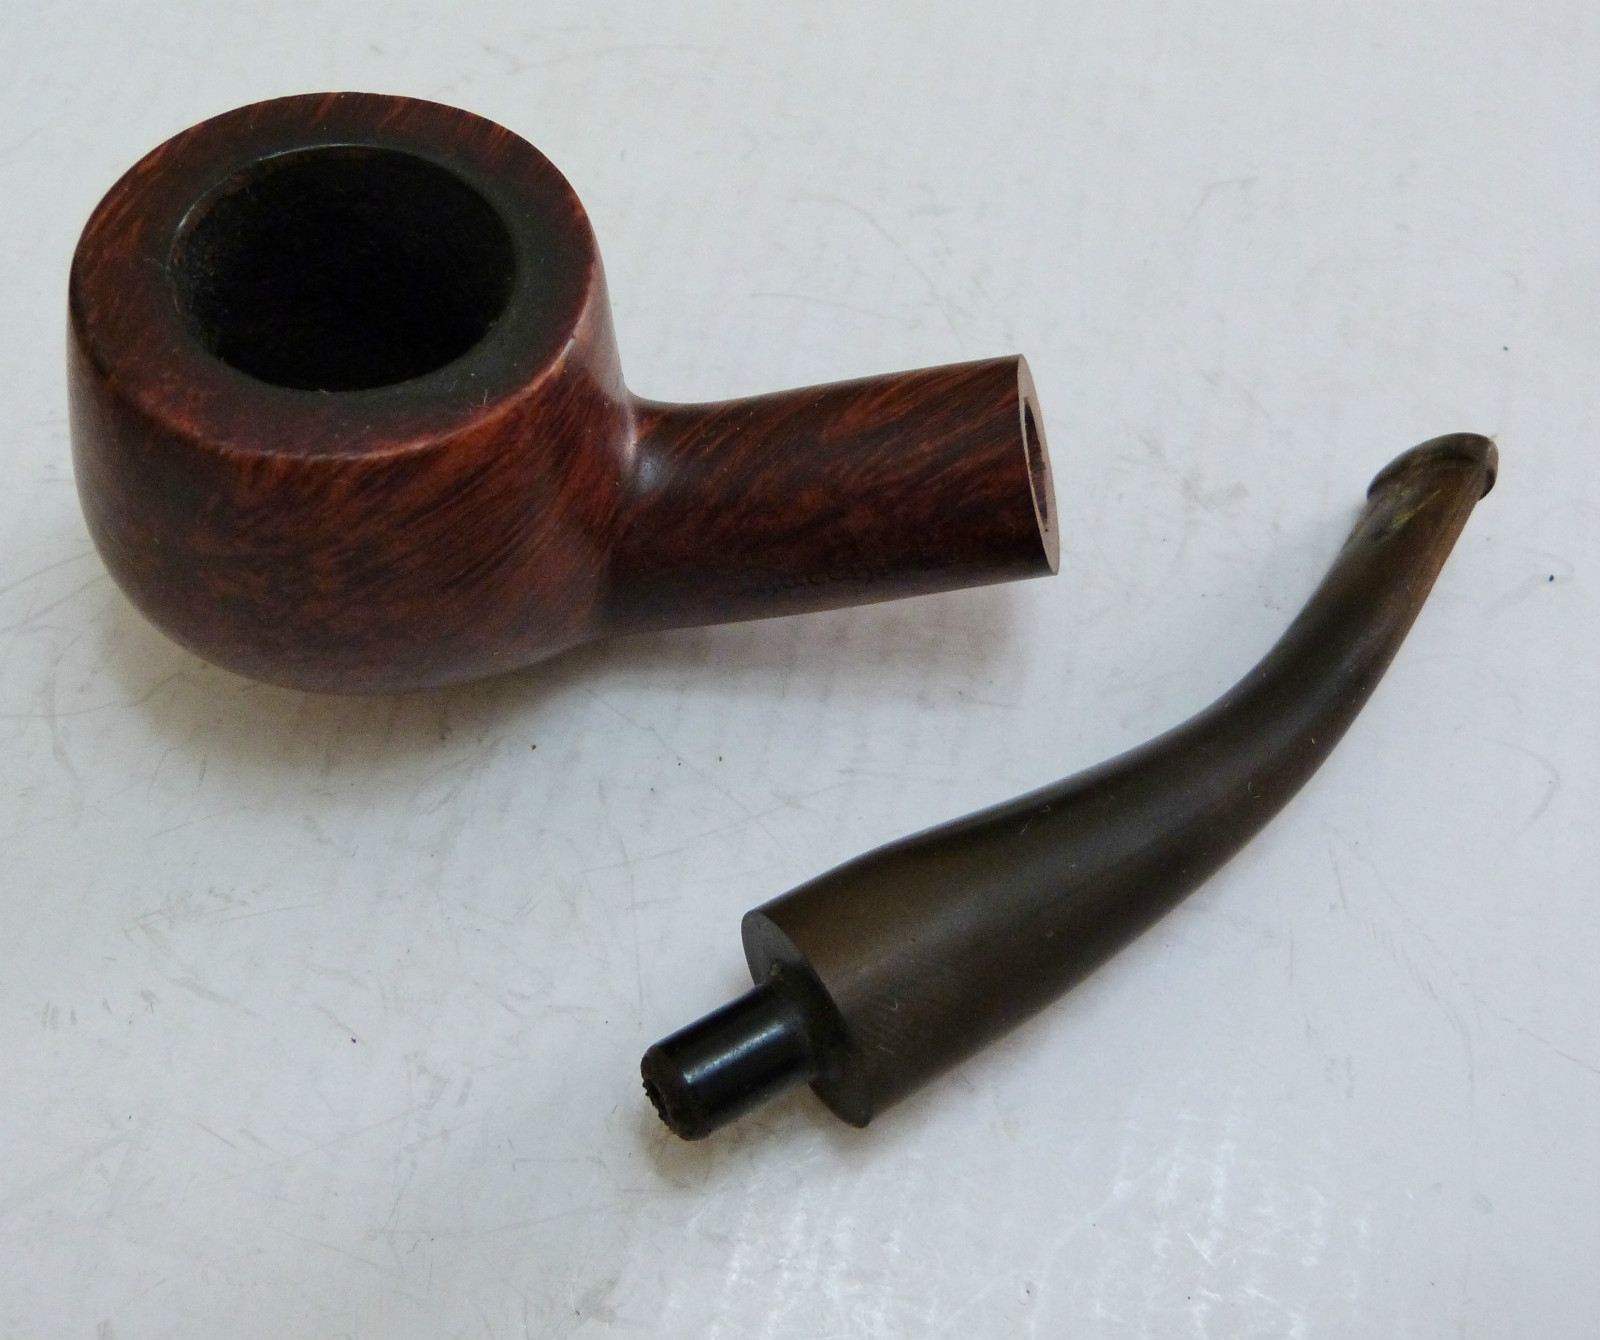
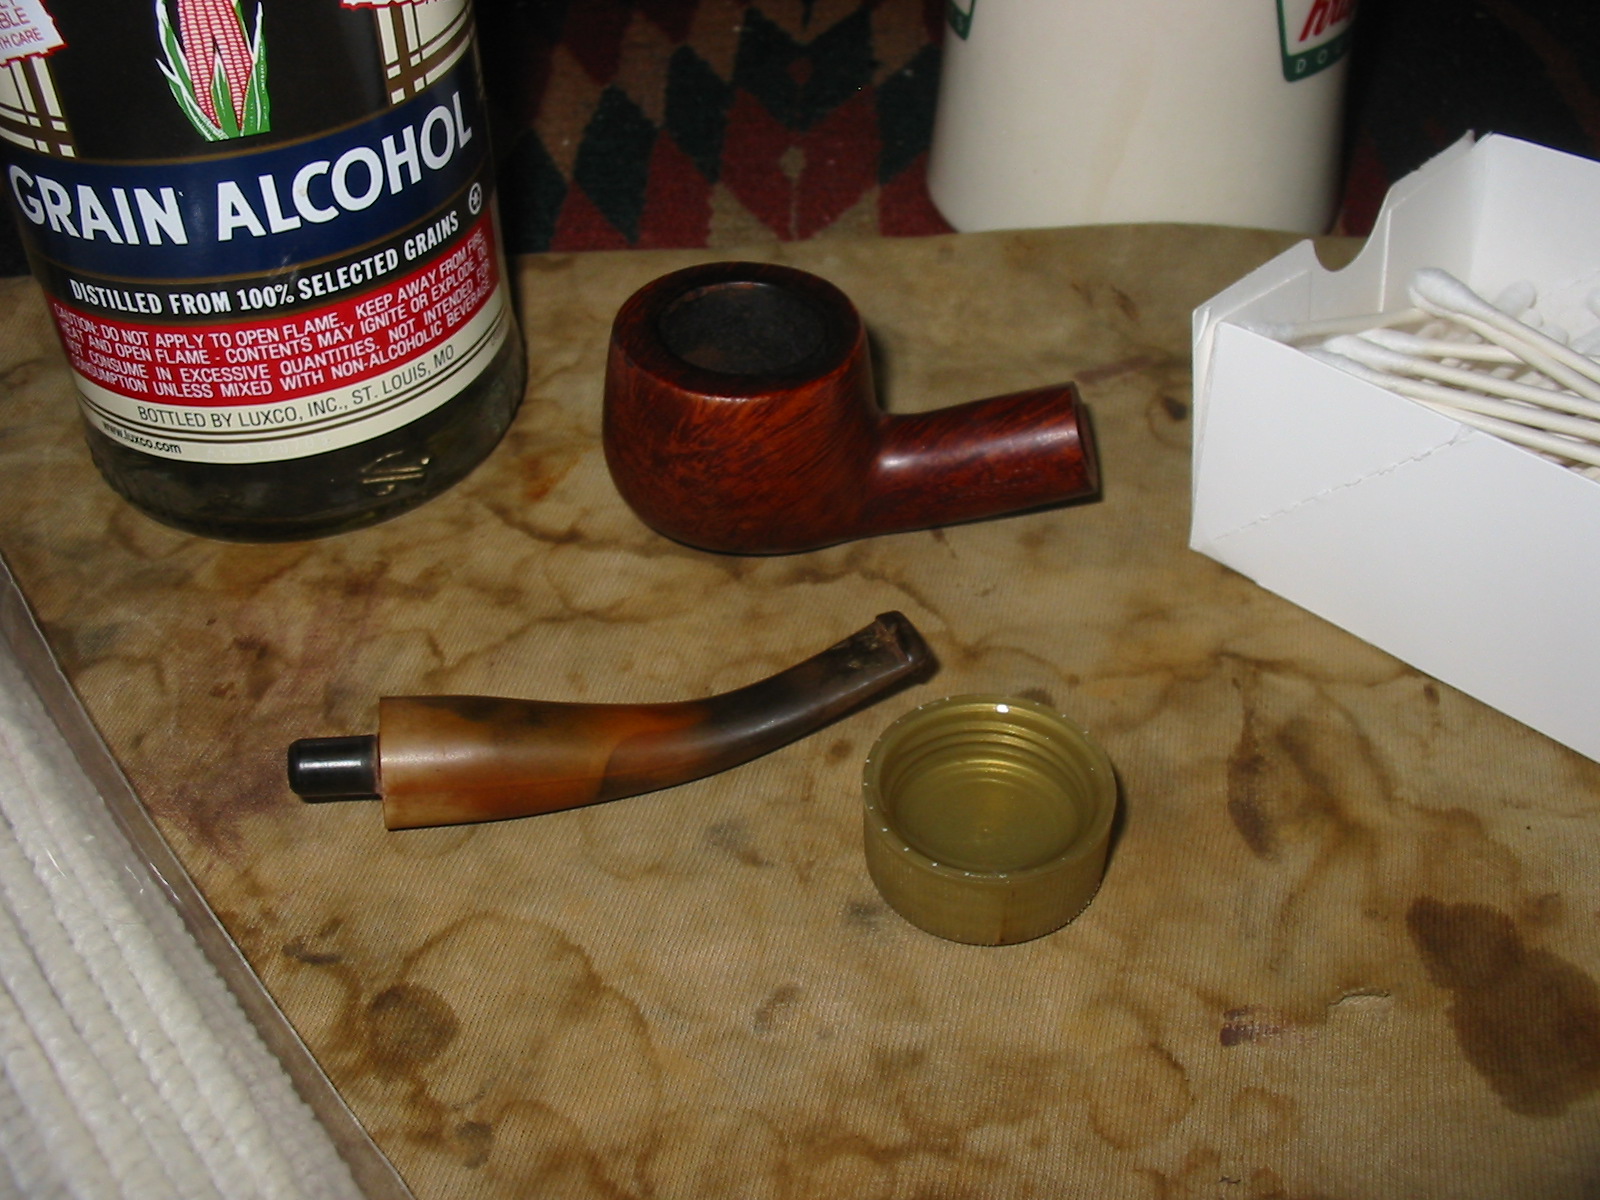
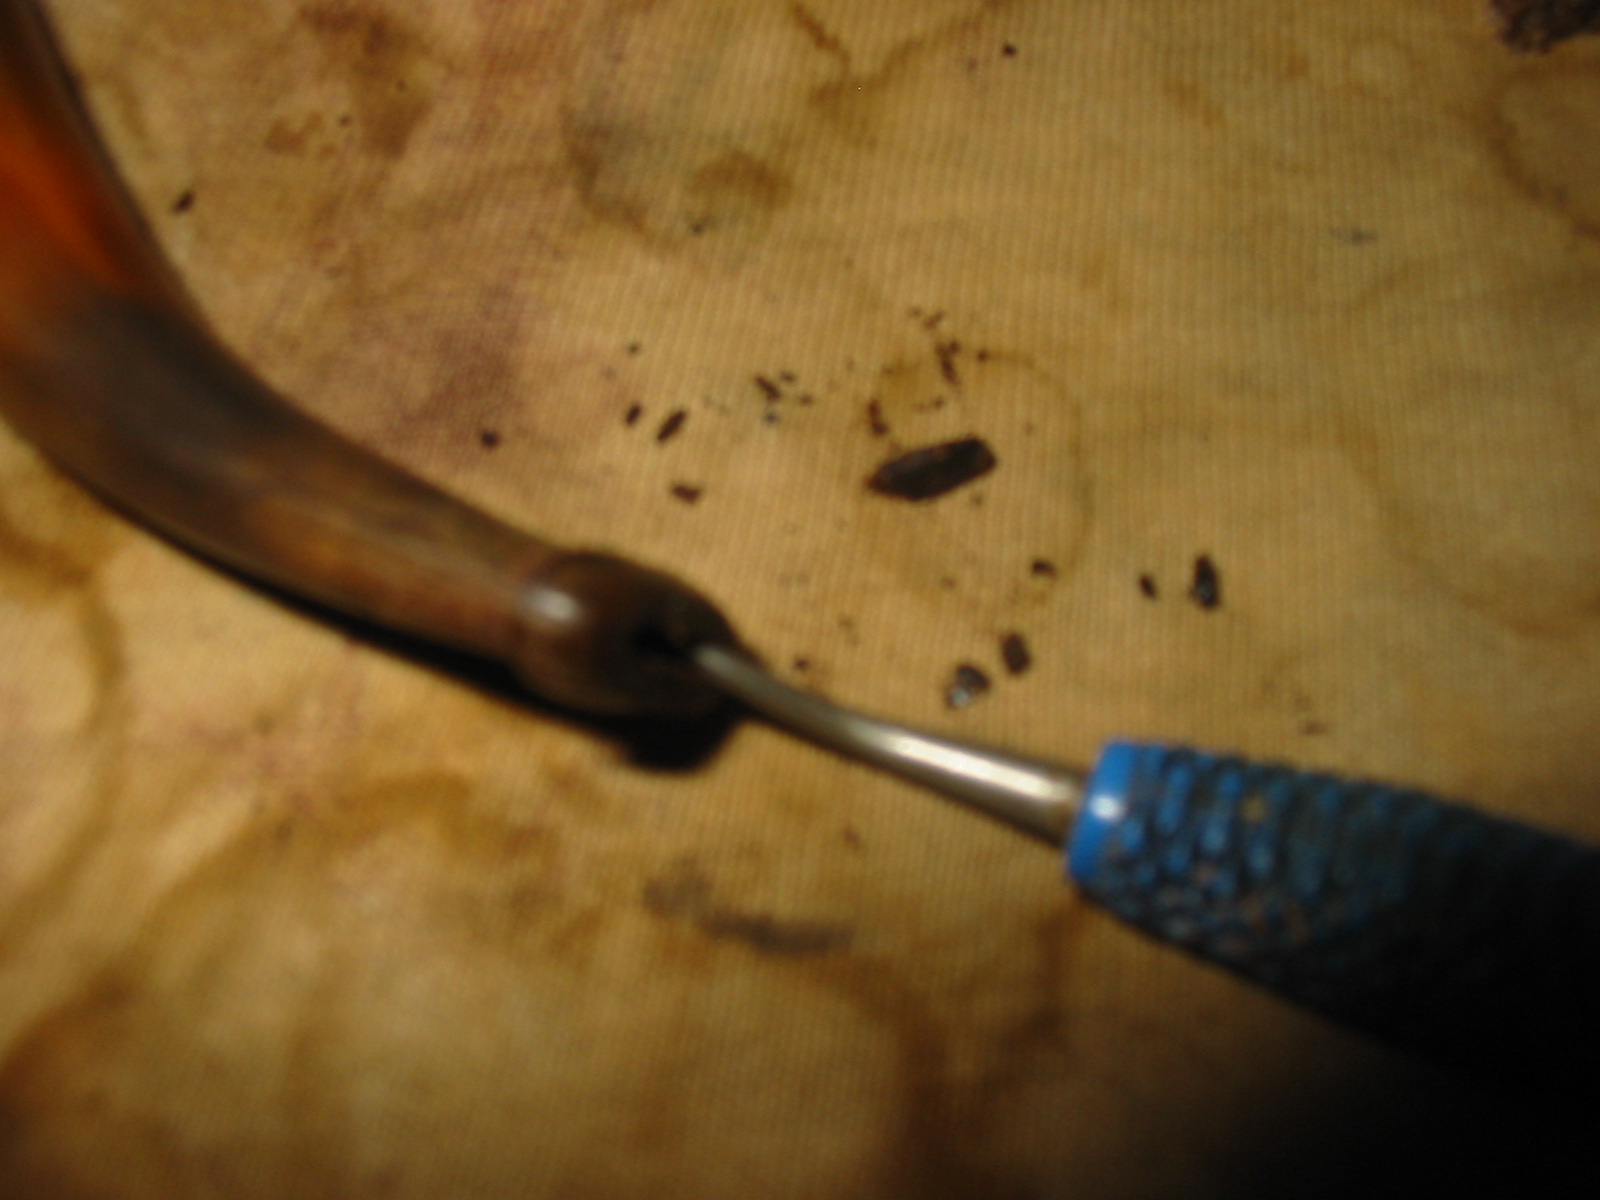
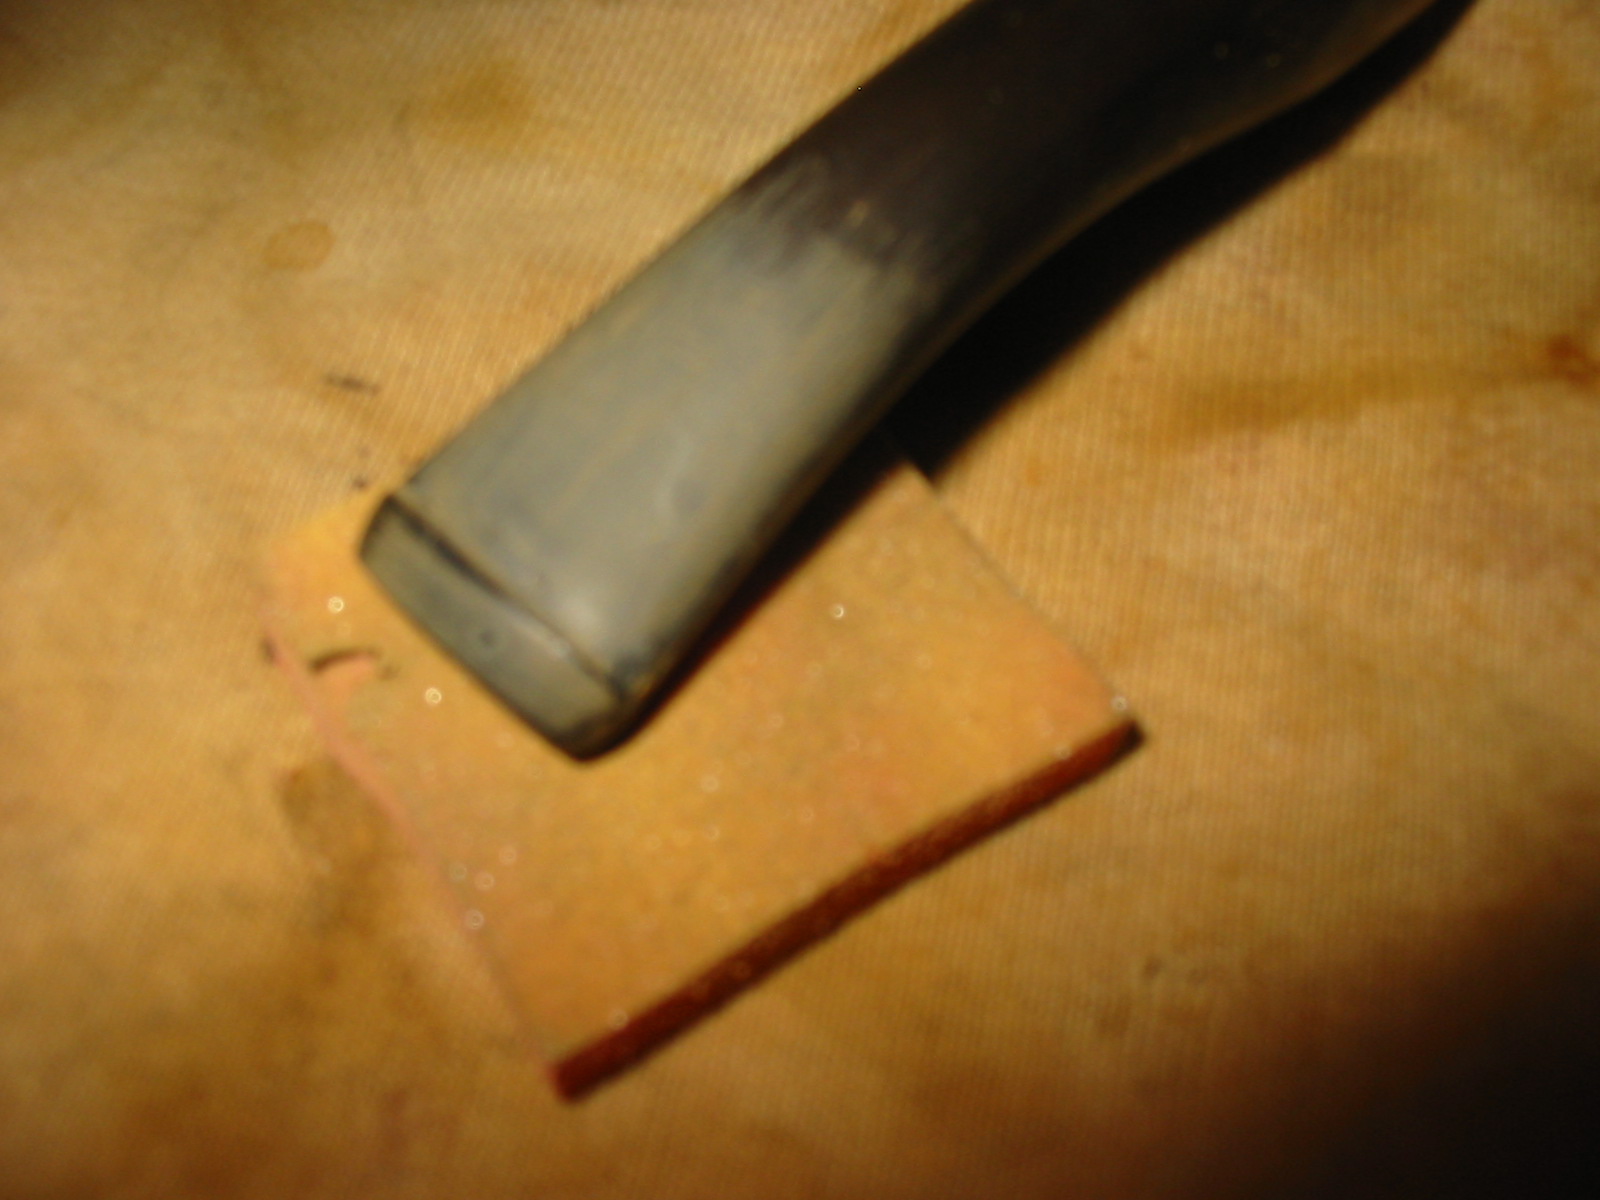
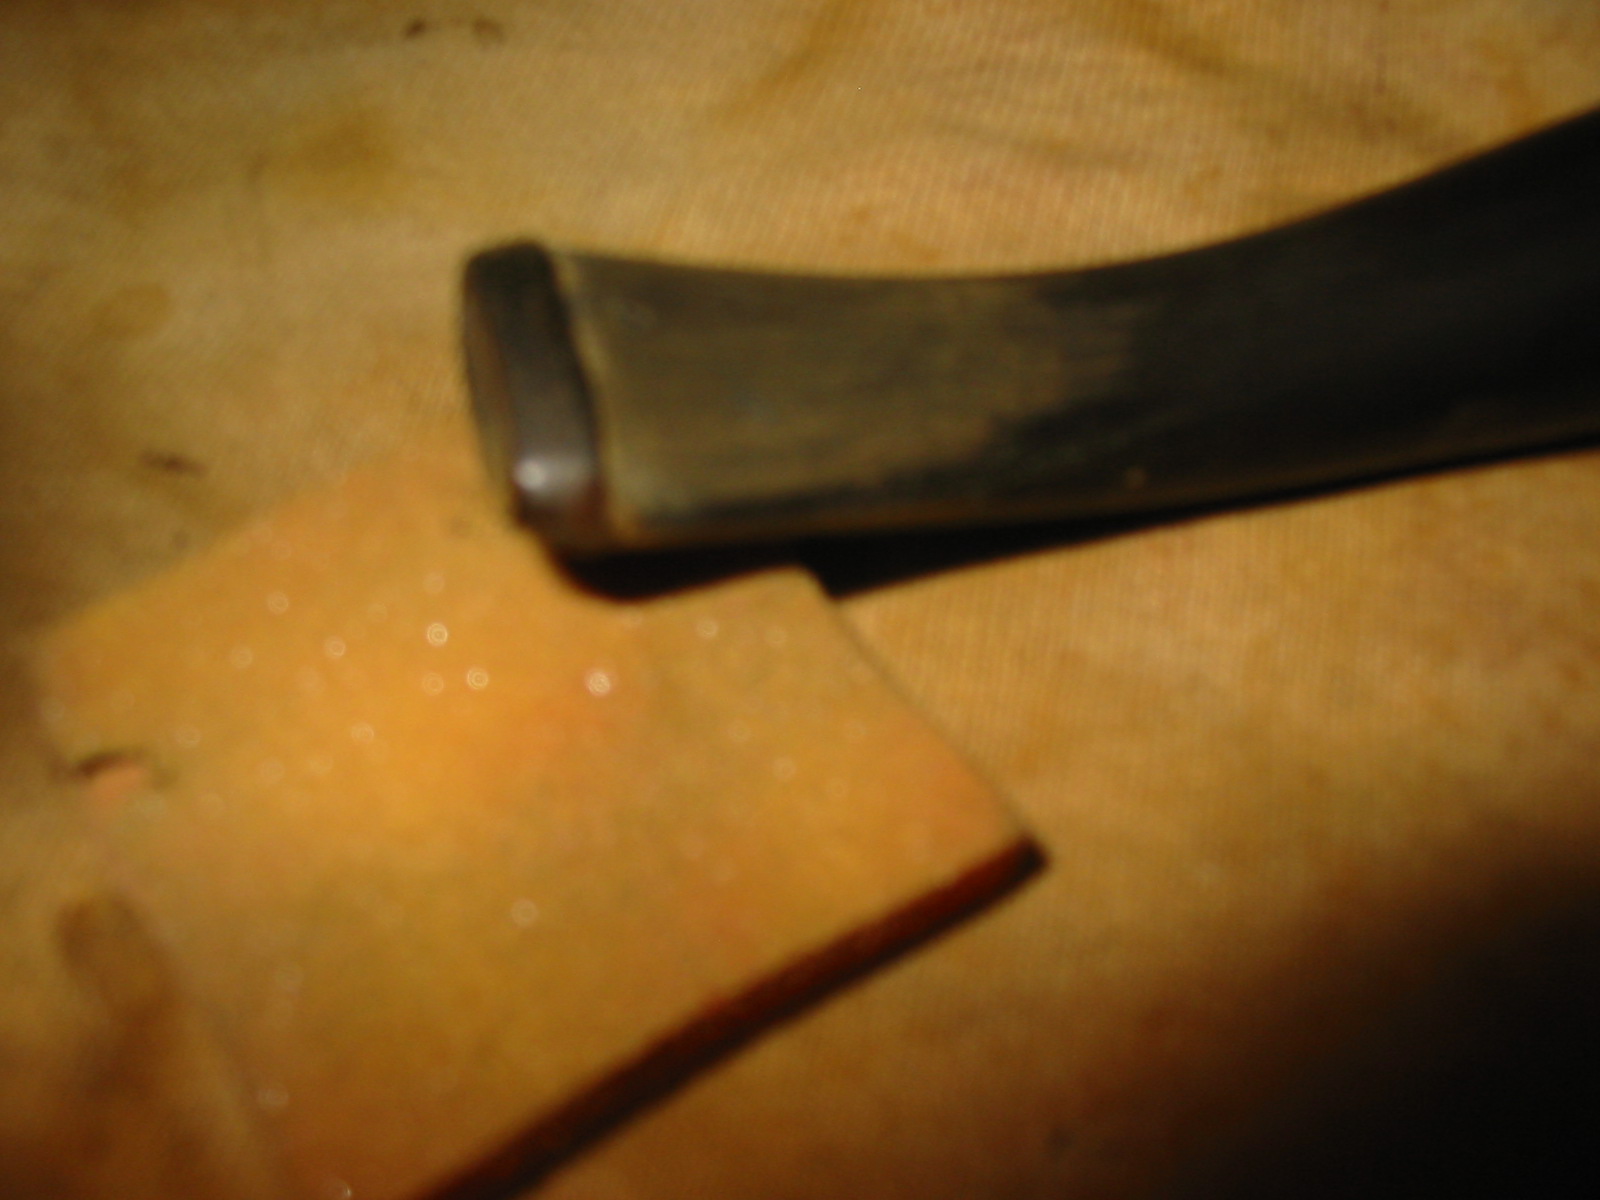
I put the tenon in the shank and left a gap of approximately a ¼ to a ½ inch. I then used heat gun with a tip that reduced the area of the heat to about an inch diameter circle. I held the pipe above the heat and rotated it quickly to evenly heat the gap, and thus heat the tenon. I apologize for the blurriness of the photos but the general set up is clear. Hold the pipe above the heat about three or four inches, rotate it quickly as you do not want to burn the vulcanite.

IMG_1776

IMG_1777

IMG_1778

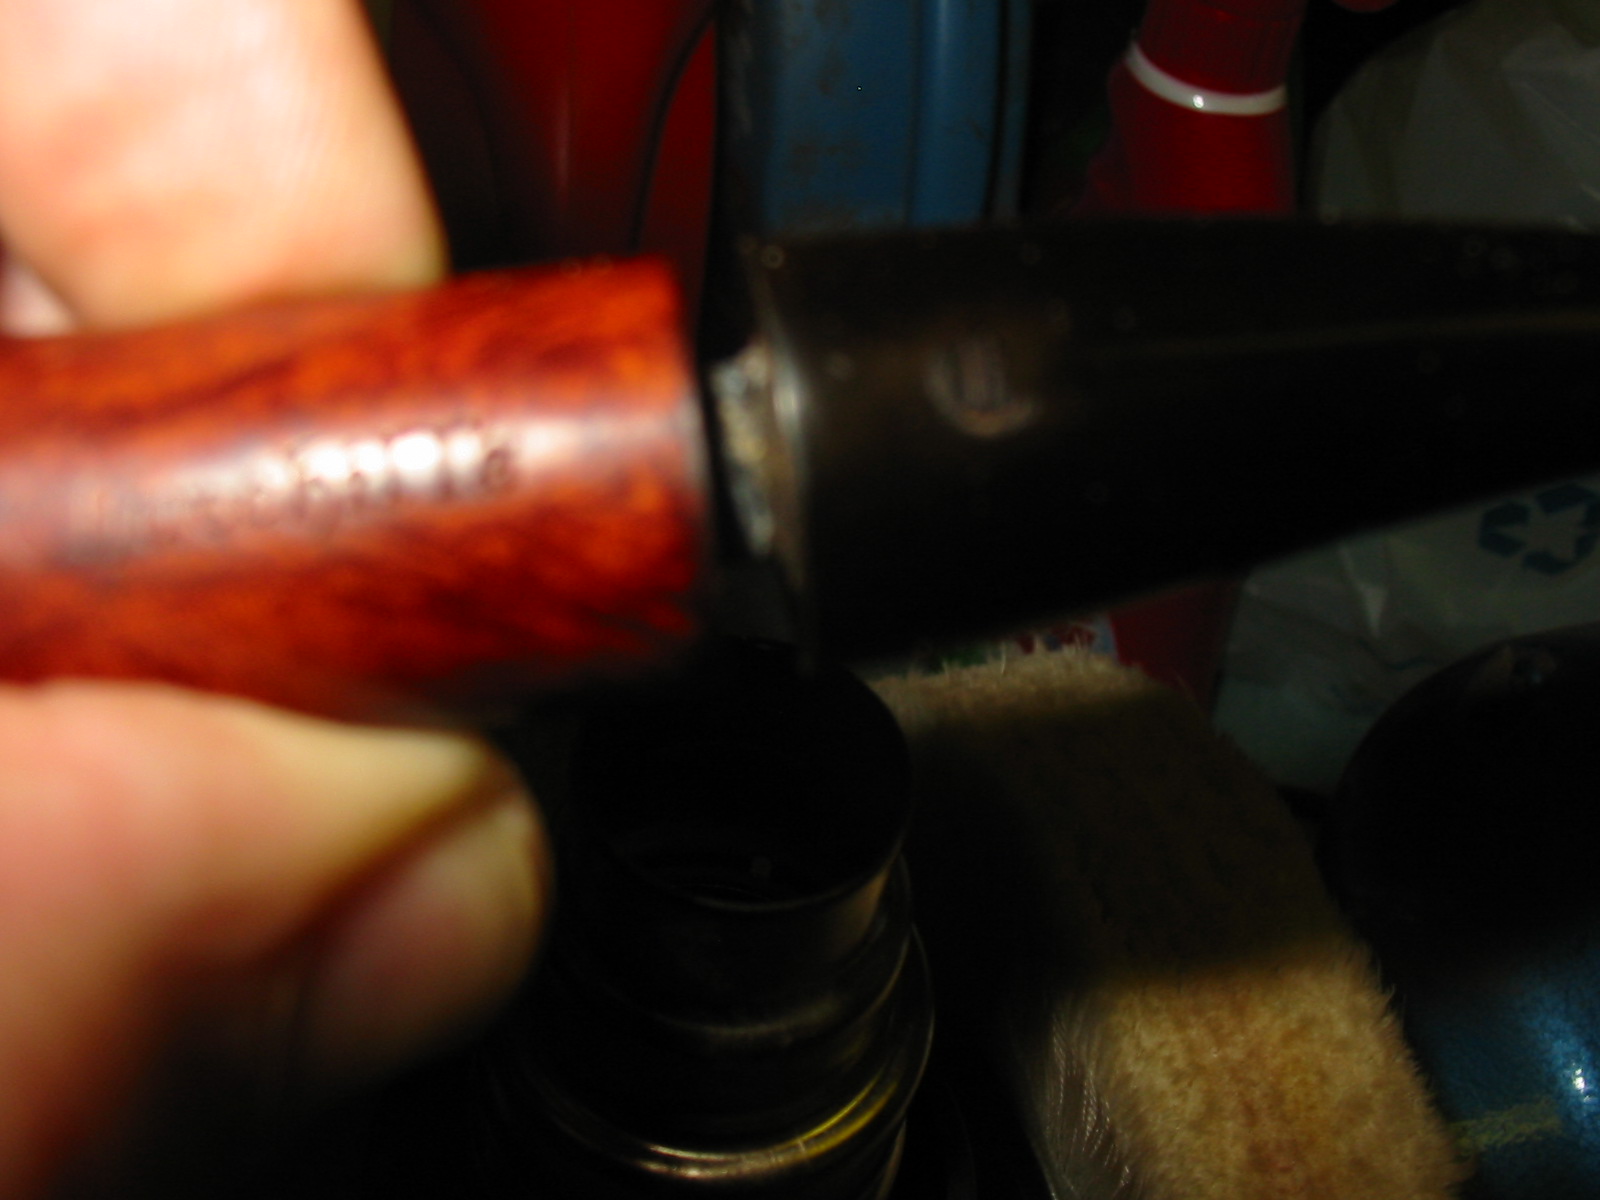
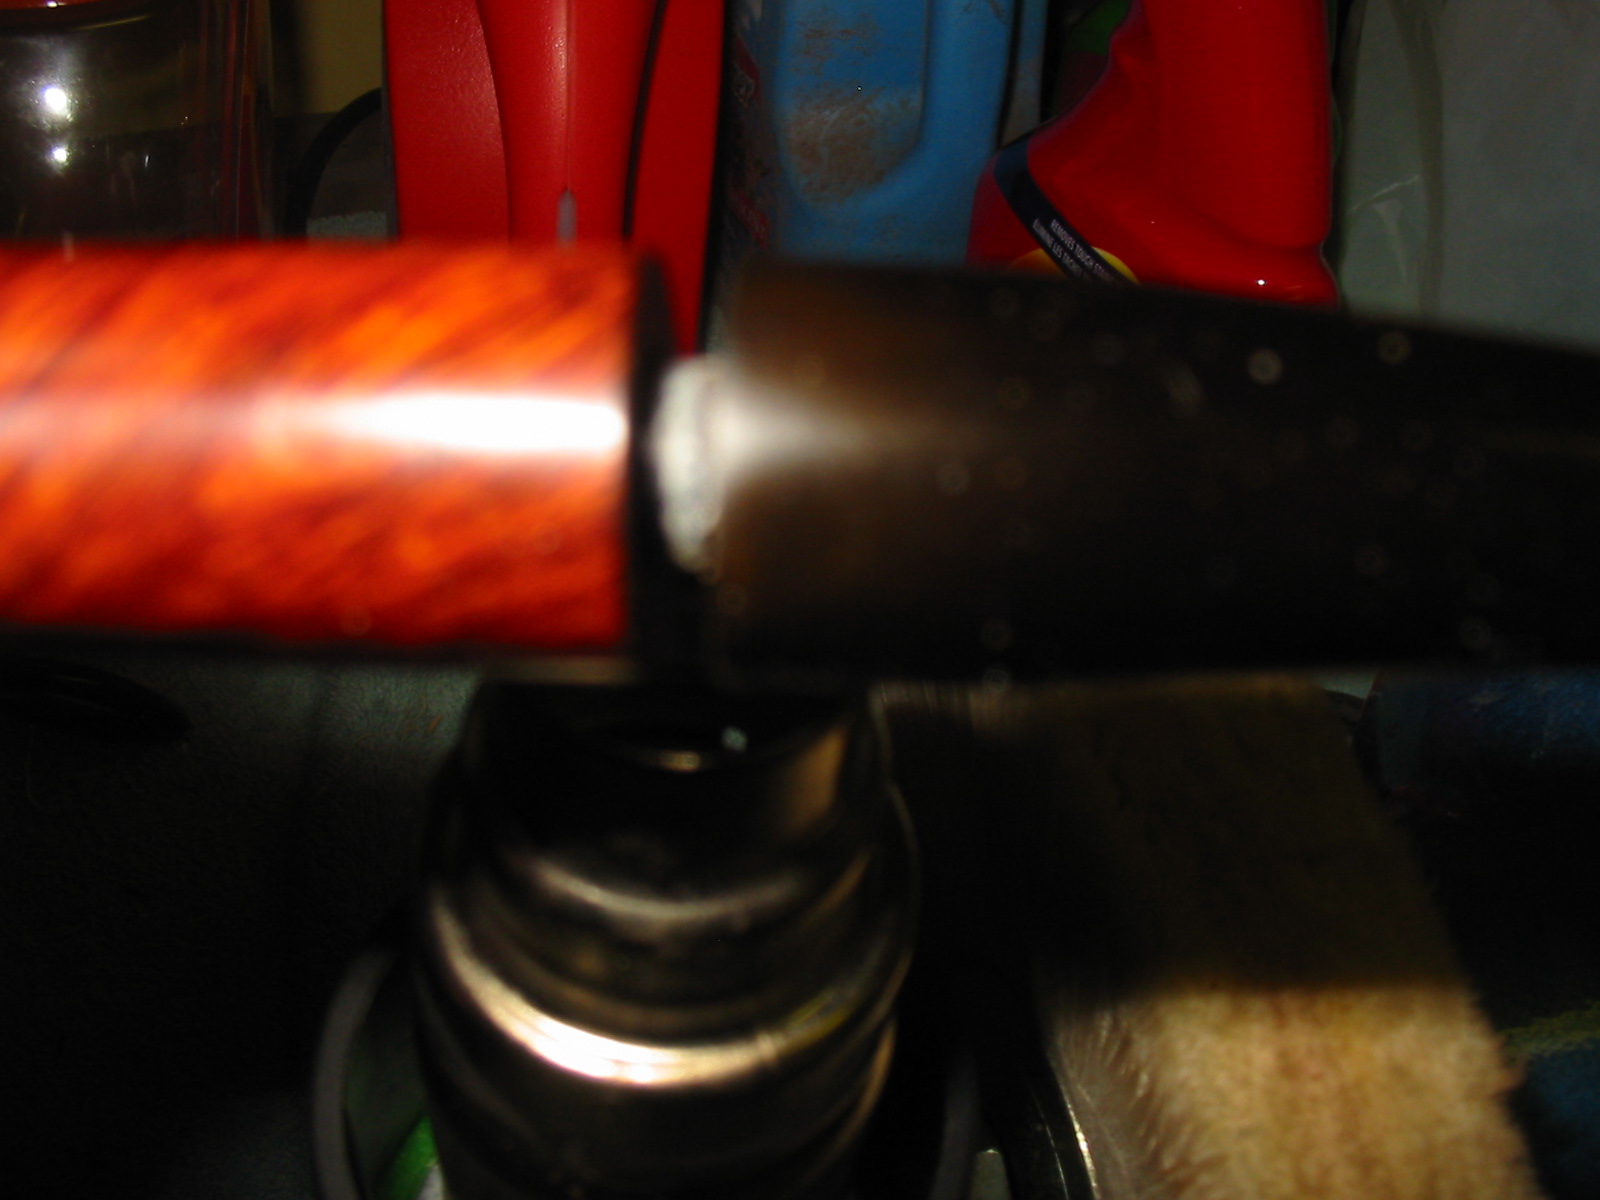
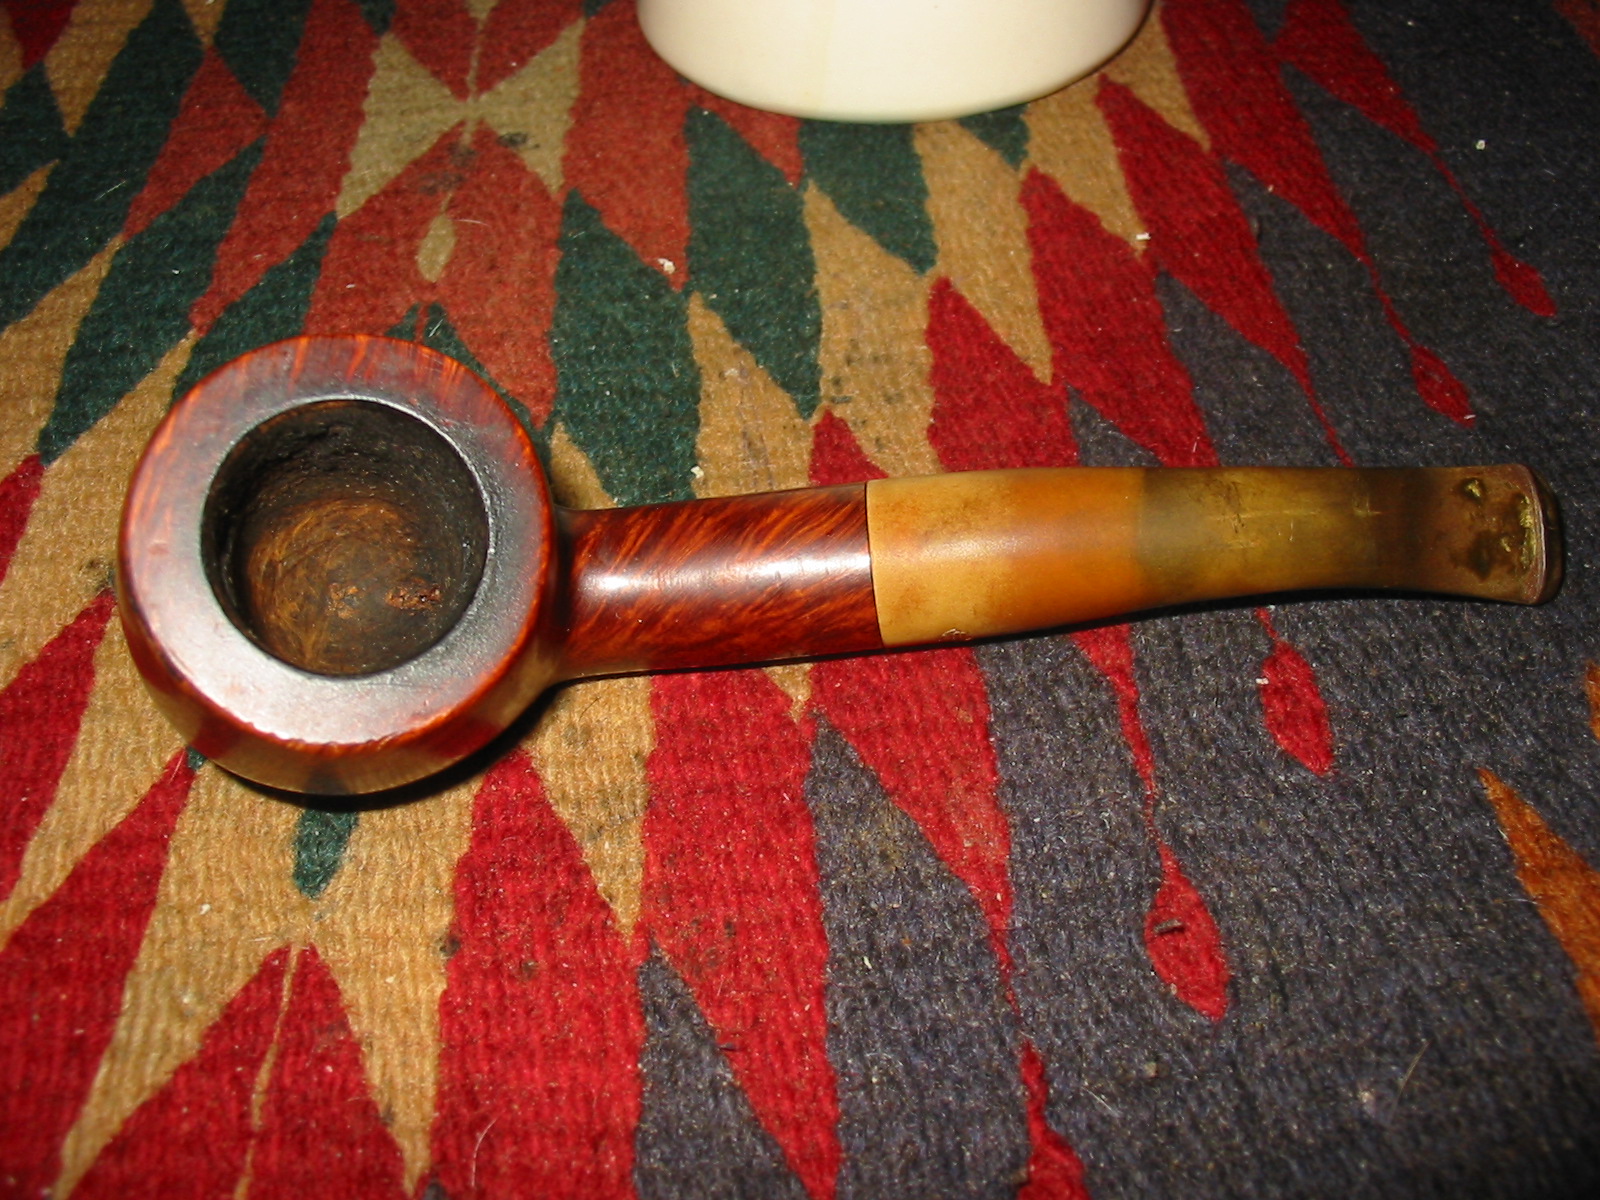
Once the stem was warm I carefully pushed it into the shank. You want the stem warm enough that the tenon is flexible and not stiff or it will break off as you work it. The tricky part is to slowly and evenly push the stem into place. A variation in the push to either side will only make the problem worse. Once it is tightly against the shank I gently moved it until the fit was tight between the shank and stem. I held it tightly in place with my thumb and fingers as I cooled the stem and shank under cold water to set the new adjustment. It took several attempts to get it to sit properly.

IMG_1780

IMG_1781

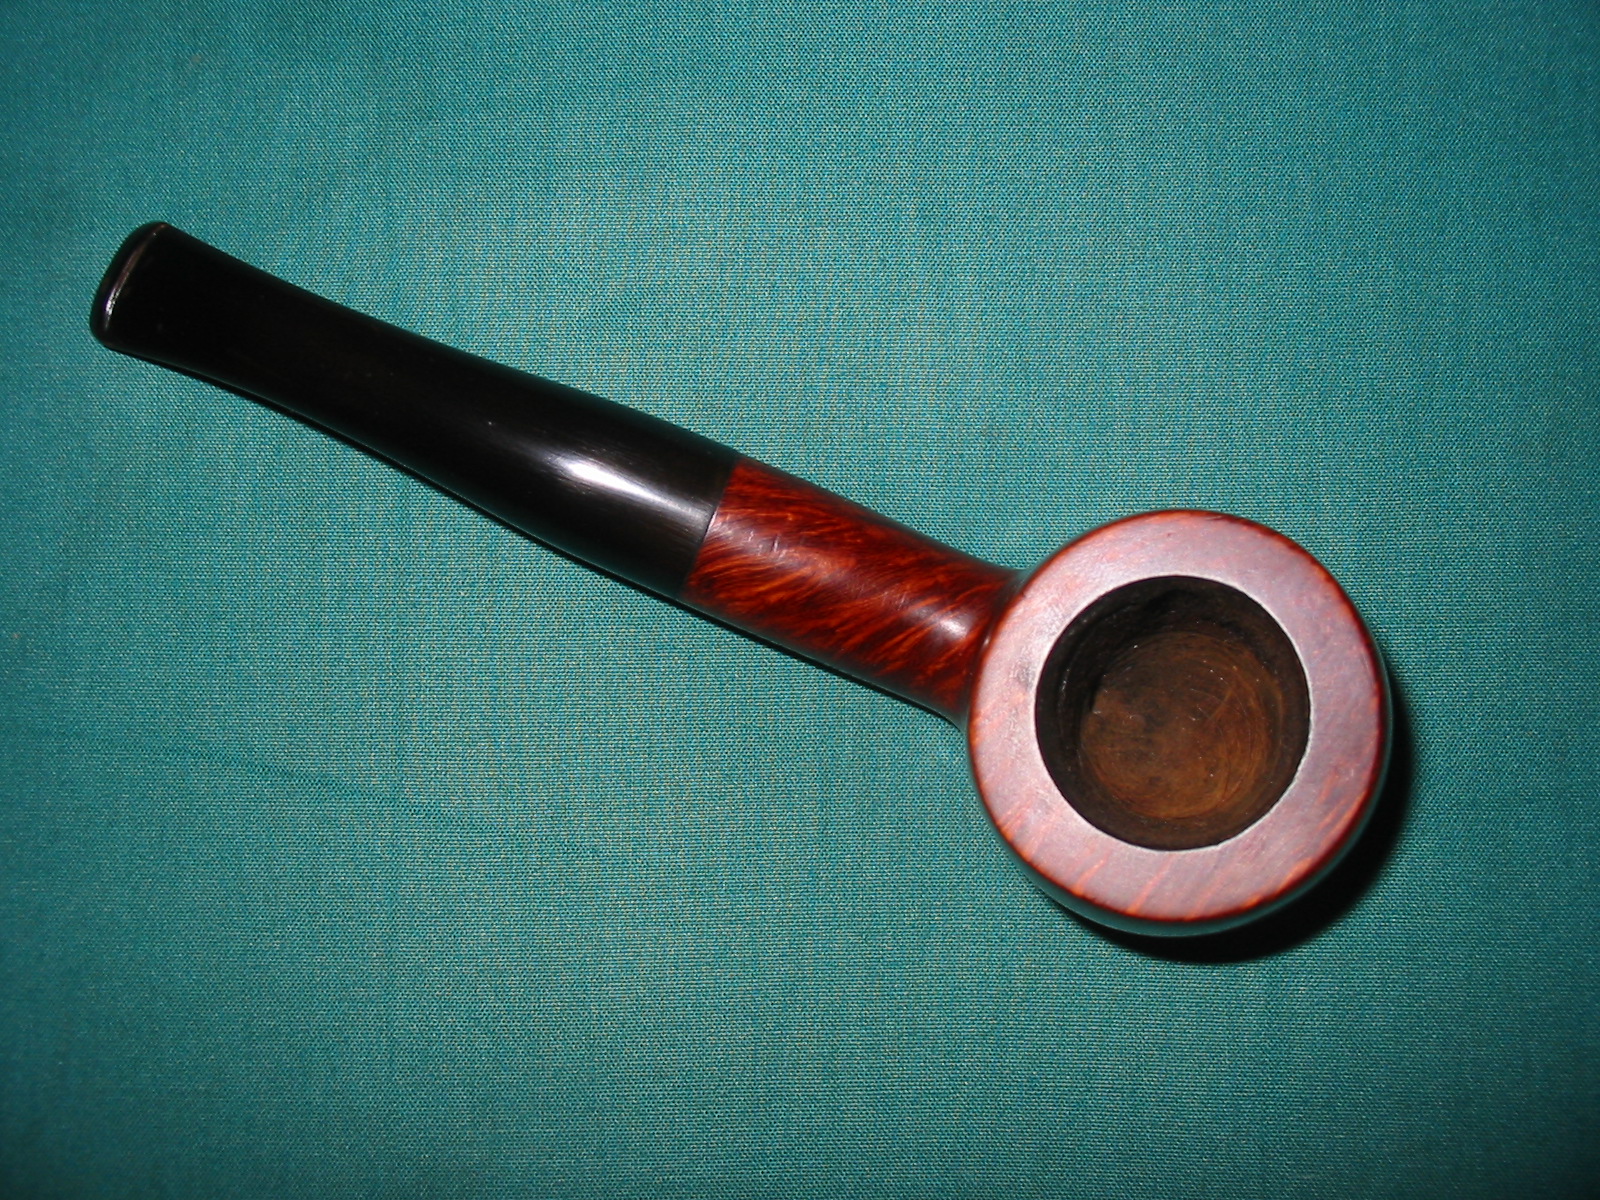
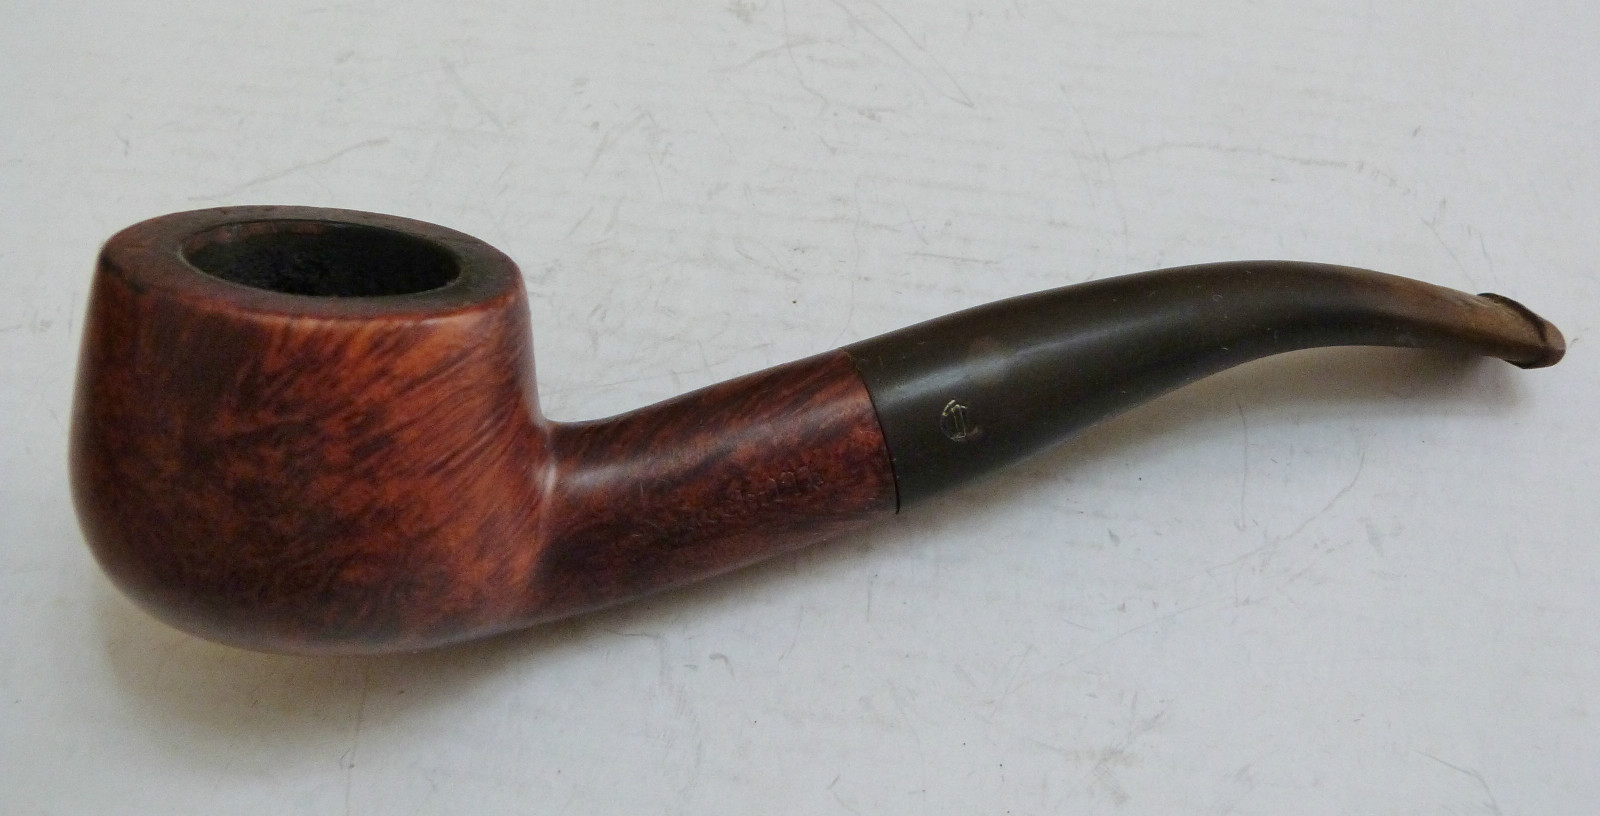
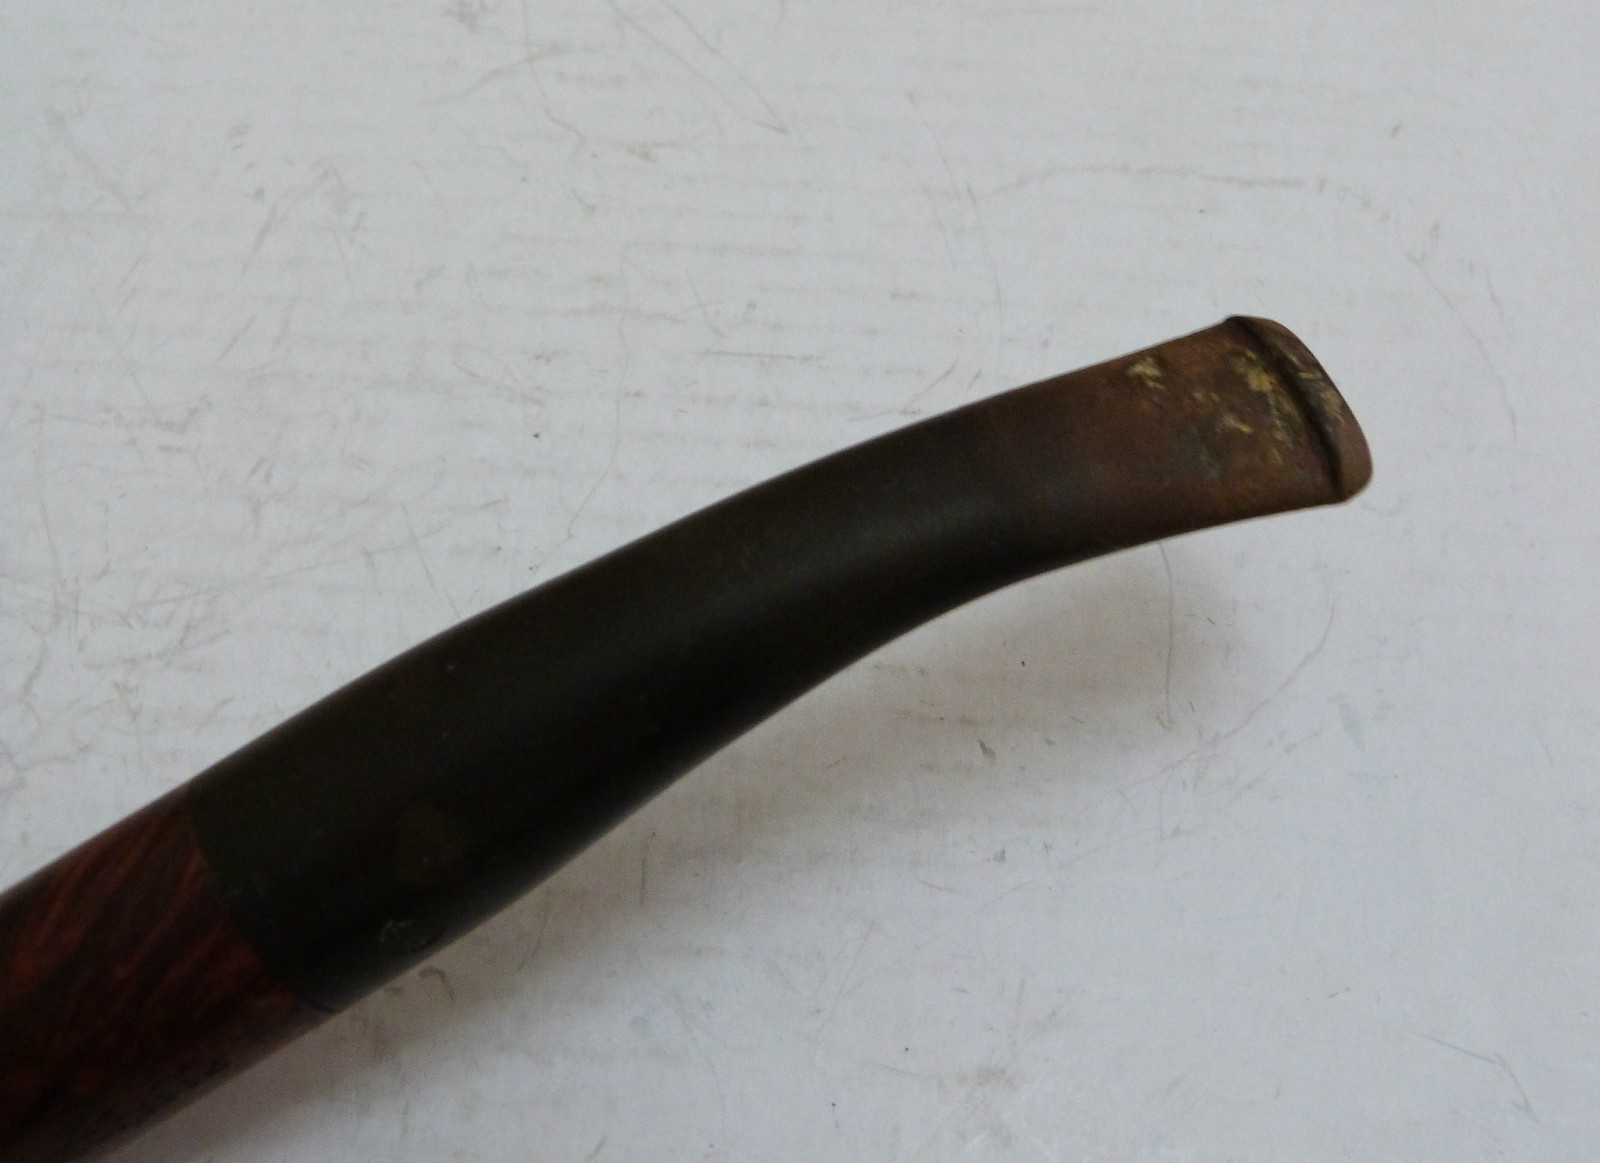
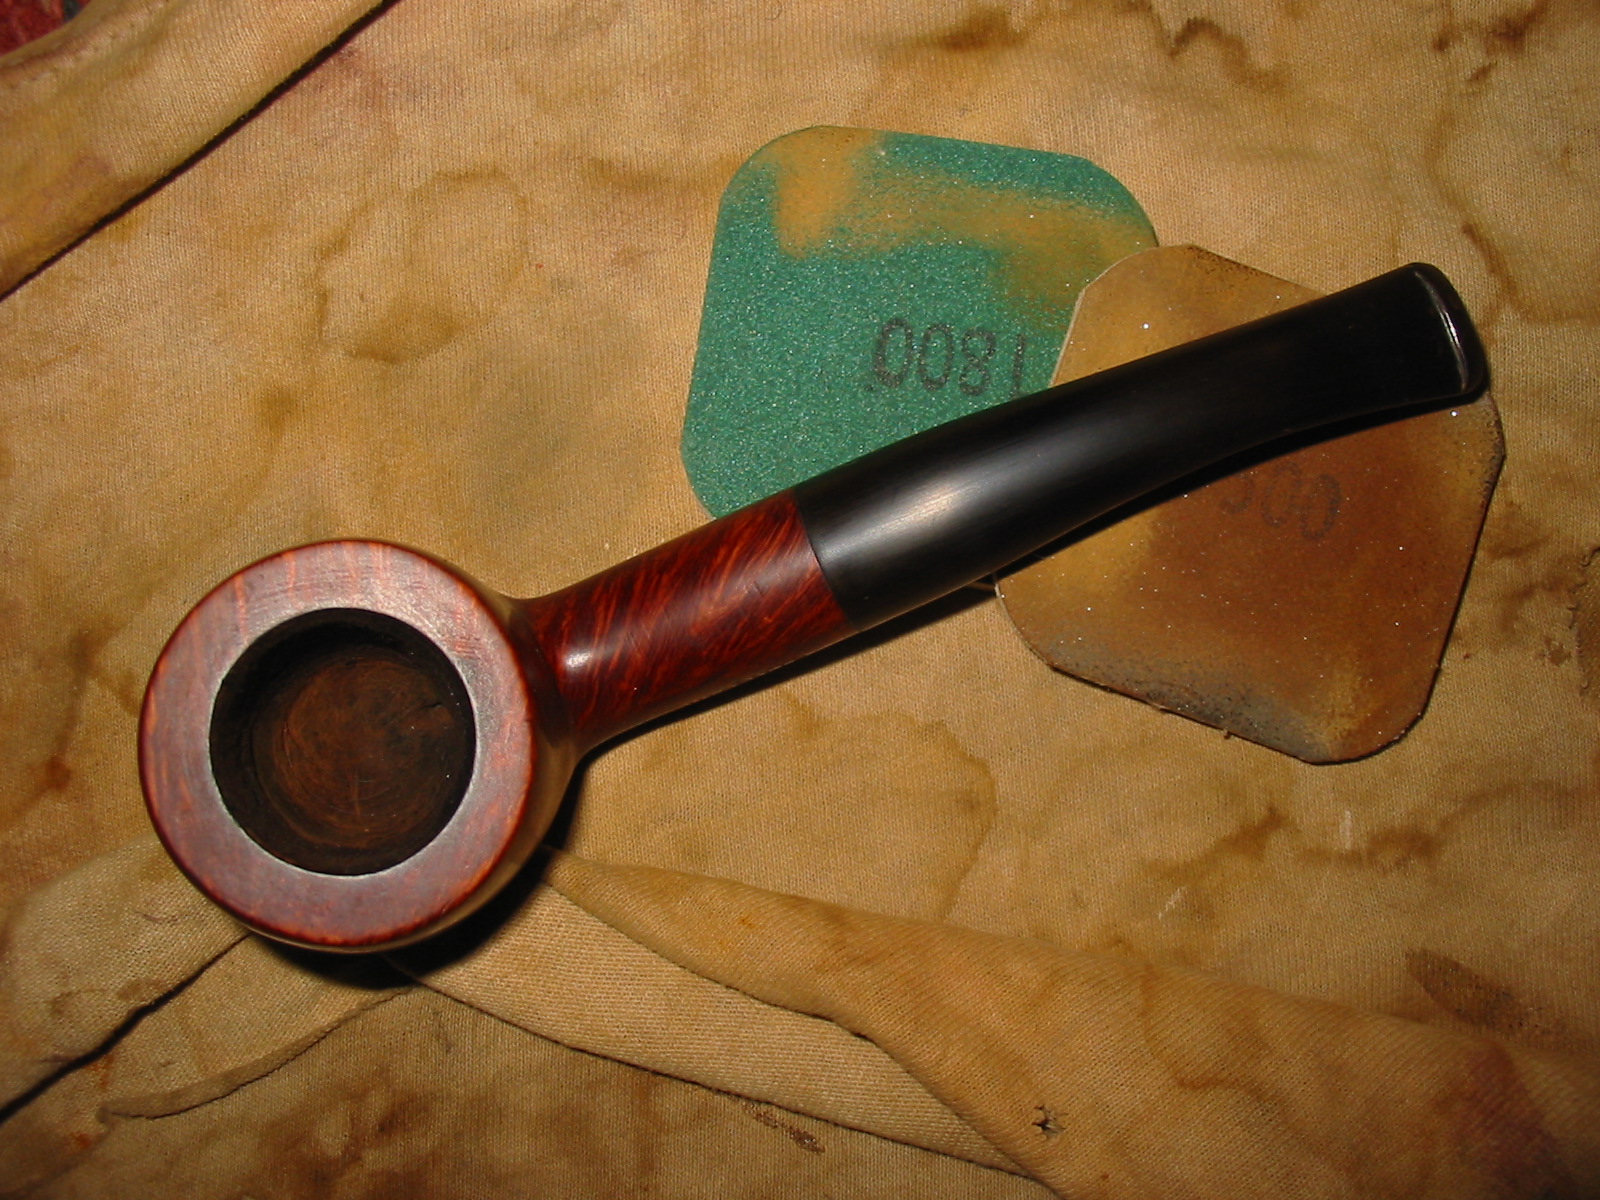
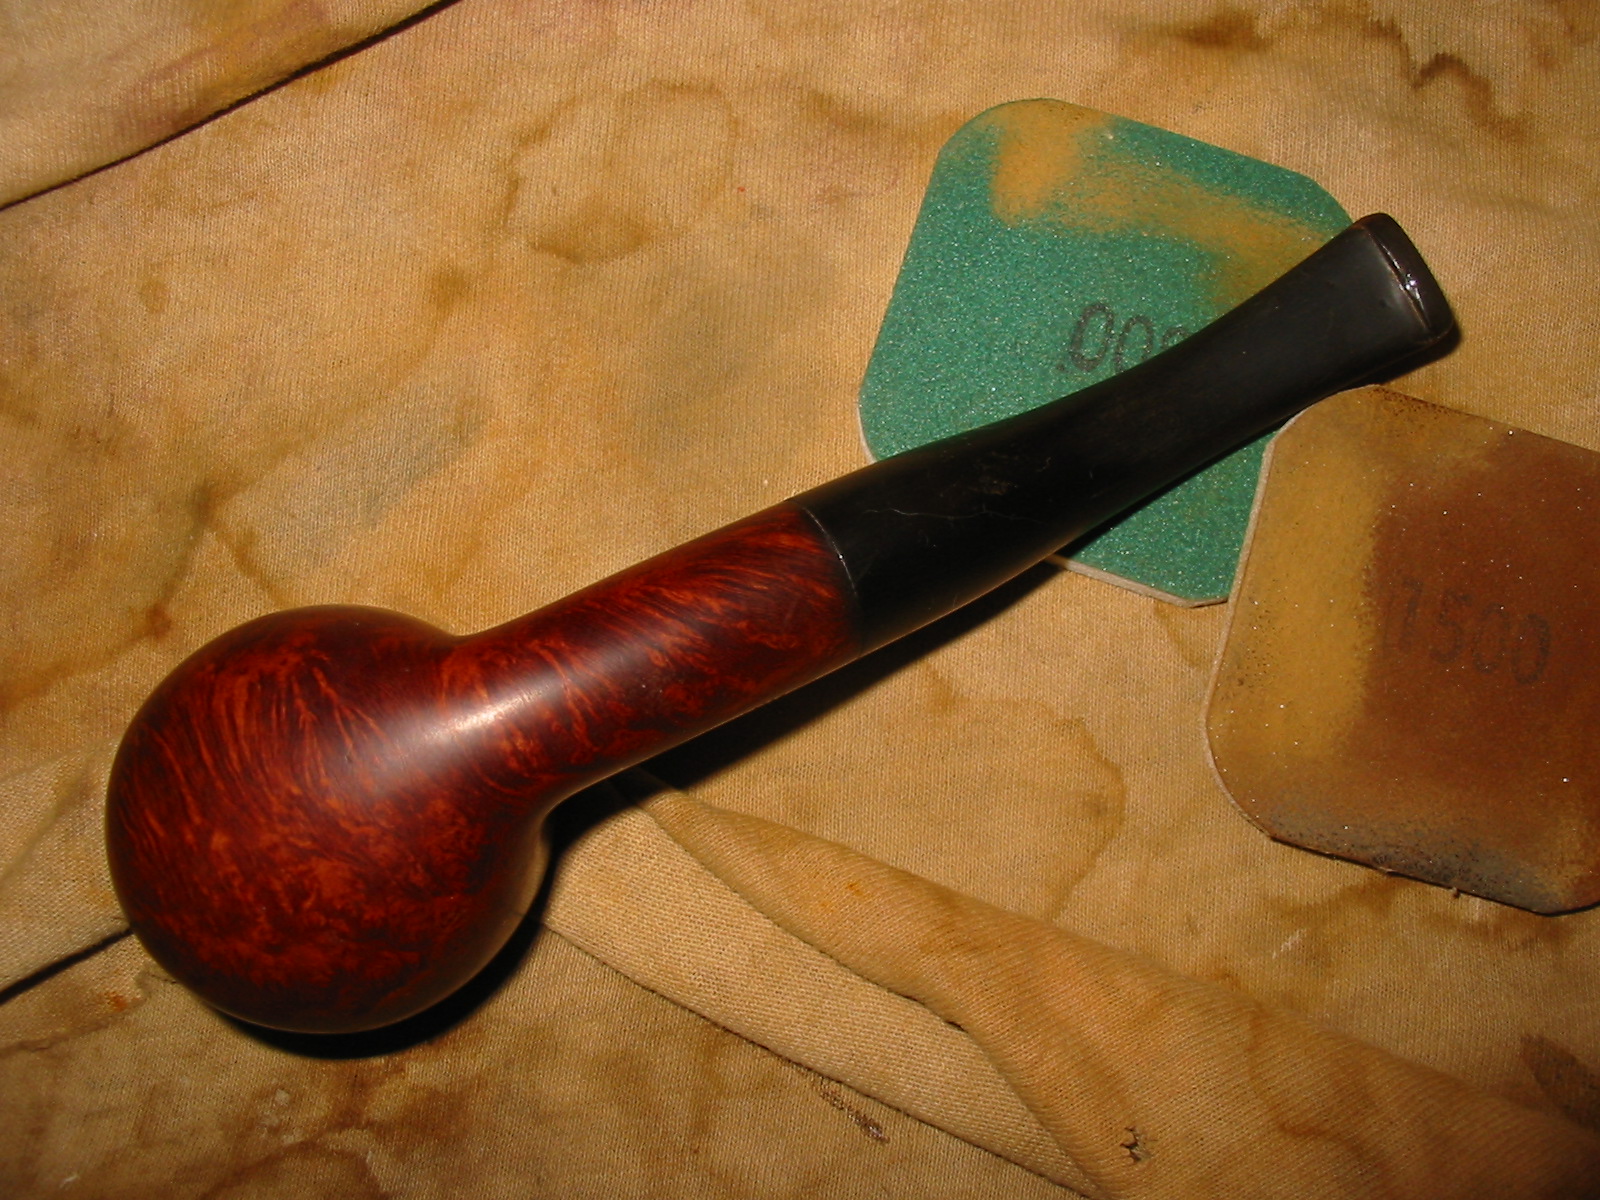
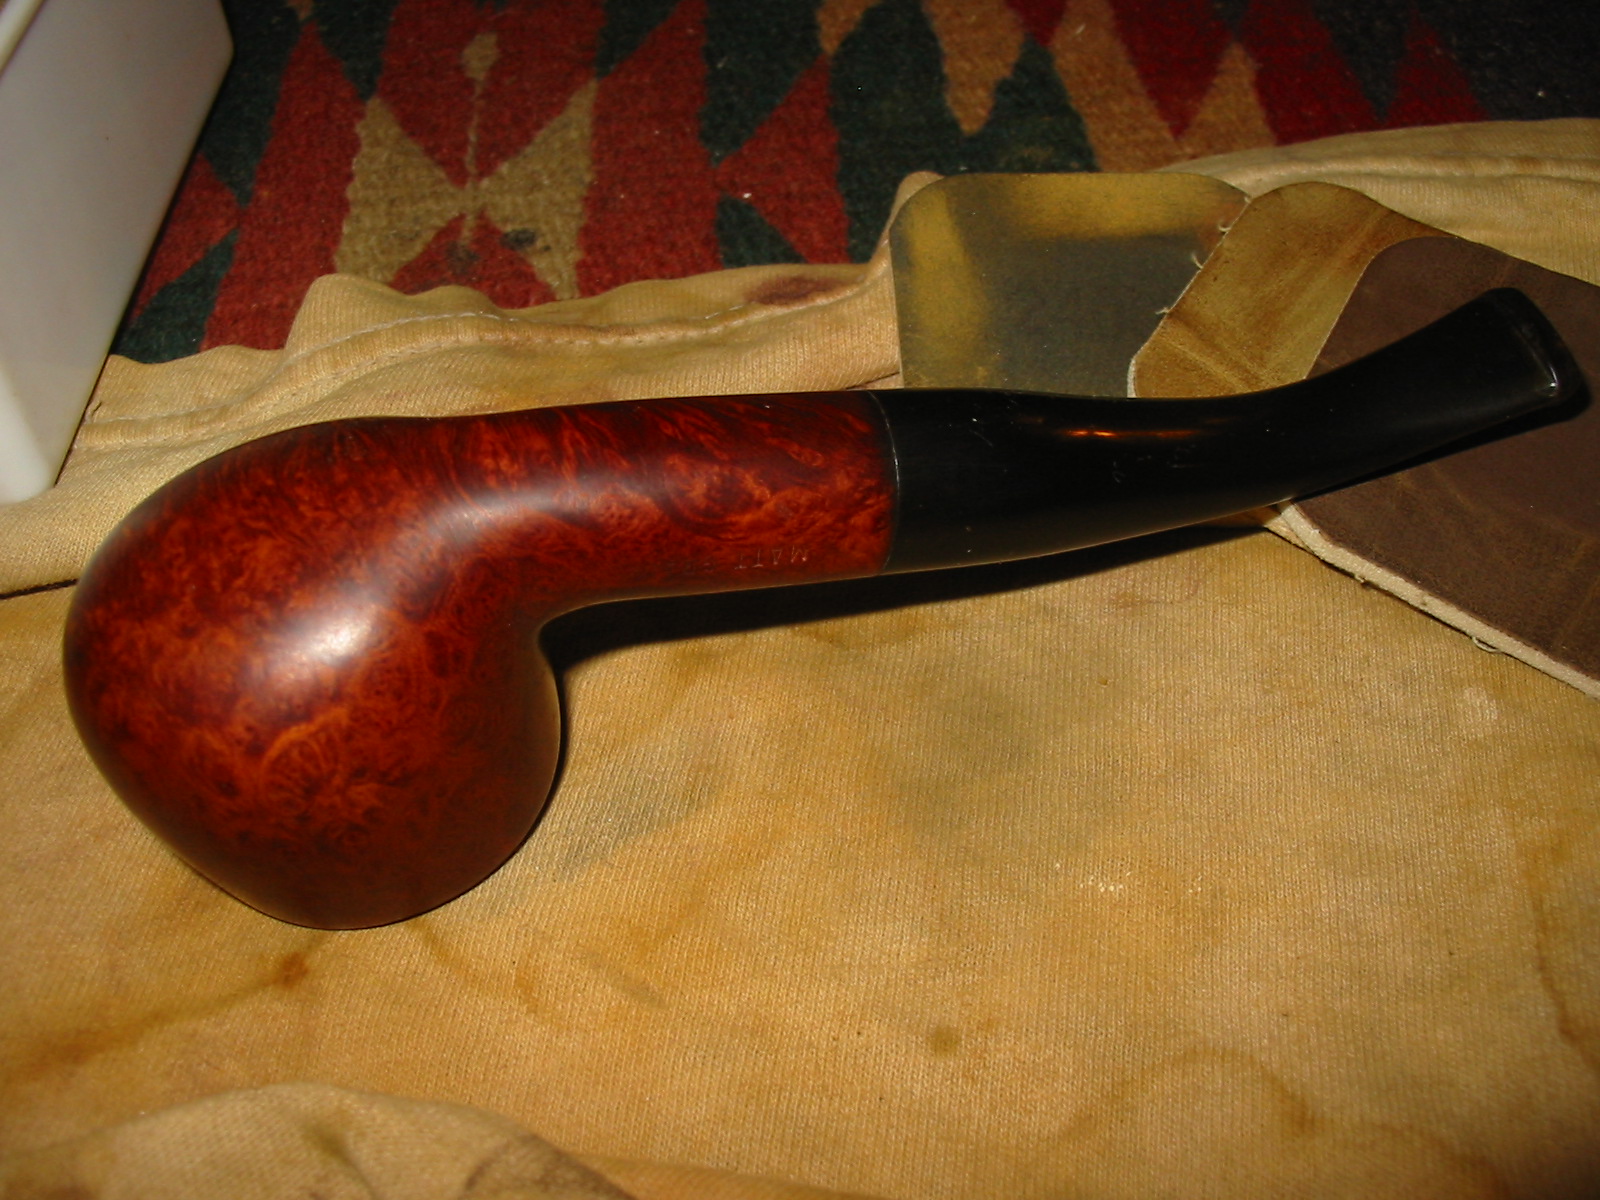
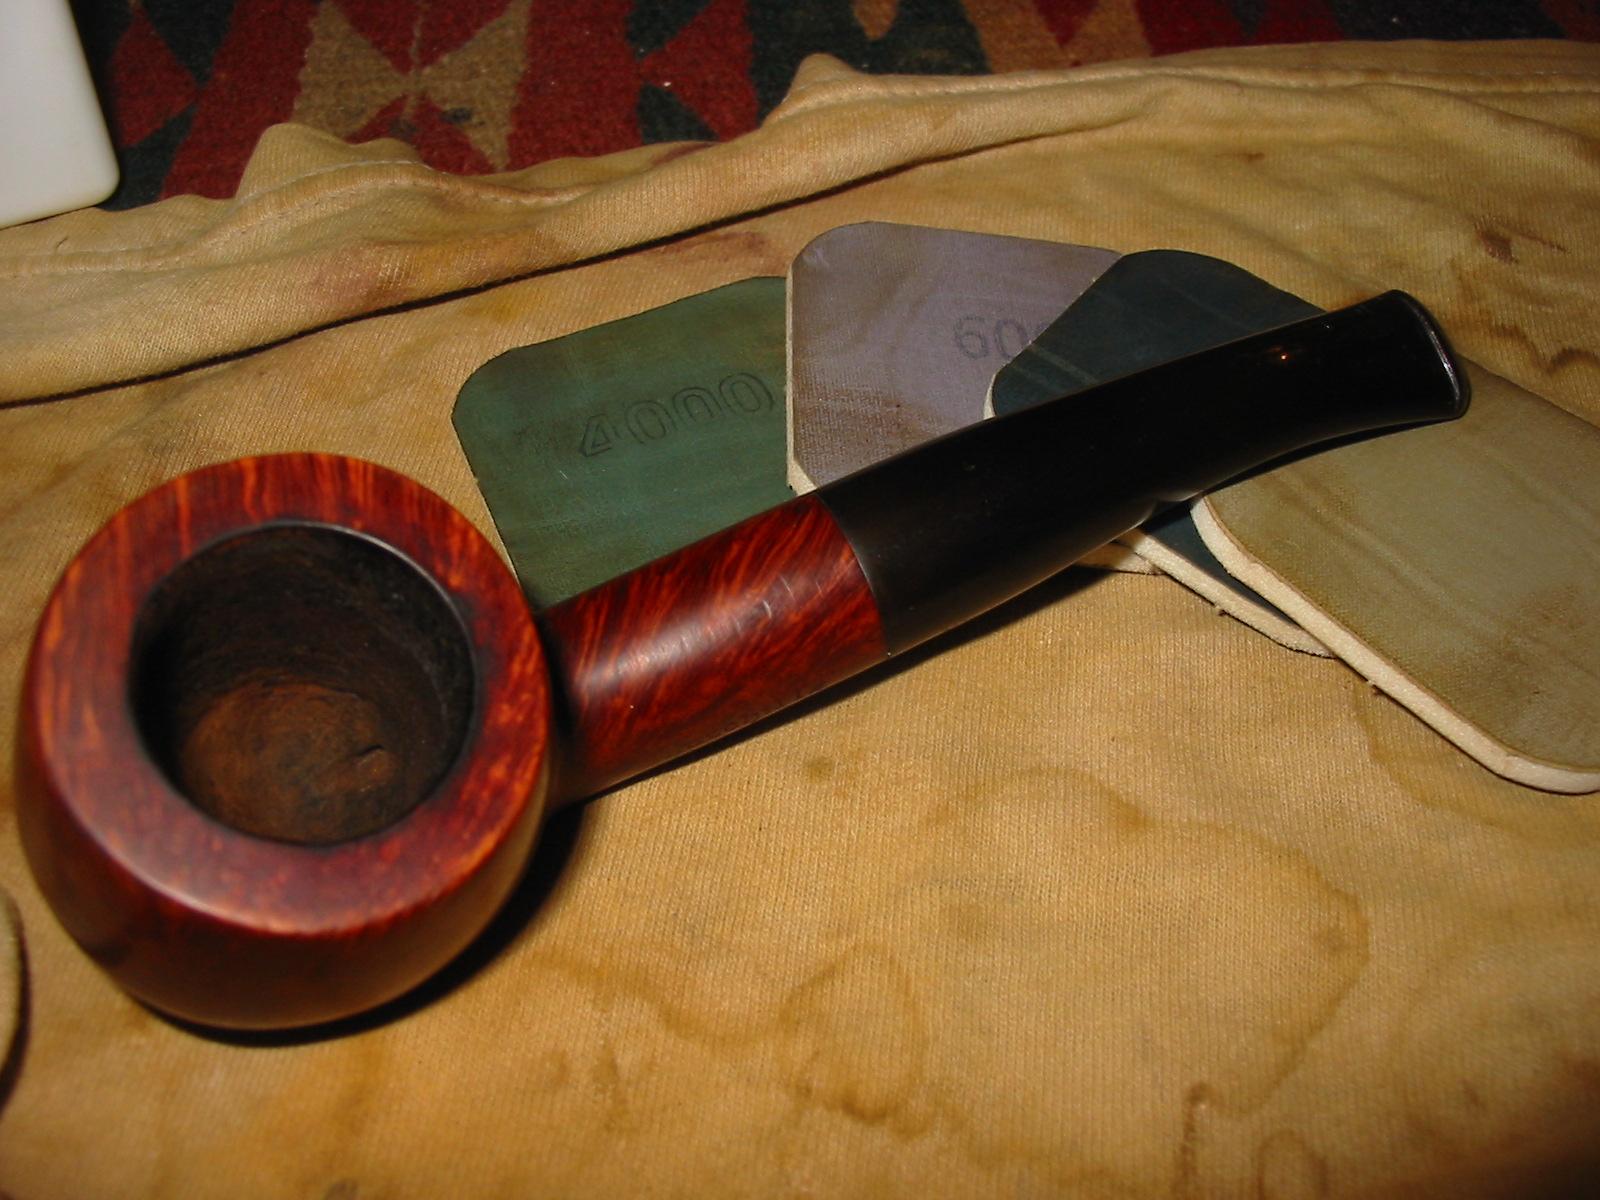
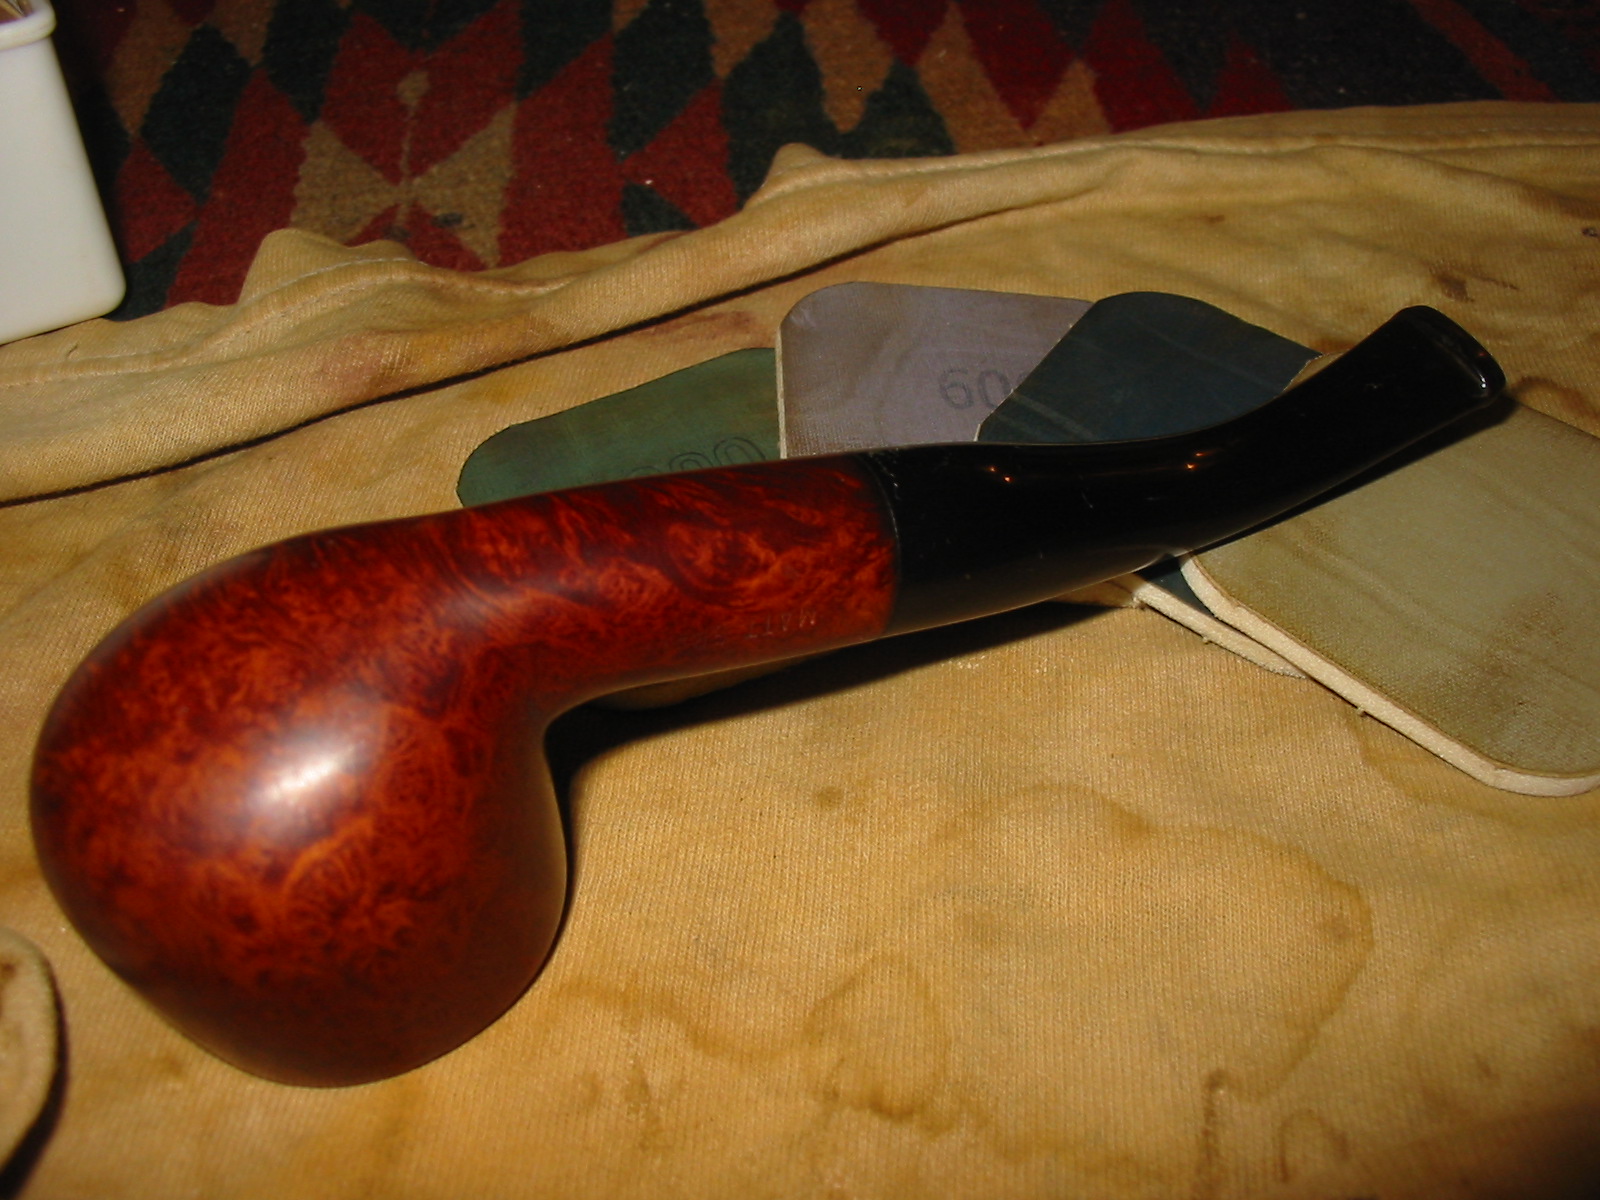
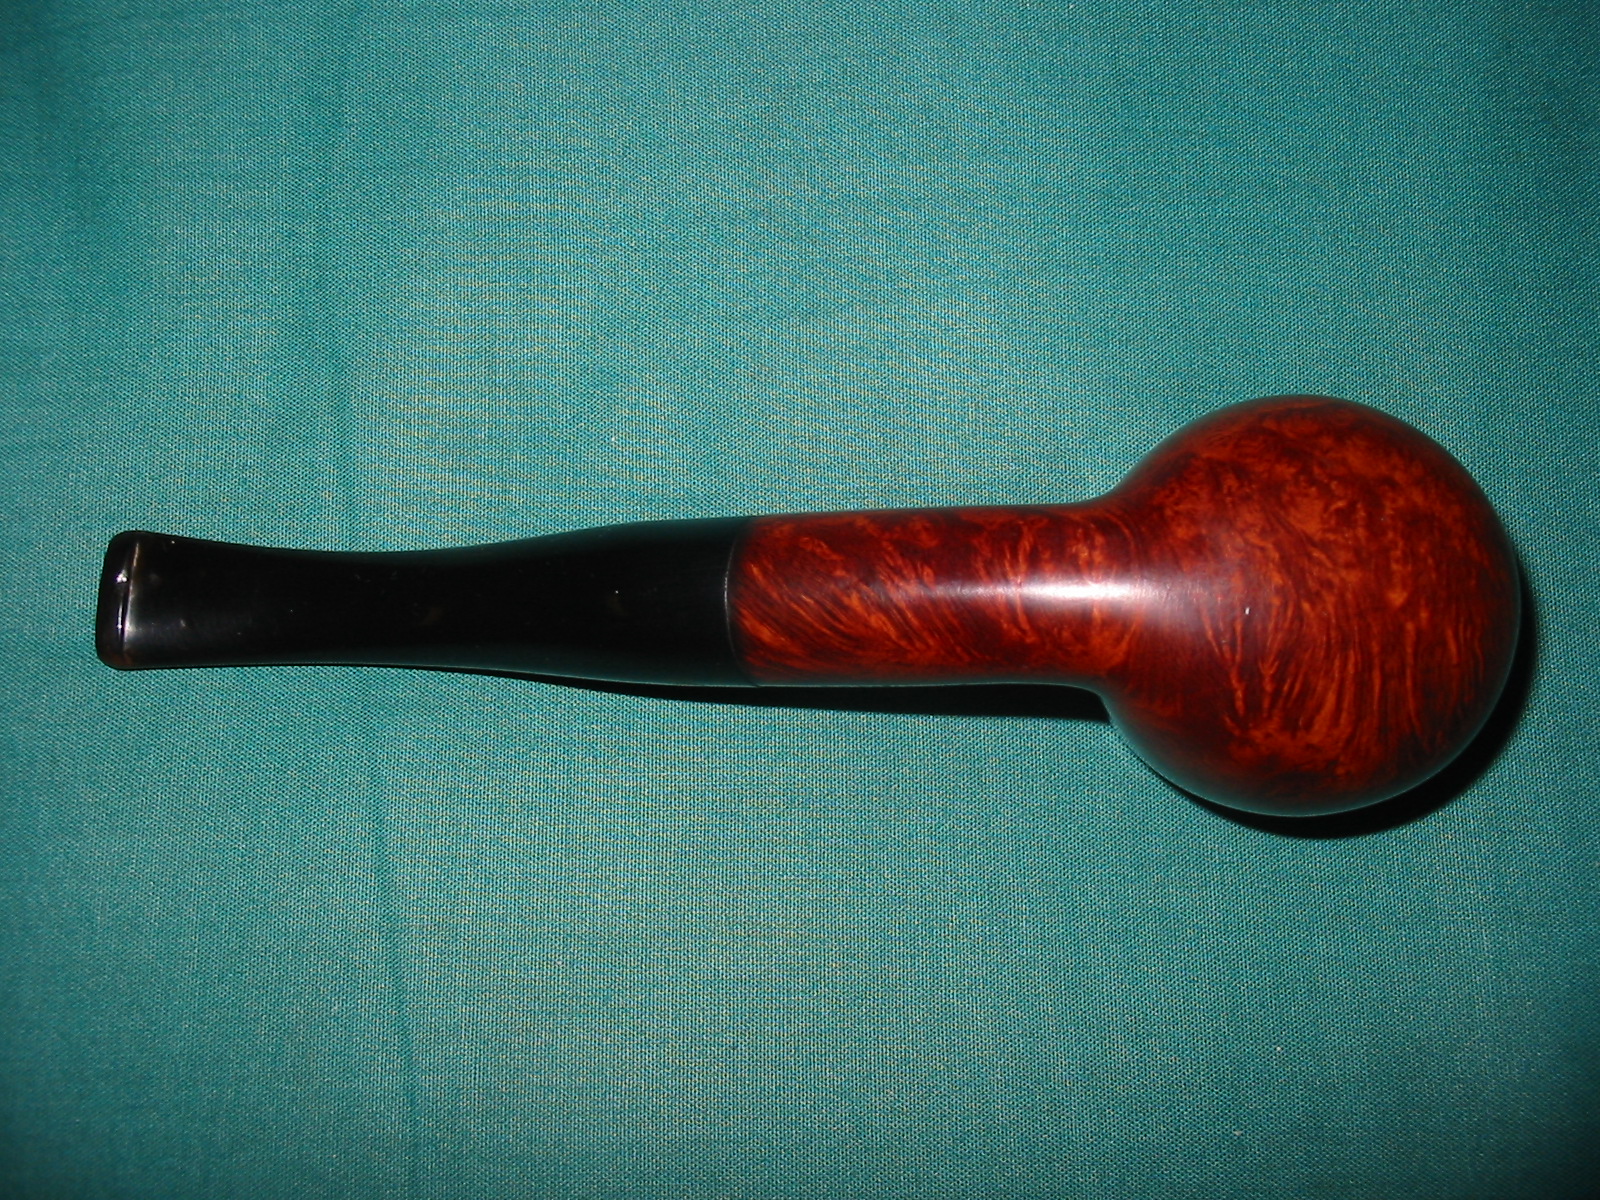
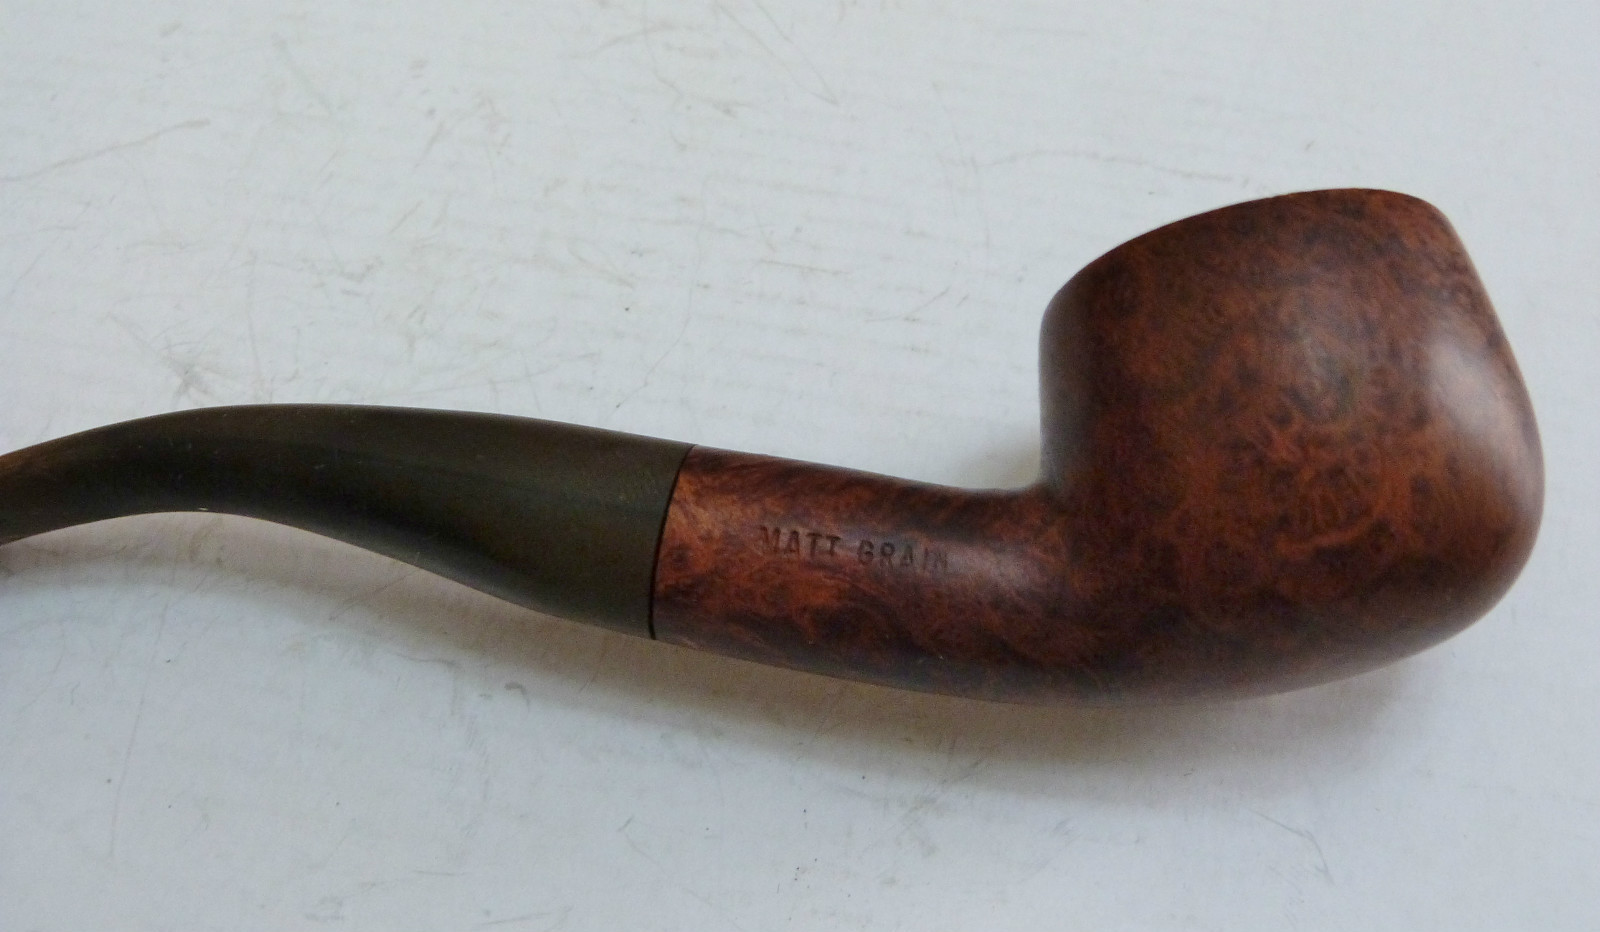
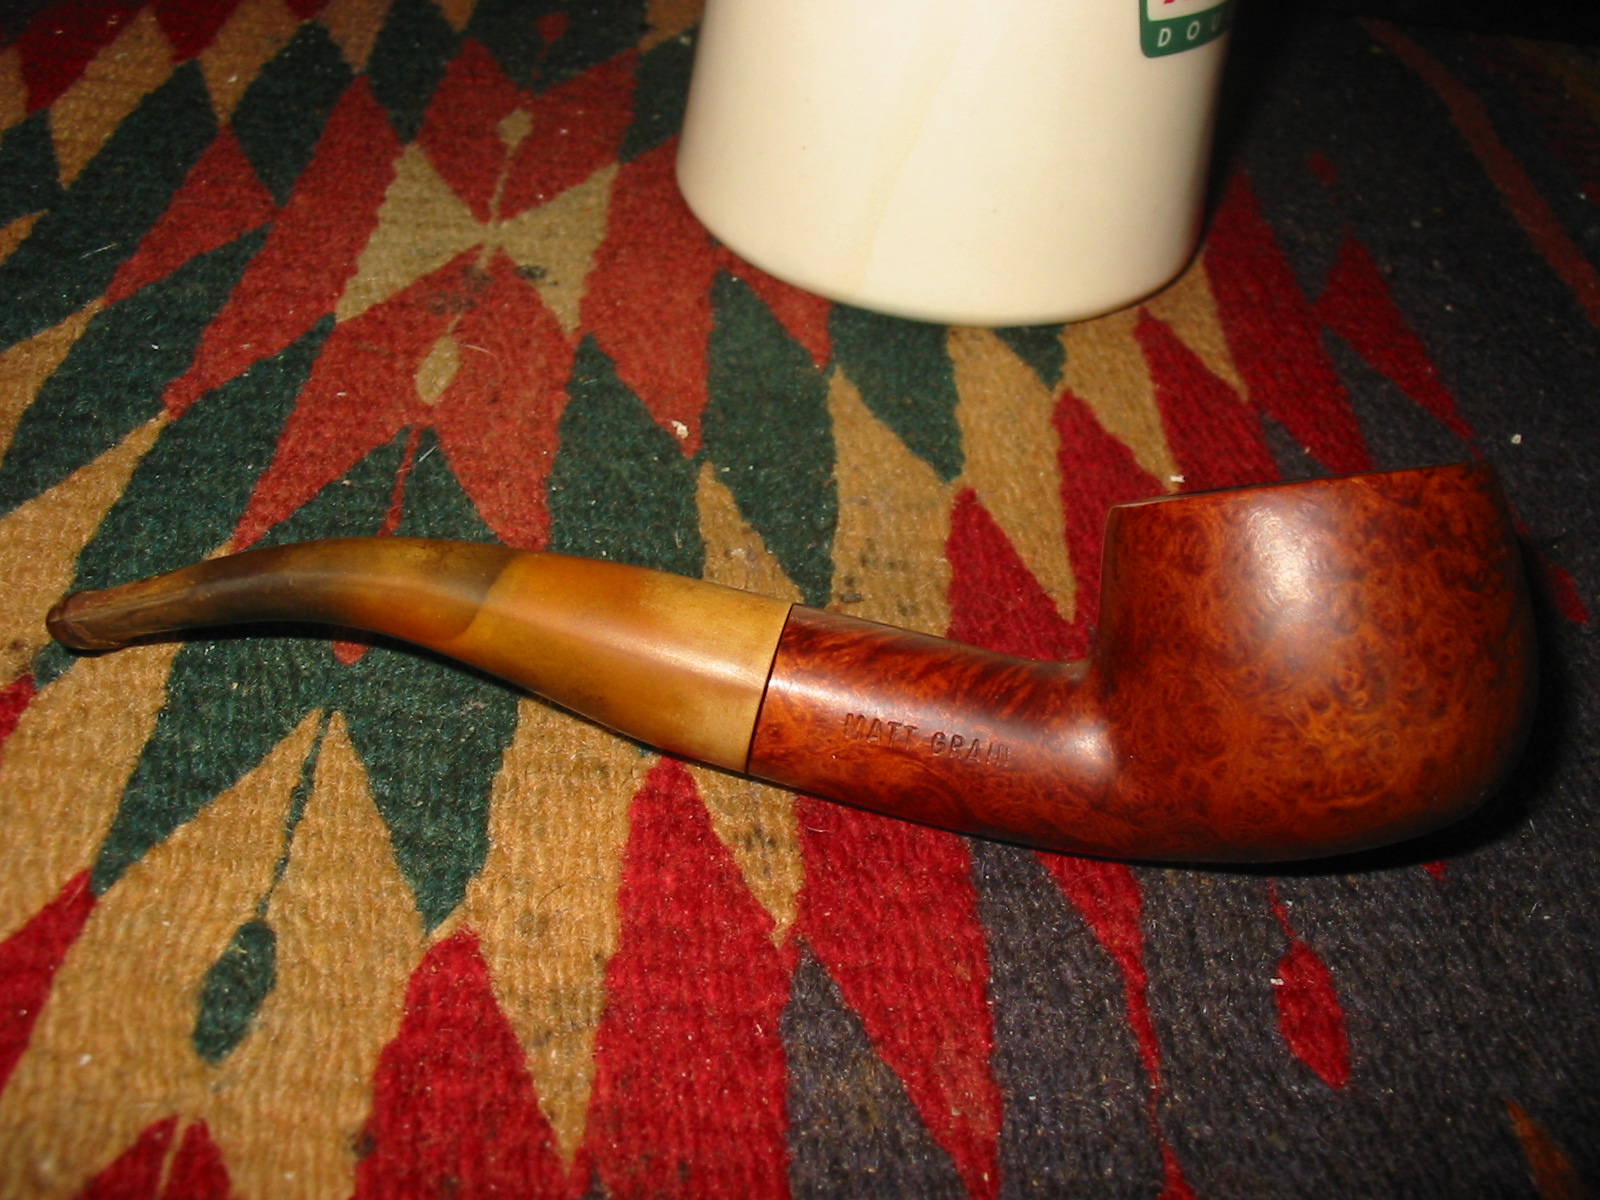
Once the cooling was done I held the stem in place for a few minutes as I walked back to my work table. The finished fit was snug and no light shone through the stem shank union as it had previously. I have included the last three pictures below to show the finished fit of the stem to the shank. You can read about the restoration of the pipe in another blog post on the Churchill Bent Pot. https://rebornpipes.wordpress.com/2013/09/08/churchills-bent-pot/

IMG_1772

IMG_1771

IMG_1770

Churchill’s Bent Pot


Blog by Steve Laug

I saw this pipe come up on Ebay and love the shape. Some have called it a bent pot but I am not sure that the name captures the shape but I will call it that nonetheless. Churchill’s was not a brand I was familiar with but it looked very good. The stamping on the pipe is very simple on the left side of the shank it is stamped Churchill’s and on the right side it is stamped Matt Grain. The bowl had been reamed back by the seller before shipping and was well done. No damage to the roundness of the bowl. The inside of the shank was filled with chips of carbon from the reaming and they were stuck in the tar in the shank. The buildup was enough that the stem did not seat in the mortise and there was a gap in the fit of the stem and shank. The rim had some tarry buildup. The stem sat at an angle to the shank as if the tenon was bent slightly. There were three deep tooth marks on the top and the bottom of the stem near the button. The oxidation was present but not heavy at this point. The stem was also plugged with tars and the airflow was very constricted. There was an old English style C stamped on the stem. The first nine photos below were provided by the Ebay seller.

Churchill 1

Churchill 2

Churchill 3

Churchill 4

Churchill 5

Churchill 6

Churchill 7

Churchill 8

Churchill 10

Logo NEW Logo 2012 Small

I am fairly certain that the pipe came from Churchill’s Tobacco Shop in Norwich, England. I found the following information on the Pipes and Logos website http://pipephil.eu/logos/en/logo-c4.html On the site there is a small paragraph which I have copied as follows: “Churchill’s Tobacco shop is situated in St Andrew’s Street at the corner of Bridewell Alley in Norwich, England. The shop was next to a church and at the bottom of two hills, and that’s how it became “Churchill’s”. Former manager: John Elvin (retired on May, 31 2008). Current owner (2008): Keith Garrard.” I have included these pictures from that website as they show the stamping on both the shank and stem that is identical to the pipe that I have just refurbished.

Church

According to the Churchill’s website it is the last remaining specialist tobacconist in Norwich, originally standing at 32 St Andrews Street for over 23 years. http://www.churchillsofnorwich.com/index.php?_a=viewDoc&docId=1 The site also notifies the shop’s clients that Keith Garrard, who had a wealth of knowledge and was an avid pipe and cigar smoker himself, passed away on 23rd March 2012. His wife Coral continues to maintain the business in his honor.

I decided to try to remedy the bent tenon on the pipe to begin with. I heated it in a cup of boiling water to try to adjust it and tighten the fit in the mortise. I was able to adjust the fit and get a good tight seat with no gap between the shank and the stem. However, in the process the water oxidized the stem badly. The four photos below show the adjusted fit of the stem and also clearly show the bite marks on the stem – top and bottom near the button.

IMG_1738

IMG_1739

IMG_1740

IMG_1741

I scrubbed the inside of the shank with Everclear and cotton swabs. I cleaned the airway with bristle pipe cleaners and then fluffy pipe cleaners. I continued to scrub it until the pipe cleaners and cotton swabs came out clean. I cleaned the rim of the bowl with saliva and a cotton pad until the grime was gone. It took a bit more than a cotton pad and saliva so I also used a very fine grit sanding block to knock off the remaining tar, being careful to not break the finish.IMG_1743

IMG_1744

IMG_1745

The stem took a bit of work as it was plugged with grit and tar. I used a dental pick to clean out the slot. To the right of the stem in the photo is some of tar and grit I picked out of the slot. I used a straightened end of the pick to clean deeply in the slot. I then used pipe cleaners soaked in Everclear and pushed them through the blockage. I also opened the slot with needle files to facilitate easy access with pipe cleaners. The slot was very narrow which also made the blockage hard to get at.

IMG_1746

I sanded the stem with 220 grit sandpaper to clean up the surface around the bite marks. In the next three photos the bite marks are visible. I heated them to lift them as much as possible. The bite marks on the top were less troublesome than the ones on the underside. Fortunately the stem was quite thick so that the tooth marks did not go all the way through the vulcanite.

IMG_1747

IMG_1748

IMG_1749

I picked the tooth marks clean with a dental pick and then used black super glue to patch the deep marks that remained. Once the glue had cured and was hard I sanded the patches with 220 grit sandpaper and then a medium grit sanding sponge to smooth out the surface and blend in the patch. The next three photos show the patch after it had been applied and after sanding.

IMG_1750

IMG_1752

IMG_1753

I sanded the stem with micromesh sanding pads from 1500-12,000 grit to finish removing the oxidation and the scratches left behind by the various sandpapers I used. The next series of photos show the progress of the shine after each group of sanding pads.

IMG_1755

IMG_1756

IMG_1757

IMG_1758

IMG_1761

IMG_1762

I wiped the stem down with Obsidian Oil and rubbed it into the surface of the stem. Once it had dried I rubbed it and polished it with a shoe brush before taking the pipe to the buffer. I buffed it with White Diamond and then carnauba wax. I gave it a polish with a clean flannel buffing wheel. The next four photos show the finished pipe. I really like the way the matte finish came alive. The grain really pops. This was an easy refurbish as the finish was in very good shape under the top layer of grime.

IMG_1770

IMG_1771

IMG_1772

IMG_1773