Daily Archives: September 12, 2013

Pipe Maker’s Emporium Tenon Turning Tool


Blog by Greg Wolford

Several weeks ago I obtained a tenon turning tool from Pipe Maker’s Emporium (PME). I have been planning on writing my “review” of this tool since I mentioned it in the Big-Ben post but have put it off due to time and wanting to get better acquainted with the tool. Well, I think I am ready so here we go!

IMG_7086_edited-1 IMG_7087_edited-1 IMG_7088_edited-1 IMG_7089_edited-1 IMG_7090_edited-1

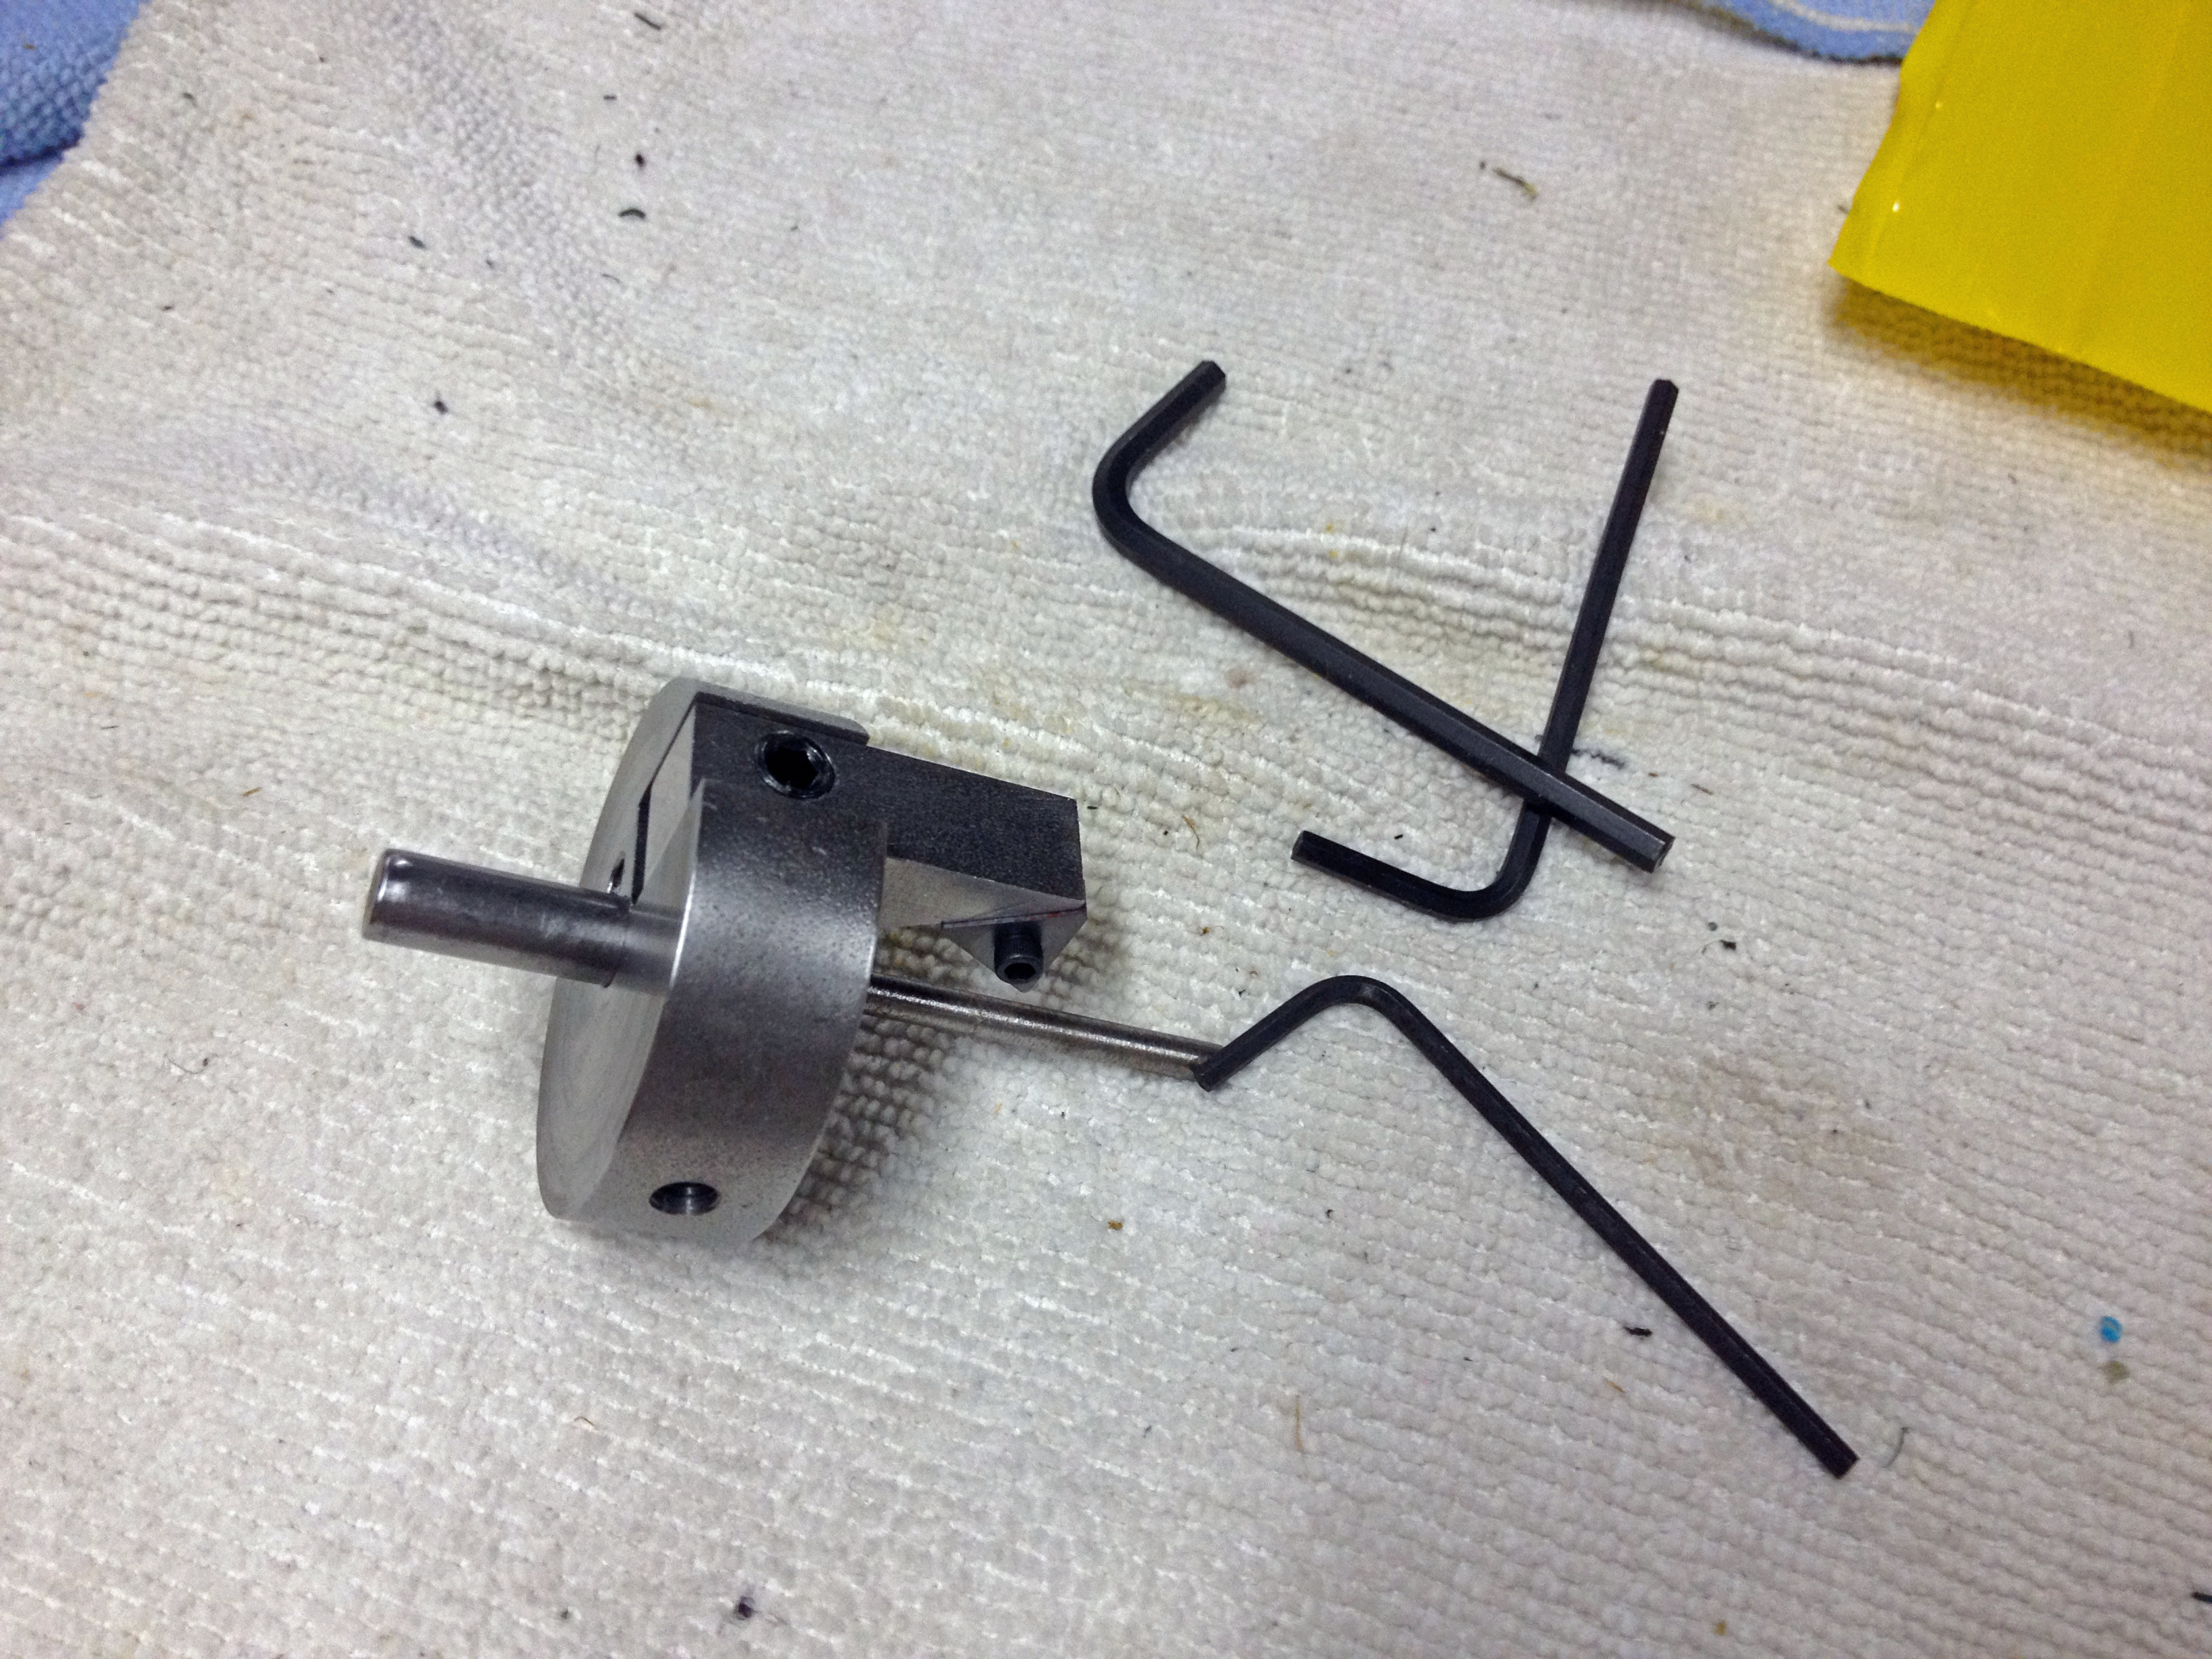
The tool can be purchased from PME here and is, essentially, the same tool that PIMO sells and Steve has and uses. There is at least two differences that I can see: An extra adjusting screw )which is rarely used) and the price of the PME tool is about $9 less. (Having bought from both sources, I have a personal preference for PME: their S/H costs are a bit less and speed and service are better, again in my opinion; I have no affiliation with either company other than being a customer.) Both tools are used in the same way and they both have similar limitations on size. They also both lack precision measurements/adjustment mark, requiring one to go slowly and check often the tenon size so as to not over-turn it.

Steve describes the use and adjustment very well in an article he wrote nut I can’t find at the moment. He also compared the PME and PIMO tools in this article so I won’t go into a lof ground he has already covered, but try to add my impression of the PME tool,

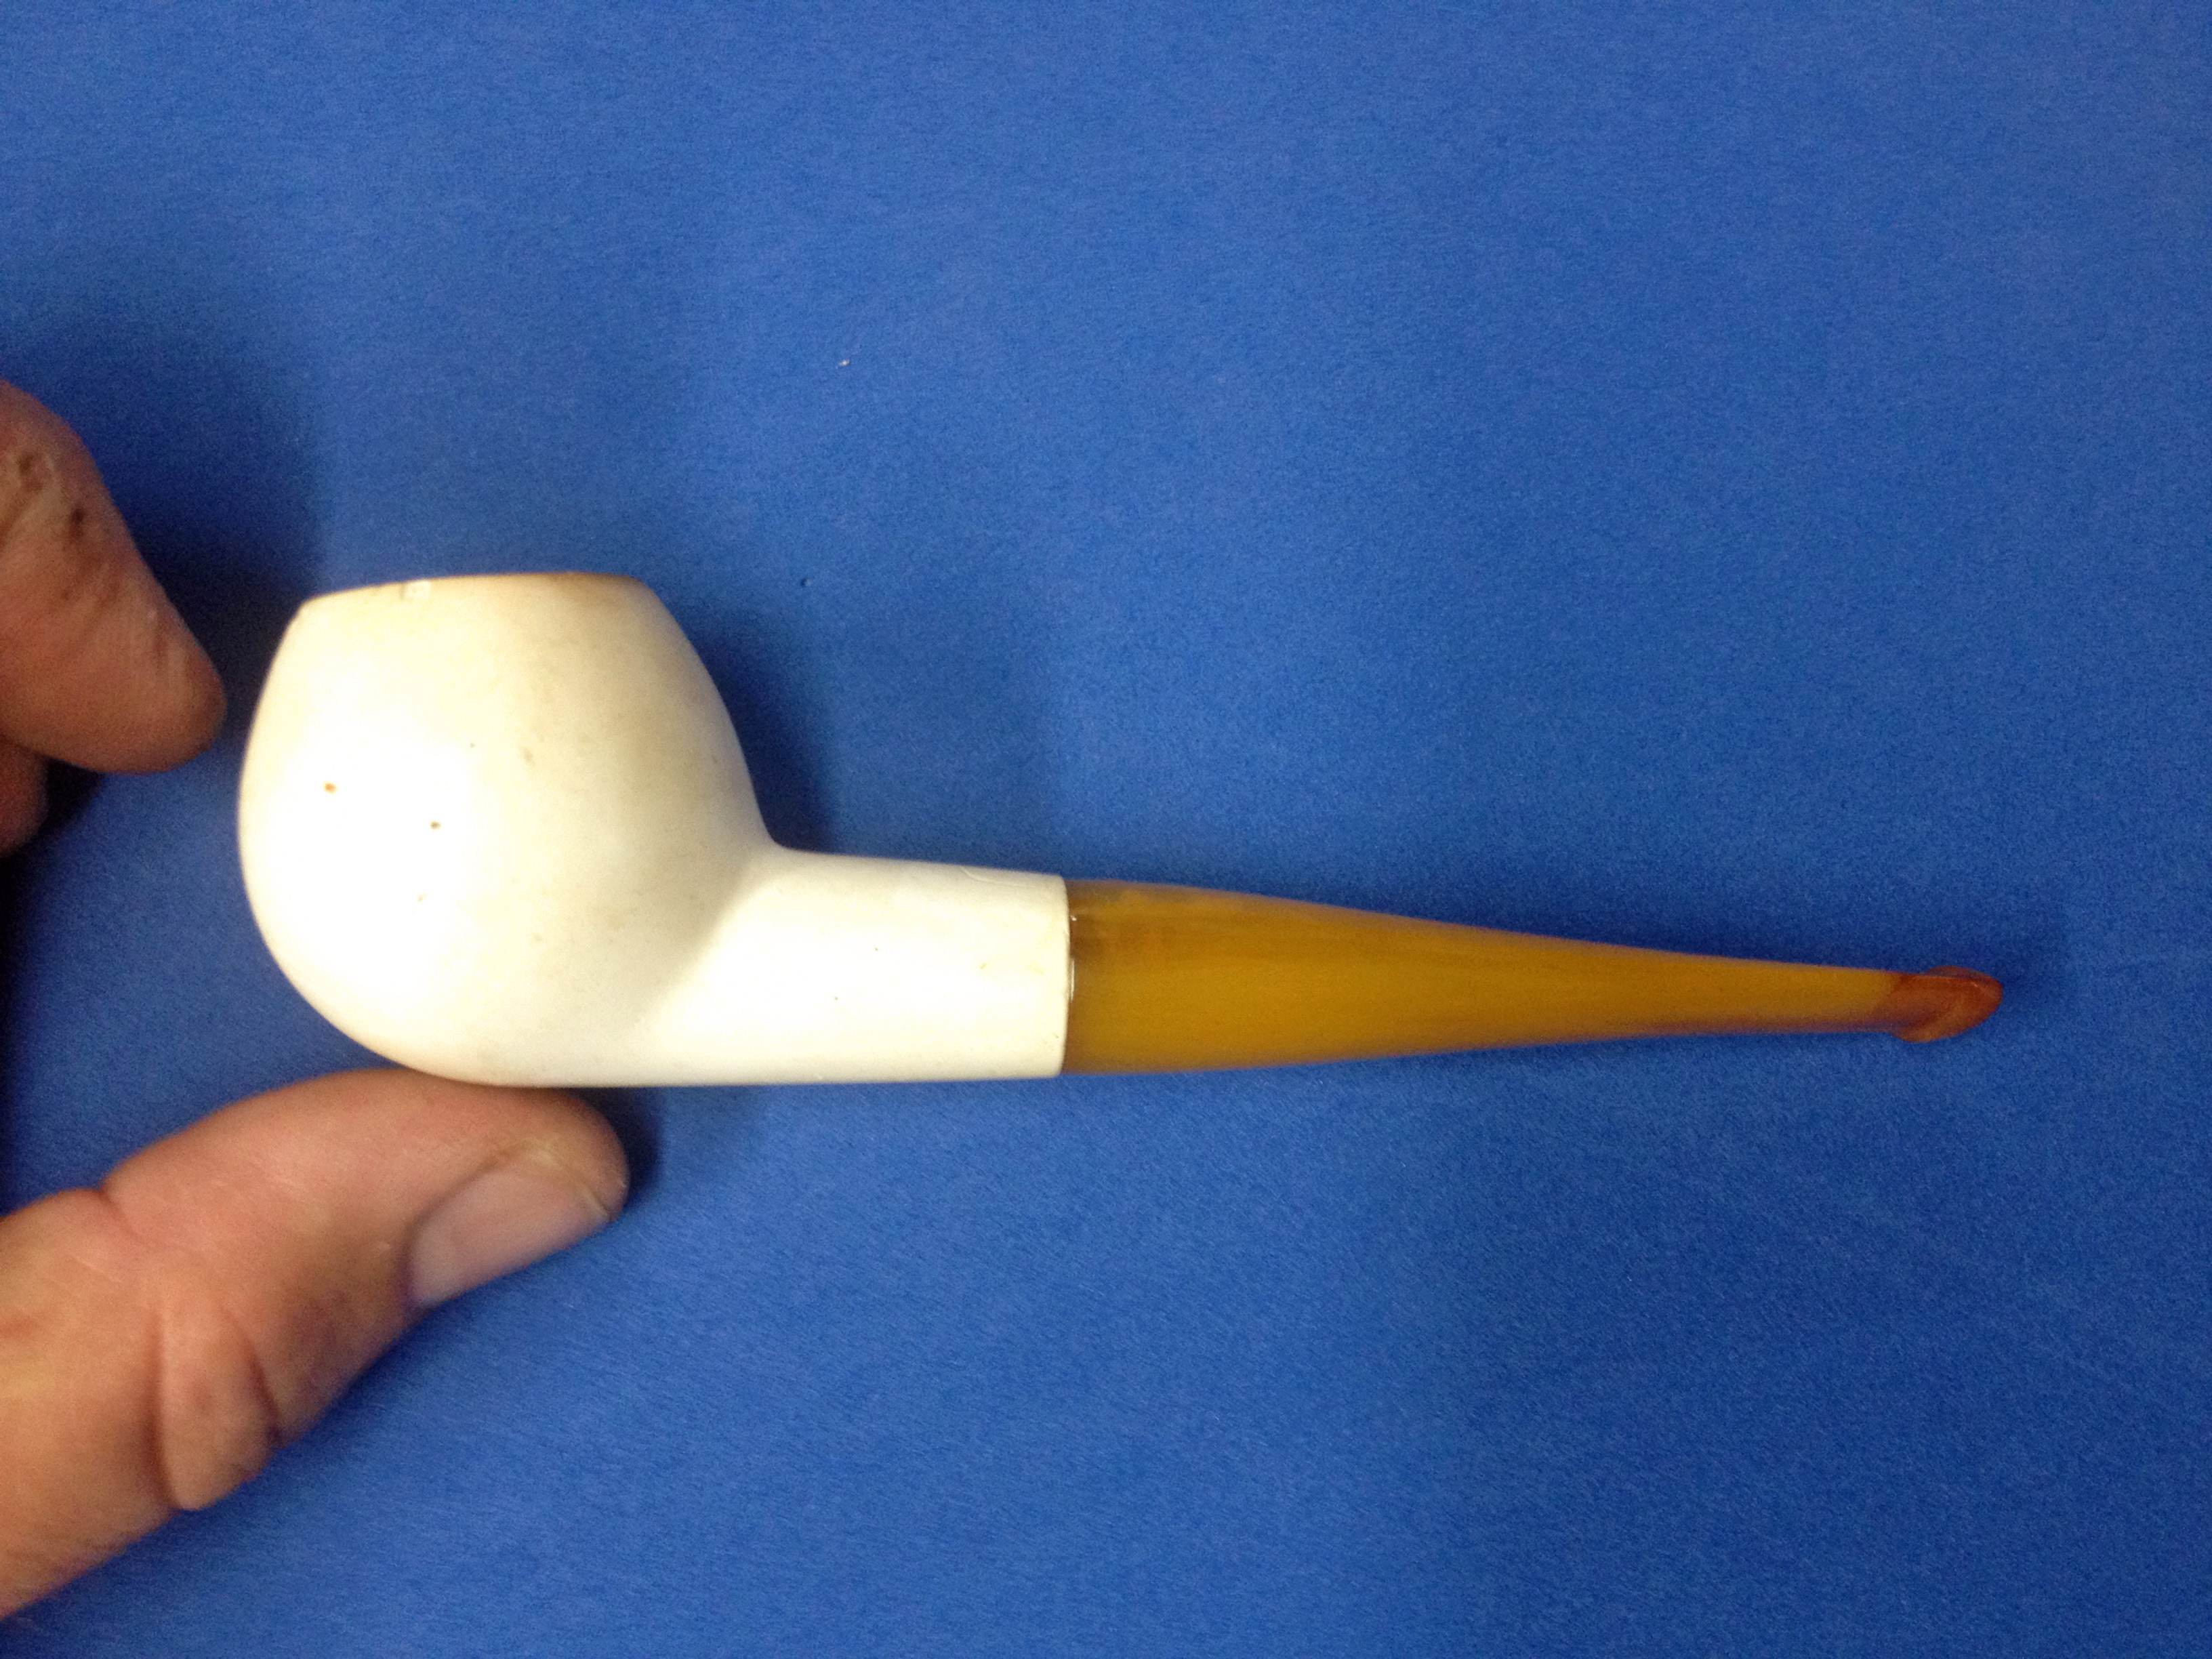
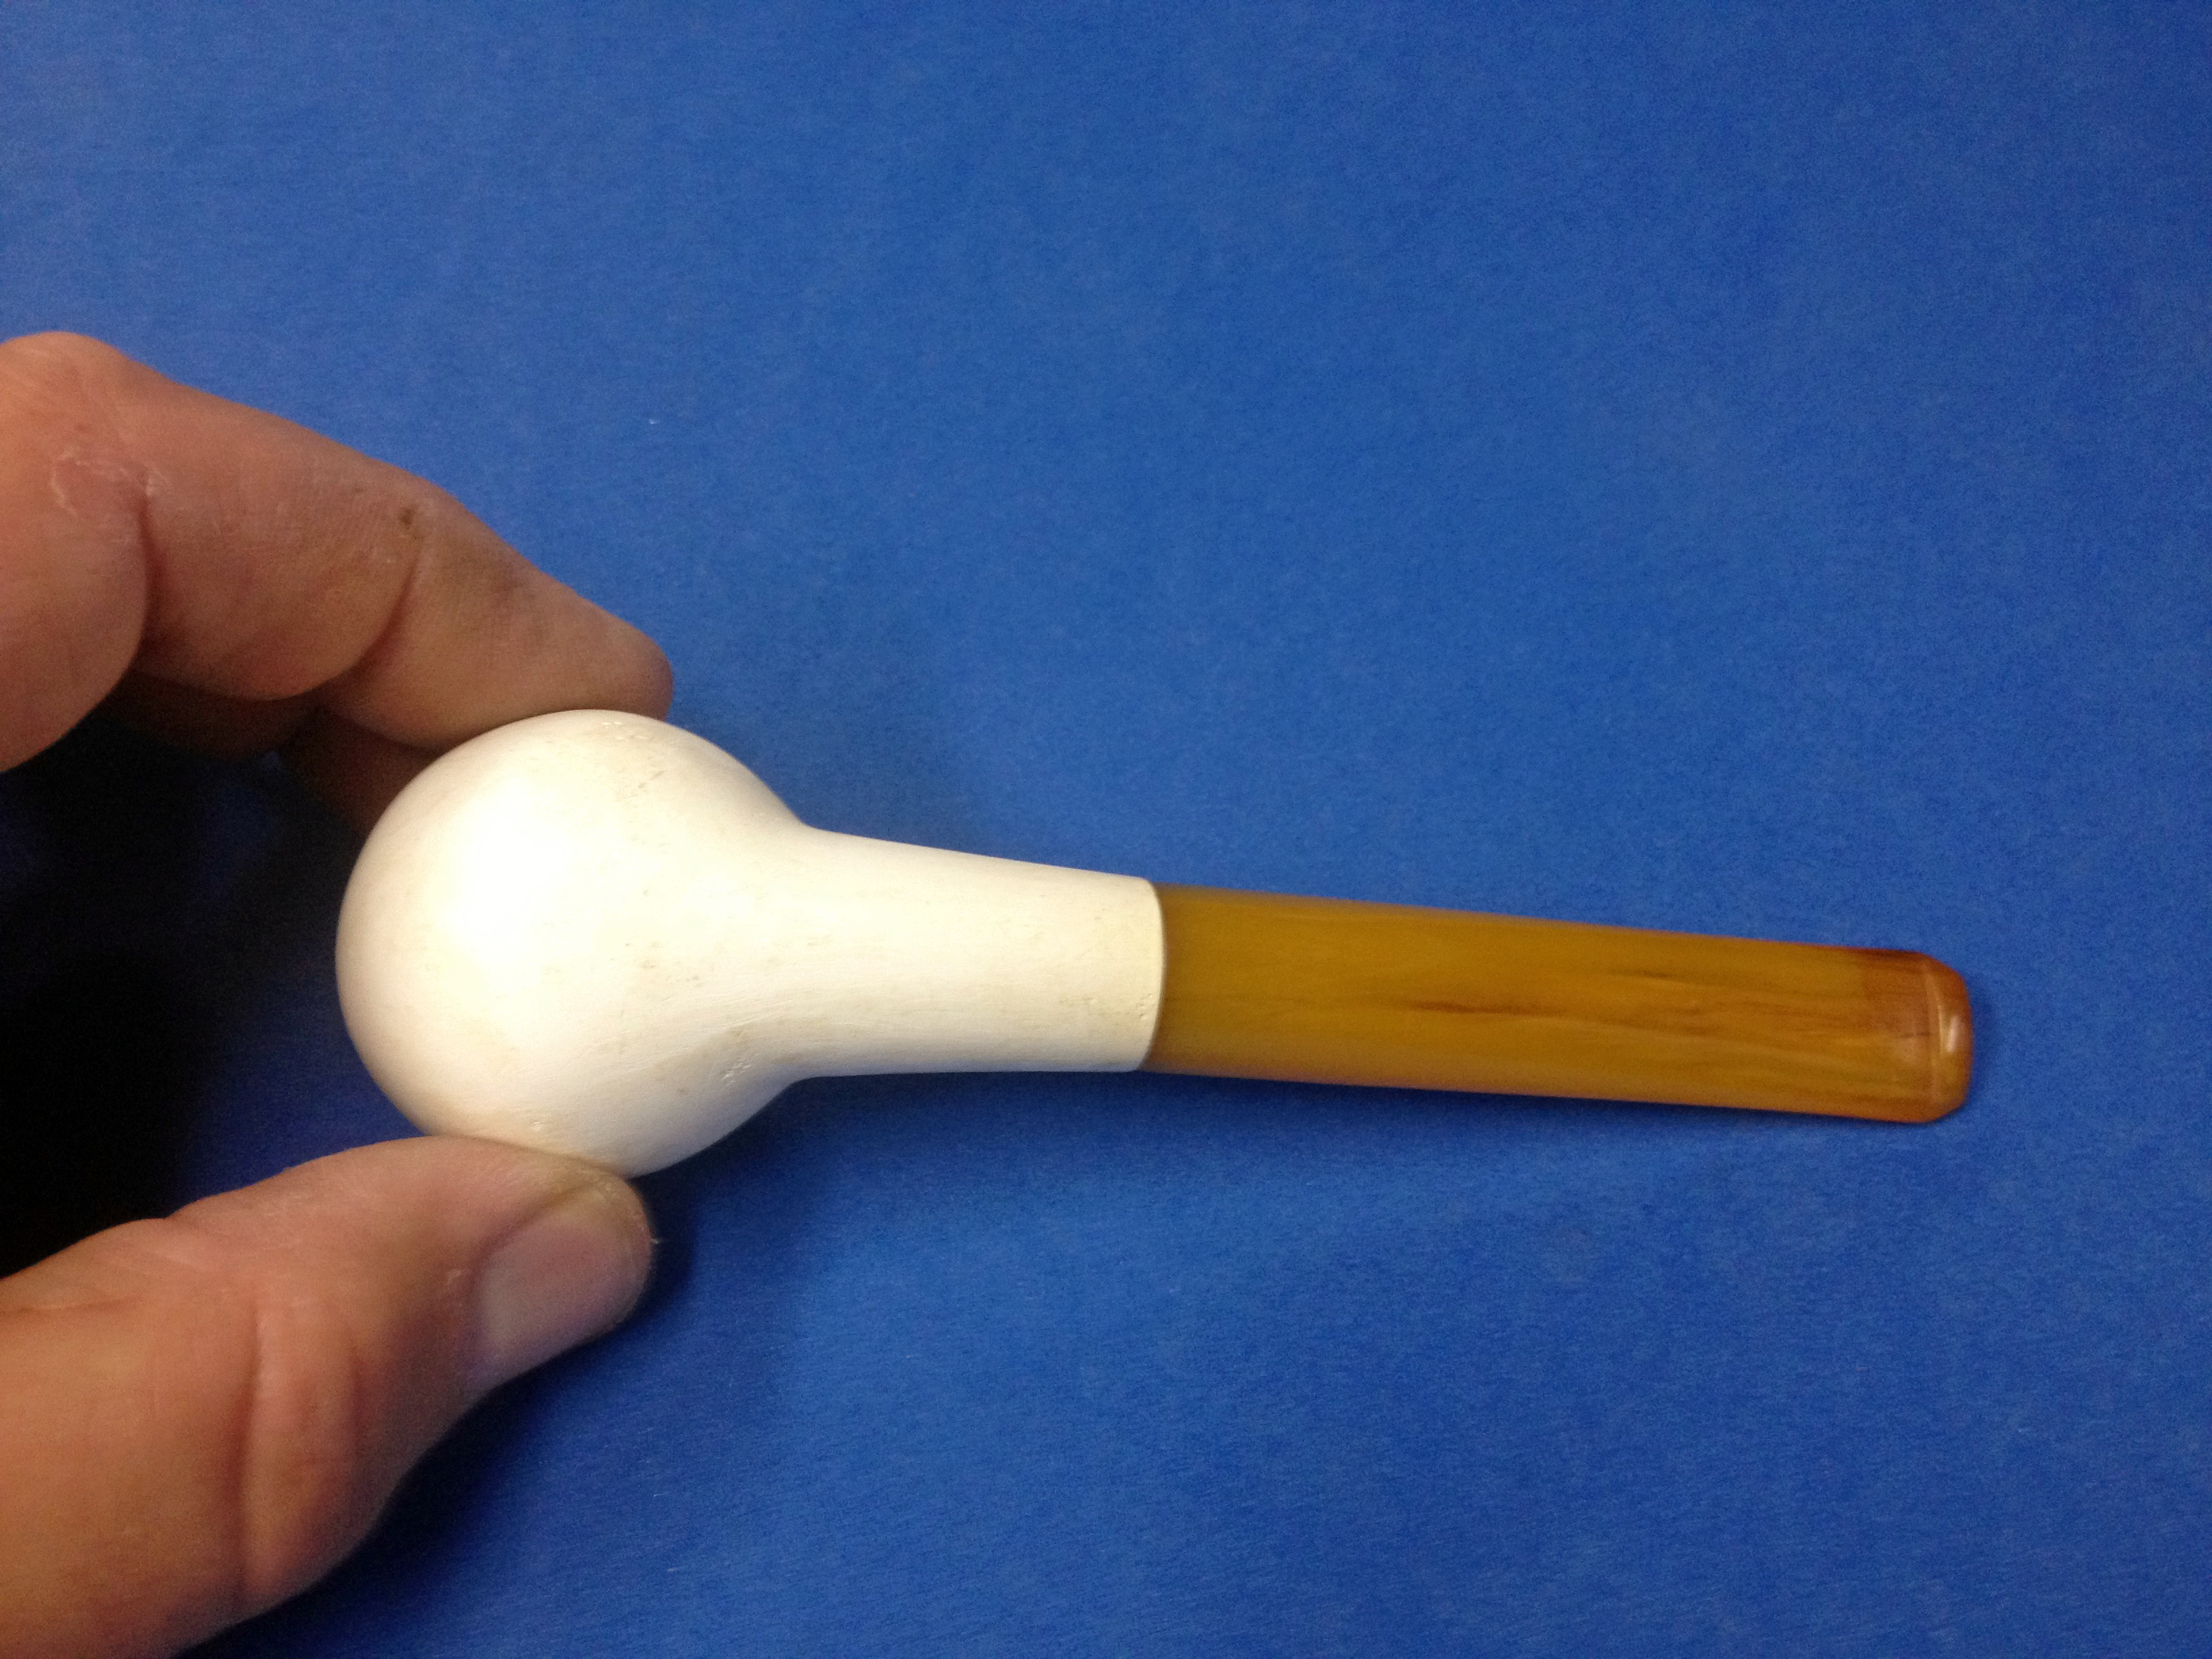
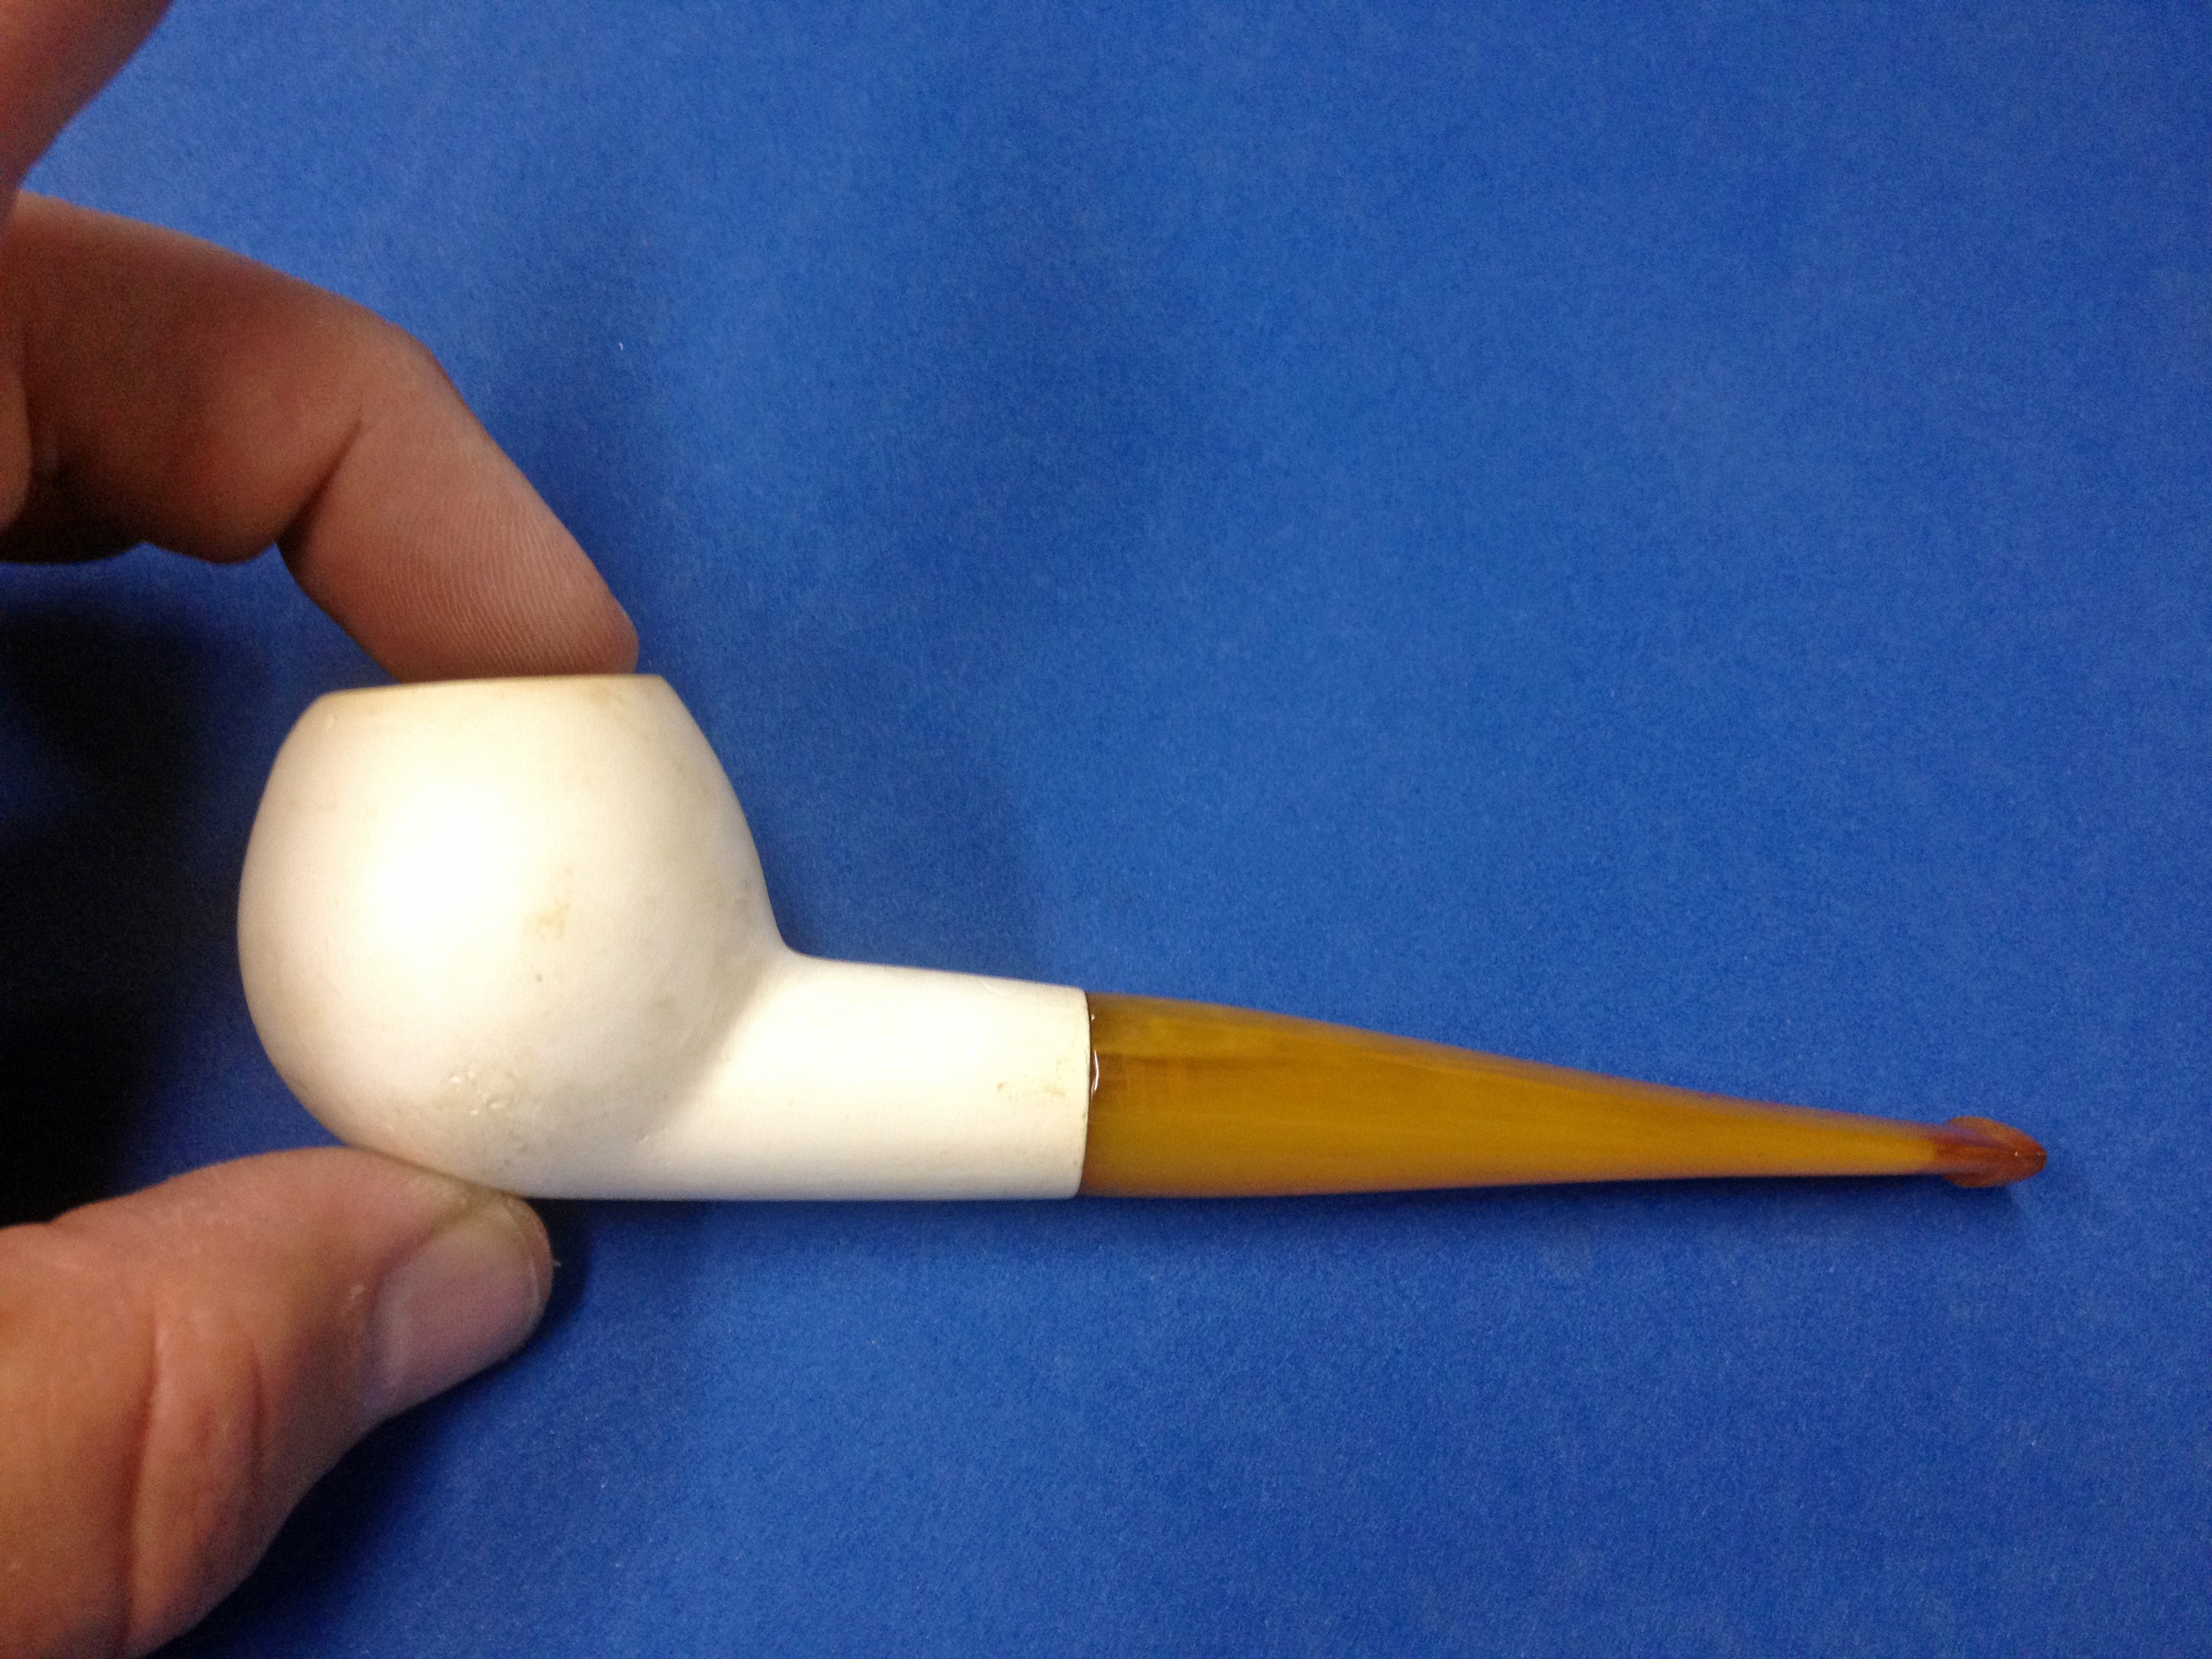
I found the tool relatively easy to use overall. I experimented on a few old stems before re-stemming Big-Ben and have since turned several other stems for different stummels and corn cob pipes. I have had mostly good results but there have been a few massive failures, too.

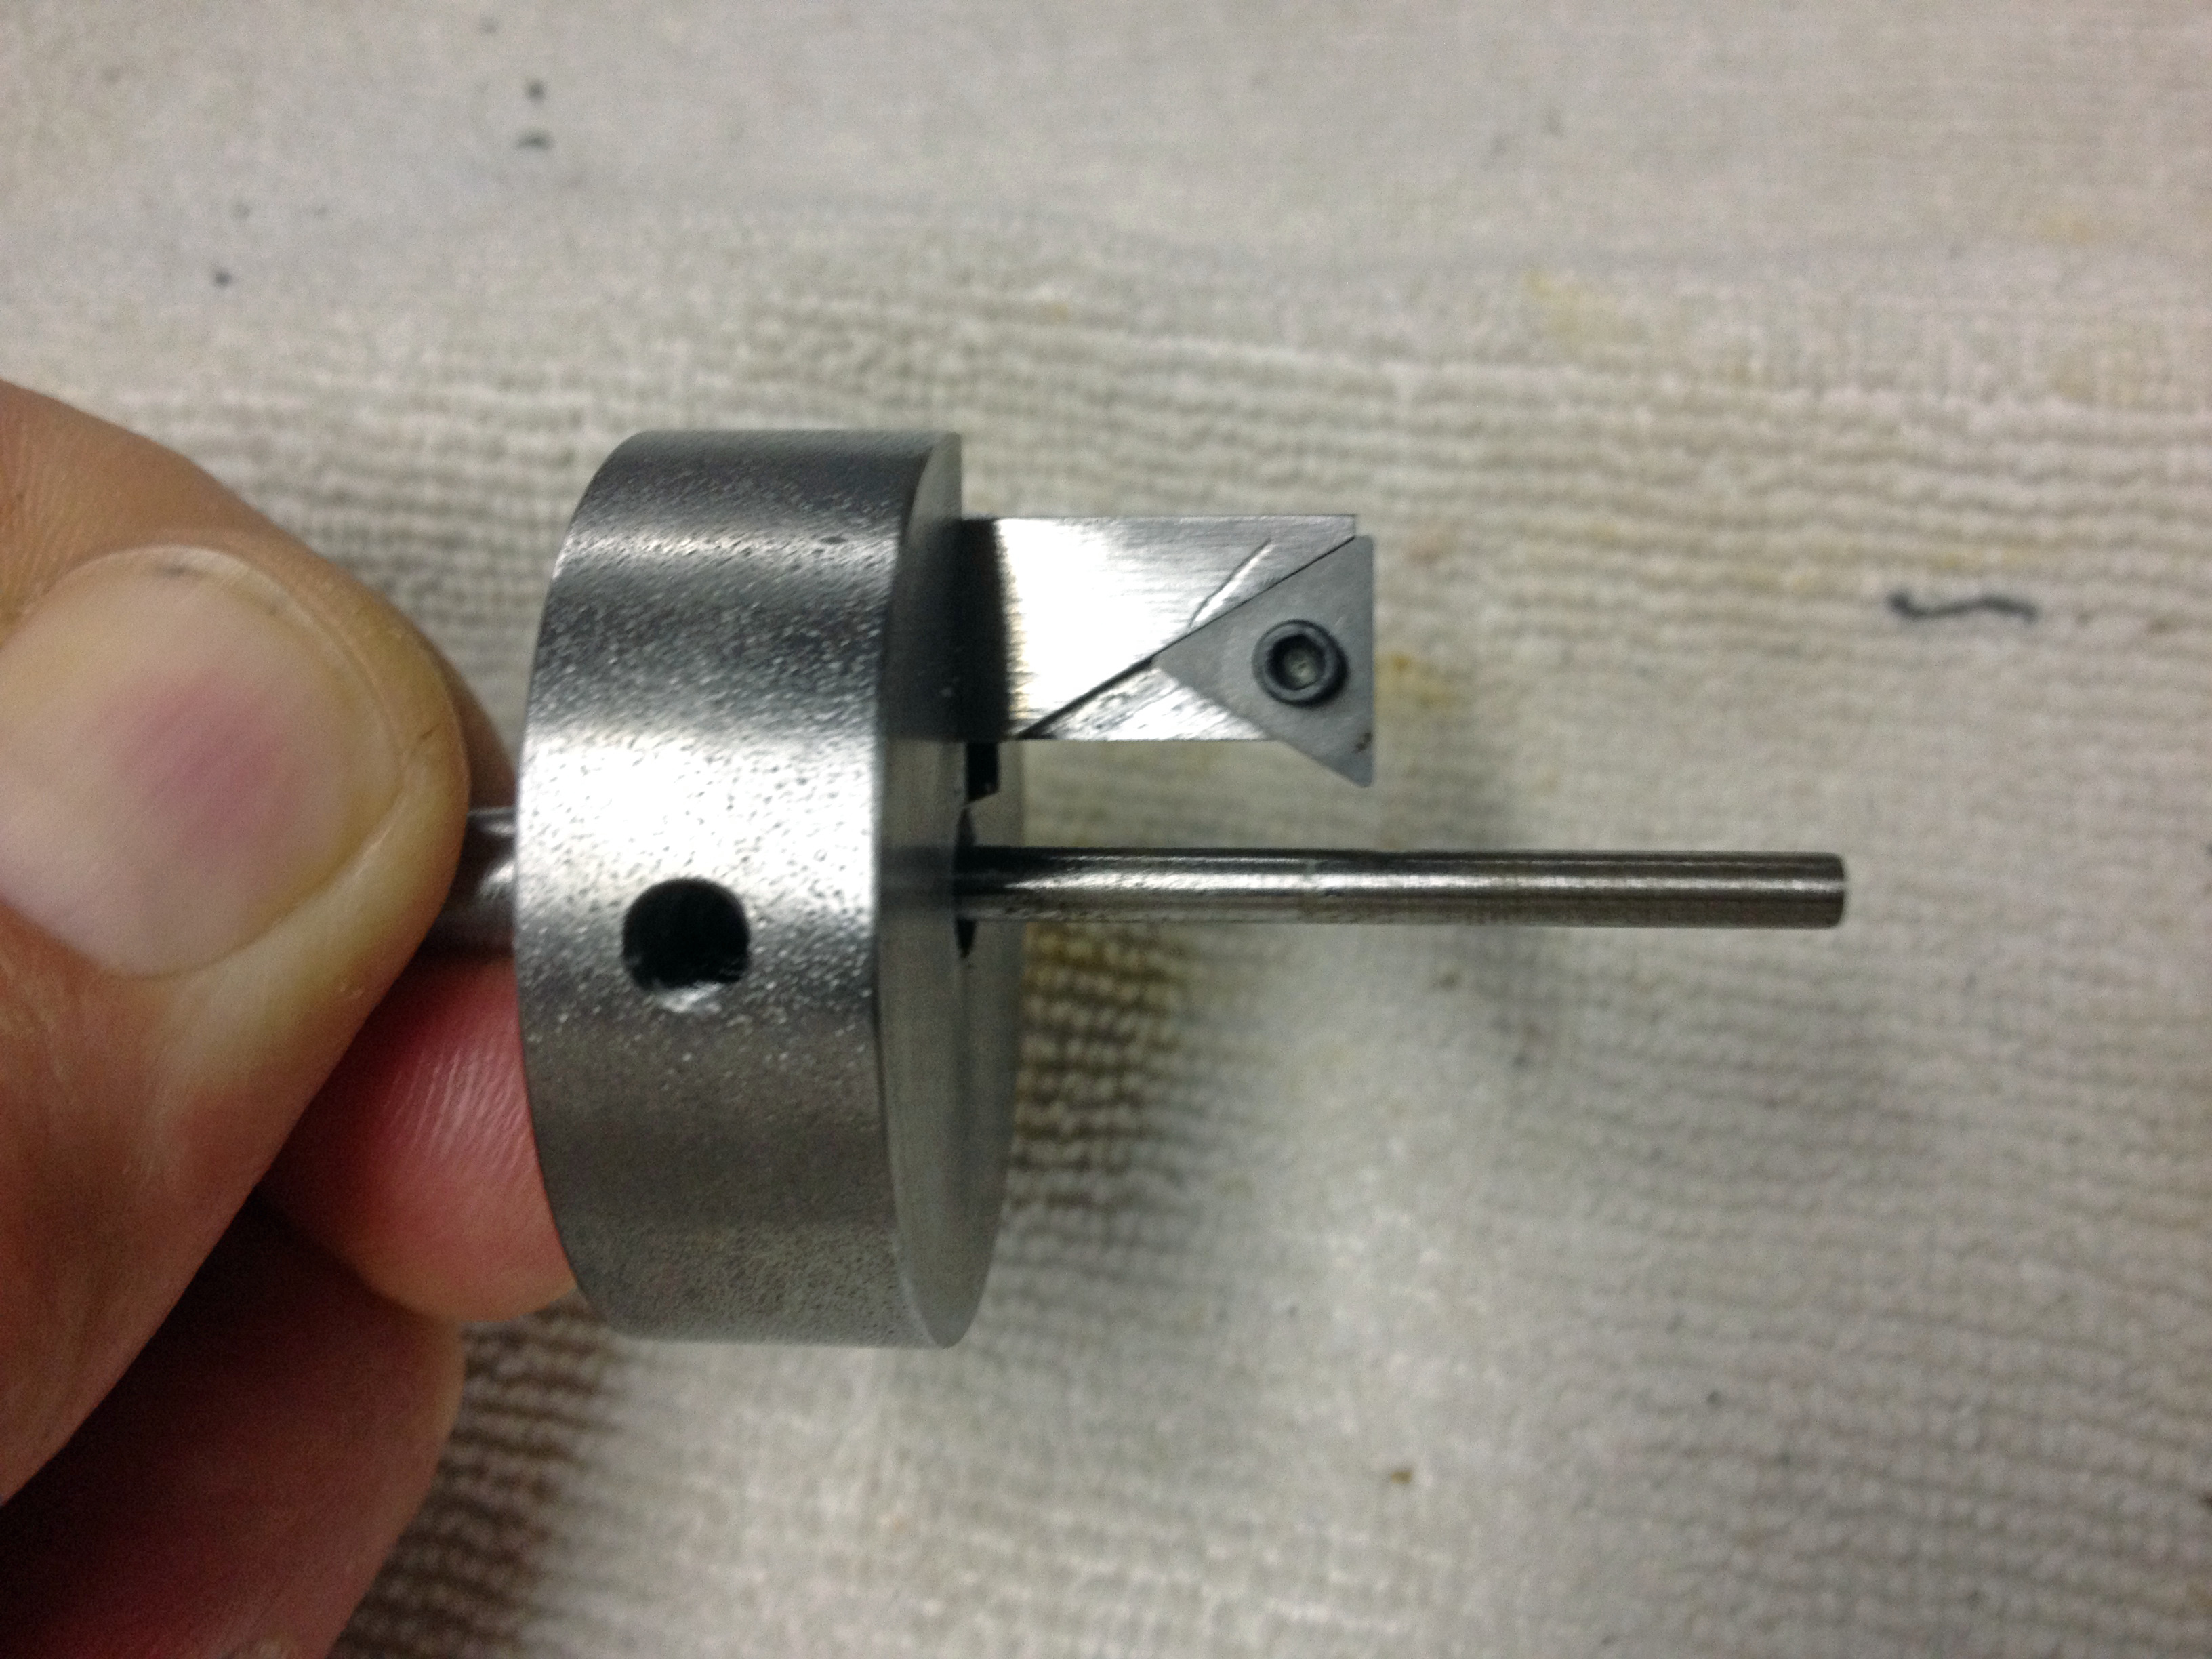
As Steve has pointed out, the best use of this tool is gotten by turning the tenon very close to size and then finishing the job by hand sanding. I have also learned that the tool not only has no markings to gauge the amount of material to be removed by a single adjustment (you have to look at the cutter head relative to the tenon) but one cannot gauge the amount consistently by using a “formula” such as 1/4 turn of the adjusting screw has been giving me .5′ decrease in diameter so each 1/4 turn will continue to do so – I have over-turned two stems using that type of “formula”!

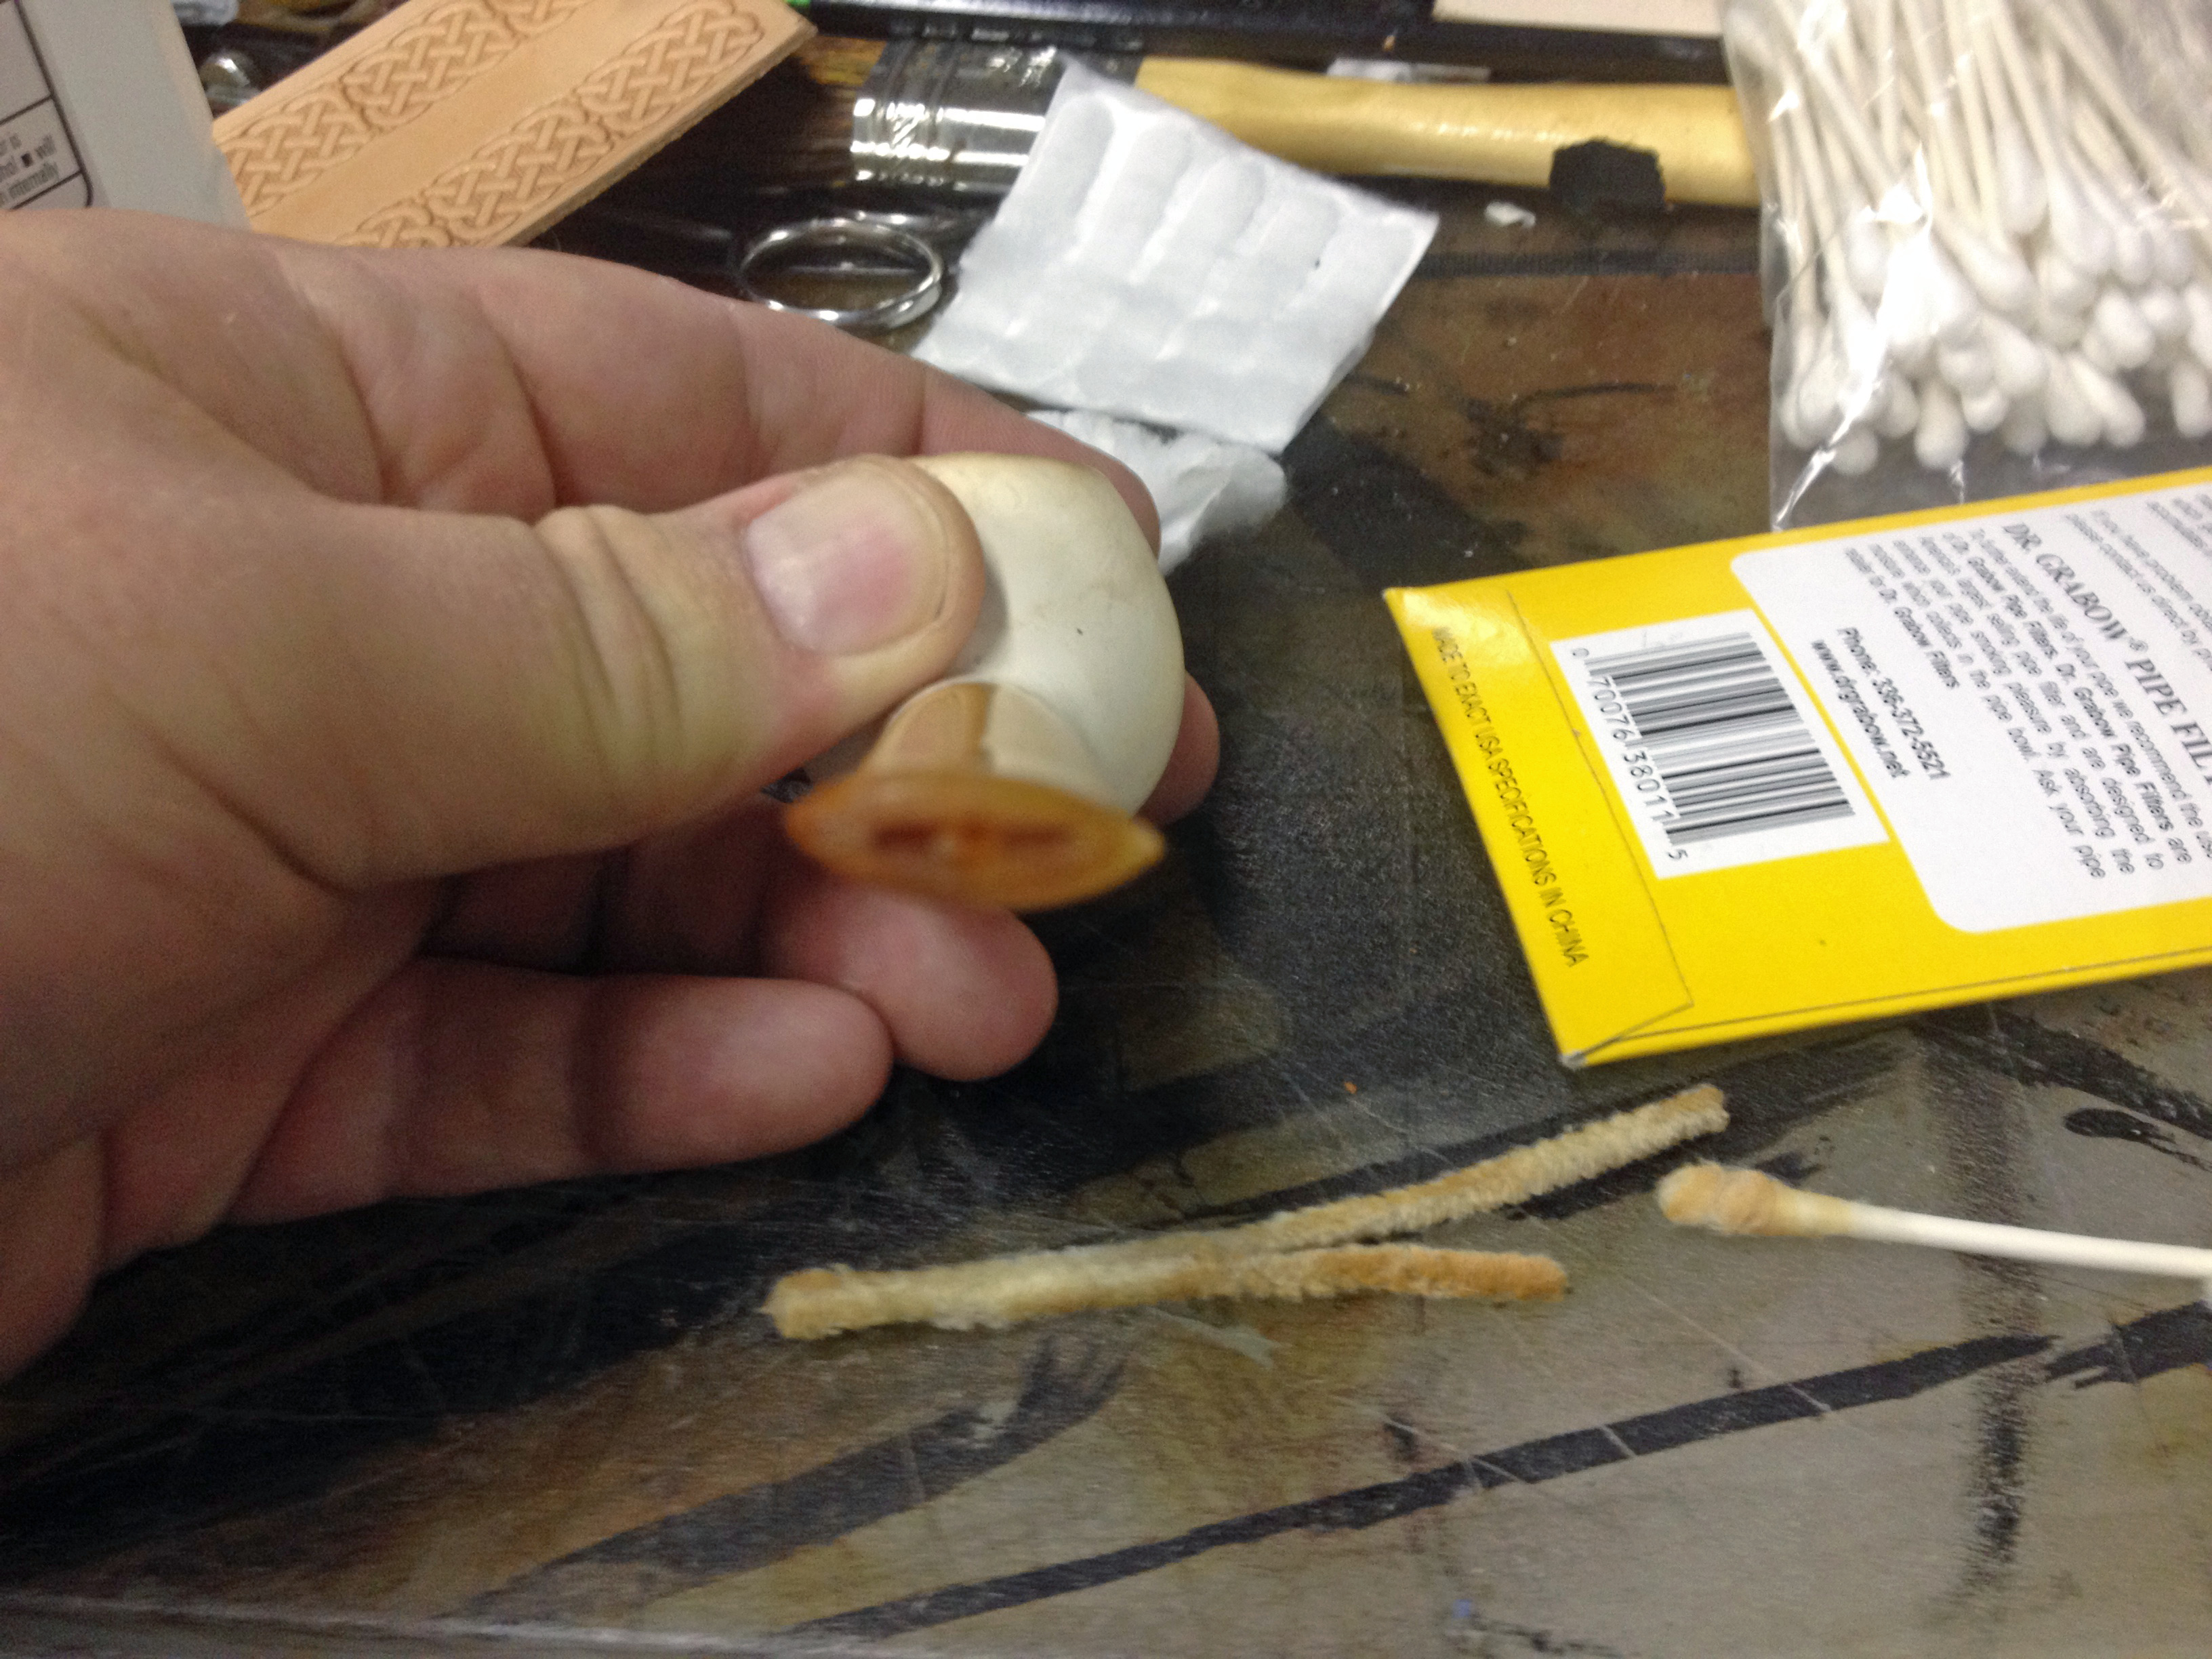
PME doesn’t sell the right size drill bit for the guide pin (a size #30 or .128″) so you will have to obtain it from another source (PIMO does sell it for $2.50) or make due with another size. At first I used an 1/8″ bit on the vulcanite stems which, while tight, worked okay. However, I had to move up to a 5/32″ bit for Lucite/acrylic and be careful to not get it out of round. I have since ordered the .128″ bit from PIMO and am happy with that.

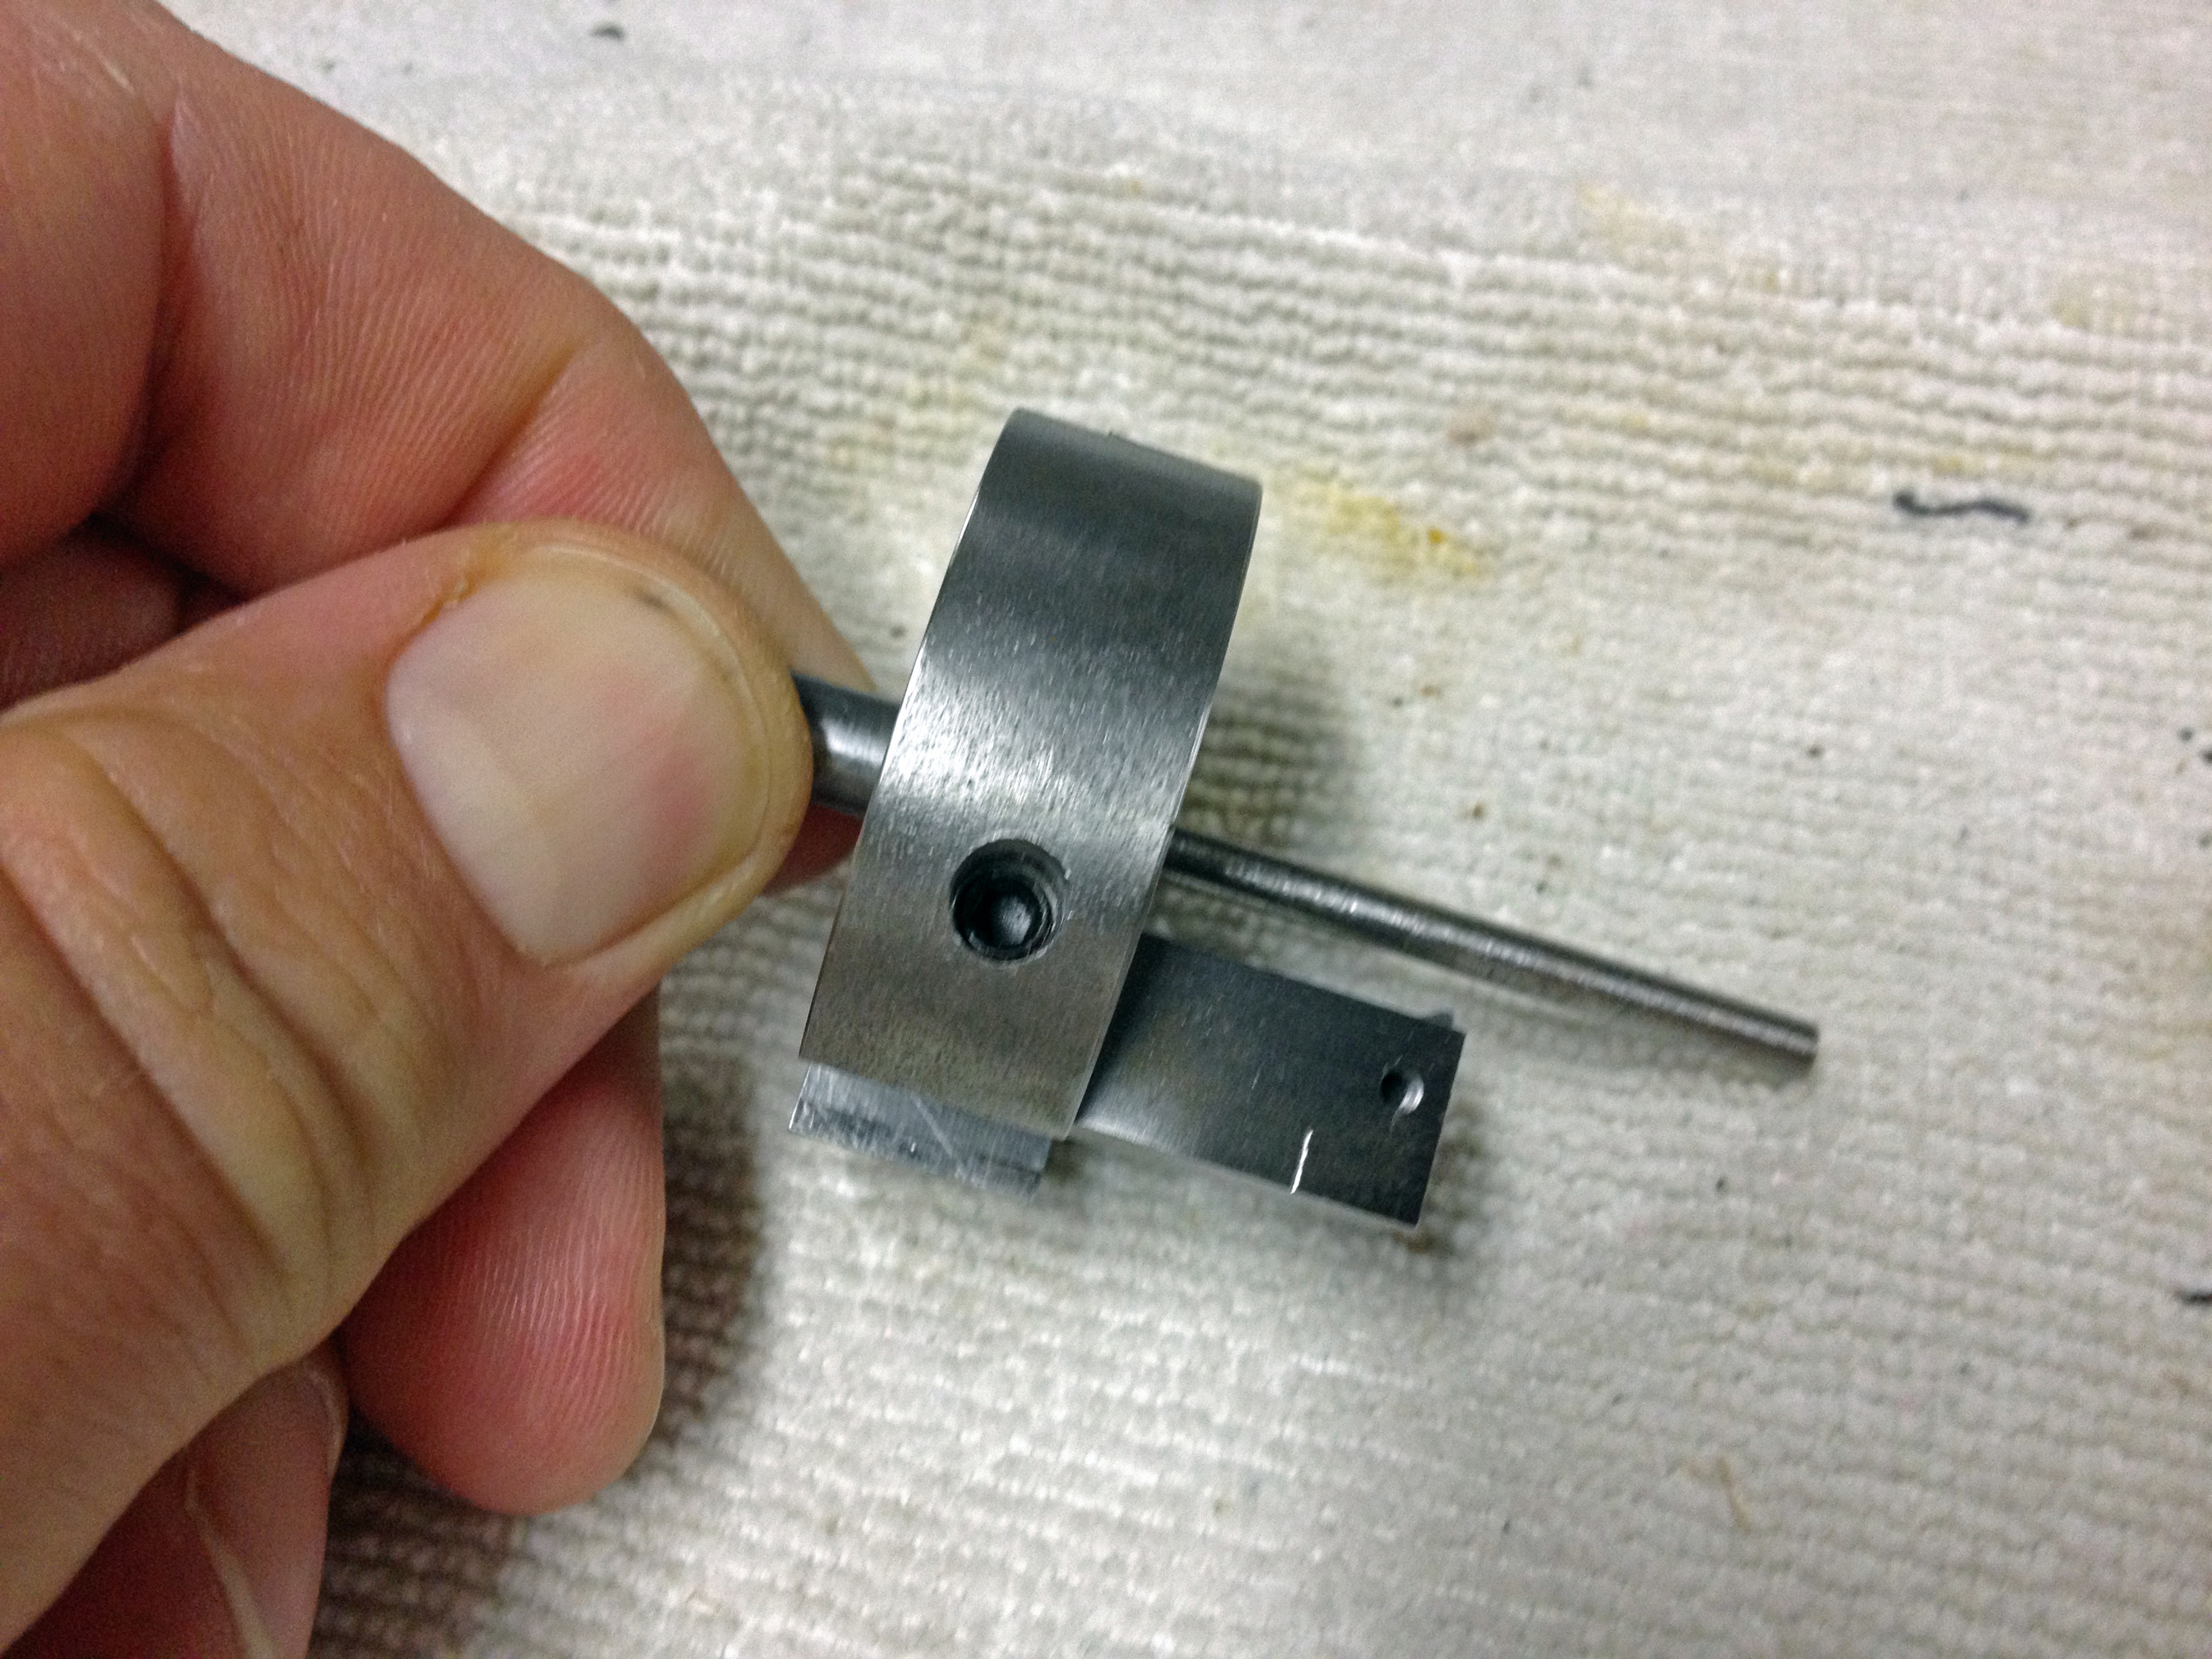
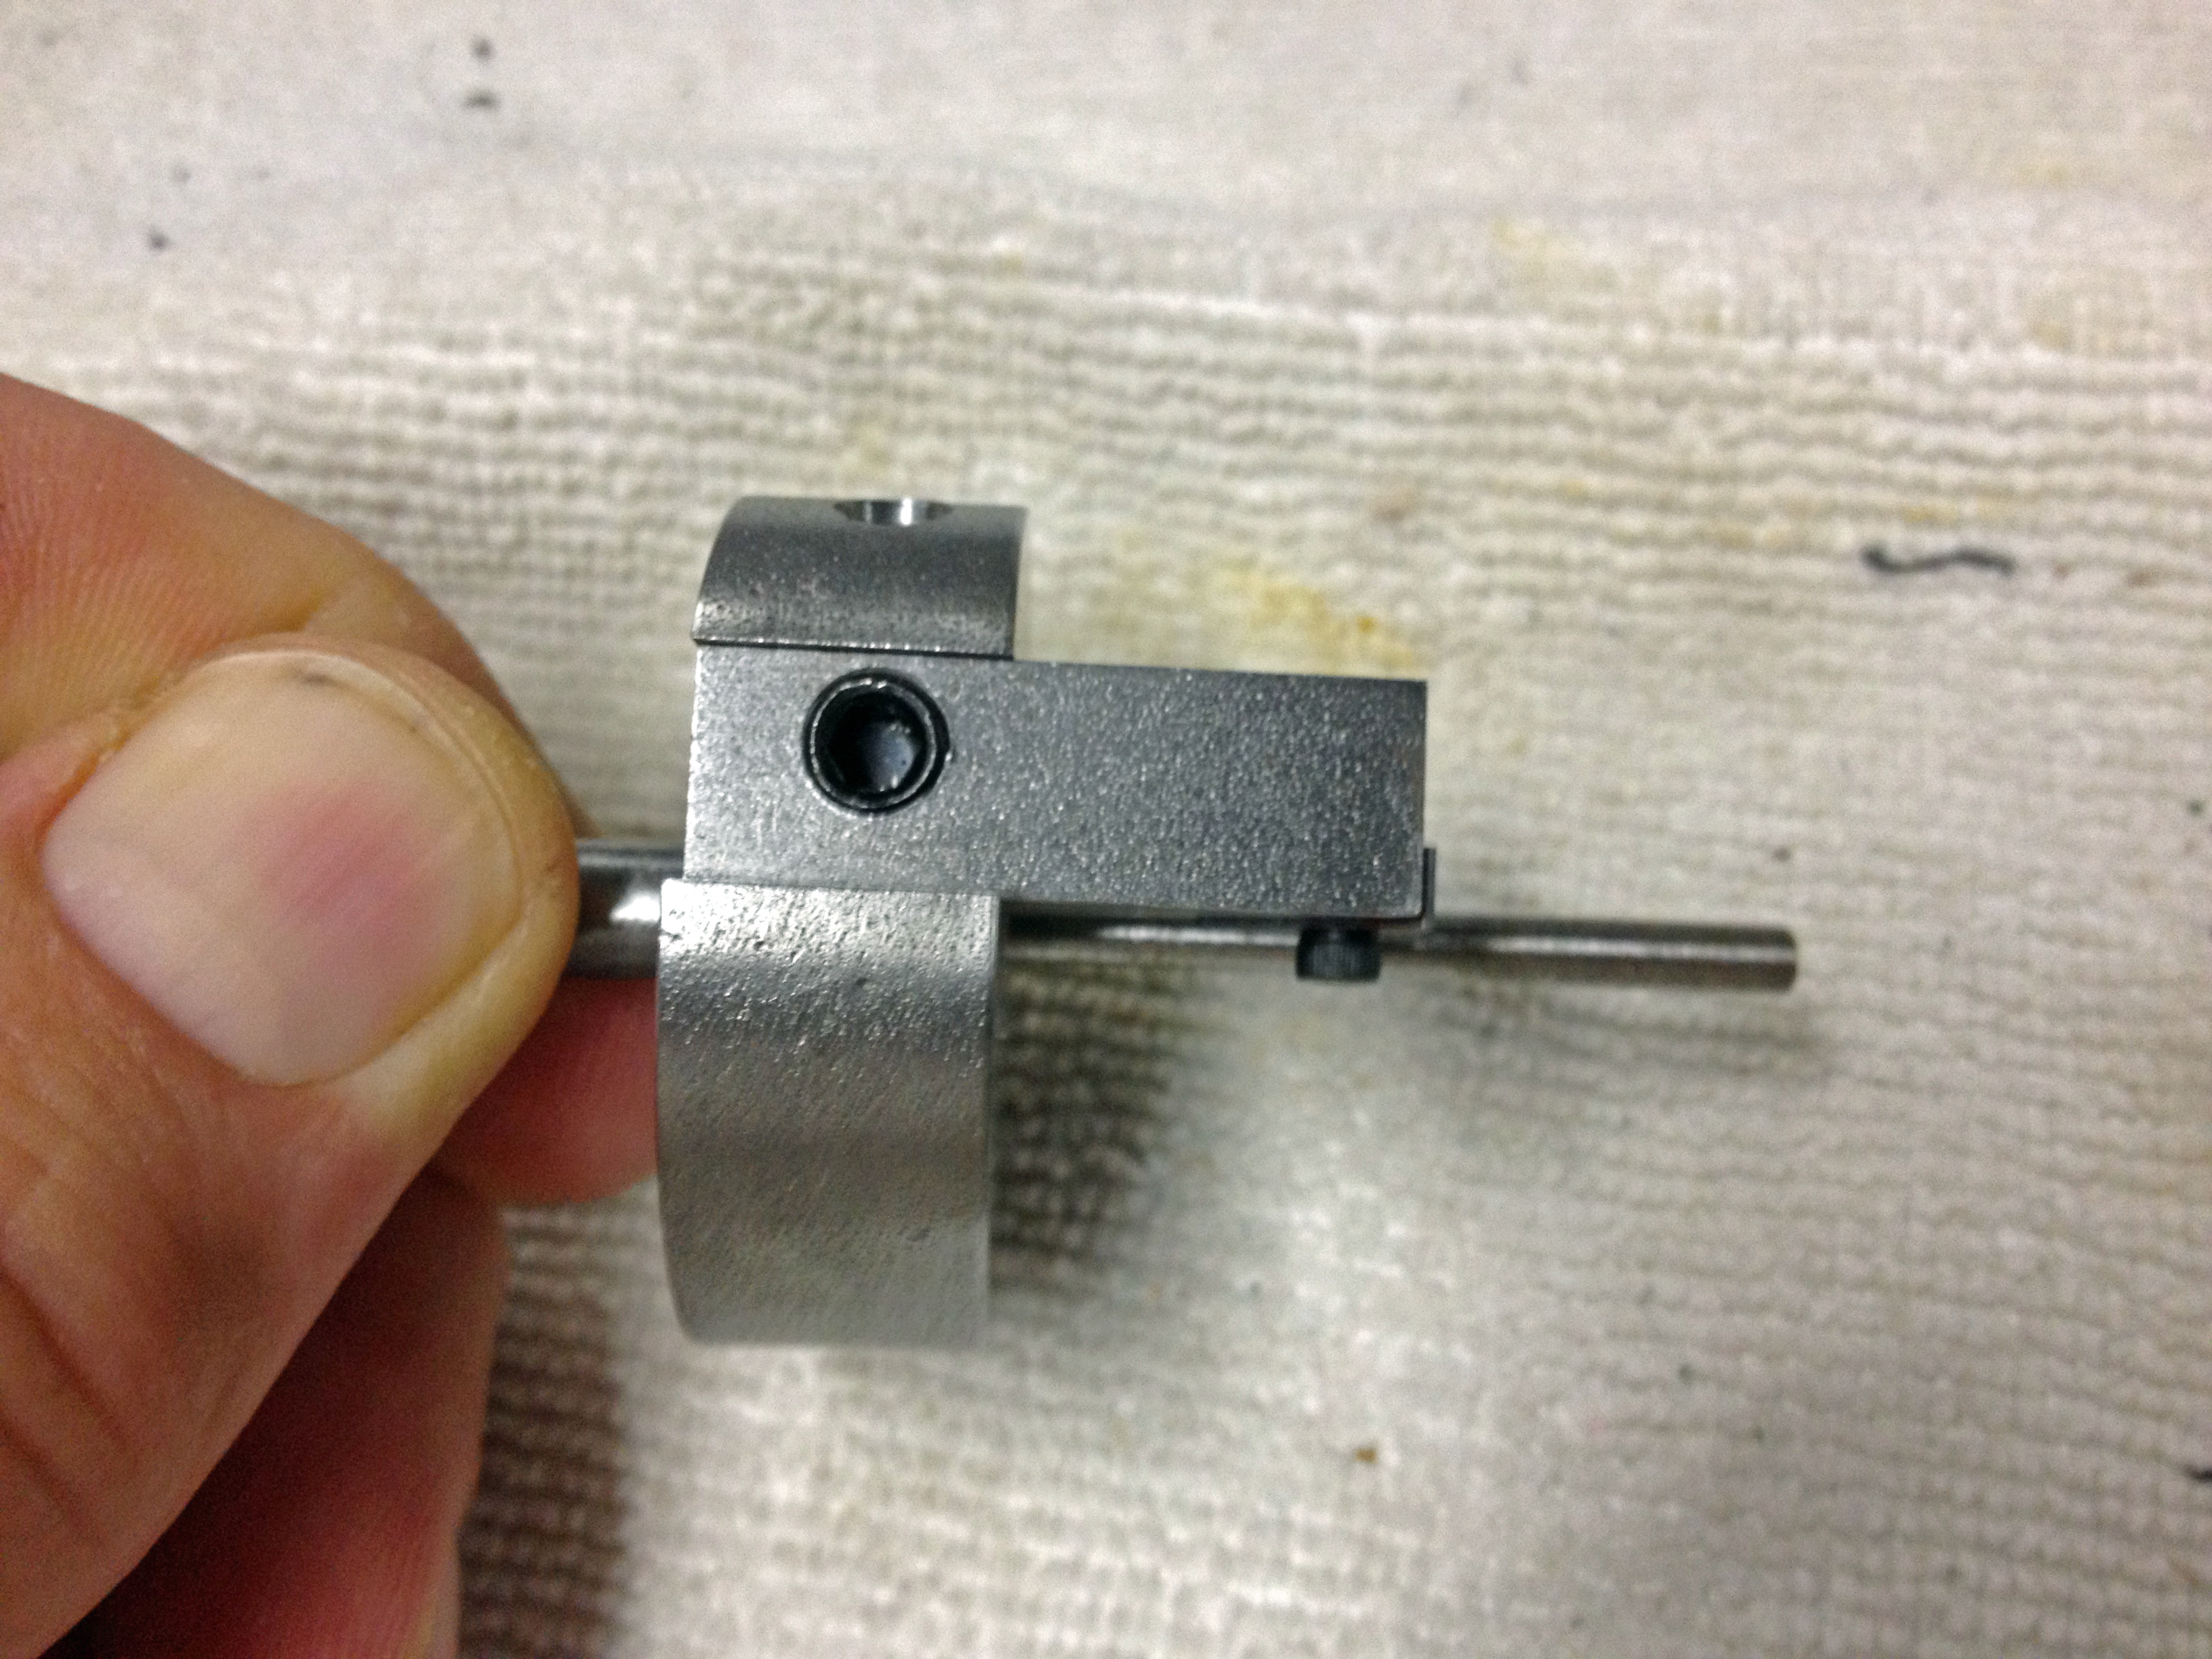
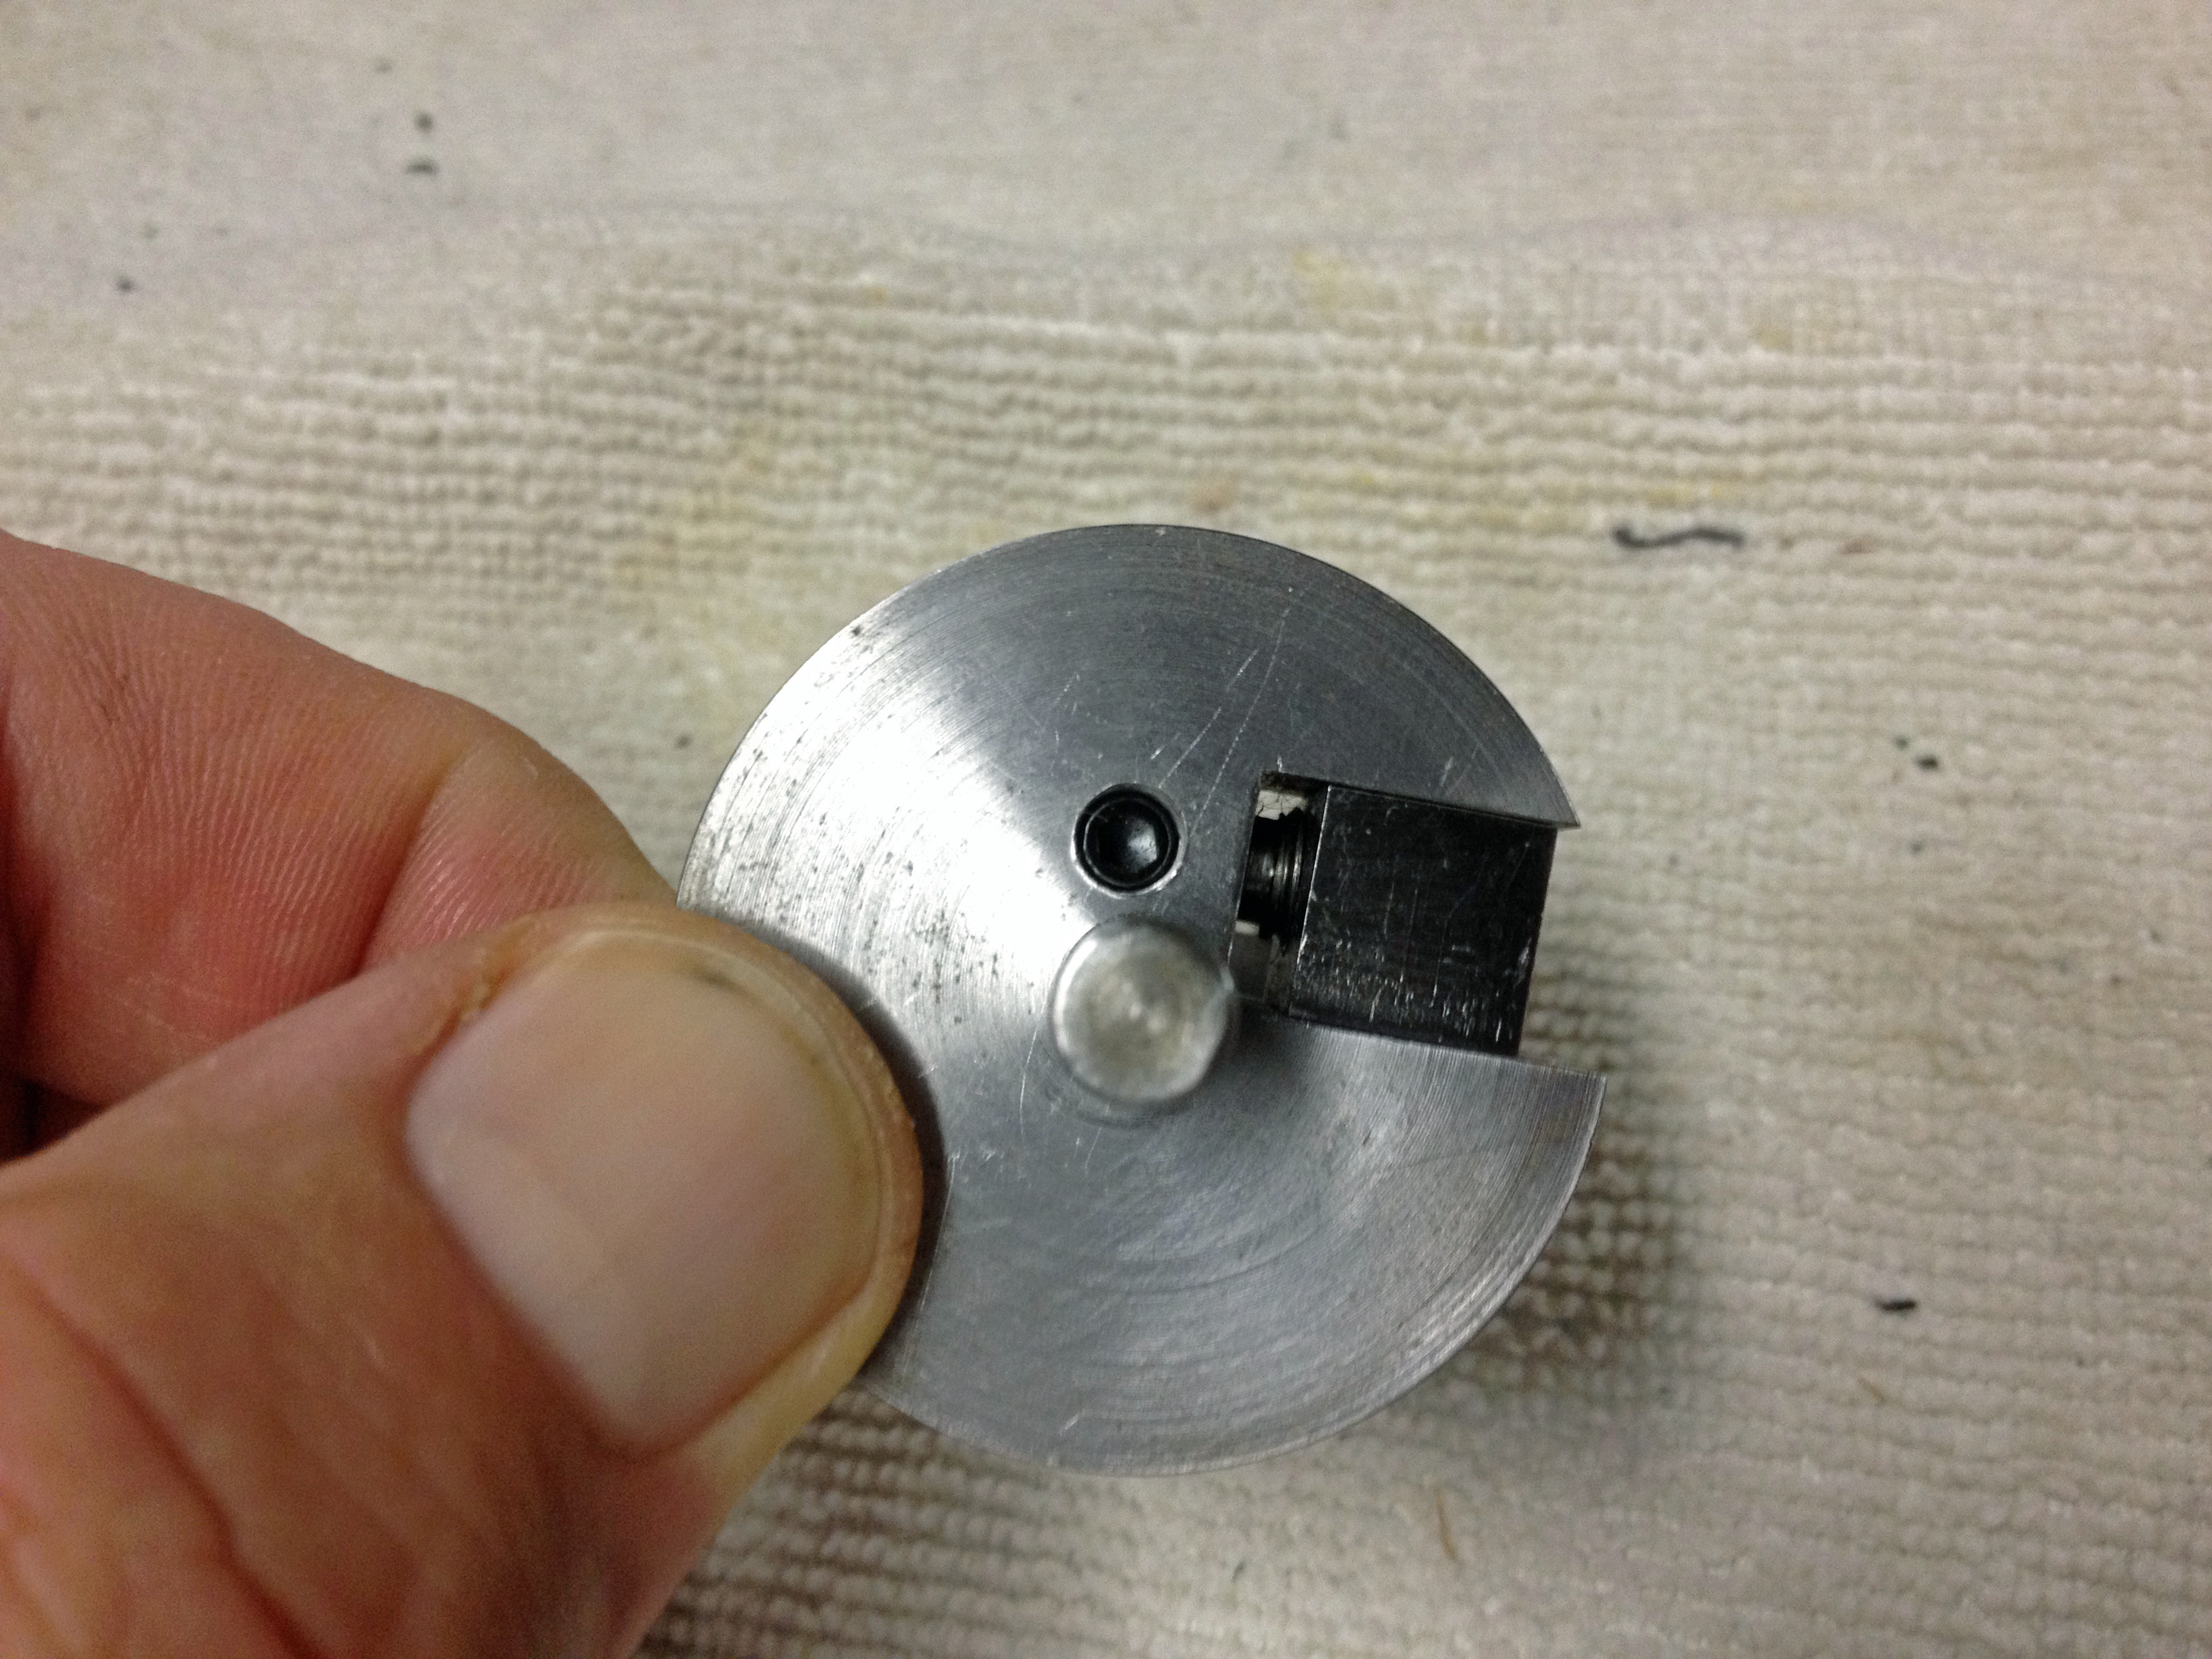
The extra set screw on the PME tool is really not used except for turning multiple tenons of the same style to the same size: For instance if you needed to slightly turn several tenons for corn cob pipes you would use it. This second locking screw just really sets the cutter head to zero movement but the main locking screw is the one that is generally used since you will mostly be taking more and more material off of a tenon.

I find that using the tool at different speeds helps to get a nice, smooth tenon. I like to start out fairly slow and make my first pass, then increase the speed on subsequent passes. The final passes I will be at full speed and will slowly rotate the stem as I make the pass up then back down the tenon. Generally, this gives me a nice smooth tenon, without a lot of turning marks/lines.

As I mentioned above, the adjustments are not always equal so one has to watch carefully how much the cutter head advances with each movement of the adjusting screw. And in order to get a good, even result it is very important to lock the locking screw with each adjustment. I have found that my digital micrometer (bought very cheaply from Harbour Freight) is a good help in getting the size of the tenon down to where it needs to be. But due to the lack of real precision with the tool, I don’t think one can rely solely on the micrometer; when it is getting close I begin checking the tenon to mortise fit after every pass.

My analysis, then, would be something like this: If you wish to re-stem pipes you have to have one of these toolsI think that either the PME or PIMO tool would work as well as the other and which one you should purchase is simply a matter of preference or economics; the PME is cheaper but if you are ordering from one company or the other buying it with your order will save you on S/H costs. My personal recommendation would be (if you don’t already have some stems to experiment with) buy the tool from PME and order a dozen or two of whatever Carolyn has on sale that week to practice on (usually there are 2-3 styles of vulcanite stems on special for $4-$5) and maybe a couple of closeout acrylic ones, too, to get a feel for the difference (which is big!) in the two materials. The learning curve isn’t huge but it is there. But, if you are like me, learning a new skill to add to your arsenal of restoring these wonderful old pieces is a lot if fun and a big part of the draw of the hobby.

So what are you waiting for? Place your order and step into the next phase of the art of restoration.

Restoring on an Old Meerschaum Cutty with Amber Stem


Blog by Greg Wolford

I own two meerschaum pipes: an old African block estate pipe and a Turkish bulldog shape my son bought me for Christmas two years ago. Both of these pipes smoke well but they are also both quite large, for my evolving taste anyway, as a result, I don’t smoke either of them very often. So of late I have been on the lookout for a smaller ‘meer that was both affordable and appealing to my eye in local flea markets and antique shops. Most of what I find locally is priced too high, either in general or for my budget, and often they are in poor condition. But a couple of weeks ago I stumbled upon a little pipe that met all of my conditions and it became mine. I took it (and an old Kaywoodie that I’ve yet to touch) home and it waited in my “to do” basket until yesterday.

At first glance I saw that the pipe was dirty and likely had never been waxed. The screw in stinger was also out of time. But these were small things considering the price and my intended use: As a smoker not a show piece. The pipe also appeared to have a Bakelite stem that looked dirty but in good shape. Here are a few photos of it before I began:

IMG_7253_edited-1 IMG_7257_edited-1 IMG_7256_edited-1 IMG_7255_edited-1 IMG_7254_edited-1

I knew that I wanted to re-clock the stem and also to even out the bigger chips on the bowl and rim. For the chips I remembered Steve’s post on the meerschaum bowl he modified to fit a Kirsten pipe. So I got out some wet/dry paper in about 400 grit and also some well-worn 1000 grit to sand/polish the bowl and rim. after setting the needed paper out, I removed the stem to clean it and the shank well before anything else.

The first thing I noticed was that the stem looked and felt different from I expected; at the antique mall I didn’t look too closely since I was hoping to score a better deal on the pari of pipes. The stem seemed heavier and just, well, different from the Bakelite stem on my African meer. Not owning a pipe with an amber stem I had nothing to compare it to so I messaged Steve and sent these photos:

IMG_7261_edited-1 IMG_7260_edited-1

After a few exchanges, he directed me to a link to test to see if I had real amber. I started with the alcohol test: pass. Then I moved to the acetone test: pass again. In fact, after the tests and then cleaning the stem well with alcohol it was much shinier and better looking! The final test, which was inconsequential, was the taste test: Not only a pass but I could really feel a different in the mouthfeel of this stem versus any other I have. Now I was excited to get her cleaned up and tried out! As sort of a last test, I heated the stinger with my heat gun to see if I could loosen and straighten it; there were no bite marks to remove, thankfully. After a bit of heat the stinger did loosen but the stem didn’t soften like Bakelite or acrylic would. I began to adjust the stinger to find that the metal apparatus was a screw in tenon, threaded into the amber. So I removed it and dropped it (the tenon) into a bit os alcohol to loosen and dissolve the grime in the threads. While it soaked I began to clean the shank and stem with cotton swabs and pipe cleaners and alcohol. To my great surprise the shank and stem were very clean. I only used two pipe cleaners and two cotton swabs and they were not at all grimy:
IMG_7259_edited-1

After cleaning and drying everything I reassembled the pipe. I wasn’t able to get it 100% straight but it is better. I tested the draw now and it was open and clean tasting, though the air hole in the stem is not very large. There were, after the cleaning of the stem, some scratches and dings, all small, present. But the shine was pretty good and since I don’t feel comfortable with it I opted to not try to sand/remove them. I may at some point go back and wax it but I’m in no hurry for that. Time to move to the bowl.

I began by gently sanding at the deep chips, especially on the bowl.

IMG_7258_edited-1

This took some time with the 400 grit paper because I didn’t want to remove too much material. When it was close to what I wanted, I topped the bowl slightly to clean up and even the rim. I then moved to the well-worn 1000 grit to polish off the entire stummel, removing some stuck on pieces of tobacco and most of the dirt/grime. Then I tore off a piece of the 1000 grit paper and polished the bowl out a bit. There was some grime, some scratches and some “digging” marks in the bottom of the bowl. I wanted only to smooth it a bit as I thought it would remove too much material to attempt to fully even it out. Lastly I wiped the entire pipe down with a barely dampened with alcohol cotton pad to remove any dust that might have been remaining. This is the result:

IMG_7262_edited-1 IMG_7266_edited-1 IMG_7265_edited-1 IMG_7264_edited-1 IMG_7263_edited-1

I let it dry out for a few hours and loaded it up with a rubbed out bowl of Peterson Irish flake last night and rubbed beeswax on it as I smoked it. I must say it smokes as well or better than either of my other ‘meers! Unfortunately, I accidentally grabbed up a non-lint free rag to polish it after it had cooled and now have some lint specks in the wax. But I’ll be re-waxing it soon anyway and will fix it then. I also may sand it a bit smoother with 800 grit paper; there are a few scratches still visible but not too irritating to me. This morning I triad a little Rattray’s Accountant’s Mixture in her as I was writing this article and she smoked equally well. This is a look at her after the first wax application.

IMG_7272

All in all, I’m very pleased with my new no-name ‘meer. She is exactly the size I was hoping for, smokes great, looks pretty good and will look better with time and I got an amber stem that I’d not bargained for! The joys of the hunt and the rewards of the work: That’s why I love bringing these old pipes back to a useful, if not beautiful, state.

THANK YOU For an incredible year at rebornpipes


rebornpipes has been operating the blog since the end of May 2012. For the remainder of 2012 the site had 39,646 views. Since January of 2013 we have had double the views with 79,026 views. There are 492 different posts on the blog written by myself and 11 individuals who have posted about their refurbishing work. I have included the list of contributors from the Thanks to Contributor’s page. Have a look at their credentials and their posts. You can search the blog by author name now and select those you want to read. In addition there are guest articles written by another 7 individuals.

1. Al Jones – Al was the first to contribute his writings and photographs to the blog under the name upshallfan. Al does incredibly nice refurbs and adds a nice touch of class to the blog.

2. Fred Bass – Fred is the Meer Guru in my opinion and to have several of his pieces here on the blog is incredibly helpful. Fred brings a love of the meer and years of experience in cleaning, breaking them in and caring for them to the table.

3. Gan Barber– what can I say about Gan? Over the years we have fired emails back and forth with ideas and suggestions and insight into our joint hobby. I am thankful to have Gan posting here as in many ways he has been a mentor to me in this hobby.

4. Chuck Richards – Chuck, like Gan, has been someone with whom I bounce ideas and methods back and forth. Chuck also keeps the challenges in front of me and I learned much from him.

5. Kirk Fitzgerald – Kirk is a relative newcomer to the refurbishing craft but he has an amazing talent with a chisel and carving knife. His contributions on his method of rustication have been well received and it is a pleasure to have him contribute here as well.

6. Piet Binsbergen – I have corresponded with Piet for awhile now and we connected over Keyser Pipes. A mutual friend on the forums – Muddler – connected us when I was searching for Keyser stems. Piet is an artist at heart and by profession. His love of the briar and restoring it comes out in his work and his words. It is great to have added him to the pool of contributors.

7. James Gilliam– I asked James to contribute from the perspective of a pipe maker what it was like to do refurbishing. James makes some amazing pipes and has done a great article on his perspective on our craft. His website is JSEC Pipes at http://jsecpipes.com/ I appreciate James willingness to contribute to the blog and it is a pleasure to have him contribute.

8. Al Shinogle – I contacted Al Shinogle and received his permission to post his article on opening the airway on a pipe. Al continues to do some great refurbishing work on estate pipes that he revives and passes on to old timers. I look forward to future articles by Al.

9. Greg Wolford – is one of the blog’s readers and comments often on various posts. He contacted me with several articles on the pipes he has refurbished and the methods he has used. Greg writes well and is a fine photographer in his own right as well. I look forward to reading what he contributes in the days ahead.

10. Robert Boughton – Robert is one our newest contributors to the blog. He is a new practitioner of the refurbishing art being tutored by Chuck Richards in the finer points of refurbishing. It is a pleasure to have him writing for the blog and adding a new voice to the posts. His research and his work are well done. Thanks Robert.

11. Brian Devlin – Brian is a 62 year old retired electronic manufacture and design company owner living in Blairgowrie, Scotland. He is a stroke survivor (I like him already as I too am a stroke survivor) having survived 3 major strokes 7 years ago. He loves his new home, pet rabbit and morning ritual with pipe and rabbit in his garden. He frequents EBay to hunt for pipes that he buys and skillfully refurbishes to smoke. It is great to have Brian writing about some of his refurbs on the blog. Enjoy his work.

Added to that list of regular contributors there are also articles that have been written by the following individuals:

1. Bas Stevens – Bas is the go to person for information and history on Stanwell pipes. He has one of the most beautiful Stanwell collections that I have ever seen. I appreciate Bas’ willingness to have his piece on Stanwell shapes available on the blog.

2. Mark Domingues – Mark is another reader of the blog and has lately contributed some of his work. Mark collects Peterson pipes and his work is a pleasure to read about. Mark seems to never shy away from trying things that are daunting at best and certainly some that others would consider futile. Thanks you Mark for writing for us.

3. Eric Boehm – Over the years on the forums I have read Eric’s posts with interest. He has collated and collected some great information that it is our privilege to be able to share here on the blog. I thank Eric for his willingness to pass on his writing through the blog.

4. Les Sechler – Les graciously gave permission to put his article on Barling pipes on the blog. Les possesses a wealth of information on Barling’s and Dunhill pipes. He has always been gracious when I contact him for help on various projects. Thanks Les for being a willing and able correspondent.

5. Martin Farrent – Martin graciously gave permission to put his article on Dating Loewe Pipes by Period on the blog. I look forward to reading more of Martin’s work in the future. His knowledge of Loewes pipes is incredibly helpful and insightful. Thank you Martin.

6. Mike Leverette – Mike was a very good friend and the consummate pipeman. He was a fountainhead of information on all things Peterson and also one who shared a common interest with me regarding alternative woods used in pipes. He knew and loved the older historical alternative woods used by American pipe makers. All of Mike’s articles on the blog are published posthumously from pieces he sent to me over the years before his death. Mike I miss the chats and the ready wit that characterised you so much.

7. Alan Chestnutt – Alan is a professional pipe refurbisher doing work on the web as Reborn Briar ( http://www.estatepipes.co.uk/ ). His work is extremely well done and his website also has a wealth of information and some of the pipes he refurbishers are for sale through the site. Thanks Alan.

Including the articles that I post we thus have 19 different writers on the blog. I am so thankful for the willingness of others to add articles on their expertise and experiments in the art of refurbishing pipes.

The spread of the blog is quite extensive now, covering 150 different countries. It is remarkable to go to the various Referrers to the blog and read articles there that have been translated into other languages. I have also read newsletters, emails, forum posts from many of the different countries pipesmokers and found them referring favourably to the blog. All of this more than meets the expectation I had when I started rebornpipes. I wanted it to be a place to share our collective learning regarding the work we do as hobby refurbishers. It has been a pleasure to receive emails and also comments on the articles from many of you with your additions and helpful information that sits in the comments below each article and in some cases have been integrated into the material for a more complete compendium.

I think as we move into our second year at rebornpipes I would encourage others of you who read the blog and practice some of the tricks learned here to comment on the posts and to also submit articles and photos of the pipes you have been refurbishing. Share the tips and tools you have learned and developed as you have worked on the pipes at your table. Your articles are always welcome and the list of authors is wide open for additions.

Again I want to take this opportunity to say thank you to the pipe smoking community for your reception of the work of rebornpipes and your continued readership. I do not take it for granted in this busy world in which we live that you would take time to read the articles we post here and share them in your circles of pipesmokers. Thank you.

Steve Laug
rebornpipes