Blog by Steve Laug
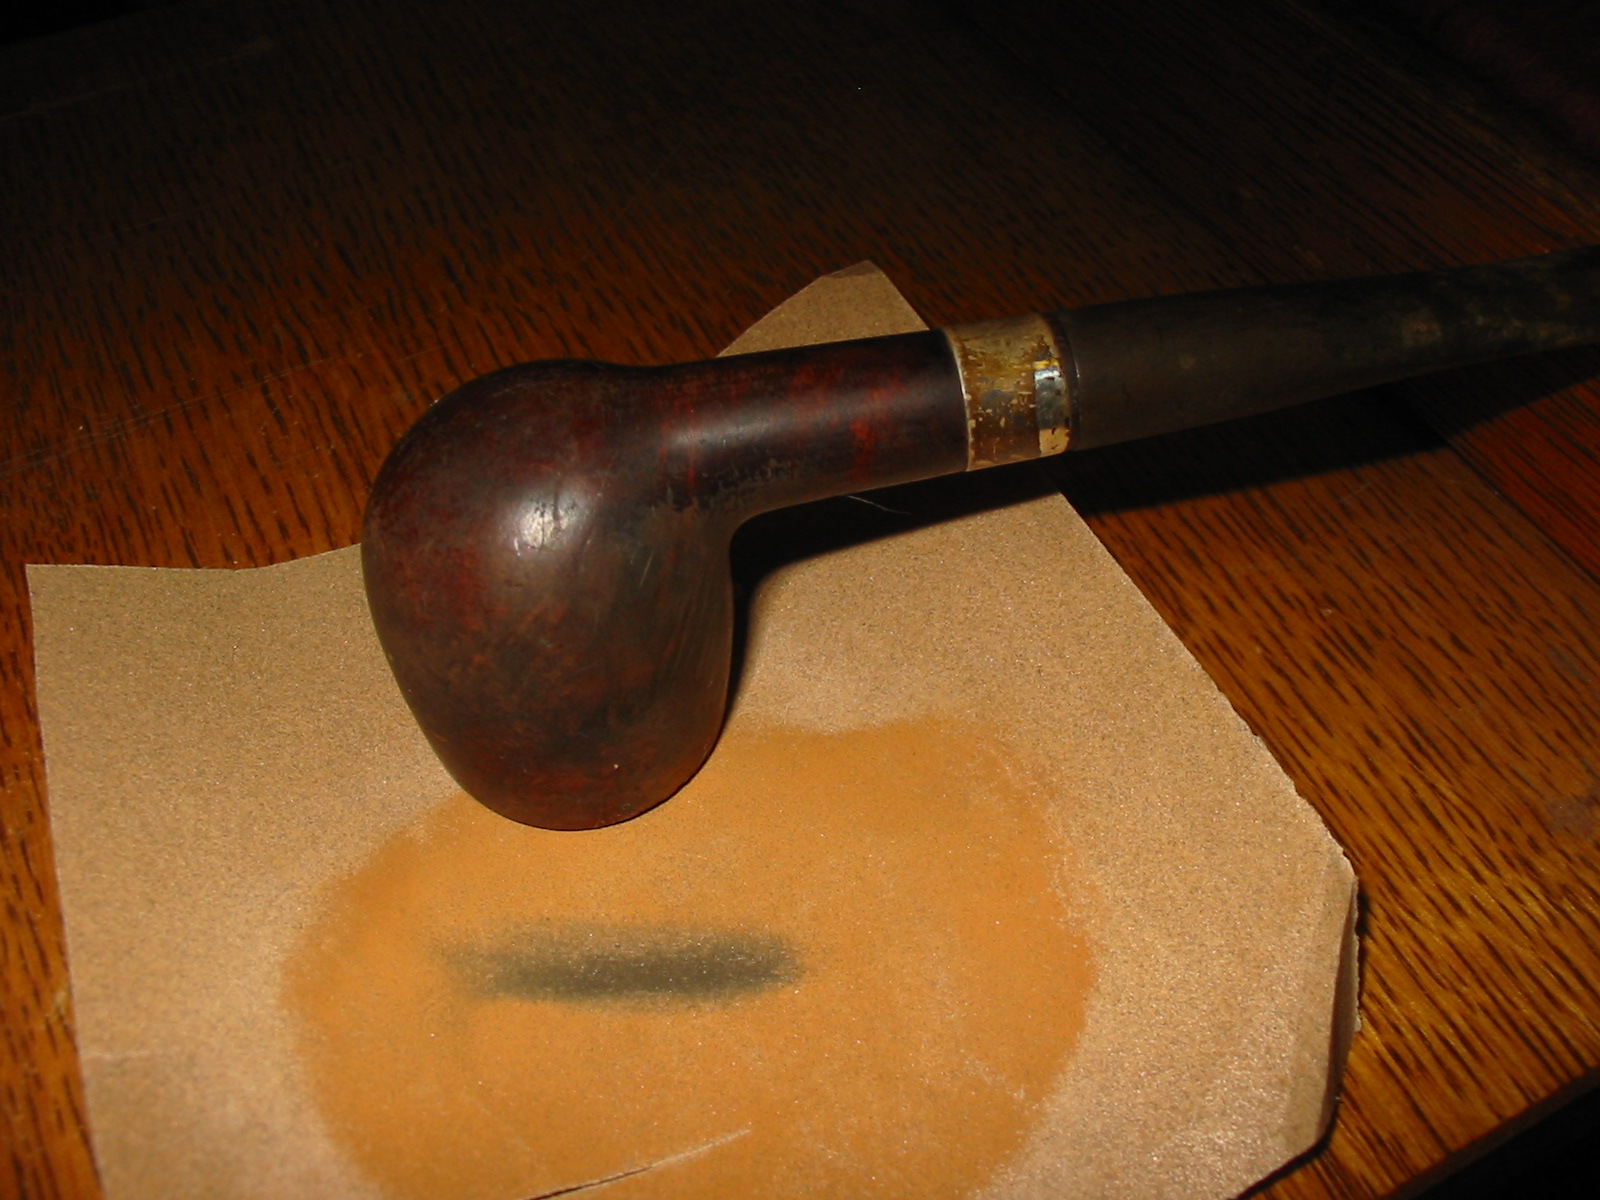
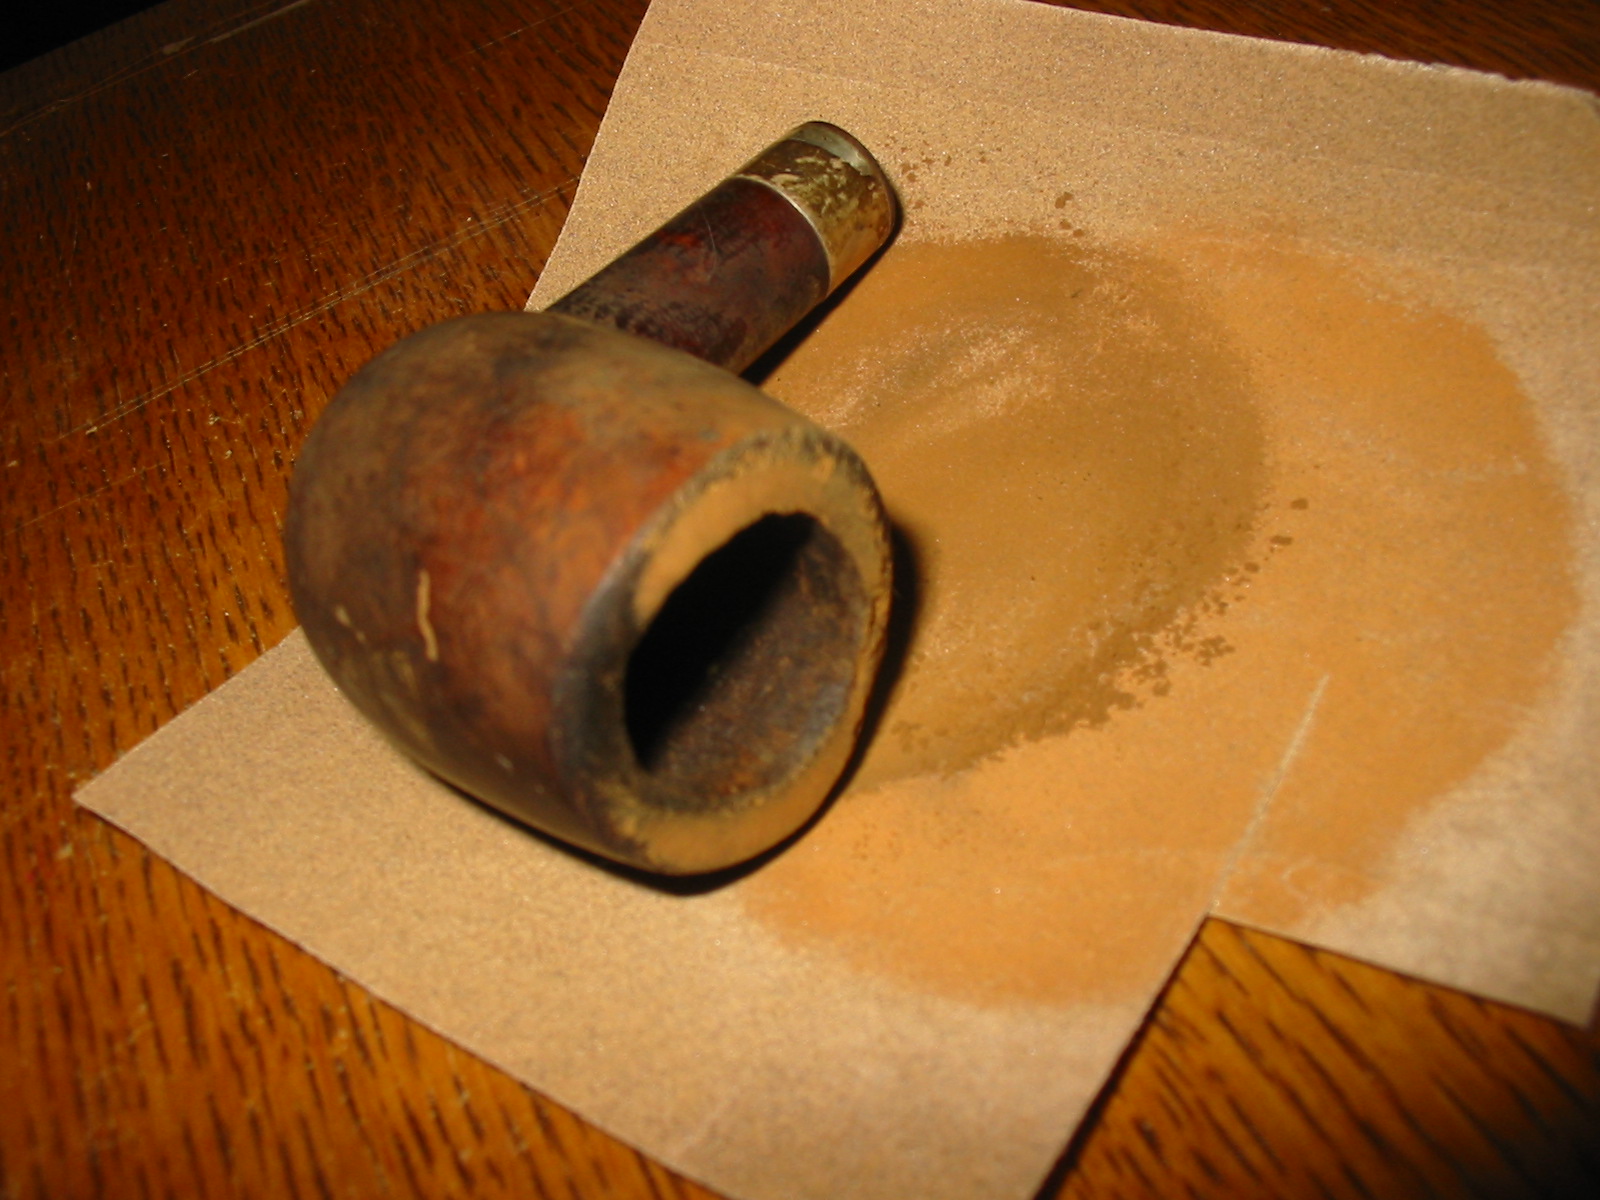
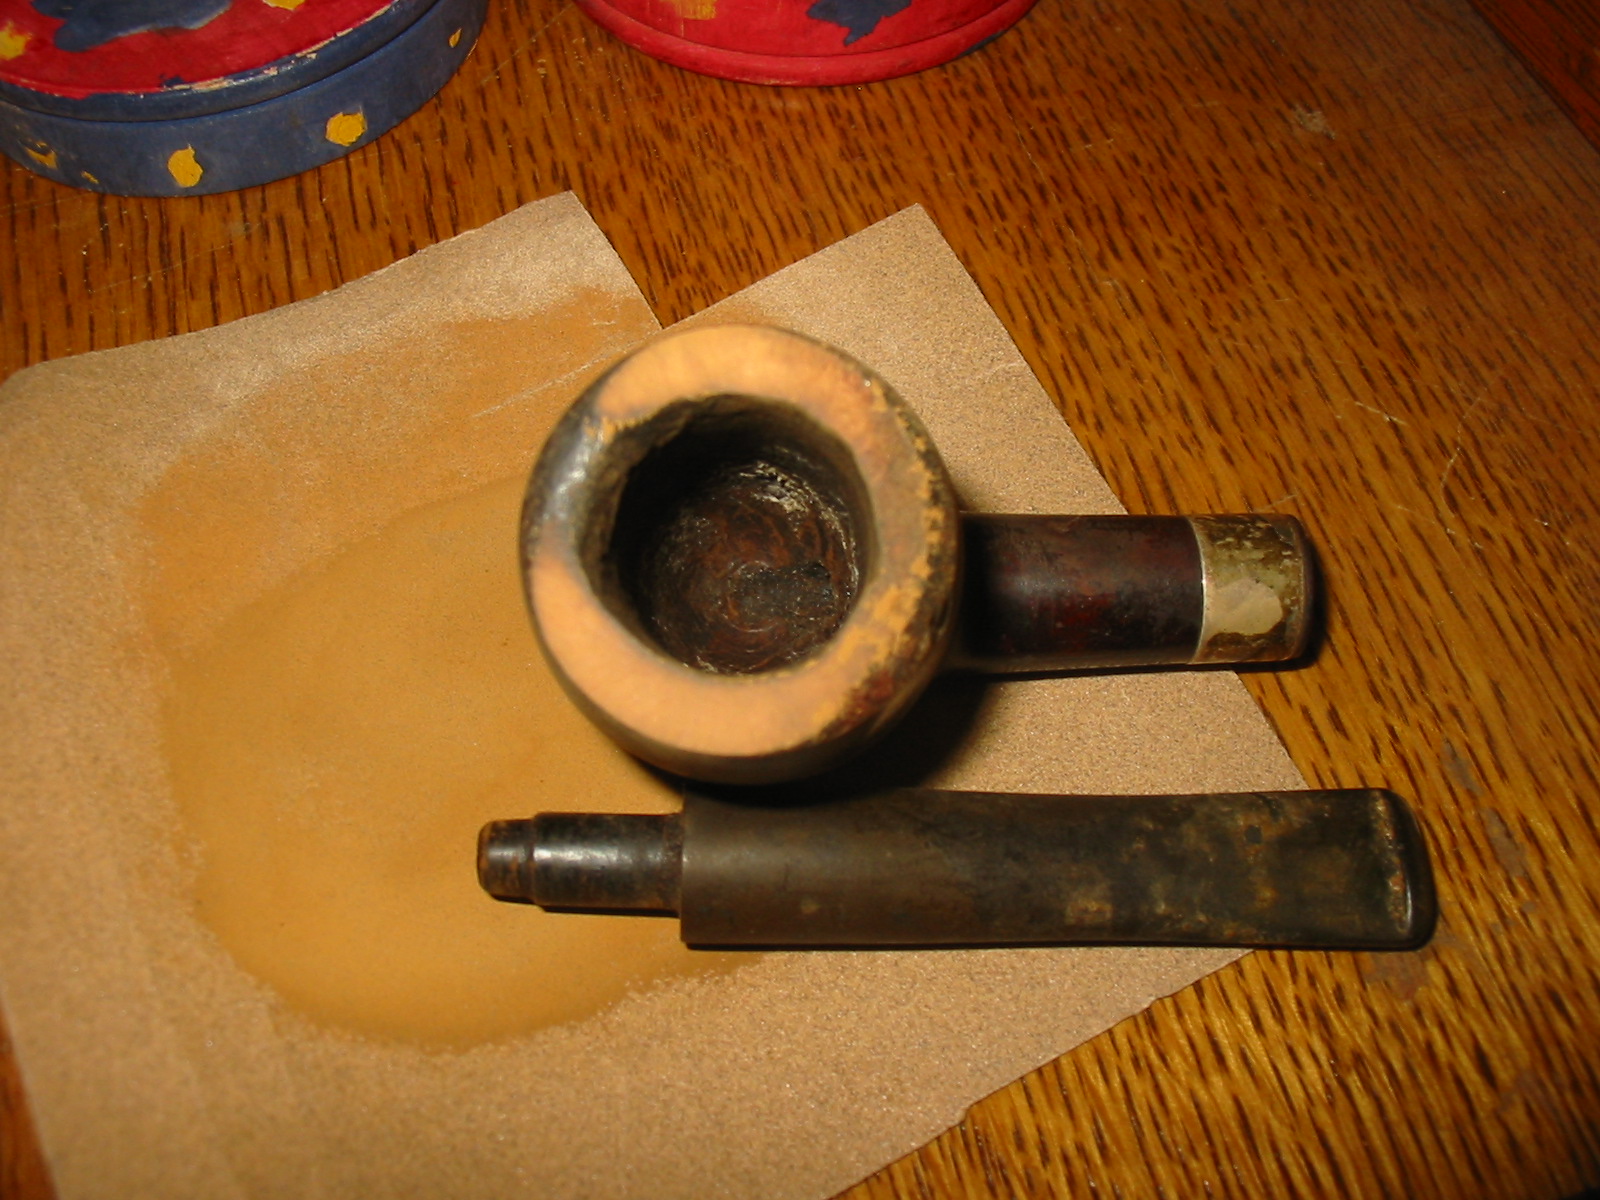
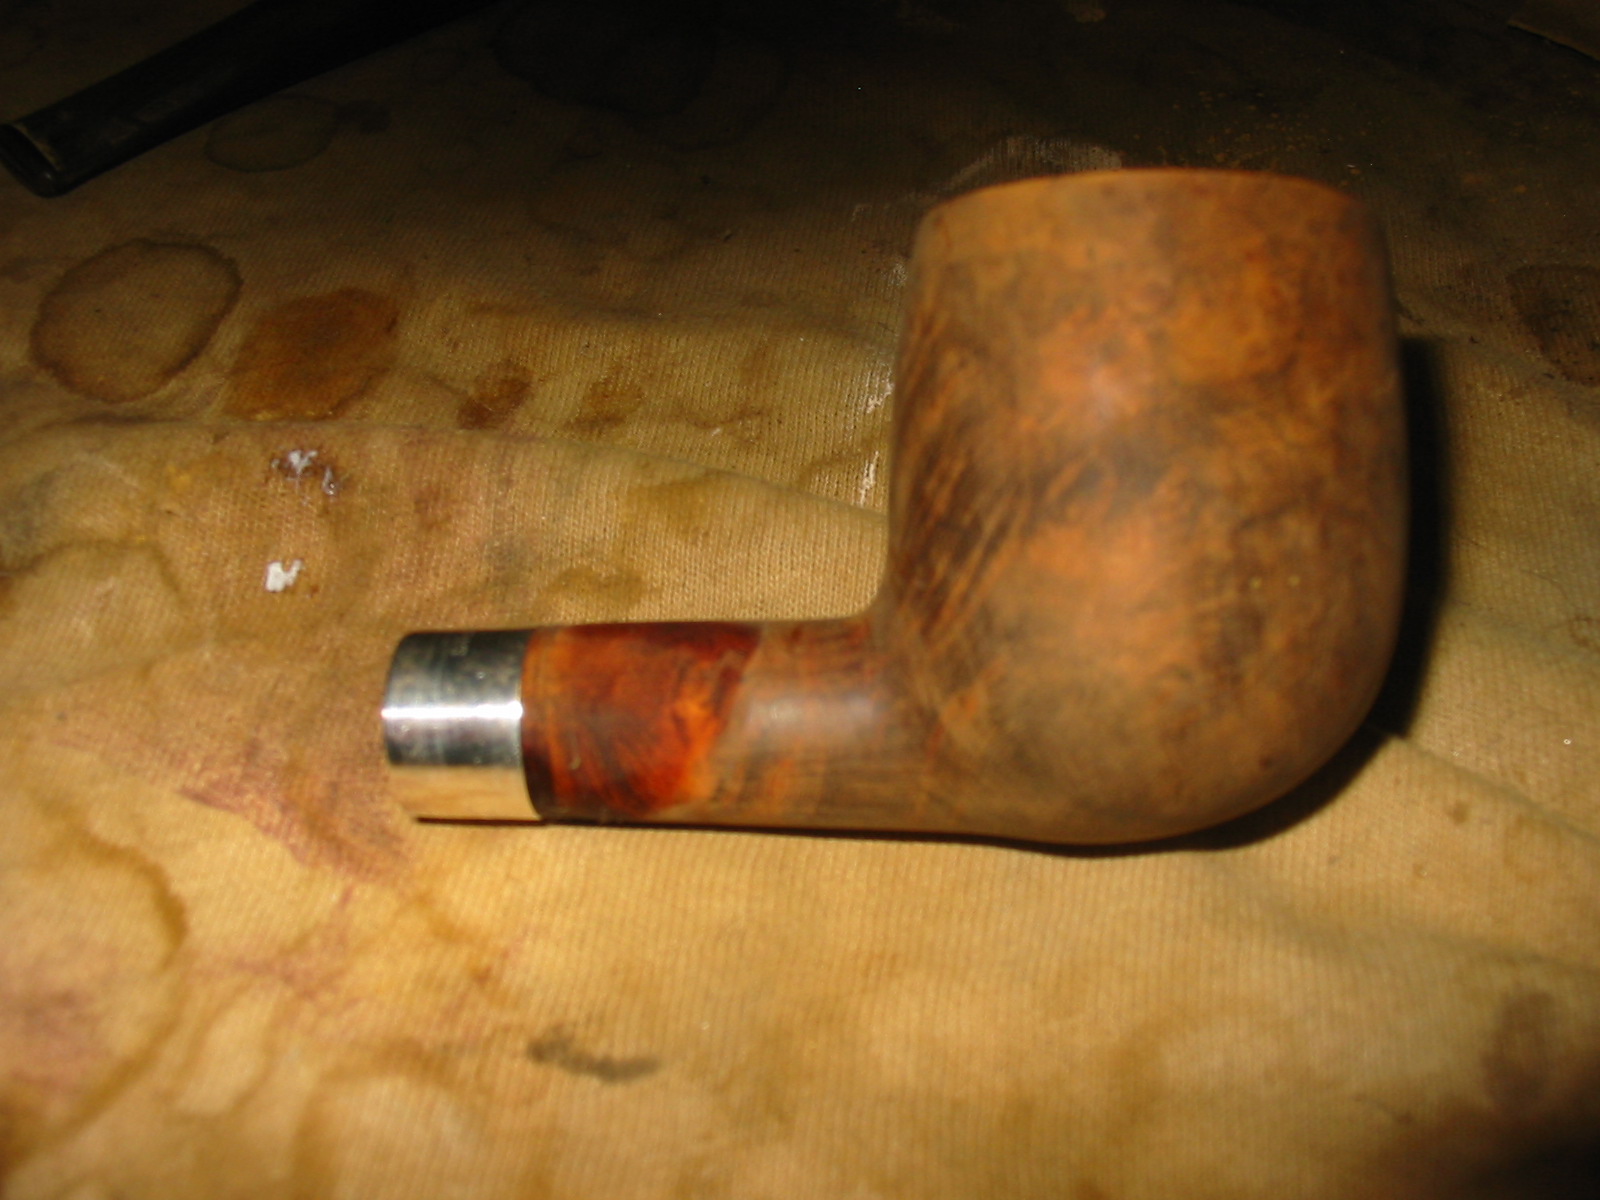
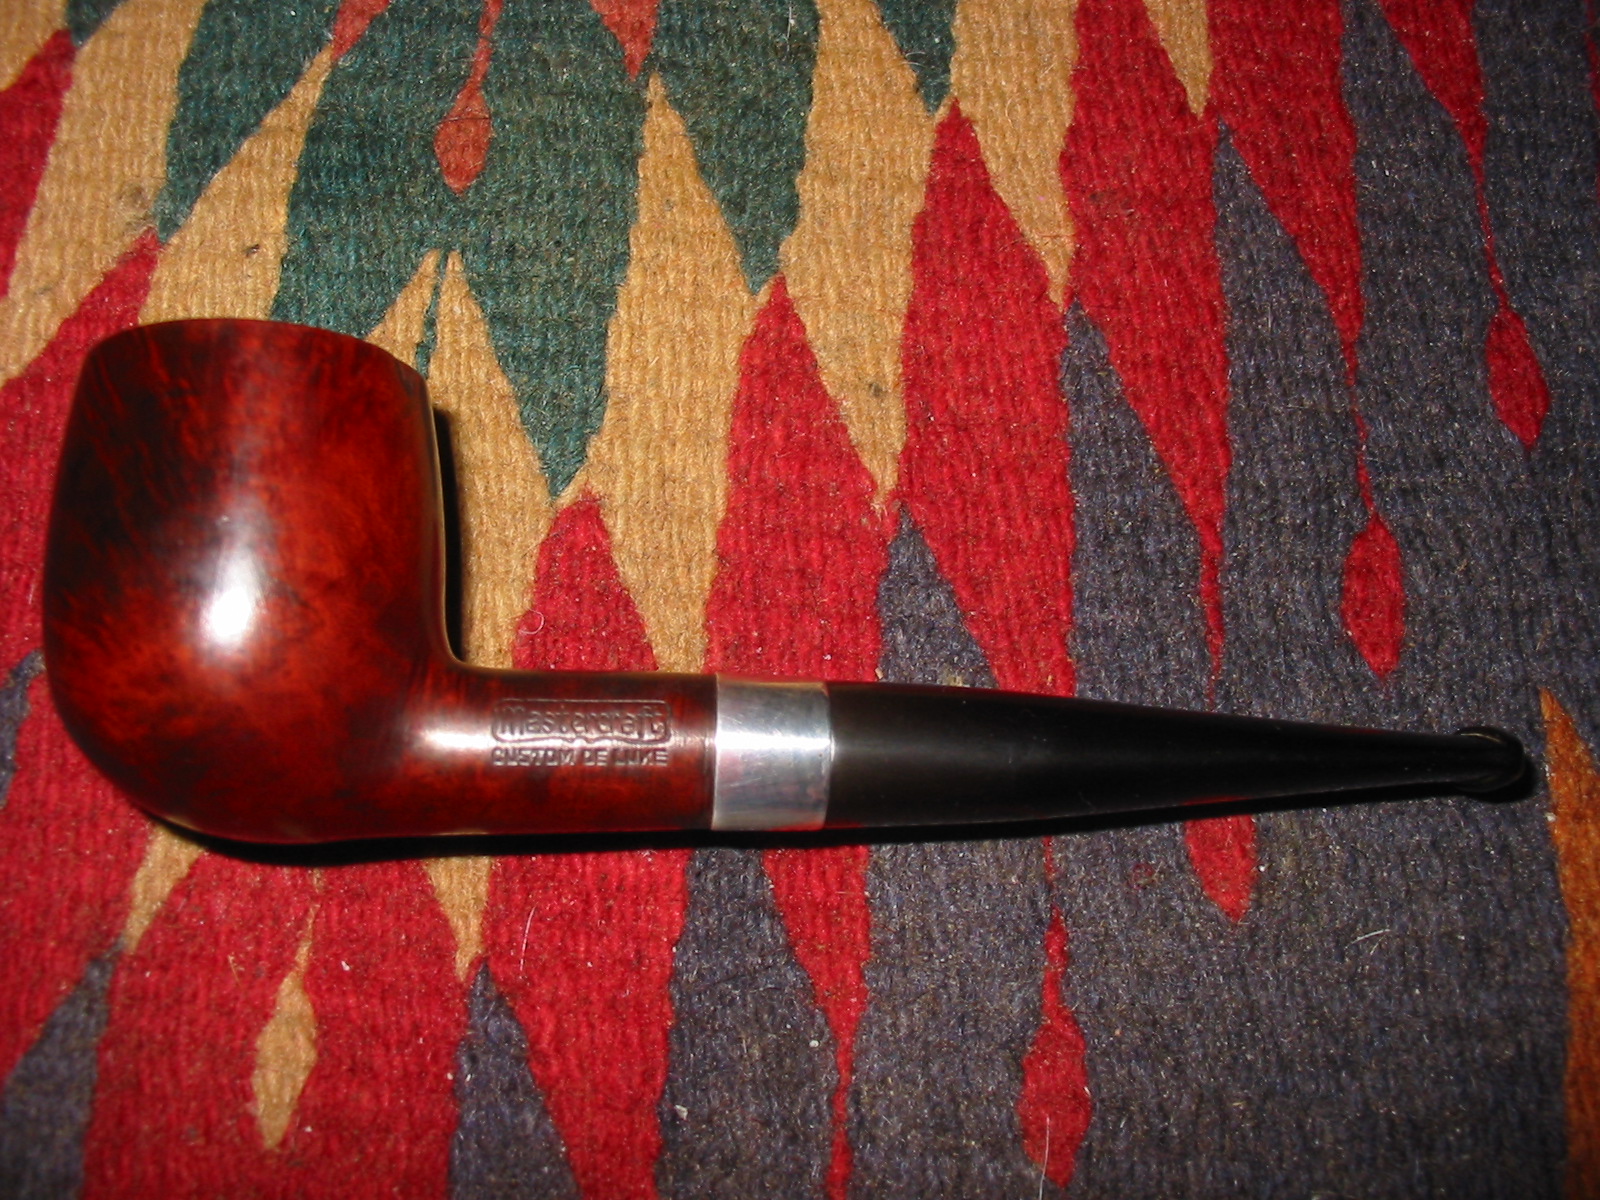
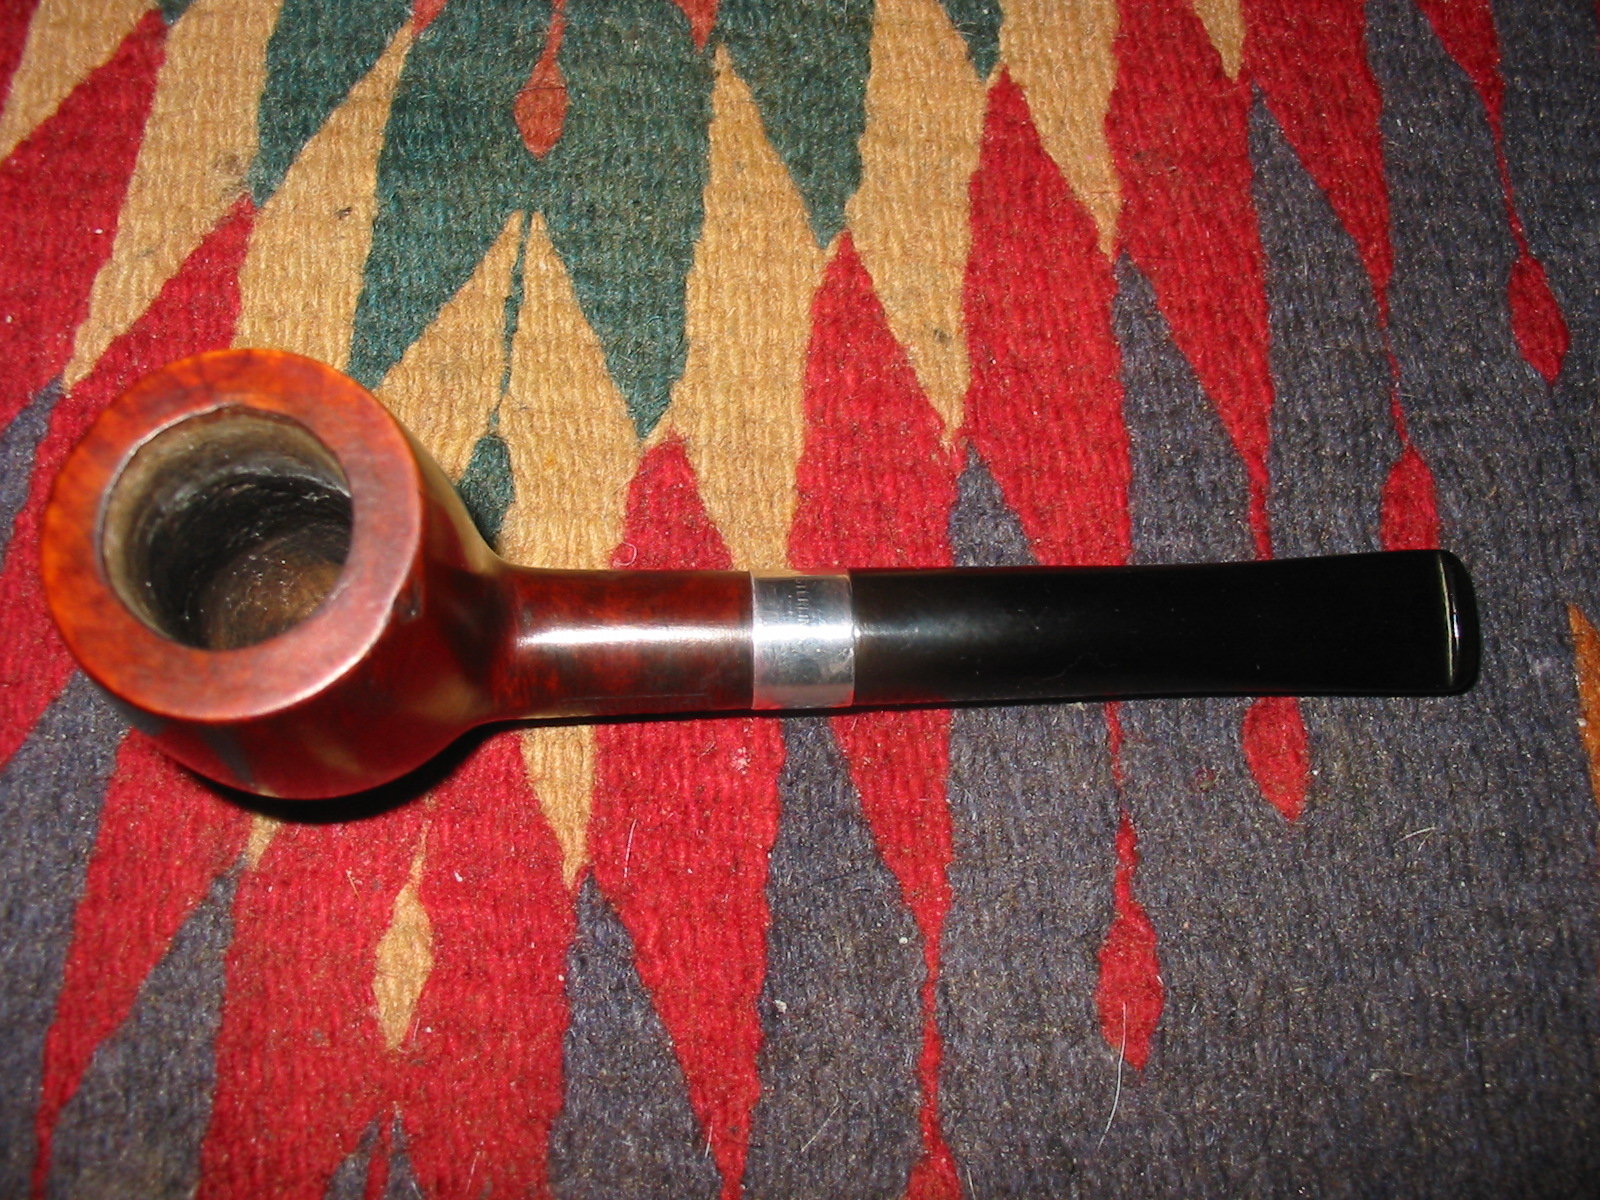
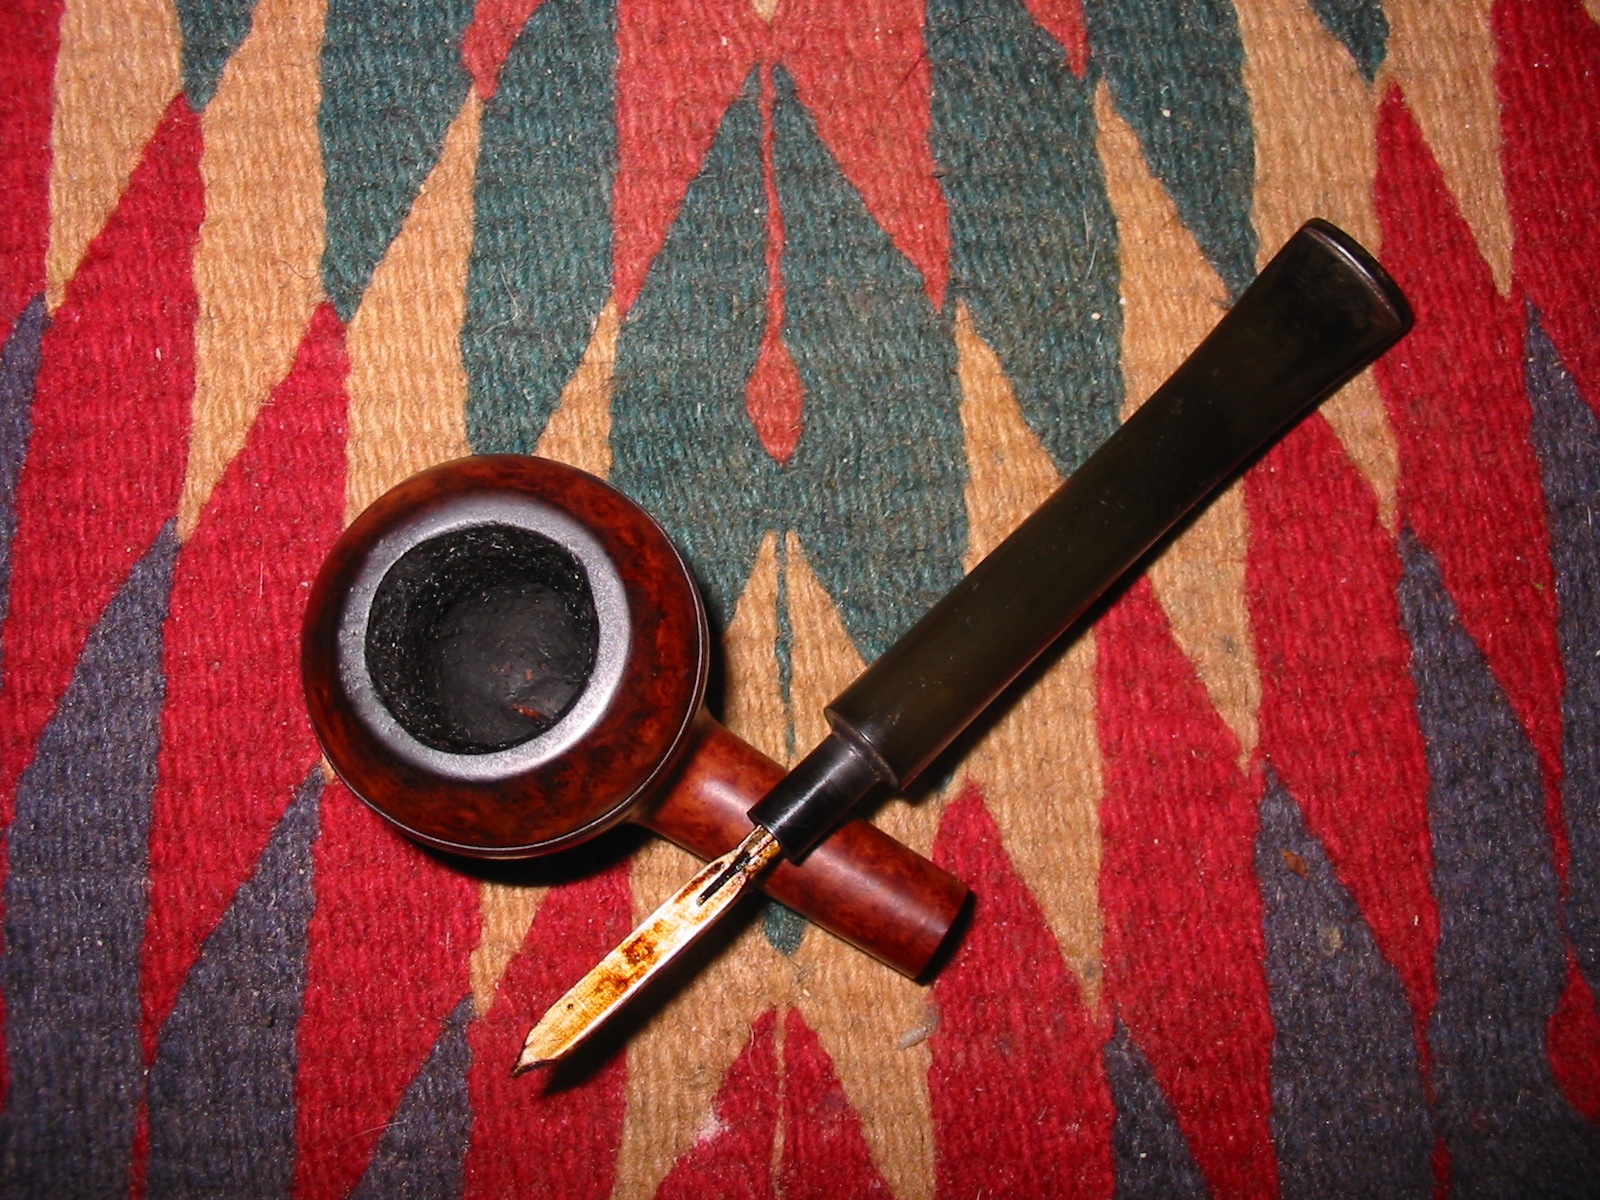
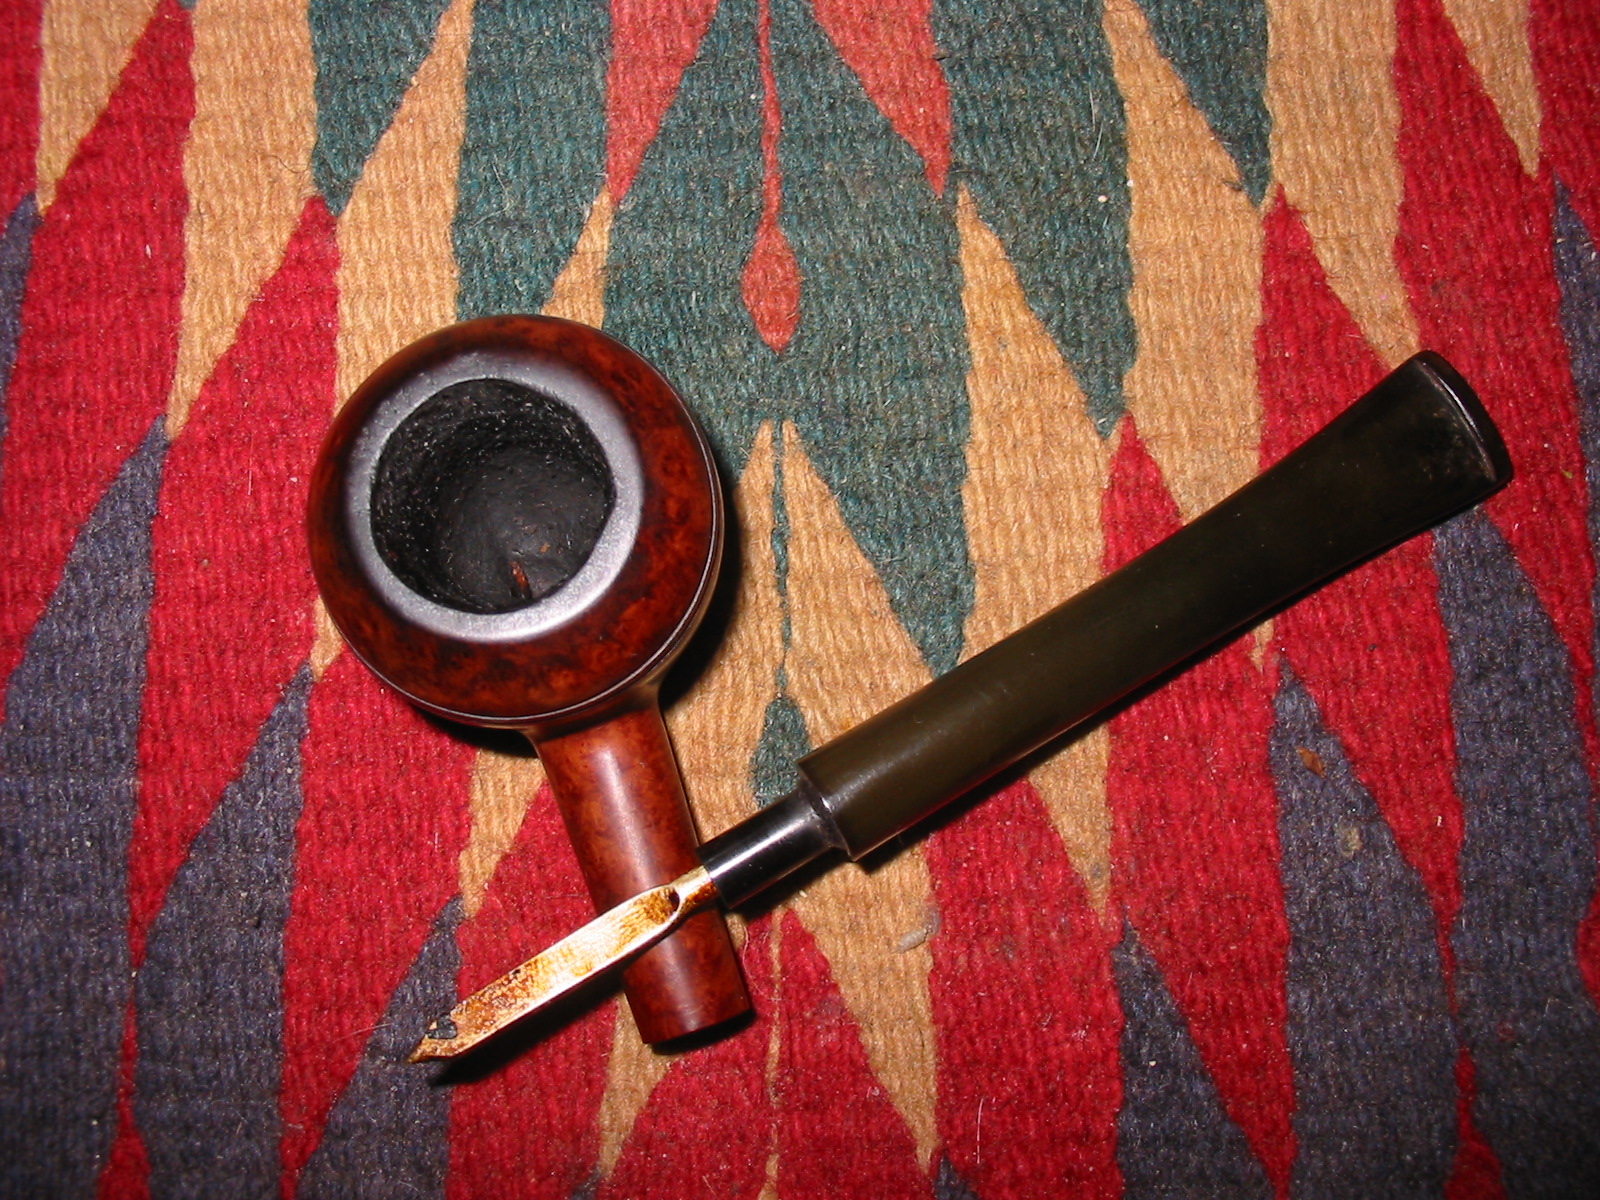
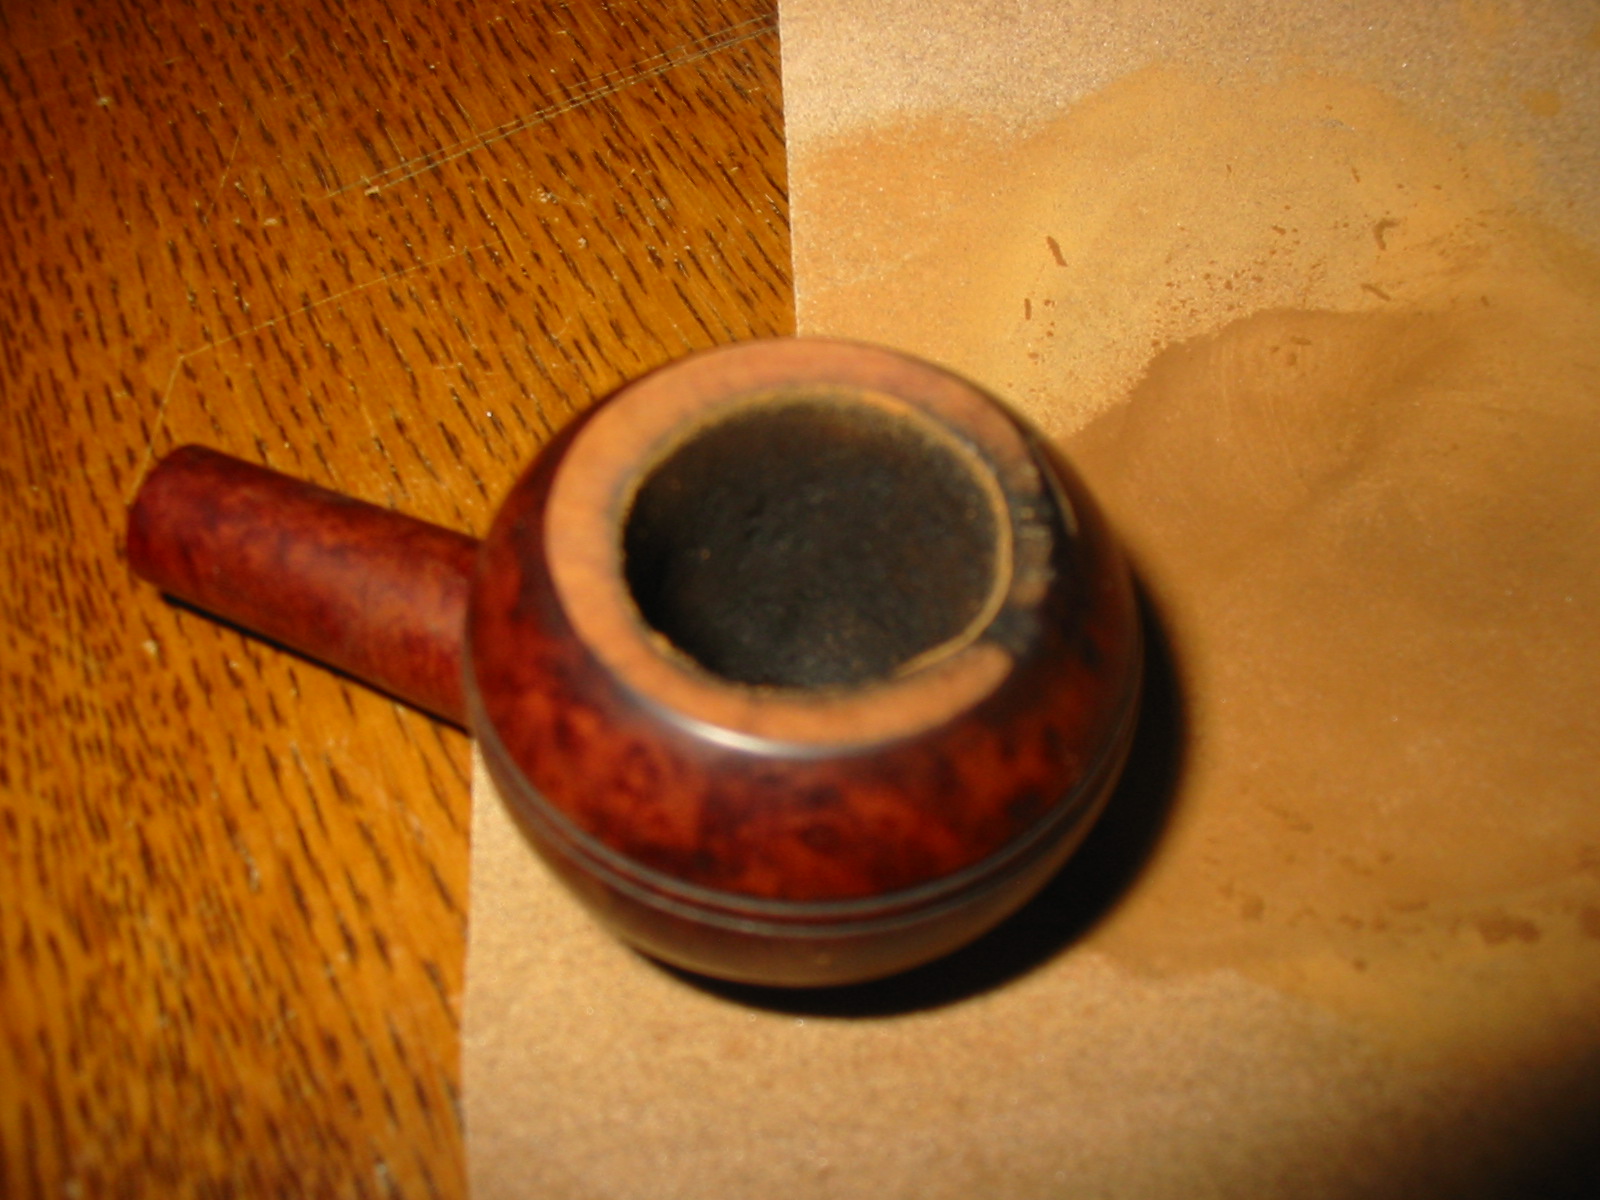
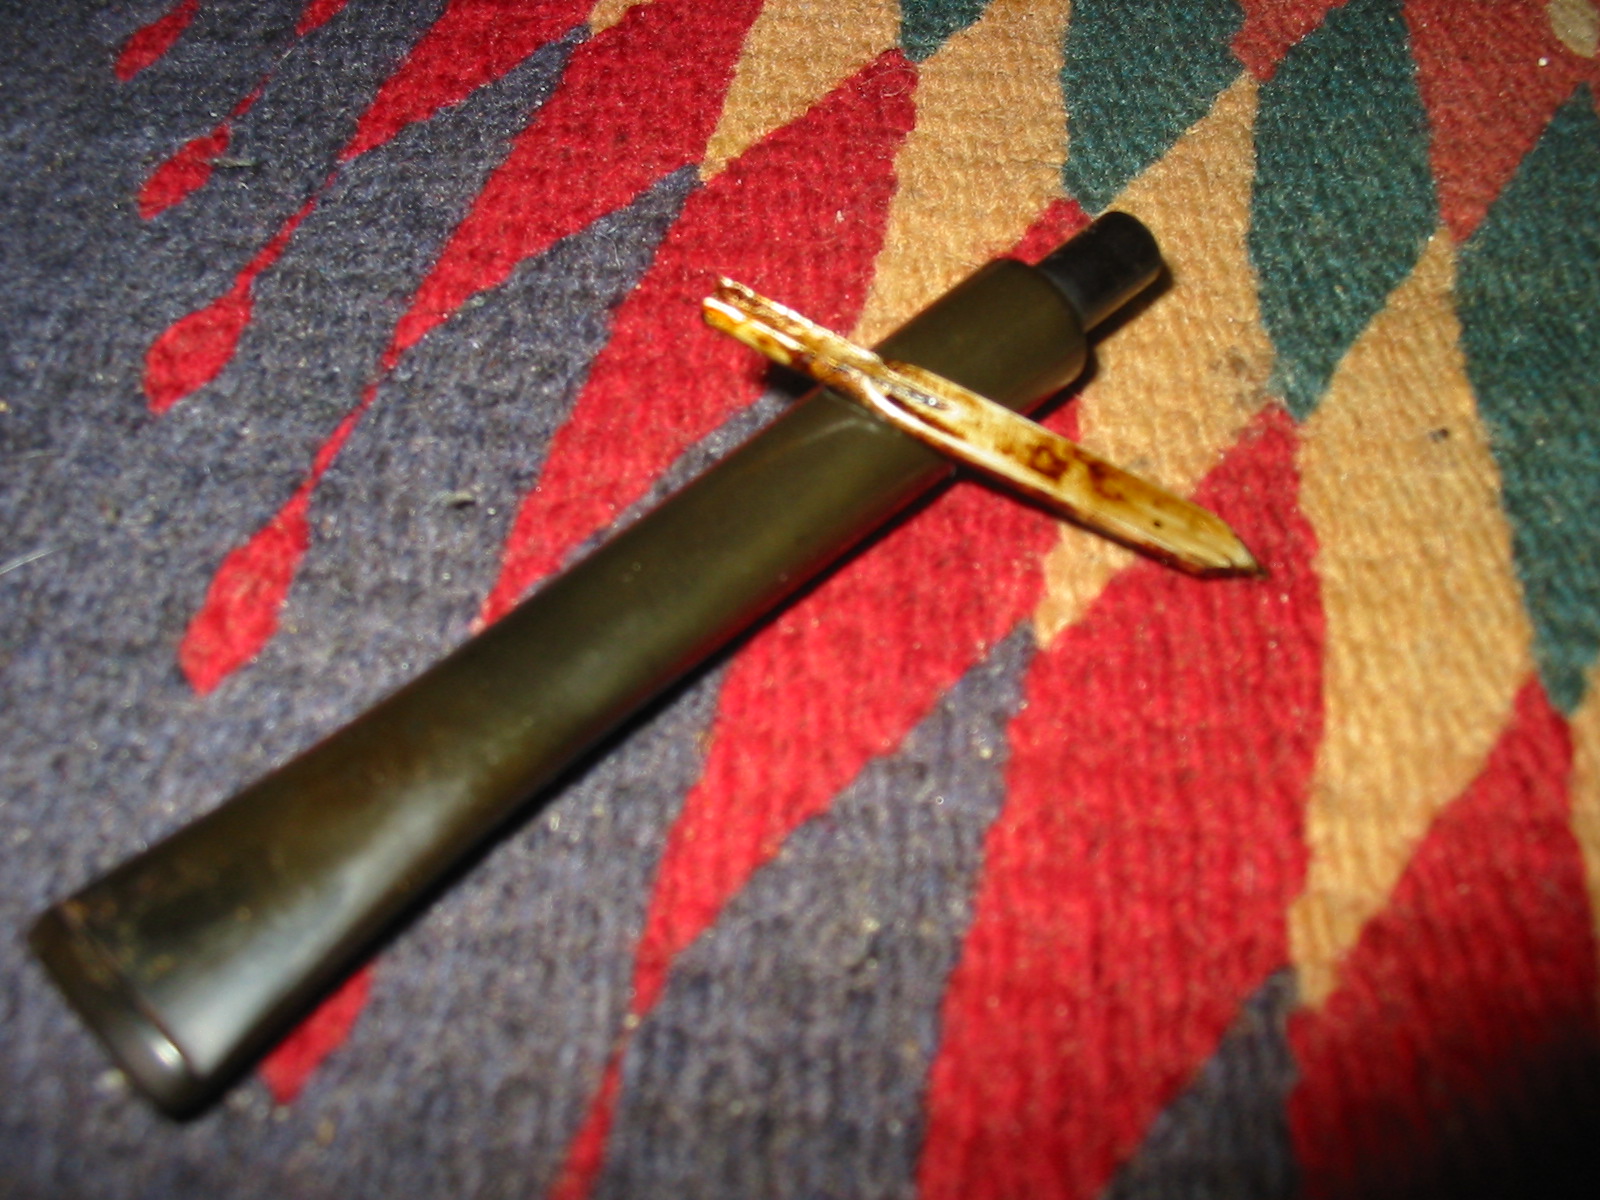
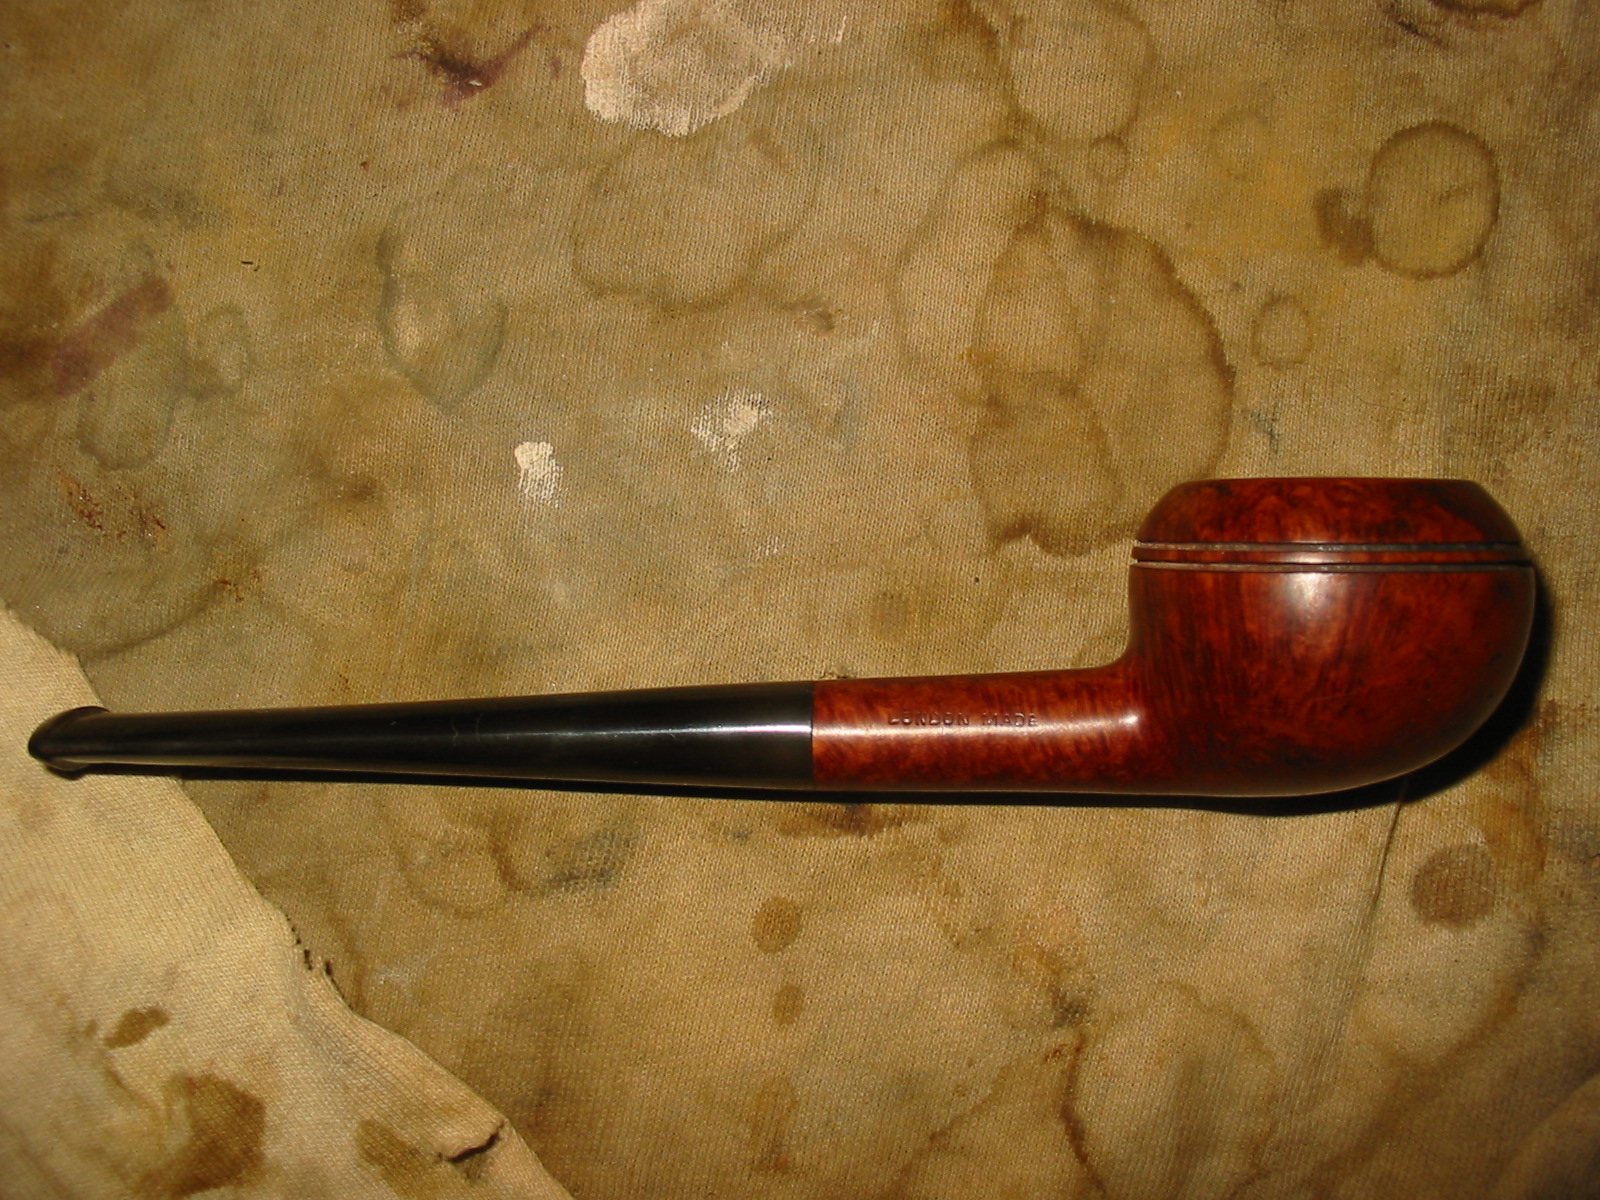
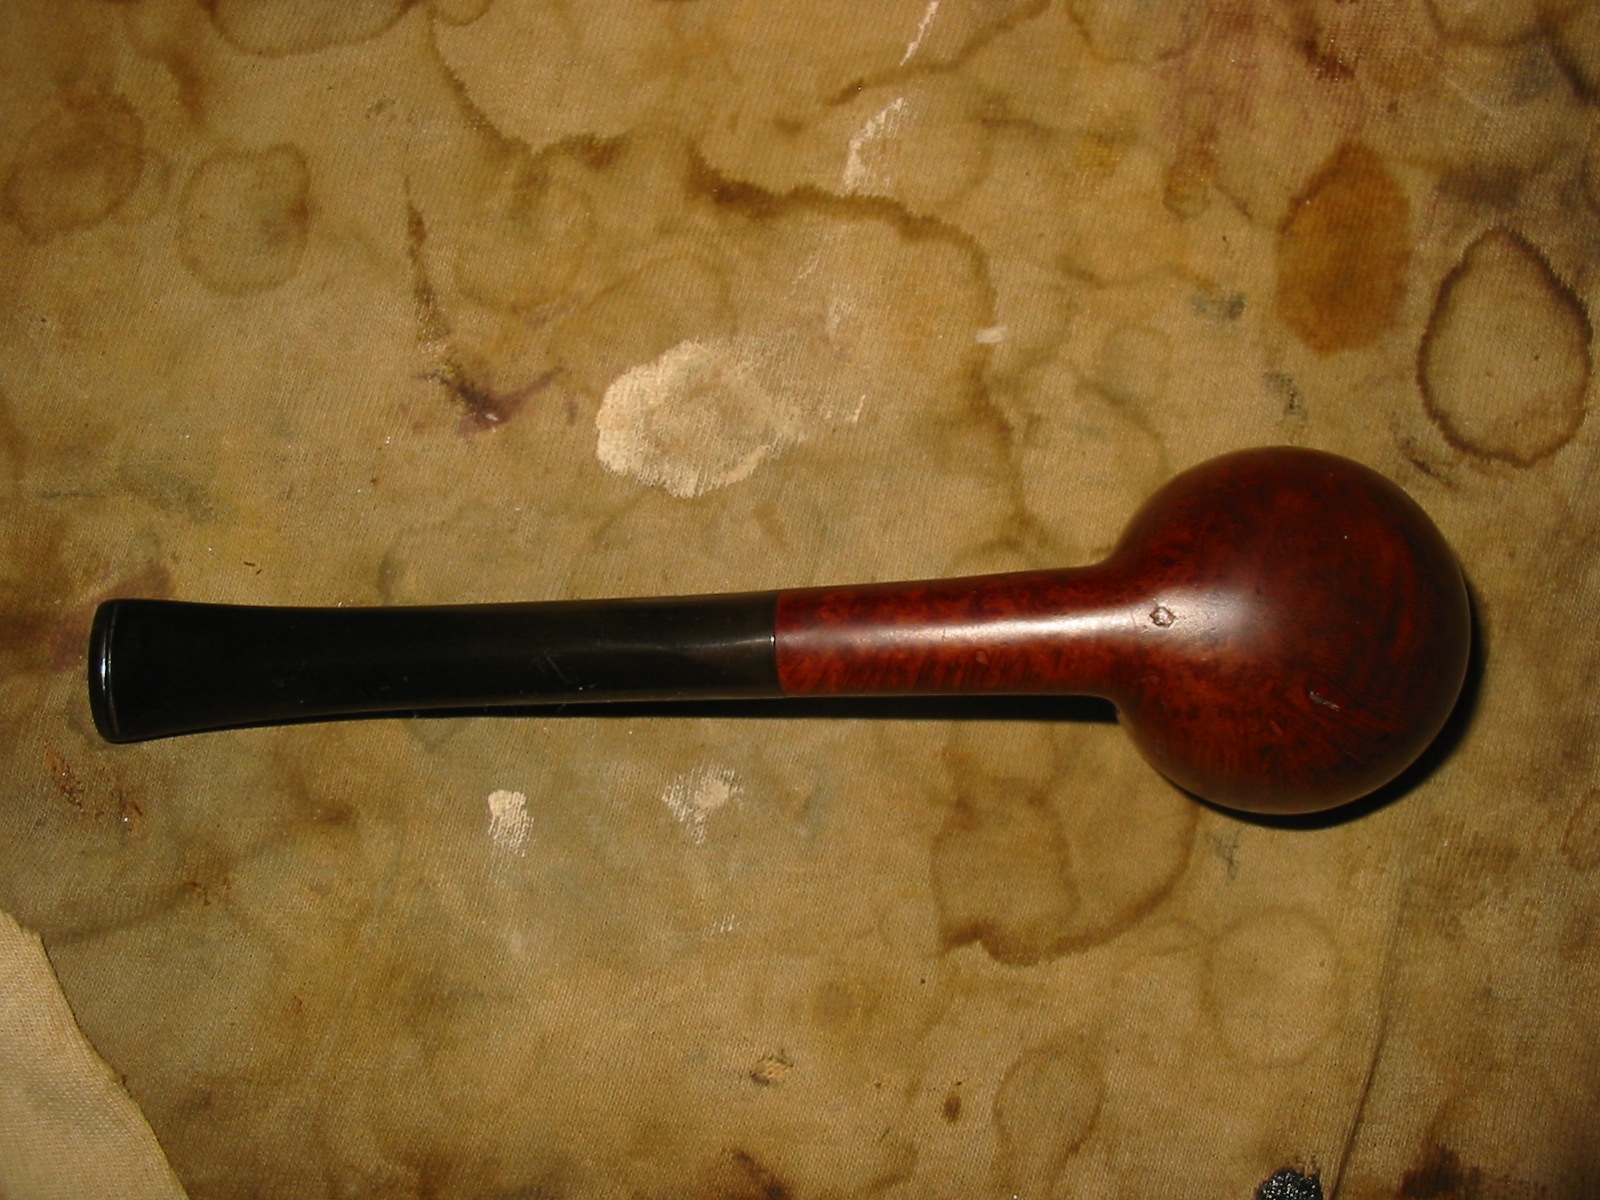
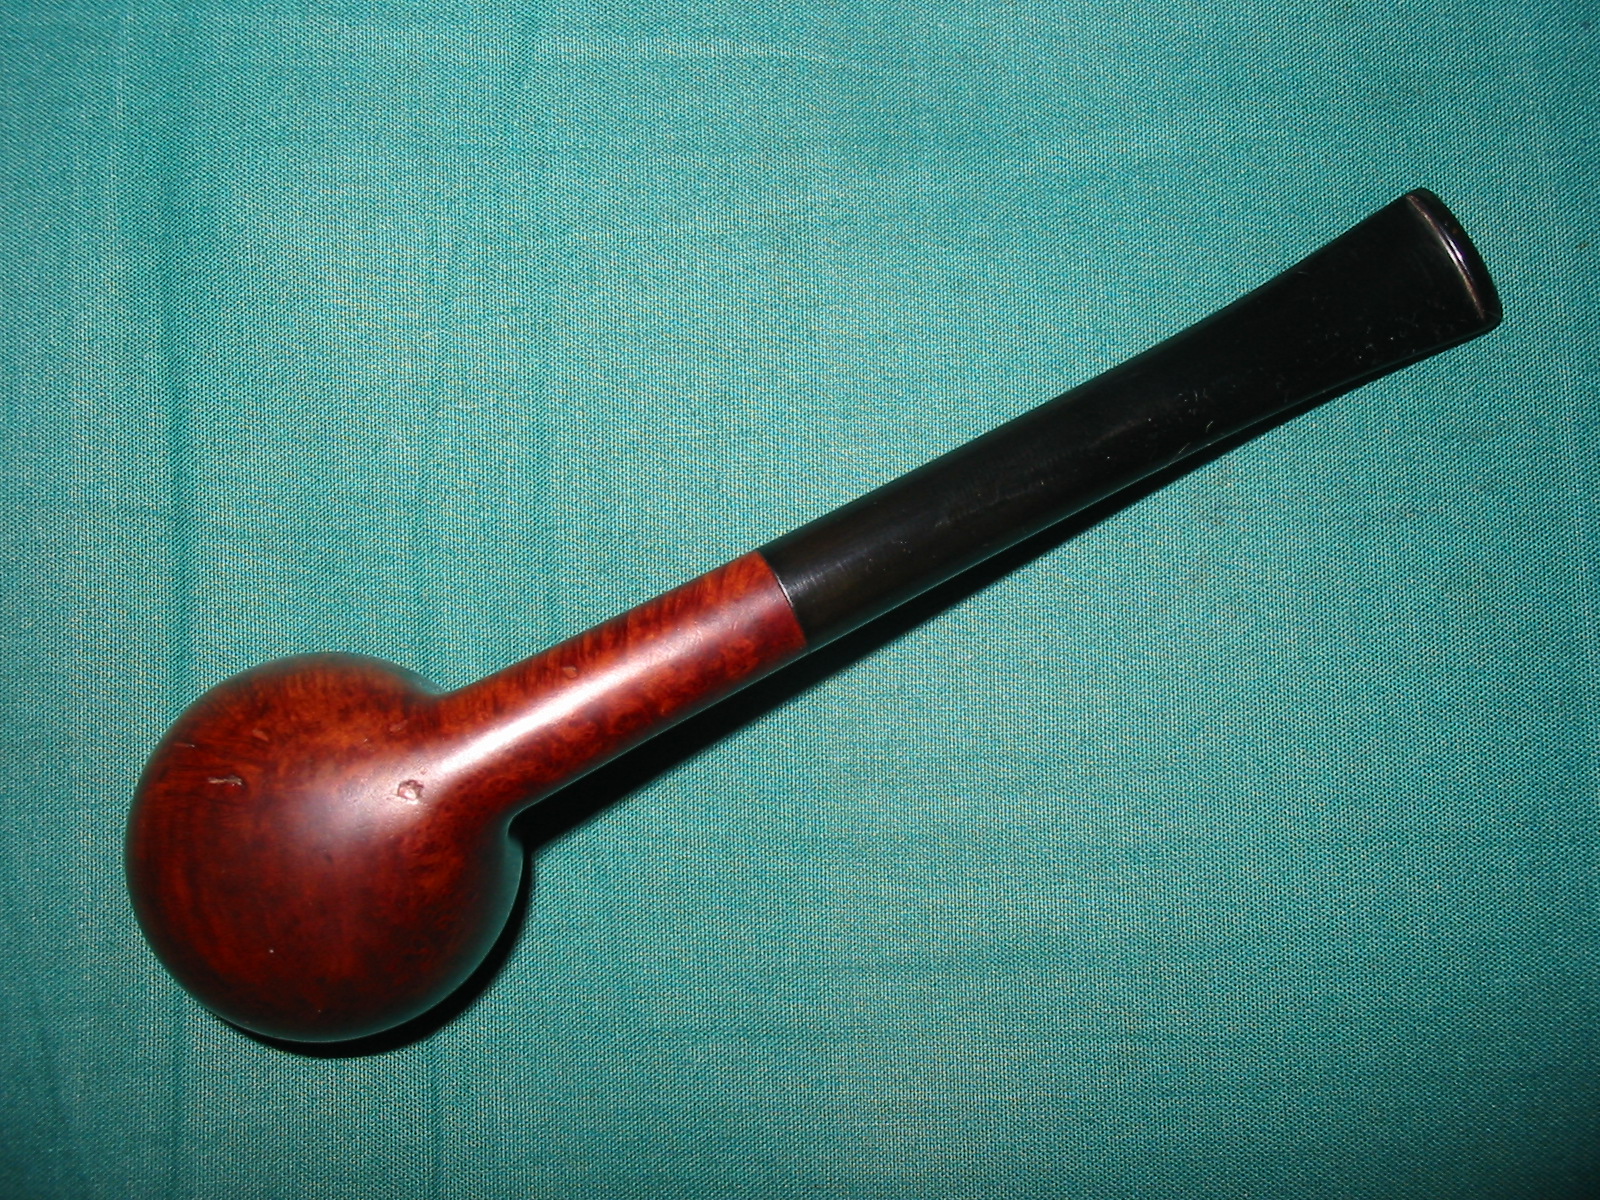
This old Mastercraft billiard is the second pipe of the threesome that was sent to me last week as a gift. In his email asking if I wanted them he said they were either going to the rubbish bin or to me so I was not surprised when I opened the box and unpacked them. It had some nice looking grain underneath all of the grime and peeling varnish. But this one was in very rough shape. The stem was chewed in half so there was not enough to save. The inner tube apparatus inserted into the stem looked like it had been destroyed and then somebody bent it close to shape and cut a X cut in the end of the tenon so that it would fit into the stem. The shank was grimy and dark with a white mold residing inside both the bowl and the shank. The pipe reeked of mold. The bowl itself had a heavy but broken cake underneath the mold. It had a coat of varnish that was spotty and peeling where it was worn off the briar. In those worn spots the briar was almost black. The rim was also in very bad shape. The front was burned down from repeatedly lighting the pipe in the same spot with a torch. The back side of the rim looked like it had been scraped on concrete or hammered out on concrete because it was worn and broken down. The three photos below (I apologize for the poor quality – still getting used to this new camera!) show the state of the bowl and stem.


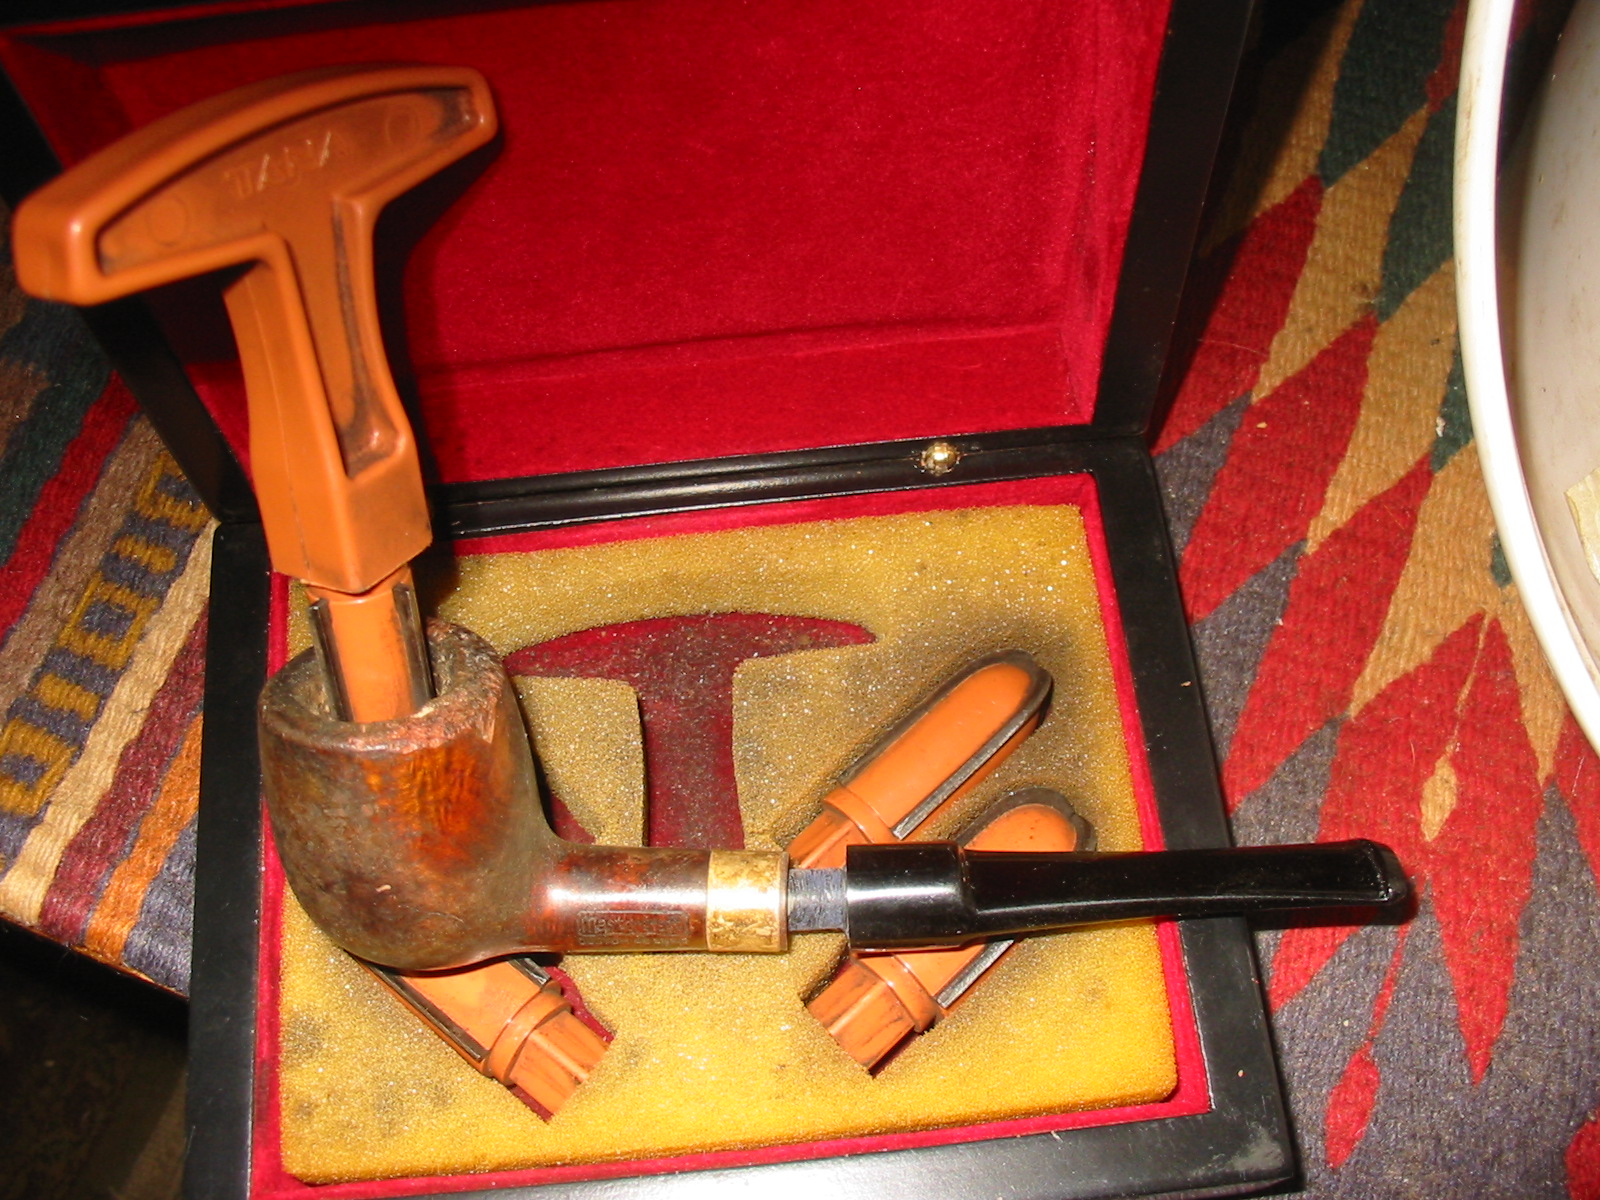
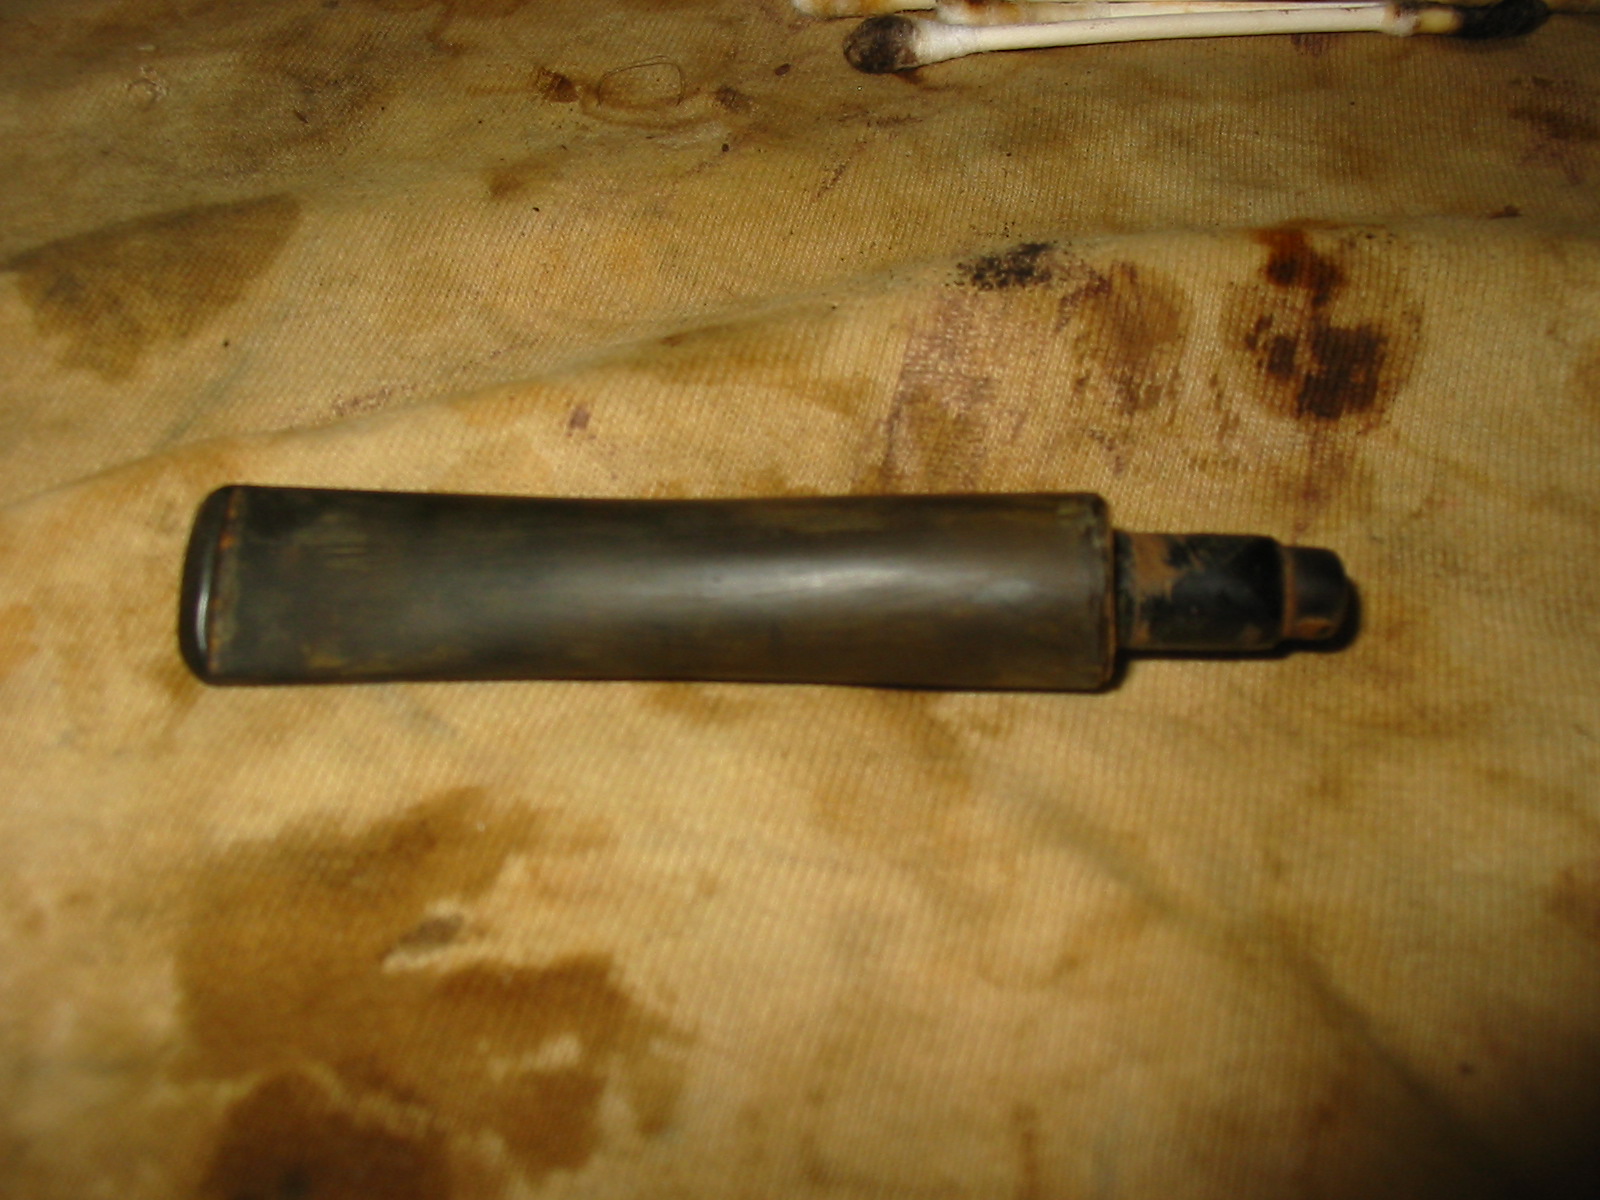
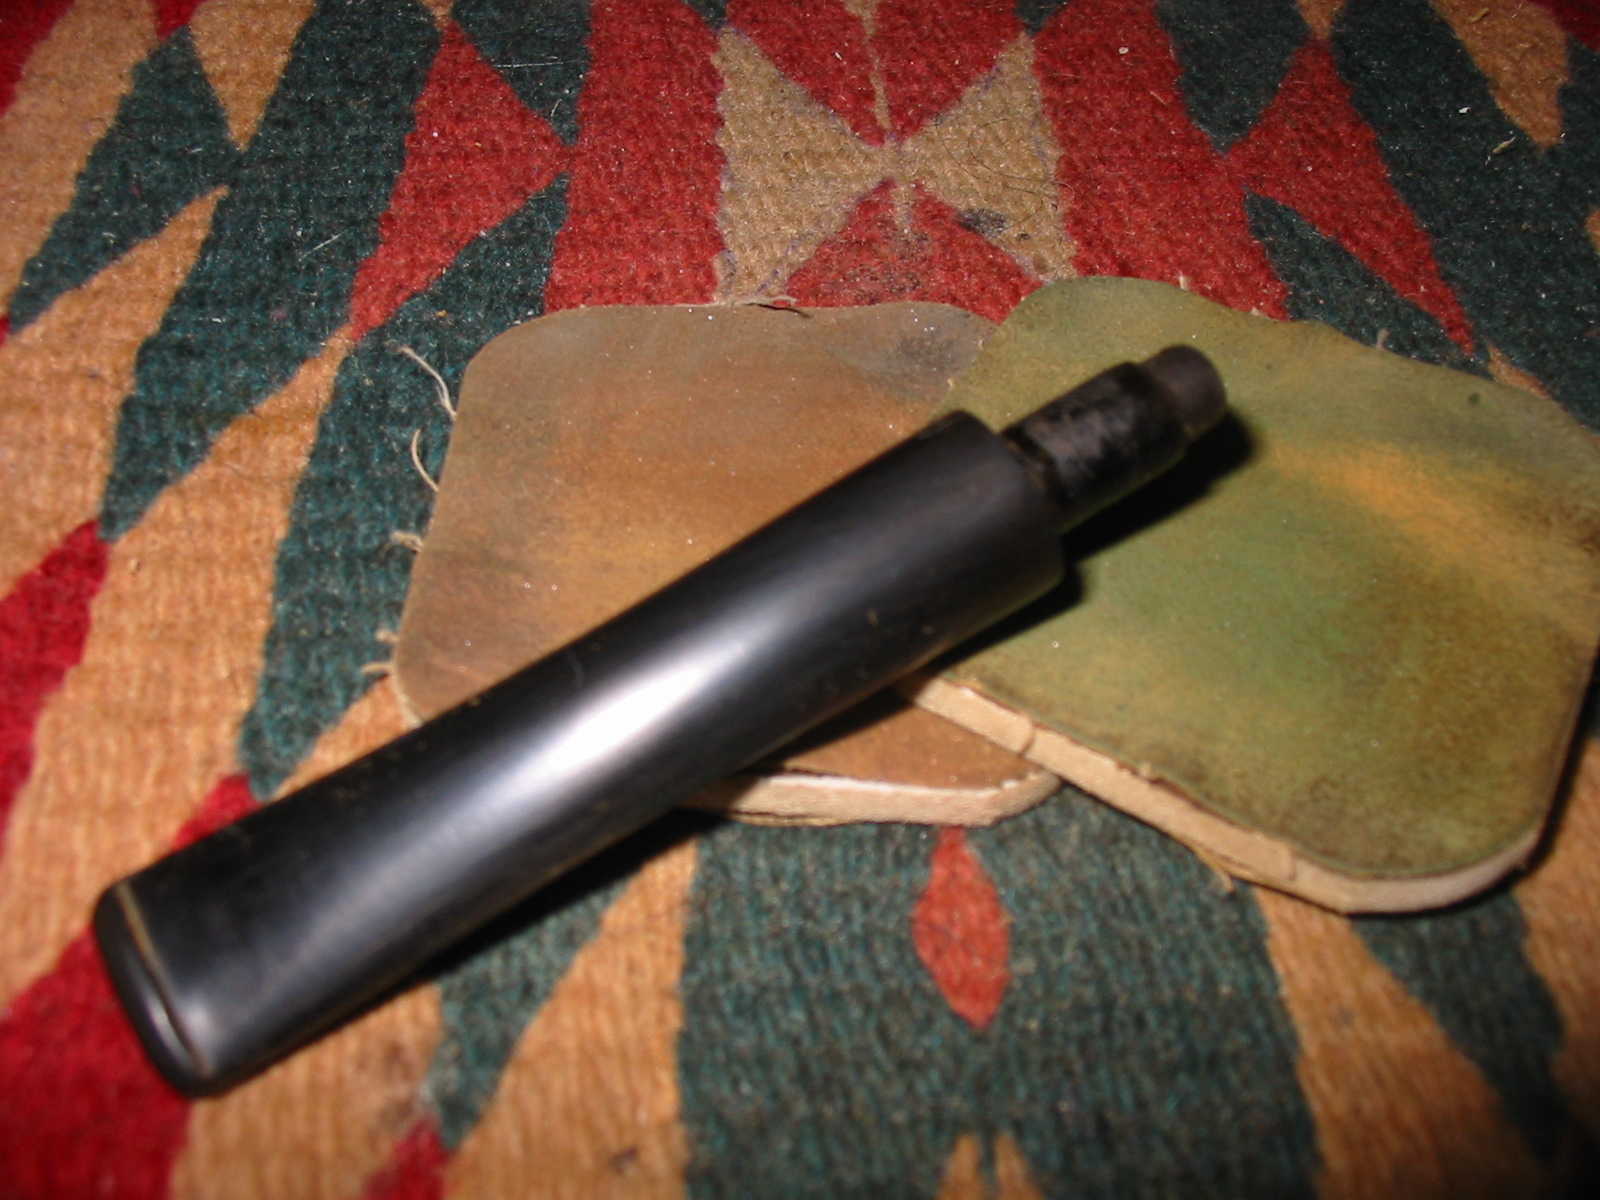
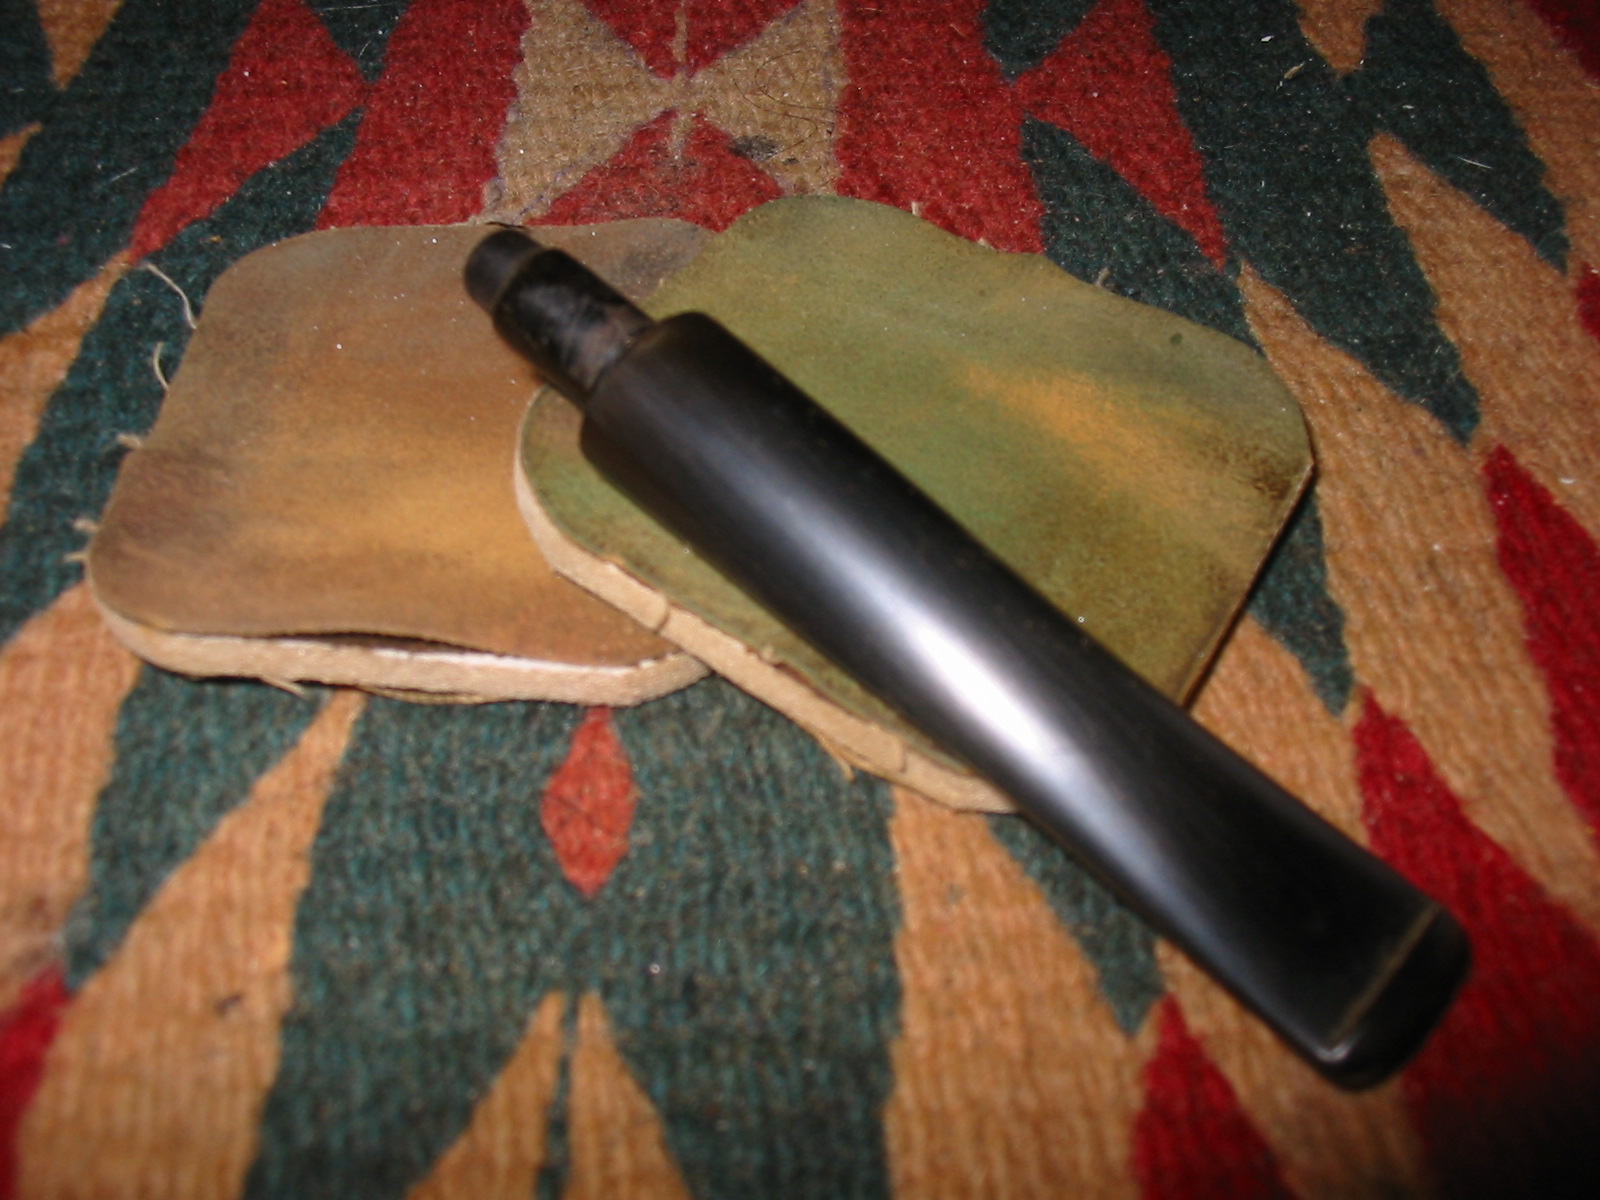
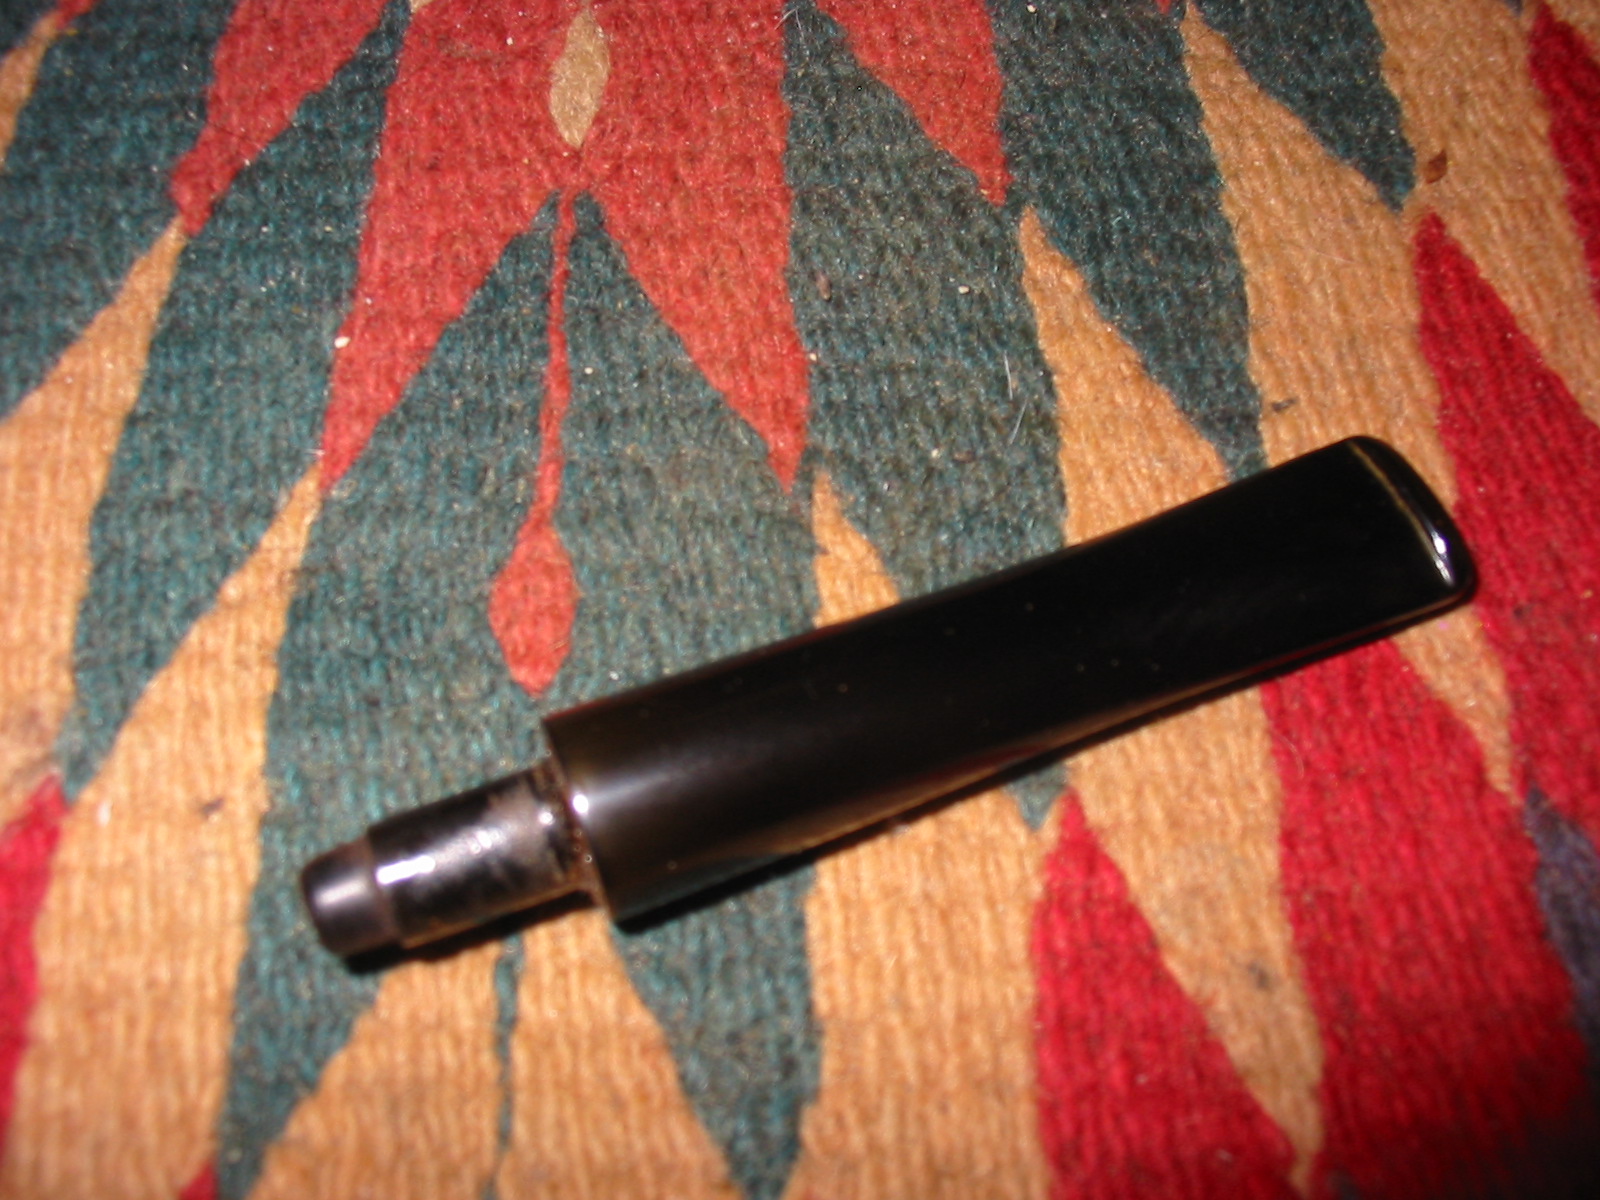
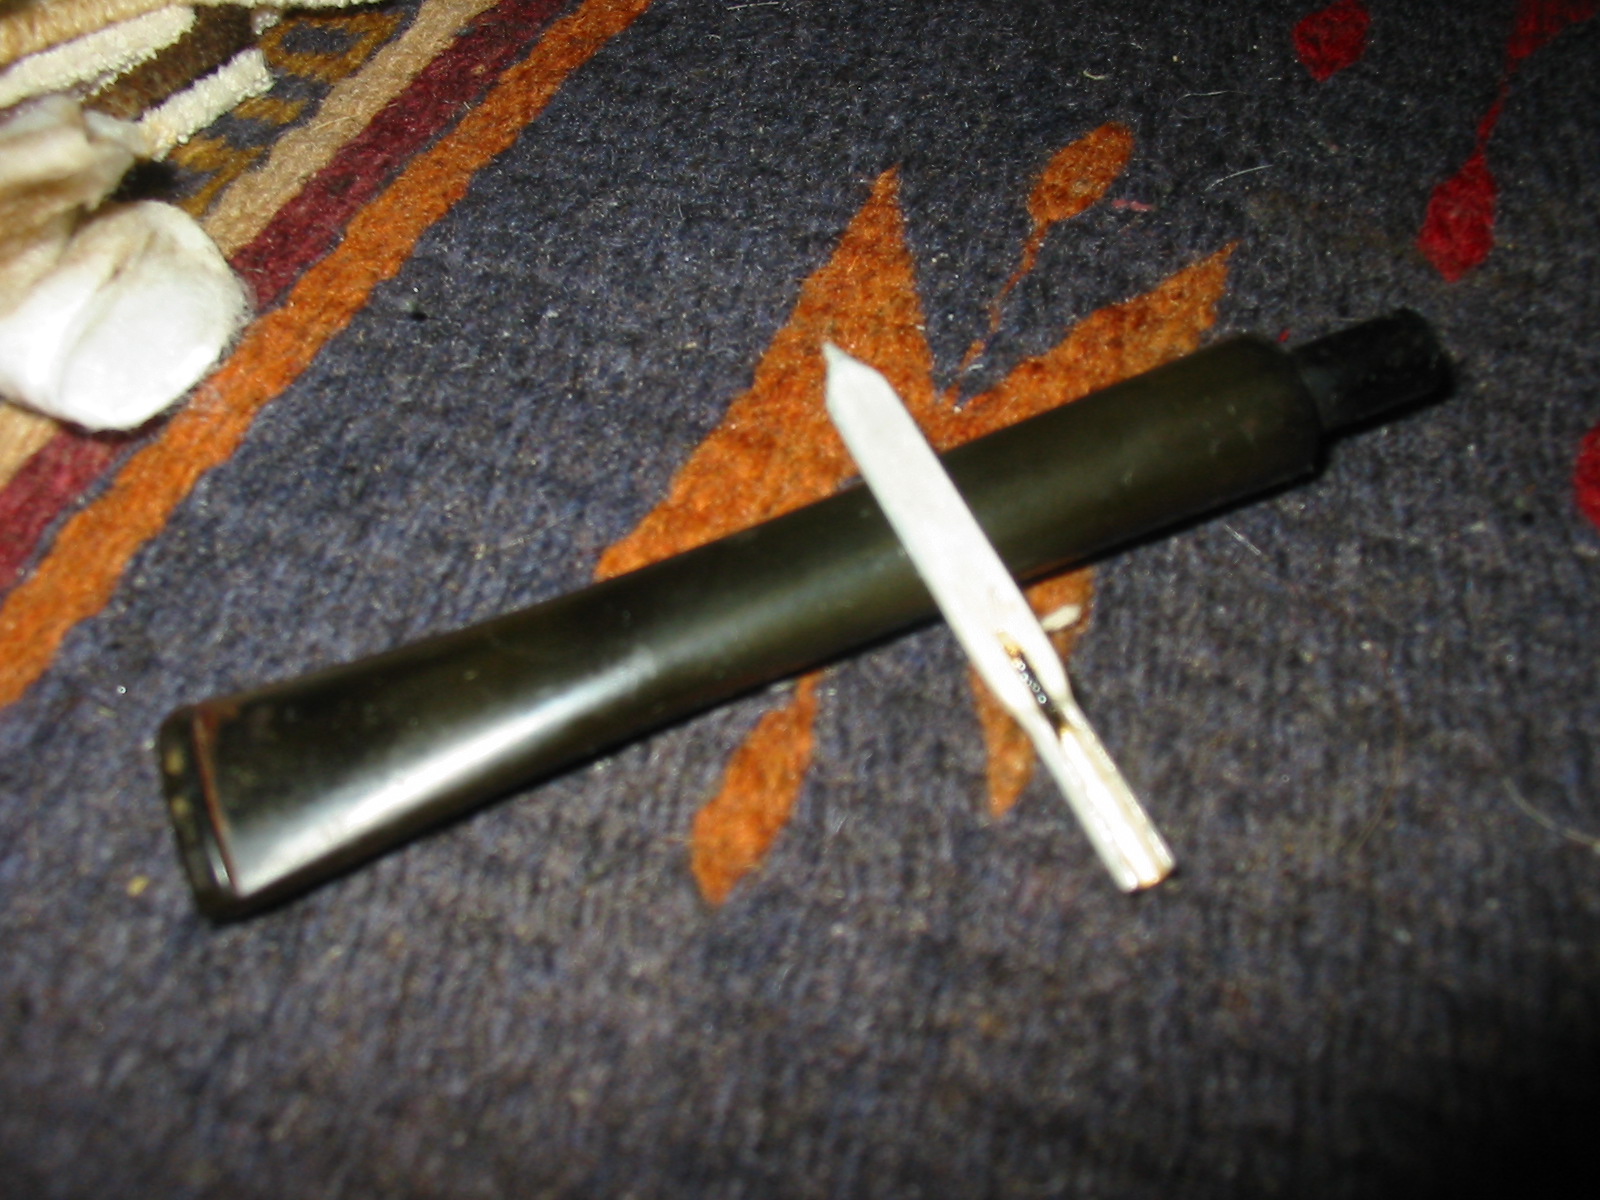
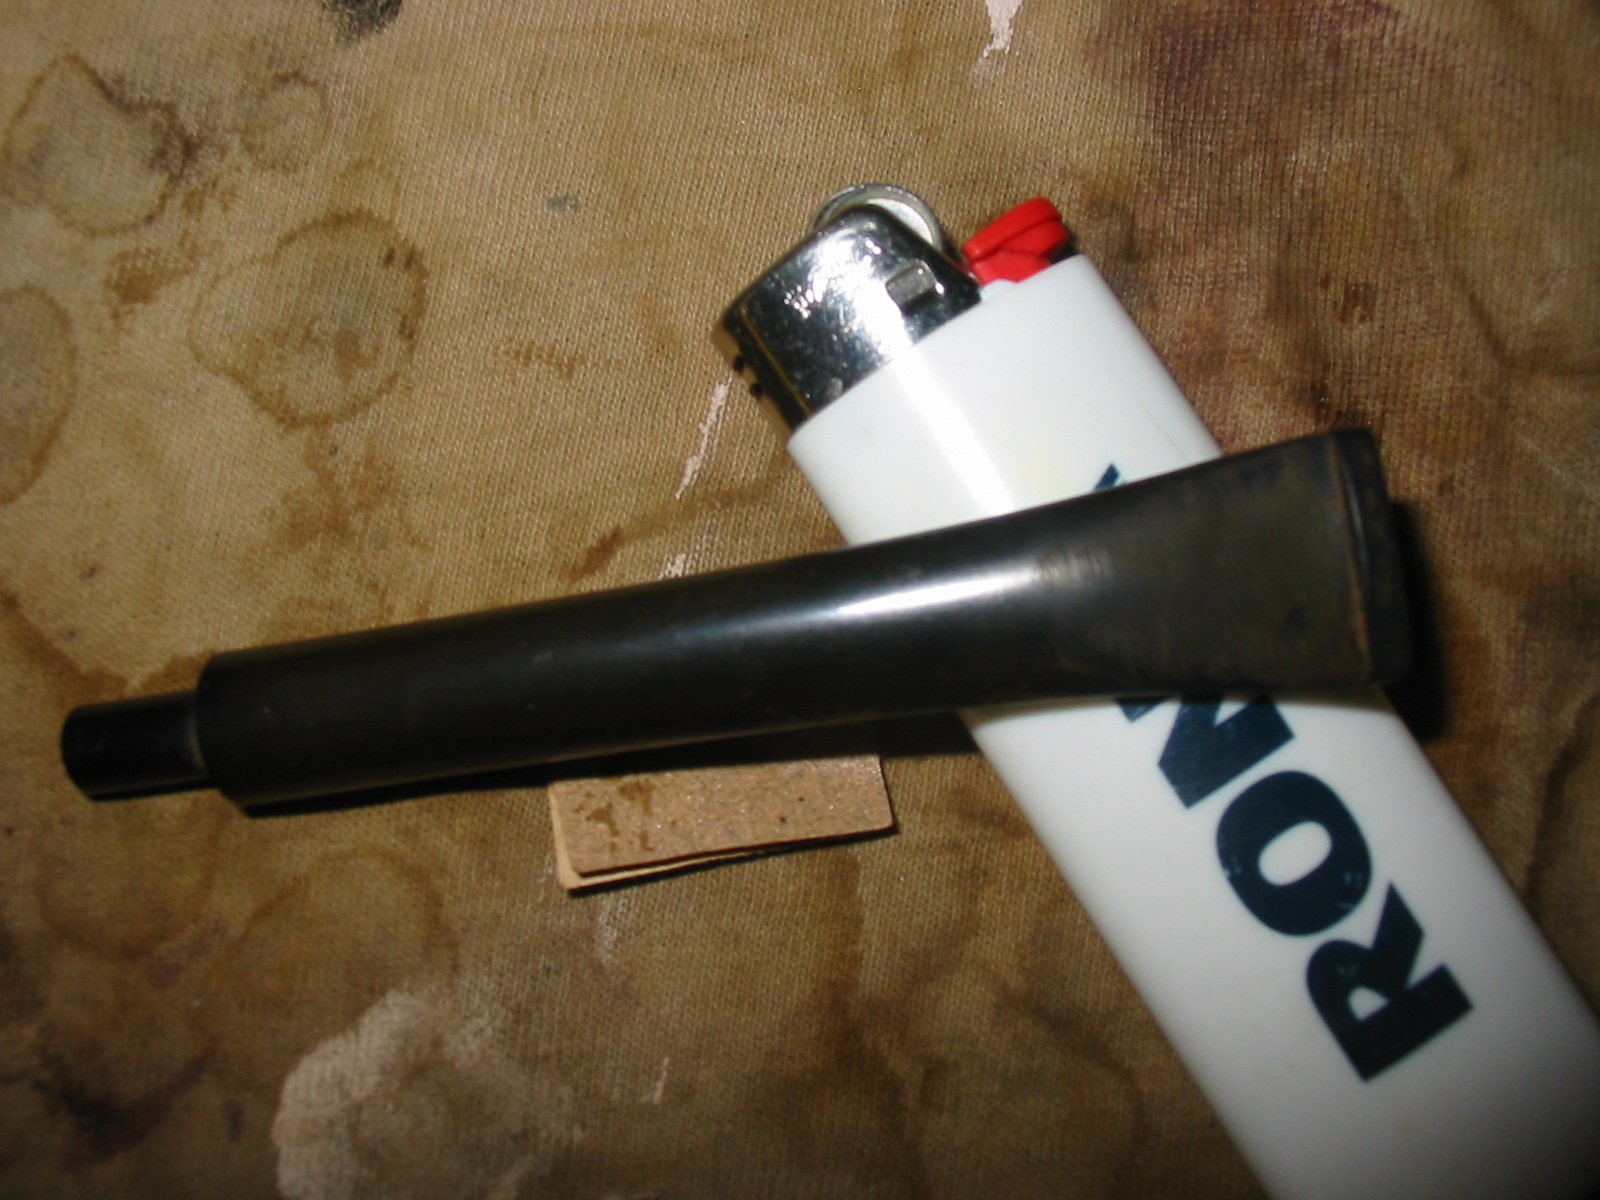
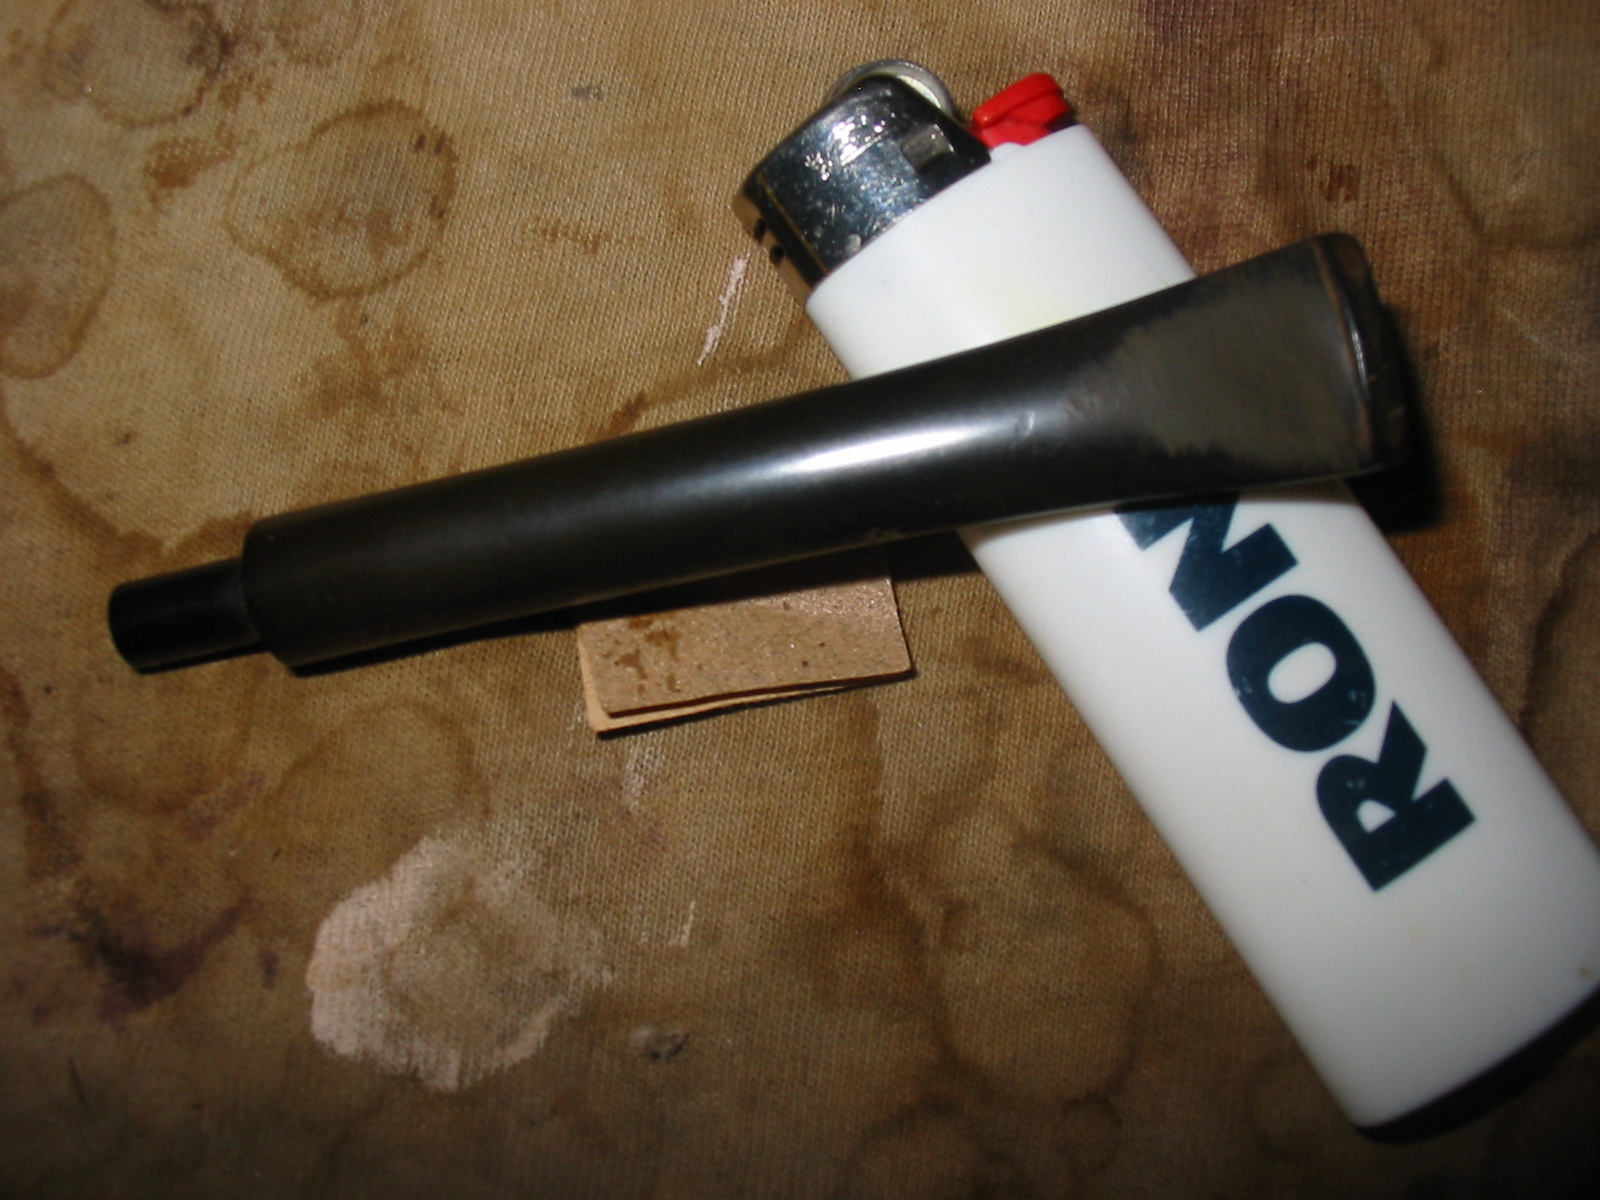
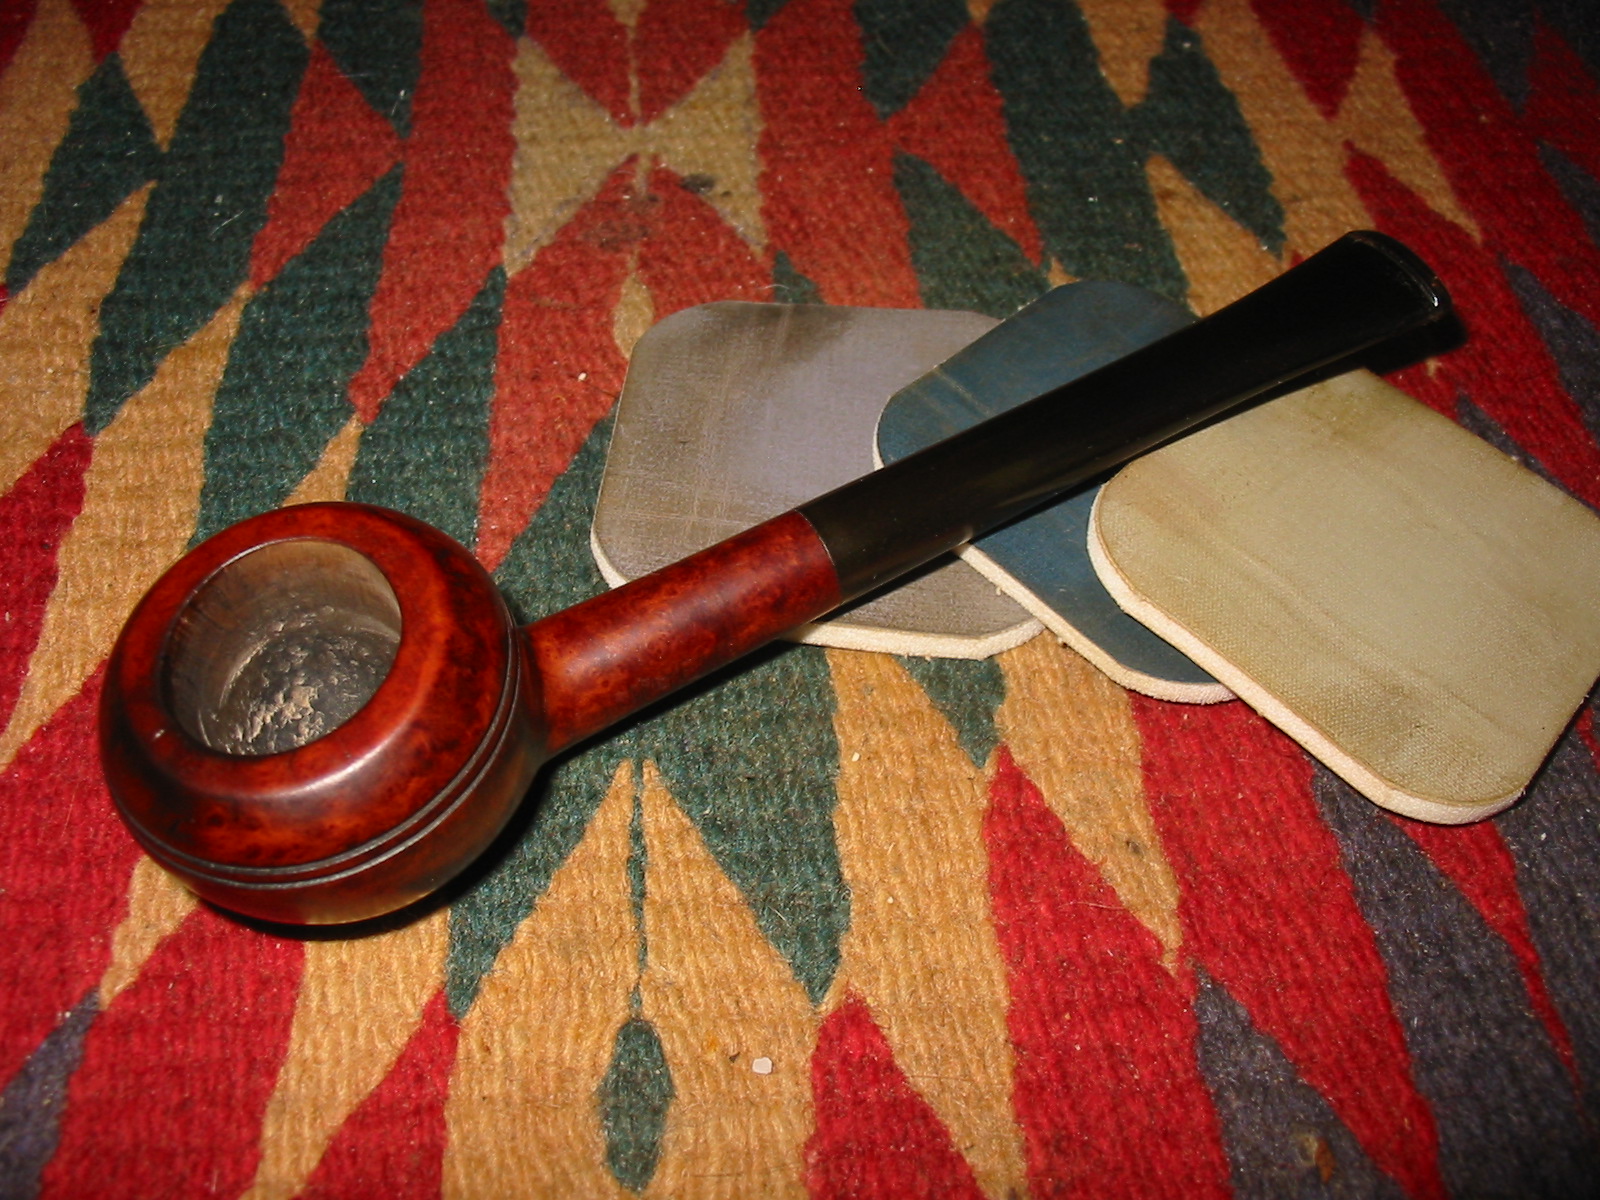
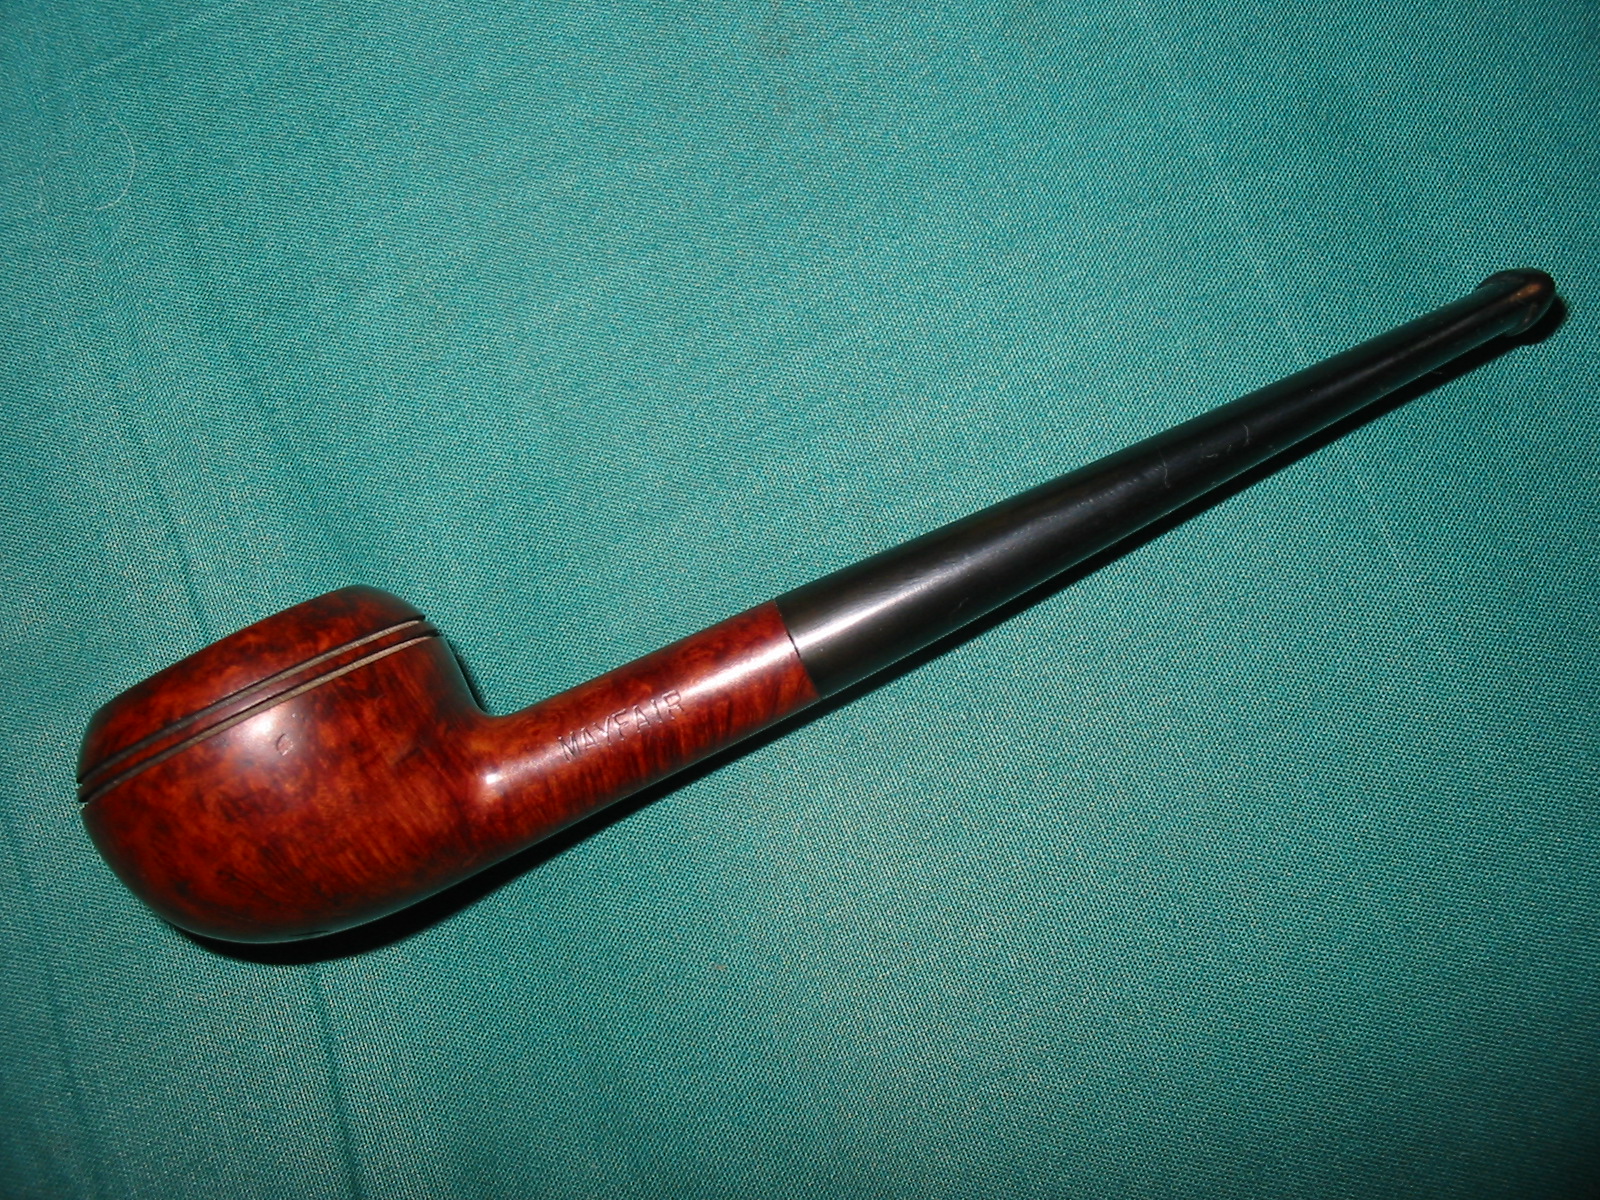
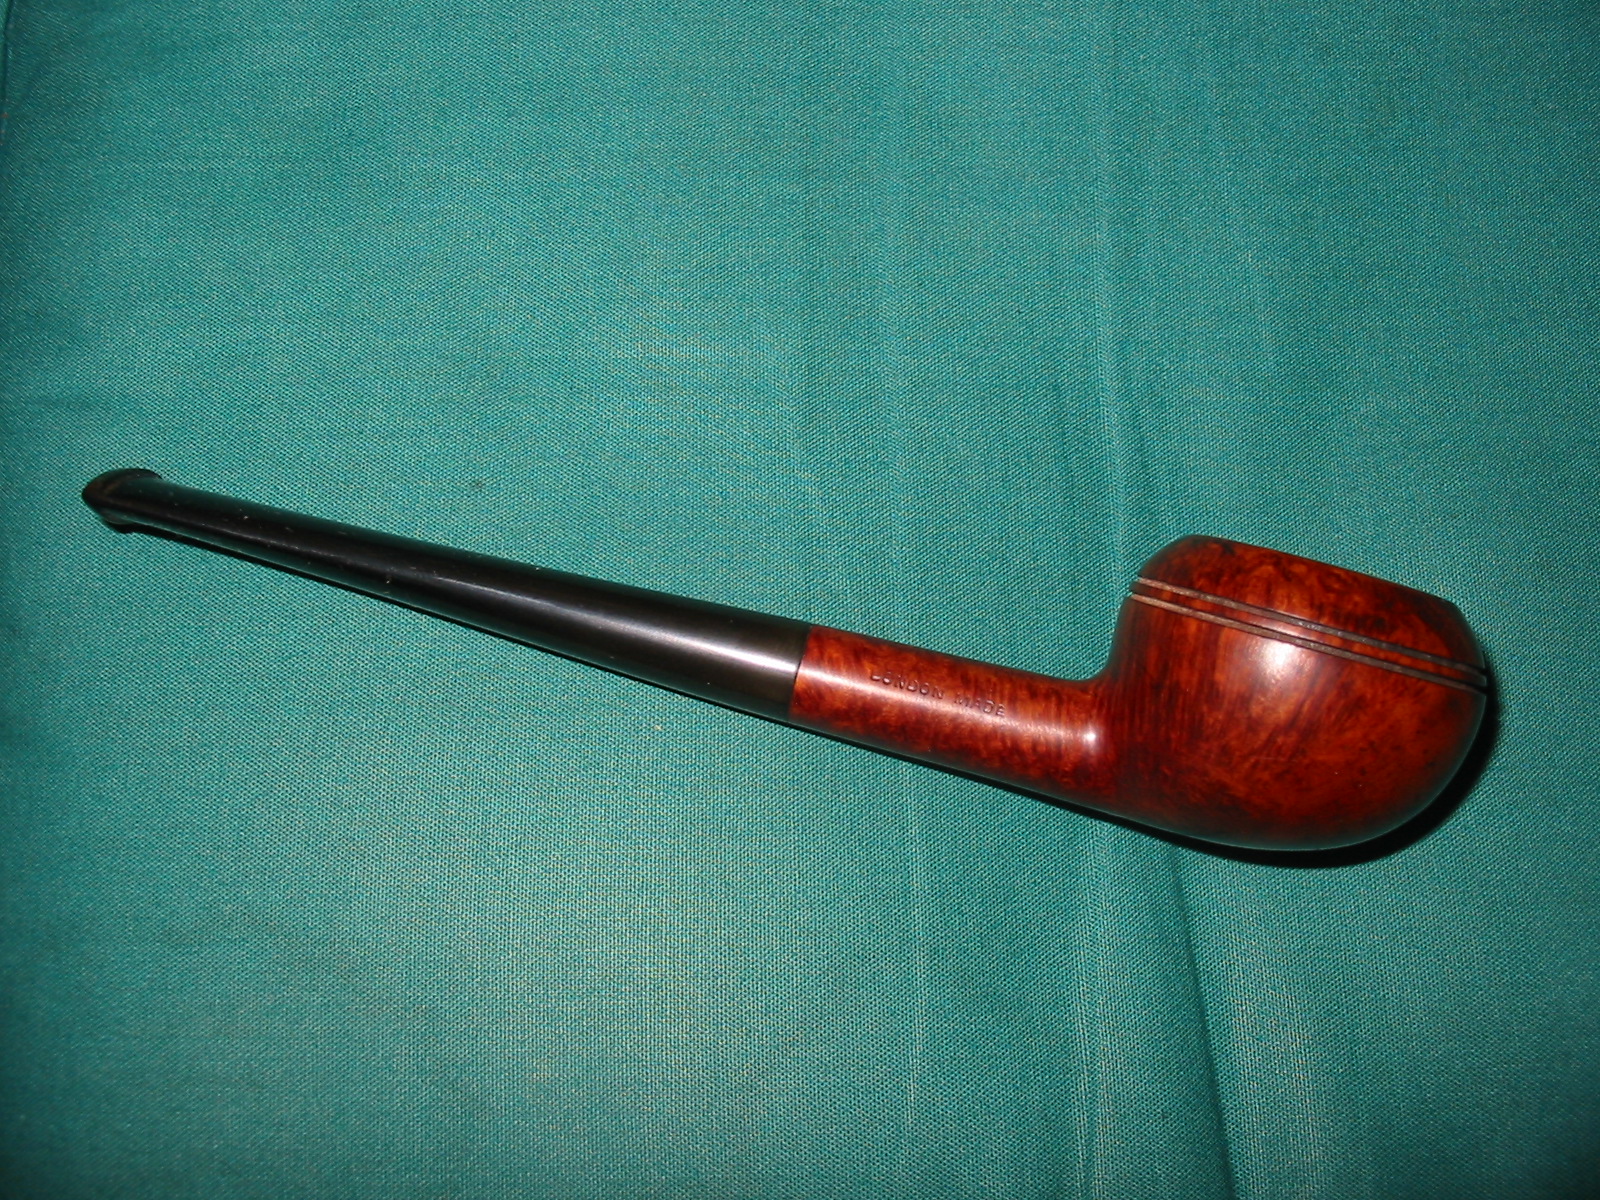
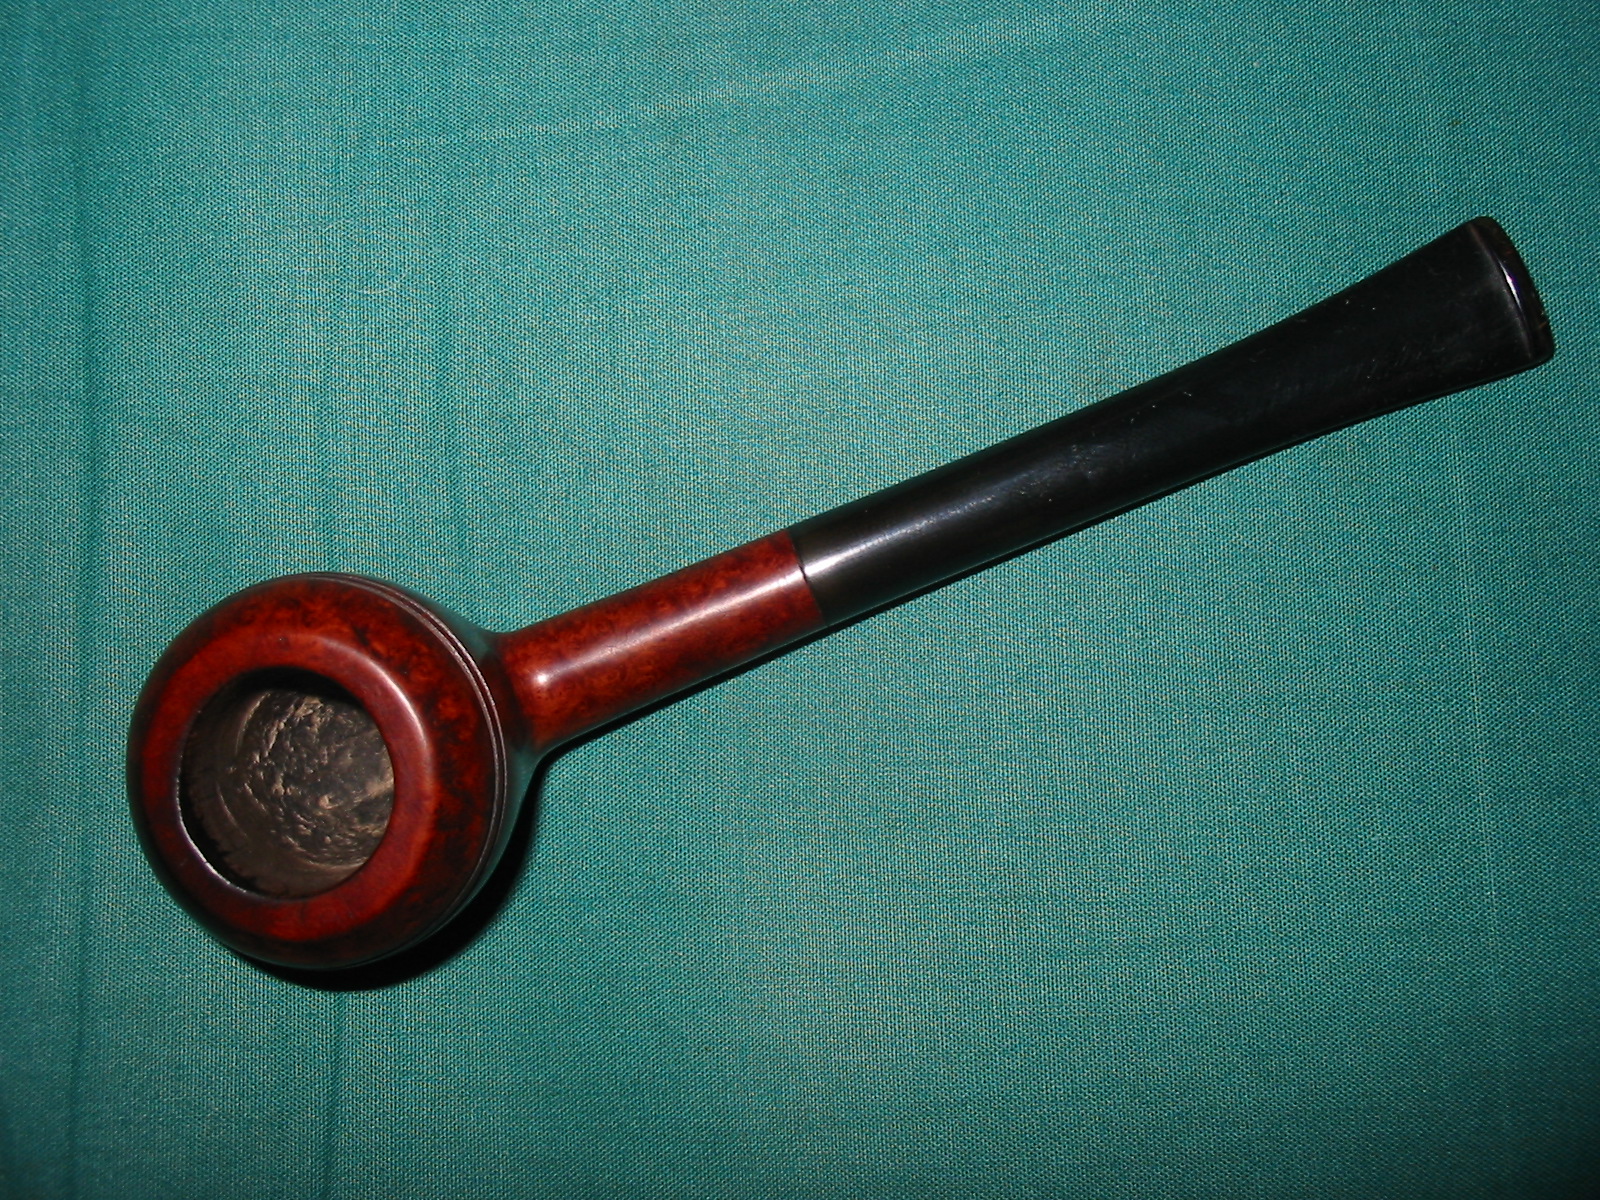
I sorted through my stems and found two options that I thought might work on the pipe. The first one was an acrylic saddle stem that I thought might look good with the bowl (pictured in the first photo below). I turned the tenon and fit it to the pipe but did not like the proportion of the stem and shank length. I then took the second stem – a shorter, straight tapered stem and fit it to the pipe (pictured in the second – fourth photo below). It looked like it belonged on the pipe so my choice was made. It was an old previously used vulcanite stem from my collection of old pre-used stems that I collect. This one would take some work as it was oxidized and had a calcified buildup around the button area. It was also clogged and the slot was plugged to a small pin hole. But it had the right look so it would be worth cleaning up.


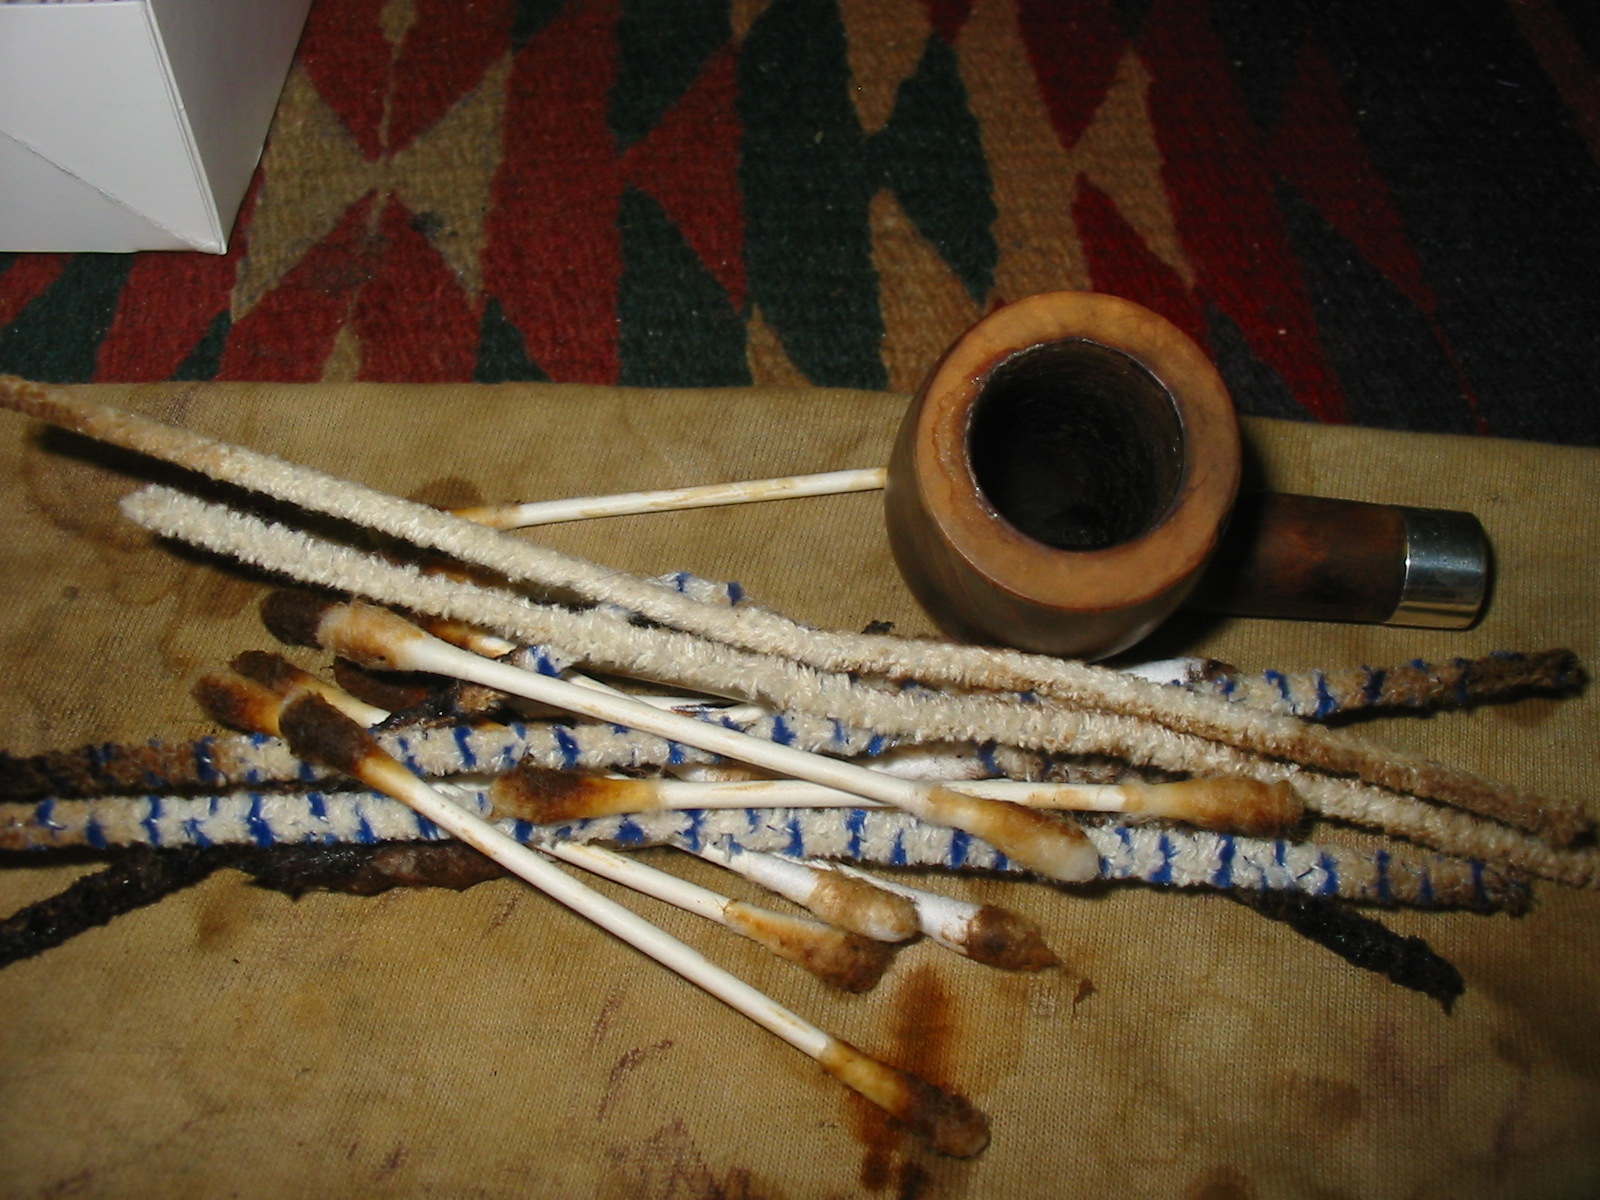
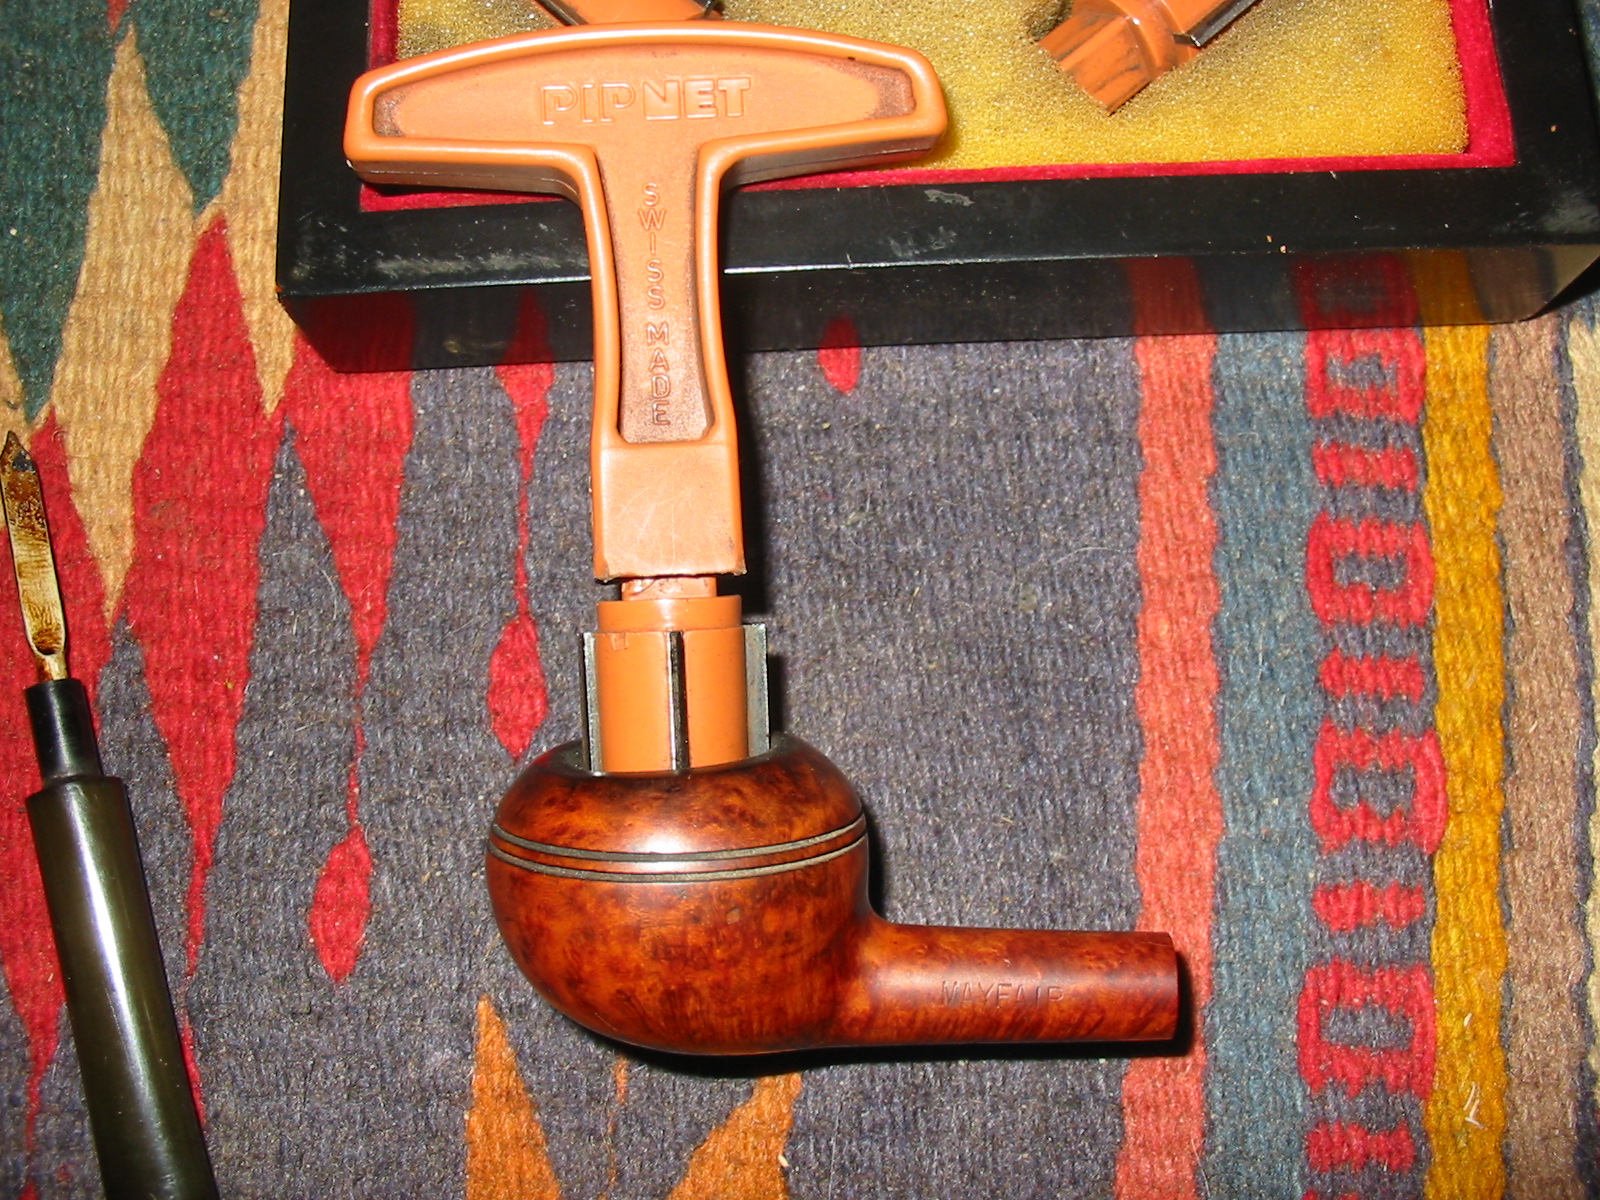
I set the stem aside and worked on the bowl. I reamed the pipe with a PipNet reamer to get rid of the cake and the mold. I cleaned the reamer with alcohol before putting it away. I cleaned the bowl and the shank with cotton swabs, pipe cleaners and Everclear to remove as much of the tars and oils and moldy smell as possible.


When I finished it still smelled moldy, but I had several plans in mind for addressing that. But first I topped the bowl with my usual flat board and 220 grit sandpaper. I place the bowl rim down flat against the sandpaper and work in it a circle to remove the damage on the rim. This one took quite a bit of work to even out the top and get rid of the damage from the burn on the front side of the rim and the roughened back edge done by beating the pipe against concrete. I sanded it, repeatedly checking to see if I was removing enough of the damage to get a sharp edge on the bowl. On the outer rim next to the shank there was a chunk of briar missing that I would try to minimize after topping the bowl. I was able to remove all of the damage of the burned area and most of the damage of the battering the old pipe had taken. The rim looked good. I used a folded piece of sand paper to work on the inside edge of the rim and clean up the damage that was done there and keep the bowl in round.


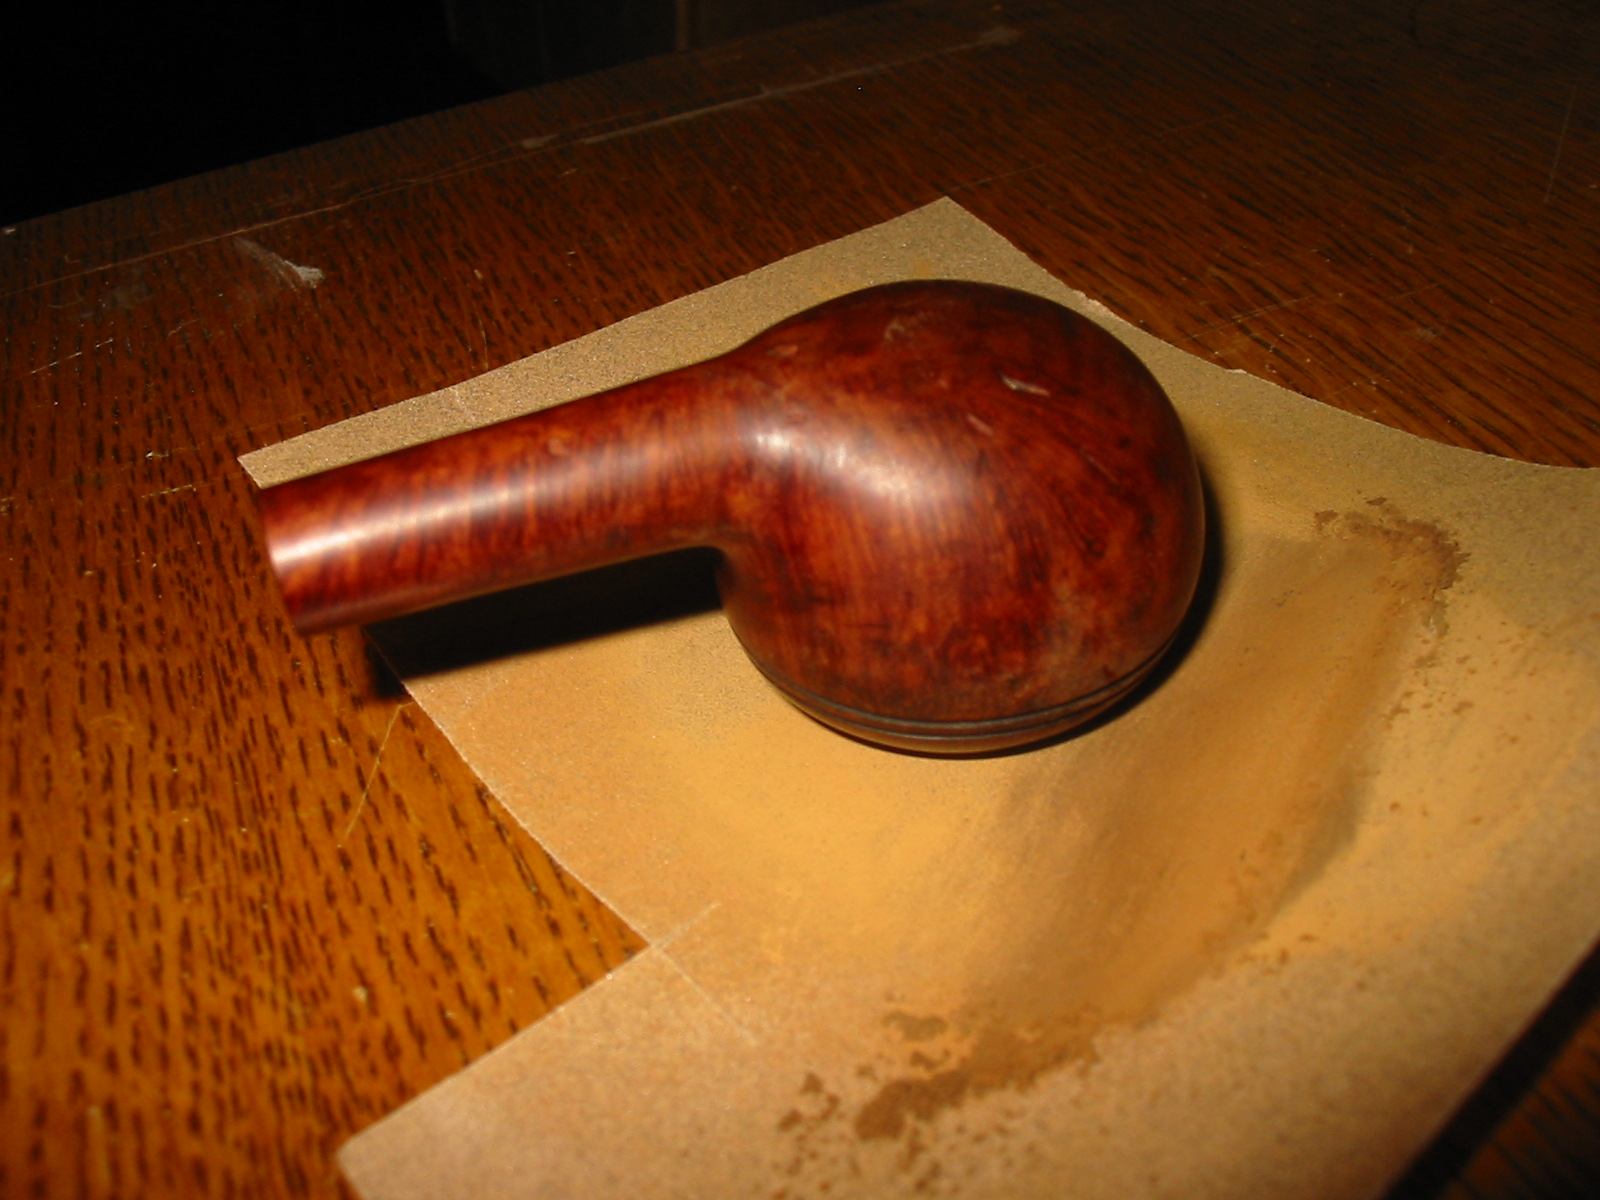
I wiped the exterior of the bowl down with acetone on a cotton pad to remove the grime and the finish that remained. I repeated this until I could not remove any more finish or grime. The next two photos show the wipe downed bowl.


I placed the bowl in an alcohol bath for several hours while I worked on the stem and worked on several other old pipes that I have on the go. When I took it out of the bath, I dried it off with a cotton cloth and scrubbed it with a tooth-brush dipped in alcohol from the bath. I dried it again to check on the finish. There were still several spots where the varnish remained – the shank and the bottom of the bowl. One benefit of the bath was that the glue softened on the over pressed band and I was able to remove it from the shank. I sanded and scrubbed the old glue off the shank and sanded the bowl with a fine grit sanding sponge. I wiped it down with another acetone cotton pad. It still needed to soak a bit longer to finish breaking down the varnish that remained. While it soaked I cleaned up the silver band with silver polish and the jeweler’s polishing cloth. Under all the tarnish I found that the band was stamped Sterling.
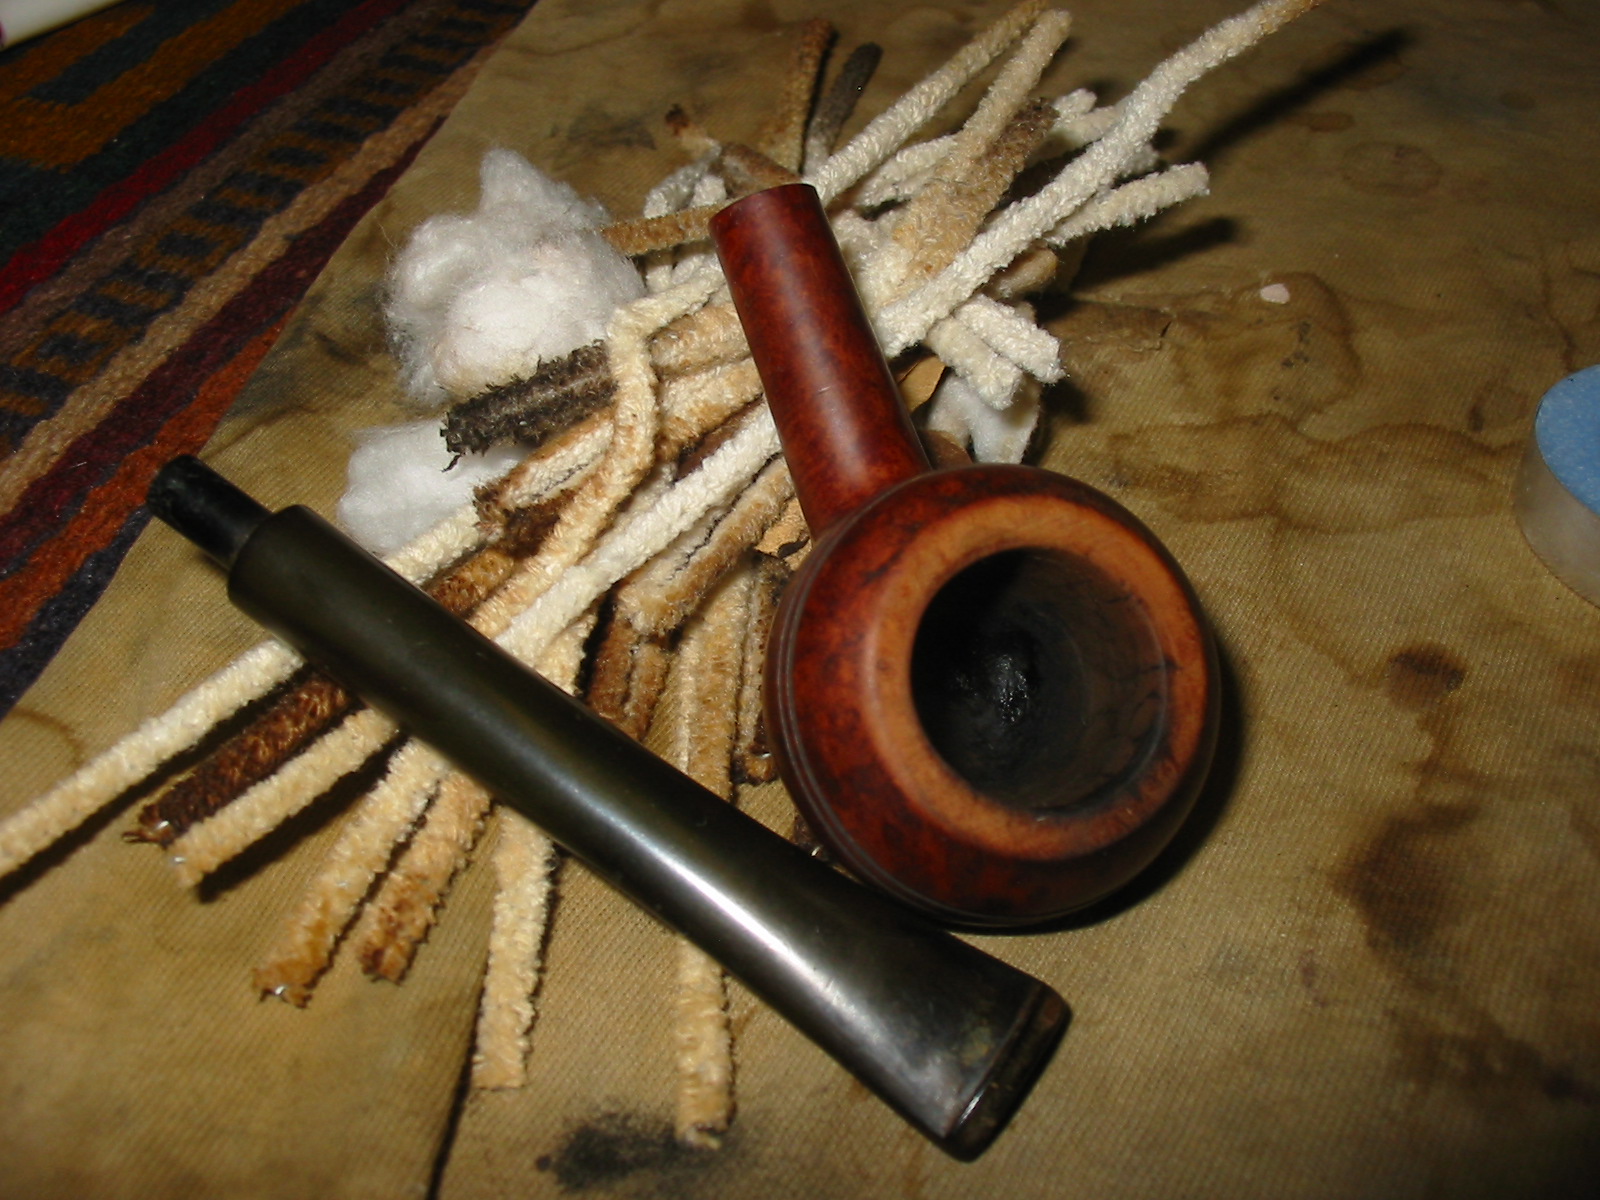
I removed the bowl from the alcohol soak and dried it off. I used a lighter to burn off the alcohol from inside the bowl and the shank. I then recleaned the inside of the bowl and the shank with Everclear and many more pipe cleaners and cotton swabs. The amount of tars and sticky oils and grit that came out of the shank was incredible. It was no wonder that the pipe still reeked like mold. The next series of three photos show the pipe after soaking and sanding.


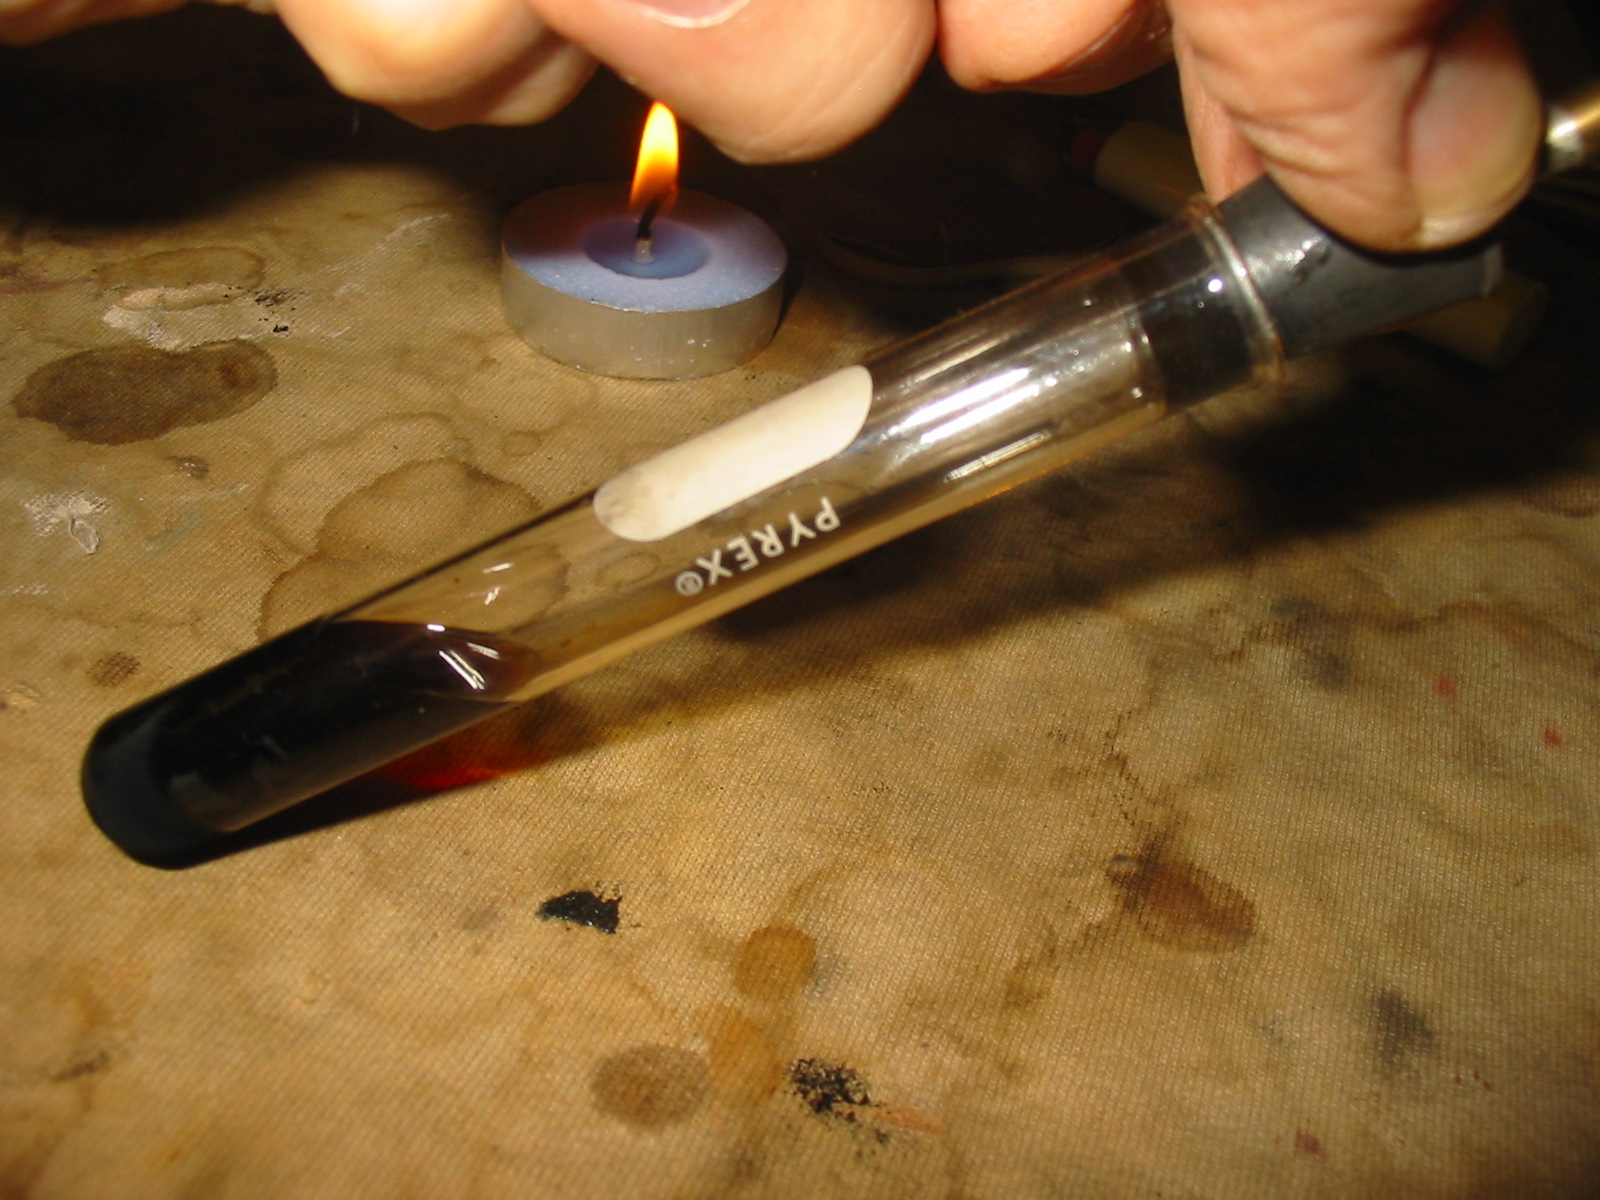
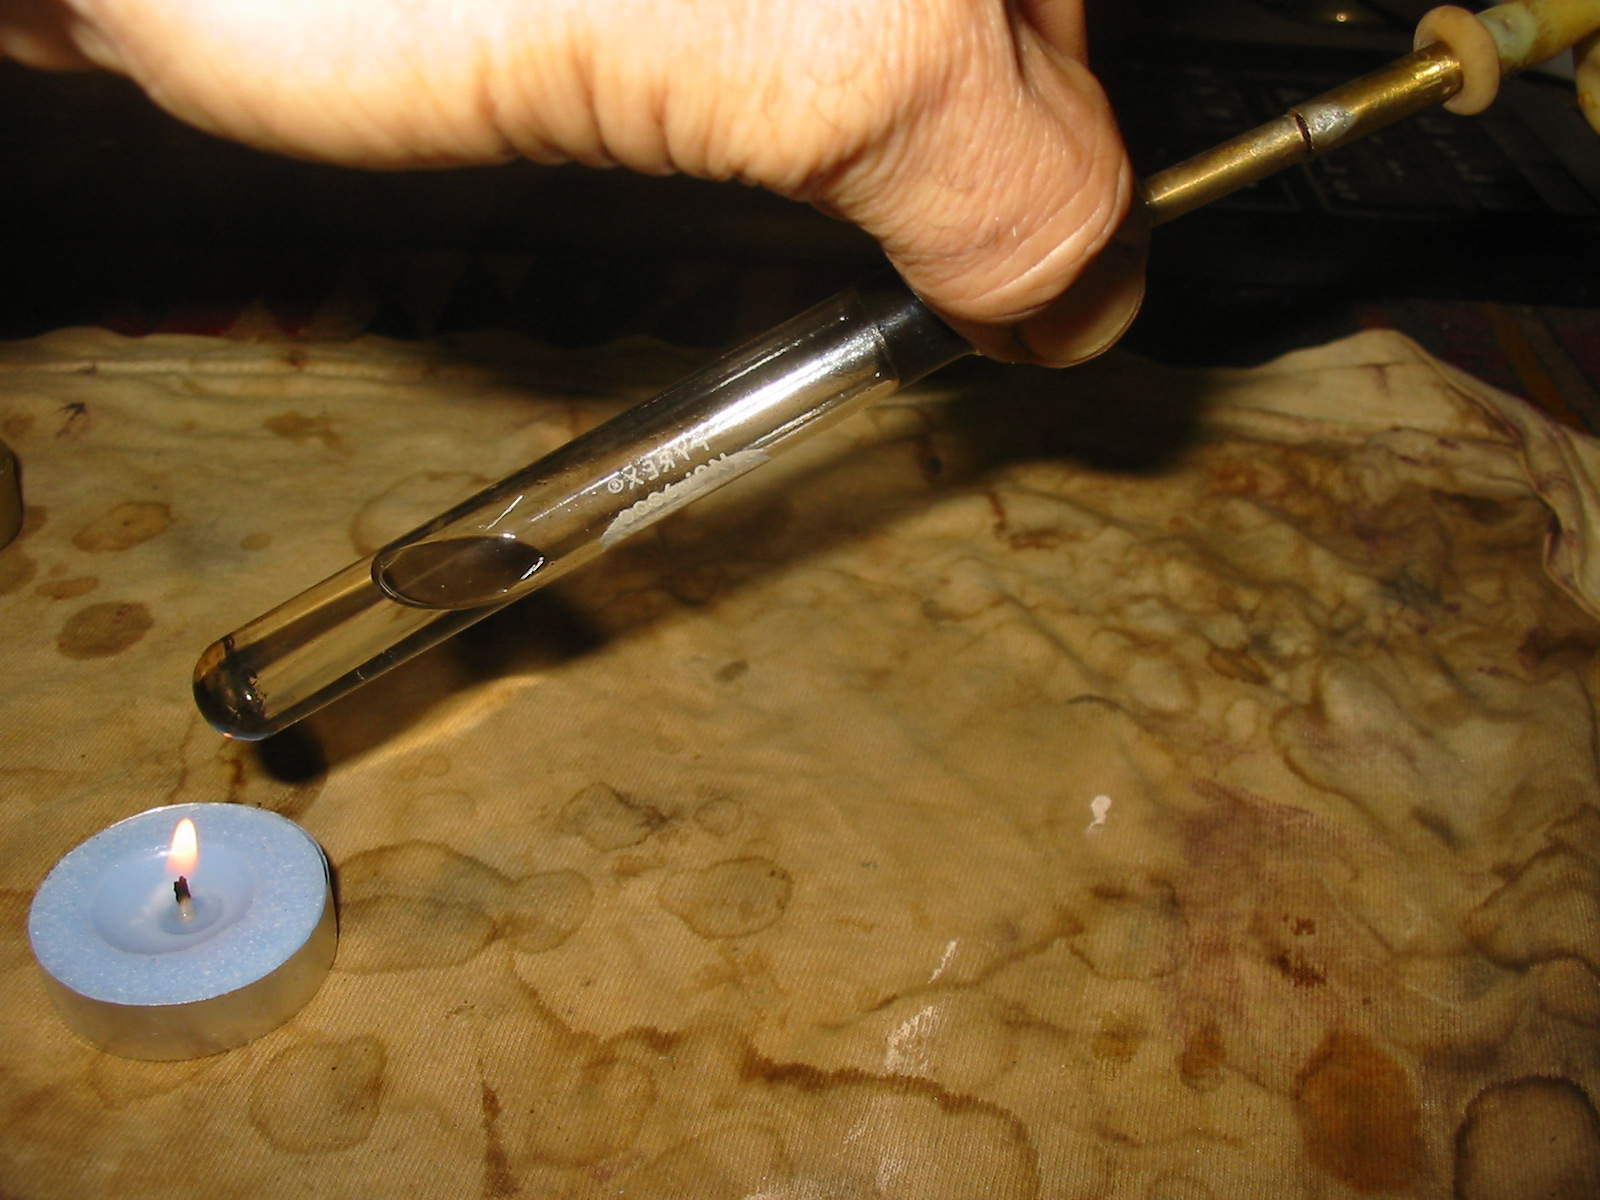
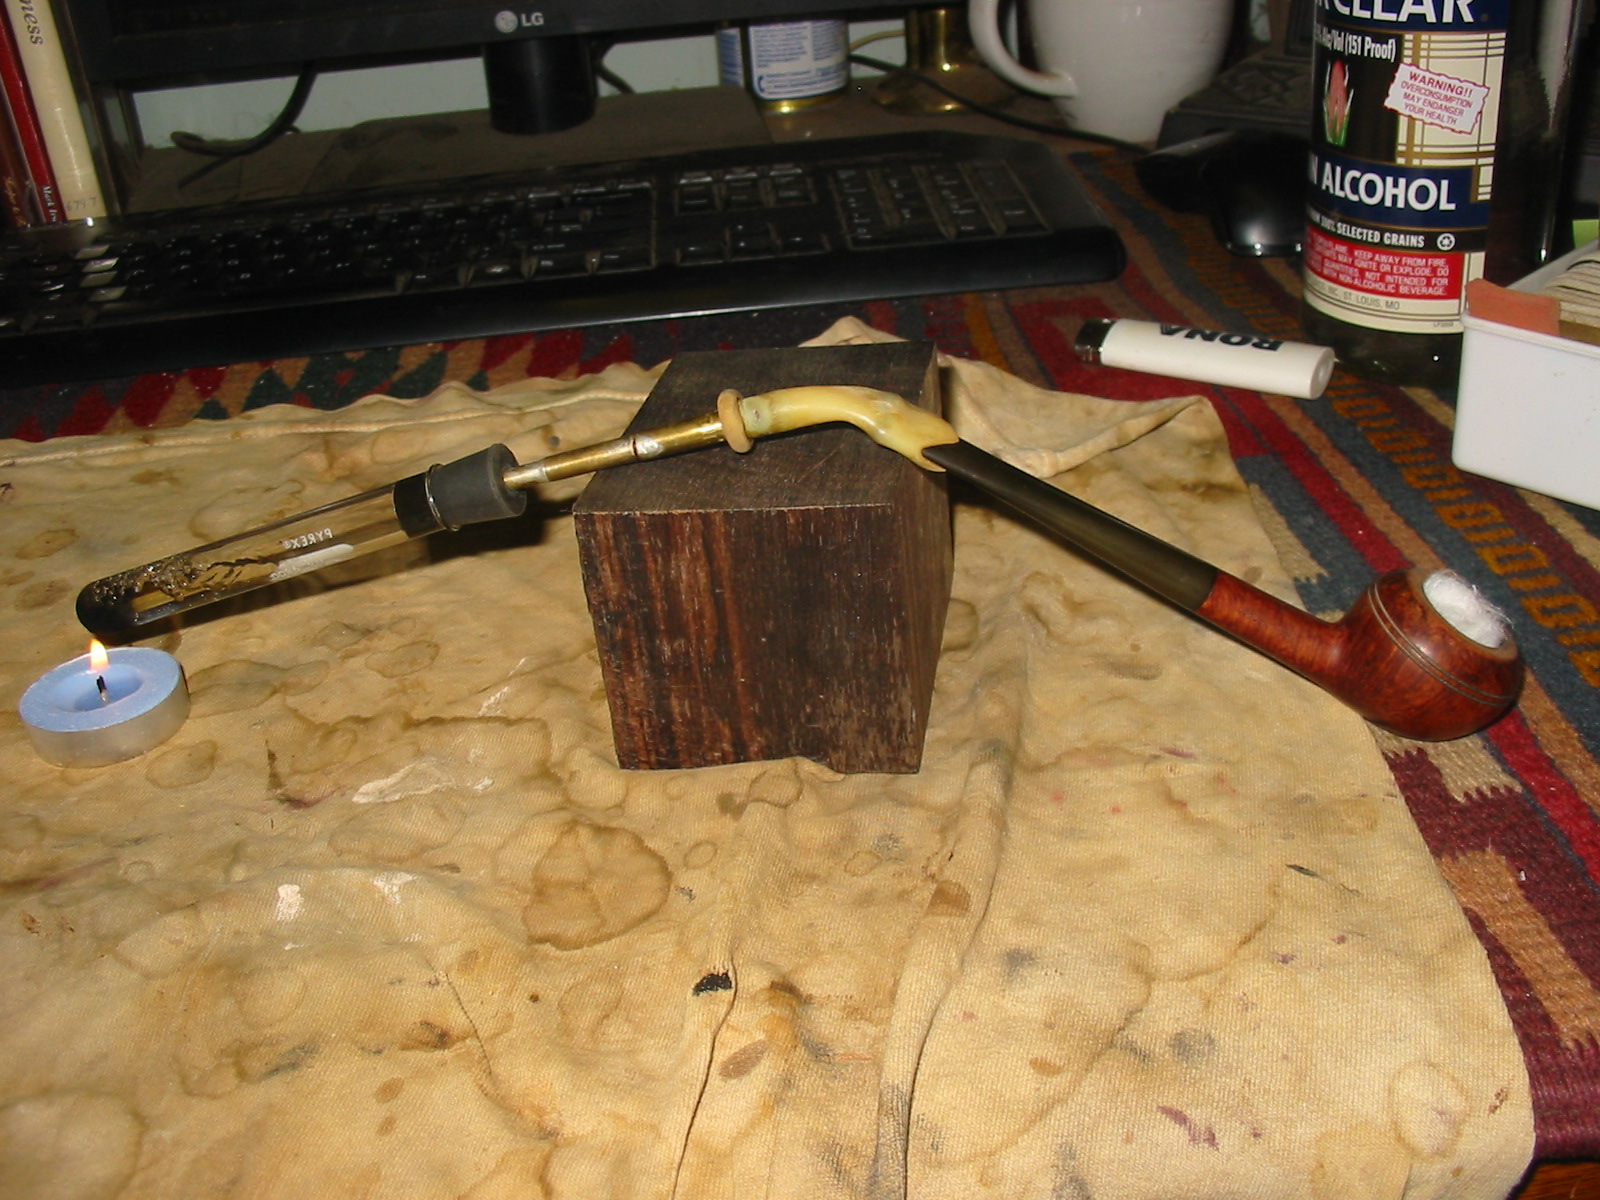
I scoured the shank until it was fairly clean and then set up a retort to do a more thorough clean. The retort sends vaporized alcohol into the bowl and shank and in essence boils out the grime with hot alcohol. As the alcohol cools it returns to the tube and with it the grime and oils from the pipe. I repeated the retort three times on the pipe until the alcohol came out clean. I then took apart the pipe and cleaned out the shank with pipe cleaners and cotton swabs a third time. There was even more oil and grime that came out of the shank. I cleaned off the surface with an acetone wipe and then reset the silver band with Weldbond glue. I turned it so that the Sterling stamp was on the top of the shank and pressed it on to the shank until it was even with the edge of the shank. Weldbond dries fairly quickly to touch so that the band would not be loosened when I went on to the next step in my cleaning process.


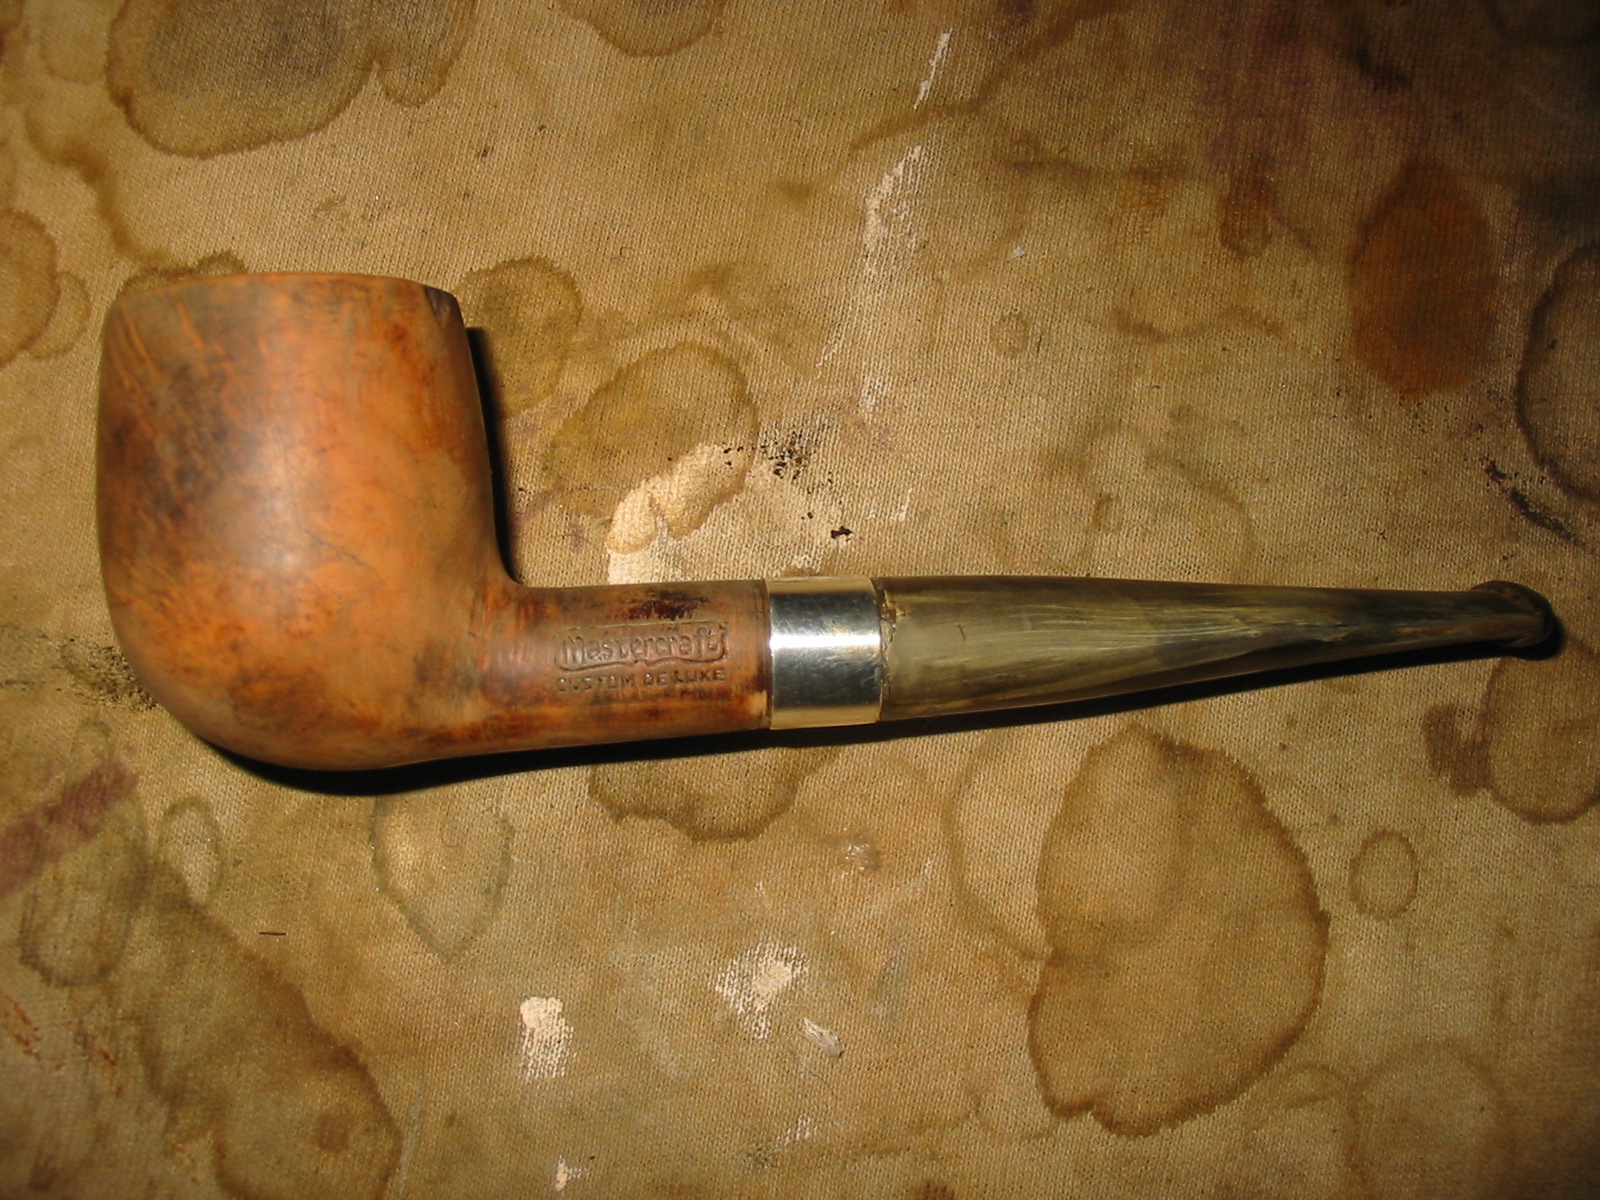
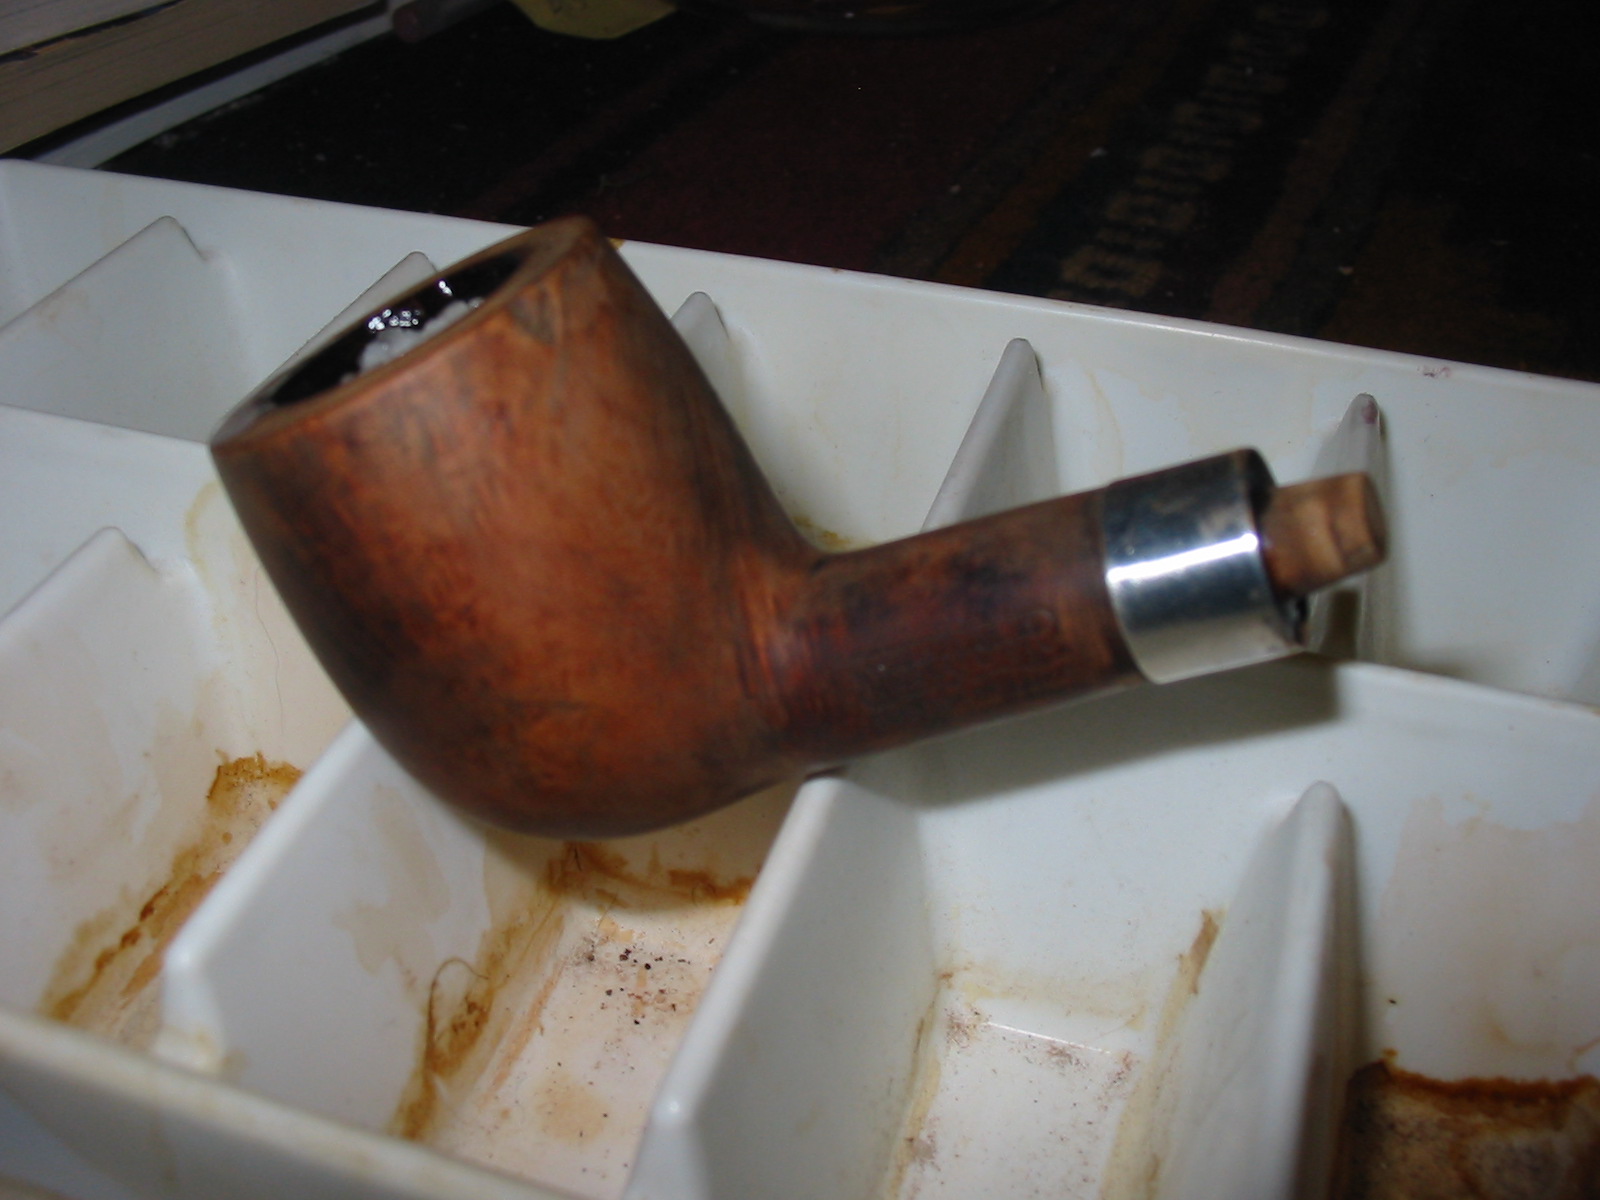
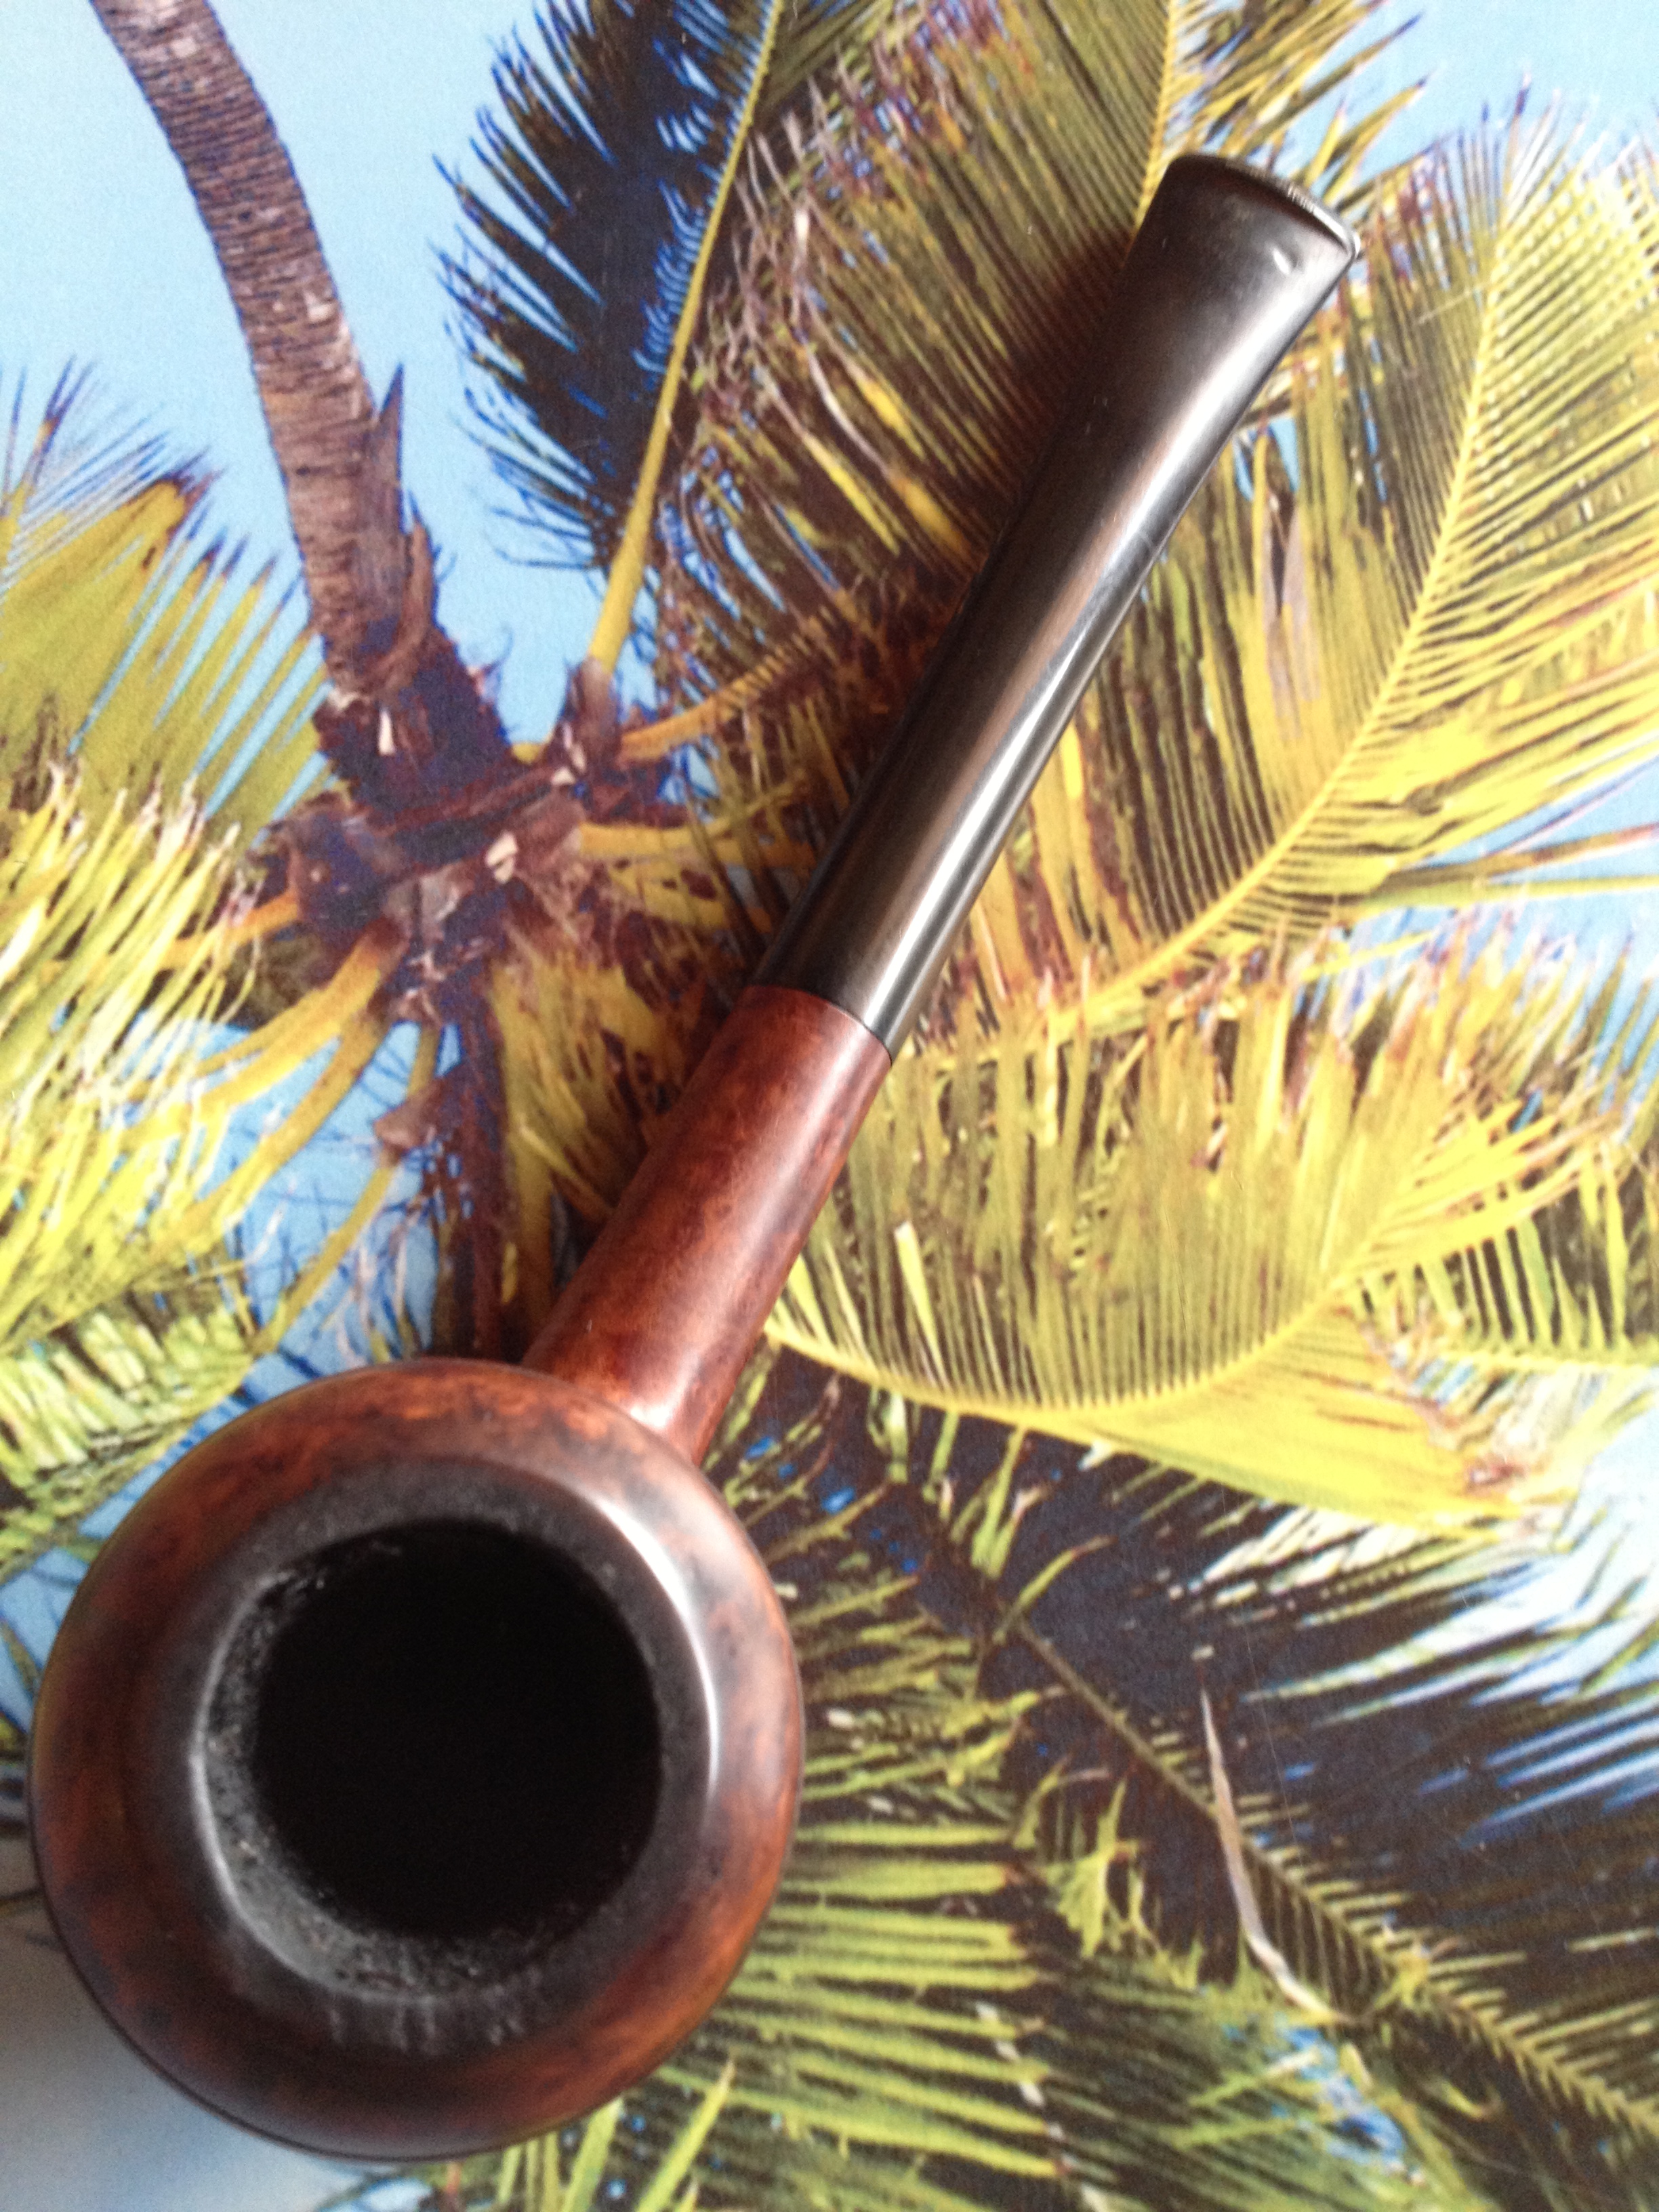
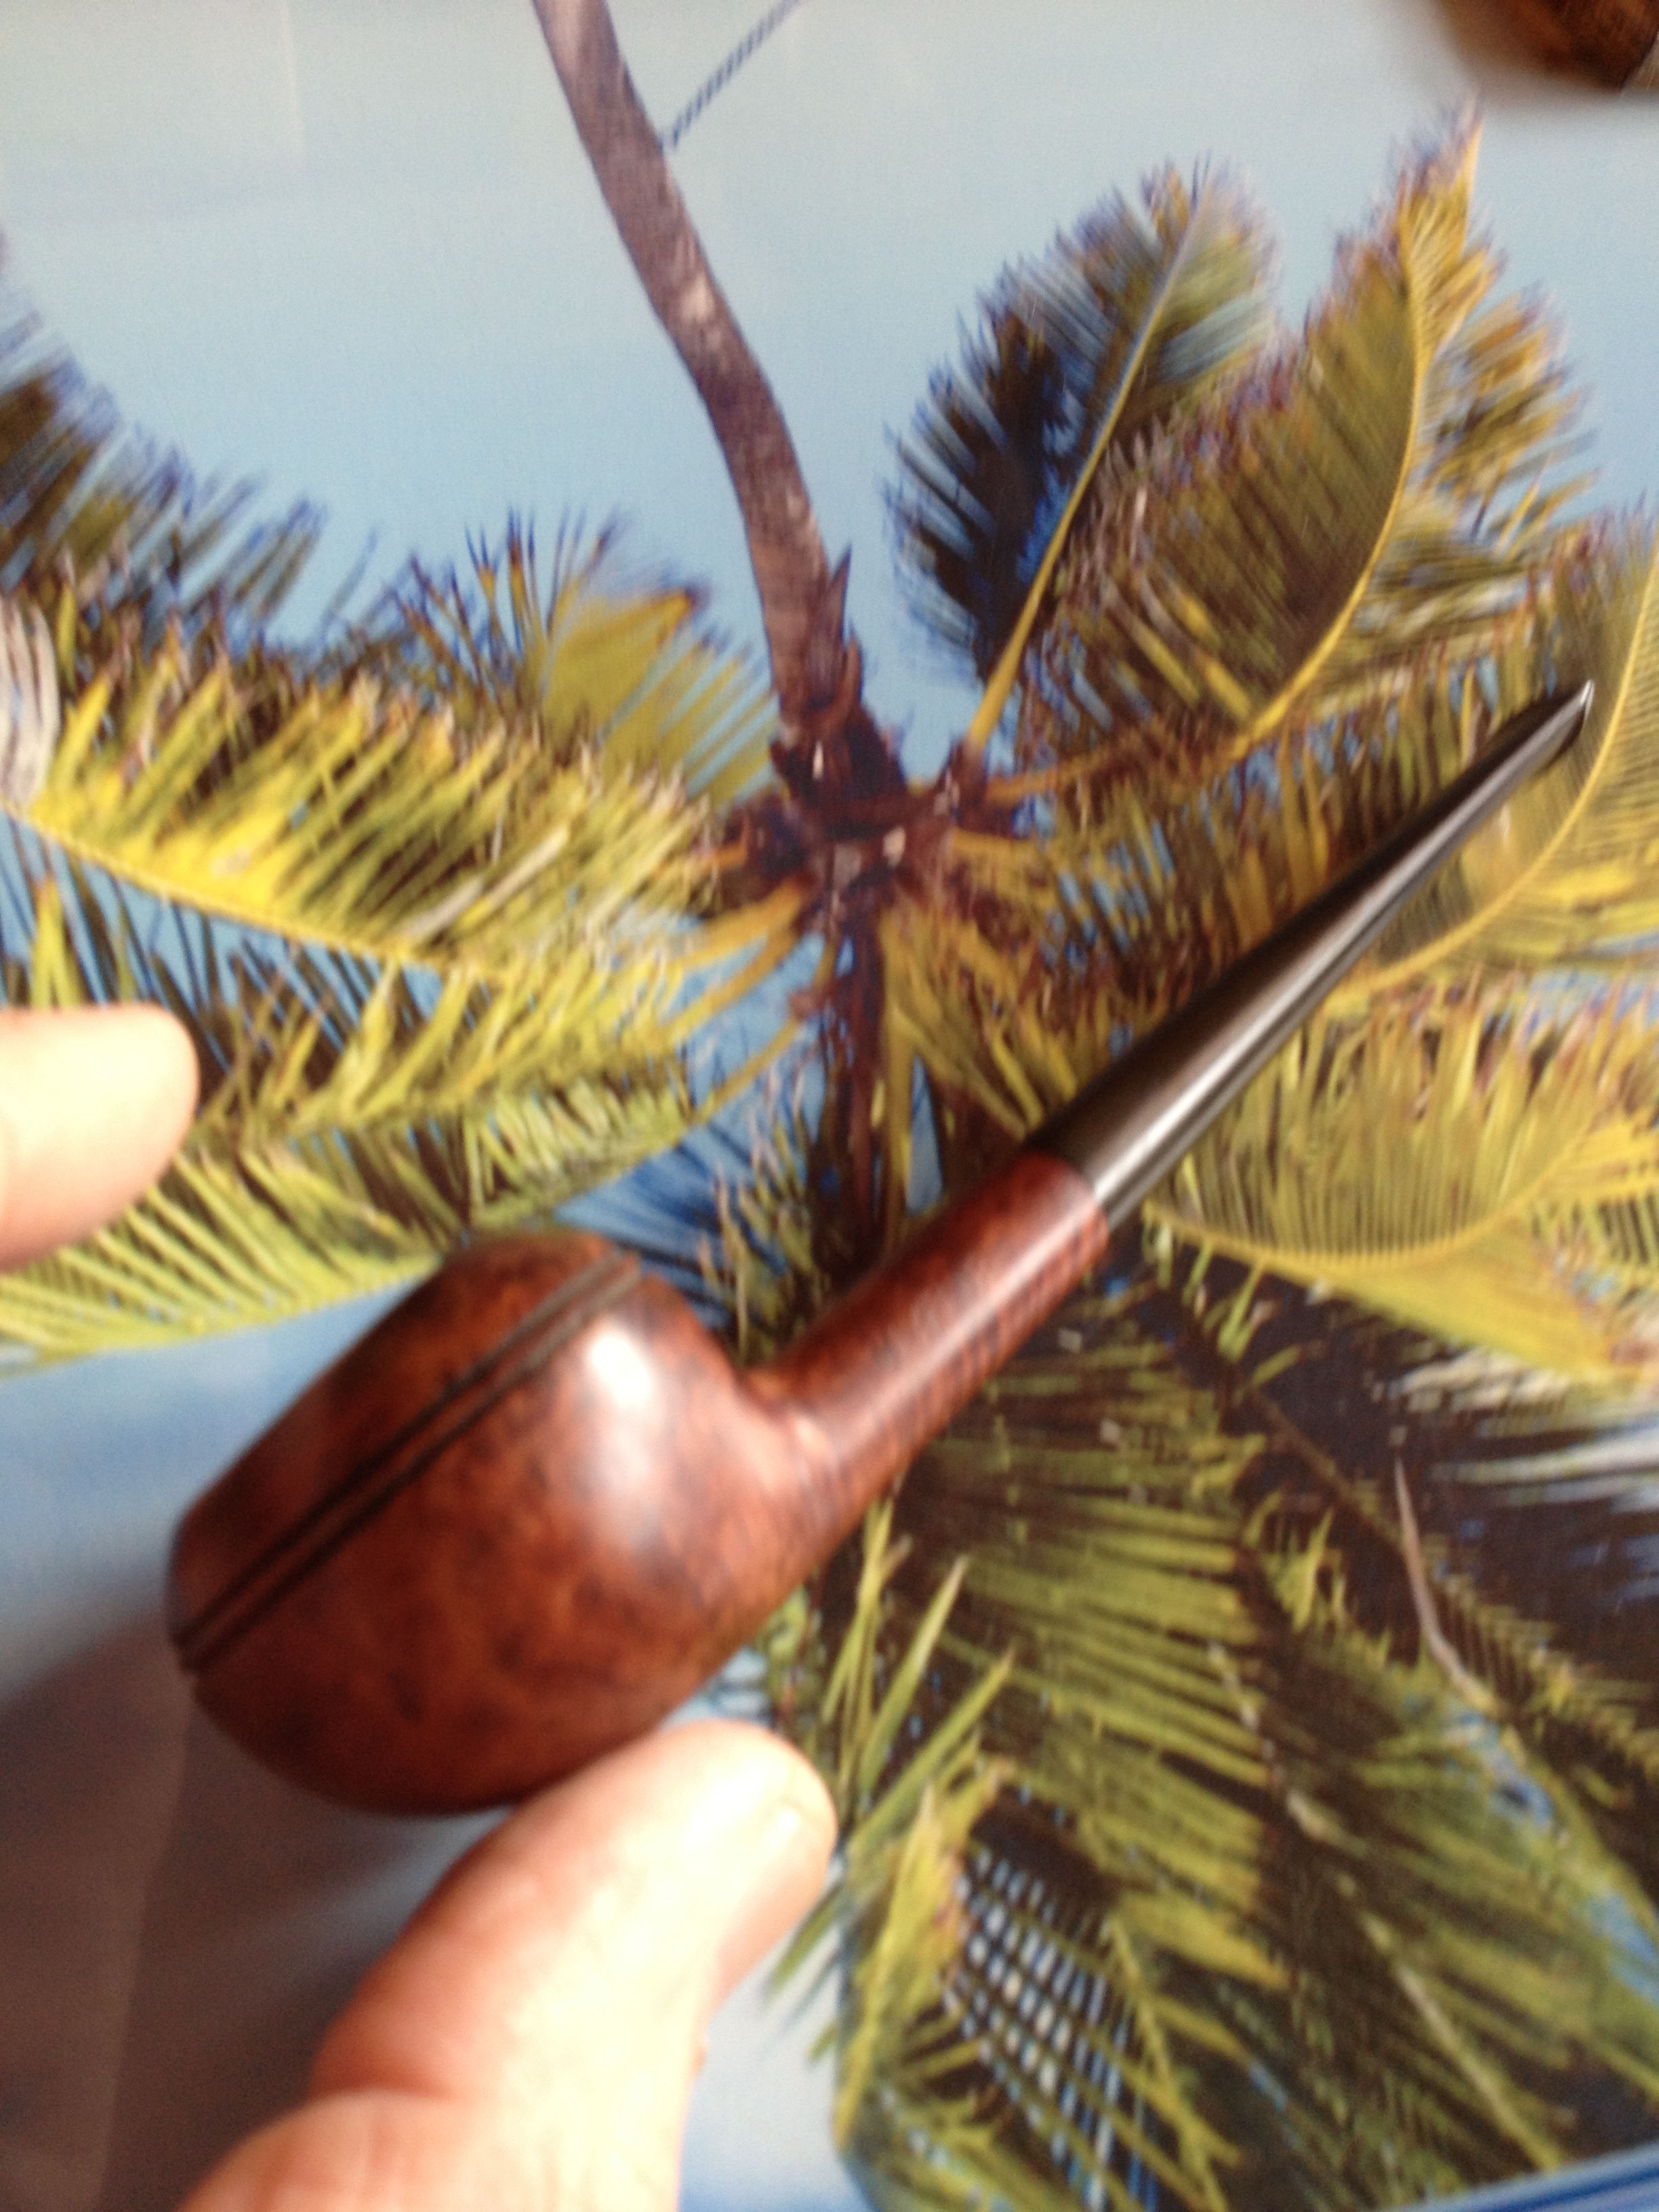
After removing the retort I cleaned the bowl and shank. Yet even more grime came out. I put the stem back on and took the four photos below to show the state of the pipe at this point. I did this more for an encouragement to me as this one was proving a difficult rework. The photos gave me a picture of what I was aiming for in cleaning this one up. If I lose sight of that it will end up in the bin as rubbish.


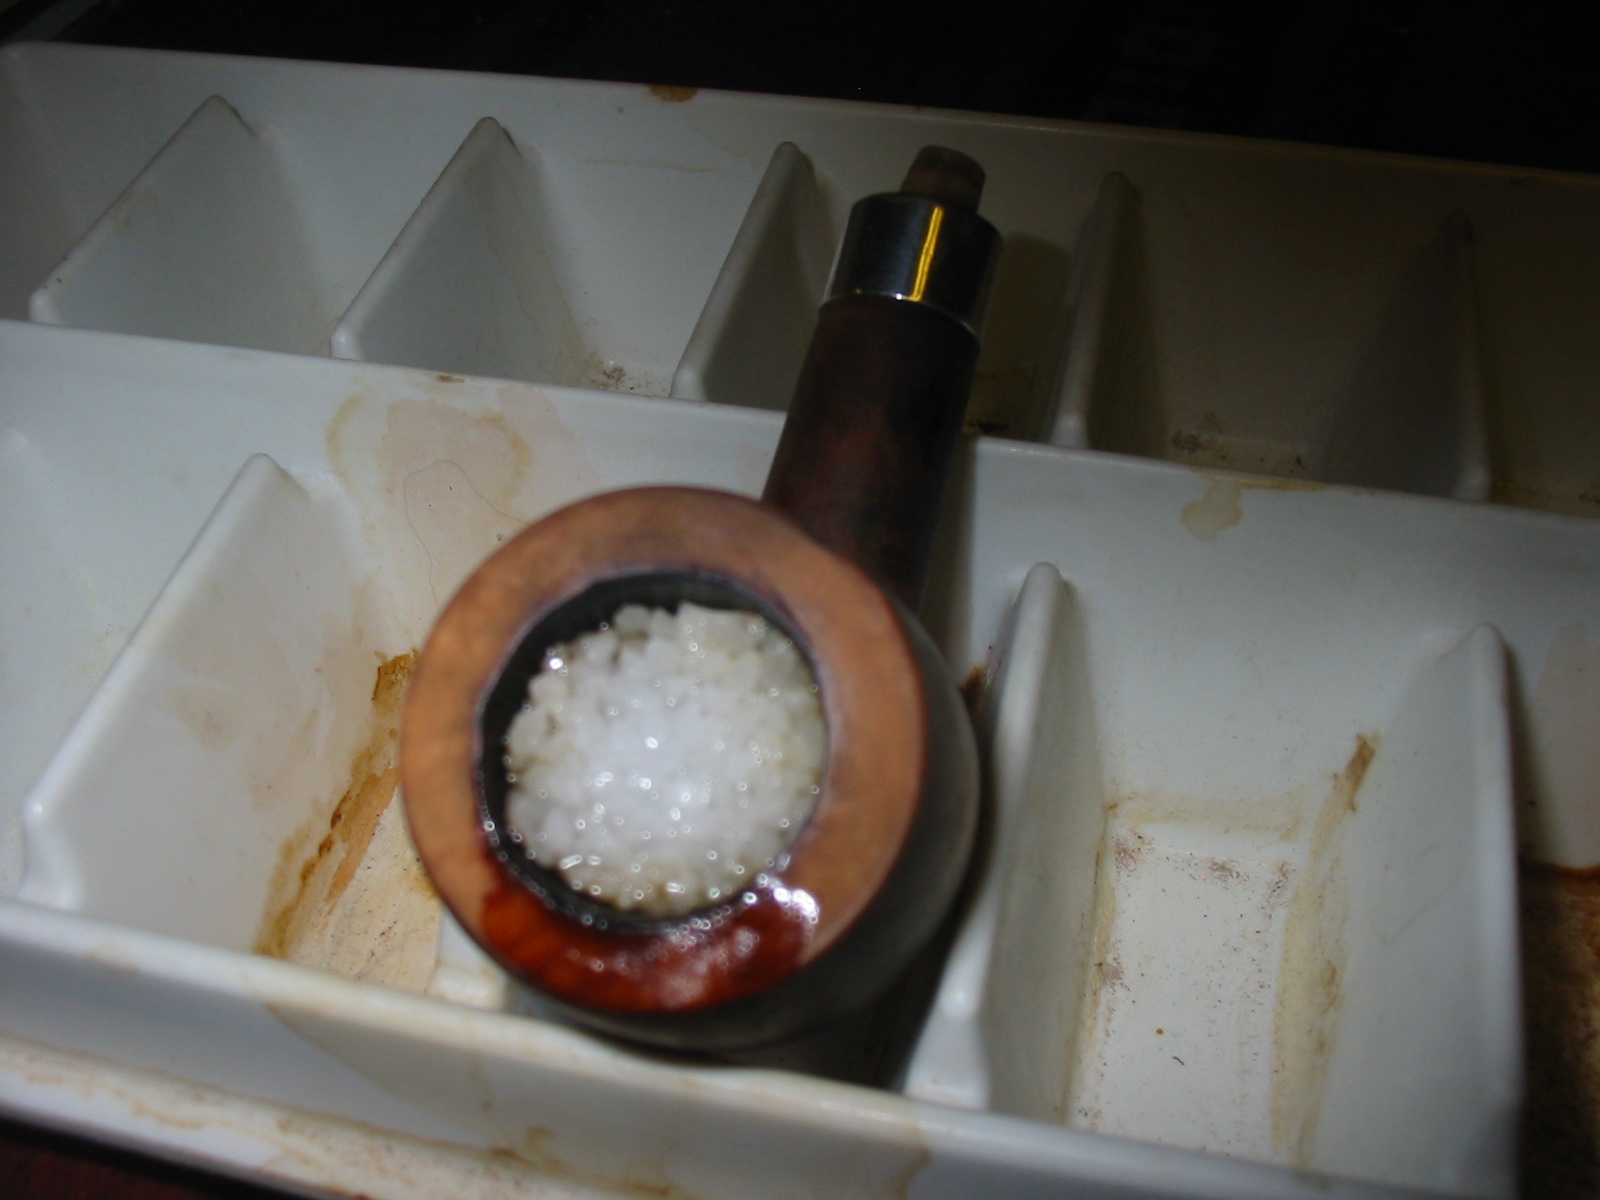
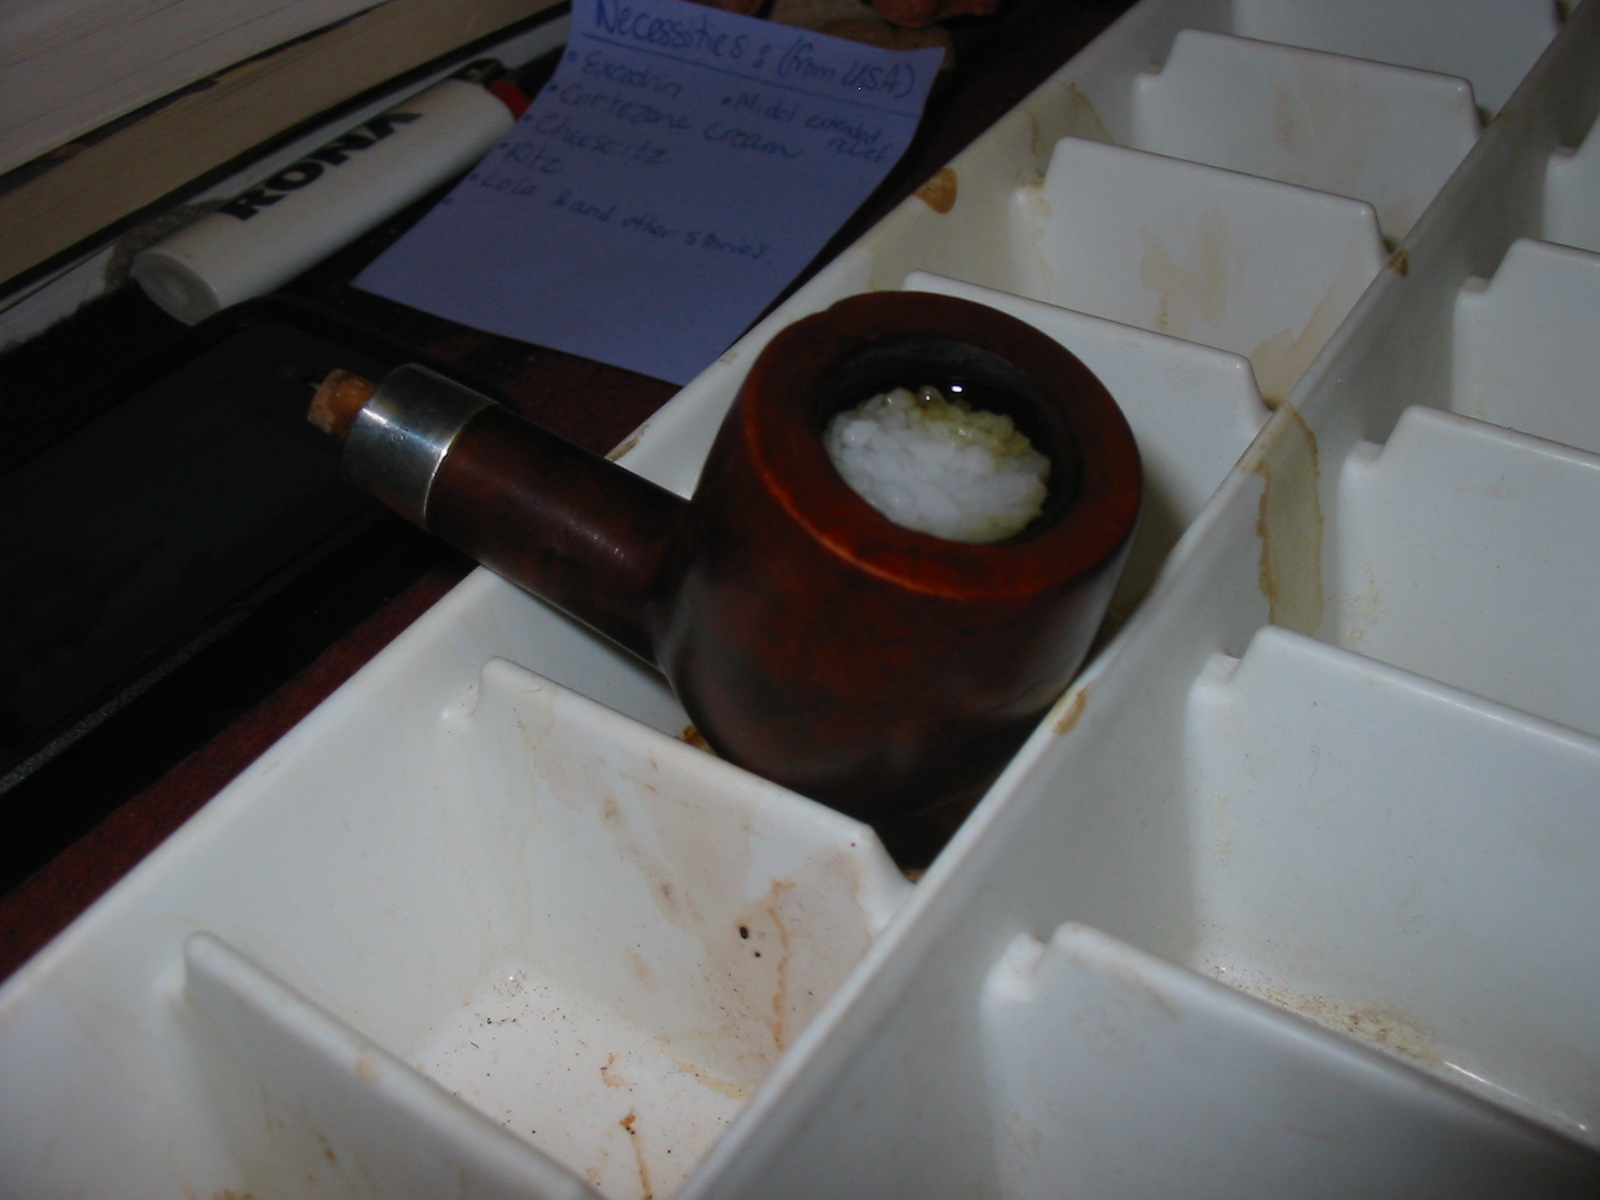
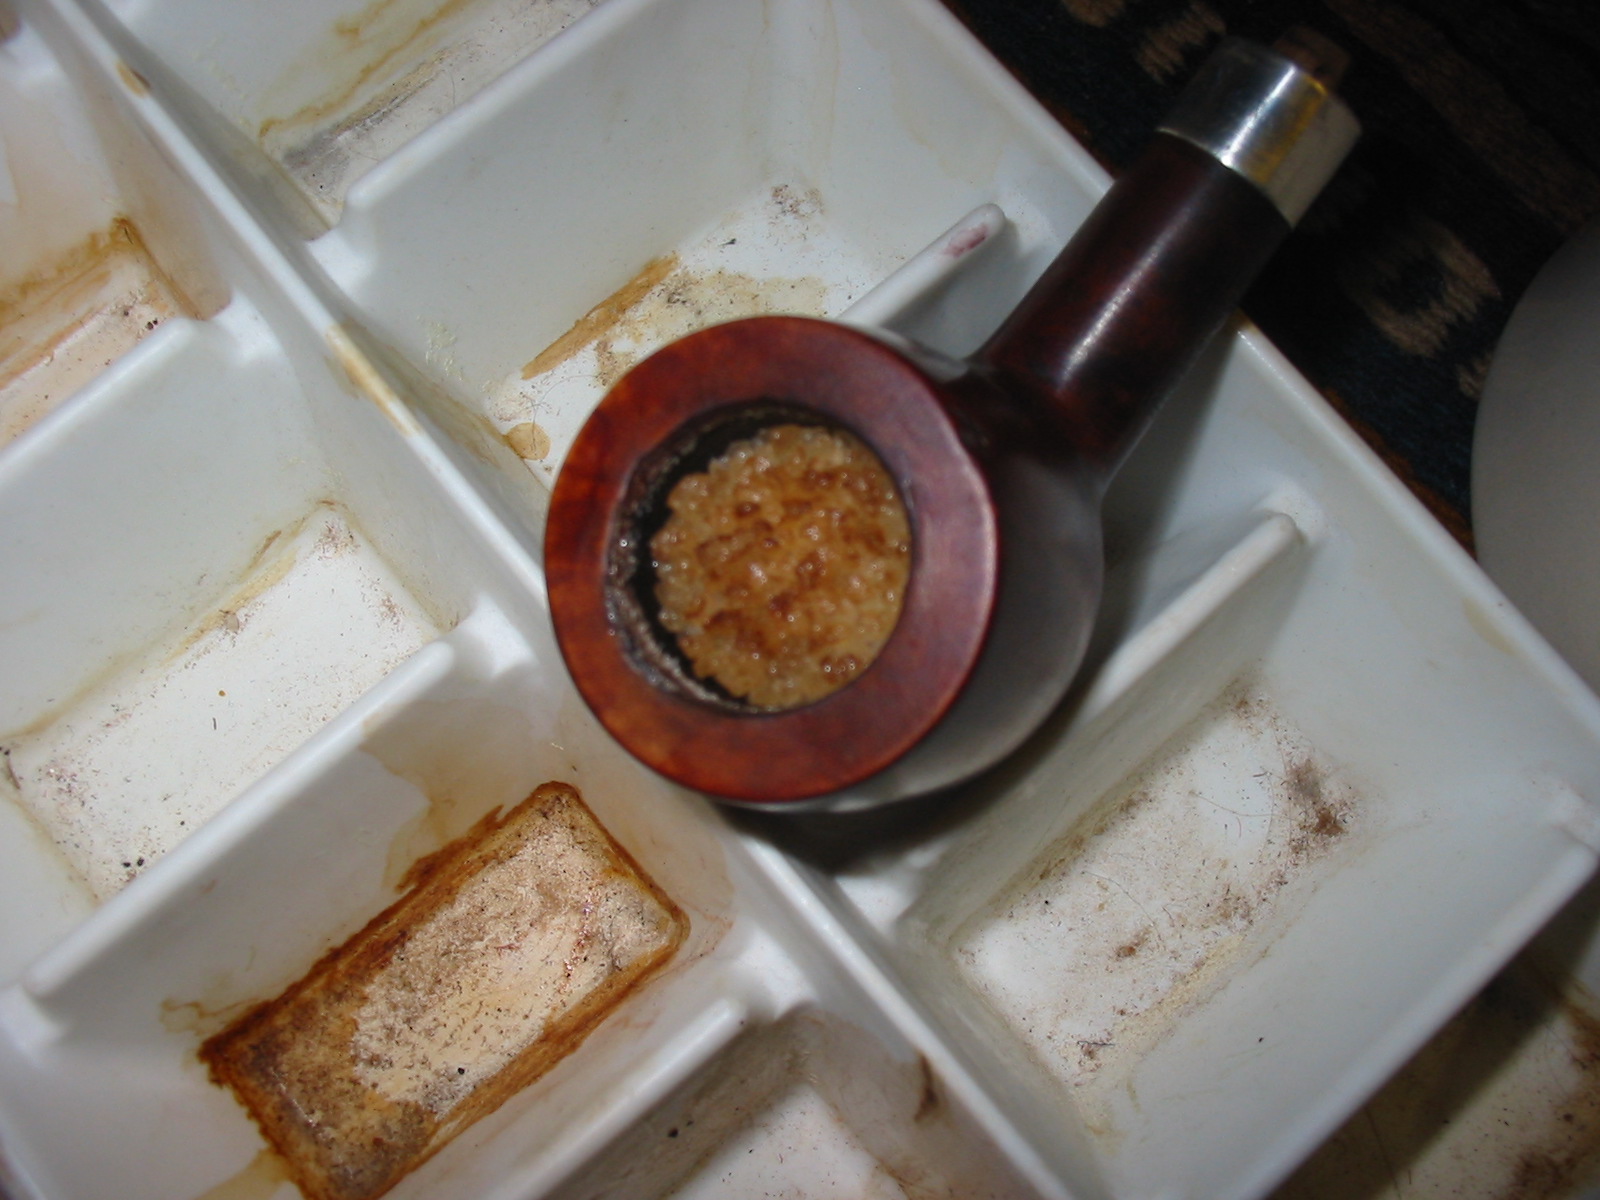
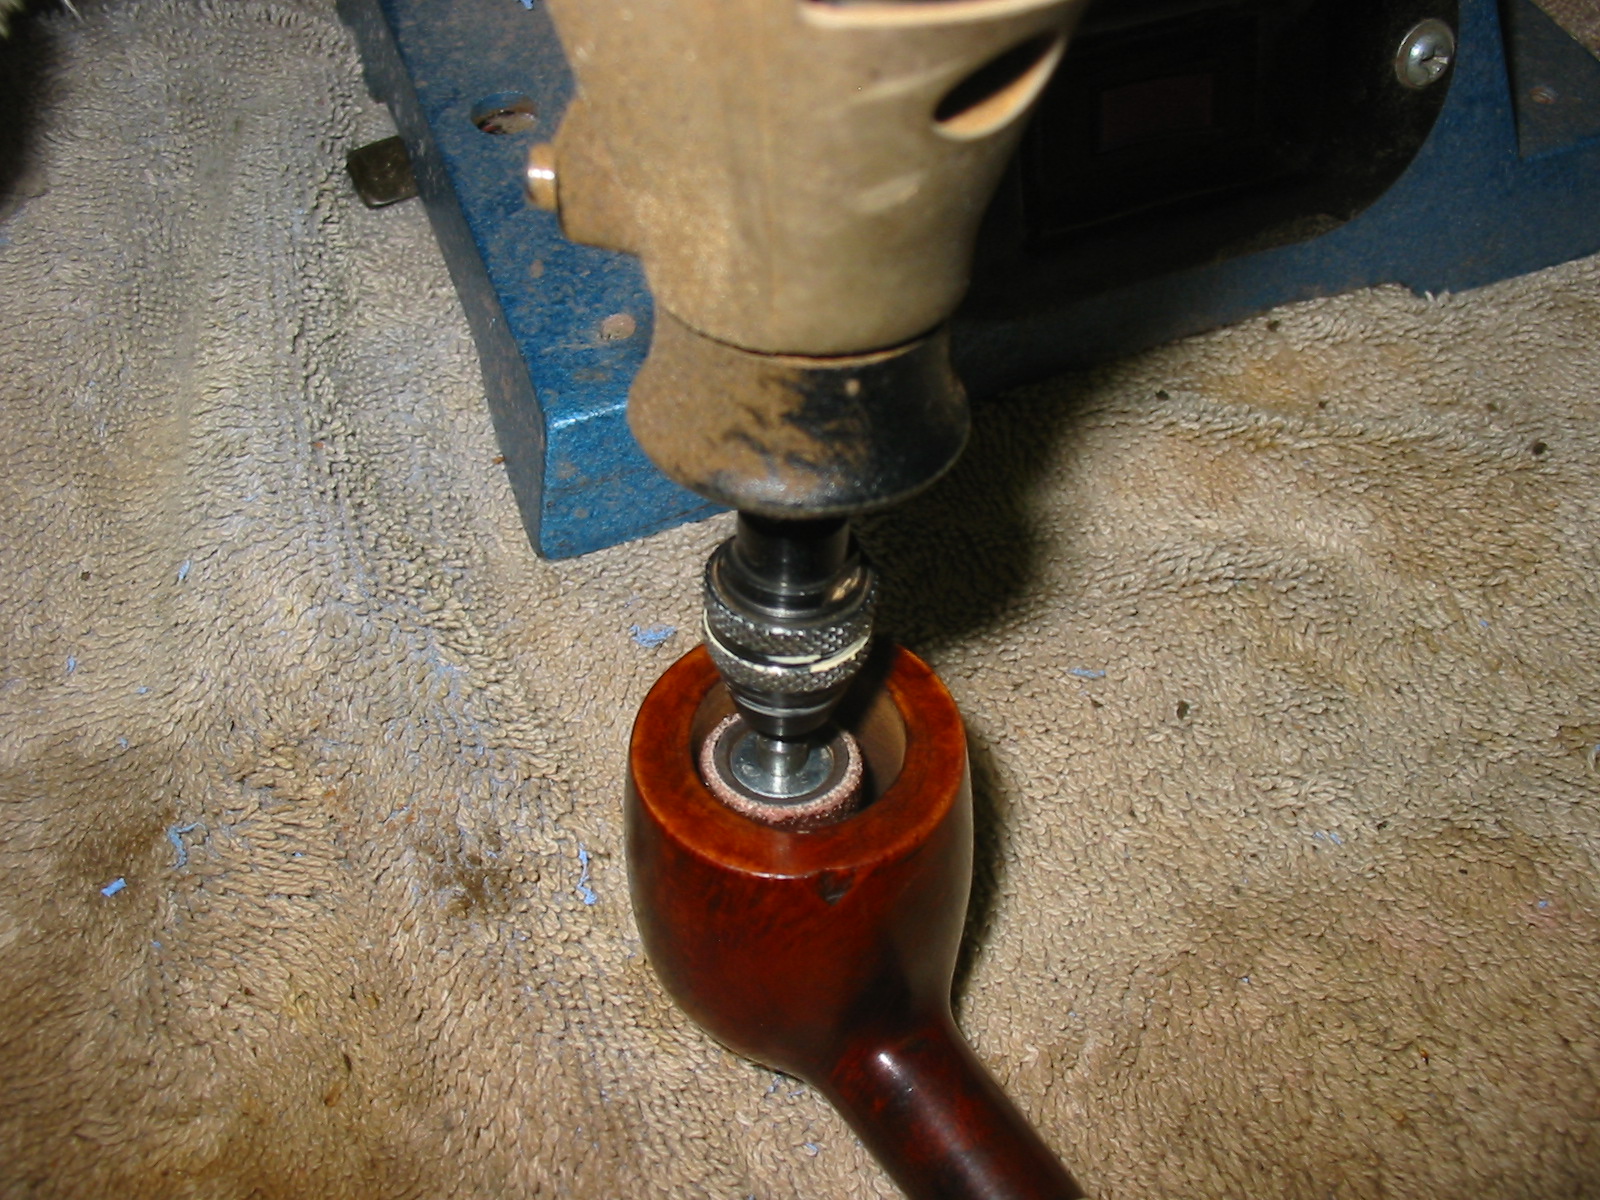
When the alcohol dried in the bowl and the visual showed a clean bowl and shank I took a sniff of the bowl. After all of this work the moldy smell still was present in the bowl and shank. This called for more drastic measures. I used the Dremel with a sanding drum on it and sanded the inside of the bowl until the briar was bare and clean. Then I filled the bowl with salt and alcohol to leach out the oil from the inside of the bowl and shank. My hope was that in doing this I would also kill the stench. I plugged the shank with a cork, filled the bowl with kosher rock salt (I was out of my normal cotton bolls) and set it up on an old ice-cube tray. I used an ear syringe to fill the bowl with 99% isopropyl alcohol. I set it aside and went to bed to let the treatment do its work while I was sleeping. The two photos below show the bowl after filling with alcohol.


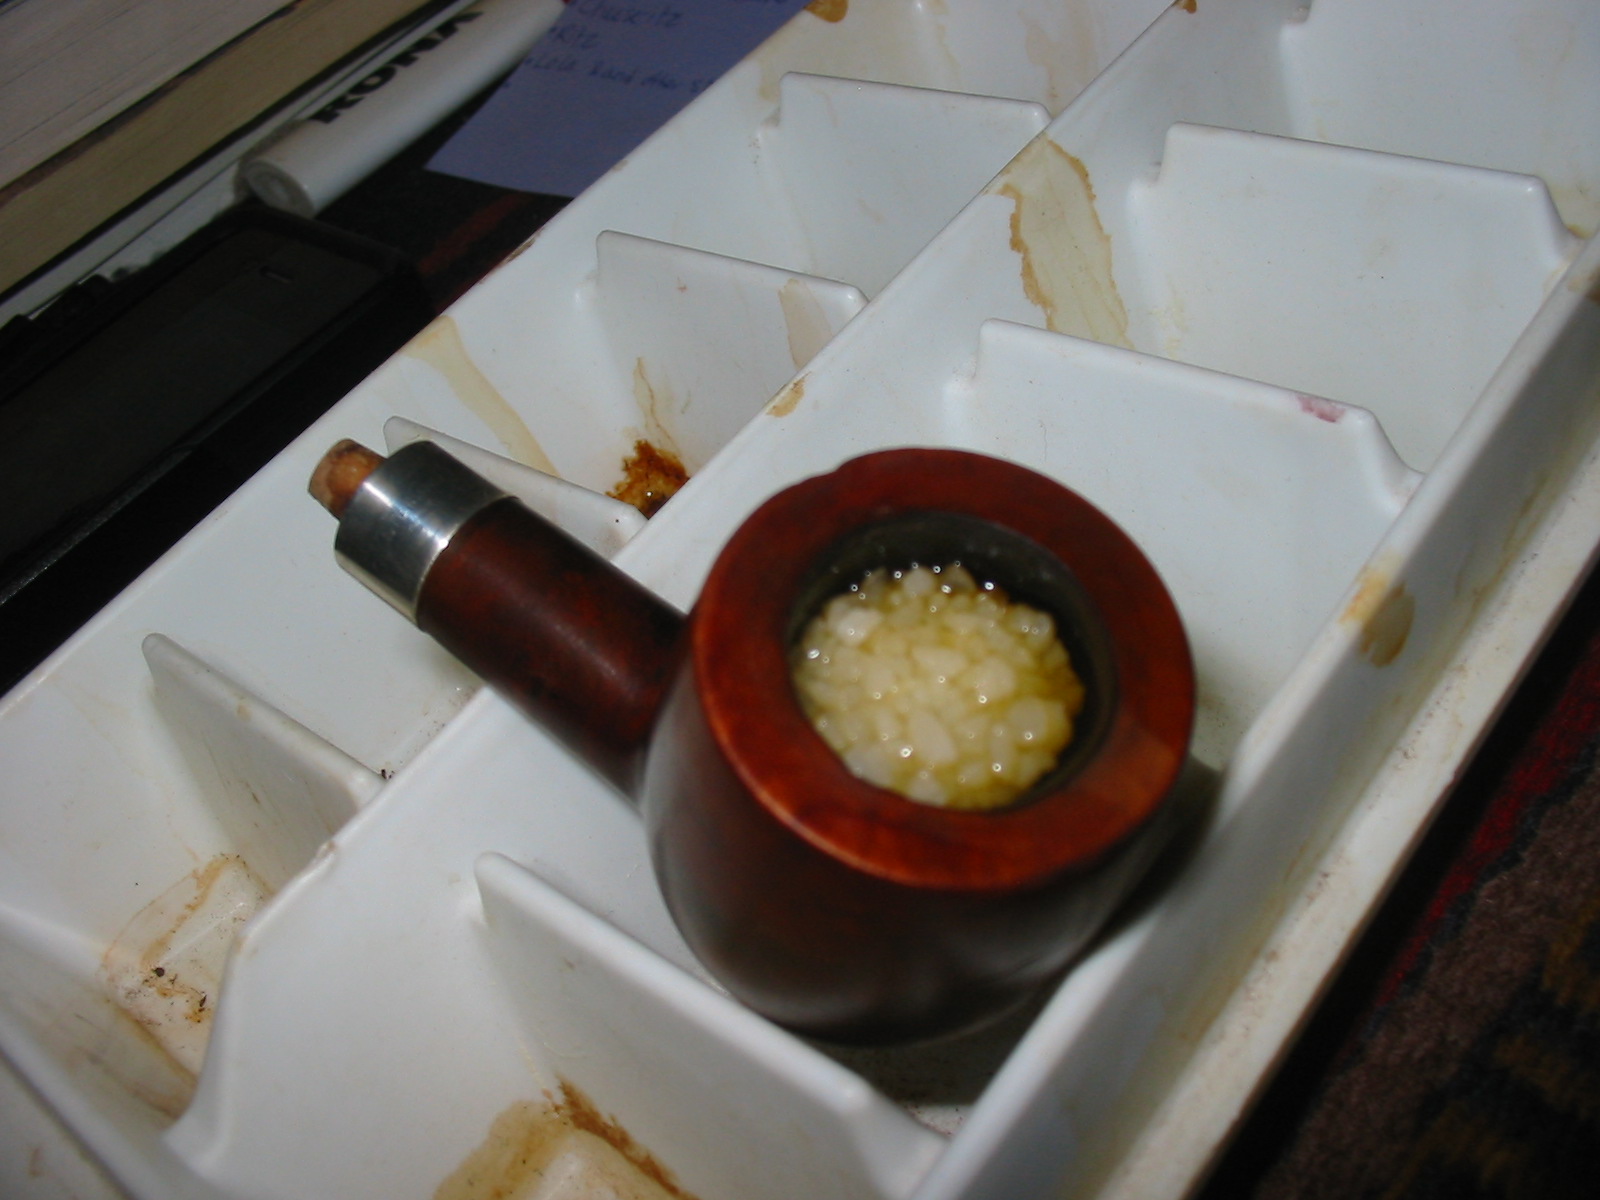
In the morning the salt was a dark brown as pictured below. I emptied the now darkened salt and dried out the inside of the bowl by flaming the alcohol with my lighter. It still smelled like mold though the smell was definitely losing strength.

I cleaned out the button area of the stem with the dental pick and then ran several bristle pipe cleaners through it and then followed up with regular pipe cleaners. I soak both in Everclear to clean out the stem. I then sanded the stem with 220 grit sandpaper to remove the calcification that was all over the stem. I also gave the stem a quick sand all over with the 220 grit to remove the top oxidation. I ran the flame from the Bic lighter over the surface to burn off the oxidation. It did a great job of removing what I had loosened with the sandpaper. I continued sanding it with a fine grit sanding sponge to remove the remaining oxidation. I rubbed down with Obsidian Oil and set it aside with the bowl while I went off to work. The Obsidian Oil sat on the stem and soaked in for the 9 hours I was at work.


I refilled the bowl with salt and put a cork in the shank. I again used the ear syringe to fill the bowl with alcohol and set it aside to work on the stem. It too sat for the nine hours I was at work.
When I got home from work the stem looked quite good. It was significantly more black and the oxidation was gone except around the stem shank union. More work to do there. The salt was a dark brown, but slightly lighter than the first treatment. I dumped out the salt and cleaned out the bowl and shank with cotton swabs again. When I finished the smell was better but present nonetheless. I cleaned out the bowl with alcohol and cotton swabs again.

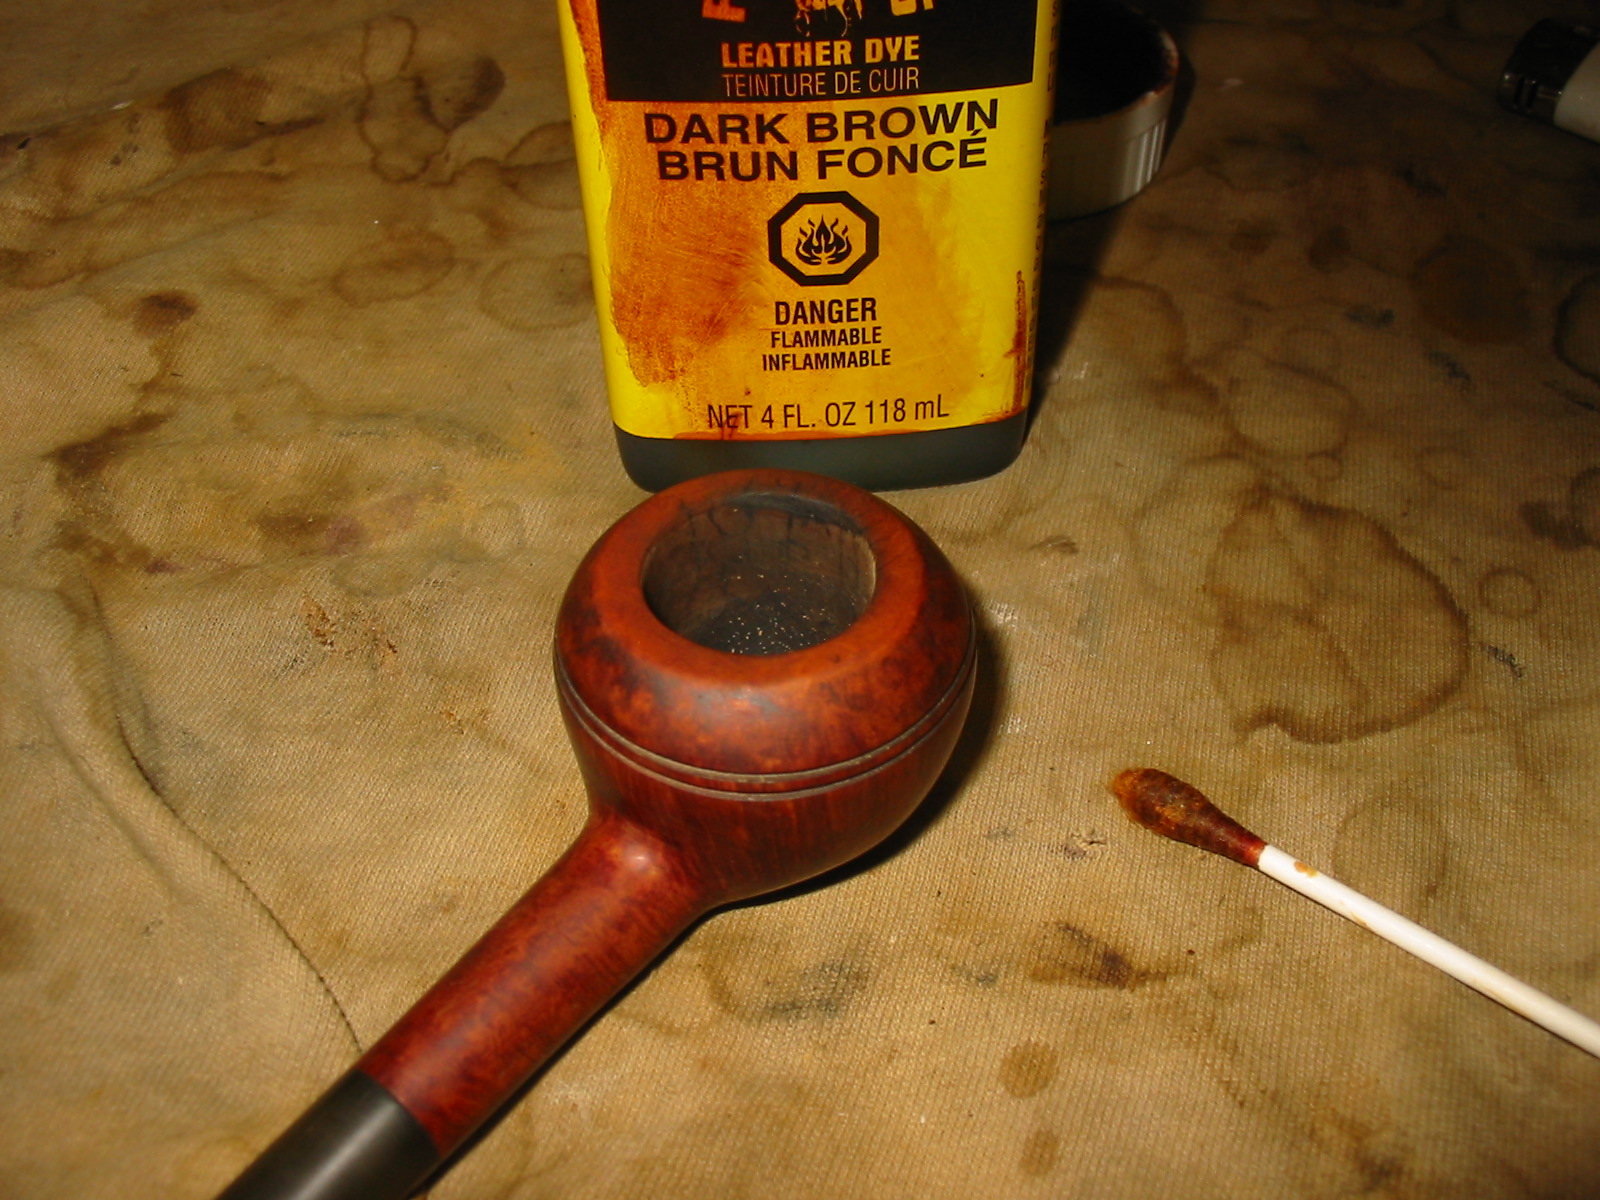
I needed another bit of encouragement at this point so I decided to stain the pipe with a dark brown aniline stain cut 2:1 with isopropyl alcohol. I applied the stain, flamed it and then buffed it on with Tripoli and White Diamond (photos 1-4 below). The brown did a fair job of coverage but I would need to give it a second coat of stain using a oxblood colour to do some blending with the dark areas on the bowl.


I worked on the stem with fine grit sanding sponges and 1500-2400 grit micromesh sanding pads. There were some minor tooth dents that still showed up so I passed over them with a Bic lighter and was able to raise them. More sanding was needed and I repeated the sanding described above.


Once the bowl dried out it still smelled so I decided to repeat the salt and alcohol treatment a third time. I filled the bowl with salt and isopropyl and set it aside over night (photo 1 below). In the morning the salt was little lighter brown this time (photos 2-3 below). I dumped the salt out and cleaned the bowl and shank again. This time the cotton swabs came out fairly clean. I flamed the inside of the bowl. Once the bowl dried out it still smelled so I decided to repeat the salt and alcohol treatment again. I filled the bowl with salt and isopropyl and set it aside over night. In the morning the salt was once again a dark brown. I dumped the salt out and cleaned the bowl and shank again. This time the cotton swabs came out fairly clean. I flamed the inside of the bowl. Though the inside of the bowl and the shank was very clean the musty smell still remained, though less prevalent. This was one stubborn pipe bowl to clean.


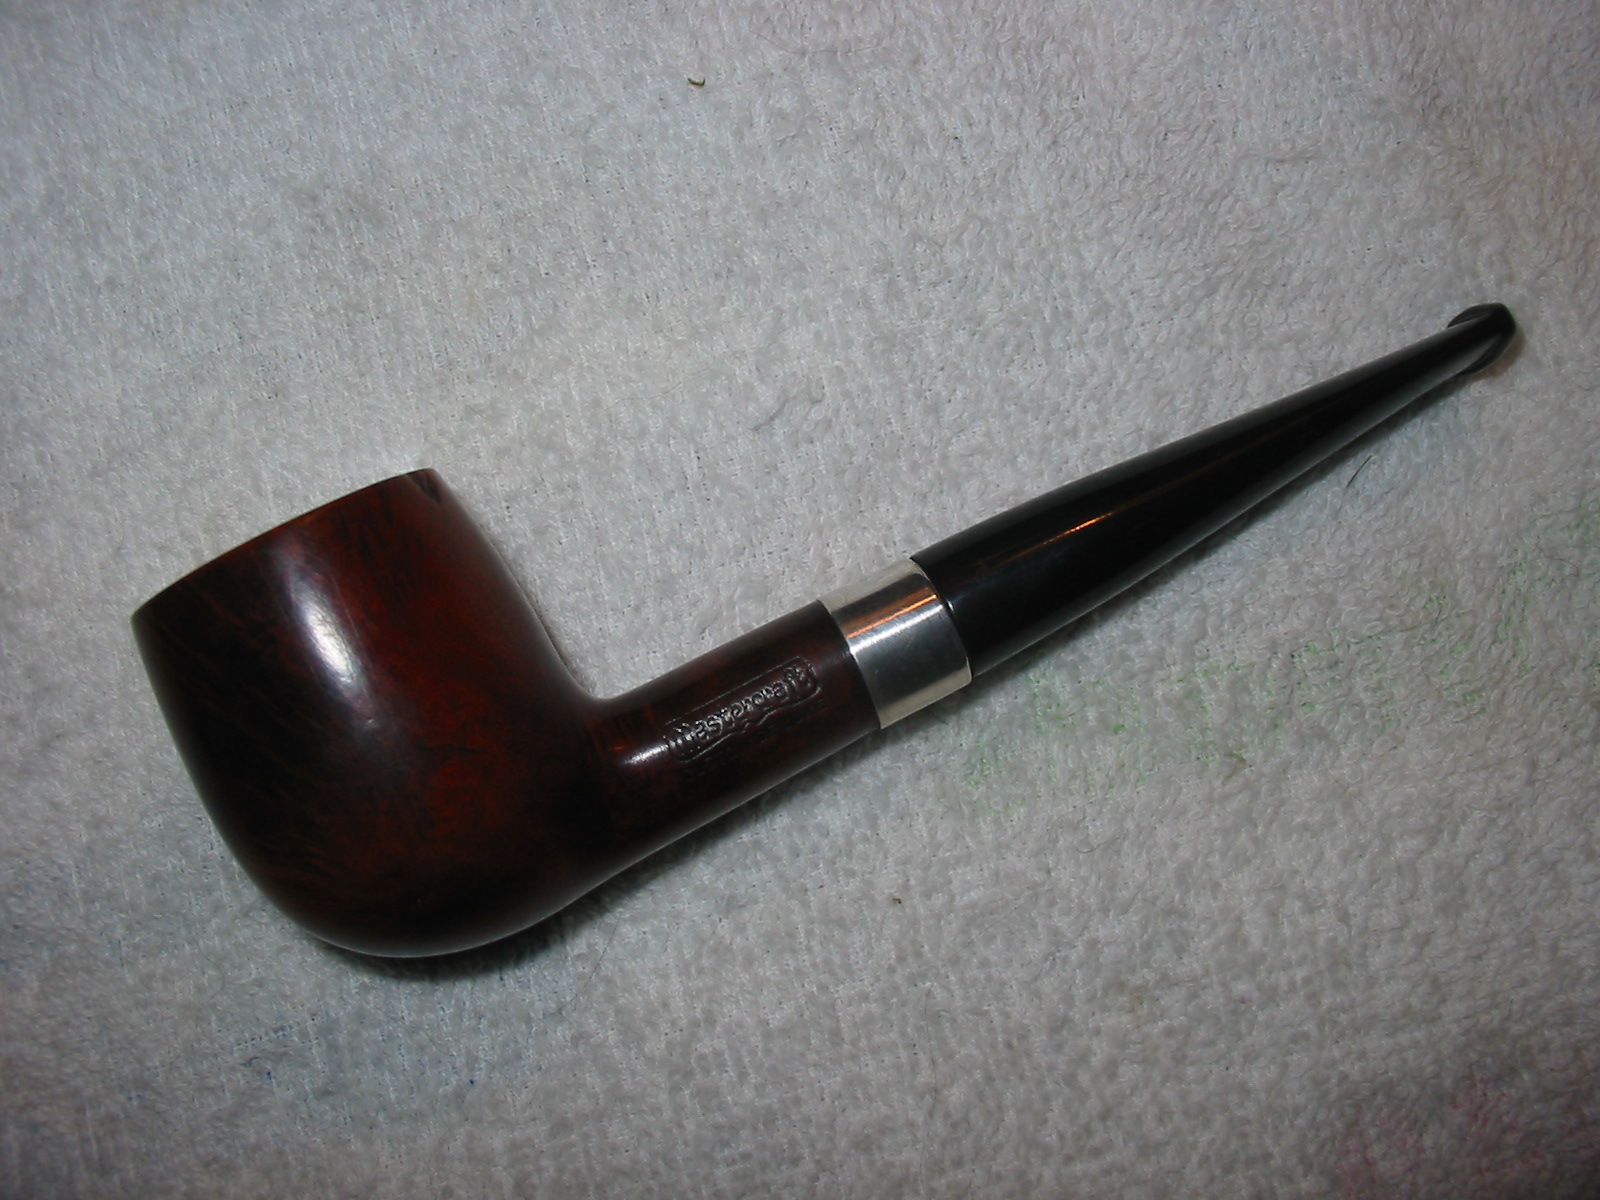
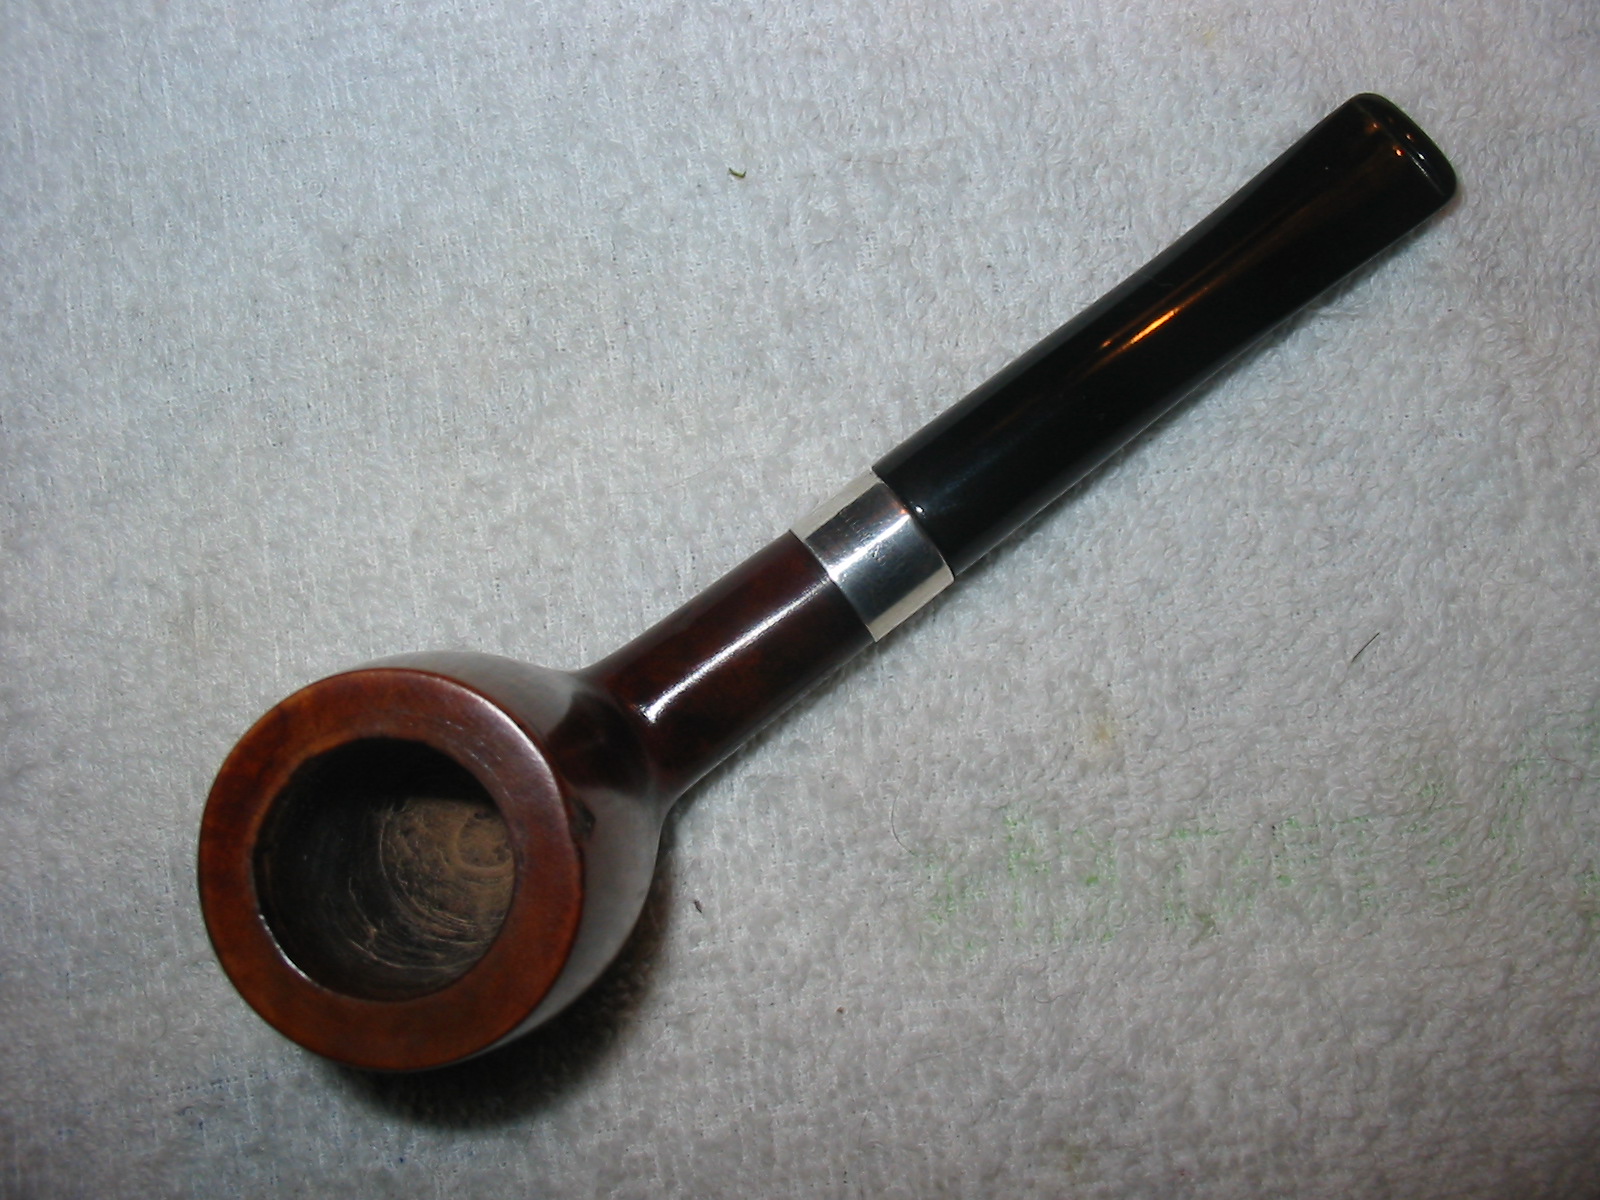
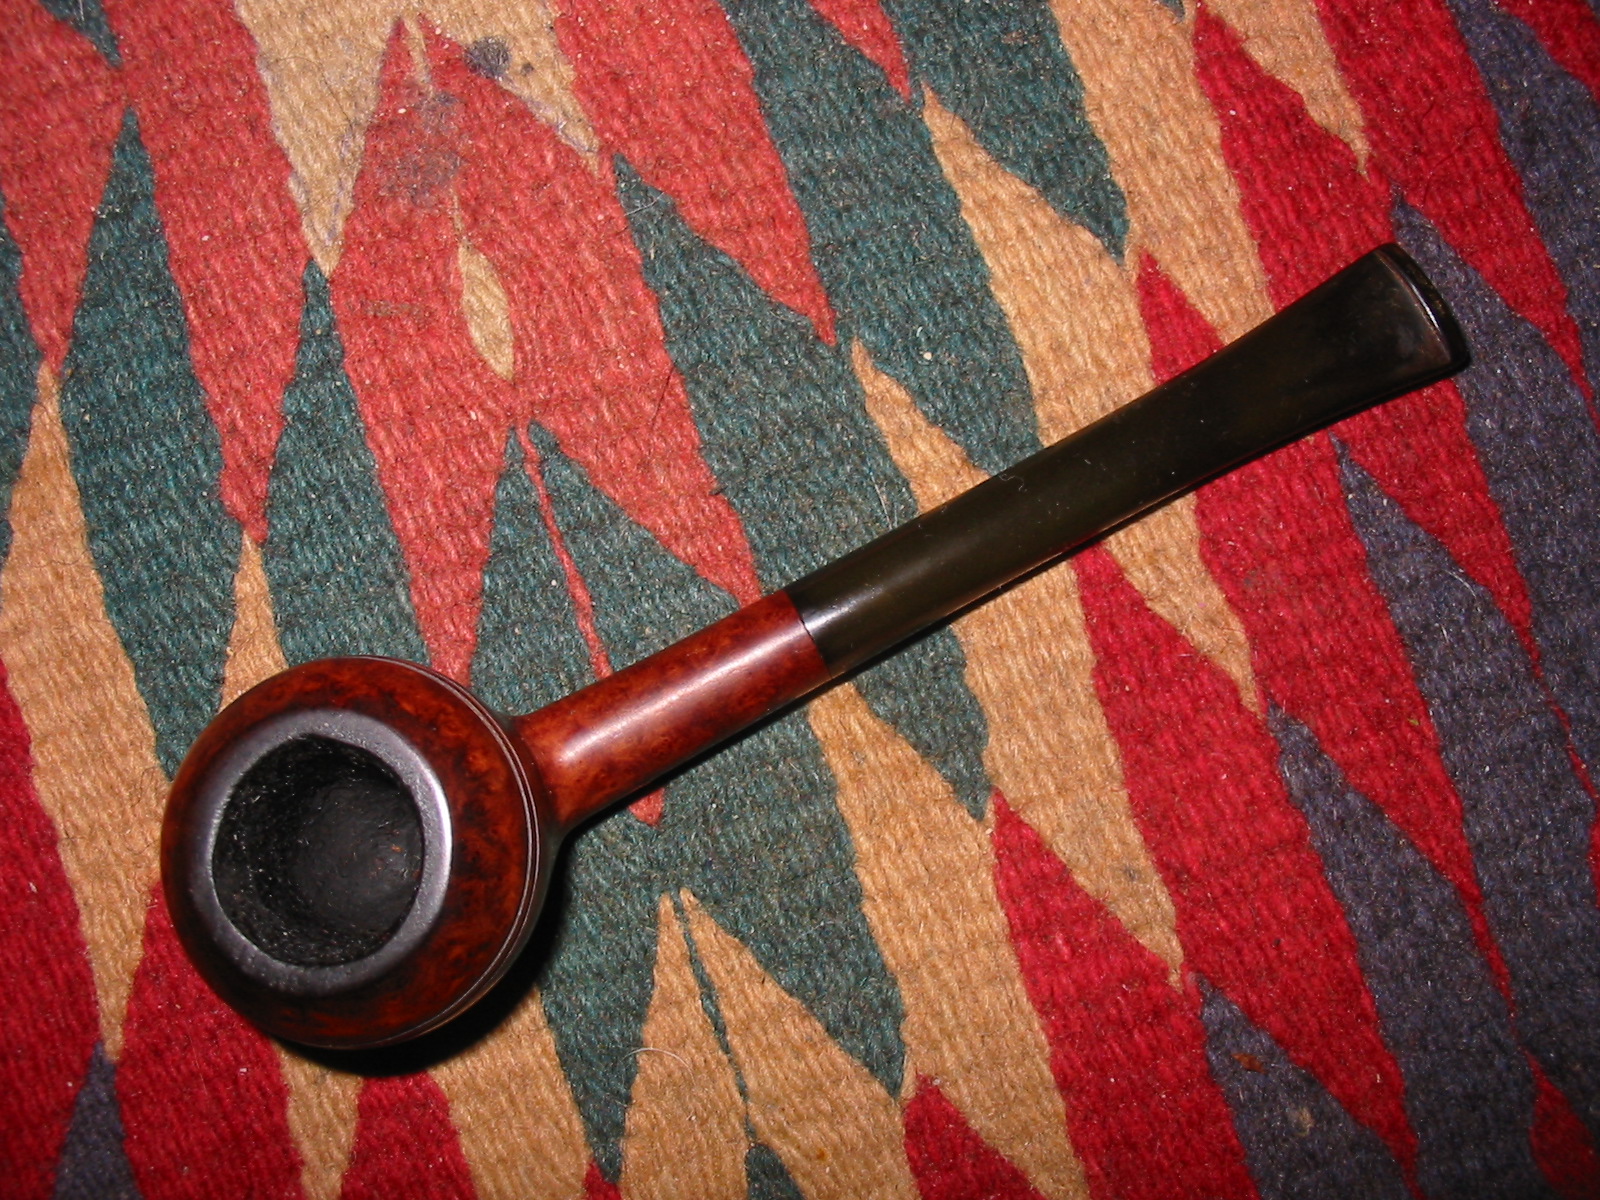
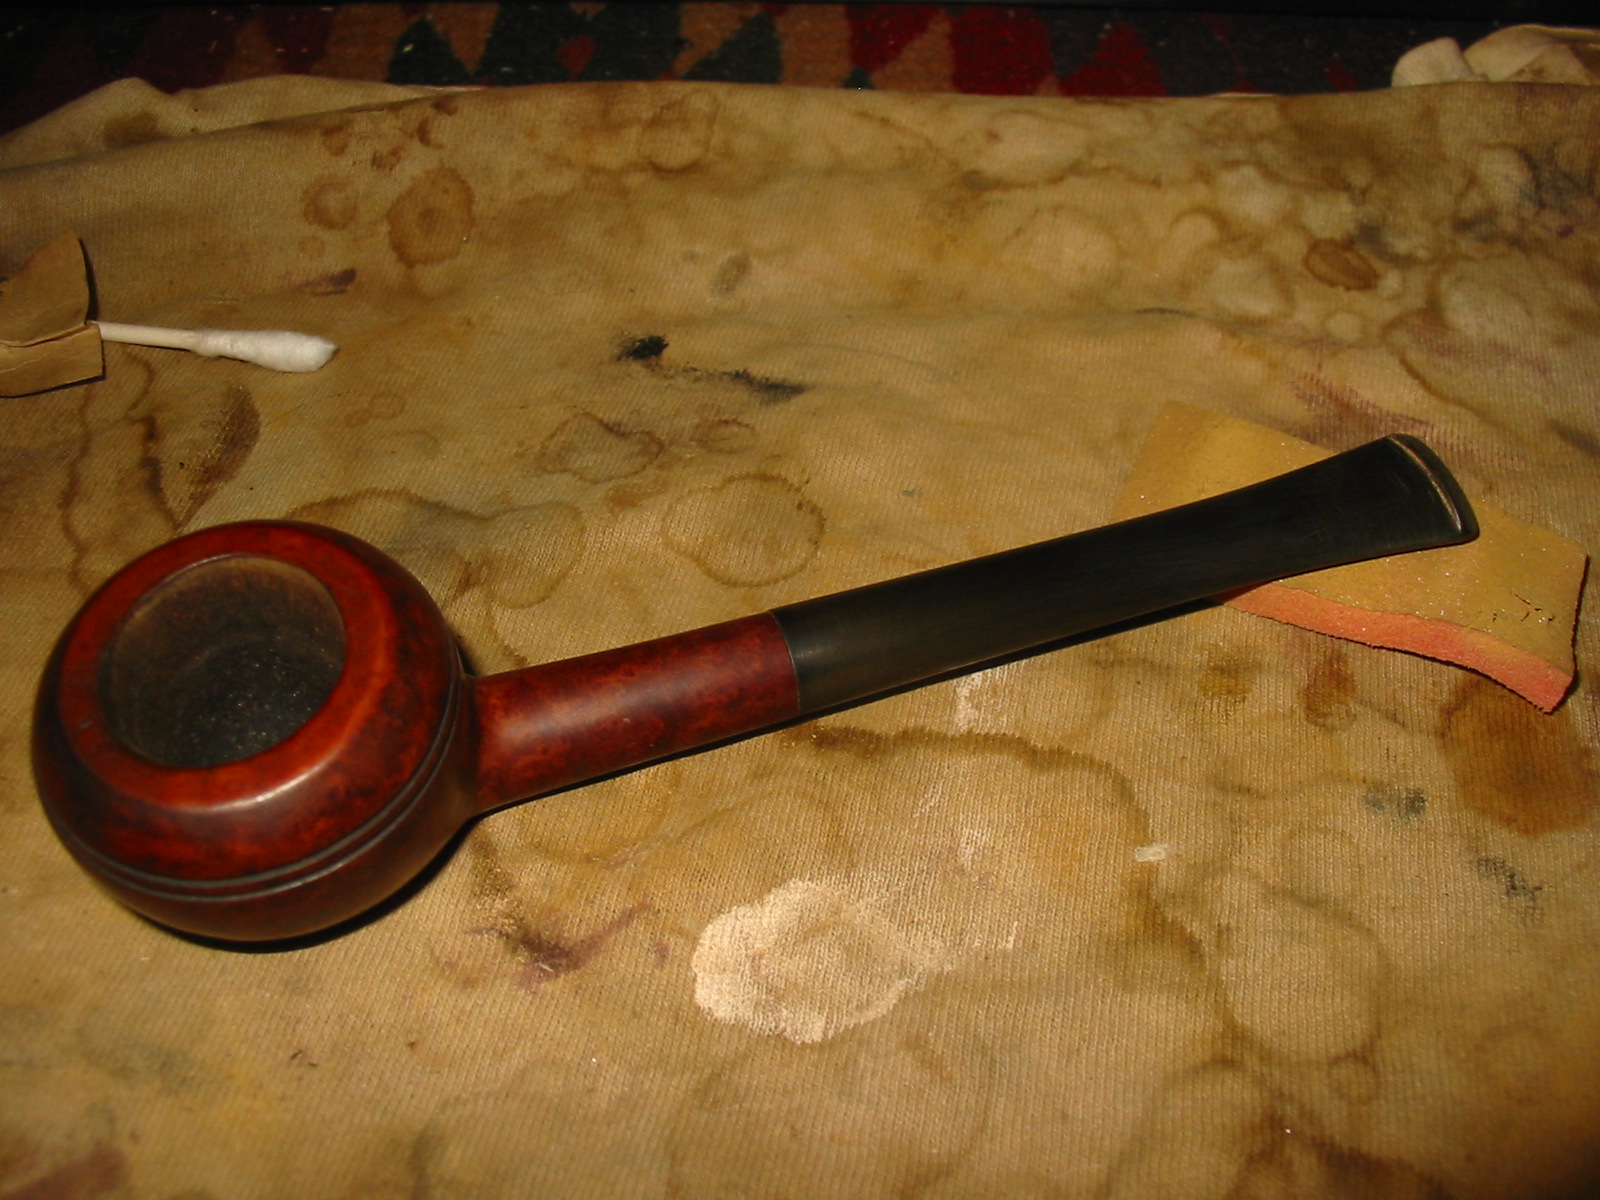
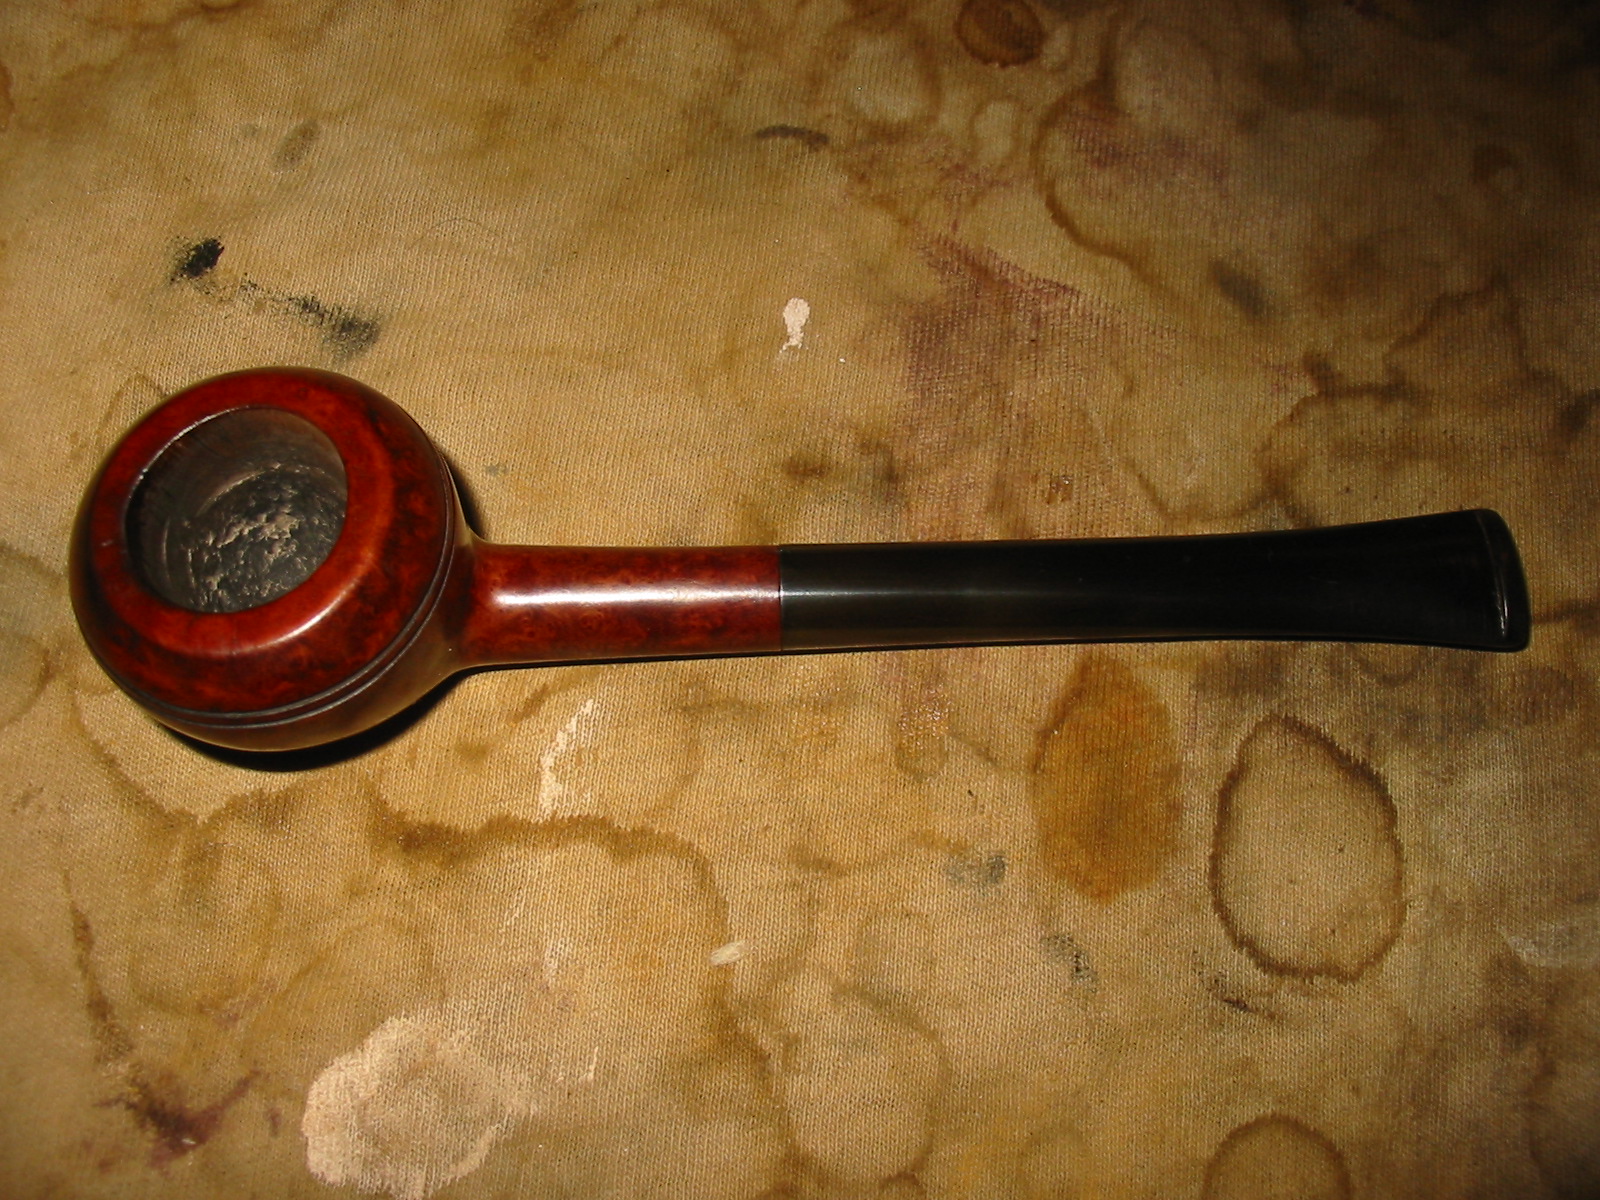
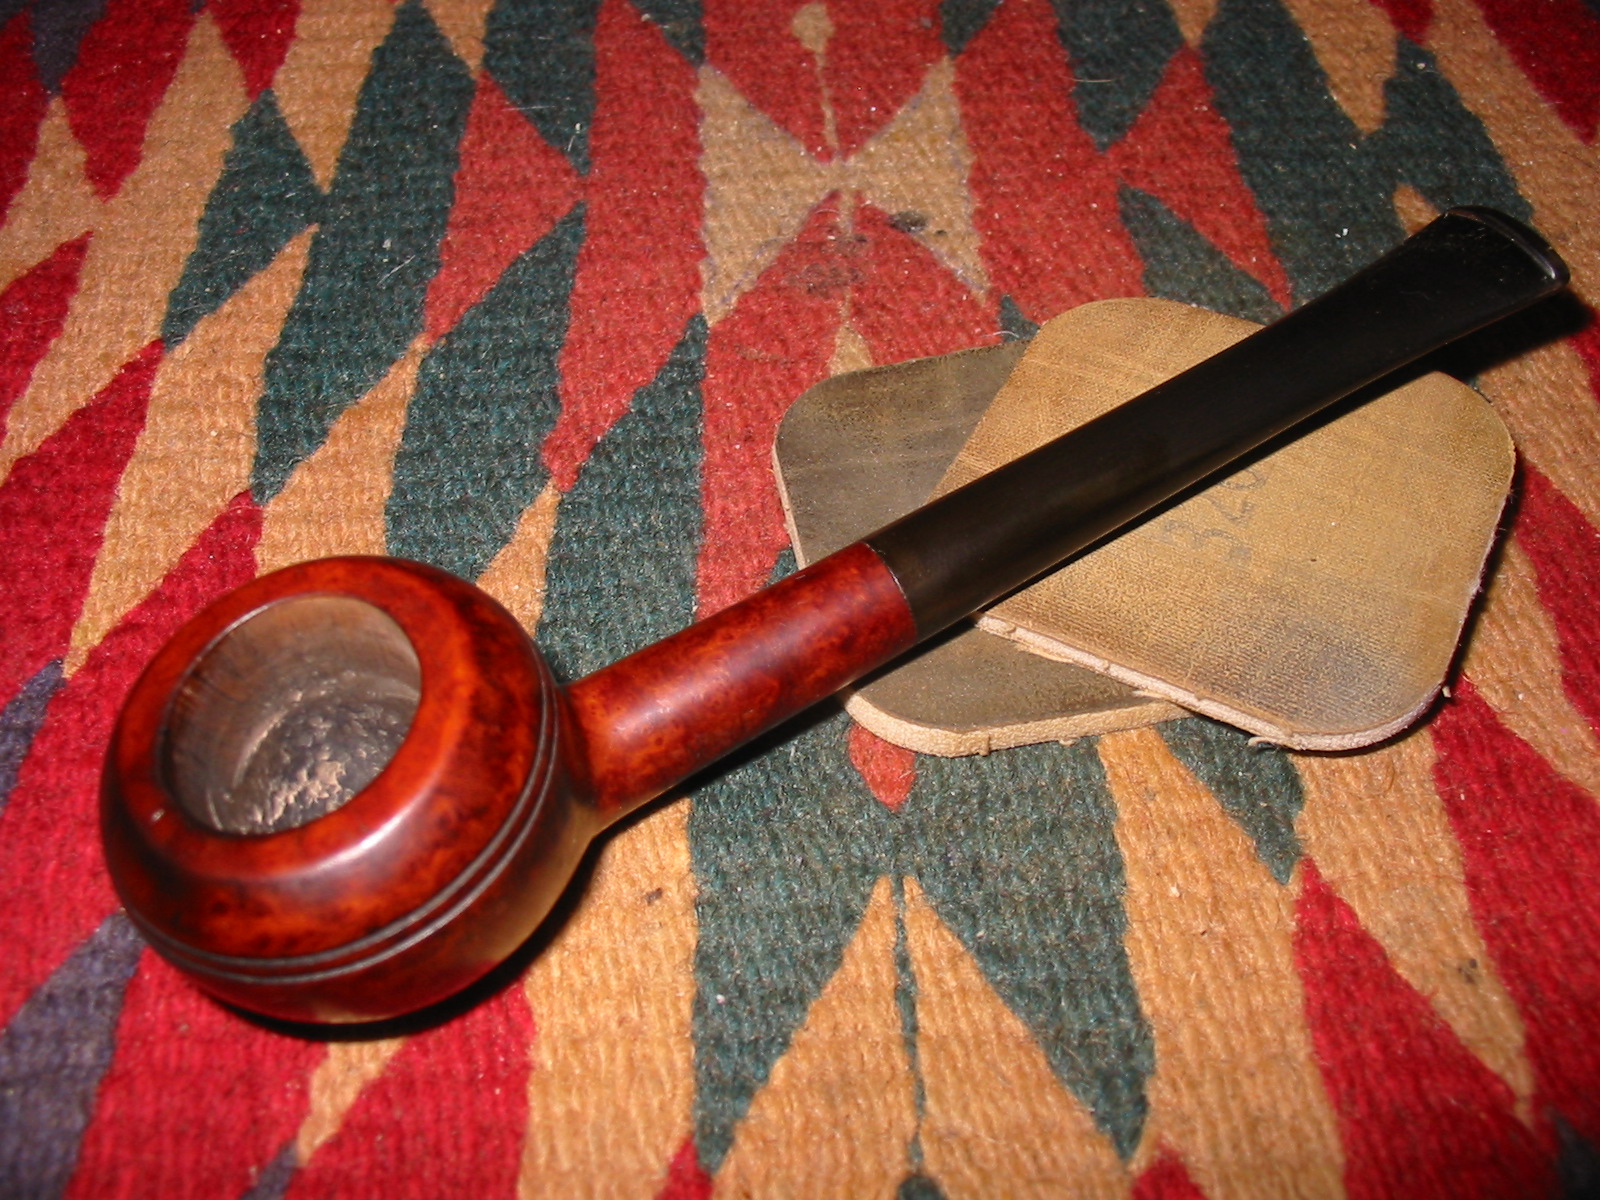
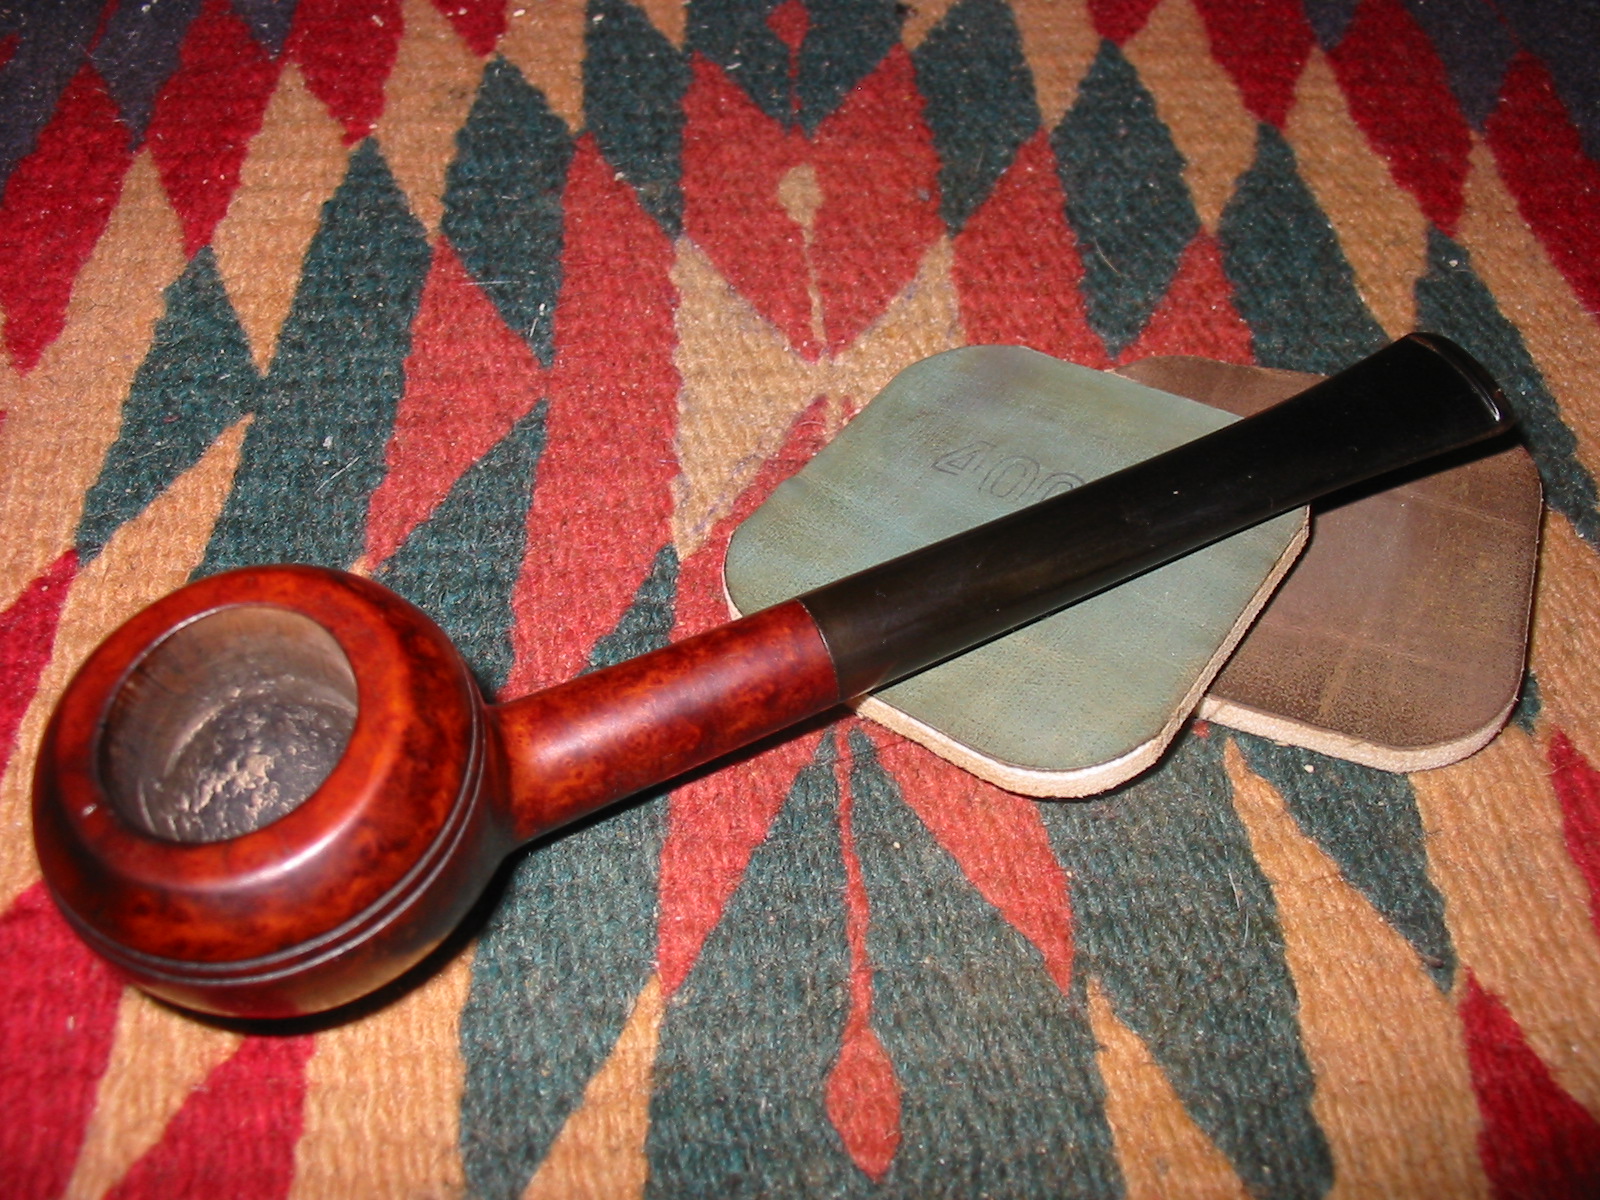
While the inside of the bowl dried out I decided to restain the bowl. For the second/top coat I used a oxblood stain. I applied it and wiped it off (first photo below). The coverage this time was much better. The dark reddish stain blended well and covered the dark areas of the bowl. The finished colour is a nice older deep reddish brown look (second-fourth photos below).


I decided to sand back the inside of the bowl yet again. I used the Dremel with the sanding drum a second time. When I was finished the inside of the bowl was very clean and fresh looking. The smell was still there. I stuffed the bowl with cotton bolls and then used an ear syringe to fill it with white vinegar and set it in the ice-cube tray to let it work. I have used that in the past to remove stubborn ghosts so I thought I would give it a try on this one.

While the bowl soaked I worked on the stem with the remaining grits of micromesh sanding pads – 3200-12,000 to bring back the deep shine on the stem. Sanding them with the higher grits of micromesh really gives a deep shine to the stem. It is amazing to see the difference between each of the successive grits of micromesh. I did not take photos of the steps as almost all of my refurbishing posts have shown the polishing process with the micromesh. The next two photos show the finished stem. Once the bowl is finished I will buff the bowl and stem with White Diamond and then give the whole a buff with multiple coats of carnauba wax to polish.


Once the vinegar had soaked in the bowl for several hours I removed the cotton boll and dried out the bowl. I then used a Dremel with a sanding drum to sand back the sides of the bowl yet again. This time I extended the diameter of the bowl to get rid of the surface area of the bowl interior. Once I was finished with the Dremel I hand sanded the bowl with 220 grit sandpaper to smooth out the small ridges left behind by the drum sanding. The last two photos in this sequence show the newly sanded bowl.


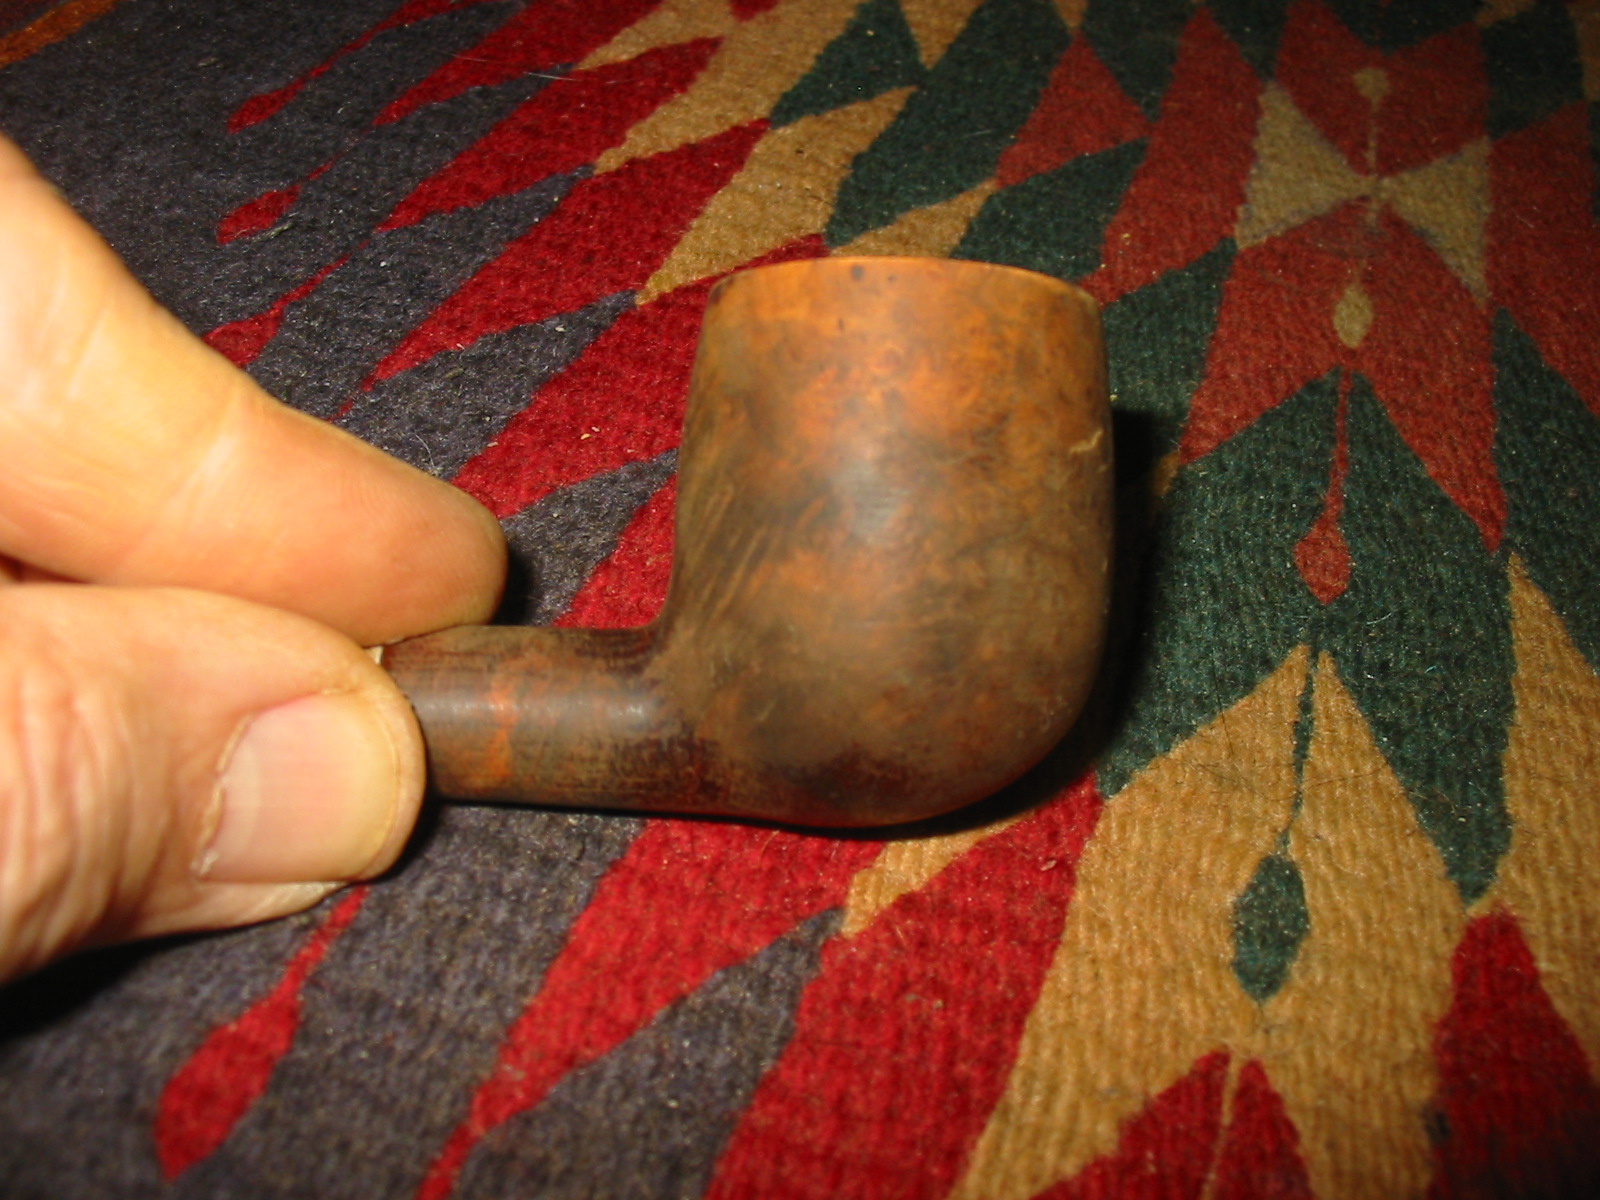
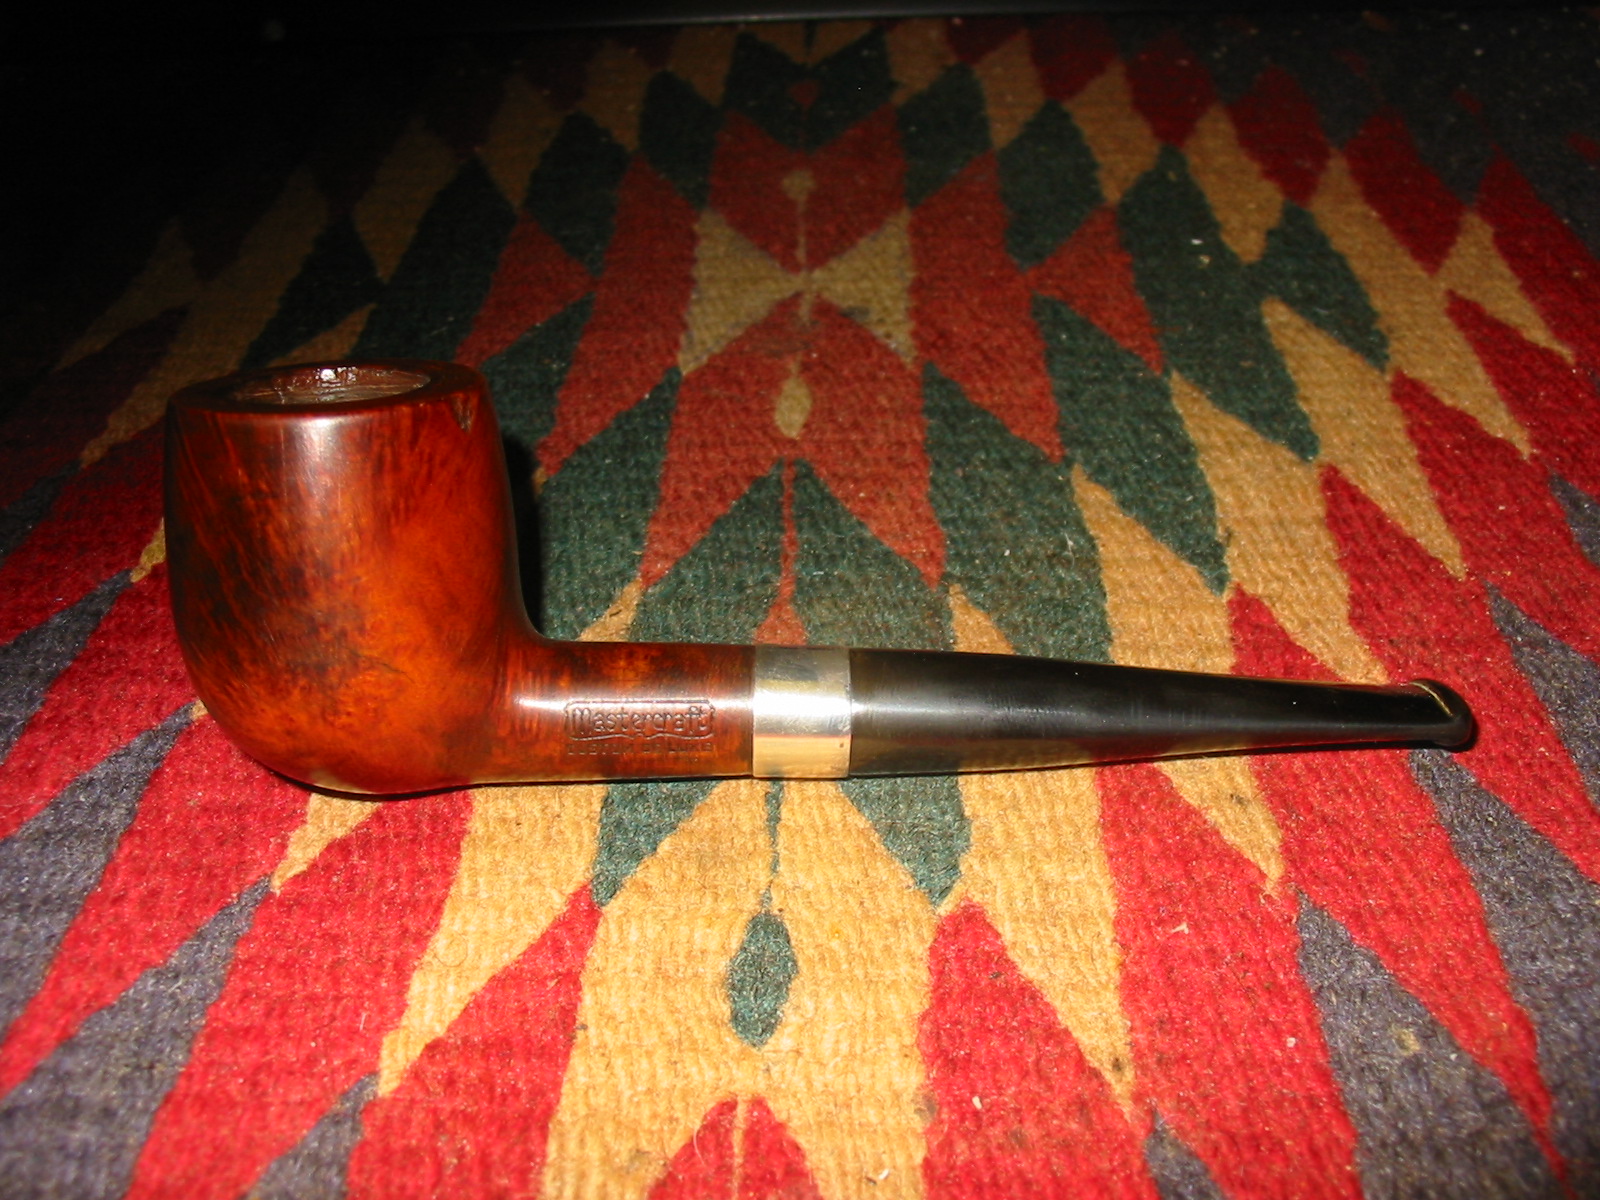
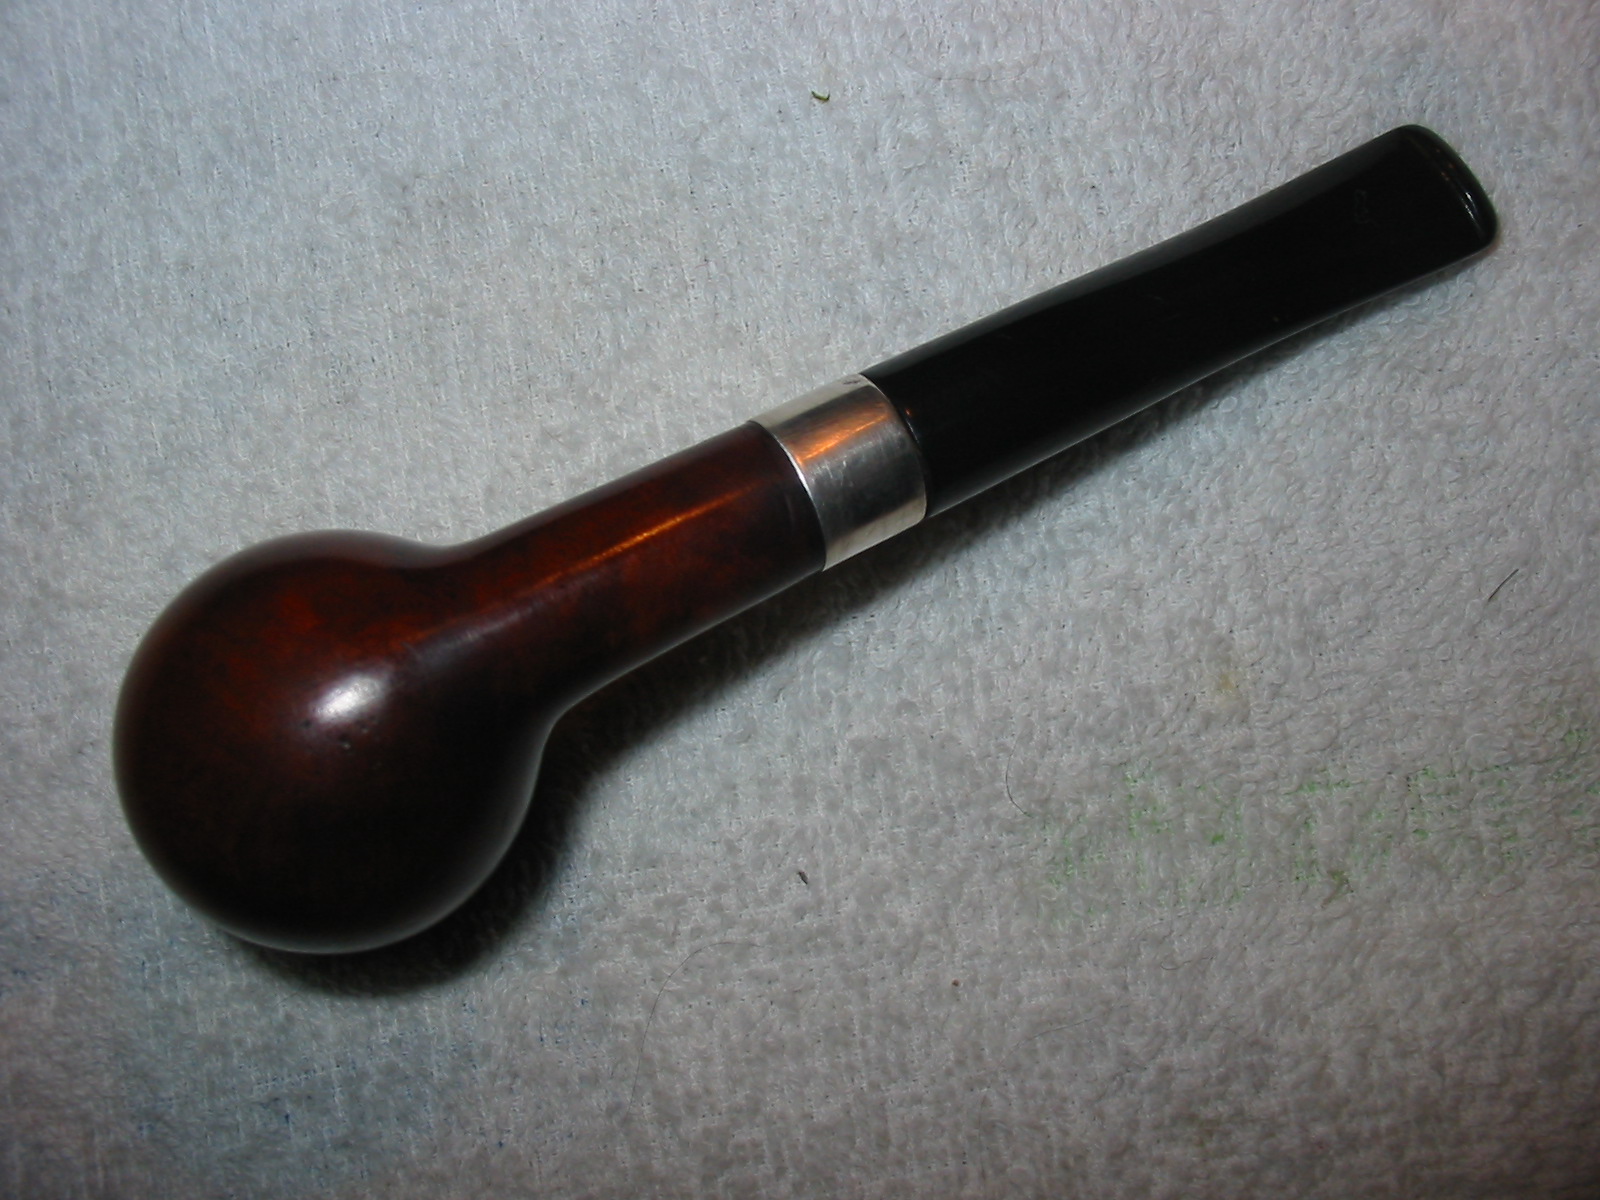
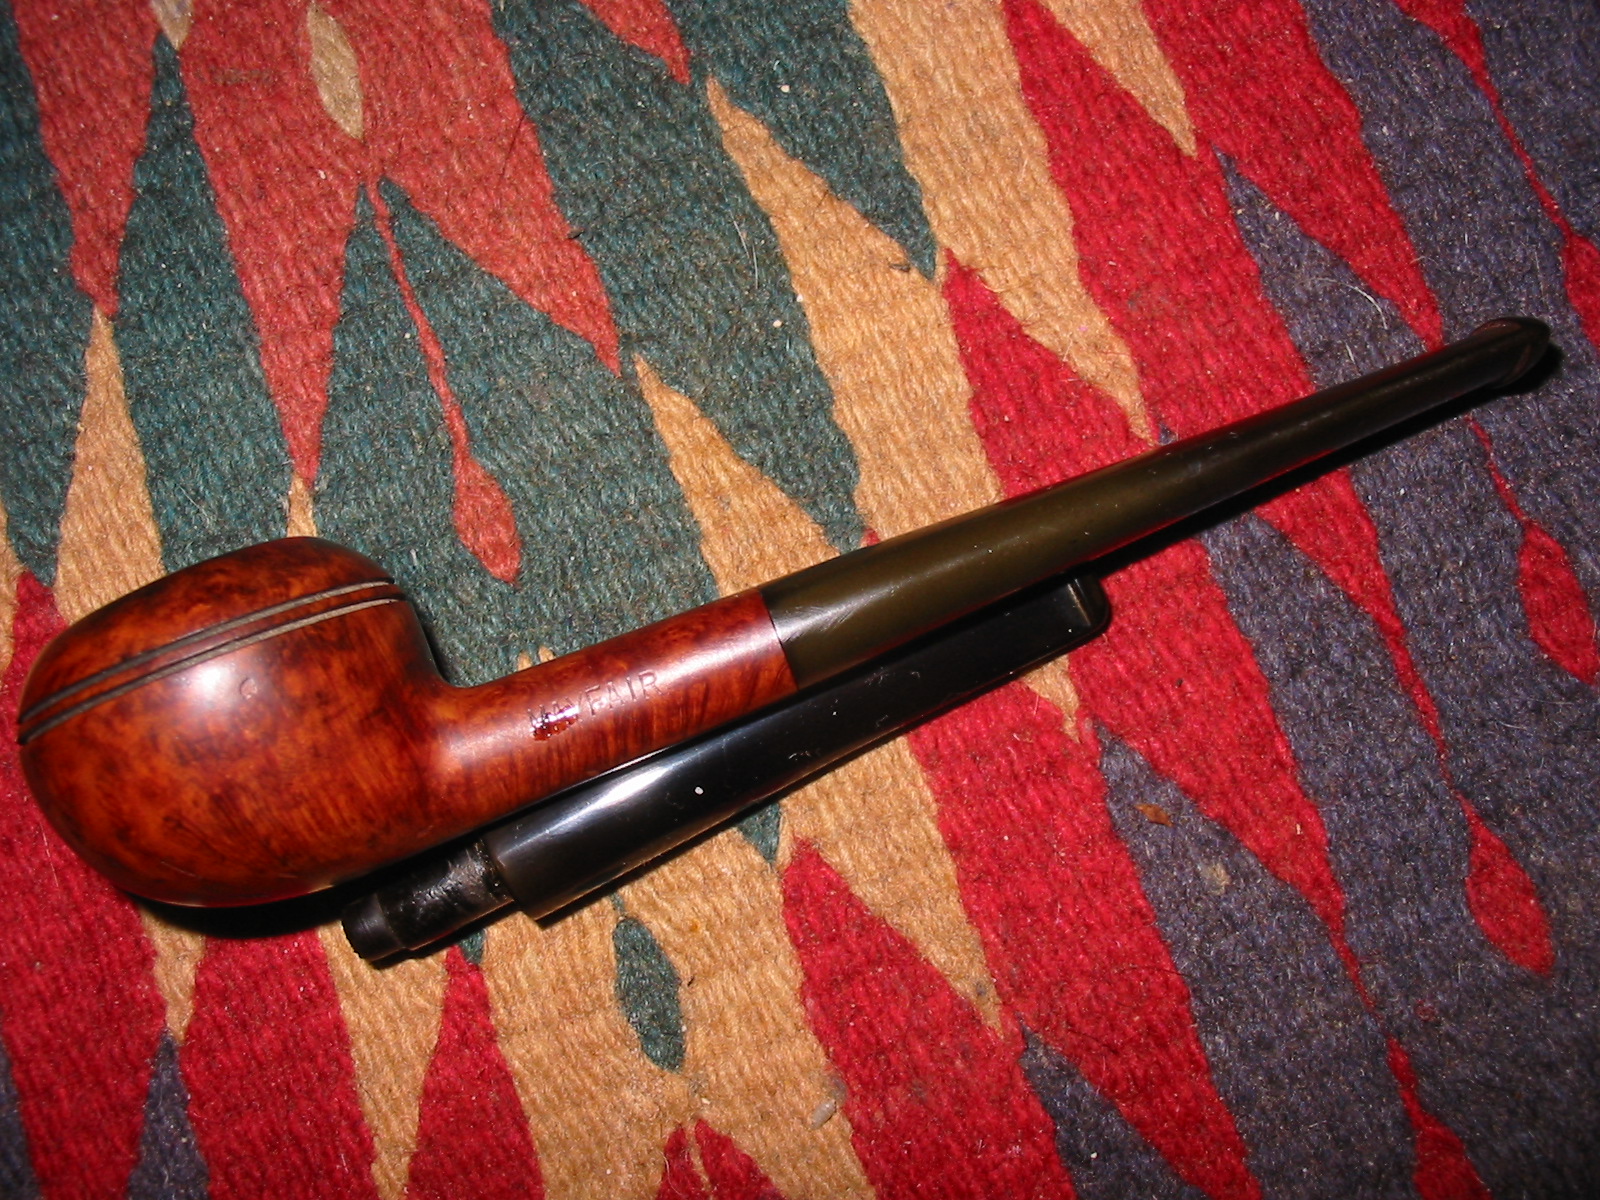
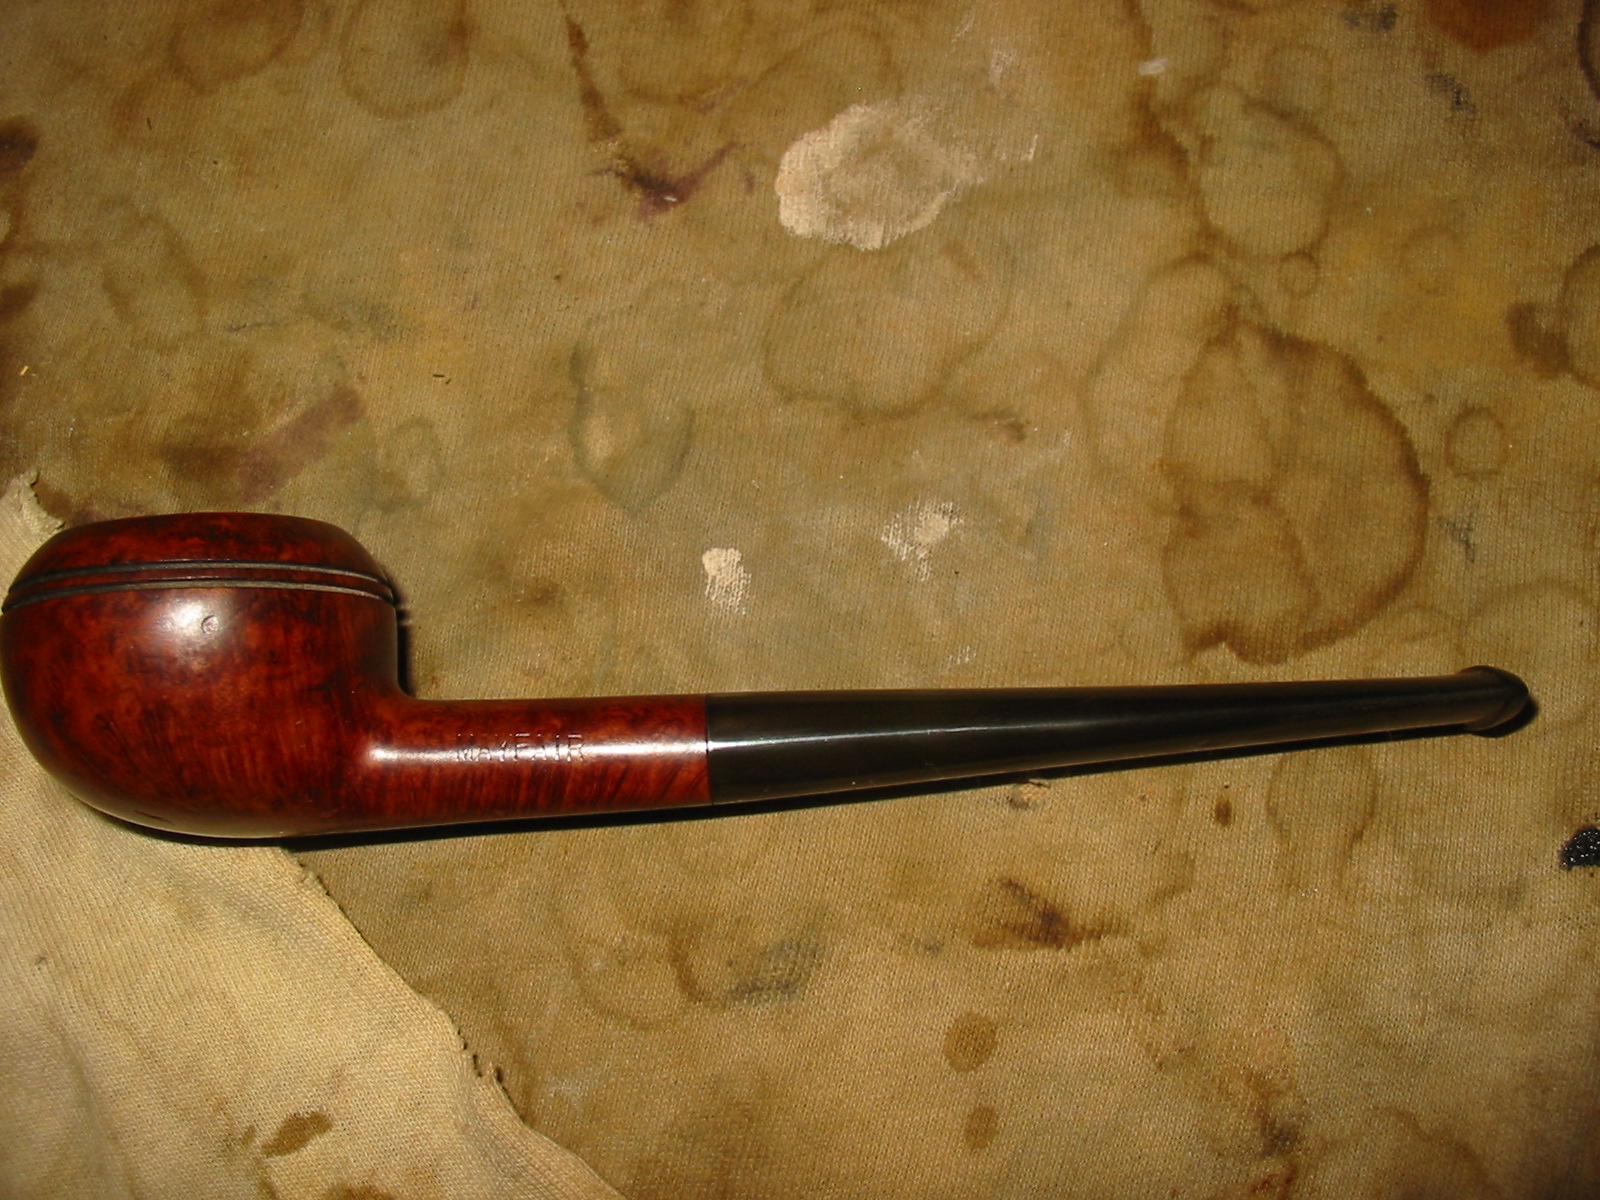
I took the bowl outside and put it in the bright sun on my patio. I wanted to let the heat and the UV rays from the sun do more work on the potential mold in the bowl. The evening is cooling down and the sun is no longer as warm. I brought in the bowl and wiped down the inside of the bowl and shank with an alcohol based anti bacterial wipe. I took it to the buffer and gave the whole pipe a buff with White Diamond. I then gave it several coats of carnauba wax and buffed it with a clean flannel buff. The pipe is like new and it SMELLS GREAT. I finally beat the moldy smell. The final four photos show the finished pipe.