Blog by Steve Laug
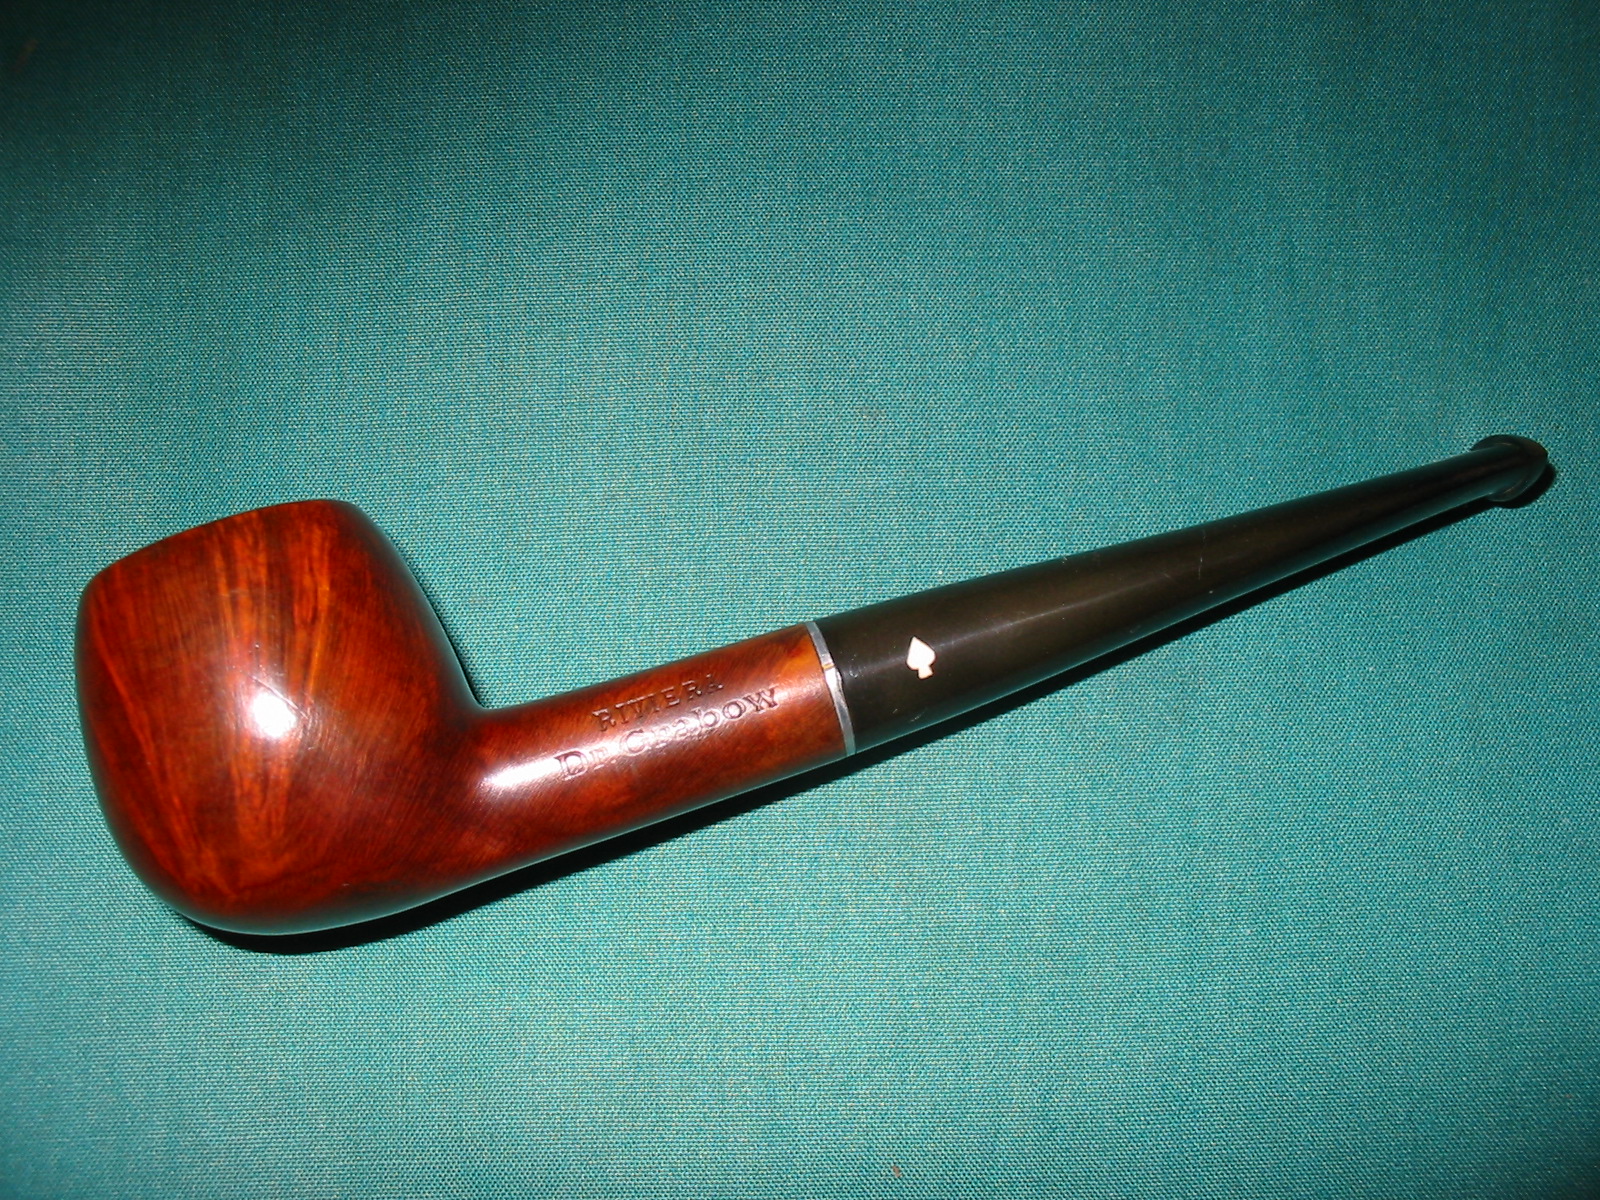
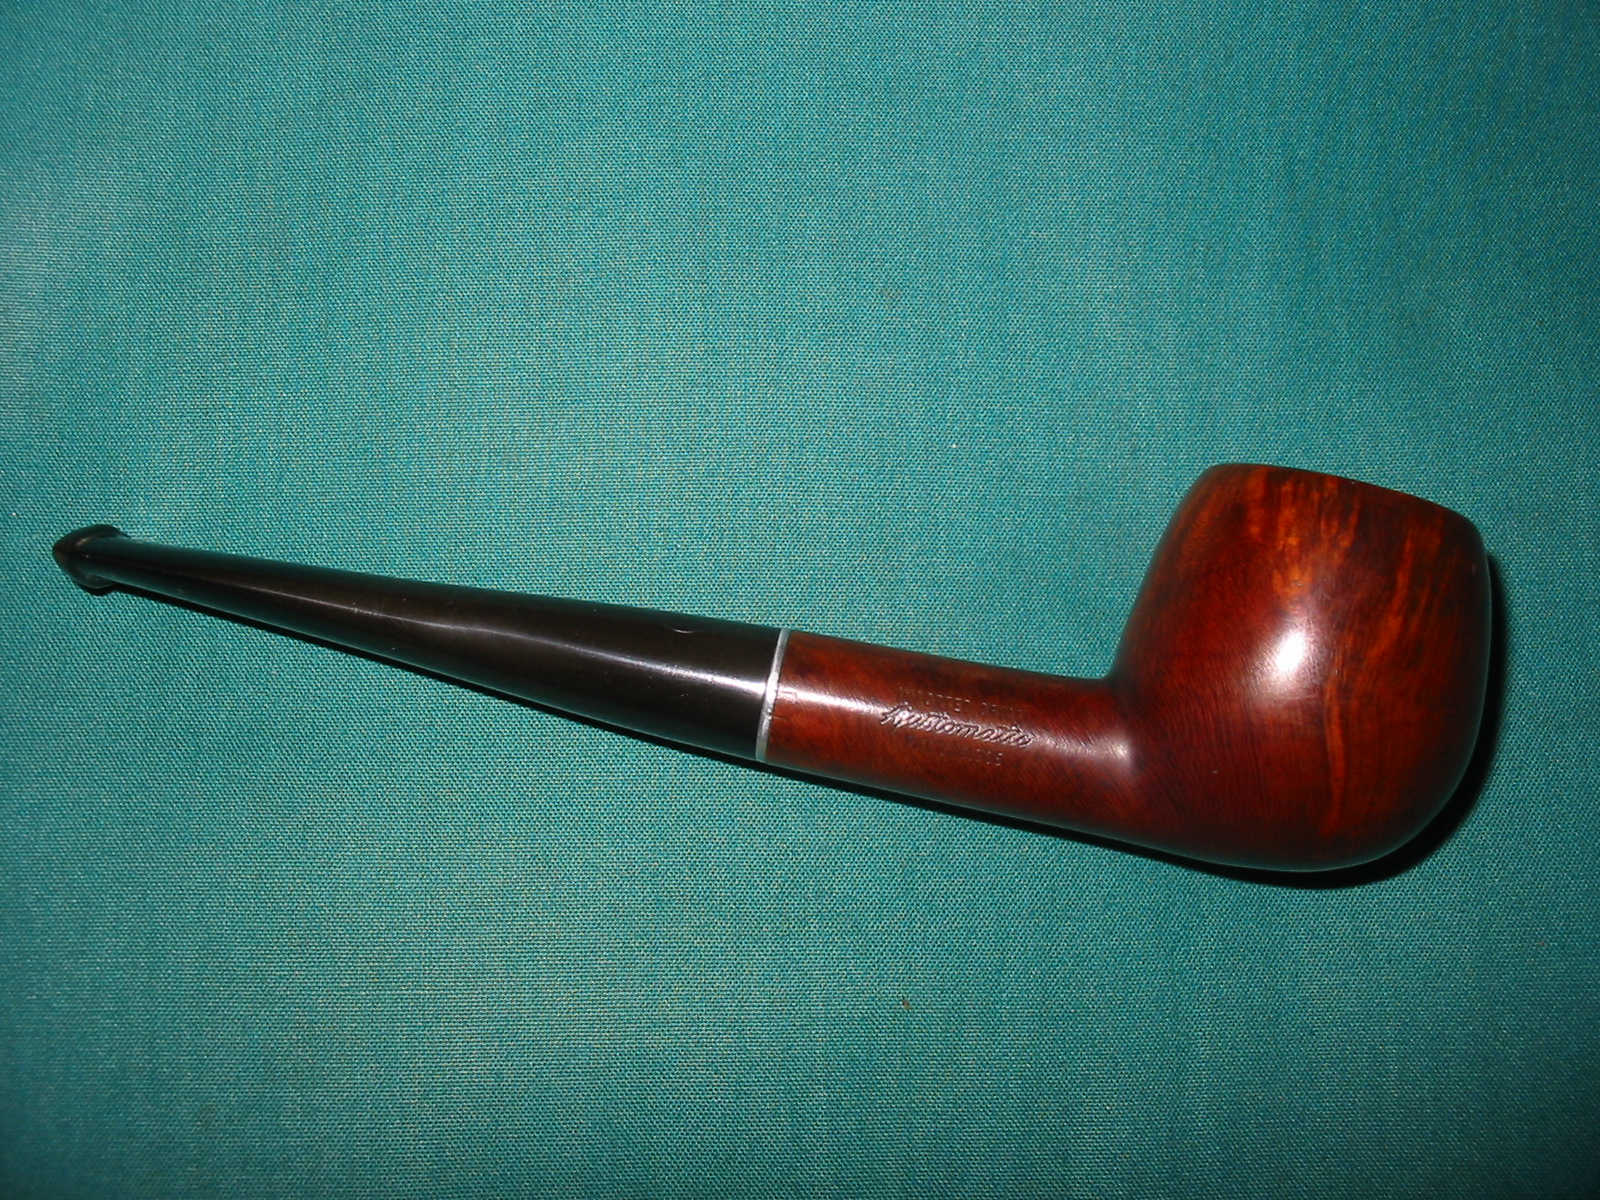
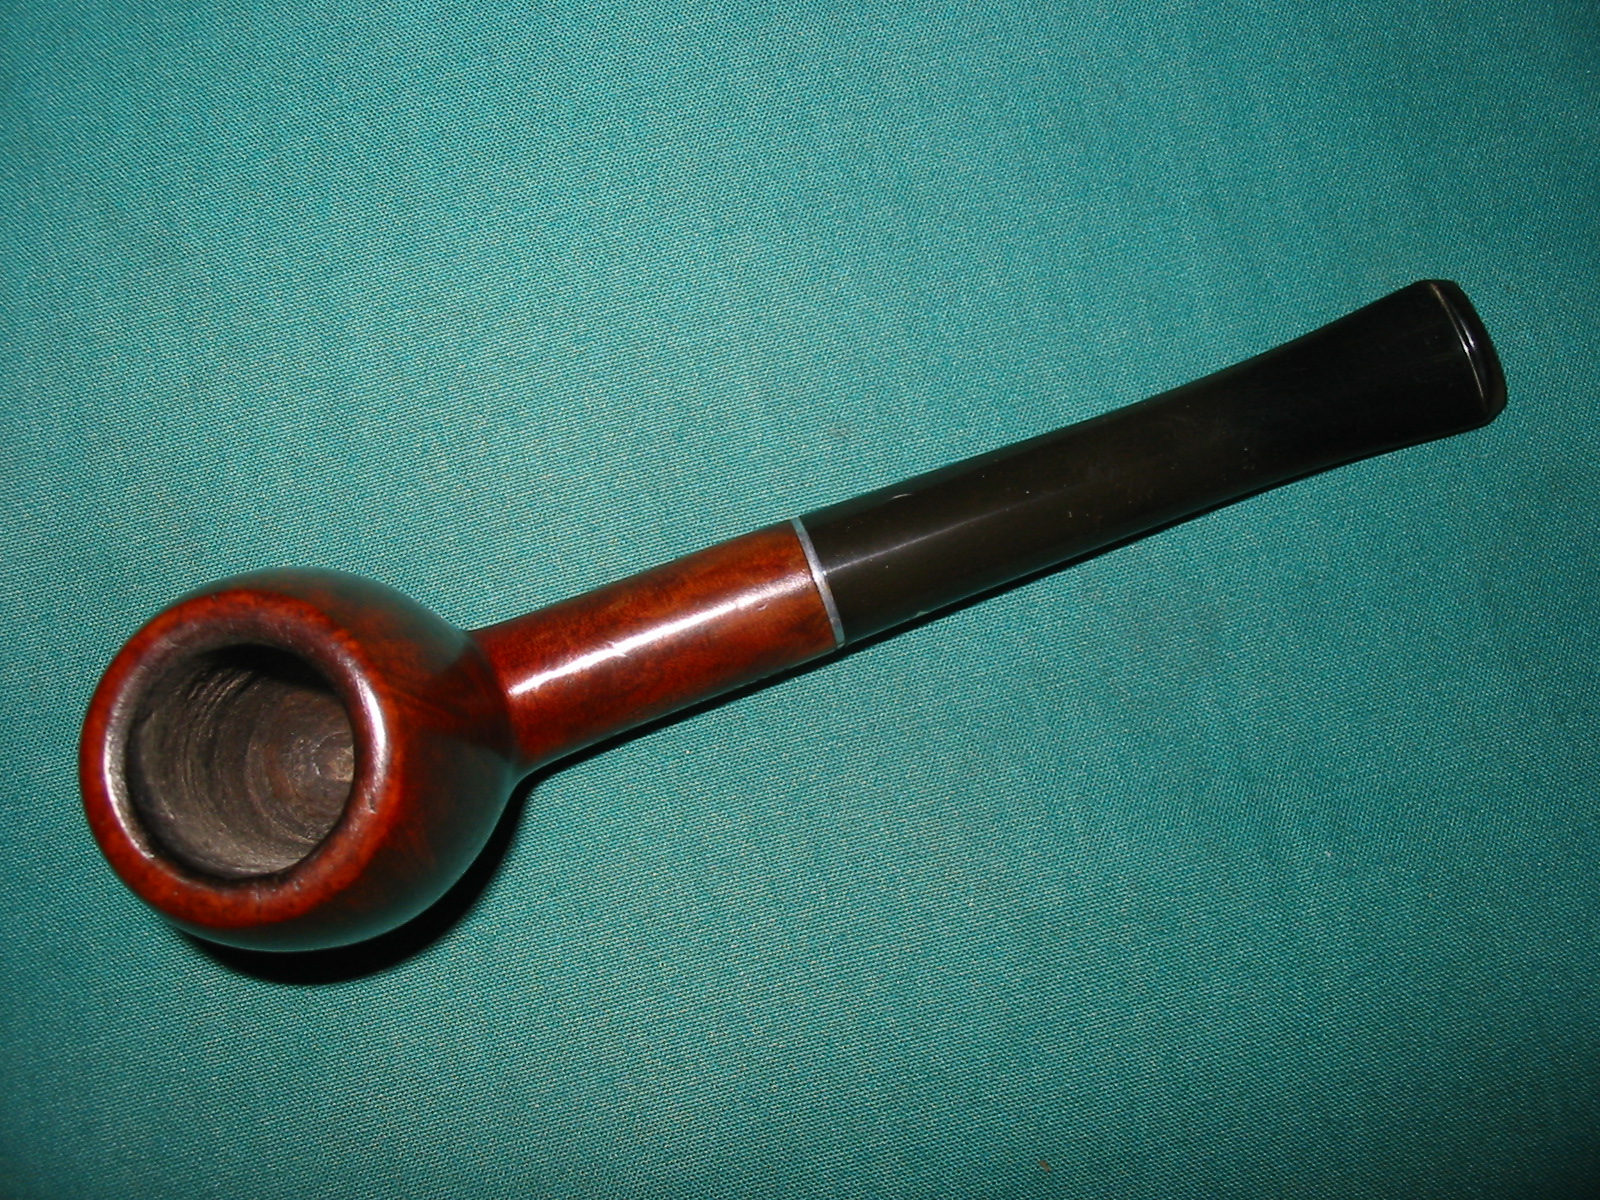
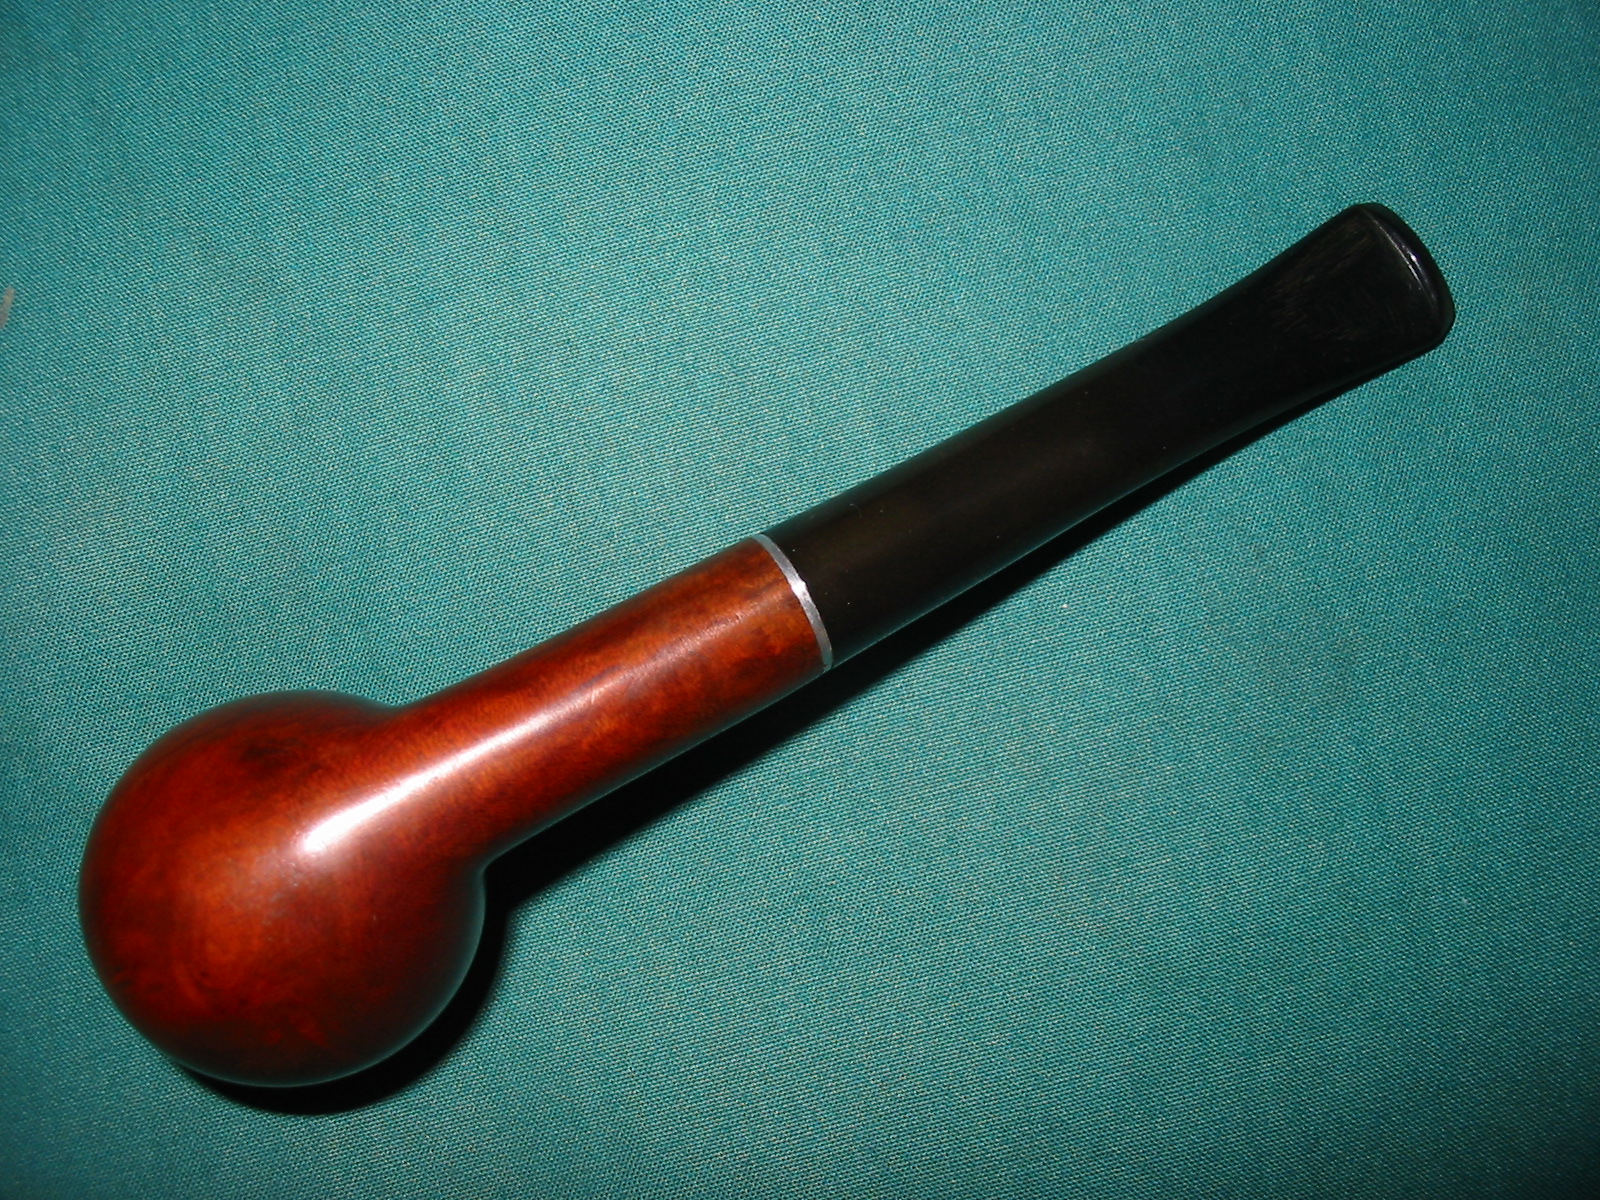
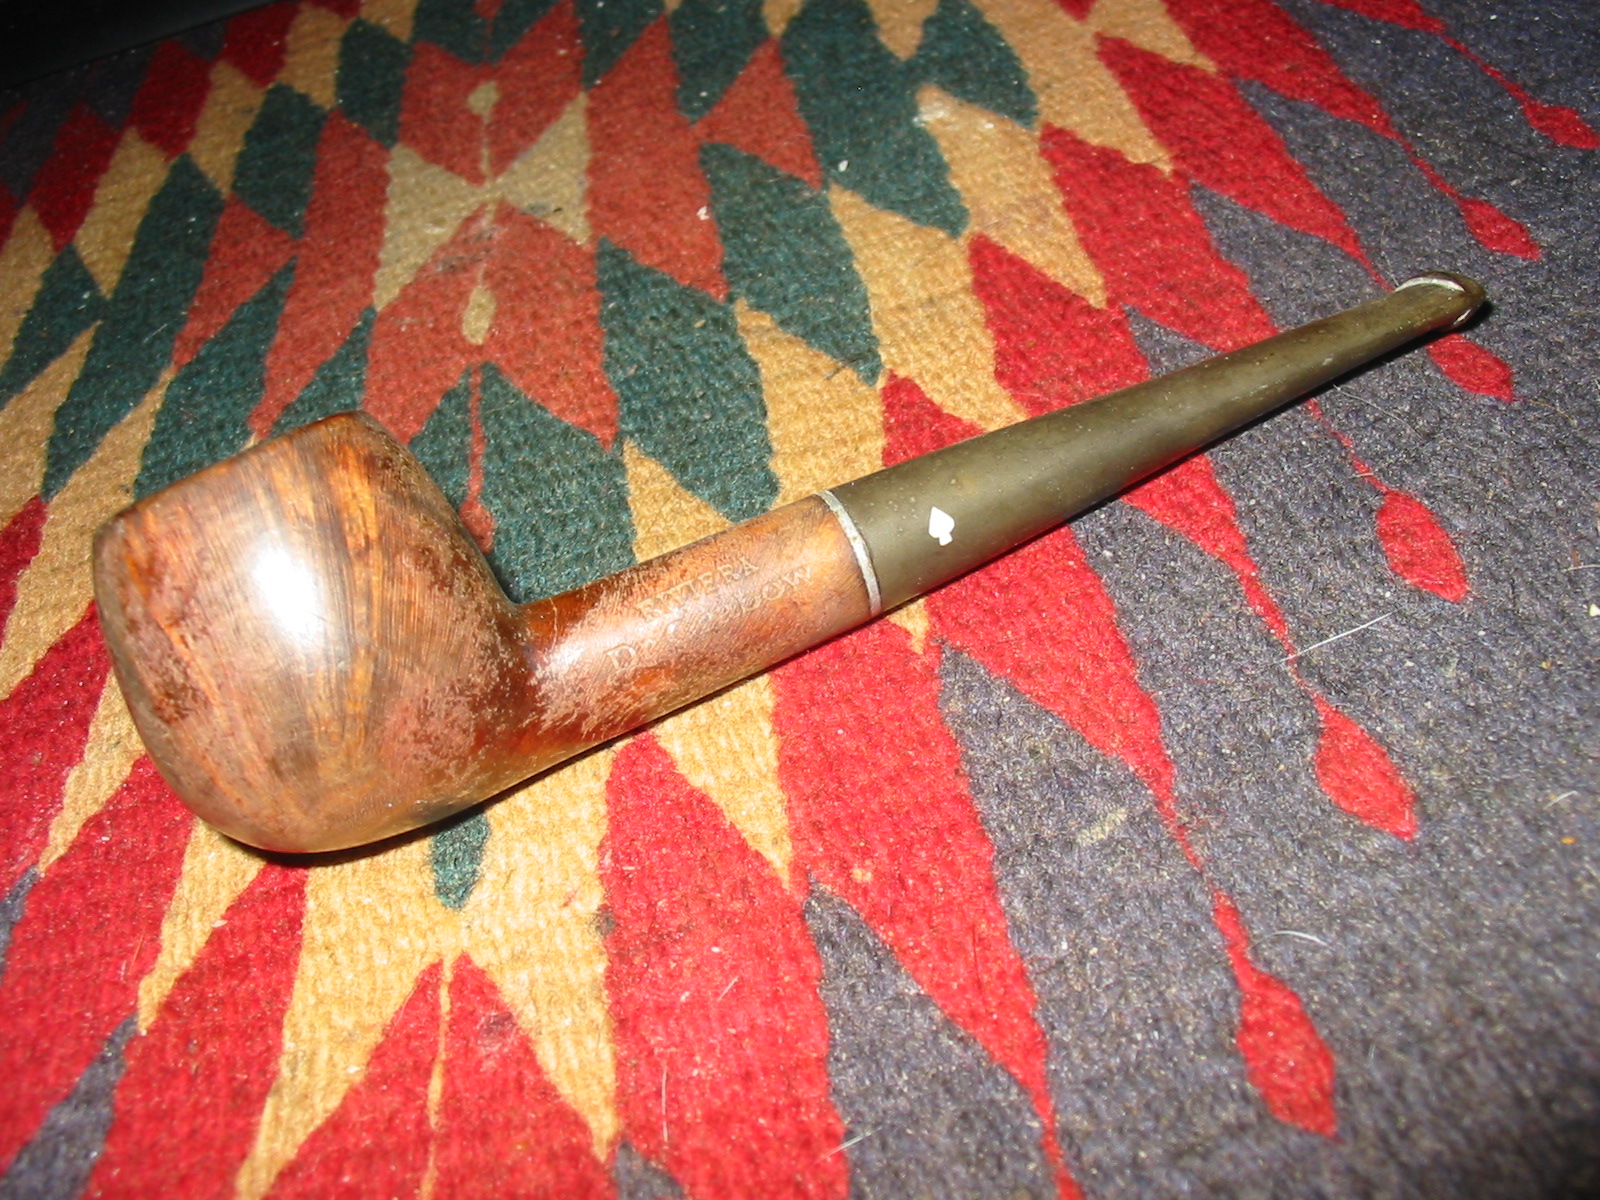
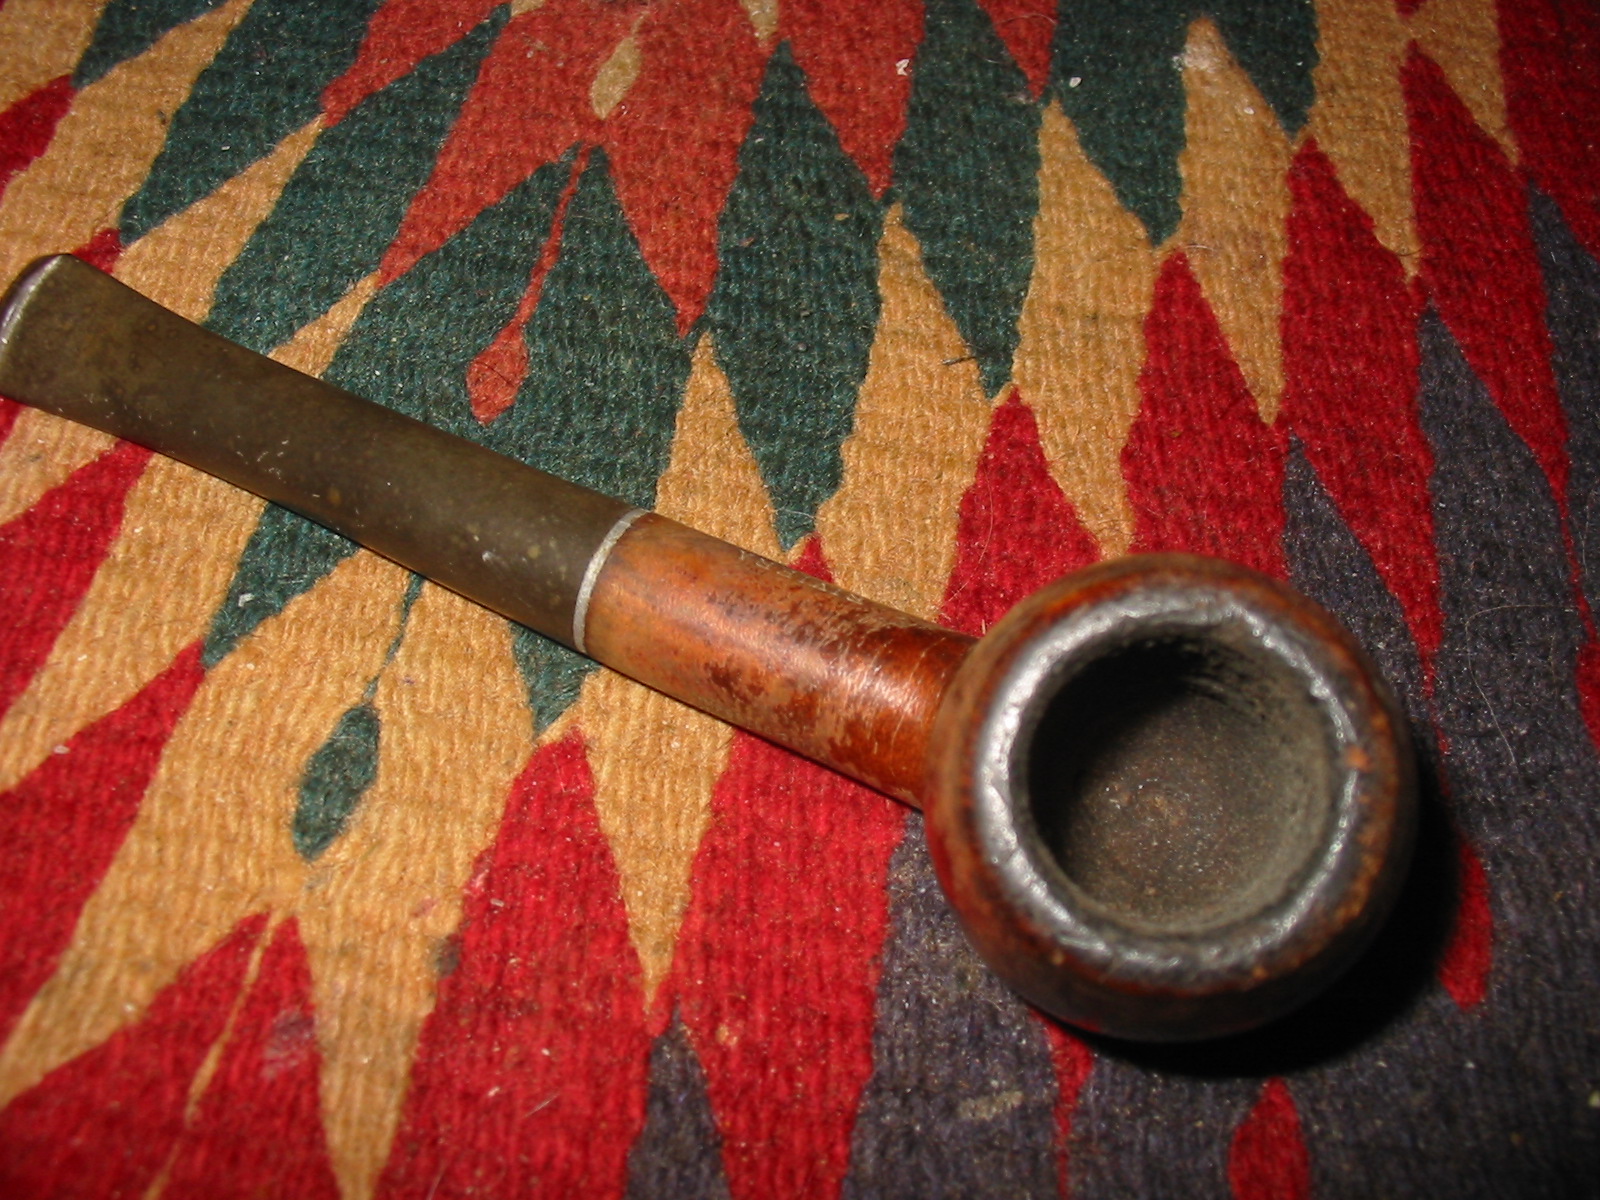
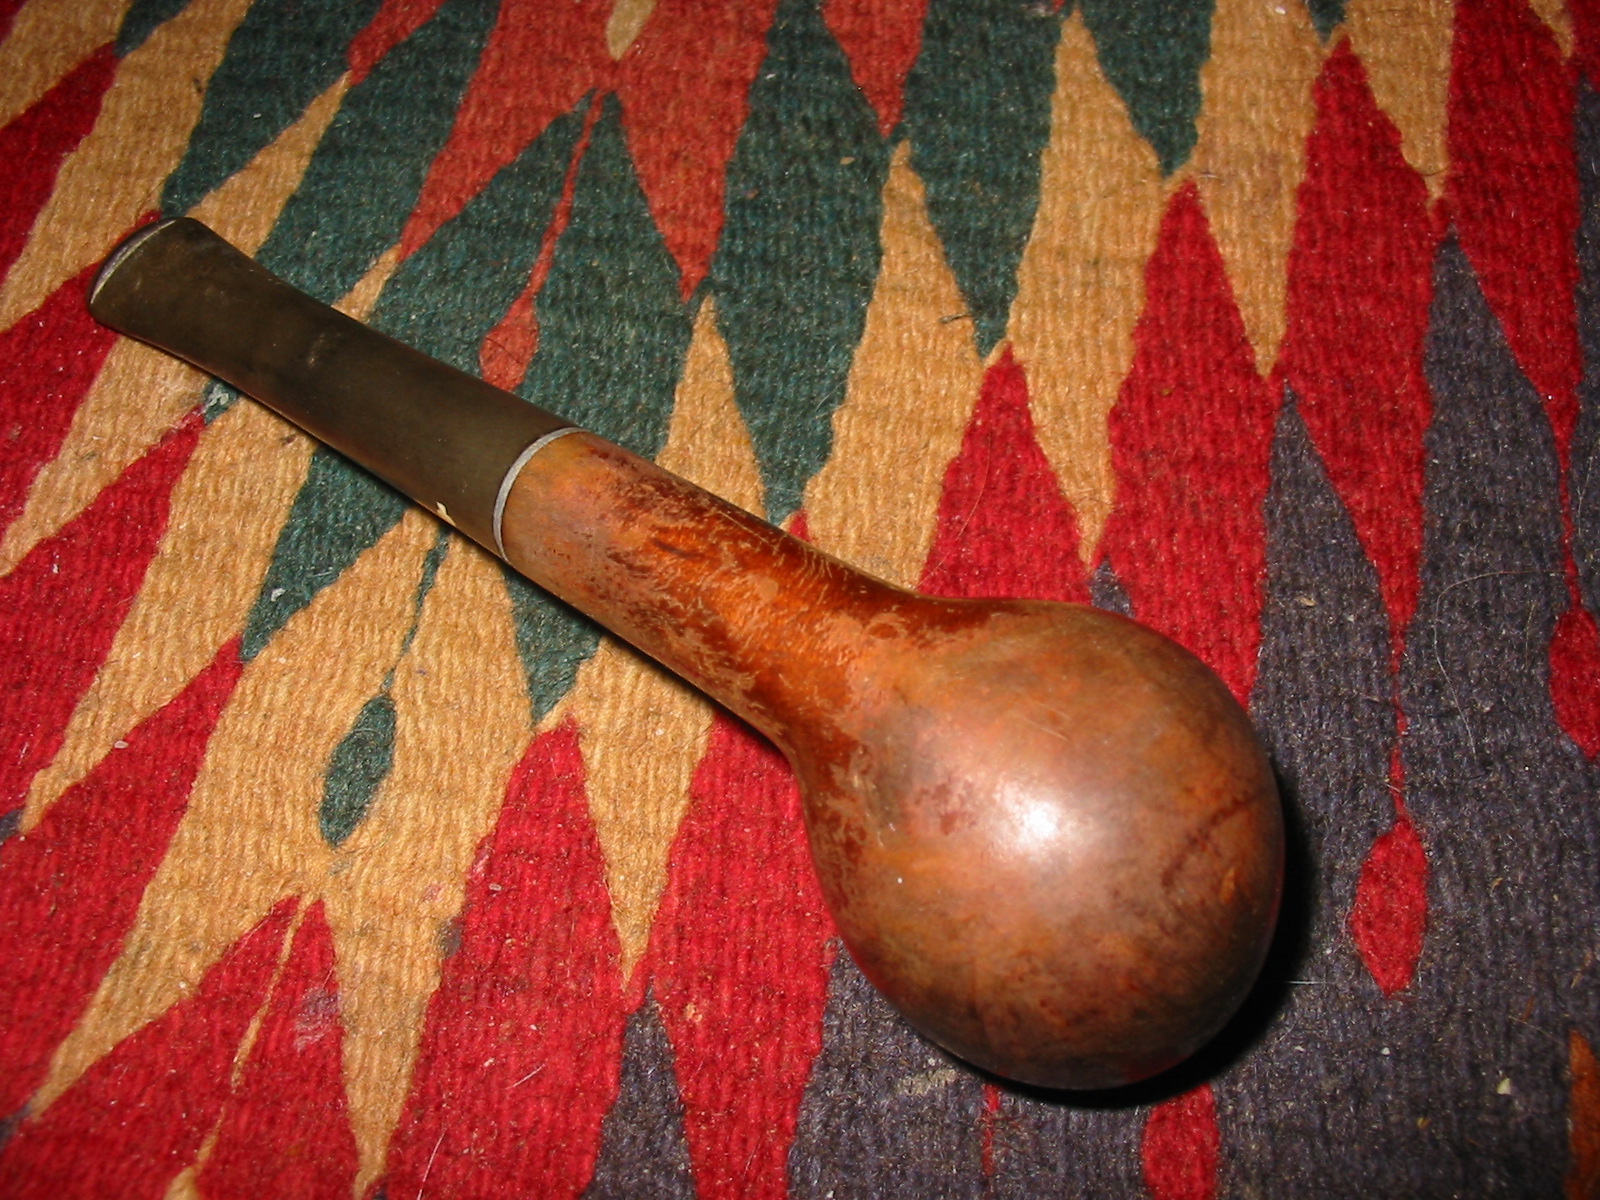
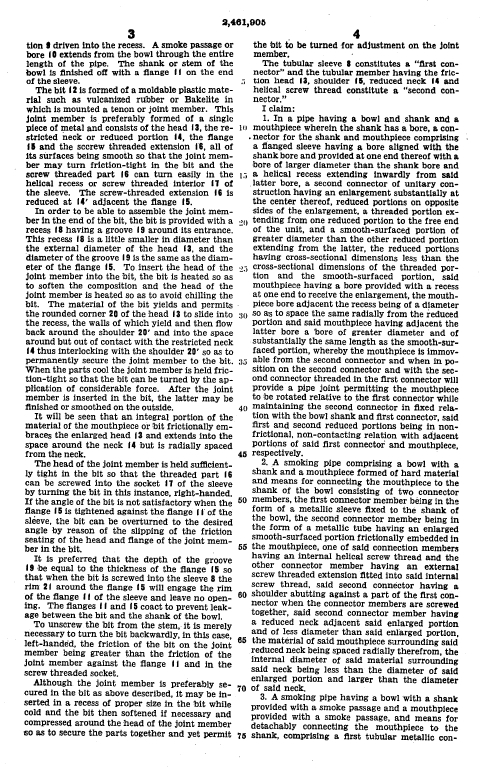
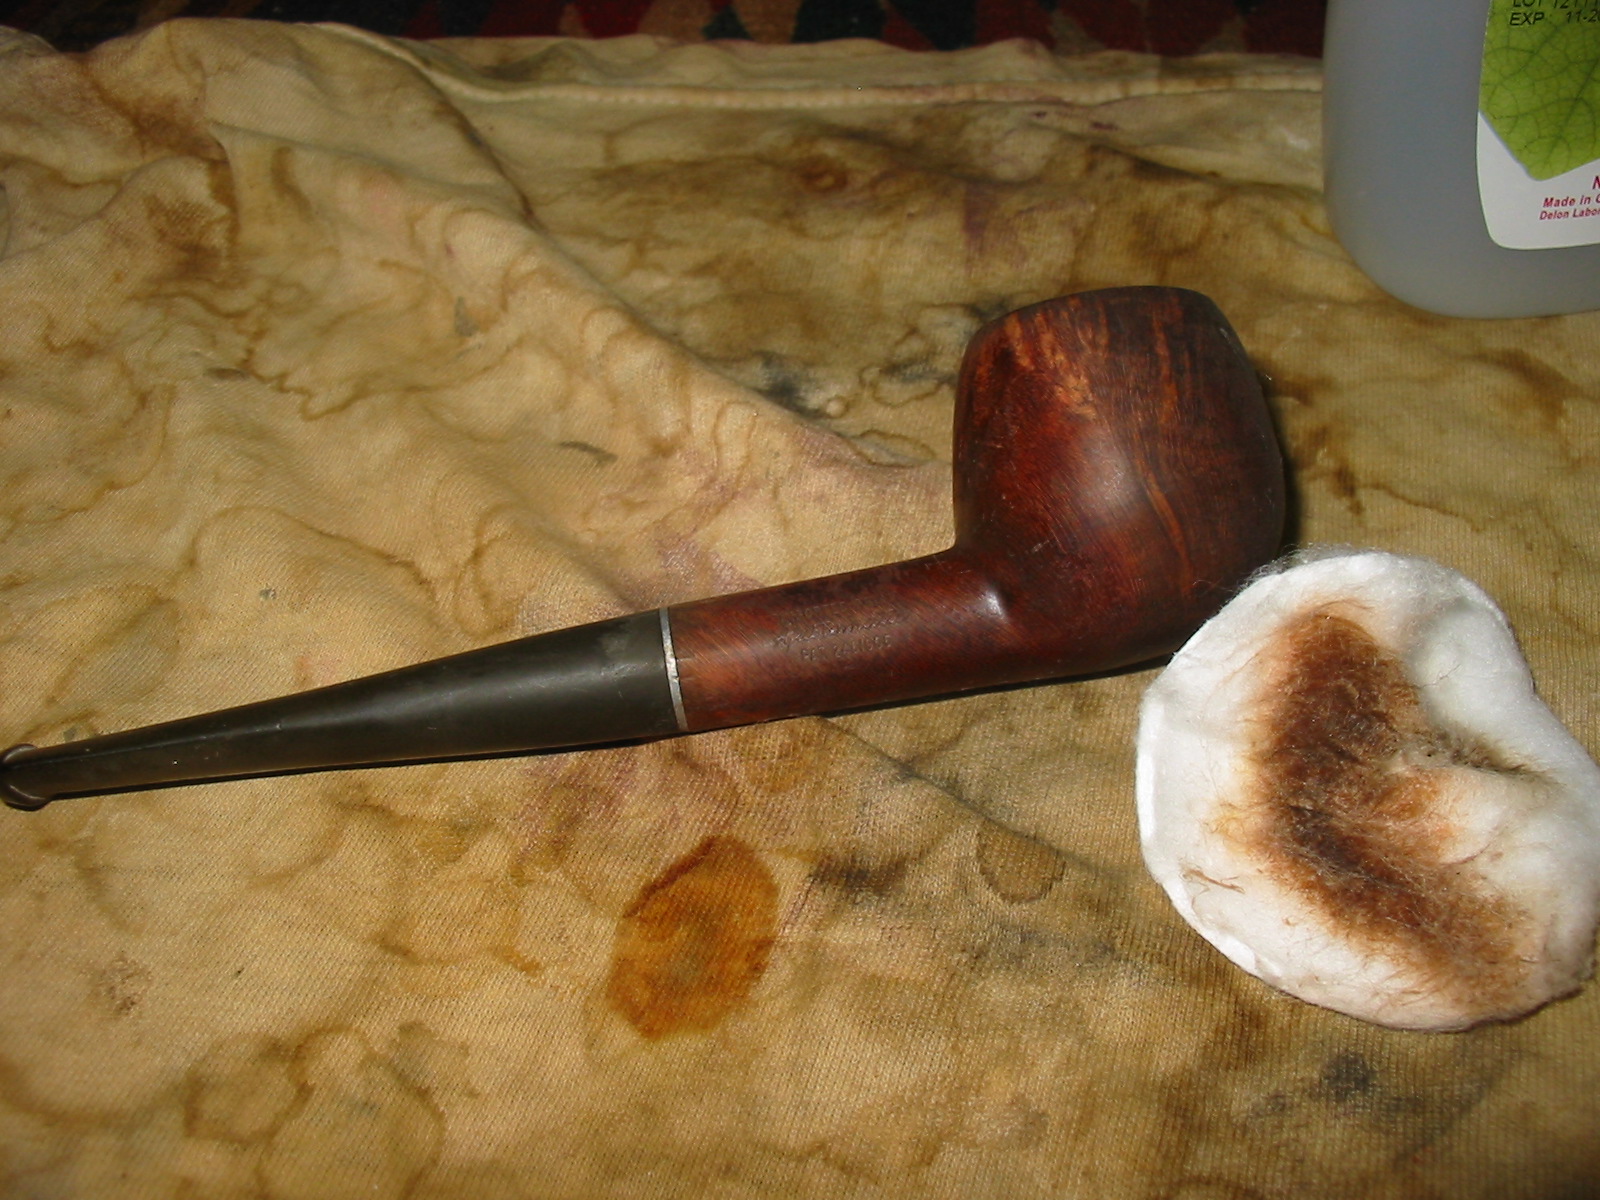
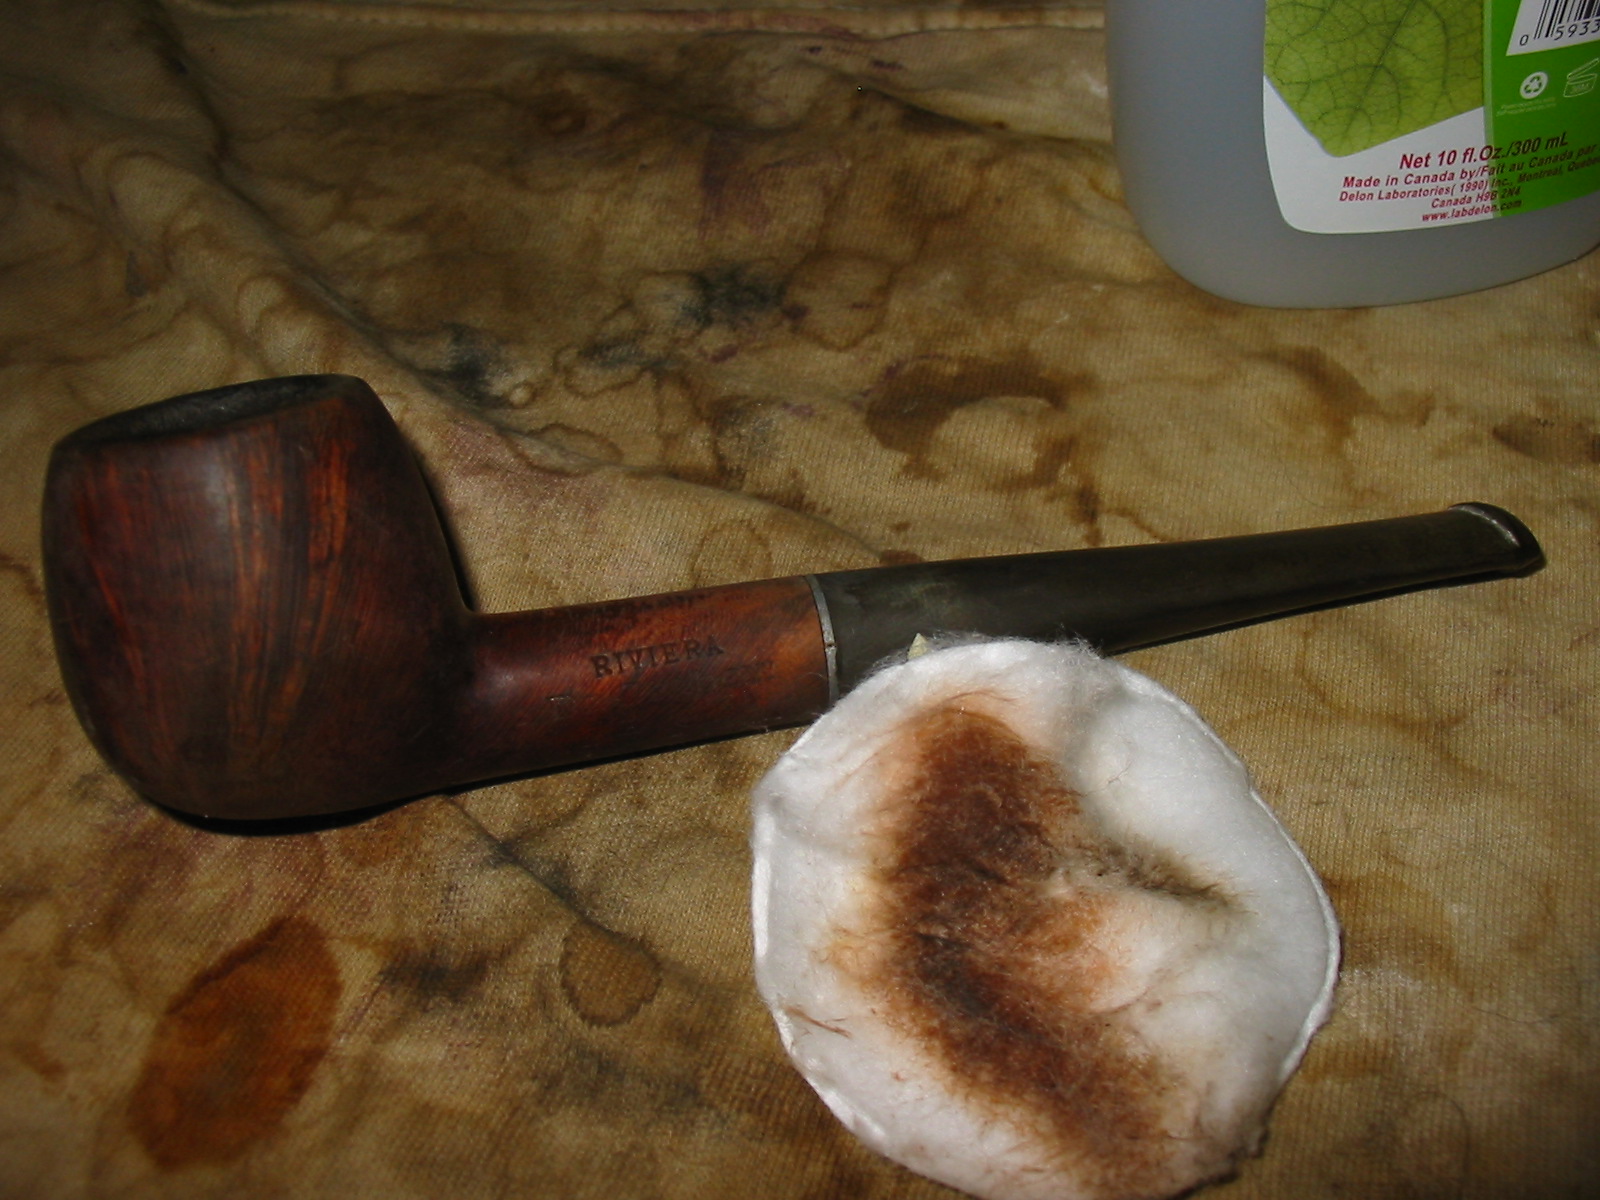
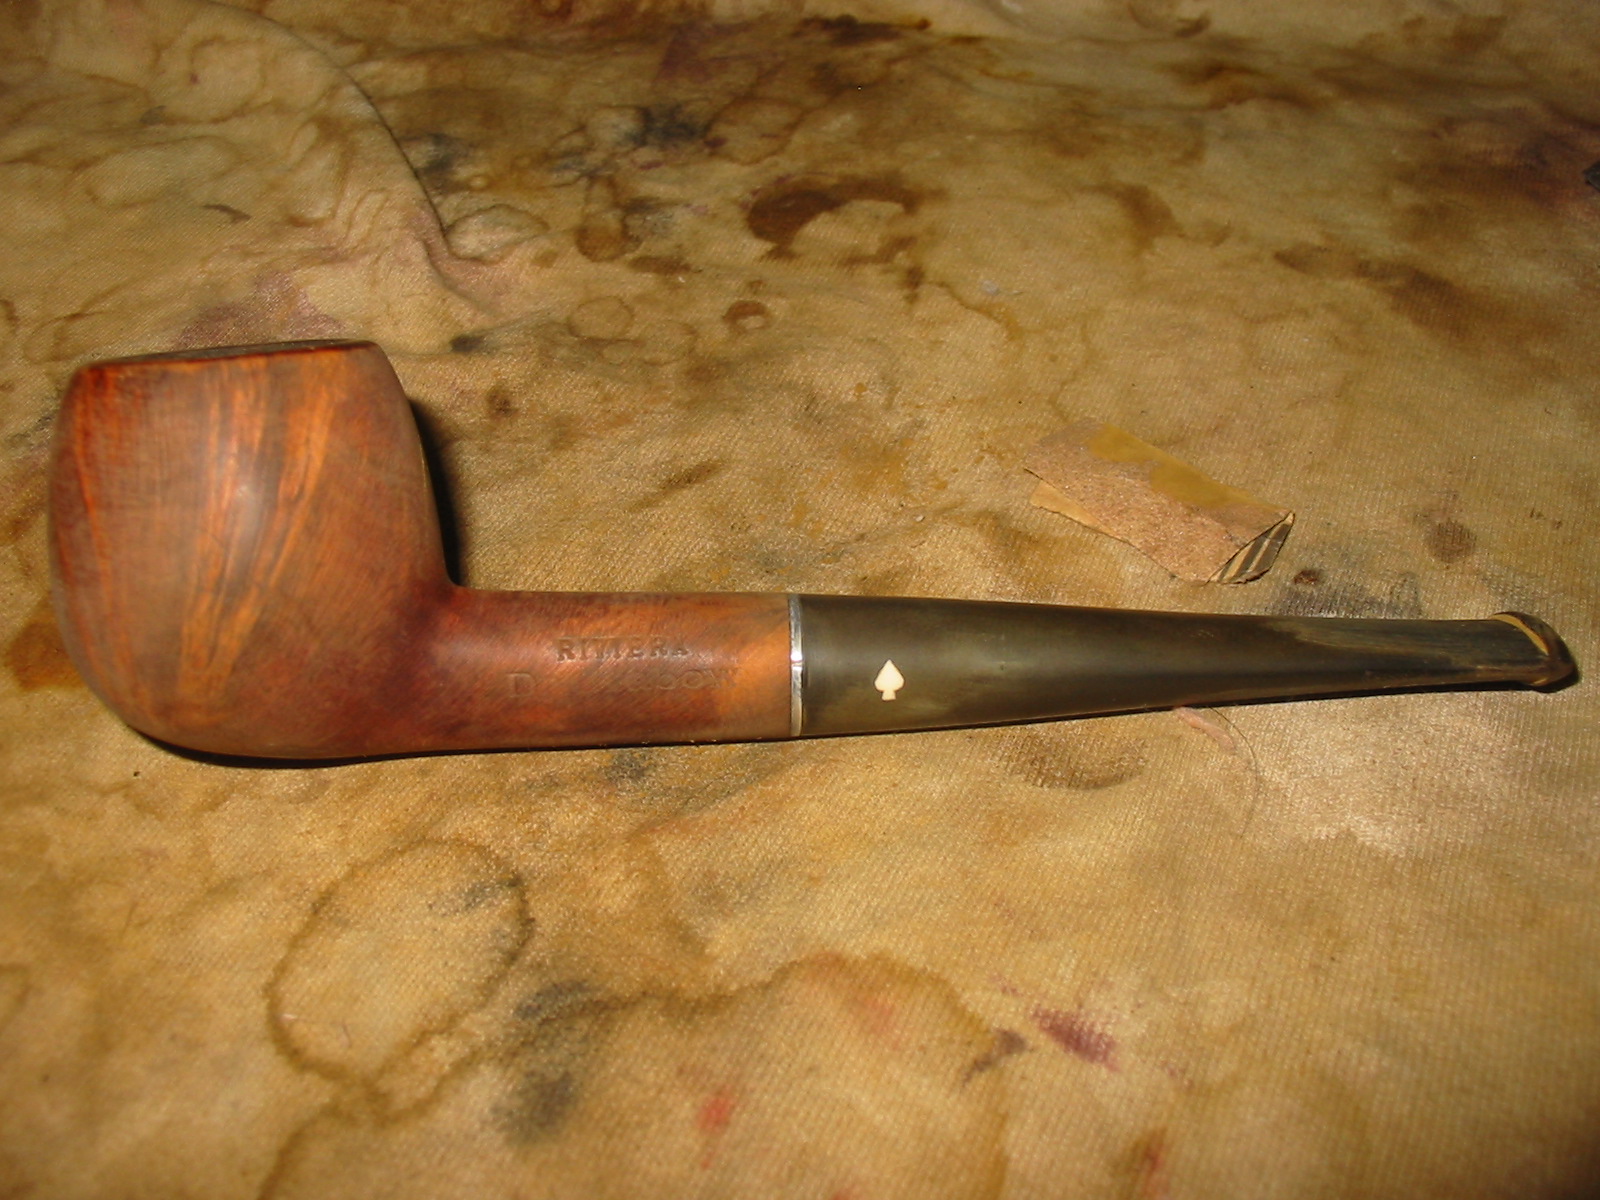
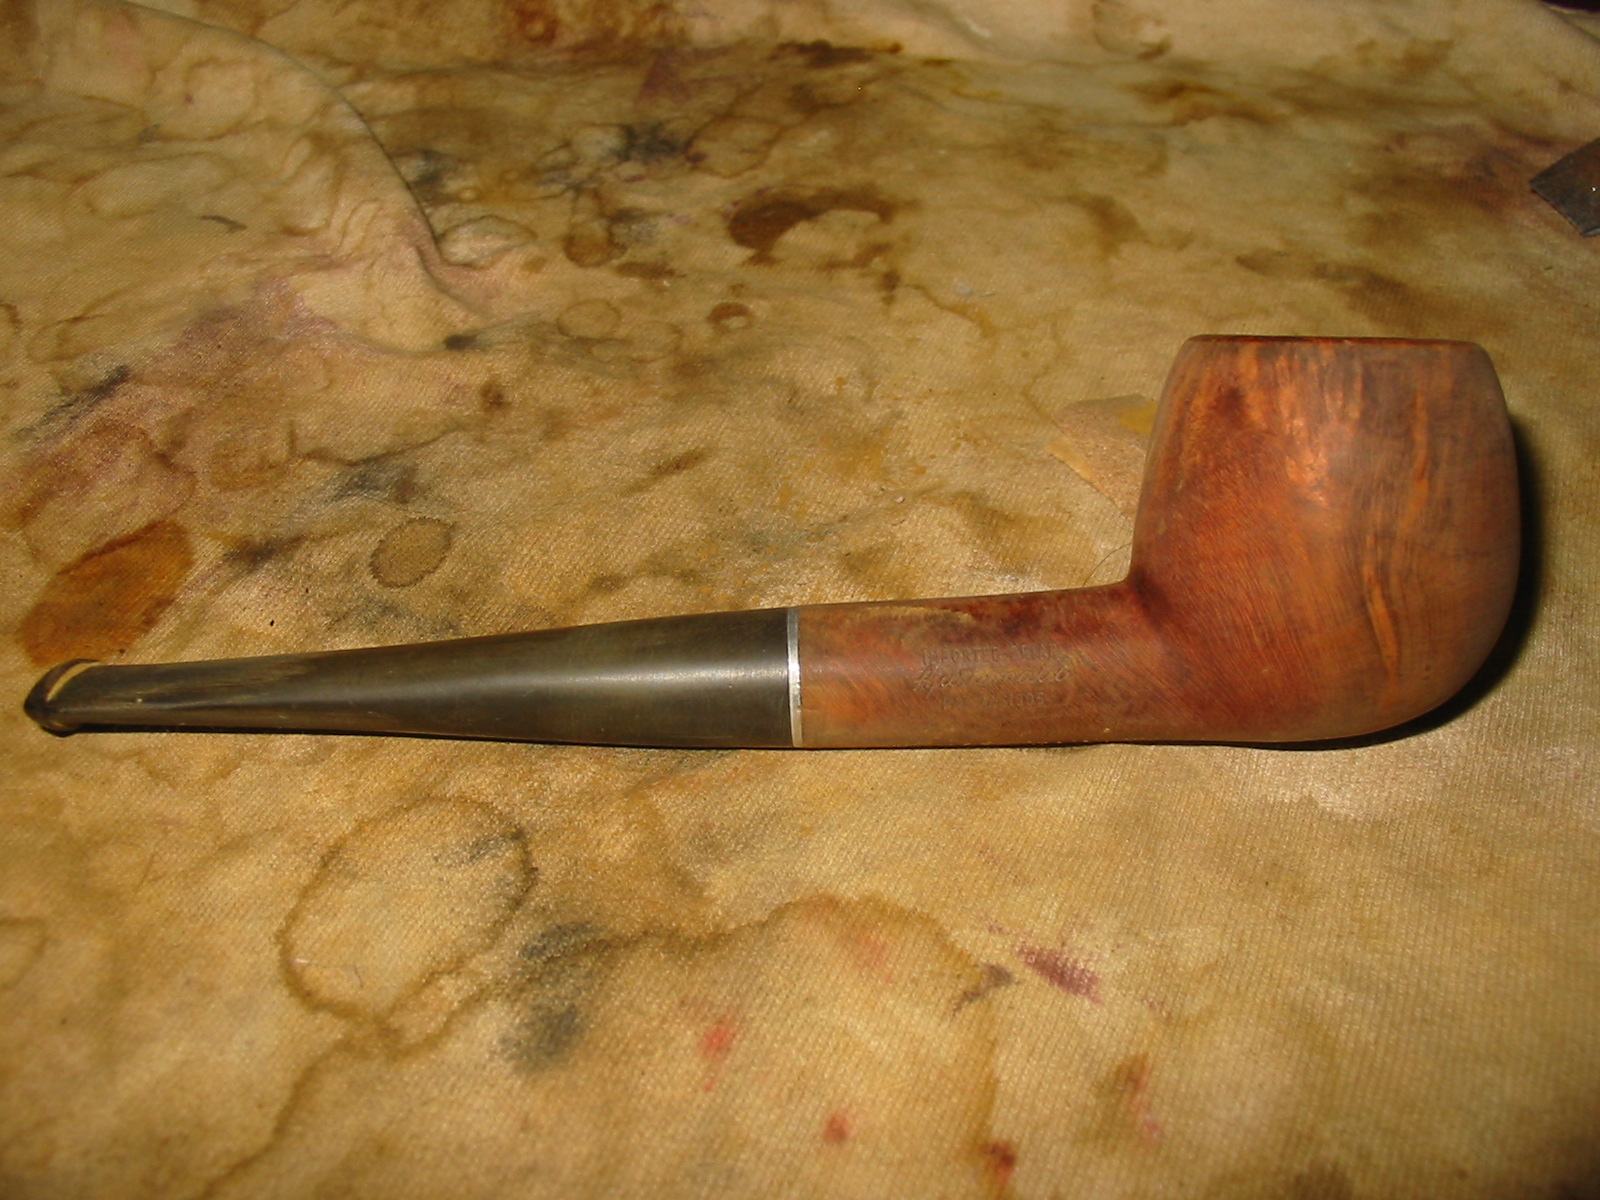
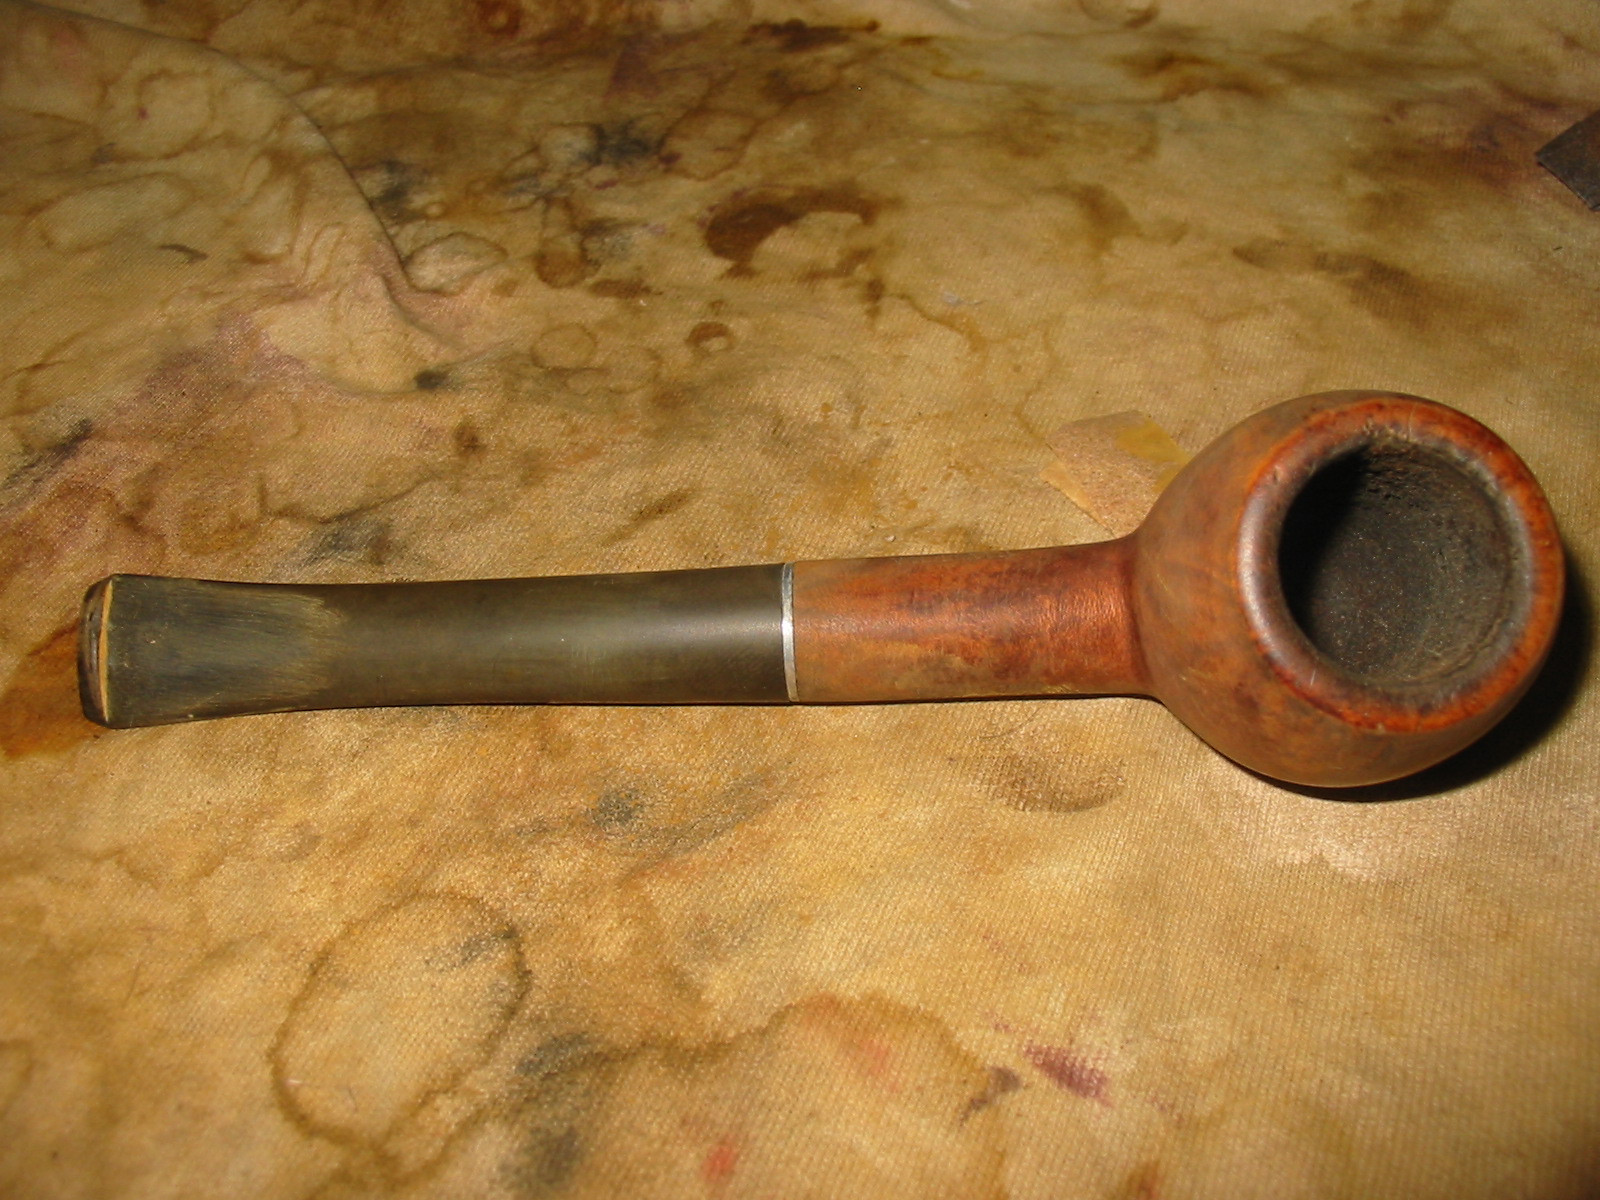
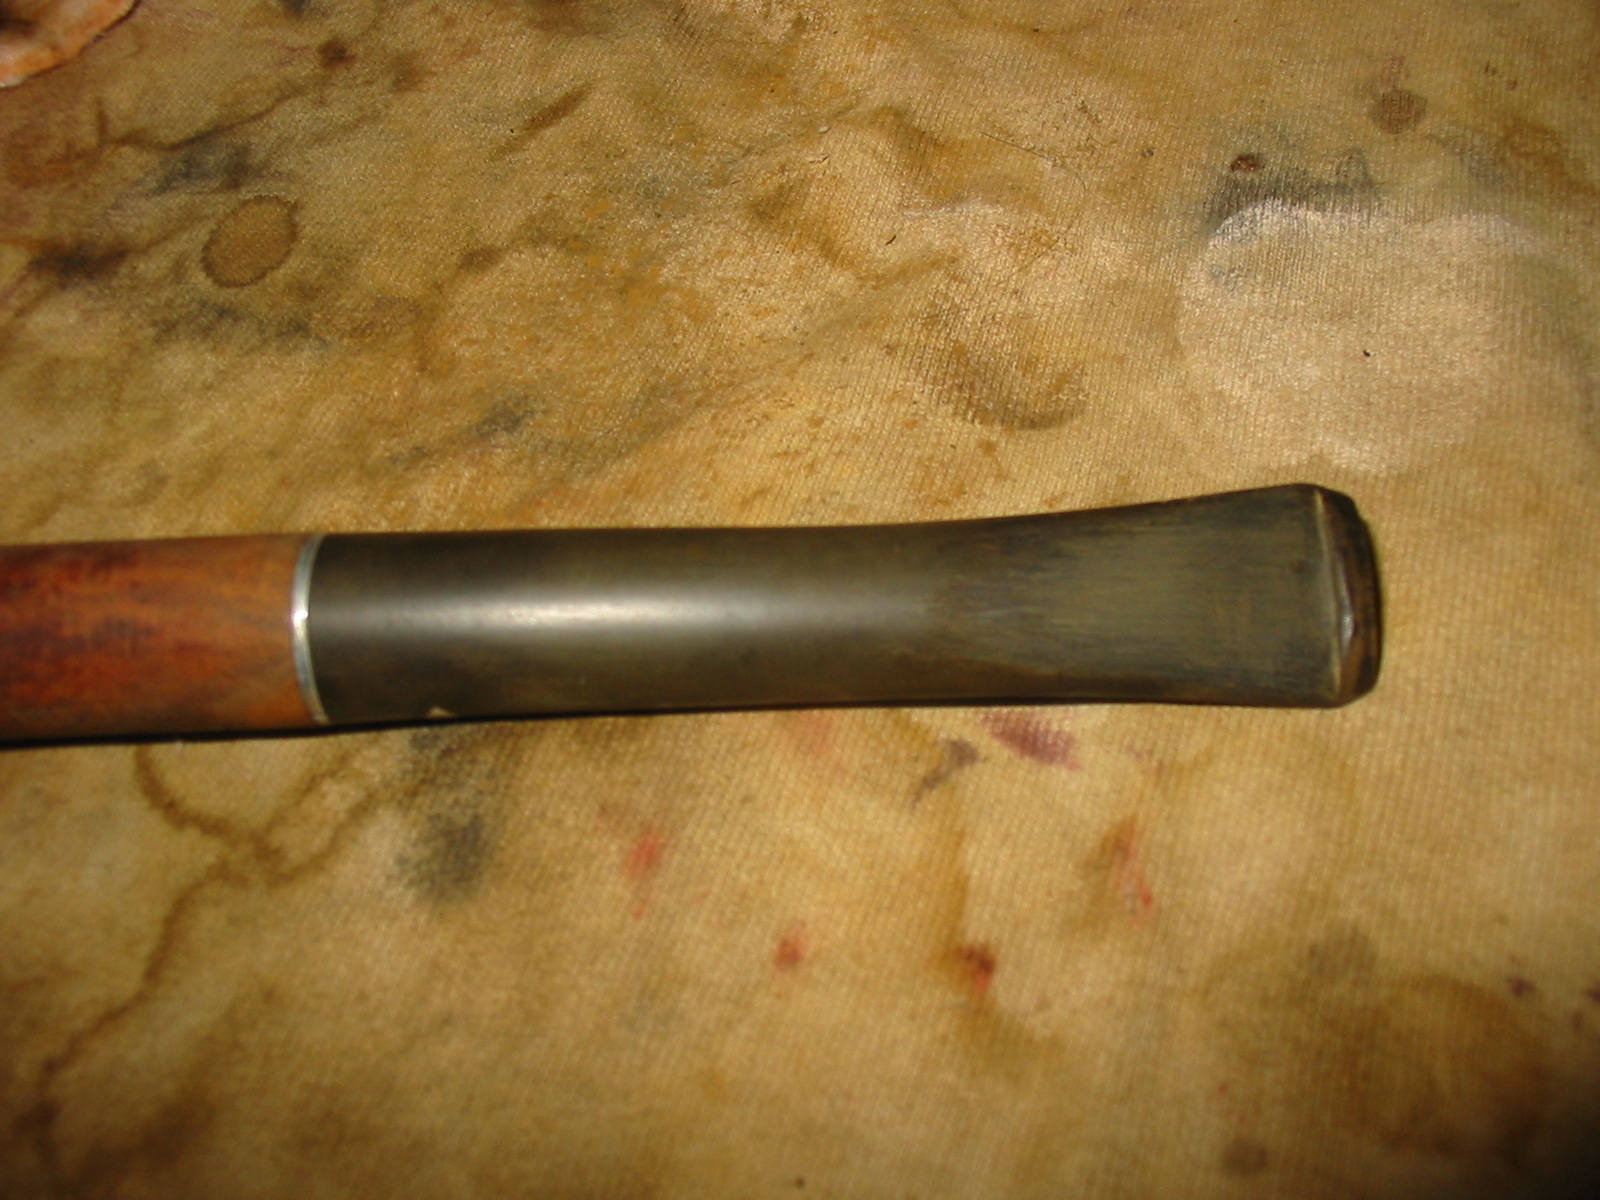
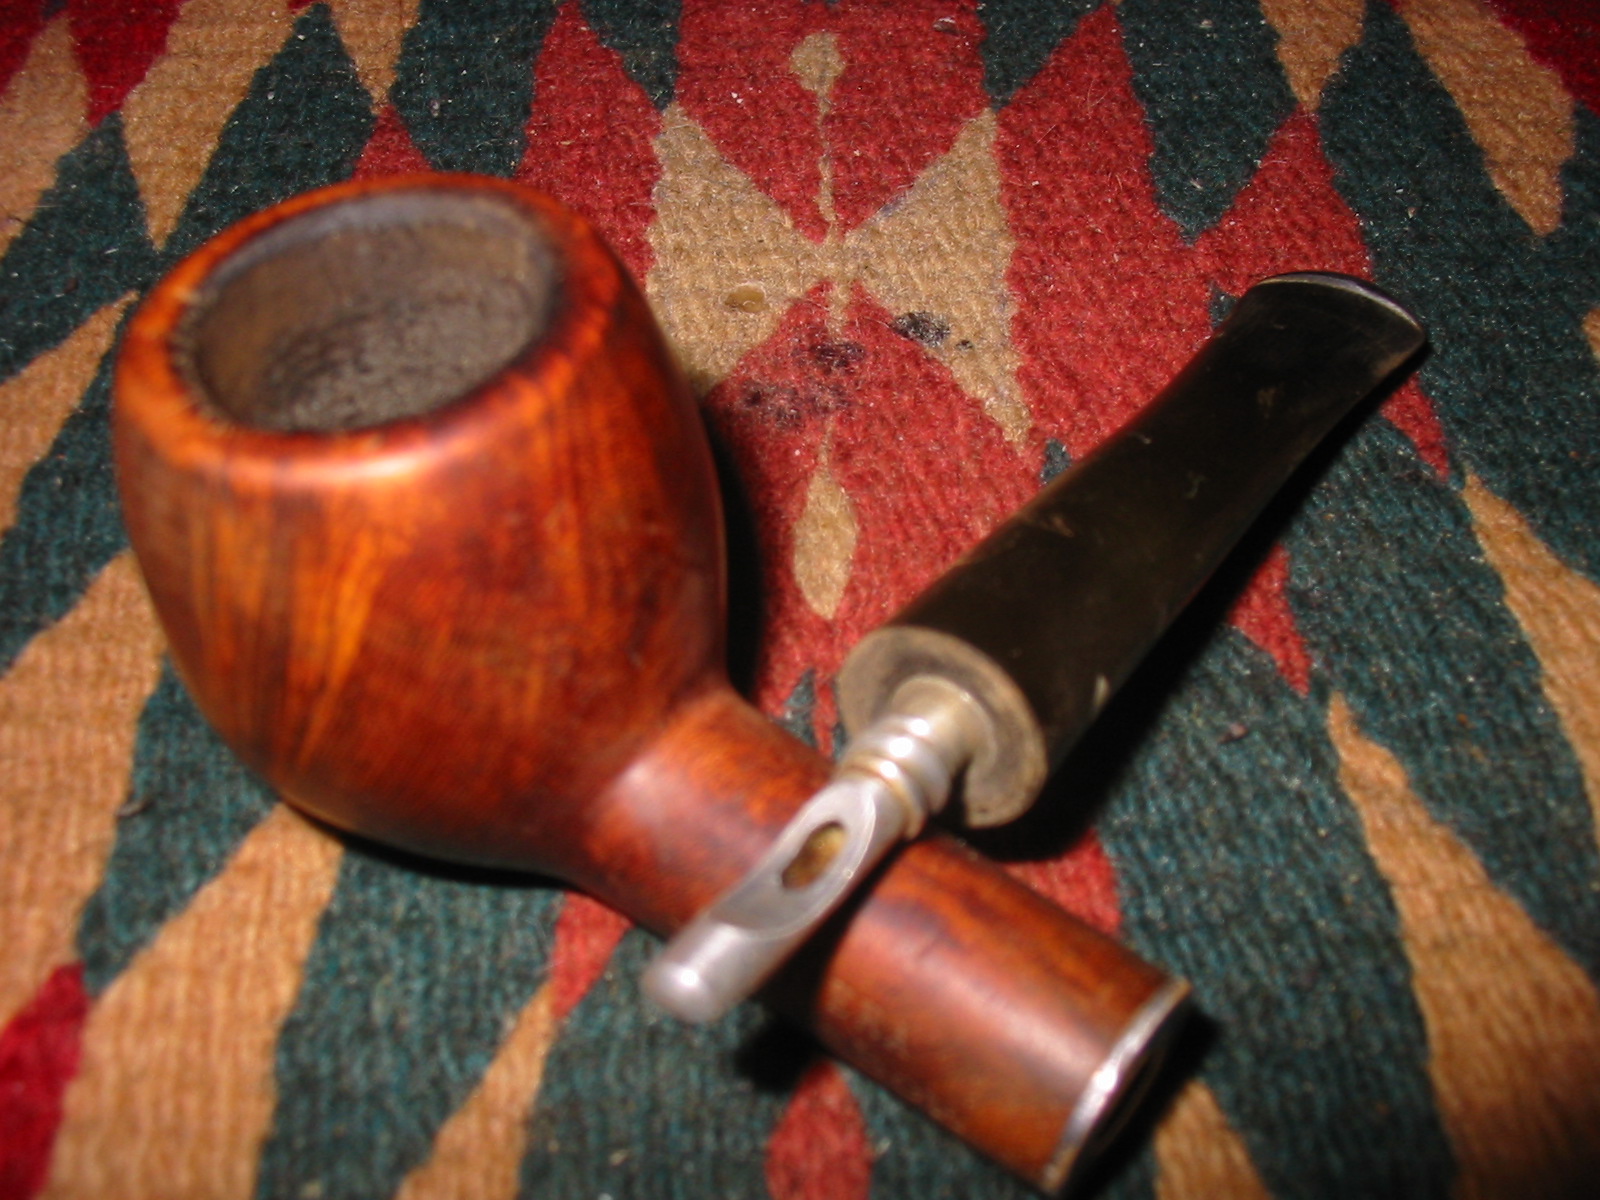
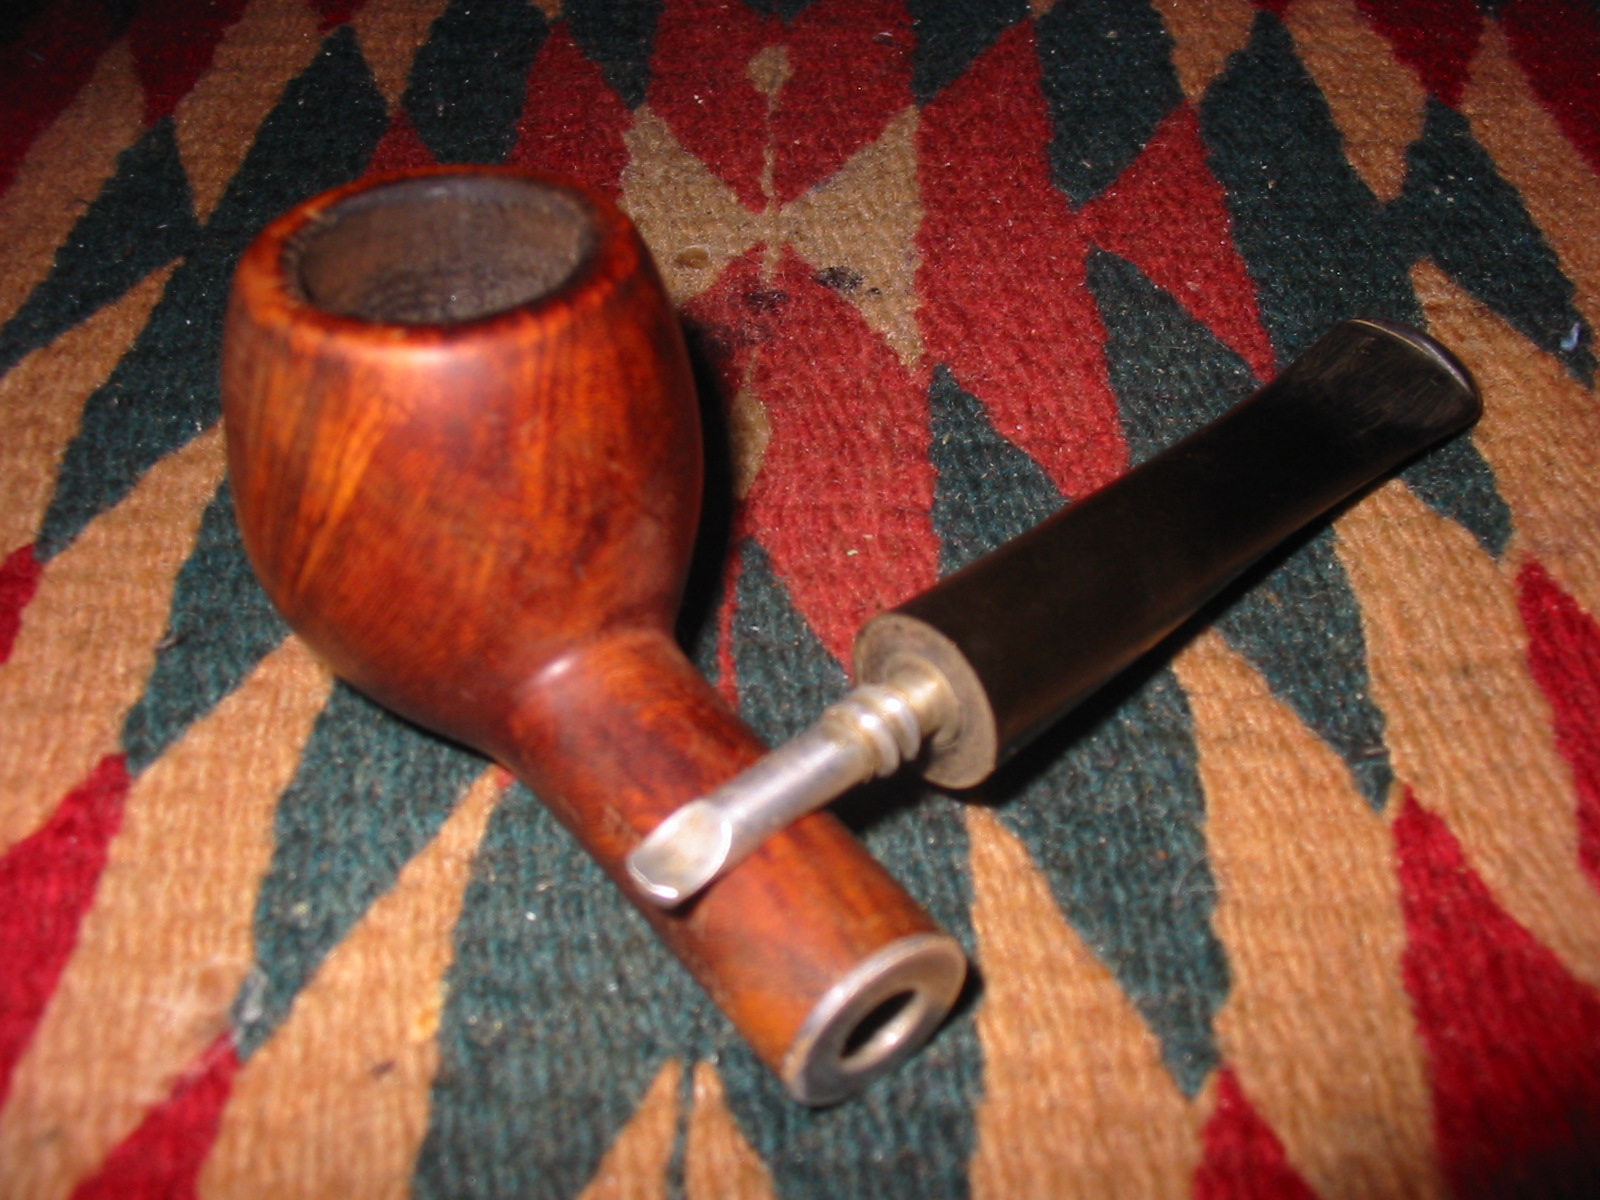
When I am refurbishing pipes I take the same care on older factory made pipes as I do on the more collectible ones. To me this is part of the stewardship of refurbishing. It does not matter what the original price of the pipe was – it is worth redeeming and bringing back to life. The refurbishing of the next pipe is one of those. It is an older Dr. Grabow Riviera. It was given to me by a good friend in Ponoka, Alberta. He gave it to me as a gift when I visited him recently. It is stamped Riviera over Dr. Grabow on the left side of the shank and Imported Briar over Adjustomatic over a patent number – PAT. 2461905 on the right side of the shank. The stinger apparatus in this one is an insert into the metal tenon. It is tube with a scooped portion on top that has a hole in the bottom of the scoop. The air/smoke circulates in the shank and is drawn into the stem by the smoker. The surface area of the apparatus acts as a condenser and filter. The beauty of this design is that it can be removed. The stem was badly oxidized and also had tooth dents on the top and bottom near the button. The finish was shot and the varnish was peeling from the bowl and shank. The rim was darkened and dirty and had a small crack on the top left side. The four photos below show the state of the pipe when I brought it home.

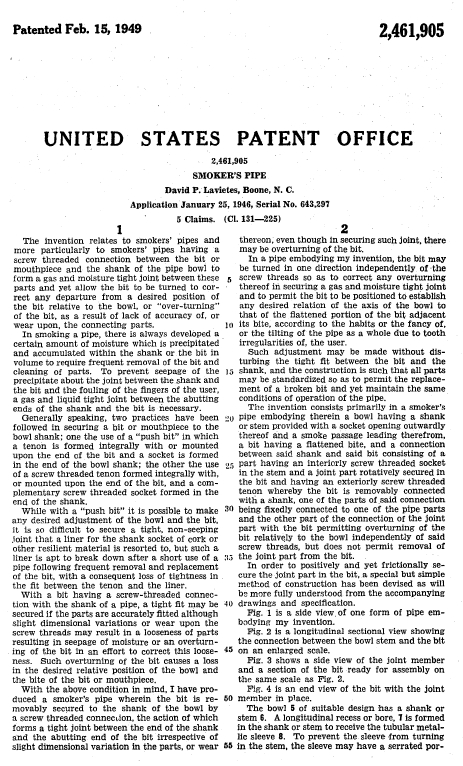
I love doing research on old patents and with US made pipes it is very simple. The following website is a simple way to find data and diagrams. http://patft.uspto.gov/netahtml/PTO/srchnum.htm In the search parameters you enter the patent number from the pipe and click on the search button. Generally, these older patents have been made into PDF files that can be downloaded. Here is a copy of the information I found there. It is a patent for the Adjustomatic connector. I always find reading through these patent application documents gives me a feel for why the designer came up with invention. This proved true of this application as well.

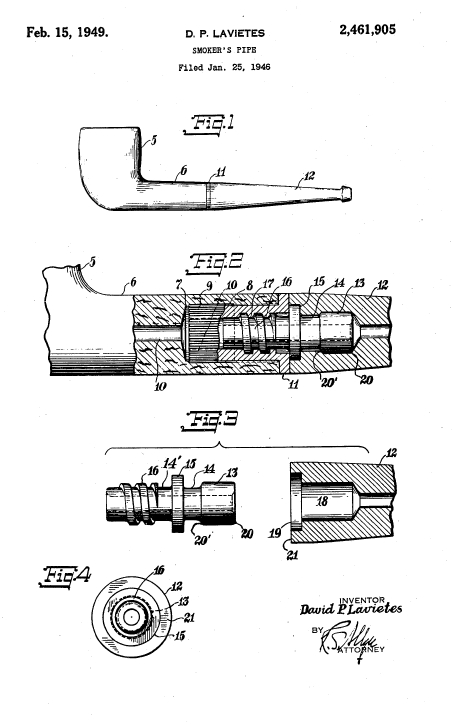
After reading through the patent information I was ready to restore this old pipe. It appeared to be made somewhere around the time of the Patent as it had the patent number stamped on it. That dated it somewhere around 1949 after the patent was given. I began by reaming the bowl with the PipNet reaming set to clear up the uneven and broken cake. I decided to work on the externals first. I wiped down the bowl and shank with acetone on a cotton makeup pad to remove the finish. There was some very nice grain poking through the mottled finish and very few tiny fills that made it even more attractive to me. The acetone removed the varnish very well and also took away the dirt and filth on the exterior. The first two photos below show the process of wiping down the bowl. The old finish is visible on the cotton pad.
Once the finish was removed from the bowl as much as possible with the acetone, I sanded it down with 340 grit sandpaper and a fine grit sanding sponge to further remove the finish. The next series of four photos show the bowl after the acetone wash and the sanding. The grain on this one is very nice. The inner rim would need to have some attention to smooth out the rough edges and the darkening.

I sanded the metal shank band as it had some deep scratches and gouges in it. I could not remove the damage but I minimized its look. I worked on the tooth marks in the topside and the underside of the stem surface. I heated the stem with a Bic lighter – passing the flame over the tooth marks to lift them to the surface. I then sanded the stem with 220 grit sandpaper to remove the remaining marks that were present (Photos 1 – 4 below). I followed that by sanding with a fine grit sanding sponge to remove the scratches left behind by the 220 grit sandpaper (Photos 5 – 6 below).

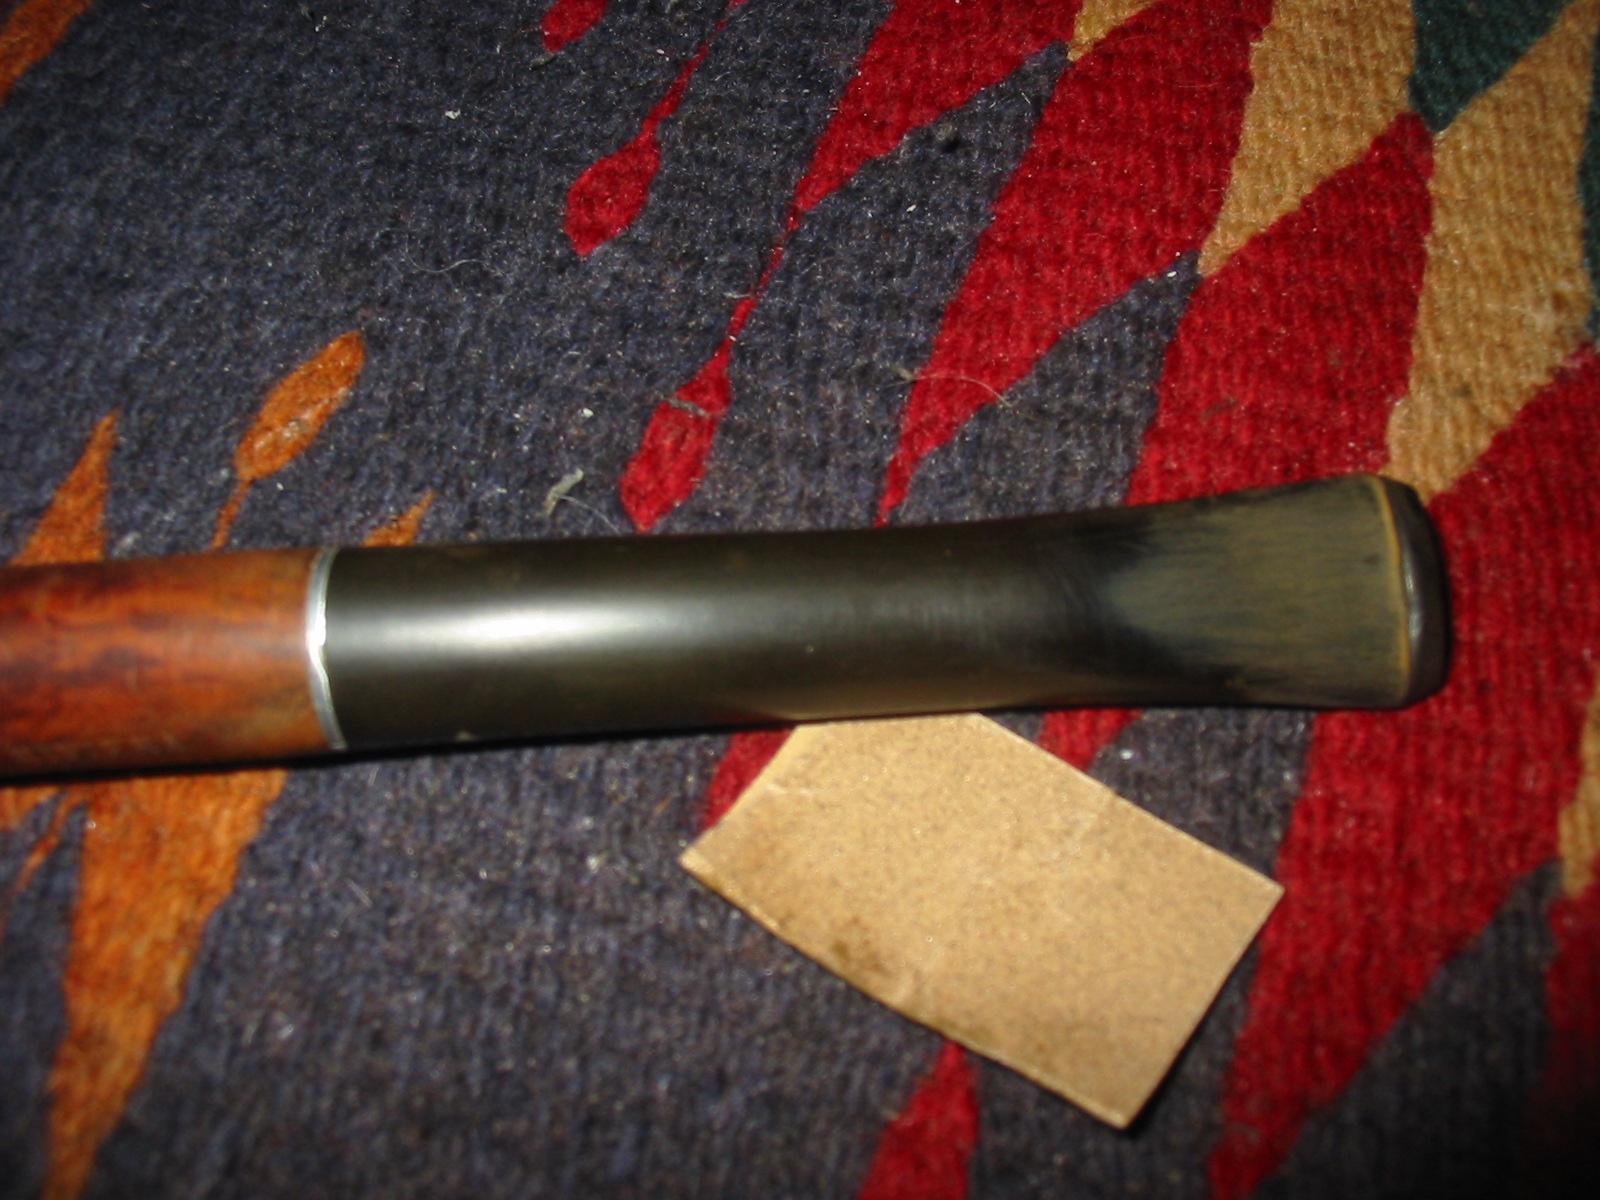
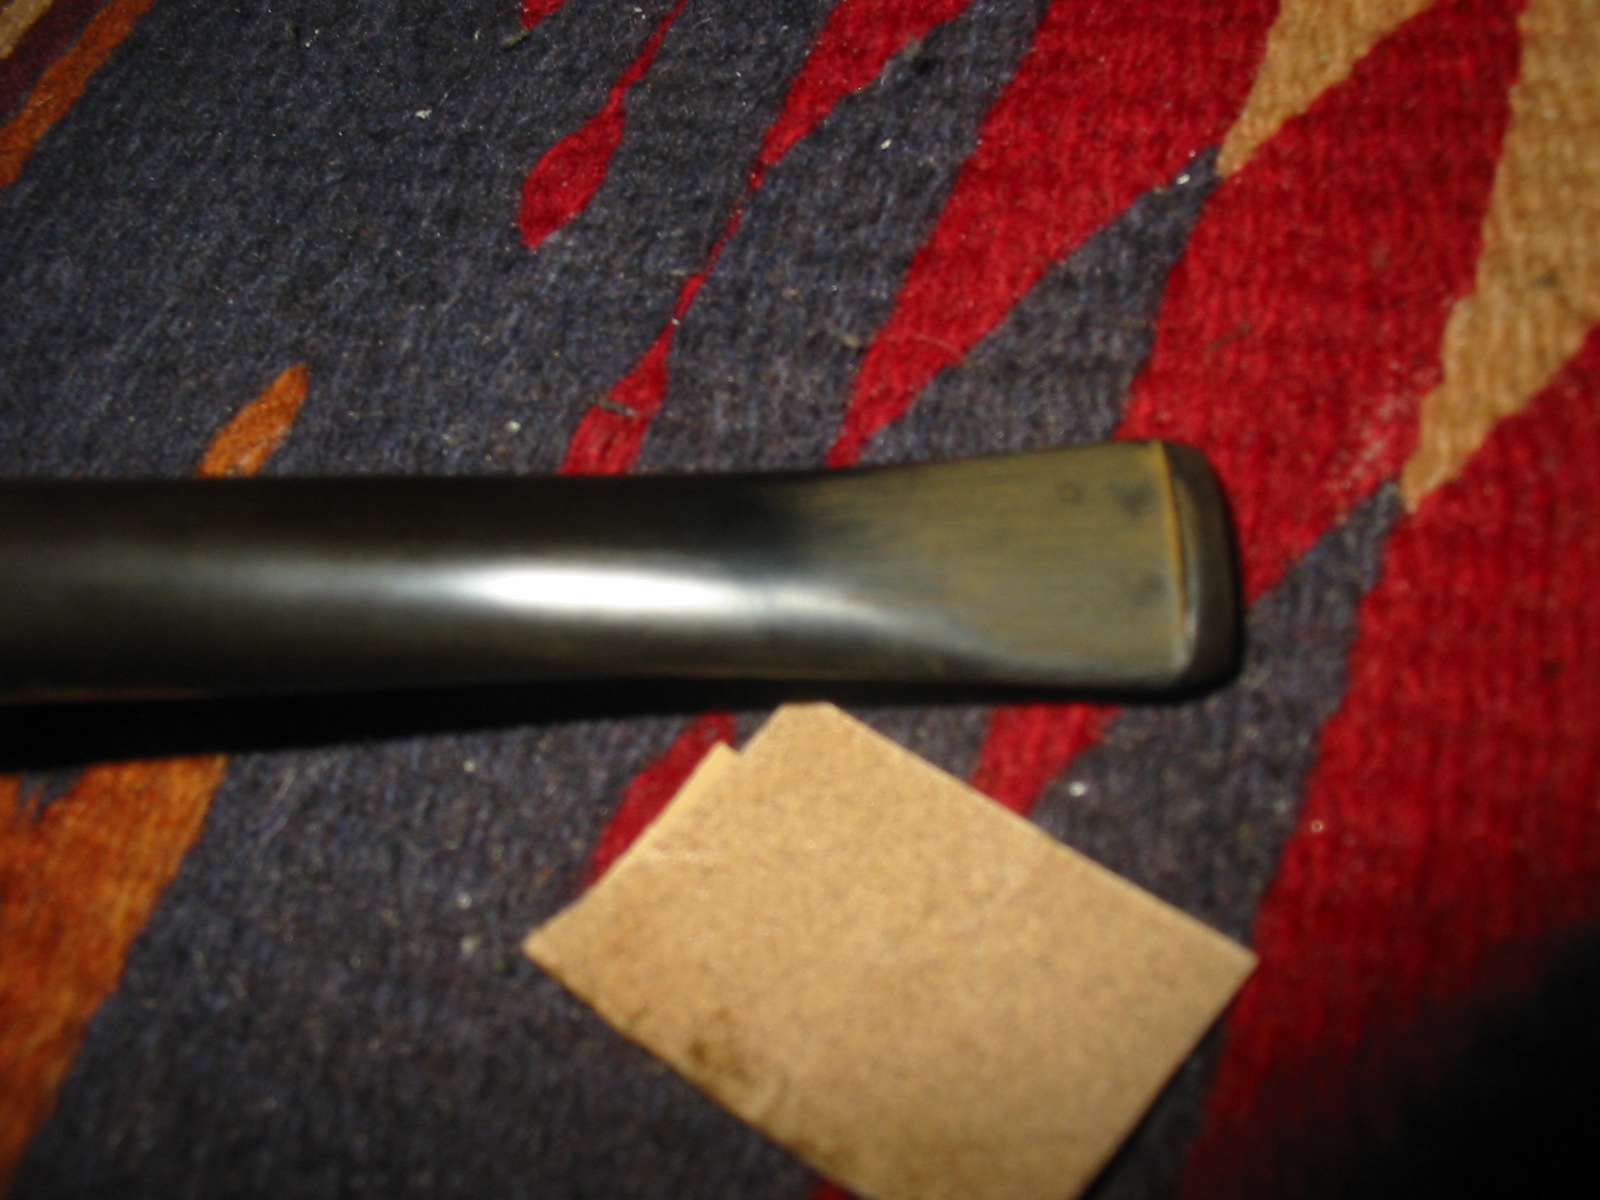
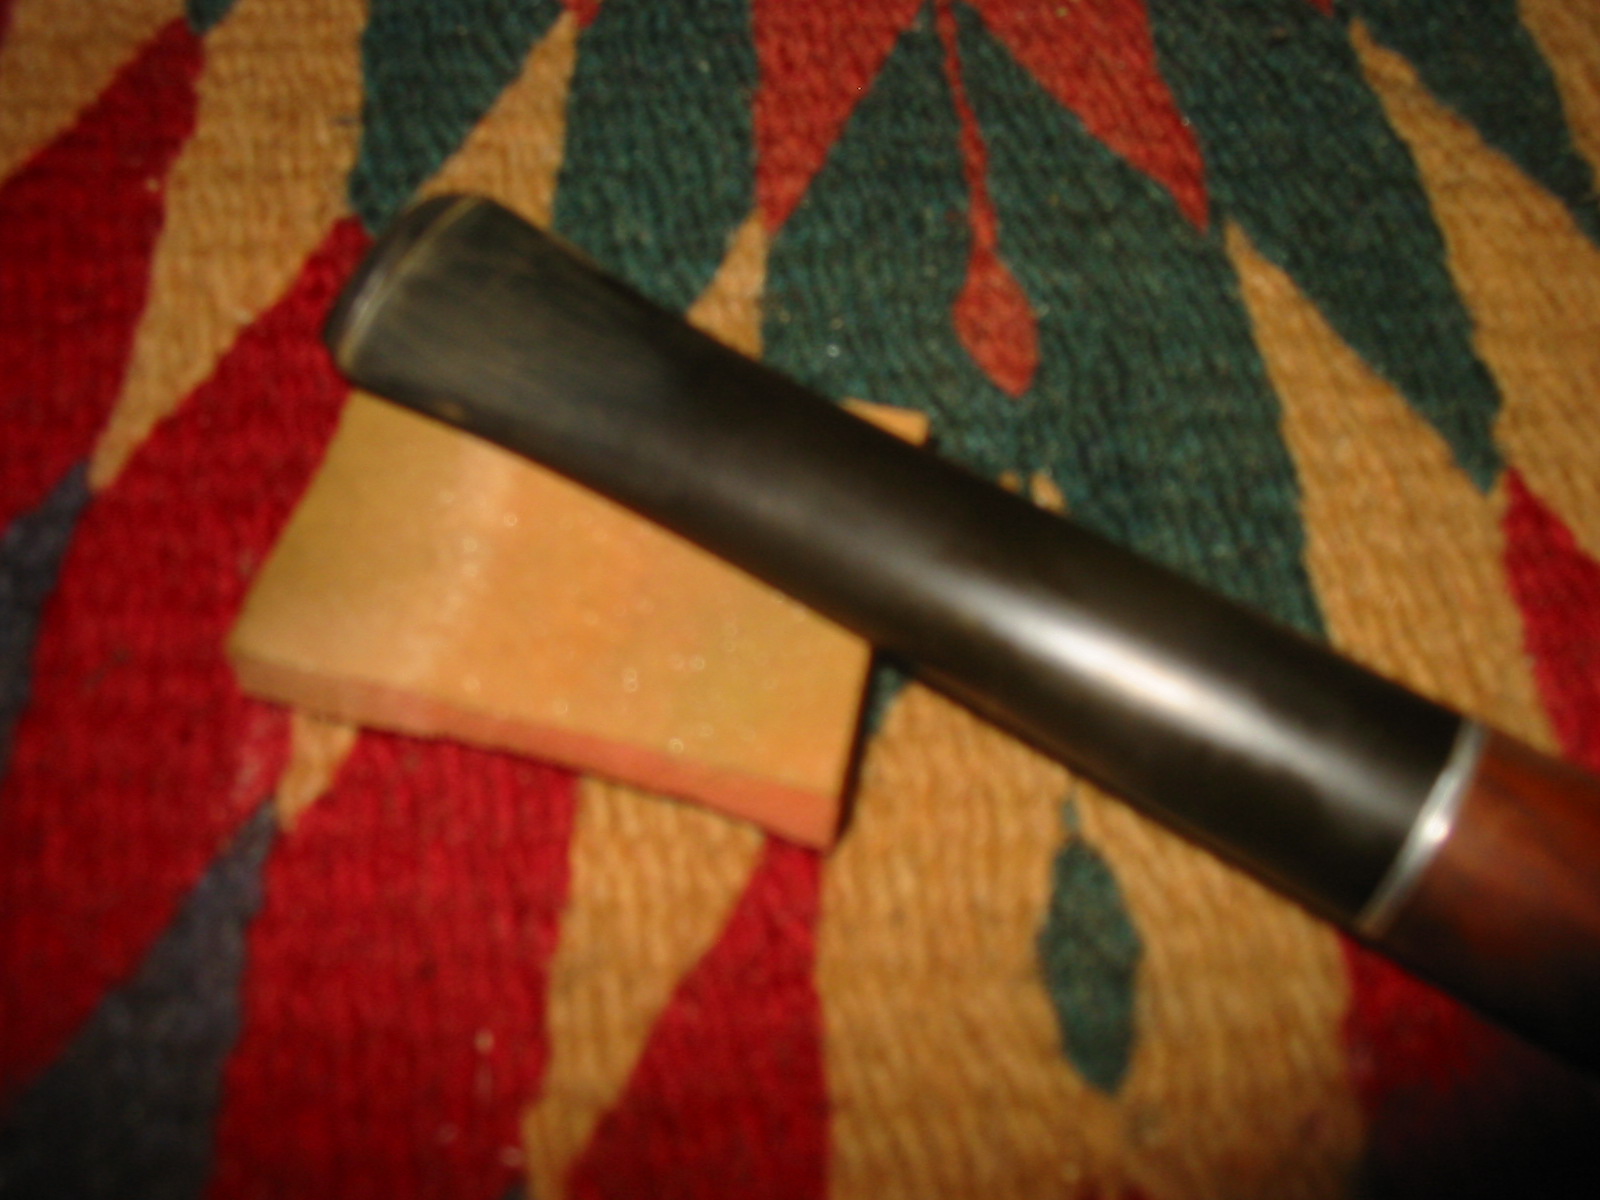
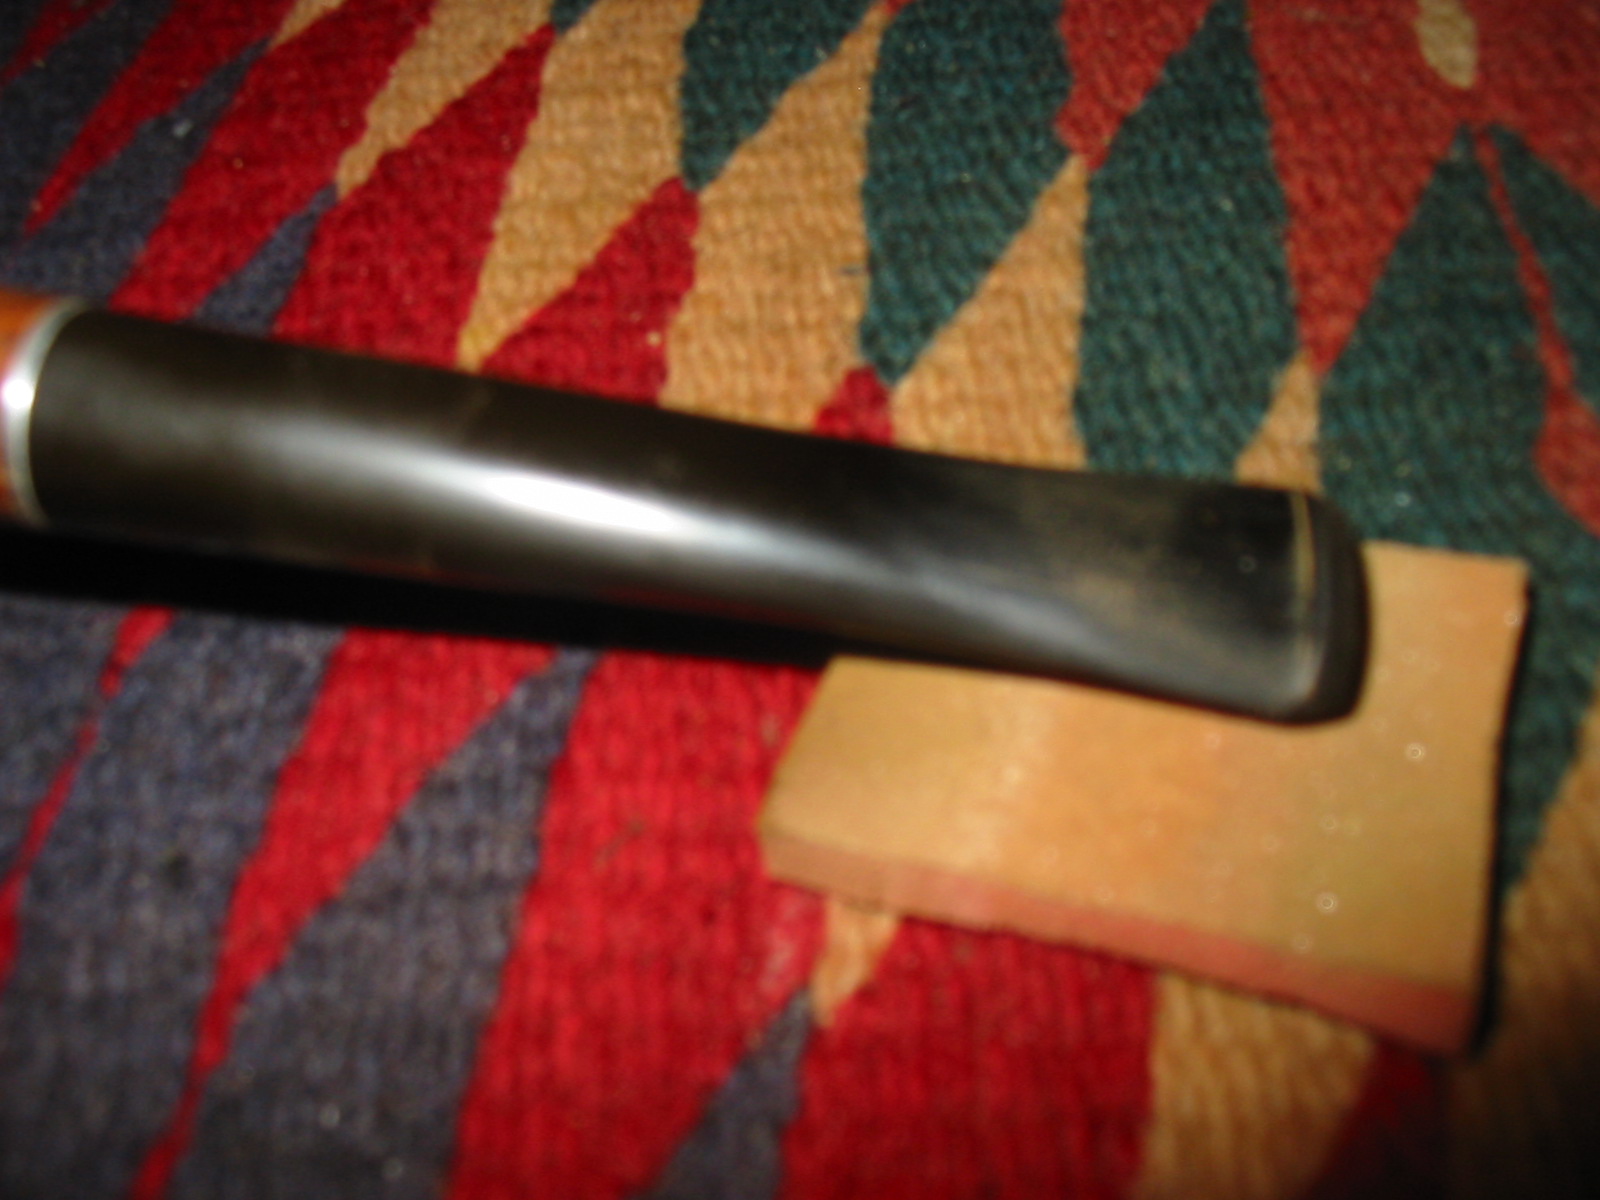
I sanded the entire stem with the sanding sponge to remove the oxidation from the vulcanite. I took the pipe apart and cleaned the stinger apparatus with a cotton swab and alcohol. The next two photos show that design of the stinger. It is a two part piece and the extended tube can be removed from the screw in metal tenon. I cleaned the inside of the stem and also the inside of the stinger to remove the buildup of tars and oils inside.
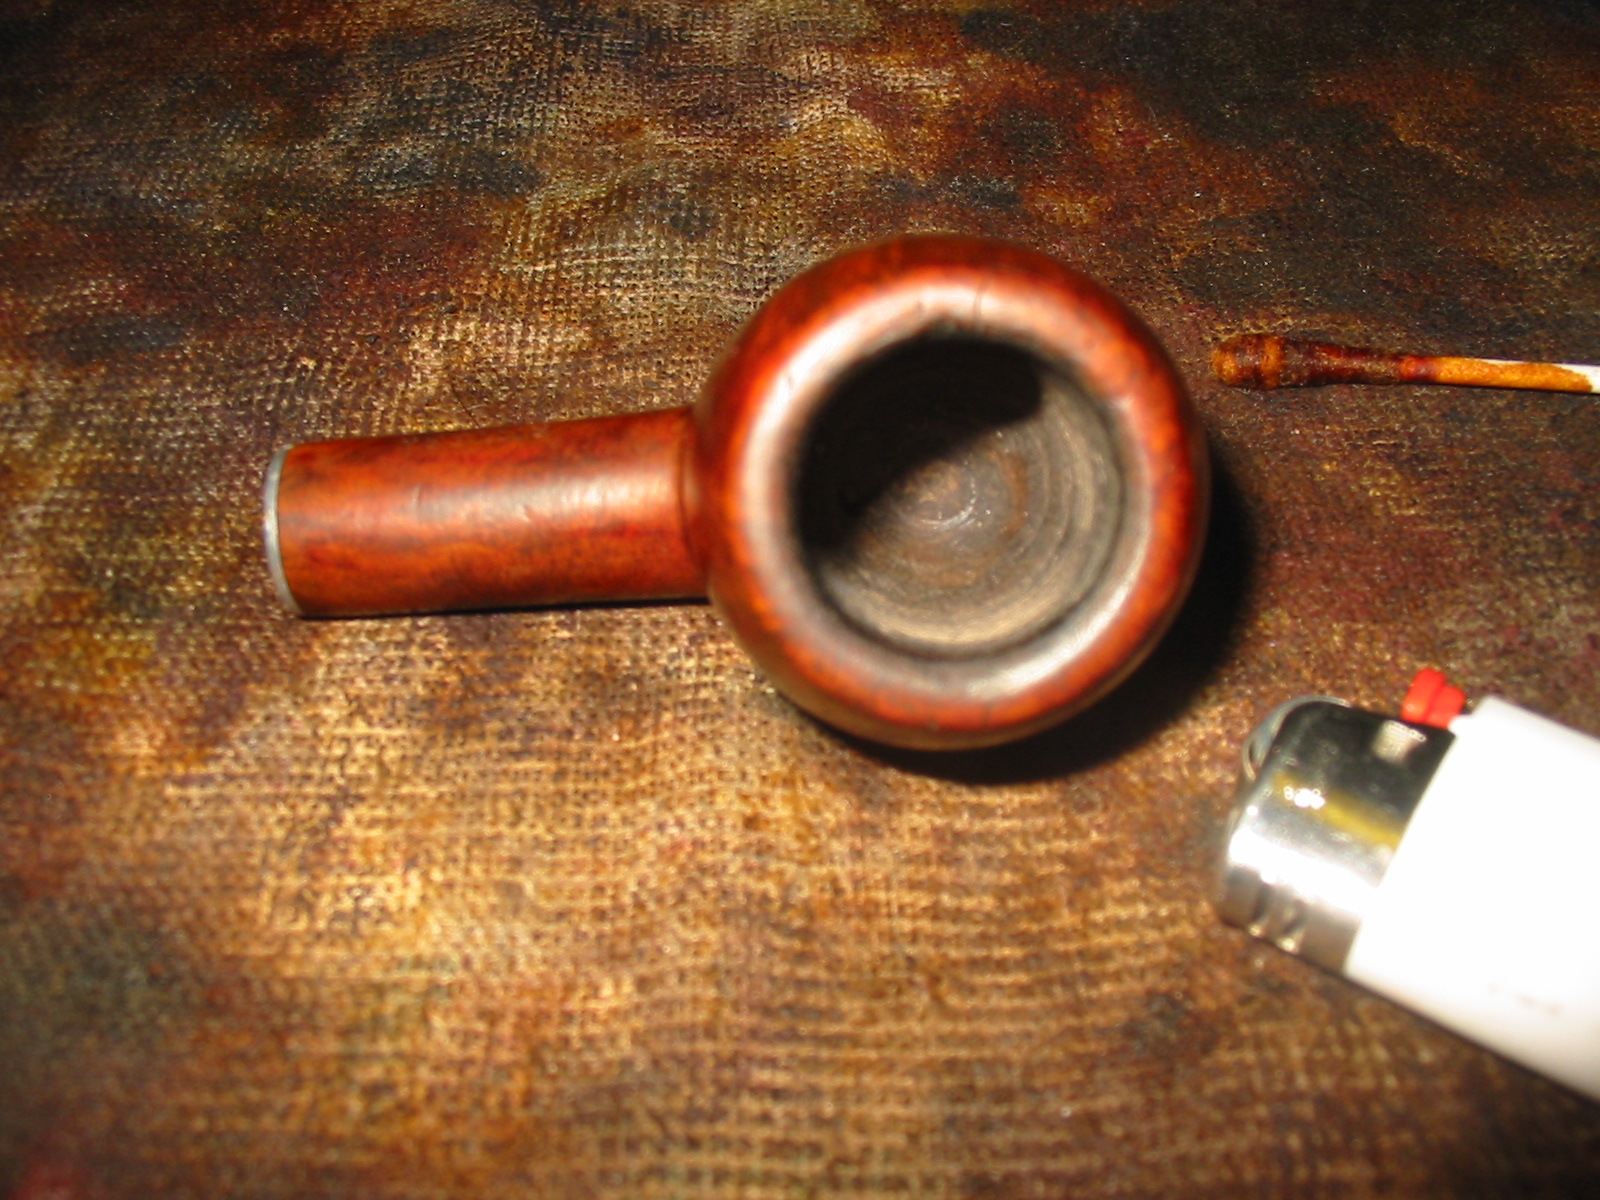
I sanded the bowl with 1500 – 12,000 grit micromesh sanding pads, being careful around the stamping on the shank. Once the scratches were removed and the bowl was smooth I restained it with a dark brown aniline stain thinned 2:1 with isopropyl alcohol. Doing this makes the stain less opaque and also several shades lighter. I wanted to highlight the grain not hide it so this was the perfect mix to do that. I applied the stain with a cotton swab, flamed it with a lighter to set the stain and then repeated the process a second time. The next three photos show that process. You will note that I also cleaned up the inner edge of the rim with the sanding process noted above. Most of the roughness is removed. A small crack remains on the top of the left side of the bowl rim.
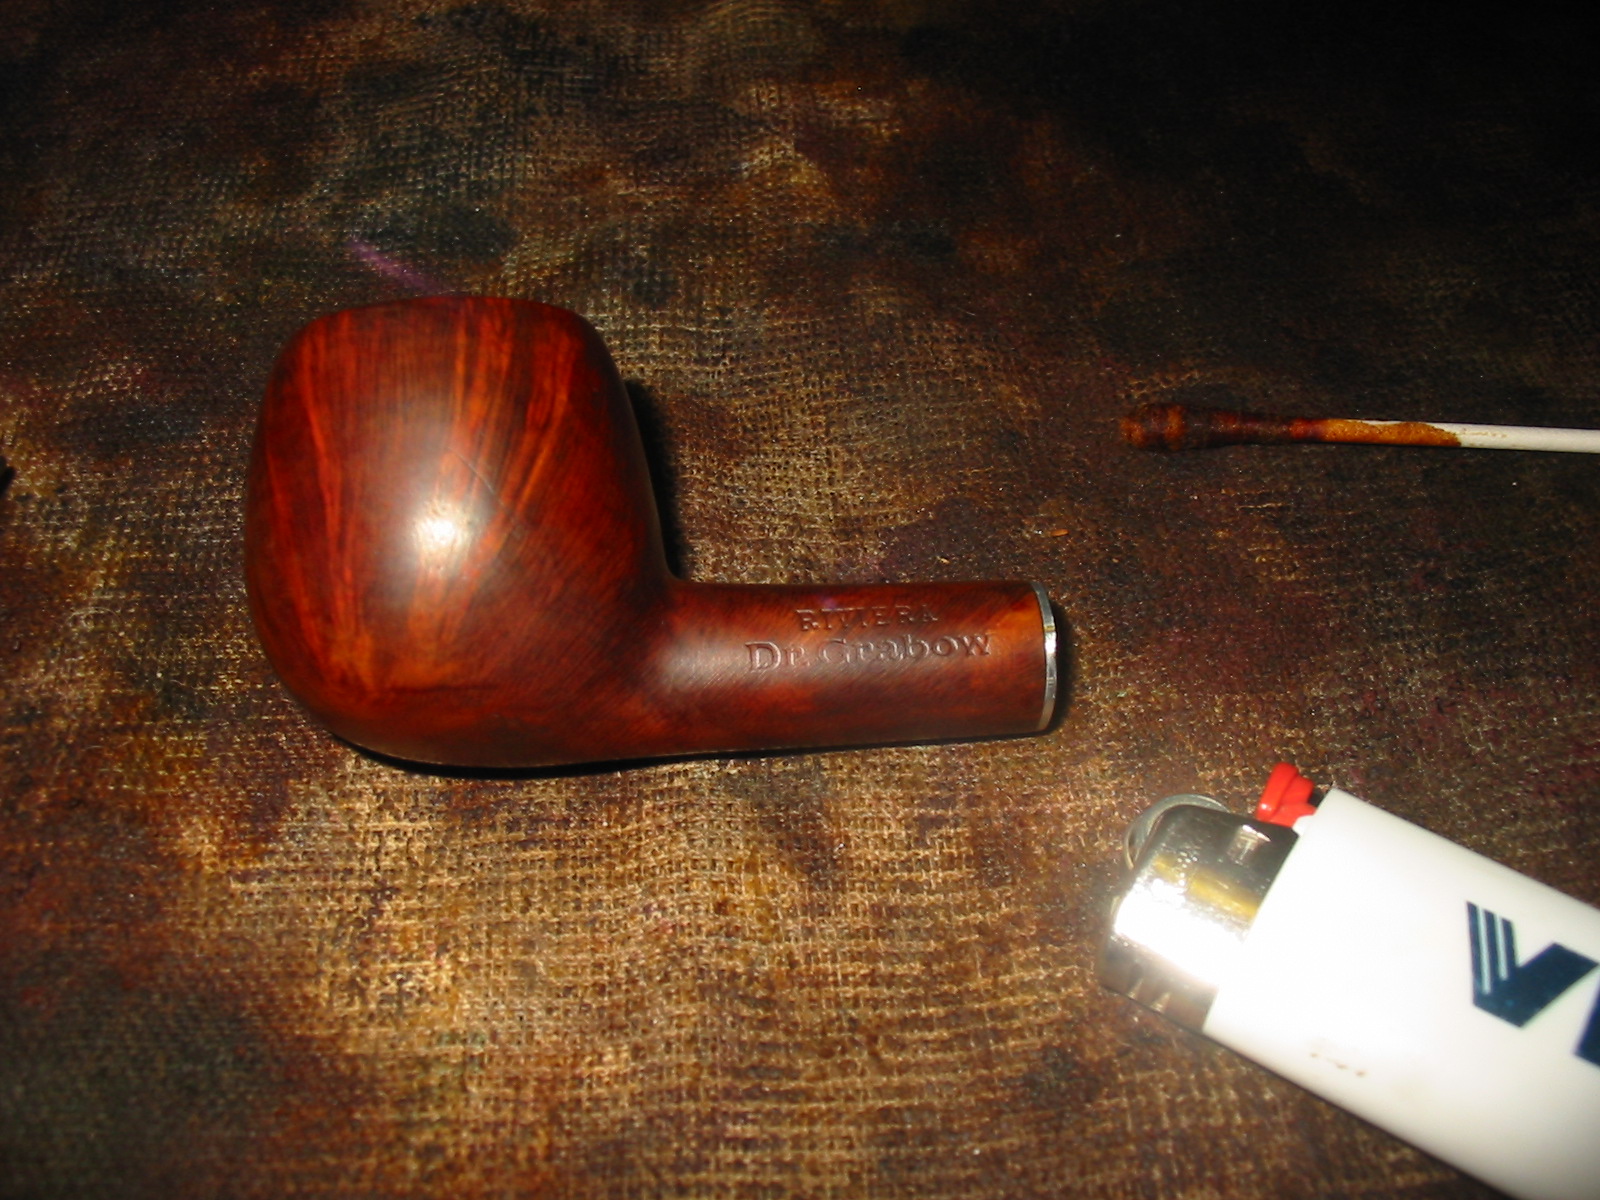
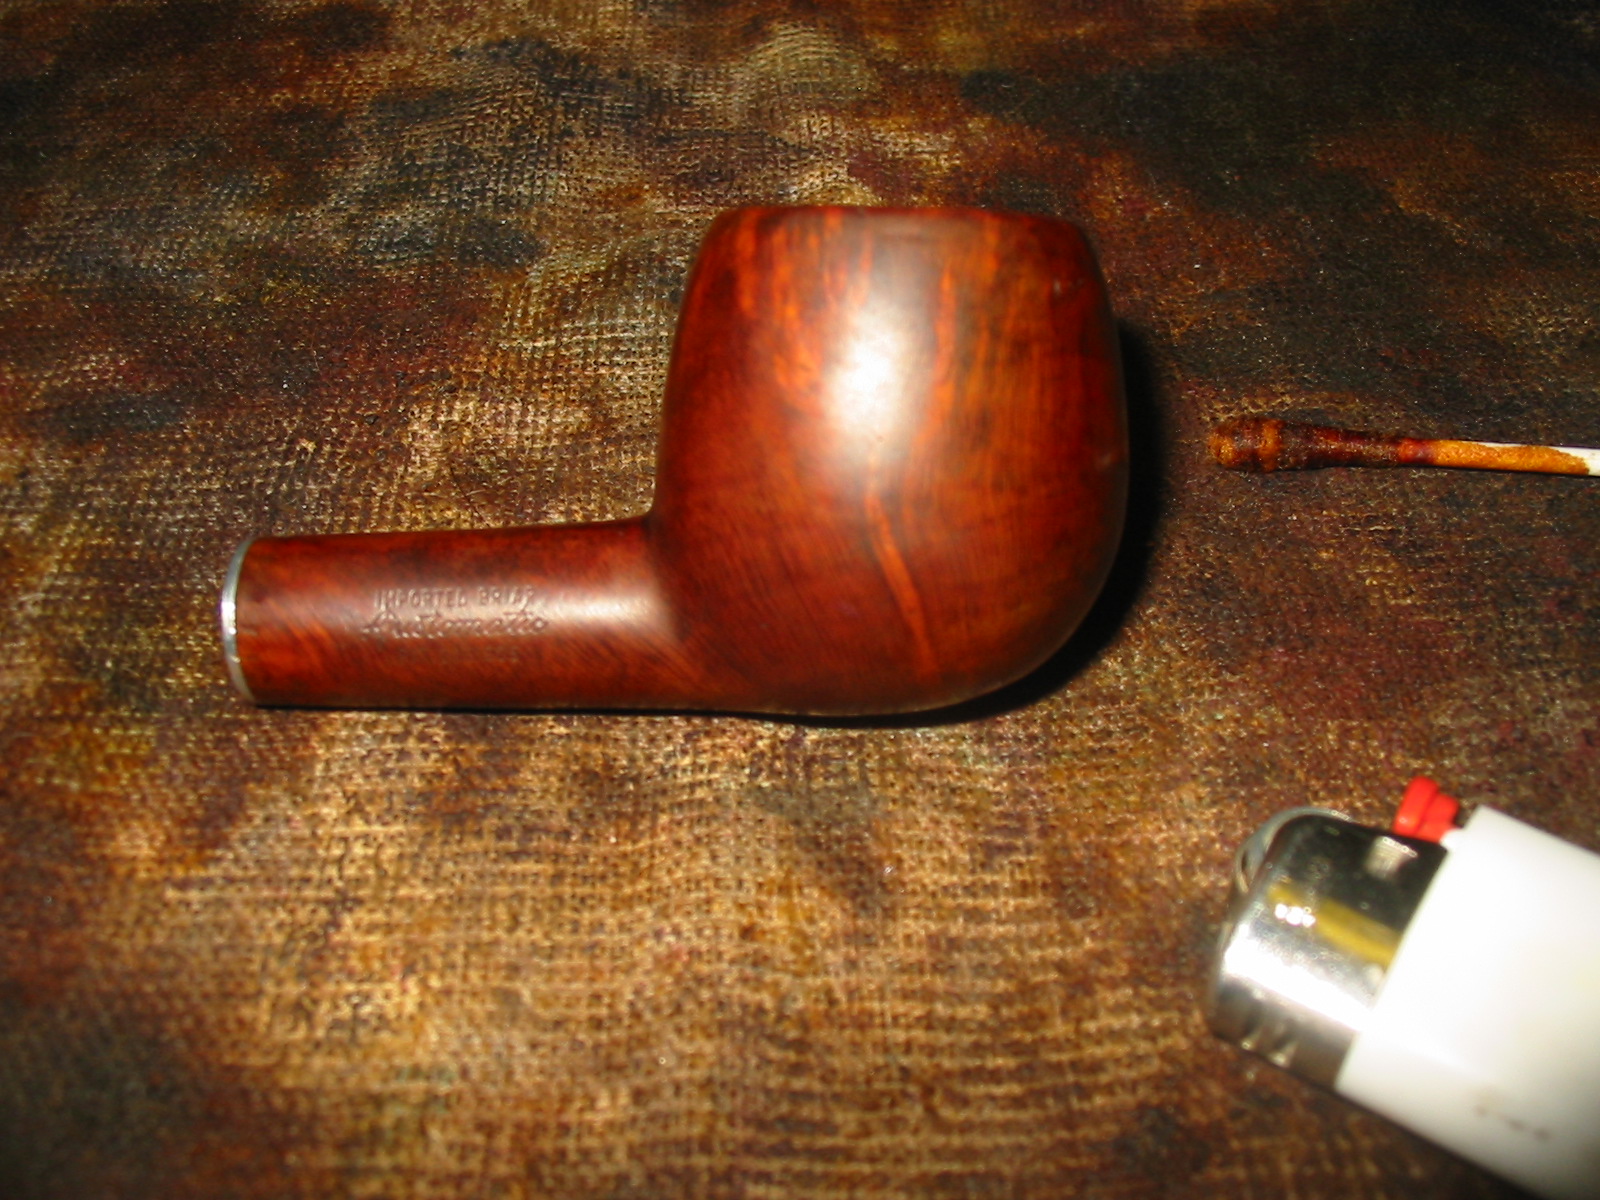
I set the bowl aside and worked on finishing the stem. I sanded it with 1500 – 12,000 grit micromesh sanding pads until it was smooth and finished. I rubbed down the stem with Obsidian Oil to protect and remove the oxidation. I reattached it to the bowl and buffed the stem and bowl with White Diamond on the buffer. I gave the entirety several coats of carnauba wax to bring out the shine and protect it. The final four photos show the finished pipe – cleaned, restored and ready to smoke. The photos show tinges of brown/oxidation still remaining in the stem under the flash of the camera. To deal with that I polished the stem some more and gave it another coat of Obsidian Oil and let it soak in. Upon finishing I buffed it again with carnauba.