Blog by Steve Laug
Part 1 of this post appeared as an article in the August 2012 issue of Pipe Smoker Unleashed Magazine. It is available at the website address below. Part 2 will appear in the September issue.
I would like you to walk through the process of refurbishing two pipes that I sent to Carl Hackman. Once he received them we met on Skype and walked through the process of refurbishing them. Carl would also post pictures and comments and I would reply on Pipe Smoker Unleashed Forums http://www.pipesmokerunleashed.com/forum/forum.php to involve the PSU Community in the process as we worked together via Skype. This essay combines the two media to give a report on the process.
Carl described the condition of the two pipes before we started the work. It is an important part of the refurbishing process to discern what needs to be addressed before you work on a pipe. I have learned that half the battle in refurbishing a pipe is the preparation – both understanding the pipe and gathering the tools. To make this more interesting the reader should be aware that Carl is in the Dominican Republic and I am on the west coast of Canada – Vancouver, British Columbia. The Skype connection worked brilliantly for these lessons in the art of refurbishing. We completed the work in two 3 hour sessions and the end product in the pictures below will tell the story. Join us at the virtual work bench with your computer! CH is Carl and SL is me.
CH – Generosity from Steve has allowed me to try a full restoration of 2 pipes. He sent me 2 pipes to play with and try and hone some restoration techniques. I’ll document all the steps I take and show the end result. If I don’t screw it up too much and make a reasonable job of it then it may grace the pages of our magazine. With Steve’s help along the way I’m sure we can bring together an amateur refurbishment project.
The top pipe is a French Dublin and below that is a Captain Black Billiard

The Dublin has a small chip on the rim and some dings on the outside of the bowl. There is caking around the rim but it looks in pretty good shape. The saddle shaped stem is really tight and may not be the original. When restored this will be a lovely pipe. I intend to sand the finish and stain off completely and re-stain the bowl, maybe a tan color.
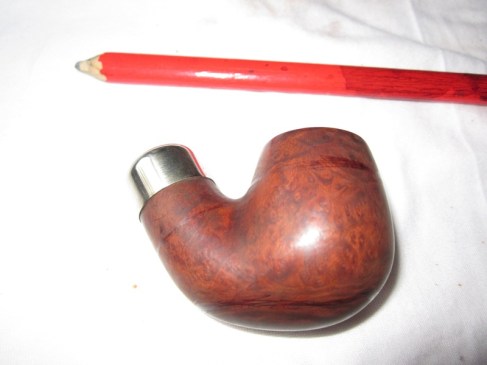
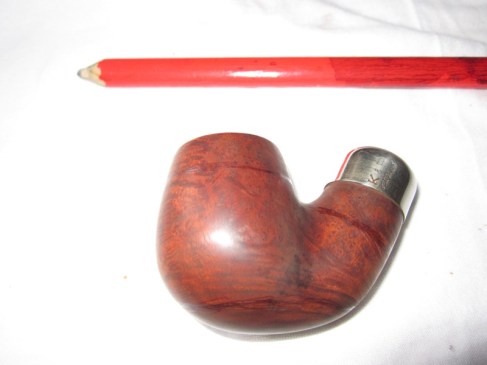
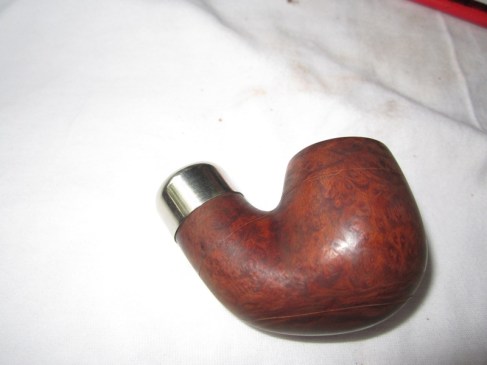
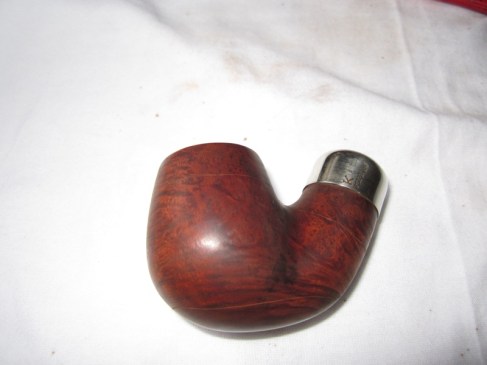
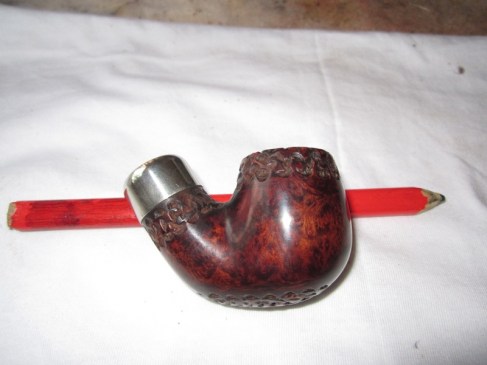
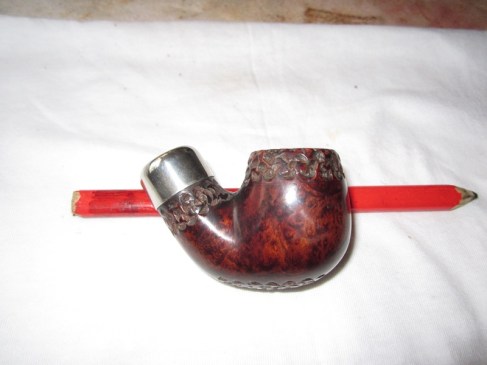
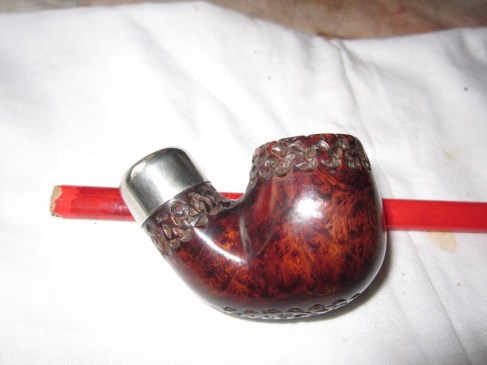
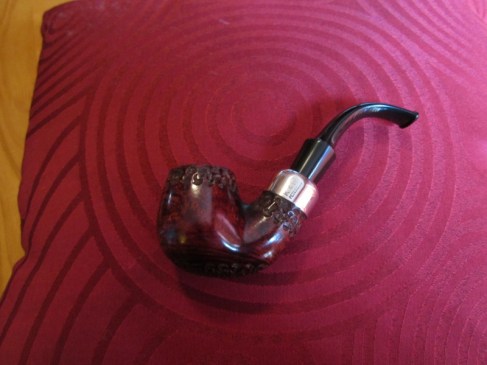
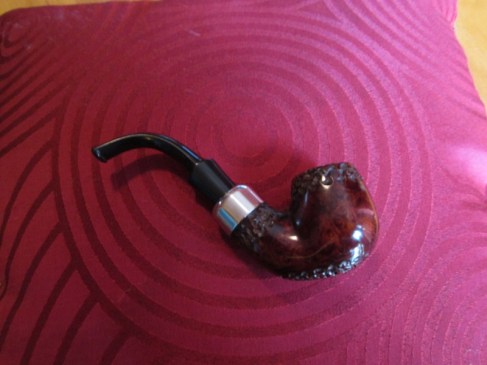
The Captain Black is made in England and is a dainty B14 model. The rim has some minor dings and the chamber rim is slightly misshaped (I’m not sure how to try and correct that but it isn’t so bad that it detracts from the beauty of this pipe). There is a burn mark on the base of the bowl near the start of the shank and I’ll have to see the extent when I start sanding it down. Again I intend to refinish the bowl, this time with a medium brown stain. The stem looks to be in good shape and probably just needs a bleach bath, light sanding and then some buffing with white diamond and carnauba wax. She will be a little beauty when restored.
I’m sure now that I have them here and have made some initial observations that Steve will chime in and let me know the best way to proceed and maybe point out some areas I may have missed.
SL – Good call on the observations. Well done. Not sure how the stains will come out or if you can do what you have planned. I usually have a plan before I start but then have to let what I find in the process determine where I go with the stains. Don’t use bleach on the stems Carl. It really deteriorates the vulcanite in my opinion. Let’s do it a bit differently. Both stems were original. The one on the Dublin is probably tight from the gunk on the tenon and in the mortise. We will clean that out in the process of the refurb.
Also before you sand either bowl down drop them in an alcohol bath over night and let them sit. It will soften the tars on the rims and also remove most of the finish for you. If you can snag a bottle of fingernail polish remover we will use that after the alcohol bath and the bowls dry a bit. It is acetone and works great to remove any remaining finish on the bowls.
CH – I dropped the Dublin in as well. For the Dublin I initially started sanding it with 220 grit sandpaper to remove the initial layer of finish and the cake on the rim. I then wiped the bowl with an alcohol dampened cloth to highlight the dings (and there are quite a few now that I didn’t notice before). They really stood out after the wipe. I dropped it into the alcohol bath as you advised.
SL – Check the bowls in a half hour – particularly the Dublin as you sanded most of the finish off of it.
CH – Ok mate, I love the Dublin shape and it feels great in the hand. After the initial clean on it the stem fitted perfectly.
SL – I figured the stem would – it was the one that came with it. Once you take it out of the wash, wipe it down and let it dry. The pink spots on the pipe are the putty fills. You did a good job removing the finish.
CH– It will be a stunning pipe mate.
SL – The grain on both pipes looks good.
CH – Yeh, I love the little Billiard as well.
SL – We can use the black stain to hide the fills and highlight the grain.
CH – Nice to have an English pipe.
SL – I figured you would like that.
CH – Here is a picture of the Dublin after initial sanding with 220 and alcohol wiped to highlight dings. The next picture is shows both the billiard and Dublin in the alcohol bath.


SL – You can steam the dents out pretty easily. Heat a flat blade (I use a knife from our old cutlery) on a flame – I do it on the gas stove. You can also heat it on a candle or such. Once it is hot put a wet cloth on the ding and put the hot knife on top of the wet cloth – it should hiss and steam. Do this until you have removed the dents. Do this prior to sanding. Once the dents are raised as much as possible sand with the 220 – try to follow the grain on the pipe so you make less work or yourself in the later sanding. You can also use a steam iron in place of the knife and the fire.
As I look at the pictures though, it appears to me that many of those dents are fills. Fills can be hidden with a darker stain or picked them out and refilled with briar dust and super glue. We can decide that later. You will want a lid on the alcohol bath as it evaporates pretty quickly. I reuse mine for 3 or 4 months as I find the old stains give a patina to the briar as it soaks. While the bowls are soaking you can work on the stems.
CH – Ok mate, I’ll leave the bowls in the alcohol bath for another 1.5 hrs and then look at the marks on the Dublin. When I looked at the bowl initially before sanding those areas looked like indentations. I’ll have a closer look once the bowl has dried out.
SL – We can work with those Carl. We can also make a nice dark tea stain to do some grain work on it. Once they come out of the bath and dry we can sand a bit more. Sand with the grain as scratches can be a bear to get out. Once we are done sanding it all the way through your micromesh pads we can talk about the staining.
CH – The only colors I have are medium brown and tan. And I had to wait a month to get those from Miami to here due to the Dominicans saying that they were dangerous.
SL – No problem. We can use something else. You have some tea correct?
CH – Lipton’s – a pretty light tea though
SL – That will work. We want to make a very dark cup of tea. Let it steep over night you want it almost black.
CH – Right ok. The medium brown stain looks pretty dark
SL – Medium brown is dark but once it buffed it is pretty light. The tan is really light almost neutral. We will paint on the tea solution on the grain, following the grain with the brush that you apply it with.
CH – Ok. So just stick a couple or 3 teabags in a cup and leave to stew overnight?
SL – Yes leave it in overnight. We will repeat it a few times to give a good deep colour.
CH – Shame about the fills as I was thinking that shape would lead to a nice contemporary tan pipe.
SL – We may be able to hide them a bit with the tea stain. We shall see. If not we can also use the medium brown the same way to darken the fills.
CH – I spent a small fortune getting those 2 dyes over here and I won’t be able to use them. LOL!
SL – We will use them; the tan could work with the dark stain as an undercoat. We will have to stain them differently because of the fills.
CH – I want the billiard to look darker so I will definitely use several coats of the medium brown. I want to have a classic look for the billiard and contemporary one for the Dublin – sort of 2 different styles of refurbishment; one sympathetic to the original and one a complete facelift to bring it into current times.
SL – That should work. Let’s aim for that with the Dublin. Do you have a small paint brush?
CH – Yeh I have several paint brushes and also the applicator that comes with the dye.
SL – You want a pretty fine brush to follow the darker grain lines.
CH – You are an enabler mate. You create enthusiasm. LOL!
SL – Let’s get back to the stems.
CH – The stems are in excellent condition with no tooth marks or dents. I have used bristle pipe cleaners dipped in whiskey in them and they are surprisingly clean. I will sand them with 220 grit sandpaper and then micromesh. Do you use Tripoli on them or do go directly to White Diamond when buffing.
SL – Start with a higher grit on the stem as you will scratch it with the 220. If you have some wet dry sand paper 400 or 600 use that on the stems. If they are clean as you say then let’s use micromesh 1500 to work them over. I find with the lower grits if I sand length wise it scratches less than cross wise.
CH – Ok, I’ll work on the stems while the bowls are soaking.
SL – You can use only the micromesh on the stems if you like.
CH – I have a buffer mate and some Tripoli, White Diamond and carnauba.
SL – The first micromesh 1500 will make the stem appear grey. Keep working it until it is smooth. I keep a small bowl of water next to me when working and dip the pad in it while sanding. The grit cuts better when wet. You get a grey slurry of the pads when you dip them while sanding. Change the water between grits.
CH – Working on the Dublin stem now with wet mesh.
SL – Excellent. You won’t need to buff much if you work the pads up to about 6K.
CH – Can only get 220 or higher or 2000 here mate, remember we are 3rd world in this place LOL.
SL –I should have thrown in a few papers and sanding pads when I sent those to you. Pretty cheap here.
CH – No worries mate, I managed to get a mini buffer shipped over with Tripoli, White Diamond and carnauba. Here is the Dublin stem after wet and dry sanding. The tenon will need careful cleaning to ensure that the fit is not degraded.

CH– Would you use Tripoli on a stem or go straight to White Diamond? Some people say that Tripoli is too harsh for stems.
SL – I use Tripoli. Now would be a good time to pull the bowls out of the wash. Put the stem on the pipe before you buff them – VERY IMPORTANT AS YOU WILL ROUND THE EDGES. Give it a buff with Tripoli. Lightly load the buffing pad. It can go on heavy and it makes the work miserable. A heavily coated pad turns the Tripoli to a reddish brown sludge on the stem… a real pain. When done look for scratches. If there are some go back to the micromesh until they are gone. Once it is good and smooth move to the White Diamond. Again check for scratches. Remedy with Tripoli and/or pads. Use a light touch. I use it all the time and it is good. It is finer than the 2000 you are using
CH – Ok will do mate. Fit stem then photo then initial Tripoli buff.
SL – Perfect.
CH – Going to take a picture of the alcohol bath before removing the bowls as it is pretty brown LOL.

SL – Remember, the tenon may be a little tight when you take it out of the soak – that is ok. The main thing is not to round the edges on the stem at the joint. Even if it does not go all the way in it is ok. It gives you a guide.
CH – Ok. Should I rinse the bowls after removing them from the bath?
SL – No don’t bother. It will evaporate quickly.
CH – Ok. Is the alcohol reusable even though it is brown?
SL– Yes I reuse it for 3 months or more. I find the brown in the alcohol seems to give a nice patina and evens things out on old bowls. I usually let the sediment settle out in the bottom of the alcohol bath and then pour it off, rinse the container, dry it and put the alcohol back.
In terms of buffing the pipe Carl, hold the pipe with a thumb or finger in the bowl when buffing as it will easily be jerked out of your hand.
CH – Yeh, I know LOL.
SL – I have broken a few stems doing it wrong… even dented a beautiful pipe that was getting a final buff
CH – I think you are right about the fills mate. Took the pipes out of the bath and the Dublin has soft areas where the fills are.
SL – Yup they will harden again. We can level them off a bit. Should work out.
CH – I have some mahogany wood filler here that is similar color to the briar if we need to fill instead of sanding down too far.
SL – That may work. How does that burn look on the little billiard?
CH – Haven’t sanded the bowl yet on the billiard so not sure until I get into it. Can’t see anything on the inside of the chamber to indicate it has burned through.
SL – Most of that one you may not need to sand. I think it is a cigarette burn from an ashtray. How do the stems look? To give them a last bit of sheen I will often add some olive oil to the highest micromesh pad and rub the stem down then a final buff to give a glow.
CH – Ok here is a picture of the stems mate

SL – They look really nice. Well done
CH – Thanks mate, they look way better in natural light though. The flash can be a bit harsh.
SL – The next stage is buffing the stems with Tripoli, White Diamond and carnauba wax.
CH – Ok here is what the stems look like after buffing.

SL – Good job. The buttons still have the sharp edge! Also the shank stem junction still is crisp without a rounded edge – very nice. Rounding the edge and the loss of the crispness of the button are usual mistakes folks make. Buff the billiard with the Tripoli and see what it does.
CH – Ok
SL – Sometimes the alcohol bath removes the grime and gives you a great old patina look. All it needs is a buff.
CH – How old is it? Do you know?
SL – Probably 60’s era on both of them. That was what the rest of the lot were.
CH – I would leave it original if it was a 61 LOL!
SL – Could be you know… no way of really knowing for sure.
CH – Hard decision whether to leave it and live with the rim mate.
SL – Nah lets work on it and smooth it out a bit.
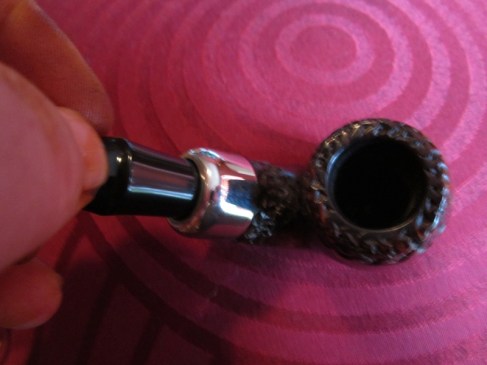
CH – It has a nice patina, I wonder what diamond white and carnauba would do for it. I love the patina and after the alcohol dip and a quick blast with Tripoli the grain is quite lovely. The problem is the rim. It has some chipping on the outside and the inside looks as if it was reamed with a knife. I don’t want there to be a large variation in color and I don’t want to ruin the rim by sanding it out of true.

SL – We can leave the bowl as is in terms of the finish and even up the out of round bowl a bit. How is the rim?
CH – Obviously been reamed with a knife at some point. The outside of the rim is slightly rounded and has some chipping around the edges. Nice grain on the bowl though mate.
SL – It is indeed. I thought it would have when I had it here. Amazing how removing the grime and a bit of finish with the alcohol makes the grain show. As far as dealing with the roundness of the bowl – take a small 1 inch square of 220 grit sandpaper and fold it in half lay it at an angle to the inside of the rim. You will work in slowly evening out the rough spots and cuts on the inside. Try to work to get the distance from the inner circumference to the outer one to be equal all the way around the bowl. Doing this you may not need to do anything to the rim… we shall see. We can also work to match the whole thing…
CH – Mmm, trying to think how to match the stain when we are done with that. The patina is really nice
SL – That will be fairly easy – medium brown will work perfectly for the patina of old pipes. Work on the roundness of the bowl first before tackling the rim. You may be able to leave the rim. Work the edge slowly with the 220 sandpaper to smooth it out on the inside edge. Doing it at an angle will allow you to even things out aiming for equal distance between inner and outer edge all the way around.
CH – Ok mate, working on it now.
SL – In your picture of the top I see that you need to take out some on the top side of the picture (right side) and also on the butt side of the bowl near the shank. Very little needs to be done with the left side.
CH – I think we are very close. Not sure how much more I should play with it for a pipe of this age.

SL – You did it brilliantly!! Perfect
CH – Thanks mate. I was really worried about ruining it.
SL – No need. You did well. It looks way better and like it should after some 40 years of care. It is these little steps that make the difference.
CH – Yeh that is what I was thinking. You can be too anal and ruin the pipe’s character
SL – Now steam out a few of the dents to the top and you should be good to buff and polish. Heat a butter knife over a flame and fold a wet dish cloth on the rim. Lay the hot knife on top of the wet cloth and it should hiss and steam. You may need to do a few times but it will lift most of the dents in the rim. It will dull the finish but a buff with white diamond and some wax will remedy that.
CH – Right, I’ll get onto it mate. She is a little gem mate, I really appreciate it.
SL – You are doing great. Once that is done you can buff with White Diamond and wax. Should be a keeper. How is it working?
Carl went on to steam the dents until they were less visible and then he buffed the pipe on his buffer with Tripoli and White Diamond.
CH – Just going to upload a photo of the billiard.


