Blog by Steve Laug
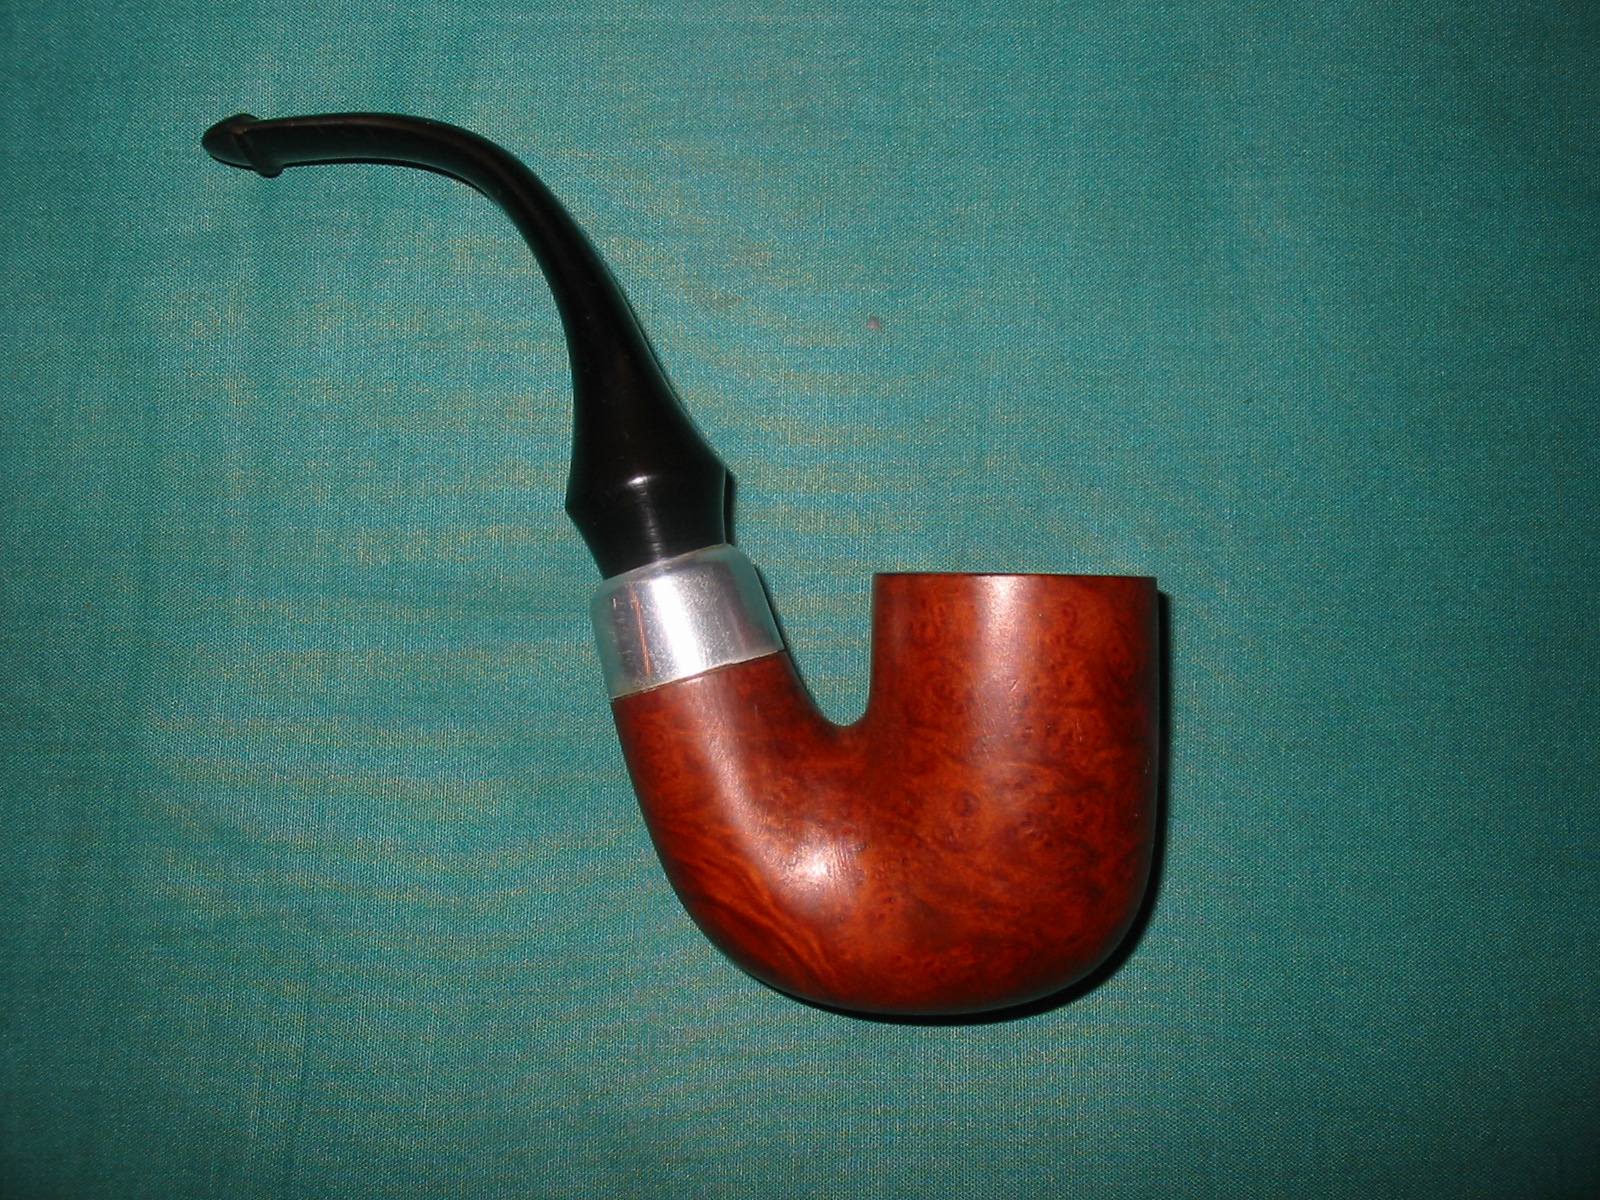
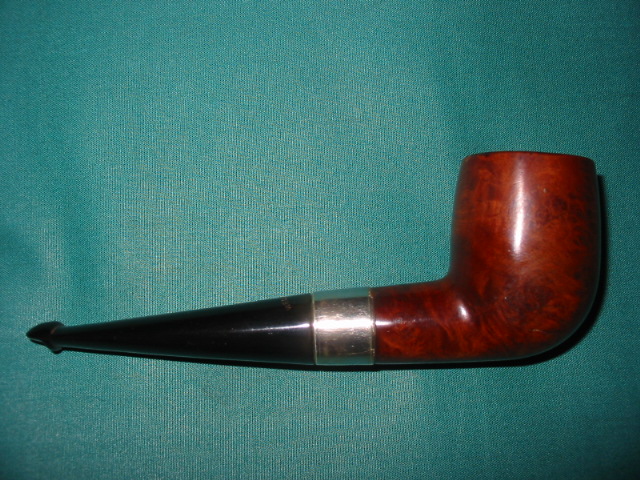
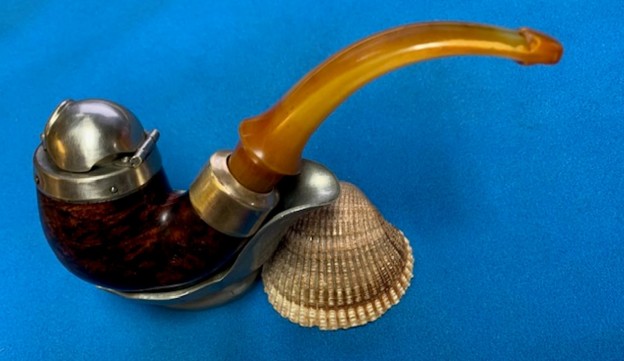
The next pipe on the table was one Jeff and I picked up somewhere. We picked up this interesting WDC Wellington Bent Billiard with a Nickel-Plated ferrule on the shank and Nickel Plated Windcap. We purchased it on 04/04/2018 from a seller in St. Leonard, Maryland, USA. I picked it up when I visited Jeff in July. It is one we did not clean or prepare at all. On the left side of the shank it is stamped WDC logo in an upside down triangle and underneath it in script it reads Wellington. On the underside of the ferrule it is stamped Nickel-Plated in a rectangle. The pipe was in dirty condition. The finish on the bowl and shank were coated with a thick coat of shiny varnish. There was grime and oils ground into the surface all around the bowl and shank. The rim cap and shank ferrule were oxidized and dull looking. They appeared to be in okay condition but polishing would tell the story. The stem was an amber coloured Bakelite that was stained on the ferrule end. The stem was dirty with tars and oils colouring the airway from the shank end to the button. It had deep tooth marks and chatter on both sides ahead of the button. I took photos of the pipe before I started my clean up work on it to give a clear photo of the condition of the pipe before I started my work.
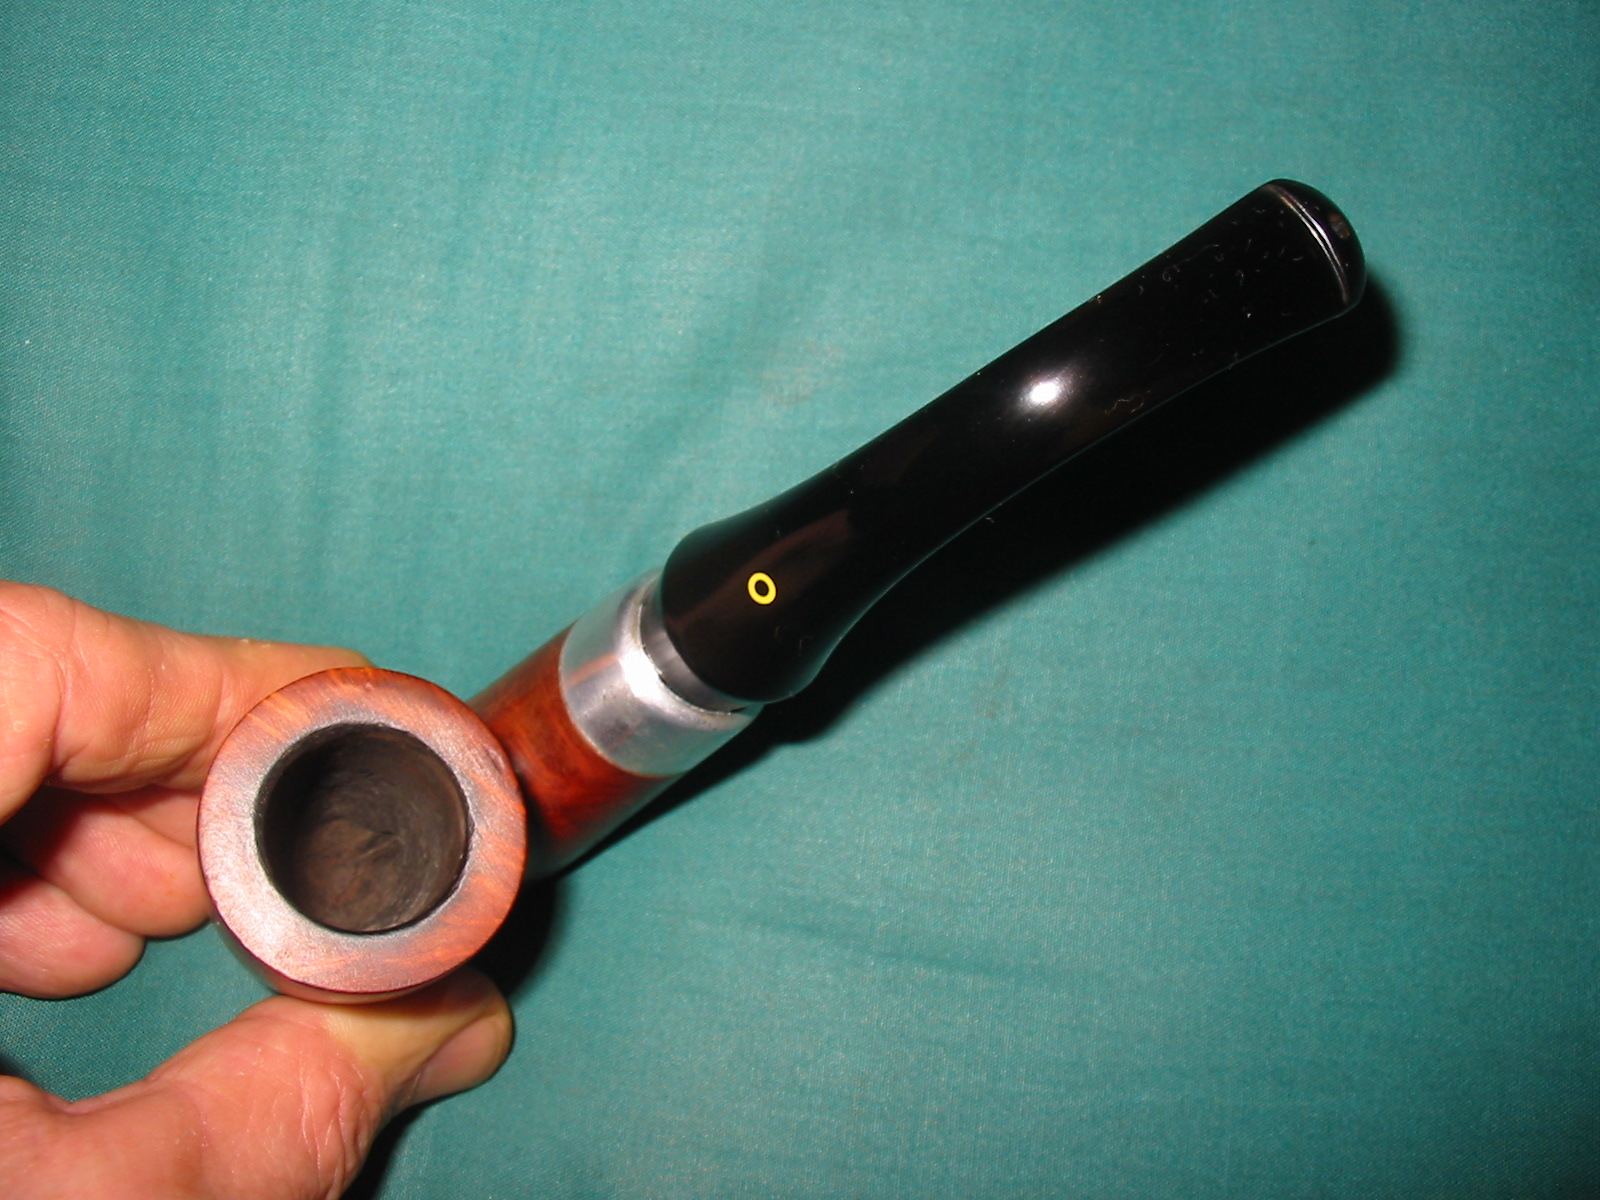
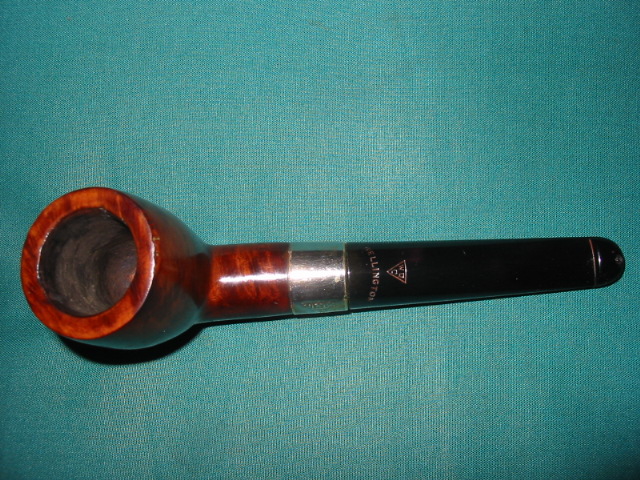
 I took a photo of the bowl and the rim top. The bowl had a thin cake on the bowl walls and bottom. The wind cap covered rim cap and the inner edge of the bowl were clean but oxidized. They should polish up very well. The amber/orange Bakelite stem shows deep tooth marks and chatter on both sides ahead of the button as mentioned above. It had promise but it was dirty!
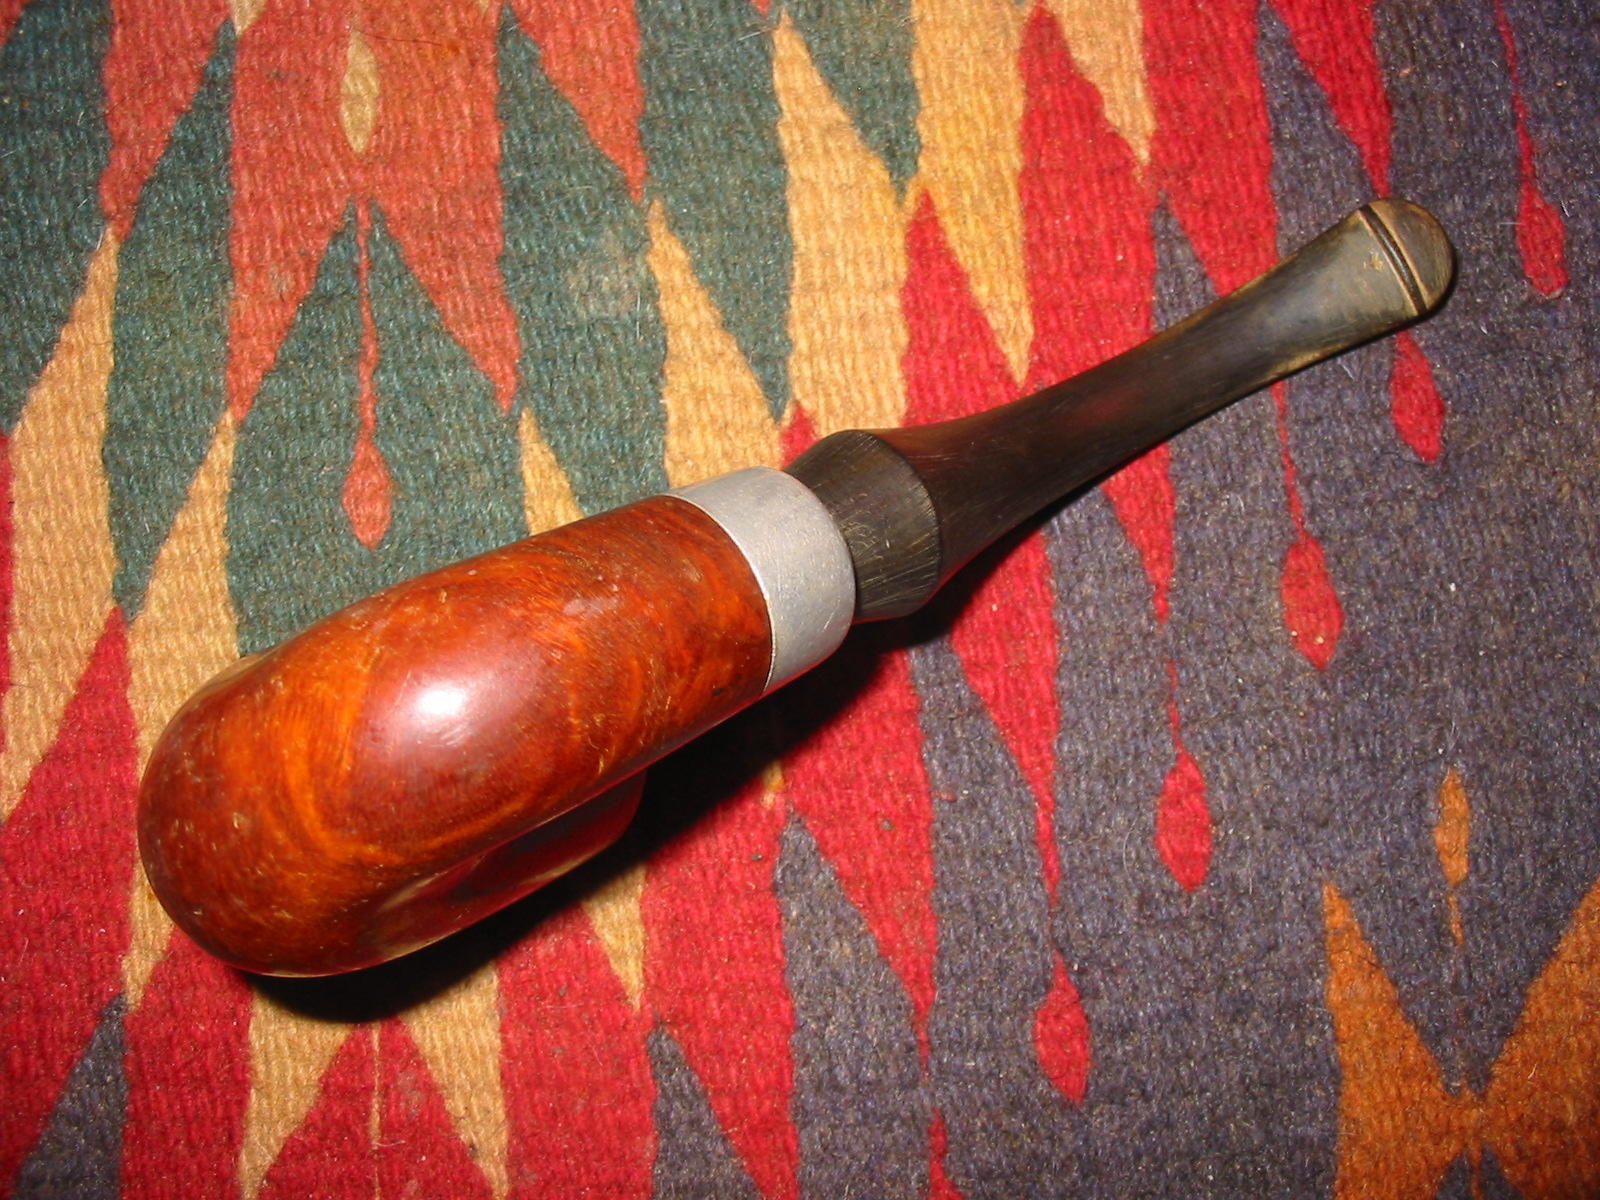
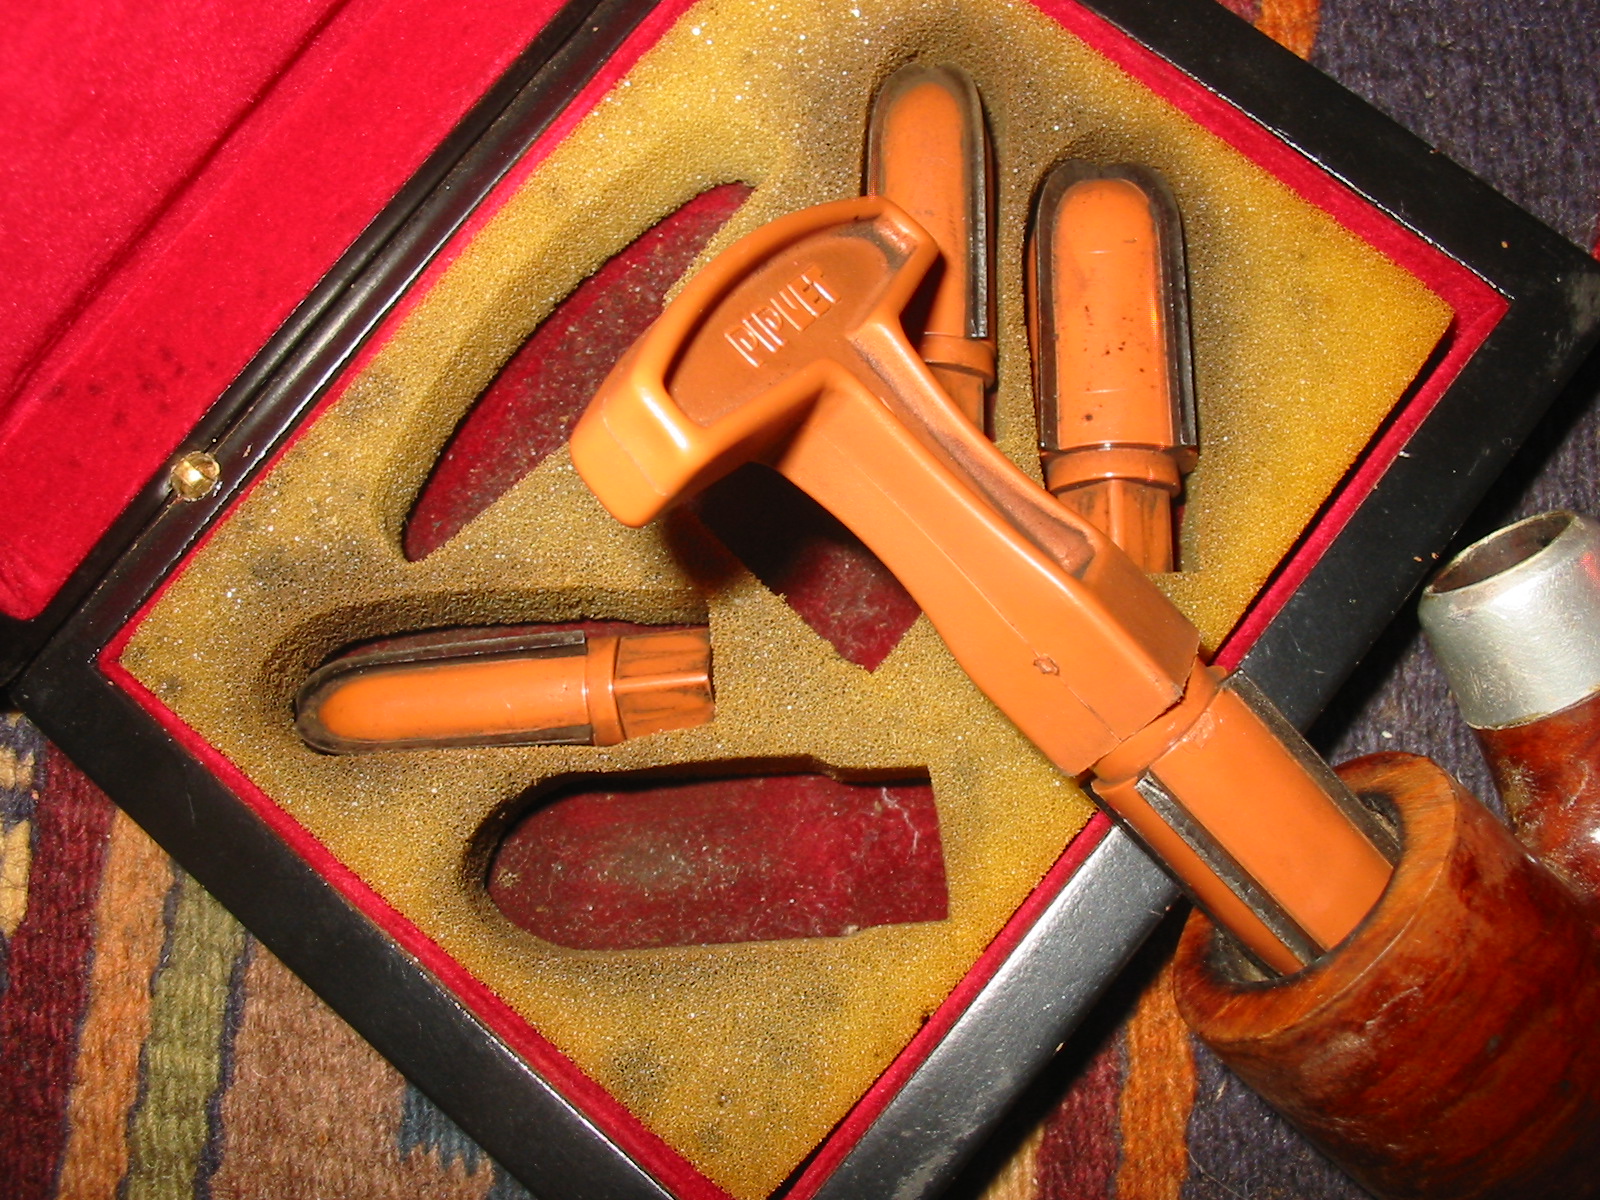
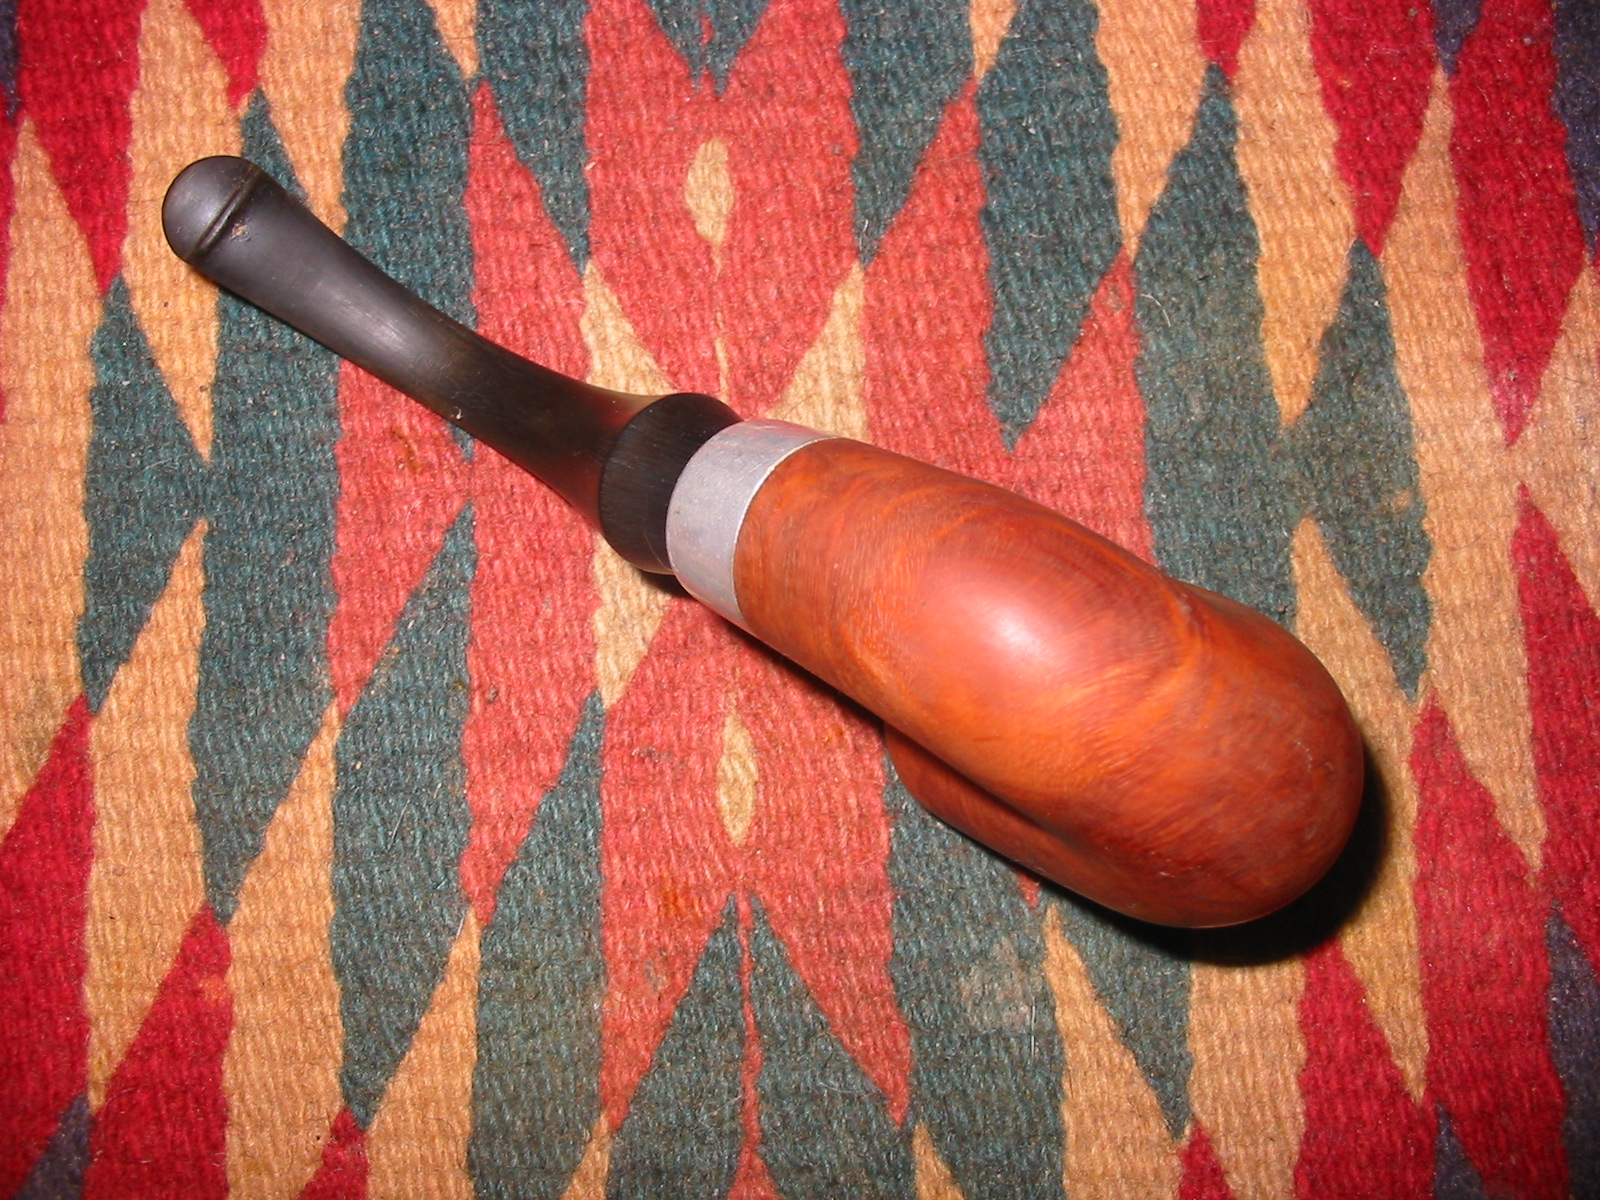
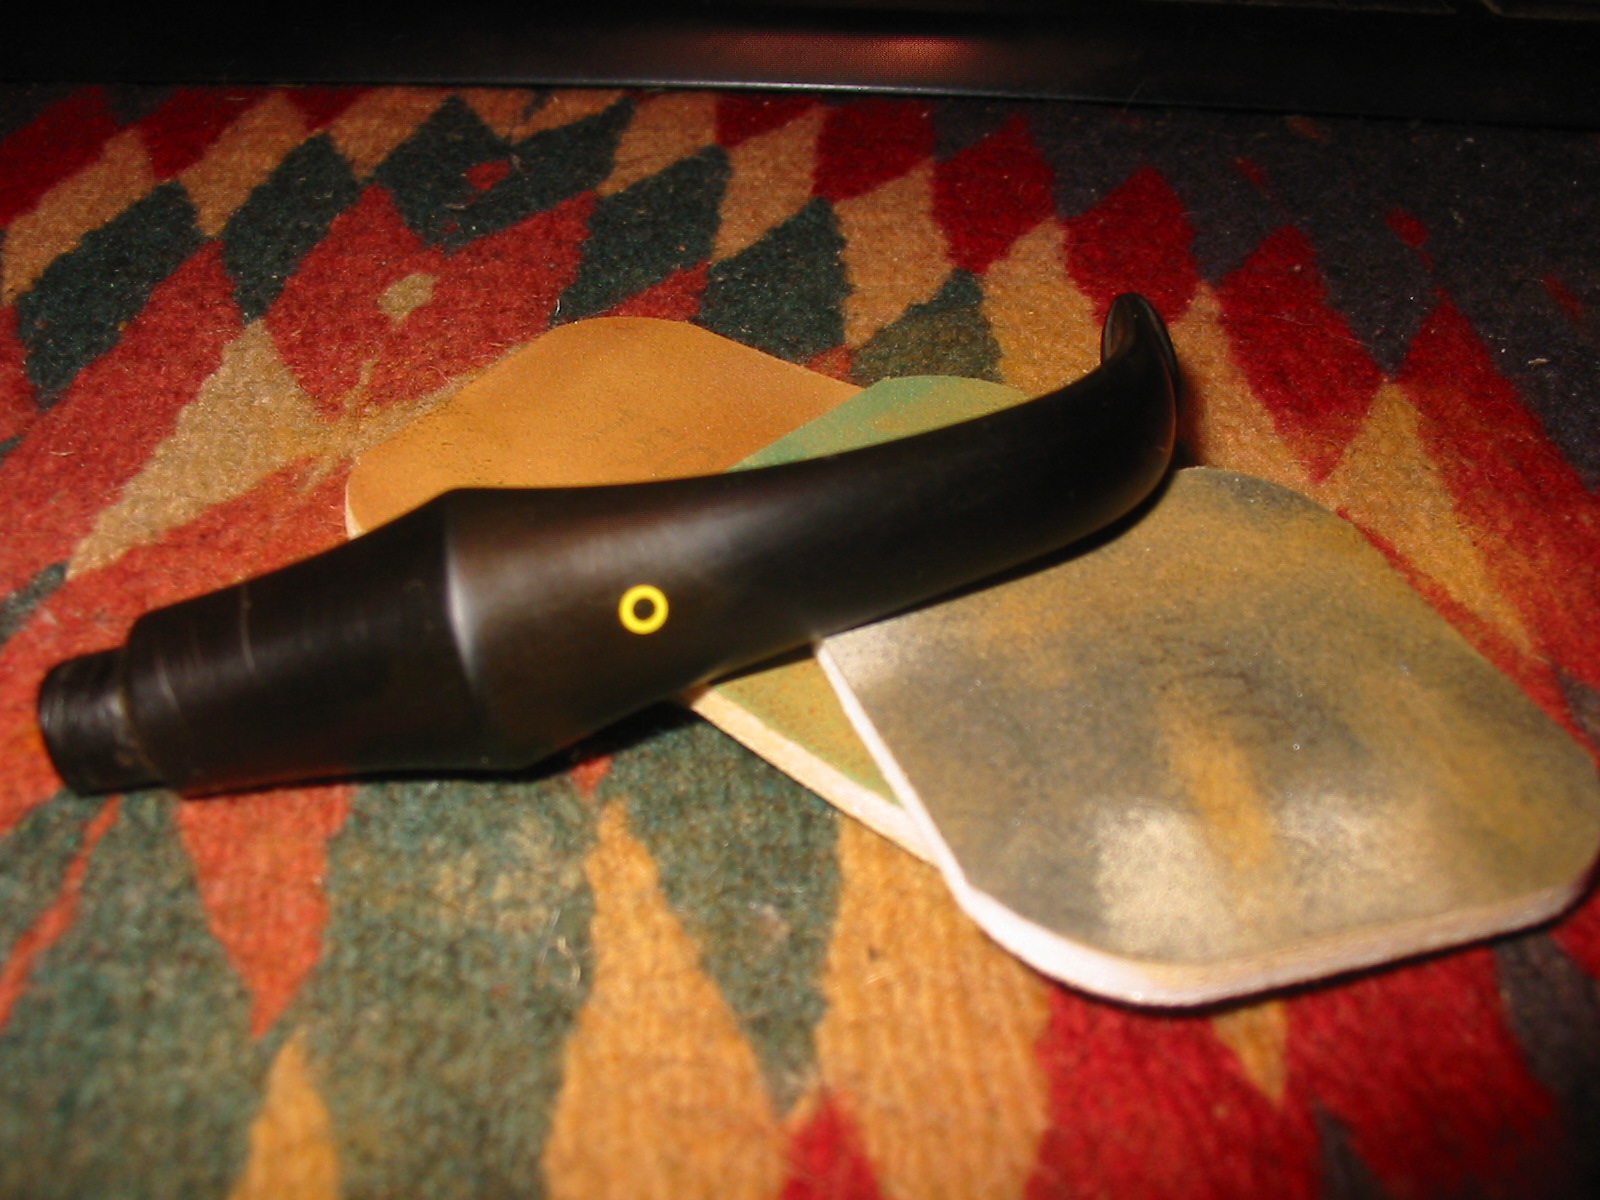
 I took a photo of the left side of the shank to try to capture the stamping on the briar. It is clear and readable as noted above. I removed the stem from the shank and took a photo of the parts to give a sense of the pipe’s proportions.
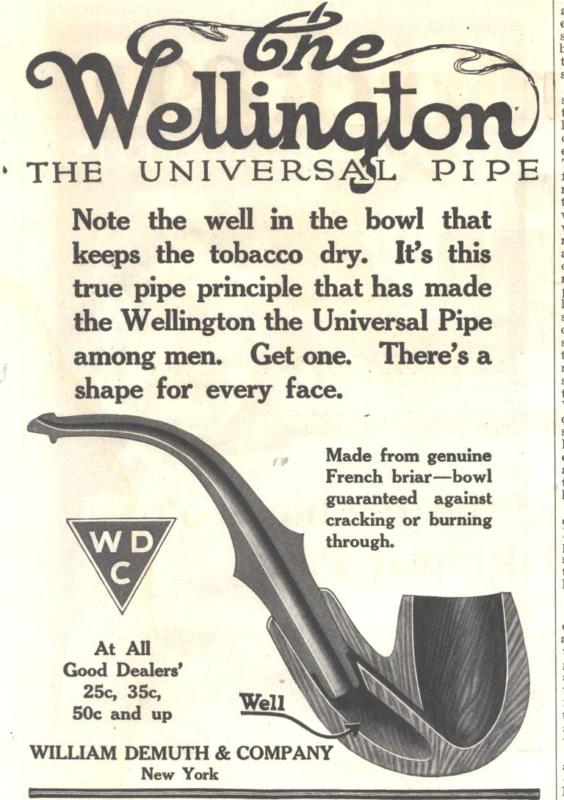
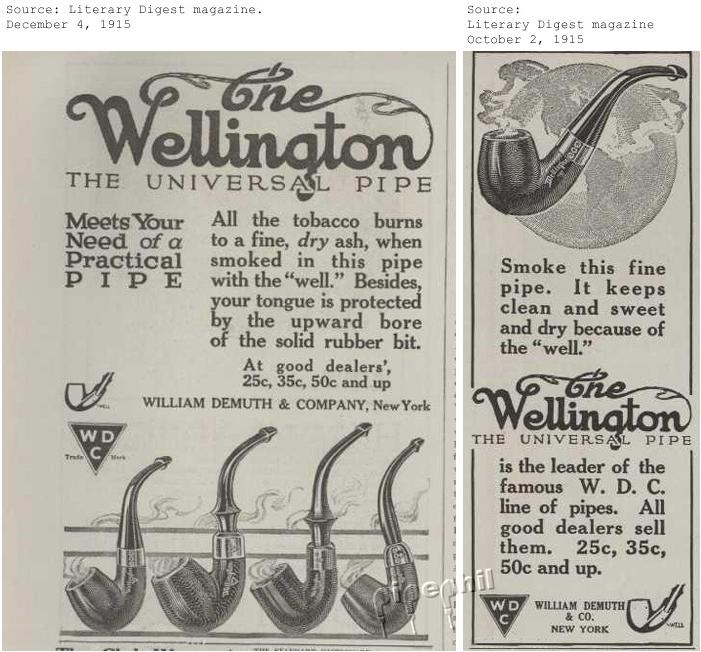
 I turned to Pipephil’s site (http://pipephil.eu/logos/en/logo-w1.html). I did a screen capture of the section on the site on the Wellington. I clicked on a link on the site and was directed to an advertisement on the bran from a 1915 Literary Digest Magazine. The copy makes some interesting reading on the brand.
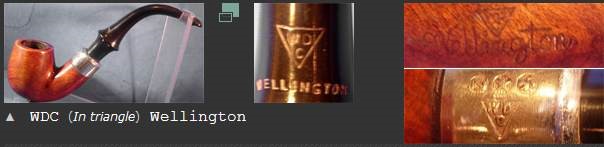
 I reread a blog I wrote on a Wellington Jumbo back in 2020 to refresh myself on the brand and follow up (https://rebornpipes.com/2020/12/03/breathing-new-life-into-a-wdc-wellington-jumbo-french-briar/). It directed me to an article on Pipedia.
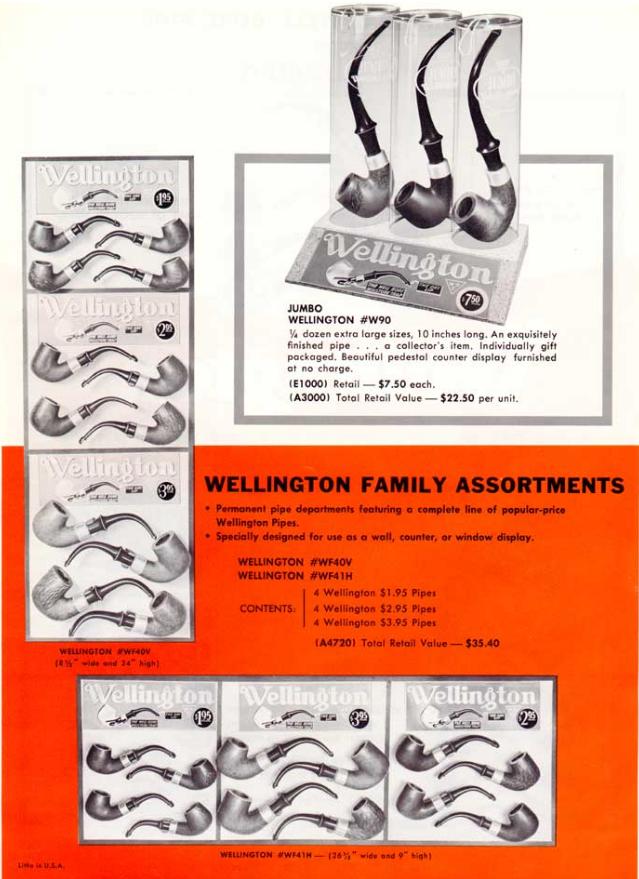
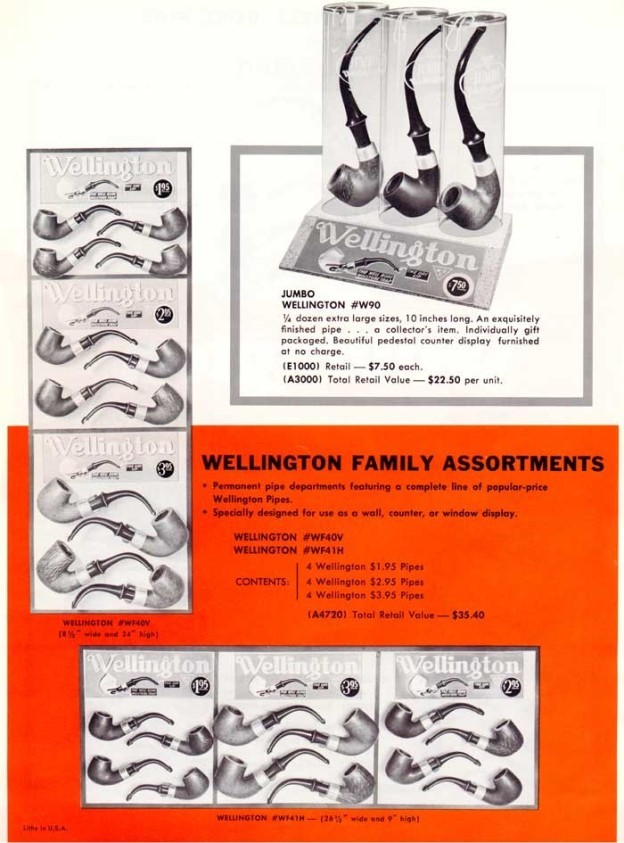
Pipedia’s article on WDC (William Demuth) pipes is a great read in terms of the history of the brand (https://pipedia.org/wiki/William_Demuth_Company). I have included a pair of the advertising flyers on the Wellington pipe below. The second flyer below has a photo of the Jumbo Wellington and its original sales price. Look at the price of this pipe when it was sold.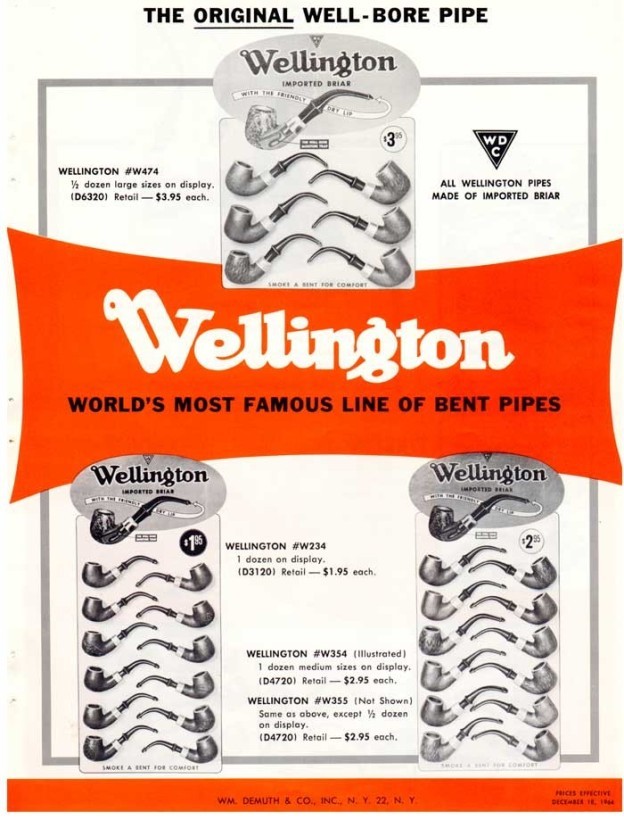
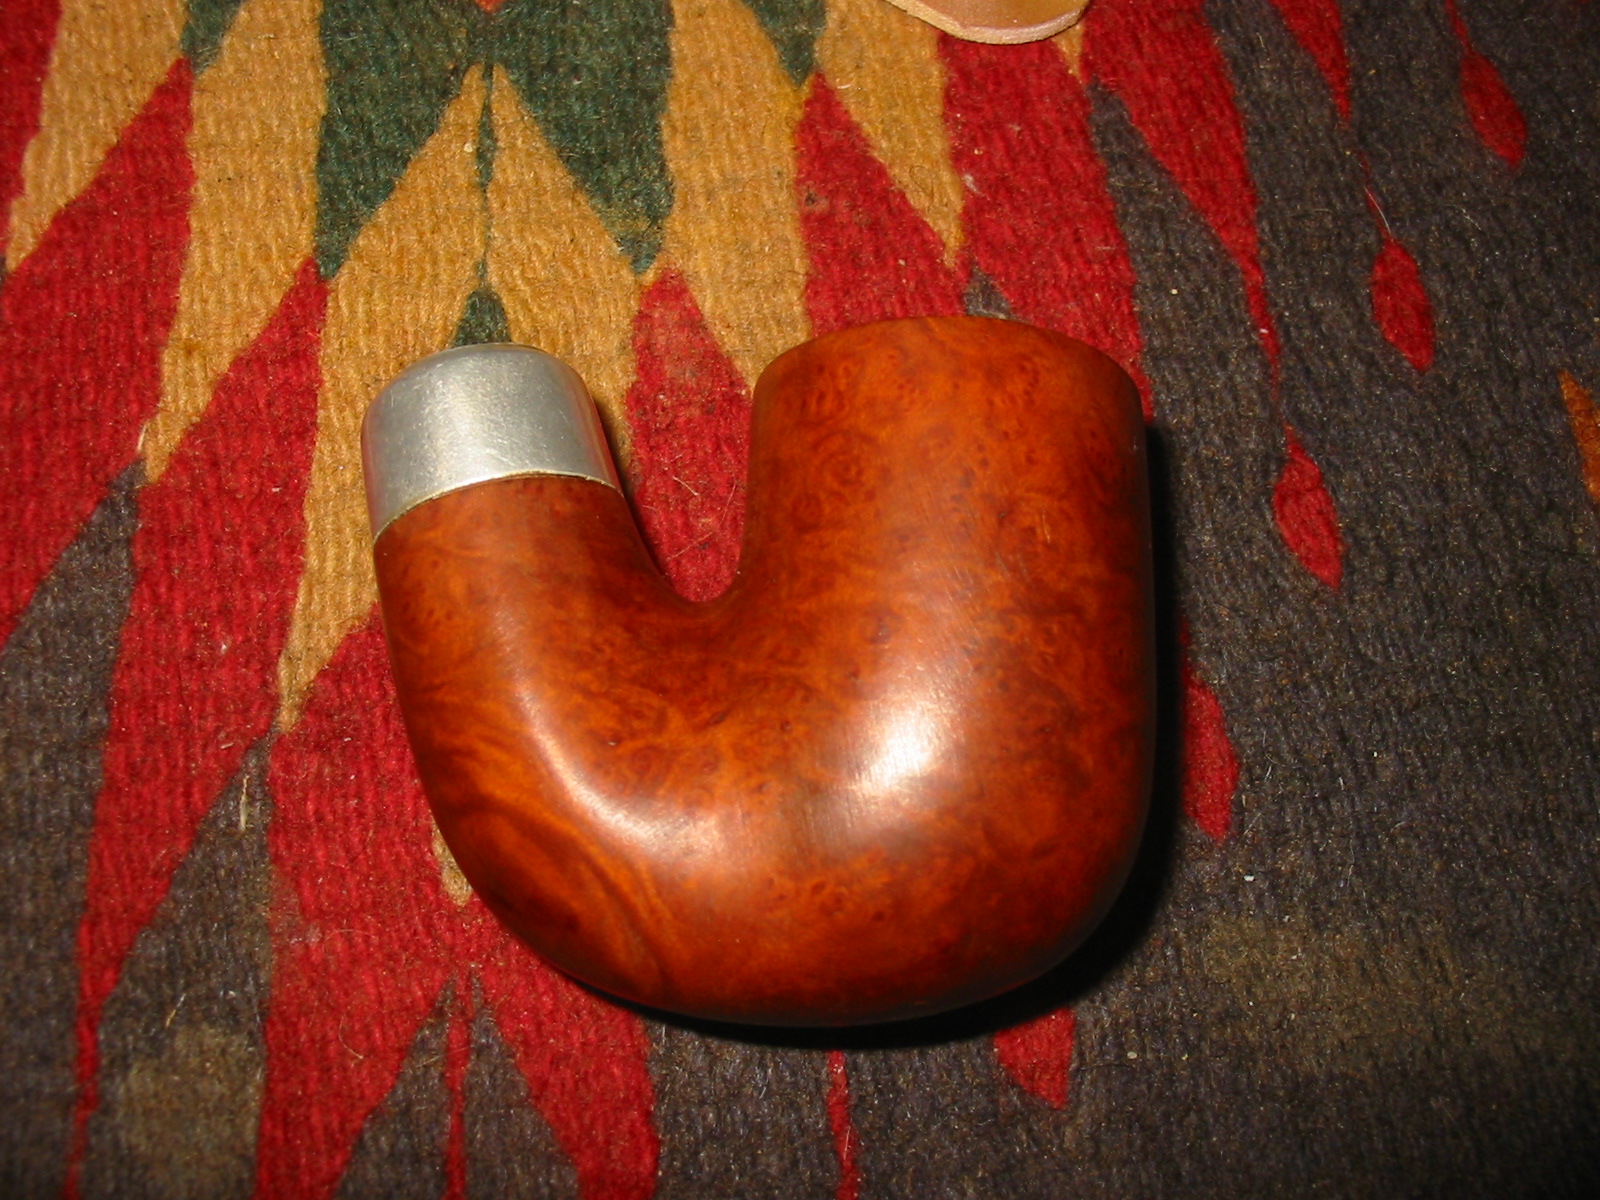
 Now it was time to work on the pipe. I wiped the bowl down with acetone to remove the shiny varnish coat on the briar. The finish removed reveals a beautiful piece of briar with an interesting combination of grain. Have a look.
 I reamed the bowl with a Savinelli Fitsall Pipe Knife to scrape off the light cake on the bowl walls. I followed that by sanding the walls of the bowl until they were smooth with 220 grit sandpaper wrapped around a piece of dowel. The bowl walls showed no checking or cracking which is remarkable.
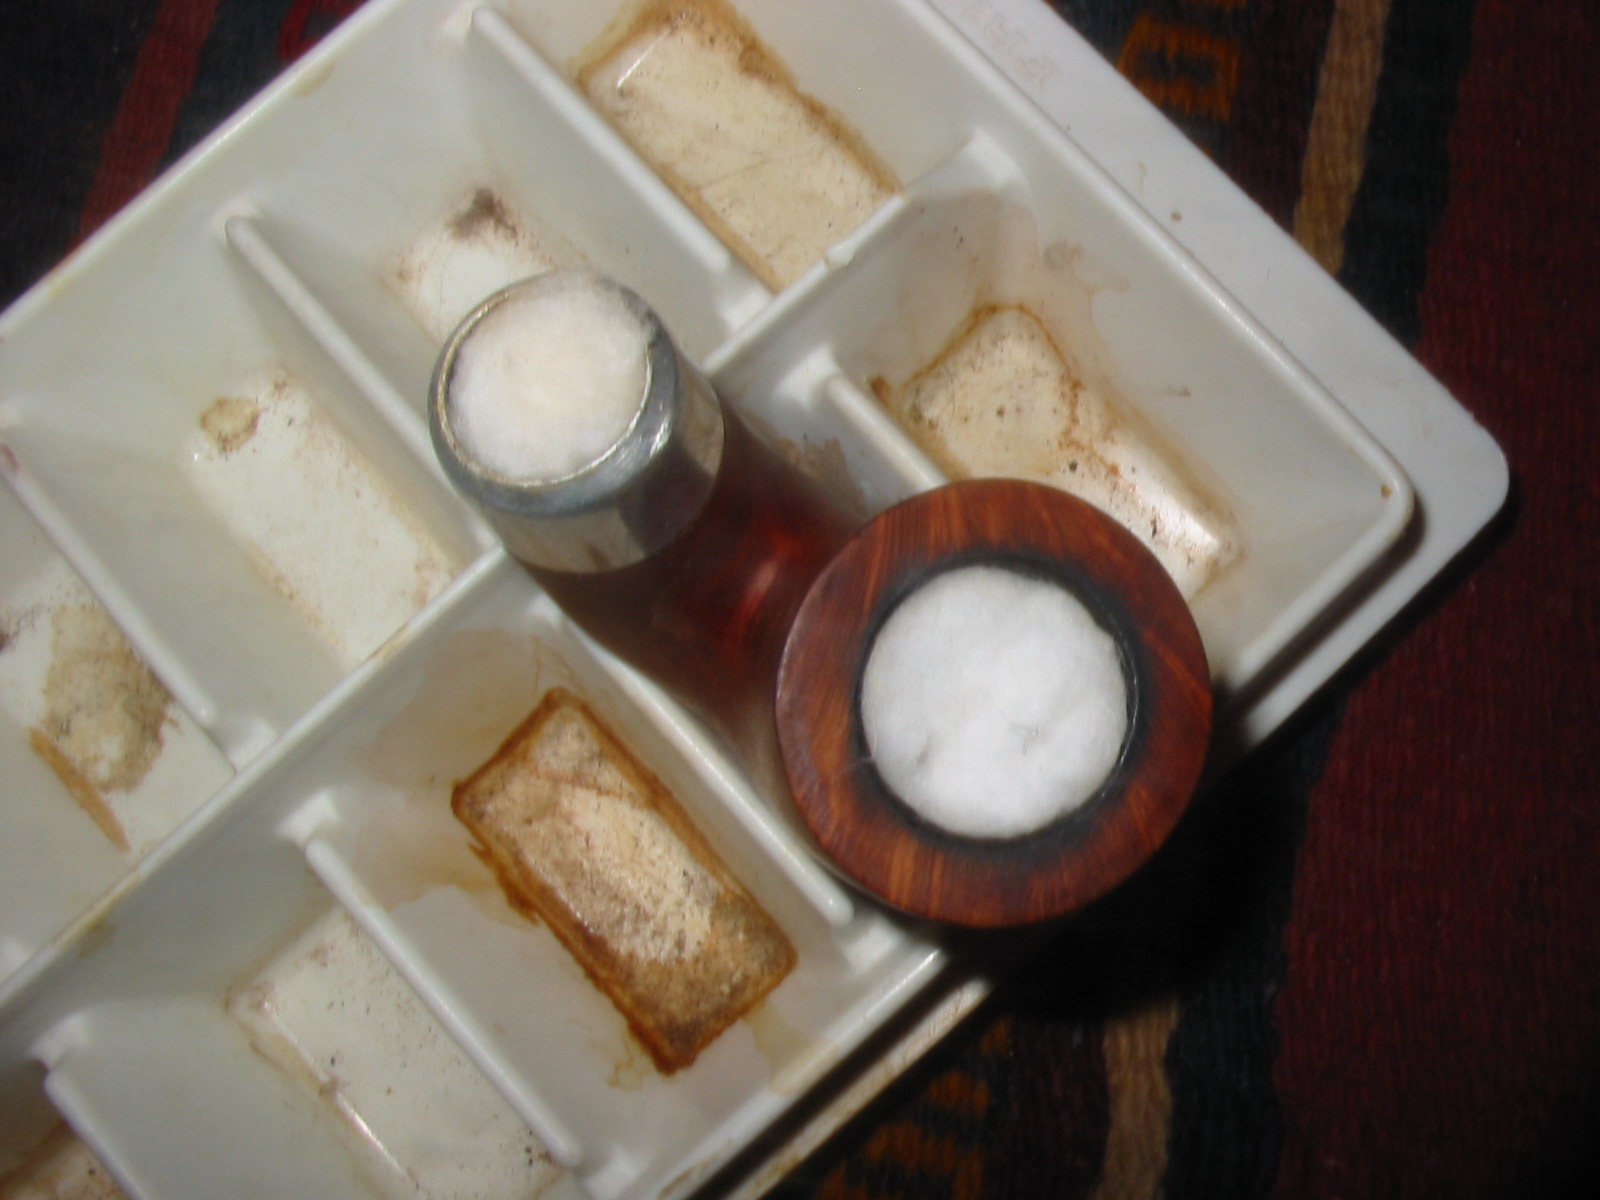
  I cleaned out the airway and mortise in the shank and the airway in the stem. I used 99% isopropyl alcohol, pipe cleaners and cotton swabs to remove the tars and oils. What came out was a combination of stain and tars. It was extremely dirty and once cleaned smelled and looked better.
  I worked on the nickel rim cap and ferrule and around the bowl and shank with micromesh sanding pads – 1500-12000 grit sanding pads to dry sand the briar. I wiped it down after each sanding pad with a damp cloth after each sanding pads.


 I rubbed the bowl and shank down with Before & After Restoration Balm. I worked it into the surface of the bowl sides and shank with my fingertips and a horsehair shoe brush. The product works to clean, enliven and protect the briar. I let the balm sit for ten minutes and then buffed with a cotton cloth to raise the shine.

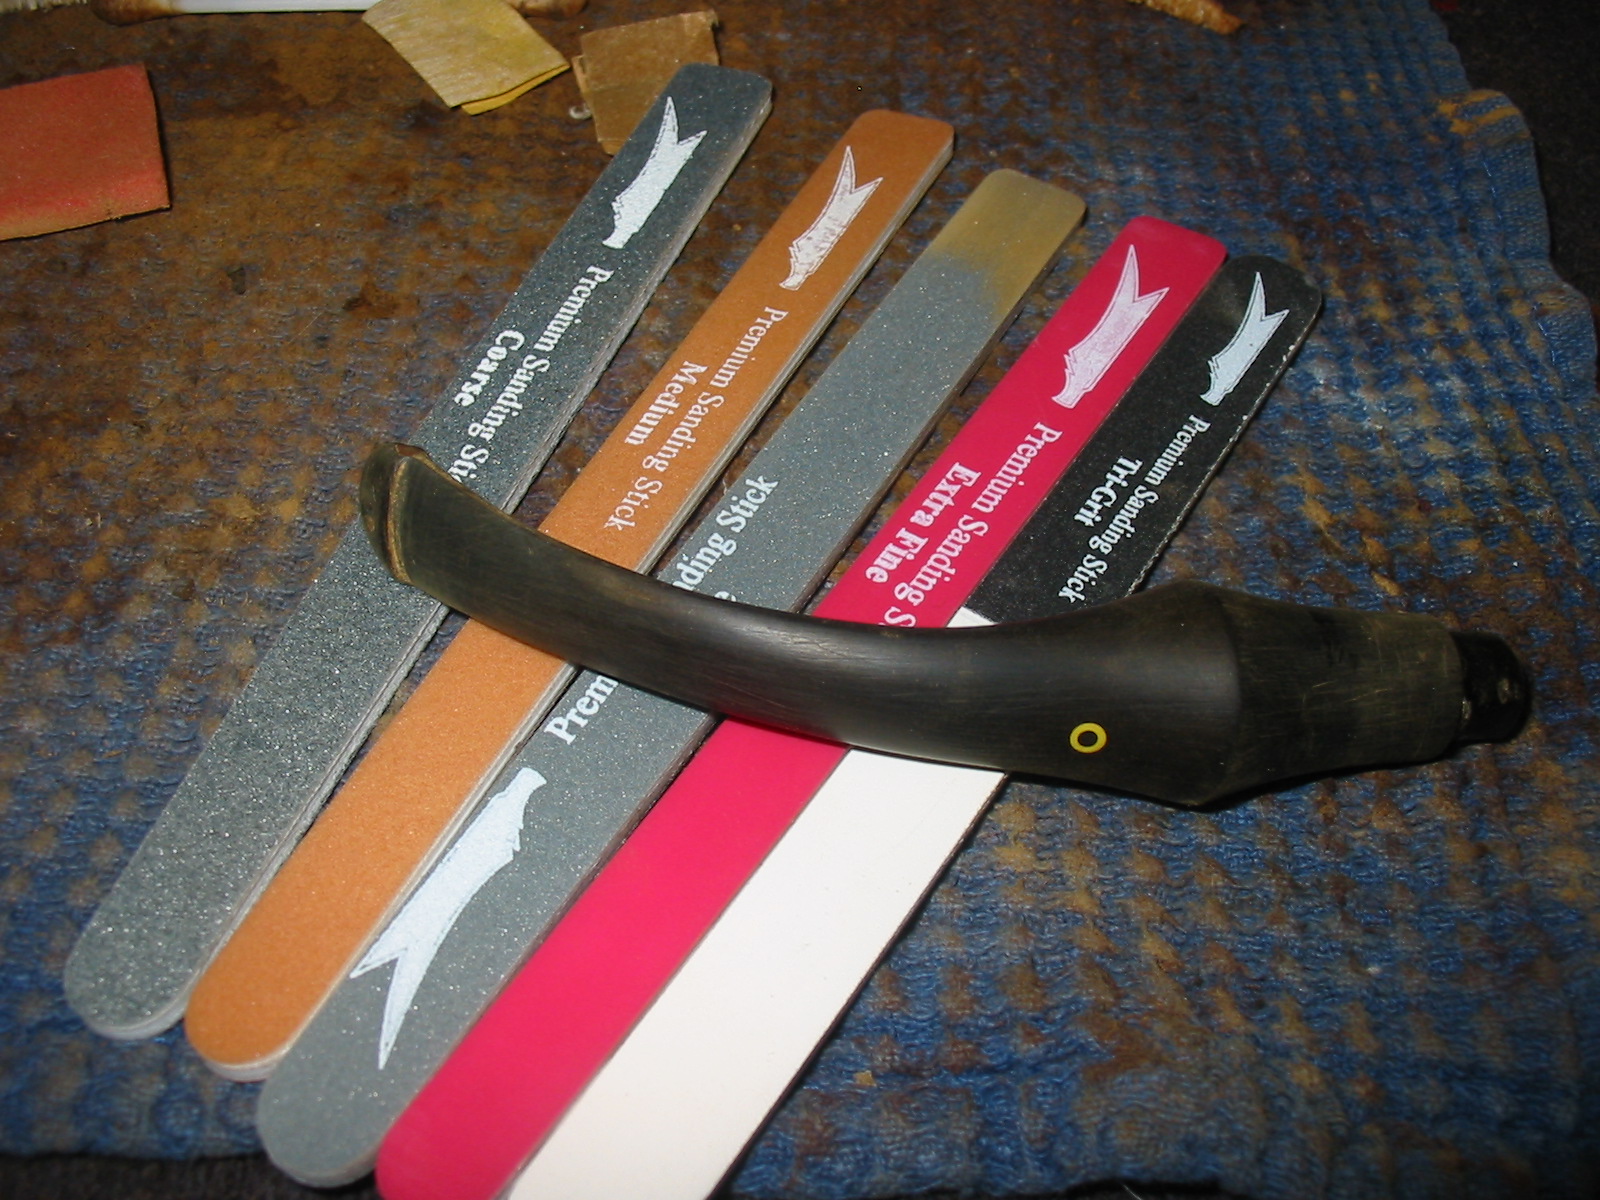
 I set the bowl aside and turned my attention to the stem. There were deep tooth marks on both sides next to the button edge. I filled in the deep marks on the top and underside with clear CA glue. Once it cured I used a file to flatten the repairs and blend them into the surface. I also sharpened the edge of the button on both sides. I sanded the repairs smooth with a folded piece of 220 grit sandpaper to blend it into the surface. I started polishing the stem with 600 grit wet dry sandpaper.

 I polished the stem surface with micromesh sanding pads – 1500-12000 grit pads. I wiped it down Obsidian Oil on a cotton cloth. Many say that the Obsidian Oil does nothing on the acrylic but I have found that the product does give some bite to the sanding pads.
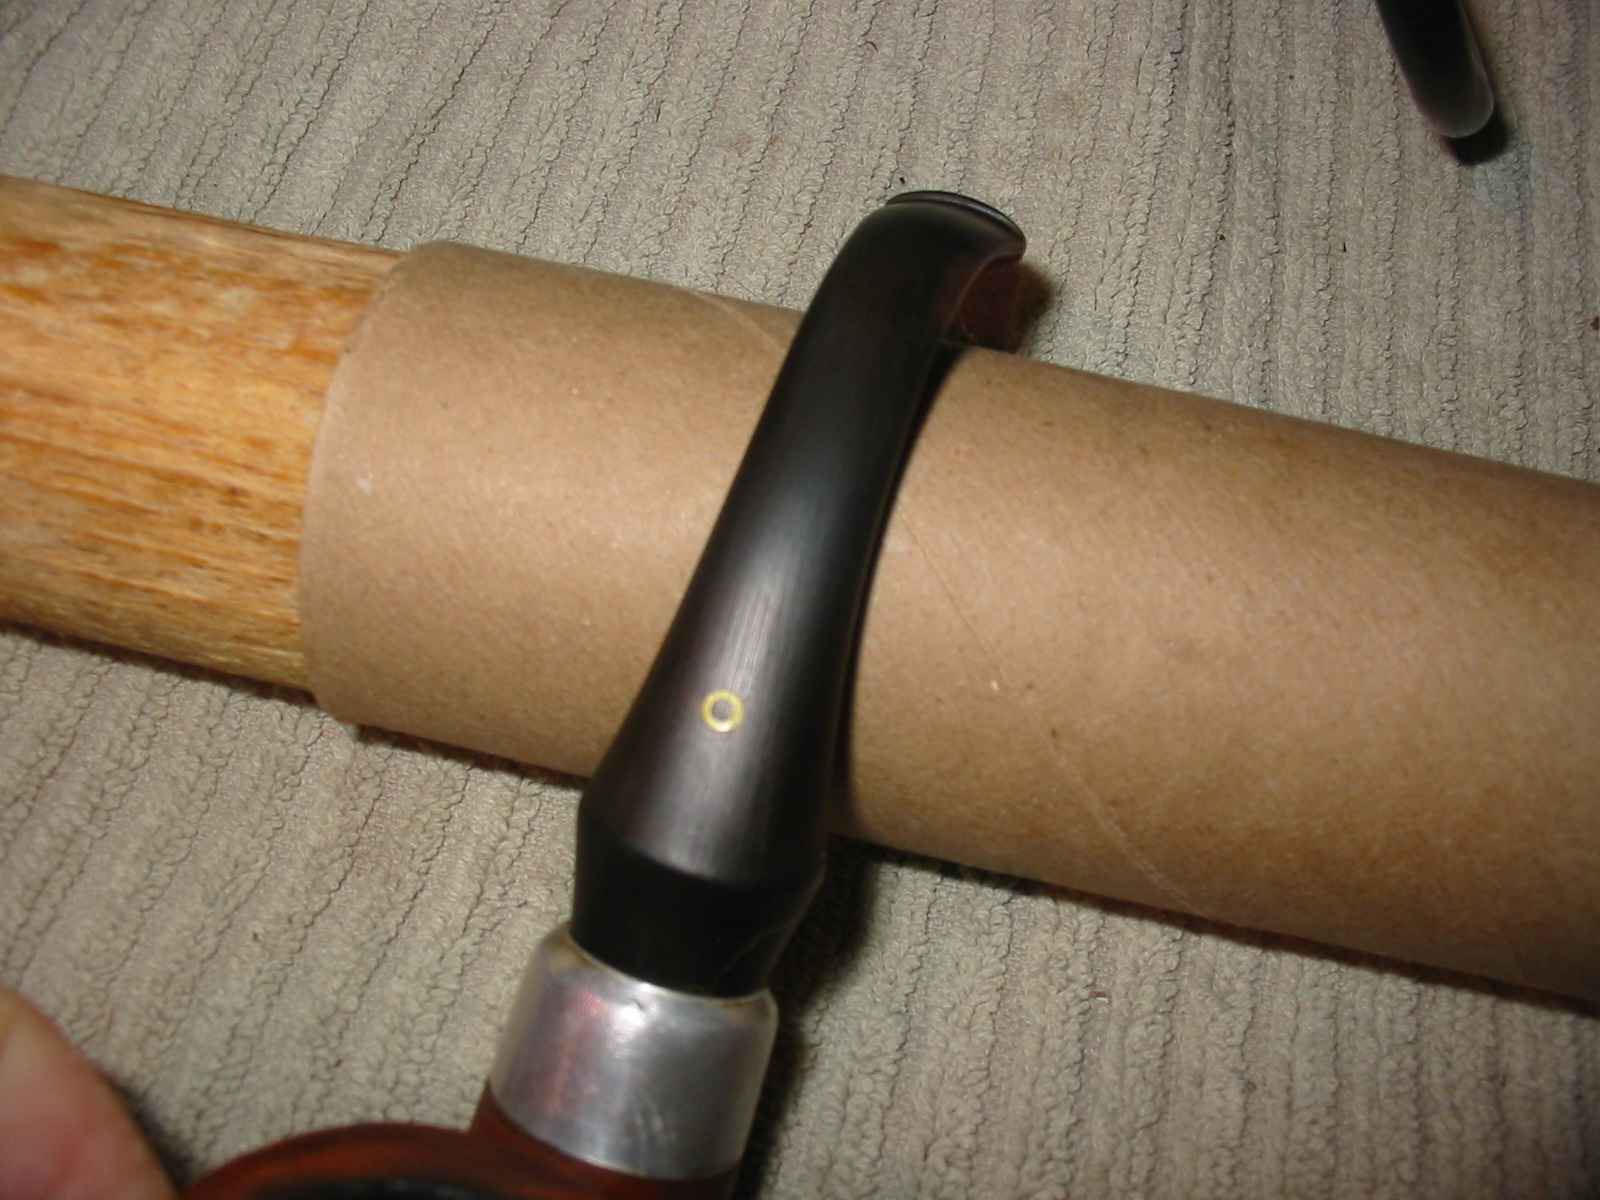
 I finished my polishing with Before & After Pipe Stem Polish – both Fine and Extra-Fine polishes. I wiped it down with a final coat of Obsidian Oil and set aside.
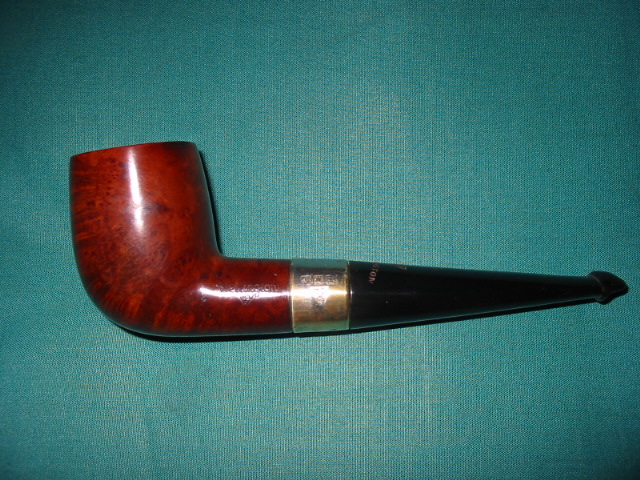
  I put the amber coloured Bakelite stem back on the WDC Wellington Bent Billiard with a Nickel Windcap and Ferrule and buffed the pipe with Blue Diamond on the buffing wheel. I polished the briar and the amber Bakelite of the stem until there was a rich shine. The grain follows the shape around the classic Bent Billiard shape. It has some amazing grain on a proportionally well carved pipe. I polished the nickel windcap and the ferrule with a jeweler’s cloth to protect it. This nice pipe sits right in the mouth and is definitely a pipe to smoke while sitting and enjoying a book or a glass of your favourite beverage. Have a look at it with the photos below. The dimensions are Length: 5 ½ inches, Height: 2 inches, Outside diameter of the bowl: 1 ¼ inch, Chamber diameter: ¾ of an inch. The weight of the pipe is 1.73 ounces/49 grams. This beauty will be going on the rebornpipes online store in the American Pipemakers Section. If you are interested in breaking this old timer in with a tobacco of your choice let me know. Thanks for walking through the restoration with me as it was a pleasure to work on.
As always, I encourage your questions and comments as you read the blog. Thanks to each of you who are reading this blog. Remember we are not pipe owners; we are pipe men and women who hold our pipes in trust until they pass on into the trust of those who follow us.