
Blog by Steve Laug
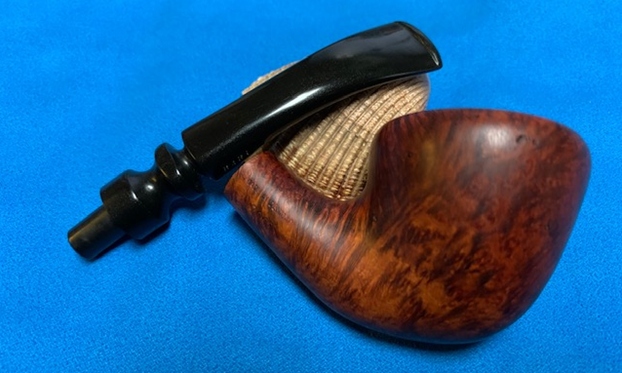
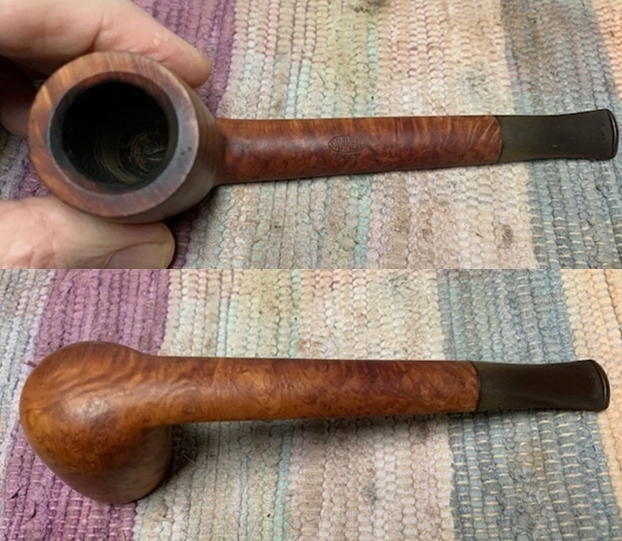
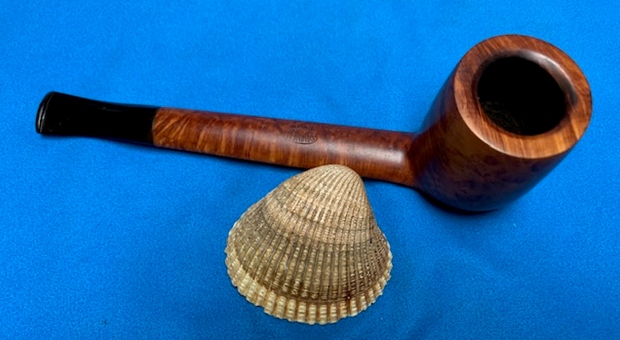
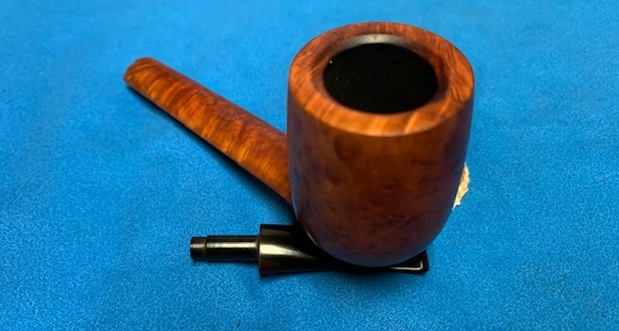
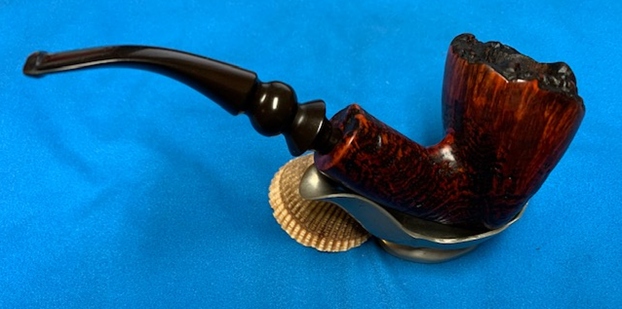
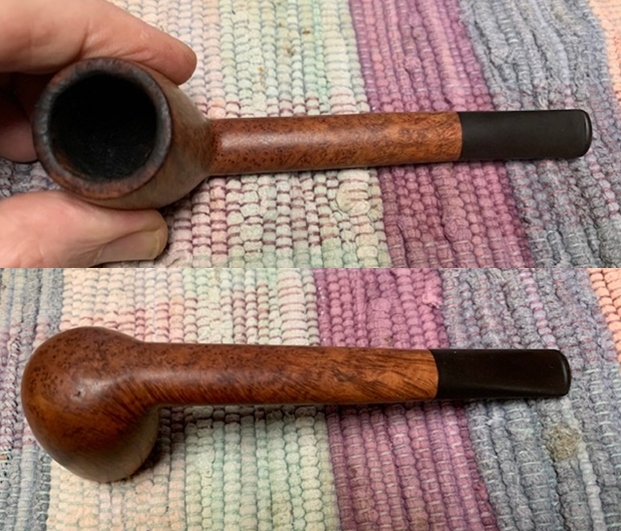
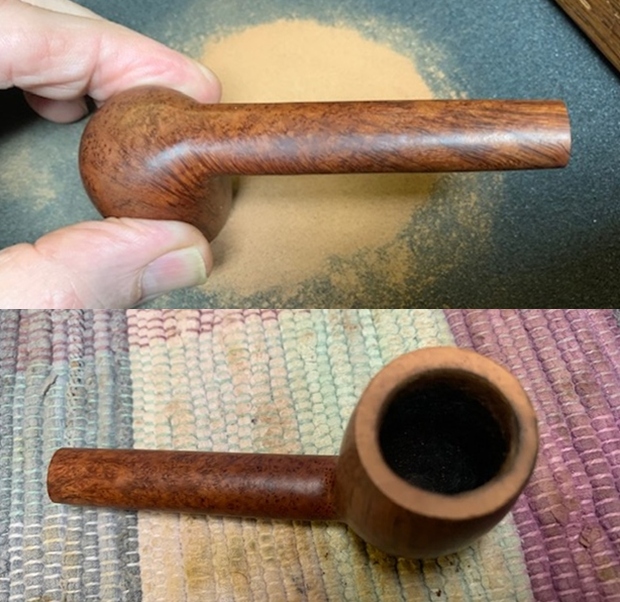
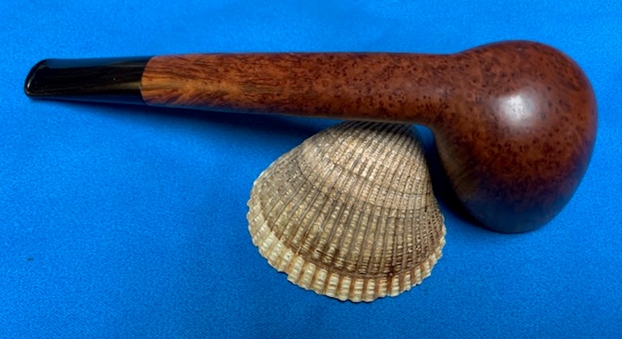
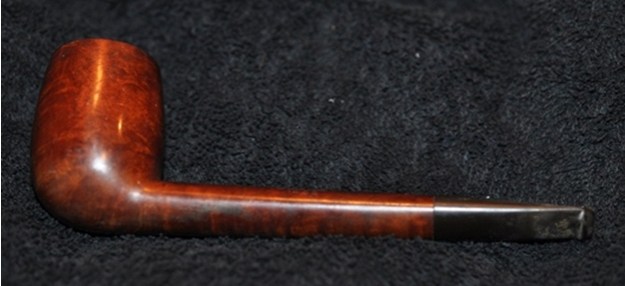
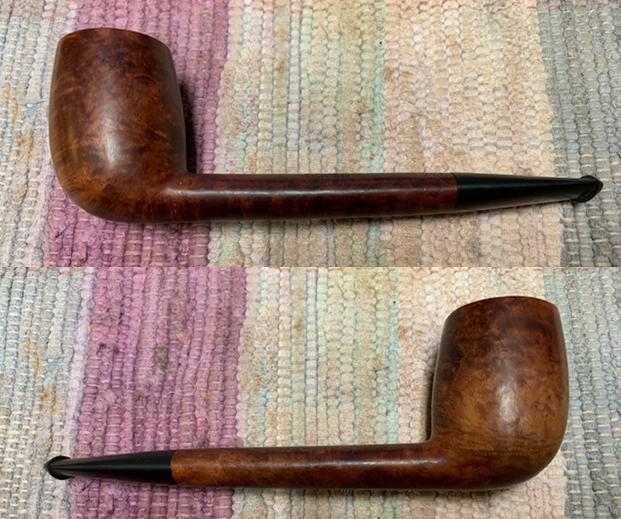
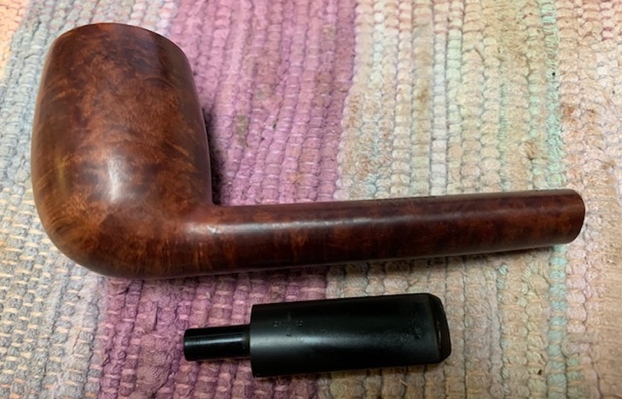
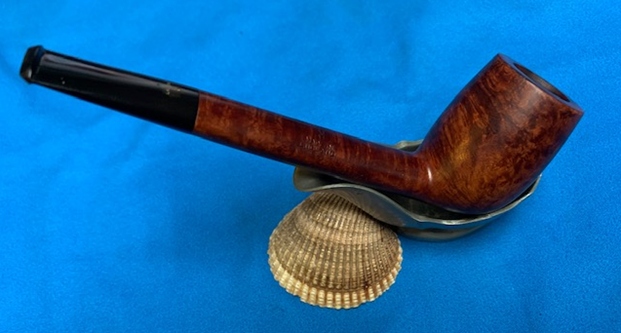
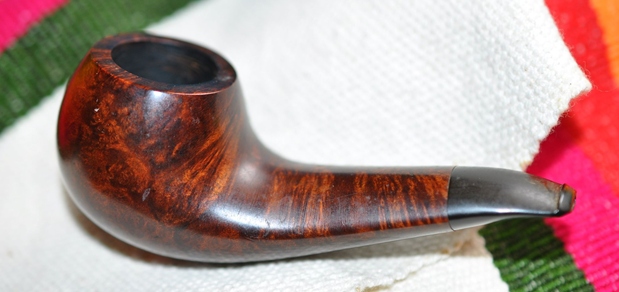
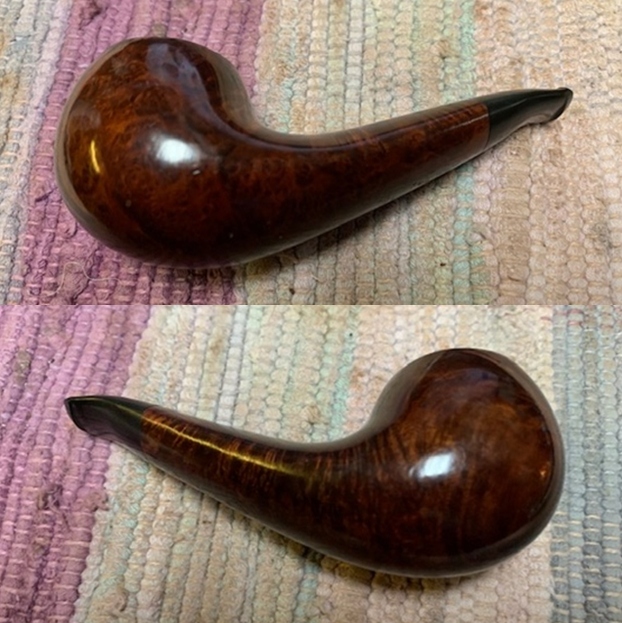
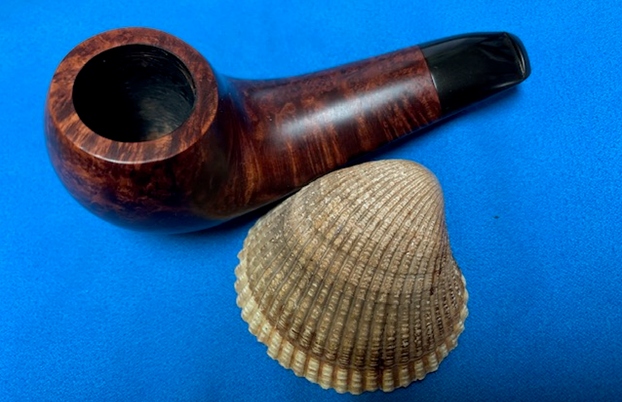
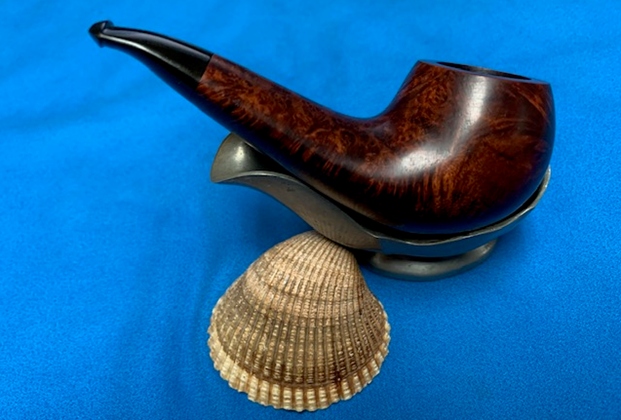
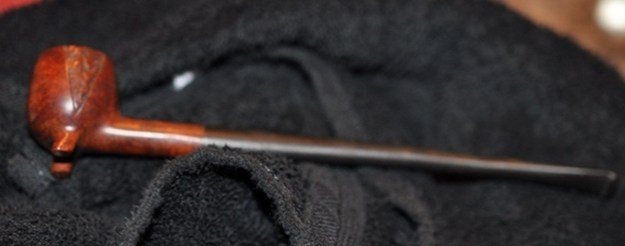
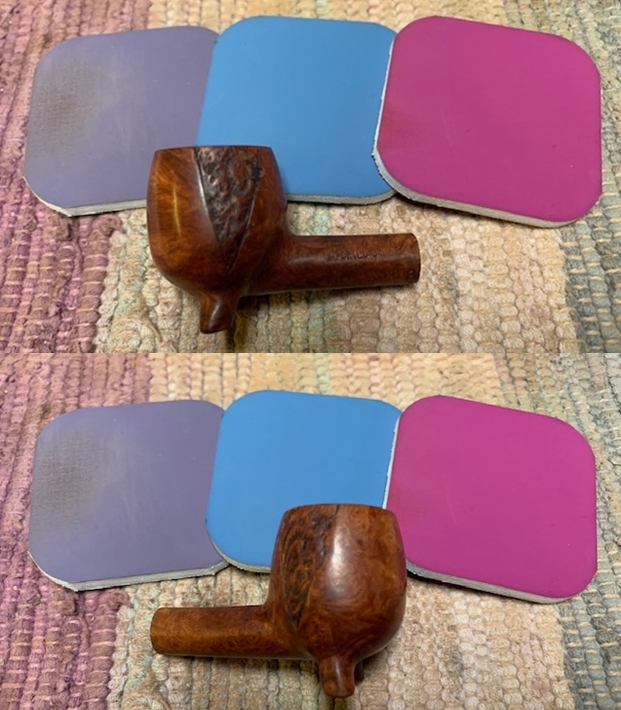
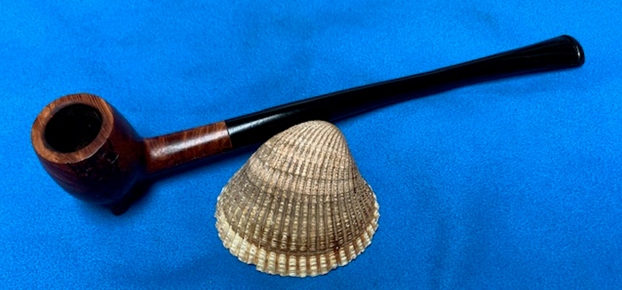
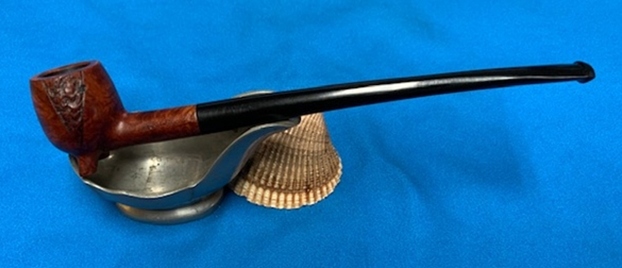
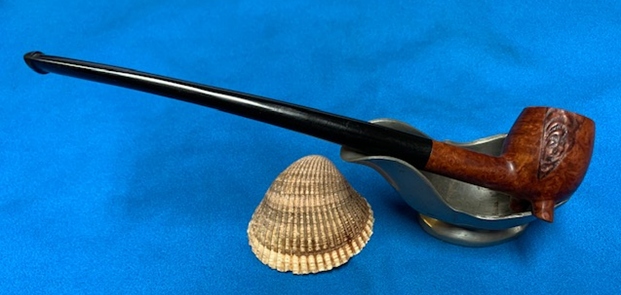
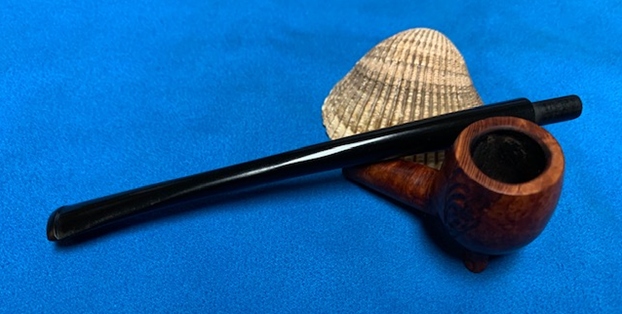
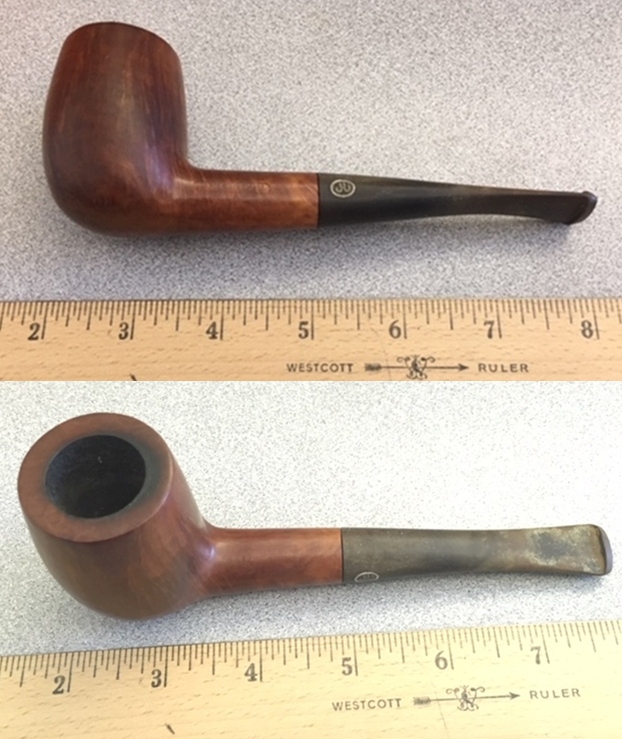
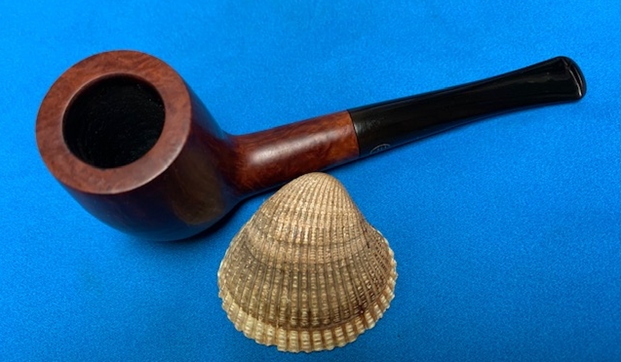
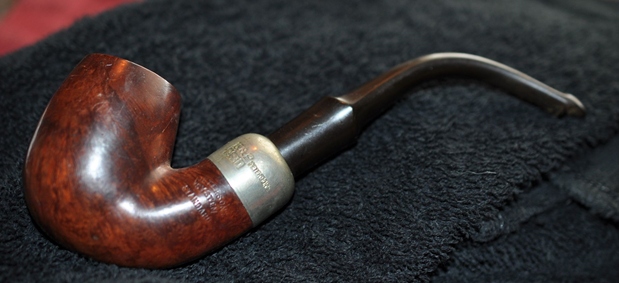
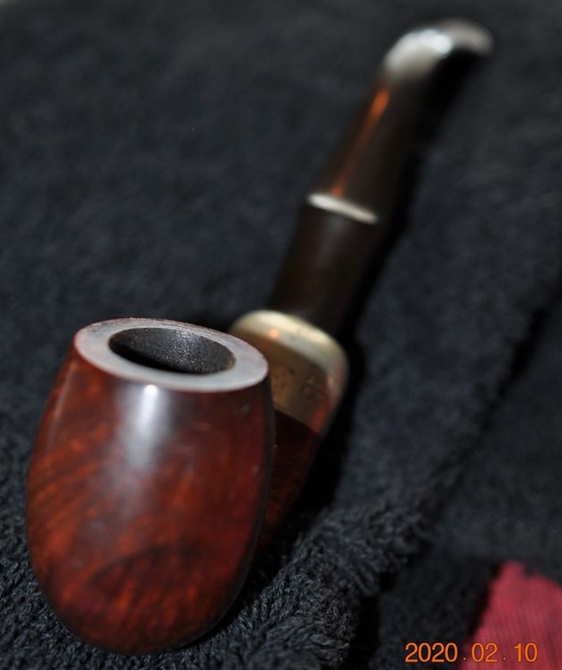
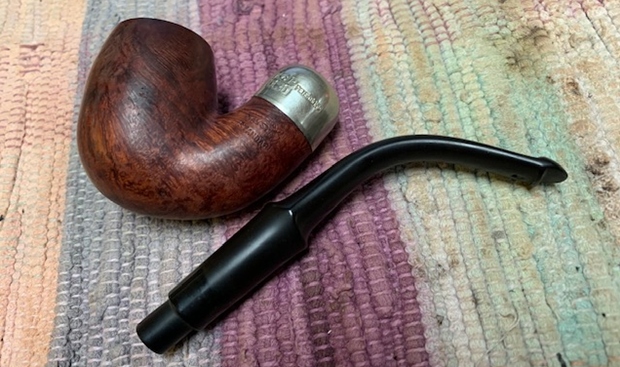
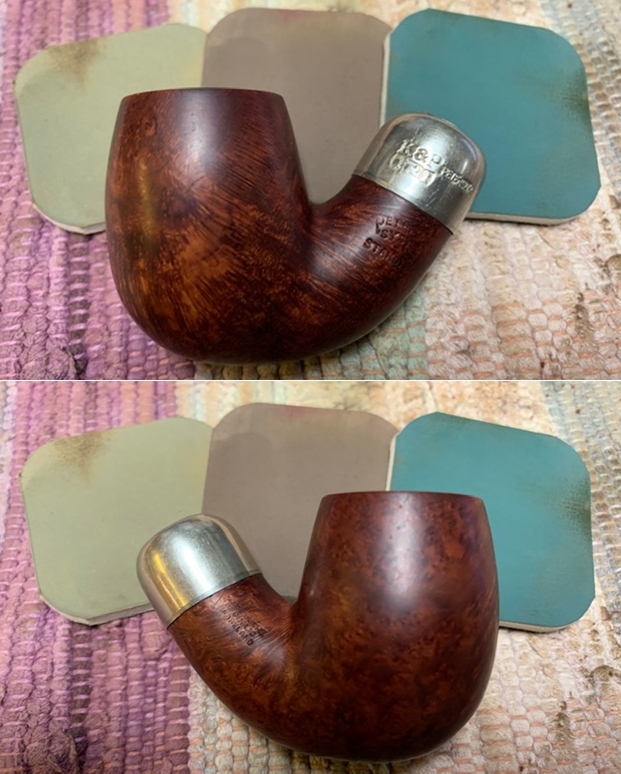
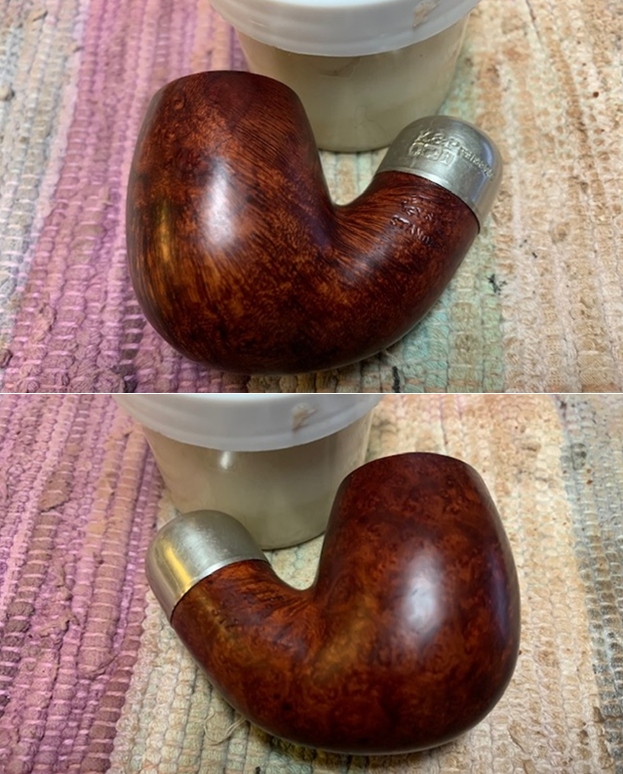
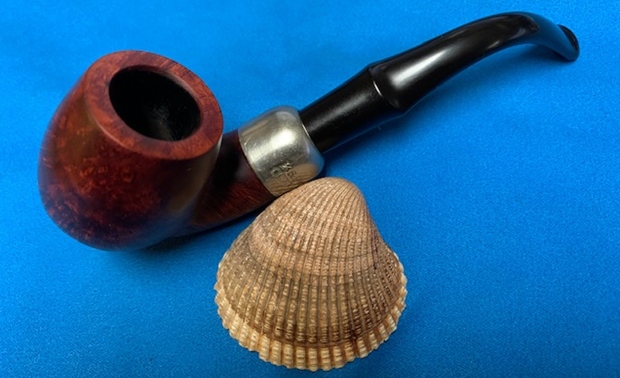
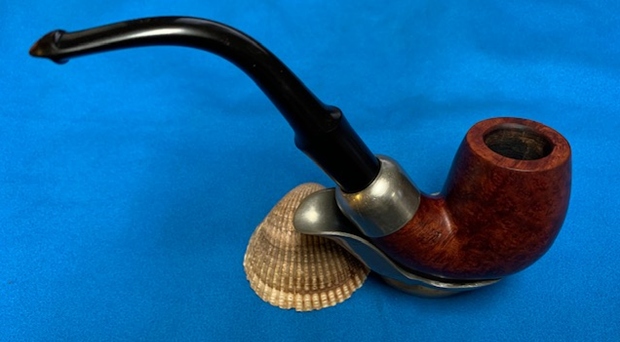
When my brother Jeff saw this pipe he went for it. He picked it up from an online auction in 2018 out of Champaign, Illinois, USA. The stamping on the underside of the shank reads 5 [over] Hand Made [over] Made in Denmark [over] SON. It is clear and readable with a loupe and light. The bowl and shank are sandblasted with a light blast and the rim top is smooth. The stain on the bowl is a medium brown that highlights the sandblast finish. It is a tall Brandy shaped stack pipe with a tall billiard style bowl. The shank is quite long and the stem is short for a pipe this sized. It works well together. The pipe was dirty with a thick cake and tobacco debris in the bowl. There was a light overflow of lava on the rim top and some damage on the inner edge of the bowl on the front. The stem was calcified and heavily oxidized and was a brownish green colour. There was tooth chatter and tooth marks on both sides of the stem near the button. Jeff took some photos of the pipe before he did his cleanup.
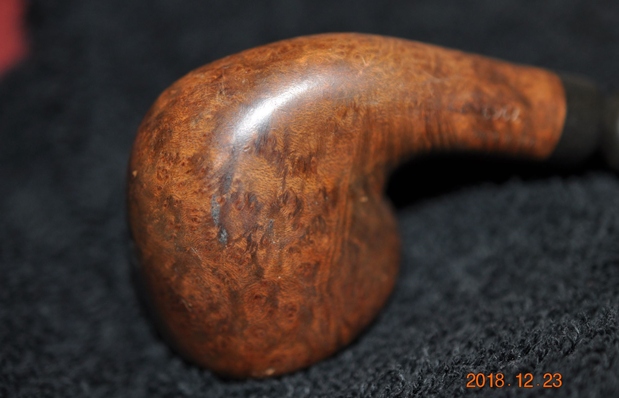
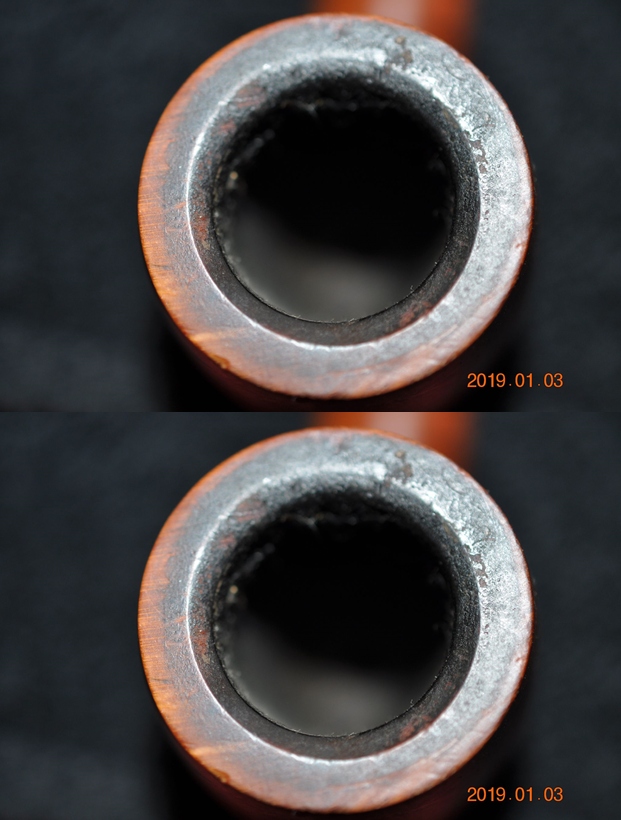
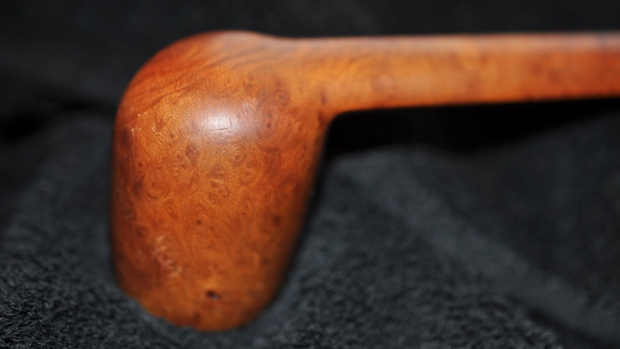
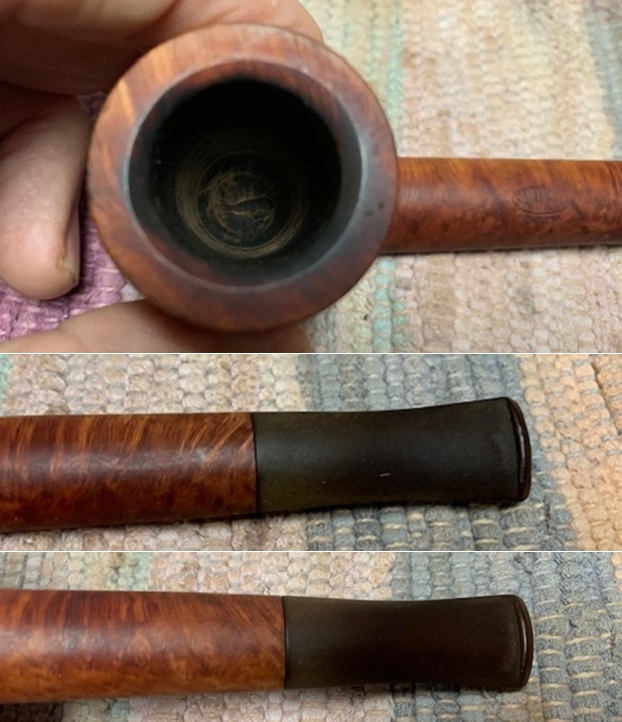
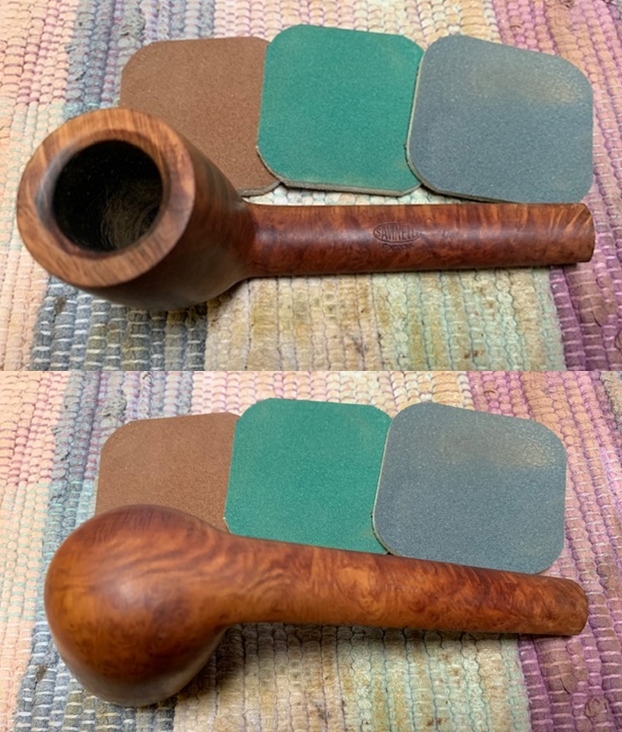
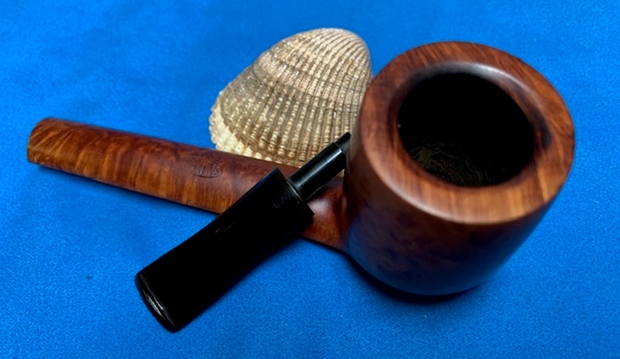
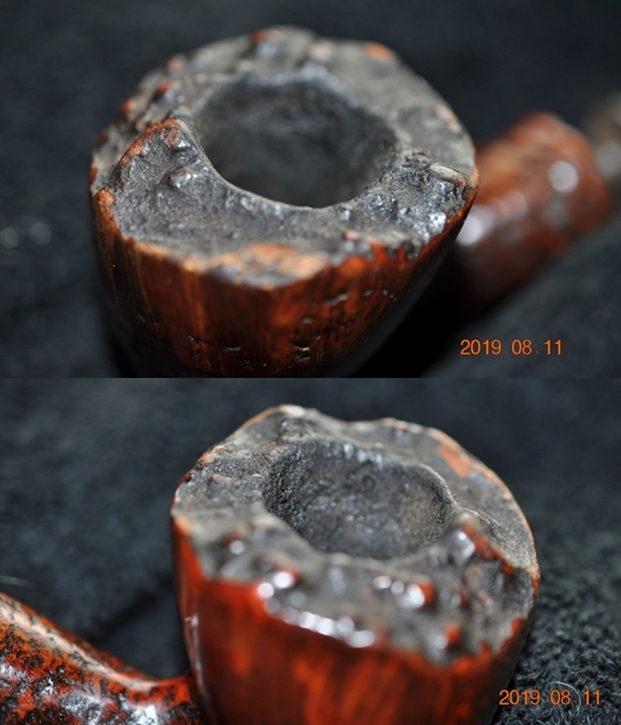
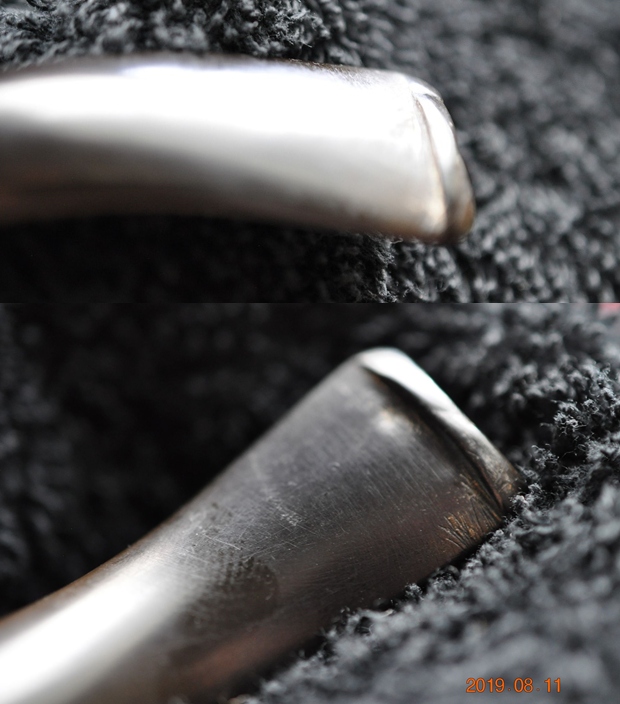
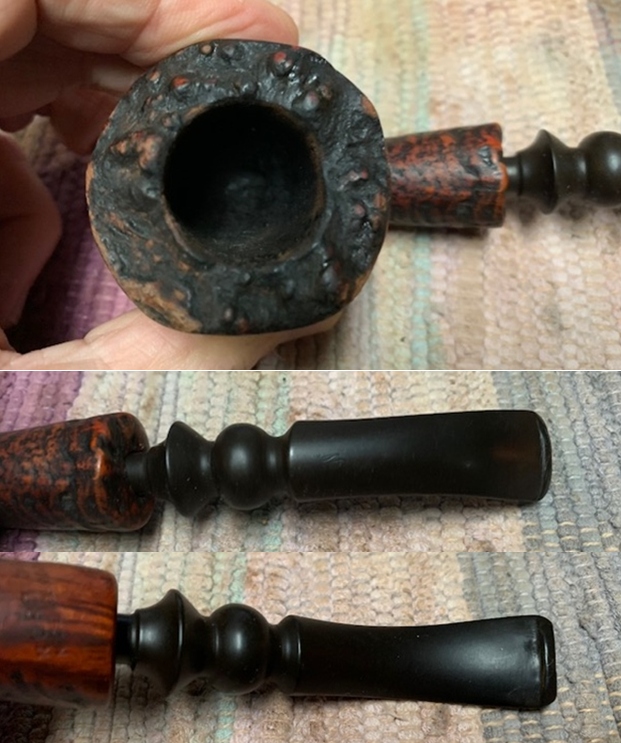
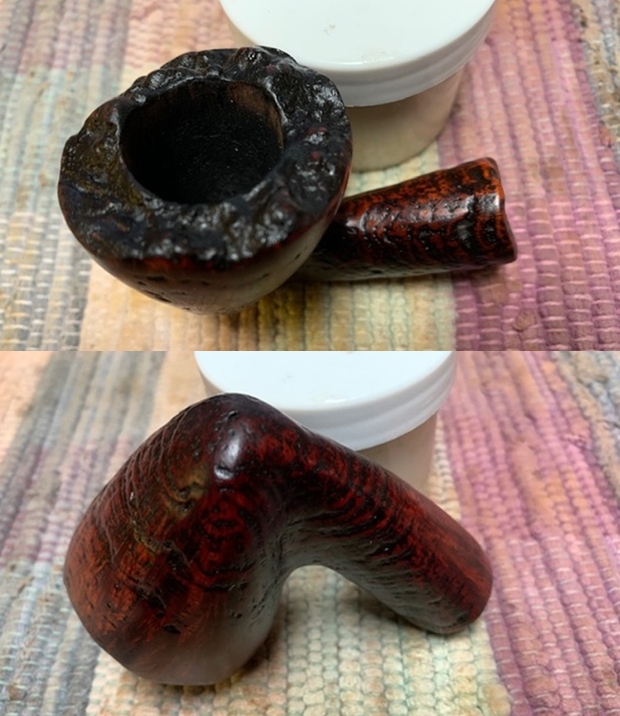
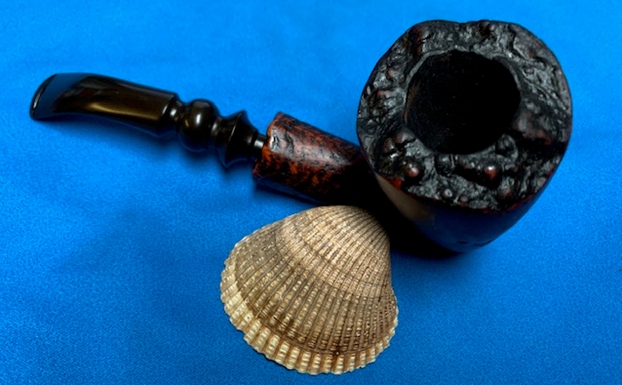
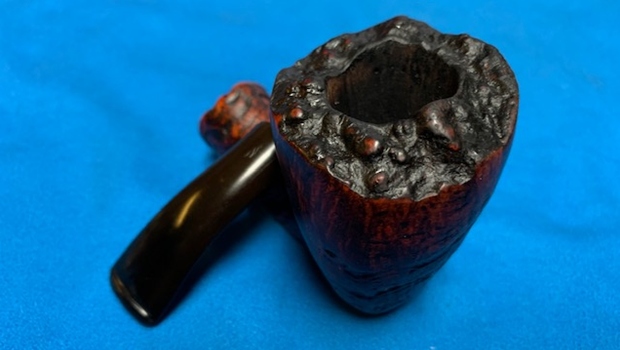
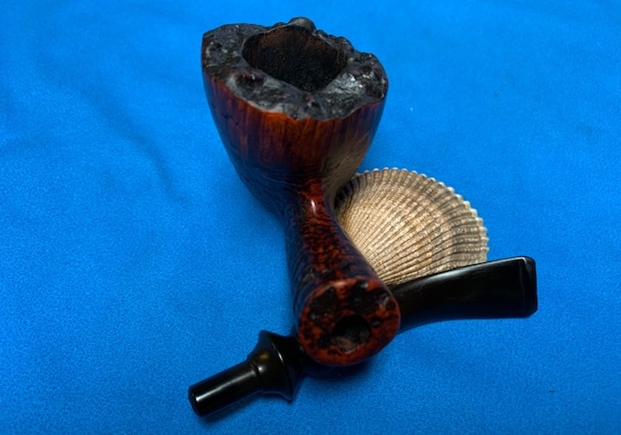
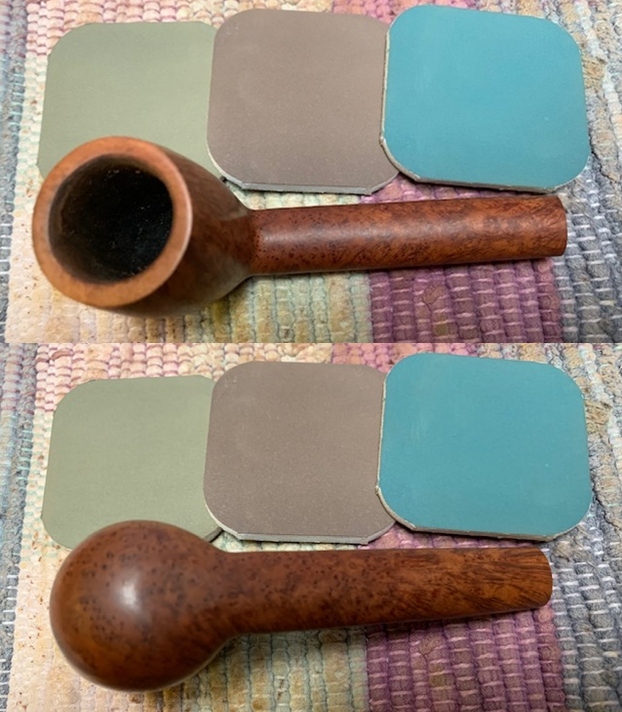
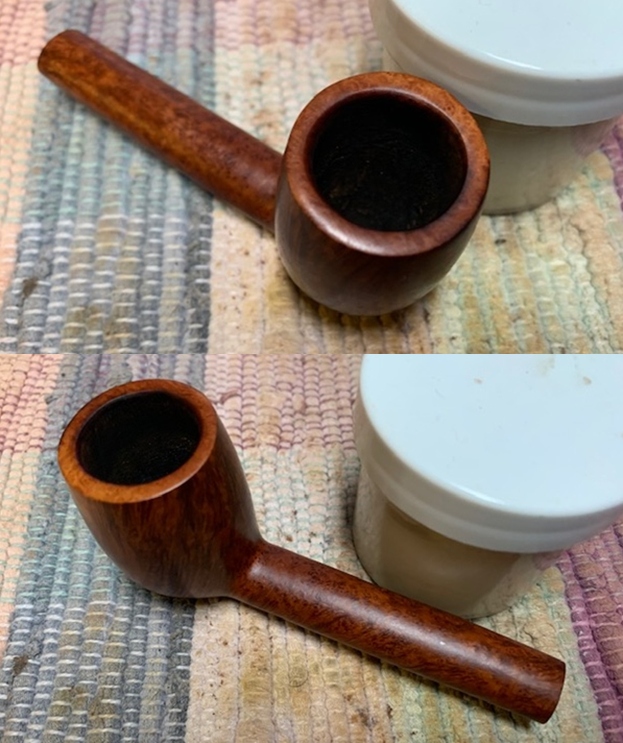
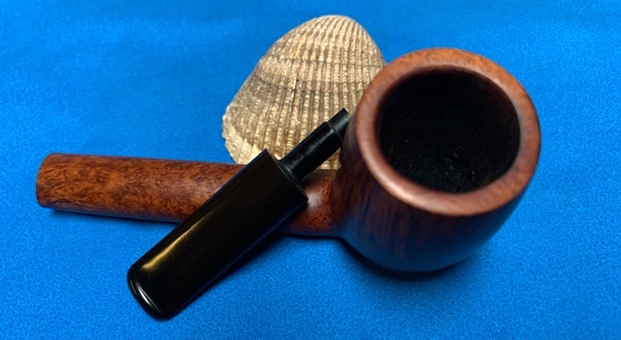
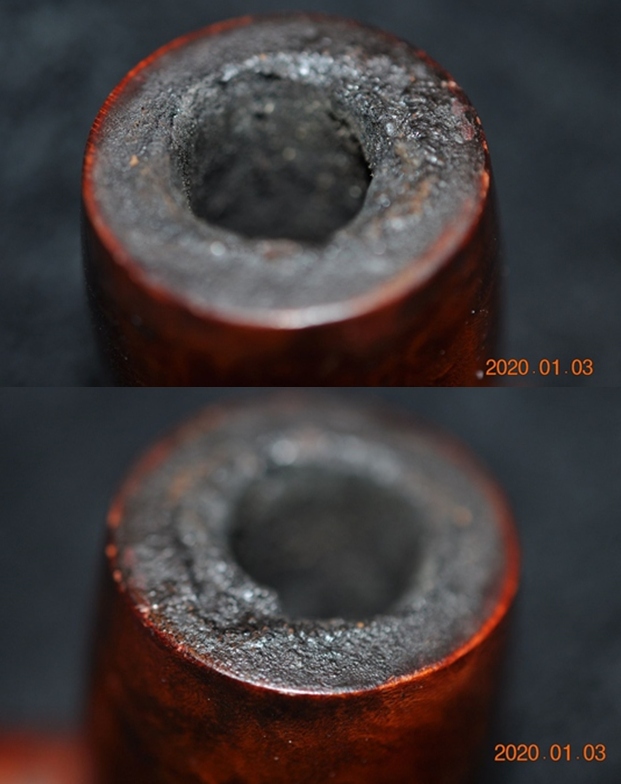
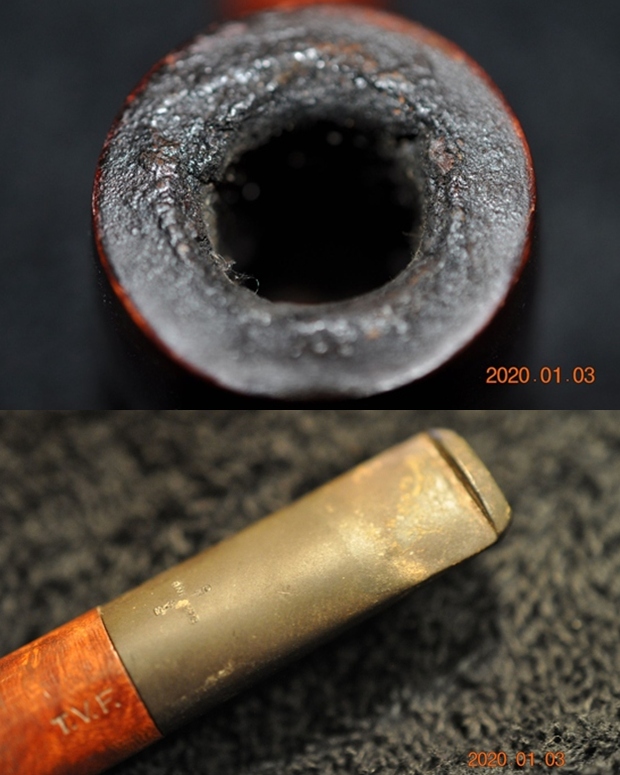
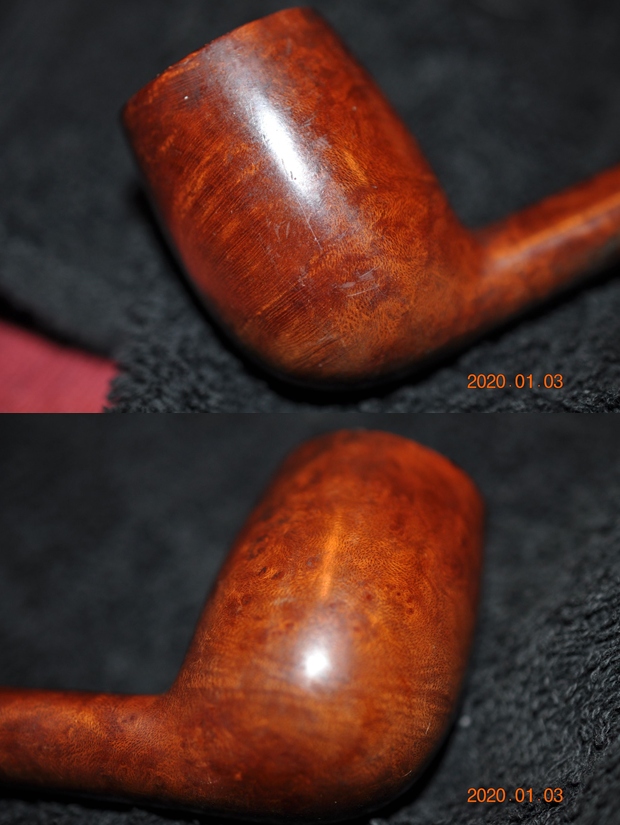
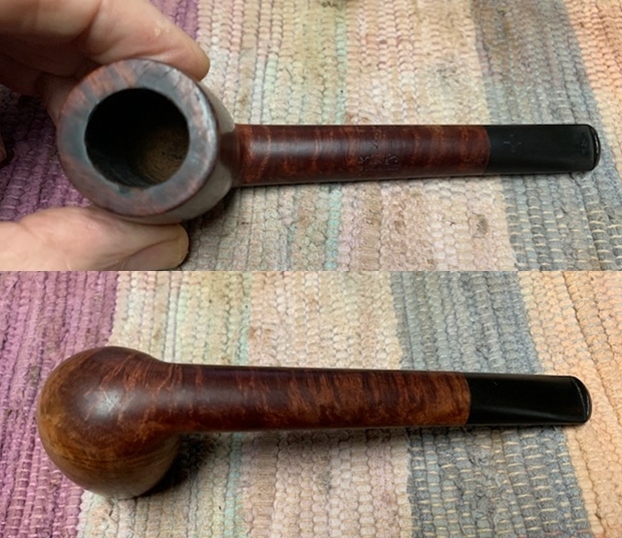
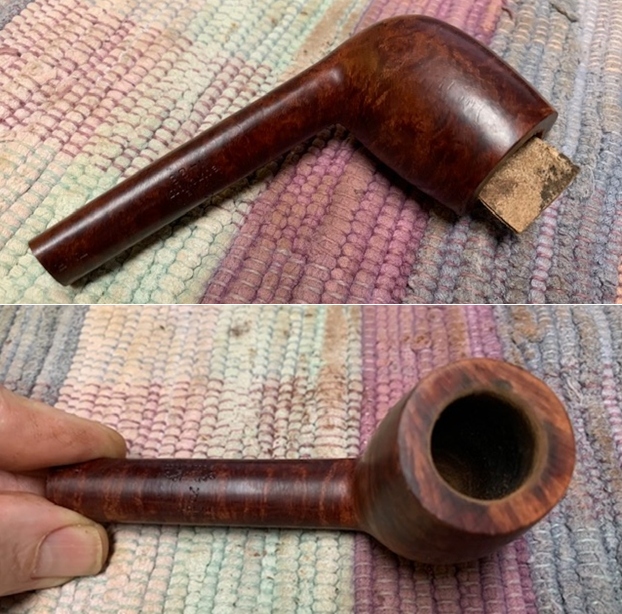
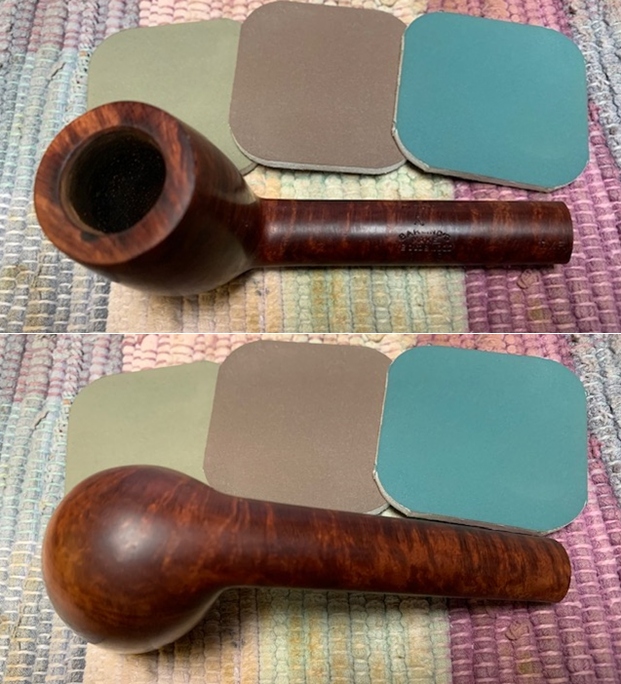
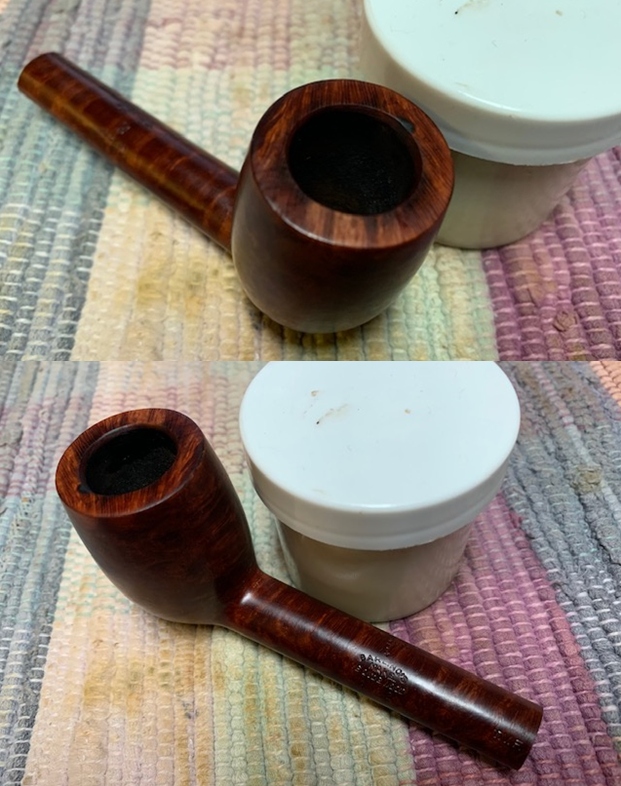
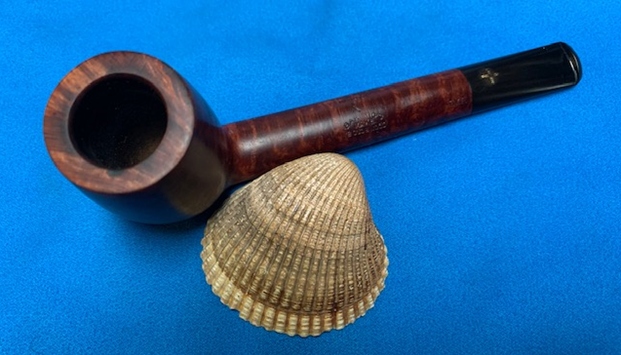
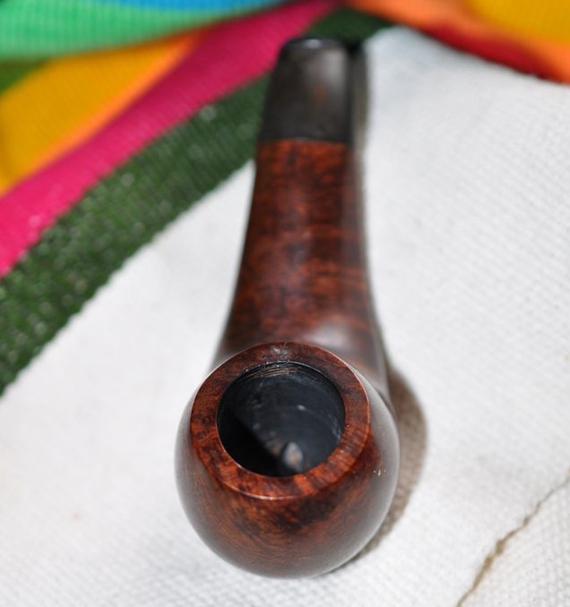
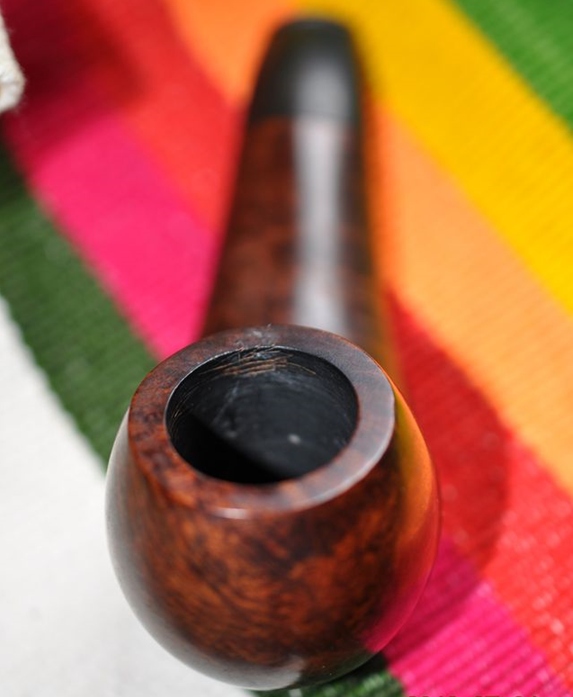
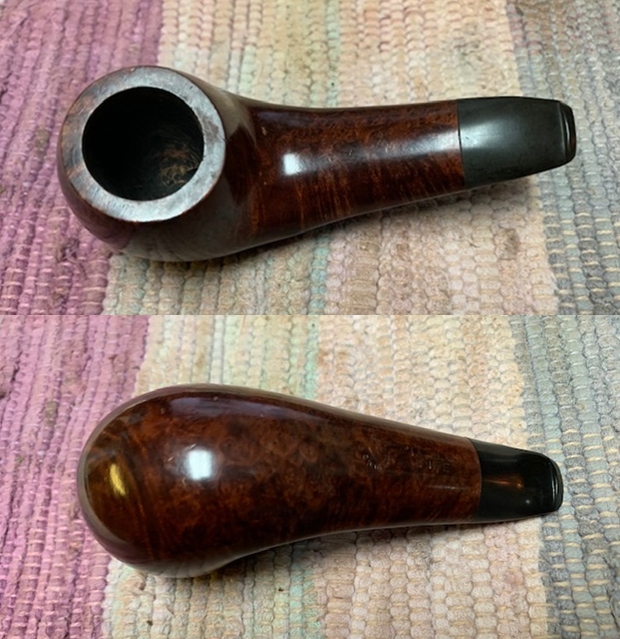
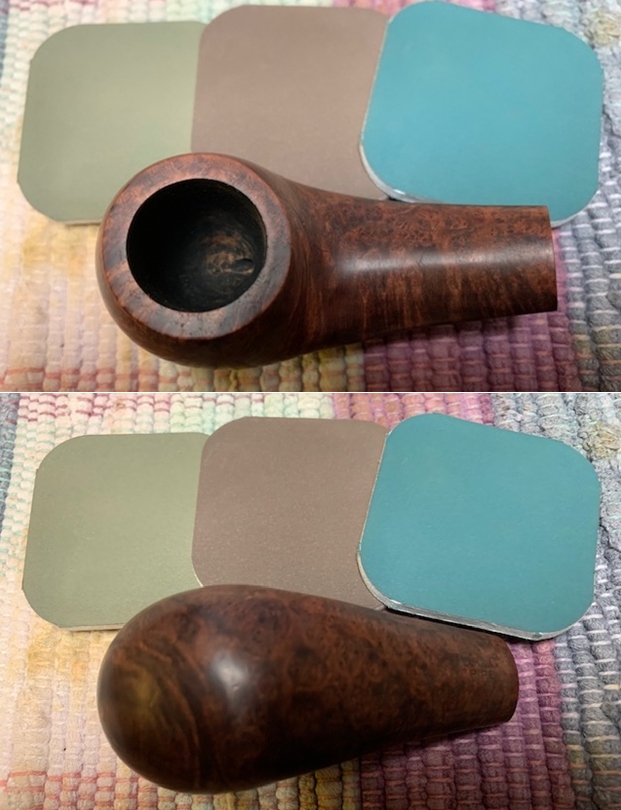
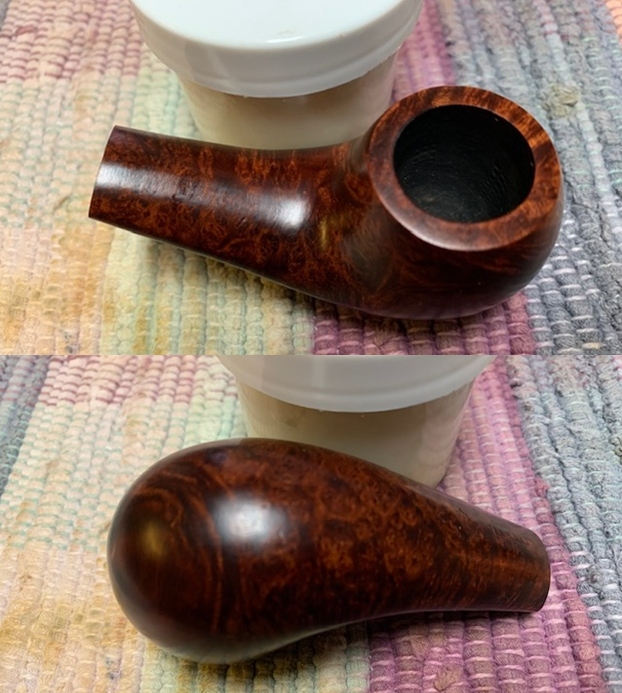
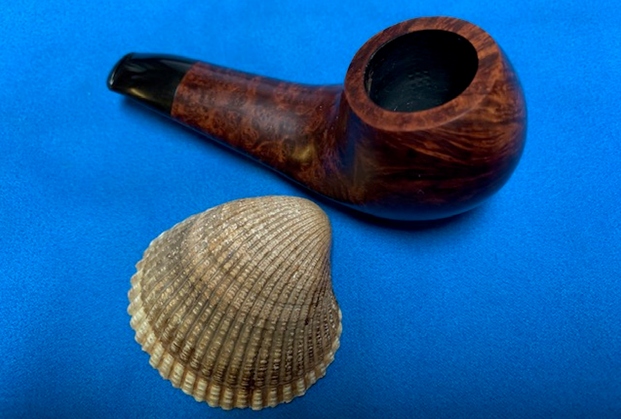
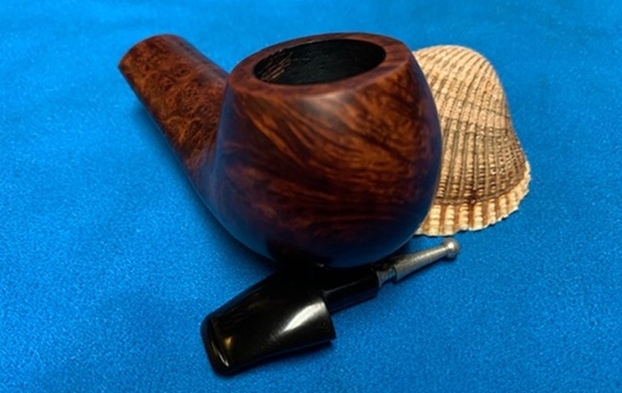
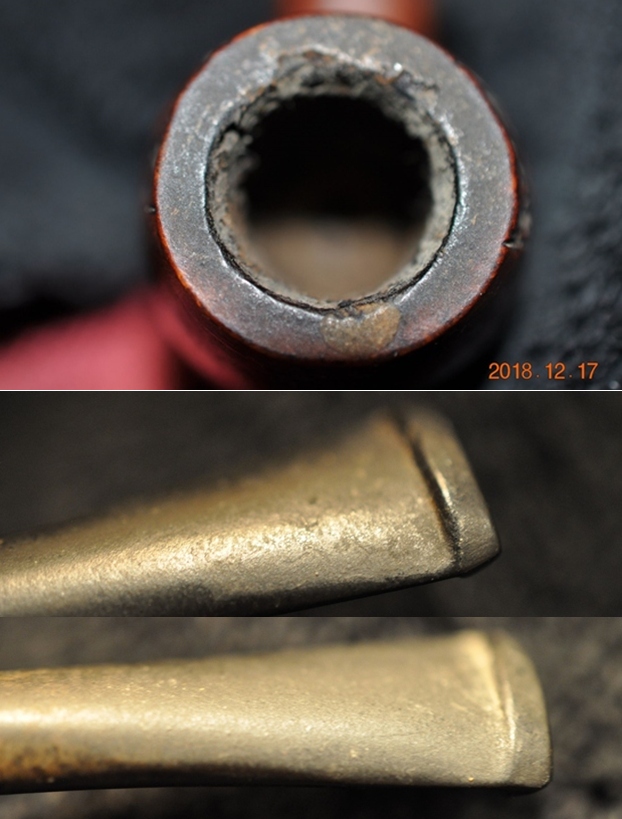
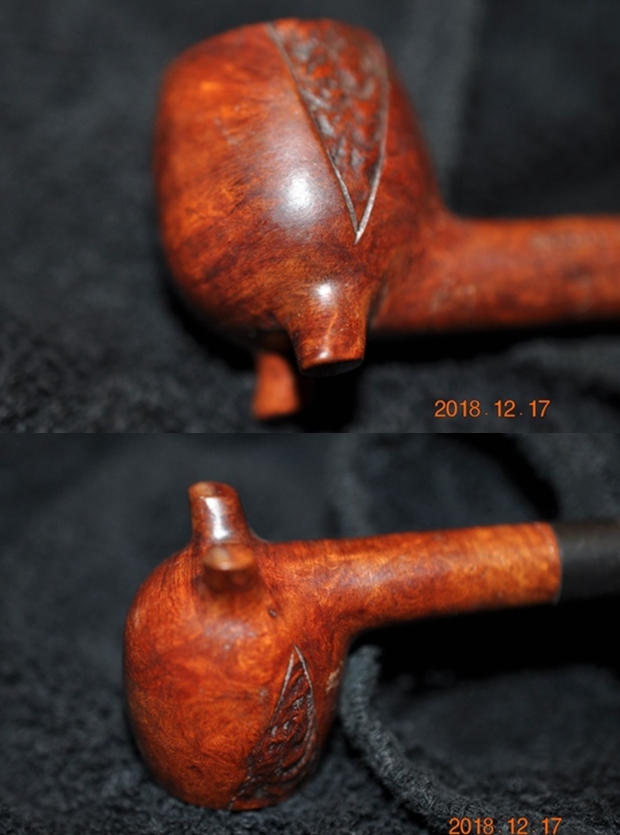
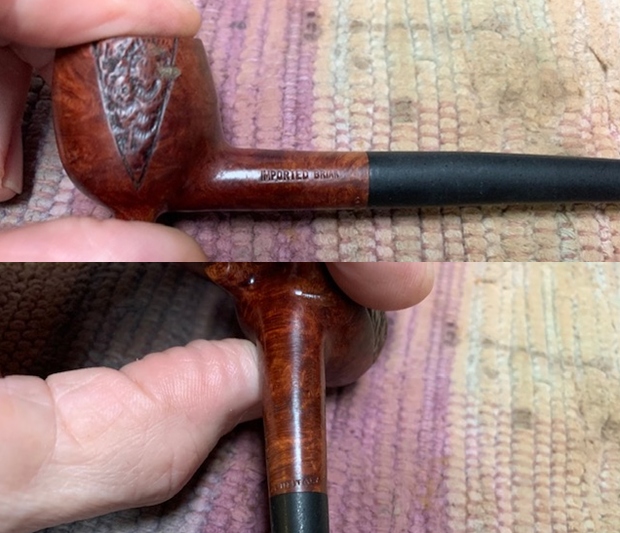
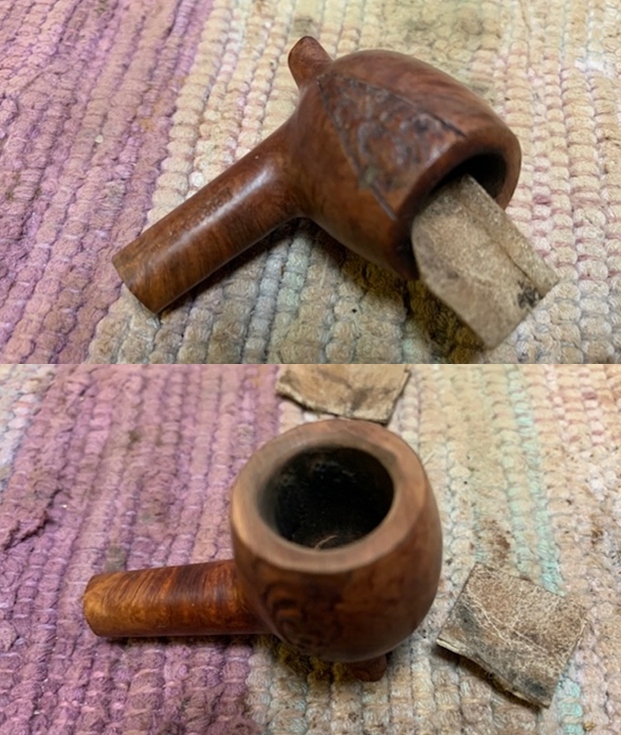
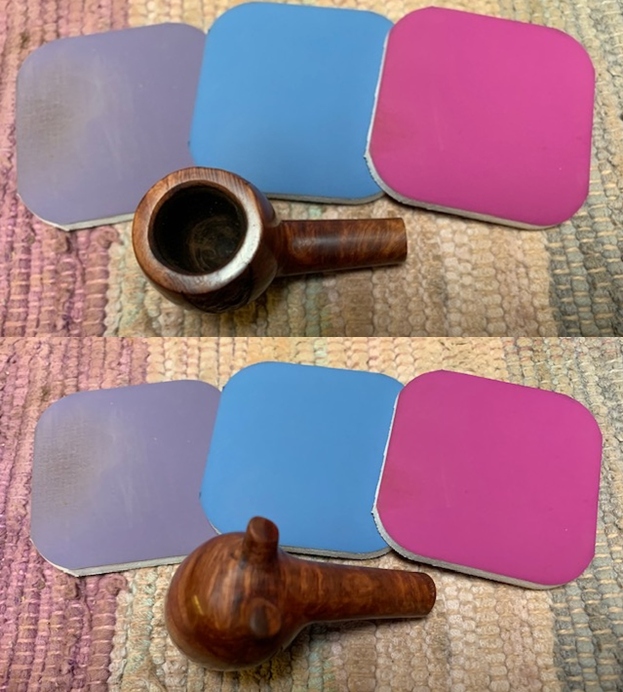
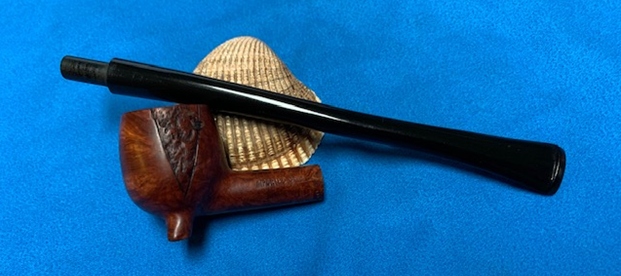
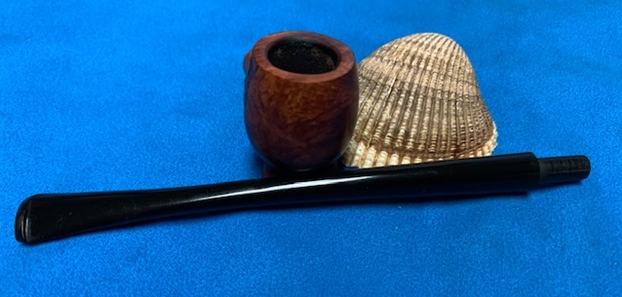
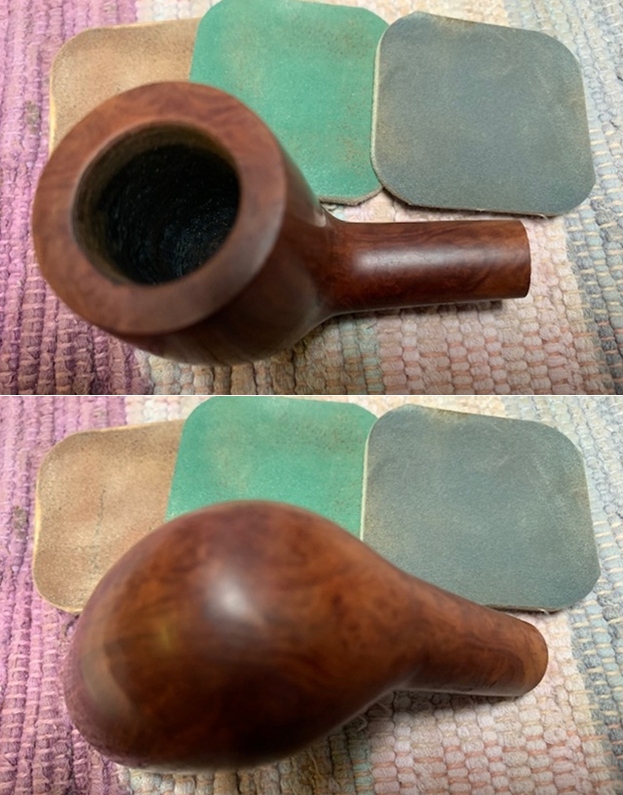
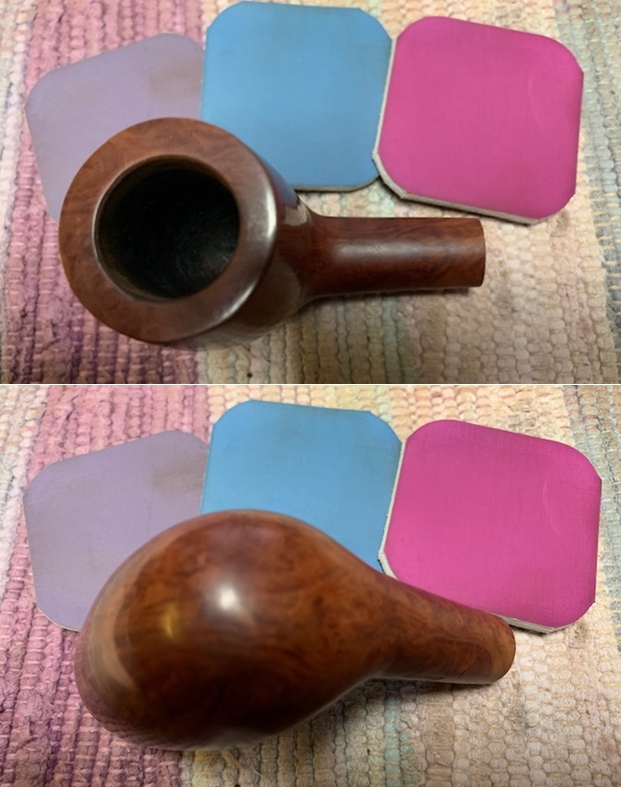
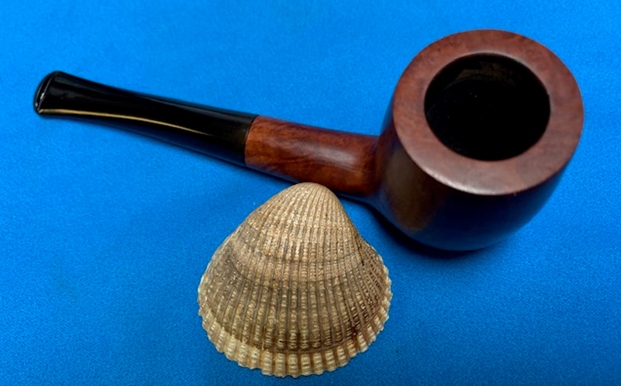
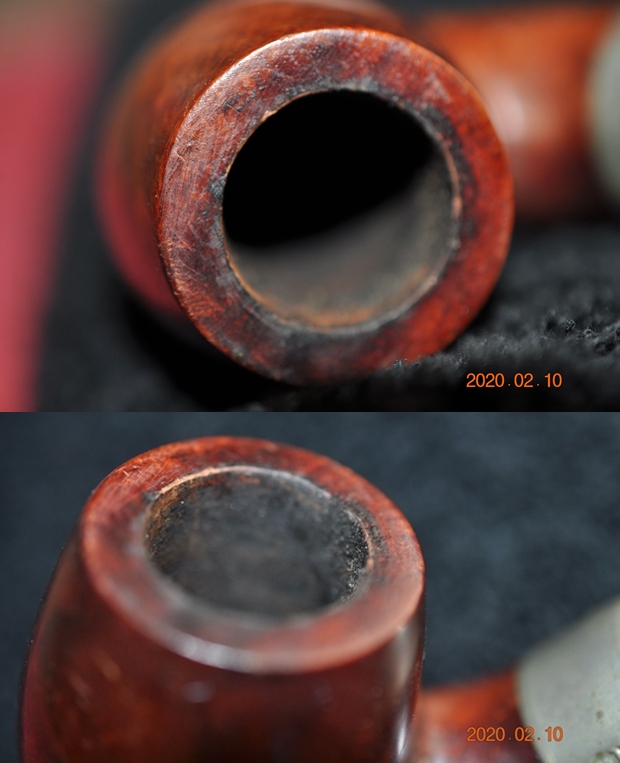
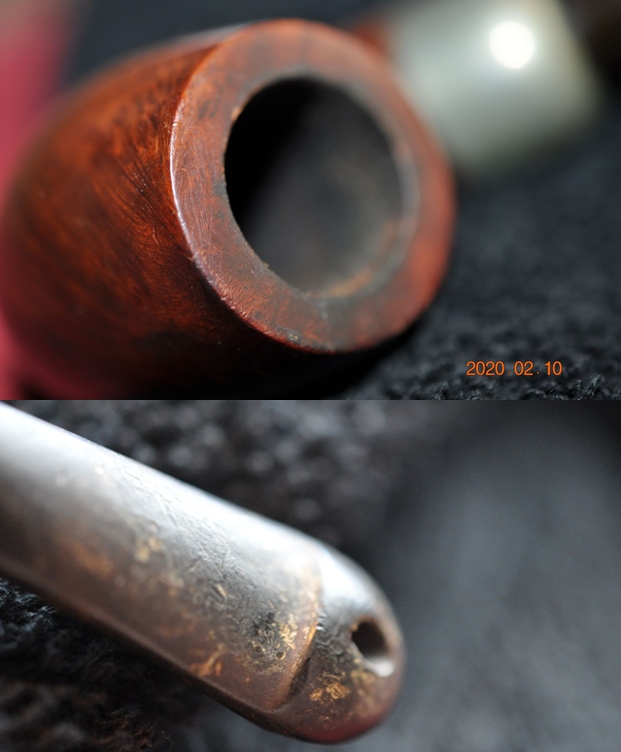
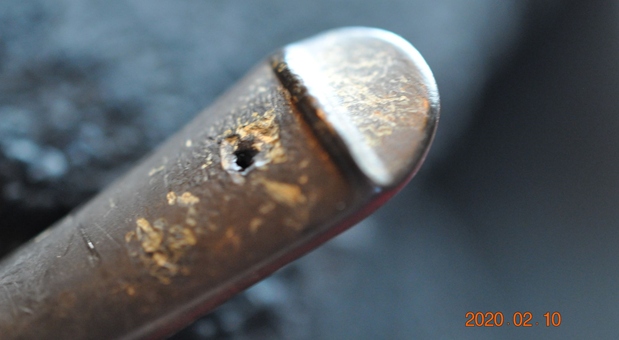
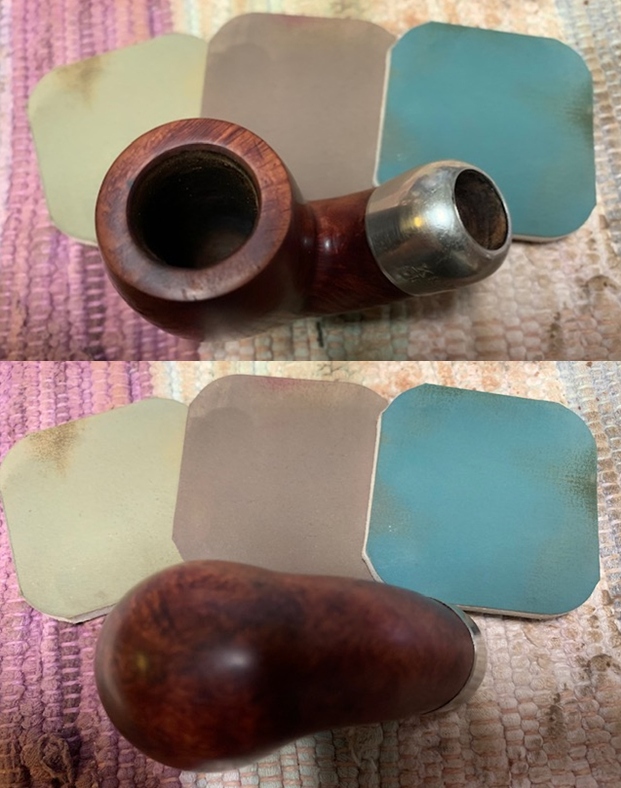
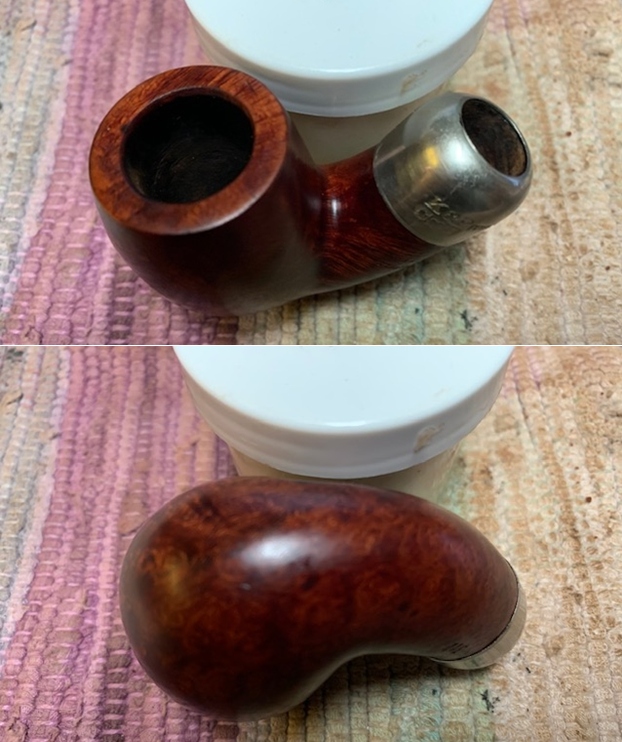
 The next photo shows the bowl and rim top. You can see the cake in the bowl and the overflow of lava and grime on the top. You can also see the damage to the front inner edge of the bowl. The photos of the stem show a lot of tooth chatter on both sides of the stems. There are also some tooth marks on the button top and bottom.
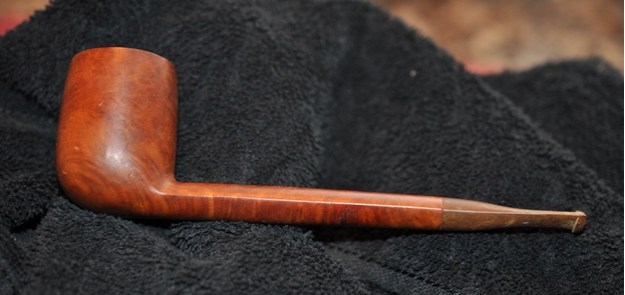
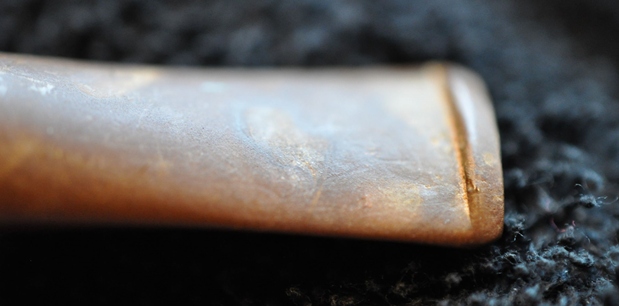
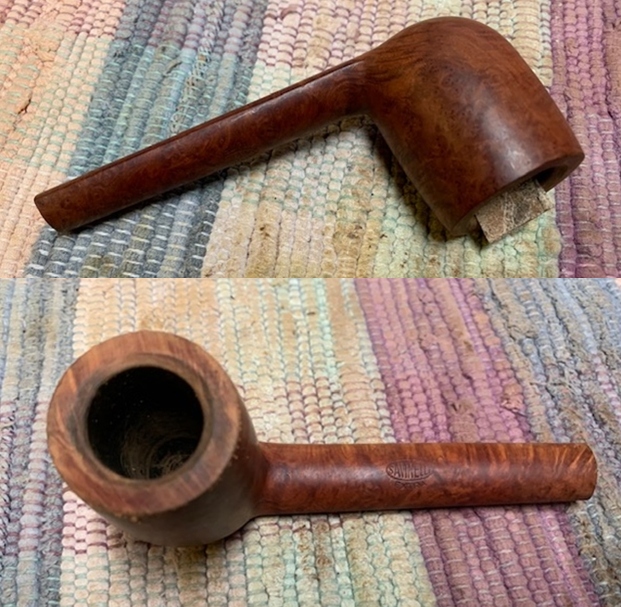
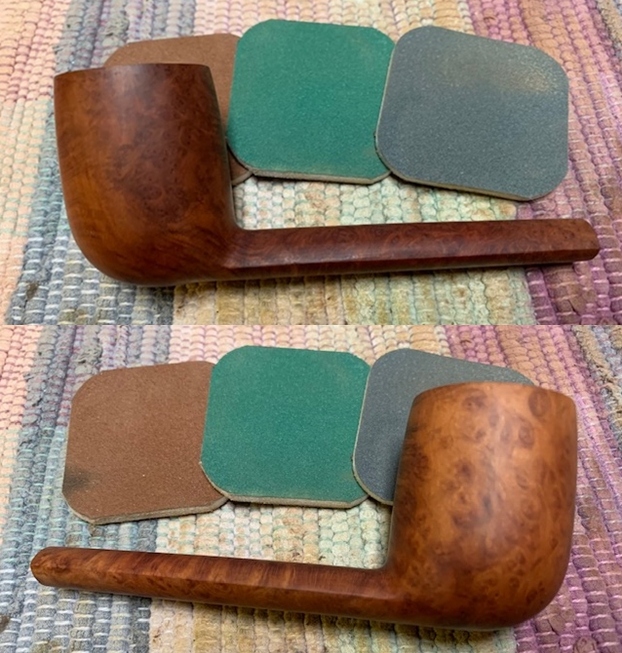
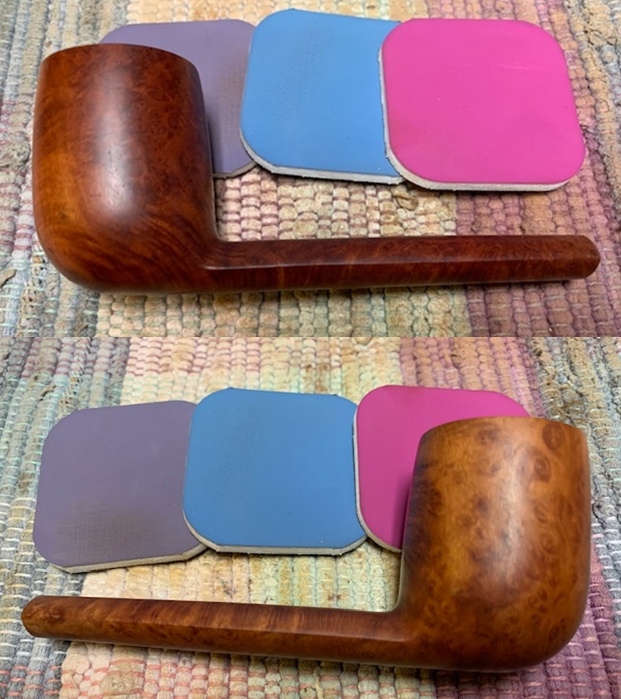
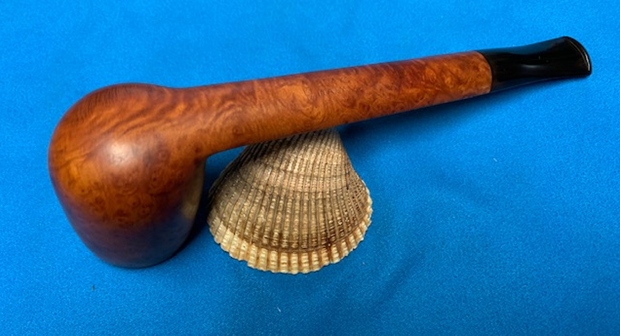
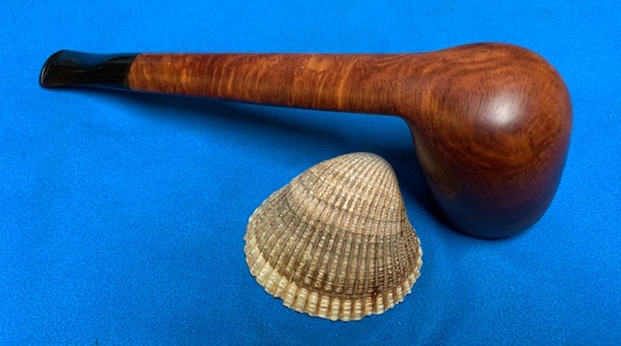
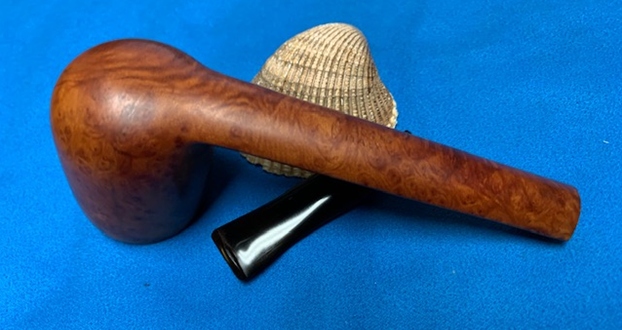
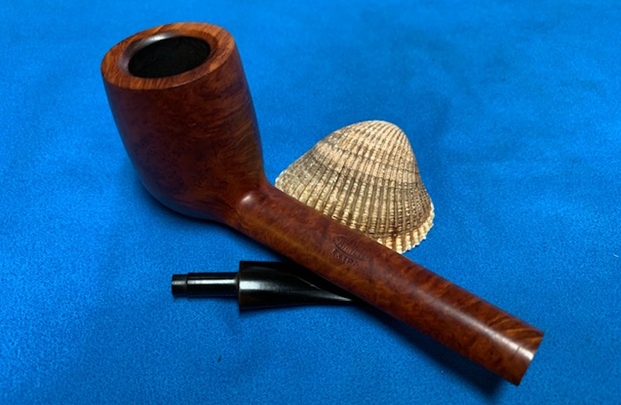
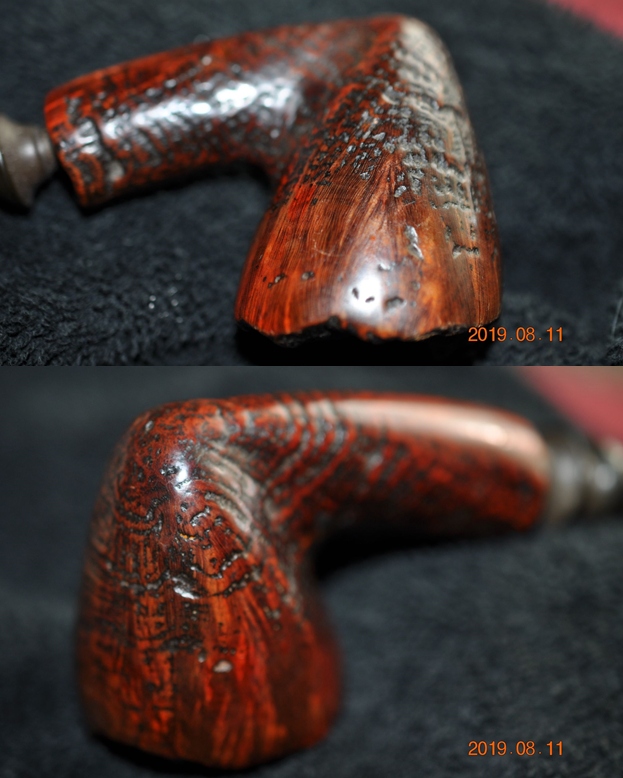
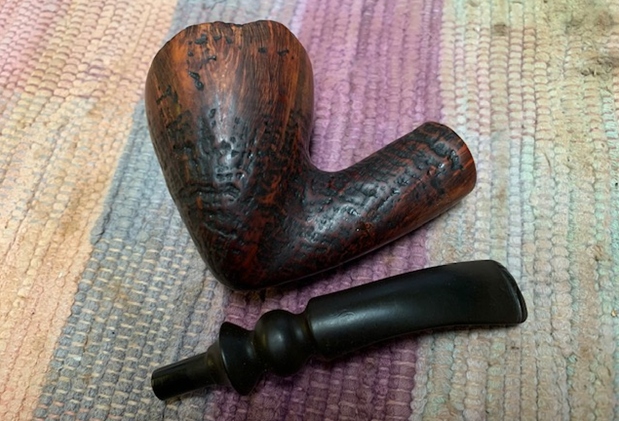
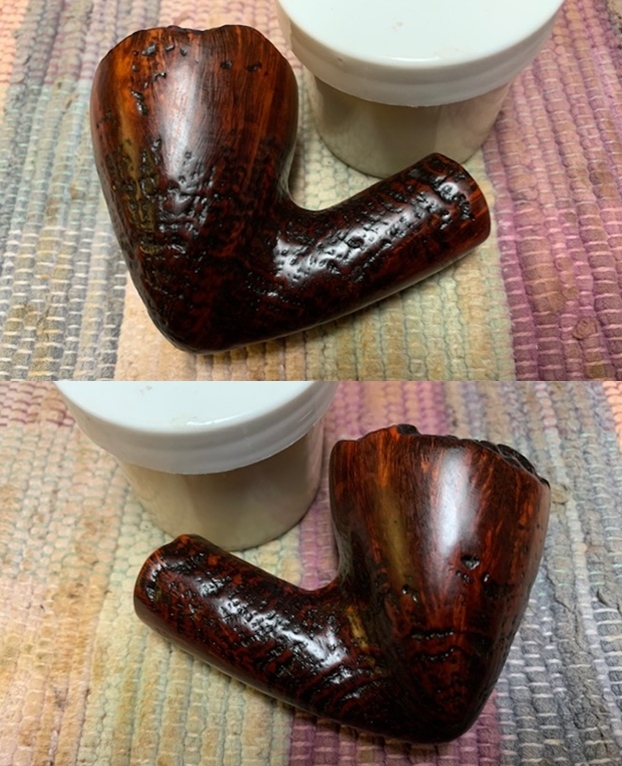
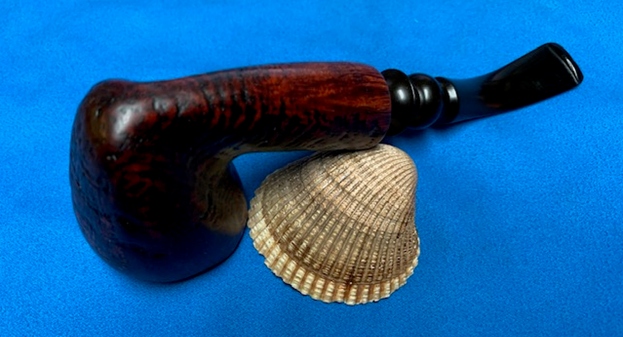
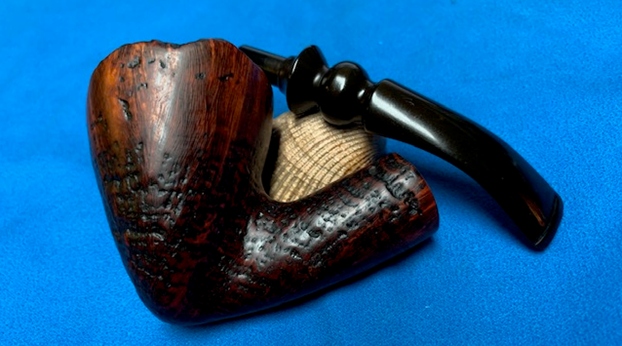
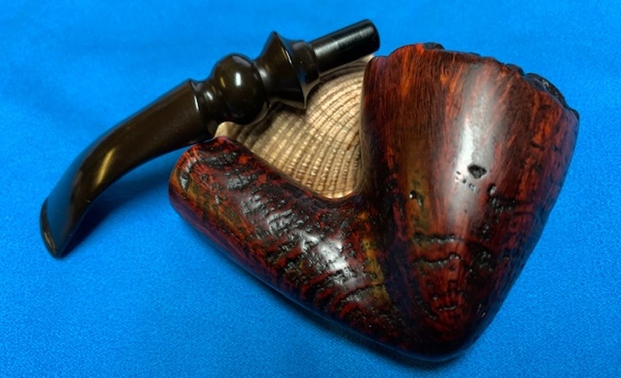
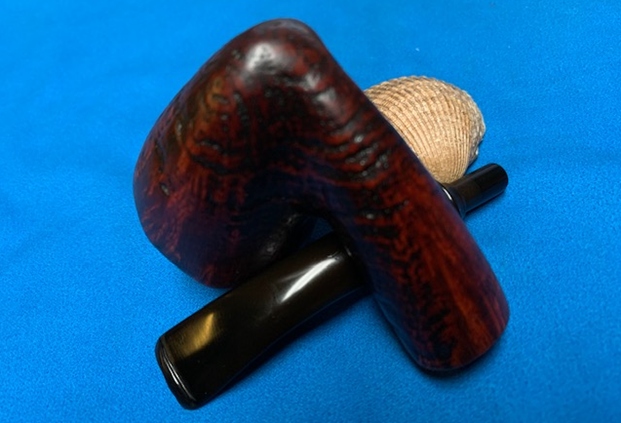
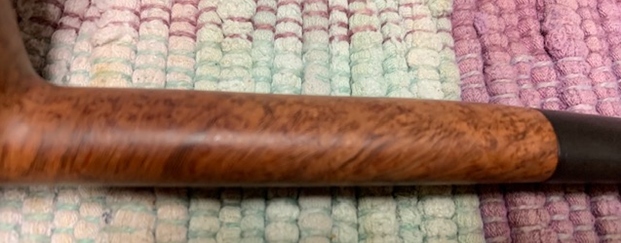
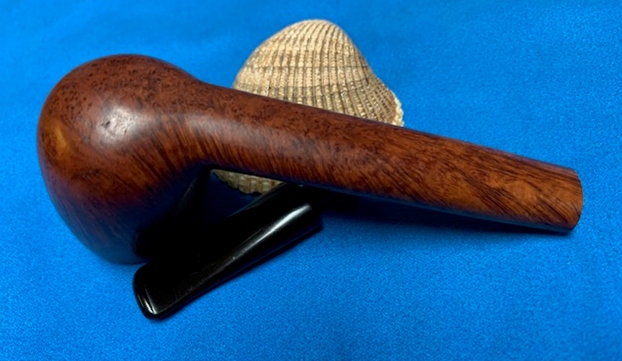
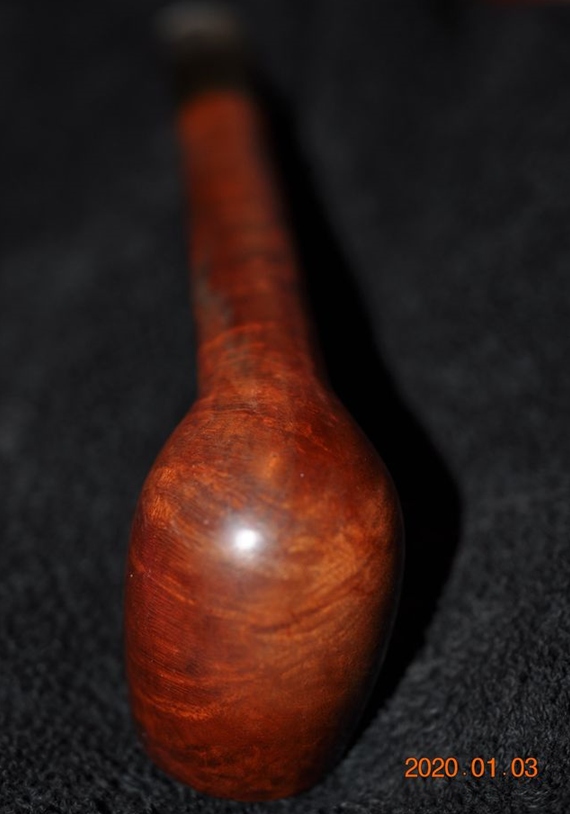
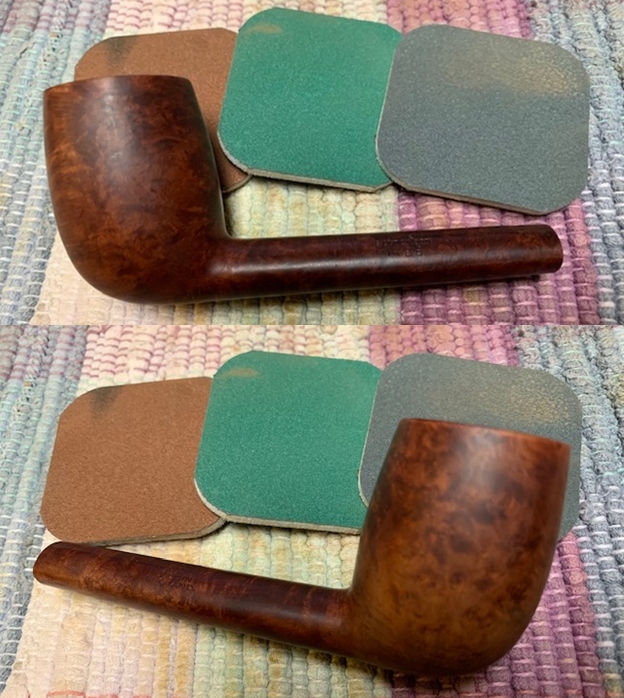
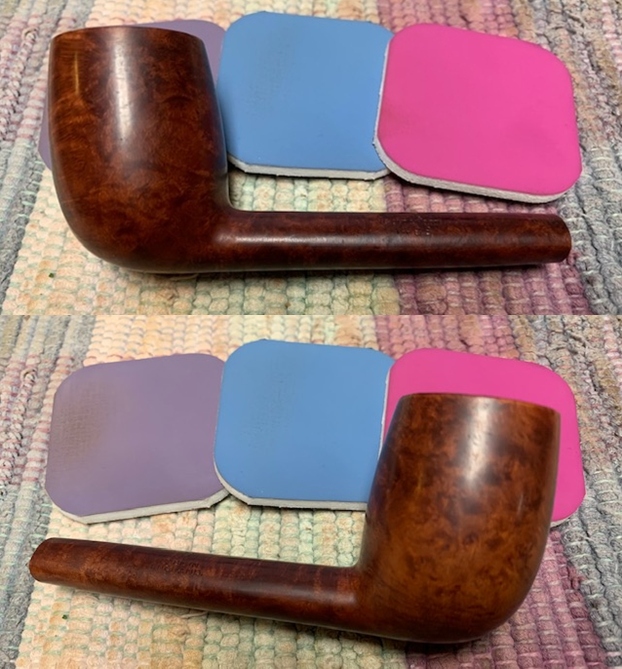
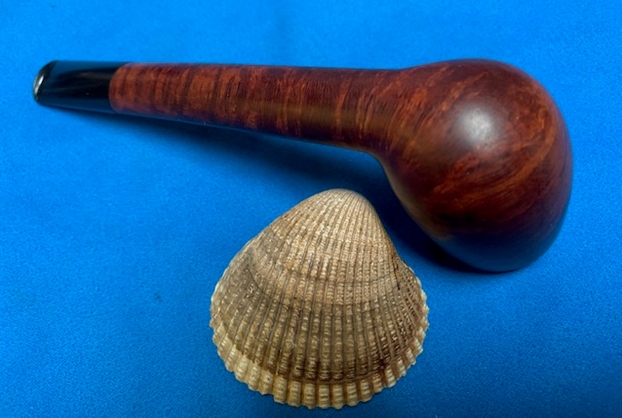
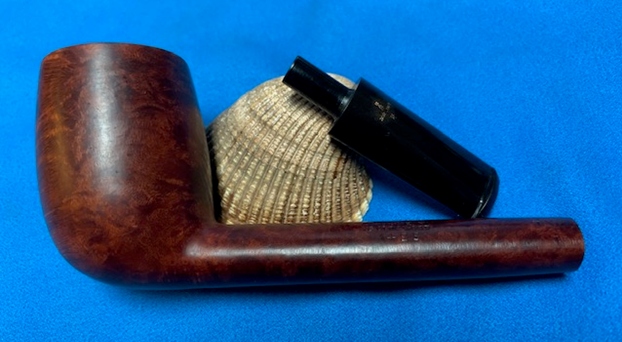
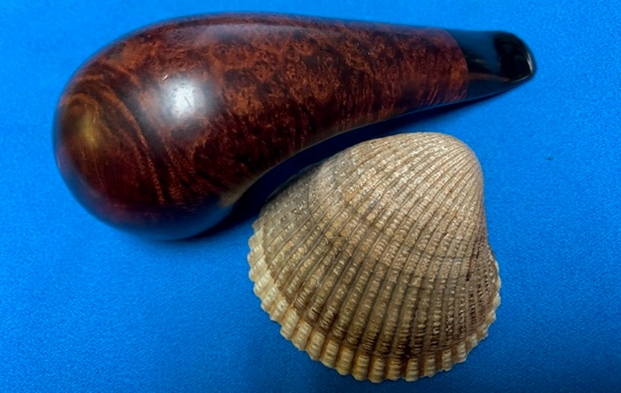
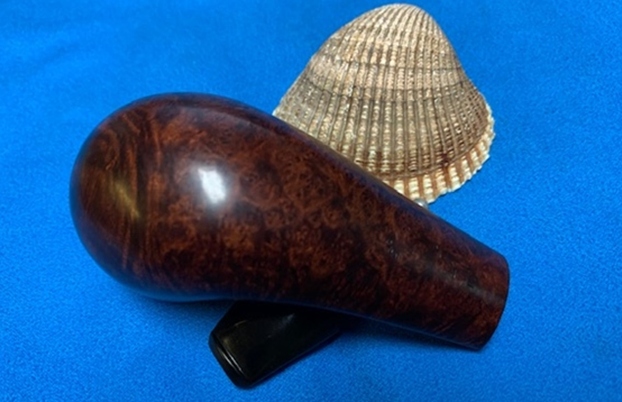
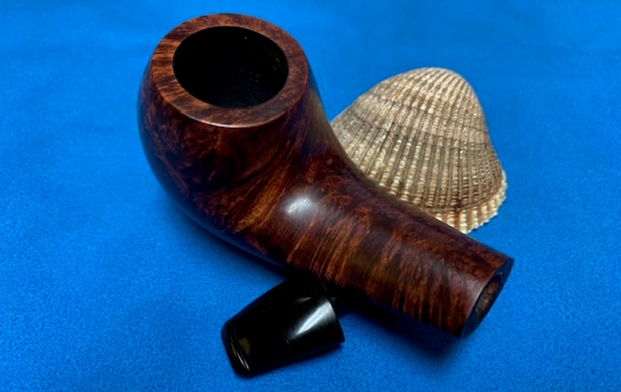
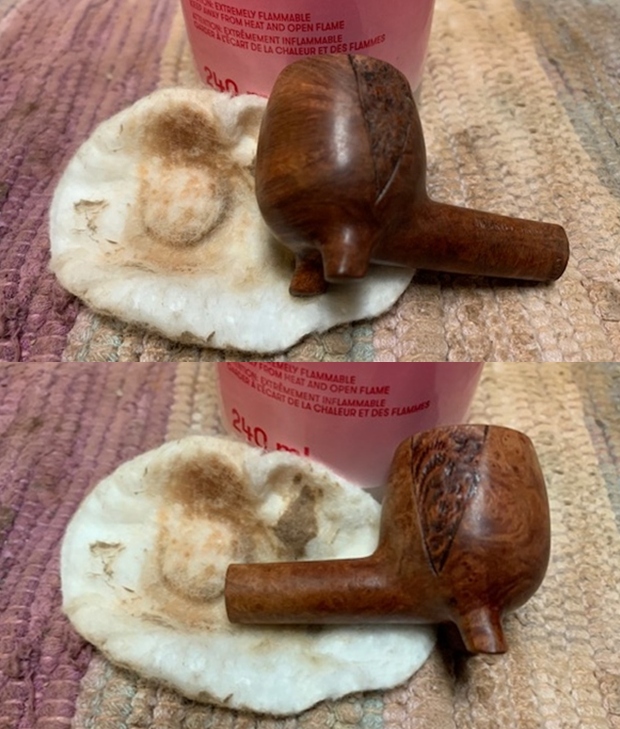
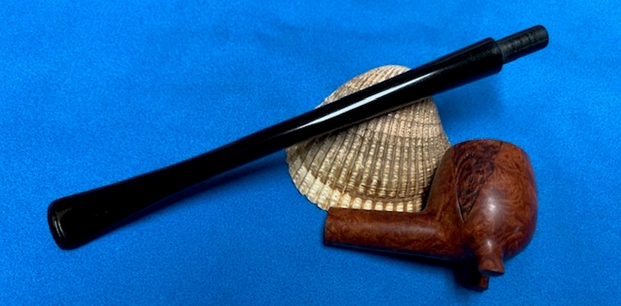
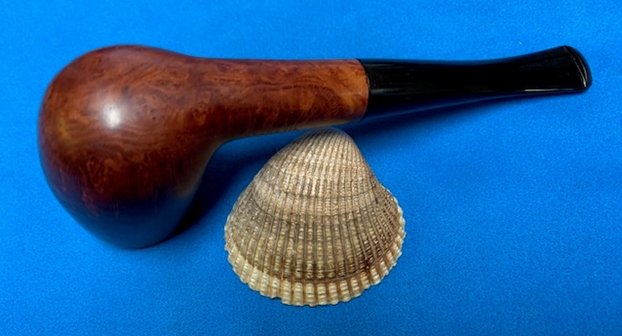
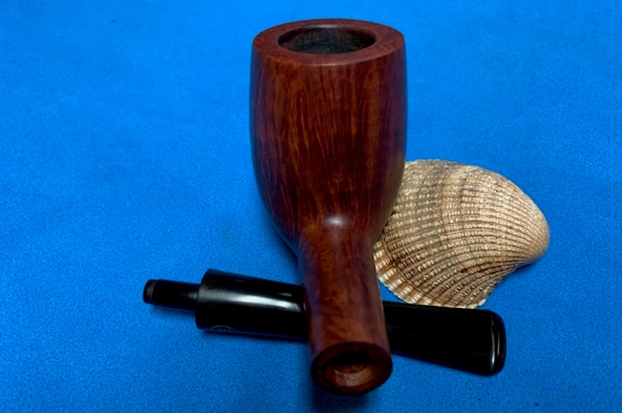
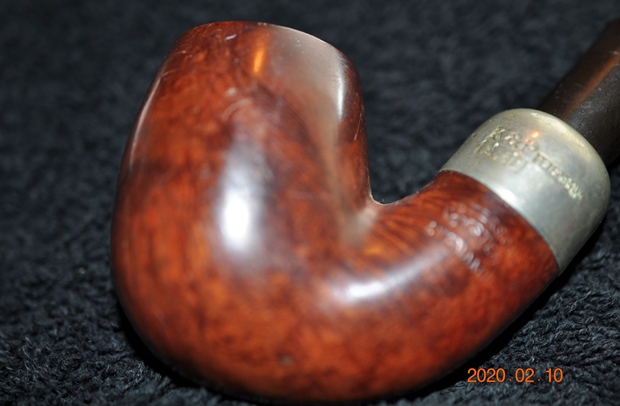
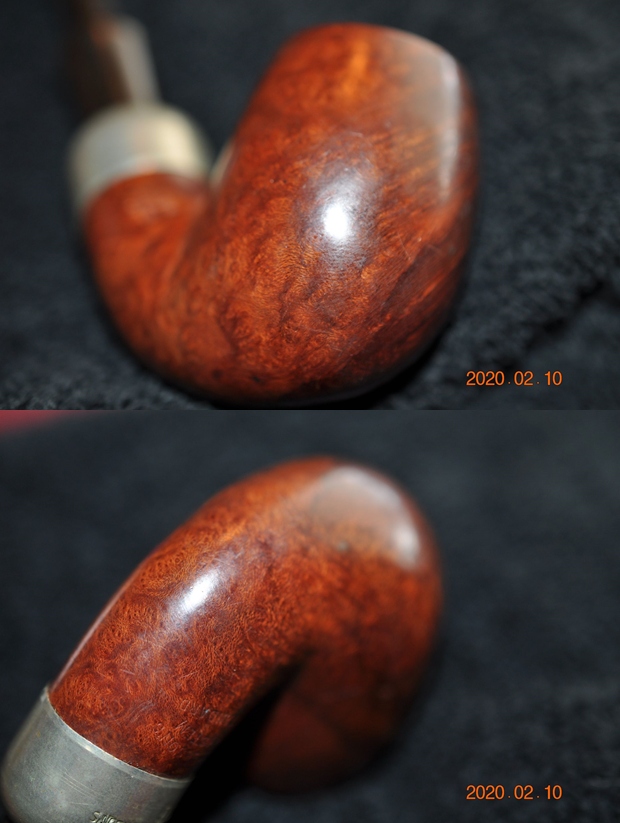
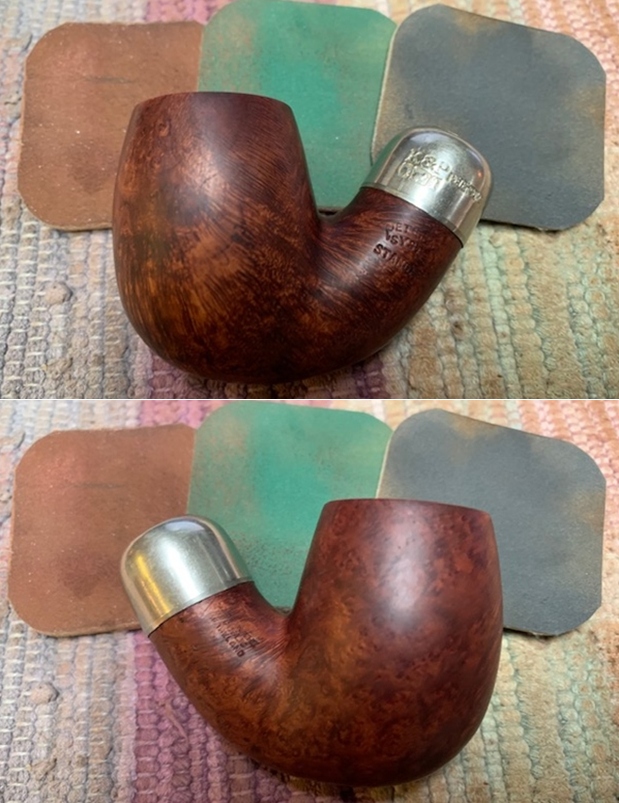
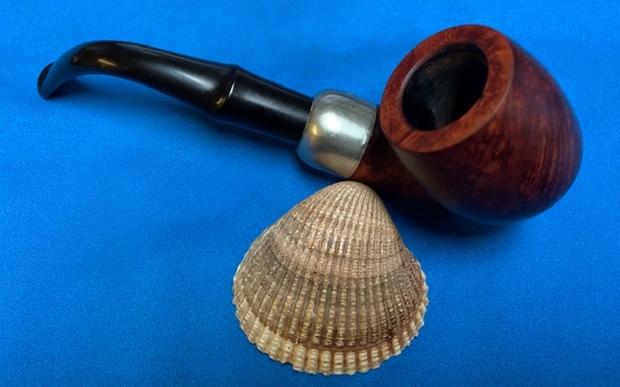
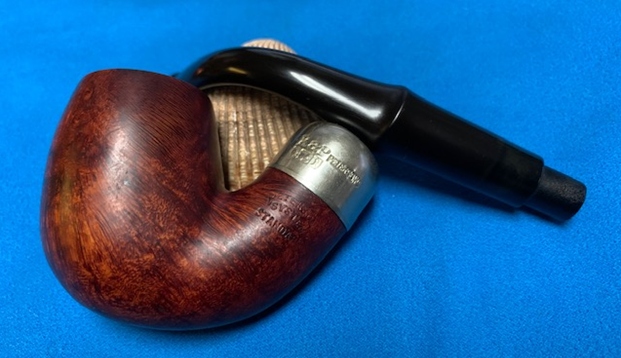
 The sandblast finish on the bowl, though dirty, showed interesting patterns – straight grains and birdseye. There were also some swirls in the grain. The photo below shows what the finish looked like and under the grime it looked good.
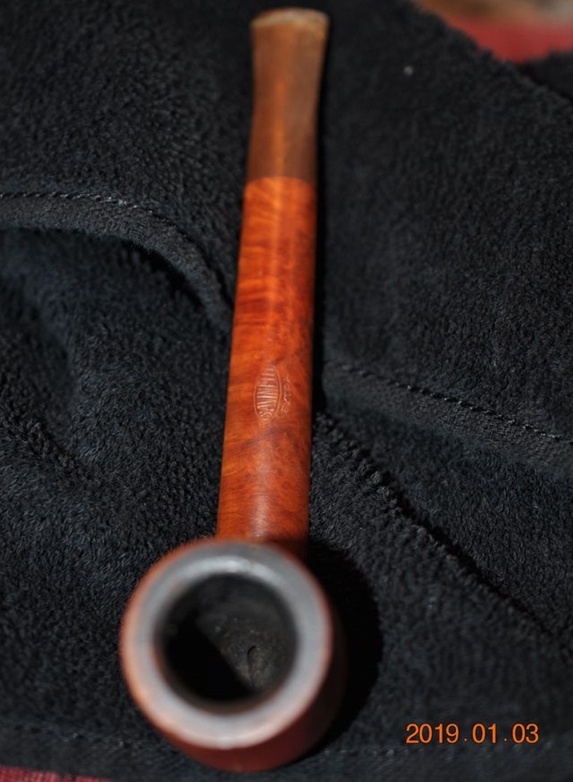
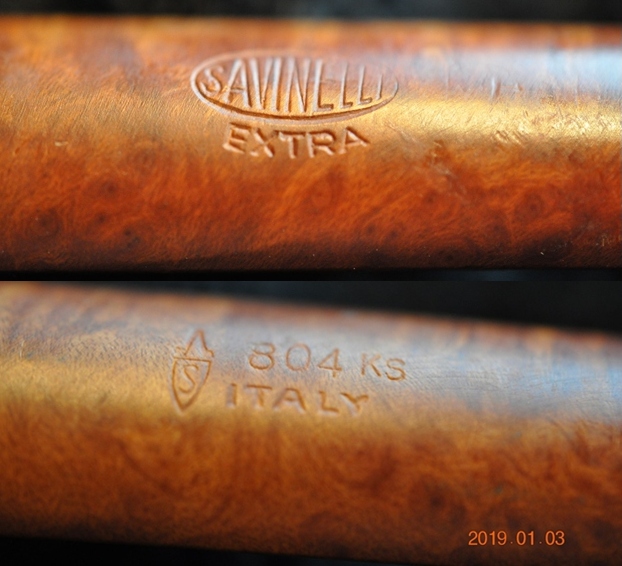
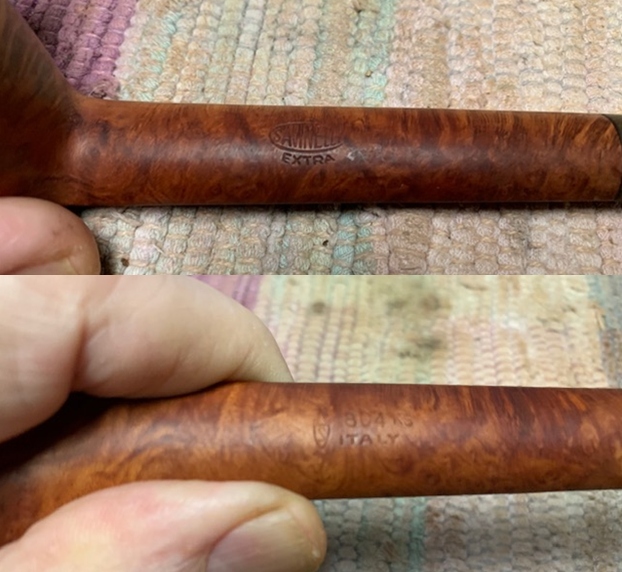
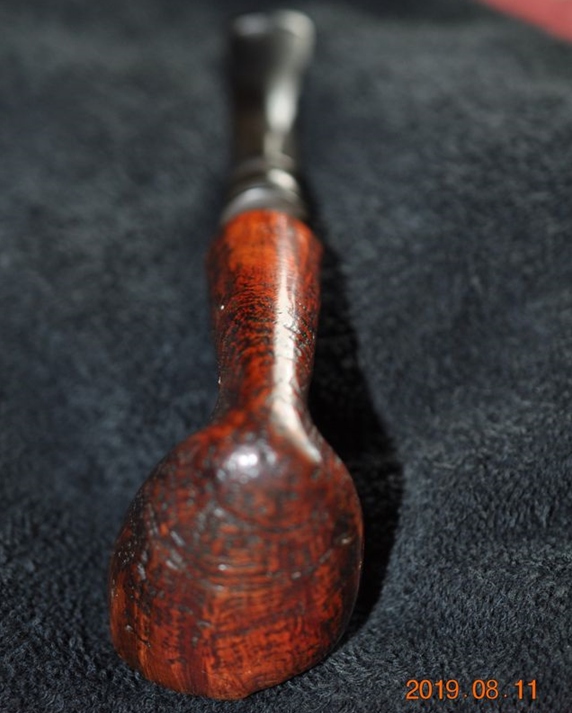
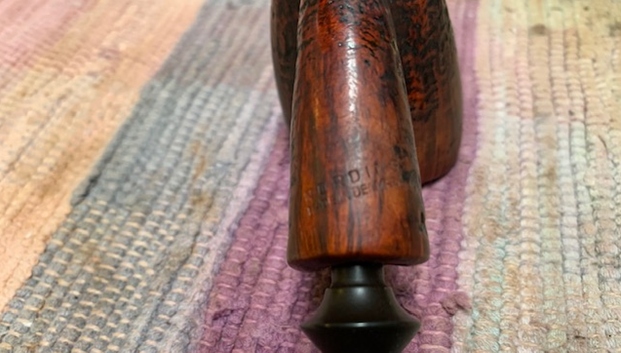
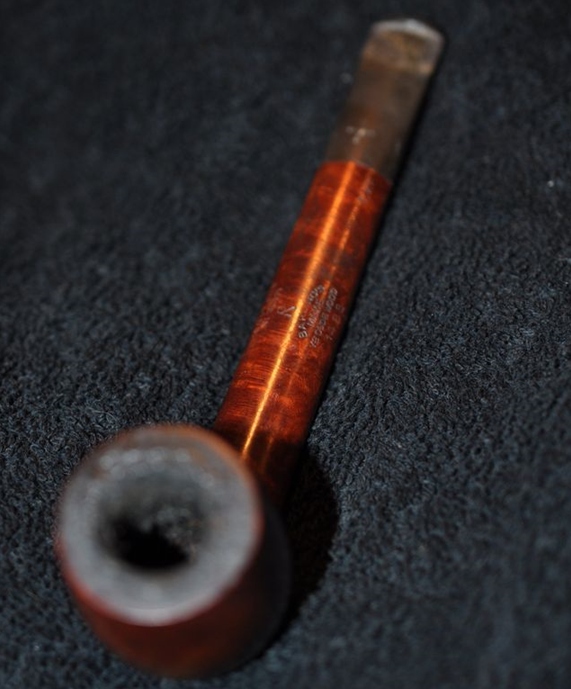
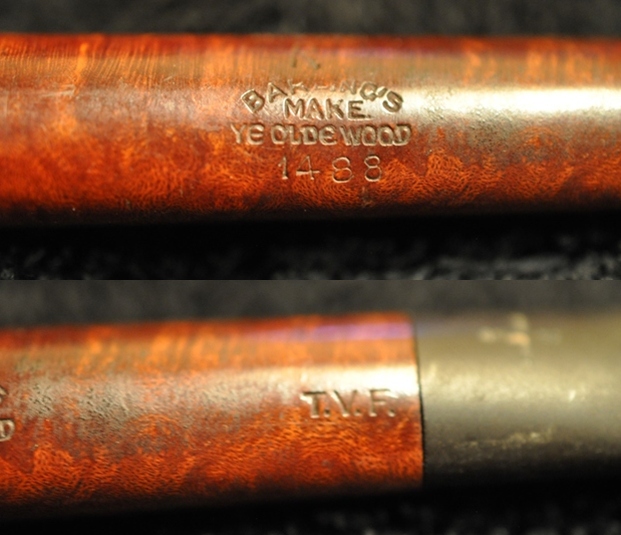
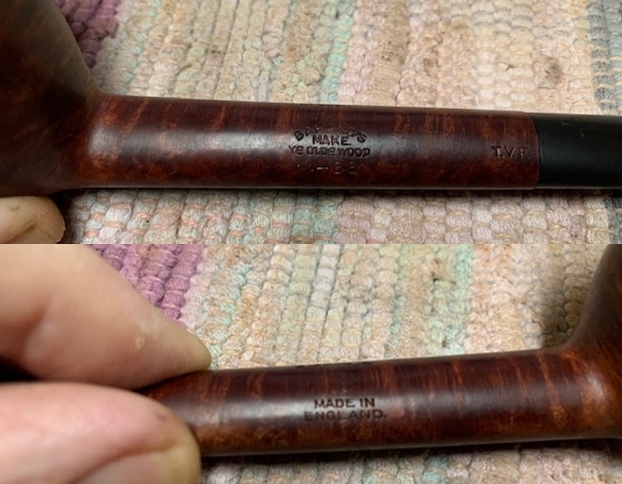
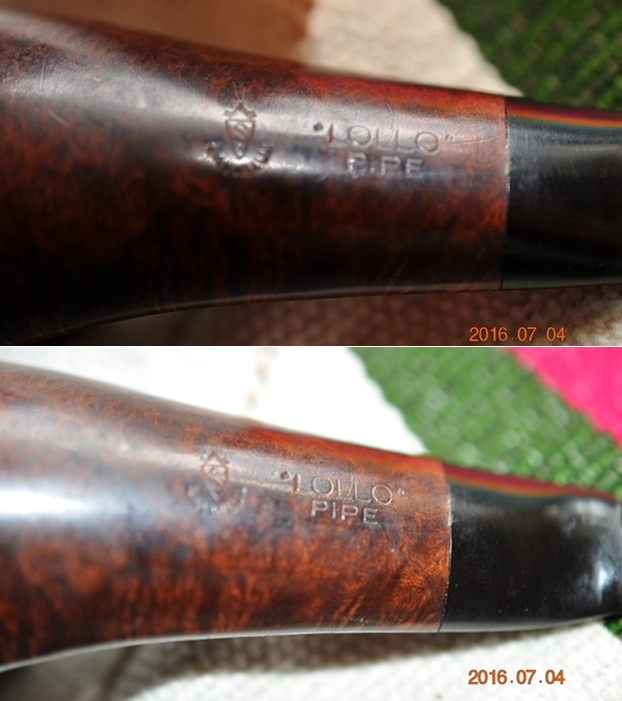
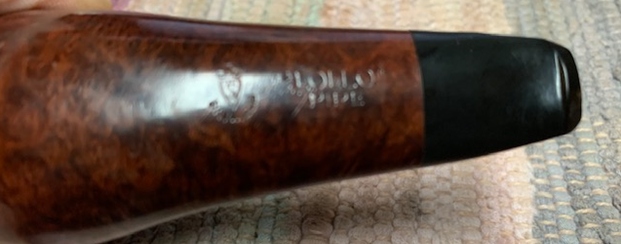
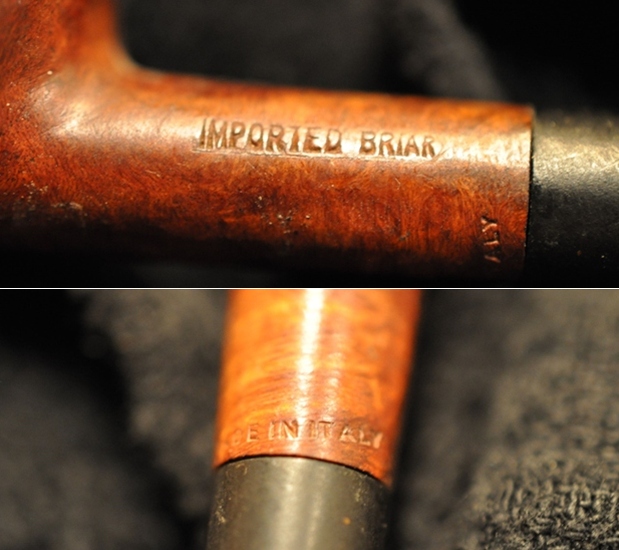
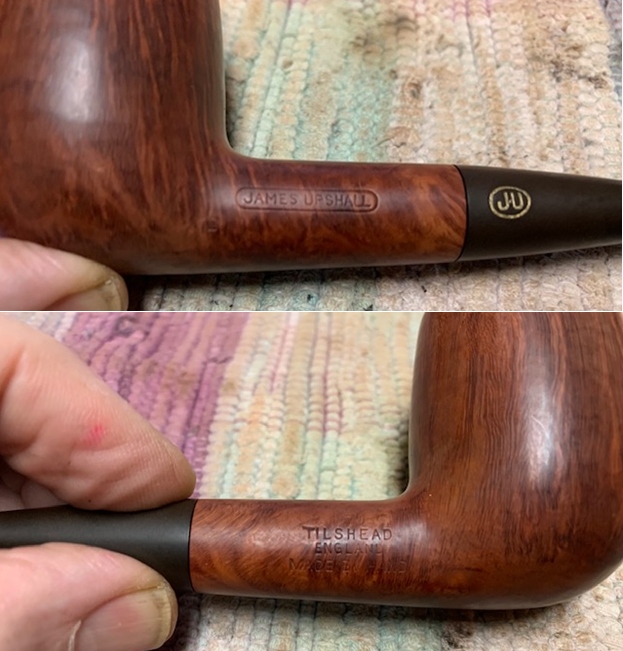
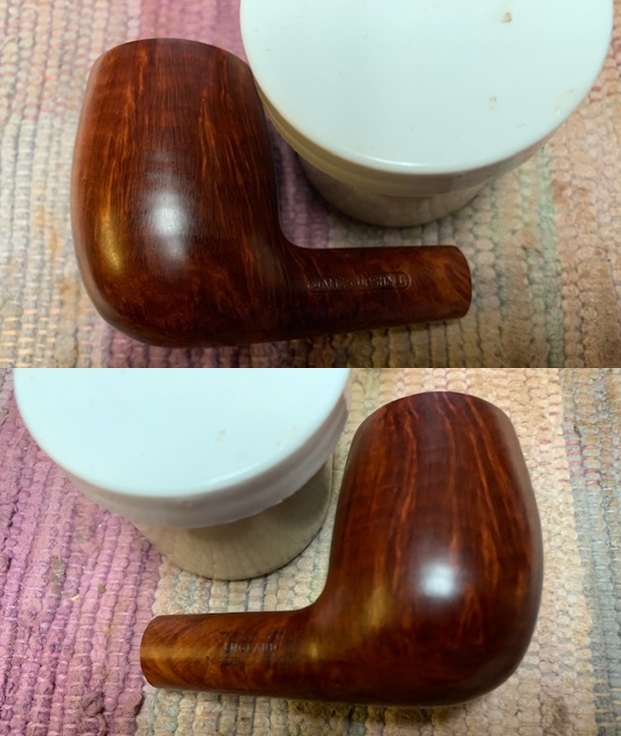
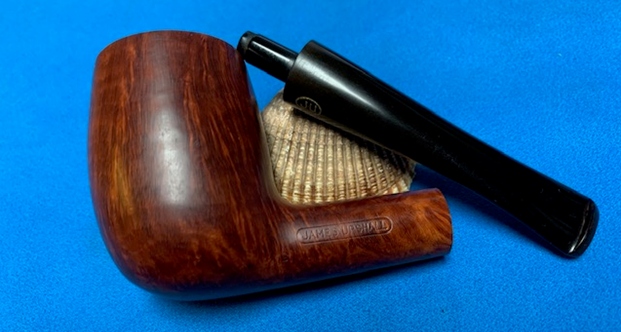
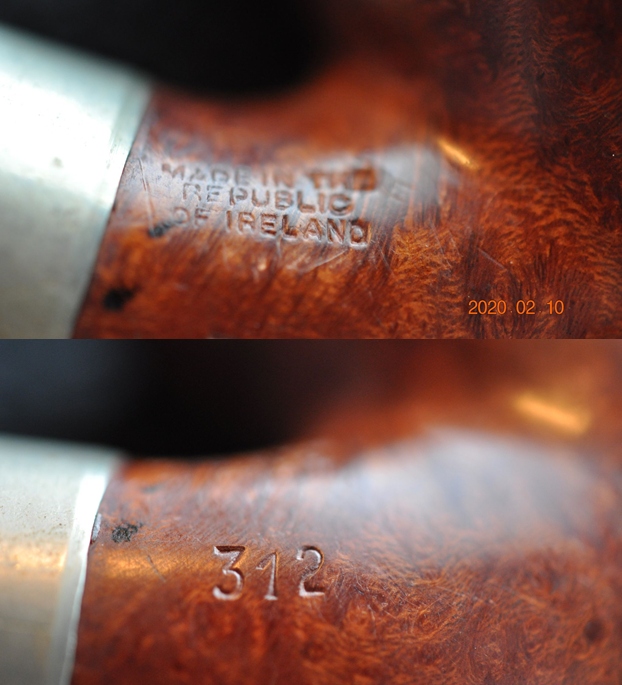
 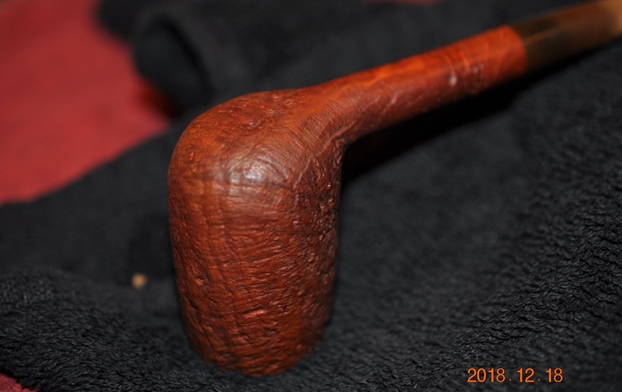 The stamping on the underside of the shank is very readable. It reads as noted above. The two photos below show the vertical stamping on the underside of the shank.
  I turned to a blog I had written in 2017 on a SON pipe to get a quick confirmation of the identity of the pipemaker. I was pretty certain it was Erik Nording but I wanted to check my memory by a quick reread (https://rebornpipes.com/2017/12/06/breathing-new-life-into-a-son-freehand-an-early-nording-pipe/). I quote below:
I decided to do a bit of research on the brand to see who made the SON brand. I looked first on Pipephil’s site http://www.pipephil.eu/logos/en/logo-s10.html. I quote from a note on the site next to photos of the stamping on the pipes of that brand.
“The brand’s name stems from a partnership between Soren Skovbo and Erik Nording. It lasted for two years in the mid-1960s before the partnership ended and the brand ceased. That dates this pipe to the 1960s.”
I looked on Pipedia for further information: https://pipedia.org/wiki/N%C3%B8rding. In the listing of pipemakers by country the entry for SON linked back to Nording pipes. I went to that page and read the following information. I have included a portion of that article below that gives the pertinent connections.
Long before he graduated from engineering school at age 25 he was a more experienced pipe smoker than most men his age. He frequented a pipe shop in Copenhagen and often had his pipes repaired there. “The guy who did the repairs in that shop” says Nording. “could see that it was a good business, and he wanted to start his own pipe making shop.” That repairman’s name was Skovbo. One day he approached the young Erik Nording with a proposition. “You are a blacksmith and an engineer,” Skovbo said to Nording. “You must know a lot about machinery. Can you make me some pipe making machinery?”
“I told him I could make anything he wanted,” says Nording. “But I didn’t have any money. So I borrowed S200 to buy some bearings, and I scoured junkyards for old broken machinery. I bought inexpensive housings and put in new bearings and new shafts.” It was Nording’s first contract and he wanted to get a good start, so he took great care in making the best possible tools for the pipe maker. “I made him a little polishing machine, and a lathe, and a sander for shaping pipes.” When he had everything put together and running perfectly, he called Skovbo and told him his machinery was finished.
“He came out and looked it over,” says Nording. “He turned on the electricity and watched everything run. He had some blocks of wood with him, and he tried everything out. Finally he looked at me and said, ‘It’s exactly as I wanted. Perfect. How much do I owe you?’ I told him the price—I don’t remember how much it was, but it was very inexpensive.”
Skovbo thought the price was very good. “That’s fantastic,” he said. “The price is right. Now I’ll start out for myself, make some pipes and when I earn some money I’ll pay you.”
It must have been a terrifically discouraging moment for a young man who had just completed what he thought was his first paying job in a new career. As Erik Nording now remembers that moment, sitting in a beautiful home that contains a pipe making shop large enough for 20 workers making tens of thousands of world-famous pipes, his face exhibits amusement at that memory. But back then, as a youngster trying to get a foothold in the world, his expression must have been more akin to horror.
“I told him that was not good enough,” says Nording. “I told him I was a poor man, I didn’t have any money, I needed to be paid for my work.” But Skovbo told Nording that he couldn’t pay him.
“Then I will keep the machinery,” said Nording. “I’ll make pipes myself.”
“You don’t know how to use this machinery,” said Skovbo. “You know nothing of pipe making.”
“Well, you’re not getting it. You should have told me before I did all this work that you didn’t have the money to pay for it.”
Skovbo thought it over. “Why don’t we start together?” he said.
That’s how Erik Nording became a pipe maker.
There are still a few of those early pipes around. “I saw some at a shop I visited a while back,” says Nording. “The shop owner offered to give them to me as mementos but I refused. They may be worth quite a bit of money to collectors. You never know”…
Those first pipes carried the name SON”, which was an acronym for the combination of the names Skovbo and Nording. Each of the partners borrowed $5,500 to get the business going, to rent a space and get the electricity turned on and to buy two bags of briar. Skovbo taught Nording how to make pipes, “but I didn’t have much time because I was still studying,” says Nording. “And I never got the chance to learn much from him, because shortly after we started he said that I would never be a pipe maker, he said that my hands had no skill for the craft, that I could never learn. I never understood how he could make such a judgment, but he did.”
To his credit, Nording shows no sign of triumph in the fact that he has proved Skovbo wrong by becoming one of the best-known pipe makers in the world. “He said that he would continue with SON pipes alone, that he no longer needed me,” says Nording. However, the partners had a legal agreement that whoever wished to dissolve the partnership first would leave the company to the remaining partner and be paid off without interest over five years. So Nording became the one to keep the company…
…Nording continued with SON pipes for only a year or two before changing the company name to Nording in the mid-’60s. “I figured nobody could ever take that name away from me,” he says. Nording’s were exclusively freehand shapes, graded from A, B, C, D, up to its highest grade, extra. Later an “F” grade was added—less expensive than the “A.”
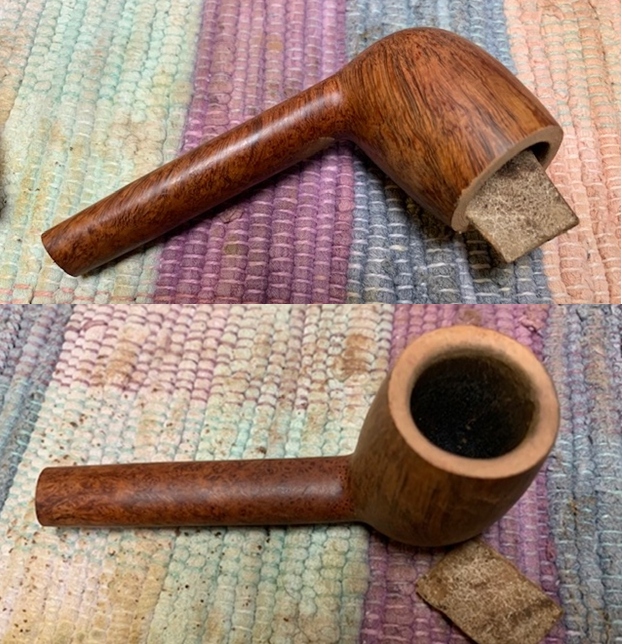
Jeff worked his magic in cleaning up this pipe. He reamed it with a PipNet reamer and smoothed the walls of the bowl with a Savinelli Fitsall pipe knife. He scrubbed out the mortise and the airway in the shank and the stem with alcohol, cotton swabs and pipe cleaners. He scrubbed the exterior of the bowl, rim and shank with a tooth brush and Murphy’s Oil Soap to the oils and tars on the bowl, rim and shank. He rinsed it under running water. He dried it off with a soft cloth. The cleaning of the stem raised more oxidation in the vulcanite. The tooth marks and chatter was clean but visible. I took the stem off and put it in a bath of Before & After Stem Deoxidizer and totally forgot to take pictures of the pipe before I started. 
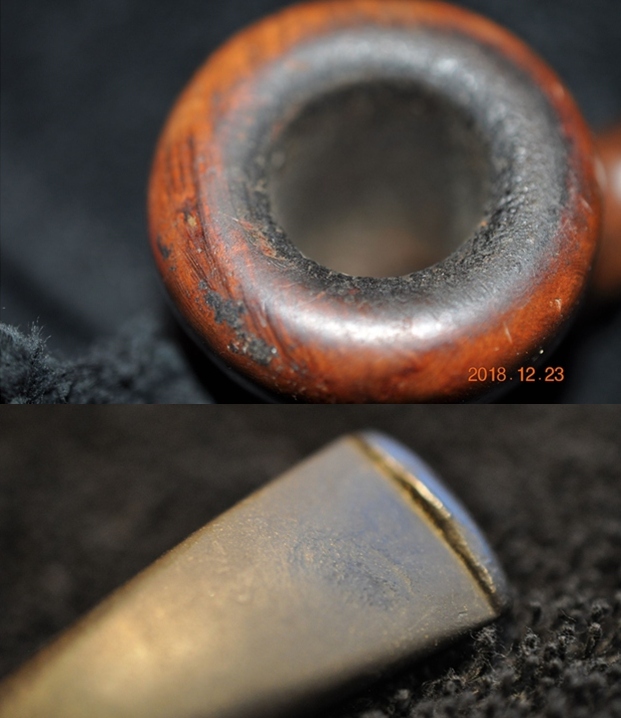
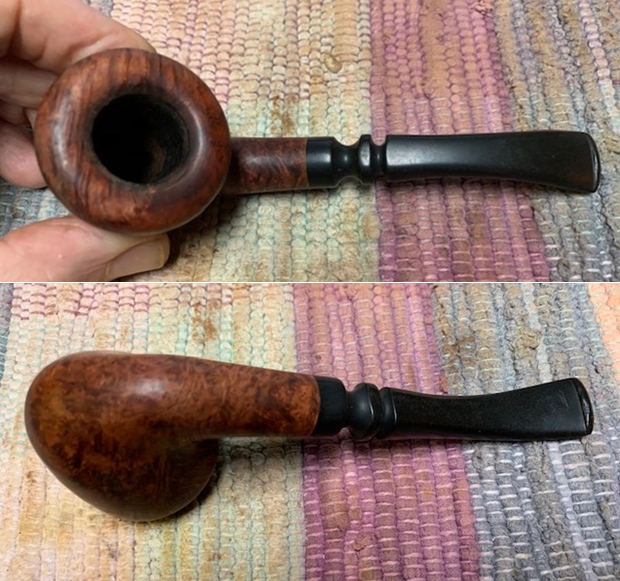
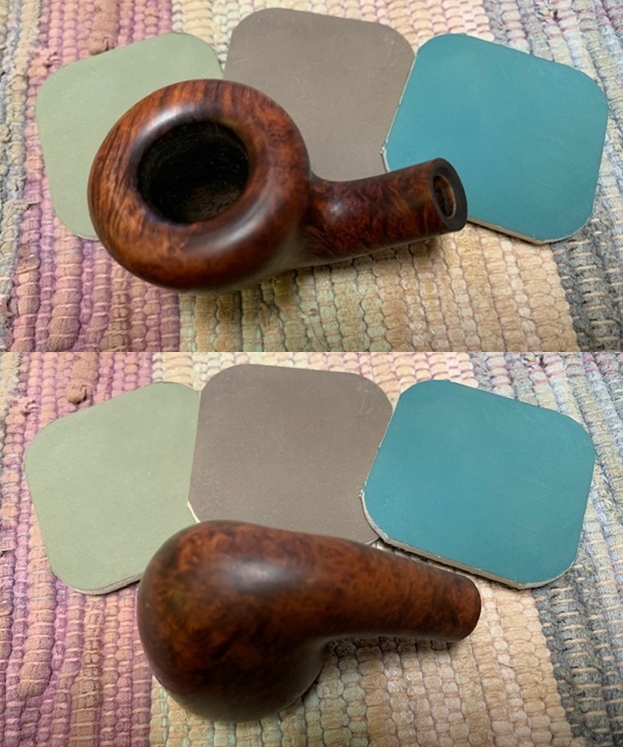
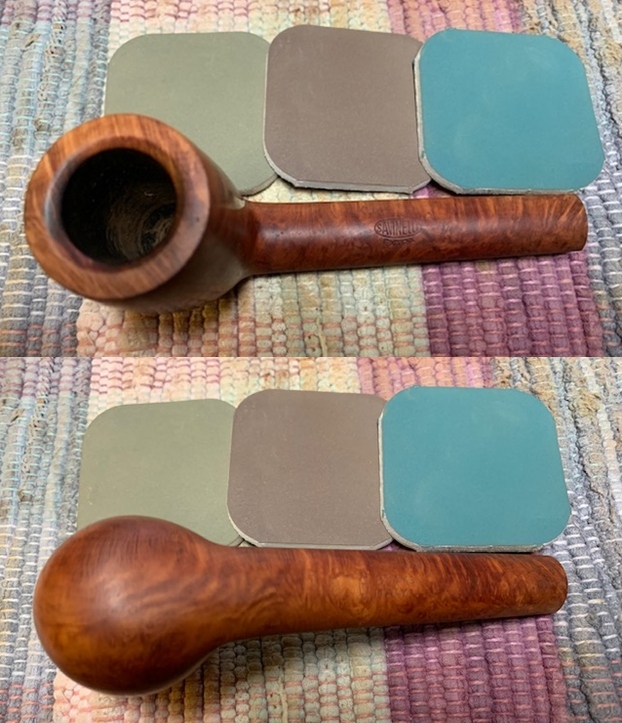
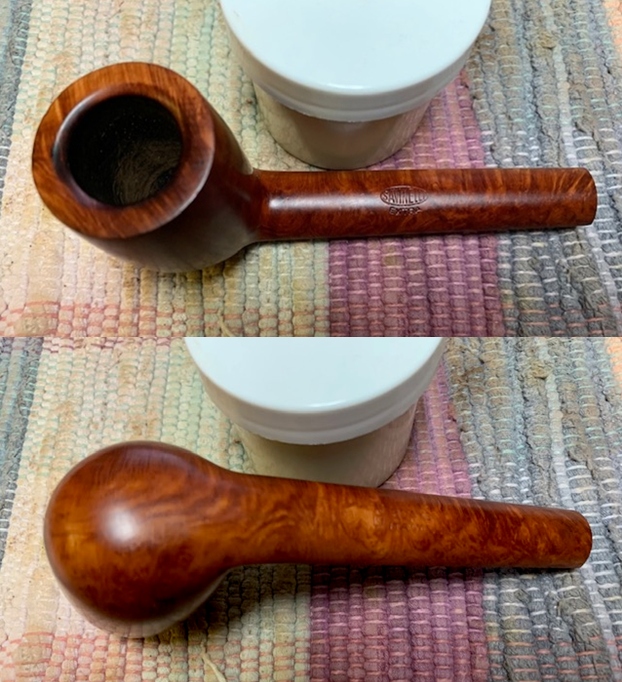
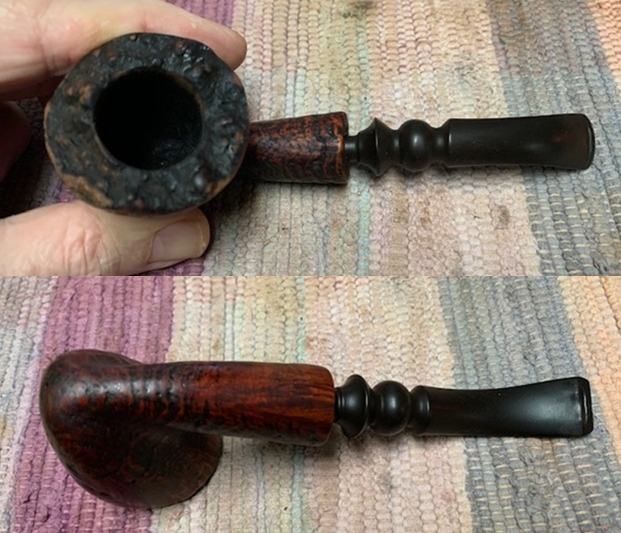
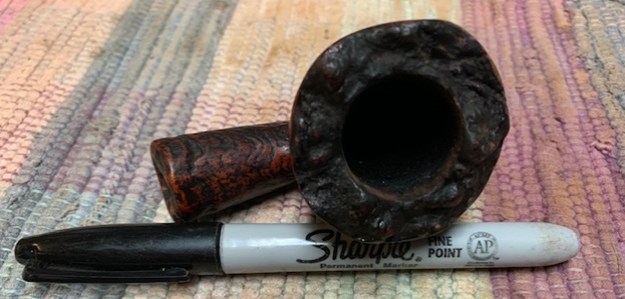
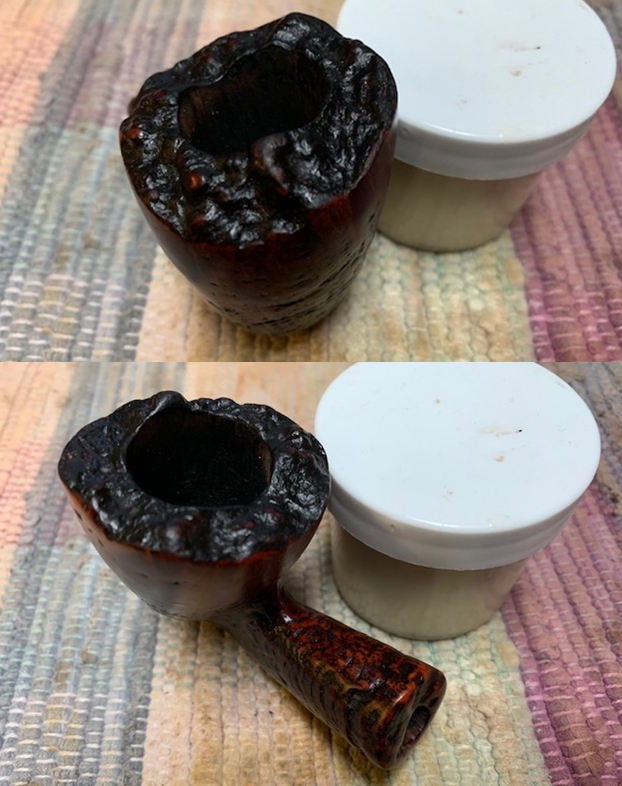
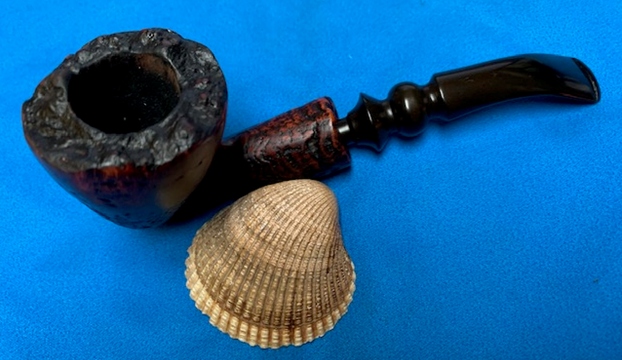
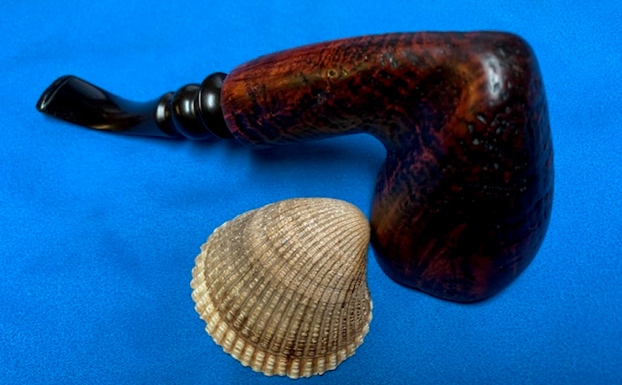
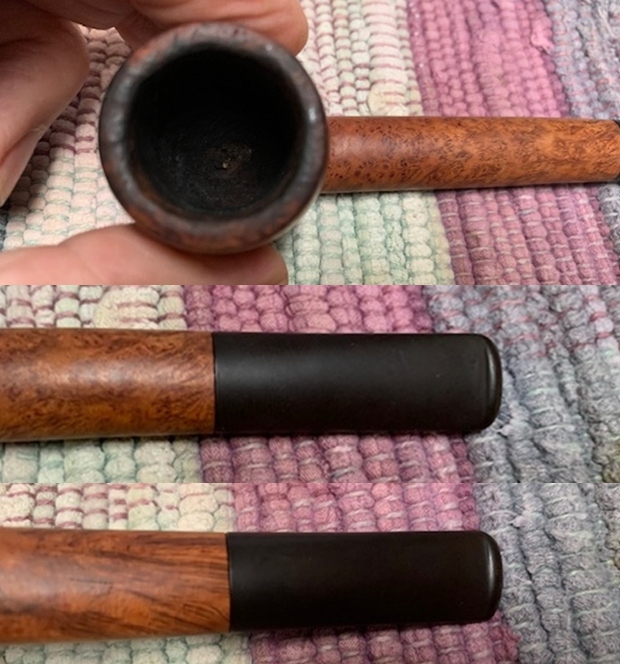
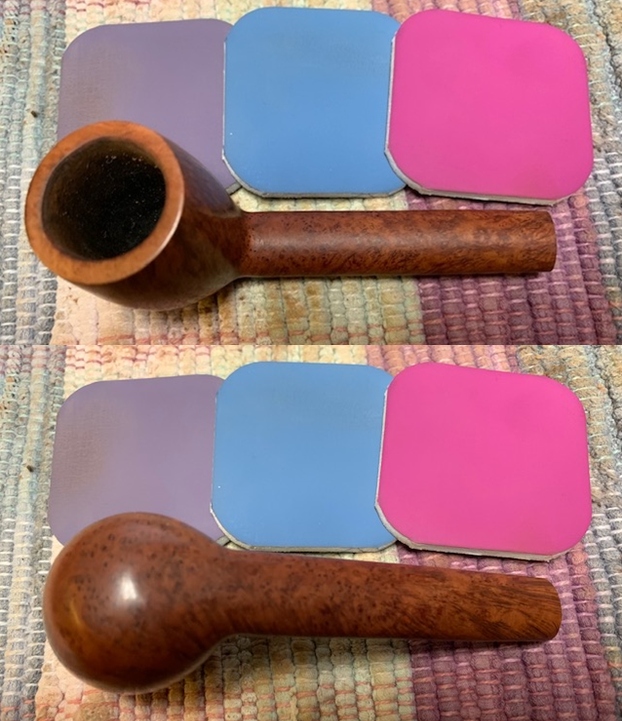
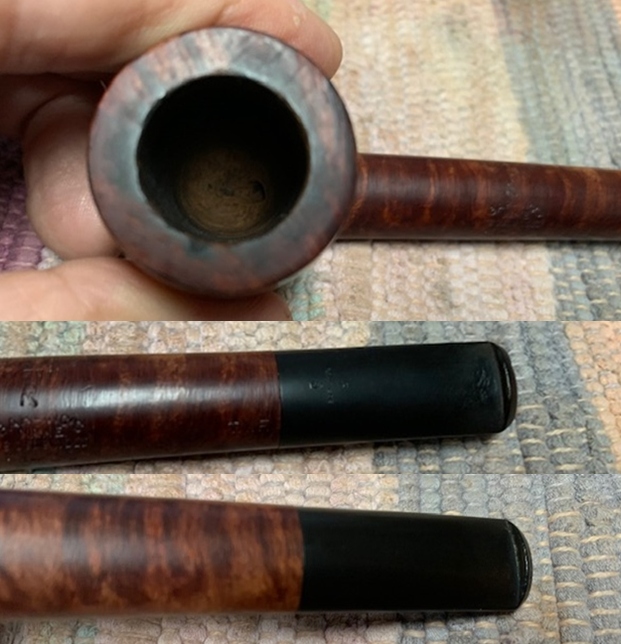
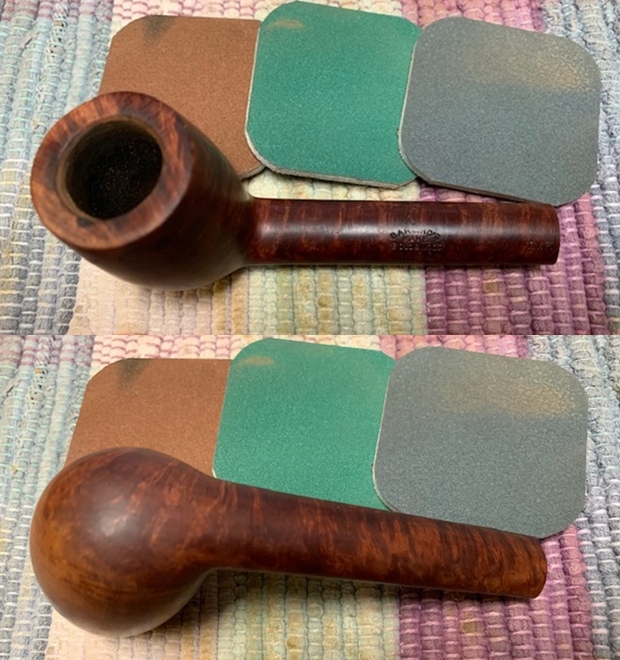
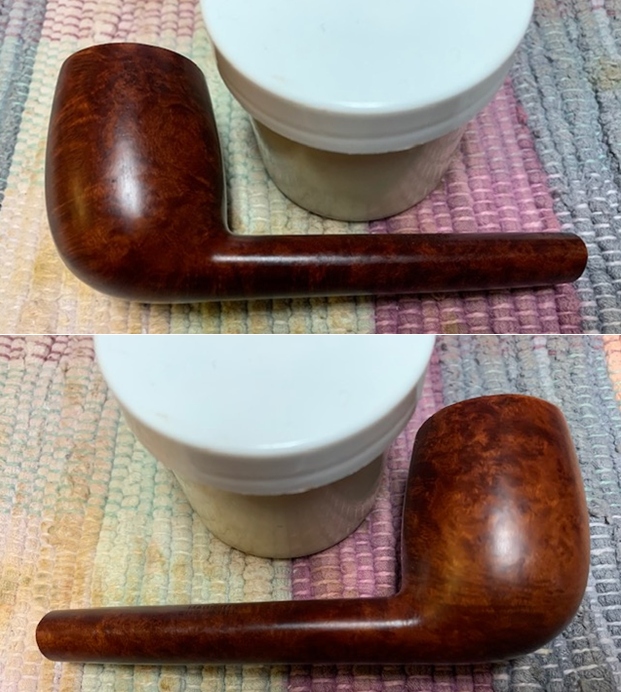
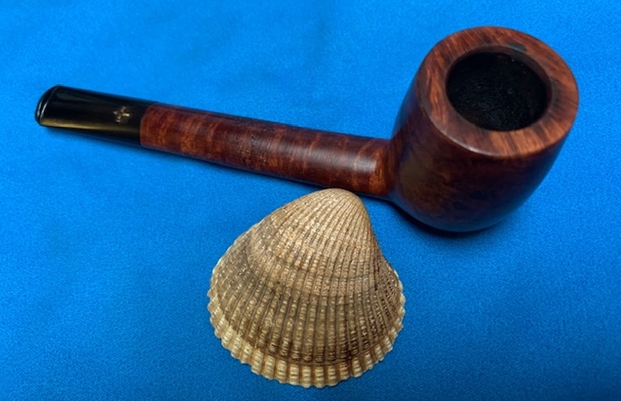
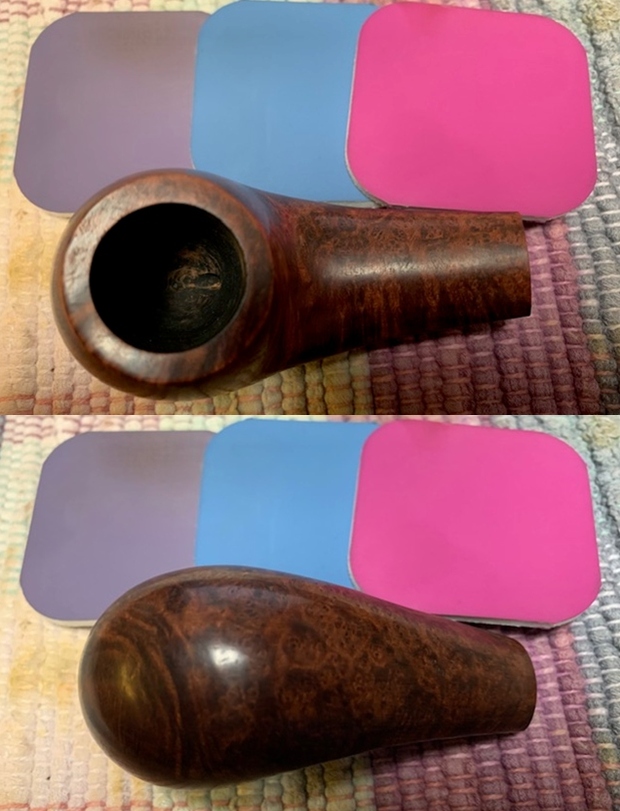
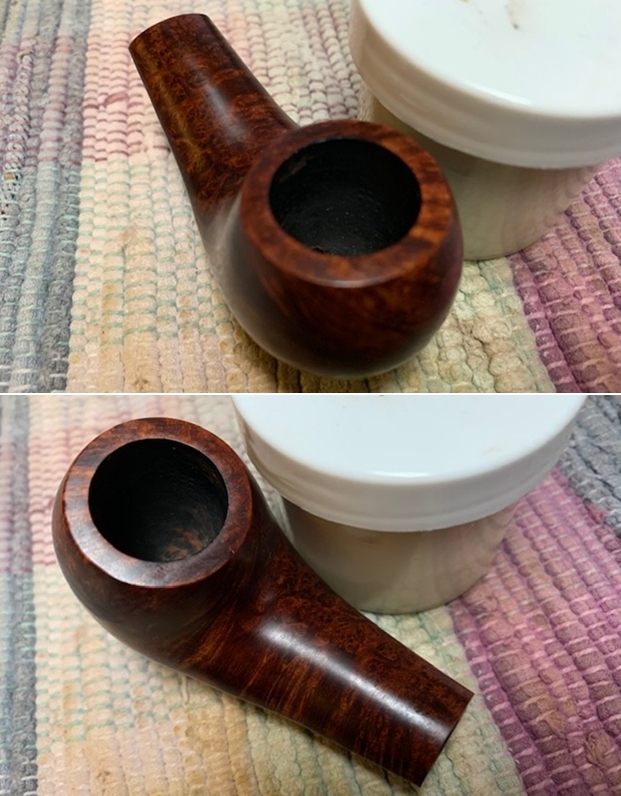
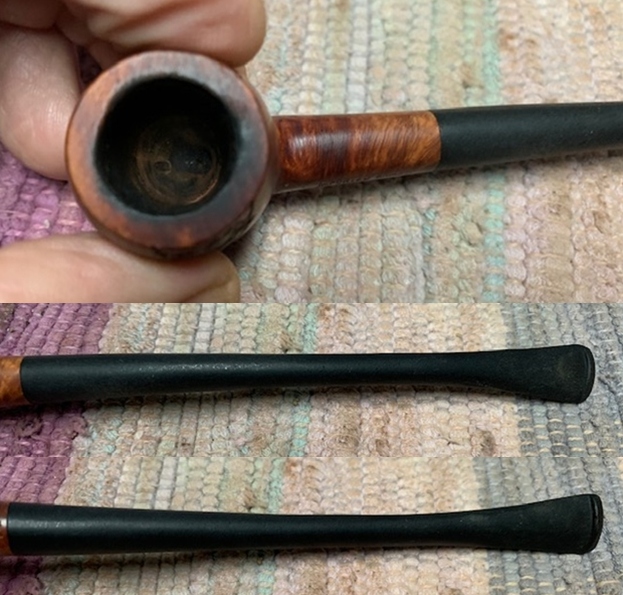
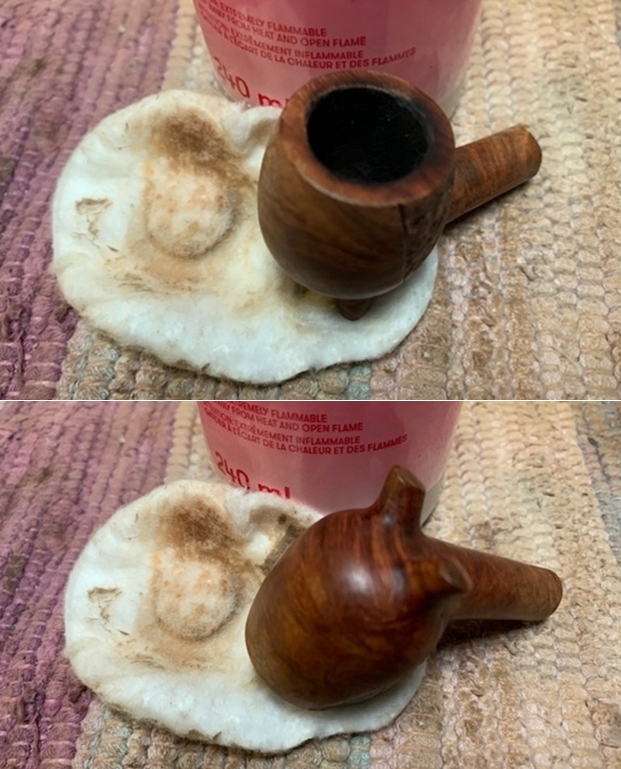
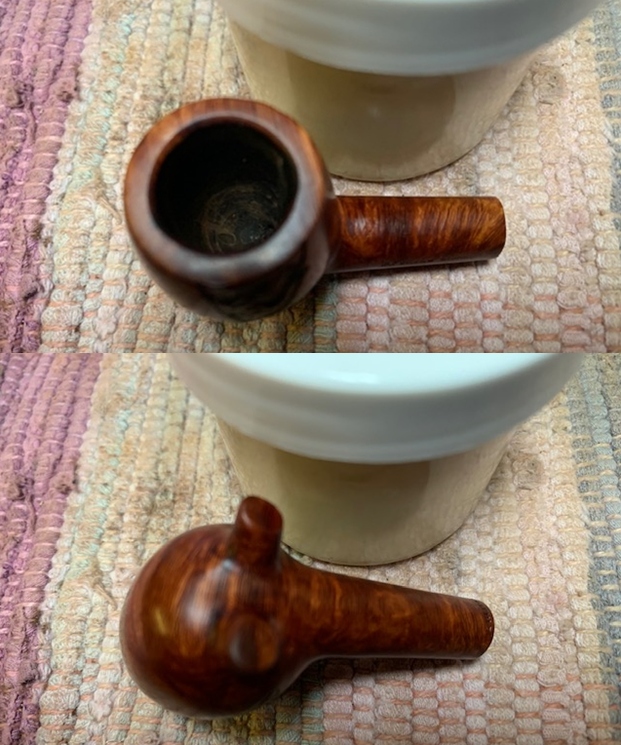
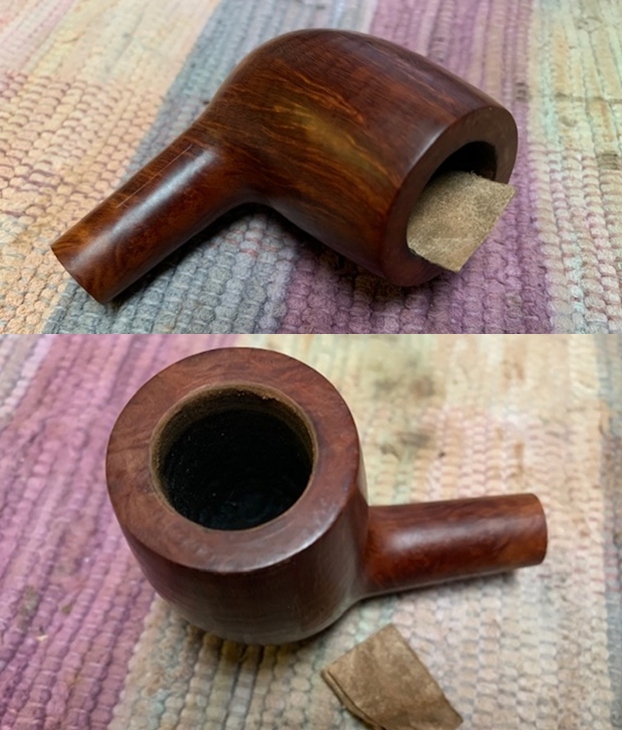
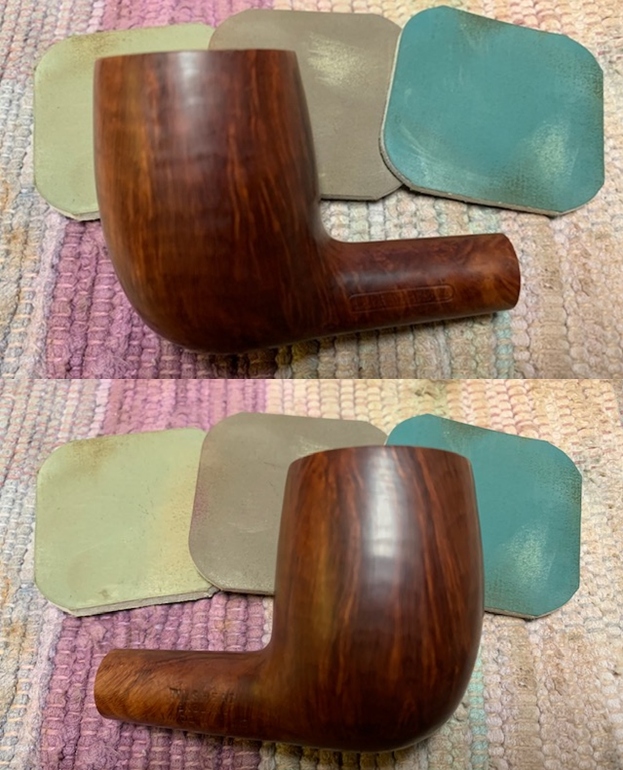
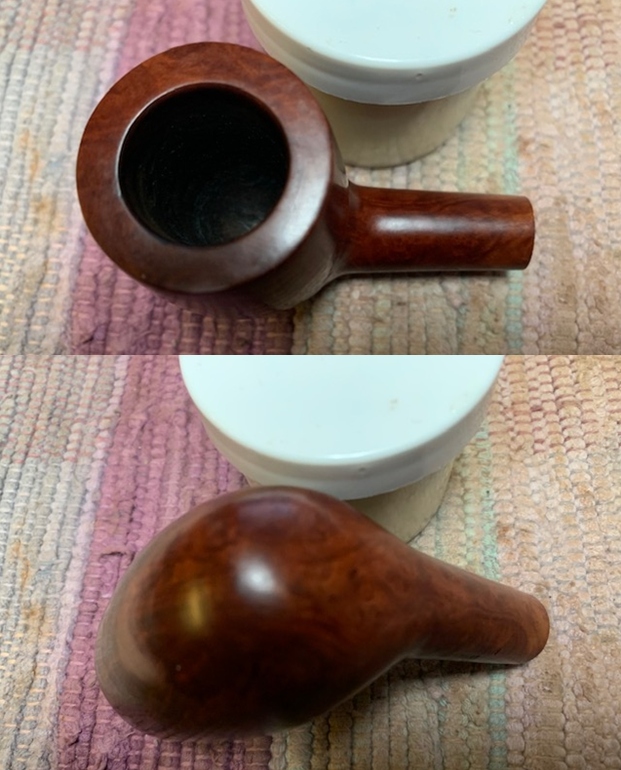
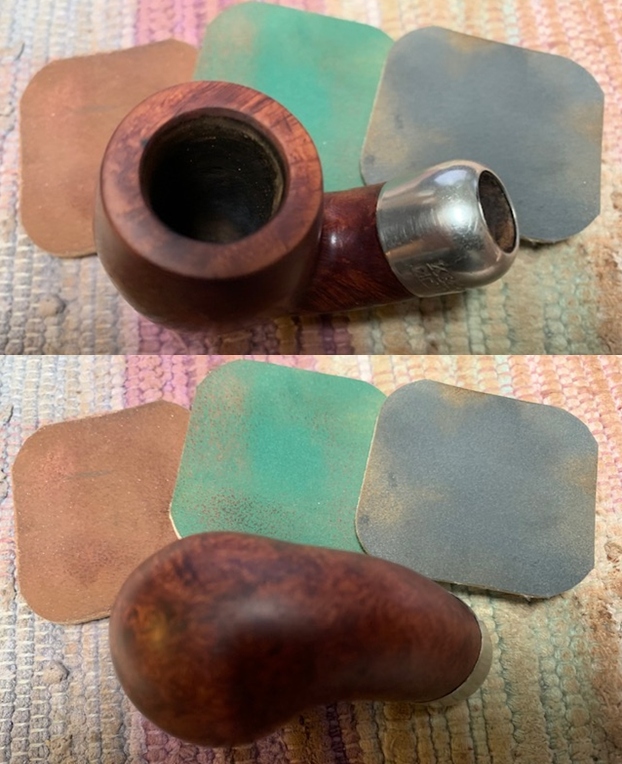
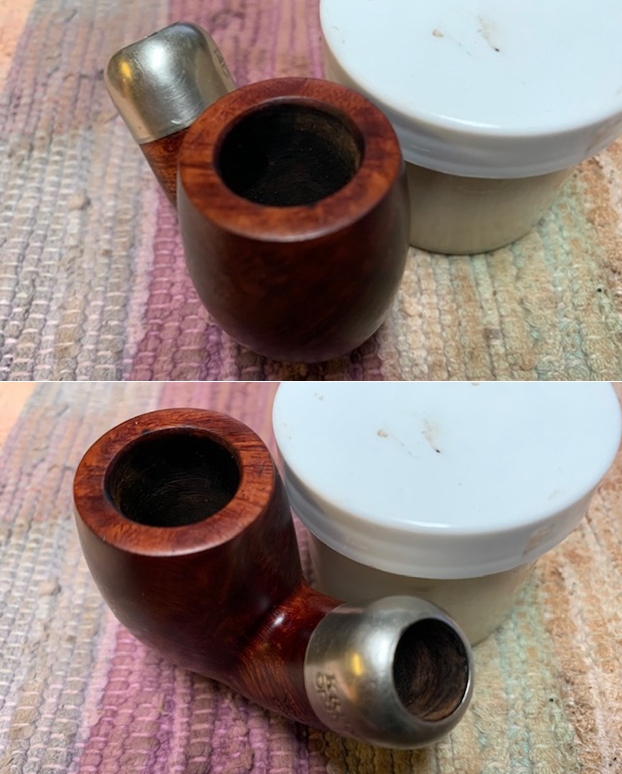
 I took photos of the condition of the rim top and stem before I started working. The rim top looks very good and the bowl is spotless. The damages on the front inner edge and rim top are very clear in the photo below. The stem has light oxidation remaining and some tooth chatter and marks on both sides near the button.
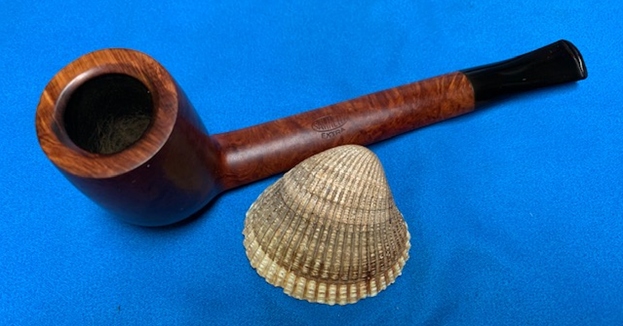
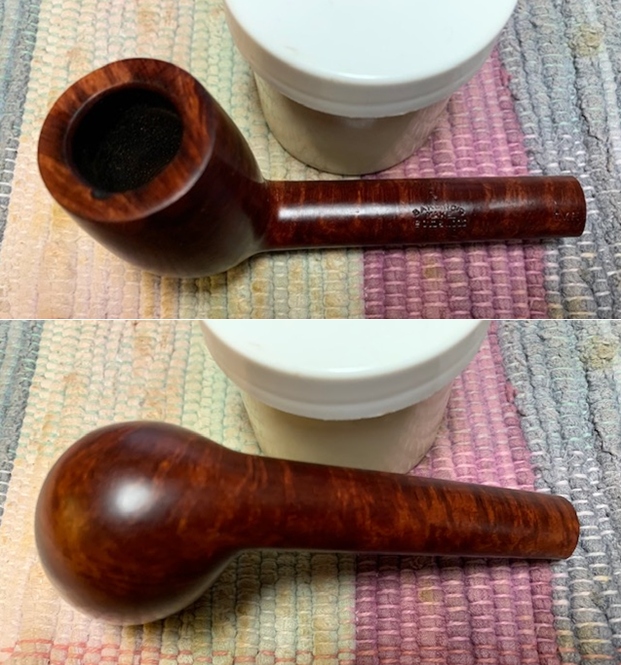
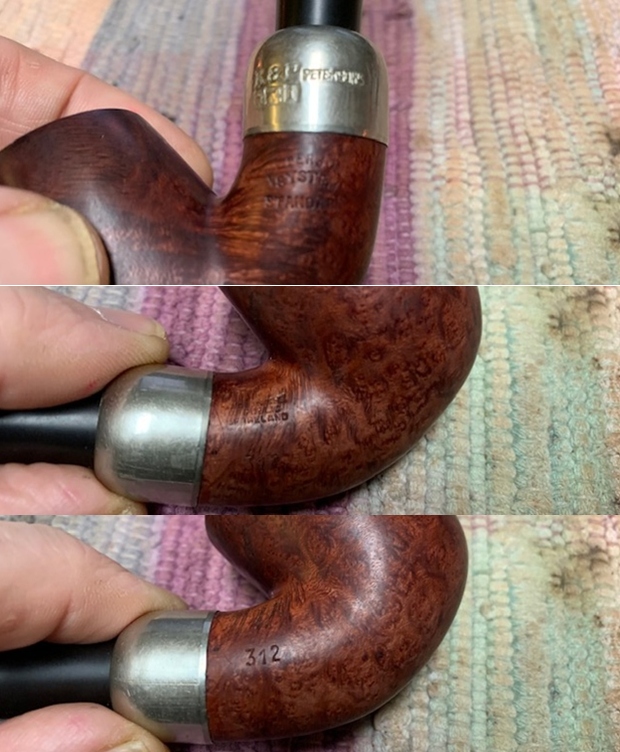
  I took a photo of the stamping on the underside of the shank. The stamping was clear and readable. It reads as noted above.
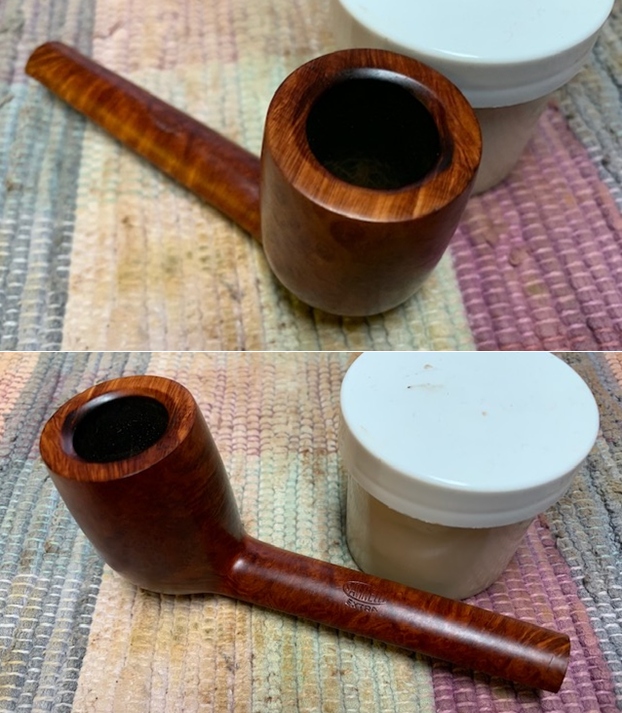
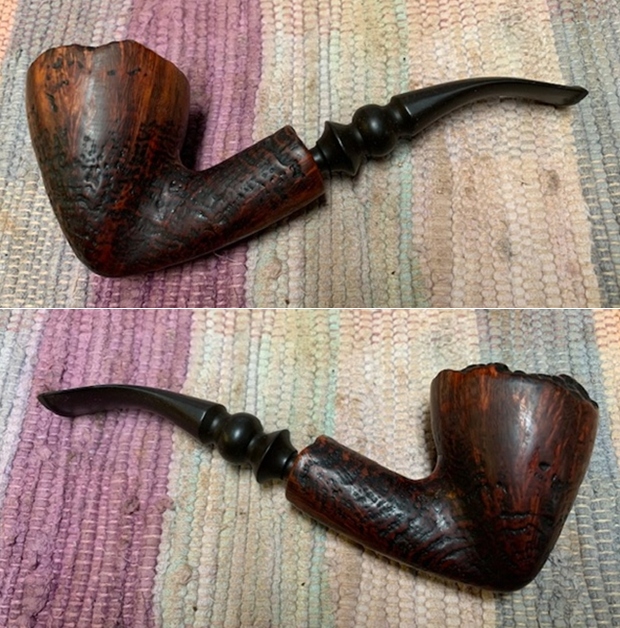
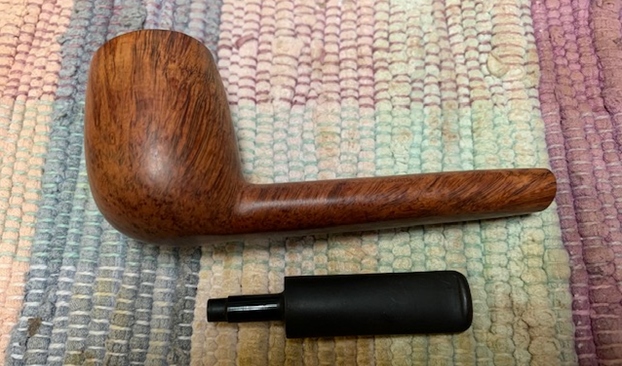
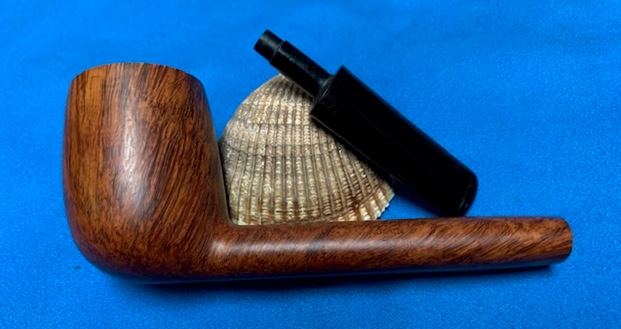
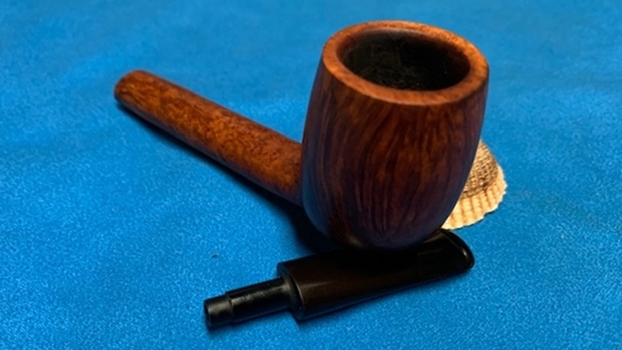
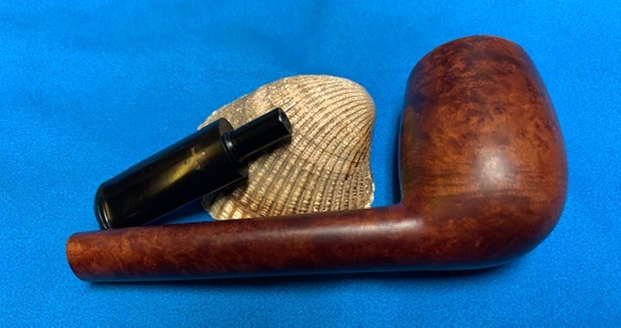
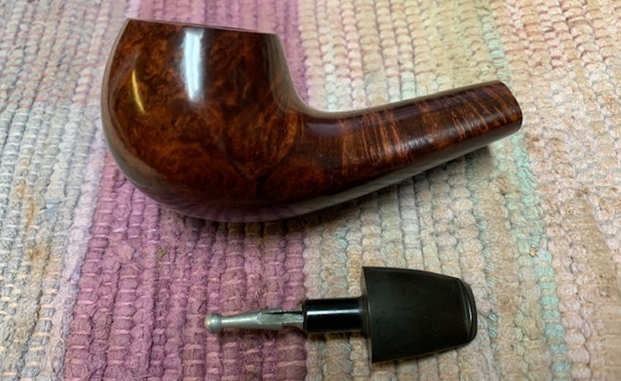
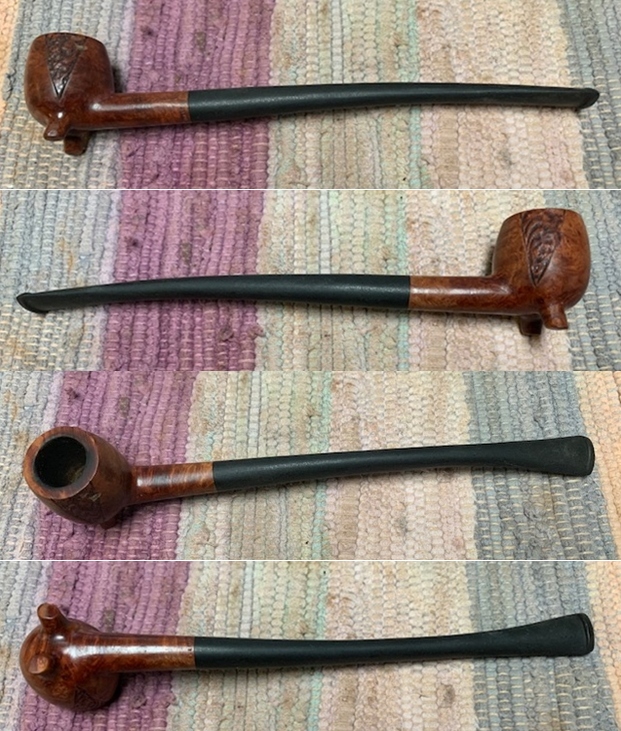
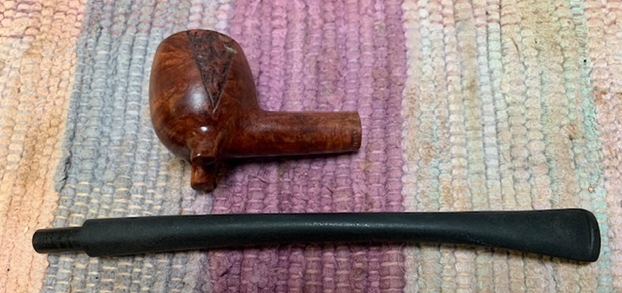
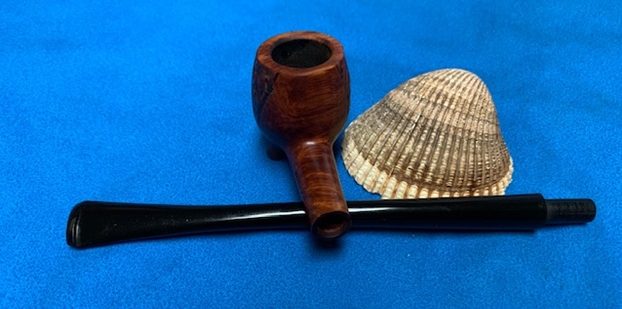
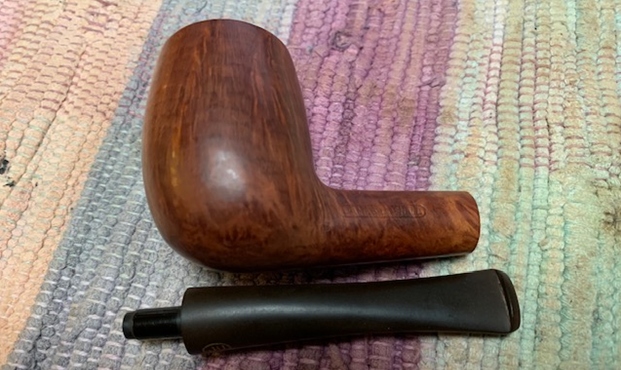
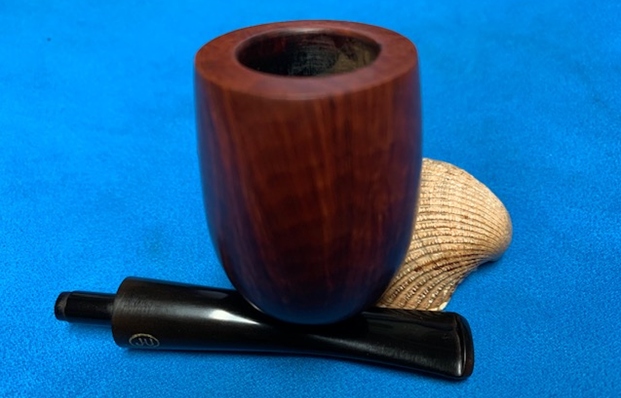
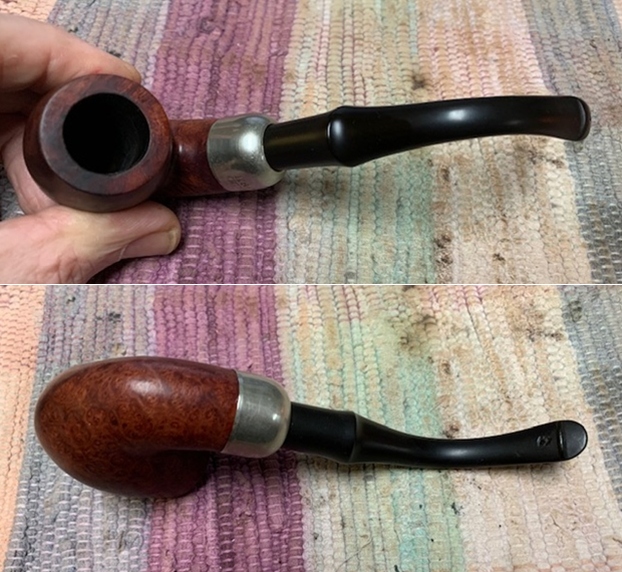
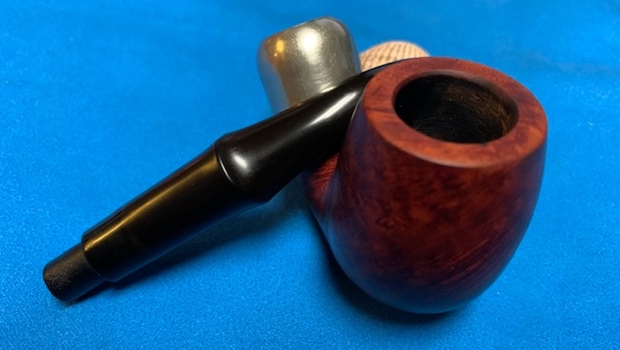
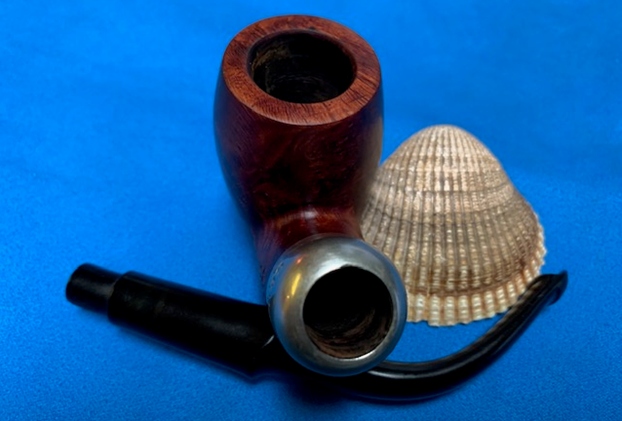
  I took the bowl and stem apart and took a photo of the pipe to show the look of the pipe.
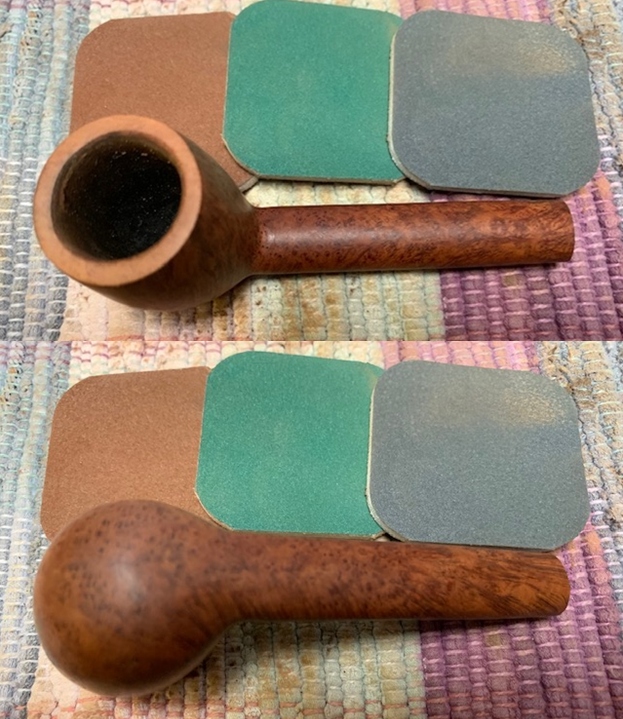
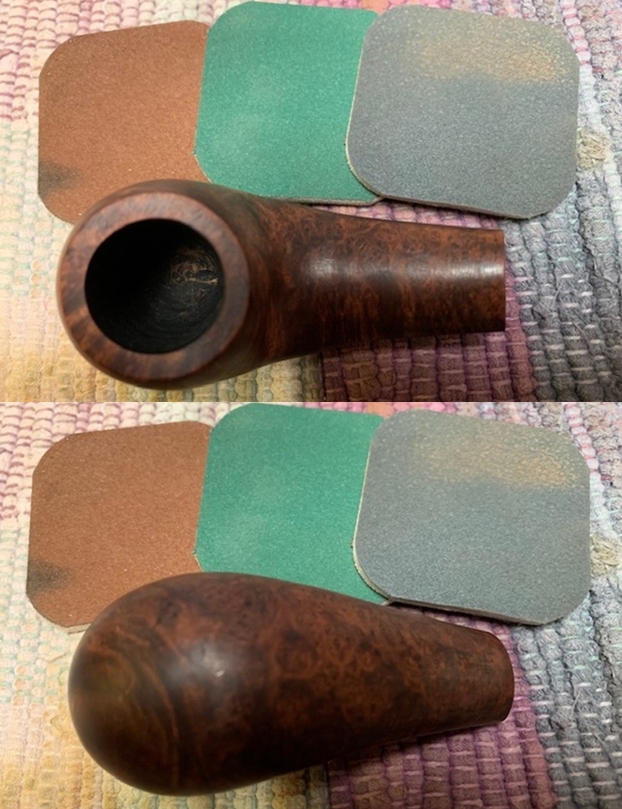
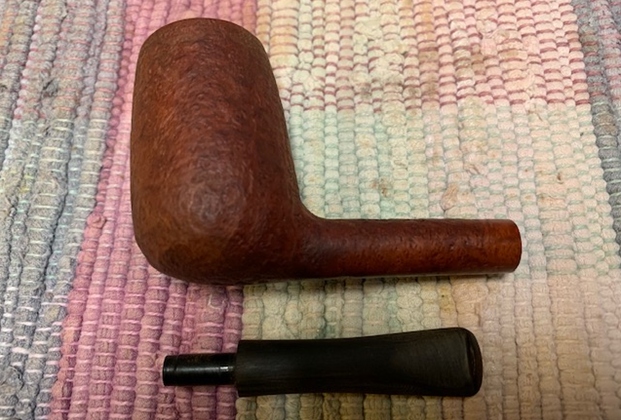 I started my work on the bowl by dealing with the damaged rim top and inner edge. I used a folded piece of 220 grit sandpaper to smooth out the edge and bring the bowl back into round. I worked out the damage on the rim top at the same time.
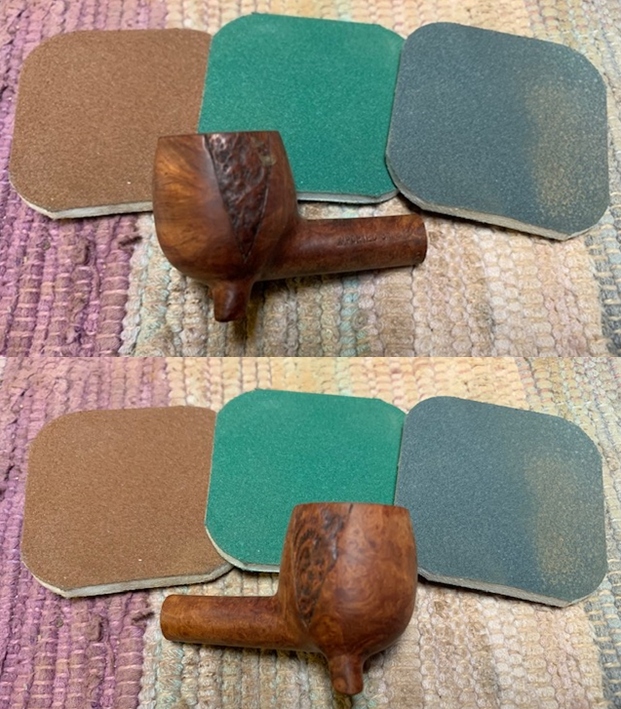
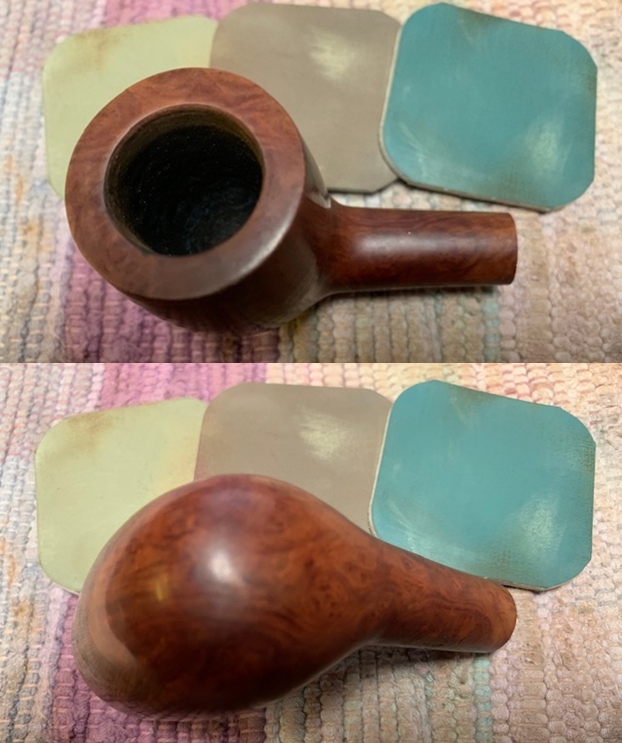
  I polished the smooth rim top with micromesh sanding pads – dry sanding with 1500-12000 grit pads. I wiped the bowl down after each pad with a damp cloth to remove the sanding dust.
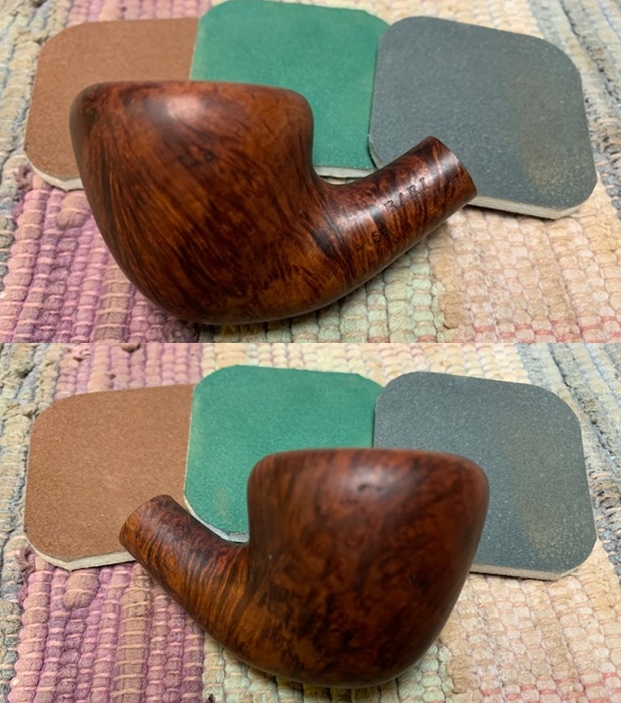
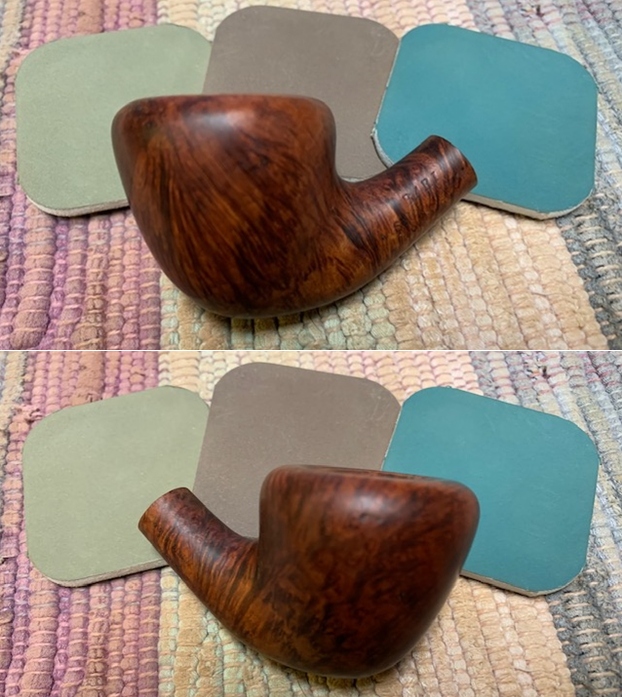
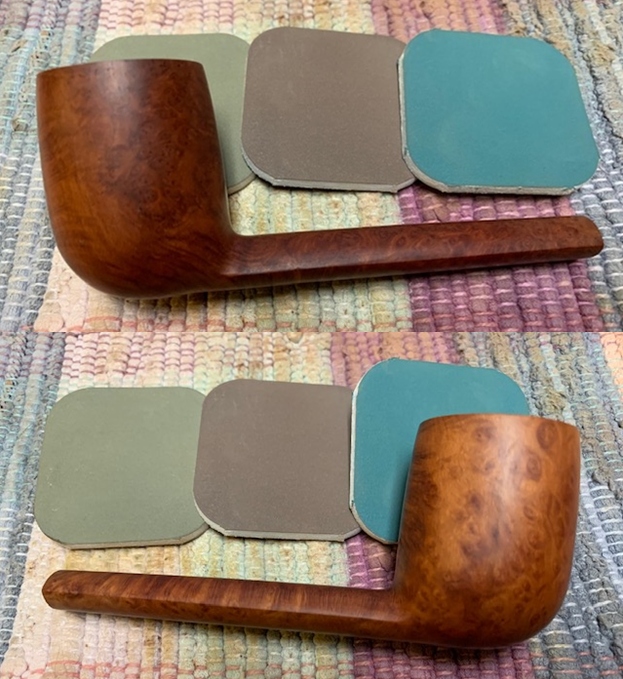
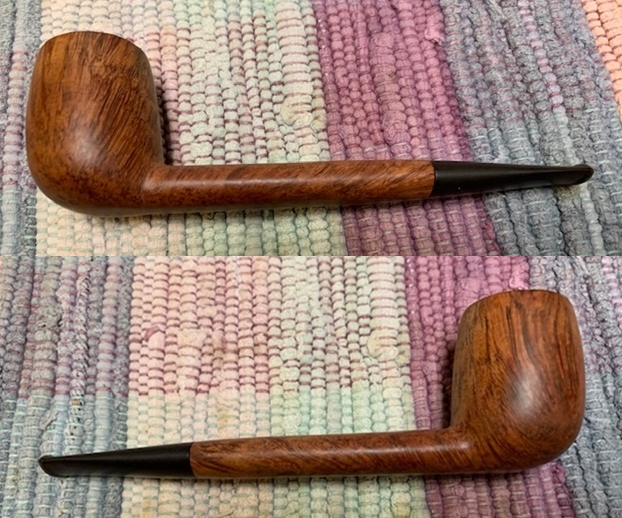
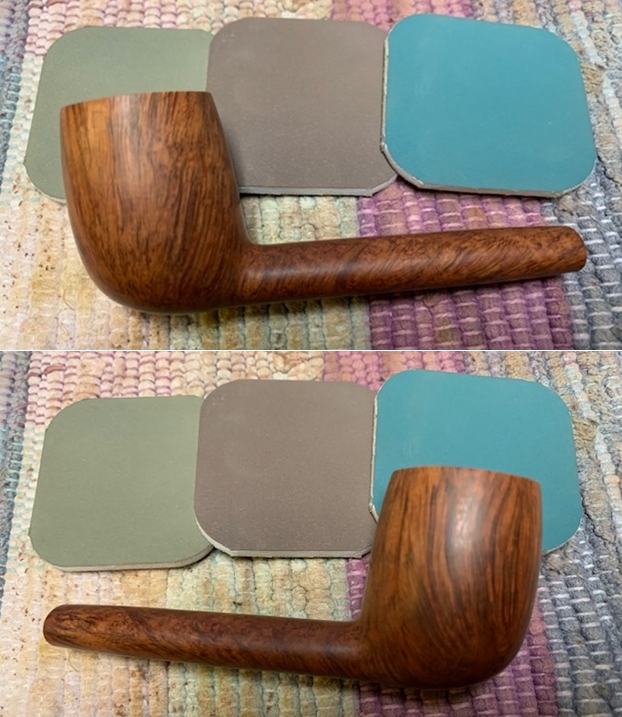
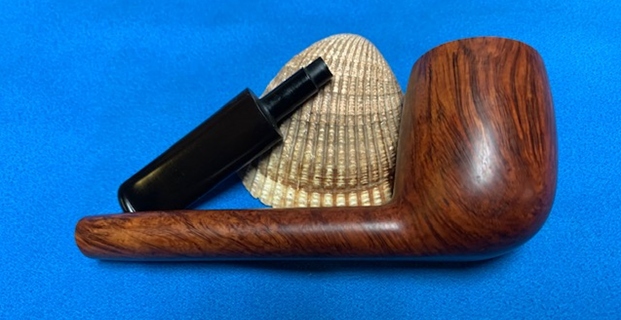
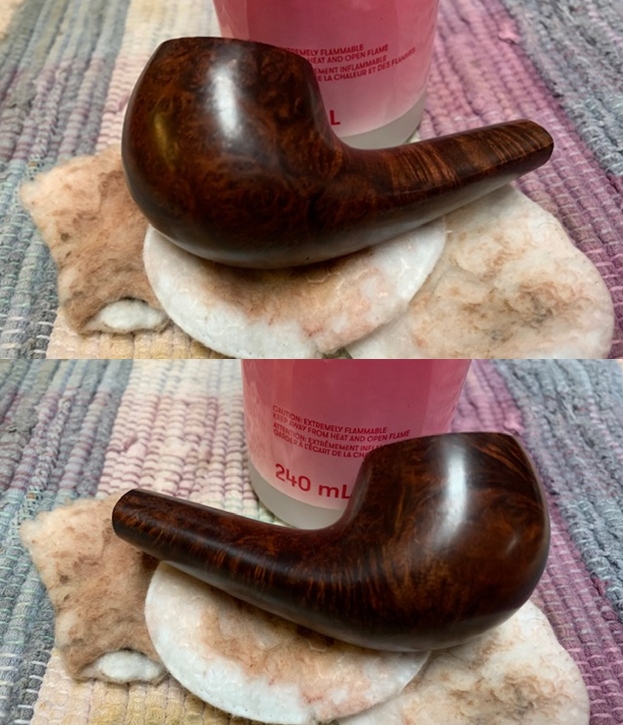
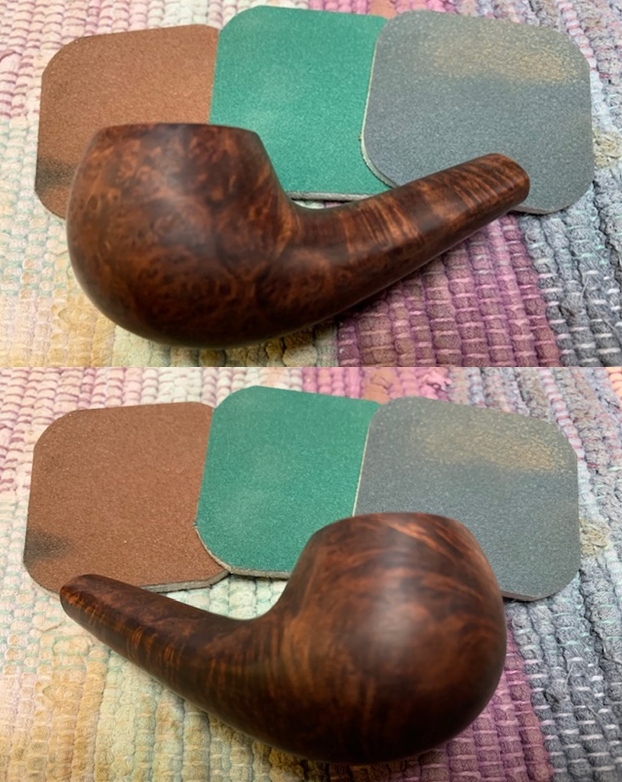
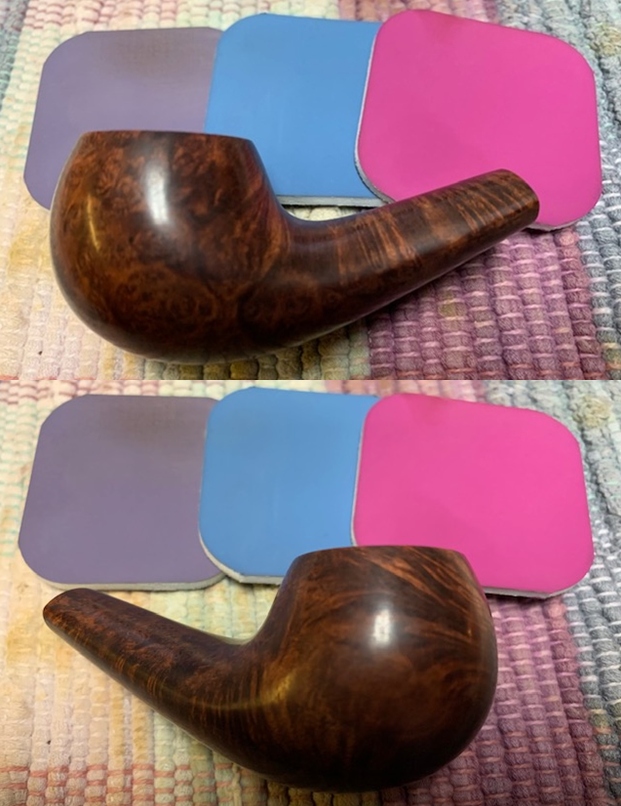
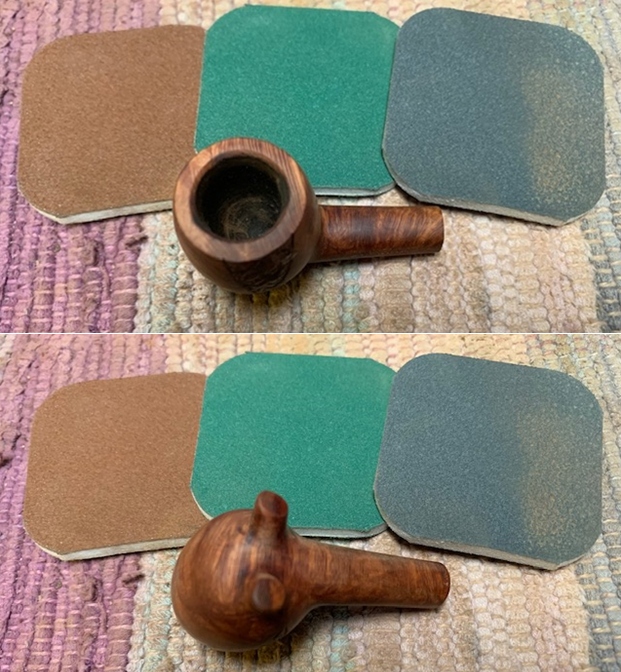
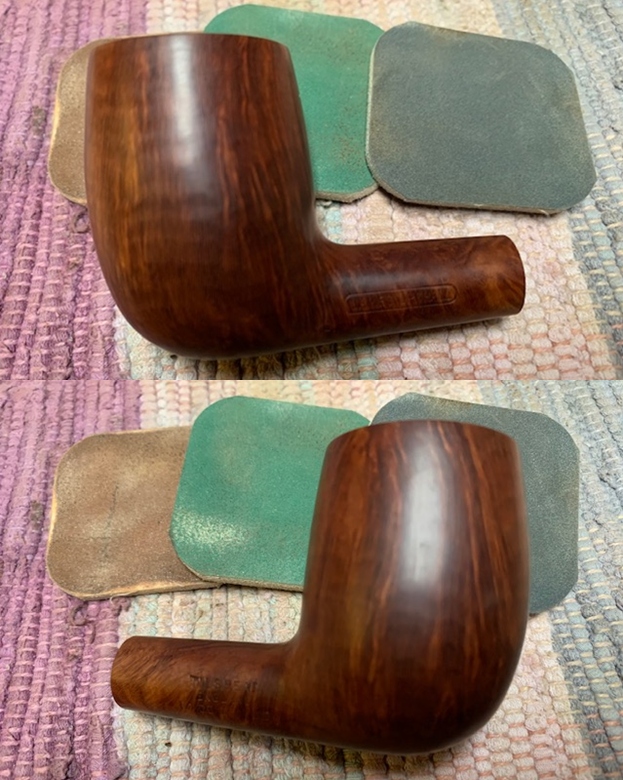
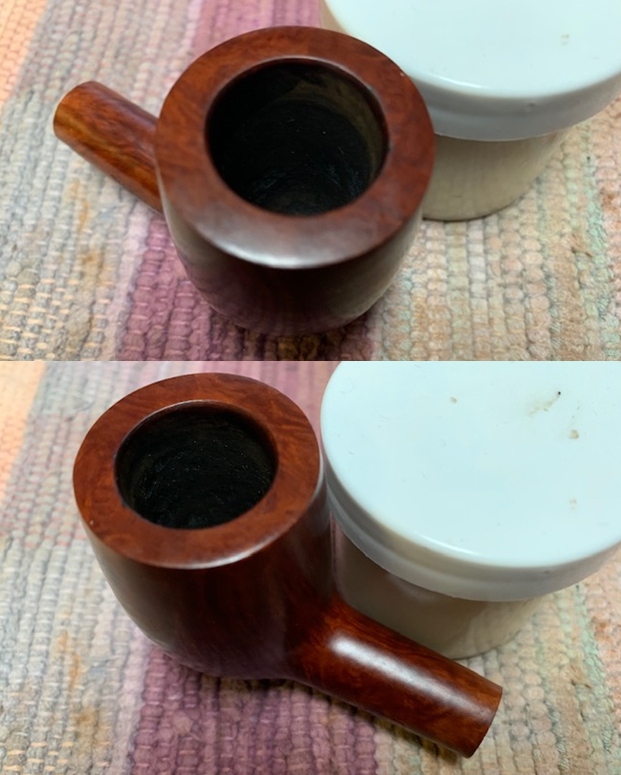
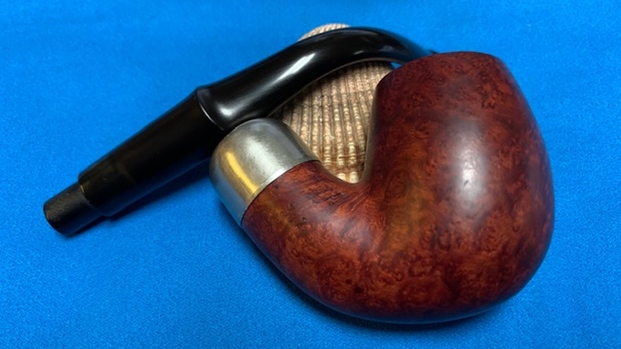
 I worked some Before & After Restoration Balm into the finish of the bowl, rim top and shank with my fingertips to clean, enliven and protect it. I find that the balm really makes the briar come alive again. The contrasts in the layers of stain really made the grain stand out. I let the balm sit for 15 minutes and then buffed with a cotton cloth to raise the shine. The bowl really looks good at this point.

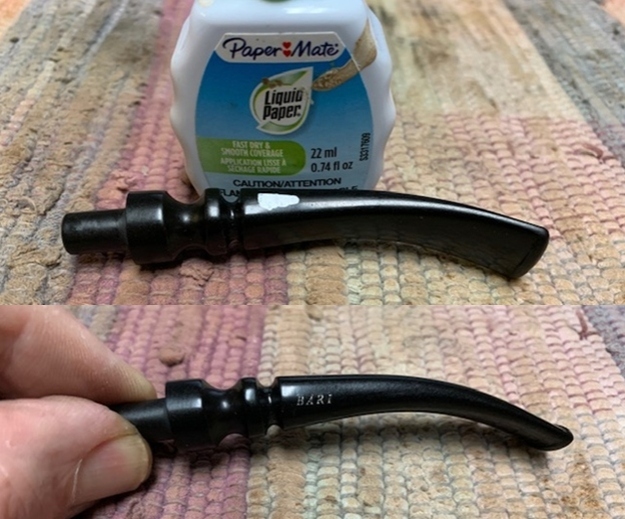
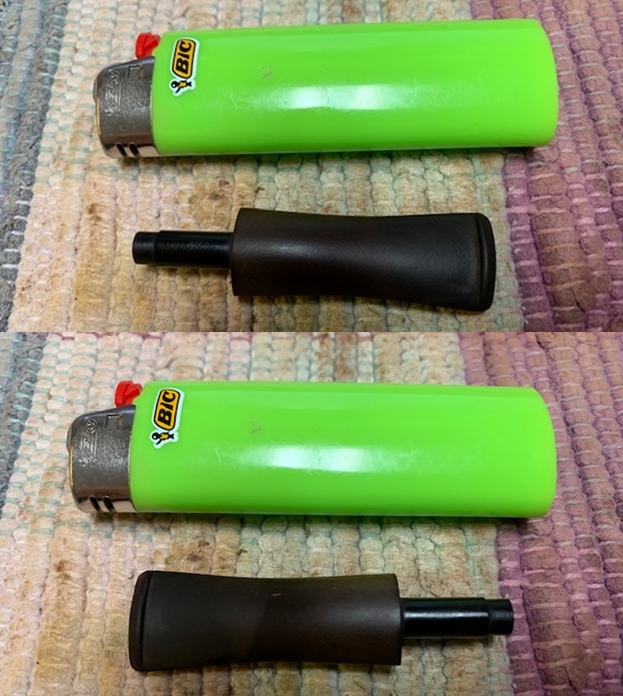
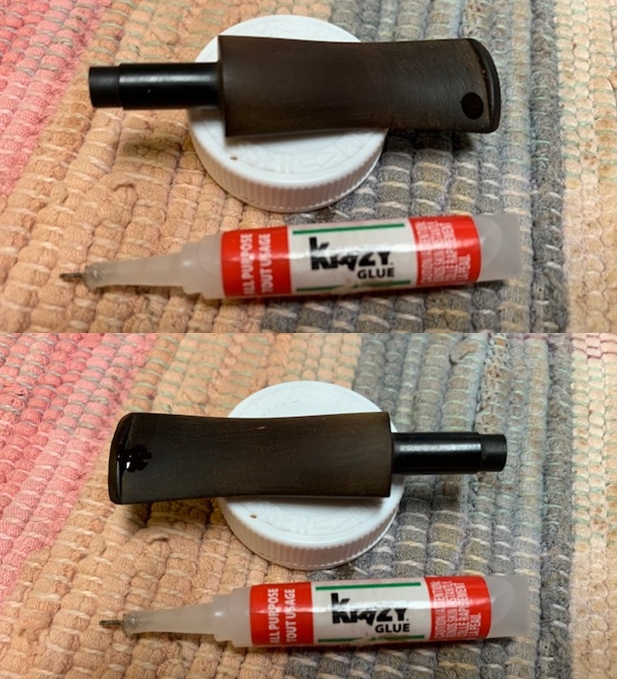
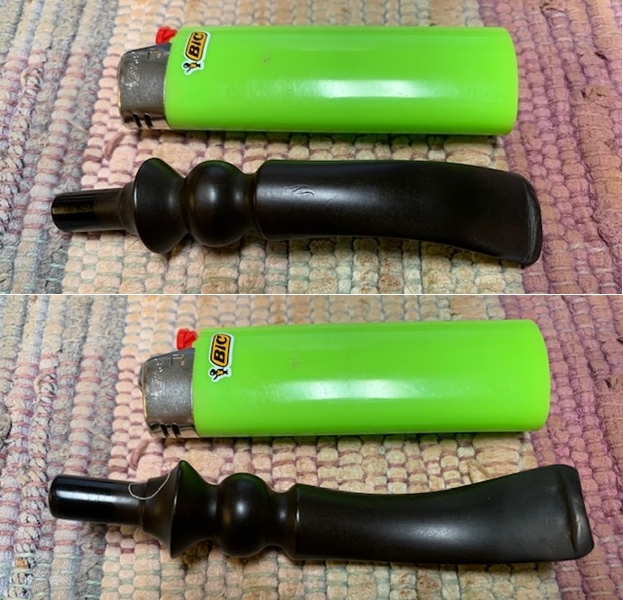
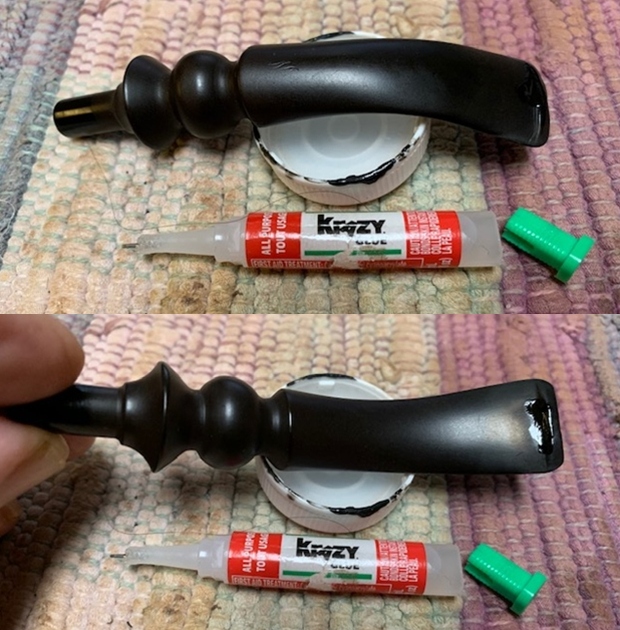
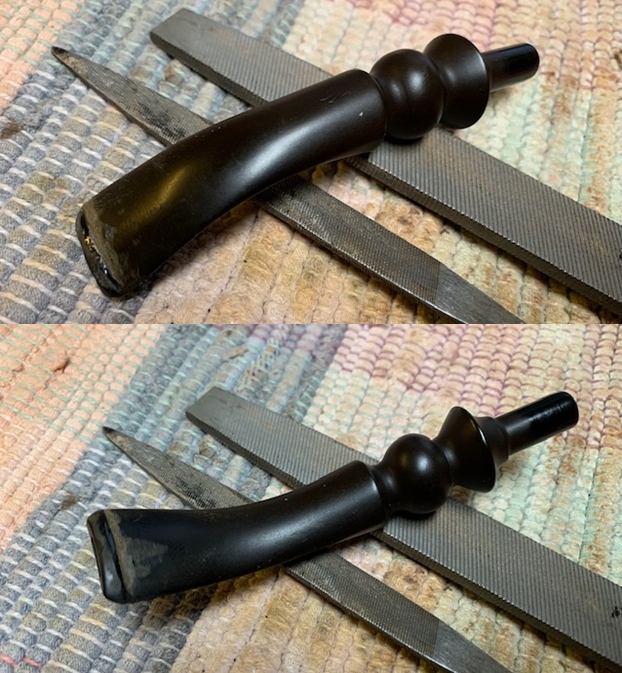
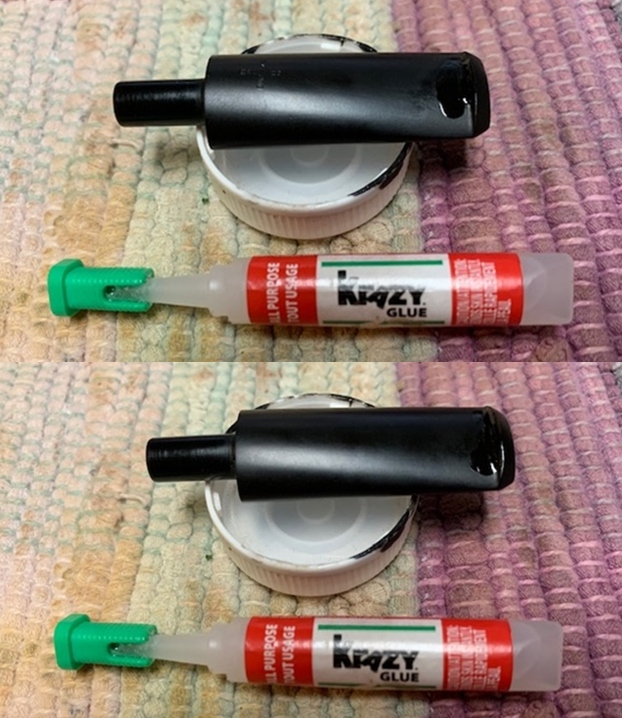
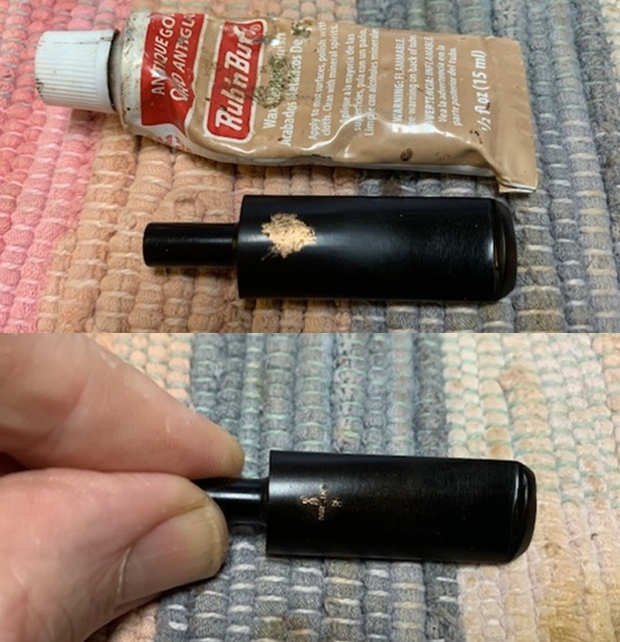
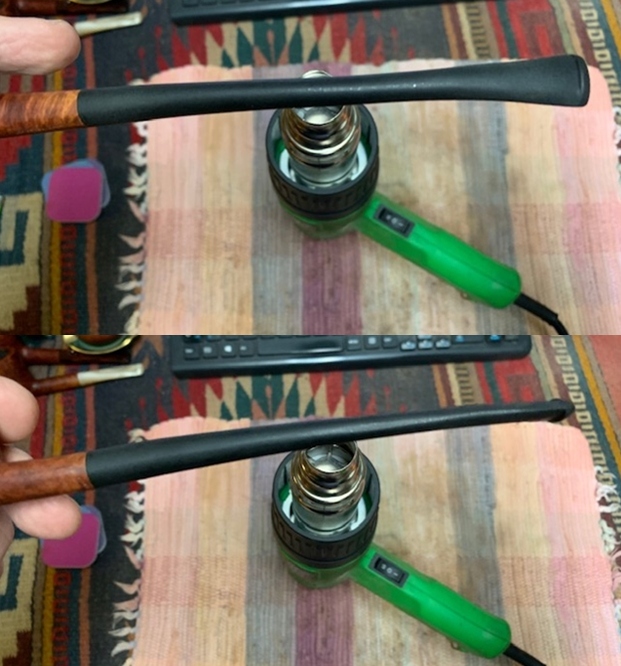
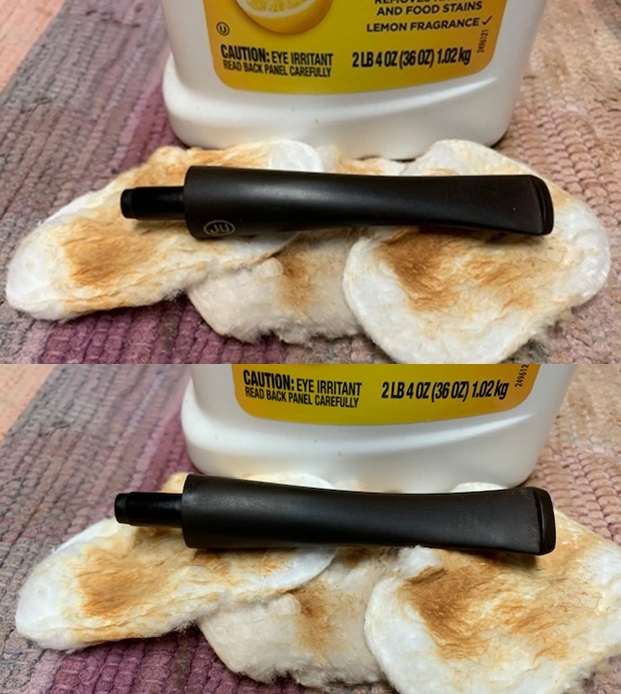
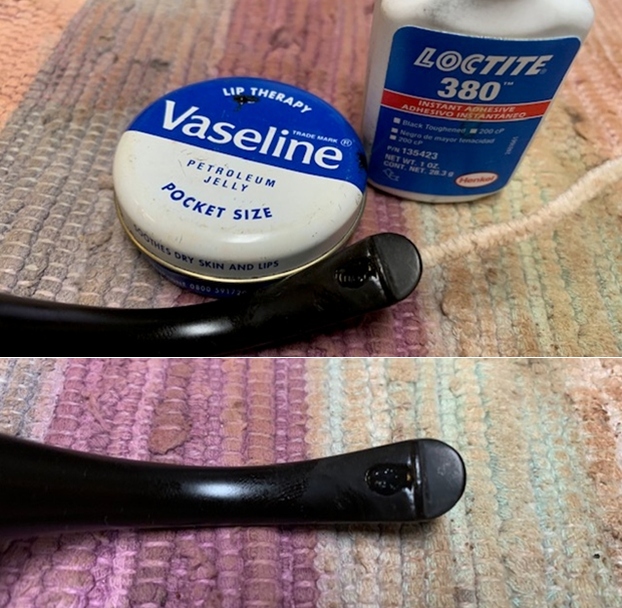
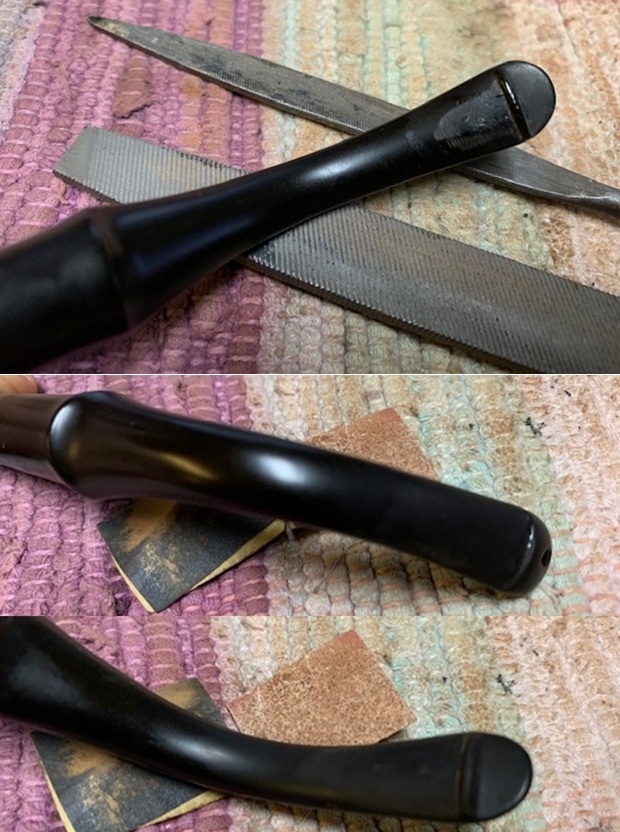
 I set aside the bowl and turned my attention to the stem. I “painted” the tooth marks on the surface of the stem and was able to lift them significantly. I smoothed out the remaining tooth marks with 220 sandpaper to blend and started polishing with 400 grit wet dry sandpaper.
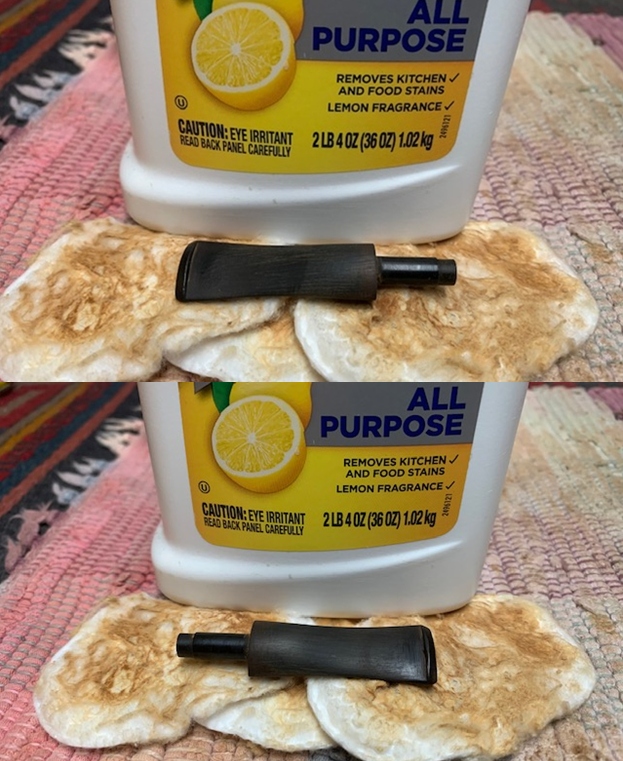
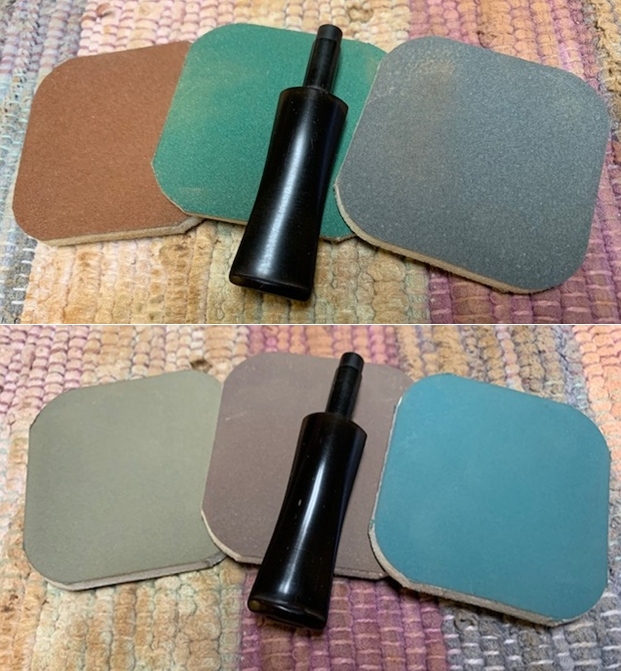
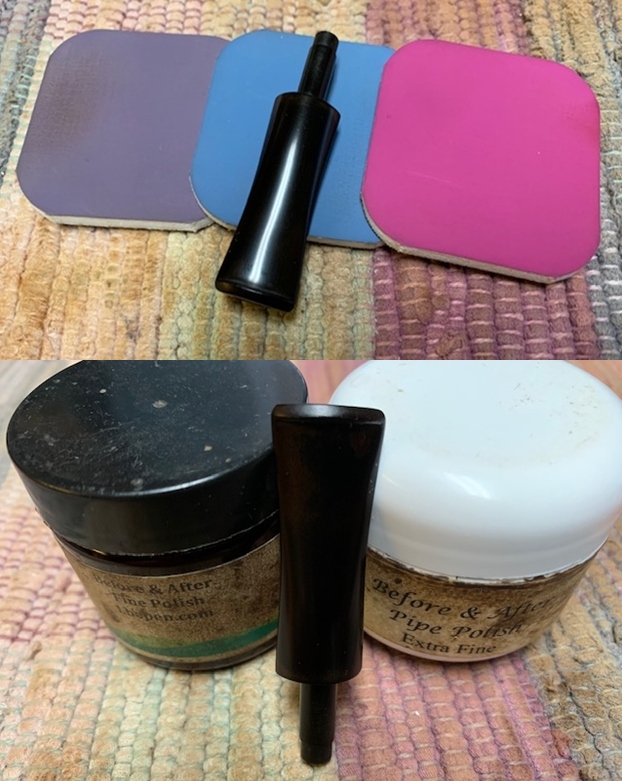
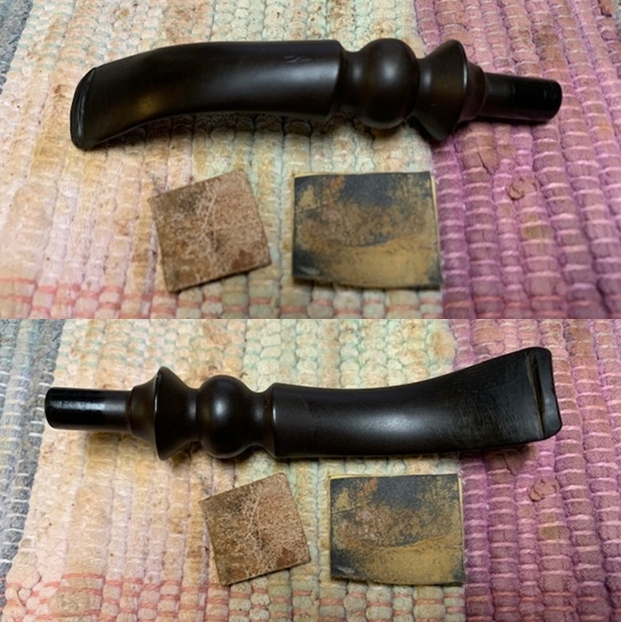
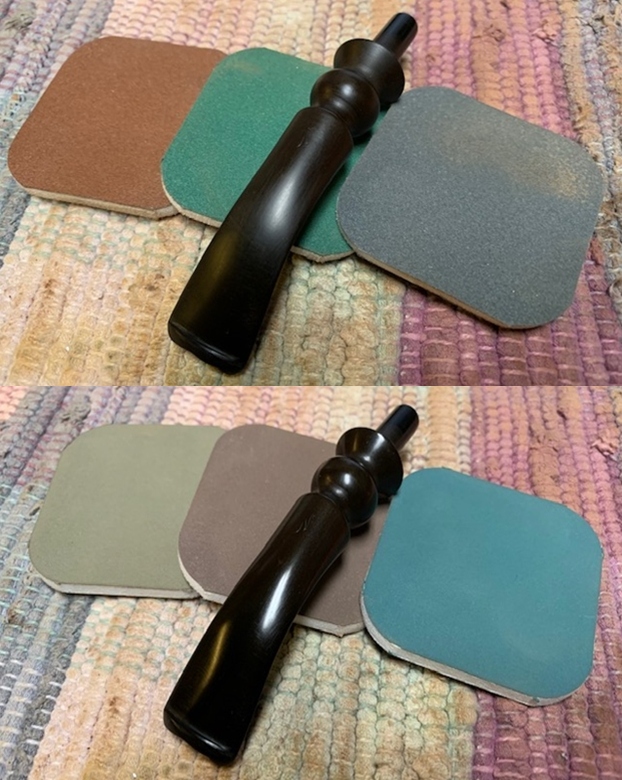
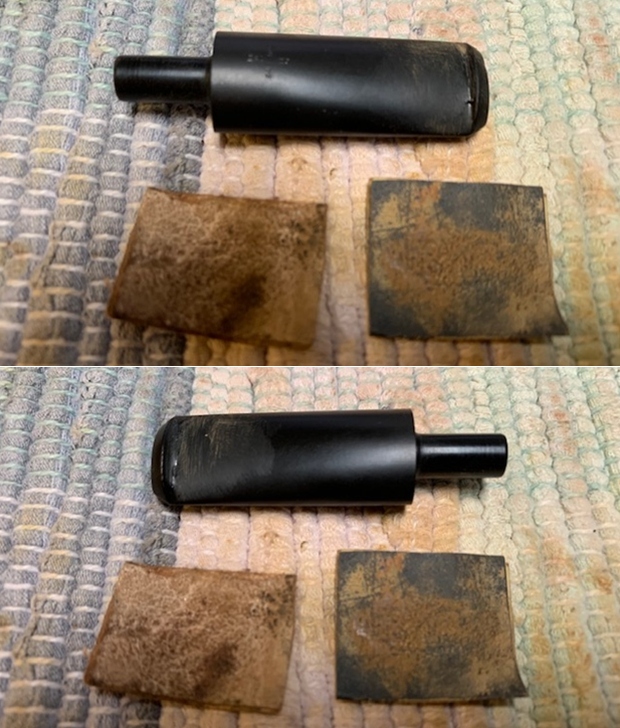
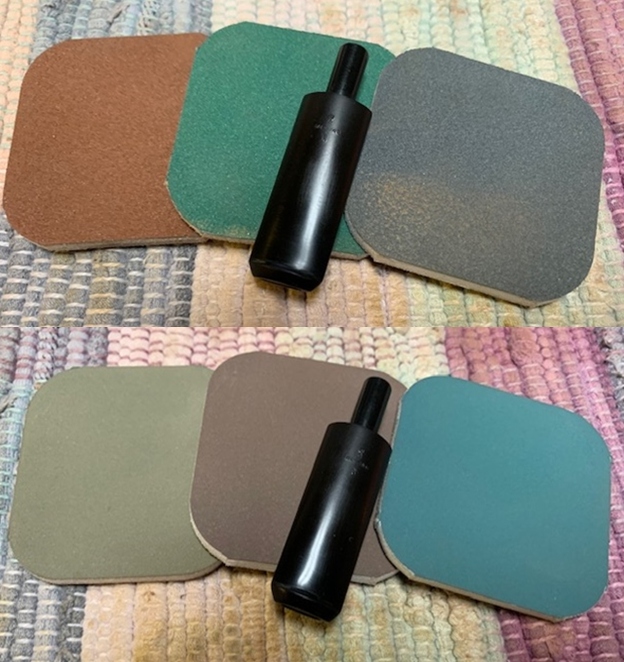
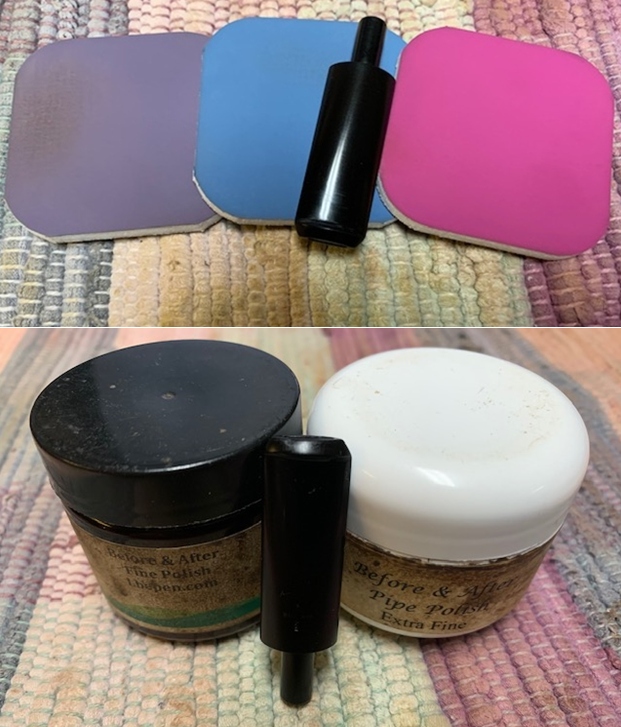
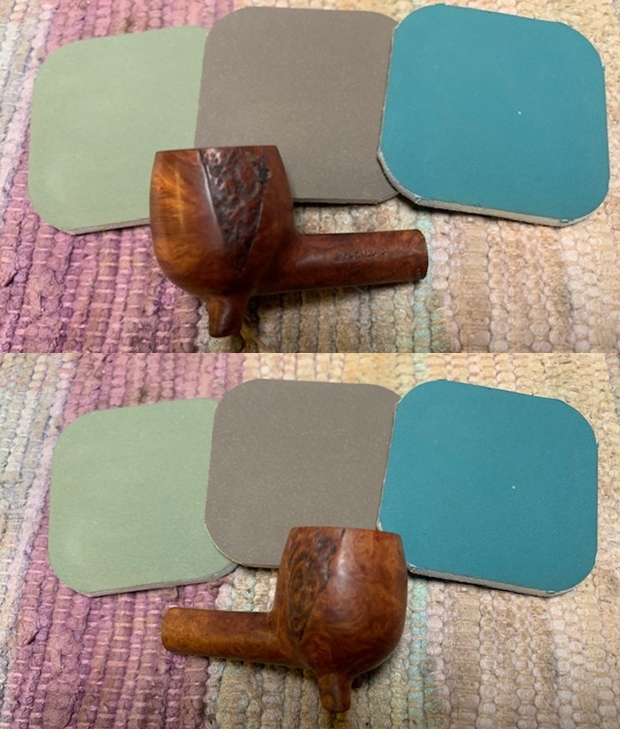
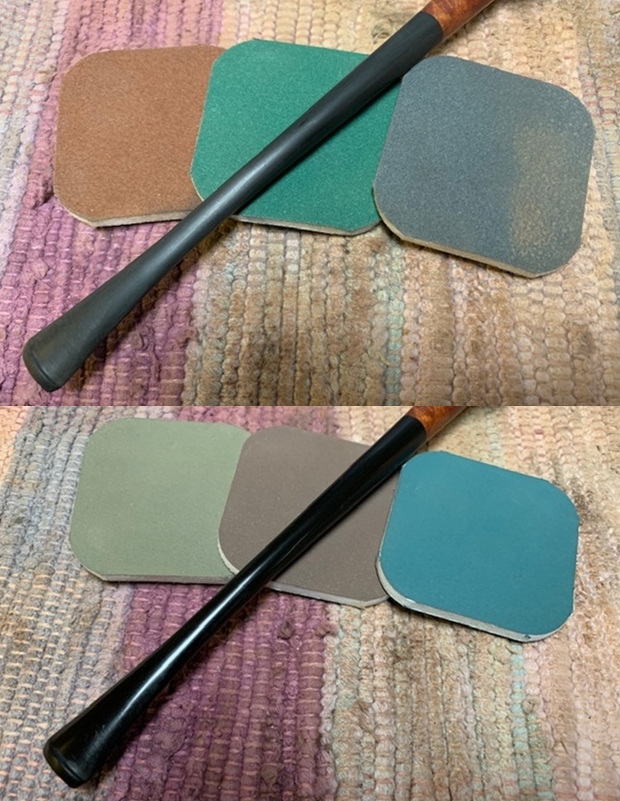
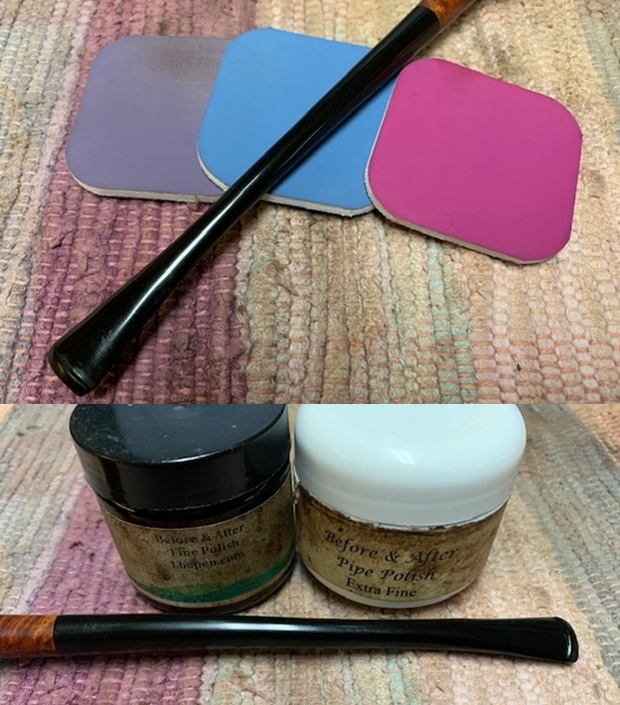
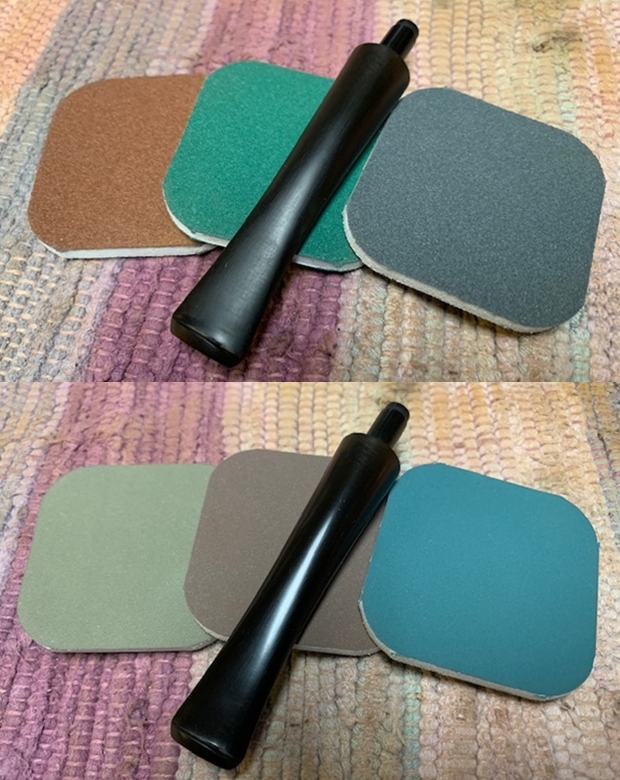
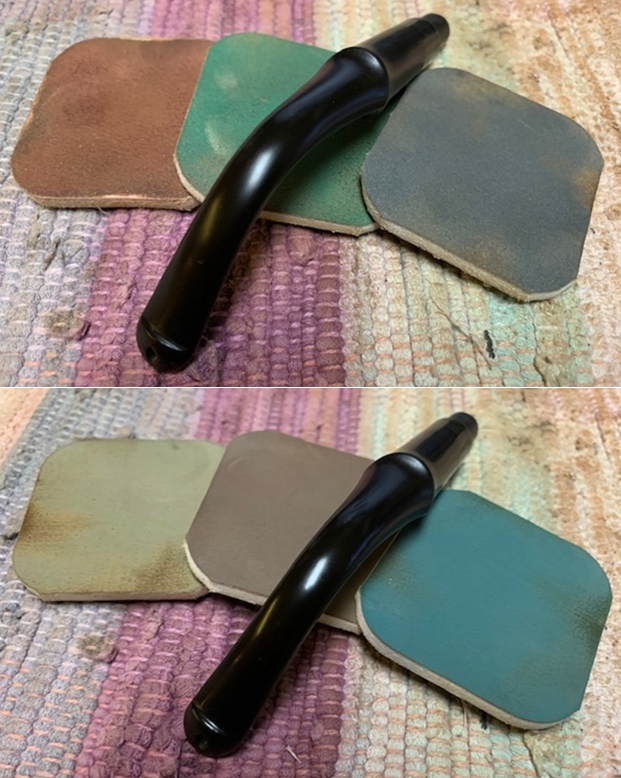
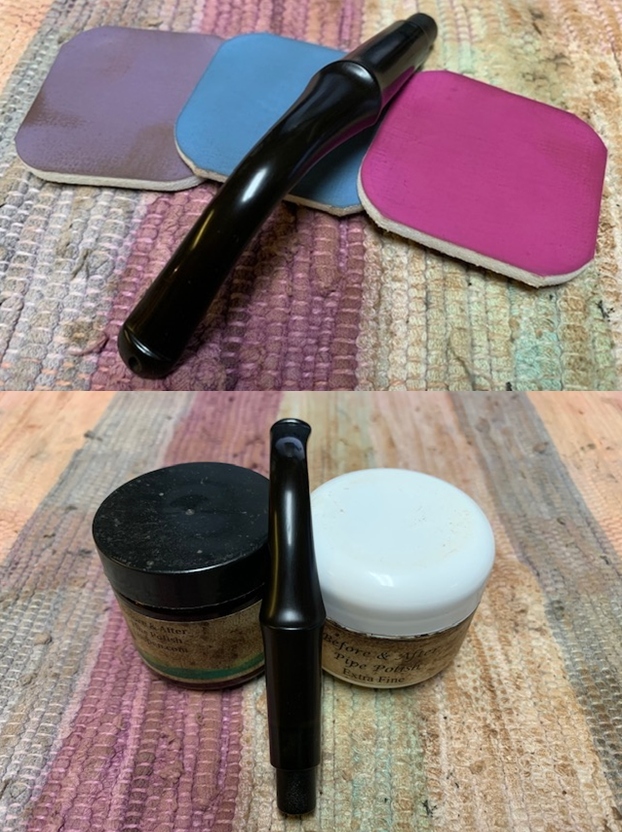
 I polished the stem with micromesh sanding pads – wet sanding it with 1500-12000 grit pads. I polished it further with Before & After Pipe Stem Polish – both fine and extra fine.
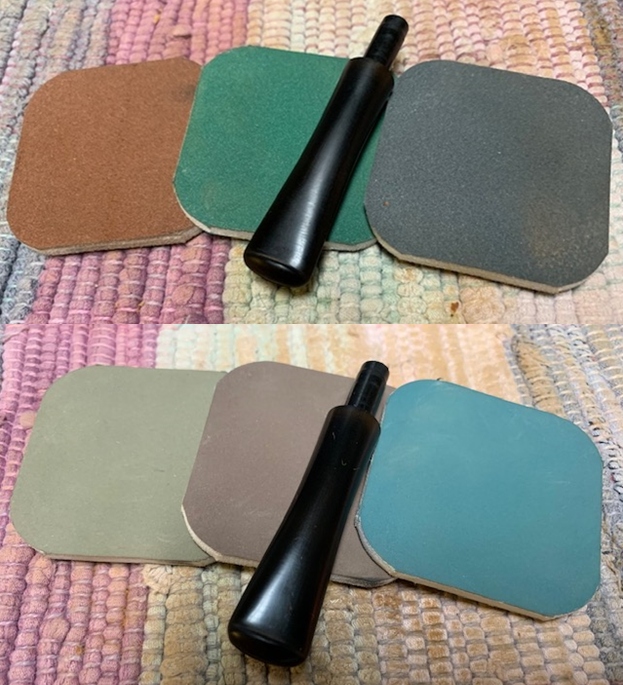
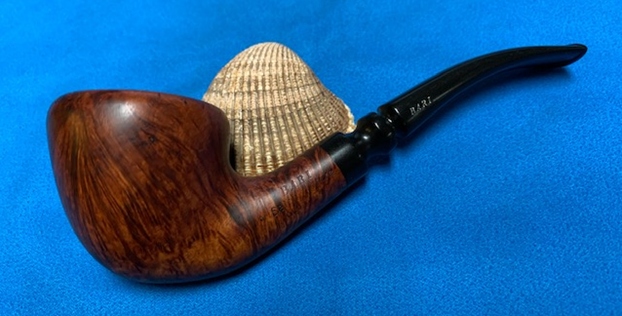
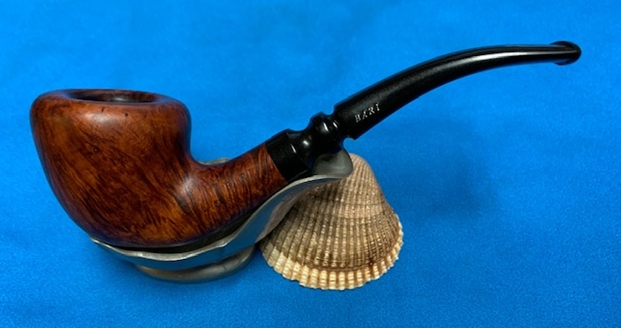
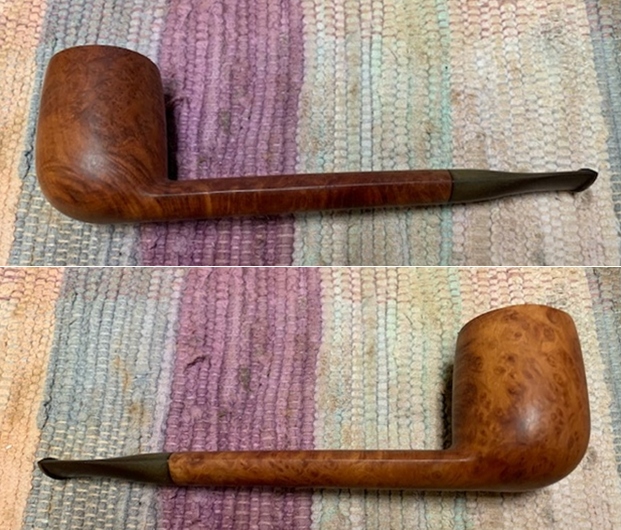
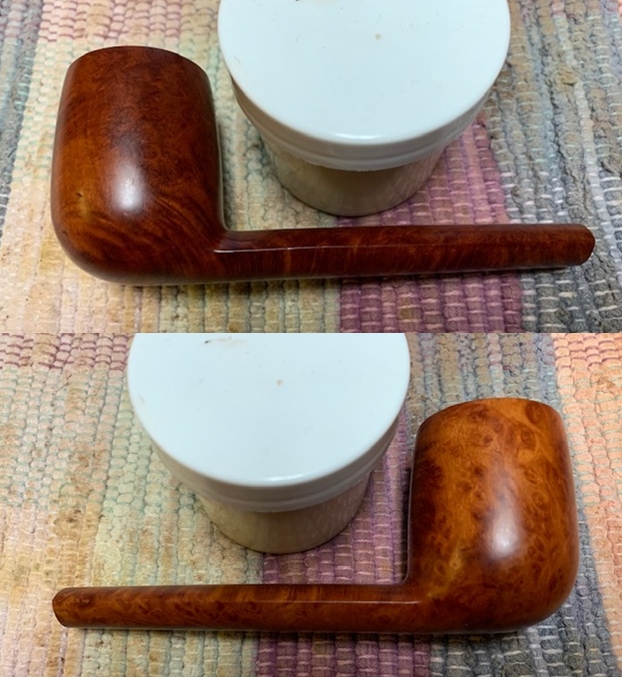
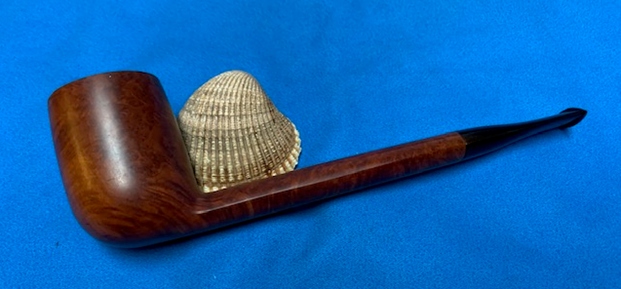
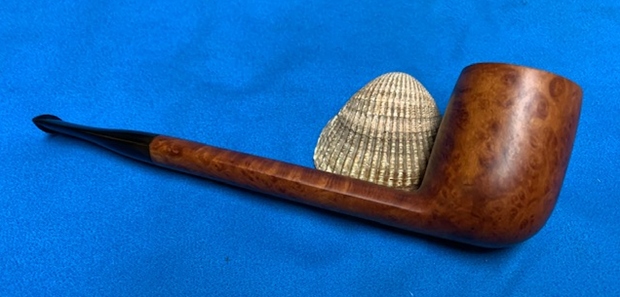
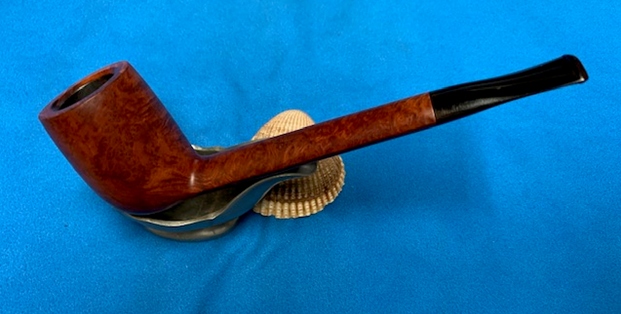
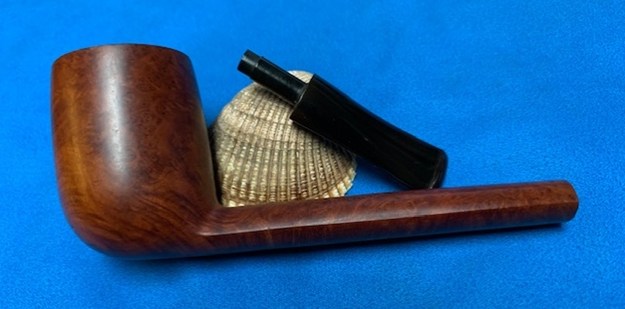
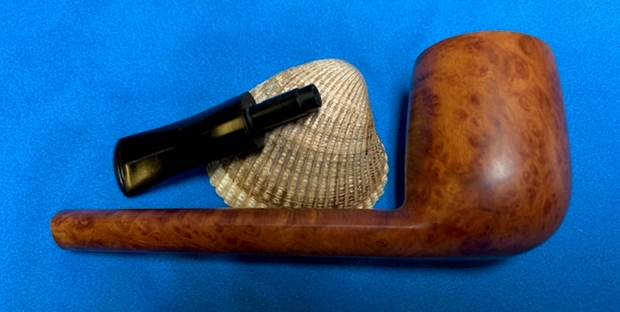
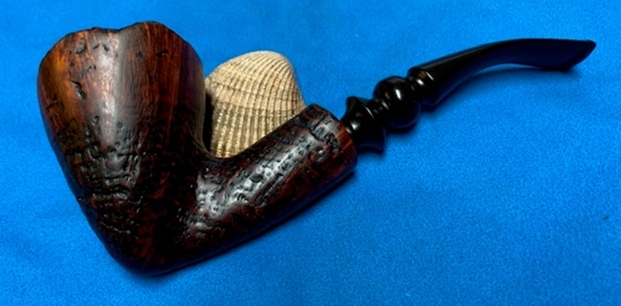
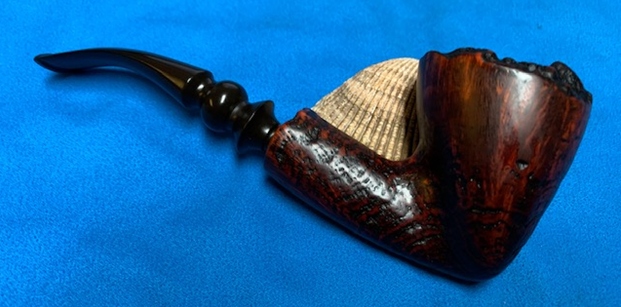
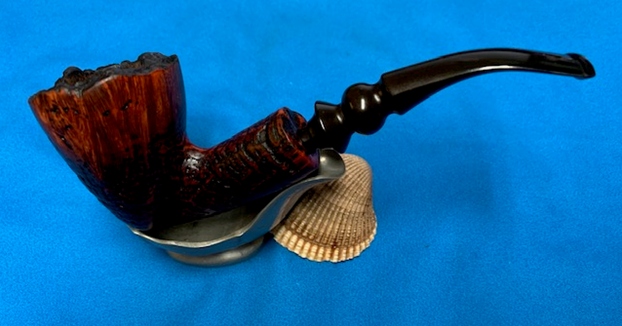
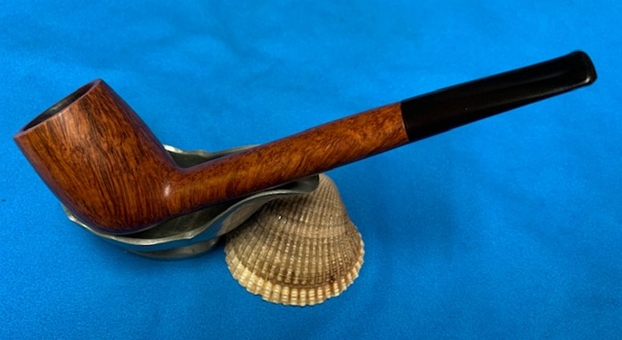
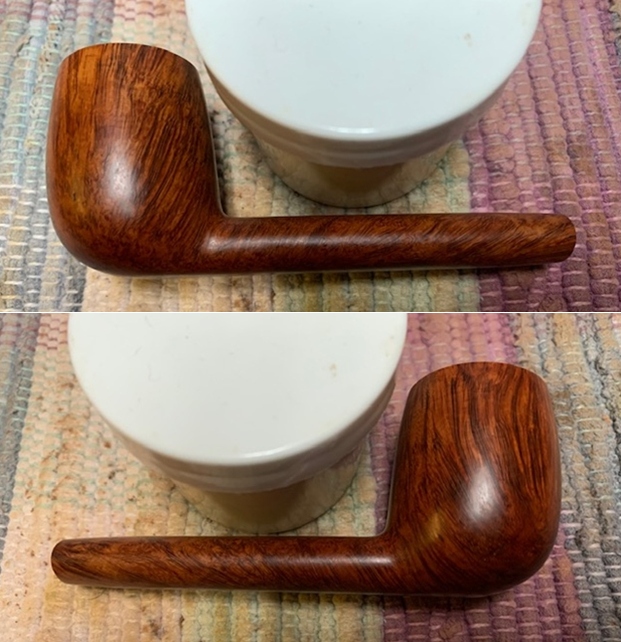
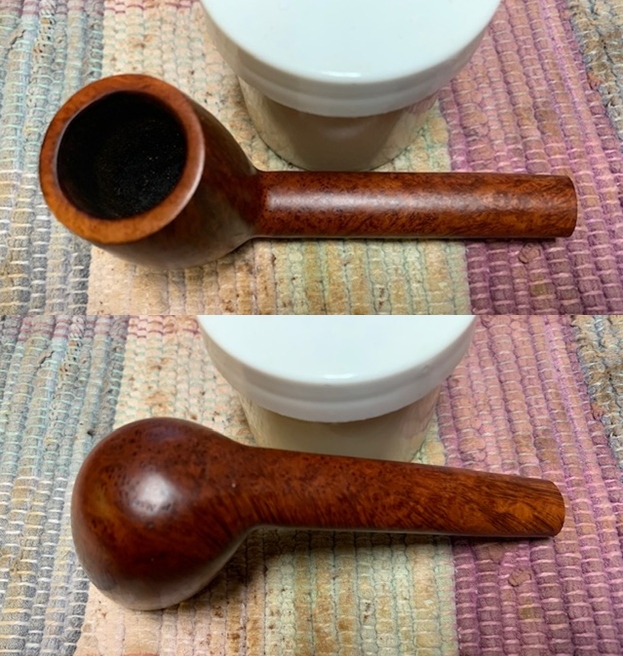
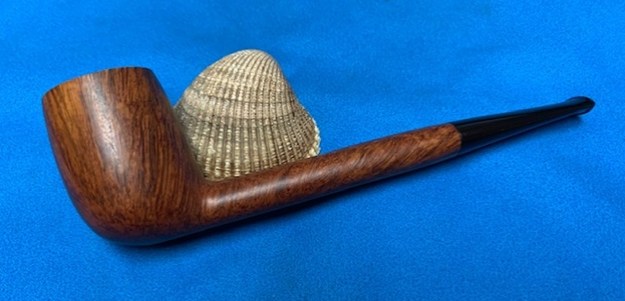
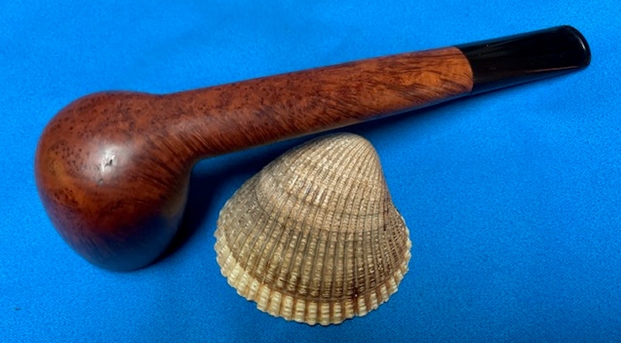
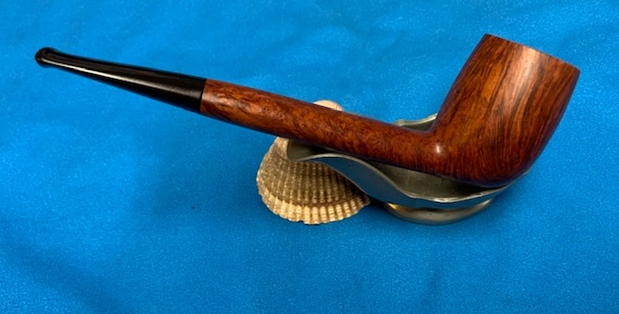
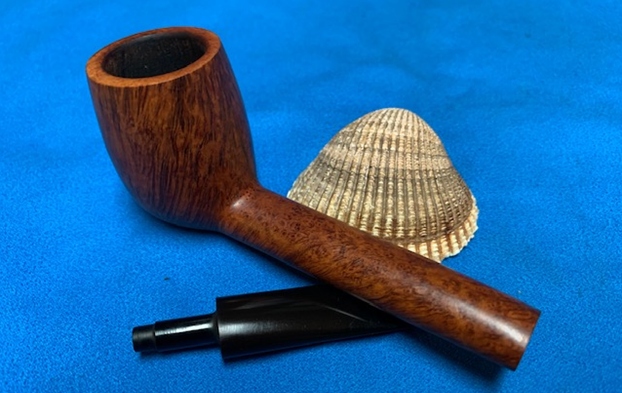
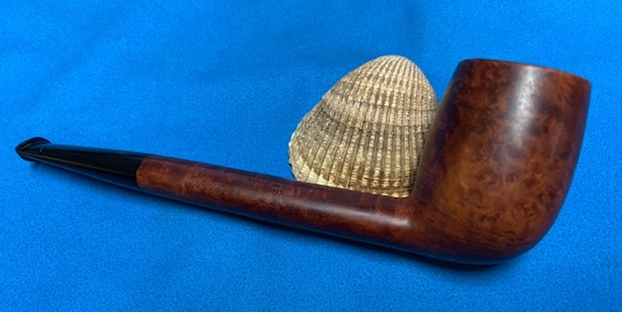
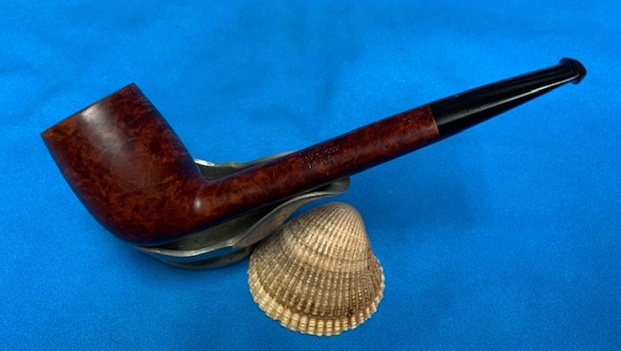
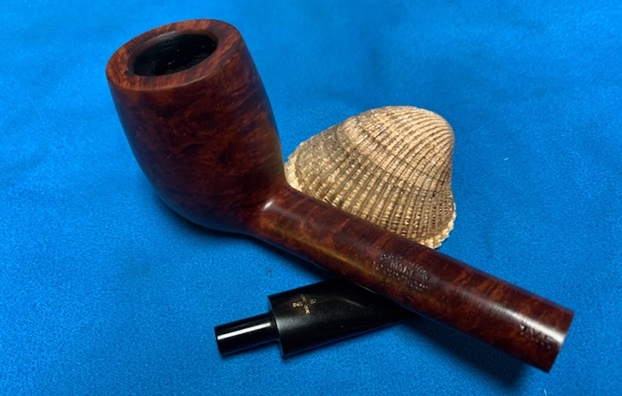
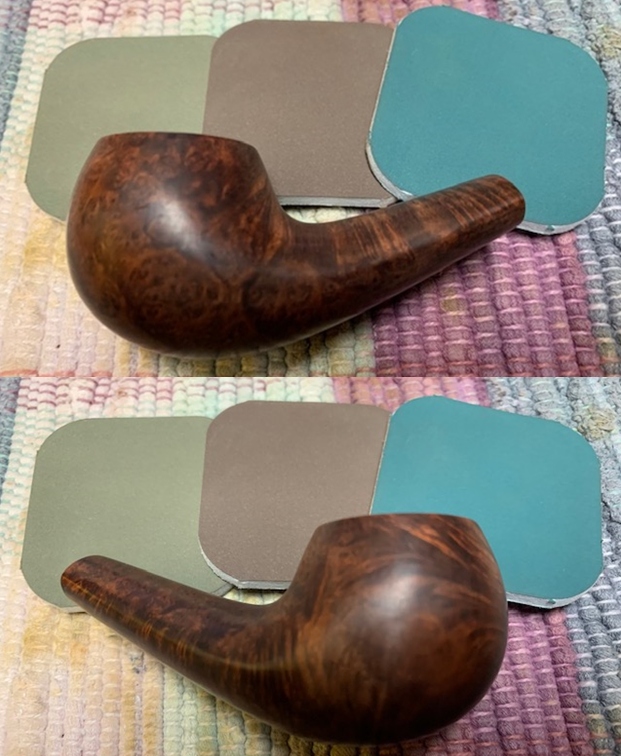
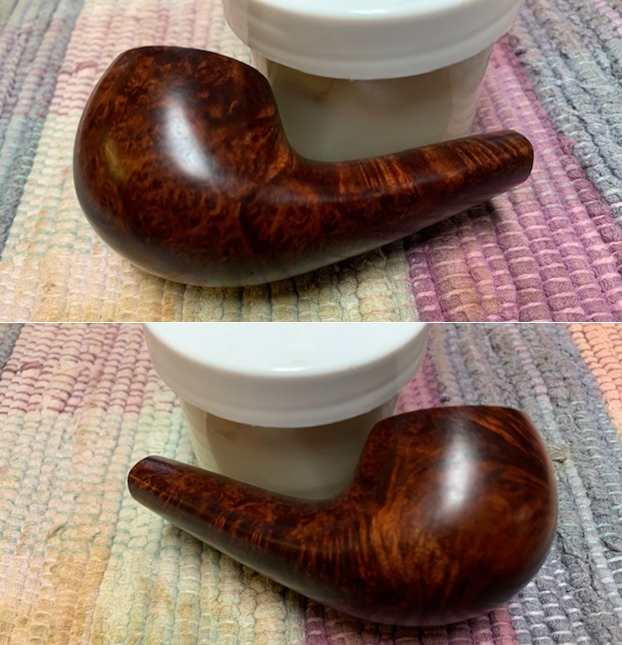
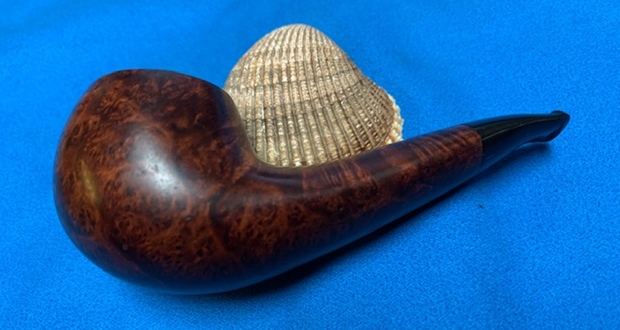
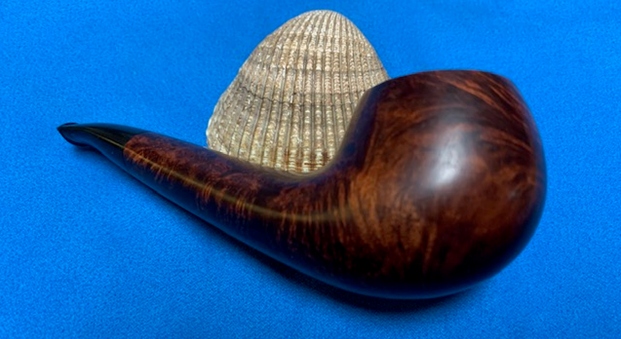
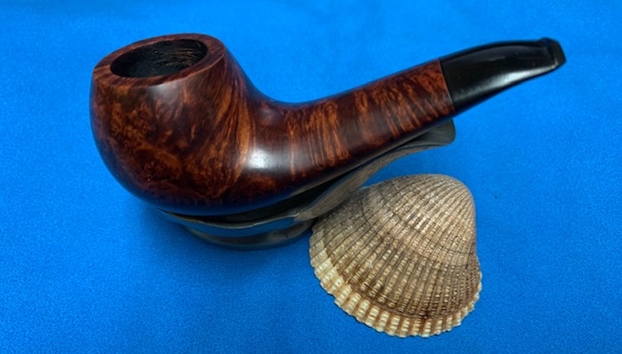
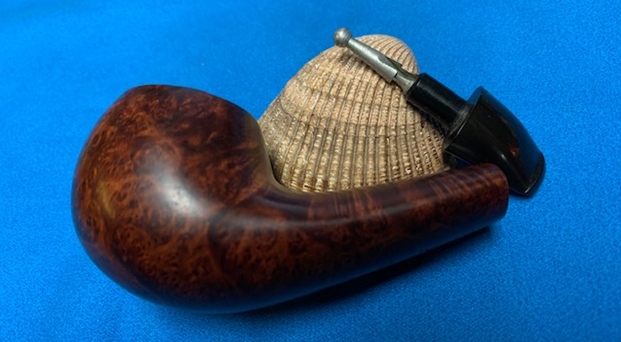
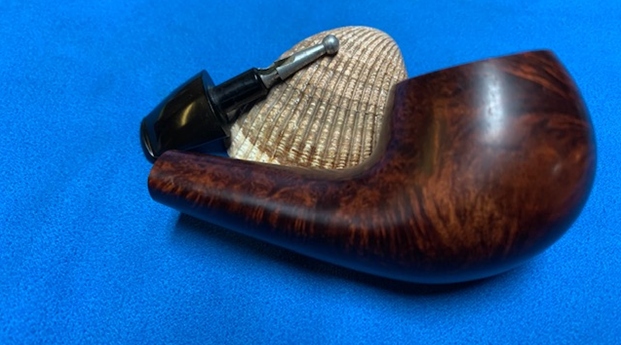
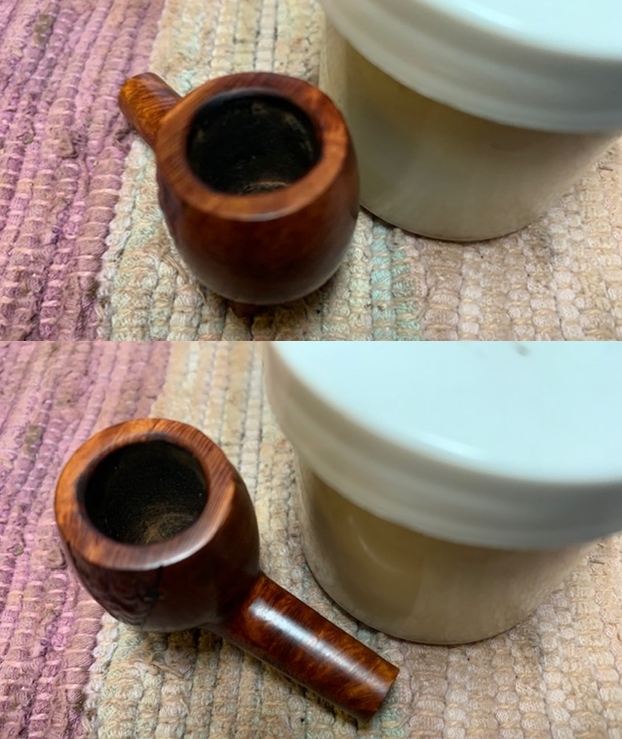
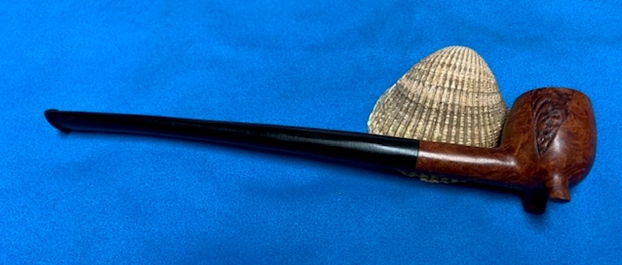
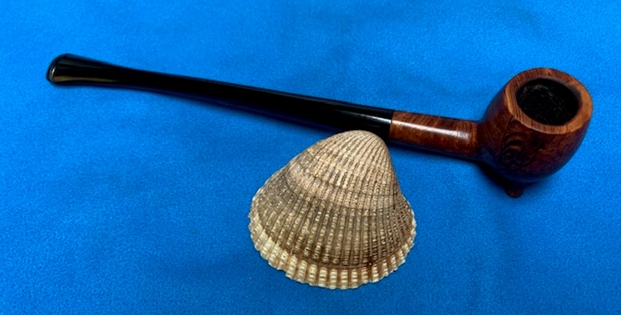
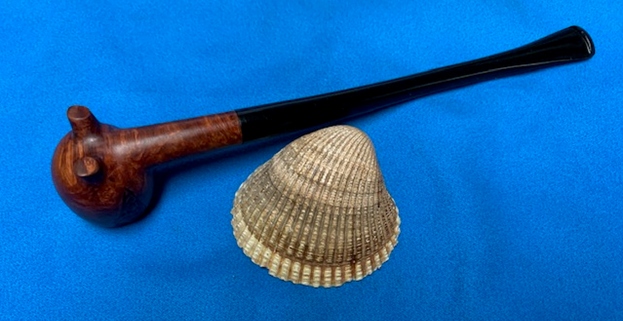
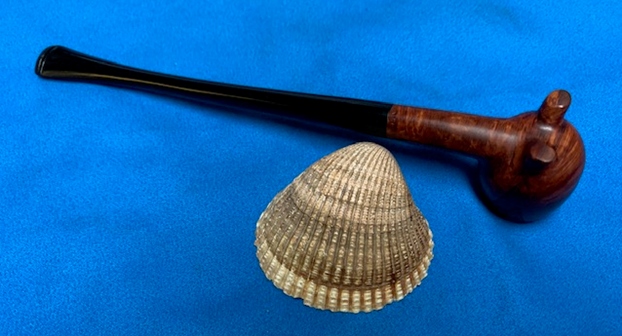
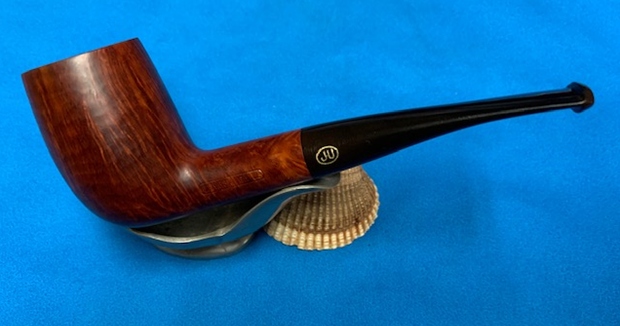
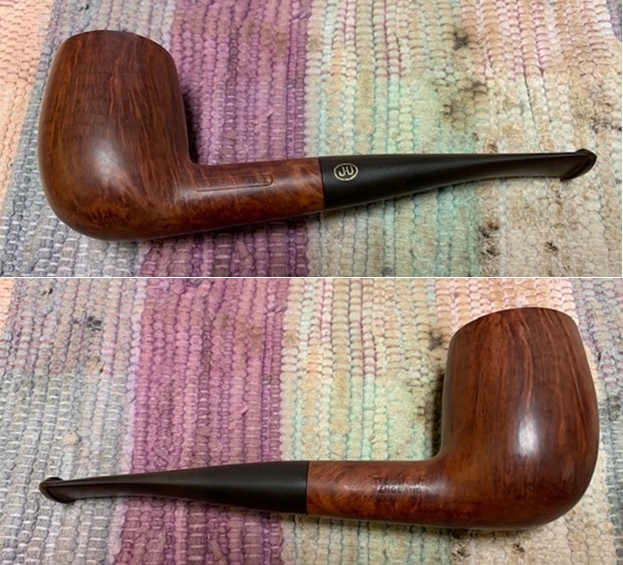
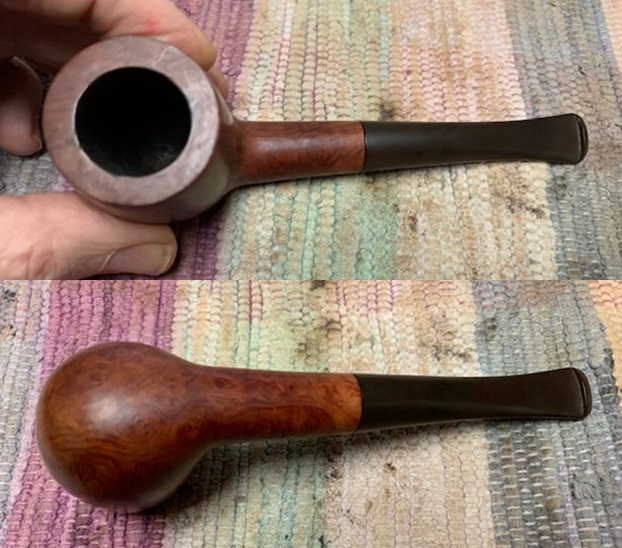
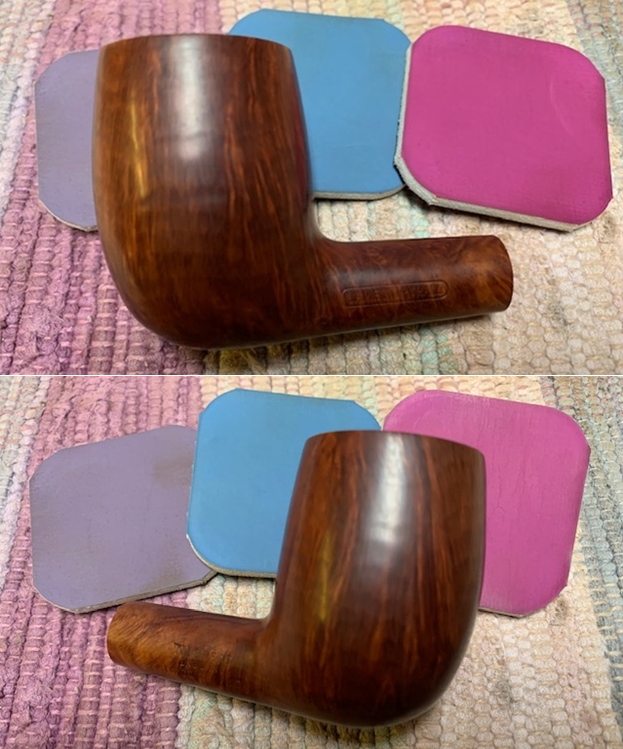
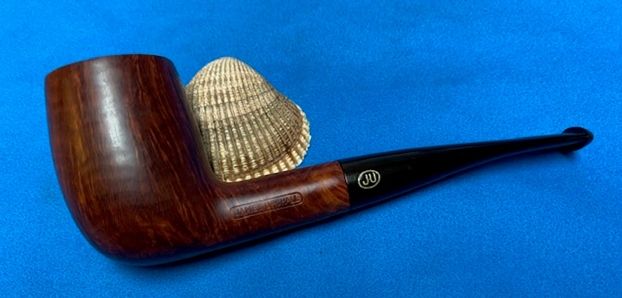
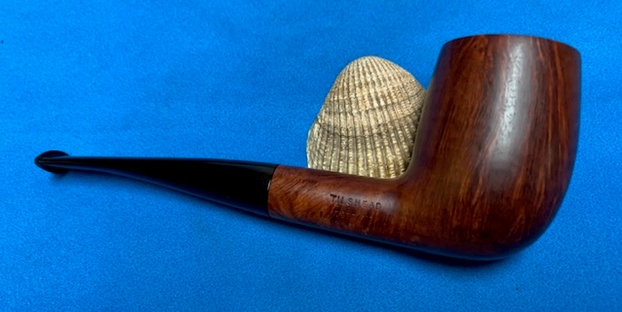
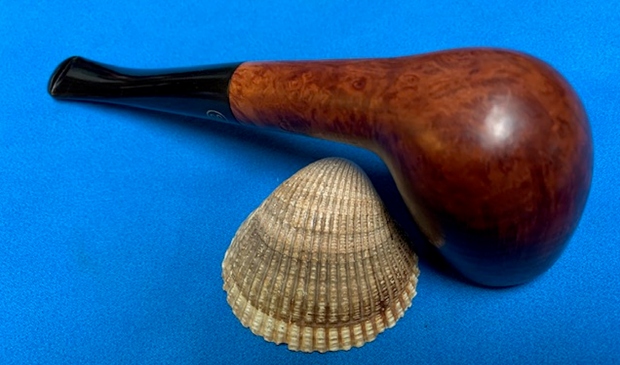
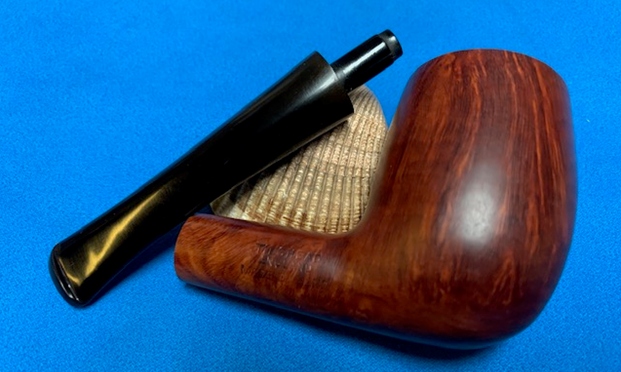
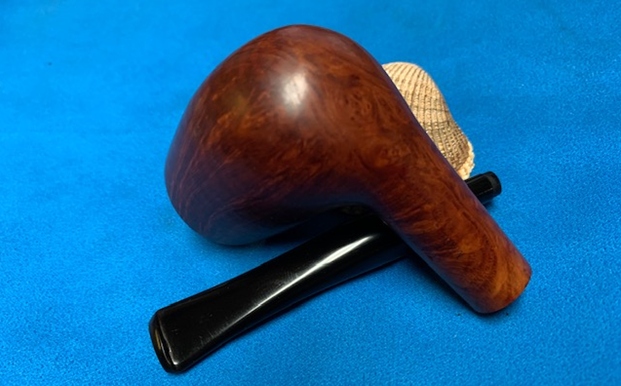
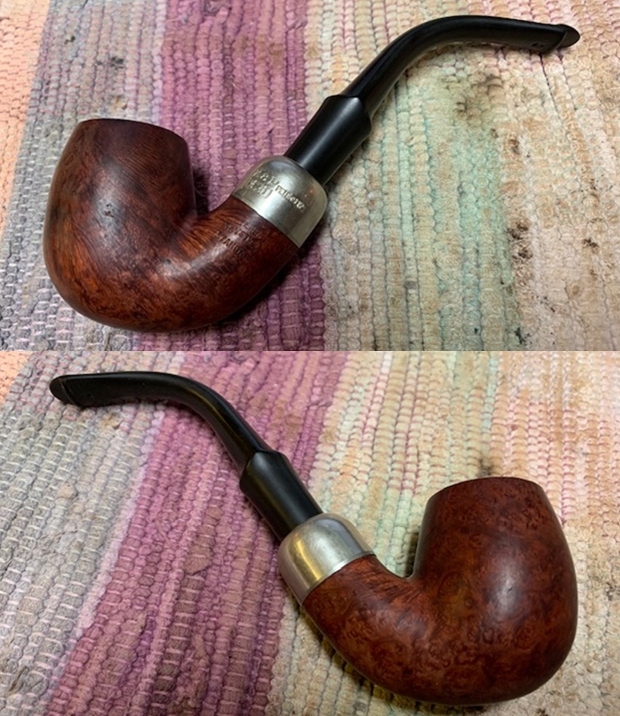
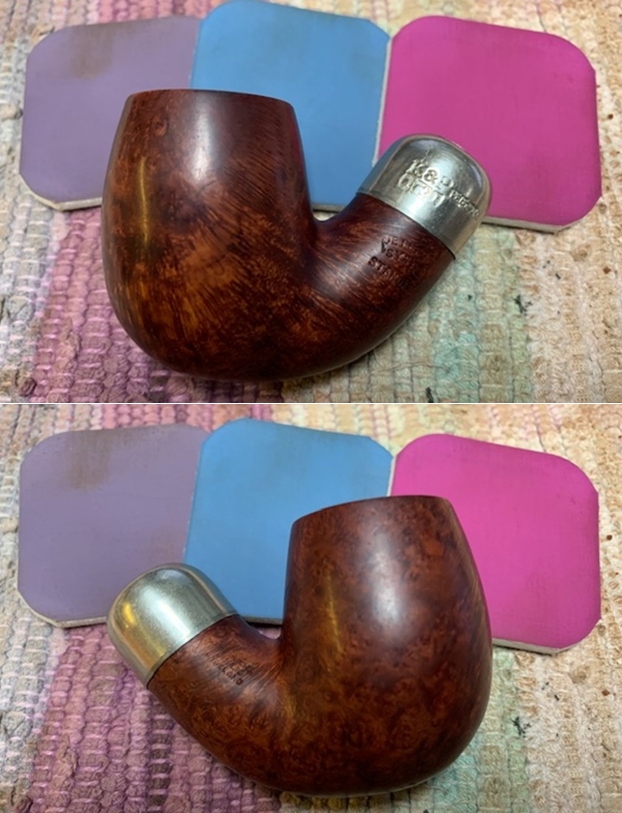
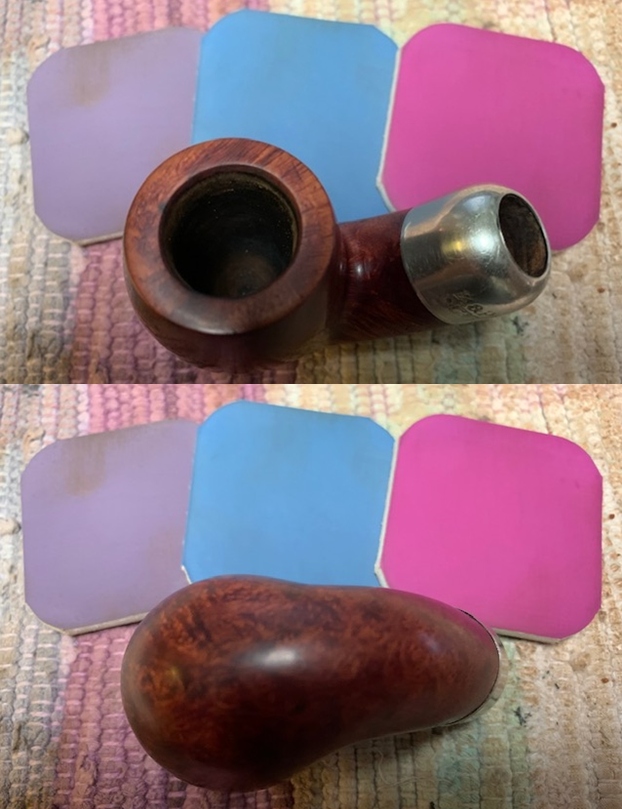
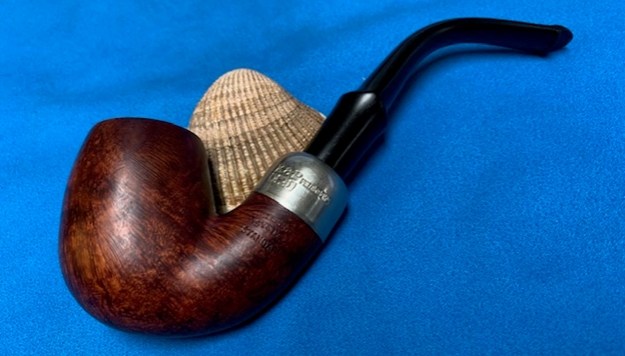
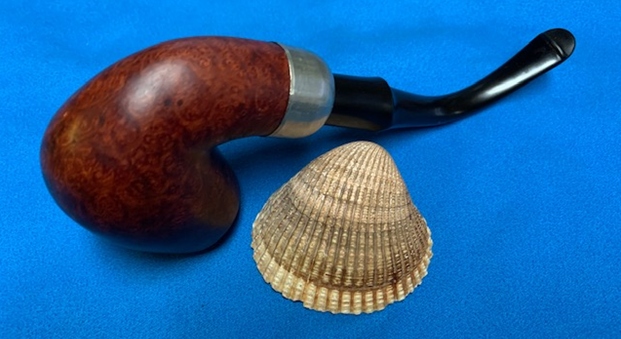
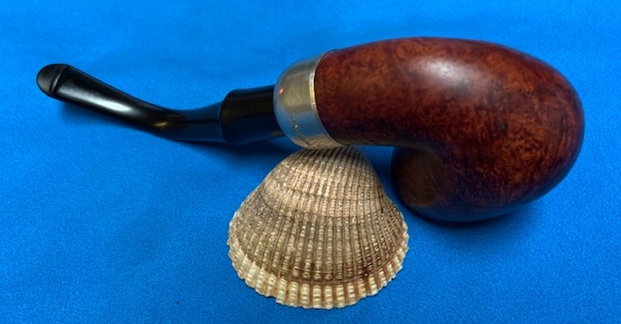
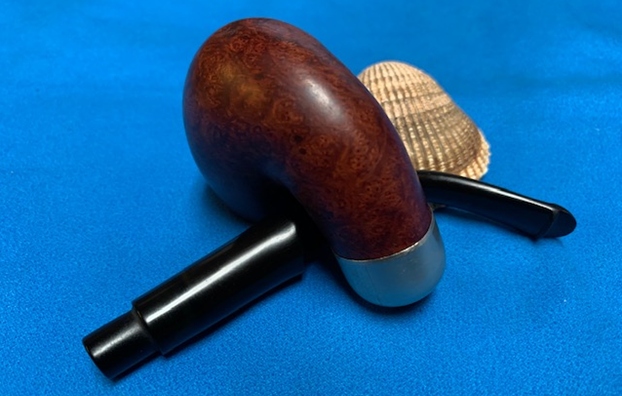
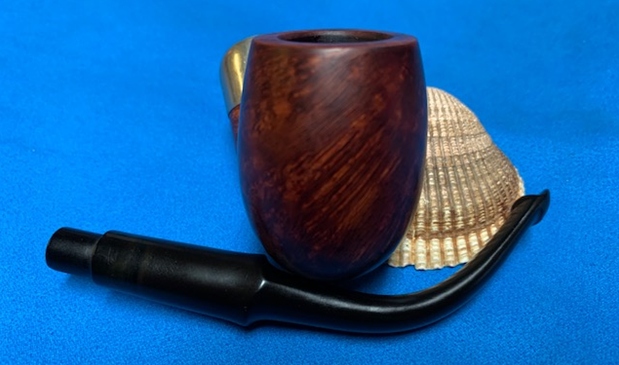
 I really enjoy finishing the work on a pipe because I love the final touches that make it sing. I put the Nording Made SON Tall Brandy back together and lightly buffed the bowl with Blue Diamond. I buffed the stem with a heavier touch with Blue Diamond on the buffing wheel. I gave the bowl and the stem multiple coats of carnauba wax. I buffed the pipe with a clean buffing pad to raise the shine. I hand buffed it with a microfiber cloth to deepen the shine. It is fun to see what the polished bowl looks like with the smooth finish and the black vulcanite stem. This richly finished SON Brandy by Erik Nording is light weight and ready for you to load up a tobacco of preference and enjoy smoking it. Have a look at it in the photos below. The dimensions are Length: 5 inches, Height: 2 ¼ inches, Outside diameter of the bowl: 1 ¼ inches, Chamber diameter: ¾ of an inch. The weight of the pipe is 42grams/1.48oz. This is one that will go on the Danish Pipemakers section of the rebornpipes online store shortly. Thanks to each of you who are reading this blog. Remember we are not pipe owners; we are pipemen and women who hold our pipes in trust until they pass on into the trust of the next generation.


