Tag Archives: turning a tenon with a PIMO tool

Restemmed Dr. Grabow Royal Duke Billiard


Blog by Steve Laug

I am getting close to the bottom of the box of pipes to refurbish so I pulled out this Dr. Grabow bowl to restem and to refinish. It is stamped Royal Duke over Dr. Grabow on the left side of the shank and Imported Briar on the right side. I like taking the sealer coat of varnish off of these old Grabows and seeing what they look like refinished. I reamed the bowl with the PipNet reamer and cutting heads. I found a stem blank in my box and turned the tenon with a Pimo Tenon Turning Tool until it was close and then finnished the fit by hand. I ran a Dremel with a sanding drum on it down the sides where the overflow from the casting of the stem blanks left the sides and end rough. The next six photos show the fit of the new stem and the look of the pipe with its new stem.
IMG_2685

IMG_2686

IMG_2687

IMG_2688

IMG_2689

IMG_2690

I wiped the bowl down with acetone to remove the finish (photos 1-3 below). I then sanded the smooth surface of the bowl with a medium grit sanding sponge to break up the varnish finish on the rim and sides. I then wiped it down with acetone a second time and was more successful removing the varnish coat (photos 4-9 below). As can be seen from the progress of the photos the finish came off nicely and the rim darkening and bubbled varnish was also removed.
IMG_2691

IMG_2692

IMG_2693

IMG_2694

IMG_2695

IMG_2696

IMG_2697

IMG_2698

IMG_2699

I decided to stain the pipe with a medium walnut stain in a linseed oil mixture. I rubbed it on the bowl and rubbed it off until the colour was solid and even over the bowl. The next series of three photos show the freshly stained bowl of the pipe. I was able to get into the grooves of the rustication with the cotton pads dipped in stain so that all surfaces were covered.
IMG_2700

IMG_2701

IMG_2702

I rubbed off the stain and took the pipe to the buffer. I buffed it with White Diamond to polish the surface of the bowl and rim. The fibres from the pad also polished the grooves of the rustication as well. I put the stem back on the bowl and sanded it down with 220 grit sandpaper and a medium grit sanding sponge to remove the scratches left behind by the Dremel. I particularly worked on the shank stem union to make sure it was a smooth transition. I sanded the stem with micromesh sanding pads. I wet sanded with 1500-2400 grit and dry sanded with 3200-12,000 grit sanding pads. The progress of the sanding with micromesh pads is visible in the next series of three photos below. When I finished sanding the stem I wiped it down with Obsidian Oil and let it dry. I rubbed it down and buffed it with White Diamond on the buffing wheel.
IMG_2703

IMG_2704

IMG_2705

The finished pipe is pictured below. I buffed the pipe with multiple coats of carnauba wax and then polished it with a clean flannel buff. This old timer is ready to go back into service and will be a nice addition to someone’s pipe rack.
IMG_2706

IMG_2707

IMG_2712

IMG_2713

Finding a Hidden Gem Underneath all the Grit and Grime


I went to work on the third pipe down in the far right column. It was one that I almost bypassed because of the shape it was in, but decided to take a chance and see what was underneath all of the mess. The stamping was long ago worn away by buffing. It had originally had a ferrule on the shank and that was missing. The bowl was badly caked and it was out of round from overzealous reaming. The finish was shot with thick black grime impregnated into the bowl finish all the way around. Underneath there appeared to be some nice grain. The missing ferrule left behind remnants of the glue that had held it in place. In the shank where the ferrule was missing were several fills – the only ones in the pipe. The size of the pipe is about a group 2 – kind of the classic size of an older billiard. The stem was missing so it would need to have one made to fit.

bowls1

Noname

The next series of photos shows the build up on the outside of the bowl. Not only was it badly caked it also was covered with a grey/black grime that would be challenging.

IMG_1258

IMG_1259

IMG_1255

IMG_1256

IMG_1257

I used acetone and cotton pads to remove the external grime on the bowl (Photos 1 – 2 below). There was actually some nice grain underneath all the grime. I reamed the bowl with a PipNet reamer starting with the smallest cutting head and working my way up to the largest that would fit the bowl. I wanted to ream it back to bare wood so that I could work on the damaged inner rim (Photo 3 below). I topped the bowl to remove the damage to the top of the rim and clean up the outer edges of the rim. I used my normal method of a piece of sandpaper on a flat surface and pushing the bowl into the sandpaper and rotating it to remove the damaged briar (Photo 4 – 5). I also push a nickel band onto the shank part way. I would later need to heat it to get a pressure fit deep on the shank. This band would both strengthen the thin walls of the mortise at the end and also cover the only fills present on the pipe.

IMG_1260

IMG_1261

IMG_1262

IMG_1263

IMG_1264

I used a Dremel with a sanding drum to work on the roundness of the bowl. I worked to even out the distance between the inner edge of the rim and the outer edge. Once this was completed I used sandpaper to smooth out the edge and give it a slight bevel (Photo 1). I wiped down the bowl and rim with acetone on a cotton pad to clean off the last of the dust and grime from the reaming and sanding (Photos 2 – 3).

IMG_1265

IMG_1266

IMG_1267

I set up the heat gun and turned it to the high setting. I held the band over the heat and rotated it to evenly heat the entire band (Photo 1). Once it was heated (just a few minutes) I then took it to the work table and pressed the band in place on a metal plate I use for setting the bands. Sometimes this takes several trips between the heat and the plate but this time one trip was all it took and the band was set (Photos 2 – 3).

IMG_1268

IMG_1269

IMG_1270

I used a PIMO tenon turning tool to turn the tenon to fit the mortise. I generally turn it until it is close and then finish the fit by hand with sandpaper (Photo 1). After sanding the stem fit quite well in terms of the tenon. It was snug and flush against the shank – no light showing through (Photos 2 -3). I used the Dremel with a sanding drum to remove the excess vulcanite on the stem and to shape it to match the diameter of the shank. I sand carefully with the sanding drum to bring it as close as possible to the size I want. You have to be careful and steady so that you do not nick the shank or the band while doing this. The finishing fit is done by hand with files and sandpaper (Photos 4 – 5).

IMG_1275

IMG_1276

IMG_1277

IMG_1278

IMG_1279

The next series of seven photos show the shaping process. I begin with a medium grit emery paper and sand out the scratches left behind by the Dremel. I shape the stem with this paper to the point where the flow and fit of the stem is what I am looking for (Photos 1 – 2). I then move on to 220 grit sandpaper and continue to remove the scratches and shape the stem (Photos 3 – 4). It then finish this shaping with a fine grit sanding sponge and polish out more of the scratches. Each grit of paper brings the stem closer to the finished shape (Photos 5 – 7).

IMG_1280

IMG_1281

IMG_1289

IMG_1290

IMG_1293

IMG_1294

IMG_1295

I apologize for the graininess of the next two photos but they show the bowl after I had stained it. I used a dark brown aniline stain thinned with one part alcohol. I wanted a rich reddish brown colour on this old timer so I thinned the stain to match the colour I wanted. I applied it to the bowl and rim, flamed it, reapplied it and flamed it again.

IMG_1299

IMG_1300

IMG_1301

I worked on the stem with micromesh sanding pads. I also sanded the nickel band to bring out a polish to it as well. The next series of seven photos shows the progressive shine that comes to the stem with each successive grit of micromesh from 1500-12,000 grit. I wet sanded with the 1500-2400 grit and then dry sanded with the remaining grits.

IMG_1313

IMG_1314

IMG_1315

IMG_1316

IMG_1317

IMG_1318

IMG_1319

I sanded the bowl with the higher grits of micromesh and then buffed the pipe with White Diamond to give the entirety a rich shine. I applied several coats of carnauba wax and buffed it with a soft flannel buff. The stain really highlights some of the beautiful grain on this pipe. I am glad I took the risk to bring this one back to life.

IMG_1321

IMG_1322

IMG_1323

IMG_1324

A Surprise in this Lot of Pipe Bowls – a BBB Virgin Own Make Billiard


Blog by Steve Laug

This package of pipe bowls to restem arrived this week. There were several surprises in the lot but one that the seller had listed as London Made turned out to be a BBB Virgin Own Make. The stamping had been buffed and was fairly faint but it indeed read BBB under the loupe. The left side of the shank is stamped London Made and the shape number 638. In the photo below it is in the center column the third pipe in the column. It came with a heavy cake and tar buildup on the rim. The bowl had been reamed in the past with a knife but was still fairly round. The chamfer/bevel on the inner rim is what had suffered the damage. The finish was dirty but would clean up fairly easily. Under the grime it appeared to be a beautiful cross grain – birdseye on the front and back of the bowl, on the top and bottom of the shank and cross grain on the sides of the bowl and the shank. It was going to be a beauty once it was cleaned up. The edges on the shank end were clean and undamaged and there were no cracks in the shank. The inside of the shank was also very tarry and caked.

Figure 1 Assorted pipe bowls for restemming

Figure 1 Assorted pipe bowls for restemming

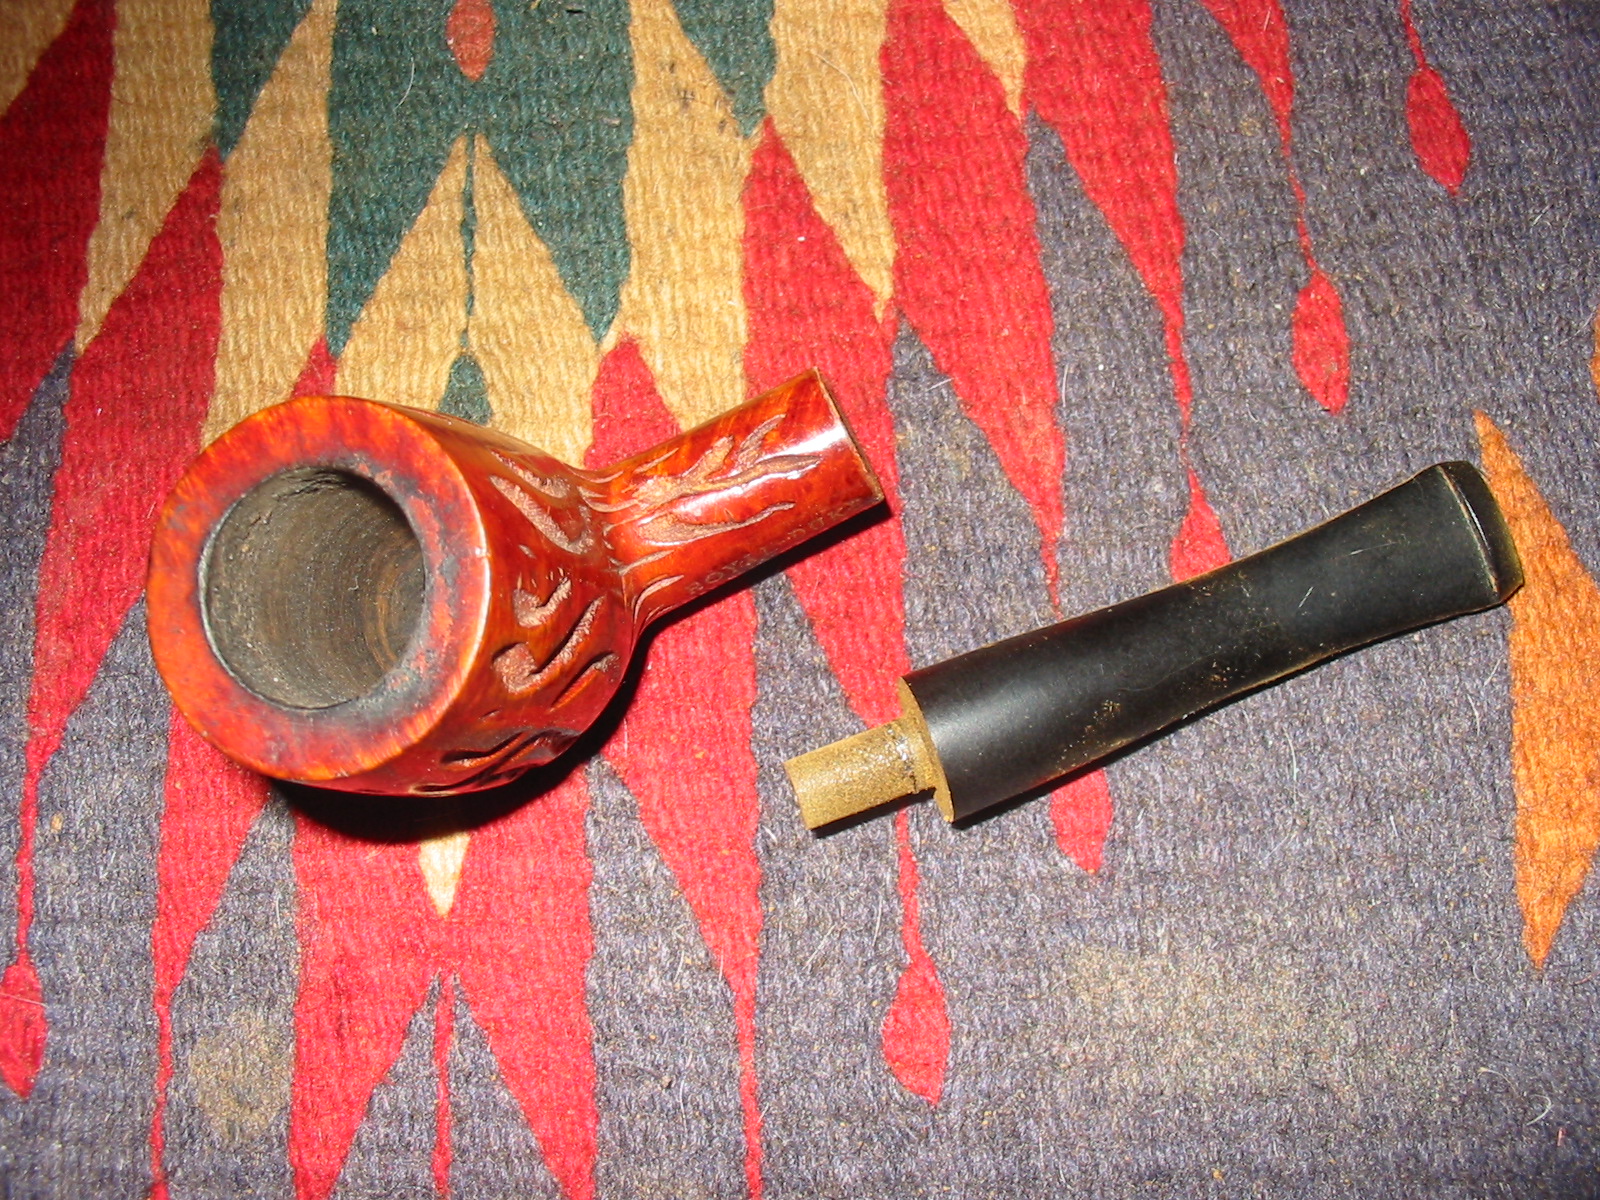
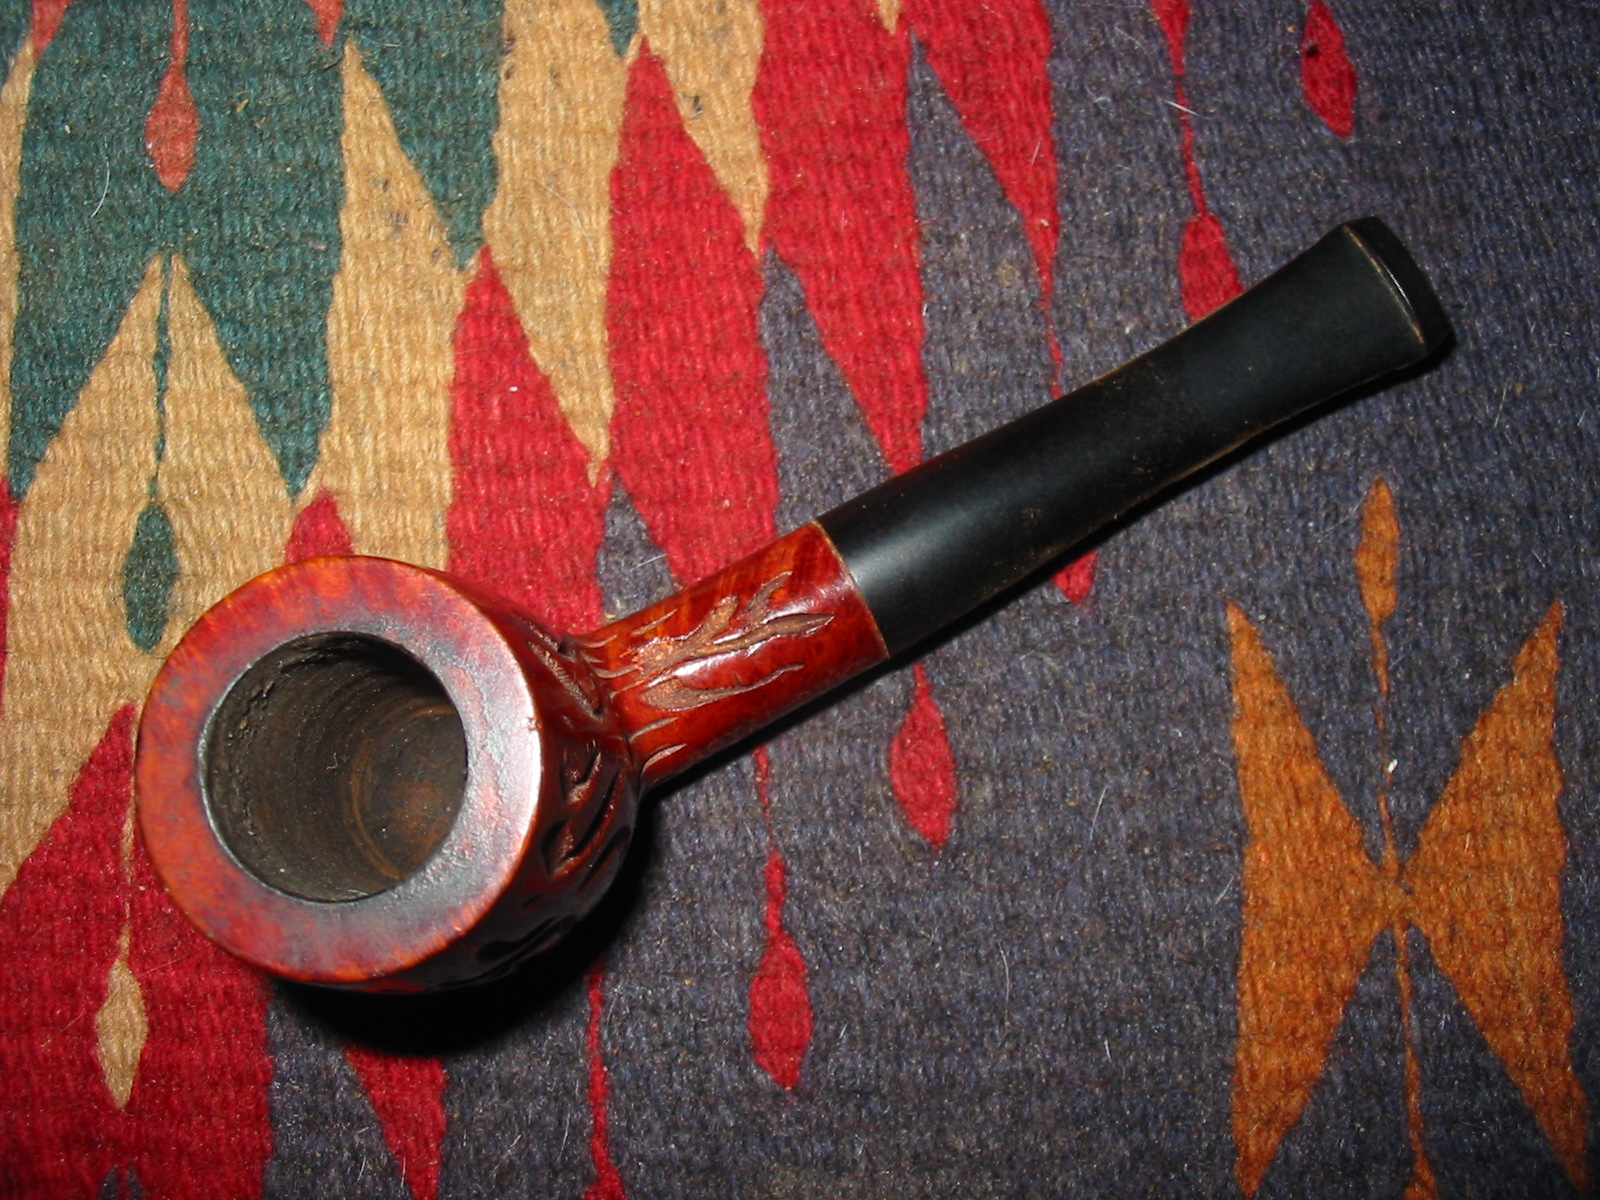
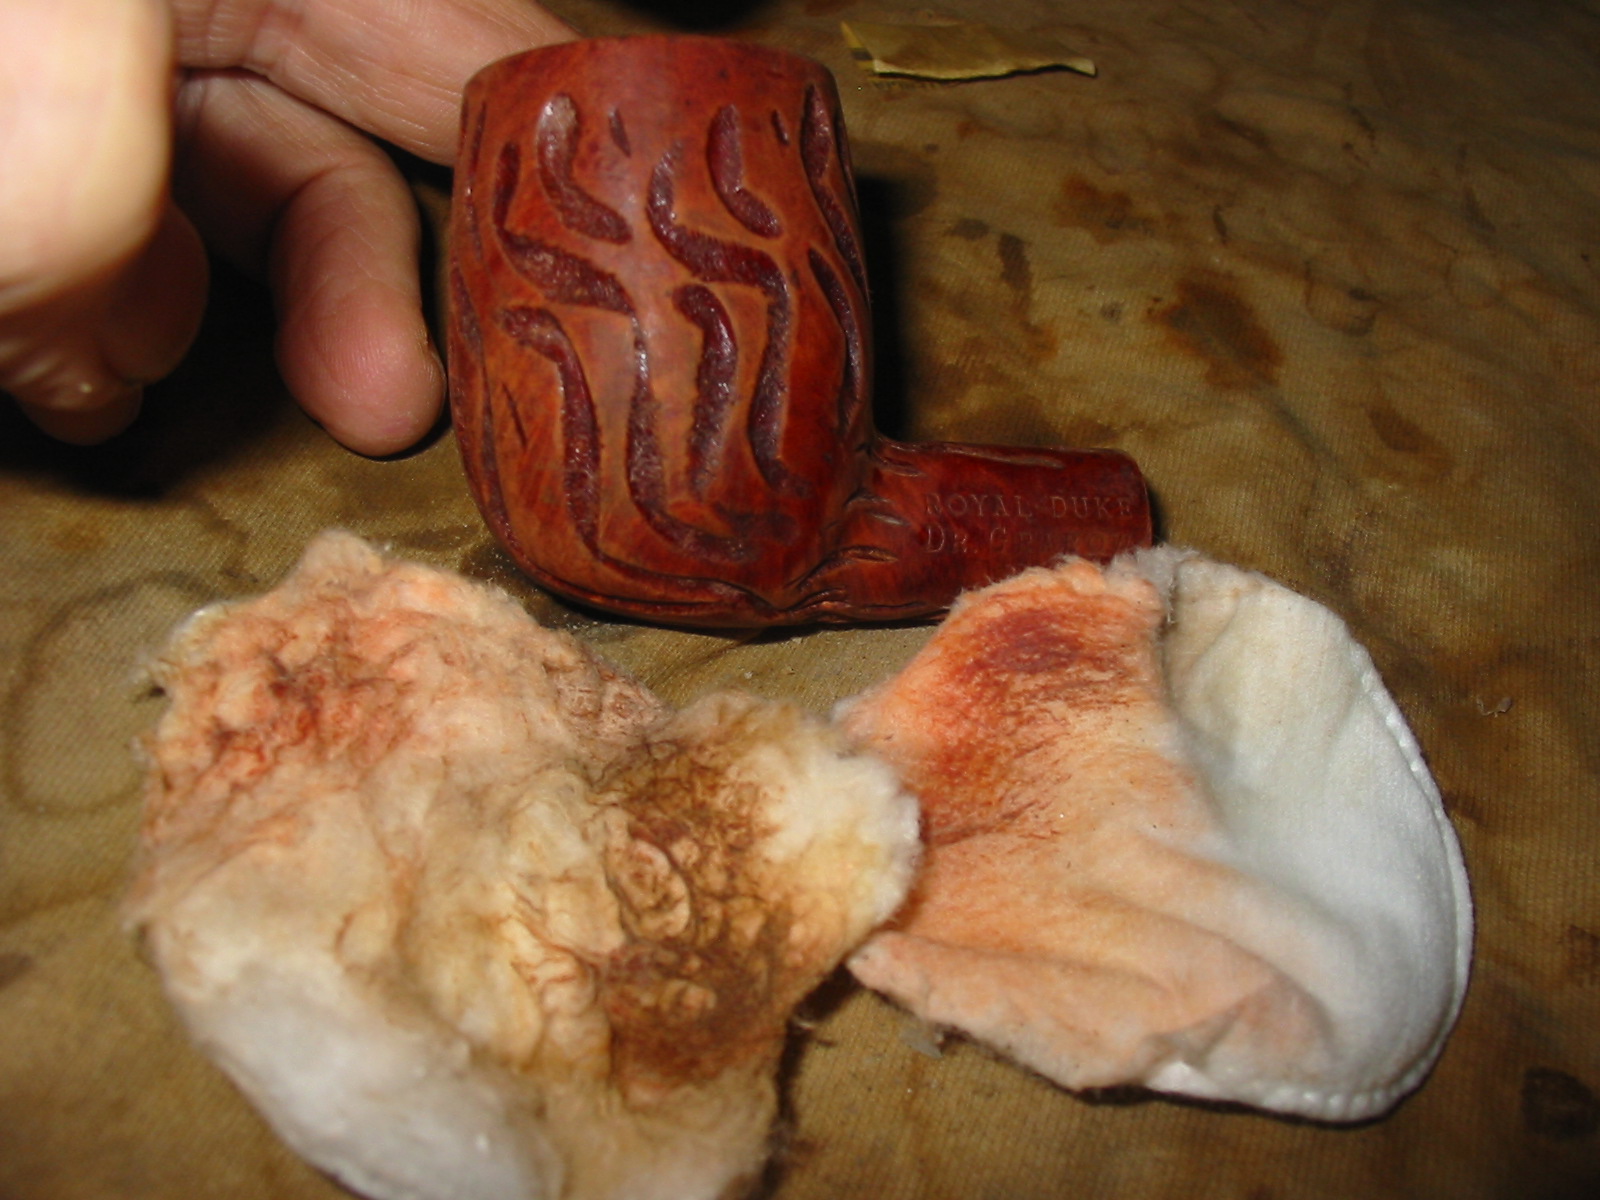
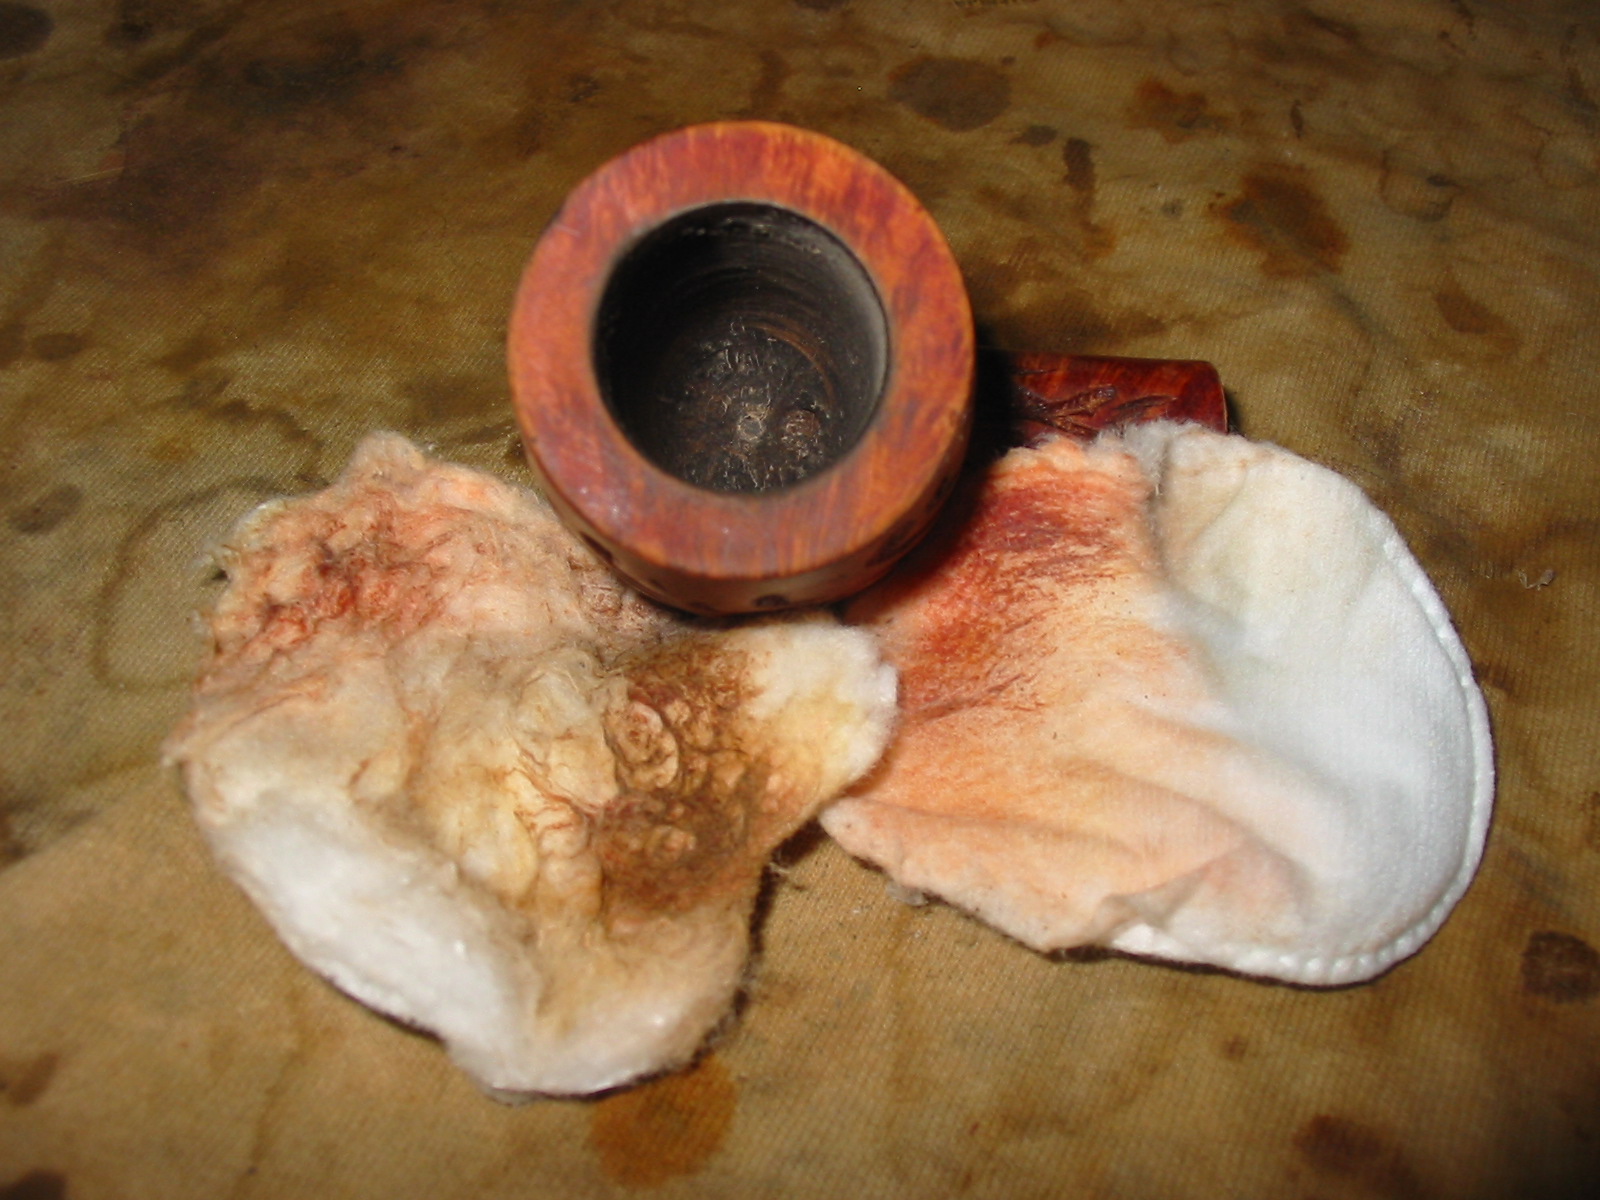
I used a PipNet reamer to ream the bowl and remove the heavy cake build up. I reamed it with a smaller cutting head first and then used the correct size to finish. I wanted to ream it back to bare briar so I patiently worked with the cutting heads until the bowl was clean. The next series of three photos show the reamer in place and the result of the reaming. Look closely at the top of the bowl in the third photo and you will see the damage to the chamfer/bevel on the inner edge of the rim. Also in the photos is the stem I picked out of my can of stems for this pipe. The great thing is that I had a BBB stem in the can that fit well with minimal work on the tenon.

BBB Virgin bowl

IMG_1188

IMG_1189

IMG_1190

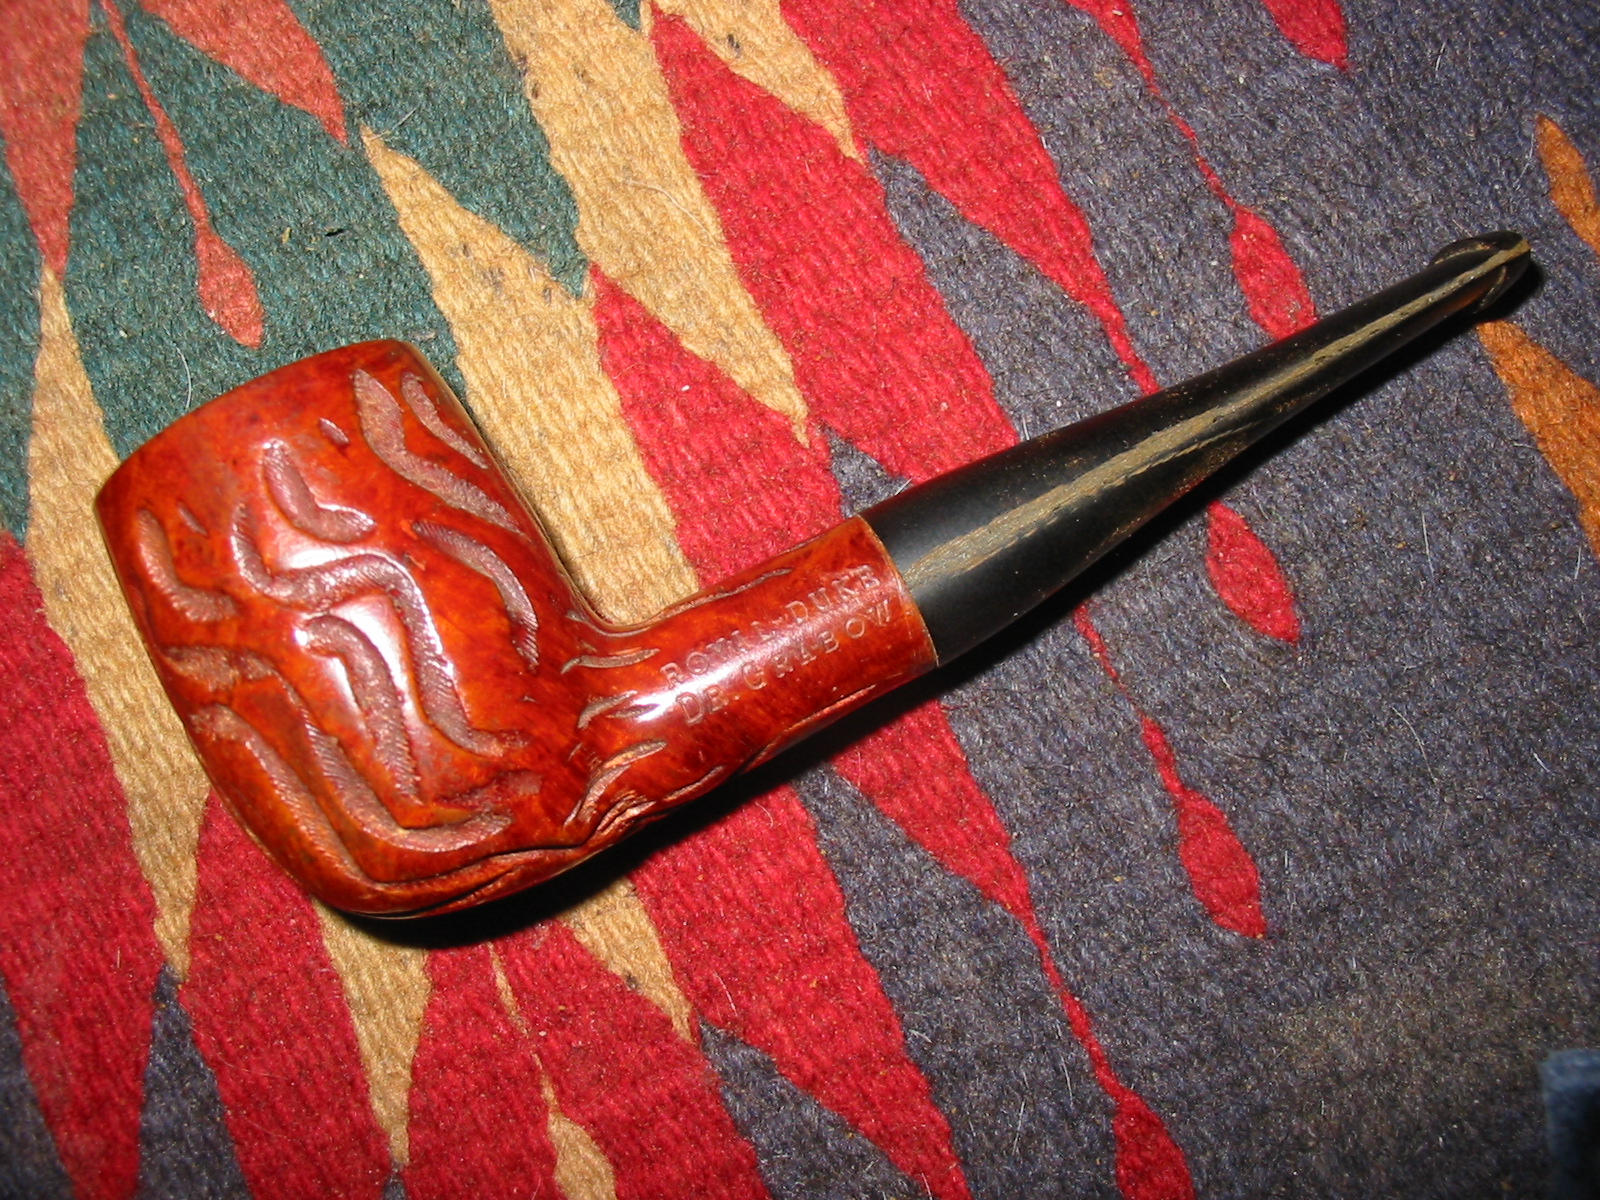
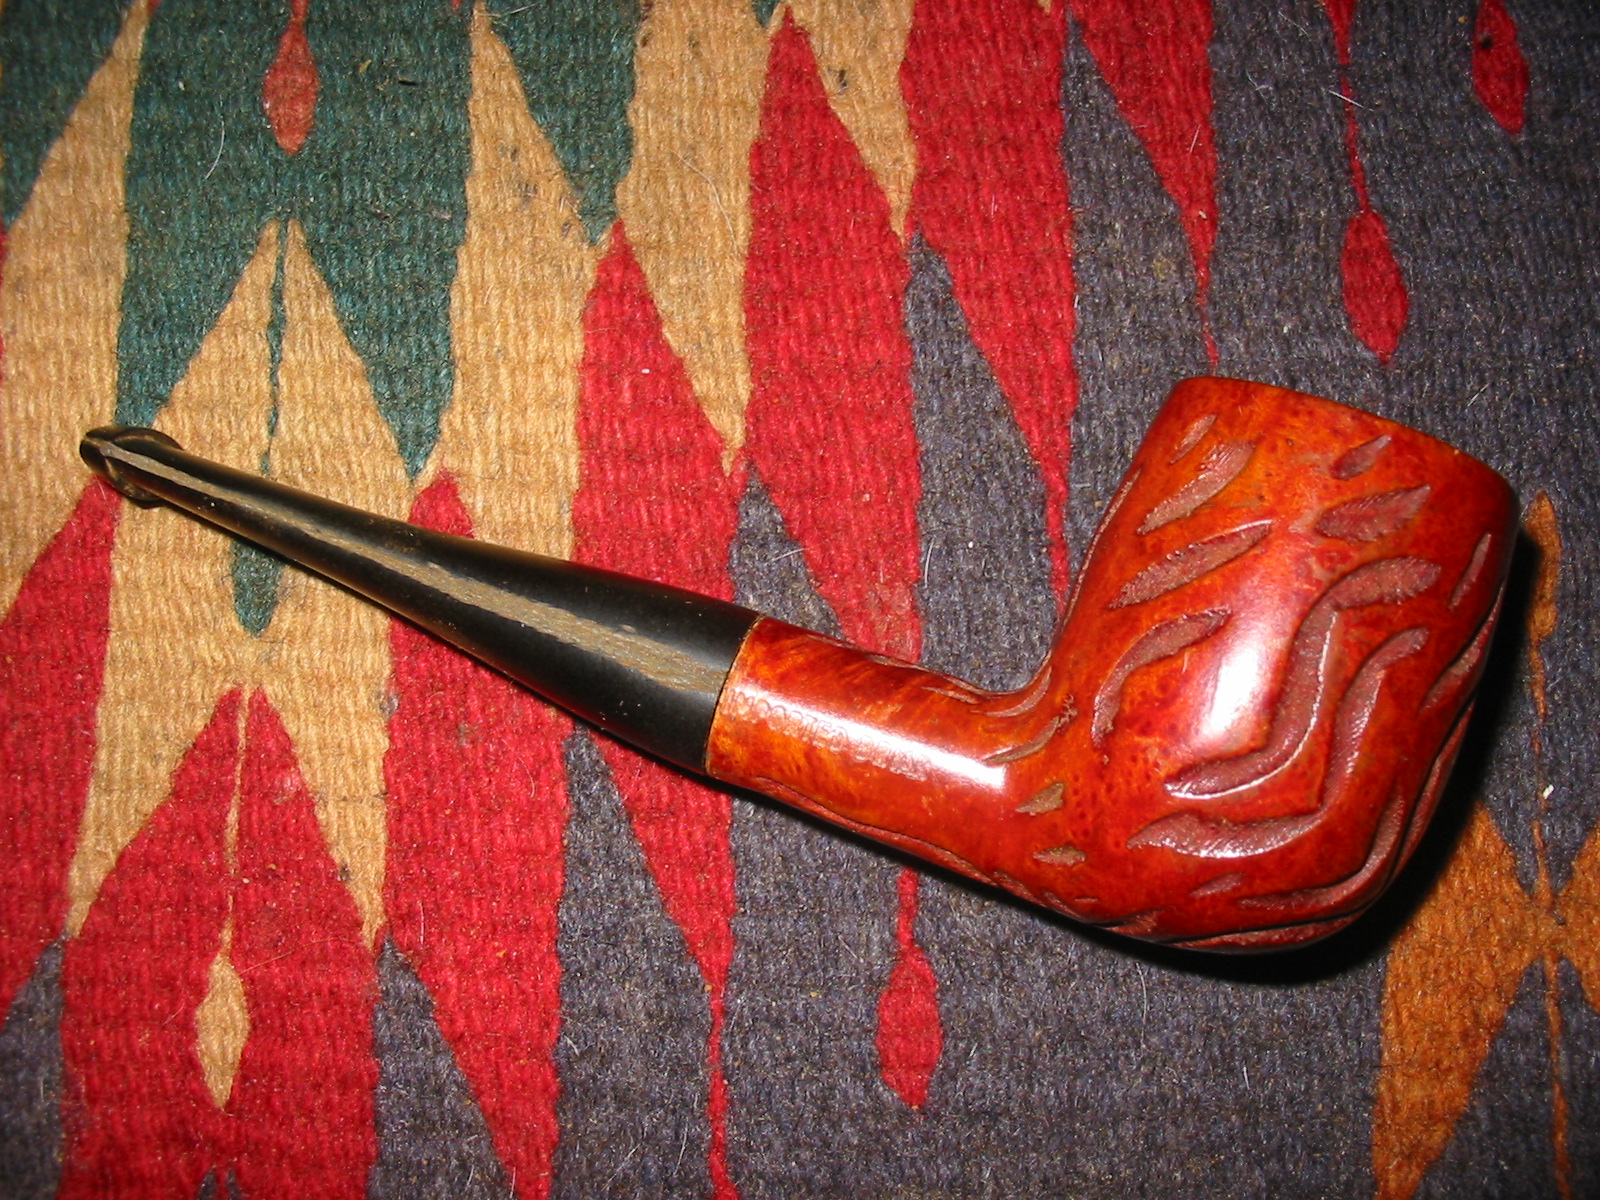
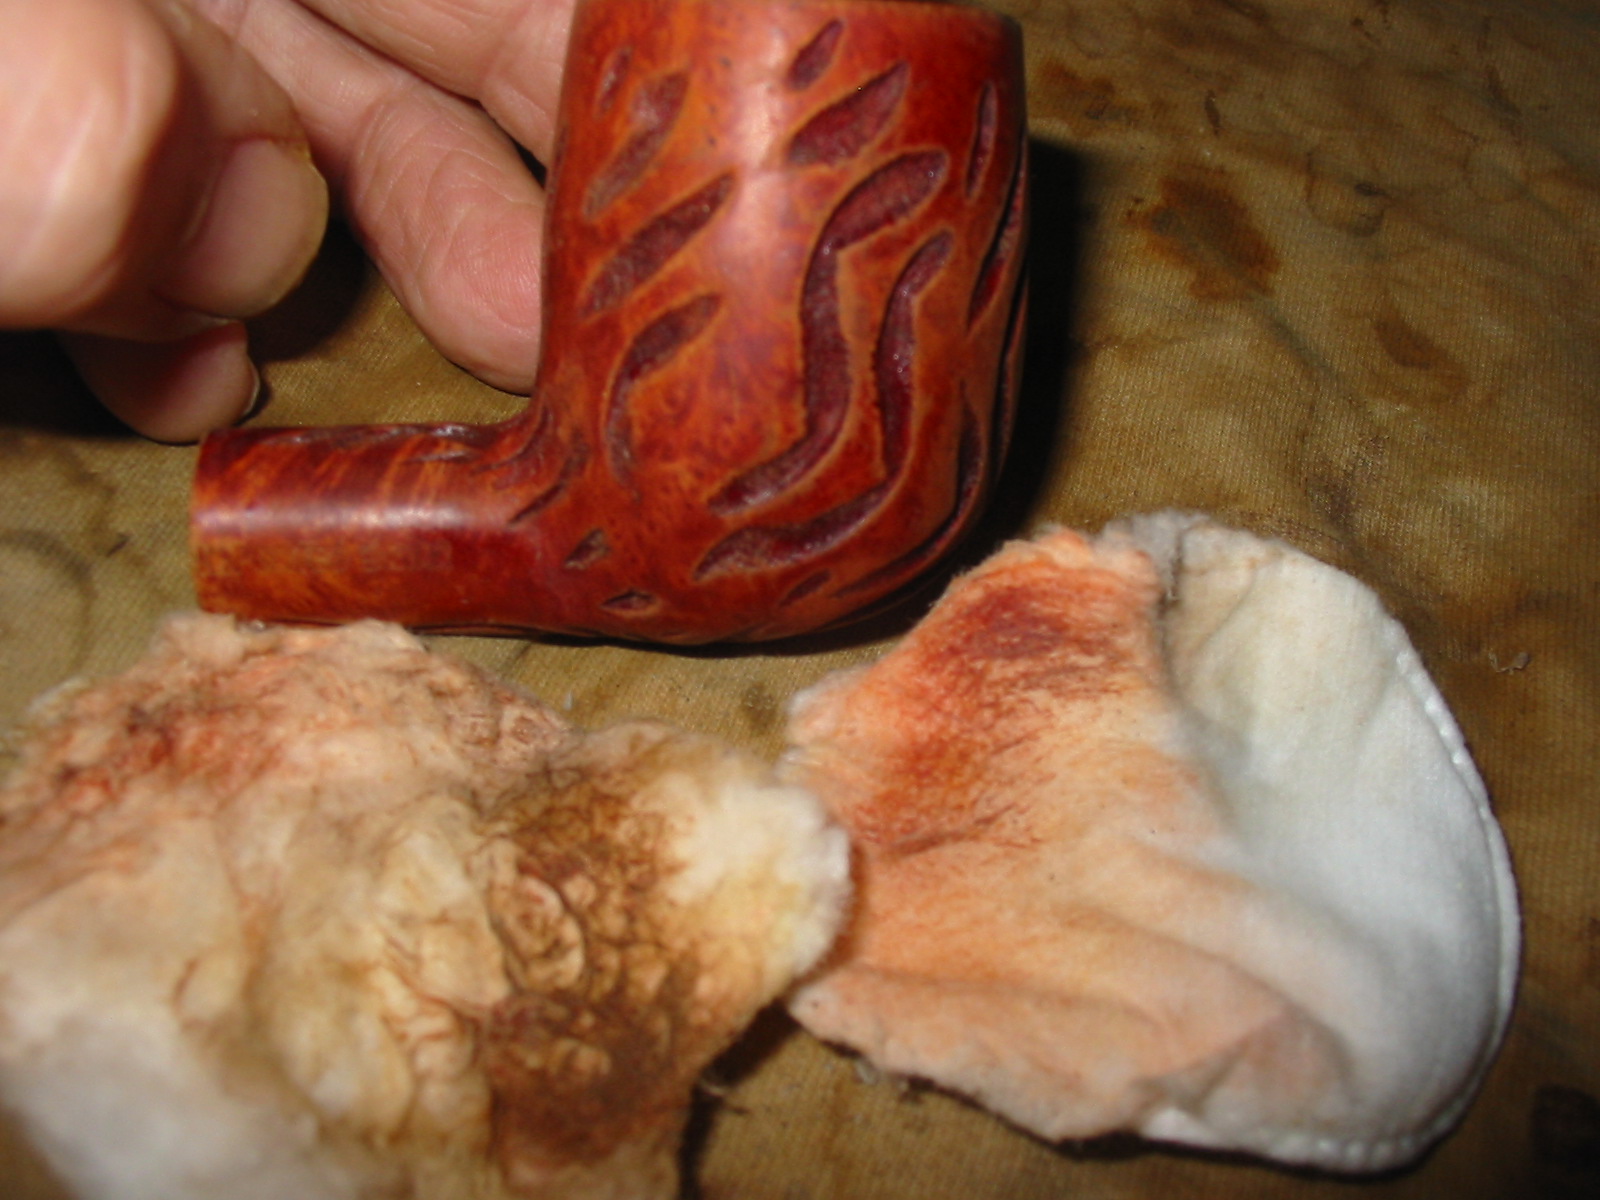
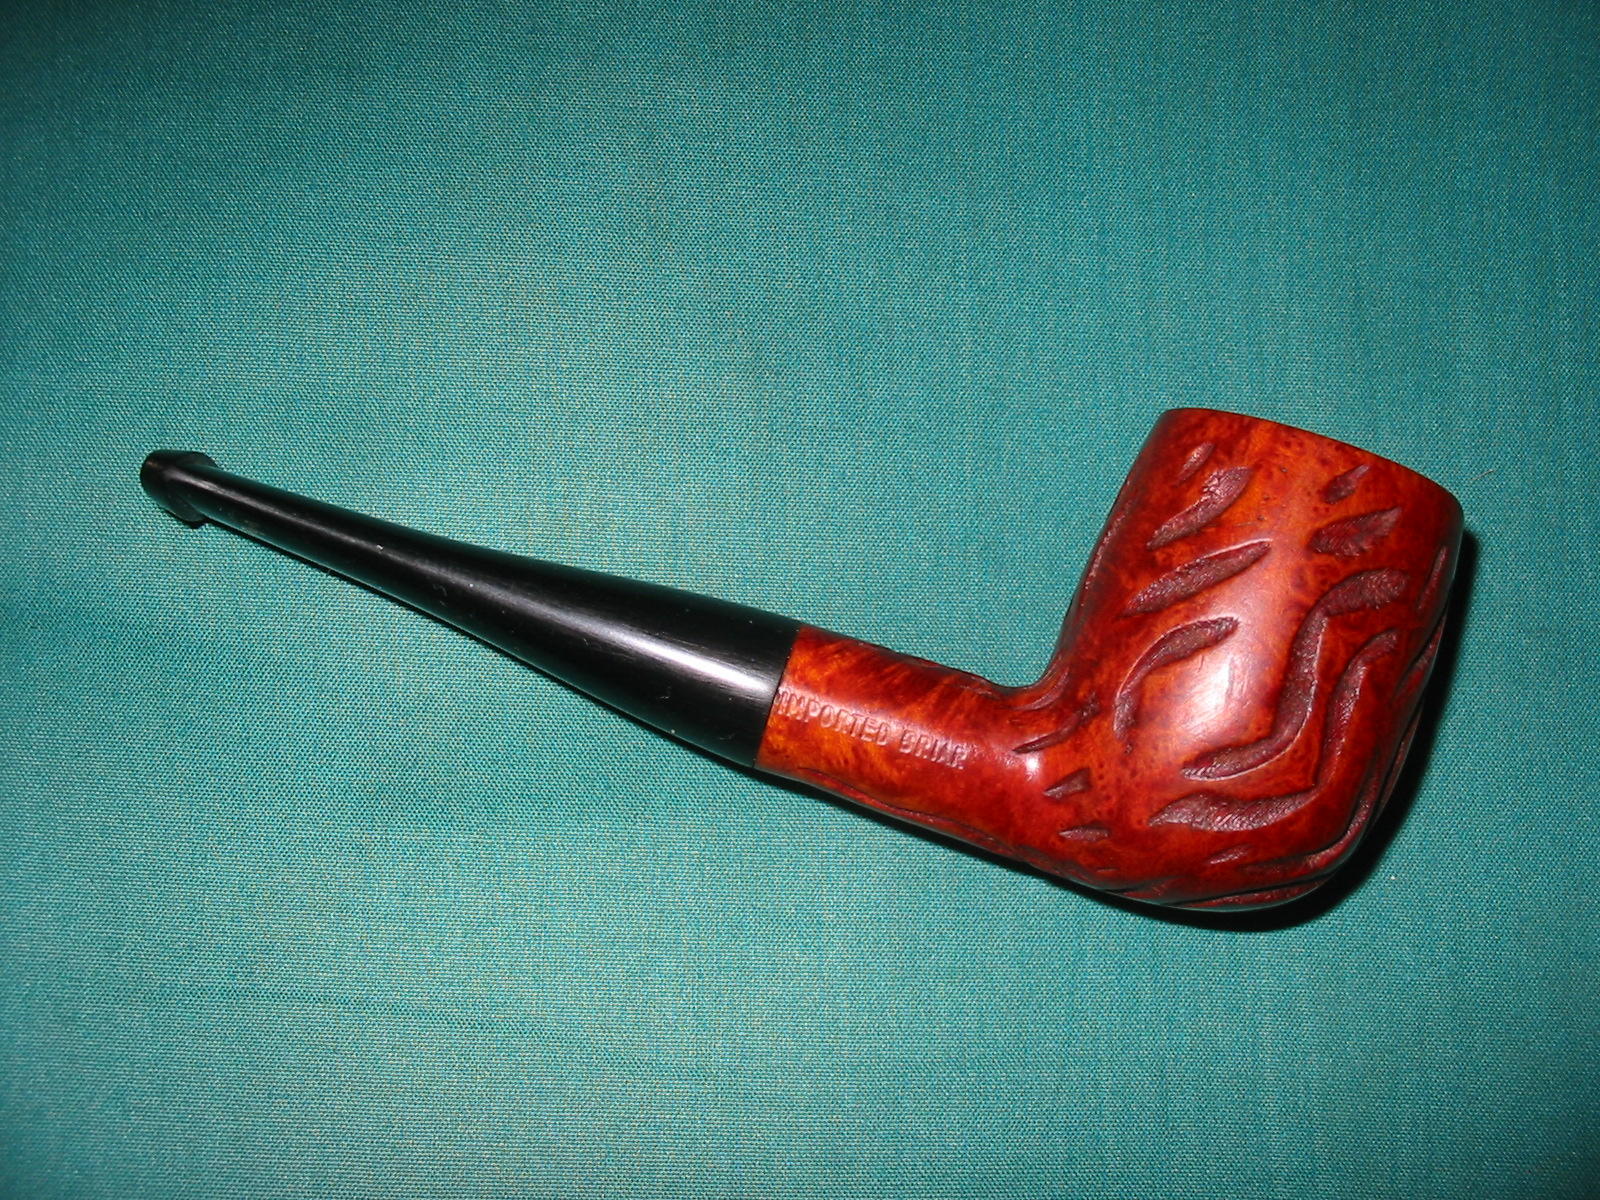
The next photo shows a side view of the pipe. I took this photo because of the great cross grain that is visible on the bowl.

IMG_1191

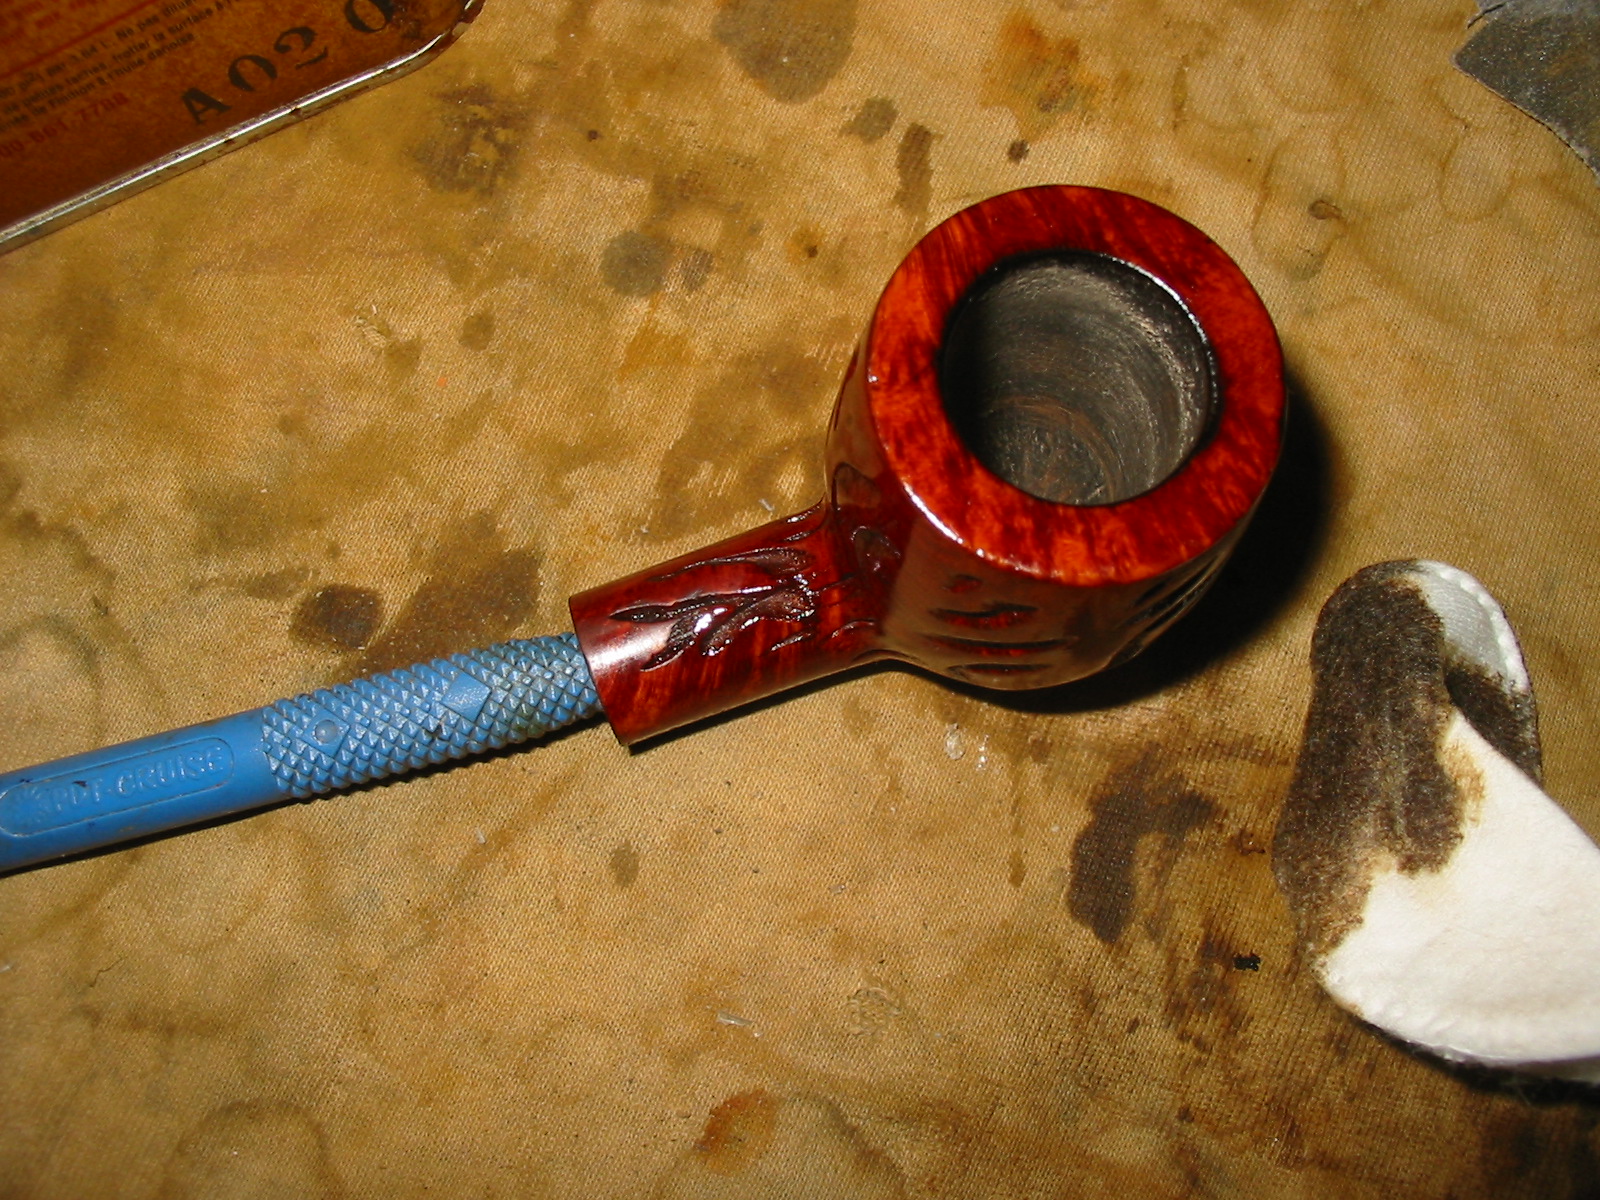
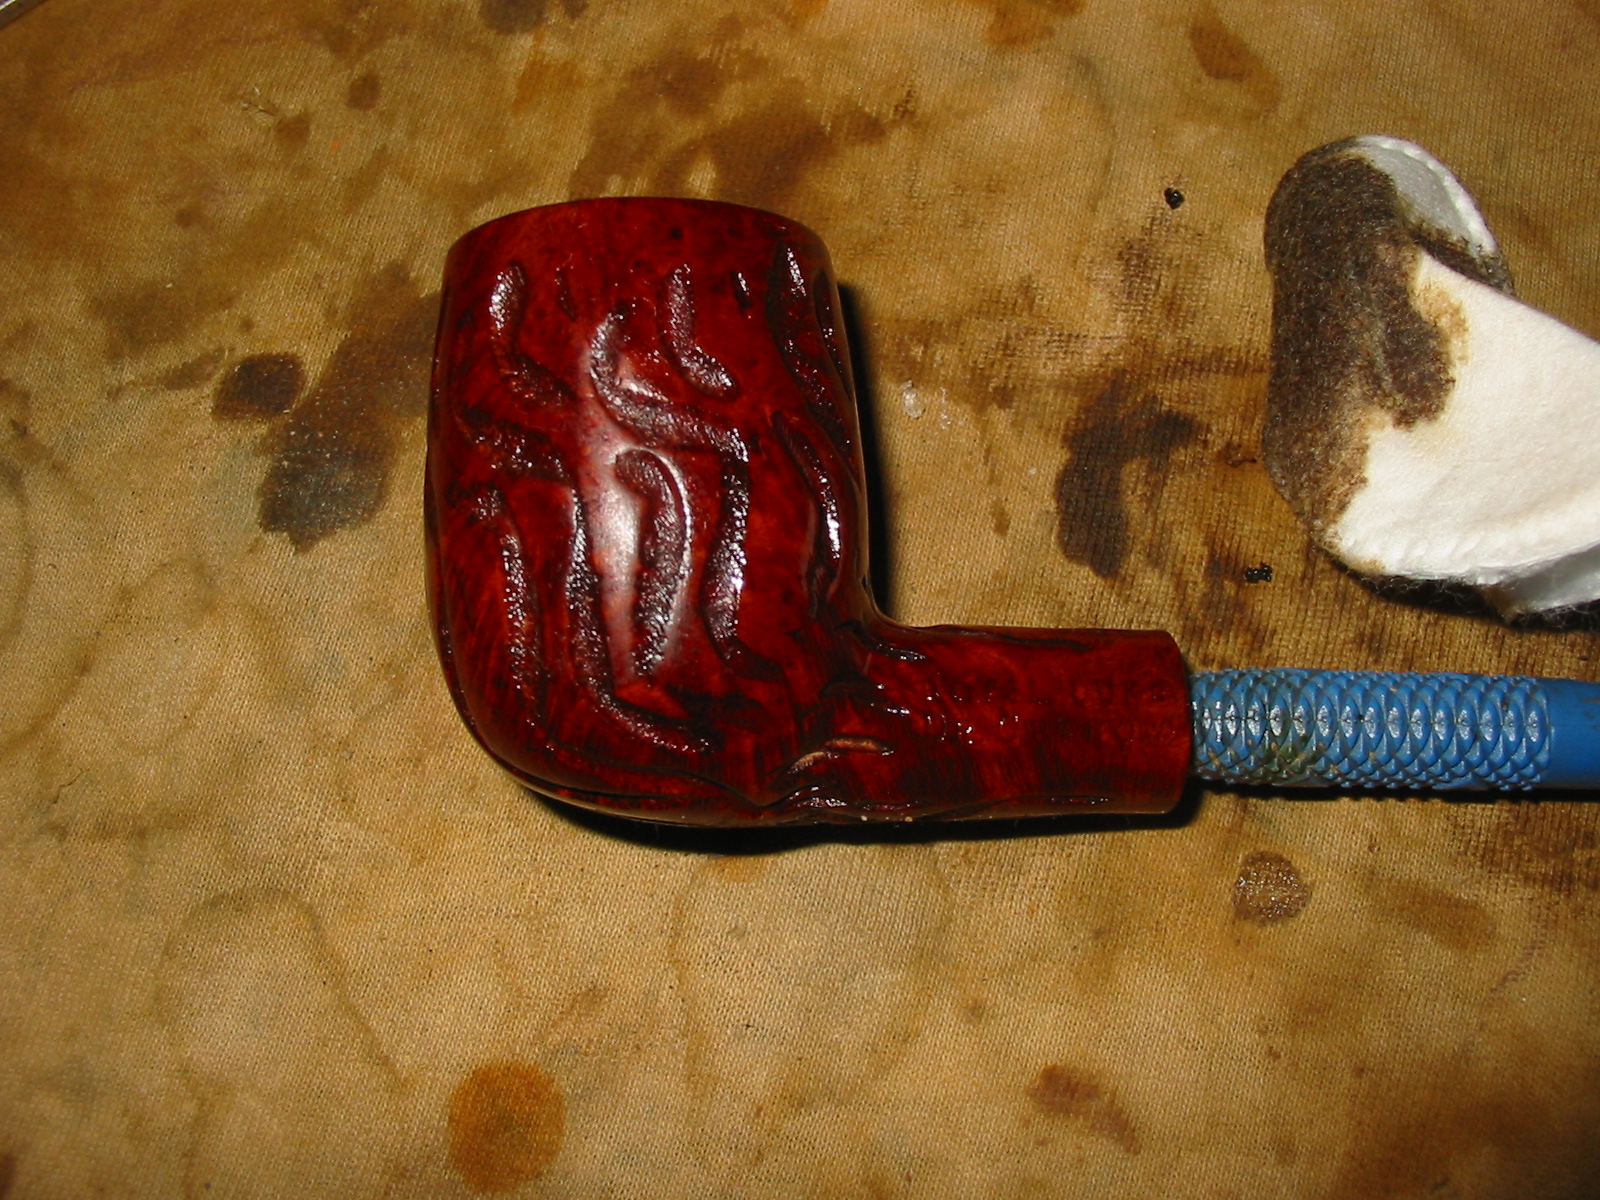
I sanded the tenon with 220 grit sandpaper to remove a thin layer of the vulcanite and make a good fit on the stem. The next two photos show the fit of the stem. I was unable to push it into the shank due to the tar buildup in the shank. Once I cleaned out the shank I would be able to tell if I needed to do a bit more sanding on the tenon.

IMG_1192

IMG_1193

I cleaned out the shank with cotton swabs and Everclear. While I worked on that I also swabbed out the inside of the bowl and the rim with Everclear as well. It took many cotton swabs and pipe cleaners to get the shank clean and ready for the new stem.

IMG_1194

IMG_1195

When the shank was clean I tried to fit the stem again. It was still a little tight so I set it aside to work on when it was thoroughly dry. I have learned that if I fit it when the shank is wet the fit will be too loose once it dries out. The photo below shows how the stem fit after the cleaning of the shank.

IMG_1196

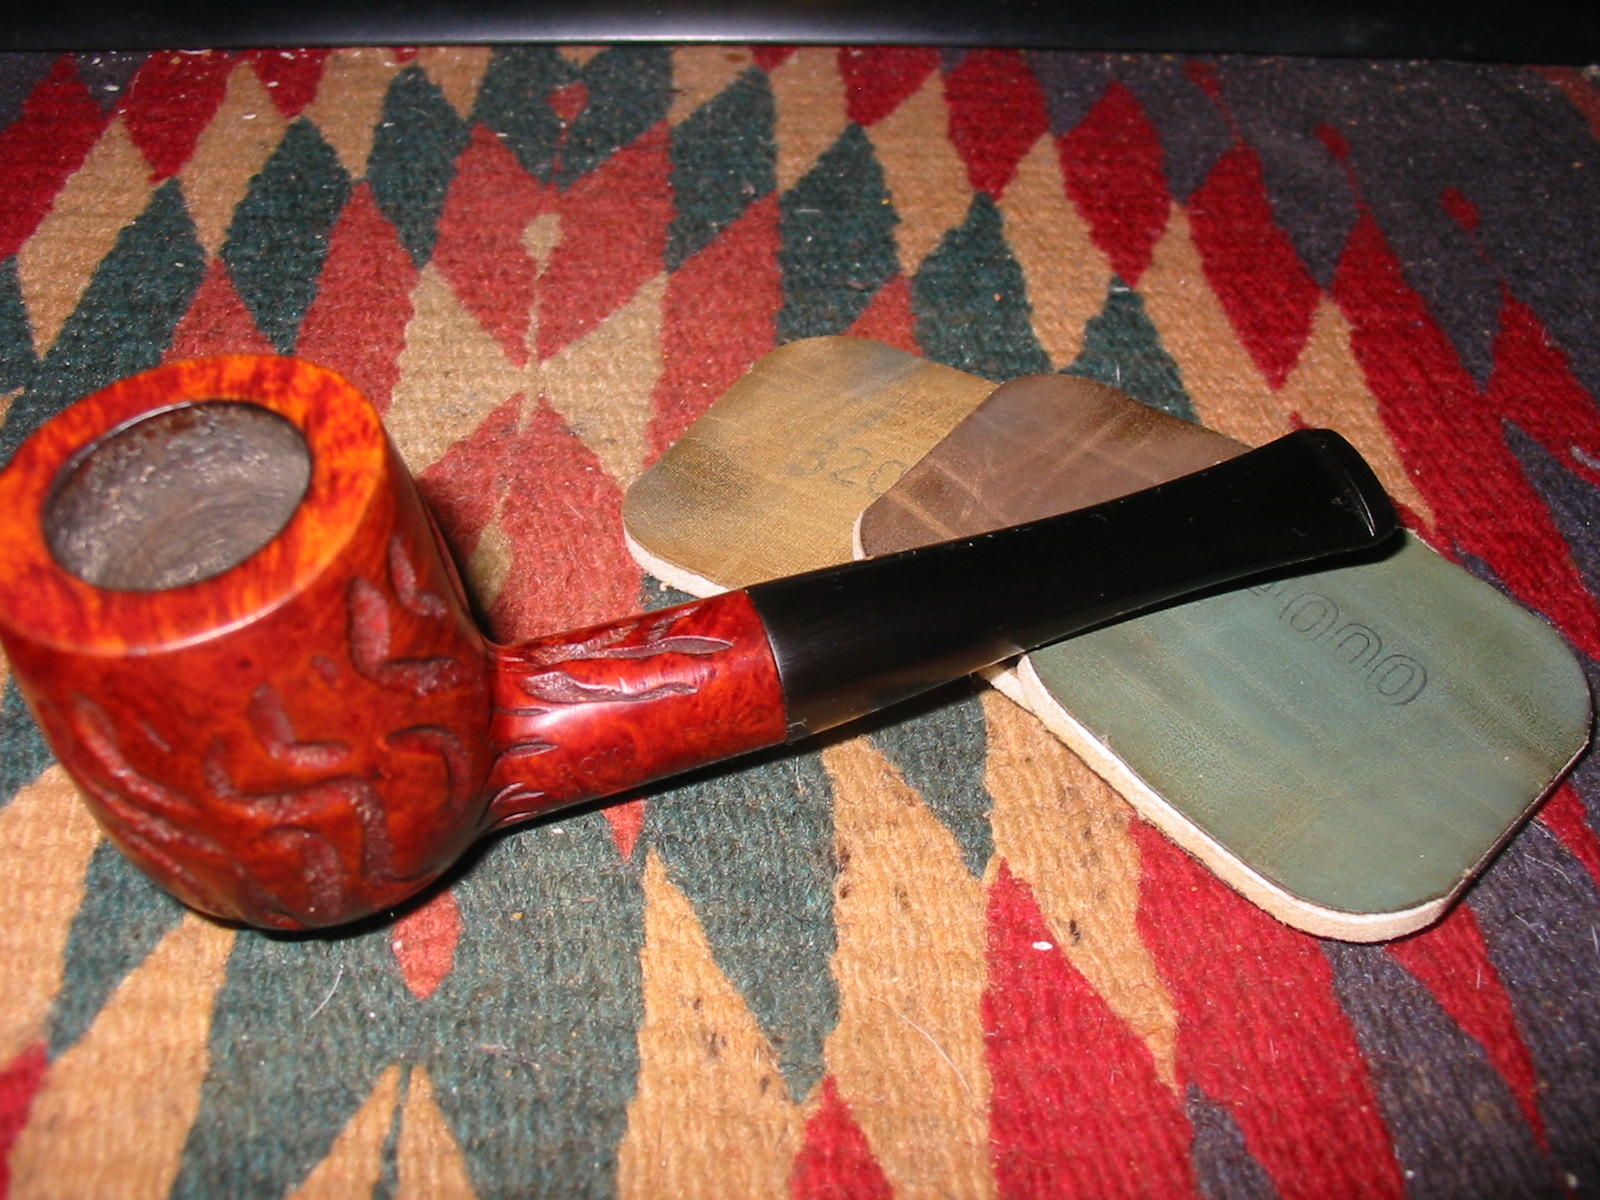
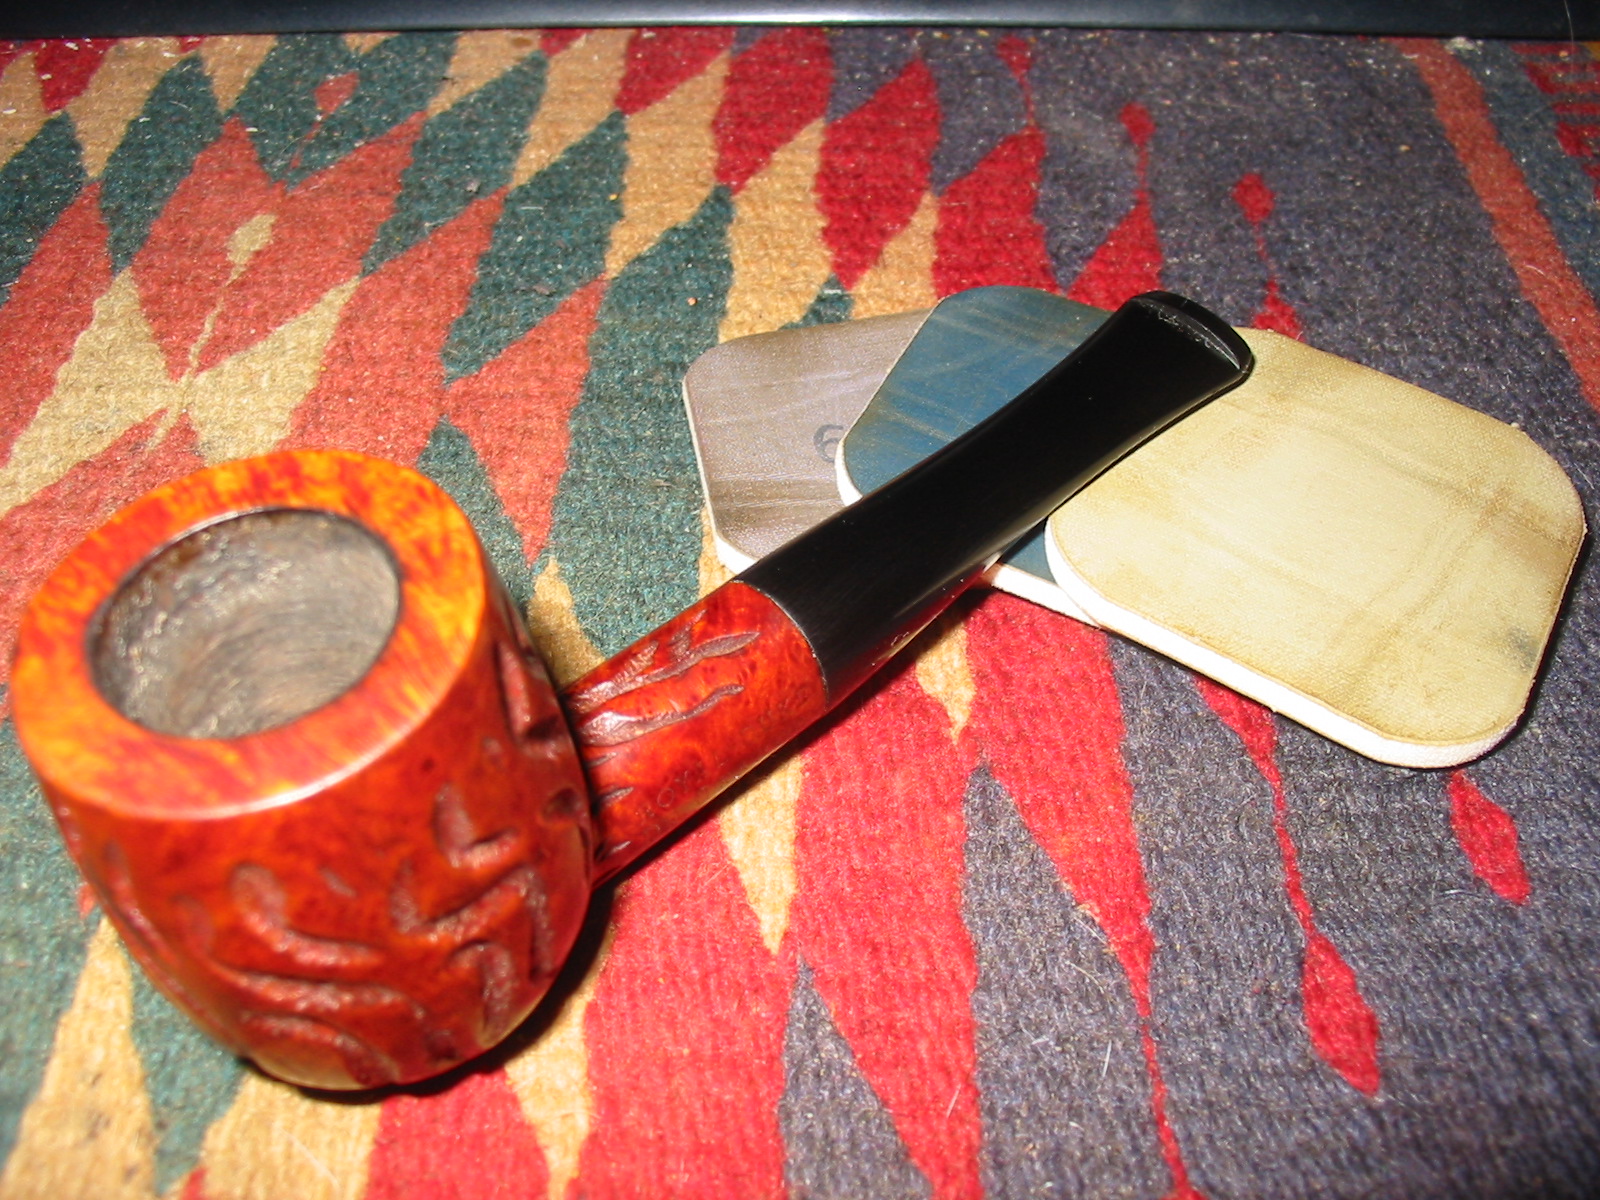
When I returned from work the stem fit perfectly. I did not need to do any more sanding on the tenon. I wiped down the exterior of the bowl and shank with acetone on cotton pads to remove the finish and grime from the top of the bowl. I also did some minor adjustments to the shank/stem union as the shank was slightly out of round and needed to have briar removed on the top and left edges to smooth out the union. I used 220 grit sandpaper and a medium grit sanding sponge to even out the fit of the stem. The next three photos show the fit of the stem and shank after the work.

IMG_1197

IMG_1198

IMG_1199

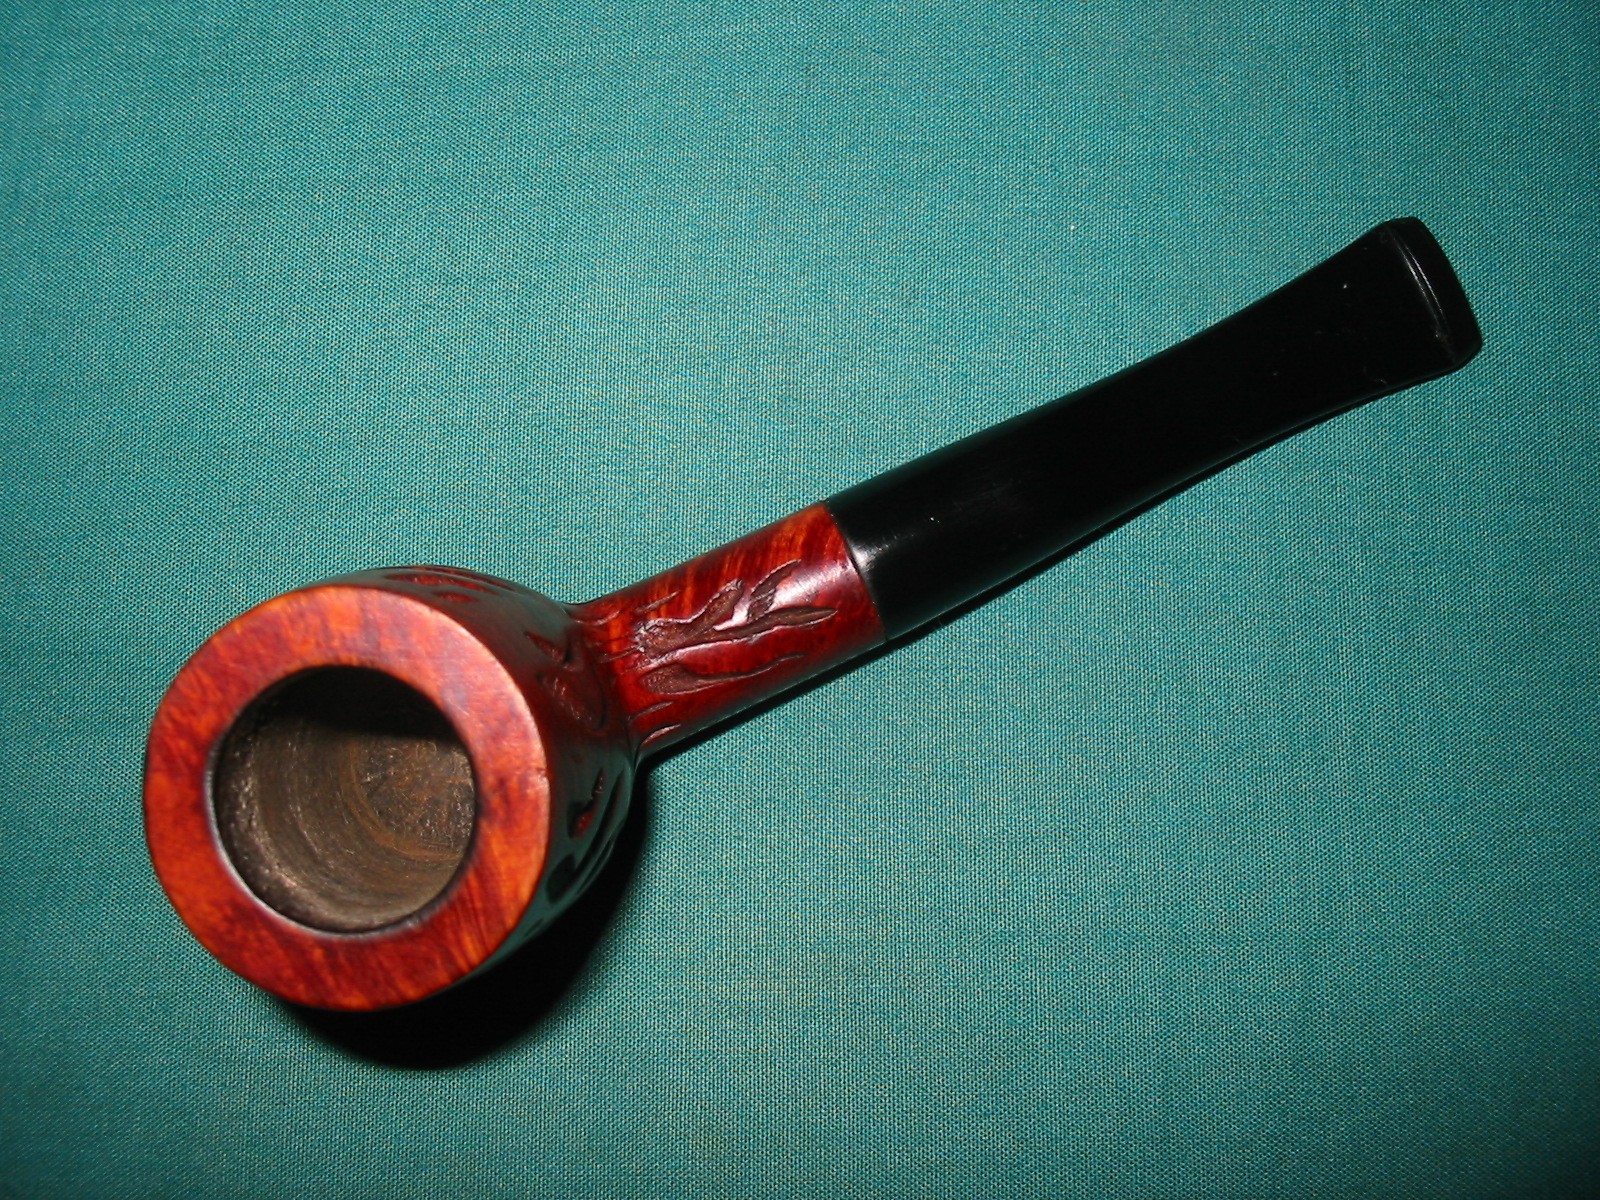
I sanded the chamfer/bevel on the inner rim of the bowl with a folded piece of 220 grit sandpaper. I wanted to repair and minimize the damage to the rim from the reaming that had been done with a knife. I have found that I can set the folded sandpaper at a set angle and work my way around the inner rim of the bowl repairing the bevel. It takes careful work to get the angles to even out and give a finished look to the repair. The photo below shows the finished chamfer/bevel.

IMG_1200

Once the bevel was completed and the shank/stem fit fine-tuned I needed to remove the rest of the finish from the pipe so that I could easily restain it and have a good match on the sanded areas. I sanded the rim and the shank with a fine grit sanding sponge and also with 1500-2400 micromesh. I then wiped the bowl down with acetone wetted cotton pads to remove the finish. The next three photos show the pipe after the wash with acetone. The finish stained acetone cotton pads are in the background.

IMG_1201

IMG_1202

IMG_1203

I sanded the stem and the bowl with a fine grit sanding sponge after the wash to even out the look of the finish and to prepare it for staining. The next three photos show how the sanded portions now blend in with the finish of the bowl and shank. The scratches have been removed and the bowl and shank are ready to be stained.

IMG_1204

IMG_1205

IMG_1206

I decided to begin working on the stem before I stained the bowl. I wet sanded the stem with micromesh sanding pads from 1500-1800 grit. Once I had it started as pictured in the first photo below I changed my mind about sanding the stem further at this point. I restained the bowl with a dark brown aniline stain thinned 2:1 with isopropyl alcohol. I applied the stain with a cotton swab and then flamed it with my lighter, reapplied the stain and reflamed it until I had the colour and coverage I wanted. Photos 2-4 below show the pipe after staining. I am happy with the blend of the stain on the rim and the sanded area of the shank. The coverage is heavy enough to give a good colour and yet it is not too heavy so that the grain really shines through. I had not buffed the pipe at this point merely stained it and let it sit while I went back to working on the stem.

IMG_1207

IMG_1208

IMG_1209

IMG_1210

I went back to sanding the stem with the micromesh sanding pads. I worked through the remaining grits of pad from 2400-12,000. Each successive grit of pad deepened the shine on the stem and progressed to a deep black look. I also sanded the bowl with the micromesh pads. The hardest area to remove the oxidation was around the brass BBB diamond insert. To clean that up I used a Bic lighter and passed the flame over the stem surface quickly and the oxidation burned. I also wet sanded the area with the edge of the sanding pads. To finish that area I also used the Scratch X2.0 plastic polish and then rubbed the stem down with Obsidian Oil and let it dry. The next three photos show the stem after sanding with the pads.

IMG_1212

IMG_1213

IMG_1214

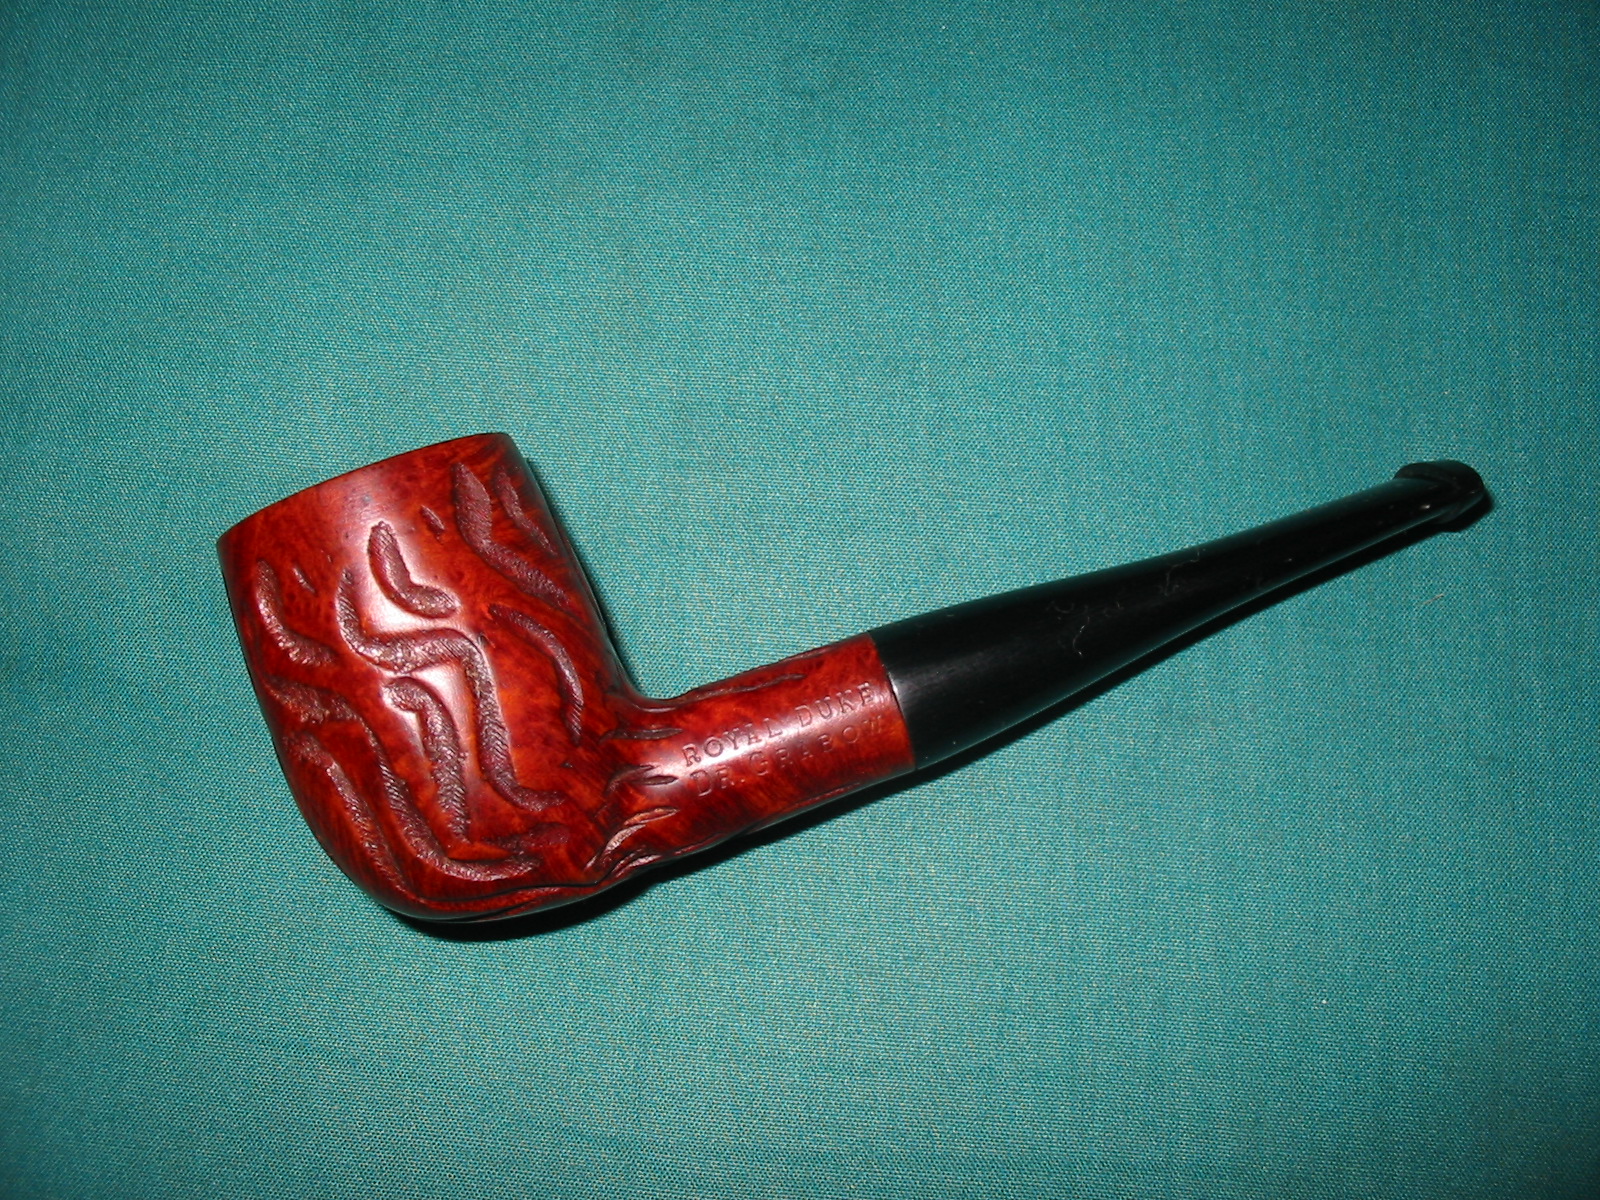
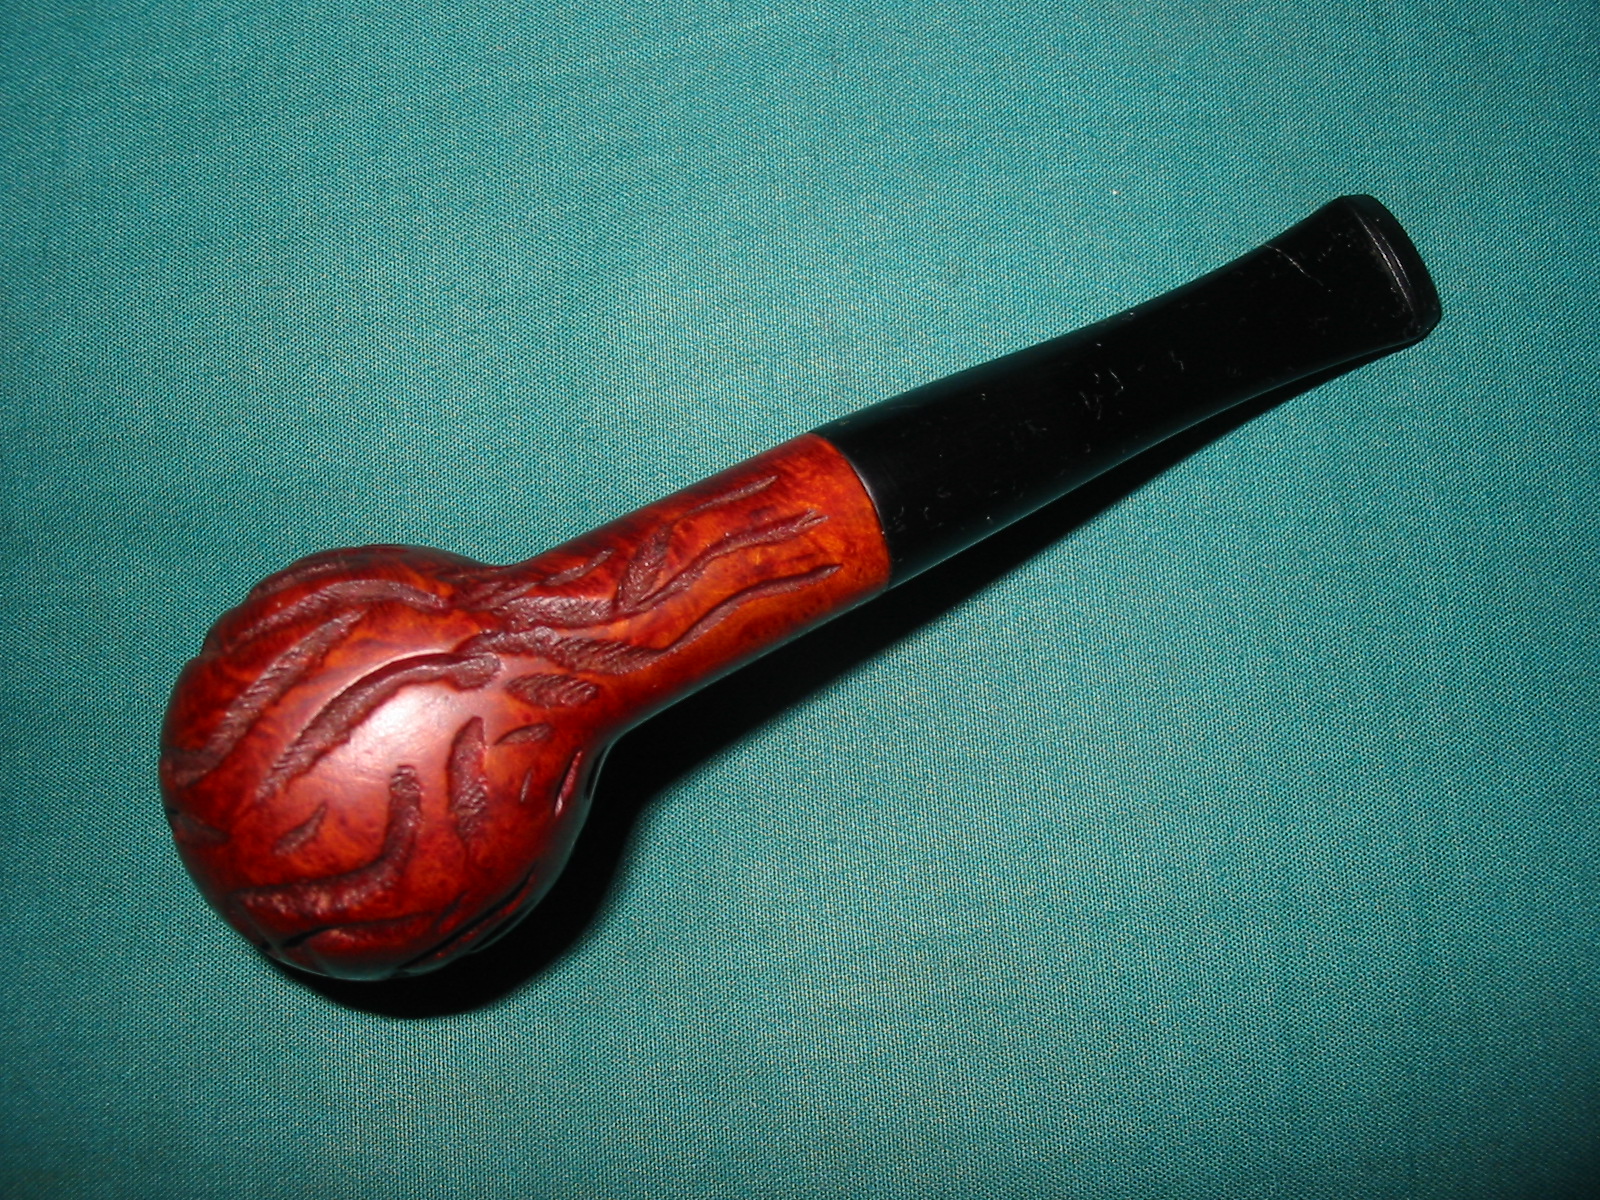
The final four photos show the finished pipe. There are some dents remaining in the side of the bowl that I steamed to lift but they still show. I tend to leave these on older pipes as signs of their age and character. I love the way the grain stands out on this pipe. The sides show the cross grain. I did not take photos of the ends of the bowl to show the birdseye grain that is situated on them but you can imagine the look from the straight lines of the cross grain. The rim and sanded areas on the shank look well blended in and the bowl smells fresh and ready to use. I am well pleased with how this old beauty turned out and know that it is ready for a life of service.

IMG_1219

IMG_1220

IMG_1221

IMG_1222