By Steve Laug
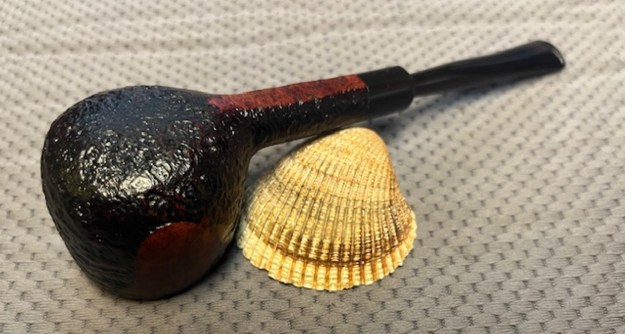
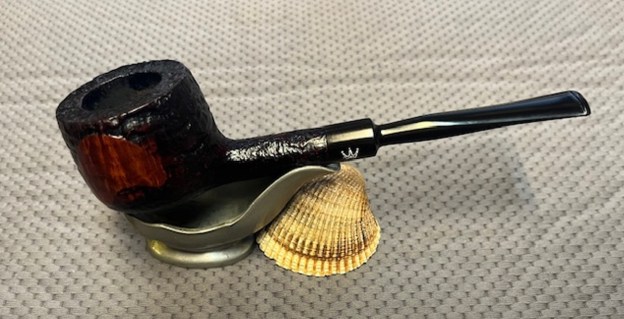
The next pipe on the table is one that we picked up in an estate lot from a seller in Sacramento, California, USA on 09/03/2024. The sandblast finish with two smooth panels looking like a Stanwell style pipe is what caught our eye. It is stamped on the underside of the shank and reads Royal Danish [over] Made in Denmark to the right it is stamped with a shape number 989. That is followed by R. It has a classic sandblast finish and the smooth panels on the sides of the bowl are a stark contrast to vulcanite, faux military taper stem. There is Royal Danish Crown logo on the right side of the stem and looks to be in good condition. The seller sent the following photo of the pipes that we purchased. The pipe I am working on is the one on the top of the right column in the photo below.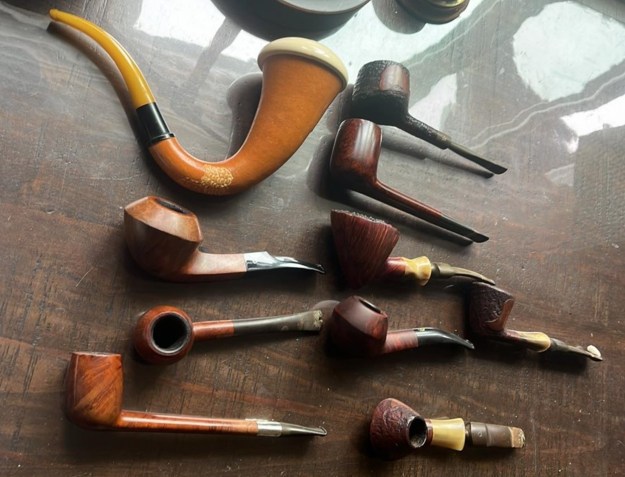 Jeff took some photos of the pipe to show the general condition of the pipe before he started his clean up. The bowl appears to be lightly caked at first glance but could be thicker deeper in the bowl. The inner edge and the top show some lava overflow. The stem is oxidized and calcified which is quite normal for what I see. There are some tooth marks and chatter on the top and underside ahead of the button and on the button surface.
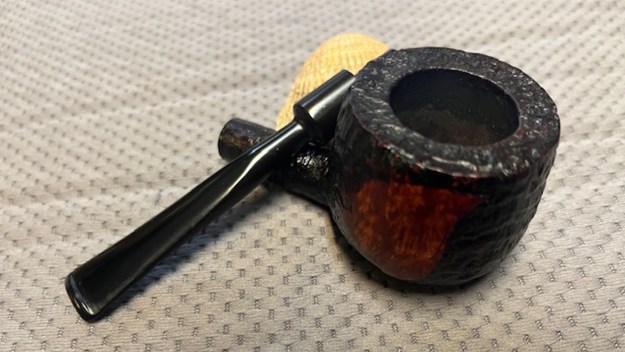
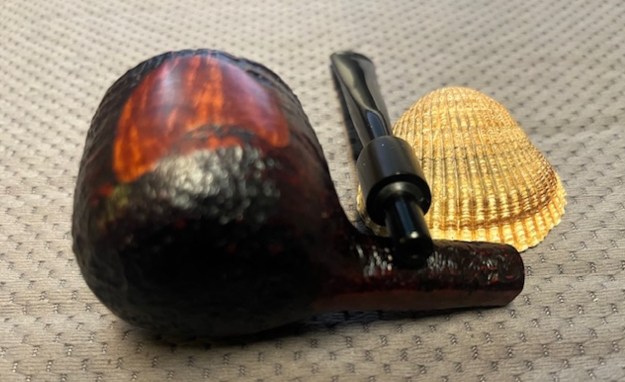
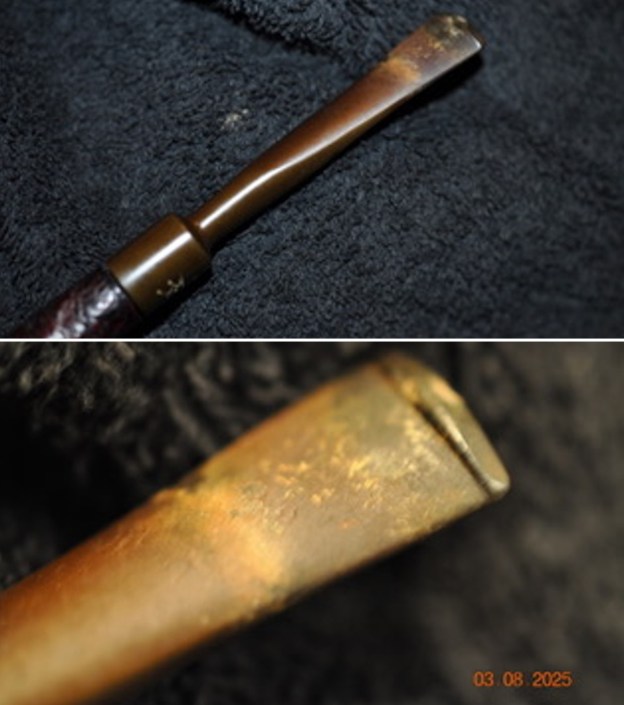
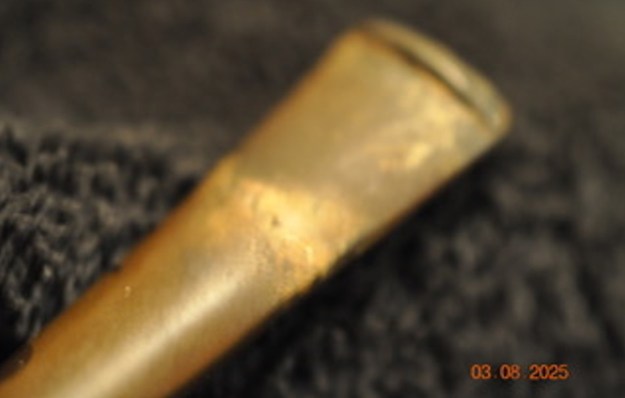
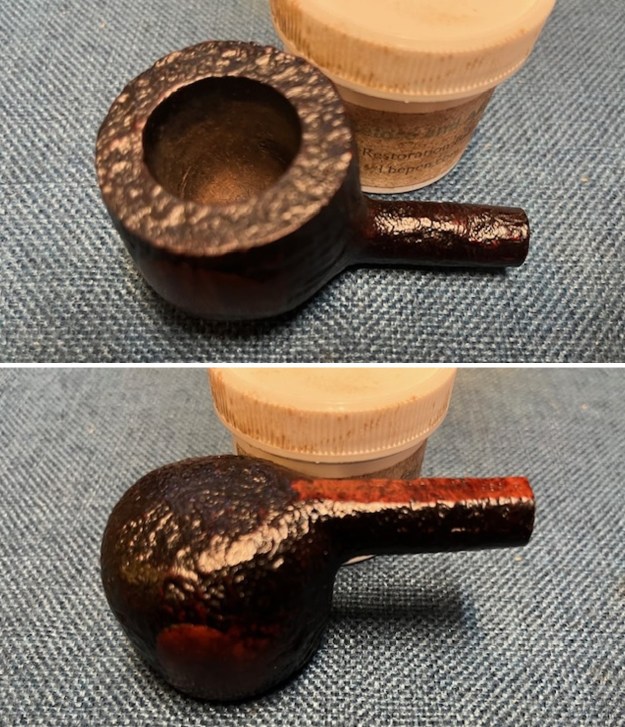
 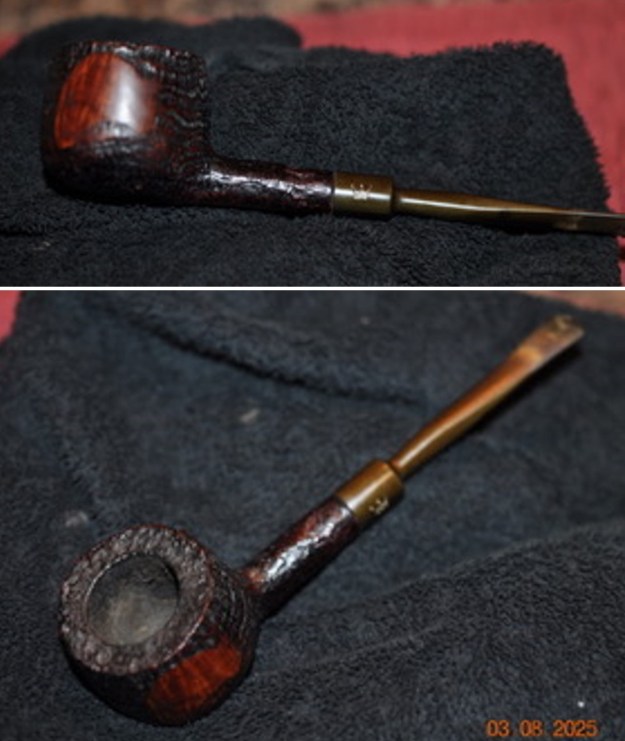 He took some photos of the rim top and bowl from various angles to give me a clear picture of the condition of the rim top and bowl. You can see the lava on the rim top and edges as well as part of the cake in the bowl. He included photos that show the top and underside of the stem. It is as described above.
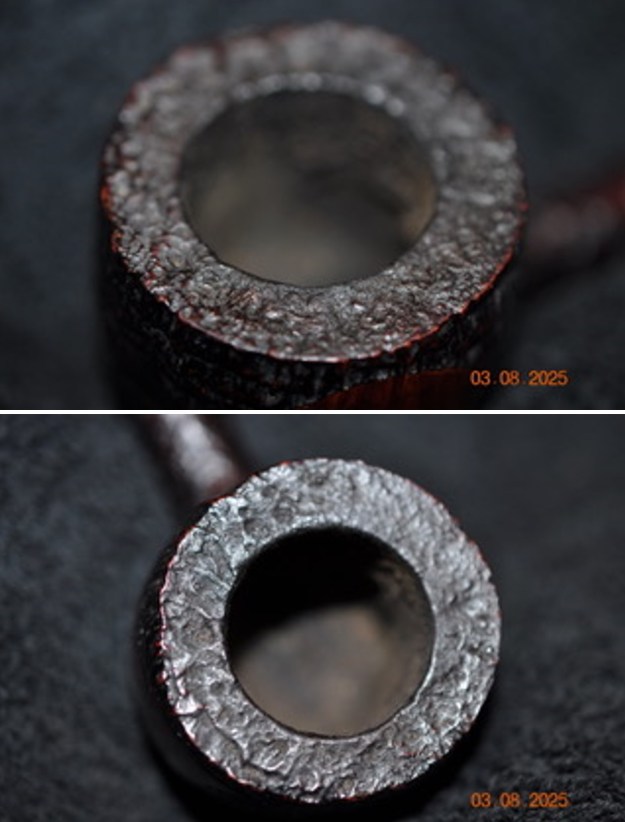
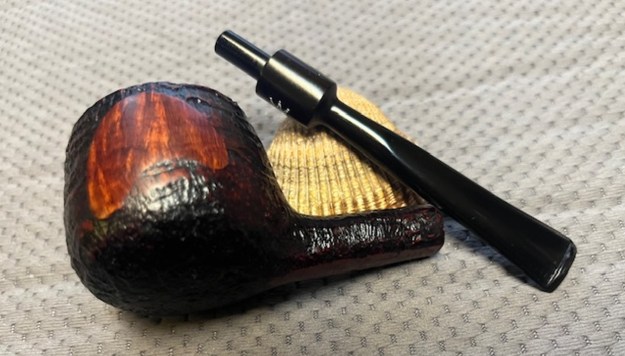
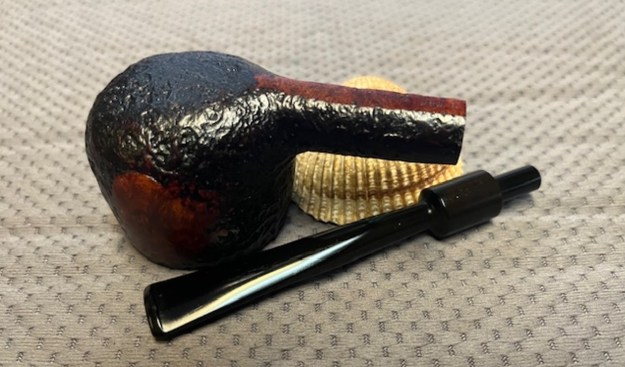
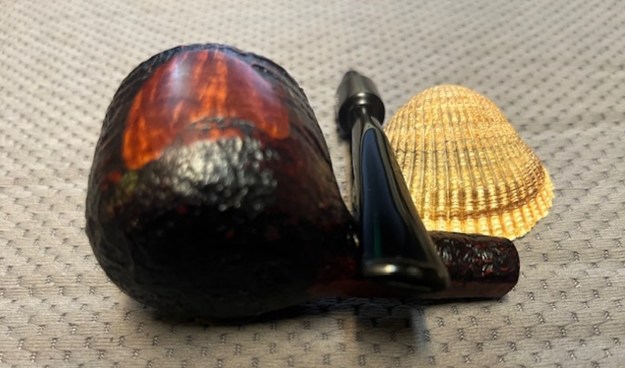
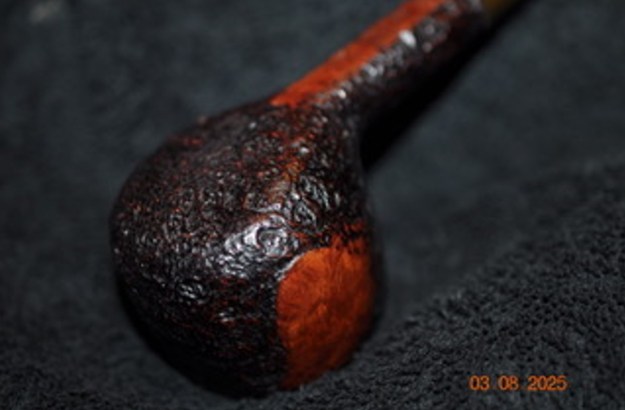
 Jeff took some photos of the sides and heel of the bowl to show the condition of the finish on the pipe. The photos showed some great grain around the bowl and shank. It is a great looking piece of briar.
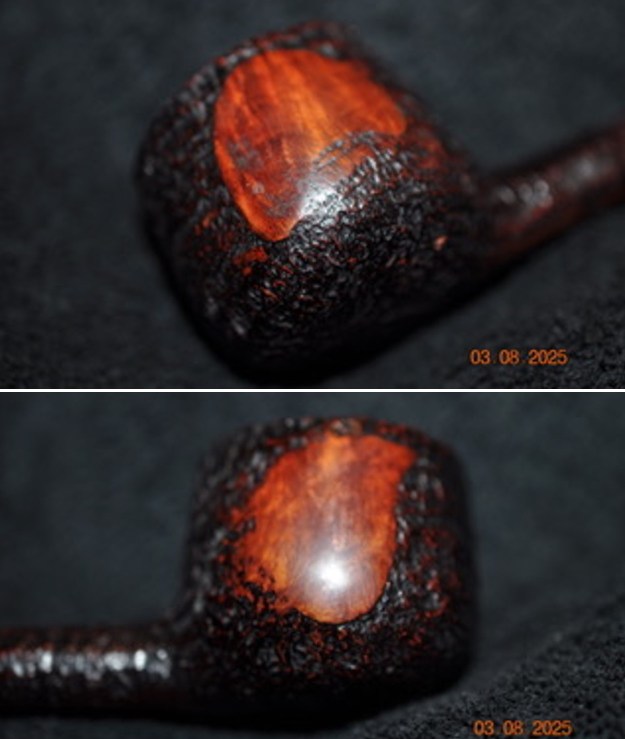
 He took a photo of the stamping on the underside of the shank. The stamping was clear and readable as noted above. He also took a photo of the Crown logo on the left side of the saddle stem. It shows the faint stamping on the stem.
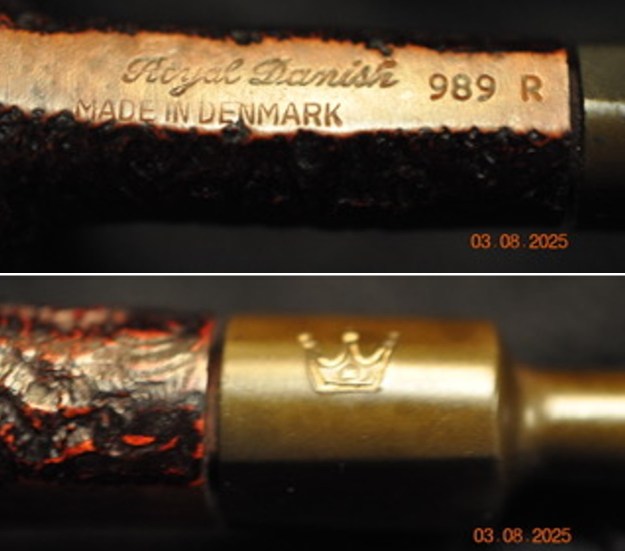 Regardless of when this specific briar was made, the shape is very much a 1960s Danish one. I turned to Pipephil’s site and quickly scanned the article on Stanwell getting a great overview of the history. I went through the photos and did not find the shape of the pipe that I was working on (http://pipephil.eu/logos/en/logo-r6.html). There was one that showed the mixed finish of the Royal Danish line – sandblast with smooth patches on each side of the bowl. I have included a screen capture of that section below.
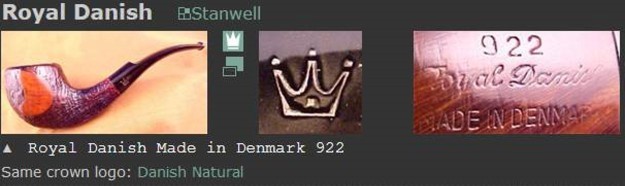 I then turned to Pipedia and found that the Royal Danish was also listed as a second or a sub-brand made by Stanwell (https://pipedia.org/wiki/Stanwell#Sub-brands_.2F_Seconds). I have included the list of seconds from the site below. I have highlighted the Royal Danish in blue in the text.
Sub-brands / Seconds – Bijou (discontinued), Danish Quaint, Danish Sovereign, Danske Club, Henley (discontinued), Kong Christian (discontinued), Majestic, Reddish (discontinued), Royal Danish, Royal Guard, Royal Sovereign, Sailor (discontinued), Scandia, Sorn (discontinued), Svendson.
There was also an interesting advertising page on the Danish Briars by Stanwell. The first one on the list was the Royal Danish. The description of the line is clear and concise, be sure to read it below. Now I knew that I was dealing with a Stanwell made pipe in the line called Royal Danish. That line is described as “dark walnut sandblast with smooth side panels…” That matches the pipe I am working on now and now it is time to do the work on it.
Jeff had cleaned up the pipe following his normal cleaning process. In short, he reamed the bowl with a PipNet pipe reamer and cleaned up the reaming with a Savinelli Fitsall Pipe Knife. He scrubbed the smooth bowl with undiluted Murphy’s Oil Soap with a tooth brush. He worked over the lava and debris on the rim top and was able to remove it. He rinsed it under running warm water to remove the soap and grime. He cleaned out the inside of the shank and the airway in the stem with alcohol, cotton swabs, shank brushes and pipe cleaners. He scrubbed the stem with Soft Scrub and cotton pads to remove the debris and oils on the stem. He soaked it in a bath of Briarville’s Pipe Stem Deoxidizer to remove the oxidation. He rinsed it with warm water and dried it off. I took photos of the pipe once I received it. It really looked good.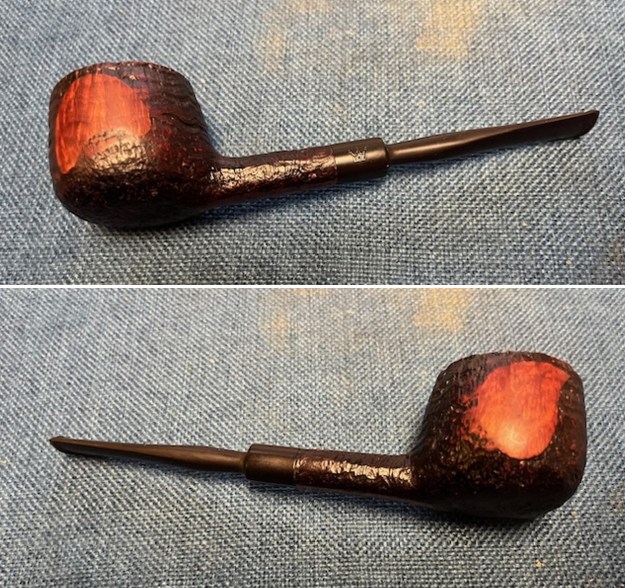
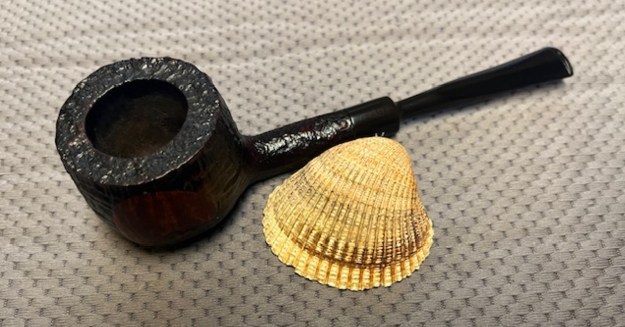
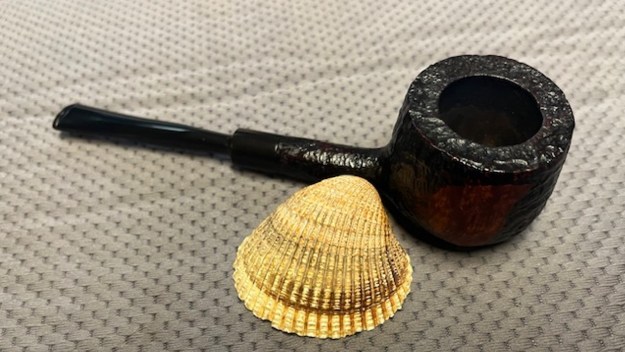
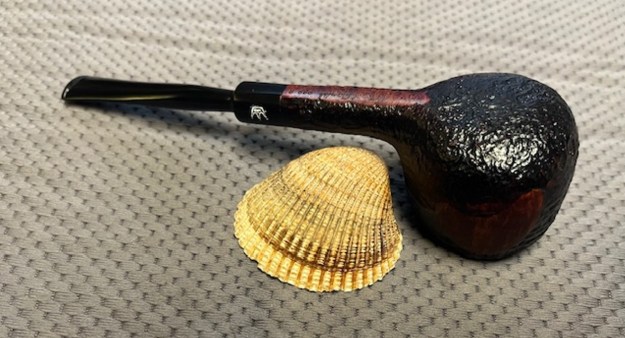
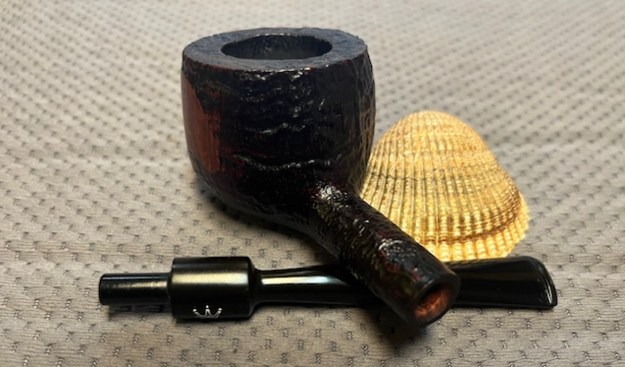
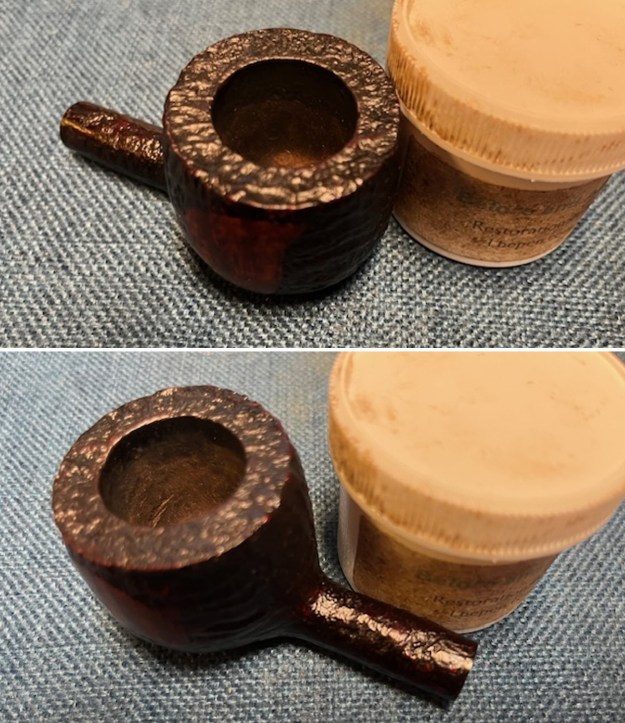
 I took a close up photo of the rim top and stem surface to show the condition after the clean up. The bowl was in good condition though the rim top and edges looked very good. The stem surface showed the light tooth marks and chatter on both sides.
 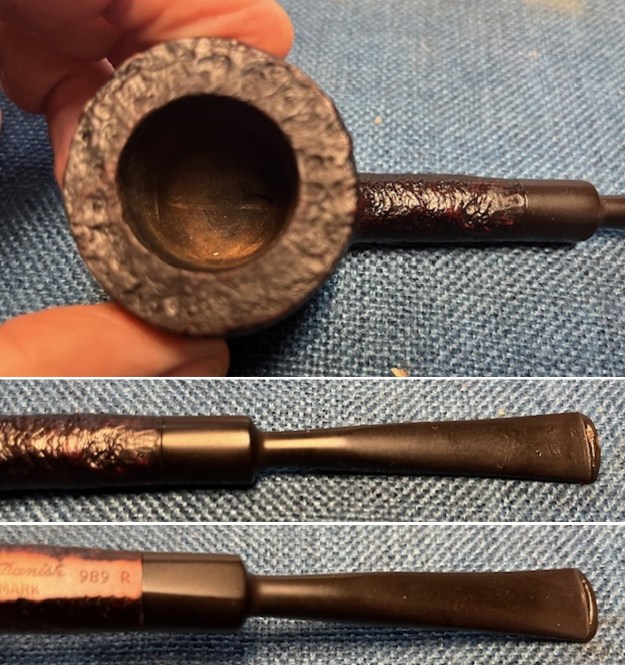 The stamping on the shank was readable as noted above. I took the stem off the pipe and took a photo of the pipe in proportion. It is a beautiful pipe.
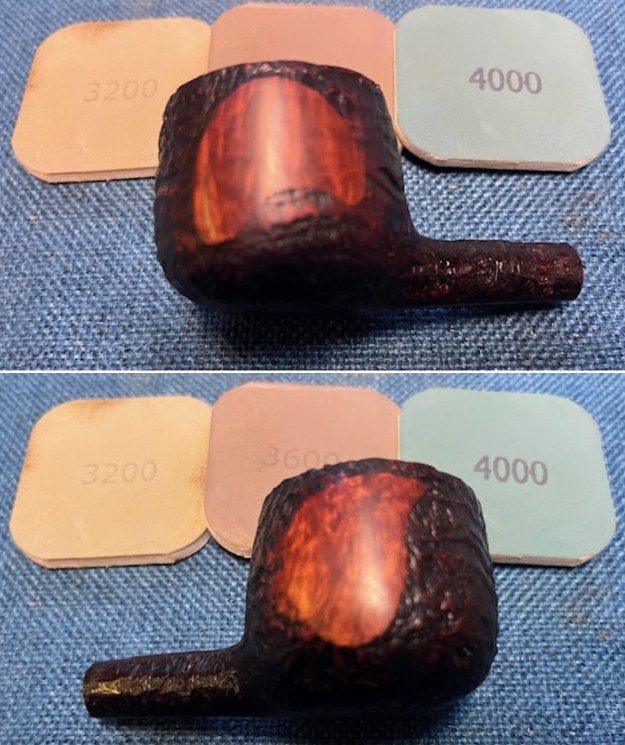
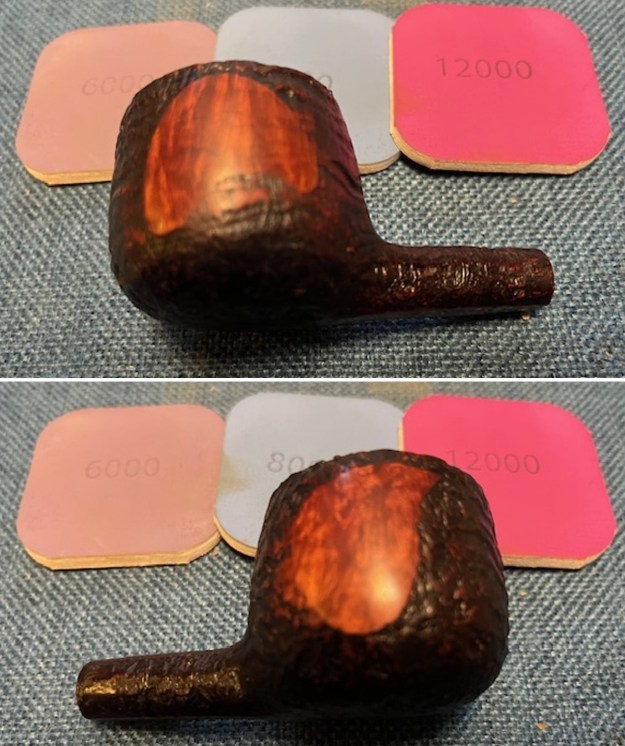
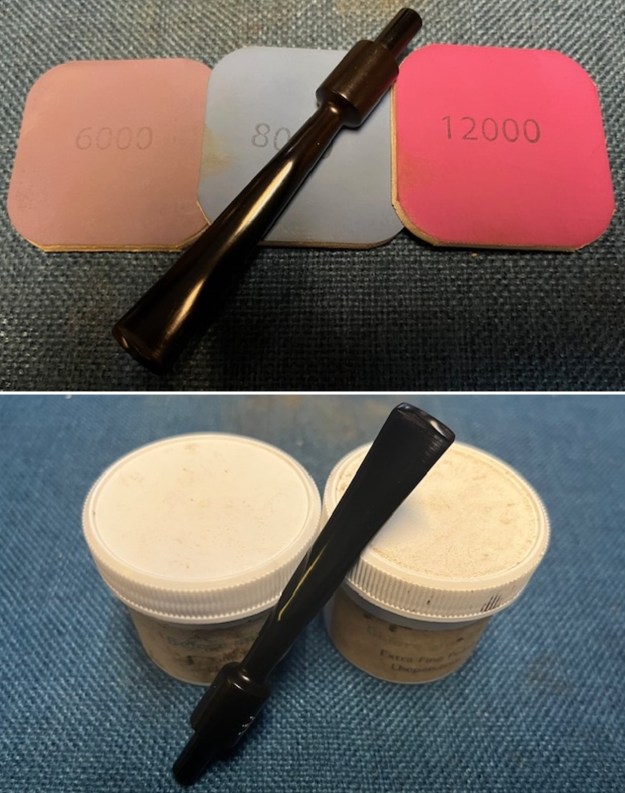
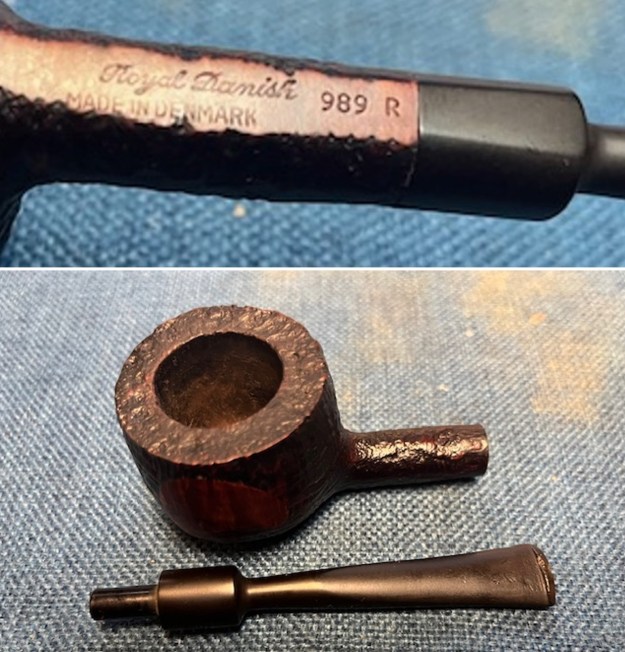 I polished the smooth portion of the bowl sides and the inner edge of the rim with micromesh sanding pads – dry sanding with 1500-12000 grit sanding pads. I wiped it down after each sanding pad to remove the sanding debris. The smooth portions and bevelled inner edge looked much better at this point.
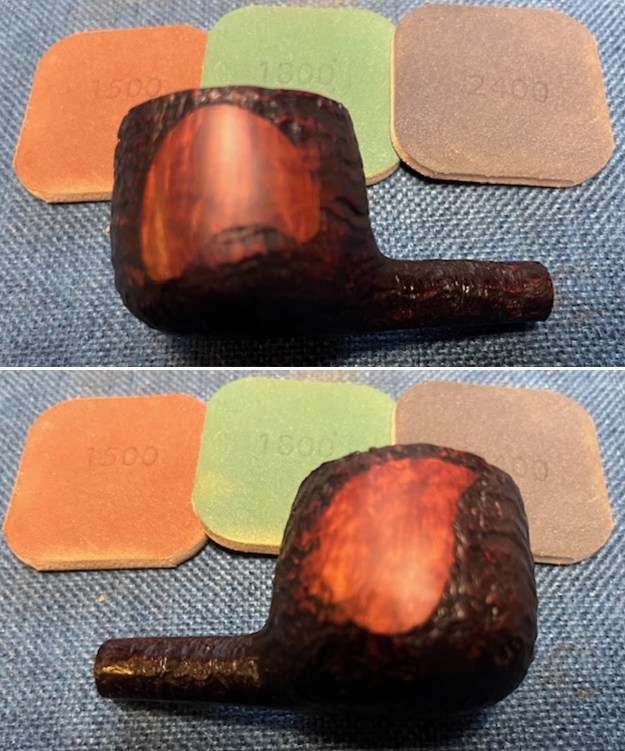
 I rubbed the bowl down with Before & After Restoration Balm working it into the briar with my fingertips and a horsehair shoe brush to clean, enliven and protect it. I let the balm sit for 15 minutes and then buffed with a cotton cloth to raise the shine. Mark Hoover’s Balm is a product that I have come to appreciate and one I use on every pipe I have been working on.
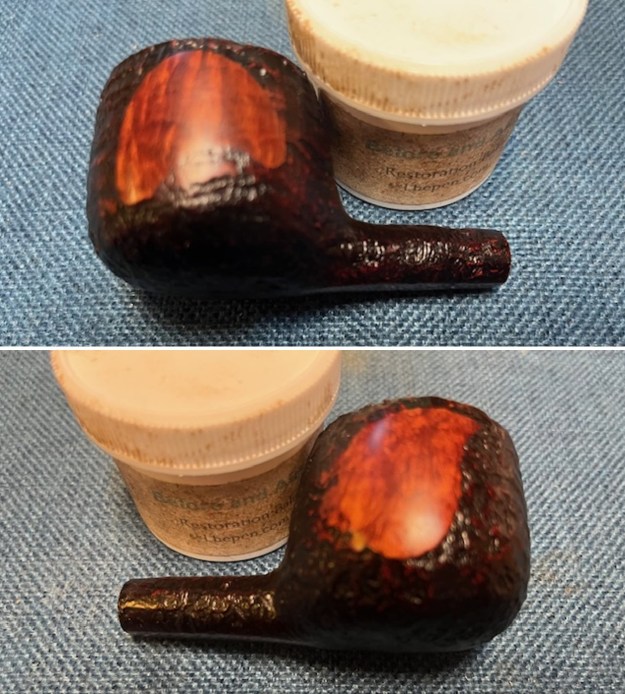
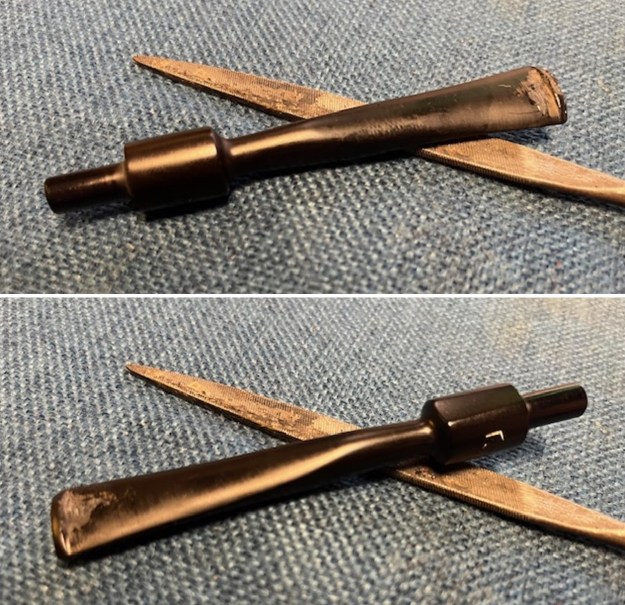
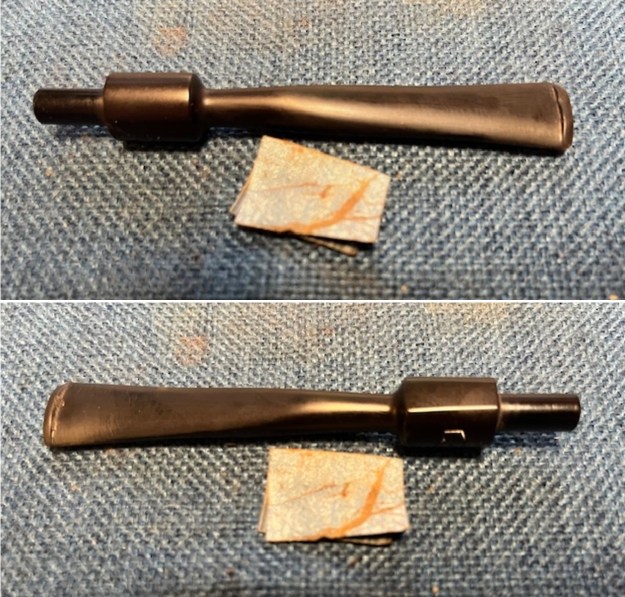
 I set the bowl aside and turned to the stem. I “painted” the surface with the flame of a lighter to lift the tooth marks on the stem and button surface. I was able to lift many of them. I filled in the remaining marks on the button and stem with rubberized black CA glue. Once it cured I use a small file to flatten the repairs. I sanded it smooth with a folded piece of 220 grit sandpaper.
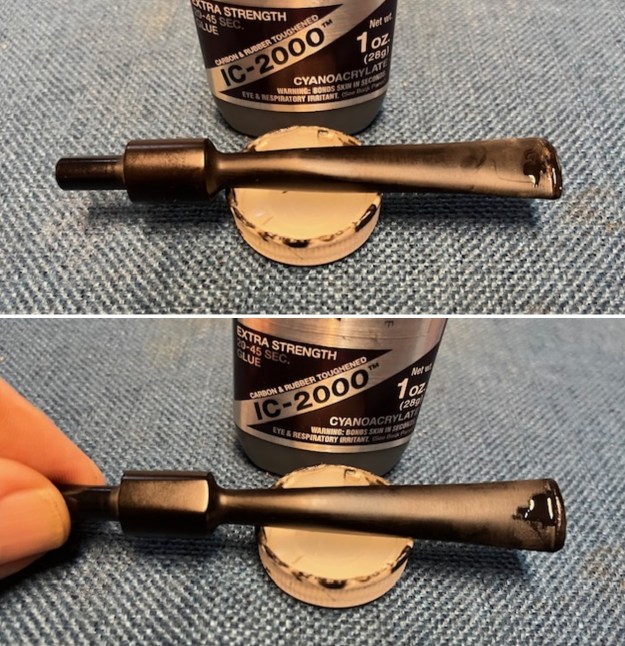
 I sanded the stem with 320-3500 grit sanding pads. I wiped the stem down with an Obsidian Oil cloth after each sanding pad.
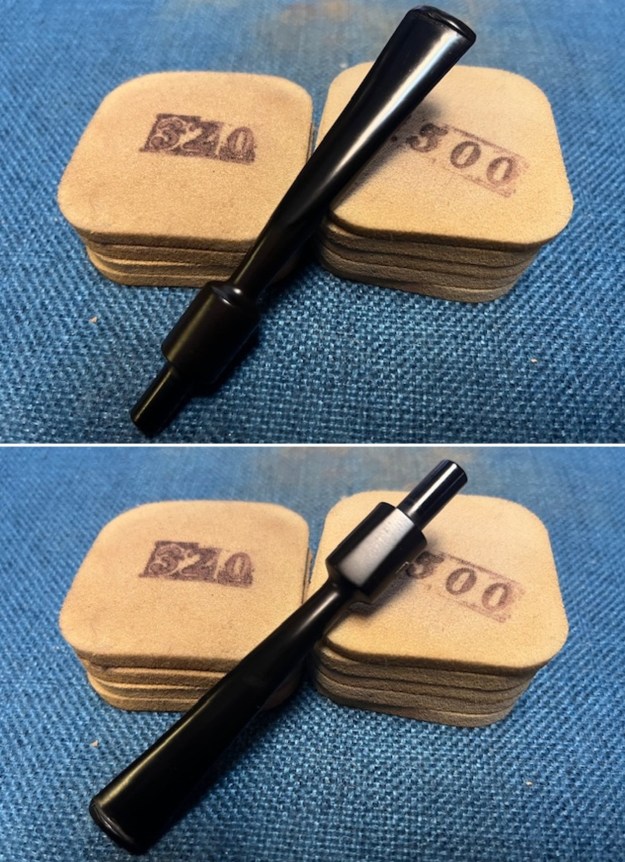 I touched up the stamping in the vulcanite on the top of the saddle portion of the stem. I used white acrylic fingernail polish to refresh the Crown on the top of the saddle. Once it hardened I sanded it with a 1500 grit micromesh sanding pads. I wiped it down with Obsidian Oil.
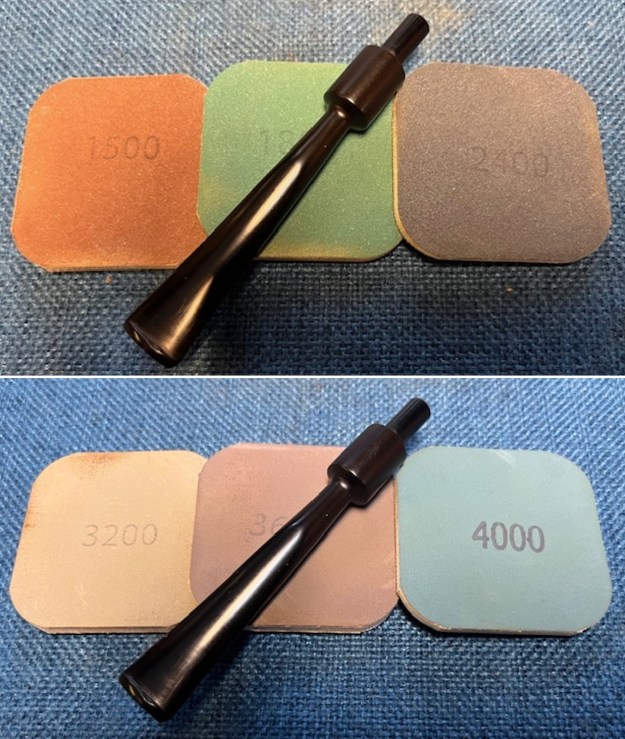
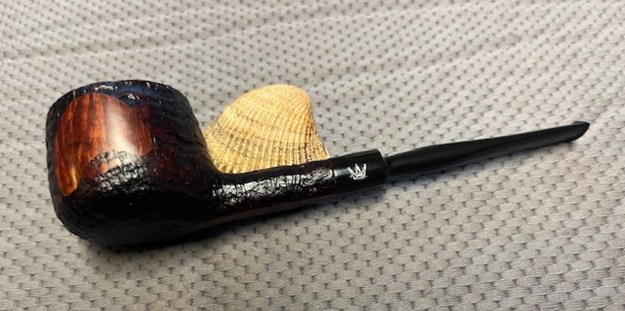
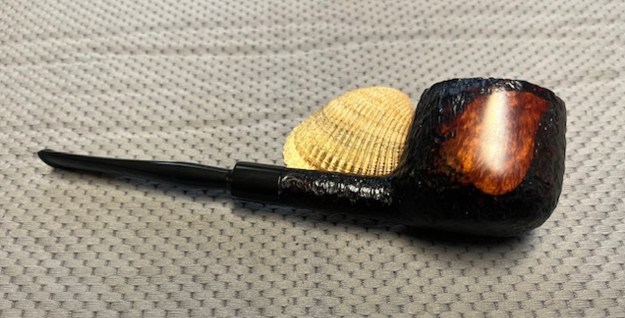
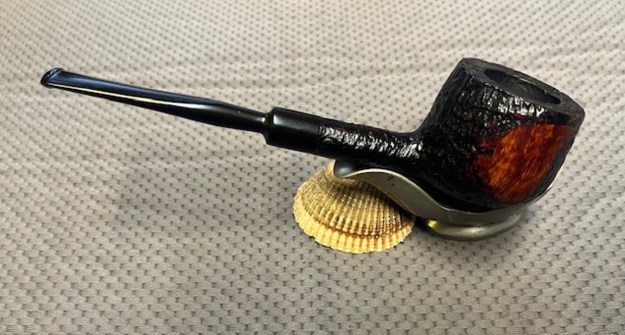
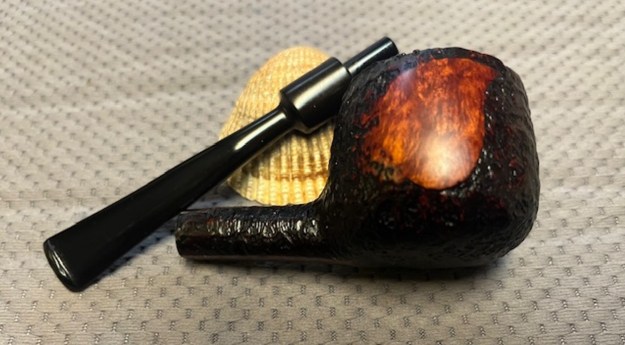
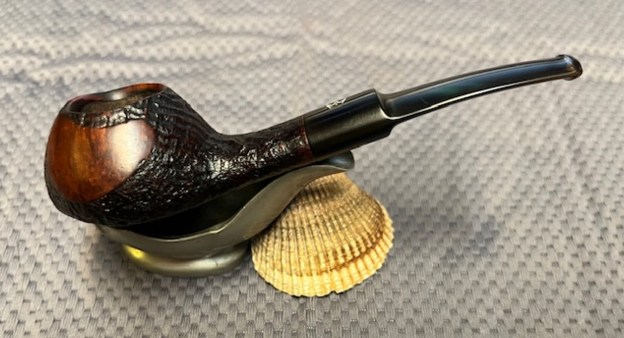
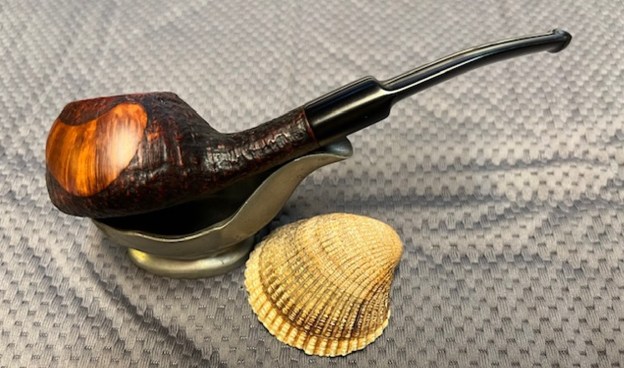
 As usual at this point in the restoration process I am excited to be on the homestretch. I look forward to the final look when it is put back together, polished and waxed. I put the Stanwell Royal Danish Made in Denmark 989 Saddle Stem Pot back together and it is a beauty. I polished the bowl and stem with Blue Diamond to polish the briar and the vulcanite. I gave the bowl and the stem multiple coats of carnauba wax. I buffed the pipe with a clean buffing pad to raise the shine. I hand buffed it with a microfiber cloth to deepen the shine. The pipe polished up pretty nicely. The grain really pops with the wax and polish. The shiny black vulcanite saddle stem is a beautiful contrast to the browns of the bowl. This Royal Danish 989 Saddle Stem Pot was a great pipe to spruce up. It is a very comfortable pipe to hold in the hand. The finished pipe is shown in the photos below. The dimensions of the pipe are Length: 6 ½ inches, Height: 1 ½ inches, Outside diameter of the bowl: 1 ¾ inches, Chamber diameter: 1 inch. The weight of the pipe is 54 grams/1.87 ounces. I will be putting this pipe on the Danish Pipe Making Companies Section of the rebornpipes store. If you are interested in adding it to your collection let me know by email or message. Thanks for reading this blog and my reflections on the pipe while I worked on it. This is an interesting estate to bring back to life.