Blog by Steve Laug
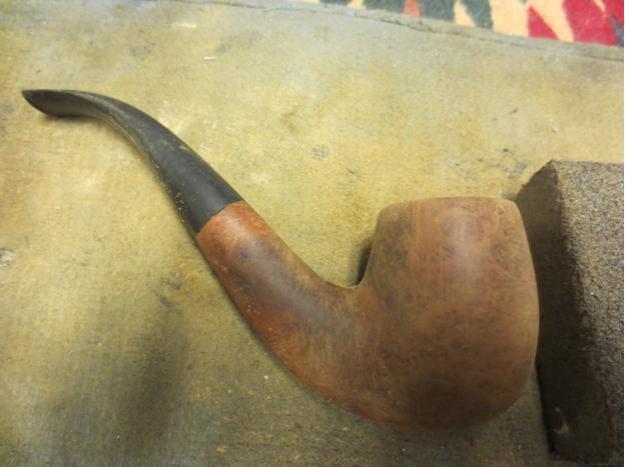
Out of the three pipes from the “hackster” – the cut off Rhodesian, the coffee grounds Dublin and this Stanwell 80R Bent Billiard I have to say that the work he did on this one was by far the worst abomination. This pipe is stamped Stanwell Hand Made 80R Made in Denmark on the underside of the shank. It was a sandblast brown contrast bent billiard that would have been beautiful when it was made. The “hackster” decided to improve upon the finish and believe it or not he desecrated the pipe. He used a Dremel or sander to remove the majority of the sandblast finish leaving a dab of it on the back of the bowl at the joint of the shank and the bowl and a dab on the front side about 1 inch long from the rim. In removing the blast he completely ruined the shank leaving a thick band near the stem and the two thick sandblasted dabs. He sanded off the blast on the shank leaving it looking anemic and awful. He ruined the shape of the bowl and left it totally out of round on the outside. He also over reamed the bowl with what looked like a Dremel and sanding drum and took the bottom of the bowl almost ¼ inch below the entrance of the airway.
He did not leave the stem safe either he reshaped the button by removing the majority of the sharp edge. Then to add insult to injury he left the stamping intact on the bottom of the shank giving credit to Stanwell for the ruination of this fine briar pipe. It went from handmade to hand ruined. Over the entire bowl and slopping onto the stem was a thick coat of shellac. Runs and drips had hardened. The file and Dremel marks were held in perpetuity under a thick coat of shellac. That is where I started with this abomination. The question was could I do anything to redeem this mess.

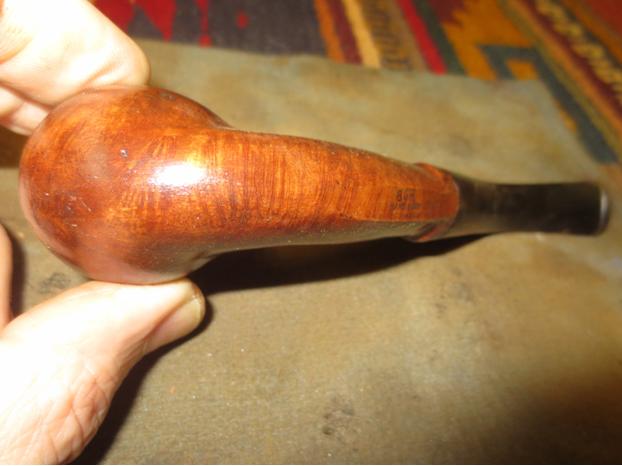
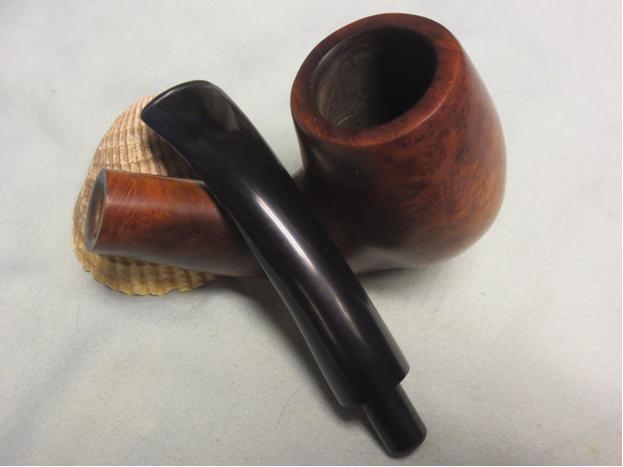
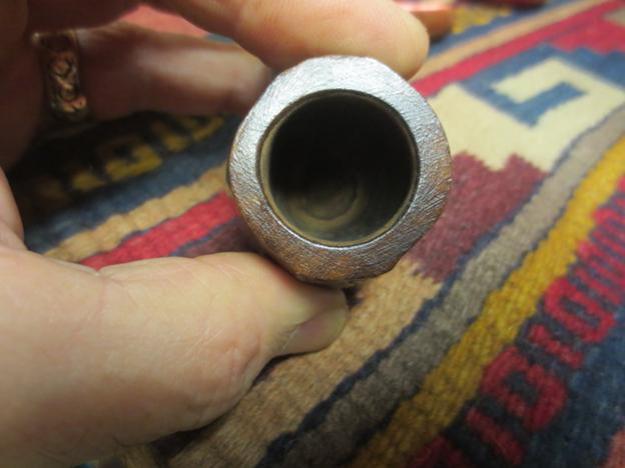
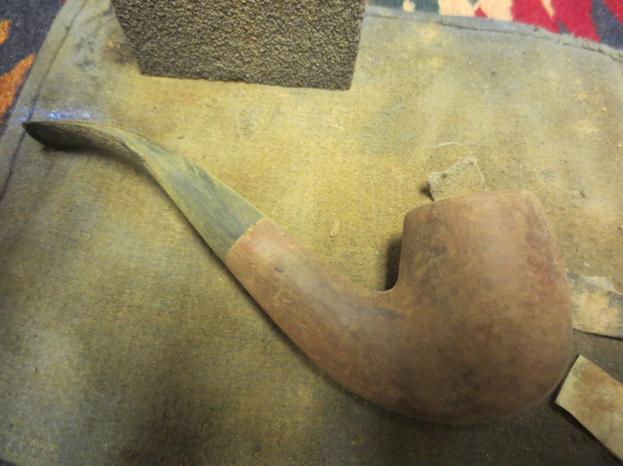
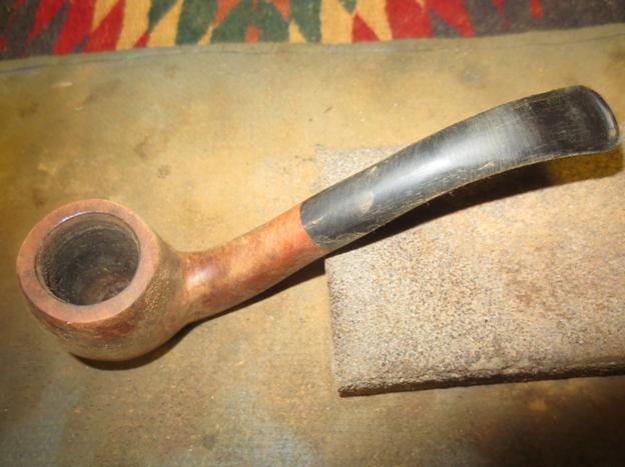
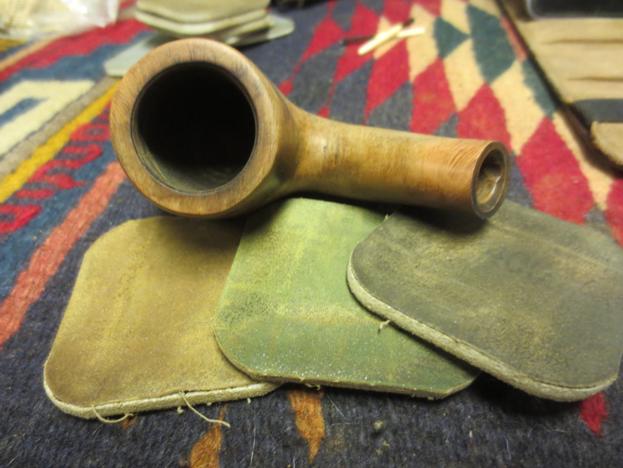
 I took some photos of the stem and the left over sandblast sections. There is also a photo of the rim shows the out of round condition of the outer edge of the rim.


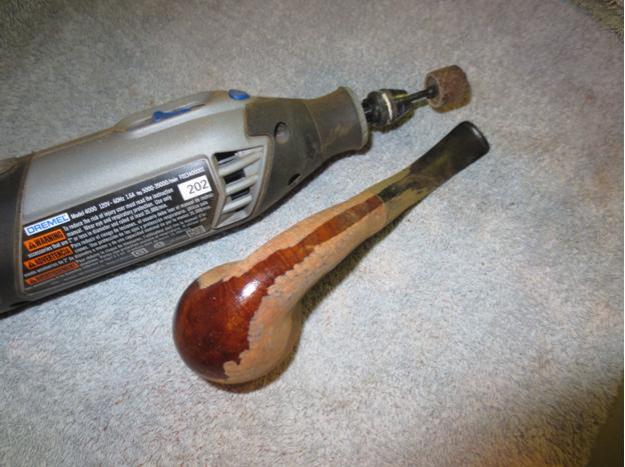
 I sanded off the remaining sandblast sections on the bowl and shank and rounded the bowl with a Dremel and sanding drum. I used the Dremel to reshape the shank and the bowl and shank. The damage done to the shank made it necessary to shape the stem into an oval instead of a round.
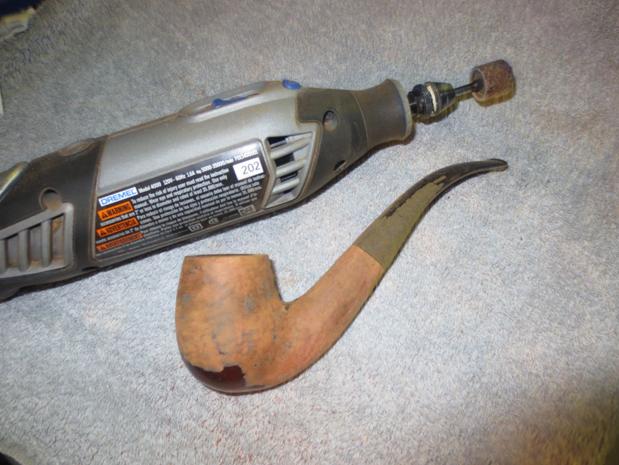


 With the rough shaping work done there was a lot of fine tuning to be done to the shape of the bowl. I topped the bowl with a topping board and 220 grit sandpaper to remove the deep saw and file marks and to flatten the surface. I sanded the areas on the bowl where I left the shellac and existing finish until they were smooth as well. I left the band on the bottom of the shank where the faint stampings that the “hackster” had left behind remained. I had still not decided whether to remove them as the pipe was certainly not a Stanwell any longer and when I was finished reclaiming it the pipe would be two times removed from the pipe that came out of the Stanwell factory.
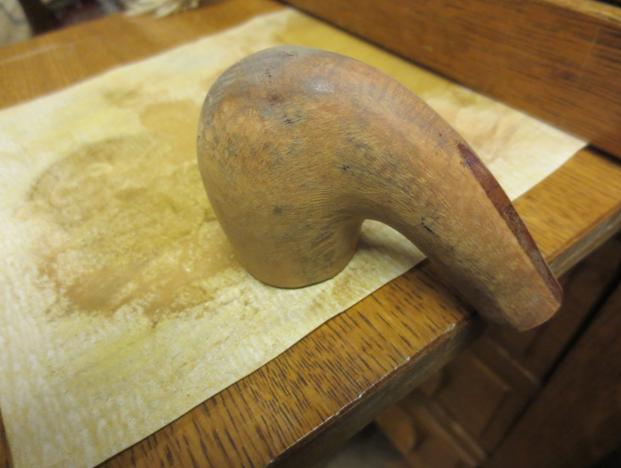
 I hand sanded the bowl and shank with 220 grit sandpaper to further shape it. I sanded the stem as well to remove the damage that had been done to it and also to reshape it to the oval shank.

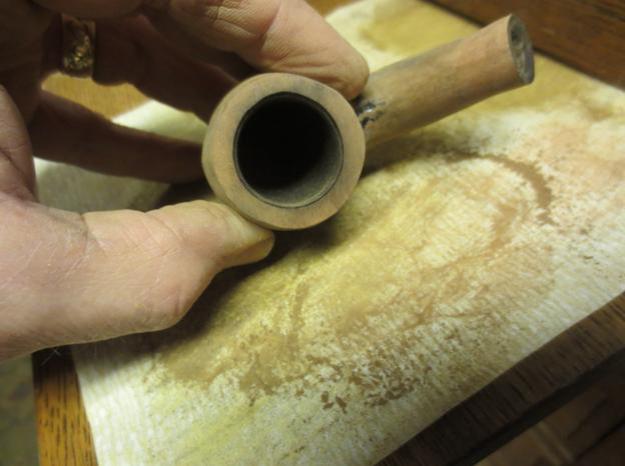
 I worked on the outer edge of the rim and shaped the bowl with 220 grit sandpaper. Fortunately, the inner beveled rim was undamaged. The bottom of the bowl was a mess that I would need to fill with pipe mud to restore the depth of the bowl to the bottom of entry of the airway into the bowl.
 I sanded the bowl and shank with a coarse grit sanding block to smooth out more of the curves. The larger surface of the block ensures and evenness to the contours of the bowl and shank.
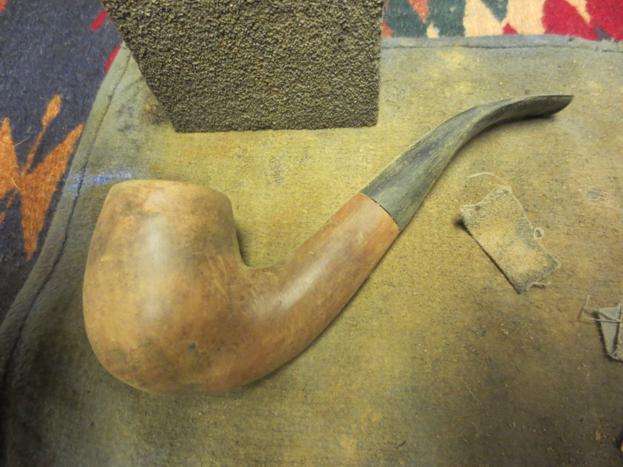

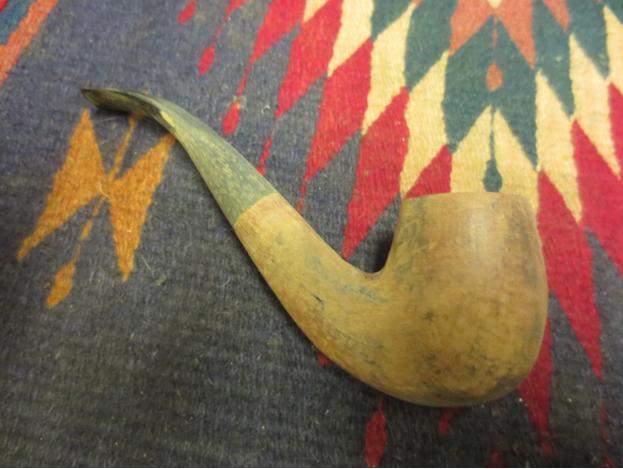
 I used the heat gun to bend the end of the stem to the angle that would have originally been present when the pipe left Denmark. I sanded the stem and bowl further with sandpaper and gradually the pipe was taking shape. The swan was beginning to appear. During the sanding process I found that there were several flaws in the briar and at least one fill. During the course of the sanding these may well disappear. Overall this is a nice piece of briar with enough meat on it that I can still end up with a nice pipe.
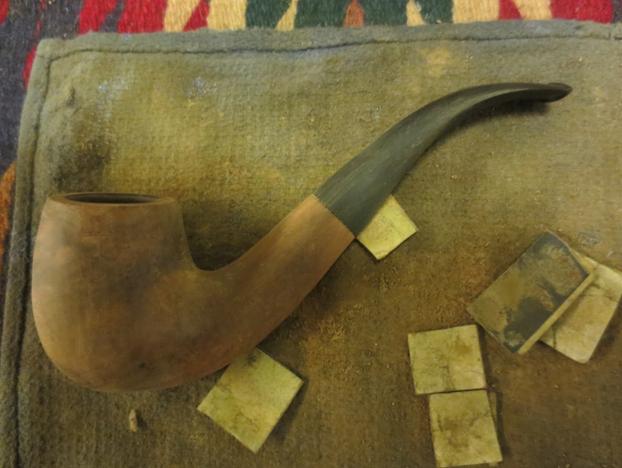 I cleaned out the shank and the airway to the bowl and in the stem with alcohol, pipe cleaners and cotton swabs. It was amazingly dirty for a pipe that had been “refurbished”. The “hackster” had left the inside absolutely filthy while destroying the outside of the bowl and stem.
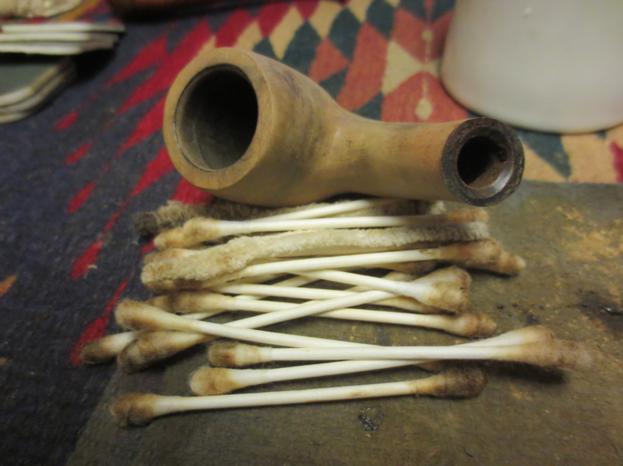
 I continued to sand the bowl and stem with a coarse grit sanding block to remove the remaining scratches left behind by the Dremel and sanding drum. Gradually the swan was beginning to emerge. I was getting excited about what this one was going to look like when it was finished. There was some nice grain emerging as I sanded.
 I sanded the bowl with micromesh sanding pads to further remove the scratches. I wet sanded the bowl with 1500-2400 grit pads and sanded until the grain began to shine.
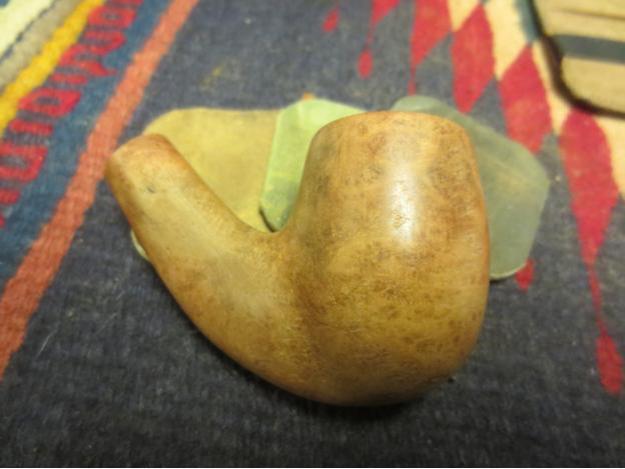
 I dry sanded with 3200-12000 grit pads and then rubbed on a coat of Danish Oil Cherry stain. I gave the bowl several coats of the finish and then set it on a cork stand to dry over night.
 I cleaned up the sharp edge of the button with needle files to redefine it as the shape was blurred into the body of the stem. I shaped the button with 220 grit sandpaper at the same time to give it definition.
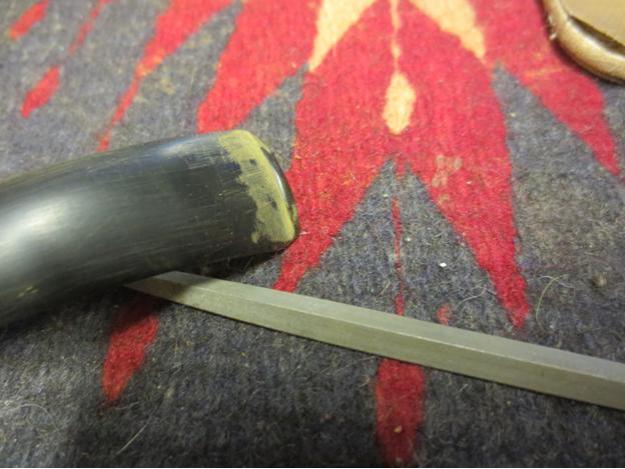
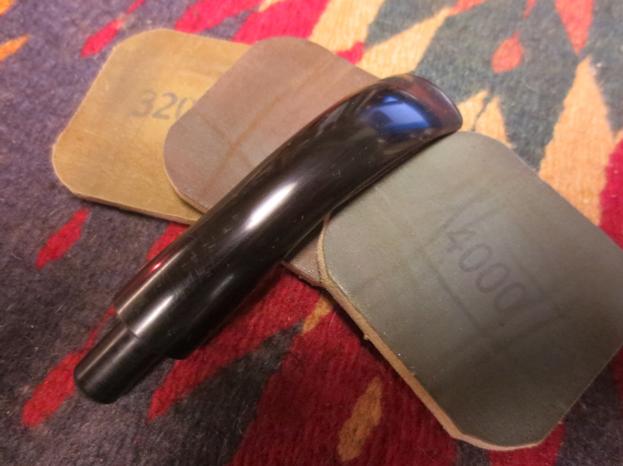
 I sanded the file marks out with 220 grit sandpaper to blend the edge of the cut into the surface of the stem. I wet sanded the stem with 1500-2400 grit micromesh sanding pads and then gave the stem a coat of Obsidian Oil. I dry sanded with 3200-4000 grit pads and gave it another coat of oil. I finished by sanding with 6000-12000 grit pads and giving it a final coat of oil. I set the stem and pipe aside for the night.
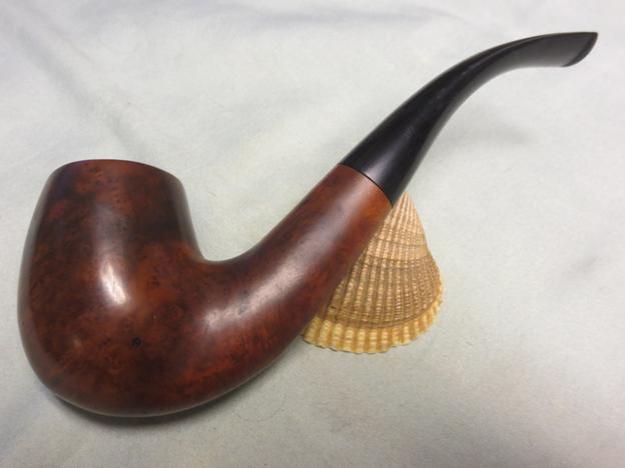
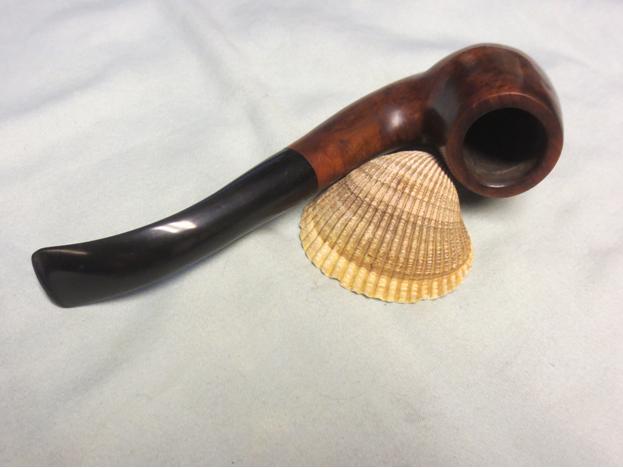
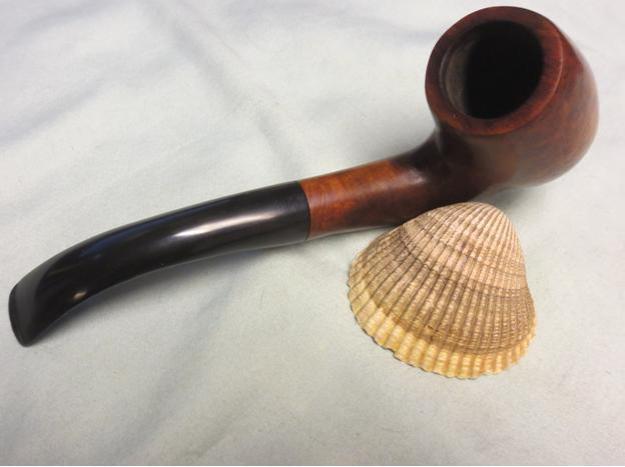
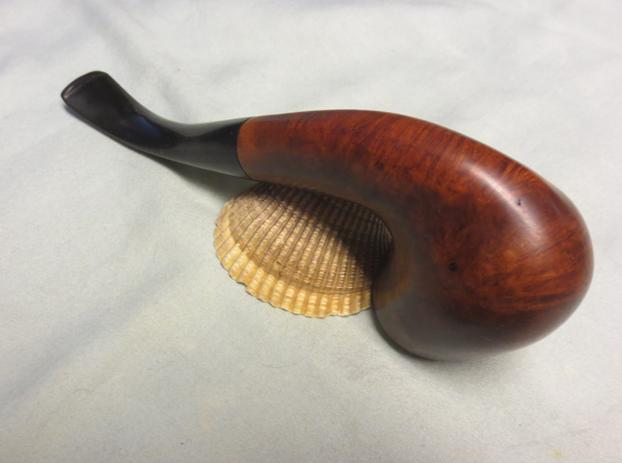
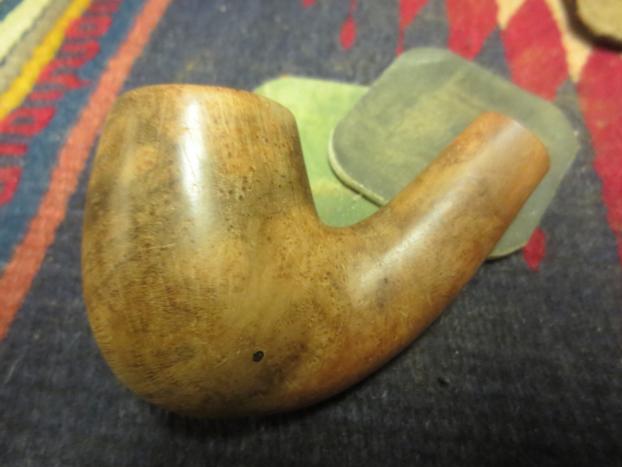
 In the morning I buffed the bowl and stem with Blue Diamond on the wheel to bring out the shine and then gave the pipe several coats of carnauba wax. I buffed it with a clean buffing pad and then by hand with a microfibre cloth. The finished pipe is shown in the photos below. To me it looks far better than the mess I started with but what is your verdict? Did a swan emerge? The pipe certainly has some nice grain and the flaws are small in comparison to the overall look of the pipe. Thanks for looking.