Blog by Steve Laug
The next pipe on the work table came to me from either a trade I made (pipes for labour) or a find on one of my pipe hunts. I honestly don’t remember where it came from. It has been around for a while waiting to be worked on. It is a black stained pipe that allows the grain to peek through which is unusual for the black dress pipes that I have worked on. It has a Stanwell Silver Crown S and silver band make it one of the Black Diamond Polished line of pipes. The Black Diamond series from Stanwell isn’t completely black. The grain is vaguely visible through the stain. I have worked on this line before and written about it on the blog. Here is the link to that pipe (https://rebornpipes.com/tag/stanwell-black-diamond-pipes-with-a-semi-transparent-black-stain/).
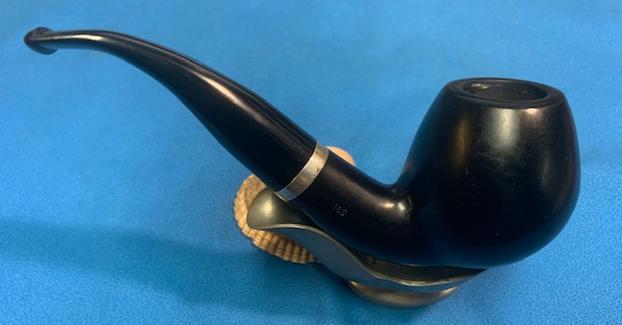
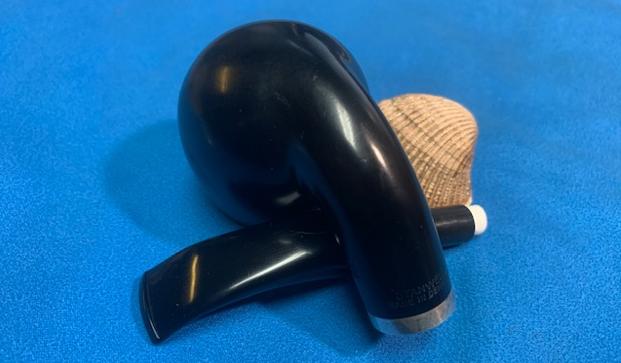
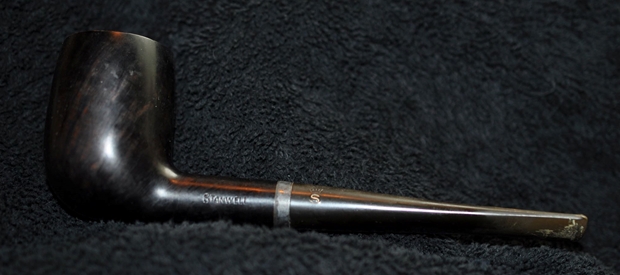
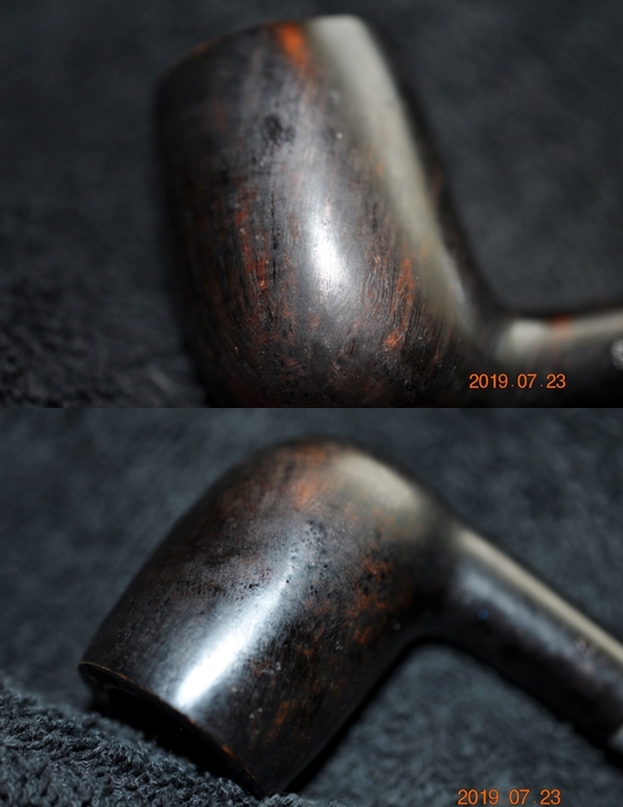
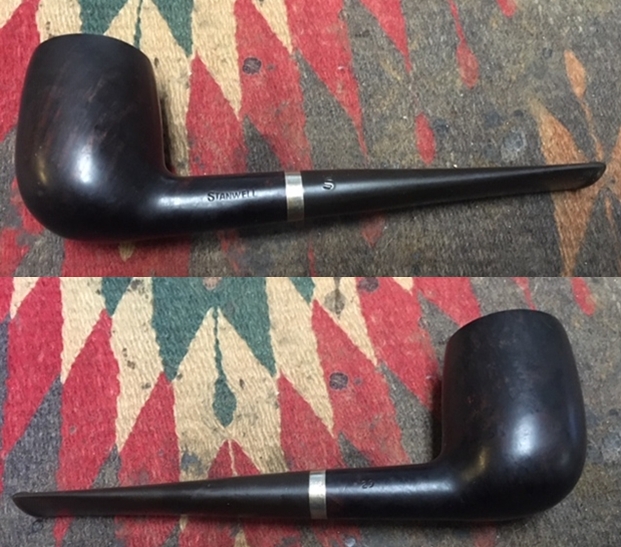
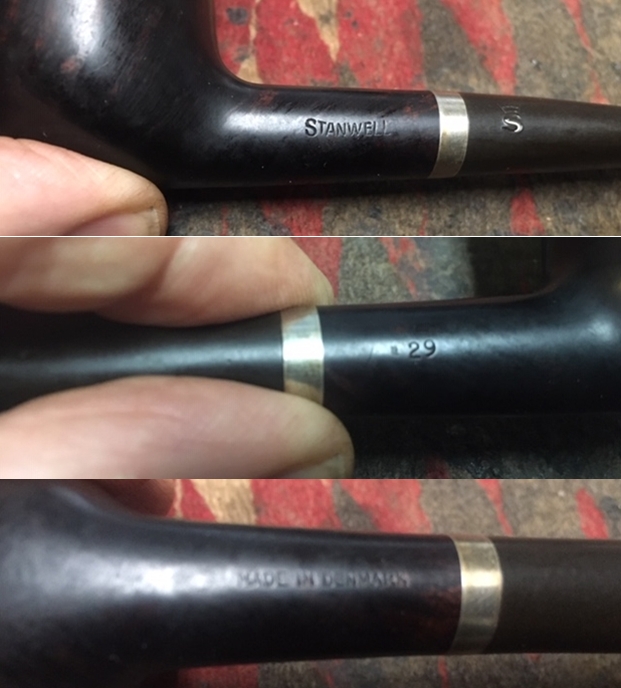
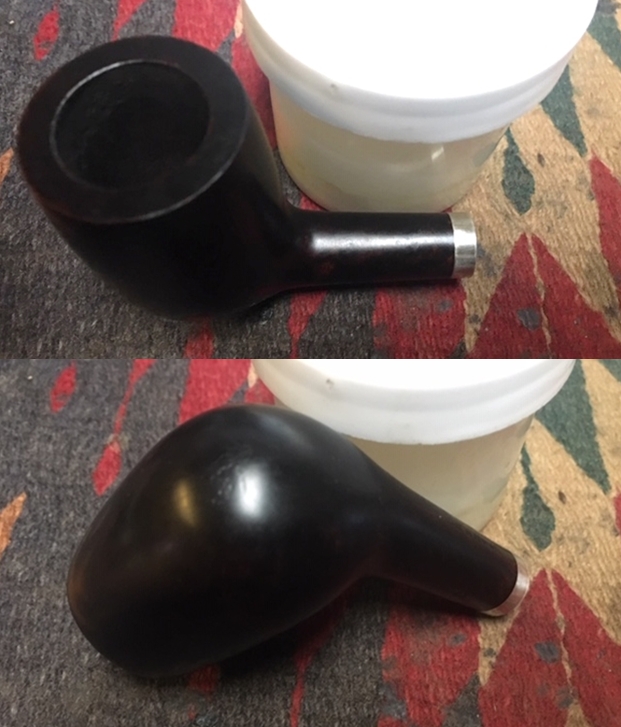
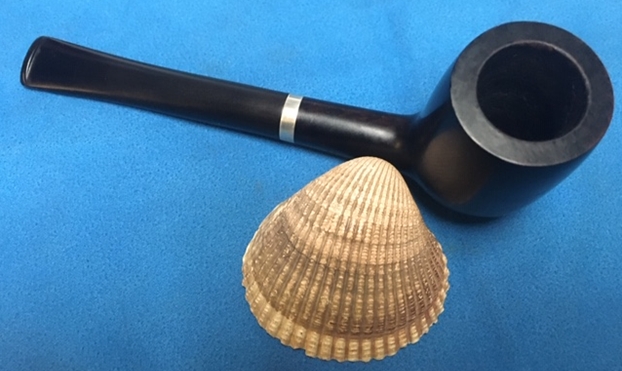
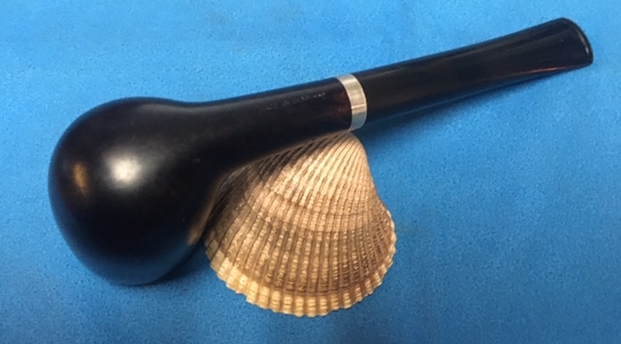
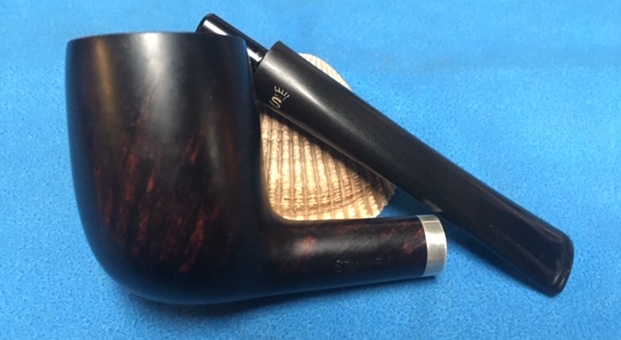
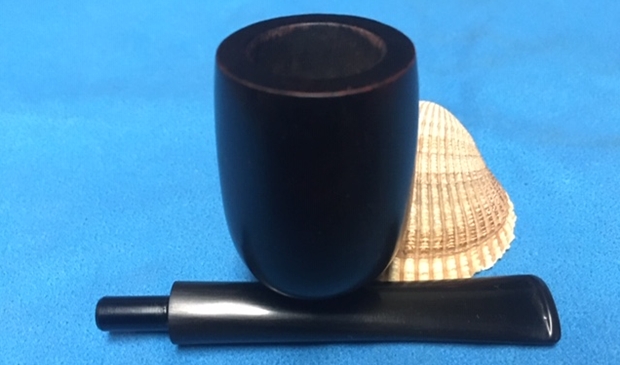
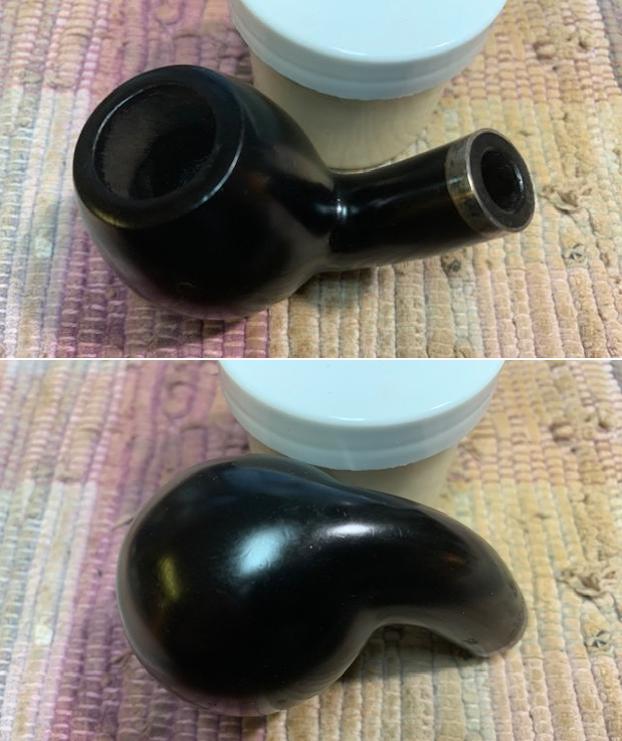
The stamping on this bent Apple is clear and readable. It is stamped on the underside of the shank and reads Stanwell [over] Made in Denmark. To the right side of the shank it is stamped with the shape number 185. The pipe had a lot of grime ground into the smooth finish on the bowl and some darkening around the sides of the bowl. The bowl was heavily caked and had an overflow of lava on the back side of the rim top. It was hard to know what the rim top and inner edge of the bowl looked like under the grime. The acrylic filter stem dirty and had light tooth chatter and marks on the top and underside and the top surface of the button had a tooth mark. There an inset silver Crowned S on the left side of the taper stem. The pipe had promise but it was very dirty. I took photos of the pipe before I started my cleanup work. 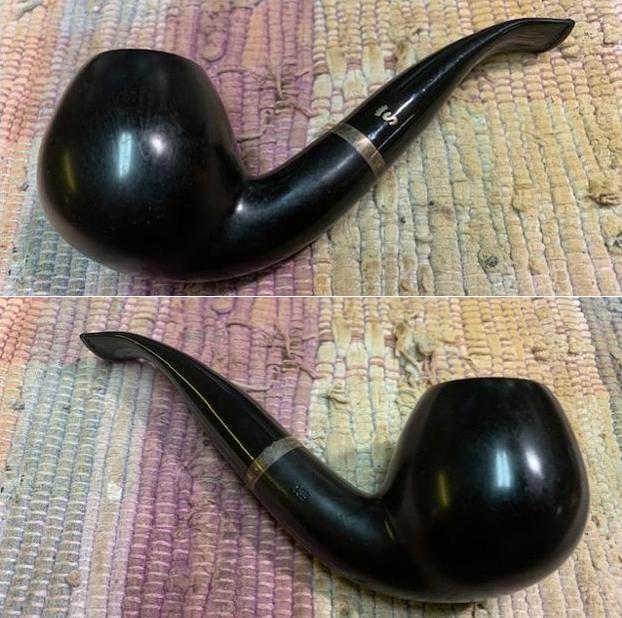
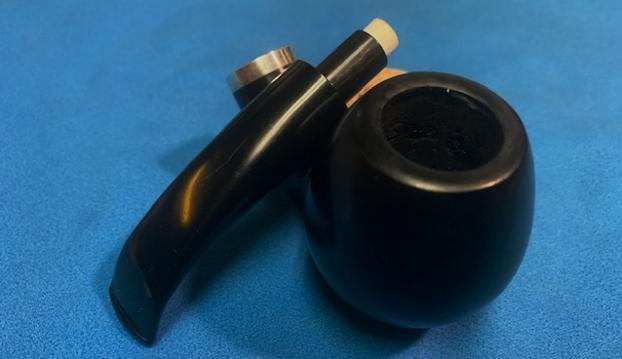
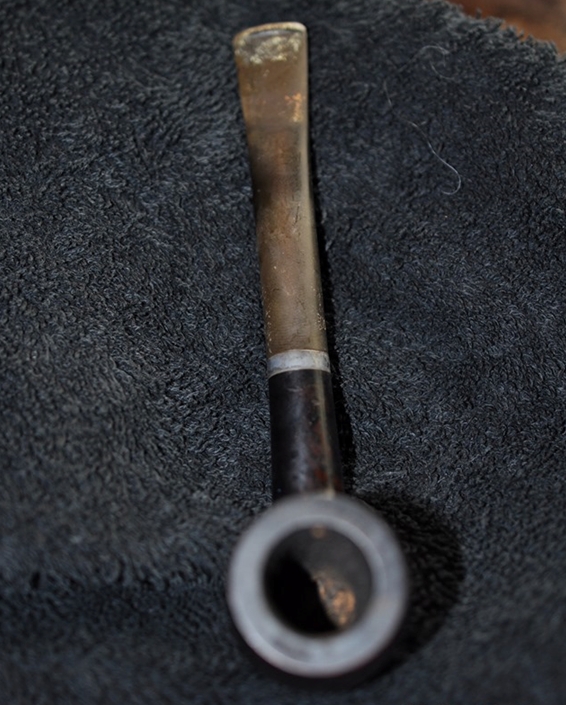
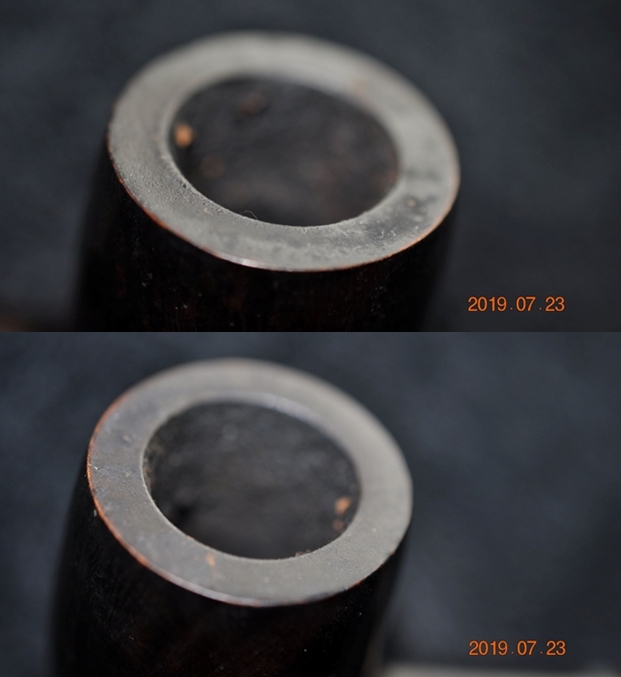
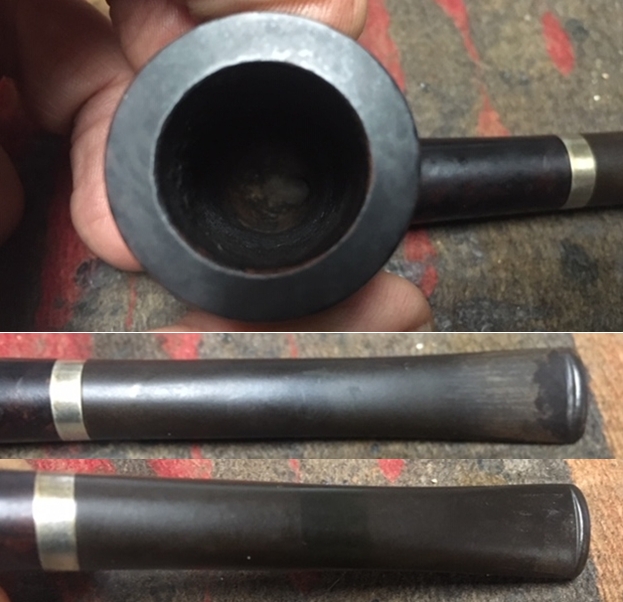
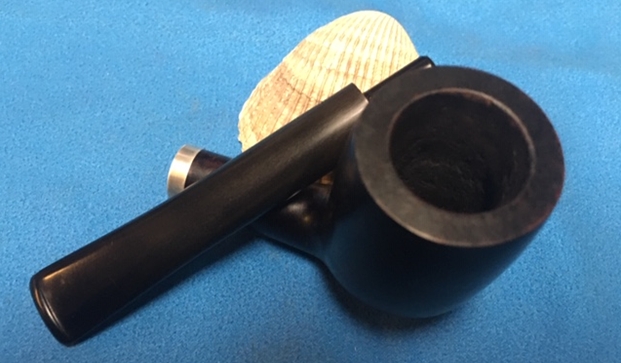
 I took photos of the rim top and bowl to give a clear picture of the thickness of the cake and the overflow of lava on the rim top. It is hard to know for sure if there is damage to the inner edge of the bowl because of the thickness of the lava coat. The thin silver band is tarnished and black. I also took photos of the top and underside of the stem to show the light chatter and tooth marks.
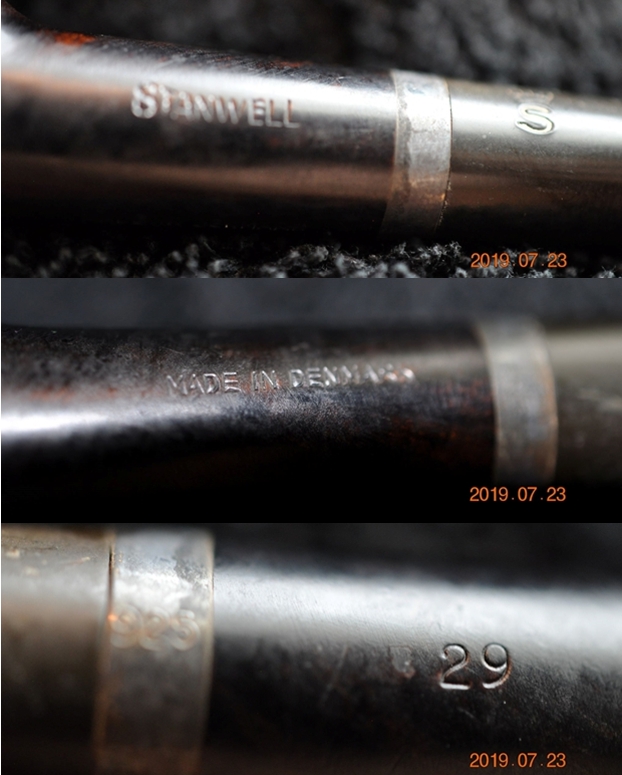
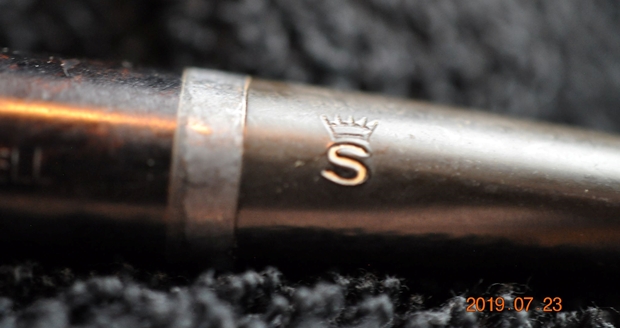
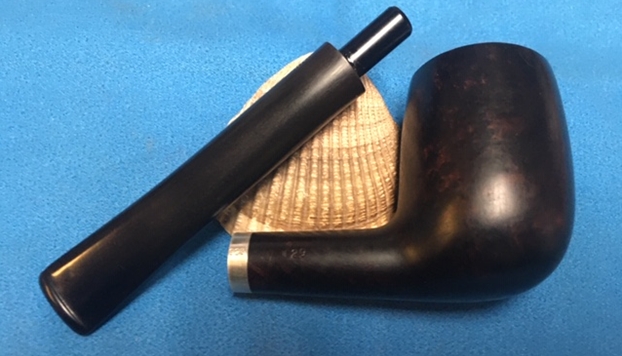
 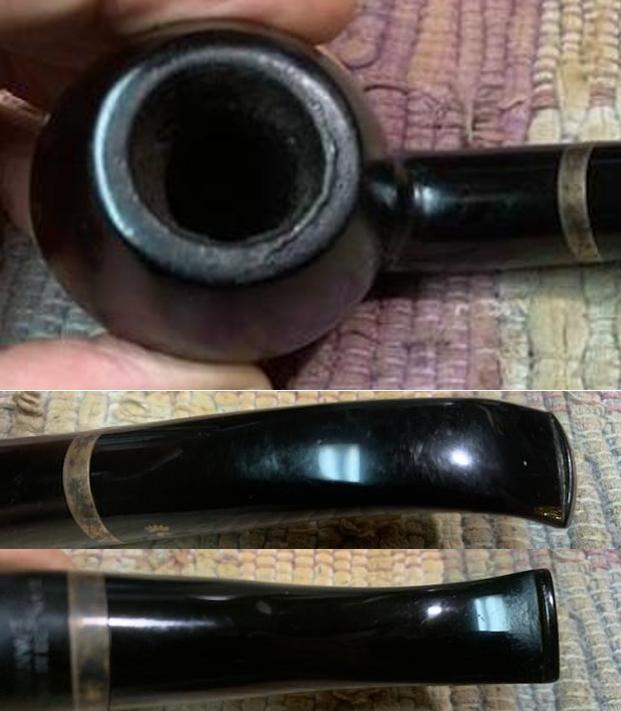 I took photos of the stamping on the underside and right side of the shank. It reads as noted above and is clear and readable. There is a silver Crown S logo on the top of the saddle stem.
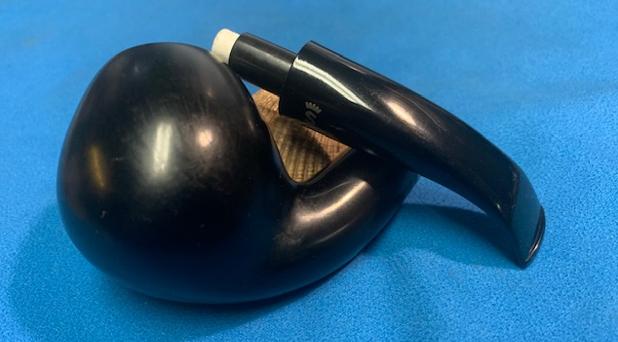
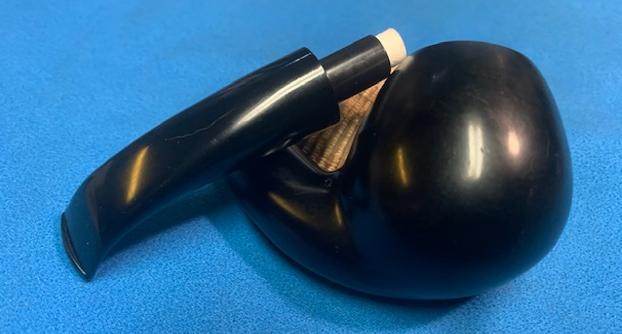
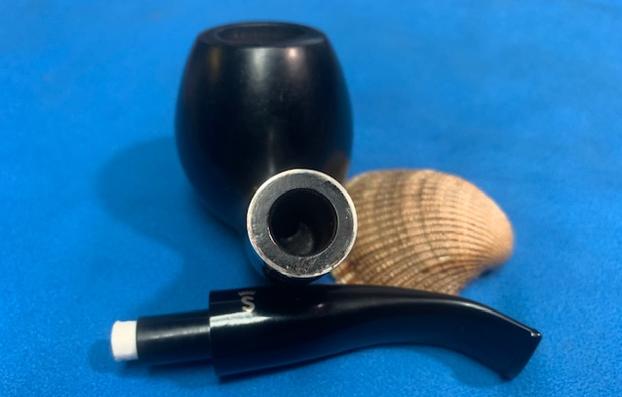
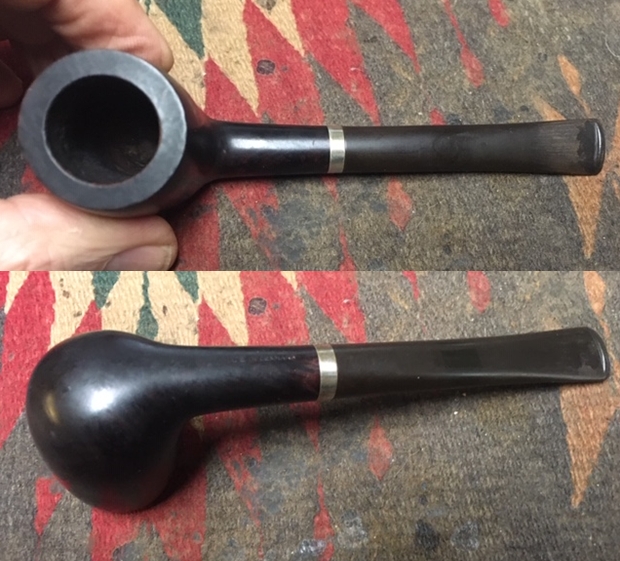
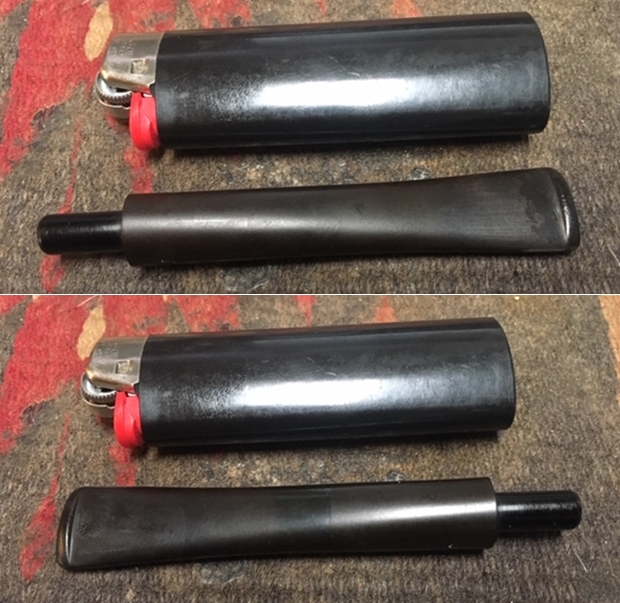
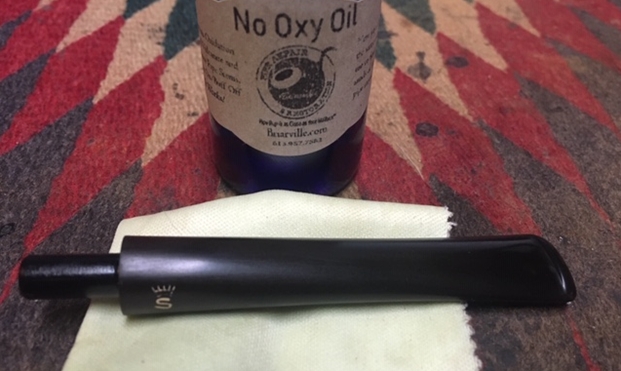
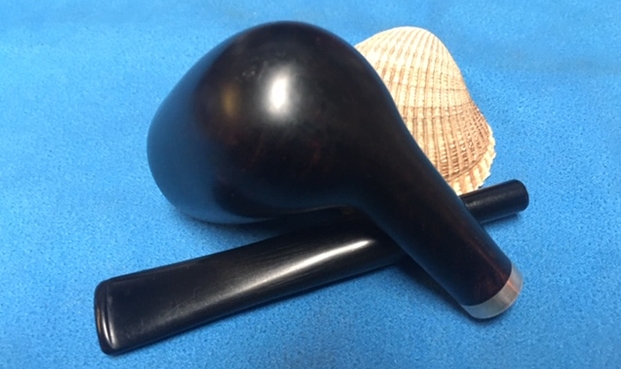
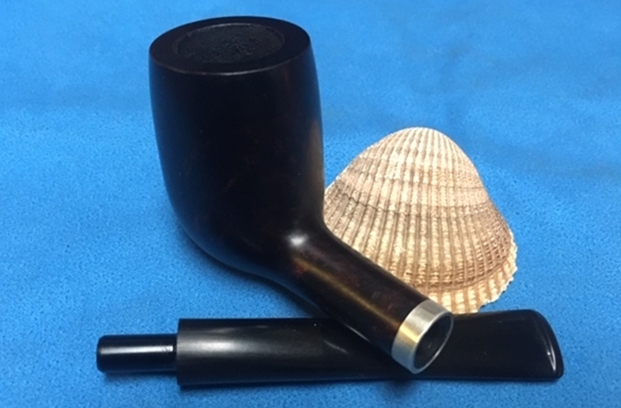
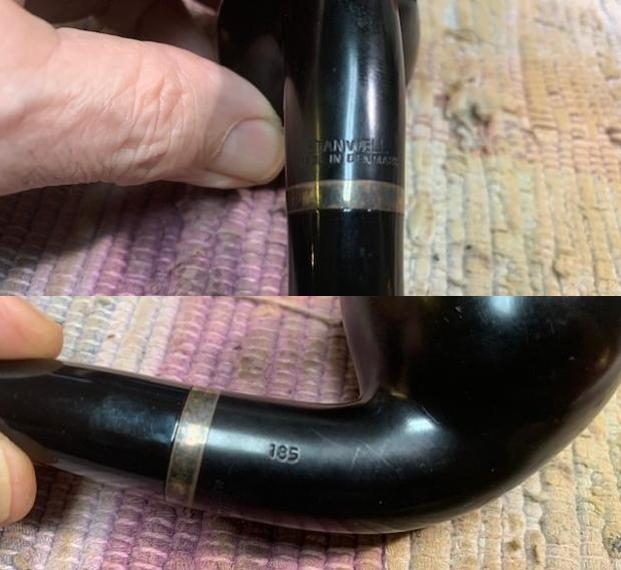 I took the stem off the bowl and took a photo of the parts. It is a nicely shaped pipe. The tenon is a filter tenon.
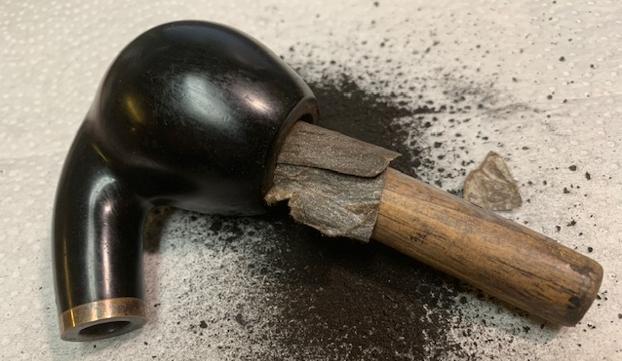
  Now it was time to work on the pipe. I have to say it once again that I am really spoiled having Jeff clean up the pipes for me. Having to start with them in this condition adds time. I reamed the bowl with a PipNet pipe reamer using the second and third cutting heads. I followed up by scraping the remaining cake with a Savinelli Fitsall Pipe Knife. I finished cleaning up the cake in the bowl with a piece of dowel wrapped in 220 grit sandpaper to smooth out the walls of the bowl.
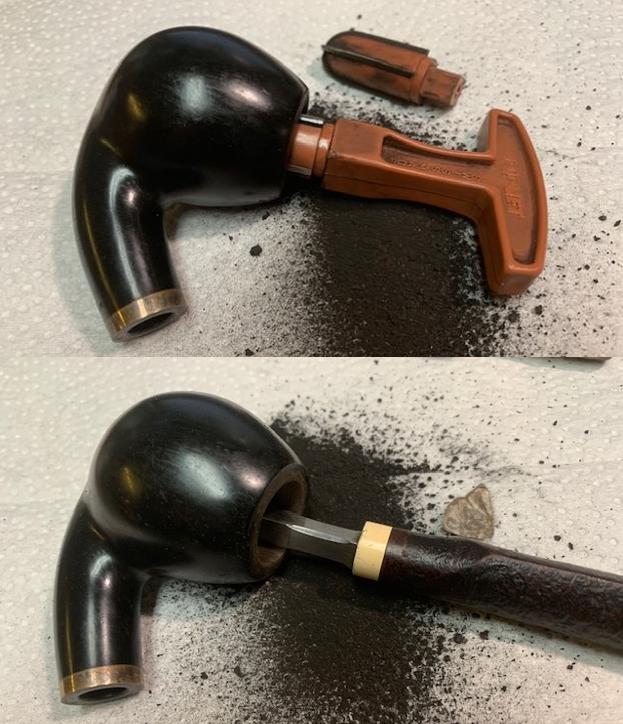
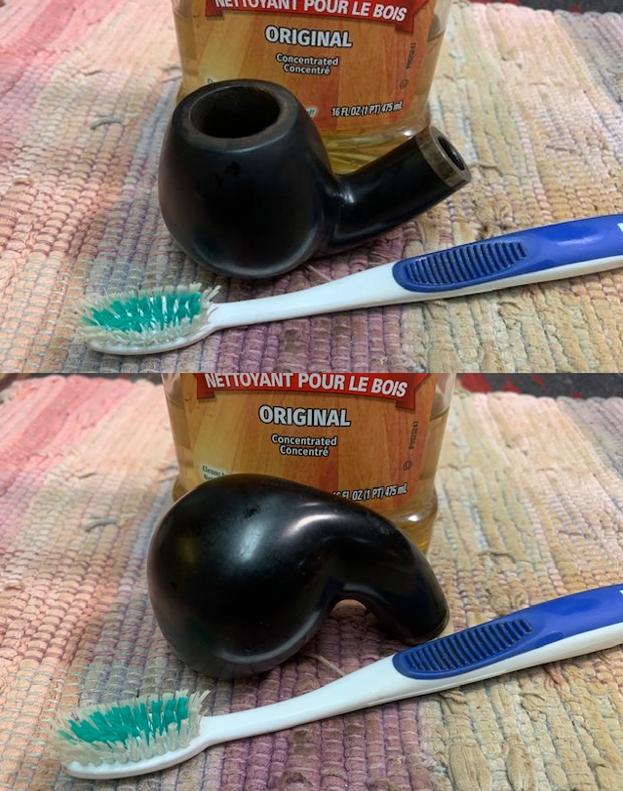
 I scrubbed the exterior of the bowl and rim top with a tooth brush and undiluted Murphy’s Oil Soap to remove the debris from the finish. I rinsed the bowl with warm water to remove the grime and soap and dried it off with a soft towel.
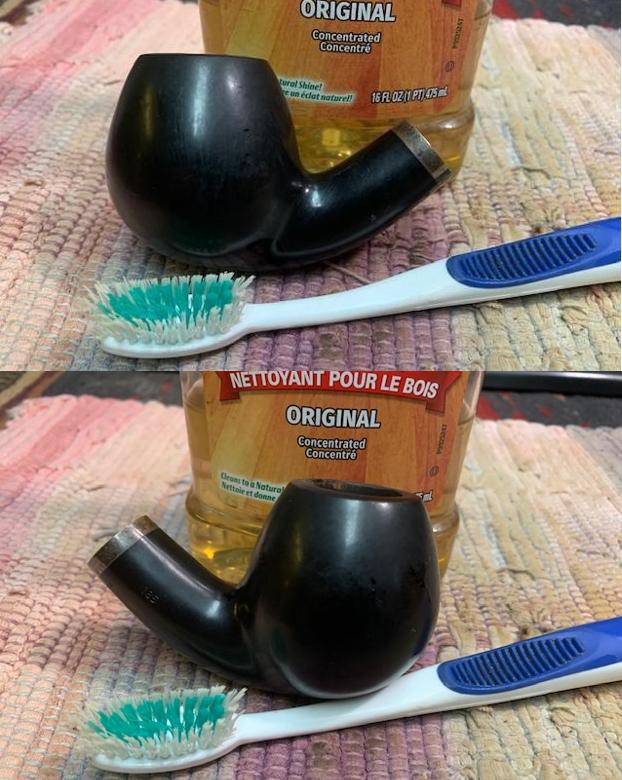
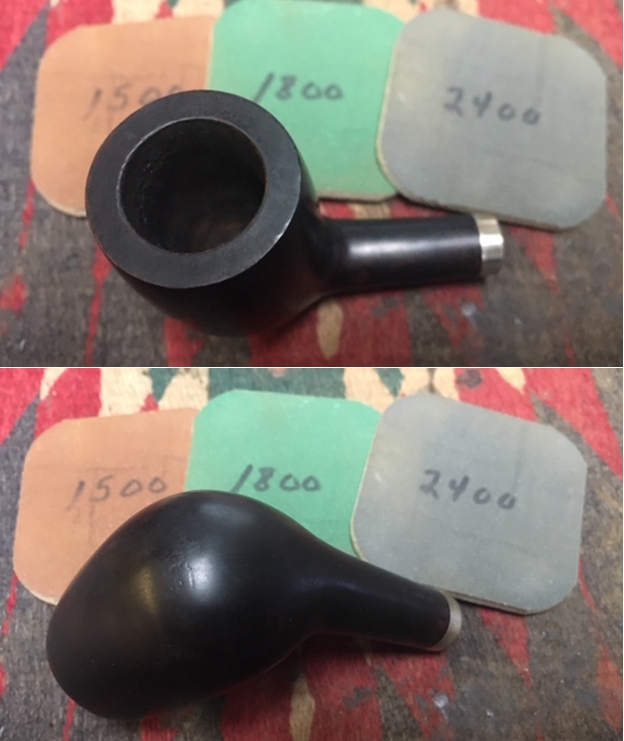
 I used a small knife to carefully scrape off the lava on the rim top. I scrubbed the surface with cotton pads and saliva to remove the grime that remained.
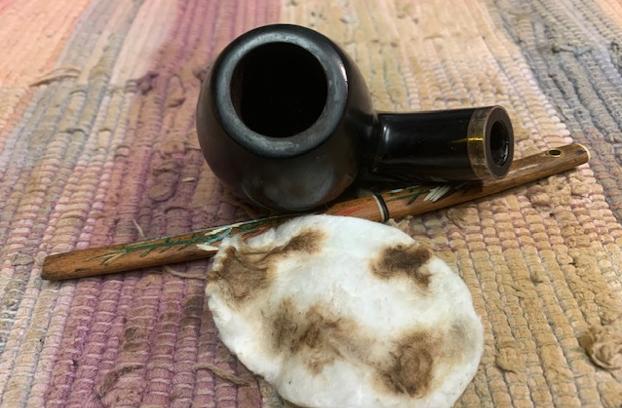 I rubbed the bowl and shank down with Before & After Restoration Balm. I worked it into the surface of the bowl sides and shank with my fingertips to clean, enliven and protect the briar. I let the balm sit for a little while and then buffed with a cotton cloth to raise the shine.
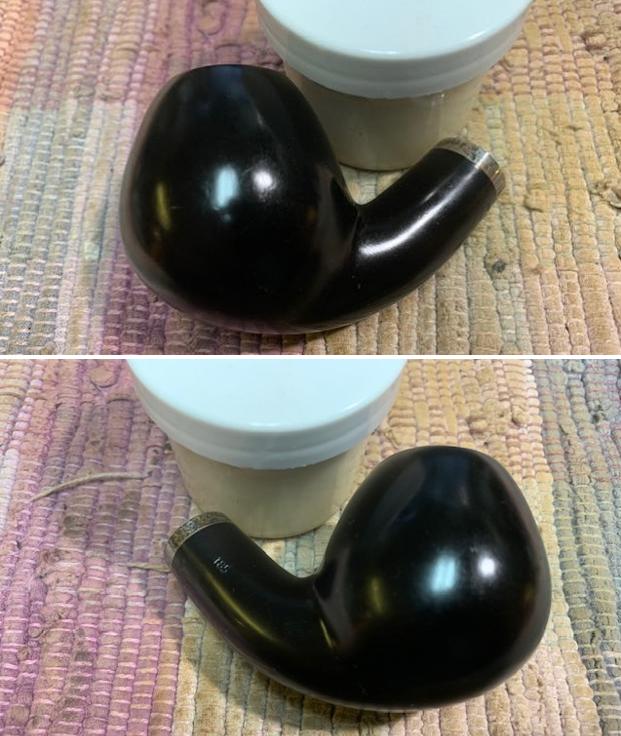
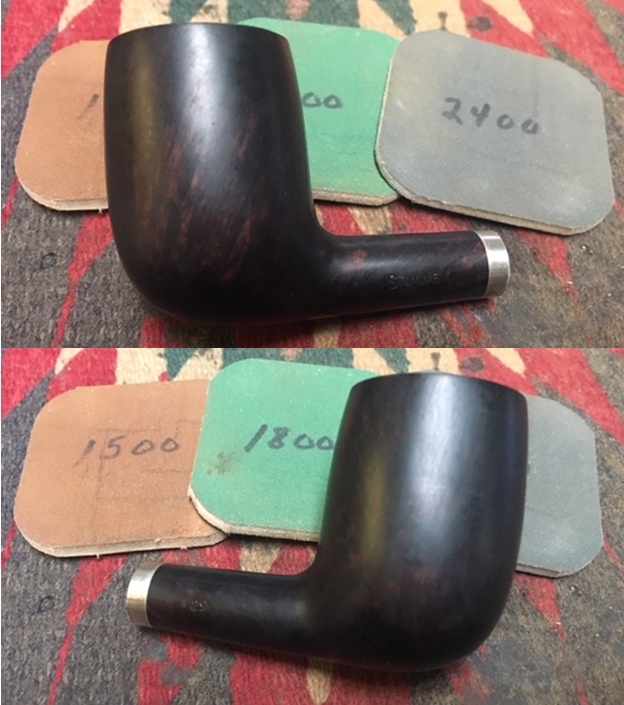
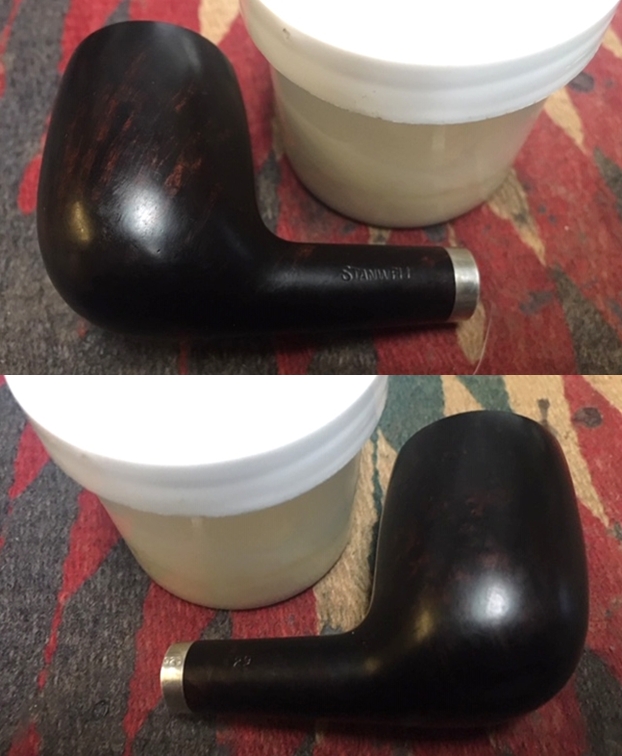
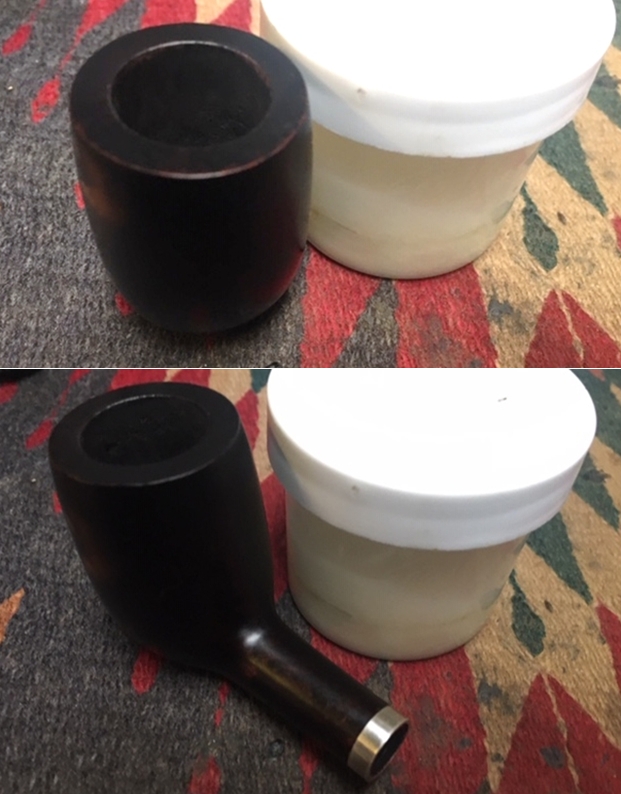
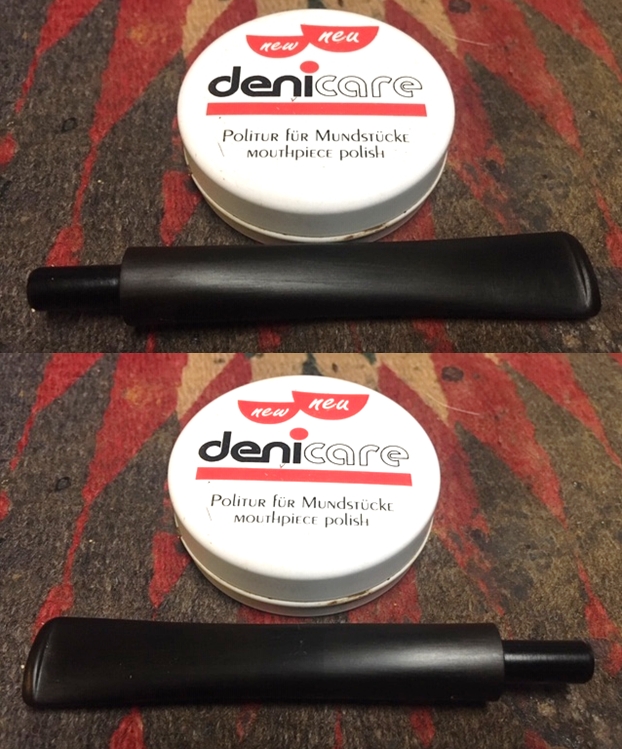
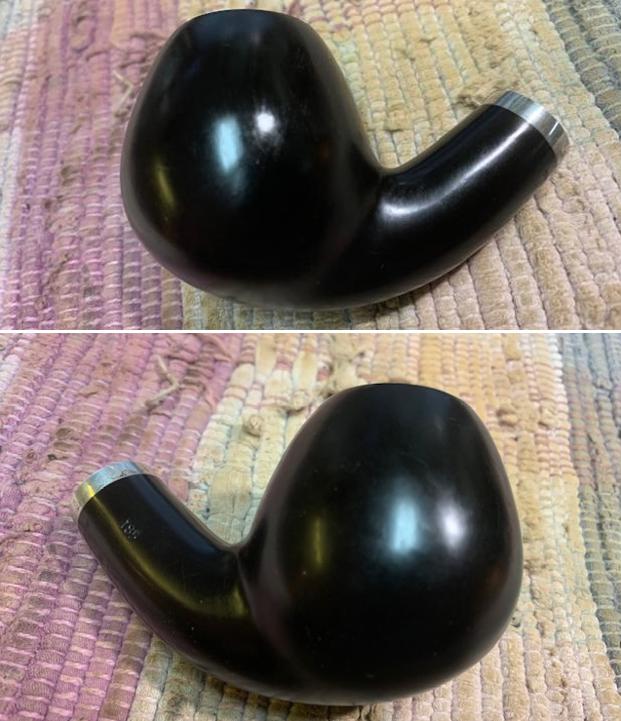
 I polished the Sterling Silver shank band with Hagerty’s Silver Polish to clean up the silver and remove the tarnish. I buffed it with a jeweler’s cloth to deepen the shine. Both of these things work to slow down the tarnish process. I took some photos of the band and bowl after the polishing.
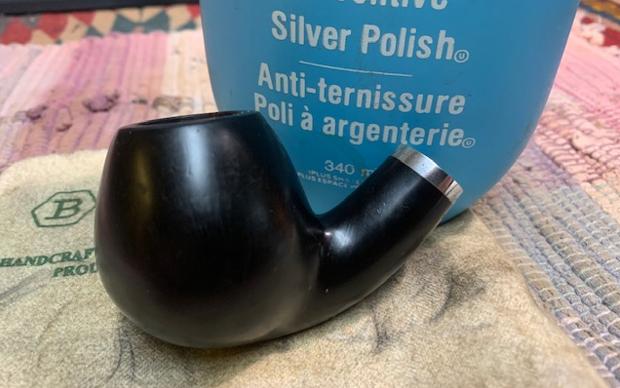
 I cleaned out the mortise and airway in the shank with pipe cleaners, cotton swabs and alcohol. It took quite a few of them to clean out the chamber. I find that filter pipes are often dirtier than none filter pipes. I scraped the walls of the tenon with a dental spatula to remove the hardened tars there. I clean it out with pipe cleaners, cotton swabs and alcohol as well. Once finish the pipe smelled far better.
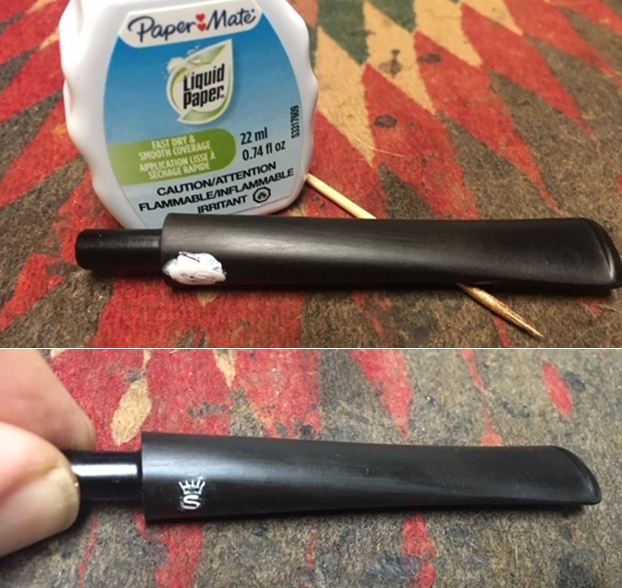
 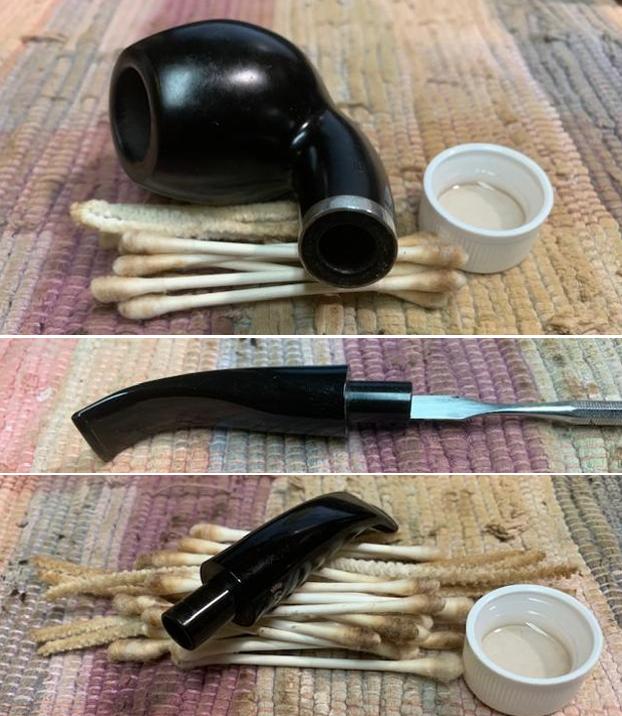 I gave the bowl a coat of Conservator’s Wax and set it aside and turned my attention to the stem. The stem was made for a 9MM filter. I have a box of Vauen Dr. Perl Junior Filters that is perfect for this stem. The filter has a blue end and a white end and I can never remember which way they fit in the tenon. I looked it up on the Vauen site and did a screen capture of the way it sits in the stem. The blue end goes into the stem.
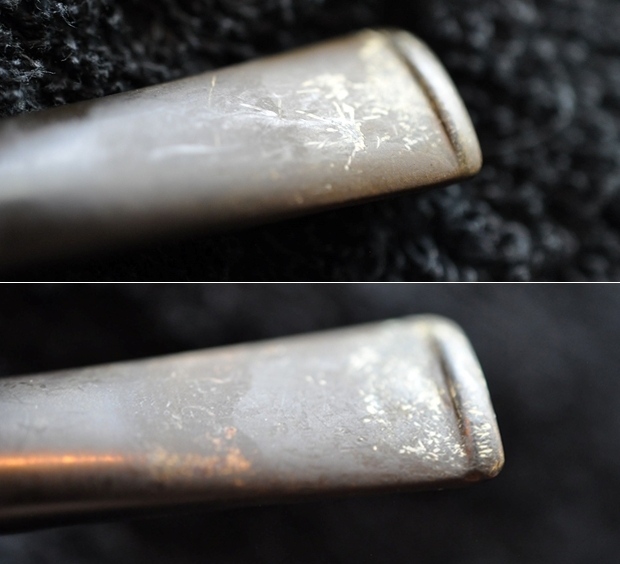
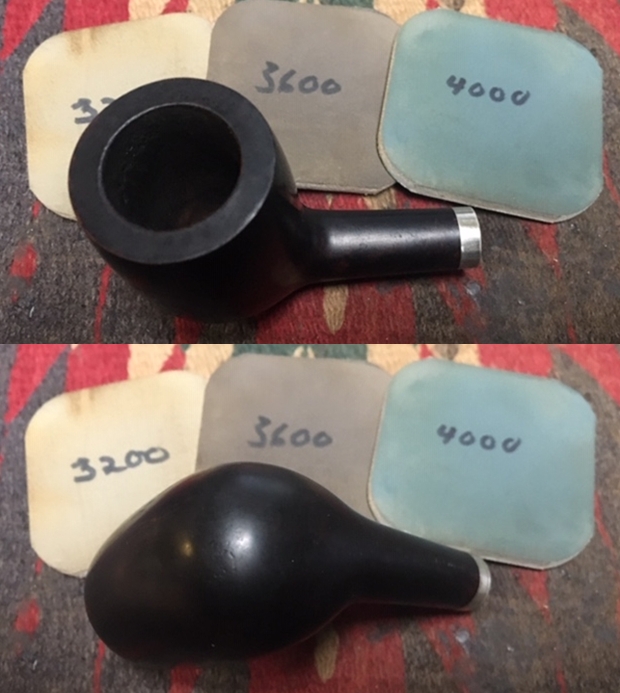
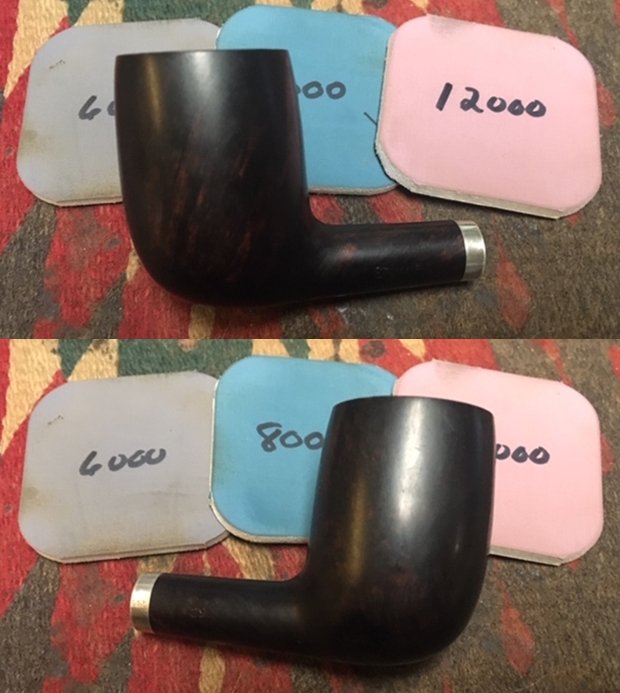
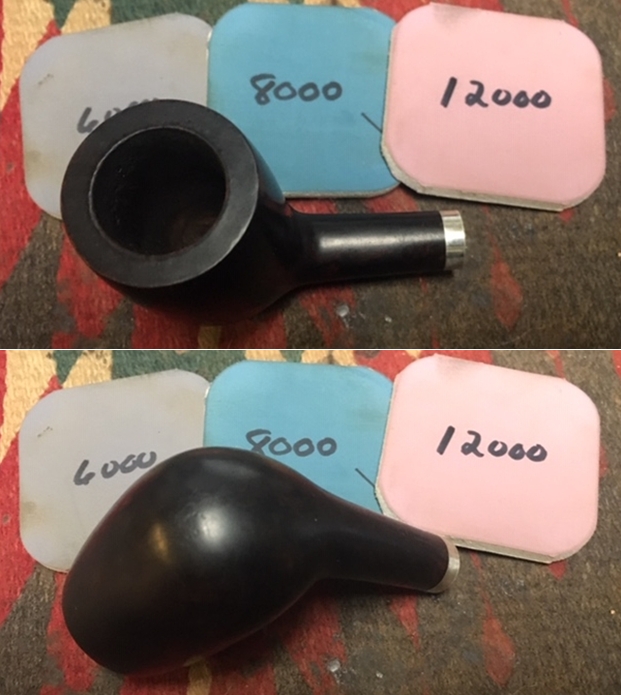
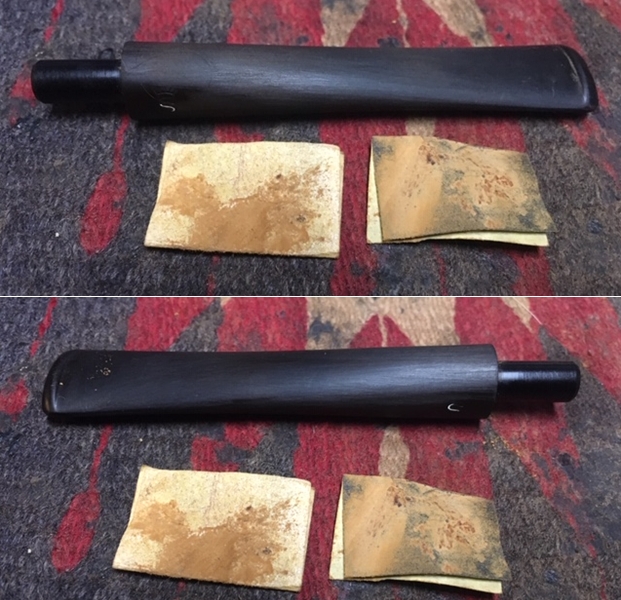
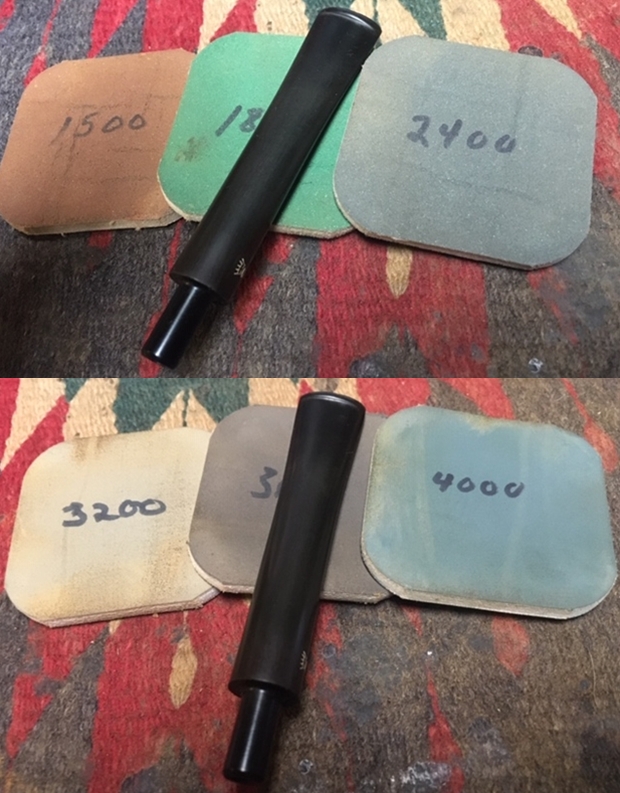
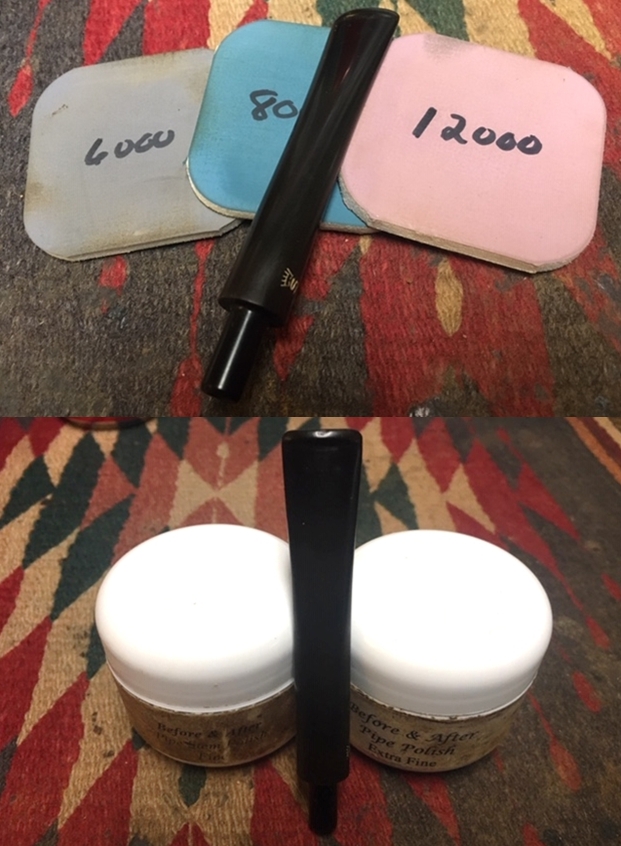
 The stem was in very good condition and the chatter and tooth marks were light. I polished them out of the acrylic stem with micromesh sanding pads – 1500-12000 grit pads. I wiped it down with a damp cloth after each sanding pad. I used Before & After Pipe Polish – both Fine and Extra Fine to further polish the stem.
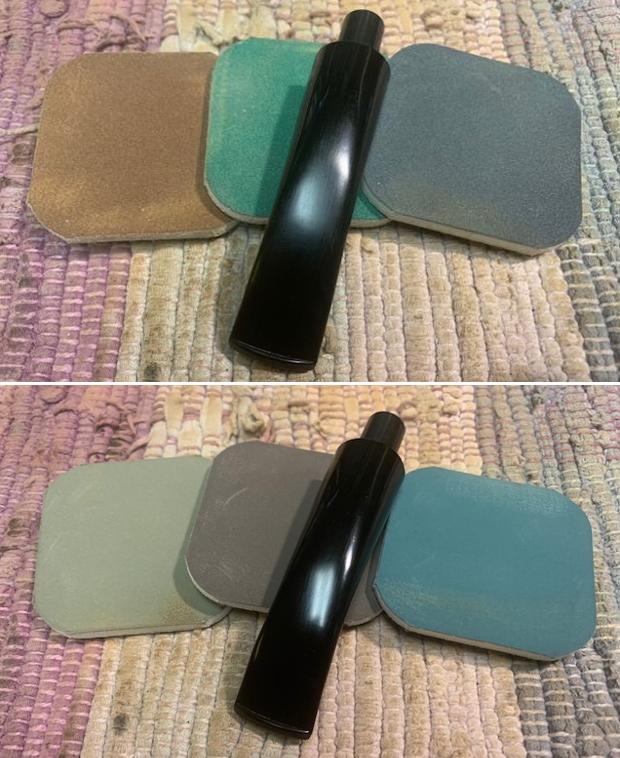
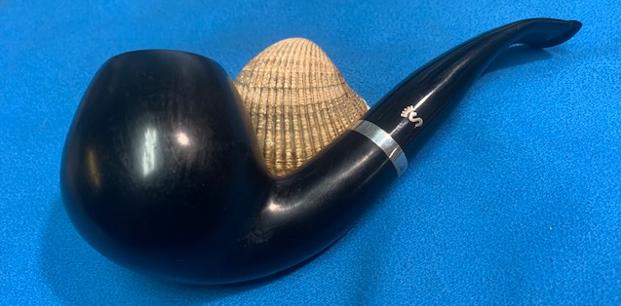
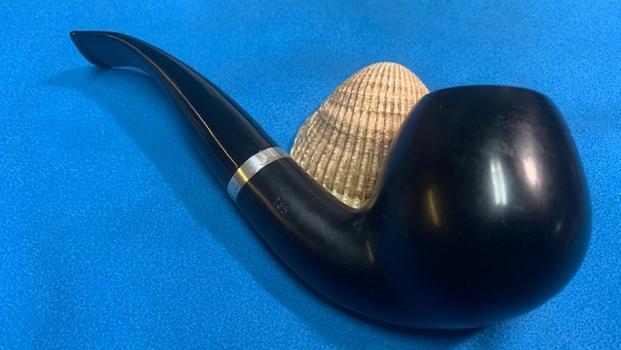
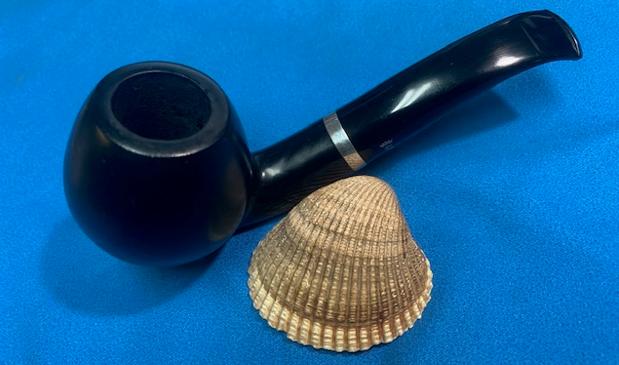
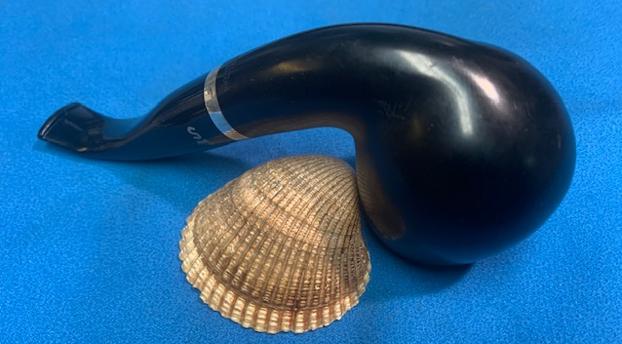
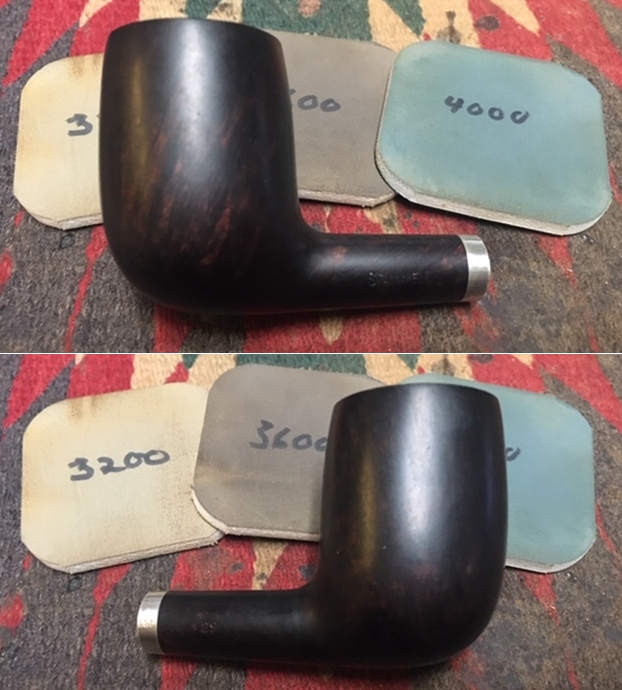
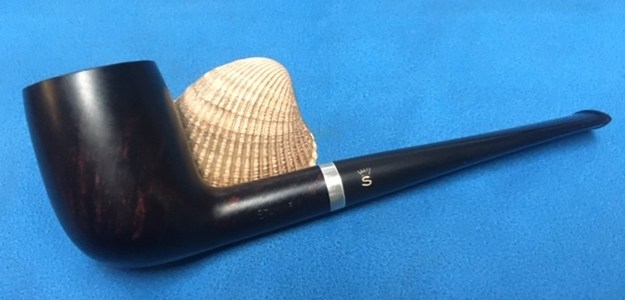
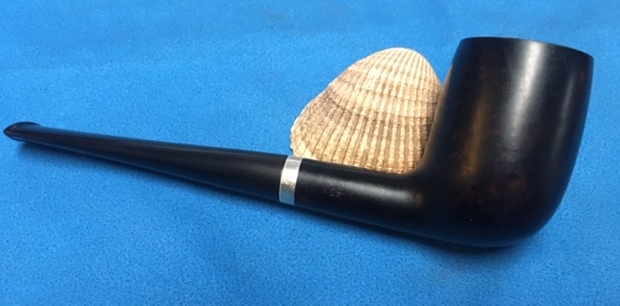
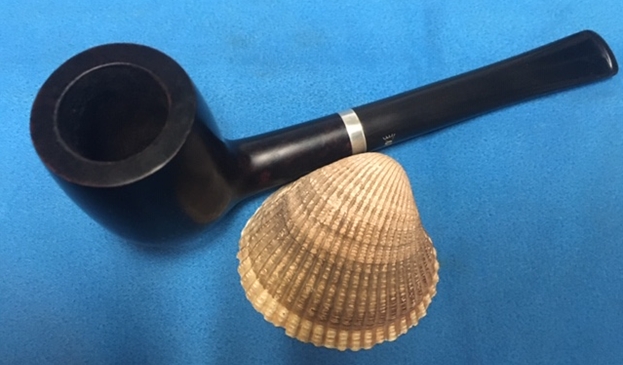
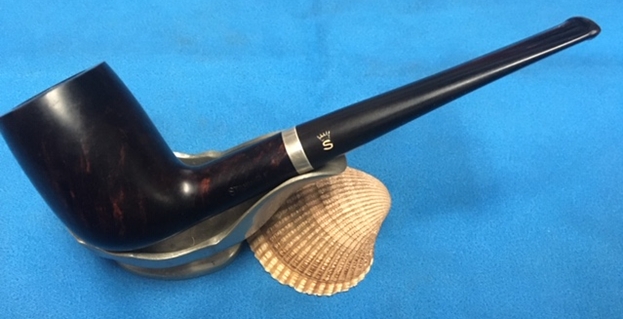
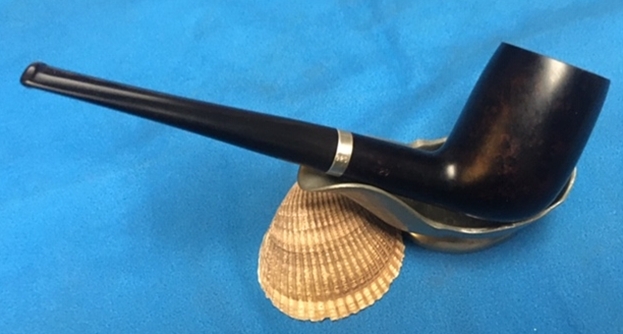
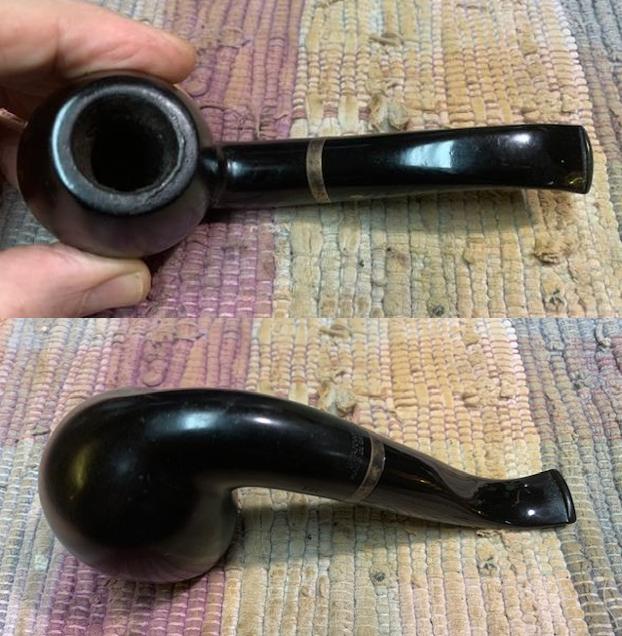
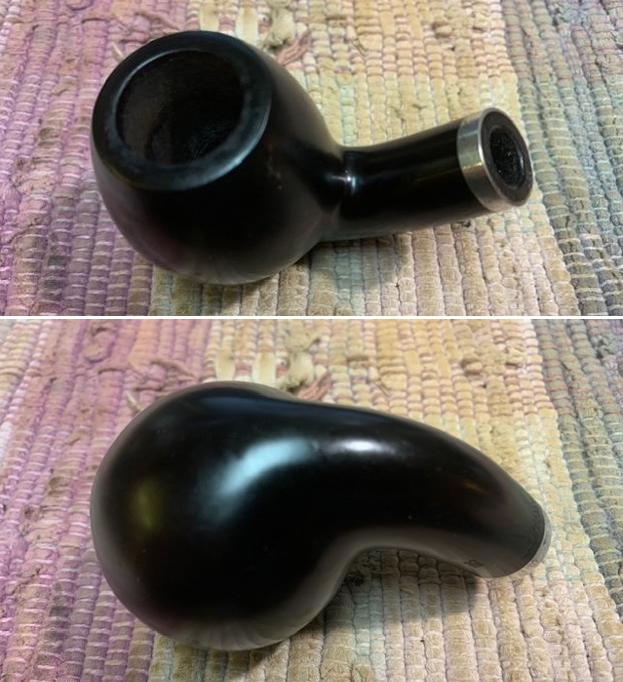
 This beautiful Stanwell Black Diamond 185 Bent Apple with an acrylic taper stem is a great looking pipe now that it has been restored. The rich blacks of the stains on the bowl allow the grain to poke through. It came alive with the polishing and waxing. I gave the bowl multiple coats of Conservator’s Wax as I did not want to buff off the stain. I gave the stem multiple coats of carnauba wax on the buffing wheel and followed that by buffing the entire pipe with a clean buffing pad. I hand buffed the pipe with a microfiber cloth to deepen the shine. The finished Stanwell Black Diamond is a beauty and fits nicely in the hand and looks very good. Give the finished pipe a look in the photos below. The dimensions of the pipe are Length: 5 ½ inches, Height: 2 inches, Outside diameter of the bowl: 1 ¼ inches, Chamber diameter: ¾ of an inch. . The weight of the pipe is 67grams/2.36oz. I will be adding it to the rebornpipes store shortly and it will be in the Danish Pipe Makers section of the store. If you are interested in adding this pipe to your collection send me a message or an email. Thanks for reading this blog and my reflections on the pipe while I worked on it. There are many more to come!